|
|
|
Dec 17, 2022 11:08:43 GMT
|
Ah, the TCA, Track Control Arm. Same, but wasn’t sure if that was just an MGR thing… Love to come and have a look, thanks. I’m up near Stonehenge so not far at all. Give me a DM and we can arrange something over xmas? |
| |
|
|
|
|
|
|
|
Dec 17, 2022 11:24:13 GMT
|
With the brakes all done and not leaking i need to get on with the Fuel pipes, Fuel pumps, water pipes, water pump and radiator. But before that i need to mount the alternator. The mount is like this and is part of the engine mount. The holes are a bit big though!  Untitled Untitled by Nevtiger, on Flickr  Untitled Untitled by Nevtiger, on Flickr So i need to make a bush that will sit in those holes and then carry the M10 alternator mounting bolt. It also needs to locate the alternator so its in line with the pulley on the crank. A bit of lather work - i still get a great surface finish - and some rubbish photography got me this  Untitled Untitled by Nevtiger, on Flickr Shoulder one end to locate it and thread the other to lock it.  Untitled Untitled by Nevtiger, on Flickr  Untitled Untitled by Nevtiger, on Flickr Alternator on  Untitled Untitled by Nevtiger, on Flickr And looks fairly well aligned 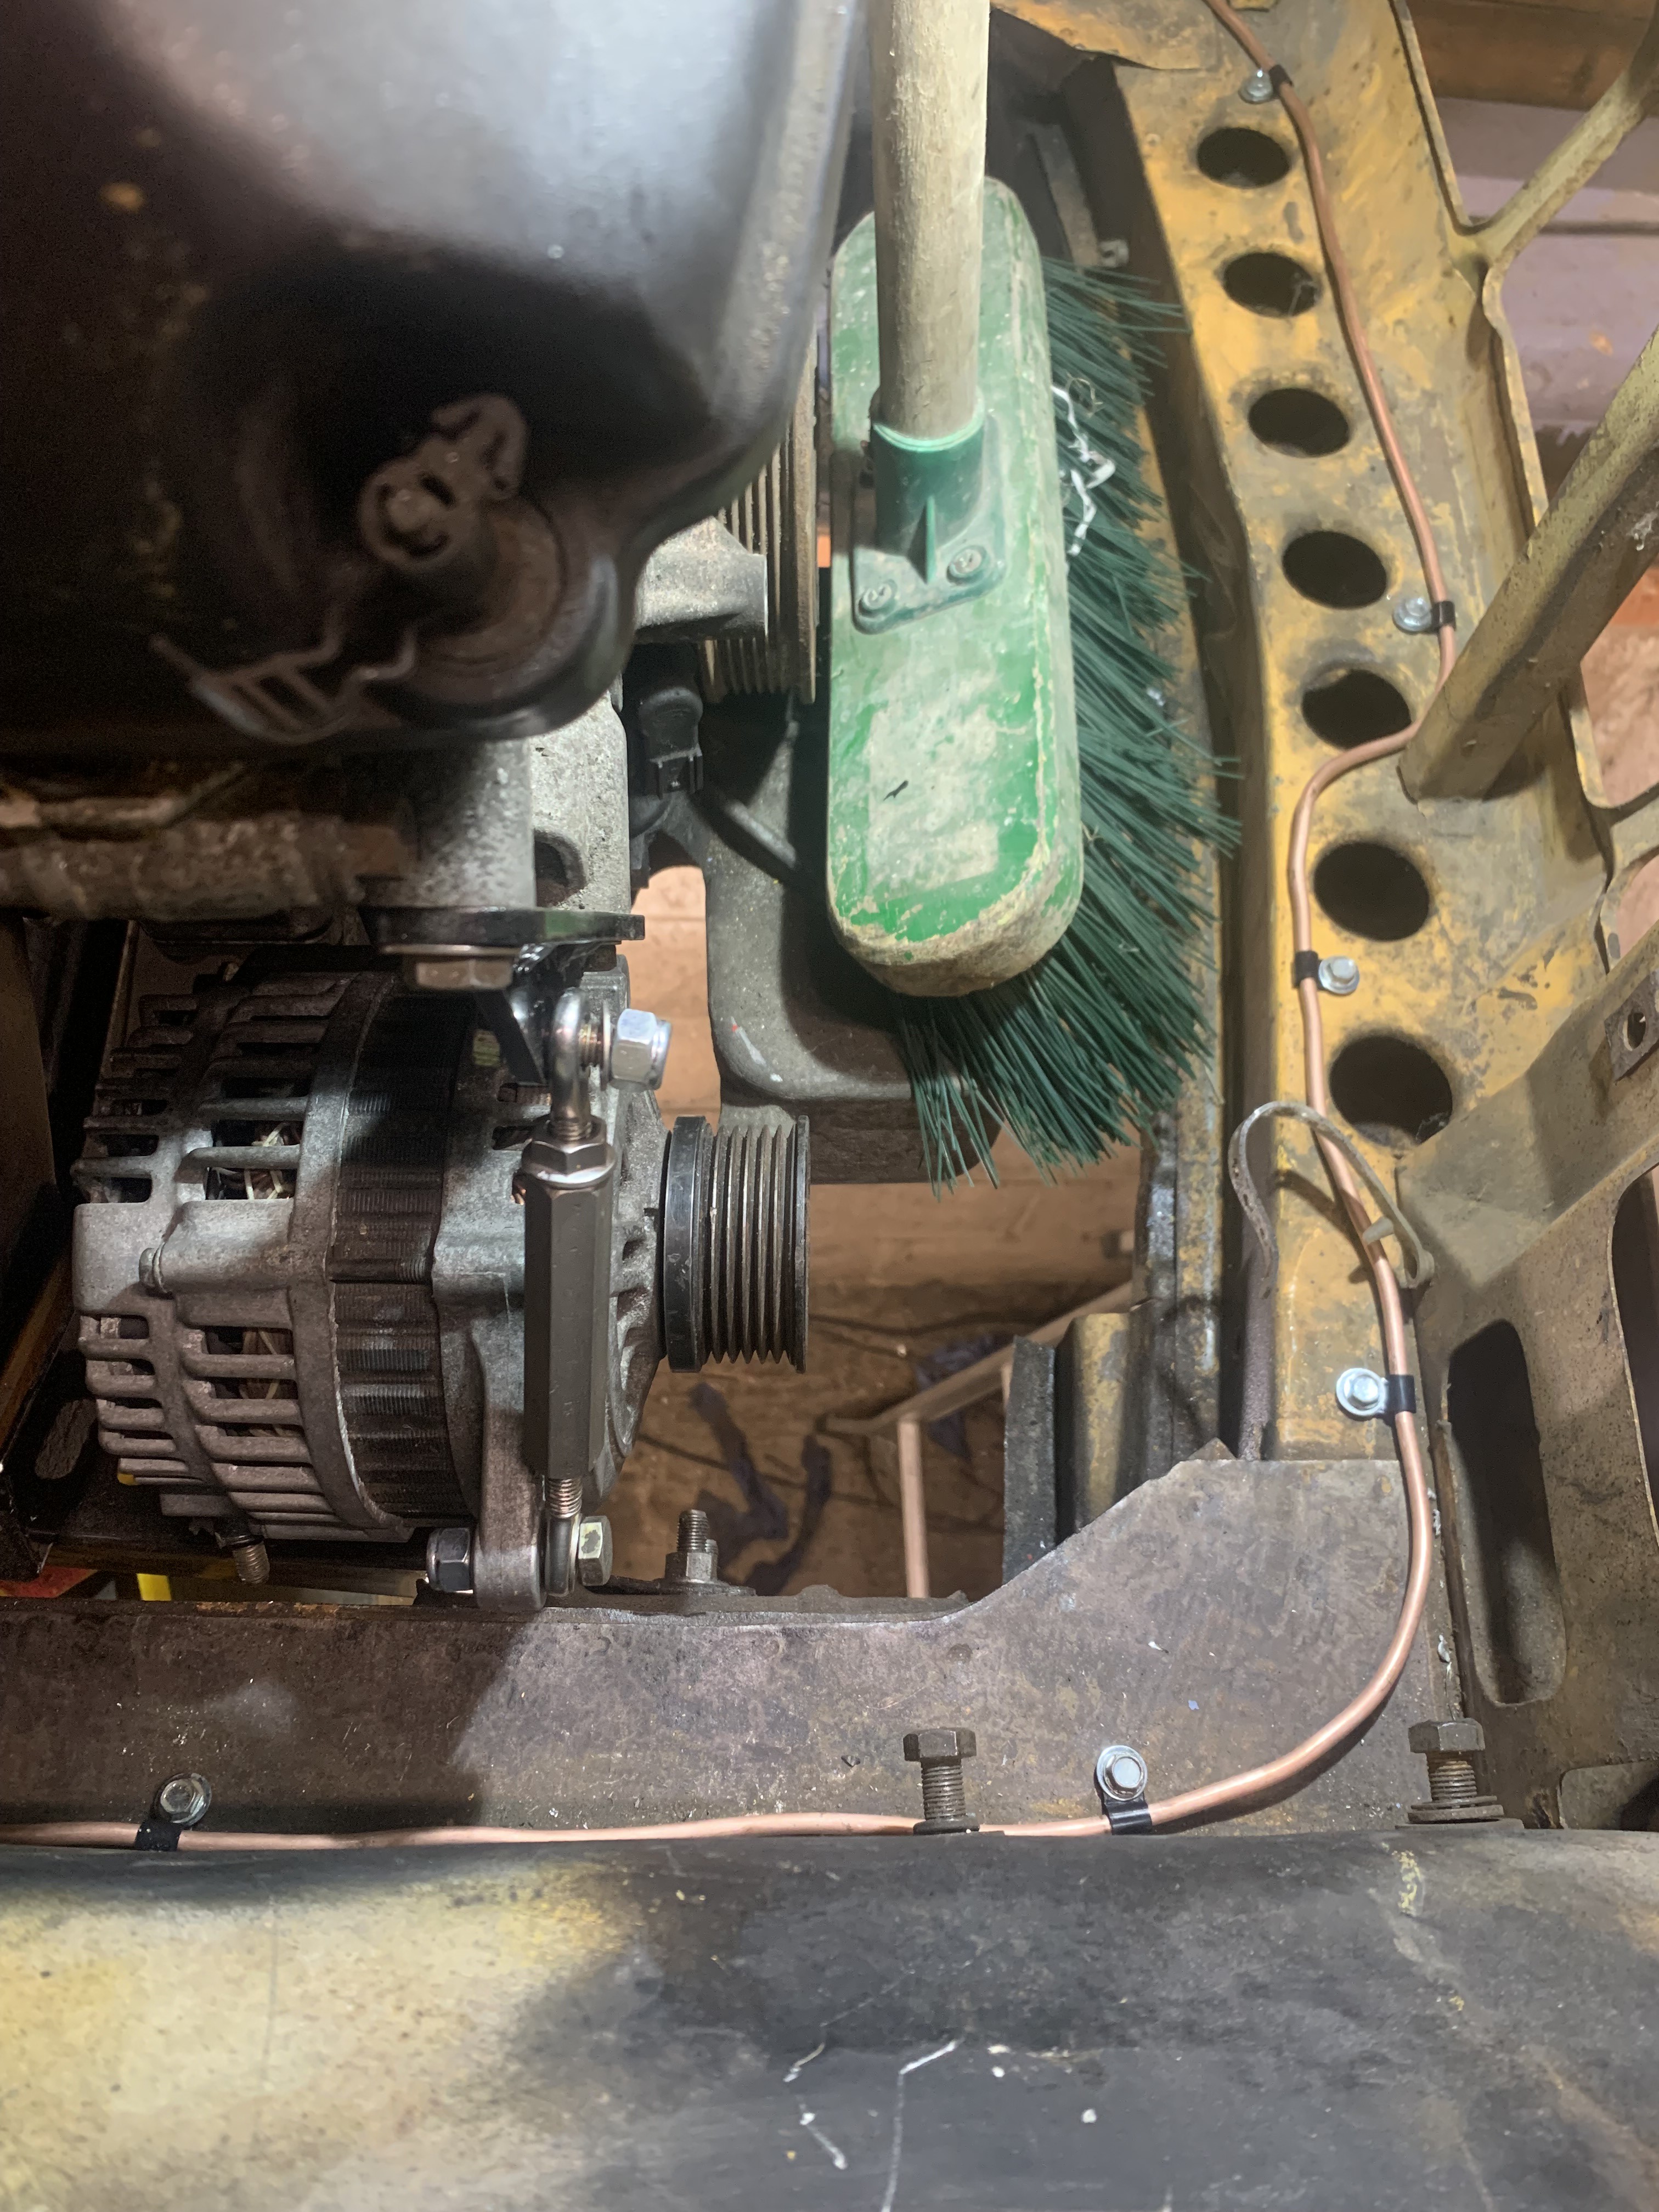 Untitled Untitled by Nevtiger, on Flickr But of course the top adjuster mount hole is way too big, so i need to make a bush  Untitled Untitled by Nevtiger, on Flickr last problem.  Untitled Untitled by Nevtiger, on Flickr  Untitled Untitled by Nevtiger, on Flickr the lip will need a small amount of dressing back for peace of mind i think. And its 'kin cold in the garage. |
| |
|
|
|
|
|
|
|
With that done and Xmas out the way its back to the car, yay! Or what ever the kids say. I have been a thinking over the festive period of where to fit the combined pump/swirl pot assembly. Been looking for space all over the car. Under the wing next to the front valence is ideal apart from the obvious drawbacks,,,, any debris or small tap on the front is likely to cause a leak. I think i have the solution. t the font of the engine bay in either of the two corners. Near side is a bit tight and the off side is fine but restricts access to the alternator. I think i shall put it here. The alternator belt can be changed from underneath so i thinks its time to make a brake and see if it sits in there nice.  Untitled Untitled by Nevtiger, on Flickr 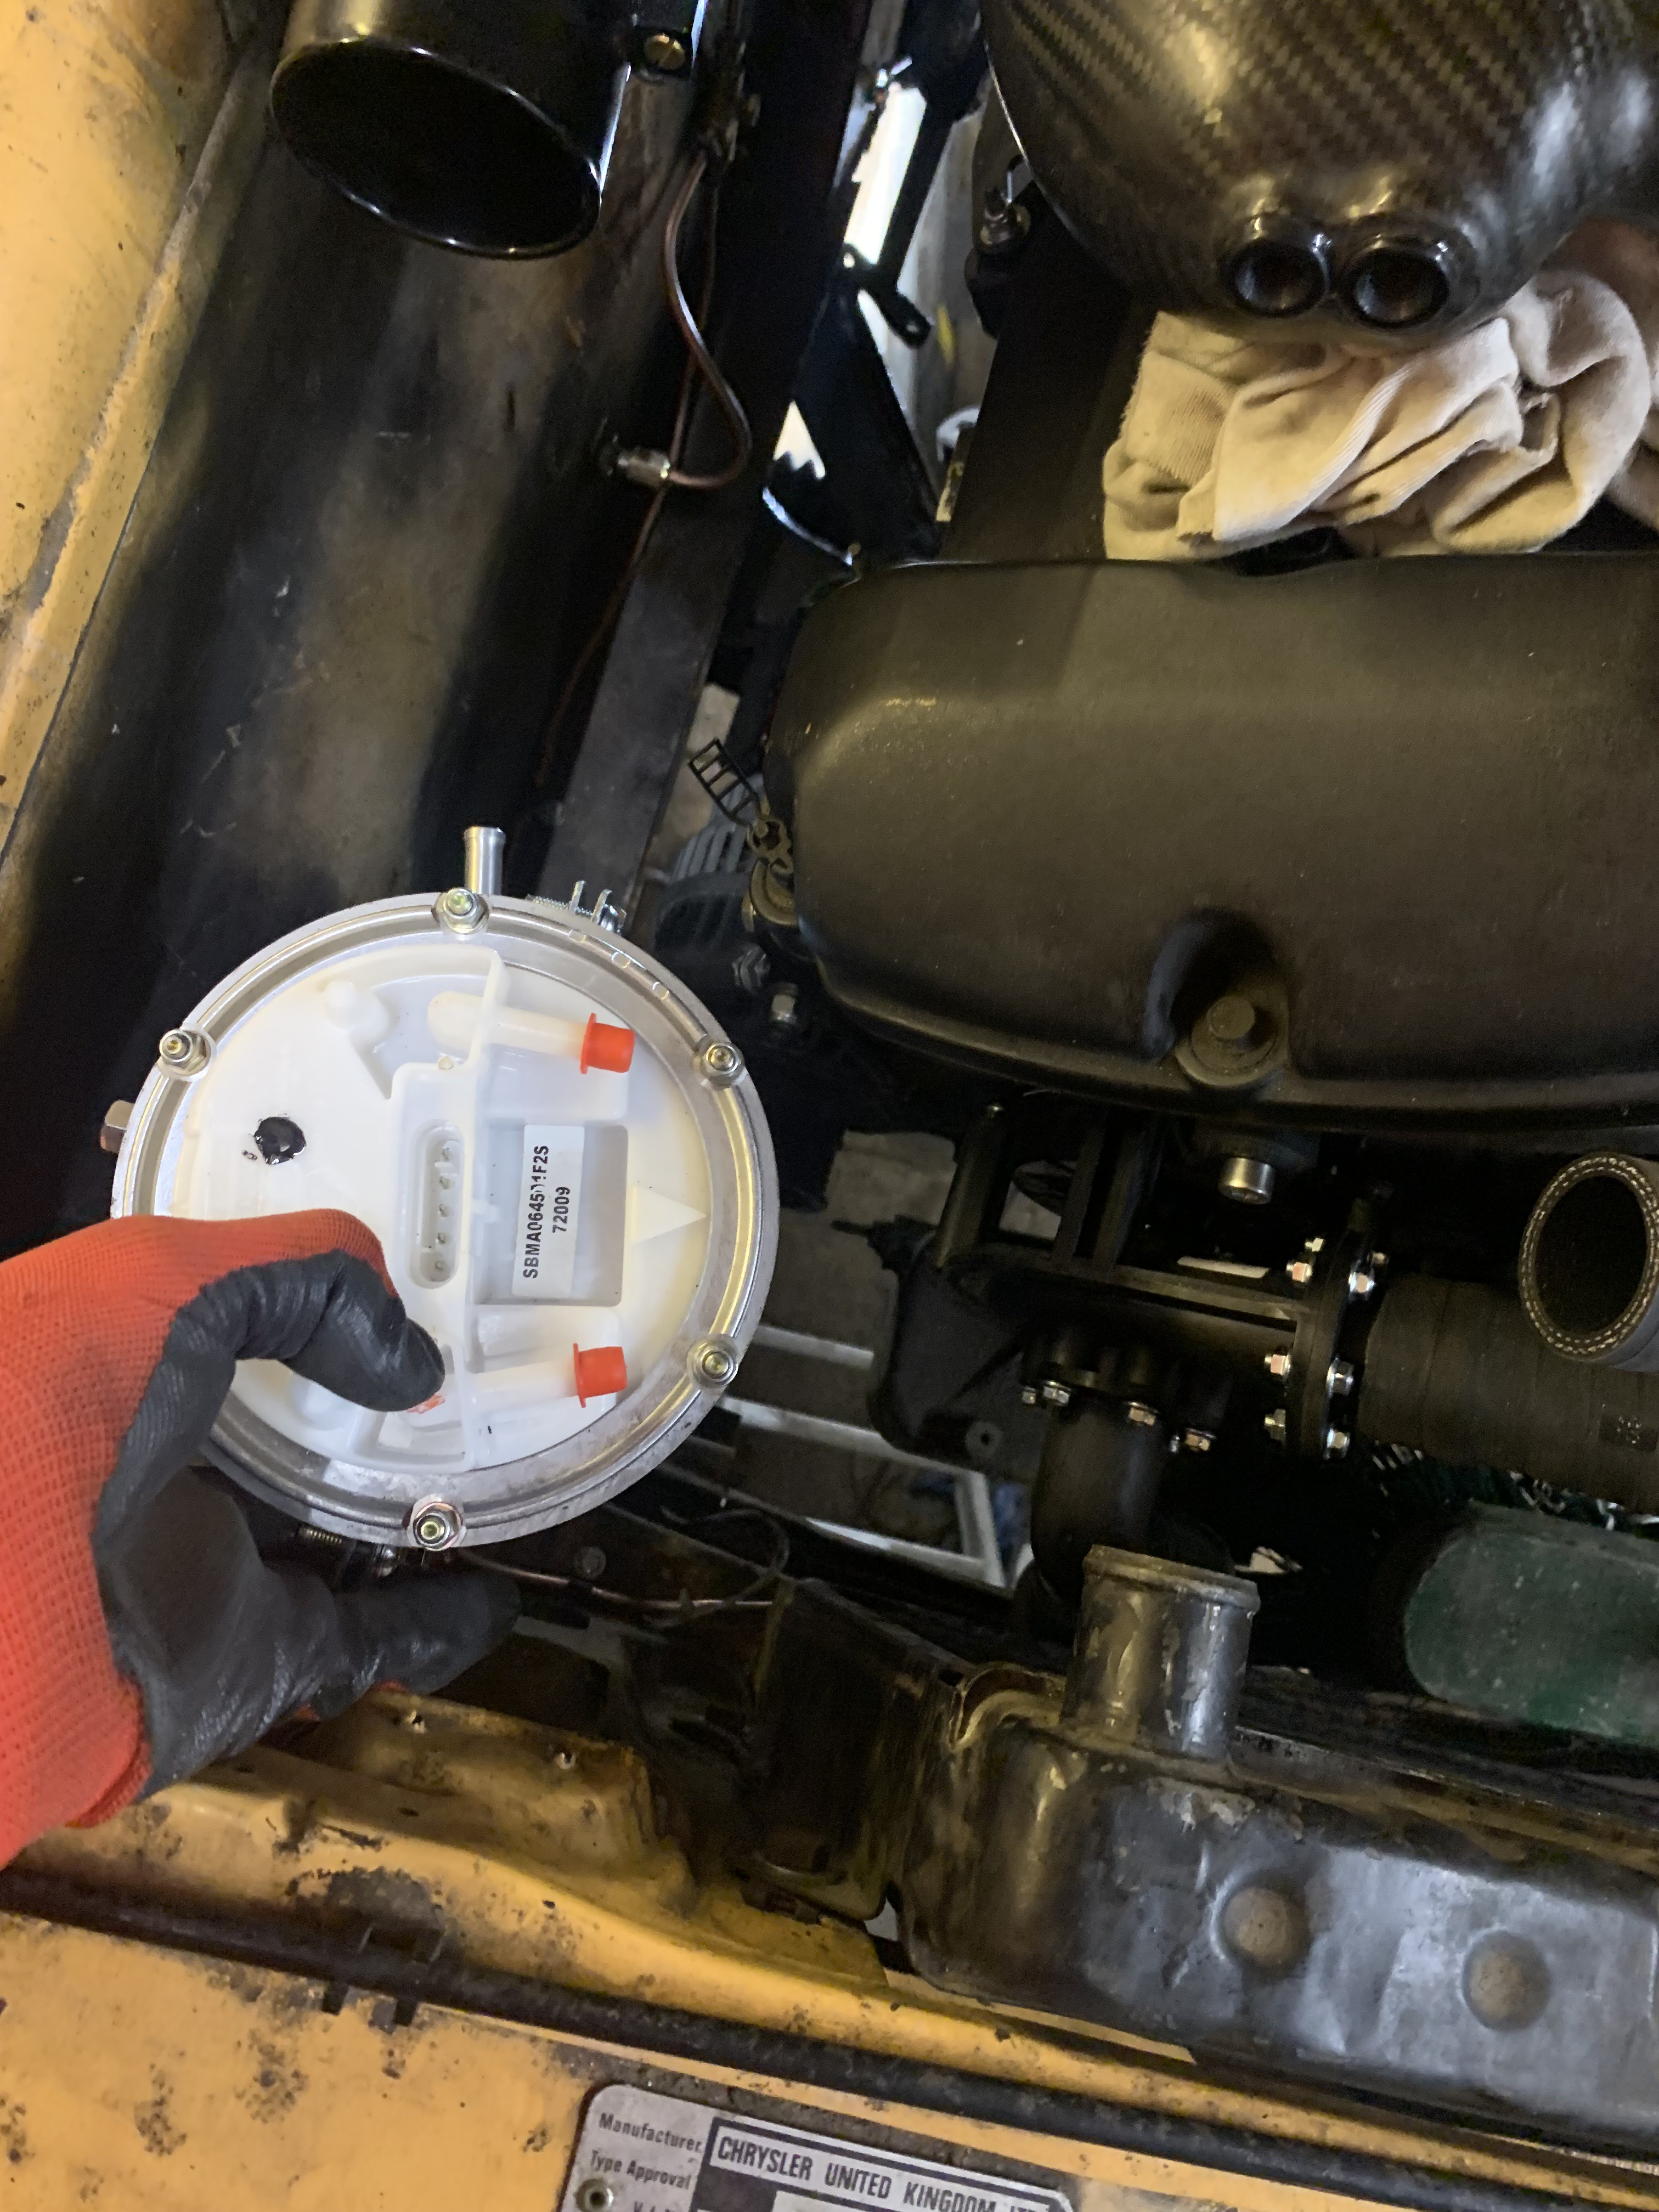 Untitled Untitled by Nevtiger, on Flickr |
| |
|
|
|
|
|
Jan 10, 2023 14:51:28 GMT
|
Time to make a brake some how. The Fuel Pump assembly comes with a flat bottom that allows it to be mounted onto a flat surface. Not many of those about in the right place though. I thought i would try some pipe mounts and see how it went. Drill the original mounts out 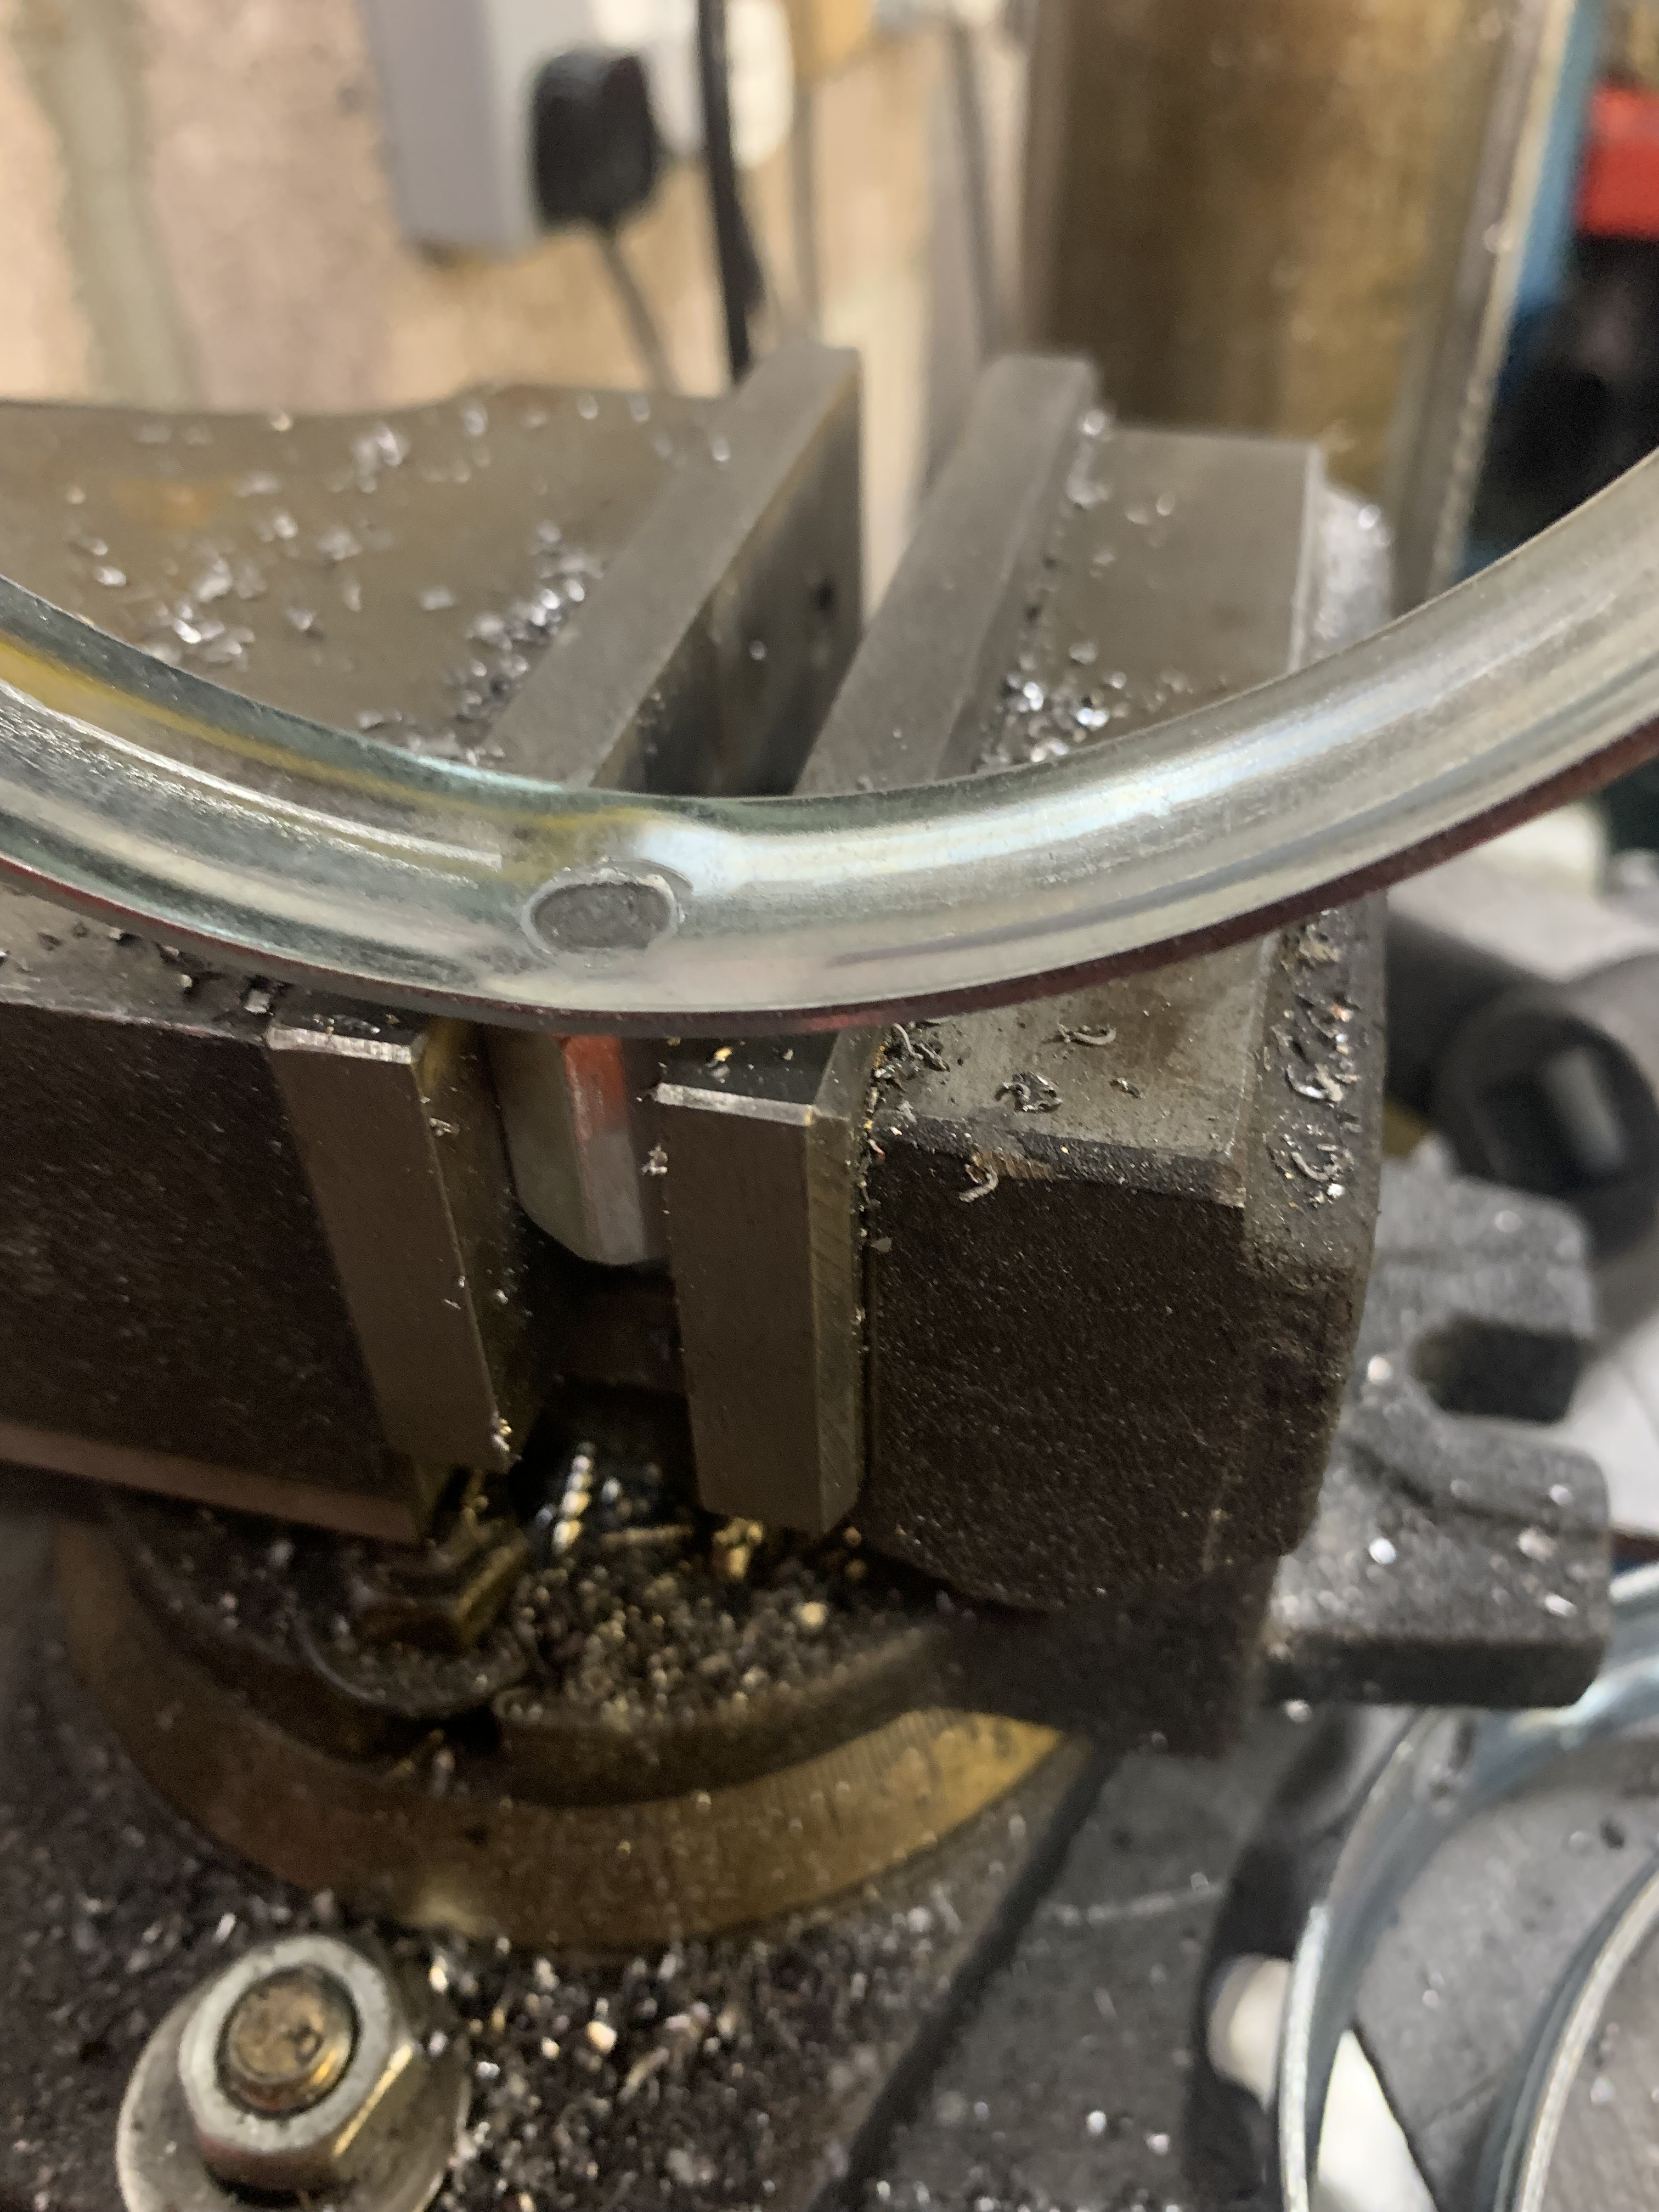 Untitled Untitled by Nevtiger, on Flickr Ok, i could then bolt that directly to a body bracket. So a bit of bending.  Untitled Untitled by Nevtiger, on Flickr Then a little bit of cutting and welding for shape. Add some holes and we get this  Untitled Untitled by Nevtiger, on Flickr  Untitled Untitled by Nevtiger, on Flickr Some flanged bolts to be fitted yet. And in place  Untitled Untitled by Nevtiger, on Flickr Then rest of the pipework can put in  Untitled Untitled by Nevtiger, on Flickr  Untitled Untitled by Nevtiger, on Flickr This pipe is Injection pipe but very flexible.  Untitled Untitled by Nevtiger, on Flickr |
| |
|
|
|
|
|
Jan 16, 2023 15:07:45 GMT
|
That's part one of the fuel sorted out. I'm trying to get all the fuel and water pipets in so i know where the manifolds can go - i know that sounds back to front but it works that way. Honest. So next is the water pump, radiator and pipes. I had picked yup some of the MX5 - V6 conversion water pipes and brackets to see if they would fit. The water pump fitted on the bracket is ok and the pipes are close but not an east fit.  Untitled Untitled by Nevtiger, on Flickr  Untitled Untitled by Nevtiger, on Flickr Untitled by Nevtiger, on Flickr Bottom hose is easy. Just needs shortening and supporting with a sky hook. I shall make that. The top hose is miles away. The radiator is a Tropical market Avenger one..... In the top hose i also need to put the temp sender for the ECU and the car gauge so i bought two of these Which gives me two problems. First is length, two of these together is way too long. Second is this  Untitled Untitled by Nevtiger, on Flickr That's half the flow cut off! Ok time to modify it all. First lathe off one end to shorten both down  Untitled Untitled by Nevtiger, on Flickr Then make a spacer on the Mill  Untitled Untitled by Nevtiger, on Flickr Just needs welding together now. By someone else. \In the mean time i decided to pull the fuel rail off to see about modifying it to accept mat fuel hose easily. Didnt go well. Had a brain fart and broke it and dropped bits down the inlets. So everything came off. Lucky i did as i found this down there.  Untitled Untitled by Nevtiger, on Flickr don't know where that bolt came from at all!!! But its given me an idea with the later lower manifold assembly as used on 2002 and later AJ30's.............. |
| |
Last Edit: Jan 16, 2023 15:10:16 GMT by nevtiger
|
|
|
|
|
Jan 16, 2023 20:48:23 GMT
|
|
Lucky you found that. My eldest put nuts into one of the trumpets on my Escort years ago, but I found out the hard way
|
| |
|
|
|
|
|
Jan 17, 2023 13:27:08 GMT
|
This the mullered assembly  Untitled Untitled by Nevtiger, on Flickr And this is the new assembly. I got this one because it uses a metal top rail so thought it would be easier to hook up. I then noticed that on the newer assembly there is no hose connected to the fuel rail where as there is one on the old one. The joint bit i didnt realise came apart. As can be seen here  Untitled Untitled by Nevtiger, on Flickr Which made me think how does it come out? Weirdly and its really hard to photo, there is a spring that goes all the way round the inside that stops the connector coming apart. But if you push spring back equally all the way round the connector pops out. I did that after mucking about for a fair while and swapped over the connector. I then removed the old rubber pipe to get this barb which 8mm!  Untitled Untitled by Nevtiger, on Flickr That makes the fitting of the fuel system much easier. But i did notice that the new lower assembly is taller  Untitled Untitled by Nevtiger, on Flickr What does that do i wonder? Well this for a start 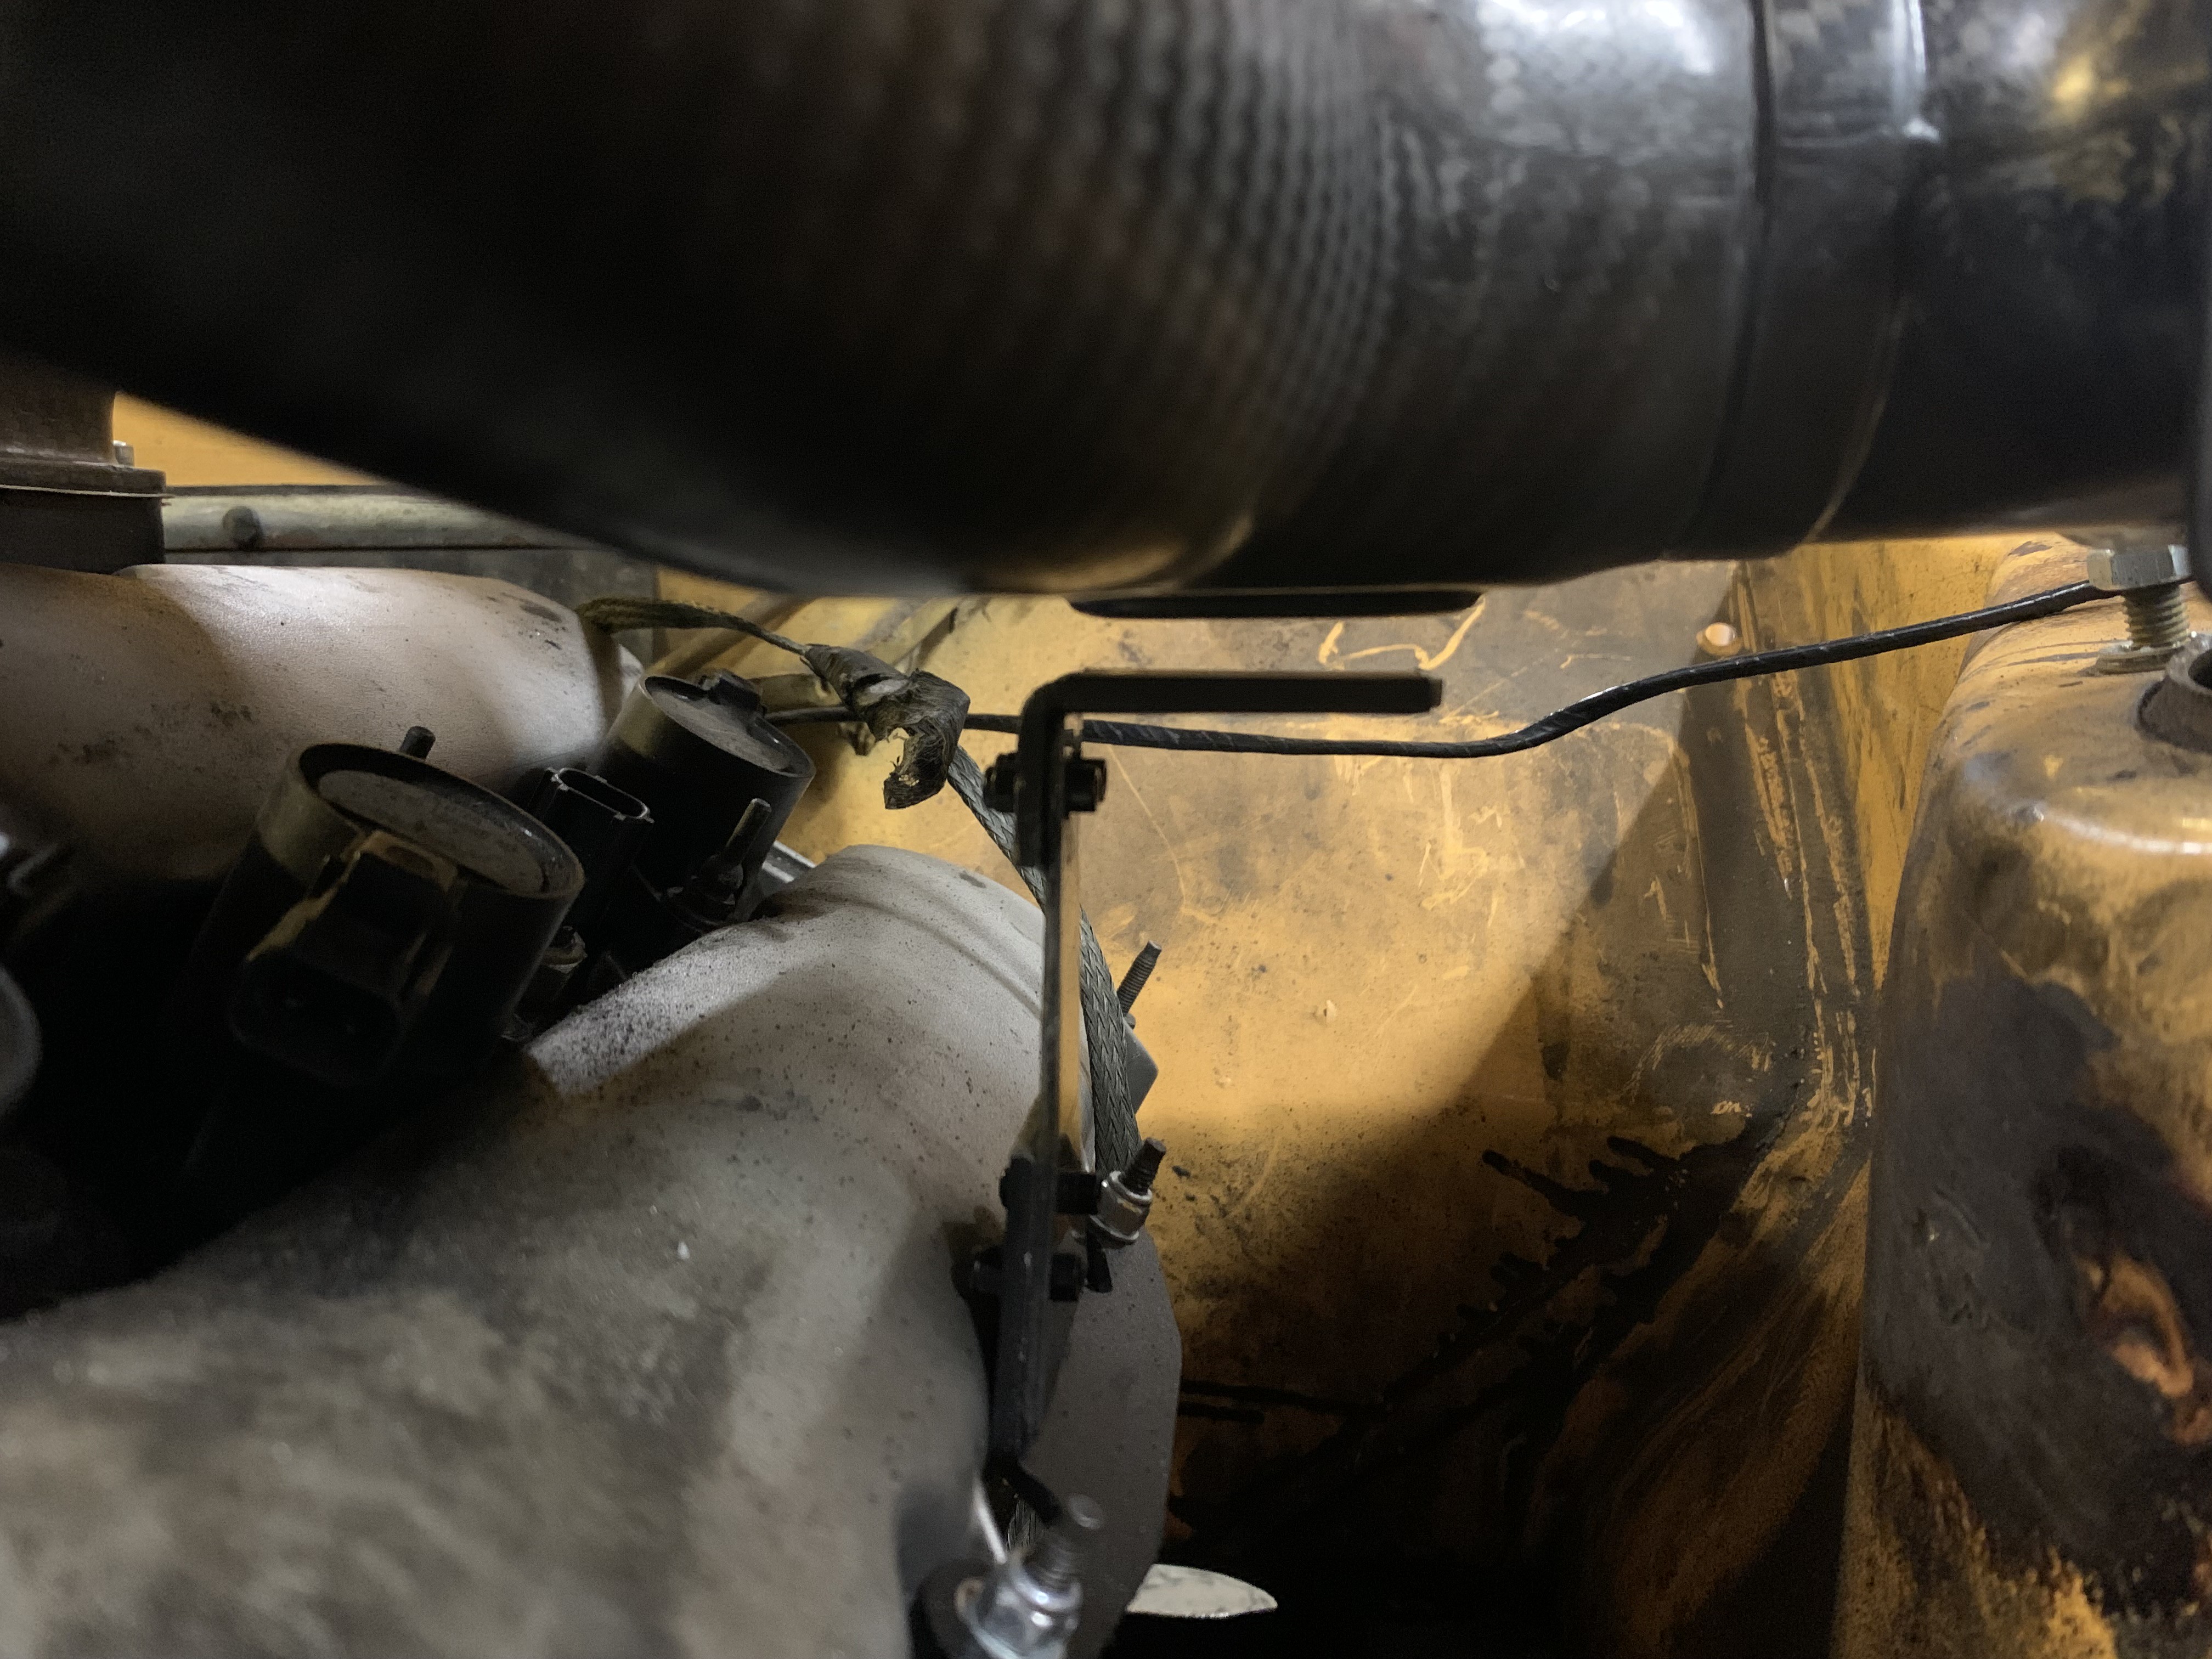 Untitled Untitled by Nevtiger, on Flickr So i have to extend these rests again. The clearance to the bonnet/hood is much less but still clear. Another bonus is the near side inlet elbow now clears the suspension The angle of the photo makes it look tighter than it is  Untitled Untitled by Nevtiger, on Flickr I may need to fit torque reaction bars to the engine........ Whilst i was wondering about stuff i needed to look at the near side cam sensor clearance. When i fitted the engine i had removed it as i thought i could just run the engine on one cam sensor as that is what the ECU needed. Turns out it was the near side it needed and the latest update requires both...... Here is the clearance, you can just see the shiny hole.  Untitled Untitled by Nevtiger, on Flickr I cant get the sensor in with that clearance so the engine needs to come out if i want to run it before it before stripping and going form paint. I then also realise the plug from the loom won't fit.  Untitled Untitled by Nevtiger, on Flickr Its a standard Ford sensor plug (Not Junior Timer) but there isn't a female version of it.  Untitled Untitled by Nevtiger, on Flickr So it looks like i will have solder flying leads on, pot and heat shrink the sensor and then add some DTM's in place of the standard arrangement. That way the sensor will have clearance and the connection will be out the way. I am so close to trying the loom and getting to a point of starting it just to ensure no more brackets are used. I do need exhausts though. |
| |
|
|
|
|
|
Jan 17, 2023 14:55:07 GMT
|
|
Fantastic work as always
What gearbox are you going to be using?
|
| |
|
|
|
|
|
|
|
Fantastic work as always What gearbox are you going to be using? The gearbox is a Mazda RX8 6 speed using a conversion plate between the engine and box. |
| |
Last Edit: Jan 25, 2023 9:09:56 GMT by nevtiger
|
|
|
|
|
|
|
I couldn't find any RT125 so left the making of a flying lead. I cracked on with the fuel system and things. Bottom hose now has support  Untitled Untitled by Nevtiger, on Flickr I ultrasonic cleaned the injectors and rebuilt the assembly to fit back on  Untitled Untitled by Nevtiger, on Flickr Also fitted the standard fuel rail pressure sensor to fill the gap, its not used by the ECU in this application.  Untitled Untitled by Nevtiger, on Flickr Bit of work and the fuel lines are in and secure.  Untitled Untitled by Nevtiger, on Flickr  Untitled Untitled by Nevtiger, on Flickr Still need to get the welded top hose insert back..... Which means the only things left under the bonnet to finish/fabricate are: 1. Near side inlet and throttle body mounting - got all the bits just need to do it. 2. Exhaust manifolds and exhaust. 3. Place wiring looms - engine and body and make sure it all works - some bits to make though. On the Exhaust manifolds I'm having a bit of shock. I had some quotes to make it ll and the cheapest so far has been £1600 for the manifolds plus what ever for the exhaust. Not sure what to do. At that price maybe i should buy a TIG and have a go my self? |
| |
|
|
|
|
|
|
|
|
|
Oofda! I'd definitely be tempted to buy a TIG. I've not done manifolds before but I've migged my stainless exhaust together. Wasn't too tricky and seems to be holding well. I take it the S-Type manifolds don't fit/aren't a good design. Rocketeer do manifolds for their MX5 conversions. I wonder if they'd sell them separately. At £1995 for the full kit you could probably buy that, pinch the manifolds, sell the kit on and come up quids-in compared to commissioning bespoke ones. |
| |
|
|
|
|
|
|
|
Oofda! I'd definitely be tempted to buy a TIG. I've not done manifolds before but I've migged my stainless exhaust together. Wasn't too tricky and seems to be holding well. I take it the S-Type manifolds don't fit/aren't a good design. Rocketeer do manifolds for their MX5 conversions. I wonder if they'd sell them separately. At £1995 for the full kit you could probably buy that, pinch the manifolds, sell the kit on and come up quids-in compared to commissioning bespoke ones. If you look you can see an Roketeer manifold on the near side. The offside will not fit because of the starter motor so i could use the off side as a basis. Did you use Stainless wire? |
| |
|
|
|
|
|
|
|
|
Ah gotcha.
Yeah I used stainless MIG wire. 0.8mm, although I think 0.6mm would work better but it only seems to be Super6 that sell it in the bigger reels and they have a mixed reputation. I've bought some for testing but not tried it yet.
I'd also recommend solar flux for either MIG or TIG on stainless. It's an alternative to back-purging to reduce sugaring on the back side of the weld. Would help with high stress environments like manifolds.
|
| |
|
|
|
|
|
|
|
Spent some time doing some thinking and research any way onward. I made up the internal clutch hardline to the bulkhead, i also have the bits and bobs to do a -3 down to the concentric slave. The one i have doesn't have a separate bleed circuit like the Ford one. Not that it made stuff any easier. This one is from a SAAB/Vauxhall. In the course of some 'research' on YouTube i found that the way to do it is to use the slave to suck in fluid before mounting it all up..... Easy to do so why hadn't i thought of that?  Untitled Untitled by Nevtiger, on Flickr With that done i can put the heater back in or as they say in pardon videos the 'HVAC' system. Only mine would be a 'HV' system......  Untitled Untitled by Nevtiger, on Flickr There is plenty of space around the wiper motor and clutch master cylinder for working if not the space to remove easily.  Untitled Untitled by Nevtiger, on Flickr I shan't put the dash assembly back in until after paint and its running (as its brand new). Next step is to get the pipe in for the clutch fluid from the reservoir.  Untitled Untitled by Nevtiger, on Flickr Then 'just' two tasks before being stripped back and getting paint: 1. Exhaust - the local company who 'do this lots' have been really unimpressive with communication or even an idea of how long it would take. Effectively saying it would cost as much as it costs. Now sometimes that's the case with something never done before but this is not an unusual task for someone who does it for a living. I would have thought. Anyway it can wait till April. I still haven't built up enough bravery to try it my self. 2. Get the two wiring looms in. Engine ECU needs some thought about routing and mounting. The body loom goes where it goes but i need to add in some slight differences. The battery is still unlocated... and then the main feed and some relays for the fans and fuel pump plus associated wiring. All easy just adds a bit of time. |
| |
|
|
|
|
|
|
|
Finally. I mean how long does it take to do an exhaust? Turns out it takes 14 weeks or 98 days or 3 months. And the communication was poor beyond acceptable. However, the Sunbeam has an exhaust. I picked it up yesterday  Untitled Untitled by Nevtiger, on Flickr While it was on a lift i could get a good look at the system  Untitled Untitled by Nevtiger, on Flickr  Untitled Untitled by Nevtiger, on Flickr  Untitled Untitled by Nevtiger, on Flickr Near side  Untitled Untitled by Nevtiger, on Flickr And off side with the steering in the way  Untitled Untitled by Nevtiger, on Flickr 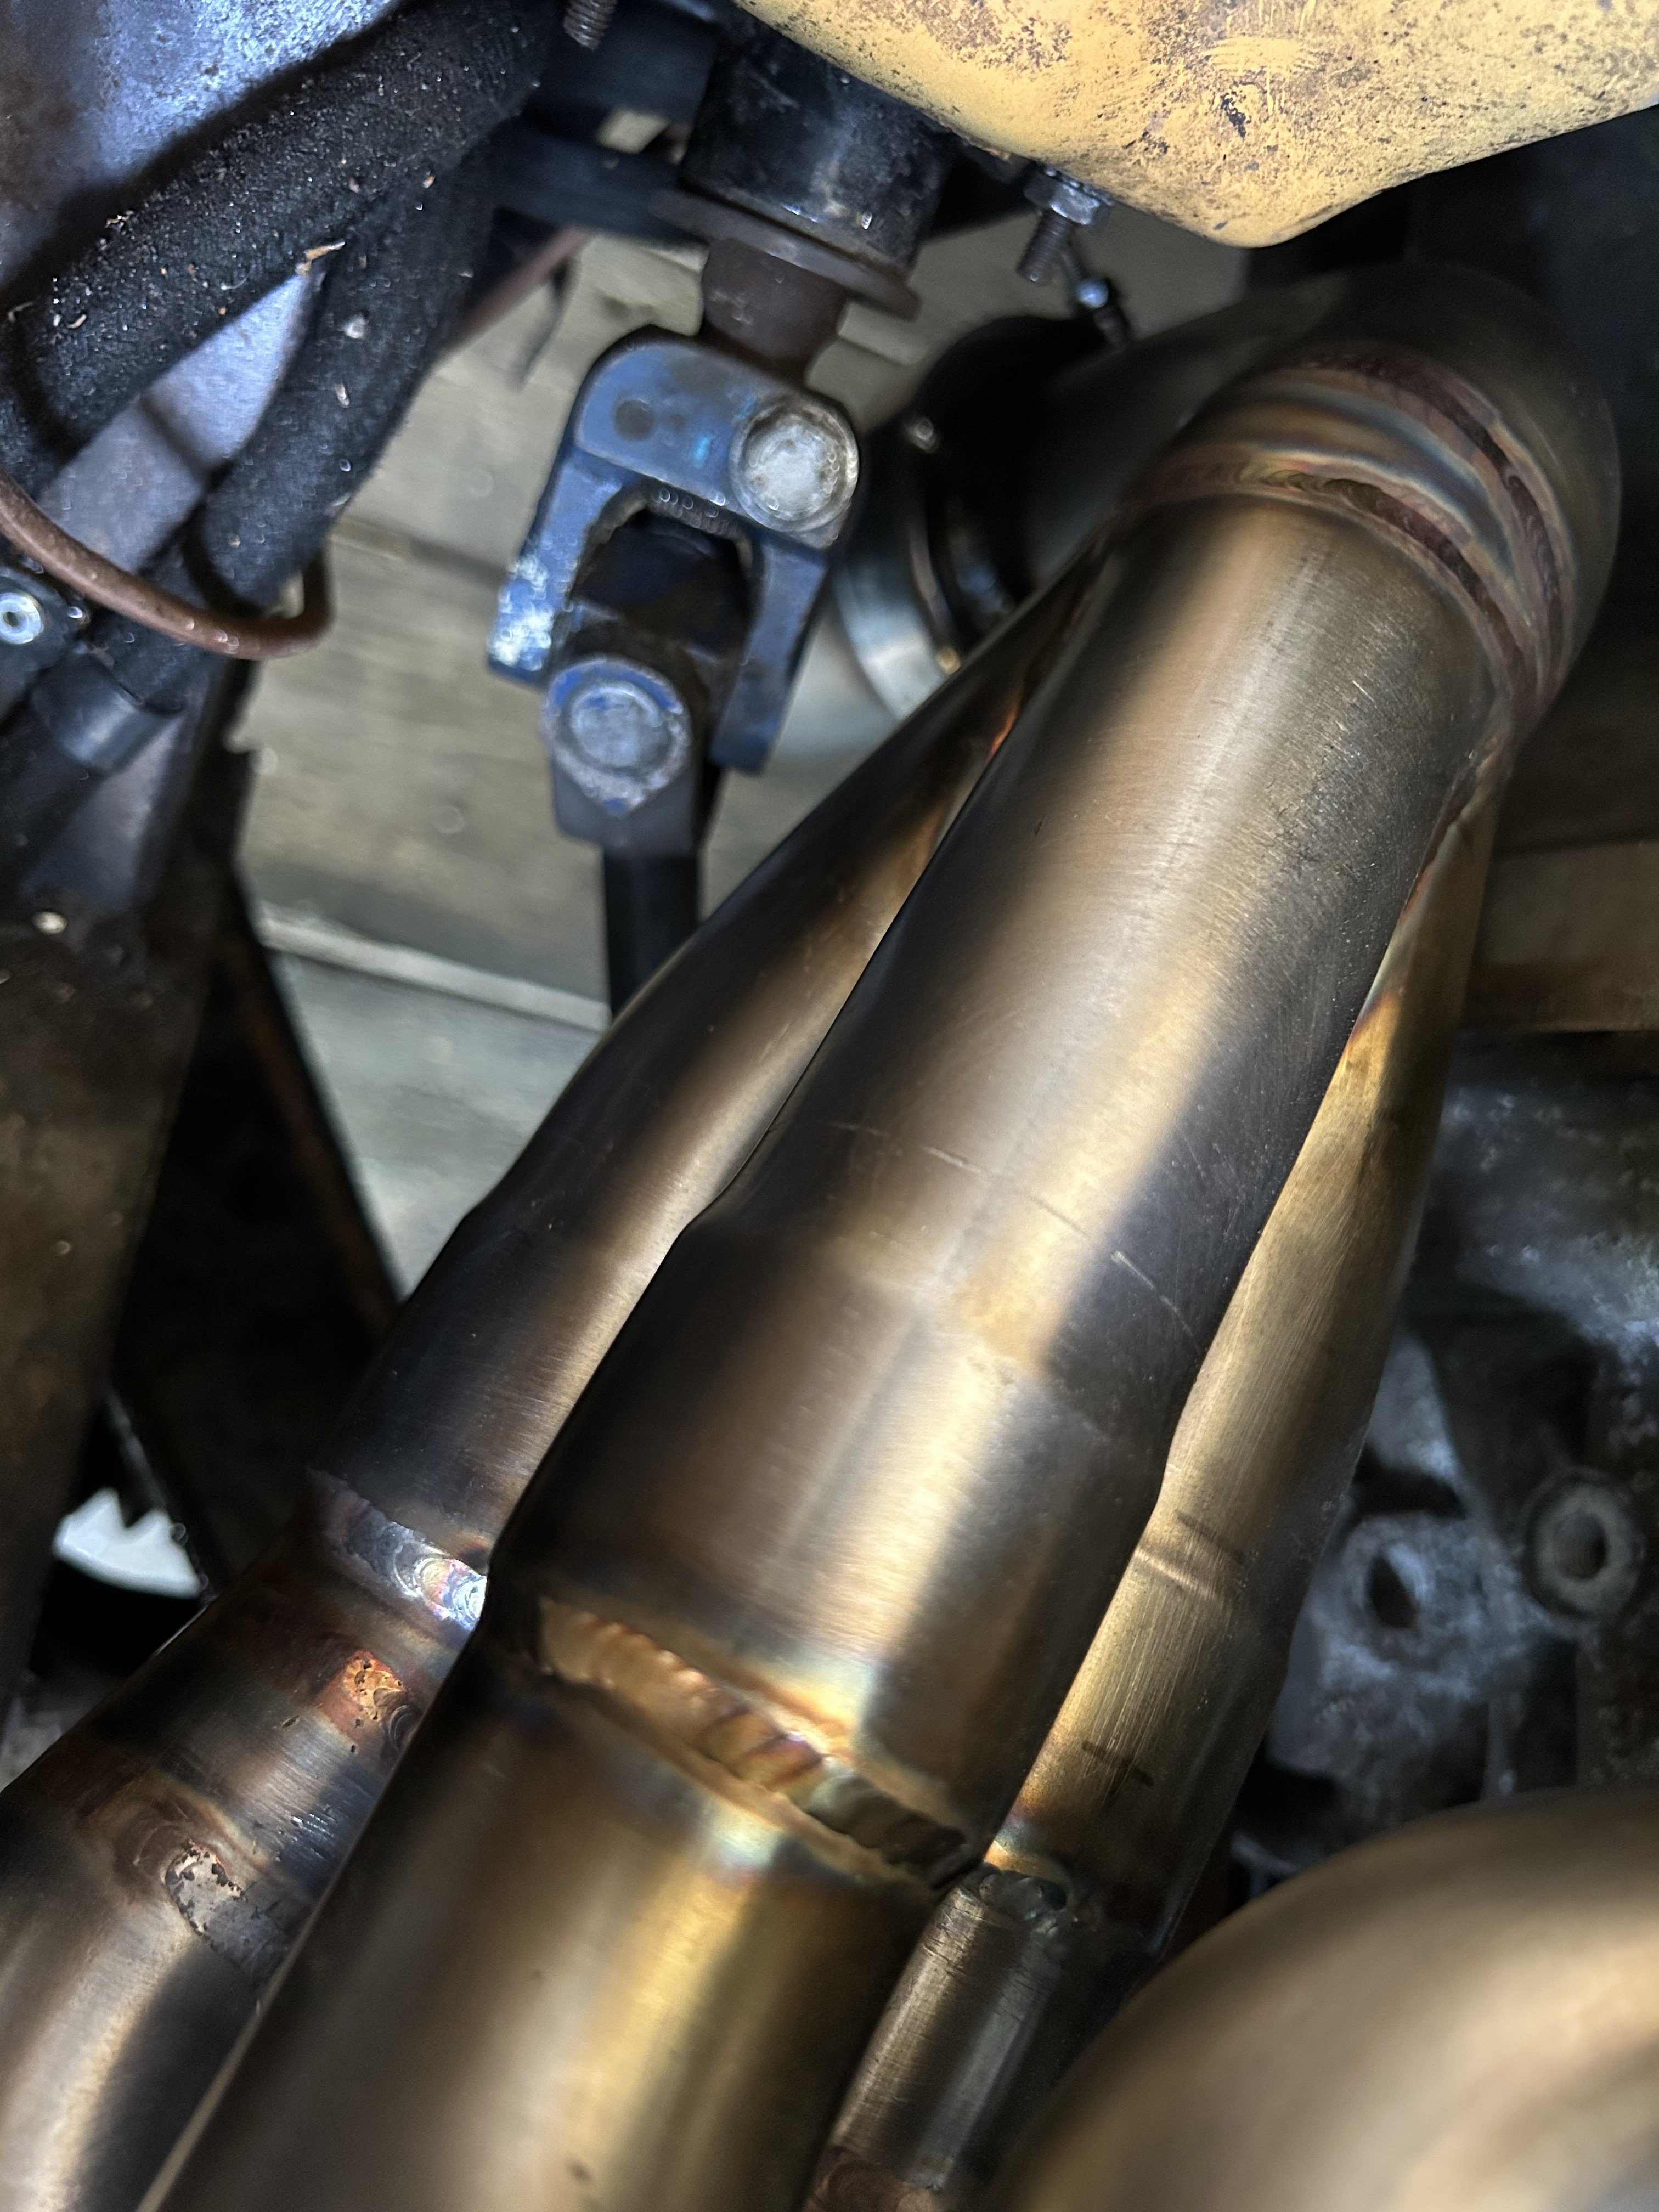 Untitled Untitled by Nevtiger, on Flickr I will be using a bit of the heat shield stuff i bought for the Tiger i suspect as some stuff is close to the manifolds.... Any way, at last i can crack on and finalise the wiring. It was going for paint but the exhaust to so long that it has been put back :-( |
| |
|
|
lebowski
Part of things
 Hillman Avenger, Clan Clover
Posts: 488
|
|
|
|
|
The exhaust looks nice at least. What's the system diameter? I could do with a 2nd silencer at the back like yours.
|
| |
|
|
|
|
|
|
|
|
I think the silencer before the axle is too small............ it's going to be loud. Maybe even 6R4 loud!
2.5" from memory.
|
| |
|
|
jamesd1972
Club Retro Rides Member
Posts: 2,921  Club RR Member Number: 40
|
|
|
|
|
Exhaust does look like a good job but you need better service when you’re paying all the money I suppose.
Rather have somebody do a good job and communicate poorly than the other way round though!
Coming together nicely.
James
|
| |
|
|
|
|
|
|
|
|
Let me know if you get any boom once it's all up and running. I've had great success with a J pipe in my Jag exhaust and have the formulas for working out the lengths.
|
| |
|
|
|
|
|
|
|
Not spending a lot of time on the car at present due to training for an event later in the summer but: The interior is really quite mucky so giving it a clean.  Untitled Untitled by Nevtiger, on Flickr  Untitled Untitled by Nevtiger, on Flickr It will all be hidden once sound deadening and carpet goes in but all the same! Then i started changing the wiring loom to a later Sunbeam one with rear wash wipe. This also has the wires for both fuel level and low level warning. It isn't the full Sunbeam experience unless the yellow flashes at you for low fuel on every corner even when full! Which also meant changing the sender to a later sender.  Untitled Untitled by Nevtiger, on Flickr It needed taking apart and cleaning but seems to work now. the tank however has rusted on the inside a bit due to rain when on the trailer so i need to kill and cure that now as well!!! Rear loom is all in and now just to get the front part of it in behind the heater:  Untitled Untitled by Nevtiger, on Flickr Nice framed shot of a CRX as well........ The plan is to get this loom in, then the front car loom. Then i can work out the modifications needed to get the oil pressure and warning light working which will include extending the wires and making a converter for the V6 to accept the Sunbeam sender. Also connect up the alternator and work out where the battery can go. Wire in the fuel pumps and then test it all. Then fit the ECU and engine loom, check that. Tehn remove everything and get it painted.......... However, does anyone know if there is special paint for refurbishing cardboard type trim such as this??  Untitled Untitled by Nevtiger, on Flickr |
| |
|
|
|
|


