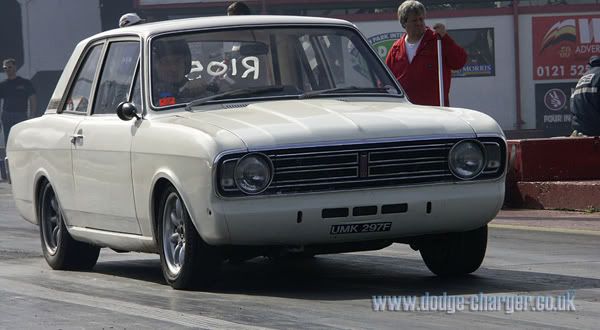
|
|
|
Mar 27, 2018 15:05:28 GMT
|
|
No photos of the last two days as its all work that has resulted in nothing to see!
The engine has been in and out and i have removed the battery tray. Also the near side cylinder head is close to the bulkhead so i have removed the cam sensor in that head. I may need to replace it but we will see when the engine is mounted in.
I started to think about engine mounts. On a Sunbeam Lotus the engine is mounted forward of the crossmember on a set of iron work that picks up off the cross member and the front BRB mounts. I have a set of this iron work that has never been used in a Lotus Sunbeam. I then looked at making up some mounts but remembered the MX5 Conversion kit for the AJ30 manufactured by Rocketeer Ltd. A quick chat means i will now be getting a set of their engine mounts before they are welded up and powder coated so i can modify them to my needs. Its a bunch of sexy looking laser cut metal that will be better looking that anything i ever make so thats a bonus. They also do an alternator mount kit and a useful induction set up for low bonnet lines..........
Gearbox mount? I am going to use a Group 4 style Escort mount. I will then make a corresponding mount to fit the gearbox for the Group 4 mount to bolt into and then fab some new body mounts for the Group 4 mount to bolt into on the body.
That is all good news.
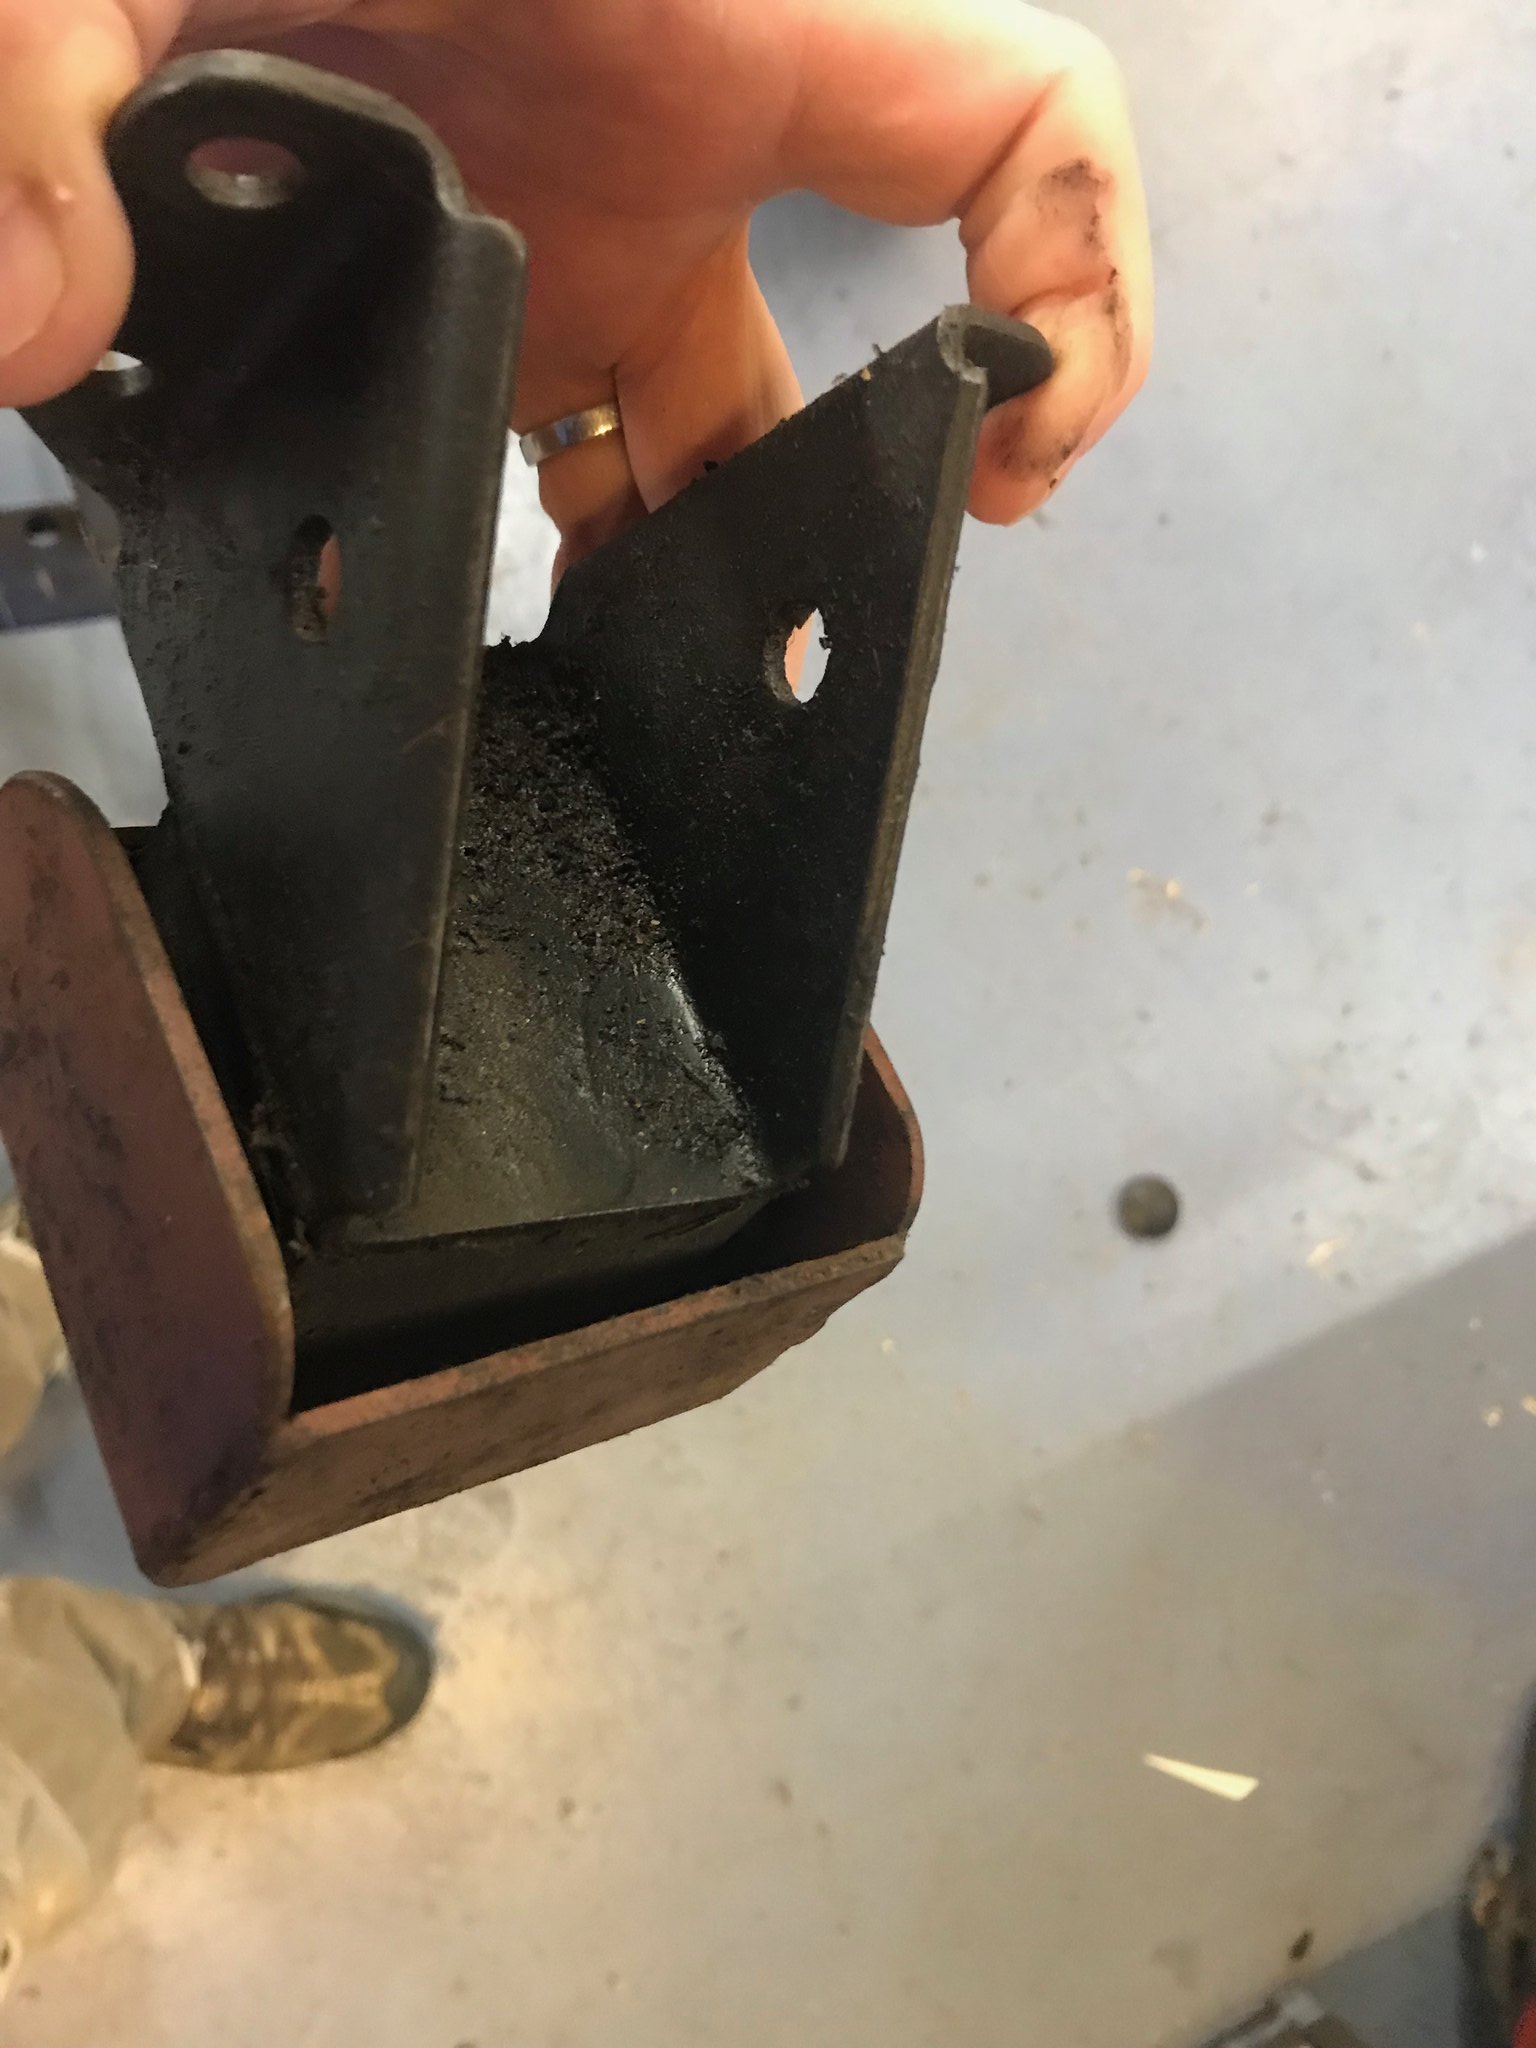
Bad news; i took the oil filter/engine mount/oil cooler take off the engine and found what looks like bits of engine......... I might have to have the sump off and see if the motor is ok or not.
|
| |
|
|
|
|
|
|
|
|
|
Eventually had some time off work so managed to pile on forward with the project. As i was waiting for some inspiration for engine and gear box mounting i decided to get on with the front struts. I was originally going to update the struts that came with the car but couldn't find them anywhere along with most of the other suspension parts from the car. This had me baffled until i realised that it was used to move the new 2 door shell which is over at Dad's. I only realised this after i started to modify the ones i found under the bench !! I have never taken ordinary struts apart so i was pleasantly surprised to be drenched in oil. I knew they were full of oil but sort of forgot it was loose inside..... 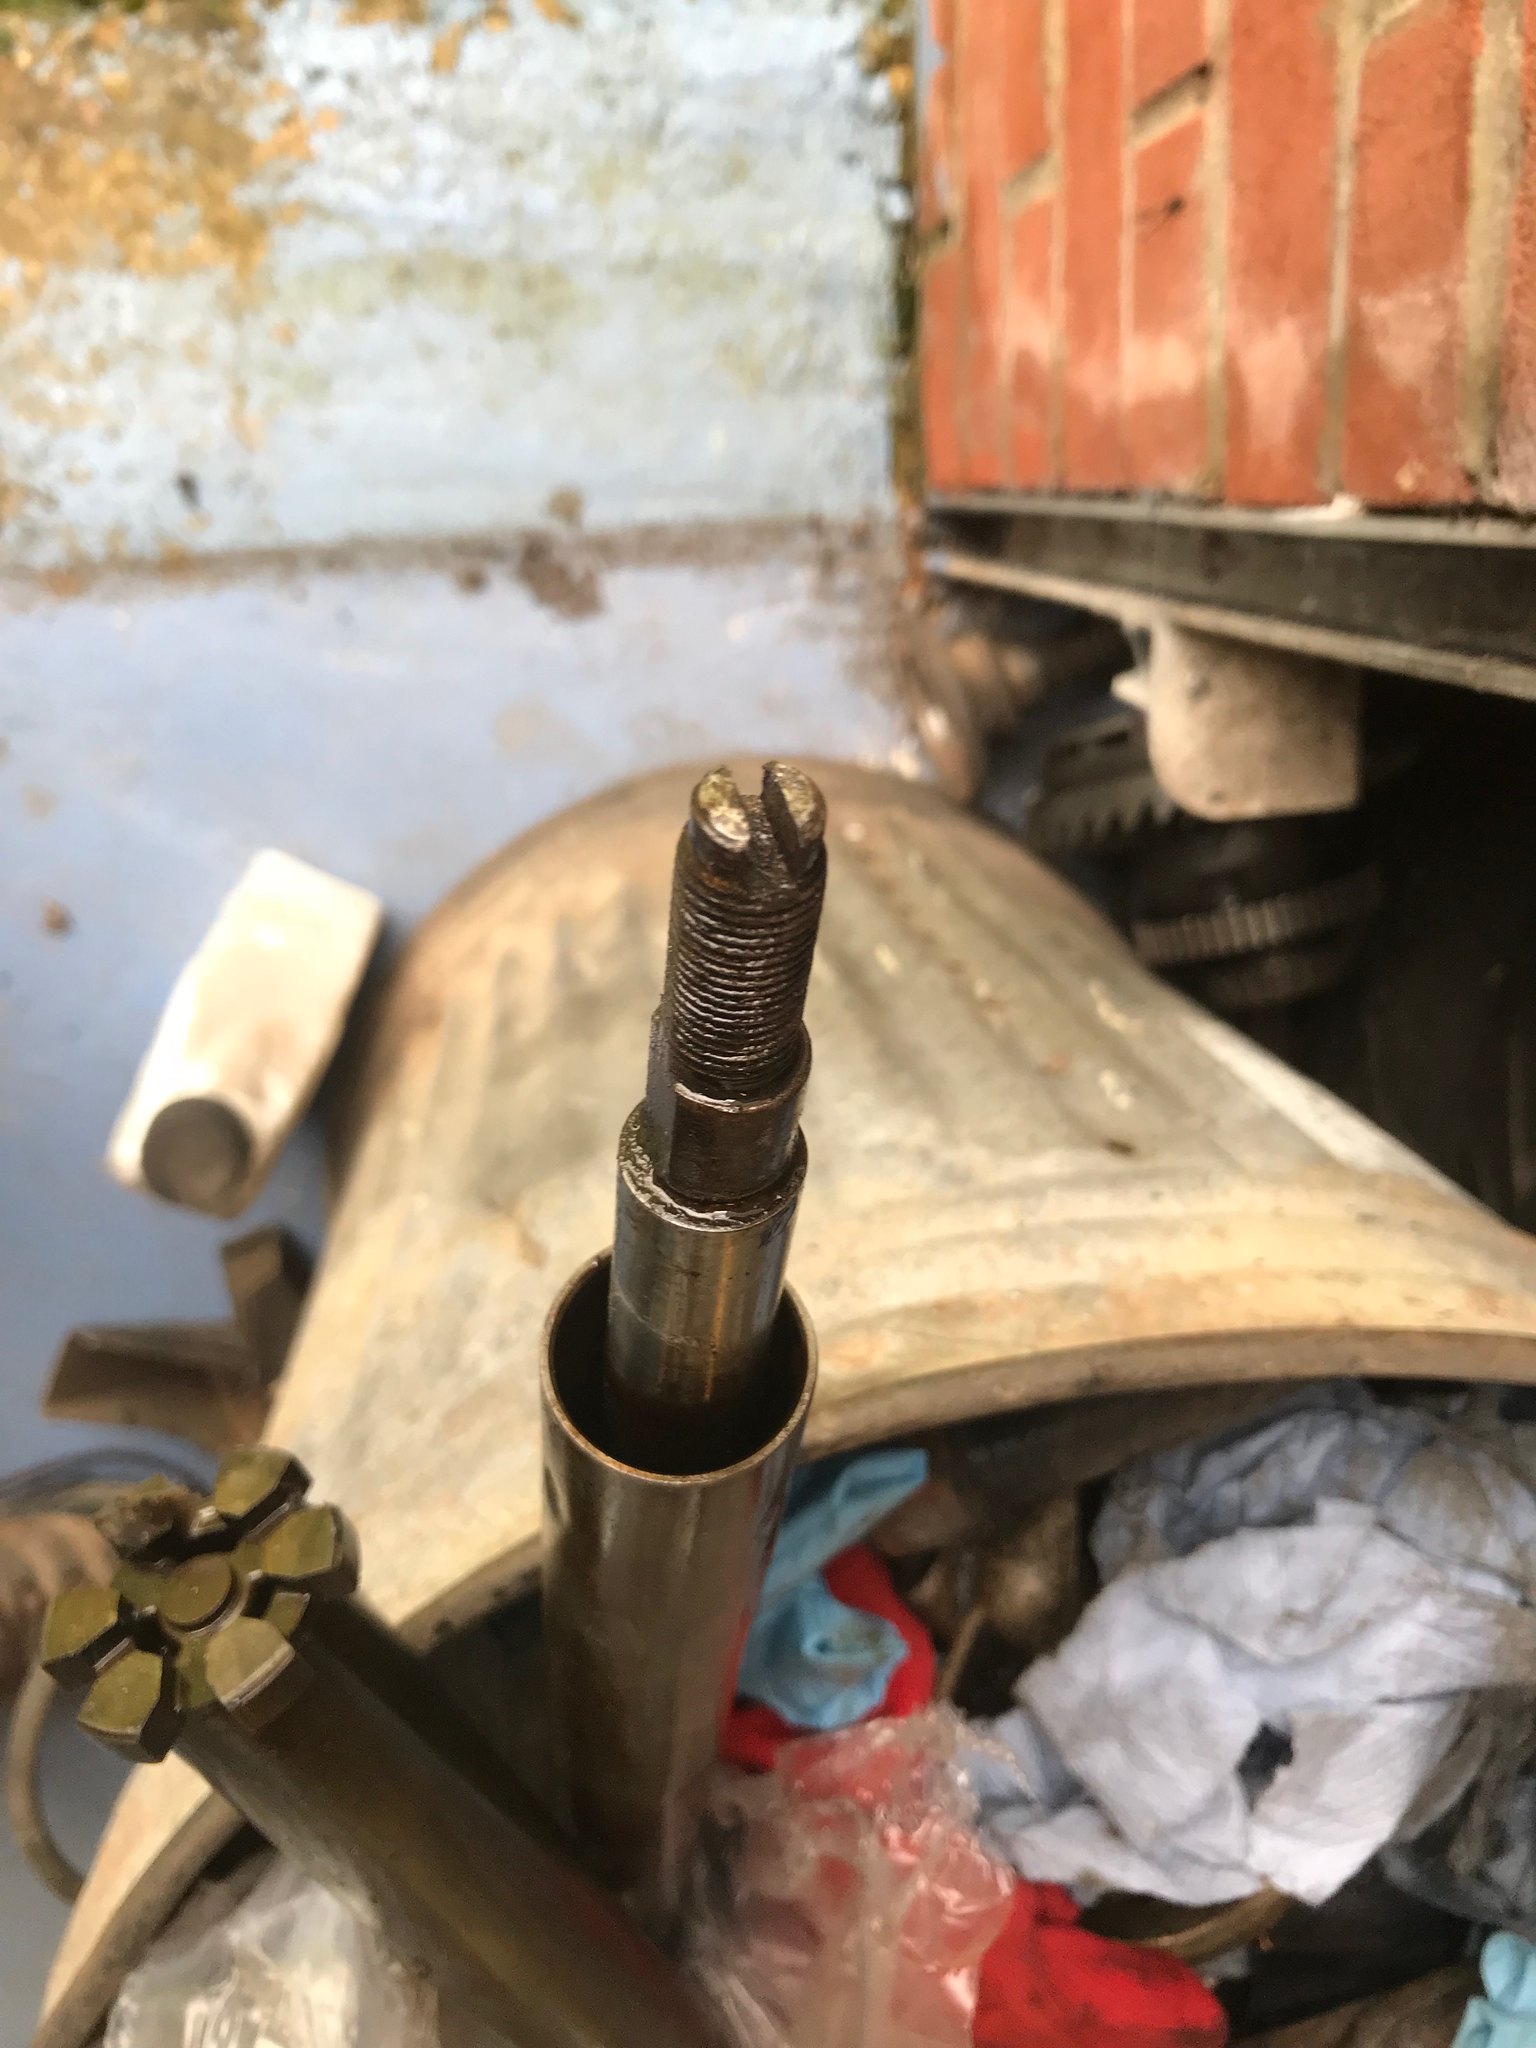 Untitled Untitled by Nevtiger, on Flickr The top securing nut didn't come out easily either so some thread restoration will be needed. 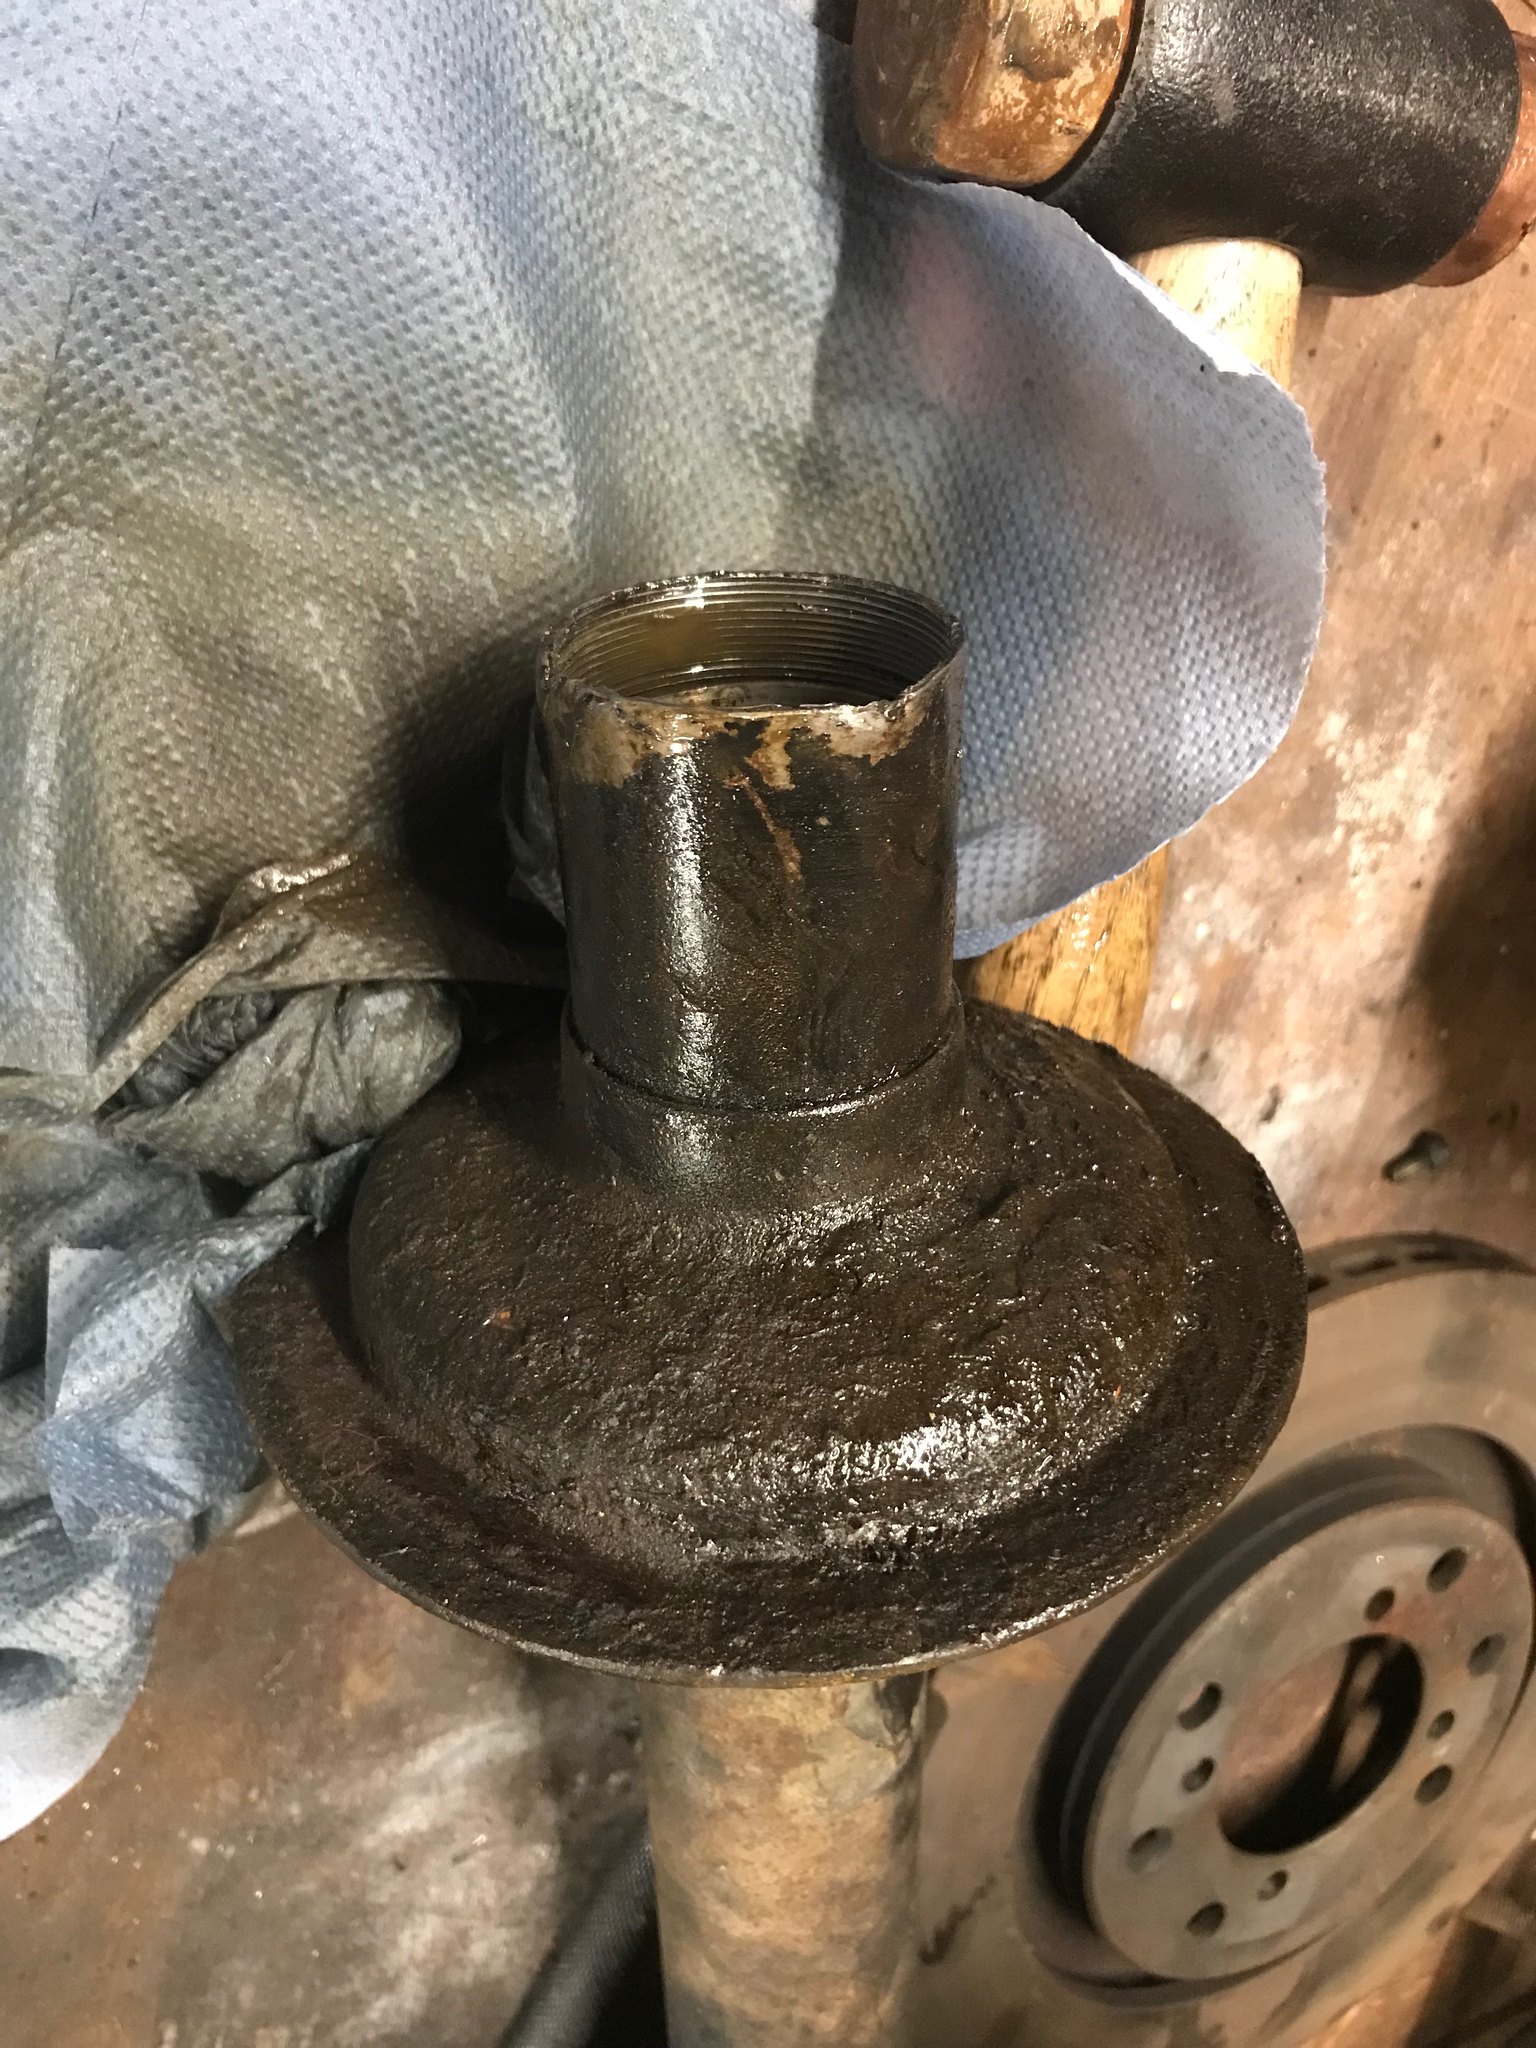 Untitled Untitled by Nevtiger, on Flickr I had decided to use Spax inserts for the struts. I wanted an adjustable set up for the front as the engine is a different weight and that weight will be in a slightly different place and all the other options are fixed rate damping or sending the strut away. A bit like the Ford scene everyone wants Bilstien struts for their cars because that is what the works team used, Skip Brown fitted to the Road Speed conversion etc. However, all of these had different rates for specific events or for road bias. Plus it meant sending the strut off to be converted and i like doing as much as possible my self. 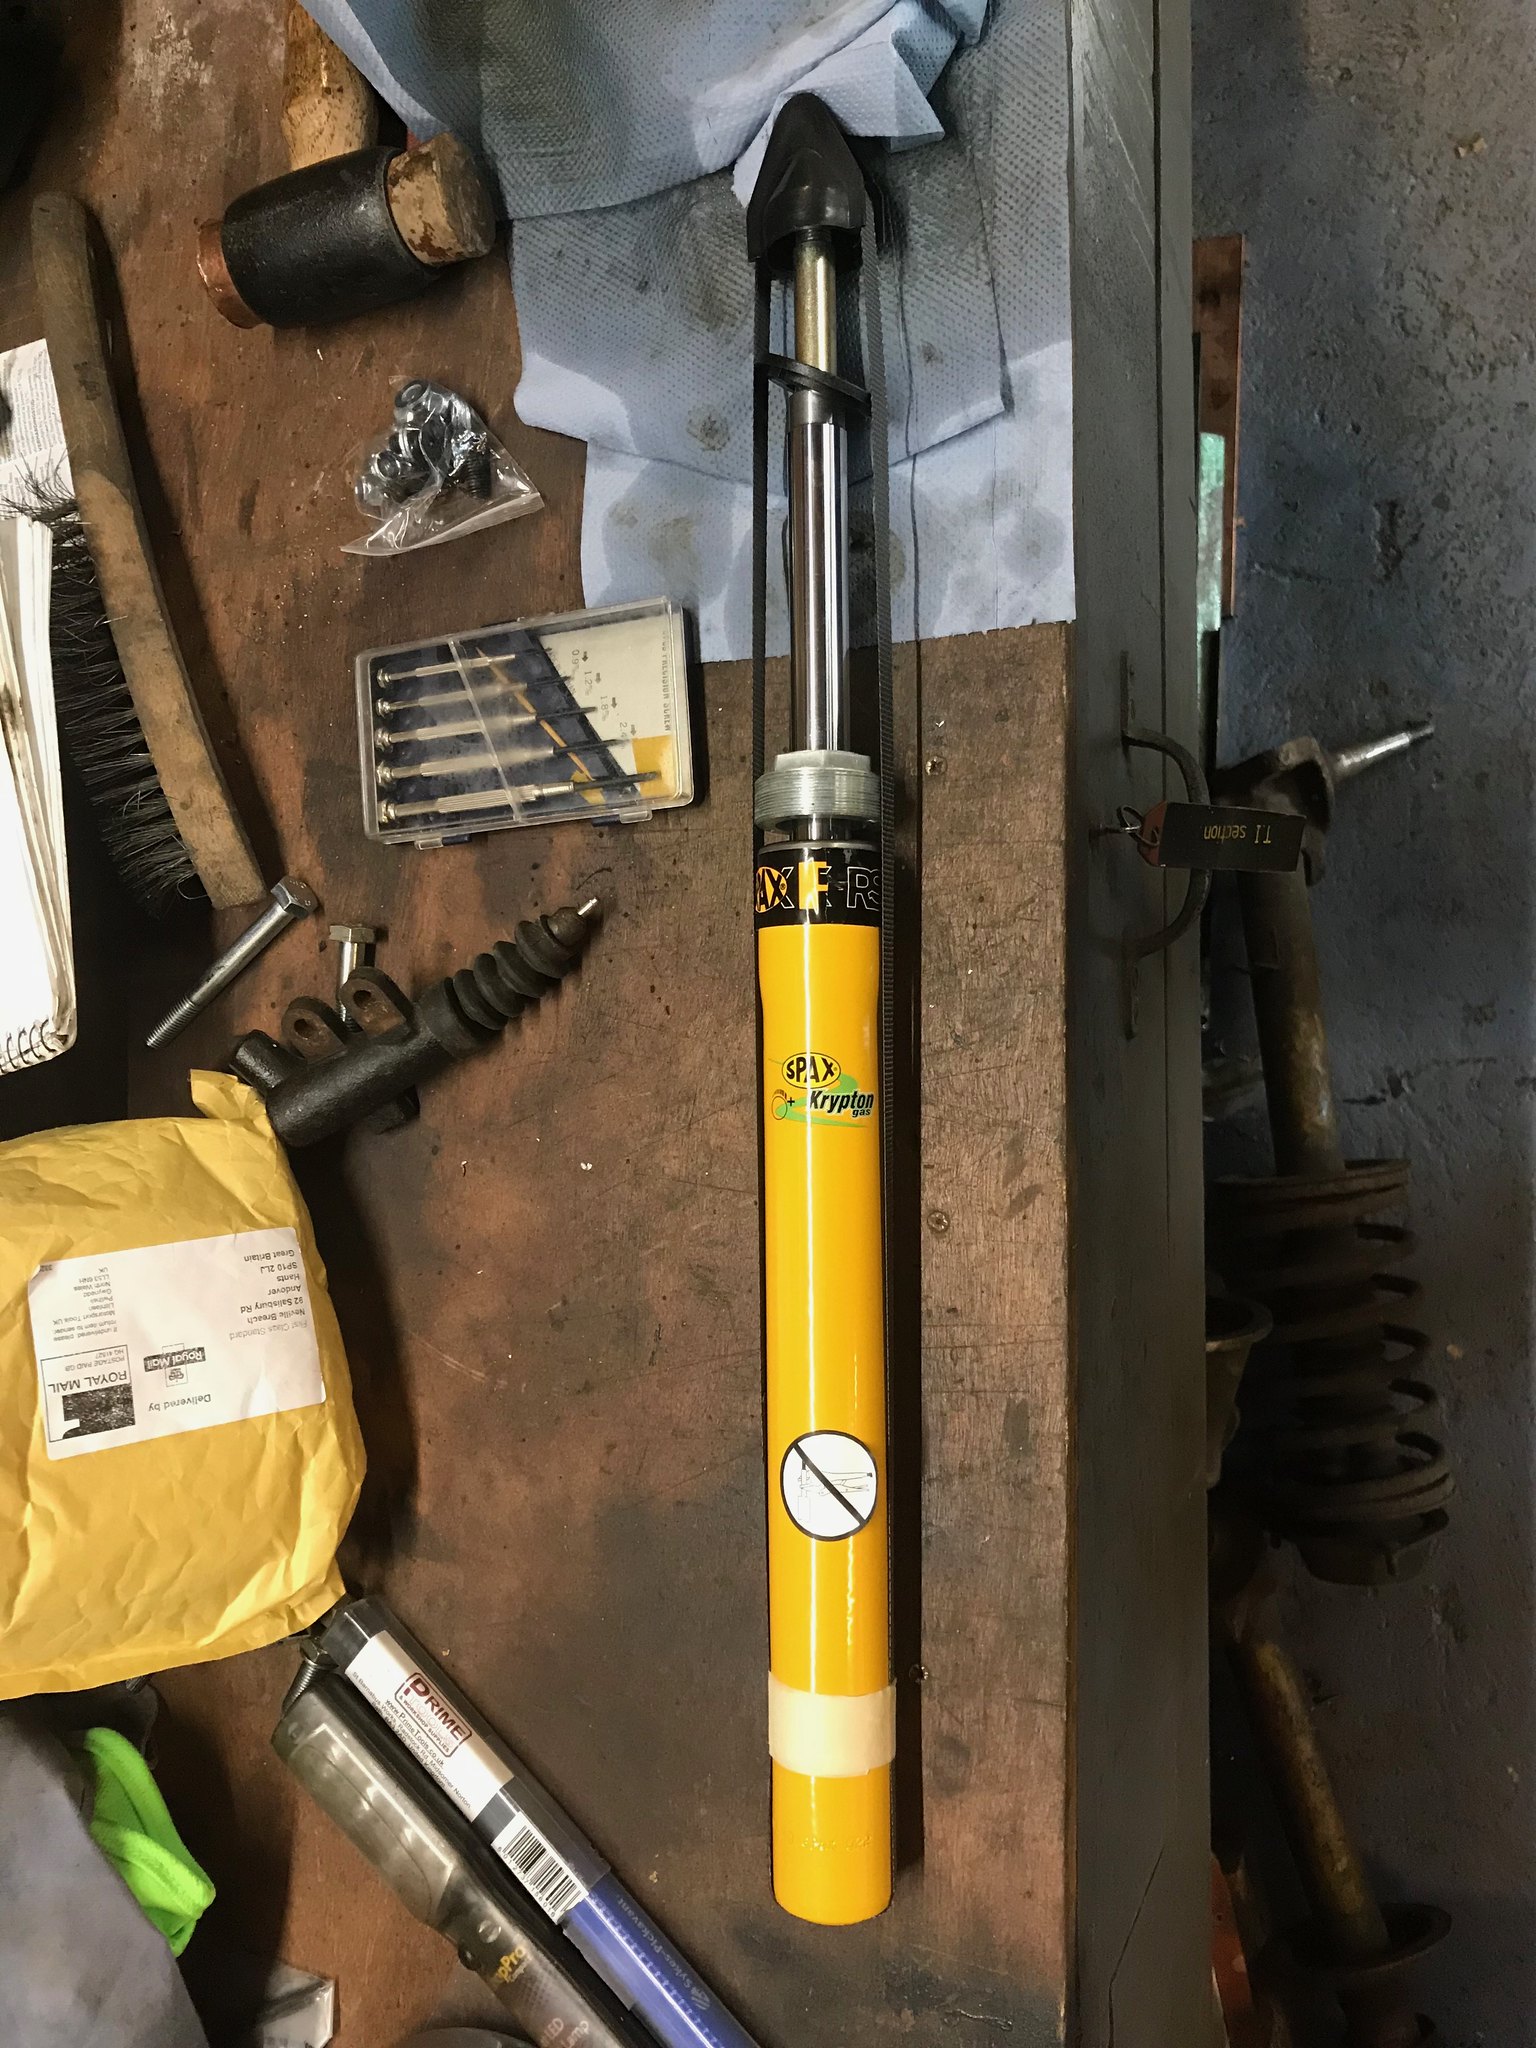 Untitled Untitled by Nevtiger, on Flickr I also am not sure about ride height so: 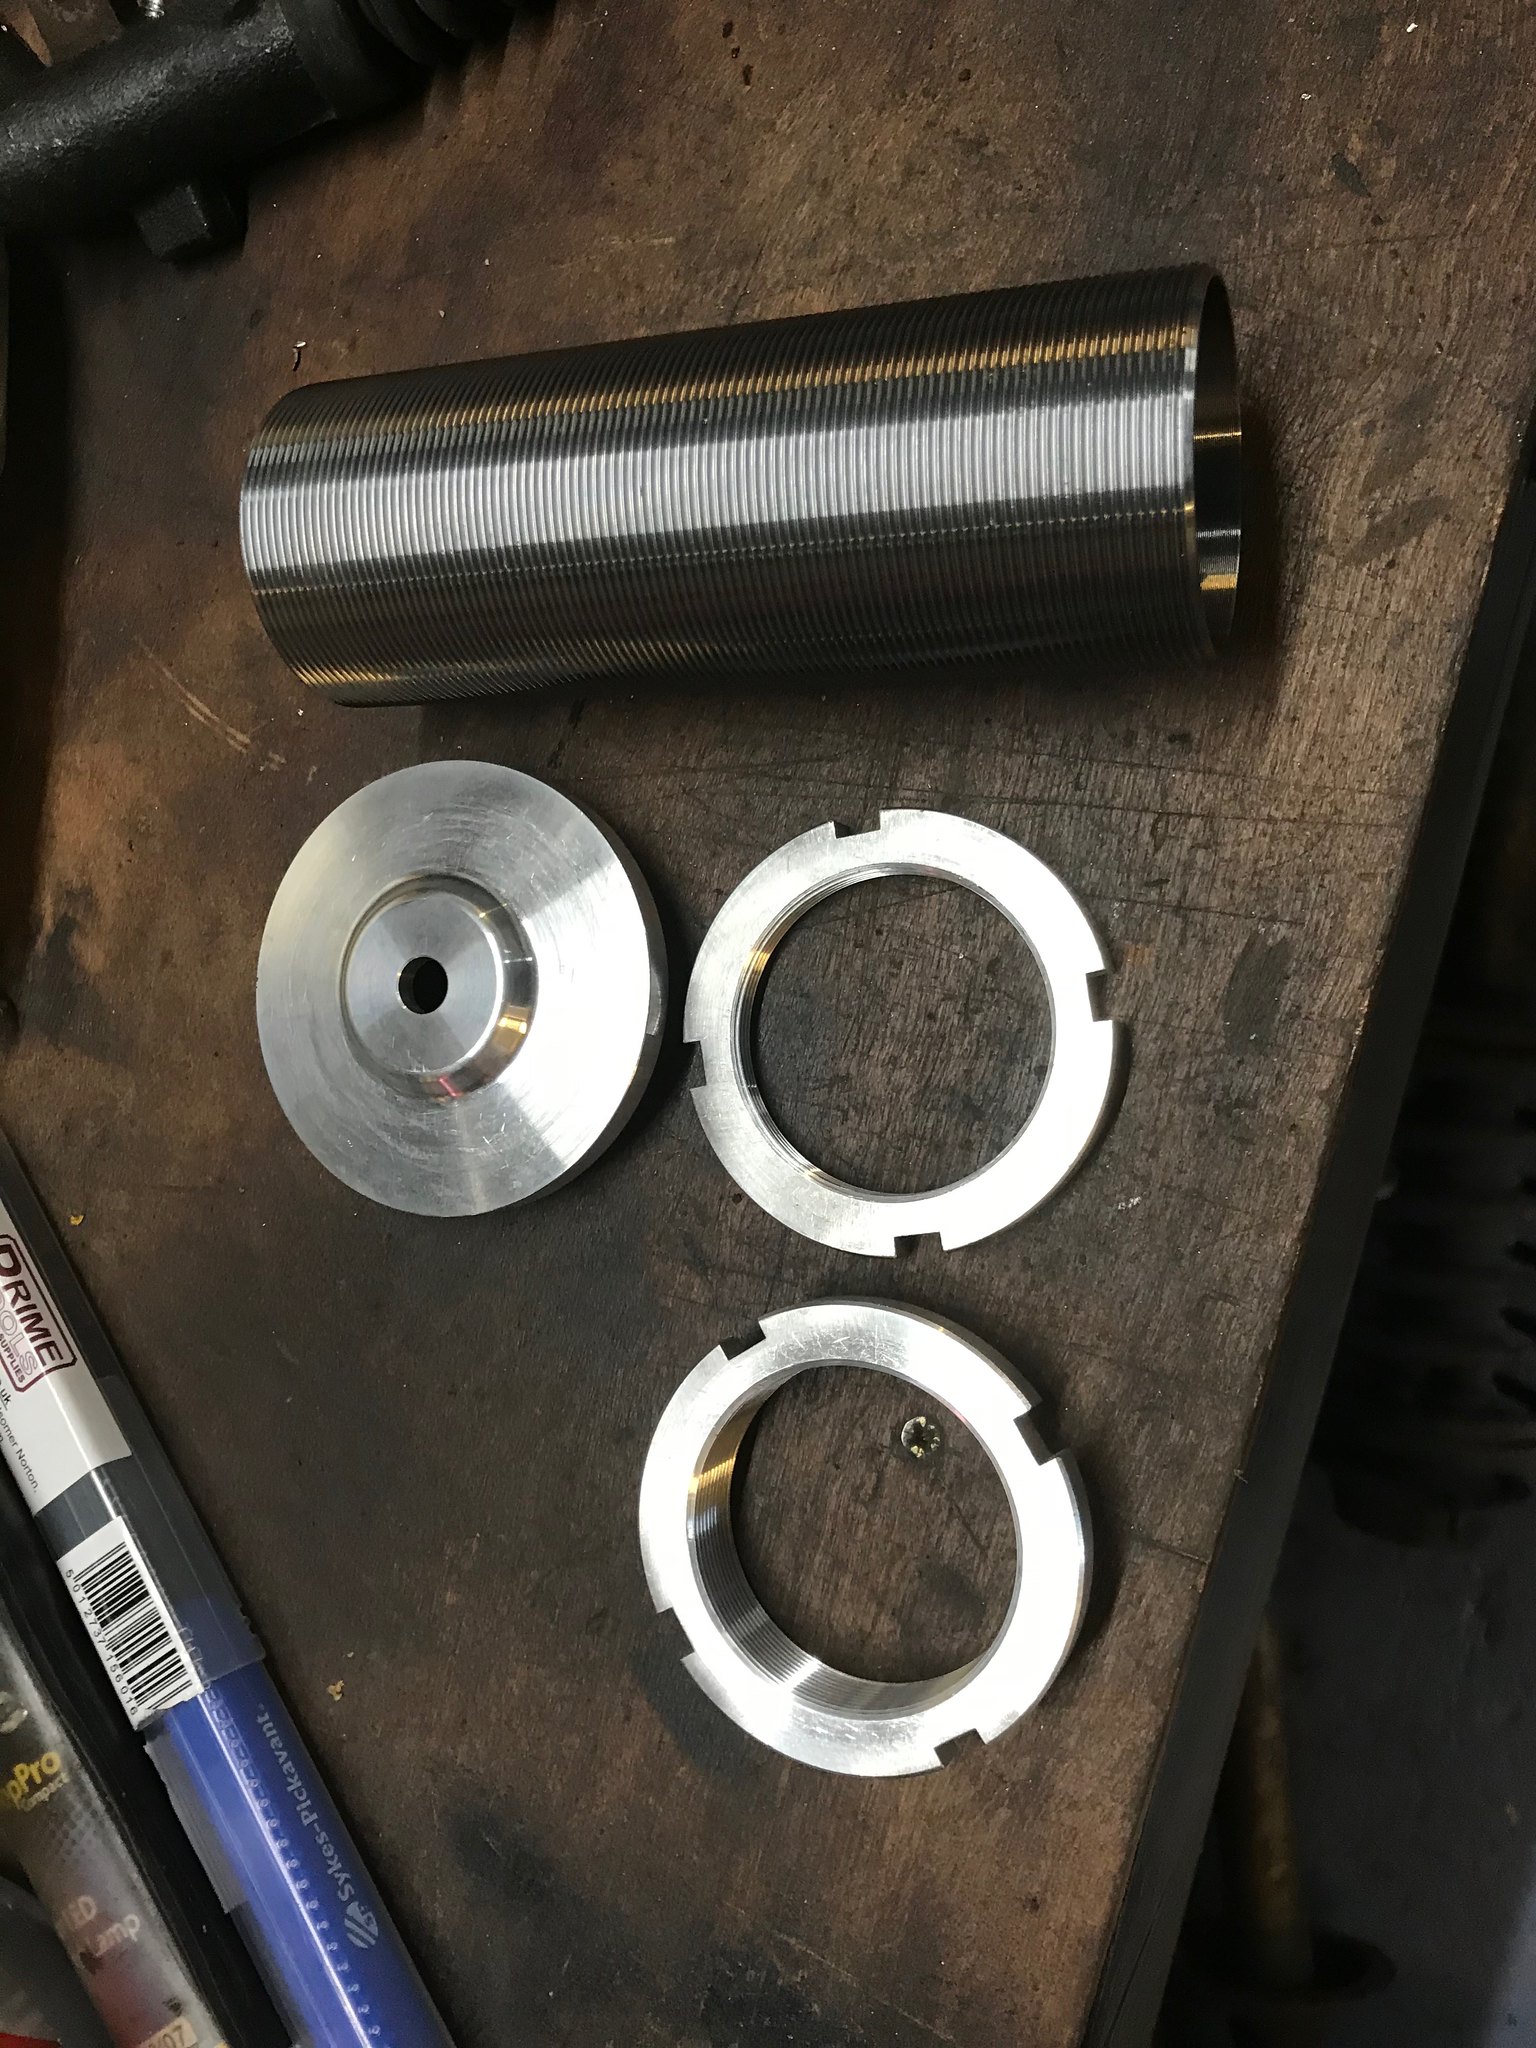 Untitled Untitled by Nevtiger, on Flickr I also have some bottom pans that screw on for fitting normal size springs as well. The taken to bits strut: 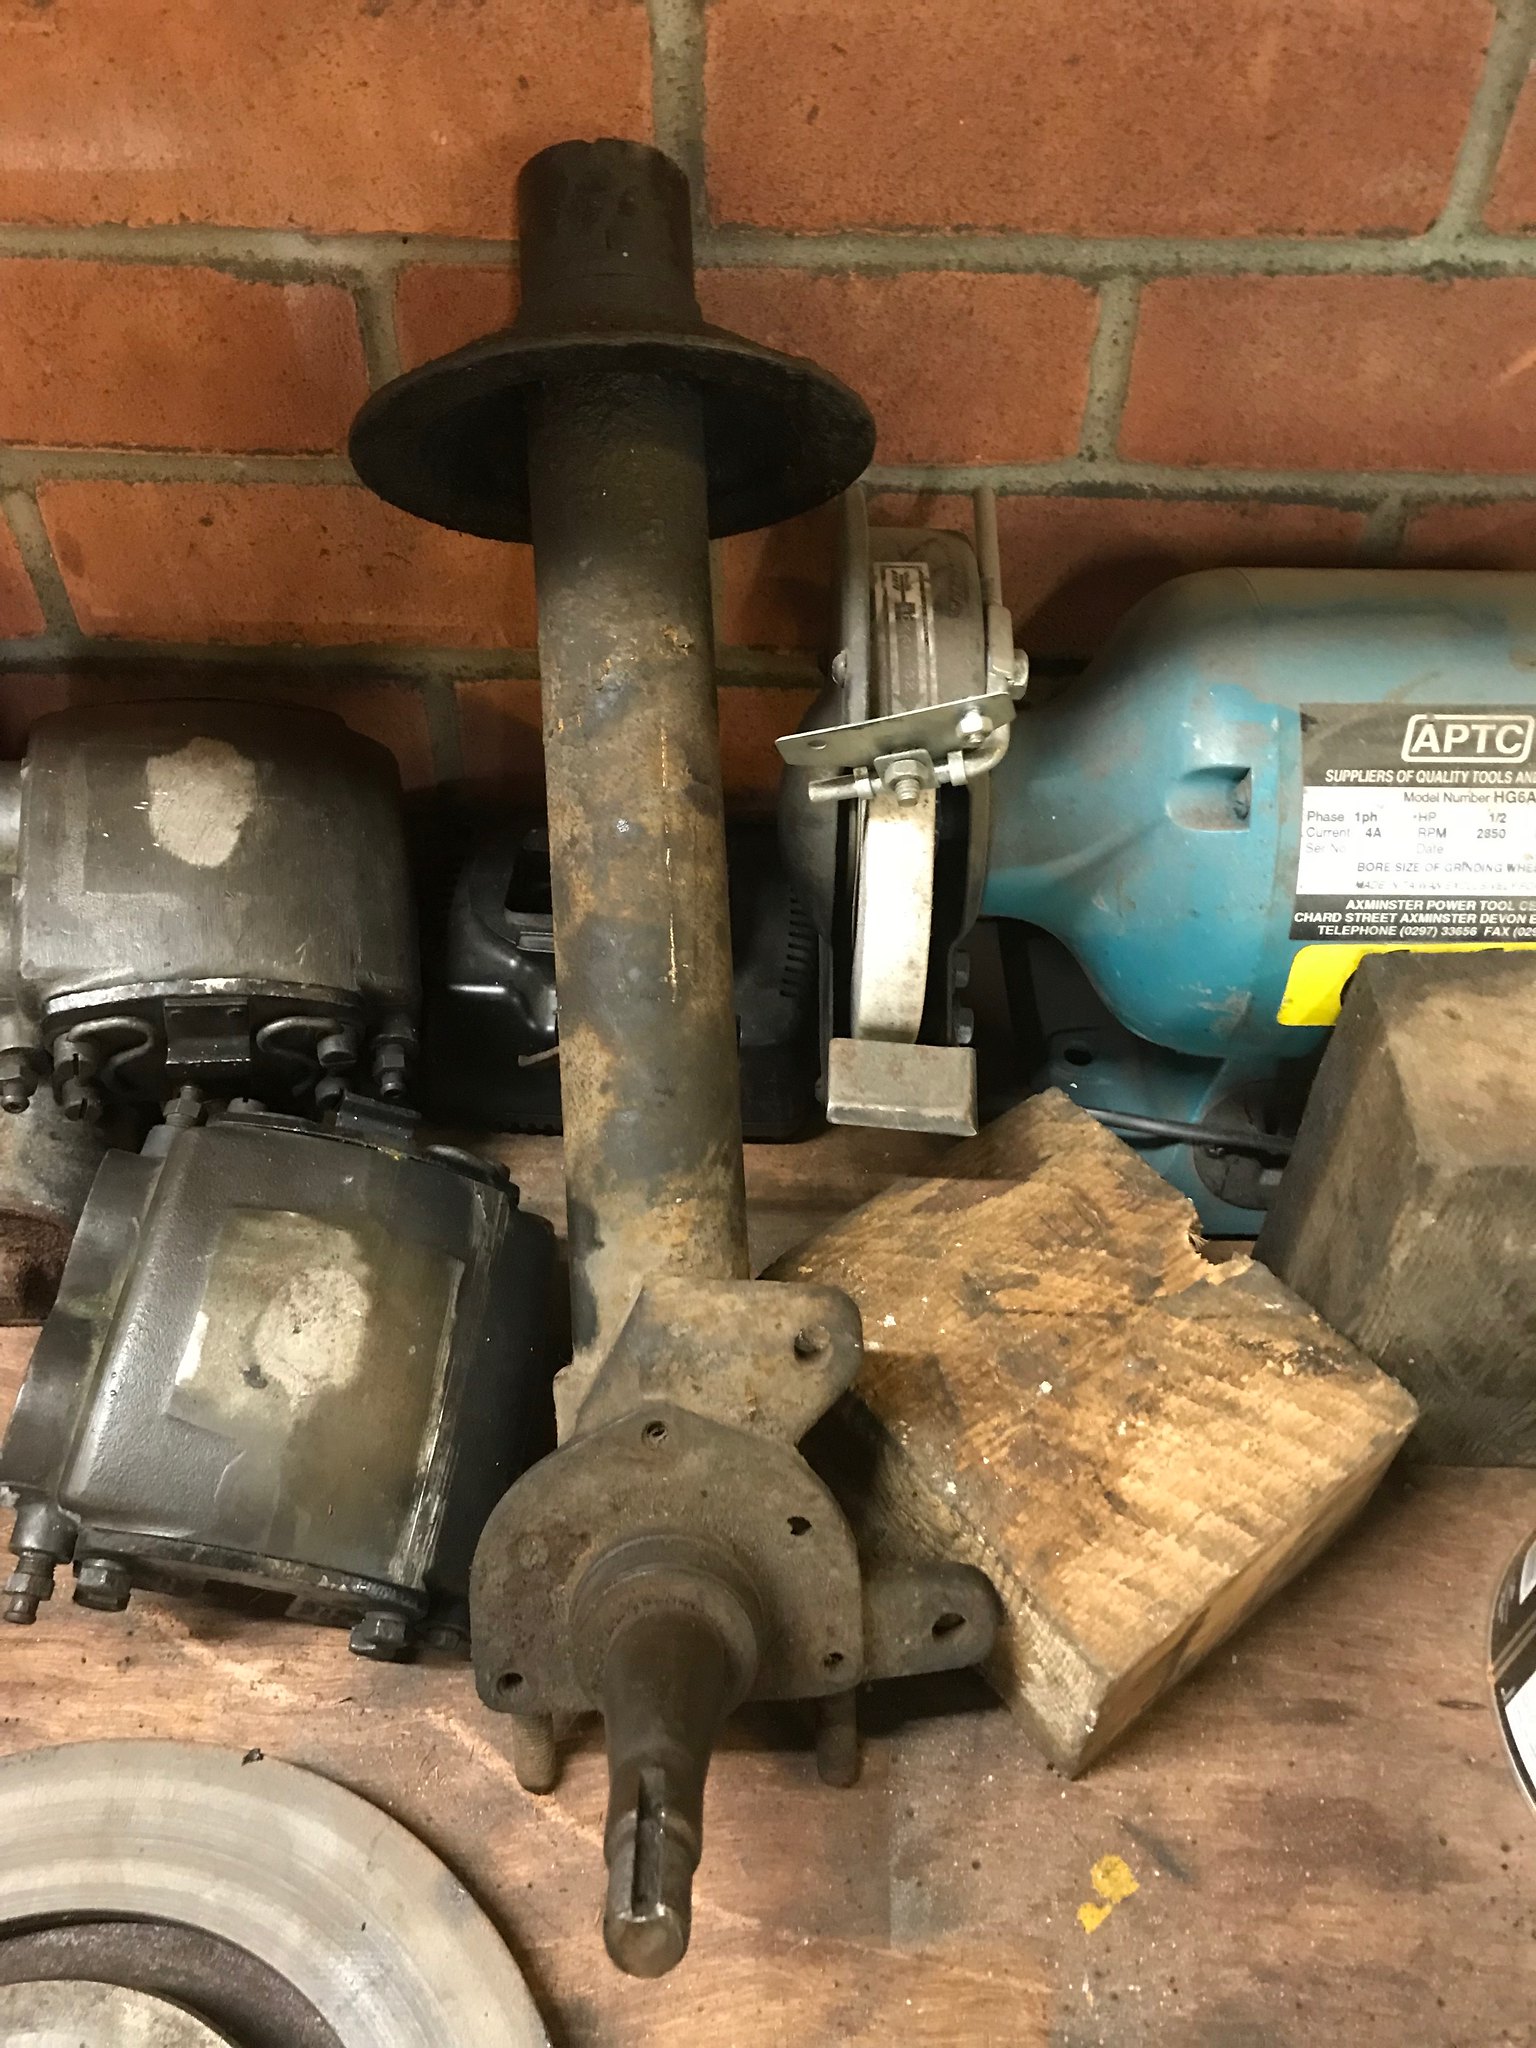 Untitled Untitled by Nevtiger, on Flickr Cleaned up: 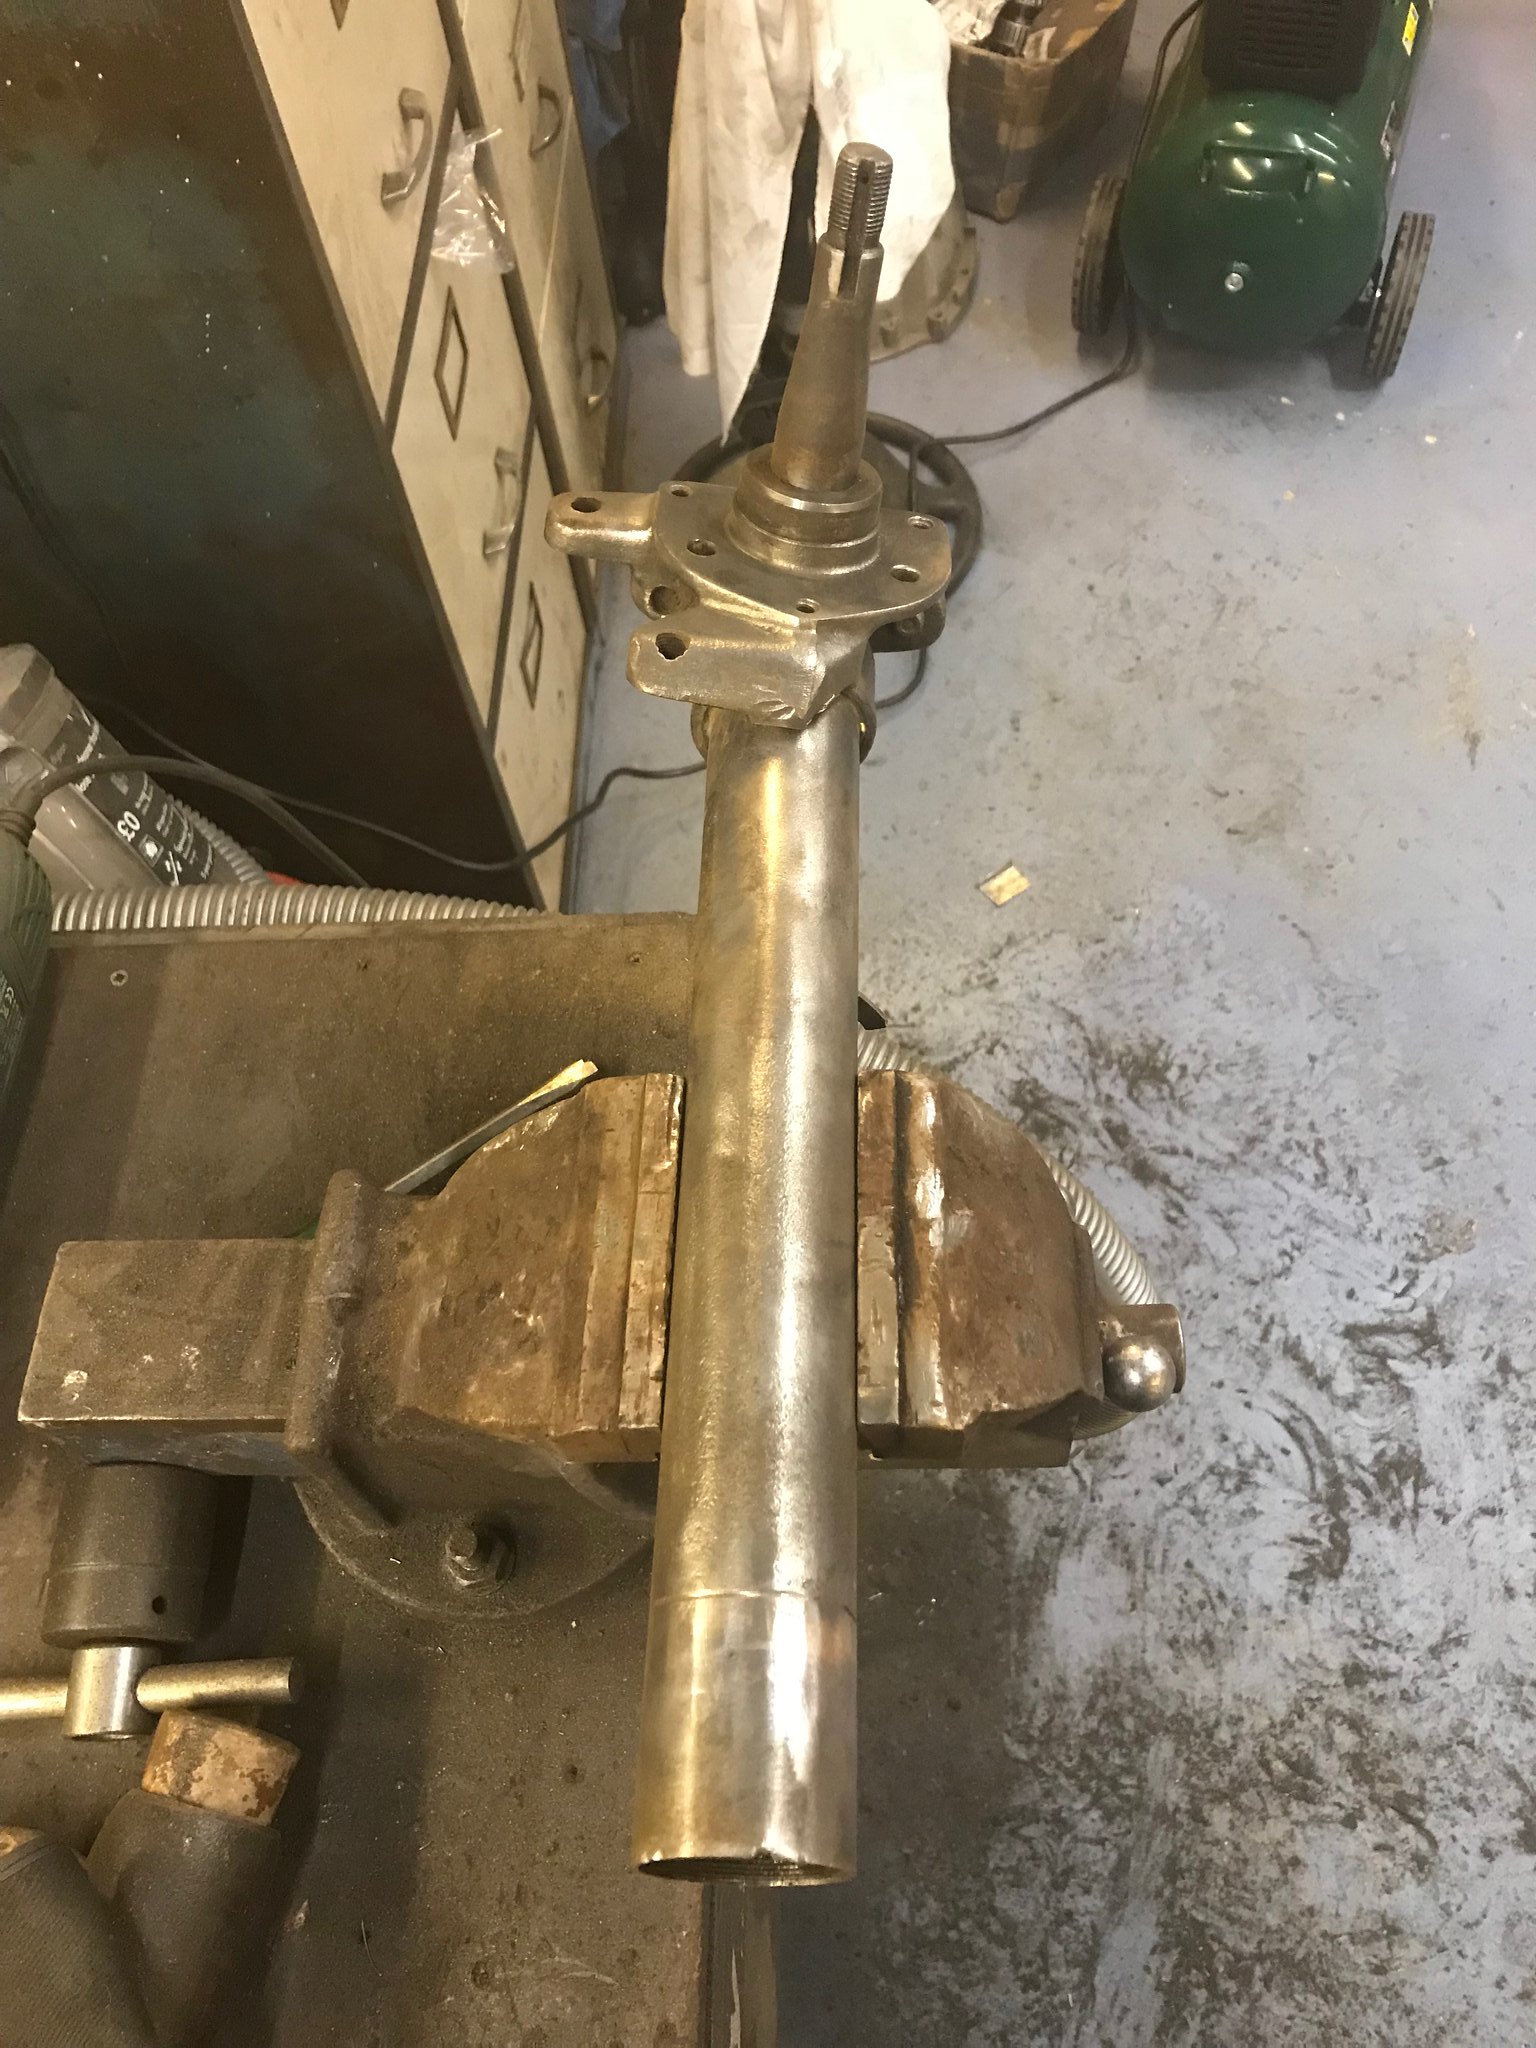 Untitled Untitled by Nevtiger, on Flickr And inserts fitted: 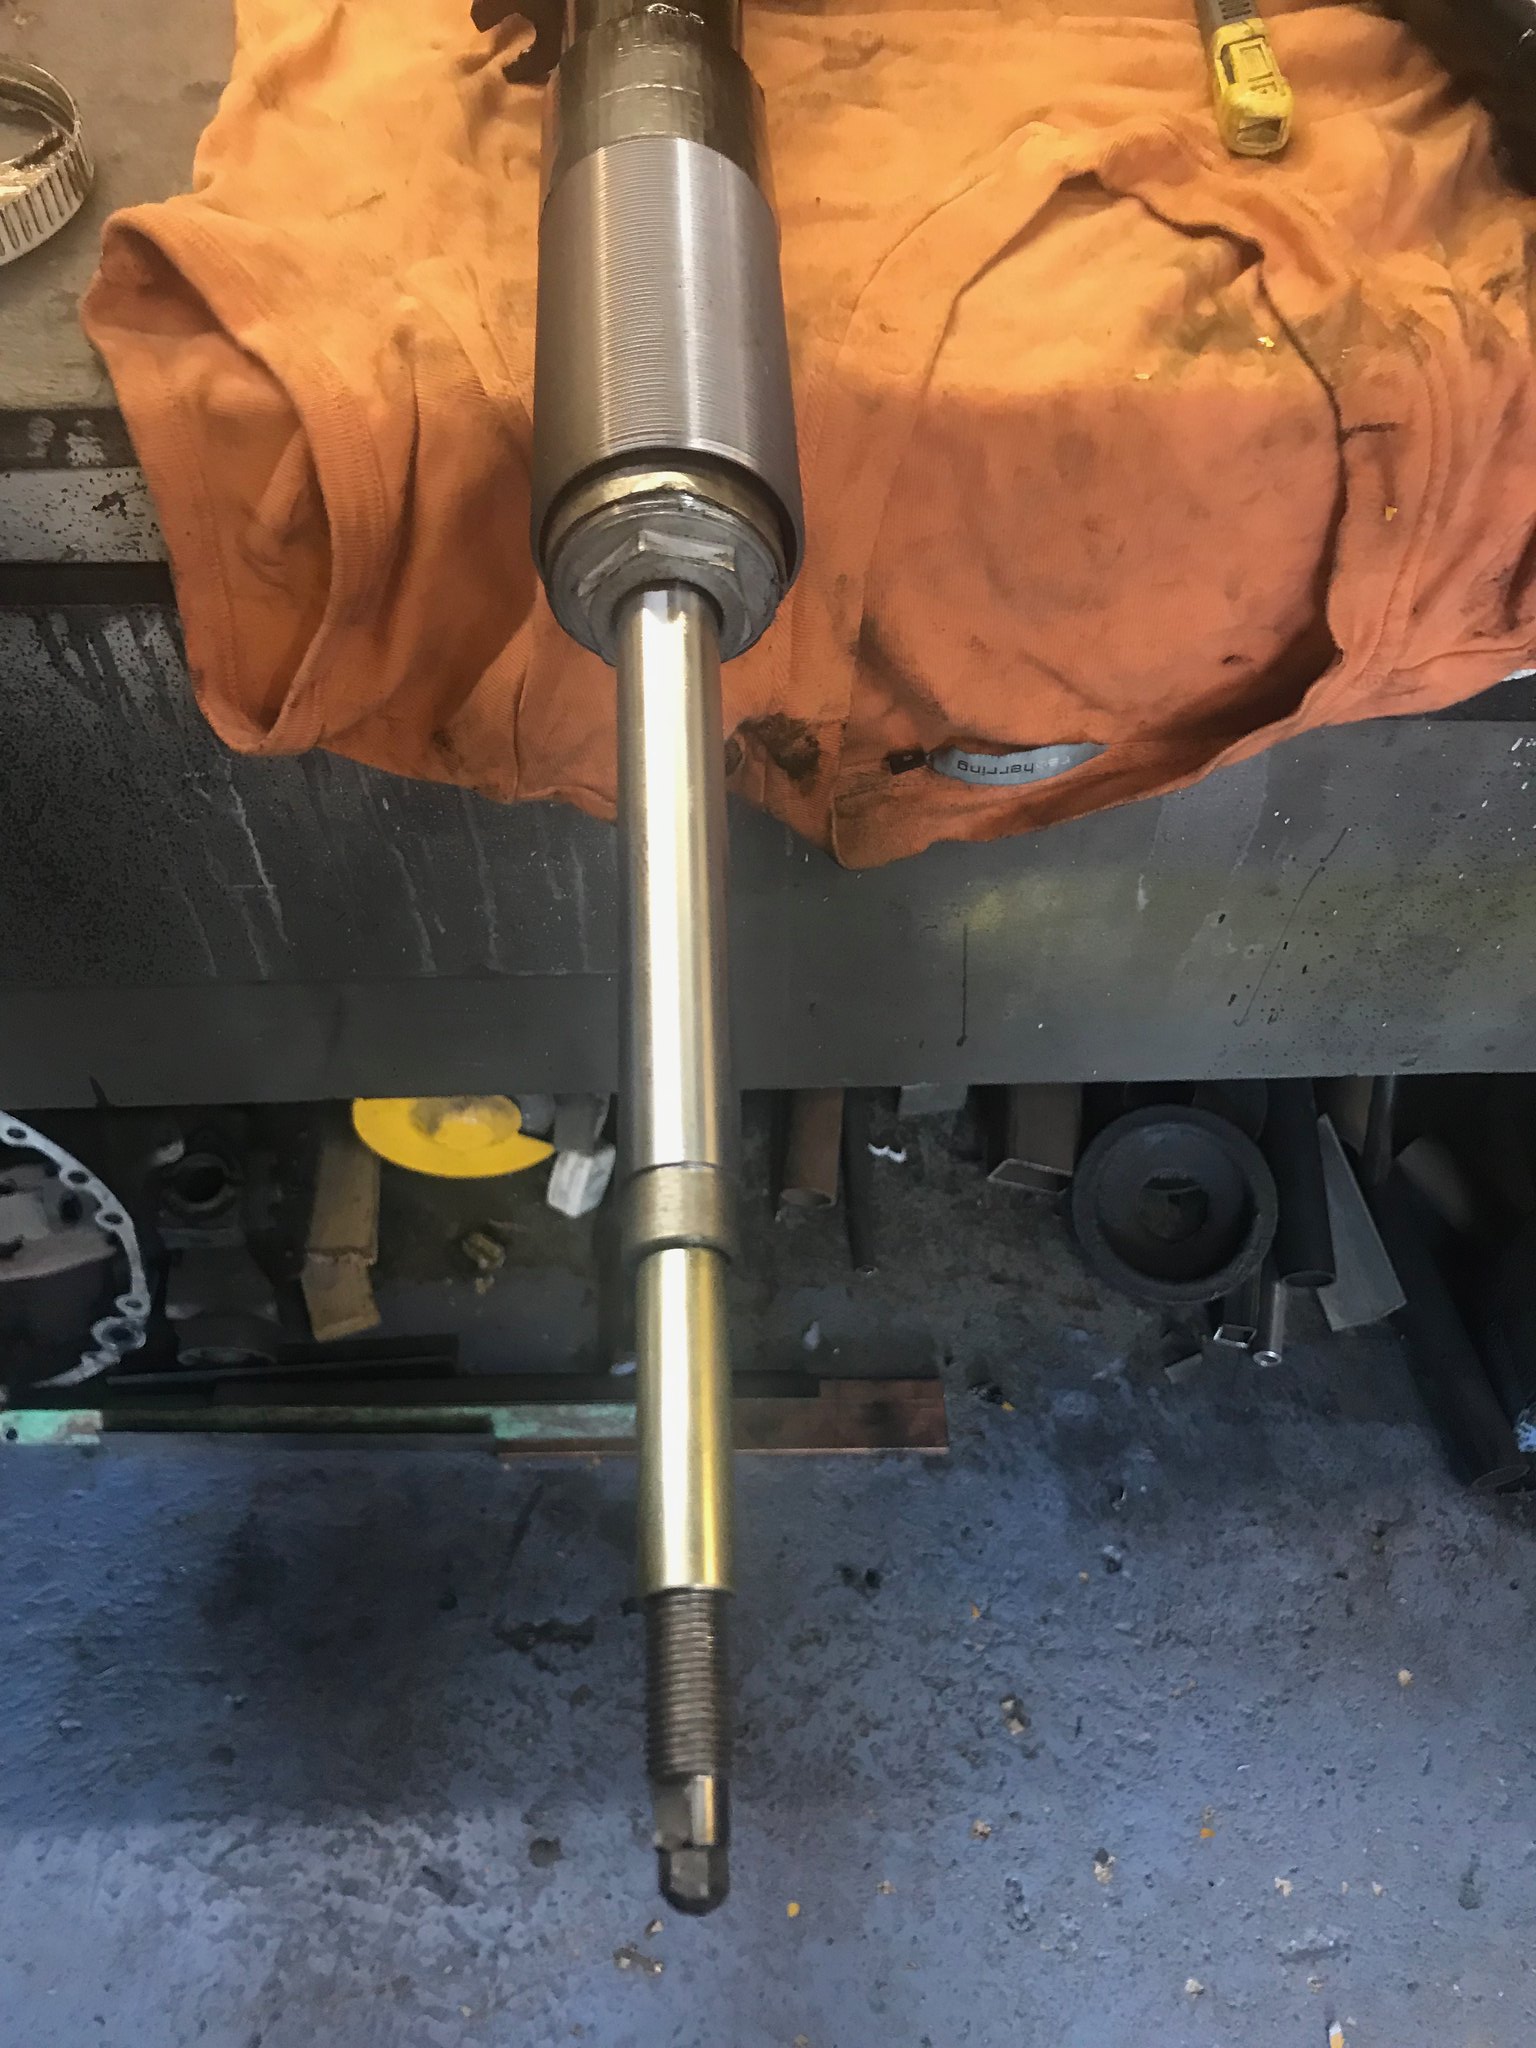 Untitled Untitled by Nevtiger, on Flickr All i need to do is wait for the roller top mounts to turn up and i can fit it all together. The RTM's are being returned to me after i lent them to a friend who then forgot who lent them to him and sold them to some one else in a job lot. After a couple of years they are now waiting down the Post Office for me to pick them up :-) Here is the disc i shall be using for the car, i used to use these on the Tiger but have since gone bigger. These are 264mm (Up to 276mm on the Tiger) and were used with Princess callipers. I don't have any Princess callipers any more so will find an alternative. 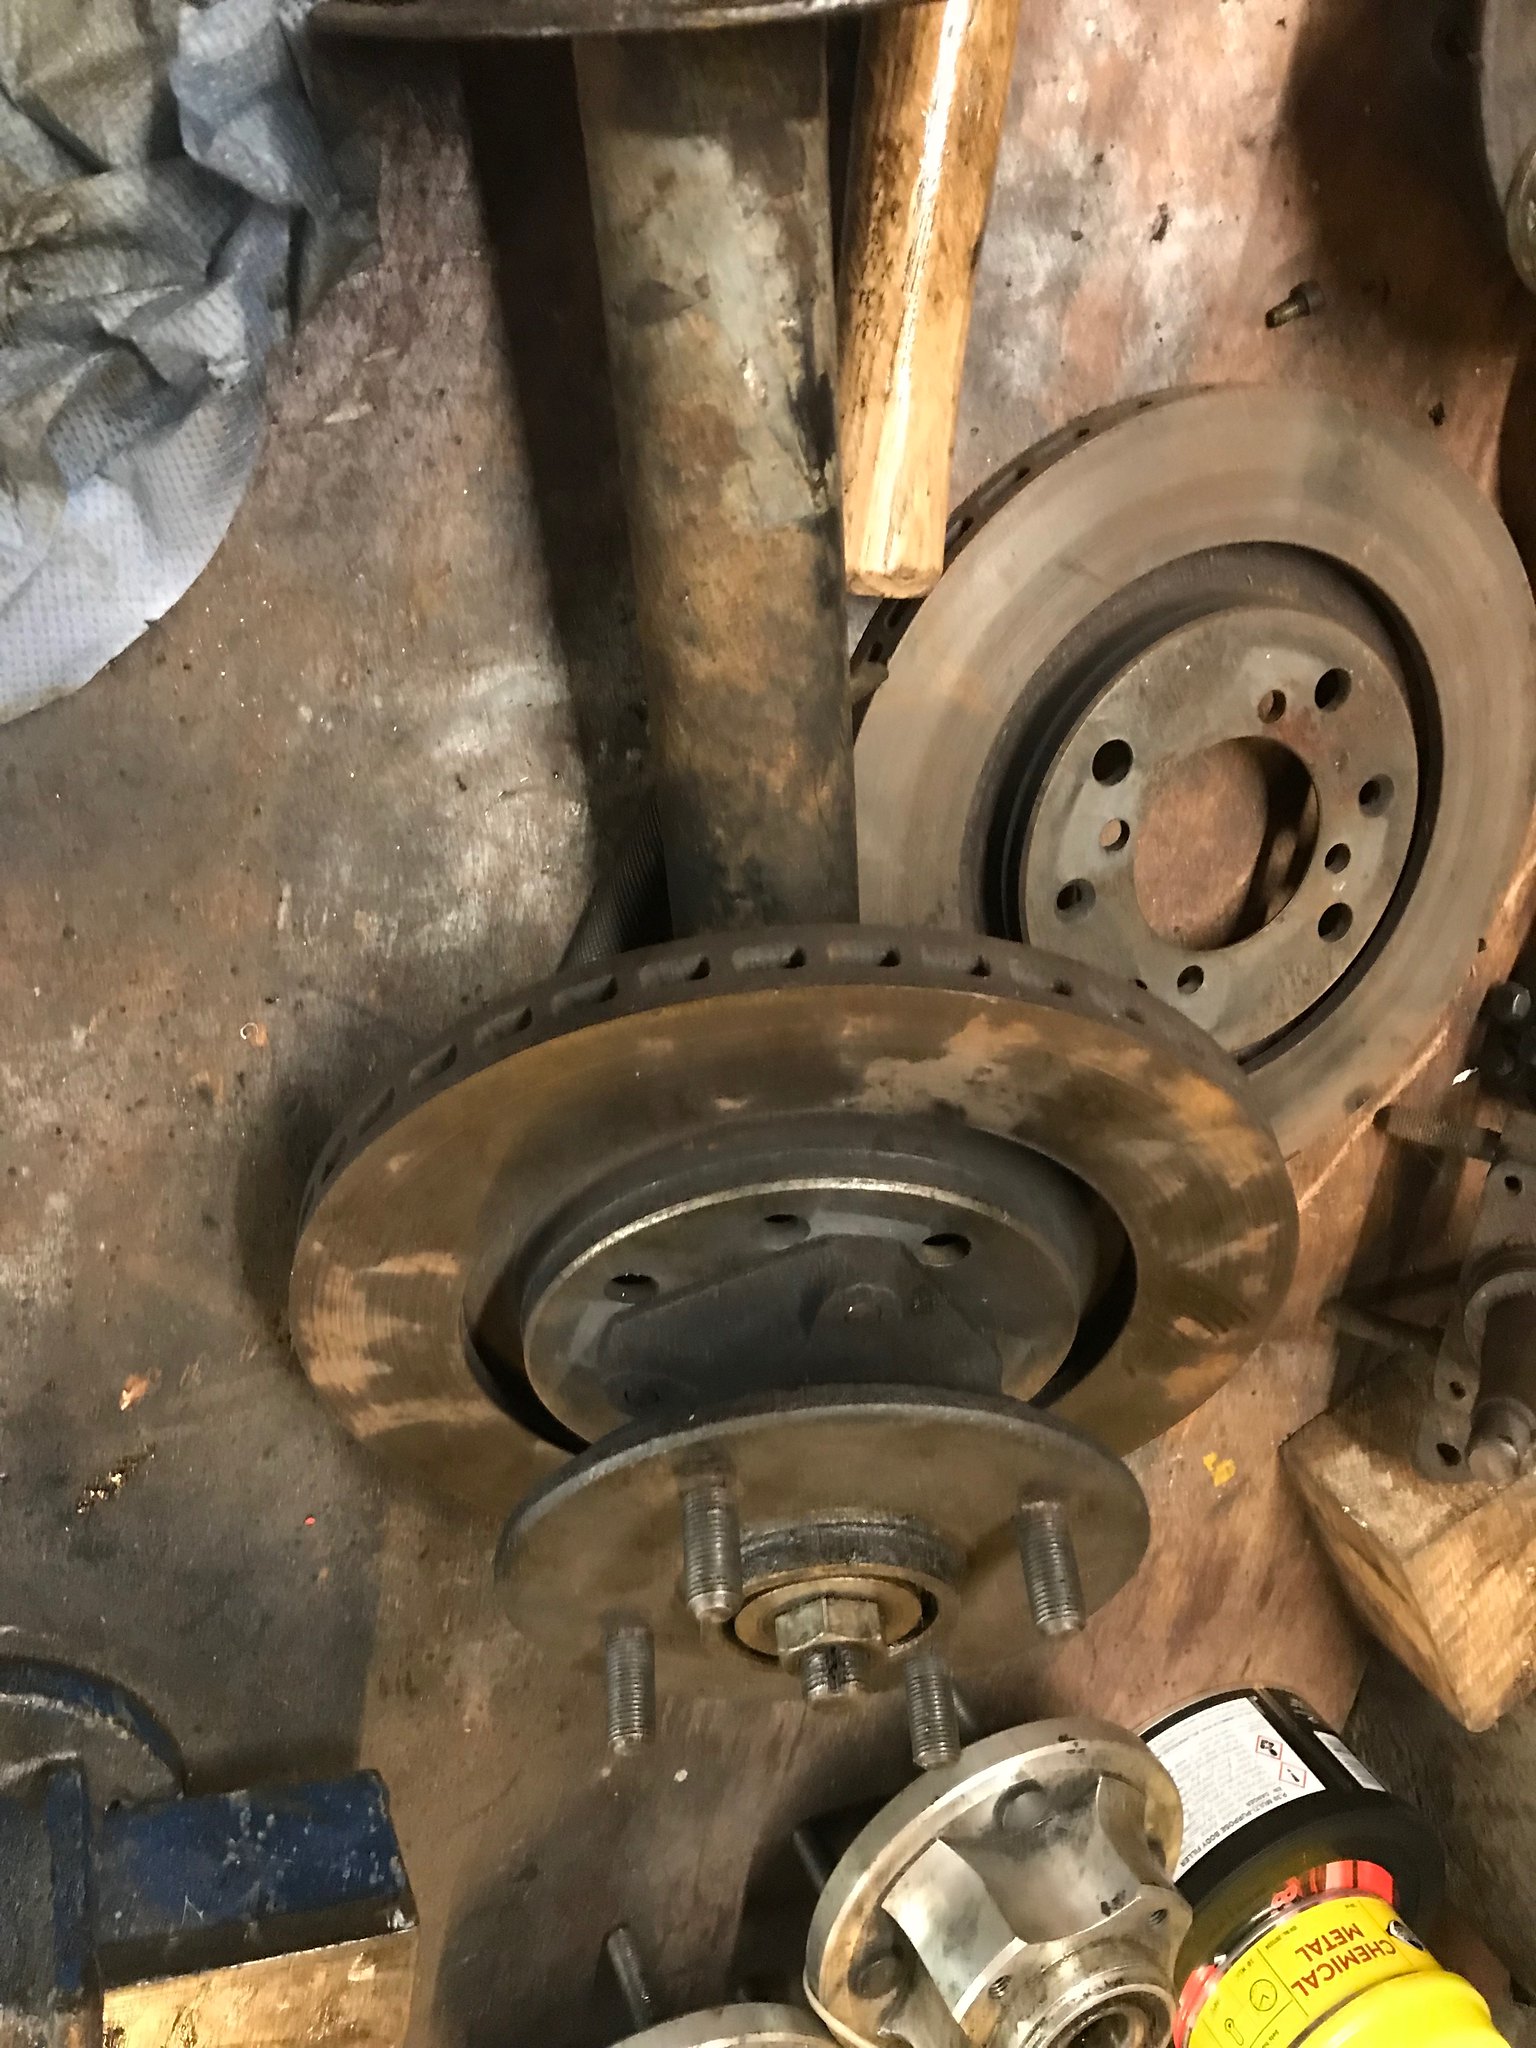 Untitled Untitled by Nevtiger, on Flickr They are off of Peugeot 504. I shan't be using the alloy hubs behind them though... |
| |
|
|
|
|
|
May 21, 2018 18:38:23 GMT
|
Although i haven't been working on the car as much as i like i have been buying things: An ECU 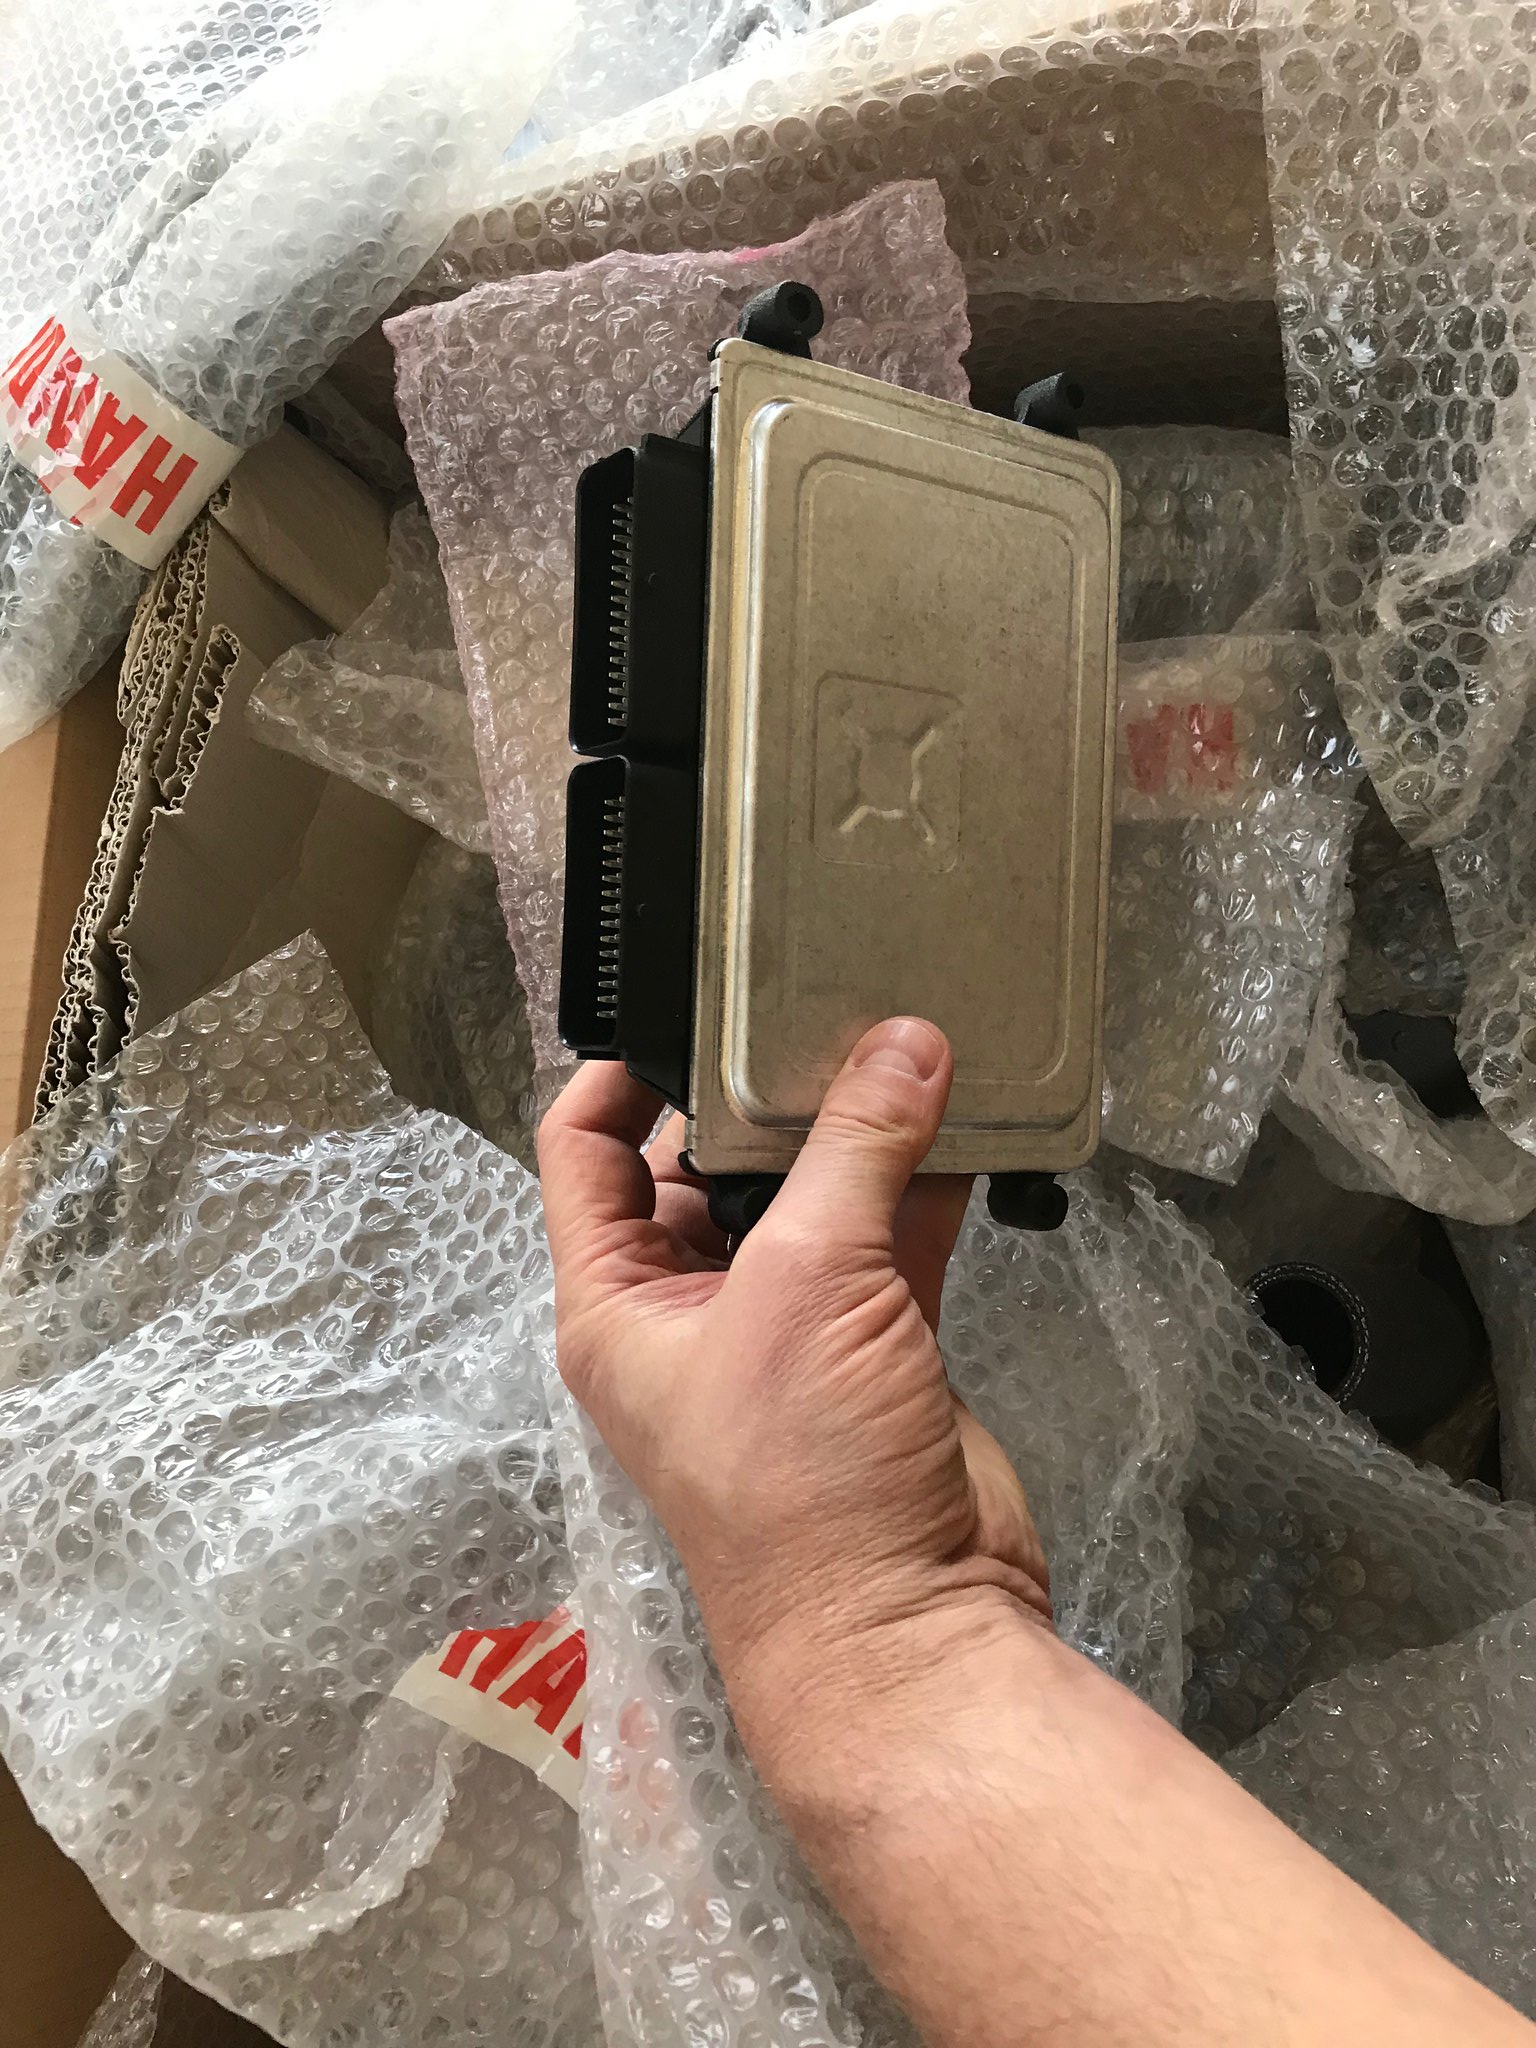 Untitled Untitled by Nevtiger, on Flickr An wiring 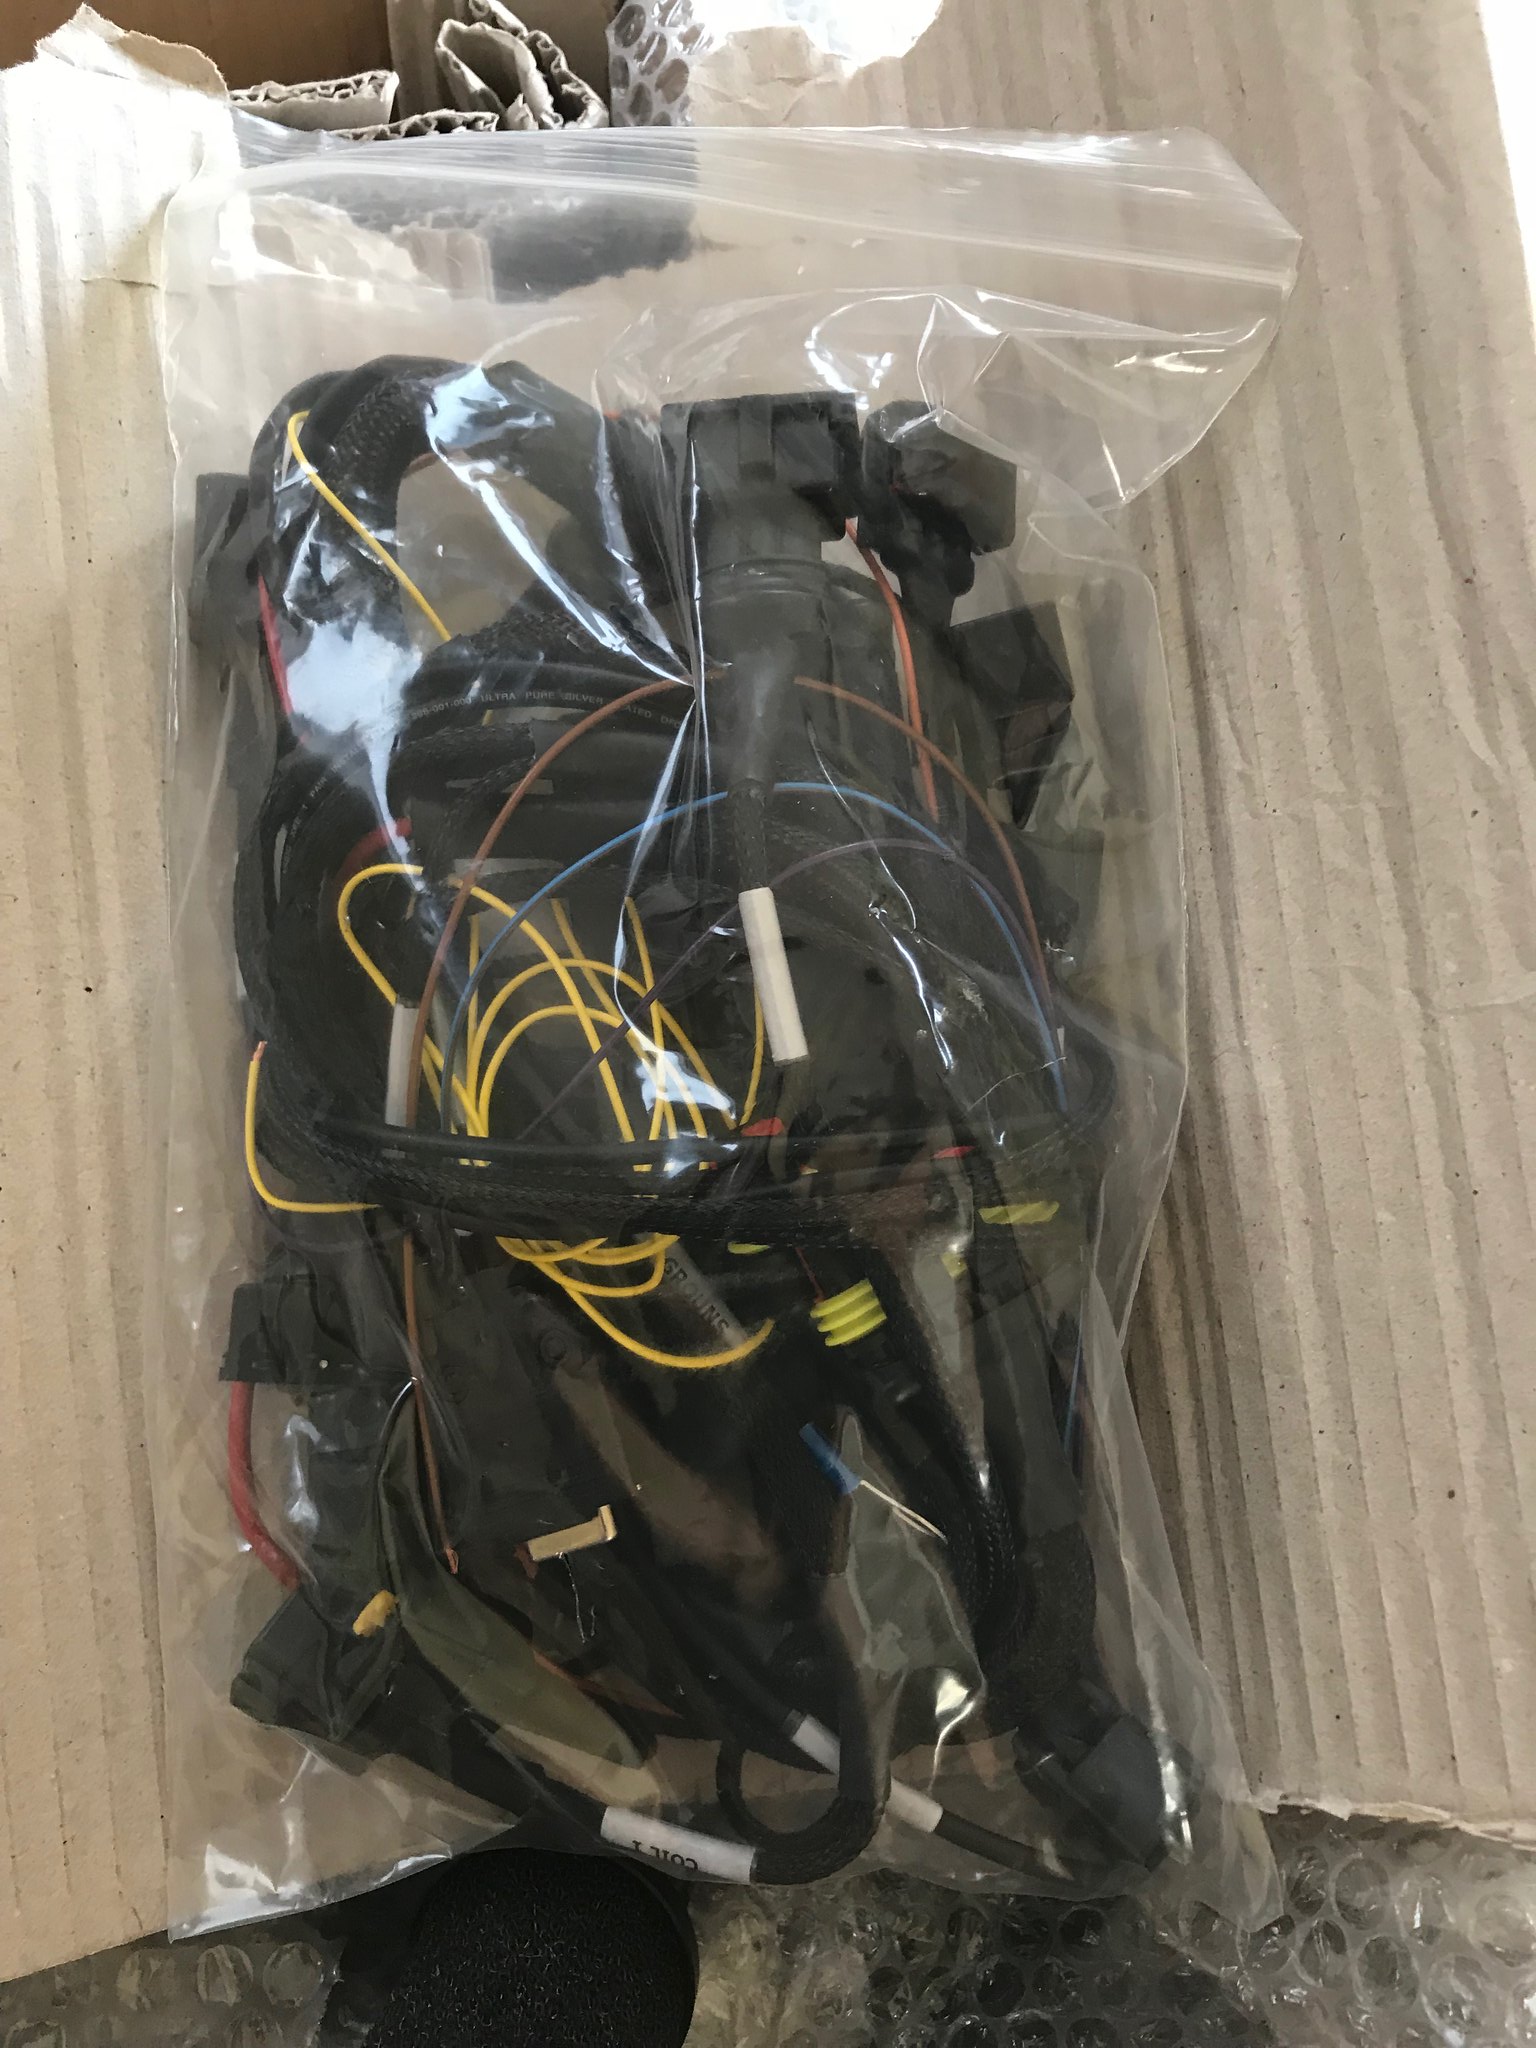 Untitled Untitled by Nevtiger, on Flickr 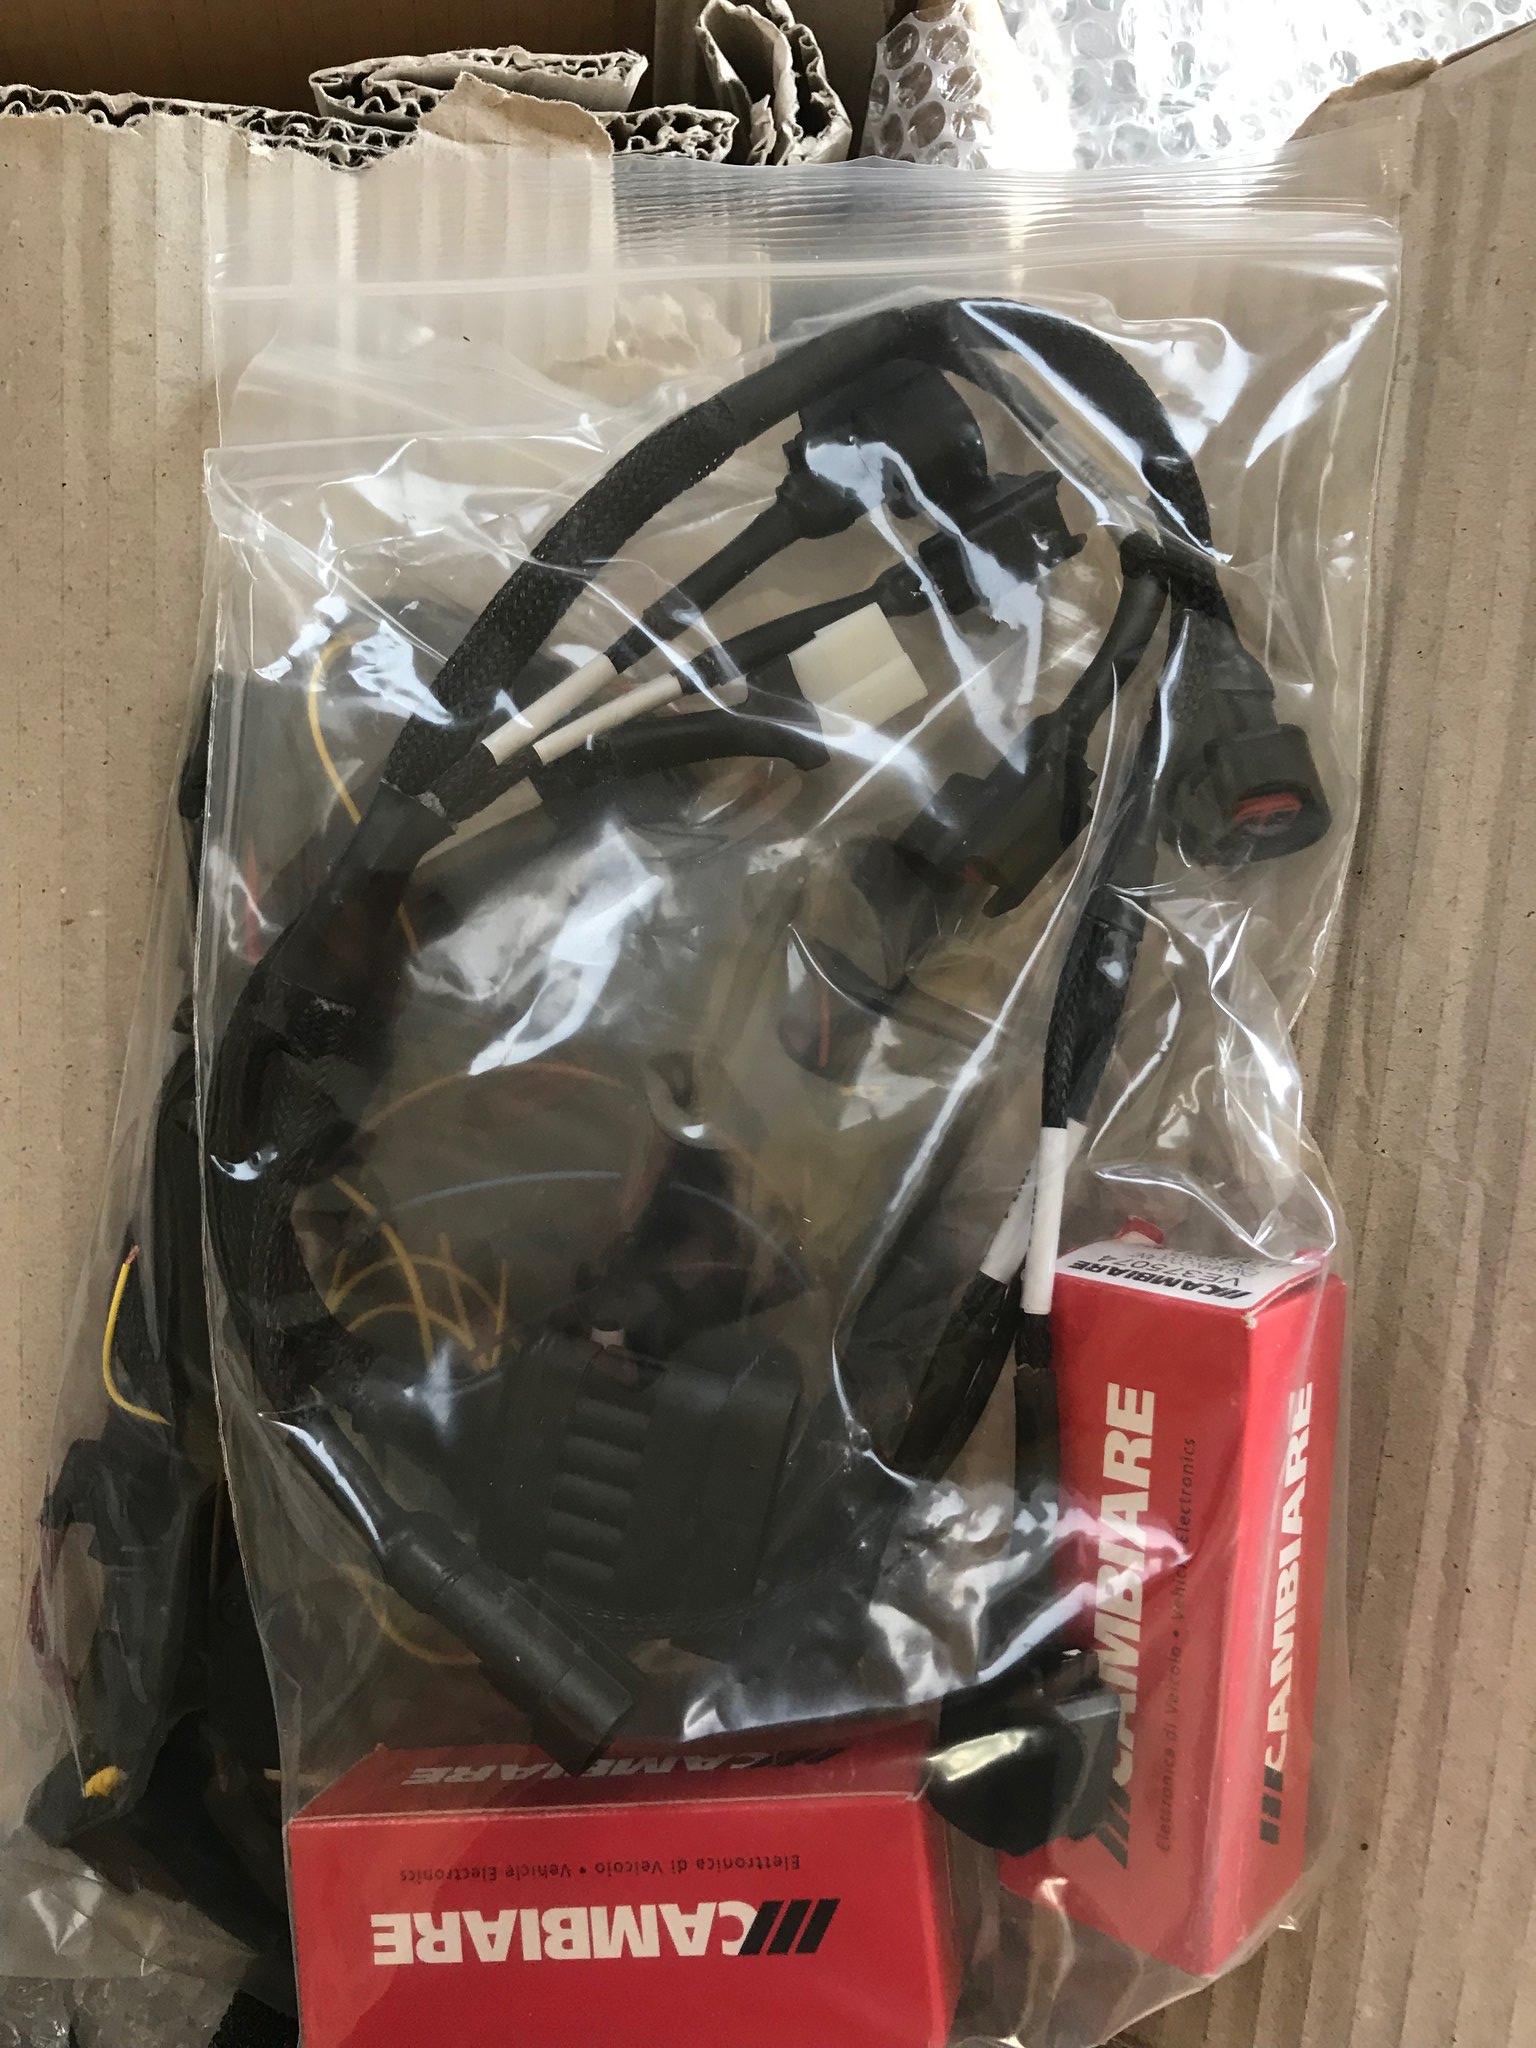 Untitled Untitled by Nevtiger, on Flickr One of the inlet Plenums 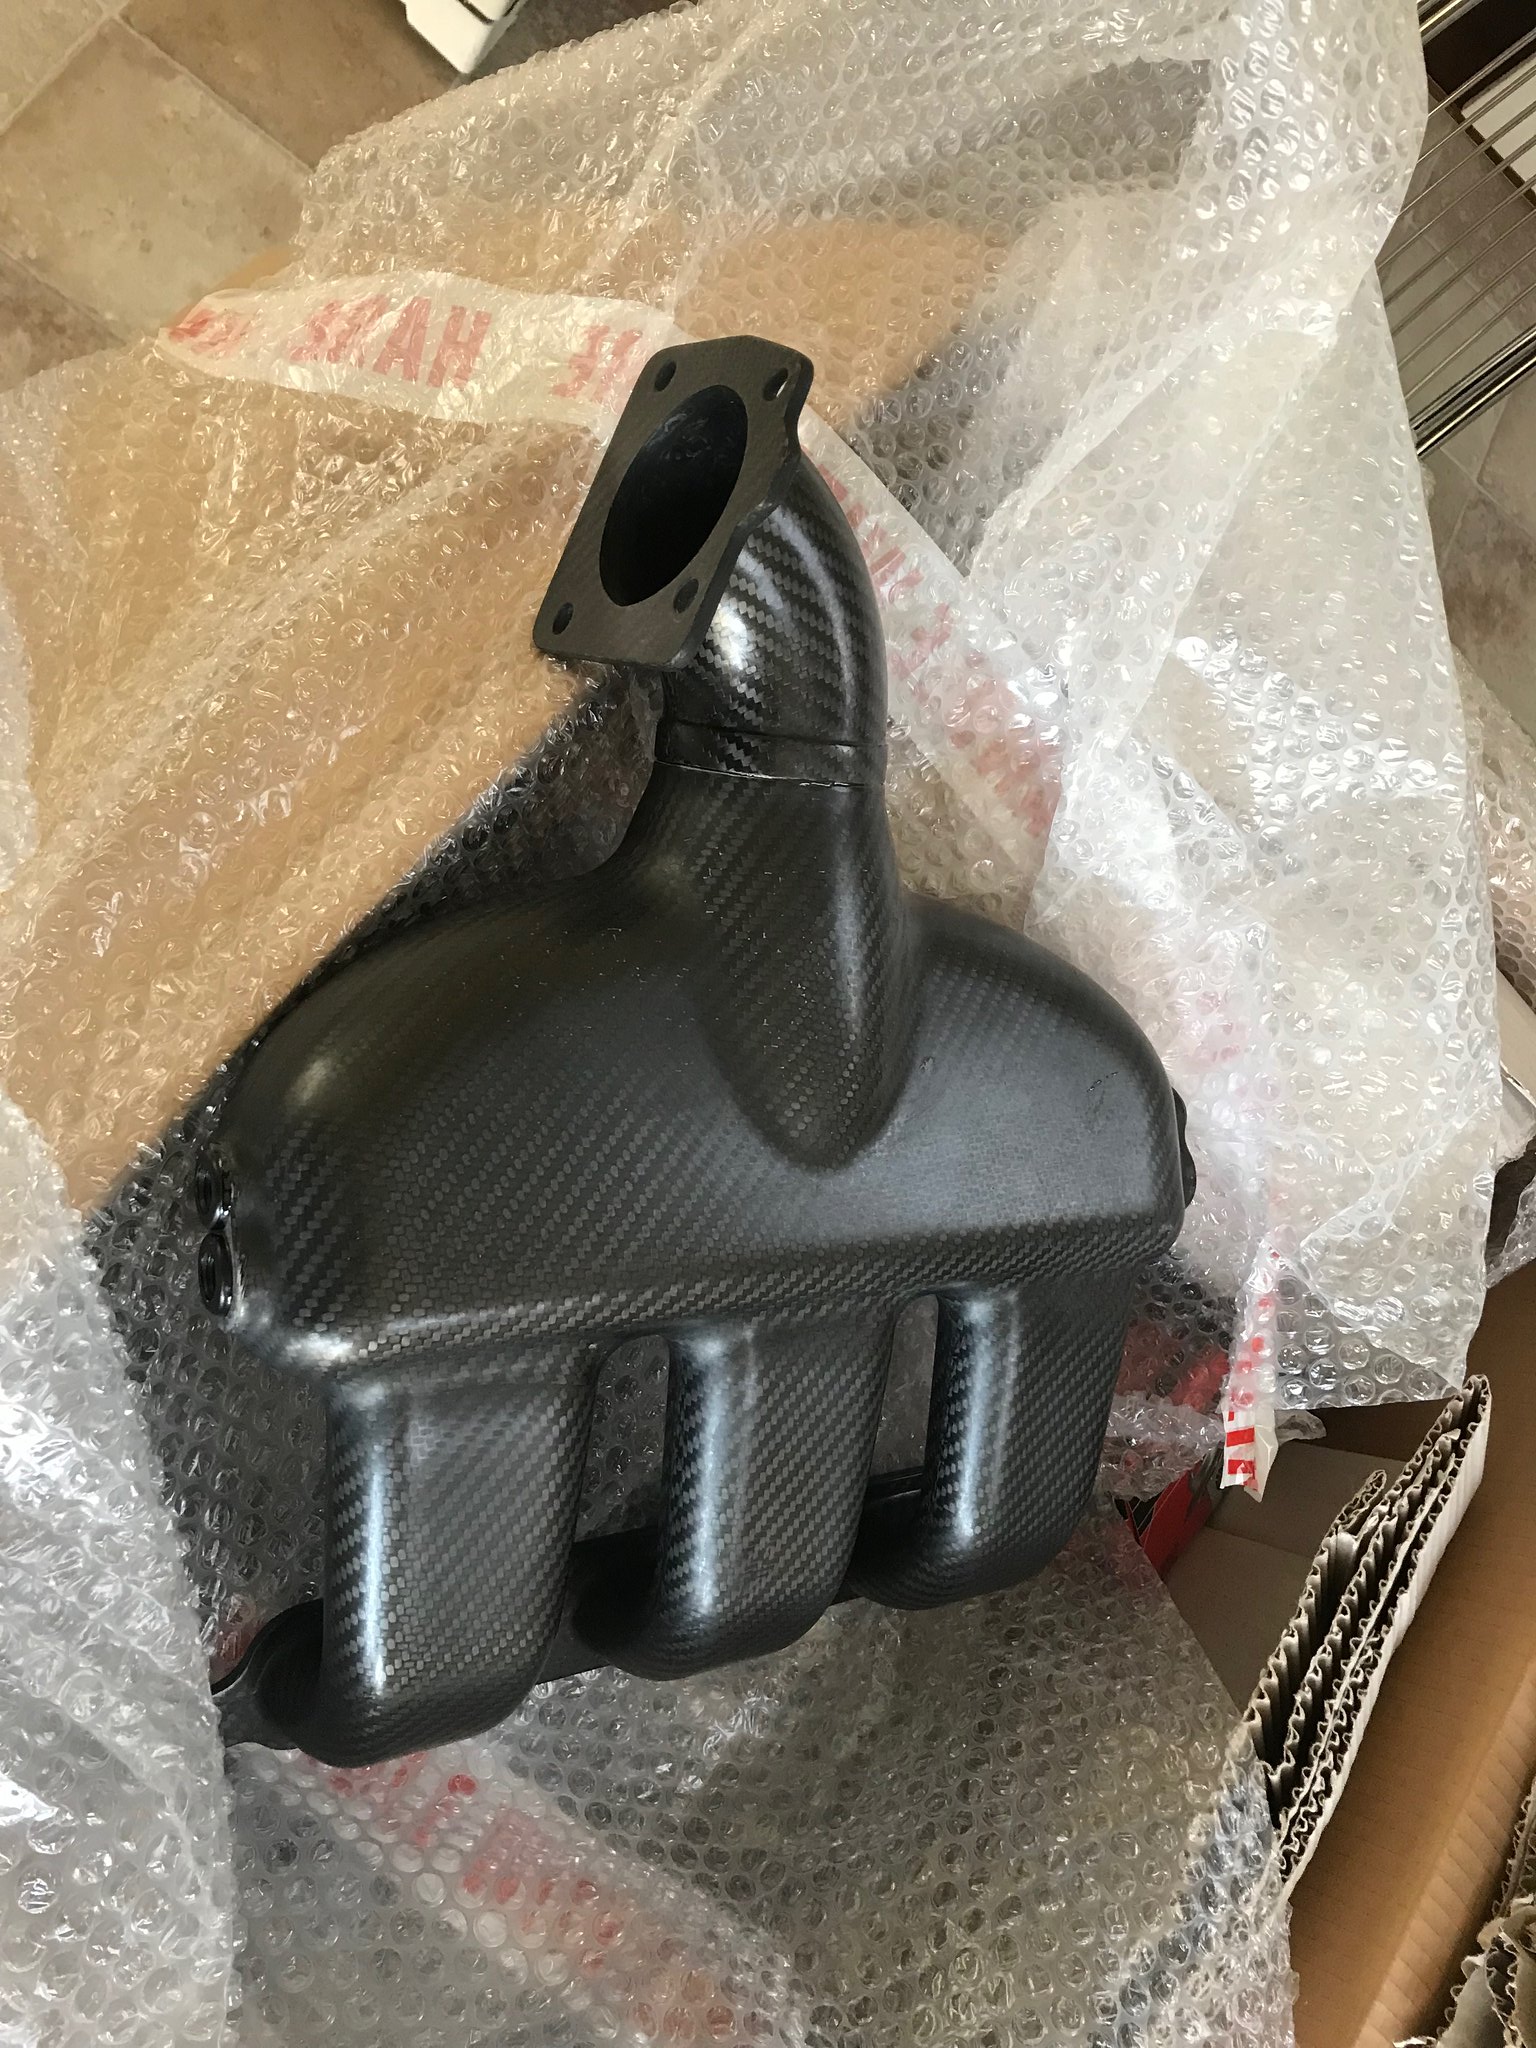 Untitled Untitled by Nevtiger, on Flickr As it happens these don't quite fit the car, they are designed for the MX5 and that is a little wider. So i need to modify each one top bring the mounting flange around to 90 degrees and slightly forward. Then they will be perfect. I also bought some gearbox mounting hardware Some body mounts and a gearbox mount. These are Rally Escort types and i will modify the body bits to fit and make up a mount on the gearbox to fit the new gearbox crossmember. 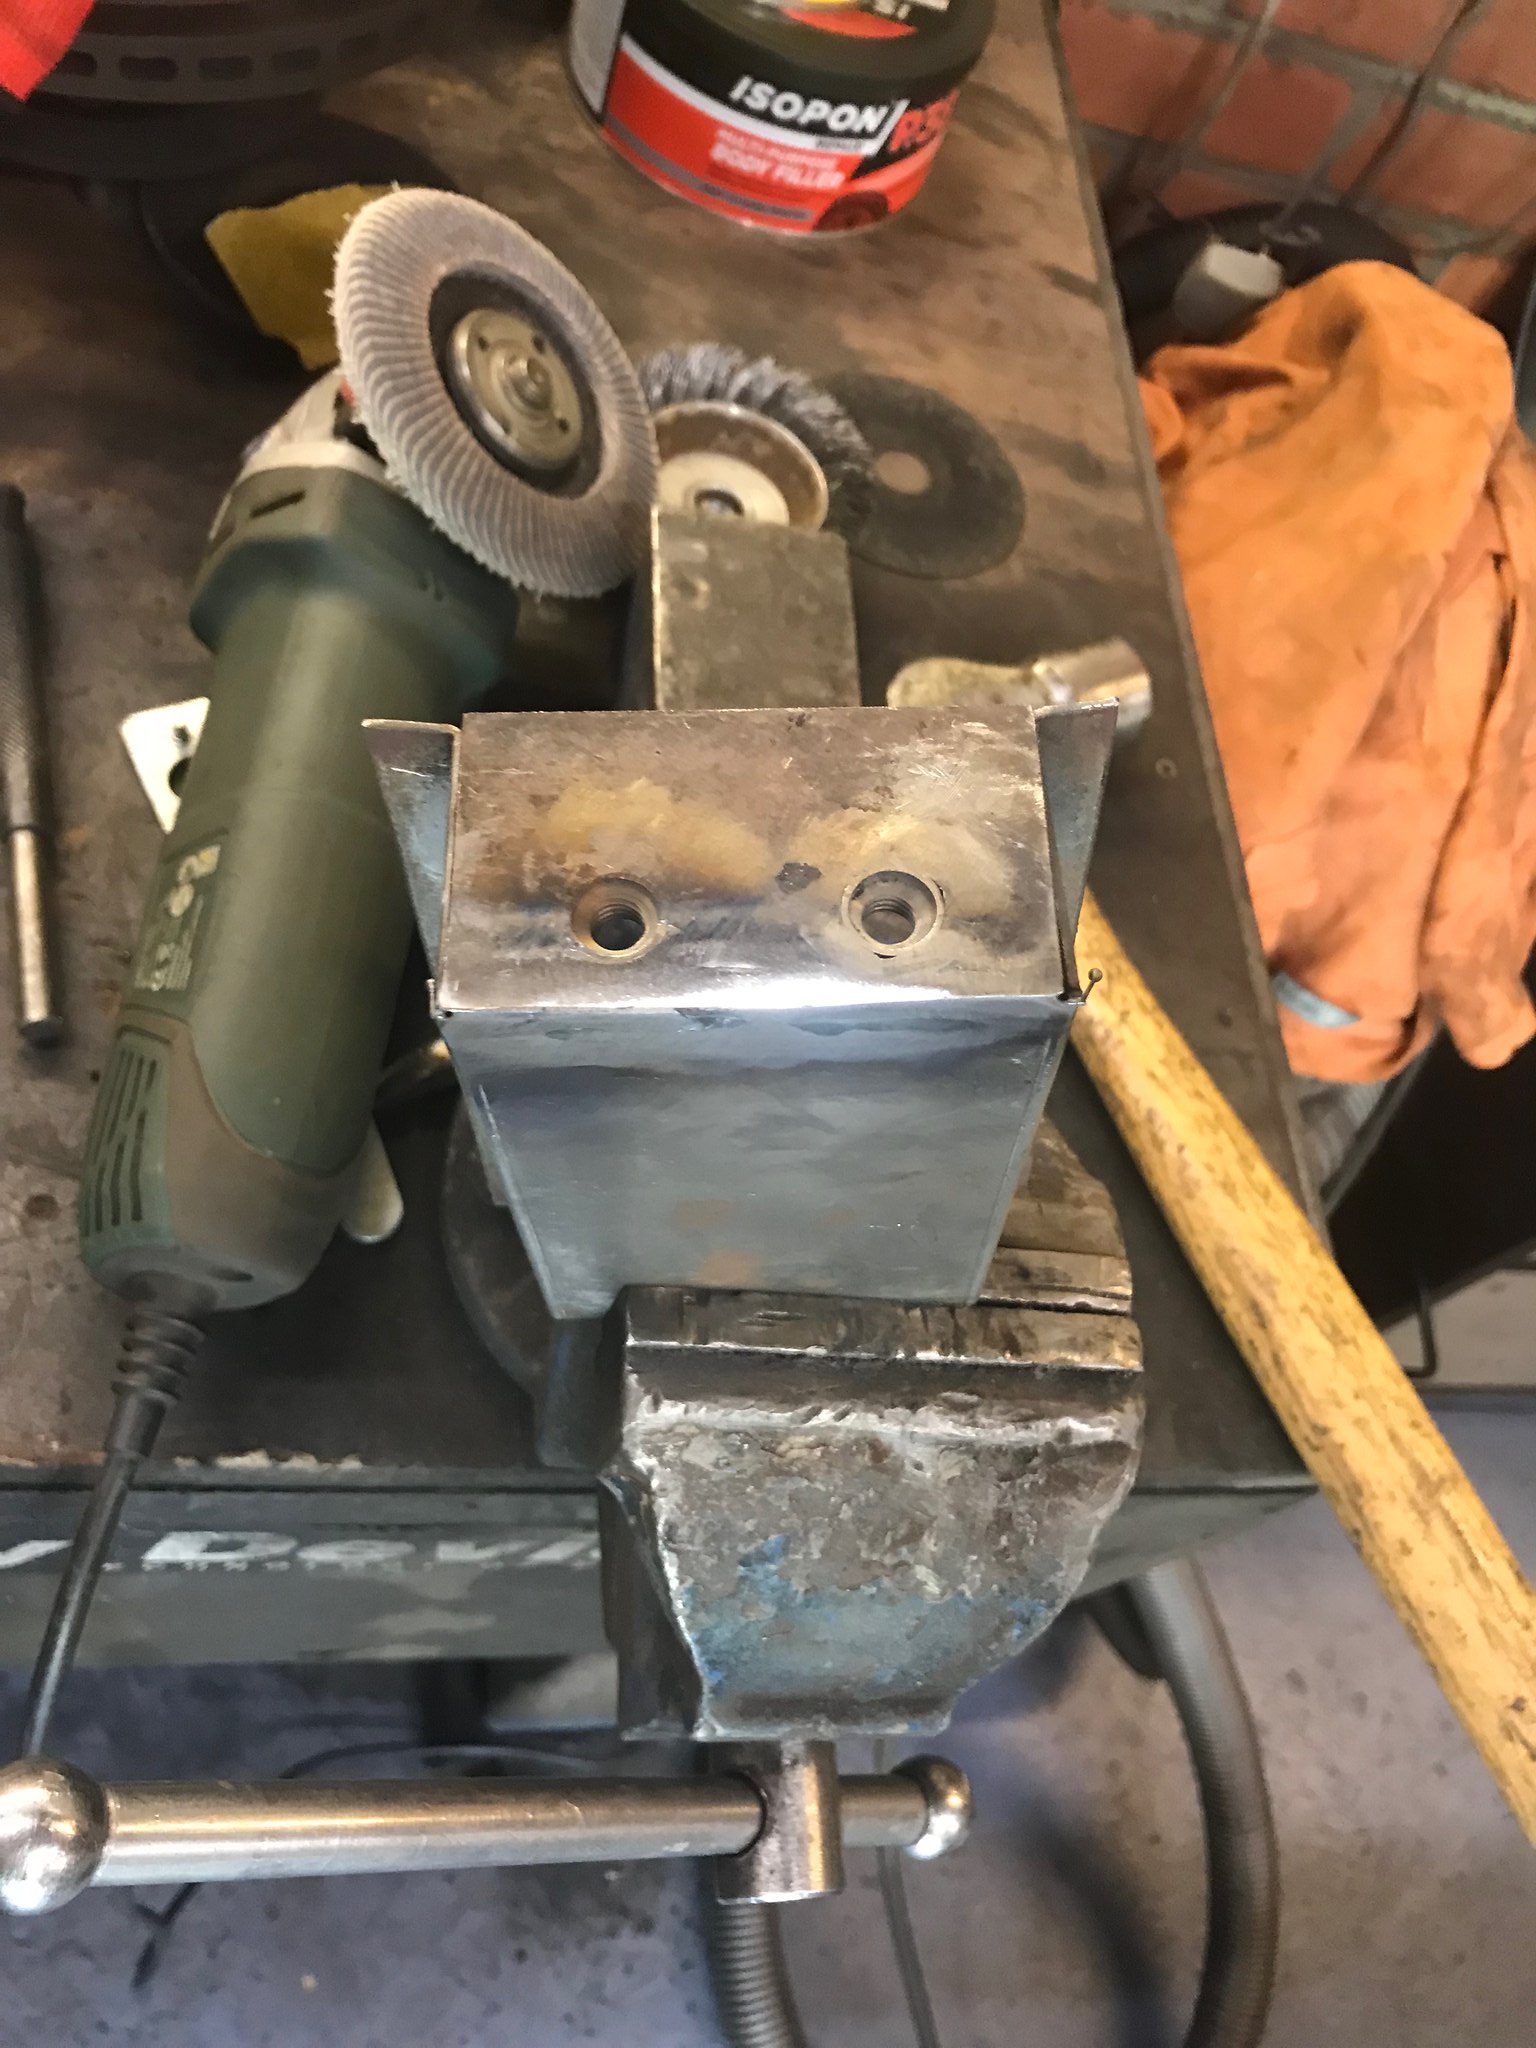 Untitled Untitled by Nevtiger, on Flickr This is me being dim and wondering why the mount will not fit. 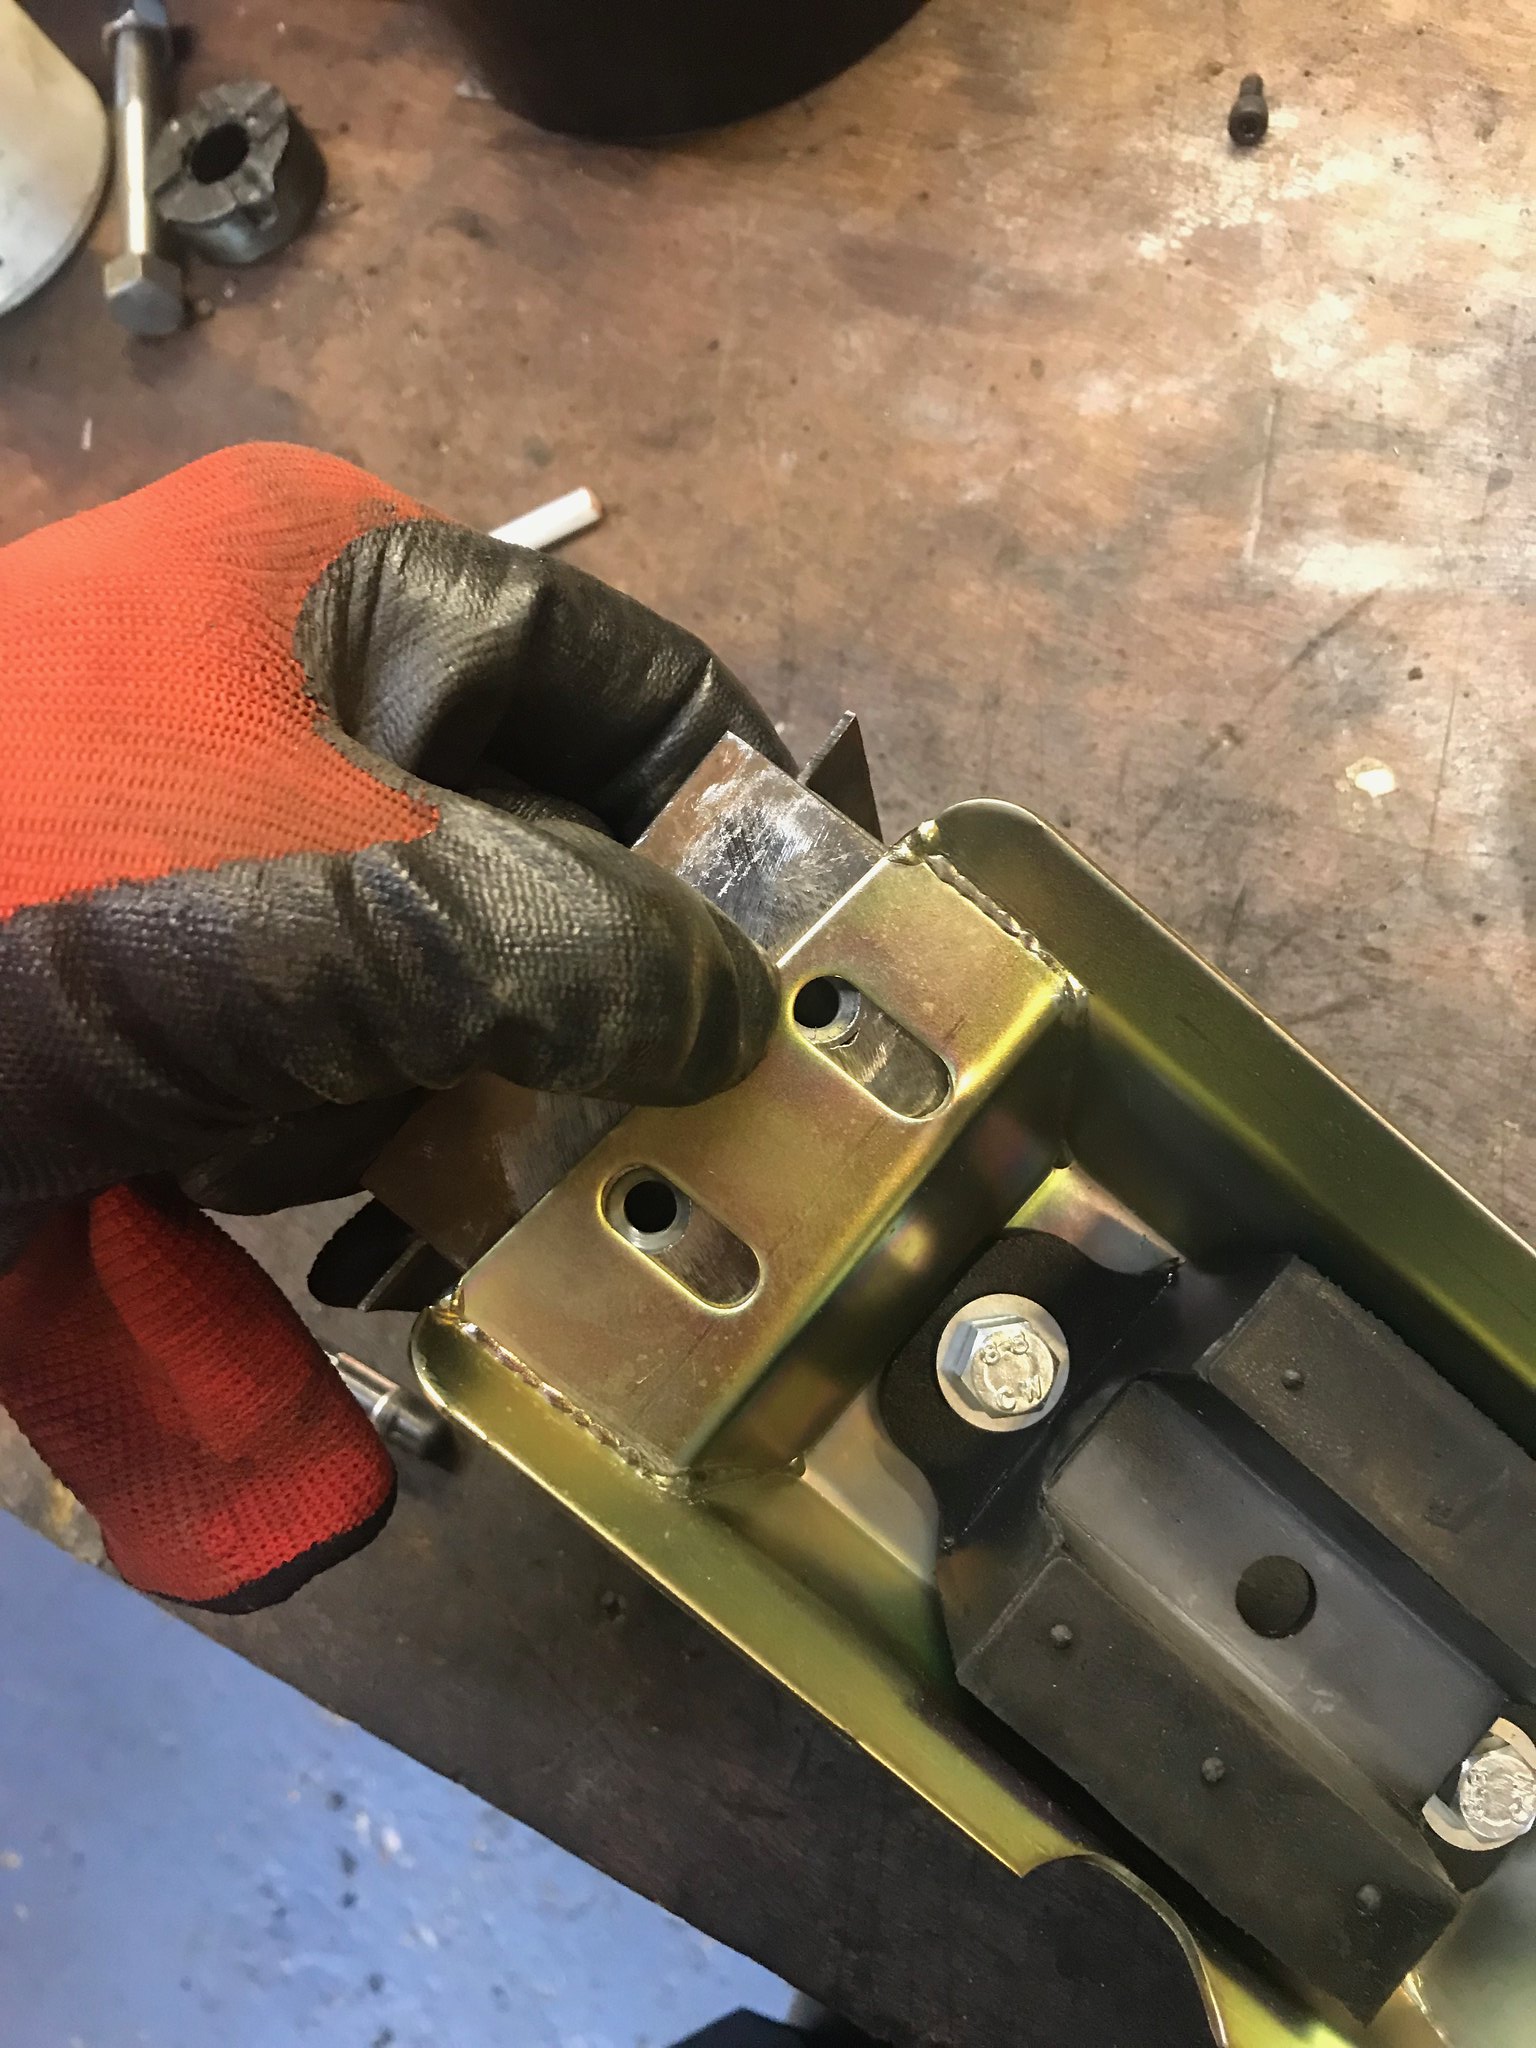 Untitled Untitled by Nevtiger, on Flickr This is me after i have cut and welded the mount so it does fit. 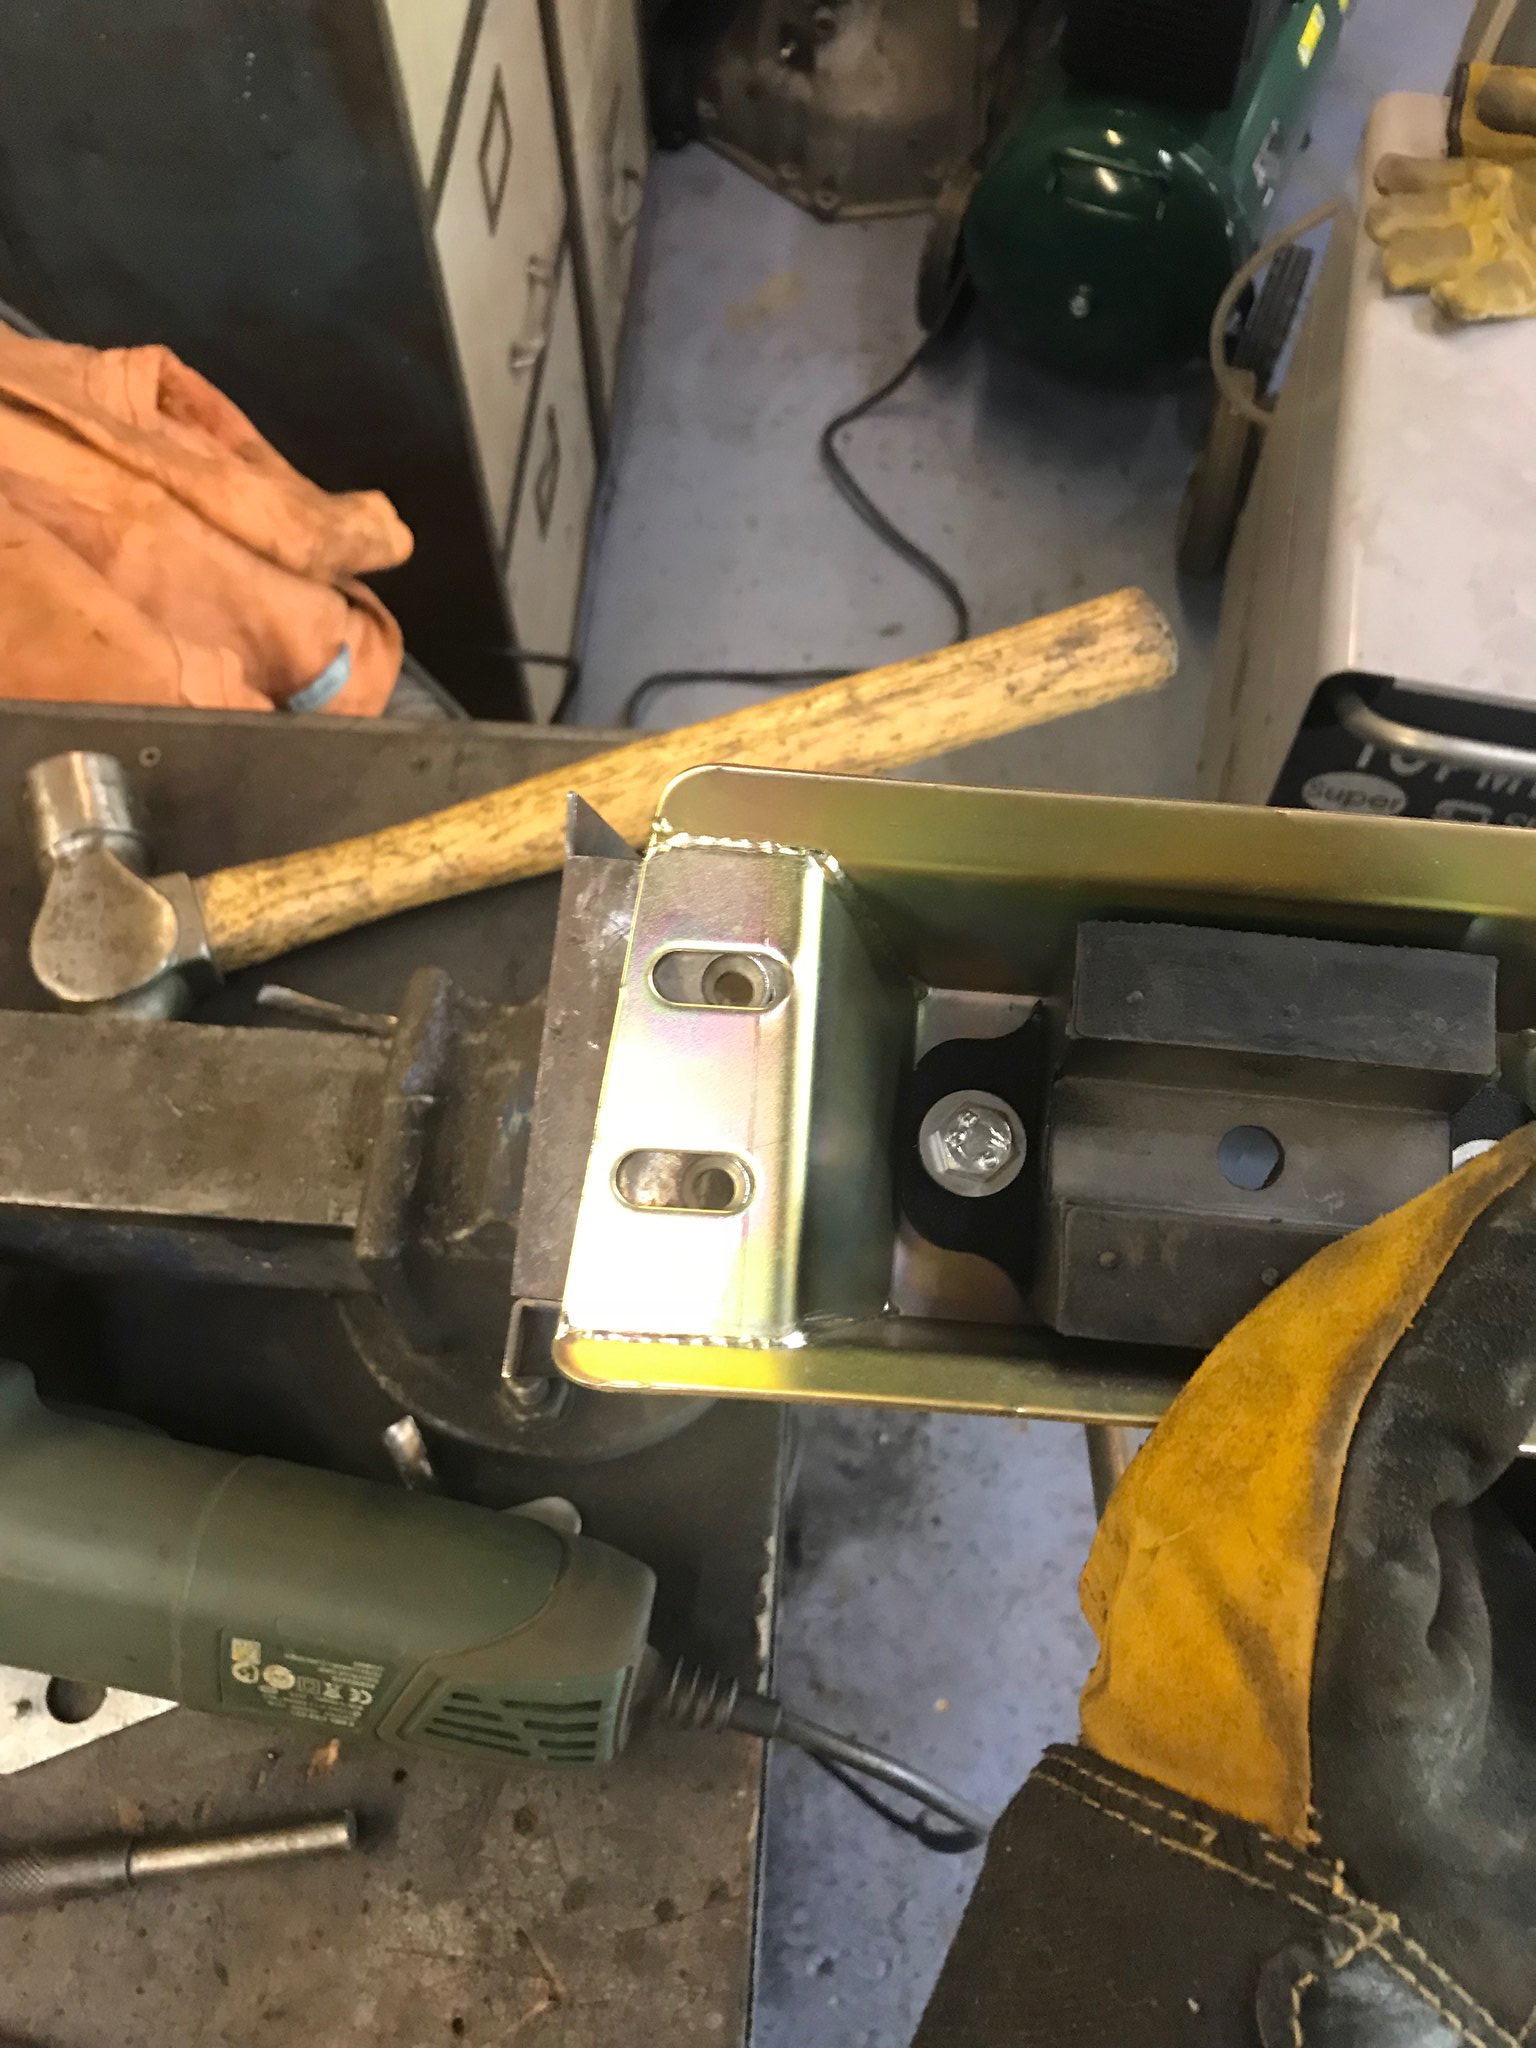 Untitled Untitled by Nevtiger, on Flickr Then i realised i had it upside down.......... Parts of the bits i had bought were some MX5 to AJ30 engine mounts. They are in kit form and were given to me so i could modify them to fit my car. The base plates on the engine 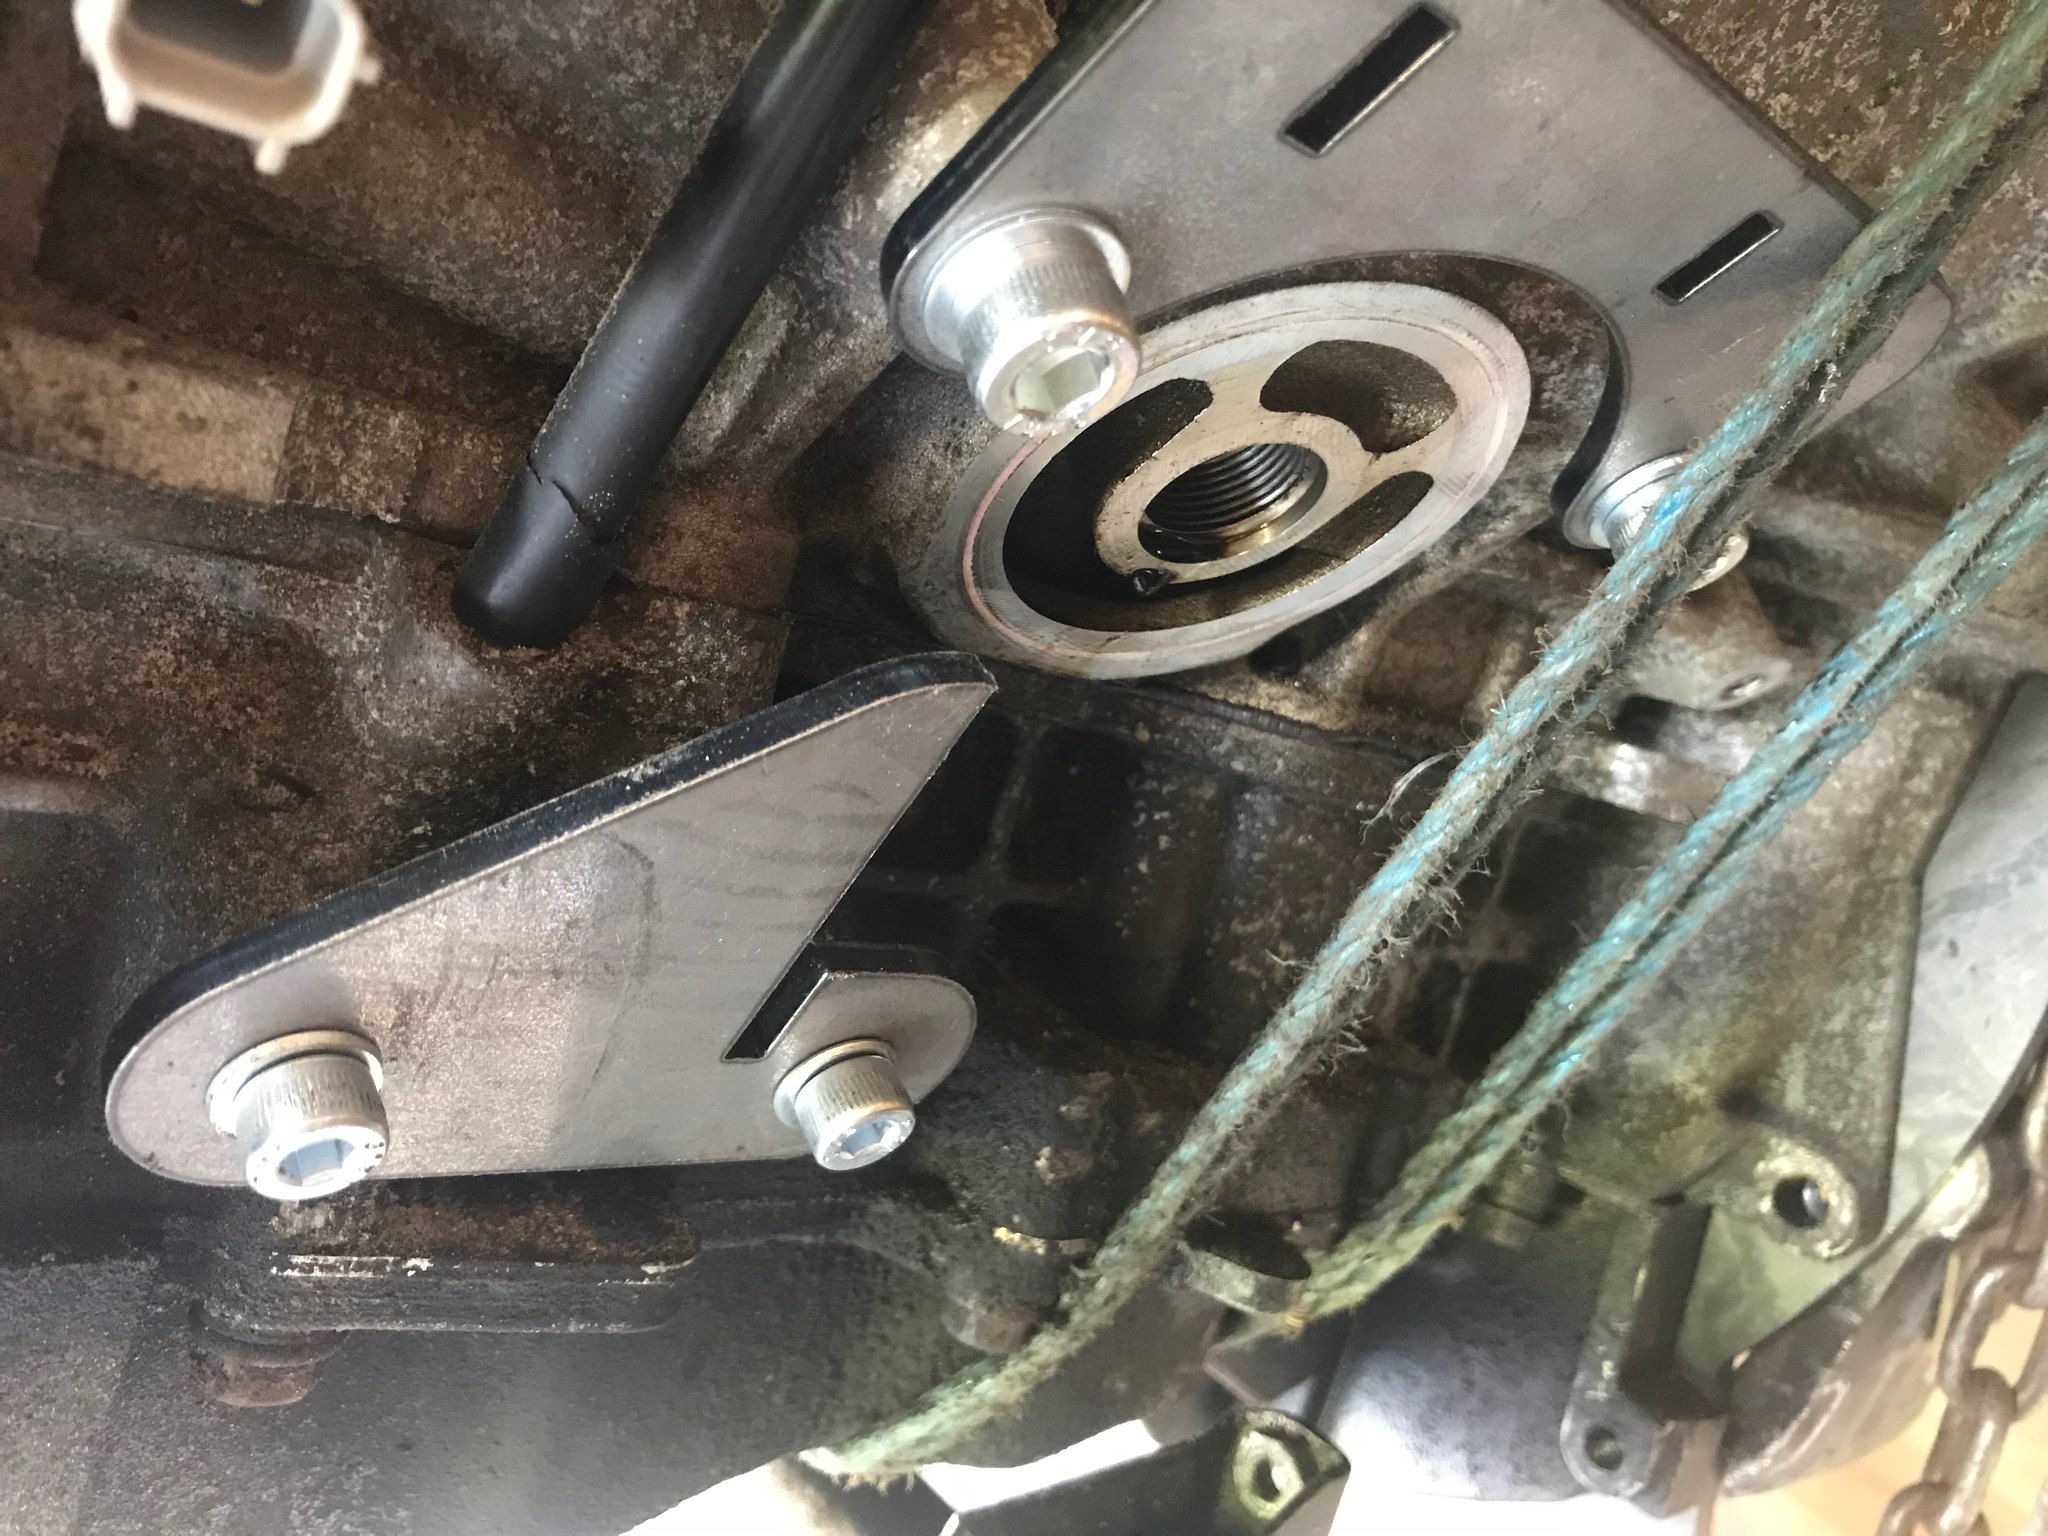 Untitled Untitled by Nevtiger, on Flickr 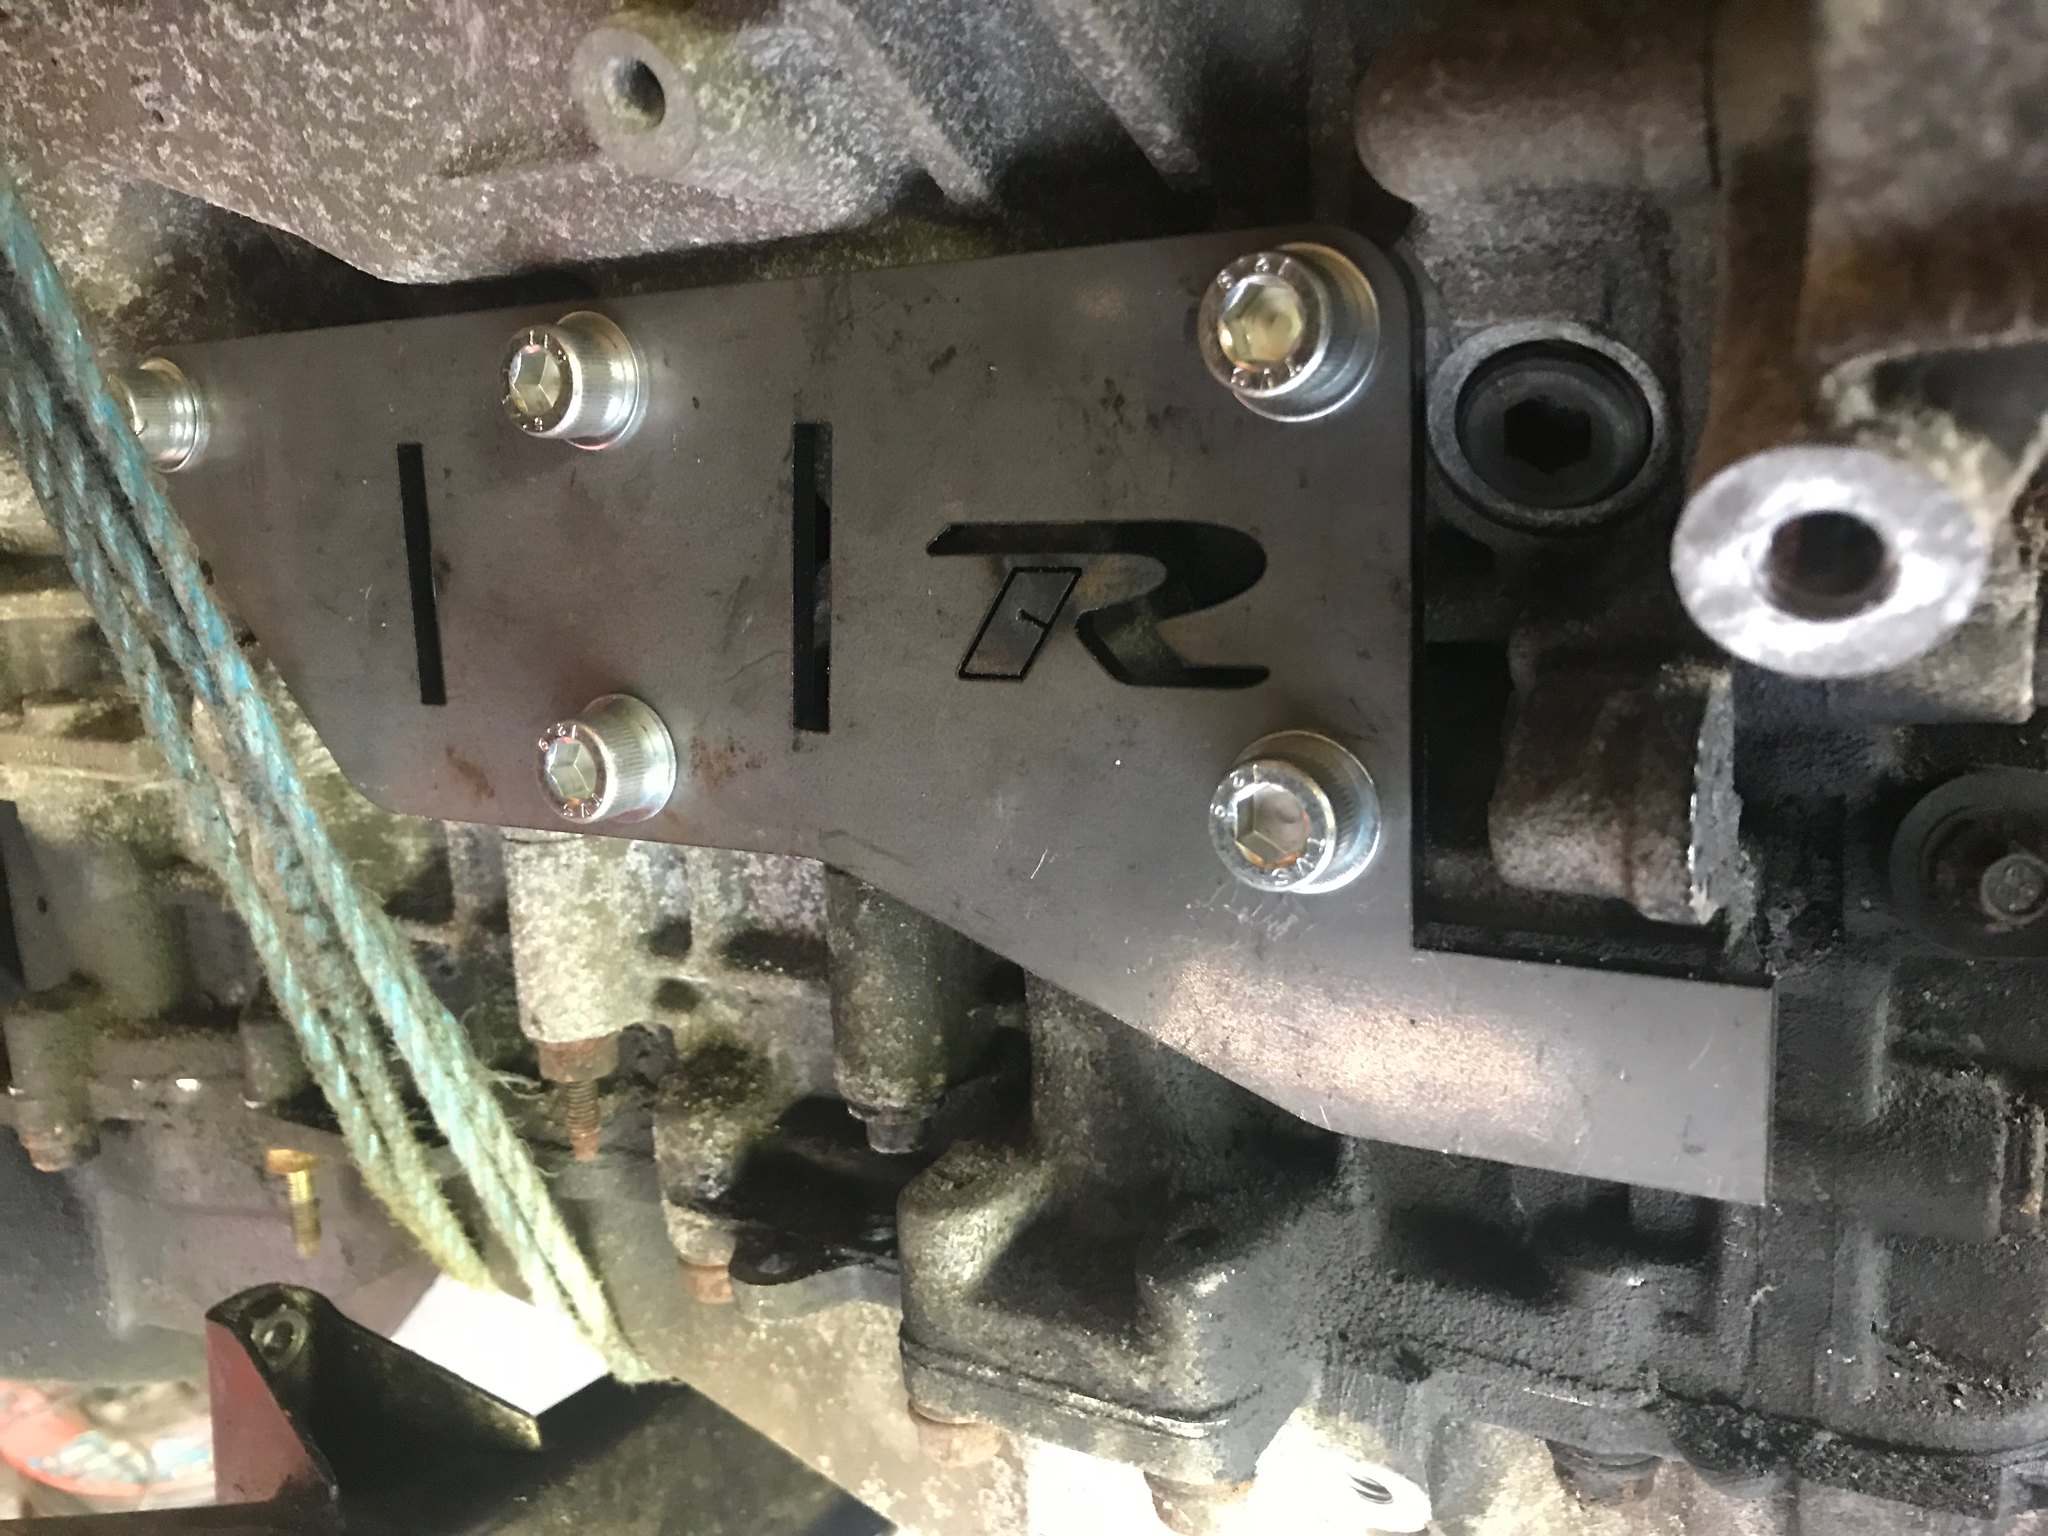 Untitled Untitled by Nevtiger, on Flickr The keen of eye will notice the oil filter in the way of the engine mount........... These will then pick up on some Sunbeam Lotus engine mount brackets. These were used to mount the 2.2 Lotus engine in the normal Sunbeam Lotus road car. The hole is not in the perfect position but some drilling will sort that. Then all i have to do is cut some metal. Weld some metal. cut more metal. weld some more metal and hey presto i will have engine mounts.... I am using MX5/AJ30 rubber mounts as they have proven to be strong enough. But not actual rubber but in Poly stuff. Which means i have to get the engine and gearbox in the correct position. 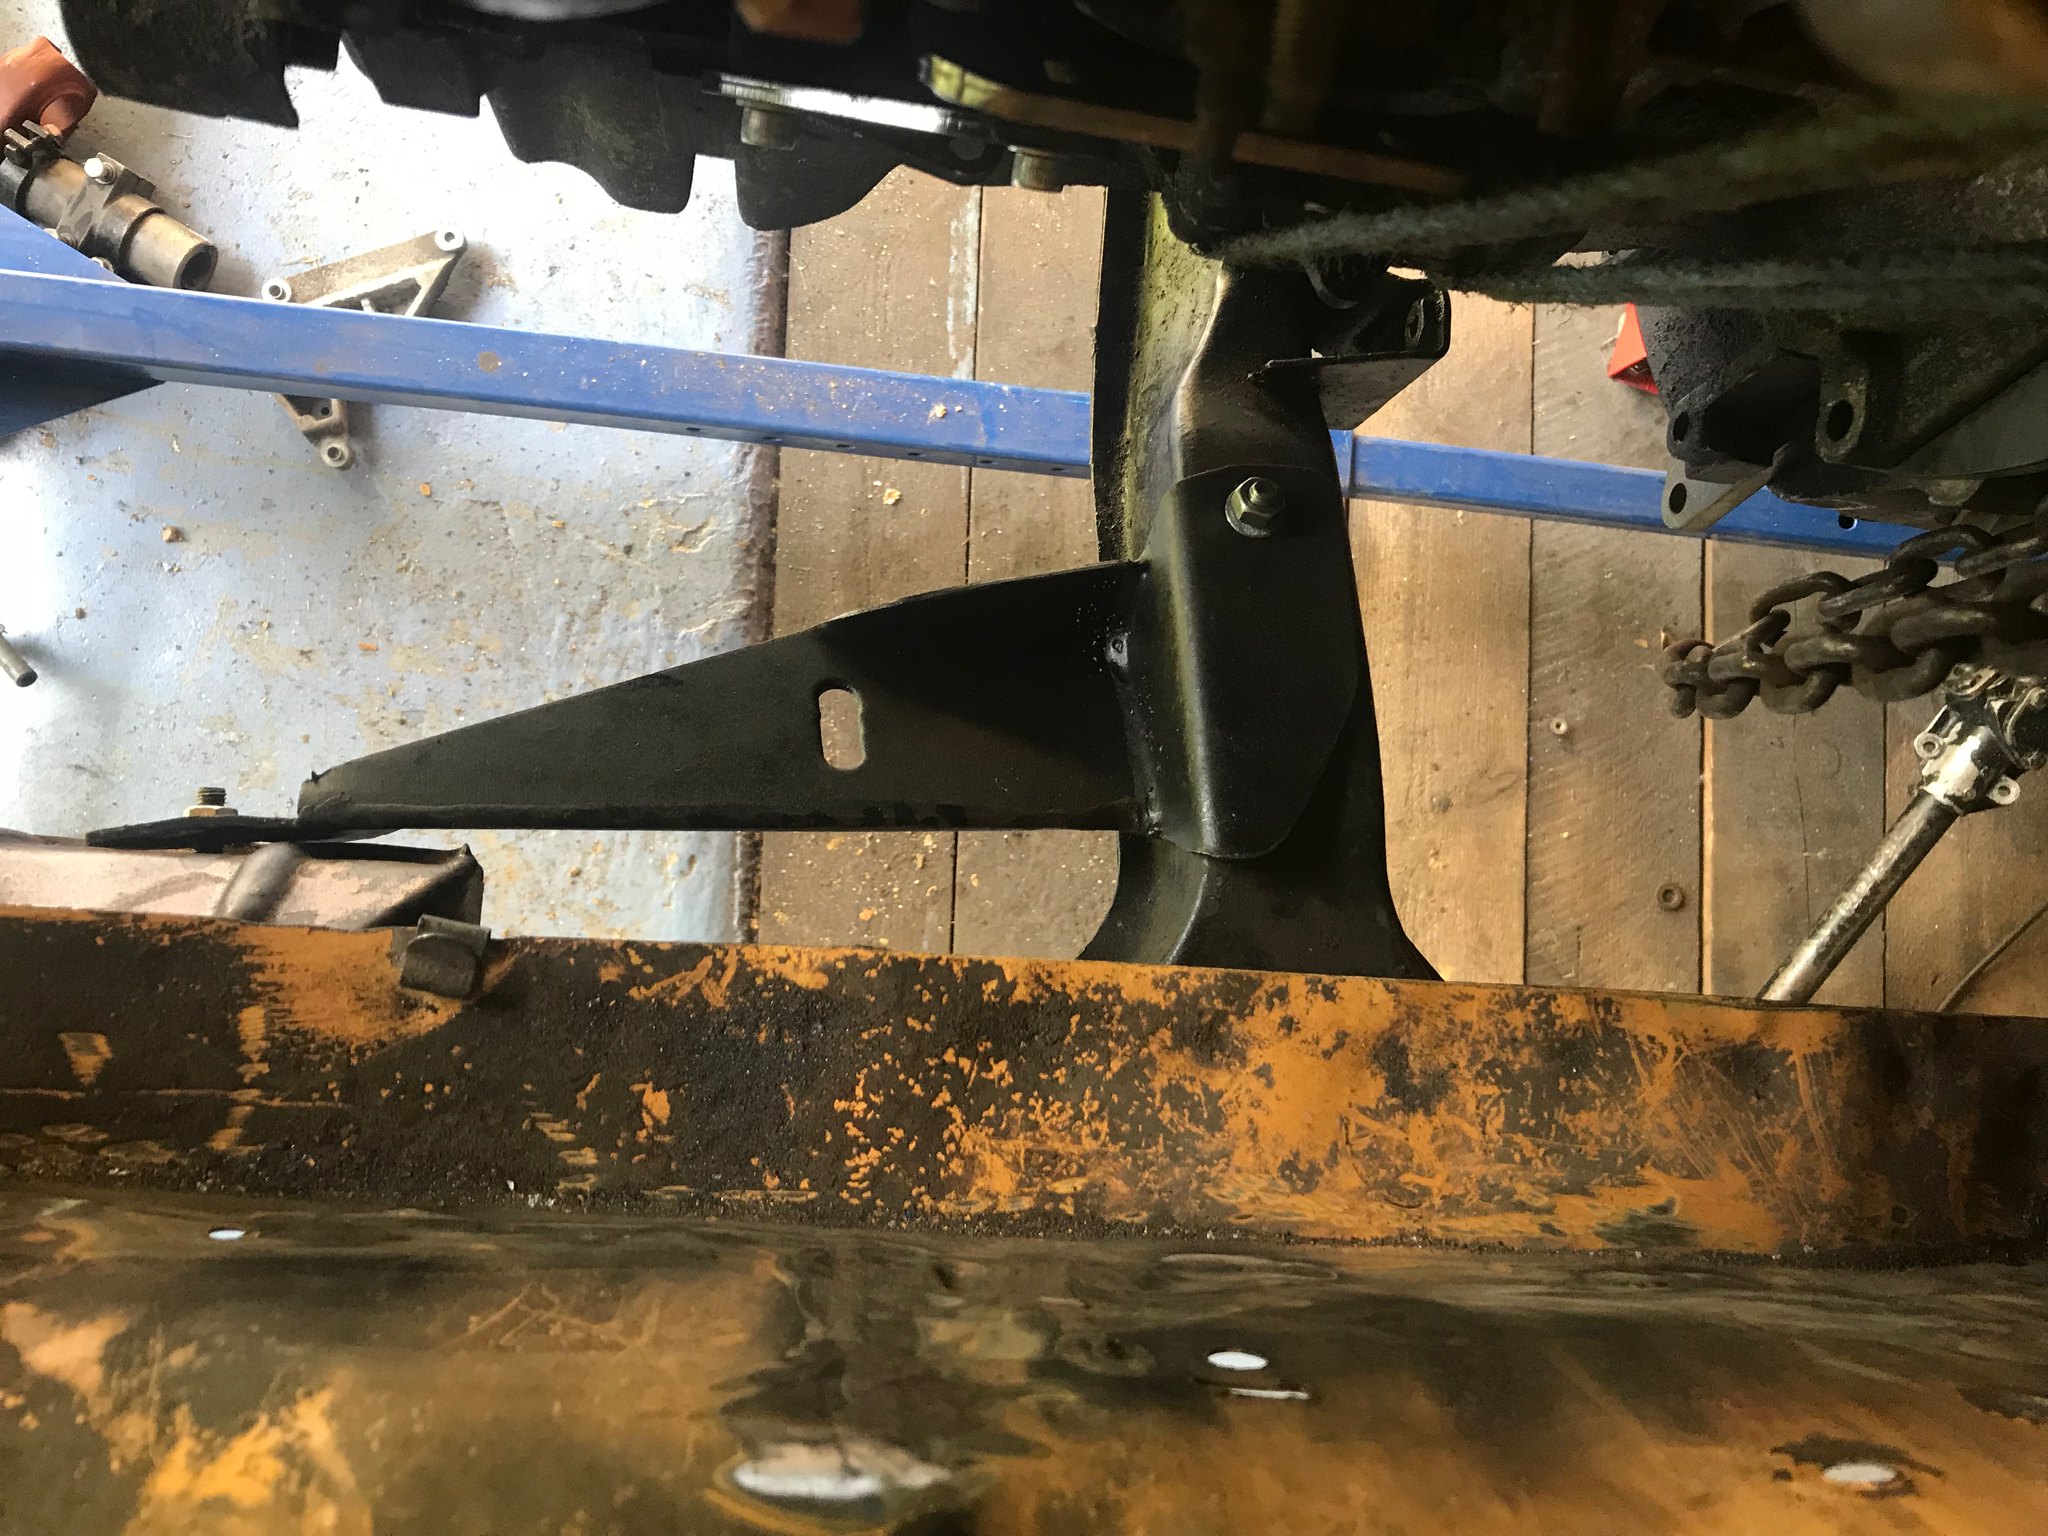 Untitled Untitled by Nevtiger, on Flickr Struggled and faffed around but in the end needed to do some relieving of the transmission tunnel to get the gearbox up high enough. 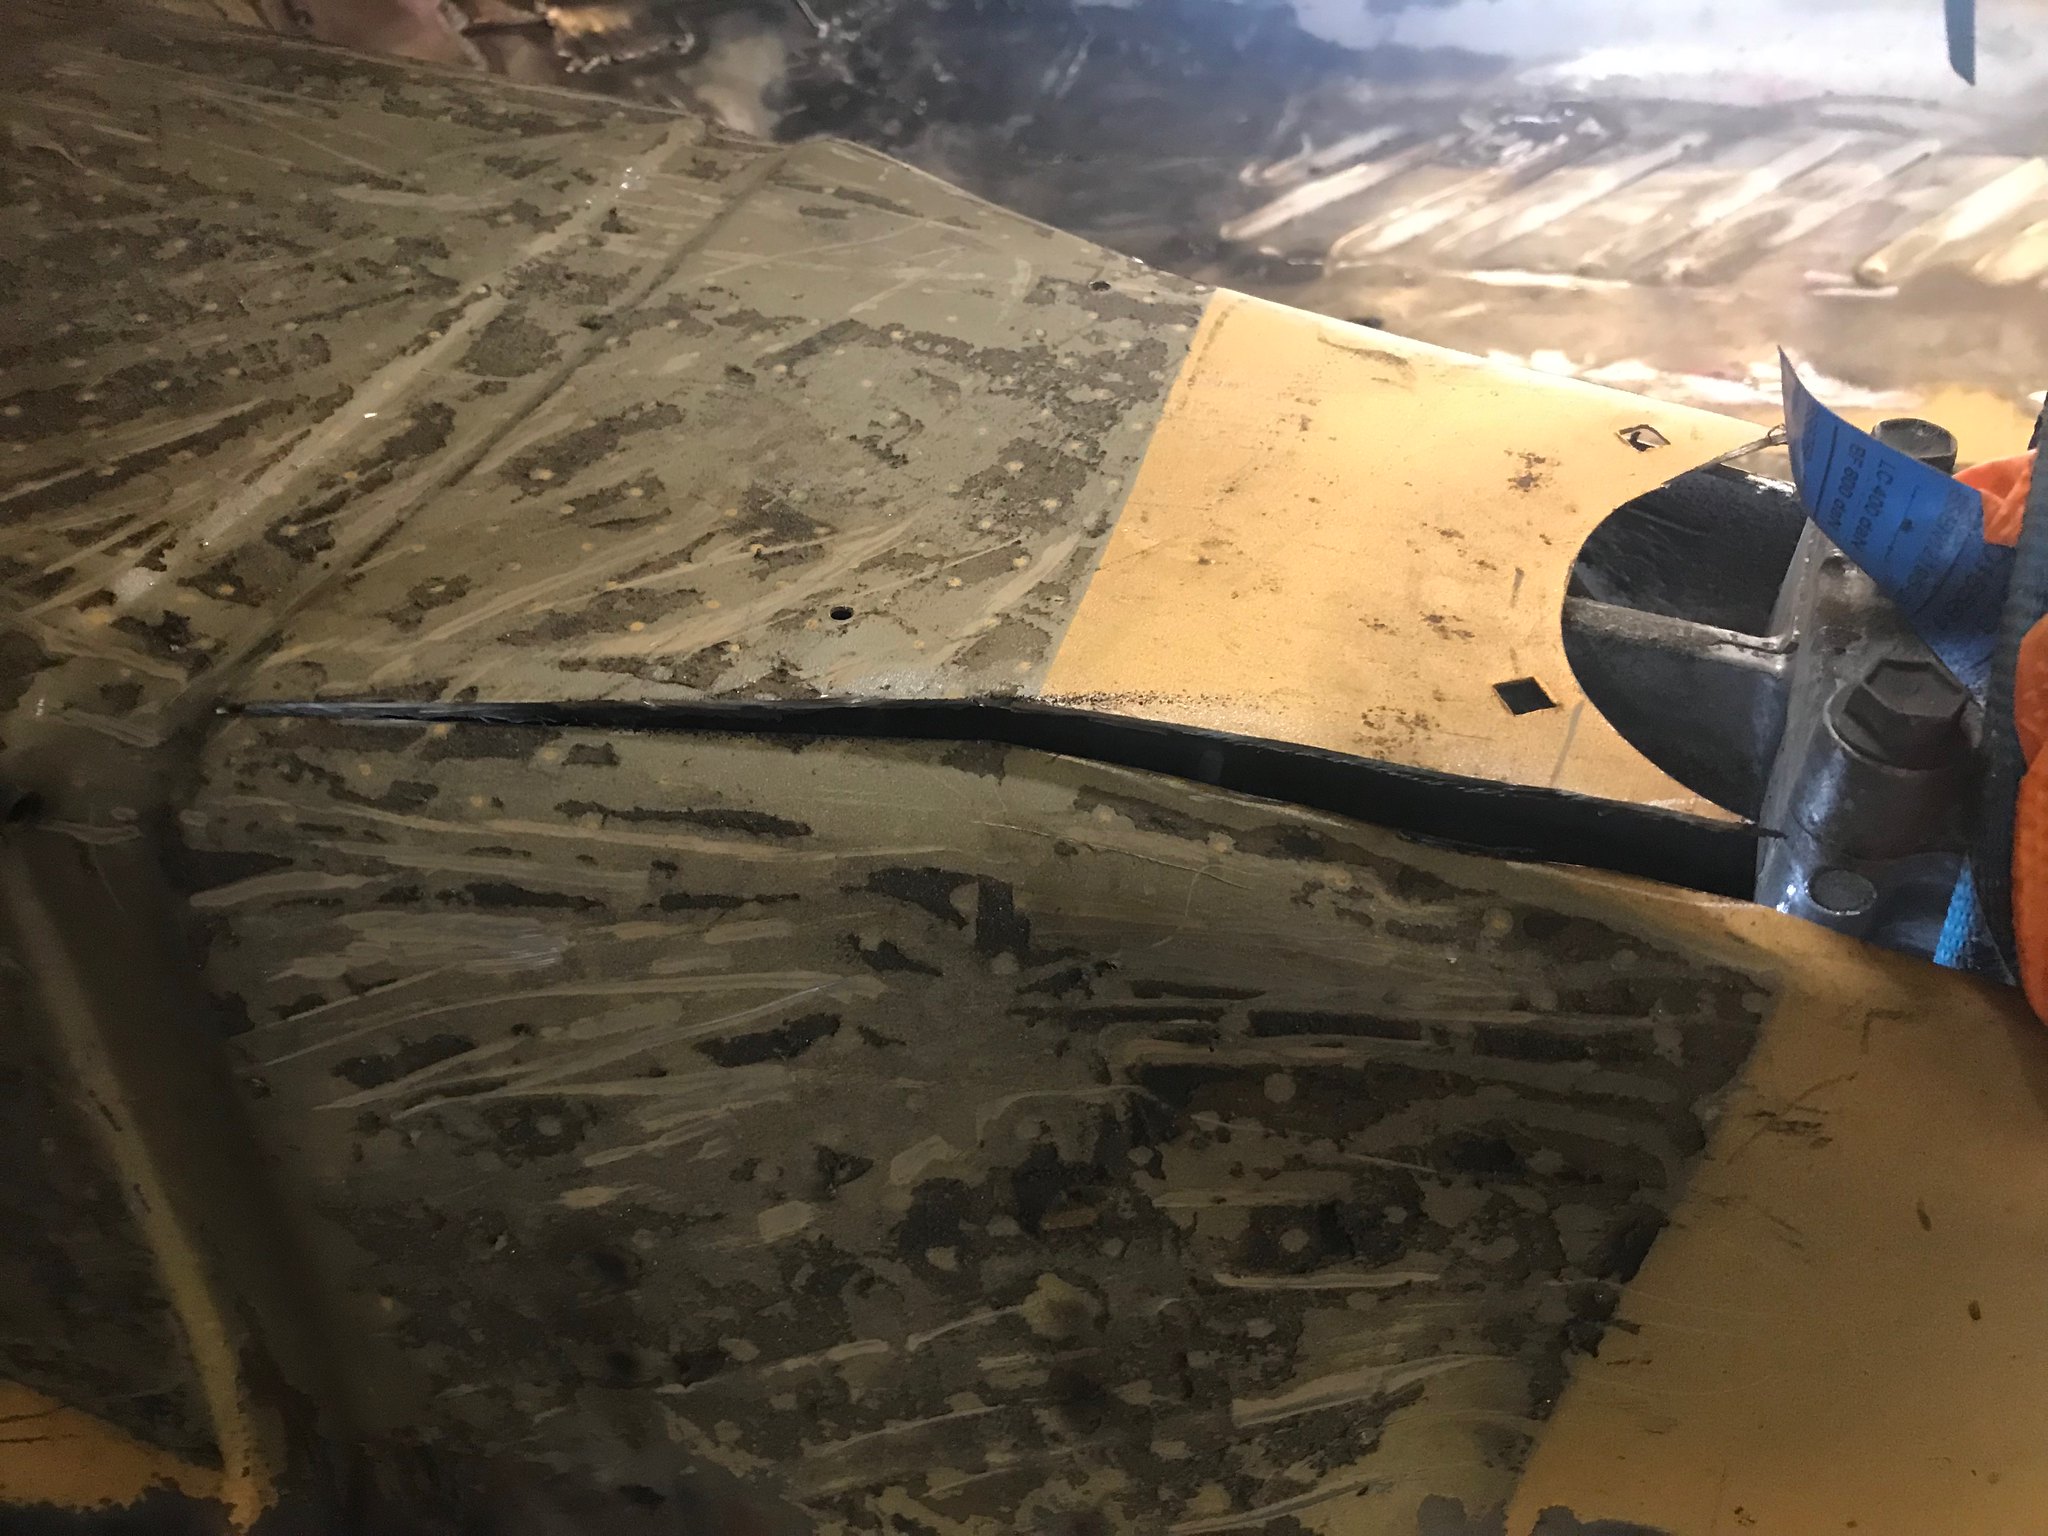 Untitled Untitled by Nevtiger, on Flickr 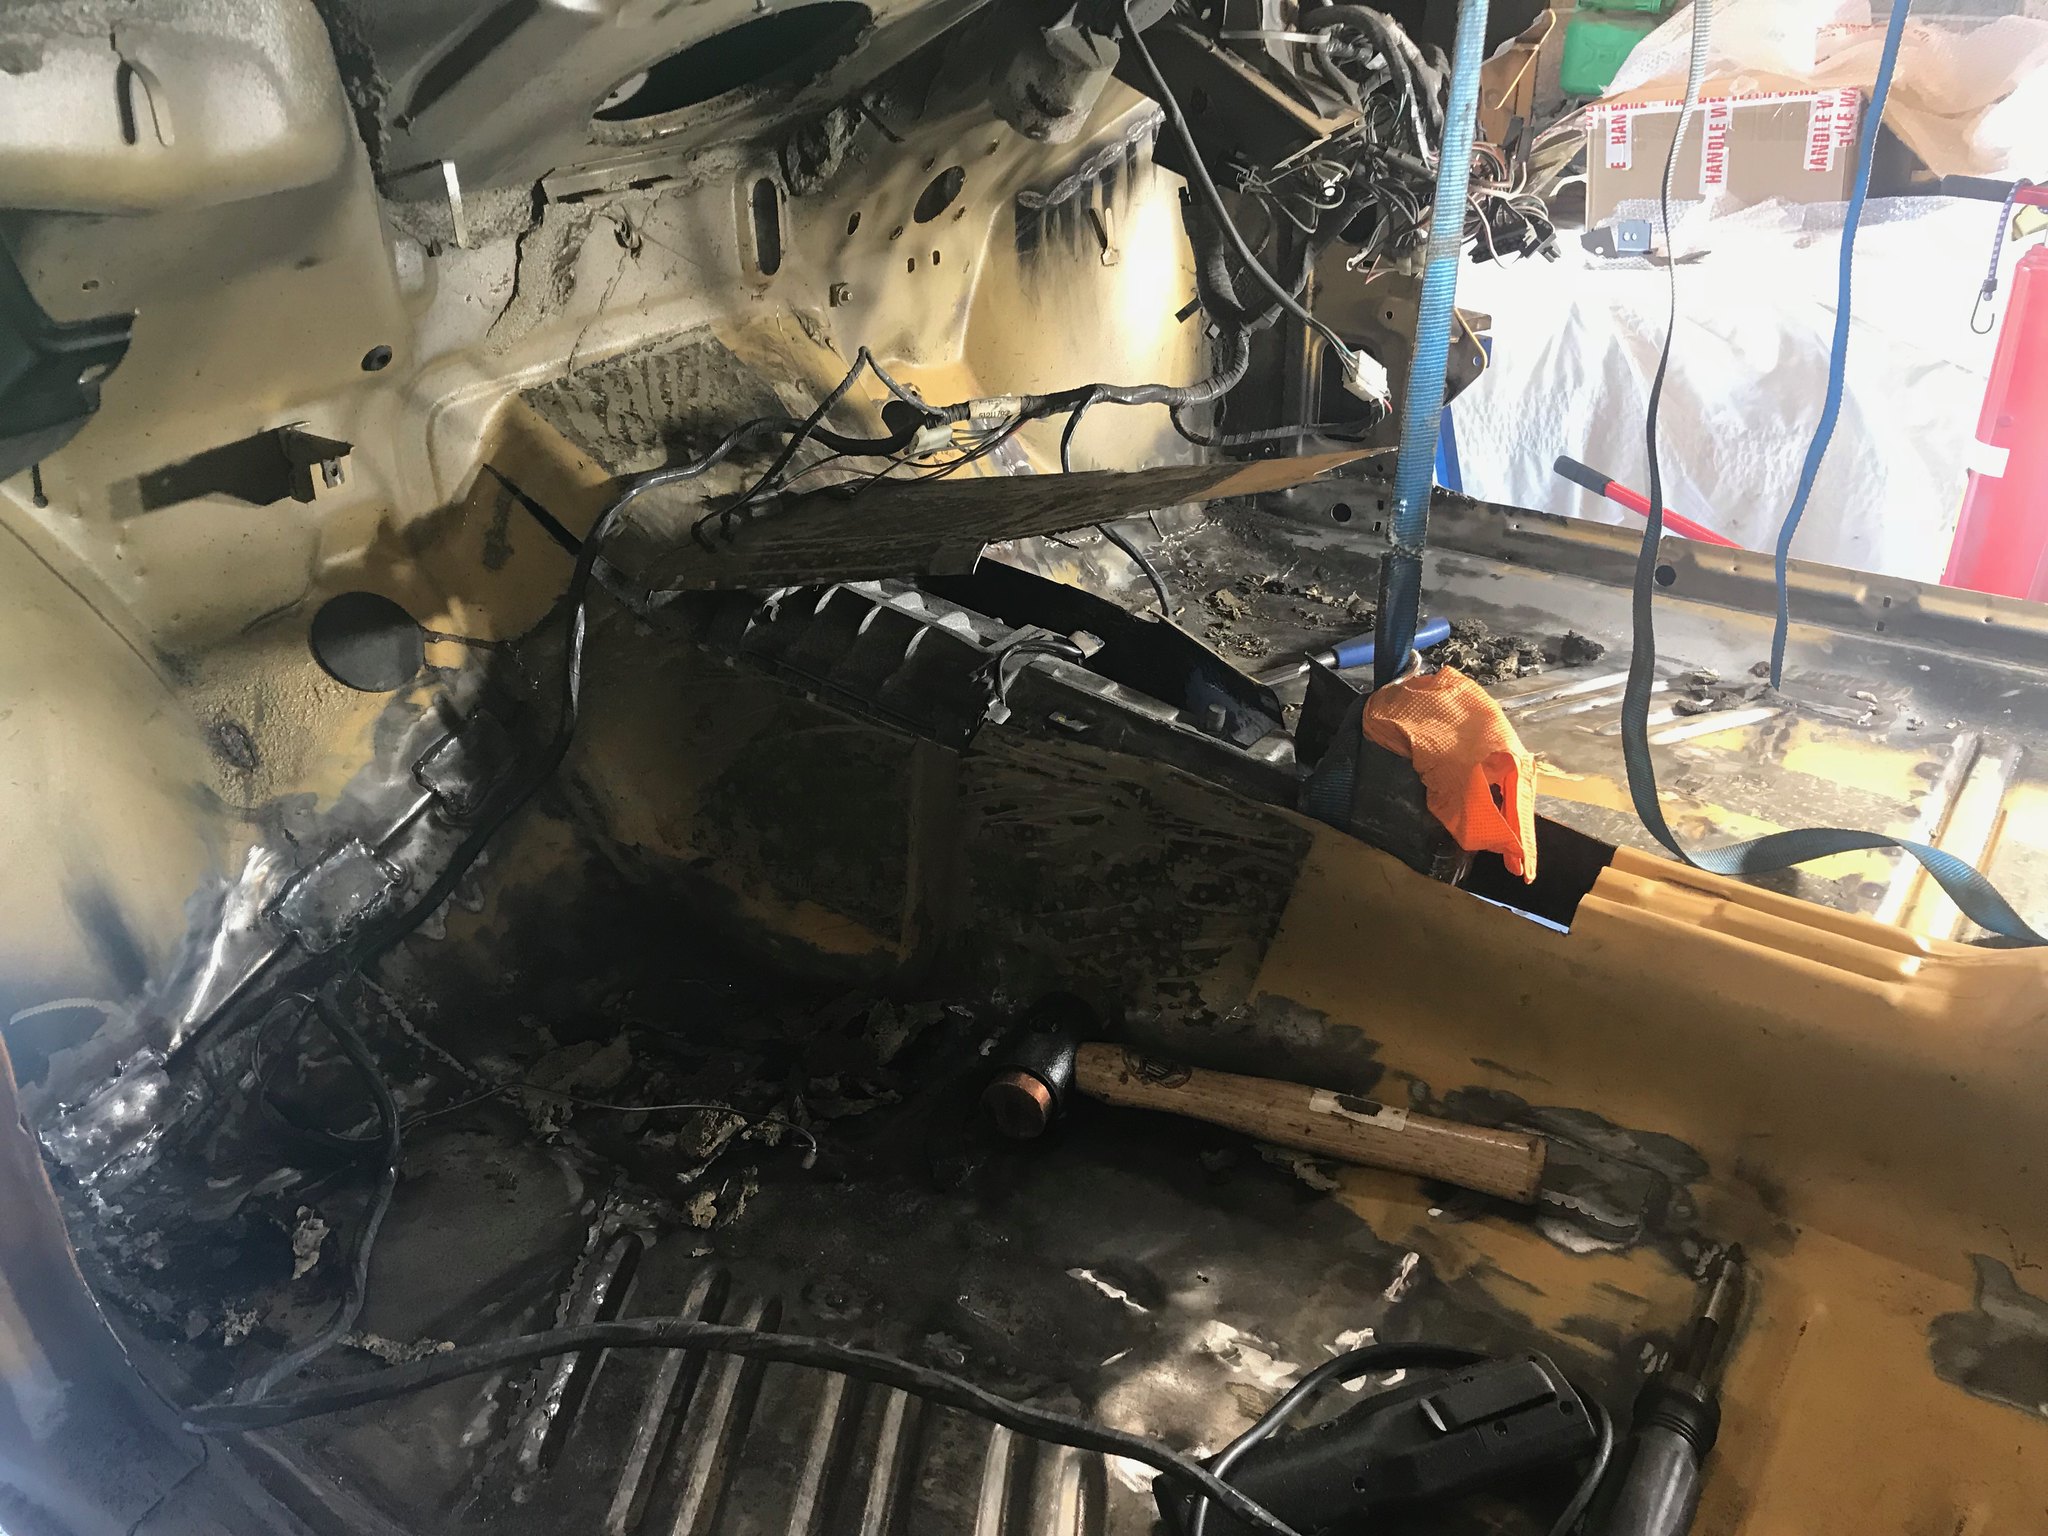 Untitled Untitled by Nevtiger, on Flickr That is almost all the clearance work done, just a tad more and it will be time to mount the engine and box in place. Bottom of the gearbox is still below the sill line. But not by much 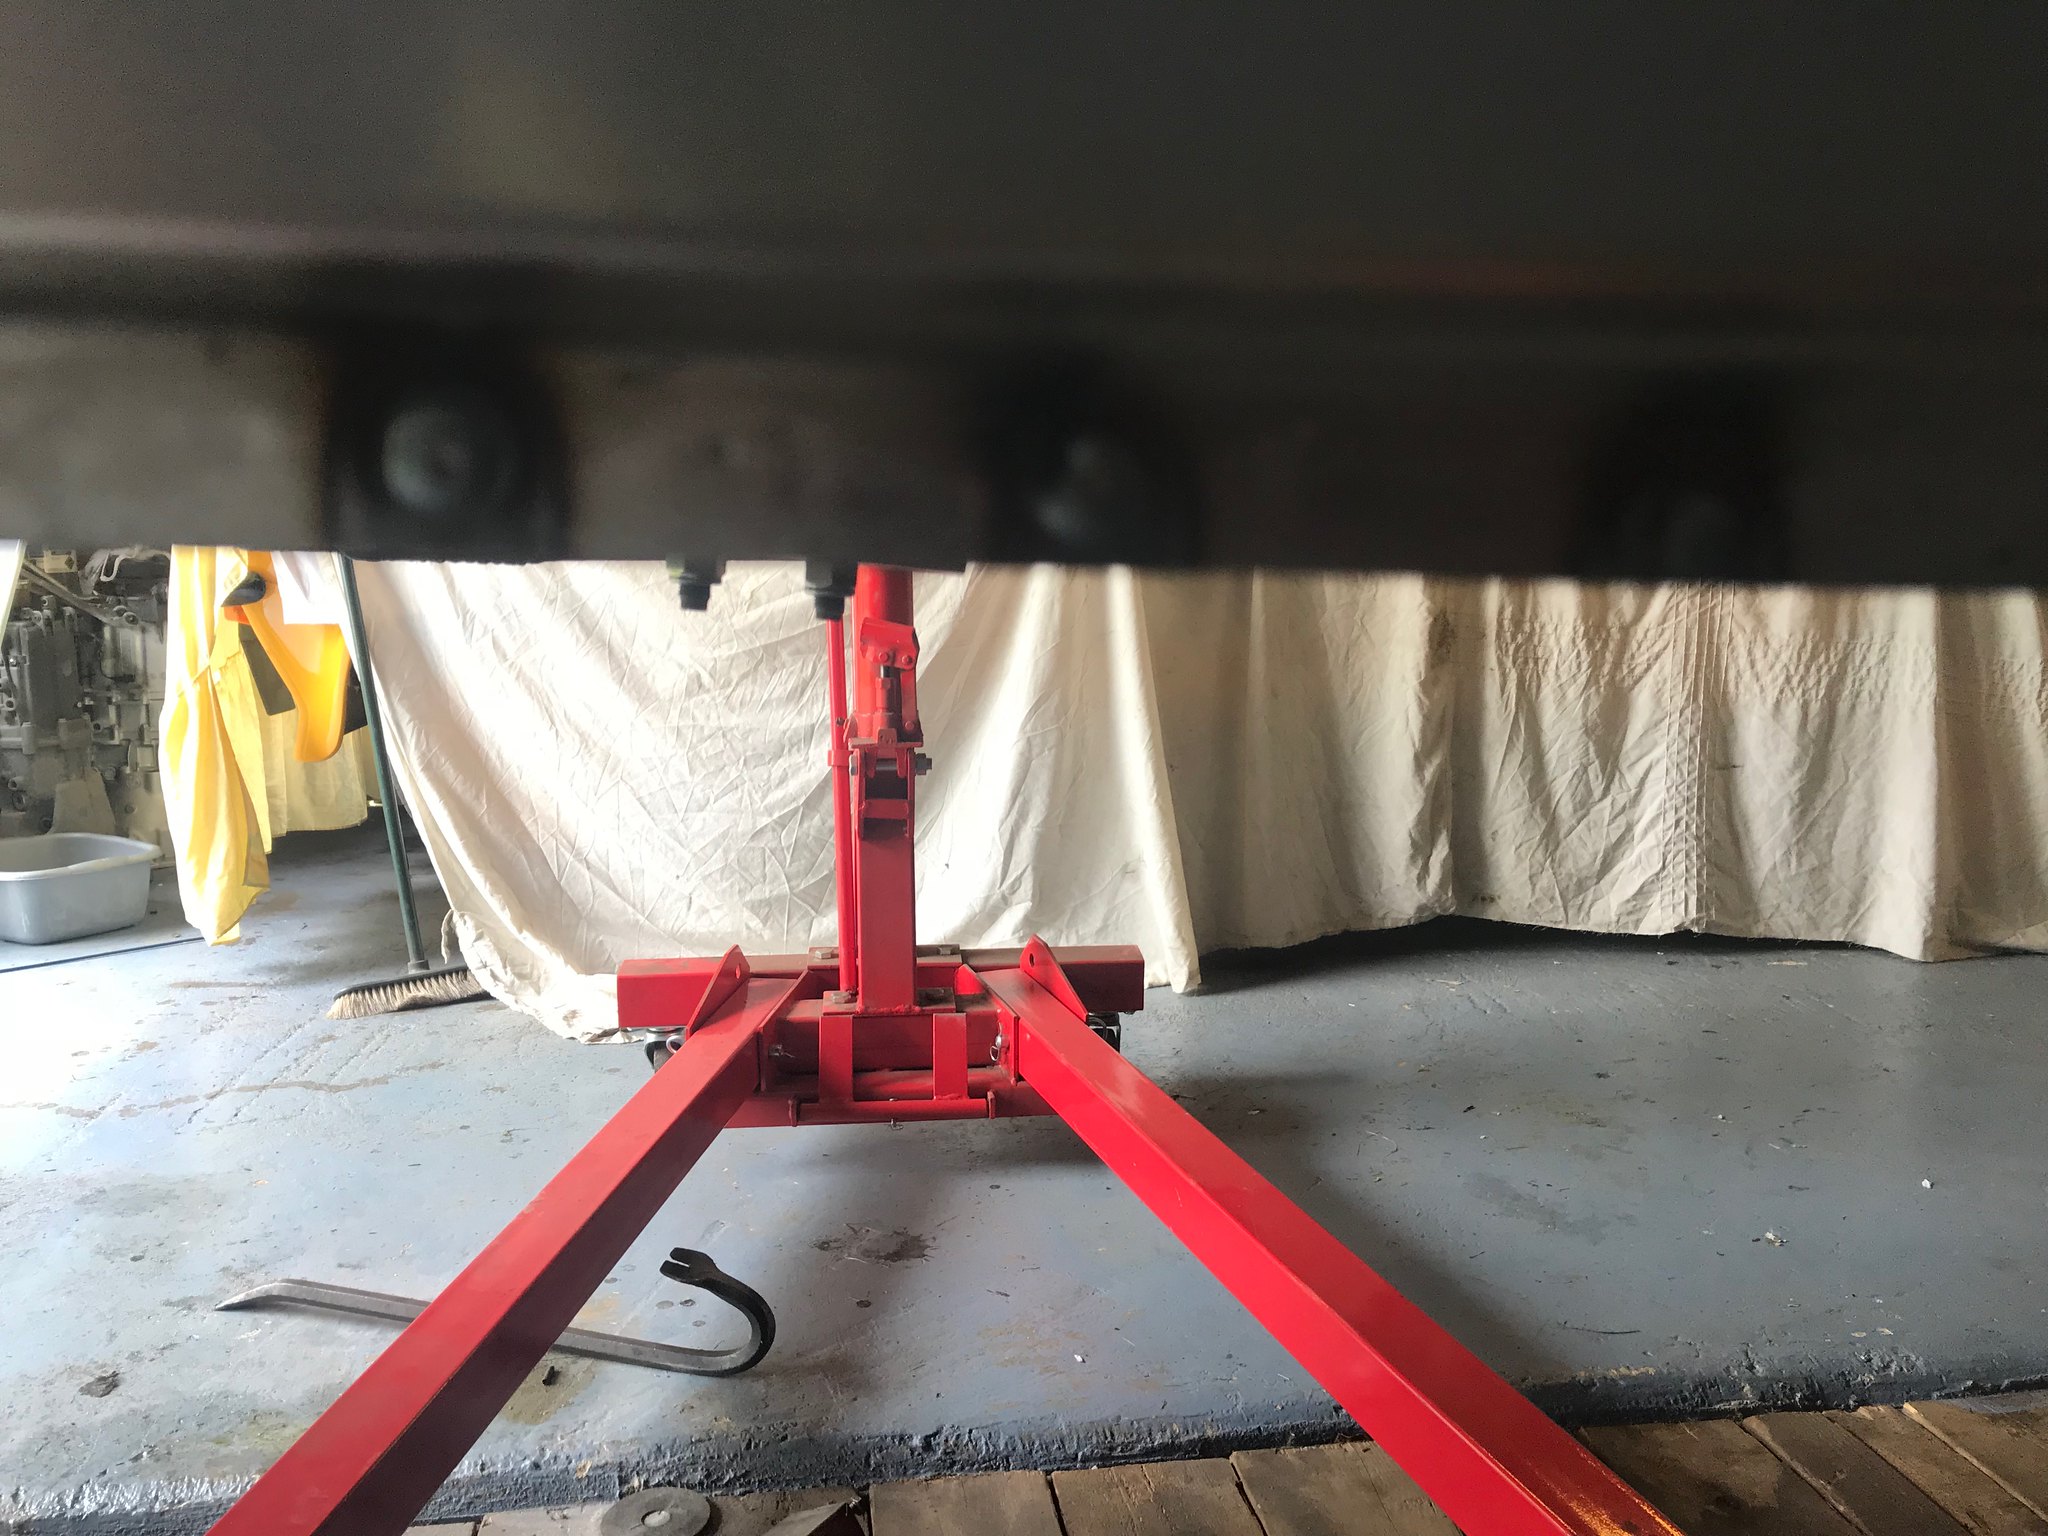 Untitled Untitled by Nevtiger, on Flickr |
| |
Last Edit: May 21, 2018 18:40:31 GMT by nevtiger
|
|
|
|
|
May 28, 2018 17:50:07 GMT
|
Nice weekend away in that Dorset with the wife meant i could have a quick 5 minutes in the garage. I finally got the Getrag 420G 6 Speed M5 box picked up today by the purchaser. It took nearly 3 months for him to pick it up. Any way where was i? Struts..... Finished them off as a change from the welding and fitting of the engine. The roller top mounts don't fit over the spring top mount on these 2.25" kits so i needed to make a spacer with the correct internal diameter. Luckily the old strut insert securing nut and seal after a bit of fettling was ideal 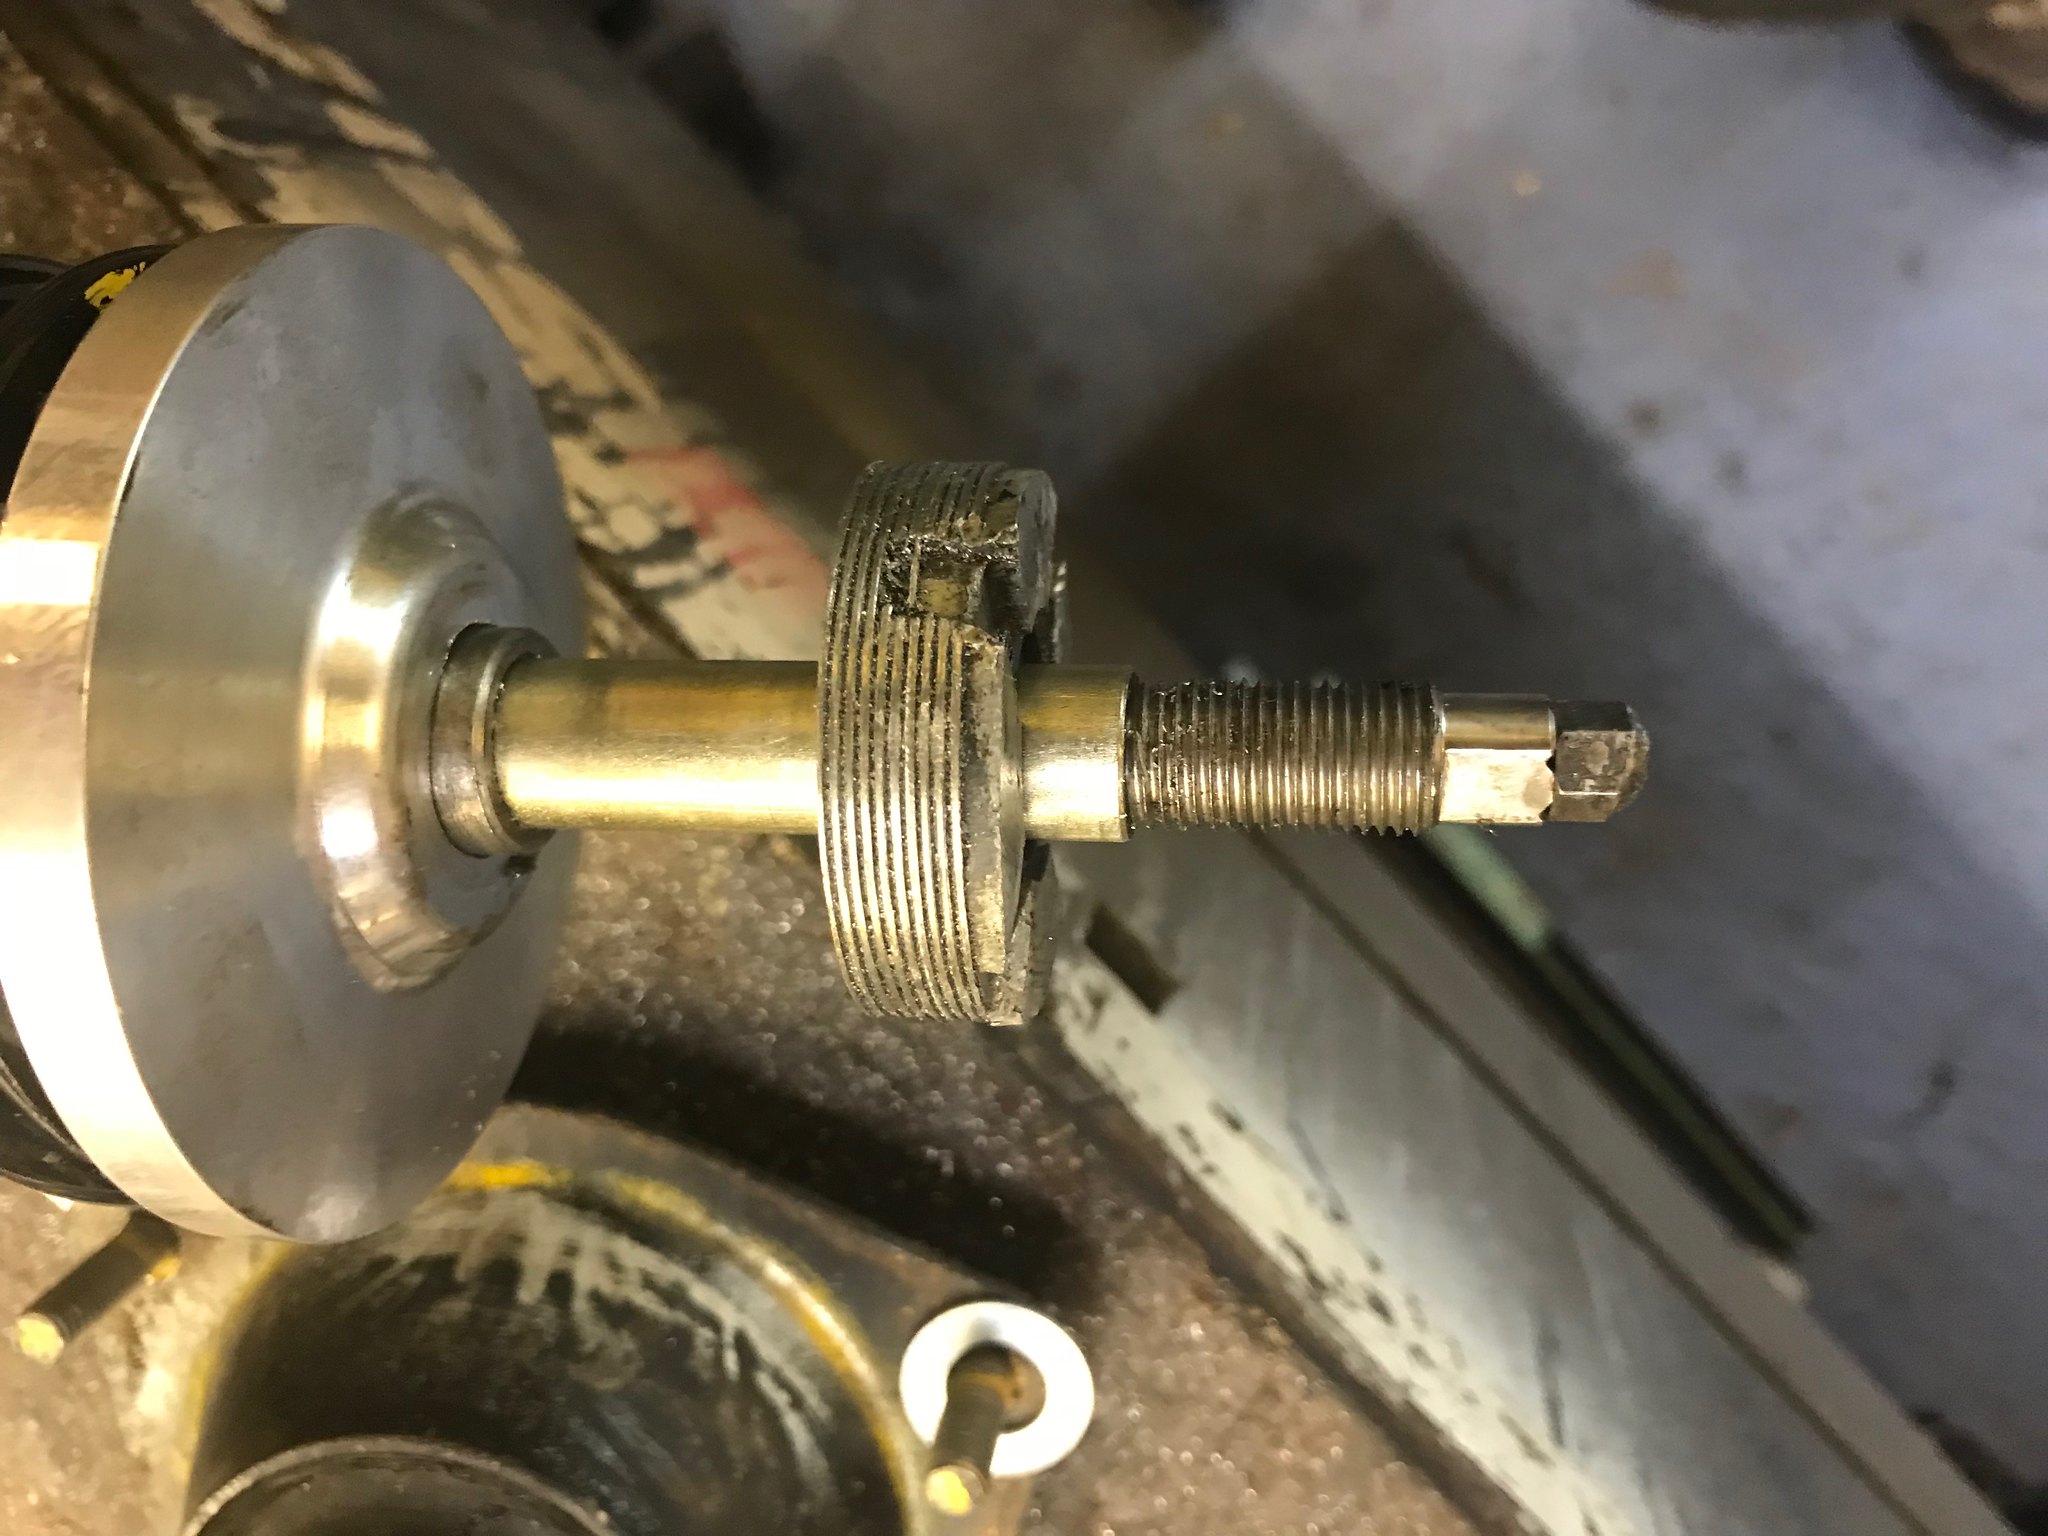 Untitled Untitled by Nevtiger, on Flickr 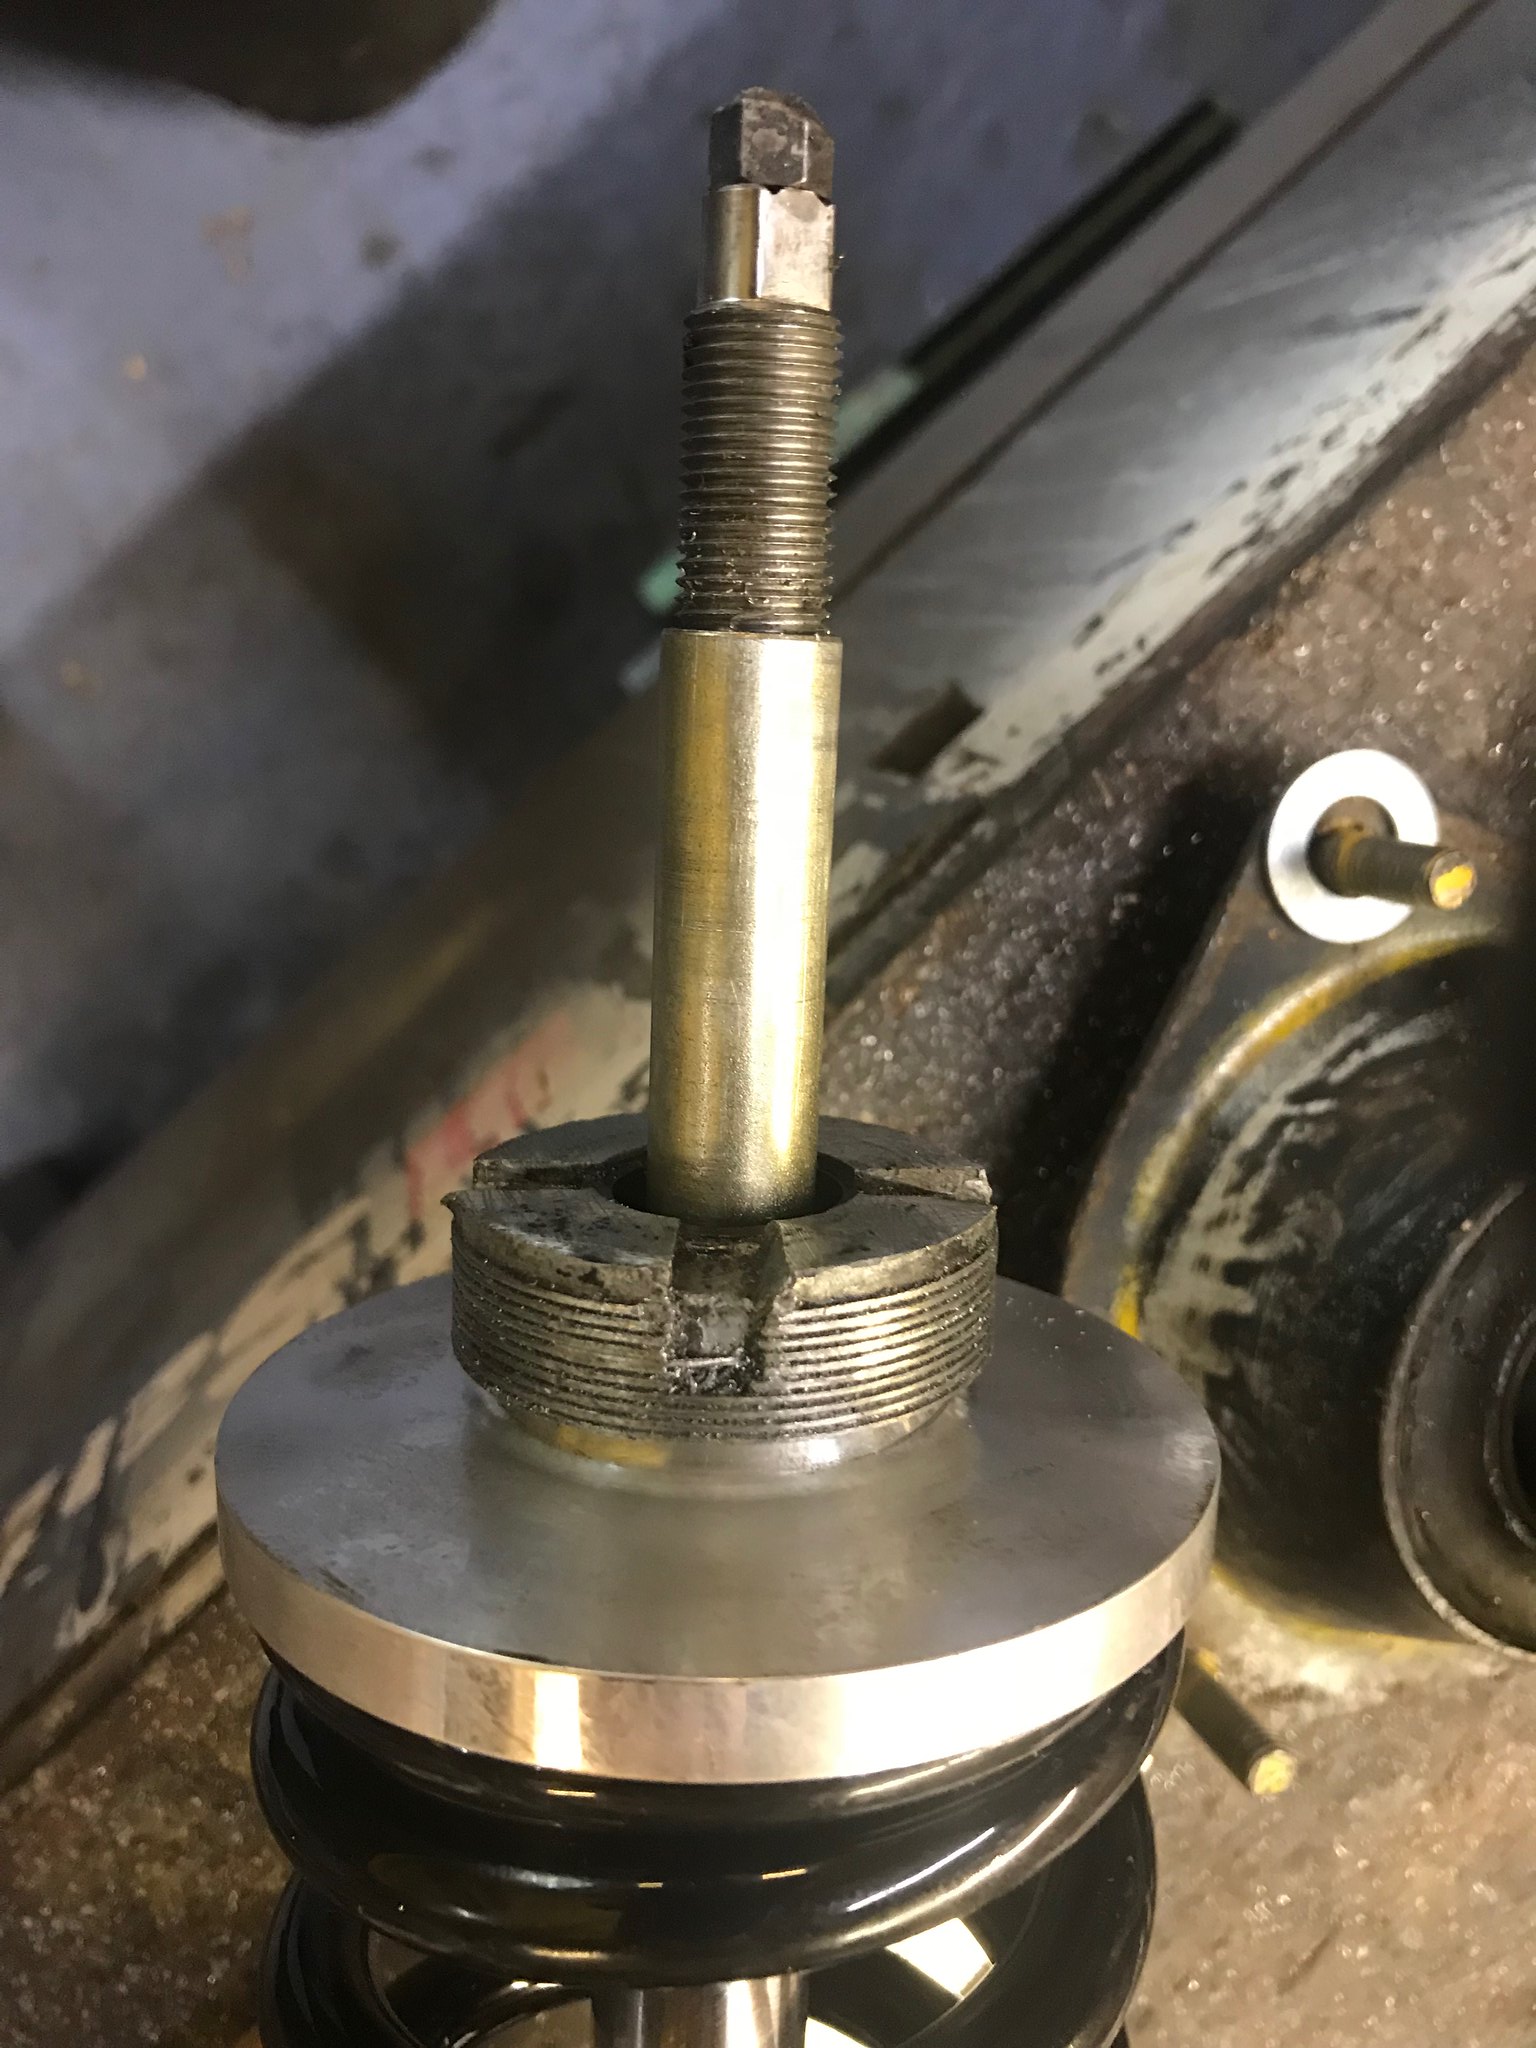 Untitled Untitled by Nevtiger, on Flickr Then fit the roller top mount with the new bush/reducer/increaser bobbin 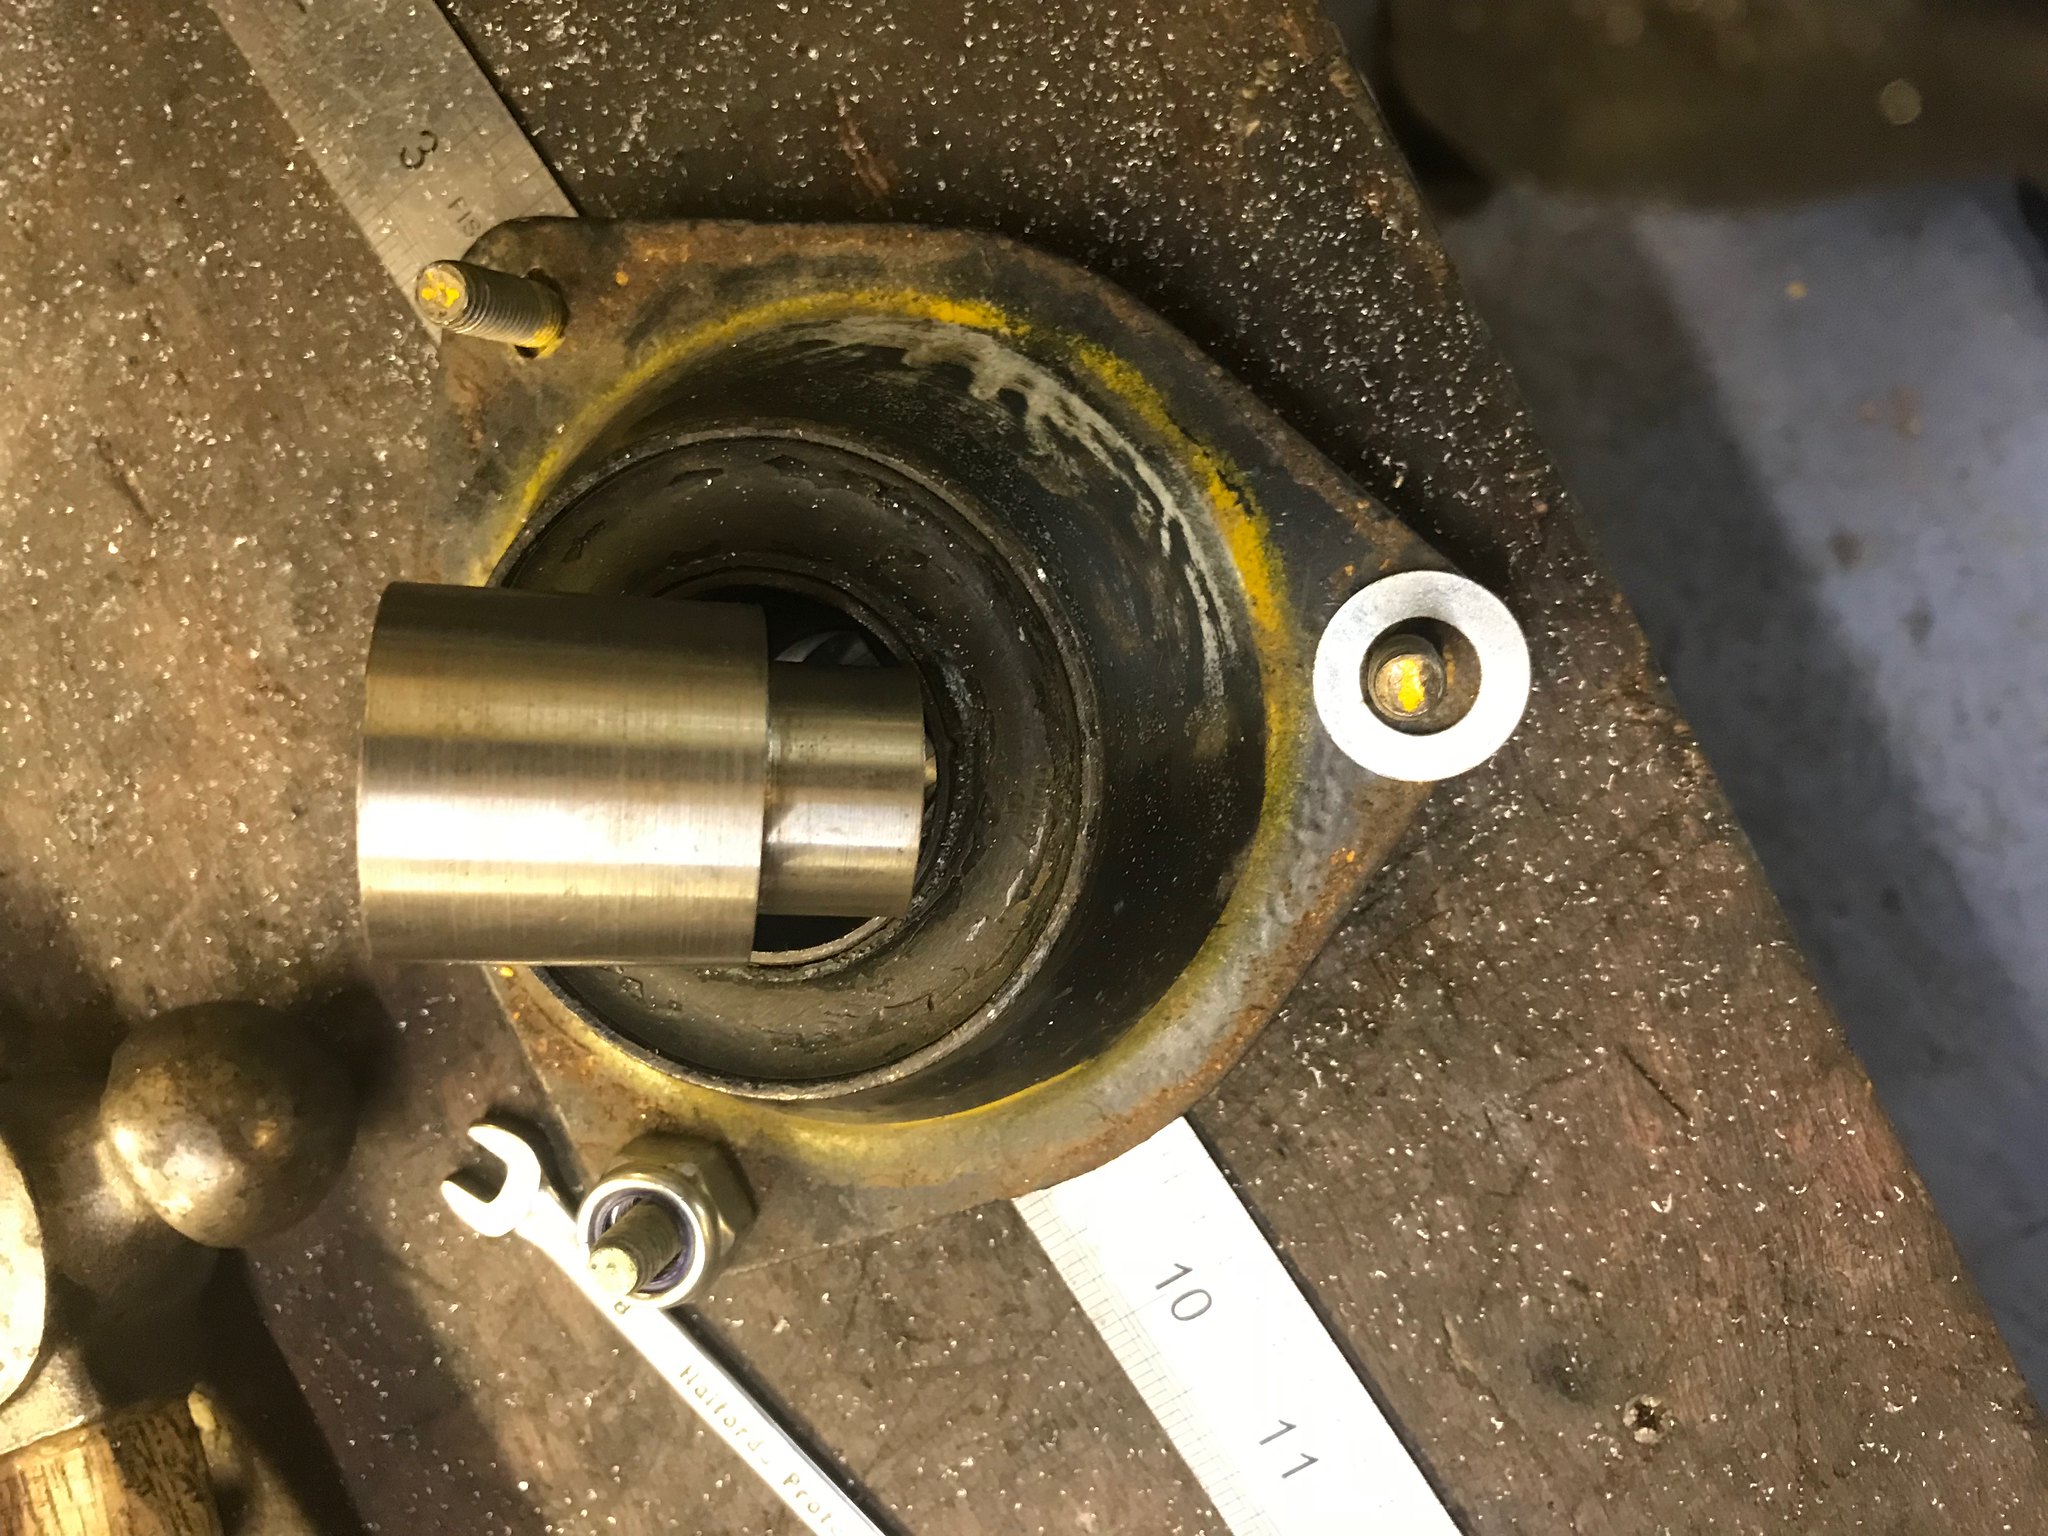 Untitled Untitled by Nevtiger, on Flickr And make struts up 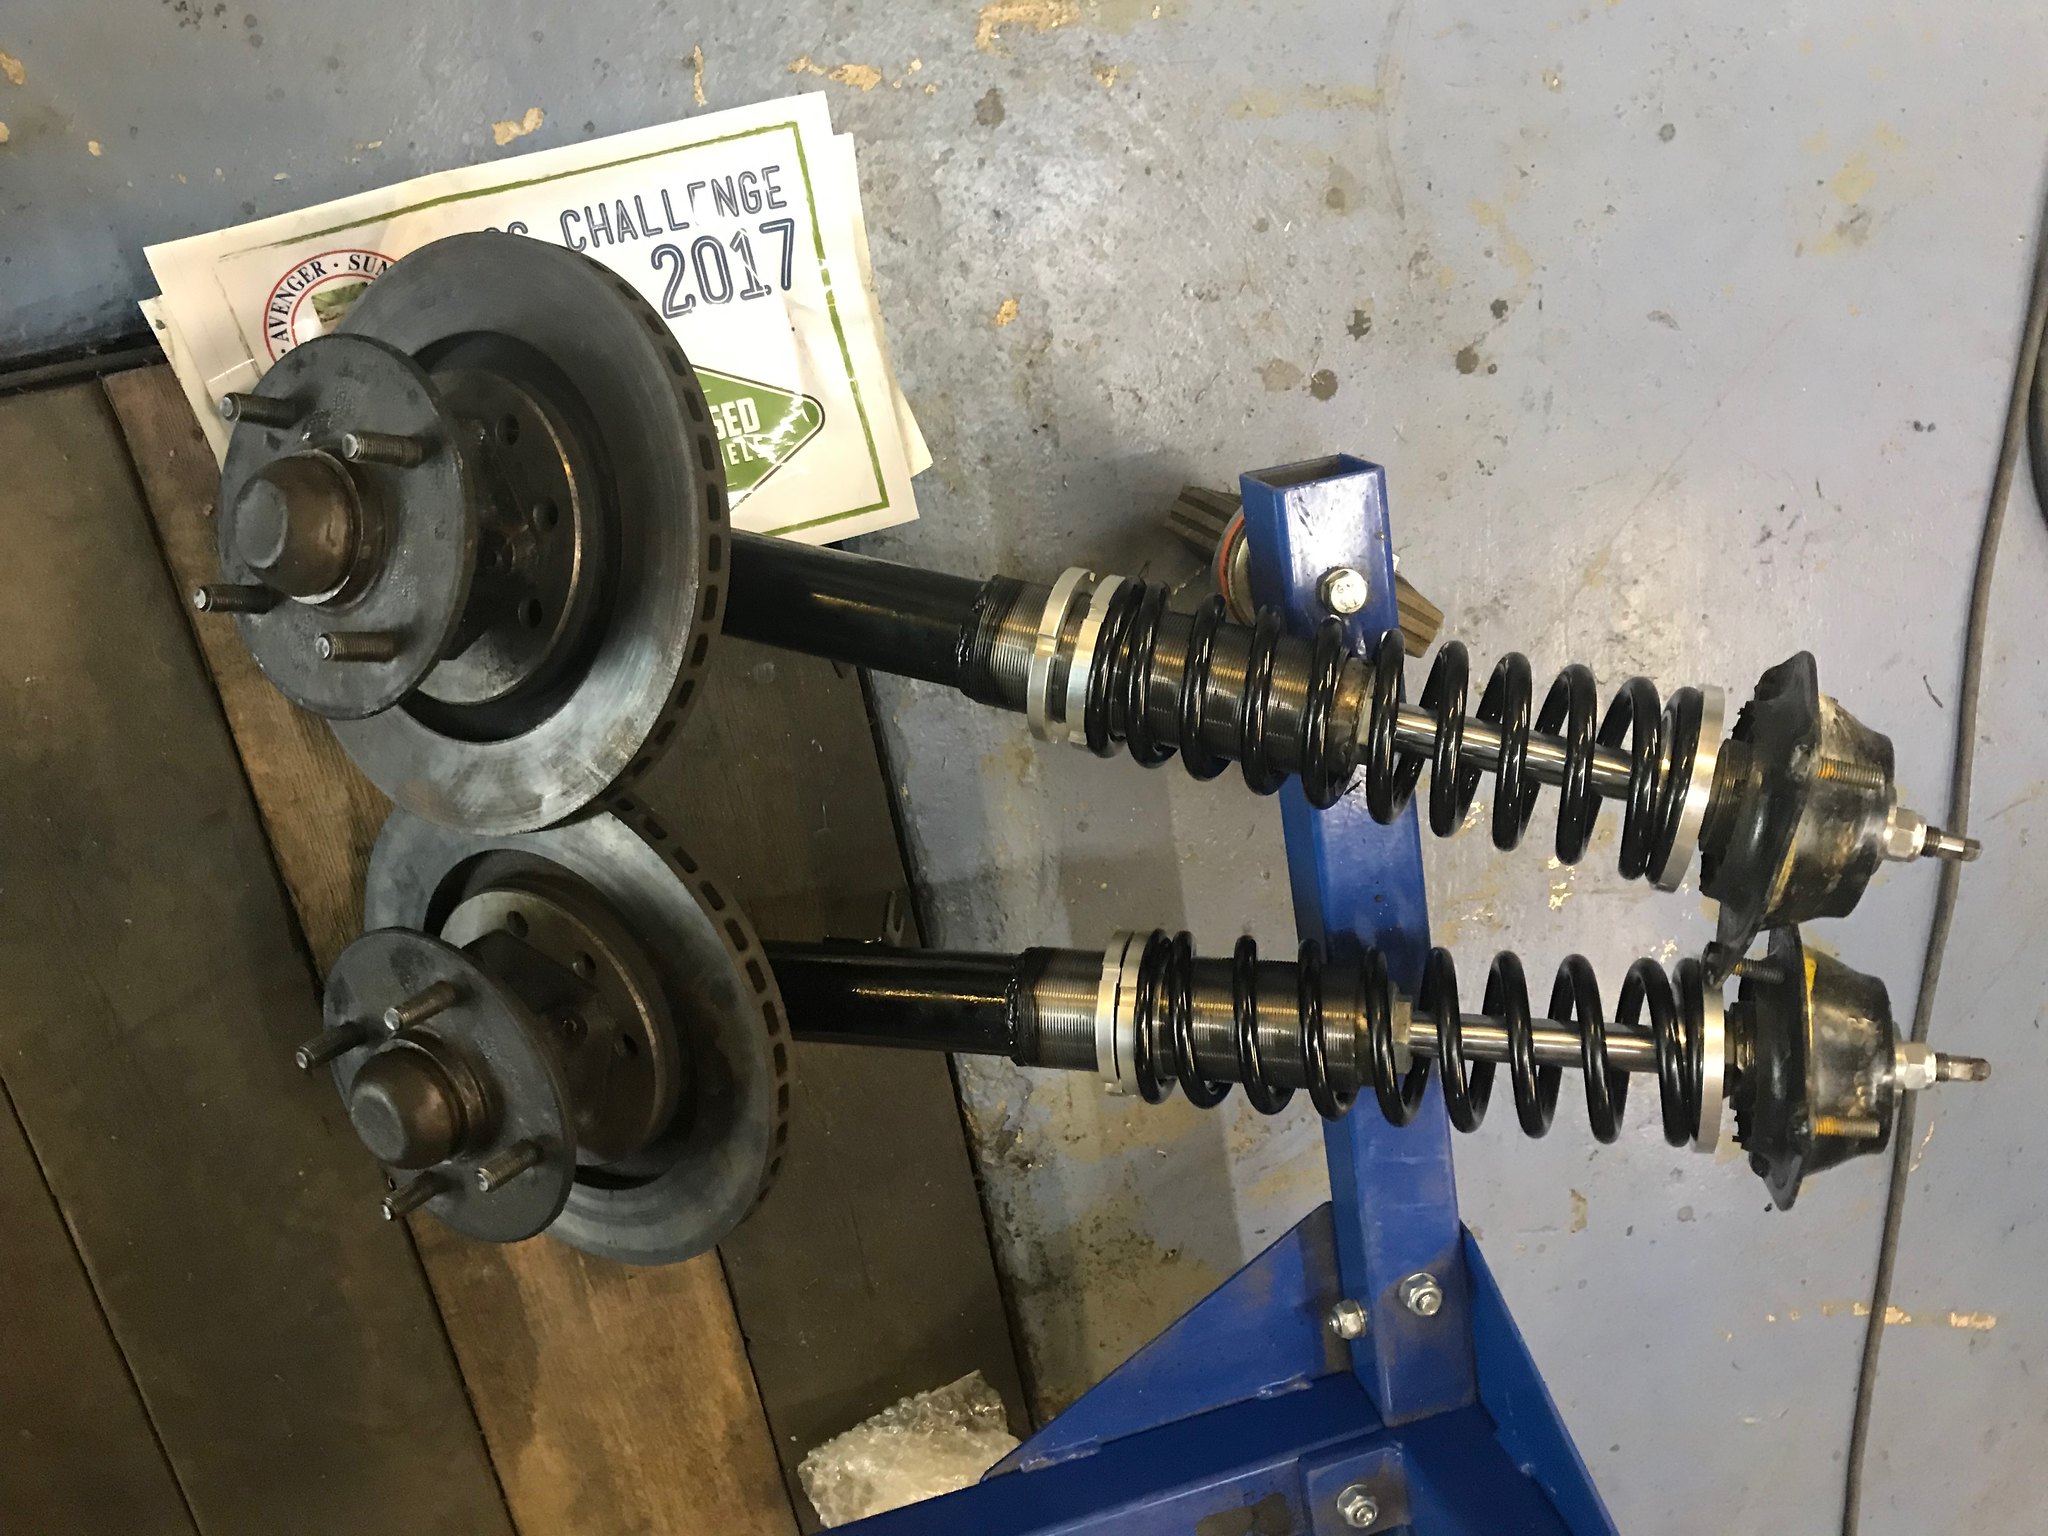 Untitled Untitled by Nevtiger, on Flickr They are complete now. Finished bar the callipers....... I need to modify some bottom arms next as i want about 1.5 negative camber for the road but do not want to the thing that every body else does. The normal thing is to move the bottom arm mounting hole out by 10mm on the crossmember. This however does nothing for the bump steer. So if i increase the length of the arm by 10mm it will achieve the same aim....... |
| |
|
|
|
|
|
Oct 17, 2018 13:39:56 GMT
|
I have so not updated this thread! Mainly because i have been doing 'Earning a Living' i have not had any real time in the garage but progress has been made. I finally bit the bullet and started to mount the engine and gearbox rather than them hanging from the sky hooks: I started with the gearbox. I used the standard RX-8 gearbox mount but with the rubber removed and added a spacer 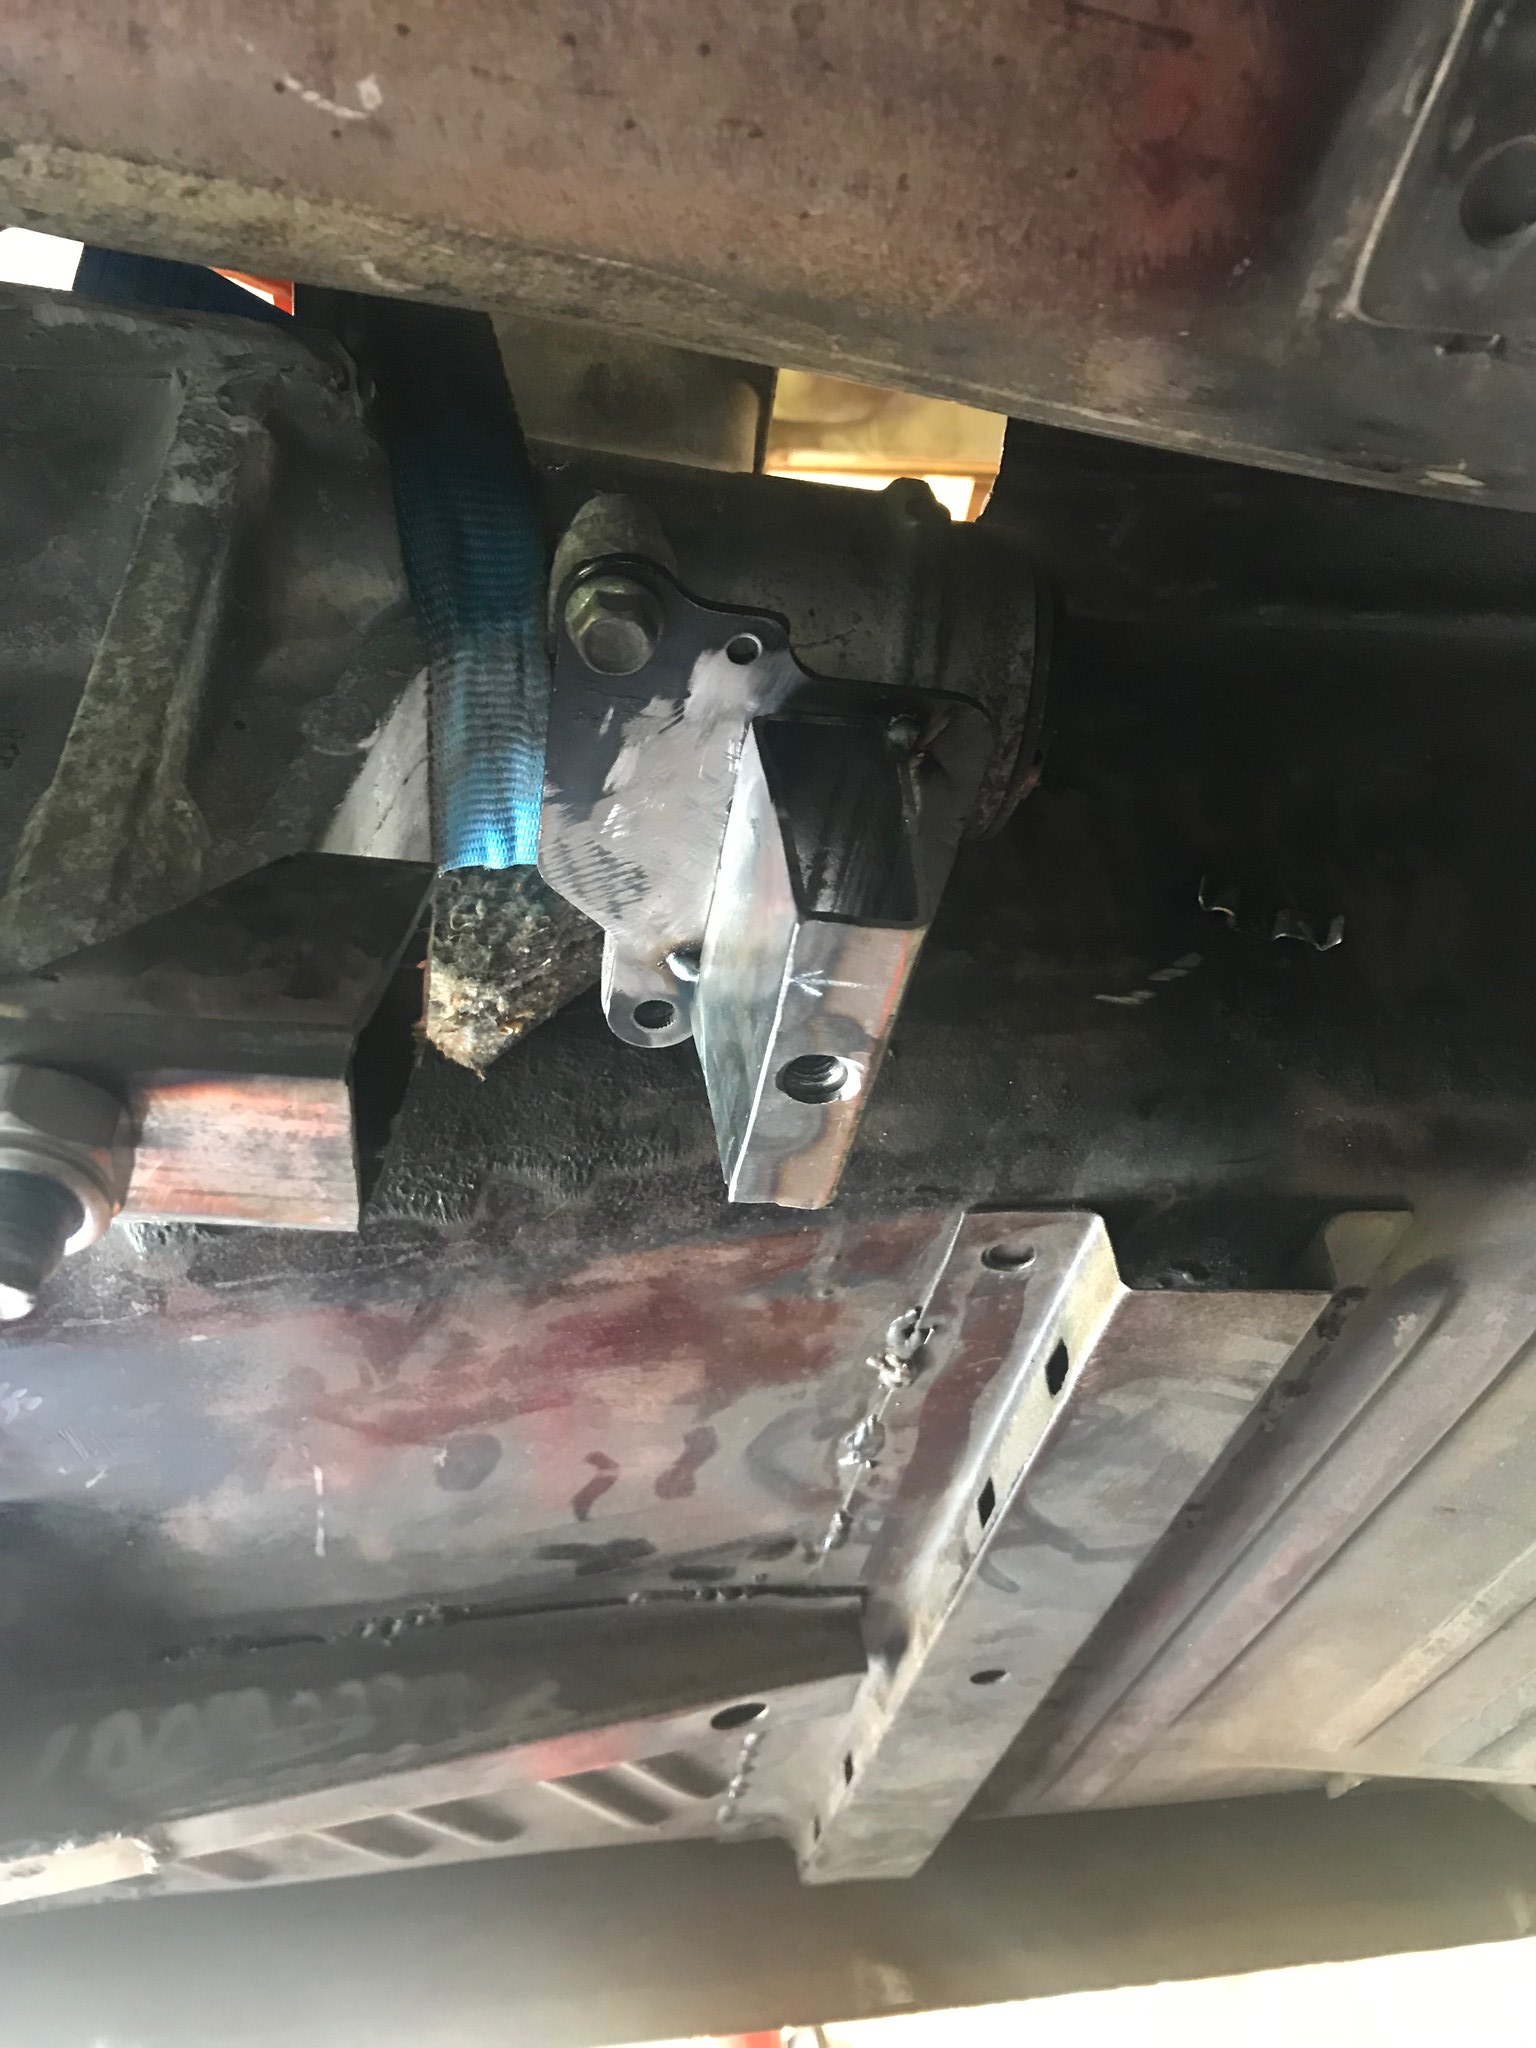 Untitled Untitled by Nevtiger, on Flickr I then bolted the new gearbox mount to the body mounts and spent time shipping them until it all fitted and then tacked into place 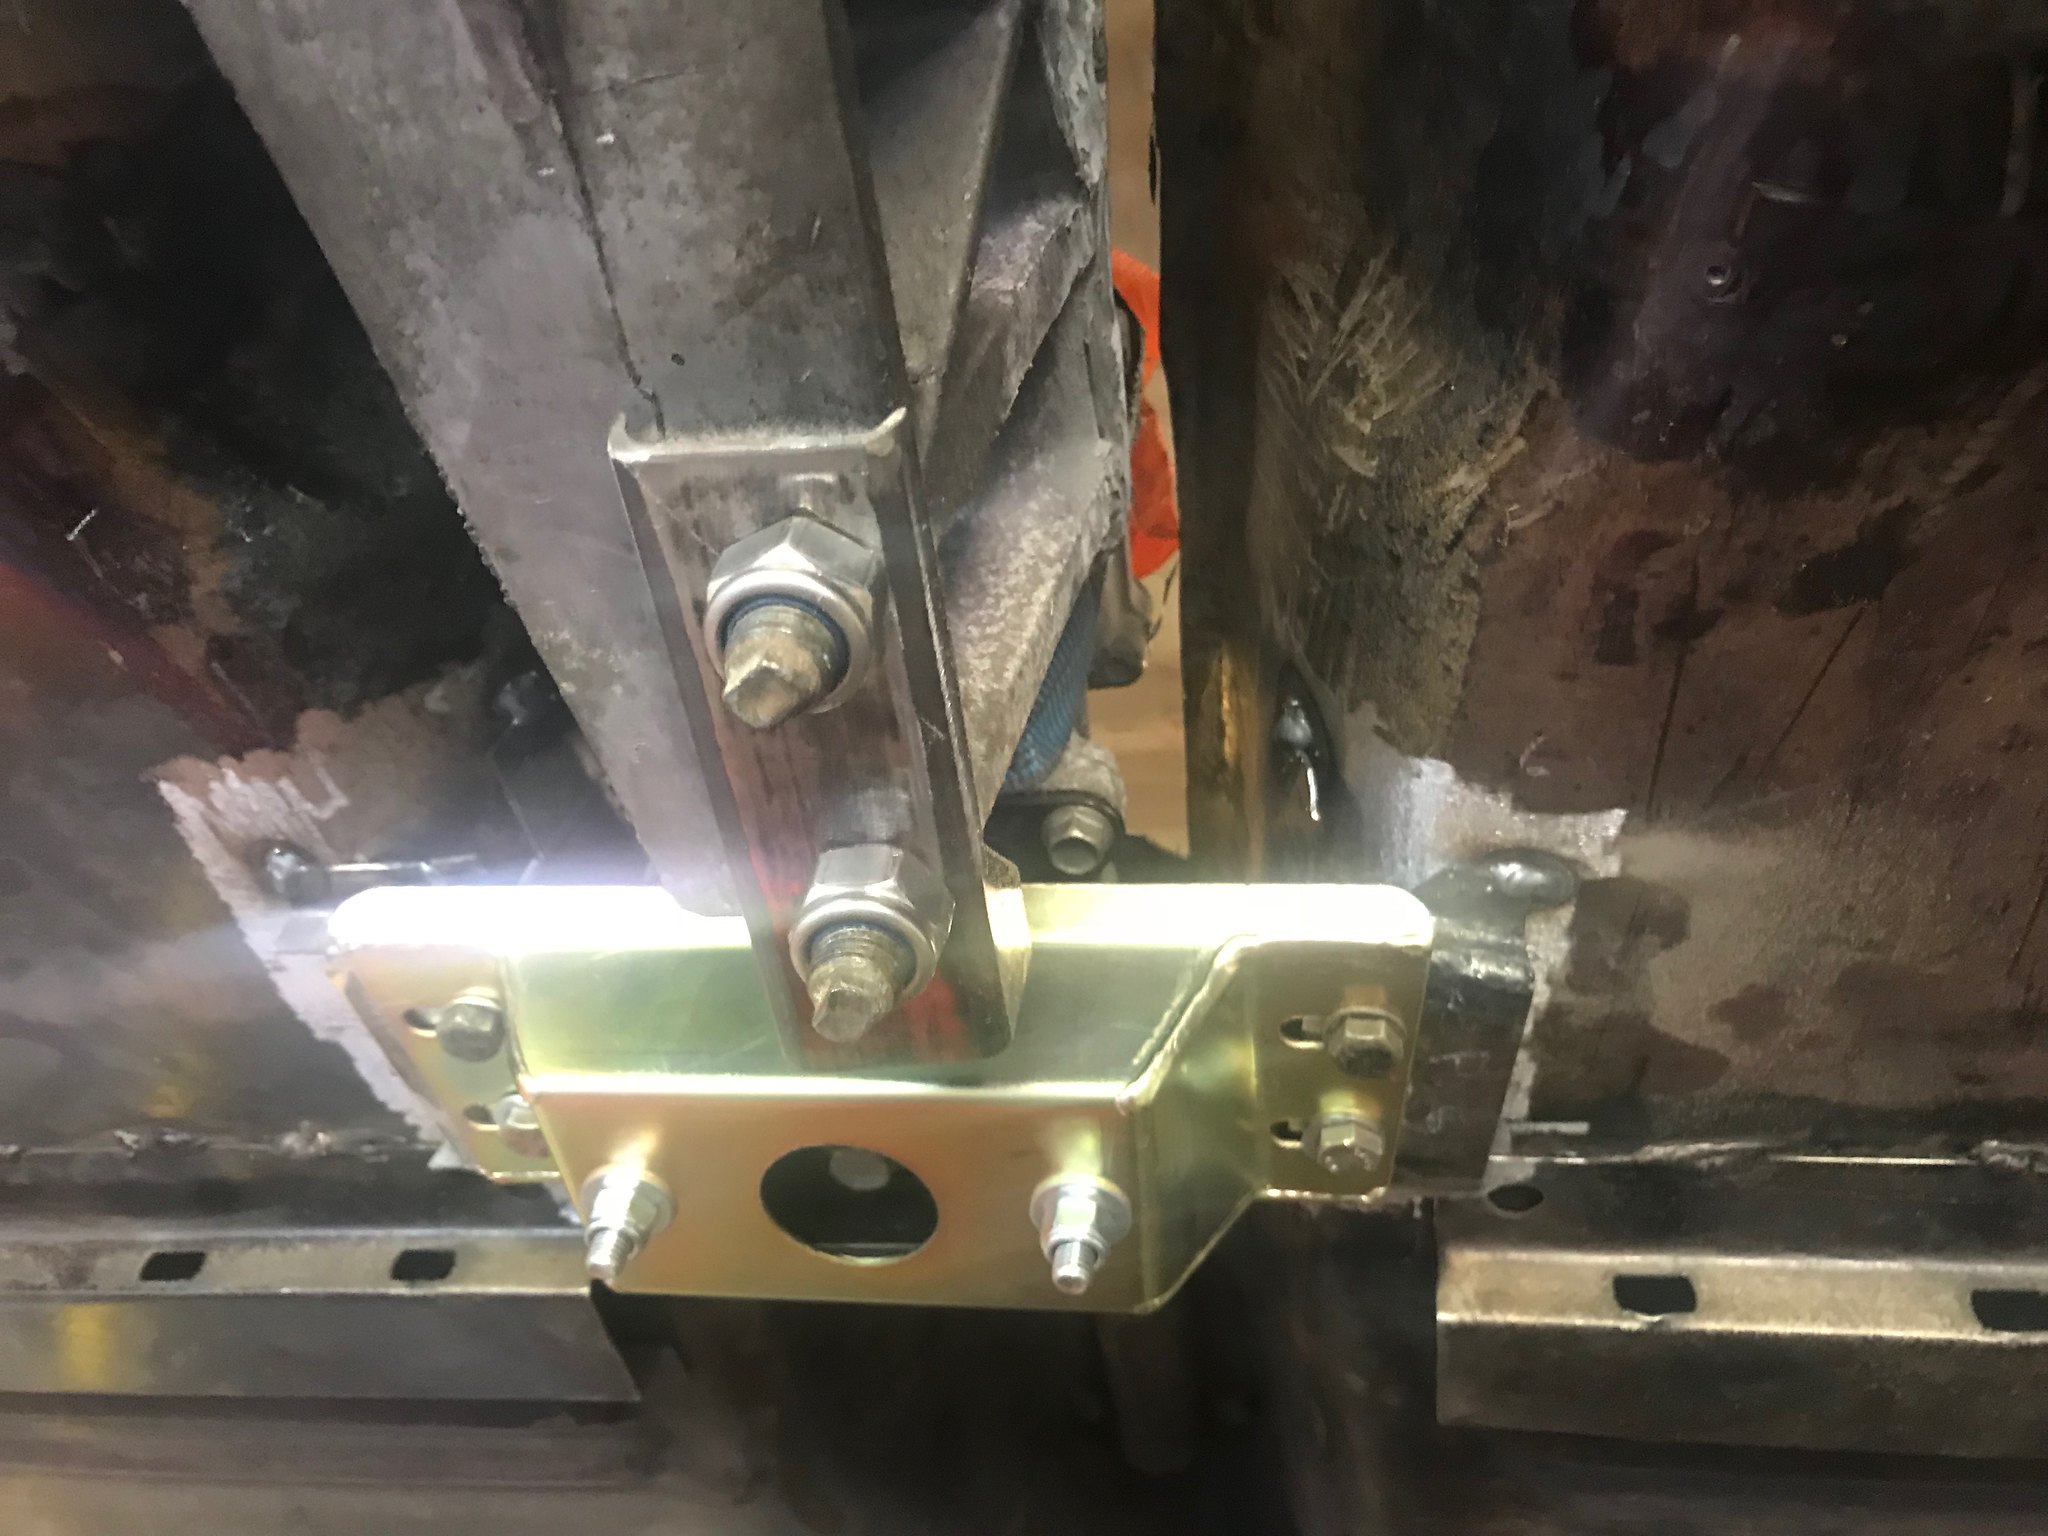 Untitled Untitled by Nevtiger, on Flickr The large bit of box is something a added to make an extra bit to add strength to the gearbox mount. I'm not convinced now so it may come off. Plus i need to add some more 'slide factor'. Which leads me to the engine mounts. Here i had a turn of luck, i managed to get given a set of engine mounts for the AJ30 into an MX5, they were still in flat form from laser cutting and had some bits missing but the bits that bolt to the block were there which is the main bit. I also got some 5mm plate for making bits from and thus: Here is the off side ready to make. The orange is a road poly mount for an MX5. I had some Sunbeam Lotus engine mounts in stock also so all i need to do is fill in the gap! 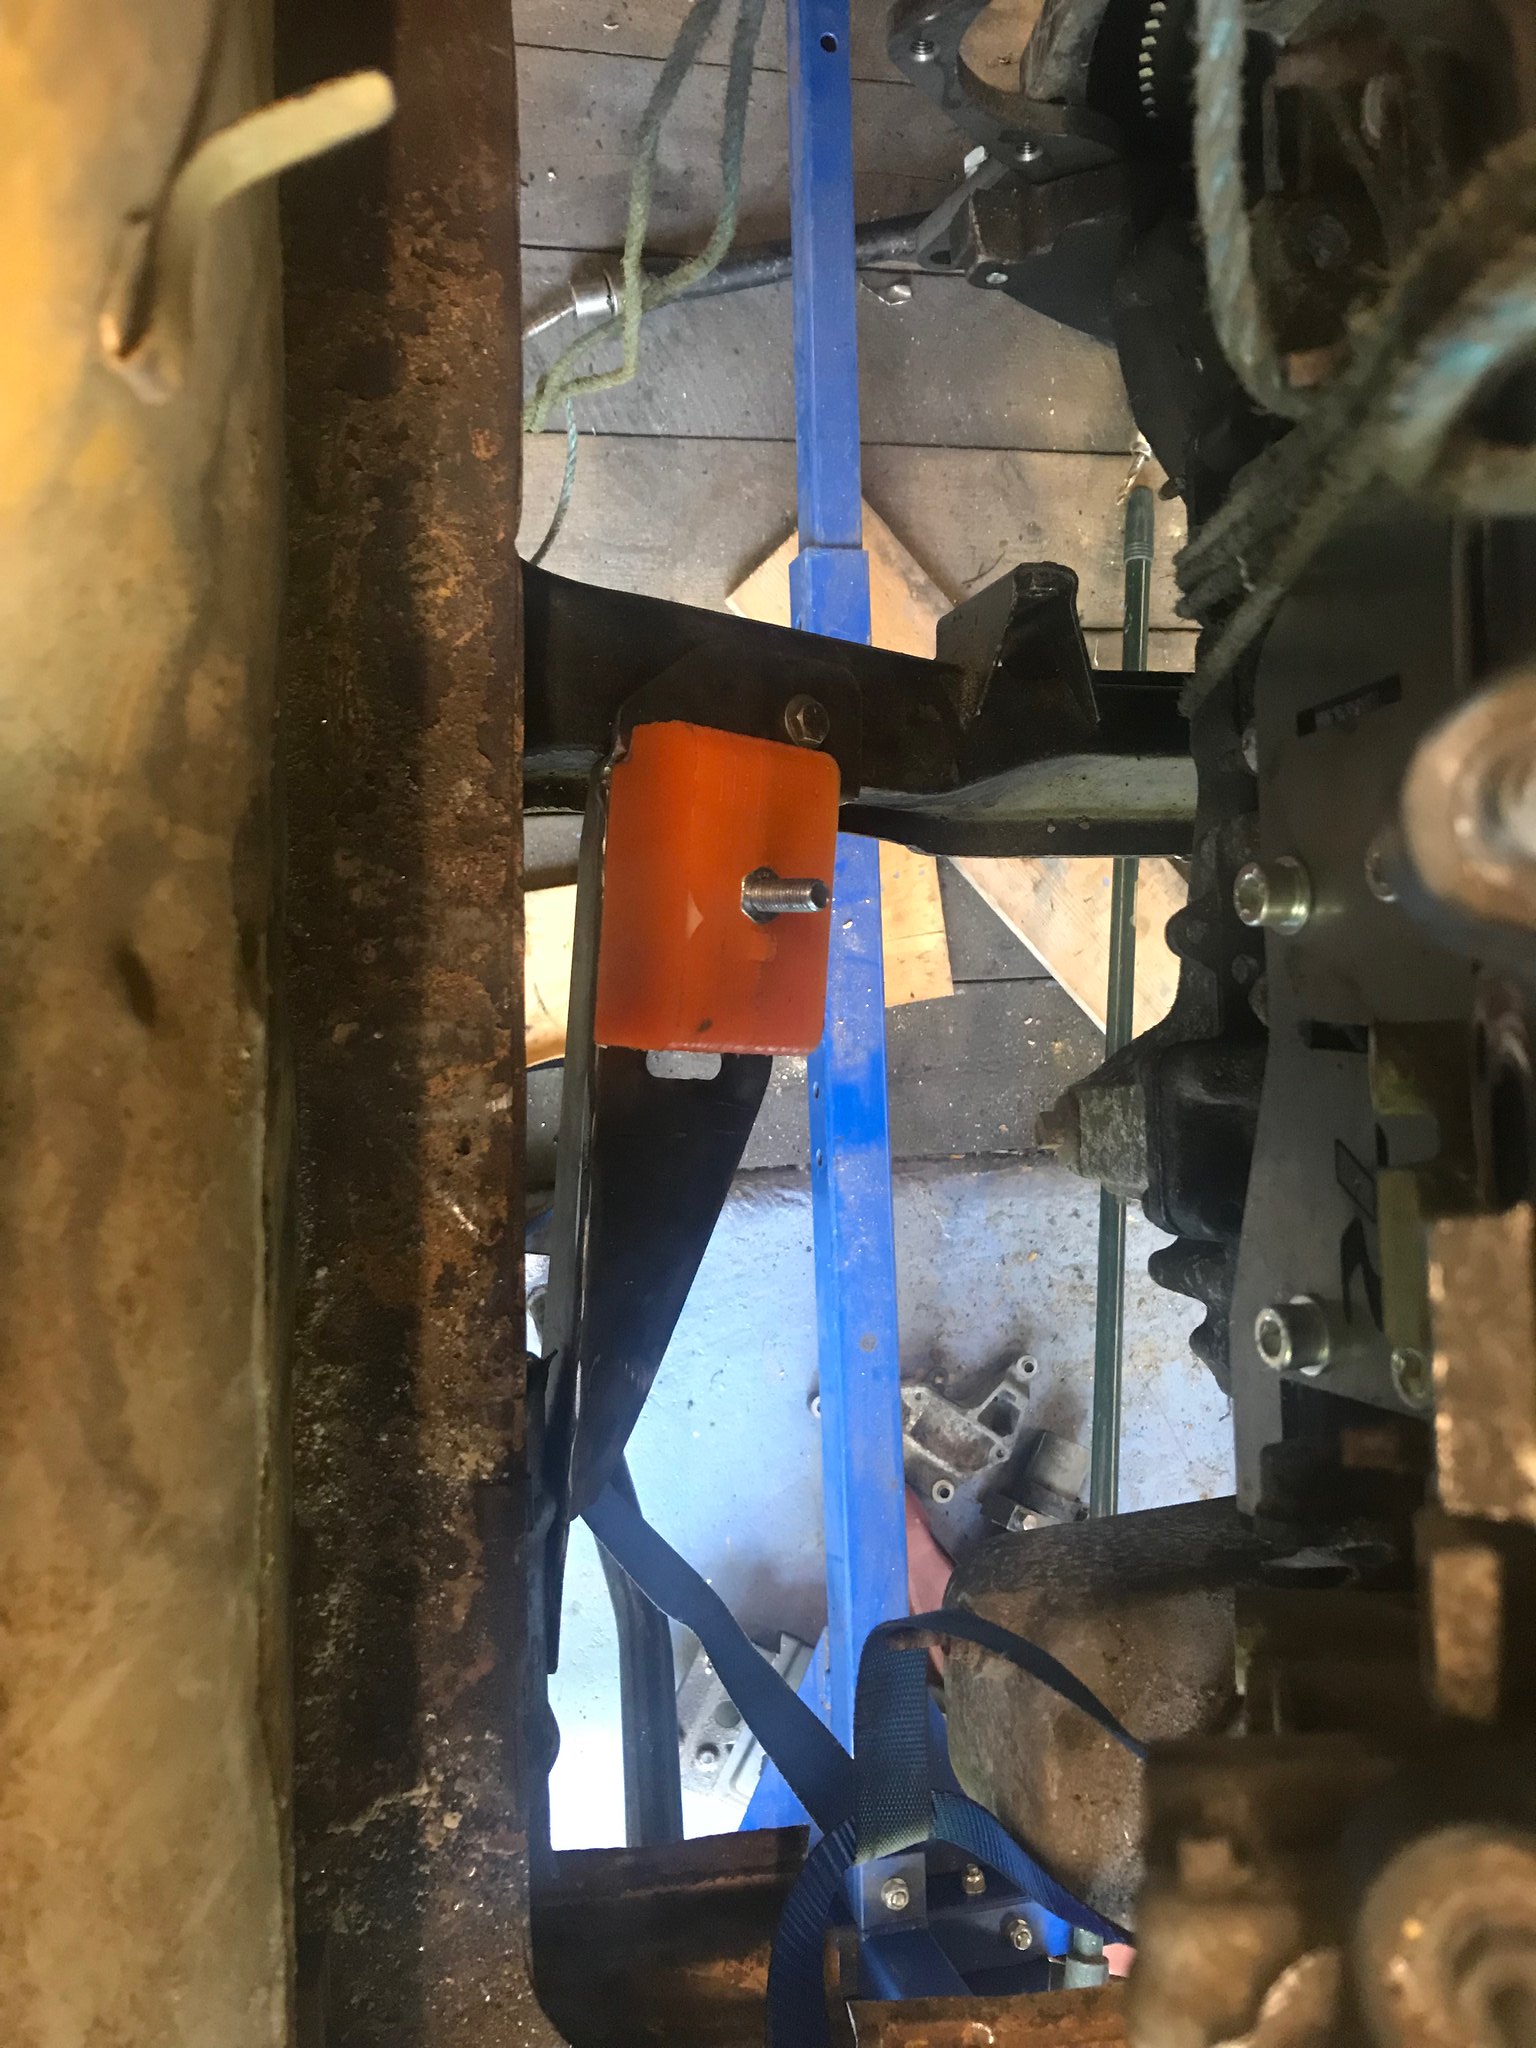 Untitled Untitled by Nevtiger, on Flickr The Lotus Sunbeam mount needed a bit of change on the angle - you can see the gap created from underneath. 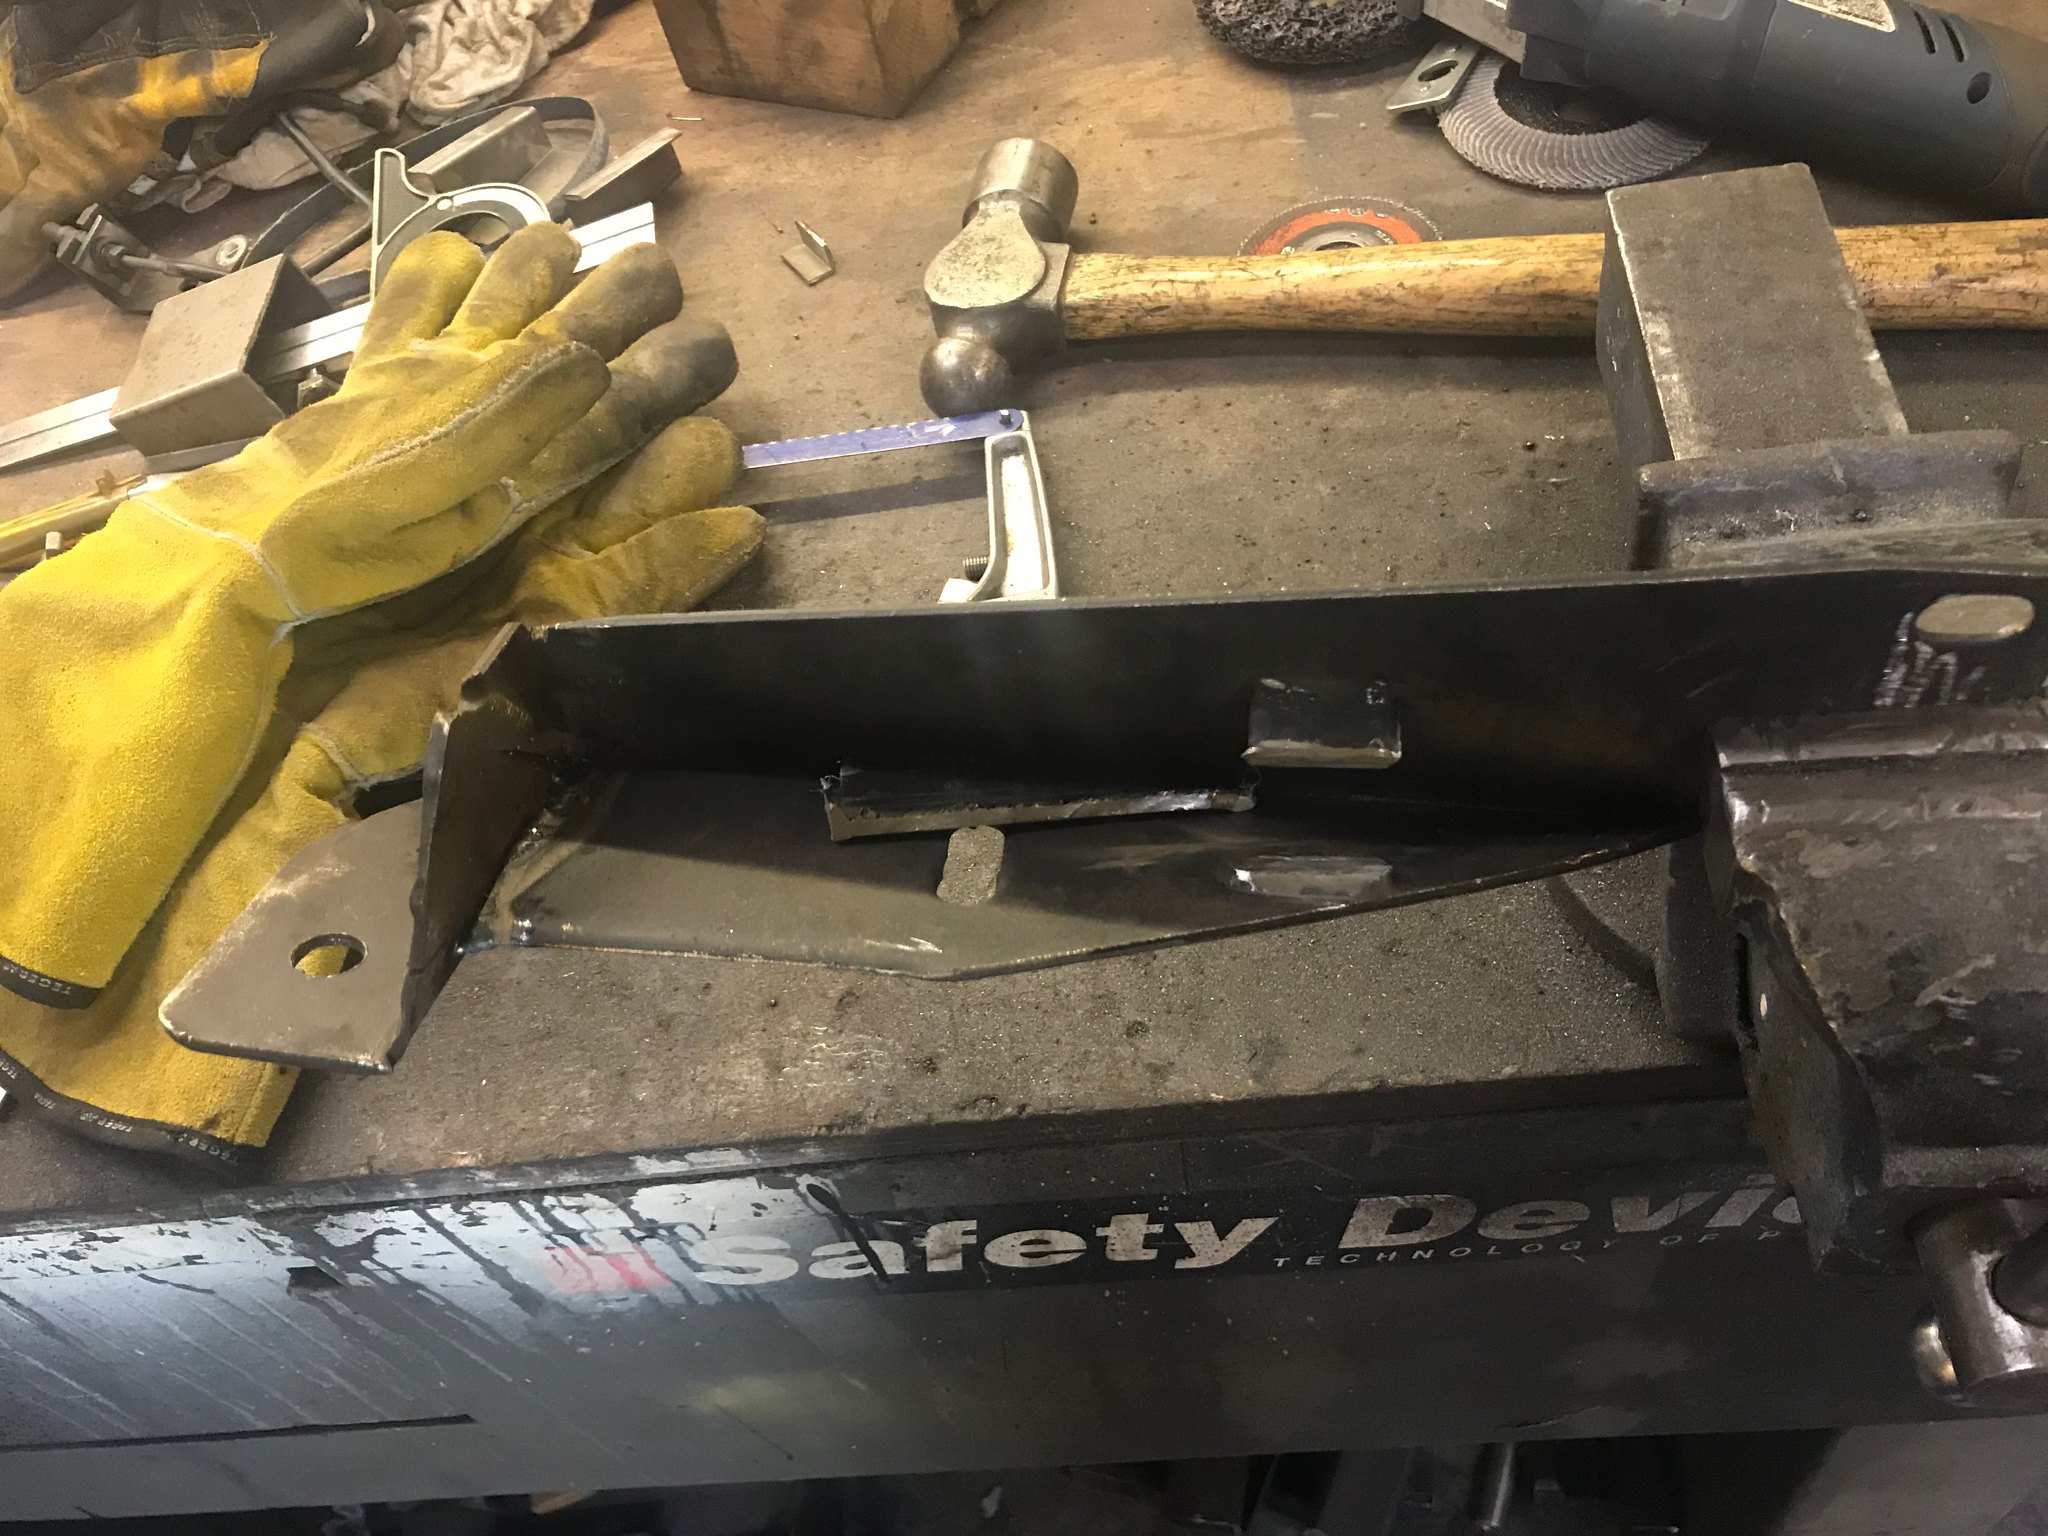 Untitled Untitled by Nevtiger, on Flickr Cutting up the MX5 mount leaves me with this. It fits but needs some gaps filling in 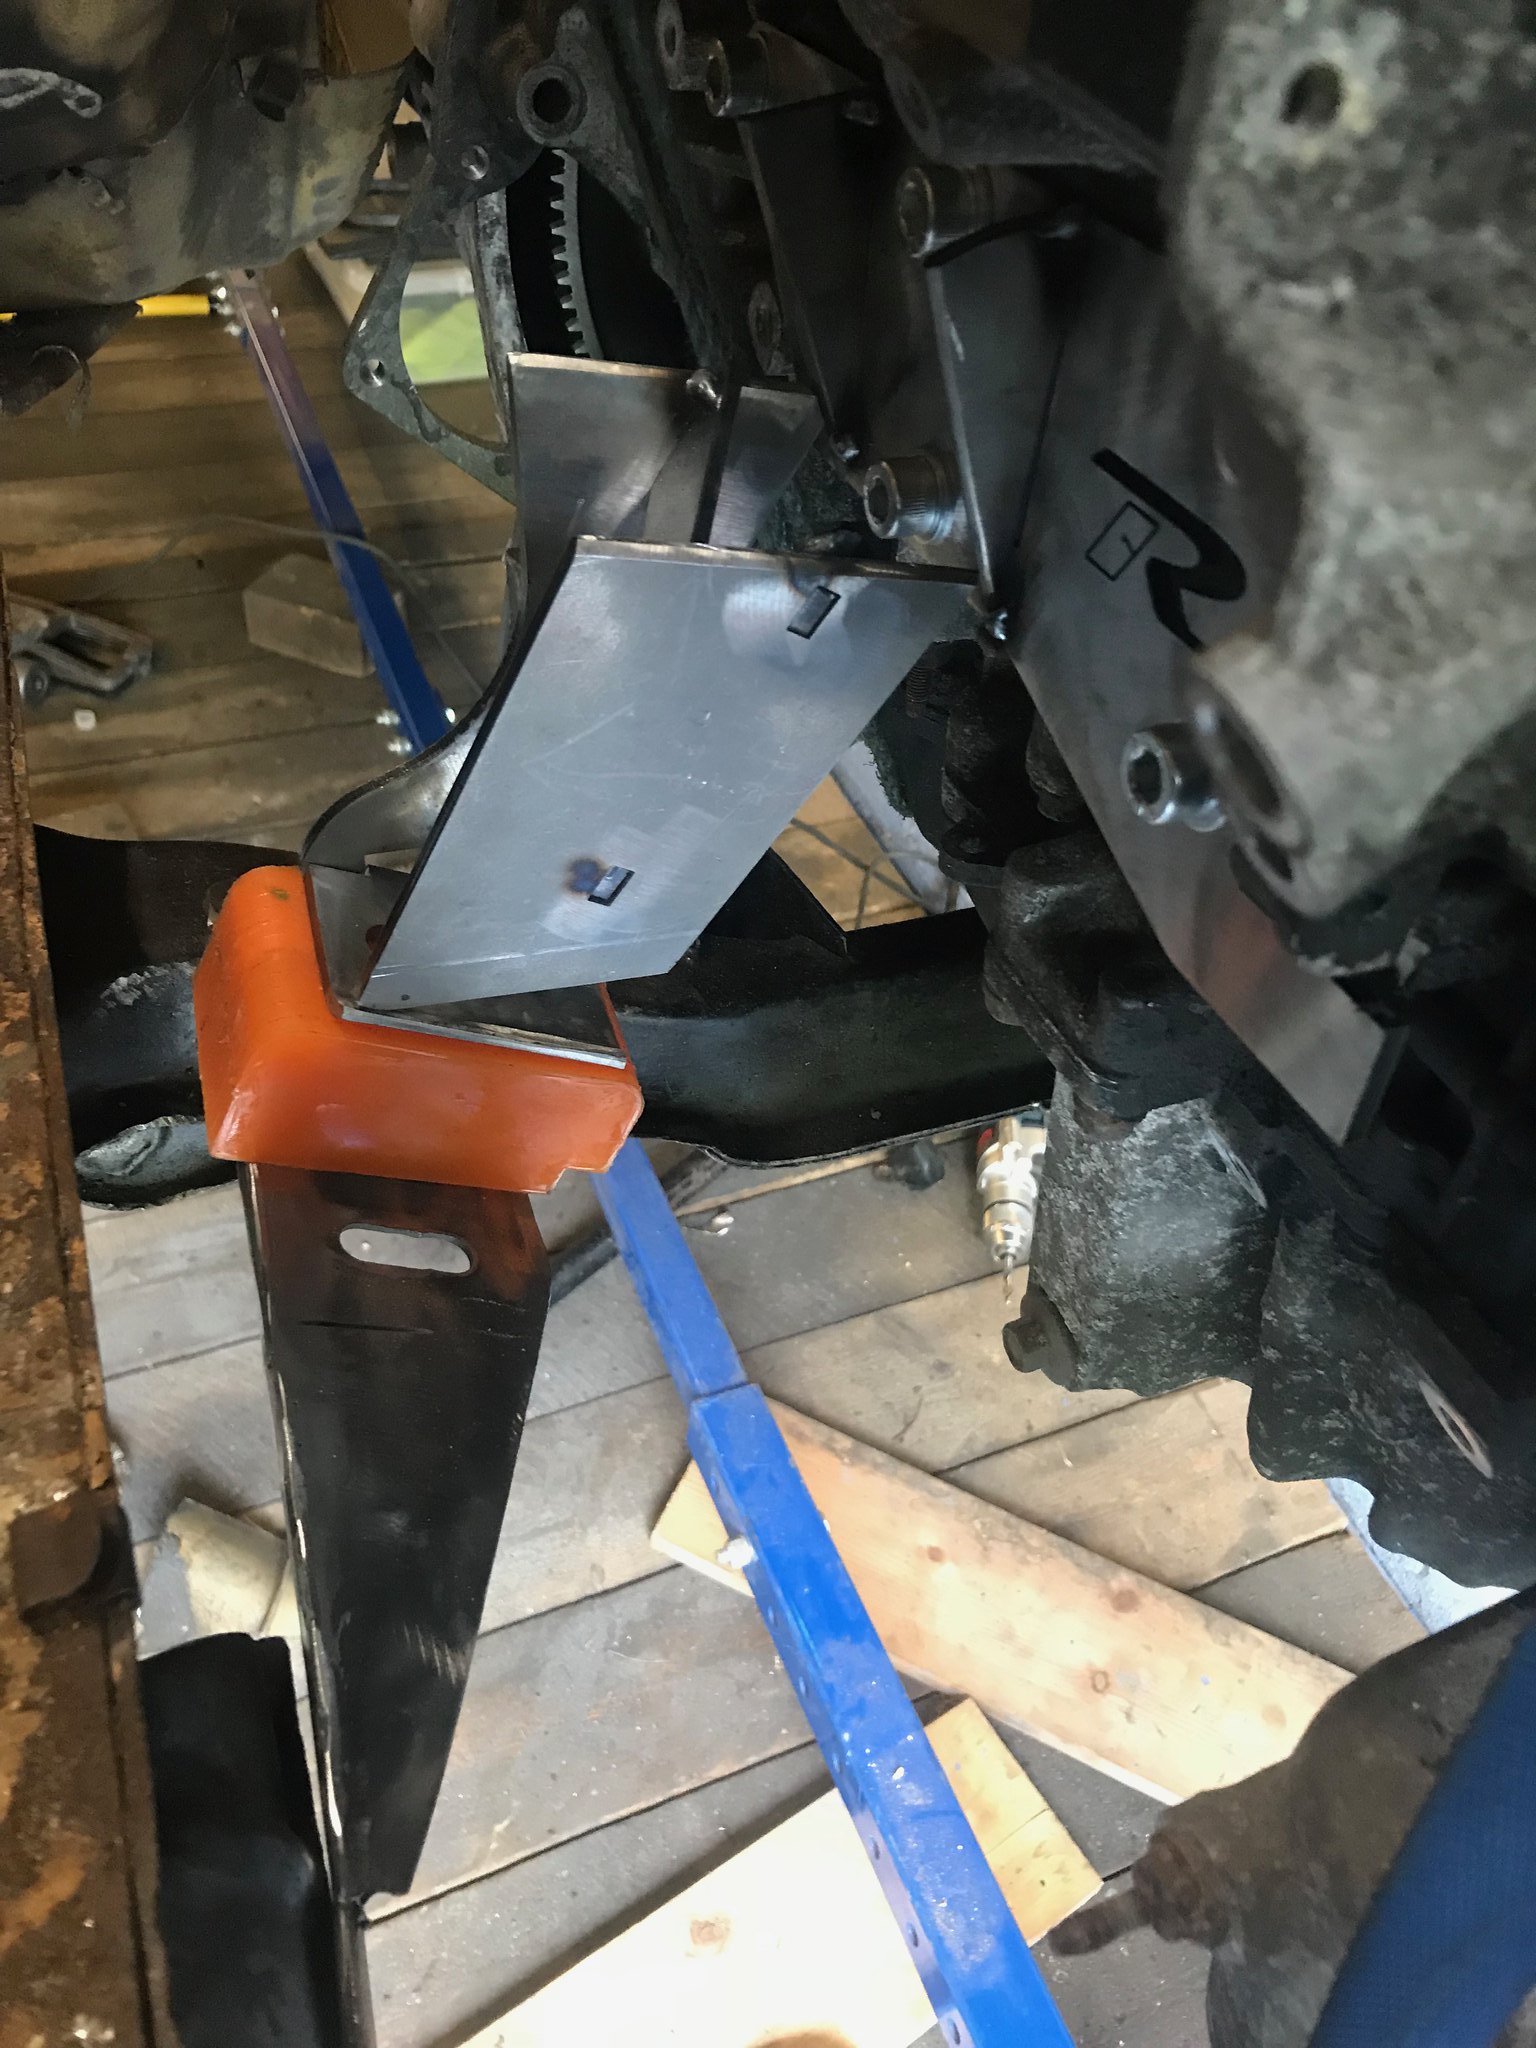 Untitled Untitled by Nevtiger, on Flickr 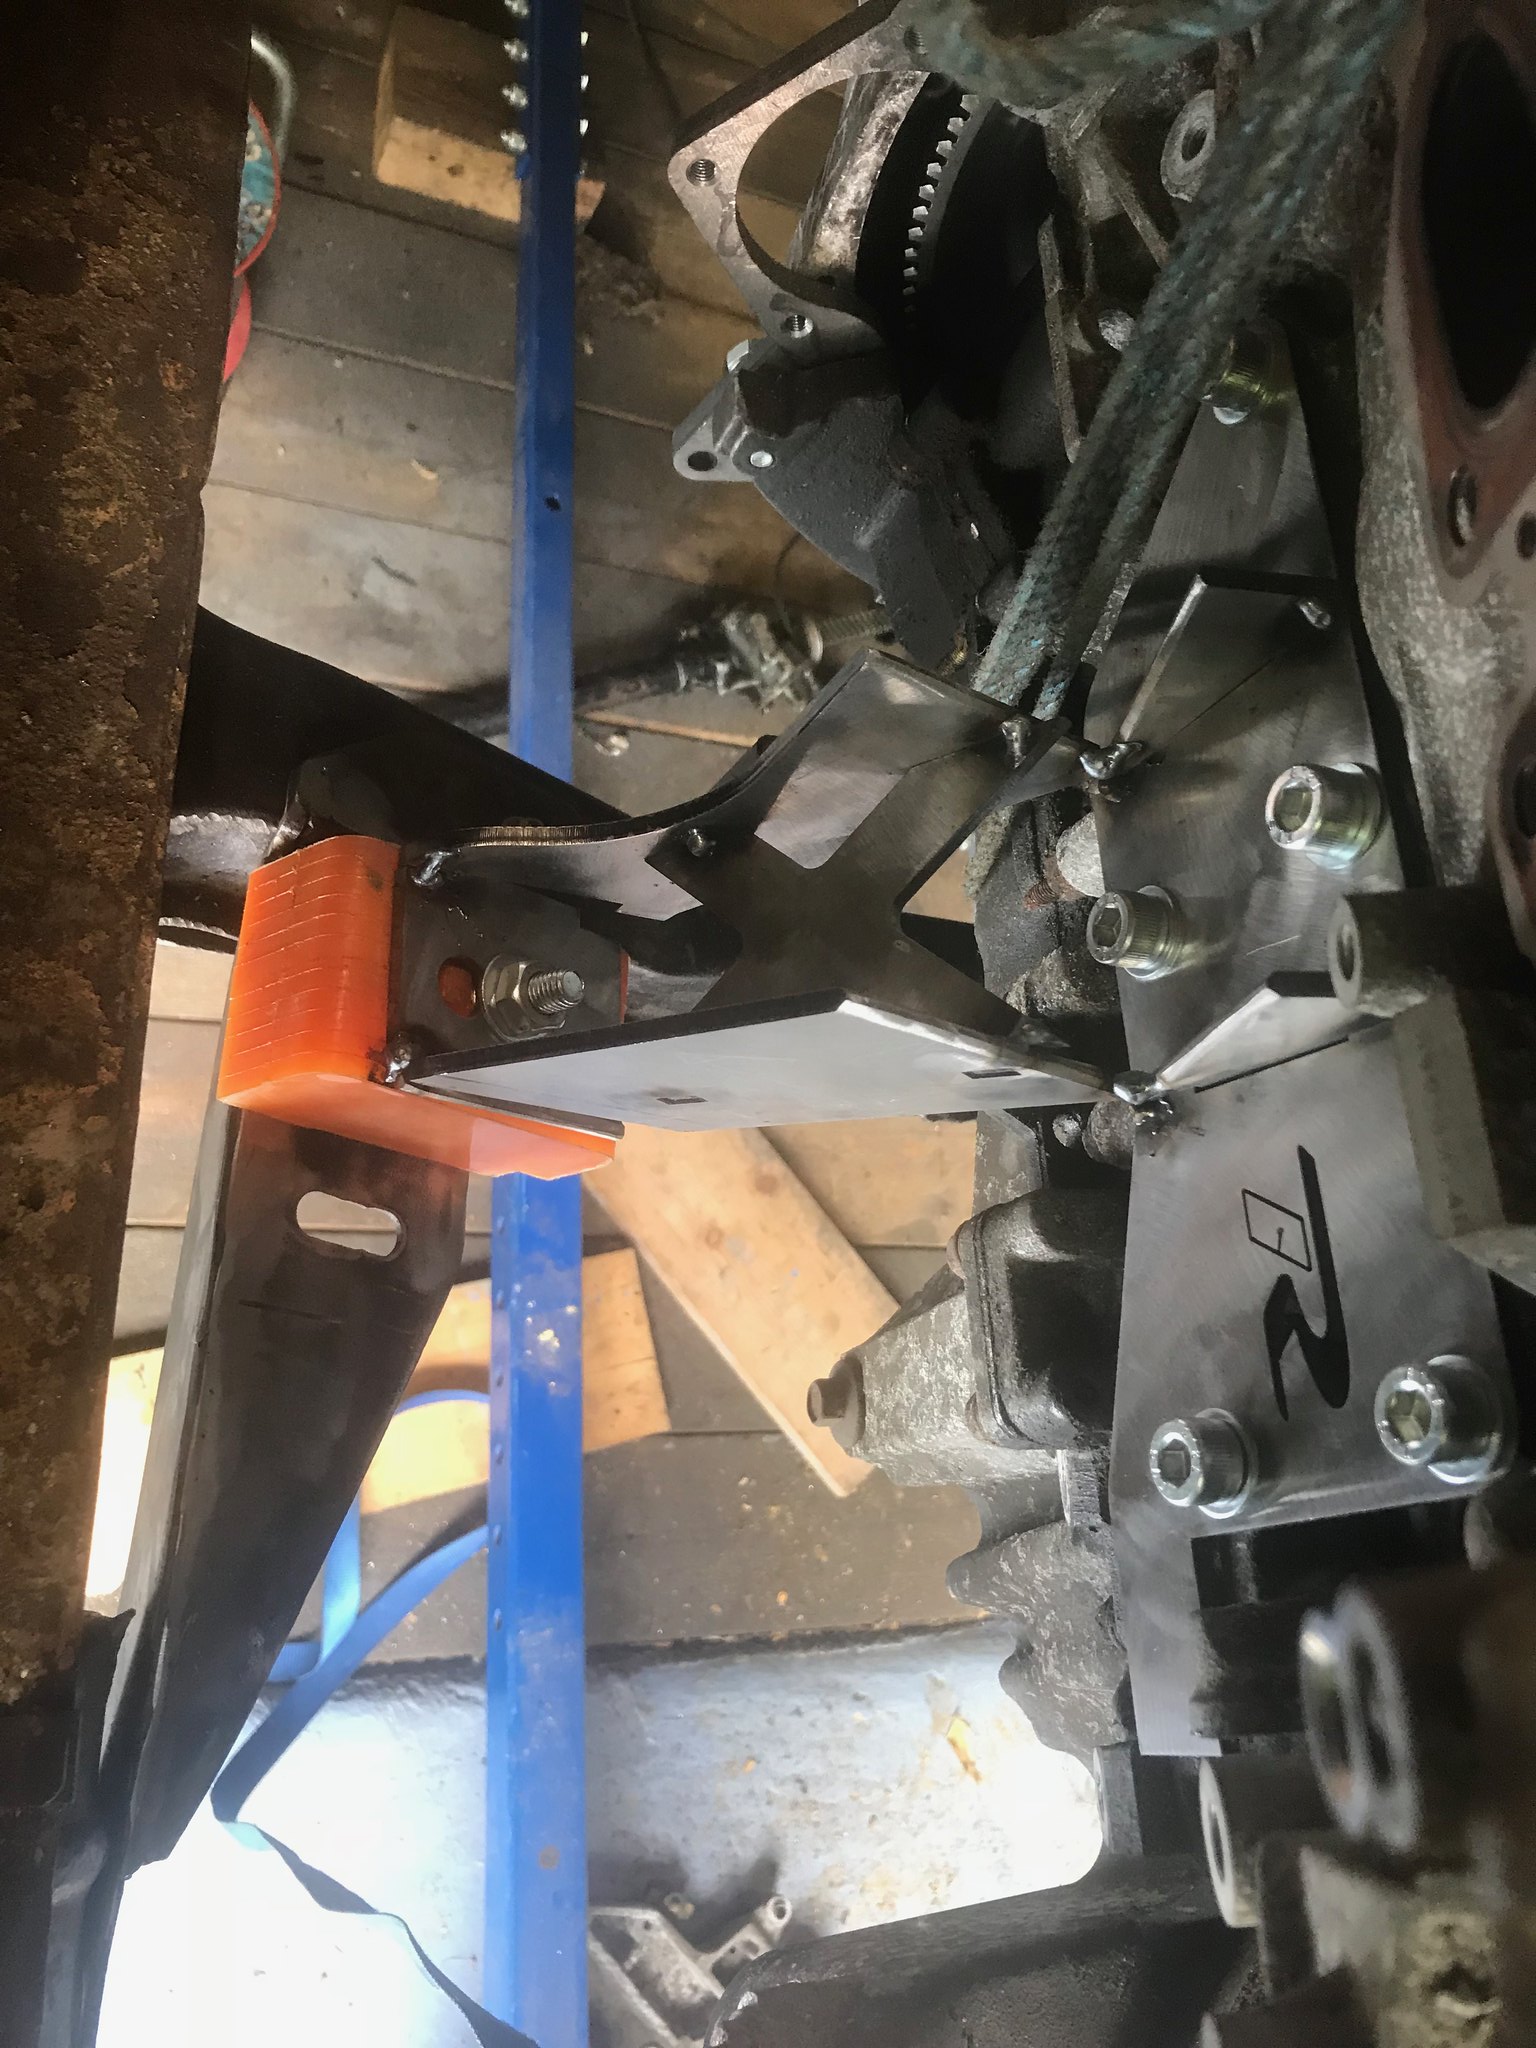 Untitled Untitled by Nevtiger, on Flickr Cut some plate and tack it in 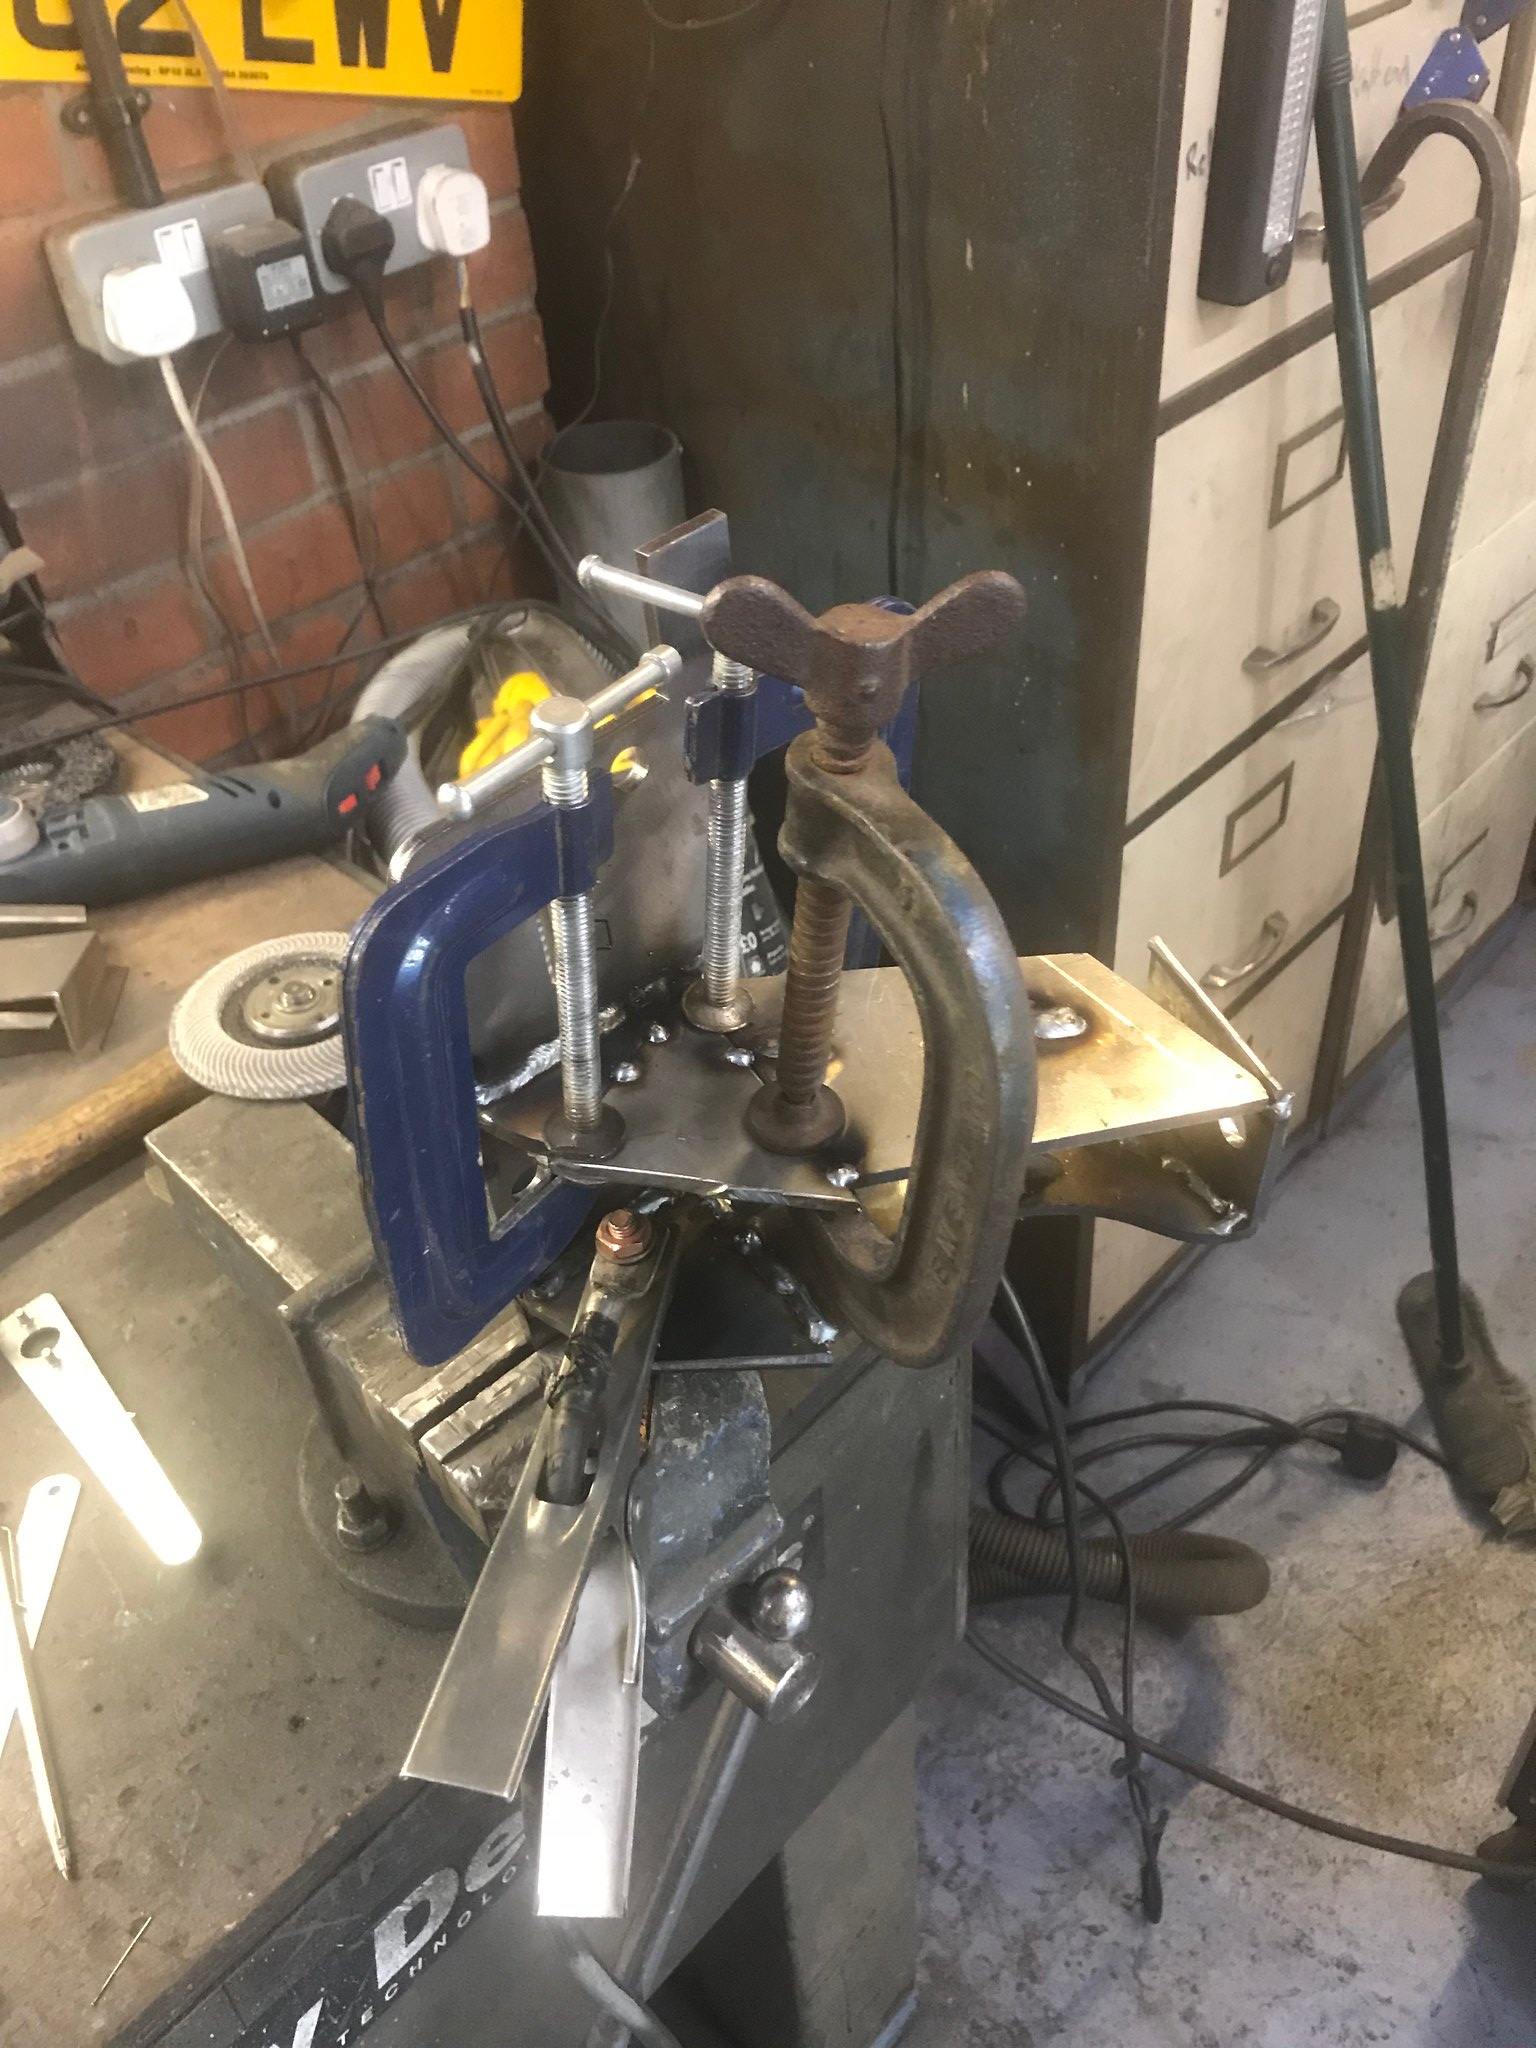 Untitled Untitled by Nevtiger, on Flickr Weld 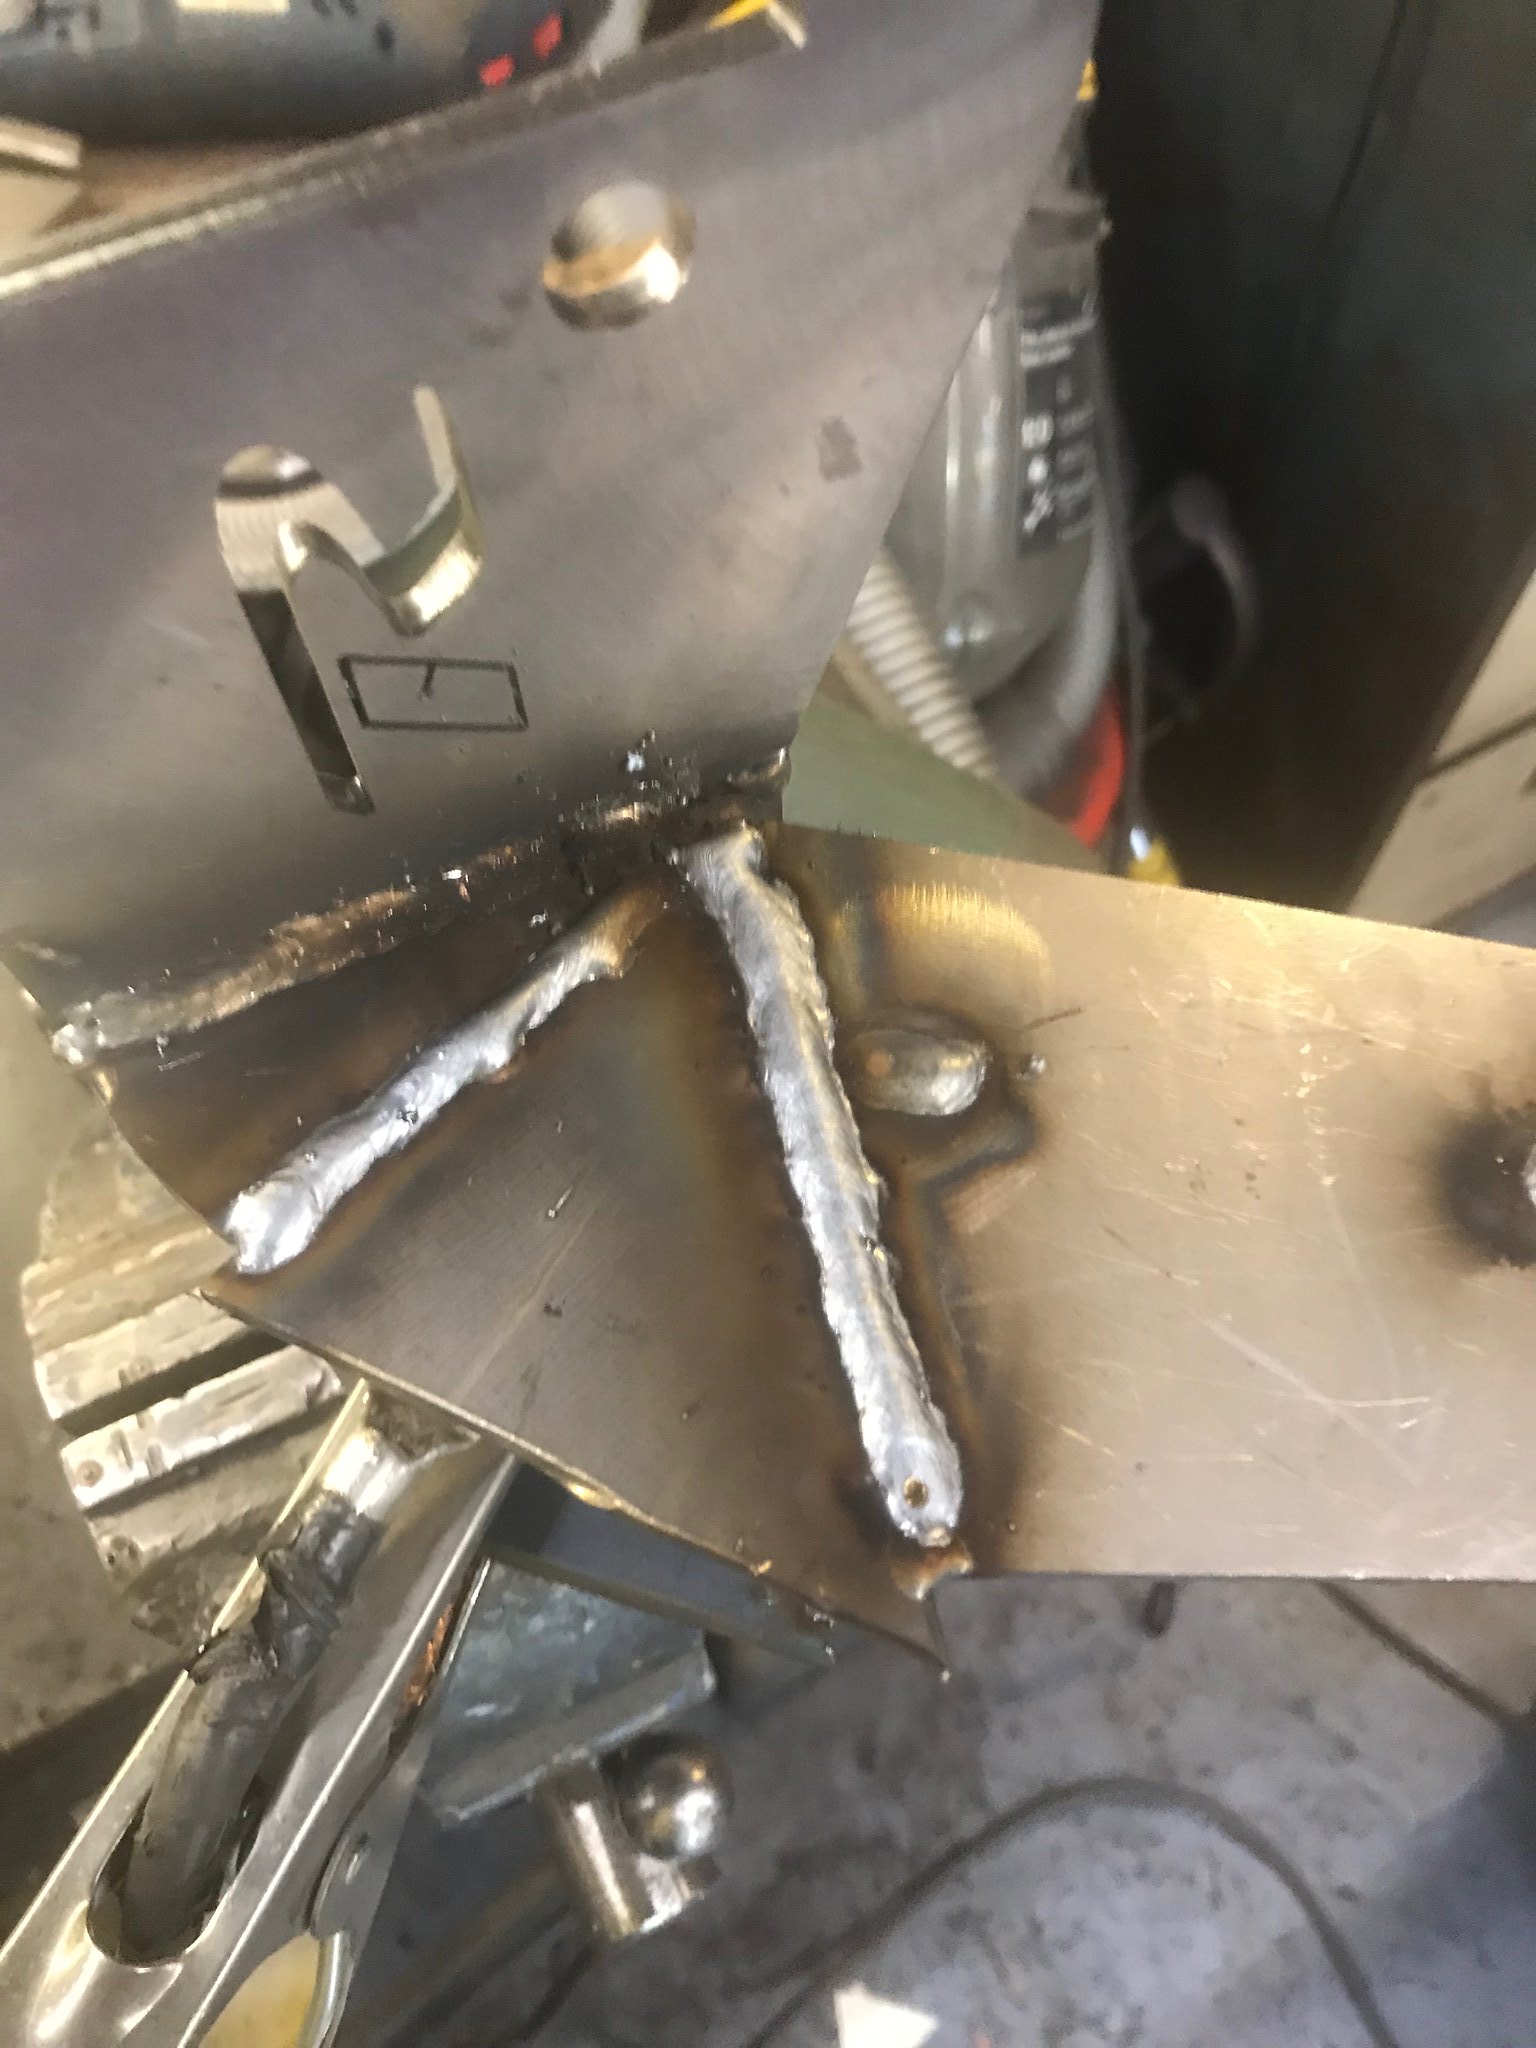 Untitled Untitled by Nevtiger, on Flickr 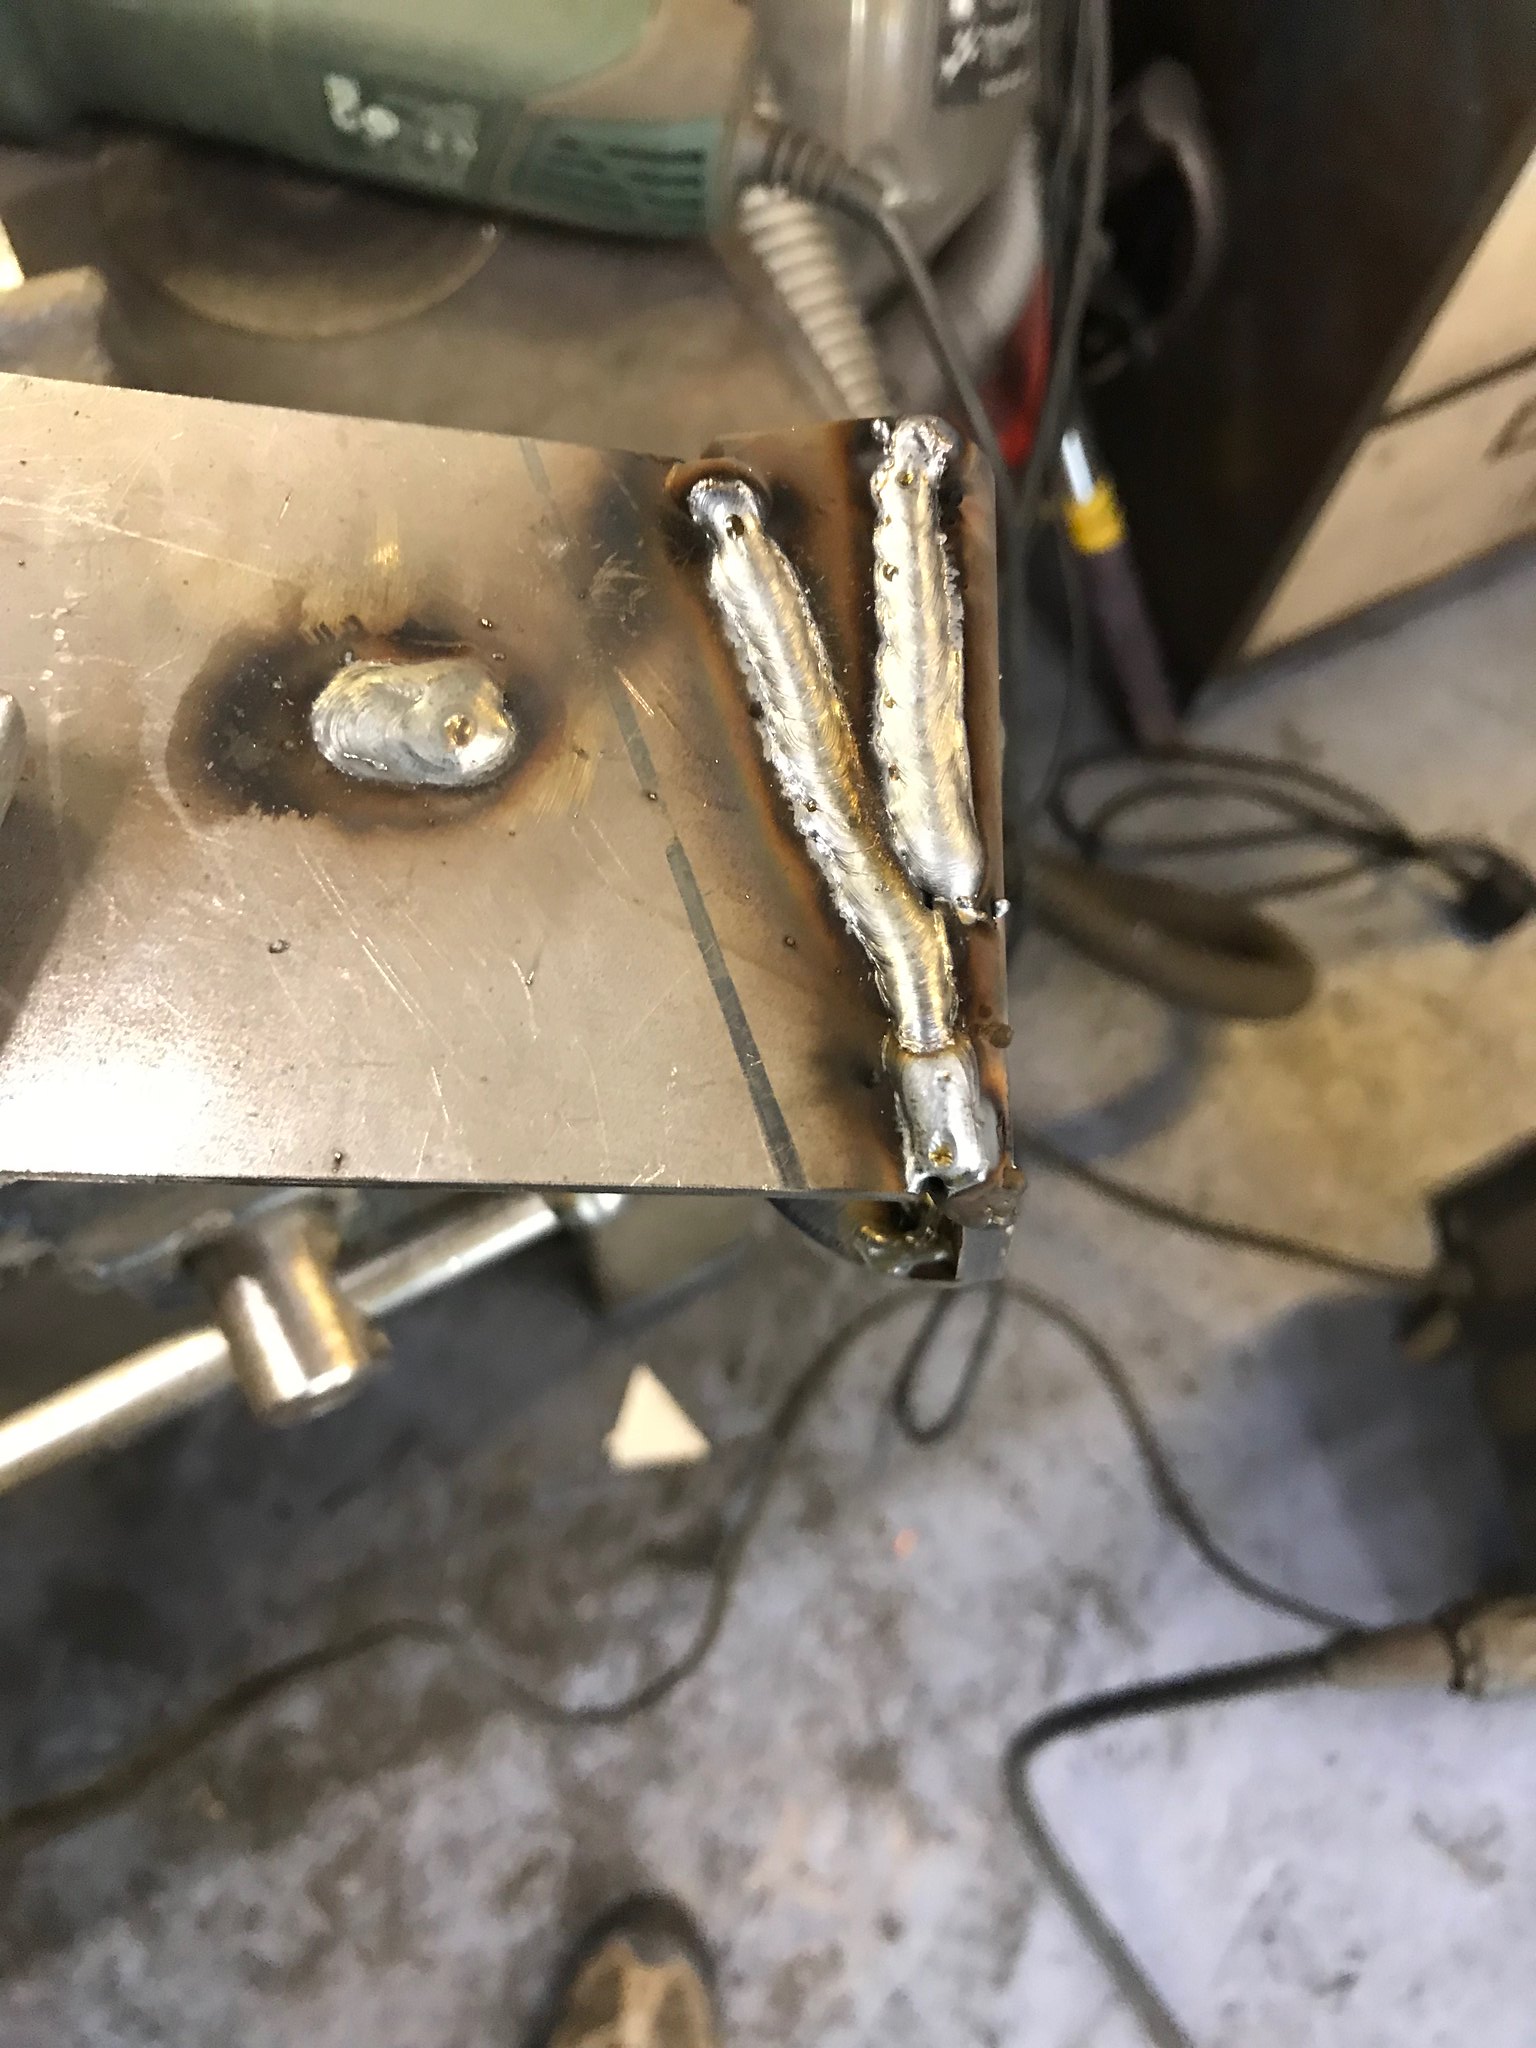 Untitled Untitled by Nevtiger, on Flickr Check it on the car and then start cleaning it up 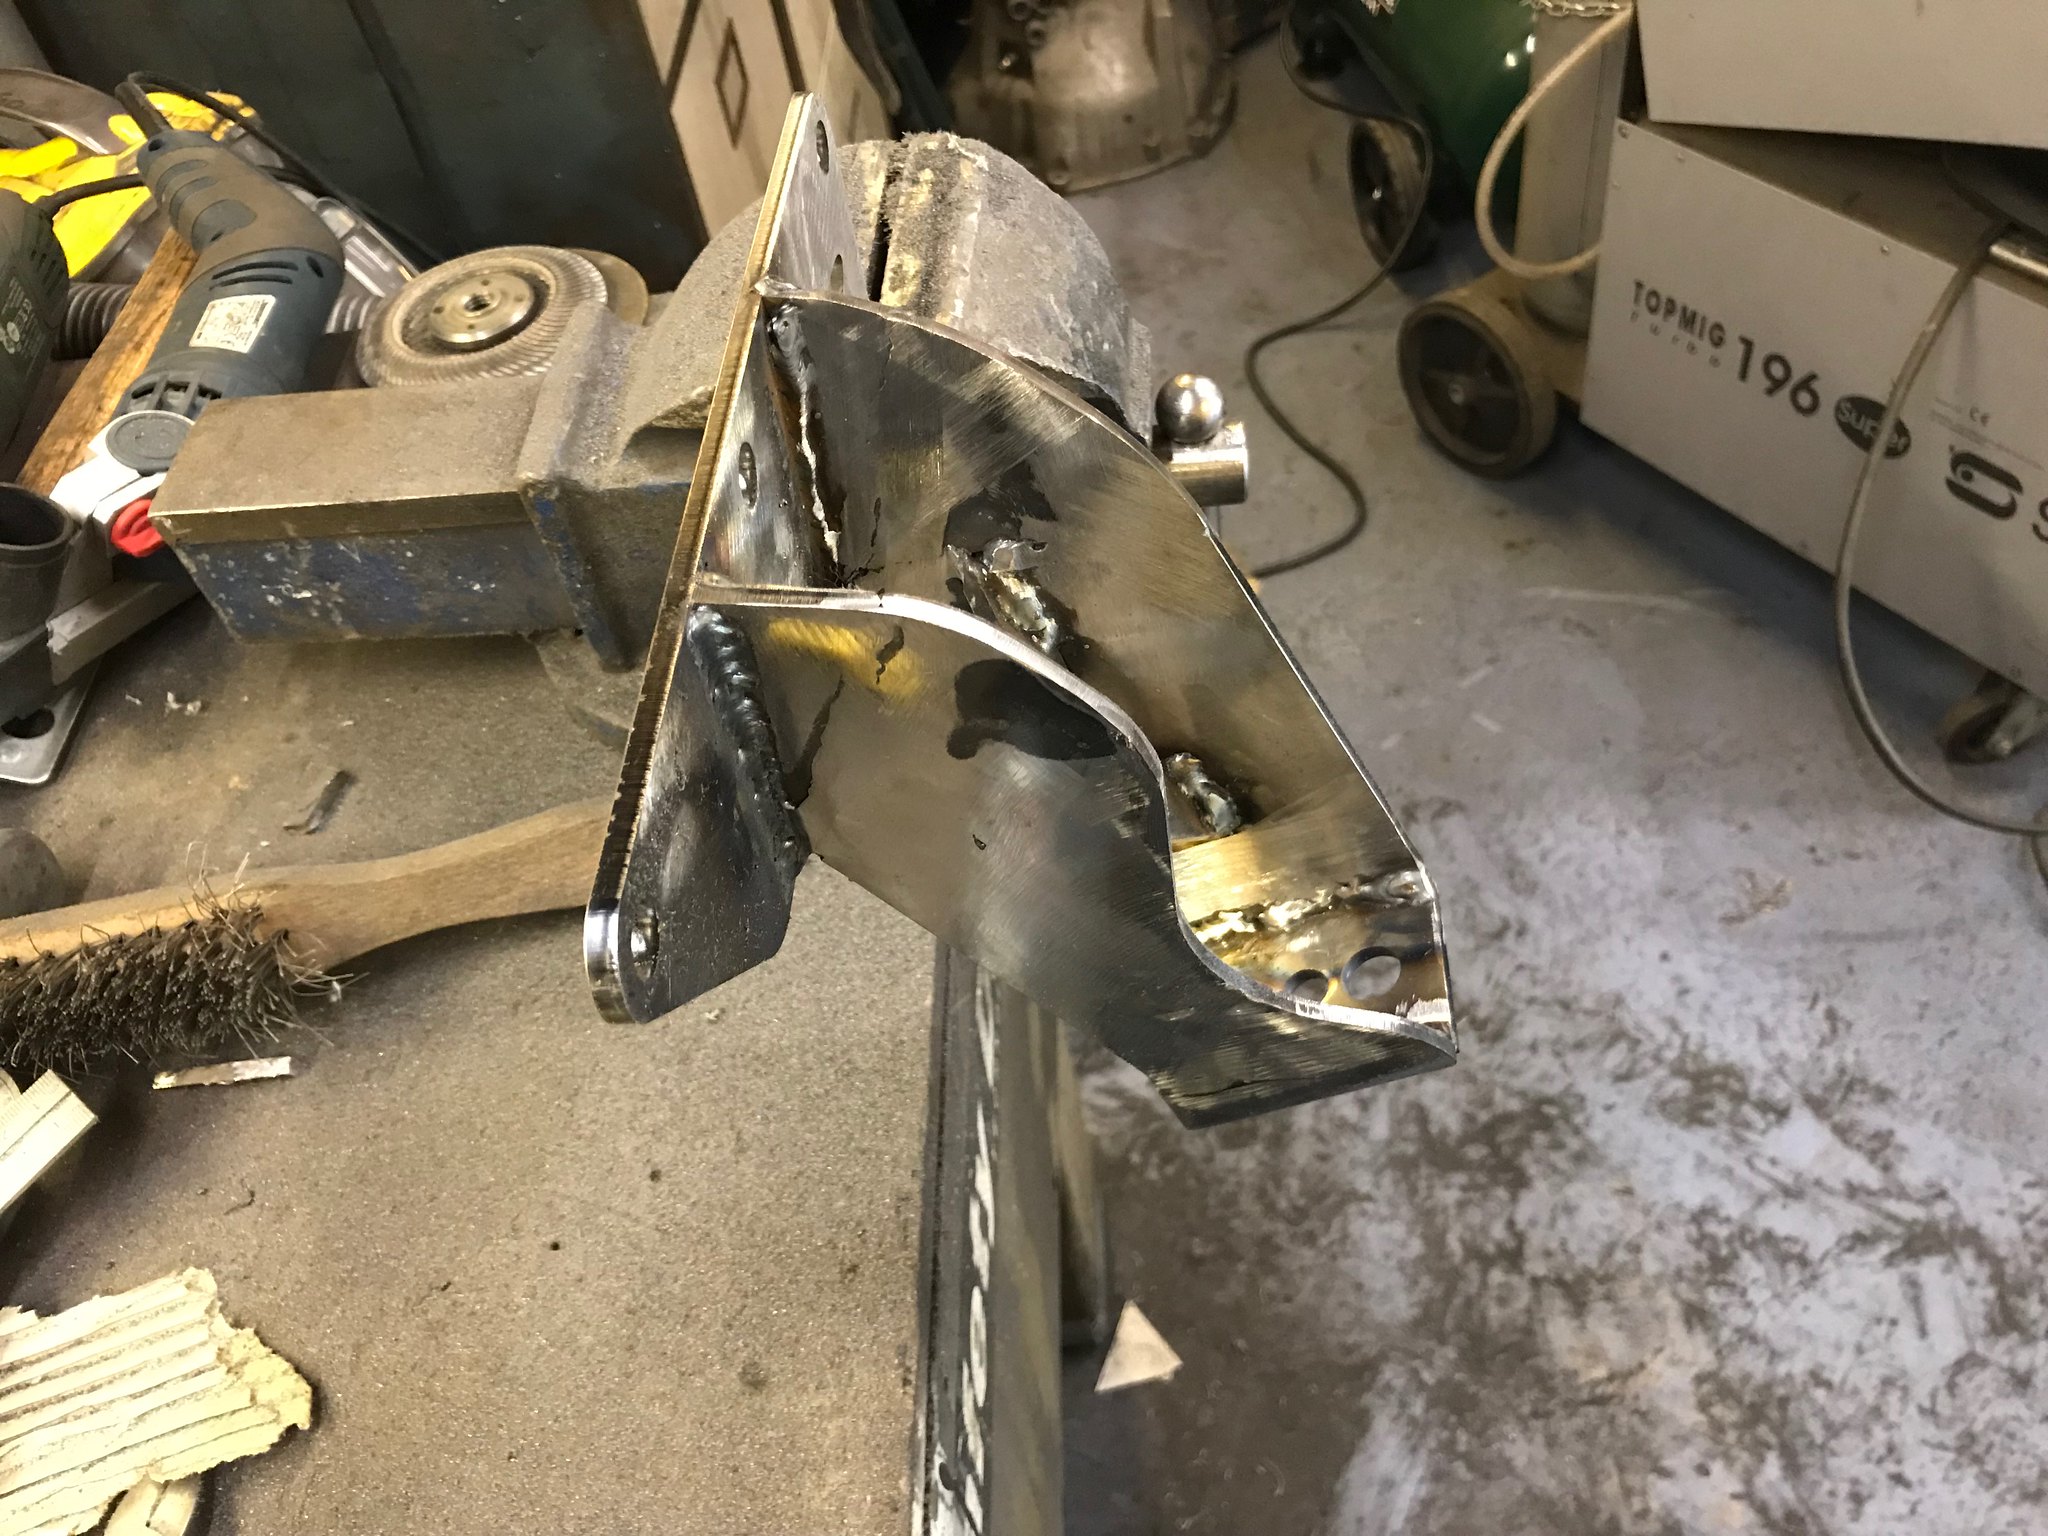 Untitled Untitled by Nevtiger, on Flickr 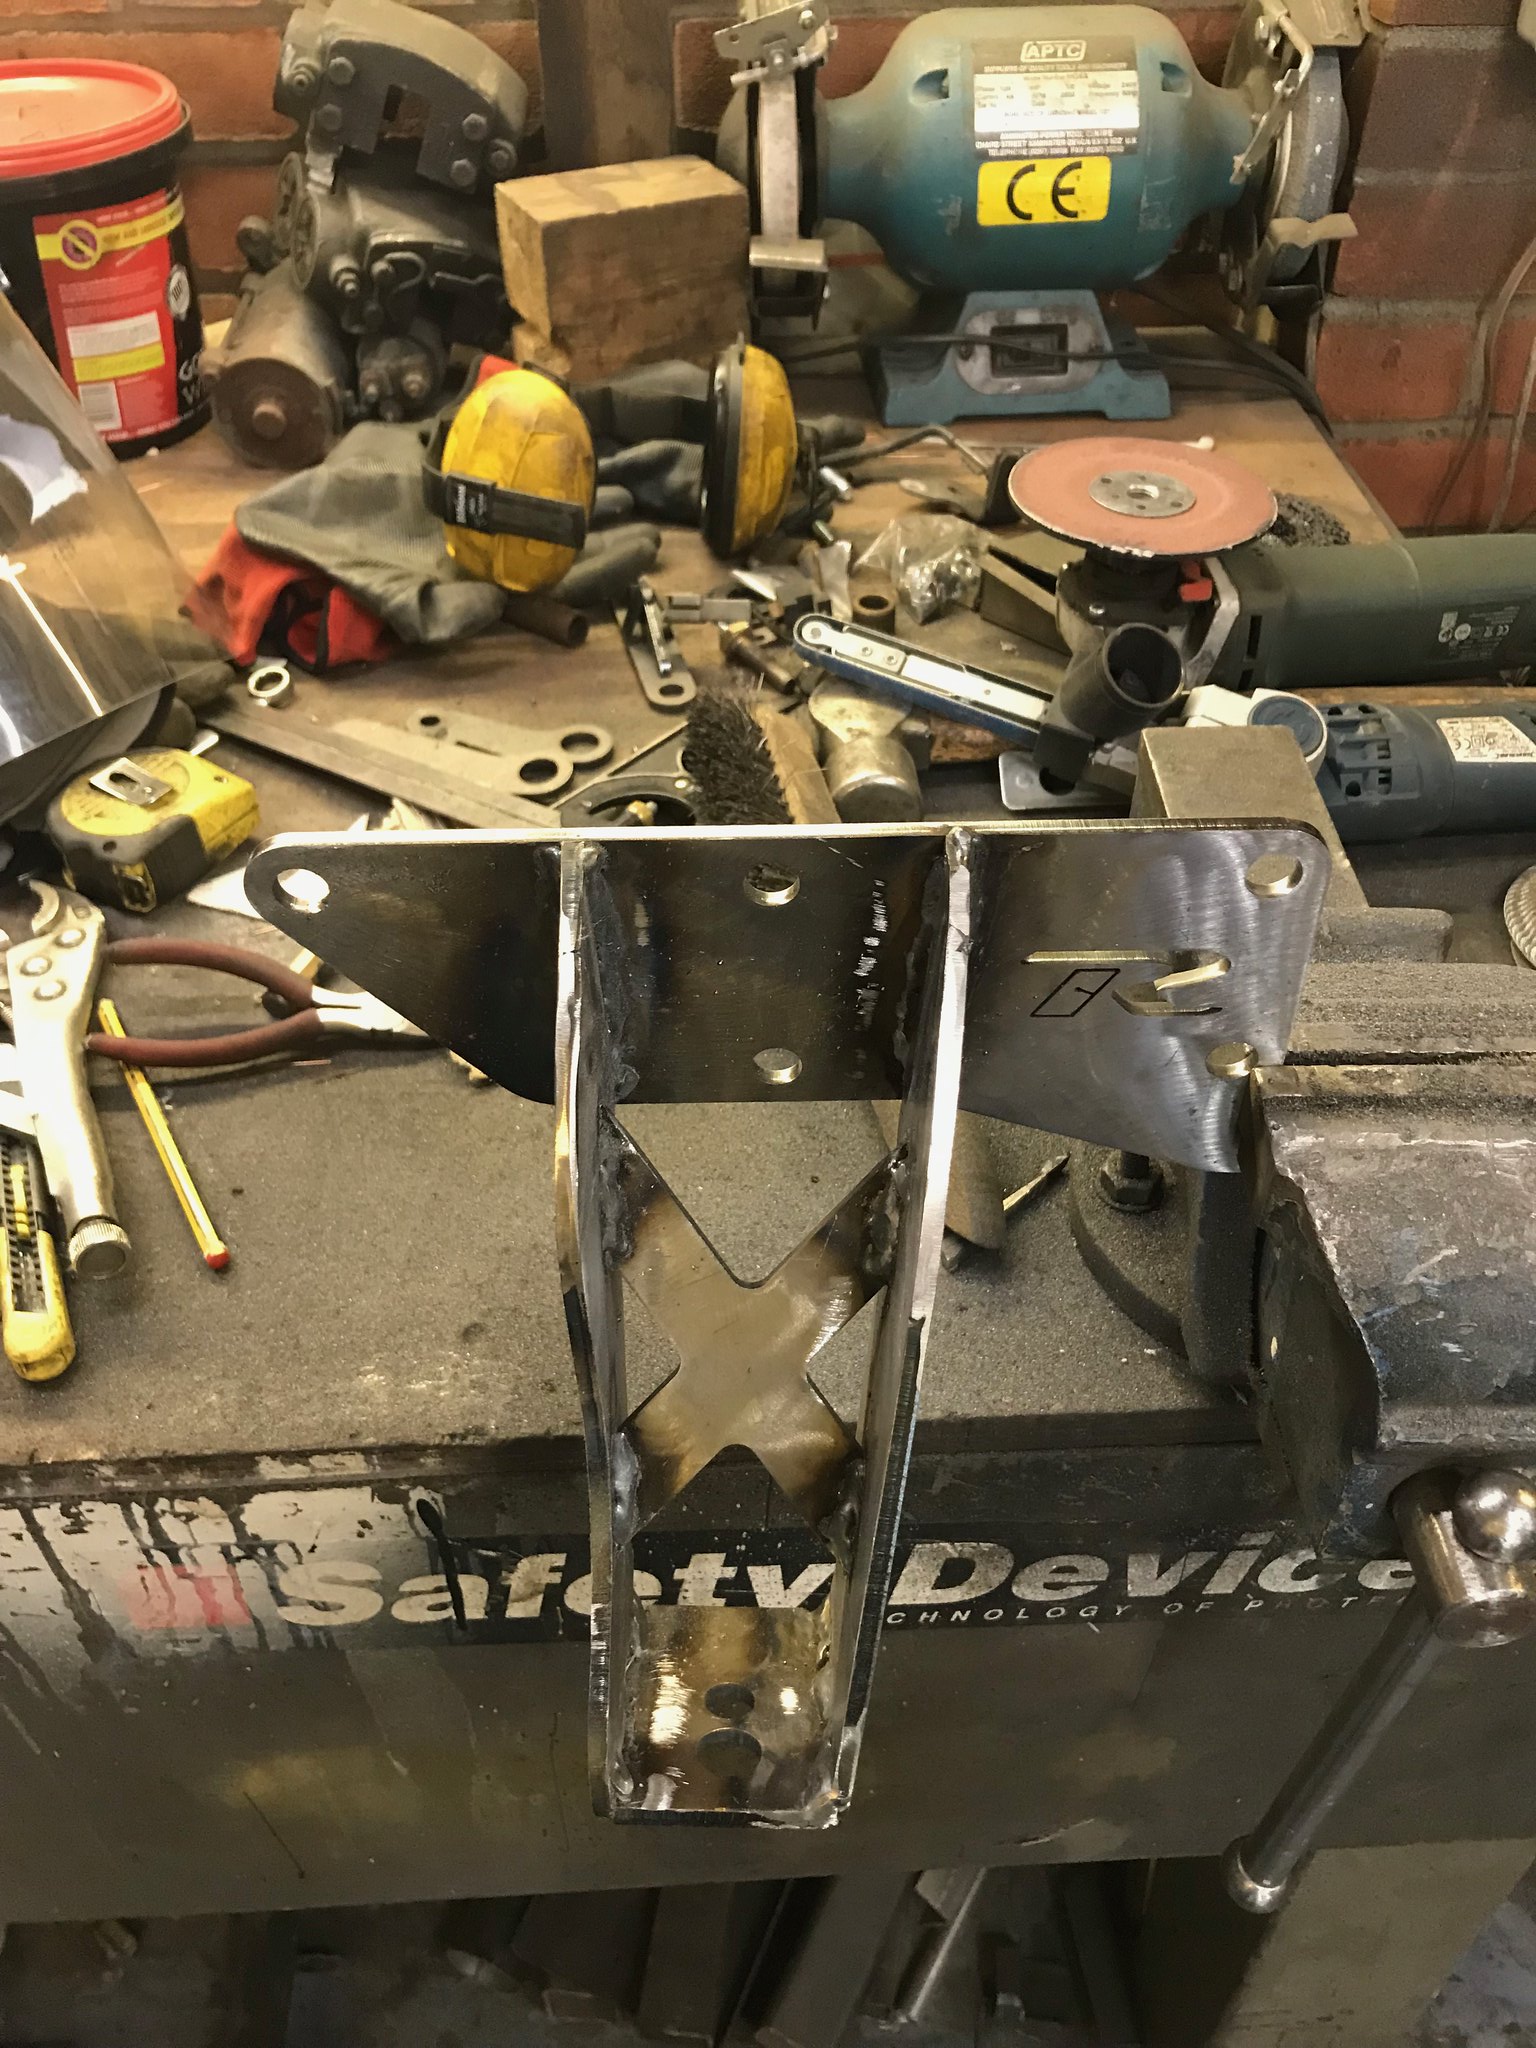 Untitled Untitled by Nevtiger, on Flickr Which just leaves the near side. |
| |
|
|
|
|
|
|
|
|
I can't remember the piston size in the princess calipers, but I think they are pretty small and have limited stopping power compared to many cheap modern sliding calipers. might be worth researching the setup a bit
|
| |
|
|
Darkspeed
Club Retro Rides Member
Posts: 4,878
Club RR Member Number: 39
|
|
Oct 19, 2018 19:38:39 GMT
|
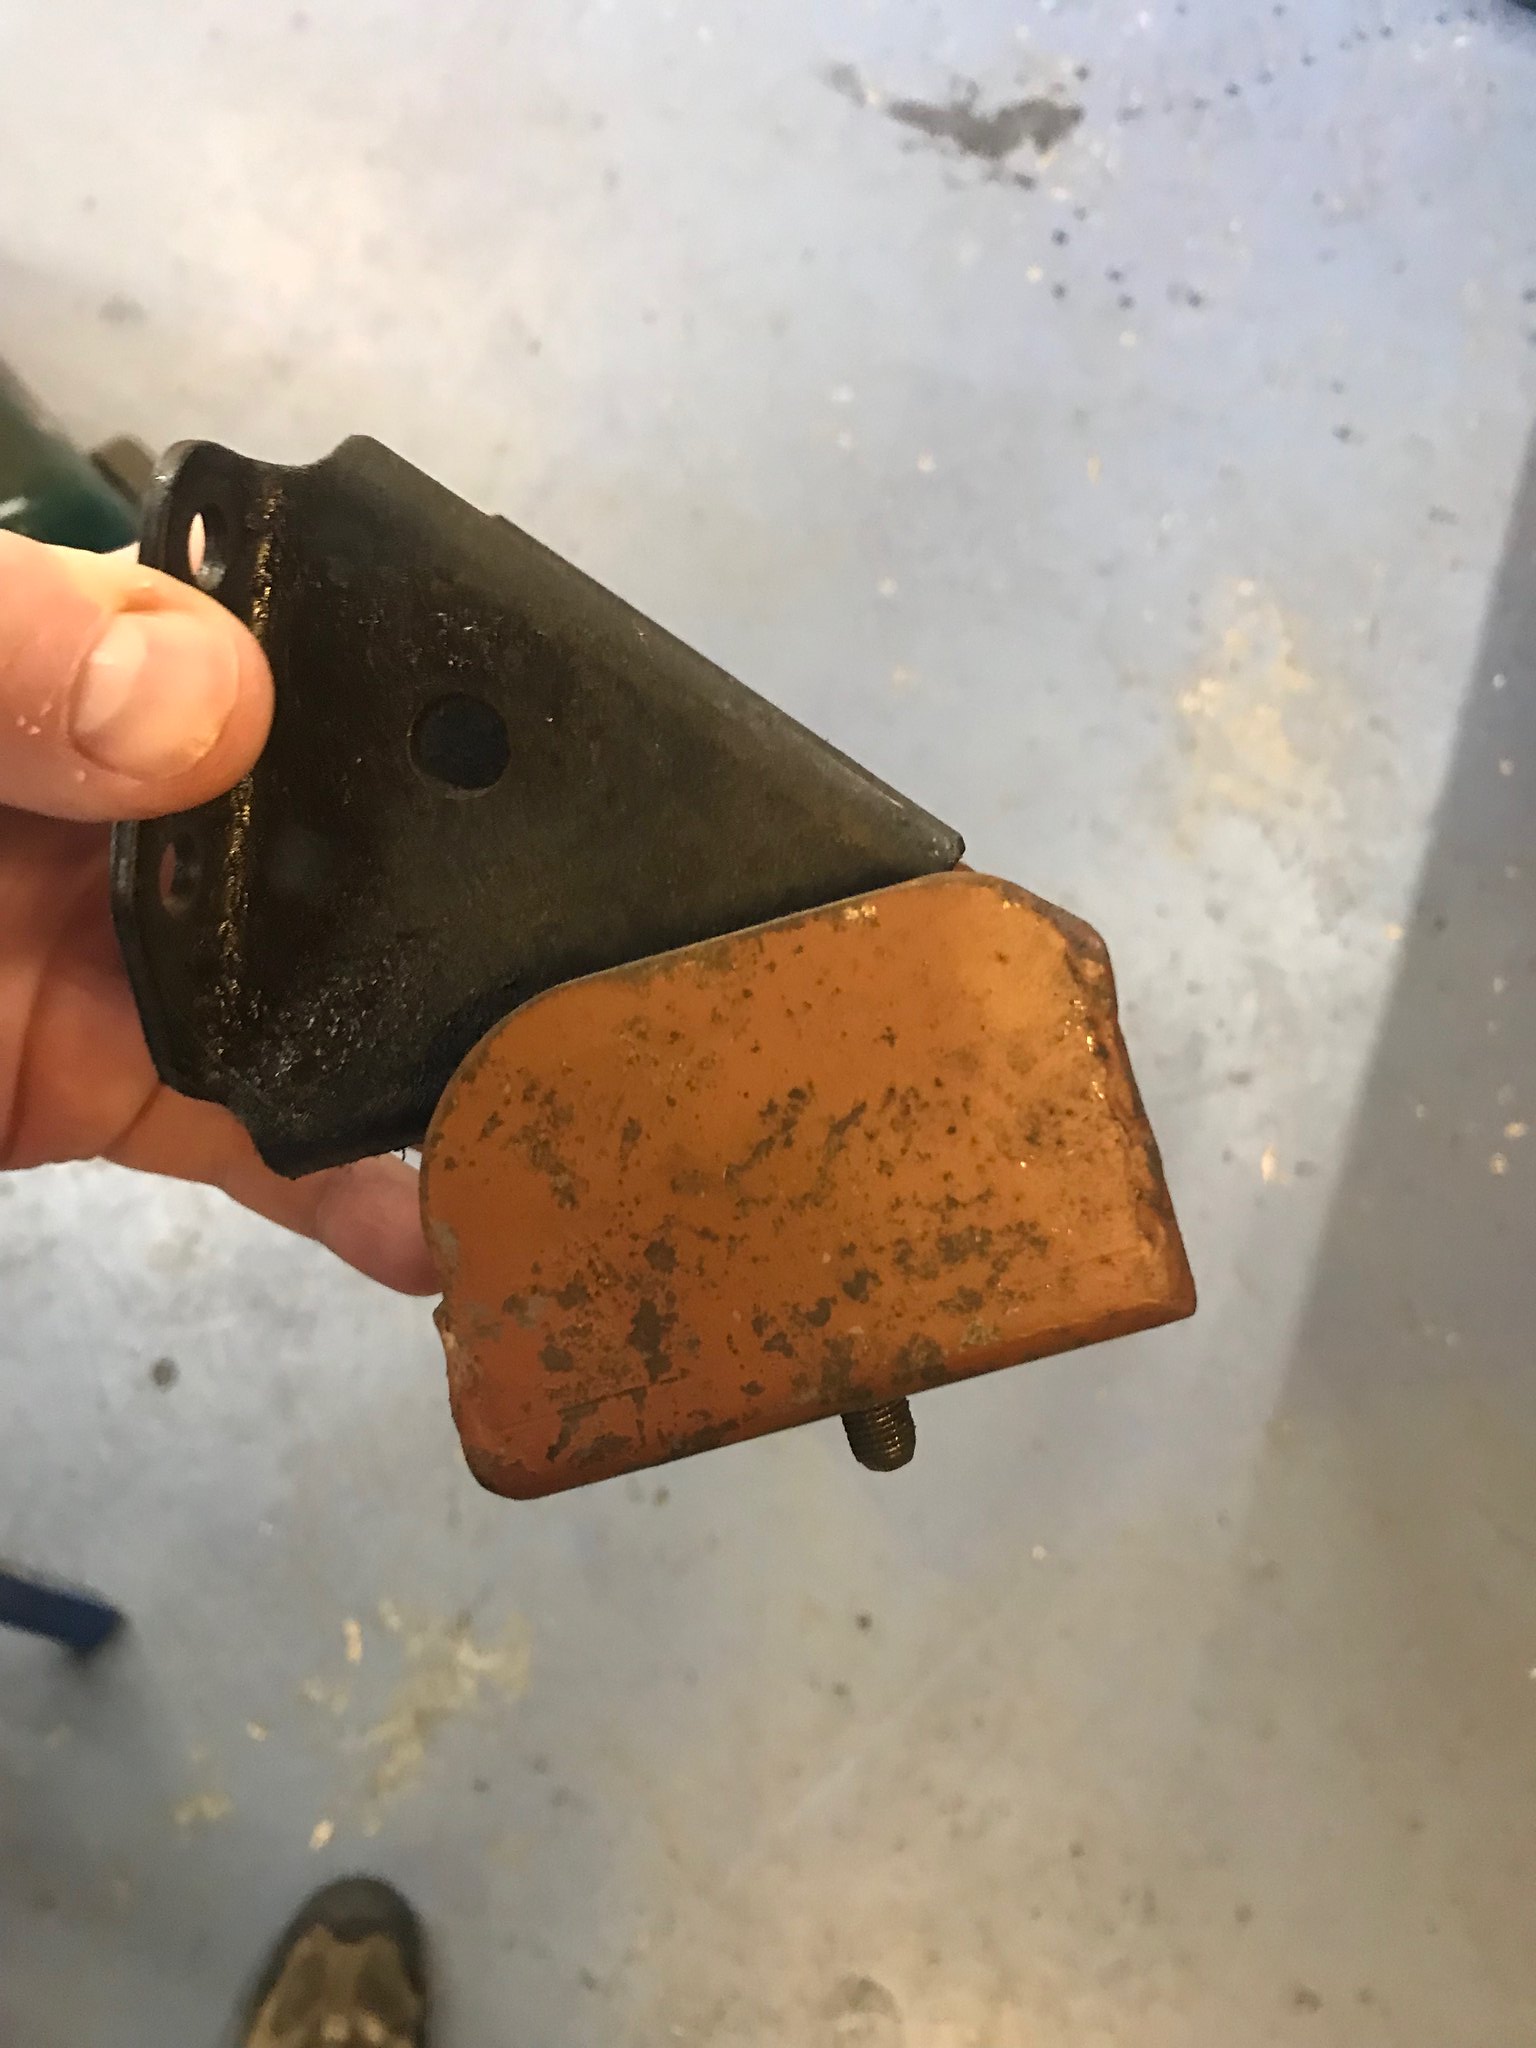
Does the MX mount not rely on the cup part of the mount to be retained - I retained it with a G21 MX5 that bolt in the poly mount looks like it will shear out with heavy braking. The MX mounts in an MX are not under the same sort of braking forward stresses as a "normal installation due to the "whatever" beam tying the whole engine box diff all together. Most Normal mounts are a large disc bonded to another to resist that shear force. 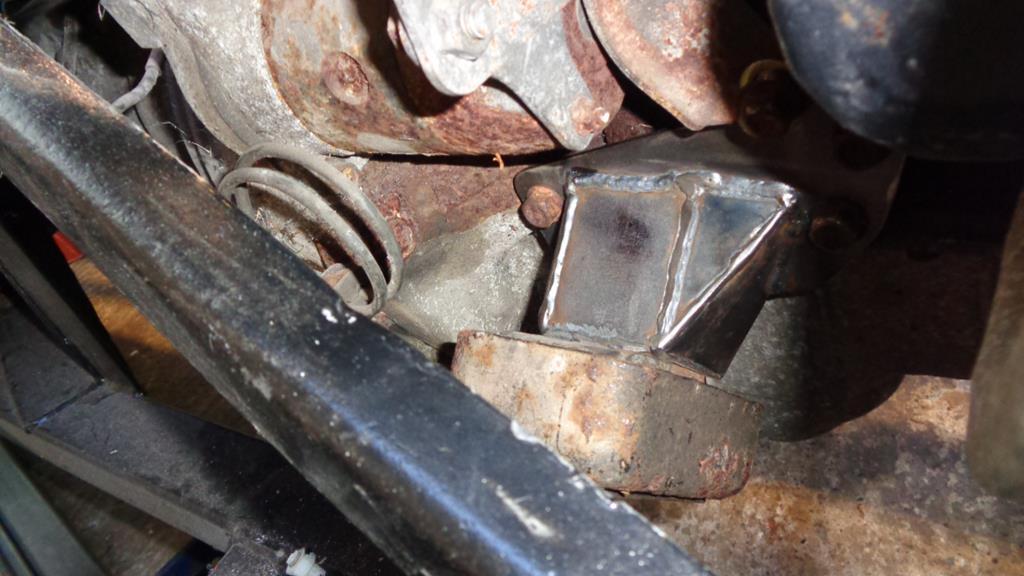 |
| |
|
|
v8ian
Posted a lot
  
Posts: 3,832
|
|
Oct 19, 2018 20:37:03 GMT
|
|
Princess callipers have a very similar piston area to a M16, so, theoretically you should be able to use your original M/C, assuming you are using stock rears, I used princess
|
| |
Atmo V8 Power . No slicks , No gas + No bits missing . Doing it in style.
Austin A35van, very different------- but still doing it in style, going to be a funmoble
|
|
|
|
|
Oct 21, 2018 13:16:46 GMT
|
Does the MX mount not rely on the cup part of the mount to be retained - I retained it with a G21 MX5 that bolt in the poly mount looks like it will shear out with heavy braking. The MX mounts in an MX are not under the same sort of braking forward stresses as a "normal installation due to the "whatever" beam tying the whole engine box diff all together. Most Normal mounts are a large disc bonded to another to resist that shear force.  Ah very good point. I had not thought about it actually. Wont be hard to make up a 'Cup' for the mount to sit in and provide a shear stop. The Works engine mounts for the Hillman Avenger were just a standard mount with a 'cup' around it to stop the rubber shearing off...... |
| |
|
|
|
|
|
Oct 21, 2018 13:18:42 GMT
|
|
Princess Caliper:
I got some modern Wilwood equivalents in the end with the same piston area.
|
| |
|
|
|
|
|
|
|
Oct 26, 2018 18:06:09 GMT
|
I got these: 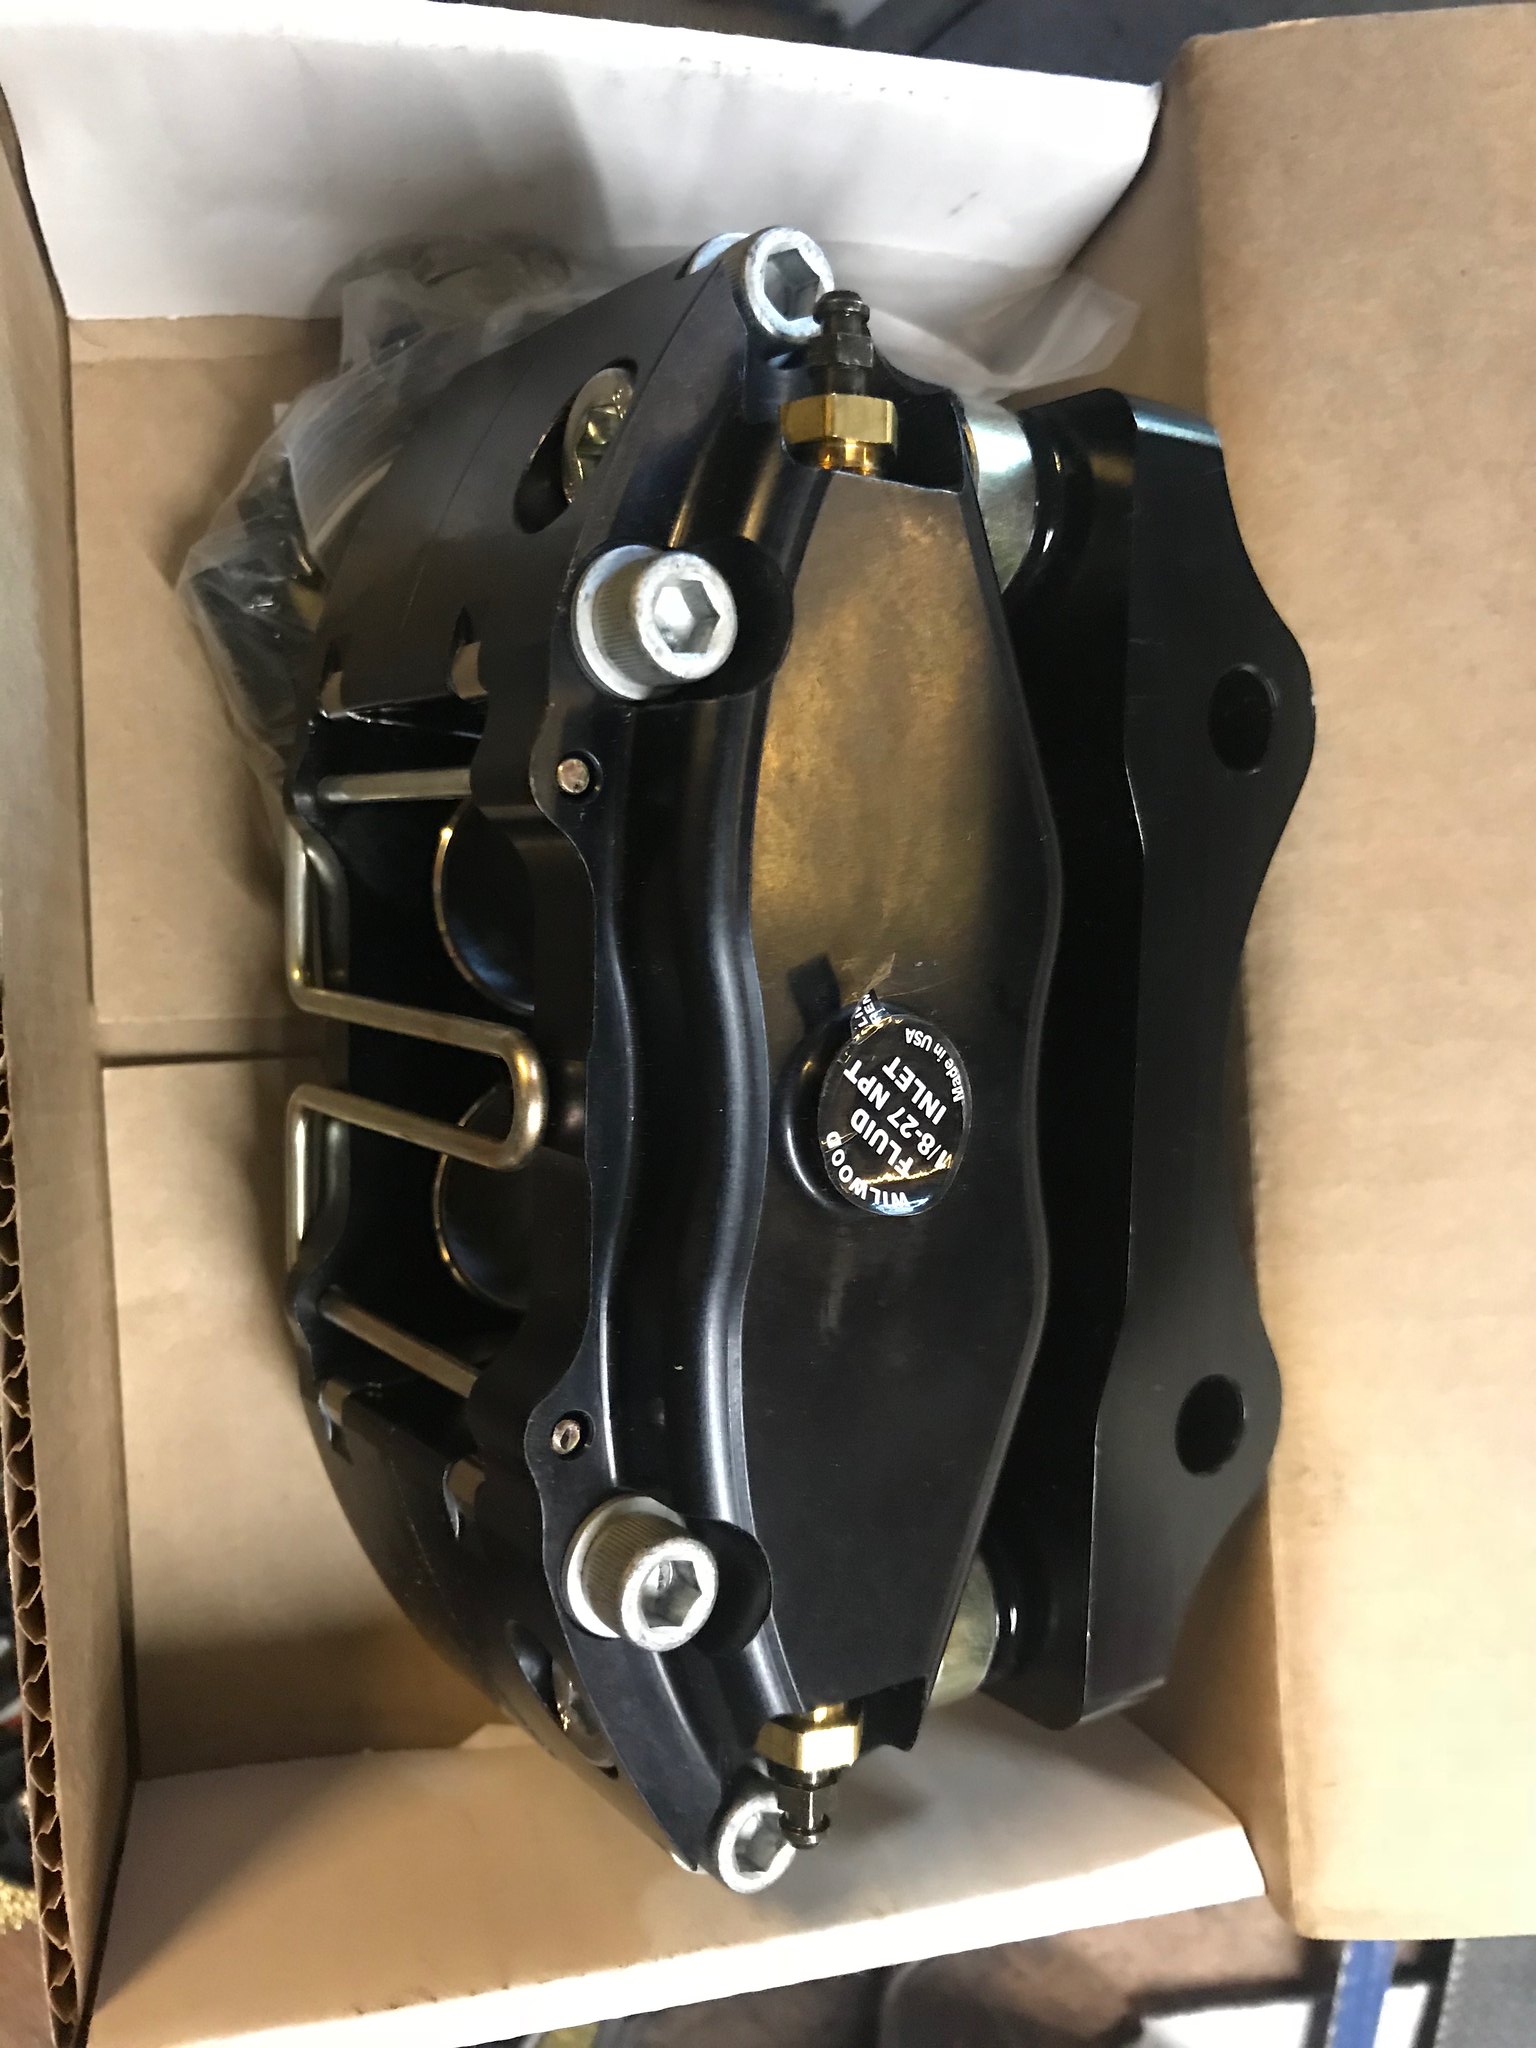 Untitled Untitled by Nevtiger, on Flickr 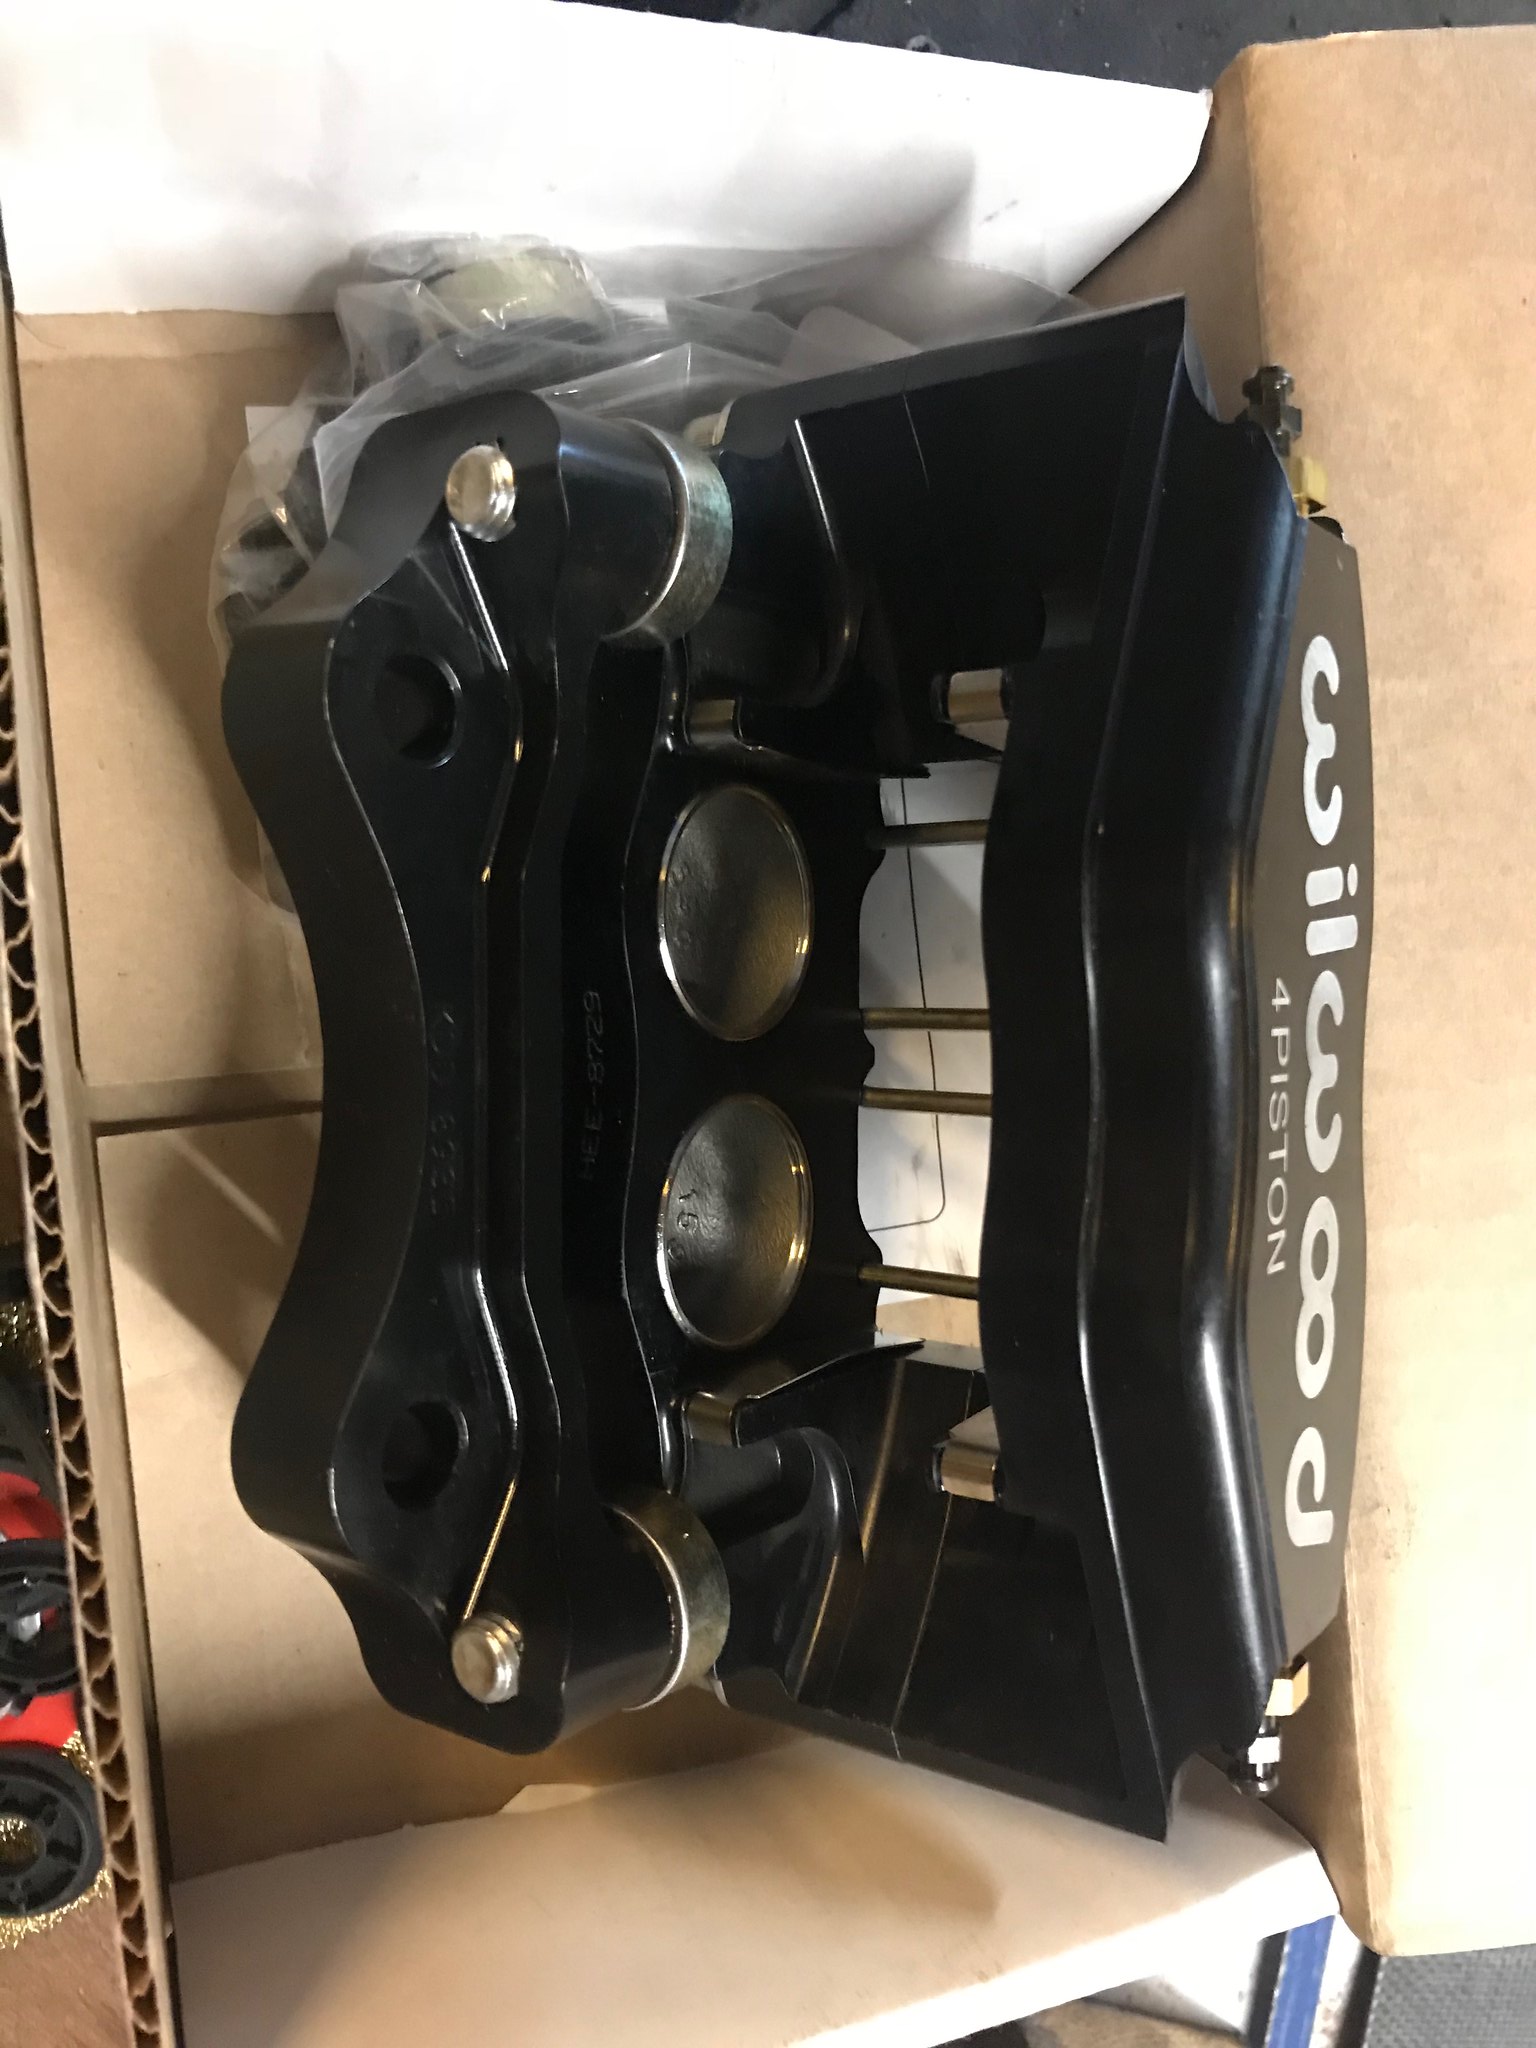 Untitled Untitled by Nevtiger, on Flickr I looked at both Wilwood and some others of the same price but the Wilwood had the biggest pad area. |
| |
|
|
|
|
|
Oct 28, 2018 16:11:30 GMT
|
|
|
| |
|
|
|
|
|
Oct 28, 2018 16:24:39 GMT
|
So that left the other engine mount. The one that needs an oil filter through it! At least with the other side done it meant that the engine was steady which made tacking things together a bit easier 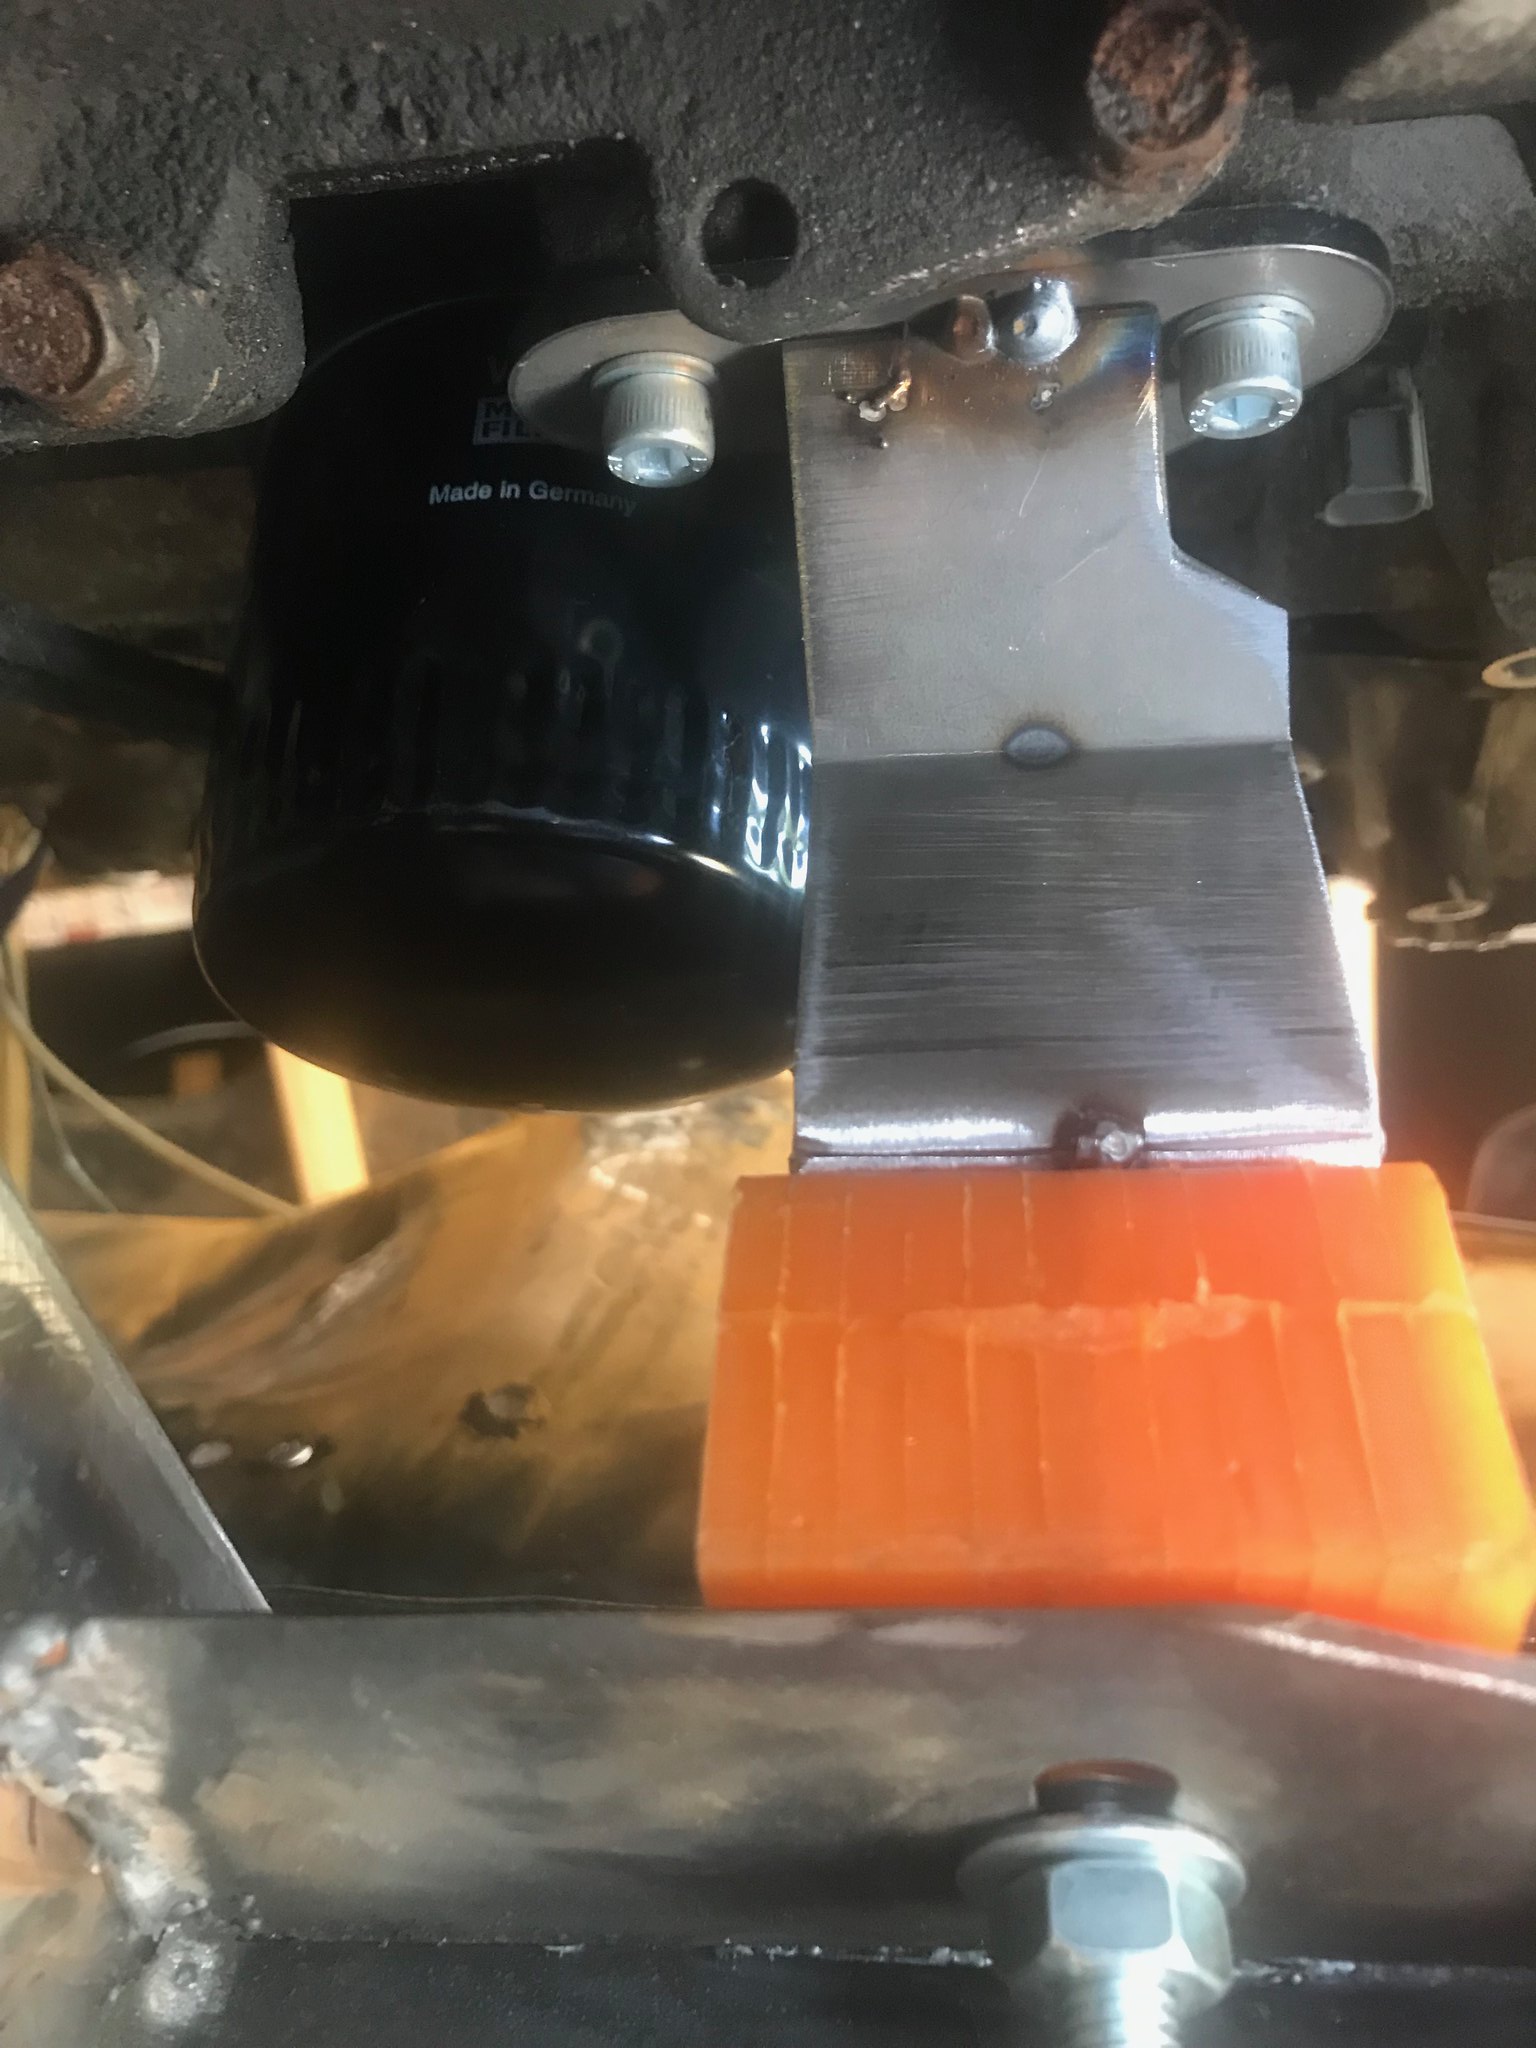 Untitled Untitled by Nevtiger, on Flickr 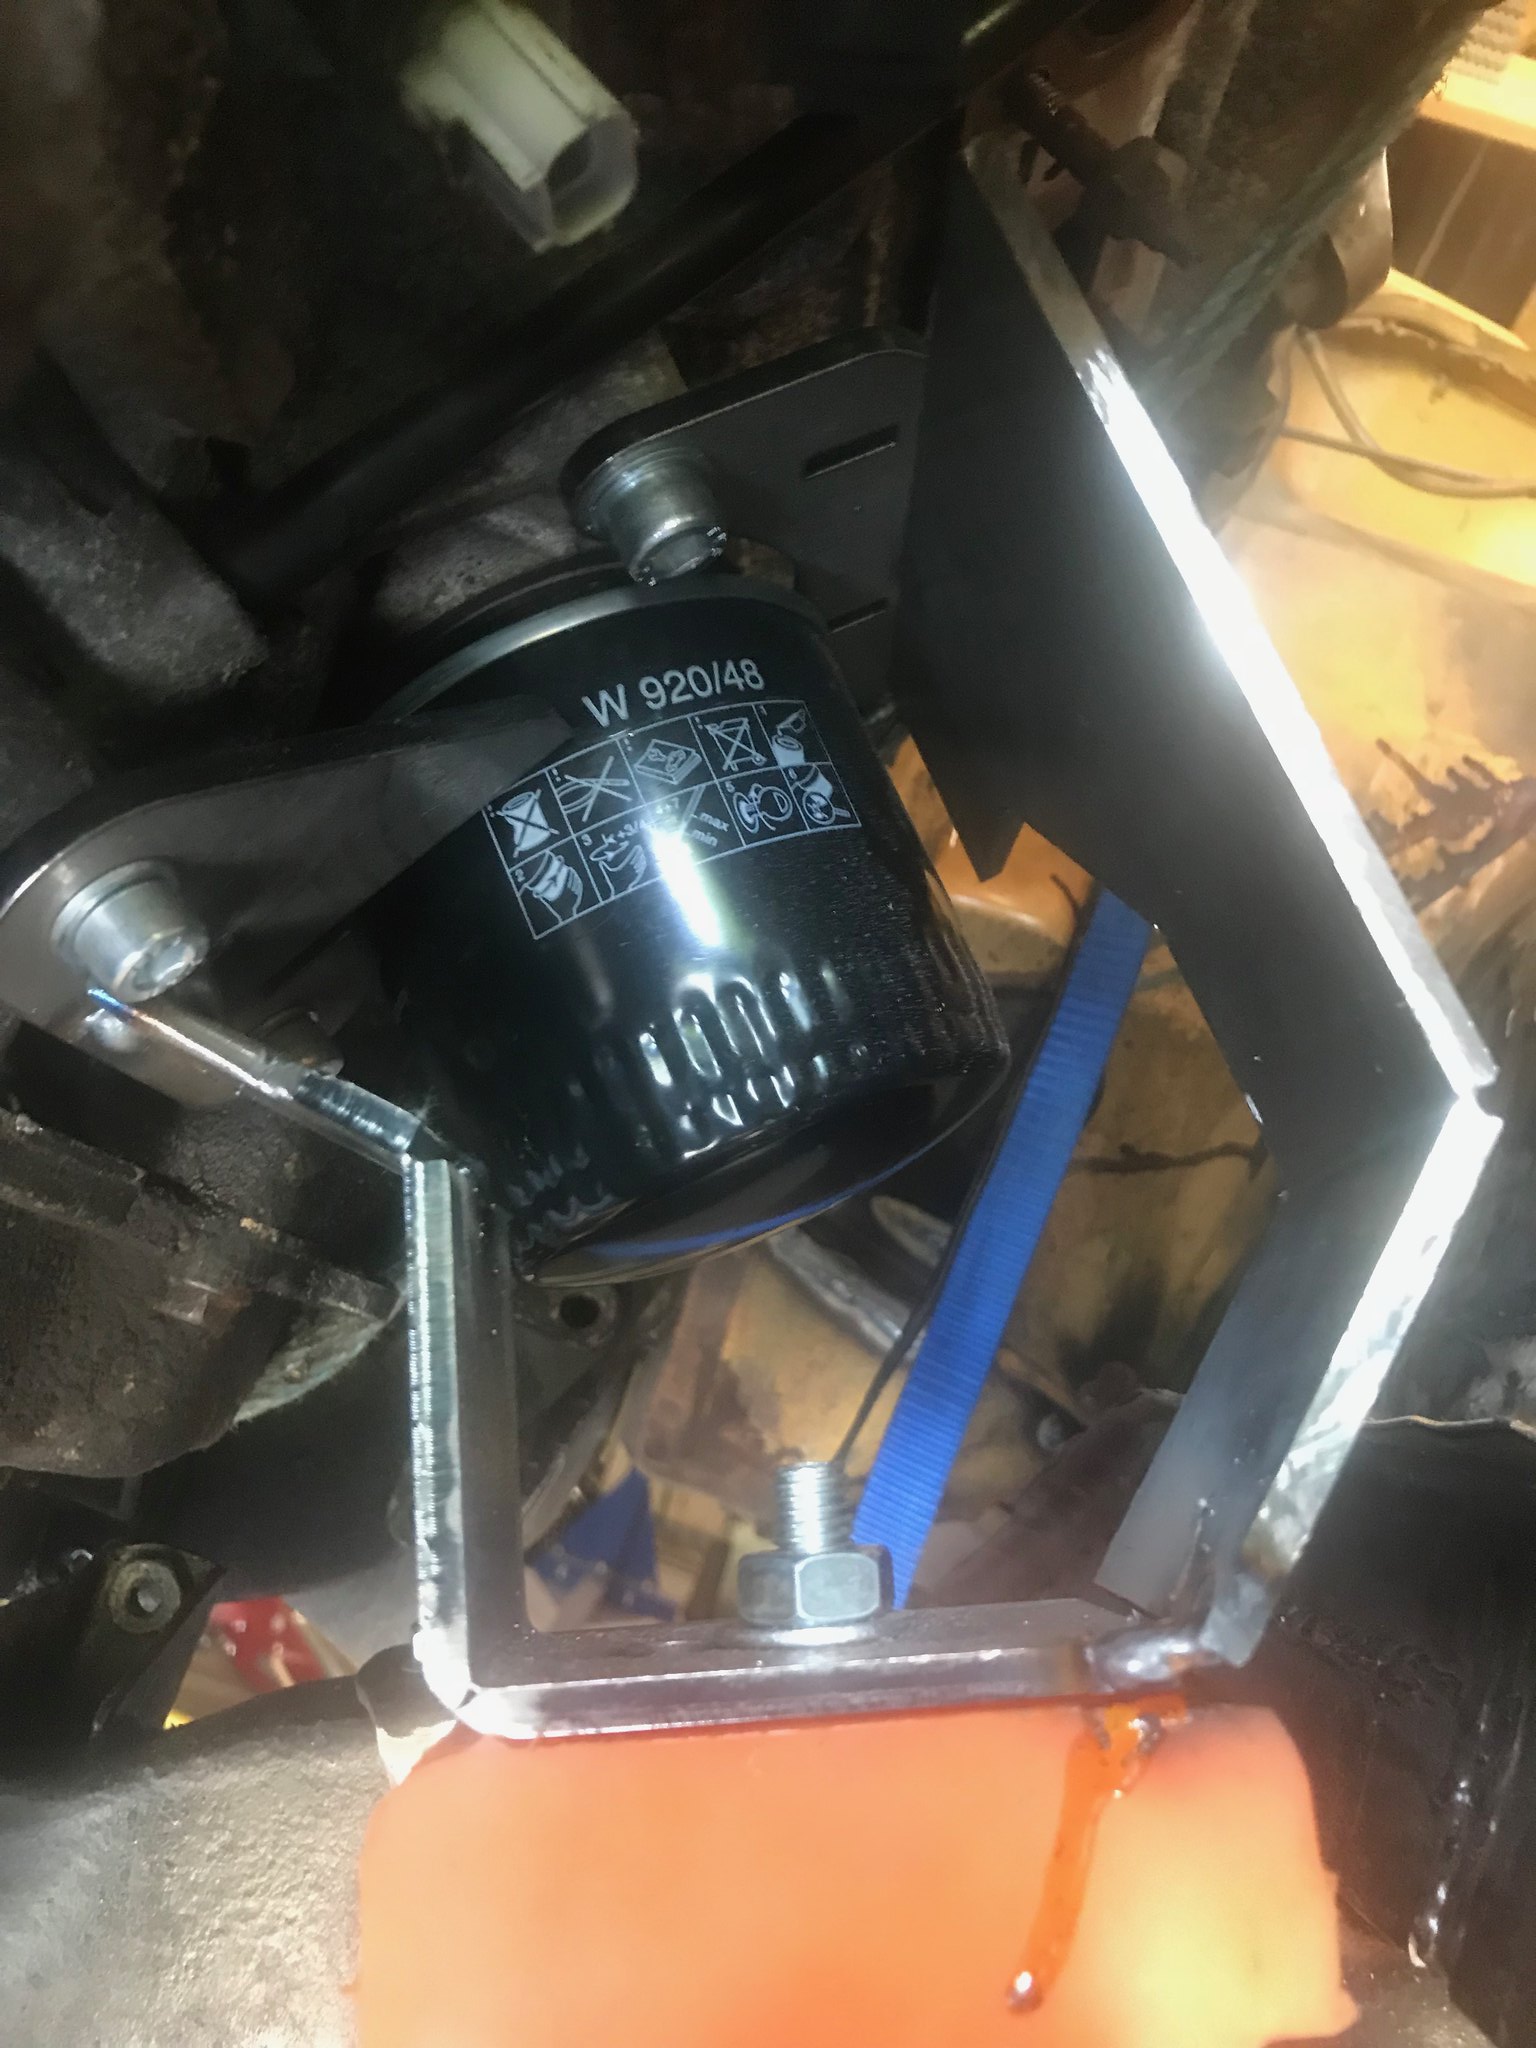 Untitled Untitled by Nevtiger, on Flickr 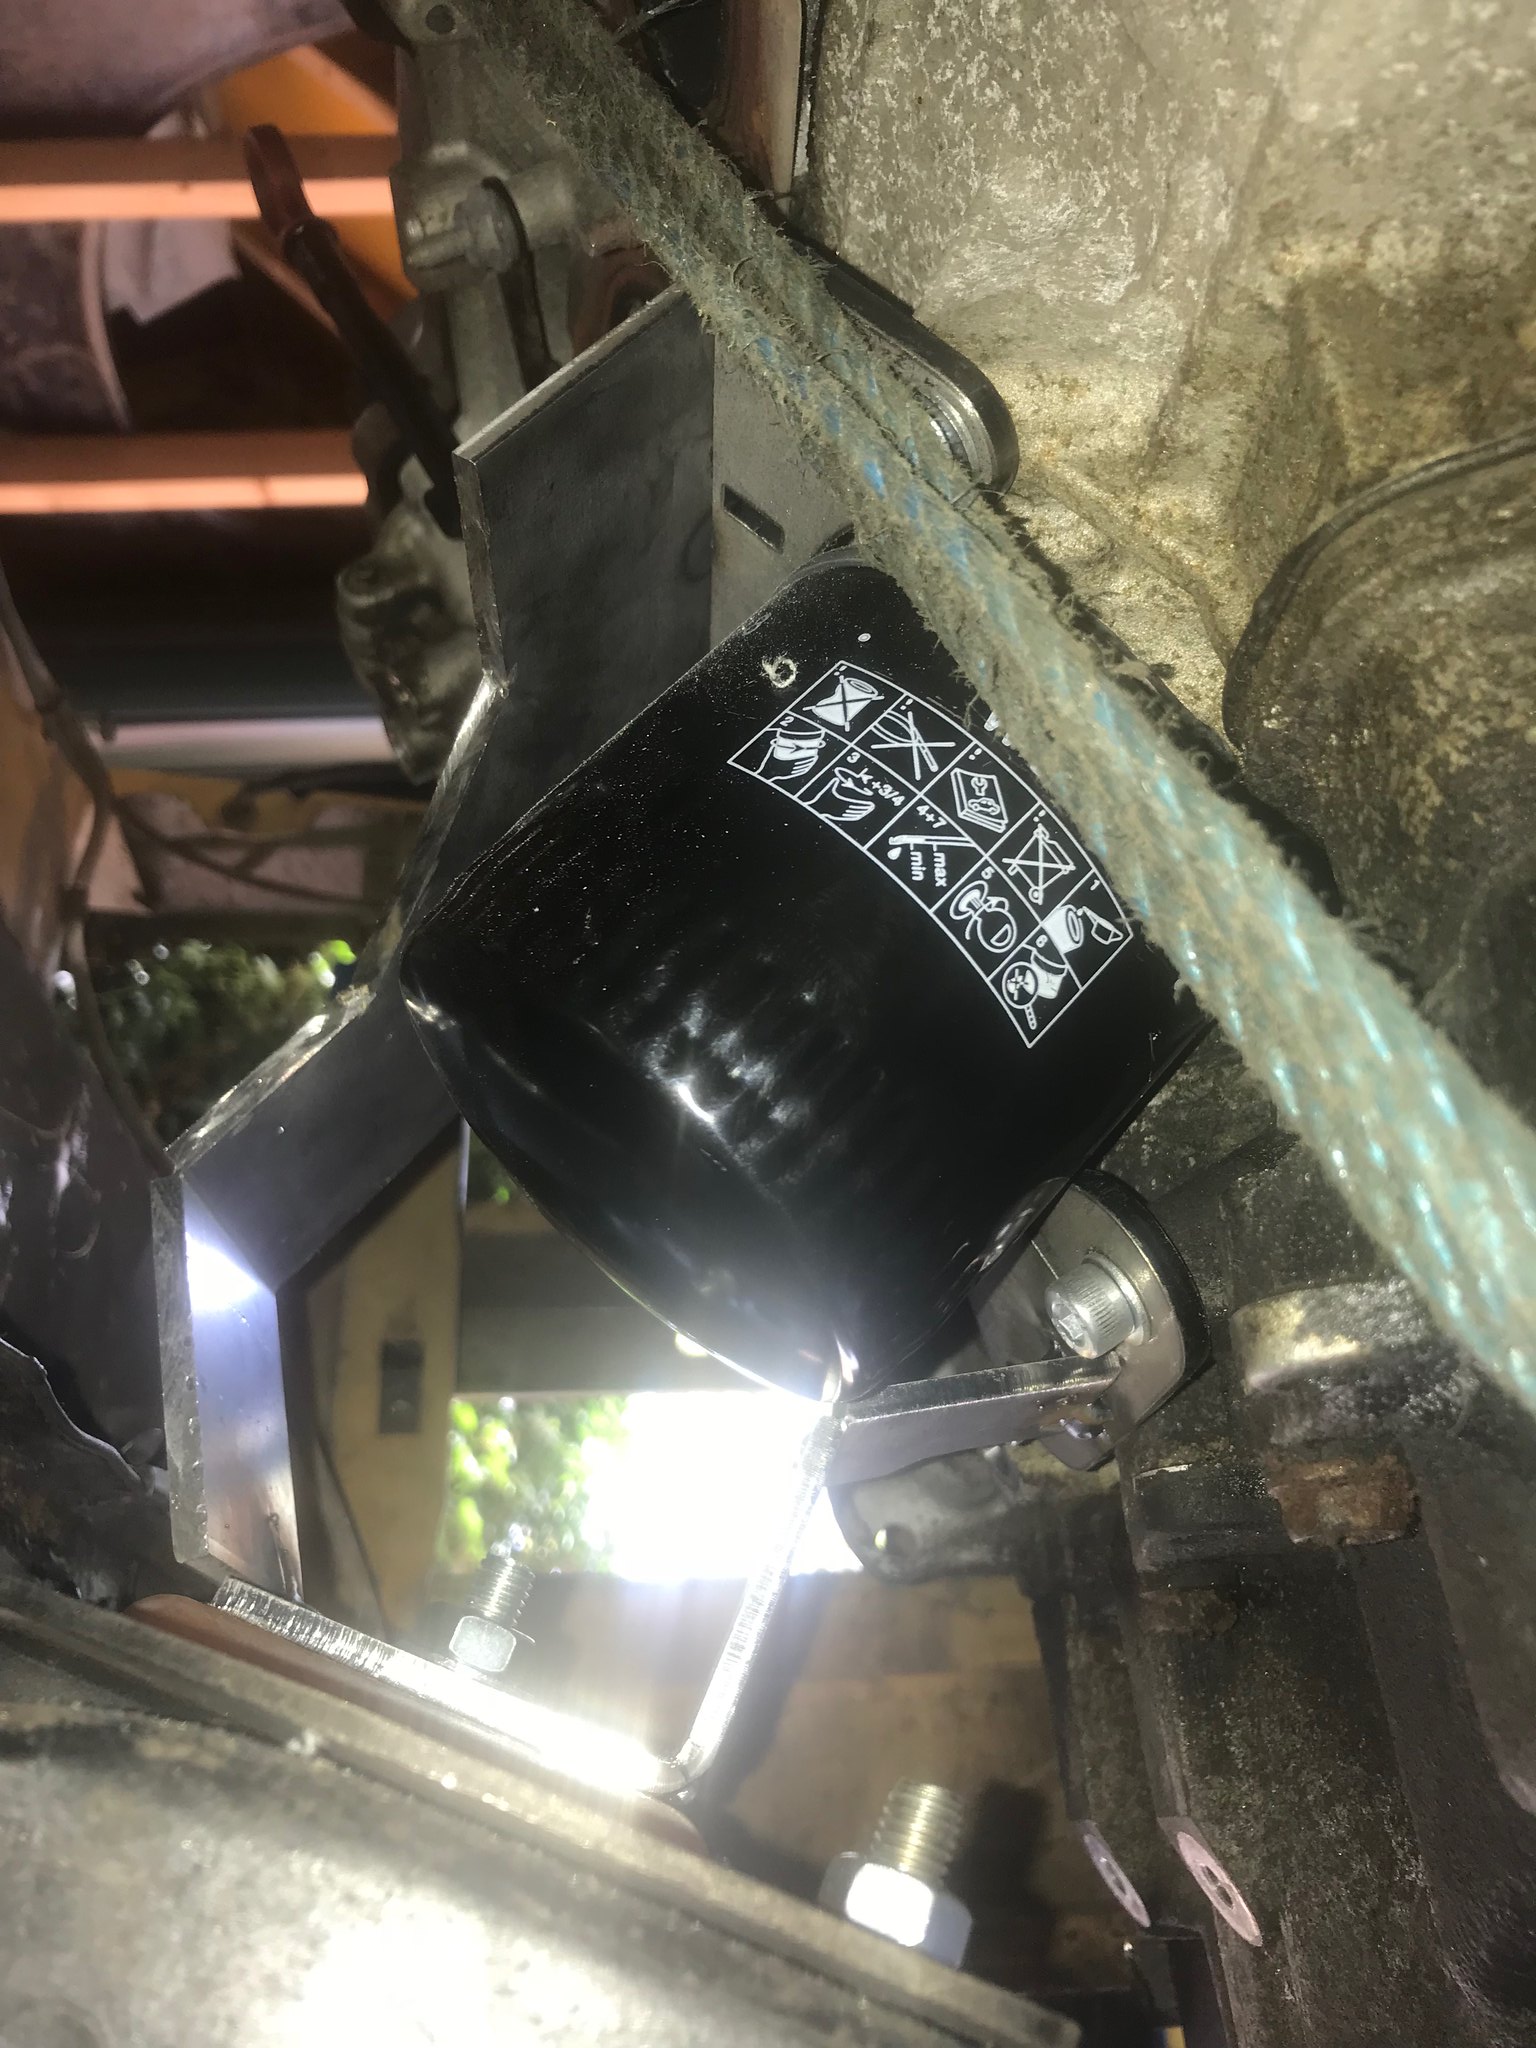 Untitled Untitled by Nevtiger, on Flickr 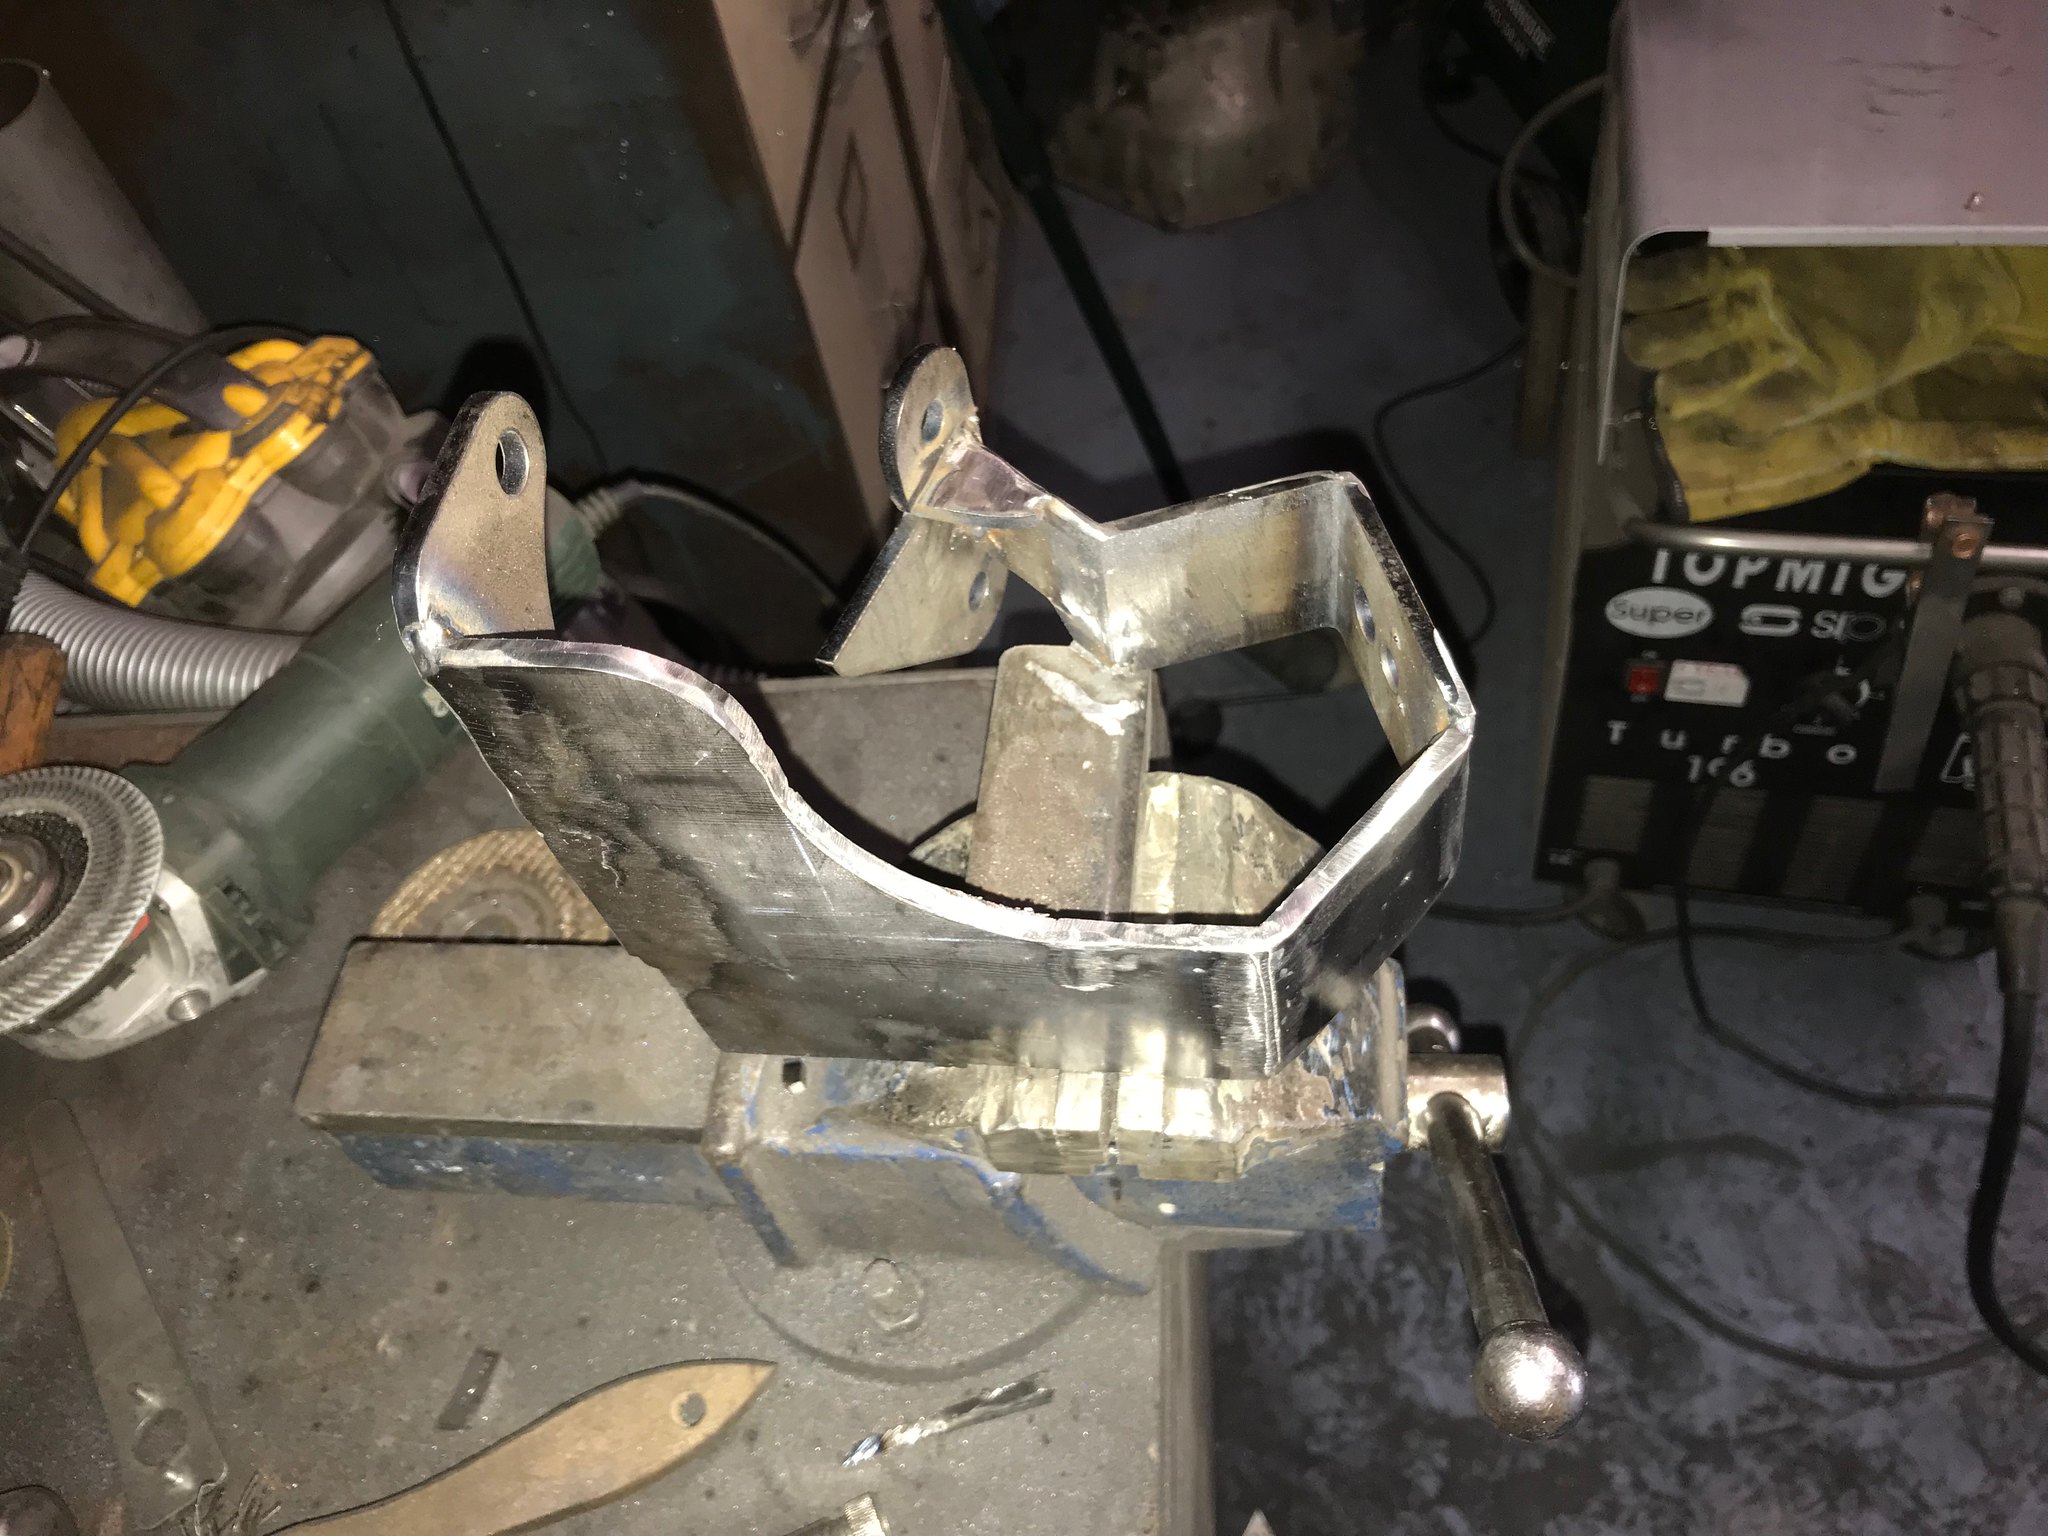 Untitled Untitled by Nevtiger, on Flickr 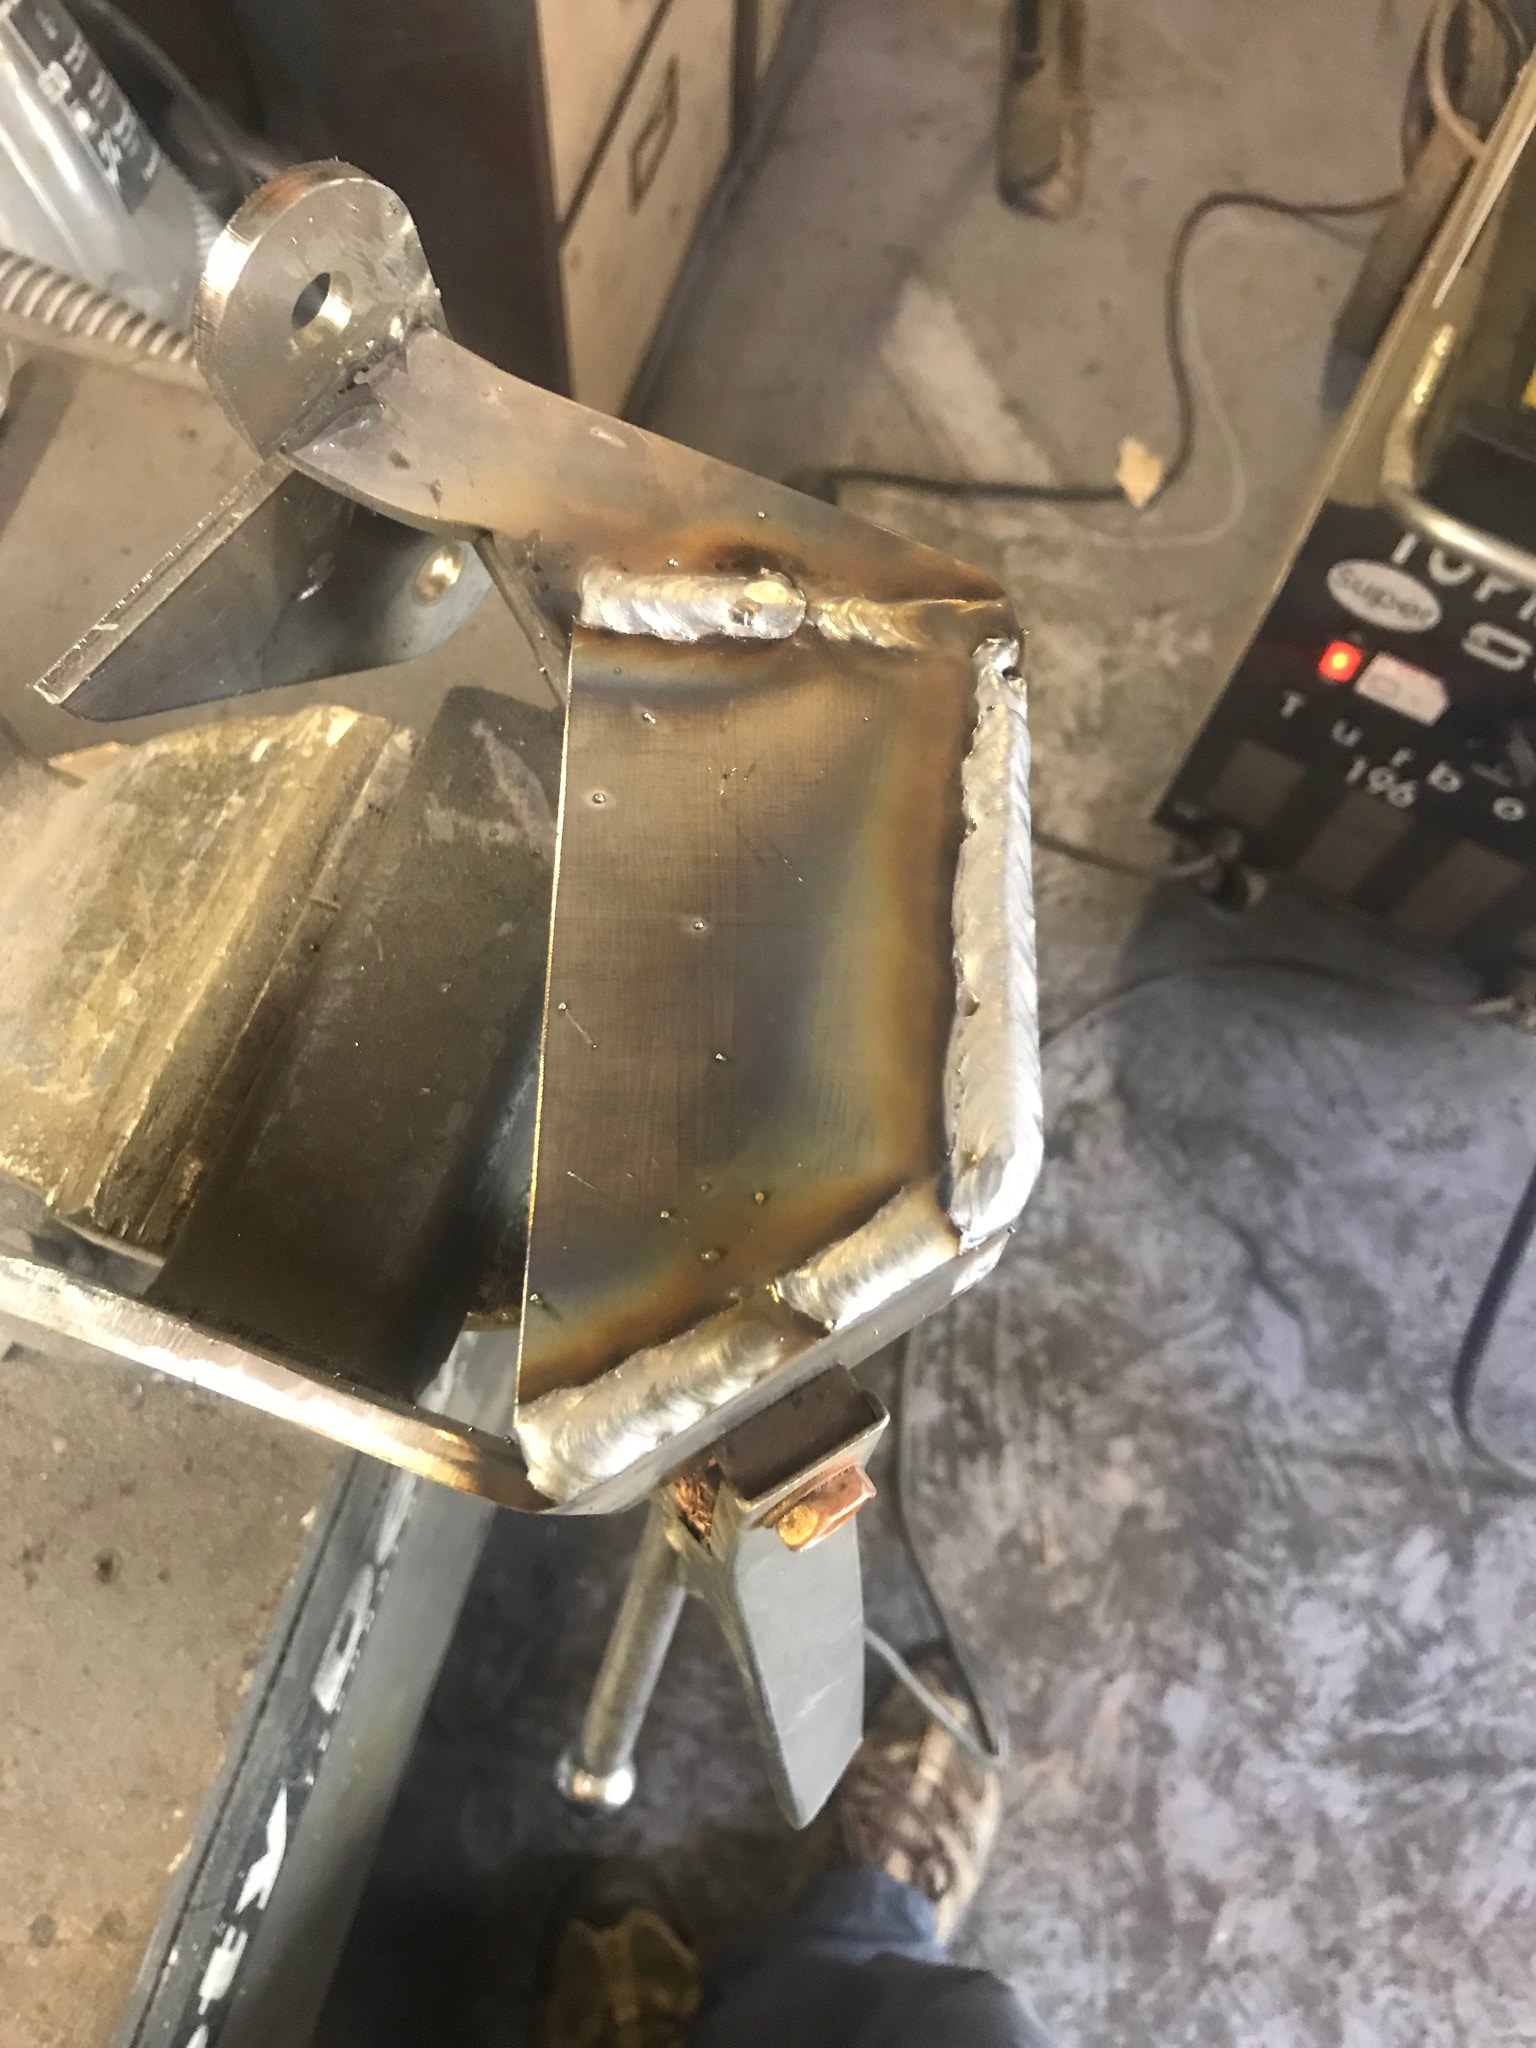 Untitled Untitled by Nevtiger, on Flickr Almost done. I am quite pleased as the oil filter is easy to get to and the engine is supported!!! |
| |
|
|
|
|
|
|
|
So with the engine and gearbox mounted and feeling good it was time to see what i needed to do with the transmission tunnel. To get the gearbox up out of the way i had to do this: 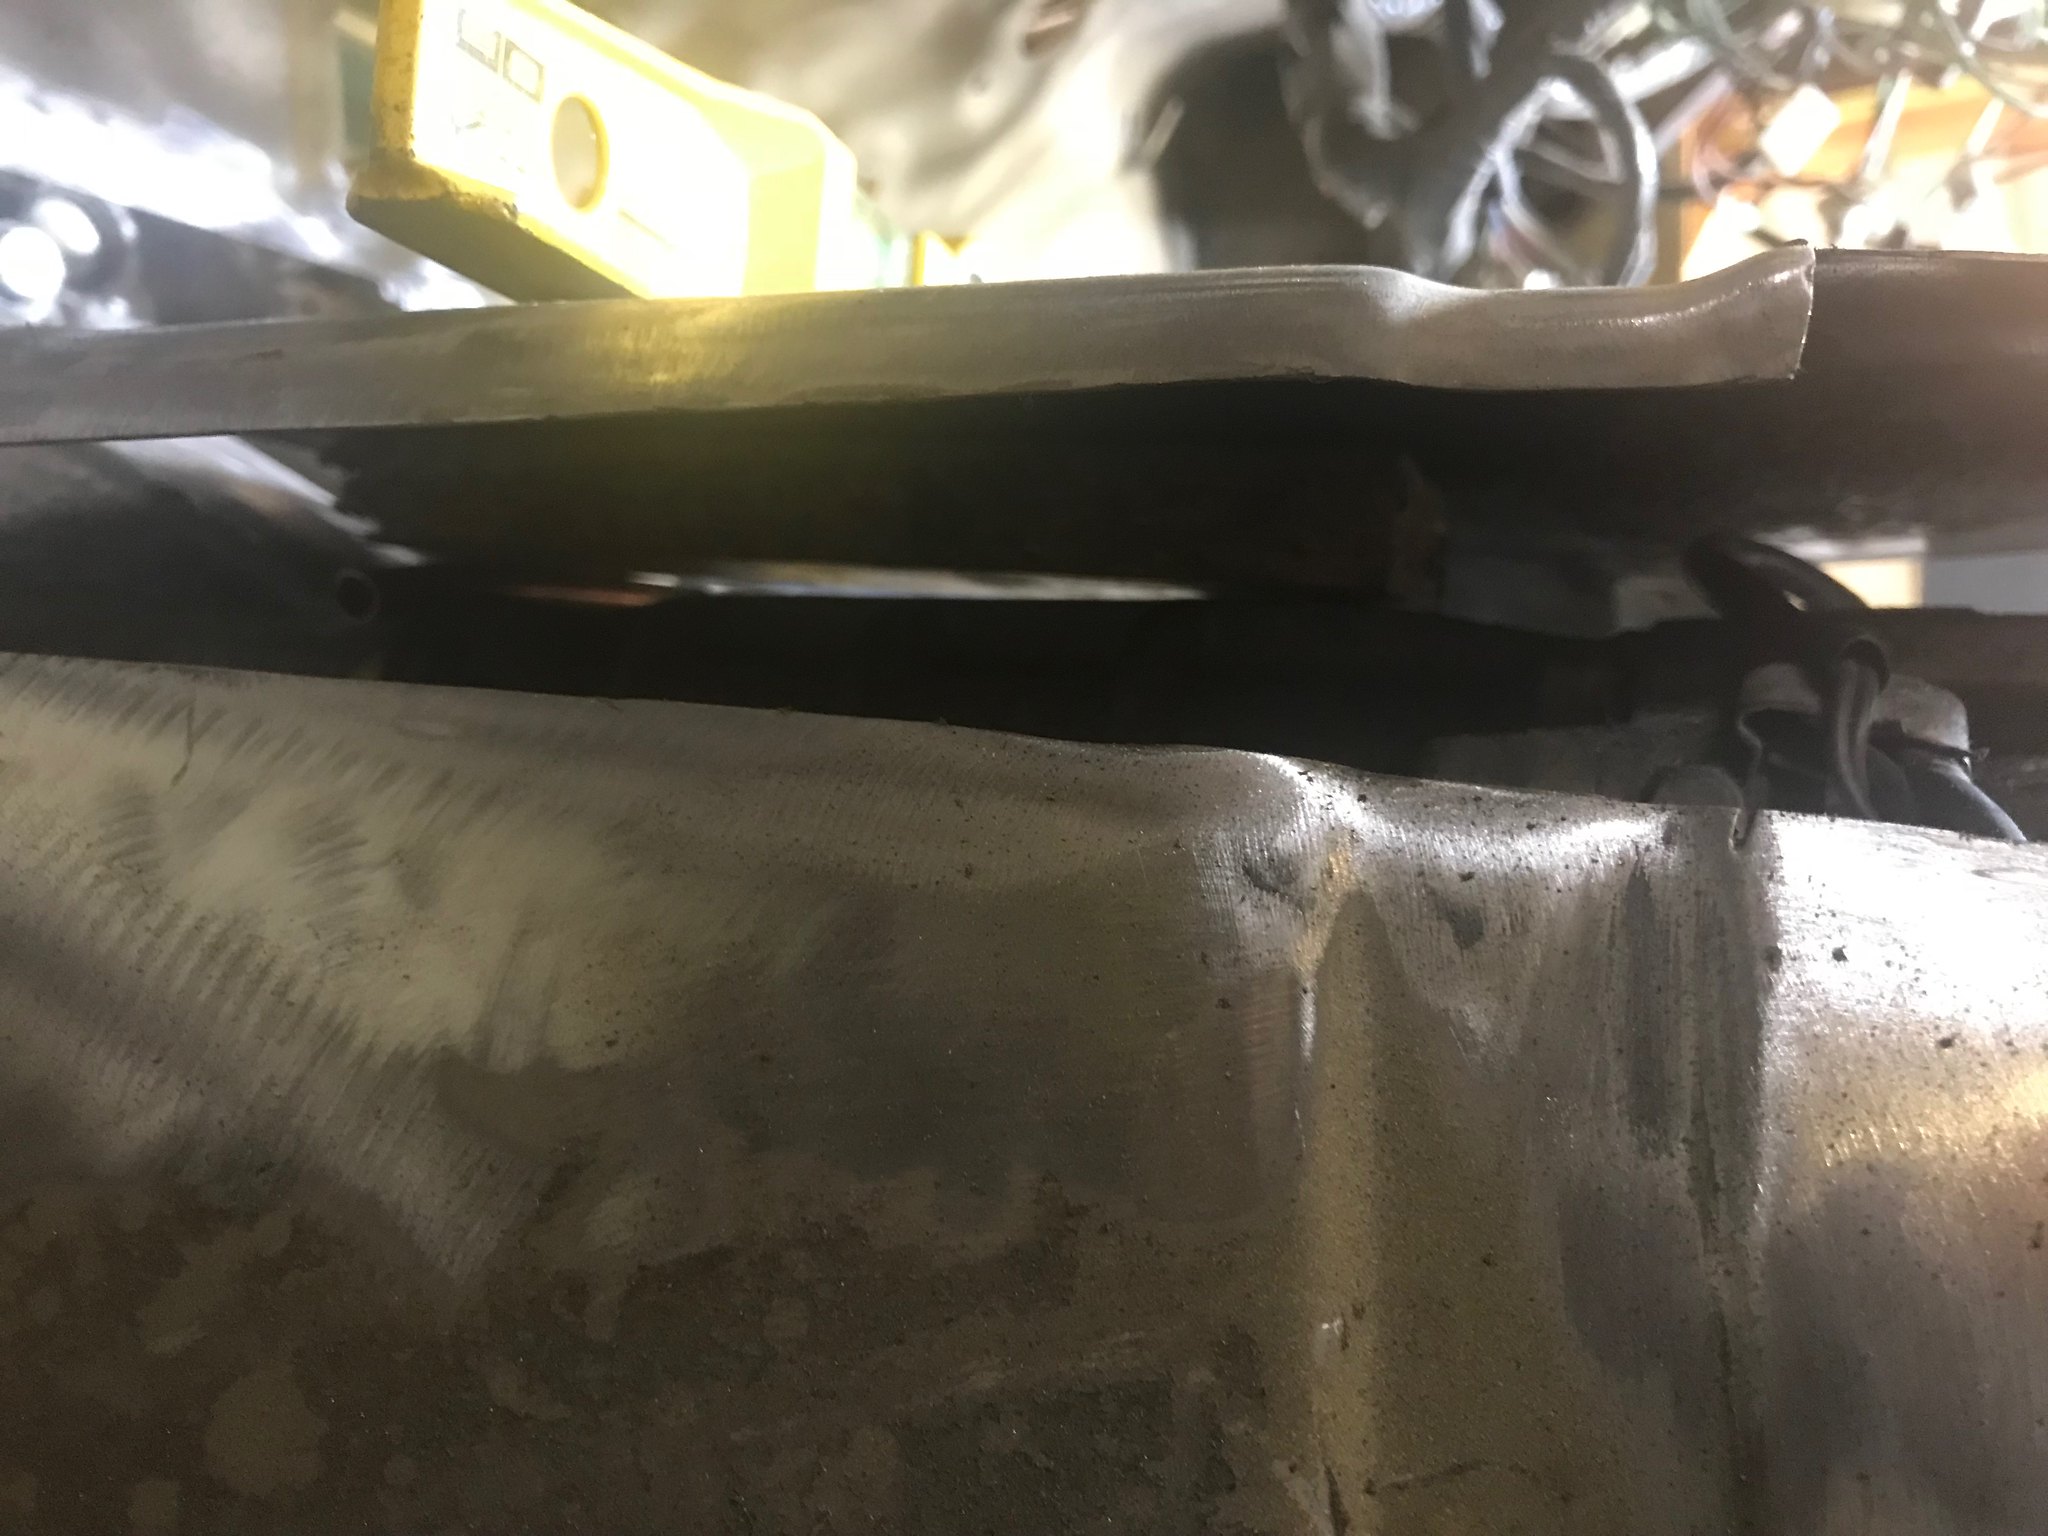 Untitled Untitled by Nevtiger, on Flickr Which sort of led to this: 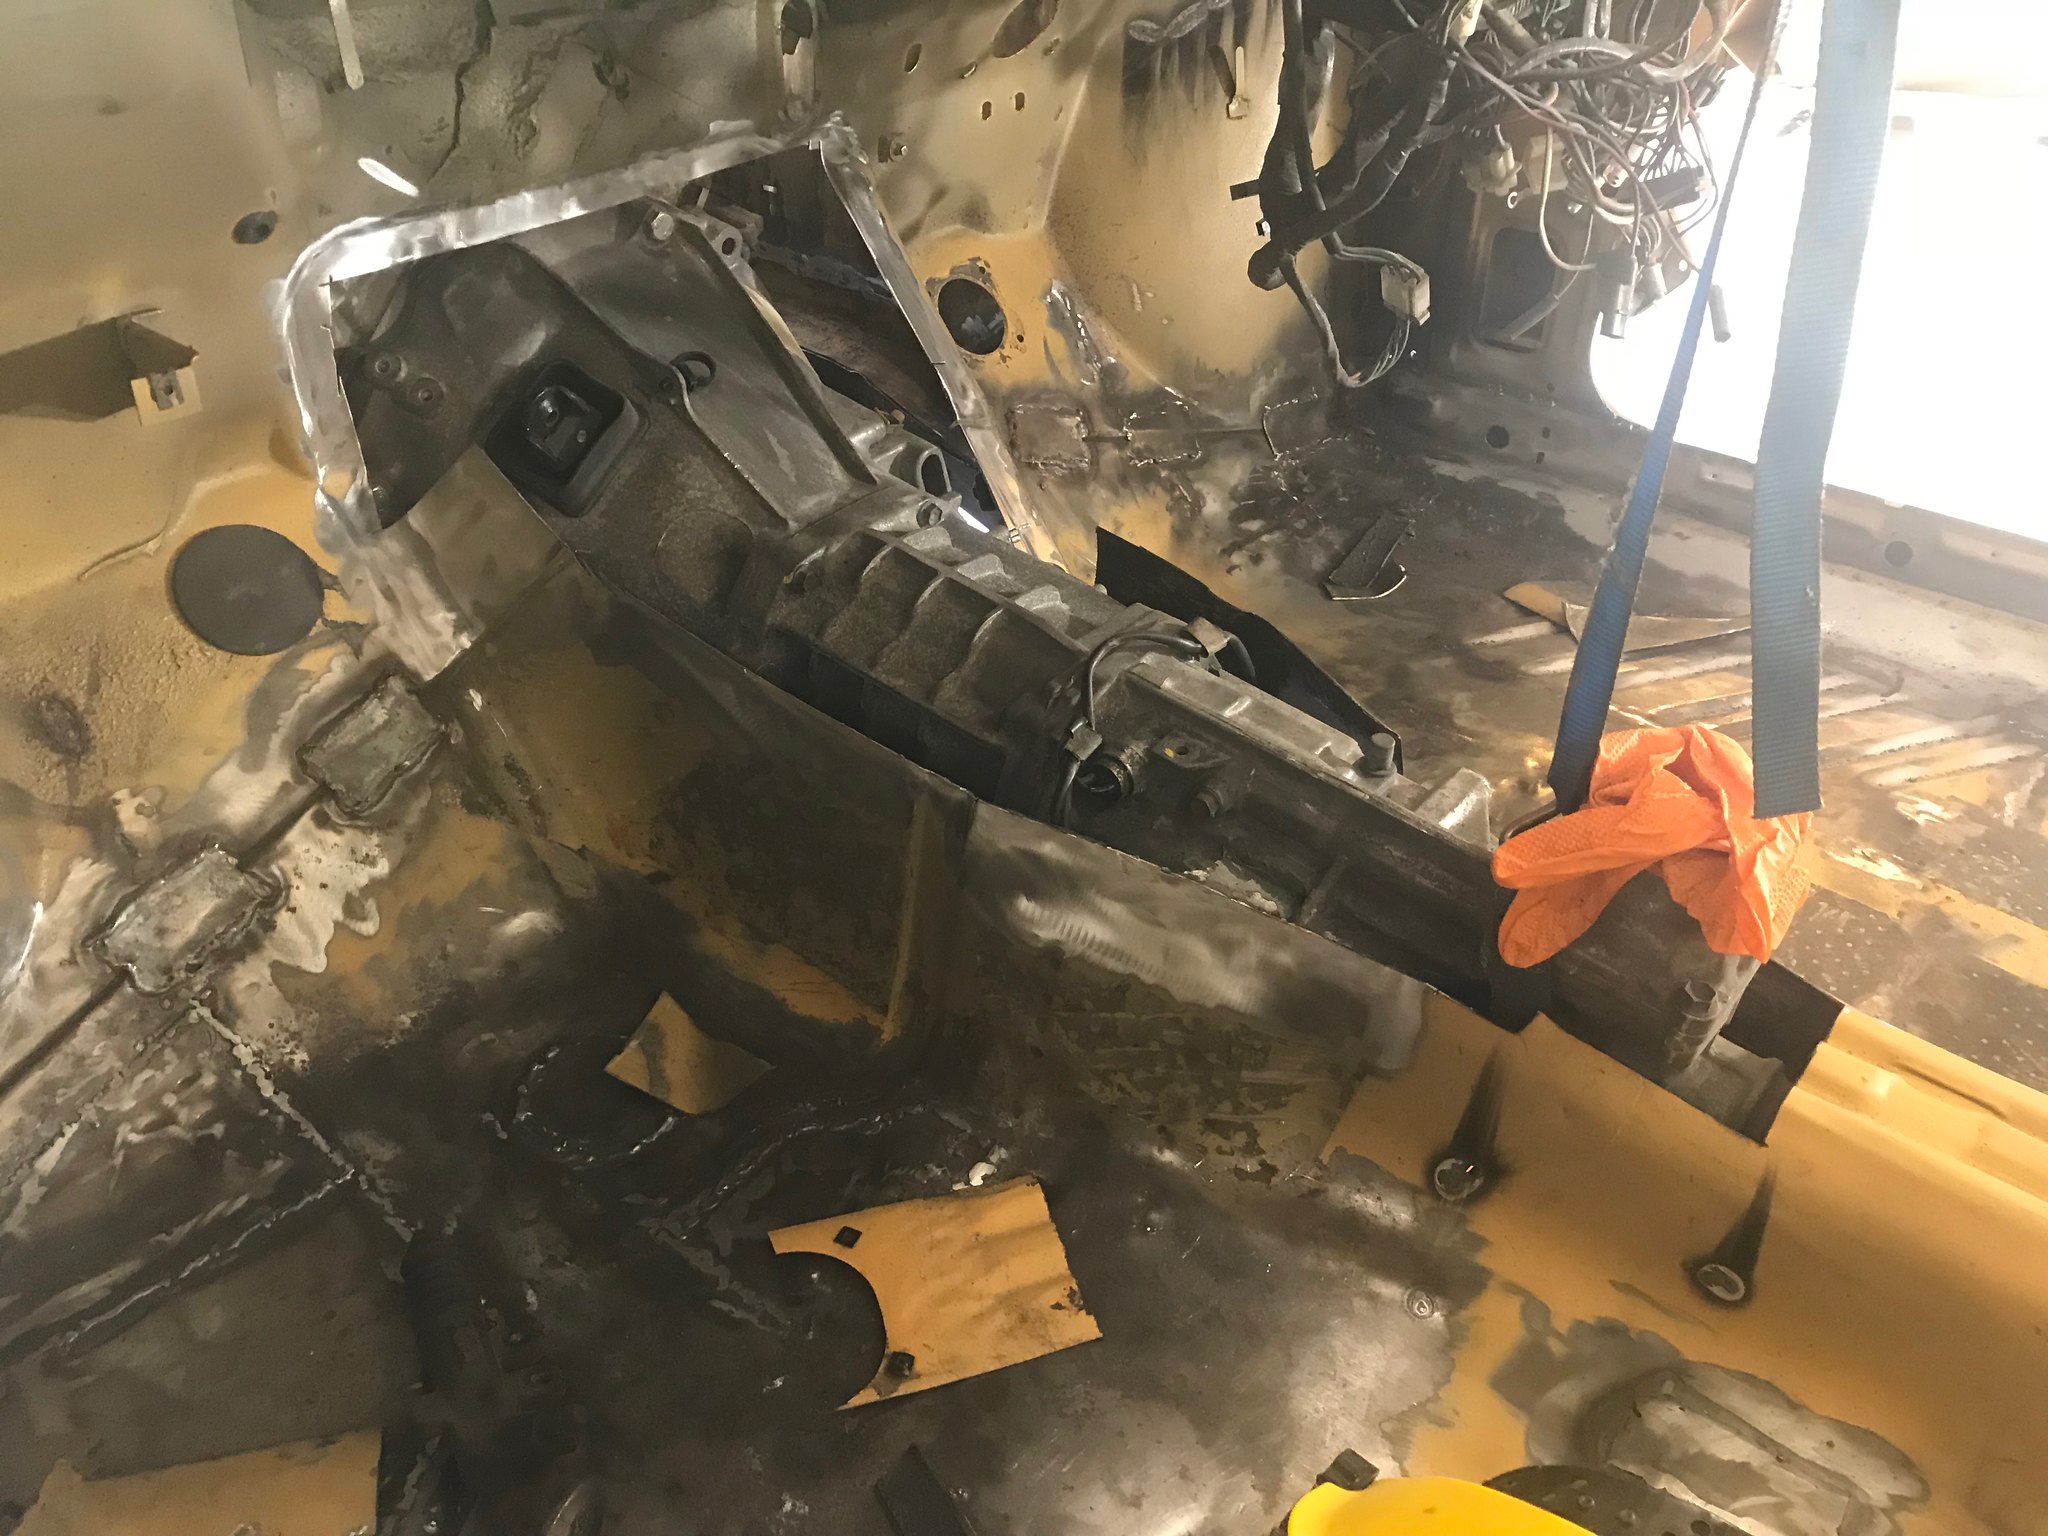 Untitled Untitled by Nevtiger, on Flickr A sky hook helped at this point: 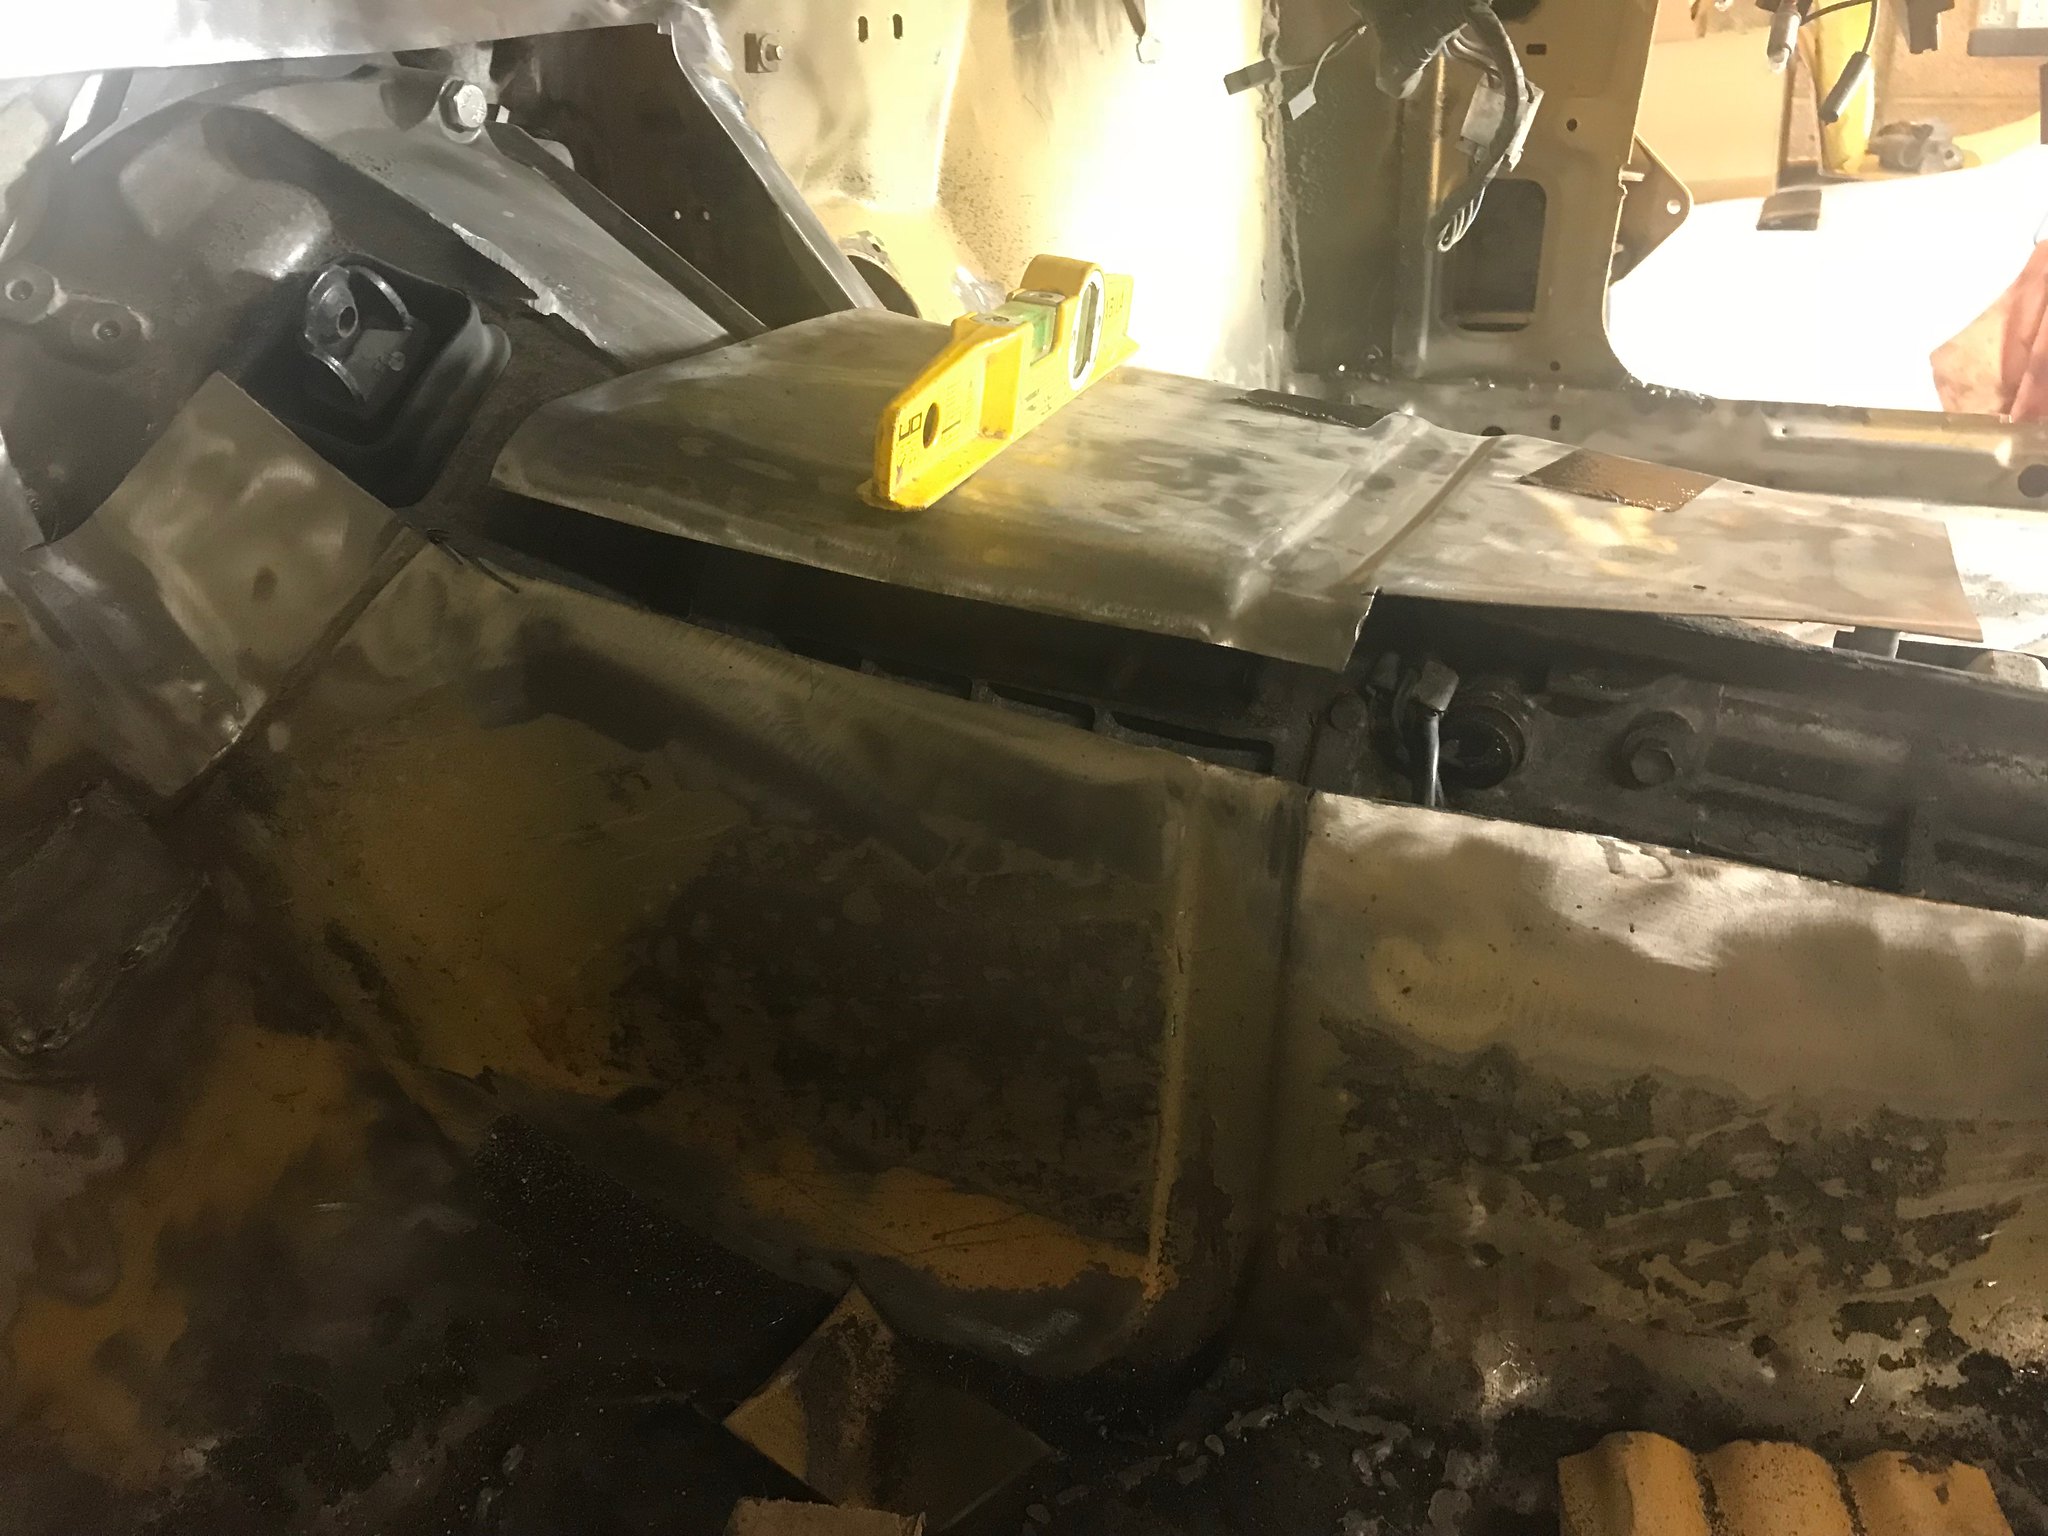 Untitled Untitled by Nevtiger, on Flickr Shape and tack 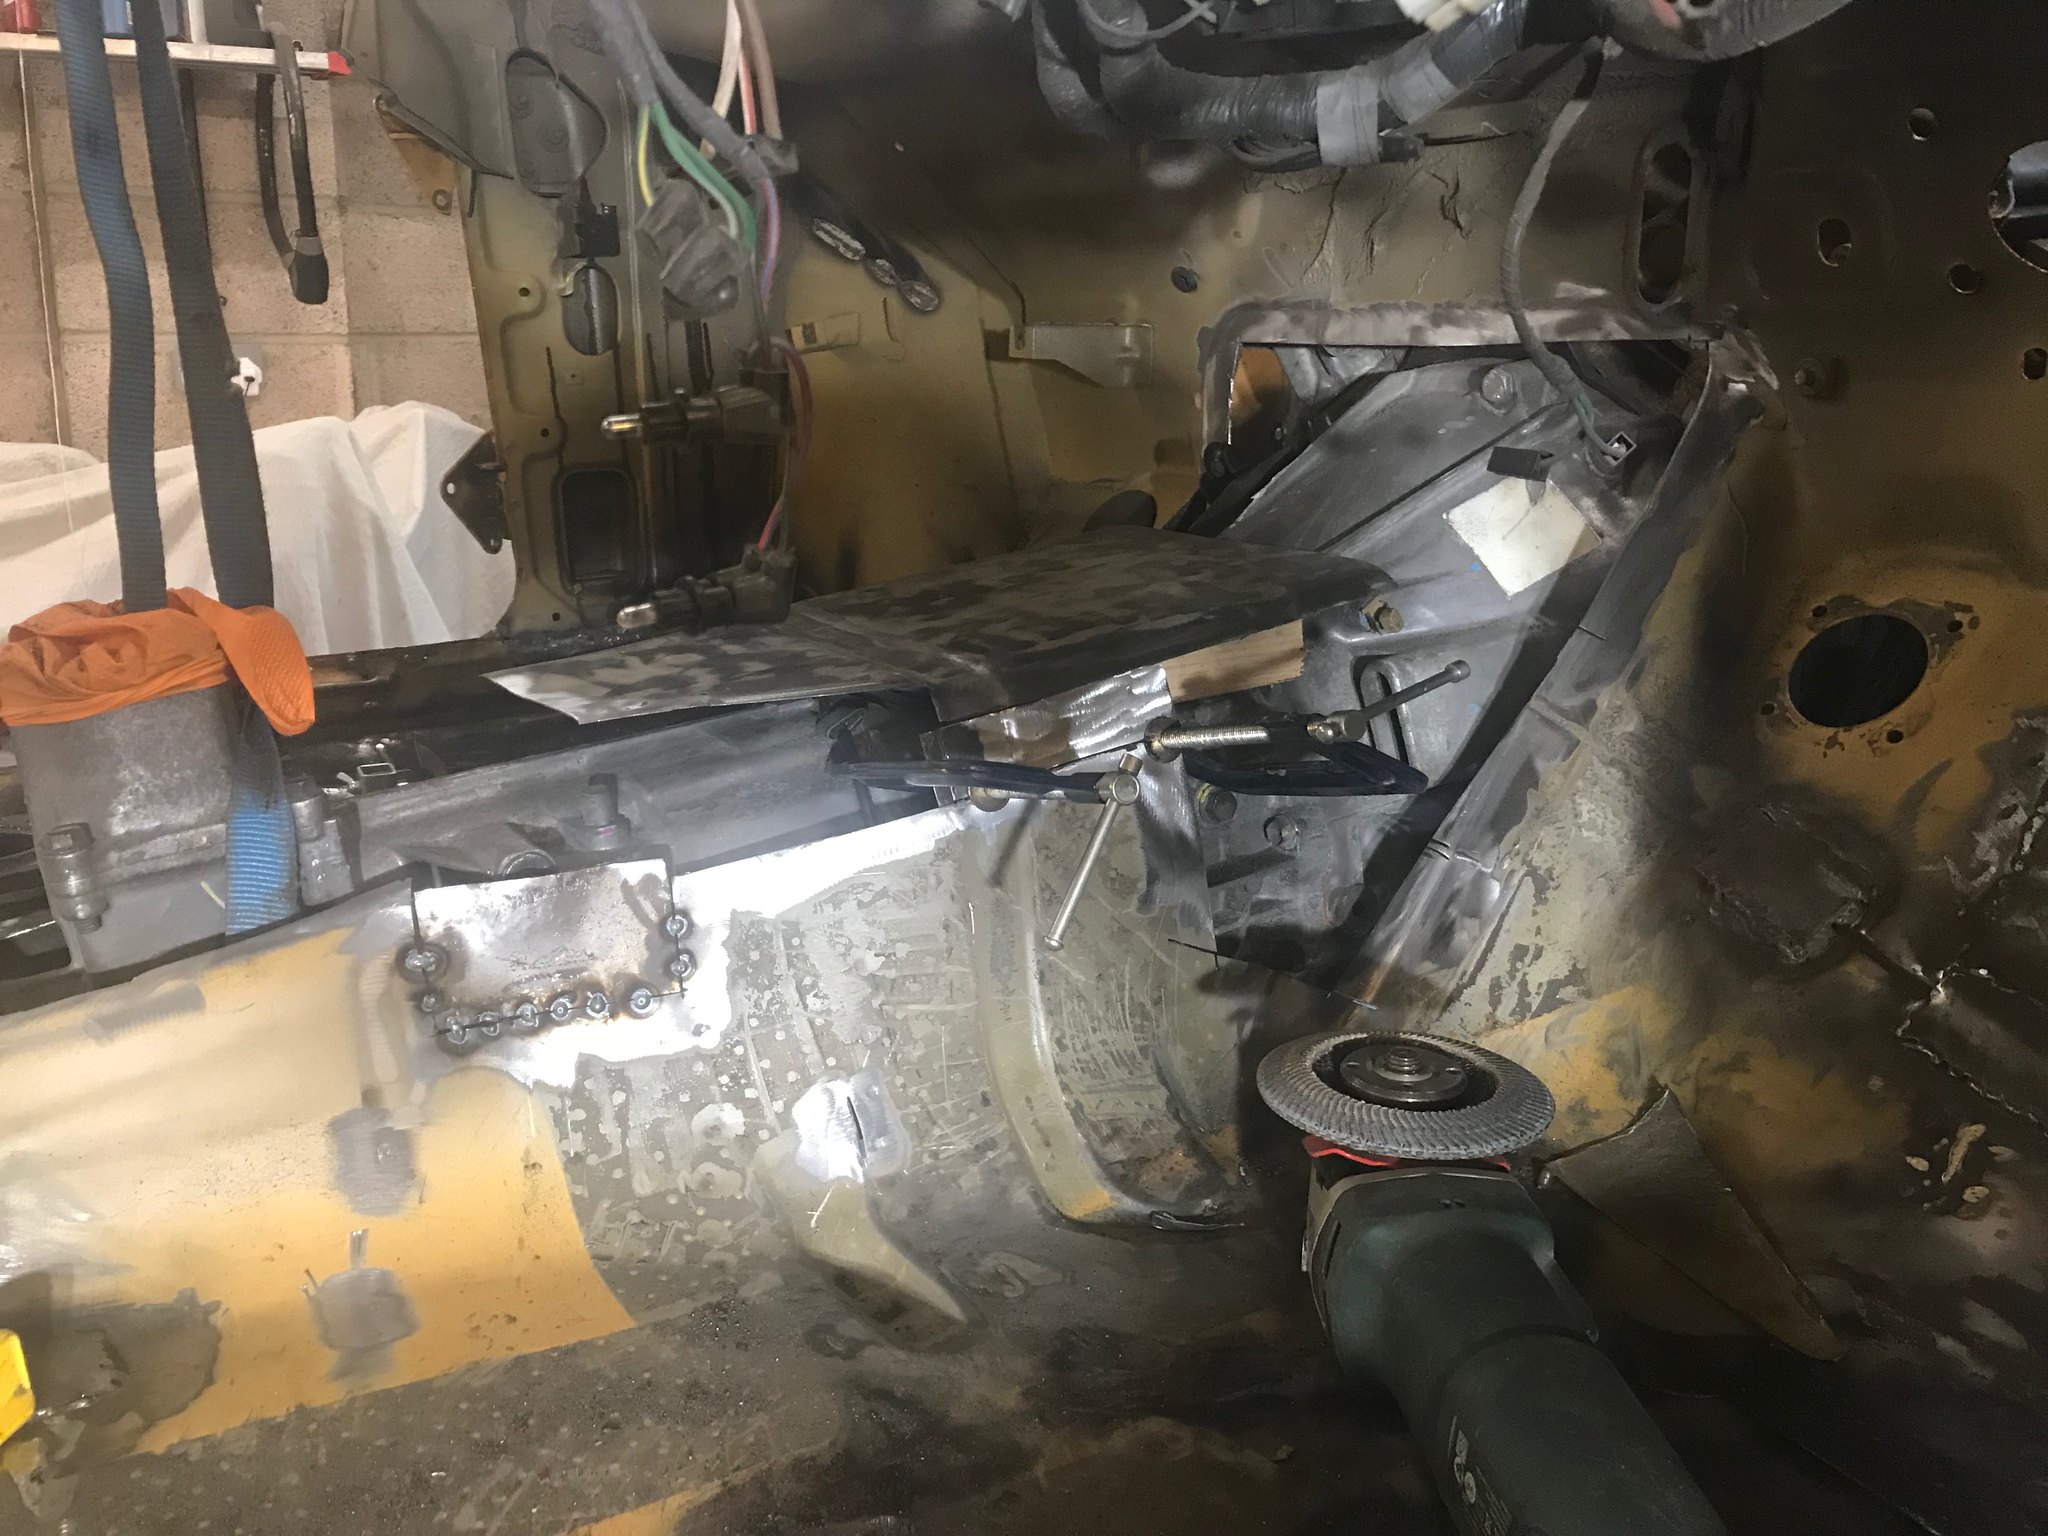 Untitled Untitled by Nevtiger, on Flickr 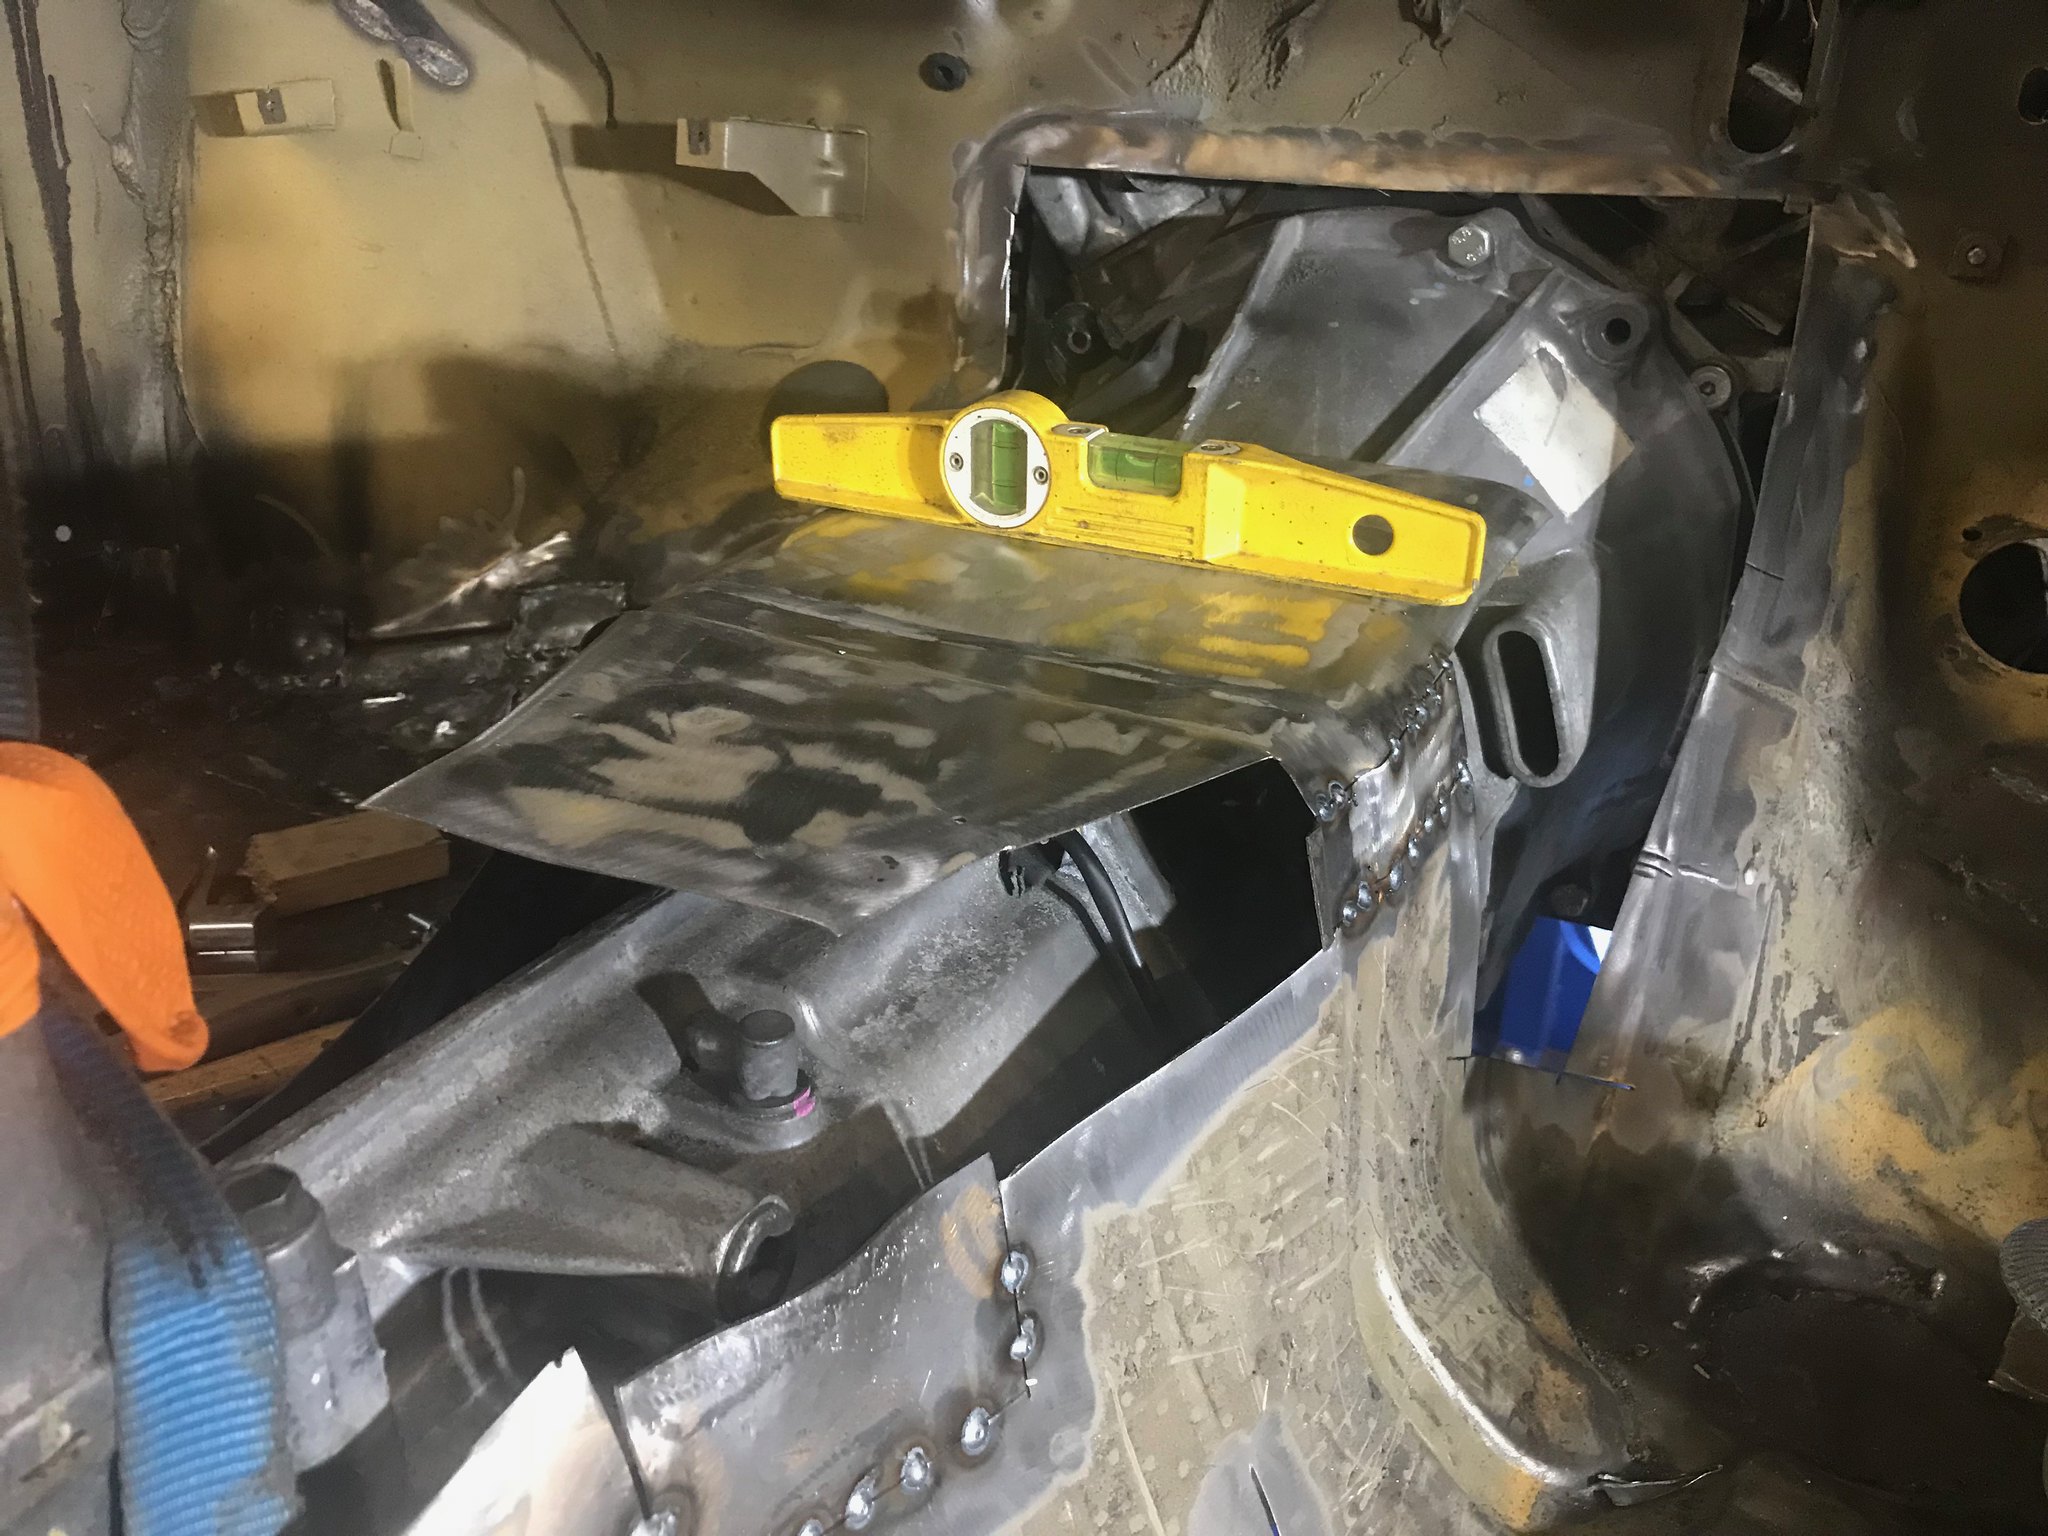 Untitled Untitled by Nevtiger, on Flickr yep - looks horrible like this: 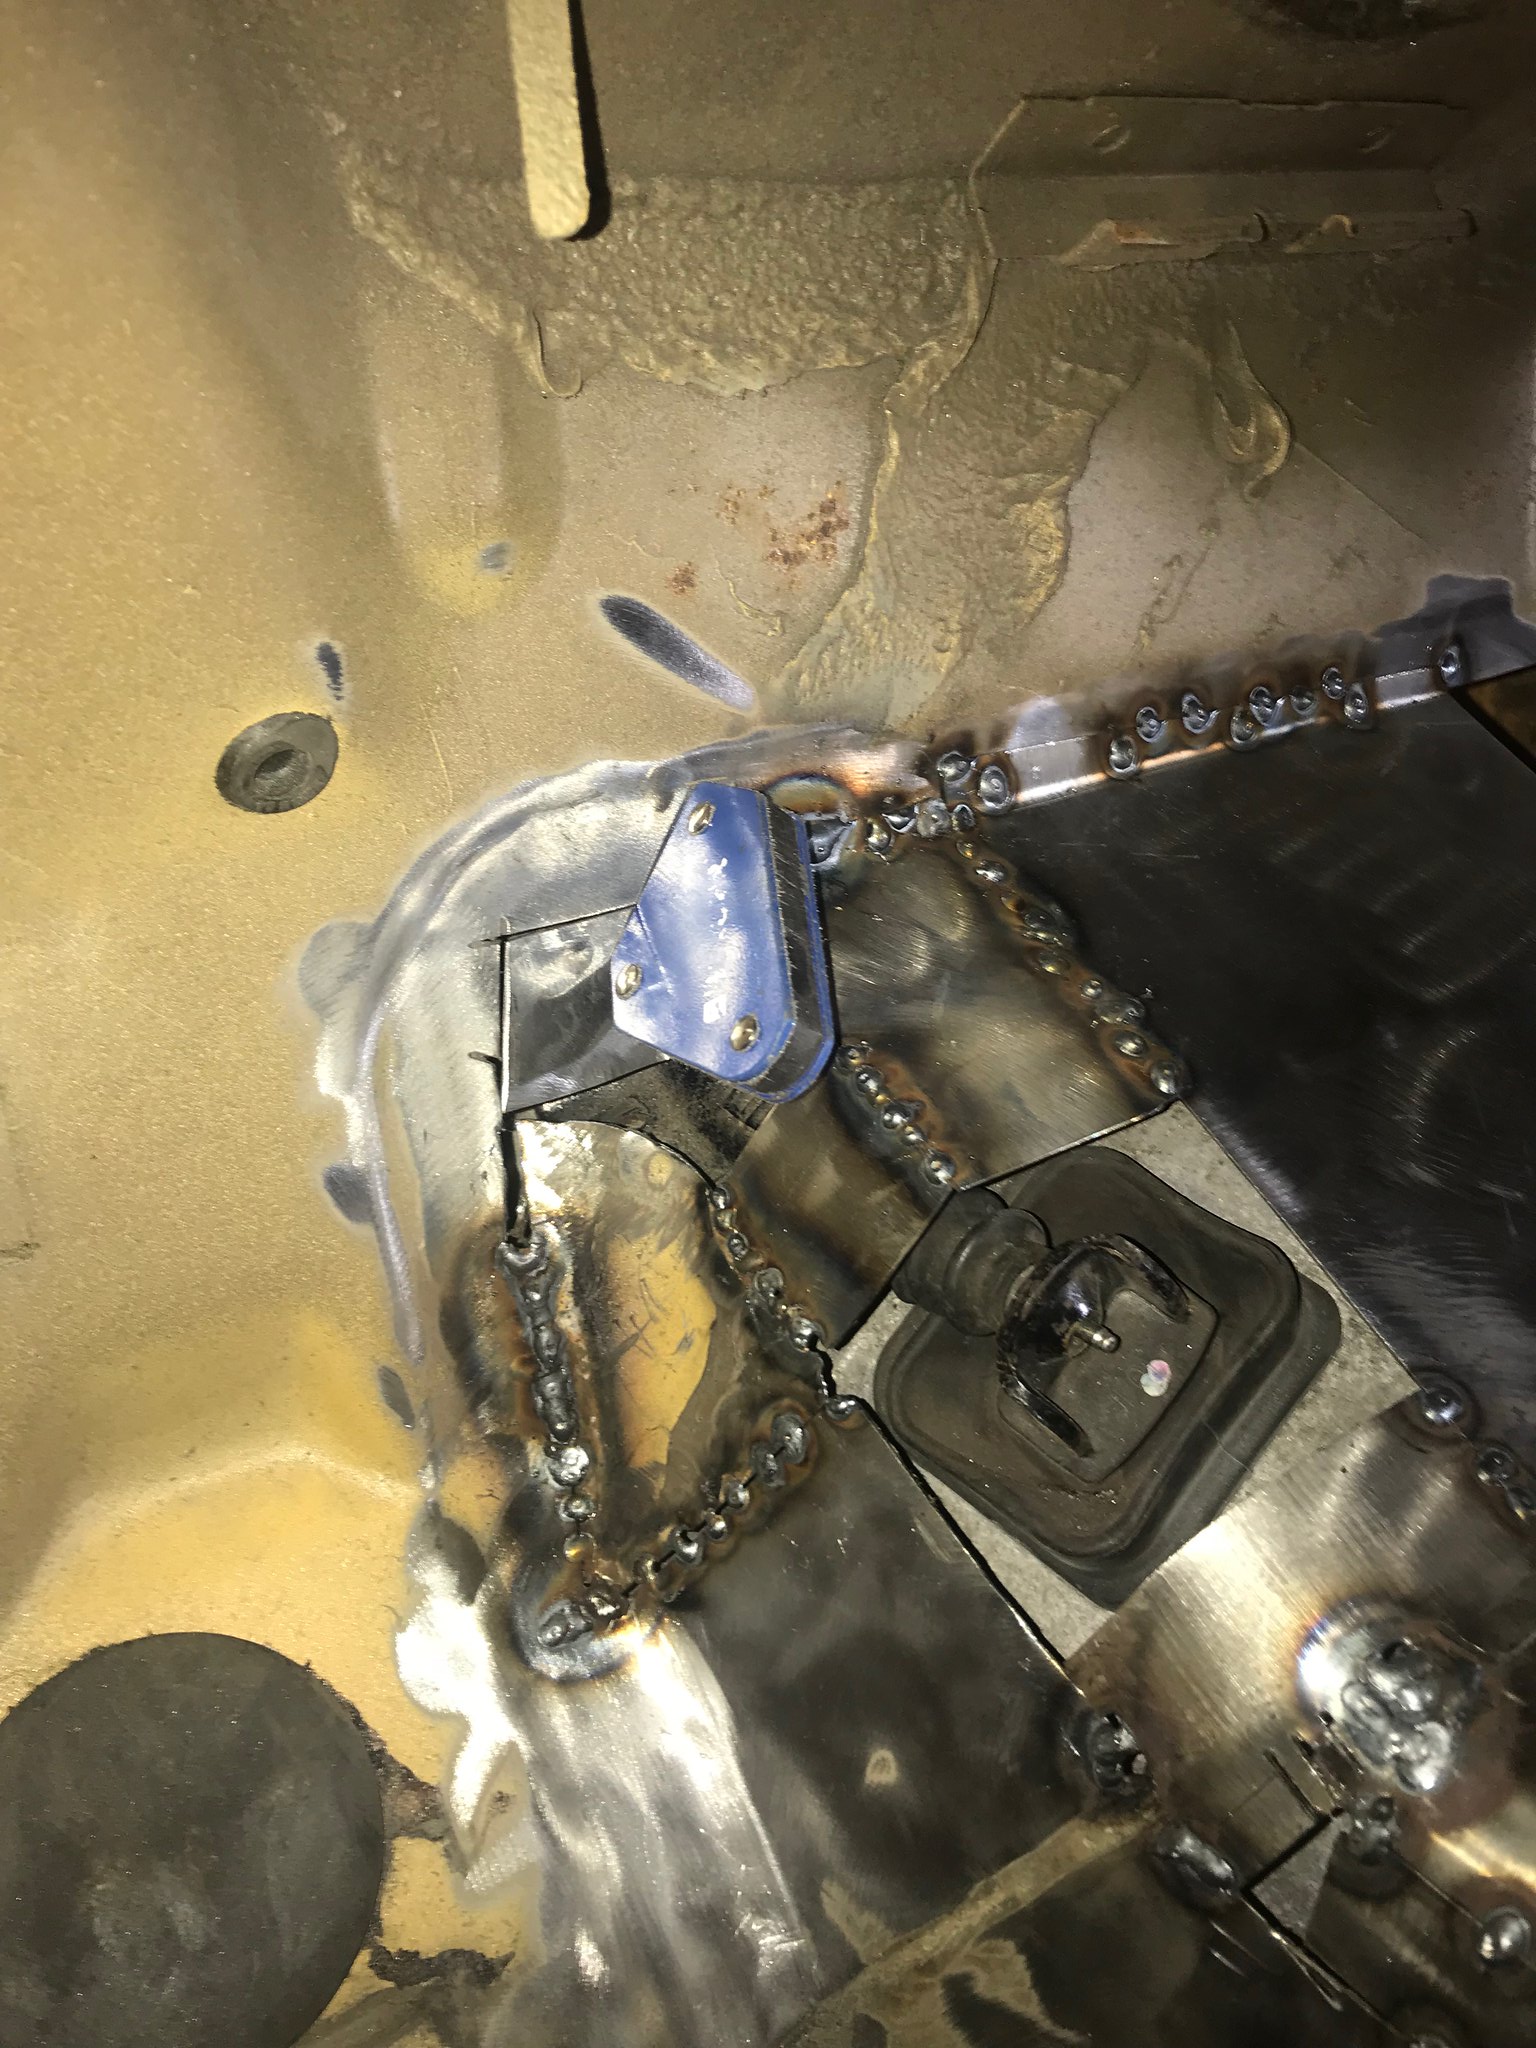 Untitled Untitled by Nevtiger, on Flickr 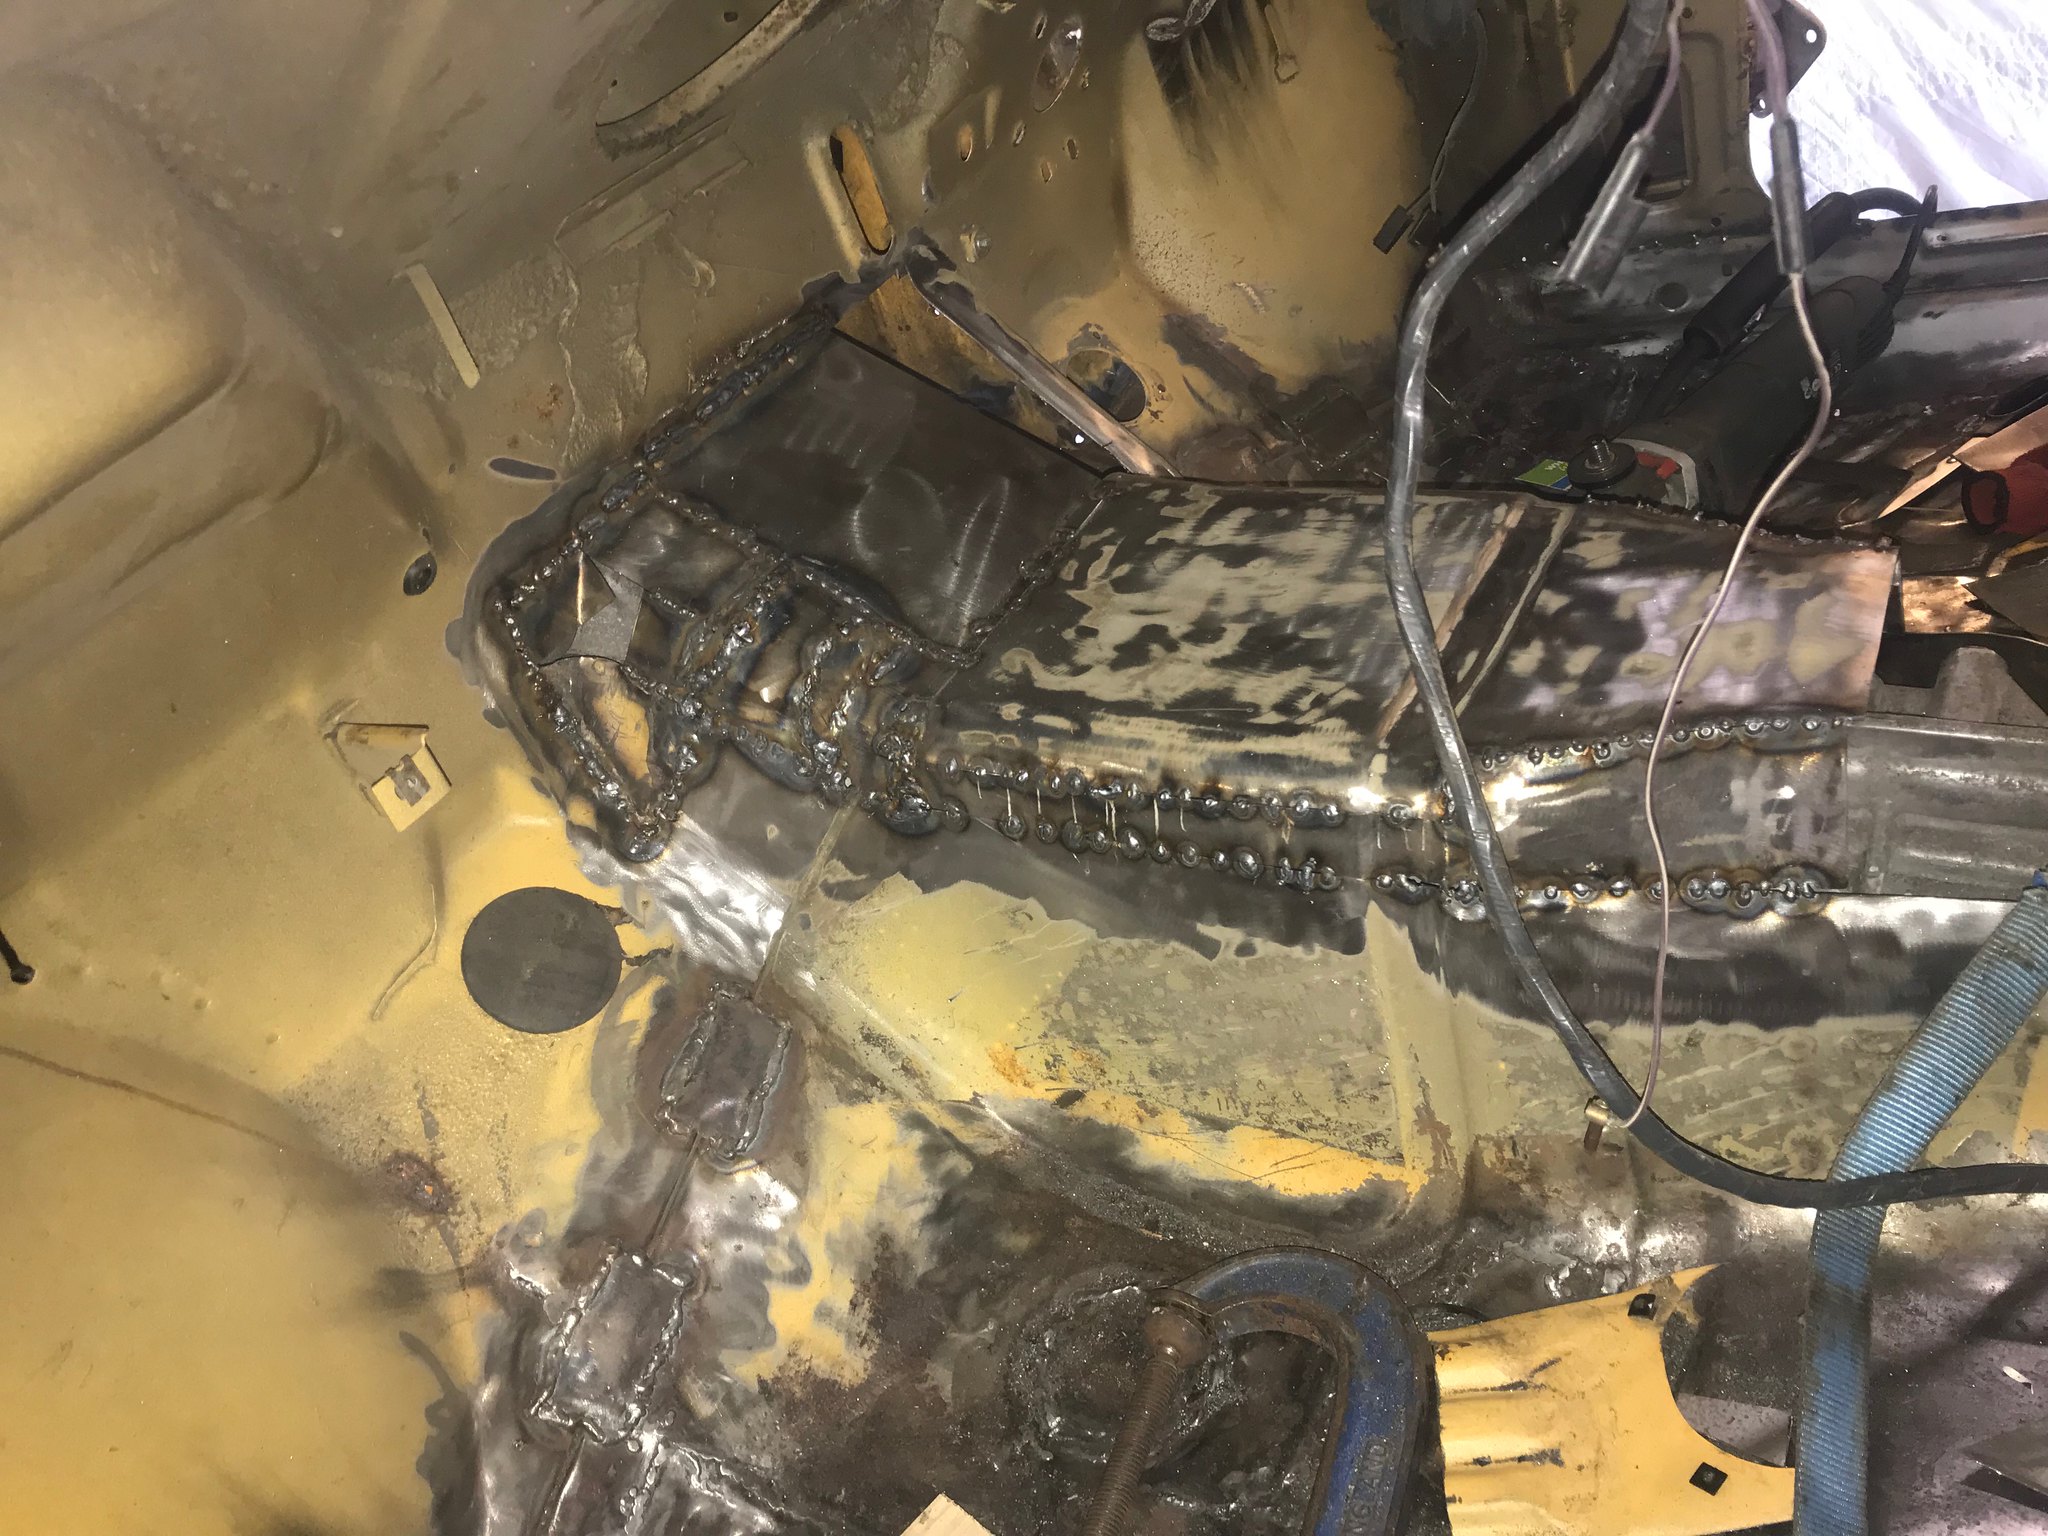 Untitled Untitled by Nevtiger, on Flickr I thought i might use the original cars (RX8) gear stick surround as it fits etc. There is not much room infant of the handbrake but i think i have it all fitting. 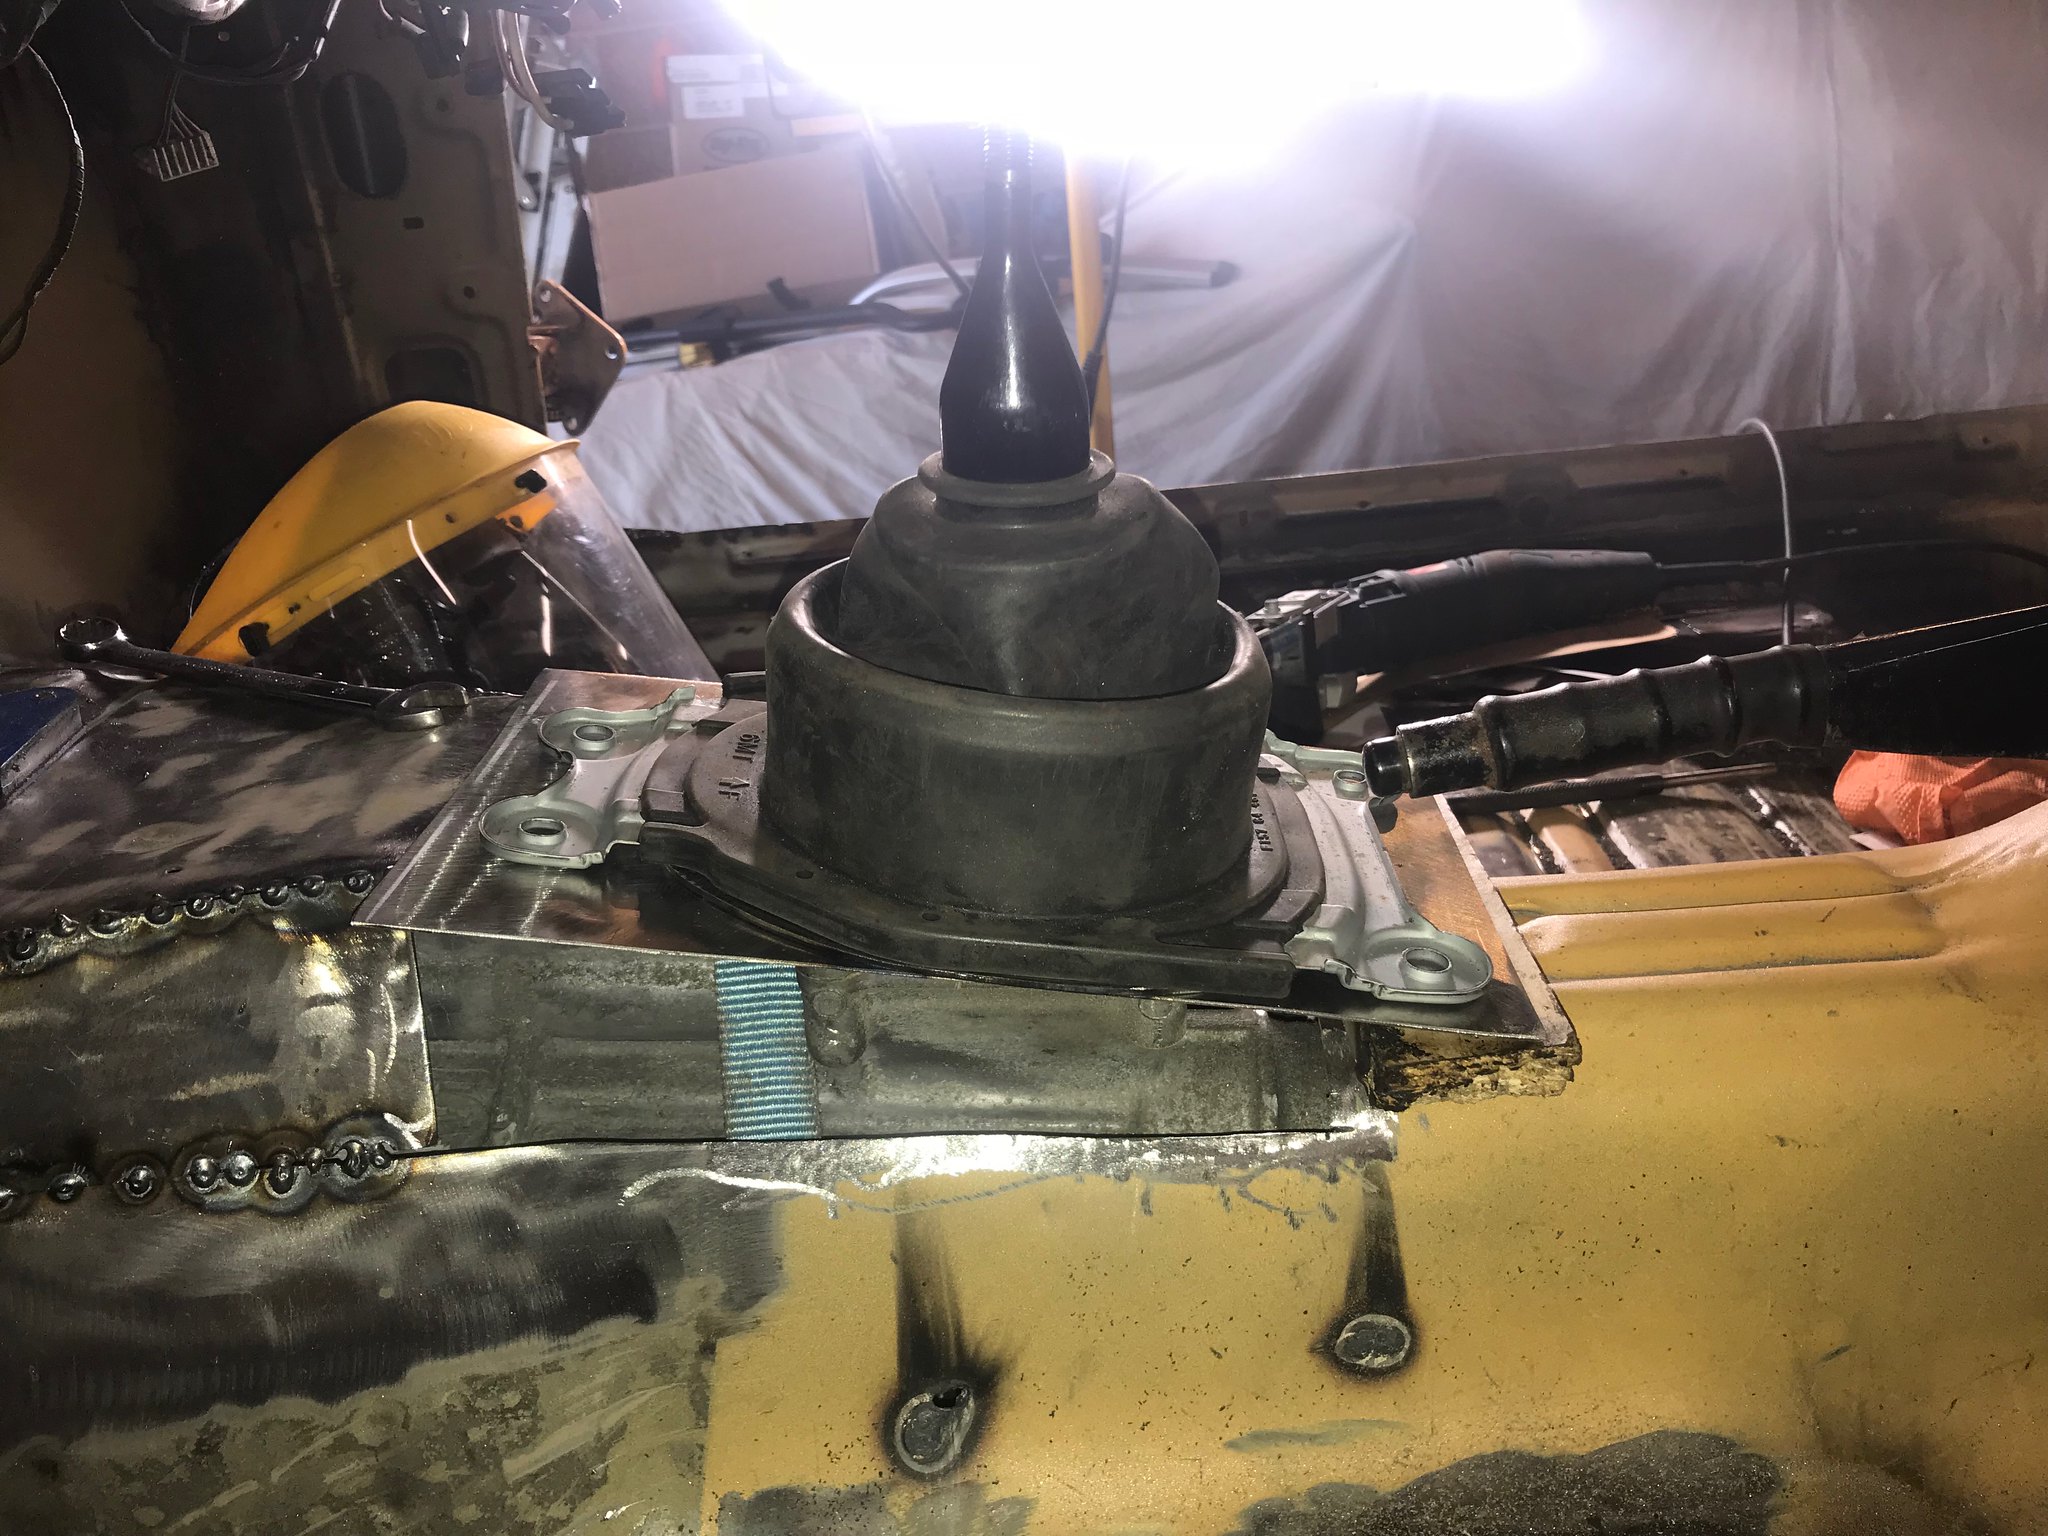 Untitled Untitled by Nevtiger, on Flickr 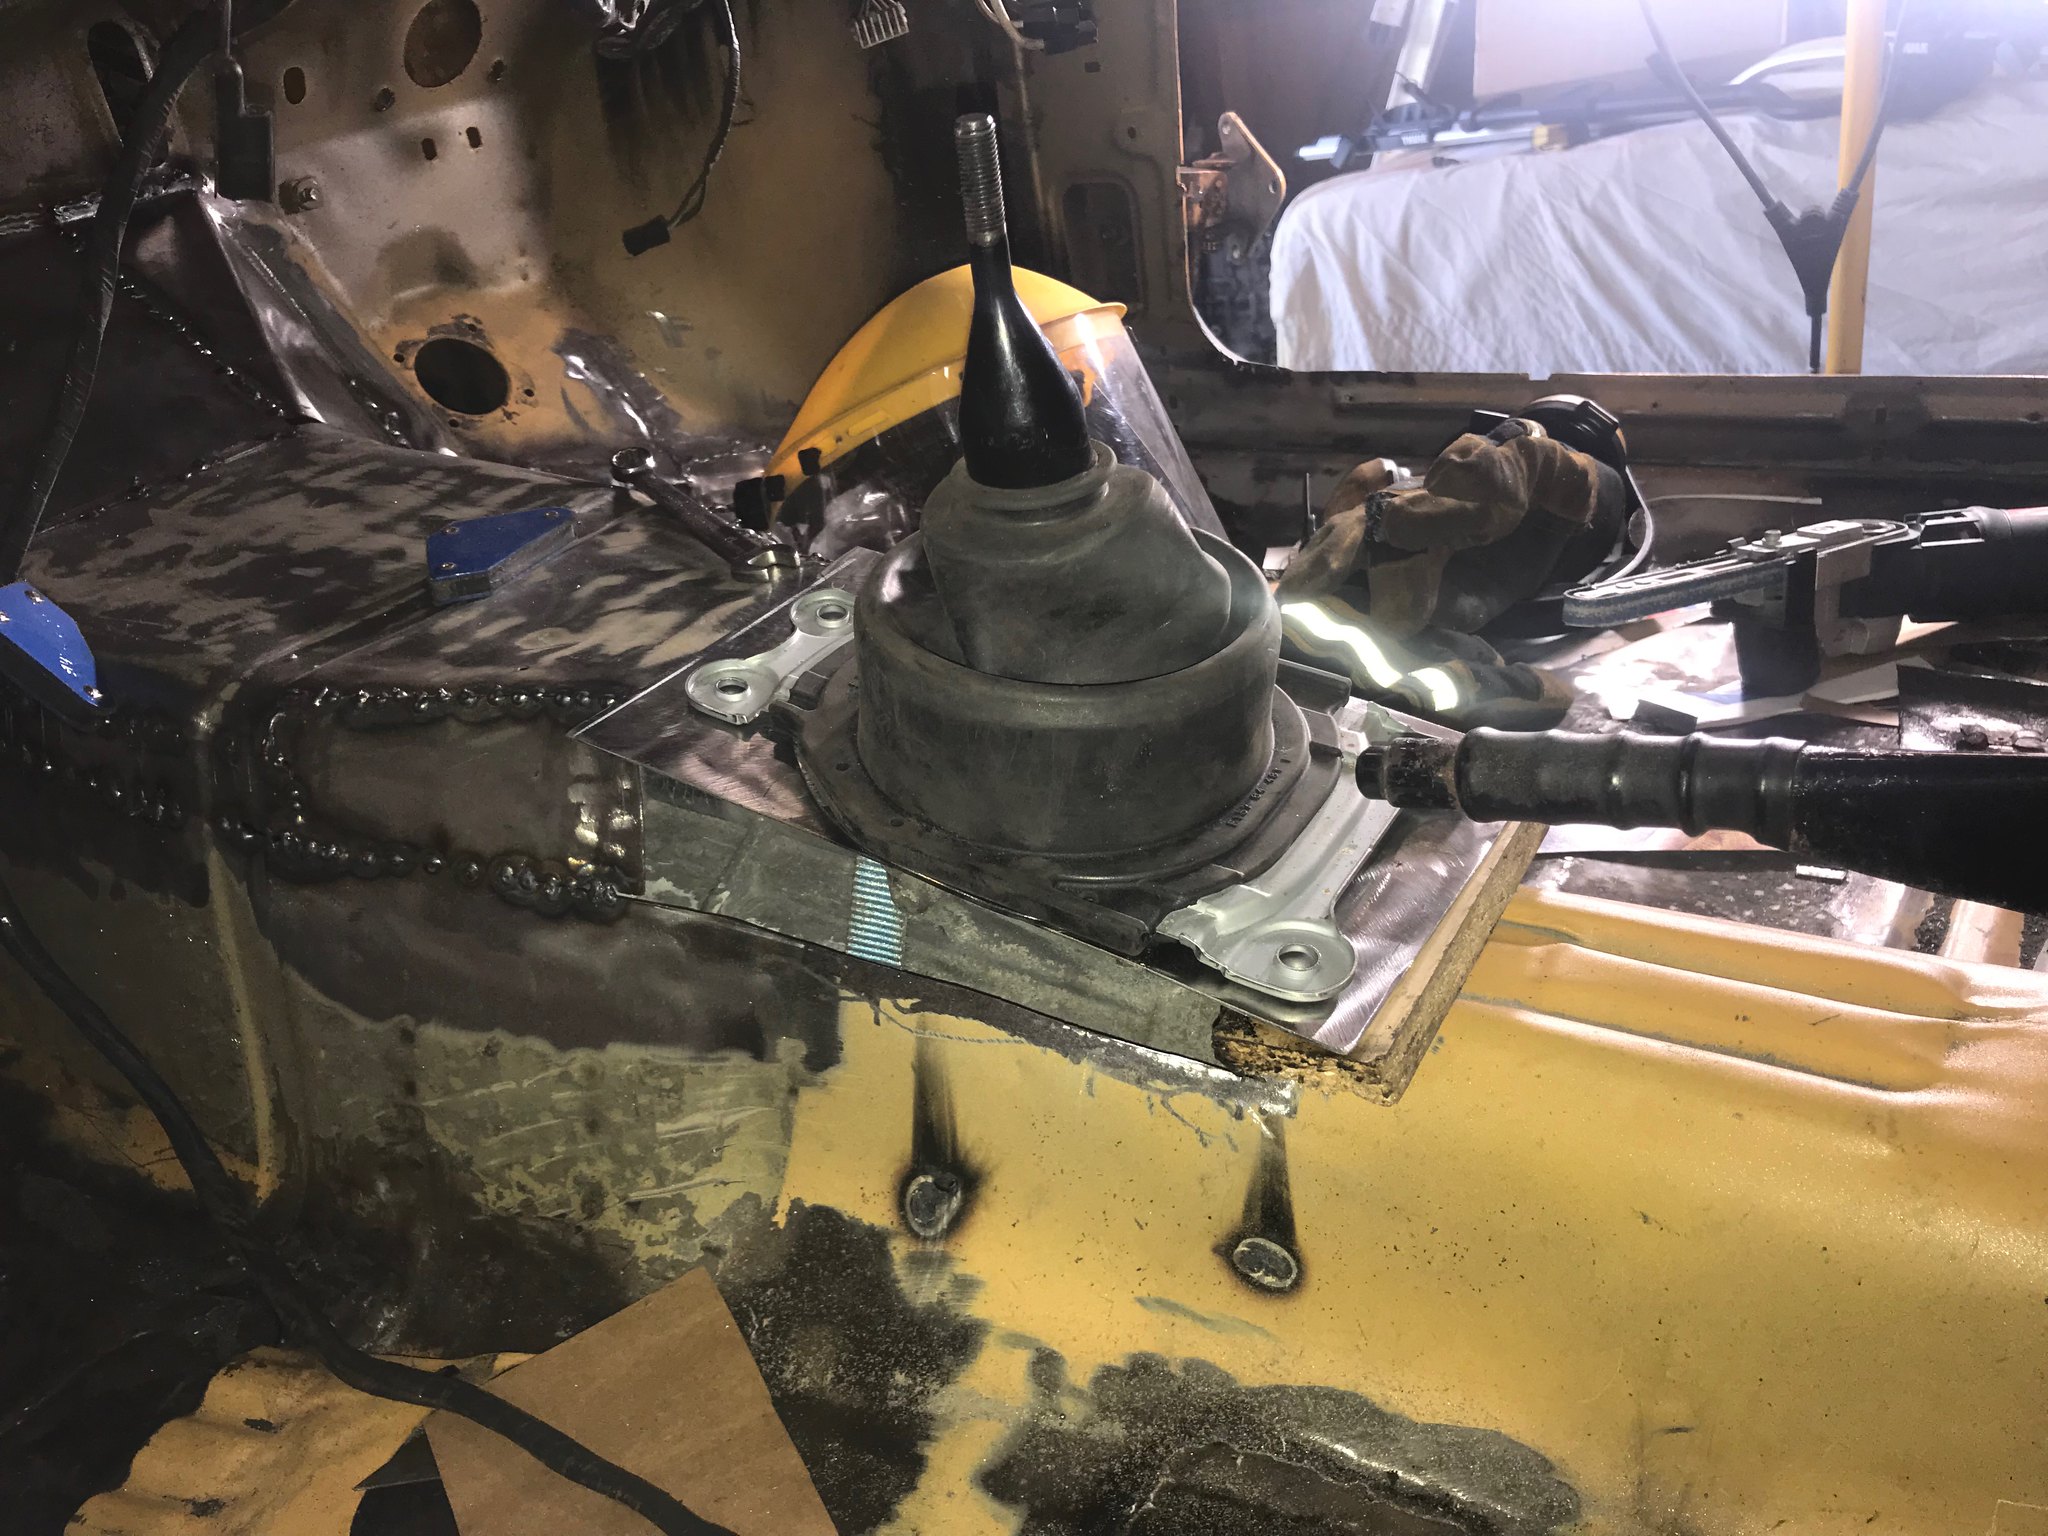 Untitled Untitled by Nevtiger, on Flickr 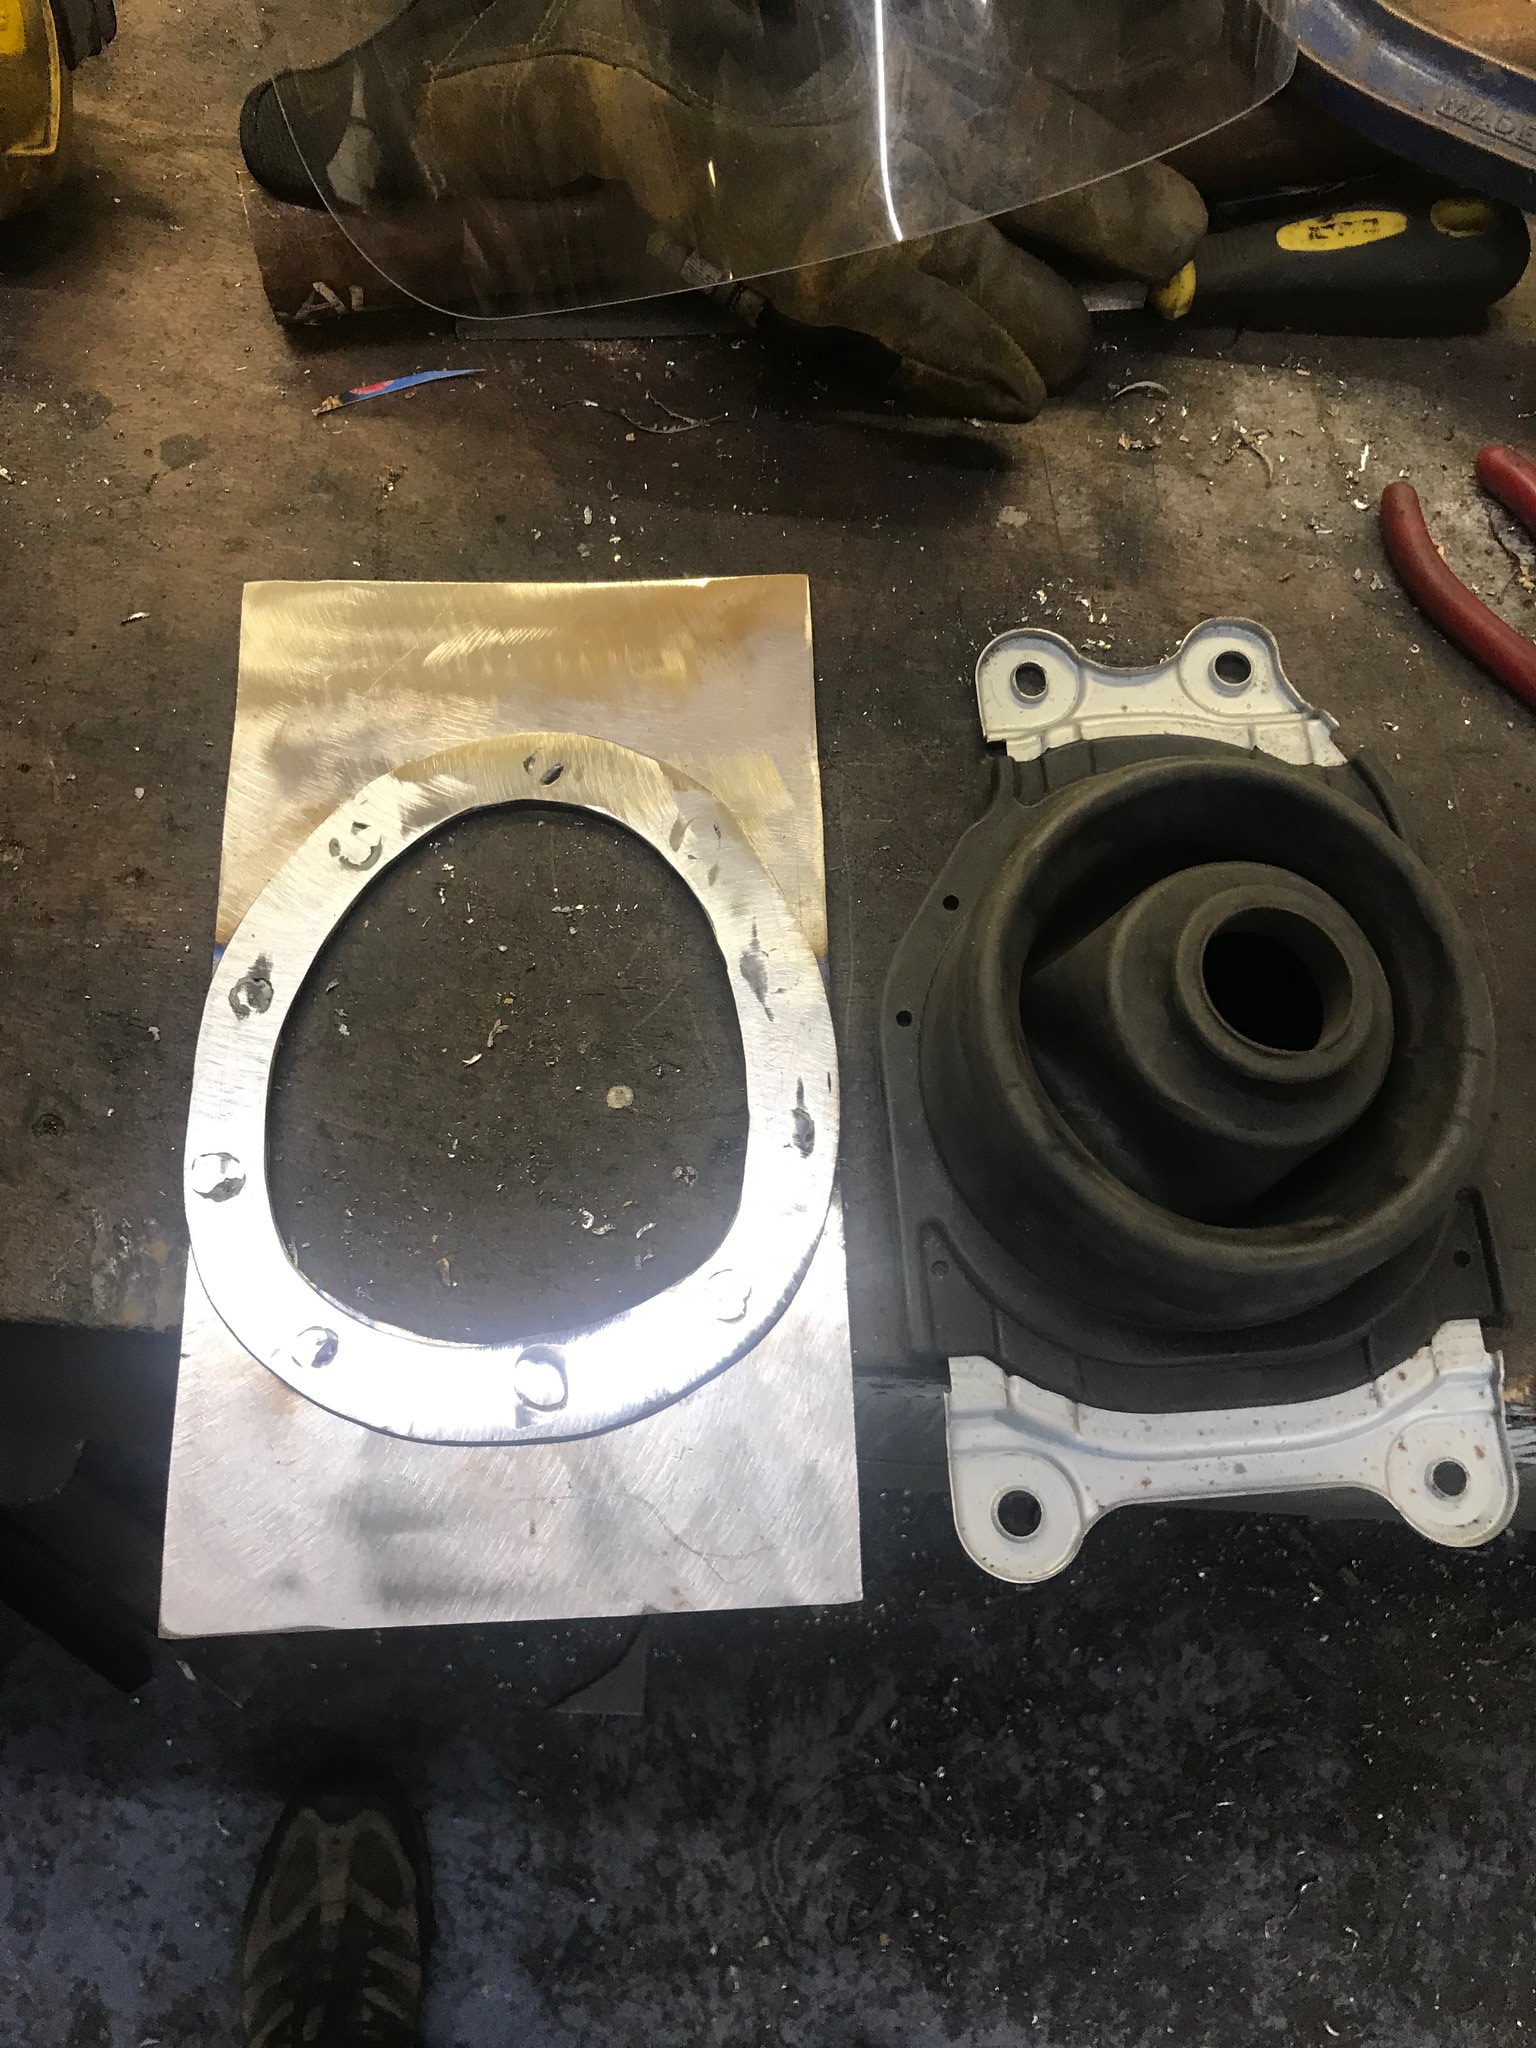 Untitled Untitled by Nevtiger, on Flickr Sort of fits 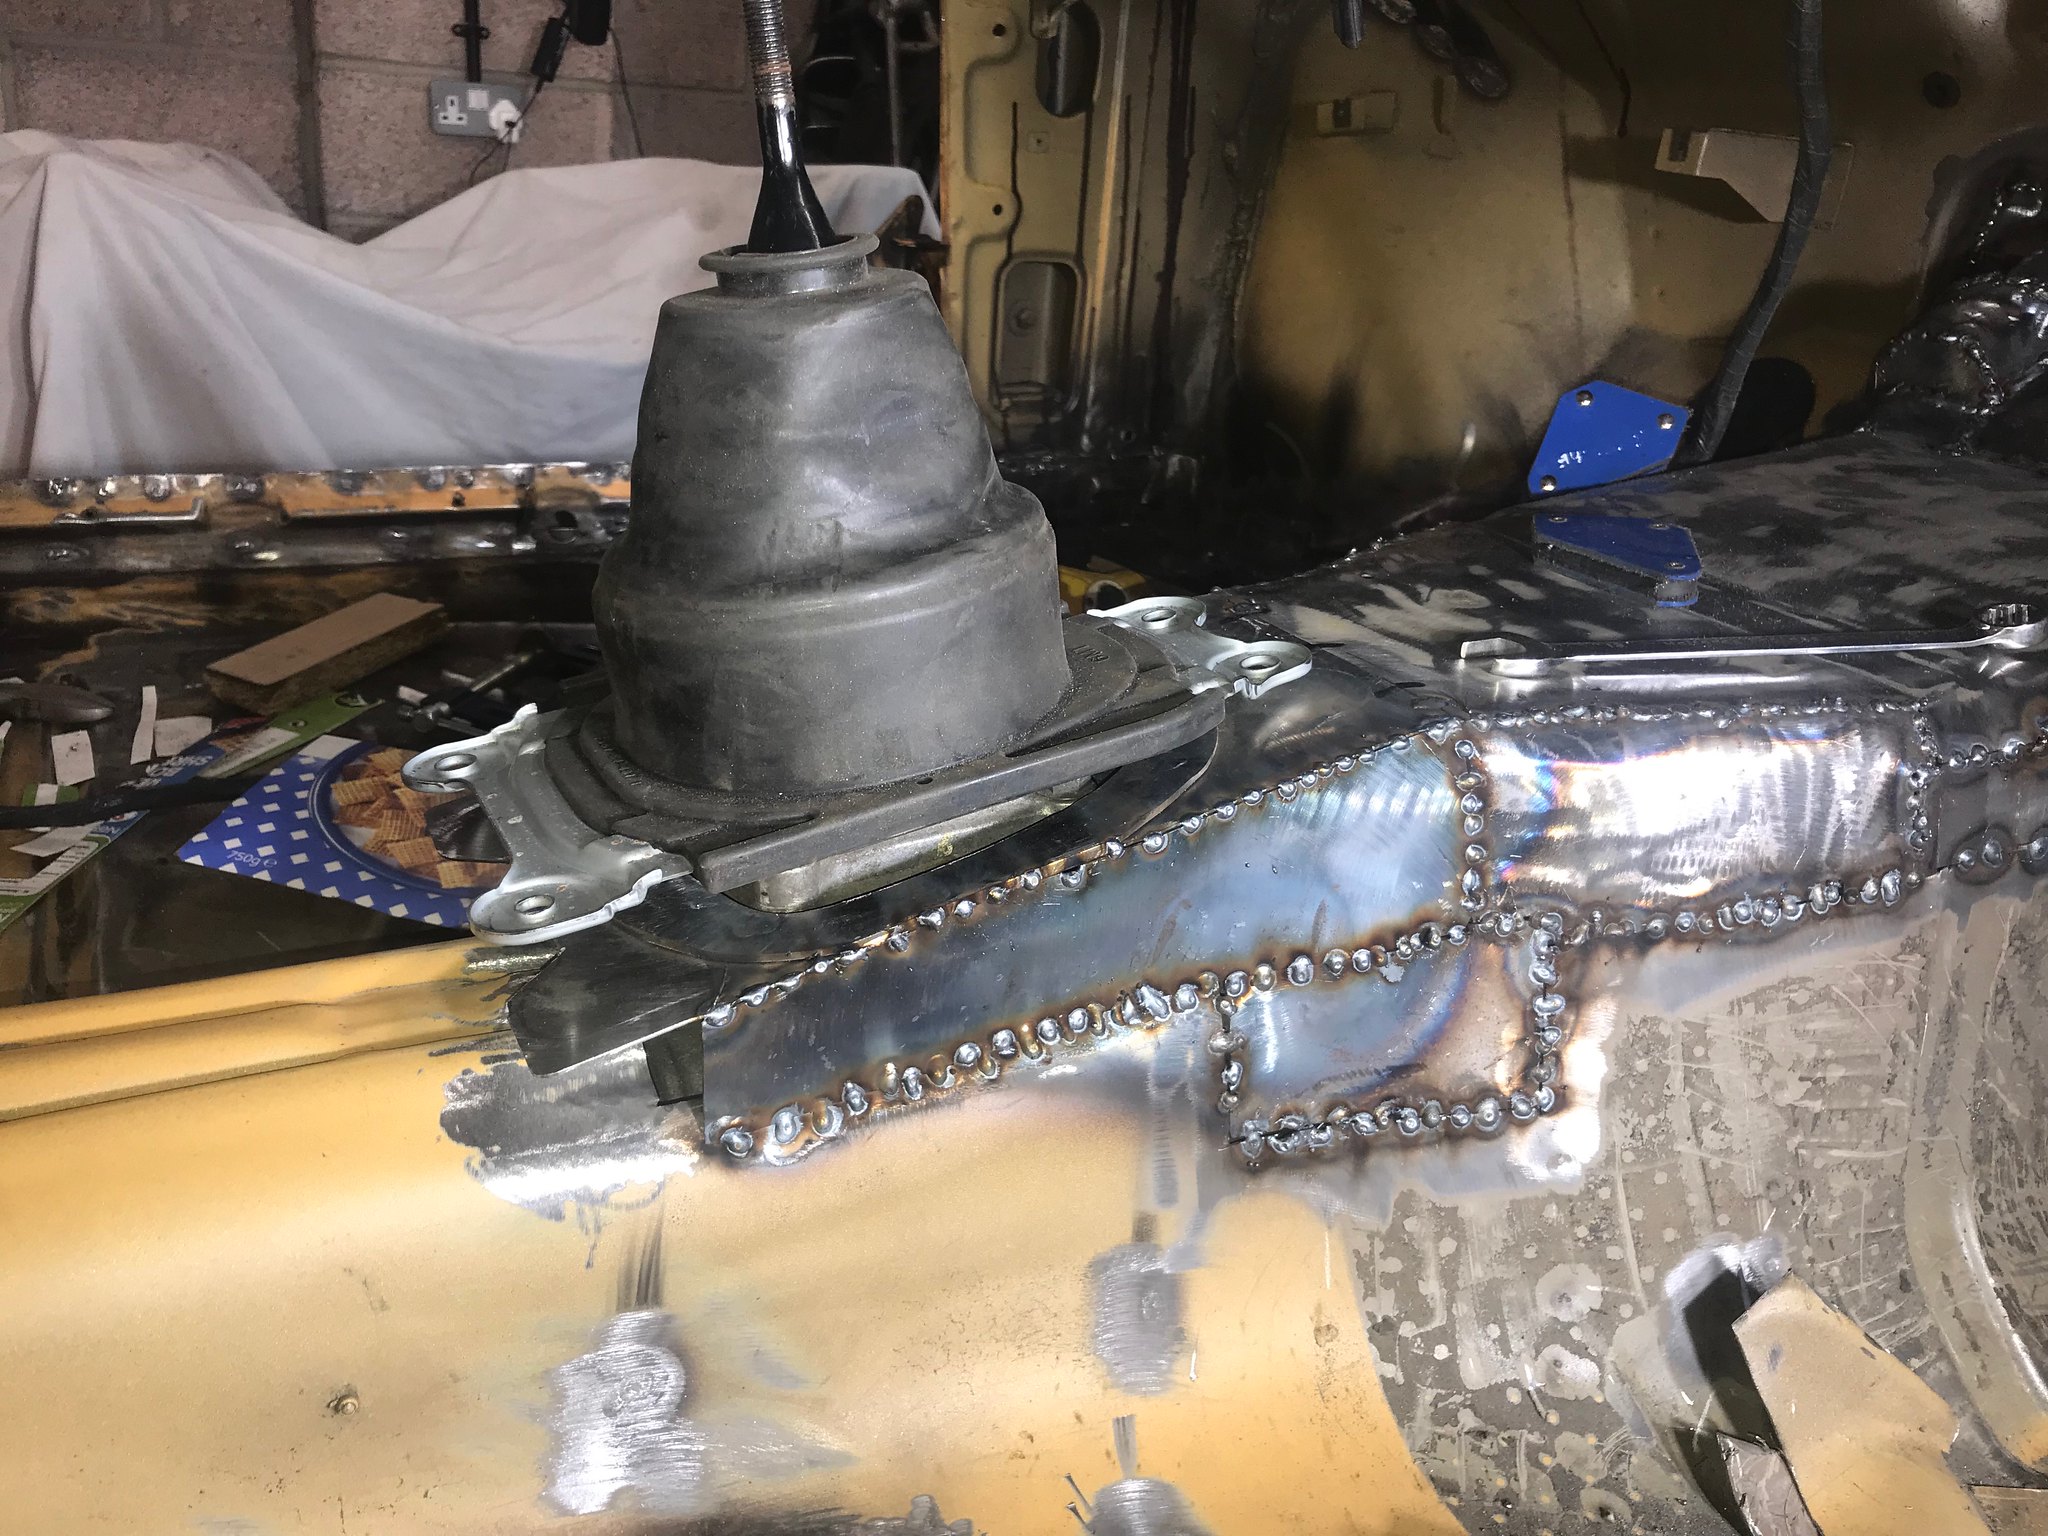 Untitled Untitled by Nevtiger, on Flickr The cover will be bolted into some rivets and that will be that. I just need to finish all the seams to be continuous, check the reverse side, clean all the welds up, seal them and its done. Not much welding left to do. Shape and weld in the chassis to bulk head box sections and tidy up where the battery tray used to be. Then no more welding on the shell!!!!!!! |
| |
|
|
|
|
|
Dec 21, 2018 13:49:46 GMT
|
Once the basic joining had been done it was time to seam weld it properly from the rear as well. I also took the chance to weld in the final bit of re-inforcing. Bulkhead to Chassis rail box. 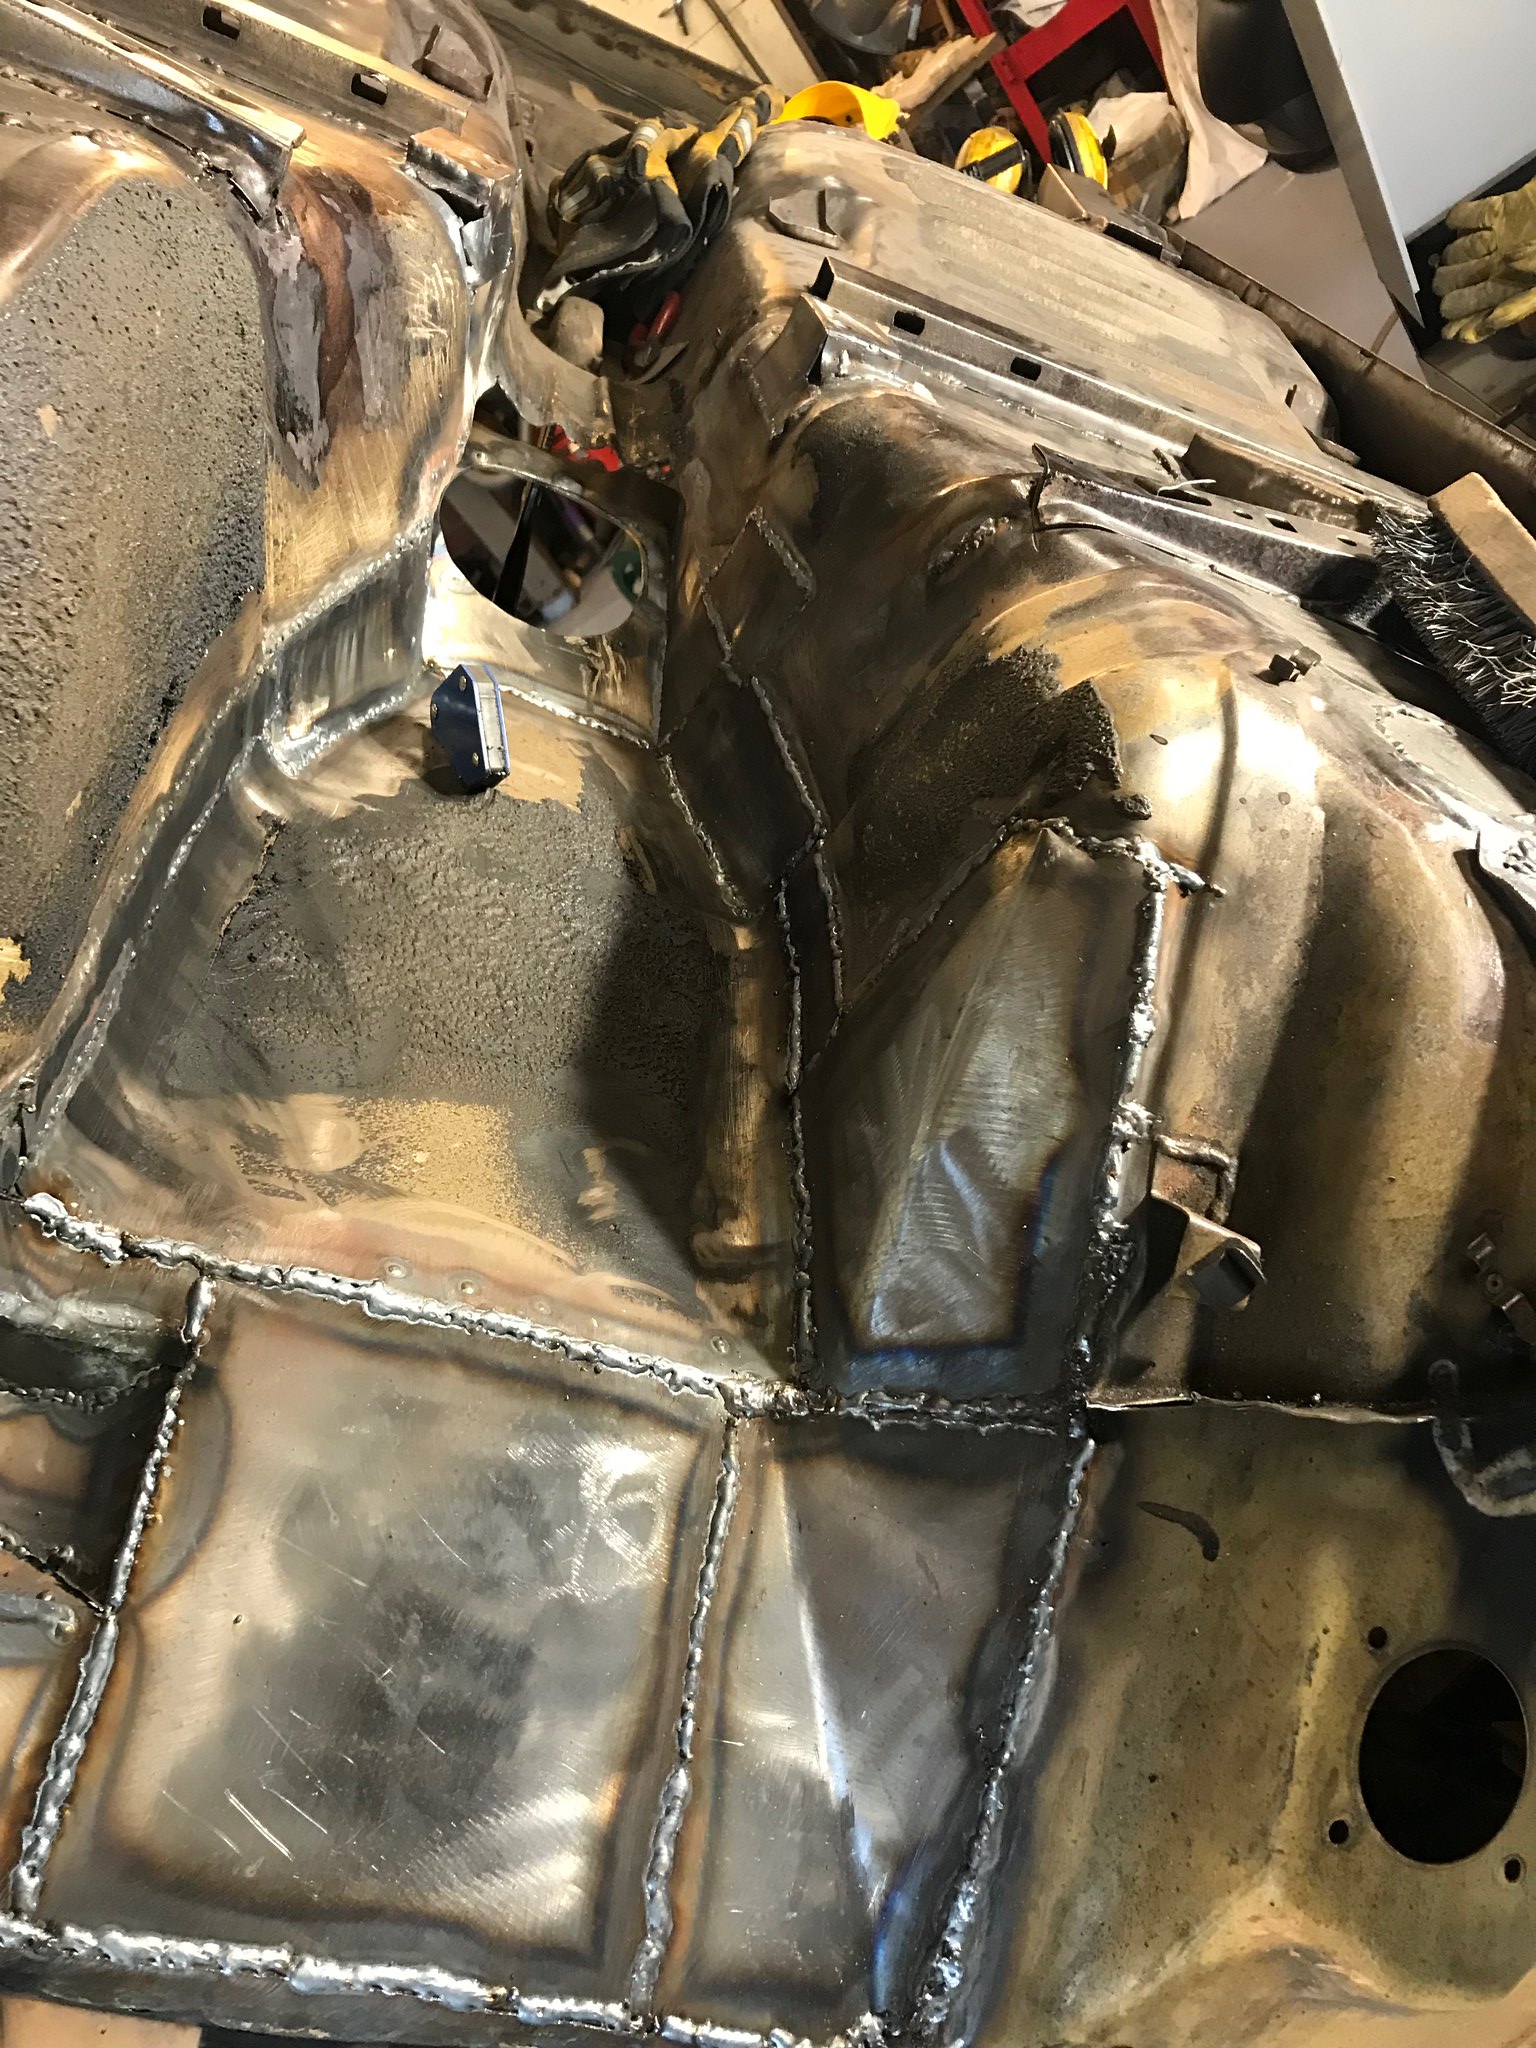 Untitled Untitled by Nevtiger, on Flickr 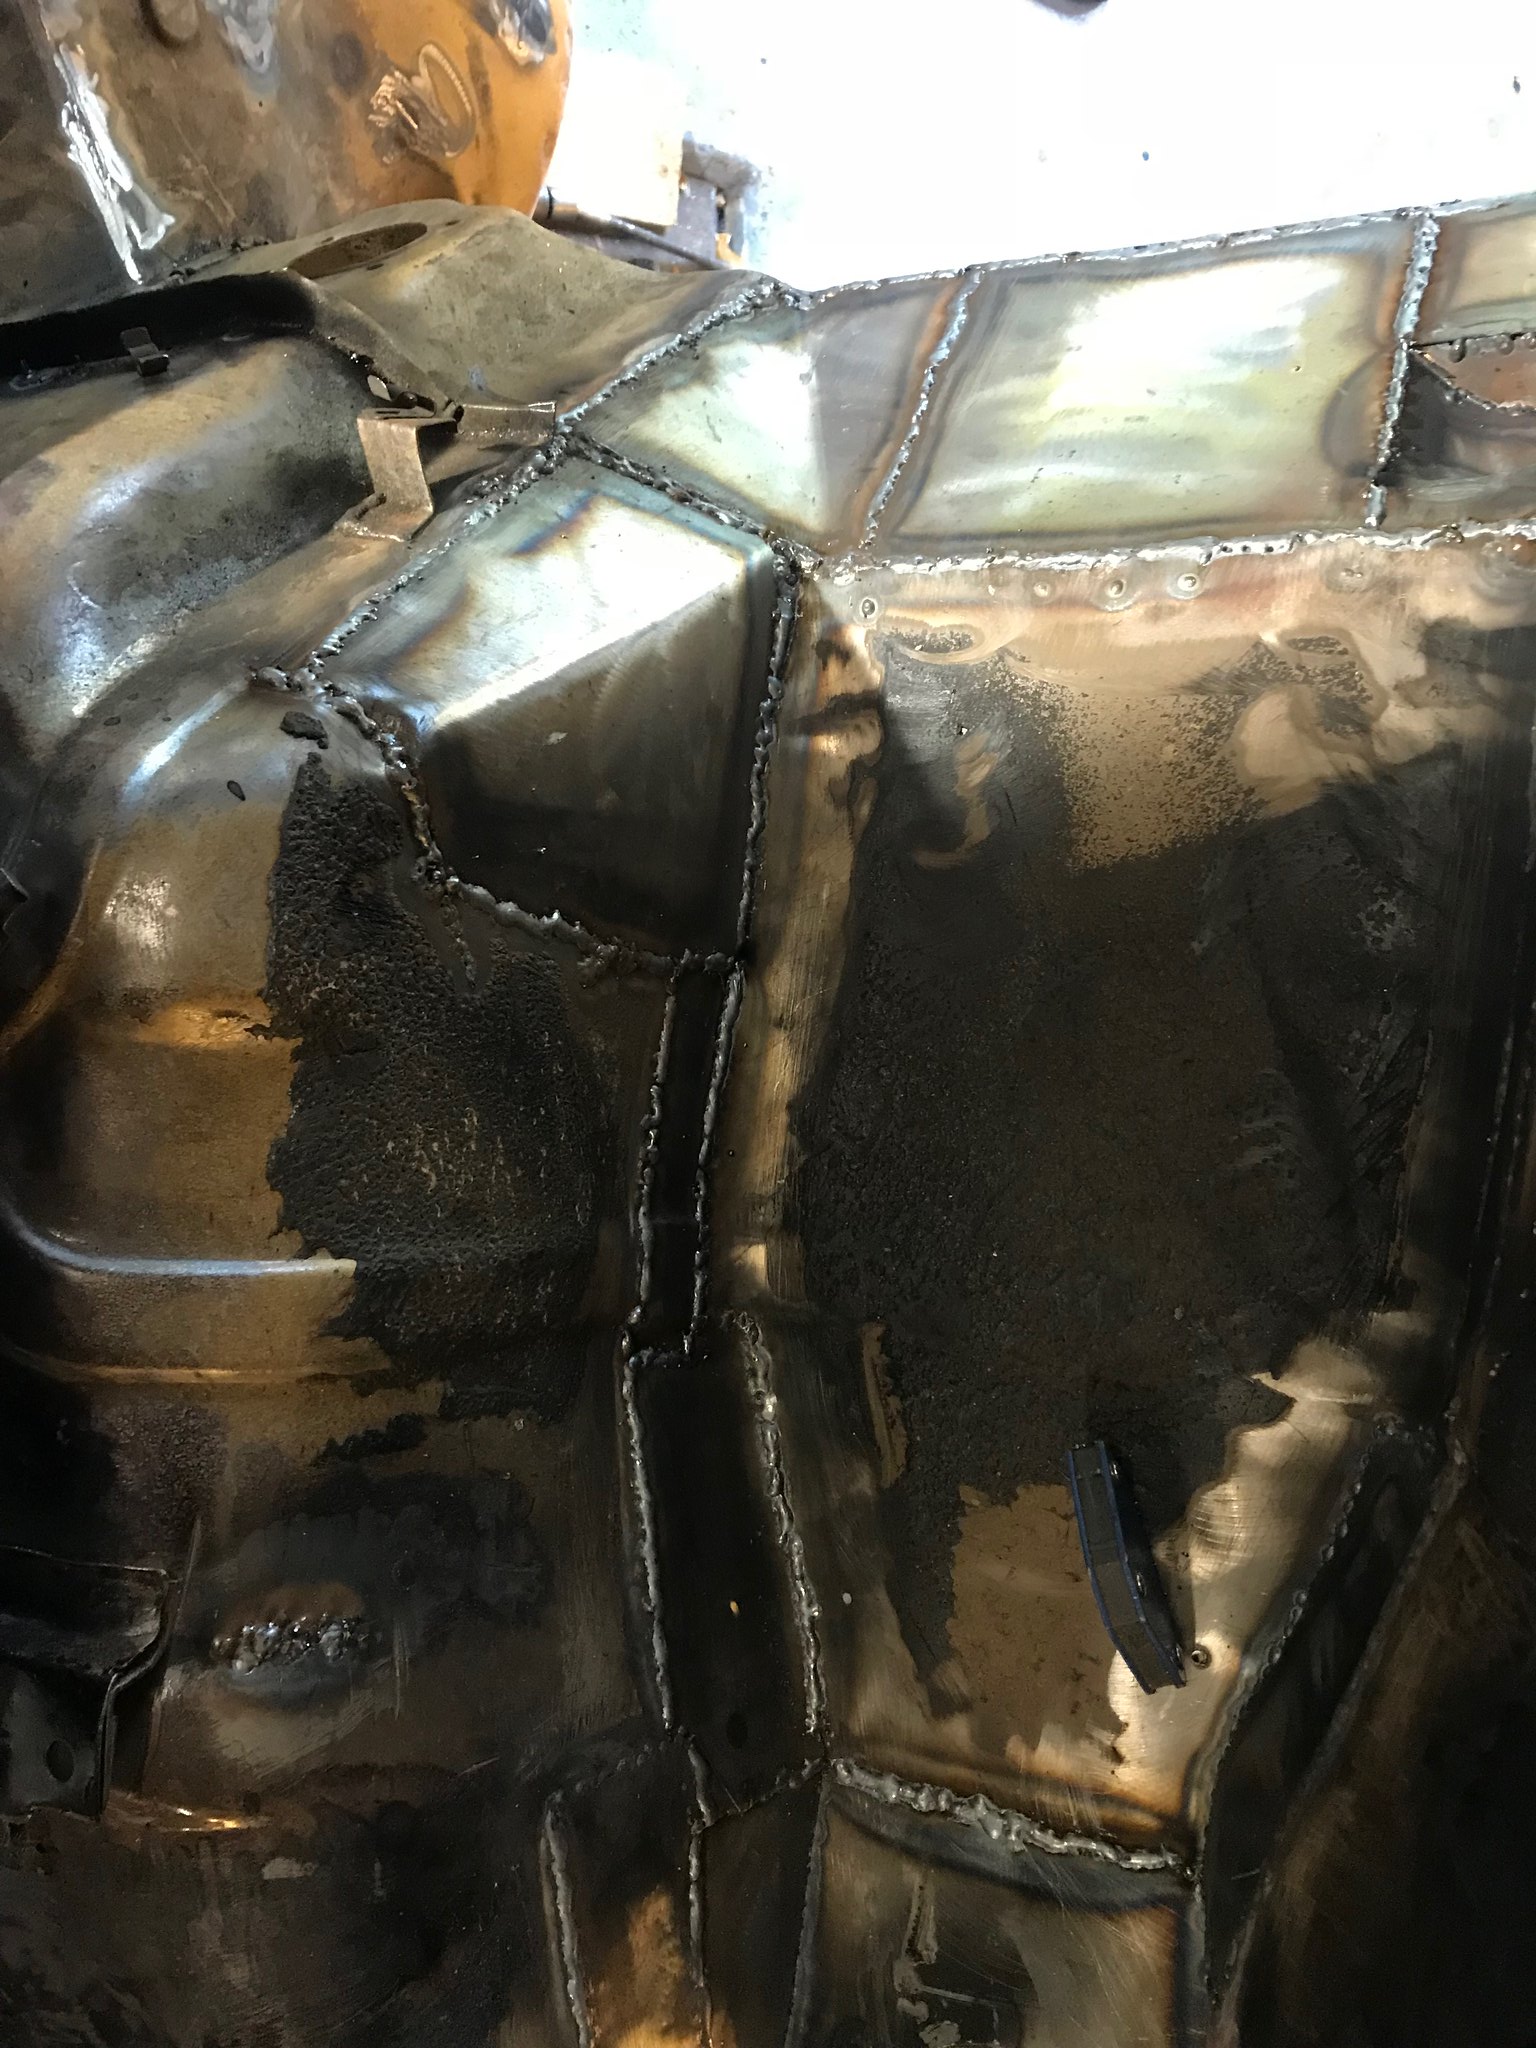 Untitled Untitled by Nevtiger, on Flickr 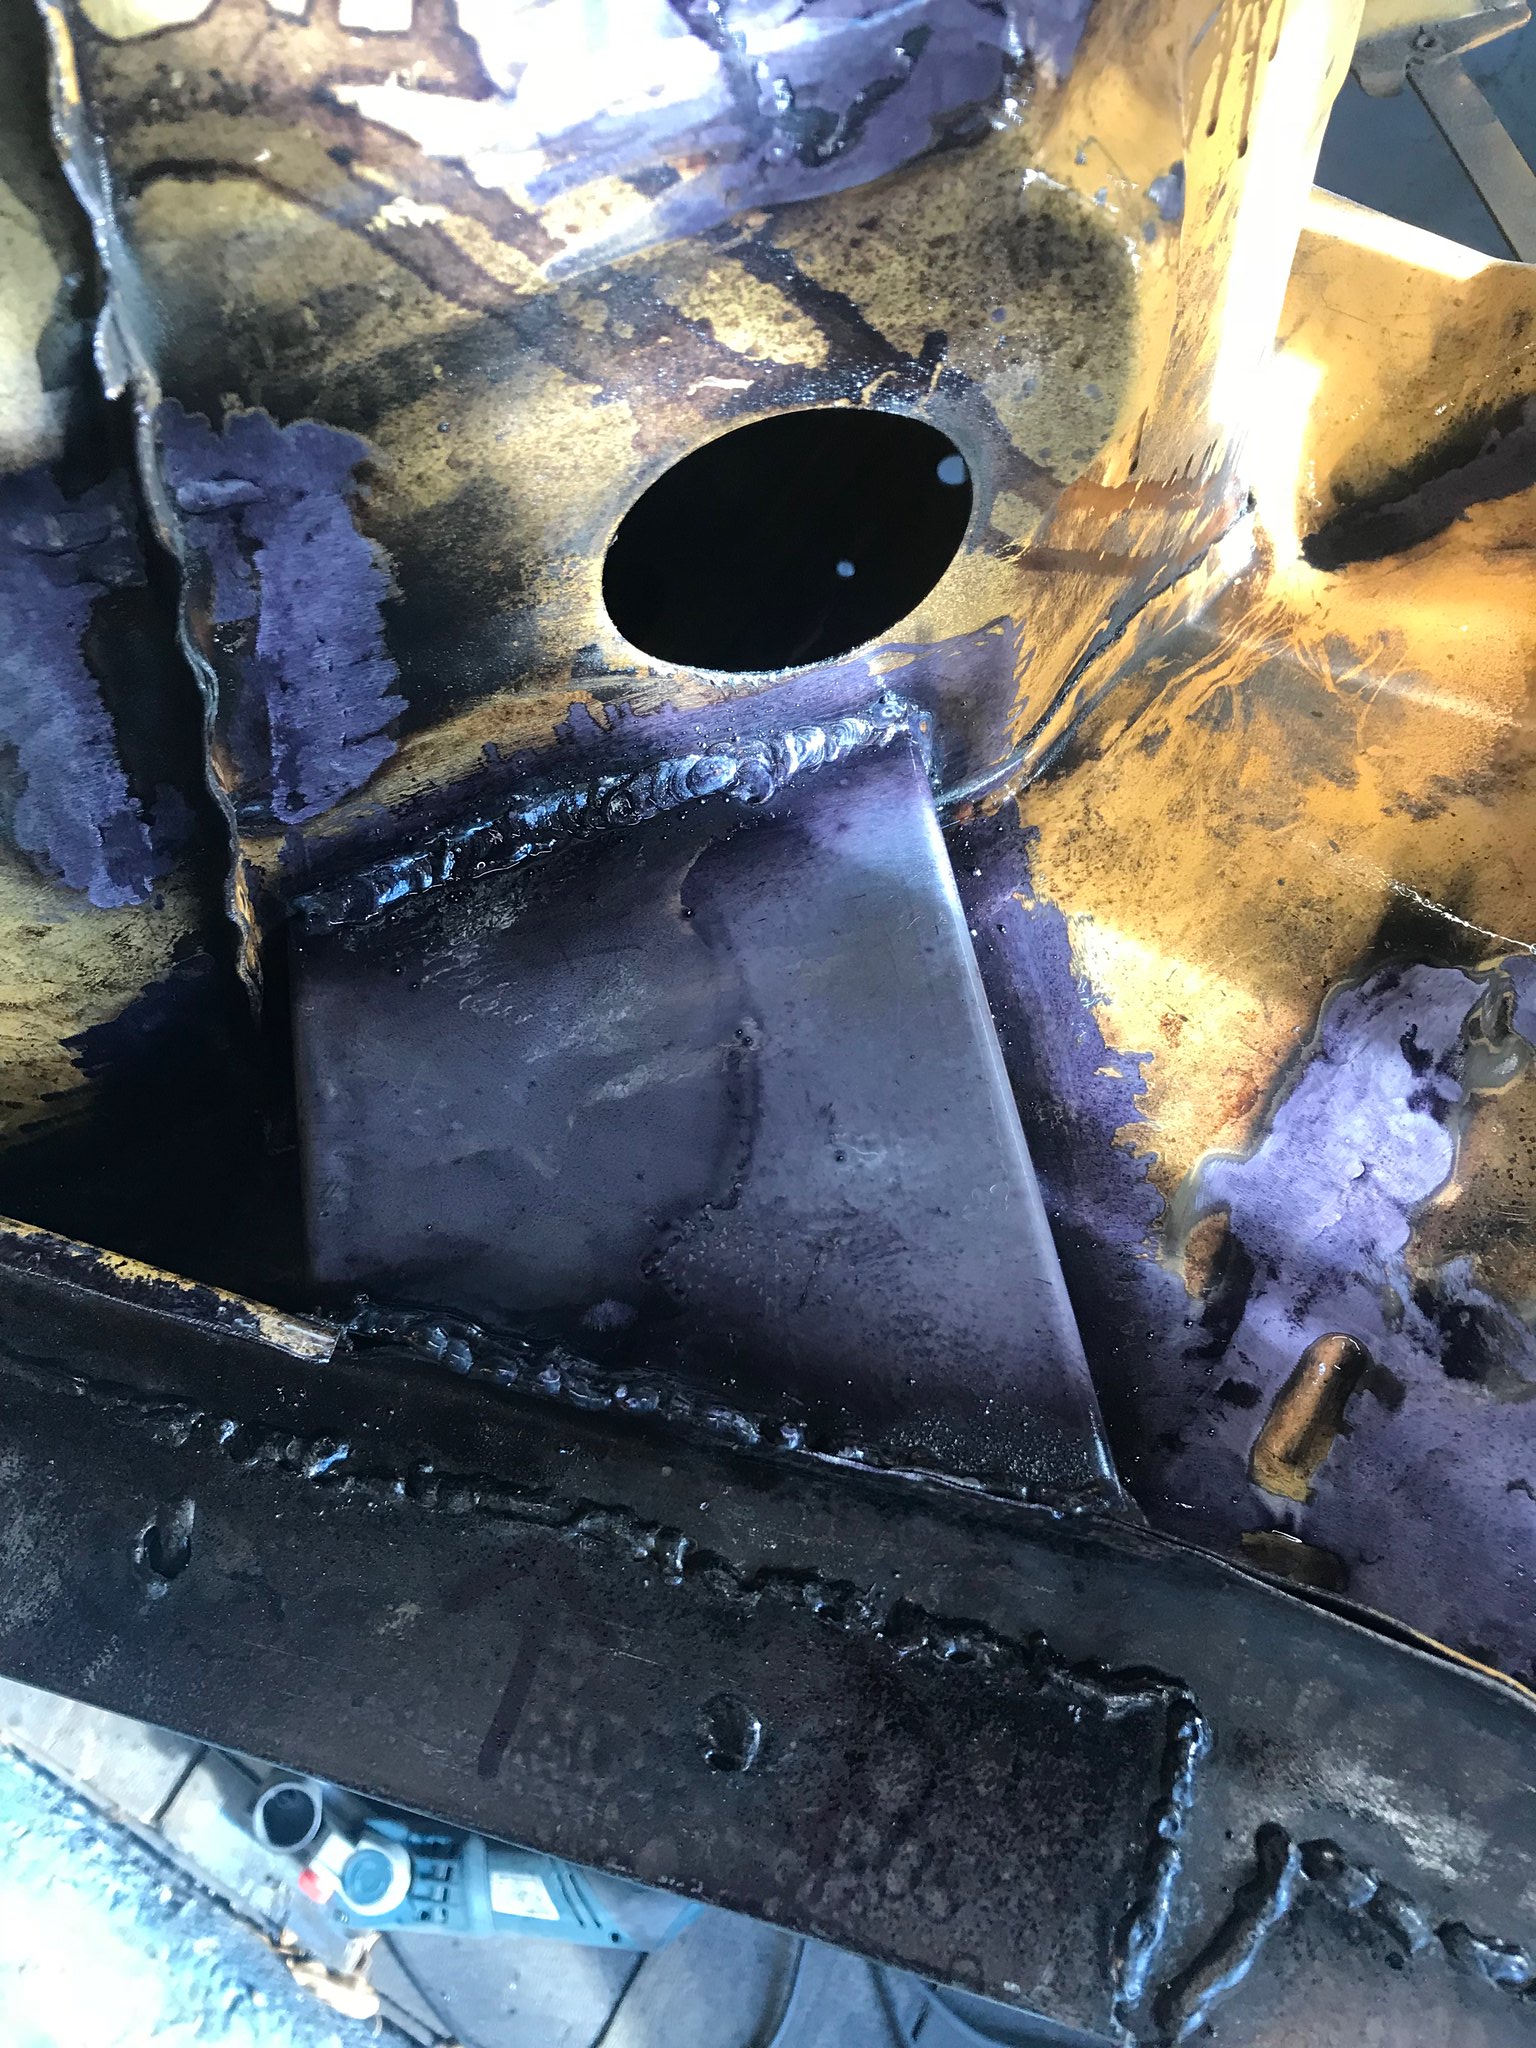 Untitled Untitled by Nevtiger, on Flickr 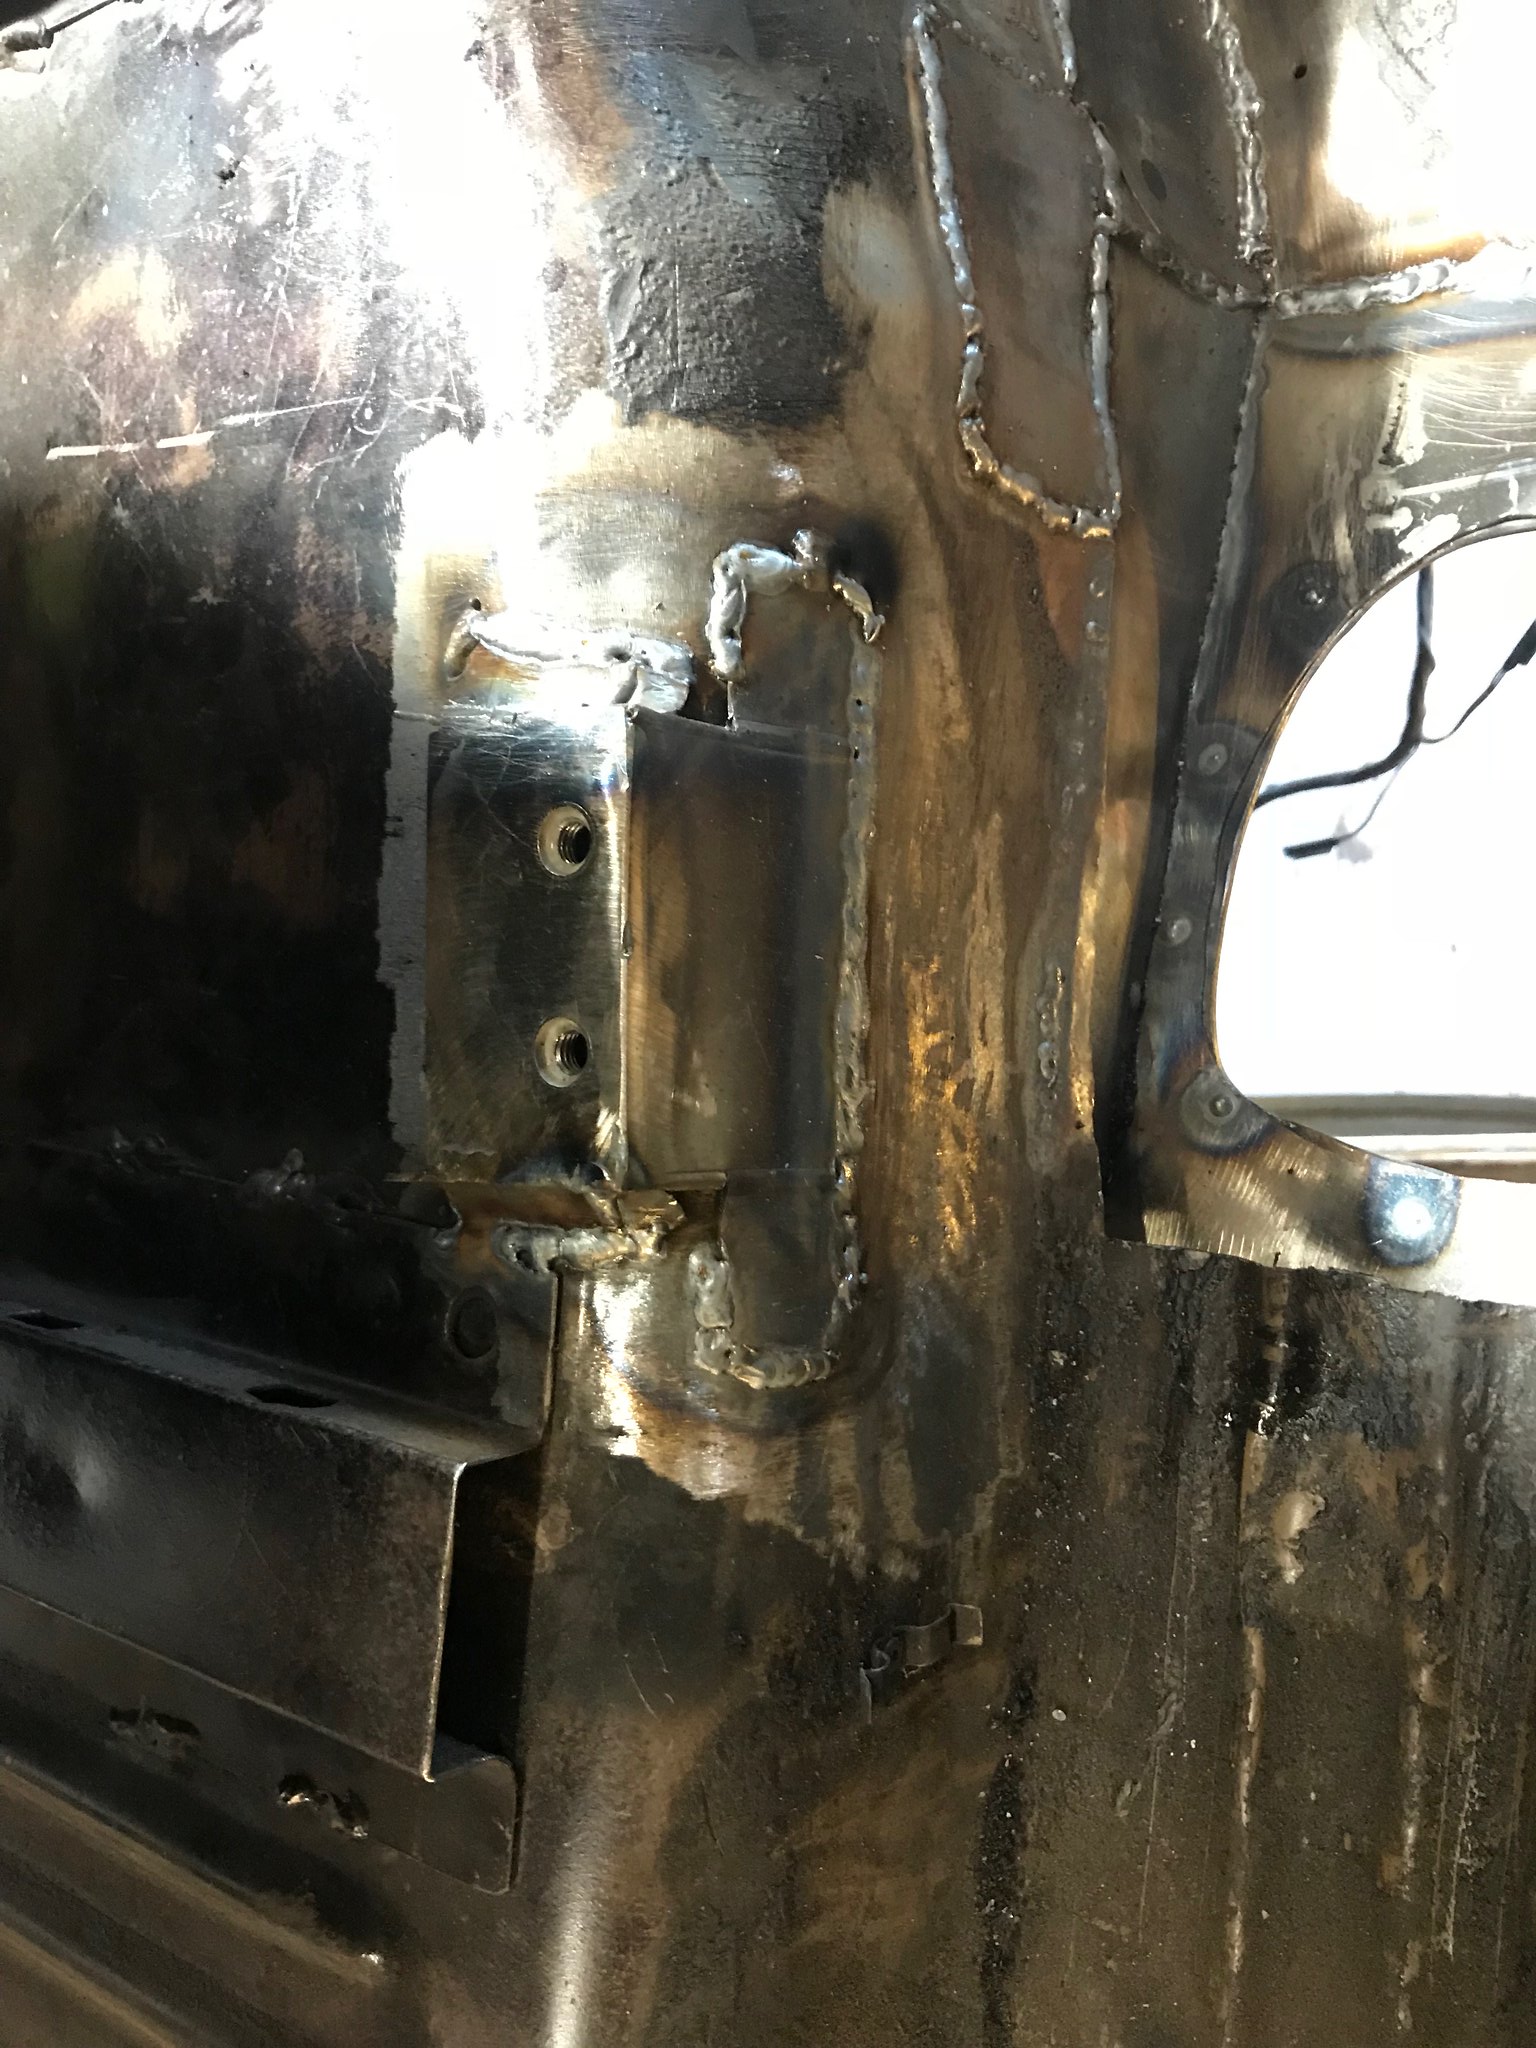 Untitled Untitled by Nevtiger, on Flickr 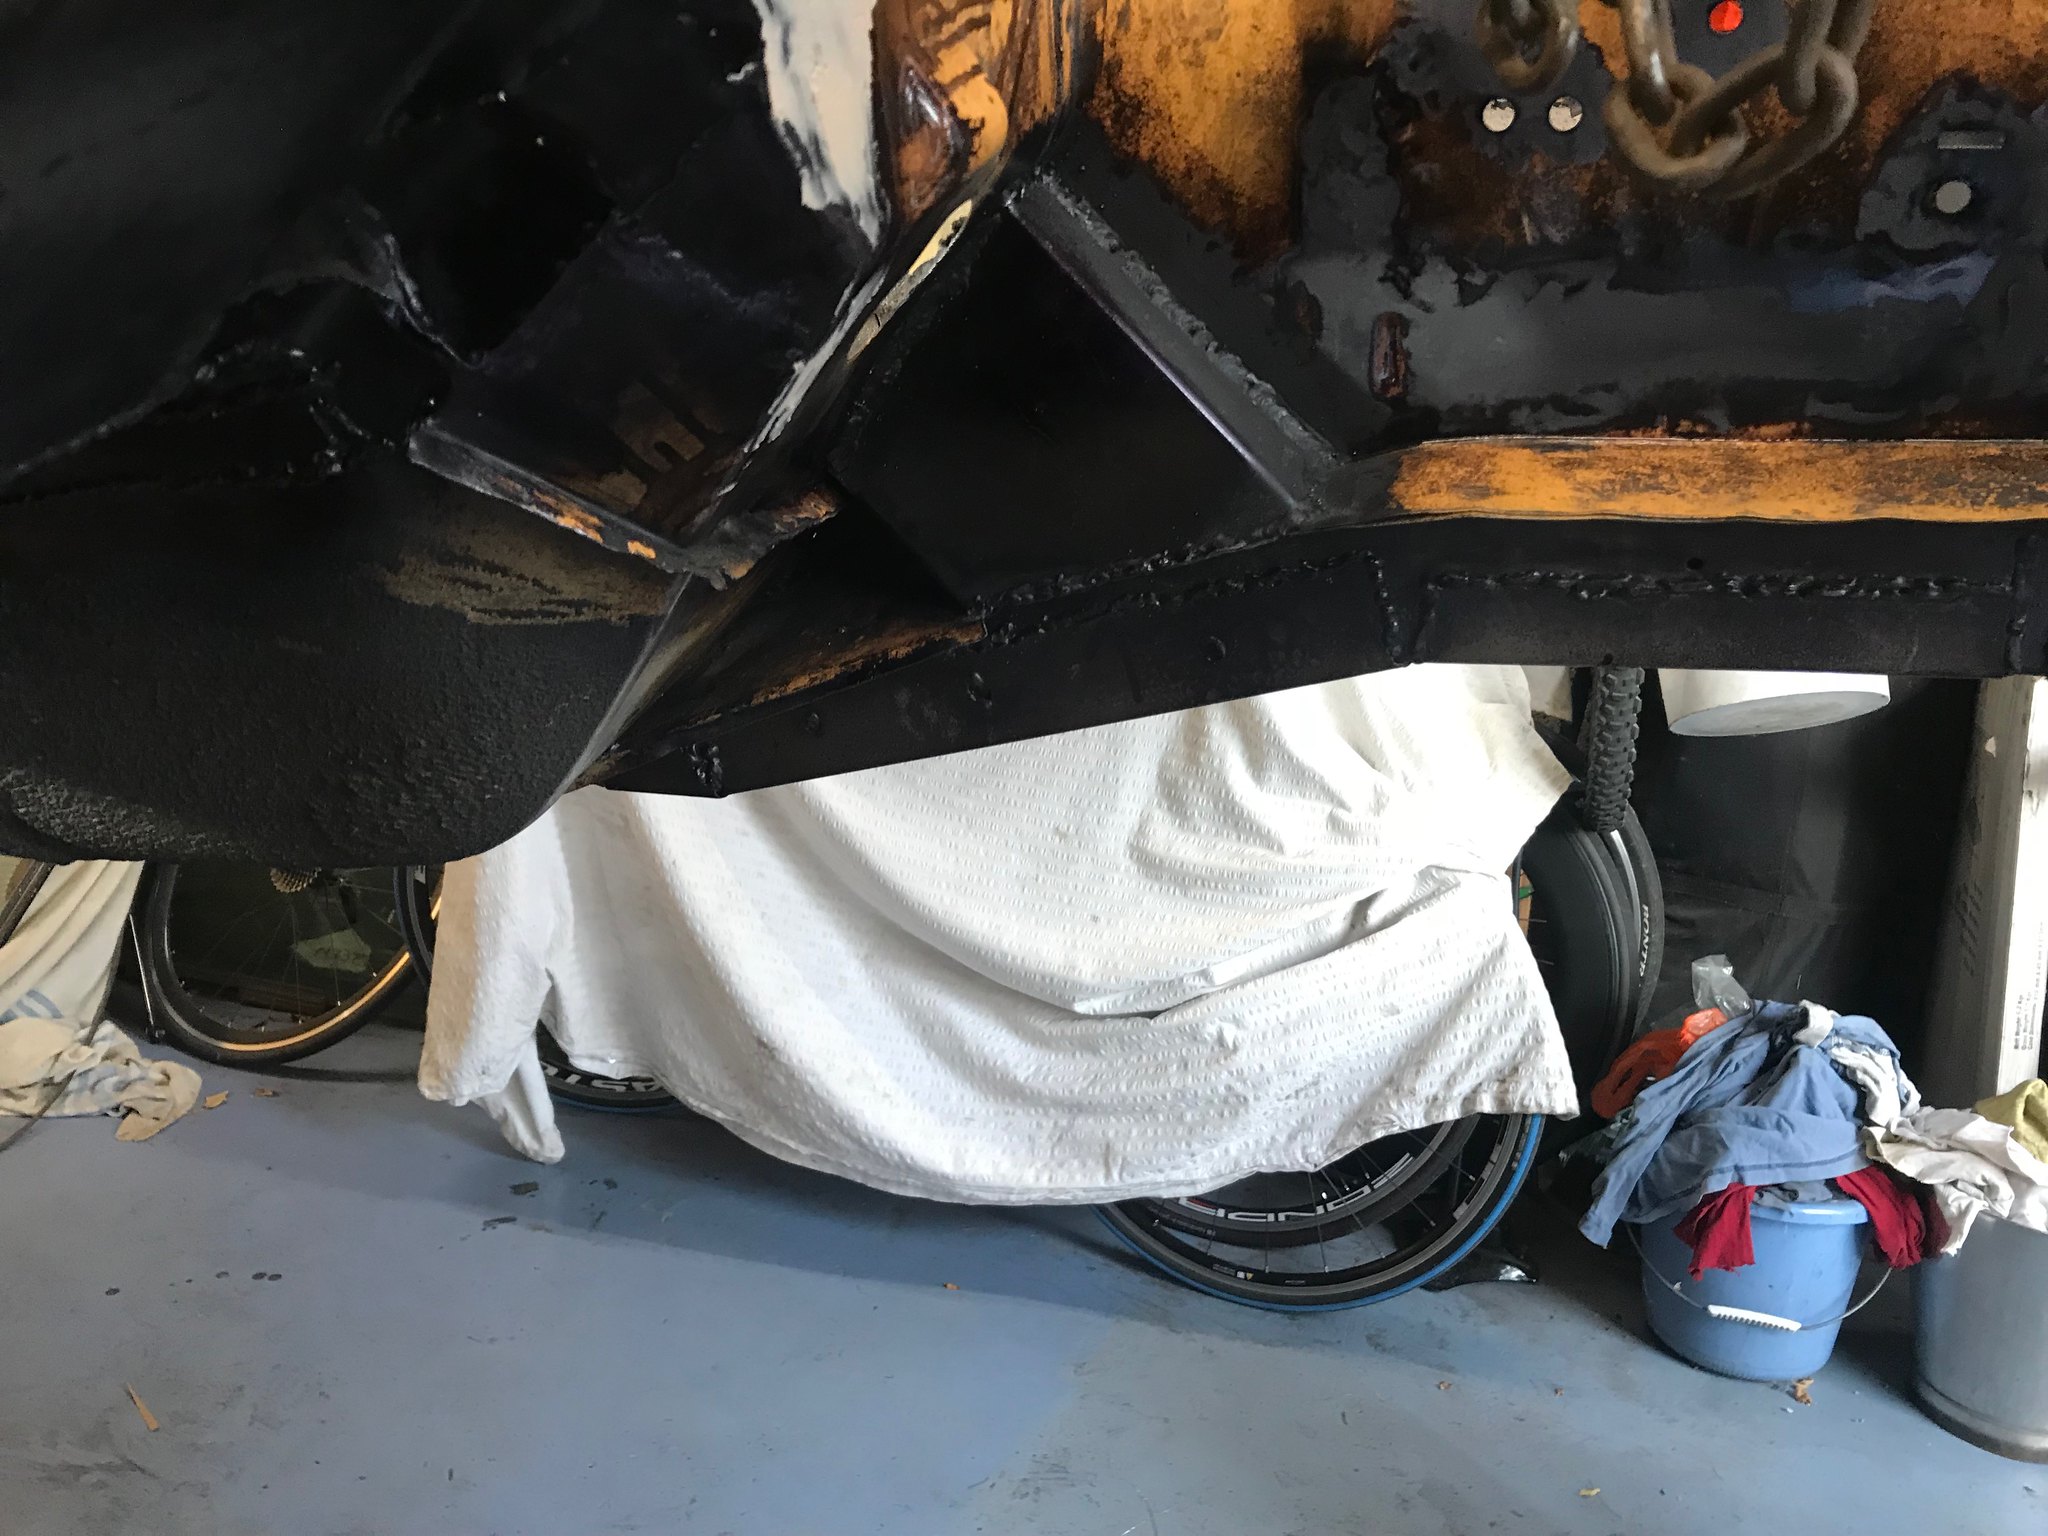 Untitled Untitled by Nevtiger, on Flickr The black is the Epoxy rust convertor i spray on once its done. Dinitrol RC900. Seems to work well and gives a good grad covering. I then looked at where i had removed the Battery tray. 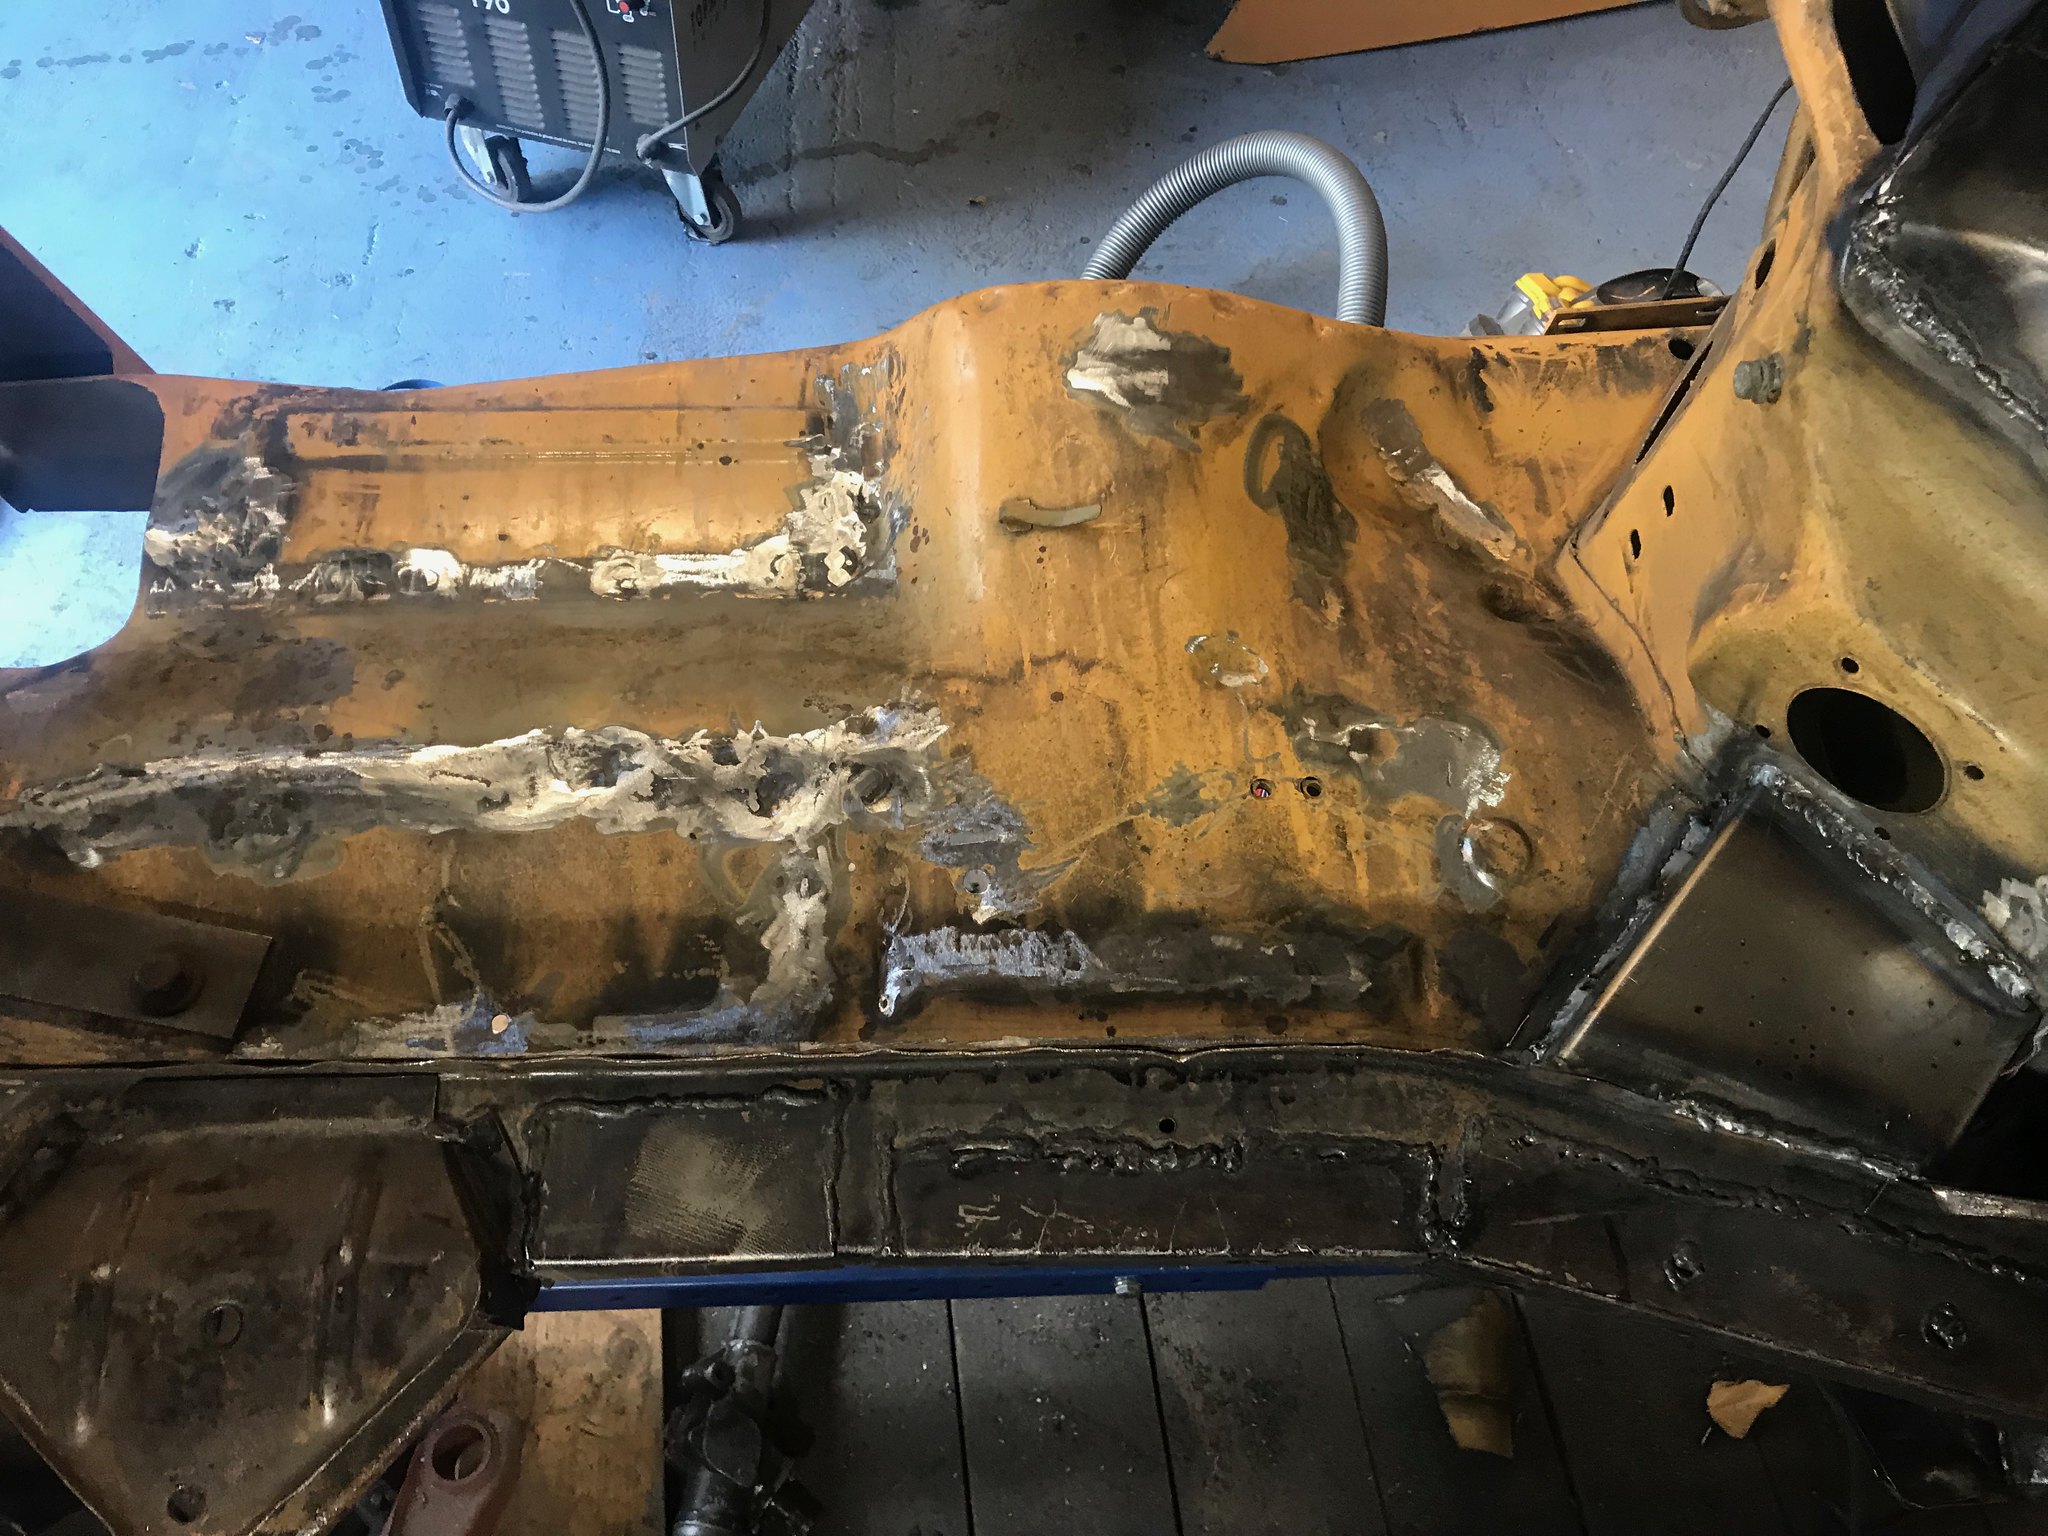 Untitled Untitled by Nevtiger, on Flickr Un nice. So a bit of welding and some filler 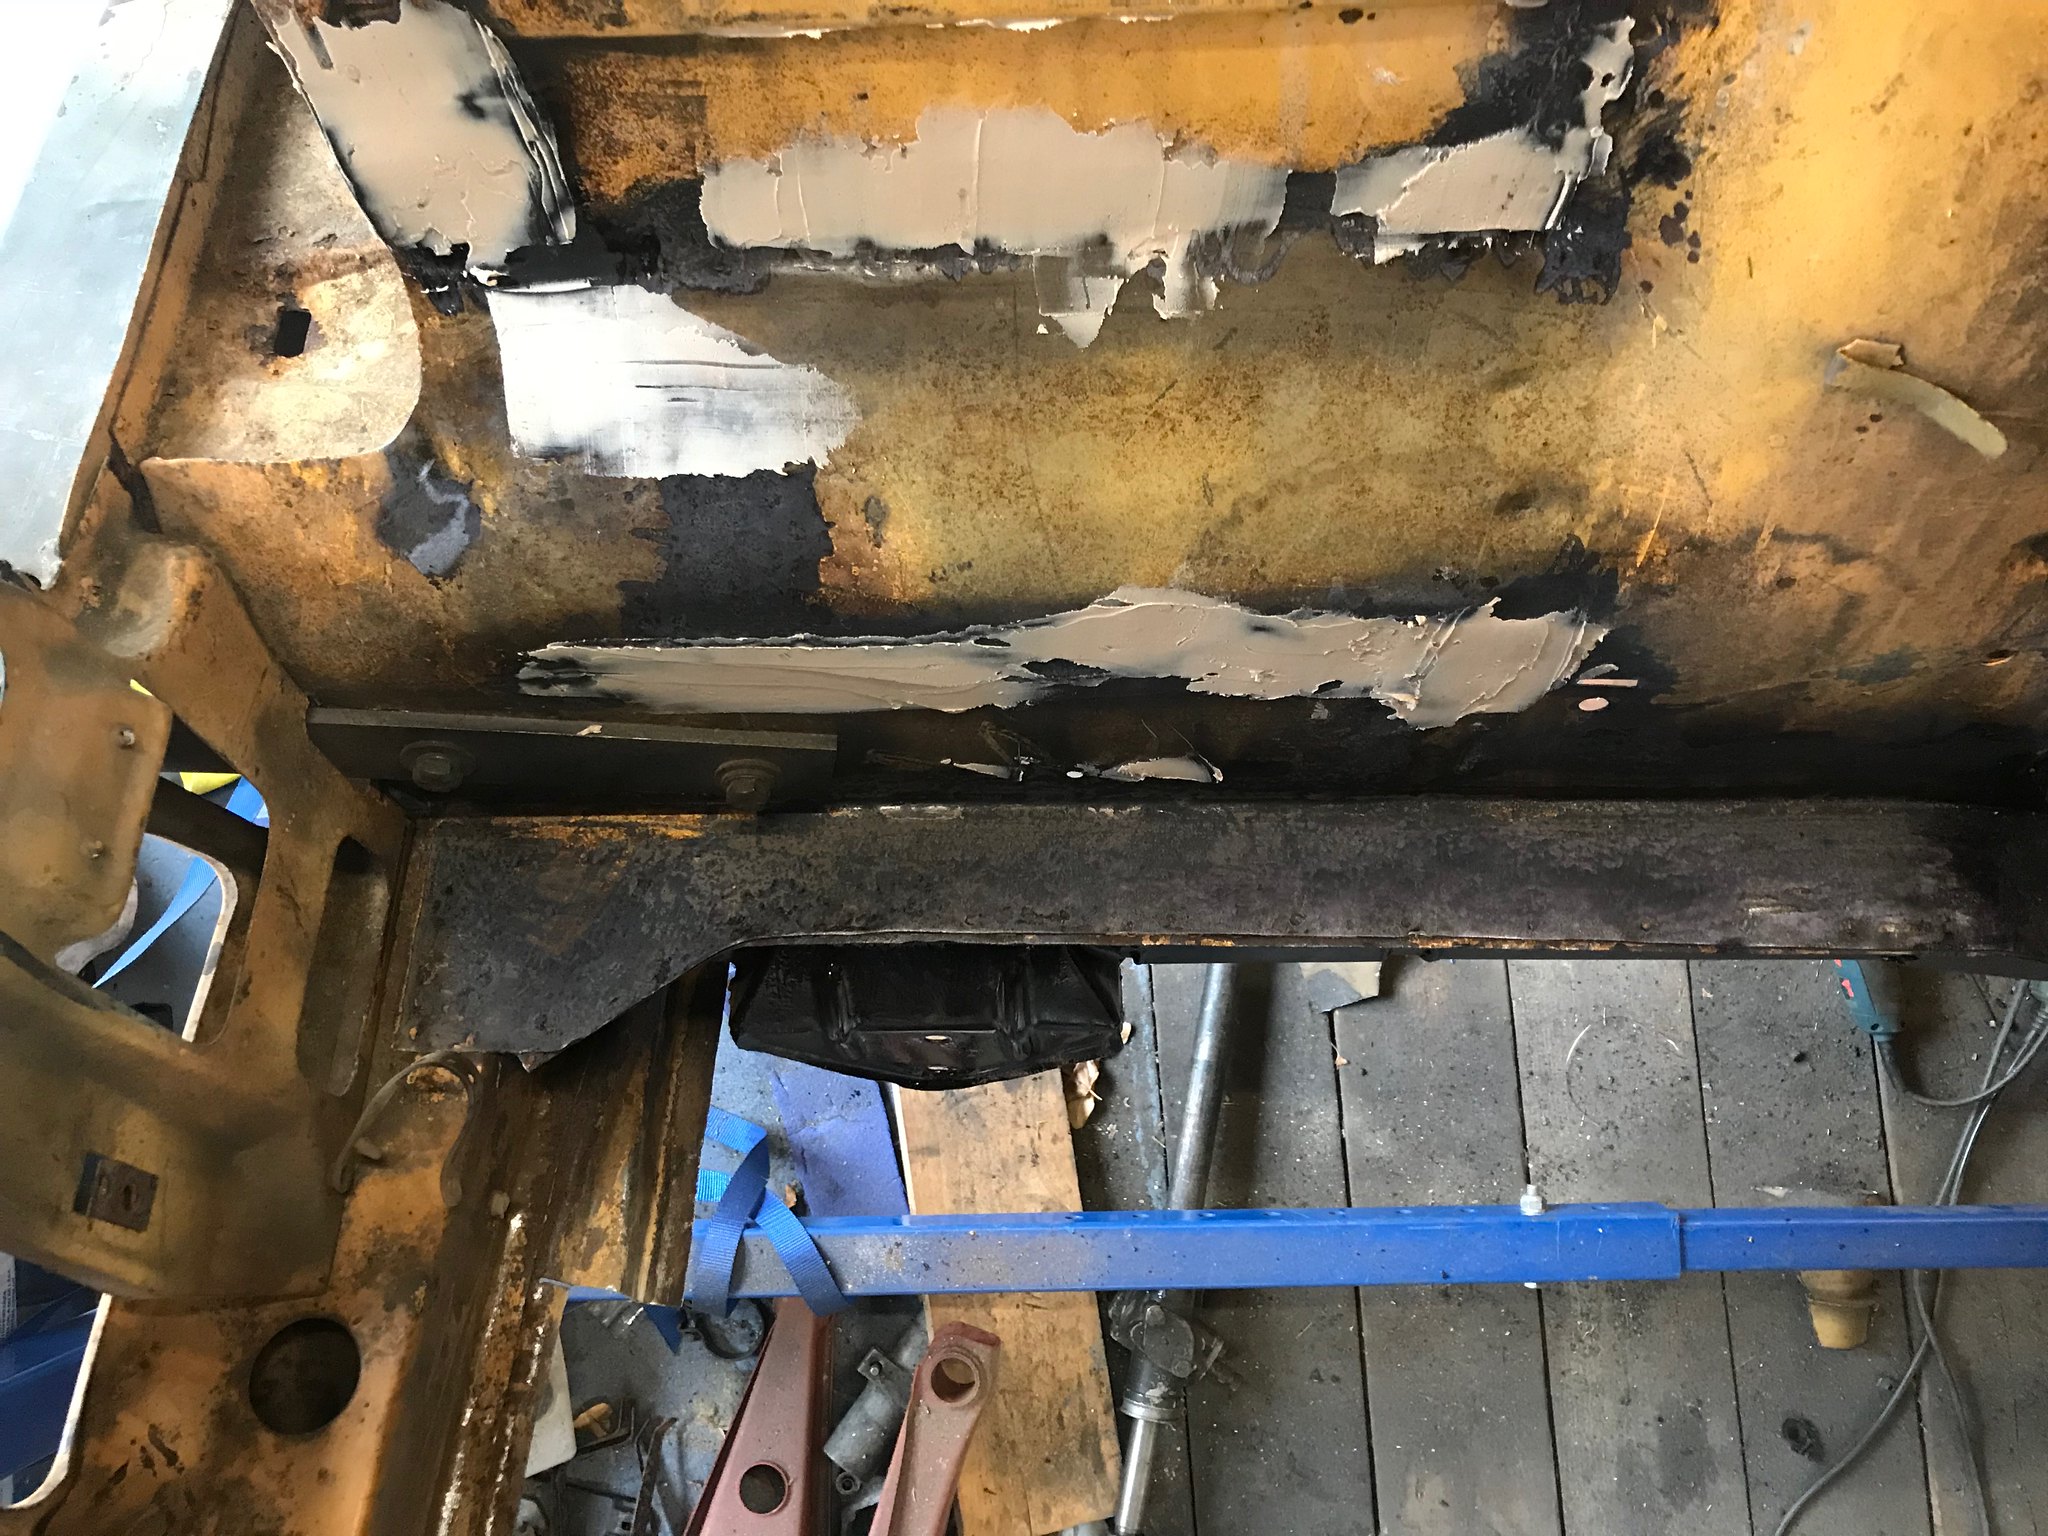 Untitled Untitled by Nevtiger, on Flickr Not far from finishing and spraying the bottom in Raptor now. |
| |
|
|
|
|
|
|
|
A tidy up of the welds on the inside of the shell, application of some Dinitrol RC900 and then UPOL Seam Sealer meant this: 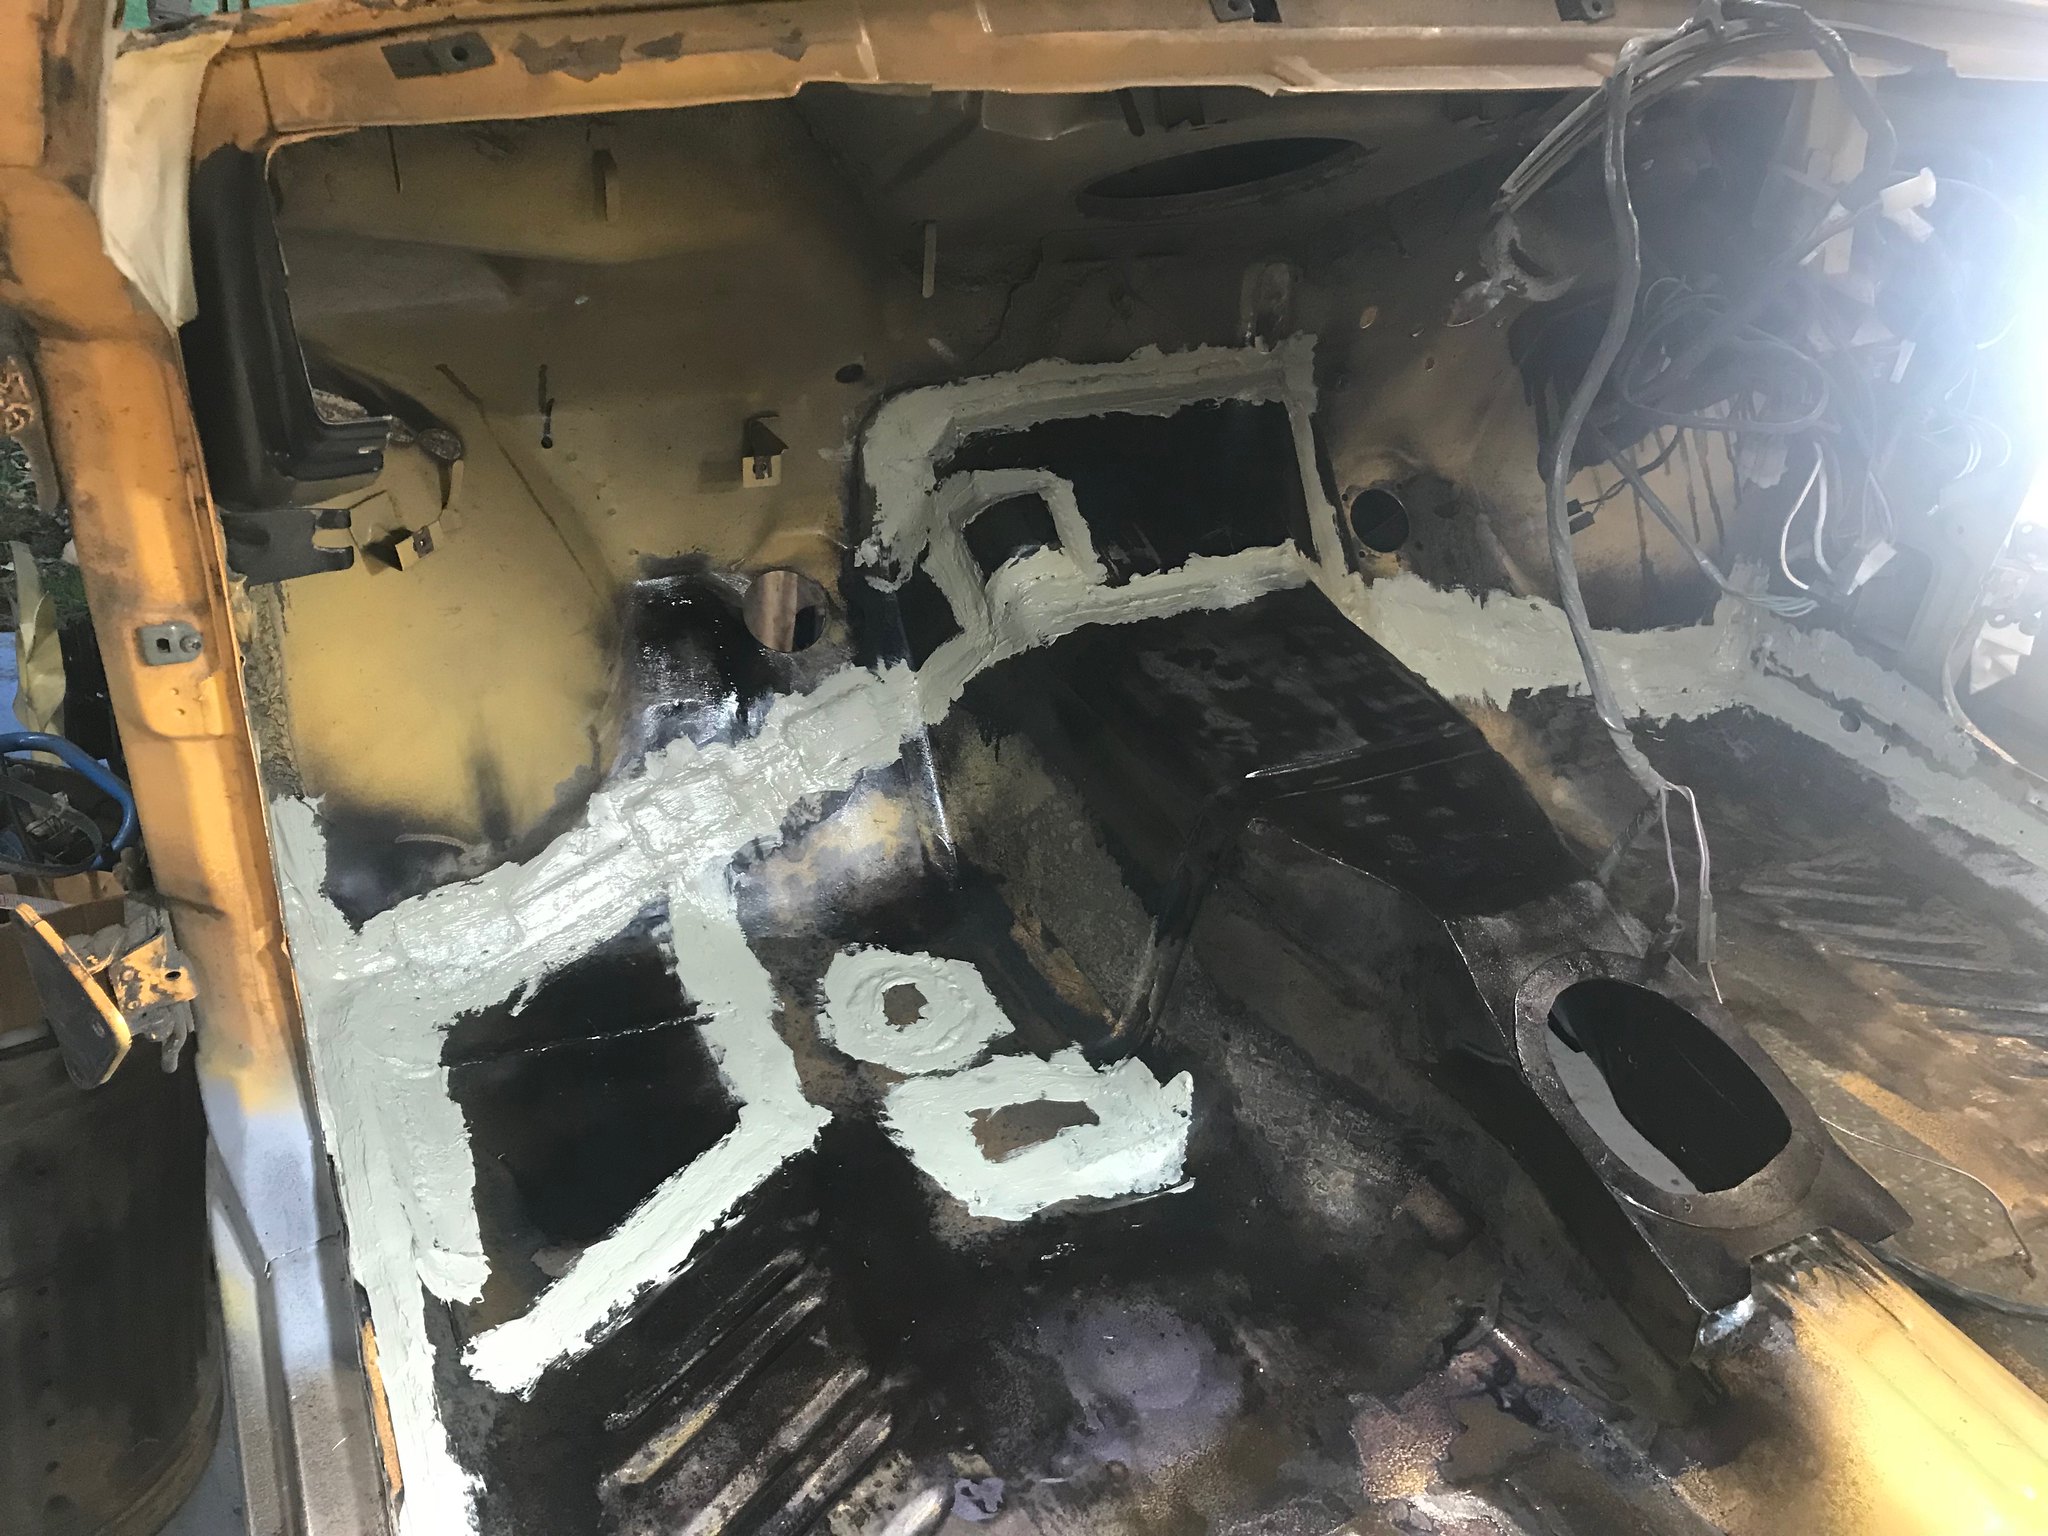 Untitled Untitled by Nevtiger, on Flickr 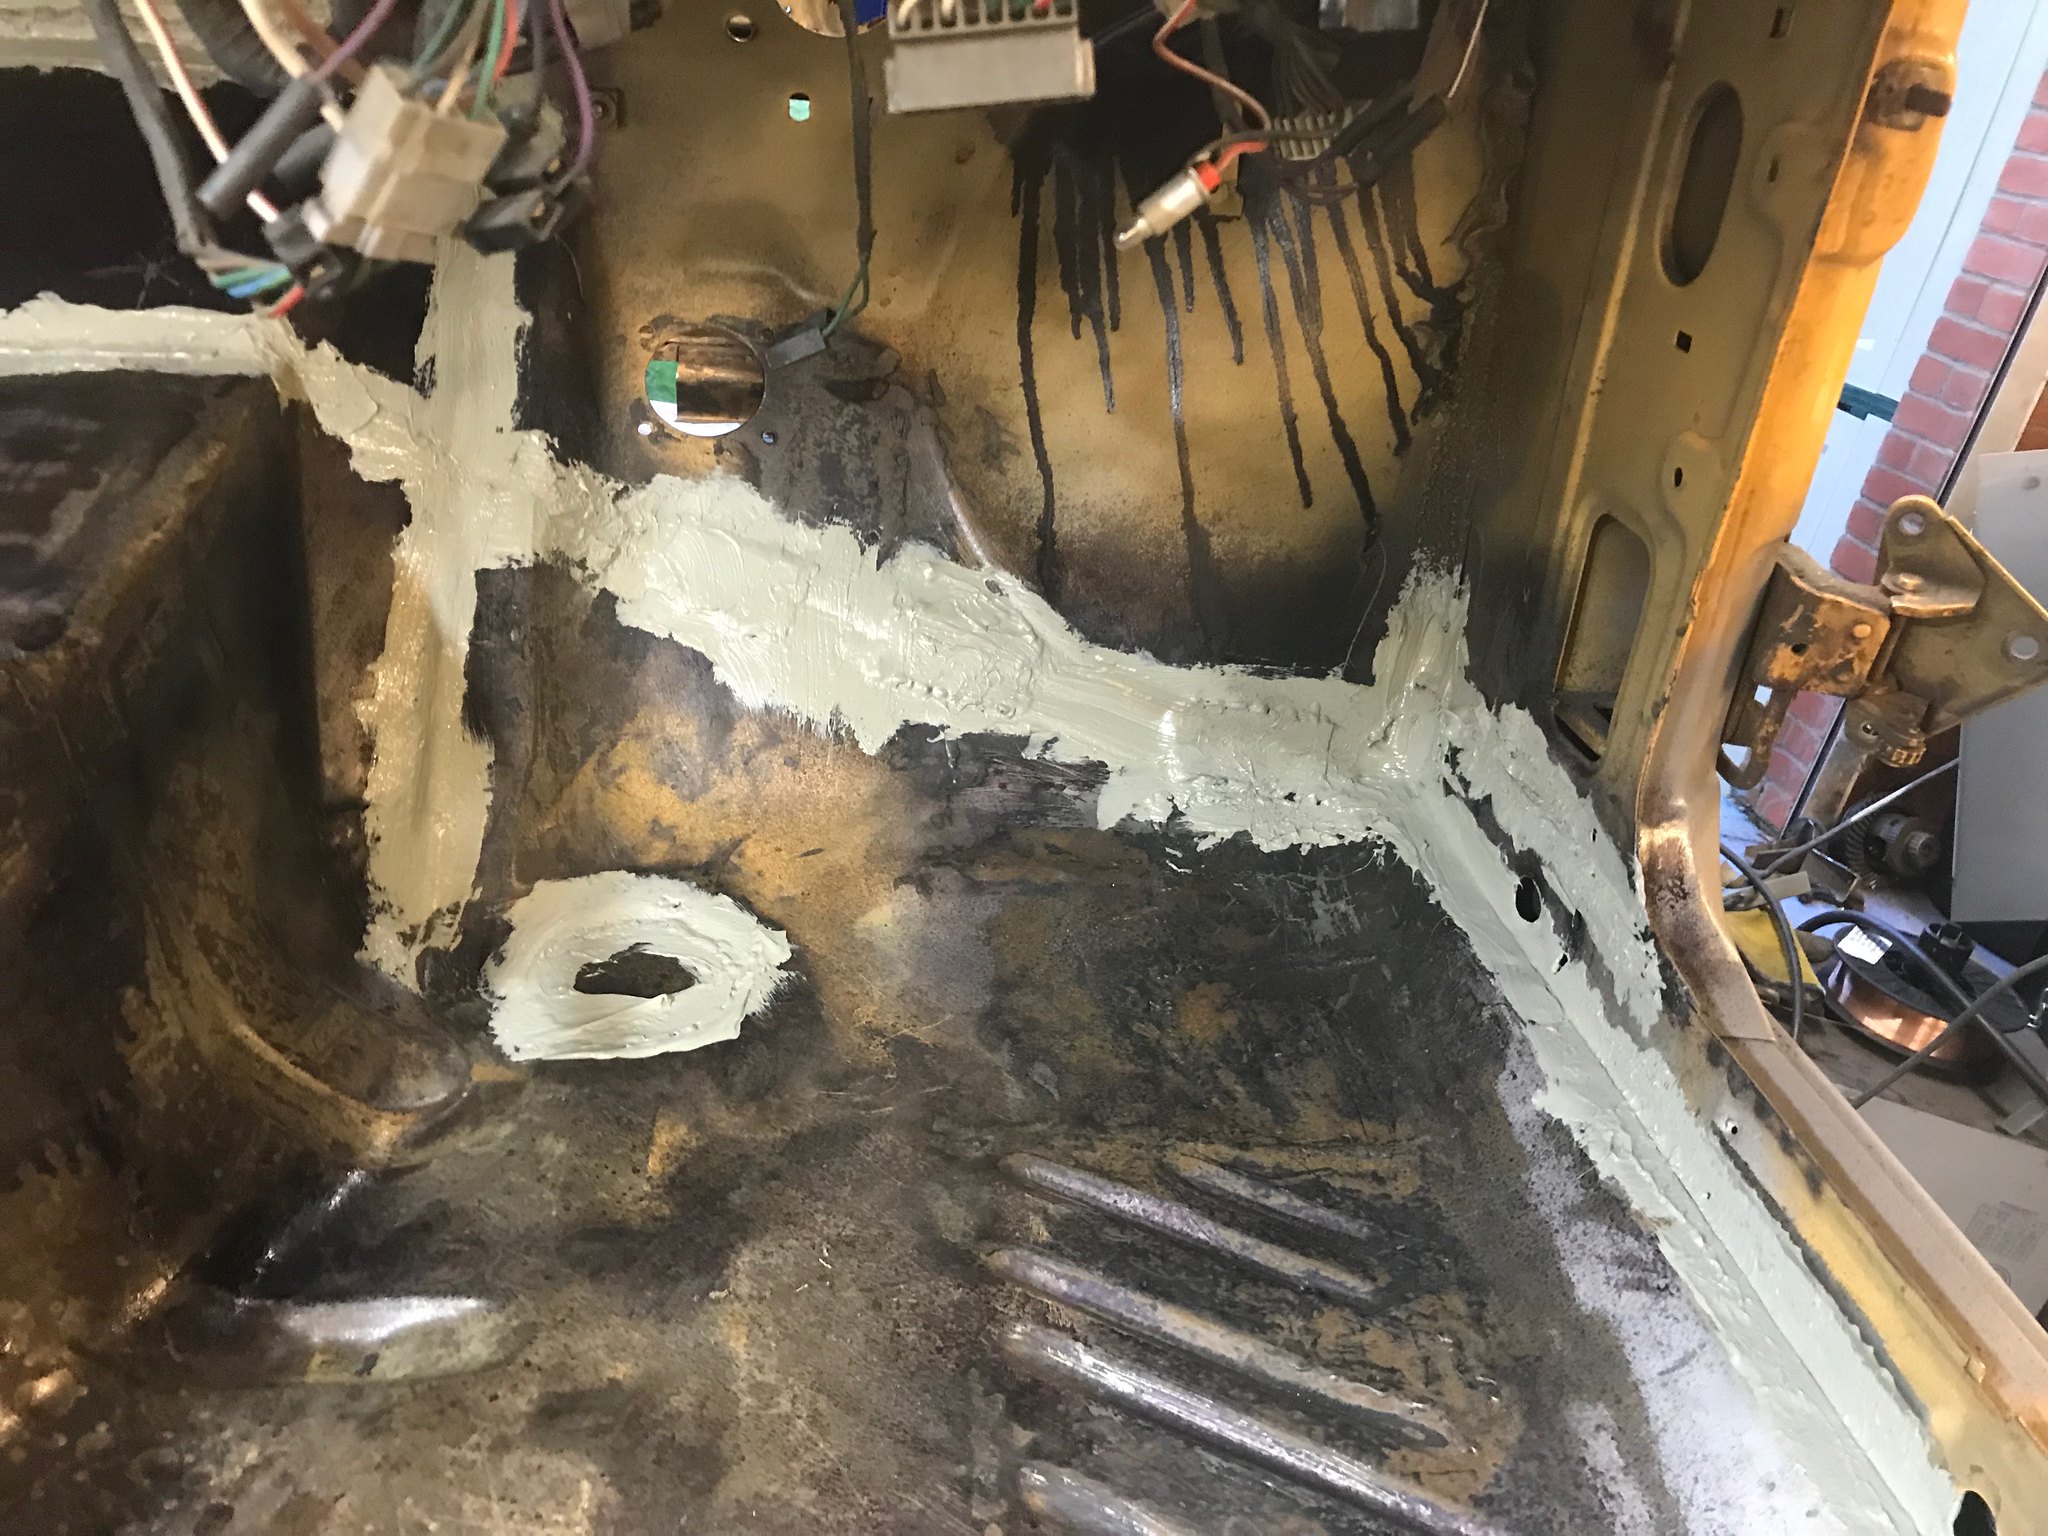 Untitled Untitled by Nevtiger, on Flickr 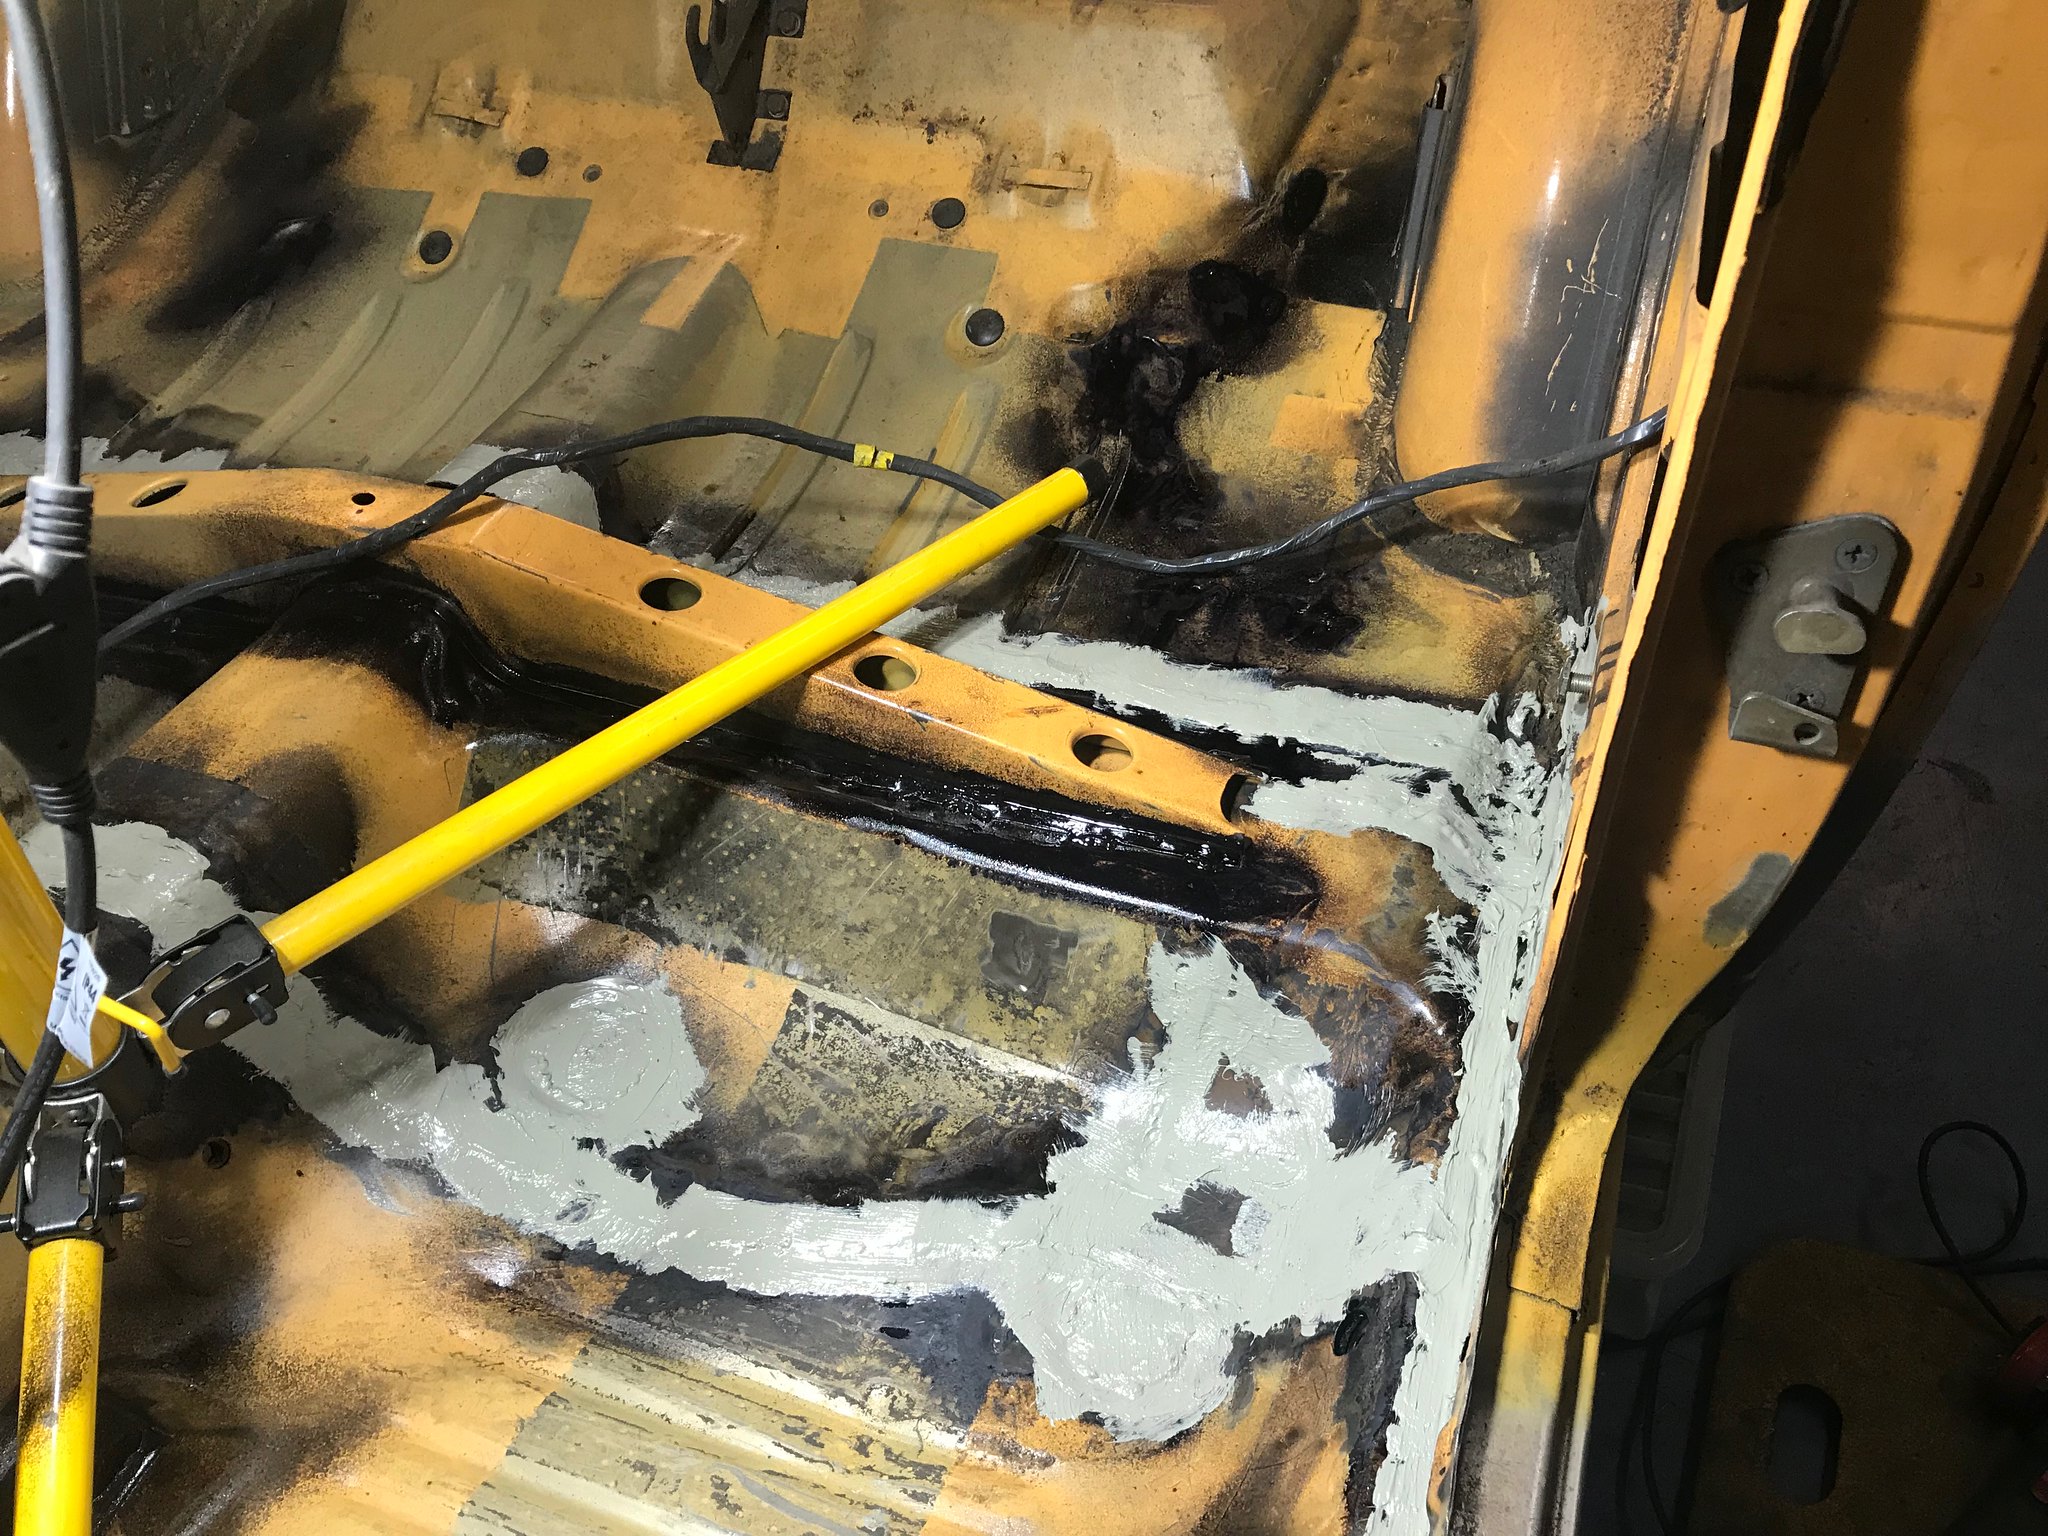 Untitled Untitled by Nevtiger, on Flickr With the inside done i did the underneath. All the old undersea off and then power wire brushed all over. Load more RC900. 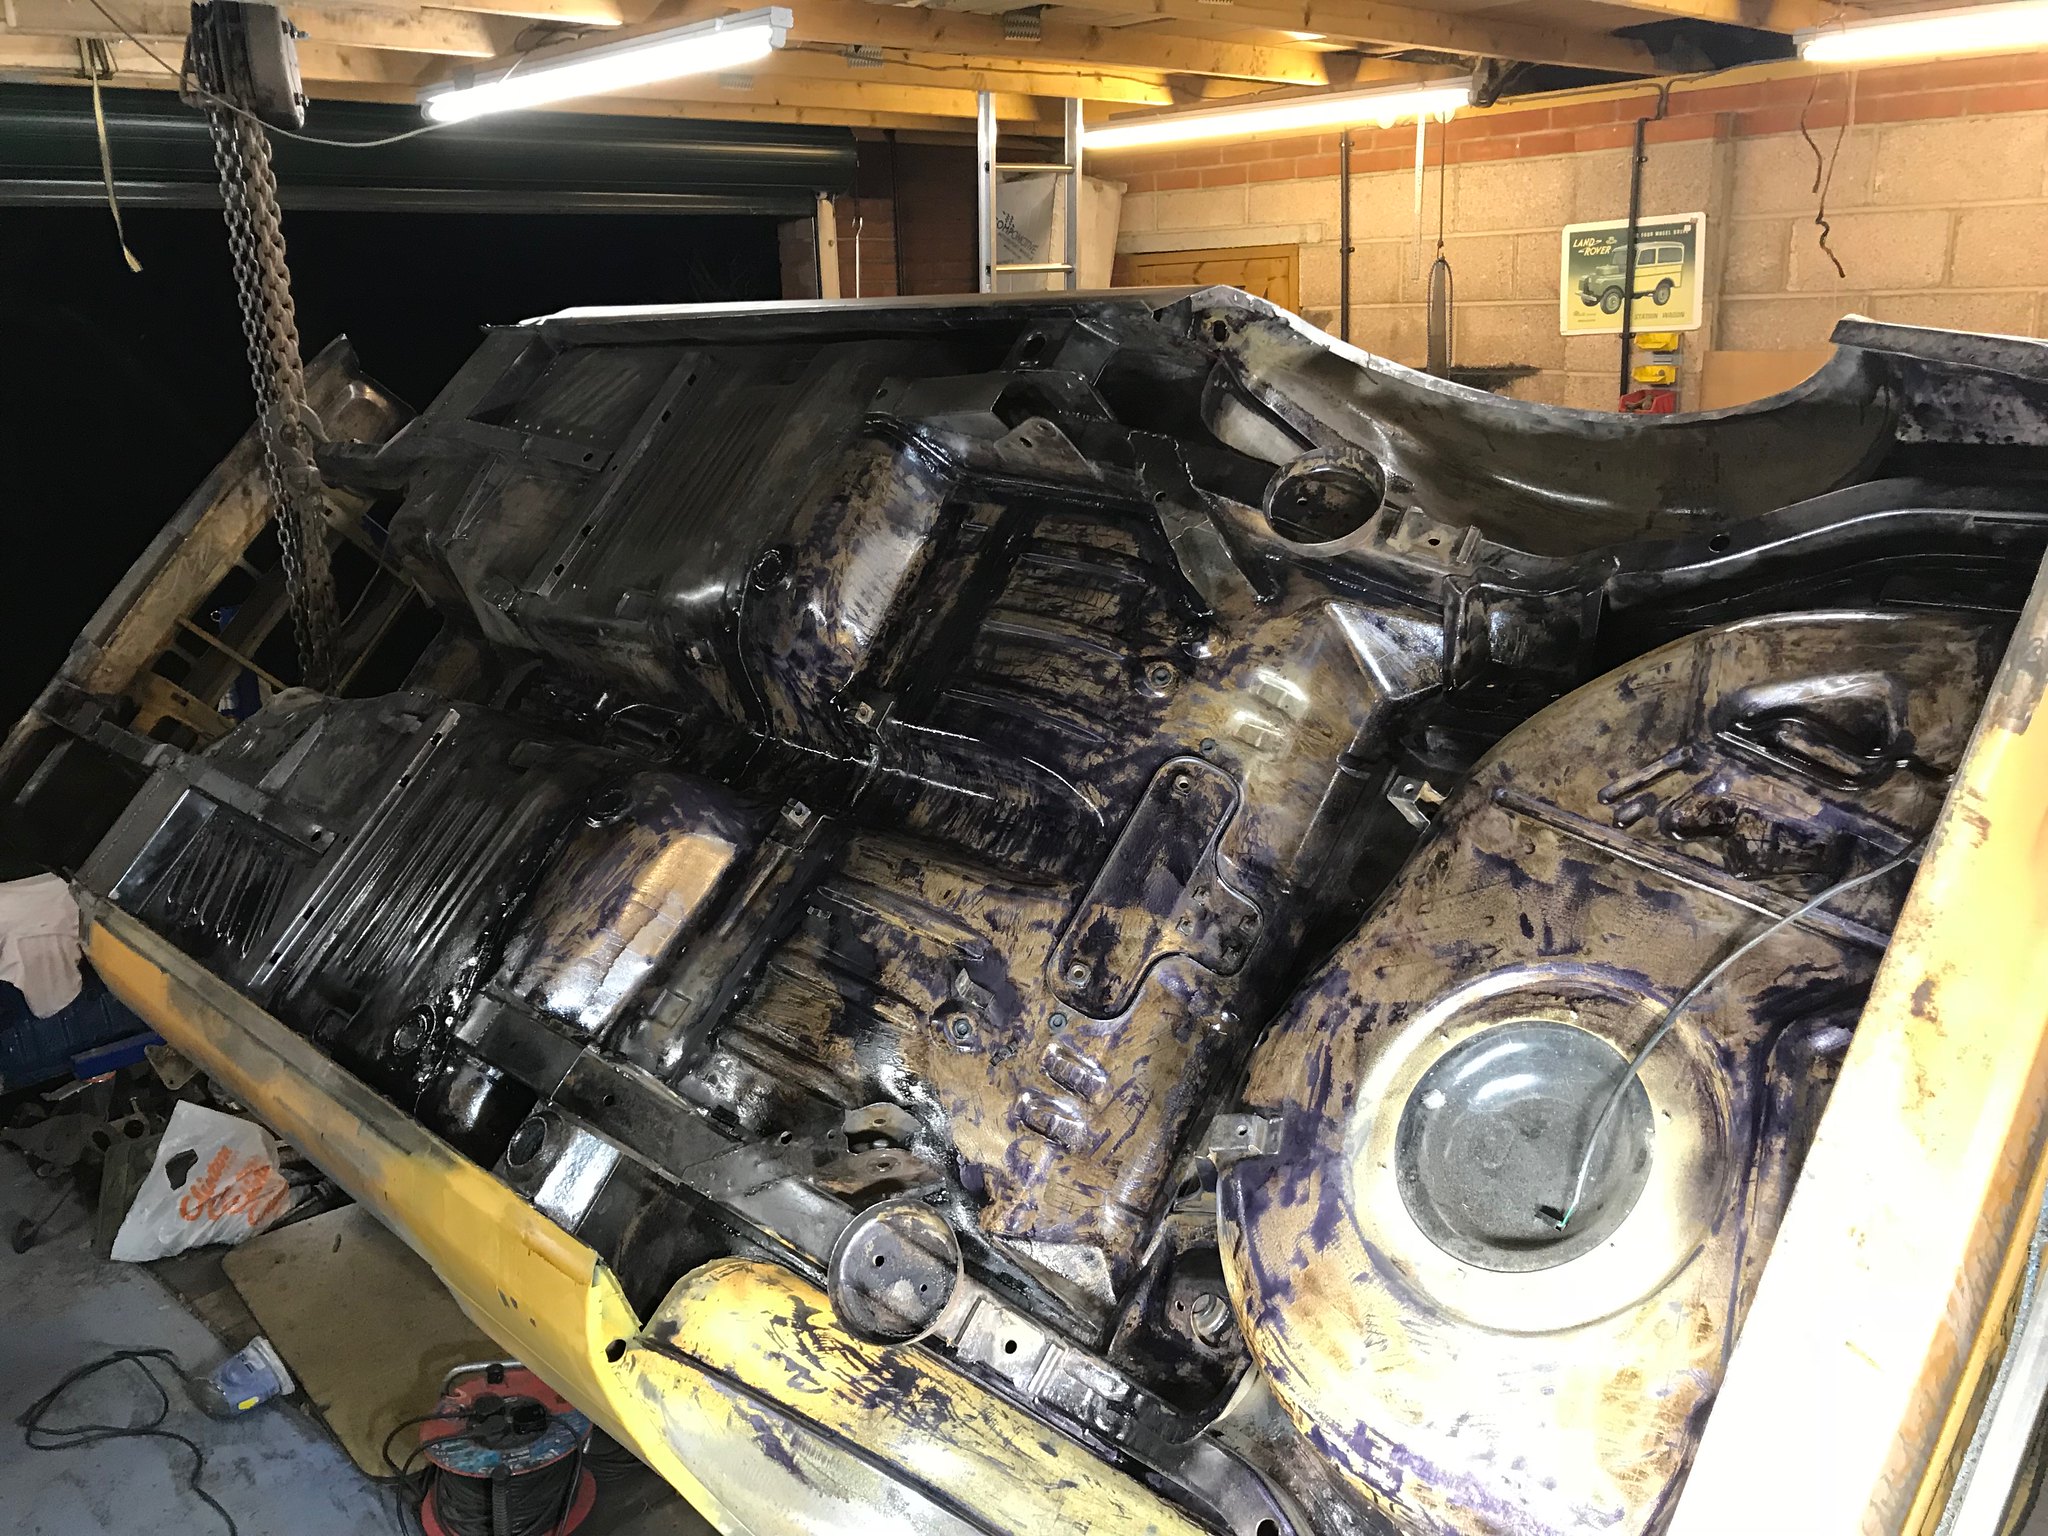 Untitled Untitled by Nevtiger, on Flickr And then finally, after 3 years from picking the car up and bringing it south i did the final bit of shell prep and sprayed the bottom, inner wings and wheel tubs with Black Raptor. Very easy to do and it looks good as well. 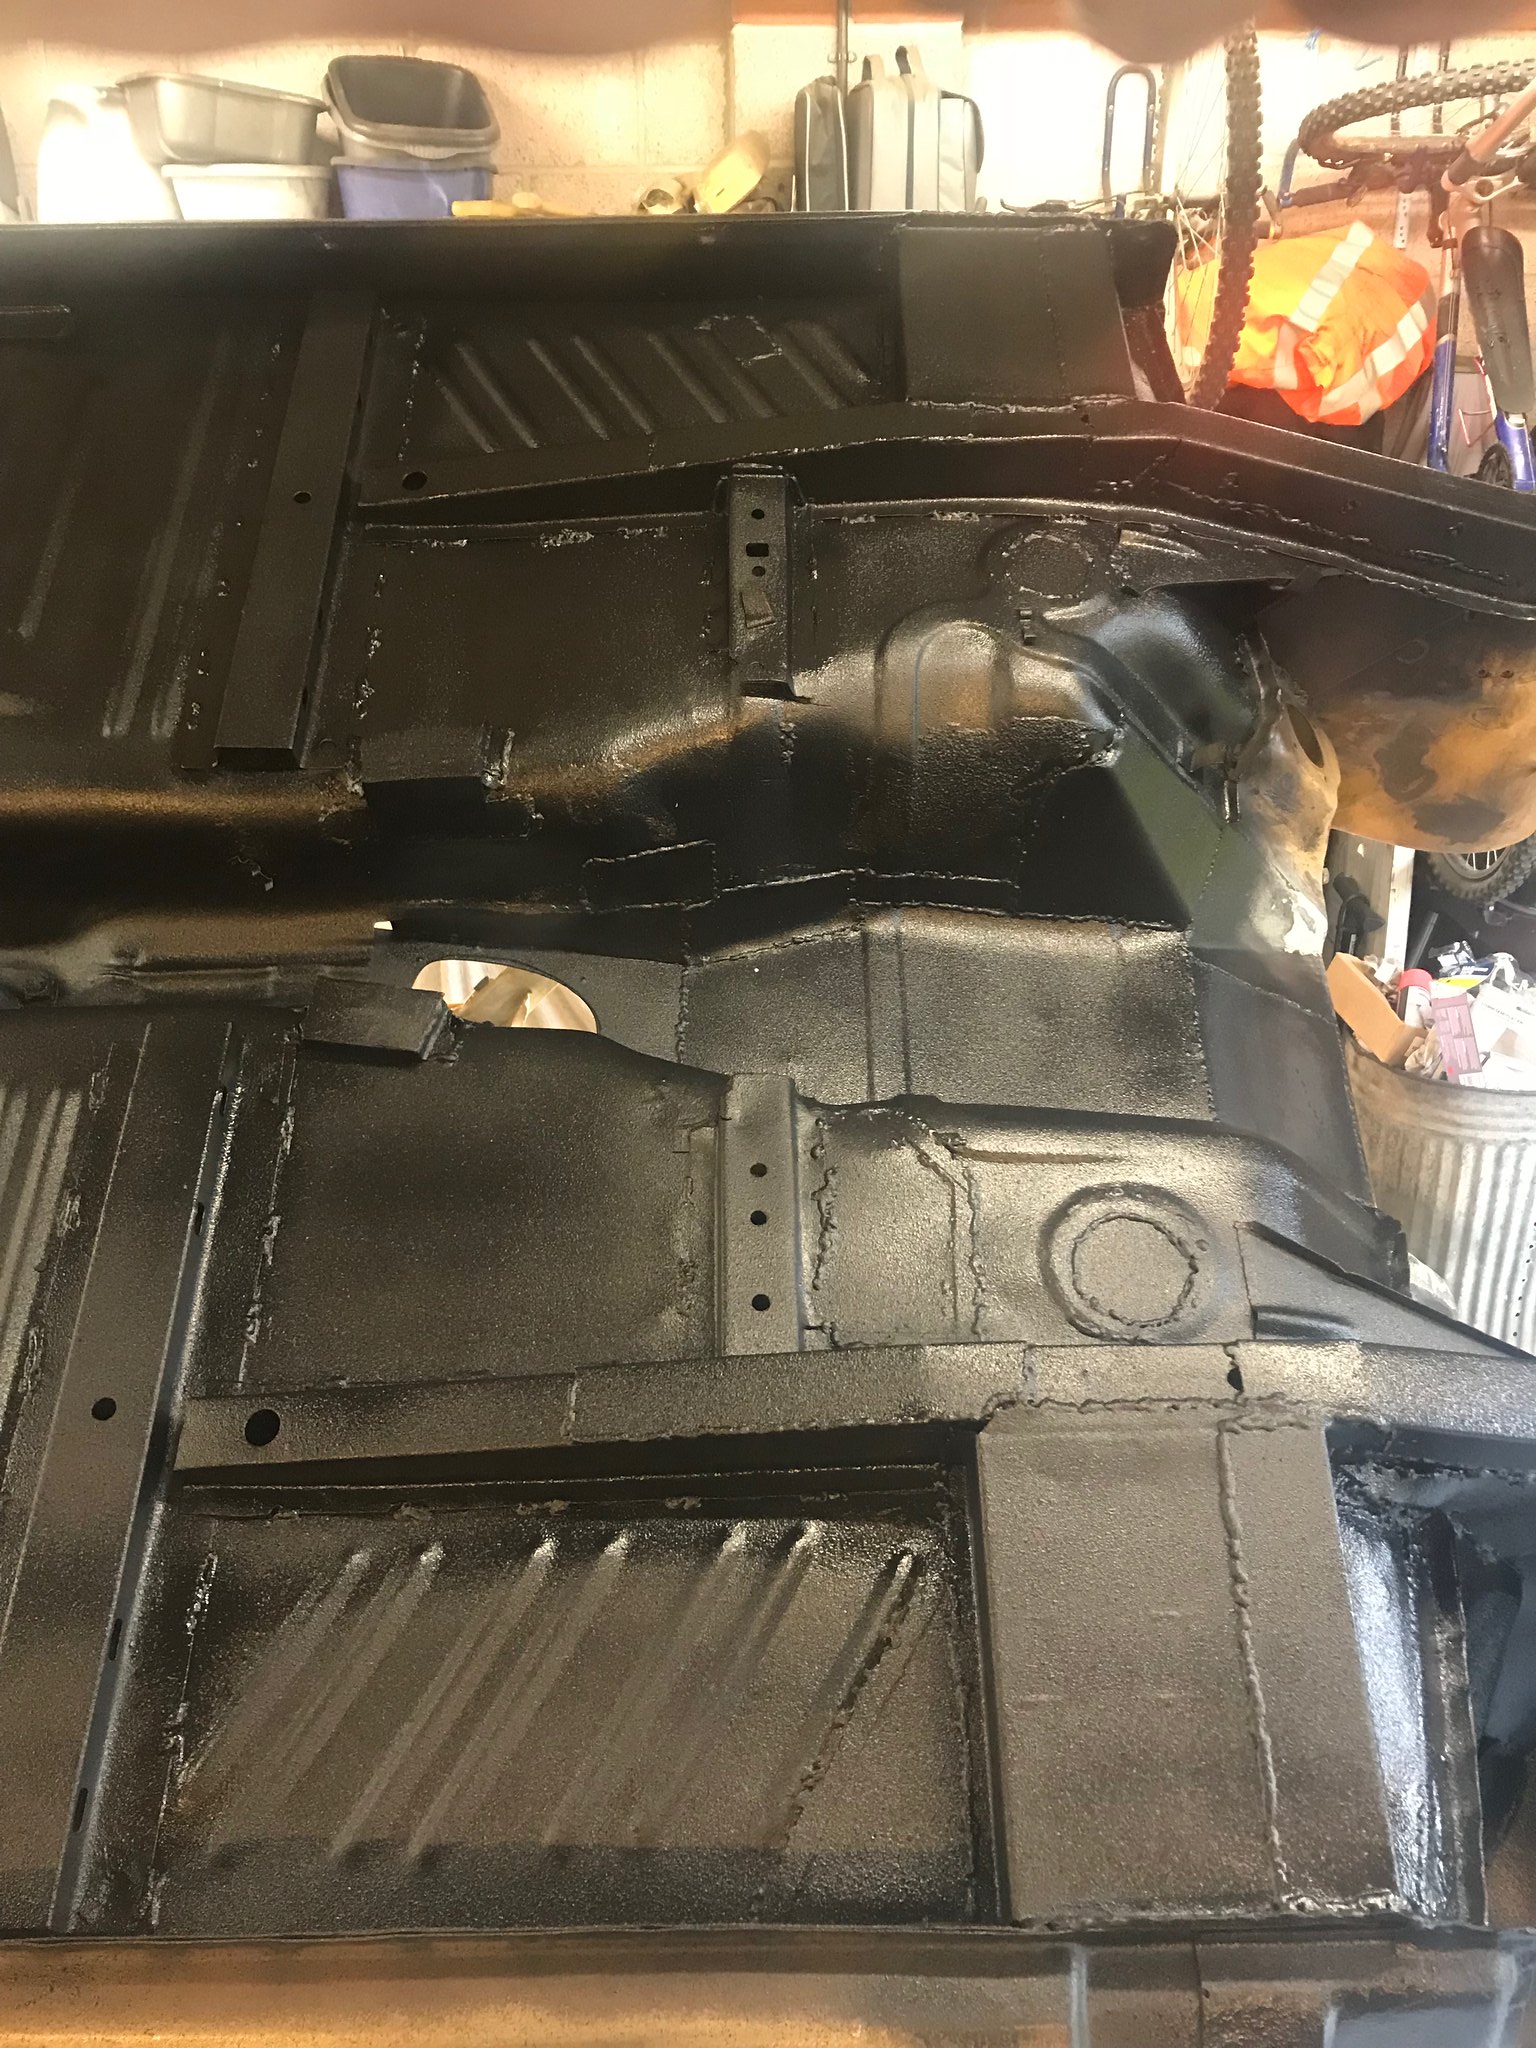 Untitled Untitled by Nevtiger, on Flickr 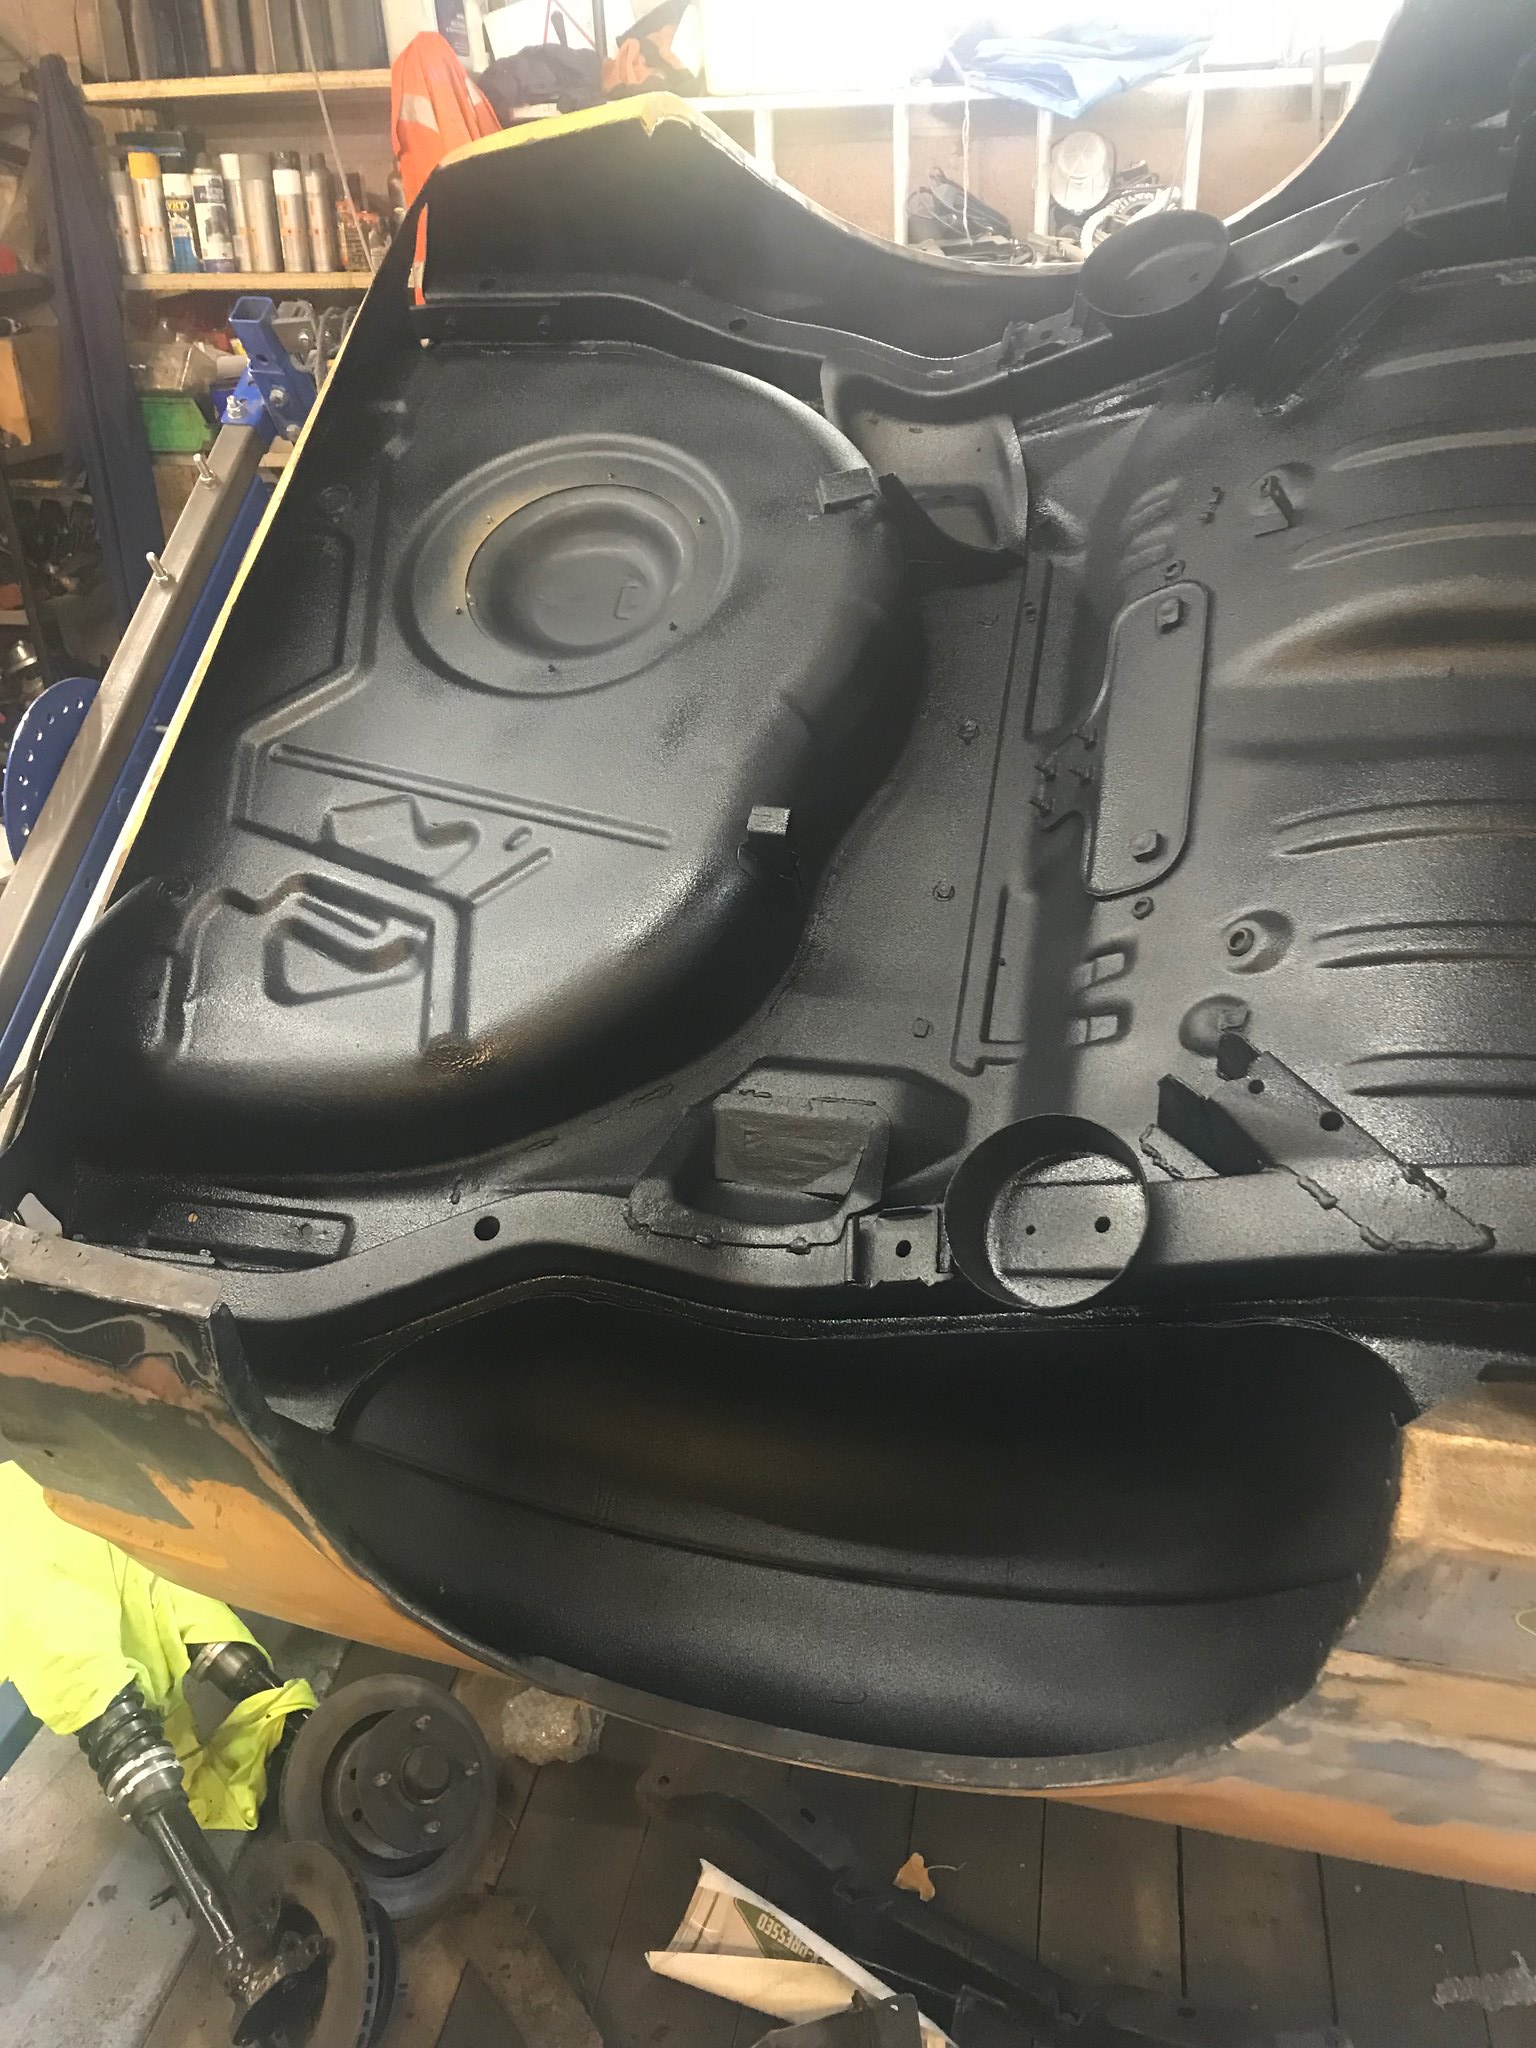 Untitled Untitled by Nevtiger, on Flickr 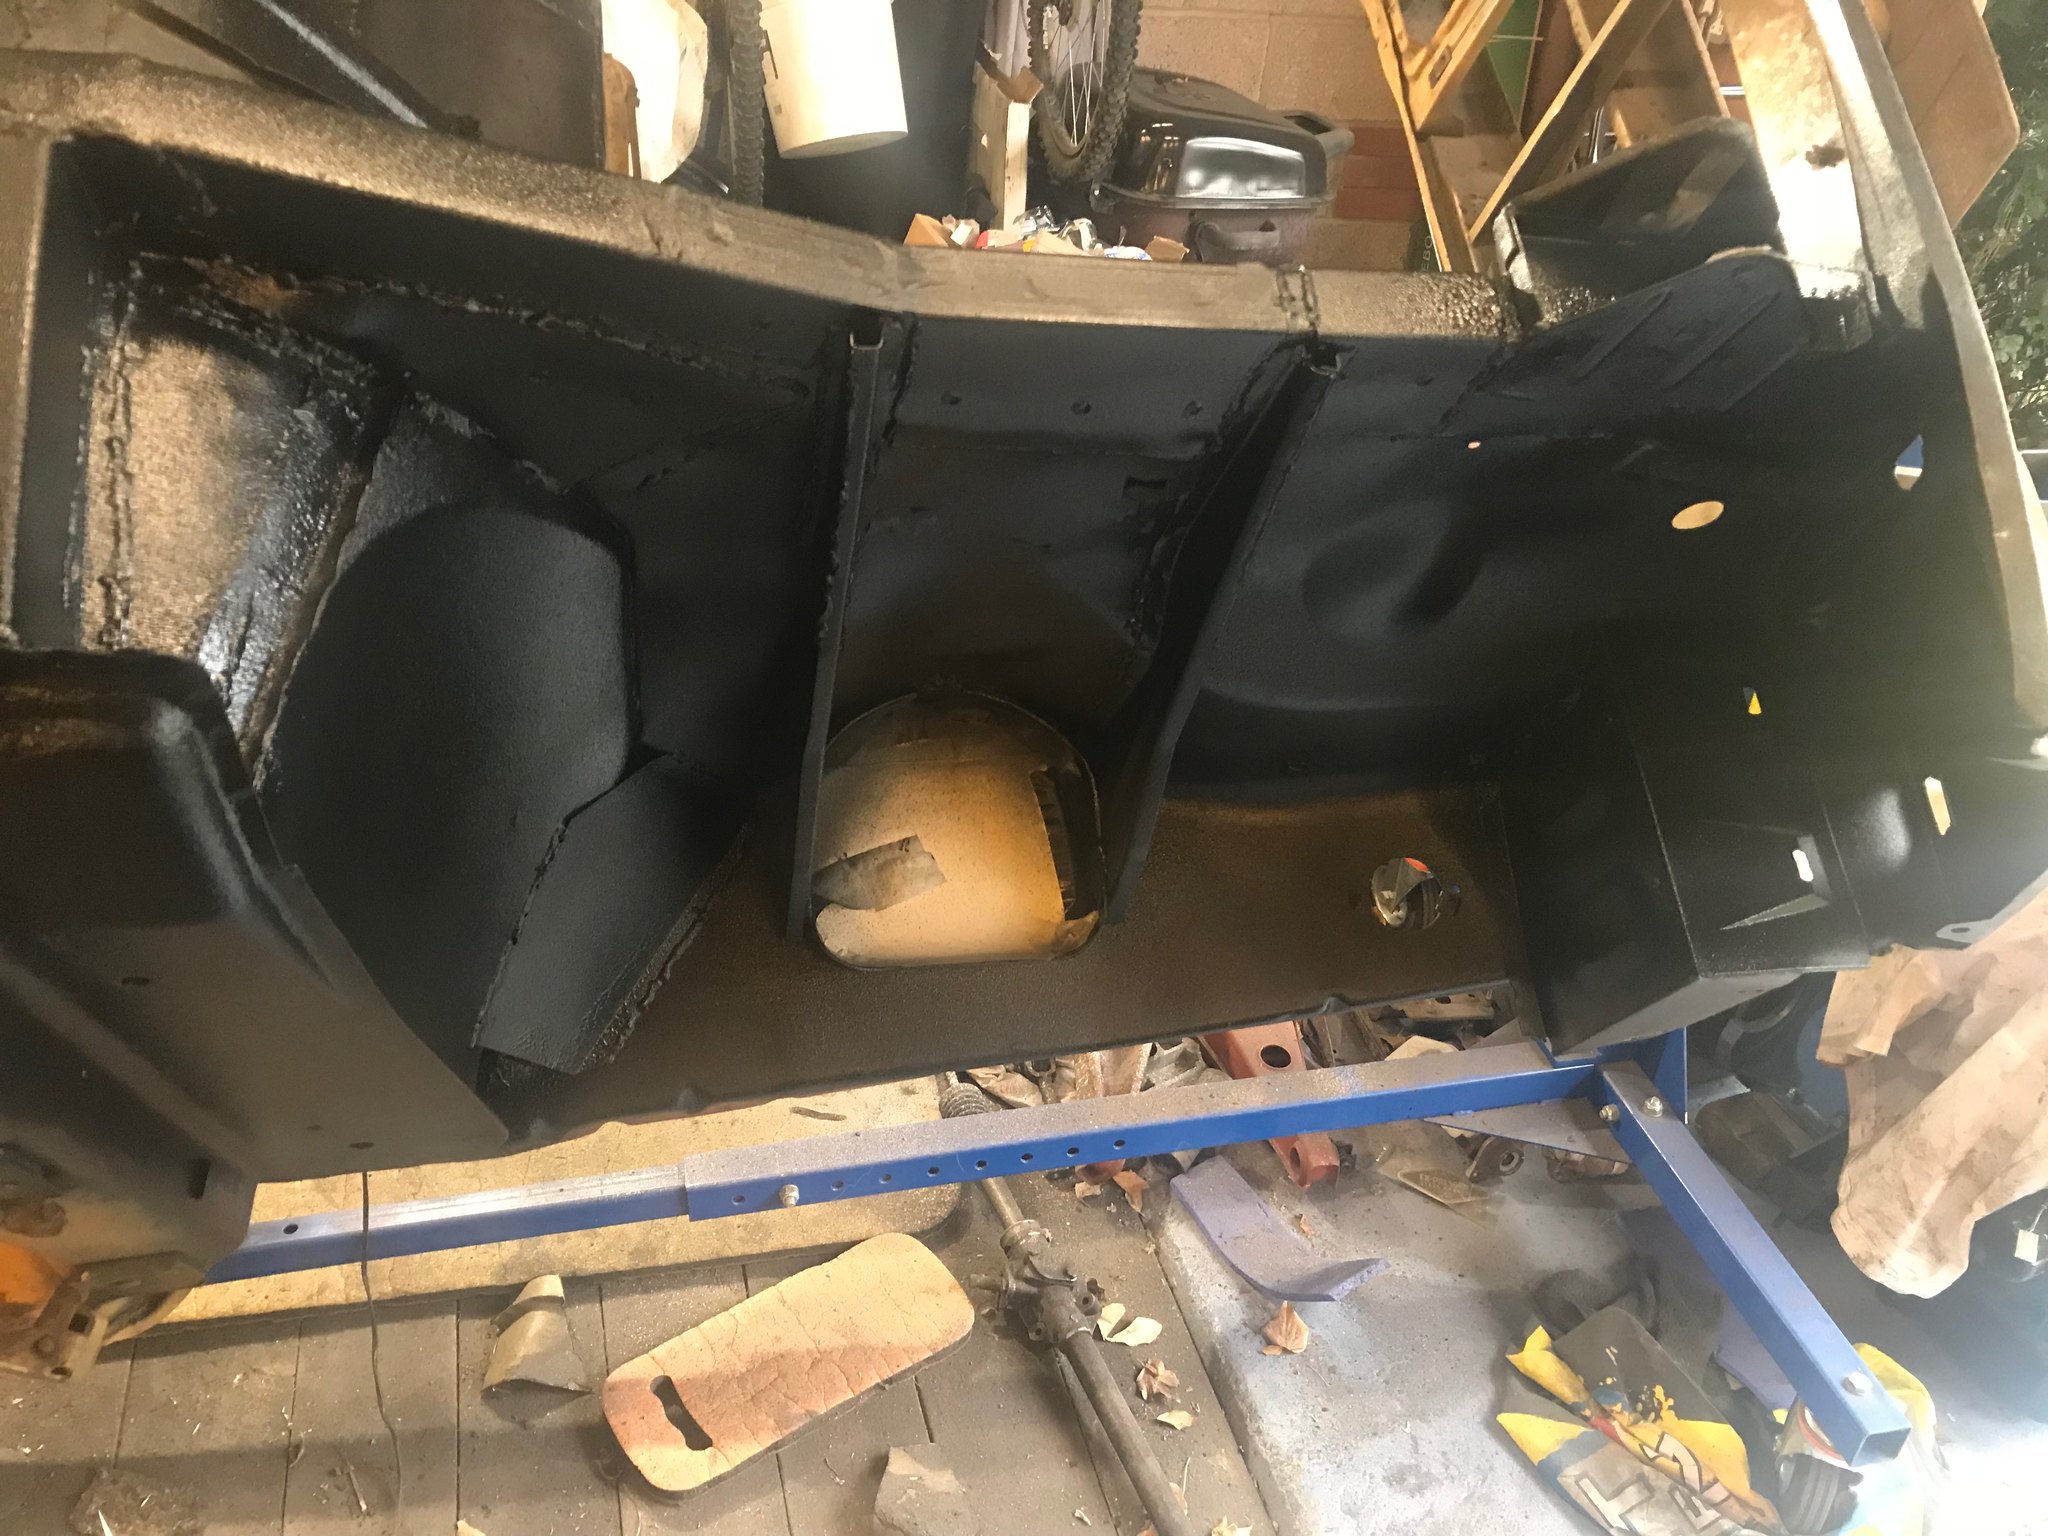 Untitled Untitled by Nevtiger, on Flickr The shell is now pushed over to the other side of the garage ready for when the Tiger comes back ready for another engine swap..... |
| |
Last Edit: Jan 5, 2019 14:42:22 GMT by nevtiger
|
|
|
|
|
|
|
|
floor pan looks great ! how do you apply raptor? guessing its too high build for normal gravity gun, schutz gun ?
|
| |
|
|
|
|
|
|
|
|
I used a gun that came with the Dinitrol Underseal. It had a nozzle in the pack that I swapped for the long tube and nozzle affair. It has the can underneath the gun and I guess its a Shultz type.
The nozzle is probably about 5mm or so? The Raptor is really thick but seemed to pull up and spray really well.
I had the compressor set at; 'Lots'
I was surprised at how well it all worked to be honest!
|
| |
|
|
|
|
|
Nov 14, 2019 17:59:47 GMT
|
Now where was i? Essentially, i have had this year off from cars due to many things but mostly revolving around n ill father but that is now sorted but has taken up an enormous amount of time, including moving him! So back to the car. yay i got into the garage. The shell is now at a point where i need to dry fit every thing, do the plumbing and wiring and see if it will run before stripping it again for paint. Having built the front struts up i had the suspension arms all blasted. I used my new hole stagers and made some stiffeners:  Untitled Untitled by Nevtiger, on Flickr The finish here is due to the stuff used to coat the metal before painting it also converts any rust hanging about:  Untitled Untitled by Nevtiger, on Flickr Then painted everything, although i wasn't happy with the finish on some of the arms. So on the next lot i did three coats and that turned out better. A shot of a two coated bottom arm:  Untitled Untitled by Nevtiger, on Flickr I need to pick up my spare axle, check the ratio and then i can build it up with LSD, HD driveshafts (Estate/Lotus) and HD end plates. Then it will be a simple case of removing the shell from the spit (!) and getting it onto its wheels. |
| |
|
|
jonomisfit
Club Retro Rides Member
Posts: 1,788
Club RR Member Number: 49
Member is Online
|
|
Nov 14, 2019 18:28:09 GMT
|
|
Looks good.
We demand more swaged holes.
|
| |
|
|
|
|


