|
|
|
|
|
Whilst i had the wire brush out i had a quick brush up of the rust on the roof. Luckily the rust is all under the window rubber line so the repairs will be hidden! 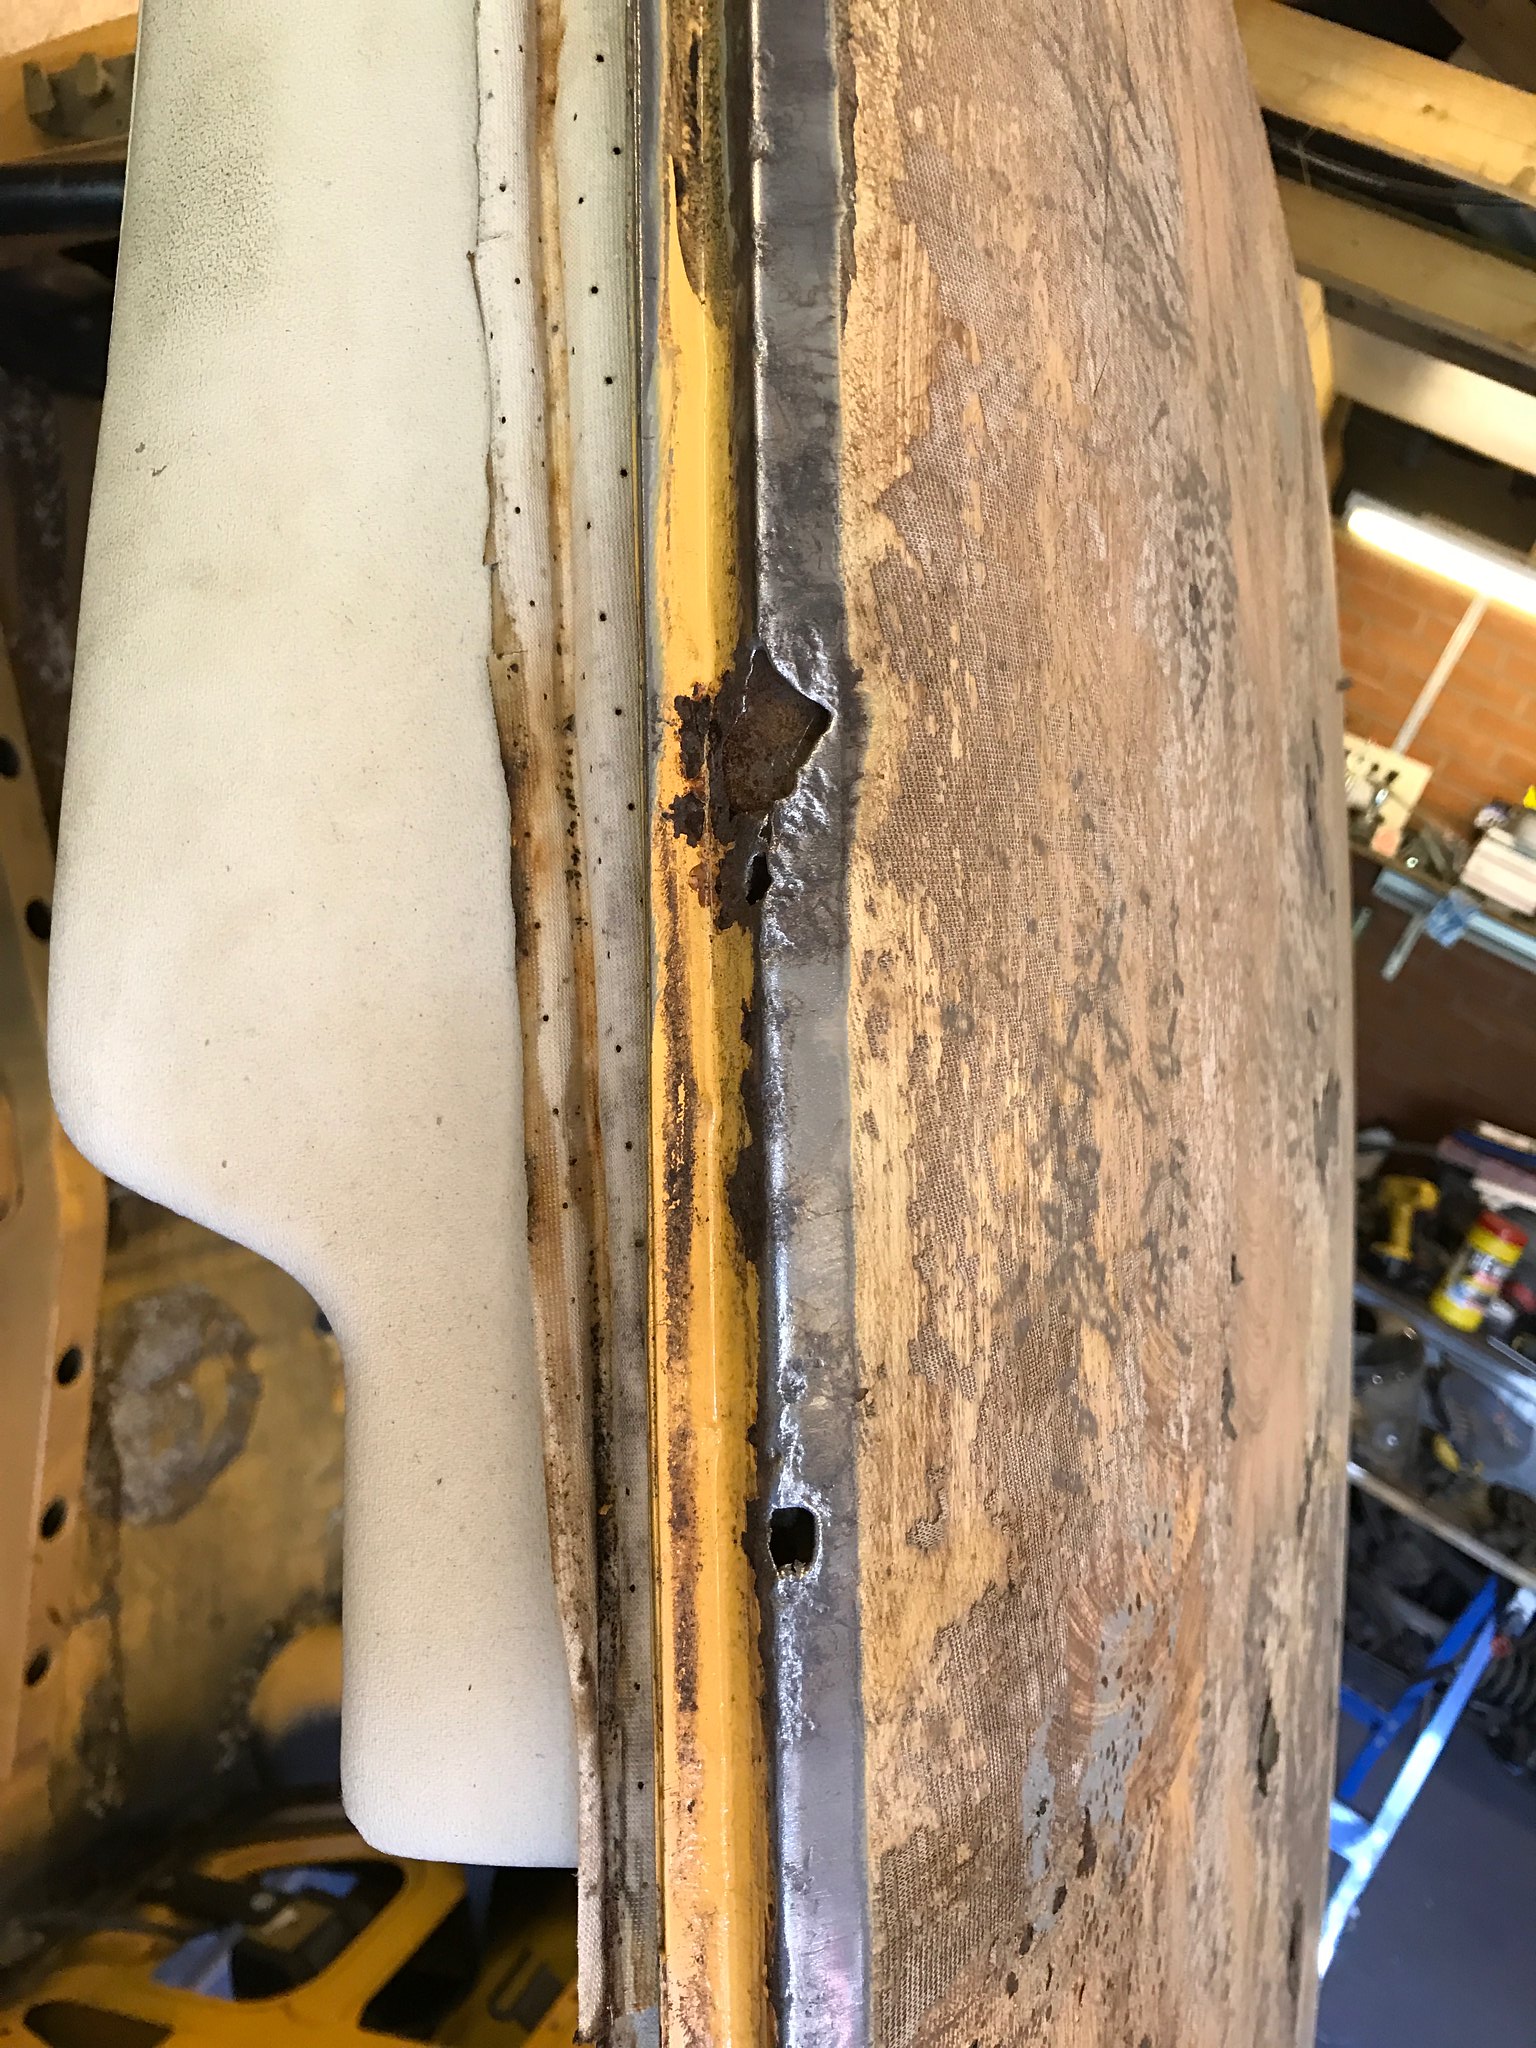 Untitled Untitled by Nevtiger, on Flickr On another better note i picked up this brand new dash from fellow member Steve, its not quite the right colour but is pristine. What happened to the original i hear you ask? The original had a small hole right on the top in my eye line so after a few phone calls a company called Classic Trim said they would have it picked up, repair it and then send it back. This they did and the repair was flawless however, they posted it back with the most inadequate packaging ever. In transit it got way more damaged than when it went off originally. So they had it picked up again and then the fun began. I got no contact from them for a couple of weeks, so started emailing and phoning and each time i got through (which was not often) i would get a different excuse. Some were laughable with they pretending to be some one else. So, direct action needed. I went to find him. Unfortunately he had moved out of his workshop a month or two before i got there. By now i couldn't get through to him on the phone at all. I was discussing this with my friend with the RS1800 and apparently Classic Trim are well known in the Ford community as being dodgy and unreliable. Great. Anyway i got my money back via the bank but not the dash. 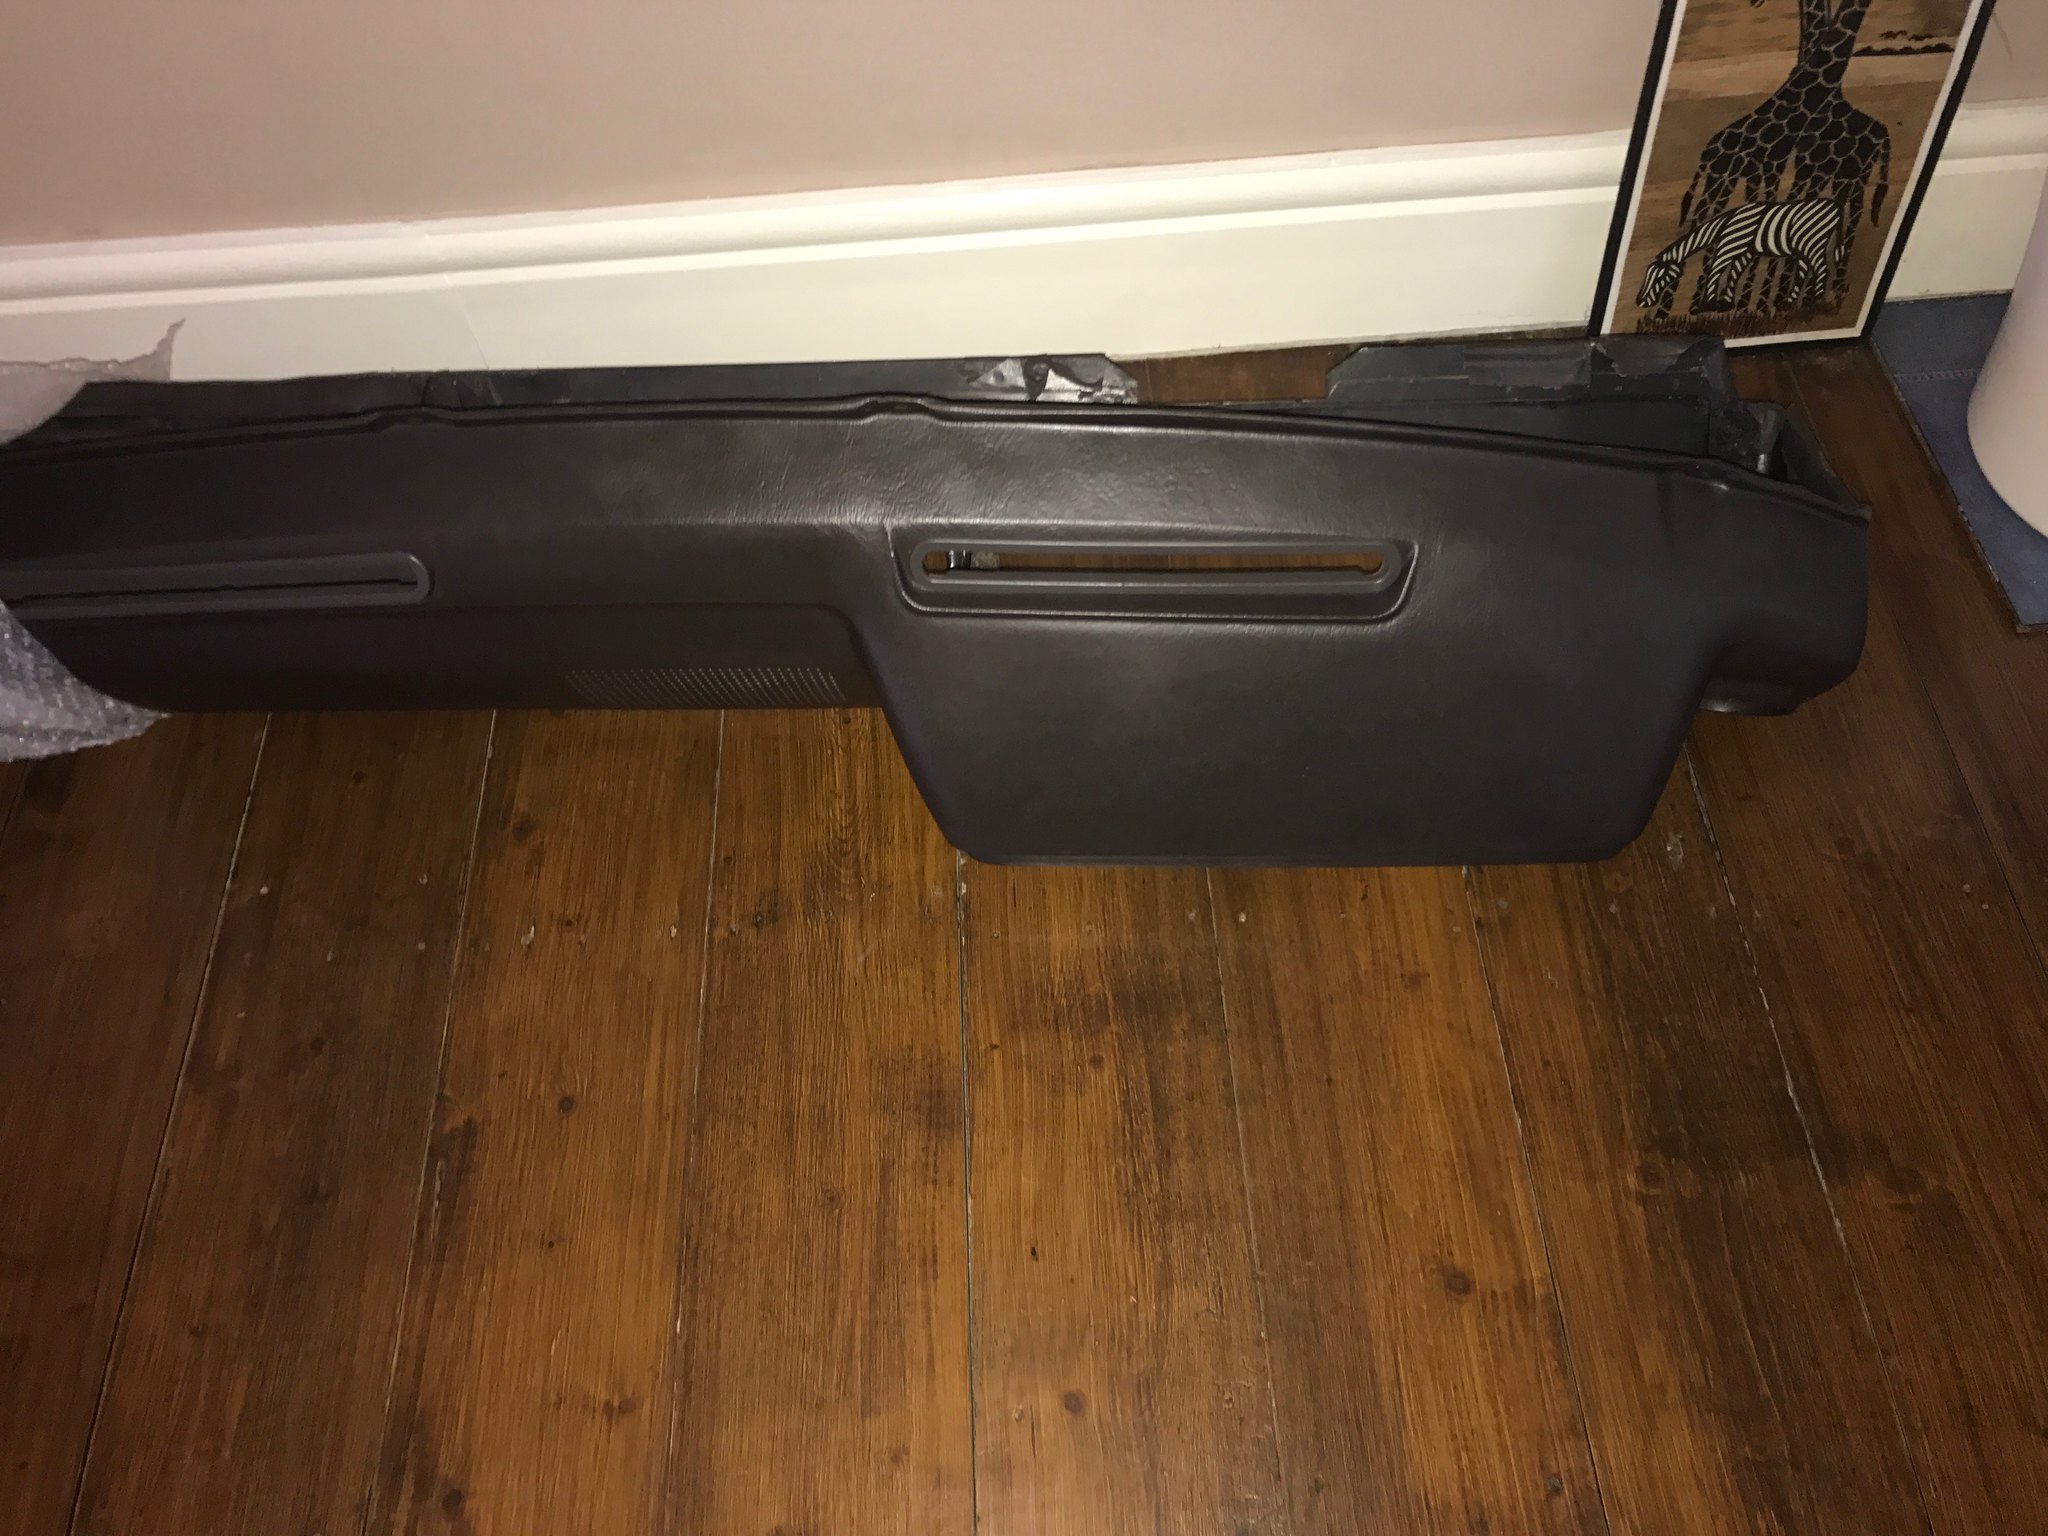 Untitled Untitled by Nevtiger, on Flickr |
| |
Last Edit: Feb 27, 2019 7:52:01 GMT by nevtiger
|
|
|
|
|
|
|
|
|
An update: The passenger footwell under repair and then repaired but yet to be cleared up. I have used a mixture of butt joints and joggled joints. I find the joggled joints easier to work with but its not always possible. I have also turned the heat up on the welder by one notch to get better penetration. Also as i can turn the car over easily i can do both sides of the joint, its over kill but i feel happier!! 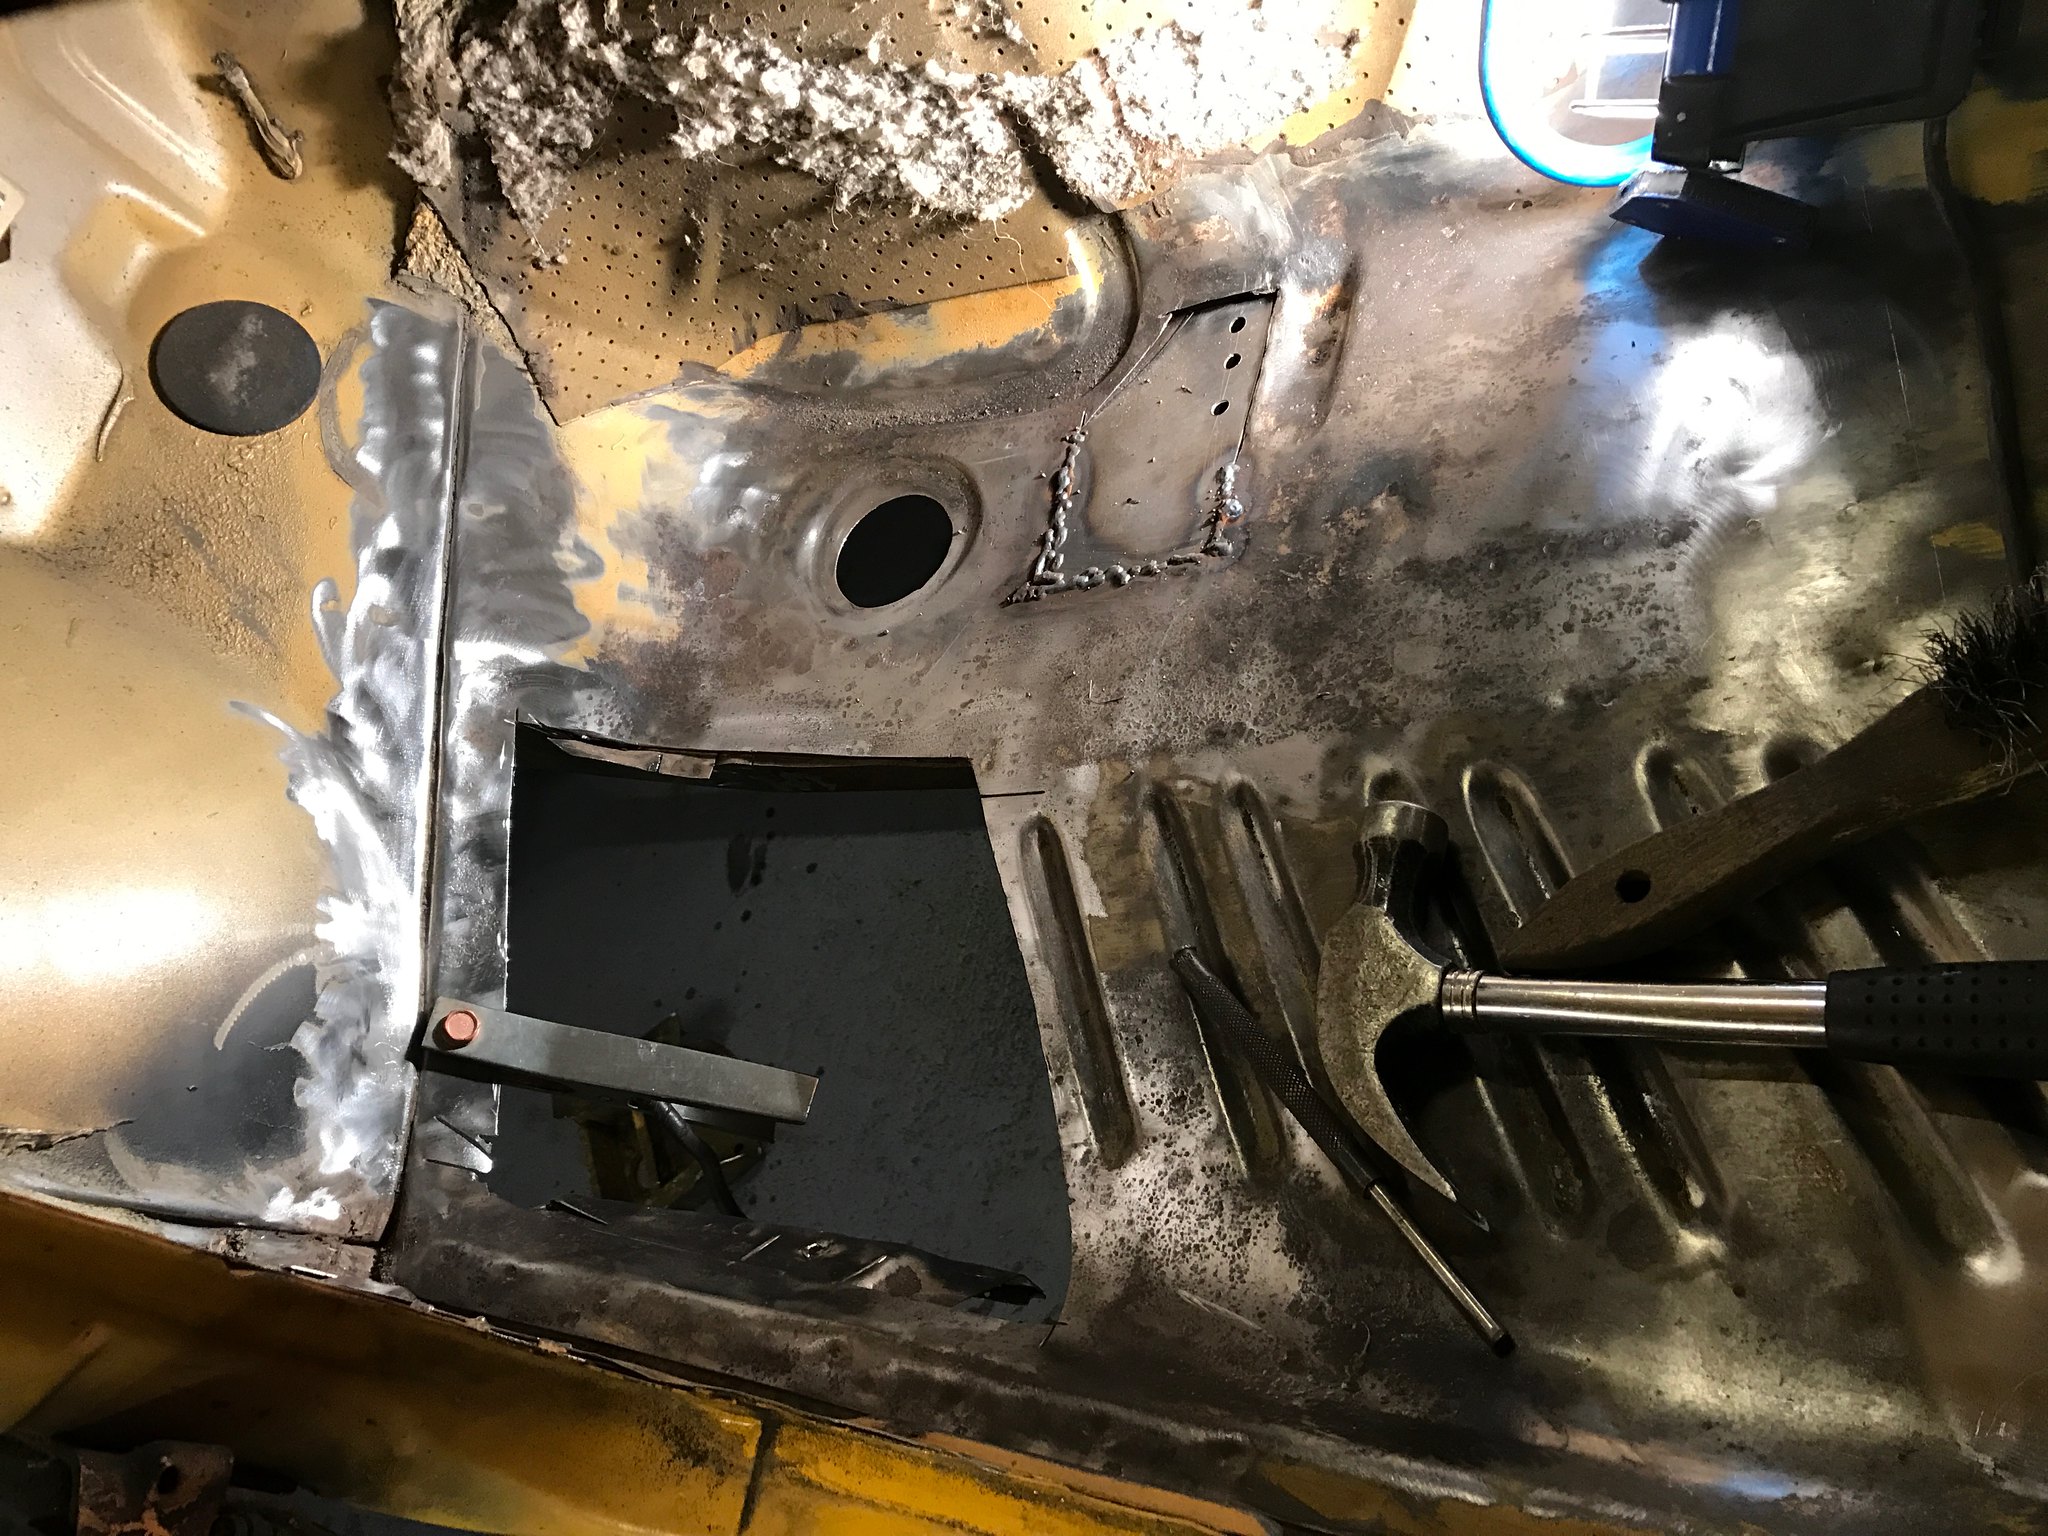 Untitled Untitled by Nevtiger, on Flickr Strengthening kit going on: 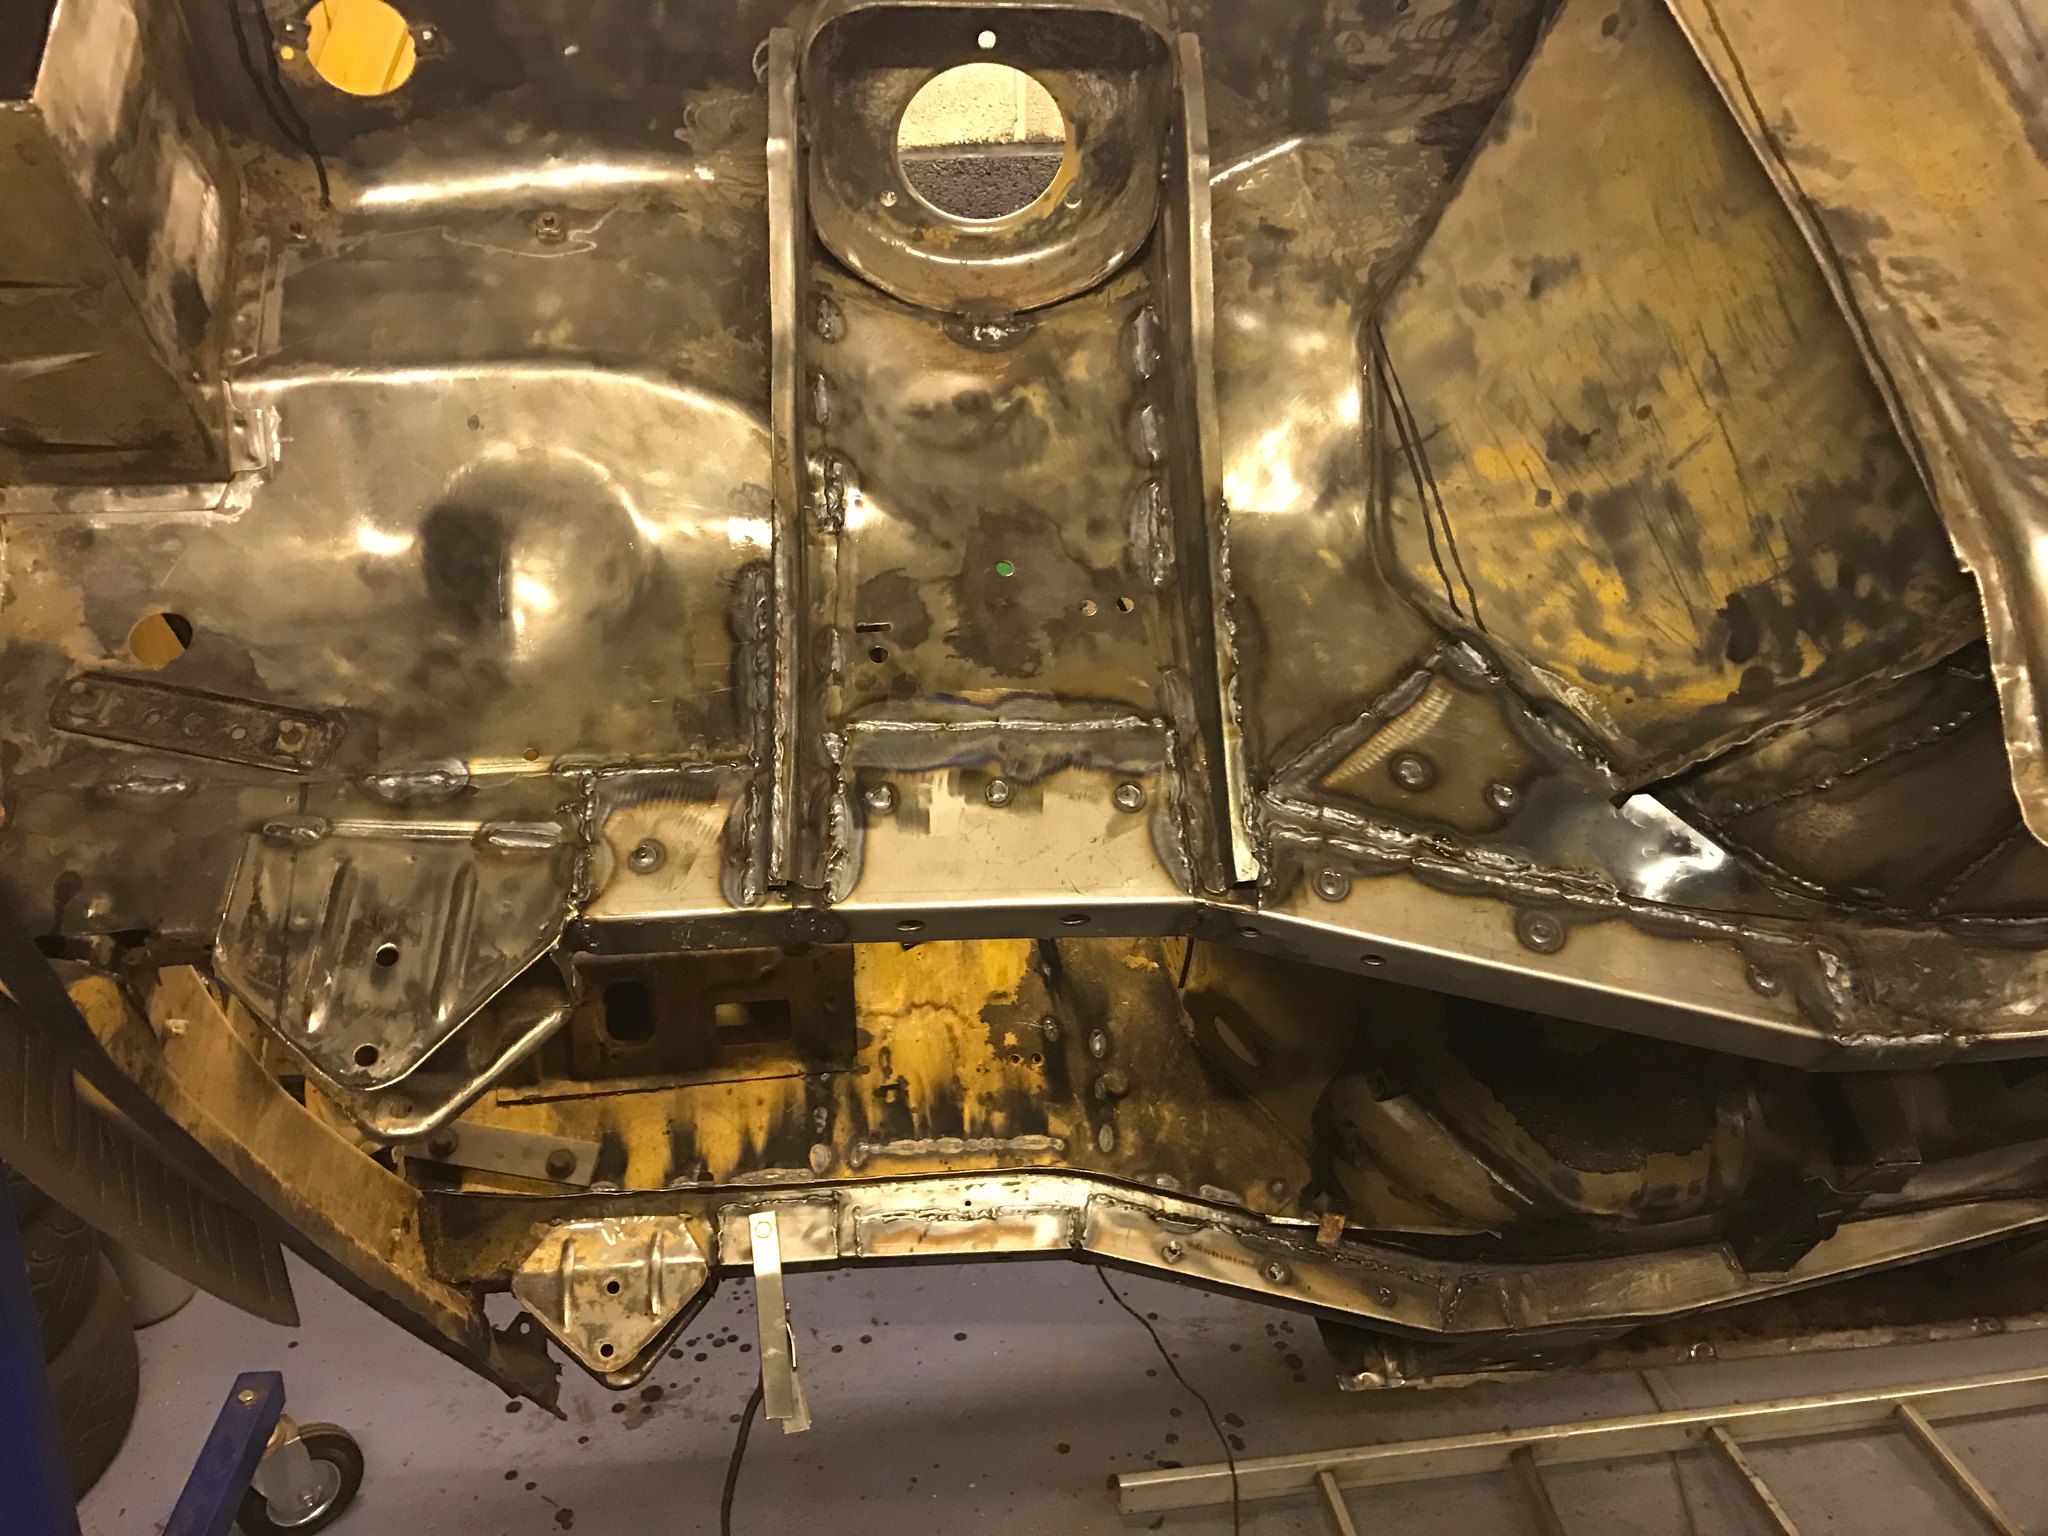 Untitled Untitled by Nevtiger, on Flickr The welding from underneath. I have to say that it would have been a lot easier the shell had been dipped..... 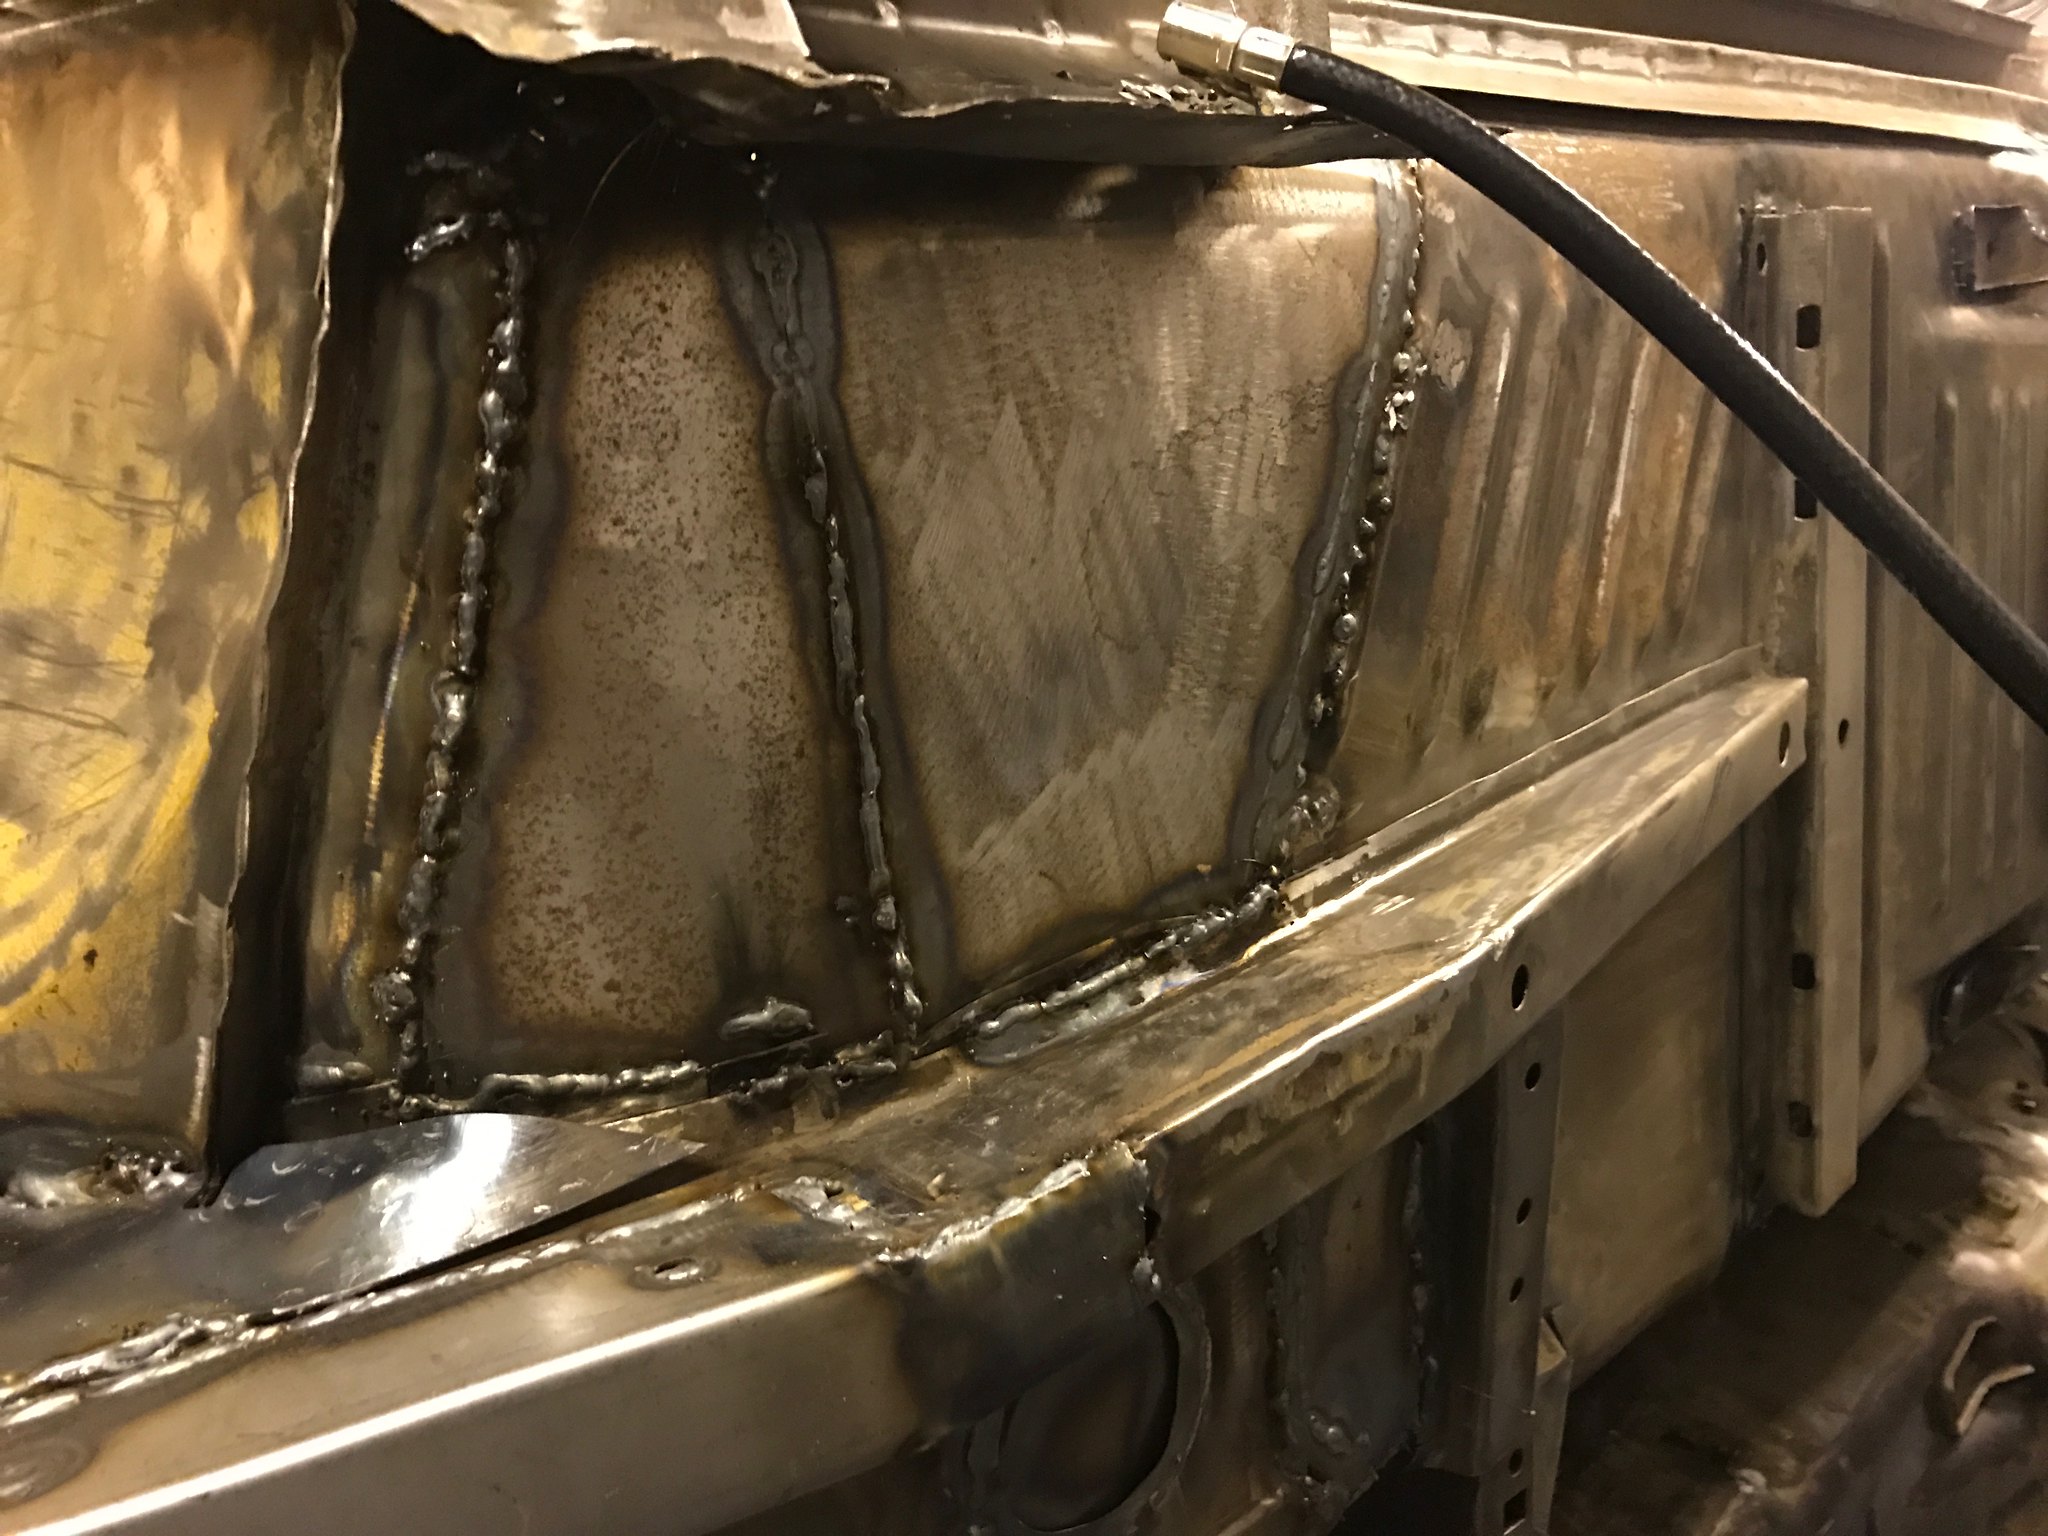 Untitled Untitled by Nevtiger, on Flickr And from the inside: 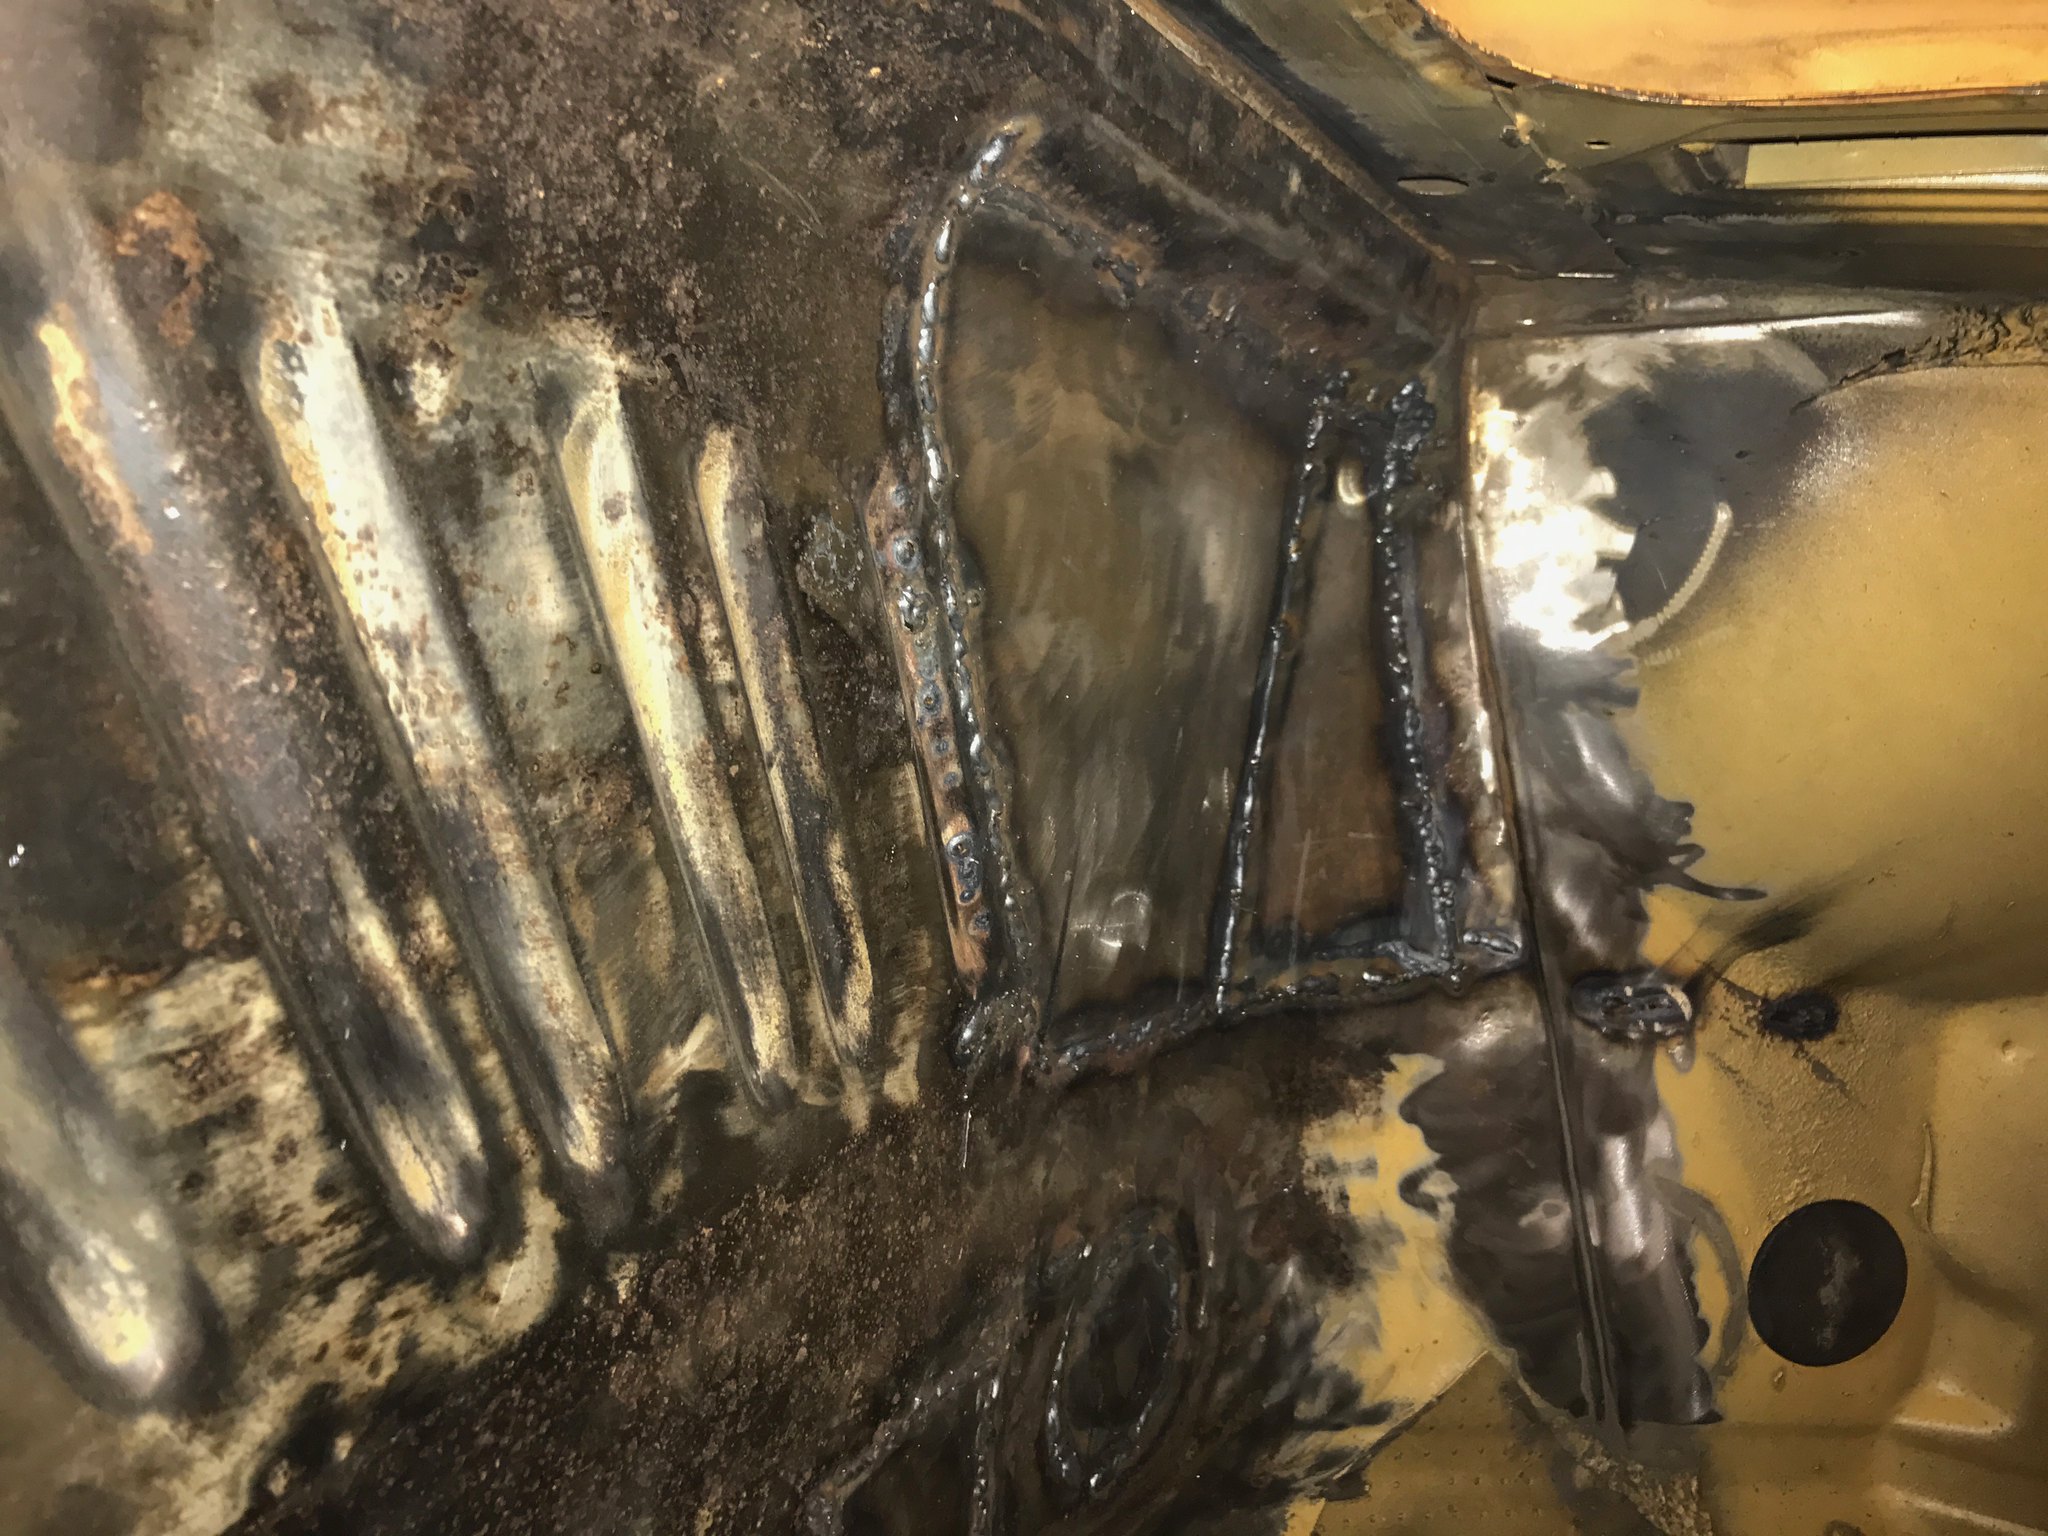 Untitled Untitled by Nevtiger, on Flickr All before being dressed back and made lovely |
| |
Last Edit: Feb 27, 2019 7:52:50 GMT by nevtiger
|
|
|
|
|
|
|
Originaly i had planned to use a ZF BMW 6 speed gearbox. I wanted to use it as a 5 speed close ratio box. Its a great idea but i had rather missed one important point. 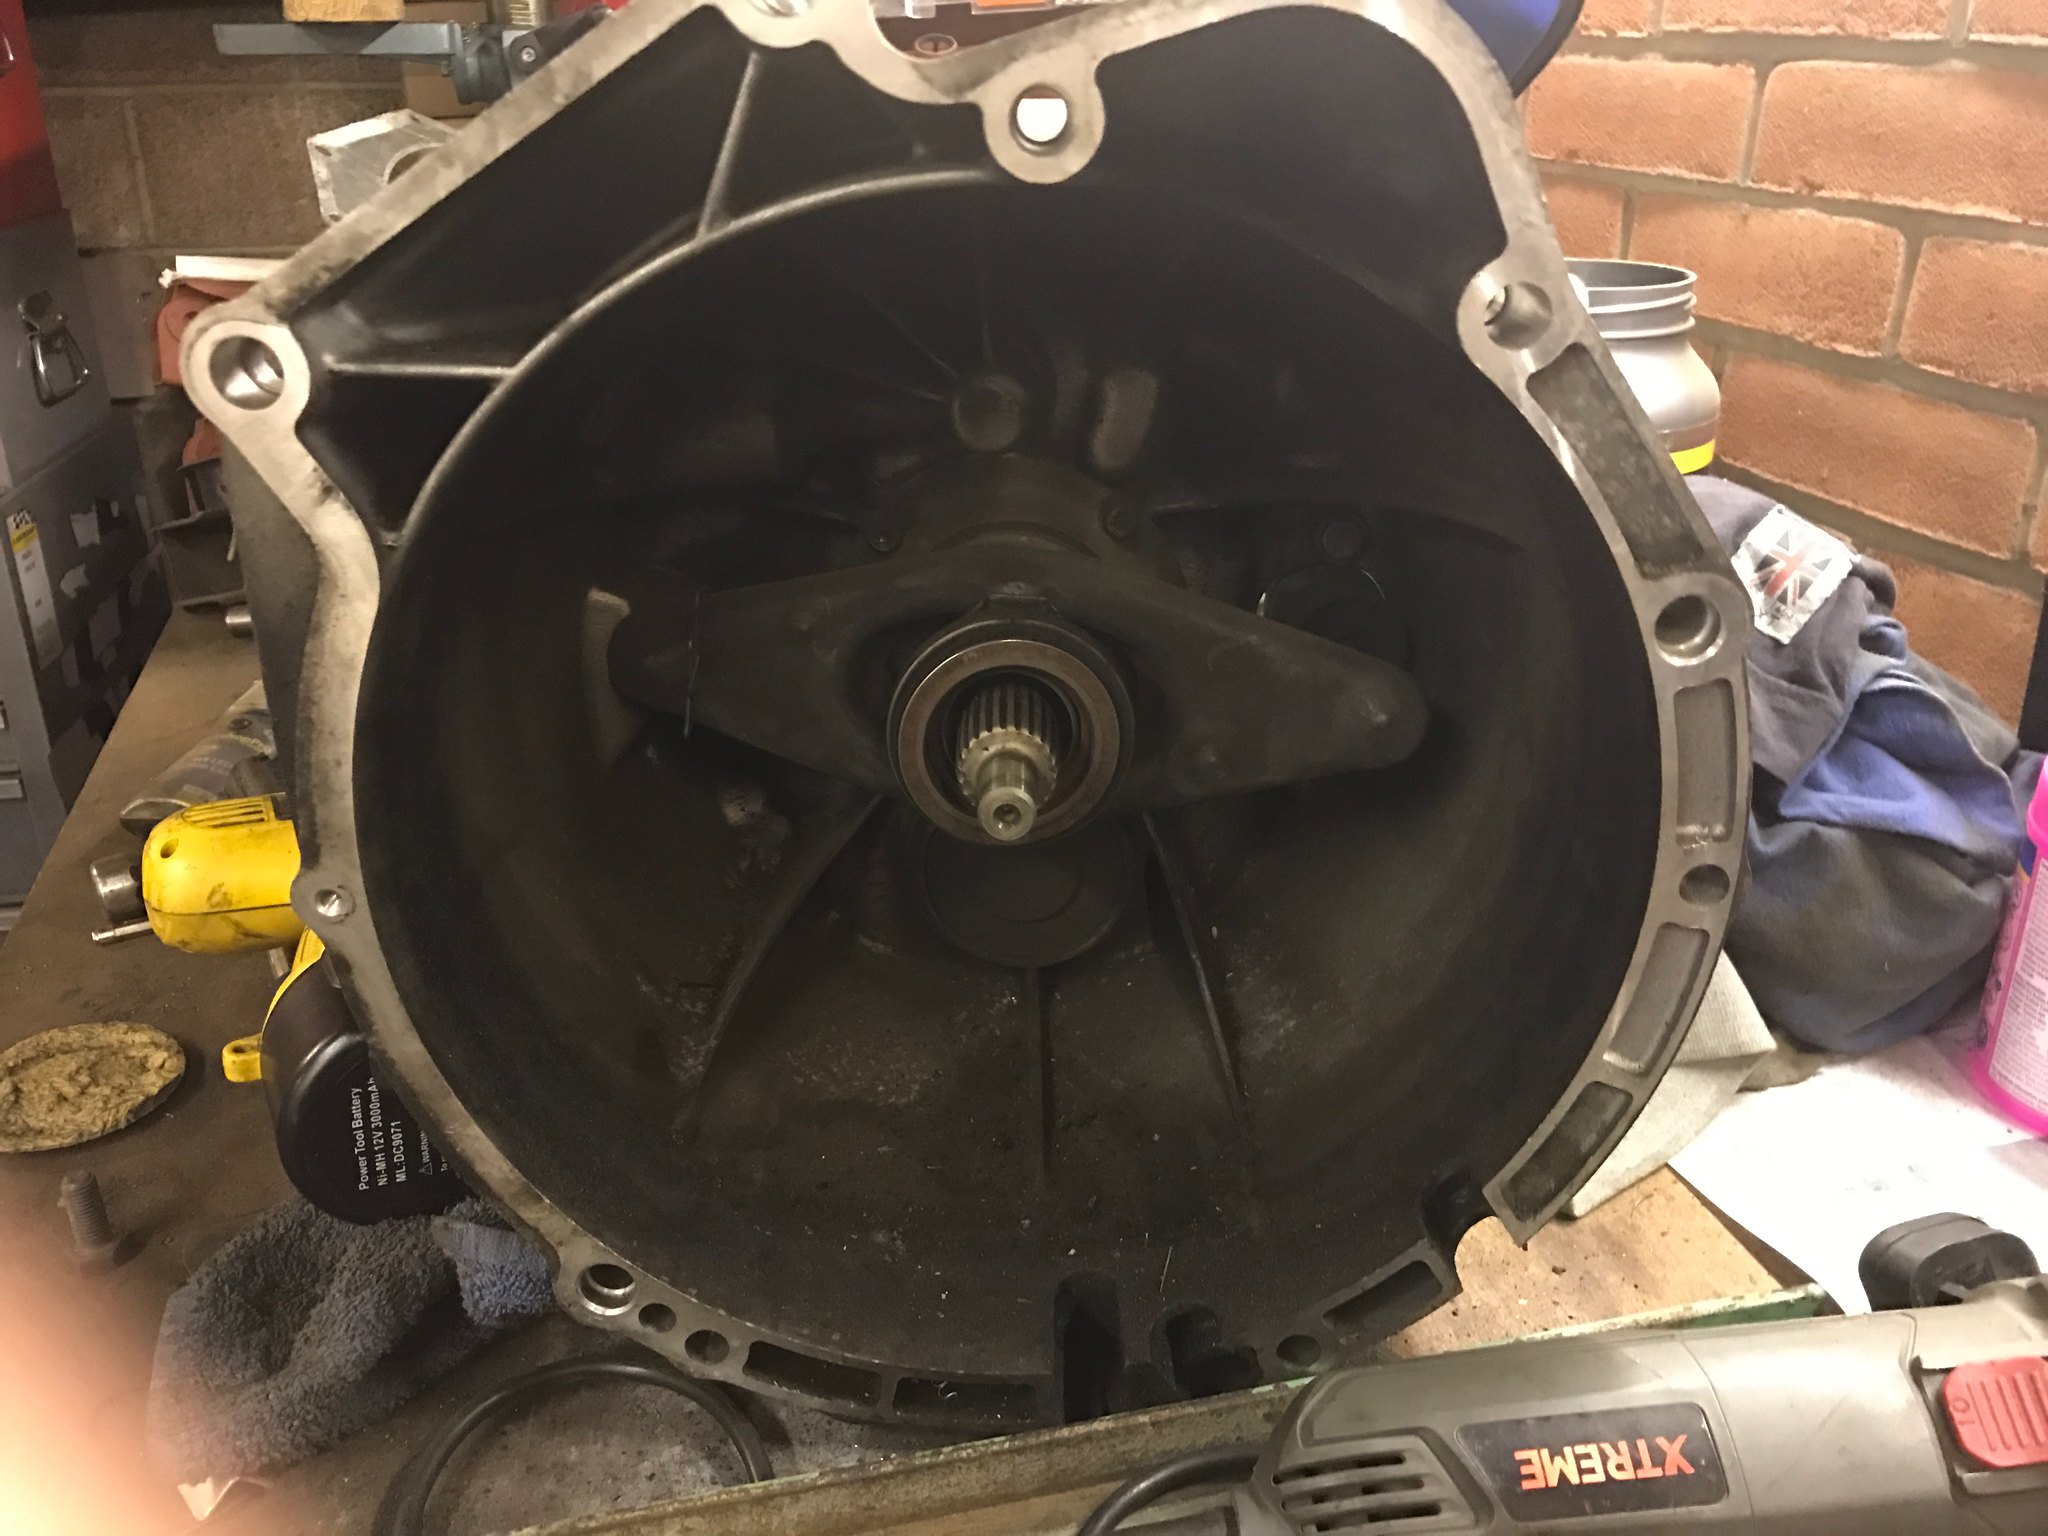 Untitled Untitled by Nevtiger, on Flickr The size of the Jag flywheel is actually bigger than the BMW bell housing such that the Bolts of the ZF are inside the flywheel - doh. So to make life easier i am going to use the Getrag 221 from the Manual S-Type. I could use the BW T5 Cosworth box - which has great ratios - and a custom bell housing from the USA. The bell housing is designed to fit the T5 onto the USA version of the engine, a V8 i think it is!! The trouble is that the T5 is quite expensive to buy and the bell housing is nearly £1000 when imported. So back to the Getrag which can be picked up for £95...... The box is a bit weird as its a direct top 5th. This has a knock on effect meaning the diff has to be quite high! I shall use a 3.54 and with the gearbox ratios and 15" wheels it 'should' be ok. 1 = 4.23 2 = 2.52 3 = 1.665 4 = 1.22 5 = 1 With a 3.54 diff on 195/50 tyres 70 comes up at 3680 revs but it needs 3rd to get to 60mph. |
| |
Last Edit: Feb 27, 2019 7:54:09 GMT by nevtiger
|
|
|
|
|
Nov 24, 2016 14:22:32 GMT
|
With the floor a the front done time to get that area ready for the jacking point. The inner sill at this point was all a bit wobbly but not rotten or even rust on the surface. Turned out the panel is actually split/torn so it must of been damaged whilst i was removing all the other bits! So so weld in the split and a replacement of the panel up a bit higher and all is well! In the photo you can just see the split to the left of where the pigeon has been defecating. So i added more pidgeon stuff to the left when welding the new bit of metal in. 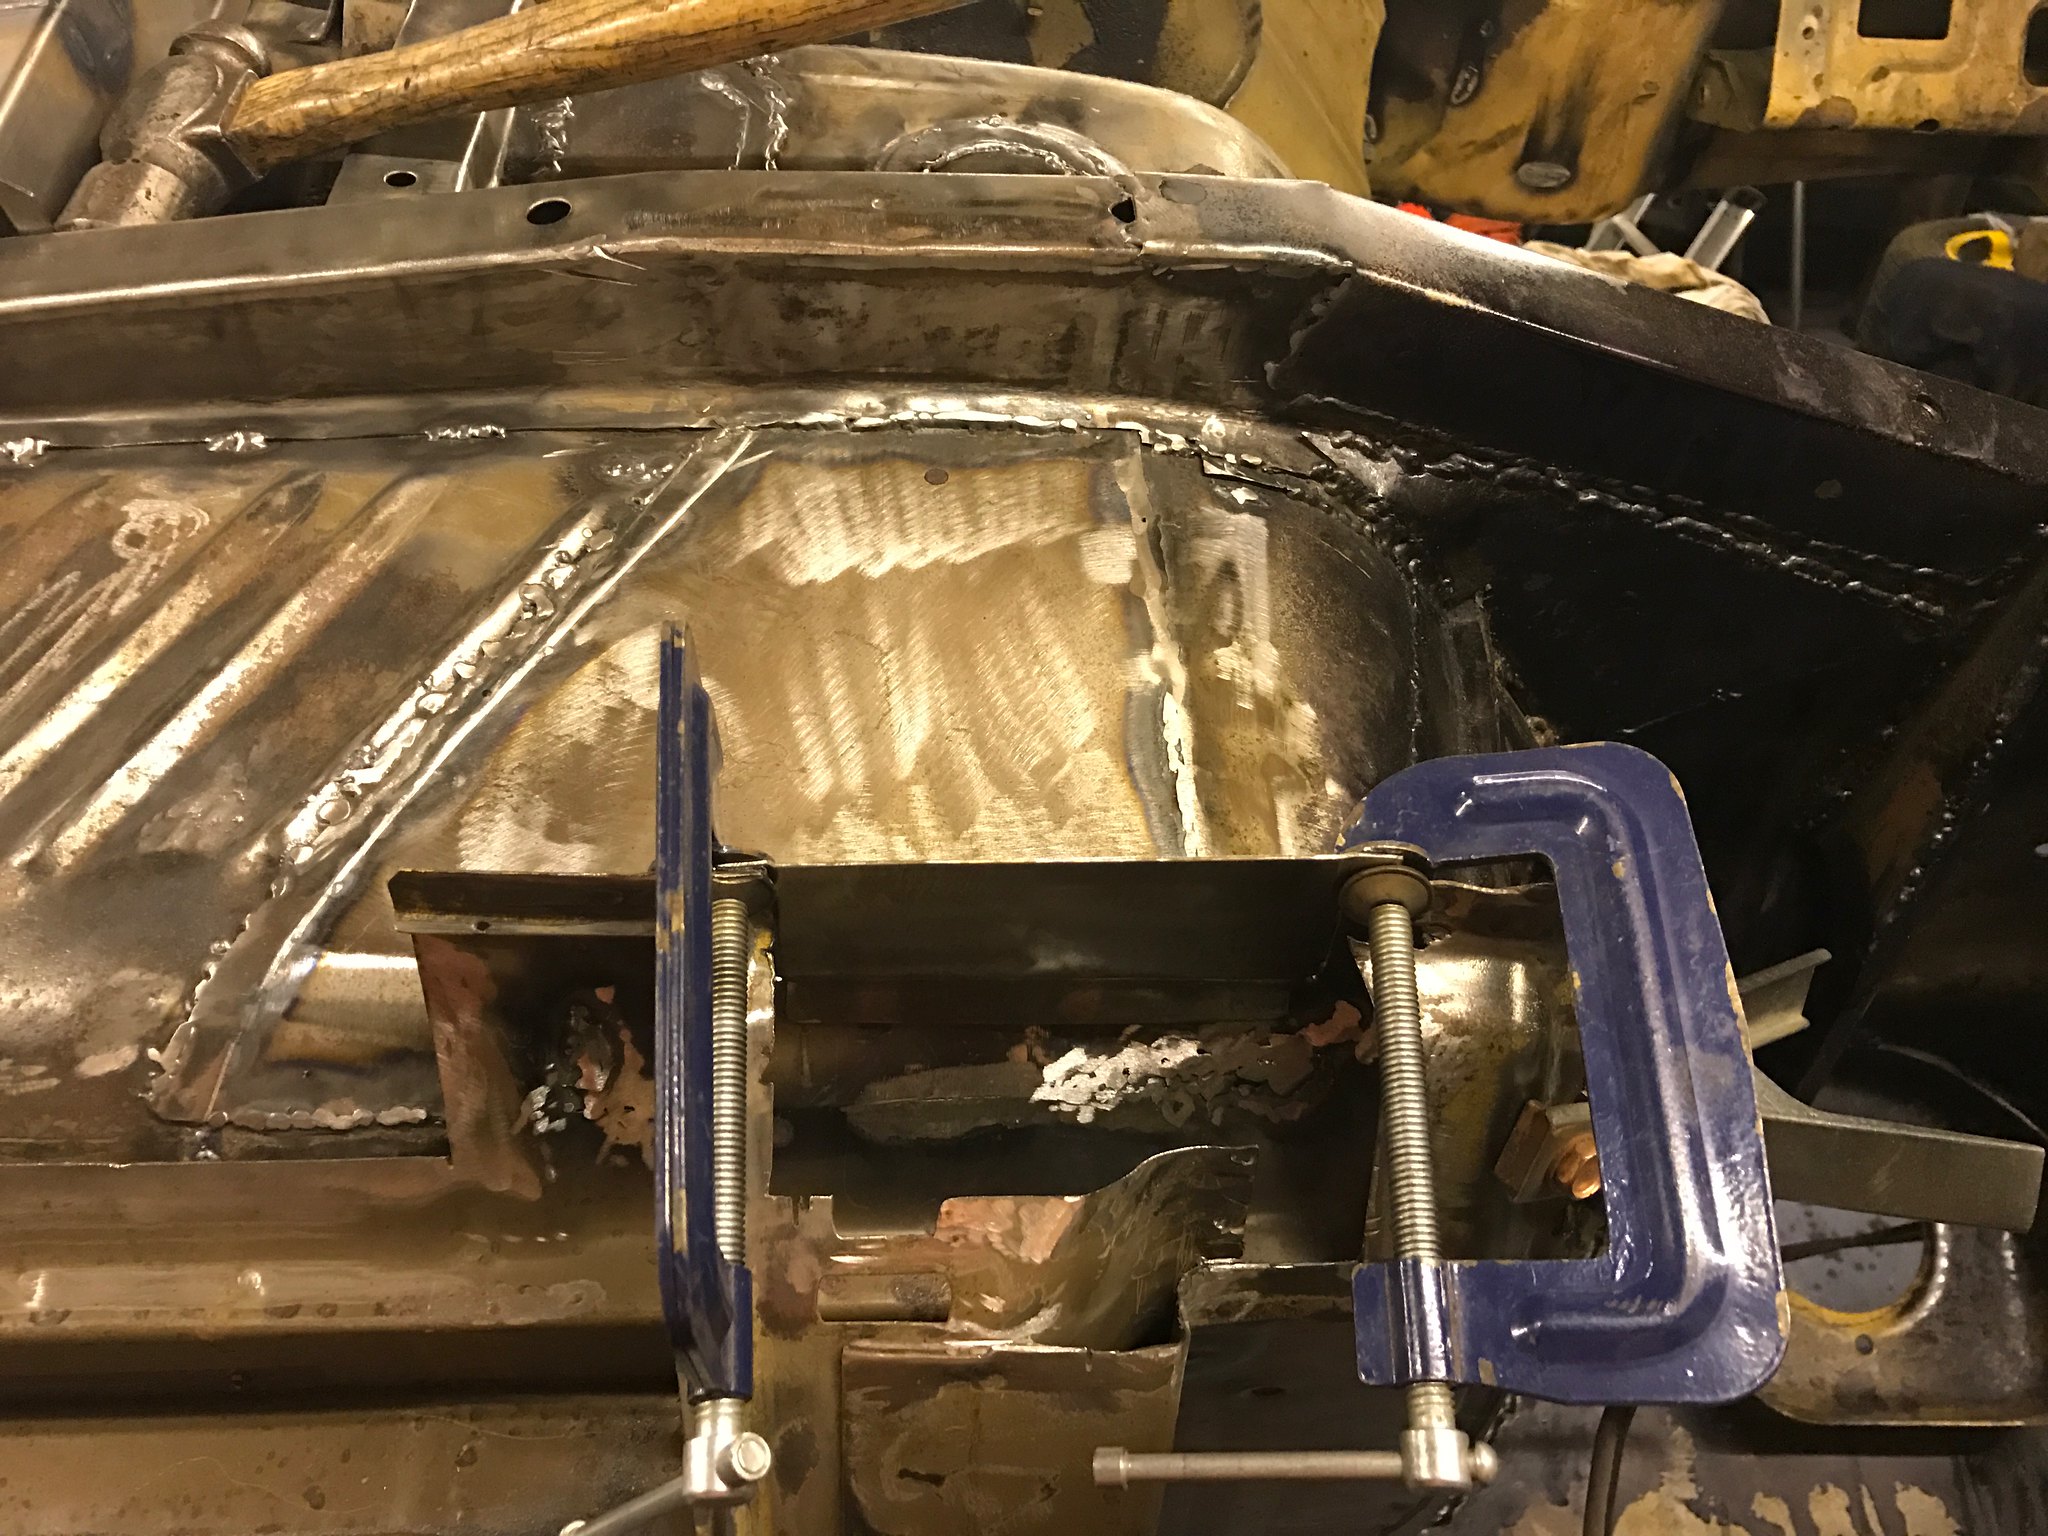 Untitled Untitled by Nevtiger, on Flickr Although the shell is really difficult to get super clean and hence the welds can get a bit - exciting - i am really enjoying building it back up and making the little bits of panel. |
| |
Last Edit: Feb 27, 2019 7:55:18 GMT by nevtiger
|
|
|
|
|
Nov 24, 2016 17:17:19 GMT
|
|
could be worse, could be doing upside down welding !
|
| |
|
|
|
|
|
|
|
|
No - No - No
Hotties down my back!! Yuk.
|
| |
|
|
|
|
|
|
|
So with the jacking point welded on i turned back to the base of the A-Pillar/Inner sill/outer sill bit. Letting in a new bit of metal into the outer sill layer. Its quite a complex set of curves here so i made it in two pieces. 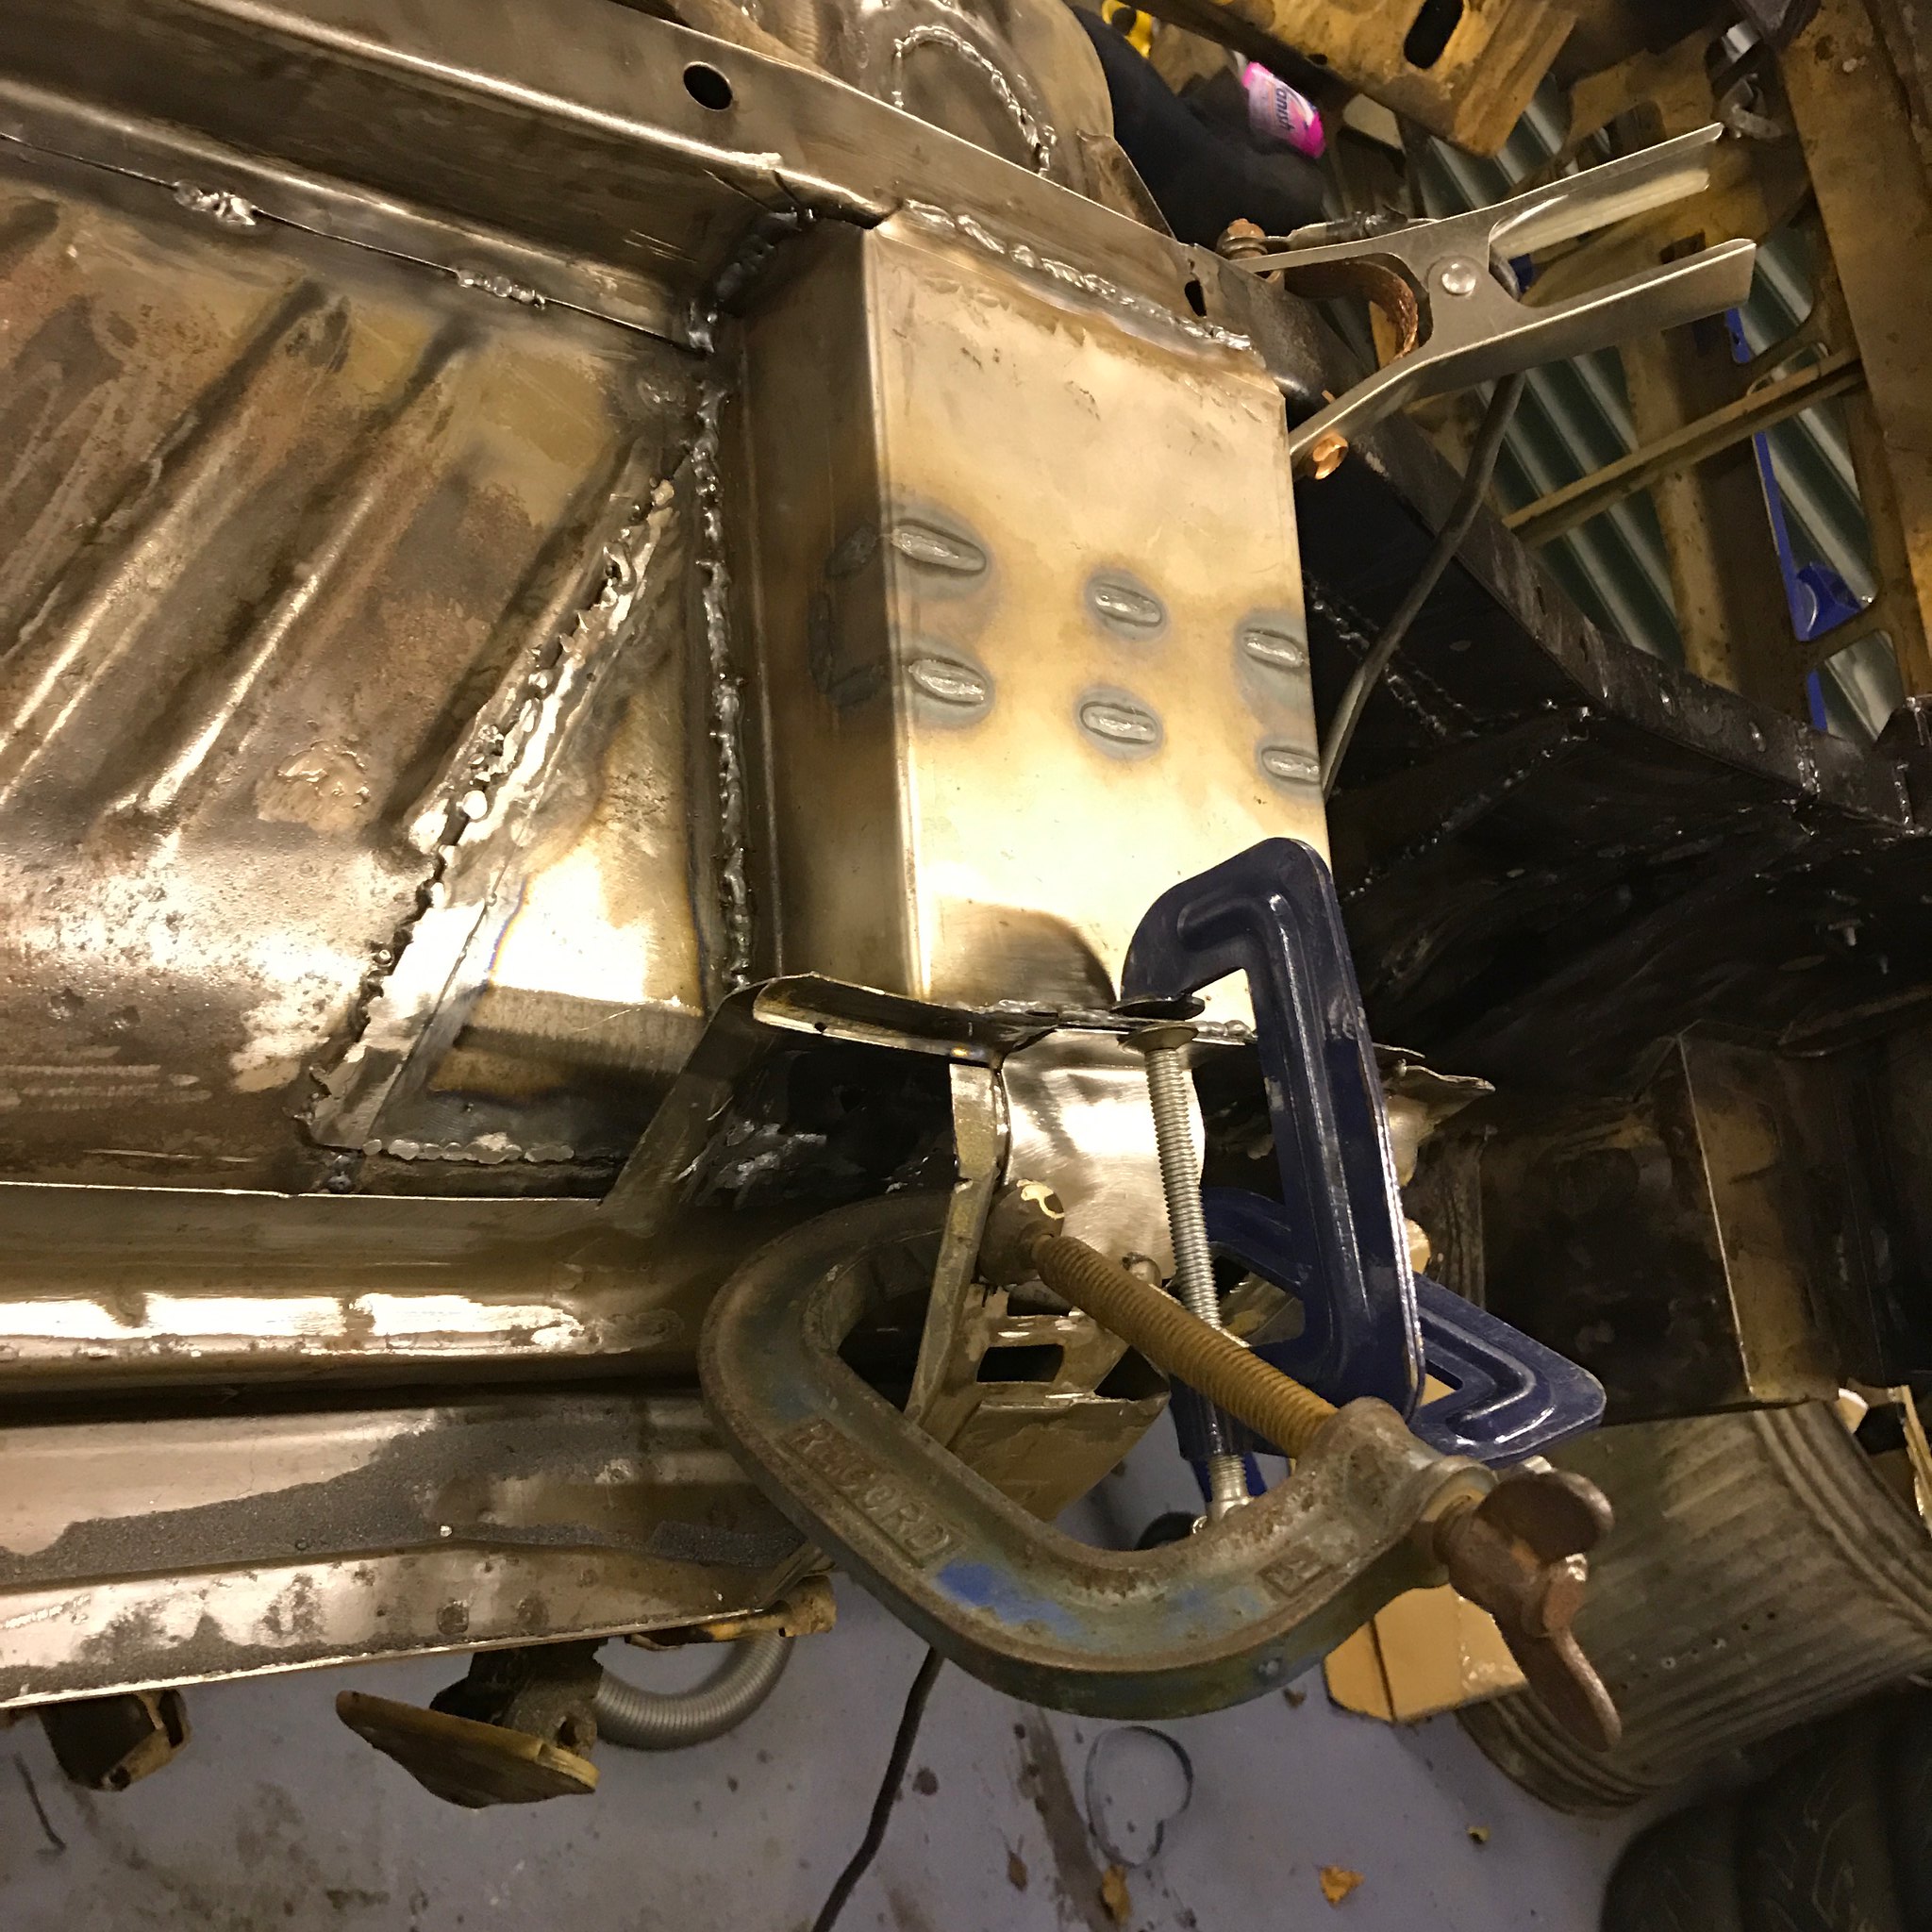 Untitled Untitled by Nevtiger, on Flickr 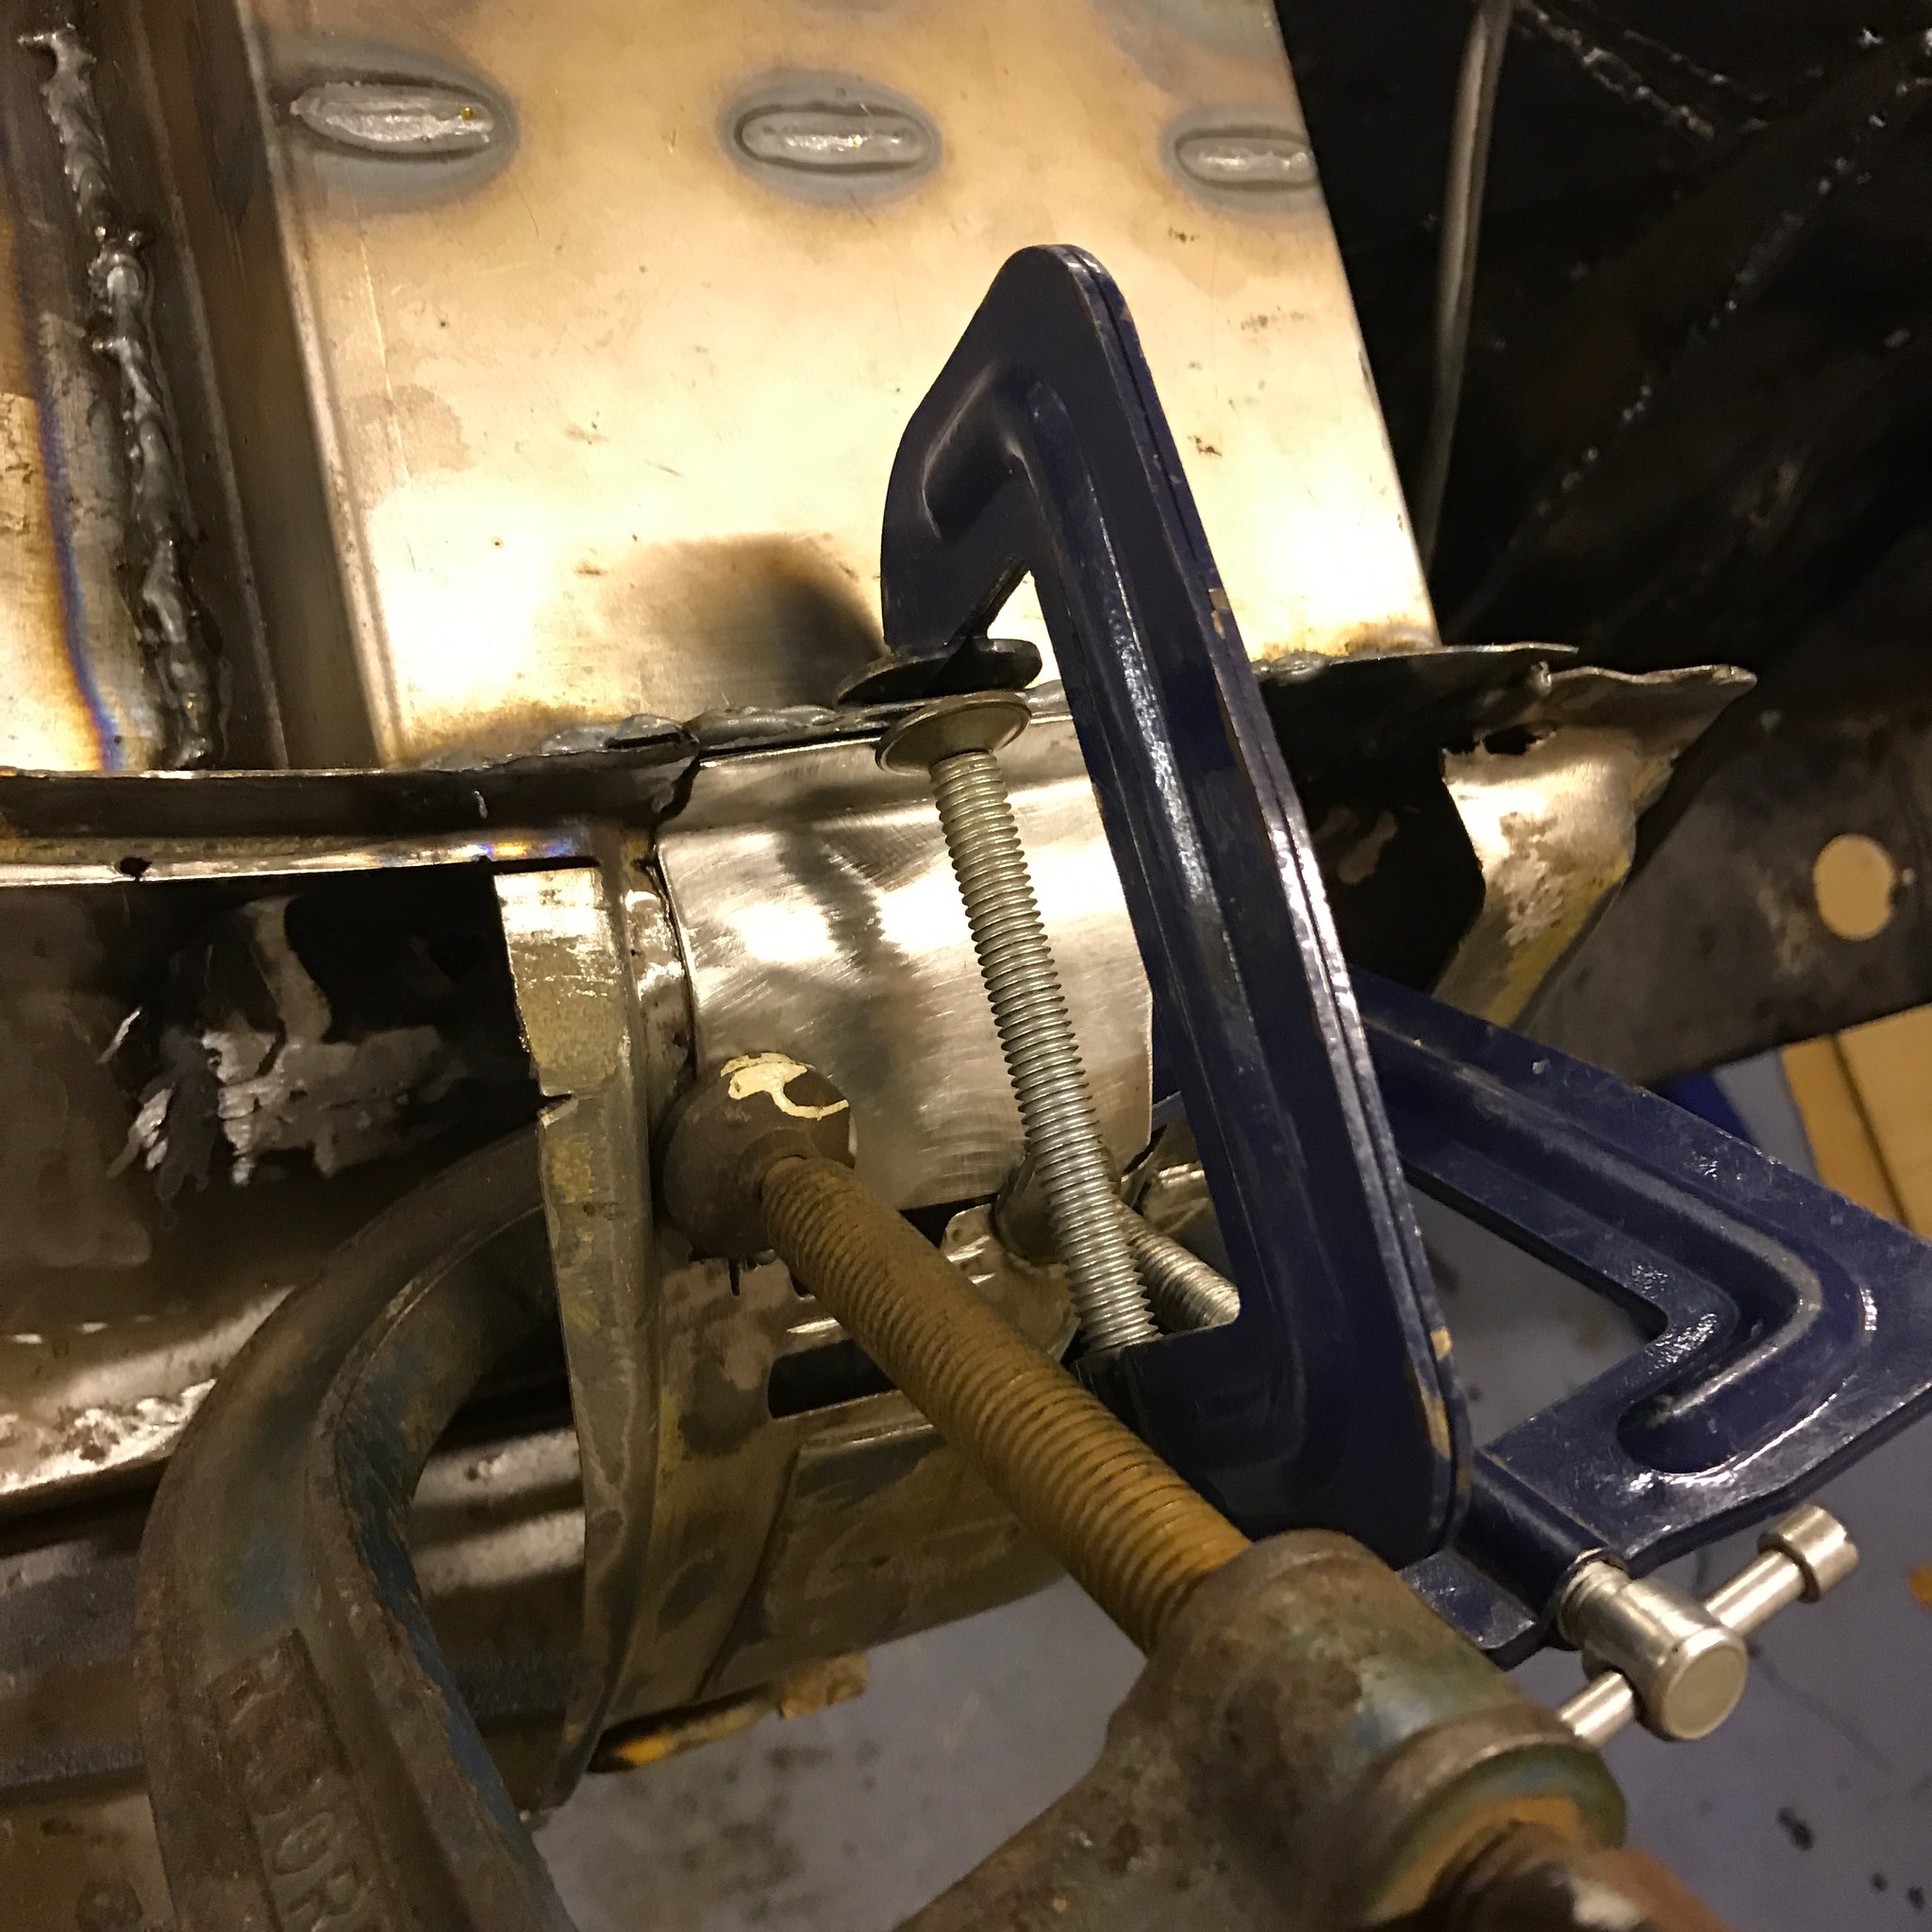 Untitled Untitled by Nevtiger, on Flickr 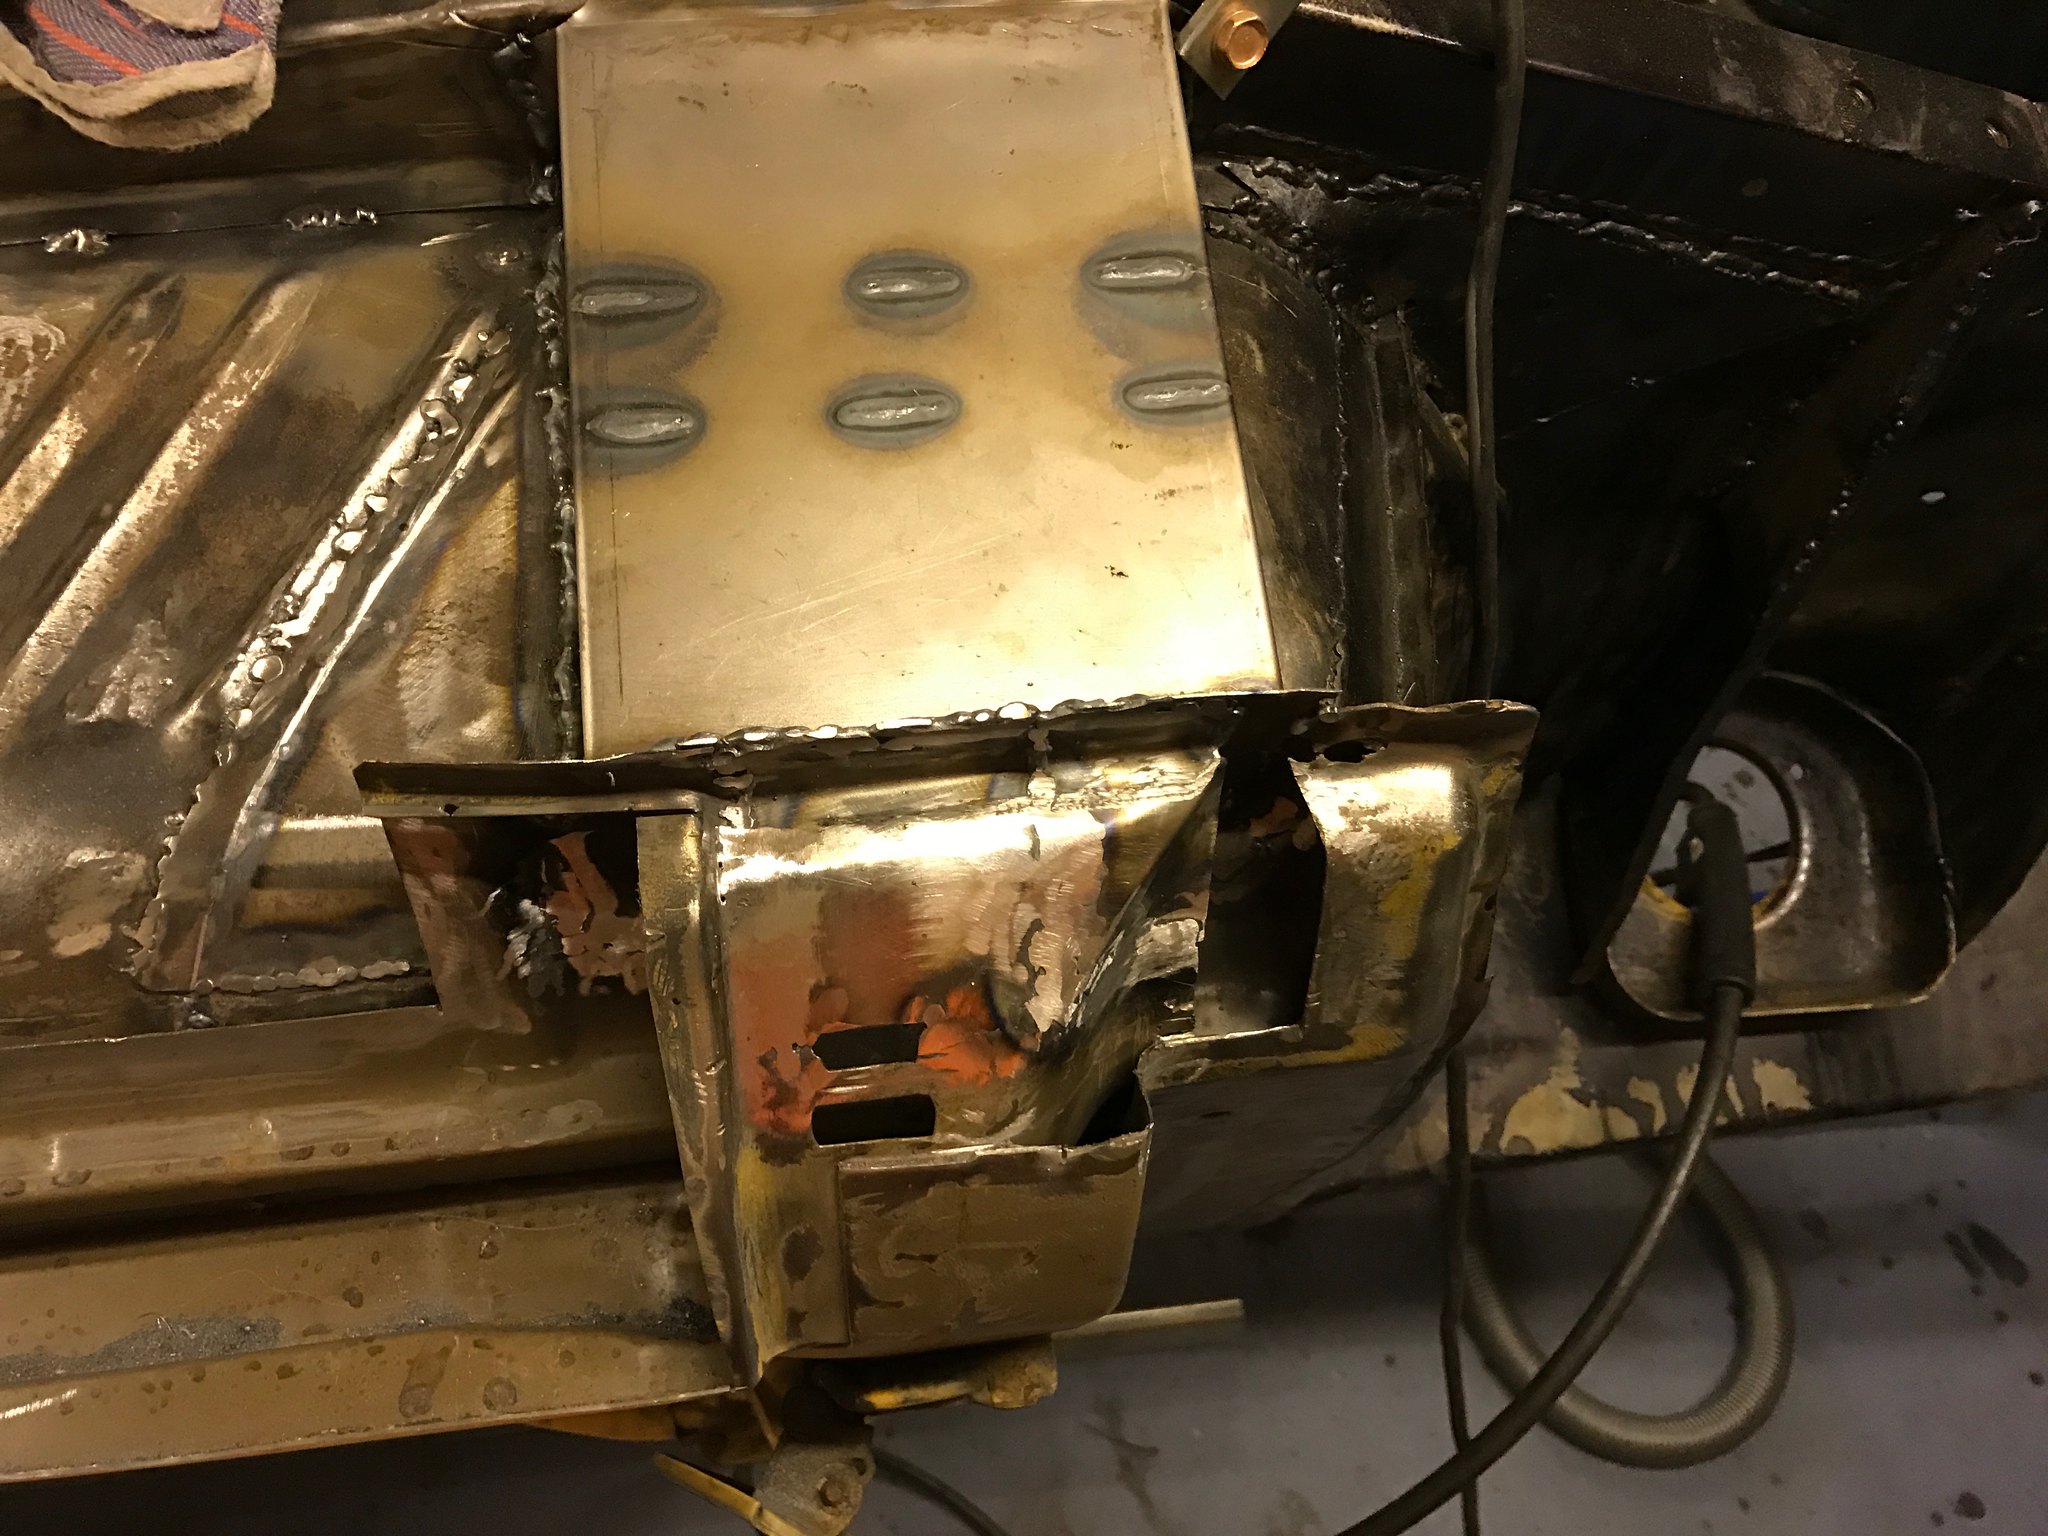 Untitled Untitled by Nevtiger, on Flickr its not exactly the correct shape but then again it is hidden behind the bottom of the A post bit. Then it was time to do the A post bit. Here i have done the easy bit, the rest i will do in two parts as the shape again is complex. Needs a bit more care to ensure the joins are as good as can be as this bit can be seen when the wing is off........ like any one will care! 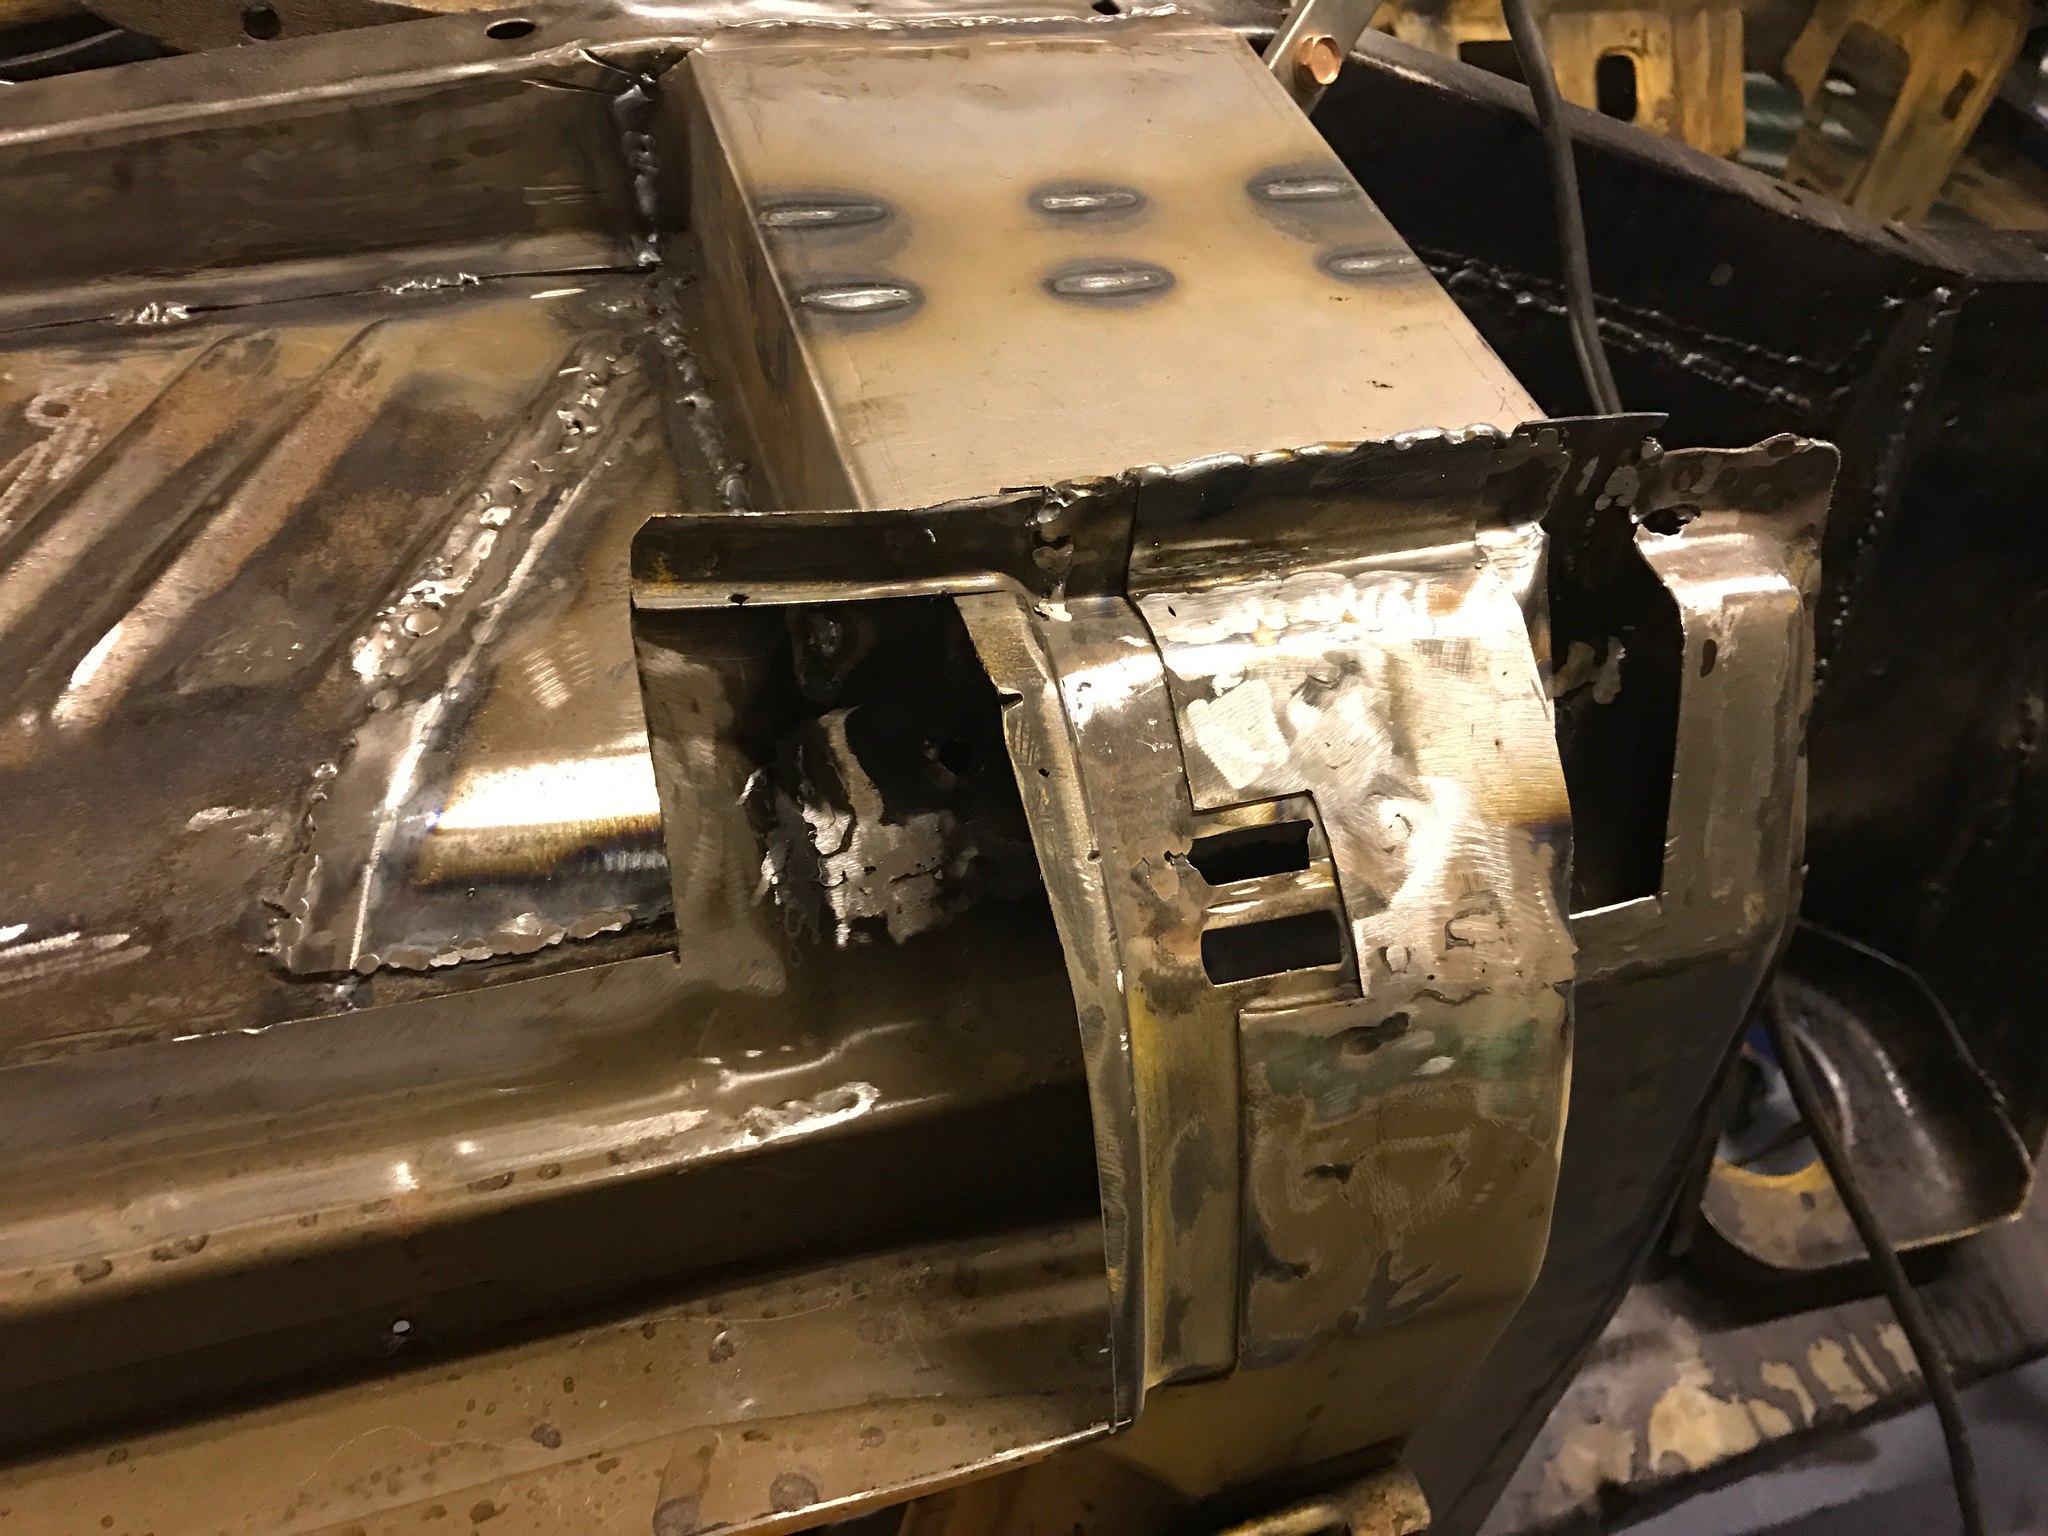 Untitled Untitled by Nevtiger, on Flickr 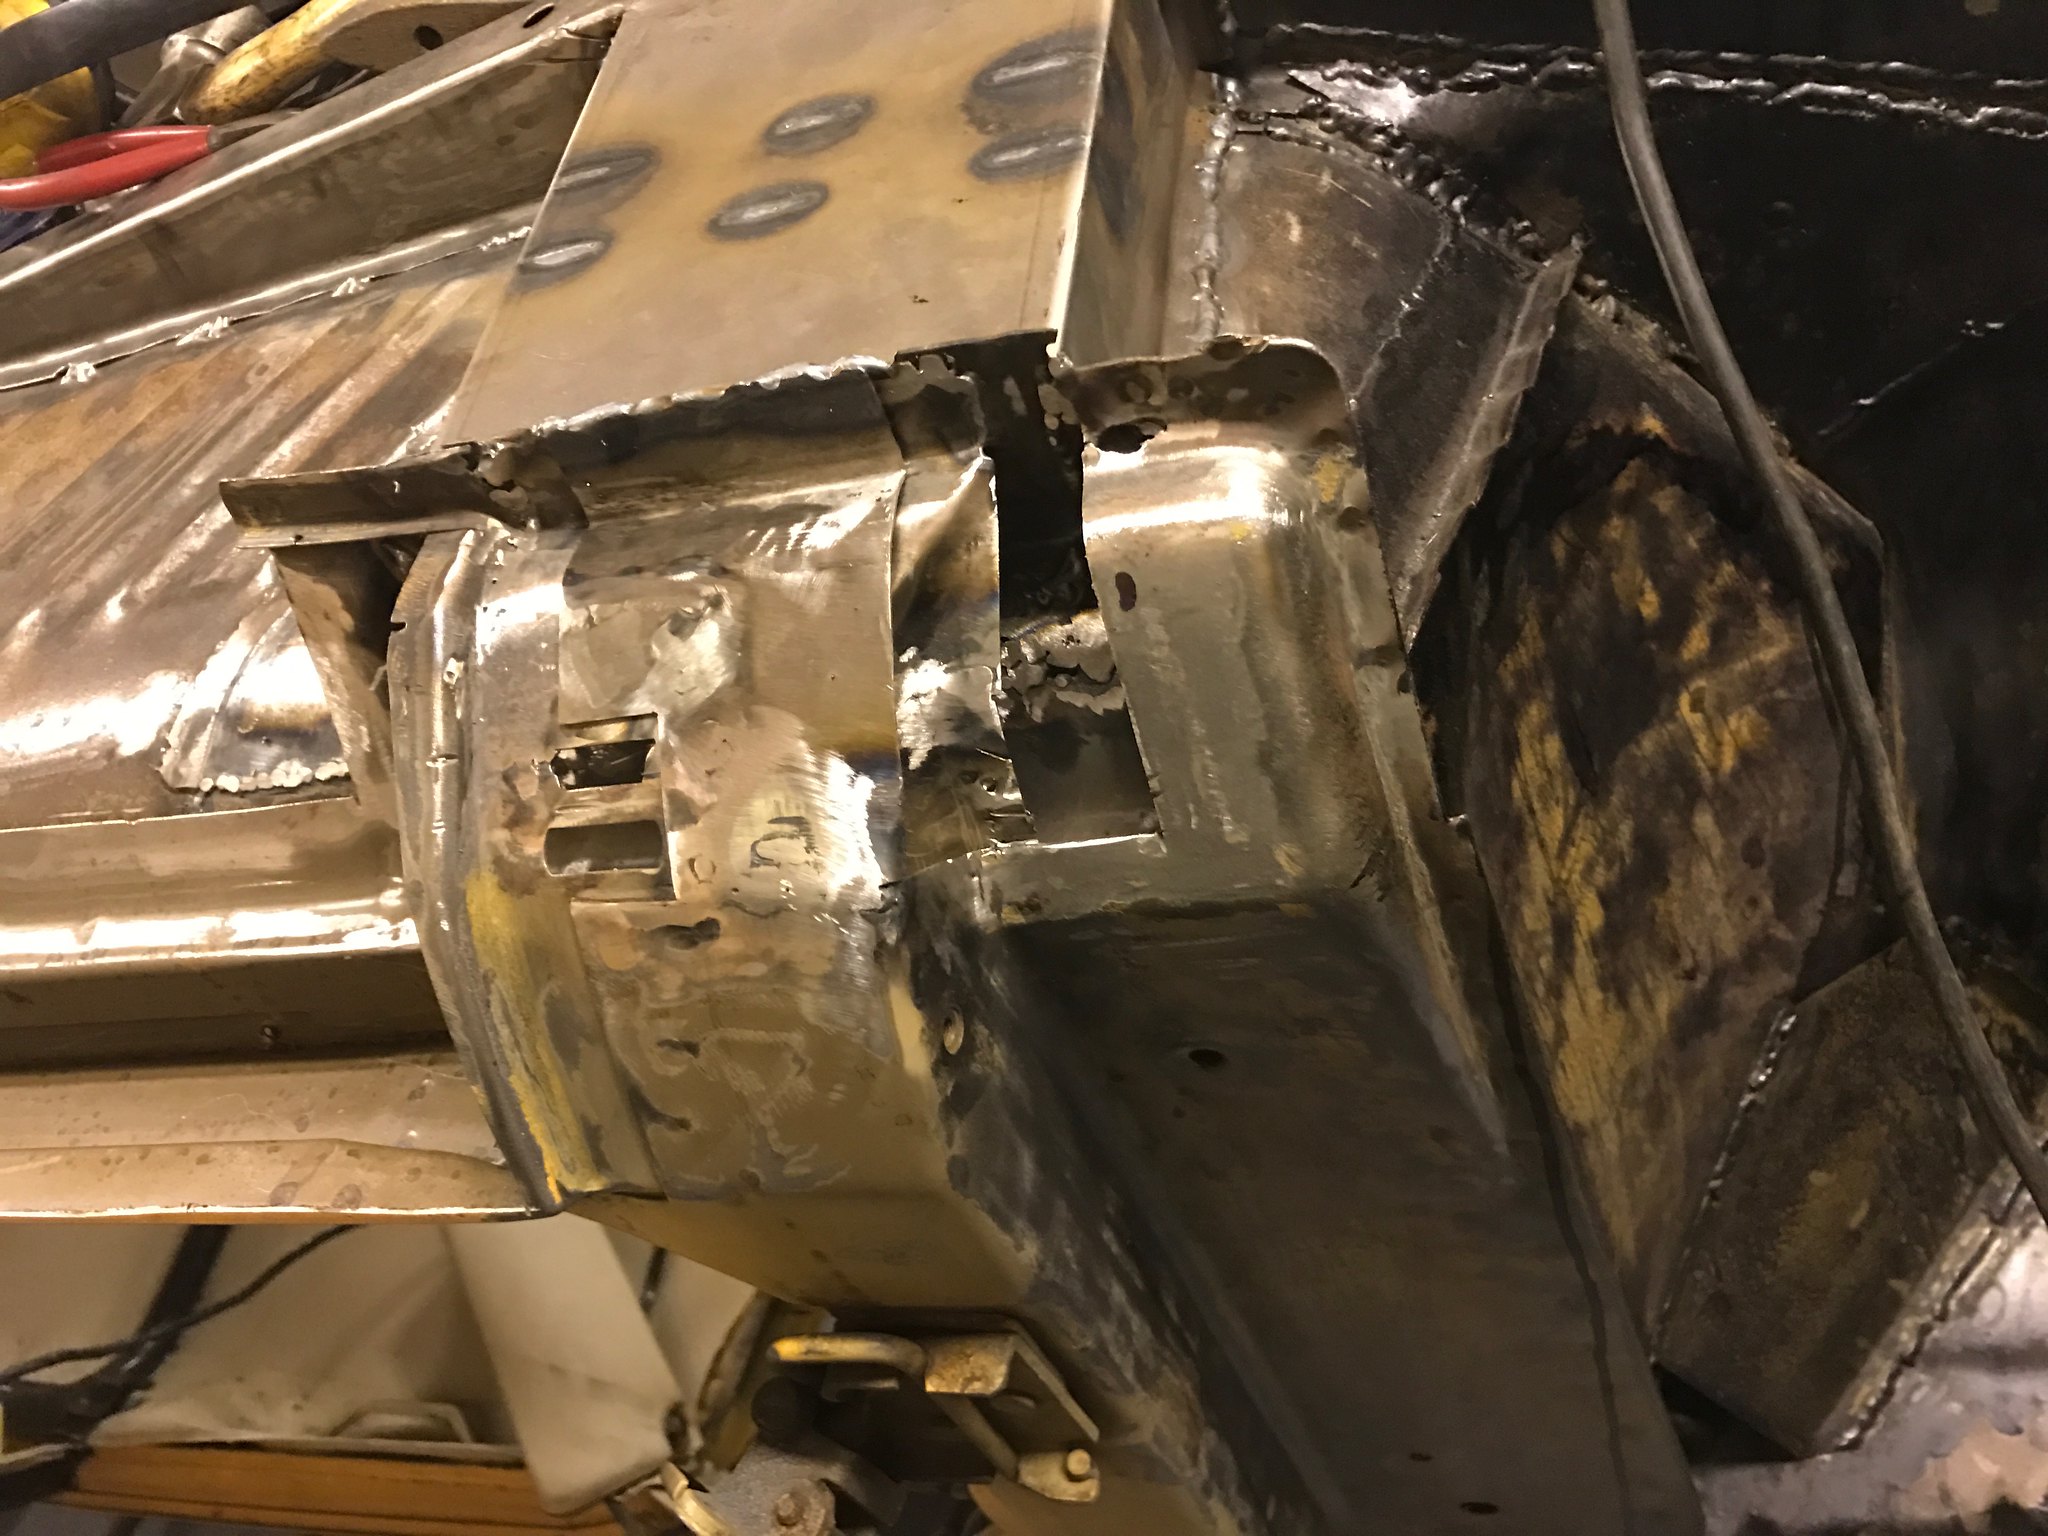 Untitled Untitled by Nevtiger, on Flickr Its amazing how photos and shiny metal can make it the job a bit worse than it really is. I might cheat next time and put some primer on to make it look good :-) |
| |
Last Edit: Feb 27, 2019 7:55:44 GMT by nevtiger
|
|
|
|
|
|
|
I finally got the bottom of the A post/front of the outer sill done. The angles here meant that i created the repair section out of 4 different bits of metal that also needed shaping to some degree. I didn't get one of the bends as rounded as original but its good and strong now and hidden by the wing when its fitted...... 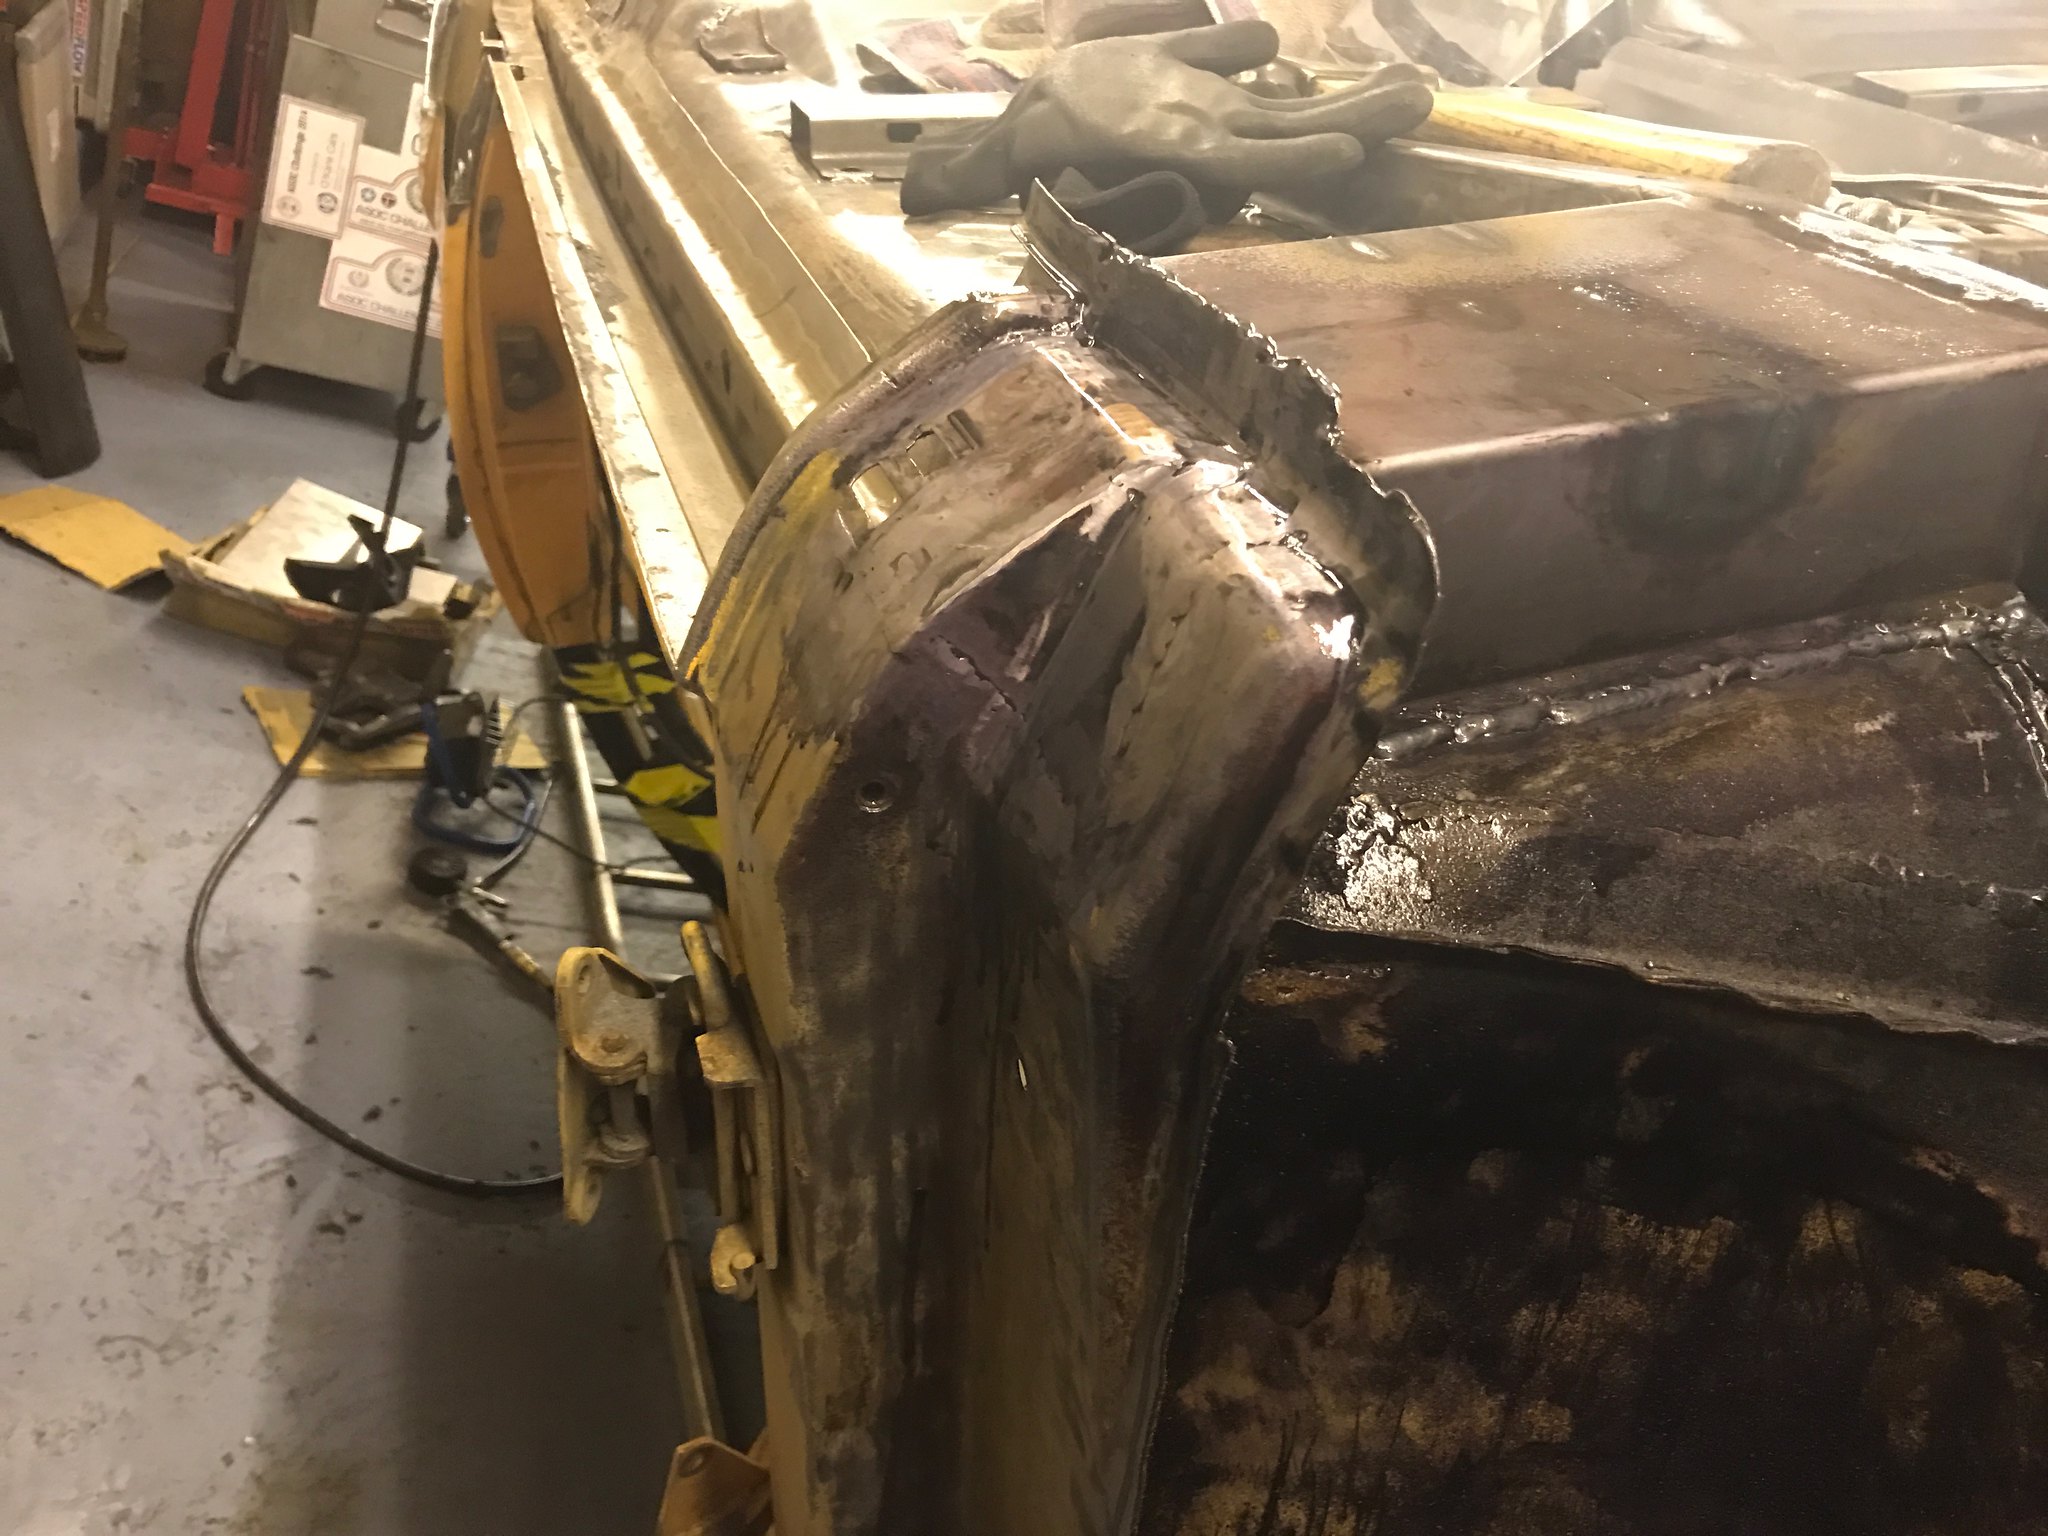 Untitled Untitled by Nevtiger, on Flickr 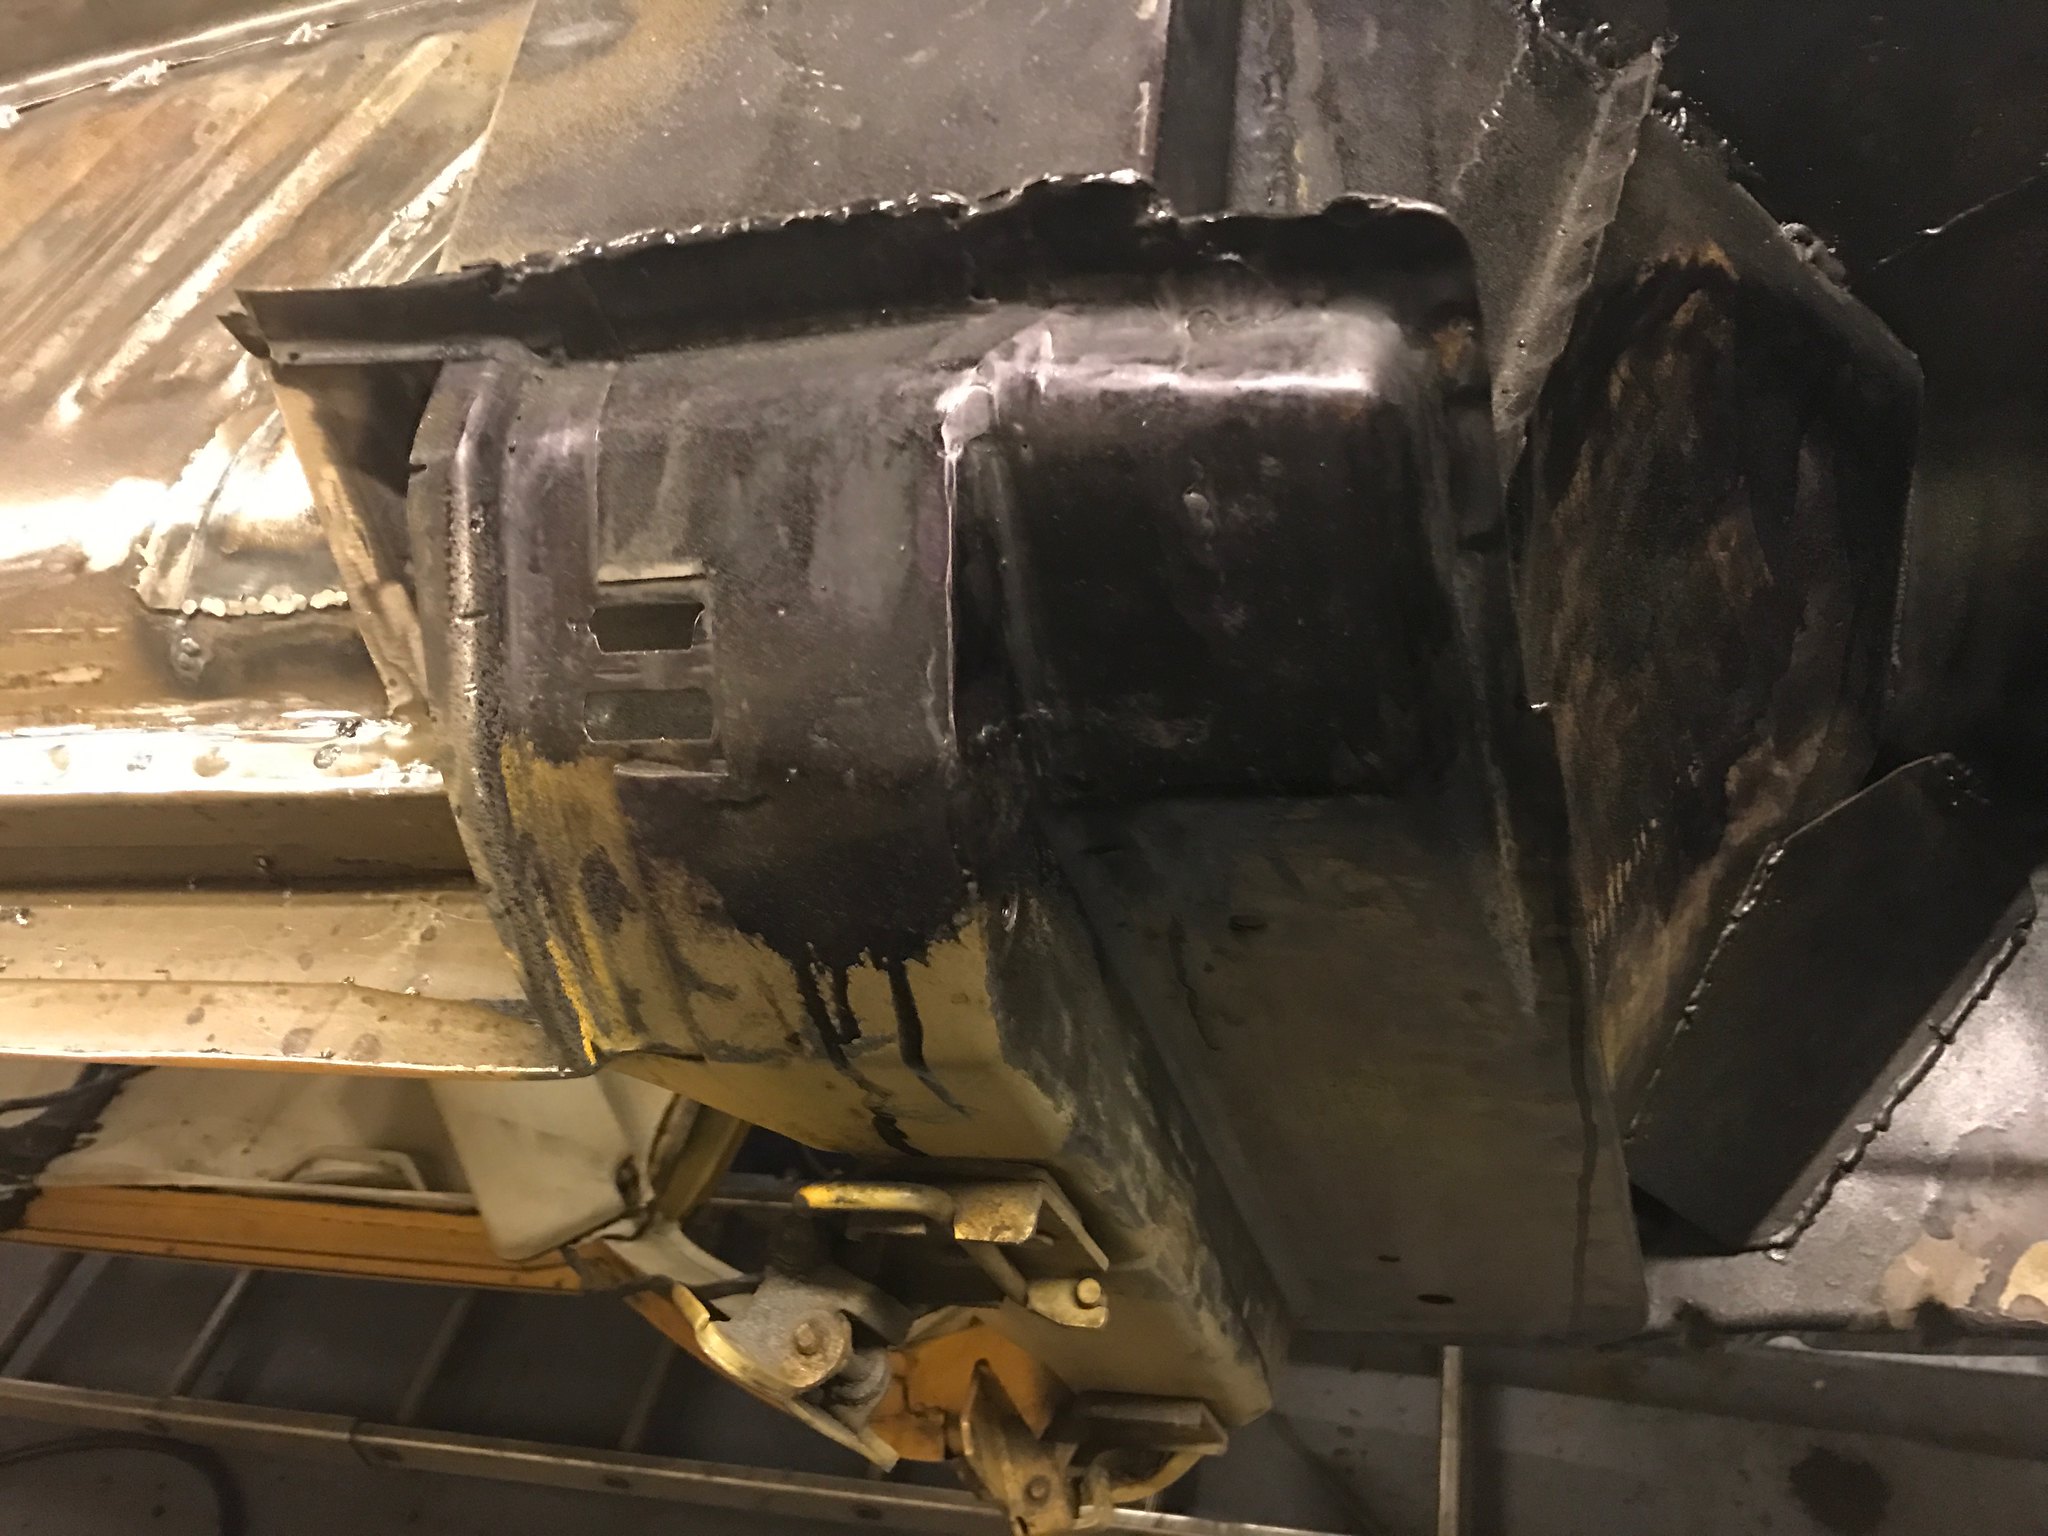 Untitled Untitled by Nevtiger, on Flickr I have been ignoring the inner and outer sill conundrum but thought i had best get to it! As i couldn't get a full outer sill in a reasonable (for me) time frame i decided to not take the outer and inner of completely. I would cut the new inner and mate it to the existing to allow the new outer to have some of the original outer to fit to! I half drilled between the existing spot welds on the inner and added some extra spot welds in to add some strength and then cut the inner sill and positioned it to site where the existing had: 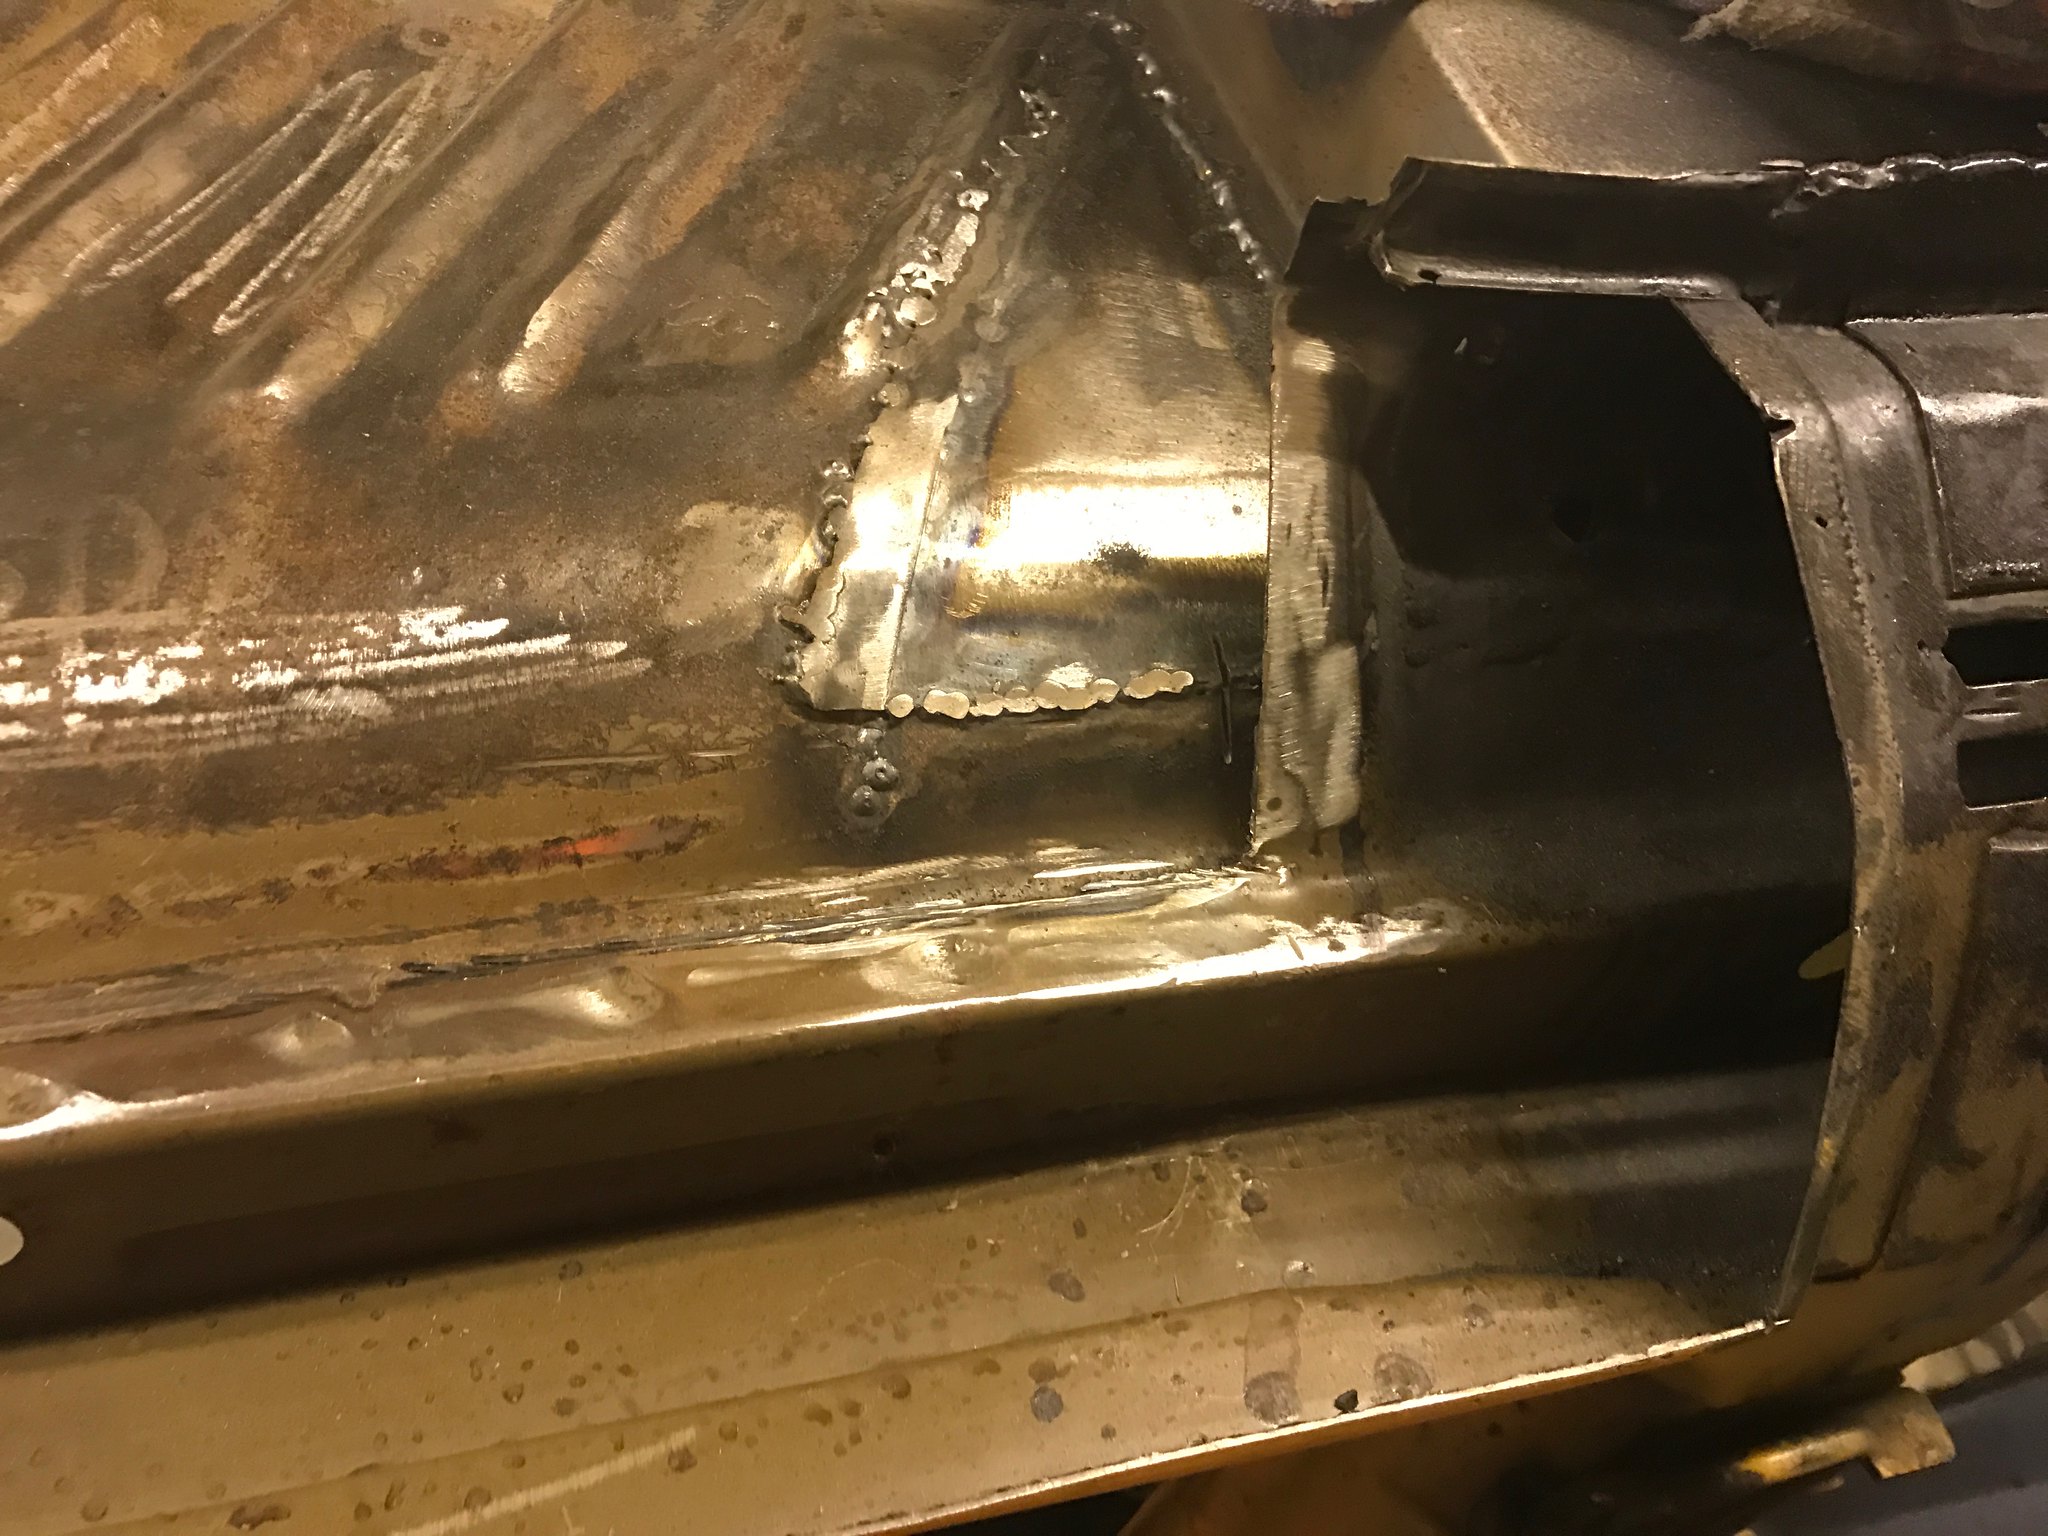 Untitled Untitled by Nevtiger, on Flickr 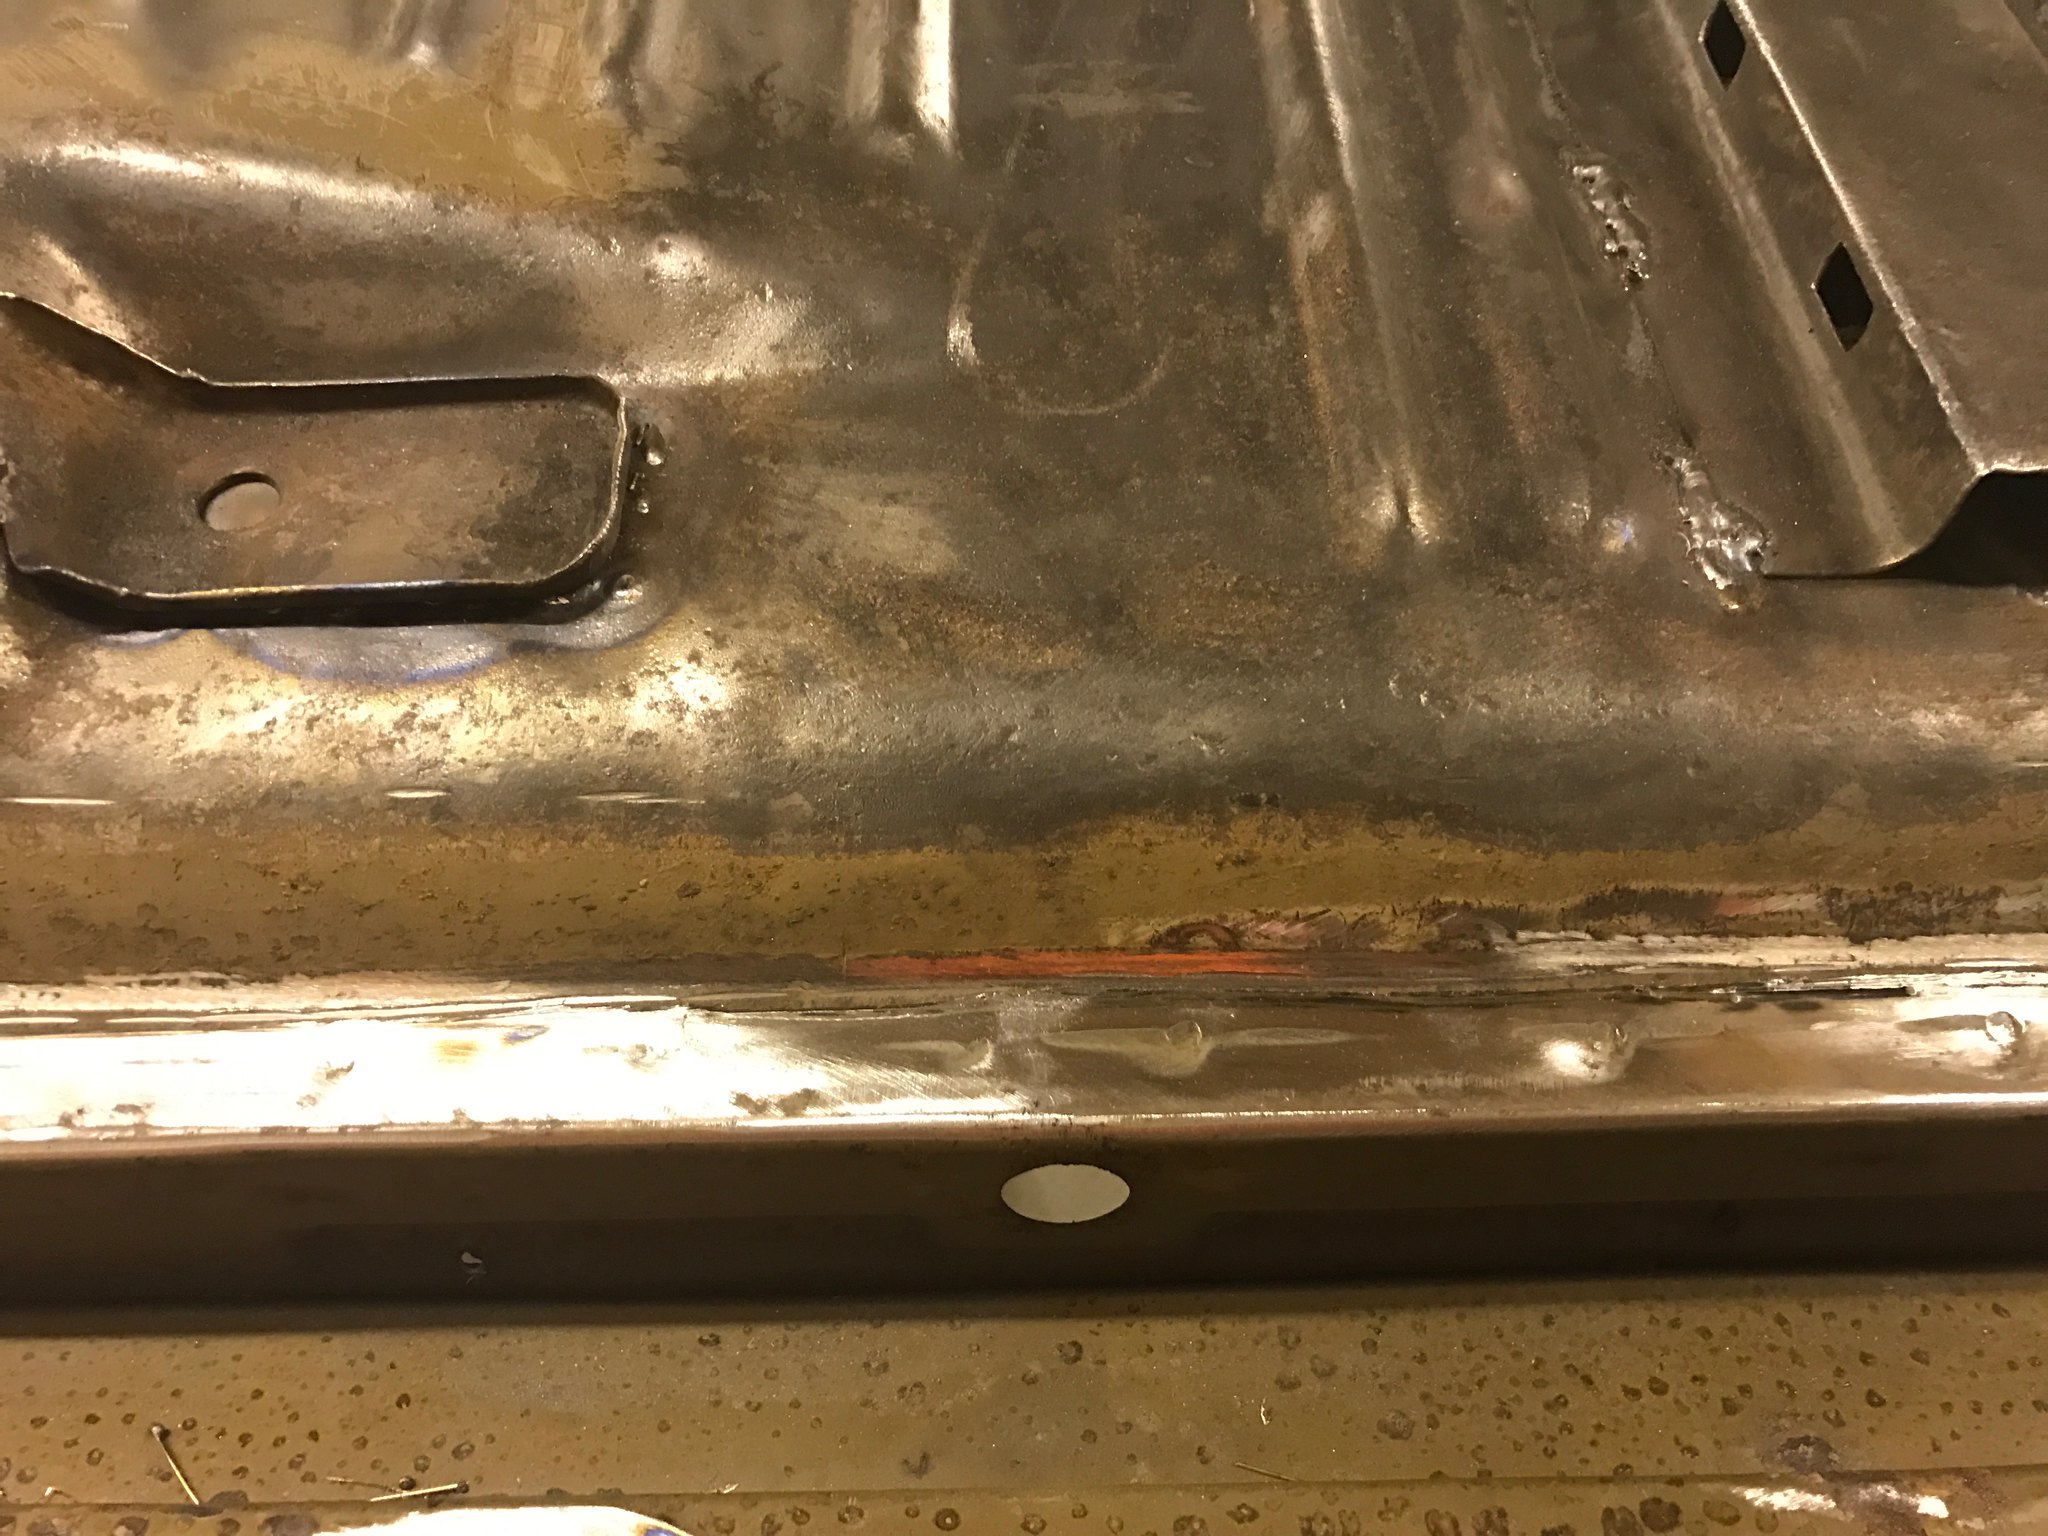 Untitled Untitled by Nevtiger, on Flickr 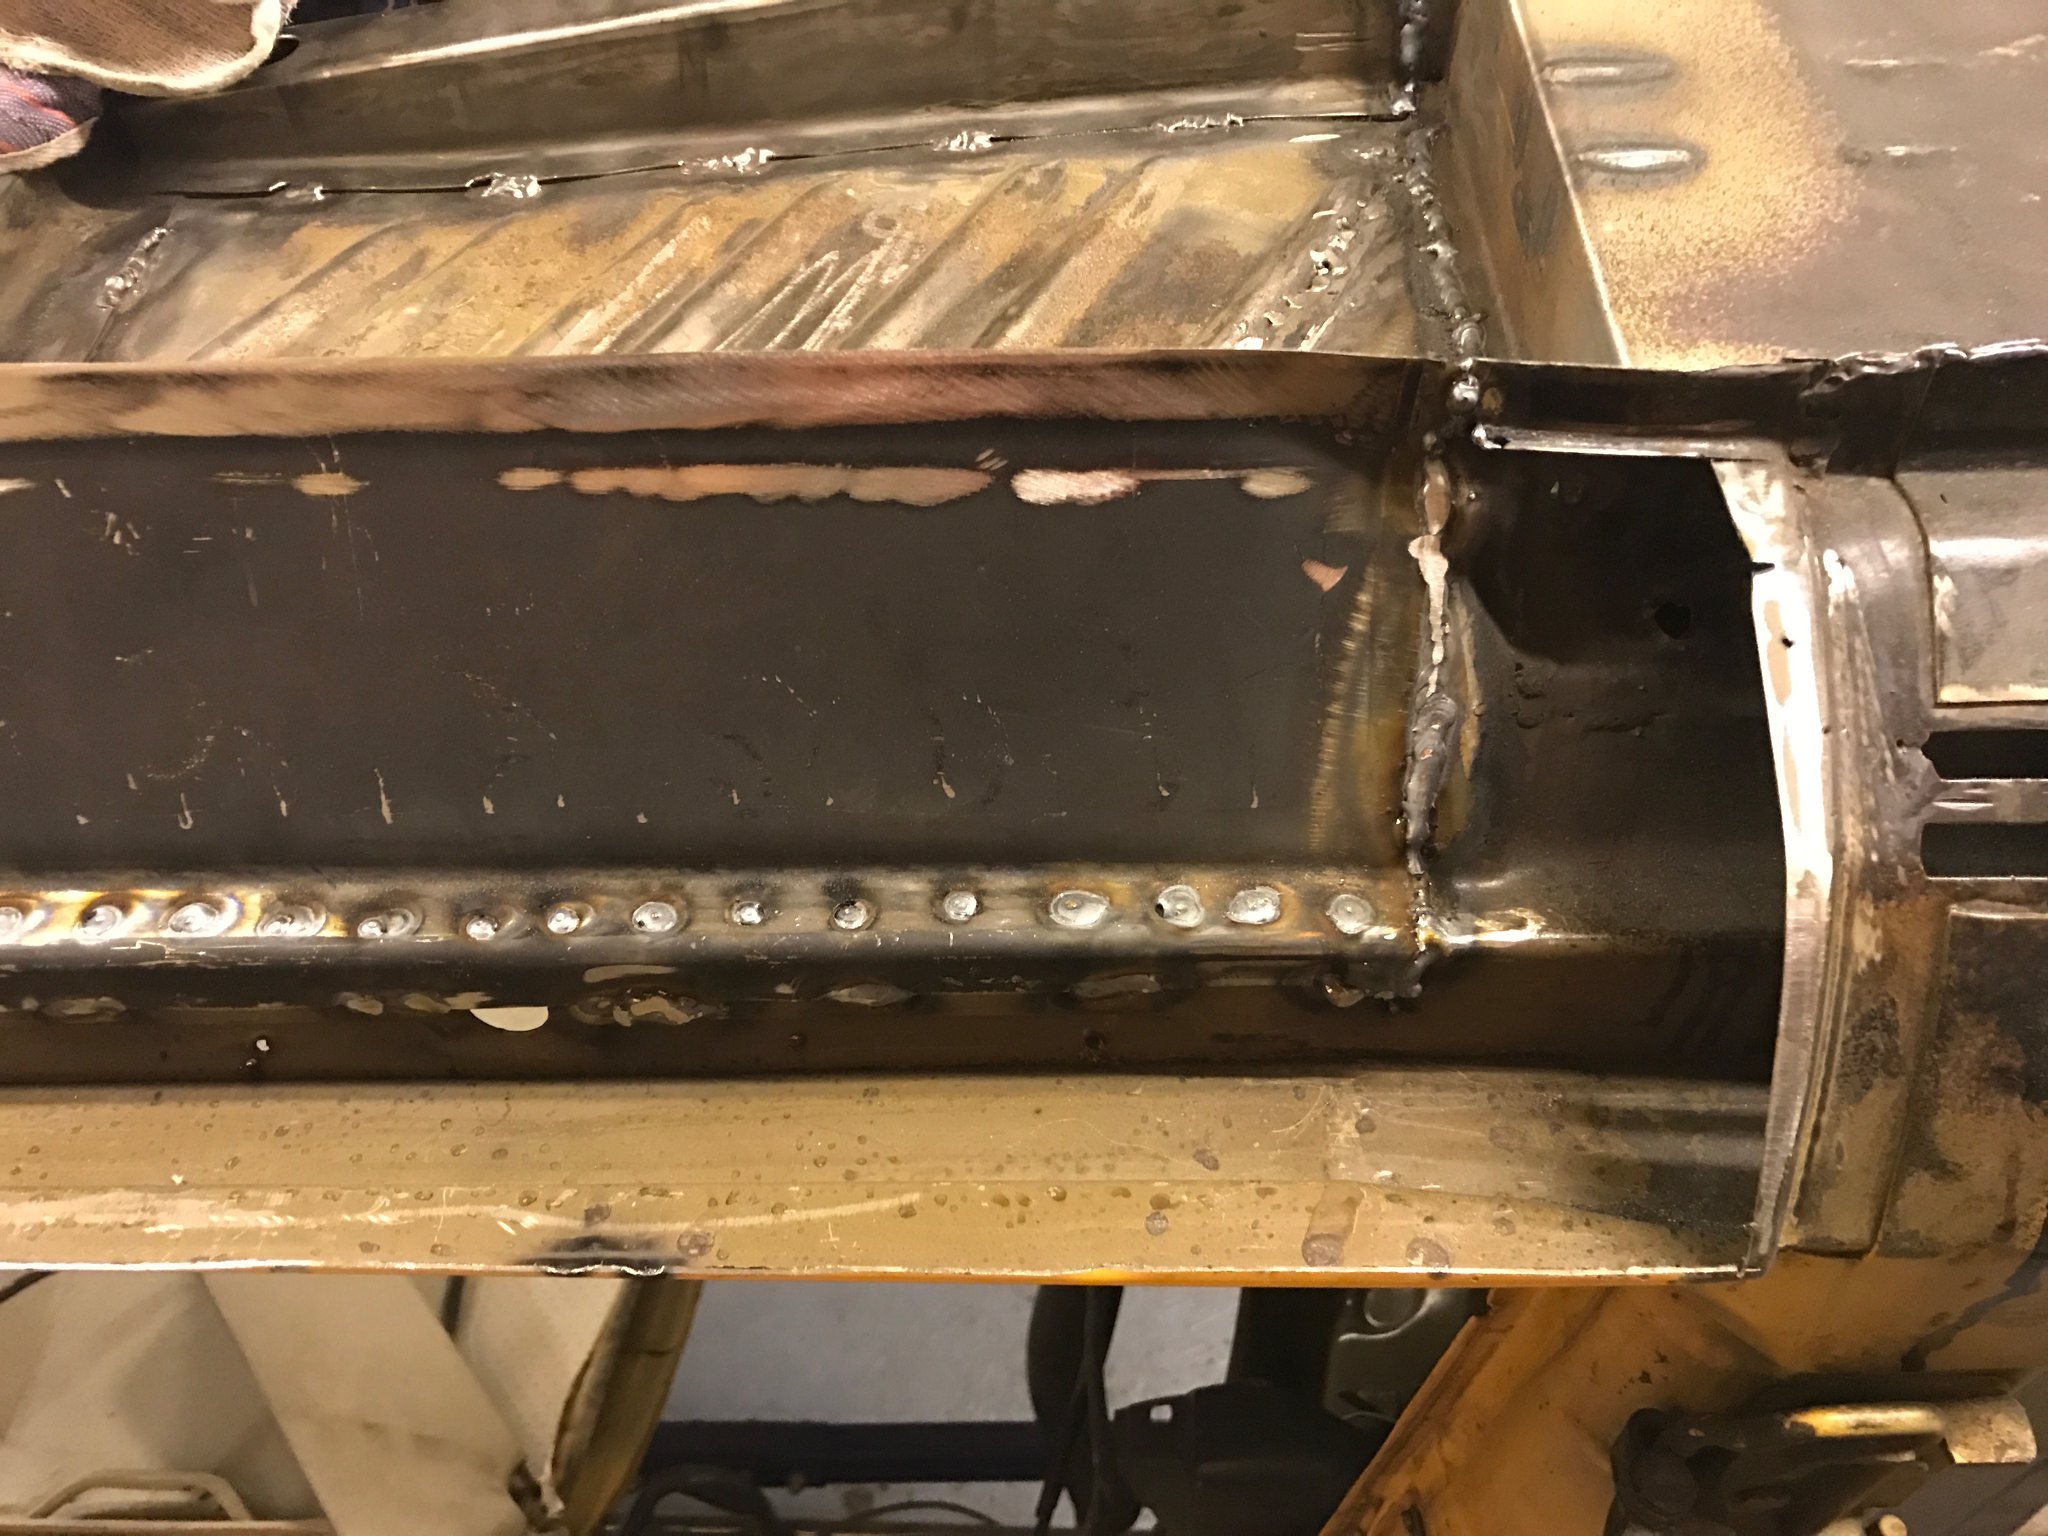 Untitled Untitled by Nevtiger, on Flickr 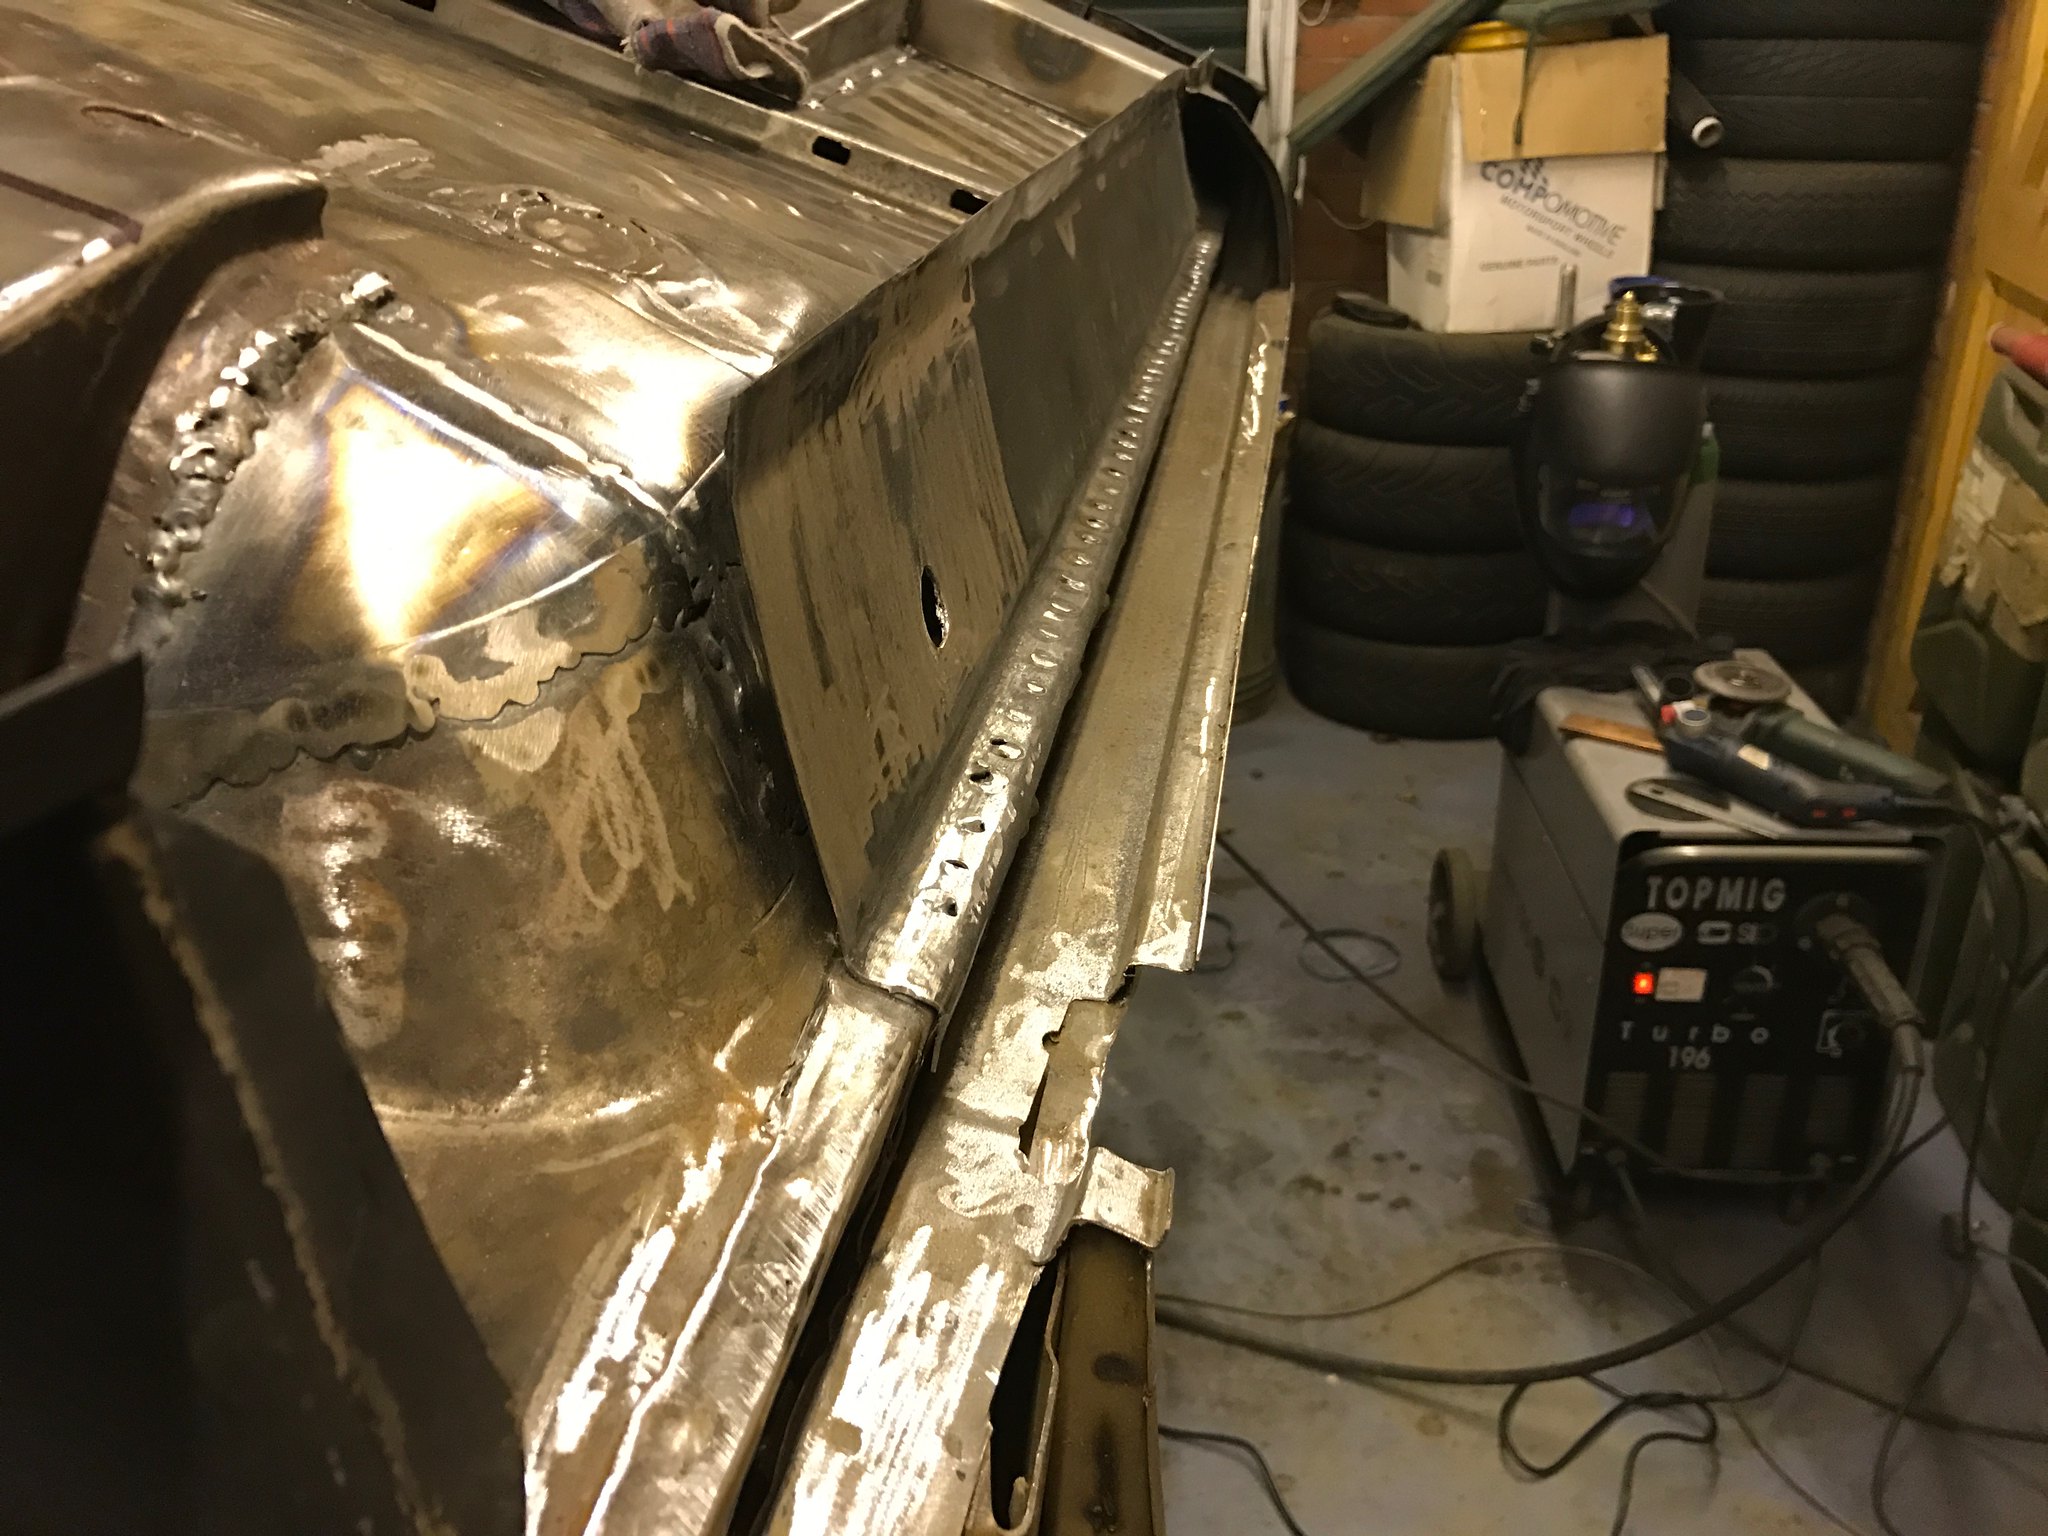 Untitled Untitled by Nevtiger, on Flickr With the first bit of the inner sill done i looked at the rear jacking point portion. This is a bit more complicated as the body is not parallel to the floor and goes up at an angle - i cheated and just welded the inner sill onto the body and will add a piece to the top edge later to take into account the drop away. Both the inner sill and the rear jacking point were purchased from the internet and both are close but not enough to fit and forget. Both have been simplified for manufacture. The inner sill lacks the correct holes and bends for the seat belt mount and drain holes. The jacking point needed all of its 'Contact points' re making to fit properly. I fitted it all with clamps etc then took it off to weld the jacking point to the inner sill before putting it back and welding it all back in: 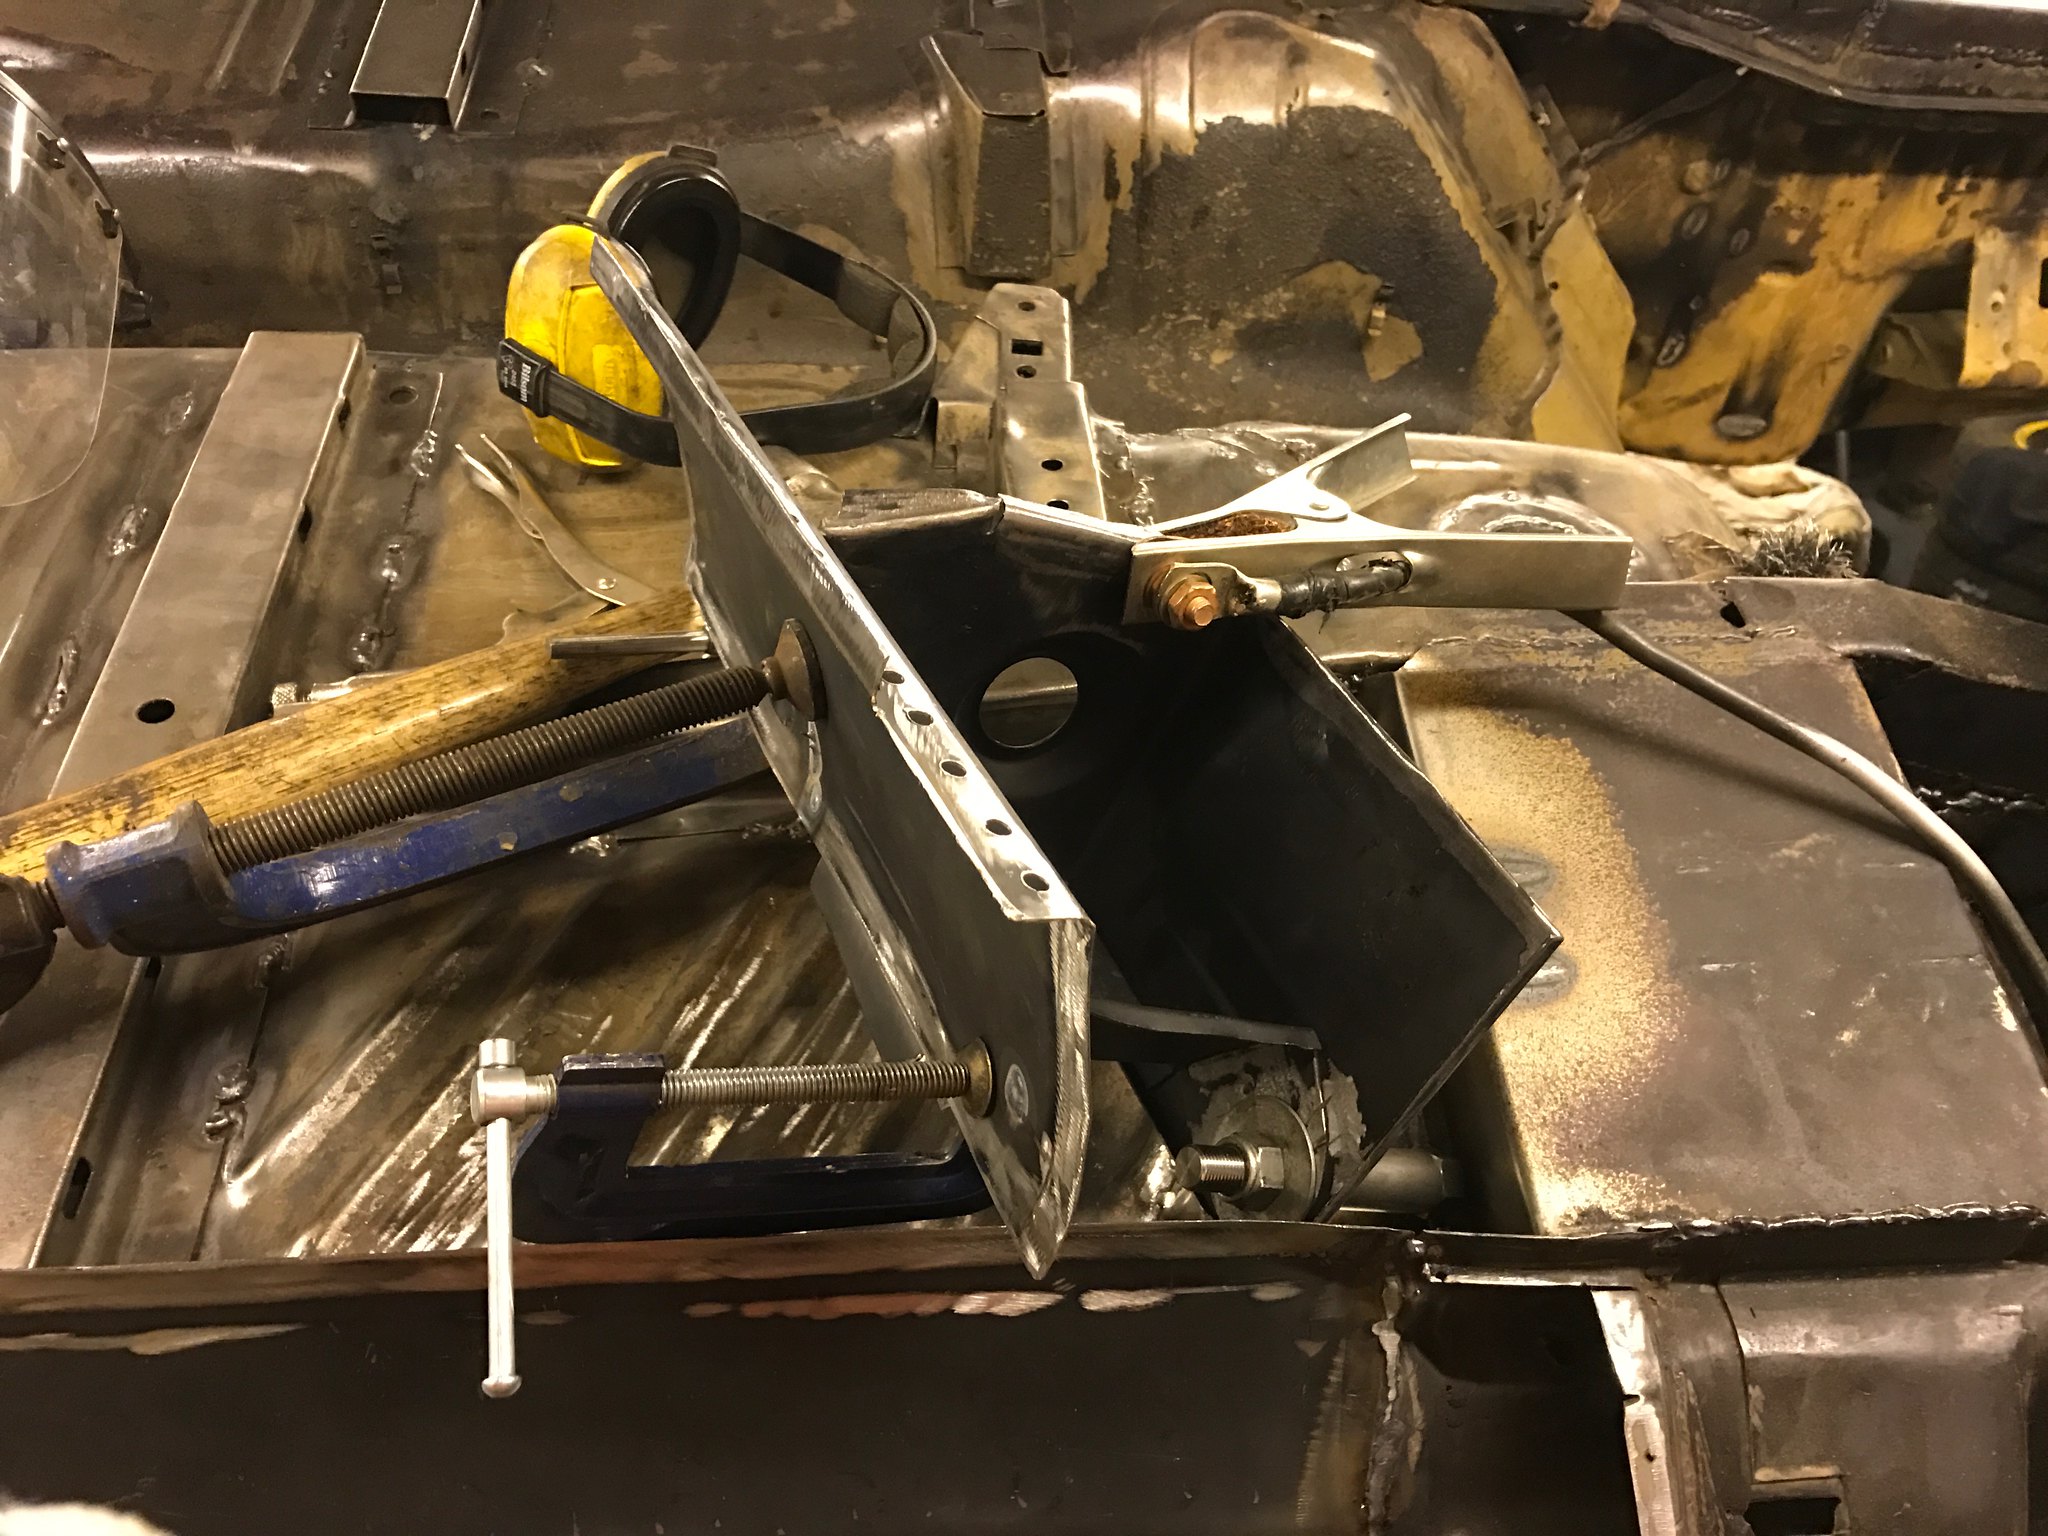 Untitled Untitled by Nevtiger, on Flickr 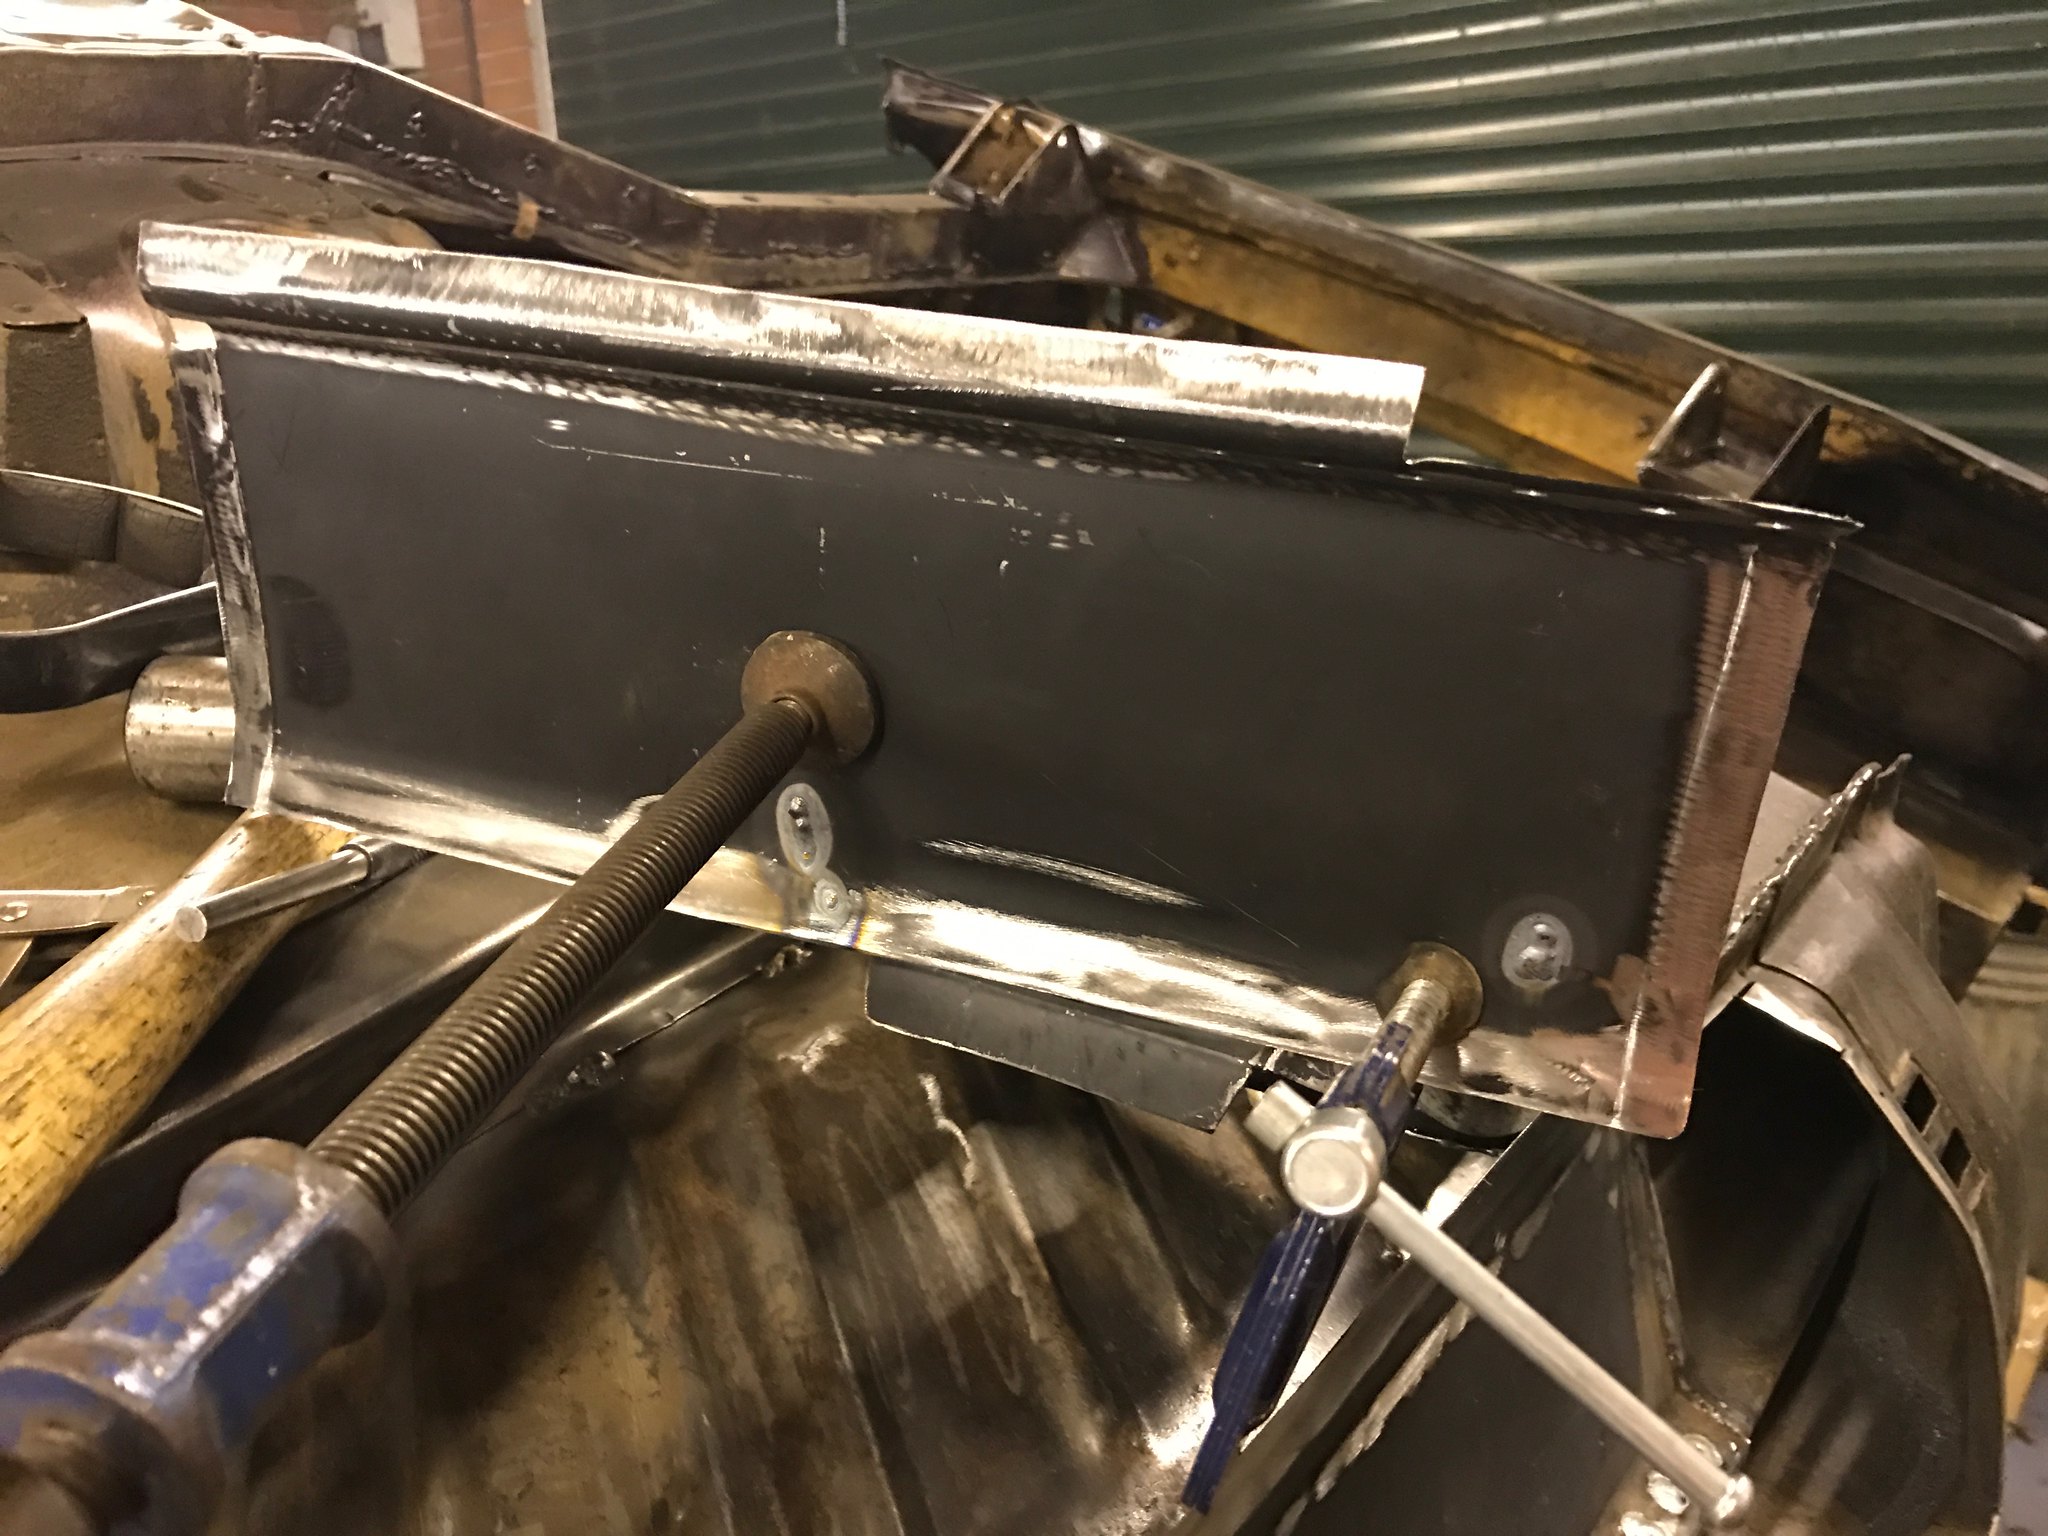 Untitled Untitled by Nevtiger, on Flickr 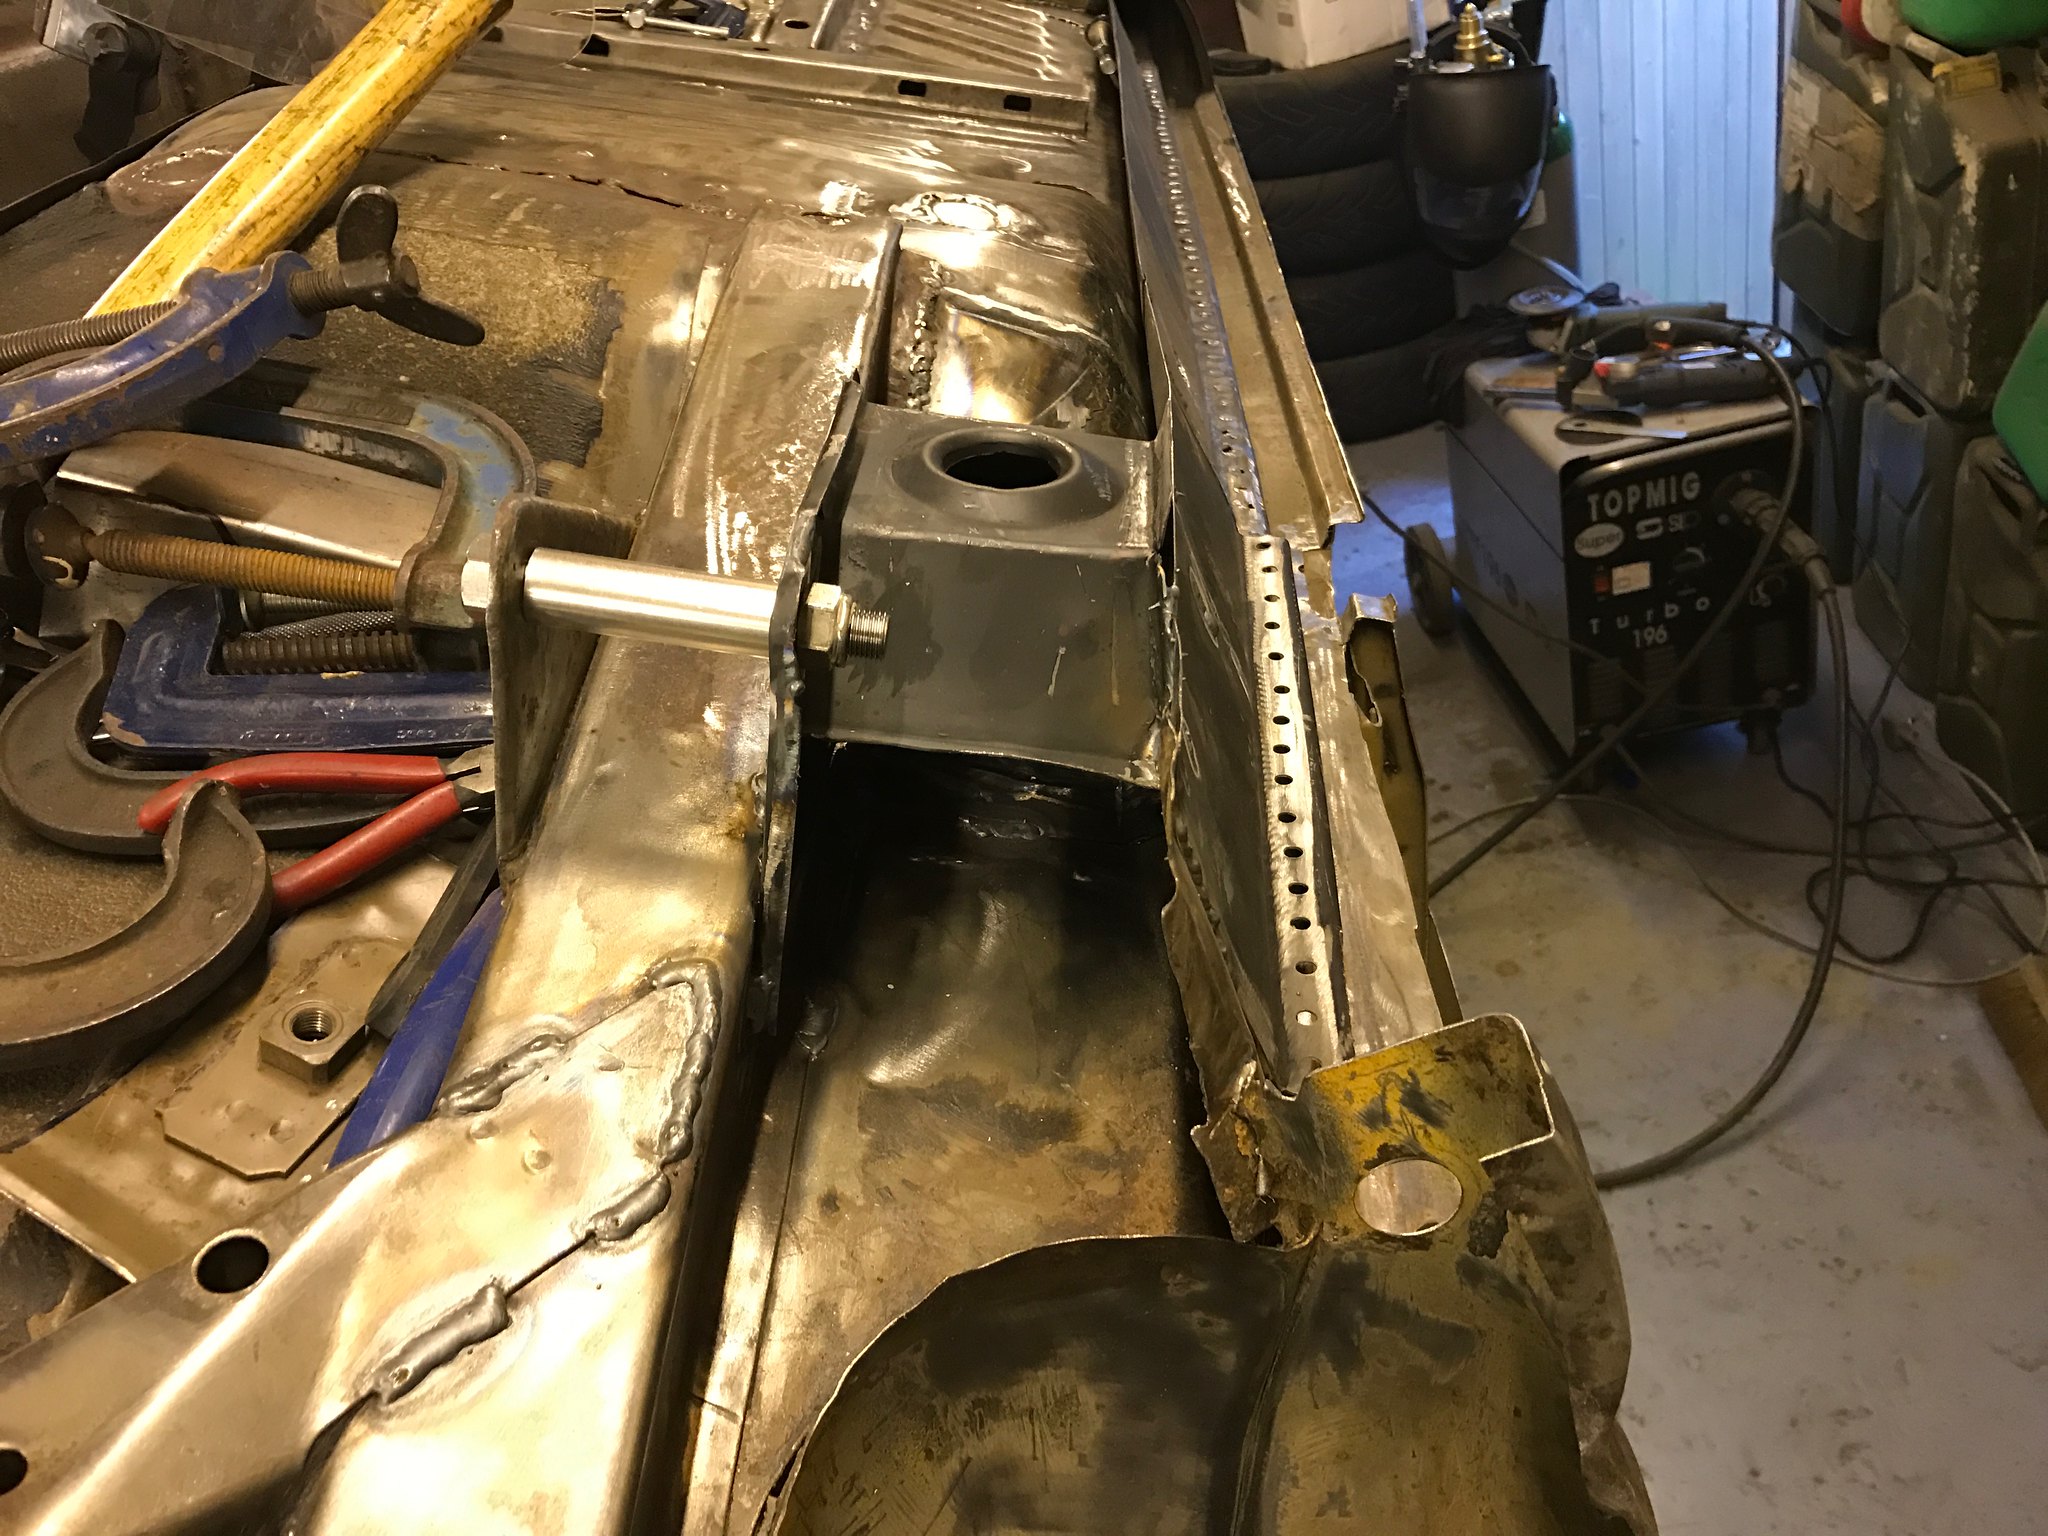 Untitled Untitled by Nevtiger, on Flickr 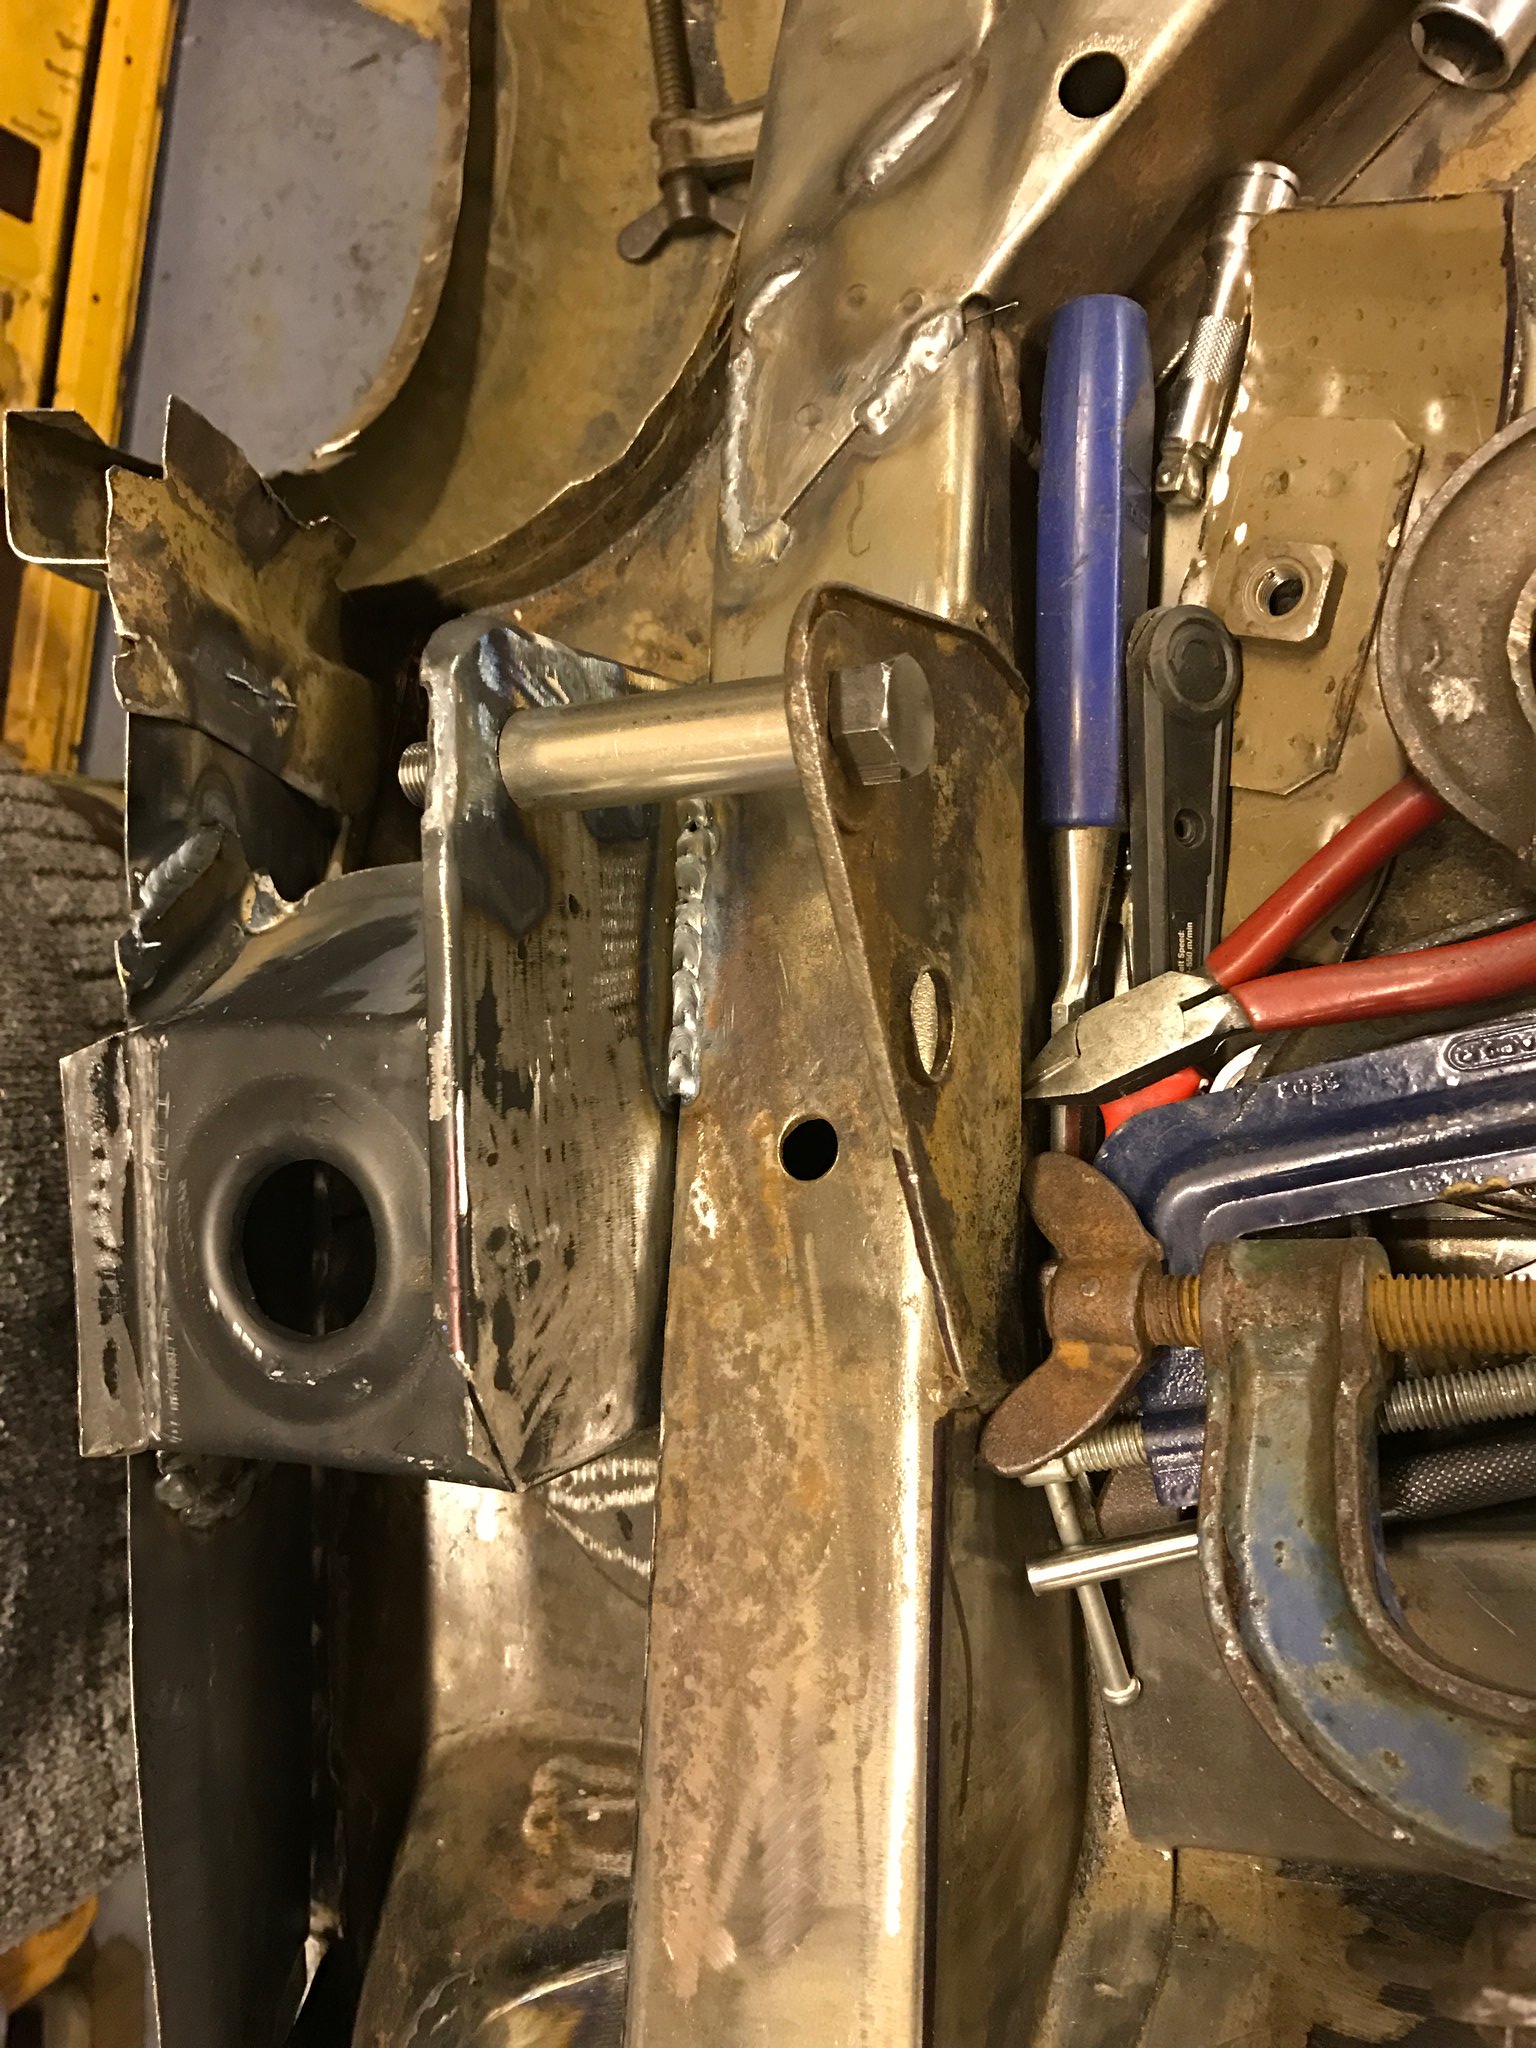 Untitled Untitled by Nevtiger, on Flickr With that bit done i wanted a break from thinking so carried on with the seam welding and adding other bits of the strengthening kit on this side of the car: 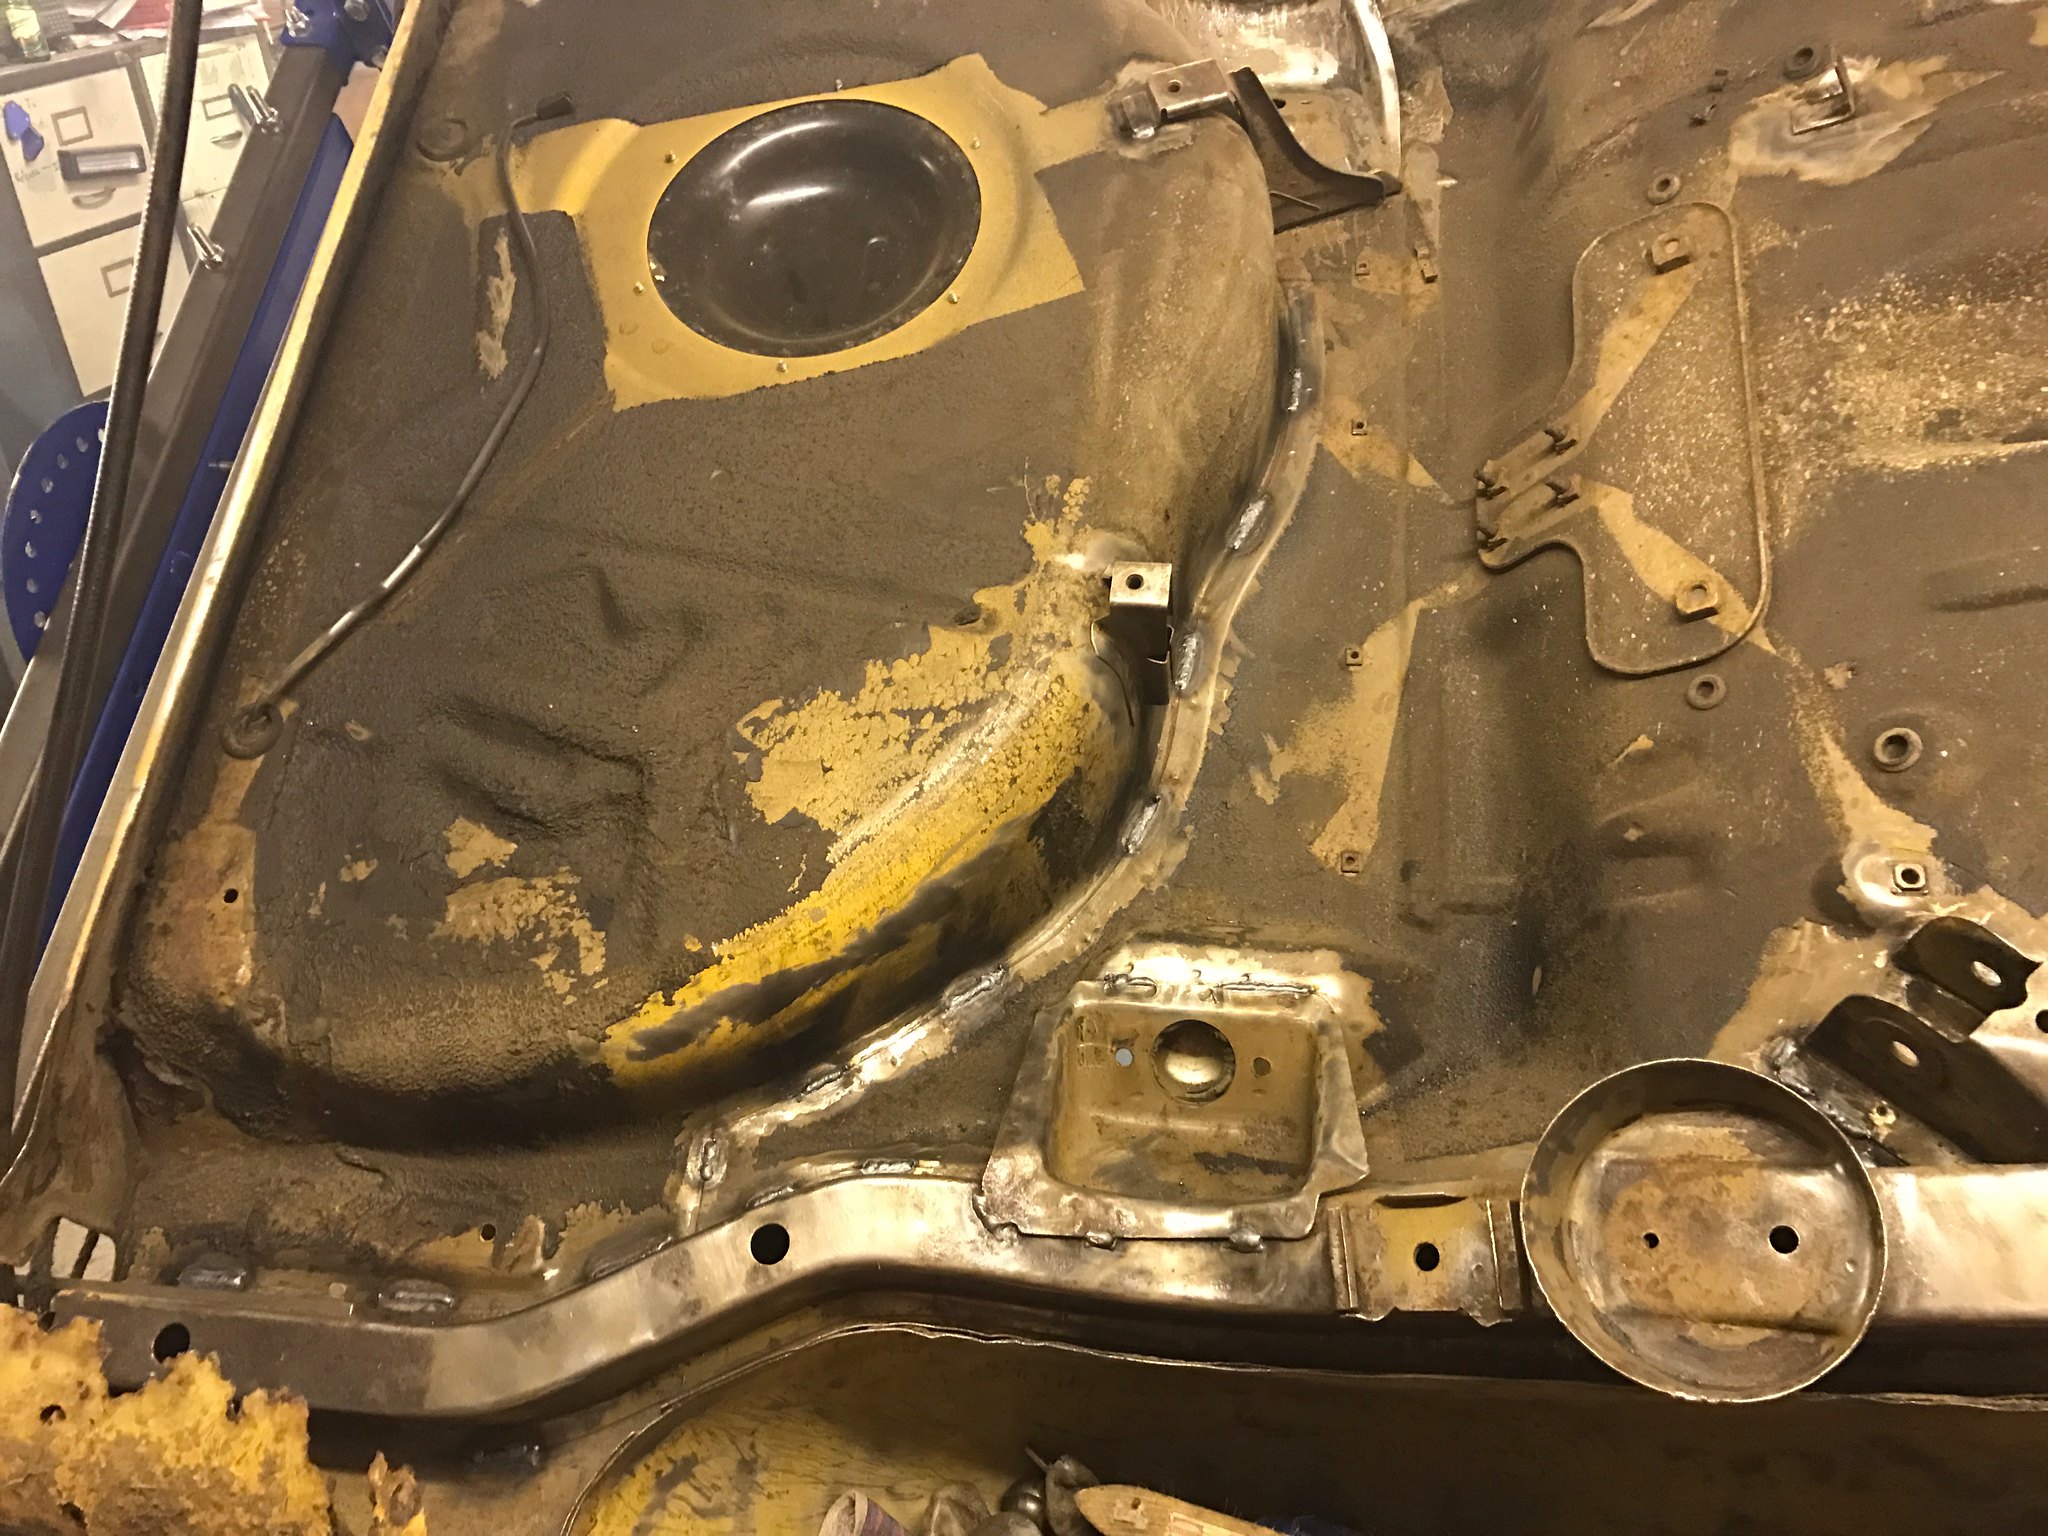 Untitled Untitled by Nevtiger, on Flickr 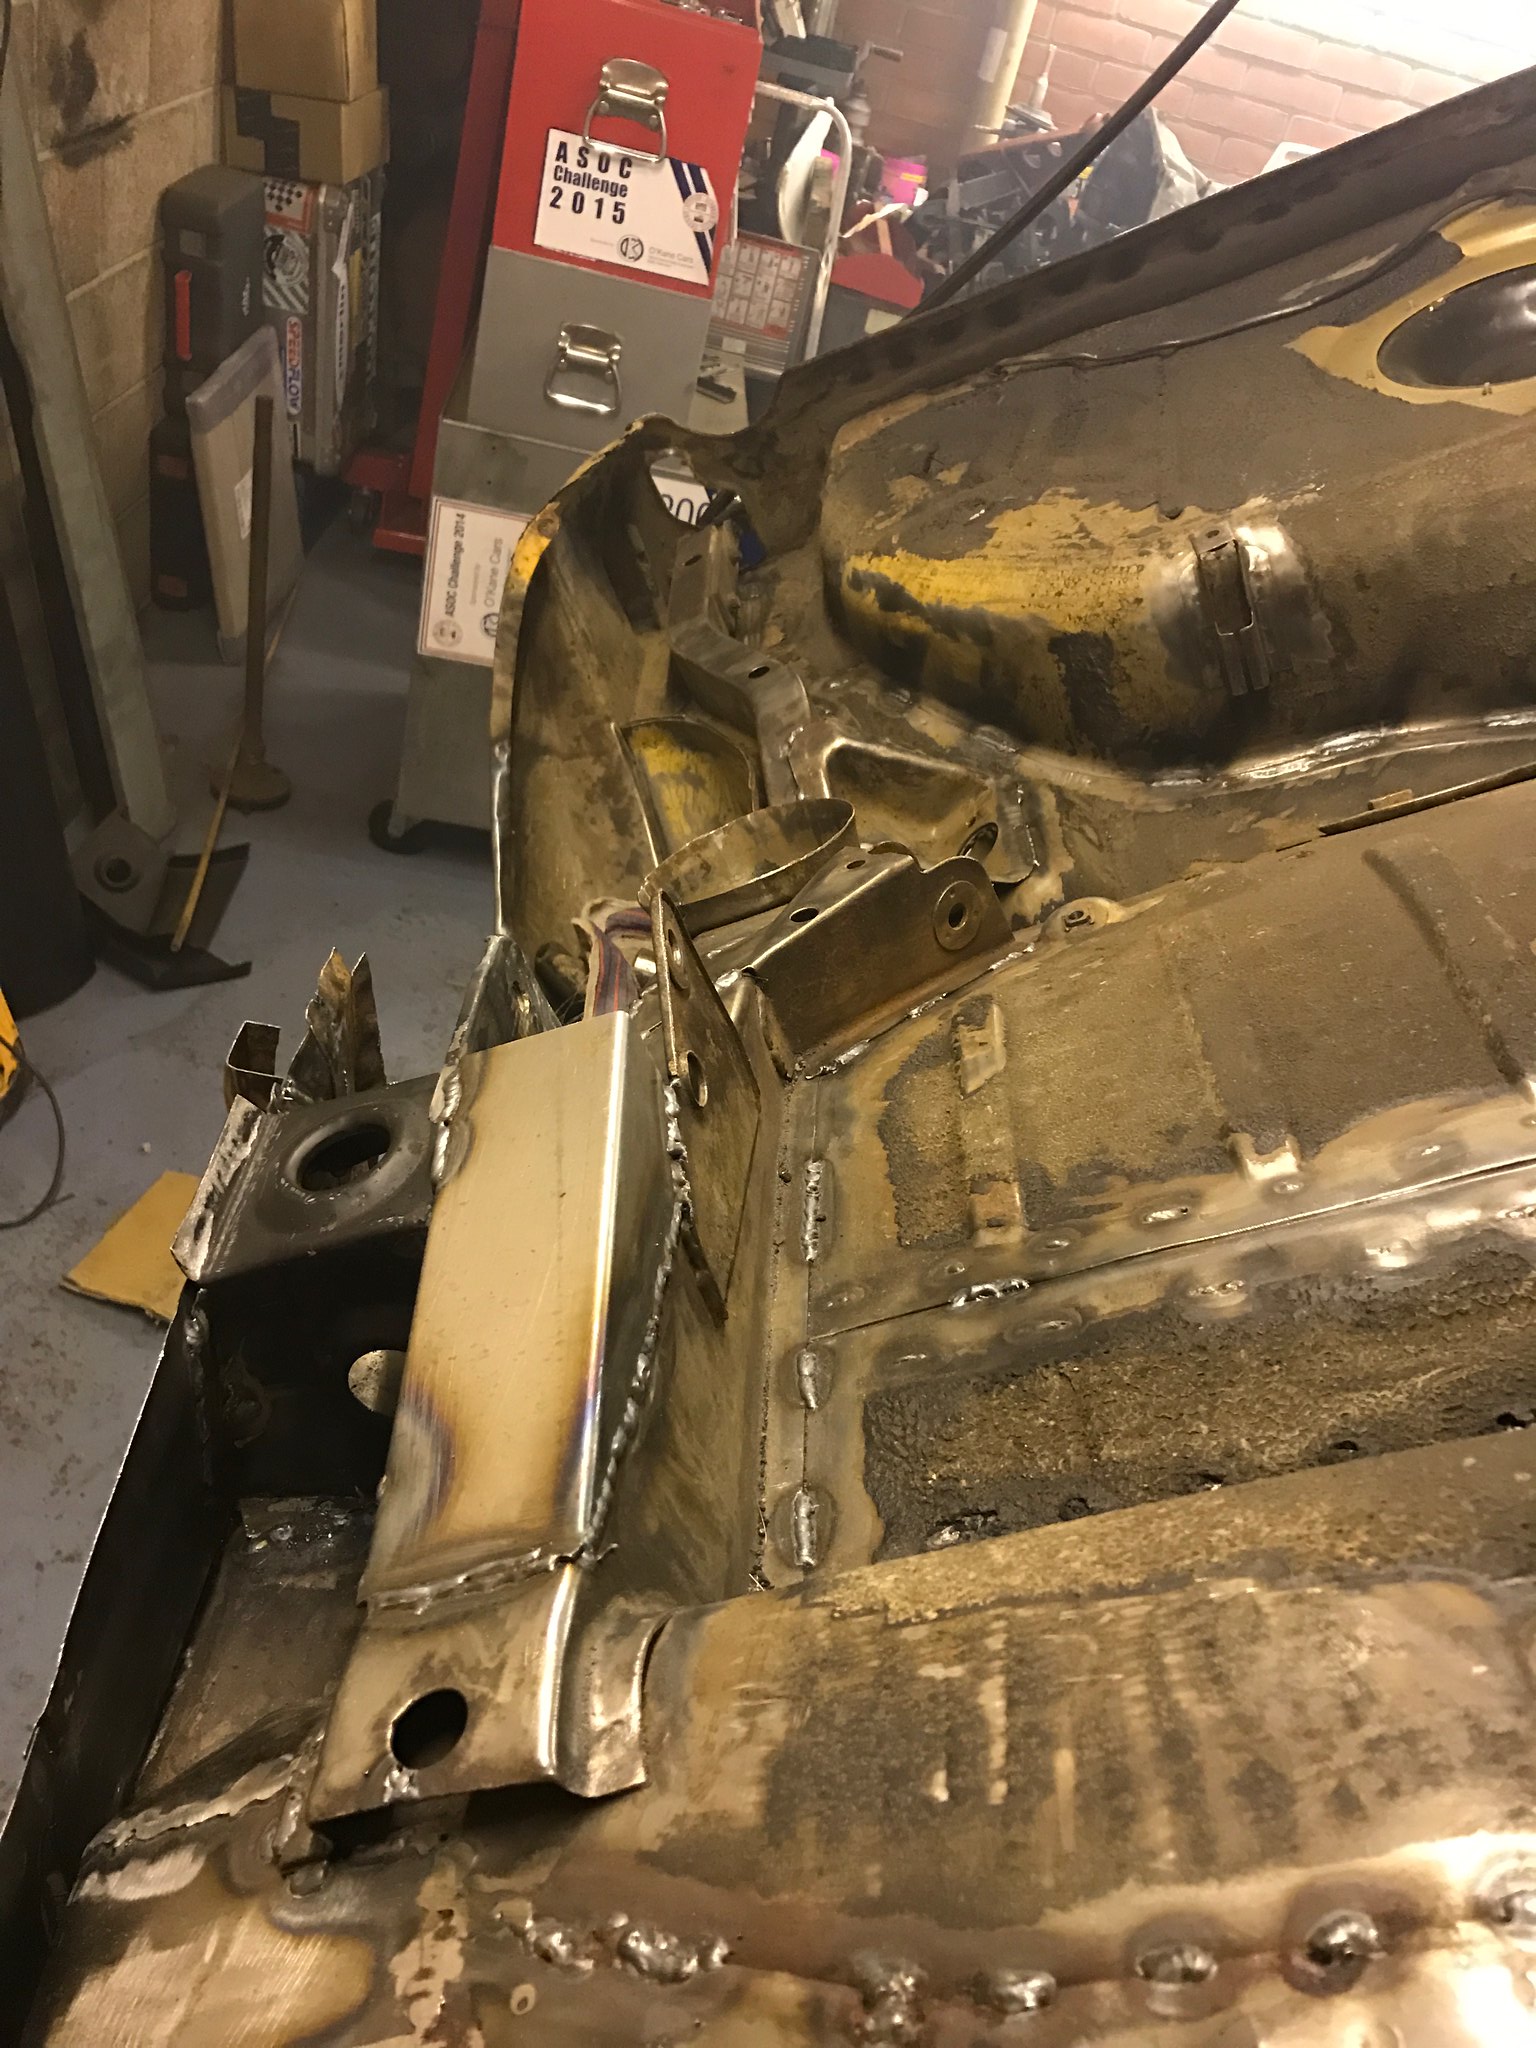 Untitled Untitled by Nevtiger, on Flickr 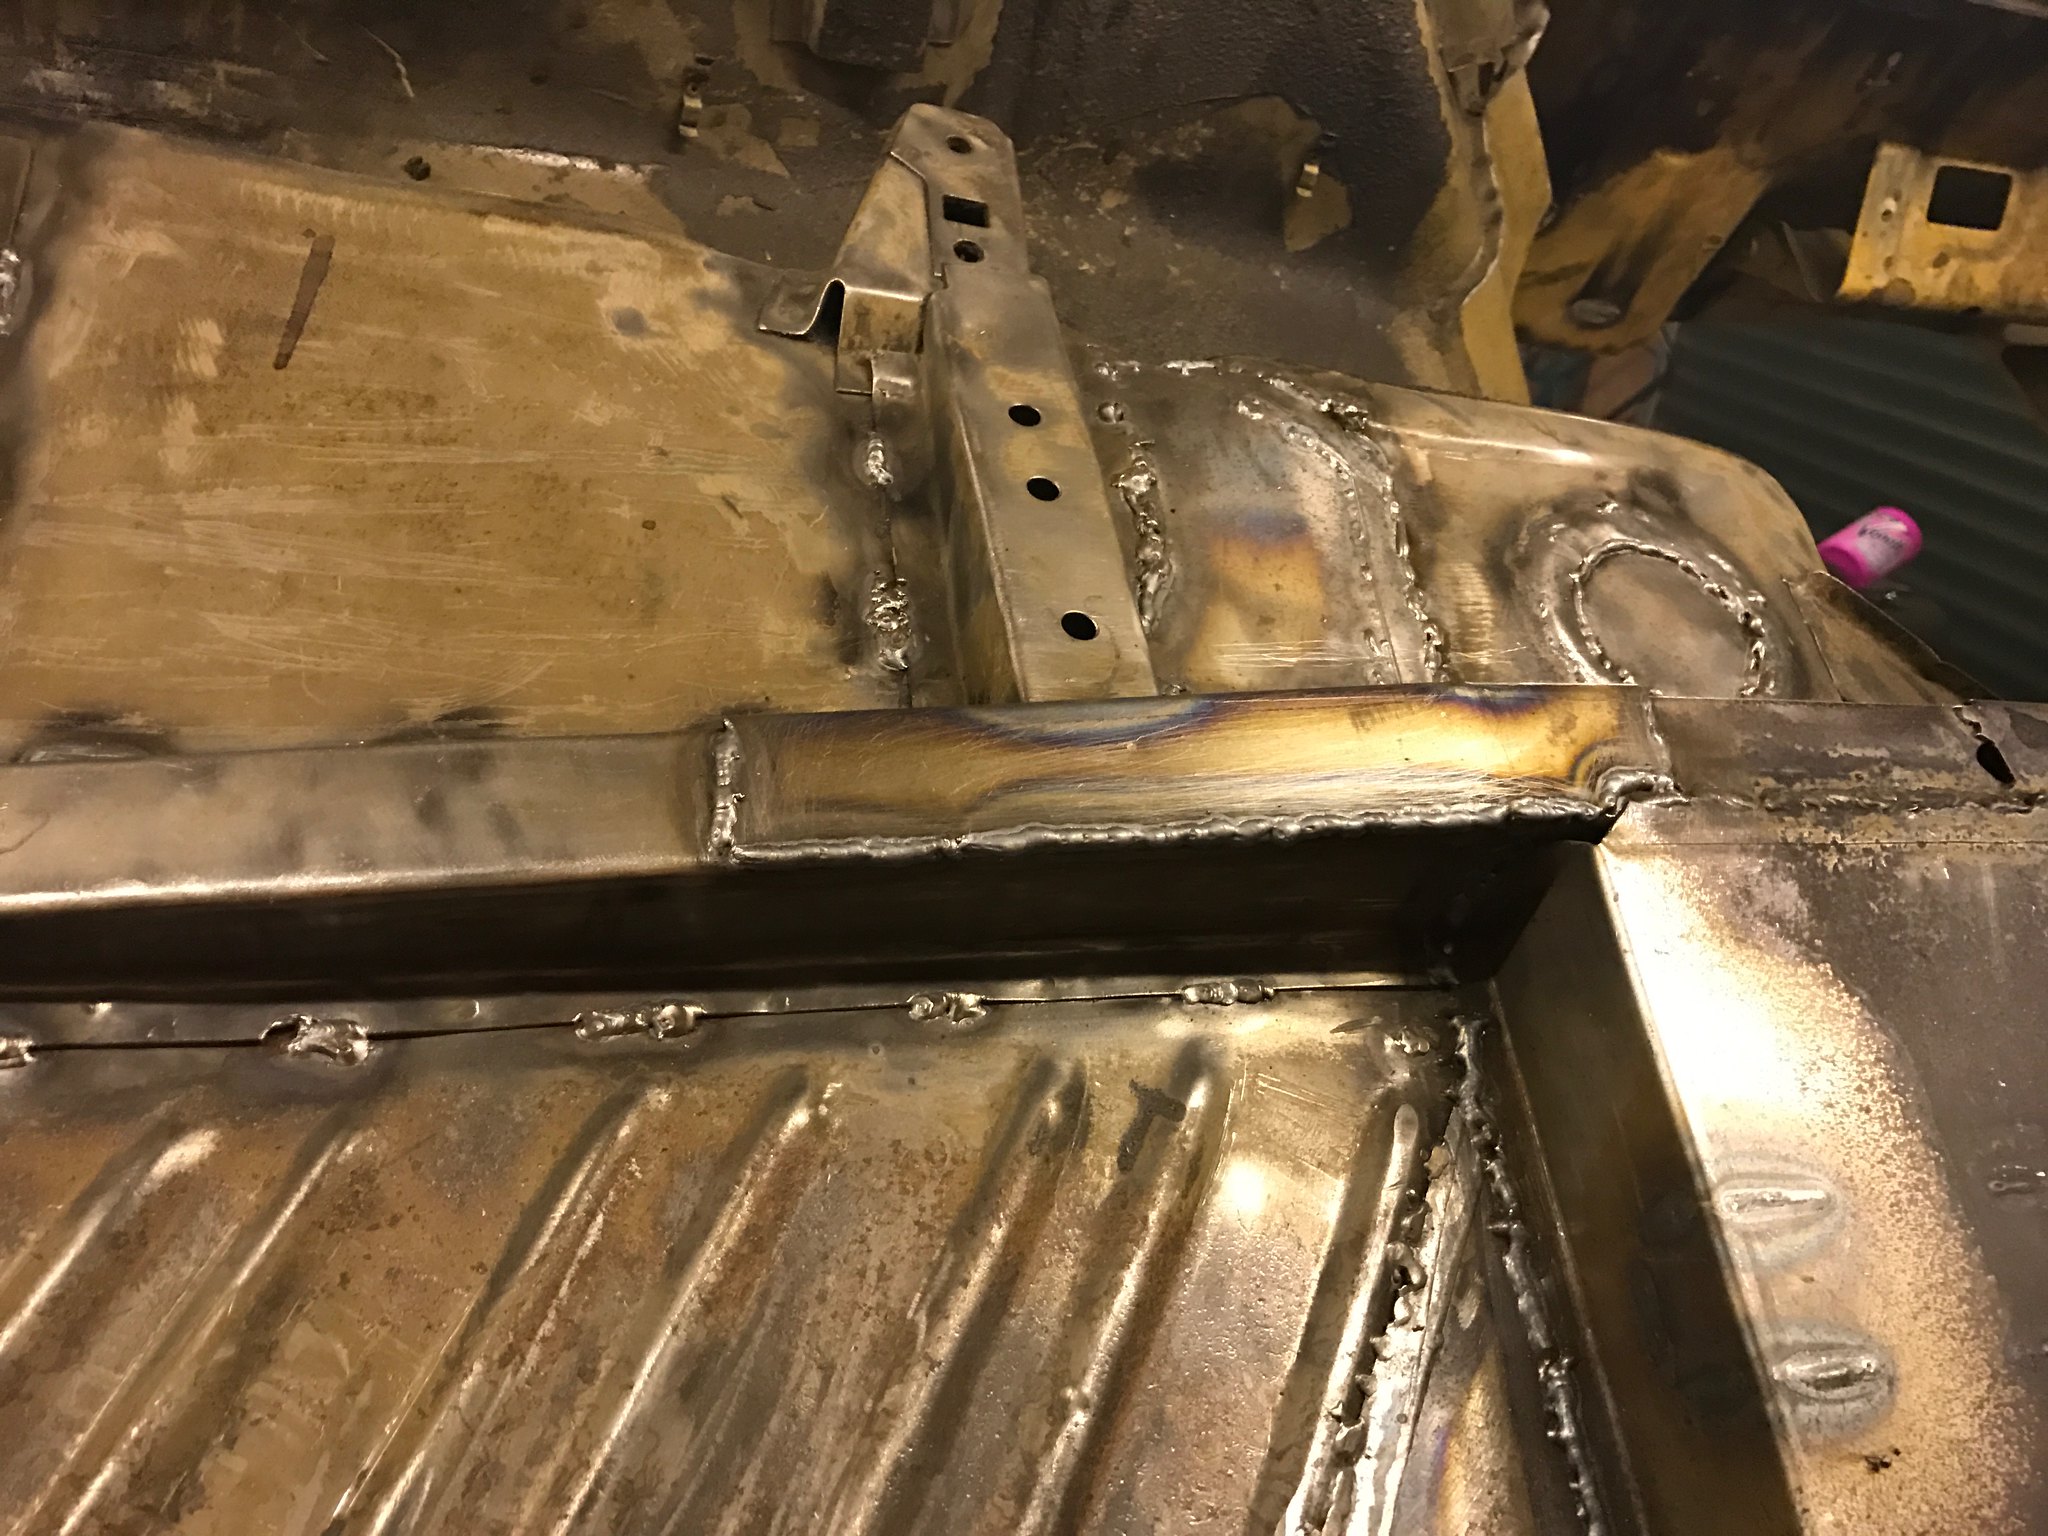 Untitled Untitled by Nevtiger, on Flickr 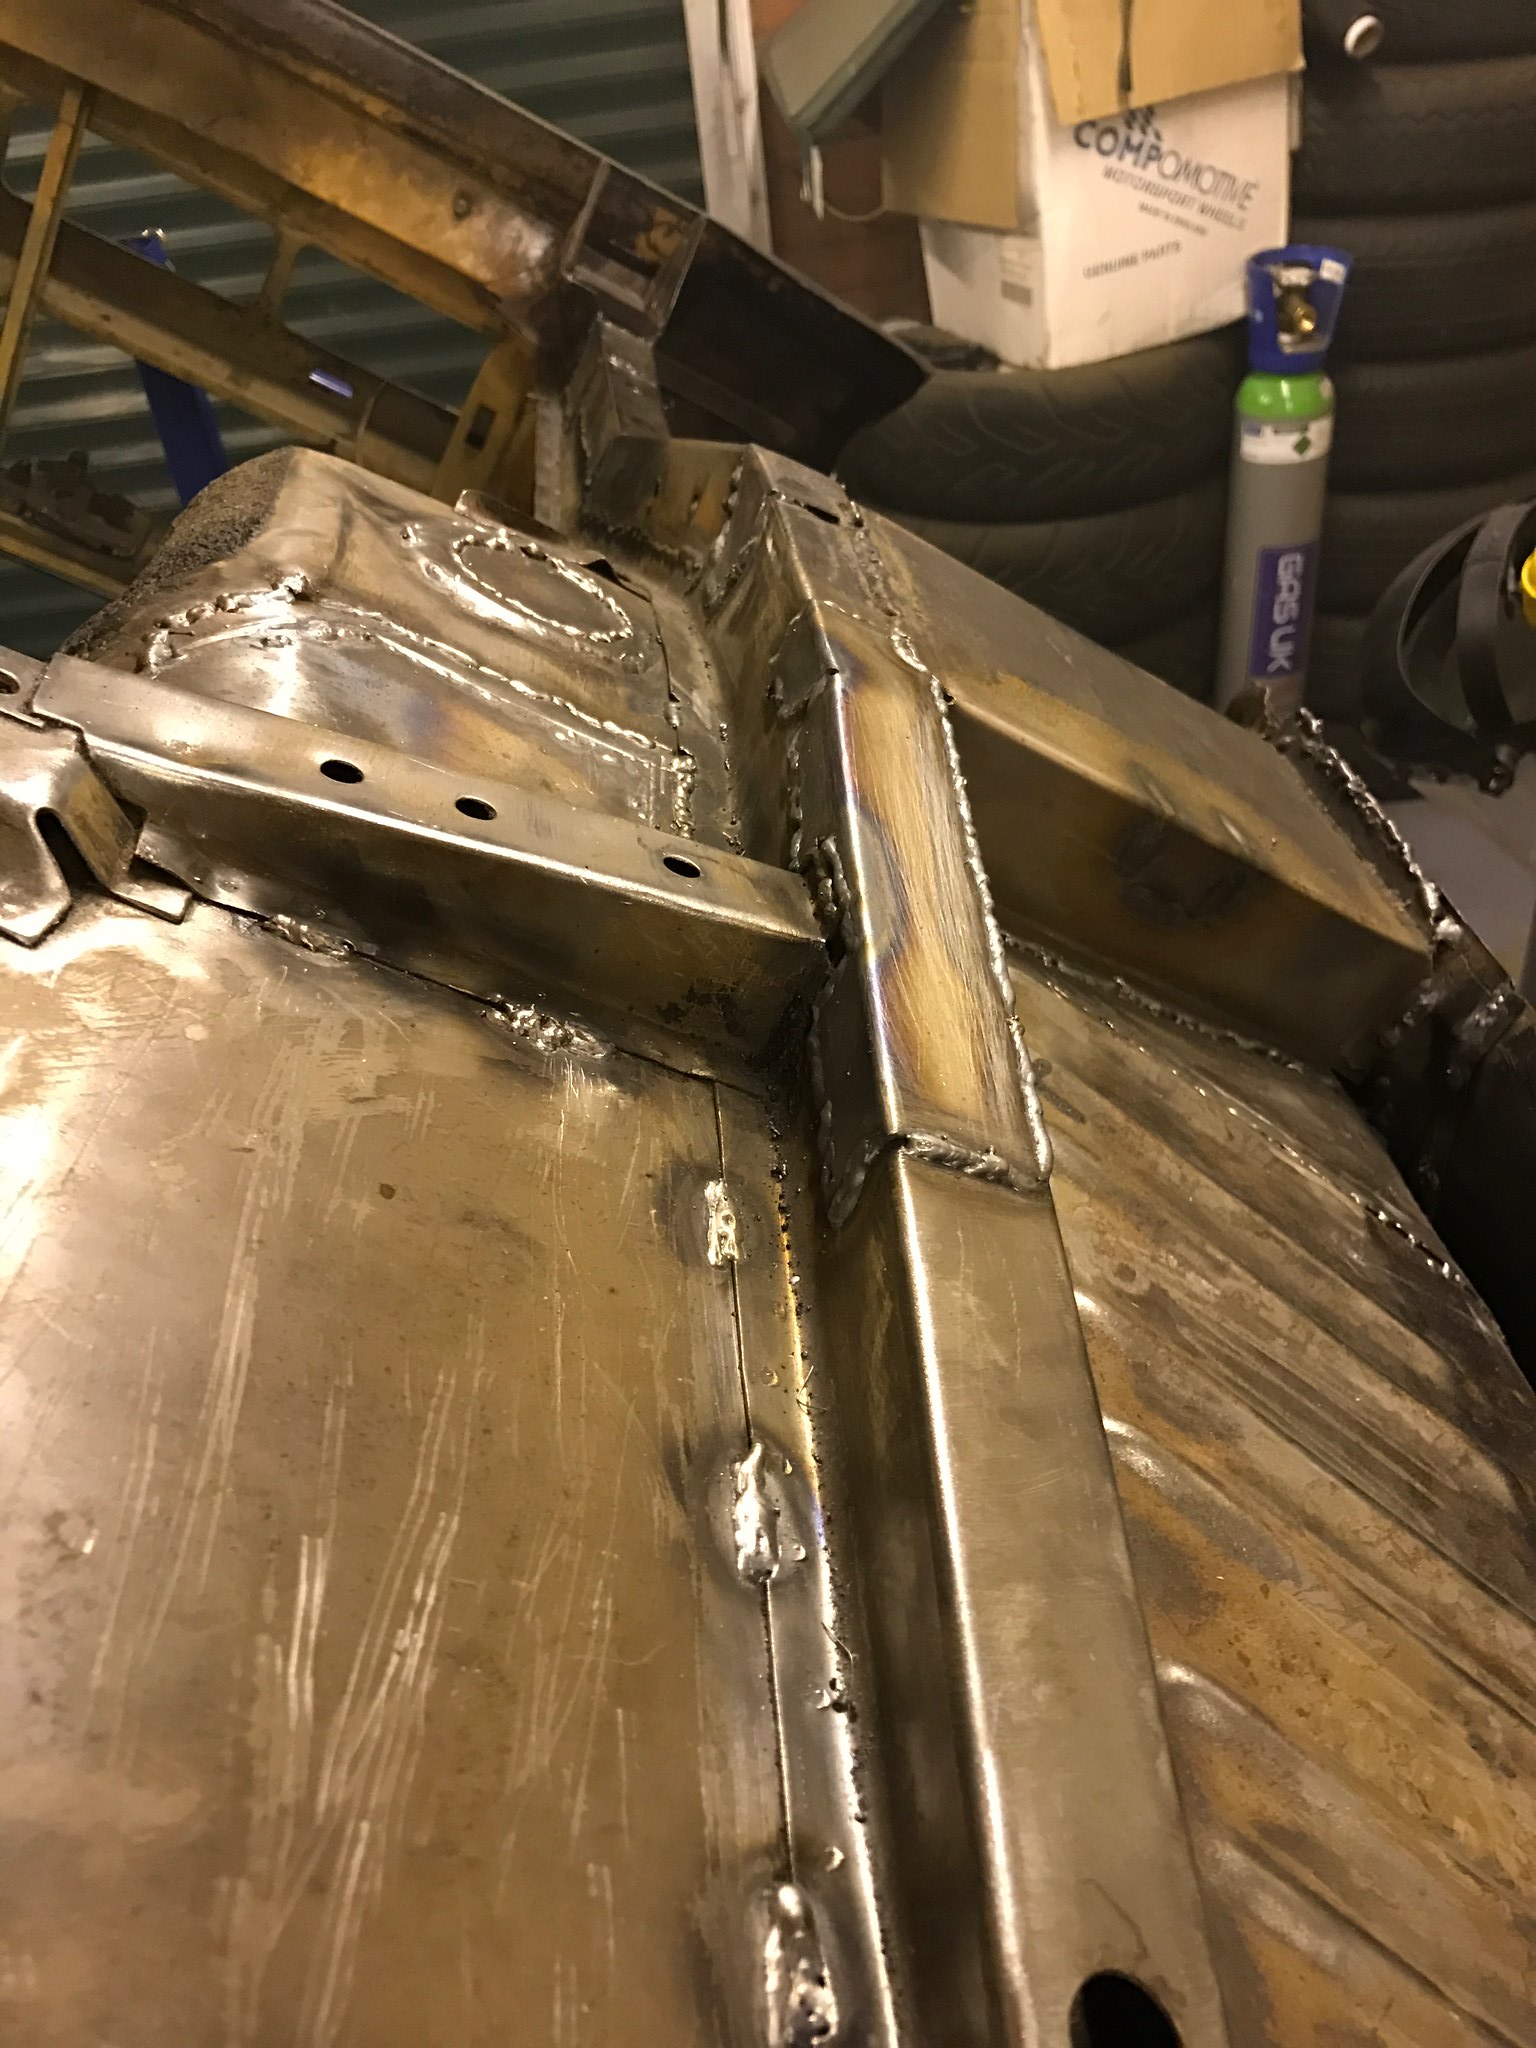 Untitled Untitled by Nevtiger, on Flickr I now need to replace the rear quarter bottom and i can then flip the car back over and finish off the outer sill and body side......... amongst other stuff!!! |
| |
Last Edit: Apr 2, 2019 8:36:10 GMT by nevtiger
|
|
|
|
|
|
|
On with the hole replacement programme. The old outer sill was a bit many in random places so before i put the new one on there is some holes to fill in: 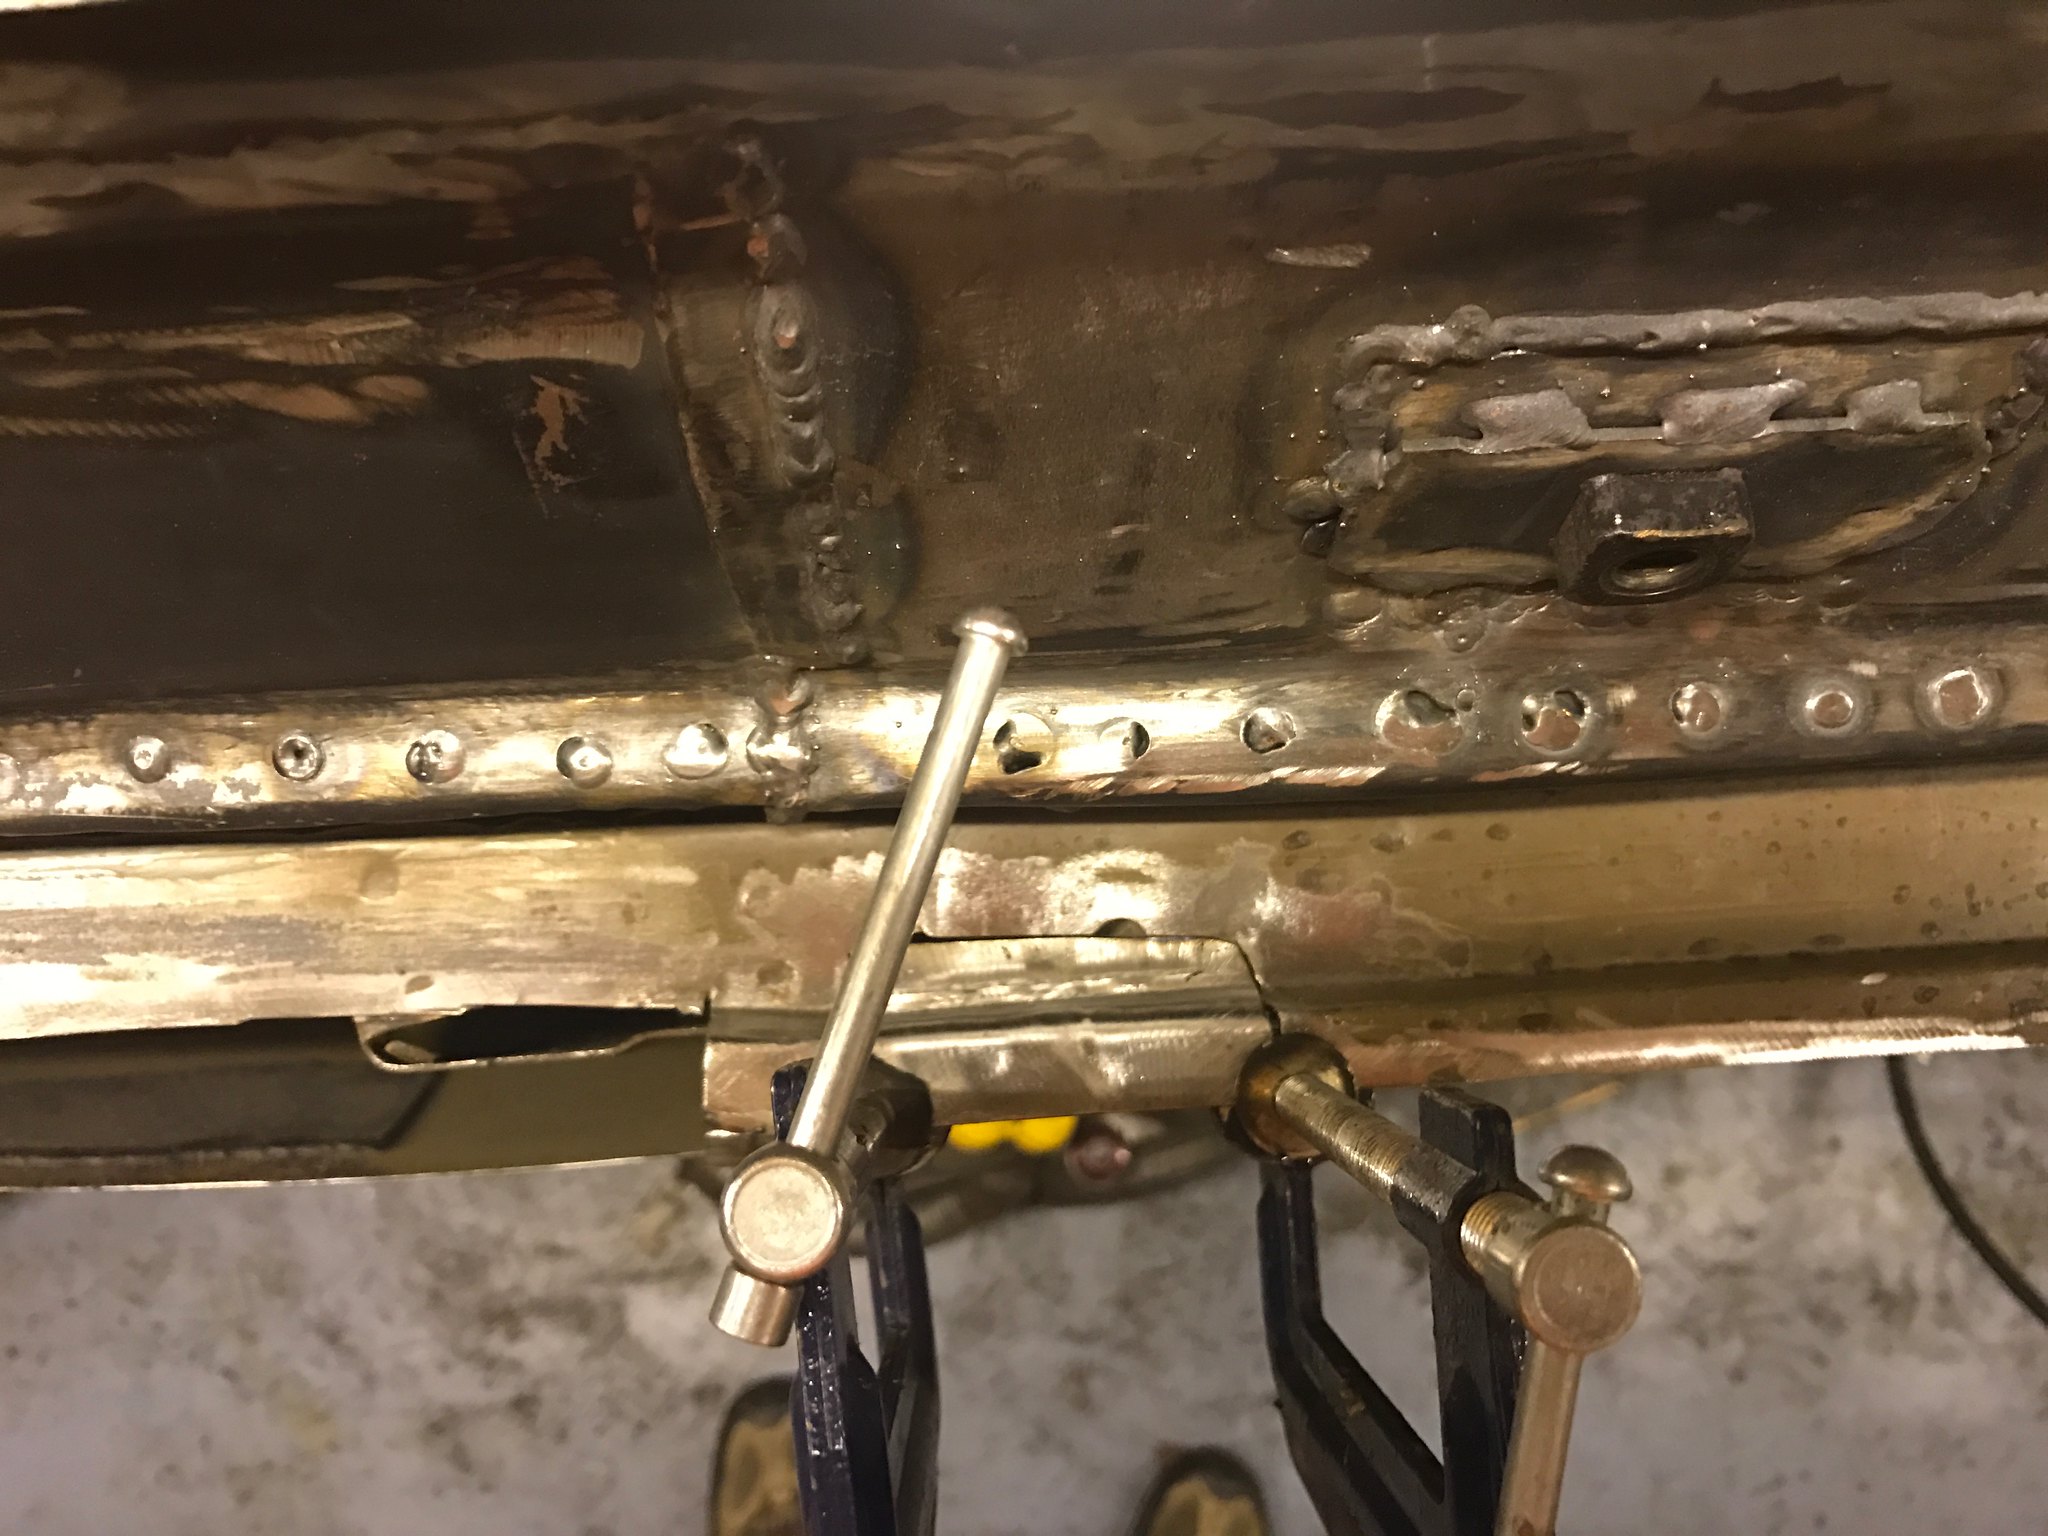 Untitled Untitled by Nevtiger, on Flickr Note the copper to act as a heat sink!! 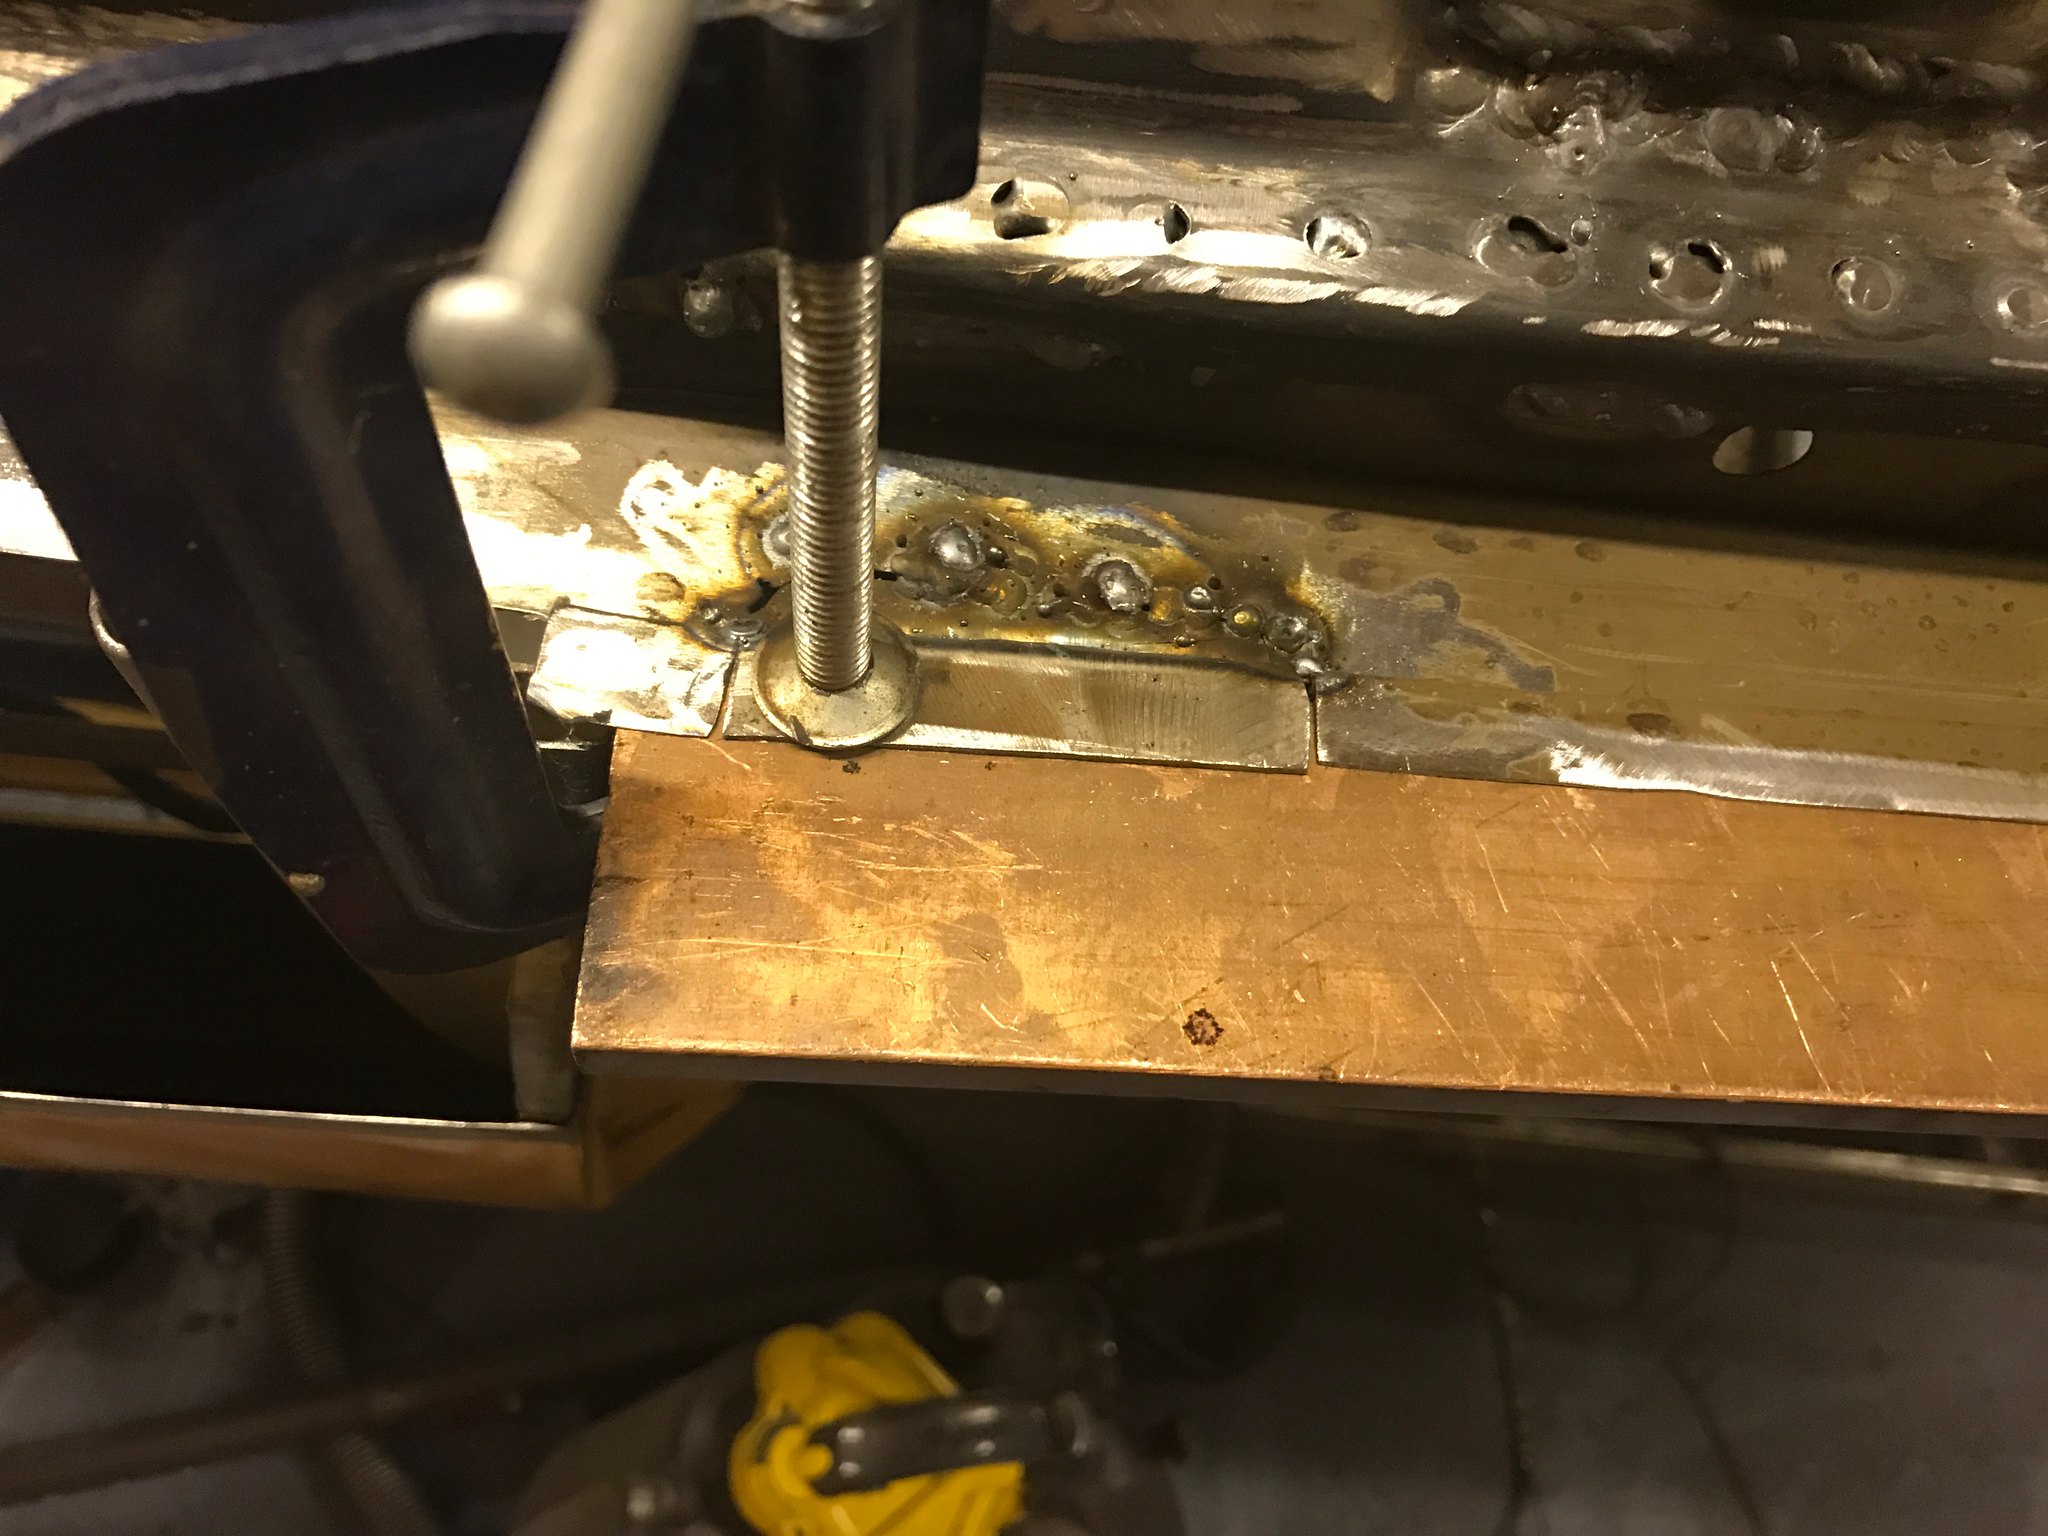 Untitled Untitled by Nevtiger, on Flickr This bit is quite complicated to get right. The repair outer panel is easy enough but the original outer and inner sill all join this panel at the bottom - or top of the repair panel in this photo - so i have made it so the repair panel is spot welded to the original outer/inner interface and then the new outer will then spot to this panel. Trouble is that all takes place inside the body! And to get the outer sill welded at this point it will require a slight and careful bend out and then back in when finished along the existing return. That hopefully will mean the better than original strength and no bent panels........ Any way first part done and repair panel in: 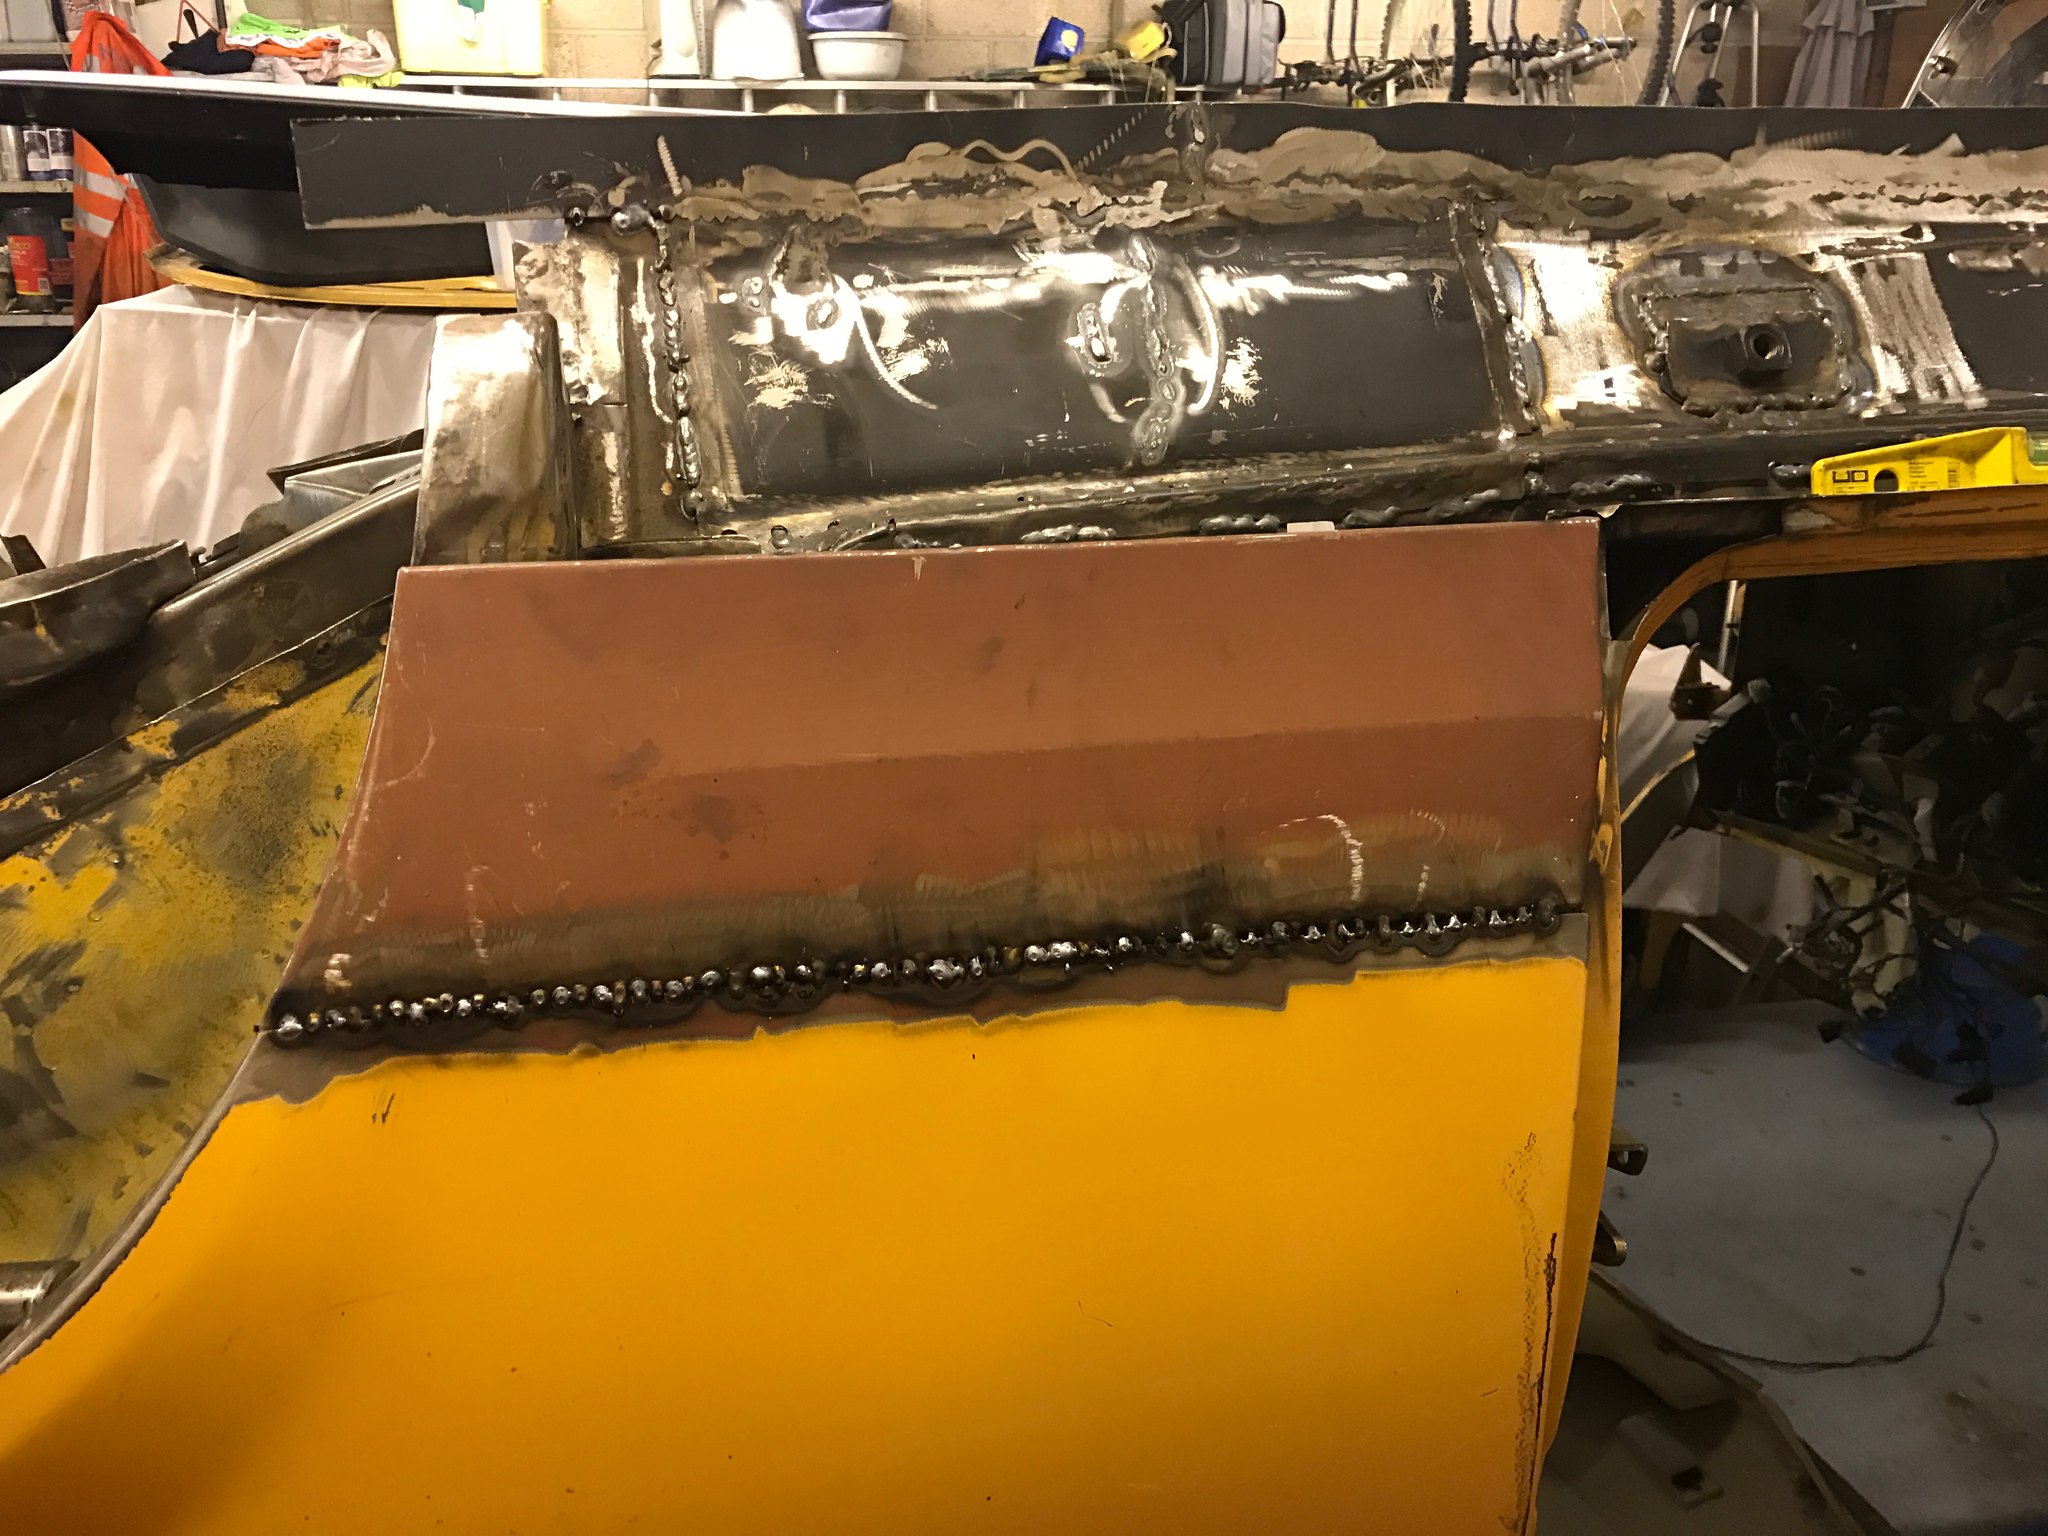 Untitled Untitled by Nevtiger, on Flickr 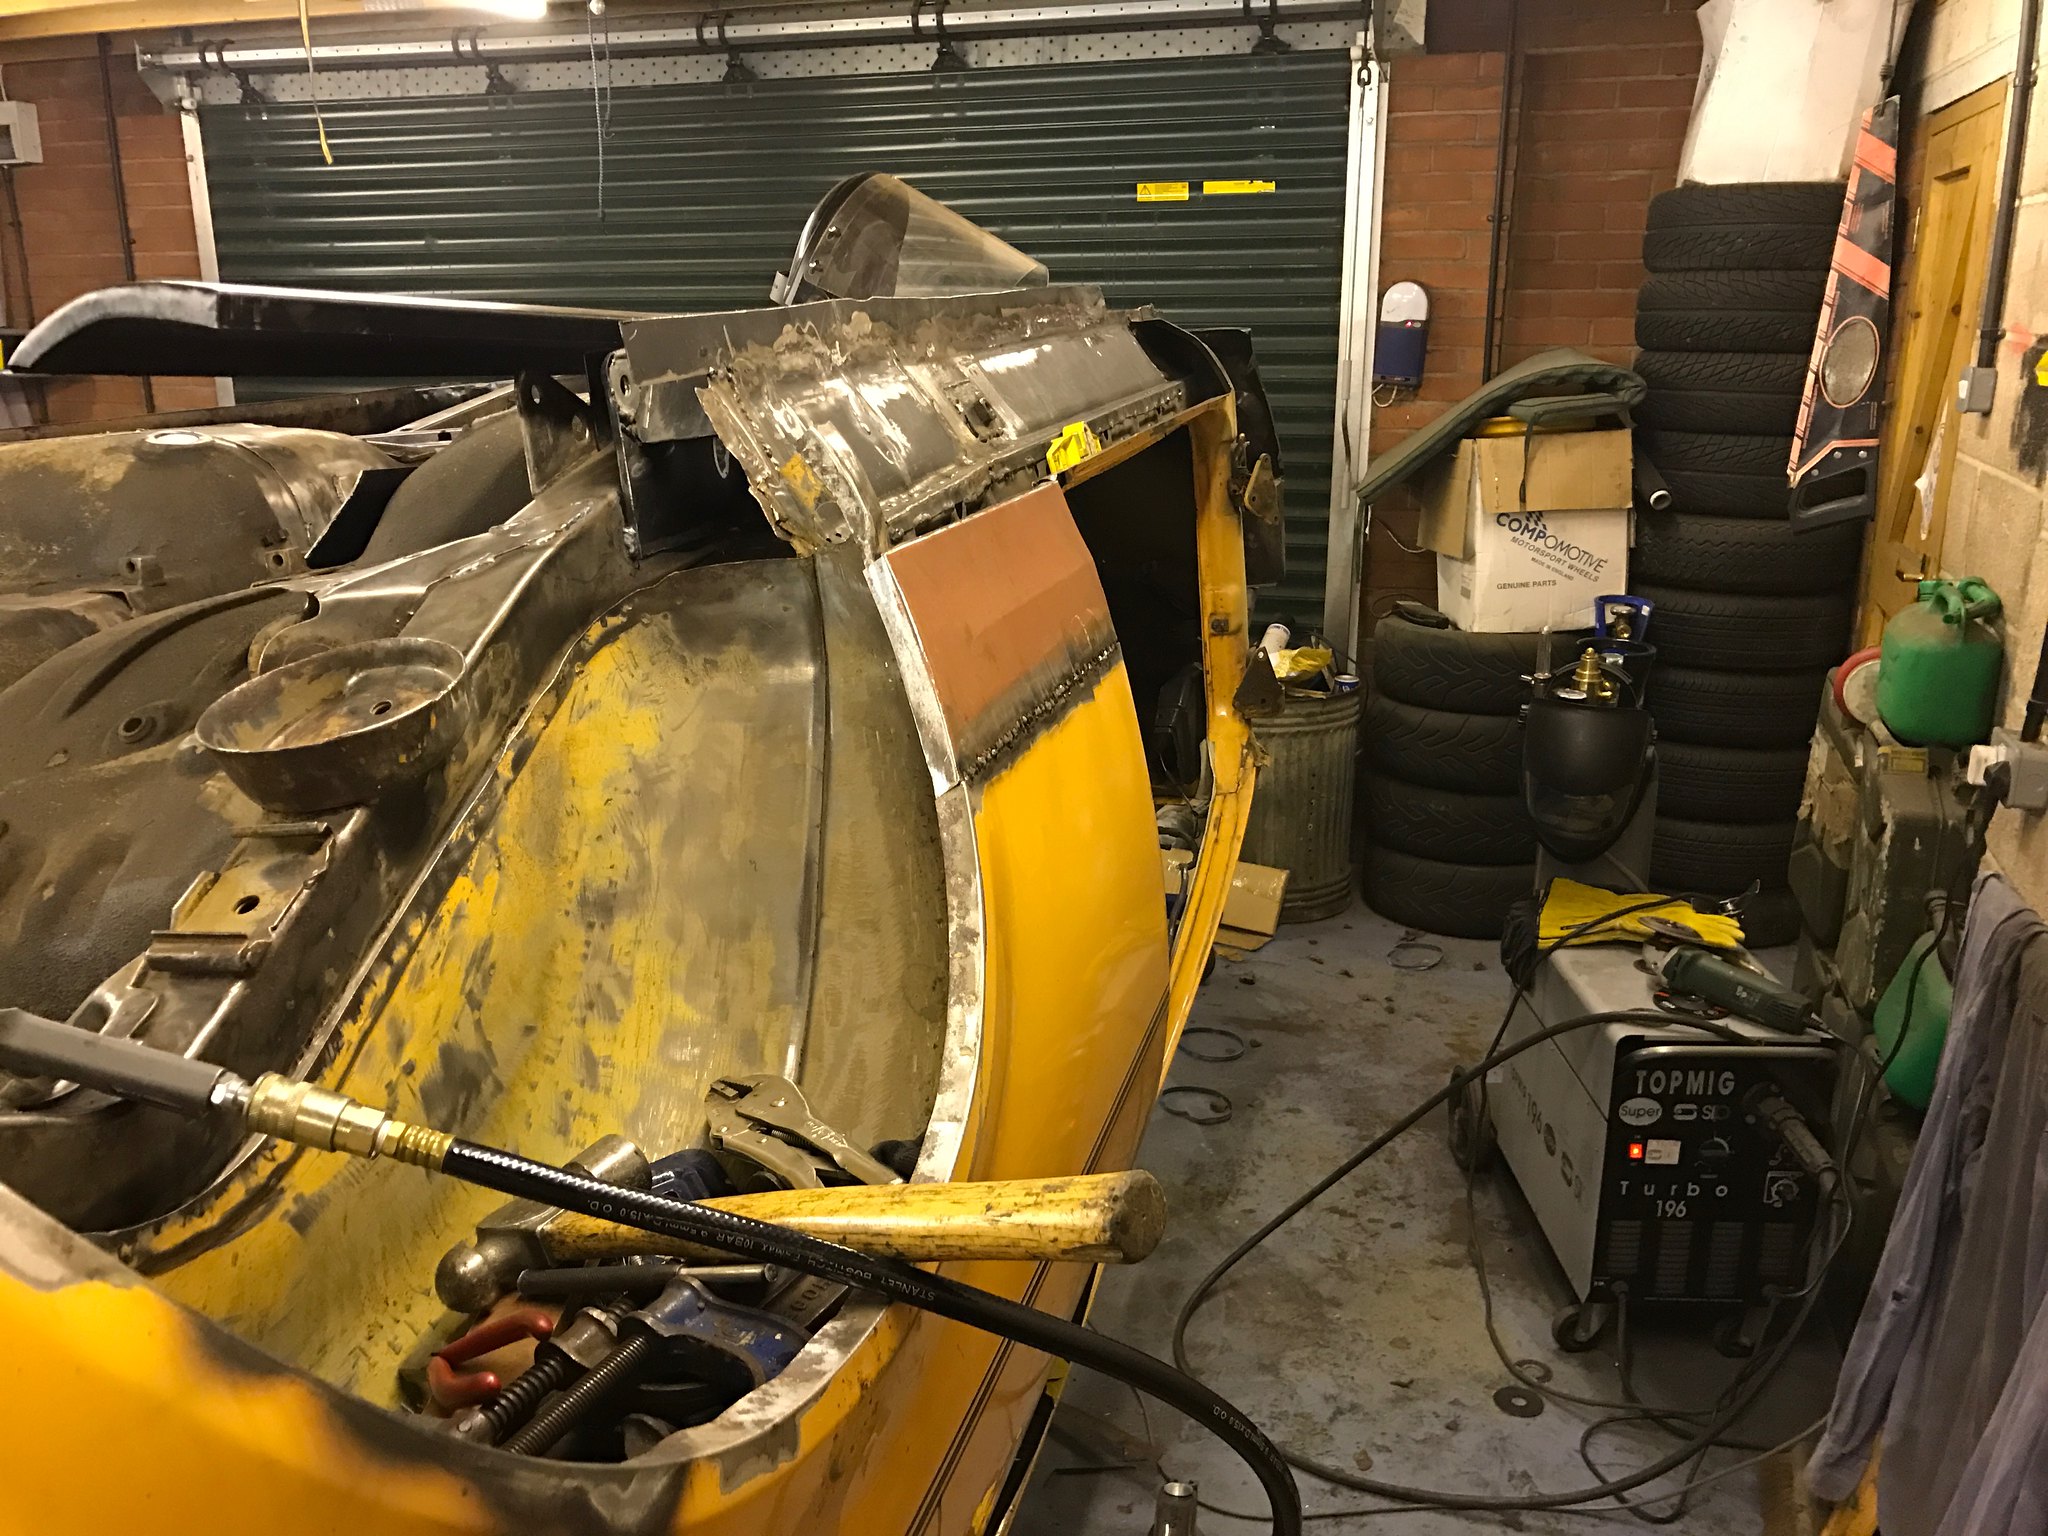 Untitled Untitled by Nevtiger, on Flickr When the weld is knocked back and blended it will still want some filler......... 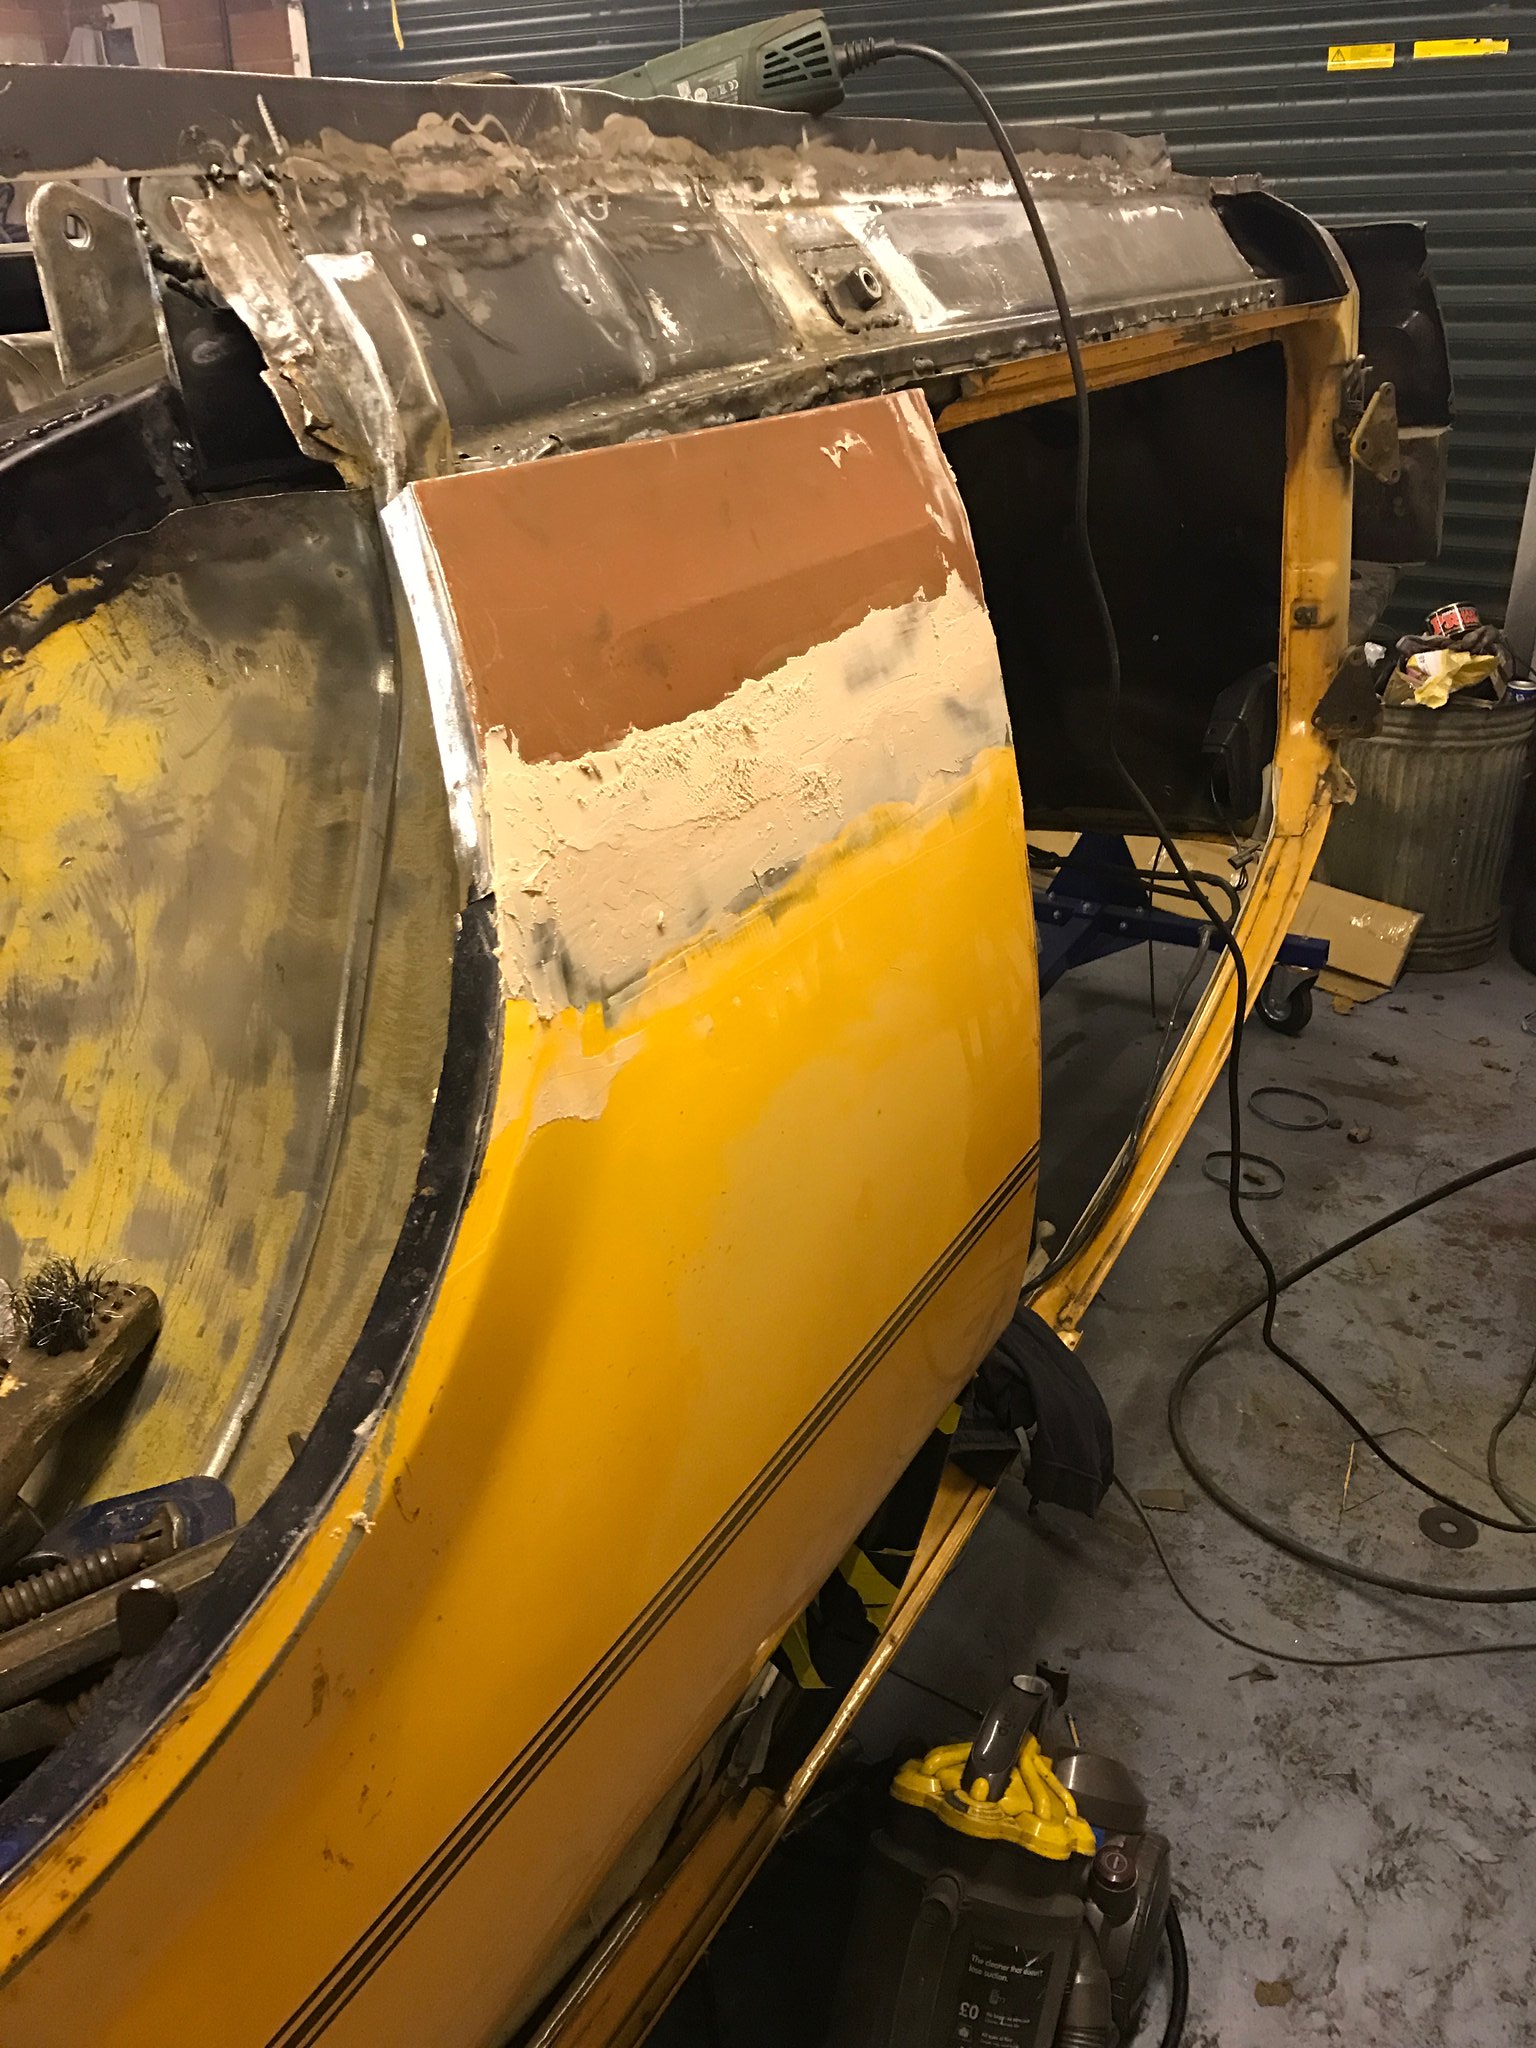 Untitled Untitled by Nevtiger, on Flickr Then it meant i could get to the back bottom corner. Internet repair section that is badged as Sunbeam............ Looks like i will need to do some fettling here. I'm glad its on the bottom and not where it will be seen much! 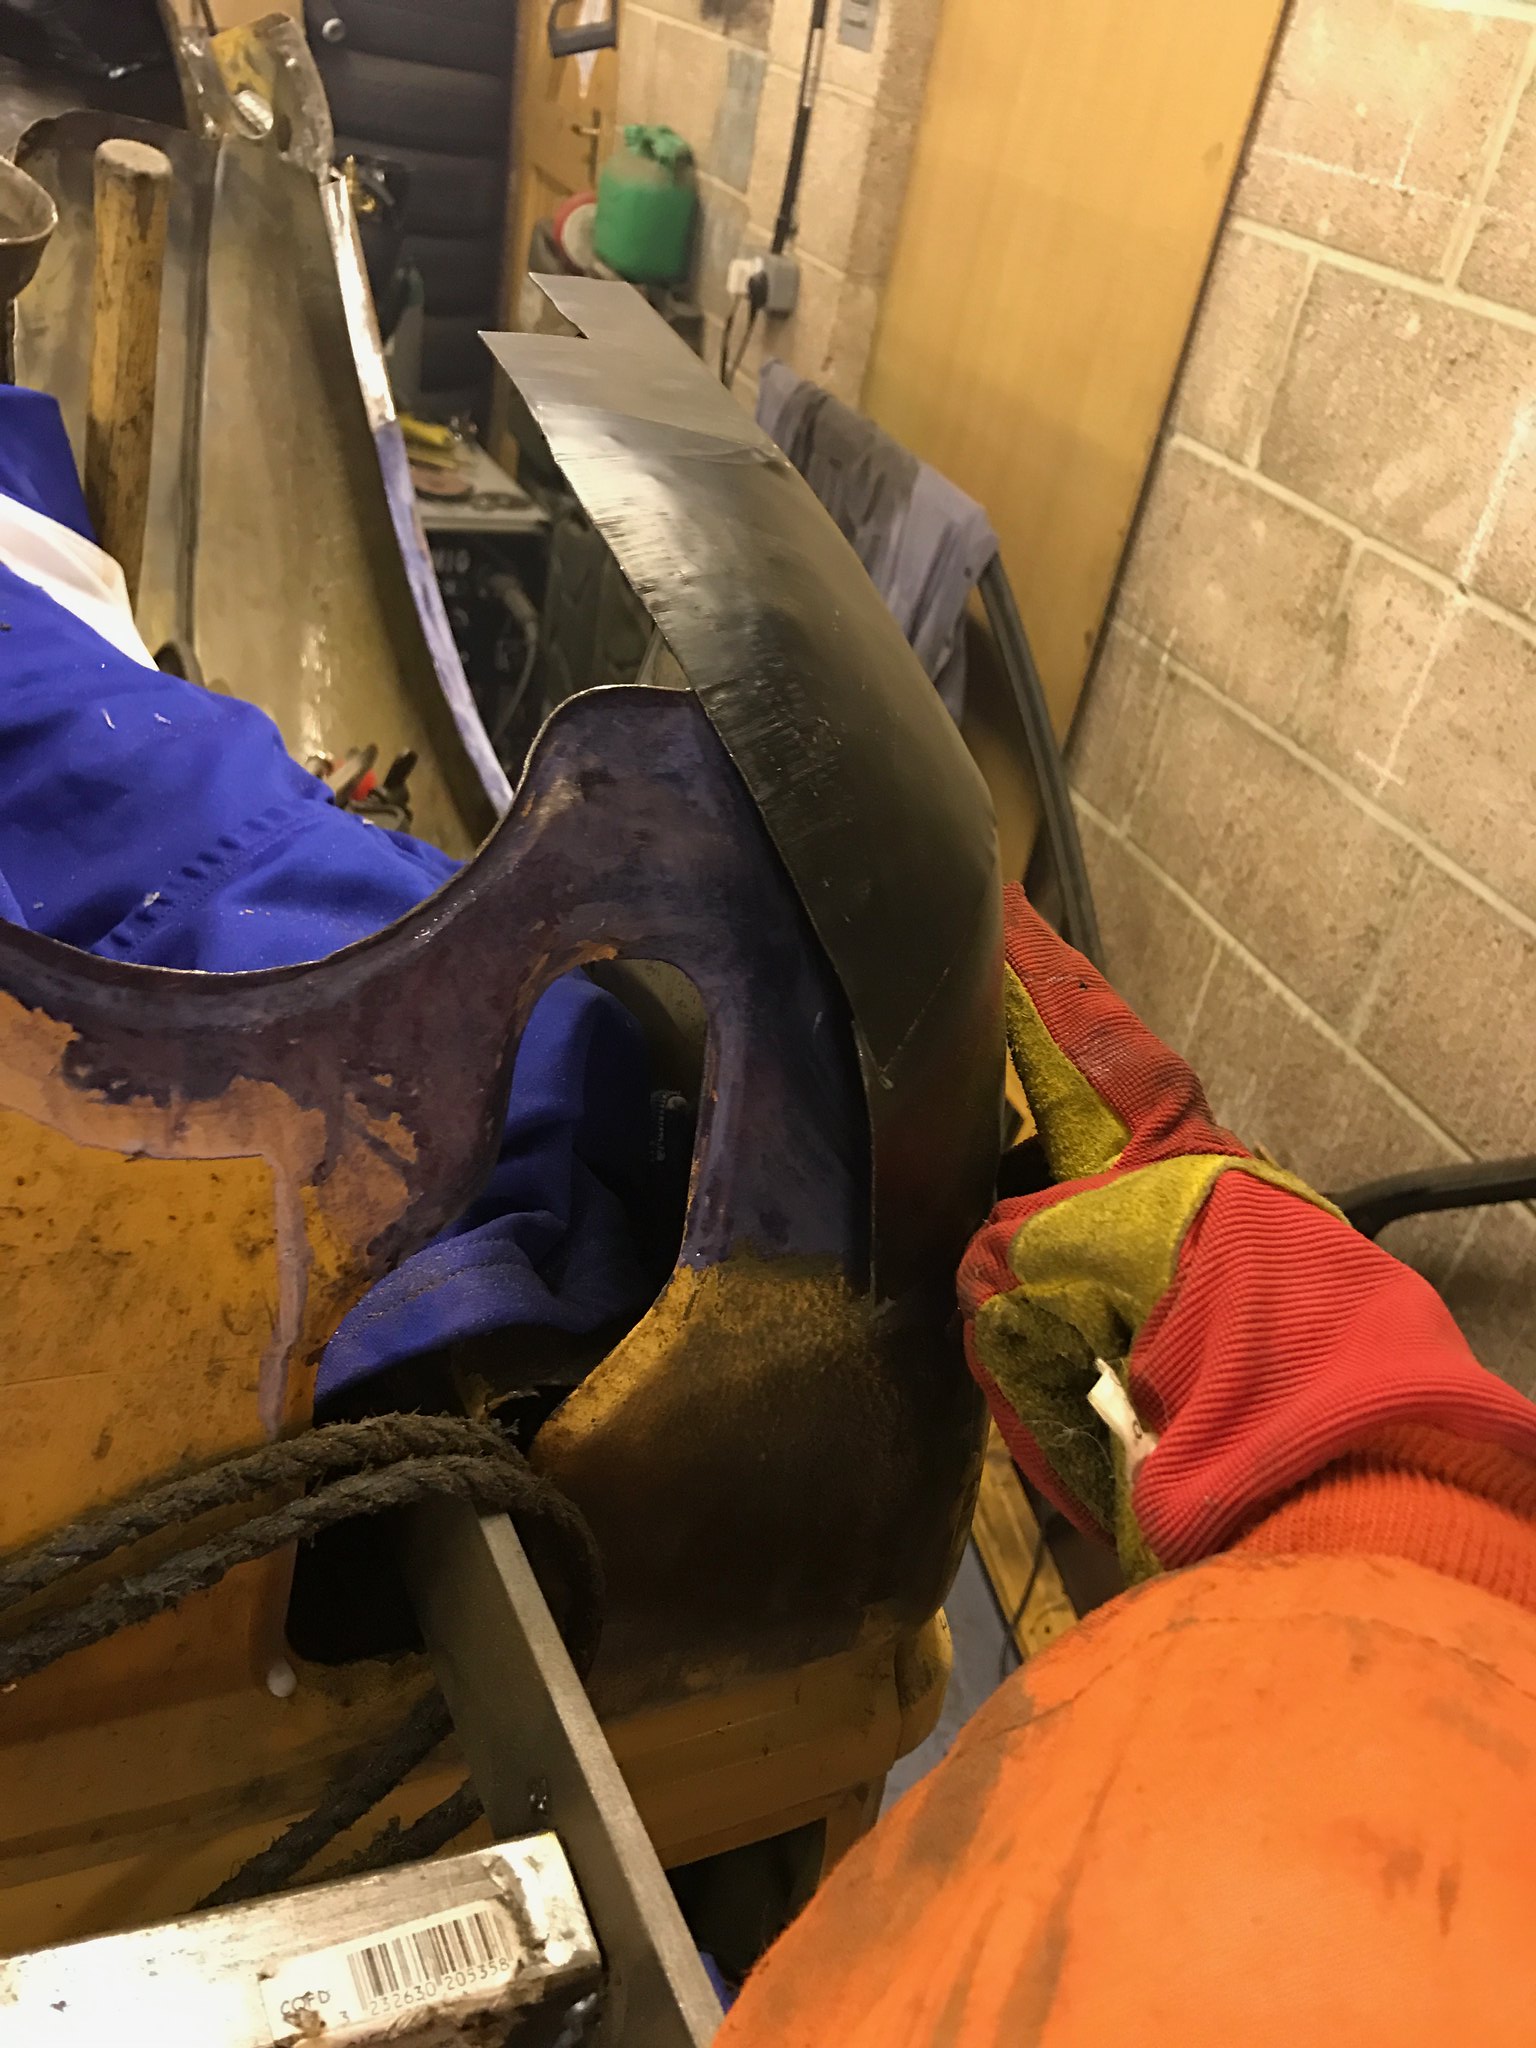 Untitled Untitled by Nevtiger, on Flickr |
| |
|
|
|
|
|
|
|
Nice progress! Very jealous of you having the car on spit, makes these jobs so much easier! That wheelarch also makes a great toolbox.  |
| |
96 Peugeot 405 Executive DTurbo Estate 89 Mazda Eunos Roadster 88 Citroen BX 16RS Previously Owned: 93 Subaru MV96 Disco 300TDI 72 LR SIII 109" Prima96 Xantia Activa 92 AX GTI 97 ZX Temptation 88 205 XS |
|
|
|
|
|
|
|
|
Just read the entire thread. Not sure why, but I am a fan of the Rustoration project. Great job on this car. That said, if I ever need someone to vet a potential project for corrosion concerns. I might not hire your services!  |
| |
|
|
andy-v
Part of things
  i like cookies :D
Posts: 358 
|
|
|
|
book marked, dunno how i missed this thread, love reading and looking at pics of restorations  great work fella. |
| |
|
|
|
|
|
|
|
Just read the entire thread. Not sure why, but I am a fan of the Rustoration project. Great job on this car. That said, if I ever need someone to vet a potential project for corrosion concerns. I might not hire your services!  Ha ha. Indeed but to be fair it was only when i really got digging poking with a very heavy hand did it start to look a bit poor. Plus compared to most Sunbeams of this age that have not been restored then mine is in good nick.......... |
| |
|
|
|
|
|
|
|
|
To be fair, when I bought my Volvo P1800 it was a sandblasted shell, and except for some pinholes here and there it would be described as rust free.
Having now replaced almost the entire lower 6" perimeter of the car, I would have to rethink the assessment. Not always what you can see but what you end up seeing when the repairs starts.
|
| |
|
|
jonomisfit
Club Retro Rides Member
Posts: 1,788
Club RR Member Number: 49
|
|
|
|
|
I think for a Sunbeam your shell could be considered "mint".
All the ones i've had or seen tend to be rotten everywhere.
Worst bit is the roof gutter to side panel joint above the windows / door . I don't even know how its possible to rust there...
Your bulkhead to inner wing seems look good, along with the rear quarter breather vents. I've not seen a sunbeam that hasn't rotted there. I didn't even know they existed :-)
Very nice project Nevtiger and looking forward to seeing it progress.
|
| |
|
|
|
|
|
|
|
Onwards and forwards....... with some parts! Lower corner went on well and fitted once a lot of fettling had been done So inside panel repaired: 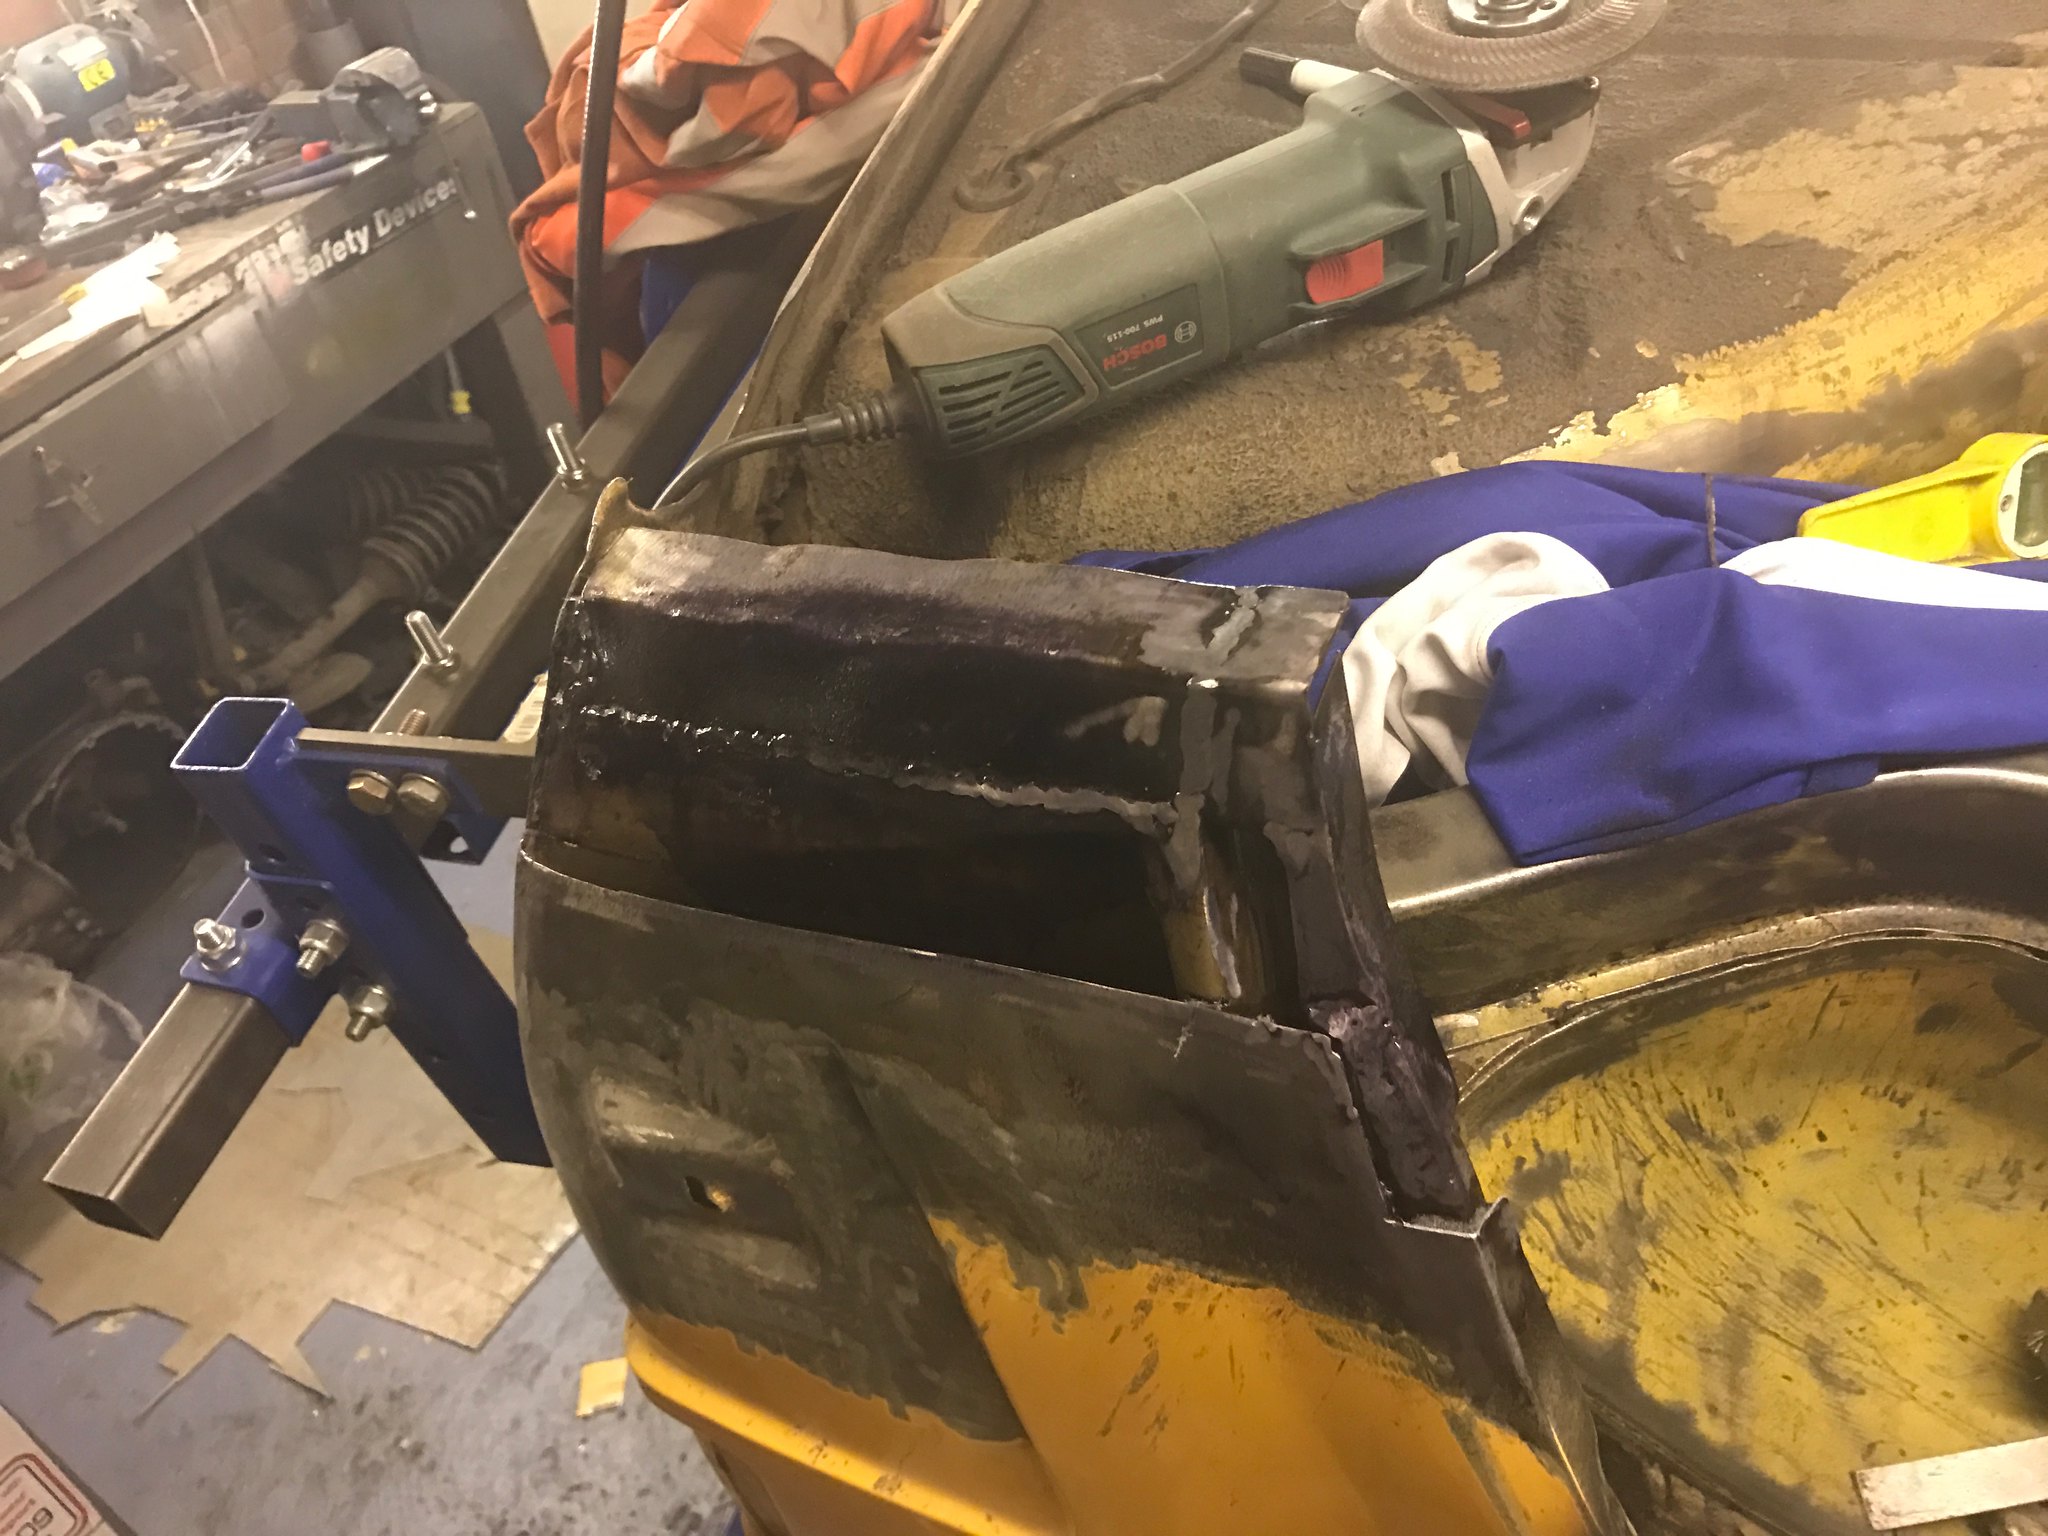 Untitled Untitled by Nevtiger, on Flickr The fettled panel on 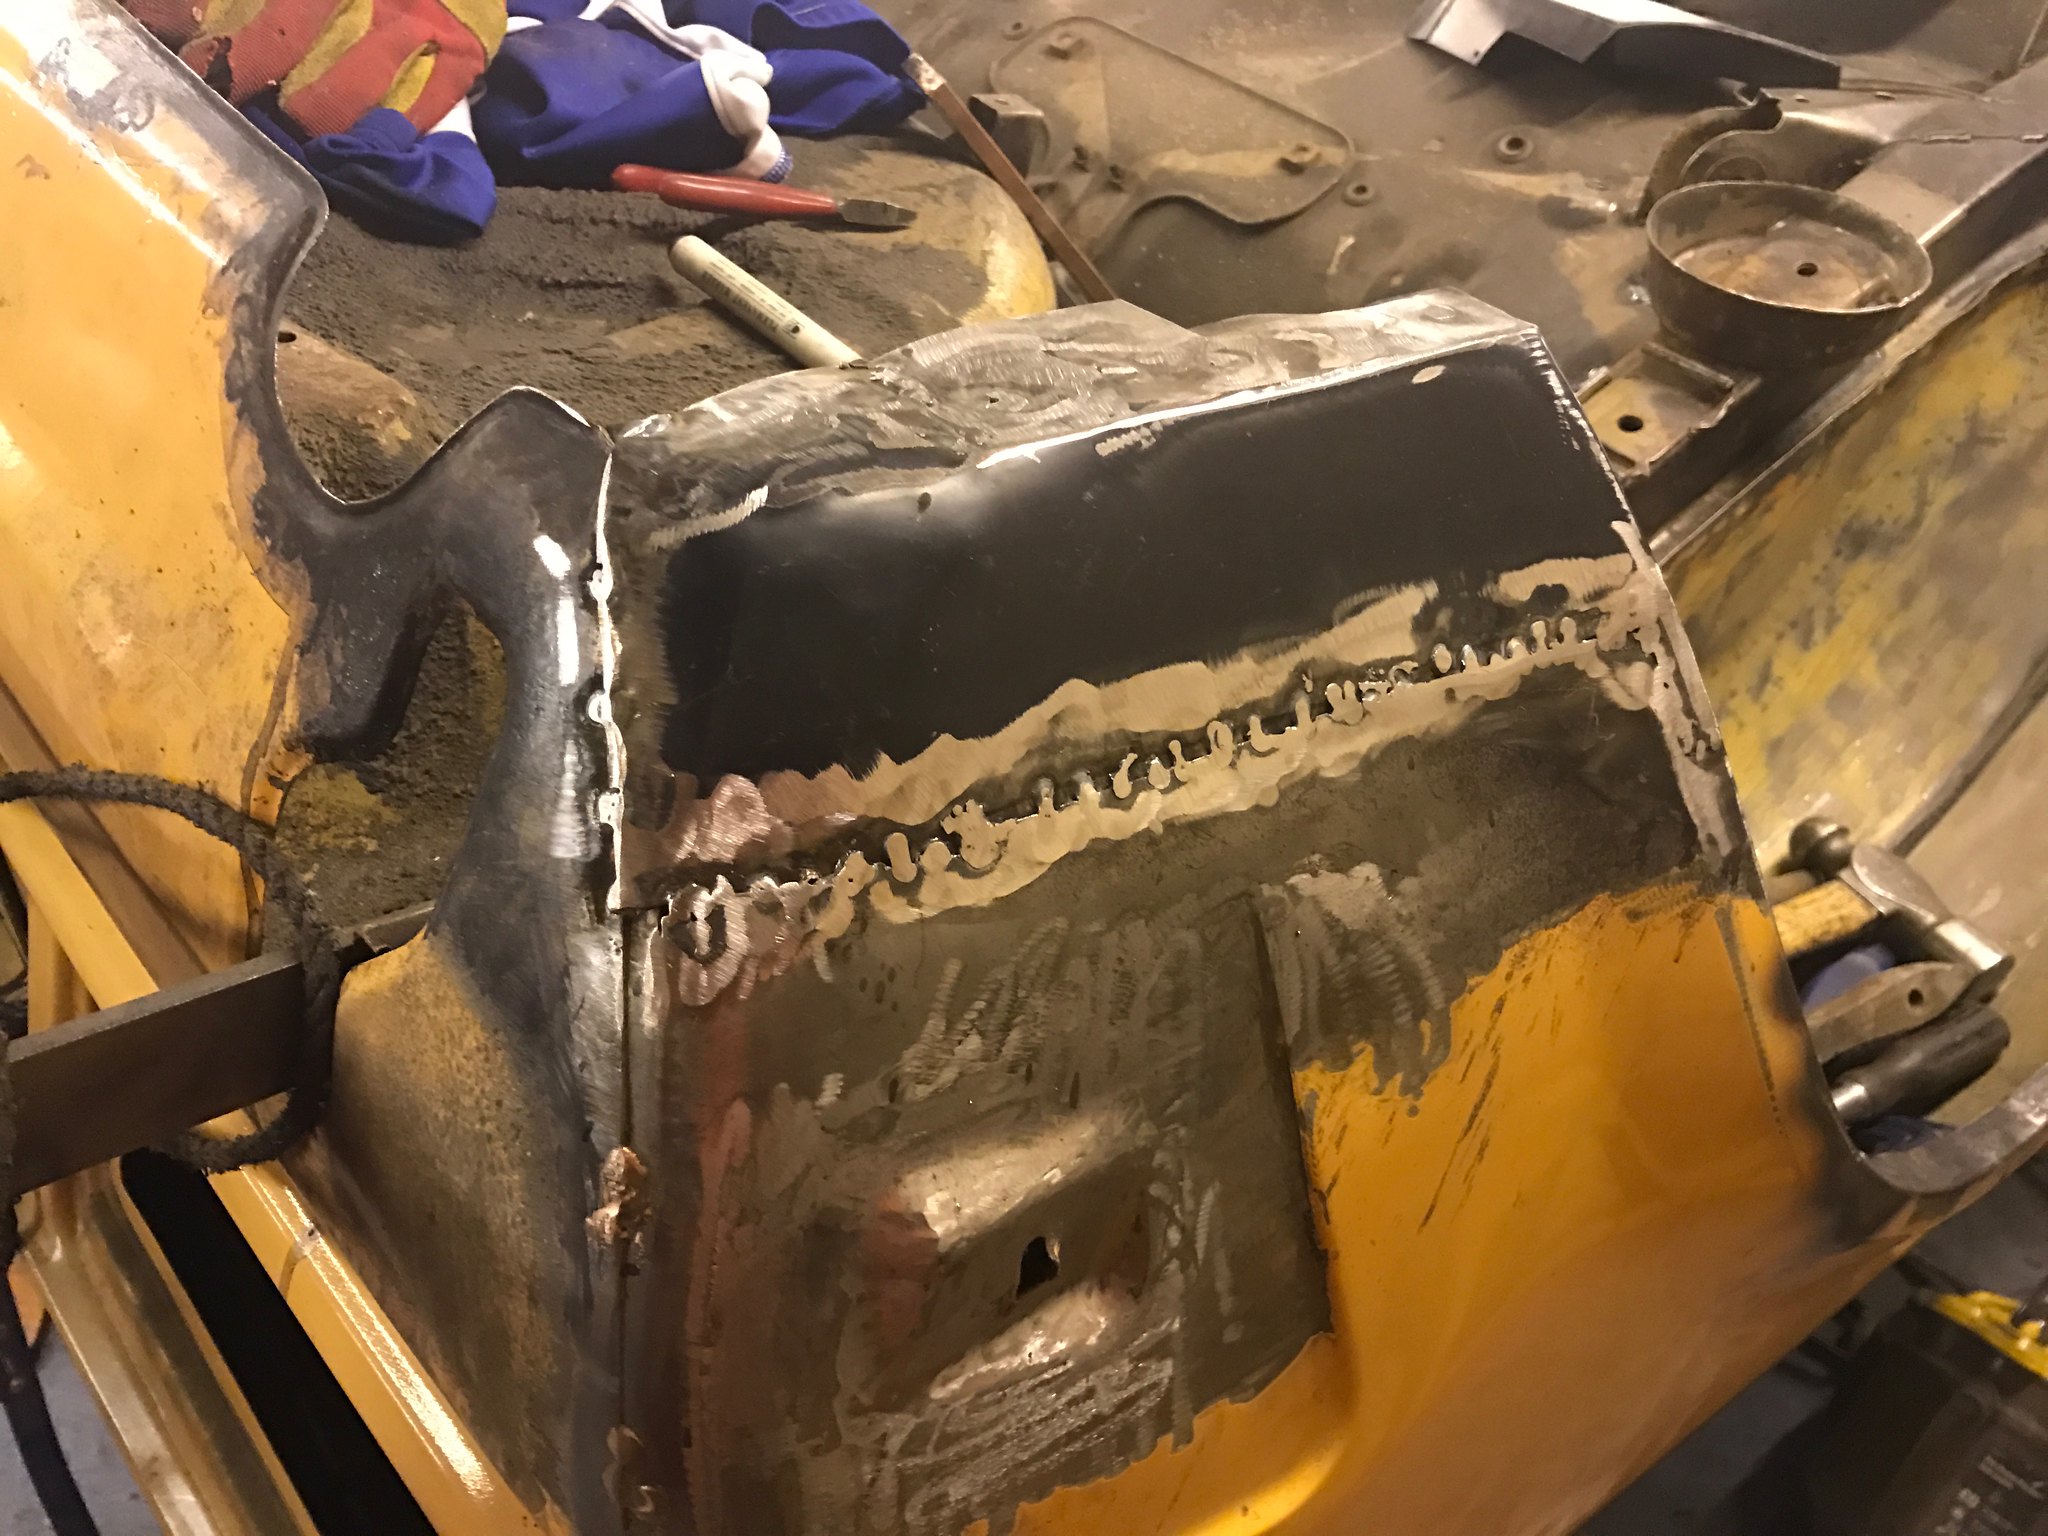 Untitled Untitled by Nevtiger, on Flickr And tidied up with filler: 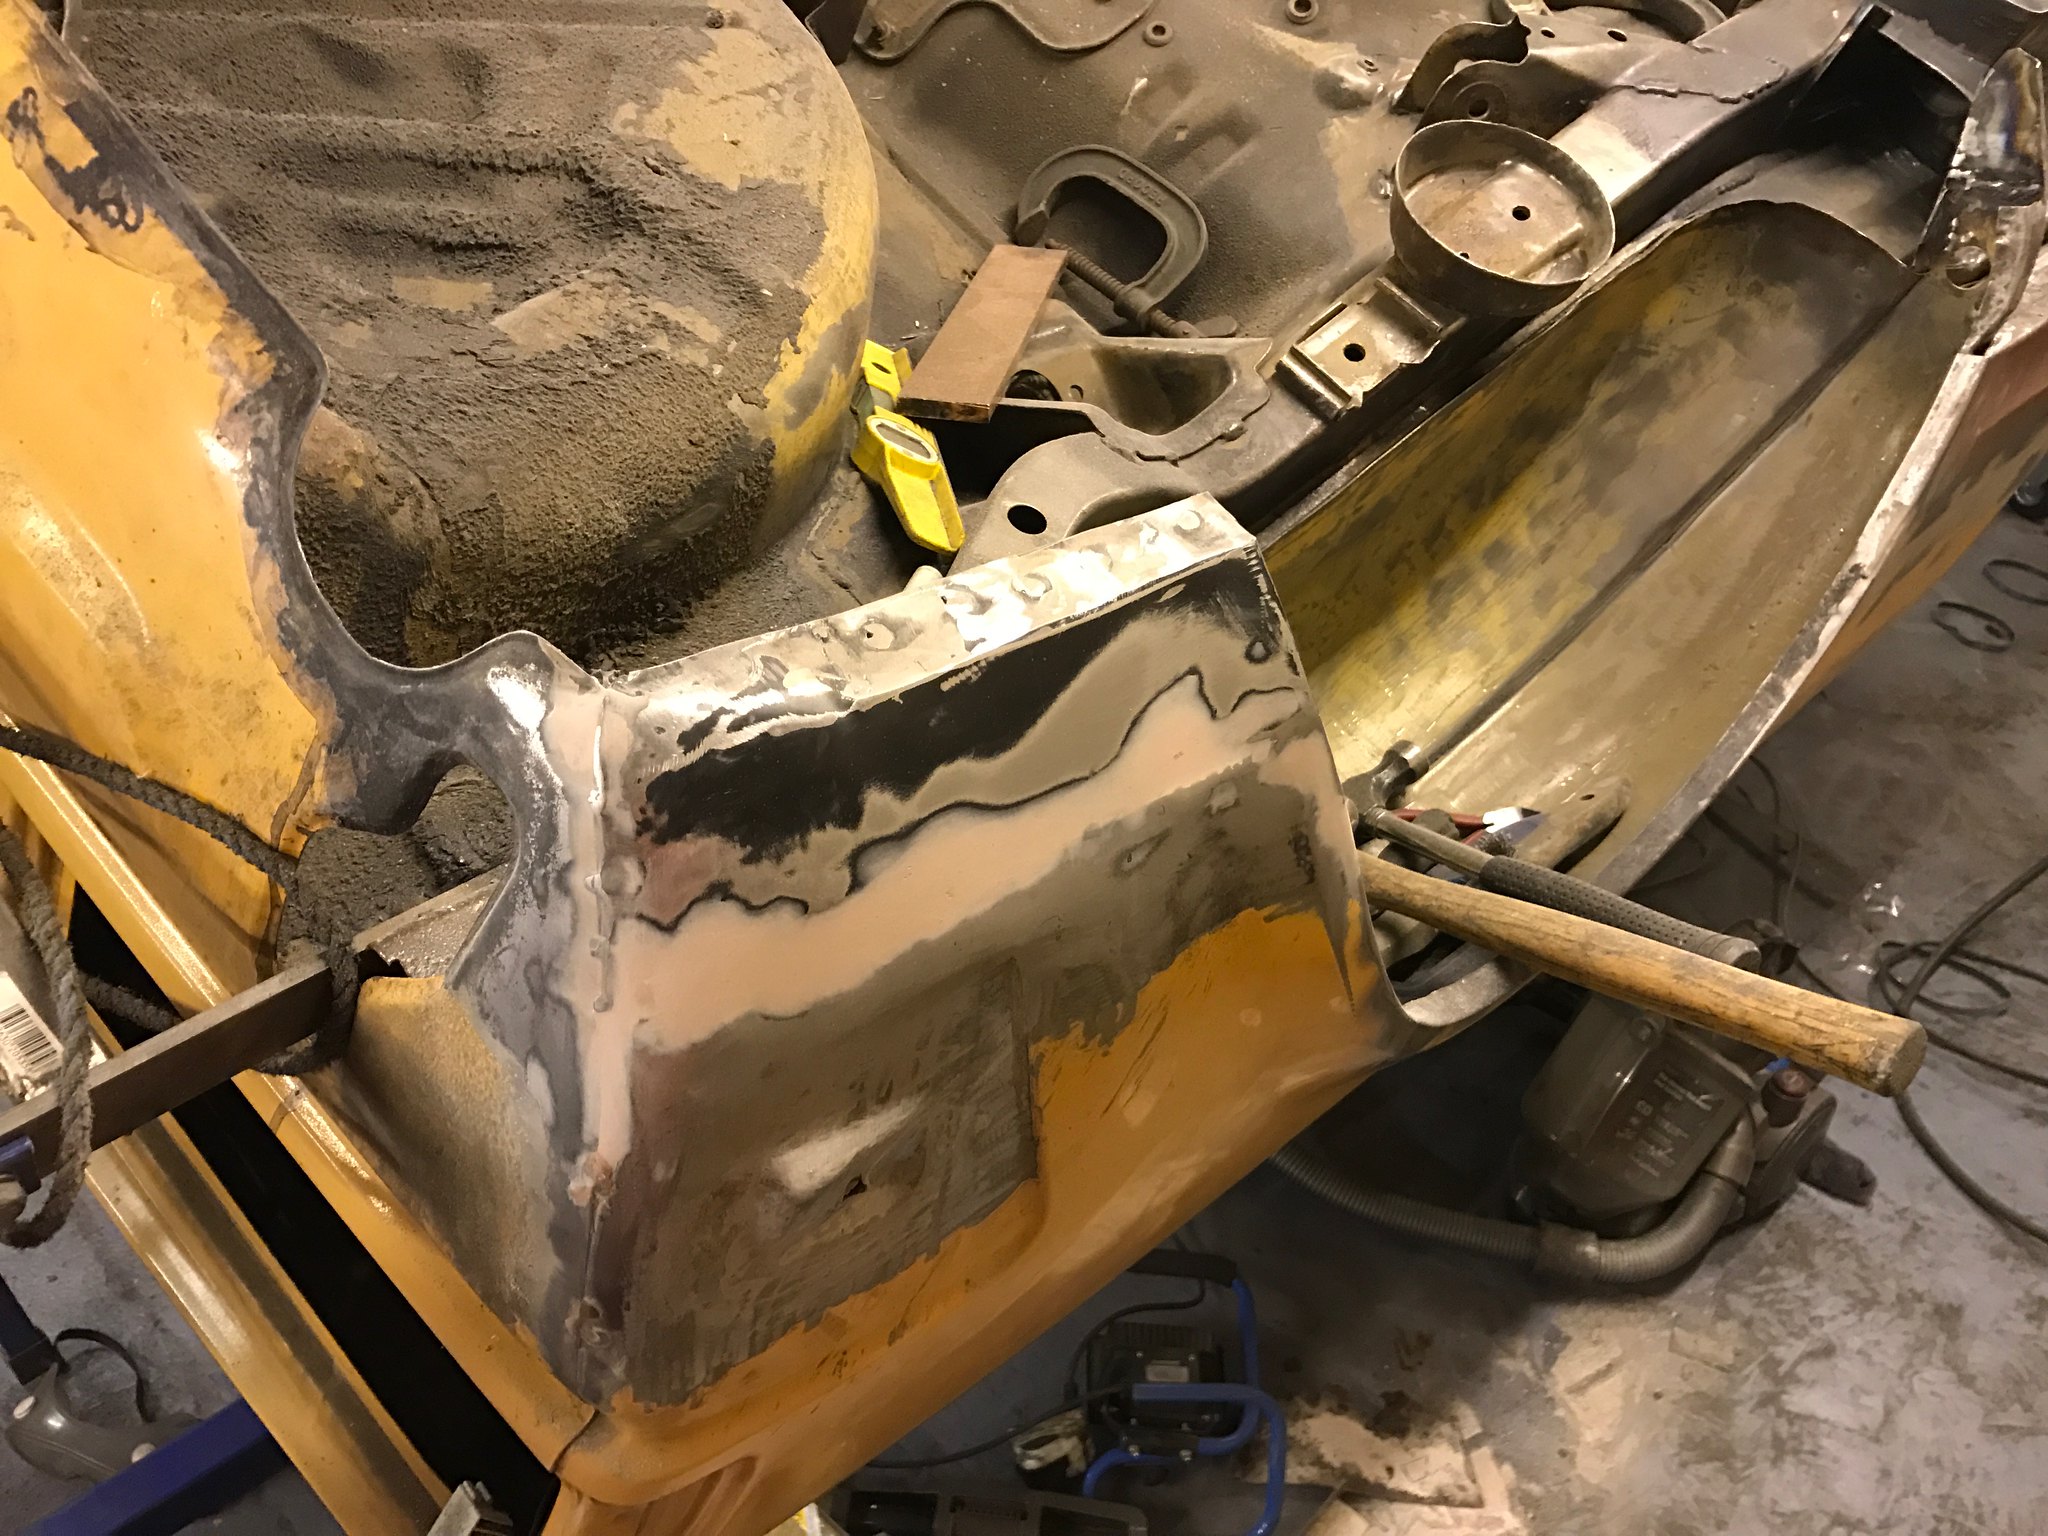 Untitled Untitled by Nevtiger, on Flickr 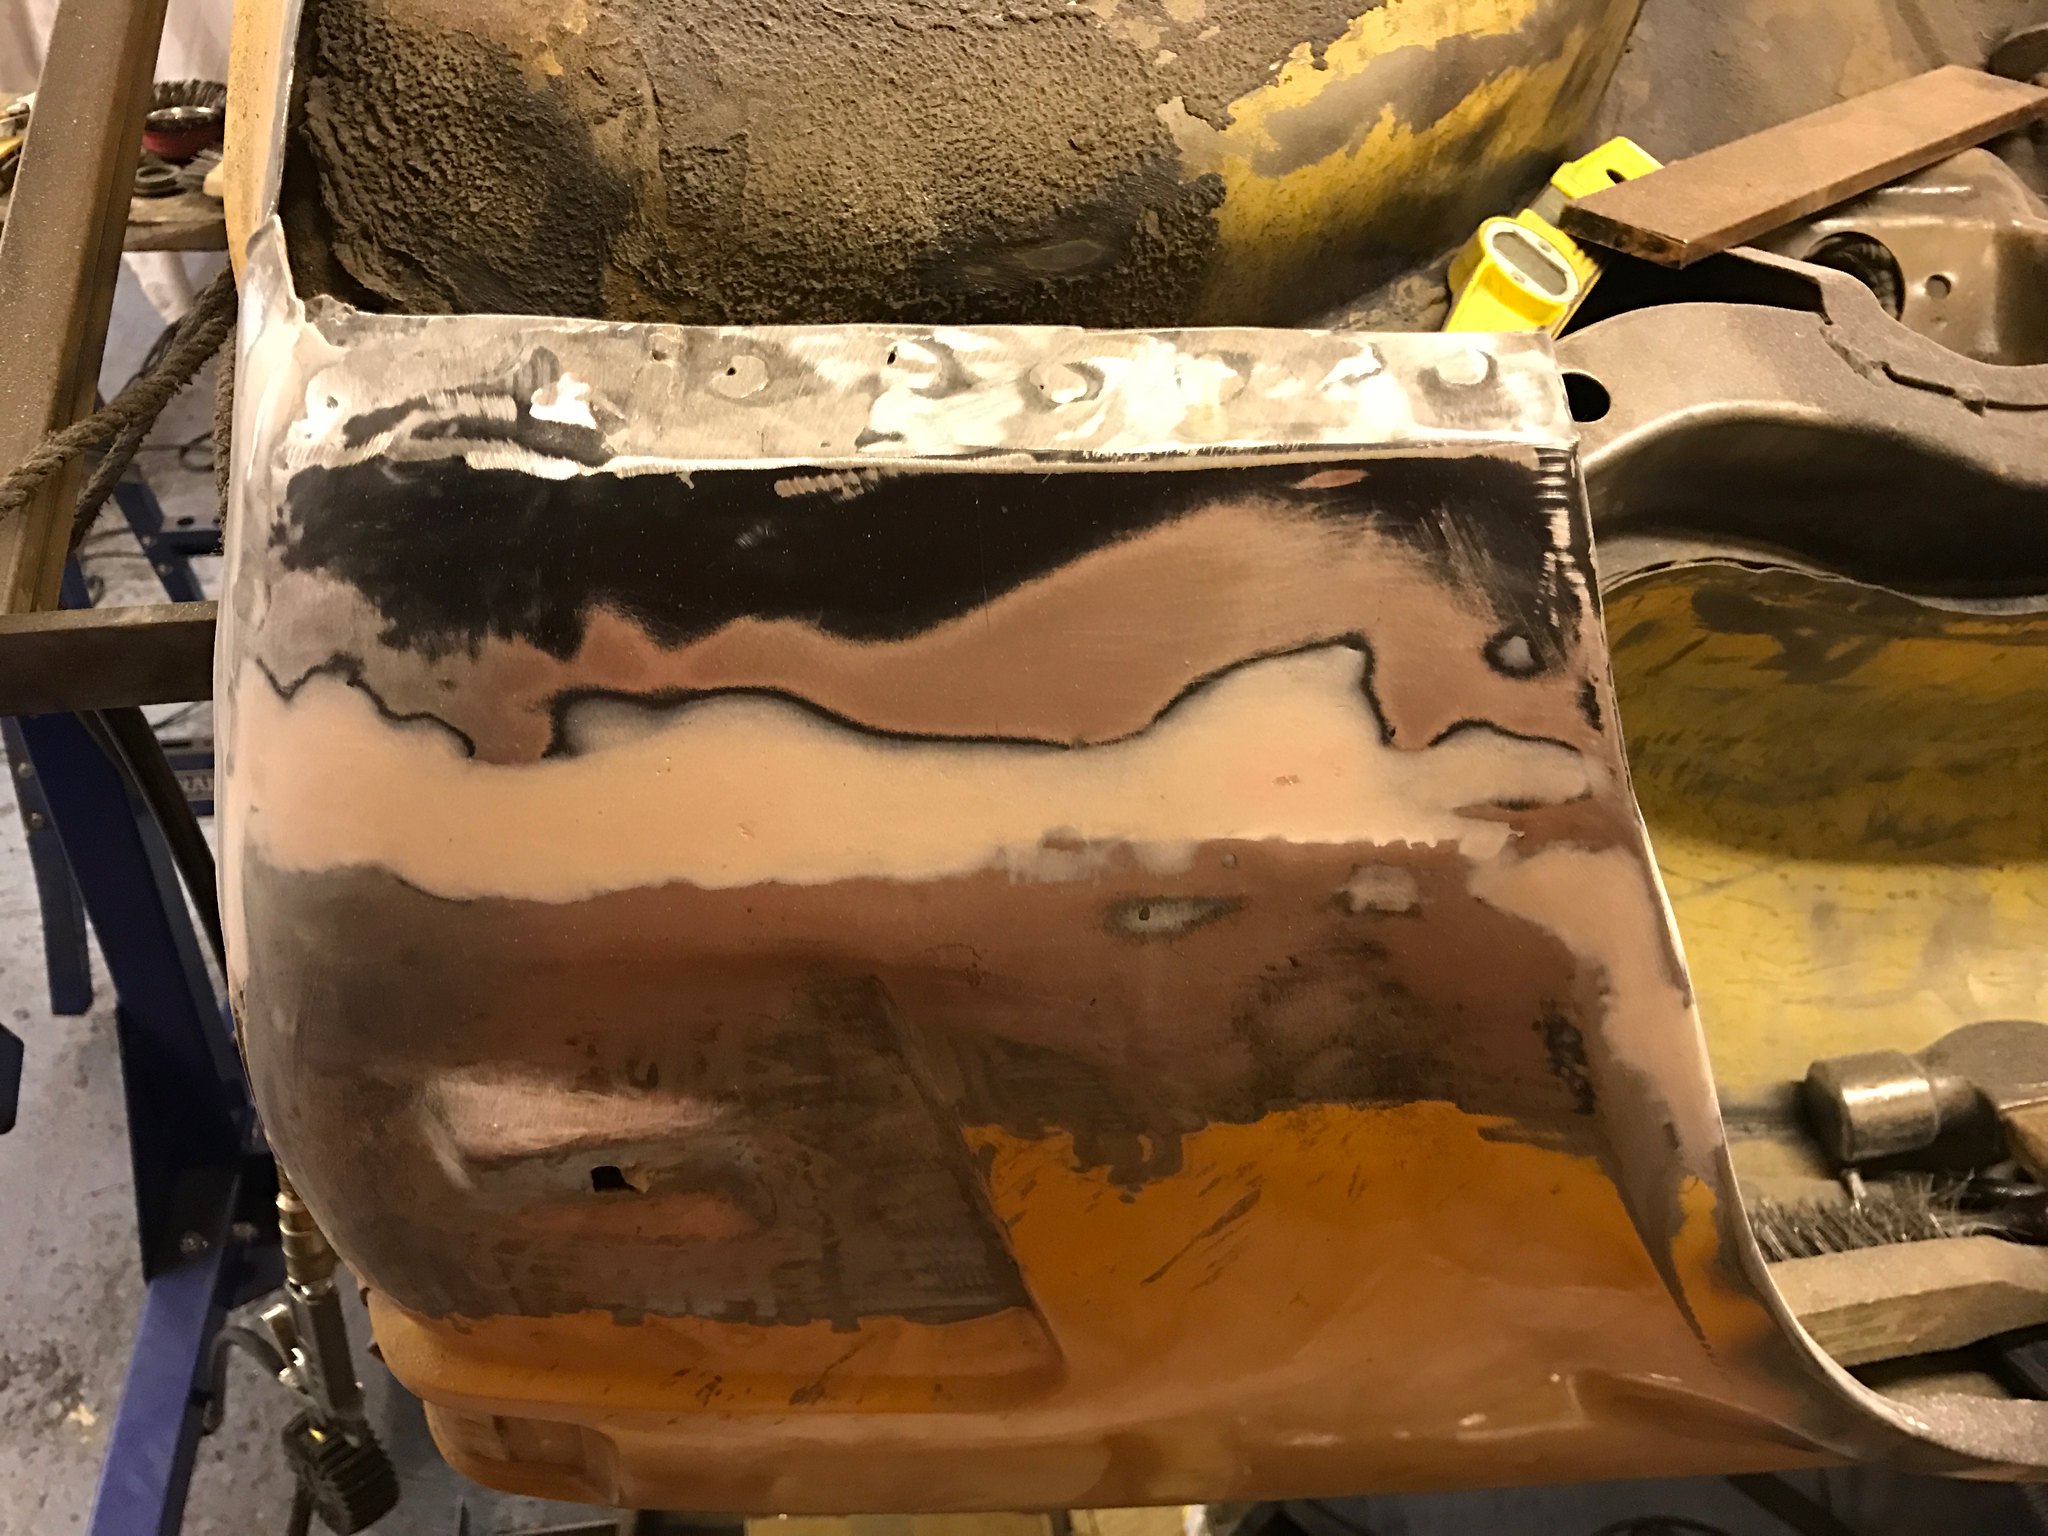 Untitled Untitled by Nevtiger, on Flickr Then it was time to fit the sill. Admission: I got this horribly wrong. Look at the end at the rear wheel arch. Its got to come off. I made the end piece the wrong shape and didn't notice as i was trying to hold it all on and tack at same time. Ho hum. More practice. 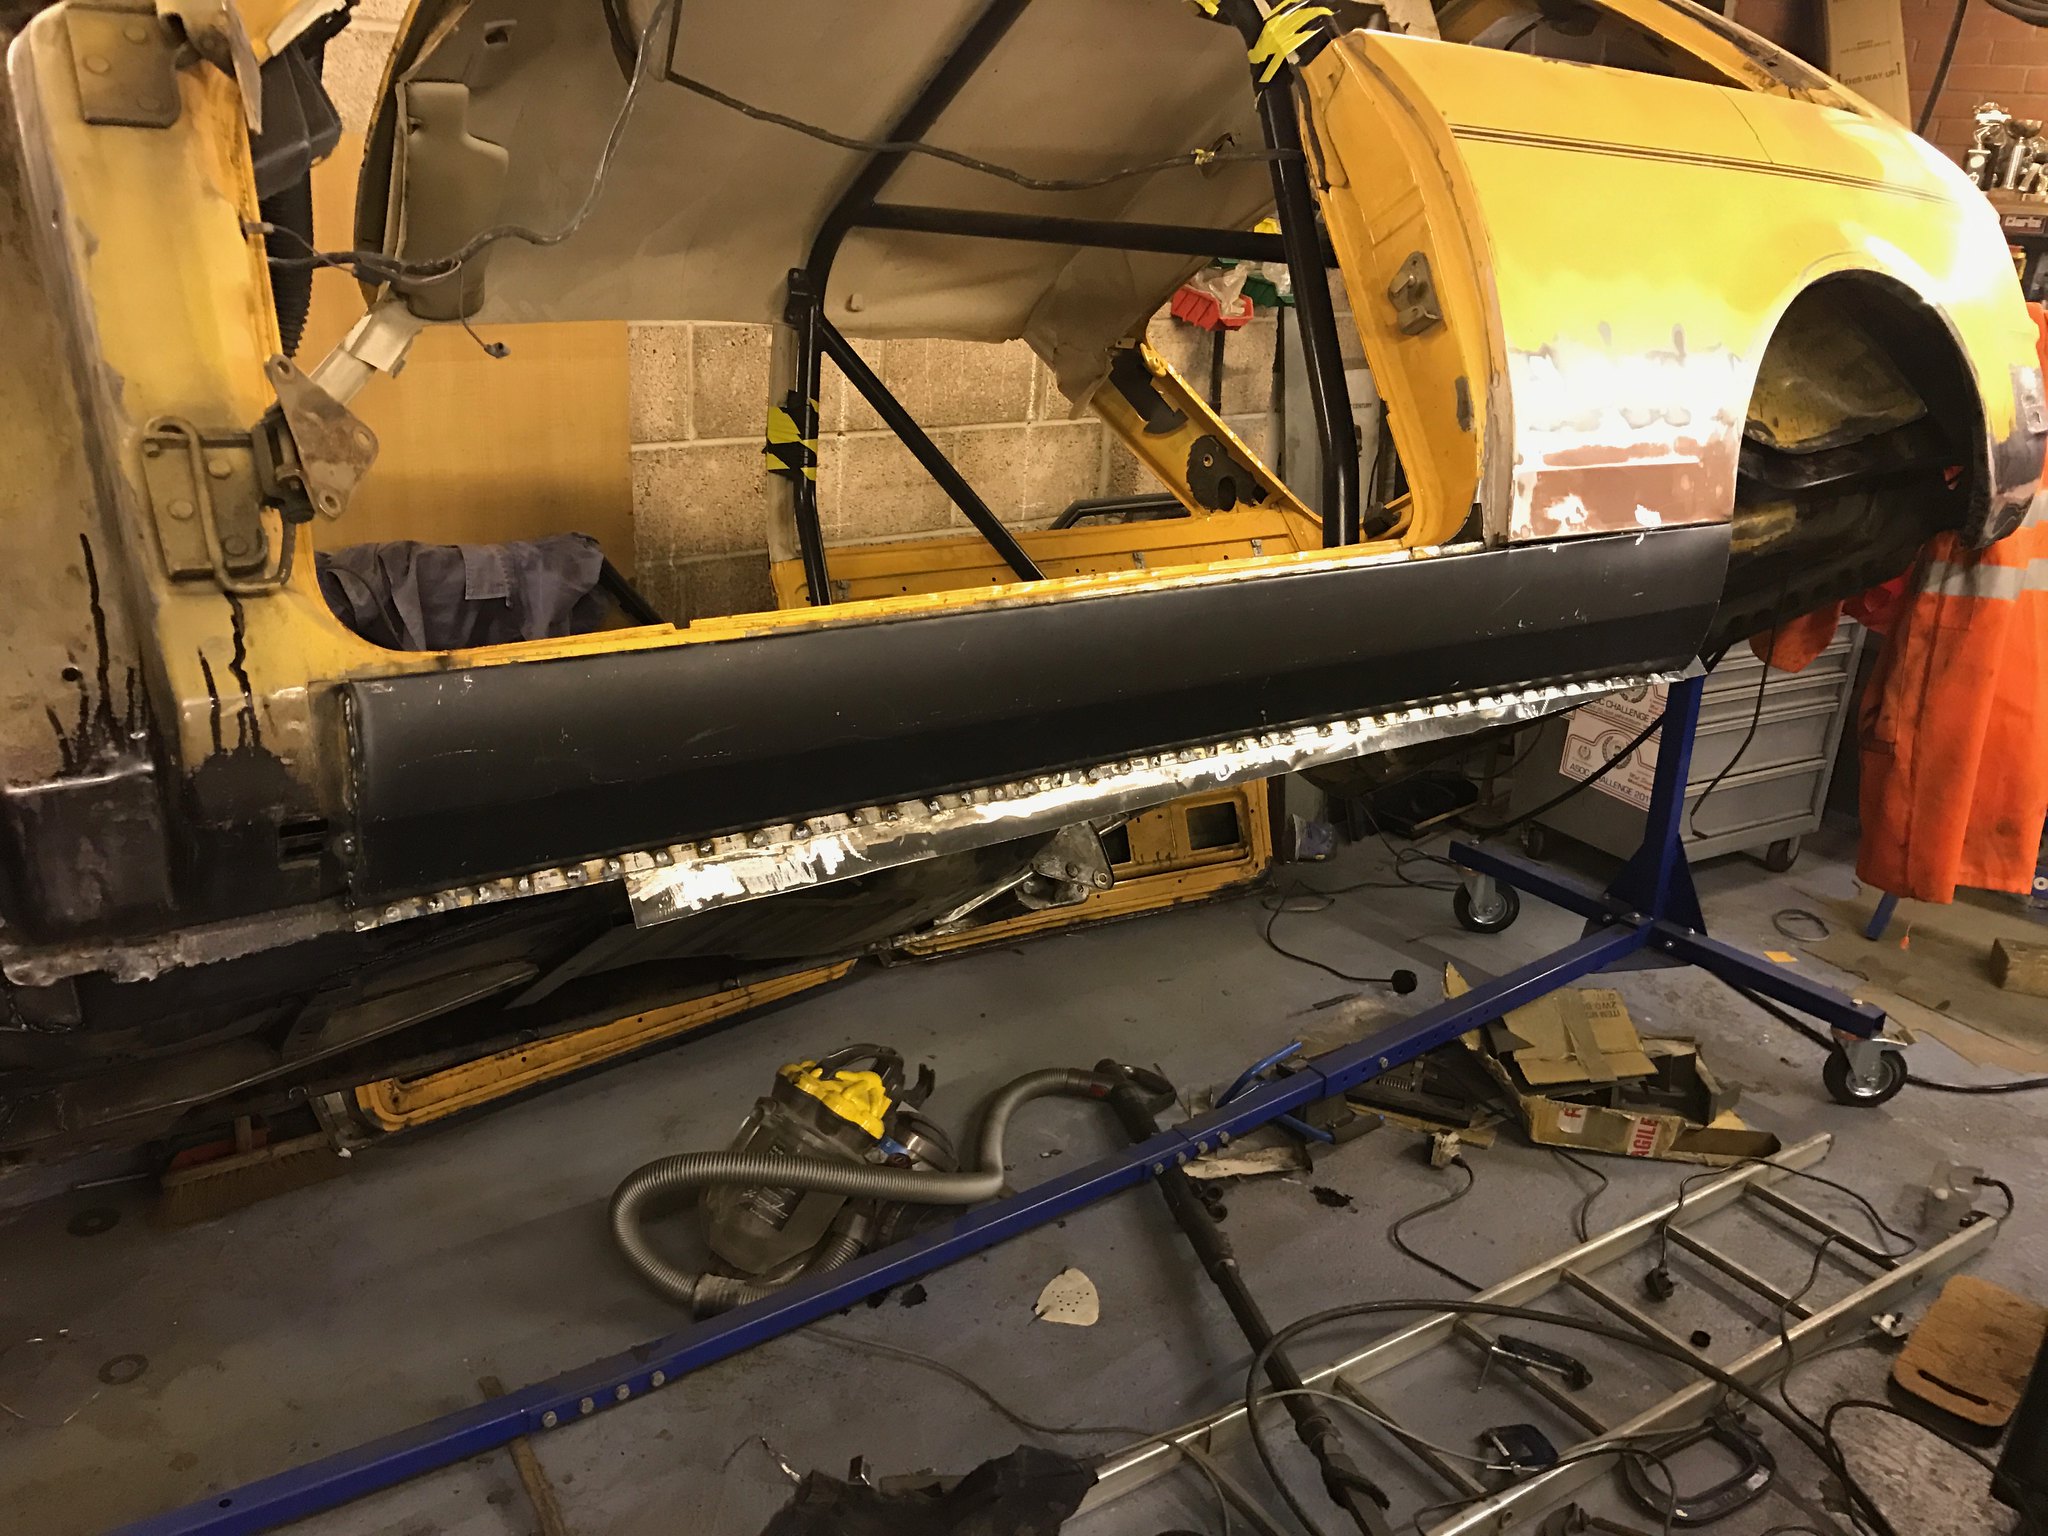 Untitled Untitled by Nevtiger, on Flickr 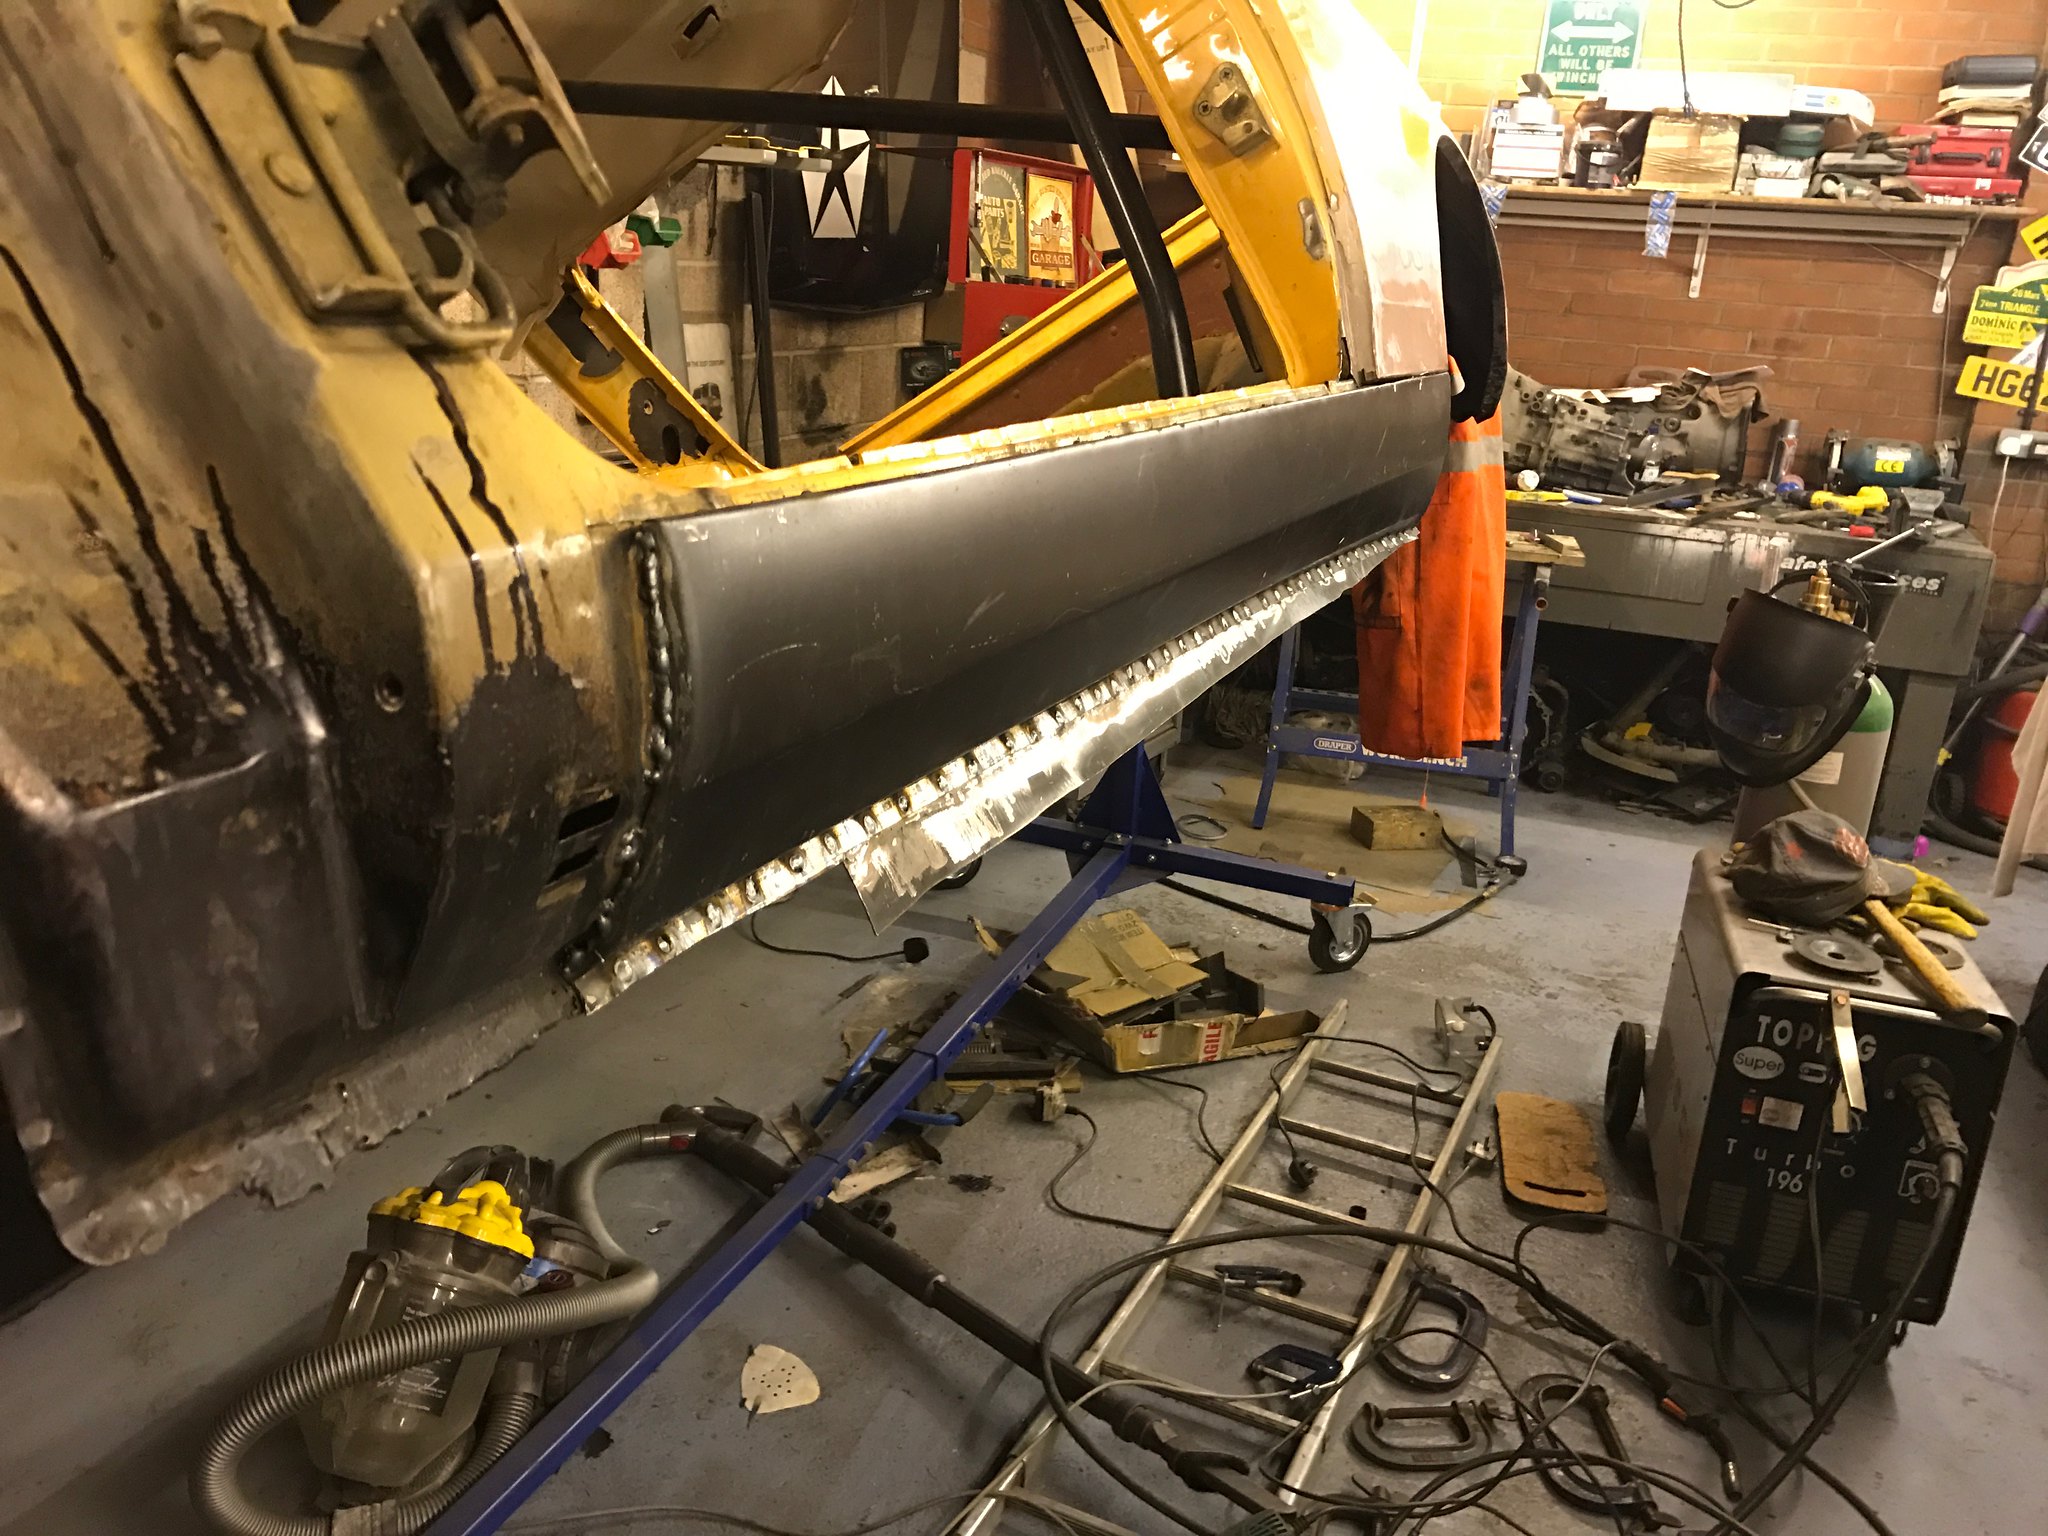 Untitled Untitled by Nevtiger, on Flickr I might have rest from the car tomorrow............. |
| |
Last Edit: Mar 31, 2019 20:05:36 GMT by nevtiger
|
|
|
|
|
|
|
|
I woke this morning and after a good think I'm sure I don't need to take the whole sill off. I will unstick it back to where it starts dropping down. Then remake the end piece that causes the problem and then stitch it back together, I will need to replace the end of the sill as its bent.
So a good opportunity to do a seamless metal joint mid panel.
Sounds easy enough.........
Might finish the other side of the car first, which has much much less to do!
|
| |
|
|
|
|
|
|
|
I woke this morning and after a good think I'm sure I don't need to take the whole sill off. I will unstick it back to where it starts dropping down. Then remake the end piece that causes the problem and then stitch it back together, I will need to replace the end of the sill as its bent. So a good opportunity to do a seamless metal joint mid panel. Sounds easy enough......... Might finish the other side of the car first, which has much much less to do! If you can clamp a piece of copper direct behind the joint before you weld it. will improve the joint and make it a dam sight easier ... |
| |
|
|
|
|
|
|
|
|
What a great project. My own Sunbeam is probably in similar condition but I've left it in storage for a while and pretended it doesn't exist.
Looks like I need to learn to weld soon.
I can't wait to see how your one turns out.
Chris
|
| |
|
|
|
|
|
|
|
I woke this morning and after a good think I'm sure I don't need to take the whole sill off. I will unstick it back to where it starts dropping down. Then remake the end piece that causes the problem and then stitch it back together, I will need to replace the end of the sill as its bent. So a good opportunity to do a seamless metal joint mid panel. Sounds easy enough......... Might finish the other side of the car first, which has much much less to do! If you can clamp a piece of copper direct behind the joint before you weld it. will improve the joint and make it a dam sight easier ... i have done that on some bits but this would need to be clamped on the inside of the sill! So i shall joggle the joint and use pip pins to keep it together and do little welds every 5 mins or so..... |
| |
|
|
|
|
 Untitled by Nevtiger, on Flickr
 Untitled by Nevtiger, on Flickr
 Untitled by Nevtiger, on Flickr
 Untitled by Nevtiger, on Flickr


 great work fella.


