|
|
|
|
|
|
|
|
|
|
I wish you luck. Love starions. Such a class looking car. What are they like to drive ?
|
| |
|
|
|
|
|
|
|
Get it finished so you can help with with the Imp.  |
| |
'91 BMW E30 318is
'91 BMW E31 850i
'96 BMW E38 750i
'68 Singer Chamois (Yamaha R1 Engine... )
'95 Mini 1.3i
'61 Lamborghini 2241r
'64 Lamborghini 1R
'57 Lamborghini DL25C
Plus a few others...
|
|
|
|
|
|
|
|
Holy cow. Love Starions and the work you have done in this thread is awesome, but OMG that rust D:
|
| |
|
|
|
|
|
|
|
Get it finished so you can help with with the Imp.  Jesus curse word. How have you even got time to look at other things on the forum. GET BACK TO THE IMP! |
| |
1987 Supercharged BMW R1150 Citroen 2cv Hillclimb Monster
1995 Renault Master Mk1 Race Transporter
1994 Mazda MX5 Mk1 / NA Road Going Class Hillclimber
1991 UMM Alter II Crew Cab OM606 SuperTurbo Diesel MegaUMM Overlander
1992 UMM Alter II Station Wagon
1980 UMM Cournil - survivor - resto project
1979 Lomax 224
2014 VW T5.1 Transporter Kombi Highline
|
|
|
|
|
|
|
Get it finished so you can help with with the Imp.  Jesus curse word. How have you even got time to look at other things on the forum. GET BACK TO THE IMP! Well, nearly spat coffee everywhere, thanks  |
| |
|
|
bstardchild
Club Retro Rides Member
Posts: 14,971
Club RR Member Number: 71
|
|
|
|
Get it finished so you can help with with the Imp.  Jesus curse word. How have you even got time to look at other things on the forum. GET BACK TO THE IMP! ^ WHS PS - good luck with the welding and hitting the deadline Splitty456 |
| |
|
|
|
|
|
|
|
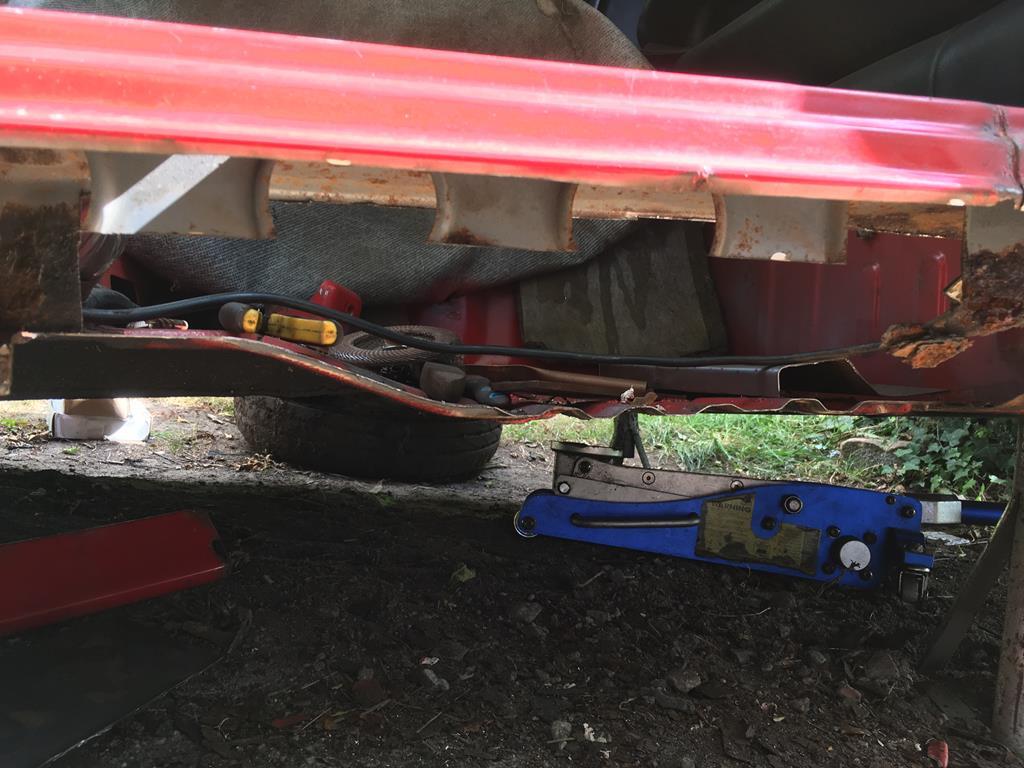
Jesus curse word. How have you even got time to look at other things on the forum. GET BACK TO THE IMP! ^ WHS PS - good luck with the welding and hitting the deadline Splitty456 Thanks... i feel like i could use it!  I've made some pretty good progress, but theres still a few bits to do and i've really only got tomorrow left to work on it. Also it's forecast rain all day  Anyway, I basically started at the front and have been working my way back, passenger floor and inner sill/seat mount first. This is made slightly awkward as the inner sill panel folds under join up with the floor from above, rather than all being joined with spot welds in one seam underneath (as you would expect). It probably helps with rigidity, but really just adds another water trap in the sill section... 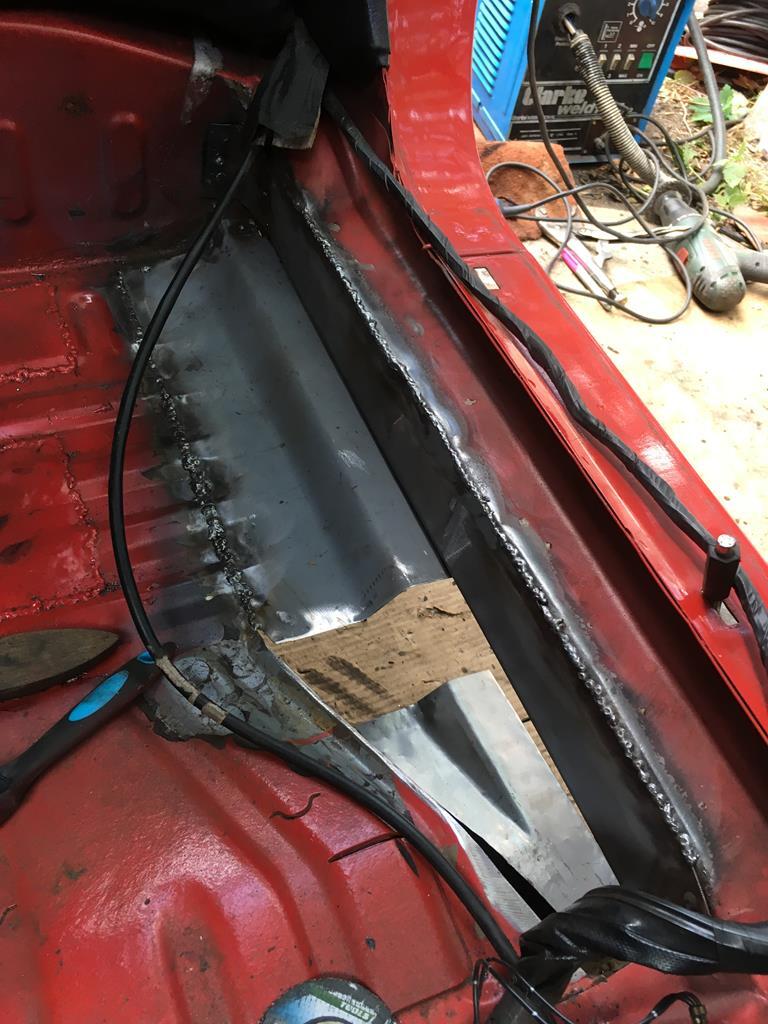 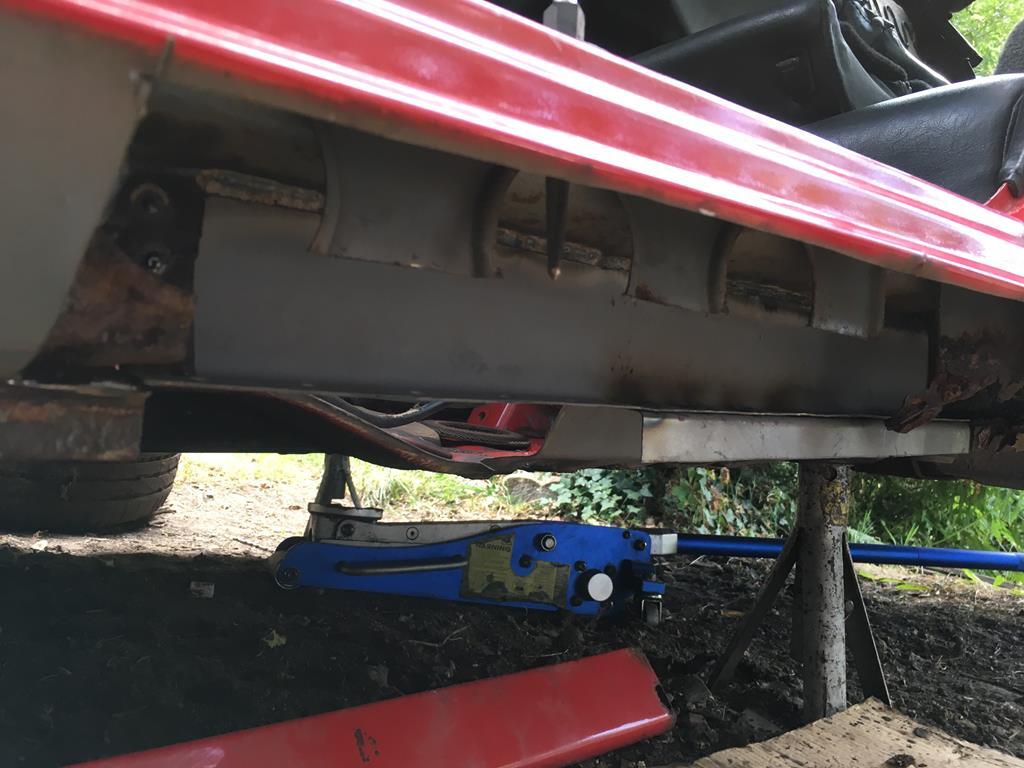 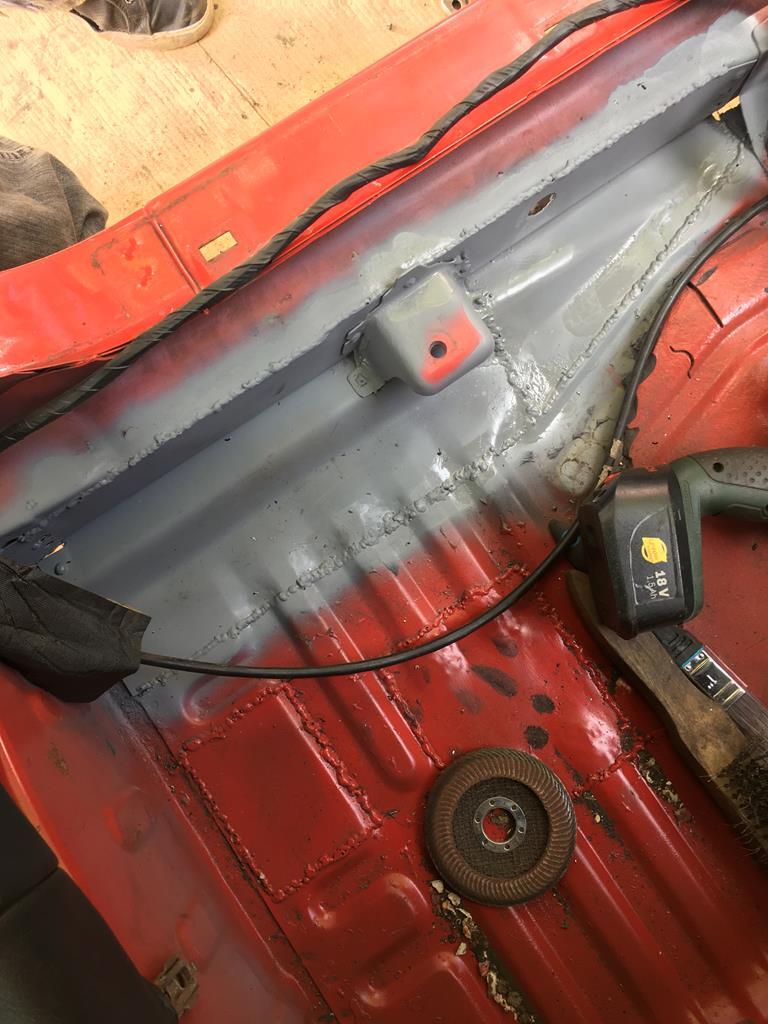 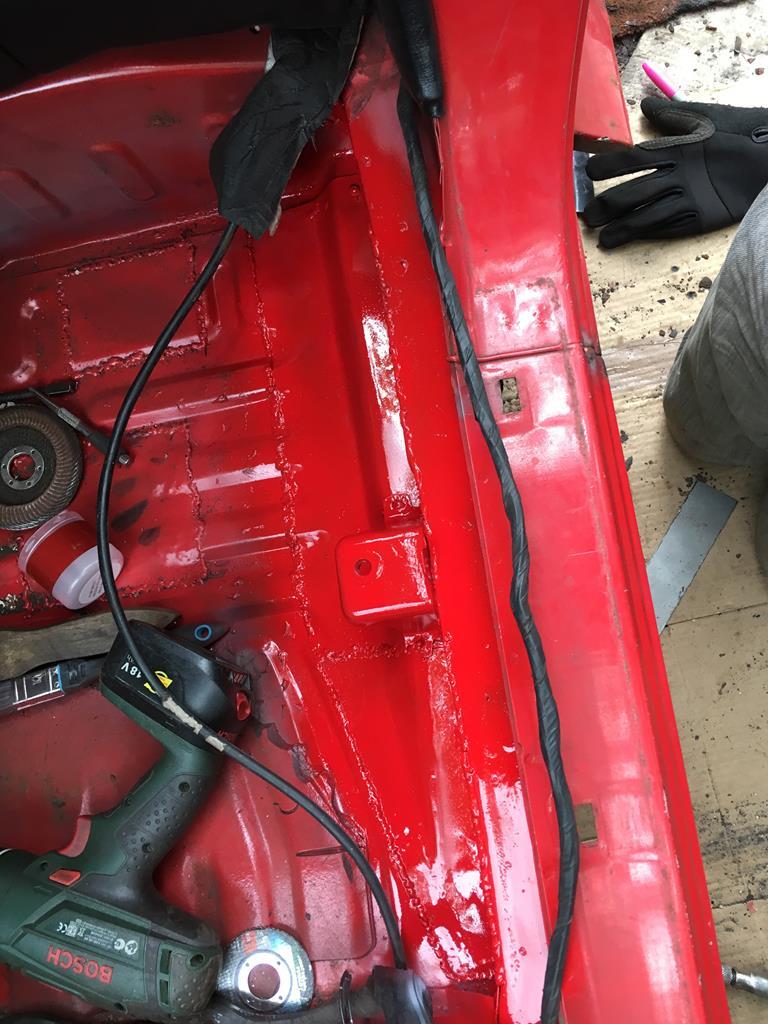 With that done i realised i needed to cut out more structural inner sill in order to repair the stiffening panel that sits inside. Since theres so much rust in the arch i felt that might make the quarter panel move around too much, so i decided to repair the leading edge of the arch while it it still in it's original position 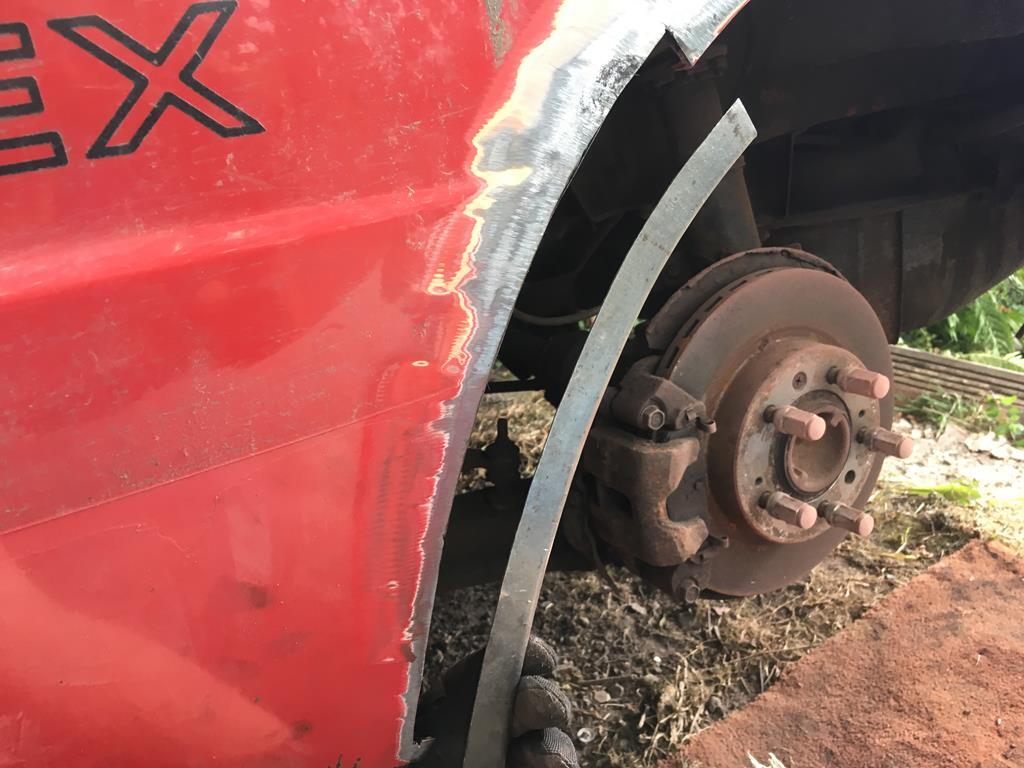 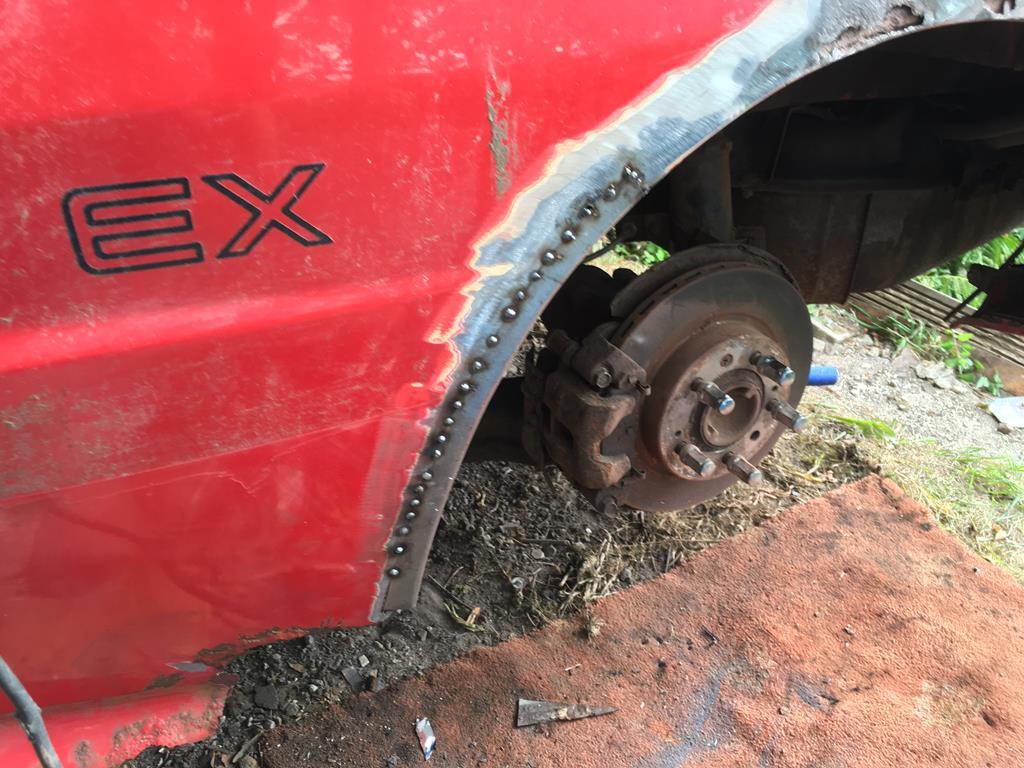 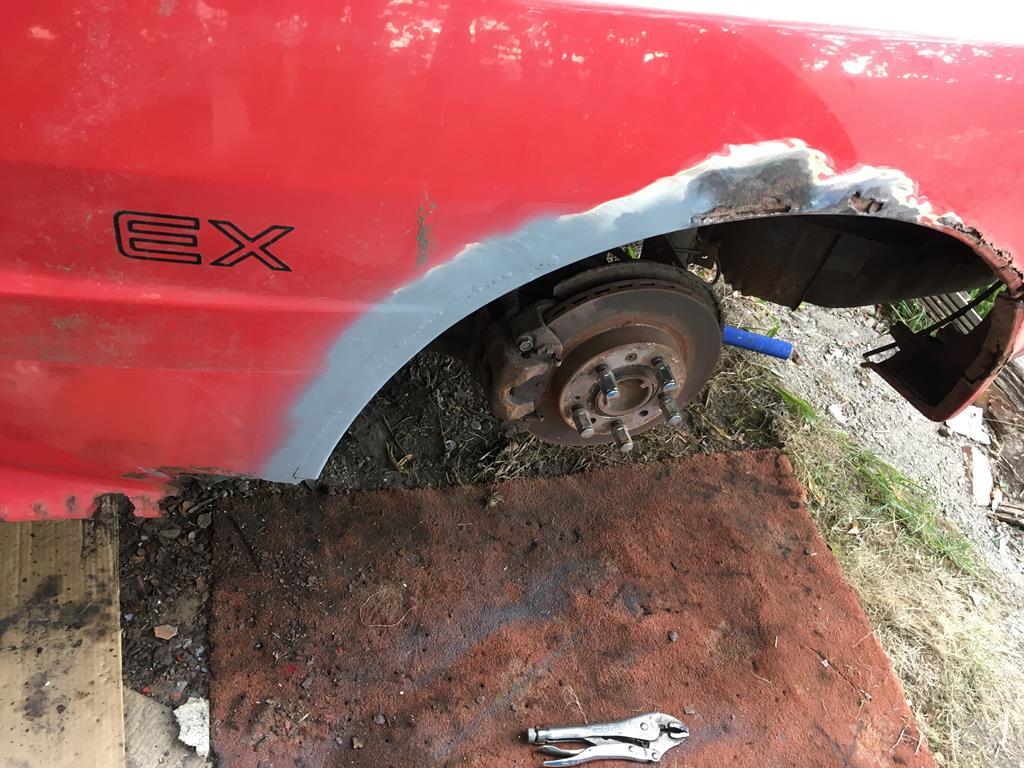 You can see just how much I ended up cutting out of the quarter panel here 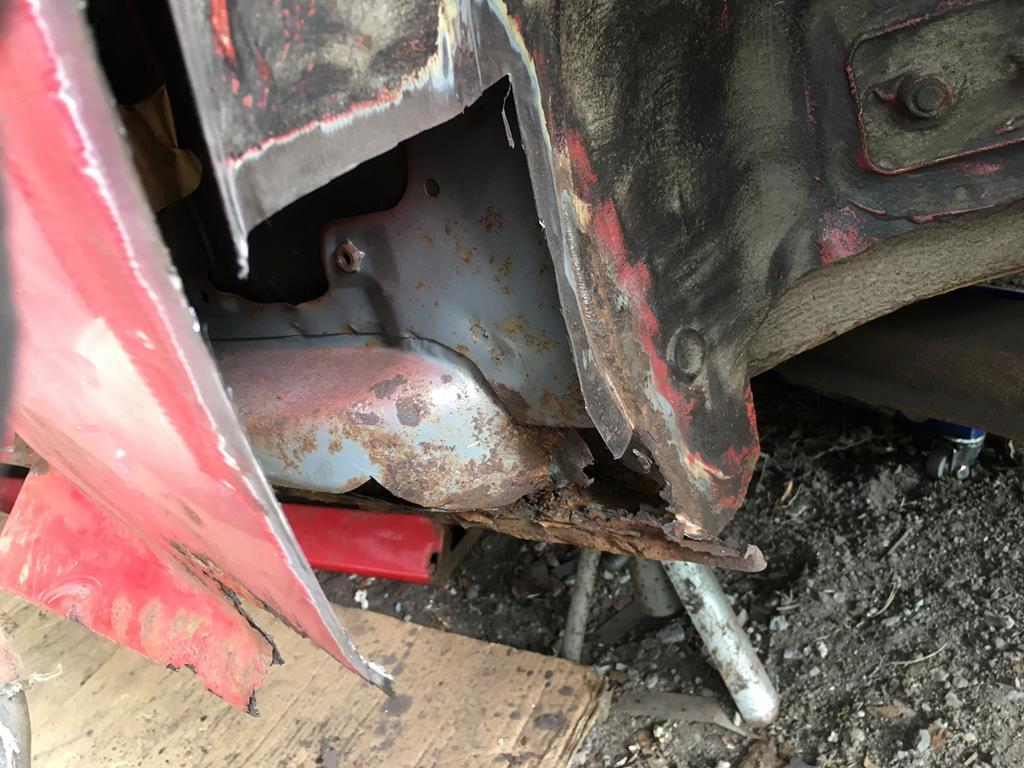 With some stiffness added back into the wheel arch i felt more comfortable cutting more structure away 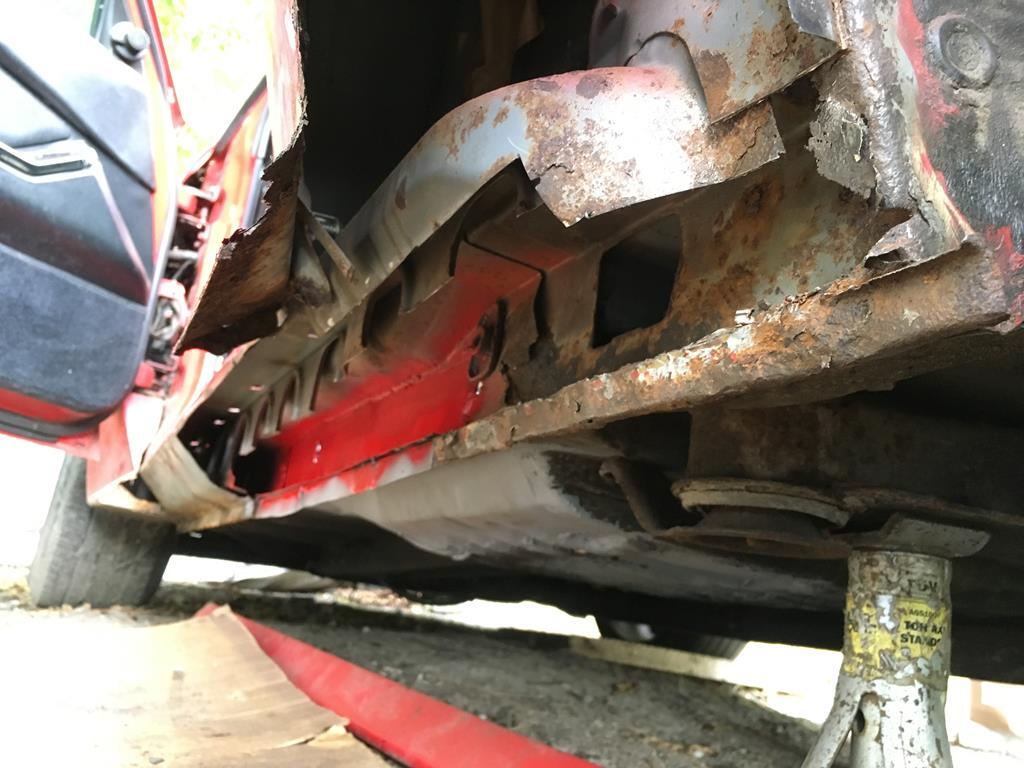 Which gave me enough access to repair this stiffening panel, the repair panel made in 2 parts for ease. 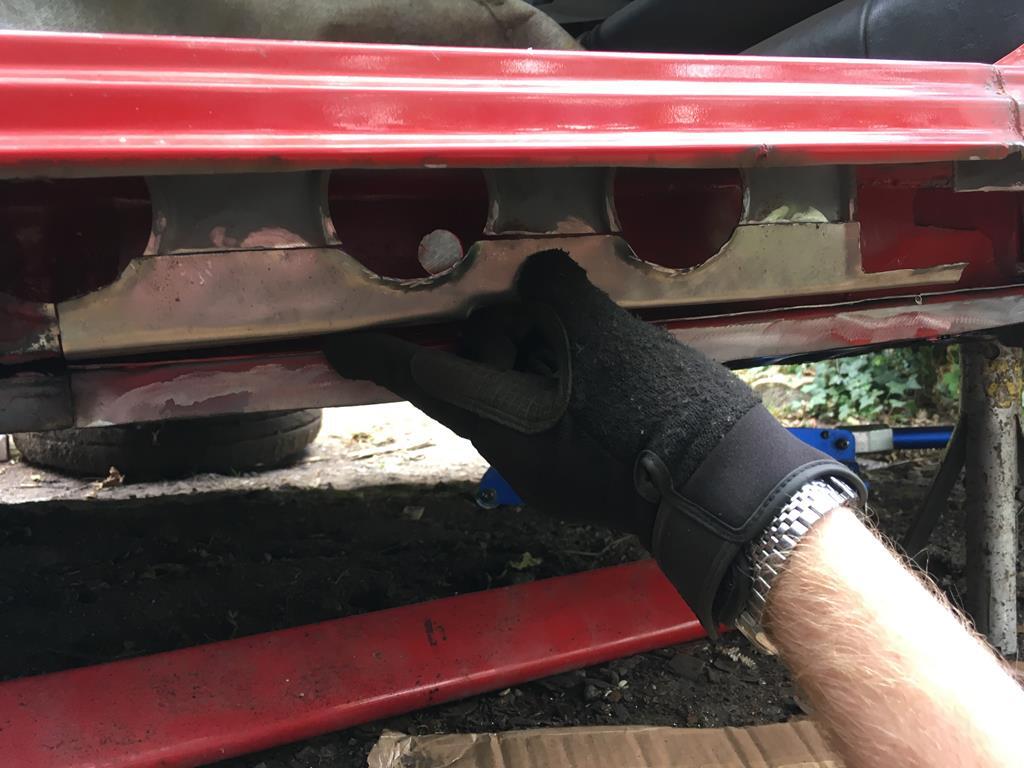 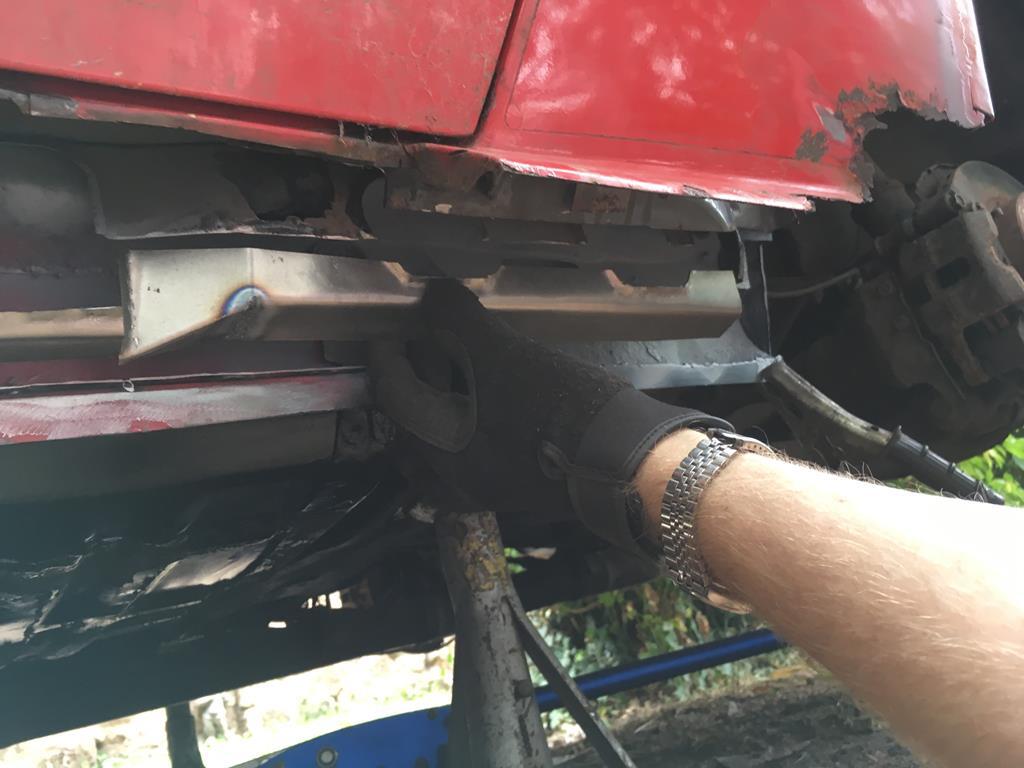 Then onto the outer sill sections. I repurposed a BMW E21 sill repair panel for these as the profile was close enough, again starting at the front 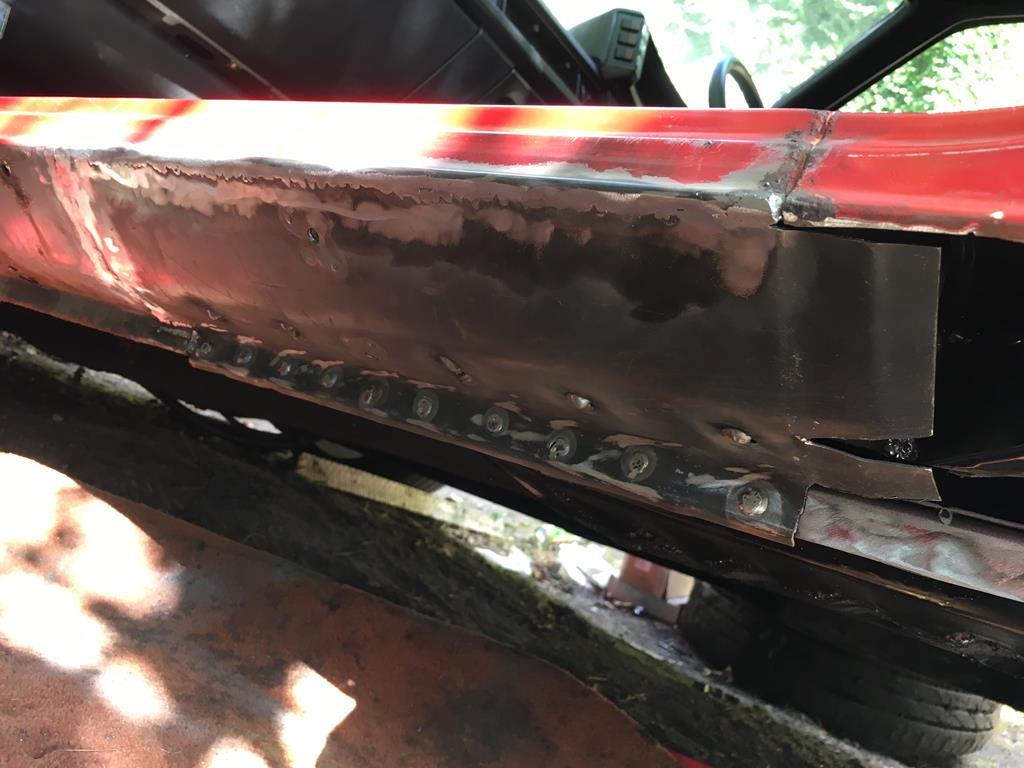 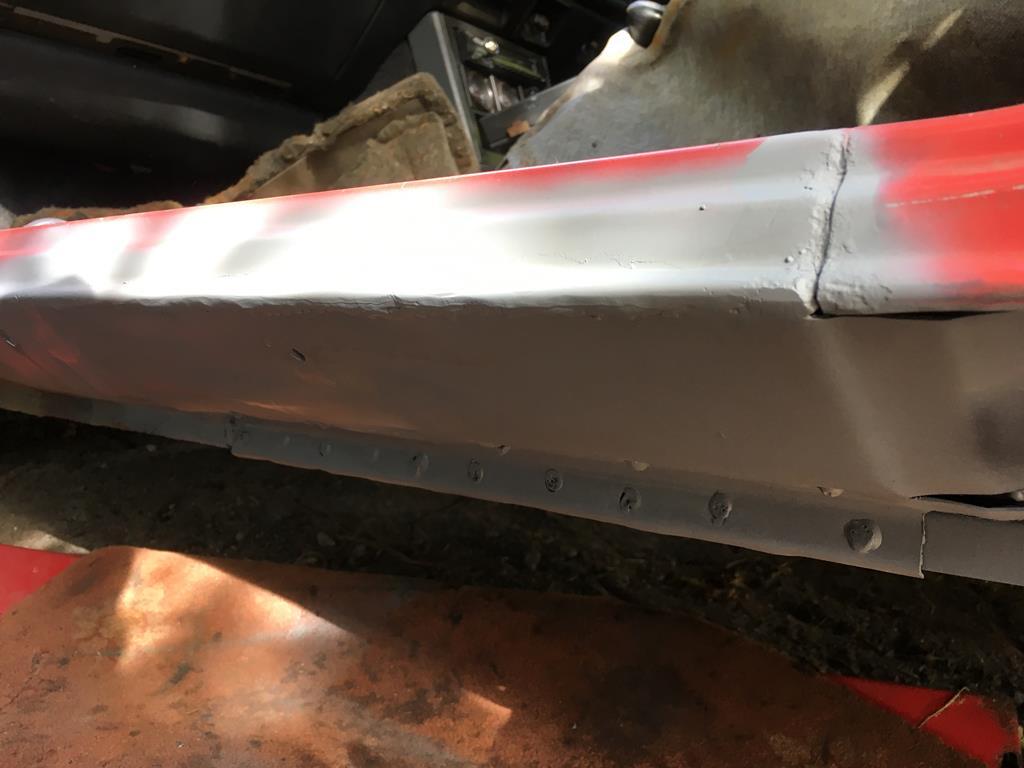 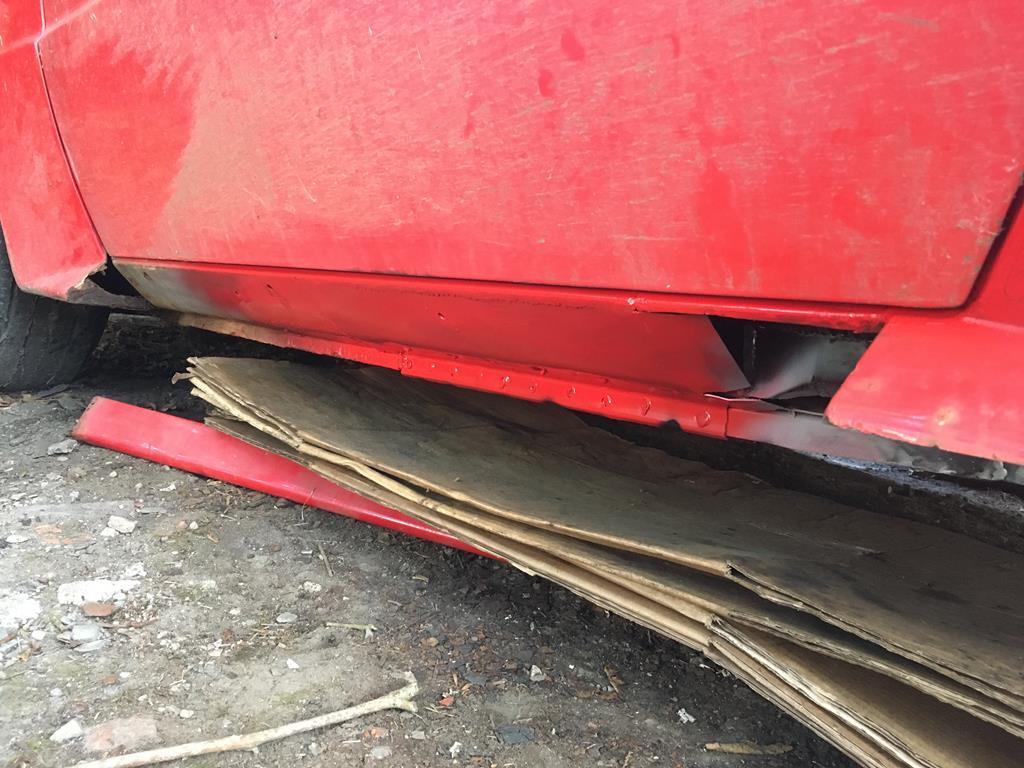 And working backwards 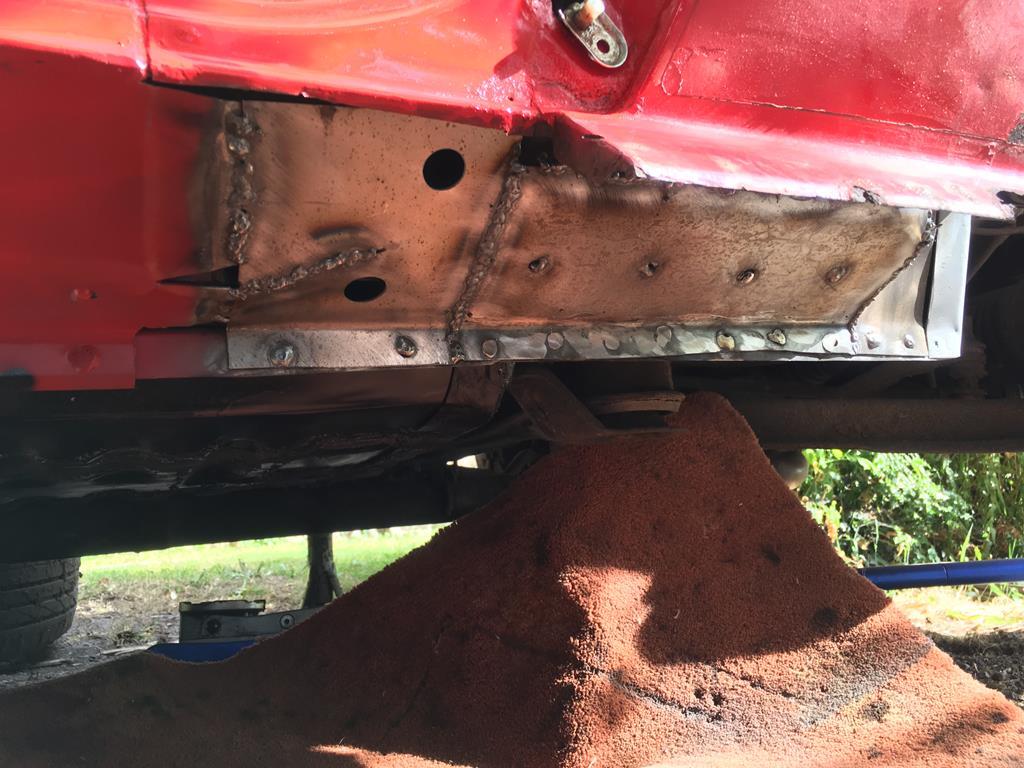 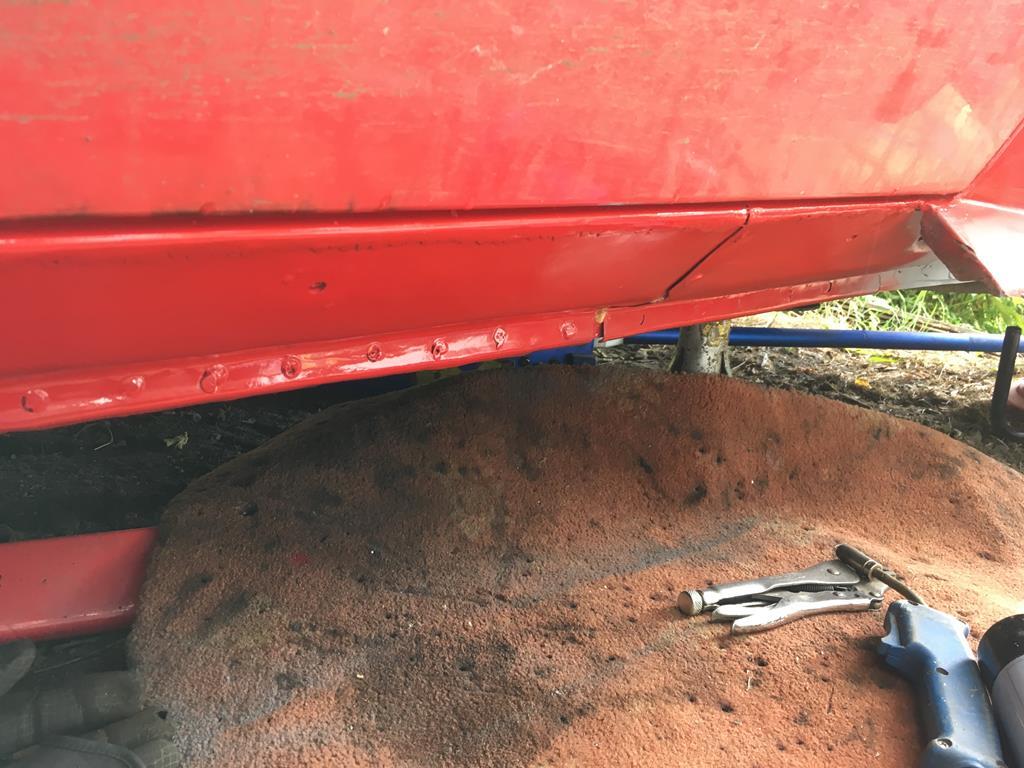 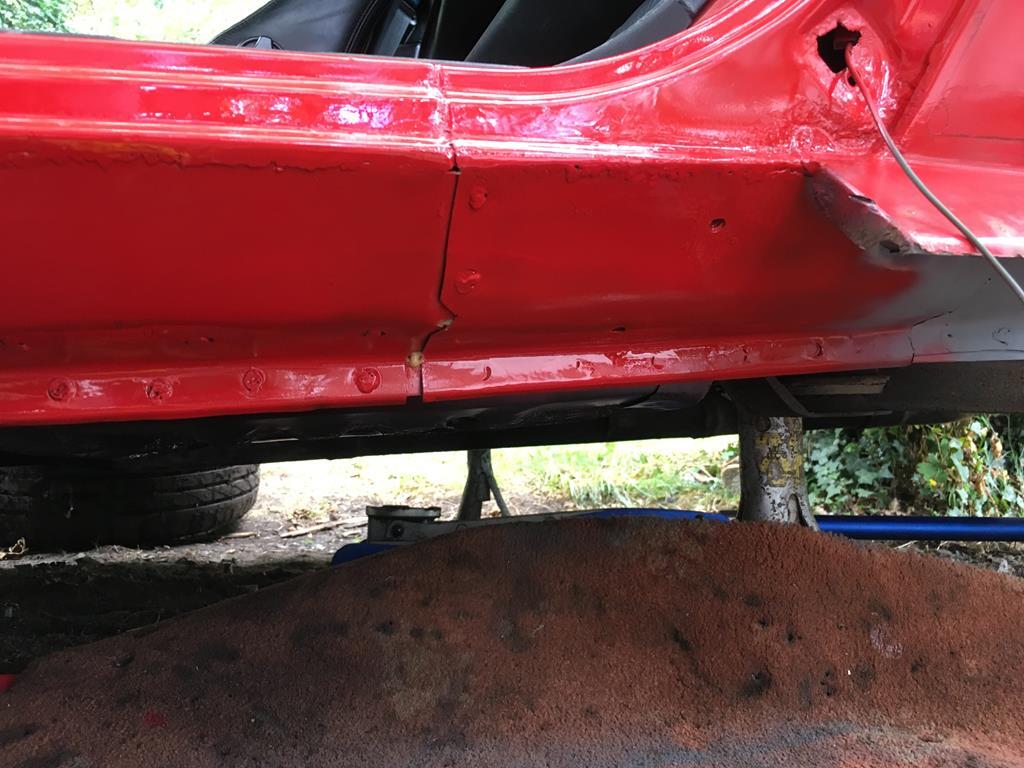 And then onto the quarter panel, getting close now! 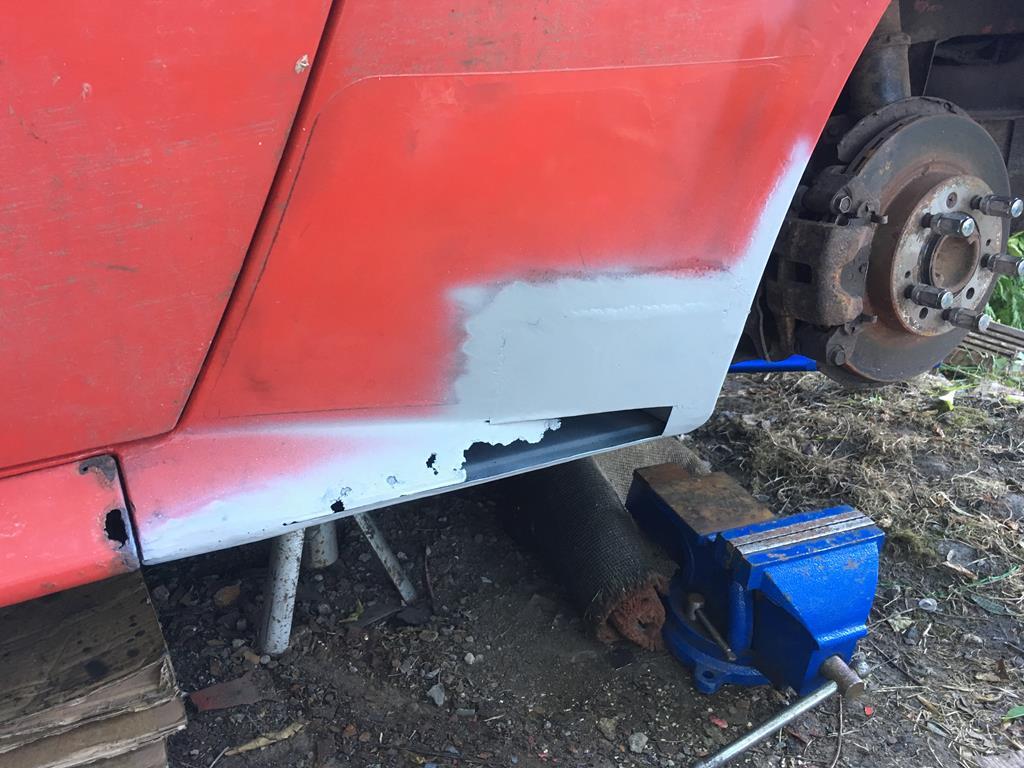 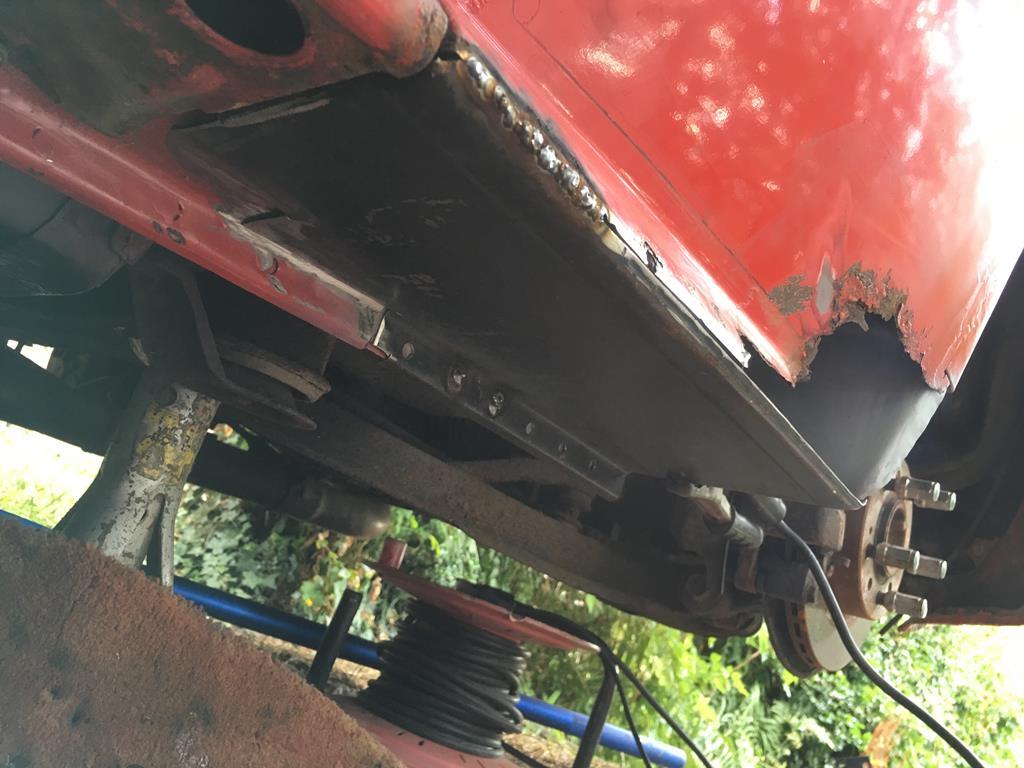 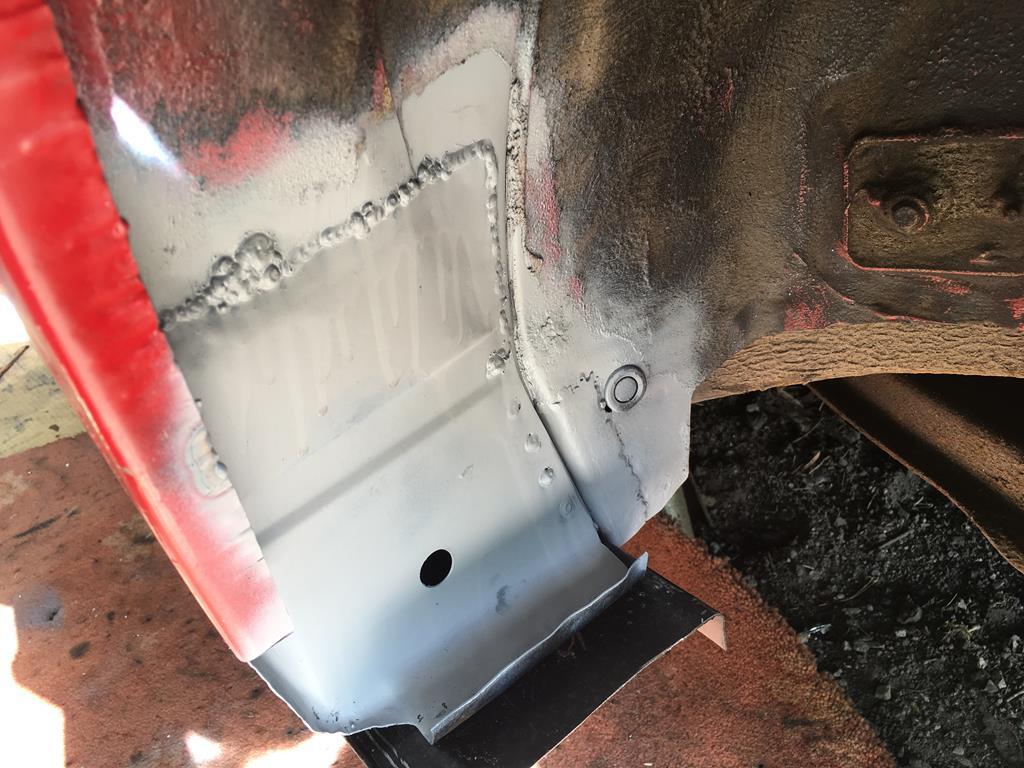 So yeah, just another patch on the quarter panel then the bits at the rear of the arches to sort and she'll be close enough! All in a days work, right? Right?? |
| |
|
|
|
|
|
Aug 11, 2018 11:57:58 GMT
|
|
Smashing it. A week to go, you may as well have a beer first.
|
| |
1987 Supercharged BMW R1150 Citroen 2cv Hillclimb Monster
1995 Renault Master Mk1 Race Transporter
1994 Mazda MX5 Mk1 / NA Road Going Class Hillclimber
1991 UMM Alter II Crew Cab OM606 SuperTurbo Diesel MegaUMM Overlander
1992 UMM Alter II Station Wagon
1980 UMM Cournil - survivor - resto project
1979 Lomax 224
2014 VW T5.1 Transporter Kombi Highline
|
|
|
|
|
Aug 11, 2018 12:09:11 GMT
|
|
Some brilliant work happening here
Looking forward to future updates
Bookmarked
|
| |
BMW E39 525i Sport
BMW E46 320d Sport Touring (now sold on.)
BMW E30 325 Touring (now sold on.)
BMW E30 320 Cabriolet (Project car - currently for sale.)
|
|
|
|
|
|
|
|
|
|
Wow youve really cracked on with this. Nice going.
Just out of curiosity after welding the inner sill areas. How would you stop it again from rusting? Shultzing the inside? Etching primer then, red oxide side then a colour of your choice? I only ask as I'll be doing the same to my polo.
|
| |
|
|
|
|
|
|
|
Wow youve really cracked on with this. Nice going. Just out of curiosity after welding the inner sill areas. How would you stop it again from rusting? Shultzing the inside? Etching primer then, red oxide side then a colour of your choice? I only ask as I'll be doing the same to my polo. Umm all of the above really! The more you can do to stop rust on the inside the better. Usually I paint the inside of panels with red oxide epoxy primer, then try and spray some primer on the back of the welds if possible. In this instance I wasn’t that prepared and don’t have any epoxy primer, so I’m going with regular primer and paint over the top (as normal primer will rust on its own). Then when it’s all finished spray the cavities with waxoil or similar. There should be factory holes to access the inside of sections, so make sure you replicate these holes on any patch panels you make! |
| |
|
|
|
|
|
Aug 12, 2018 12:08:46 GMT
|
|
You can't paint over schutz as it's bitumen based, but everything else all good
|
| |
|
|
|
|
|
Aug 16, 2018 22:22:49 GMT
|
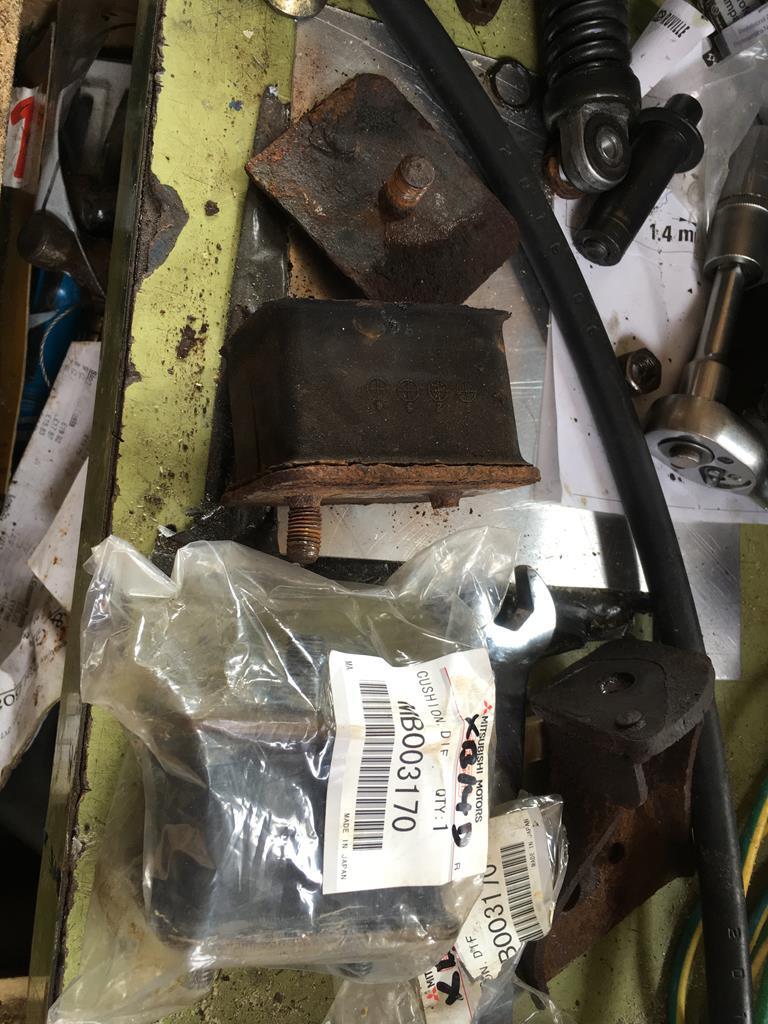
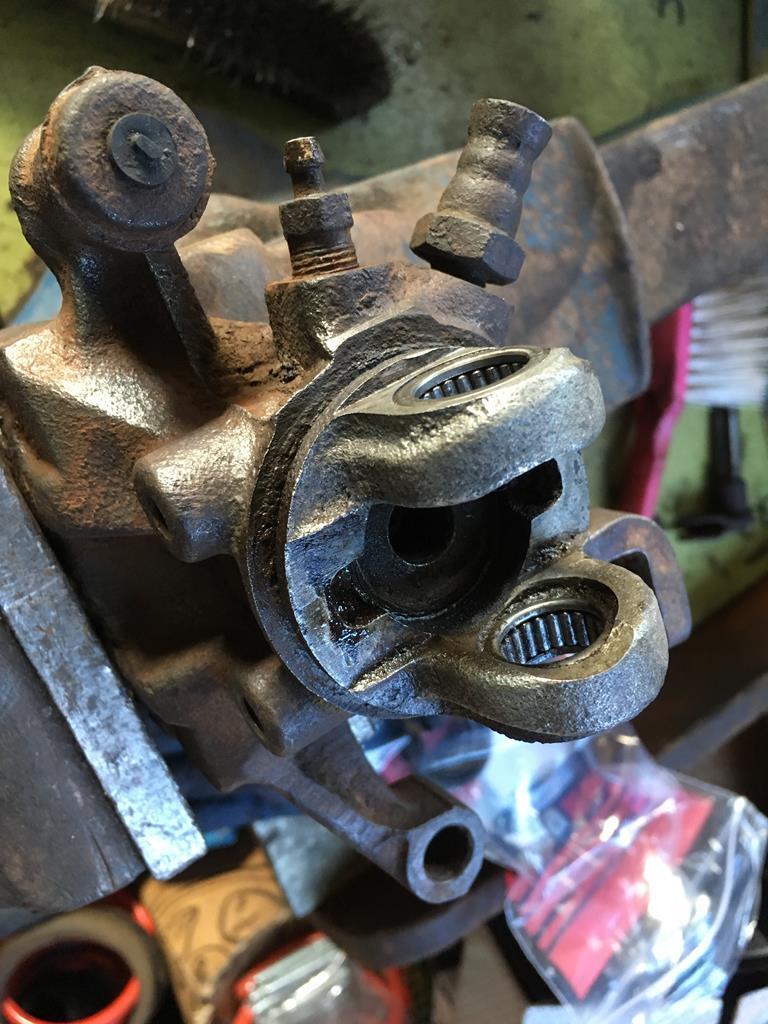
A belated update, but i did put another day in on this on sunday, finishing off the passengers side welding. First off, finishing touches to the floor repairs - replaced the sound deadening and applied seam sealer. Using unibond black PU stuff as halfords had no grey stripe stuff. It's made for bonding windows so should do the trick! 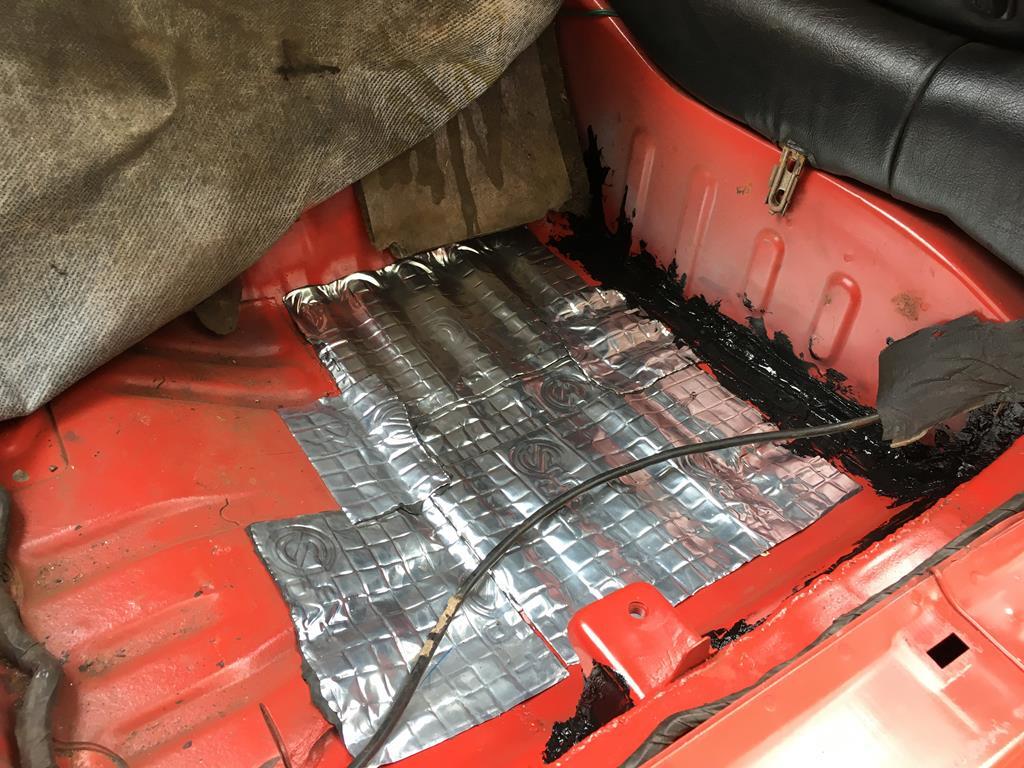 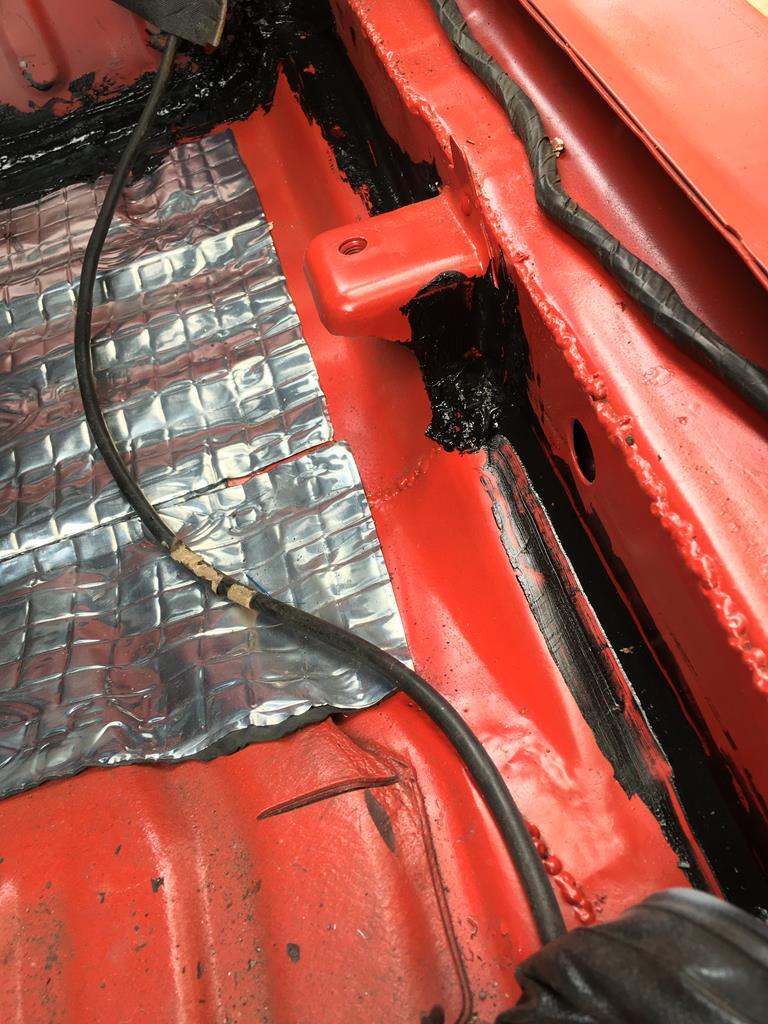 Then refit the carped, trims and passengers seat. looking like a car again now! 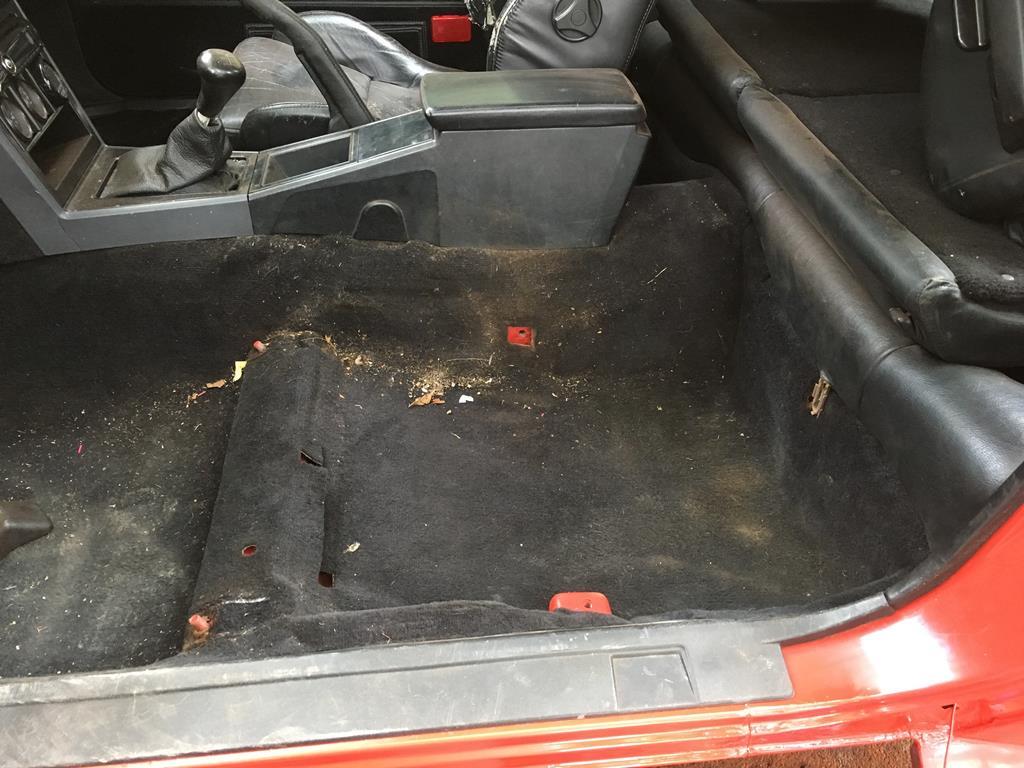 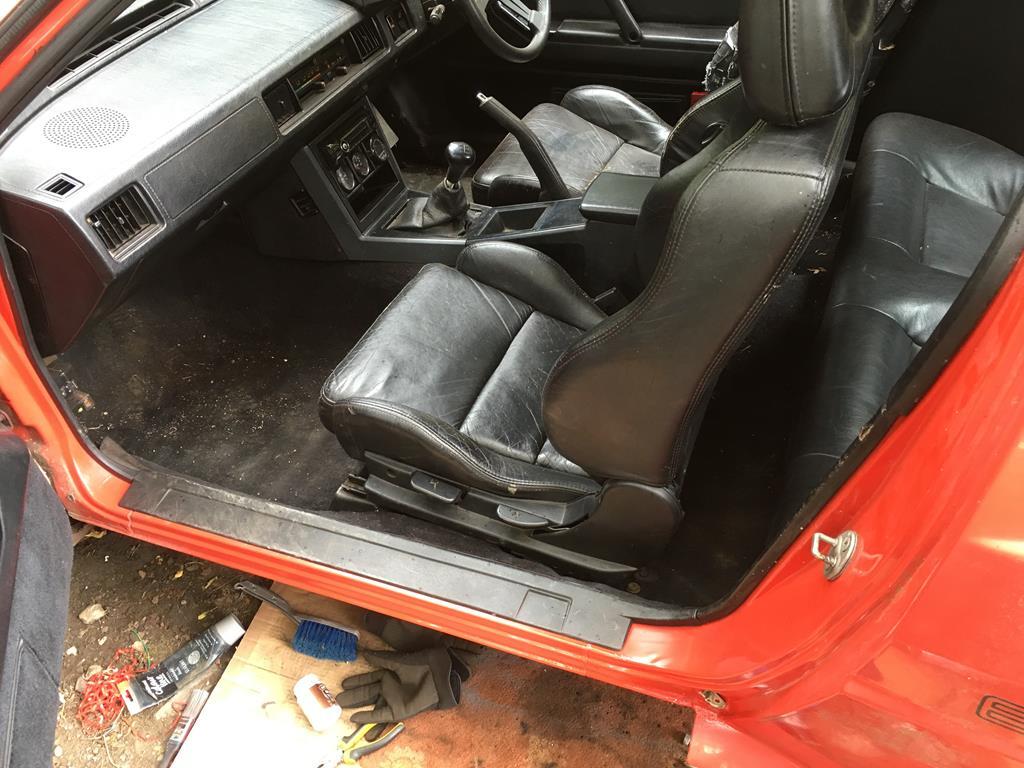 With that ticked off, time to get back to welding. Starting with the final patch on the sill end/quarter panel: 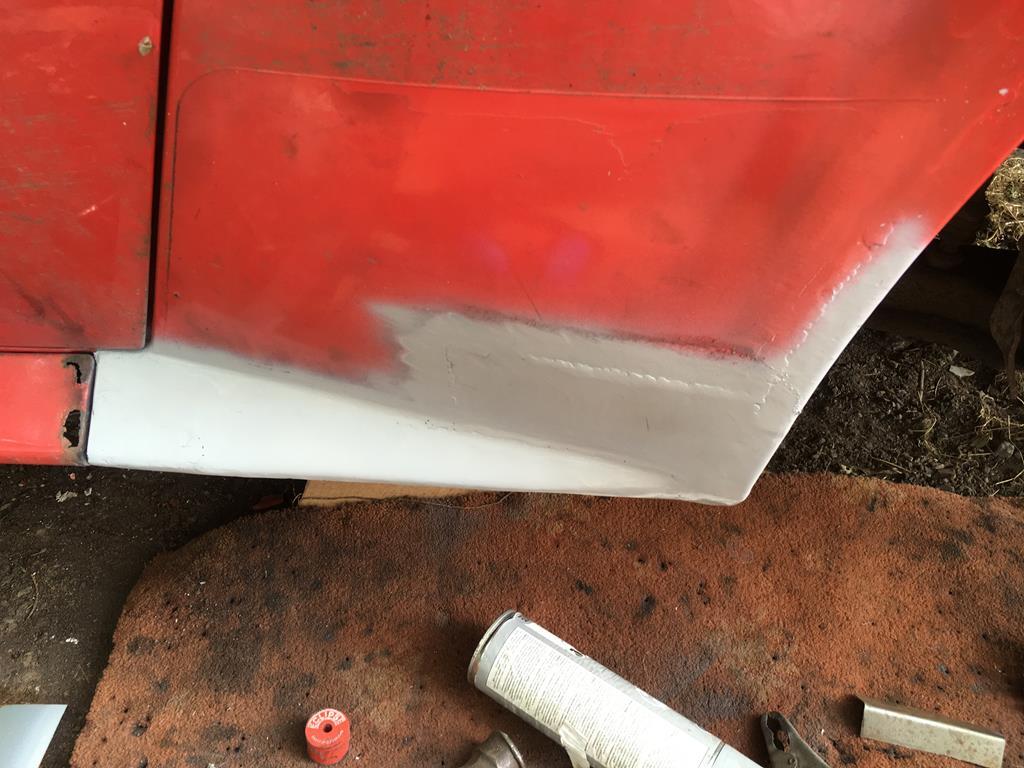 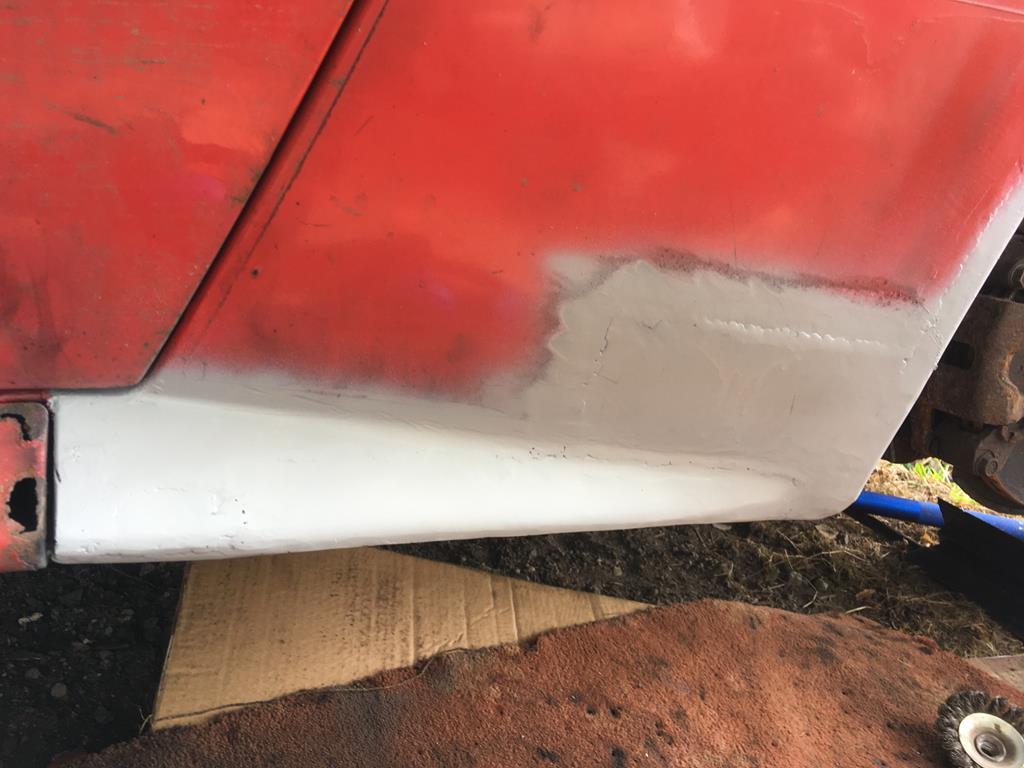 Moving on to the arch repairs. I thought I'd created some gnarly warps in the quarter panel doing these repairs, but then I remembered the panel was already dented before hand  on top of that half of it has around 4mm of filler on it, so getting it looking nice again after all the welding will be fun! 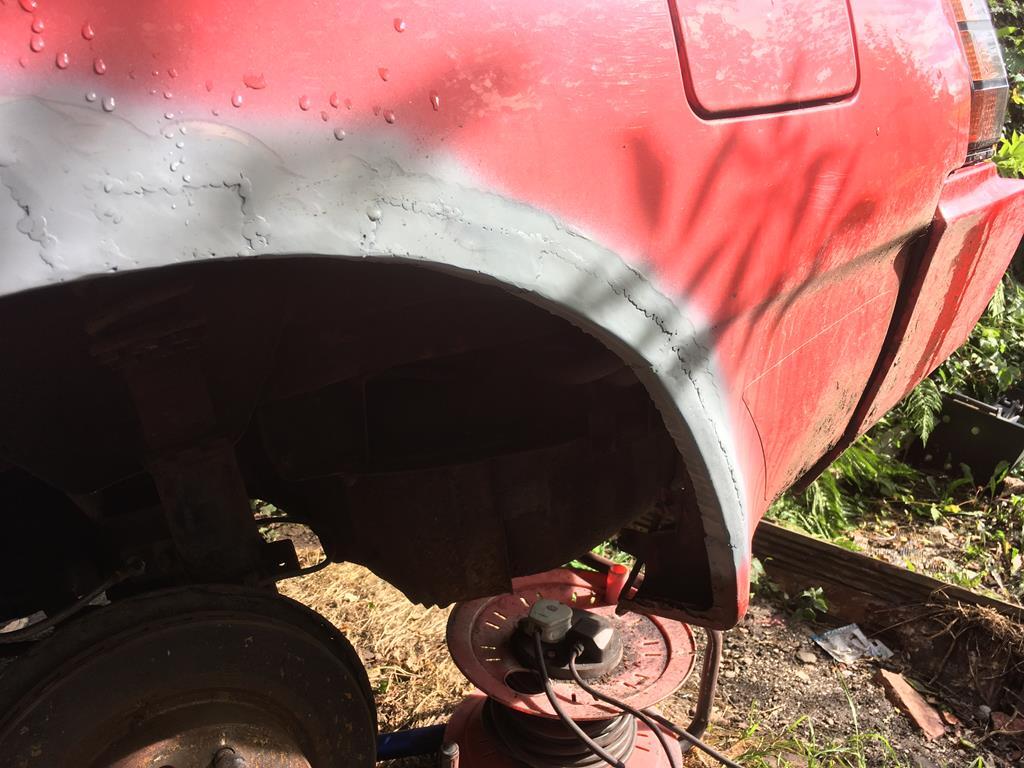 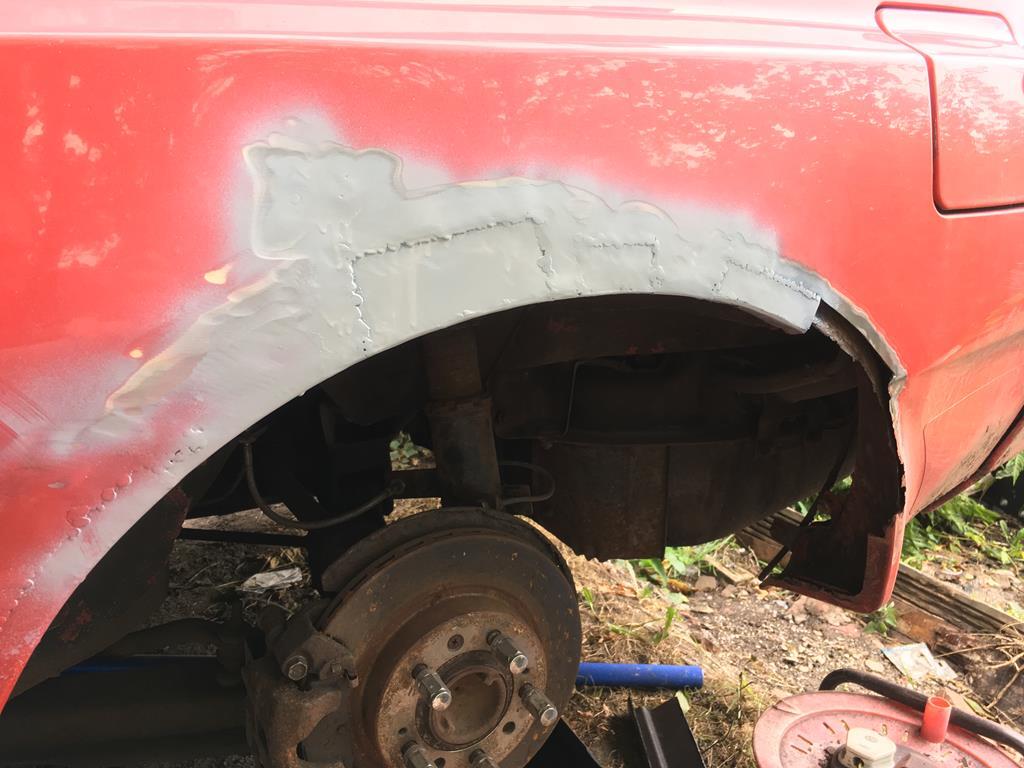 Since I don't have time for filler right now (and probably won't for a while) i've just painted it red to stop it rusting. I also drowned the inner sill and anywhere else i could reach in waxoyl now the welding is finished on this side. 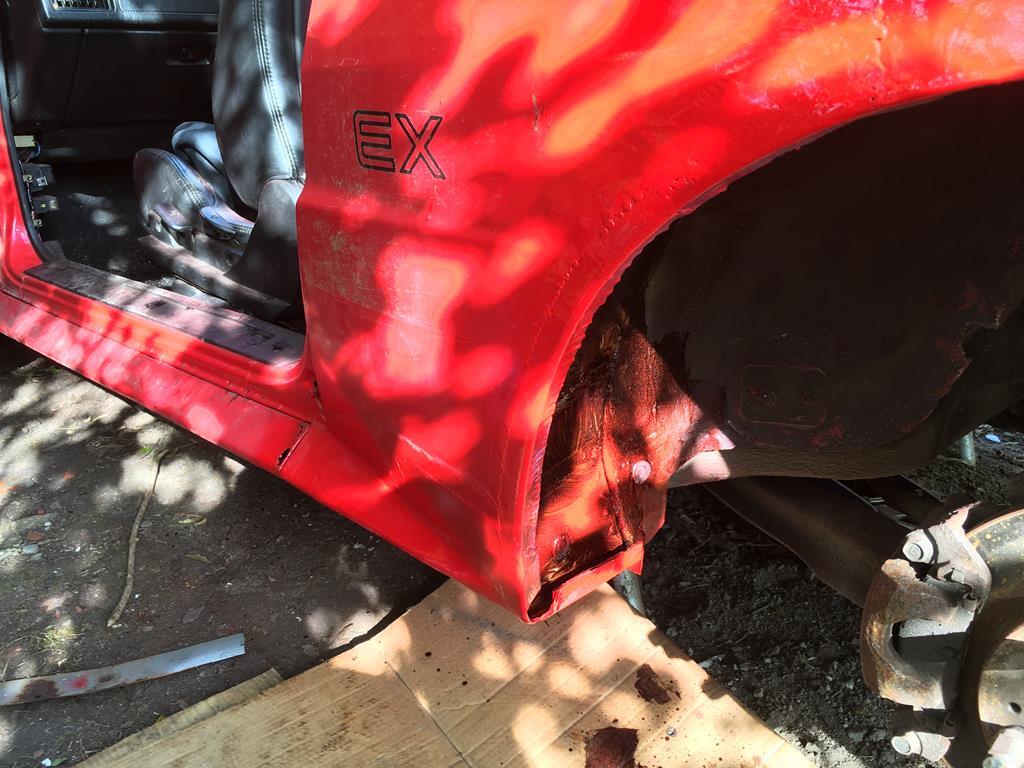 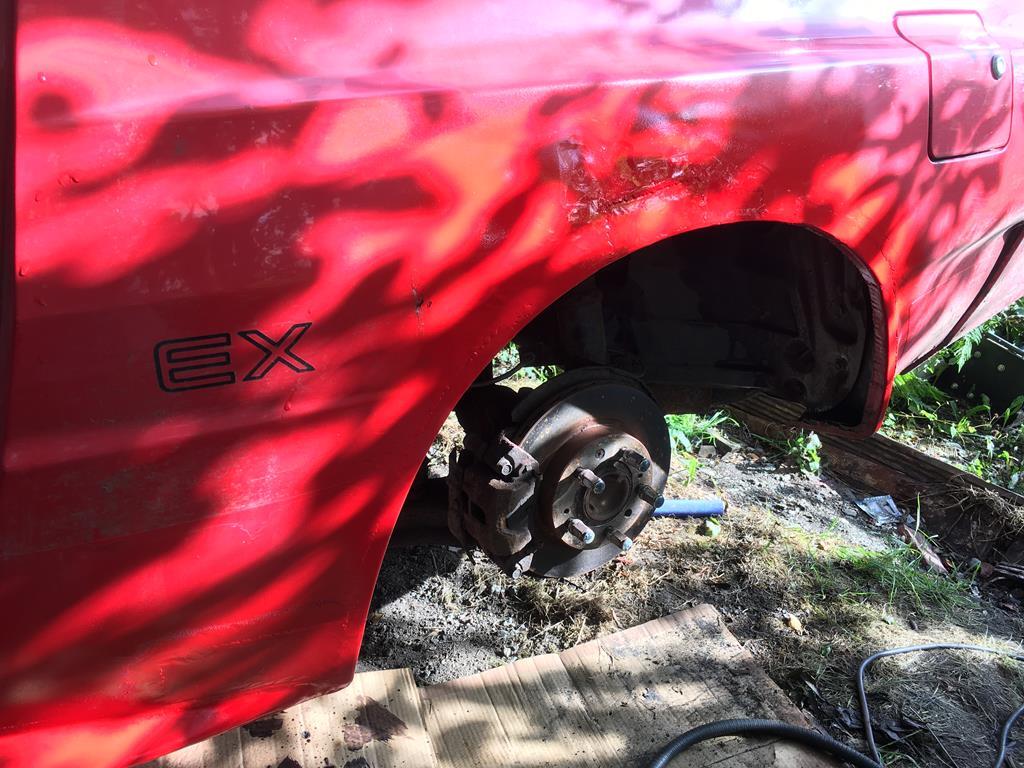 Then. Disaster struck! I started moving stuff round to make a start on the driver side but it started curse word it down. No matter, I thought, i'll just dump stuff on the drivers seat to keep it out of the wet. As I was rushing around getting things out of the rain the driver door slammed shut in the wind and the window connected with the corner of the welder, shattering it everywhere  I was not best pleased, as you can imagine, and very nearly just gave up went to the pub. But I figured i should at least cover the hole where the window used to be and clean up the glass... 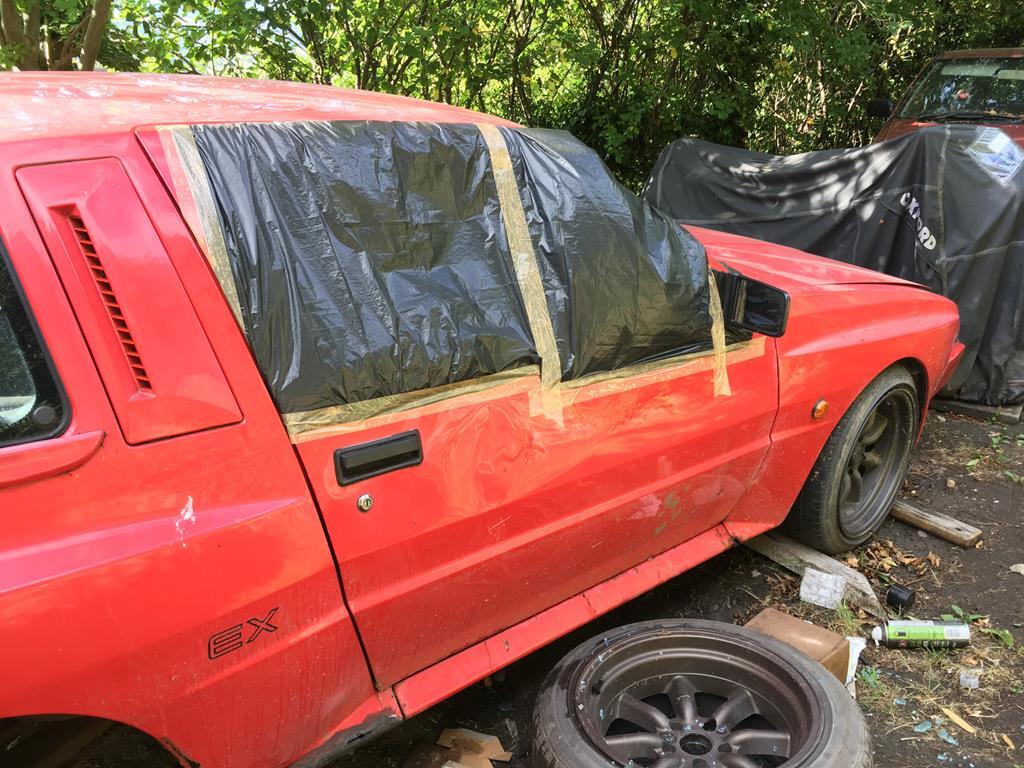 After a bit of sulking, I figured i'd put a lot of effort in thus far, and that I should at least try and find a new window for it and get it to the gathering. After all, i'd managed to find a whole front end with help from some people in the owners club, so gotta be worth a shot right? and indeed it was! After a plea for help on the facebook group, someone offered a whole new door in red from a very rotten parts car, and best of all it was only 20 mins from work! so last night I took a little detour on my way home and ended up with this in the back of my car! 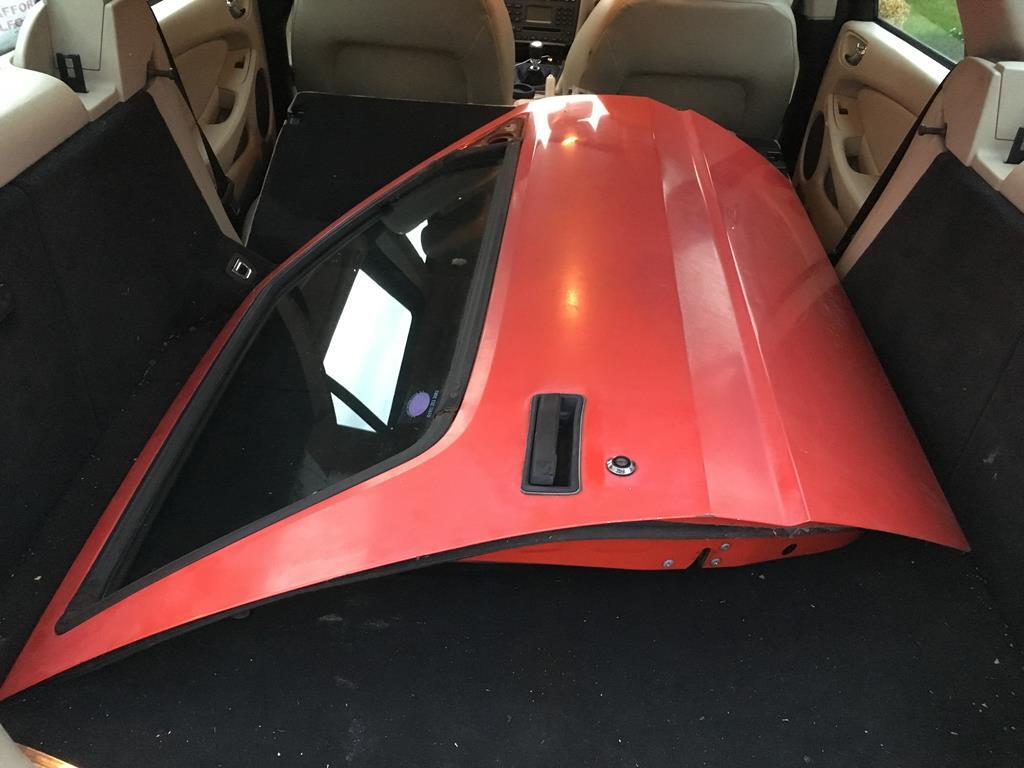 This does still leave me with some welding on the drivers arch, and now I need to change a door as well, but at least i have the parts! I figure i'll concentrate on the welding and it can be MOTd with no window if it comes to it!  The welding in question: 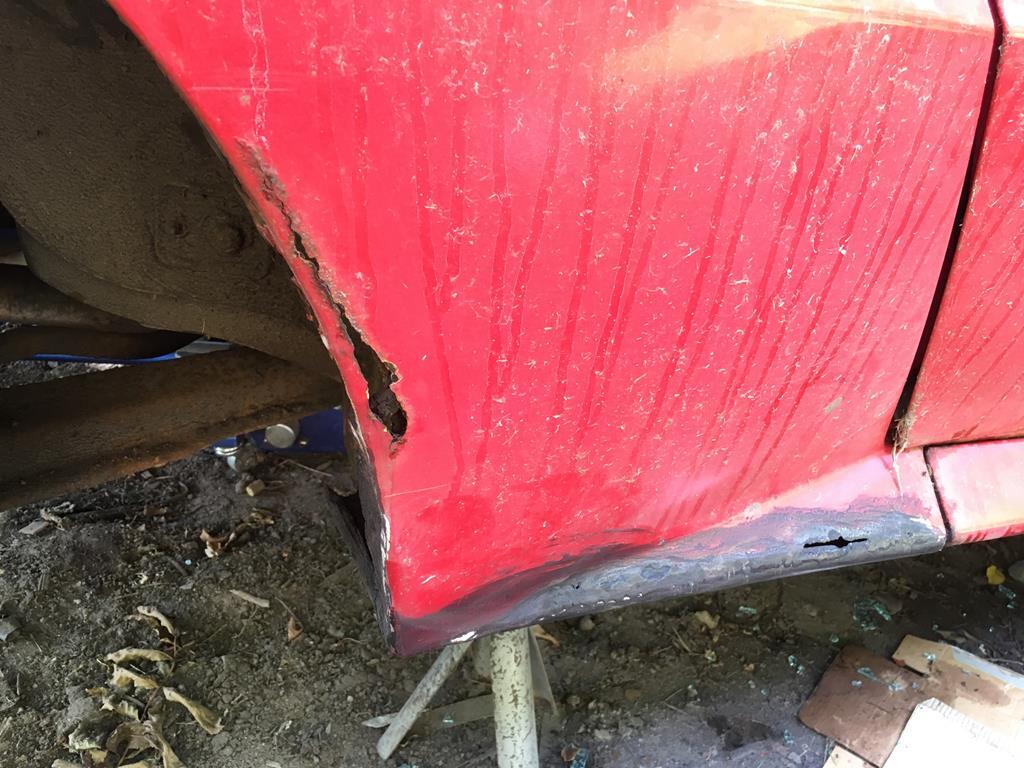 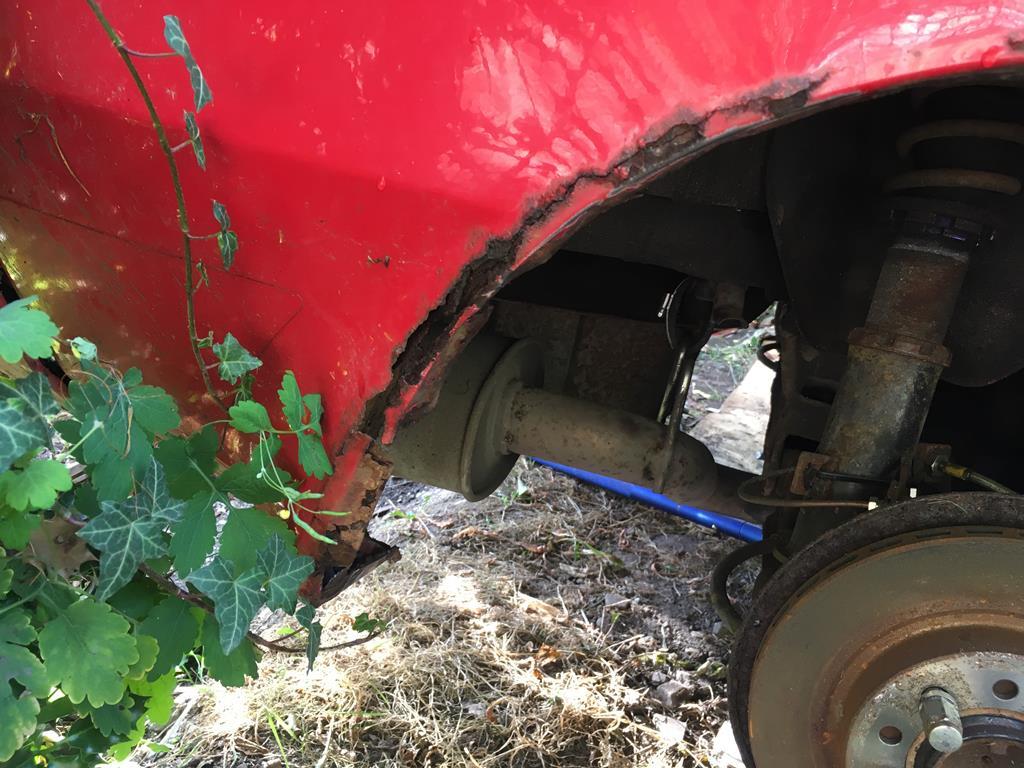 Once again, wish me luck! I feel I may really actually need it this time  |
| |
|
|
|
|
|
Aug 18, 2018 11:23:40 GMT
|
Had a bit of a late evening yesterday, but managed to get the drivers arch welded and bled the brakes 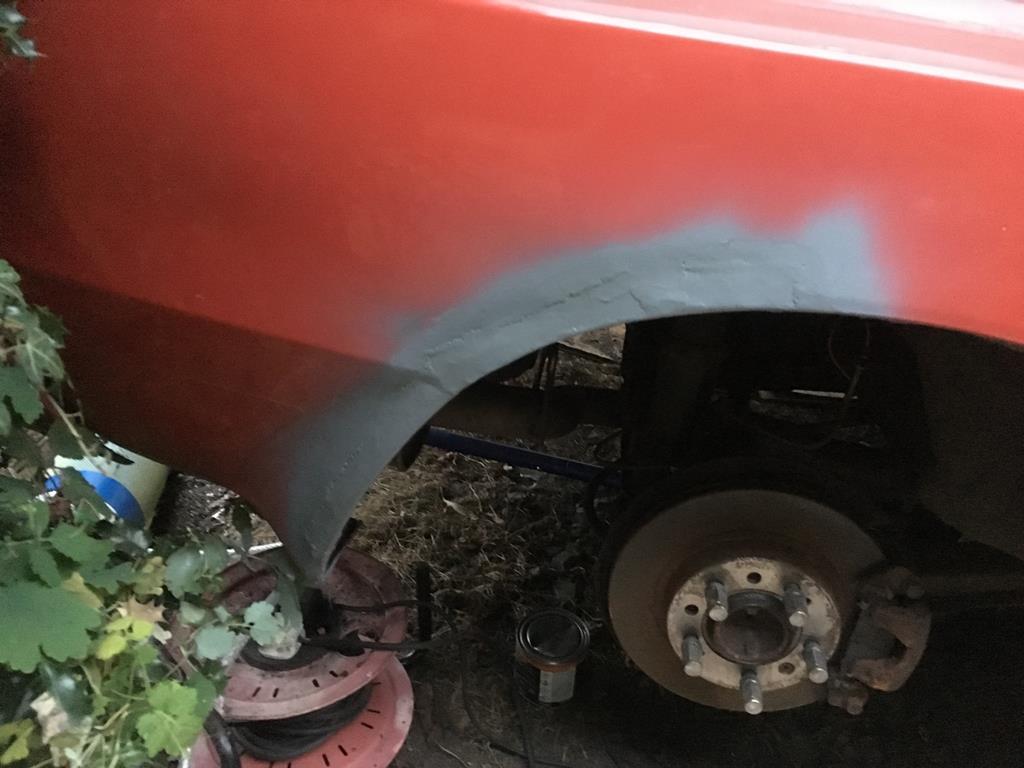 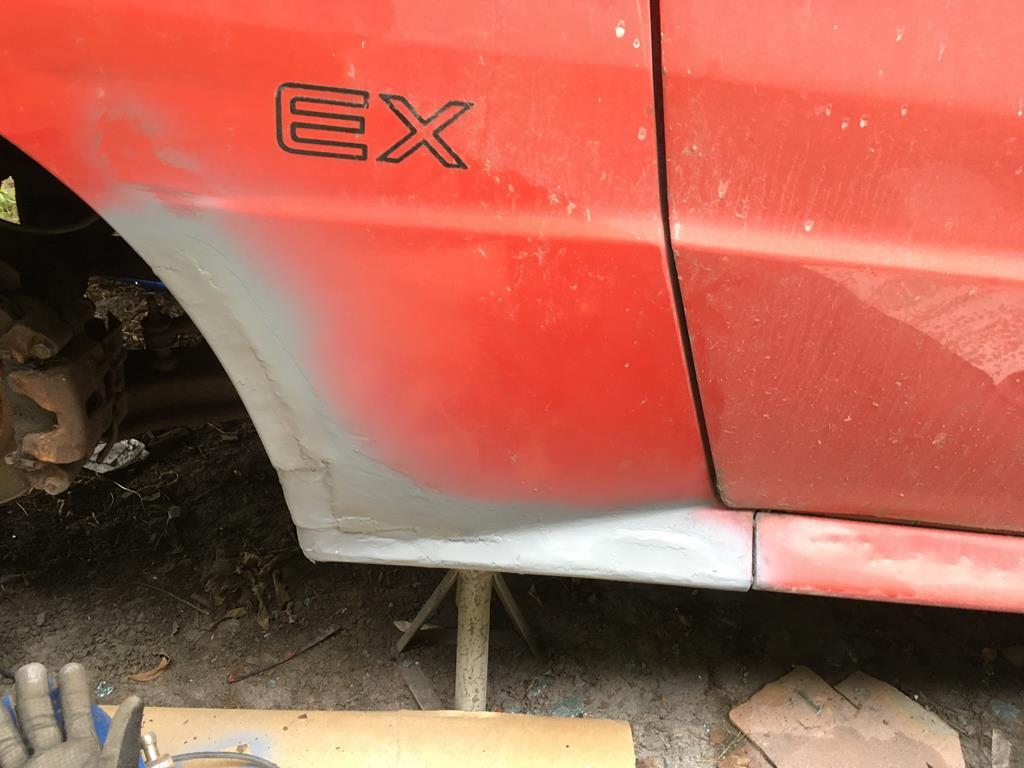 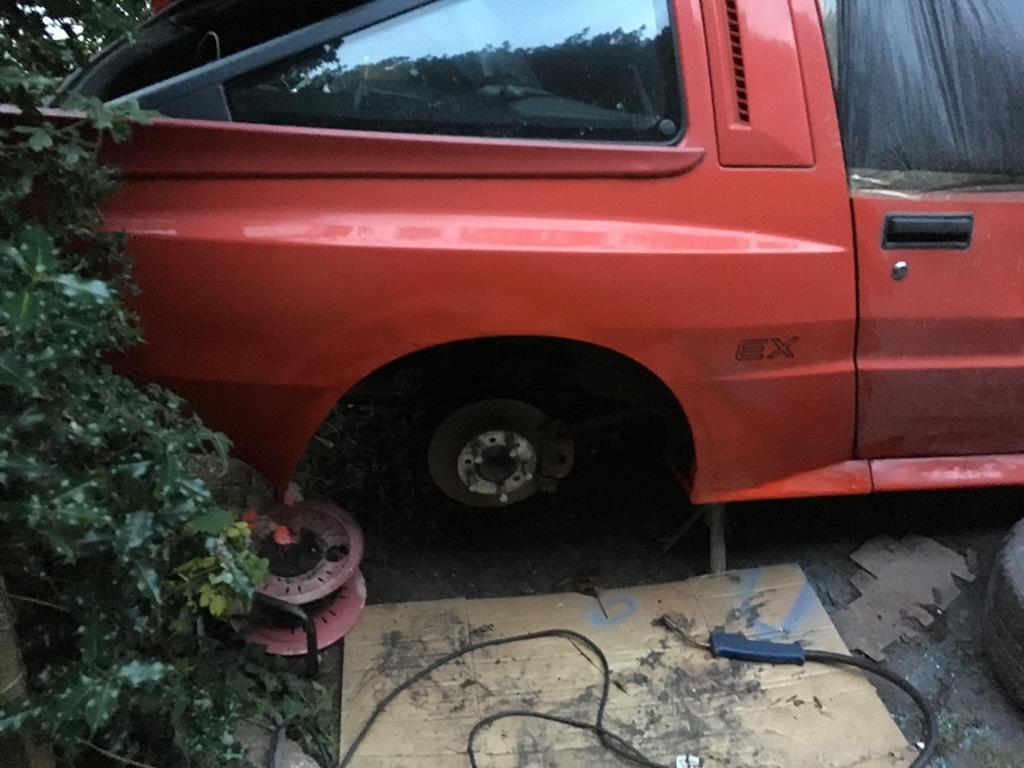 I also found a tow strap inside the drivers rear quarter, god knows how long thats been there - definitely before i owned the car! 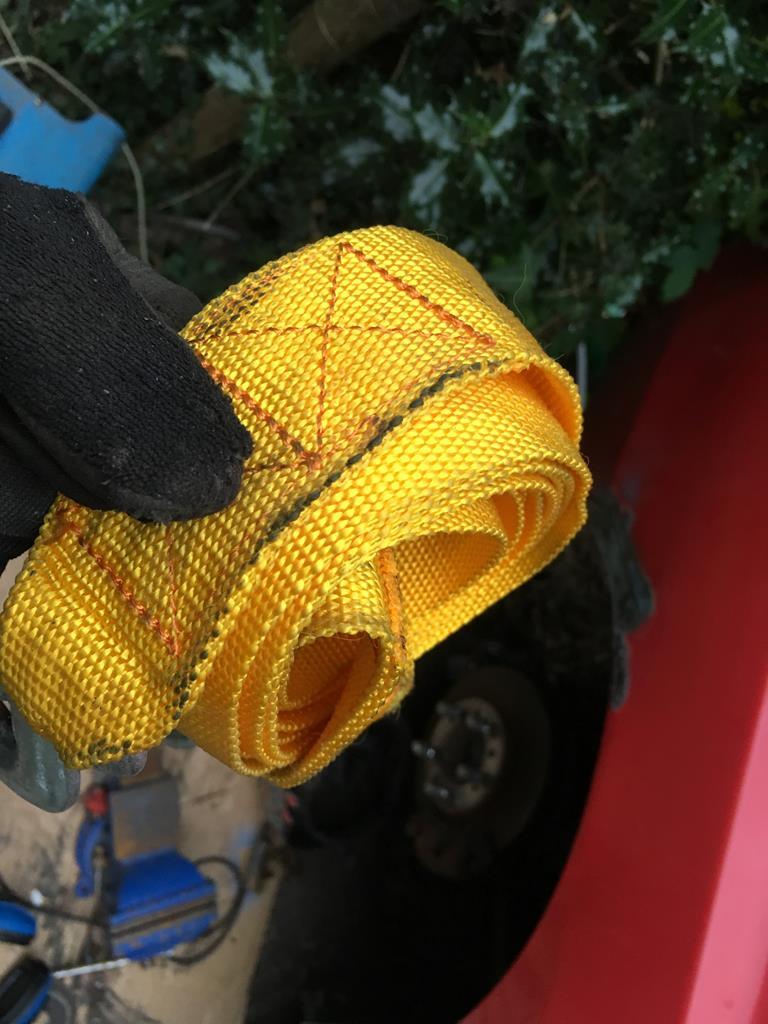 Then a bit of finishing off this morning before dropping it for an MOT. Once thats done i'll get one with servicing it and fitting the new door and we should be good to go! |
| |
|
|
adam73bgt
Club Retro Rides Member
Posts: 4,998
Club RR Member Number: 58
|
|
Aug 18, 2018 11:40:10 GMT
|
Seriously impressive with how you've been cracking on with this! Best of luck with the MOT  |
| |
|
|
|
|
|
Sept 11, 2018 20:01:43 GMT
|
Has it really been 3 weeks since the gathering? Anyway, those who were there might have seen that I did, in fact, succeed in getting the starion to the show! I didn't really have much of a chance to chat to anyone as my mate was running in the hill climb, so spent most of my time around there, but it was good to see there were always a few people checking out my cars  Following on from the last update, i got up super early and undersealed the welded areas before dropping it off for an MOT. 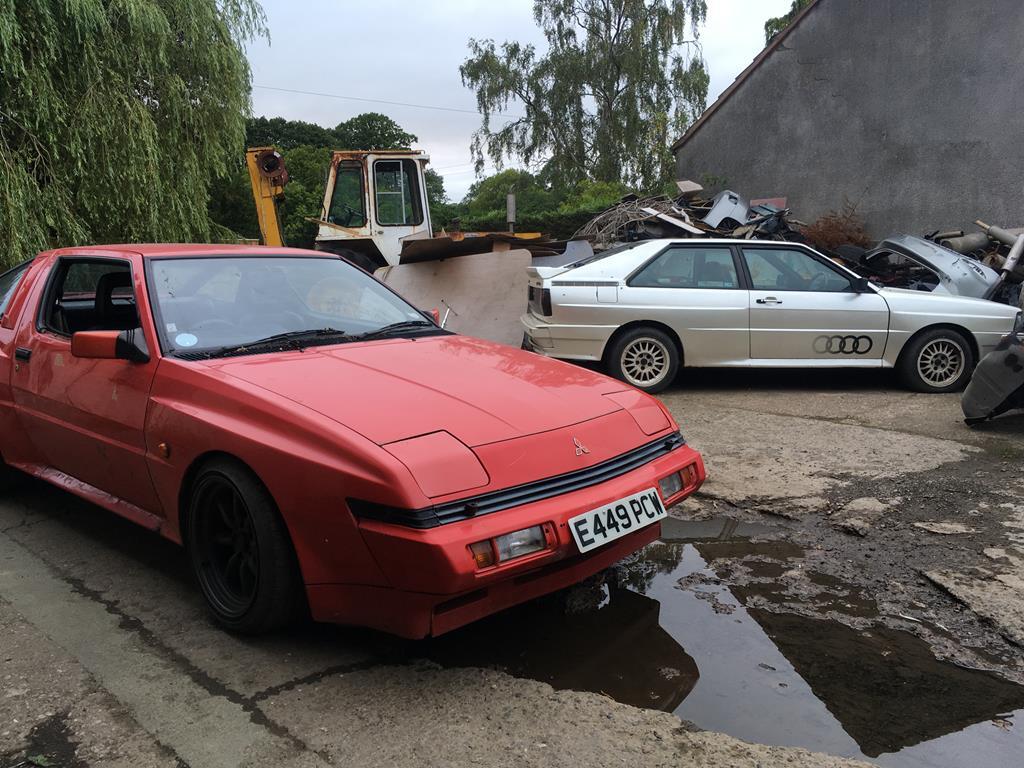 Annoyingly the MOT didnt get done until 7PM!! but it did at least pass with only a couple of minor advisories. With the car back home i didn't have much time to get the new door swapped on, but i managed it with a little help from my sister and girlfriend in the rapidly fading light 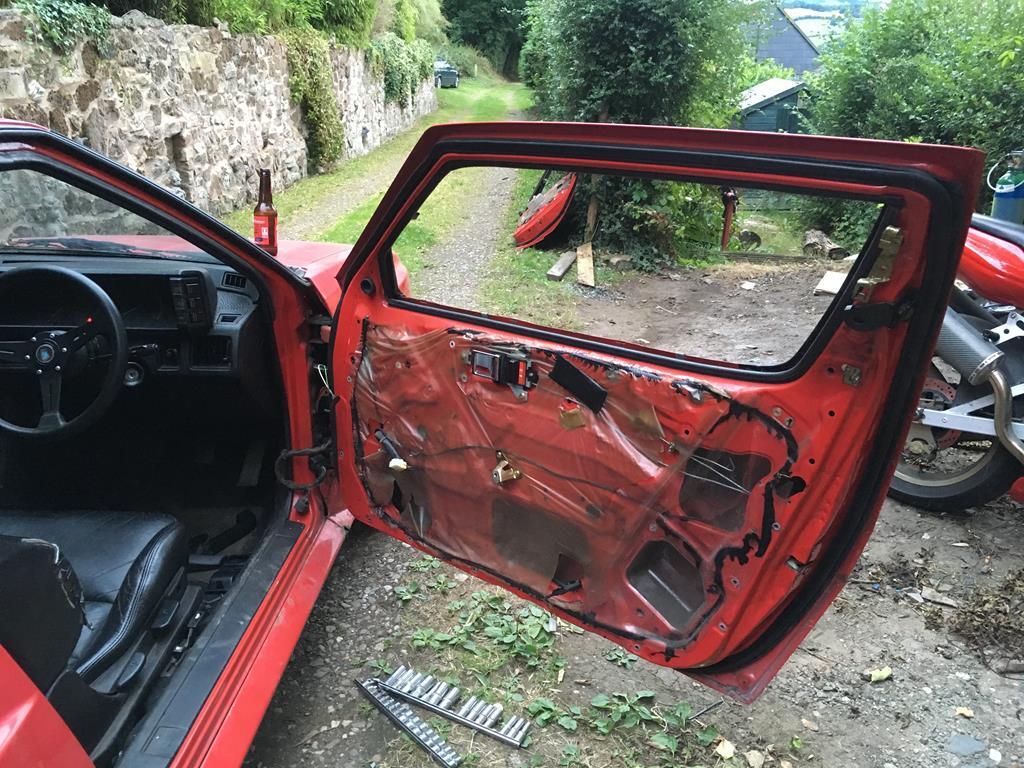 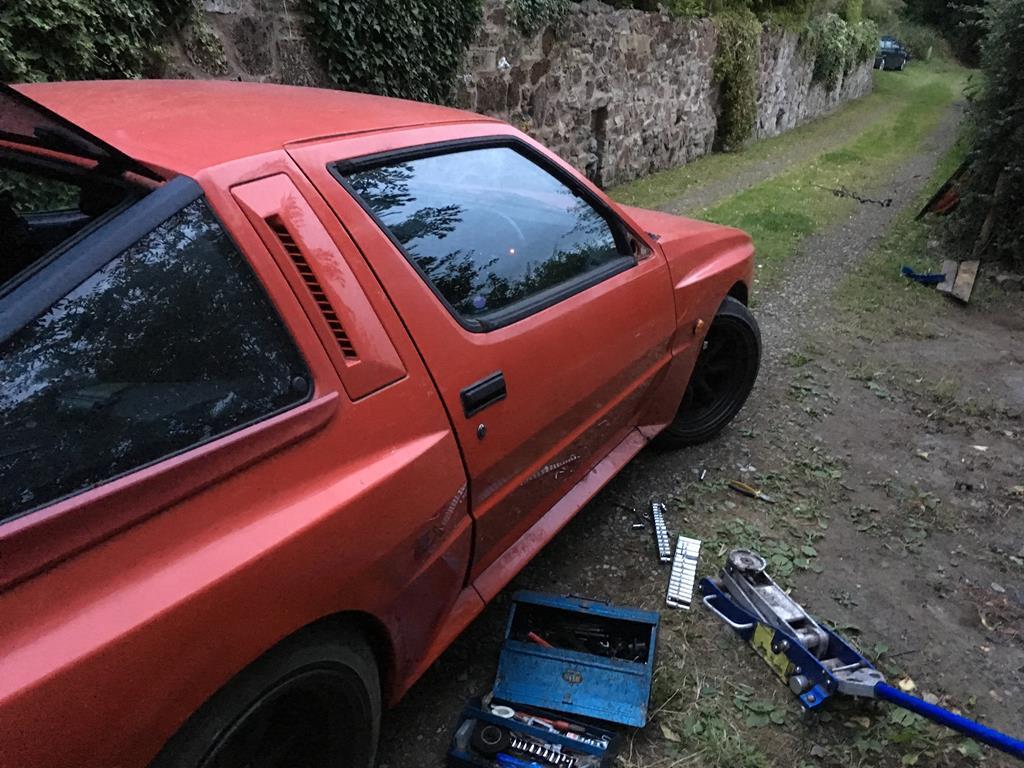 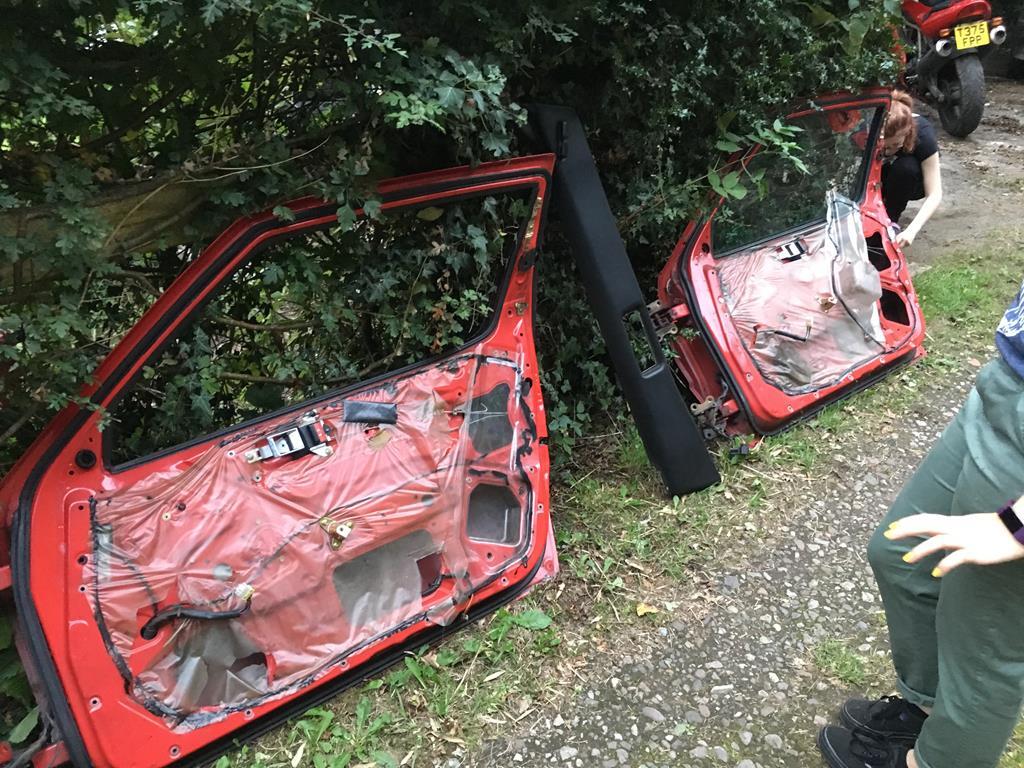 Then up early the next day for Retro Rides! Sadly we didn't get there until nearly lunch time, and completely forgot to take any pictures of my own cars... must try harder next year! But here are a few from the facebook group 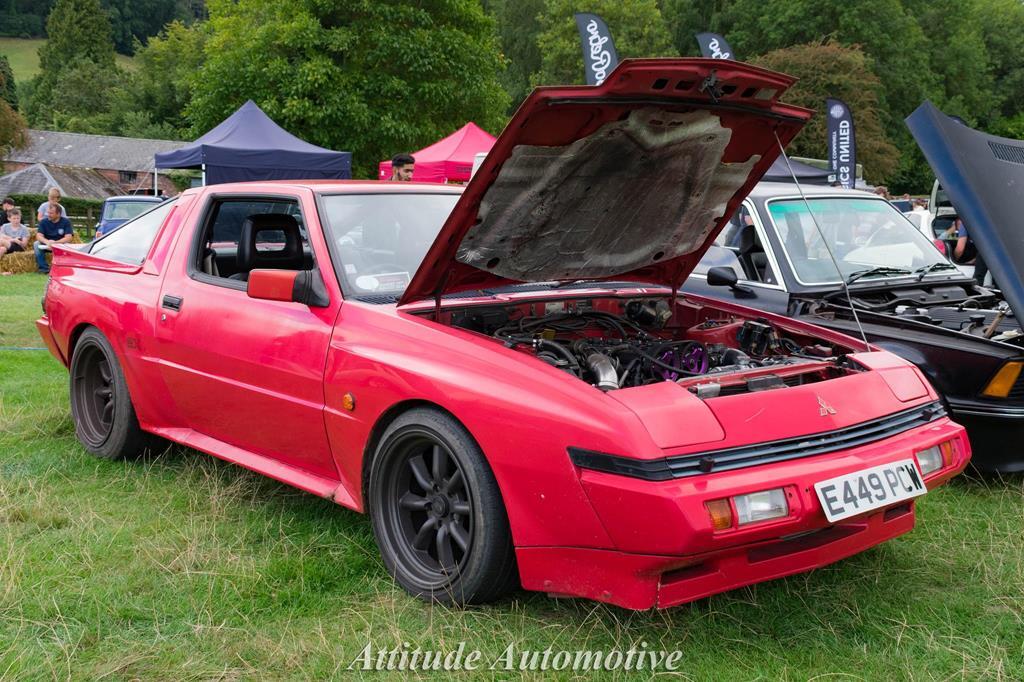 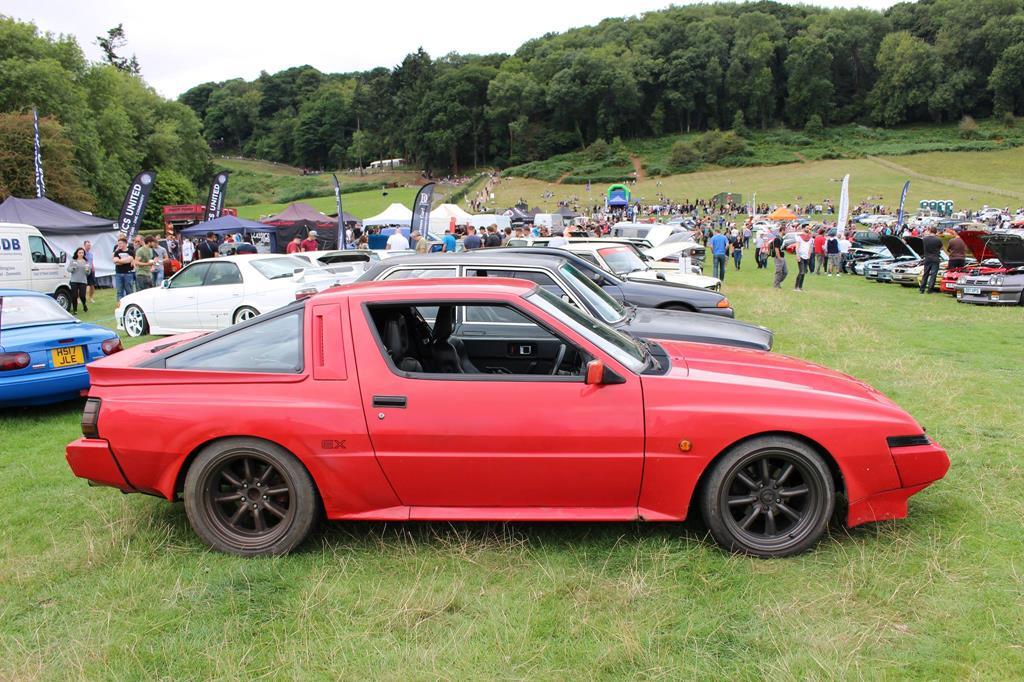 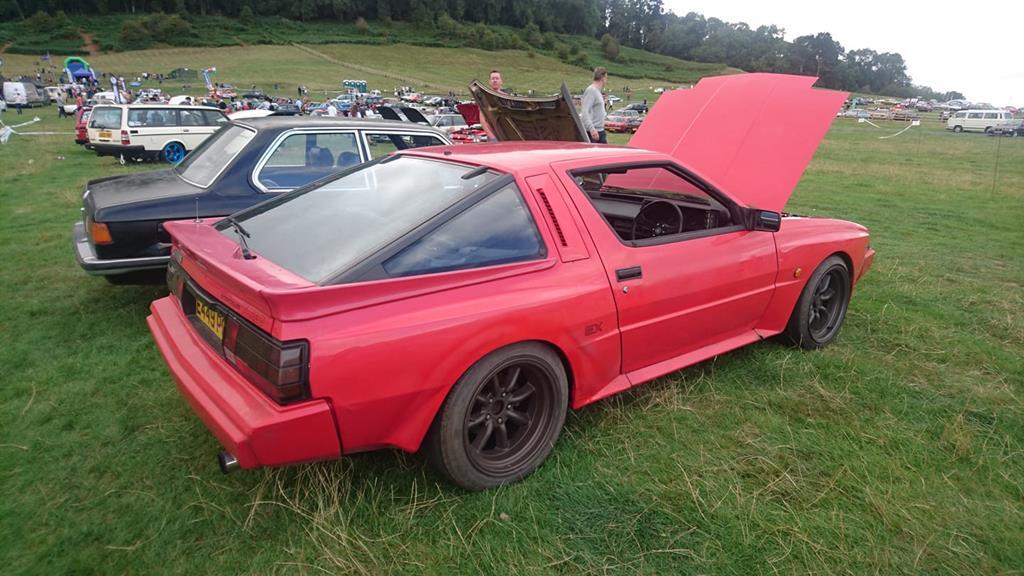 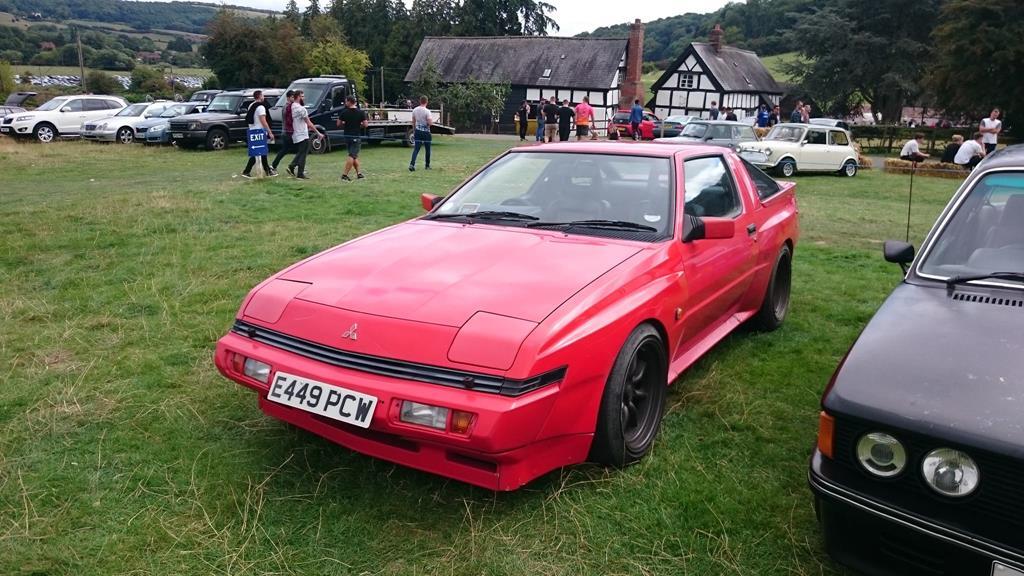 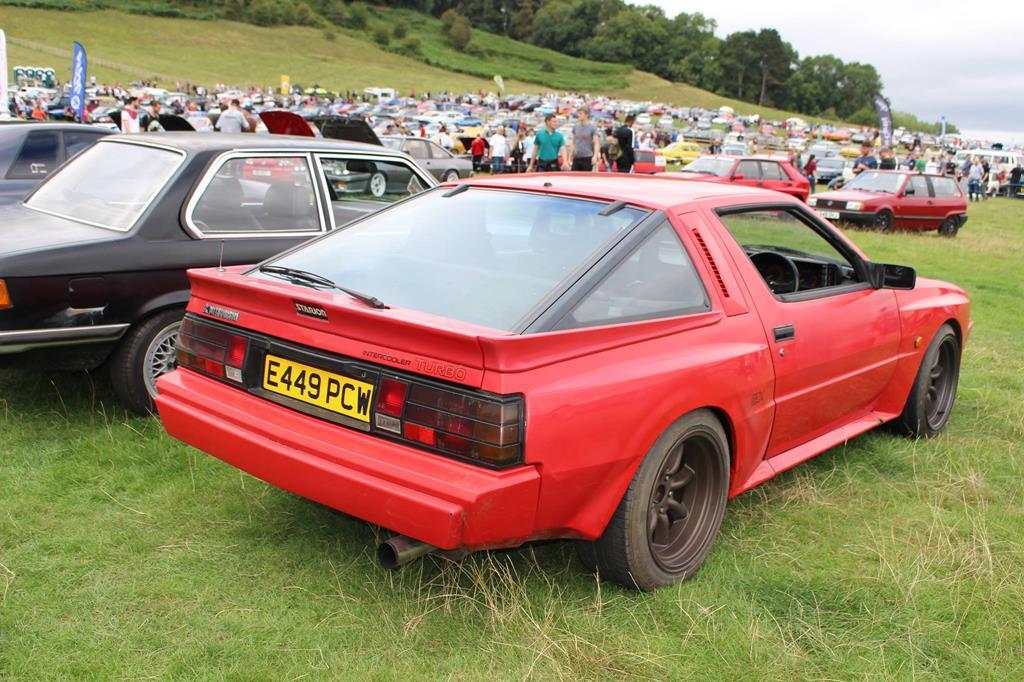 So yeah, after the show i thought i'd celebrate the starion being back on the road by driving it to work monday morning. Sadly, the car had other ideas, and the turbo drain cracked leaving me stranded on the A50 on a bank holiday monday... The oil pressure started flickering and the voltage shot up to 16V, so the voltage reg has been taken out as well... After getting towed home by the AA man (it wouldn't go on his trailer thingy) I stripped it down the following weekend. 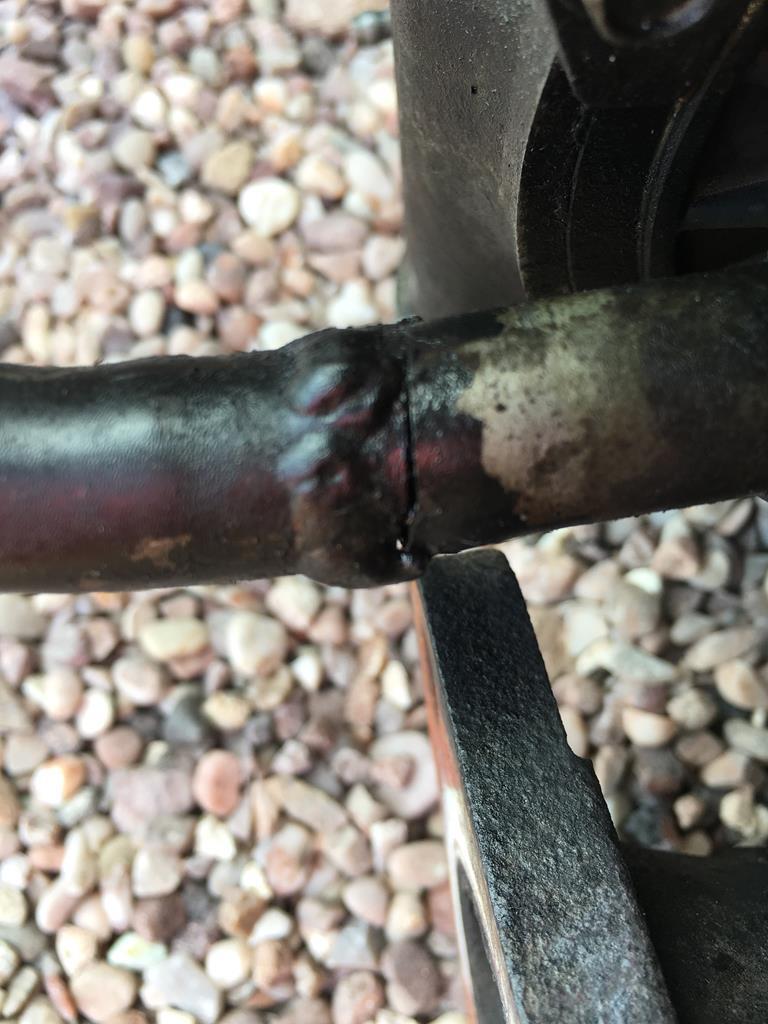 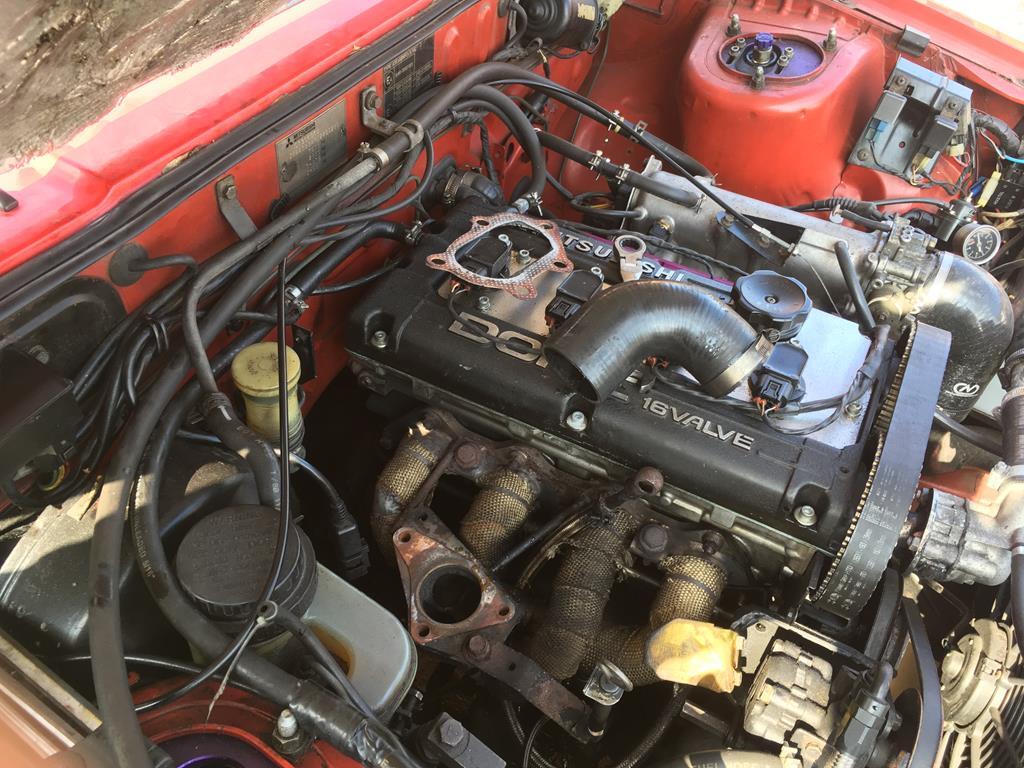 As suspected, the drain has cracked almost all the way around, pouring oil all over the exhaust and alternator (and well everything really!). So there we are! after 2 weeks worth of welding, a mad rush to find a new door and several late nights working on it I managed to drive it a grand total of about 50 miles! I didn't even drive it to the show as I was in the E21!! Ahh well, it will be fixed! |
| |
|
|
adam73bgt
Club Retro Rides Member
Posts: 4,998
Club RR Member Number: 58
|
|
Sept 11, 2018 21:46:37 GMT
|
I think I saw you driving this in at the Gathering, was pleased to see it made it  |
| |
|
|
vanpeebles
Part of things
  I am eastbound in pursuit of a white Lamborghini, this is not a recording.
Posts: 980
|
|
Sept 12, 2018 14:27:52 GMT
|
|
Awesome! Although it needs a TV/Atari VCS with Pac Man on it, installing in the back seating area.
So sorry you are average player!
|
| |
|
|
|
|
|
Sept 12, 2018 15:12:29 GMT
|
|
well done on the welding brave work
|
| |
|
|
|
|
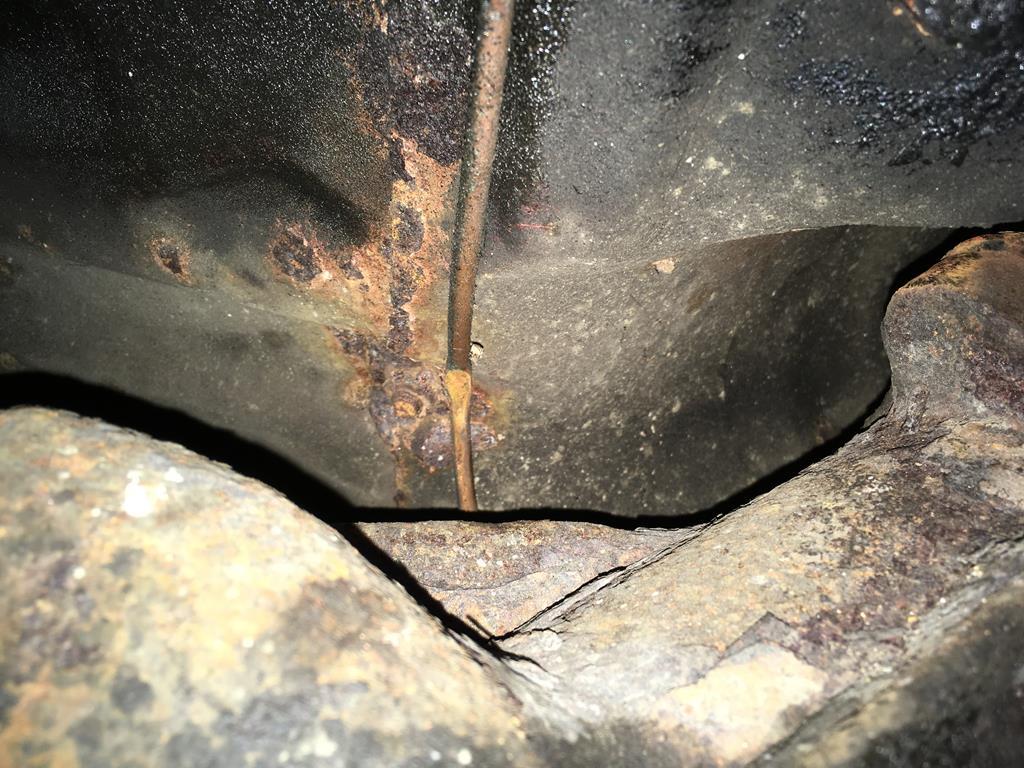

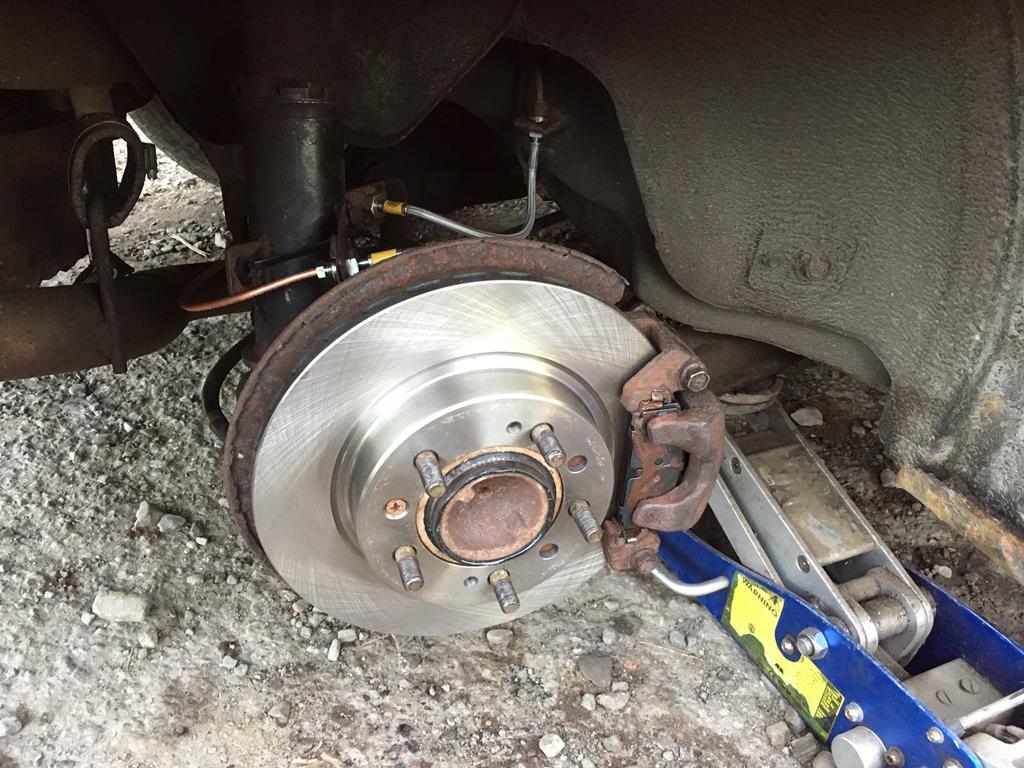
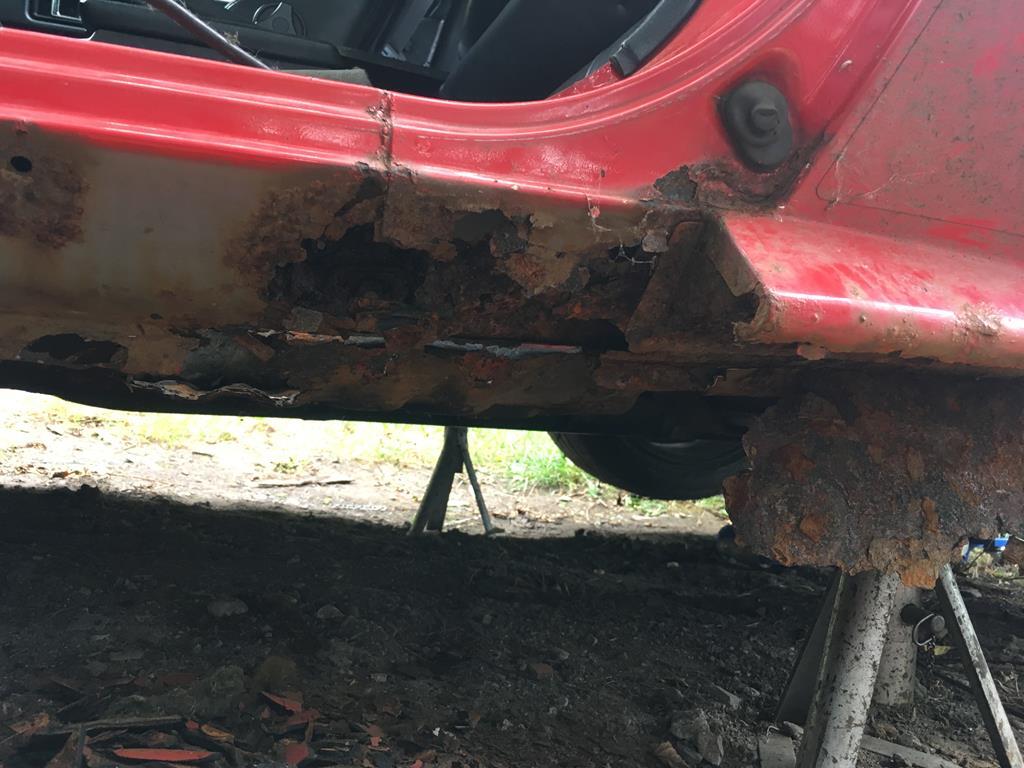
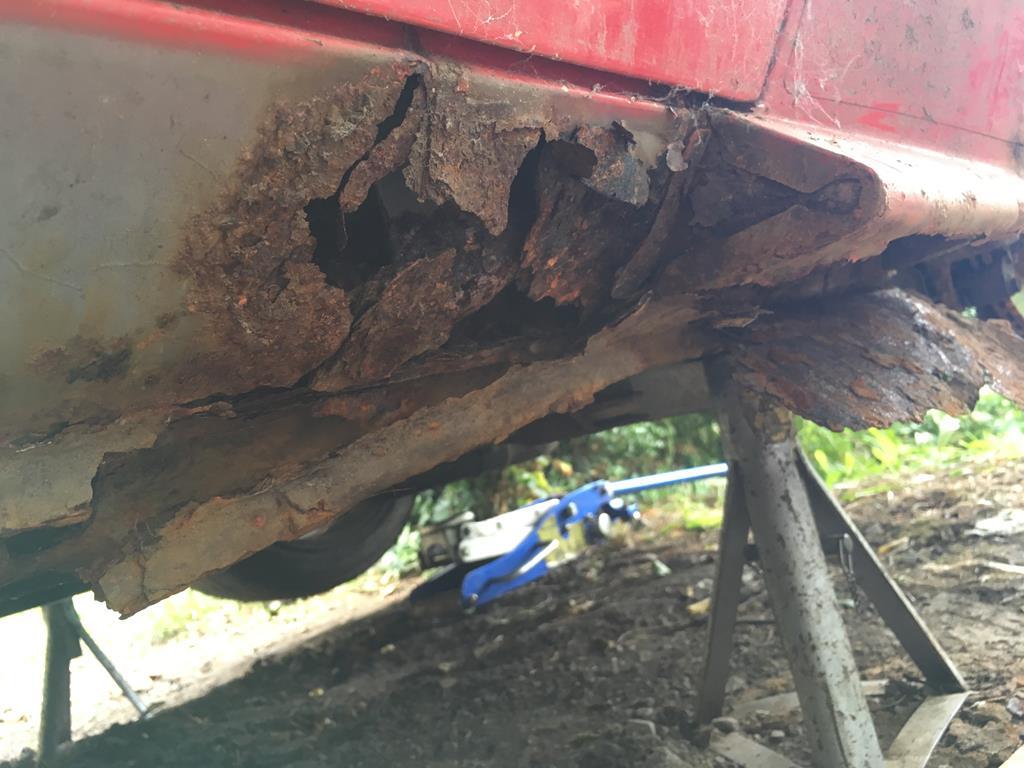
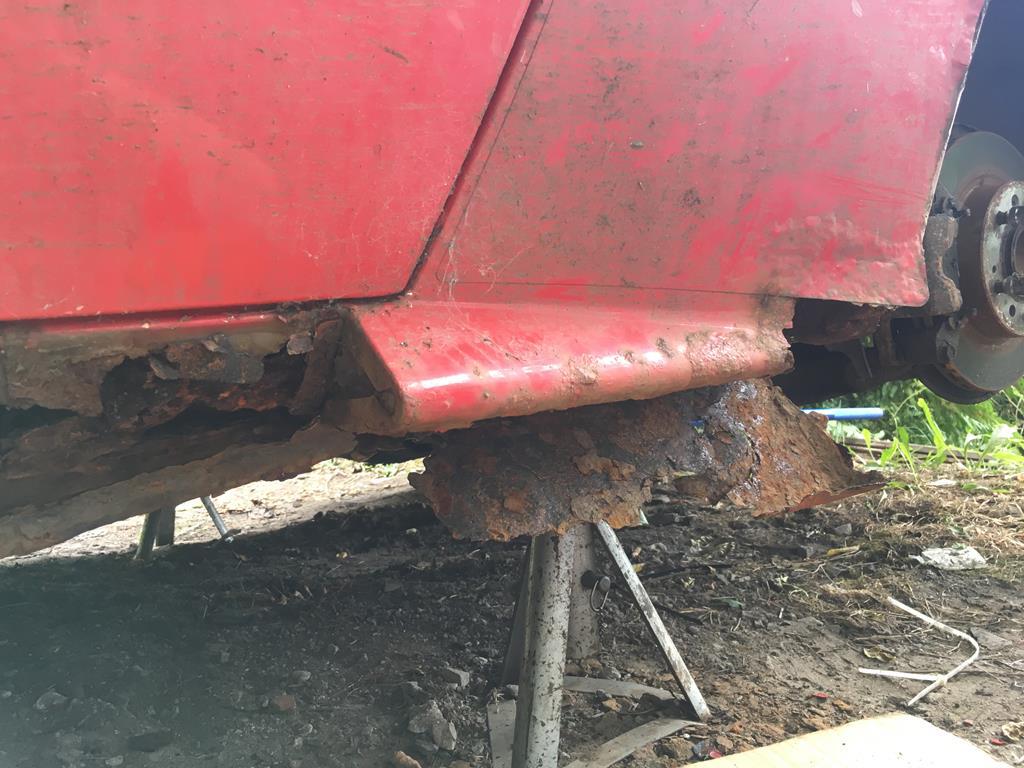
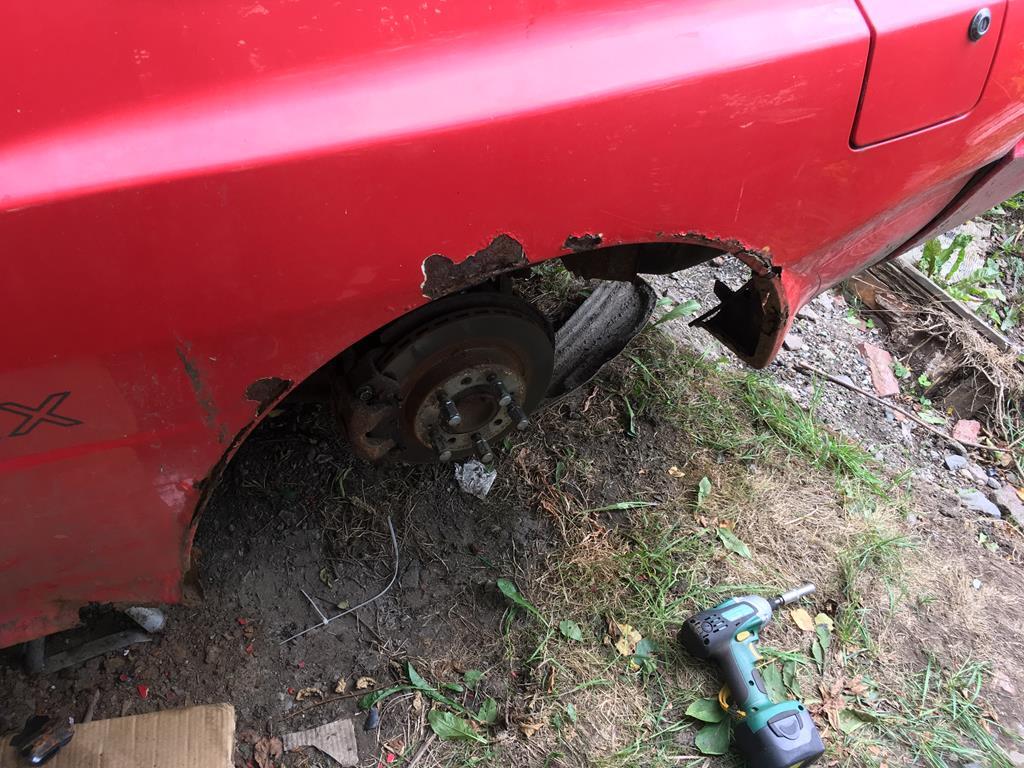
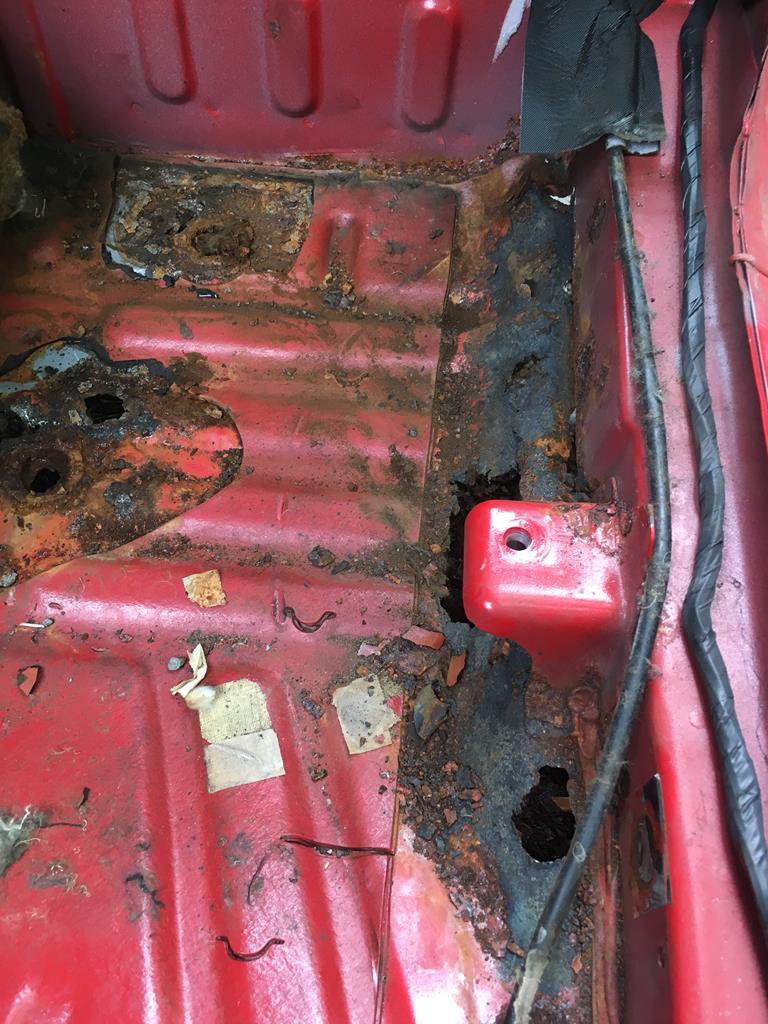
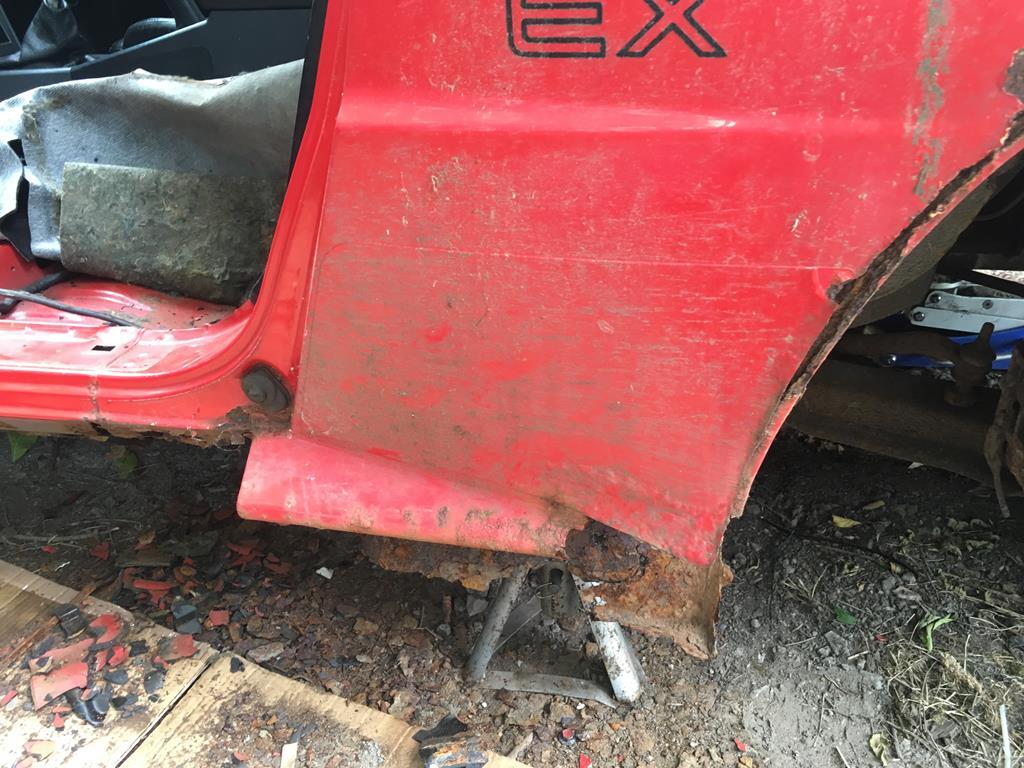
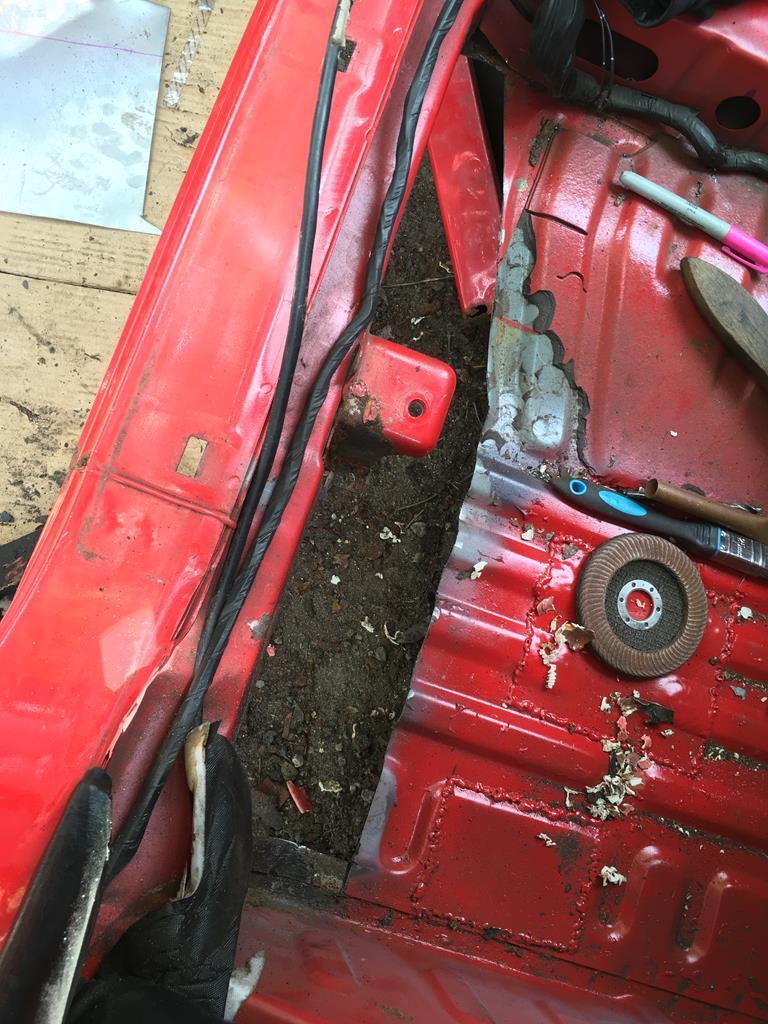




 on top of that half of it has around 4mm of filler on it, so getting it looking nice again after all the welding will be fun!


 I was not best pleased, as you can imagine, and very nearly just gave up went to the pub. But I figured i should at least cover the hole where the window used to be and clean up the glass...


