|
|
|
Feb 20, 2016 18:00:33 GMT
|
|
|
| |
Last Edit: Feb 28, 2016 15:18:11 GMT by r11turbo
|
|
|
|
|
|
|
Feb 20, 2016 18:07:46 GMT
|
Had a few parts powder coated, and pleased with the results!  After the subframe and spare wheel hanger had been galvanised, the silver powder coat looks great and hopefully the dreaded rust shouldn't make an appearance any-time soon.. 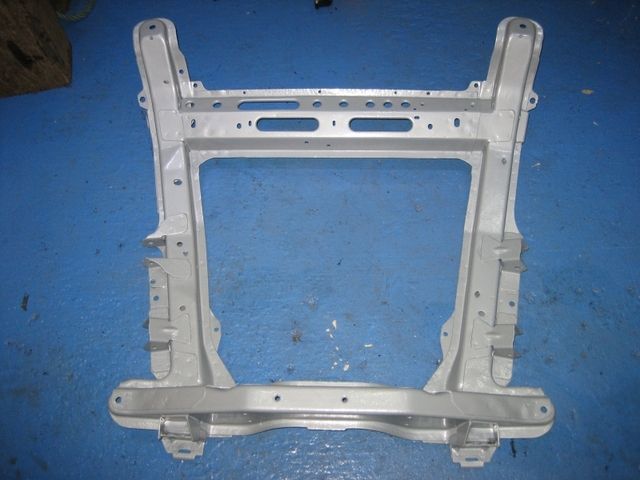  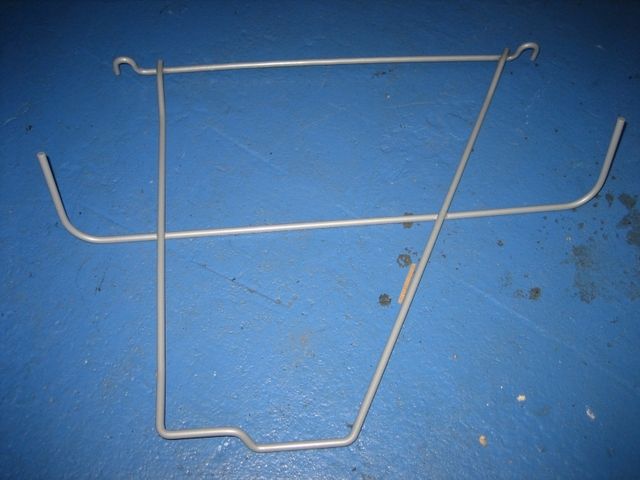 I also dropped off a load of parts I wanted blasting only, and they came back power-coated black   I was thinking of making many parts on the car silver to contrast the body colour.... but it looks like that idea has been taken out of my hands now... which I think was probably for the best, as too much Silver would be an overload!! Thanks for looking  |
| |
Last Edit: Feb 28, 2016 15:20:13 GMT by r11turbo
|
|
|
|
|
Feb 20, 2016 18:12:54 GMT
|
The company who did the paint stripping (Enviro Strip if you're wondering) got in touch and they confirmed that the shell was finally ready and ready for collection. I also checked their Facebook page and some pictures of my car were uploaded showing it halfway through the stripping process: 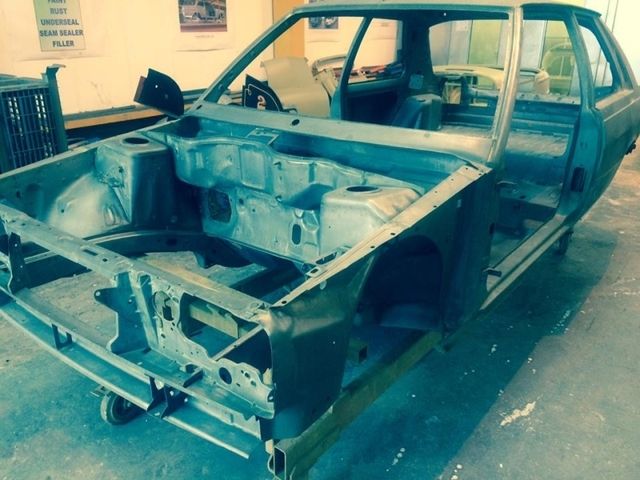 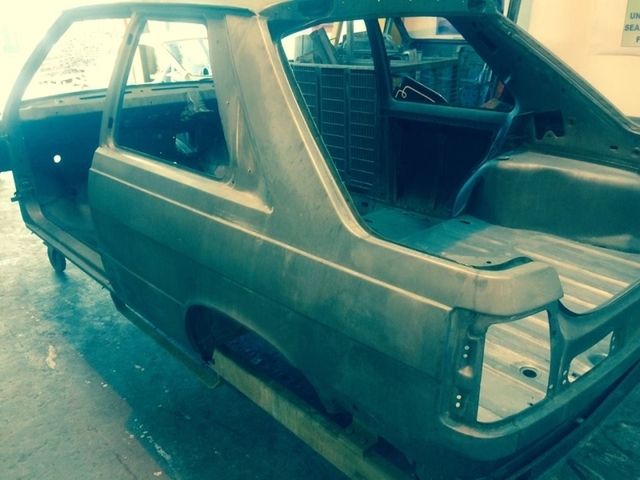 It looked like I imagined it would, I was very excited to see it in the flesh when I picked it up. The plan was to get the loan of a trailer in Leicester and transport the Body Shell to a friendly welder so he can fill in any gaps as required. Thanks for reading  |
| |
Last Edit: Feb 28, 2016 15:22:33 GMT by r11turbo
|
|
|
|
|
Feb 20, 2016 18:21:31 GMT
|
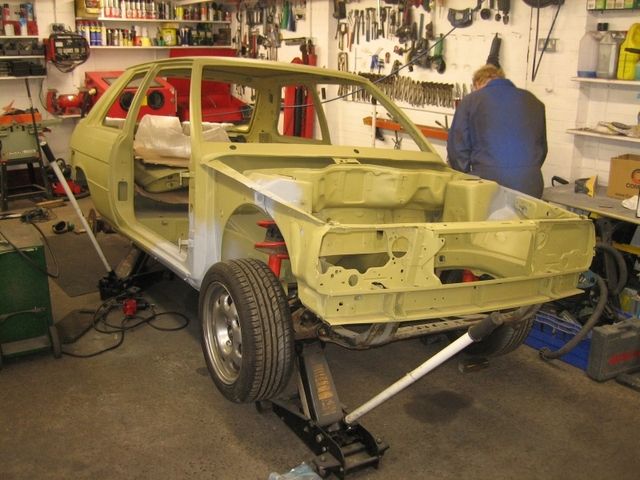
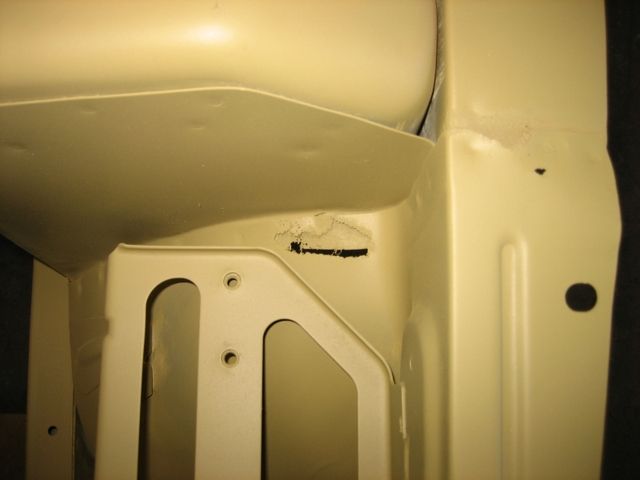
So I collected the car from the Sheep Dip, and in one word I was CHUFFED! Yes the communication from the team at Enviro-Strip could be improved on, but the work they have done is just first class!! The car looked absolutely great, almost brand new!! The operator (Paul) who had actually worked on my car was there and offered his assistance in re-assembling the car. He commented that the car was a pleasure to work on as it was "really solid" compared to some of the cars he's worked on recently, which was nice to hear!! The body shell was complete and standing on one of their dollies, and the rest of the parts I had treated, were neatly piled nearby: 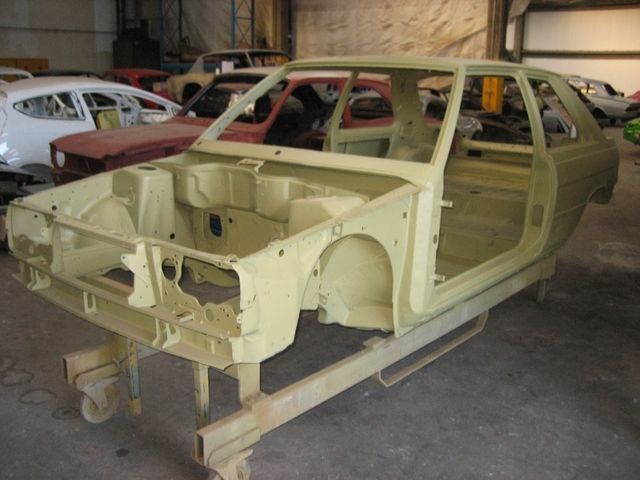  I had a good look round the body and was amazed at how clean everything looked! 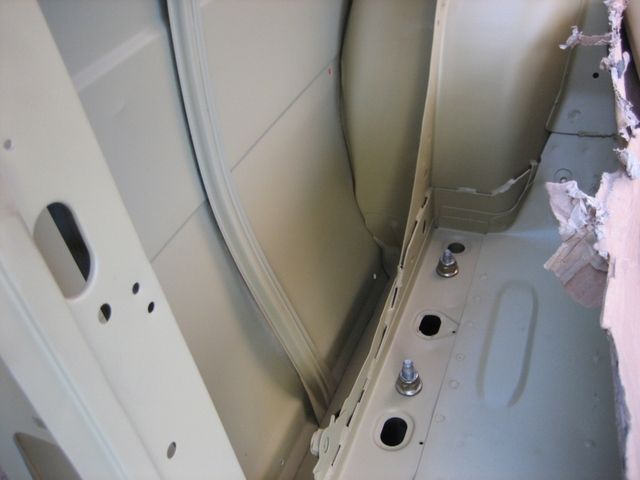 I took a few photos to show you all some before and afters. You can see the seam sealer was hiding a grotty little hole in the O/S Inner Wing in-front of the suspension tower. 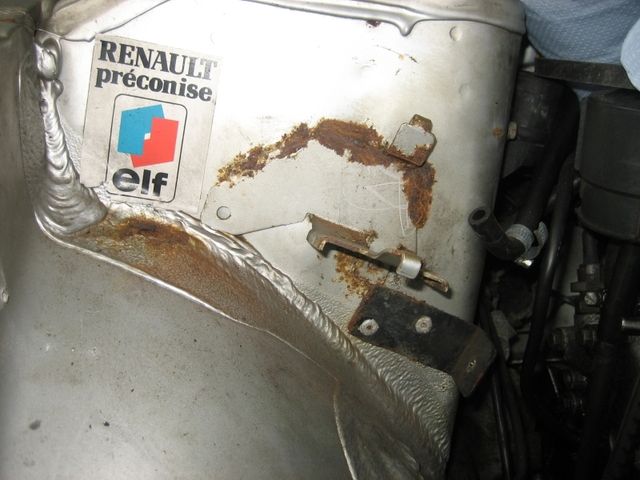 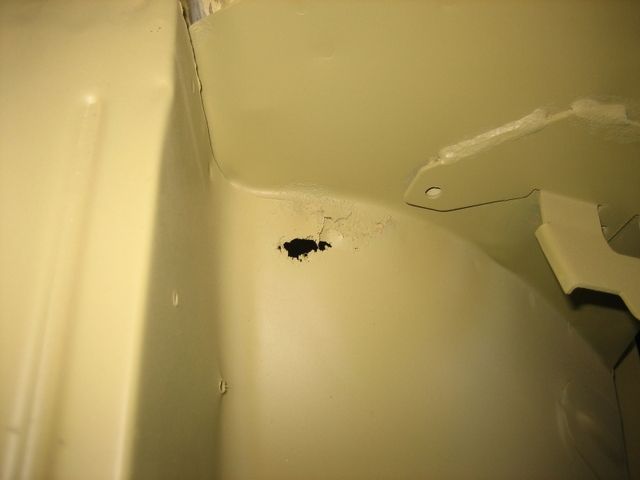 I knew the O/S front sill was knackered... 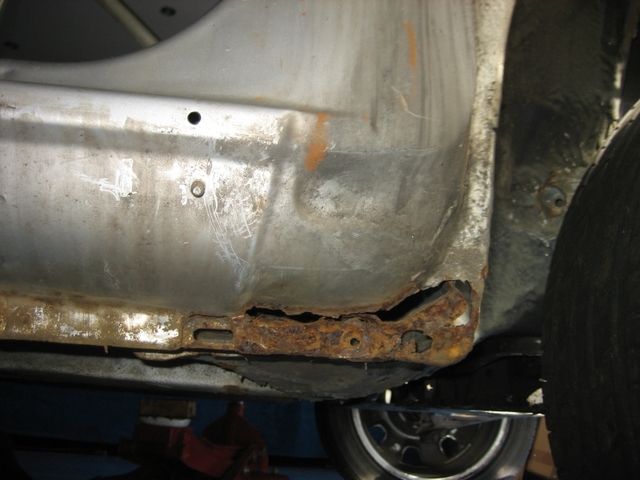  ...but didn't know the inside was just as weak:  To transport the car I brought all of the axles etc to re-fit back on, so a mate and I made a start at the front with the subframe, wishbones, suspension then wheels:  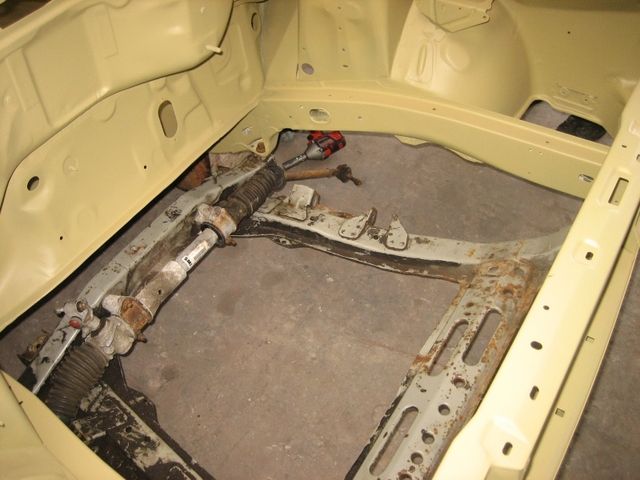 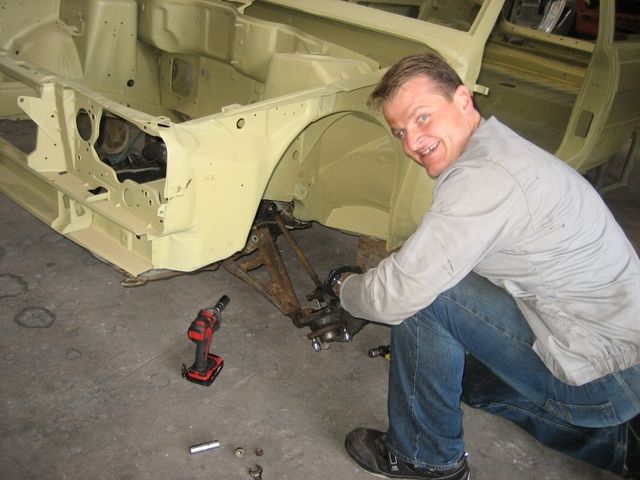  The rear axle went on really easily also, but the wheel bolts were a bit of a faff as the axle was badly rusted as it came off the Red 11 Turbo I'd stripped some years ago that had sat outside in Scotland for many years.. unfortunately we didn't have any WD40 to hand, but did find some Mr Sheen multi-purpose cleaner lying around and it did the job perfectly!!  Before we knew it we had the car back on 4 wheels and on the trailer: 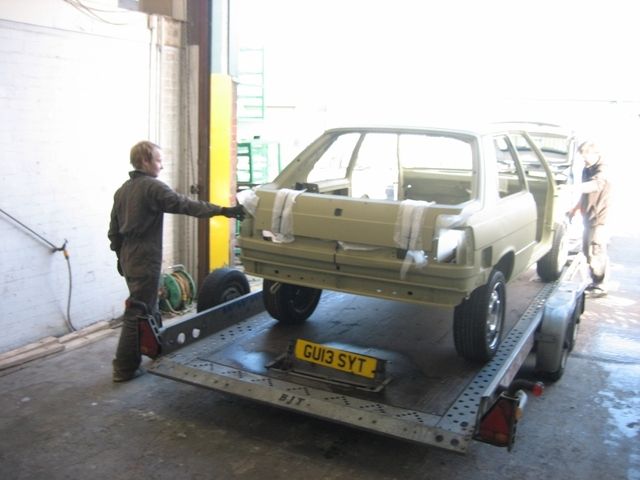 Once everything was strapped up and ready to go we then headed to my tame welding chappy in Leicester and dropped the body shell off. He gave it a good look round and circled all the parts we discussed I wanted doing: 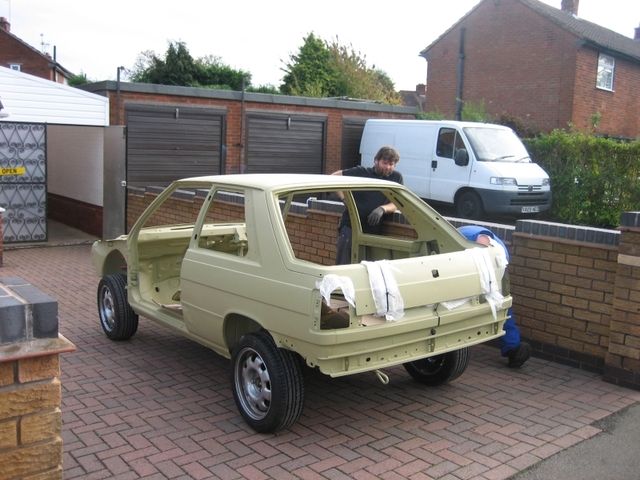 This guy's a proper old fashioned welding artist and been doing it for years so I'm sure he will do a smashing job with it. He had the car for a couple of weeks. Thanks for reading  |
| |
Last Edit: Feb 28, 2016 15:39:09 GMT by r11turbo
|
|
Sinky
Posted a lot
   Run Baby Run......Please!
Posts: 1,395
|
|
Feb 20, 2016 18:27:44 GMT
|
|
Love it. Excellant work.Bookmarked
|
| |
2001 Volvo XC70 wagon
2003 Piaggio X9 Evo
|
|
|
|
|
Feb 20, 2016 18:42:33 GMT
|
|
|
| |
Last Edit: Feb 28, 2016 15:51:07 GMT by r11turbo
|
|
|
|
|
|
|
|
none of the pictures are showing on this page fine on page 1 tho
|
| |
kurt seyffert
|
|
brc76
RR Helper
Posts: 1,108 
|
|
Feb 21, 2016 11:29:12 GMT
|
|
Pics are not working for me, apart from the first few posts.
That said, the ones that are working look amazing. Attention to detail is impressive and I now think I need a carpeted work surface!
|
| |
|
|
|
|
|
Feb 21, 2016 21:39:03 GMT
|
|
None of the pictures work. Shame. It sounds properly interesting.
|
| |
|
|
|
|
|
Feb 21, 2016 21:49:38 GMT
|
|
Looks like they're hosted on another forum and you need to be a member to view them
|
| |
|
|
|
|
|
|
|
|
|
|
This is my old R11 from about 5 year ago. I brought it of a retired chap who owned a local motor factors. It started life as his wife's car then he had a local race prep company prep it for hill climbs hence the engine and suspension mods. He completed 2 climbs before Ill health meant he had to let it go and has a good customer to his motor factors I got first dibs. Was an absolute weapon! I'll dig out some old photos for you and I'm afraid I'm guilty of spraying the bonnet matte black.. was a cool thing to do 5 years ago and it covered the lacquer glazing. Was always popping boost hoses and splitting intercoolers hence the strapped intercooler
|
| |
|
|
|
|
|
Feb 28, 2016 16:05:41 GMT
|
Welding was finished a few weeks ago. I'm really pleased with the work of Roy from Weldabody in Leicester and would recommend his work to anyone. When the car was finished, I had a ride over to Leicester with my Dad to collect the car: 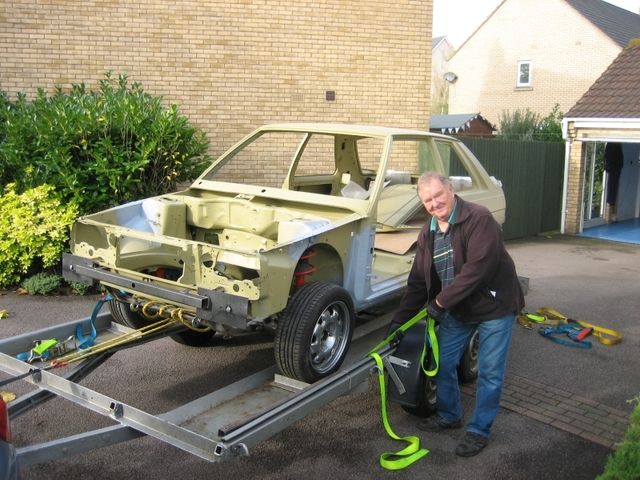 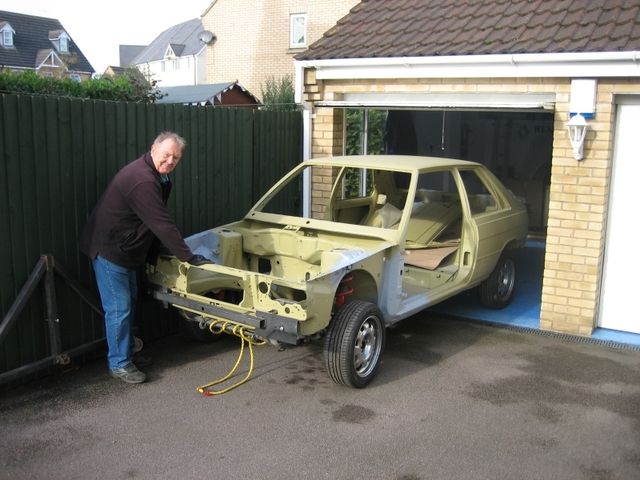 When I got the car back in the garage I had a play with my new toy.... 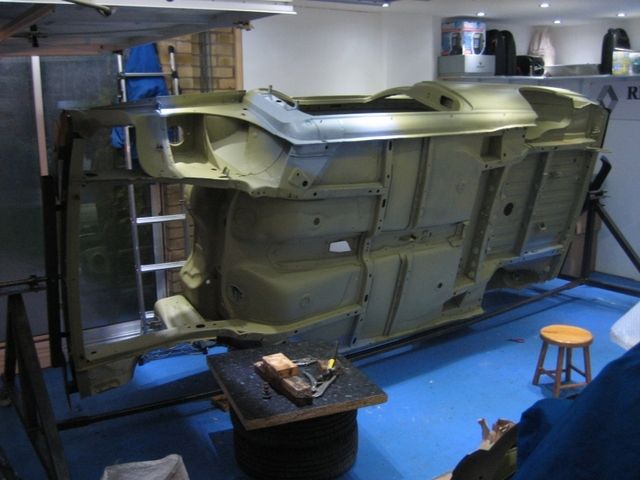 I'm chuffed to bits with the shape of the body after the strip: 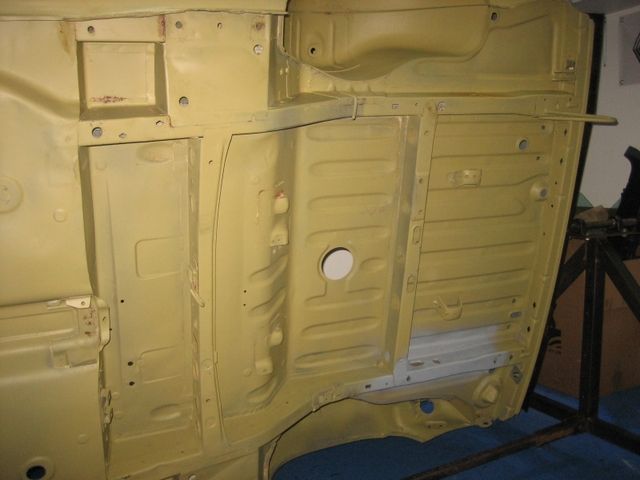 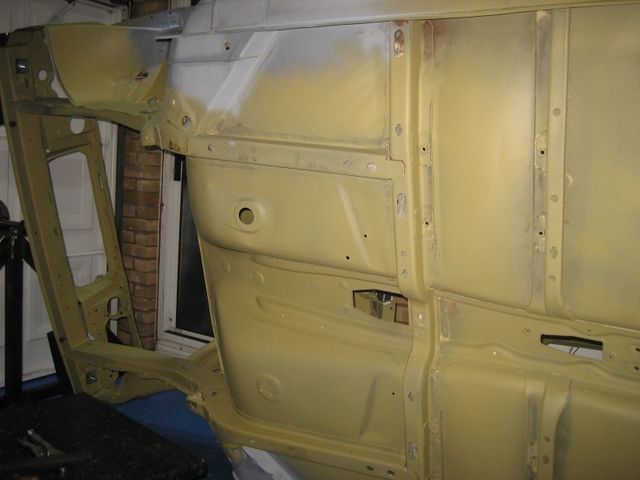 I've noticed a couple of bits that perhaps weren't fully cleaned with the acid due to an air-trap or something, but with a little scrape from a screwdriver you can see it's nothing serious: 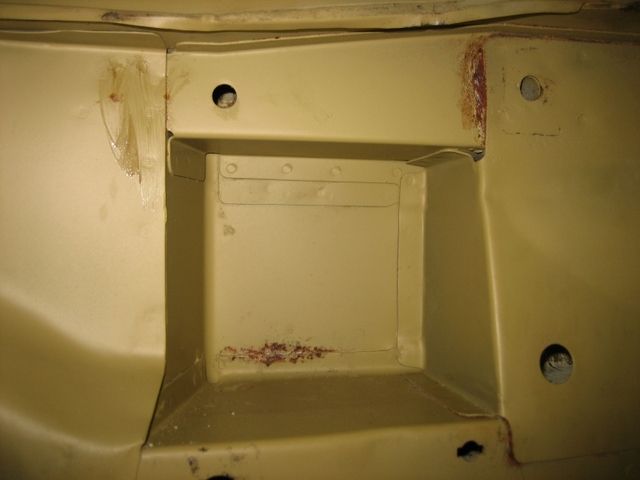 The next job was to seam seal the complete body-shell. I had a word with the few guys at the NEC Classic Car show and found out that the DINITROL products are highly recommended and commonly applied to cars from the factory. After a quick Google search, I found that the UK Distributor (REJEL) was not a million miles away from me in Bedford, so I took a ride over there to see if I could get some advice. I was introduced to John Reeds (who turned out to be both the CEO and a smashing bloke) and he took the time to talk me through the different products DINITROL offer. Needless to say whilst I was there I bought a few bits, and John sorted me out with a great deal!   I got some regular 401 Brushable Seam Sealer, and some 410UV Polyurethane Seam Sealer which I plan to use on the larger gaps. Thanks for reading  |
| |
|
|
|
|
|
Feb 28, 2016 16:07:01 GMT
|
This is my old R11 from about 5 year ago. I brought it of a retired chap who owned a local motor factors. It started life as his wife's car then he had a local race prep company prep it for hill climbs hence the engine and suspension mods. He completed 2 climbs before Ill health meant he had to let it go and has a good customer to his motor factors I got first dibs. Was an absolute weapon! I'll dig out some old photos for you and I'm afraid I'm guilty of spraying the bonnet matte black.. was a cool thing to do 5 years ago and it covered the lacquer glazing. Was always popping boost hoses and splitting intercoolers hence the strapped intercooler Fantastic to read this Matt!! It's always a pleasure to find out some more history on your car, so any information you can share with me would be truly welcome!! It's fair to say you're not going to believe the transformation your old car is going thru!!  |
| |
|
|
|
|
|
Feb 28, 2016 16:14:47 GMT
|
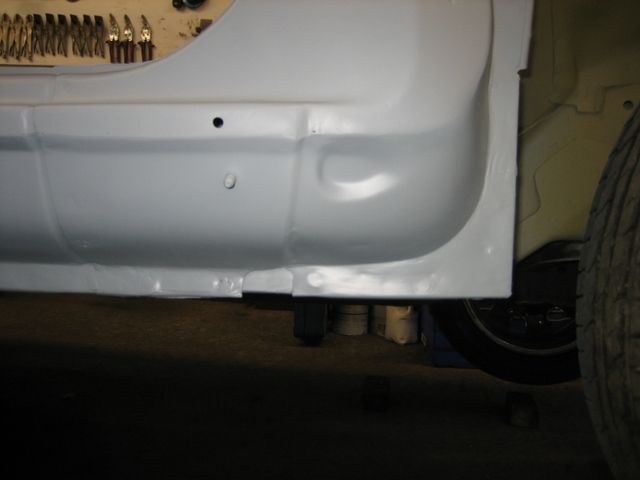
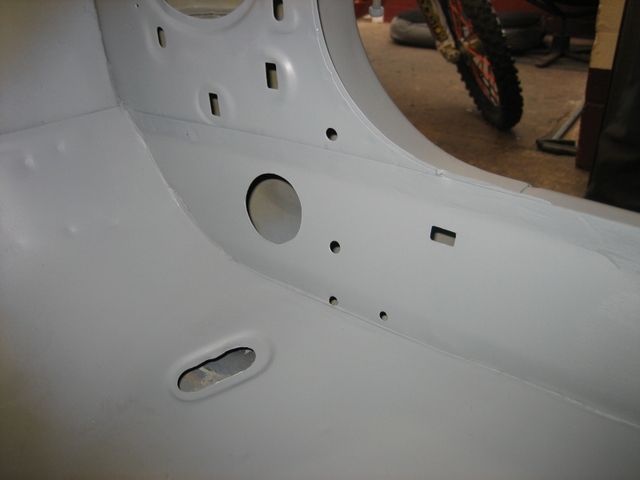
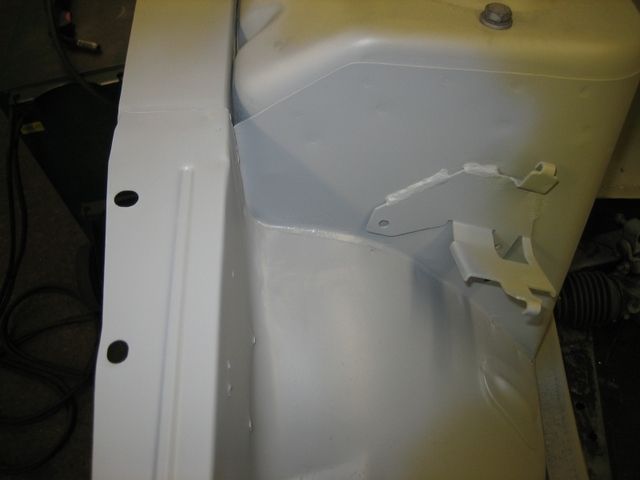
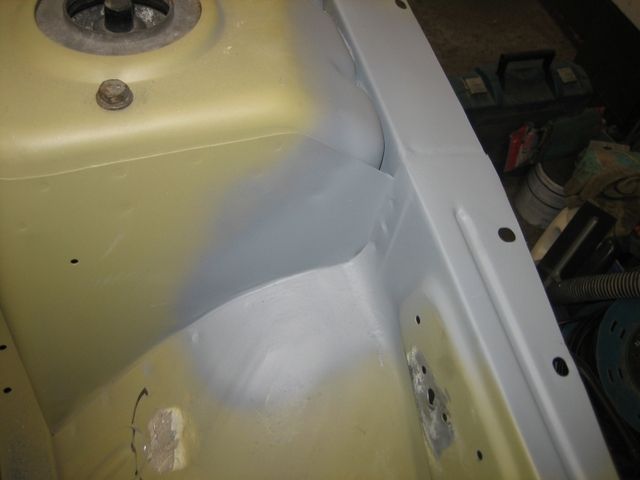
I did some research on the old t'internet about what products to use on the car and found out that a Monthly Classic Car Magazine did a 3 year test on anti-rust paint and cavity wax. I downloaded a copy of the report as it makes for interesting reading, as one of the products that I've always been a fan of and actually used on my Raider (POR-15) came LAST in the test!!  The winner of the test for the external coating was RustBuster Epoxy Mastic 121 and is one of the products sold in the UK on the RUSTBUSTER website. I read the information on the website and realised that they're not a million miles away from Peterborough (in Spalding) so again I thought I would have a ride over there and have a chat with the guy face to face. I ended up walking away with a Chassis Pack of the Epoxy 121 in Aluminium Colour to hopefully match in with the final Silver colour the car will be painted in: 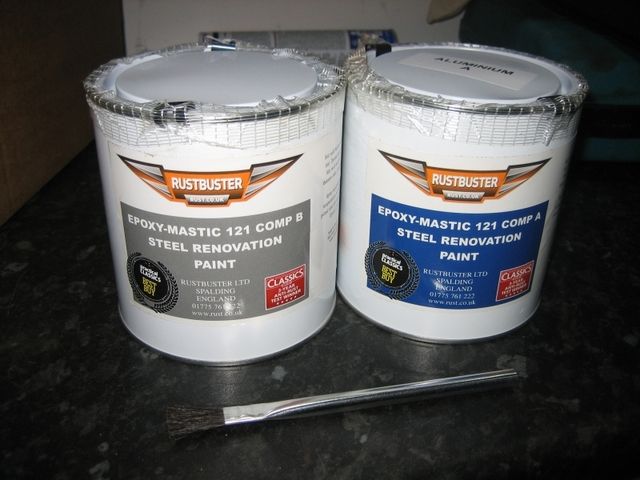 Ian (the guy at RustBuster) recommended that I used a wire brush to remove the loose paint and rust from the scabby areas, then over paint them directly with the Epoxy 121. He also recommended to paint all the seams and metal edges in the Epoxy 121 BEFORE I seam sealed them to ensure that there was no rust allowed to grow under the seam sealer. I decided to split the car down into smaller sections to work on, rather than tackling it all in one fell swoop, so this was the first section to work on:  I used a selection of wire wheels in a drill to clean up all the area's and also had to scrape a few points with a screwdriver. The Epoxy 121 comes in 2 parts, and you have to mix them 1:1. I bought myself a load of mixing cups and small disposable brushes to make this job easier. I mixed just 120ml (60ml of both parts) of the 121 to take my first steps with this product: 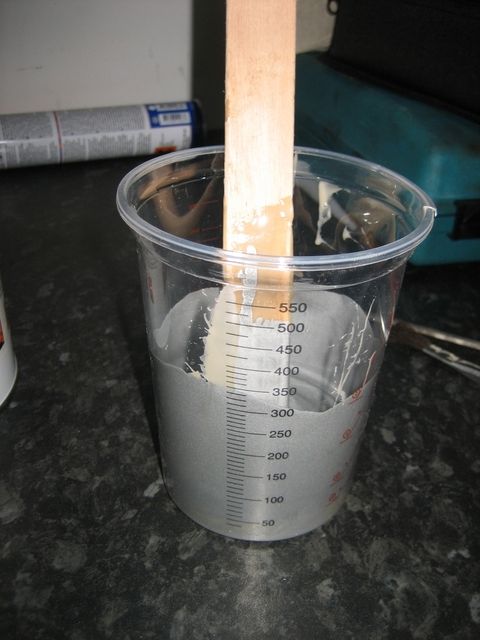 The 121 went on quite well. It came with some thinners, but I didn't feel the need to thin it down. Here you can see I painted all of the seams & scabby bits I'd rubbed down. The plan is to then clean and paint the other sections of the underside of the car with the 121, and then I'm looking to spray the whole lot for the final finish.  Thanks for reading  |
| |
|
|
Adey
Posted a lot
  
Posts: 1,433
Club RR Member Number: 171
|
|
Feb 28, 2016 16:22:49 GMT
|
|
good work steve
|
| |
|
|
|
|
|
Feb 28, 2016 16:23:05 GMT
|
Carrying on with the preparation of the underside of the car working on the Centre section this time:  A few photo's to show the process. First step is to give any grotty looking areas a good going over with the wire wheel to remove the surface rust and clean the area up: 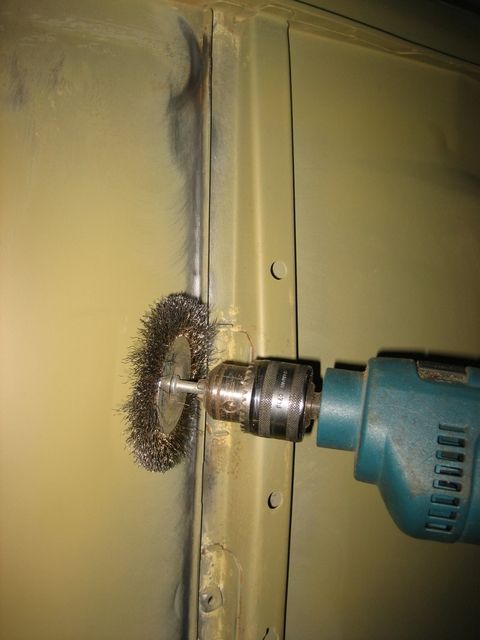 Then I'm over painting with the 2 pack Epoxy Mastic 121 (in Aluminium Colour) I'm trying to get the paint into the box sections as much as possible, to help with the rust prevention in the future: 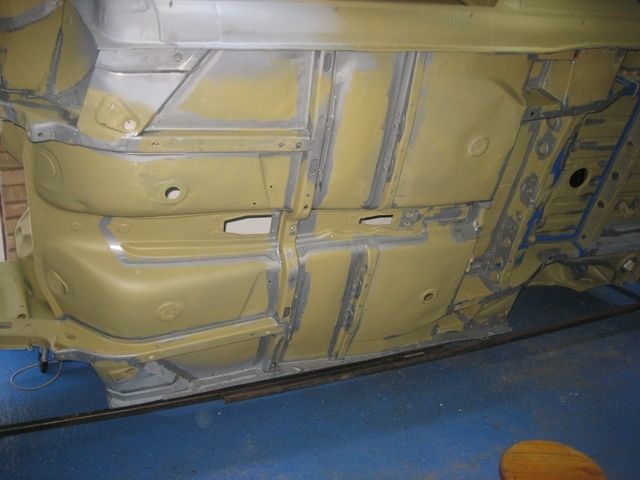 I completed the centre section, and then because I had a bit of paint left, I also made a start on the front section:  I then made a start on the seam sealer. I read various internet forums advising on what is the best procedure to use and decided for neatness I'd go with the masking tape option. As the name suggest, first you have to mask either side of the joints you wish to seal, so you can get that neat edge:  With the aid of a caulking gun (as I'm using Polyurethane seam sealer, although you could do the same process with the paint on underseal) the first step is to fill the void you want to seal: 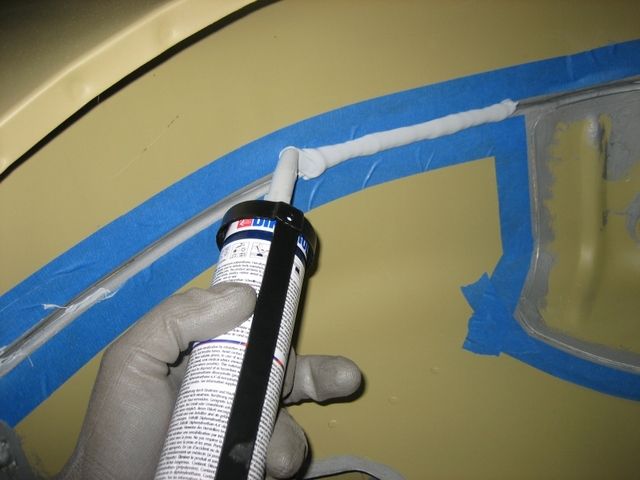 To ensure that the sealer is fully pushed into the seam, it is recommended to run over the seal with a paint stick:  The next step is to try & remove the masking tape, without getting it all over either you or the rest of the car.... not easy!   You're then left with a rather proud edge from the masking tape, so you then gently smooth the edge with your finger, after you dip it in some thinners (to stop the sealer from sticking to your fingers) giving you the final finish:  So after doing that for most of the seams I'd masked I realised I had half of the Seam sealer was left in the tube, and as It's Polyurethane it's curing as the air is getting to it, so rather than waste it, I decided to fill any of the other seams I could see. Because I hadn't masked all of the other seams, I had to do it free-hand, and actually found that you could get results that look just as neat as with the masking tape, as long as you are careful, and give the edge of the sealant a good smooth down with your finger and a dab of thinners Thanks for reading  |
| |
|
|
|
|
|
Feb 28, 2016 16:28:00 GMT
|
You cannot believe the AMOUNT OF TIME it takes to re-seam seam a bodyshell.... this part of the process took me MONTHS!! Be very aware of this if you're thinking of dipping your own car? 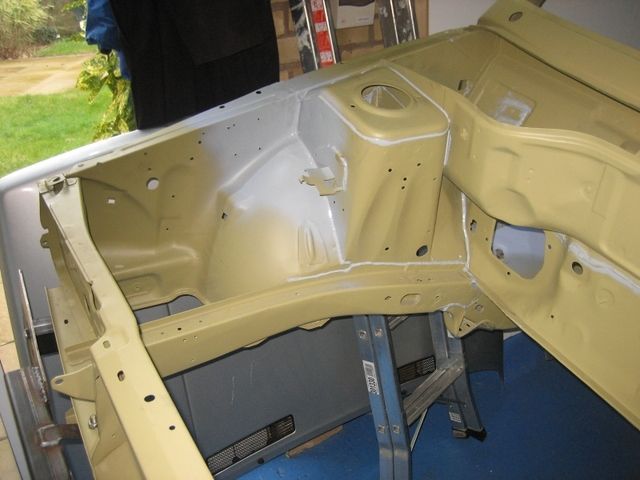 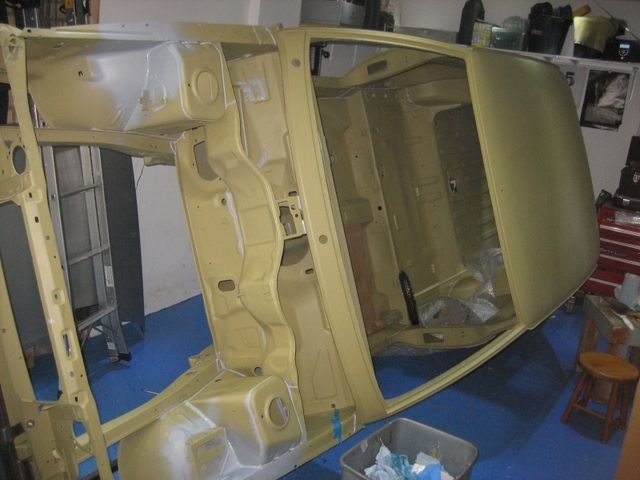 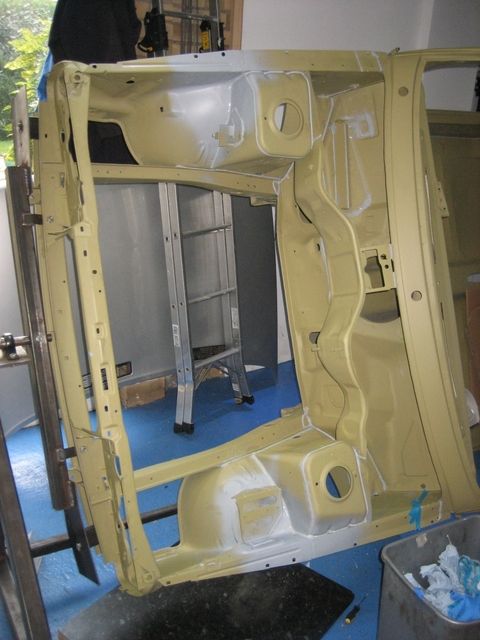 Thanks for reading. |
| |
|
|
|
|
|
Feb 28, 2016 16:37:23 GMT
|
There were a few additional points of welding required on the 11. The last time I'd done any was when I was an apprentice in the early 90's, so after taking a brave pill, I got stuck in!! First was a hole in the rear chassis rail:  We used a fine "Dremel" style grinder for the fine sections: 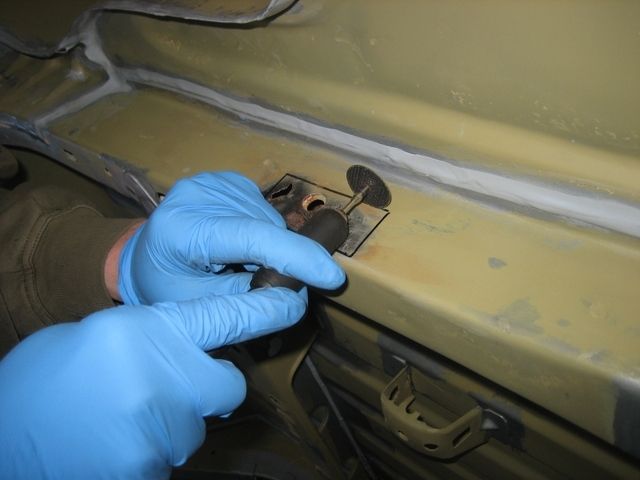 Then a larger grinder for the main cutting: 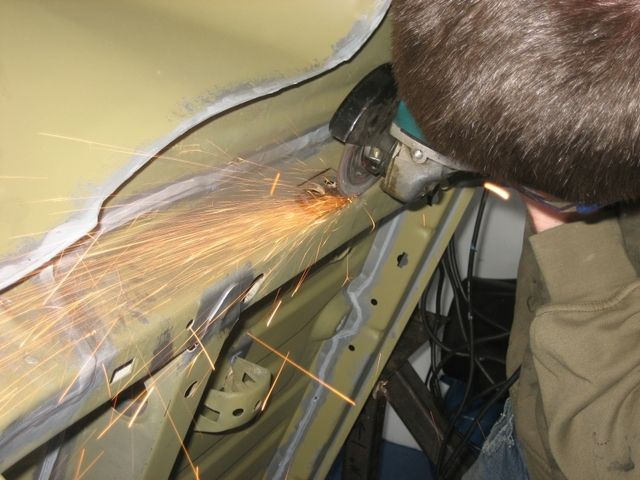 Out she comes!! The inside of the Box Section looked pretty clean. I will be covering all this with a Dinitrol/Waxoil type product (not confirmed which one yet): 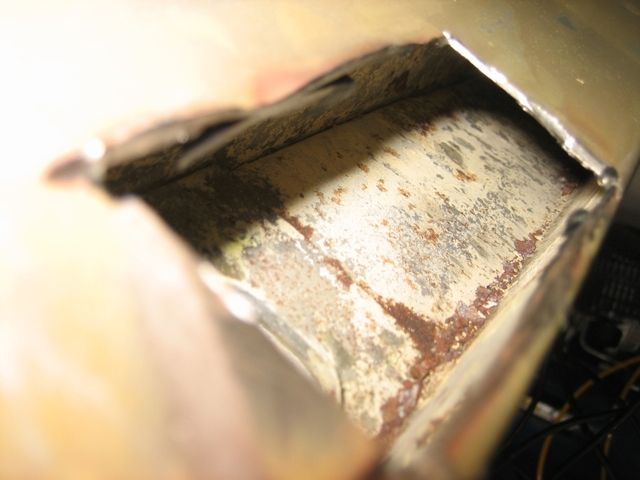 Gave the surfaces a little tickle up with a grinding wheel to remove the paint from where we needed to weld, and made a little plate for the gap: 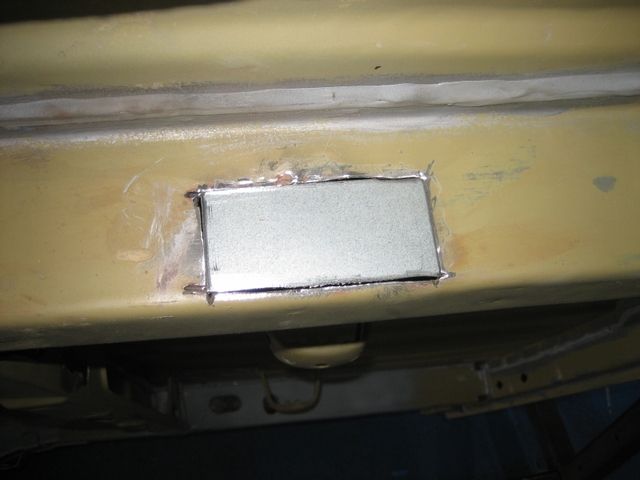 Then started the WELDING!! 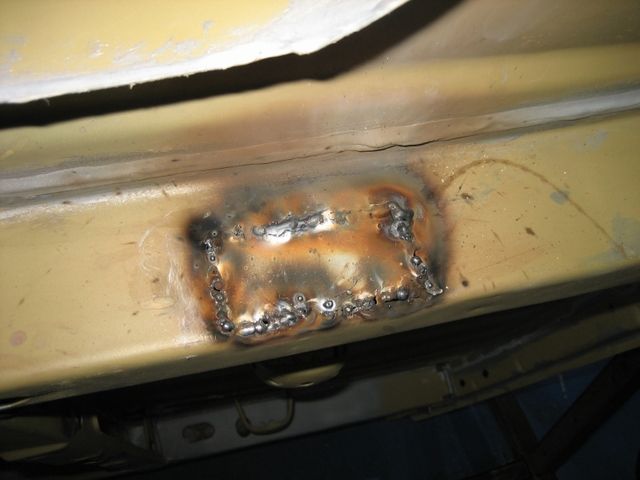 Not going to win any prizes, but not bad for a first effort: 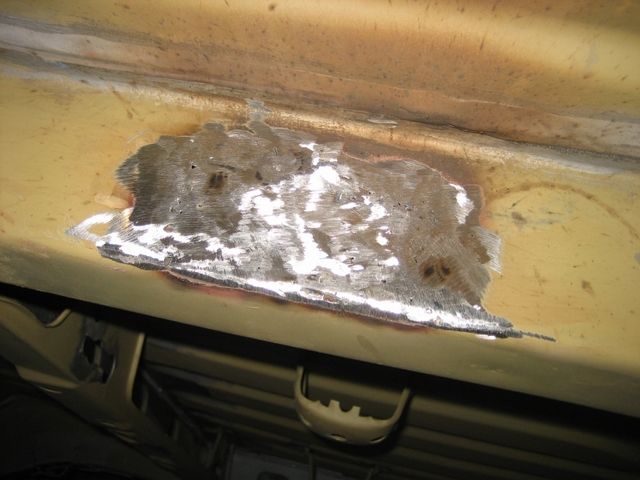 Thanks for reading  |
| |
|
|
|
|
|
Feb 28, 2016 16:44:18 GMT
|
I'm using the RUSTBUSTER FE-123 Rust Converter to neutralise rust it finds on the car.. so I decided to paint the whole of the underneath of the car with it to hopefully temper any thoughts the car has of rusting too much in the future. Here you can see the product is quite milky when it's applied: 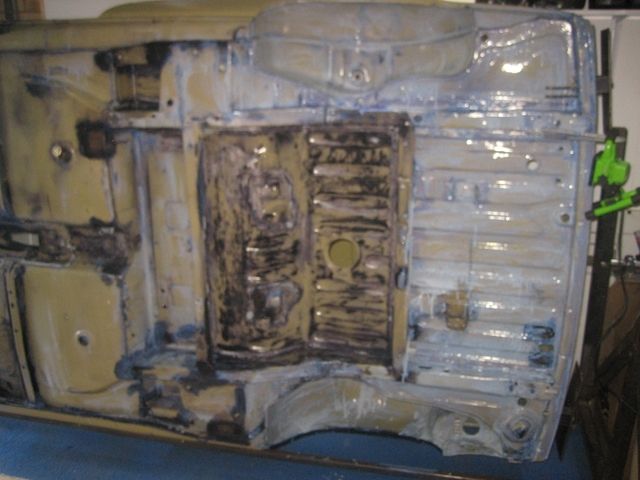 But when it dries, it turns black where it found something to work on and you can see there were plenty of spots where it found something to activate: 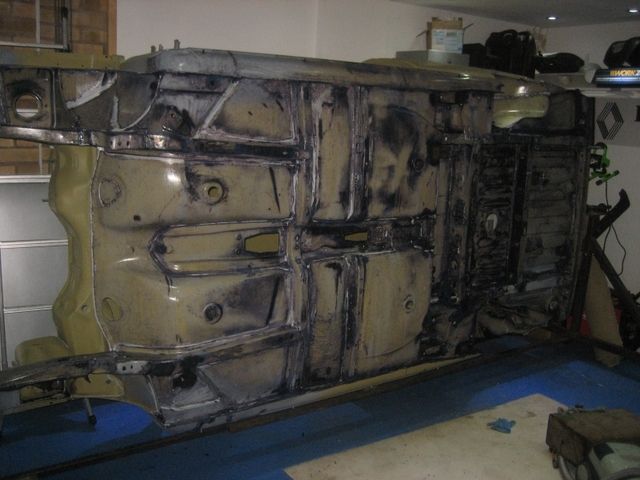 I could then start preparing for the painting of the underneath of the car. I didn't want to be fighting with small screws and locators when it came time for re-assembly, so I masked any open threads with some little cork bungs: 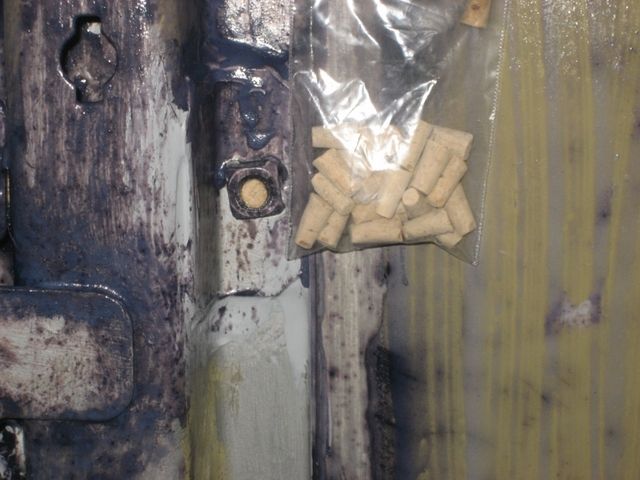 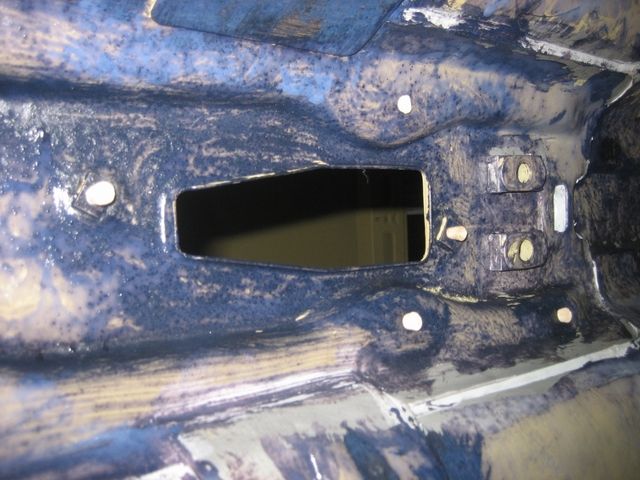 Thanks for reading  |
| |
|
|
|
|
|
Feb 28, 2016 16:54:10 GMT
|
AND SO THE PAINTING STARTS HERE!!
Finally I managed to reach a point where I finished with the preparation of the underneath of the car and could start covering it with paint!! The underneath of the car was all dry from the covering of Rustbuster FE-123 it had, and any parts susceptible to rusting had turned black: 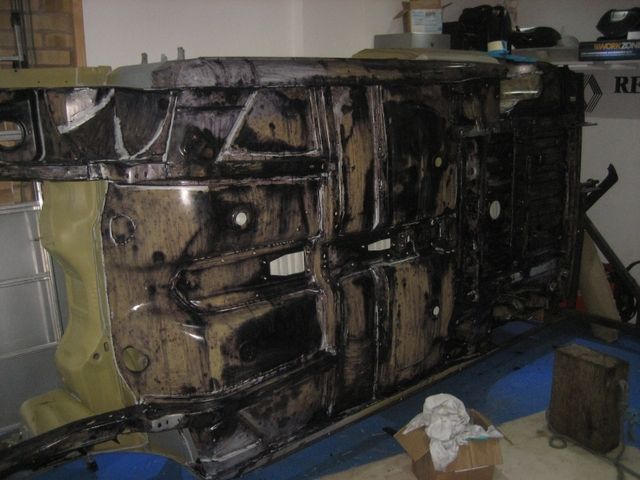 I finished off masking a few bits to avoid excessive over-spray: 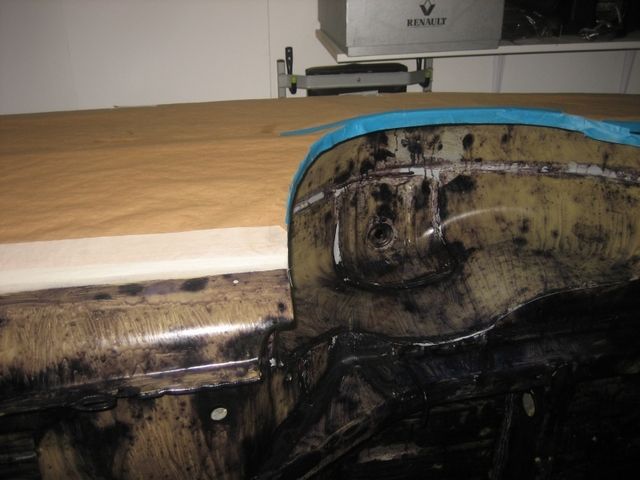 Then finally made a start mixing the paint!!! I'm painting the underneath of the car in more of the Rustbuster Epoxy Mastic 121 in a rather fetching Aluminium colour which is not too far off the original silver of the car. It's a 2-pack paint, so I mixed the two parts and also added 15% thinners as it recommended for spraying: 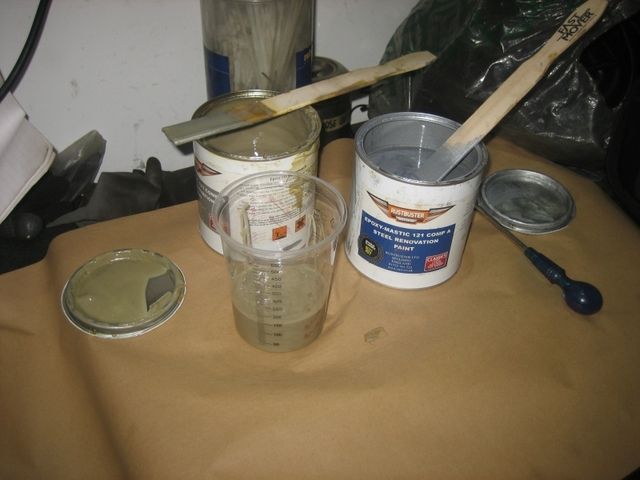 To ensure there were no lumpy-bits to clog up the gun, I also invested in some disposable filters, to strain the mix as I was pouring it into the gun:  Then I donned the full "Altern8" Protective gear (ask your dad's if you weren't around in the 90's)  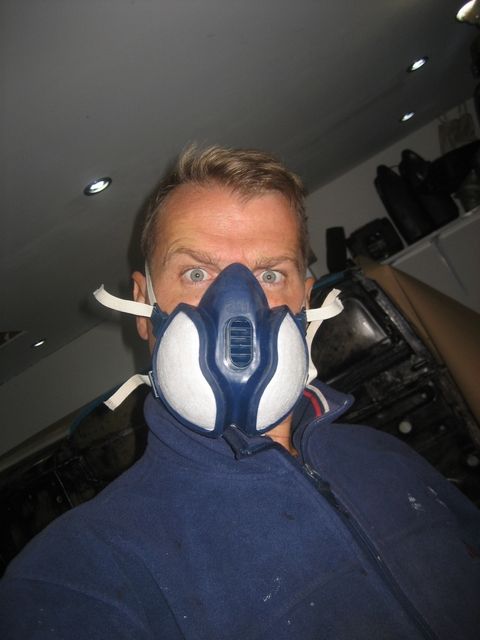 I was my first time painting with a proper spray gun, and after a bit of fiddling with the settings, I finally got to the stage where I could get some paint onto the car, and it was going on OK!! You can see the fumes in this picture so I was pleased I had the mask on!!  All in all I ended up mixing 3 x 300ml loads (Total 900ml) of Epoxy Mastic 121 to spray the underneath of the car and am quite pleased with the results so far: 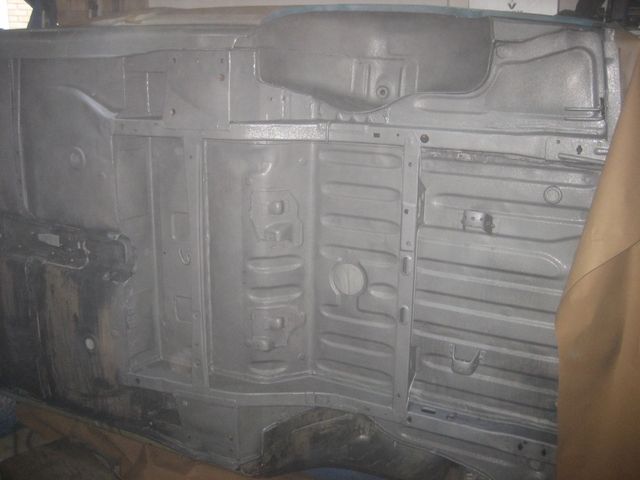 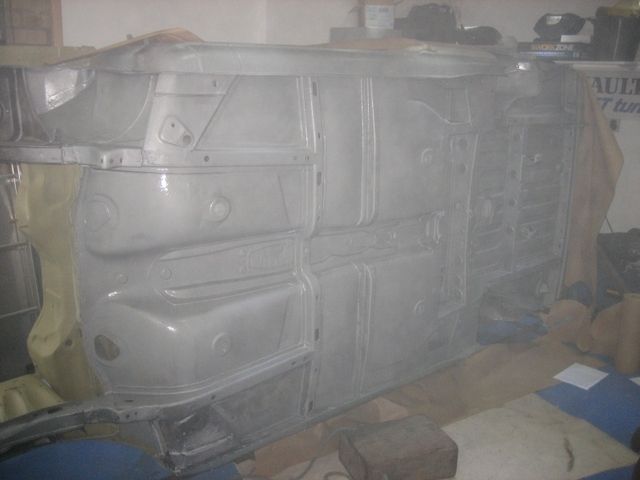  I left everything to dry with my Infra-red Heater ticking away... 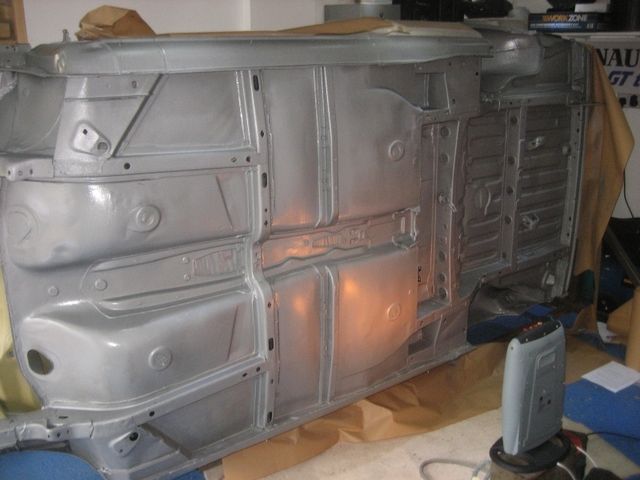 Thanks for reading!  |
| |
|
|
|
|





 Before we knew it we had the car back on 4 wheels and on the trailer:




 The winner of the test for the external coating was RustBuster Epoxy Mastic 121 and is one of the products sold in the UK on the RUSTBUSTER website.


