|
|
|
Jan 19, 2024 17:51:33 GMT
|
Phew! The inclement weather has one saving grace, it delayed the curing of the glue long enough for me to be able to prise them off and reset to the correct orientation. One of them was actually set at the wrong angle so I was able to rectify that. Reminds me of my Teachers' end of term reports - Must try harder! 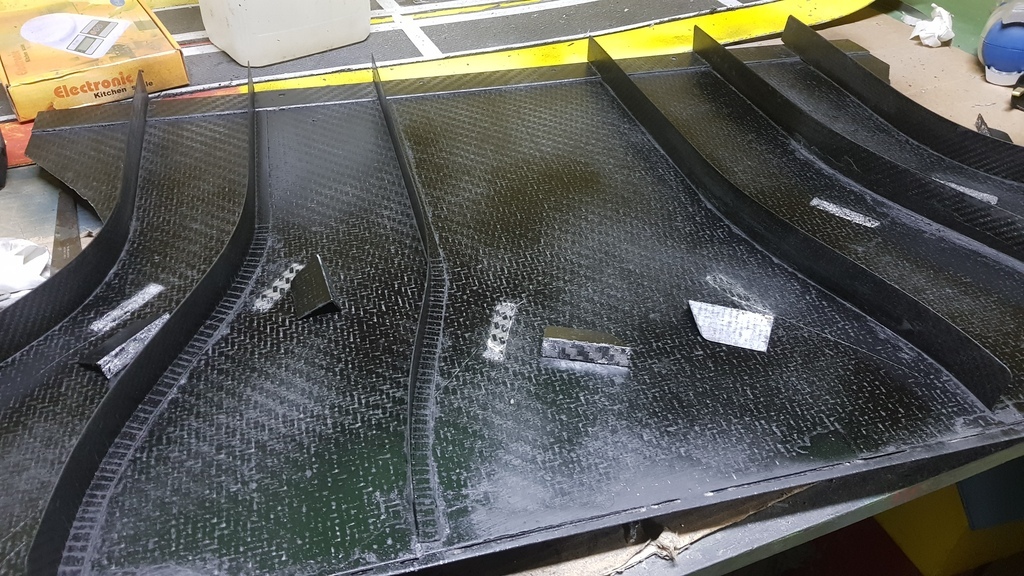 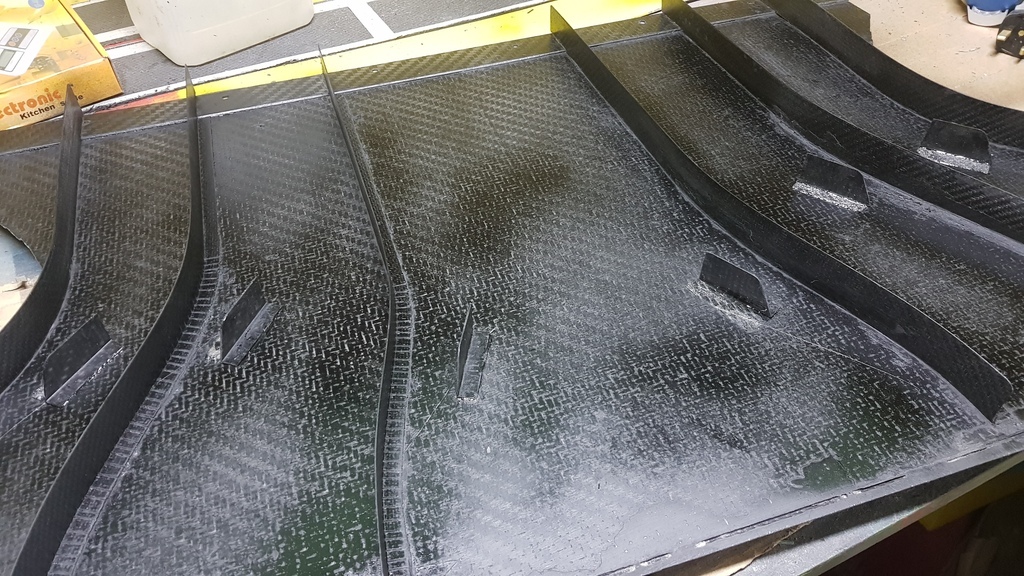 |
| |
|
|
|
|
|
|
|
Jan 20, 2024 14:33:14 GMT
|
Back to the diffuser. The angle of a diffuser shouldn't really exceed 10-12 deg otherwise you can get flow separation as the air can't handle the steep angle. However, using VGs you can encourage the air to stick to the plan, well, that's the theory anyway. Managed to stick these on the right way round first attempt :-) Made a guide so I could easily set the VGs to 15 deg away from the direction of flow. 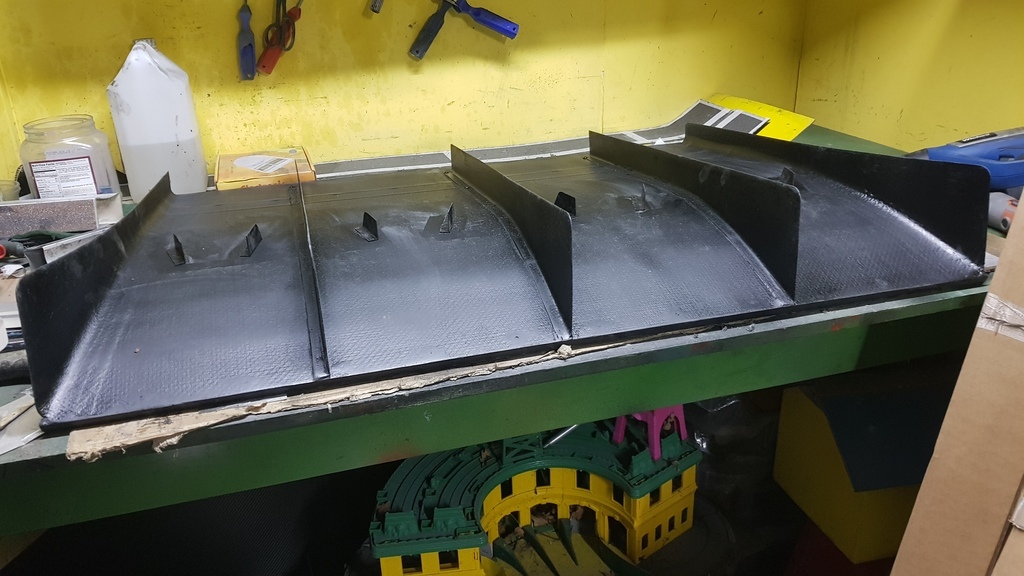  |
| |
Last Edit: Jan 20, 2024 14:34:05 GMT by nalesutol
|
|
|
|
|
Jan 20, 2024 21:50:49 GMT
|
Painted the passenger seat and radiator duct today. Seat came out ok but something happened to the duct. Both painted with the same primer filler at the same time but the rad has reacted. No idea why. 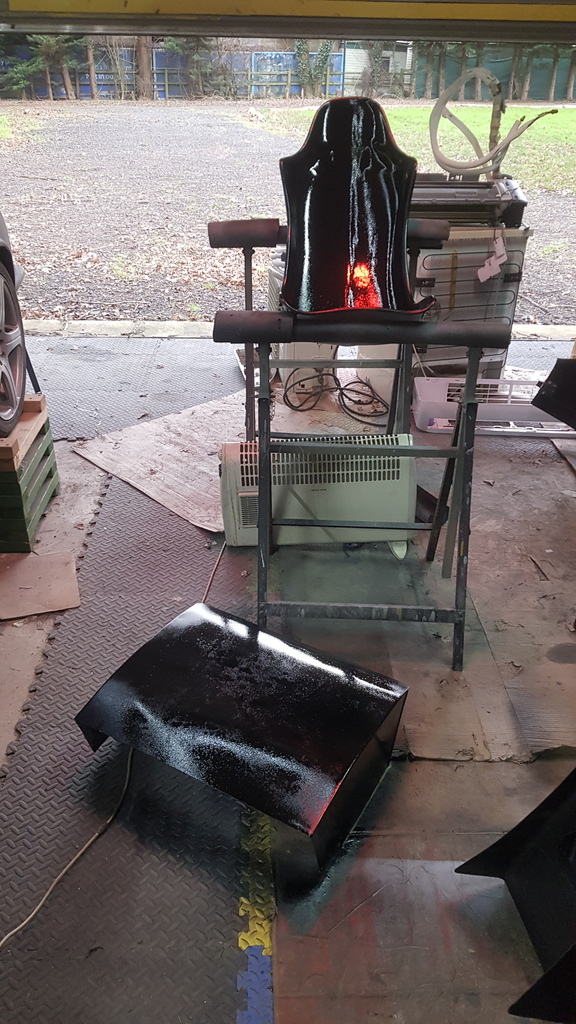 |
| |
Last Edit: Jan 21, 2024 9:56:26 GMT by nalesutol
|
|
|
|
|
Jan 21, 2024 23:00:07 GMT
|
|
Another slight setback. Added the top coat to the seat and planned to finish off with a couple of coats of gloss clearcoat. However, the clearcoat and activator were bought during the first lockdown and although the clearcoat seems OK the activator has turned to jelly :-( Ordered more activator.
|
| |
|
|
|
|
|
Jan 22, 2024 16:59:29 GMT
|
|
Decided that I couldn't wait for the activator to arrive so went out and bought a kit so I could spray it today. 6 coats of gloss clearcoat and it looks pretty good. Needs a very light sanding and a polish but I am happy with it. Photos to follow tomorrow when the sun comes out.
|
| |
|
|
|
|
|
Jan 22, 2024 20:55:27 GMT
|
|
There will be a slight delay in the reveal. It looked fine so I decided to bring it out of the cold into the house to cure. My mistake was laying on its back rather than how I had sprayed it which was in a V shape. An hour later two long lines of clearcoat were moving down the seat! Repositioned the seat and they have stopped moving and have hardened up. I now have to do a lot more sanding tomorrow (if cured enough) Any tips on removing runs from a concave surface?
|
| |
Last Edit: Jan 22, 2024 21:21:05 GMT by nalesutol
|
|
|
|
|
Jan 23, 2024 16:50:42 GMT
|
|
Managed to remove the 300mm long sag using a razor blade and 400/800/1000/2000 grits. Phew!
Splashed out on some polishes and pads and it looks OK. It has been a steep learning curve as this is my first foray into the spraying/clearcoat world. Good practice for when I spray the car, learnt a lot. Main thing is that I need to do more graded sanding - 320/400/800 etc in order to get an acceptable finish.
Also to spray clearcoat in thinner layers and leave longer between coats. The 6 thick coats would have worked in normal temperatures but 14 deg C meant that it took longer to go tacky than I allowed for. Live and learn, those who don't make mistakes don't do anything challenging :-)
As soon as I get some decent sunshine I will reveal the seat in all its glory, warts and all (there are a few) :-)
|
| |
|
|
|
|
|
Jan 23, 2024 21:00:36 GMT
|
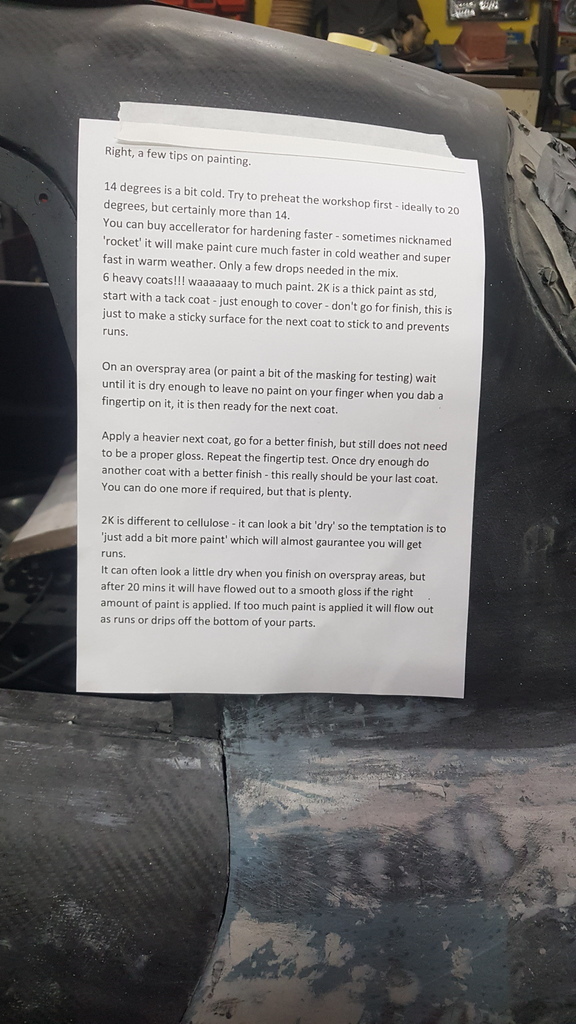
Right, a few tips on painting. 14 degrees is a bit cold. Try to preheat the workshop first - ideally to 20 degrees, but certainly more than 14. You can buy accellerator for hardening faster - sometimes nicknamed 'rocket' it will make paint cure much faster in cold weather and super fast in warm weather. Only a few drops needed in the mix. See here; www.ebay.co.uk/itm/2348108187746 heavy coats!!! waaaaaay to much paint. 2K is a thick paint as std, start with a tack coat - just enough to cover - don't go for finish, this is just to make a sticky surface for the next coat to stick to and prevents runs. On an overspray area (or paint a bit of the masking for testing) wait until it is dry enough to leave no paint on your finger when you dab a fingertip on it, it is then ready for the next coat. Apply a heavier next coat, go for a better finish, but still does not need to be a proper gloss. Repeat the fingertip test. Once dry enough do another coat with a better finish - this really should be your last coat. You can do one more if required, but that is plenty. 2K is different to cellulose - it can look a bit 'dry' so the temptation is to 'just add a bit more paint' which will almost gaurantee you will get runs. It can often look a little dry when you finish on overspray areas, but after 20 mins it will have flowed out to a smooth gloss if the right amount of paint is applied. If too much paint is applied it will flow out as runs or drips off the bottom of your parts. |
| |
|
|
|
|
|
|
|
|
Thanks for that. I will print it out and stick it on the garage wall. Comments on the seat will be welcome when I post it.
With regard to the rocket fuel, does this affect the useful time in the spray gun? With the cold temps I was able to leave stuff in the gun whilst waiting for the clearcoat to flash on the seat.
|
| |
Last Edit: Jan 24, 2024 0:39:24 GMT by nalesutol
|
|
|
|
|
Jan 24, 2024 10:45:52 GMT
|
|
No, rocket just makes it flash off as if you were spraying in 25 degrees. You can treat it pretty normally in terms of pot life in the gun.
Everyone thinks 2K will set in the gun - this is not so, you will have a good couple of hours normally - less if it's warm. It's worth giving the fluid tip a quick wipe with solvent on a rag to prevent paint curing on that.
I've left leftover paint in a mixing pot overnight and it will set, but only like a rubber, not rock hard.
One painters trick in the summer is to put the spraygun in the fridge - you can get away with spraying it the next day aparrently as keeping the paint cold stops it curing. I've never done this though.
|
| |
|
|
|
|
|
Jan 24, 2024 13:56:55 GMT
|
|
I've left epoxy in a pot overnight in the winter and it's still been usable the next day.
|
| |
|
|
|
|
|
Jan 24, 2024 19:27:38 GMT
|
No, rocket just makes it flash off as if you were spraying in 25 degrees. You can treat it pretty normally in terms of pot life in the gun. Everyone thinks 2K will set in the gun - this is not so, you will have a good couple of hours normally - less if it's warm. It's worth giving the fluid tip a quick wipe with solvent on a rag to prevent paint curing on that. I've left leftover paint in a mixing pot overnight and it will set, but only like a rubber, not rock hard. One painters trick in the summer is to put the spraygun in the fridge - you can get away with spraying it the next day aparrently as keeping the paint cold stops it curing. I've never done this though. Thanks again, especially for the solvent tip. Next attempt will be the front clam, no point in messing about :-) |
| |
|
|
|
|
|
Jan 25, 2024 14:51:43 GMT
|
|
|
| |
|
|
jamesd1972
Club Retro Rides Member
Posts: 2,907  Club RR Member Number: 40
|
|
Jan 25, 2024 15:01:34 GMT
|
|
Loving the large print !
Community support, fantastic.
At what point do I mention Alfred Neubauer ?
James
|
| |
|
|
|
|
|
Jan 25, 2024 17:47:52 GMT
|
Loving the large print ! Community support, fantastic. At what point do I mention Alfred Neubauer ? James Raw fibreglass and my mediocre finish (wasn't trying for a glossy finish) carbon fibre wouldn't be a good look :-) |
| |
|
|
|
|
|
Jan 25, 2024 18:03:10 GMT
|
First coat of high build primer. 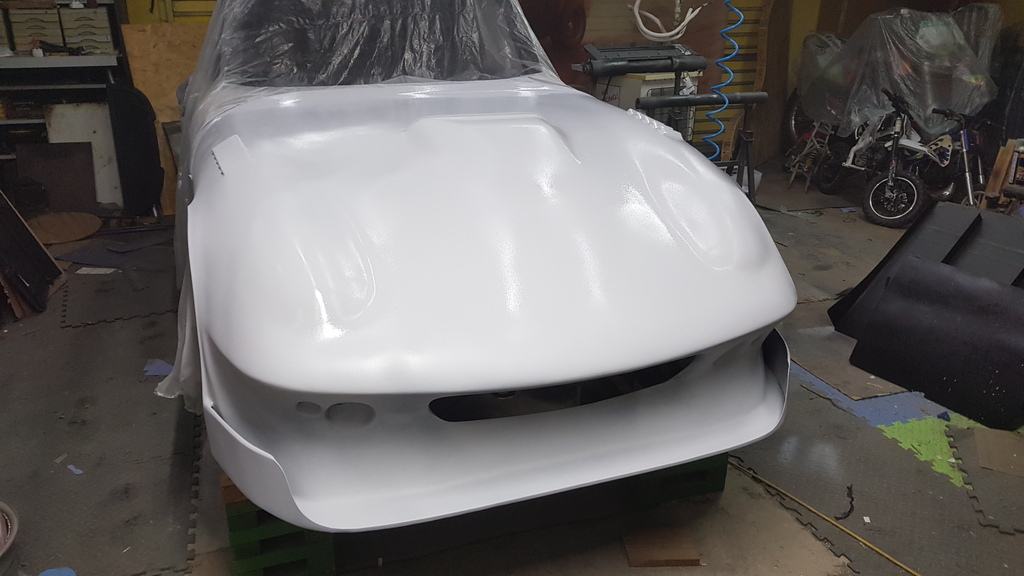 However, whist doing this I confirmed my suspicion that all wasn't well in the arch department. The mould for the front clam was taken from the existing body to which I had added Vegantune arches around 45 years ago. I did this in my Dad's 1960s single garage. I had to do one side then take the car out, turn it round and do the other side. Didn't get it quite right, to the tune of about 20mm difference in height and 10mm in width. Options: !. Leave it as it is as you can only see one side at a time :-) However, the gap between the top of the tyre and the bottom of the arch will be around 40mm so the discrepancy will be noticeable. I think I have just decided which option to take. 2. Cut and reshape the arches to match, either lower one or raise the other. Need to think about this. |
| |
|
|
jamesd1972
Club Retro Rides Member
Posts: 2,907
Club RR Member Number: 40
|
|
Jan 25, 2024 18:18:28 GMT
|
|
Future project on the clam ? It works as it is and once run up and tested you might want to make more changes anyway?
James
|
| |
|
|
|
|
|
Jan 25, 2024 18:36:45 GMT
|
Future project on the clam ? It works as it is and once run up and tested you might want to make more changes anyway? James I want to paint it! :-) Minor changes/mods I can do, reshaping major body panels after painting I don't want to do. |
| |
|
|
|
|
|
Jan 26, 2024 14:03:43 GMT
|
|
Apologies for the sound quality, even worse than my normal stuff. Wind and traffic noise.
|
| |
|
|
|
|
|
Jan 26, 2024 17:01:57 GMT
|
Back to the front clam issue. Thinking about it some more, the front suspension is fully adjustable (see photo below) and has just been slapped on. Some of the out of true could be down to this. It could also be down to Lotus' famous quality control and the chassis isn't true. If that is the case then thin wheel spacers may solve the issue. By thin I mean no more than 5-6mm. So, I will carry on with getting the body ready for the base coat and leave any mods to the clam until I have the proper wheels and tyres bought and fitted and the suspension set up. 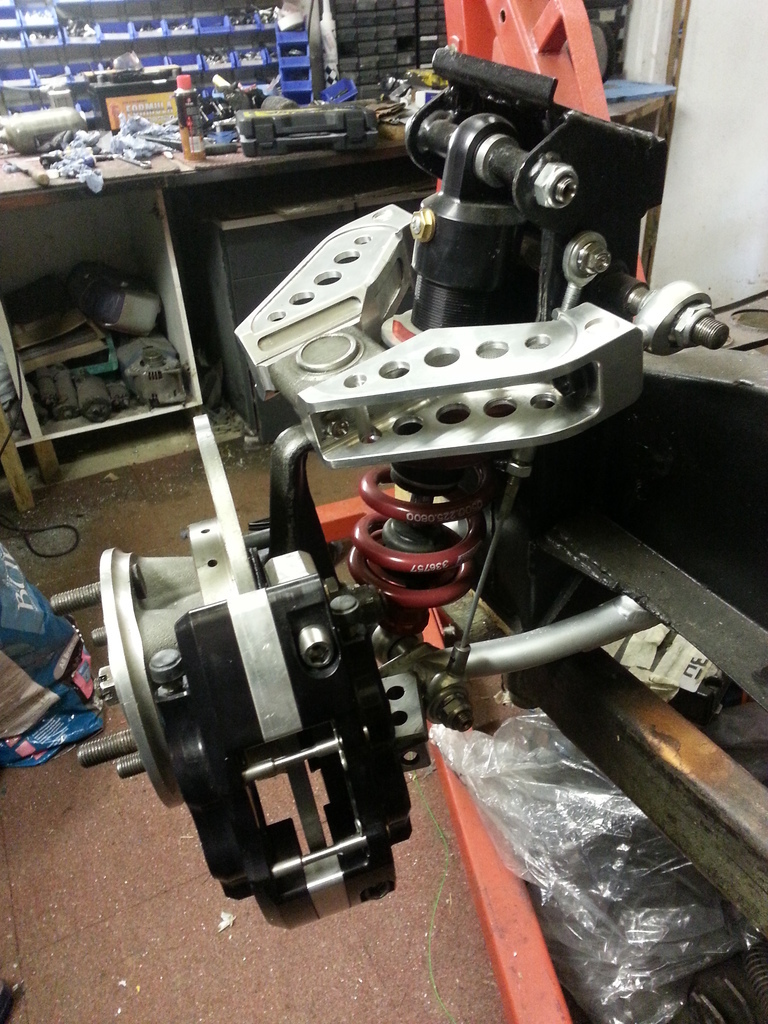 |
| |
Last Edit: Jan 26, 2024 17:08:26 GMT by nalesutol
|
|