Darkspeed
Club Retro Rides Member
Posts: 4,867
Club RR Member Number: 39
|
|
Sept 30, 2017 20:22:41 GMT
|
Well, found something that should work and also be pretty simple to install on the chassis. - Just needs a couple of simple triangles a shorter tie rod a change of rod end from bush to rod end installed horizontally. 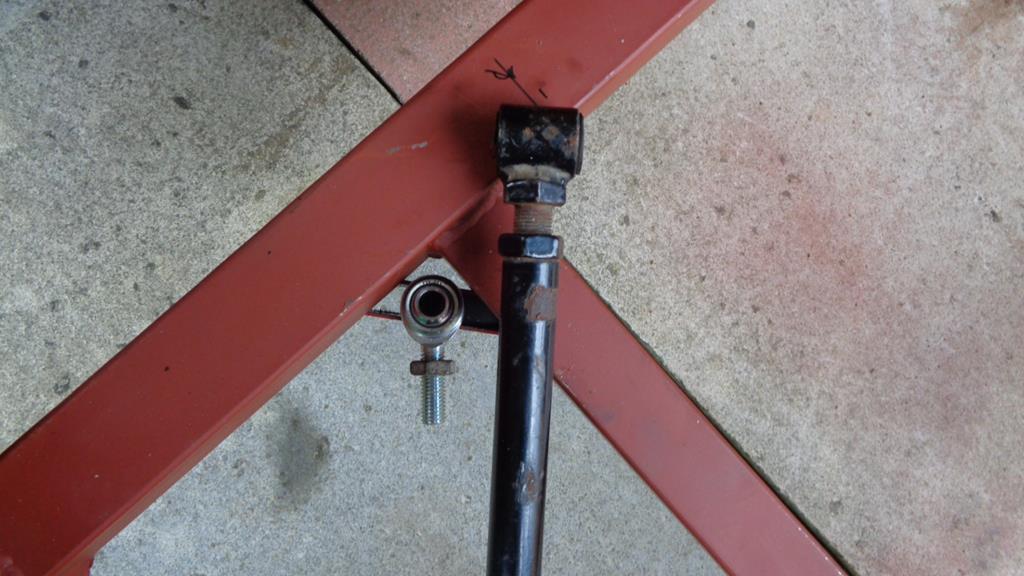 Without moving anything else this rectifys the toe out in bump - to provide toe in in bump with an increase of 0.1 degree of toe in gain from static to 2" bump or in roll it also maintains slight negative camber in roll. Sorted just need to make some plots. Whilst on a roll I tackled the rear window - This had been positioned incorrectly - I assume from the factory as it should be within the rolls bars rather than on the outer on. Bieng on the outside of the outer roll over bar meand that it was not possible to install the brackets for the back stays correctly. With this now cut out I can move the window into the cabin and angle it to prevent reflections from the engine. 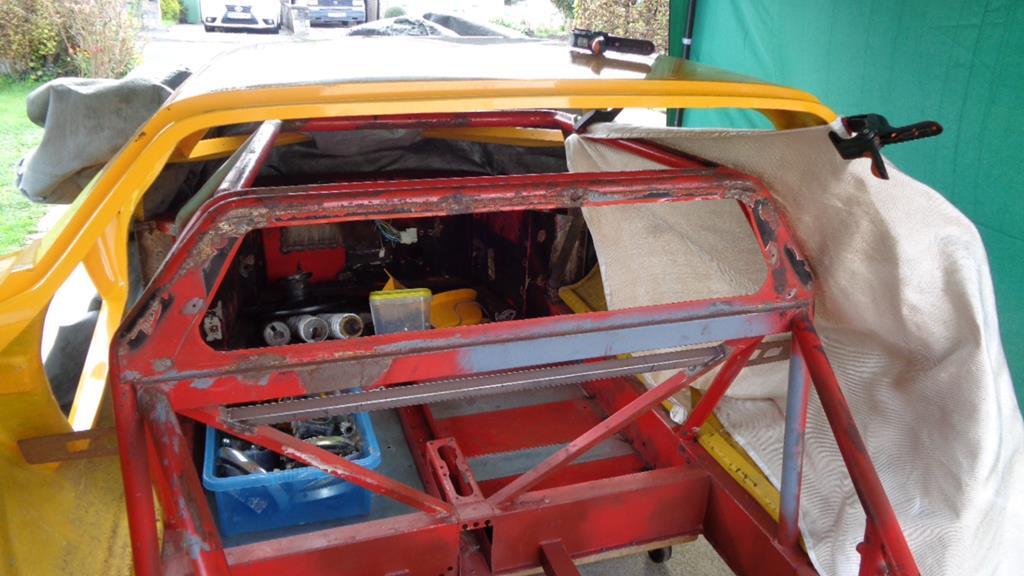 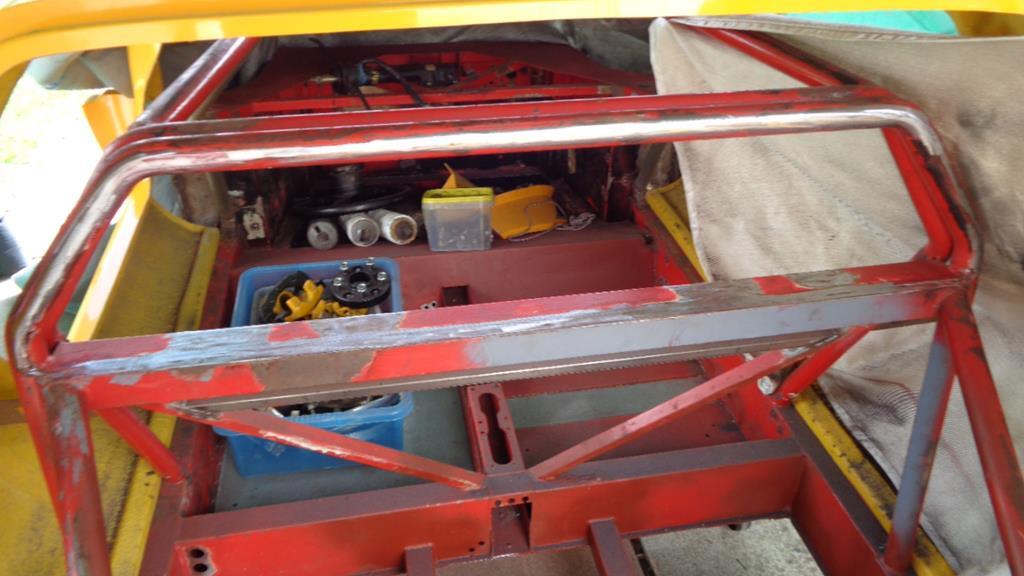 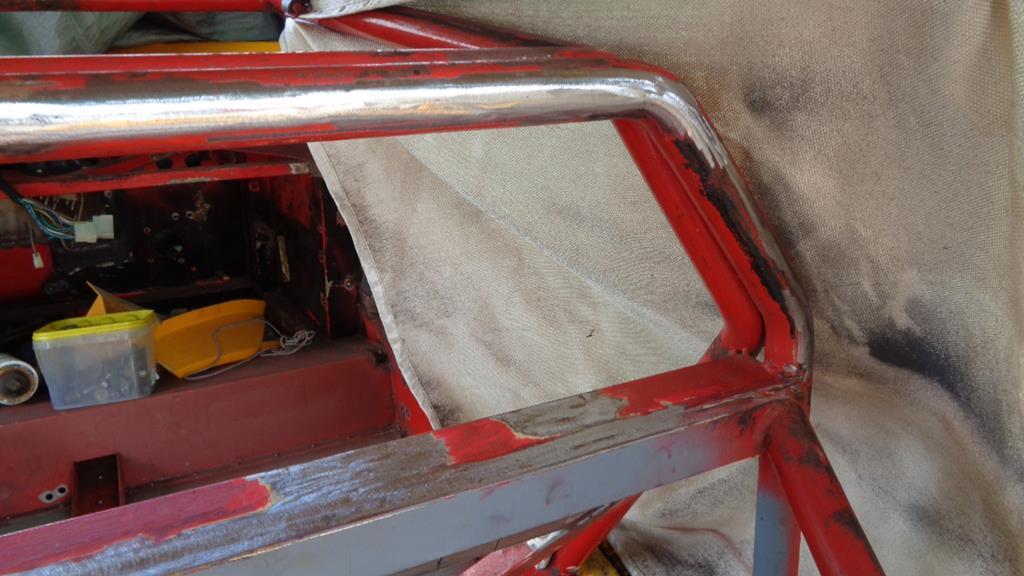 I can now get on with the brackets back stays and diagonal. As that went pretty painlessly I decided to tackle the final crappy welds on the sills and chop them out. As expected it sprang open to a distance approximately where it would have been originally when the welds were removed. 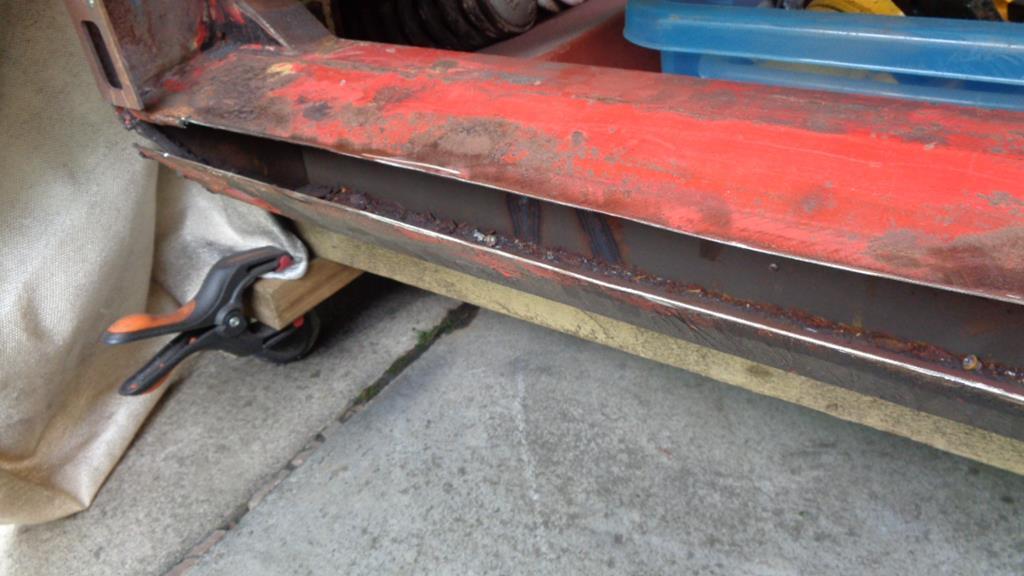 And almost by design the 1" box section I am planning on welding in fitted pretty well when the edges were trued. (just a test length of box) 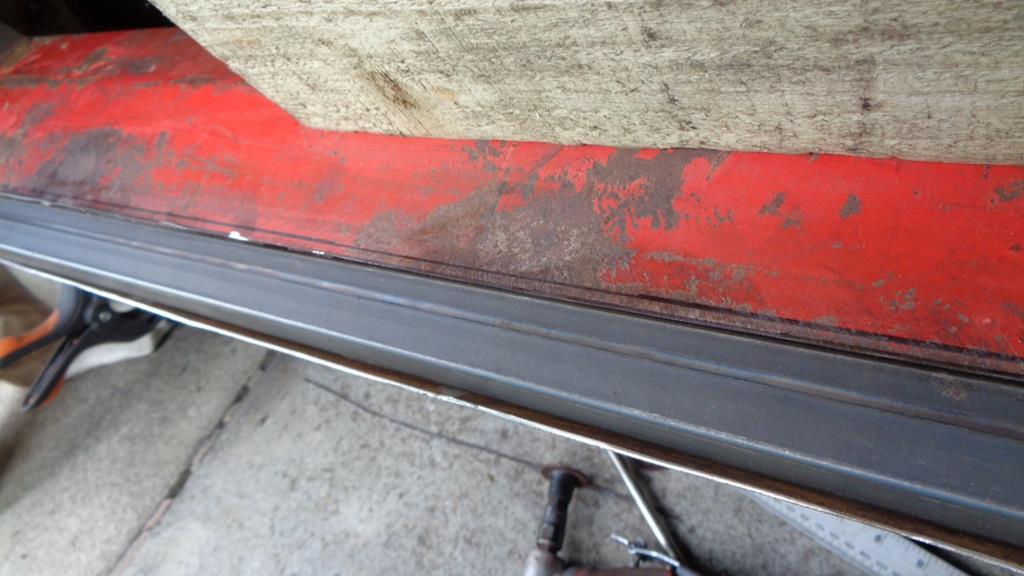 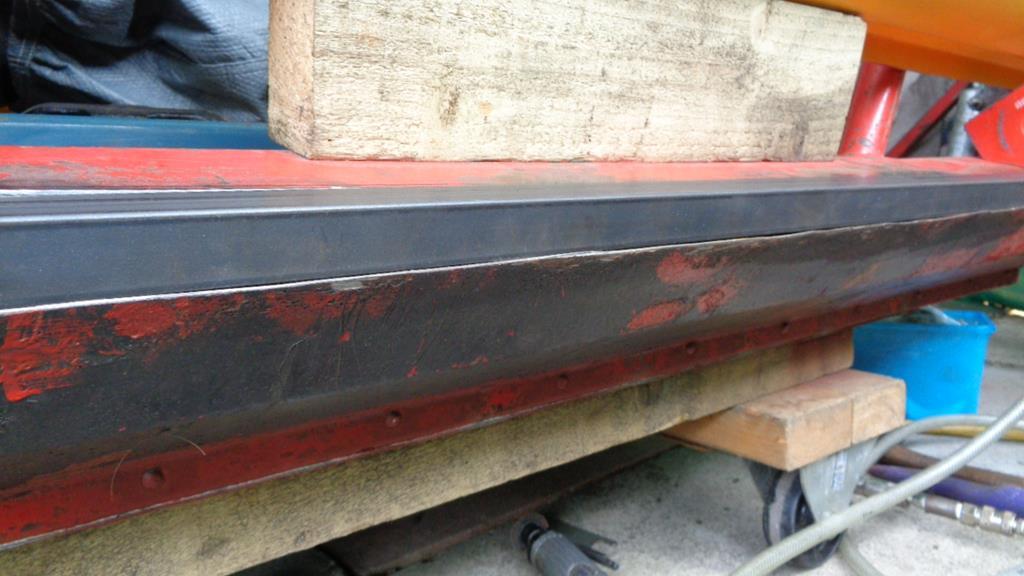 Just the other side to do. |
| |
|
|
|
|
|
|
|
|
|
I use solidworks for doing my geometry along with some excel spreadsheetery. It's works quite well as you can set up some simulations and watch the model move. Seeing what happens in 3d is also quite useful as you get a nice visual indication of scrub etc. I also got a rudimentary excel sheet from the locost builders site ages ago. It's quite good to see in a basic format. I'm a Solidworks-ist, will have to have a play round at some point. never had much use to use the simulation side - should be interesting. |
| |
Take the Next slot right coming up on the left.
|
|
Darkspeed
Club Retro Rides Member
Posts: 4,867
Club RR Member Number: 39
|
|
|
|
|
|
| |
|
|
Darkspeed
Club Retro Rides Member
Posts: 4,867
Club RR Member Number: 39
|
|
|
|
Up early today (Holiday) and the weather forecast was deemed reasonable enough to get stuck into the Strato's with a view to getting as far as possible into completing the repairs on the sills - So as above, we have a hole about the size of a piece of 25mm box in the N/S sill -- and the O/S sill well this.... 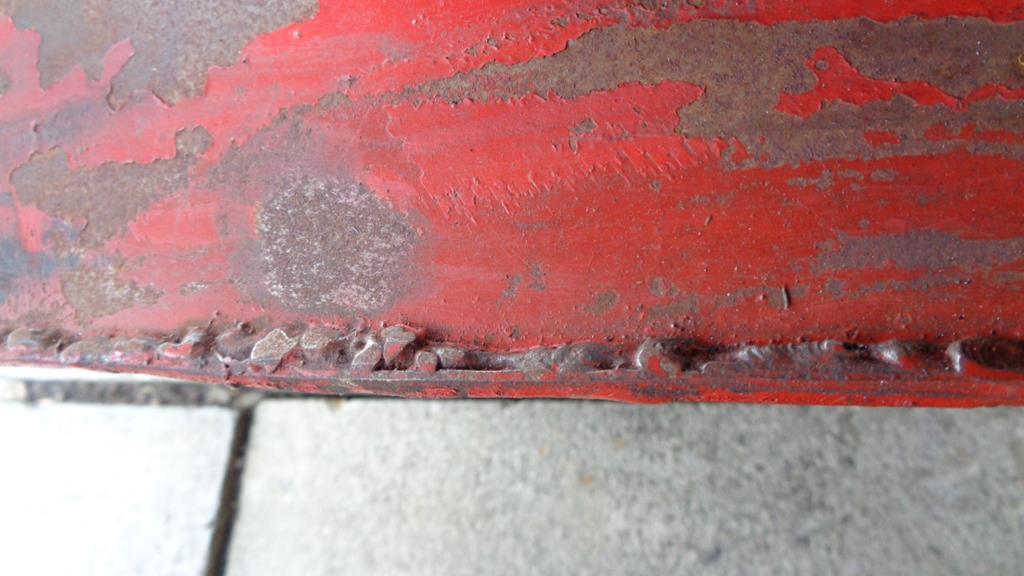 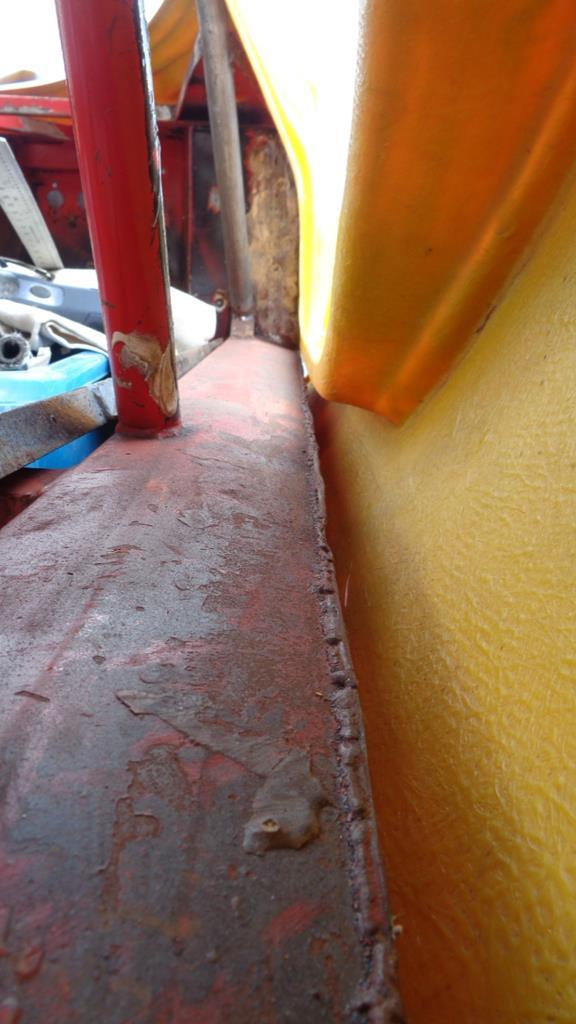 So first off was cleaning out the sill and getting some paint in there to give a bit of protection as there was no form of protection in there at all but the good news is that after 25 years all there was in there was some old rivets that I had drilled through and grinding dirt. Vac out - blow out wipe out and paint. Cut the box to size trim and weld. The sills are 1380mm long and there are two lines of full weld - so 9 feet of seam welding later 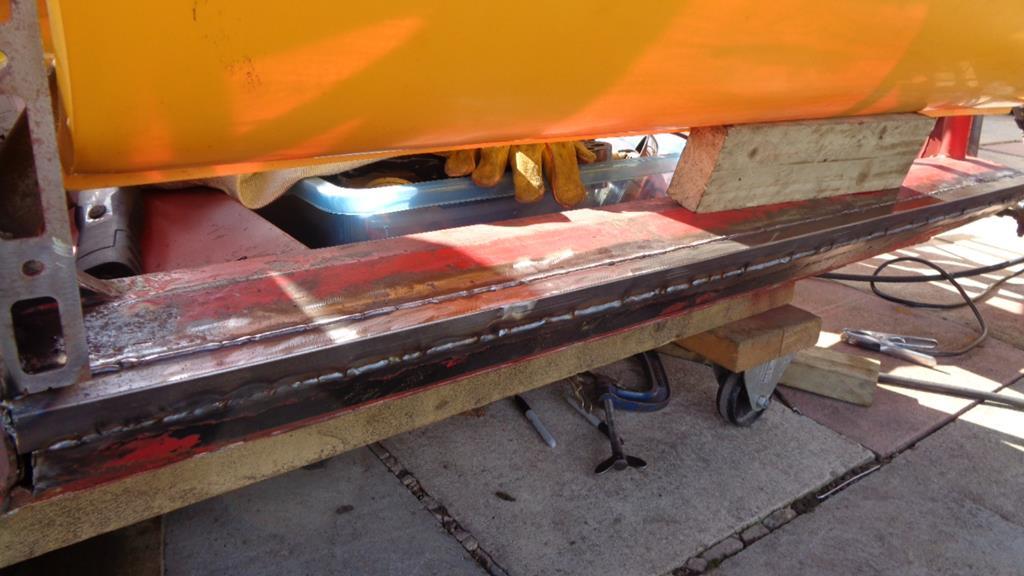 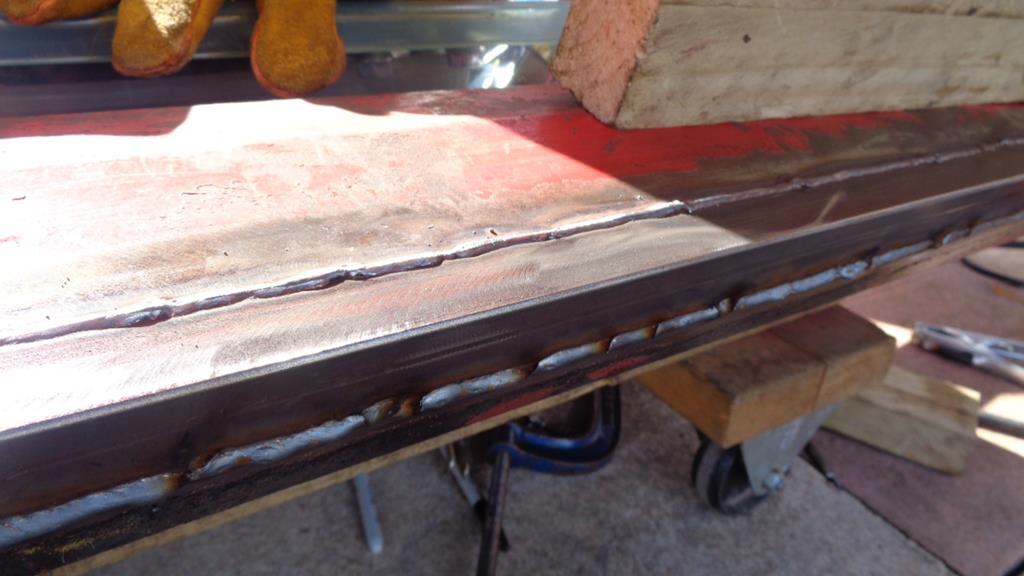 Clean up and paint. 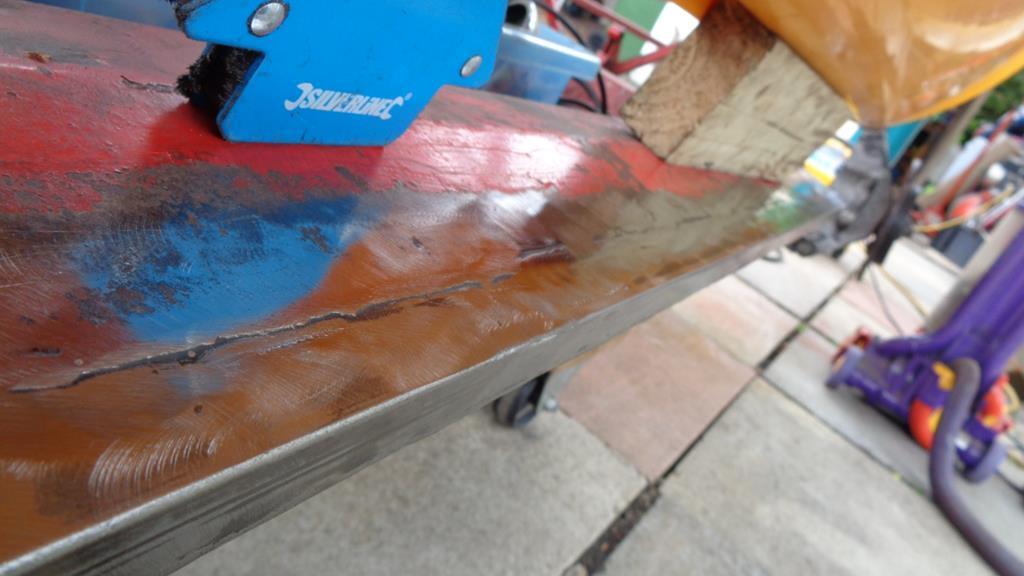 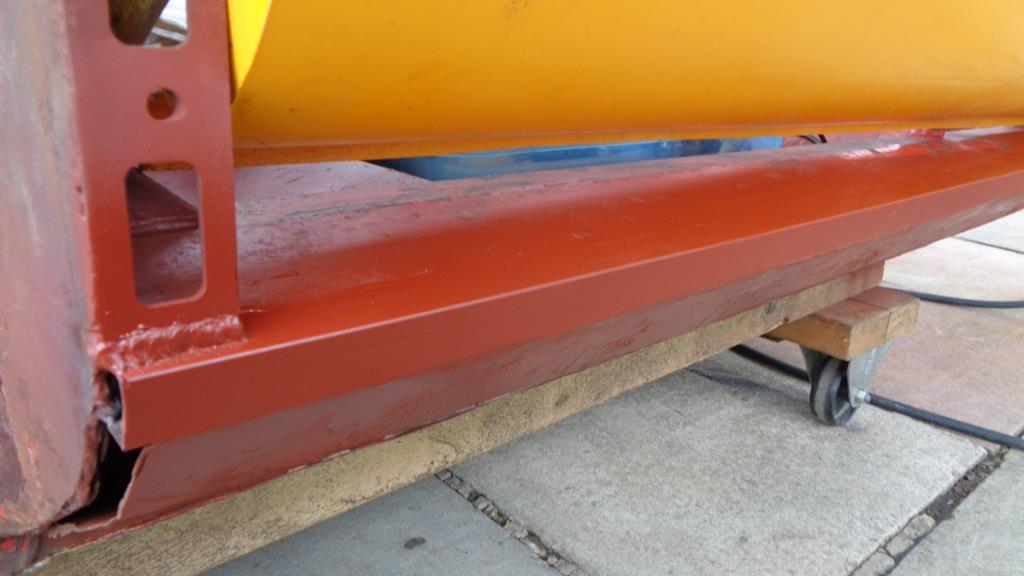 And the sill section is far closer to the body line that the old modifications 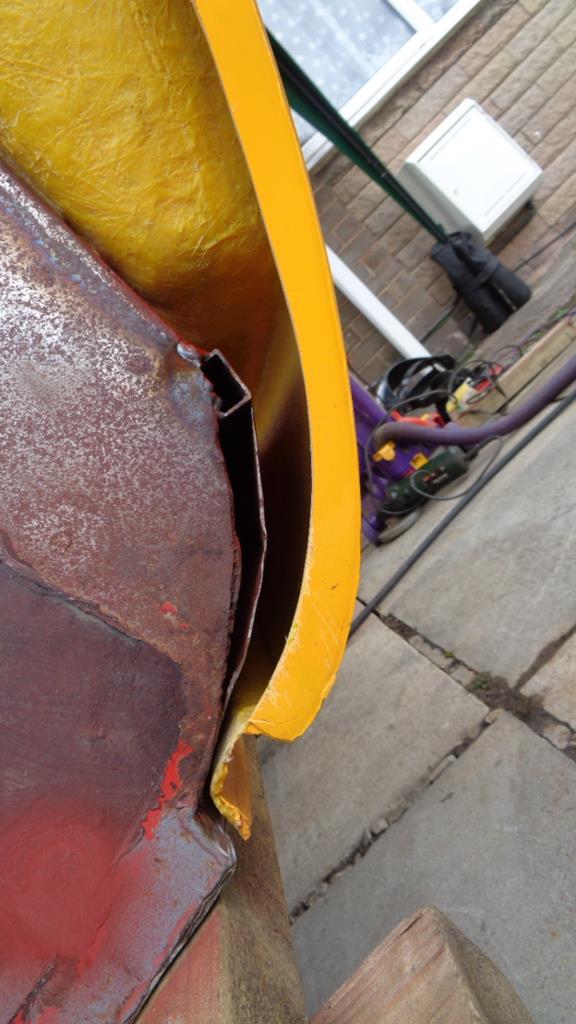 To take a break from slicing through sheet steel with a cutting disc with rinse and repeat on the O/S I did the upper seat harness attachments. 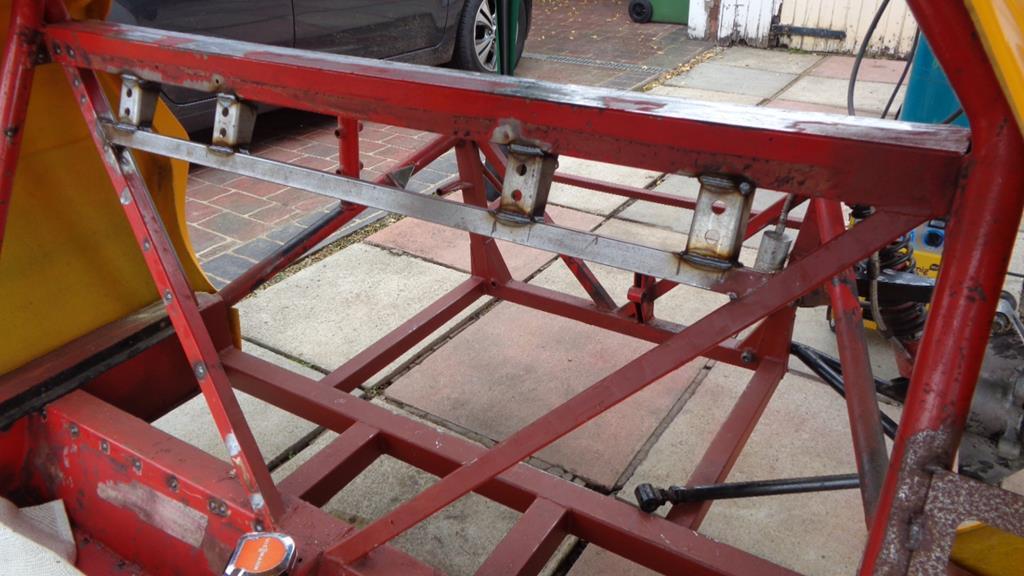 And after lunch had a look at the door bar set up and the rear cage support back stays and diagonal. 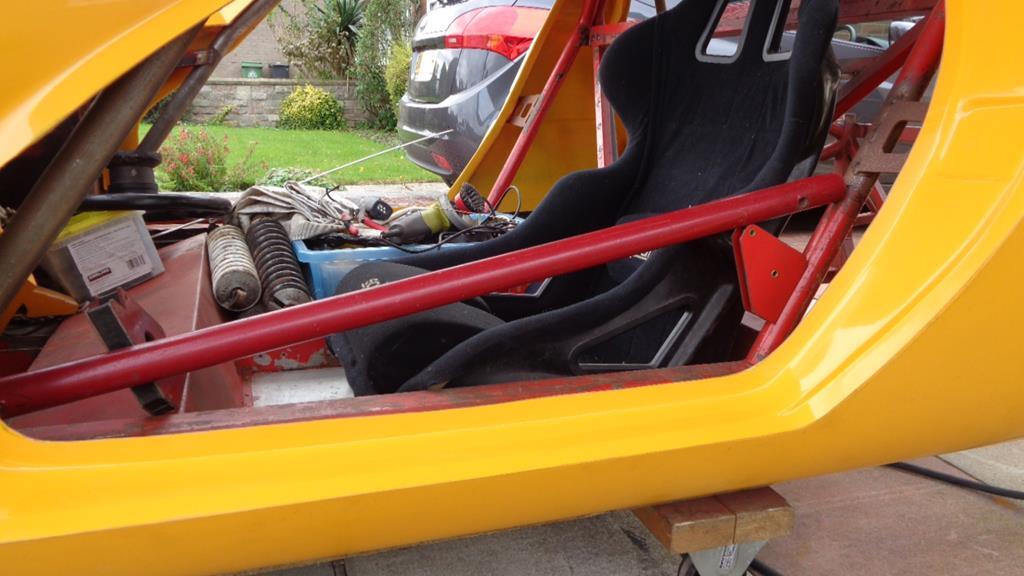 And then set about the O/S 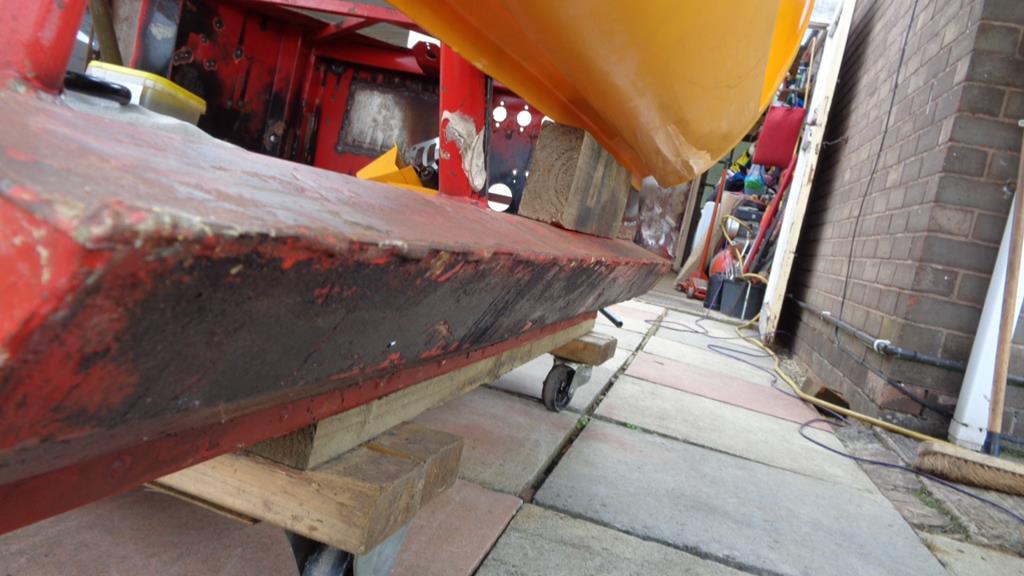 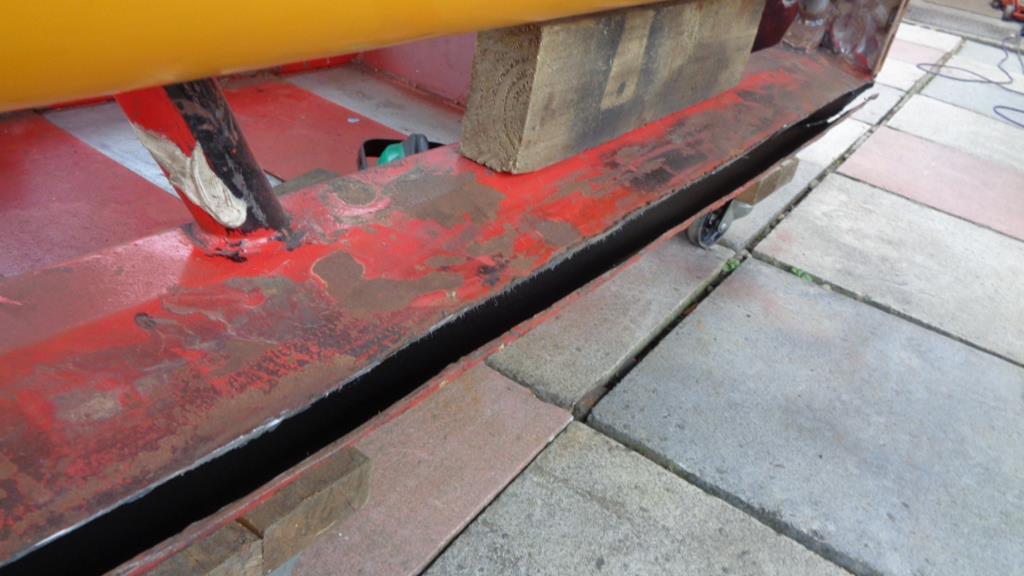 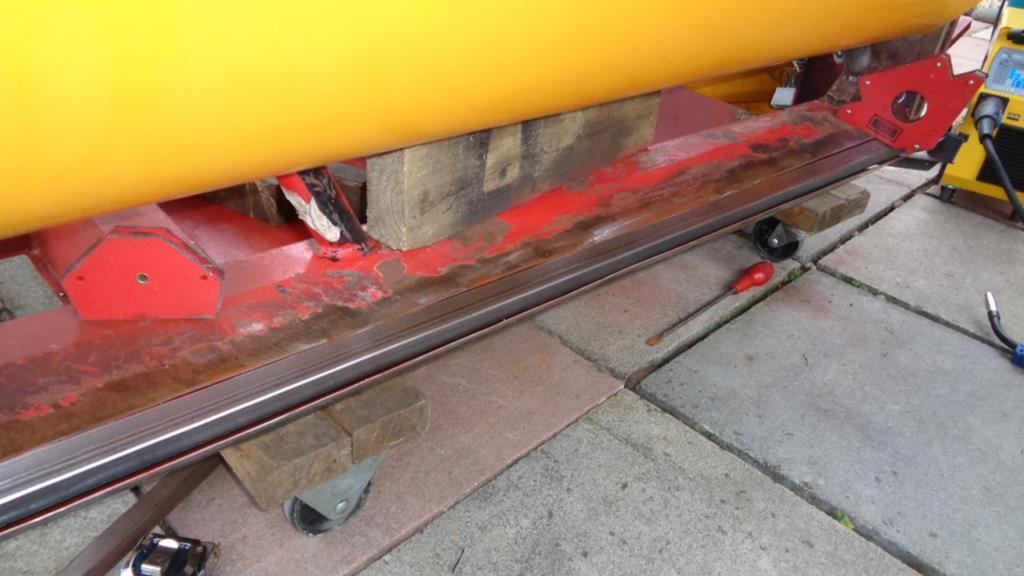 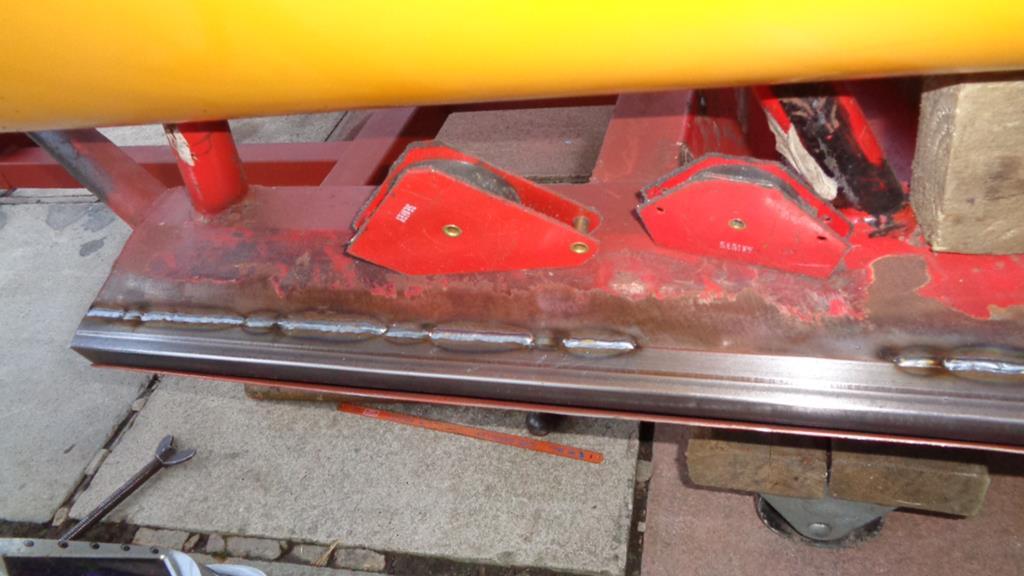 And that is when I took a break and the light failed so I called it a day - hopefully the weekend will provide me with some decent weather but if not I have plenty of parts to fabricate. |
| |
Last Edit: Oct 3, 2017 21:49:00 GMT by Darkspeed
|
|
|
|
|
|
|
|
That's put some strength back in there. Some shonky welding by previous owner!
|
| |
|
|
kcchan
Part of things
 
Posts: 127
|
|
|
|
|
What is your welding table/bench set up like? I'm going to make a little arm/torch rest type thing in the future to support my torch hand and make it as comfortable as possible.
|
| |
|
|
Darkspeed
Club Retro Rides Member
Posts: 4,867
Club RR Member Number: 39
|
|
|
|
What is your welding table/bench set up like? I'm going to make a little arm/torch rest type thing in the future to support my torch hand and make it as comfortable as possible. My what  - believe it or not at present I use an old bit of 18 SWG steel sheet on top of a piece of even older 1/2" chip board on a workmate and sit on a old wooden (half rotten) garden chair - when I get a spare bit of time and some spare space I will set myself something but for the time being it's comical. |
| |
Last Edit: Oct 3, 2017 22:38:05 GMT by Darkspeed
|
|
Darkspeed
Club Retro Rides Member
Posts: 4,867
Club RR Member Number: 39
|
|
|
|
Grabbed a couple of hours today to carry out the welding on the O/S sill - that's a total of 18 and a bit feet of welding done and the sills are now almost finished. Not only are they are now significantly better than they were, but they are also much stronger than original. The original sill construction consisted of a plug welded overlap joint along that vertical edge where I now have a seam welded box inserted. All looks much better now even if it will be hidden out of sight - well, other than this thread! Also took the hot air gun and scraped off a load of bitumastic underseal and wiped it over with some gun wash 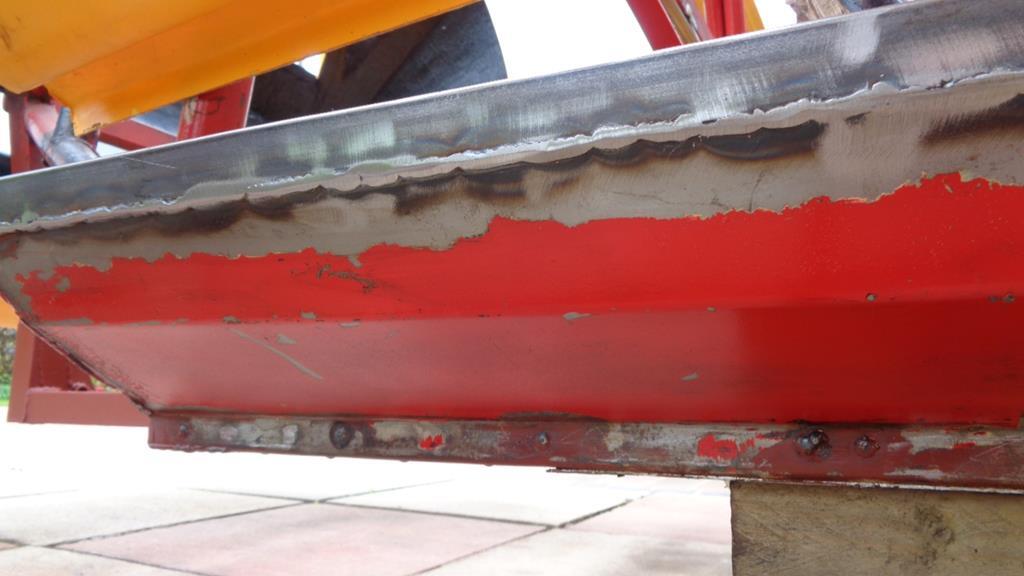 A light going over with the flap wheel to take the welds down a little 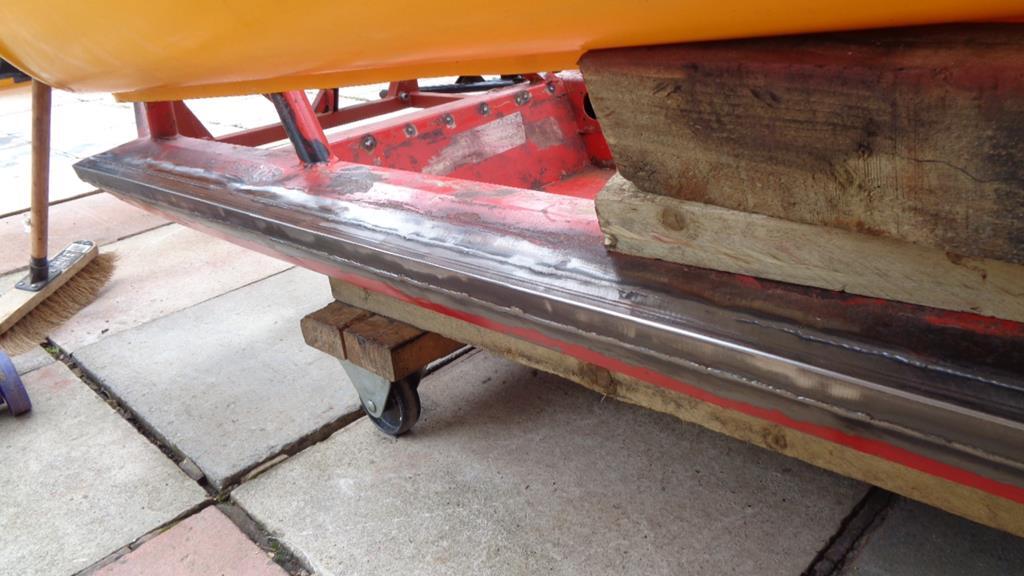 Closed off the front edge blew some primer on it for protection - looks a fair bit better than it did in the pictures above. 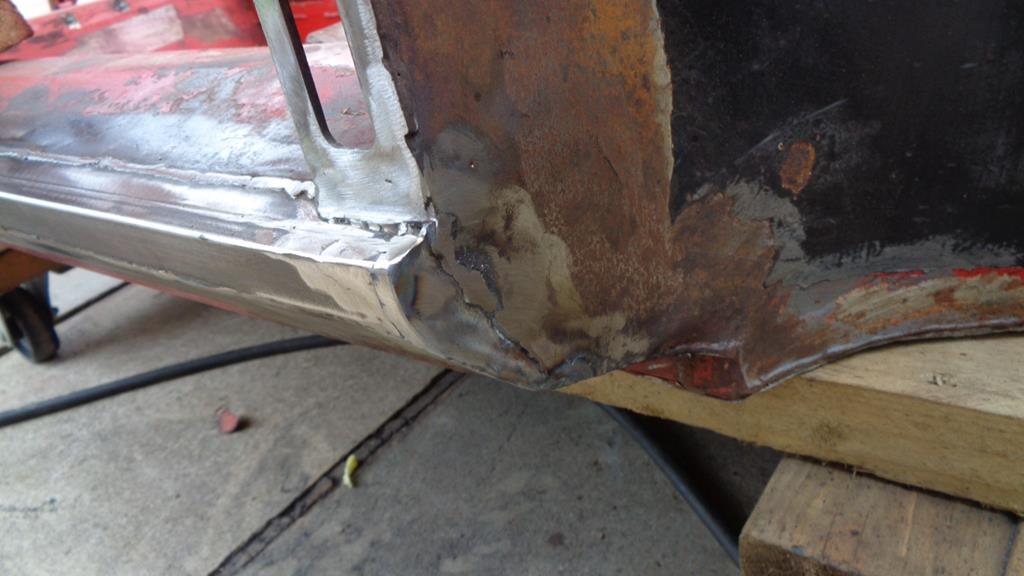 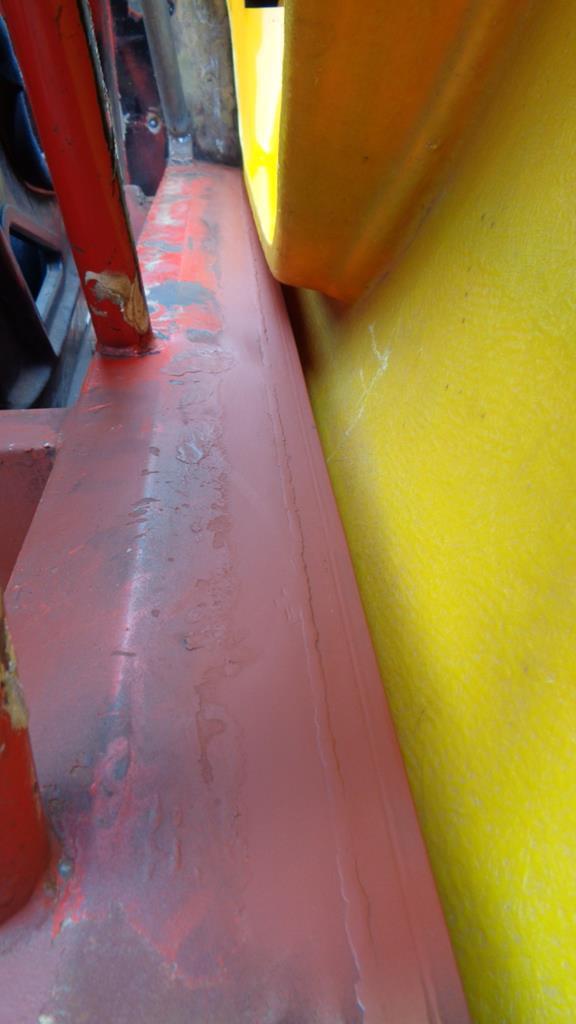 Next jobs on the list are:- Close off the other three ends of the sills Weld on the brackets for the rear view mirror Make up and weld on the brackets for the rear suspension mounts Order the rod ends And a rather large amount of other stuff.... |
| |
|
|
Darkspeed
Club Retro Rides Member
Posts: 4,867
Club RR Member Number: 39
|
|
|
|
Another couple of hours on the Strato's Looked at the list " Close off the other three ends of the sills
Weld on the brackets for the rear view mirrorMake up and weld on the brackets for the rear suspension mounts Order the rod ends And a rather large amount of other stuff...." Got on with it. 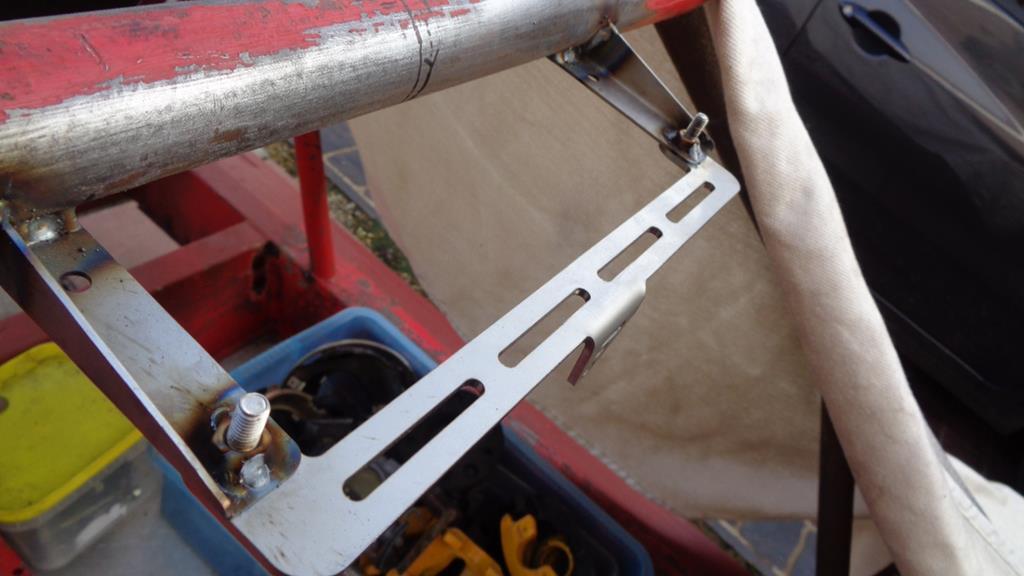 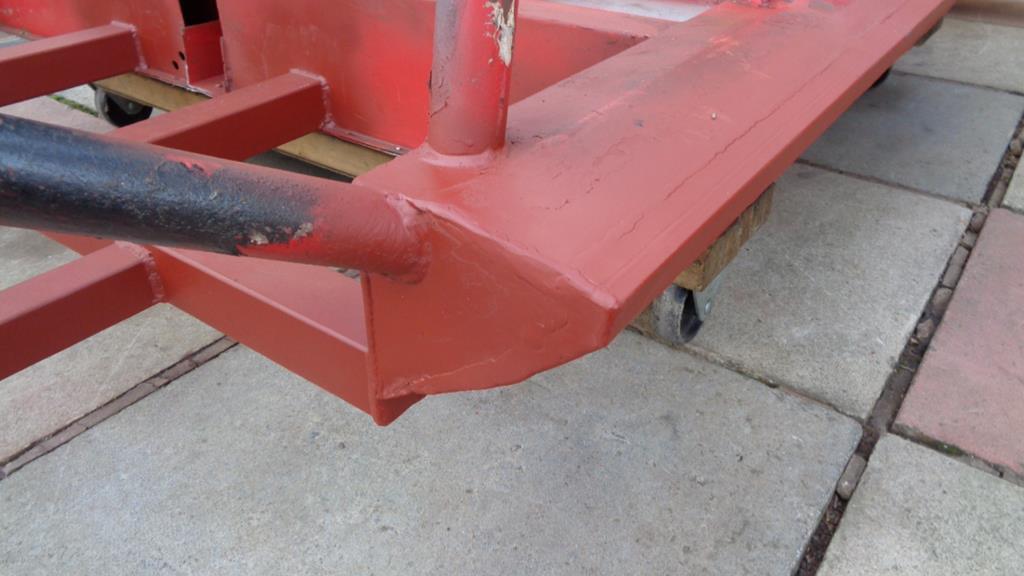 As I have not yet got around to ordering up the Rose joints for the rear suspension arms, or the 5/8 UNF tap to extend the threads in the adjusting rods, I have not looked at the associated brackets. In "other stuff" to be done I have had the mounting of the steering column bracket for some considerable time and I had been flitting between just:- a) welding in the mounting bushed for the mount through the 1" chassis member b) cutting the whole tube out and welding in a new crossmember in 1-1/2" Square tubing as that is what is used on the Lister Bell and is therefore the design width for the bracket. Now b) was my preferred method but the way the chassis has been constructed effectively starts in that area with that chassis tube and has the rest of the chassis fabricated around it. This means cutting into good metal, a lot of good metal, and the more I looked the less appealling that route looked for the l;imited gain so I came up with:- c) making the section infront of the driver that holds the mount 1-1/2" x 1" - checking for twist and re-inforcing as required. 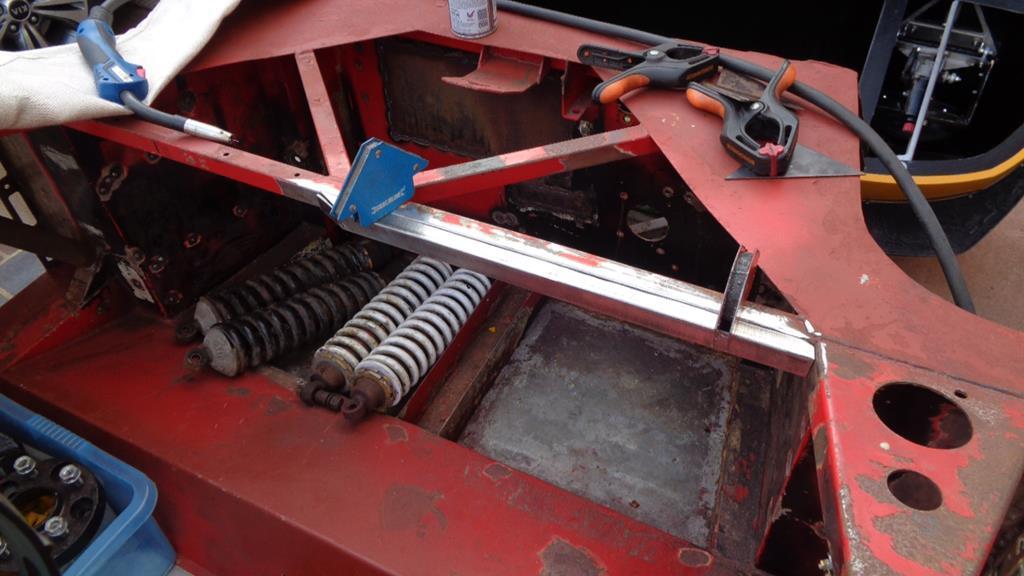 All I need to do now is - Assemble the bodywork back on - Tick Fit the dash - Tick Position the mount - Tick Mark for the mount bushes Drill for the bushes Weld in the bushes Turn the chassis upside down Complete the lower welds Turn right way up Complete upper welds Check for twist whith wheel in place Modify as required - may result in more of above I also had to do a bit on the G21 The tyres rub on the arch lip returns of the rear arches - Makes it a pain to move. Saturday I needed to cut the grass (sitting on the front lawn at present due to space issues nothing new and its not alone) - around the car so it was out with the angle grinder to remove 1/2" to 3/4" from the return lip at the top of the arch - No rubbing on the tyre car now rolls - grass cut - result. Taking photo's would have doubled the job time. |
| |
|
|
|
|
Darkspeed
Club Retro Rides Member
Posts: 4,867
Club RR Member Number: 39
|
|
Oct 16, 2017 11:40:03 GMT
|
It's good to be able to look at the chassis now and it not make me cringe as it did before the corrective actions were implemented. There is not much going backwards to go forwards work remaining now so future progress will be all in the right direction. Lunchtime job is to get the tap and the rod ends ordered. |
| |
|
|
Darkspeed
Club Retro Rides Member
Posts: 4,867
Club RR Member Number: 39
|
|
Oct 17, 2017 21:15:43 GMT
|
And delivered. 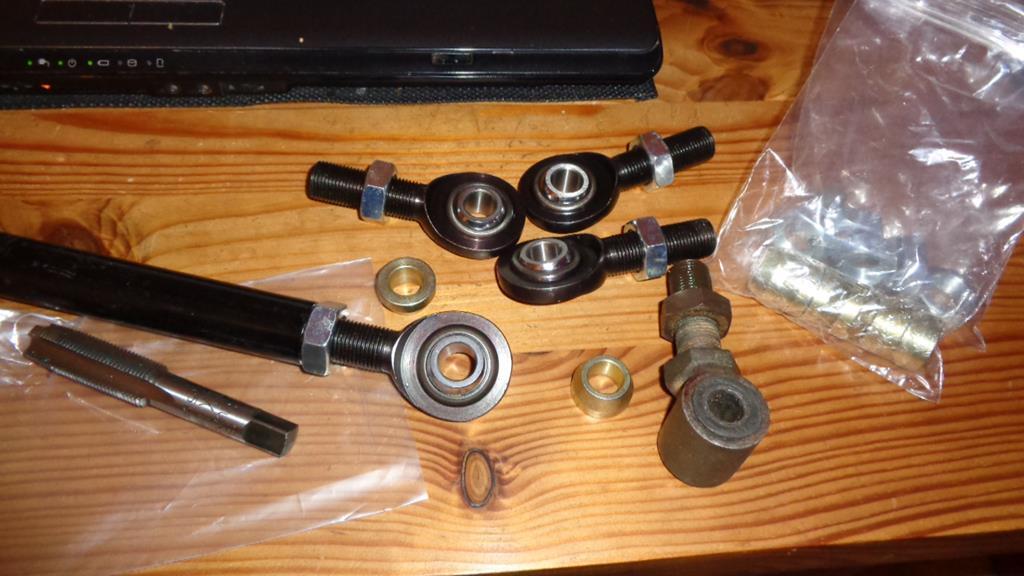 If the weather holds I have some welding - shock horror - and if not I have extra time for the design and fabrication of the brackets for the lower link. |
| |
|
|
|
|
Darkspeed
Club Retro Rides Member
Posts: 4,867
Club RR Member Number: 39
|
|
Oct 28, 2017 21:14:40 GMT
|
Not much progress to report as other projects are stealing time from the Strato's Shortened the tie rods for the lower wishbones and losely assembled all looks good. 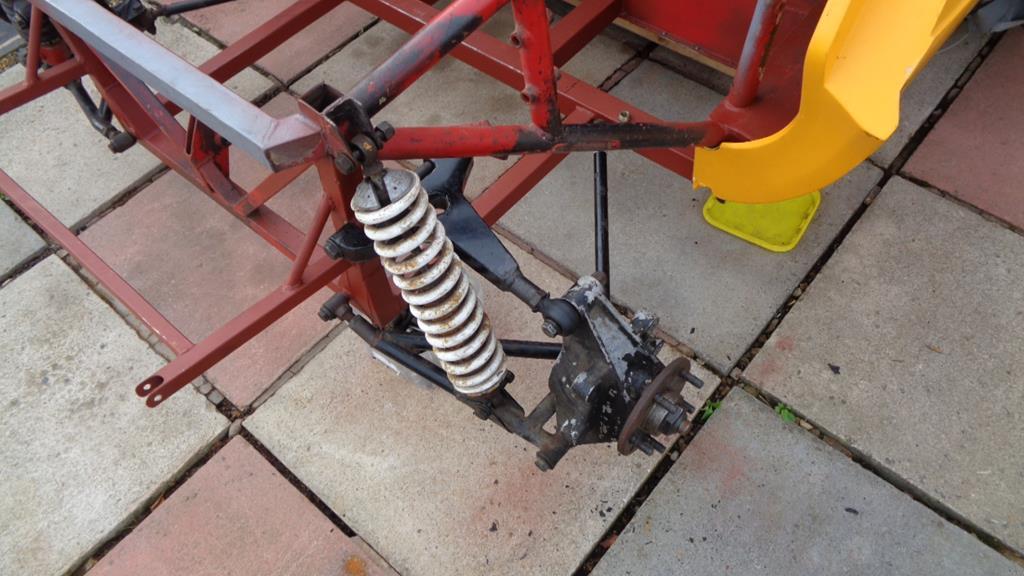 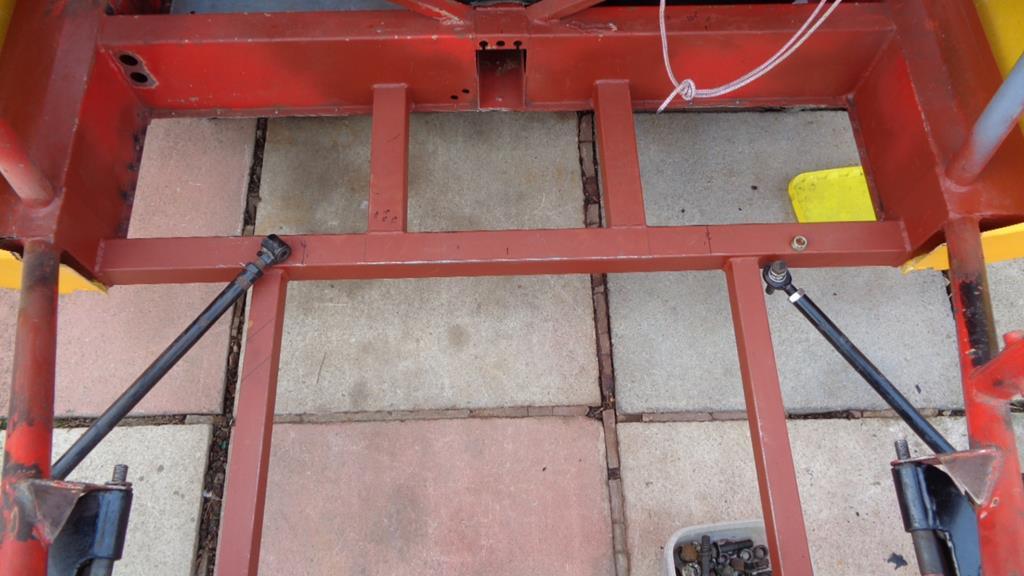 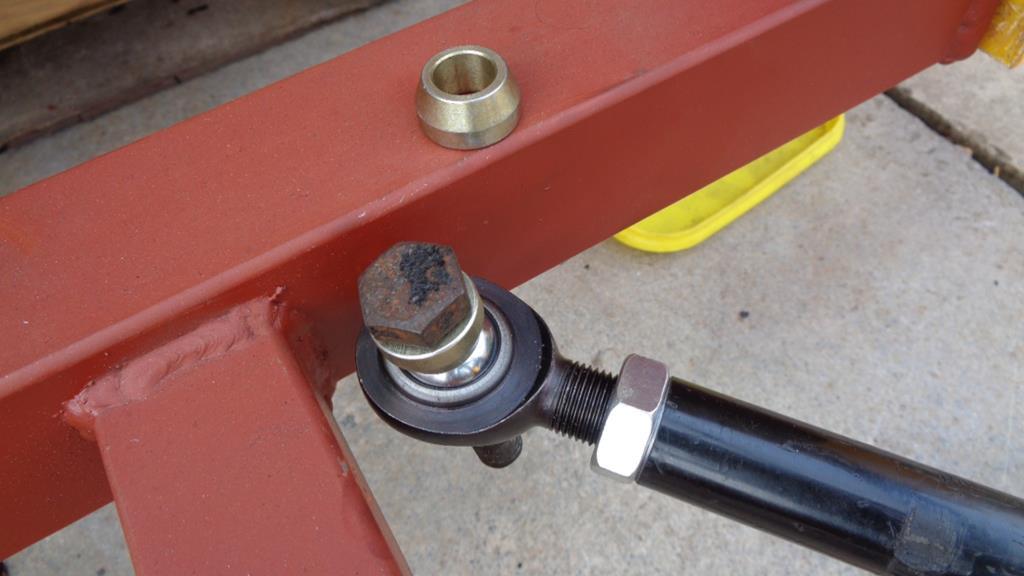 |
| |
|
|
Darkspeed
Club Retro Rides Member
Posts: 4,867
Club RR Member Number: 39
|
|
Nov 19, 2017 20:51:39 GMT
|
A little bit of progress . 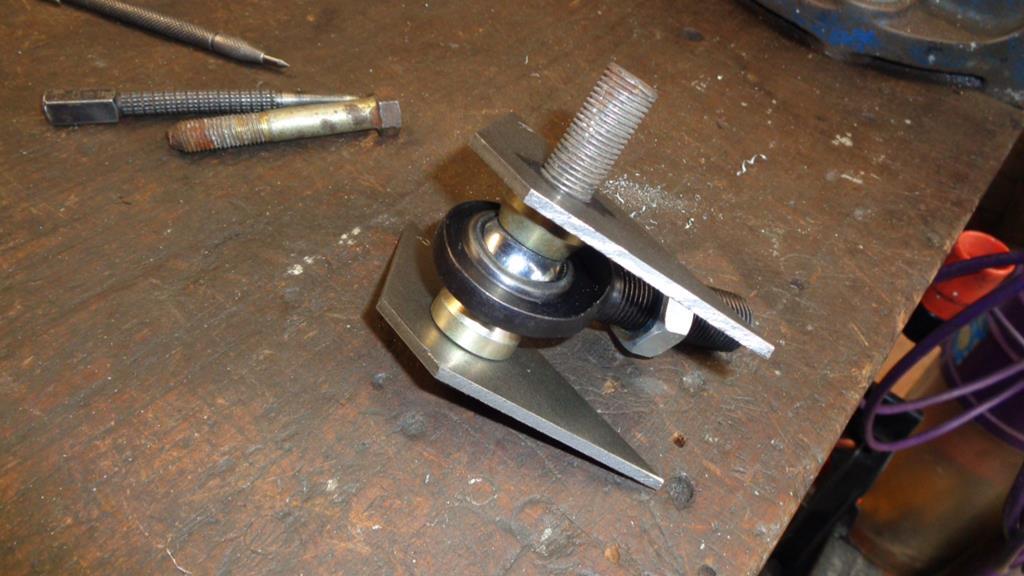 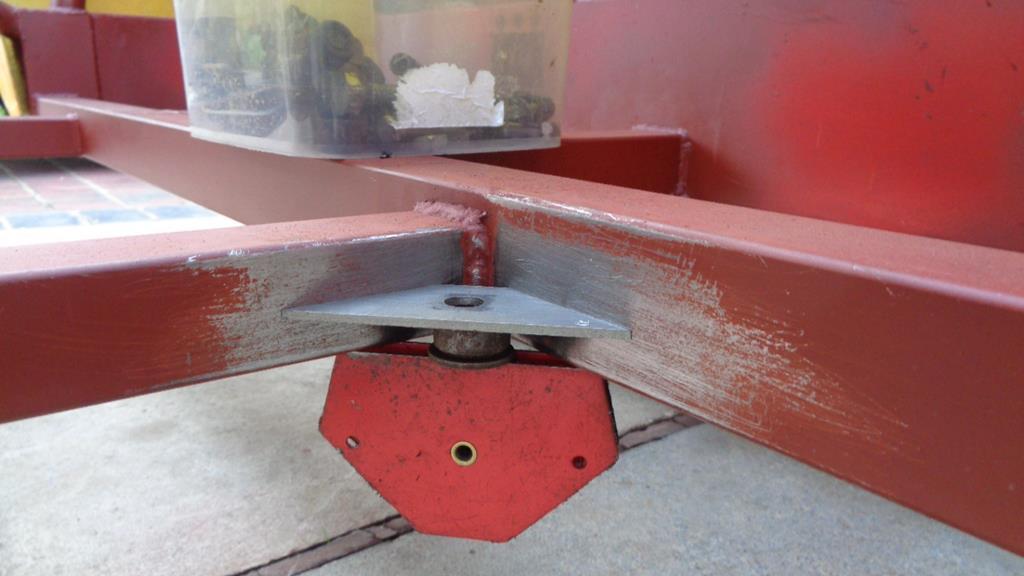 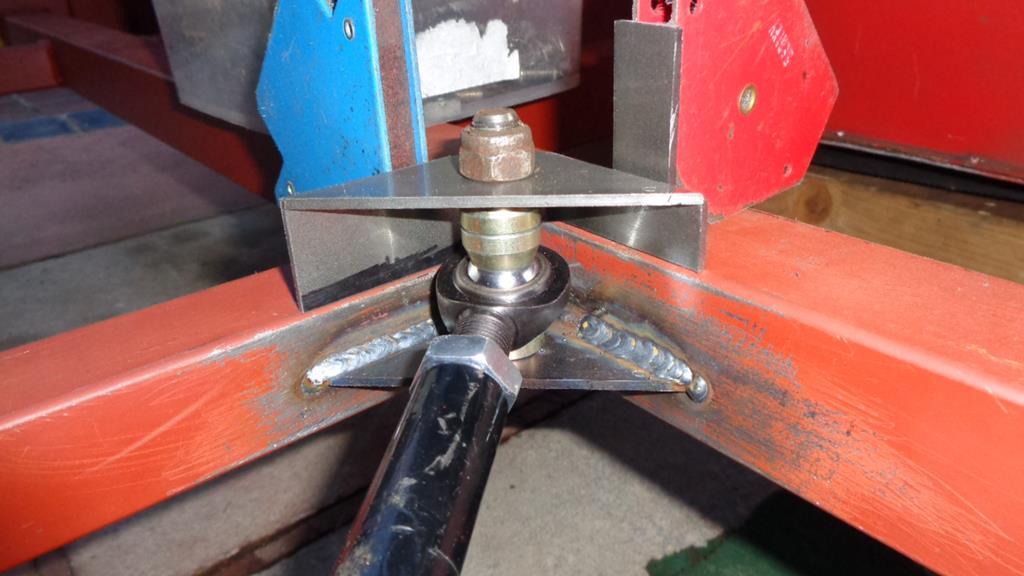 A few extra braces will have the assembly completed and it now has plenty of adjustment Going to need to drop an engine in soon to make sure that nothing so far carried out has created issues with exhausts and the like. It will also be the opportunity to measure up for the engine mount that created the issues in the first place, although I do have a few other jobs to be getting on with on the other projects. A diff to build for the G27 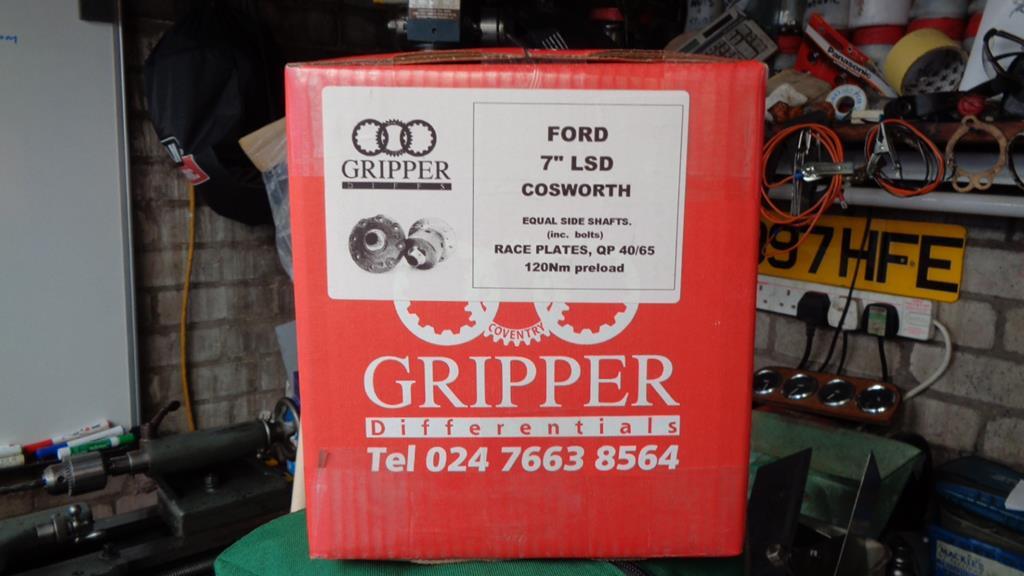 |
| |
|
|
|
|
|
Dec 14, 2017 14:40:02 GMT
|
|
|
| |
|
|
Darkspeed
Club Retro Rides Member
Posts: 4,867
Club RR Member Number: 39
|
|
|
|
Cheers for that, some interesting detail photo's in all those. Here's hoping things thaw a little around here so that I find my enthusiasm to make some more progress. What with the snow and the lack of any daylight I have not seen my enthusiasm for weeks - wandered around the garage with a torch looking for it but I must have left it in the shed and I am not going down there looking for it whilst its so miserable...... |
| |
|
|
|
|
|
Dec 15, 2017 21:58:53 GMT
|
You need an excursion north... none of that fluffy white sh*te up 'ere  Just rain  and it's piggin' cold  Brew, cheap car related retail therapy....  |
| |
1988 DUTTON LEGERRA MK1 - SPARES DONOR
1989 DUTTON LEGERRA MK2 - CURRENT PROJECT
1990 DUTTON LEGERRA ZS MK2
1990 DUTTON LEGERRA ZS MK2
DUTTON PHAETON S2 - Resting
DUTTON PHAETON S4 - Resting
DUTTON PHAETON S4 - PROJECT X
DUTTON SIERRA S2 - Resting
|
|
|
|
|
Dec 16, 2017 14:08:19 GMT
|
|
mojo boost
|
| |
|
|
Darkspeed
Club Retro Rides Member
Posts: 4,867
Club RR Member Number: 39
|
|
Dec 24, 2017 18:03:02 GMT
|
|
Cheers.
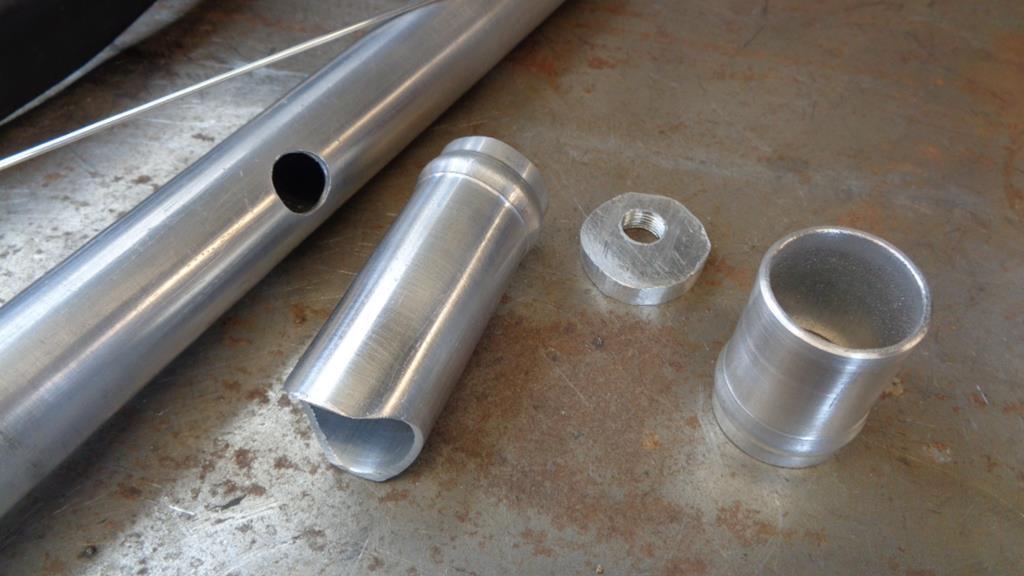
Slow on the board at the moment so clearly not alone - it's been a week and it's only dropped to page 4. Busy end of the year so not felt much like going out into the garage let alone uncover the Strat' to do any work. I have done one little job and that was to make a tool to remove the bearing carriers on the Sierra diff for the G27. It did the job and the diff is now in many pieces. The bearings are in good order but I will be replacing them and the seals as it's a false economy not to.
As I have packed the wife off to the EU for Xmas to see her folks, I have the week free to do as little as I wish.
I did get down to the shed as I had to go and find some G15 window frames but as they were near the door I did shine the torch around and thought I saw my Mojo under old pair of 40's but it was a steering wheel boss.
Just sitting here watching the Big Bang - (Julian Calendar) Merry Newtonmas for the 25th
|
| |
Last Edit: Dec 25, 2017 0:00:53 GMT by Darkspeed
|
|




 - believe it or not at present I use an old bit of 18 SWG steel sheet on top of a piece of even older 1/2" chip board on a workmate and sit on a old wooden (half rotten) garden chair - when I get a spare bit of time and some spare space I will set myself something but for the time being it's comical.


 and it's piggin' cold