Darkspeed
Club Retro Rides Member
Posts: 4,878
Club RR Member Number: 39
|
|
|
|
|
|
| |
|
|
|
|
Darkspeed
Club Retro Rides Member
Posts: 4,878
Club RR Member Number: 39
|
|
|
|
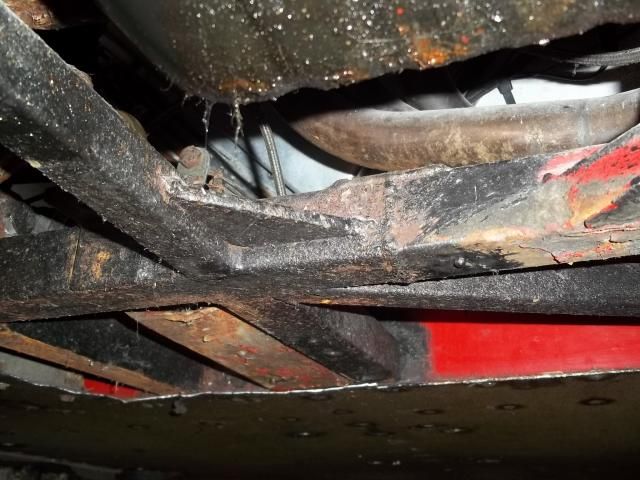
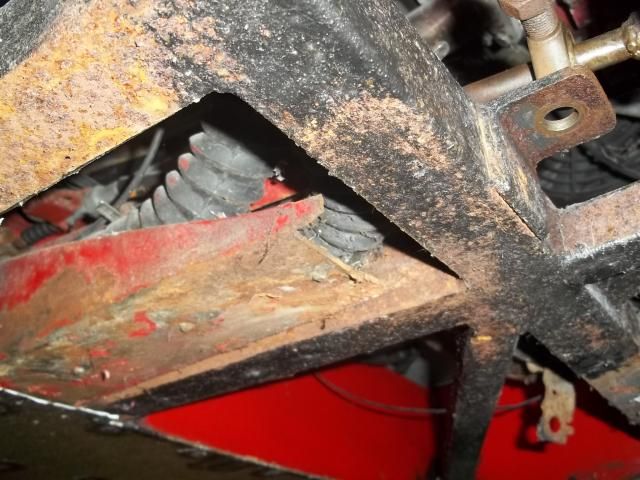
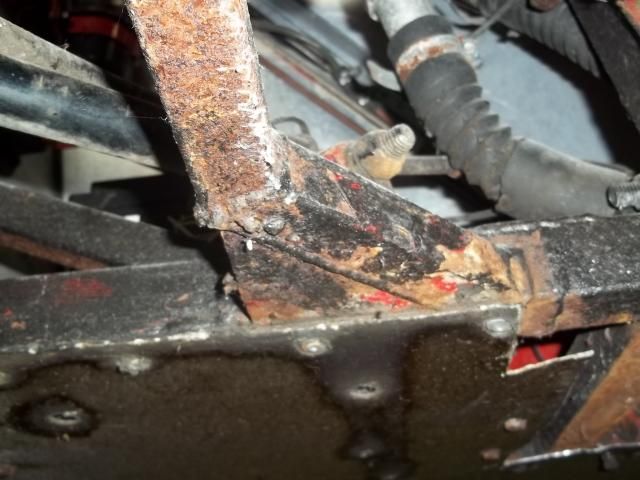
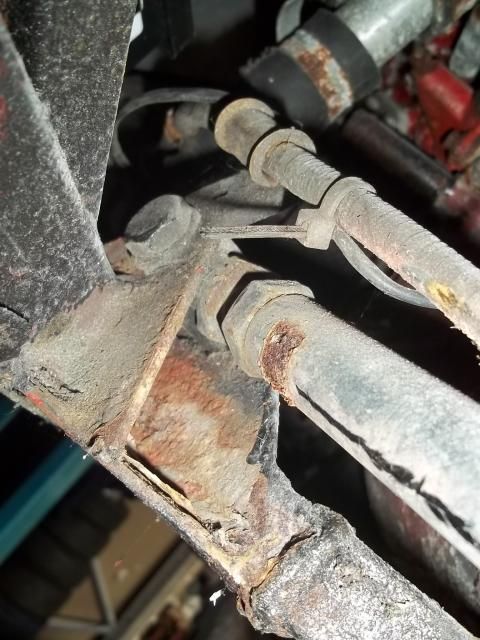
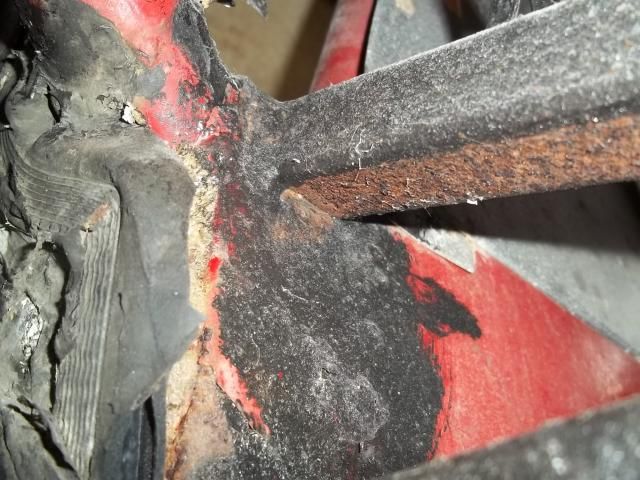
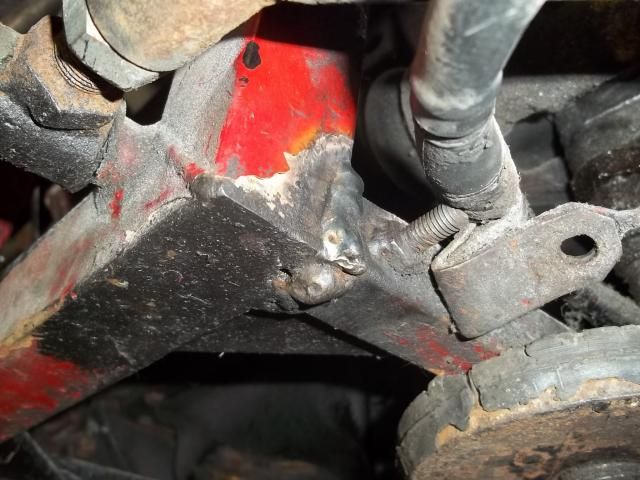
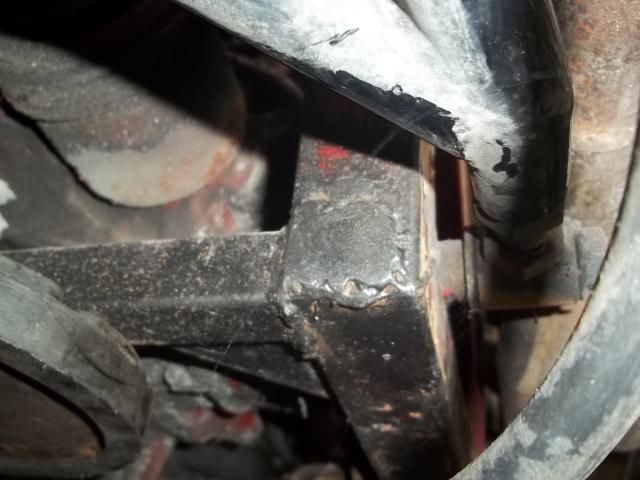
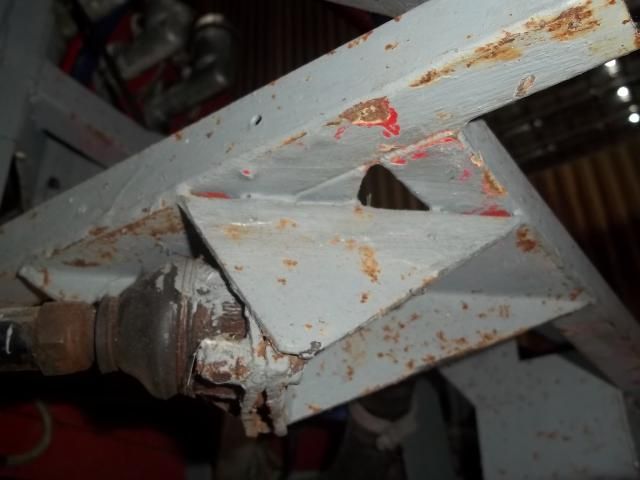
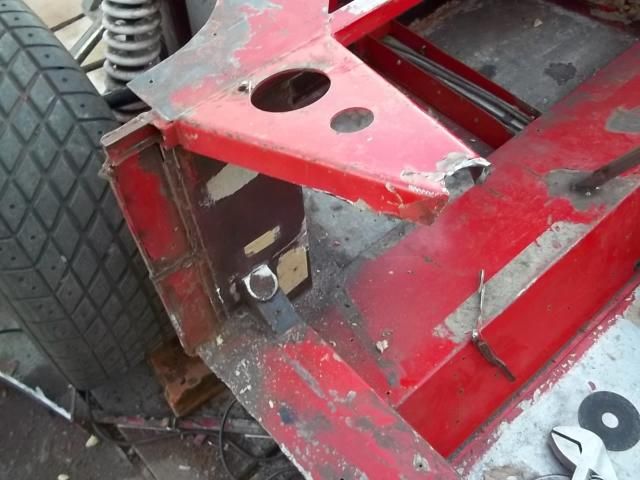
And all these improvements and strengthening resulted in this outcome for the chassis rail that supports the lower engine mount 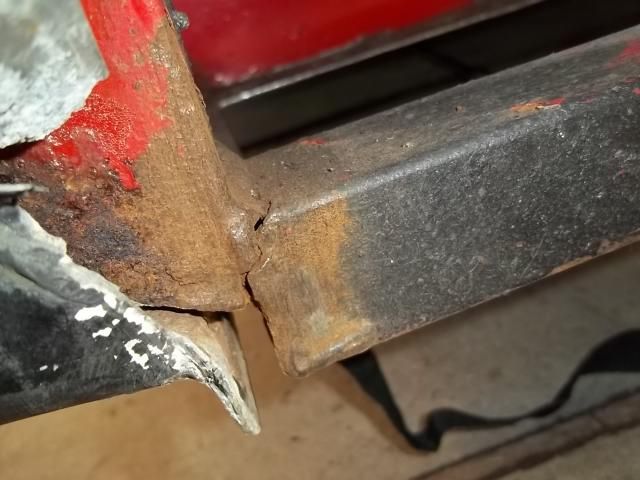 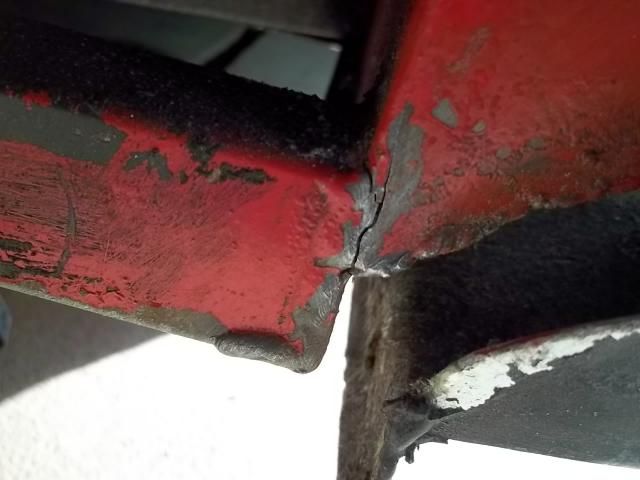 There were also lovely little deatils like this support bracket - This was required for a bolt in diagonal to clear the engine - the final pass of weld - Why bother. 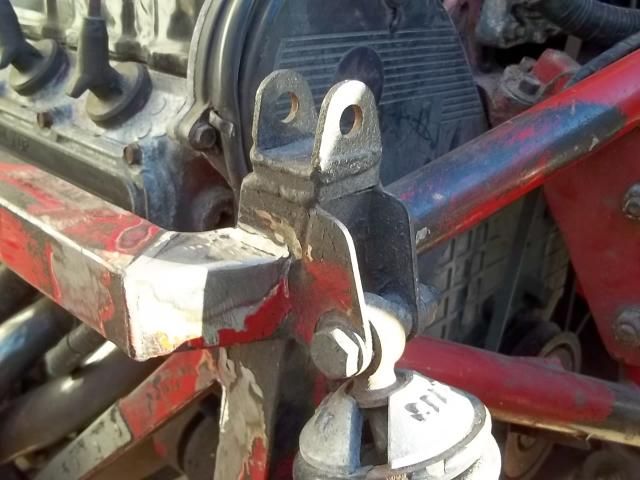 And another one side welded gusset 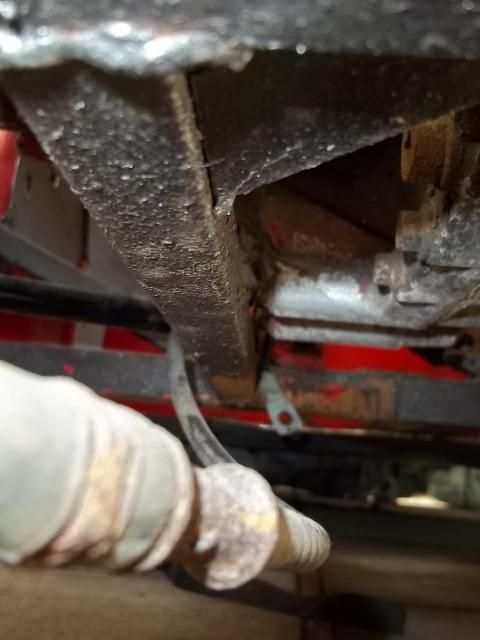 Result of all this is that the engine beam has a nice curve to it and no doubt that before too long it would have had a catastrophic failure. |
| |
|
|
Darkspeed
Club Retro Rides Member
Posts: 4,878
Club RR Member Number: 39
|
|
|
|
|
|
| |
|
|
Darkspeed
Club Retro Rides Member
Posts: 4,878
Club RR Member Number: 39
|
|
|
|
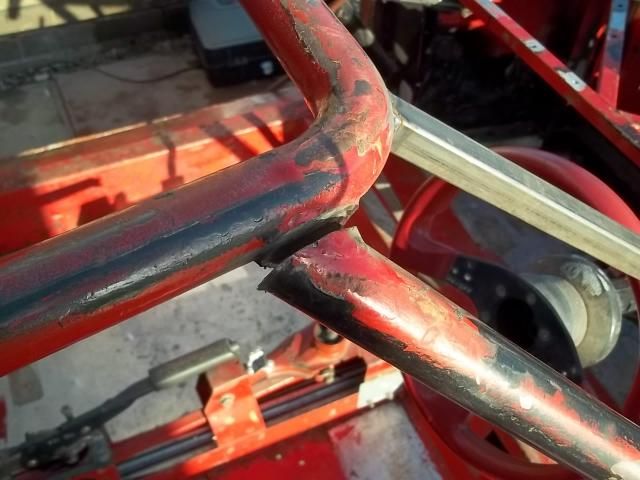
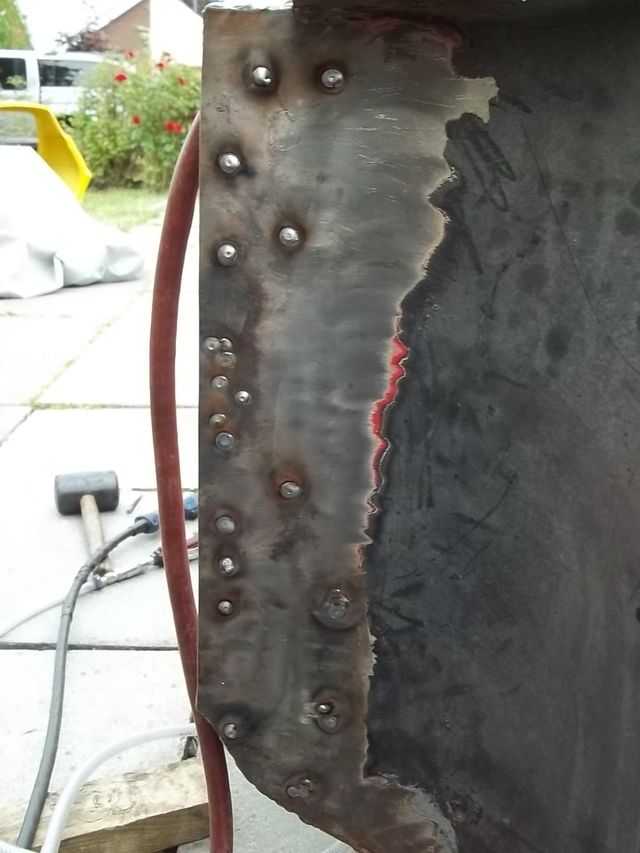
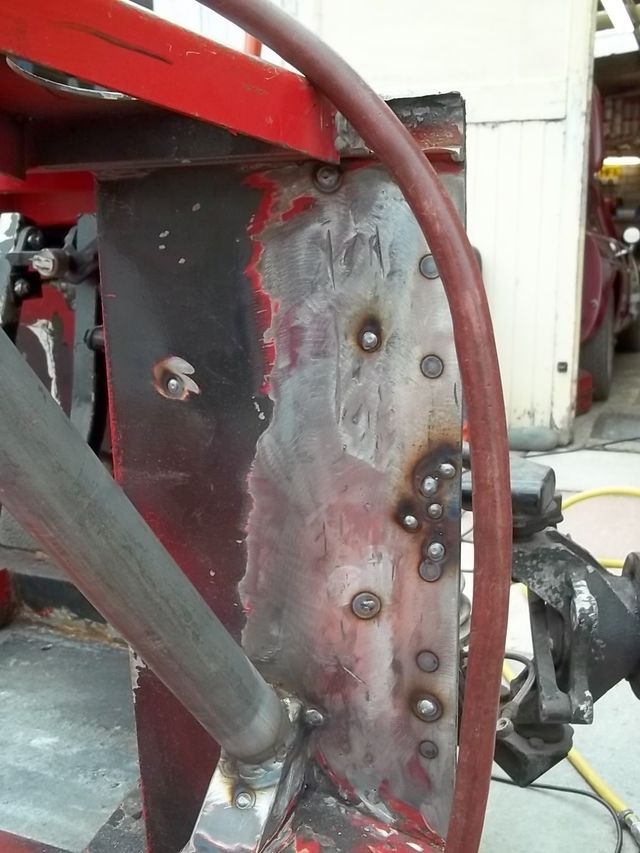
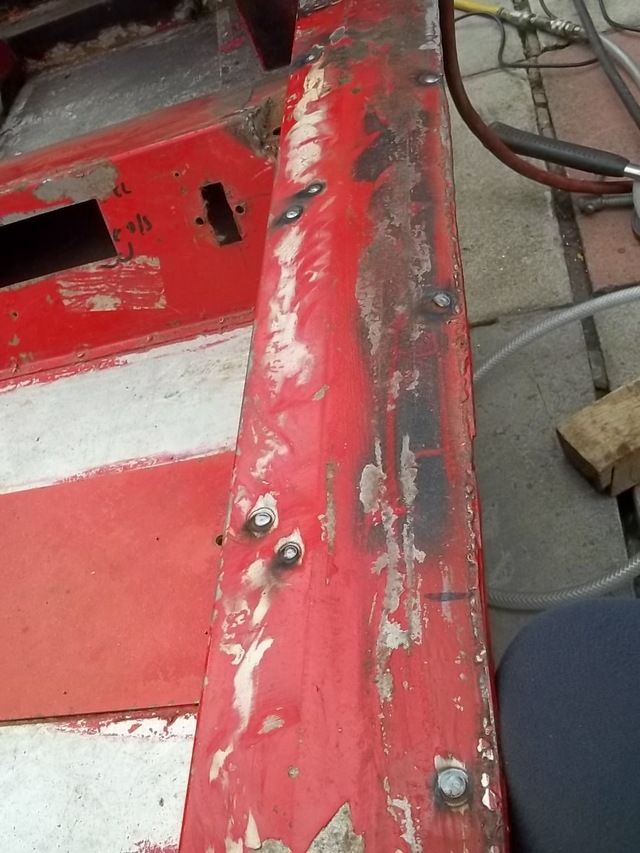
With the front legs chopped out it was time to get a couple of replacement legs bent and Tom at Tube Bender Services in Rugby assisted with copying what I removed 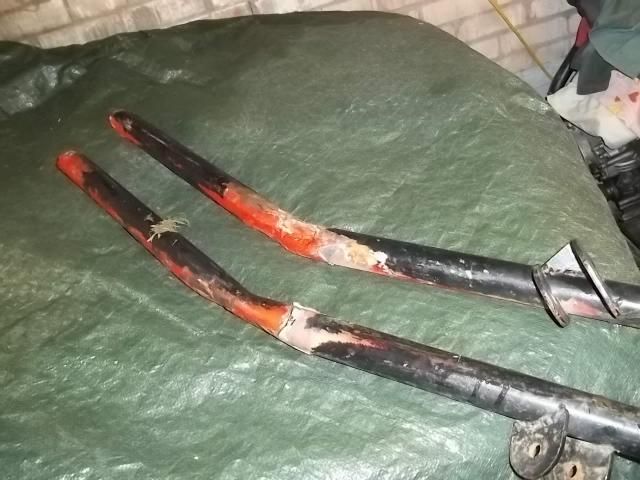 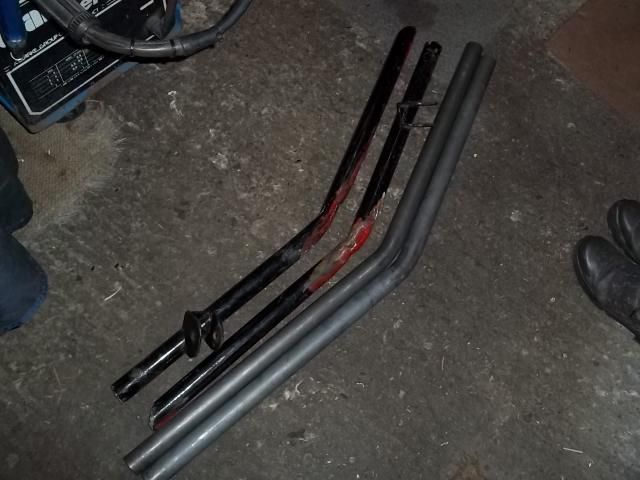 Another look at how nasty the door bar brackets were - I began to wonder if anything on the car had been completely welded. 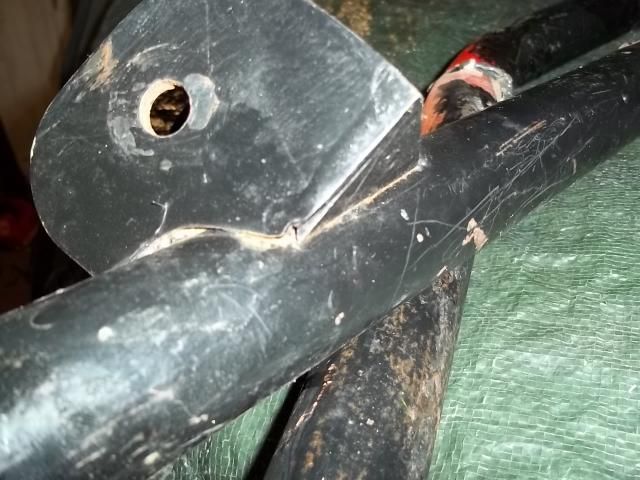 Cleaner but looking very sorry for itself 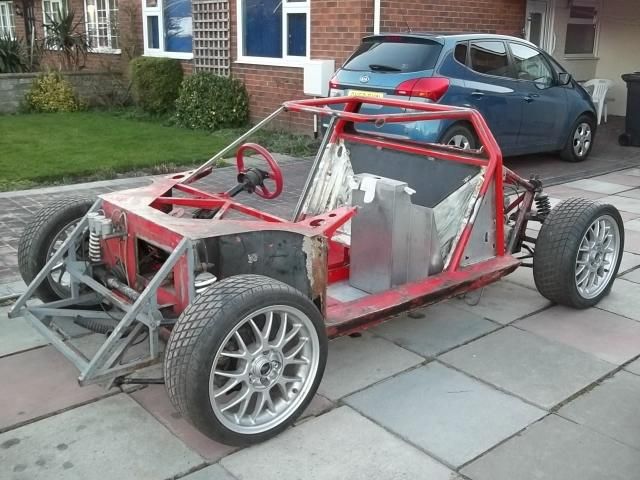 |
| |
|
|
|
|
|
|
|
|
Bloody hell. Good job it wasn't in a drivable state when you got it. Could have been nasty!
|
| |
|
|
luckygti
Posted a lot
   I need to try harder!
Posts: 4,912
|
|
|
|
Wow, some of that really is shocking! And I've always thought buying a ready built car would be safer than me doing it.... Now I'm not so sure. Loving the progress though so please keep it coming  |
| |
|
|
Darkspeed
Club Retro Rides Member
Posts: 4,878
Club RR Member Number: 39
|
|
|
|
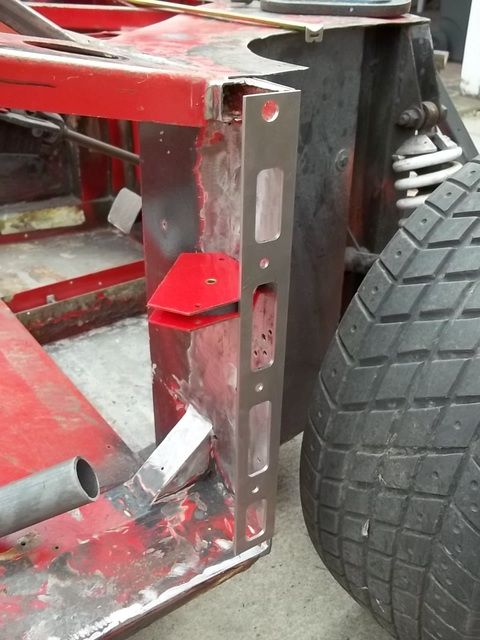
Whilst at Lister Bell having a look at the progress on the bodywork I took a few shots of one of the latest chassis under construction, specifically the door mounts, as I needed to make modifications to the chassis to make sure all of the panels of the car fitted and operated as they should. The LB work is stunning, the parts are all CAD designed CNC cut and the fabrication work faultless. 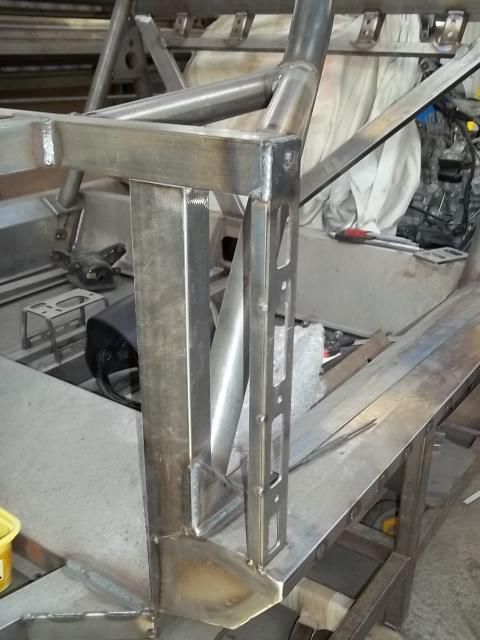 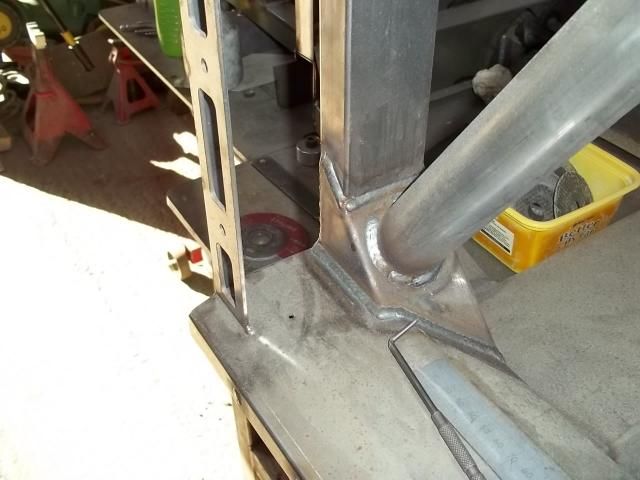 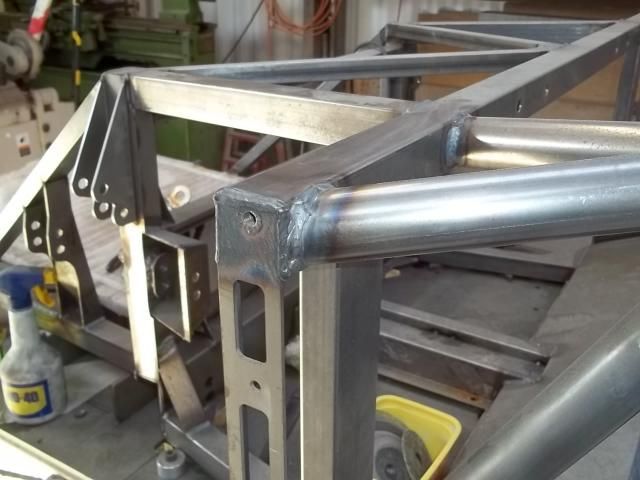 After a couple of dozen steps backward it was time to make a few steps forward. |
| |
|
|
Darkspeed
Club Retro Rides Member
Posts: 4,878
Club RR Member Number: 39
|
|
|
|
Bloody hell. Good job it wasn't in a drivable state when you got it. Could have been nasty! And makes you wonder what lurks under the skin of a lot of amateur build cars - buyer beware and all that. Wow, some of that really is shocking! And I've always thought buying a ready built car would be safer than me doing it.... Now I'm not so sure. Loving the progress though so please keep it coming  I have a had a few cars and every single one has had to be stripped an rebuilt to some degree due to the builders having aspirations far above ability. It's just lucky that I enjoy these sorts of adventures. Andrew |
| |
|
|
|
|
|
|
|
Darkspeed just noticed your location. An uncle of mine used to farm at Tilley. Lovely part of the world 
|
| |
|
|
|
|
|
|
|
|
Thats shocking.
Who thought "oh yes I'll just heavily modify the roll cage, pigeon curse word weld it back together and it'll be grand"
|
| |
|
|
Darkspeed
Club Retro Rides Member
Posts: 4,878
Club RR Member Number: 39
|
|
|
|
|
|
| |
|
|
Darkspeed
Club Retro Rides Member
Posts: 4,878
Club RR Member Number: 39
|
|
|
|
Darkspeed just noticed your location. An uncle of mine used to farm at Tilley. Lovely part of the world  :)Small world - One of the farms in Tilley is at the bottom of my road - regularly welding away to the sound of cows ! Its a nice county for driving about in. Thats shocking. Who thought "oh yes I'll just heavily modify the roll cage, pigeon curse word weld it back together and it'll be grand"  Some folks do have strange idea's about what is an acceptable practices with fabrication works. Andrew |
| |
|
|
Darkspeed
Club Retro Rides Member
Posts: 4,878
Club RR Member Number: 39
|
|
|
|
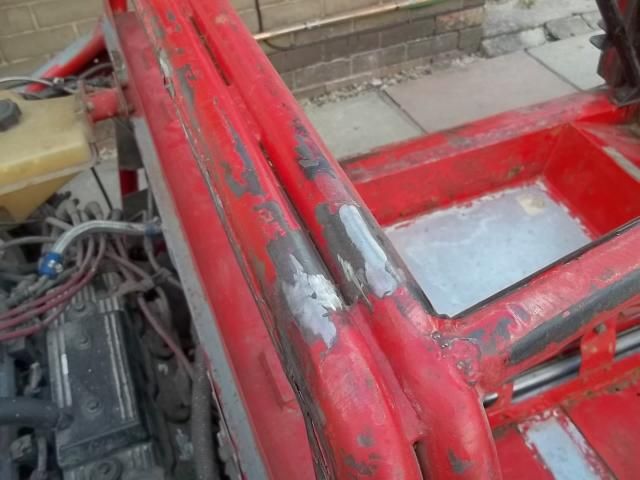
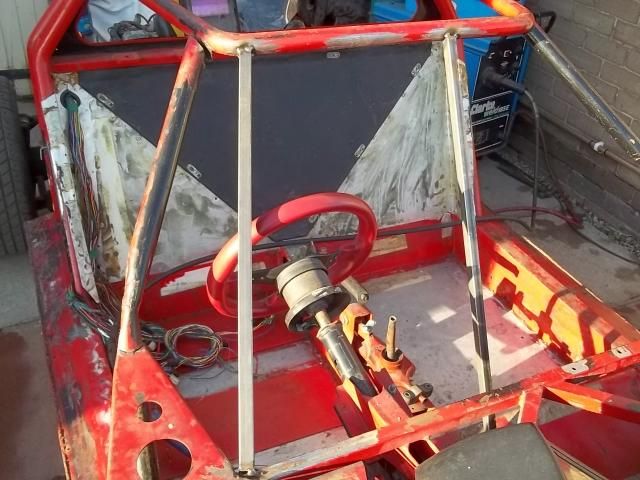
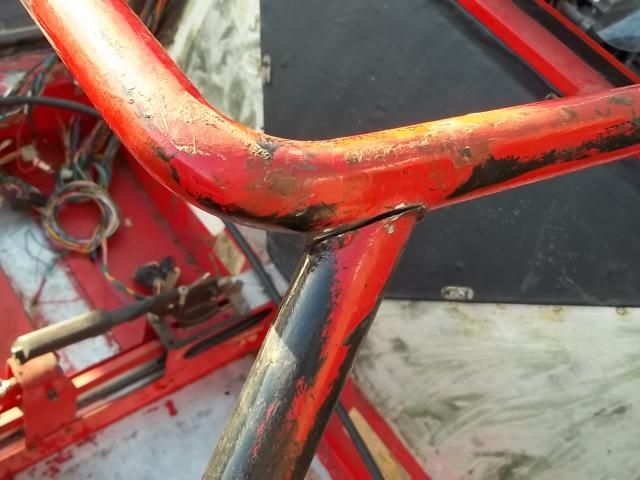
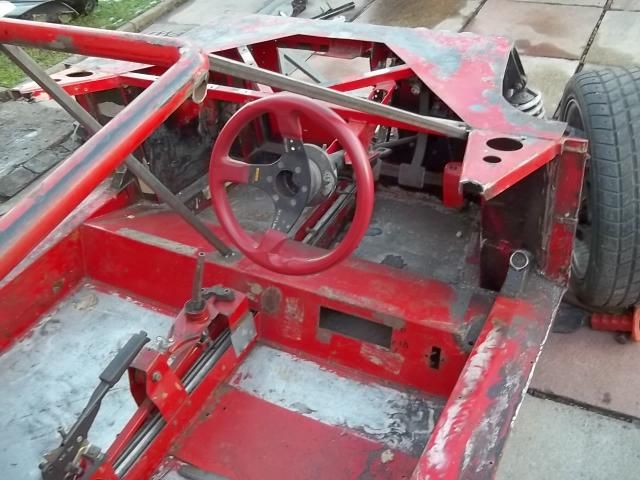
Finish off this evenings episode by completing the welding in of the replacement front legs of the cage. 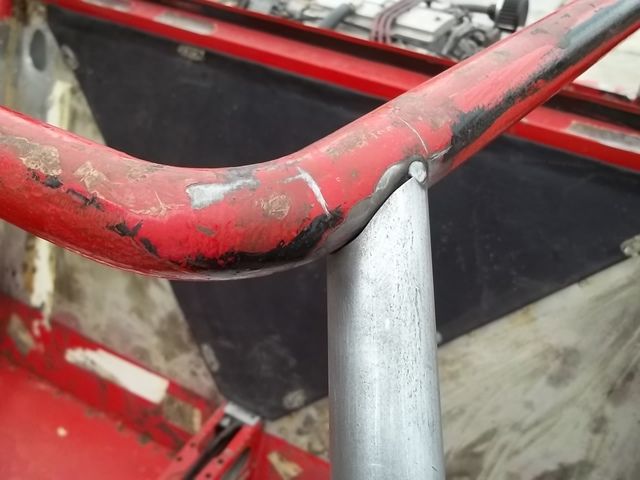 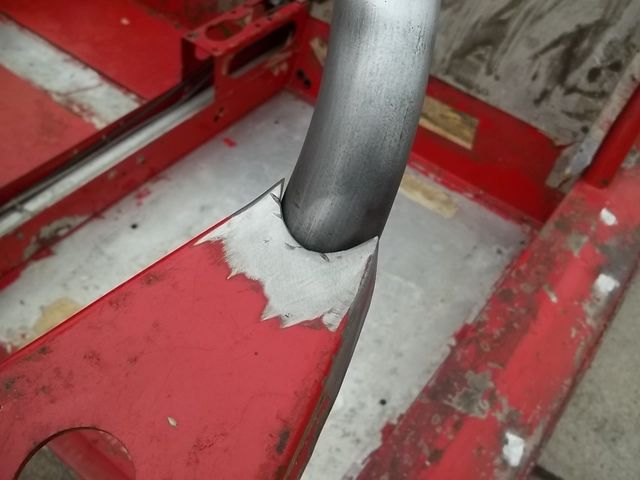 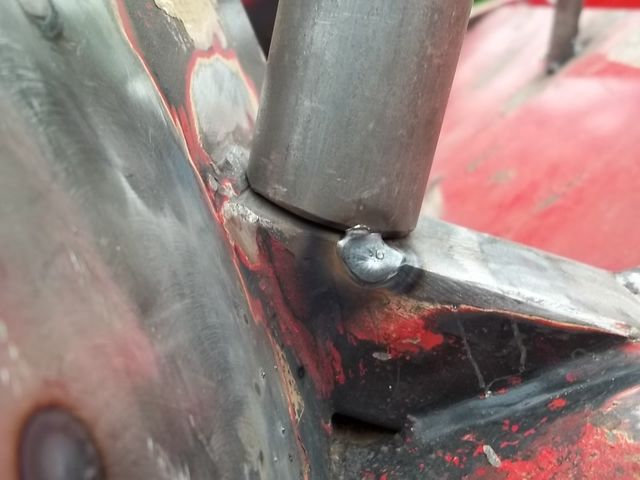 Profiled and tacked - The body work needed to be dropped on and off a few times during this as these tubes fit in a channel of the body that forms the A pillars with just a few millimeters clearance. Repeat plug welding and filling holes on the other side 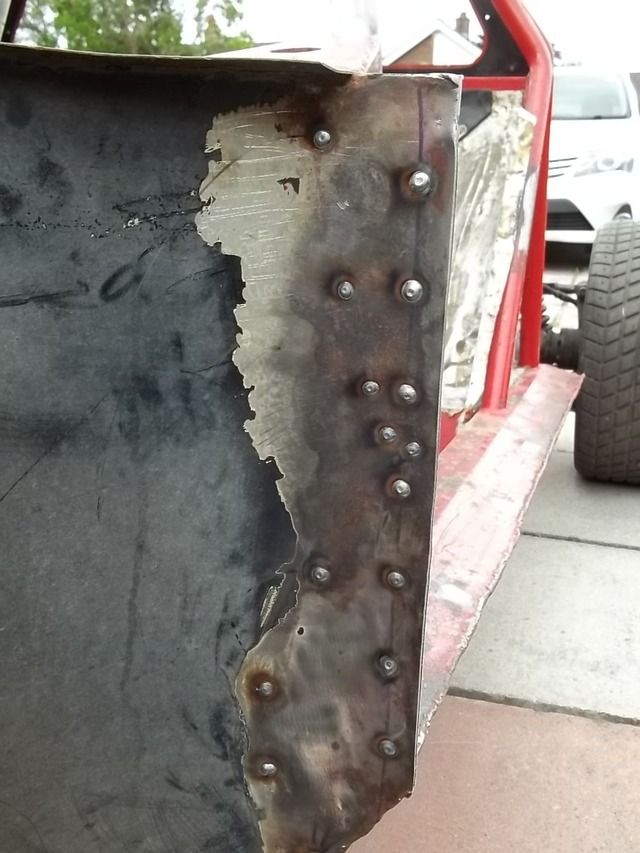 looking more like it - My G31 in the backgroung - Pistonheads shed of the week claim to fame when I put it up for sale. 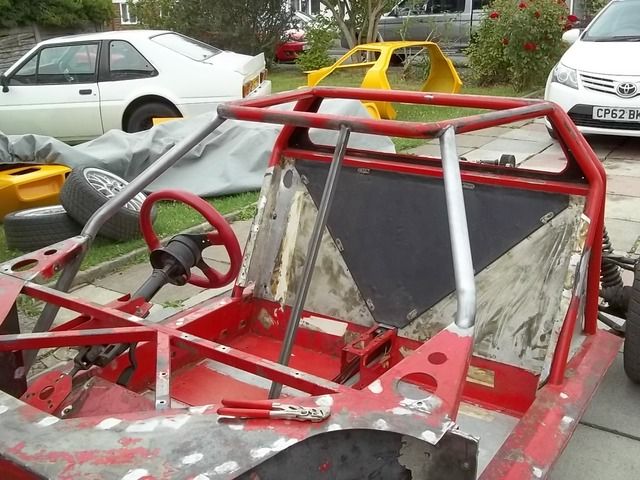 Tub having been removed for the umpteenth time and the tubes fully welded. 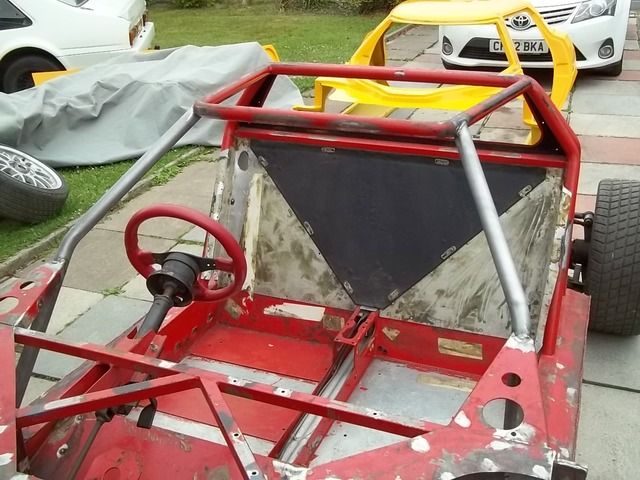 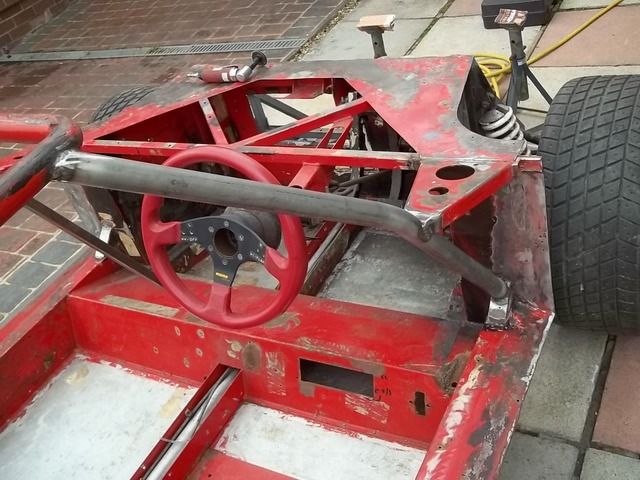 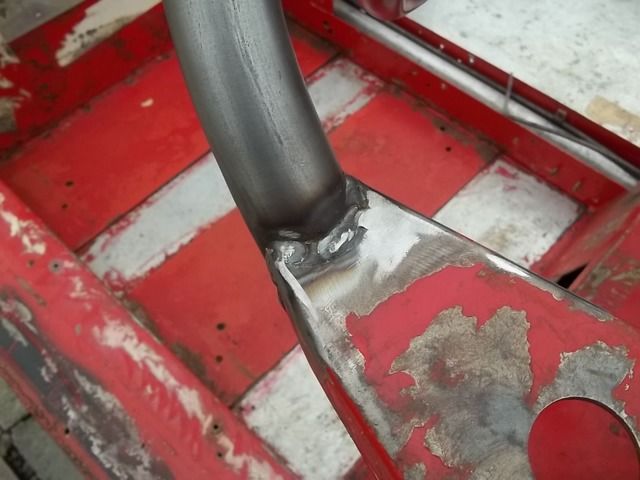 Looking a bit better. |
| |
|
|
|
|
|
|
|
|
Good work! Very glad to see that you have brought this iconic car back from the brink.
|
| |
|
|
Darkspeed
Club Retro Rides Member
Posts: 4,878
Club RR Member Number: 39
|
|
|
|
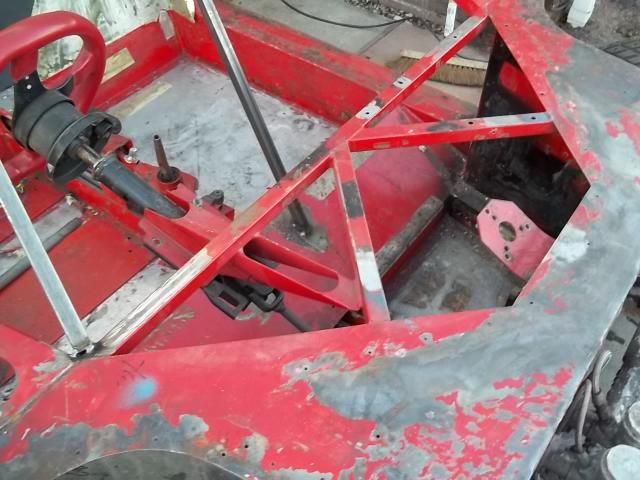
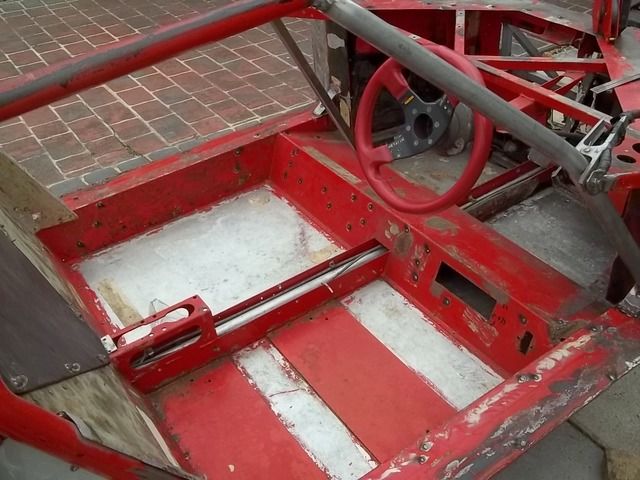
Could not find any cereal boxes so it was Cardboard that came to the rescue for a couple of patterns 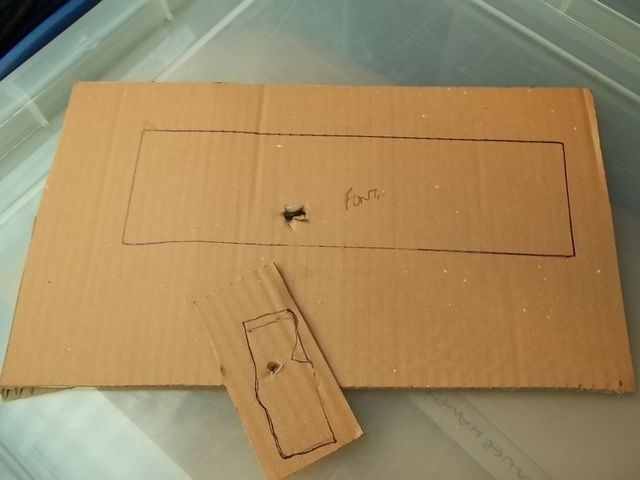 Transfer to some bits of steel clamp in place and out with the hot steel gun 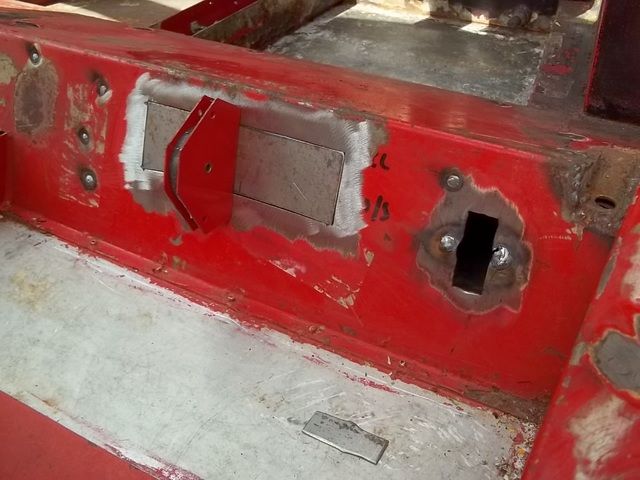 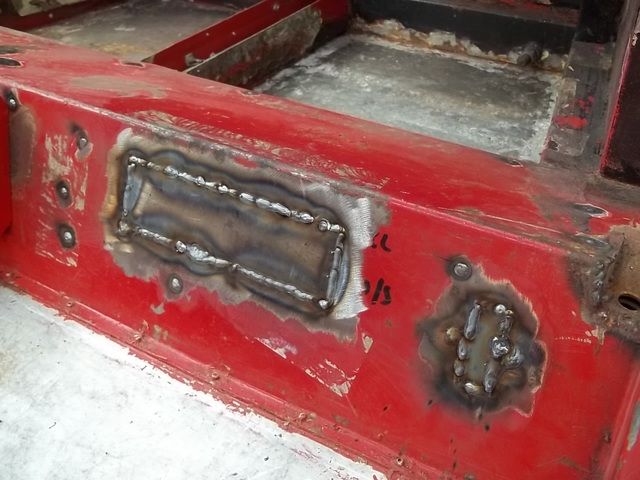 Out with the mini grinder and clean it up 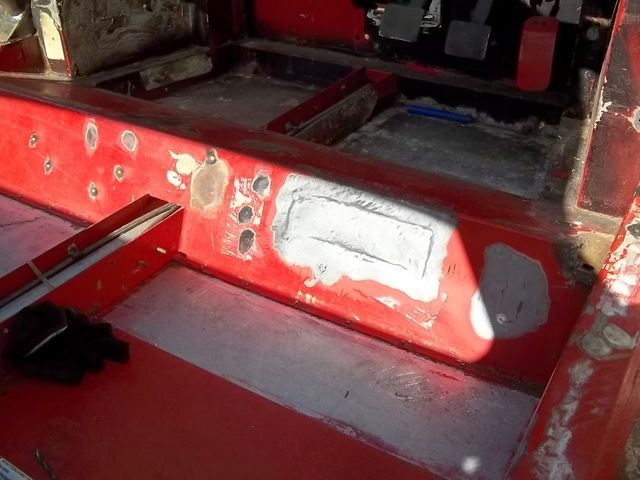 And give the floors pans a quick go over at the same time. 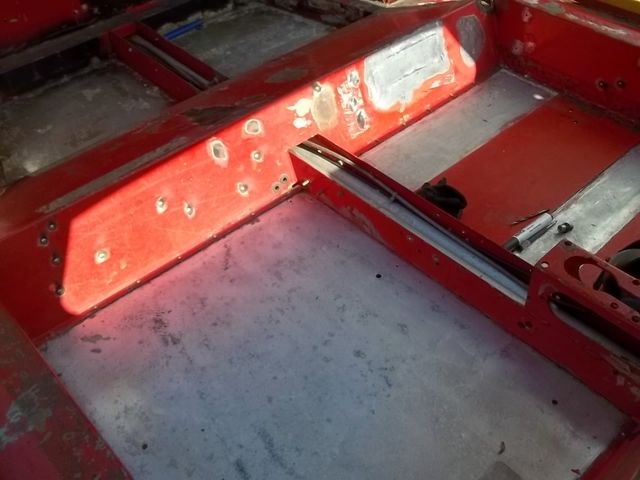 I build / rebuild cars that I have with the bare minimum of creature comforts and this will be the same so all of the internal frame and structure will be on show in the car - I cannot abide garish red and yellow colours for chassis and suspension components. I have a simple rule and scheme. Chassis - Dark Grey - Specifically the old Race car colour BS381-632 - Dark Admiralty Grey Suspension - Black Aluminiun parts stay - Aluminium - polished if they can be polished. So this car was basically completed in every possible way I dislike apart from the Black suspension arms. Red chassis Red painted alloy engine block Red painted gearbox ! The lovely alloy uprights were painted black The Superb alloy steering rack painted black The rear calipers which had been removed to refurb had been painted Yellow. |
| |
|
|
Darkspeed
Club Retro Rides Member
Posts: 4,878
Club RR Member Number: 39
|
|
|
|
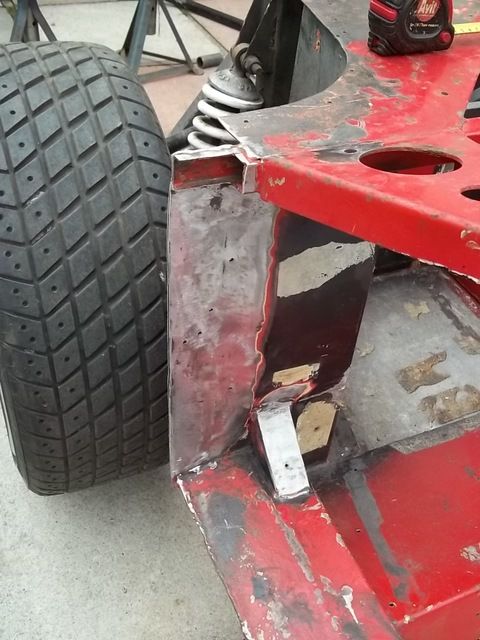
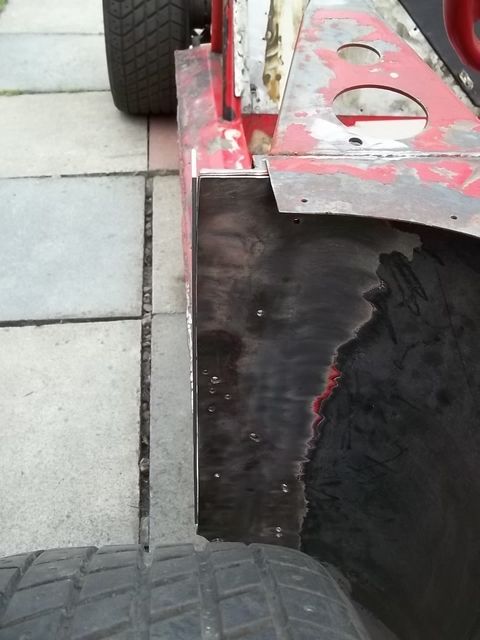
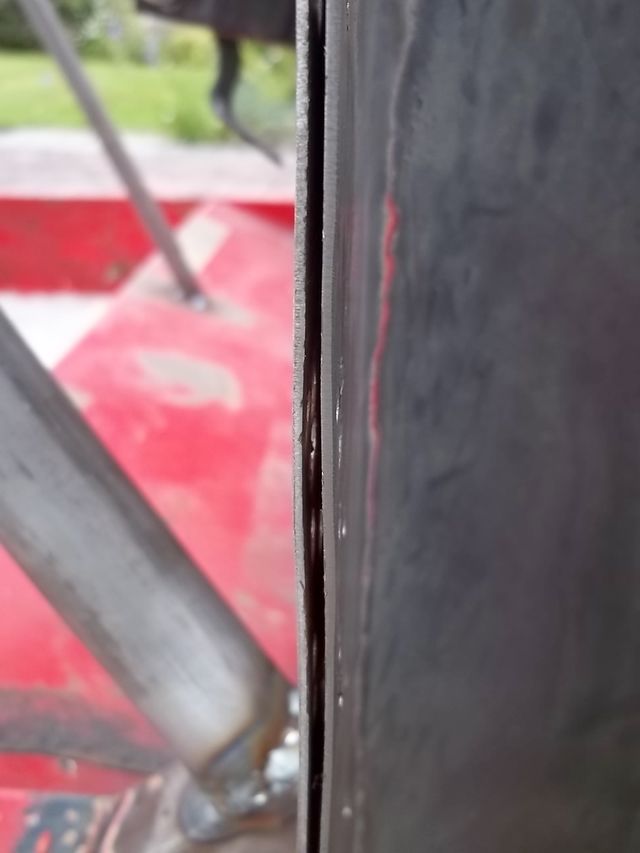
Good work! Very glad to see that you have brought this iconic car back from the brink. Cheers - a way to go let but I am working on it. Lets repair a door mounting hinge. Take the panels obtained from Lister bell. - Two hinge mounts on the left and two new door striker mounts on the left. I have already welded in the threaded insert for the upper door mount. 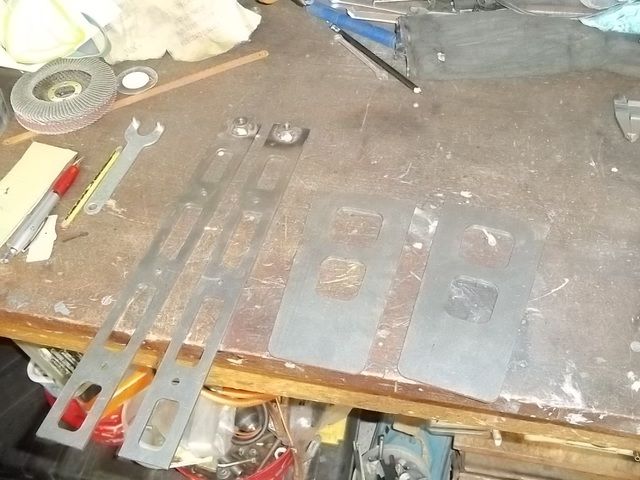 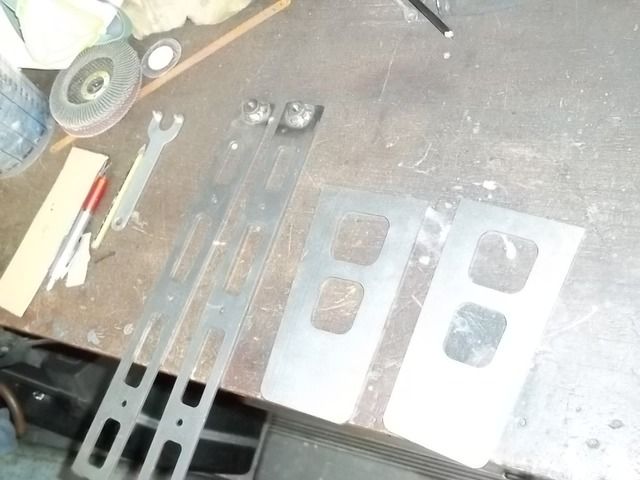 After quite a bit of measuring tacking dropping the tub on and off and measuring and checking again - weld the brackets on. Already ground down and cleaned up in these shots 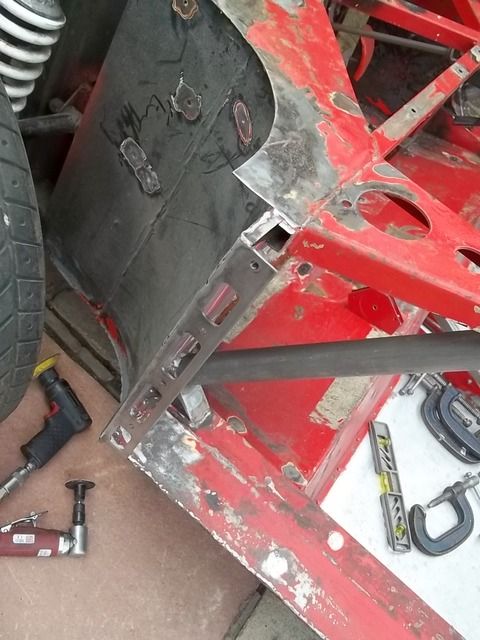 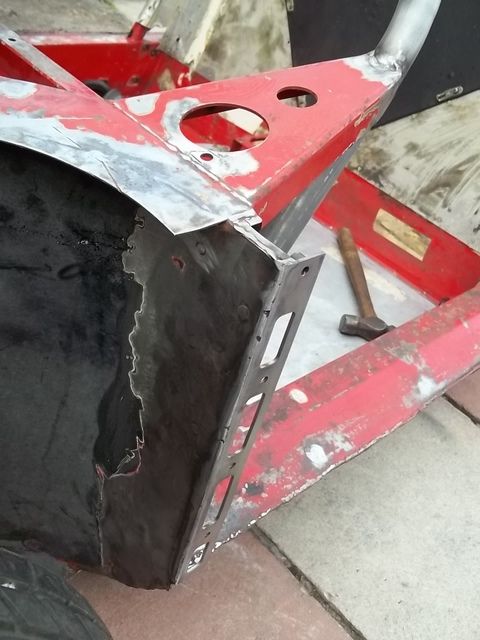 Run some welds down the inside of the of the hinge - and here you can also wee that the welded in bush will end up inside the chassis rail when it has been repaired. 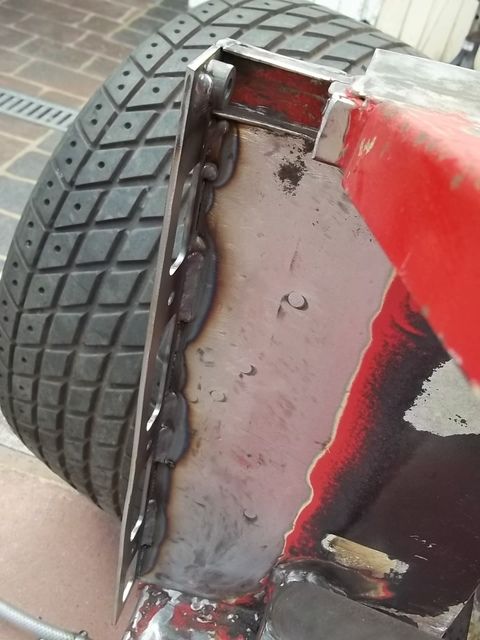 And with the box section closed off and the hinge mounted. - The LB hinges are laser cut and tig welded Stainless steel and are so well designed and made. Its a shame that they get hidden by the door. 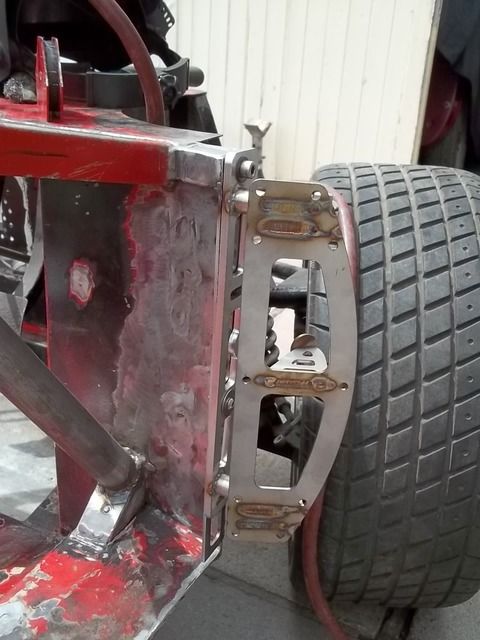 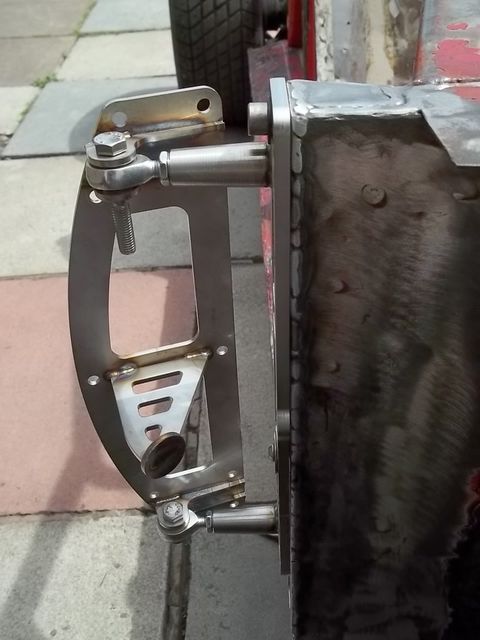 The lower part of the support bracket still needs to be closed off in this picture. If you go back and look at the LB chassis picture you can see who much of the pontoon had been chopped back as the Litton and LB chassis would have been about the same width at that point. I am still having a ponder about the way I will tackle the repair of this. |
| |
|
|
stefan
Posted a lot
   If it isn't broken fix it till it is
Posts: 1,598
|
|
|
|
|
very cool remember lusting after one of these when I got that magazine but was 15/16 at the time. Always fancied one but don't think I will ever have the spends
|
| |
POWER IS EVERYTHING WITHOUT CONTROL
1985 Honda jazz
1997 Saab 93 convertible
2010 transit 280
|
|
stevietuck
Posted a lot
   Never argue with idiots,they drag you down to their level then beat you with their expertise!
Posts: 1,350
|
|
|
|
|
Looks like you have a lot of work to do, but its going to be such a gorgeous car when your finished.
Keep up the good work sir.
|
| |
|
|
Darkspeed
Club Retro Rides Member
Posts: 4,878
Club RR Member Number: 39
|
|
|
|
very cool remember lusting after one of these when I got that magazine but was 15/16 at the time. Always fancied one but don't think I will ever have the spends It turns out that I am only a few months younger than the original builder - In 1993 at 29 I think was running around in an old '78 1500 Spitfire whilst rebuilding a '76 Alfa Romeo 2000 GTV Bertone Coupe. That was the period I started to learn how to weld and was putting the parts together to build a Formula 27. I had also taken out a mortgage on my first house and the wife would have been pregnant with our first - I was skint... No Strato's on my horizon. Looks like you have a lot of work to do, but its going to be such a gorgeous car when your finished. Keep up the good work sir. These things typically take a part time builder 2-3 years to build - Taking one to bits and rebuilding and re-engineering it could take a while longer - especially as this is also being worked on in between a couple of other projects. I think I have at least another 2 years to go with this car from where I am at the moment but at least that helps spread the bills. |
| |
|
|
Darkspeed
Club Retro Rides Member
Posts: 4,878
Club RR Member Number: 39
|
|
|
|
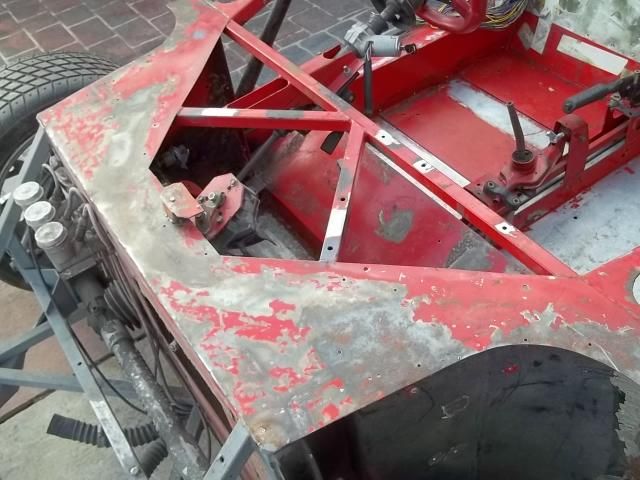
With the body on and a couple of holes drilled the result looks a little more impressive and I am also happy that the underlying structure is neat, tidy and above all sound. 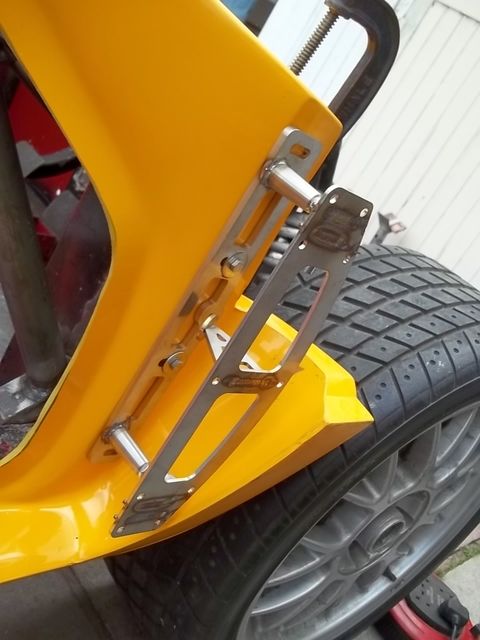 As this now allowed me to fit the centre tub and doors I moved to the front of the car to tidy this up and repair the mounting points for the front clam. From this - and its quite amazing how solid and complete its looks whilst hiding all of that horror show. 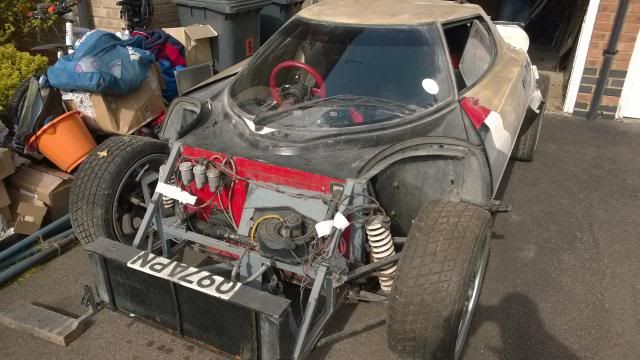 To this 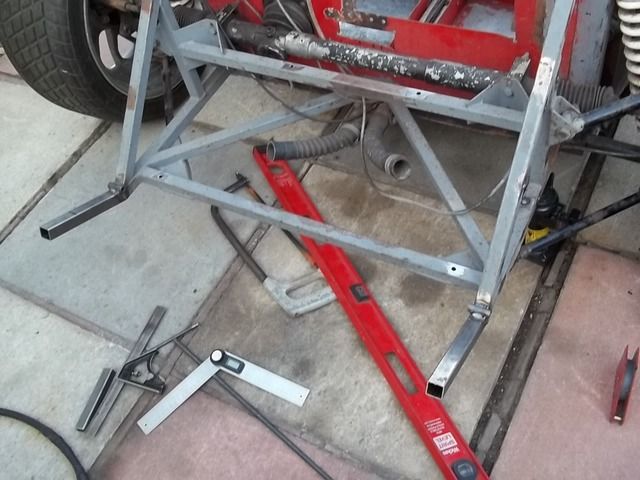 The chassis ends I have made too long so that I can cut them back to length and use when I have decided on the mounting for the rad. I have some thought for the hole in the bulkhead. As standard the bulkhead on these things is 2mm thick and a heavy old bit of plate. I will replace this with an alloy panel after welding in some steel tube for structure. It will end up lighter and help stiffen the structure. That was the front end sorted out for a mounting point so best turn attention to the rear clam mounting. The back end had been cleaned up from this 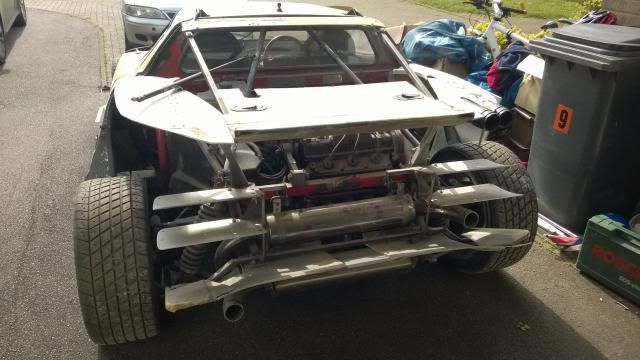 To this 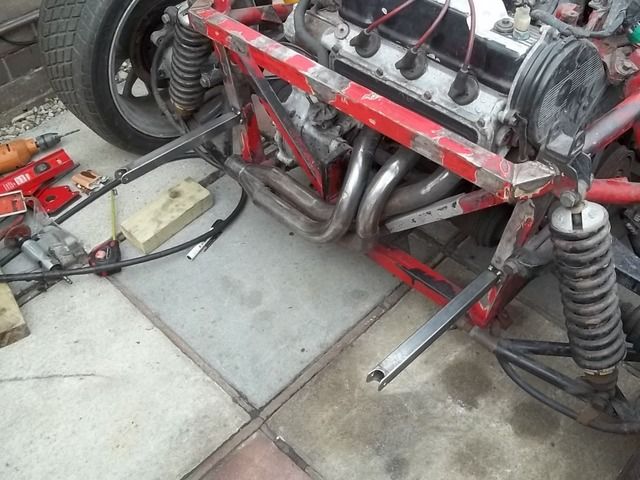 Which works with more of LB's laser cut stainless. Just need to add some support to this which will mean having to repair the exhaust so I know what space I have to work with and any additional brackets for mounts required. 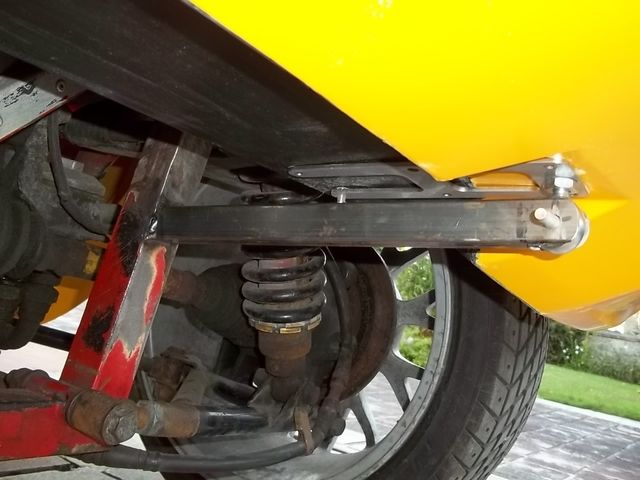 Whilst still hiding all of those cracked and bent chassis tubes below. |
| |
|
|
