|
|
|
|
|
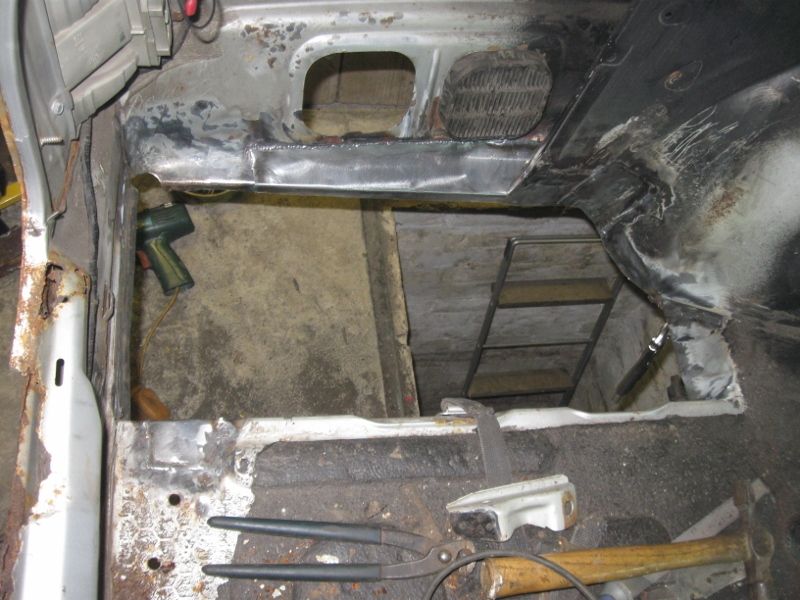
Its been a very long time since the last update, the reason is that I have been working on it in any spare time I can find at all and never found time to post. I wanted to get as far as possible before winter due to the car being in a garage away from home with no electricity or heat. I’ve been quite successful as it happens, the car is way further on than the thread so now I'm going to make an effort to catch up. I really regret not keeping the thread up to date, I should have posted a weekly progress post for extra motivation. Just feeling the need to post progress and also the feedback really helps. It’s a lesson to learn for future projects. Lets get the rot out of the way first, the welding is actually finished. In fact I finished the welding three times before finding more, very annoying. I removed some more carpets from the boot to prep for paint and found rot in a rear shock turret, a bit surprising as the other side had been uncovered and found to be spotless long ago and I haven’t seen one of these rot before. 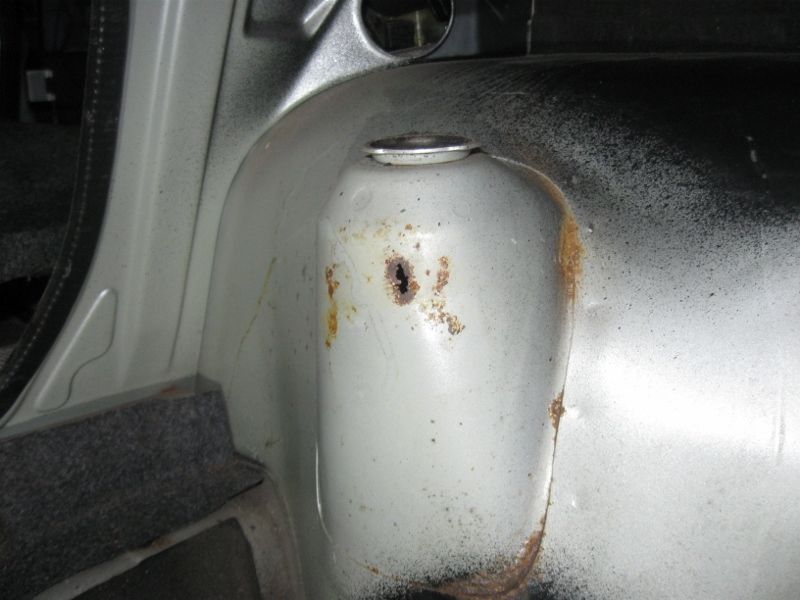 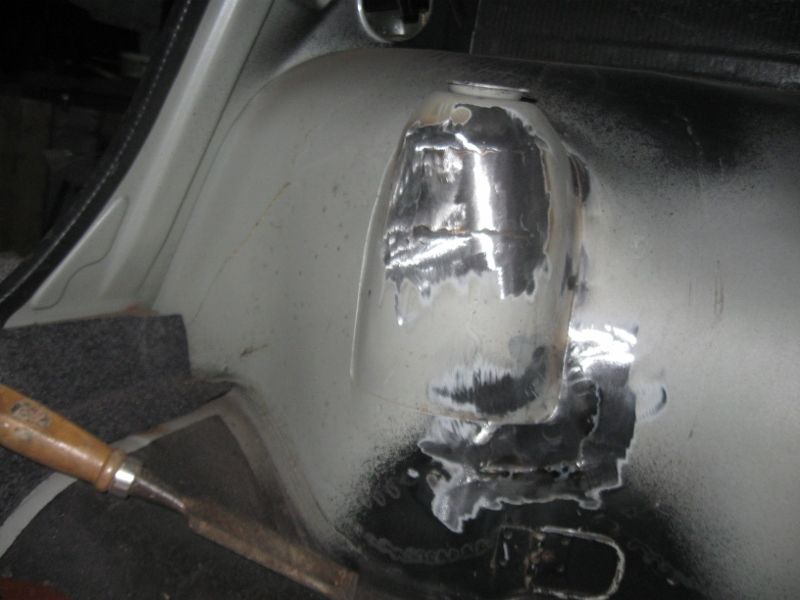 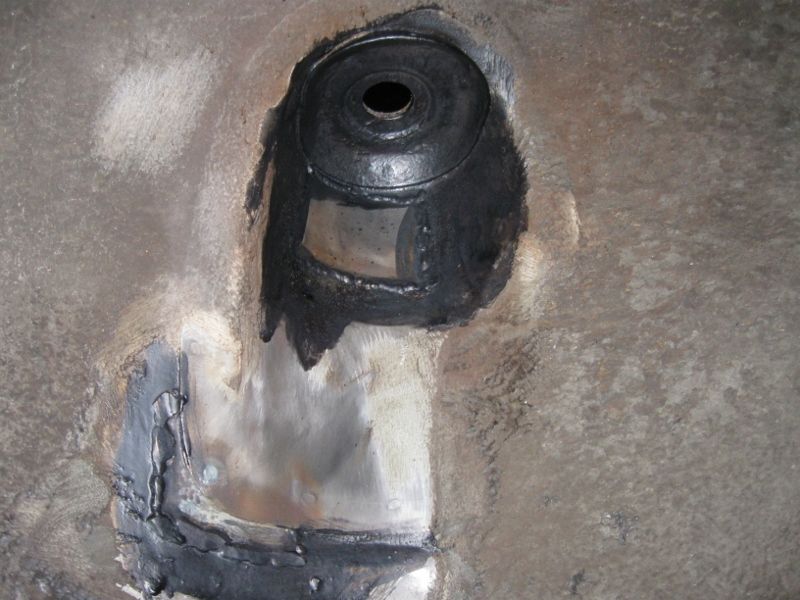 I went to begin cleaning the floor inside the car and in the drivers footwell in an area that appeared spotless I found that it was rotting from behind where a crossmember is welded to it, so it got cut out and replaced. No work in progress pics, I seem to have mislaid quite a few pics from this point in, not sure whats happened. 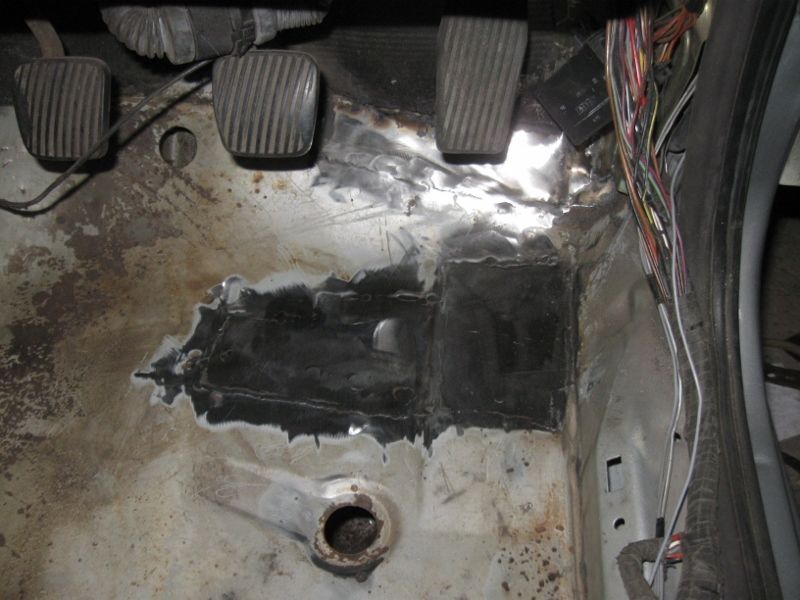 Once fixed I got on with cleaning up the floor and getting it ready for paint. Anywhere where I couldn’t get all signs of rust off got rust converter, including spotweld indentations, that’s the row of black spots. 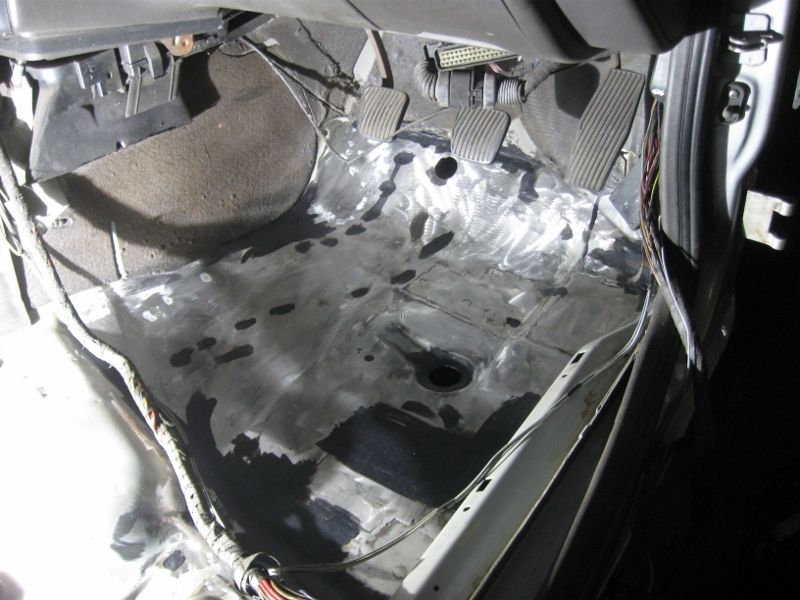 The discovery of the last of the rot and some impressive structural cracks wasn’t until later, next I cracked on with getting paint on. More pics asap. |
| |
|
|
|
|
|
|
|
|
|
|
Excellent, looking forward to a few more pics!
|
| |
|
|
stonio
Part of things
 
Posts: 626
|
|
Dec 13, 2015 15:58:41 GMT
|
Amazing work there pal cant believe how much Carltons rot always loved them full respect for rescuing this one a rare beast now. Looking forward to the next instalments  |
| |
|
|
|
|
|
Dec 14, 2015 23:00:42 GMT
|
A bit more, to try to catch up not many pictures which might make it not look like much work but in fact was quite a bit. The floor had to be cleared on both sides, there are harnesses across the floor within the insulation on both sides and the ABS ECU lives under the passengers seat. No pic of the mess on the other side. 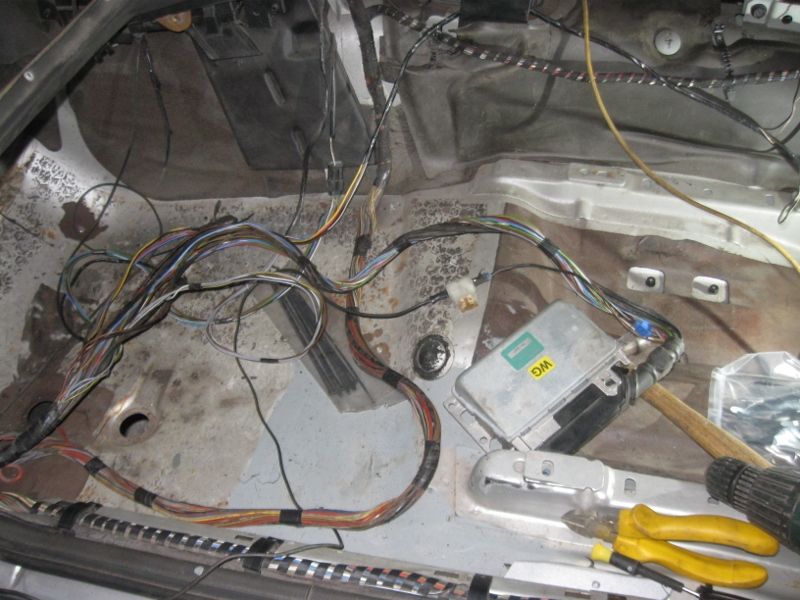 I relocated the ECU behind the dash under the scuttle, here you can see the plastic carrier relocated from the floor, wiring still to route. 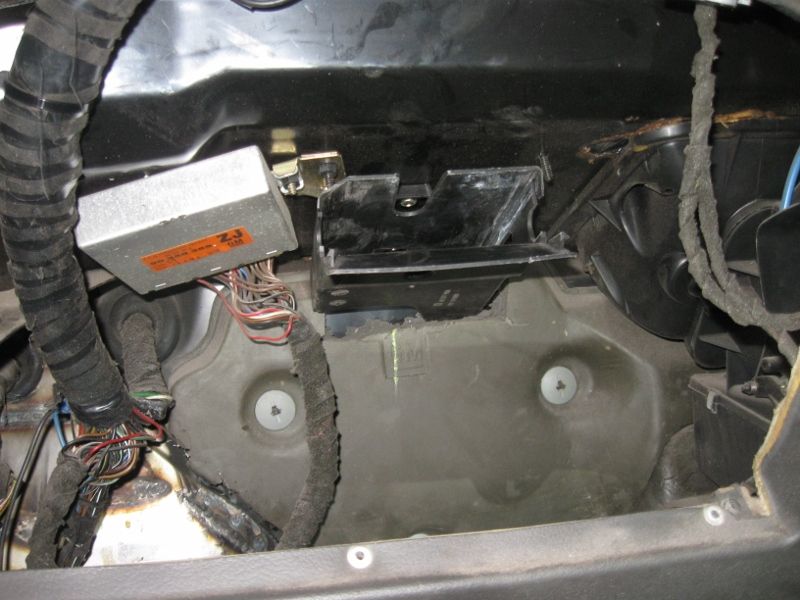 Floor cleaned as required and some rust preventing primer added & seam sealer as required – Just a couple of pics - 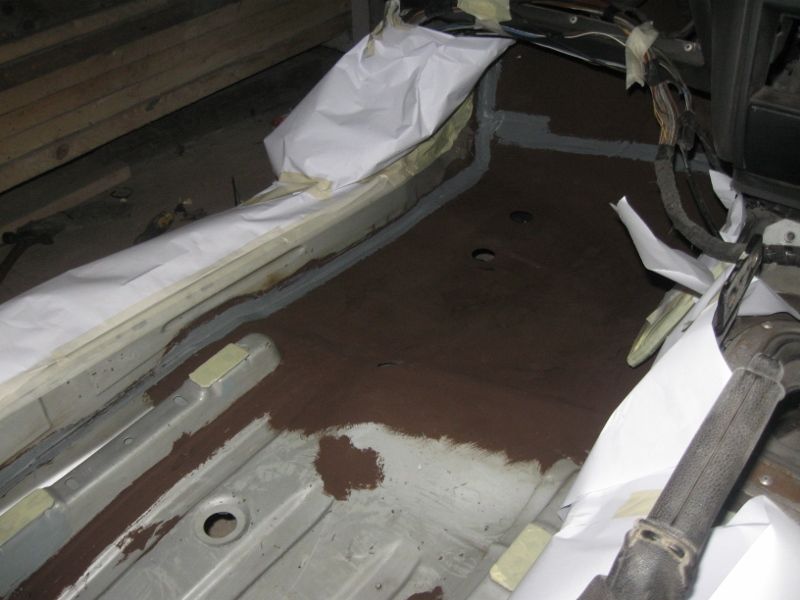 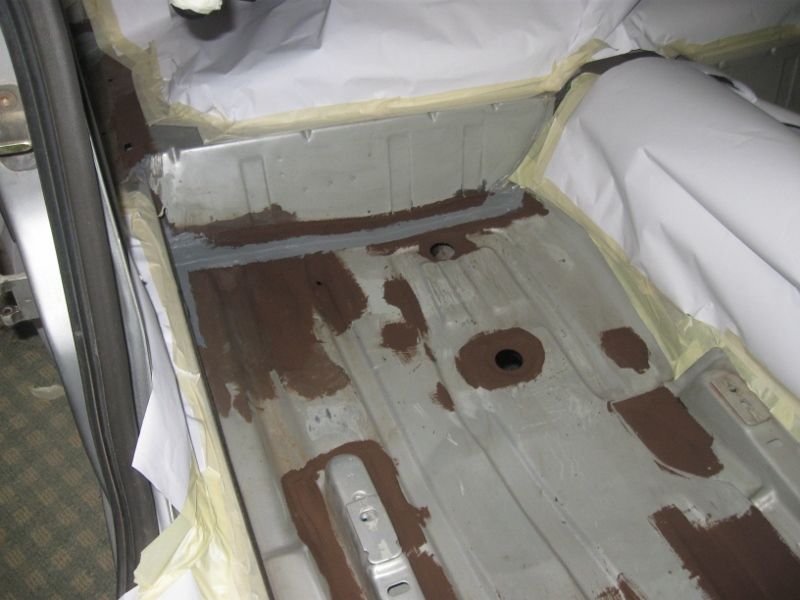 No during pics, lost, but my idea for the floor inside was stripped of clutter but smart and body colour and just mats in. This was originally part of the stripped out idea which hasn’t really worked out but I decided to still go with the floors, I’m fairly happy with it. I stonechipped it all first, a couple of reasons, a little sound deadening, and no need to perfect prep as it has a fairly even stonechip dimpled finish all over which works really well. After the stonechip was dry it was painted in body colour Astro silver base coat and 2K clear laquer. 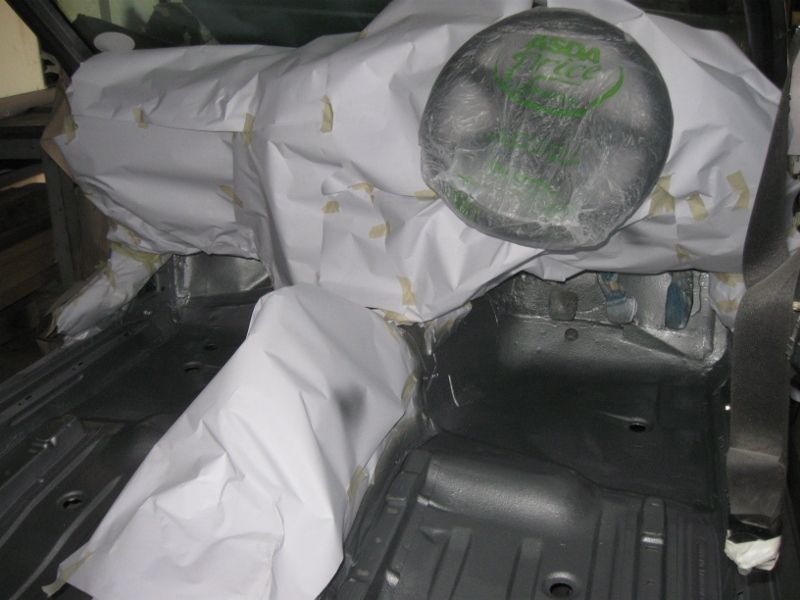 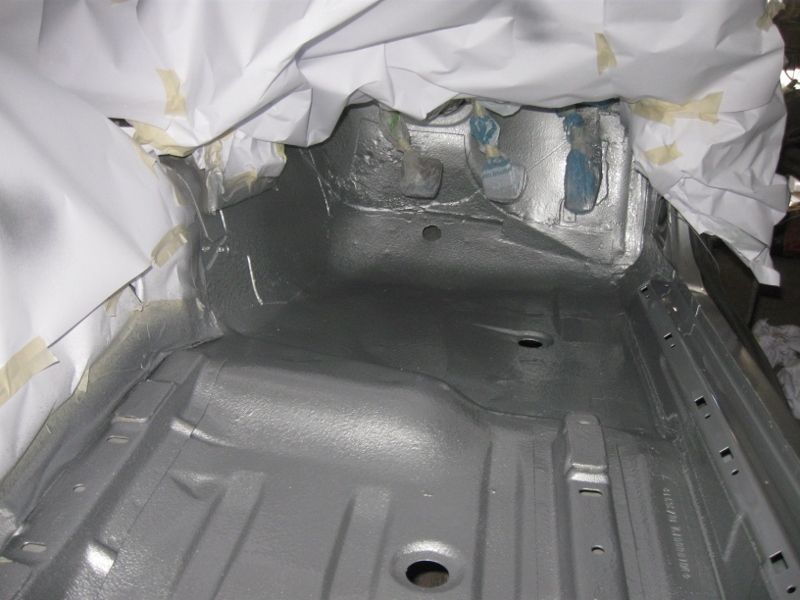 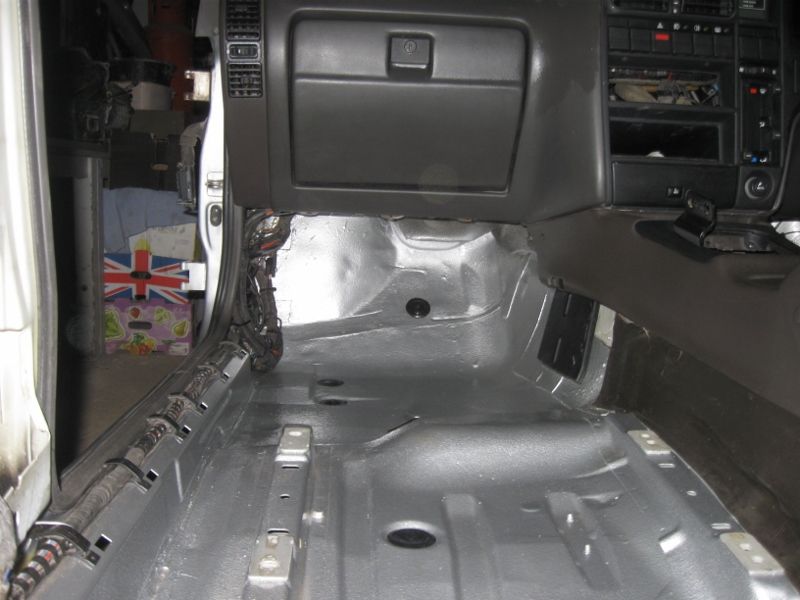 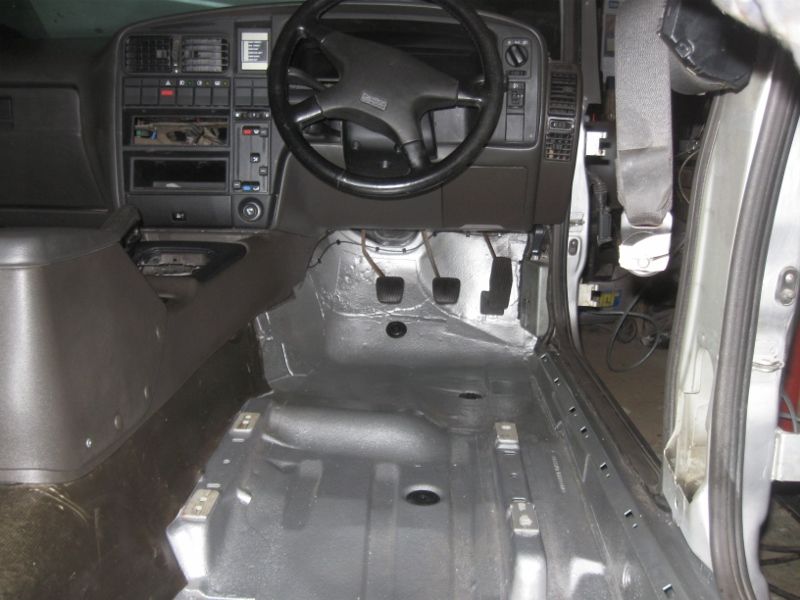 You can see that the wiring had a lot of attention in the later pics, lots or rewrapping and rerouting to keep it all off the floor. Lots of nasty damage and old bodges repaired too. Quite a bit of the dash work is also done here. More soon hopefully. |
| |
|
|
|
|
|
Dec 16, 2015 18:43:05 GMT
|
Just a quick one today. While working on the interior I found the original delivery receipt for the car. Not important but interesting to find. 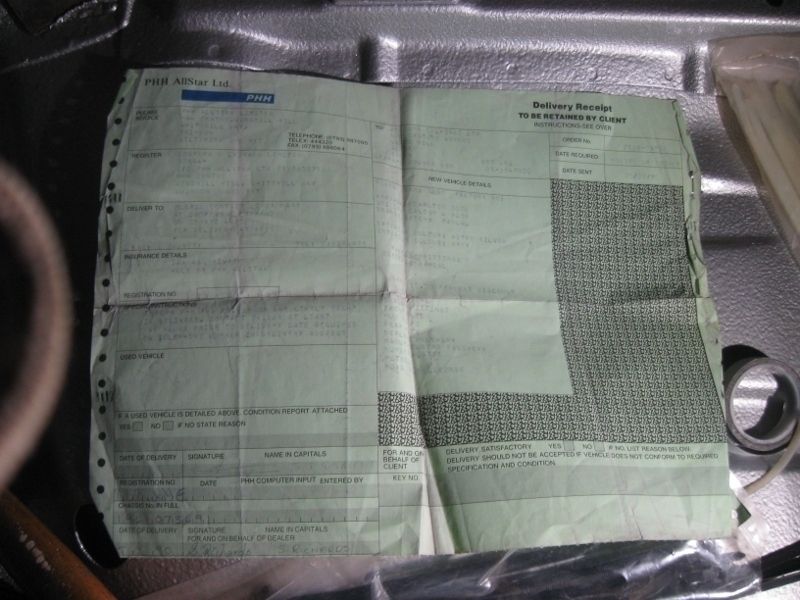 A couple of pics out of sequence, just yesterday but I was quite happy so thought I’d post. I wanted to add a couple of things to the dash and the car has the lovely retro digital dash with amber digits, I like it a lot. I wanted oil temperature because from what I have read the cooling system on these is less than perfect, I know improving it would be a good choice but in the meantime simply knowing what the temp is will make sure I don’t do any harm because if I need to I can always calm down a bit until it cools. I also wanted an accurate voltage reading, a couple of car problems I have had recently have been much easier to understand with a voltmeter attached so I’m going to monitor voltage at the battery allowing me to check charge and alternator output at a glance. I decided that any additions would be better if they could match the dash. The car had a junk slot below the radio so that seemed to be a good place to put extra bits. The idea was to have it look plain black when not in use, then the digits only be visible when the ignition is on. I chopped up the junk holder, a gauge pod from chine via ebay and some bits of black interior trim. 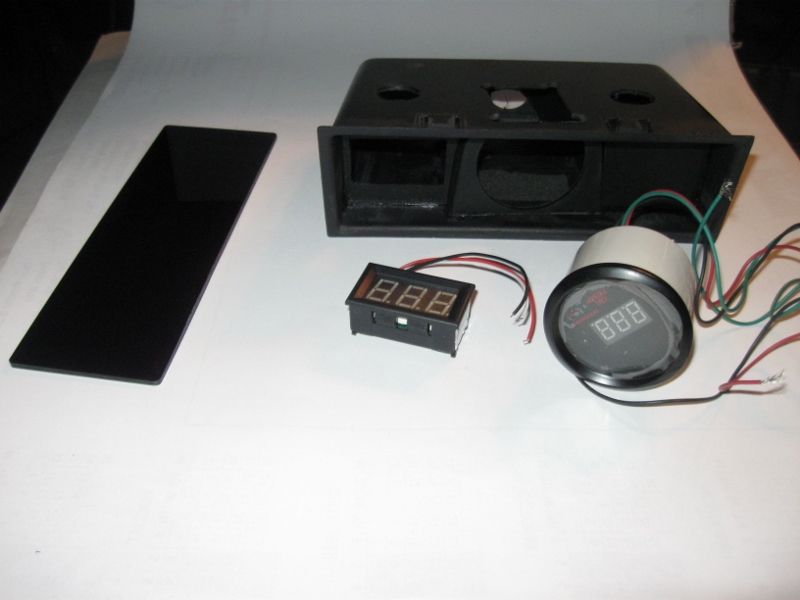 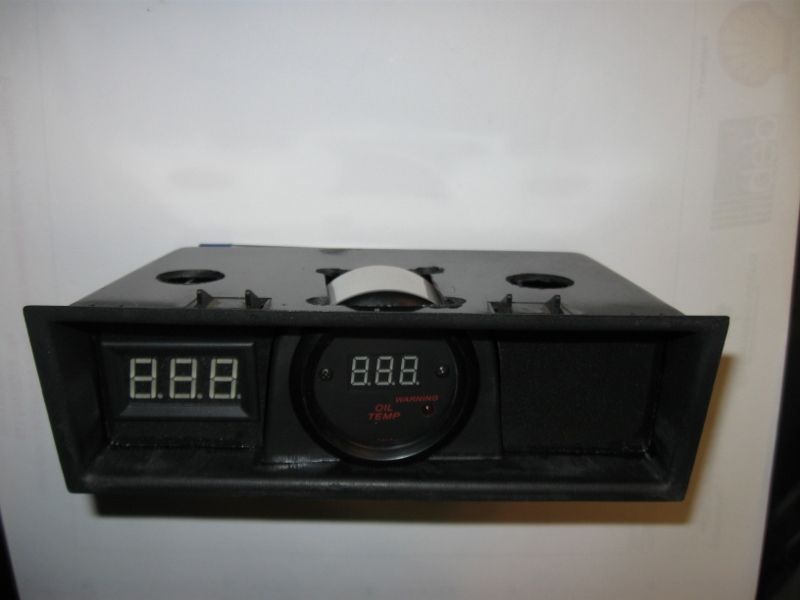 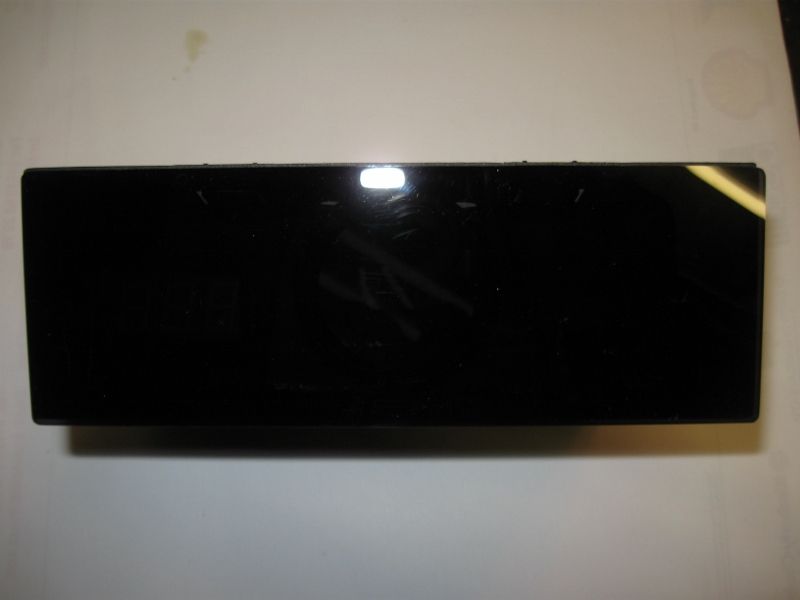 Switched on viewed roughly from the drivers angle – 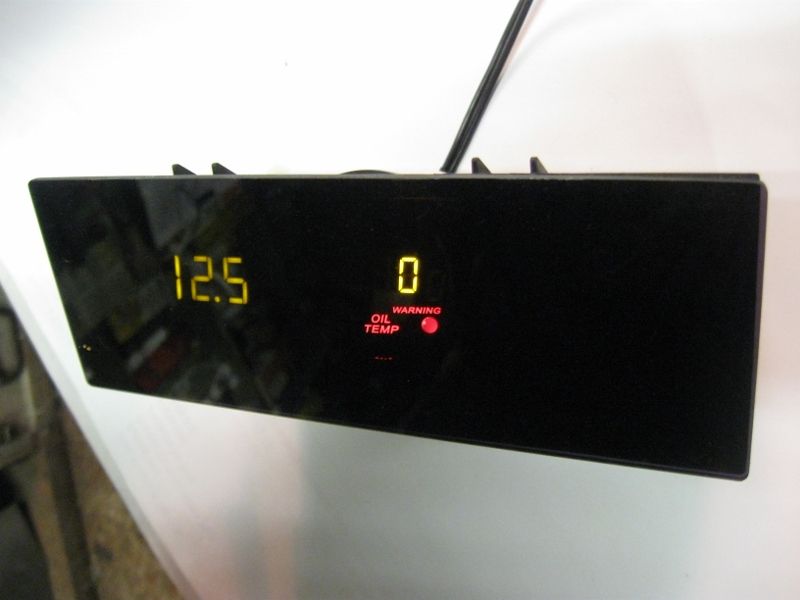 I might re-do it later especially if I want more bits in but hopefully that should be in keeping with the dash. |
| |
|
|
|
|
|
Dec 16, 2015 20:34:10 GMT
|
|
Ok, I admit, I cringed a bit when I saw the pile of bits but with that smoked glass on the front it looks spot on. Very nice. Floors look cracking too.
You seem to have bitten off a bit of a project there. Good on you! I enjoy threads like this.
James
|
| |
|
|
Ross
Part of things
 
Posts: 83
|
|
|
|
|
Love the guage pod work bro.
This thread makes me happy as these cars were everywhere during my childhood and now I maybe see two a year.
|
| |
Mini eh? Rolls Royce Merlin bolts straight in them you know.
|
|
|
|
|
Dec 27, 2015 23:47:16 GMT
|
Thanks for the comments chaps Not a catch up post again, I did a bit that I like this weekend so I thought I’d show you, I think it might be the best bit of the car, although certainly not to everyone’s taste (if anyones), I like it though. I heard that an Omega gearstick was shorter, a direct swap and a better feel due to the length. I took my gearstick out (not hard as there is no gearbox) and not having an Omega one to hand took mine to bits thinking it would be easy to shorten. I turns out that they are very difficult to shorten, they are in two halves with rubber damping half way up and have an internal pull cord for the lift up reverse interlock. I puzzled for ages over a solution and also over what to have on the top of it as the original knob is moulded on and falls apart during removal. Anyway, after much searching for ideas I went for a slightly different take on a very old theme, the 8 ball. I wasn’t going to go that way until I found that the big manufacturer had a limited edition silver 8 ball, same colour as the car, so maybe a bit out of era but I’m happy. First to make the basic stick, I turned down the bottom half of the old one then made a new top half from aluminium. It has O ring grooves turned in it and with the O rings fitted it’s a perfect fit inside the tube used later. I made the extension with an oversized bore and fixed the two parts together with windscreen adhesive in the gap to replicate the rubber damping of the original, held in the lathe to set. 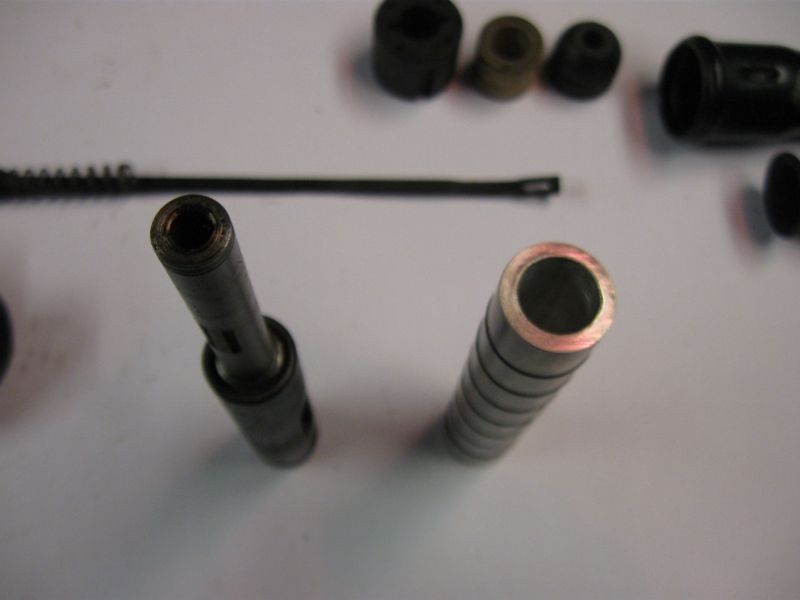 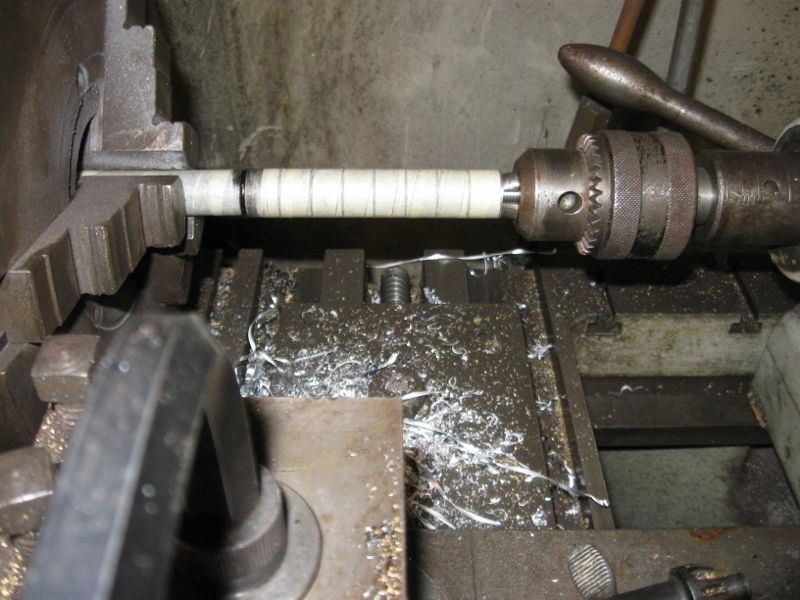 Late on Xmas day with the Chas n Dave Xmas special on the telly I prepared the pool ball, I haven’t drilled one before but it went well. I don’t care much for Xmas so this was a nice way to finish the day. 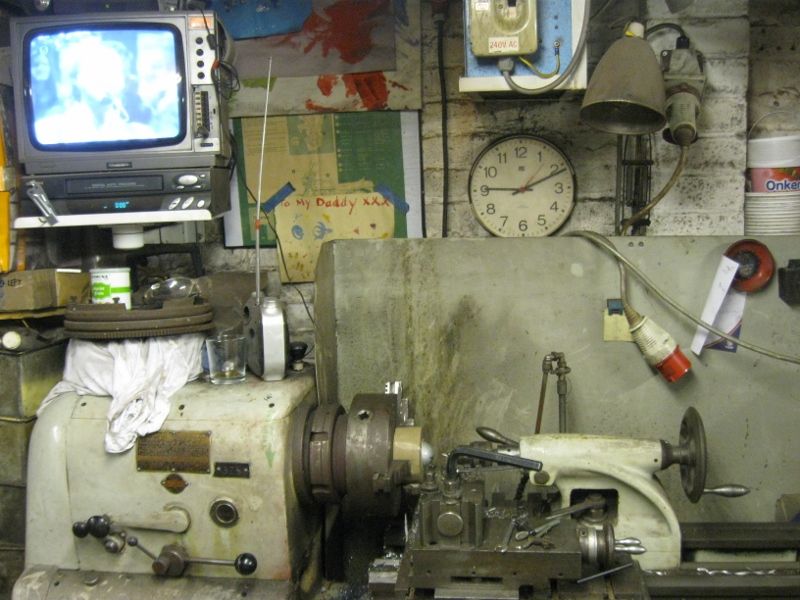 To prevent damage I had an idea, I shoved it into the centre of a roll of parcel tape and put the tape in the chuck. It worked just fine. 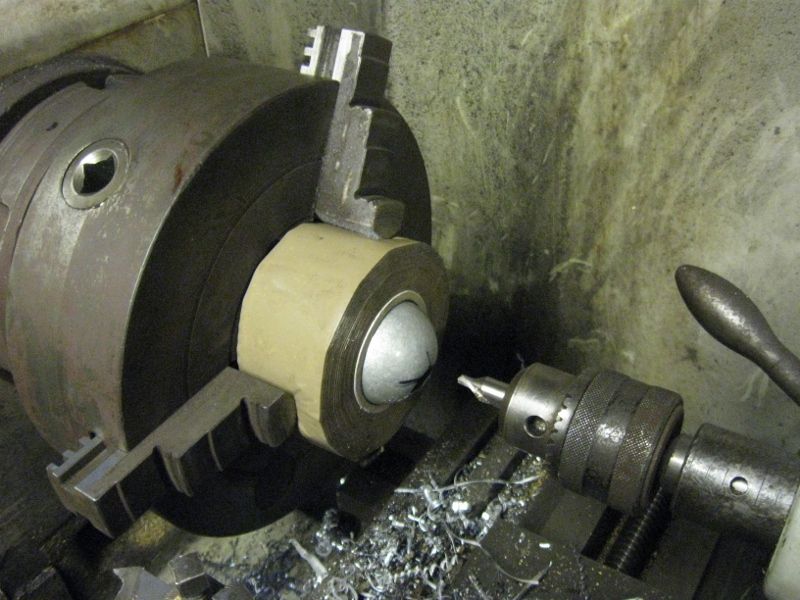 I drilled and tapped it M8, they are easy to drill and tap and take a thread well. 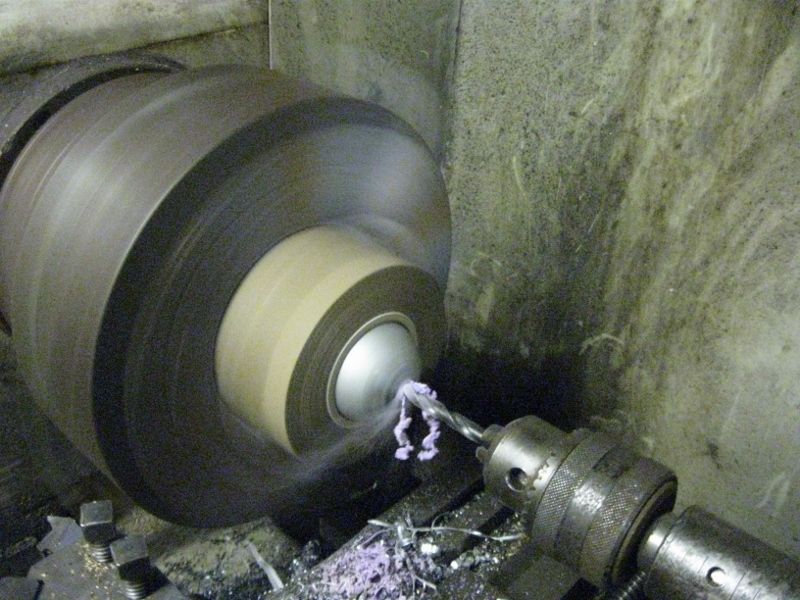 Before the hols I had made the stainless outer sleeve which was how I had decided to get the lift up reverse interlock to work. It has bits made to fit the original interlock plastic moulding and a collar for lifting. 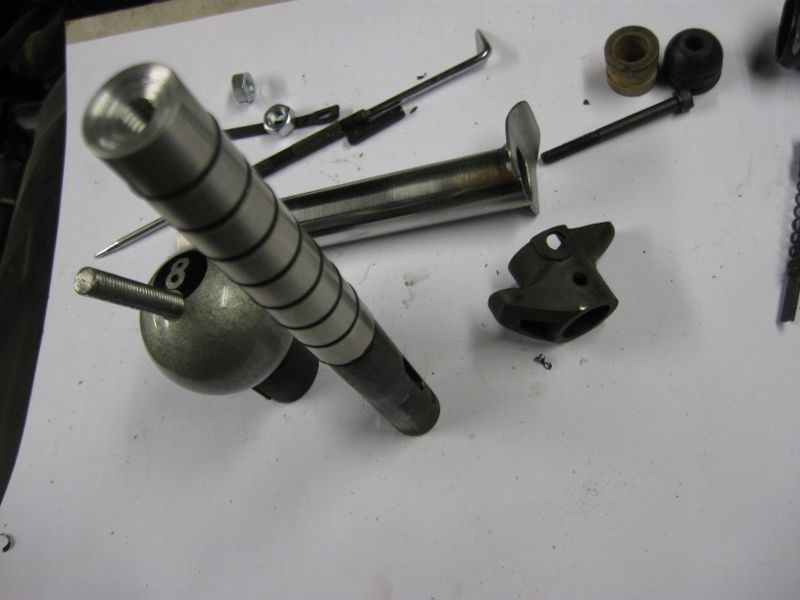 I polished the bits where necessary too. 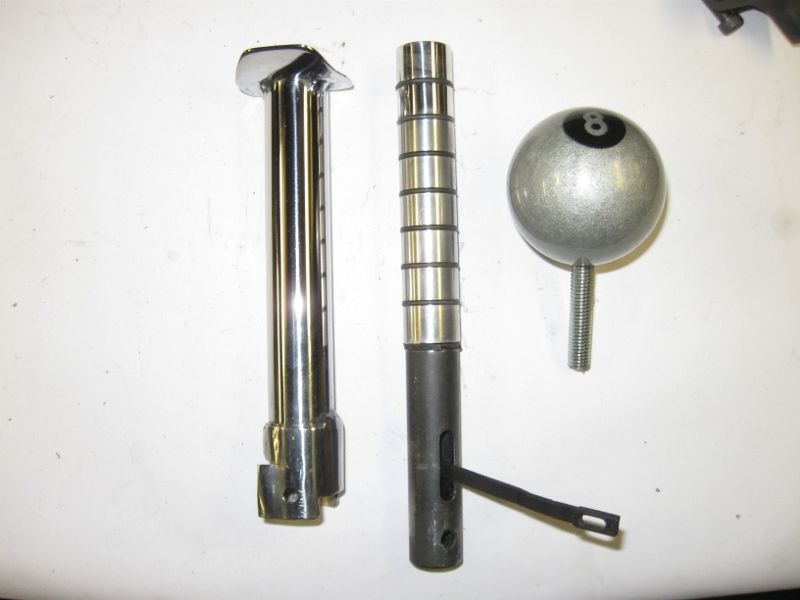 And put the bits together. The lift up part has no play and was a little bit stiff so a wipe of rubber grease on the O rings has it operating better than I could have hoped for. 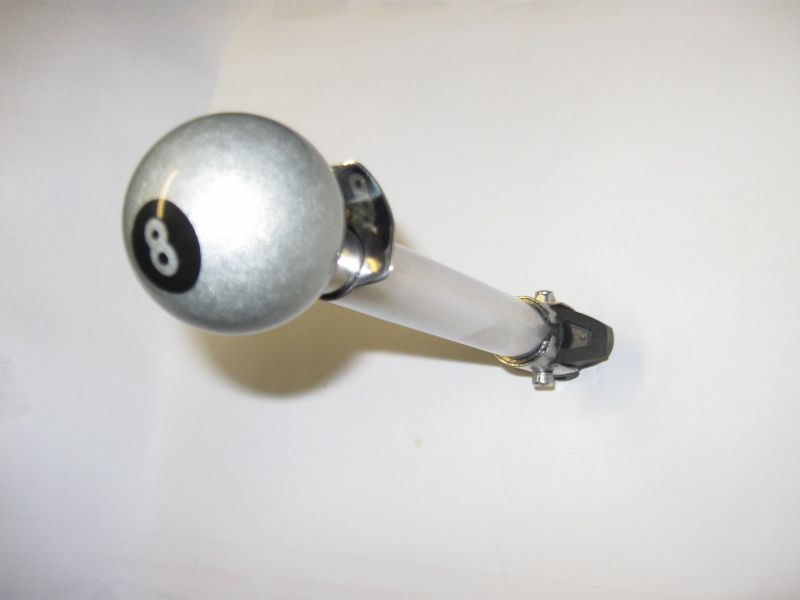 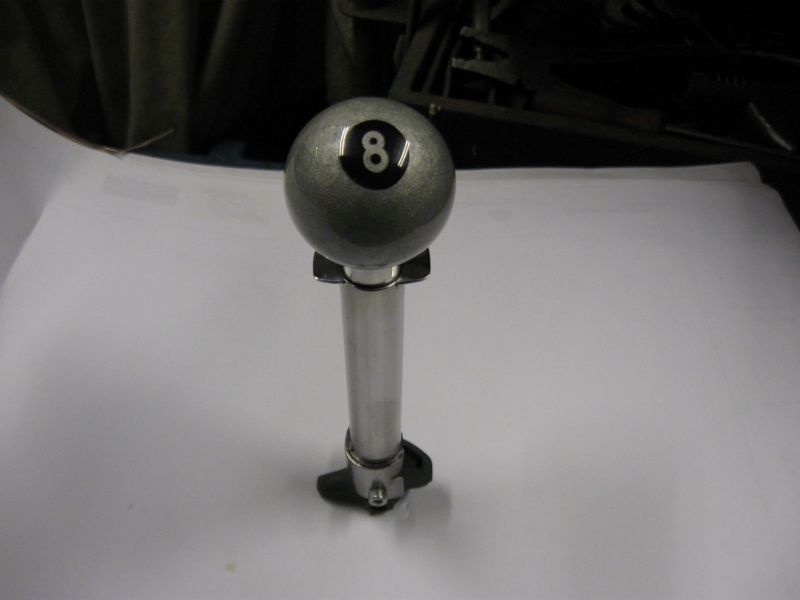 I fitted that to the rest of the mechanism and forgot to take a pic, then fitted it to the car. Ignore the bracket for the gearstick lock, a shame to clutter it up with that but with a 90s Vauxhall you cant afford to remove a security device so it will be refitted. It has new handbrake and gearstick gaiters from ebay seller “topgaiters”, recommended. 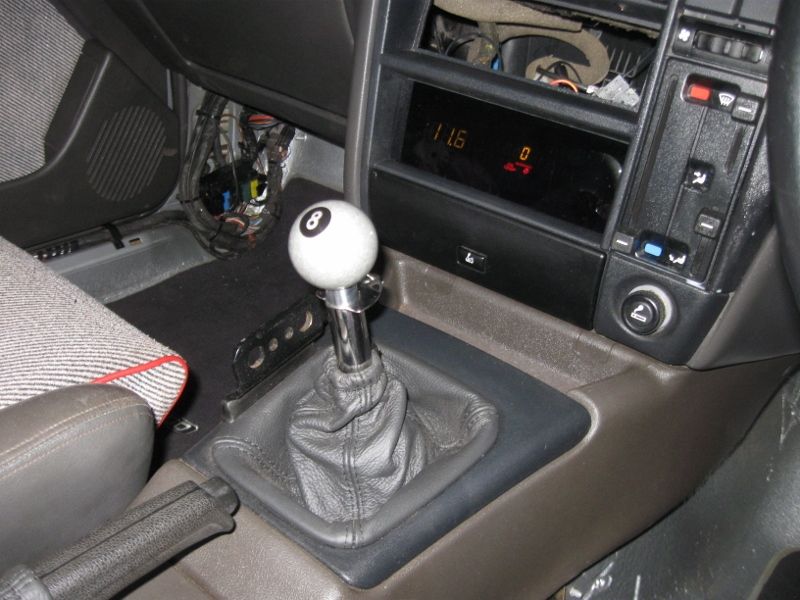 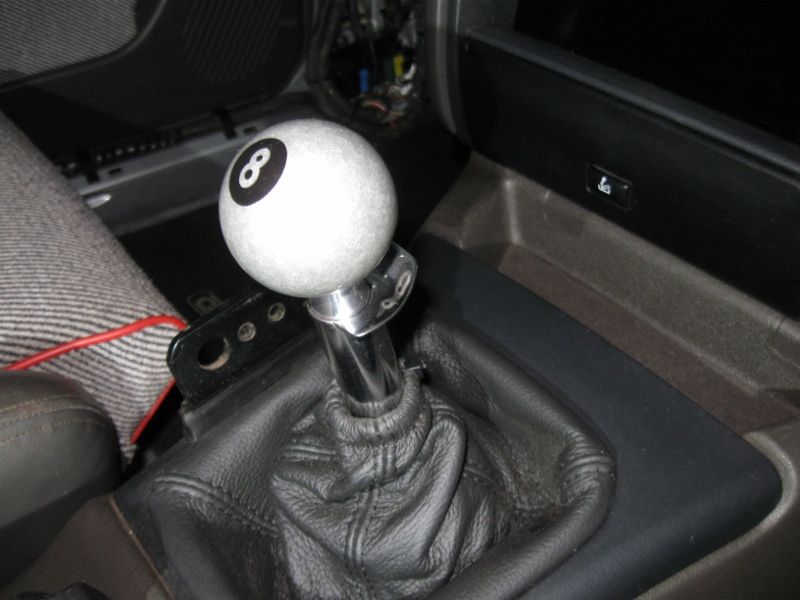 I’m happy with it, I’m sure pool balls are a bit marmite and certainly not typical of a 90s car but there you go. A couple of pics of it in its surroundings that I haven’t posted yet, including that digital display fitted. Apologies for the dust. 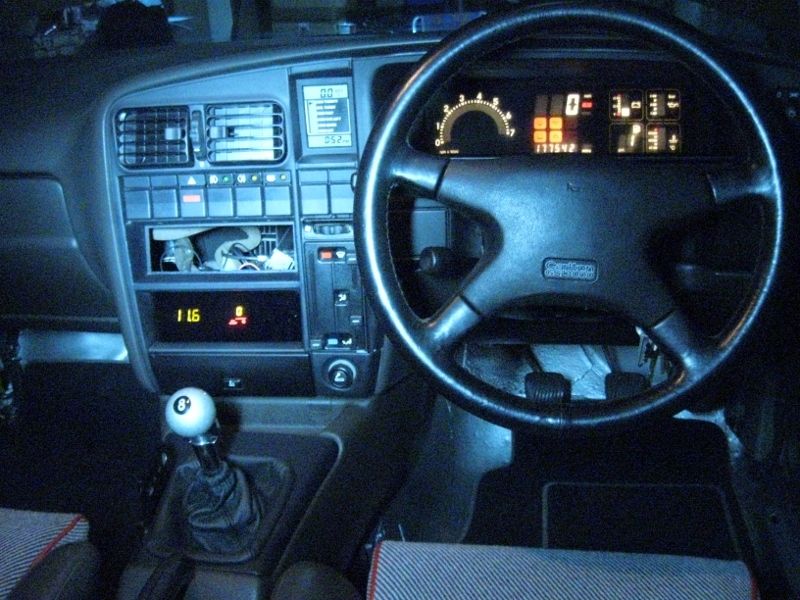 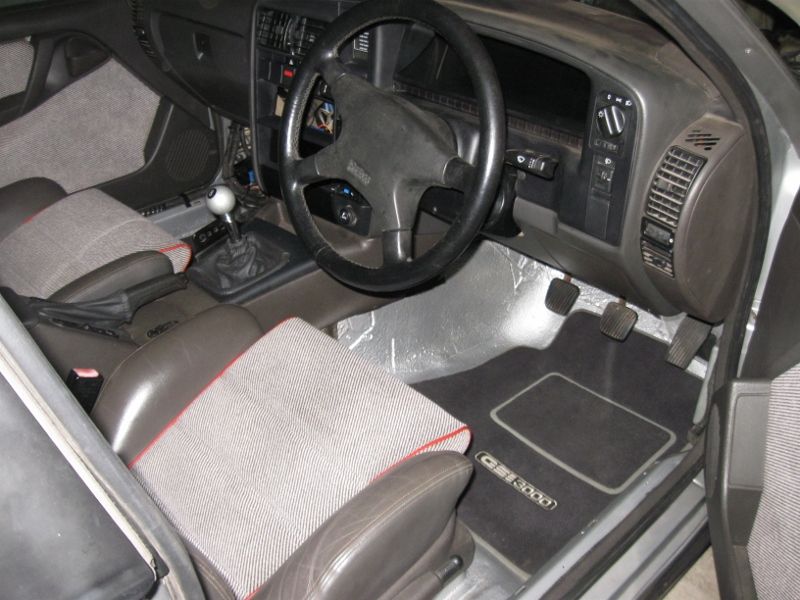 |
| |
|
|
|
|
fer4l
Posted a lot
   Testing
Posts: 1,497
Club RR Member Number: 73
|
|
|
|
Great work!  Cheers Matt |
| |
|
|
|
|
|
|
|
|
|
|
you have vision....very nice
JP
|
| |
I know its spelled Norman Luxury Yacht, but its pronounced Throat Wobbler Mangrove!
|
|
|
|
|
|
|
|
Fair play lot of work has gone into that
|
| |
|
|
|
|
|
Dec 28, 2015 12:52:38 GMT
|
|
Beautiful. Great achievement and a lovely read.
Cheers!
|
| |
|
|
bigrod
Posted a lot
  
Posts: 1,654
|
|
Dec 28, 2015 19:16:29 GMT
|
|
Absolutely loving this!
|
| |
If I have to explain, you won't understand.
Maximum signature image height = 80 pixels
|
|
|
|
|
|
|
Thanks again for your kind words chaps. Knowing that someone enjoys seeing it really helps keep my enthusiasm up. A bit of catch up. A few weeks body related work condensed into a handful of pics. I painted the sills, the rear valance, the boot and the underside repairs in several sessions. No pics of most of it, some of the boot. 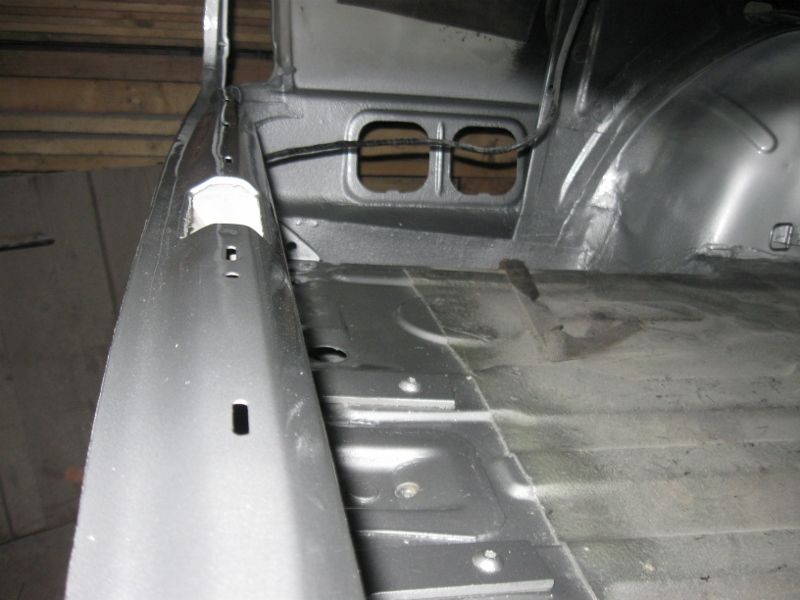 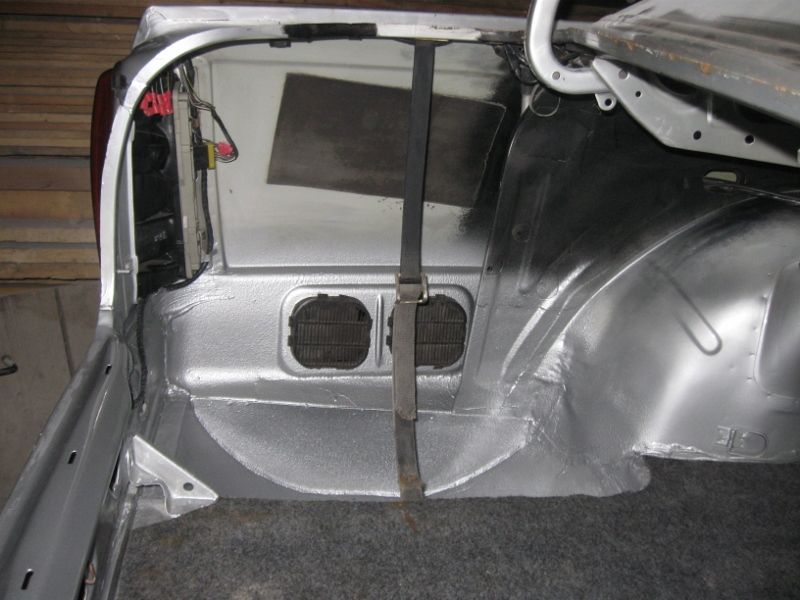 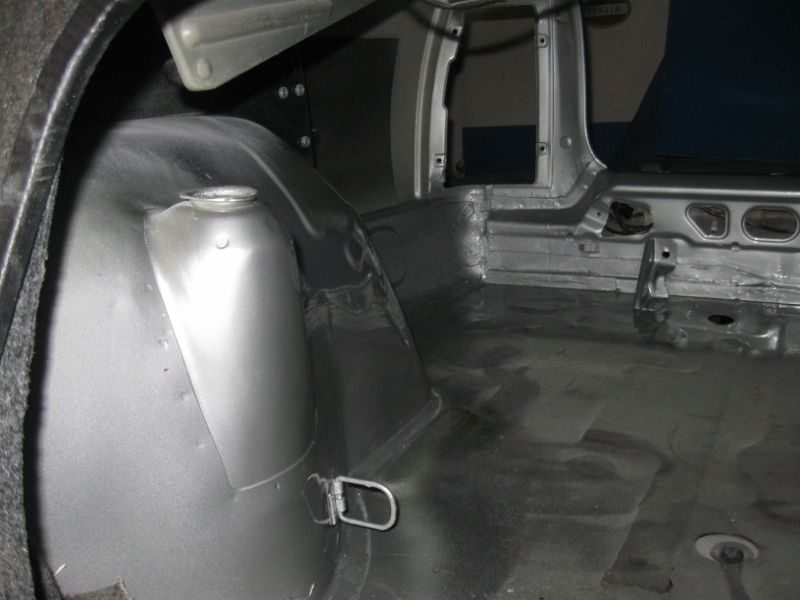 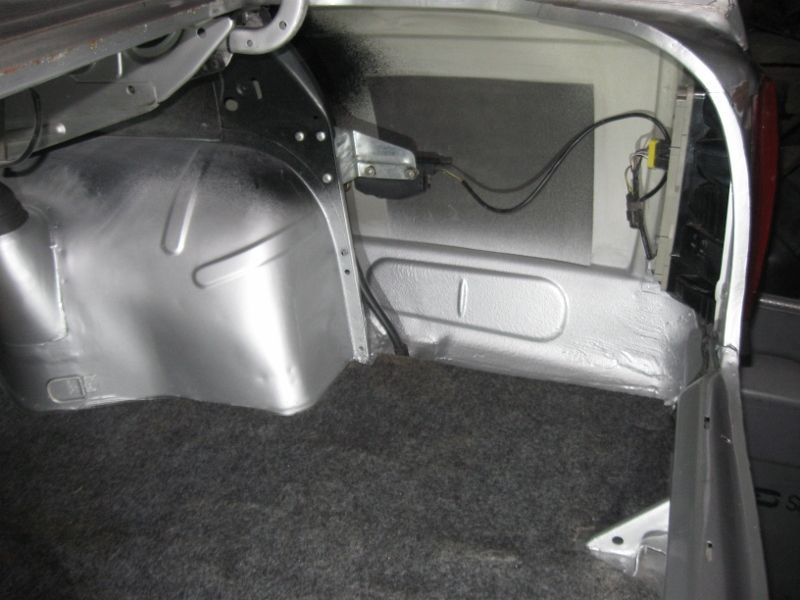 On the wheelarches I wanted to prevent the stones thrown by the back wheels taking the paint off and starting rust yet again, I hadn’t taken care of this last time. I continued the stonechip from underneath onto the lip, then used the replica black tapes overlapping onto the stonechipped area so its all protected. I might have to take the arch top trims off in future because I didn’t take care to protect the top edges when I put the arches in years ago. 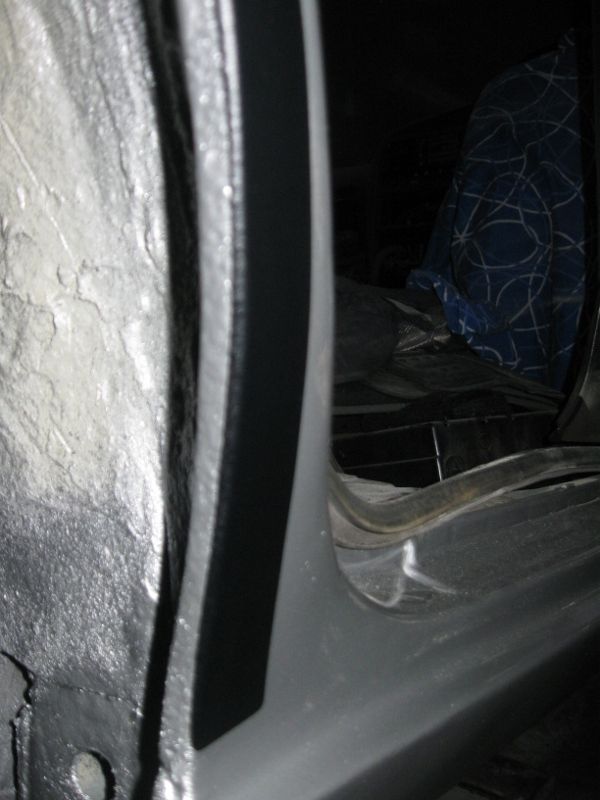 I put all of the doors back on, new pins to reduce play in the fronts. I went to quite a bit of trouble when putting it back together to get gaps and alignments right. Carltons look terrible with bad gaps, and the design of the GSis in particular with different bumpers and trims makes bad alignment stand right out. I saw a Carlton not long ago with what looked like recent paint, it had some bad gaps and didn’t look like a good car, putting this back together with good gaps and straight lines has made it look like a more decent car straight away even with well aged paint etc. 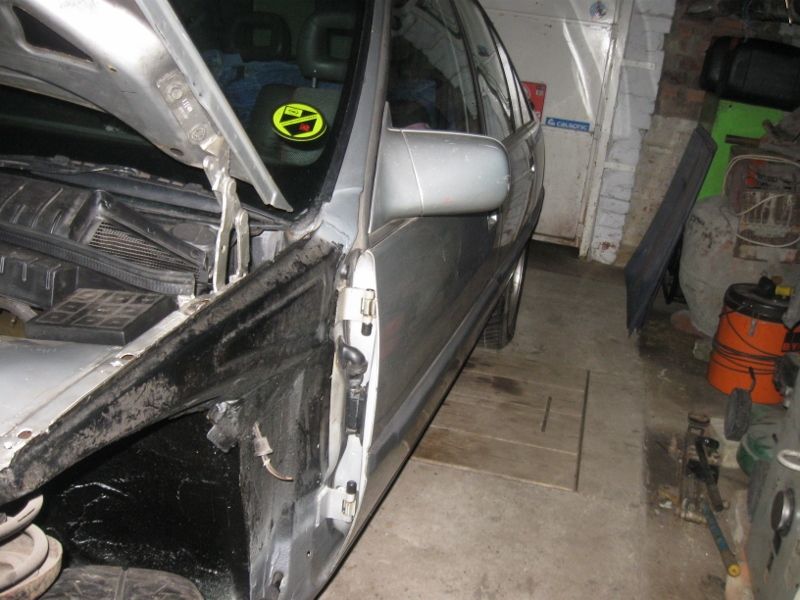 When fitting the back bumper bracket it turned out that I had put the new sunroof drain location right where it should be, a quick notch out of the bracket fixed it. 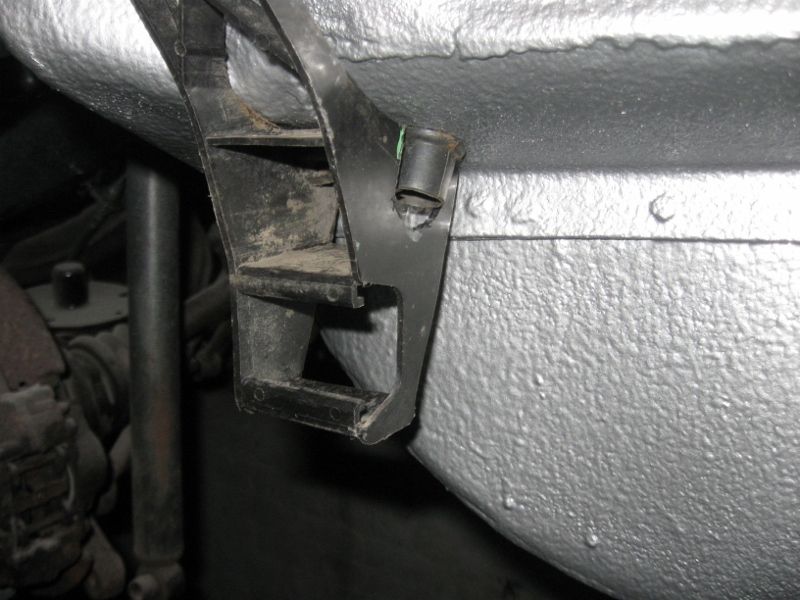 The front half of the skirts were binned due to being too distorted from the previous terrible efforts at fitting, I had some spares in red so they were all painted and re-attached using windscreen adhesive. 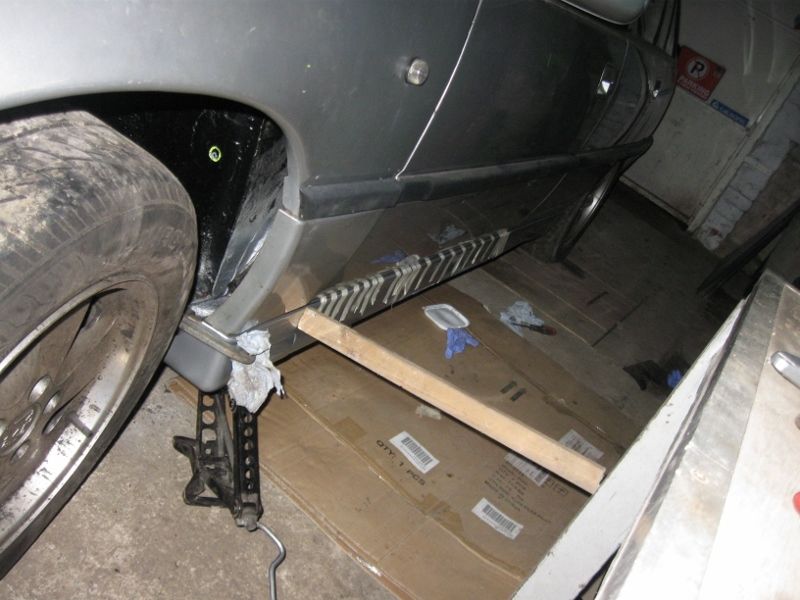 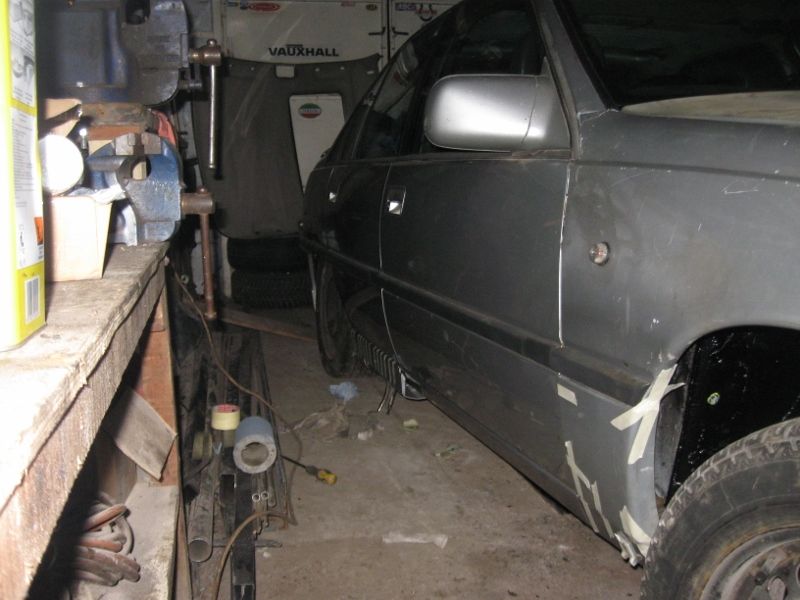 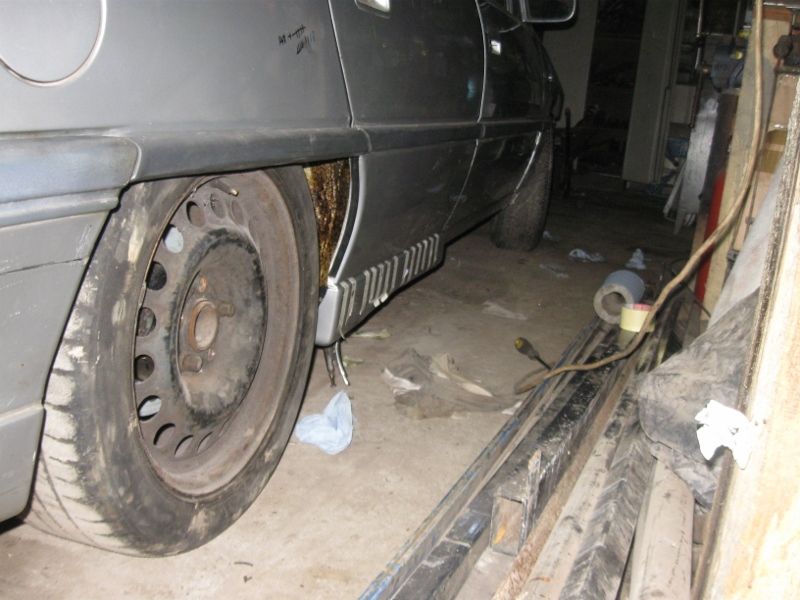 The underside repairs were stonechipped and painted, an exhaust hanger was knocked up from stainless to replace the original that should be part of the car but had rotted off. 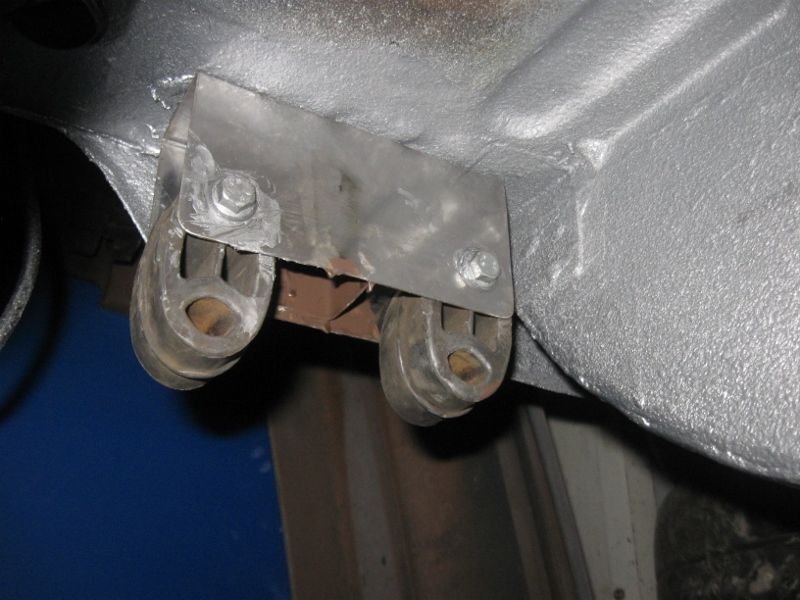 Some more catch up stuff when I sort the photos. |
| |
|
|
mikeymk
Part of things
  '85 Polo Coupe S 1.6 16v
Posts: 931
|
|
|
|
|
I'm just stunned by this thread.
Some great tips here, i'll be using the oiled wax in a few months when it warms up, and as i'm currently putting the new car back together i'll be packing the new ball joints with extra grease my next day on it. I fancy a go of that electrolyte science too, the vinegar hasn't done so well.
But i'll hold the basket-patching - seriously, i've just condoned a 30yo VW shell for structural rot and it's pretty much rust-free compared to this Carlton. I can only dream of doing this kinda work. I'd have just bought another shell (which i have), but i suspect i'll never know the satisfaction of saving something like you've done.
|
| |
|
|
|
|
|
|
|
Heh. Looks like a secret tunnel entrance in the boot of your car! The gauge cluster turned out really well and matches the original cluster great! I have just bought some gauges to somehow fit in to my car as they were on sale cheap and this has given me some ideas on how to do it so it doesn't look horrendously out of place, so thanks! I would also like to say that I am well impressed with how determined you are to bring this car back. I thought mine had a lot of rust! Keep up the effort.  |
| |
|
|
|
|
|
Dec 31, 2015 21:25:22 GMT
|
|
Such a good read chris envy your welding skills youve done an epic job I'm sure!love these cars i remember being offered a 3 ltr gsi with a knackered engine for next to nothing but was low on funds at the time still am as a matter of fact!keep up the good work!
|
| |
|
|
|
|
|
Jan 30, 2016 15:39:33 GMT
|
Sorry for the long delay in any posting, lots of other stuff in life keeping me busy, some good stuff though. I’ve been working on the engine but the thread is still way behind on the rest of the car. I thought all of the welding was finished again and had painted the interior. Next was to prepare a set of seats and door cards using the best of what I had, I’ll post about that later as it turned out really well but I found something on the way. First I took the rear seat base out and was troubled by a small bubble in the sound deadening, the fact that the chassis leg under here is almost impossible to see and I didn’t have confidence that the invisible bits were OK I decided to start cutting again, and had to take the welder back to the garage for one last time. Under the sound deadening I found a little hole 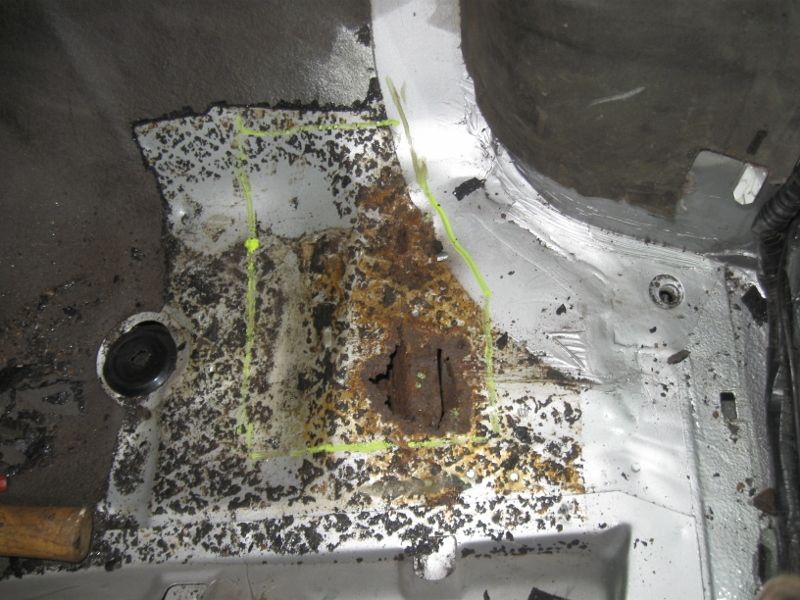 But I wanted a good look underneath so cut quite a bit out. 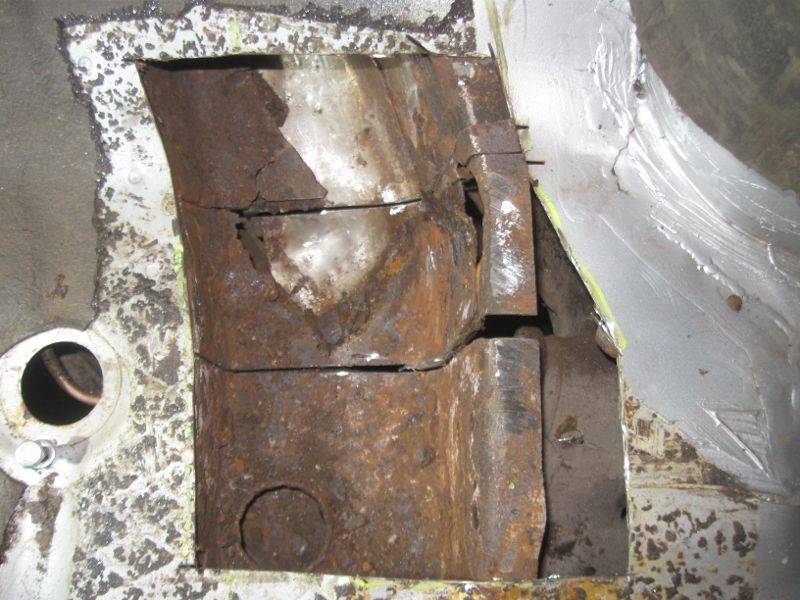 It was the right thing to do, the chassis leg wasn’t very good and I decided to chop some of it out. 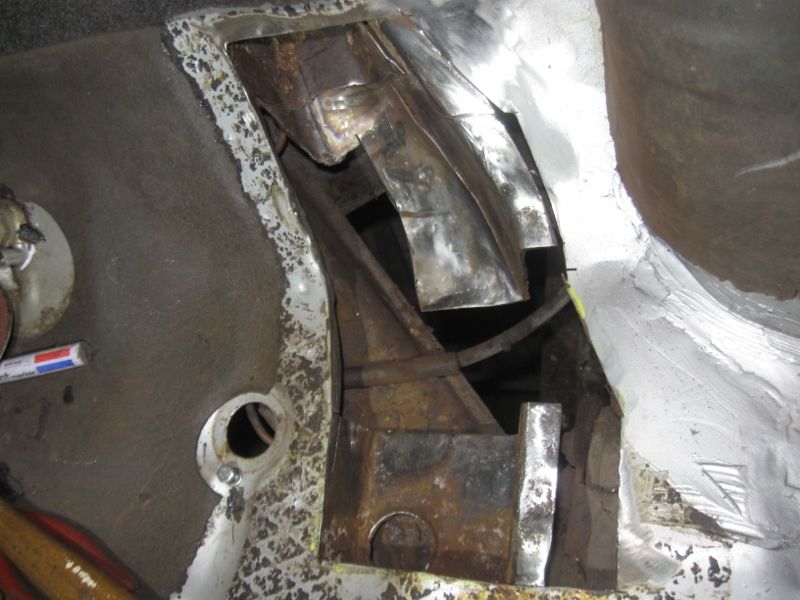 And made repair pieces to fix the outer skin. The outer includes the flange on the right, the inner includes the flange on the left, they are spotwelded together. The open end of the outer is probably why they rot, any water that gets sprayed there when driving will run directly between the skins ans cause rot. 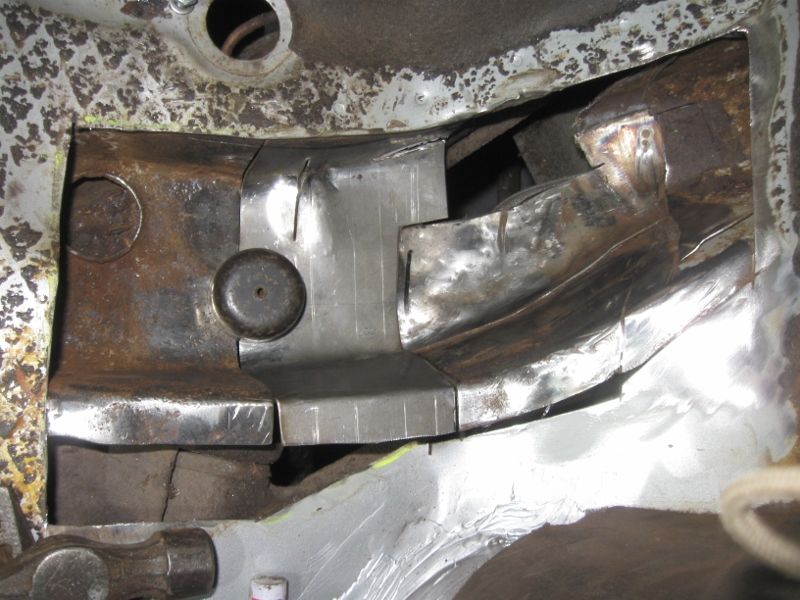 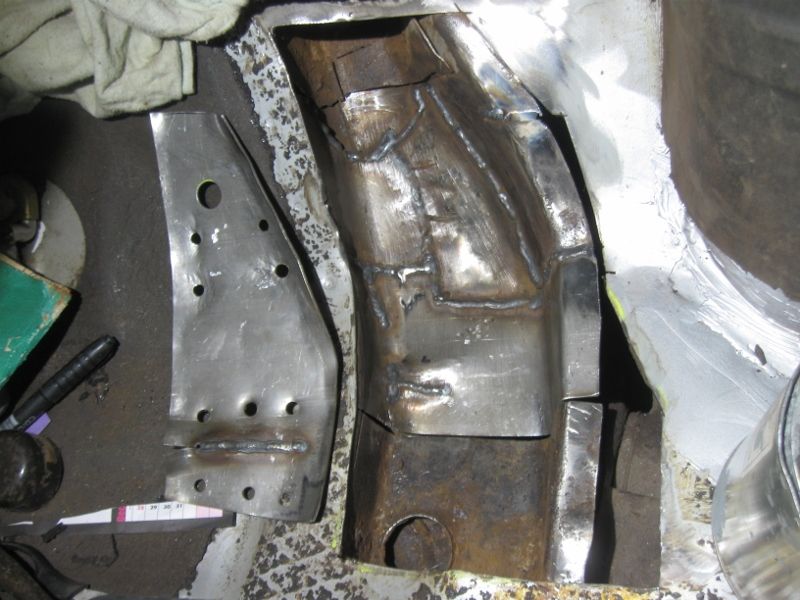 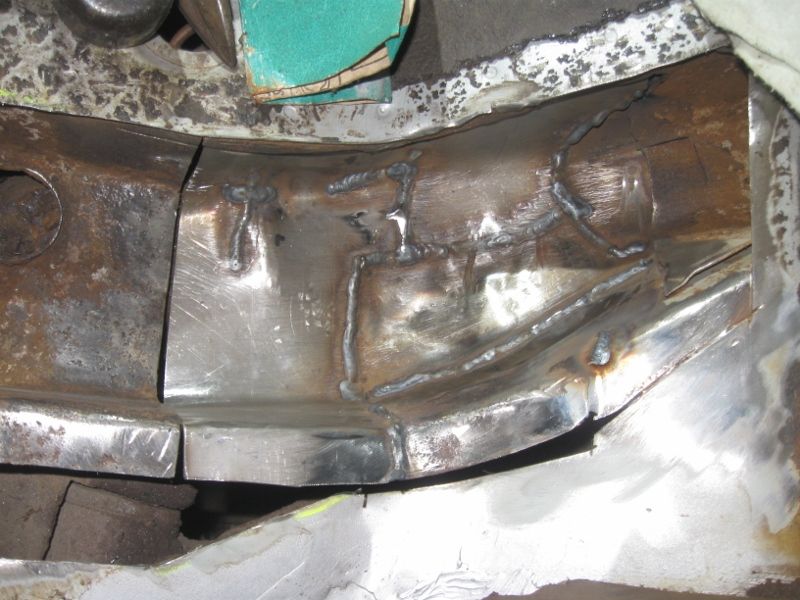 Inner bottom panel with plug weld holes and a big hole that has a purpose later.  Zinc primer on. 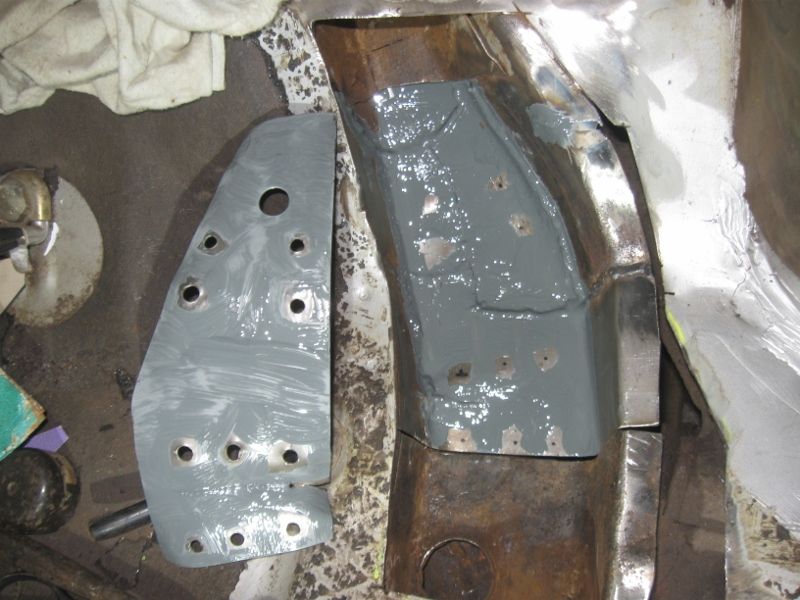 Welded in and one side made and primed. 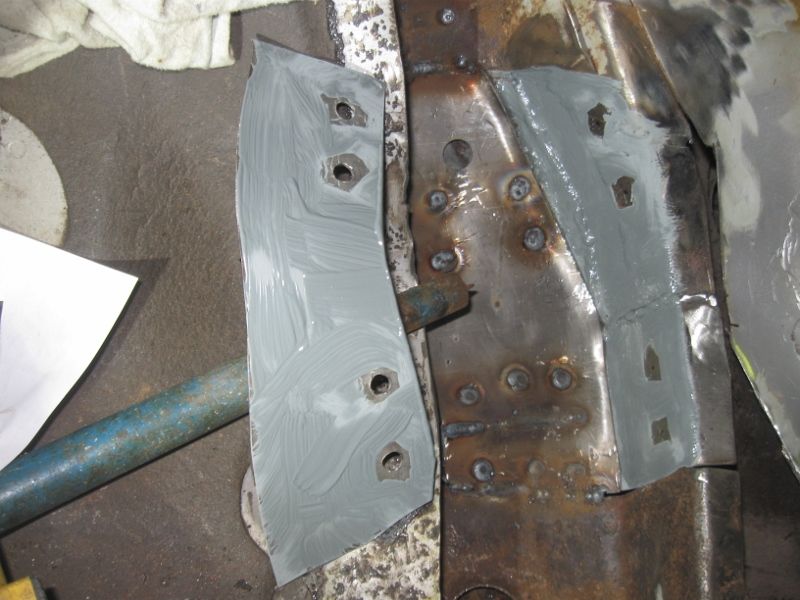 And so on Inner completely panelled in to where it should be and started using rust converter on the rest of the inside, later zinc paint everywhere and lashings of wax and oil. 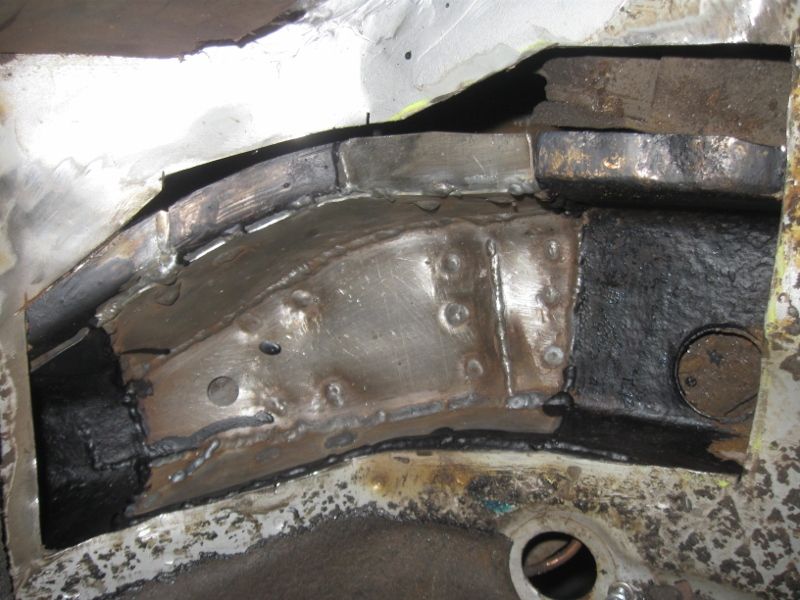 Of course next I replaced the top panel, no pic. More to follow soon. |
| |
|
|
|
|
|
Jan 30, 2016 15:48:48 GMT
|
Next it got much worse, Carlton owners should check here. There was nothing to see with the seat back still fitted, but once it was unbolted I found serious structural rot and cracking! Just a little bit of rust here it seems – 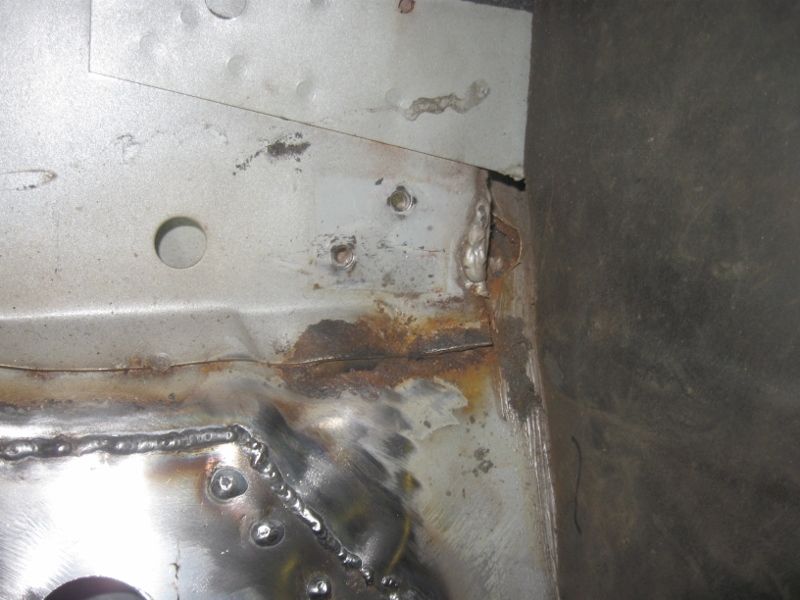 And some little cracks here, and whats that, a pulled out spotweld? Well it turned out that as well as various cracks all of the spotwelds were pulled out. 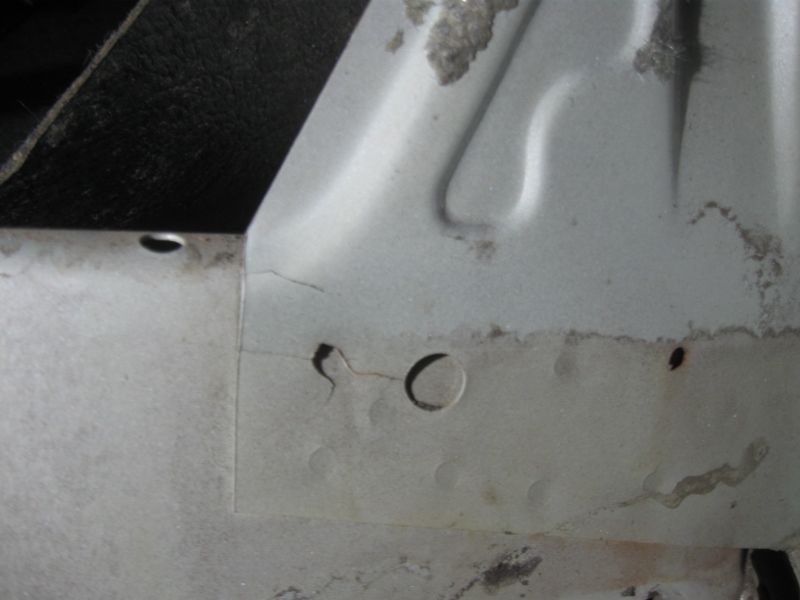 I had to chop out the corners of the rear bulkhead to investigate, and found that the rear spring seats were busy trying to get into the boot. Lots of rot. 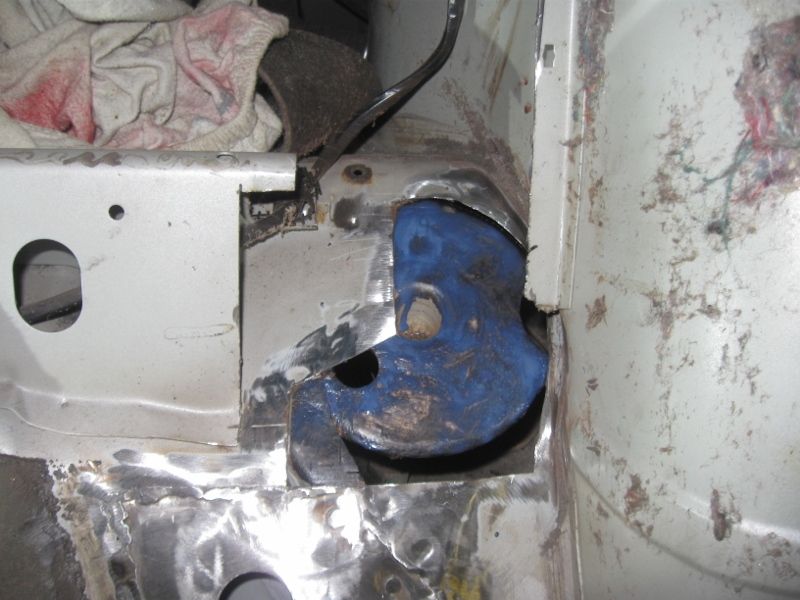 I’ve seen rear bulkhead crack pics before on a Lotus Carlton, maybe related to the power but I suspect this car is cracking up due to flex due to extreme structural rot. I built it all back up. 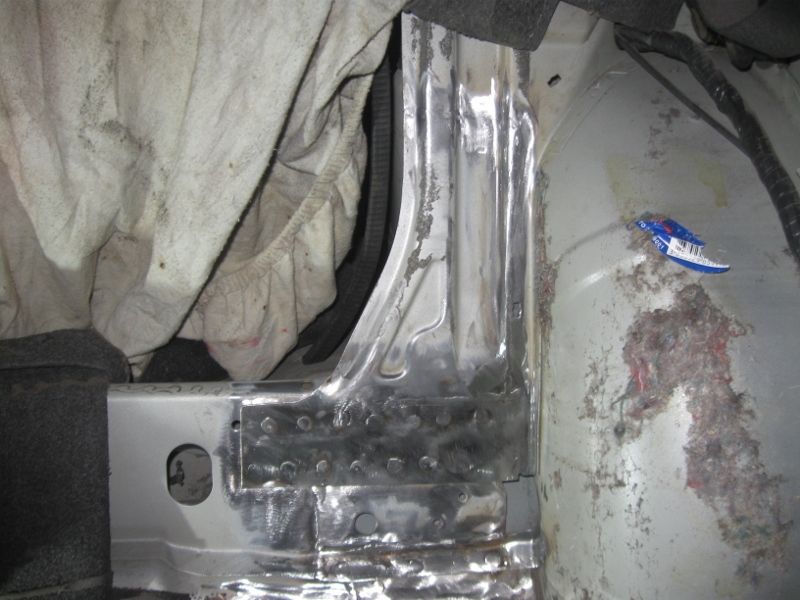 I added some braces to each side to reduce stress on the bulkhead corner joins, but in hindsight I’ not convinced it was worth the bother. 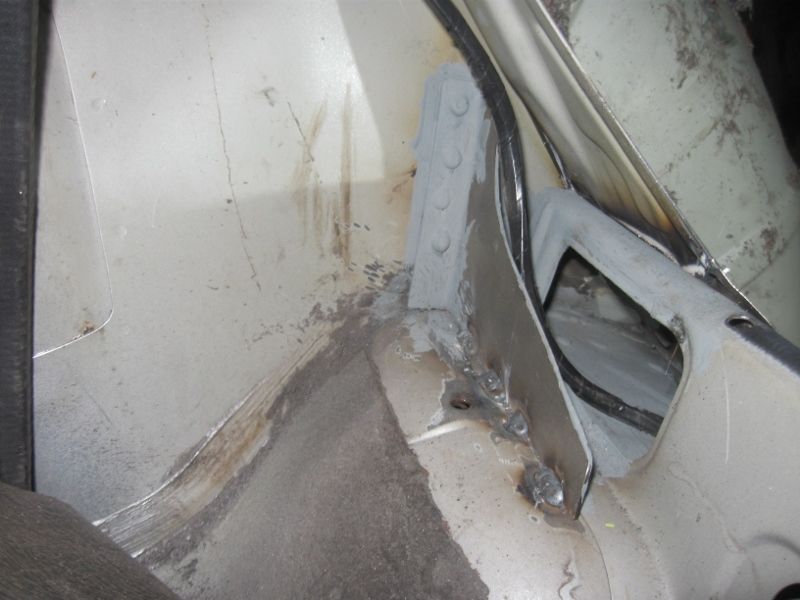 Next I looked at the other side, would you believe it this corner was completely separated too. 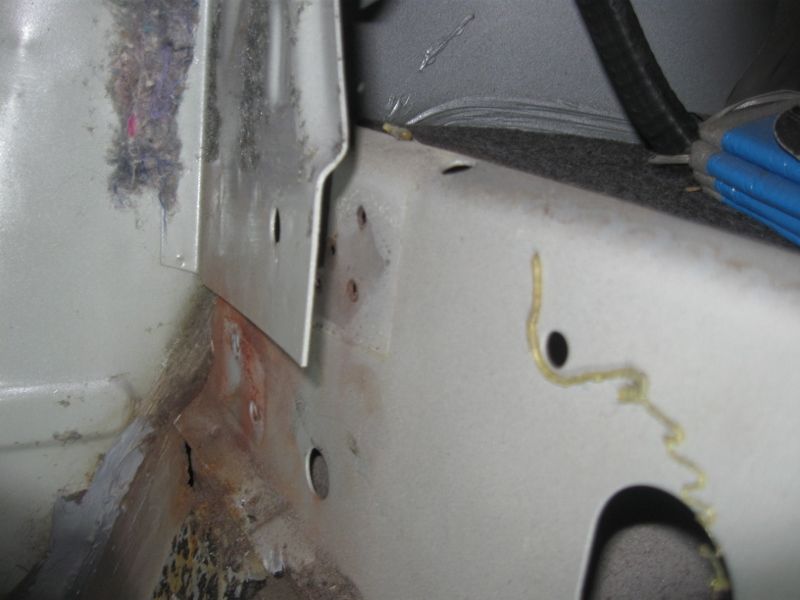 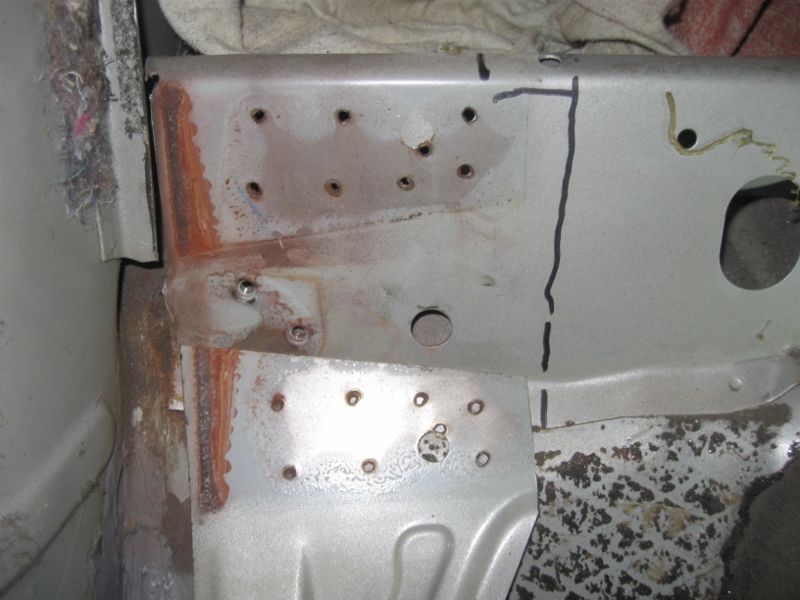 Similar rot too. 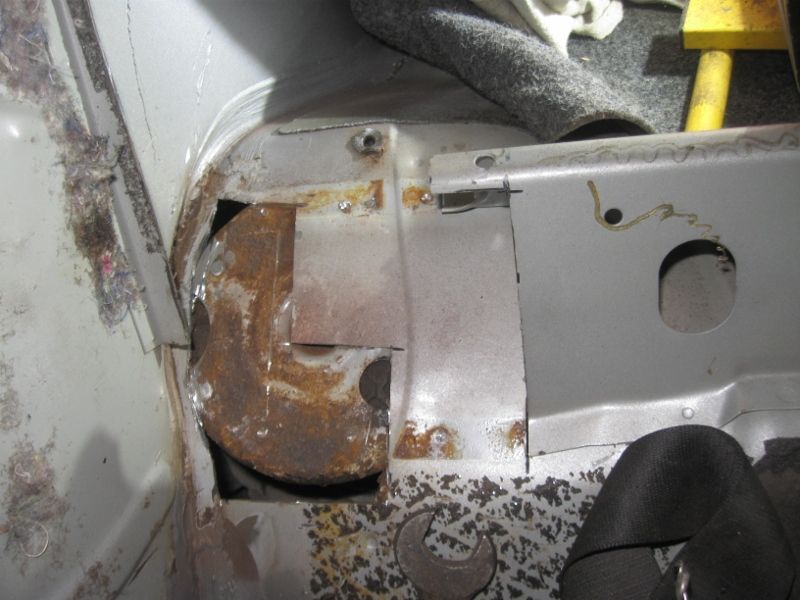 Some new bits made and welded in. Both sides have more overlap that standard. 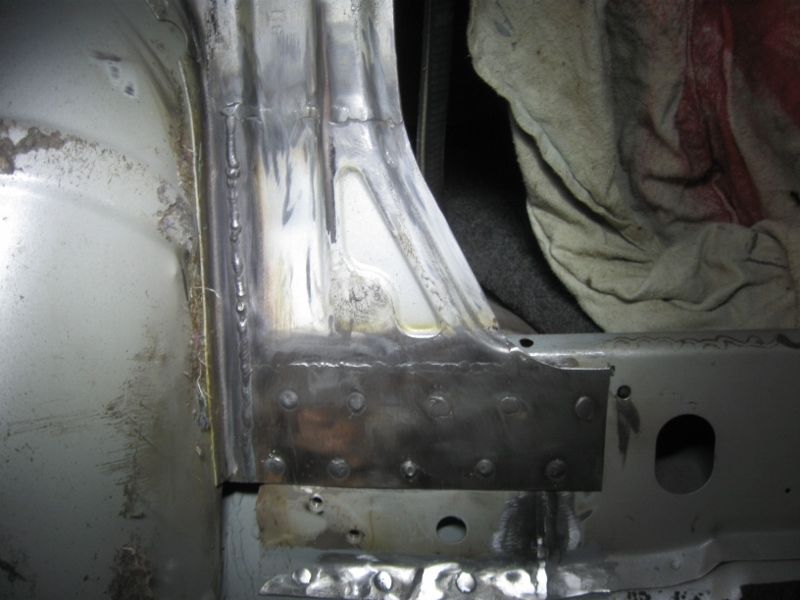 Car shaped again. 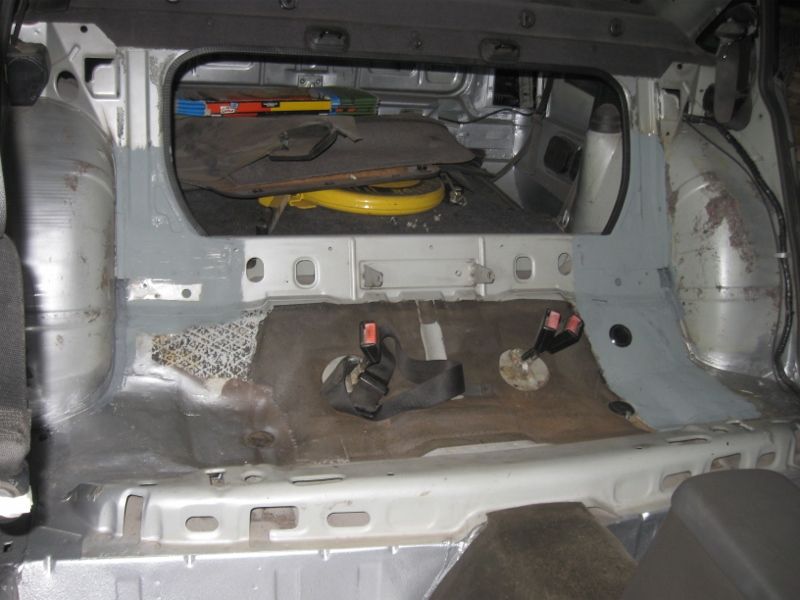 The black plug in the new patch over the chassis leg repairs is one I added again, its directly over that large hole in the inner chassis leg skin and allowed me to put a large amount of wax and oil in to soak through the gap between the skins to prevent new rot. 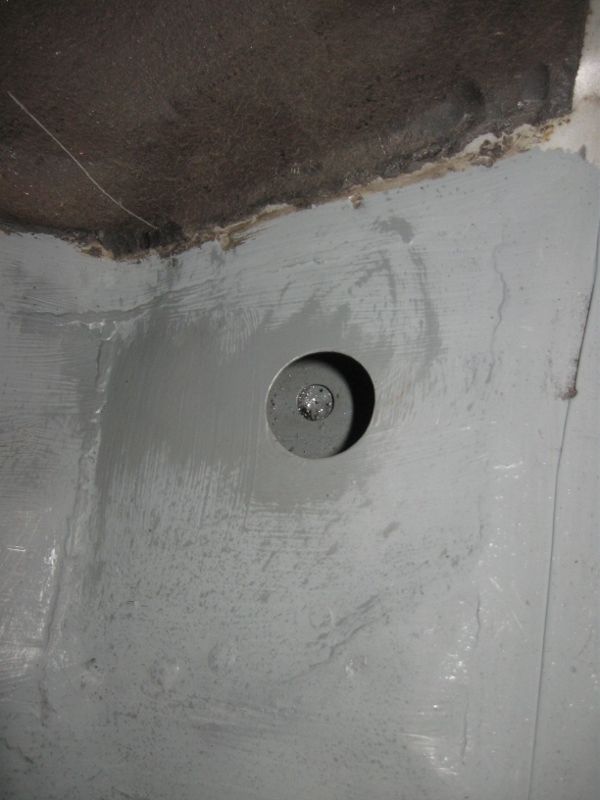 This time that’s the rot really all gone and the welder back home to stay. Oh, and I had to get the paint gear back out now to do the boot again. Lots of other progress done and to post soon hopefully. |
| |
|
|
|
|


