|
|
|
May 18, 2015 22:34:24 GMT
|
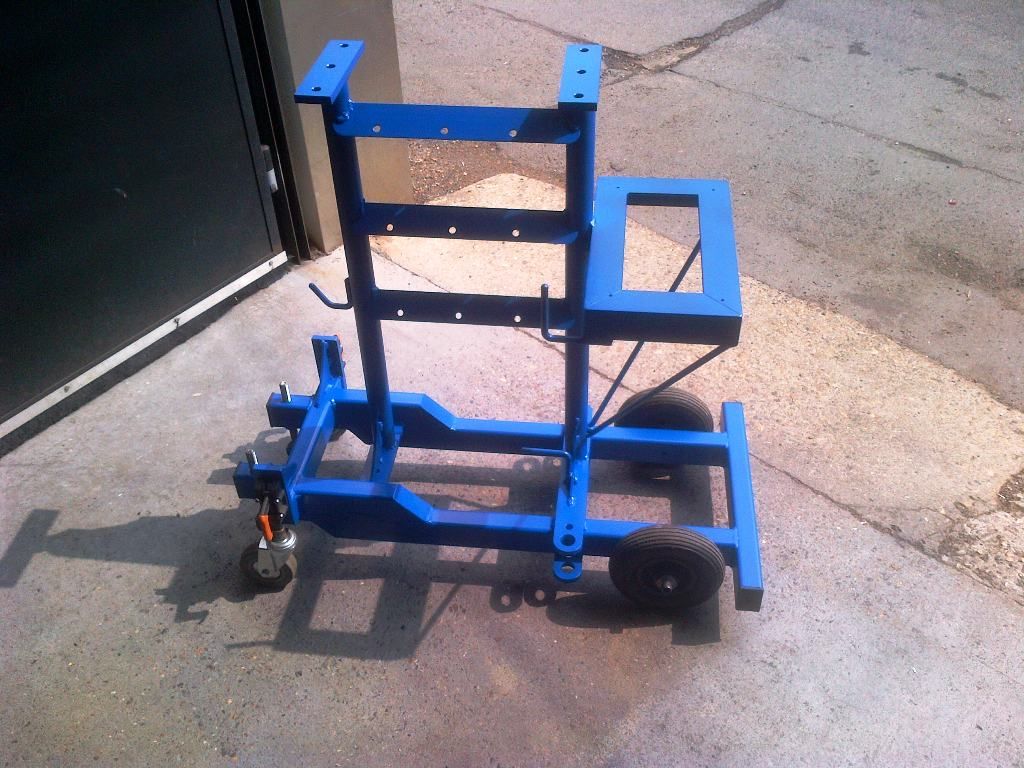
Started on the two rectangular tubes. Basically bolted the whole thing together before welding. 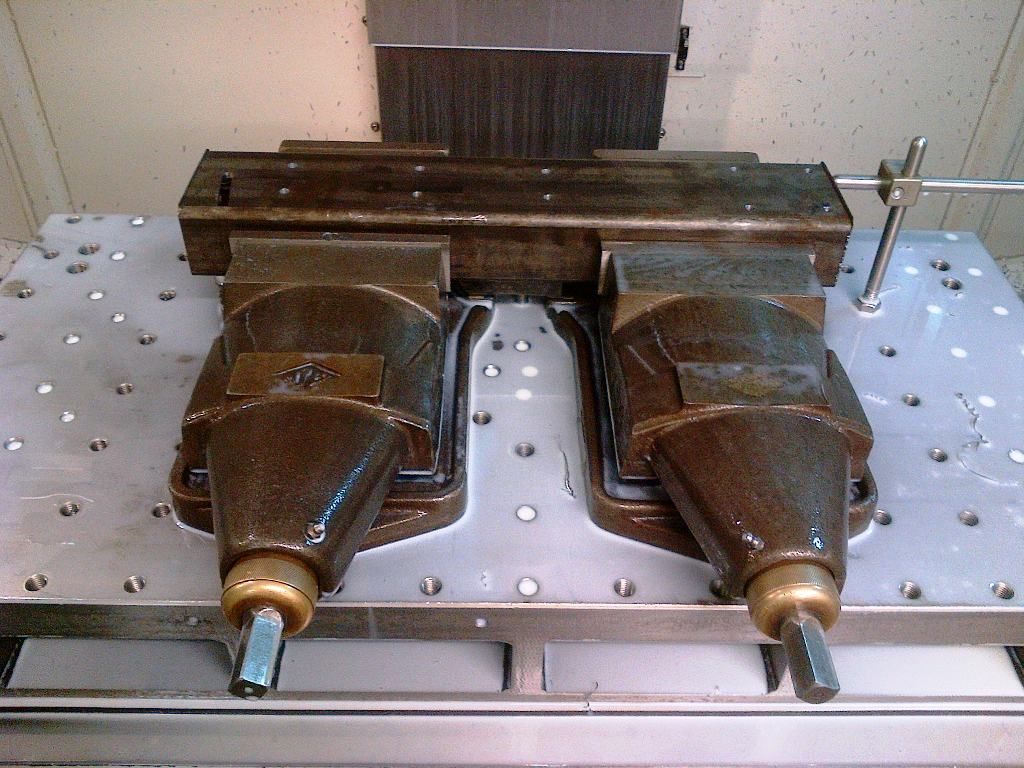 Made up the top brace where the pivots and adjuster would go 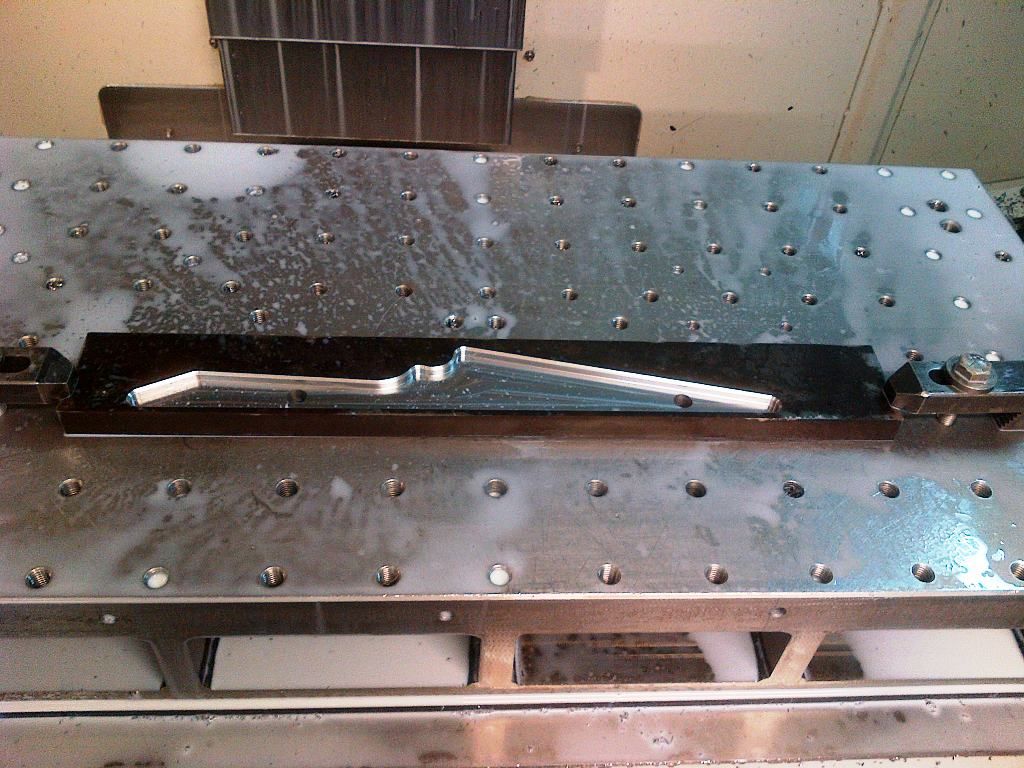 Nearly ready for welding  |
| |
|
|
|
|
|
|
|
May 18, 2015 22:36:16 GMT
|
|
Yep. Cnc production manager for an engineering company in Kent. Can't walk past a skip though,lol
|
| |
|
|
bstardchild
Club Retro Rides Member
Posts: 14,971
Club RR Member Number: 71
|
|
May 18, 2015 22:38:18 GMT
|
Yep. Cnc production manager for an engineering company in Kent. Can't walk past a skip though,lol Neither can I - it's shocking what companies and people throw away............. I don't have your skills and I'm impressed with what you've made |
| |
|
|
|
|
|
May 18, 2015 22:53:23 GMT
|
Started thinking about how to drive this. Not brilliant when it comes to electrickery. Haven't the knowledge to go the AC route,besides think it would get expensive with frequency converters etc for a variable speed drive. Needed something with a bit of poke,cheap if possible ,plenty torque and something that didn't pull power in such a manner that the lights went dim. Thought about a mobility scooter gearbox,but ratios with those small wheels was way out. This was the answer,an electric wheelchair motor. Found two complete old chairs on the Bay of Flea,spares and repair. £23 later and half an hour drive, they were mine. Stripped off the motors,four of them, and the controllers, and skipped the rest. Re advertised the motors and controllers as tested,as by now they had been, and three weeks later,all gone for a smidgen under £250. I was starting to like this build ! 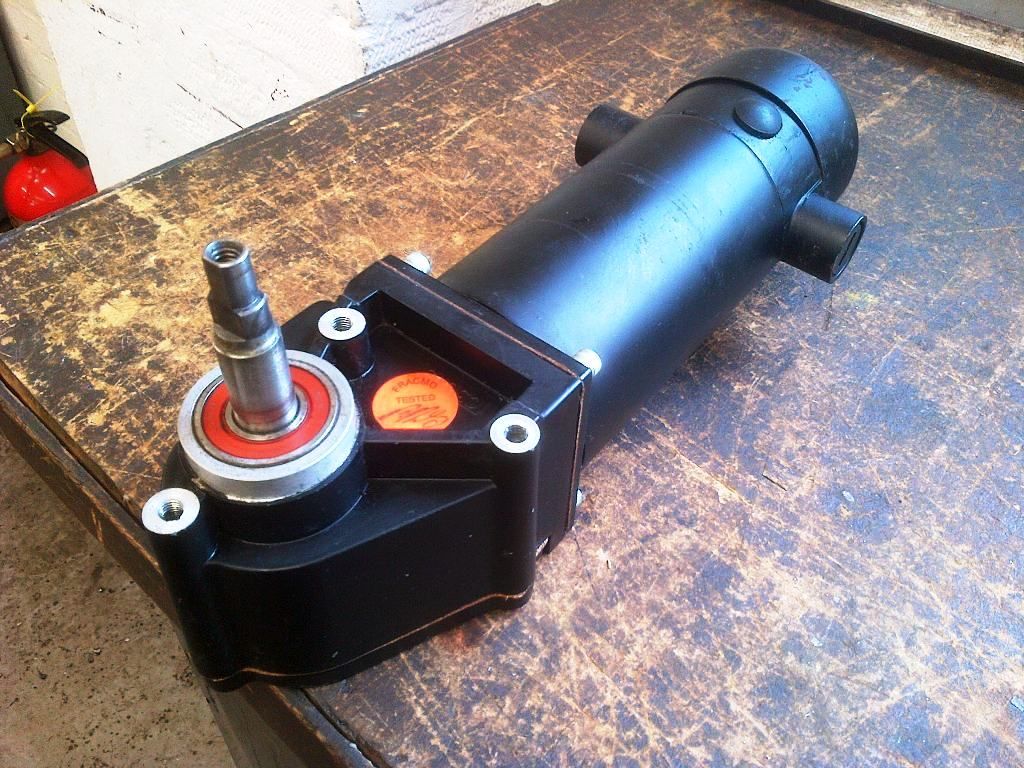 First thing was to understand how it and the controller worked. There is an electromagnetic brake in there,so,in the case of the battery going flat on an uphill, people at the bottom of the hill are not confronted with 30 stone Aunty Nora bearing down on them at 90 mph. Controller overly complicated to decide whether or not to let the motor run. So ditched the controller and removed the brake. 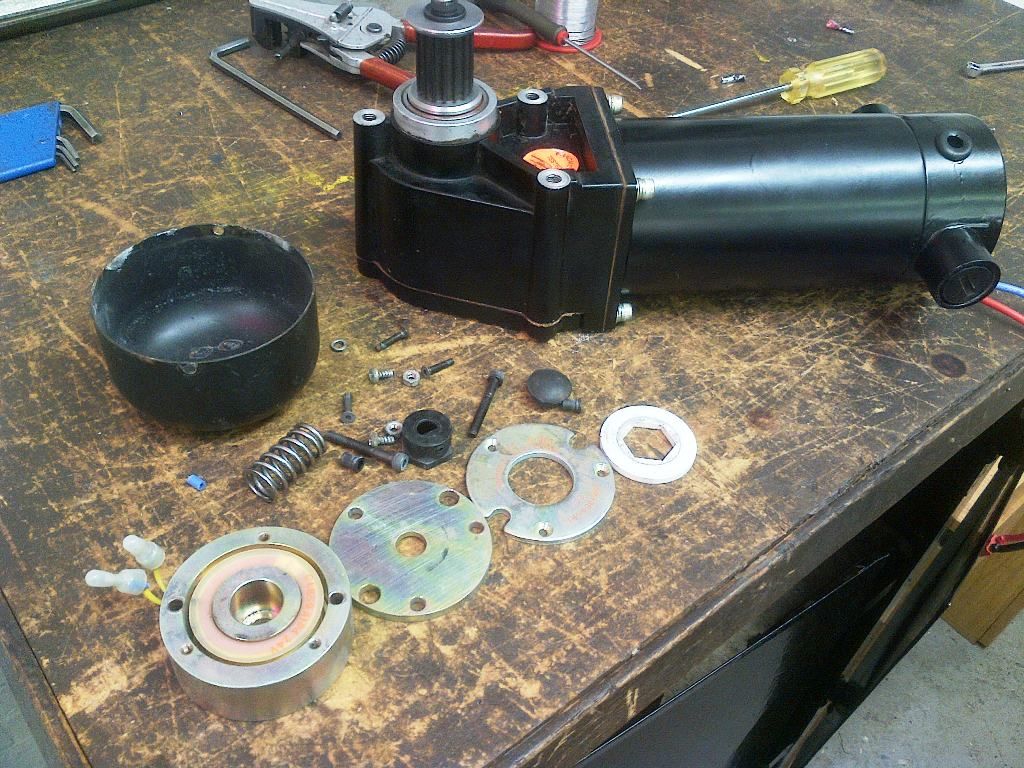 ![]() |
| |
Last Edit: May 18, 2015 23:16:24 GMT by Deleted
|
|
|
|
|
May 18, 2015 23:09:10 GMT
|
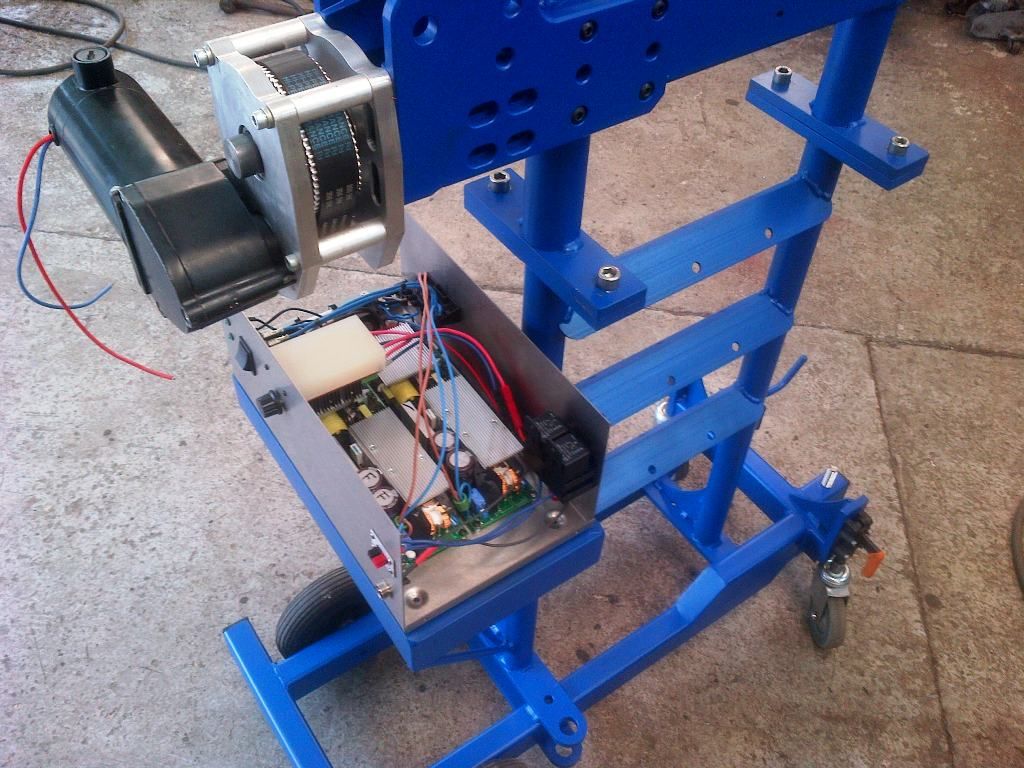
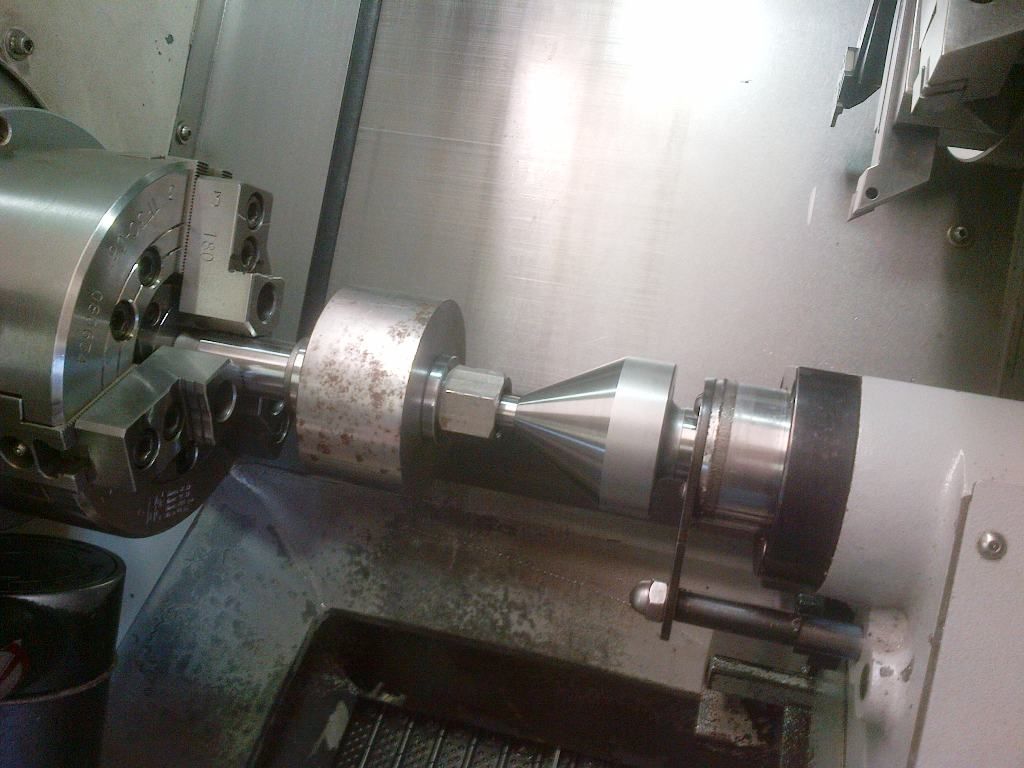
Needed more reduction,so toothed belt drive made 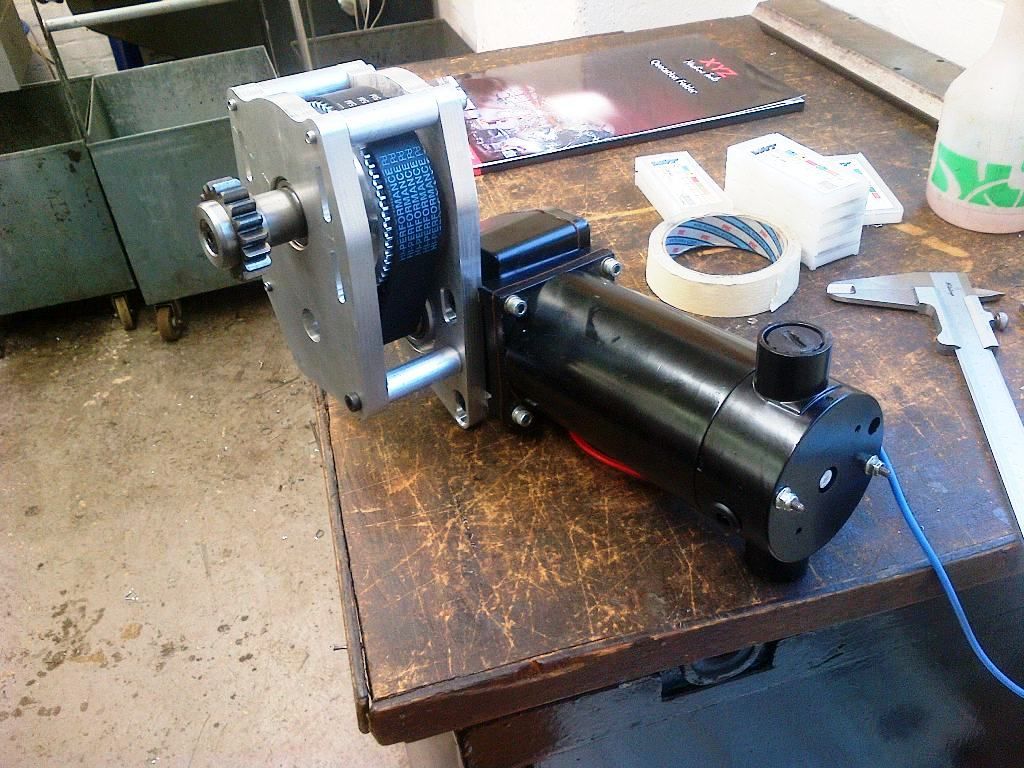 Fitted the gear drive 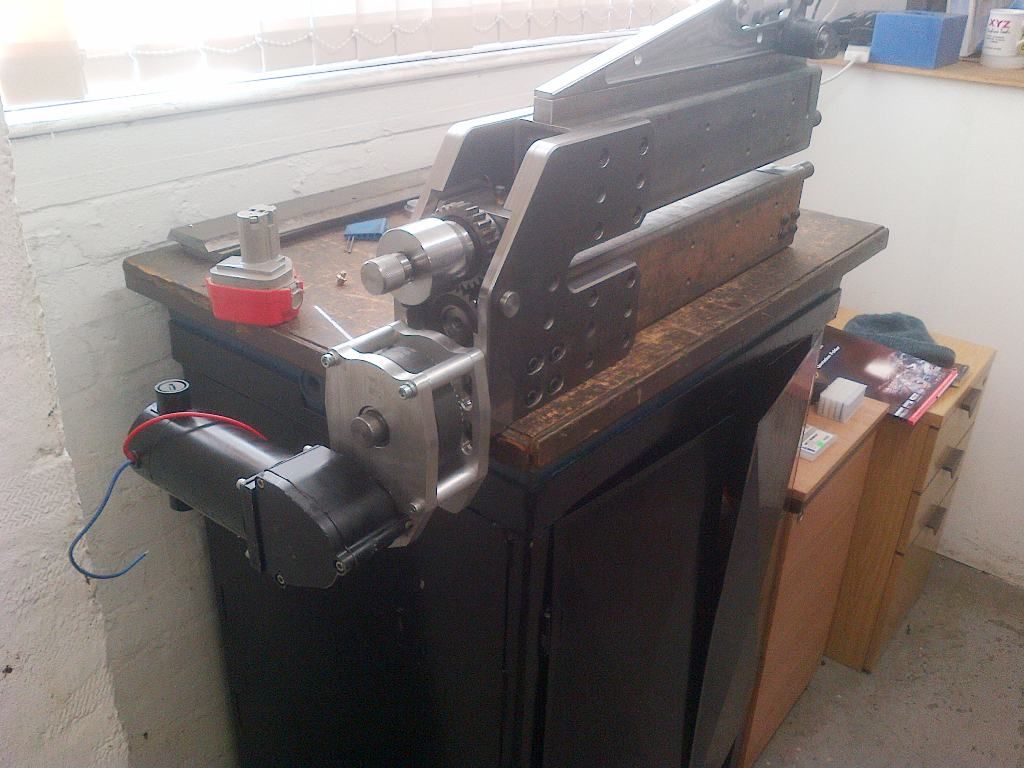 Now needed something to power it. Didn't want lead acid batteries and charger and a high amperage power supply was too costly. All not lost though, and Mr Hewlet and Mr Pakard came to the rescue. They make server power supplies,that can be had for less than a tenner. Varying degrees of poke,mostly 12v. I settled for two 12v 57 amp versions. The nice thing about these,if you know how,is you can connect them in series. That what I did,so landed up with a 24v power supply capable of 57 amps. Won't go into details on how it was done,suffice to say it was done the hard way by removing the DC Earth on one,not the quick and potentially lethal way of removing the AC earth. 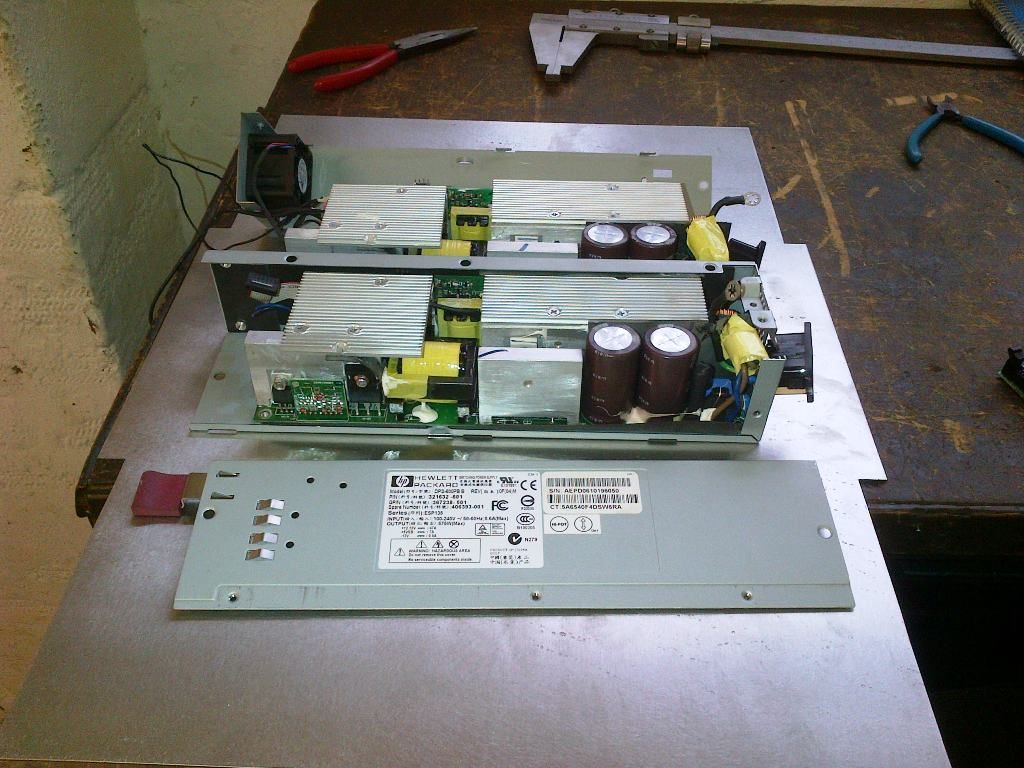 |
| |
|
|
bstardchild
Club Retro Rides Member
Posts: 14,971
Club RR Member Number: 71
|
|
May 18, 2015 23:09:32 GMT
|
|
I'm going to stop commenting now and just enjoy the education.......
|
| |
|
|
|
|
|
May 18, 2015 23:12:01 GMT
|
Yep. Cnc production manager for an engineering company in Kent. Can't walk past a skip though,lol Neither can I - it's shocking what companies and people throw away............. I don't have your skills and I'm impressed with what you've made Just been looking at your build thread. Humbled. No lack of skills there  |
| |
|
|
|
|
|
May 18, 2015 23:26:49 GMT
|
Around about this time I got an email from the Oldboy in Holland. He realised he would never rebuild his. He had left it standing outside for too long and it was too far gone. We wanted the parts he had to go to a good home. A couple of weeks later I met another Hollander at the services when he delivered this for me.. 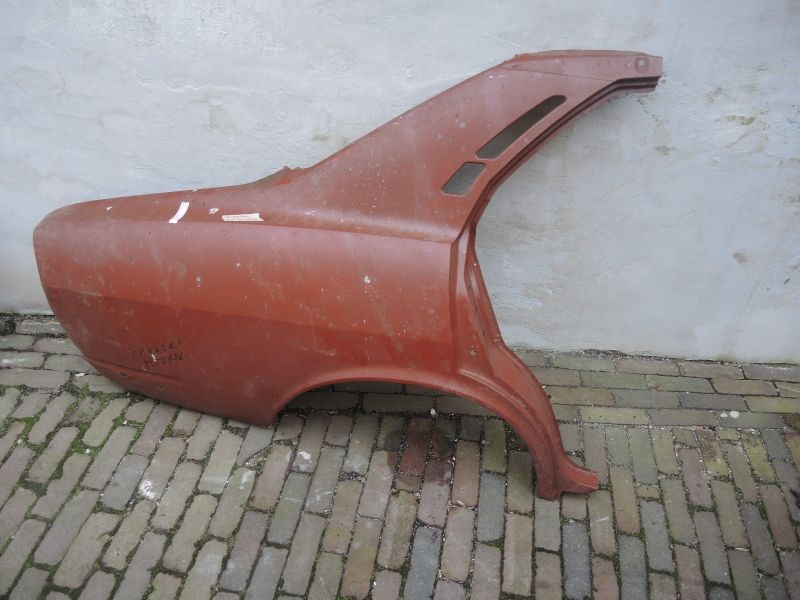 It was the right side,but the wrong side. But it was a start. Two weeks later,another email from Holland and I had this.. 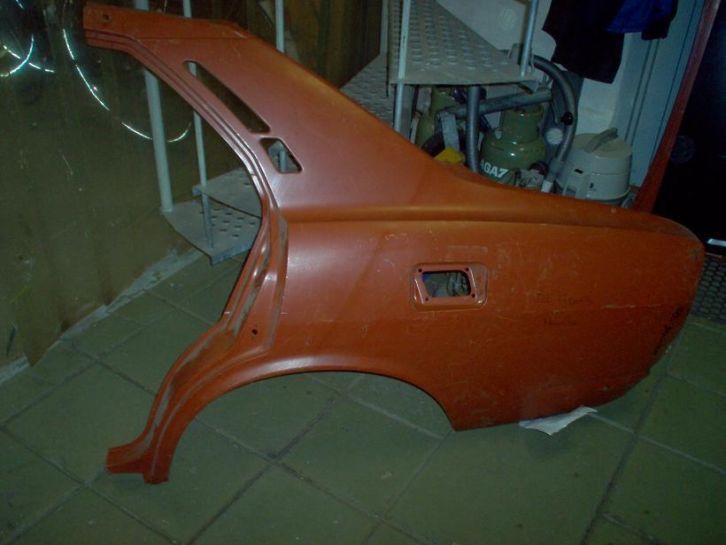 This was huge. After nearly two years of looking ,to find both within two weeks,was unbelievable. I nowhad grown a spine and revealed what the quarter panel really looked like 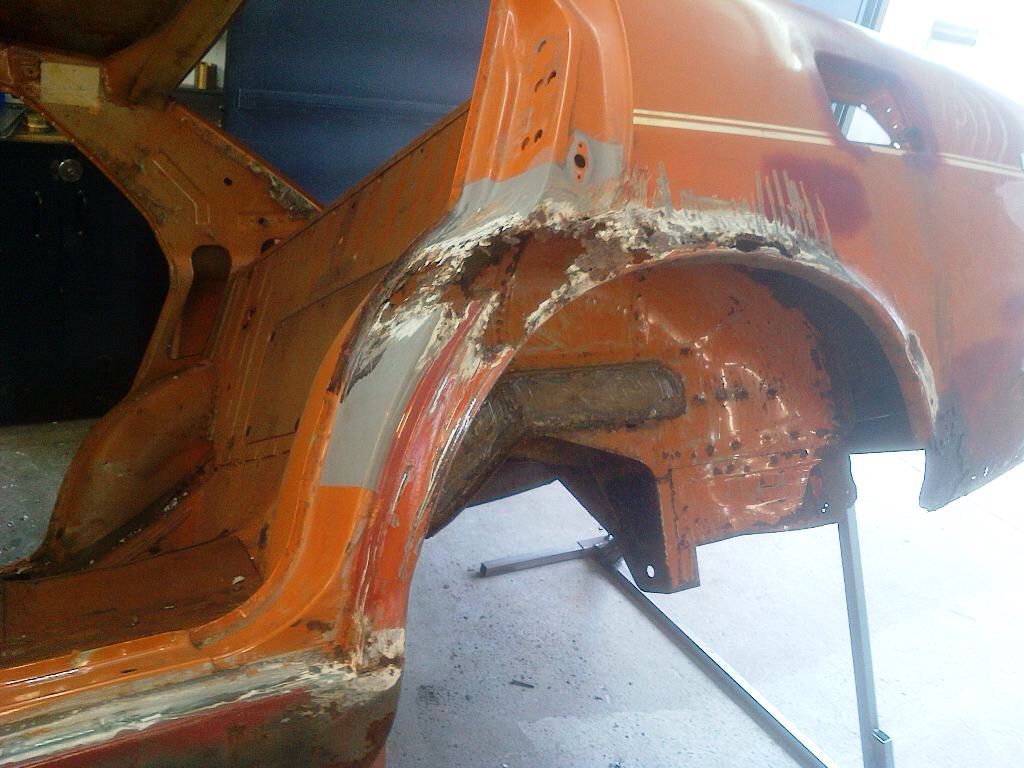 If I had seen that before I had the two quarters, it would have been game over. Huge thanks to my Dutch friends.... |
| |
Last Edit: May 18, 2015 23:31:43 GMT by Deleted
|
|
|
|
|
|
|
|
Utterly brilliant. Both detection and fabrication skills. Bookmarked and here for the enjoyable long haul.
|
| |
|
|
|
|
|
|
|
|
|
These server psu's have fans that run all the time. Efficient but noisy. Also have a feature that they speed up when they detect a heavier load. So reused the fans. 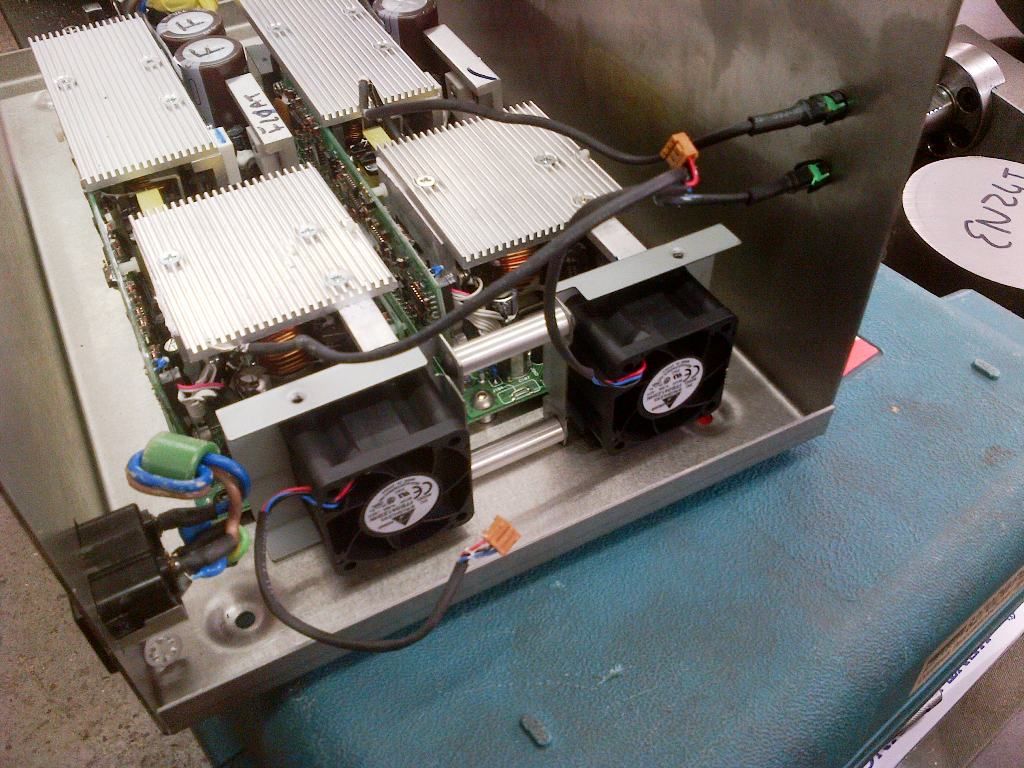 I wanted variable speed in both directions. This is a pwmm controller. That sorted out the variable bit 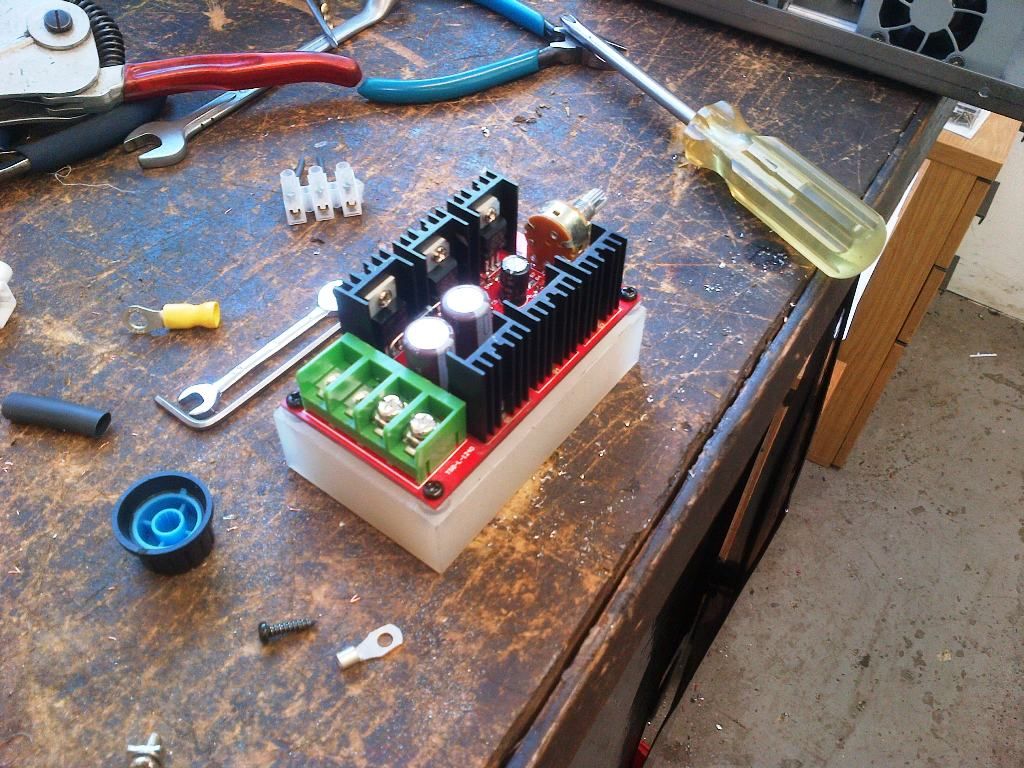 These sorted out the direction bit 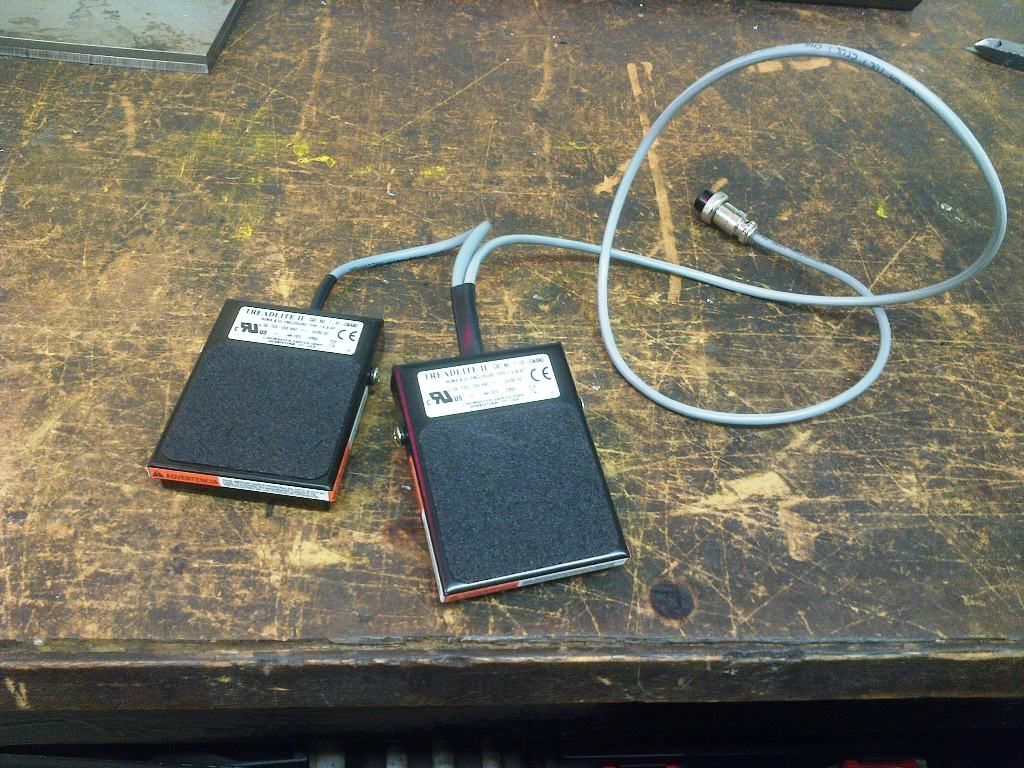 Needed some relays and holders. Car builder solutions are local to me and brilliant. They supplied the relays etc. Mods give me a slap on the wrist if that broaches any of your policies,but they are a pukka company to deal with! 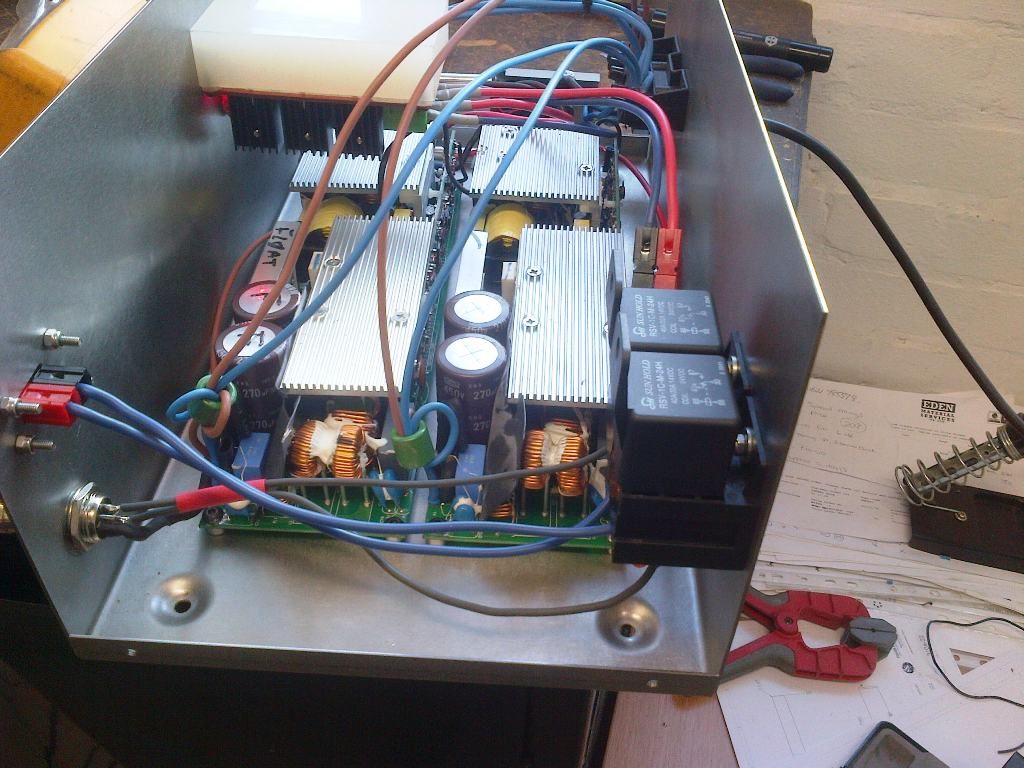 |
| |
Last Edit: May 19, 2015 4:12:35 GMT by Deleted
|
|
|
|
|
|
|
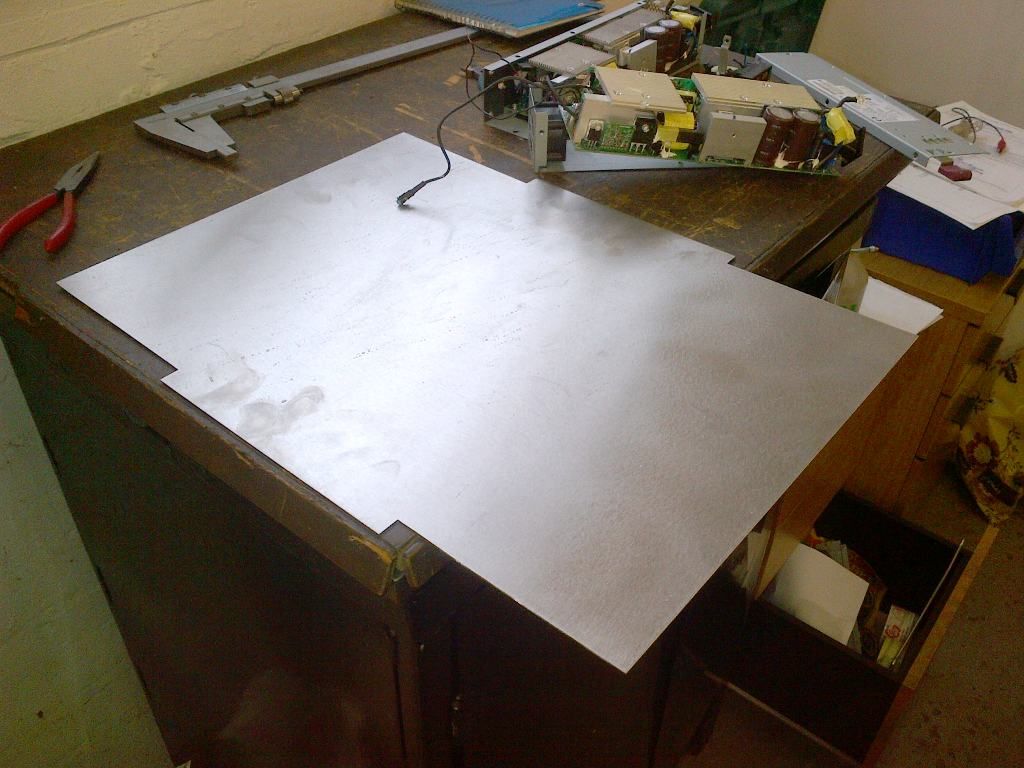
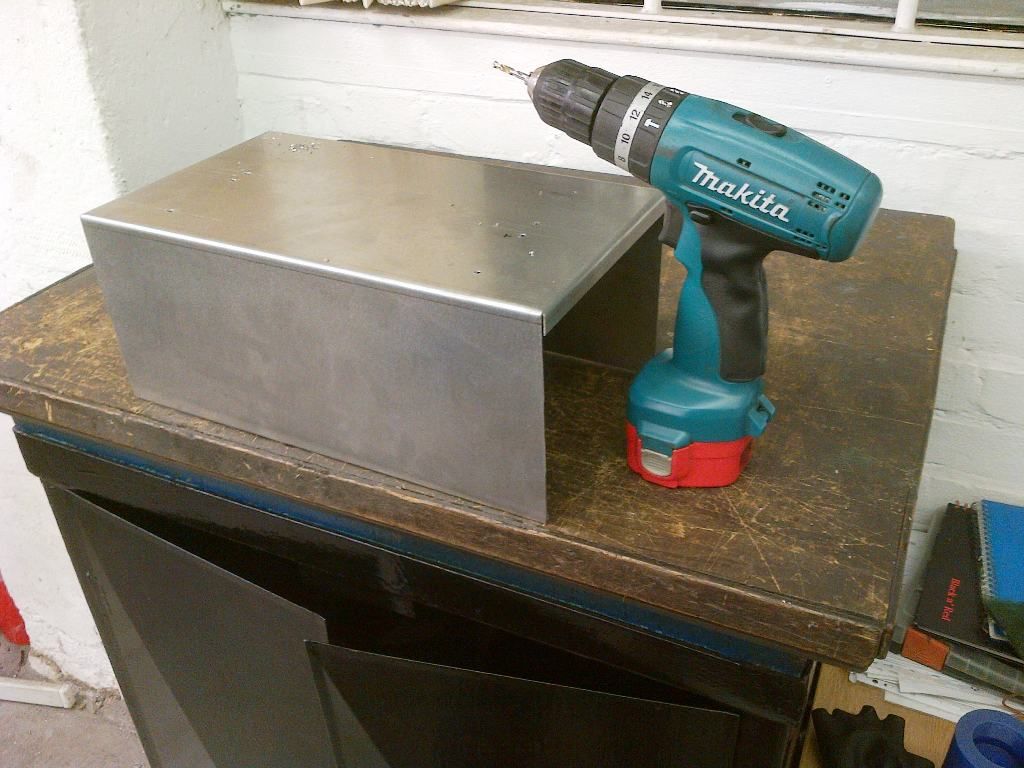
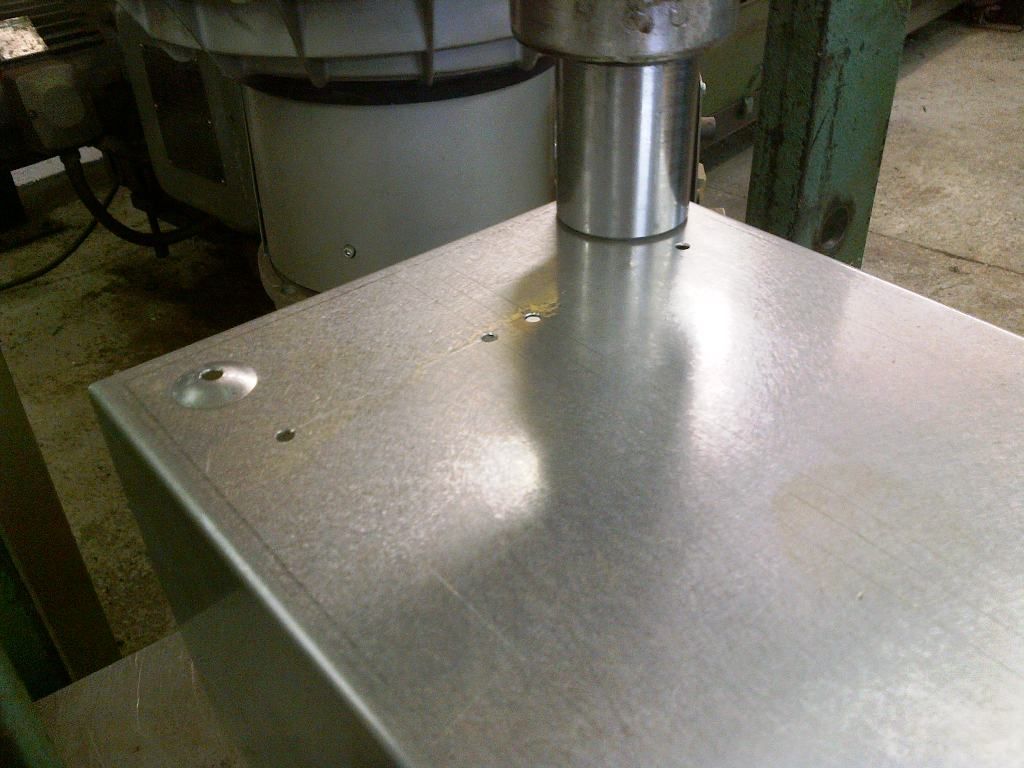
It does what it's supposed to ! One pedal depressed 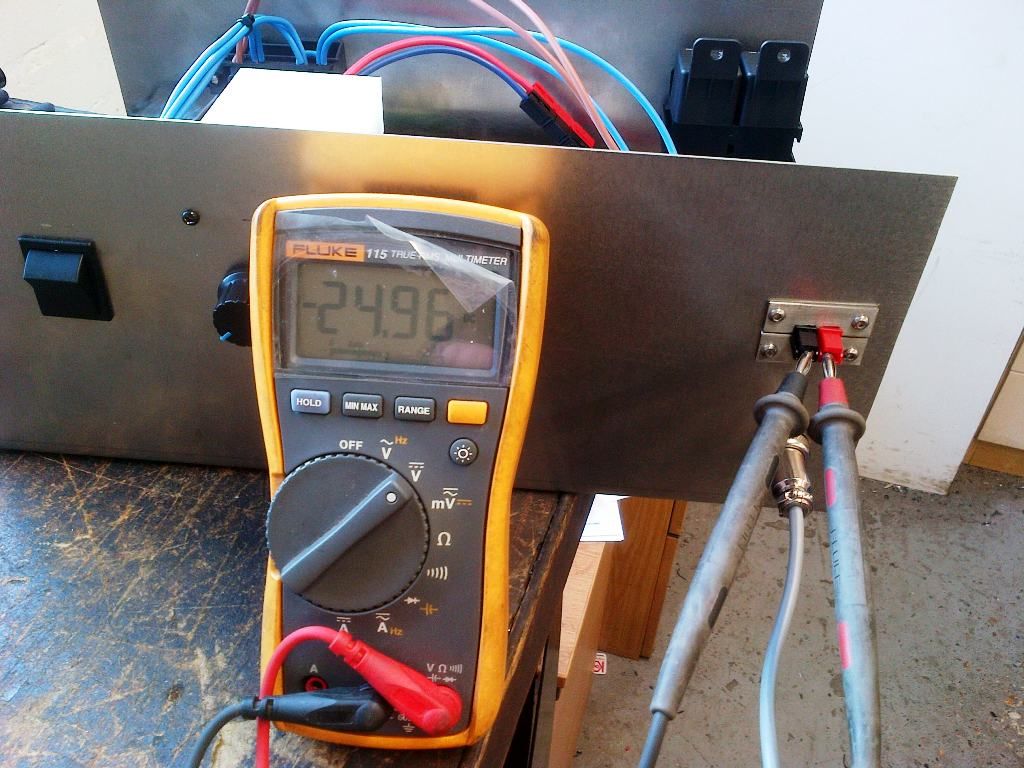 Foot off the pedal and it electrically brakes the motor,so when you want to stop,it doesn't slow down,it stops! Hit the other pedal and direction has changed 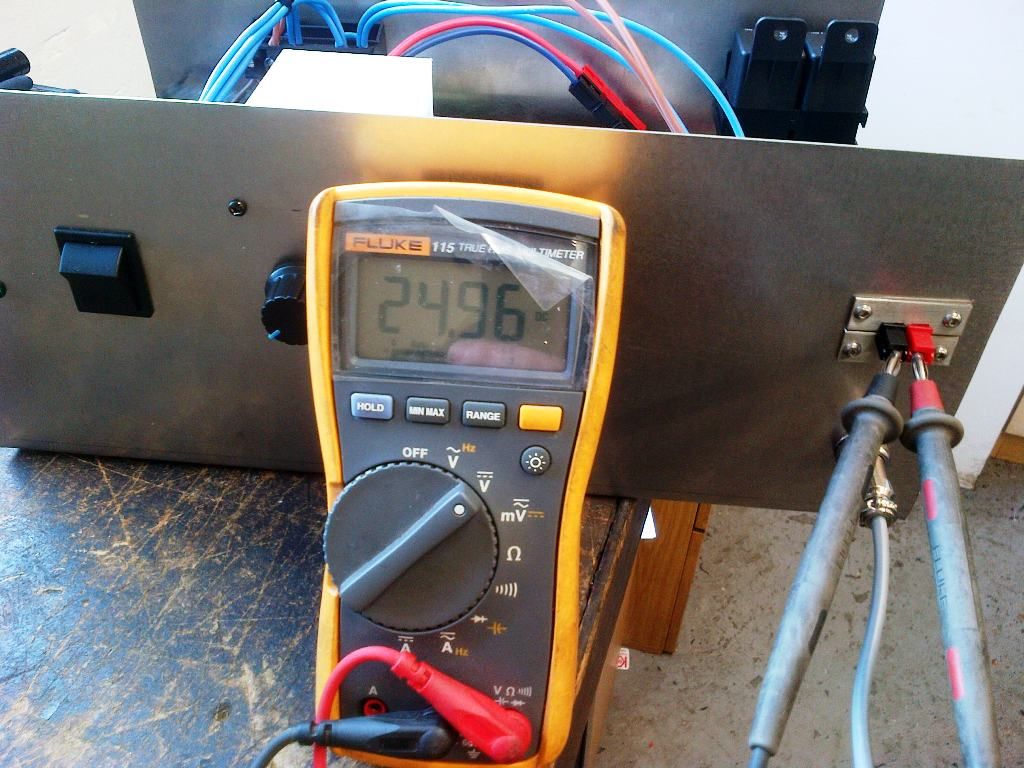 Needed a top for the box 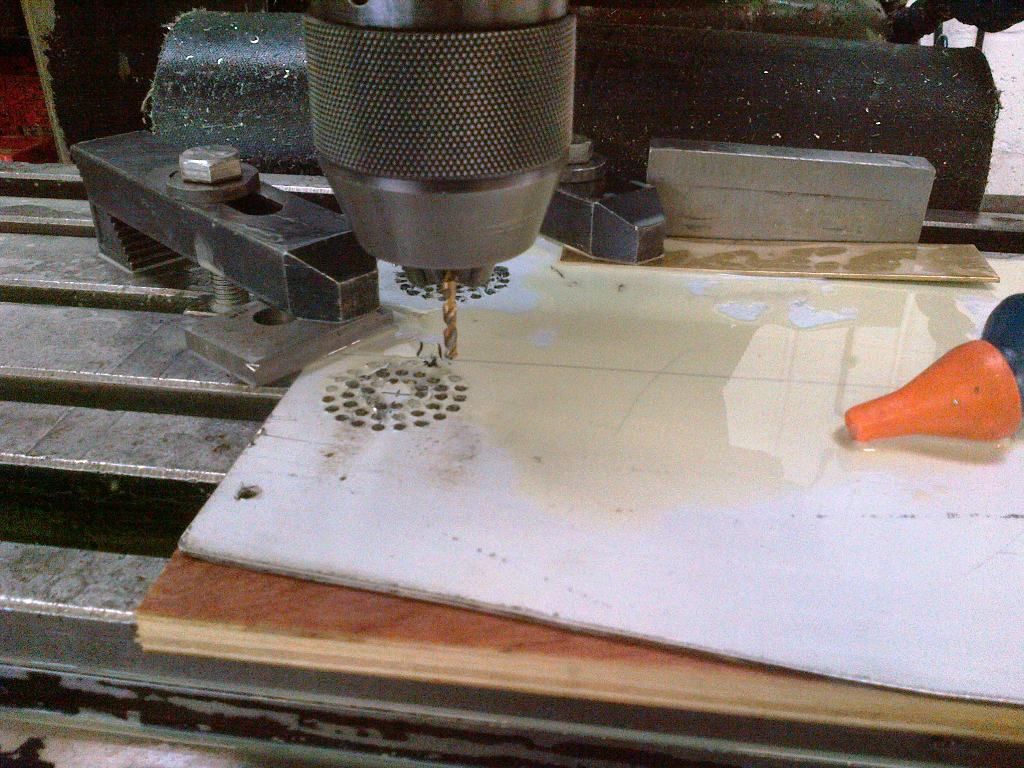 Tapped the chassis for the lid 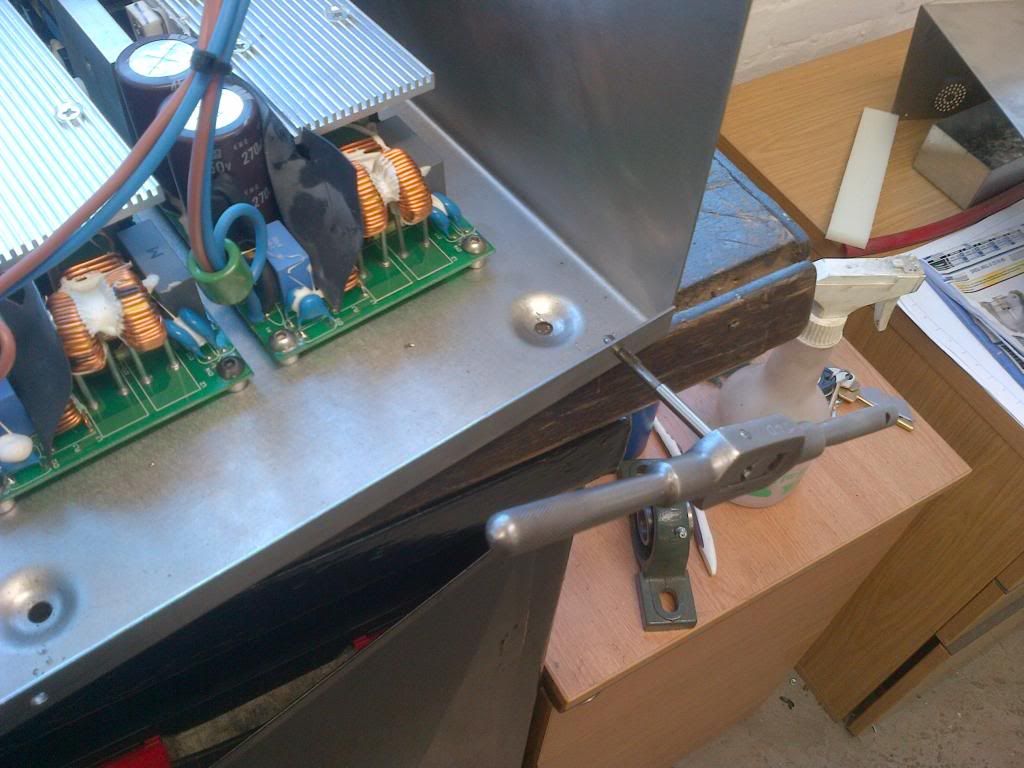 Job done 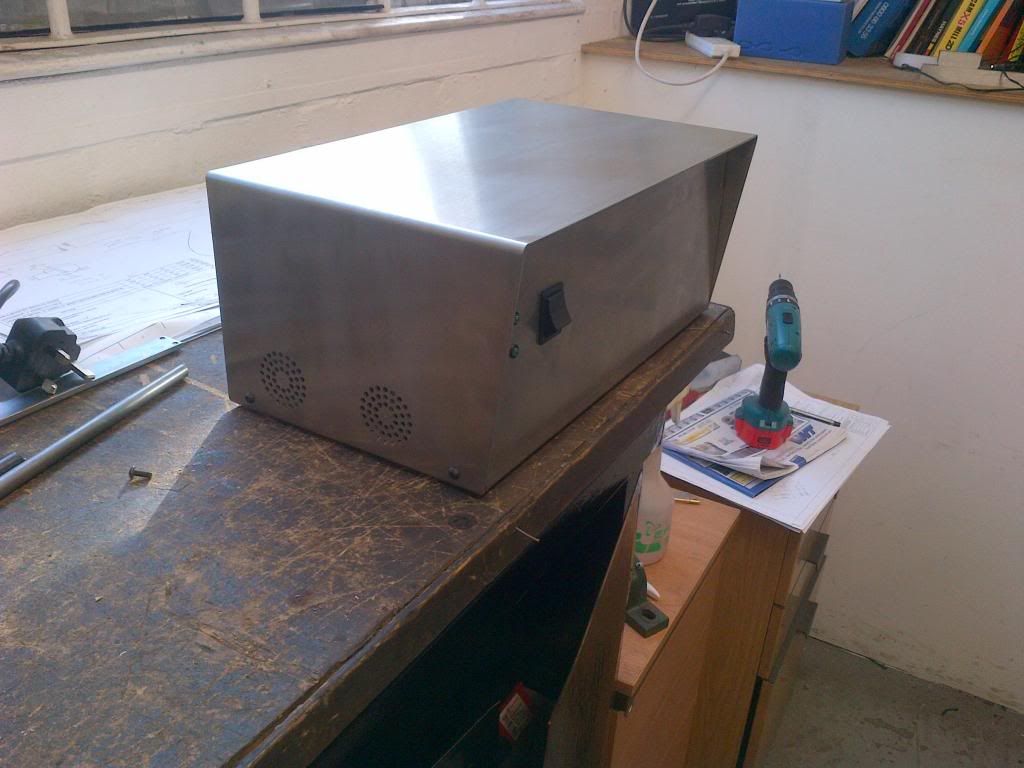 |
| |
Last Edit: May 19, 2015 4:24:51 GMT by Deleted
|
|
|
|
|
|
|
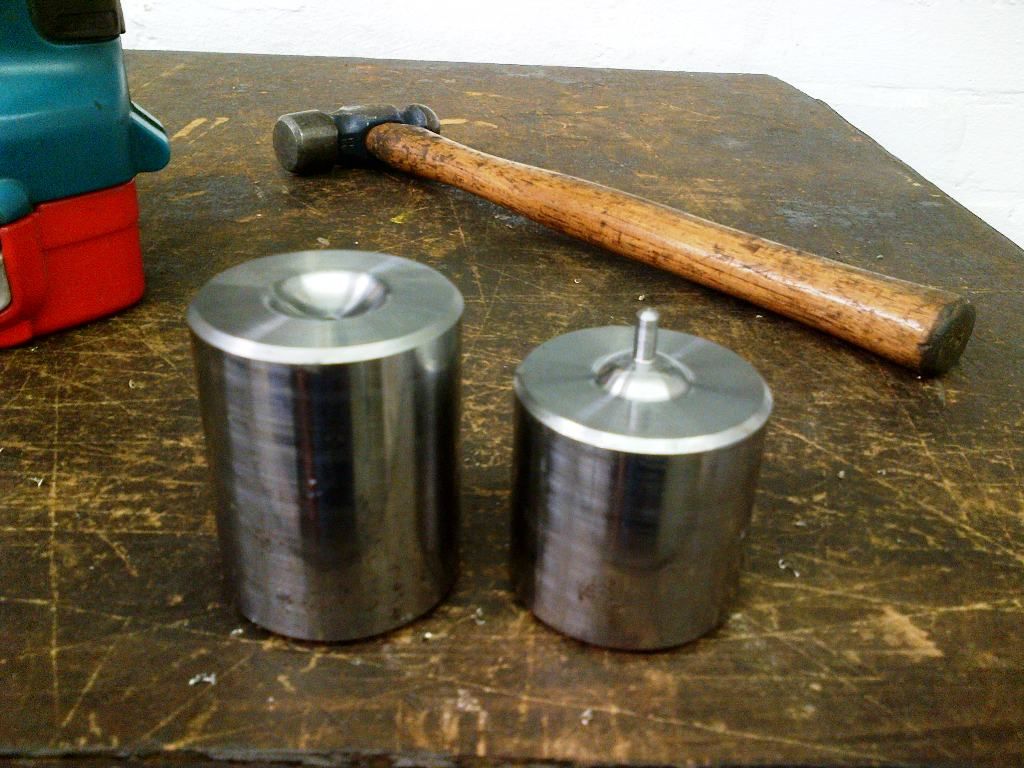
So it was back onto the beadroller again 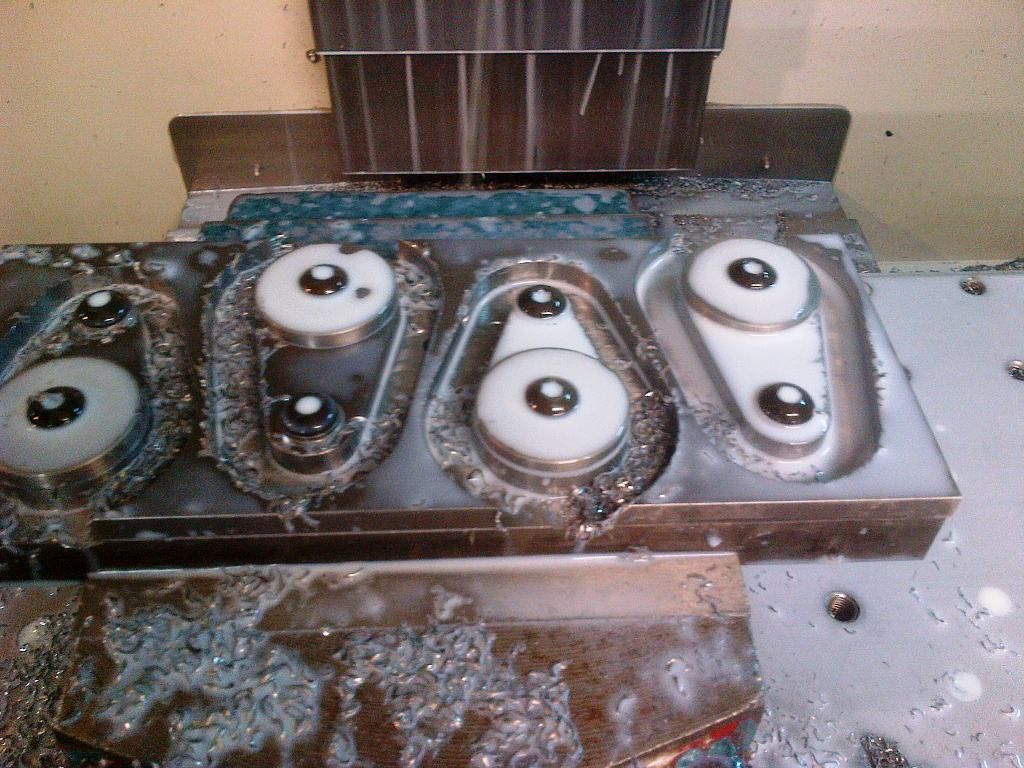 Bellcrank time 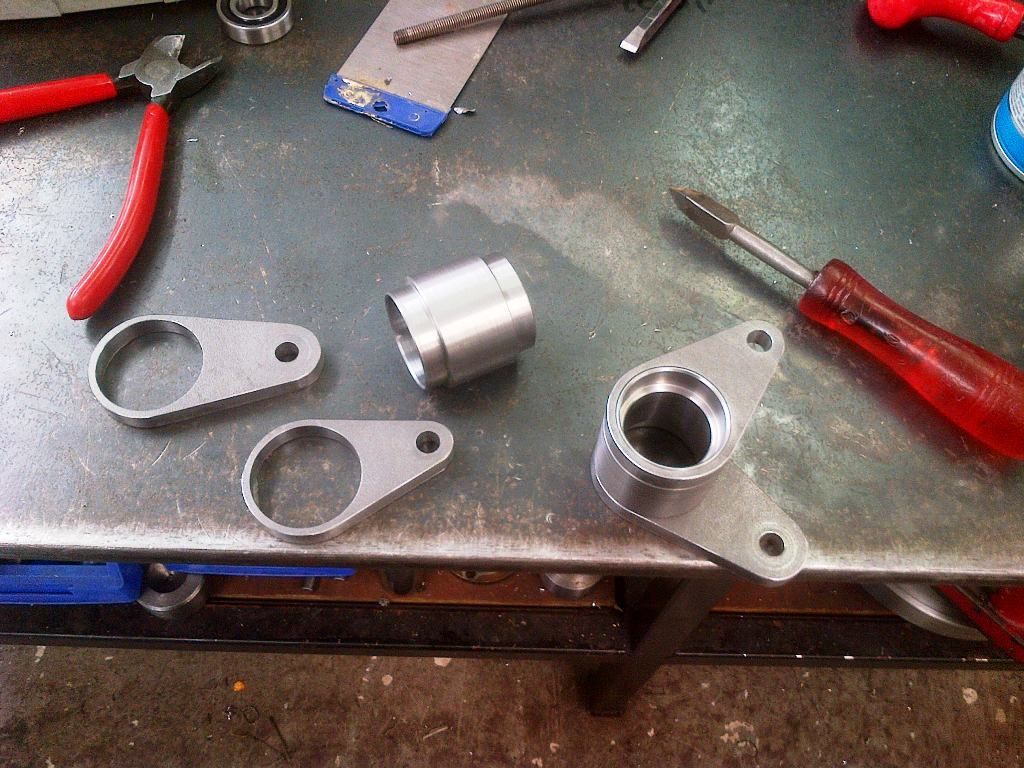 Ready for an ickle bit of tiggling 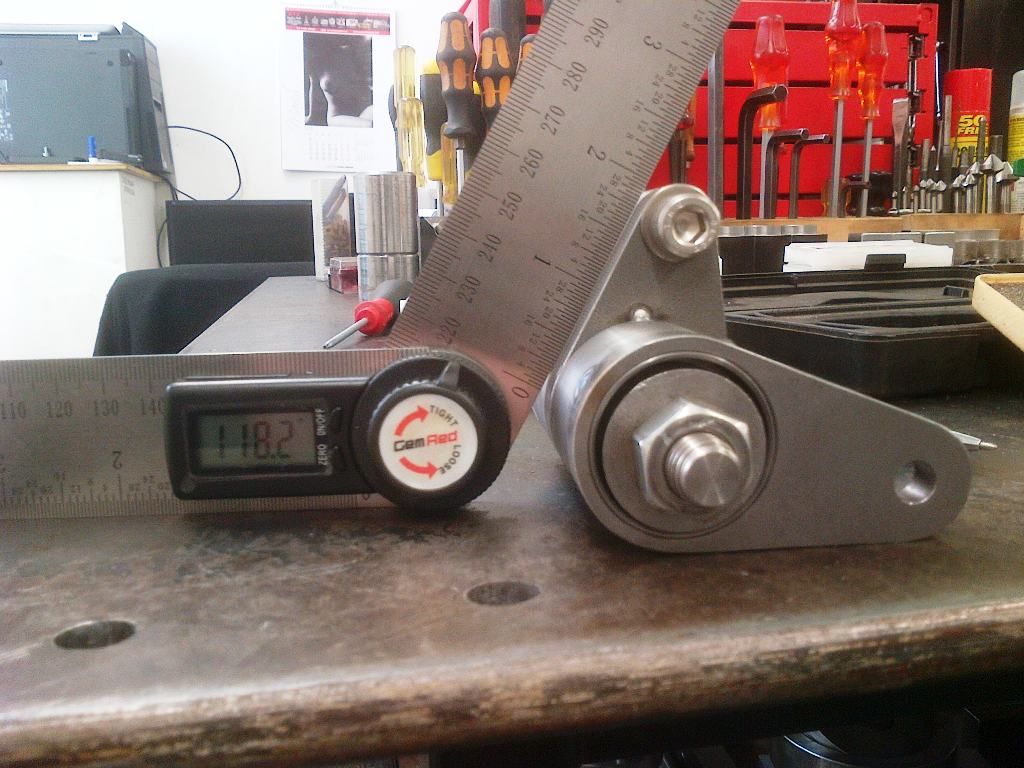 Onto the chassis part of it. Started on the out riggers 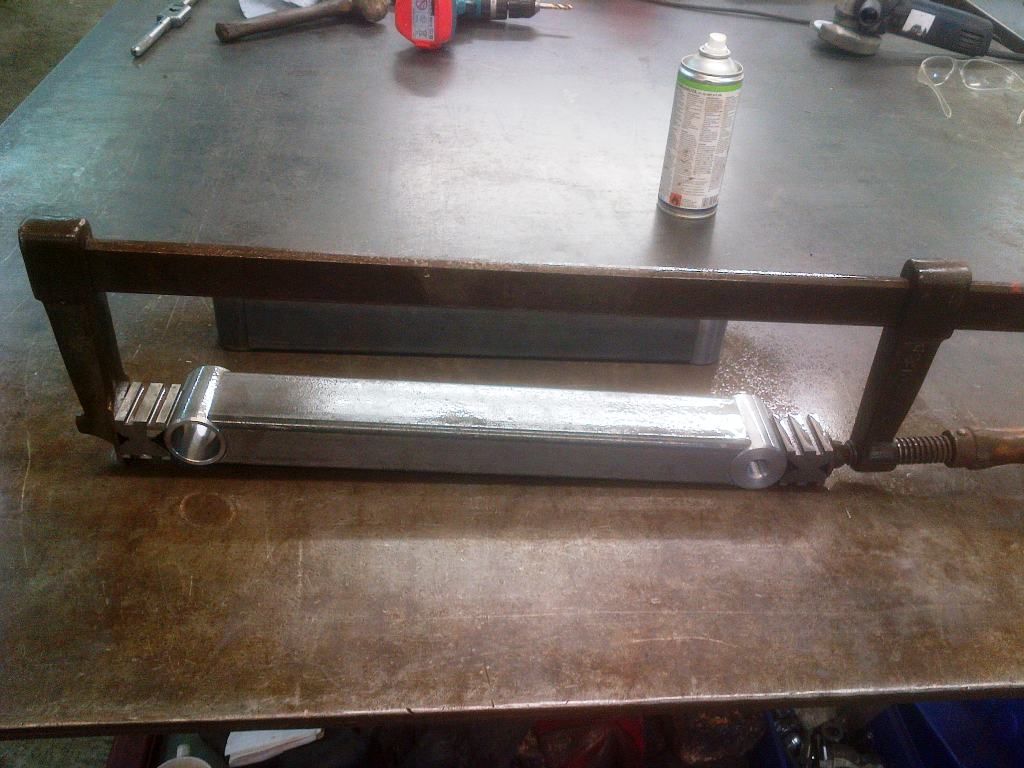 And the base 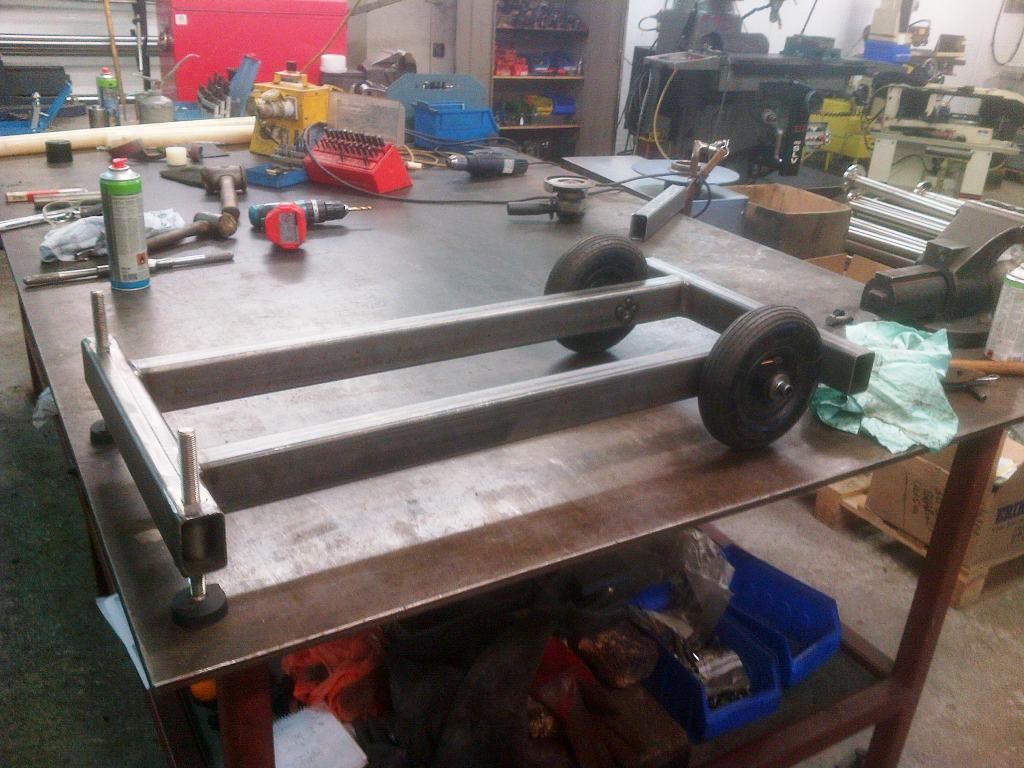 |
| |
|
|
|
|
|
|
|
Finished off the front section where the bearing block slides up and down 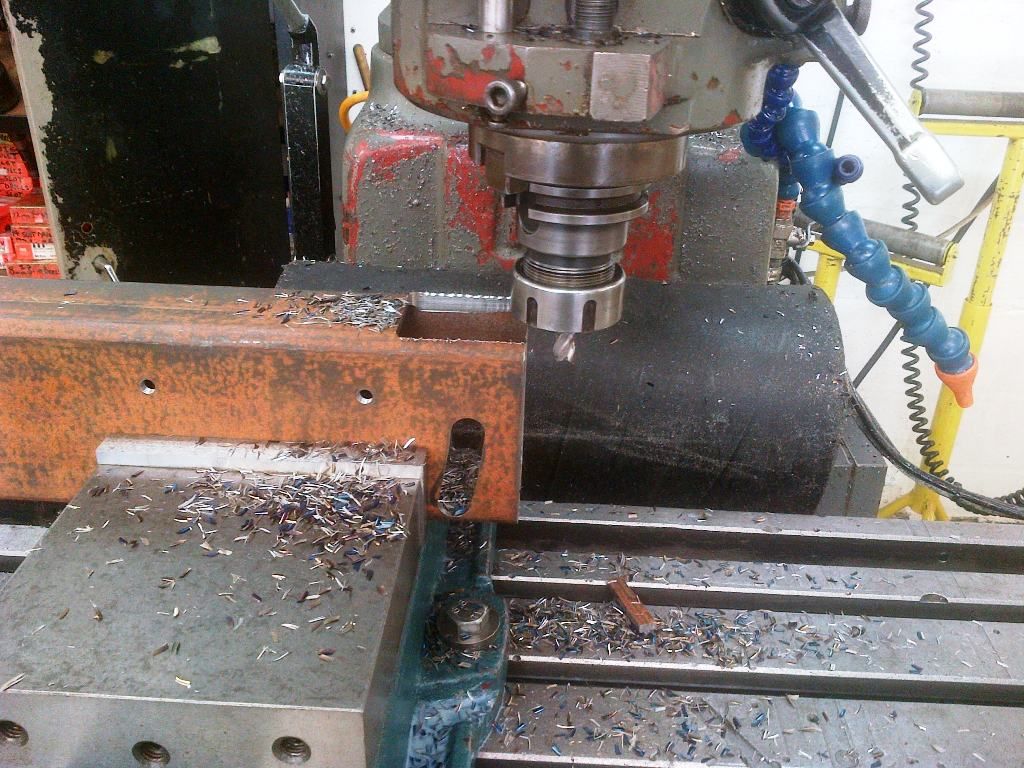 Milled some clearance into the front block 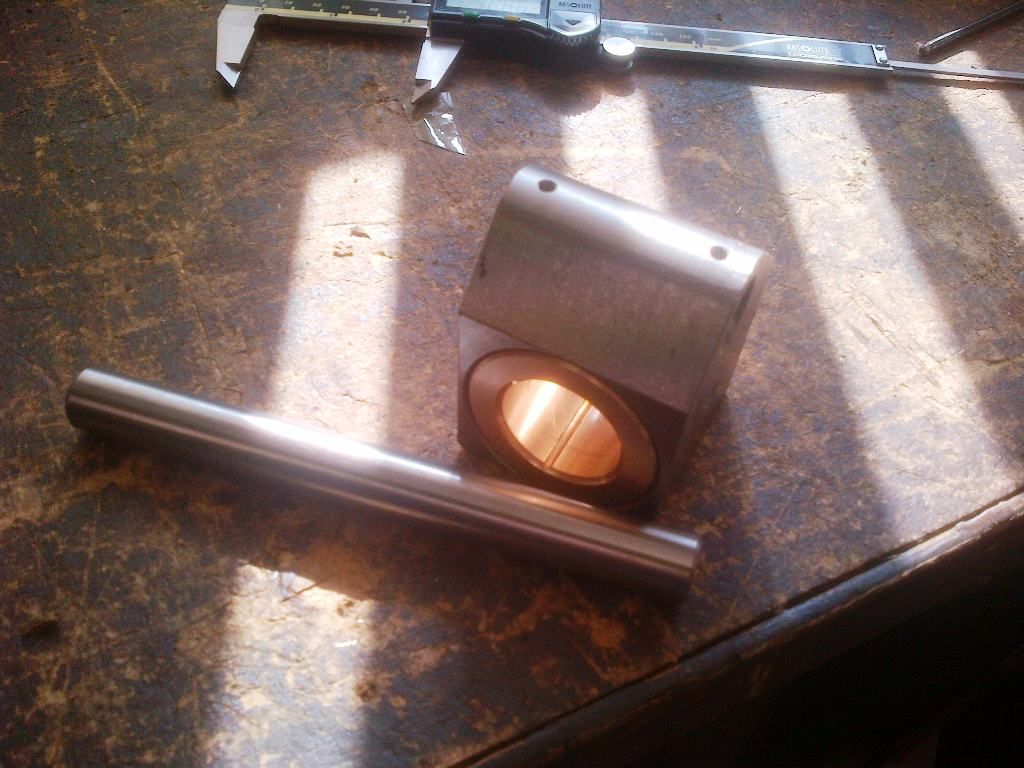 Assembled again  Welded and started to paint it 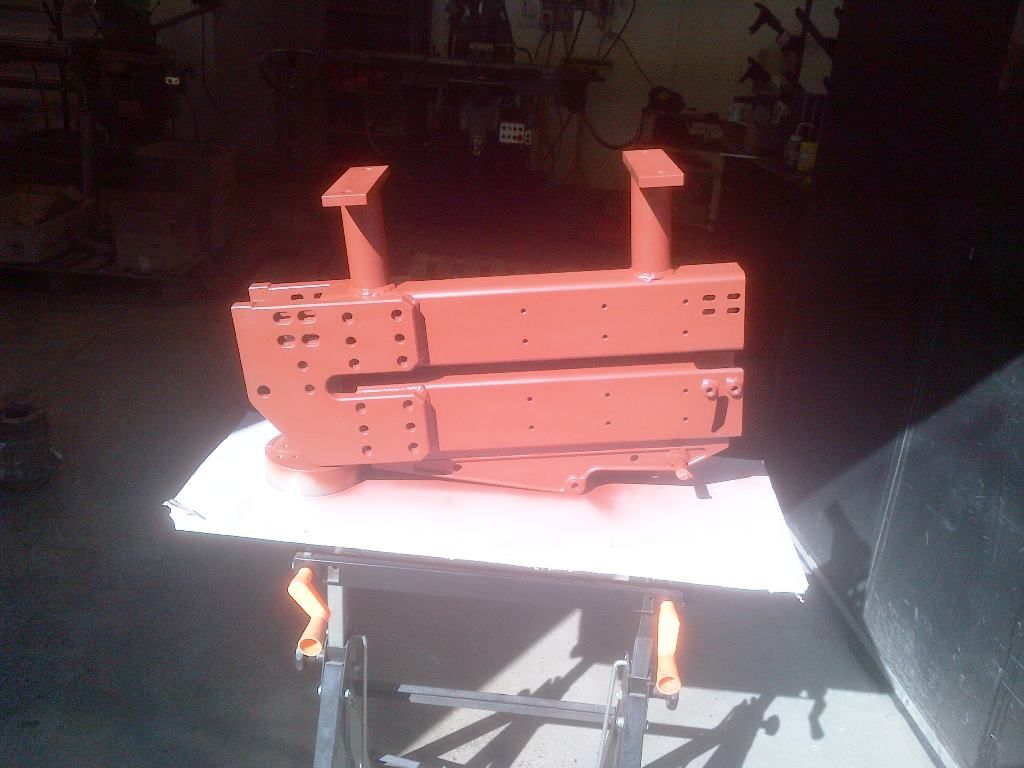 This must be my favourite photo of it. Doesn't look like it would be out of place on a Starwars movie set. Either that or I didn't spray it in a well ventilated area and the fumes have now addled my brain..... 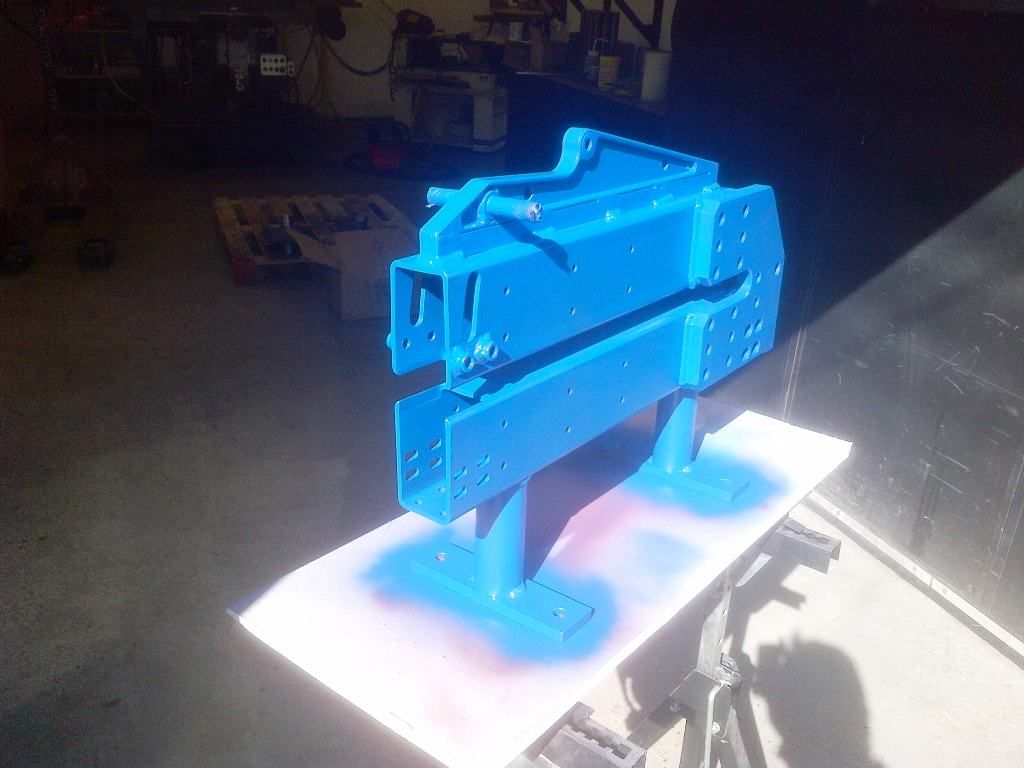 |
| |
|
|
|
|
|
|
|
|
this thread is pure filth! youve put more engineering and effort making one tool for your car, than i have into the car itself. impressed and depressed in equal measure
given the evidence we've seen so far in this thread, if you give up on the RX you'll find me in the retrorides server hall like miles dyson in terminator 2, surrounded by explosives and gasping my last breaths
|
| |
Last Edit: Dec 28, 2015 18:42:00 GMT by darrenh
|
|
|
|
|
May 19, 2015 15:14:24 GMT
|
|
Now I didnt feel all that dumb until reading this thread!.....I'm still trying to wrap my head around how you do what you do, much less what you are doing....one thing I can say is that it is some of the best work I have seen done in a very very long time!....
How are you at fabricating watch parts?....
wonderful work!
JP
|
| |
I know its spelled Norman Luxury Yacht, but its pronounced Throat Wobbler Mangrove!
|
|
|
|
|
May 19, 2015 15:50:41 GMT
|
Now I didnt feel all that dumb until reading this thread!.....I'm still trying to wrap my head around how you do what you do, much less what you are doing....one thing I can say is that it is some of the best work I have seen done in a very very long time!.... How are you at fabricating watch parts?.... wonderful work! JP No time for watch parts.... I will get my coat, loll Thanks for the kind words. |
| |
Last Edit: May 19, 2015 16:16:59 GMT by Deleted
|
|
|
|
|
May 19, 2015 18:58:28 GMT
|
Painted some more bits and carried on fabricating 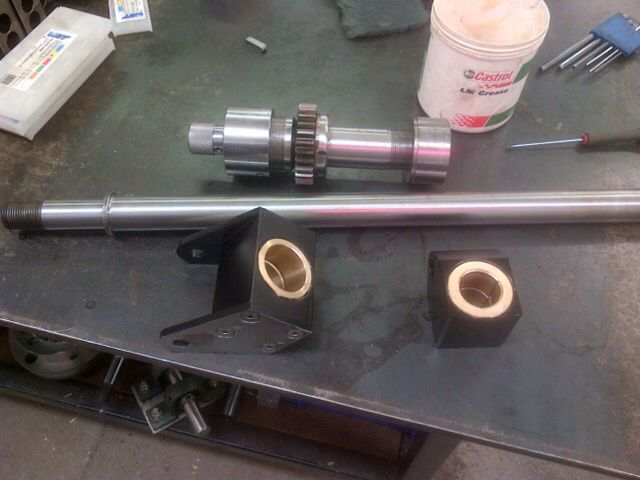 Decided to incorporate two foot operated shrinker stretchers onto the same chassis. Had mine on the one side and a bought one on the other. Didn't relish having to constantly swap jaws. 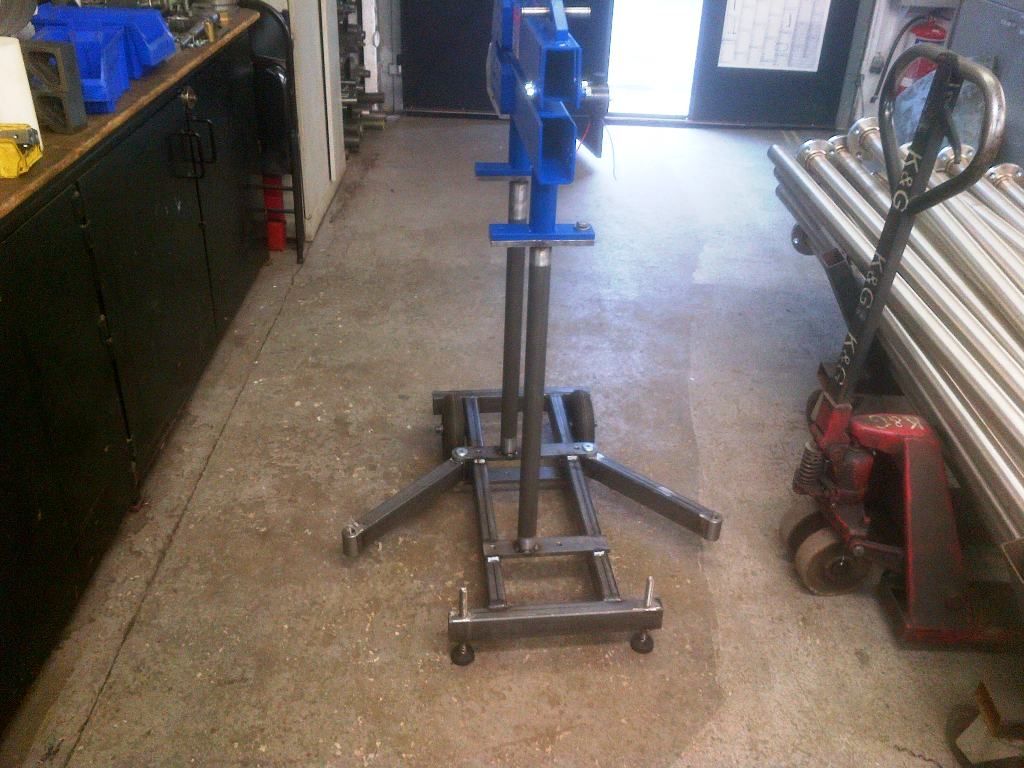 Machined through the tube so a pushrods could go from a foot pedal to the shrinker 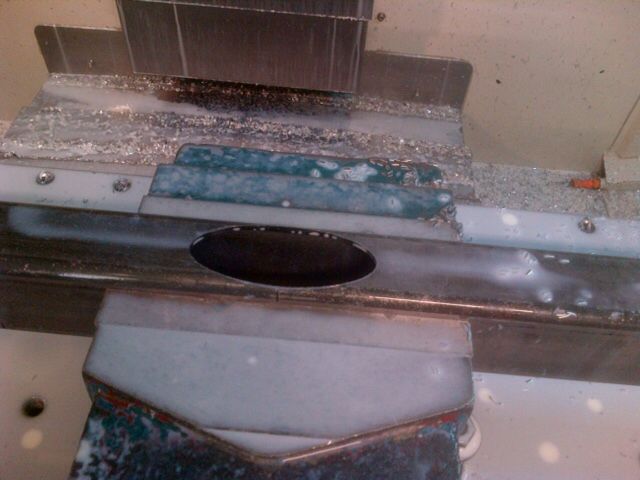 Couple of bits got changed along the way, but basics where there 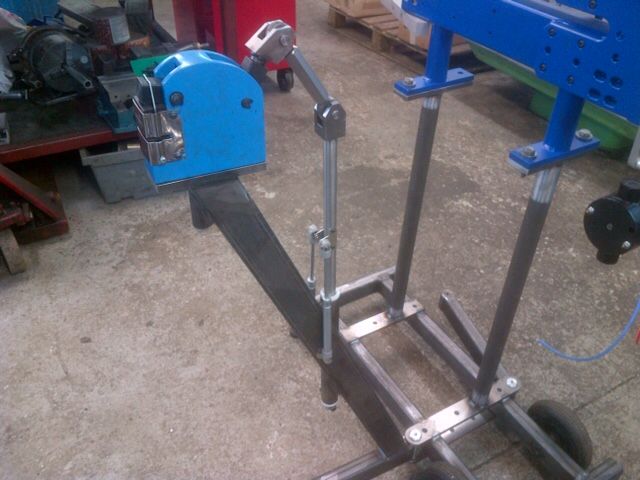 Time for paint 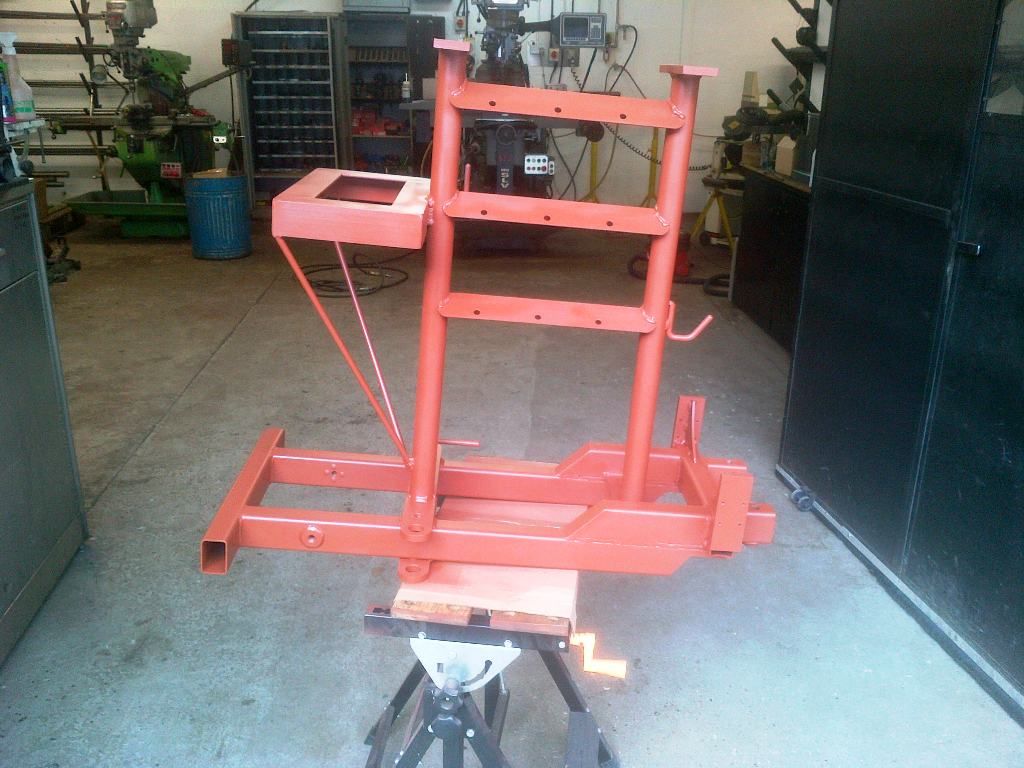 |
| |
|
|
|
|
|
May 19, 2015 19:05:51 GMT
|
|
|
| |
|
|
|
|
|
May 19, 2015 19:20:41 GMT
|
awesome choice in cars, great news with regards to the rear qtr's and kudos for making your own tools  |
| |
|
|


