vulgalour
Club Retro Rides Member
Posts: 7,286
Club RR Member Number: 146
|
|
Oct 11, 2015 15:24:26 GMT
|
rich: Clearly, I've been over-thinking that element, you just solved it. Thank you  charliecroker charliecroker: Bumper is staying off because I decided to have no bumper up front, I like both ends matching. Changing the boot lip to accept it wouldn't help because the number plate looks really clumsy when sat between the lights so it needs to sit lower. A recessed panel is most likely the best solution and one of the easiest if my construction theory holds water.
|
| |
|
|
|
|
vulgalour
Club Retro Rides Member
Posts: 7,286
Club RR Member Number: 146
|
|
Oct 11, 2015 15:28:31 GMT
|
79cord: possibly on the metal strip idea. I want to see how it looks once it's all one colour with the new lights fitted first to see what I'm working with. I want things to look fairly minimal and avoid any frill and fuss. Foose designs can be a bit too 1990s, I'm aiming more for somewhere between late seventies and mid eighties. eternaloptimist: I've been planning to put a high level brake light into the boot itself, near the chrome strip, but can you imagine how annoying a foglight would be at eye level?
|
| |
|
|
Rich
Club Retro Rides Member
Posts: 6,339  Club RR Member Number: 160
|
|
Oct 11, 2015 19:24:32 GMT
|
rich: Clearly, I've been over-thinking that element, you just solved it. Thank you  One (simple) step further, you could use hyperbright White for reverse, and mix the red and white on separate circuits in each unit to achieve a reverse and fog on each side very discretely. When I made the holder boards, I literally cut the side of an ice cream tub to size and used a drill bit matching the LED size to make the holes so they were a nice tight fit and just fitted it up. |
| |
|
|
vulgalour
Club Retro Rides Member
Posts: 7,286
Club RR Member Number: 146
|
|
Oct 11, 2015 20:57:21 GMT
|
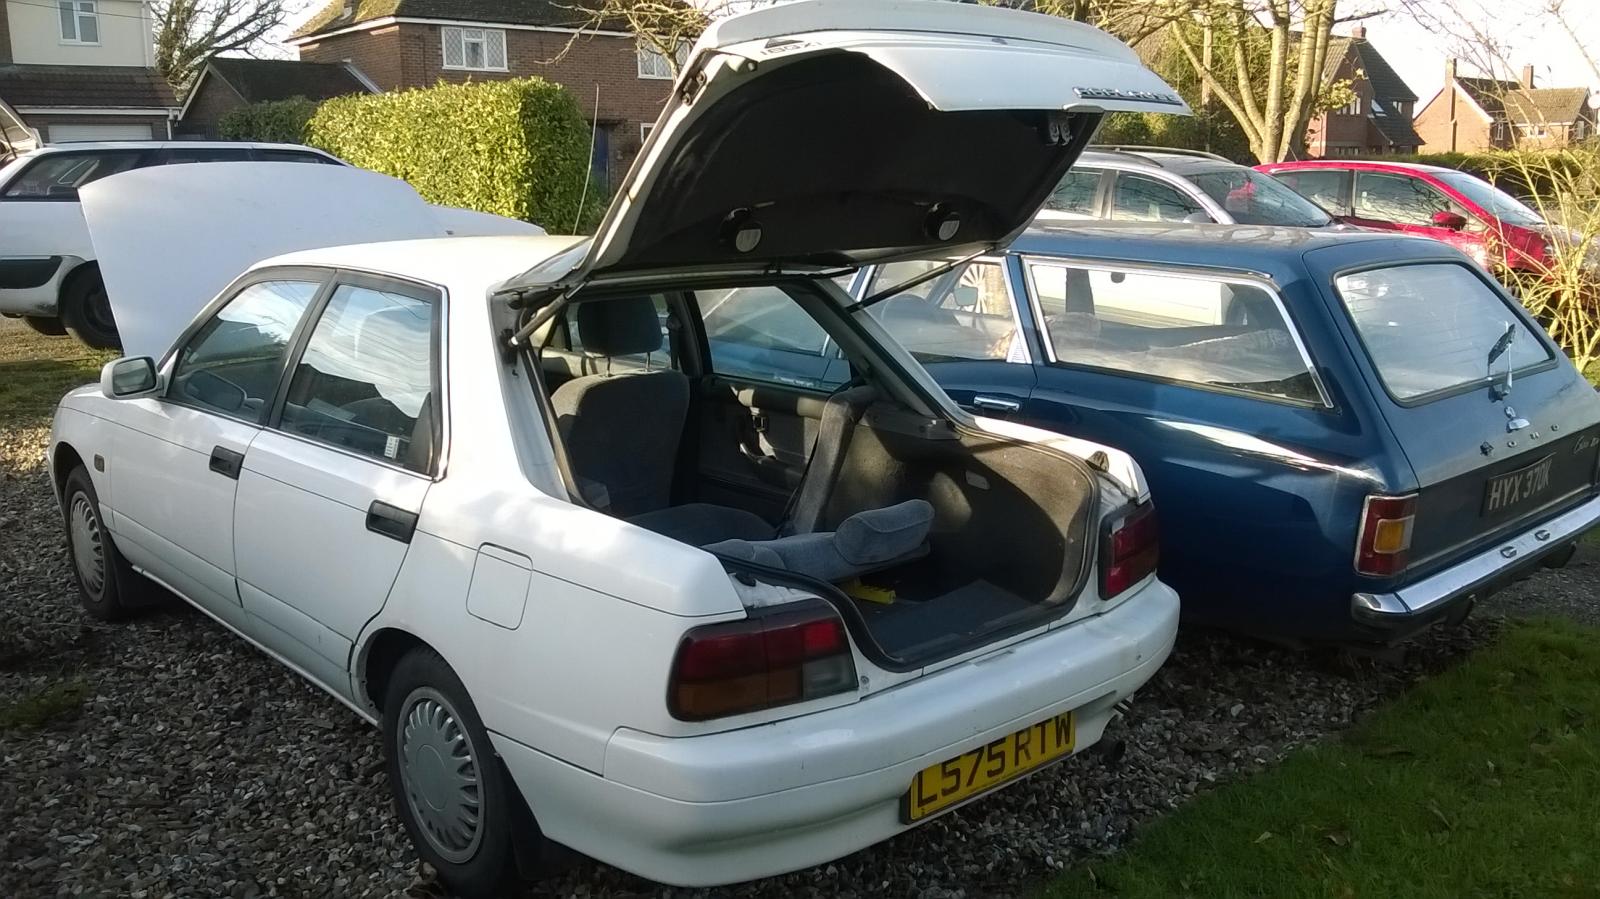
I like that idea even more. I'm well behind the times on lighting, I'm all sealed beams and filament bulbs. In other news, with the Rover continuing to offer absolutely sterling service I found a car park friend. Was amazed at how low it looks next to the BX on standard height, that made me happy because I haven't even lowered it yet.  Interesting thing I learned today was that a folding dining table in the boot and two small dining chairs on the back seat improves handling no end and stops the back end wanting to kick out when you drive in a spirited fashion. It does, however, make it more inclined to understeer in that way that front wheel drive does. |
| |
|
|
|
|
|
|
|
|
Definatly go for the frenched/recessed plate but please don't put the badges back on.
Your going custom and the first rule is to take off anything not needed.
Especially as your going to the trouble of removing bumpers/holes that are not needed.
Badges are just too much fuss and at the end of the day it keeps the normals guessing what it is
|
| |
|
|
vulgalour
Club Retro Rides Member
Posts: 7,286
Club RR Member Number: 146
|
|
Oct 21, 2015 21:55:23 GMT
|
Nothing has happened on the Old Ones since the last update, instead there's a bit of work done on the 'Modern'. The Rover continues to be rather excellent, it's weird having such a pleasant car for so little outlay. The car had been having some coolant loss issues, an occasional smell of fuel in the cabin and had an annoying proclivity to stall when setting off from road ends or trying to park, the sort of situations where you've got low revs but are about to put some on to get moving steadily. It was also putting water out the exhaust, which was scary but didn't seem to be the usual boiling kettle problem. Now, nothing broke or came to a particular head but it was getting a bit annoying. I was pretty certain it wasn't the dreaded head gasket failure as not enough of the signs I'd expect - low on power, coolant and oil mixing, general feeling of doom - were there to confirm it. I did the sensible thing and consulted some experts... well, I say experts, I consulted my mate Mike and my brother because they know their way around a K series better than I do. A leaking inlet manifold gasket was diagnosed as being the issue and sure enough, when the inlet manifold was removed the original gasket came out with many cracks and splits and was basically knackered. I've had a couple of big projects started so I've not had much in the way of free time, an imminent house move has made me equally short on spannering patience so Mike very kindly offered to do the spanner work on this job so I could get on with other stuff. Great! A call was made to Rimmer Bros to order a new gasket and it arrive the next day. Even more great! We'd be sorted in no time. Except they'd sent the wrong gasket. So I sent it back explaining what I wanted and they told me I was wrong. So I sent them photographs of what I wanted and they said they sent the wrong one. I had to ask if they wouldn't mind sending the correct one and had to confirm over the phone which gasket I needed. It was a right palaver because The System has my car as having a different manifold to what it actually has and therefore I must be wrong. Anyway, to cut this very long story short the new one arrived today and Mike fitted it. He also freed off the little ballbearing as that had stuck in place which should prevent any problems. Here he is doing the job, he doesn't know I took this picture.  The result of this is that the car is so much smoother to drive around town and park it's unreal. I guess I'm used to some pretty shonky cars because the way it drives now is night and day to how hesitant and irritating it was without me realising. The temperature comes up to normal much quicker which is also nice and the engine sounds even quieter than it did, I guess the old gasket must have been producing a bit of noise with it letting fluids and air get places they shouldn't. Now, if I can just figure out what that clonk is at the front end when I let off the throttle sometimes (but not always, it's an odd one) I'll be very happy. I'm wondering if it might be a tired engine mount. |
| |
|
|
Rich
Club Retro Rides Member
Posts: 6,339  Club RR Member Number: 160
|
|
Oct 21, 2015 22:59:36 GMT
|
|
Ah. You aught to have removed that ball bearing. They are the Bain of the K series. They only allow air out of the head when the engine is off, ie, no pump flow. By removing it you allow a small constant circulation which allows any air bubbles that should get around the system to quickly find their way back to the expansion tank immediately, rather than when the engine is stopped. Freeing it if it was stuck goes a long way to helping but ideally, pull it out. Silly thing that ball bearing. I can only assume it was to decrease warmup time, at the irritating expense of increased HGF..
|
| |
|
|
MiataMark
Club Retro Rides Member
Posts: 2,971
Club RR Member Number: 29
|
|
|
|
|
re your comments about a tow-bar for the Princess obscuring the number plate, have you thought about a removable one? Will look much neater when not being used.
|
| |
1990 Mazda MX-52012 BMW 118i (170bhp) - white appliance 2011 Land Rover Freelander 2 TD4 2003 Land Rover Discovery II TD52007 Alfa Romeo 159 Sportwagon JTDm
|
|
vulgalour
Club Retro Rides Member
Posts: 7,286
Club RR Member Number: 146
|
|
|
|
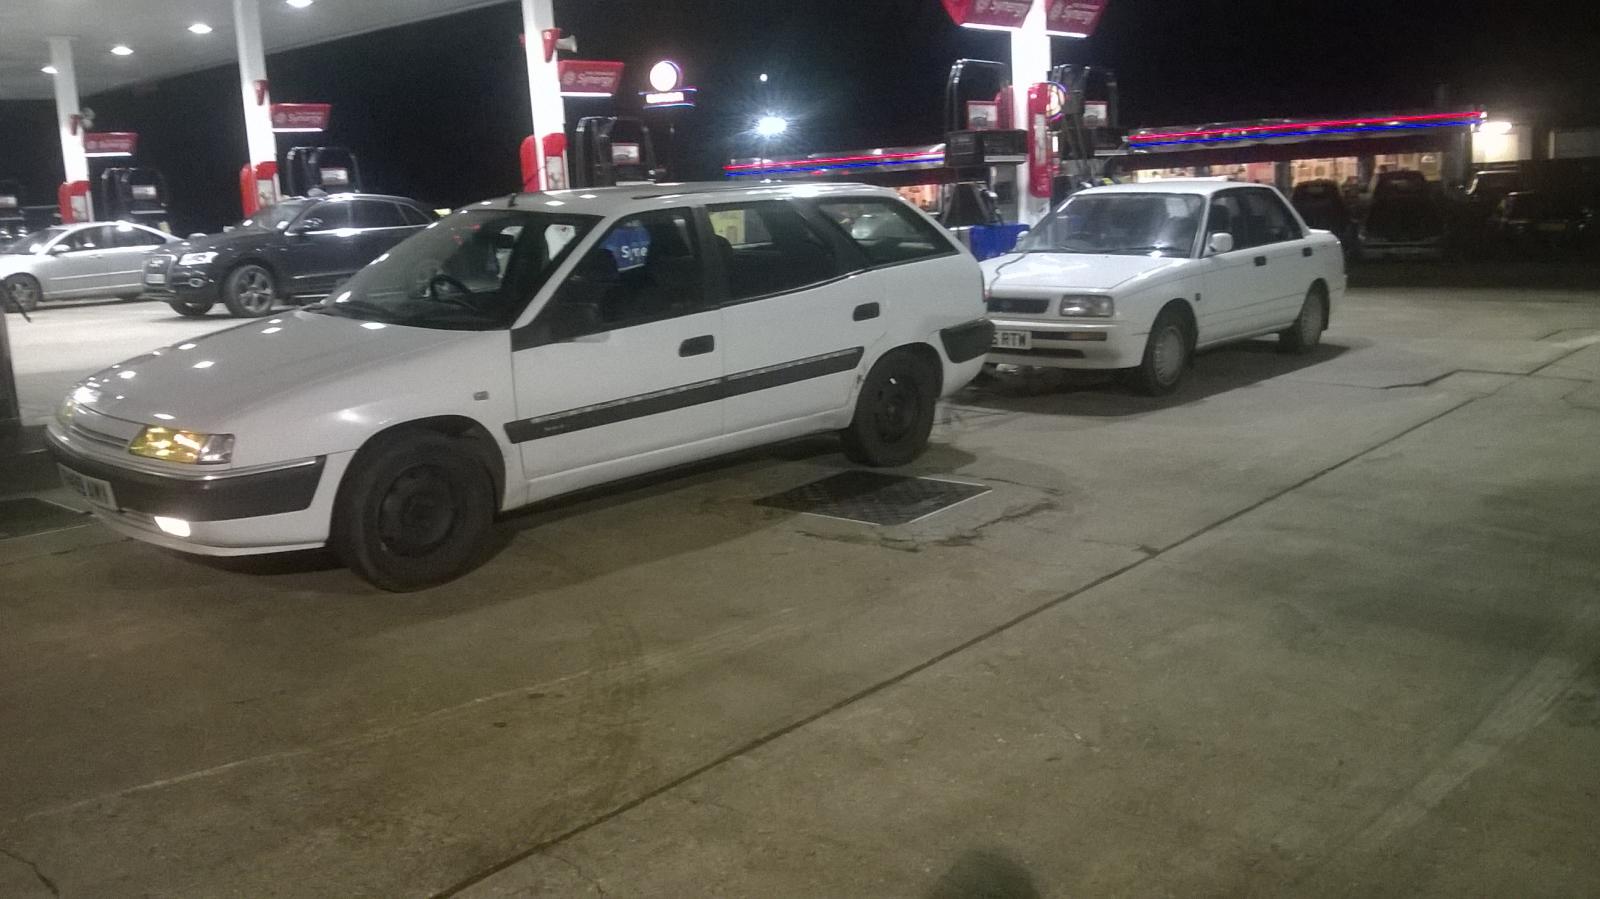
Thought about it but not much else. Work and fannying about trying to sort out this house move has killed much of my work-on-my-car-for-fun mojo and indeed available time. No fun that. Happily, I can report that since having the inlet manifold gasket on the Rover replaced I've seen improvement in high speed acceleration, a complete disappearance of the annoying stalling issues at low speed and an increase in fuel economy. The Rover is now returning an average of about 36mpg, much of that being round town driving. This has surprised me quite a bit because I've not tried to drive particularly economically. Indeed, the Rover continues to astound me at how good a fit it is for me and what I need a car for combining comfort, reliability, frugality and fun in a very neat red package. In other news, my old Xantia which my brother bought back off me is continuing to be excellent at transporting him and his family and even being a lot of fun as he found out in Scotland recently.  Check out this blog post on that and other things, tis a good blog: fuguttycars.wordpress.com/2015/10/29/club-glf-capers-at-crail/ |
| |
|
|
vulgalour
Club Retro Rides Member
Posts: 7,286
Club RR Member Number: 146
|
|
|
|
Finally got time and motivation to crack on with the Princess this weekend. Putting theory into practice on bodywork is quite a learning curve, especially when you're trying to do ambitious things with shapes. I had fitted the MG B sidelight-indicator units to the front valance on the Princess, it looked perfectly okay on the bench. Then when I put it on the car it looked HORRIBLE so I had to cut out all the work and start again. I'd already marked out where I wanted the unit to sit but transferring the shape of the light unit to the curved panel was a case of trial and error as the light unit is slightly curved horizontally whereas the panel it's going into is heavily curved vertically, and ever so slightly horizontally too. After much nibbling and filing after the initial hole cut I had a hole the right shape without taking too much material out. Then I just had to make a rectangle of metal the right curve to fit the hole.   That's also complicated. The recess needs to sit parallel to the top edge of the panel I'm working with but the back of it will be angled so the units sit in a better way. Many, many frustrating minutes of bend, hammer, tweak, bend, adjust with offering it up to the hole between and eventually I get to a point I can weld it in. Ugly welds, I know.  I do know that welding from the other side of this would have probably made for a neater finish and required me not to make a second pass on the seam. It was very difficult to get access all the way around on the back of the panel due to its shape so I opted not to. When the piece was welded in I trimmed off the excess with the tin snips and then got the flap wheel to get everything flush. This bit wasn't so bad and the end result is fairly smart. Few bits here and there need extra attention and finishing and of course a bit of filler will be needed before paint.  The backing plate next. I made several cardboard attempts at this and it was just annoyingly difficult. The back of the light units have two fixing bolts in opposing corners and the unit itself isn't flat so you need a really specific shape for the hole. Originally I was going to cheat and get a repair section but I've been unable to find one so I guess it's one of the few bits of MG B that you can't get off the shelf. After a while I had one side in, not fully, but enough to check for fitment. You can just see the orange corners of the backing plate where I've not trimmed them yet.   It's not bad. For a first attempt at this sort of thing I think I've done okay and with a little more graft I'll have it finished nicely. What's surprised me is just how difficult it's been to get the shapes I want. I did notice that the tolerances I'd allowed in the cardboard version were probably a little tight for the metal version so I'm hoping I don't have too much trouble getting everything as smartly finished as I want. |
| |
|
|
vulgalour
Club Retro Rides Member
Posts: 7,286
Club RR Member Number: 146
|
|
|
|
 My brother brought a stray home. |
| |
|
|
vulgalour
Club Retro Rides Member
Posts: 7,286
Club RR Member Number: 146
|
|
Nov 25, 2015 17:15:08 GMT
|
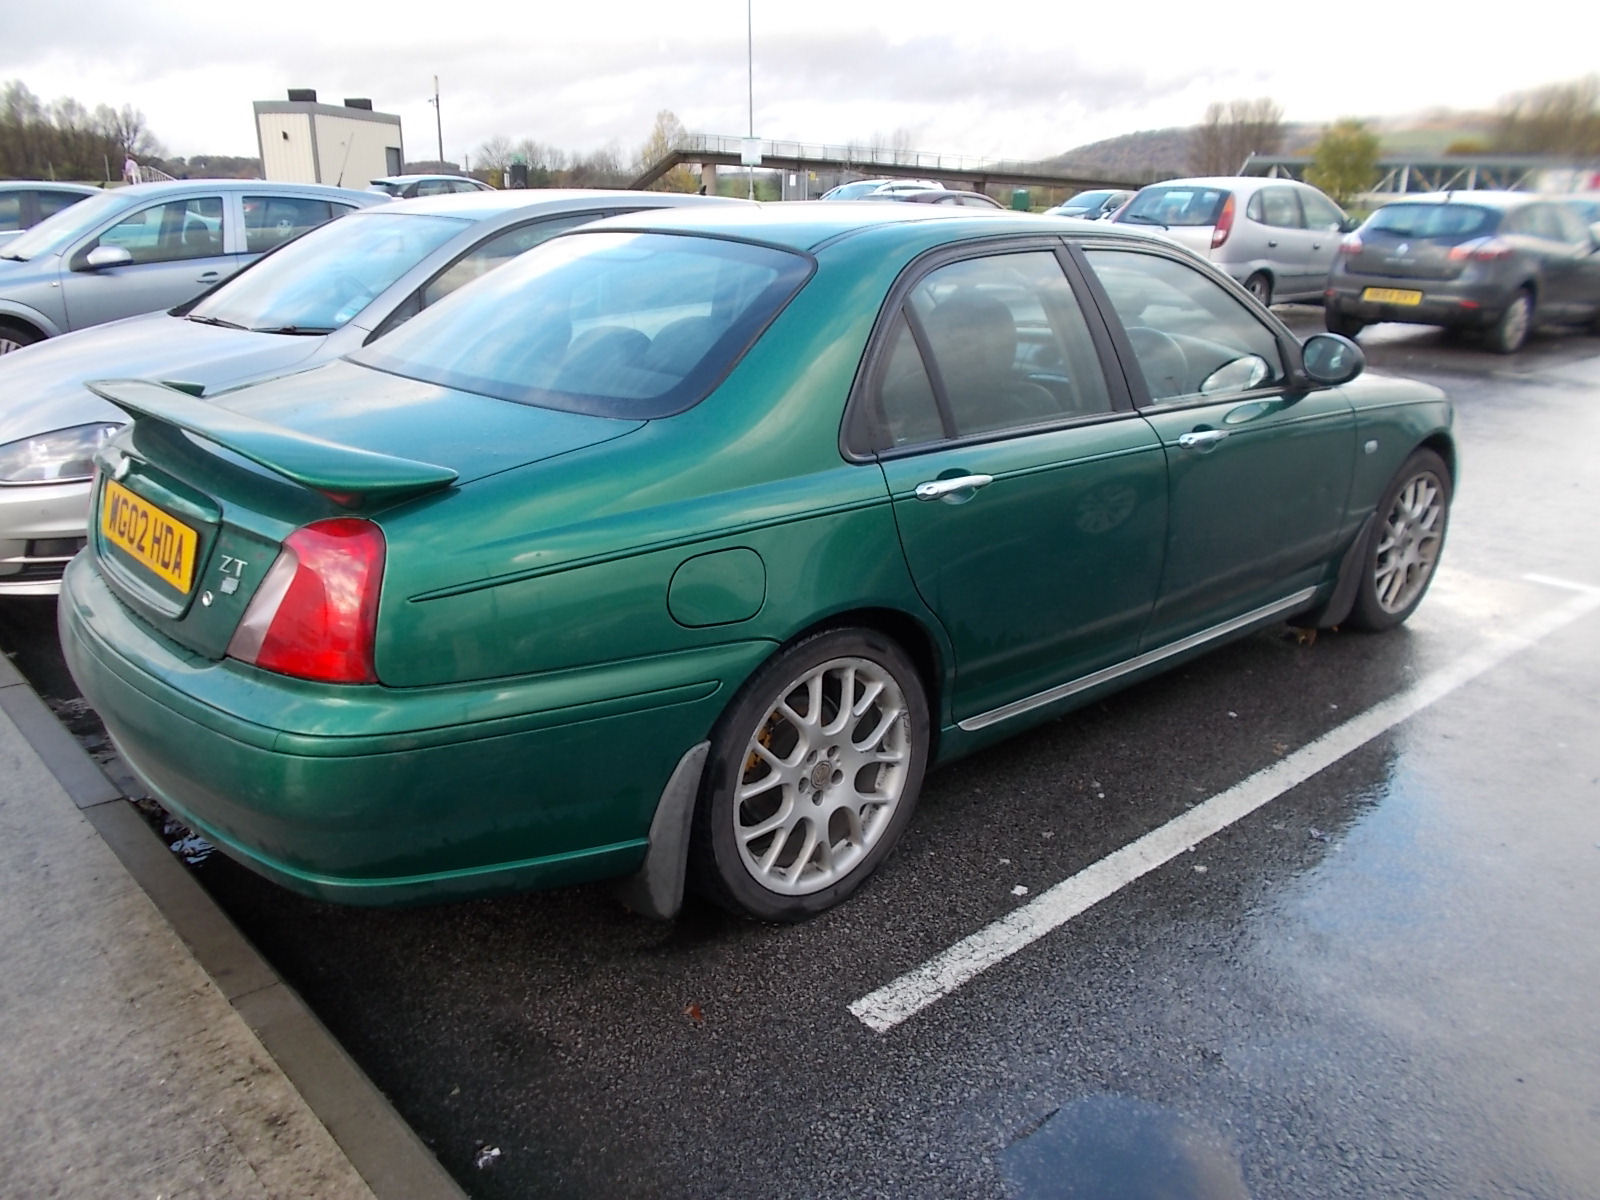
Well, another month under the wheels in comfort and utter reliability. This is remarkable for me because I normally have to tinker with my low budget cars, not so with this one! The waterpump is definitely on its way out, it's started making some scooshy bearing type noises and is definitely leaking. I'm going to do the pump, belt and tensioners all in one go, but having just moved house I'm having to wait a bit until I've saved up some pennies for the job. Normally I wash my everyday car every week, unusually I've left the Rover a month while racking up quite a lot of miles because I simply haven't had the spare time, much less the motivation, to show it the soapy end of a cloth. It was getting to the point that the windows were only clear when it rained, which is very unlike me and my cars.  Two lots of hosepipe and two buckets of the soapy stuff saw things looking respectable again. I'll need to find more time/good weather to get the glass, trim and interior done later. I'm just happy the car is easier to see out of now and that my headlights are a bit brighter. Red is a blessing and a curse, it looks almost the same clean as it does dirty.  The new house is amazing though. All this effort and grief and minor neglect of the car has paid off. I have peace and quiet and no longer pick up random scratches and dents. I reckon the place was built about the same time as the Rover and the garage is *just* big enough for the car if I need to put it in there. Space is reserved for other cars at the moment, housemate and I have 6 cars between us!  But wait, there's more! My brother has been very busy with his cars, I mention this here because he's outdone me spectacularly on the rare and unloved front with his collection of a Daihatsu Applause! A car which he got for free and still has MoT until next year.   He then went and managed to get a straight swap on the Xantia for an MG ZT which its previous owner won in a raffle and which also has a very long MoT.  It's the fault of good car forums and top people that this has happened at all really. I've not seen him so happy behind the wheel of a car since he had the modified Saxos so the MG seems an extraordinarily good fit. Amazingly, it can eat up all the curse word a family of five can generate including three kids seats in the back and his insurance is only marginally higher than on the Xantia. It's a very good fit for him indeed. |
| |
|
|
vulgalour
Club Retro Rides Member
Posts: 7,286
Club RR Member Number: 146
|
|
Nov 28, 2015 19:21:06 GMT
|
Ah ha!    Needs some fine adjustment to be properly finished like the bolt holes for the indicators enlarging slightly so I can fit them but otherwise it went remarkably smoothly today. I'm very happy with how this looks. I've a few options for the front number plate location, all of them are very easy, and a good amount of finishing work with filler to get it all looking as it ought. Driver's side wing needs that repair section letting in and the headlight alignment sorting out which are comparatively easy jobs to getting the front end tidied up. Next I'll either finished the rear light bucket or the passenger outer sill replacement. Can't do anything about the suspension until I find someone local to make me at least one suspension pipe and since disturbing everything the front corner is so low now that the tyre rubs on the inner arch when properly inflated. But hey, it's progress, and good progress at that! |
| |
Last Edit: Nov 28, 2015 19:21:42 GMT by vulgalour
|
|
|
|
|
Nov 28, 2015 19:29:00 GMT
|
My God! That looks AWESOME!!! |
| |
|
|
vulgalour
Club Retro Rides Member
Posts: 7,286
Club RR Member Number: 146
|
|
Nov 28, 2015 19:37:45 GMT
|
|
I know! Just a shame the tyre is touching the inner arch, made it a real nuisance to push.
|
| |
|
|
brc76
RR Helper
Posts: 1,108 
|
|
Nov 28, 2015 21:22:25 GMT
|
|
|
| |
|
|
vulgalour
Club Retro Rides Member
Posts: 7,286
Club RR Member Number: 146
|
|
|
|
Time for a little compare and contrast with a before and after montage. After this was done the car sank even further because I'd forgotten to put the bumpstop bracket back on. Insanely low with the rim of the wheel sitting a good half inch above the arch lip and a lot of tuck. To prevent having the car resting its weight on bodywork I've put the nose back on an axle stand until I get the bracket put back in which needs a little bit of inner arch welding doing first. I'm really, really happy with how close the nose end looks to what I had in my mind and was struggling to explain.  |
| |
Last Edit: Dec 1, 2015 23:37:33 GMT by vulgalour
|
|
|
|
|
|
|
|
Looking good, what did you do about the suspension, are you still going air ride or is that not possible?
|
| |
|
|
|
|
|
|
|
|
That looks proper mean ! Really liking it !!
|
| |
34 B Ford V8 Flathead Hotrod
55 International L170 (Cummins 6BT)
65 Mustang V8 supercharged Coupe
58 Plymouth Belvedere (Christine)
05 Dodge Ram 1500 HEMI
|
|
|
|
|
|
|
|
Have to agree, that looks really really mean, love it! It suits being that low at the front, not sure if that's just a temporary look though?!
|
| |
|
|


