vulgalour
Club Retro Rides Member
Posts: 7,271
Club RR Member Number: 146
|
|
|
|
BPR: you did? I must have missed that one singular post that was made on the subject the other week that one time...  darrenh: I suppose it's silly to think of petrol as 'just petrol' when we don't really think of other products in the same way. |
| |
|
|
|
|
vulgalour
Club Retro Rides Member
Posts: 7,271
Club RR Member Number: 146
|
|
|
|
Had a good long day on the BX today. First off was to attack the pinholes on the A pillar strengthener arm thing, which turned into rather a large hole to cut out because of the way the pinholes were spread out. 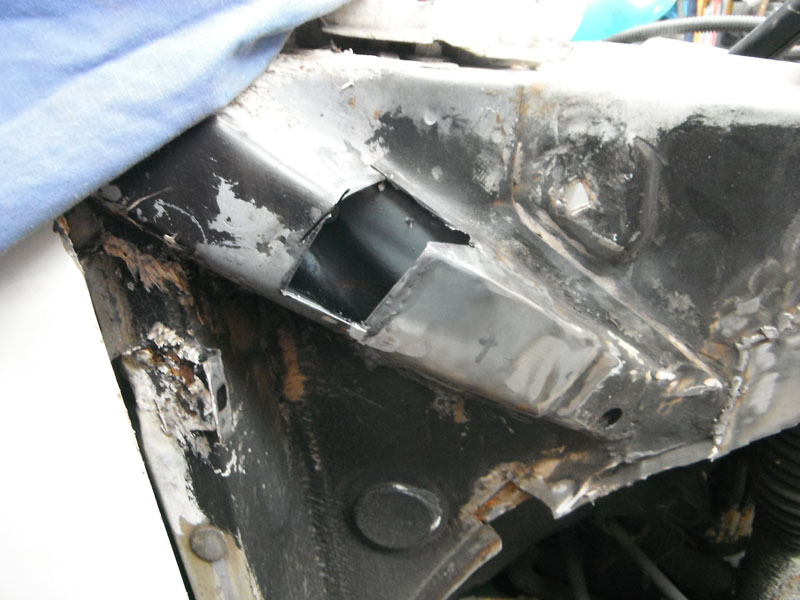 Unsurprisingly, the inner wing need a large piece chopped out which turned out to be easier to repair than three separate patches. 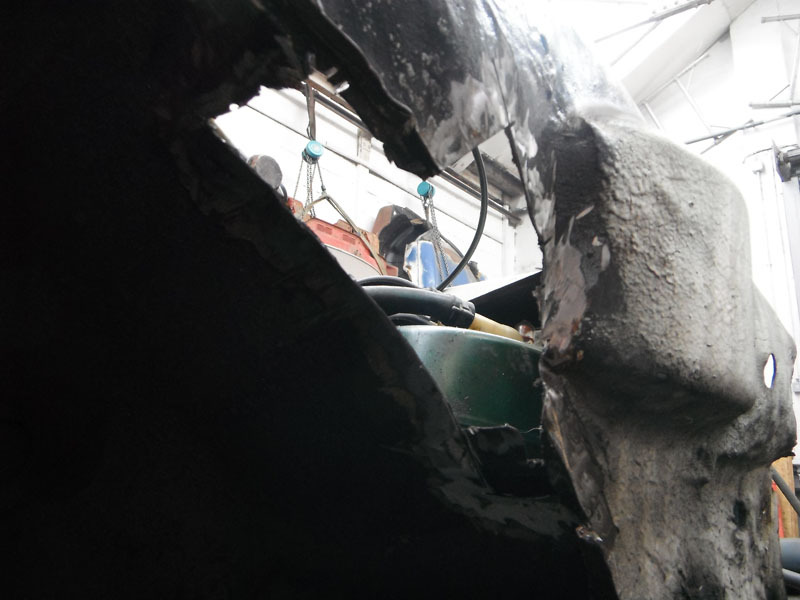 I also chopped out the bit below the washer bottle and drilled out the drain hole under the washer bottle that had been filled with body filler for reasons unknown. 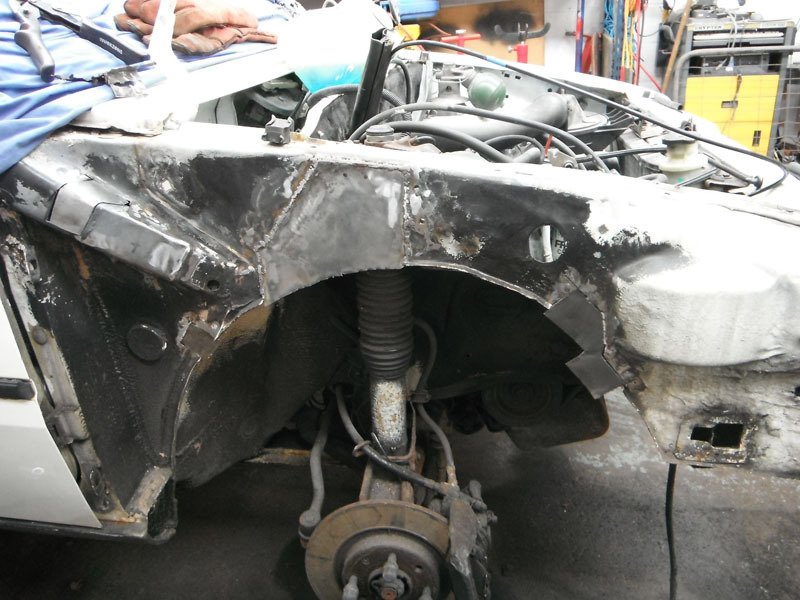 With all the pieces made up I could clean, shape, and prepare them before welding them in. The repairs went fairly smoothly for the most part and very soon I had it all seam sealed, primed, painted, and ready for underseal. I also welded in a captive nut for the washer bottle bracket since the original was missing. 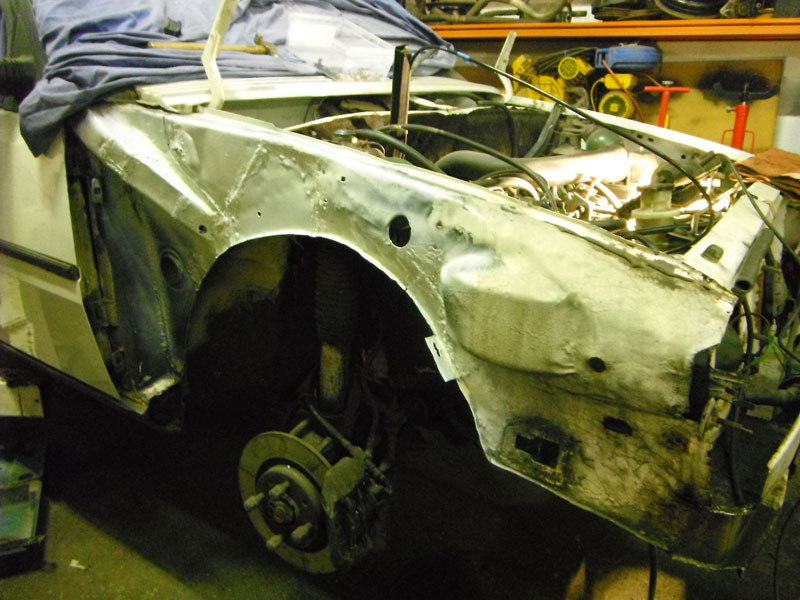 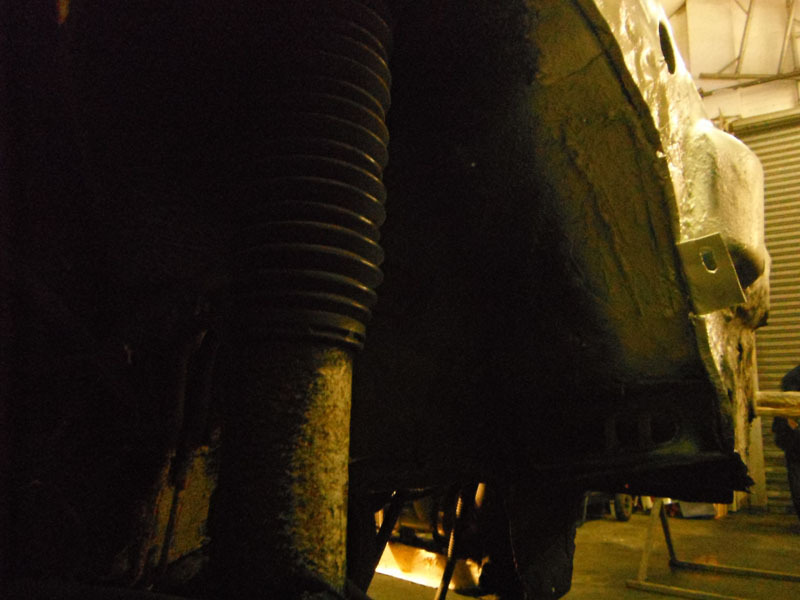 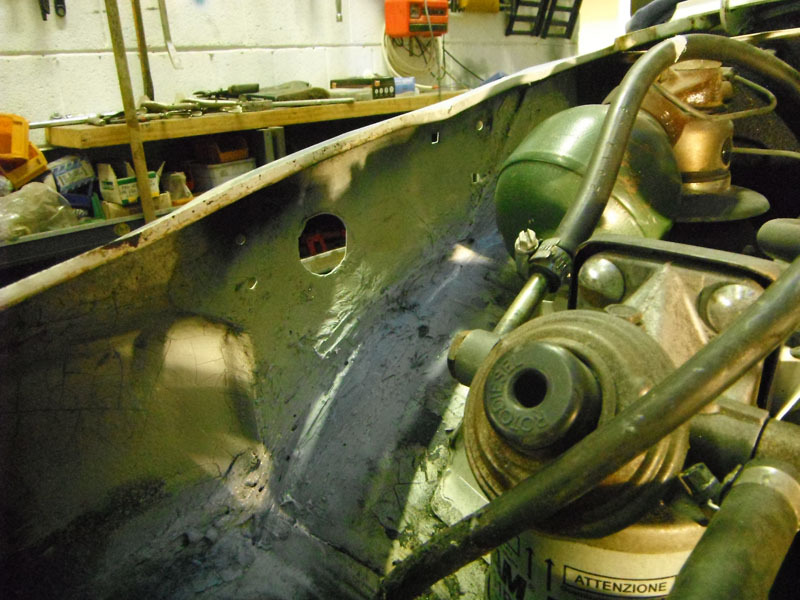 Mike helped with doing some jobs in tandem, like undersealing the back of the outer wing, which meant I could get a little bit more done in the time available. I did have the fixings for the arch liner this side so that went in much easier than the other side. 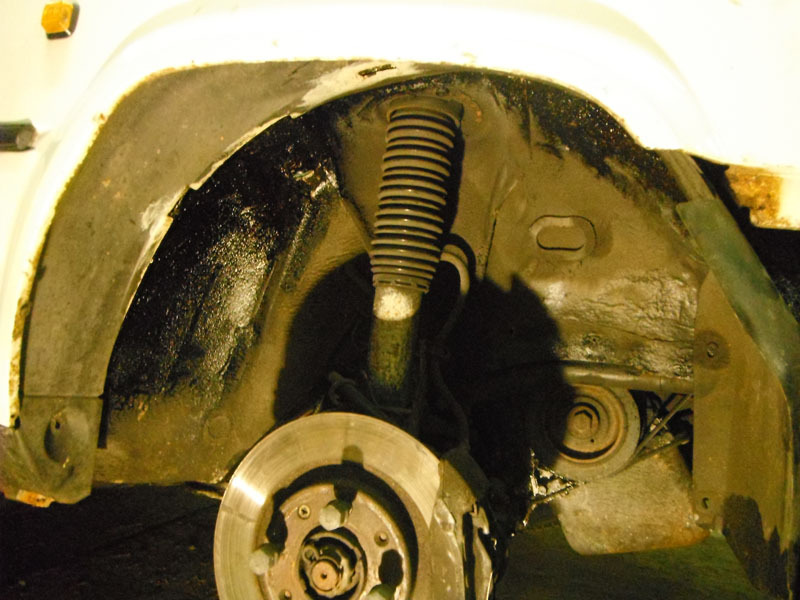 On cleaning back the crossmember I found much of what looked like it would need welding didn't, it was just rust-stained paint for the most part. The only exception was the passenger side strengthener which I trimmed back and added a new piece of metal to. Very much a functional repair rather than an attractive one, especially so since this is all hidden by the bumper. 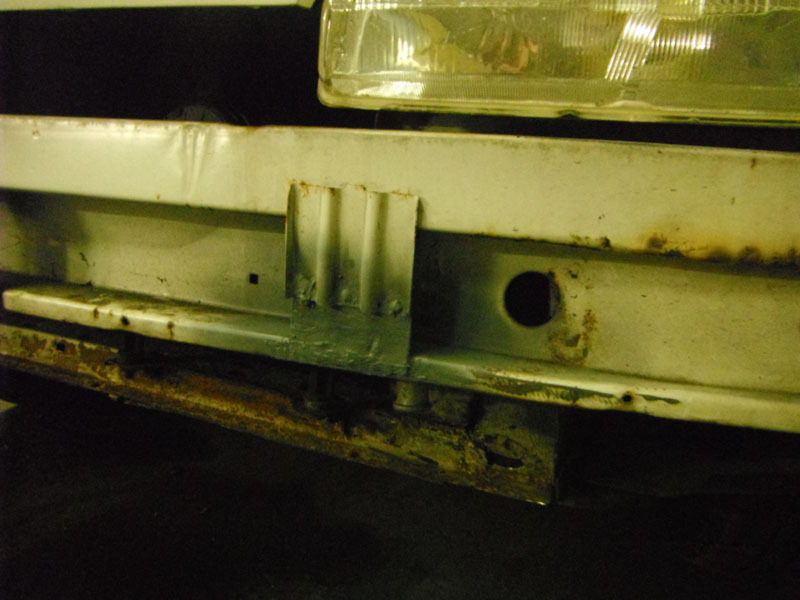 With everything that needed to be in paint and underseal, Mike helped me refit the wing after I'd refitted the LHM reservoir. The lights went in very easily, as they always do. 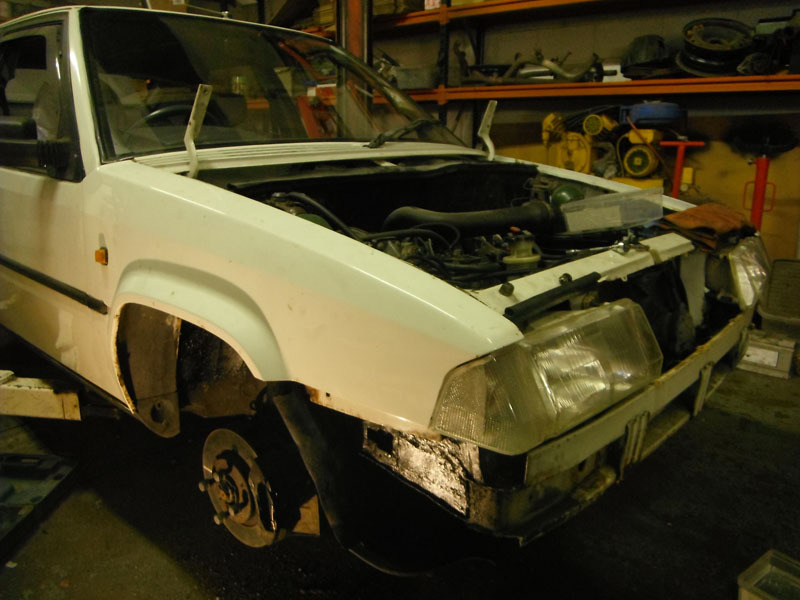 The wheel and a trim was refitted to draw a line under this corner being completed, and the bonnet was refitted with Mike's help. Happily, the car looks much more like a car again and all that work I've done you'd never know about if I hadn't reported it here. The only job I didn't get as far as doing was rivetting the identity plate back on the inner wing, an item I had to remove because the rust had just got underneath it. 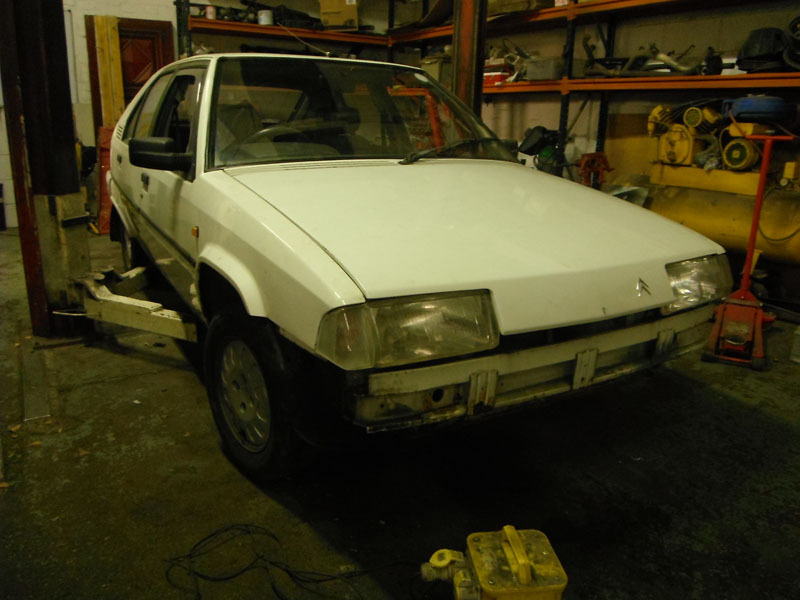 |
| |
|
|
vulgalour
Club Retro Rides Member
Posts: 7,271
Club RR Member Number: 146
|
|
Feb 10, 2019 18:29:25 GMT
|
Cracked on and got the towing eye surrounding metal replaced and then the towing eye itself welded back in. I cleaned the whole crossmember back, which was difficult because whatever it was painted in was seriously tough stuff. After that, doused it all with rust treatment, then paint. Looked loads better after that too. 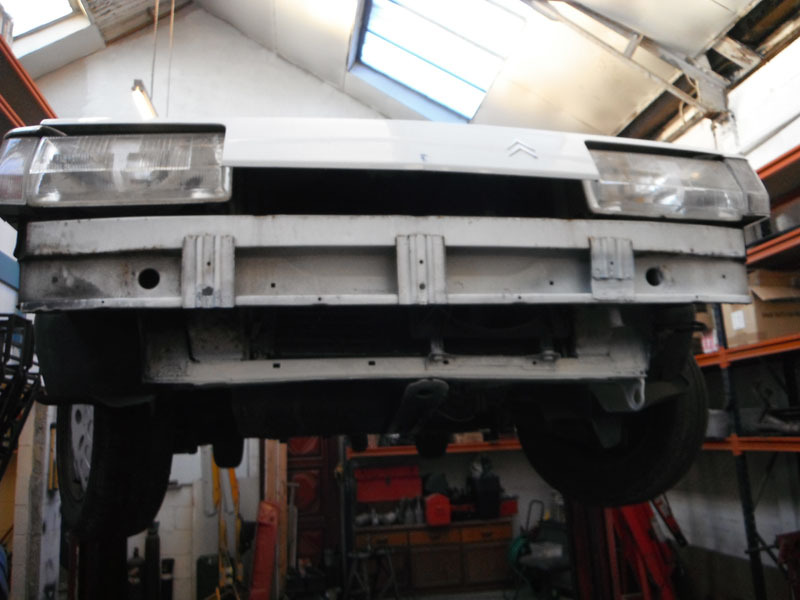 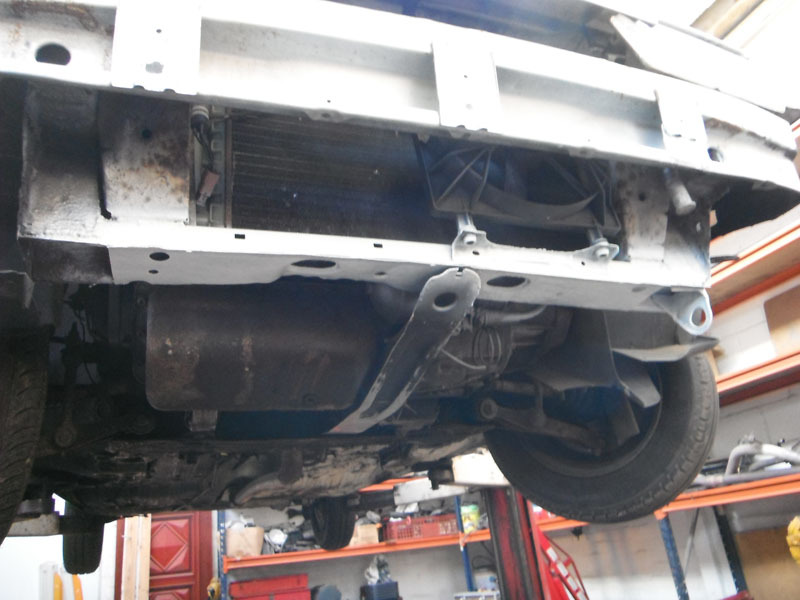 While the paint was drying I had a look at the front-to-back pipes. Removing them without taking off the rear subframe is possible and since I wasn't keeping these, I just snipped through them where it was difficult to get them out. This made removing them annoying, but possible. I also checked around the rear axle mounting points as much as I could and there was nothing particularly terrifying to see, it all looked pretty reasonable. Then the first casualty when trying to remove the pipe that goes into the hardline connector, somehow I managed to snap the pipe and the stub of it is left in the union. This is very annoying and I don't know how to fix it. 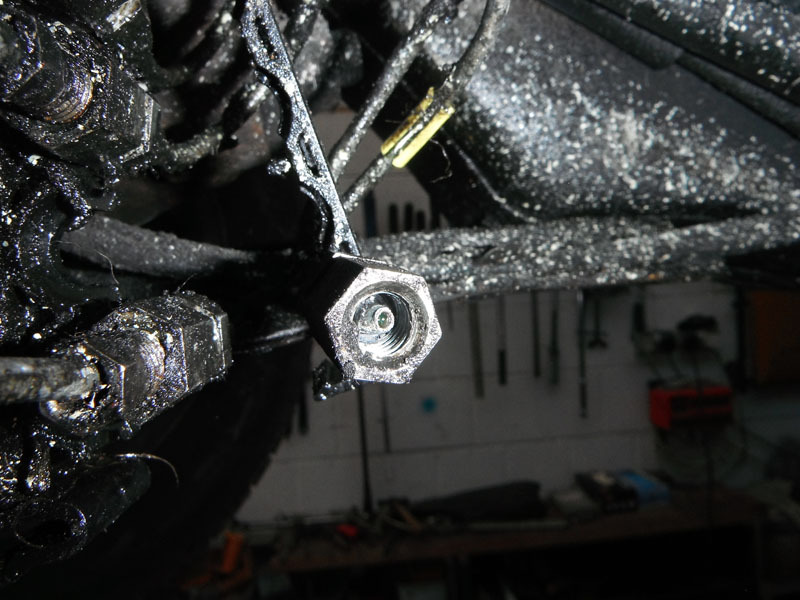 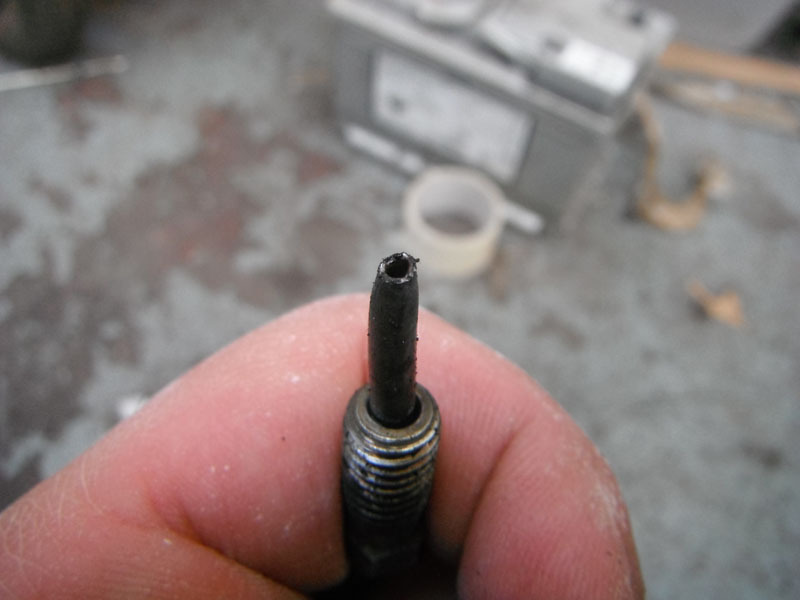 Then the next annoying problem was the union at the back, which decided to round off. Access to this particular union is terrible and I can see me having to dismantle quite a lot of stuff that has nothing wrong with it, just to get in with a tool big enough to undo this union. The union in question is the top right one on the four-way block. 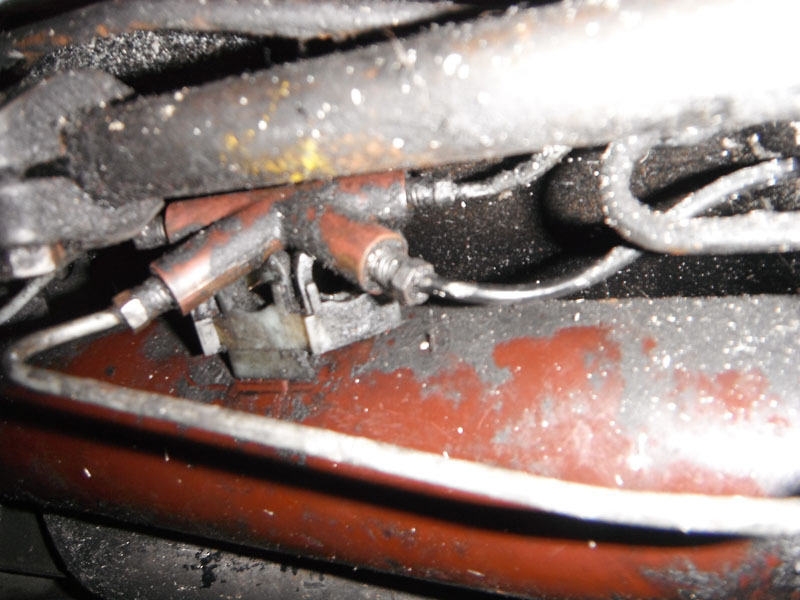 The pipes themselves are a bit scabby in places, so they definitely needed replacing. However, I couldn't find where either of them had failed so I begin to wonder if it was one of these pipes that had burst. Before putting LHM in I'll be dismantling the suspension on this side rear corner to see if I can find anything else that might have failed because while the pipes are actually quite dry, the displacer and surrounding area is still a bit wet with LHM that's leaking from above them somewhere. 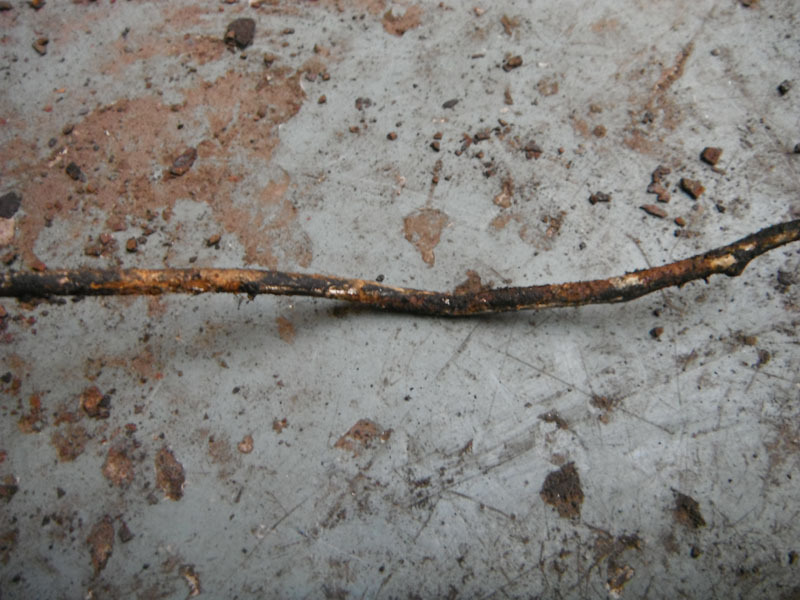 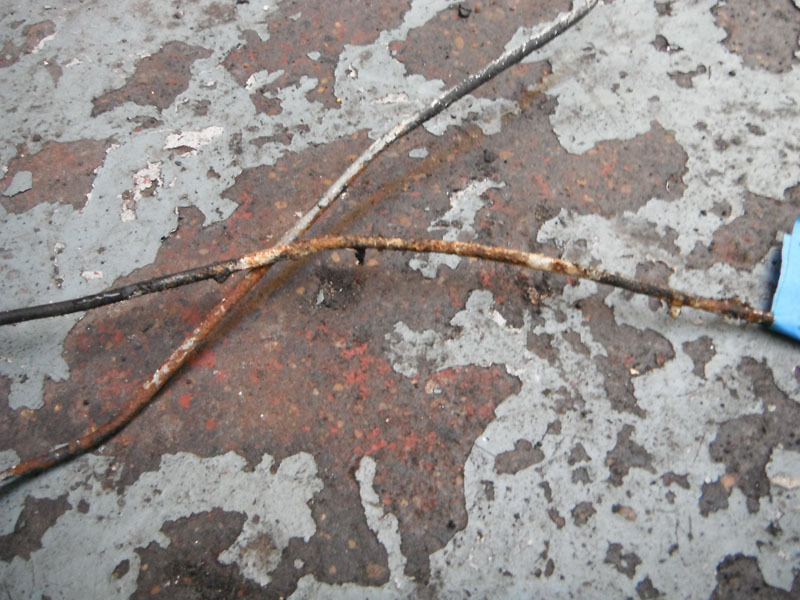 The only other thing of note was a slightly squashed section. I couldn't figure out what had caused this, so I assume it was a manufacturing defect. 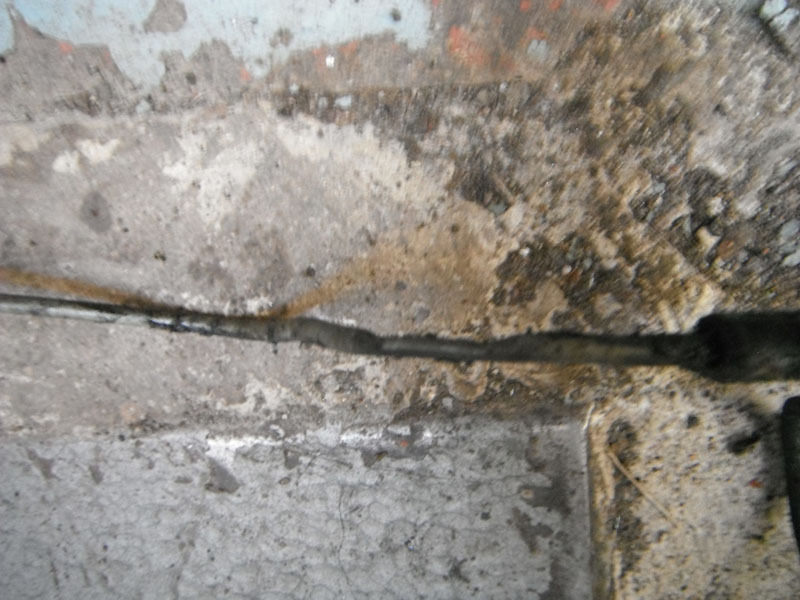 I'll get some fresh pipes made up by Dean, if the offer still stands, now that I know what length these need to be. With that done, I couldn't really do anything else on the suspension, I didn't want to get into dismantling the rear corner because I hadn't got enough time to be getting into that if it became an involved job. Instead, I finished off the work at the front with lashings of underseal. 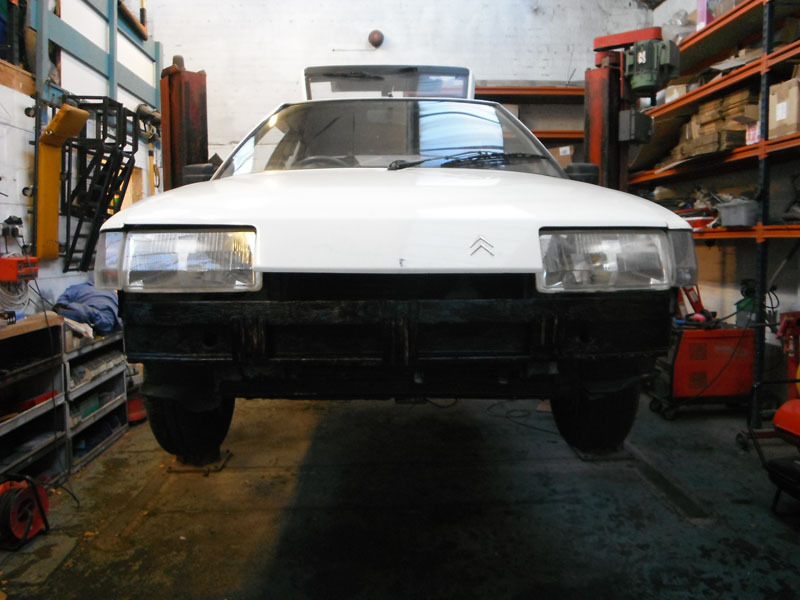 That should keep things happy for some time to come. Then I made an attempt to fit the bumper. I'm pretty sure this is a two person job because I can't seem to get the side blocks on the bumper to go into their respective holes without another part of the bumper coming out of alignment somewhere. I also have to think about a solution for fixings since the bumper was previously held on mostly with cableties, a perfectly adequate solution, just not really the way I want to put this back together. I'll probably use bolts/screws and trim edge clips looking at how Citroen have put everything together. The bumper is essentially decorative at any rate, so it doesn't need a lot to hold it in place since there's not really anything to it. 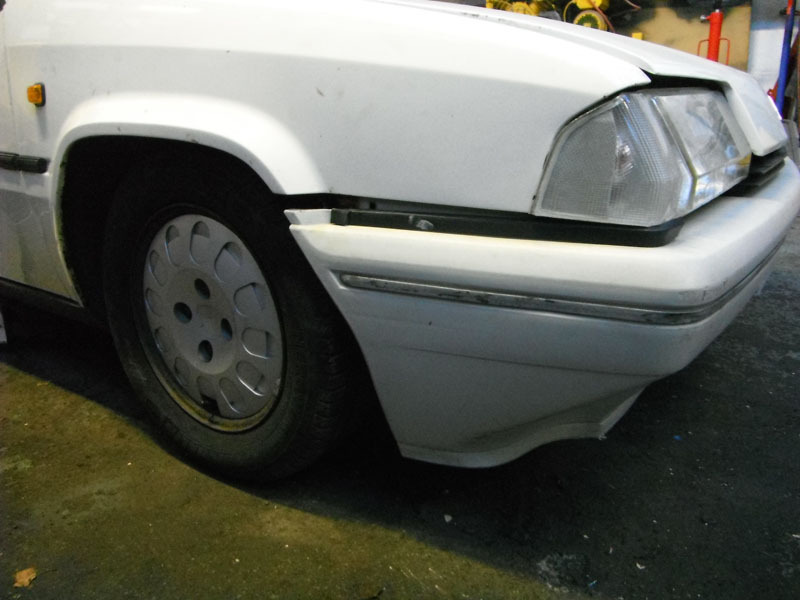 I do have one bit of welding left to do. I would have done it today if I hadn't chosen to do battle with the pipes, because to fix this little bit of rust I've got to remove quite a few trim pieces to access it properly. There's also a little bit on the rear arch to sill join in the usual Citroen place that needs cleaning up and might need a little patch, depending if it's pinholed or not. Flash makes these areas look far worse than they are. 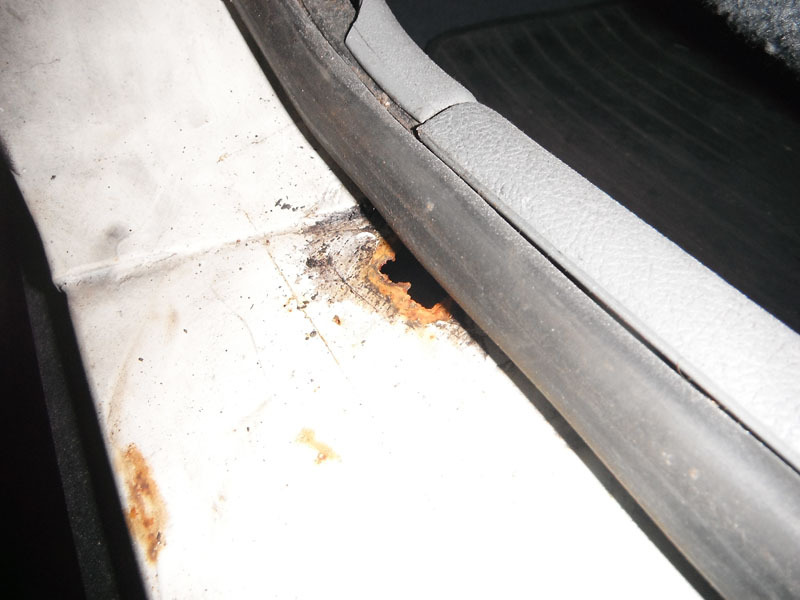 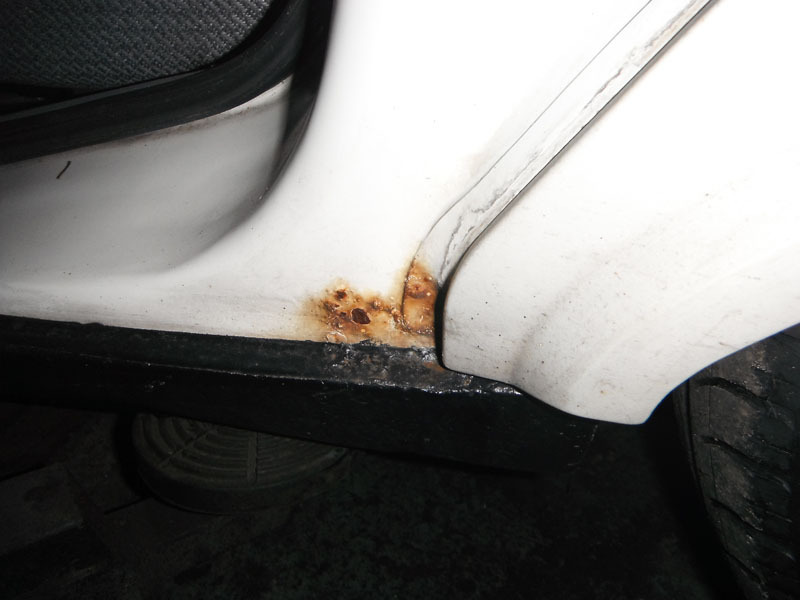 Another little job was putting the rear wiper back on straight. 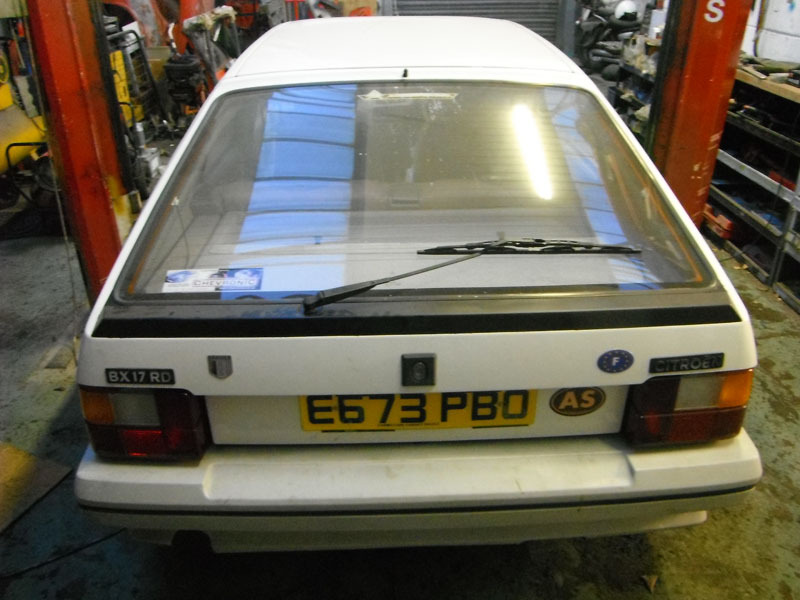 While not quite finished, it does at least look like a car again. 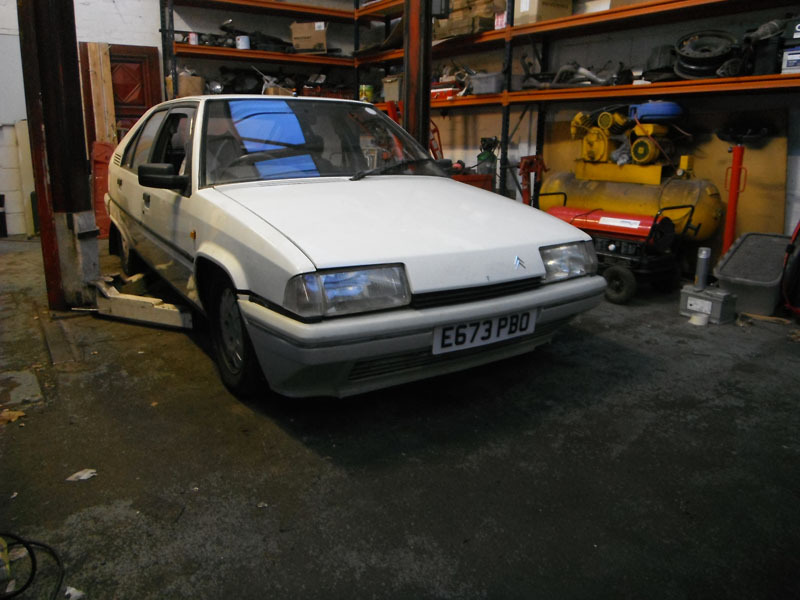 |
| |
|
|
vulgalour
Club Retro Rides Member
Posts: 7,271
Club RR Member Number: 146
|
|
Feb 10, 2019 18:30:34 GMT
|
|
Princess Update - End of Week 11
Nothing to report. Literally all systems fine. These updates are getting a bit boring now, I'm sure.
|
| |
|
|
glenanderson
Club Retro Rides Member
Posts: 4,330
Club RR Member Number: 64
|
|
Feb 10, 2019 21:36:13 GMT
|
|
Thank God that wiper’s straight now. It’s been giving me palpitations.
|
| |
My worst worry about dying is my wife selling my stuff for what I told her it cost...
|
|
|
|
|
Feb 11, 2019 12:55:37 GMT
|
|
first thing I look for is your updates keep them coming.
|
| |
|
|
vulgalour
Club Retro Rides Member
Posts: 7,271
Club RR Member Number: 146
|
|
Feb 12, 2019 14:19:20 GMT
|
|
The Rover has gone to pastures new. Not far away, Mike has taken it on, so you might see it in the background of my updates for a while yet. It's actually a relief that it's no longer a responsibility, for the last three months it's sat pretty much unused while I've been pootling about in the Princess and every time I've got in the Rover, I've enjoyed it a little less. Not because the car is bad, far from it, I just enjoy driving the Princess that much more and given the choice, even in horrible weather, the Princess was always the car of choice for me.
Still, I don't have any regrets. I've really enjoyed my time with the Rover and I'd definitely recommend one to anyone after a good all rounder. It's the very epitome of 90s motoring and is extremely good at being a car. Get one while they're still cheap and still available would be my recommendation, because the sporting models are already starting to command stiffer prices and the regular versions can't stay sub-£1000 forever.
|
| |
|
|
glenanderson
Club Retro Rides Member
Posts: 4,330
Club RR Member Number: 64
|
|
Feb 12, 2019 16:20:26 GMT
|
|
Good stuff.
You always know when the time is right.
Anyway, like a lot of us said when you were having Renault issues, three cars is one too many unless one of them is a modern daily. Maintaining a fleet is challenging, and a fleet of stuff that all needs “classic” type attention is just bloody hard work.
|
| |
My worst worry about dying is my wife selling my stuff for what I told her it cost...
|
|
vulgalour
Club Retro Rides Member
Posts: 7,271
Club RR Member Number: 146
|
|
Feb 12, 2019 19:55:17 GMT
|
|
The Renault issues was it was a sodding Renault. Never again. At least, not until next time.
|
| |
|
|
vulgalour
Club Retro Rides Member
Posts: 7,271
Club RR Member Number: 146
|
|
Feb 18, 2019 17:58:55 GMT
|
Finally got some time available to do some work on the BX and Mike was available to help too. The new pipes from Dean were just the job and it was surprisingly easy to feed them through the gap between the body and the rear axle, it was actually more difficult getting them to route tidily at the front than at the back. They were very easy to locate in the clips on the inner sill. We did get the broken pipe out of the front union with the application of heat, because we got a bit desperate. As far as we can tell there's no harm done but we'll know for certain when the LHM goes in. For the other union that I'd rounded off, cutting the pipe short and using a hex socket was just possible, though I did have to use a short pry bar to brace between the block the union goes into and the axle tube to stop the whole thing moving as I tried to undo the union. Got there in the end, no harm done. New pipes were refitted with the proper little rubber tubes. 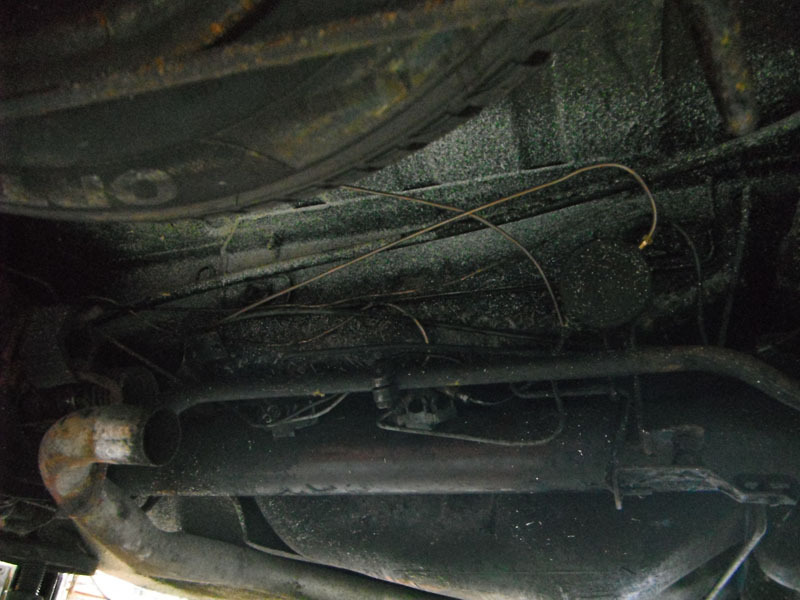 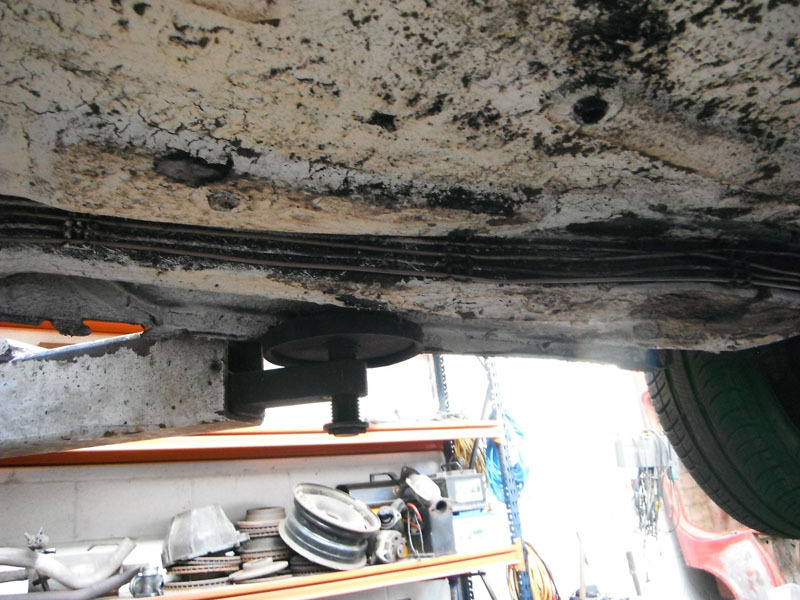 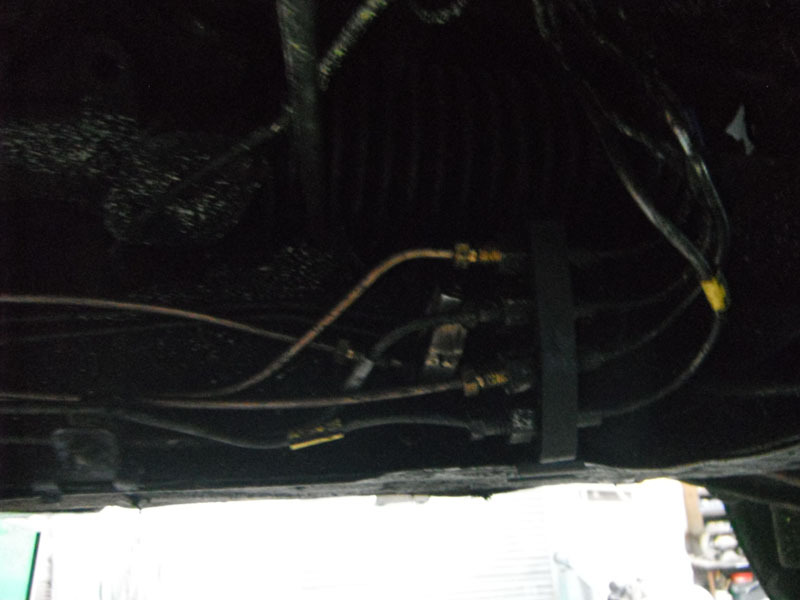 On looking around the back end for leaks, it looks like it could be something to do with the boot on the rear sphere on the passenger side, it's difficult to tell without dismantling everything, but the LHM doesn't seem to be coming from any of the hard lines. I don't regret replacing the two lines we did, they definitely needed doing sooner rather than later. I'm not sure whether to dismantle the suspension on the back now or fill with LHM and see what happens. There was a minor hiccup after reconnecting the battery in that at first, things behaved like no battery was connected. I'm sure Dean had mentioned the cut-off switch on the positive clamp being a bit dicky sometimes and since I'm not planning on using it, we removed it. That cured the lack of power. Next was the lack of glowplug light. At first I thought it might just be a blown bulb so to be sure, Mike got the multimeter out and we found there was no power going to the glowplugs. A wiggle of the relay on the inner wing and power was restored. It's probably either corrosion on the relay connections or a less than perfect earth since this is the area I'd done lots of bodywork in. Something to keep an eye on for the future. With that sorted, the BX could escape the unit, slowly, and loudly, because there's no working footbrake and the backbox hasn't been refitted yet. I'll put the backbox back on once I know nothing is leaking at the back, it makes access a lot easier since there's somewhere for my head to go when I'm looking at stuff. Next challenge is to try and figure out where this clamp/bracket goes. I'm pretty sure it's to hold up the end of the beige air intake tube, I just can't figure out where exactly it's supposed to mount. You can see from the engine bay shot where the beige tube is supposed to run, which would suggest the clamp should fit to one of the front wing bolts, it just doesn't seem to be quite right when I try that. Ideas welcome. 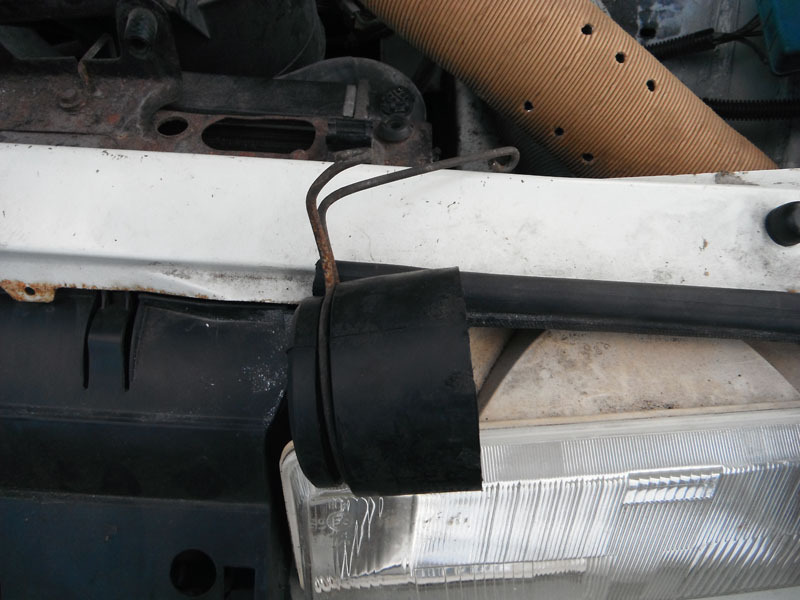 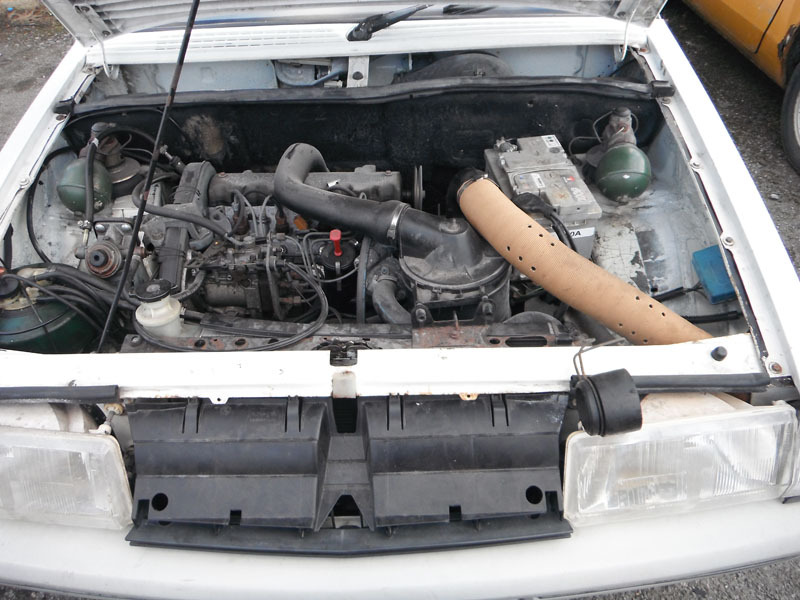 Importantly, the boot interior light works. 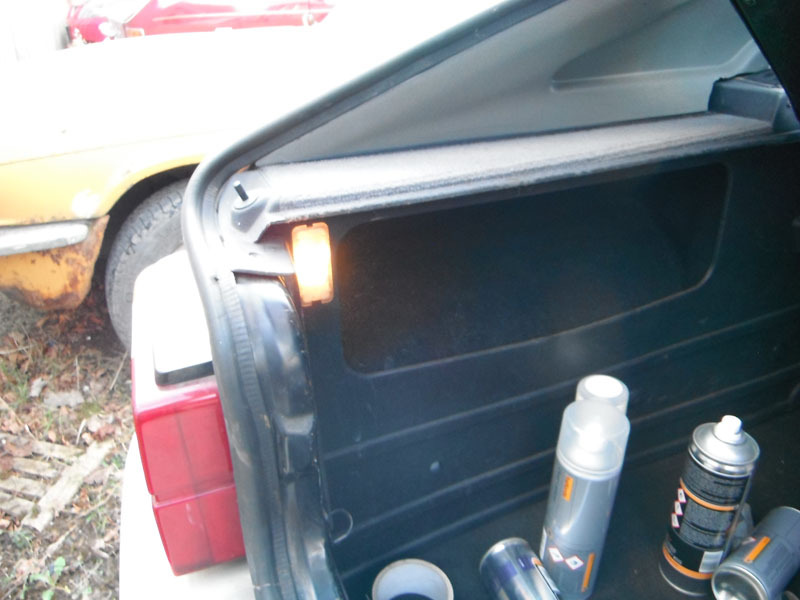 Annoyingly, the bonnet now seems to be slightly warped and I have no idea why. It's not the bump stop or the headlight making it look like it's sticking up on the driver's side here, that whole corner of the bonnet now actually bends up slightly. The bonnet was stored well away from heat and welding and kept safe until it was ready to go back on the car so either I didn't notice this before, or it's magically done it all on its own, which is entirely plausible for French plastics. Ideas on how to fix this also welcome. 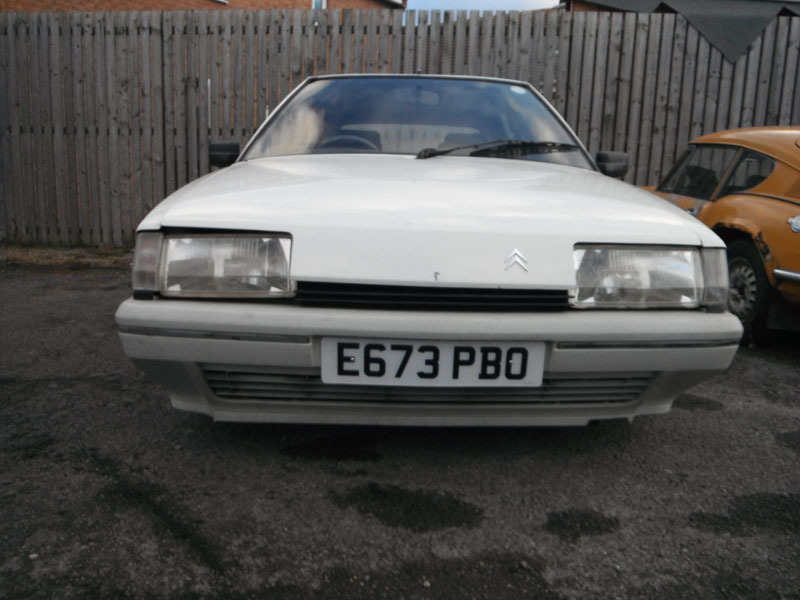 Finally, I got some shots of the BX with the Princess because I like to do that and it's conclusive proof that when it comes to cars, I've got a type. 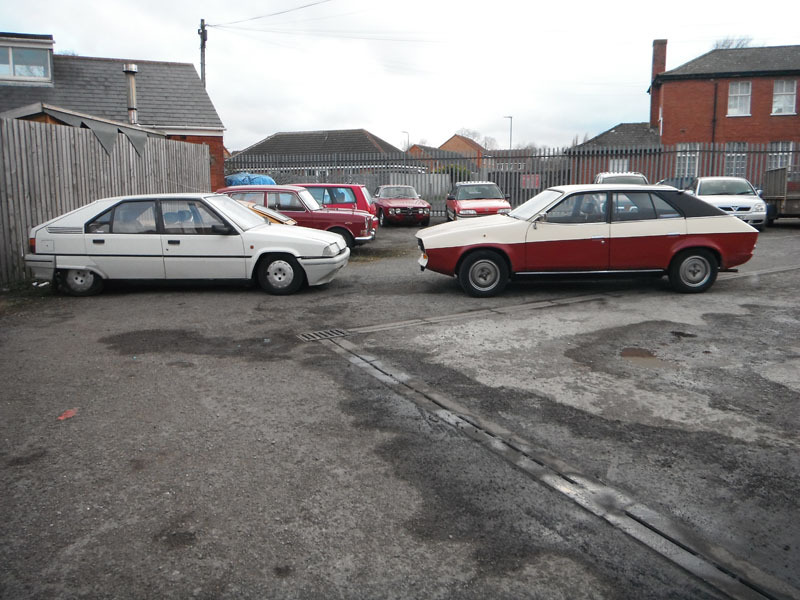 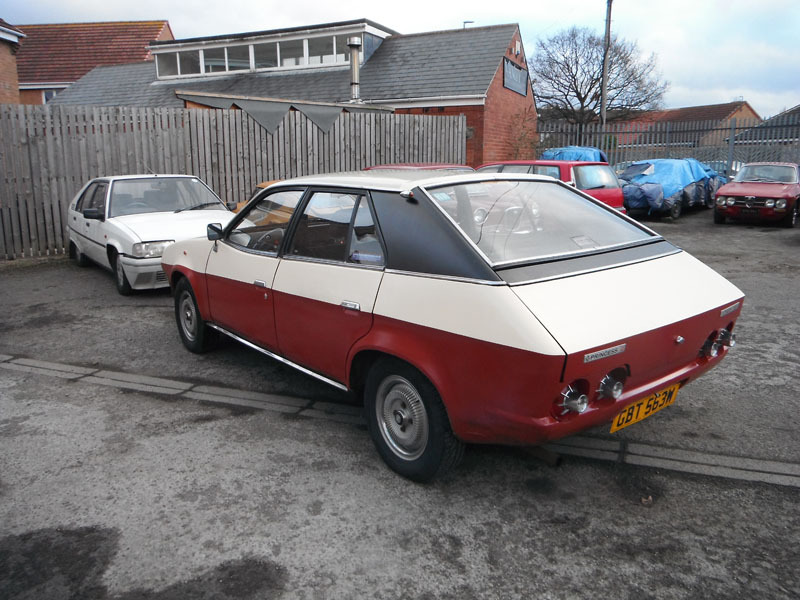 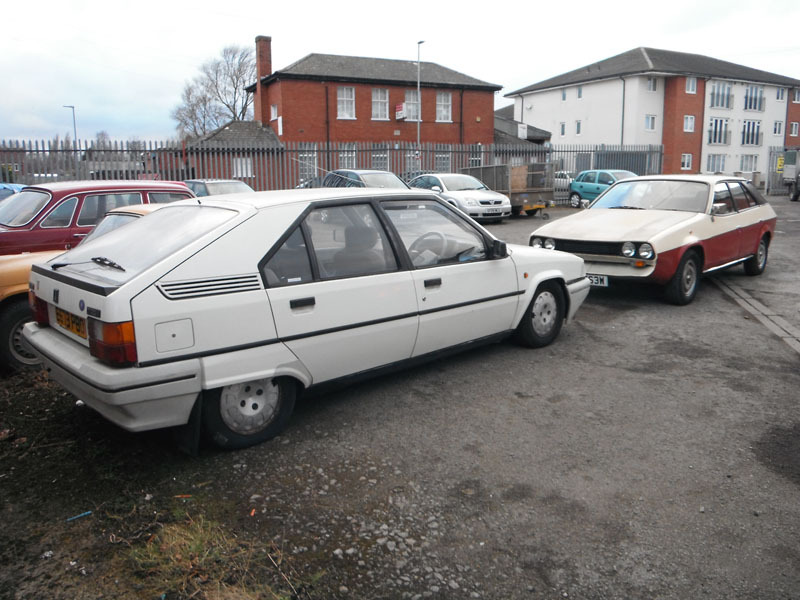 |
| |
|
|
vulgalour
Club Retro Rides Member
Posts: 7,271
Club RR Member Number: 146
|
|
Feb 18, 2019 18:02:46 GMT
|
|
Princess Update end of Week 12:
All systems normal, as usual, with one exception. A peculiar wubwubwub noise and a vibration through the passenger floor, an occasional vibration through the brake pedal under heavy breaking.
Today being the first day of Week 13 means the following are identified as part of this week, rather than last week. The peculiar noise and vibration could be a failing wheel bearing as there is some slight play in the passenger front one and the noise is localised there. The other peculiar thing it did was on setting off home today, the starter motor decided to drag after the car had started, and then behaved normally once I got moving, I'll keep an eye on that and hopefully it won't require replacement or another rebuild and was just a random occurence. I'm not superstitious, but this is Week 13 of the experiment so...
|
| |
|
|
Phil H
Posted a lot
  
Posts: 1,448
Club RR Member Number: 133
|
|
Feb 18, 2019 18:49:51 GMT
|
|
You might have to wait for a few warm and sunny days for the bonnet to magically fix itself..
I hope the leaking from the boot isn’t the rear ram?
|
| |
|
|
vulgalour
Club Retro Rides Member
Posts: 7,271
Club RR Member Number: 146
|
|
Feb 18, 2019 19:09:08 GMT
|
|
It could be? I honestly don't know, there's no obvious point for the leak so I'm thinking that when my LHM arrives I'll chuck it in, we'll get the system pressurised, and then see where the LHM spurts out.
|
| |
|
|
Rich
Club Retro Rides Member
Posts: 6,321  Club RR Member Number: 160
|
|
Feb 18, 2019 21:33:38 GMT
|
You might have to wait for a few warm and sunny days for the bonnet to magically fix itself.. I hope the leaking from the boot isn’t the rear ram? Well, the rams do leak, Citroen designed it that way, seems it was easier or cheaper to make the system leak into bellows with a vacuum return rather than make sure it never leaked. It could be that the ram seals are leaking excessively however, or the boot or it's pipework have come adrift? Apologies if it sounds like i'm teaching granny to suck eggs.  |
| |
|
|
|
|
|
Feb 18, 2019 22:37:30 GMT
|
|
The bonnet looks high at the grill too. I take it it's not just that the catch needs to come down so the bonnet sits on both bump stops?
|
| |
|
|
vulgalour
Club Retro Rides Member
Posts: 7,271
Club RR Member Number: 146
|
|
Feb 18, 2019 22:44:42 GMT
|
Rich: That sounds plausible. The boot has got silicone on it in places, from some time ago (well before I owned the car at any rate), so I wonder if it is the boot and it's leaking in a way that makes it look like it's something else. All I can really do is process of elimination I think, because there's so much going on in that corner. It could still be one of the hard lines, or one of the flexible lines, or something else I haven't considered, but at least it shouldn't be the new pipes.
|
| |
Last Edit: Feb 18, 2019 22:47:45 GMT by vulgalour
|
|
vulgalour
Club Retro Rides Member
Posts: 7,271
Club RR Member Number: 146
|
|
Feb 18, 2019 22:46:35 GMT
|
Sweetpea: It's the bonnet itself at fault. The bumper is sitting a little low because it's not properly on yet, which is making the grille sit low too, but the fault is with the bonnet which seems to have got itself twisted somehow.
|
| |
Last Edit: Feb 18, 2019 22:47:02 GMT by vulgalour
|
|
|
|
|
Feb 19, 2019 18:19:19 GMT
|
|
Usually you would pull the centre of the bonnet down by adjusting the latch then use the bump stops to level it.
|
| |
|
|
vulgalour
Club Retro Rides Member
Posts: 7,271
Club RR Member Number: 146
|
|
|
|
|
Yes, usually you would. Thing is, even with the bump stops removed completely, the bonnet is still like that. The bonnet is warped.
|
| |
|
|
|
|
|
|
|
|
Can you not screw the centre pin of the latch up to pull the front down more?
Bonnet lids are pretty flexible it doesent take much to twist them a little, and was common practice when they built cars of this era. Place block of wood under the lh side and then push down on the right, start with a little and work up the force until you get the desired effect.
|
| |
|
|


