eurogranada
Europe
To tinker or not to tinker, that is the question...
Posts: 2,555
|
|
Feb 10, 2020 19:46:02 GMT
|
I'm not really sure how you think the garage is even remotely suitable for storing a car *and* working on it or other projects. There's barely enough room to walk down either side of the car when the garage is empty with the car parked as far over as it can be to one side, let alone swing a spanner in there. There are some storage solutions available, such as putting things on the wall above the bodywork of the car but, honestly, I don't want to have heavy items sat on shelves above my car, the risk of accident is far too high for my liking. So, that means it's a place for storing a single vehicle and nothing else. OR it's a place for working on things and storing tools and nothing else. The latter is a perfectly adequate solution and the one I'll go for until much later. Short term plan is still to have a concrete pad put down on each side of the existing garage and at least one car port for covered storage. We'll also run power to the garage to make it a more usable work space and kit it out with some decent shelving and cupboards. Longer term, the garage will be demolished and replaced with a larger, better designed, double garage for storage and workspace. If you are referring to me, I said I agree that it's not a unit you can store a car and work on it in. Said that from the start. But you said you were trying to store the princess dry and for that purpose it would be suitable. In my humble opinion. But again, I'm not on a mission to convert you. I was just triggered by the width dimension and your troubles of getting out of the car. Regarding storage above the car's bodywork...just make sure it is sturdy. Also I tend to put the lighter crates on that end... Sounds like you know what you want to do, so just do it, lol! I love a good carport as much as the next guy and there is nothing wrong with that. If I could get my neighbour to join I'd have built one by now I think. But he sees no need lol. Never regretted building one for.my parents as a teen. |
| |
|
|
|
|
eurogranada
Europe
To tinker or not to tinker, that is the question...
Posts: 2,555
|
|
Feb 10, 2020 19:51:54 GMT
|
same as my garage, indenti-kit 1970s with up and over garador. i have velour door savers on the midpoint brick pillars though  is it a flat roof or sloped and higher at the door end ? i added a little mezzanine at the high point above the door, useful area for large items like wheels, exhausts etc. mr granada has made an astute observation about bigger garages being less small than smaller garages I'm sorry, but he said his doorway is 290cm wide, which is 10cm less wide than my entire garage which I checked is 297ish internal. That makes his garage just about as wide as mine. I admitted that I have an extra bit of length. But anything I said was on the width, never on the length... also took into account his support posts that I don't have. I just had trouble understanding why I can get in and out of my car with currently only 30cm room and the OP had trouble. It was a sincere question and post. But I'll shut up now... |
| |
|
|
|
|
|
Feb 10, 2020 20:19:04 GMT
|
but he said his doorway is 290cm wide, its actually 210 |
| |
|
|
|
|
|
Feb 10, 2020 20:21:58 GMT
|
|
Everybody is missing a trick here, the obvious solution to the lack of space to park a car in the garage is to buy something like an Austin Ruby.....
|
| |
|
|
glenanderson
Club Retro Rides Member
Posts: 4,316
Club RR Member Number: 64
|
|
Feb 10, 2020 20:24:18 GMT
|
|
A good way to progress from where you are now would be:
1. Concrete pad (one side or the other).
2. Brick wall along side parallel to existing garage (could be three columns initially to cut down on costs).
3. Joists across from existing garage to new wall.
4. Roof over as budget allows. Ply/felt, onduline, box profile; whatever.
5. Infill rear wall (and side if you’ve just done columns).
6. Infill front wall. And fit garage door.
7. Repeat other side.
Steps 1-6 could all be completed well under £1000 a stage. What you actually spend would depend on how much you can source/recycle secondhand, and how much you can do yourself. You could also do it with a simple concrete pad, two courses of bricks along the bottom, and a framework of 4x2 timber, weatherboarded outside and lined with ply... opportunities/options are many and varied. It’d also be worth looking out locally for someone disposing a concrete garage; they are often free or peanuts if you can dismantle and move them. With a wall to “lean to” you can make a generous double out of the panels for a single.
|
| |
My worst worry about dying is my wife selling my stuff for what I told her it cost...
|
|
eurogranada
Europe
To tinker or not to tinker, that is the question...
Posts: 2,555
|
|
Feb 10, 2020 20:29:45 GMT
|
but he said his doorway is 290cm wide, its actually 210 I'm sorry, I must have misunderstood his statement: Garage Width (door opening, narrowest point) - 6'11" | 290.5cm Length - 15' 4 1/2" | 468cm Whatever it is, fact is it's just about adequate for storage, and I can see his reasoning for him rather choosing to use it as a workshop for now. I was just trying to entice some more thought on the matter from him. I was not trying to be a smart alec at all. |
| |
|
|
|
|
|
Feb 10, 2020 20:45:07 GMT
|
I'm sorry, I must have misunderstood his statement: Garage Width (door opening, narrowest point) - 6'11" | 290.5cm Length - 15' 4 1/2" | 468cm. theres no misunderstanding, its just converted wrong. 6ft11 is 210. i didnt question 290 because i have no concept of what a 290 is (ok boomer ) but i do have a concept of what a 6ft11 is, and that correlates with the photos and anecdotale evidence not being able to get out of a bx easily |
| |
Last Edit: Feb 10, 2020 20:49:10 GMT by darrenh
|
|
eurogranada
Europe
To tinker or not to tinker, that is the question...
Posts: 2,555
|
|
Feb 10, 2020 20:53:40 GMT
|
I'm sorry, I must have misunderstood his statement: Garage Width (door opening, narrowest point) - 6'11" | 290.5cm Length - 15' 4 1/2" | 468cm. theres no misunderstanding, its just converted wrong. 6ft11 is 210. i didnt question 290 because i have no concept of what a 290 is (ok boomer ) but i do have a concept of what a 6ft11 is, and that correlates with the photos and anecdotale evidence not being able to get out of a bx easily Explains a lot... I never questioned the 290 for the exact same reasons... But that 80cm makes a hell of a difference in this case. Sorry vulgalour, with this in mind none of my posts on this subject make sense... You want me to delete them? |
| |
|
|
melle
South West
It'll come out in the wash.
Posts: 2,005
|
|
Feb 10, 2020 21:47:39 GMT
|
|
|
| |
www.saabv4.com'70 Saab 96 V4 "The Devil's Own V4" '77 Saab 95 V4 van conversion project '88 Saab 900i 8V
|
|
vulgalour
Club Retro Rides Member
Posts: 7,257
Club RR Member Number: 146
|
|
Feb 10, 2020 23:00:32 GMT
|
Now I understand the confusion eurogranada! Just as well I posted both units so someone with some smarts could see the mistake. Looks like I wrote the wrong number down on my measurements sheet. But yes, as glenanderson states, that's pretty much the plan going forwards. For now, things are okay as they stand. Neither car is letting water in at the moment and both are parked on concrete so I'm sure they'll be fine. They've both lived outside for most of their lives anyway. It'll sort, no drama. Give me a few months and I should have recovered financially from the house move (Been here for about 7 weeks so far, which is barely any time at all) and I'll be cracking on with a new workbench. I've got plans for a nice heavy duty workbench so I can give my old vice and not-so-old bench grinder somewhere to live and then I'll be going through all my boxes of spares and have a big clean and tidy to get that all properly organised so it's easier to find things when I want them. Planning to avoid premade stuff and just build what I want, since I do have the skills to do that, and I reckon it'll be a lot more rewarding than buying a new thing I inevitably have to modify to suit. |
| |
|
|
|
|
|
Feb 10, 2020 23:24:02 GMT
|
|
If it were me I'd buy a cheap shed off Gumtree & store garden curse word in that. I'd then just use the garage (for now) as dry storage for the princess.
Dry storage is everything for cars that are not used daily.
|
| |
|
|
glenanderson
Club Retro Rides Member
Posts: 4,316
Club RR Member Number: 64
|
|
Feb 10, 2020 23:34:03 GMT
|
If it were me I'd buy a cheap shed off Gumtree & put all the garden curse word in that. I'd then just nail the door shut and forget about it. FTFY. 😃 |
| |
My worst worry about dying is my wife selling my stuff for what I told her it cost...
|
|
|
|
|
Feb 10, 2020 23:36:11 GMT
|
|
|
| |
|
|
vulgalour
Club Retro Rides Member
Posts: 7,257
Club RR Member Number: 146
|
|
Feb 11, 2020 12:41:11 GMT
|
It's Dad accessory time! 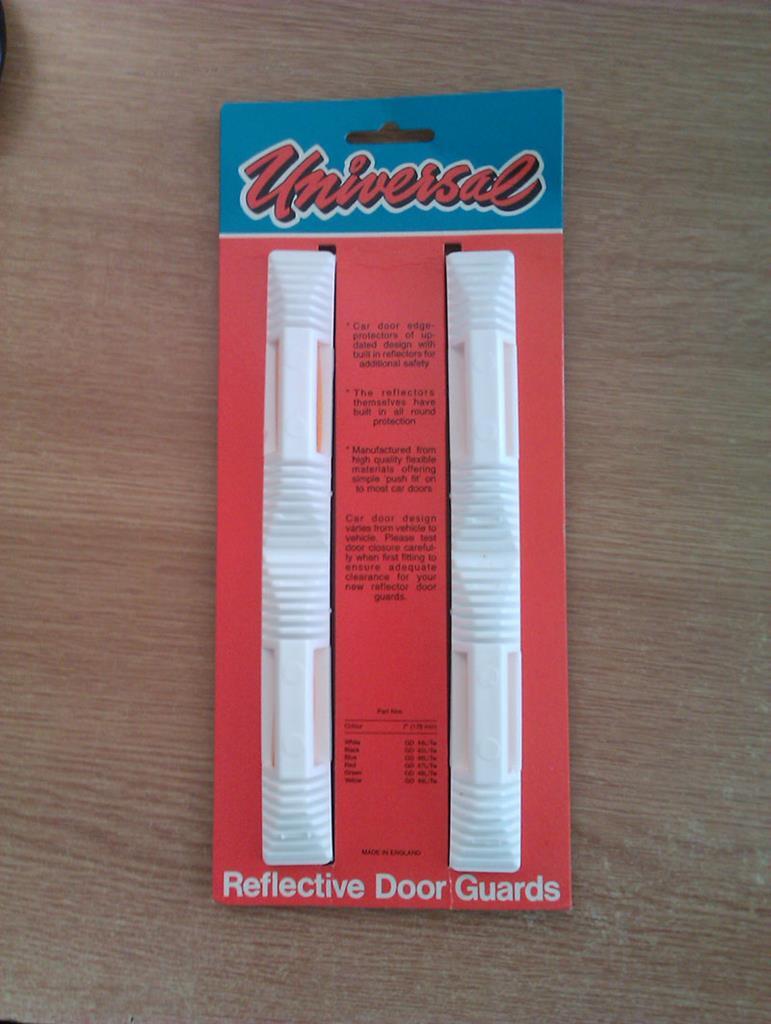 There is a good reason for these, I've found a few places I park have low walls and I've been dinking the edge of the doors because the wall doesn't line up with the paltry bump protector on the door. Now, I'm aware that I could get a modern 'invisible' edge protector but why would I when I can get period ones? Chopped them in half so one pair does all four doors and so they actually fit the door, which is totally okay since this was also a period thing to do. 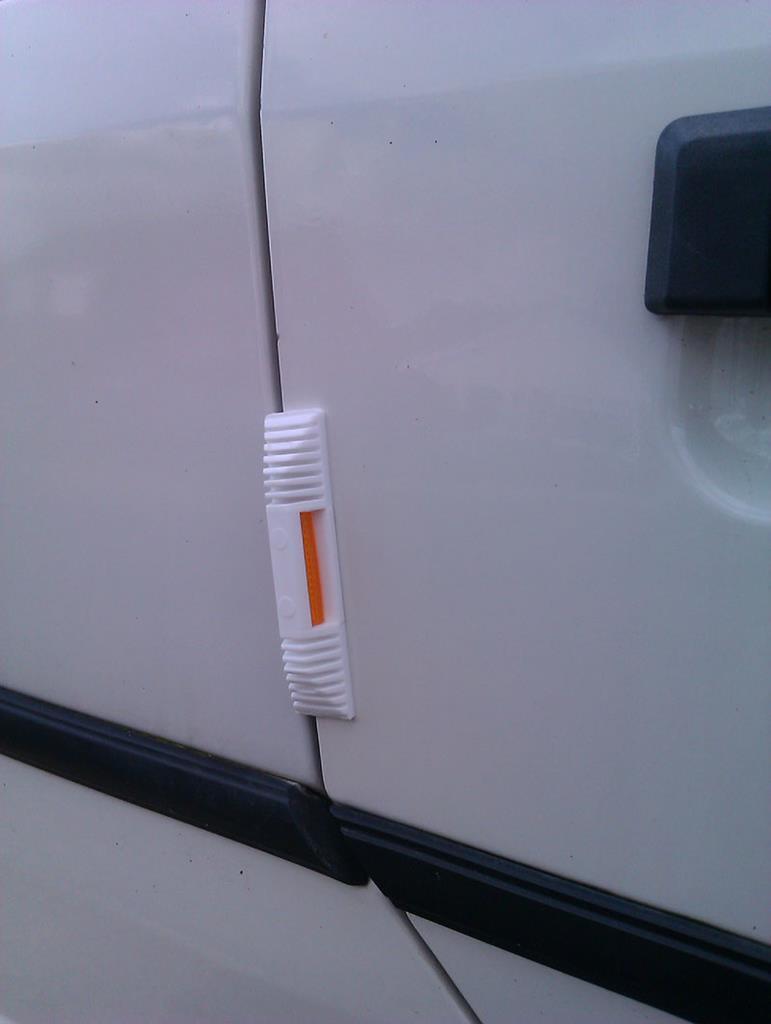 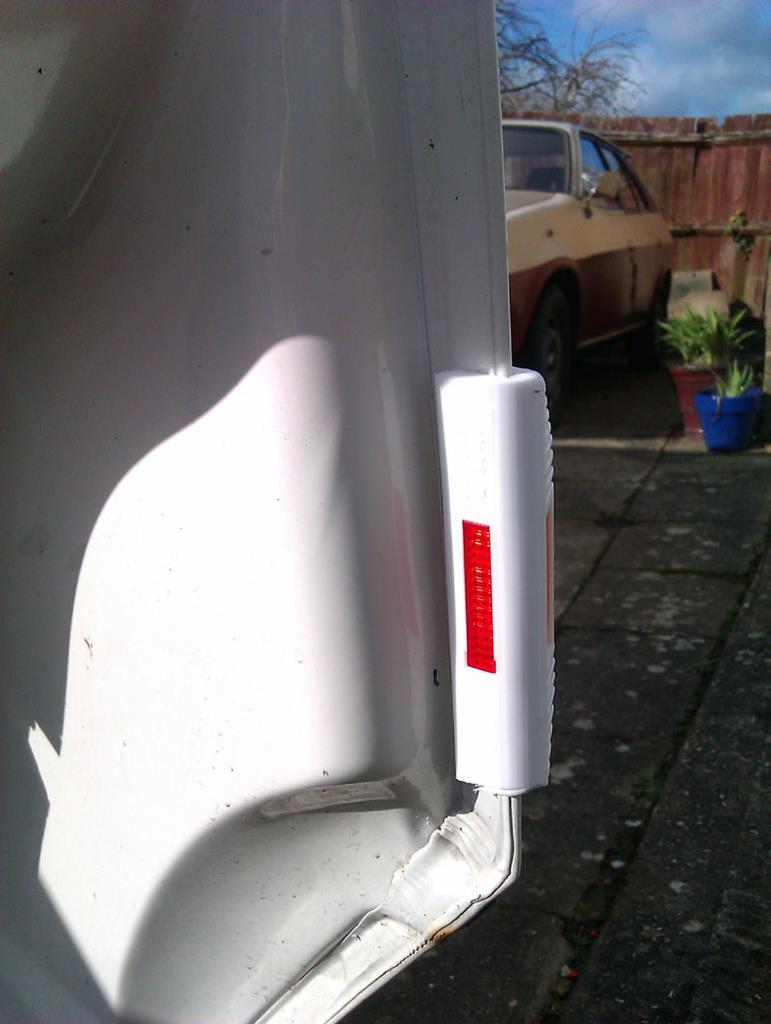  I can now fling my doors open with gay abandon! |
| |
|
|
|
|
|
Feb 11, 2020 12:57:04 GMT
|
"I can now fling my doors open with gay abandon! " seems to be 'normal' way doing it!  |
| |
Last Edit: Feb 11, 2020 12:57:37 GMT by westbay
|
|
vulgalour
Club Retro Rides Member
Posts: 7,257
Club RR Member Number: 146
|
|
|
|
Finally manage to acquire some little bits of plastic for the BX that I've been trying to get for the last year and a bit of ownership. You'd be amazed how difficult these things can be to acquire in any condition and at any price. When I've given them a scrub I'll get them all fitted where necessary. bumper 'ears' (poor quality wobbly children's play pony poop normally), wing-to-bumper infills, gearknob, parcel shelf brackets, a proper tailgate button, and a bunch of trim buttons. 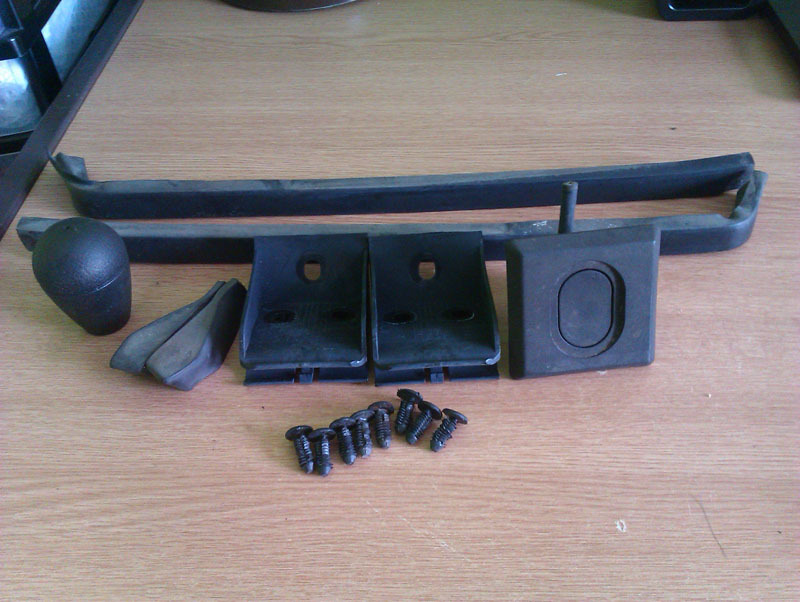 |
| |
|
|
vulgalour
Club Retro Rides Member
Posts: 7,257
Club RR Member Number: 146
|
|
Feb 15, 2020 11:33:00 GMT
|
Got the parts all scrubbed and set to fitting them to the car. Gearknob is nice and easy, it simply unscrews, the old one had gone very shiny and recently little black flakes had started to come off on my hand. 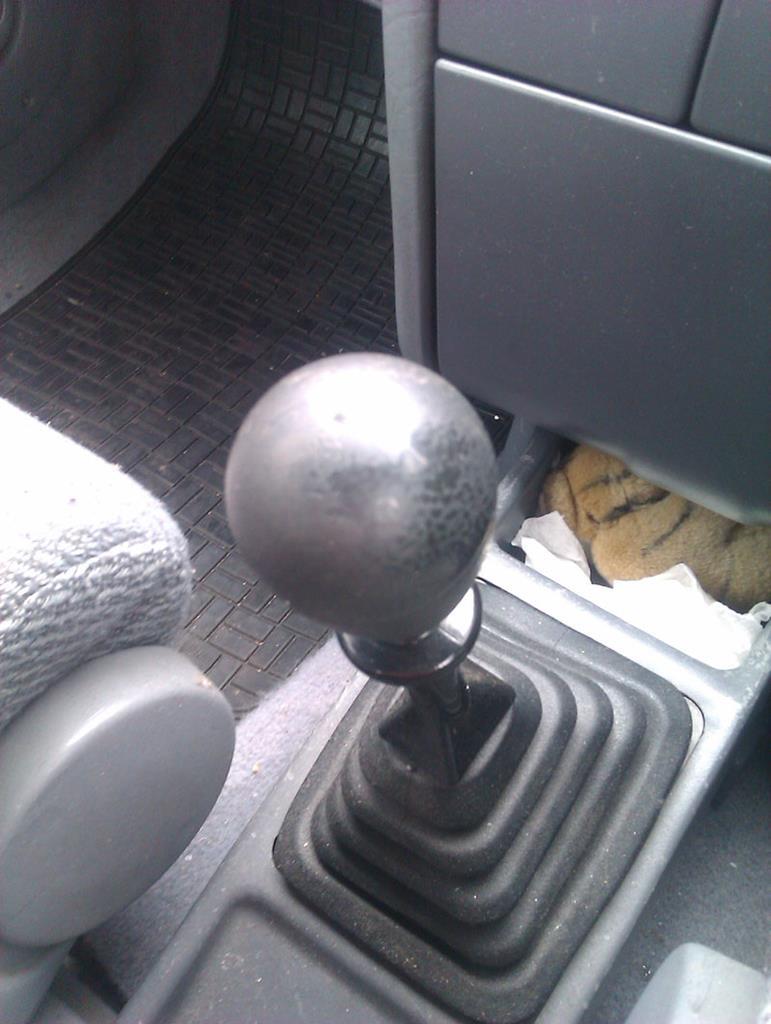 New one has hardly any wear on it so should do the job nicely. I really need to clean the inside of the car, haven't done that since moving in at the end of December and it's looking a bit grubby in there now. 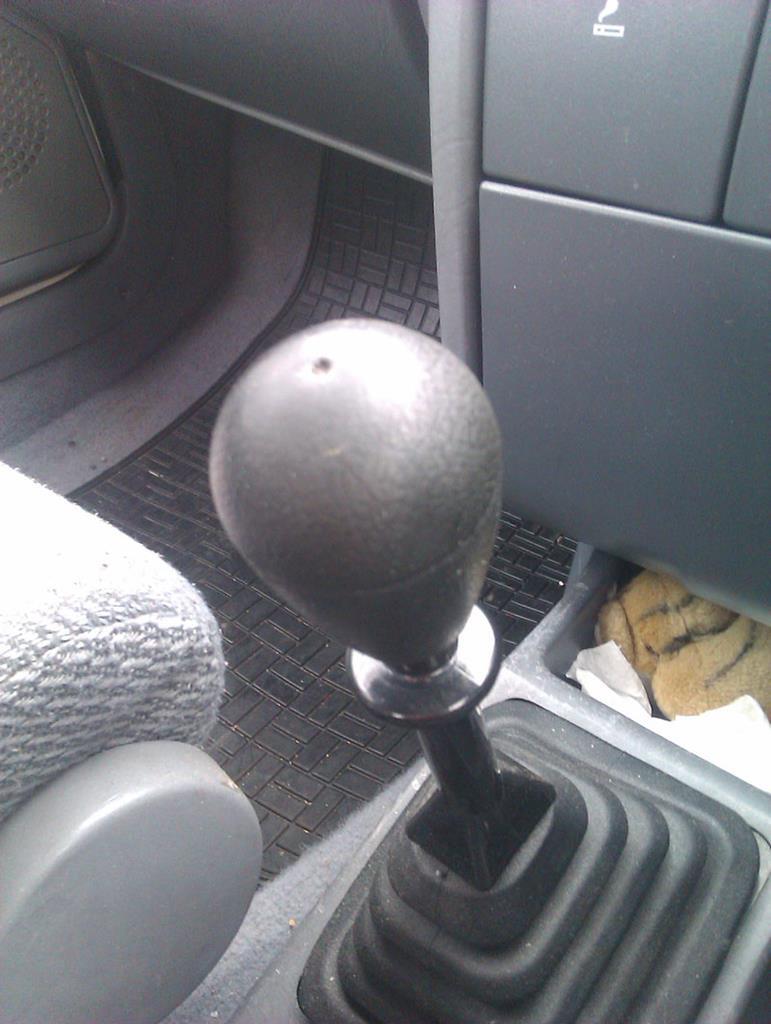 Shortly after getting the car, one of the parcel shelf brackets committed suicide and exploded into a dozen pieces. I'd been trying to track down a replacement ever since. Happily, another easy item to remove since you just undo three bolts... 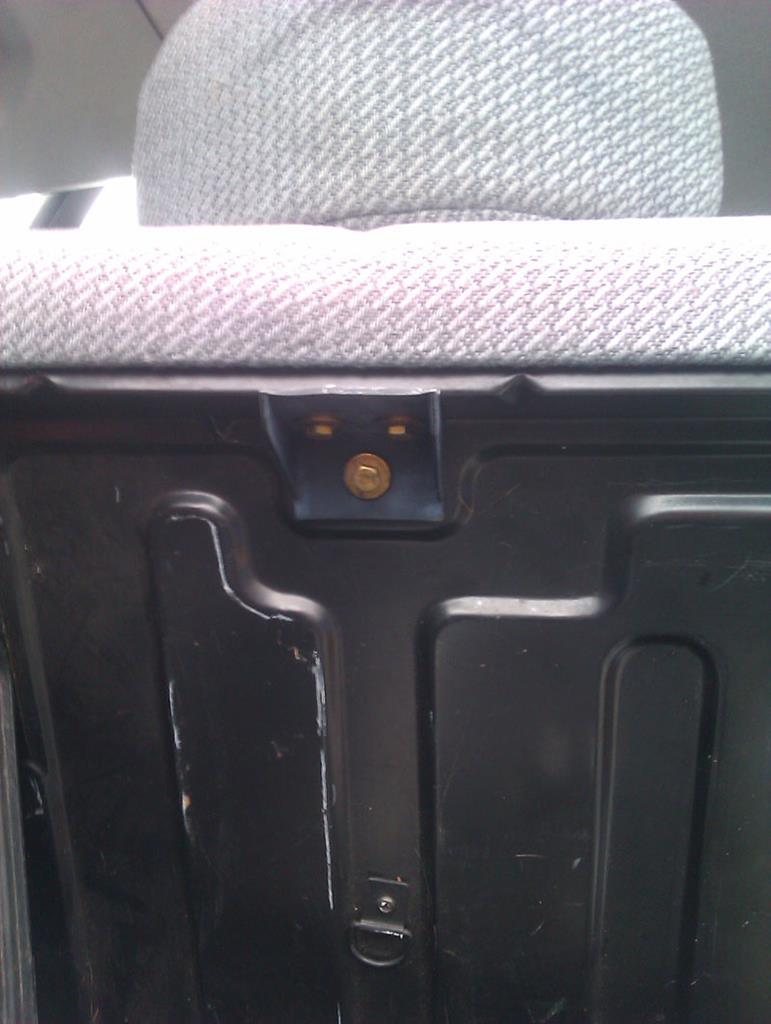 Remove the broken bracket, and then bolt on the new bracket, easy. 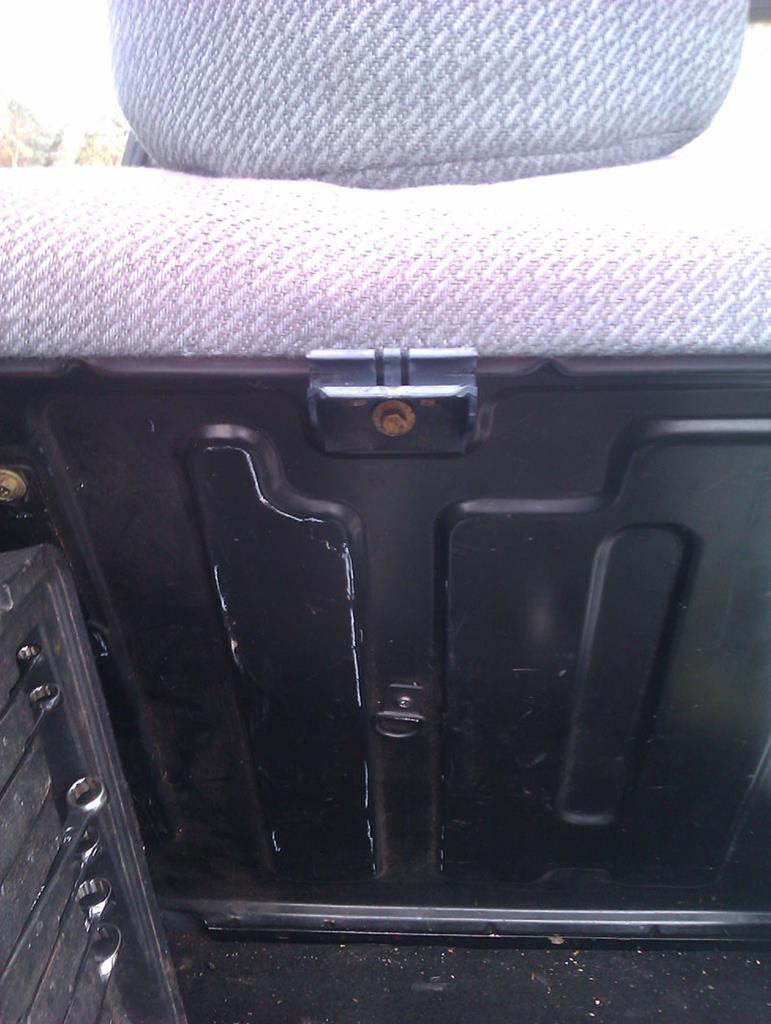 For the tailgate button it's a little bit more involved, but not much. First, pop off the trim buttons holding the tailgate trim on and then you can get a look at the back of the lock. The button itself is held in with a circlip and a fairly weak spring while the lock mechanism is held in with two bolts and a sturdy bracket. The easiest way to change the button is simply to pop the circlip off, pull out the lock button and spring from the other side, and pop the new button in, pushing the circlip home to keep it all secure. 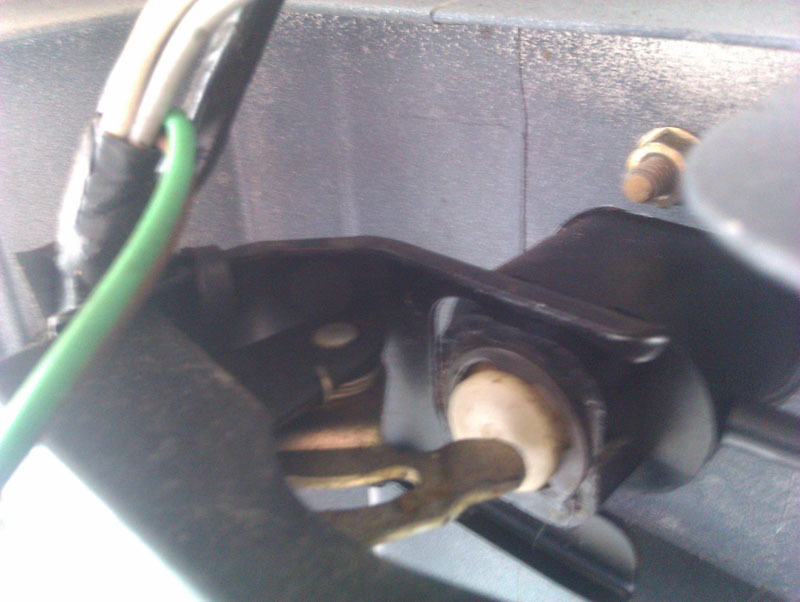 The black button is nicer to use than the lock that was in there, and it looks better to my eye since it now looks like a BX should in that area. 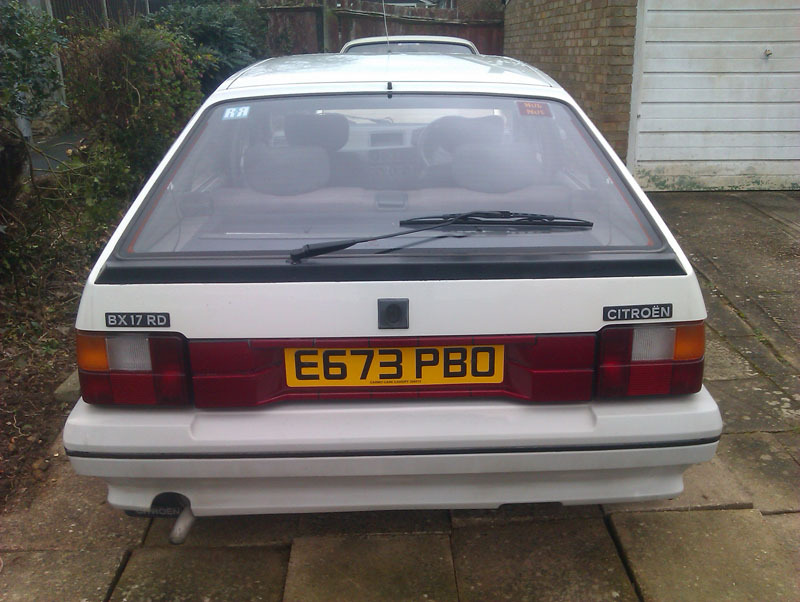 I chickened out doing the bumper infill pieces because it's so bloomin windy today and I suspect I have to either drop the bumper or pull out the lights to do it. I've also not got any glue for holding the ears on and I really don't want to lose those given how difficult they can be to find, and how expensive they can be when you do find them. |
| |
|
|
jamesd1972
Club Retro Rides Member
Posts: 2,916  Club RR Member Number: 40
|
|
Feb 15, 2020 11:48:20 GMT
|
It's Dad accessory time! There is a good reason for these, I've found a few places I park have low walls and I've been dinking the edge of the doors because the wall doesn't line up with the paltry bump protector on the door. Now, I'm aware that I could get a modern 'invisible' edge protector but why would I when I can get period ones? Chopped them in half so one pair does all four doors and so they actually fit the door, which is totally okay since this was also a period thing to do. I can now fling my doors open with gay abandon! As a quick aside I can recommend keeping the door very clean under these as the dirt between the guard and door acts an effective paint scratcher / remover. If you have any clear film might be worth considering. Memories of these and the marks they could leave from washing mum and dads cars in the 80's ! James |
| |
|
|
vulgalour
Club Retro Rides Member
Posts: 7,257
Club RR Member Number: 146
|
|
Feb 15, 2020 14:14:16 GMT
|
|
Oh I'm aware and I had a set fitted to the Princess for a while. After taking them off the Princess there was no noticable damage to the paint, probably because I made sure everything was clean when they went on and made sure the car was kept clean so no dirt could build up behind them. The paint on the BX is much tougher than that on the Princess so I can't see there being any issues.
|
| |
|
|
|
|
|
Feb 17, 2020 11:49:41 GMT
|
|
|
| |
|
|


