|
|
|
Nov 25, 2022 11:58:44 GMT
|
|
|
| |
|
|
|
|
vulgalour
Club Retro Rides Member
Posts: 7,277
Club RR Member Number: 146
|
|
Nov 26, 2022 20:19:34 GMT
|
That's tat-tastic. I hope you enjoy it  Today, I finally got a bit of time for some Lanchester tinkering and cut down the Land Rover horn push spring to fit since finding the proper Lanchester one has proven impossible. It's now a proper springy button instead of a rattly one. Can't actually test to see if it operates the horns properly yet because I haven't finished doing the bullet connectors thanks to not having the right sort of crimping tool for the brass bullets I've got and, as with most things lately, not having the time when it's light and dry outside. 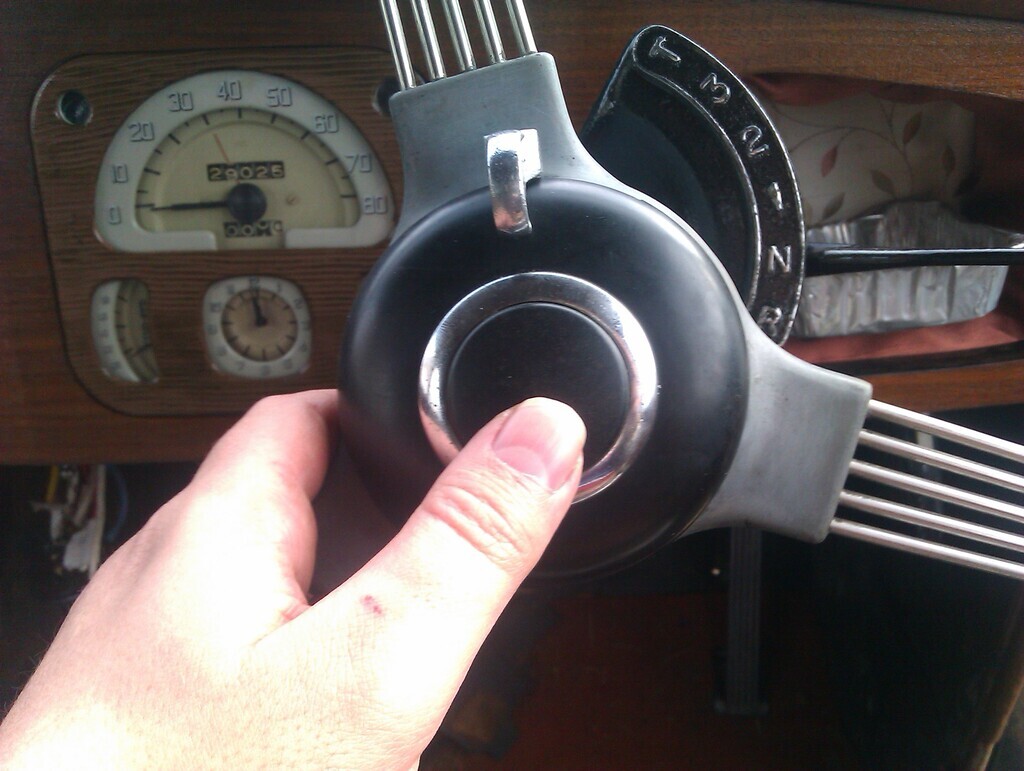 I am on the upward stroke of the project now and have a rough plan of attack: Dynamo - sort out the spinning stud, general clean, refit Engine mount - try and fit the new parts bought for that according to instructions provided Horn/indicators - crimp the new bullets on where needed, connect and go hopefully Water pump - with all of the above done, the water pump can be fitted, greased, and temperature sender connected Fan belt - with all of the above done, the new fan belt can be fitted Brakes - with all of the above done, brave opening the drums, cleaning, and adjusting where needed. Inspect and regrease rods and pivot points where needed too. With those things done, I can start the welding work I think. Before I reinstall the fuel tank properly, I need to do the rear inner arches where they've gone in the corners, and a couple of spots on the rear wings. I think I'm saving that job until the new boot lid arrives just in case I end up swapping it over whole, having no boot lid on the car would definitely make doing the welding easier. What I wouldn't give for a workshop with lighting so it didn't matter what the weather was doing or what time of day it was, I could get so much more done! |
| |
|
|
vulgalour
Club Retro Rides Member
Posts: 7,277
Club RR Member Number: 146
|
|
Nov 27, 2022 11:38:17 GMT
|
|
So much for doing anything outside today. Ah well, gives me opportunity to crack on with some video editing instead.
|
| |
|
|
glenanderson
Club Retro Rides Member
Posts: 4,338
Club RR Member Number: 64
|
|
Nov 27, 2022 11:55:09 GMT
|
So much for doing anything outside today. Ah well, gives me opportunity to crack on with some video editing instead. Yeah, it’s pretty grim outside here again today. I’ve just spent two damp days working on the Land-Rover and I’m glad I got the work done in the narrow weather window. I’ve got a day indoors tidying planned, prior to a night shift. |
| |
My worst worry about dying is my wife selling my stuff for what I told her it cost...
|
|
jimi
Club Retro Rides Member
Posts: 2,200 
|
|
Nov 27, 2022 13:40:53 GMT
|
|
Blue sky, no clouds and sunny here only 10 deg though 🙂
|
| |
Black is not a colour ! .... Its the absence of colour
|
|
vulgalour
Club Retro Rides Member
Posts: 7,277
Club RR Member Number: 146
|
|
|
|
Covid has arrived at Vulgalour Villas. It hasn't got me (yet), but it has got Pat so we're doing our best to isolate from one another in the house and that's kinda weird. My adventures are also very limited as a result since I don't want to go being a Typhoid Mary in public. This does give me some time back since I can't now go to the gym until isolation is over and I'm hoping to get some video write-ups sorted out. I'm ahead on video editing again now and am currently uploading the latest Maestro content which is a little bit of this. 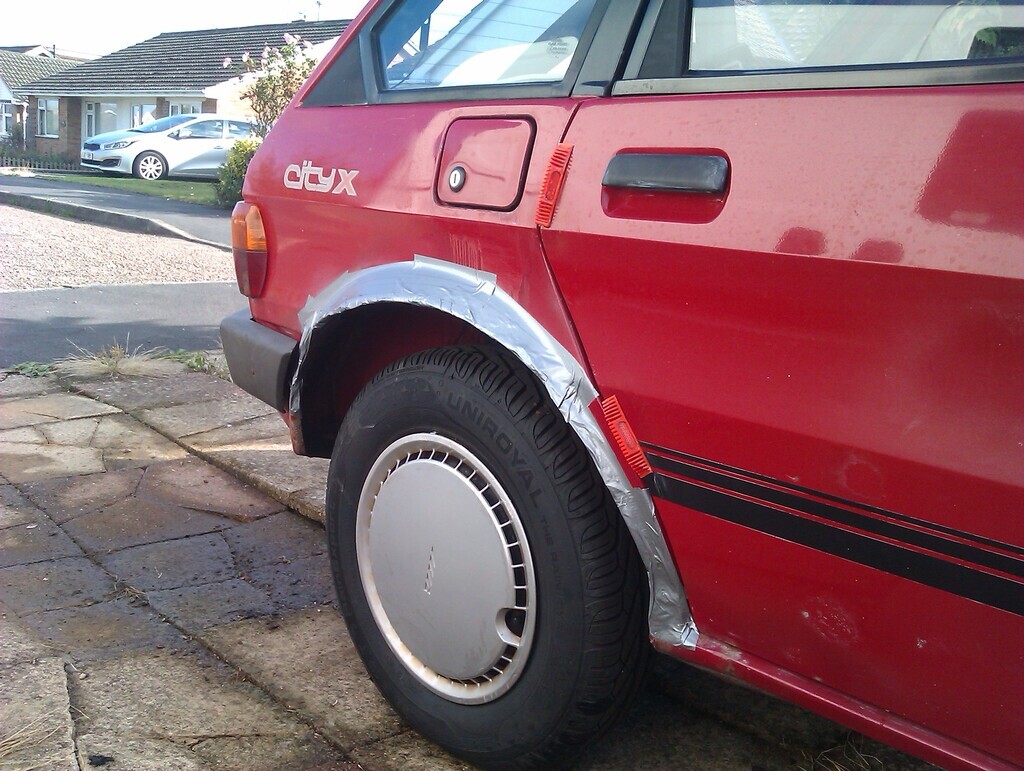 I may have found a lighting solution for the back of the Lanchester too. I've been trying to find what looks like reasonable quality indicators and high level brake light without spending too much cash and in a style that I feel is right for the car. Originally, I was going to go subtle LEDs and may still do that in the future, the key thing right now is to sort out the wiring with what I have to hand and/or is in budget and my budget has become very tight just lately. No Christmas rush of orders this year it seems so my usual end-of-year bonus if you like has not been forthcoming. Going to be a lean one this year. Actually, might as well plug the print shop now I say that, hadn't I? www.redbubble.com/people/angylroper/shop Literally any sale, no matter how small, helps. I have been browsing for a while to try and find something that suits my requirements in budget and happened across some Honda moped rear light units that were the right sort of form factor but too clunky for what I wanted to do. Then a new listing was in the suggestions on eBay for a Royal Enfield Electra rear light unit, in what looks to be decent and complete condition, for not a lot. Best of all, there was a shot of the back of it so I could see how it all went together. 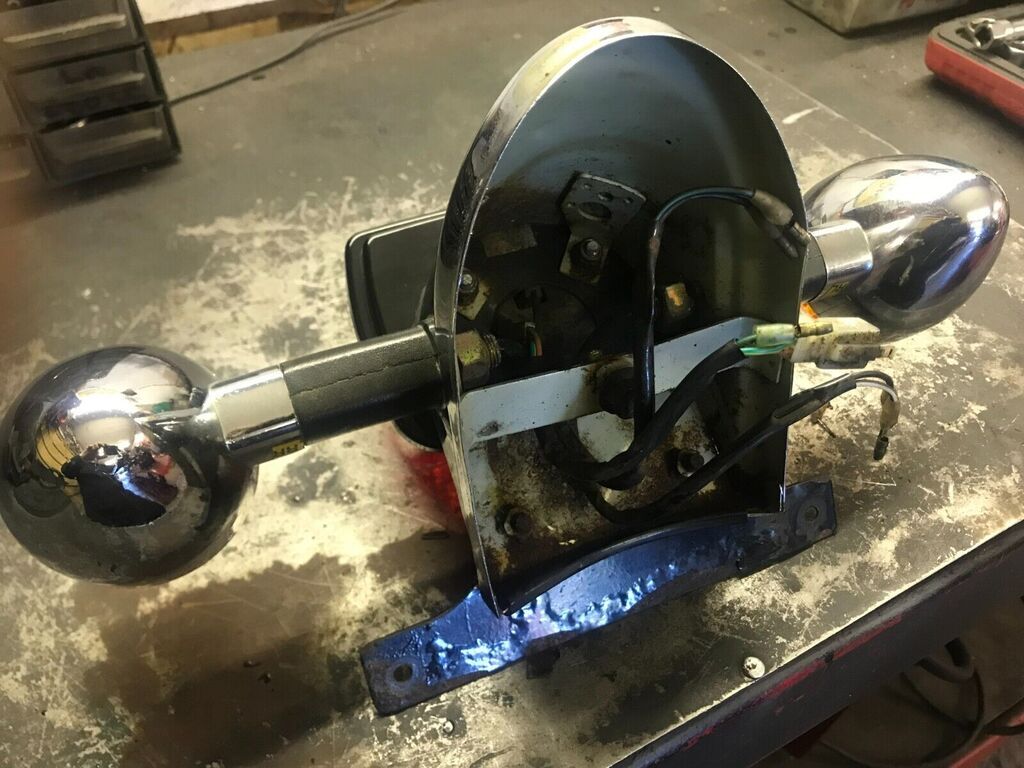 I could have bought any number of generic LED separates in a similar form, from a multitude of sellers both reputable and not, and just chanced my luck. My thinking here is this unit is less of a gamble since Royal Enfield are doing mass produced stuff designed to meet a decent standard and should therefore be a more reliable set of components. The key thing is that it's entirely modular so I can space things exactly as I need them in the rear window and with it already having the wiring with bullet connectors it should hook up to the Lanchester's new wiring harness fairly easily. 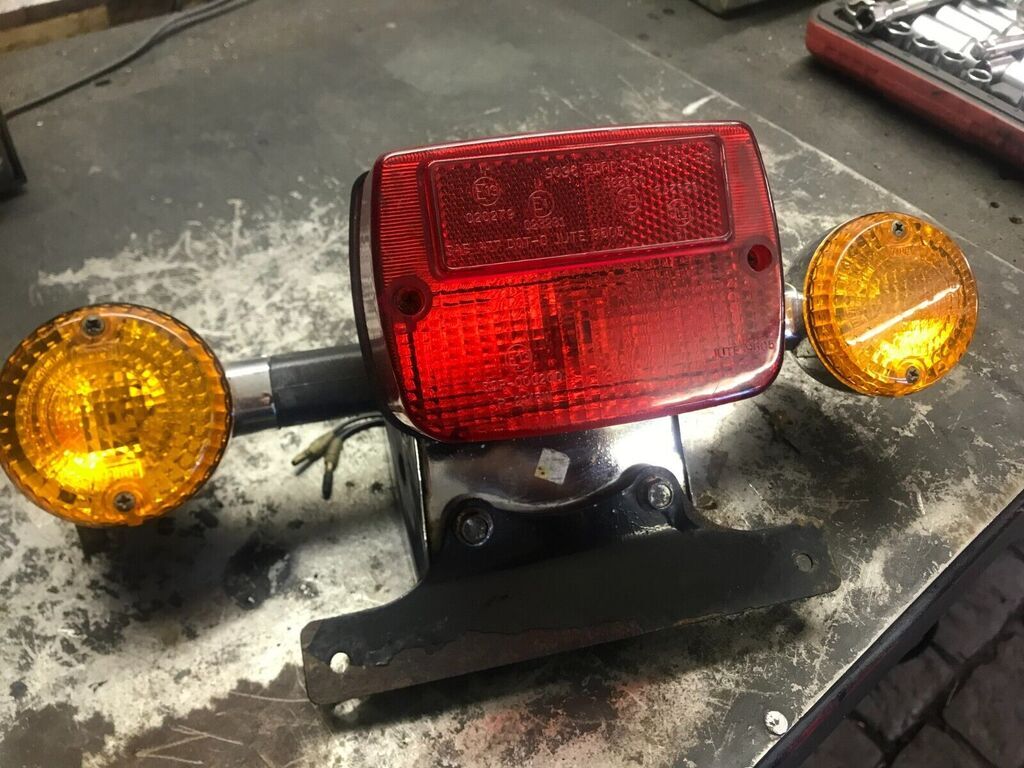 I'm planning to make some simple brackets to mount the lights to the parcel shelf, some simple shrouds to prevent glare when the lights are on, and hopefully the bullet connectors used are the same size as the ones on the Lanchester so it'll be a straight forward plug and play. I'll also have the option of incandescent or LED bulbs with these units, which means I can probably use the bimetallic flasher cans that came with the harness rather than worrying about forking out for some new LED friendly solid state ones, another cost saving. That is, providing the cans are rated for the lights we'll be running on them, I'll have to check. The other idea I'd like to implement is taking the Lanchester logo from the hubcaps and having it done as an etched brass plate to cover the reflector on the brake light. Not at all necessary, just a little detail to obfuscate the origin of the lights used. 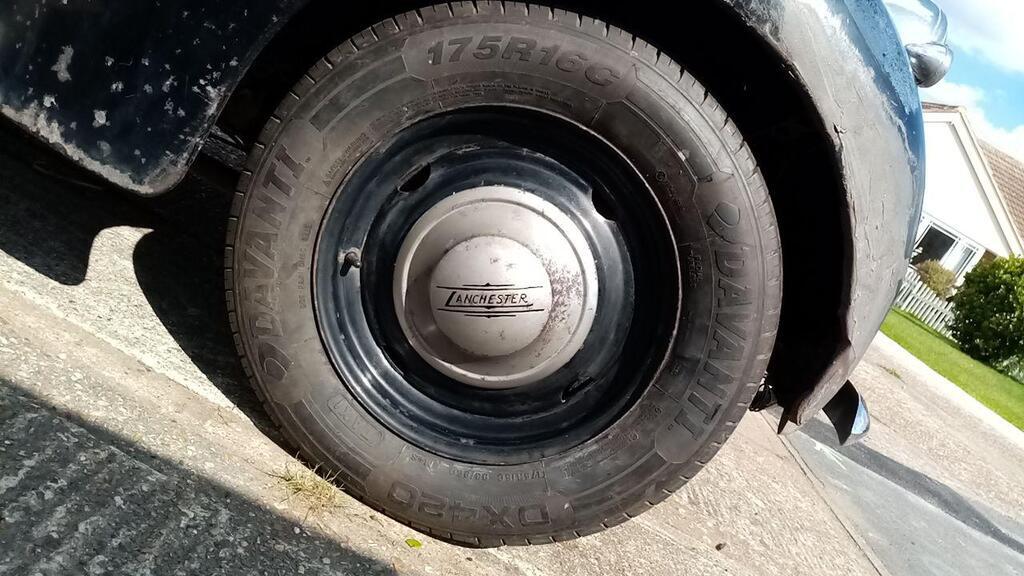 Finally in this micro update, I ordered the proper crimping tool for the brass bullet connectors I bought so I can get the indicators and horns connected to the rest of the harness, so I'm looking forward to sorting that out and getting that bit closer to finalising the wiring. |
| |
|
|
vulgalour
Club Retro Rides Member
Posts: 7,277
Club RR Member Number: 146
|
|
|
|
Finally got the rocker cover off the Maestro today. It was still cutting it fine for daylight, jobs always take longer when you're recording them. Got a bit of a fright when I saw the state of the inside of the rocker cover. 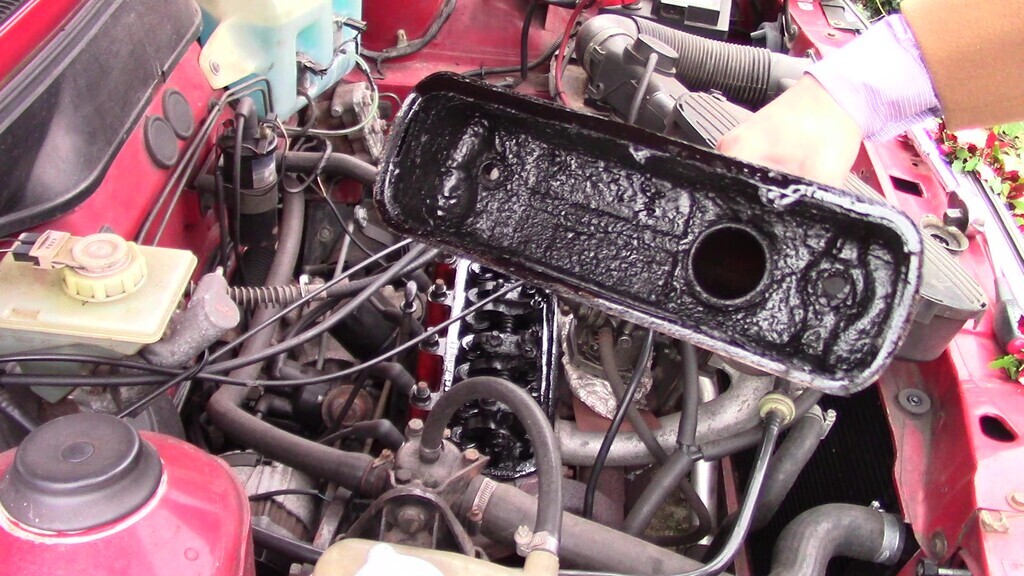 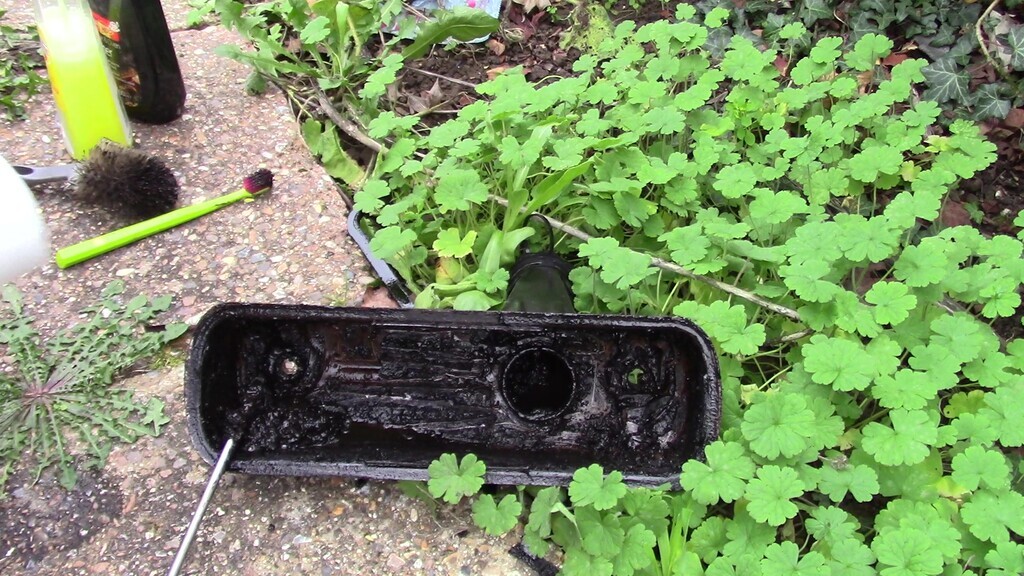 I had to take a pressure washer to it in the end, I dread to think what the sump looks like. I was taught in this situation to do a couple of oil changes with cheaper oil at a more frequent interval than usual, then drop the sump and clean it out, then do a normal oil change with some engine flush, then do another normal oil change. Pulling the engine to rebuild it isn't an option for me at the moment. I don't know when the car last had an oil change and I know I haven't done it in the last year. On the plus side, now I've adjusted the valve clearances to the proper amounts it's an awful lot quieter and more responsive than it was. Clearances were mostly all up at .38mm, with a couple at nearly double that, when they should be nearer to .05mm, so it's no wonder it was pretty noisy and needed thrashing to get a move on. It sounds a lot more like an A series should now and I reckon as I continue to dial bits and bobs in it will get better and better. I need to raise the idle - I had to drop it when I got the car because it was idling much too high - because it does try to stall at idle now, but I don't need to raise it by much, just resting (not pressing down) your foot on the throttle pedal is enough to put it where it needs to be. |
| |
|
|
jimi
Club Retro Rides Member
Posts: 2,200 
|
|
|
|
On the plus side, now I've adjusted the valve clearances to the proper amounts it's an awful lot quieter and more responsive than it was. Clearances were mostly all up at .38mm, with a couple at nearly double that, when they should be nearer to .05mm, so it's no wonder it was pretty noisy and needed thrashing to get a move on. A figure of 12 thou sticks in my head for A series engines, don't think I ever saw a metric figure quoted for them, only real money figures  |
| |
Black is not a colour ! .... Its the absence of colour
|
|
|
|
|
|
|
|
One trick to clean the old oil out is to use Deisel oil for a while.
I'd not overthink it - it runs - it's fine.
|
| |
|
|
vulgalour
Club Retro Rides Member
Posts: 7,277
Club RR Member Number: 146
|
|
|
|
|
I had forgotten the diesel oil trick, I'll do that for the next oil change. Going to have to get a bunch more oil filters since I've only got one spare.
It can't be that bad inside can it, given that I've been using it for a year and it's not let me down.
|
| |
|
|
|
|
|
|
|
|
Have you got any part numbers for the filters? Got a feeling I may have some you can have for the cost of carriage
|
| |
|
|
vulgalour
Club Retro Rides Member
Posts: 7,277
Club RR Member Number: 146
|
|
|
|
|
It's a pretty generic filter, there's a whole bunch of suppliers with numbers, I don't know what the original part number would be.
Mann: ManW712/43
Bosch: 0451104026
Hella/Hengst: H90W29
Mahle: OC237/1
It's a 1988 1.3 A+ Series if that helps? Used in lots of stuff so they're not expensive, but if you're looking to rehome a bunch I'd be happy to help out.
|
| |
|
|
|
|
|
|
|
|
A minor is 12 thou or 0.3mm, I don't suppose this much different.
|
| |
|
|
vulgalour
Club Retro Rides Member
Posts: 7,277
Club RR Member Number: 146
|
|
|
|
|
Minor runs the A series, Maestro runs the A+ which is a development of the A series. I don't know enough about the two to know what's actually different beyond the A+ big selling point being unleaded friendly as standard. I imagine the tolerances are a bit tighter, certainly the gaps being down at 0.05mm or thereabouts as opposed to the Minor's 0.3mm suggests that.
Someone with more in depth knowledge of the two engines likely knows what the score is better than I do. I don't even like working on engines. I do the maintenance, follow the instructions, hope I don't blow anything up and avoid opening the moving bits up or getting down into all the figures and maths and whatnot as much as I possibly can.
|
| |
|
|
jimi
Club Retro Rides Member
Posts: 2,200 
|
|
|
|
|
According to a online converter 0.05mm is 0.001968503937 inches (2 thou), seems extremely tight to me, you may well get problems with gap closing up once hot. Where are you getting 0.05mm from ?
|
| |
Black is not a colour ! .... Its the absence of colour
|
|
|
|
|
|
|
|
I've got a Metro manual in front of me (I assume same engine) and that states a cold gap should be 0.0012in or 0.30mm gap.
If you have them at .005 then they will be keeping the valves open all the time when hot. Your original .038mm gap was only slightly too big.
|
| |
|
|
|
|
|
|
|
|
I run the cheapest diesel tractor oil from the agricultural store.
It has a good amount of zinc in and a significant amount of detergent.
Best of all it's cheap. Change it regularly and it'll flush everything out.
Expect blue smoke, you will find it'll clean the valve seals up too.
|
| |
|
|
vulgalour
Club Retro Rides Member
Posts: 7,277
Club RR Member Number: 146
|
|
|
|
"I followed the instructions, I can't think what I got wrong, it doesn't make any sense." 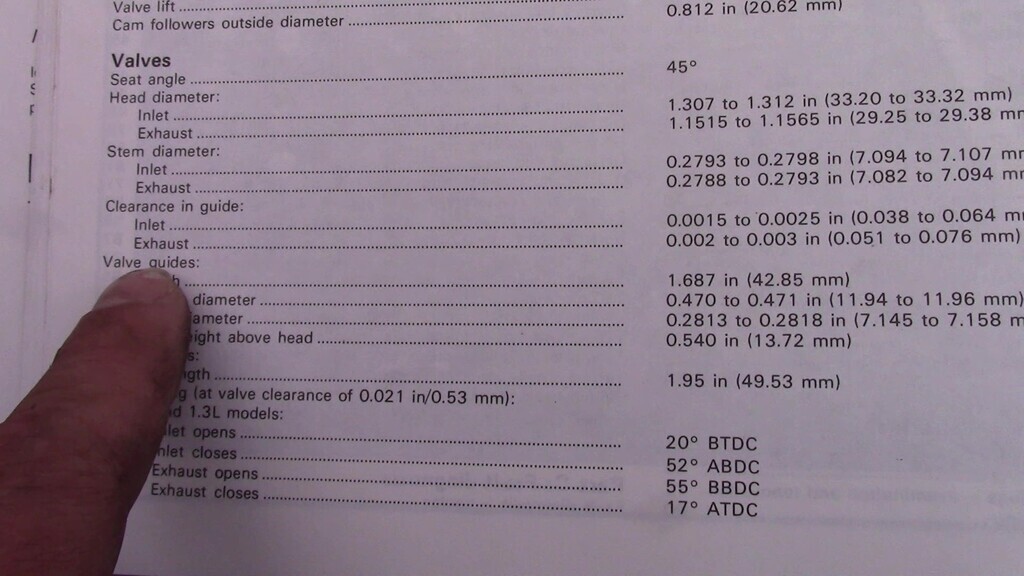 Oh. You numpty. Events can keep reminding me that I'm not exactly in top form and that I should take a break but it doesn't change the fact that I can't take a break so mistakes are just going to have to keep happening, like when I put a spoon full of coffee beans instead of sugar in my coffee. These things happen. Fortunately, there are other people to point out when I've done something daft and make me go back and look at what happened so I can sort it out. I'll redo it as soon as I can to the proper gap and it'll be fine. Thank you for pointing out that it seemed off, I know it's not the first time, and it probably won't be the last. I am the perpetual apprentice. |
| |
|
|
vulgalour
Club Retro Rides Member
Posts: 7,277
Club RR Member Number: 146
|
|
|
|
|
Today is cold and drizzling. I think I'll put this job off for later in the week and just not use the car, which is doable since I'm still isolating over here.
Actual gap according to the book (p27, Haynes manual) is 0.38mm, that's were most were when I went in, so I'll wind everything out to that and sort it. Haven't adjusted the idle or anything else on the carb so I'll leave that be until after I've redone the valve gaps and see if anything is needed.
|
| |
|
|
|
|
|
|
|
|
The oil filters I have are AC Delco X79 which seem to cross over, have a google your end to see if you agree, if they are OK PM me your address and I will stick a handfull in the post
|
| |
|
|


