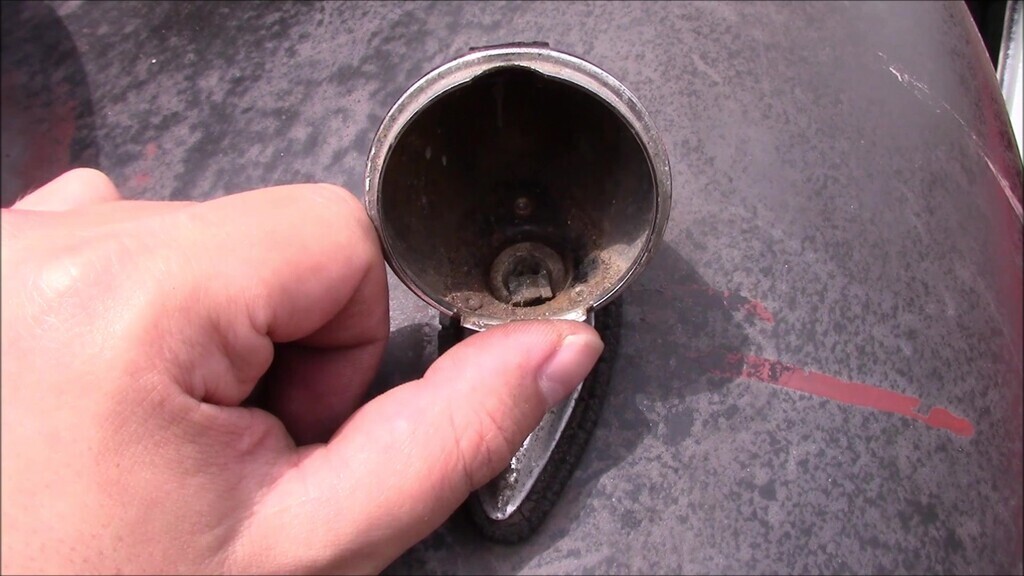
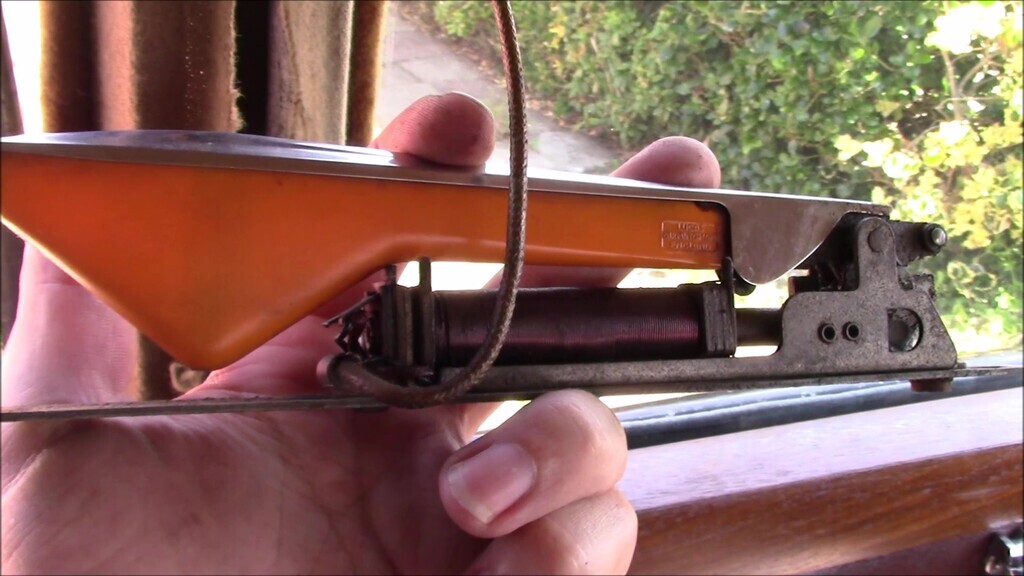
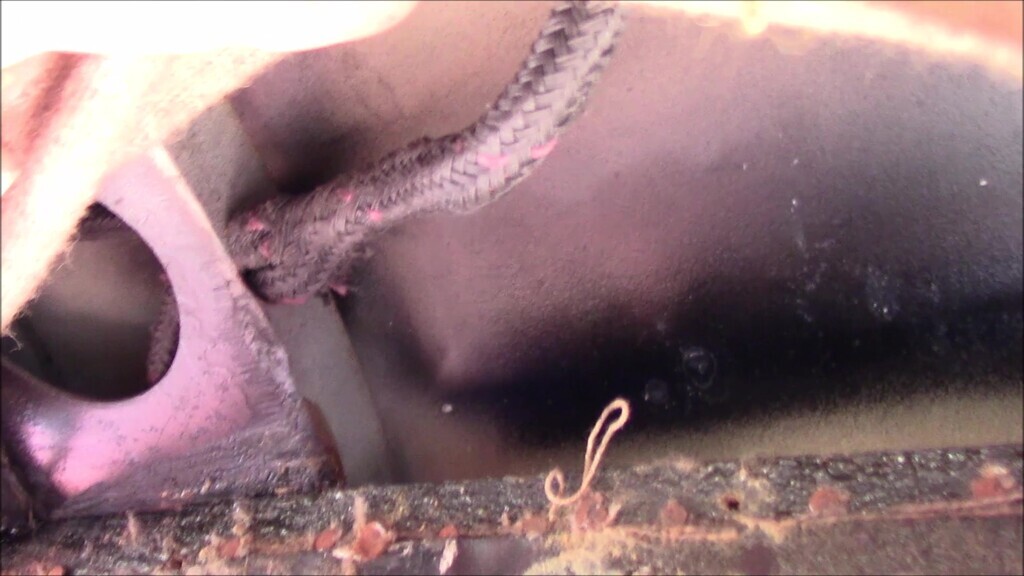
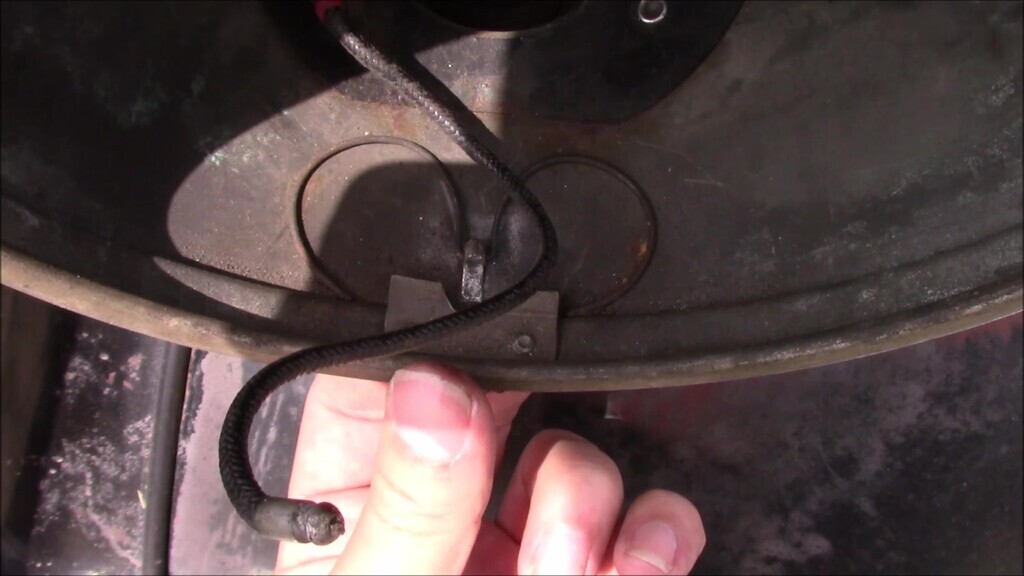
Lanchester un-wiring, part 2. This is perhaps one of the dullest and most frustrating aspects of the project so far. However, it's also one of the most important jobs to do. Stripping everything down to a bare shell and chassis would undoubtedly have made this a lot easier, instead we're doing it the hard way. Picking up where we left off, here's how the headlight retaining spring works. You pull (if it's still present) a little tab under the headlight bezel and that compresses a spring which you can see in the bottom of the bowl, the two large loops there, this then allows you to easily remove the bezel and keeps the bezel in place safely the rest of the time. One of our headlights is missing the pull tab but the bezel is incredibly difficult to remove anyway so it's not a big worry, it's clearly been this way for a long time too.
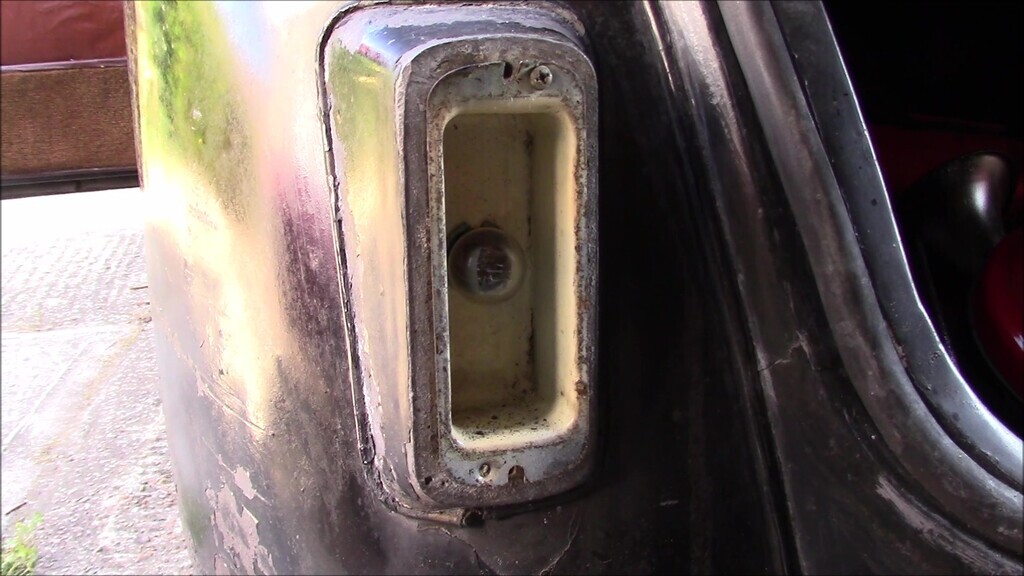
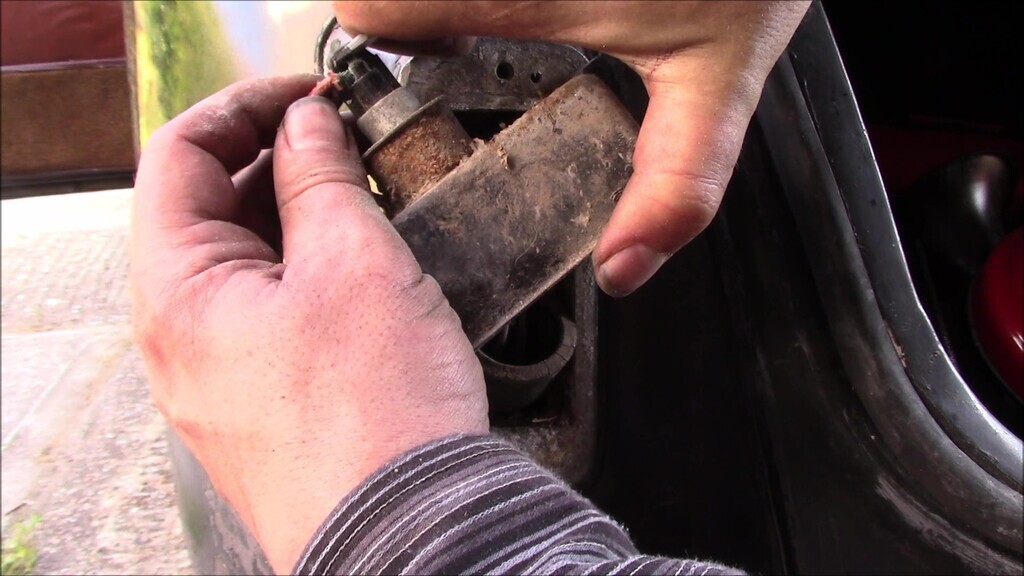
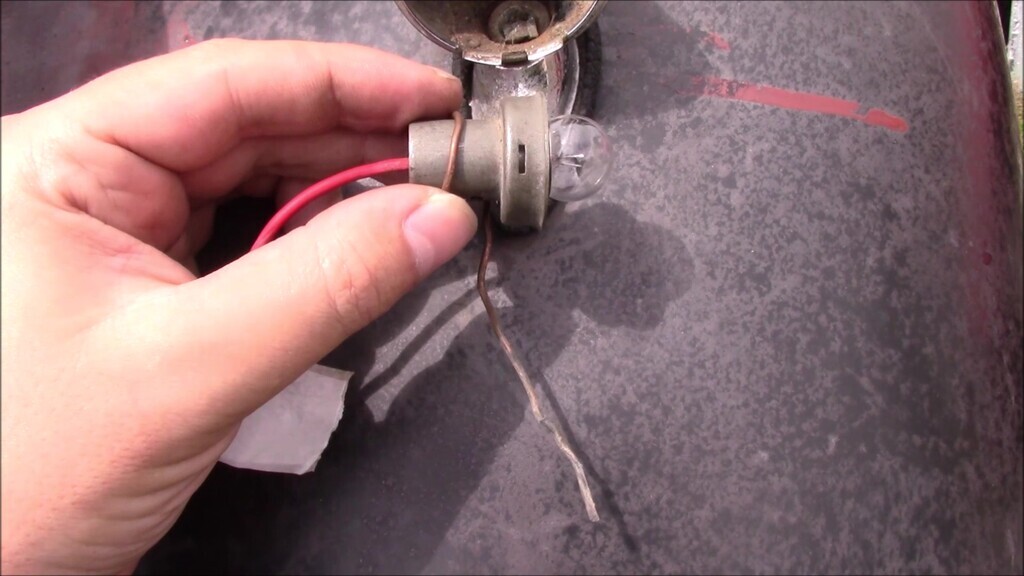
You've seen the headlight stripped down on the other side, this side went much the same. Sidelight this side also needed to be un-wired and as on the other side, it's missing the little tang that provides an earth and has been given one of those thick copper wire loops as a repair at some point in its life. This copper wire works most of the time, we'll be replacing it with something that will hopefully work better.
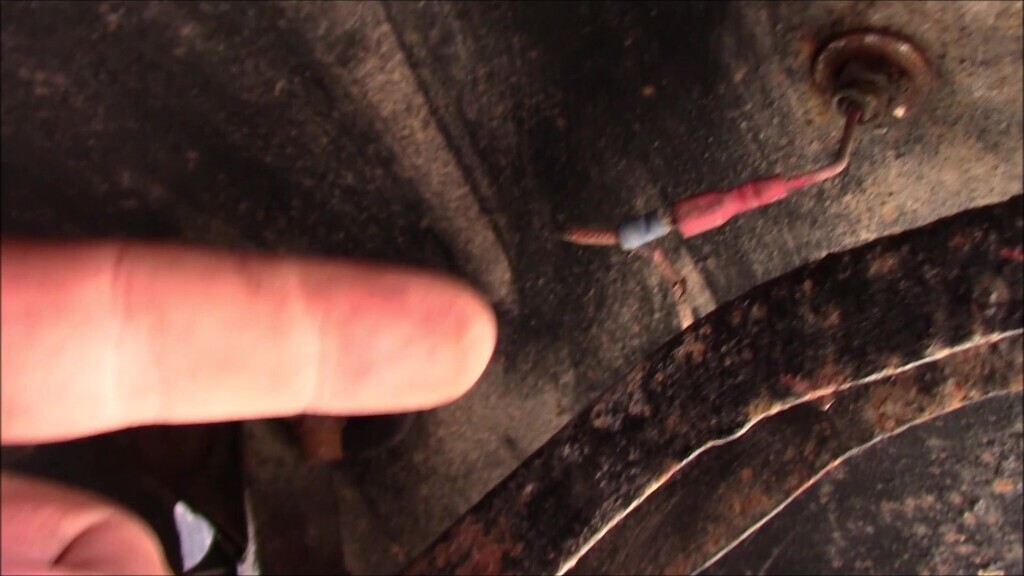
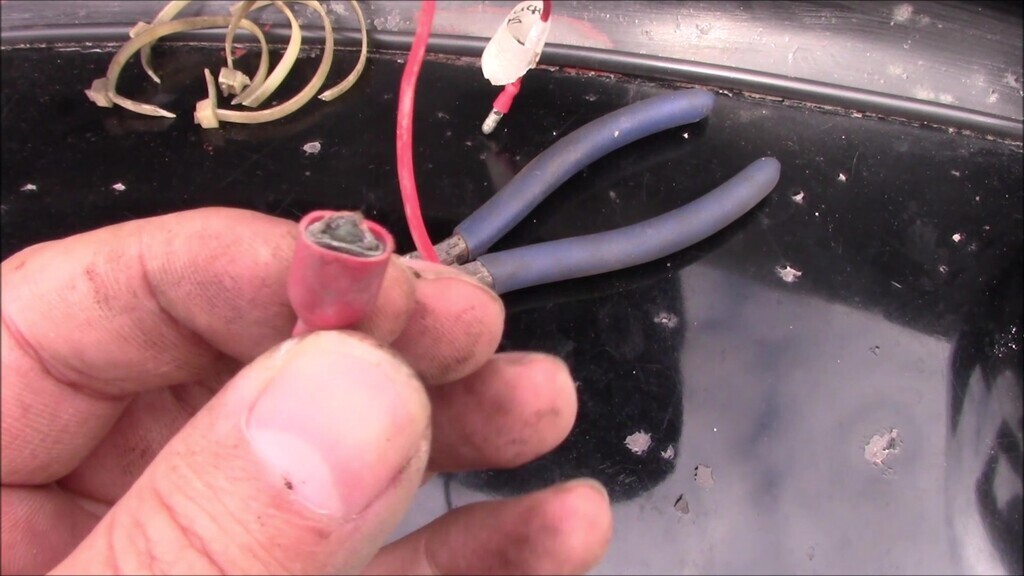
The wiring runs from the sidelight to the upper side of the wing brace where there's a little clip that screws/bolts on to guide the wiring down the brace and toward the chassis. As is usual with the wiring on this car, the red and blue connectors have been out in force and one had disintegrated.
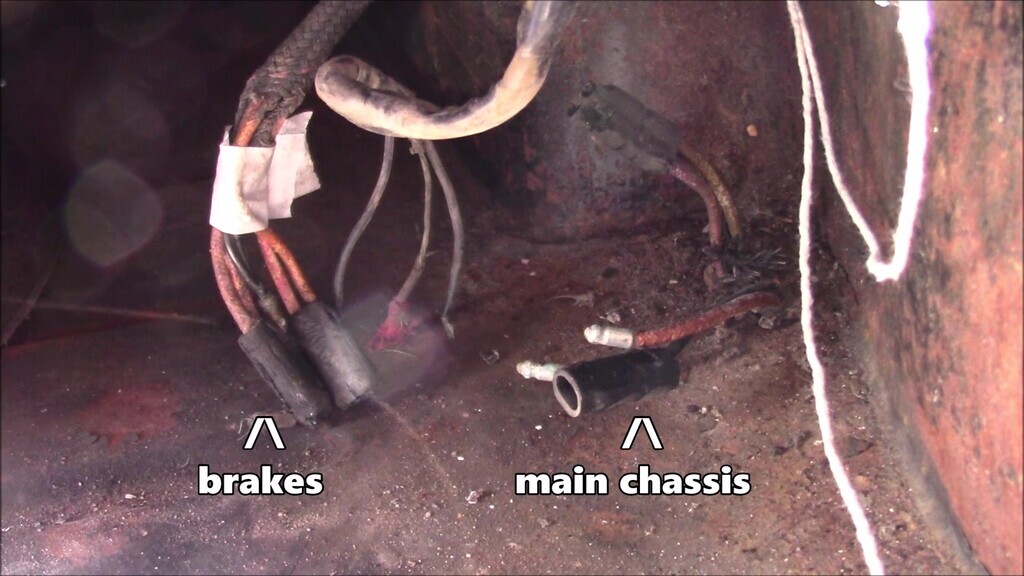
Before too long I had all the wiring for the front lights pulled out to the chassis and could turn my attention to the other items branching off from the main harness, namely the wiring for the stator tube. I've never dealt with stator tubes before but I did understand the basic principle. The new harness doesn't include the stator tube wiring and I've been warned variously that it's not the nicest job to do. Since we're doing all of the other wiring on the car, the stator tube wiring will also be replaced. Someone has been here before, as evidenced by the non-factory connectors.
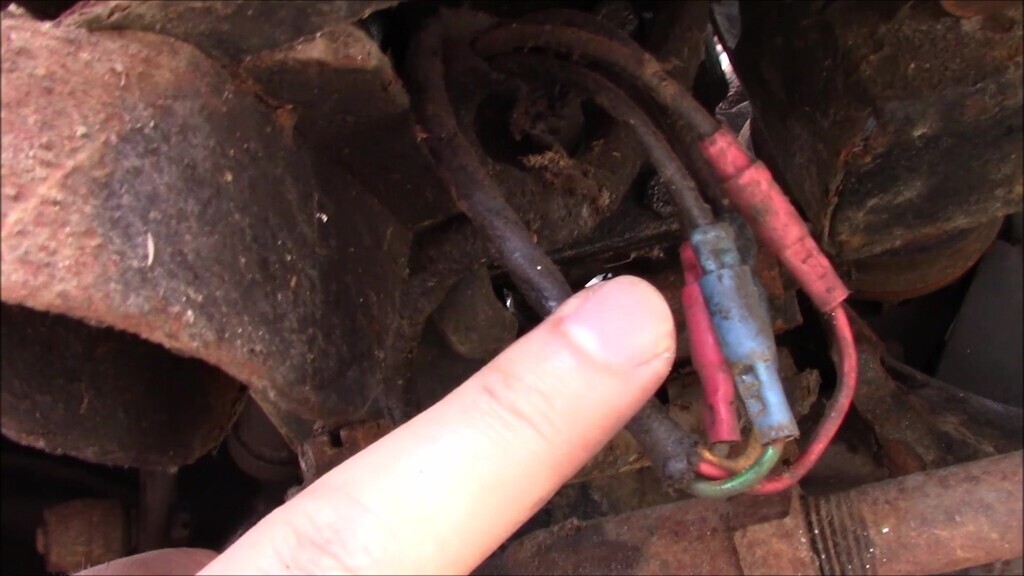
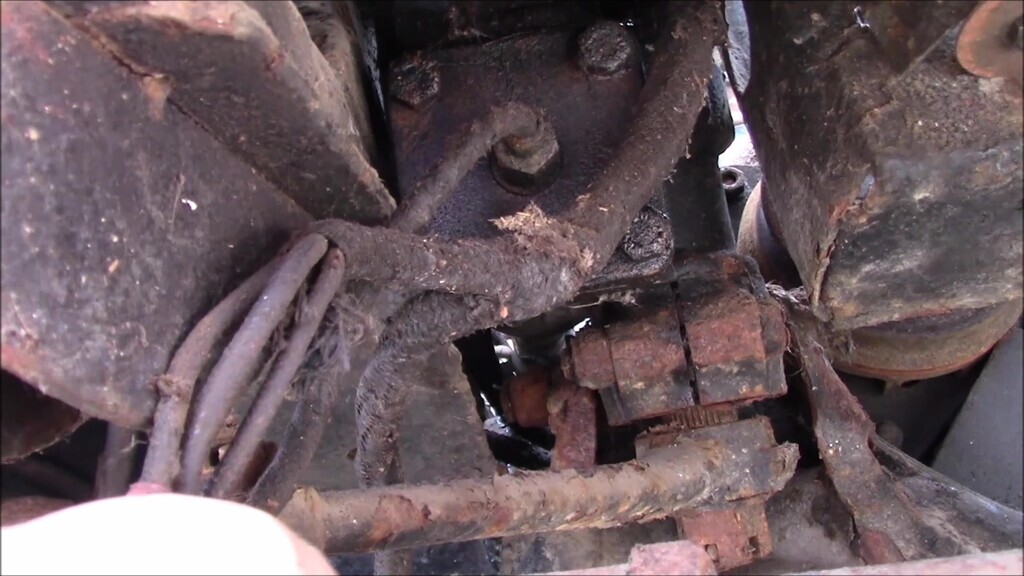
Those connectors join the wires that run from the horn and semaphore control down the stator tube inside the steering column, to the rest of the harness. At the stator tube end, you need to disconnect it from the bottom of the steering box where the wires pop out. It's also at this moment that you realise the implications of a car with no seatbelts and a steering column that is one steel rod inside another steel rod with no ability to crumple... and then promptly put it out of your head because contemplating one's own mortality is distracting when you're trying to complete a job.
At this point I didn't remove the stator tube wiring, instead I was focusing on the main harness and ancilliary items like this could be removed afterwards. Breaking the job into smaller sections like this helped me keep progressing without getting bogged down in lots of smaller challenges. Before much longer I had all of the wiring harness that served the front lights removed.
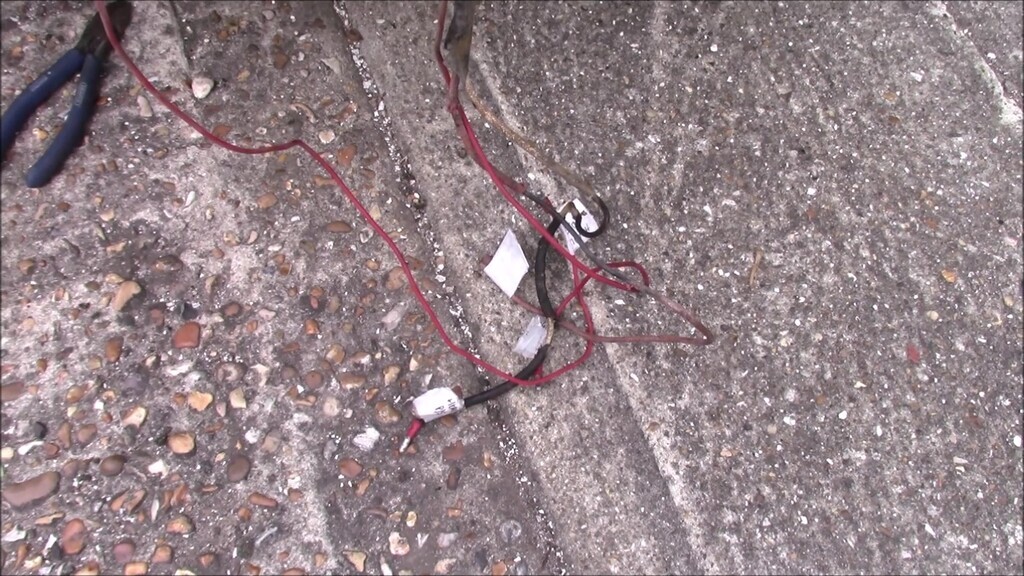
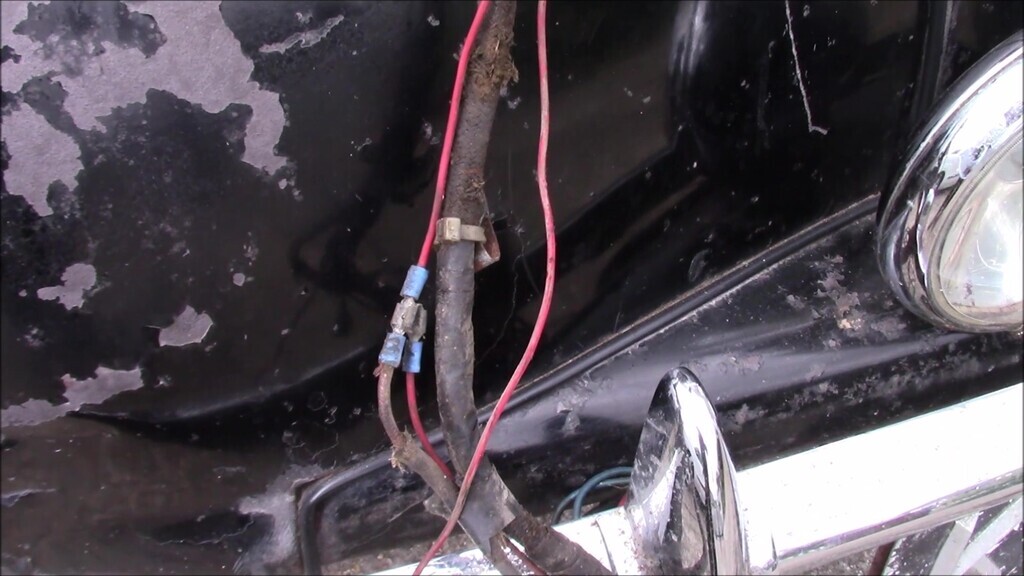
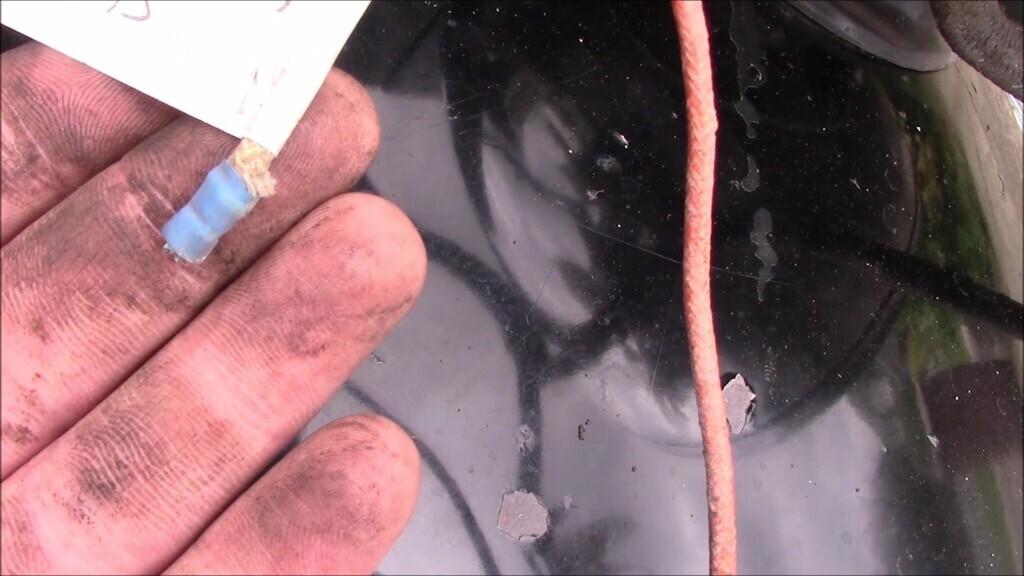
In places, spectacularly poor condition. It's amazing that everything actually worked, and a little bit more clear as to why things gradually stopped working the more we dug into the car. Now I knew what was what with this, I could focus on removing the last bits of wiring from the voltage regulator connection thingy.
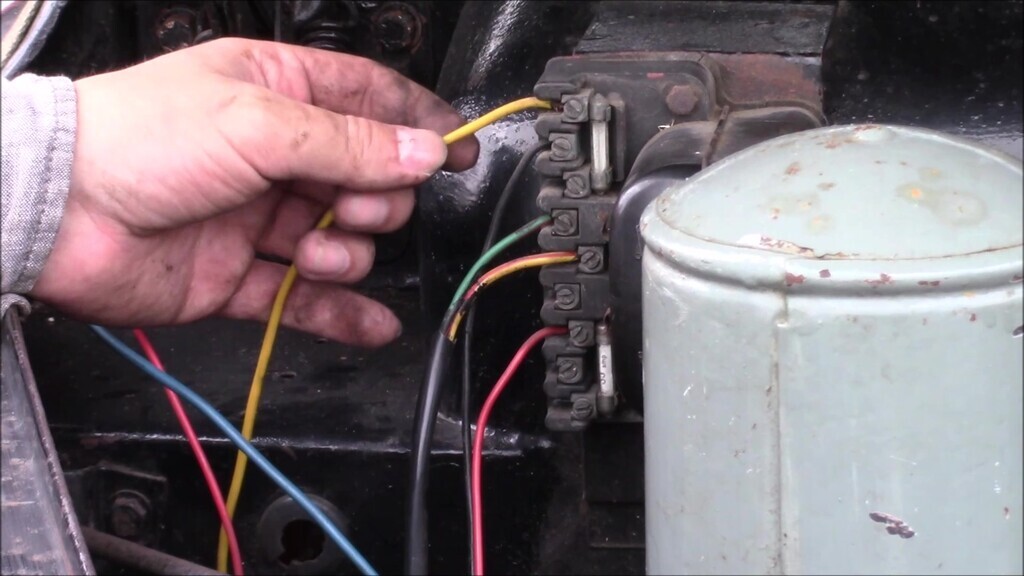
As before, care was taken to label as I went and before long, all those wires were out too.
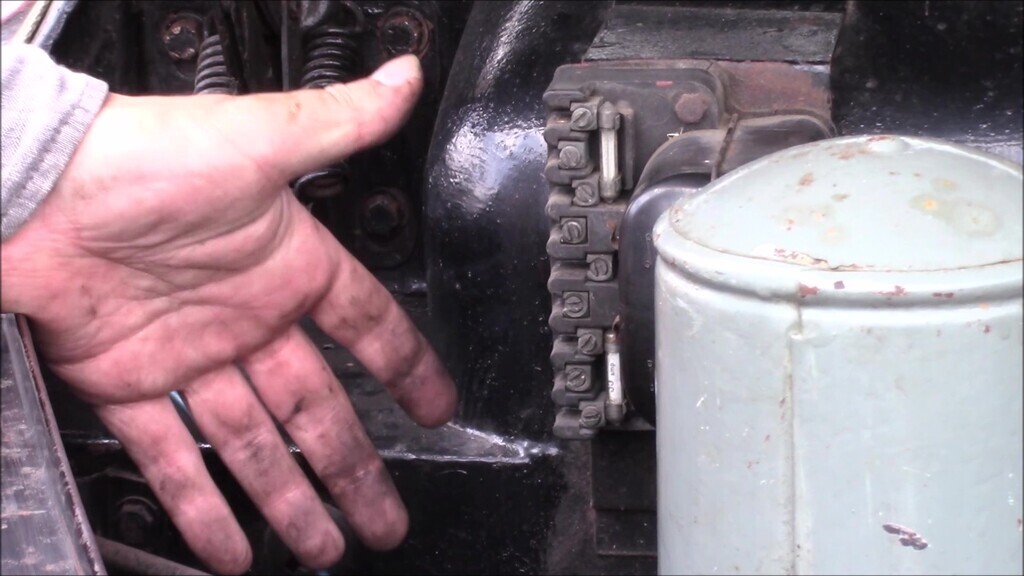
That left me with some wires that went down to the chassis, and very little else. I tidied the wires up around one of the radiator stays (radiator is removed at present, which is why the stay is floating in mid-air) just to prevent getting into a tangle, and moved on to the next task.
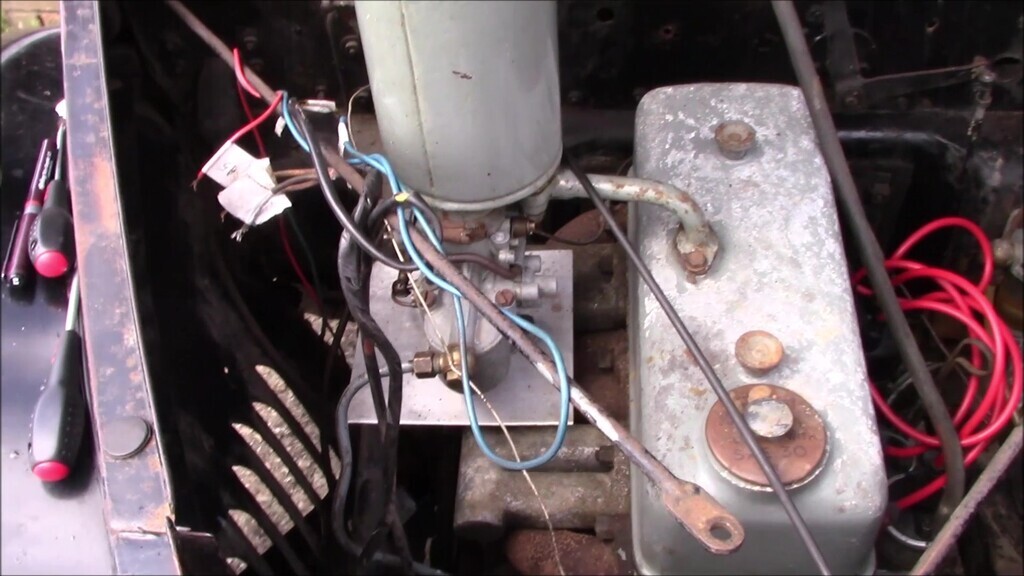
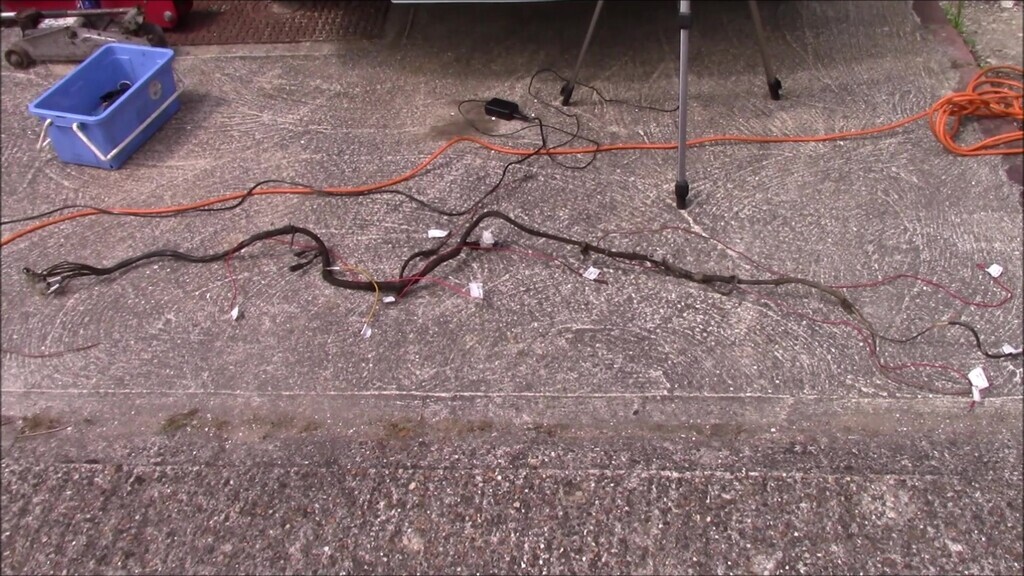
But first, a moment to admire the dedication someone had to keeping this wiring going. It's funny, we think of these sorts of bodges as being a terrible thing but without it, this car would not have survived as long as it did. It's a sign of someone doing their best, within their means, to keep a car going that was basically worthless and when it got too much to keep going, they squirreled it away with the intention of doing something about it later. You've got to admire that really, and then replace it for the sake of safety and reliability, of course.
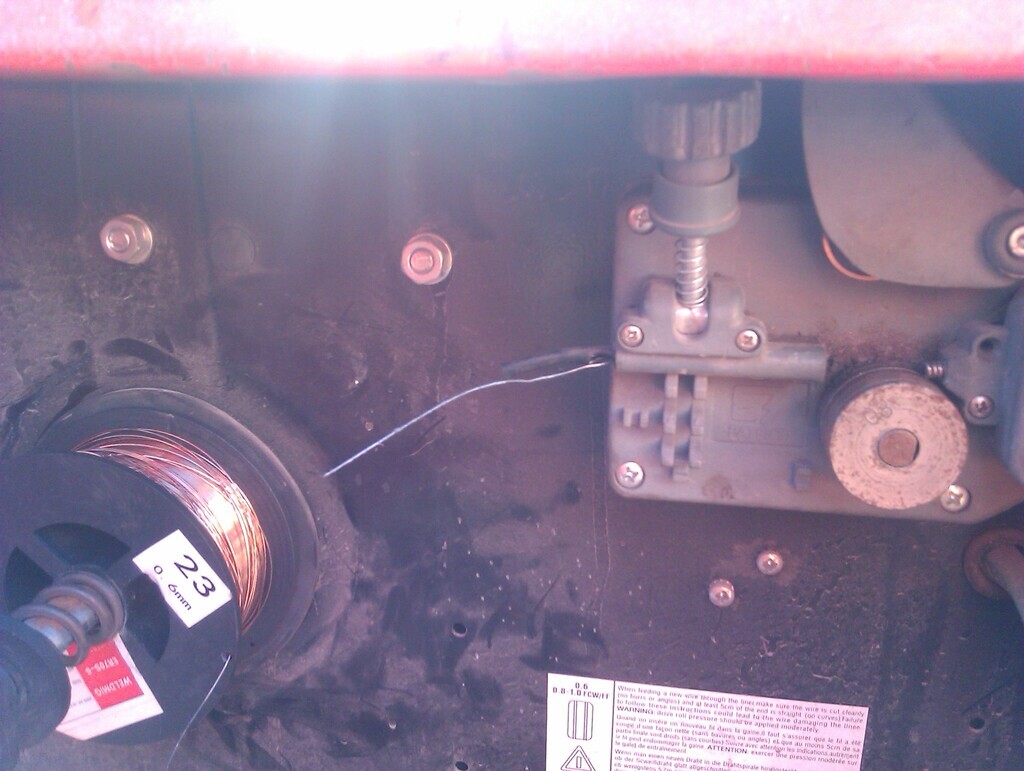
I decided the stator tube wiring was probably the best thing to tackle next. You're supposed to drain the steering box, then remove the nut the wiring goes through and remove the olive behind. This should then free up the stator tube which you can pull into the car and hopefully it's short enough that it doesn't actually touch the roof.

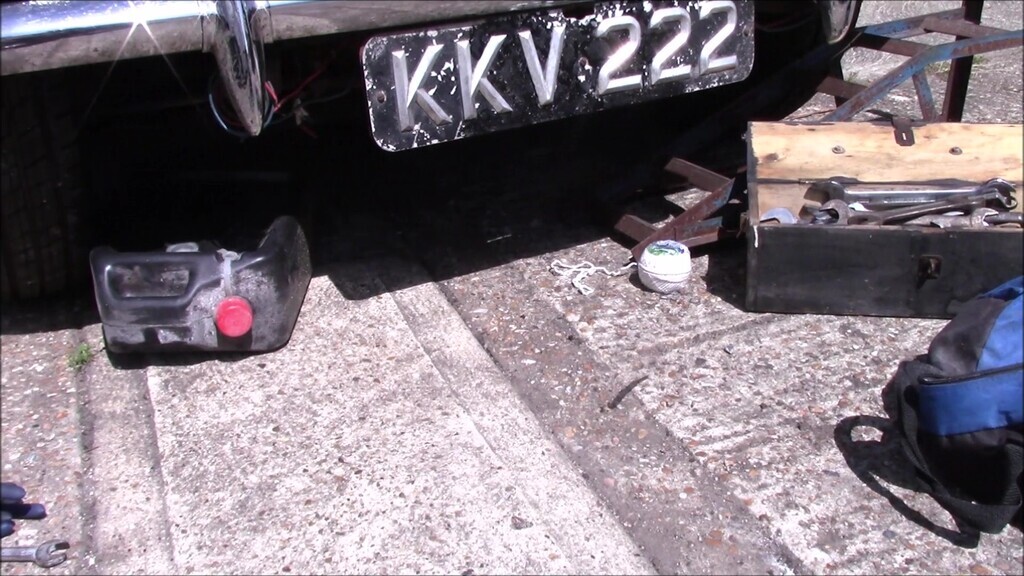
I couldn't find any drain point on the steering box, only four bolts holding the end plate in place. I couldn't find any contradictory evidence and recalled watching some American hot rod builders draining steering boxes by just undoing the plate and getting the thick oil inside all over everything so assumed that must be the way it's done. Undid the bolts and sure enough, out came the really quite clean oil.
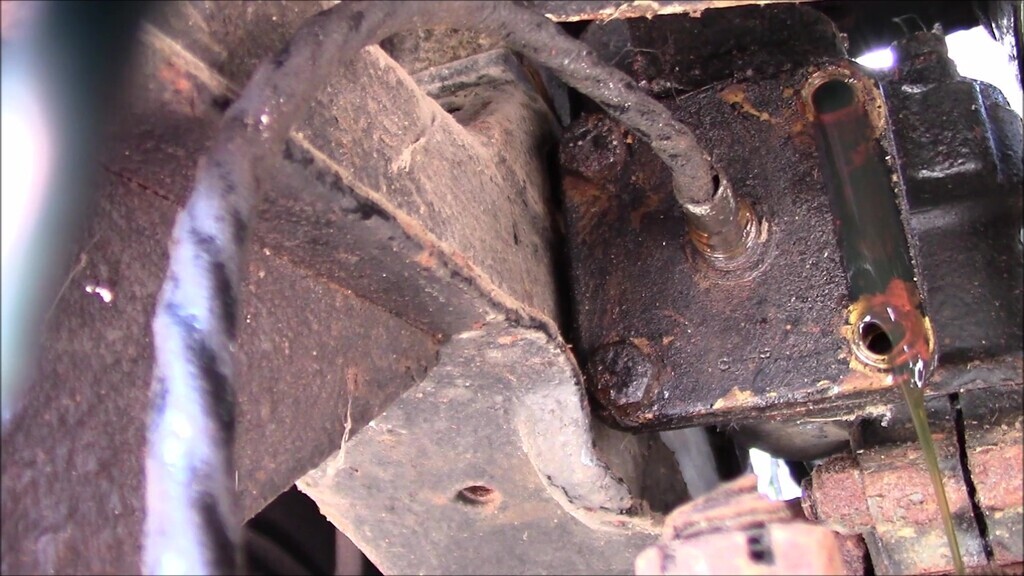
Unfortunately, that's as far as I got with this one. I did discuss in various places how best to proceed because I could not get the olive to budge at all so the stator tube is stuck in the end plate of the steering box. It seems the olive has got stuck to the tube. I know a bit better now how to tackle this job then when I recorded the video so I have a few options to try, one of which is cutting a slot in the olive. Once the olive is free I should be able to pull the tube and wiring out and then repair the horn/semaphore hub that I incorrectly dismantled previously. Had to shelf this job for now.
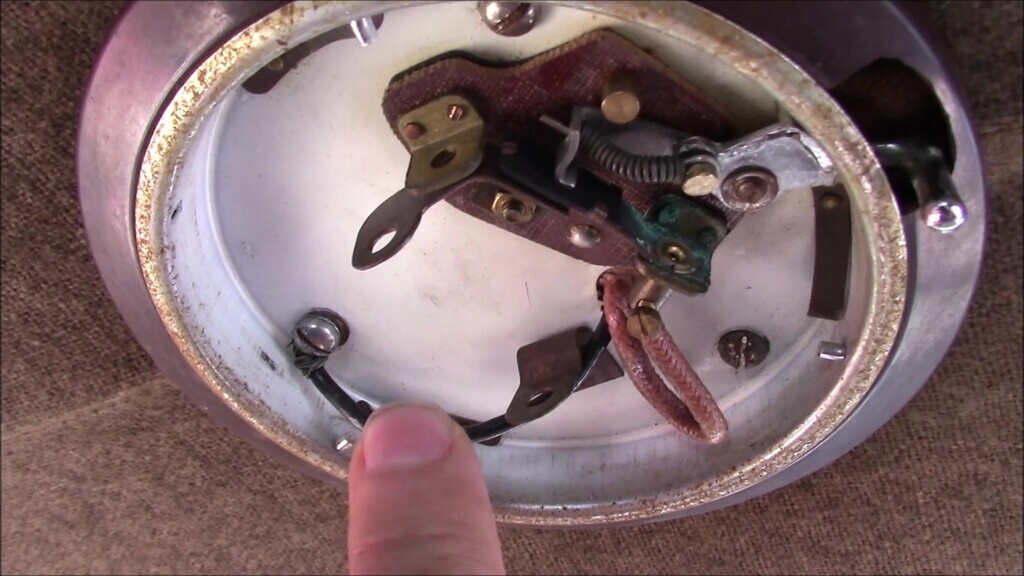
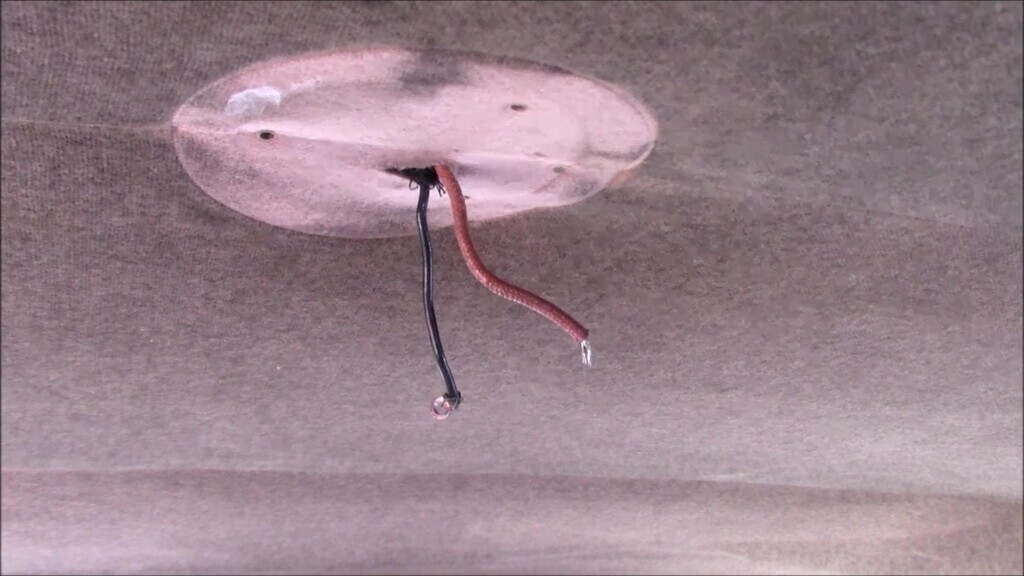
I moved on to the interior of the car, the more old wiring that could be removed the better. Easiest item was likely to be the interior light. The cover twists off, being held in bayonet bulb fashion, and you can then see the screws that hold it to the plywood square that's fastened to the wooden roof beam behind the head lining.
Really simple to remove, simple unscrew the few screws holding it in place, and remove the two wires. This part of the wiring at least looked untouched. Set the interior light assembly aside for cleaning and safe keeping since there's nothing else to be done there at this point. You can also see the original salmony-pink colour of the headlining here, a much brighter colour than expected. Pat and I will be having a go at carefully cleaning the headlining since it's not as brittle as feared, but it's unlikely it will come back the same pinkish hue because so much of it will just be sun and age faded now.
The semaphores need a service and the easiest way to inspect and service those would be to remove them, so let's do that. First thing I learn is that the fabric I thought had been cut through hadn't, it's actually like that from the factory. What's missing is the passenger side B pillar trim which we'll likely have to make from scratch. Pat and I have been on the look out for some replacement old brown Rexine and suitable wool to get as close as match to the rest of the interior as we can. If need be we'll use new materials, but old and aged would be better.
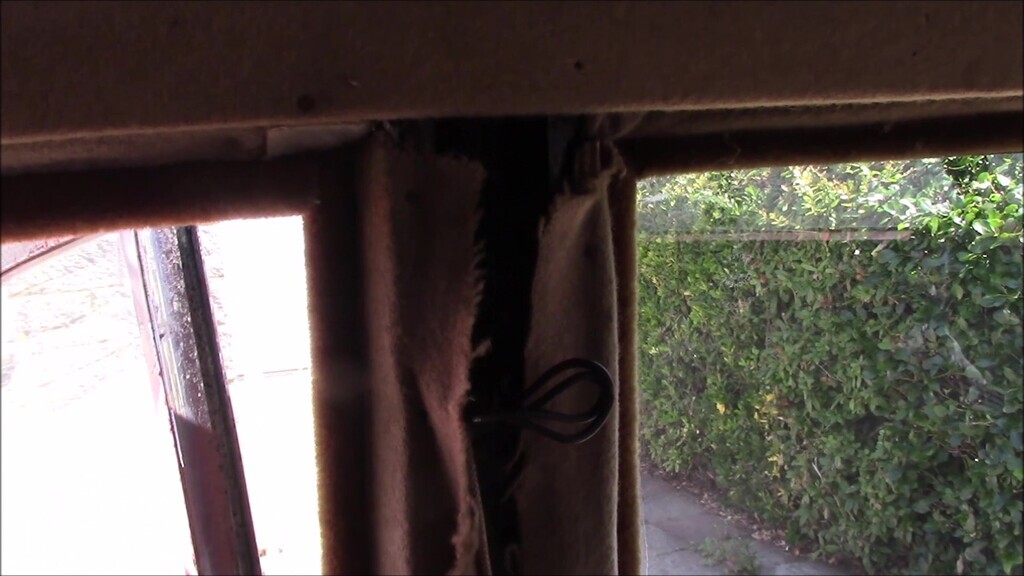
The semaphores are held in place by two screws, one at the top and one at the bottom. These are pretty easy to access once you've removed the b-pillar trim which is also held in with two screws. One our car, the semaphores don't match, and neither do any of the fixings, and it's very clear someone has been in here before.
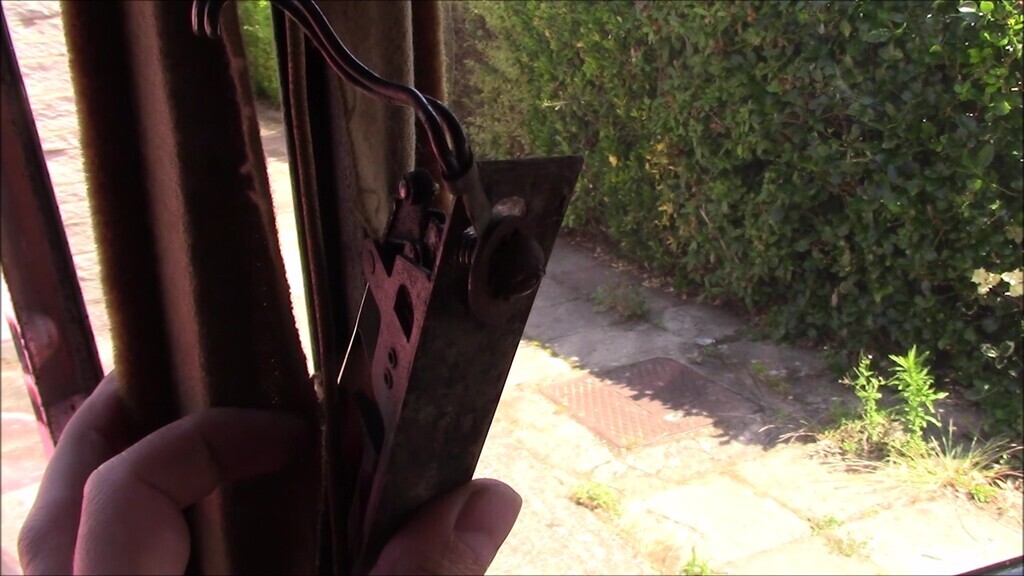
What's less clear is exactly what was and wasn't changed. The slot on the passenger side semaphore (the newer, more orange looking one) is a very peculiar shape.
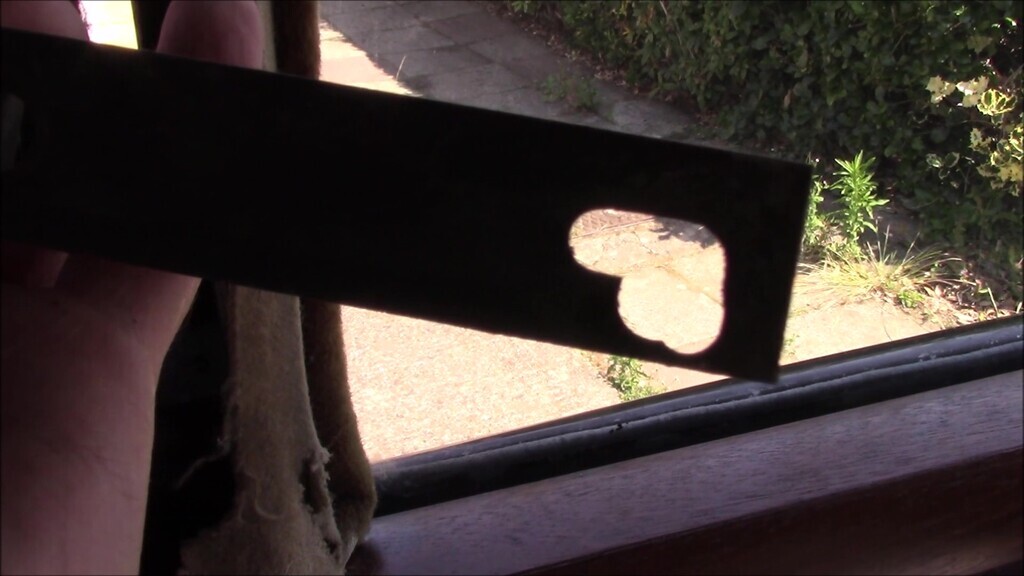
The wiring is simple to remove. The top fixing screw holds two black wires, and then there's a red wire that goes to a bullet connector holder. Here's the passenger side semaphore removed. They pull into the inside of the car, you can't remove them from the outside.
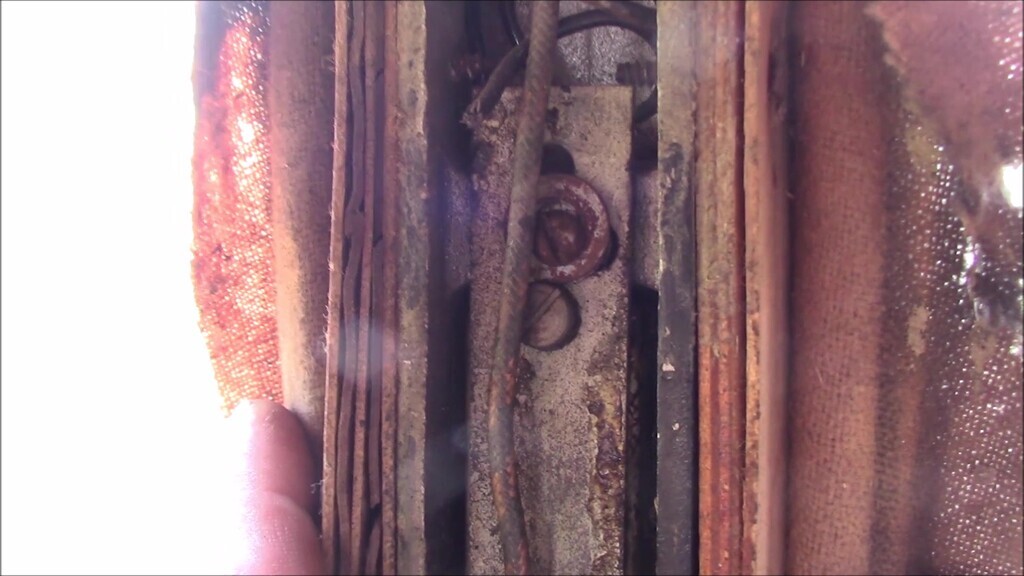
On the driver's side, the two black wires end in nothing but stubby little bare wires. What's really strange here is that this semphore worked just fine, the wires must have been resting in just the right place to make contact. The fixing screws on this side were also mismatched, and the bottom one had an enormous stack of washers to get it to the right place. The semaphore itself works just fine, the way it was attached and the wiring leave something to be desired.
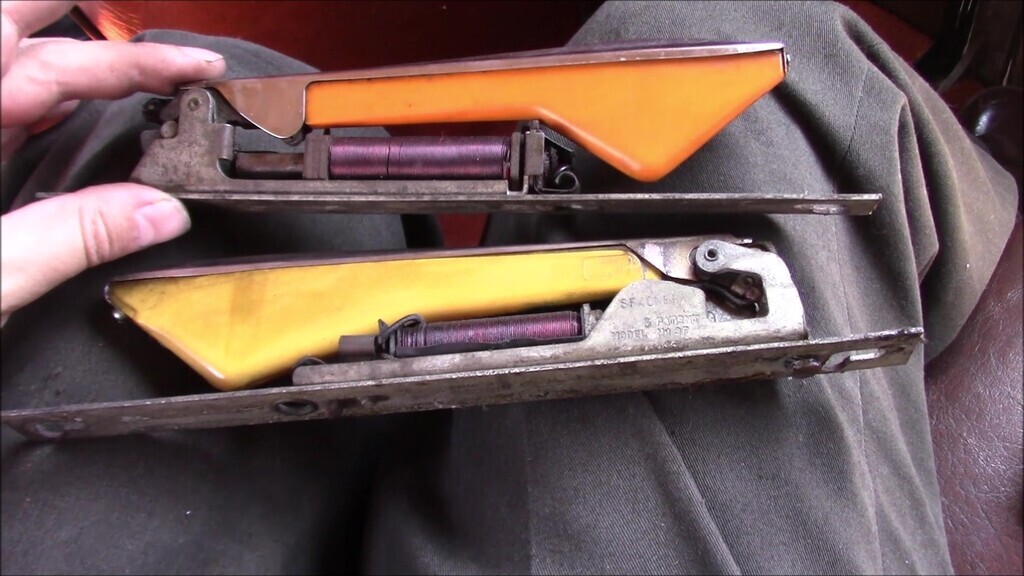
With both semaphores removed you can see the difference between them. It's not just the colour, the design of them is slightly different so that the stainless strip and lens aren't interchangable. Pat and I assume the passenger side one was replaced at some point, and we'll leave them be for as long as they work, there seems no point forking out large sums of money for matching replacements, at least for this car.
With the semphores and interior light removed, it was time to figure out how to remove the wiring that goes to them. Up until the point of recording, there had been no clear answer on the physical wiring route. Similar models from a similar time period had offered suggestions, it was now time to find out what the answer really was. We had initially thought the wiring for the semaphores and interior light would go either over the front doors and down to the engine bay, or down the A pillar and join the wiring along the chassis. Instead, it turns out it takes a different route, our first clue being the wiring harness that disappeared from the boot and into a cavity alongside the rear seat on the driver's side of the car. Some careful investigation revealed that, sure enough, the wiring doubles back when it gets to the boot so that it can come back into the car. Carefully prying back the trim board that looks like the last section of the headlining showed us just where the main harness was running.
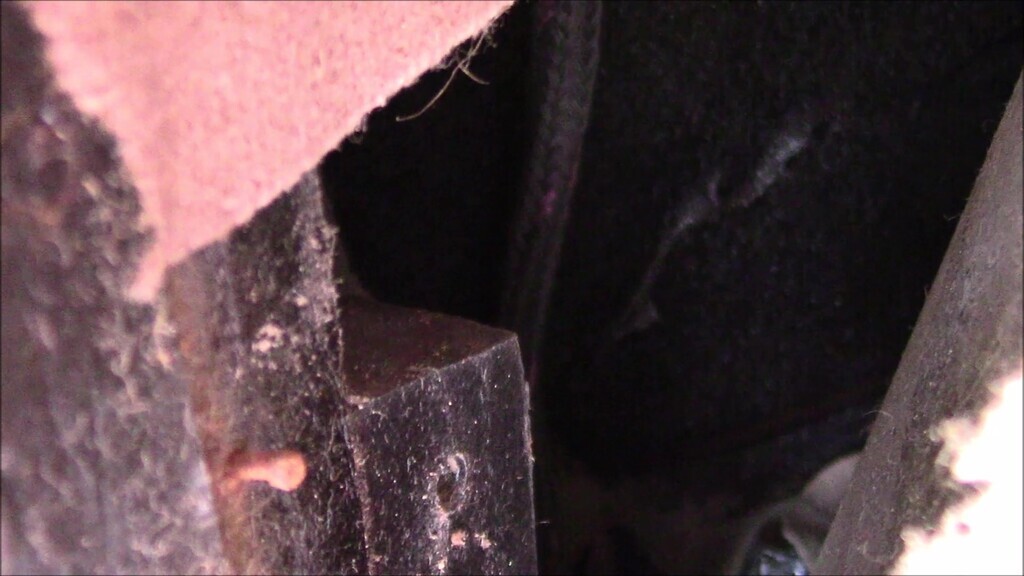
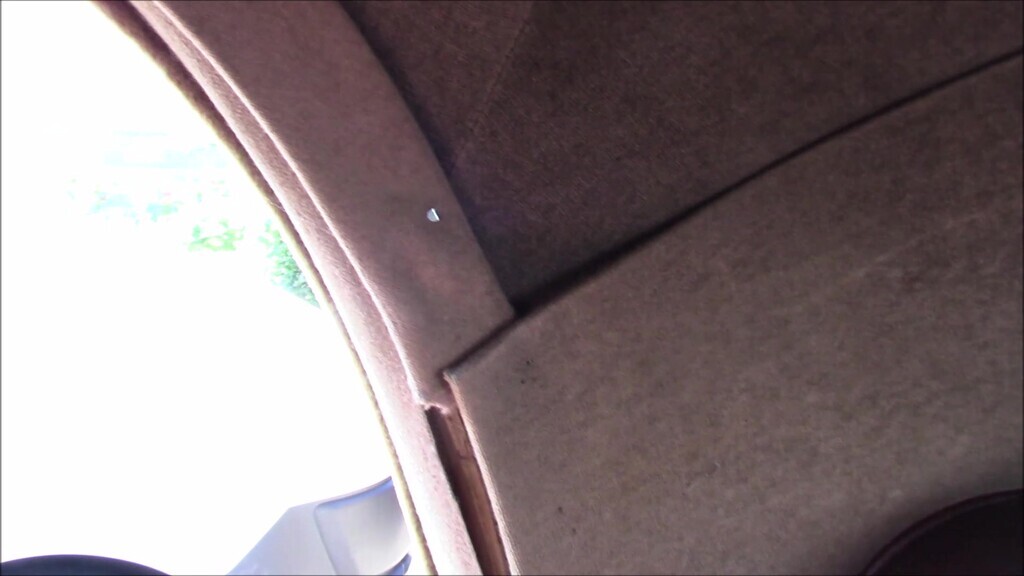
Knowing this we could apply some logic to work out where it went. It was obvious it was going up over the rear door frame so it was unlikely it was going to go back across the rear seat. Also, we'd had the rear seat base out and knew there was nowhere for the wiring to actually go there that we couldn't see. This started to make sense of why the trim over the driver's side doors was loose and broken at the b-pillar; someone must have been investigating the wiring on this side. With that trim removed and set aside, the passenger side trim was also removed since we now knew that we'd need access and more proof that the wiring had been investigated was found because some of the headlining tacks were missing entirely over the B-pillar, just the rusty witness marks remained.
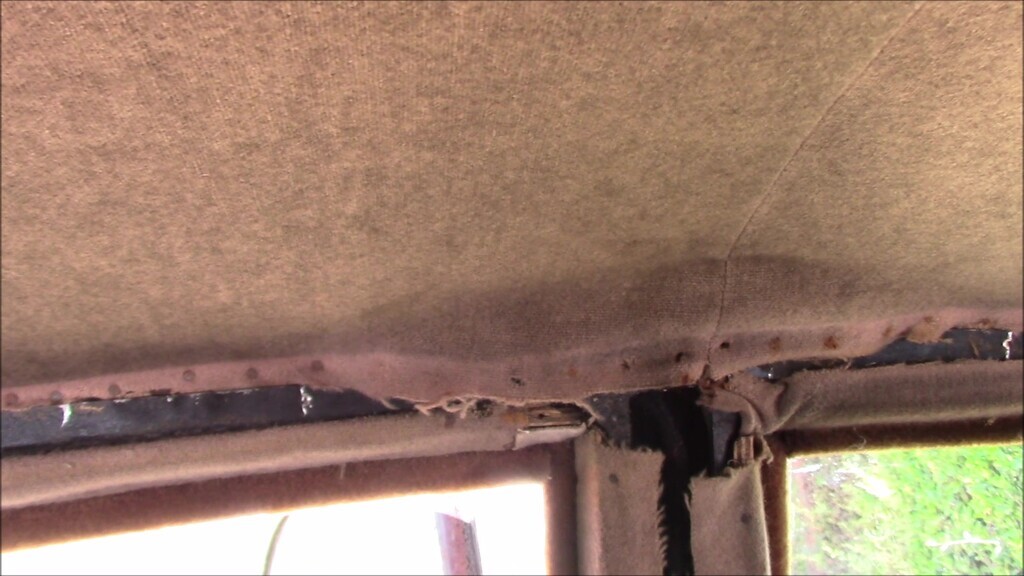
Now it was a case of figuring out how to un-wire this. Because we weren't removing the headlining, and because we now discovered it wasn't held by bows but was instead tacked to the wooden beams of the roof, we had to work in what space was offered. Thankfully the fabric wasn't that brittle so tolerated being handled and moved out of the way quite well with no horrible tearing noises. We learned that the wiring runs up from the top of the semaphore, through a hole in the wooden frame diagonally backwards to another hole in the metal frame which then guides the wiring across the roof above the headlining.
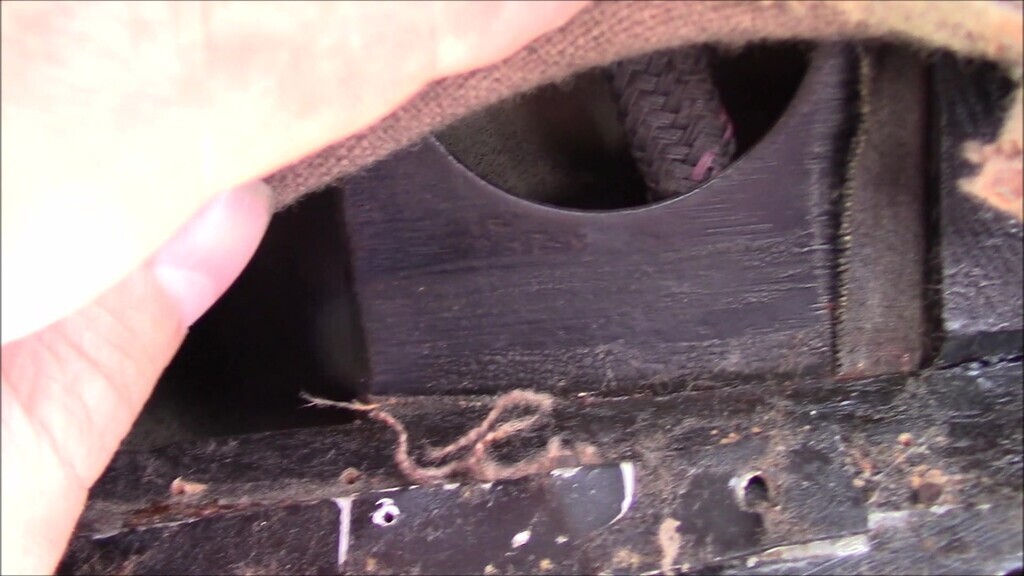
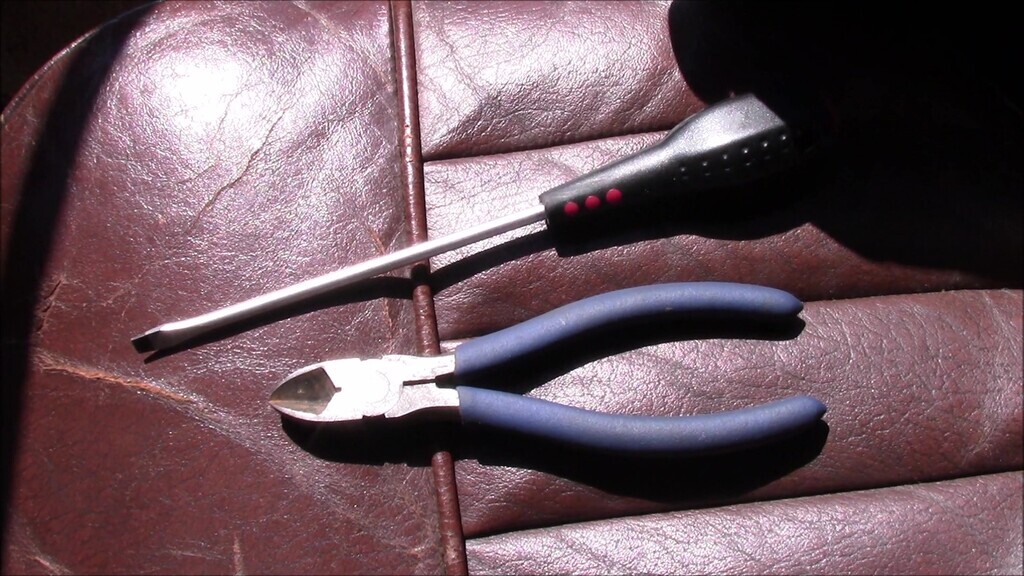
Needed more access so some more tacks needed to come out. Rather than a specialised tack removal tool, which had a habit of slipping off the tack heads and jabbing into the fabric, I used a combination of wire snips and a sharp screwdriver to pry out the tacks. This worked really very well and the headlining survived unscathed. This gave better access to get my hands and arms into the tight working space and start unthreading the wiring.
on the driver's side, it's a little harder to unthread things because there's more wires going through the holes, this is because this side serves both the sempahore and the wiring for the interior light and other semaphore. Above the passenger side B pillar there's only need for the one set of wiring since it's only going to one item.
While investigating the wiring route it became clear the wiring for the interior light wasn't loose. This is because it's stapled to the plywood block the interior light screws into. There's one staple on the same side the interior light fastens to, and another on the edge of the plywood. Removing these is tricky and I did have to cut the wiring hole larger to get to the staples, which are particularly nasty looking things.
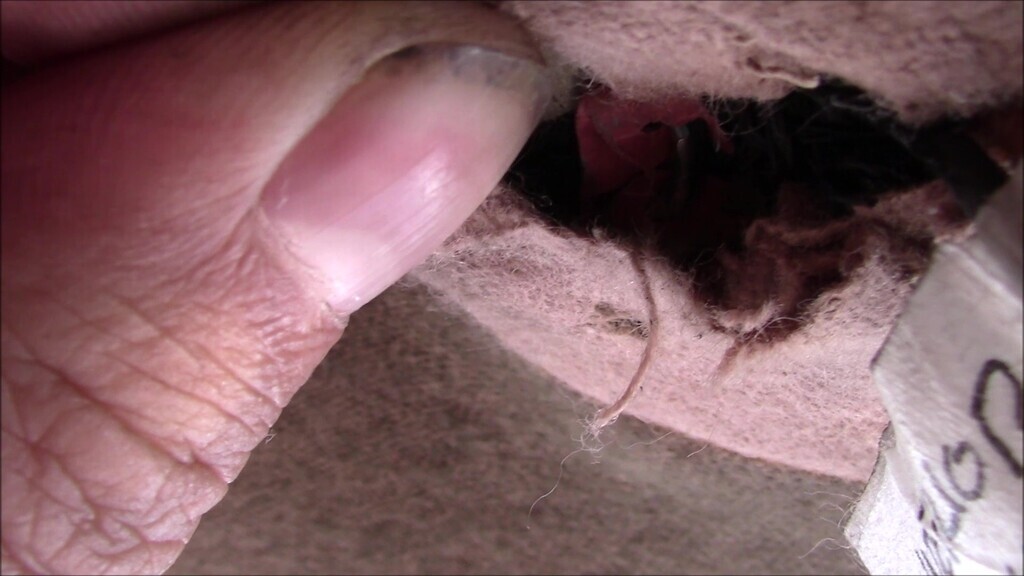
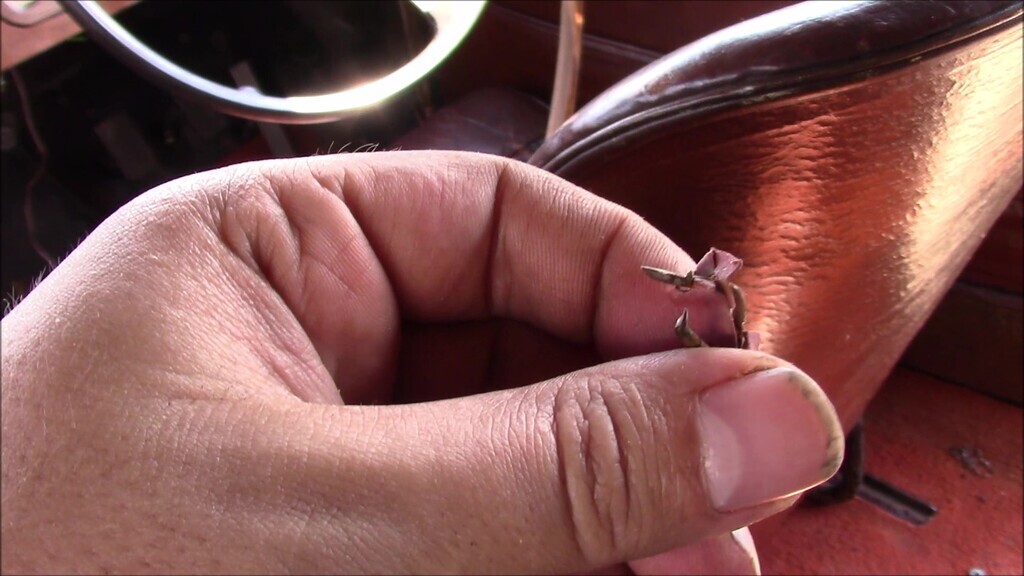
Then it was a case of tying string to every wiring end before pulling the wiring through. In theory, this will help guide the new wiring through the same route and make the process of re-wiring things a lot easier since so much of it is working blind because the headlining is not being removed.
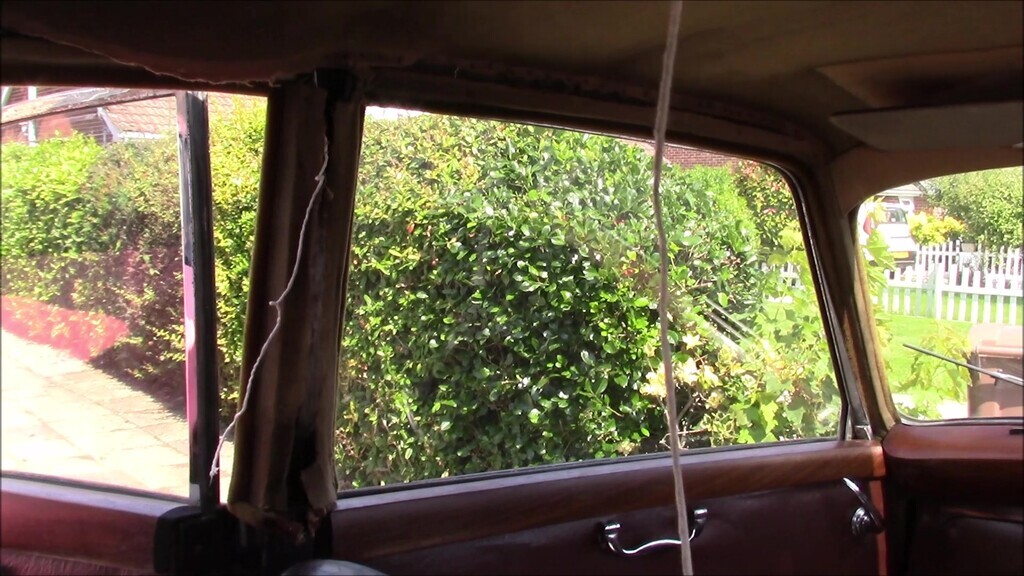
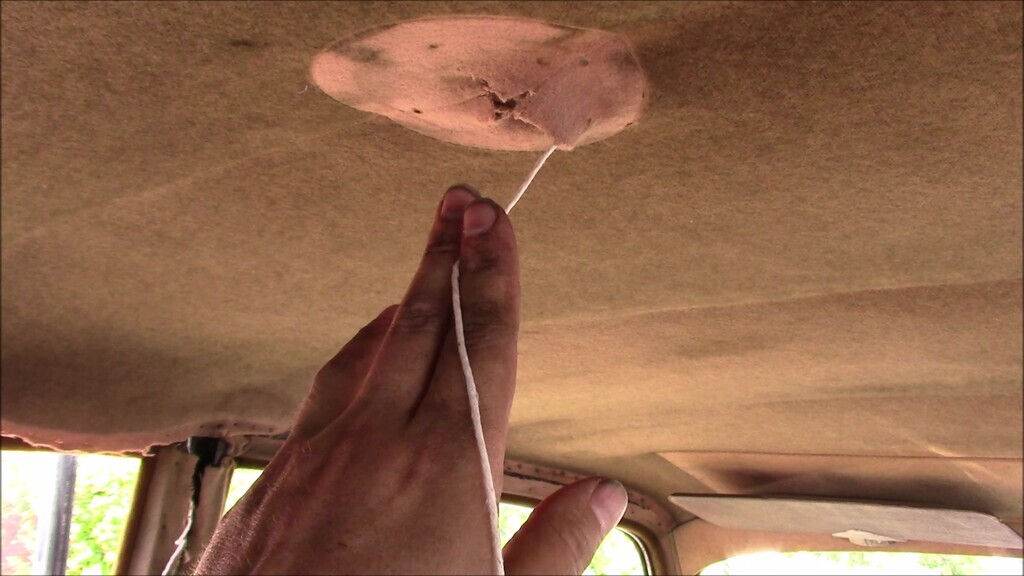
With care, the wiring was pulled out and into the boot. This is much easier with two people. If you're doing it on your own, whenever you feel things getting tight, check things haven't got snagged. The last thing you want is the string snapping when the wiring is in an inaccessible spot.
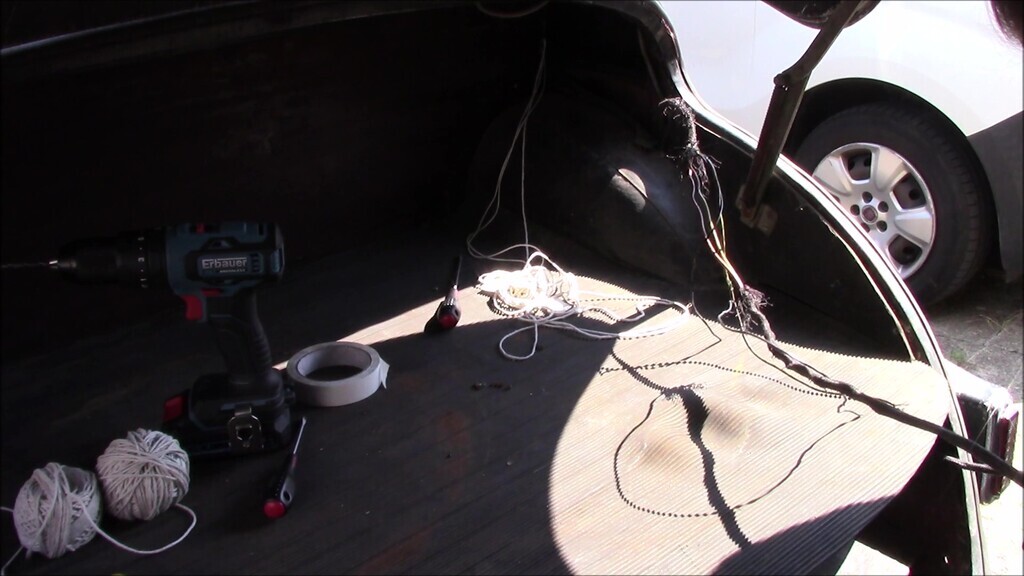
The wiring was then held in place by the boot hinge and trim panel, and the connectors at the boot floor. I was surprisingly exhausted at this point, never underestimate the ability for this sort of job to knacker you out, especially when it's hot and you're working in a black car in the sunshine. Lots and lots of water was drunk that day, and ice creams had. Still, it felt a good milestone to reach.
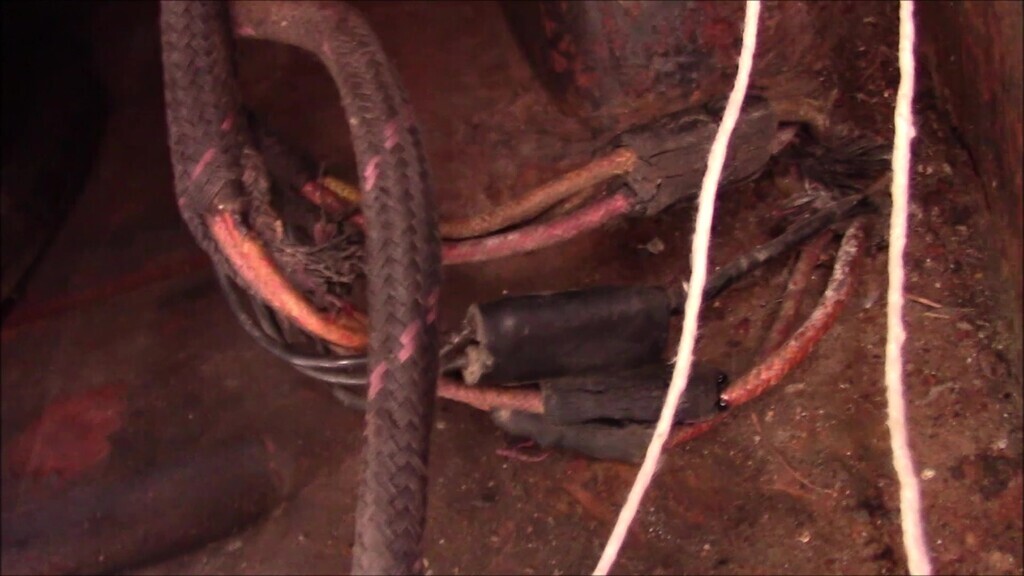
Next up, the boot light. I'm not really sure what's going on with the wiring for the boot light, it's clearly been messed about with over the years. I just wanted to remove the lamp for now and the wiring I could get to, later I would remove the boot lid to do a more thorough job, as will become clear in a later update. First, unscrew the inside-out-bolt (threads are on the inside of the shank) and then lift the chrome cover free, and then the glass cover.
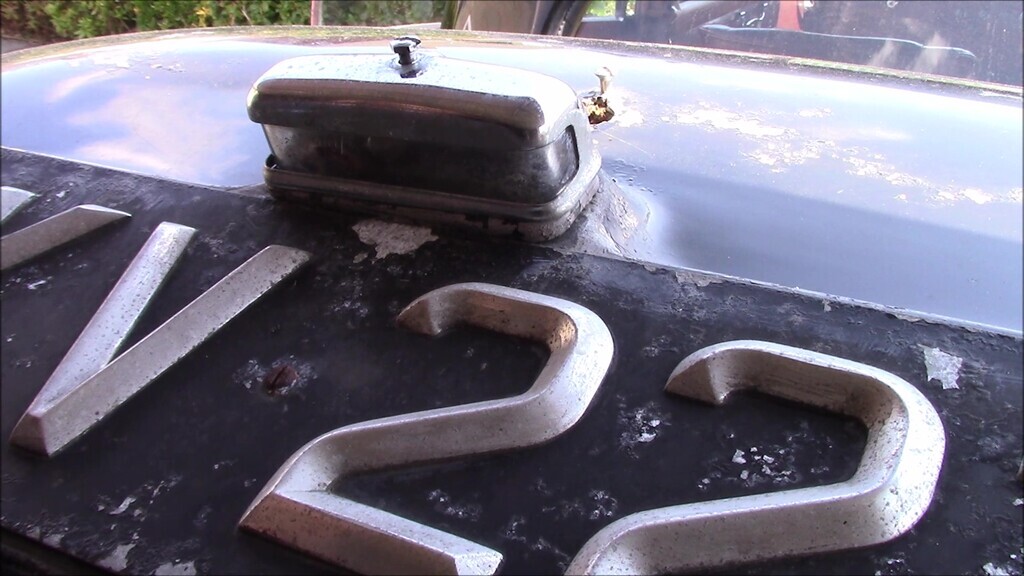
It's pretty grimey inside. There's two connectors here, one the bullet connector type as is common on this car, and the other a spade connector. The wiring is unsurprisingly terrible but the unit itself is in good shape. If the worst came to the worst, these Lucas light units are still readily available, but it shouldn't come to that.
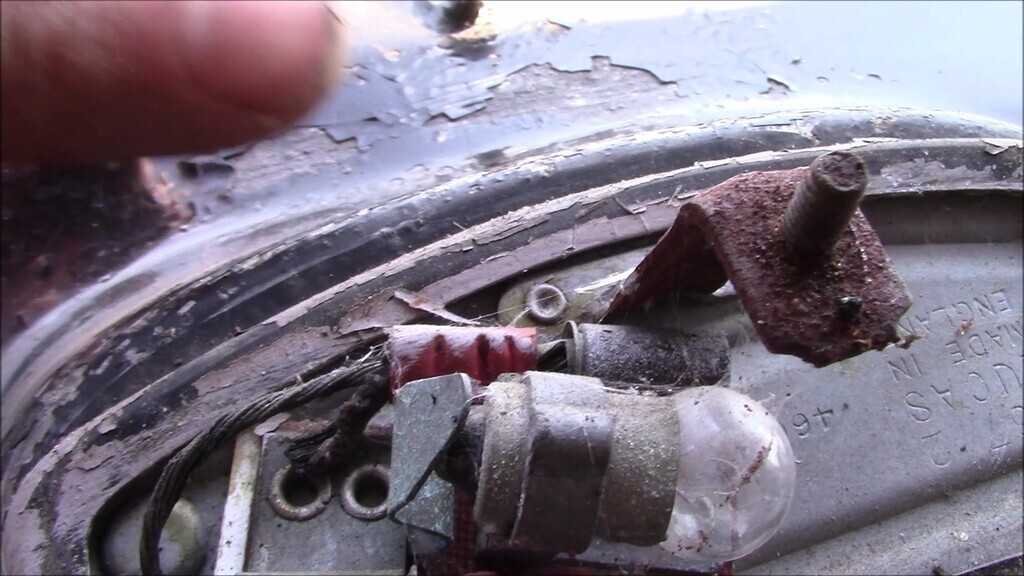
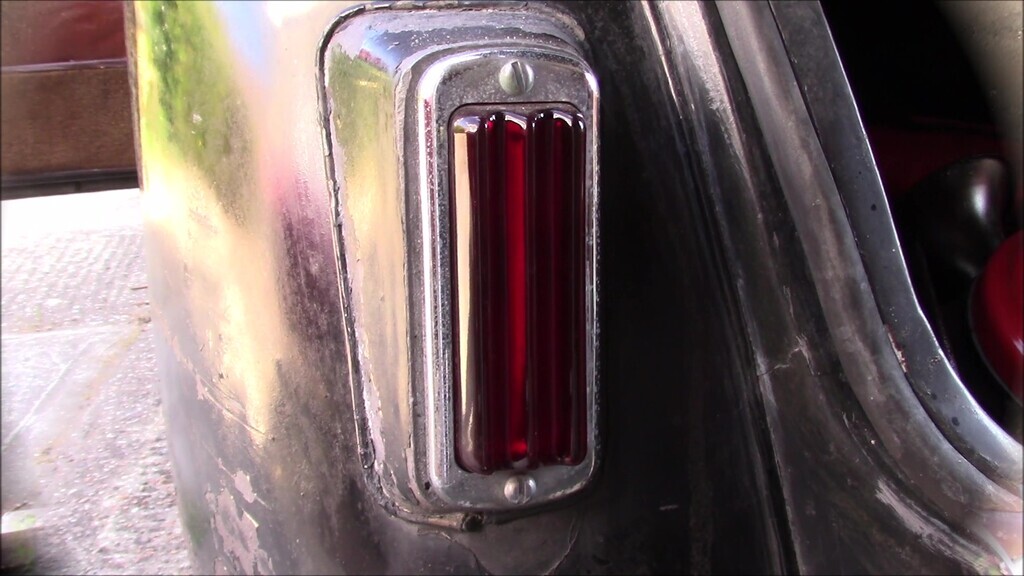
Not much else I could do there, so I moved to the only other bit of wiring that was on the top side of the car, which is the wiring for the rear lights. The rear lights had been working when we got the car and then one day they just didn't any more. We hadn't looked into it further because we knew the wiring was getting replaced, now perhaps we'd find out a reason. Rear lights are fairly easy to remove, first unscrew the big chrome screws that hold the bezel and glass lens in place. Do be careful with the lens, they really are glass.
Behind that is the metal reflector, such as it is, and a rubber seal. I removed the rubber seal here because I couldn't see the fixings for the reflector, I suspect that's not always necessary. There should be one screw at the top and another at the bottom, on our car of the four screws that should hold both rear reflectors on, only one remains, the other three having snapped off in the aluminium housings that the reflectors screw to, so that's going to be fun to sort out.
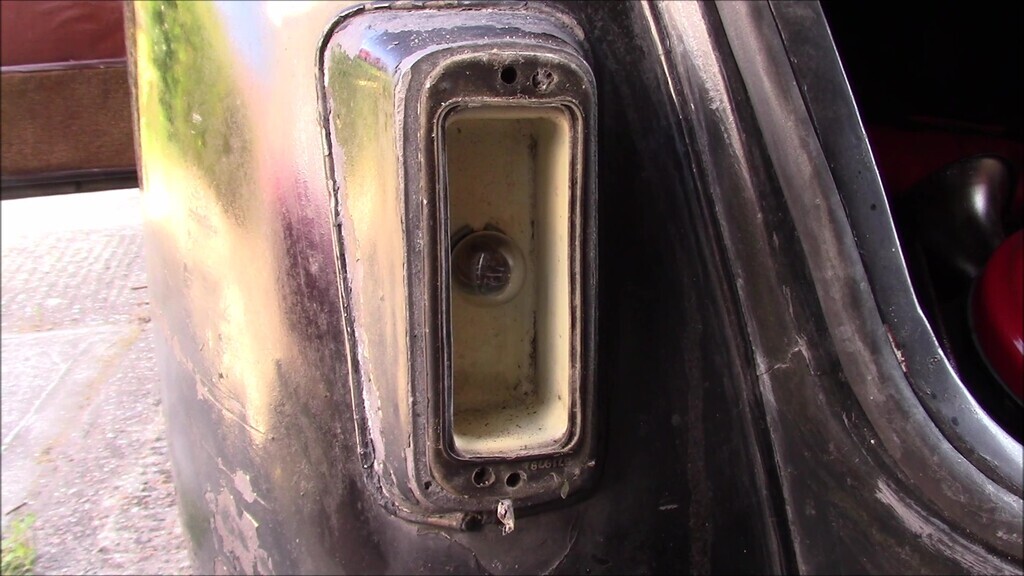
Predictably there was quite a bit of aluminium corrosion, dirt, and other corrosion back here. There is a rudimentary splash guard inside the rear arch that's supposed to protect this but it doesn't really. The contacts are supposed to be protected by a rubber boot which keeps the dirt out, but not the corrosion. There's nothing else to offer protection for the earth wire. Everything was covered in dirt, I can't imagine the connection was particularly good and that's probably why the lights stopped working.
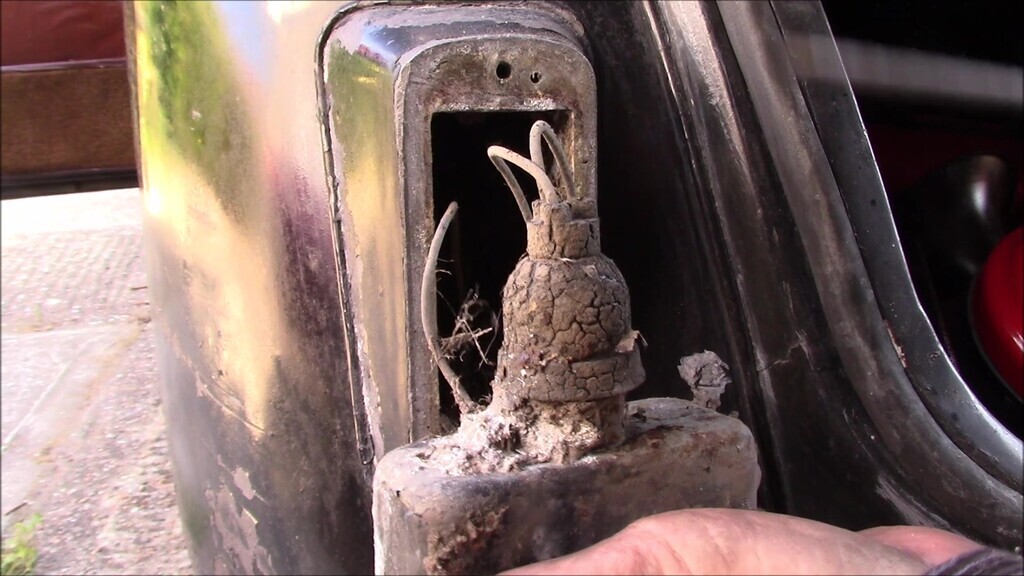
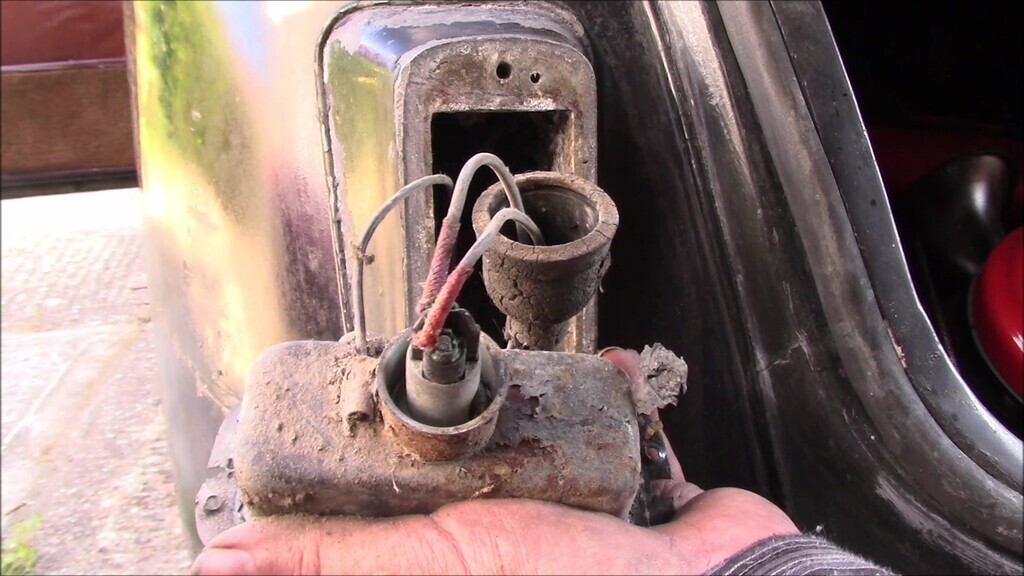
another thing that probably doesn't help is the wires are connected with a spring-loaded connector, much like you'd have for speaker cables on old hi-fi equipment. One connector was jammed, the other moved after a little effort. You push the exposed ends of the connector down and then you can pull the wire out, simple stuff.
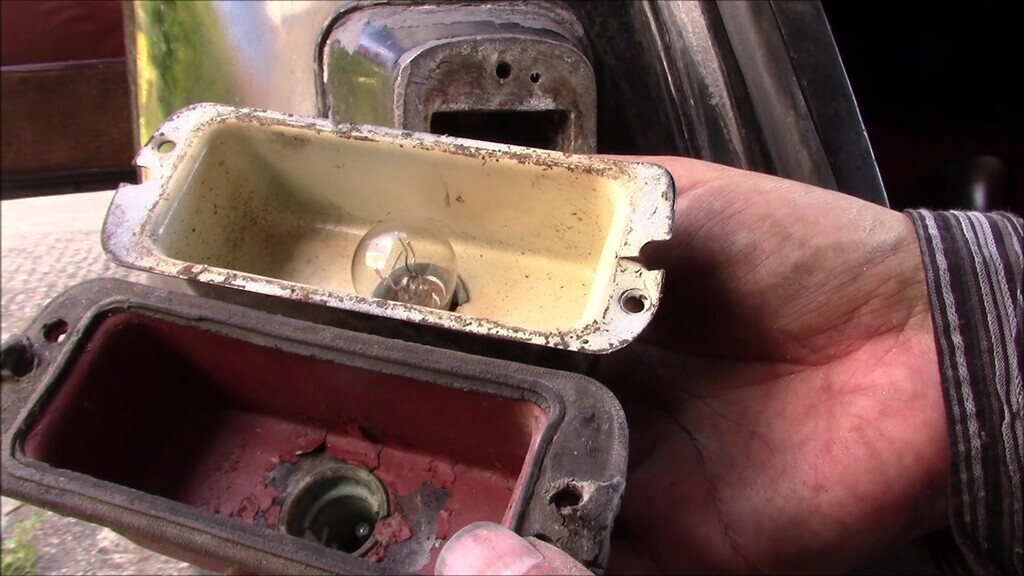
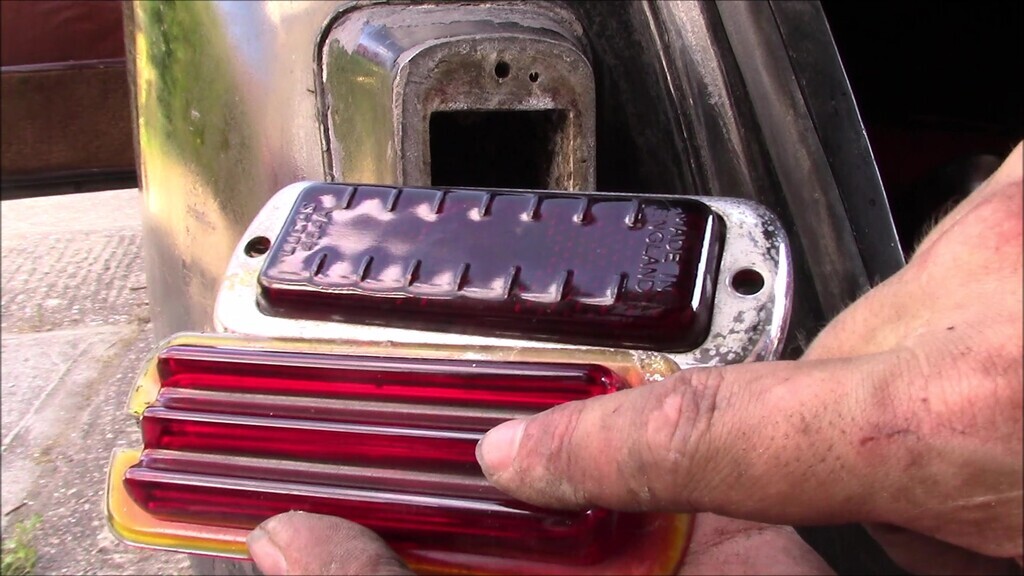
More evidence of wiring fettling before us is in the form of the rear lights themselves. Passenger side has what looks to be factory white reflector, with a ribbed lens. Driver's side has had the reflector repainted in red oxide, and has a later built-in-reflector type lens. Pat and I think the ribbed lens is original because the car has aftermarket reflectors screw to the boot lid. We also suspect that one of the original lenses was broken when the rear wing was hit in the distant past. Quite why only one lens was replaced even though a matching pair of the reflector types came with the car we don't know, perhaps a job that was just never got around to.
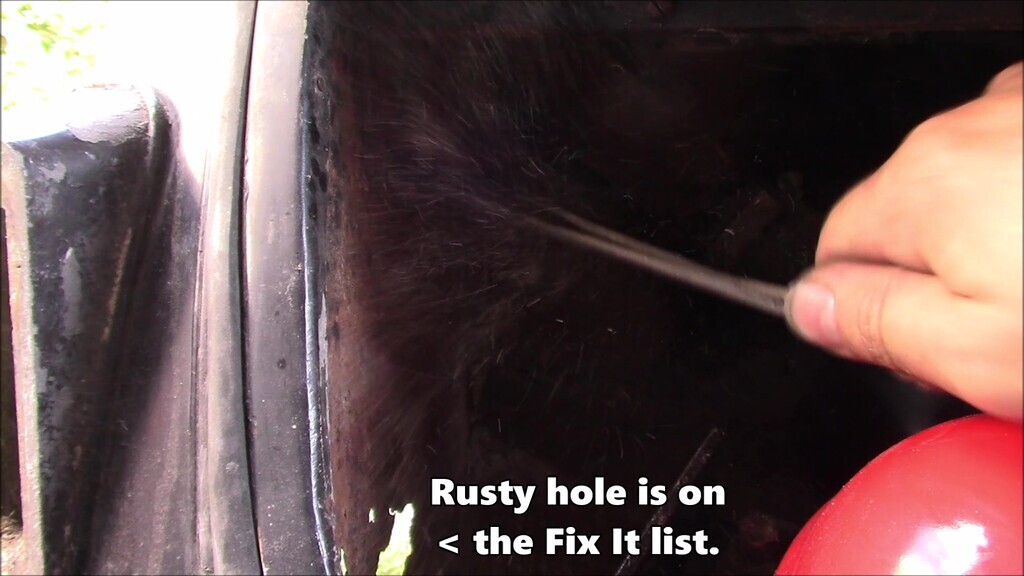
That all sorted, it was time to pull out the wiring. Simply pull the wiring inside the boot once you've disconnected the rear light and through it comes, no bother. The rusty hole in the inner arch is one of the very few bits of bodywork that needs addressing and should be a nice simple repair. The bullet connectors on the driver's side were also disconnected, ready for the next bit.
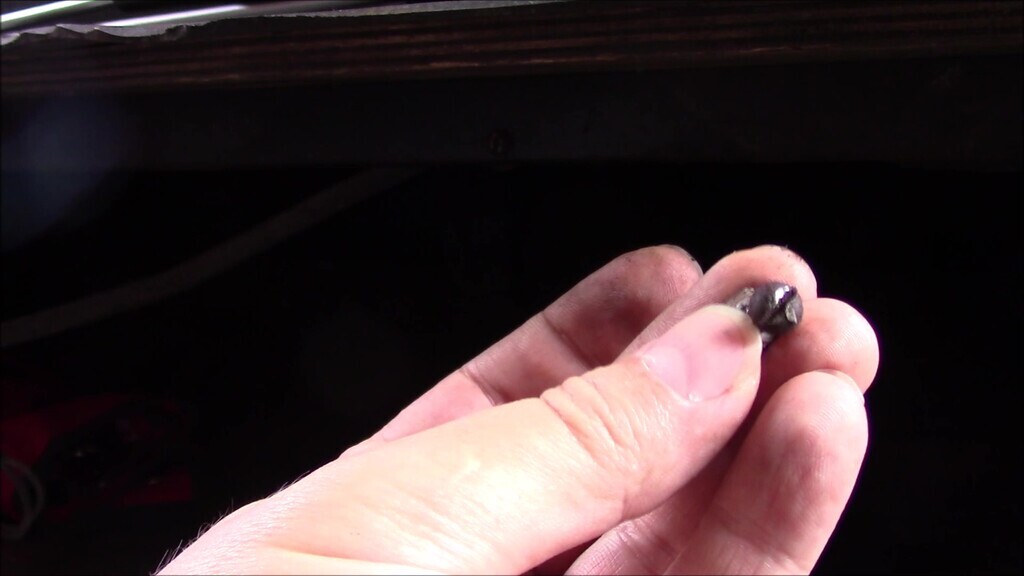
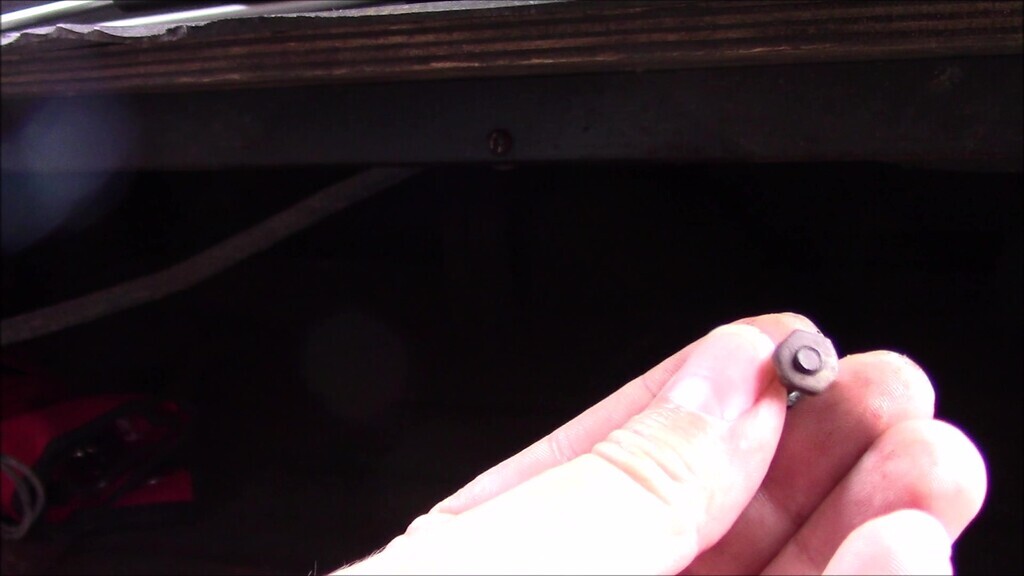
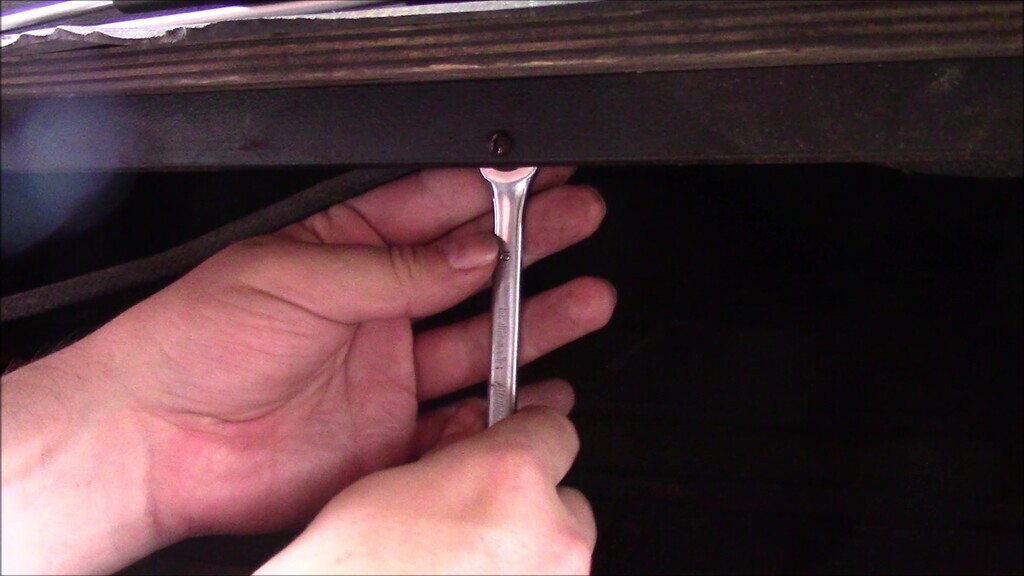
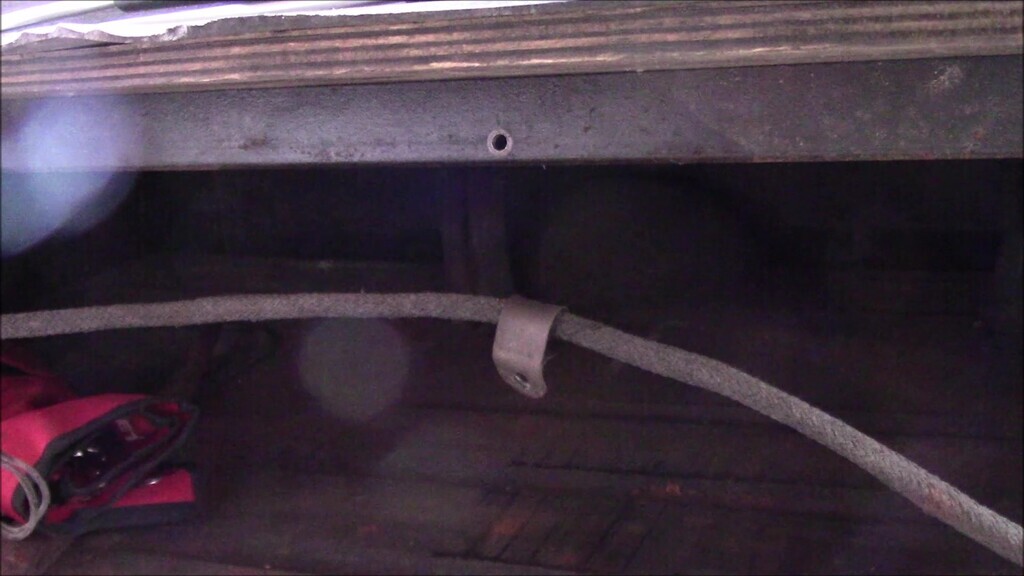
Last bit of wiring to get out of the boot is the bit that joins the two rear lights together. This runs along the blind side of the beam that supports the boot shelf. The boot shelf is there to keep your luggage and other things off the spare wheel and tools. The wiring is held in place with flathead bolts and nuts, with the nut on the blind side. Initially I thought the screw was into a threaded section of the support bar, but it's not. Be careful here because the bolt heads are very soft. I put a 10mm spanner on the nut and turned it back and forth a few times to break the hold, and then unscrewed the bolt from the front which seemed to work best. You can then release the P clips and remove the wiring.
And that is where we leave this update because that's the end of the video. Part 3 comes out on Tuesday the 26th of October, and we shall pick the story up then.


