|
|
|
|
|
A bird whispered in my ear ;-) that I have miserably failed to update the thread for a very long time. The last post from 2016 (!) indicated a new engine build and larger brakes. As I took the old engine apart (to get the crank and rods to re-use) it showed some signs of oil pressure loss; 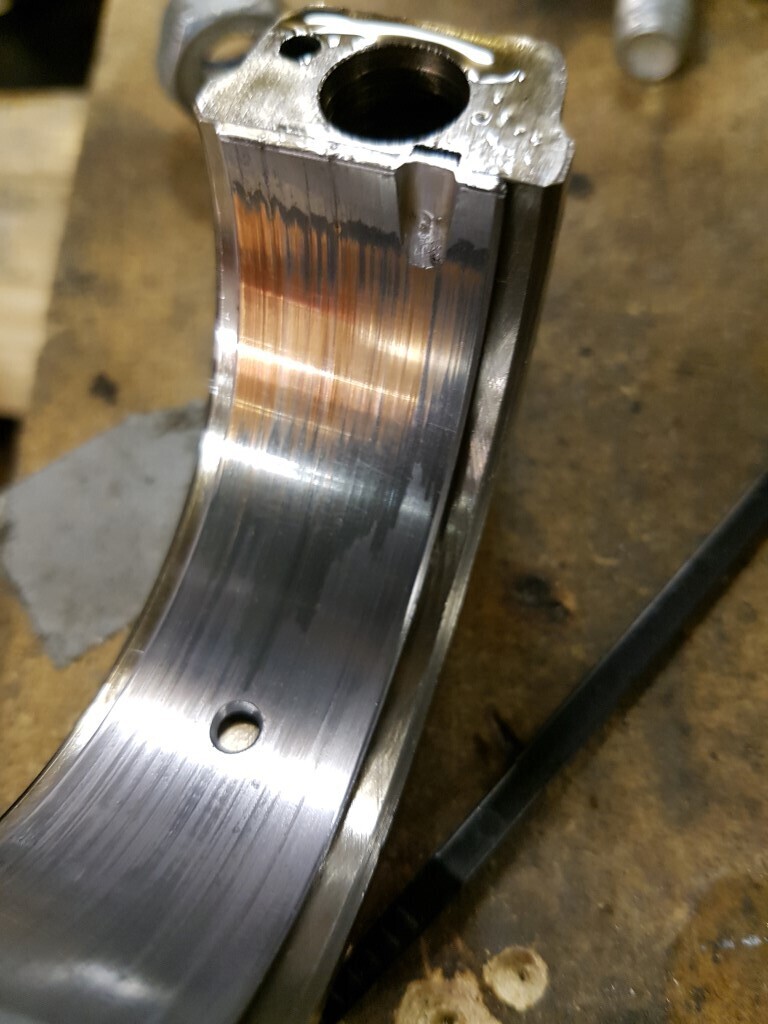 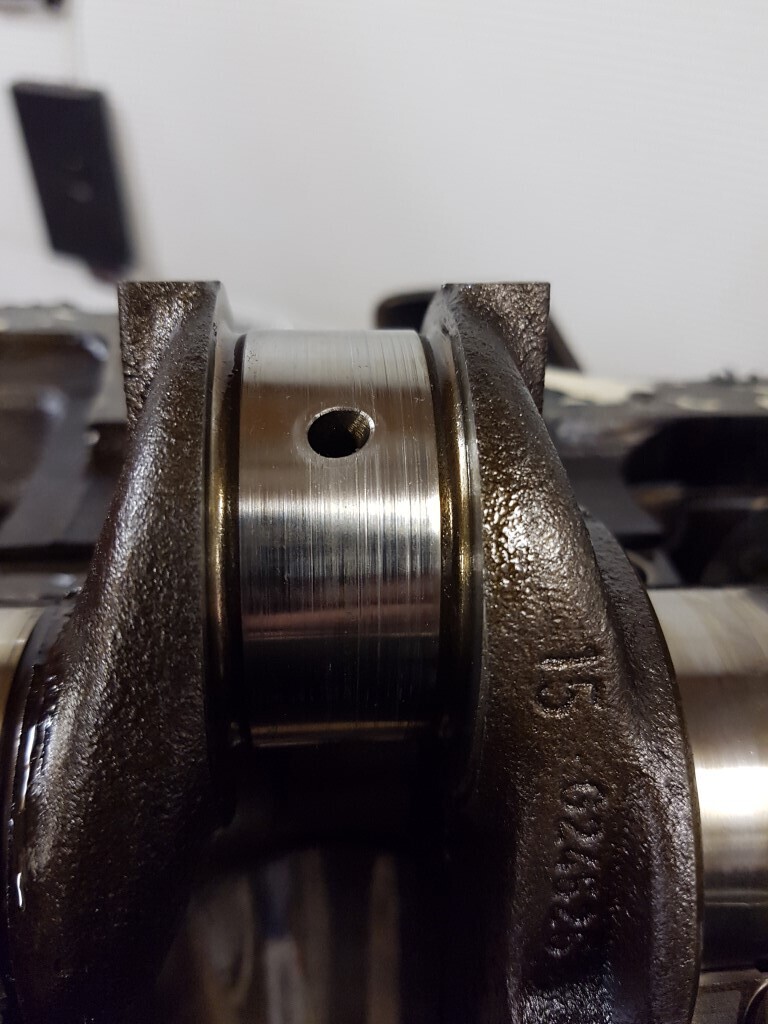 The crank can probably be polished but I had another one as a spare so I decided to use that. When dry-building the bottom end I realised that I somehow made an error in calculation the compression ratio. It was still low...but by chance, I found a set of forged YB rods, from Maxxpeedingrods, 1 mm longer than stock. That was a simple solution to get a little bit closer to what I planned for. 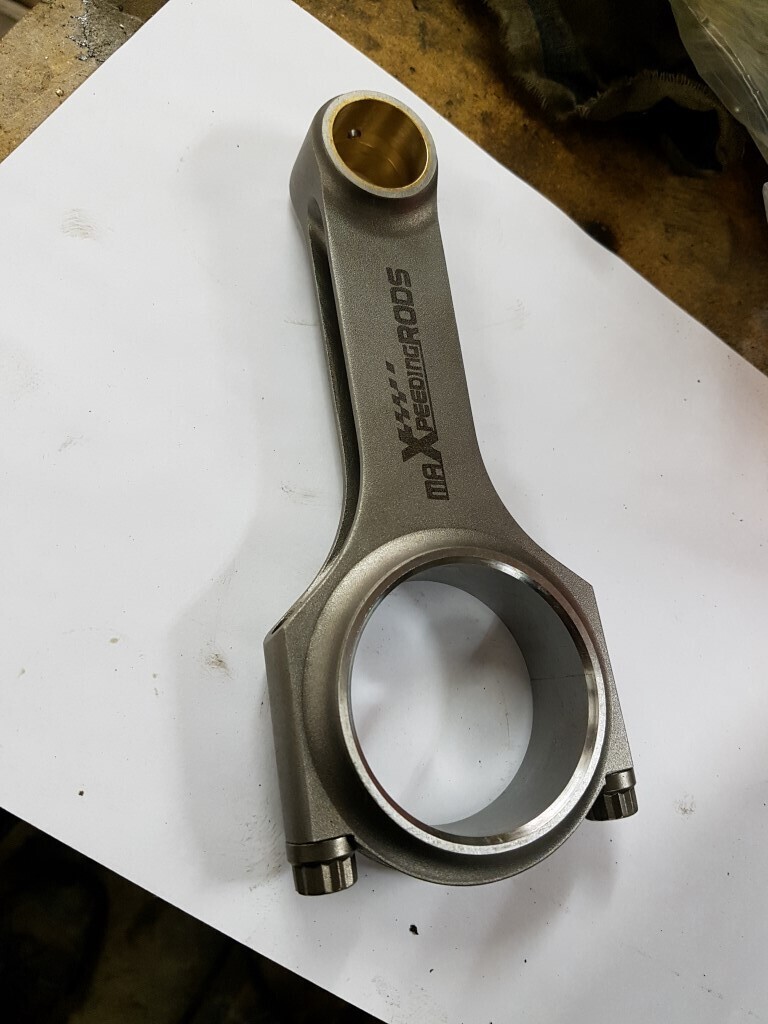 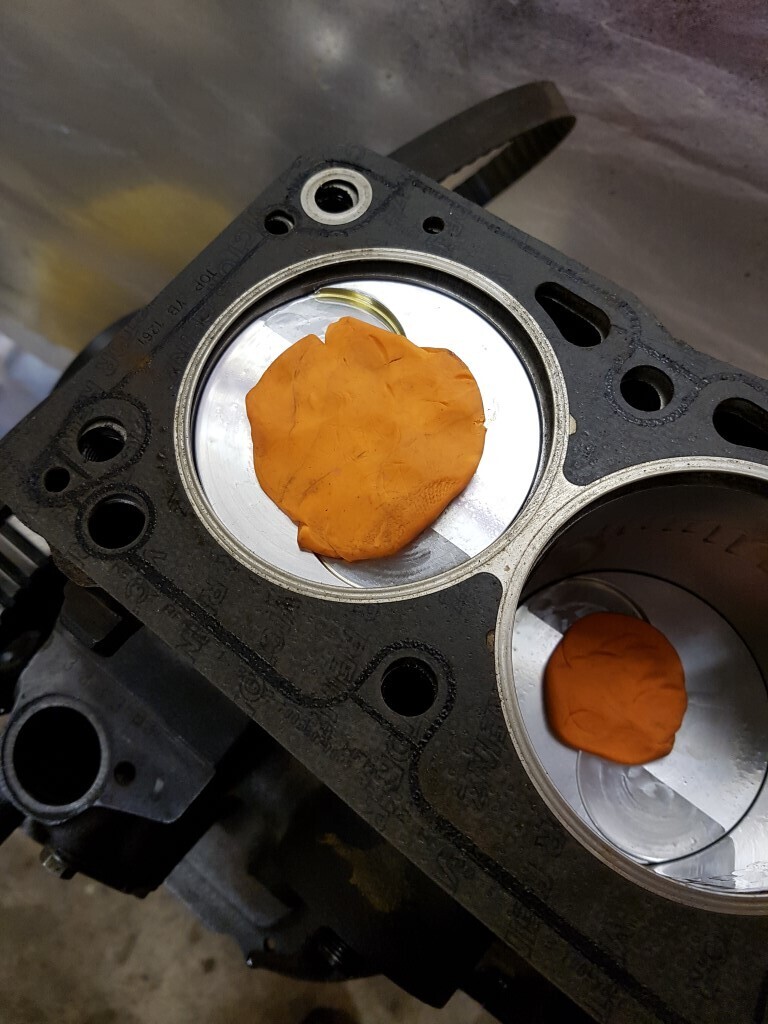 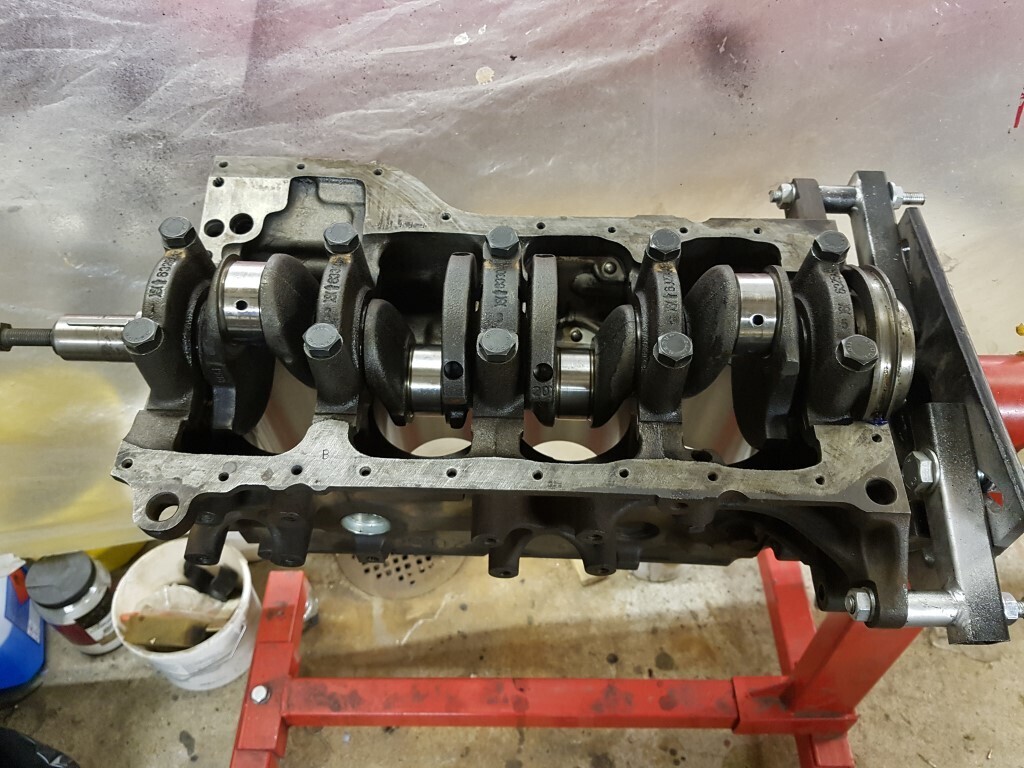 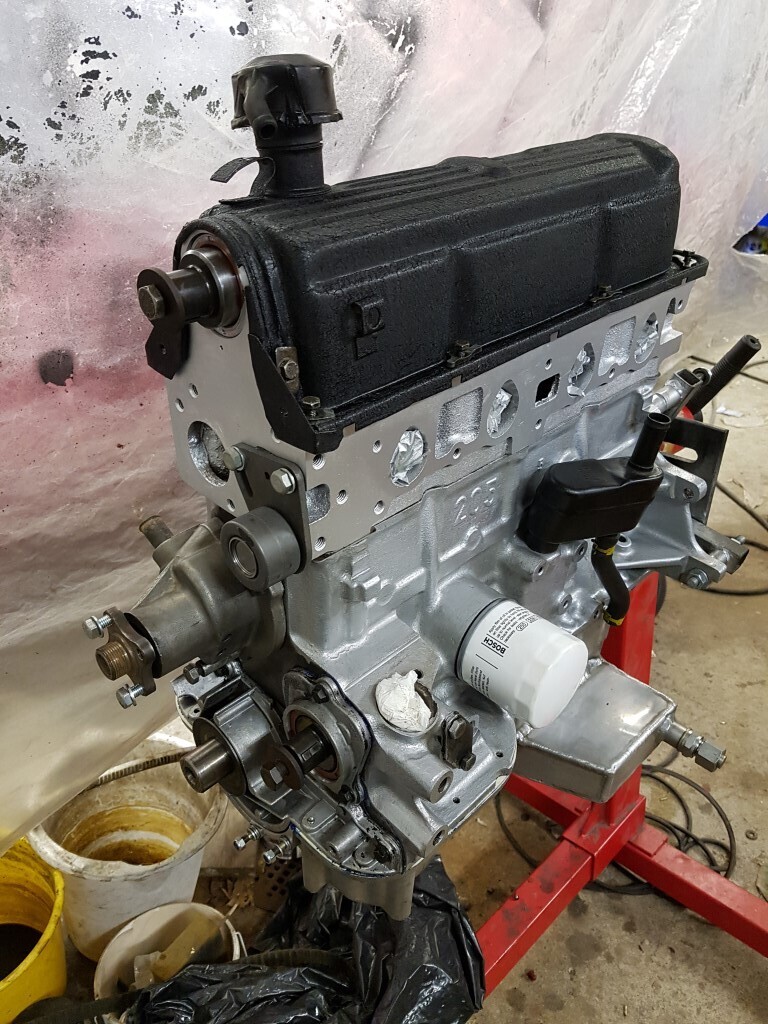 Engine building is fun and then I decided to go for the 19T turbo right away. But I spent a lot of time building adapters so I could swap back to the HX35 easily. 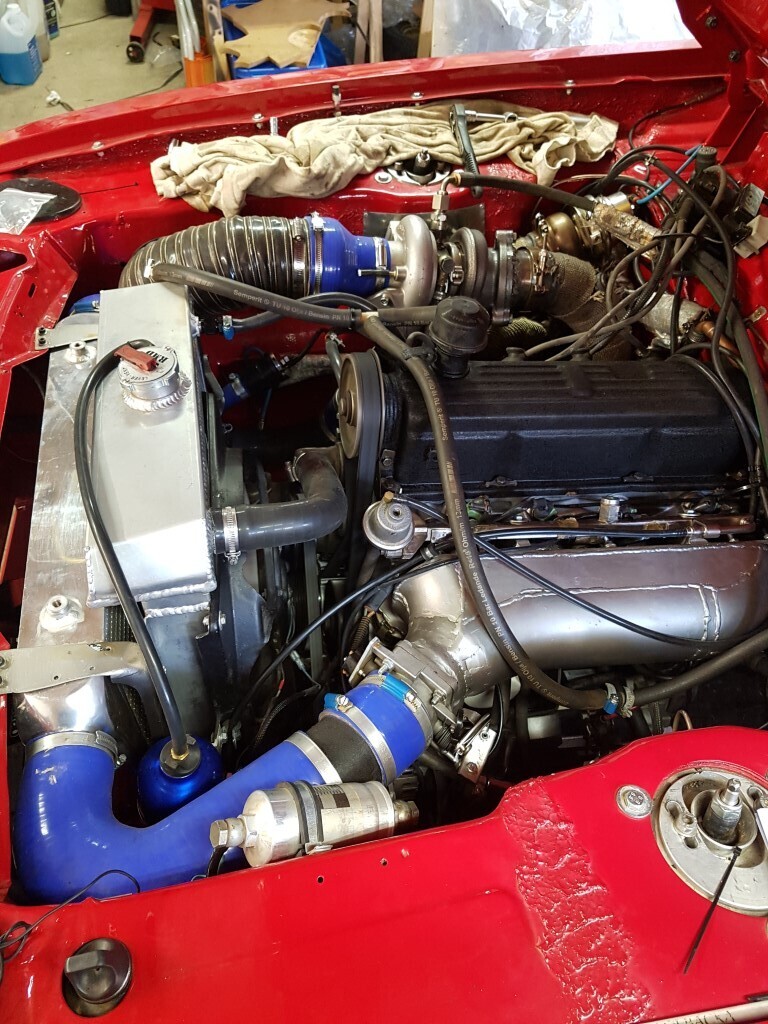 Late May of 2017 I was out testing the new engine, and new bigger brakes. I had some issues keeping engine temp up (!), possibly from how I built the turbo water cooling circuit. Inspired (or urged?) by the oil pressure loss I also "fixed" one of the Capri S shortcomings - no oil pressure light (just a gauge). I re-purposed the brake warning light (that was disconnected anyway), and added a LED strip right in the line of sight. 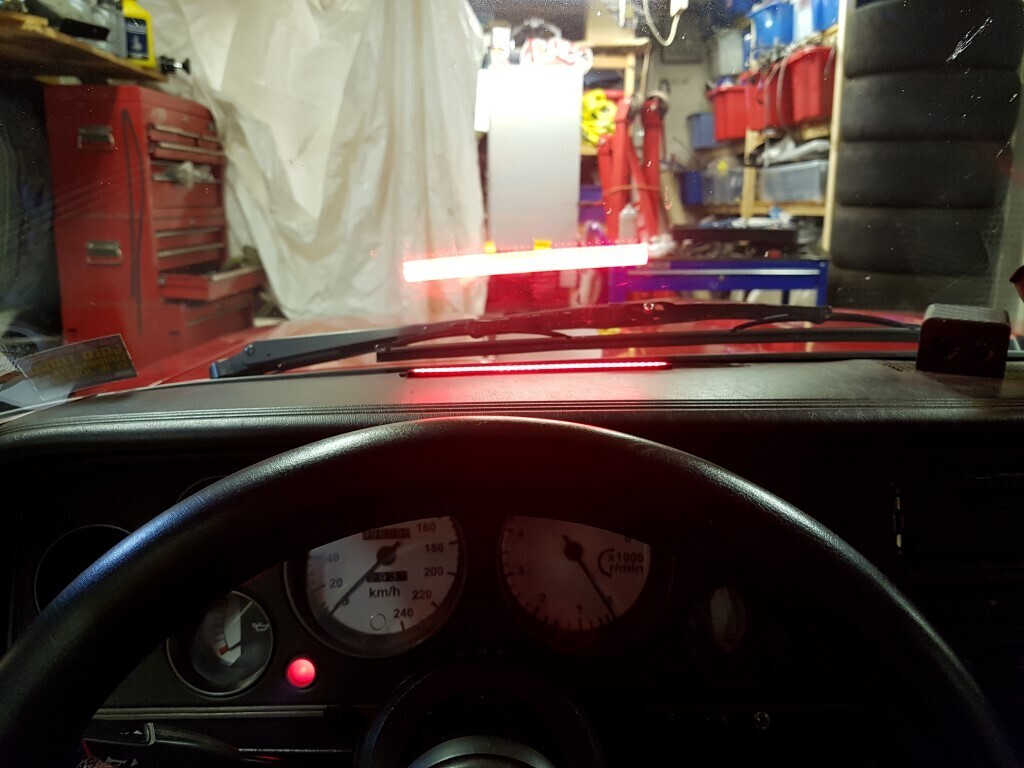 But, I also added a high pitched summer (switchable) that gives a very annoying beep when oil pressure drops. To control this I also got me an adjustable oil pressure sender, so it will light up (and beep) BEFORE oil pressure is so low damage will occur. Something that can't be said for most stock oil pressure senders. The main summer event 2017 was Motorveckan in Lycksele (again), and I did the final mapping on the 2 hour drive there. 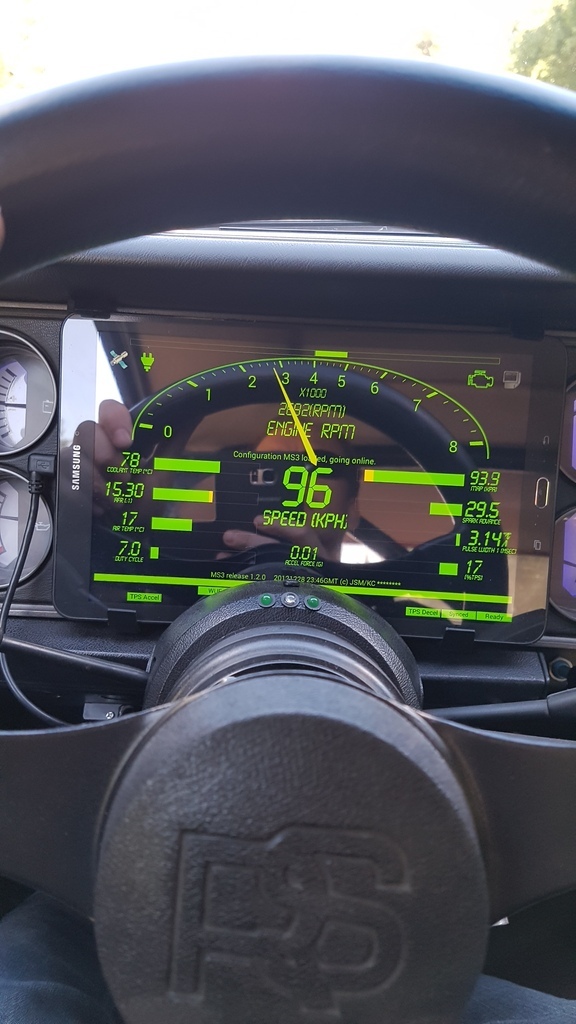 I took part in the drift event again... 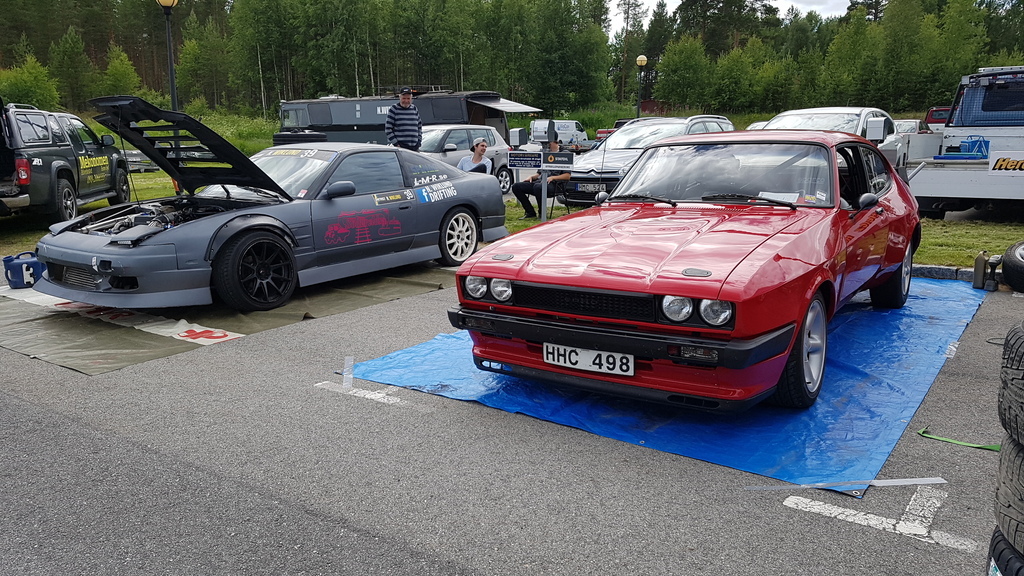 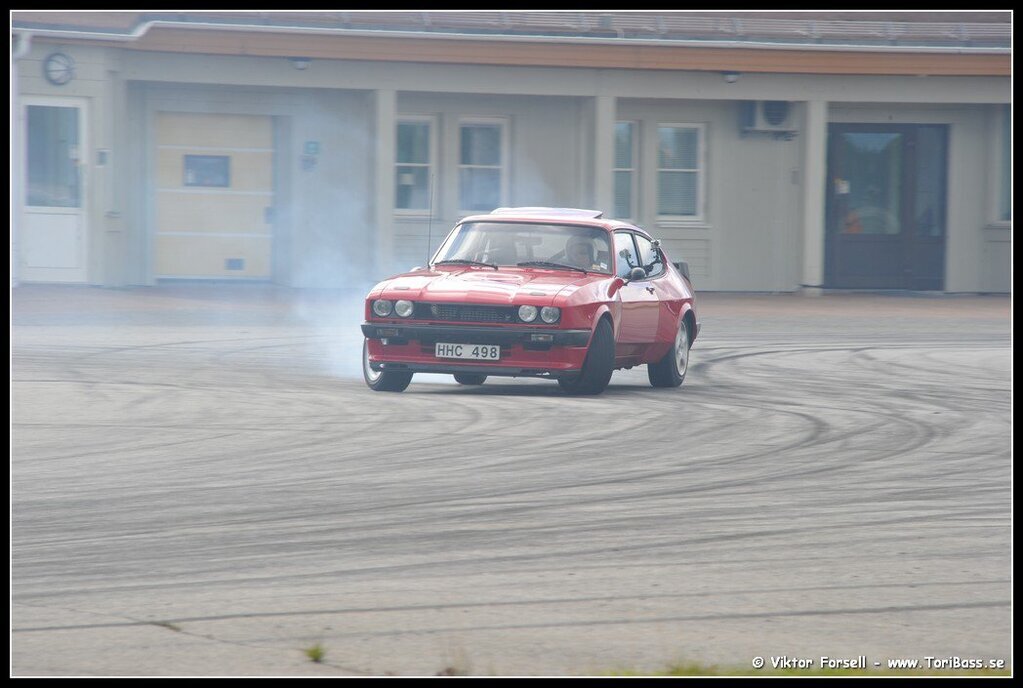 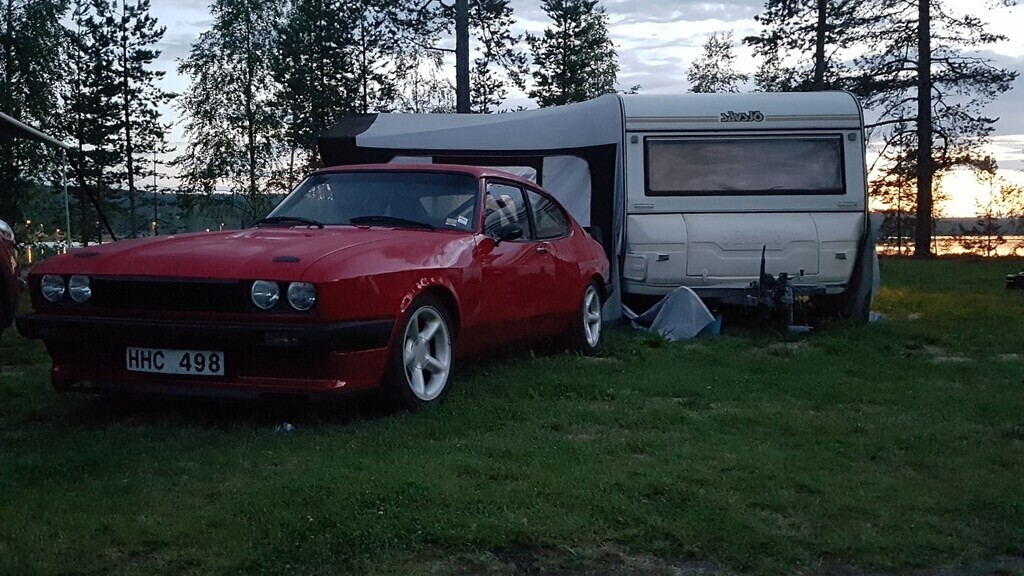 There was one large upgrade left for 2017. Wheels... while the EsCos wheels are nice I felt that I wanted something a bit more classic. After a lot of pondering I ordered a set of XXR 537's. Kind of a Minilite replica but not really. Delivery took forever but finally... 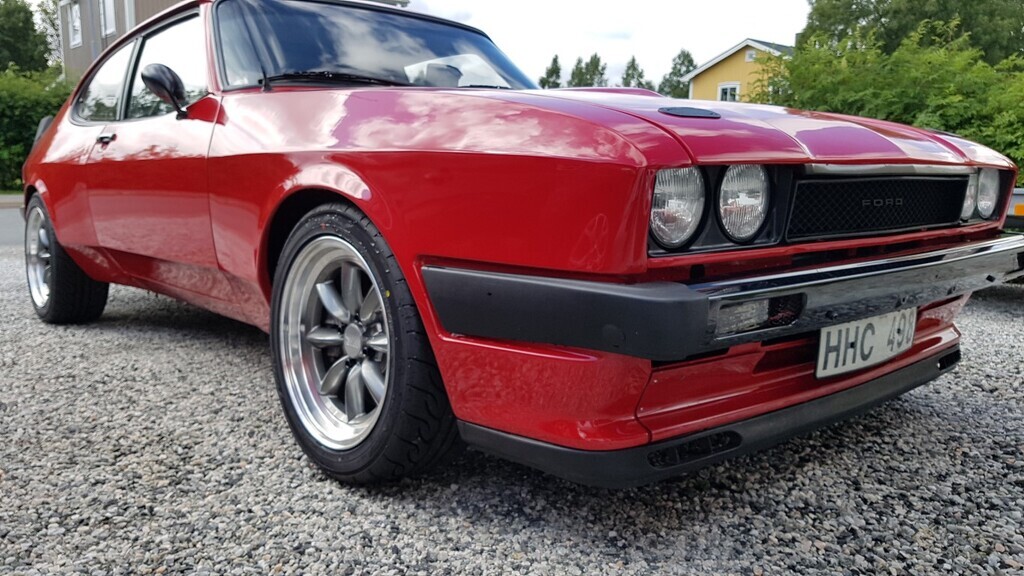 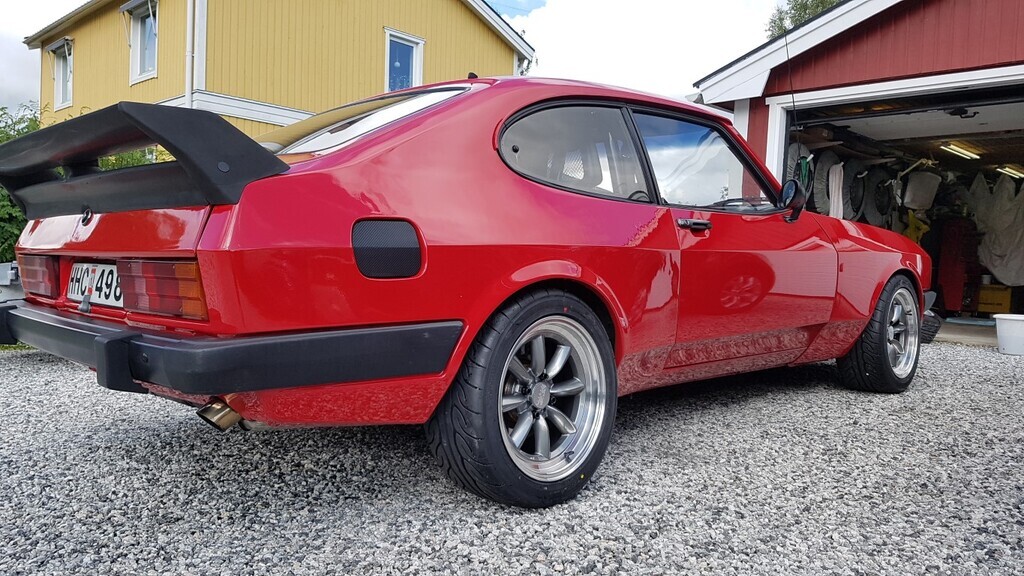 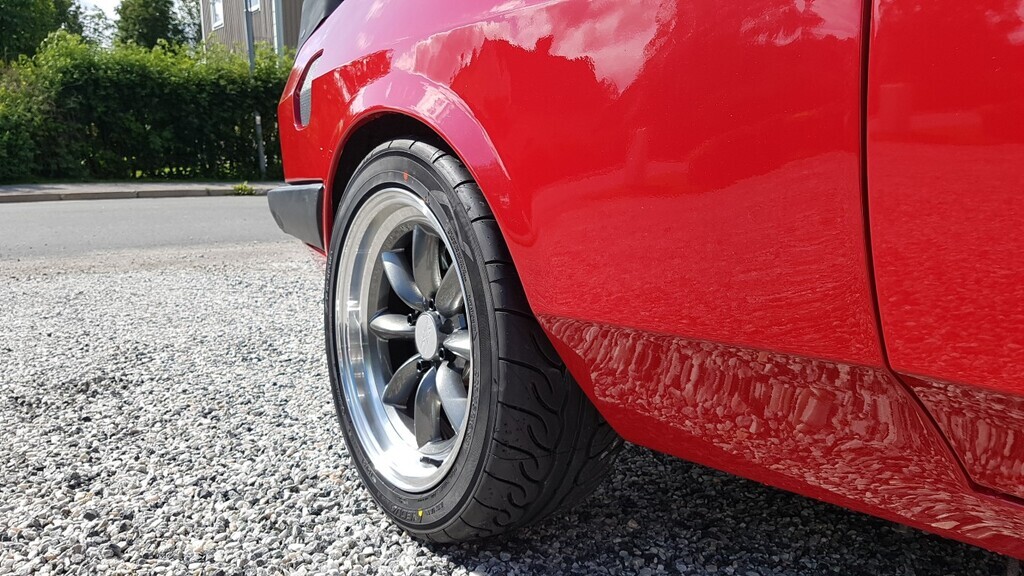 The Yokohama AD08R is a great tyre, grips almost like an R-compound but works in the wet (and now, discontinued). I still wasn't really happy with the engine, I thought some power was missing so I spent lots of time swapping back to a Holset HX35. But it was no better. Back to the 19T but also got me some parts to build a real boost management system. Not that it made a difference... The final activity of 2017 was a new dyno session. When we did that in 2015, the old engine with the HX32 made 284 whp and 398 Nm at 1.8 bar. This time we started with a base pressure (1.1 bar), that gave 245 whp and 273 Nm, but a much nicer shaped curve and power all the way to 7000 rpm. Then we started playing with boost control, and came to the conclusion that at 1.4 bar, the turbo maxed out at higher revs. So we programmed a rather aggressive boost map that peaked at 2.1 bar and then ramps down. That got us 279 whp and 416 Nm. All in all, a decent result on 95 octane fuel and an old Pinto. 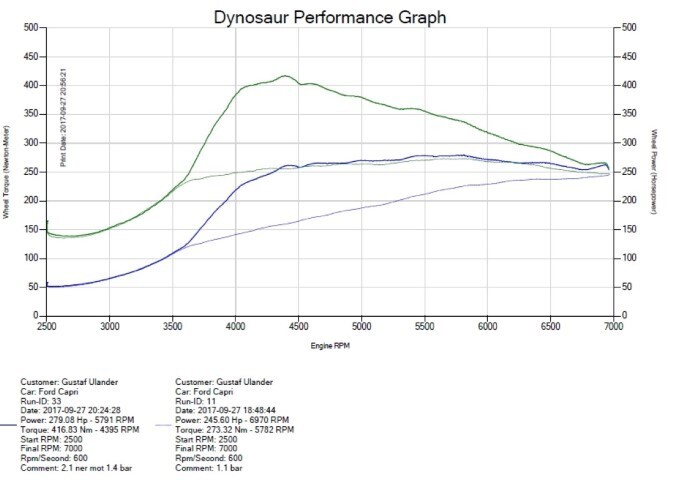 That was 2017 in a nutshell! |
| |
|
|
|
|
|
|
|
|
|
Well, maybe not entirely. I did some changes during the winter. Bigger 108 mm CV joints and new steel driveshafts... 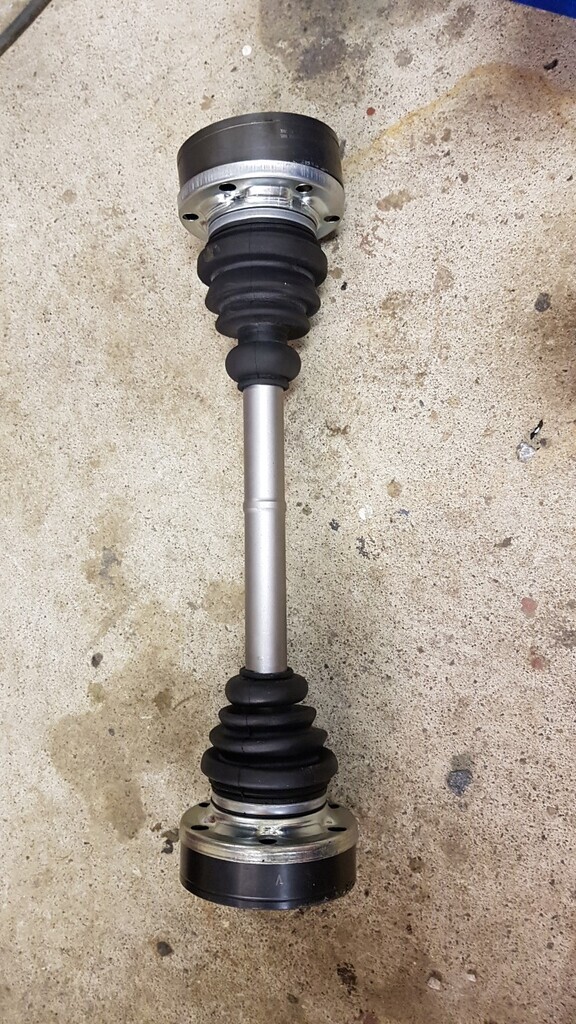 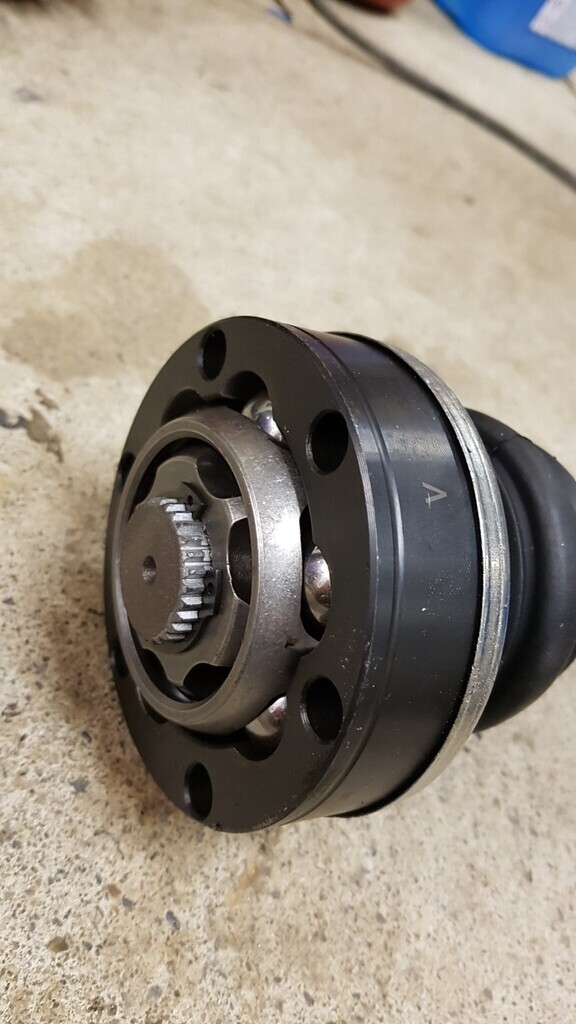 A small addition to the tailgate also, the trim piece that I never got around to fitting when I put the car together. From... 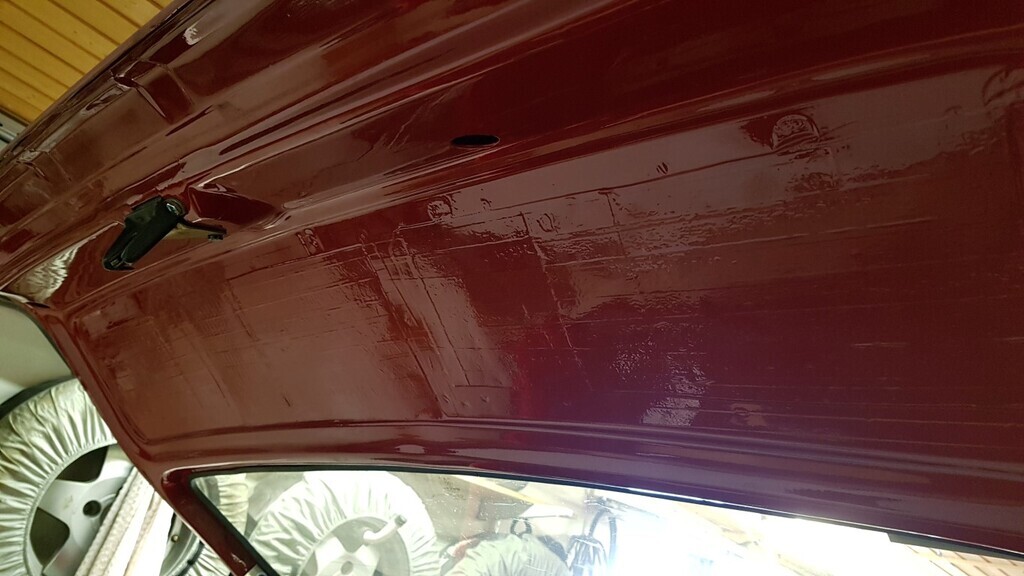 to... 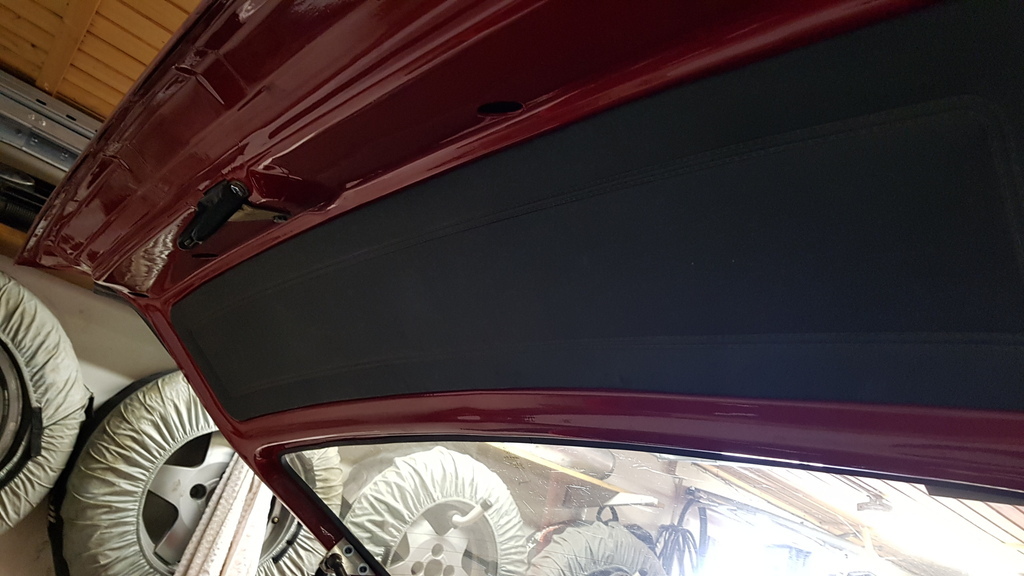 And I also got the painted fuel filler flap in place. A bit better than the faux carbon fibre one I had before. 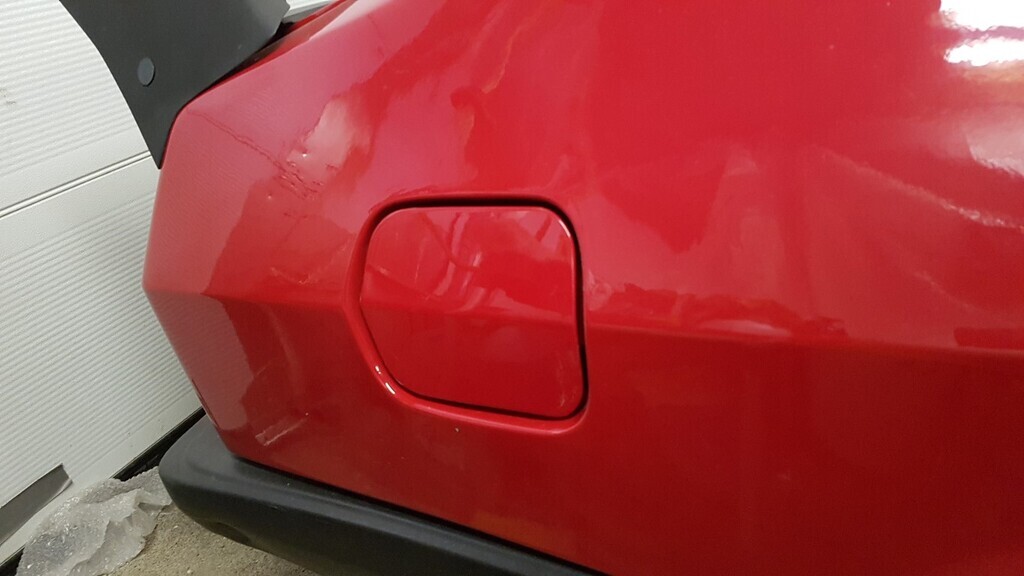 The garage got an update with a set of Quickjacks; 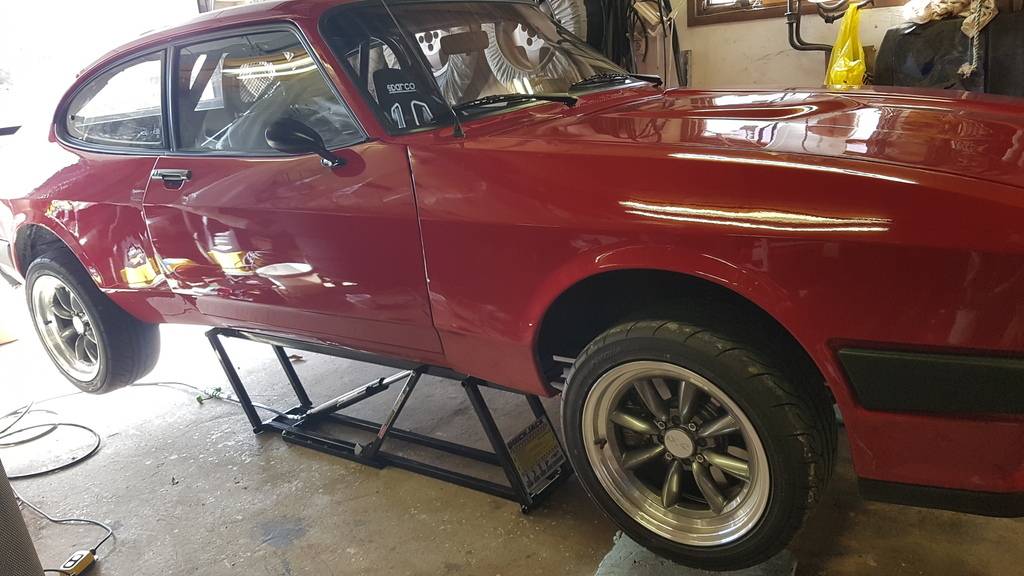 I also had issues with the gearbox. If would refuse to downshift into second gear. No grinding, just a dead stop for the gearstick unless the 'box was really hot or double clutched. I tried an oil change but eventually decided I should rebuild the T5, and fit a Gearboxman/Quaife semi-helical gearkit, a reinforced 5th gear bearing retainer and of course new bearings and synchros. In june 2018 I tore the gearbox apart. It looked flawless but I still fitted all the nice parts... 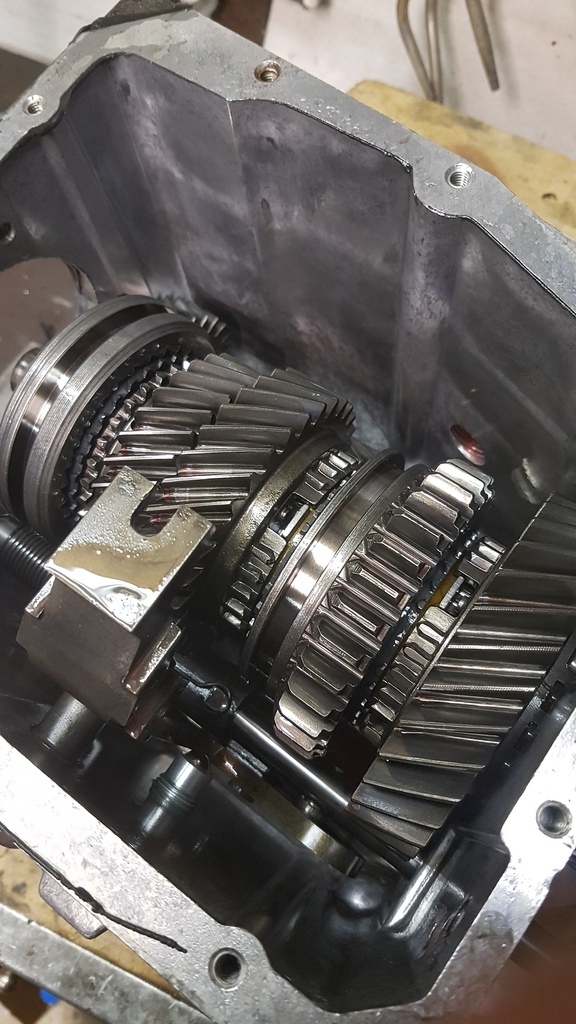 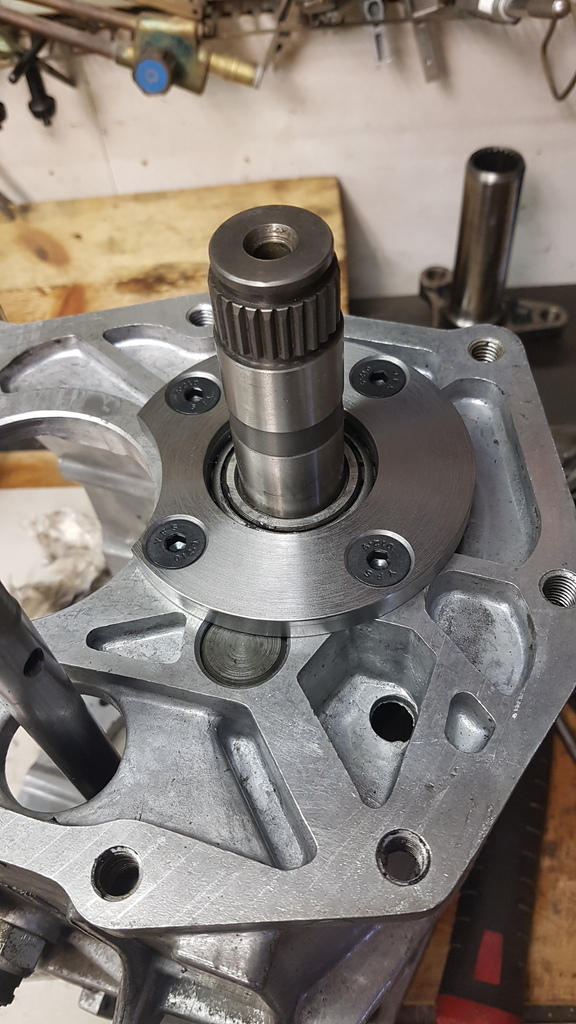 ...and the issue was still there :-( But I still went on Motorveckan. At least some nice photos! 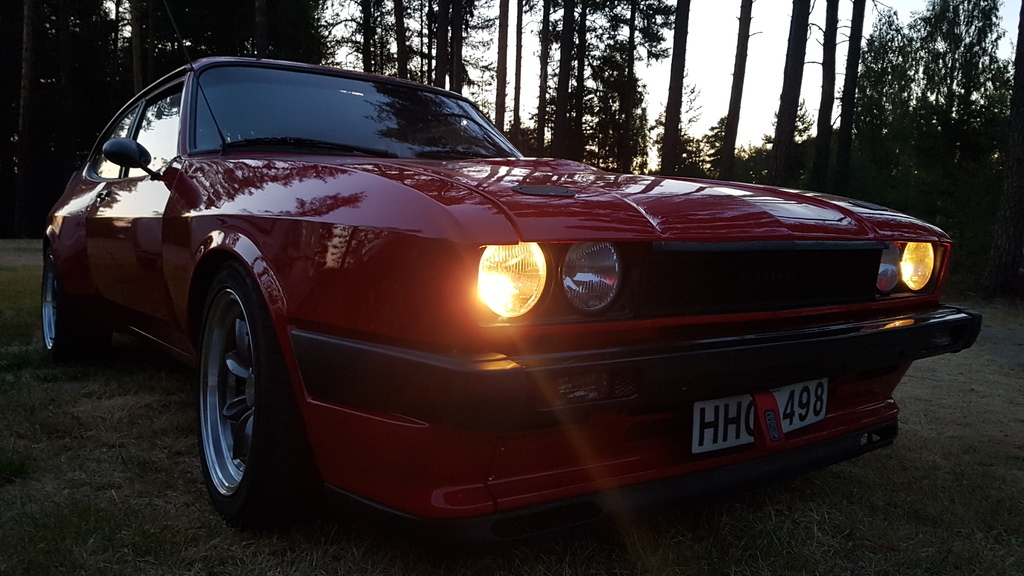 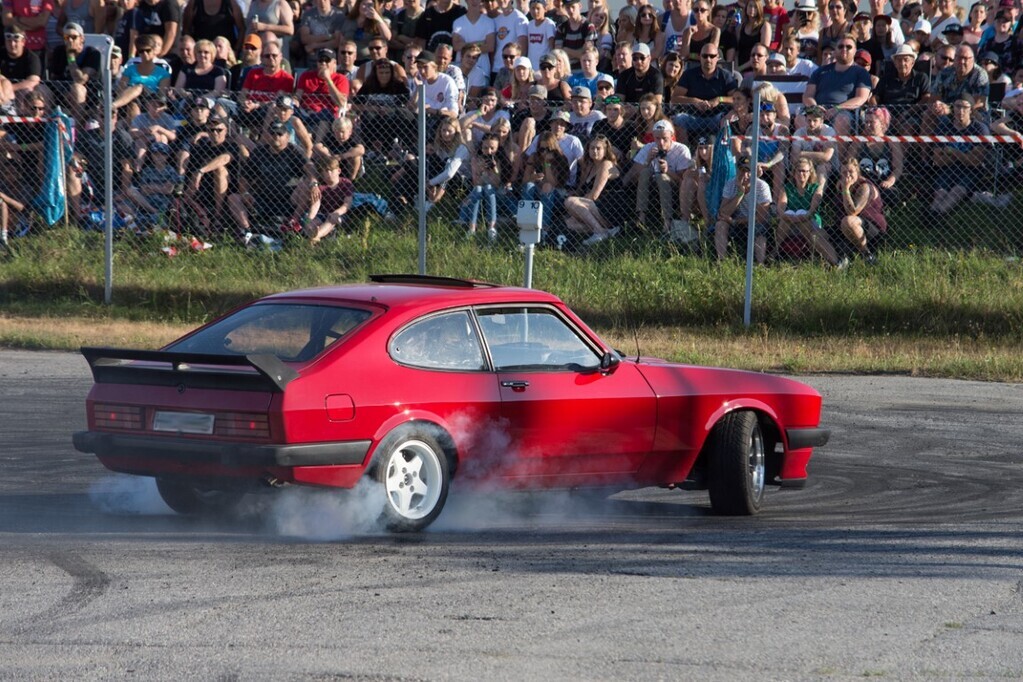 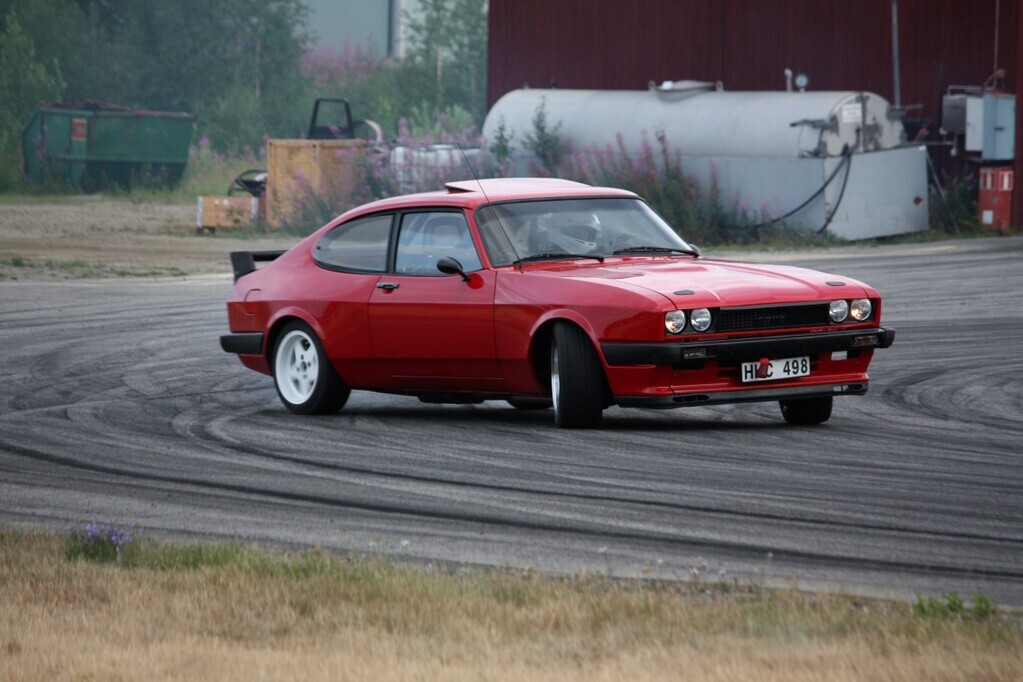 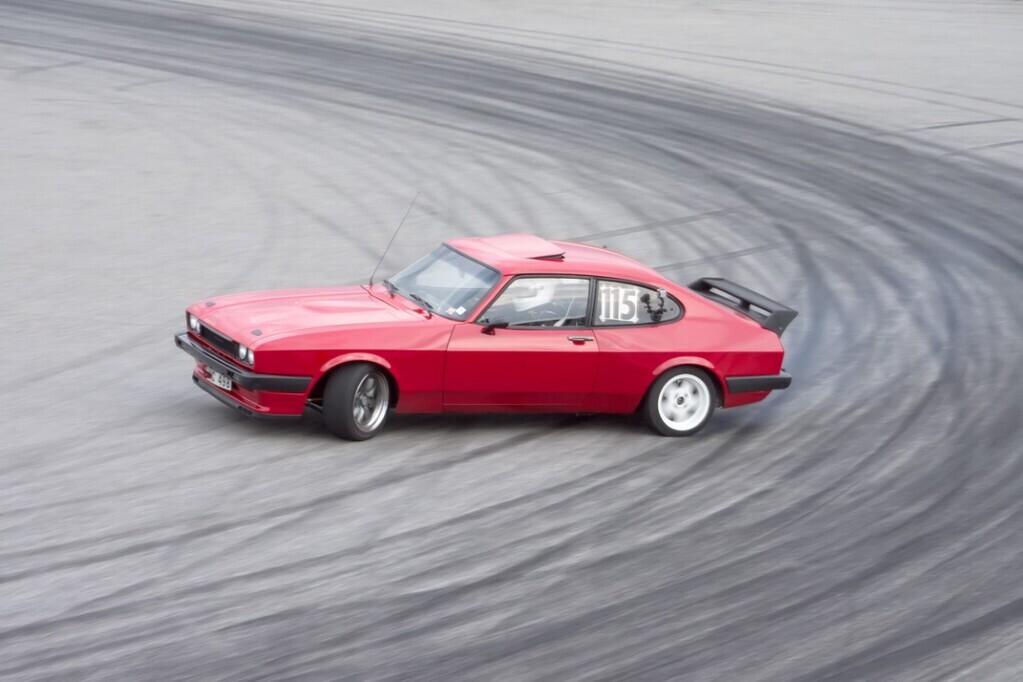 |
| |
|
|
|
|
|
|
|
|
What a fabulous looking car! Love it.
|
| |
|
|
|
|
|
|
|
Thanks! So, the post above outlined 2018. In 2019 I really can't recall why I didn't drive the car too much, I know I did some drift events, and I bought a spare T5 gearbox. Oh, and I did some back-to-bak testing of different exhaust manifolds. The thing here was that I was not really satisfied with the low/midrange respons of the engine. Probably because of the drifting events, I wanted more midrange. So, I started to look at more modern turbos. Borg Warner has a really nice "matchbot" that lets you play around with data to find a suitable turbo. And their EFR hairdryers are just so cool. I had practically decided to spend way more cash than normal and get one of those €2500 turbos when a friend suggested a dealer-priced Kinugawa. A Kinu-what? It's basically a Mitsubishi "inspired" (or ripoff) aftermarked brand. We aimed at a TD05H-16KX, a ball bearing turbo that should support my target power and give decent (good) spool. 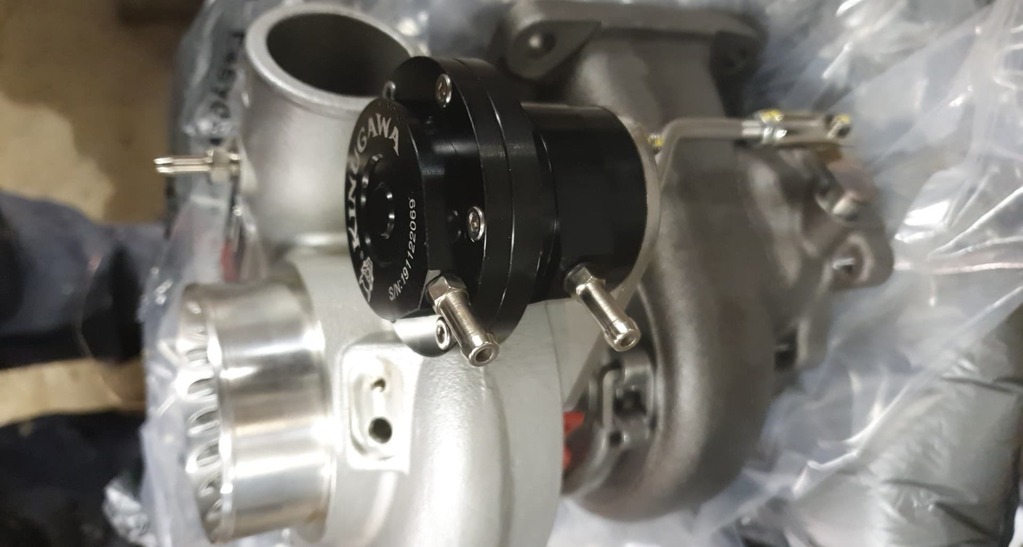 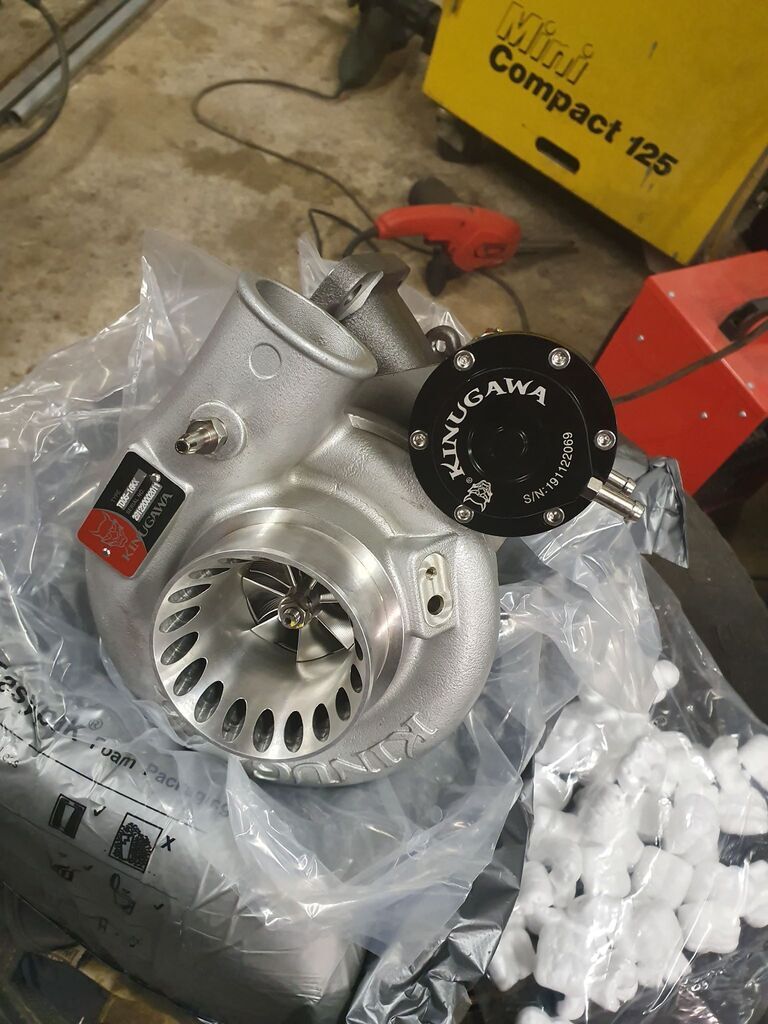 Then my old Capri friend Tomas/Maverick said he really felt the need to build a manifold, but had no car to build for. Of course I offered the Capri :-) So he started building a "short" header aimed at quick spool. 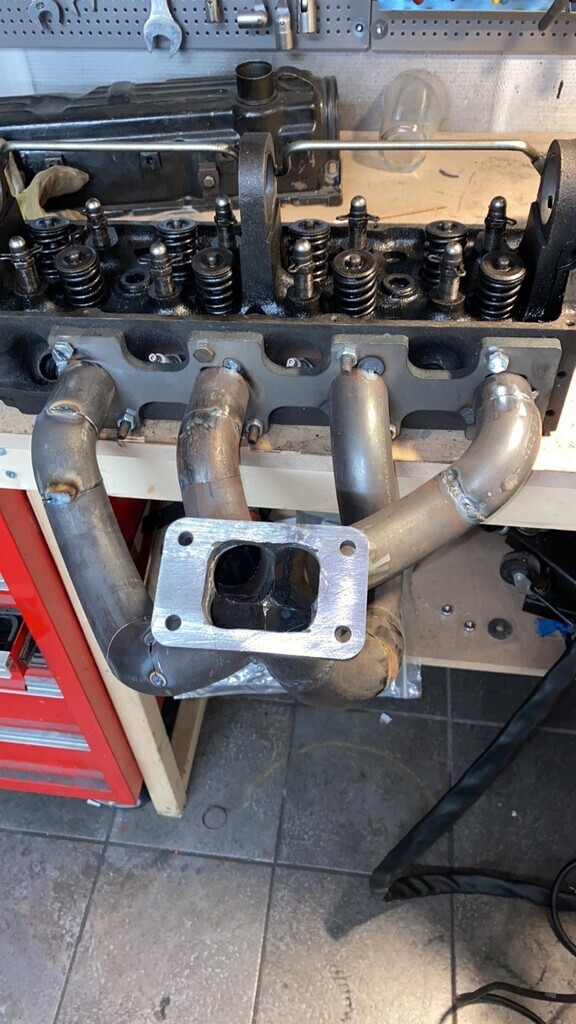 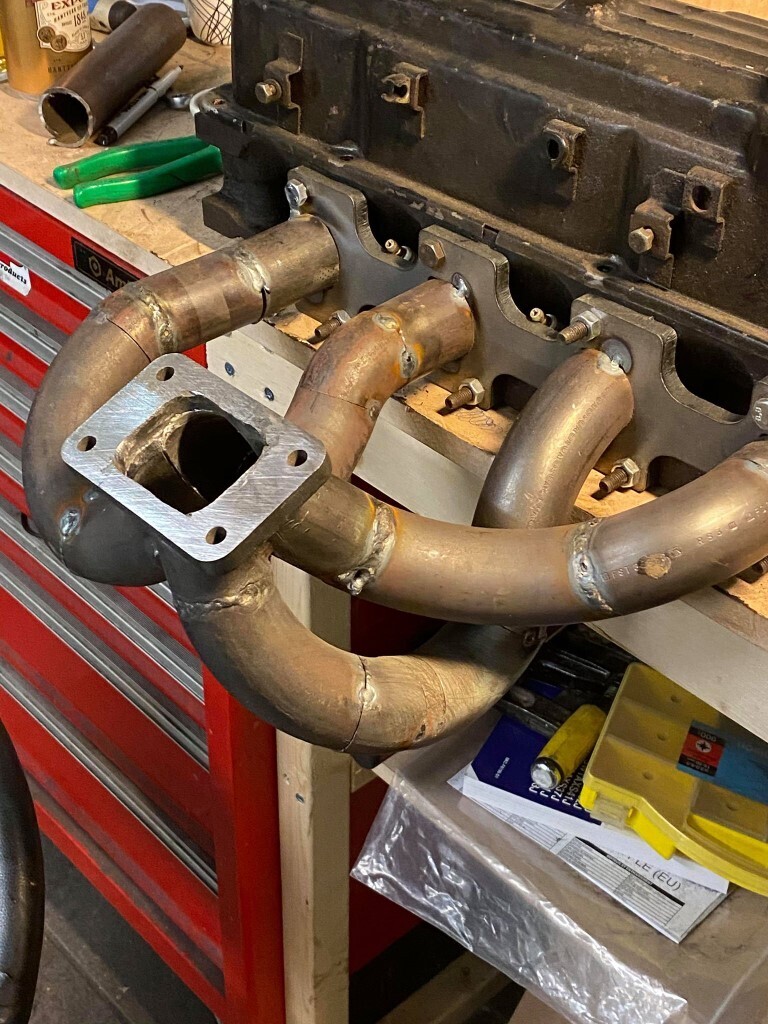 Now, this winter, 2019-2020, I knew why the Capri was on the back burner a bit. I kept it at my winter storage all winter. It's a rather nice place but I have no tools there so each wrenching session means either remembering to bring everything you might need, or make several runs back to my garage to get stuff. While it is only a 10 minute drive it quickly gets tiring. The reason for the back burner was the Sierra project with my daugther. From a "forest find"... 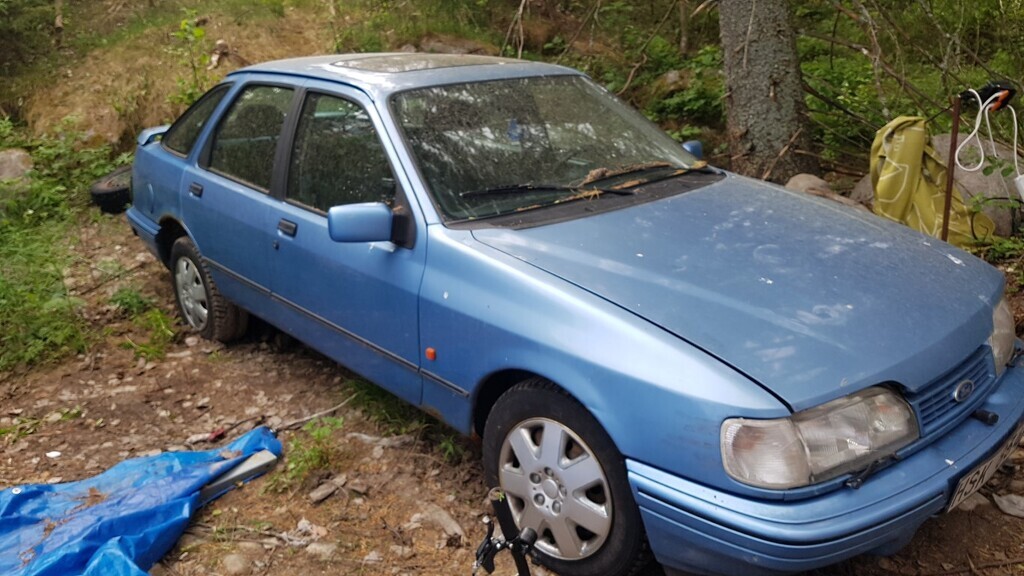 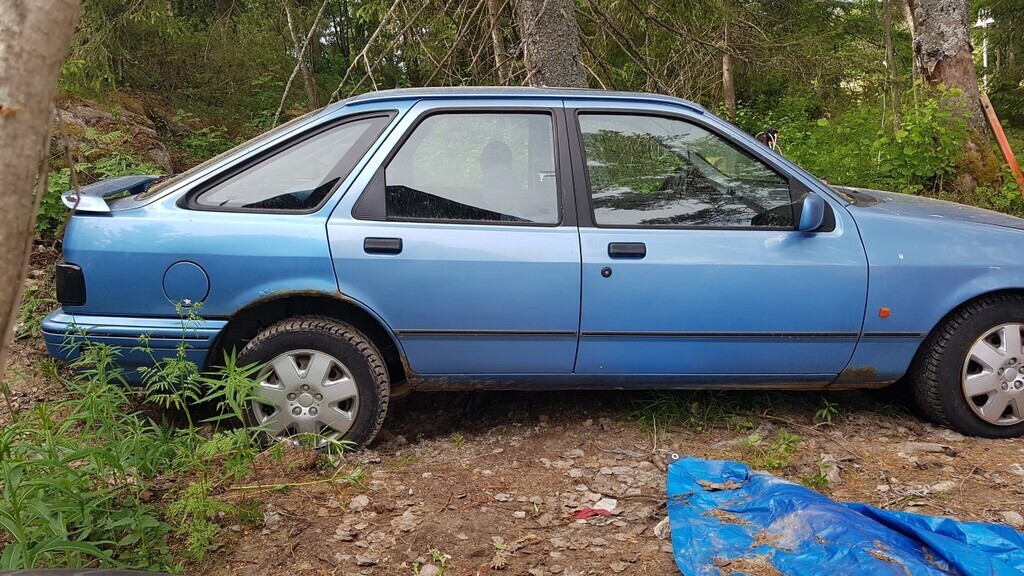 ..through some work... 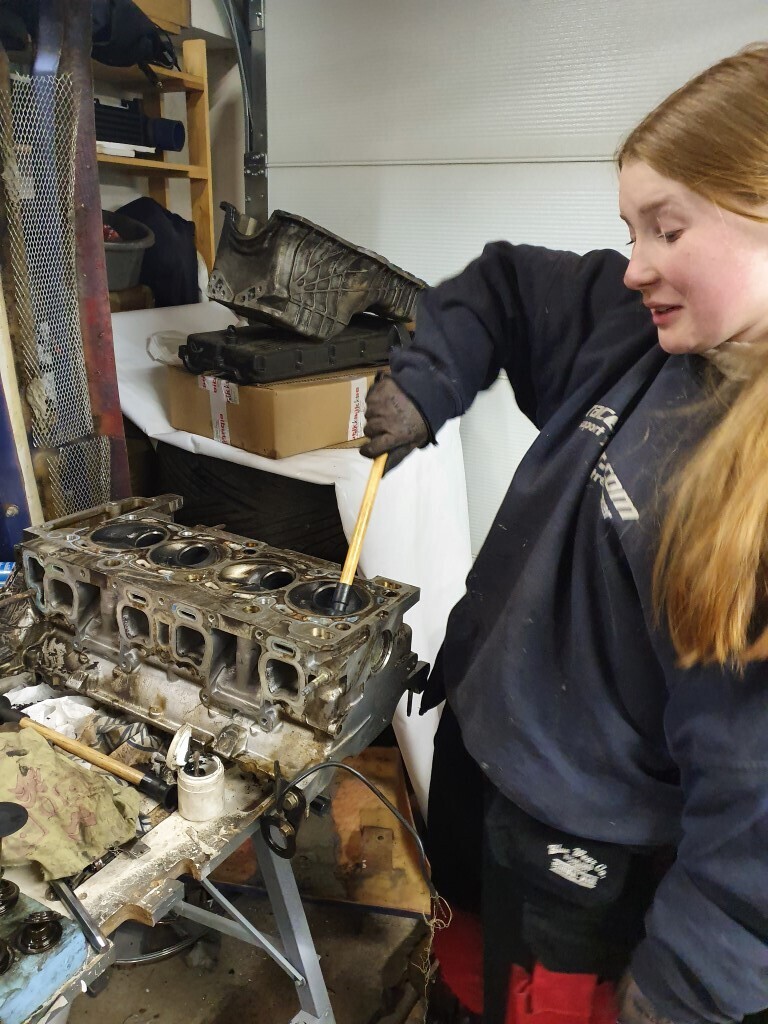 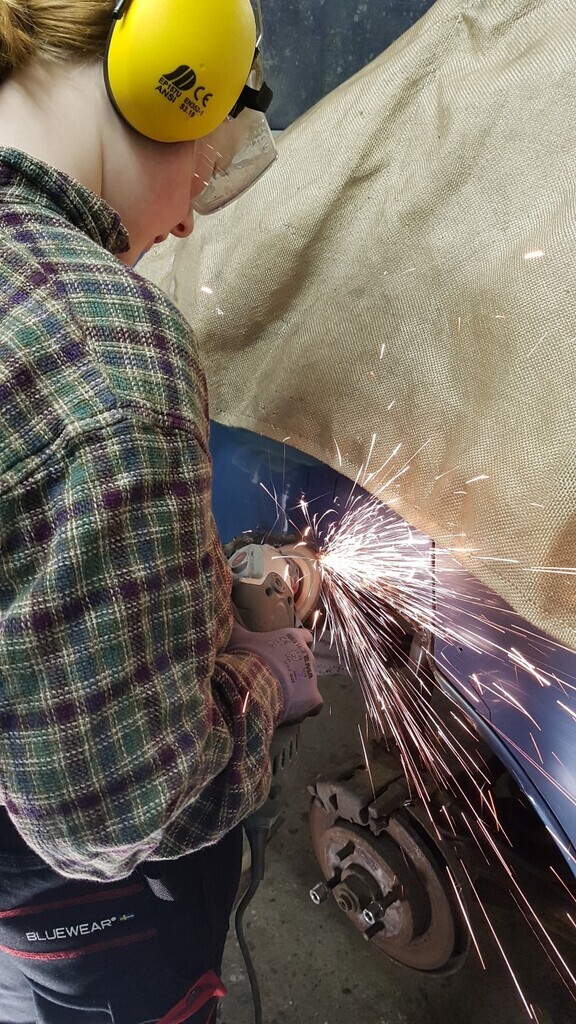 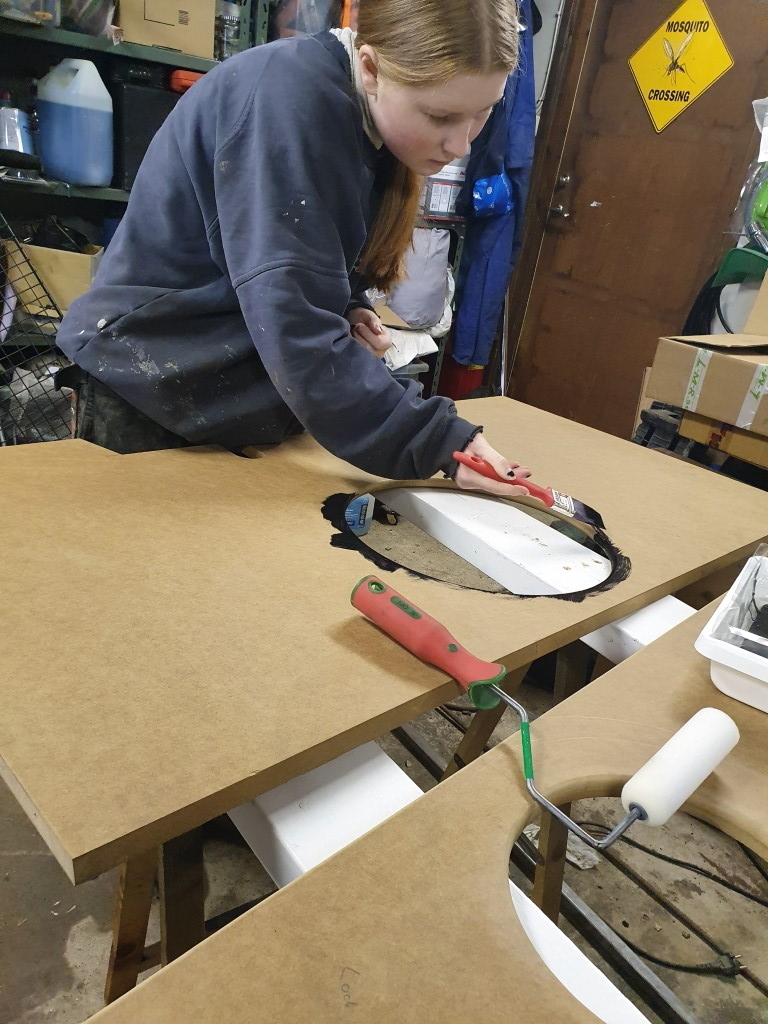 ...to a rather nice ride for a 16 year old :-) 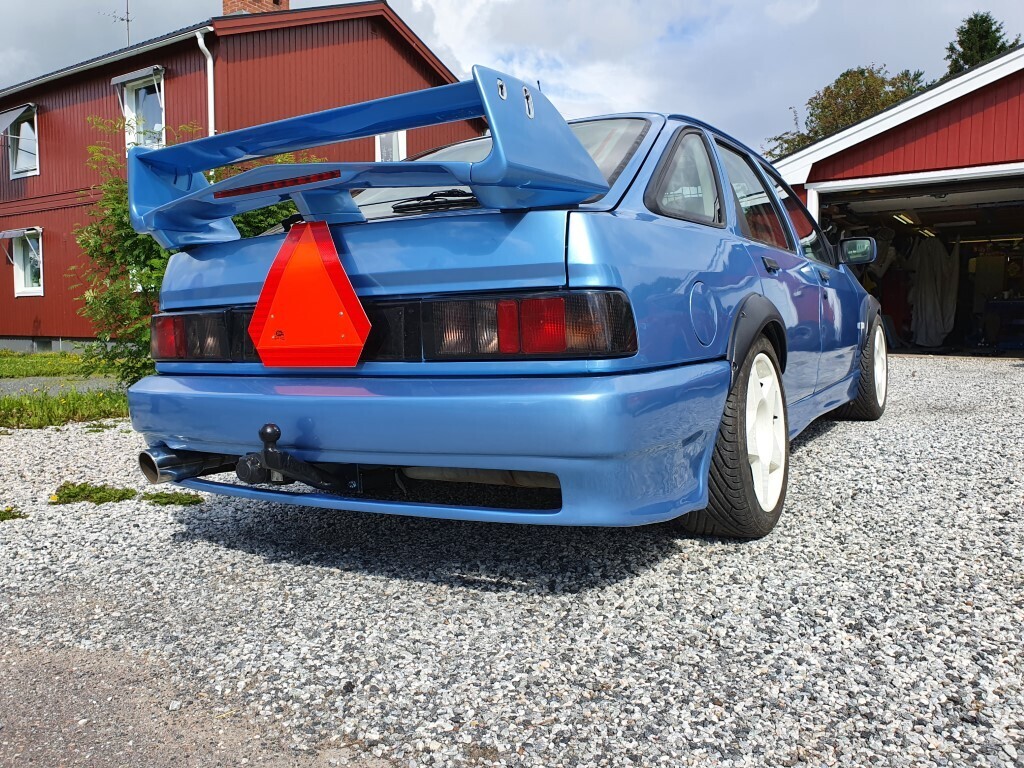 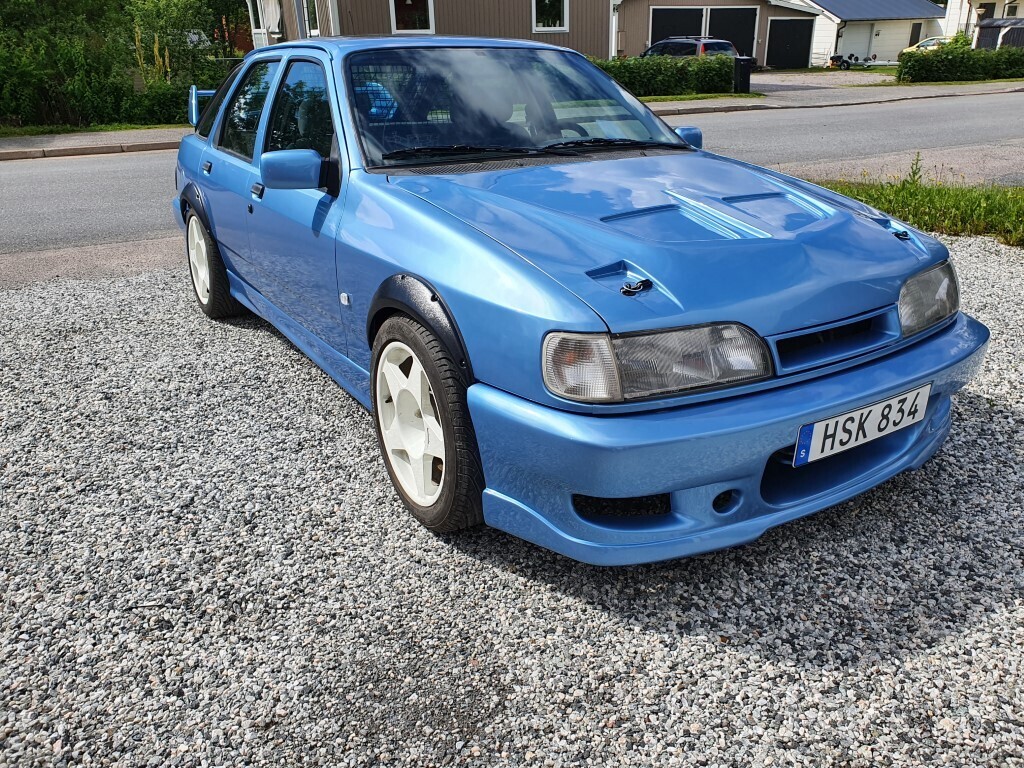 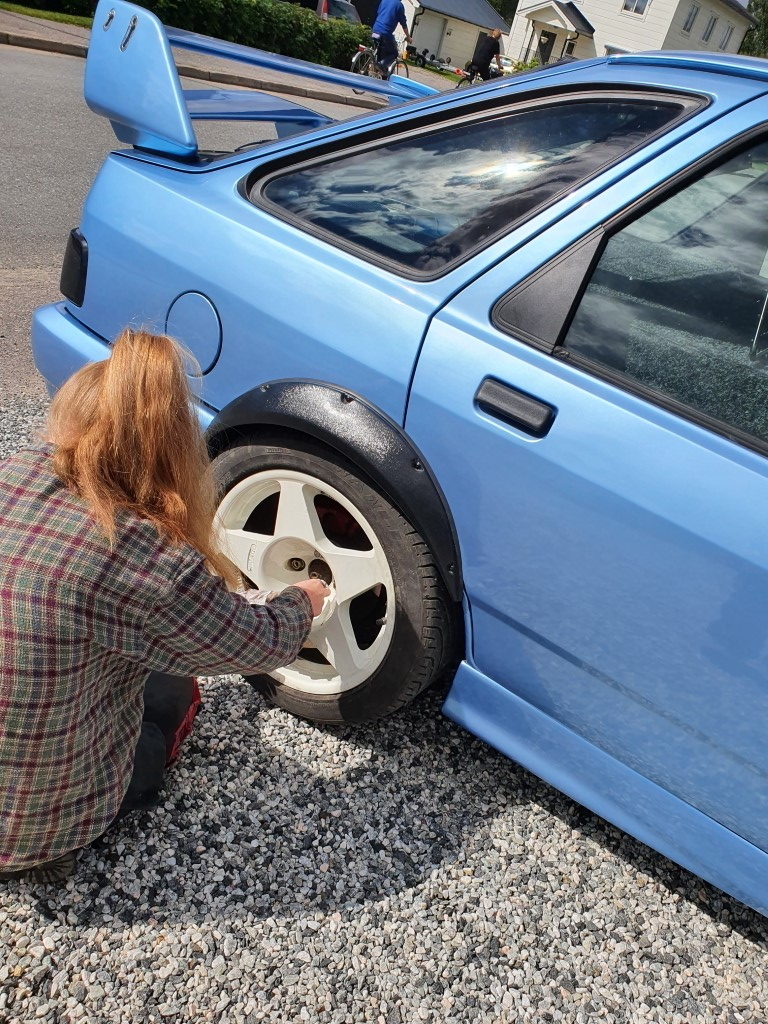 That one was finished in July and then I just had to rest a bit. But in August I could actually fit the turbo. 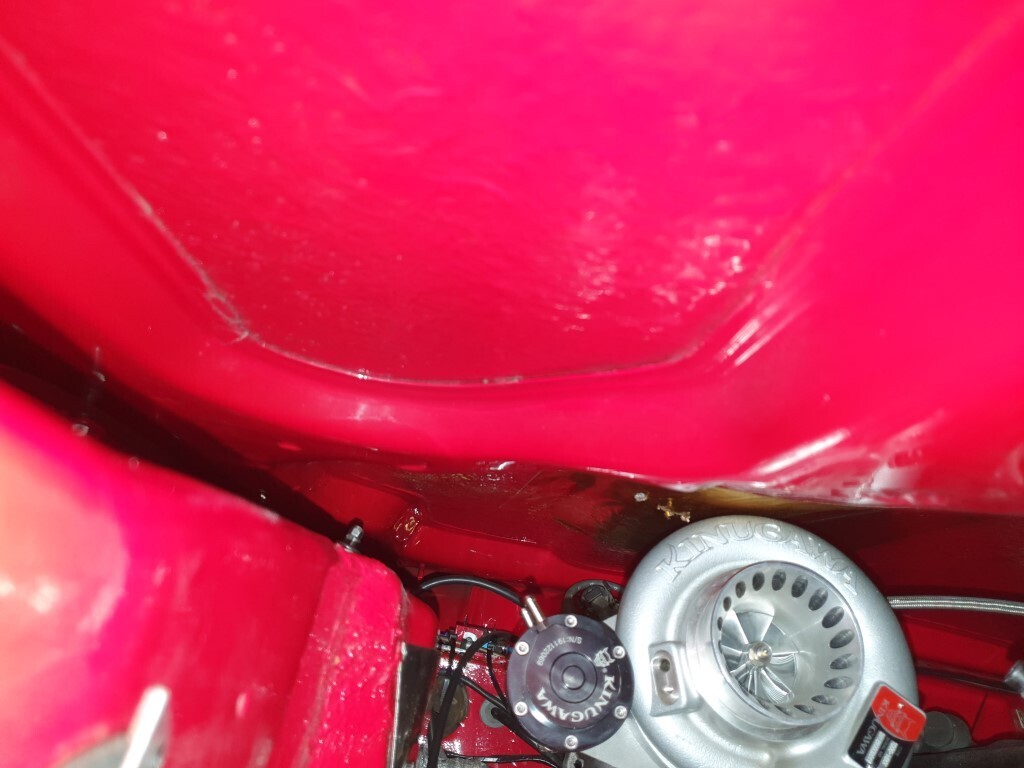 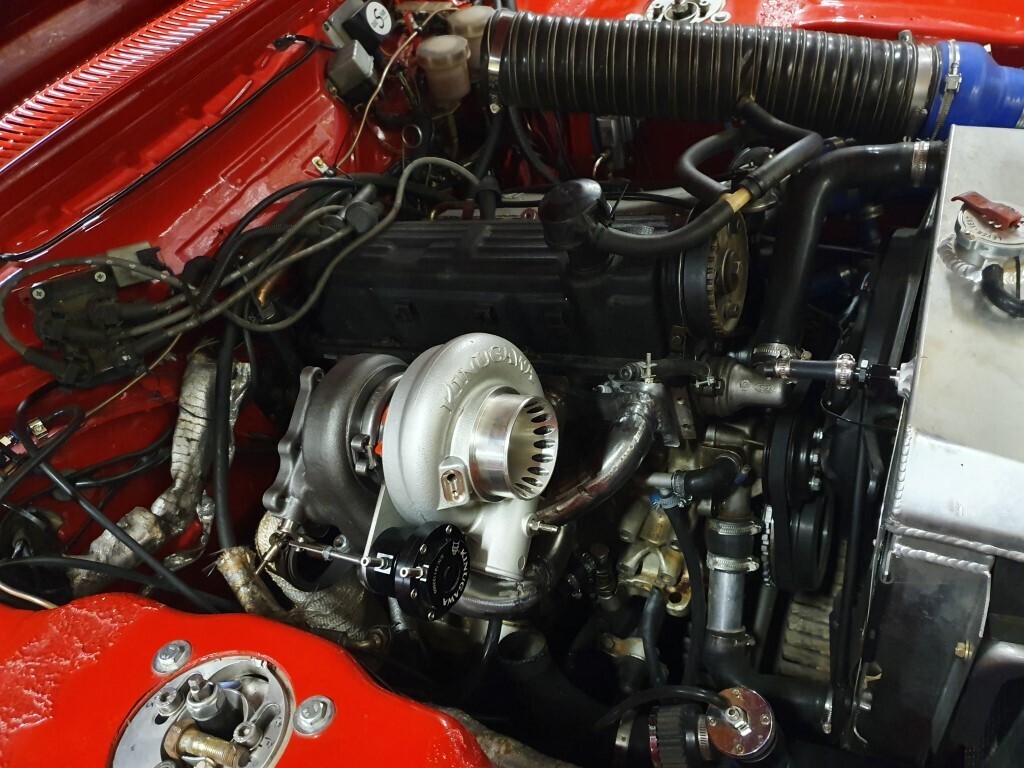 It wasn't before October it was "running" and then snow came. And went. Maybe a test drive? 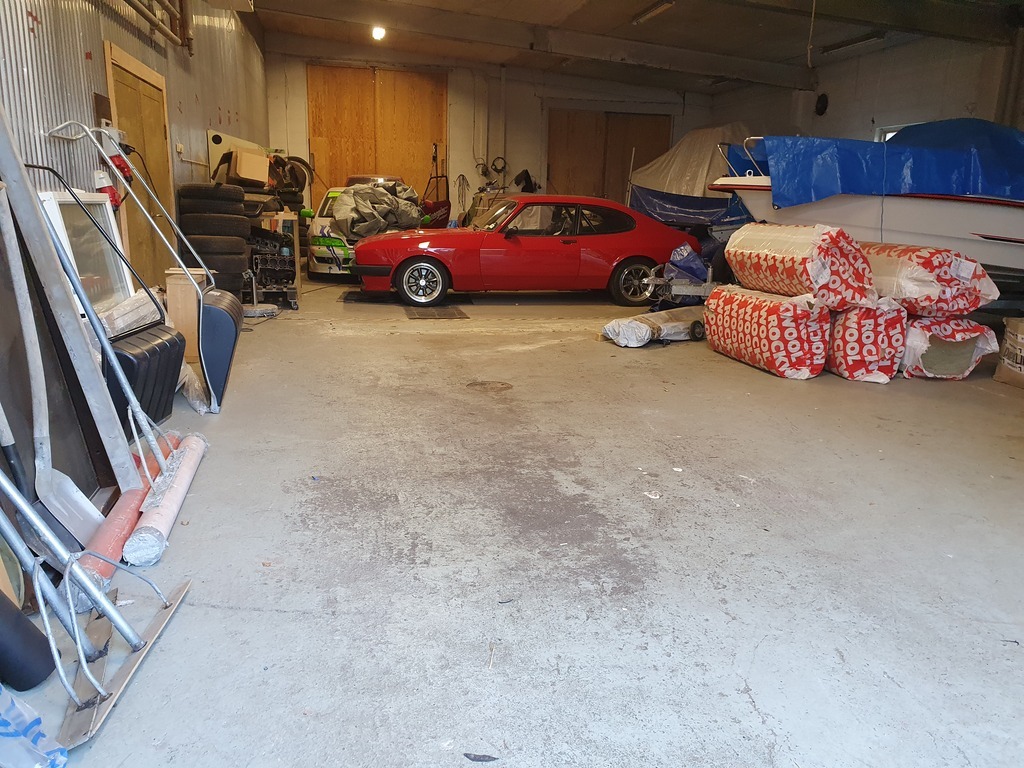 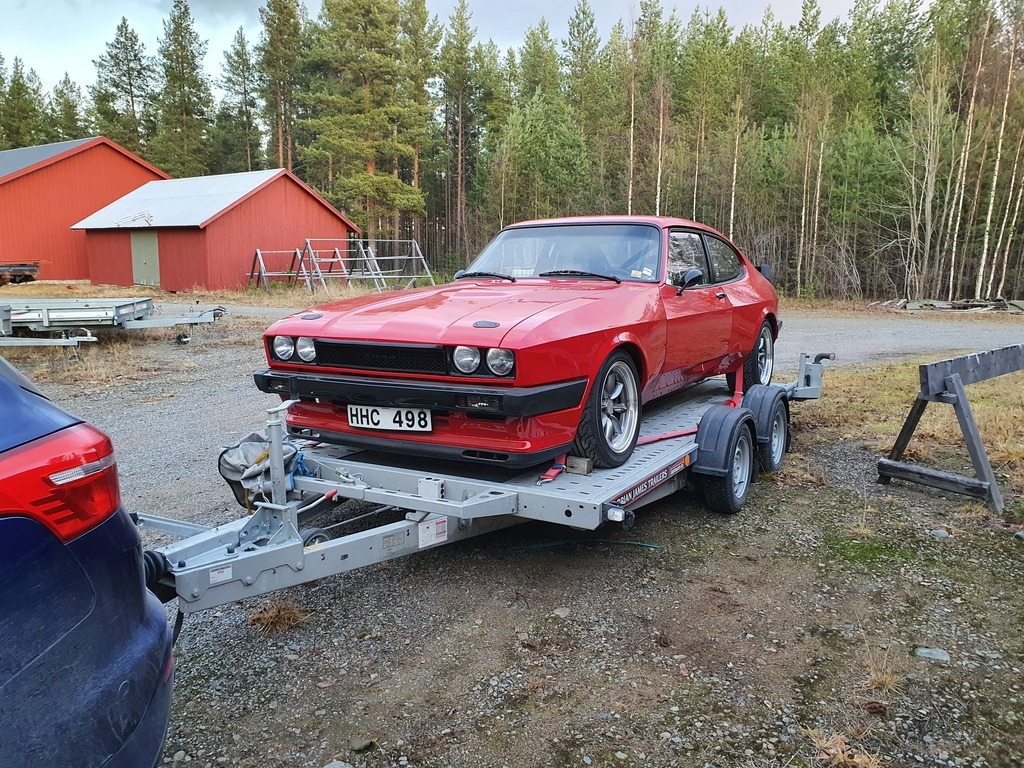 I dragged it home, in November, and it felt pretty OK. I was offered a dyno slot at the local dyno and of course, I couldn't turn it down. But... 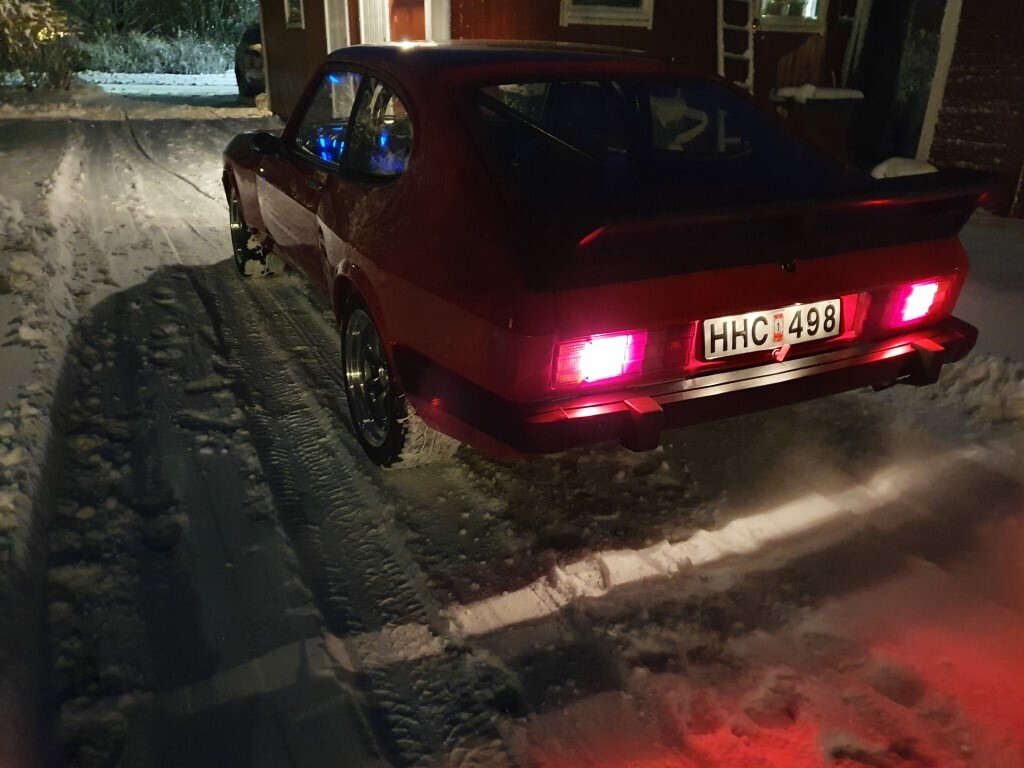 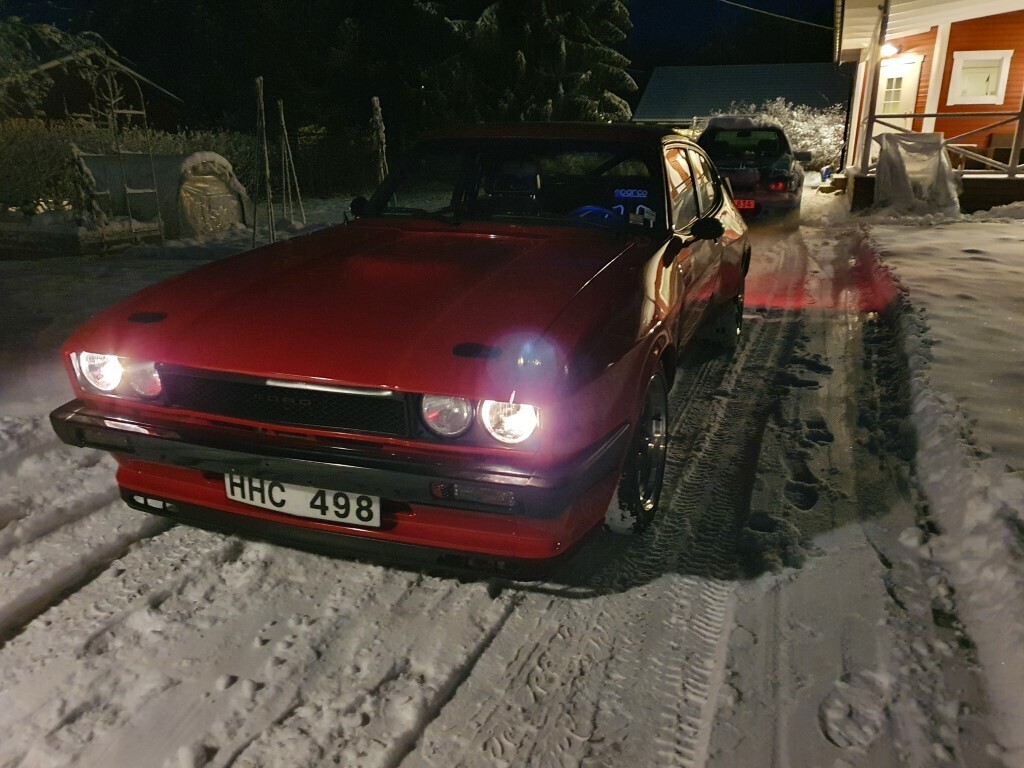 More snow! I loaded it up on the trailer anyway because now I wanted a baseline. That was somewhat interesting and the topic for the upcoming post I think. 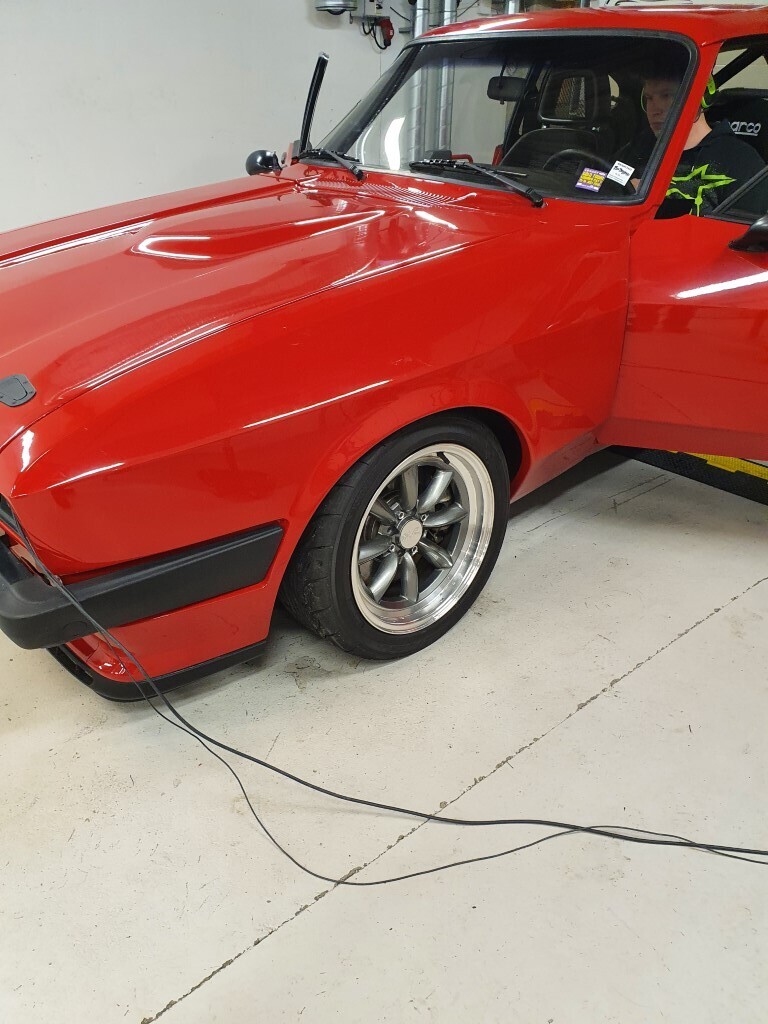 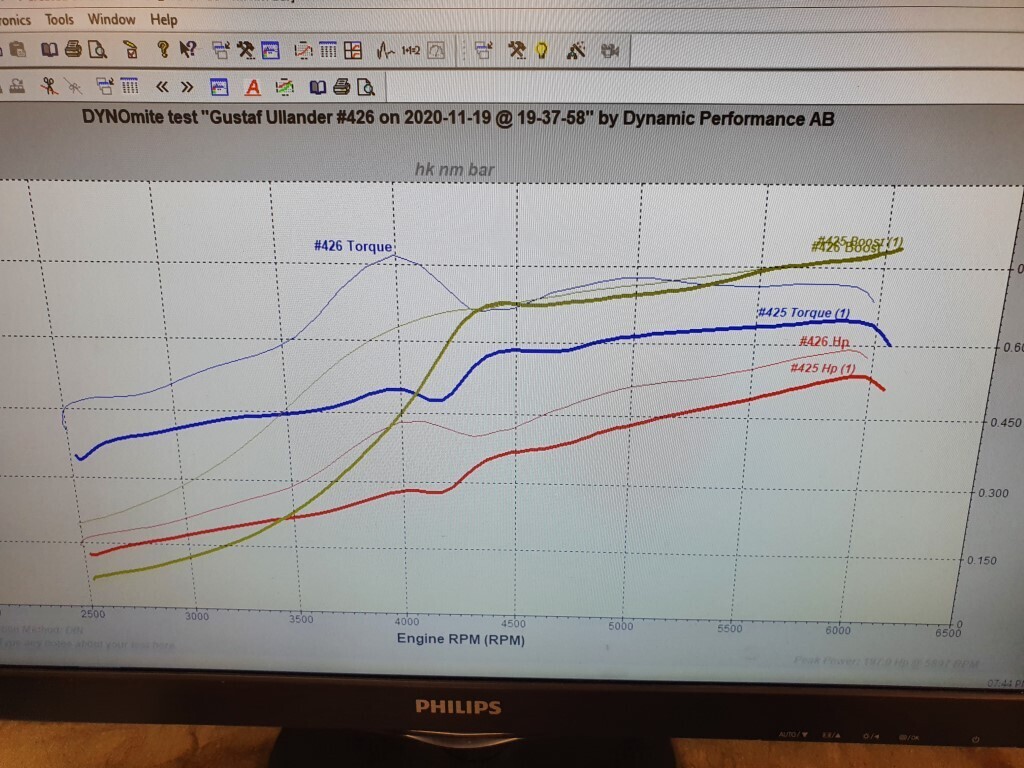 |
| |
|
|
75swb
Beta Tester
Posts: 1,052
Club RR Member Number: 181
|
|
|
|
|
Two lovely motors. The rear spoiler on the sierra reminds me of an evo, cracking build and so different to most cars teenagers want nowadays, it's bloody cool. Also, does that dyno readput say what I think it does? If so holy heck!
|
| |
|
|
|
|
|
|
|
Yeah, the Sierra has some kind of aftermarket Evo wing. The dyno readout is not that impressive, I see I posted the simple screenshot. It topped out at 350 Nm and around 280 whp. The main idea behind this dyno run was to try different cam shaft timing settings and to get a baseline before doing more changes. 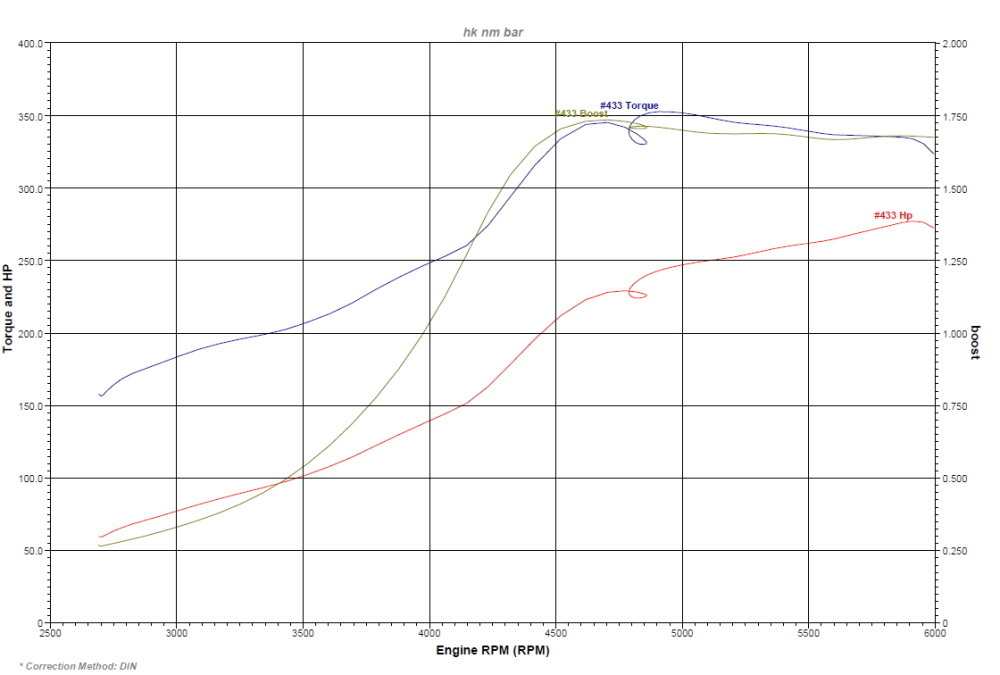 But the interesting "knot" on the graph got me wondering. I think the cam belt slipped a tooth or two... because when I came home, the timing was not where we set it. While discussing the engine spec with a friend he offered me to flow the head, and of course I accepted. It is only ported by me, just using good old David Vizards book as advice (a book that came with the Capri when I bought it...). For the flow test I built a "rig" to adjust the valve opening. 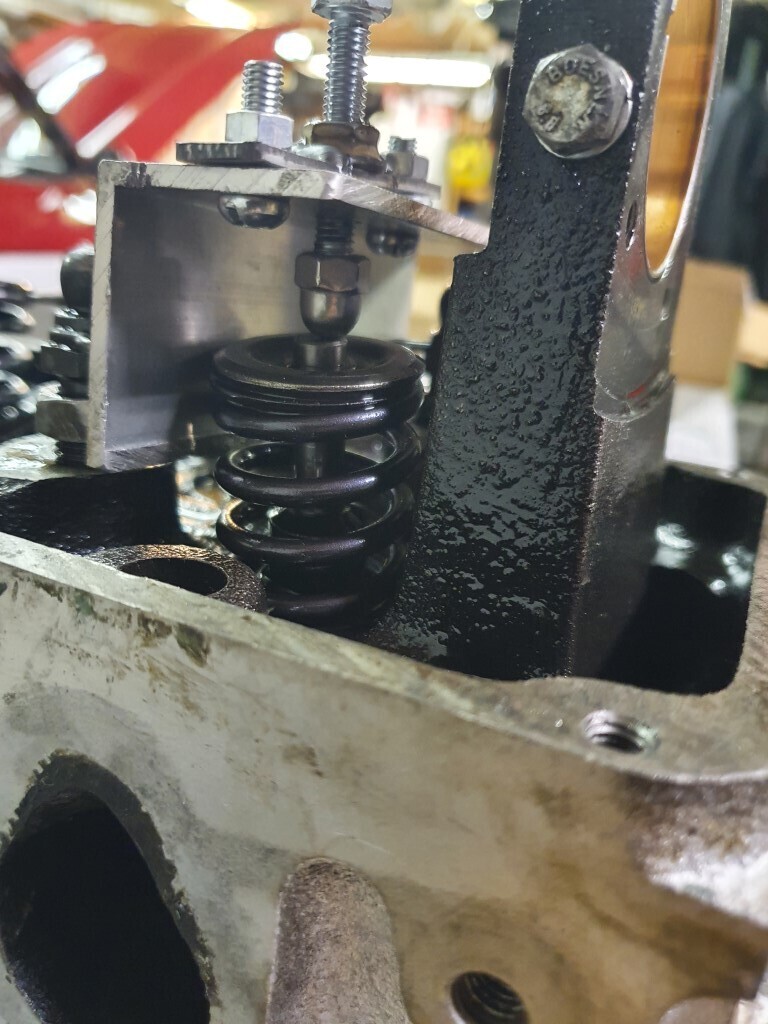 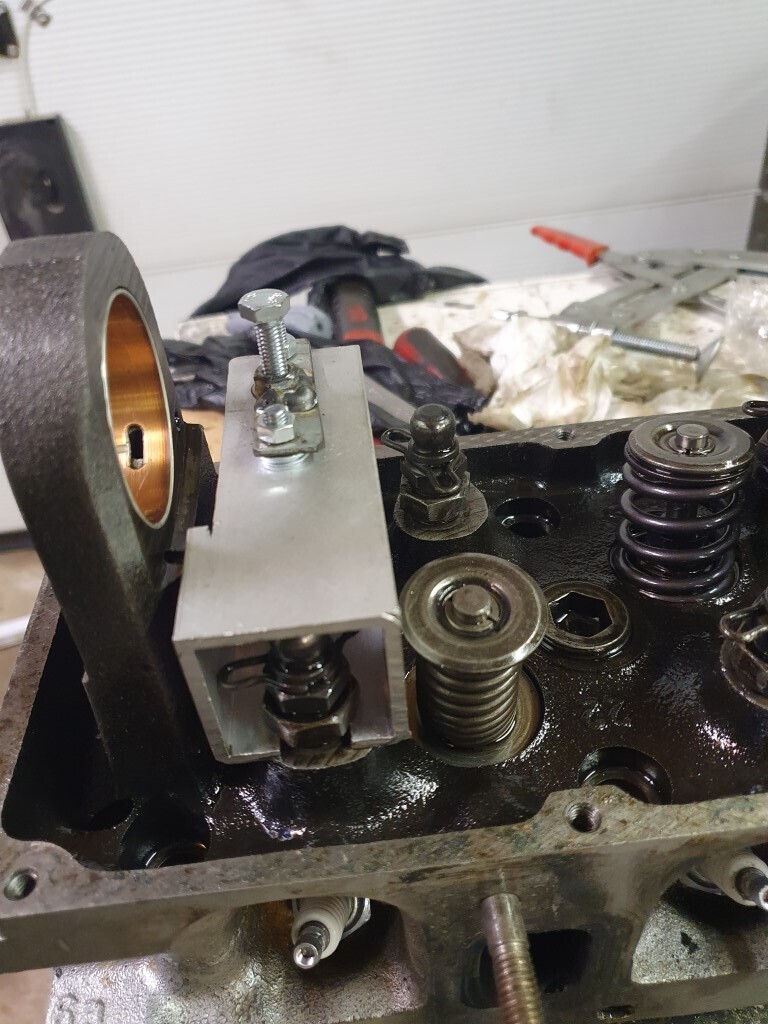 Using and M6x1 screw, one turn = 1 mm of lift. While doing that I stumbled upon one more thing. 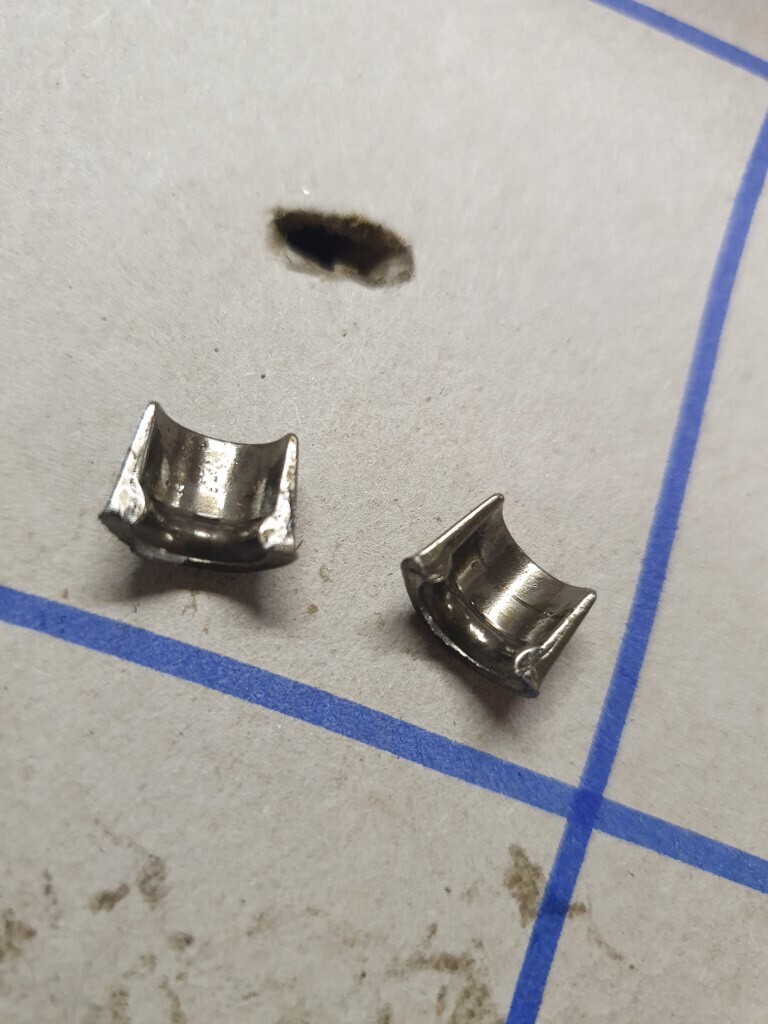 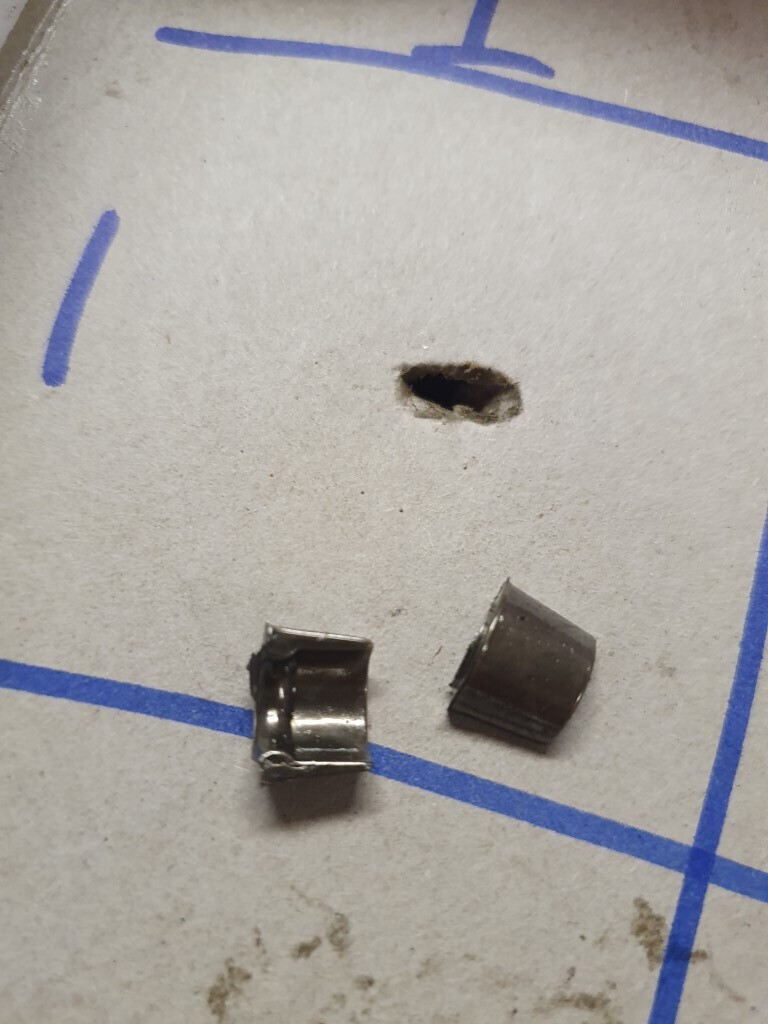 The valve cotters on cylinder 2 inlet showed signs of being beaten by the lifter. More investigation needed here! |
| |
|
|
|
|
|
|
|
I thought the top end had a bit of a noise before, but blamed the rather aggressive FR34 cam profile. Now when I investigated more, it was clear that the lifter actually could touch the cotter when it rocked a bit. Some careful reprofiling of the lifters was enought but I also needed some new cotters. These are REC valves bought in 2010, and they changed their design in 2011. Of course these were the old ones. NLA from REC. But Burton Power had Essex cotters that probably would work (they do). By now I had also formed a plan for the engine. The flow test of the head would be a first step towards a more efficient motor but I also finally gave in to using E85. When it was launched in Sweden, in the early 2000's, the 85% ethanol and 15% gasoline mix quickly became a "gas station race fuel" for a lot of turbo tuners. The higher knock resistance means it's a gift especially for high boosted engines. But it also needs more fuel for a given air amount (since energy density is lower). I have a theory that this also helps spool since you probably get more exhaust volume than with gasoline. Since my local fuel station does not carry E85 I have been avoiding it but I came to the conclusion that I was just asking too much of the small Pinto, in terms of spool, on gasoline, the way it was built. Another trigger was the fact that I got a stupid good deal on a MaxxEcu engine management system, with E85/flexifuel capacity. This means the engine can run any mix from 100% gasoline to 100% E85 using a ethanol sensor in the fuel system. My Megasquirt was pretty well sorted but I still had a random trigger miss over 6000 rpm and I also really had wanted to sort out the wiring loom for some time, since it was a mix of old and new wiring. But back to the flow test. Late in December 2020 I had an evening in the lab. We tested at different lifts but at 12 mm valve lift (max for my cam), I had 170 cfm. Comparing that to Vizards data, he stated 180 cfm for the best conventional ports (no material added). Adding the intake reduced flow to 165 cfm. This is not bad, but also not ideal. Exhaust was another story though. At the same 12 mm lift, we had 122,5 CFM. Compared to a standard port at right under 100 cfm it is better but Vizard states he gets to around 133-140 cfm. I was kindly given the chance to use some tools to try and improve a bit. An hour or two later gave me just over 130 cfm, a decent improvement. The idea was to port and test one port (given the time restraints) and then copy it for the other three back home. When I got back home I though that this flow bench thing was a fun tool. I have absolutely no space for a real bench but maybe I could make something? Just using a bit of plastic tubing roughly the size of a cylinder, an old shelf board and some tubing gave me a base to use the shop vac for sucking and blowing through the head. I built a simple U-tube manometer from some plastic tubing, and used some food dye. Hey presto, a simple "flow indicator". 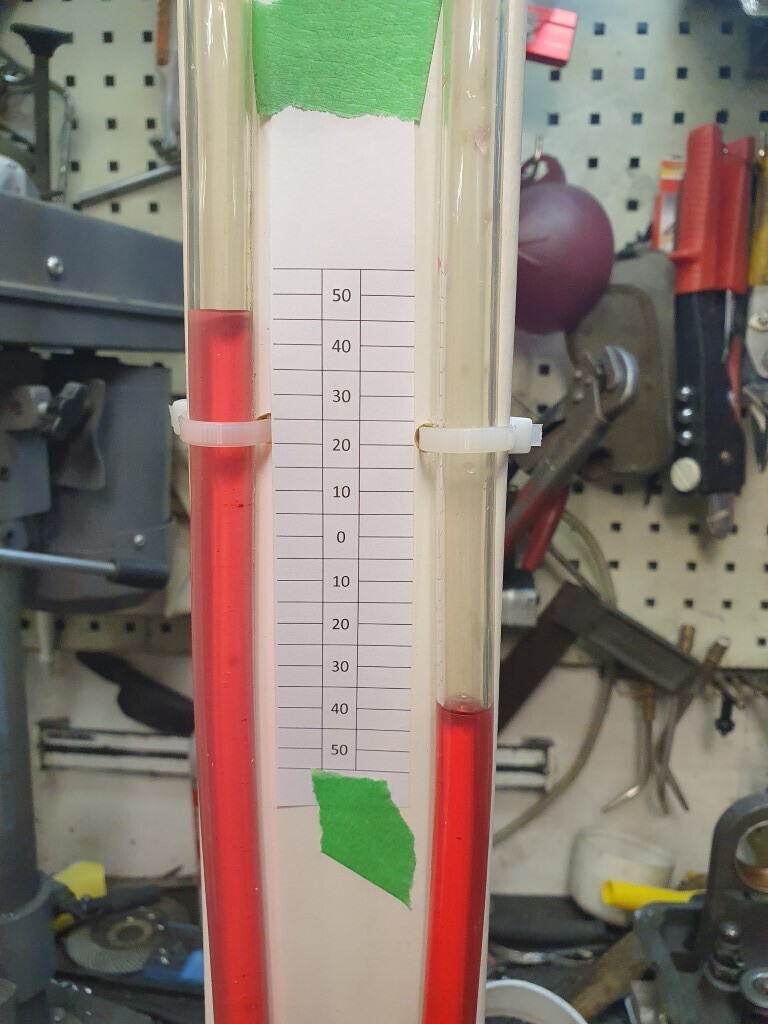 It worked pretty good, the manometer showed a couple of centimeters of pressure difference. Less pressure difference = more flow. Comparing the improved port to the other ones showed a measurable difference so I felt I was good to go. This would not give any absolute numbers but as a tool for getting all ports to flow approximately the same, it is enough. I also tried improving the intake a bit, but it was harder since I measure that using vacuum, and the shop vac sucks harder than it blows :-) So it would need some damping of the manometer and I didn't have time for that. But at least I ended 2020 with a better flowing head and an engine in pieces! |
| |
|
|
|
|
|
|
|
With the head "sorted" I had to decide on a plan for the bottom end. I really wanted more compression and that meant three options; - skim the head - new pistons - deck the block Skimming the head enough to make the difference I wanted was not really feasible, new pistons would be expensive so decking the block felt easiest. Before doing that though, I wanted to have most of the wiring runs for the MaxxEcu planned out. Easier to do right with an engine block in the car. I really like the MaxxEcu documentation and the supplied flying lead loom is really nice. But as I get older I also understand the importance of documenting what you do, so I wanted a "real" schematic of my engine wiring. 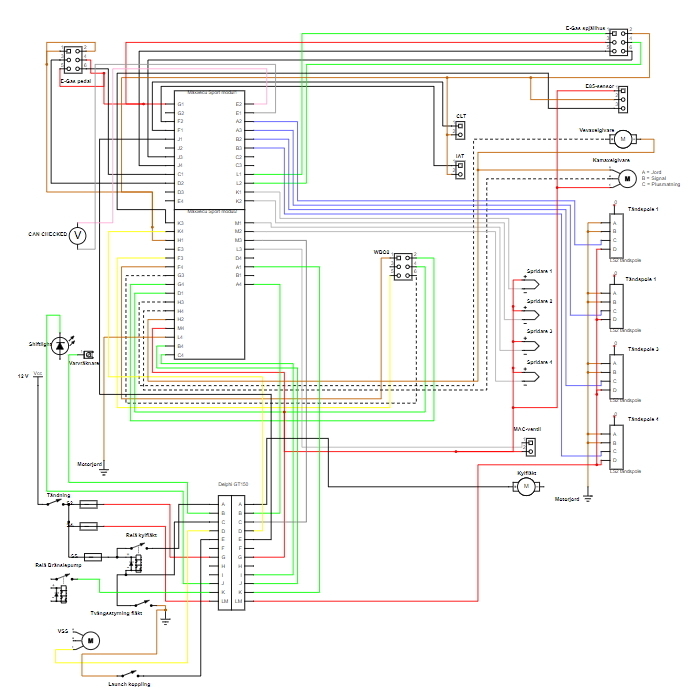 I like to use DigiKeys SchemeIt tool, it is free, it makes decent diagrams. It also has some suitable symbols (and you can import or make your own) and it also has a degree of logic. This time I also tried to make a diagram that somewhat places stuff where they are in the car, and outside/inside the fire wall. With that done I could get some material to complete the loom. A lot of connectors, and I choose to use expandable nylon braid. It is easy to use, looks decent and you can add wires you forget. No, it is not dust proof but this is a street car...not an off-road racer. Most of the braid is from the cheap parts store (think Halfords) but it is actually nice. Another change from earlier looms are the labels. 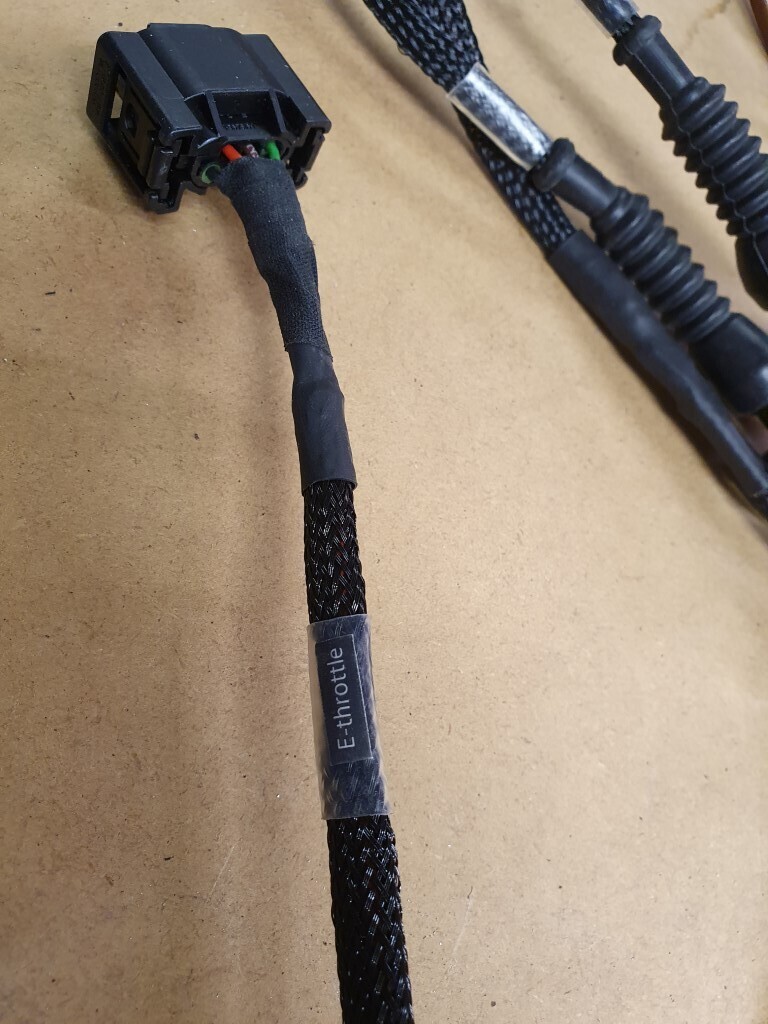 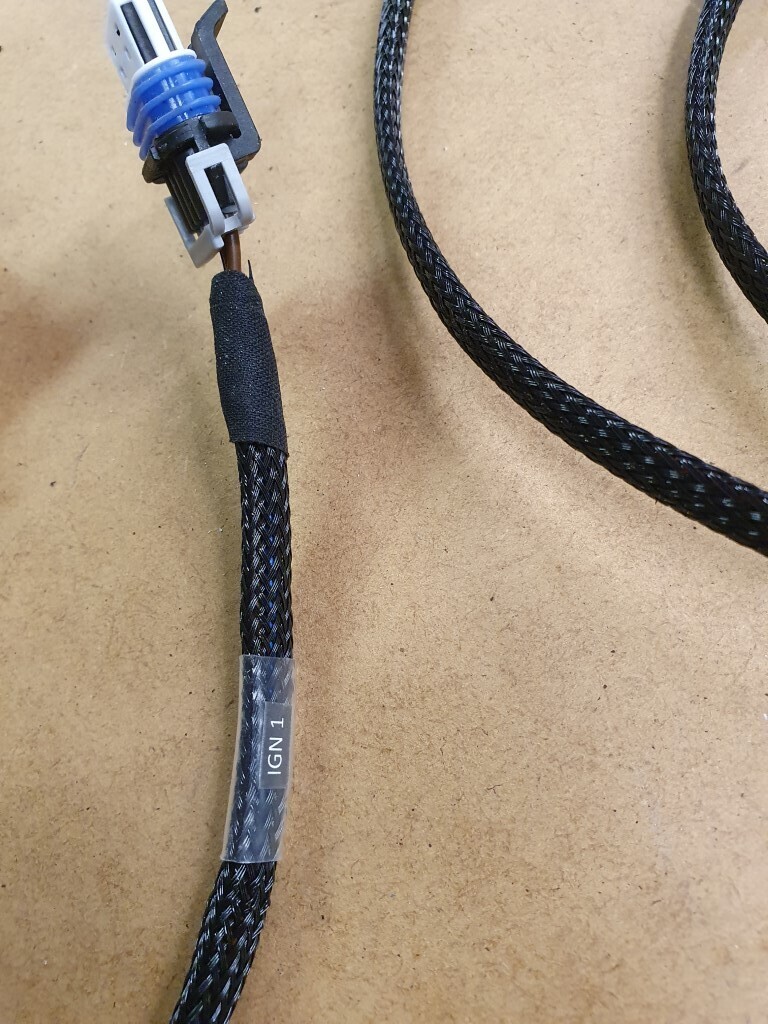 It makes it a bit easier to work with. For this I just used clear shrink tube and paper labels, printed on my office printer. A real label printer for shrink tube would be great but I don't build that many looms. 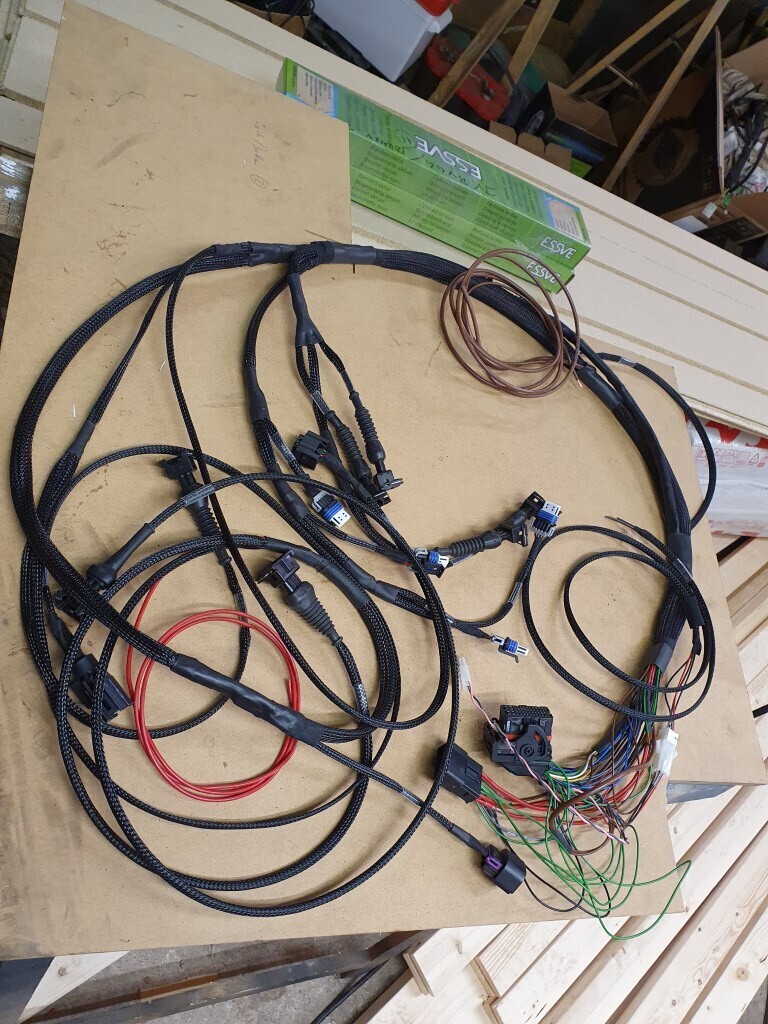 Most of the loom ready, just a few connectors left to sort here. I also spent some time re-doing and adjusting the things under the dash. Components and wiring has been constantly added over 20 years so there were some things to improve. It still is a bit messy but better. I try to use multi-pin connectors so things can be removed separately but it is not 100% yet. Part of that was also to make some of the switches look a bit better. For years and years I have had a small switch panel so I can turn the fuel pumps off (they are controlled by the ECU but sometimes it is nice to power up the ECU but not run the pumps), and also enable/disable the line lock and launch control. 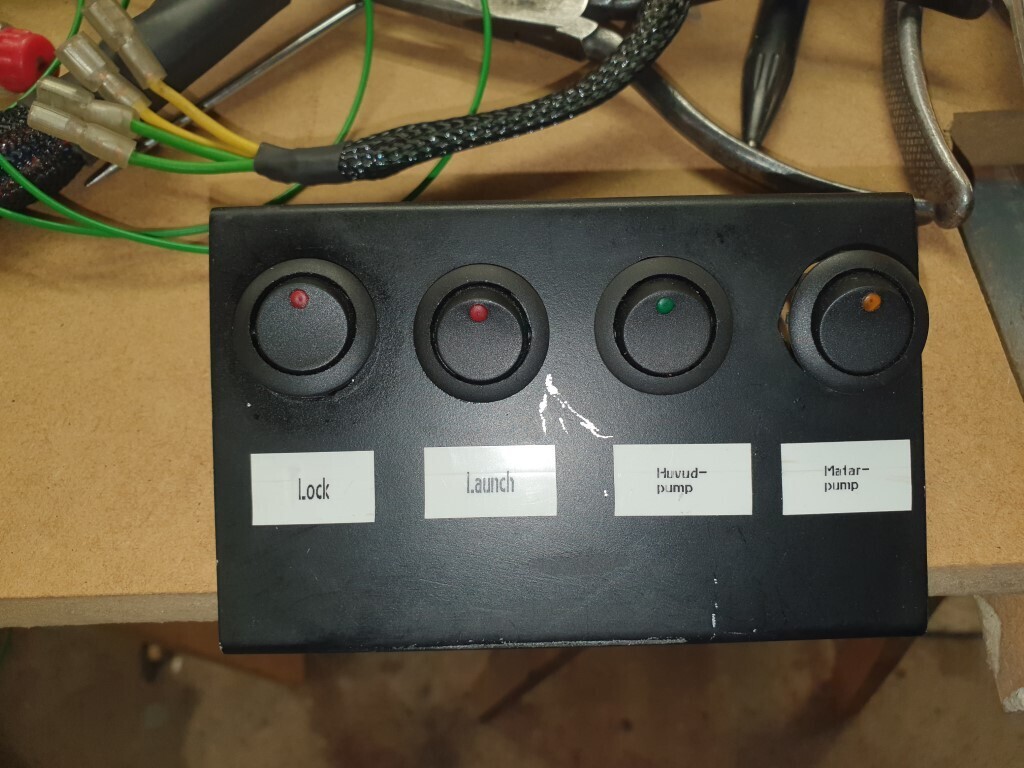 This works fine but the random Dymo labels look a bit...temporary? There are loads of online places to order custom stickers from now. So... 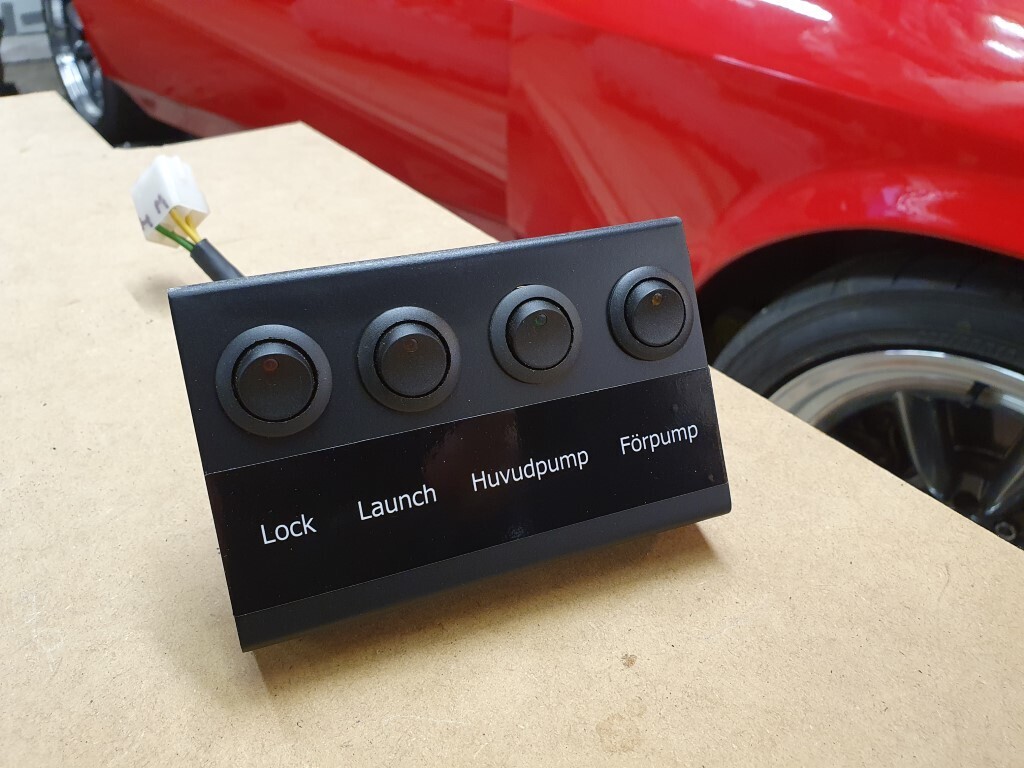 ...that's better! I also always have had one extra heated rear window switch activate the electric radiator fan. For 20 years it has been manual but finally I tied it to the ECU. But still I want the override switch. And now it is marked! 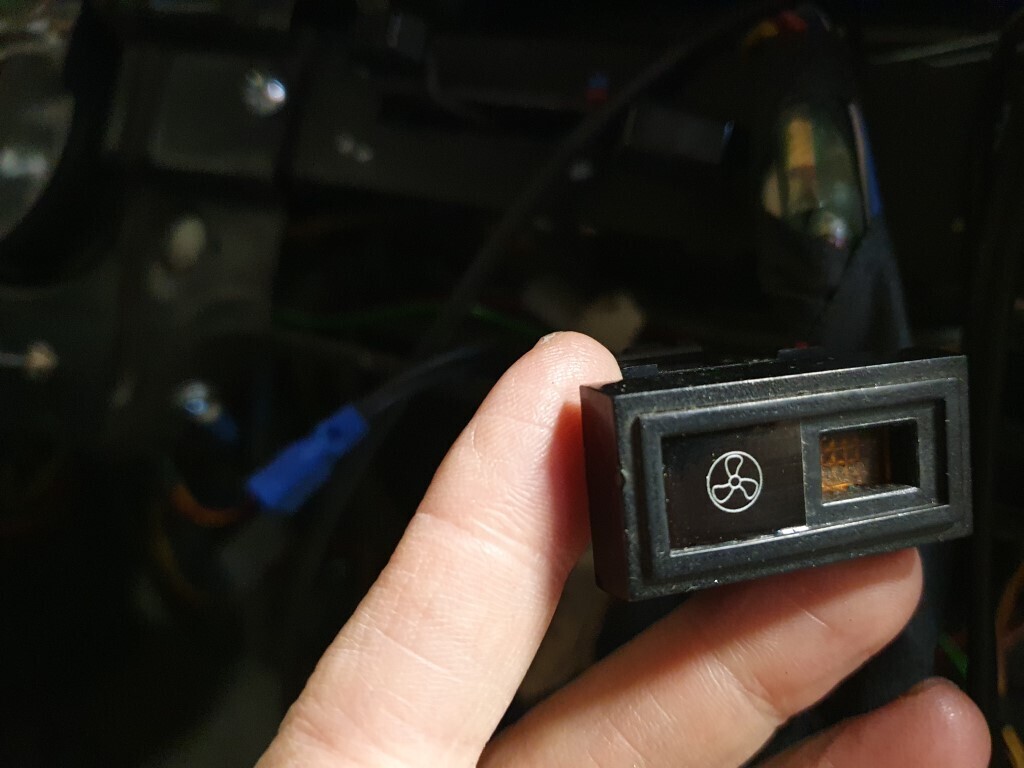 Yes, the vinyl should have been matte/satin but it works fine like this. I also forgot to mention another feature I added through the MaxxEcu (although the pictures above give it away to some degree). I was tempted to try out using and e-throttle. Not only because it is fun to learn new things. My old Volvo throttle body was leaking boost through the spindle, and my idle valve contraption took up a lot of space. Using a Volvo e-throttle and a Volvo electronic pedal I had components that are known to work with the MaxxEcu. I powered up the system (leaving things like coils, pumps, actuators out) to check that I could get the throttle body to move the way I wanted to. It took some time to get the settings right but after a couple of hours it felt decent. Swapping engine management also had an impact on some gauges. When I got the car on the road again in 2014, I had added three 52 mm gauges using the rather rare factory Capri A/C panel from a US car, that gives some room above the ash tray. Originally this is because of A/C vents taking up the normal radio slot. With the Megasquirt I had a stand-alone wideband O2 sensor controller, with a display. The MaxxEcu has its own internal wideband O2 controller so no display. I tried to find a lambda display in the same "Motor Meter Stepmaster" series I already had for voltage and boost, but those are discontinued. There were some other white face options but none was close enough in looks. MDash is a nice Android app for MaxxEcu but I wanted a round 52 mm display, not a tablet. Enter CAN Checked, a nifty device that speaks to MaxxEcu over a CAN bus. Their 52 mm display can show a lot of information, but also be programmed to show a single value. It can also connect to analog sensors and log those if need be. I also liked the fact that it is controlled by a physical knob (no touch screen). 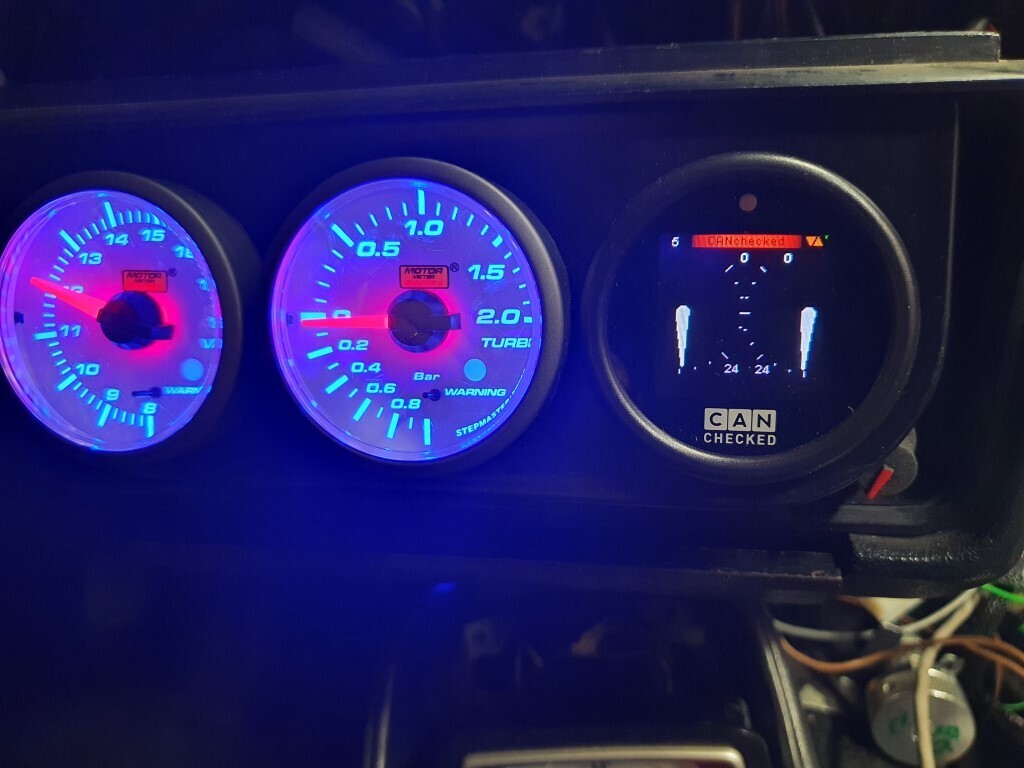 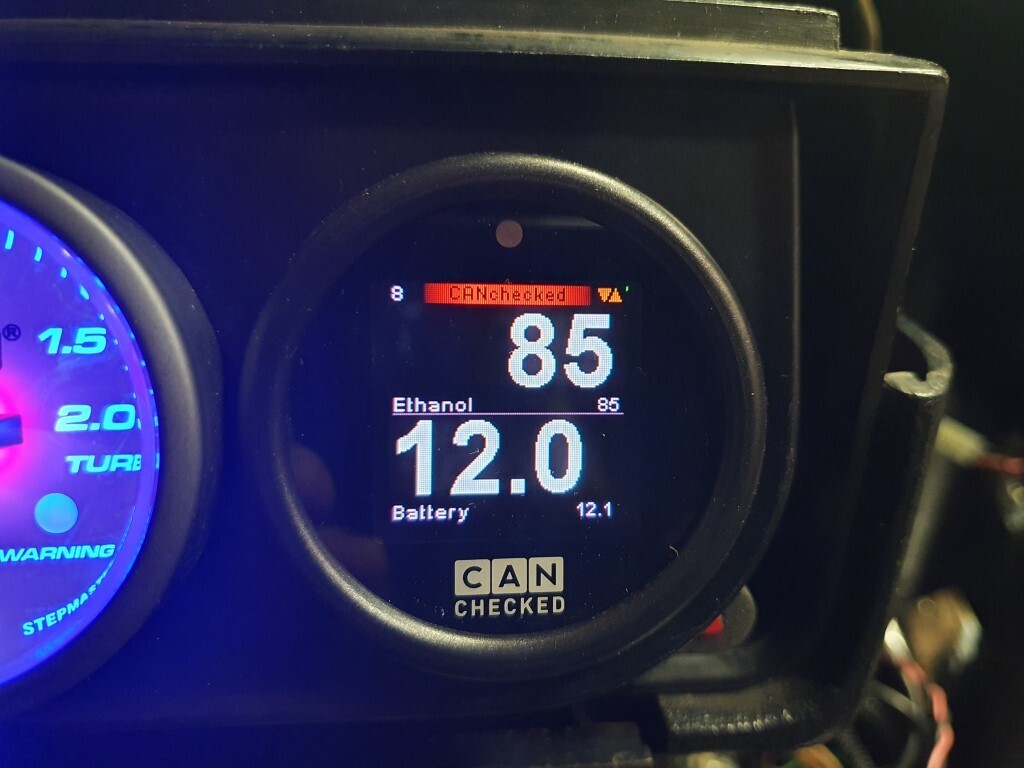 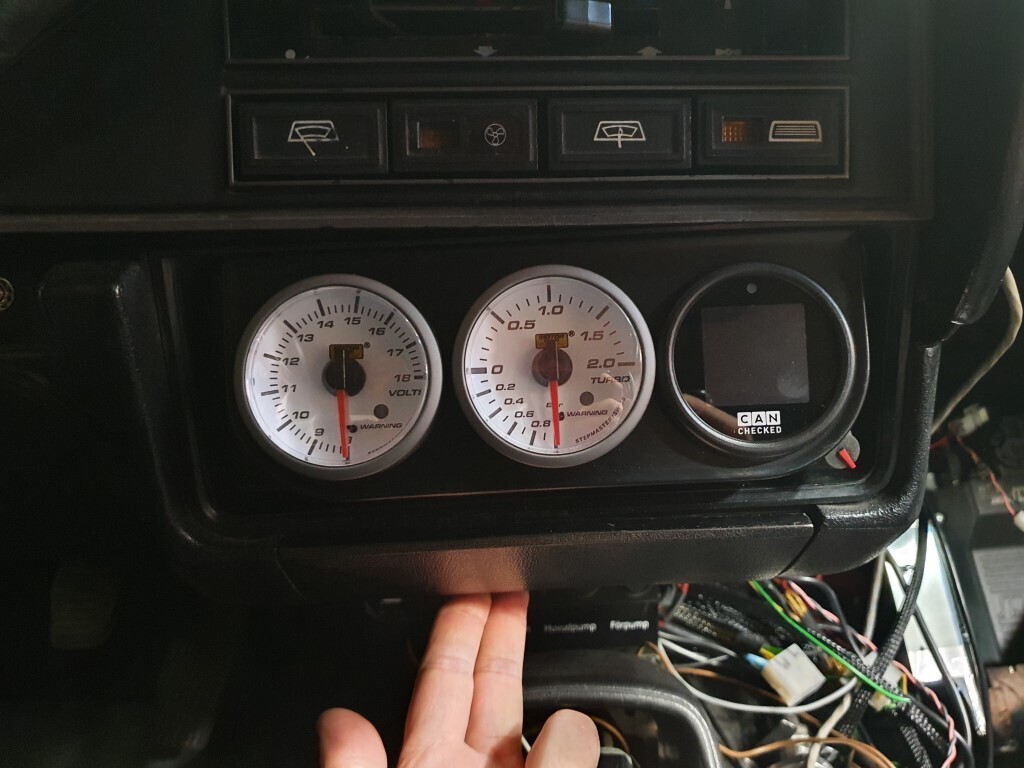 Now I can not only see that the lambda values are OK, I can also see ethanol content, true temperatures and things like duty cycles. Neat! |
| |
|
|
|
|
|
|
|
When I had the loom ready, I could remove the engine block for machine work. I decided on taking 1.6 mm off it, meaning the pistons are almost flush with the deck surface. This should give around 9:1 static compression ratio. Ideally I would have wanted a bit more (say 9.2-9.5:1) but with the valve pockets, that means skimming the head as well. Engine out; 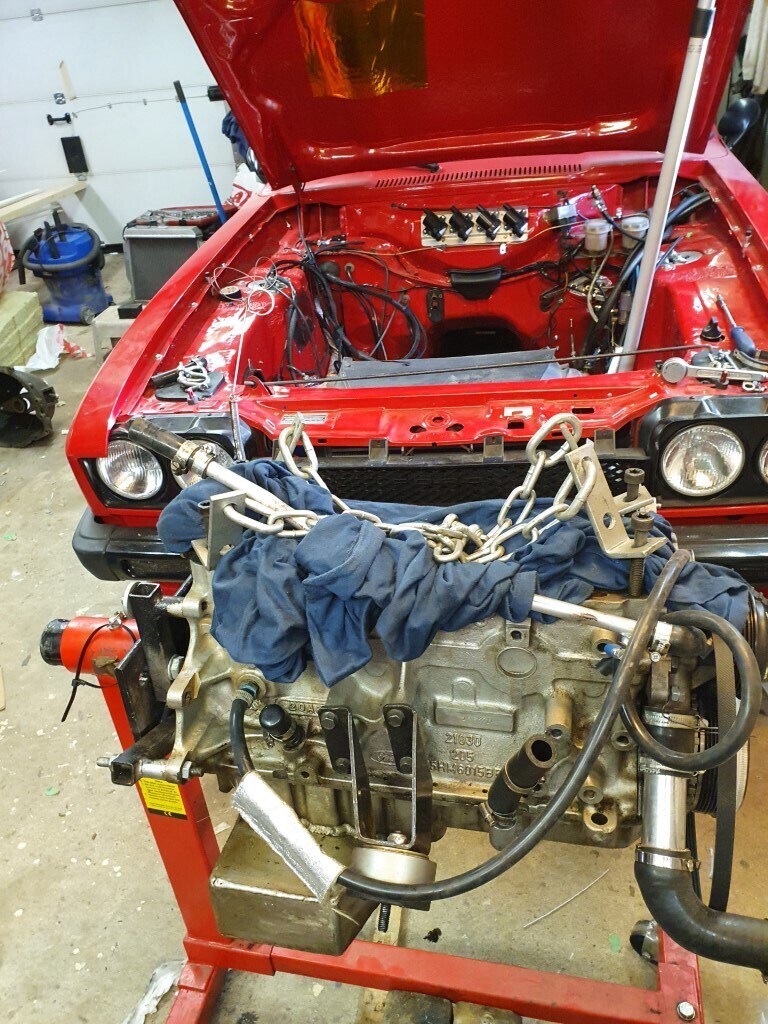 Machine worked; 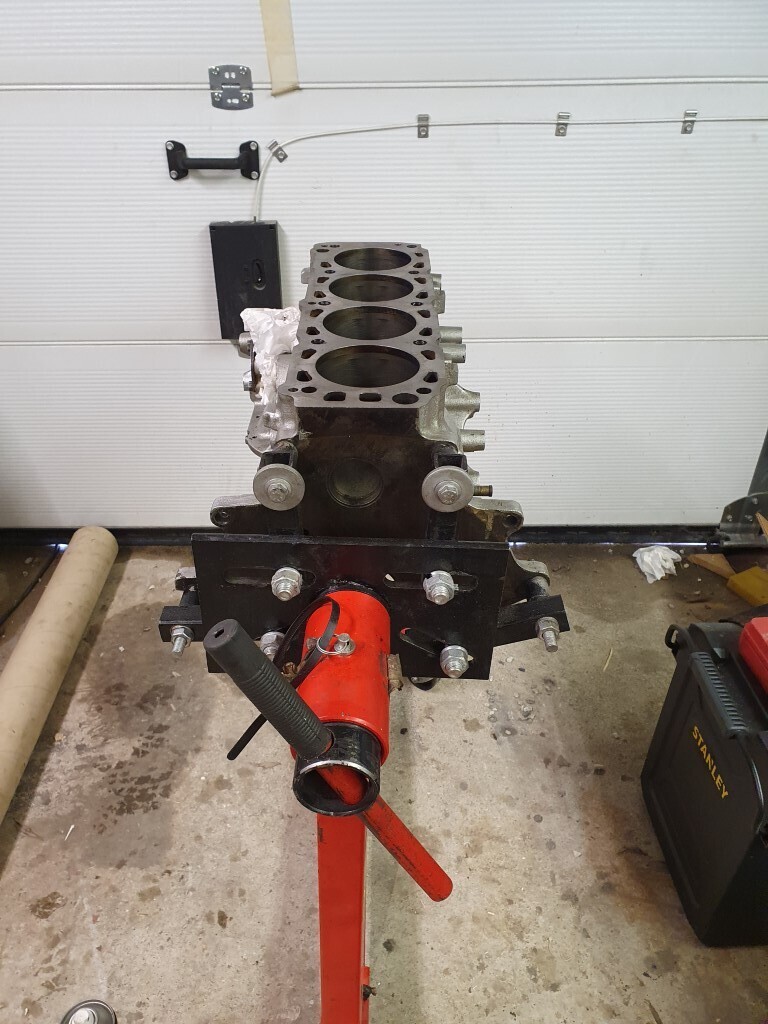 And back in! 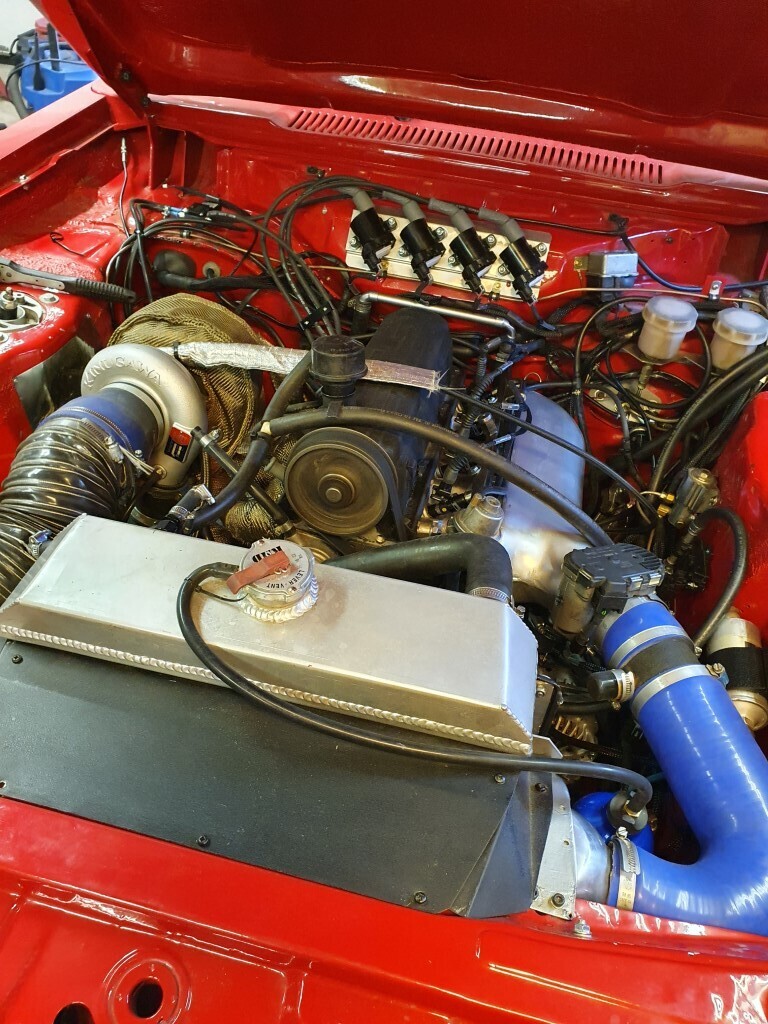 Apart from new bearings and ARP head studs it went in to the same spec as before (yeah, and the compression ratio change). On May 7th 2021 it was running. 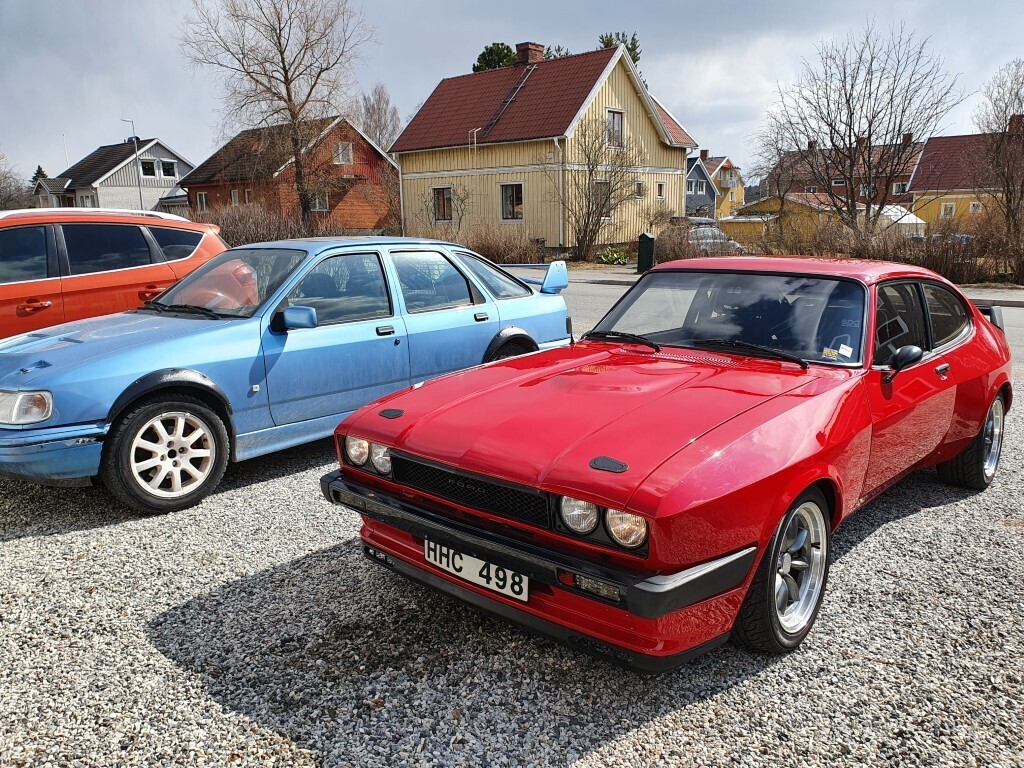 There were some tricks to getting the E-throttle to behave nicely but once settled, it wasn´t too bad. I had imported my fuel and timing maps from the MS as a start. When I had it running OK on gasoline I swapped to E85 and made a base map. On May 17th I had a time slot at my dyno guy to go over it all. 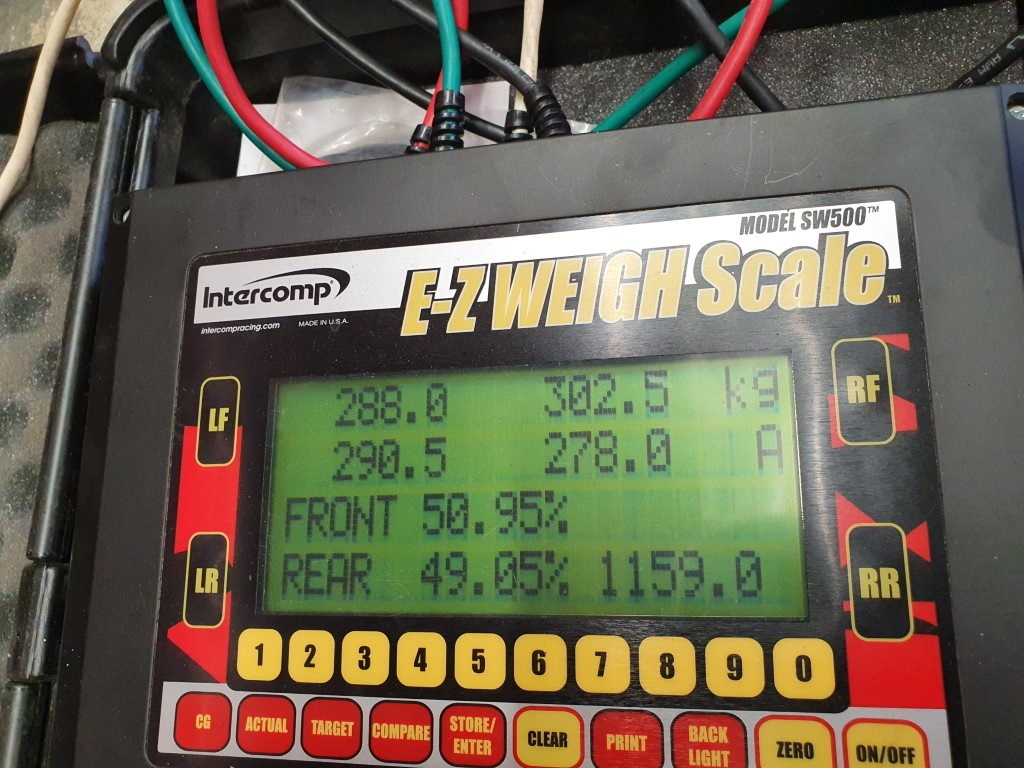 Before going there I needed a new weight figure, since the maximum allowed power is connected to the curb weight here in Sweden. 1159 kg is with 20 litres of E85 and no driver so it is easy to spot that it is NOT any lighter than a standard 2.0S that is registrered at 1170 kg in Sweden. Yes, I have lots of plastic body panels but the turbo system, gearbox, larger brakes, larger wheels all add weight. 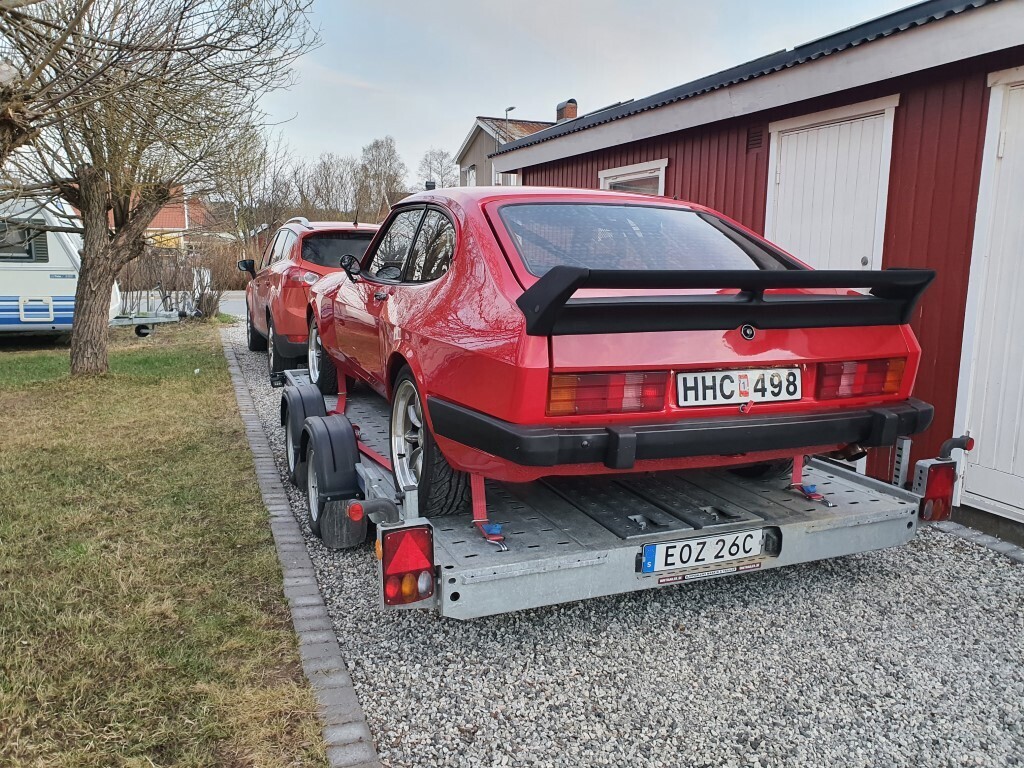 On the trailer, ready to go! I swapped to the Brian James C4 Blue some time ago and it is a great trailer, suits the Capri perfectly well. A Friday morning I arrived at the Dyno and we started by going over all settings with a cup of coffee. There were some strategy changes made where I had done some mistakes - and I find it quite interesting that you can have an engine running nicely even with "errors". I went away to do some customer work and to let my dyno guy get the basics done without me hanging over his shoulder. Quite soon he sent me reports that the engine concept gave a lot better drivability than before. On wastegate spring boost, 0,8 bar, we had 260 whp. As lunch time approached he had increased boost a bit but then it was time to reduce the plug gaps. 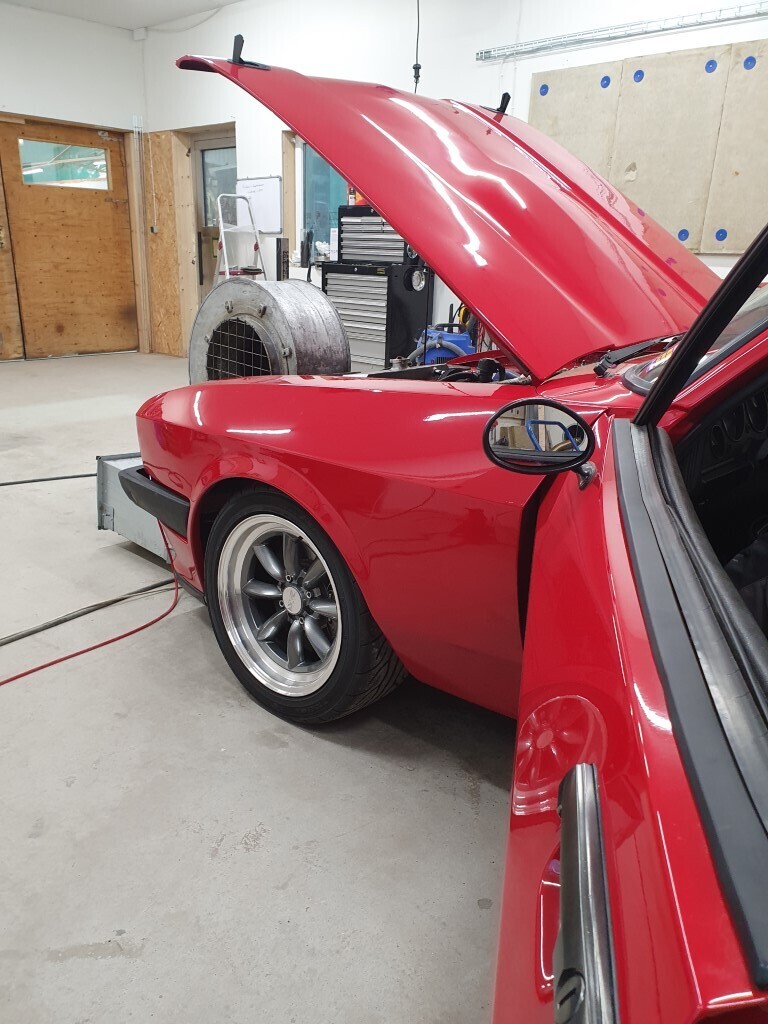 With that sorted we tried a number of different settings and ended up on a rather "safe" map for 1.2 bar. 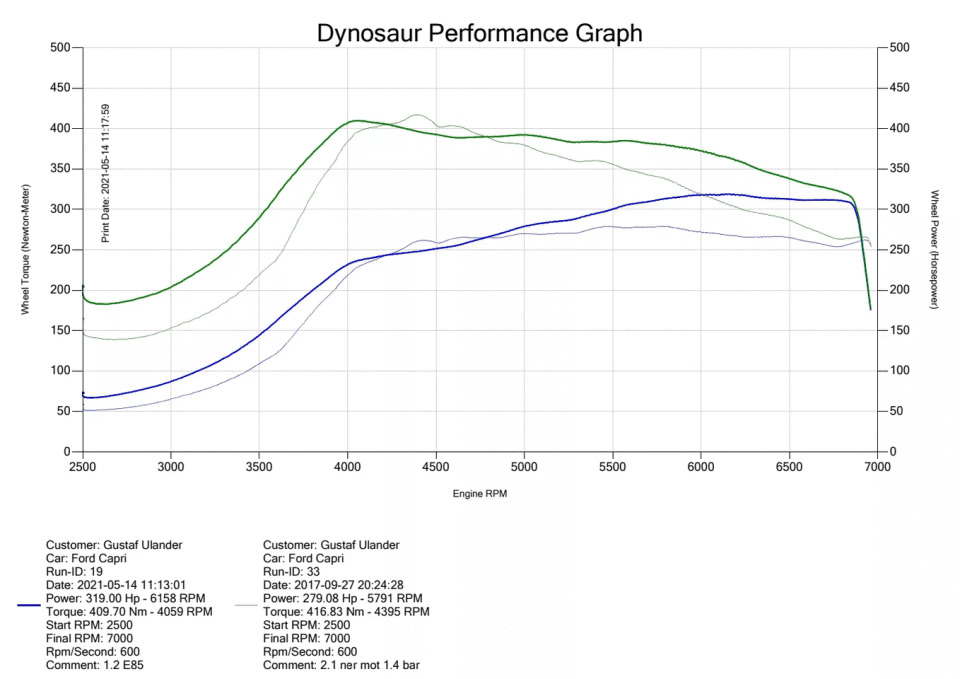 Now, 319 whp and 409 Nm is no record Pinto but comparing the earlier setup (thin lines), the big difference is before boost really comes in. It is practically 50 Nm more all the way from 2500 towards 4000 rpm. Then both power and torque stays way longer towards 7000 rpm. And that is with 1.2 bar instead of pushing 2.1 bar to get the torque up. Next step was doing a map on gasoline to get the flexifuel capacity. I was suprised to see 306 whp and 382 Nm on gasoline, where we have to back off timing quite a bit. Just as we were about to make the last power run I saw oil leaking from the front of the engine. The dizzy drive seal was loose but we were done for the day anyway... Could I push more power? Likely, especially if I upgrade the turbo even more. Do I "need" more? Well, that´s a matter for the upcoming test drives to show. Be right back! |
| |
|
|
|
|
|
Aug 23, 2023 10:21:27 GMT
|
|
So, some notes I made at the end of the summer of 2021. The registration process was ready in June and the feeling of having a Capri with 235 kW as the registered power was quite nice. But I had too little time to drive it! Between running the endurance racer, organising national races and keeping Kajsas Sierra running...and the fact that she also got her drifting licence and we borrowed a drift Sierra over the summer. Yeah, and we found her a nice (very nice) Sierra 2.9 for the upcoming car licence in 2022.
In august I found the time to test the car at our local drift track again. This is a rallycross track where we use the tarmac section, a bit tight and I have tried the sand trap a few times. It´s not ideal but you do what you gotta do. The difference from before was immense! With the new found midrange power it was a completely different car to drive, erhm, drift.
I had some issues though. First I blamed the tachometer not showing the correct numbers, and that had me banging into a rev limit. The ECU controls the tacho and it is "Ford calibrated" meaning, it is not... I did a quick recalibration but still hit the limiter. Then I realised that the ECU reported engine temps were all wrong. With the (also Ford calibrated) dash gauge around halfway (usually around 85 degrees C) the ECU said 105 degrees. We had programmed a safety feature lowering the rev limit to 5000 over 100 degrees... I adjusted that and then things worked better.
Some clips if they work...
With that "success", the season of 2021 was basically concluded. The car was working fine when I put it in winter storage to give room for the Sierra(s) at home.
|
| |
|
|
|
|


