|
|
|
|
|
|
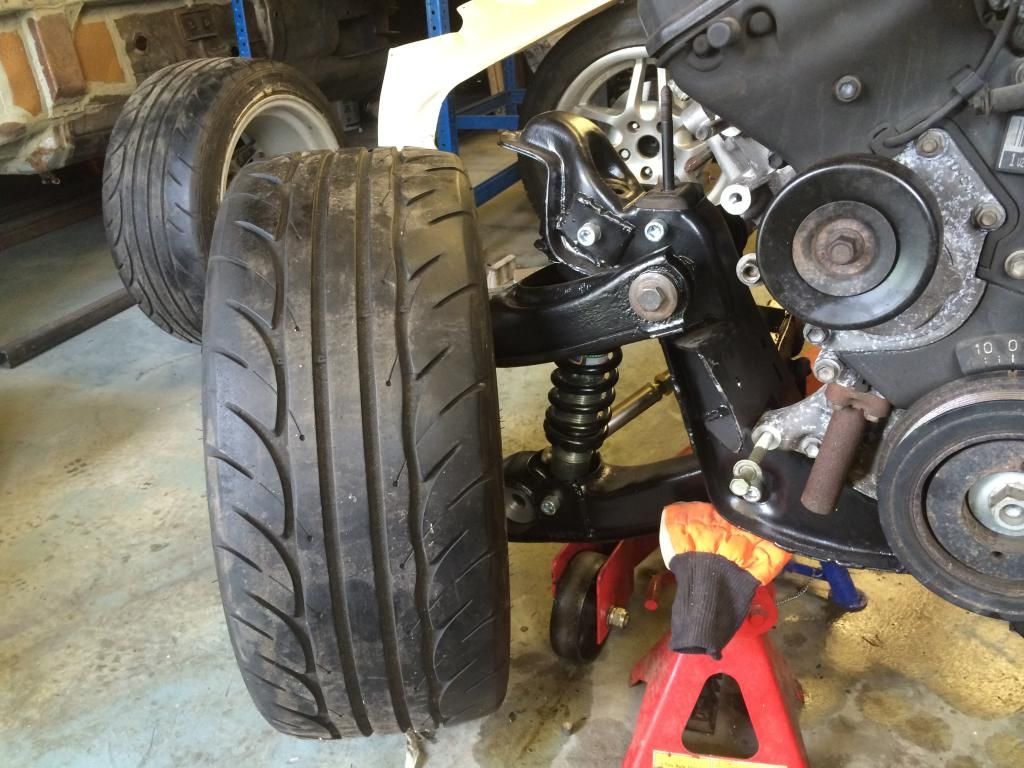
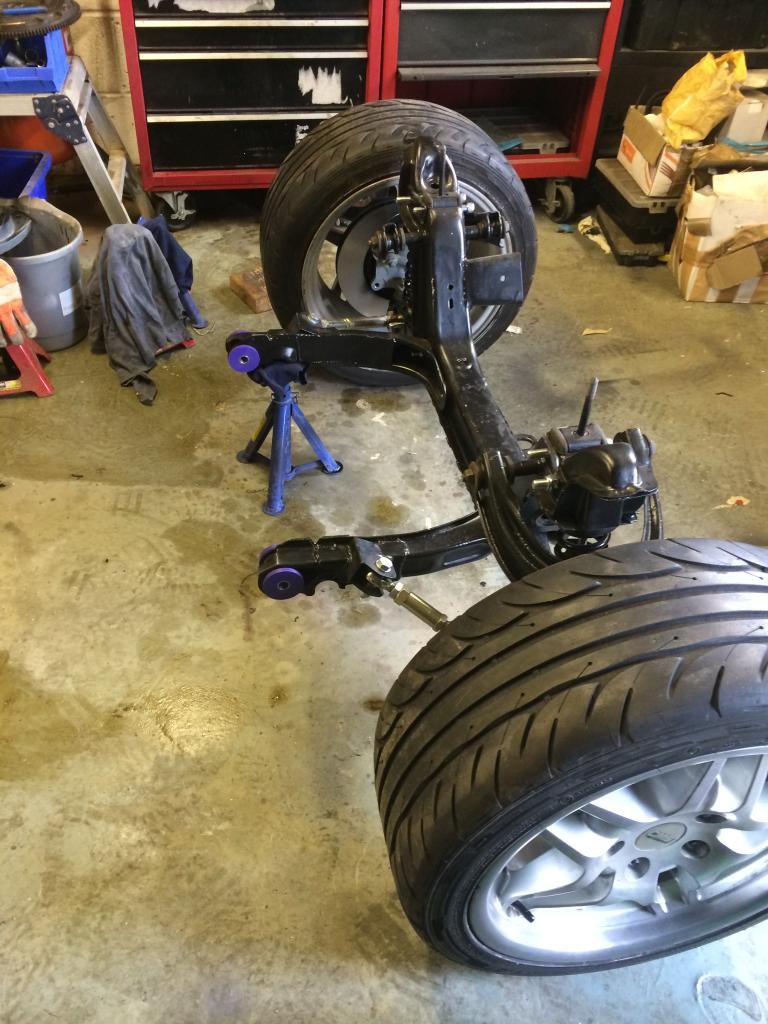
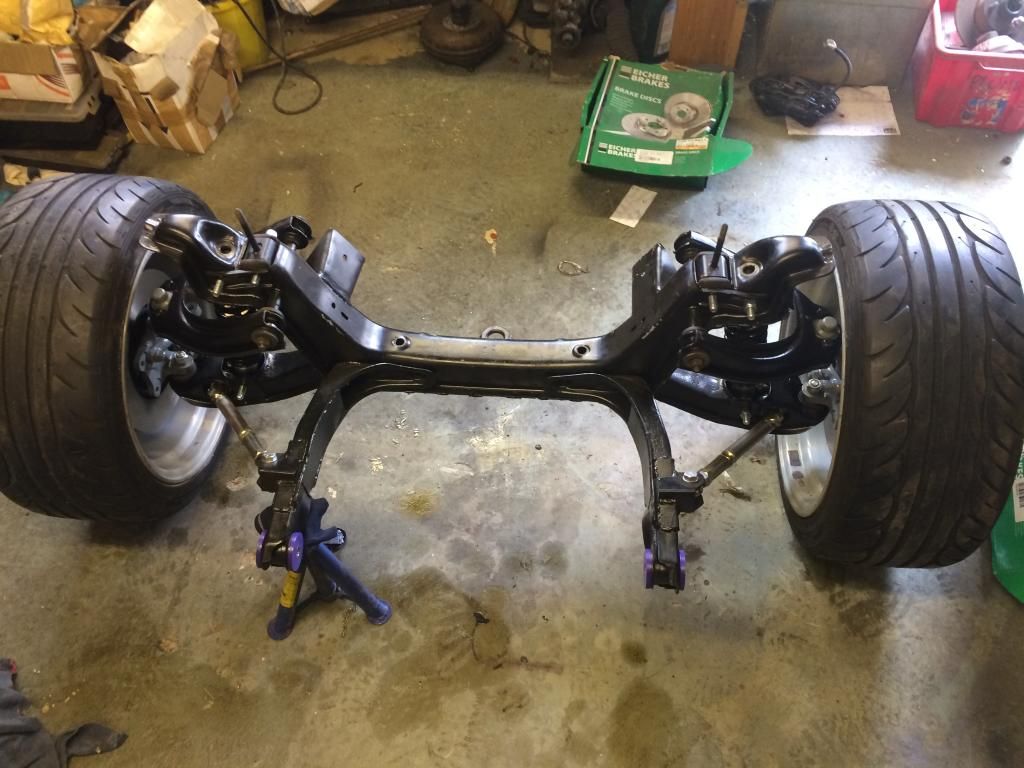
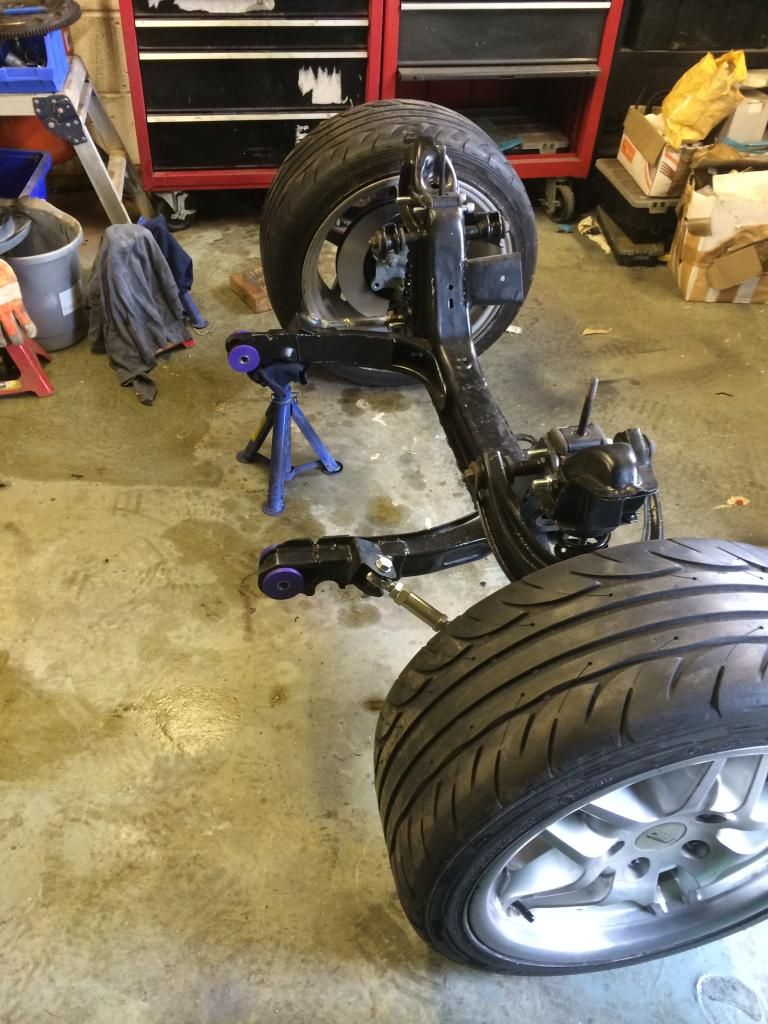
They do look parallel in the pics but the top arms are inclined, also ride height is not set there at all. Good observation though, the dimensions I've used have been restricted but the space I'm limited to, very narrow rear end to try and keep it stock width.
I'm yet to measure the actual setup for real but I'm hoping for roll centre to be above ground height with what I've built so far, if not some adjustments will be made, as it's ideal stage to do so.
I also want to put some more adjustment into the shock angles
|
| |
|
|
|
|
|
|
|
|
|
|
Just found this thread - pretty cool.
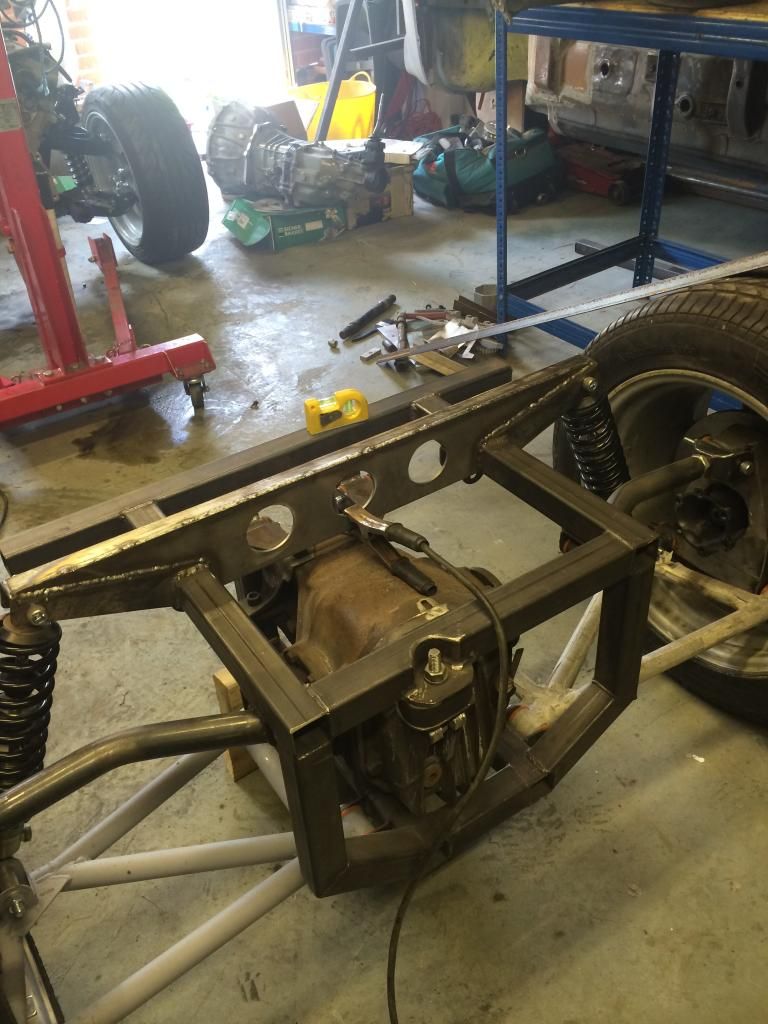
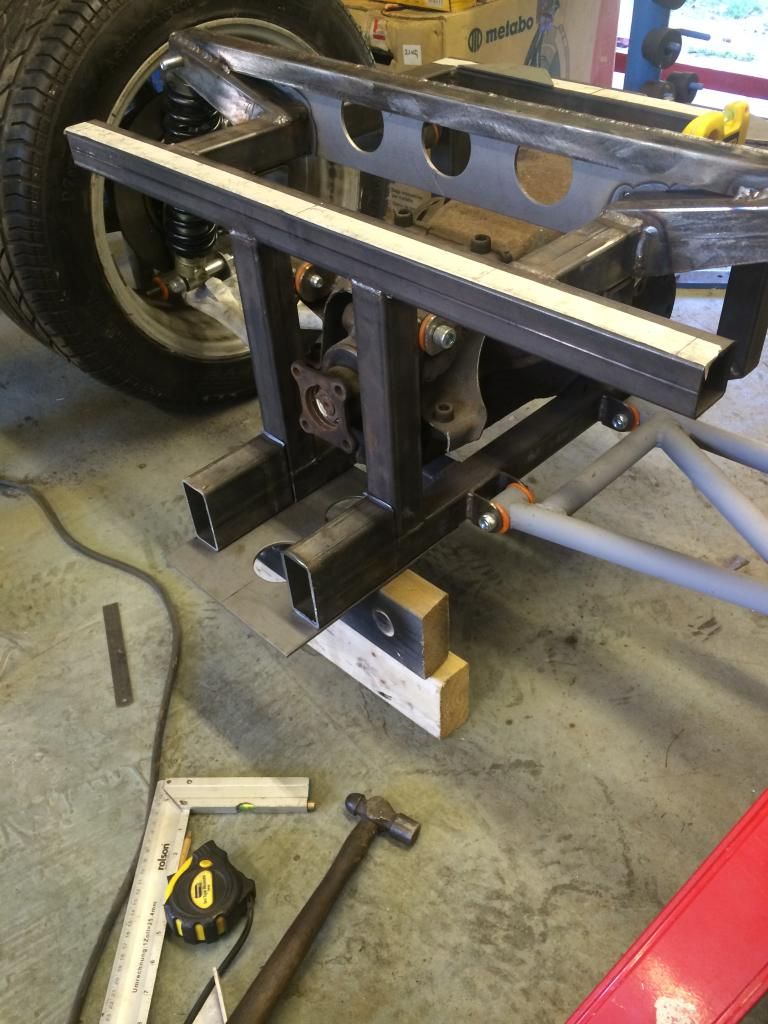
You definitely need to stiffen those top shock arms - they will stress fracture otherwise. The tie rods in the photo look a good solution.
I know top arms do very little but personally I'd like to see the upper arms made into A arms as well.
Look up fusion welding for shortening your shafts - as strong as original that way.
Otherwise you could turn the shafts down and shrink fit some steel sleeves over them, weld both ends of sleeves and rosette weld the sleeves to the shafts through several pre drilled holes.
|
| |
|
|
|
|
|
|
|
Just found this thread - pretty cool. You definitely need to stiffen those top shock arms - they will stress fracture otherwise. The tie rods in the photo look a good solution. I know top arms do very little but personally I'd like to see the upper arms made into A arms as well. Look up fusion welding for shortening your shafts - as strong as original that way. Otherwise you could turn the shafts down and shrink fit some steel sleeves over them, weld both ends of sleeves and rosette weld the sleeves to the shafts through several pre drilled holes. hi blackpop, been follow your thread for some for inspiration and motivation! I have left in the mounts for the top arm A frame configuration, and I do agree with you on that. and the shock tops are going to be braced, but with a tie at the top as I need the room for the exhaust to pass through through. thanks for the input. |
| |
|
|
|
|
|
|
|
More goodies arrives today, sexy oil takeoff and some -10AN fittings, just need some Hose now; can't decide black Braid or plain silver  |
| |
|
|
|
|
|
Jul 17, 2014 21:08:50 GMT
|
|
|
| |
|
|
|
|
|
Jul 18, 2014 11:19:13 GMT
|
|
Sweet.... shiny bits = always good
best
Daz
|
| |

V6SC mk1 Mr2
Manta 400r

|
|
|
|
|
Jul 18, 2014 21:36:15 GMT
|
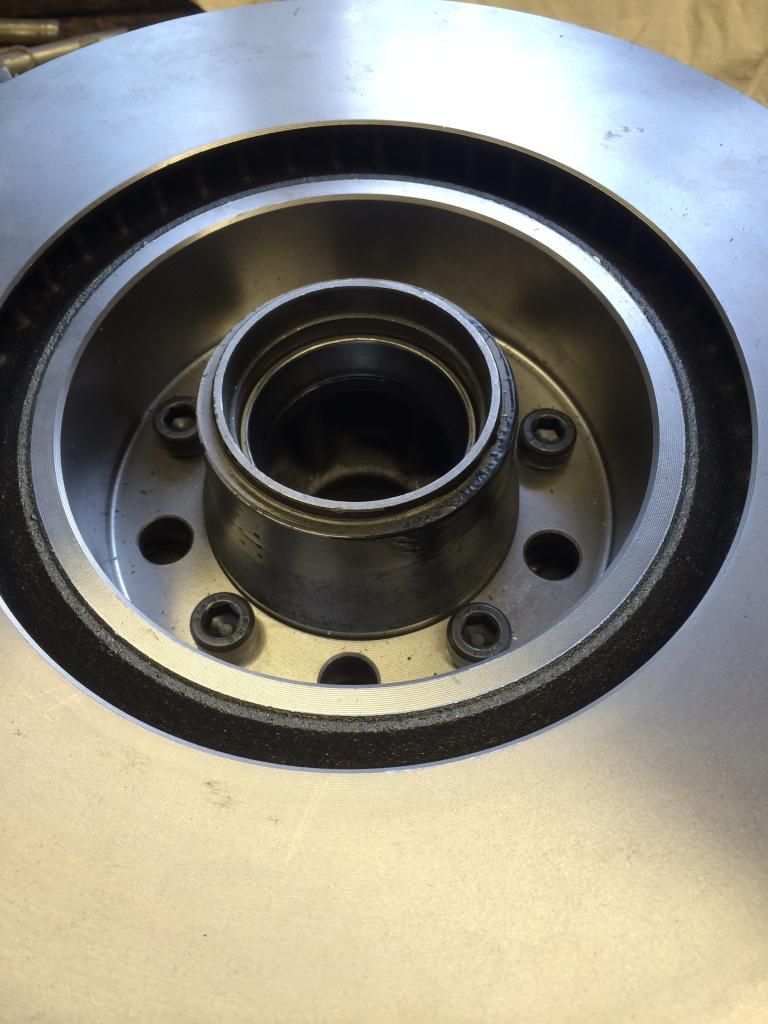
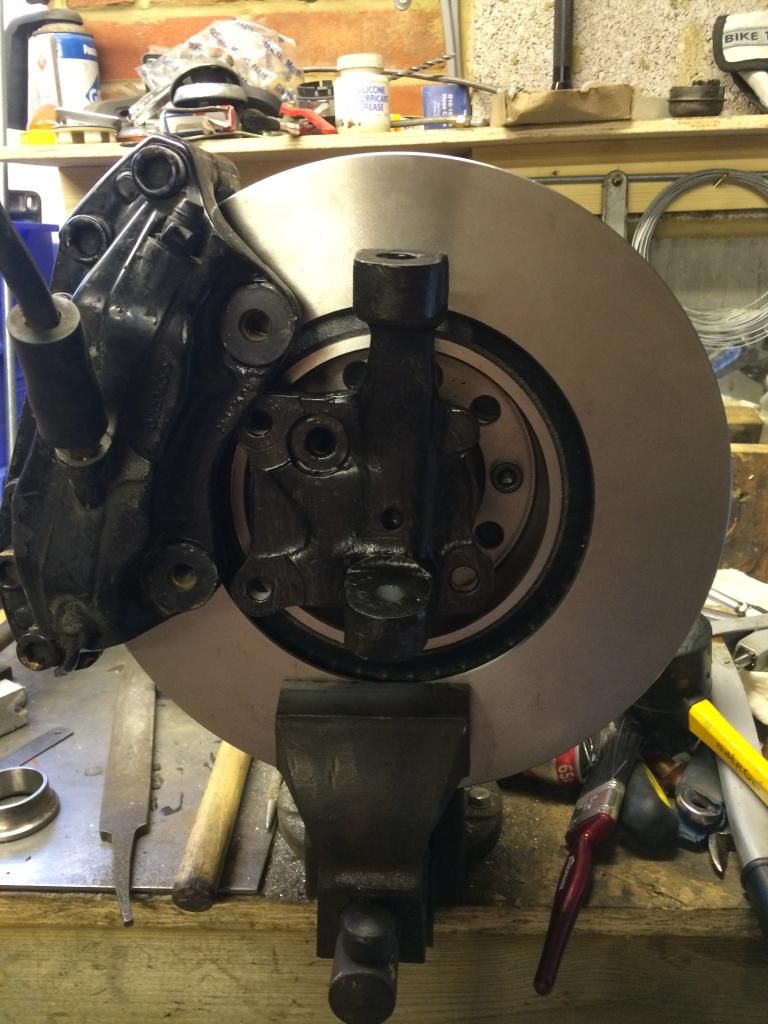
Finished my last job early so got in the shop, Building more hubs action, but I got distracted with the engine and sump clearance etc 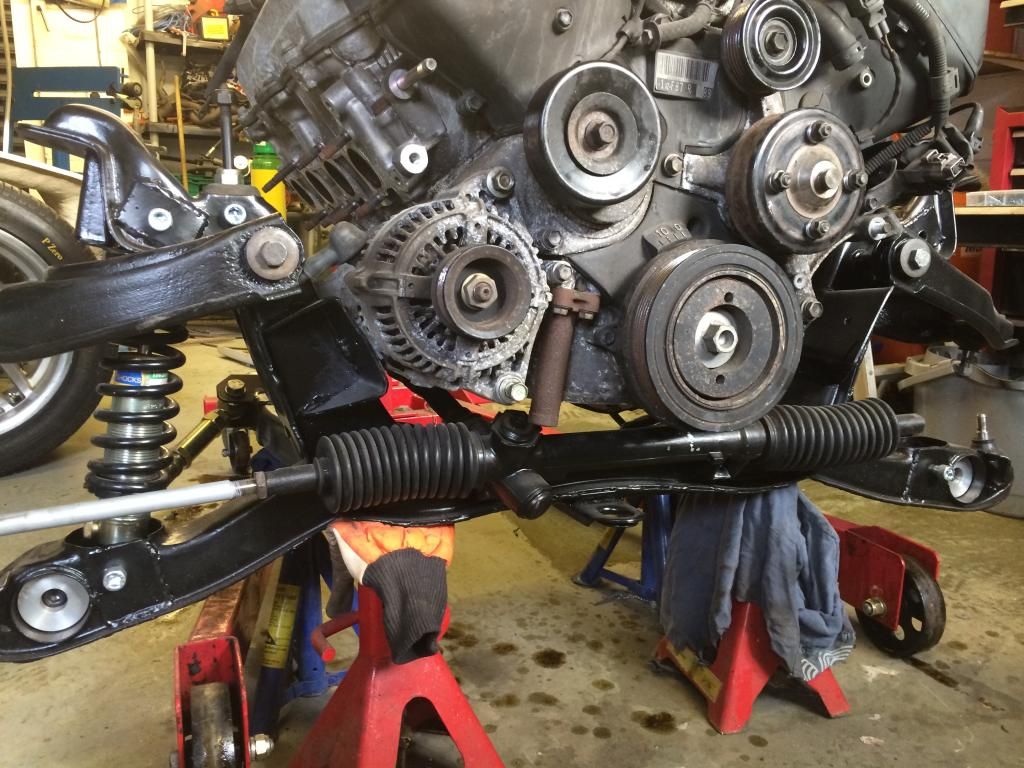 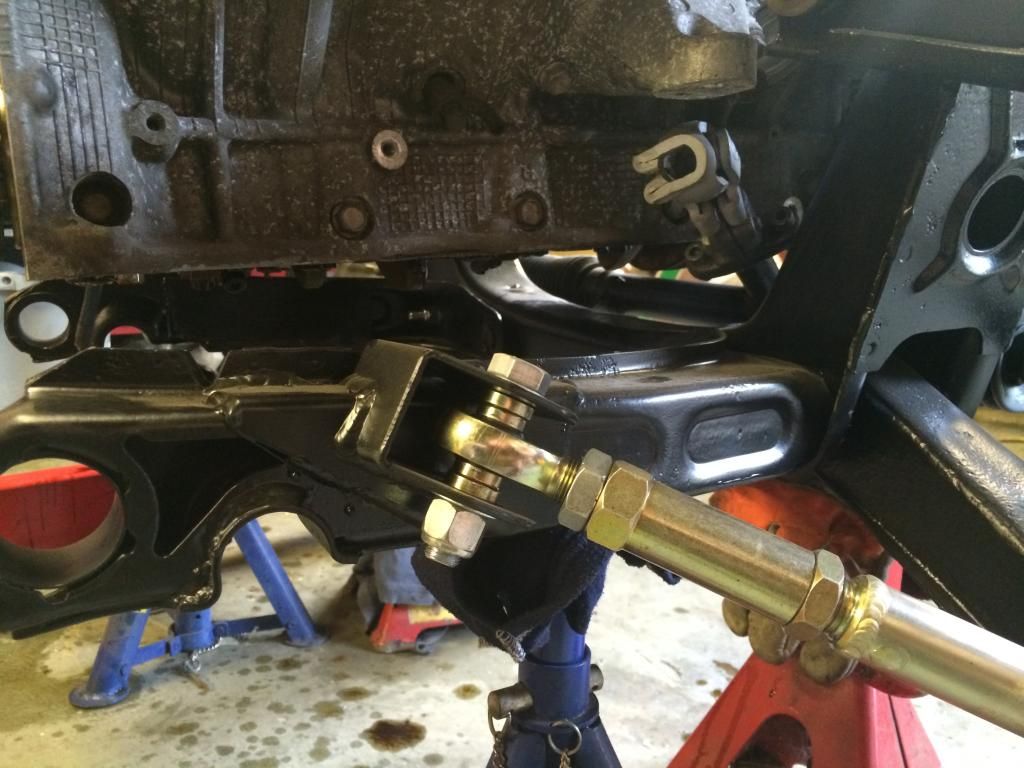 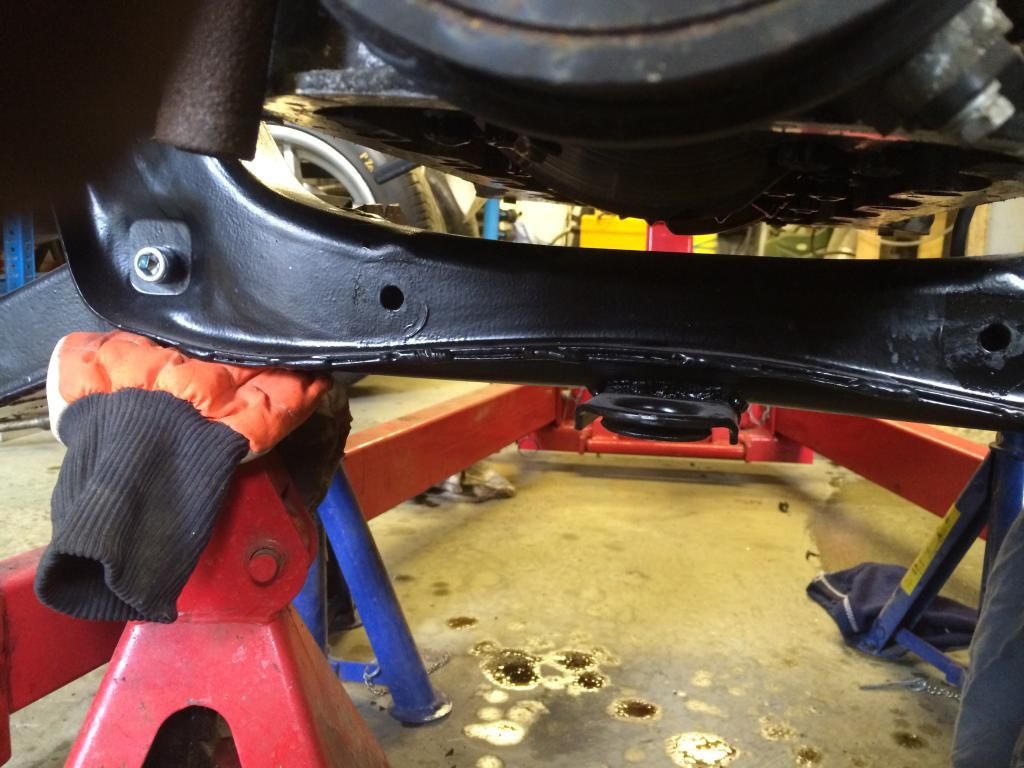 Hoepfully got a local firm sorting a laser cut 6mm steel flange so I can fabricate my own sump, with the position it's at I need to lower the steering rack and maybe notch the subframe slightly, I need to bear in mind u may want SC it in the future, I'm for pretty far back with the lump with a view to loving the front seats rearward slightly too. Sod it who wants more than one passenger! |
| |
|
|
|
|
|
Jul 18, 2014 21:37:17 GMT
|
|
It's tight for headers too, but I'll just about squeeze some in I reckon/hope!
|
| |
|
|
|
|
|
Jul 19, 2014 22:05:48 GMT
|
|
|
| |
|
|
|
|
|
Jul 19, 2014 22:25:06 GMT
|
|
Lovely work going on here.
|
| |
|
|
|
|
|
|
|
|
|
|
|
|
Thanks guys, much appreciated!
|
| |
|
|
ChrisT
Club Retro Rides Member
Posts: 1,670
Club RR Member Number: 225
|
|
Jul 20, 2014 11:04:16 GMT
|
|
Keeping an eye on this project - some great work going into it.
|
| |
|
|
omega
Posted a lot
  
Posts: 1,060
|
|
Jul 20, 2014 11:29:57 GMT
|
|
wow so much skill going into this, cant wait to see it finished
how are you going to wire up the engine? have you got a guide or is it suck and see? or are you a wireing god as well as a fabrication god!
|
| |
|
|
|
|
|
Jul 20, 2014 11:58:33 GMT
|
Cheers! Haha I am a sparky by trade, different kettle of fish with auto wiring. I'm sure I'll suss out the original Loom, there is shed loads if info on lextreme.com Been mulling over the ateerig rack situation, I don't want to use many more parts from other vehicles lol, so I reckon I can remount and modify the original rack to work without changing too much of the geometry but gain enough clearance for the new sump. An inch or so lower should do the trick with some alloy block and trim I the subframe, keeping it all bolt on for ease of dismantling and not having to dismantle the whole subframe again for welding 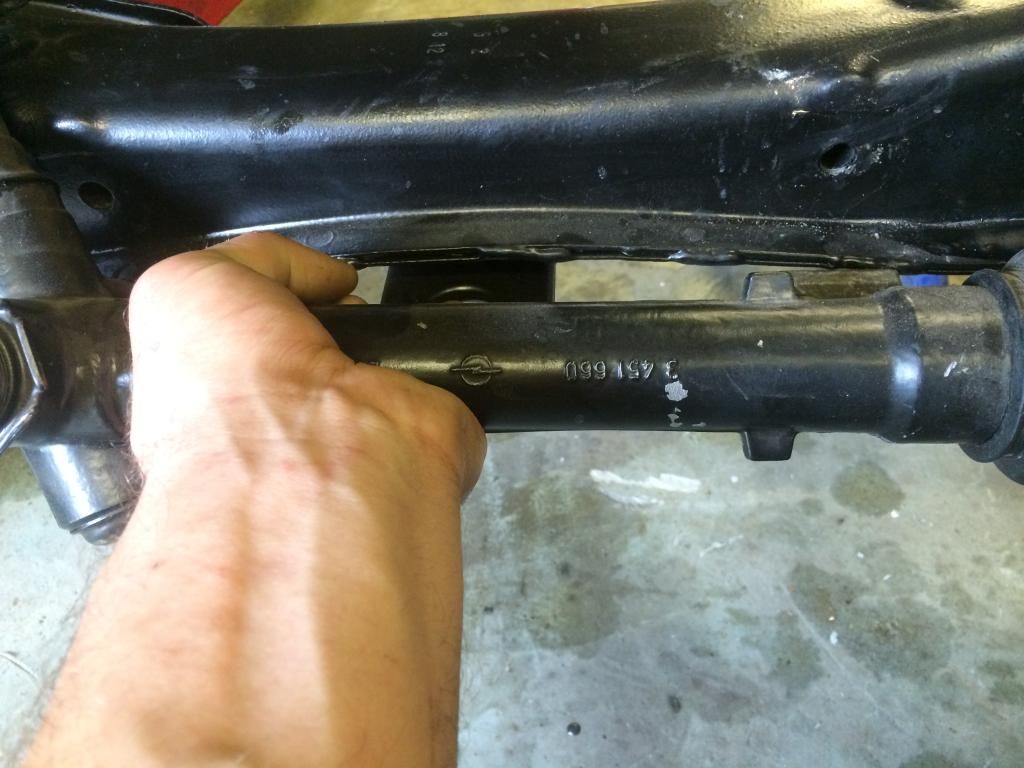 But the pinion shaft has two 'ears' on it that will foul the subframe, 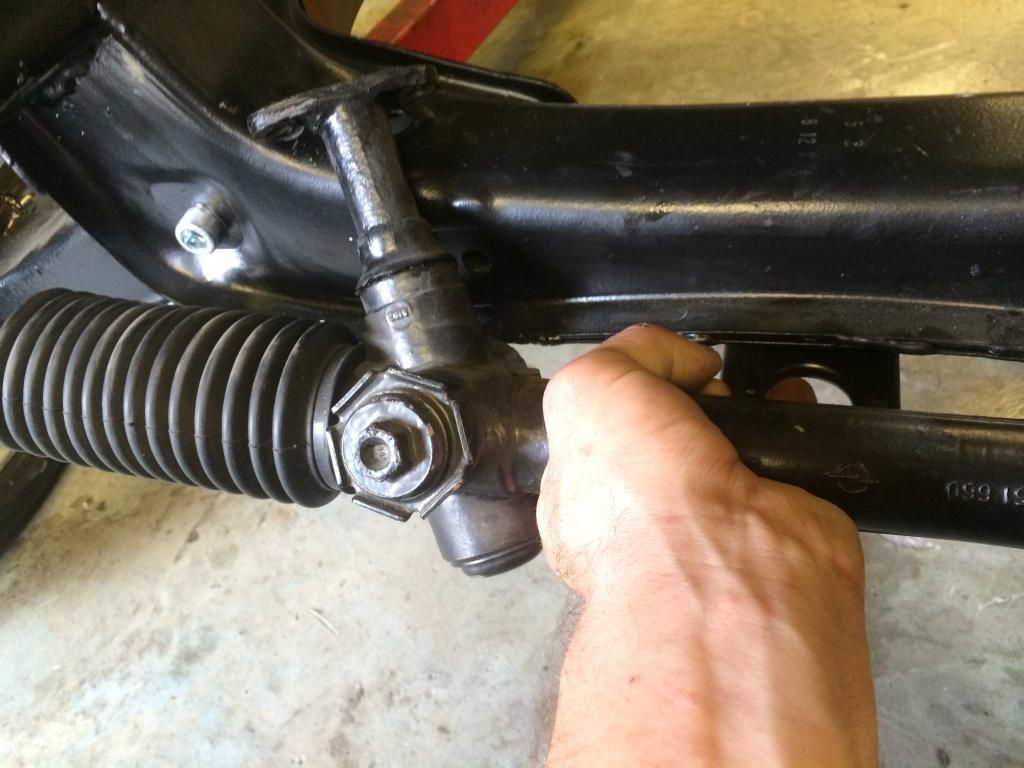 These, 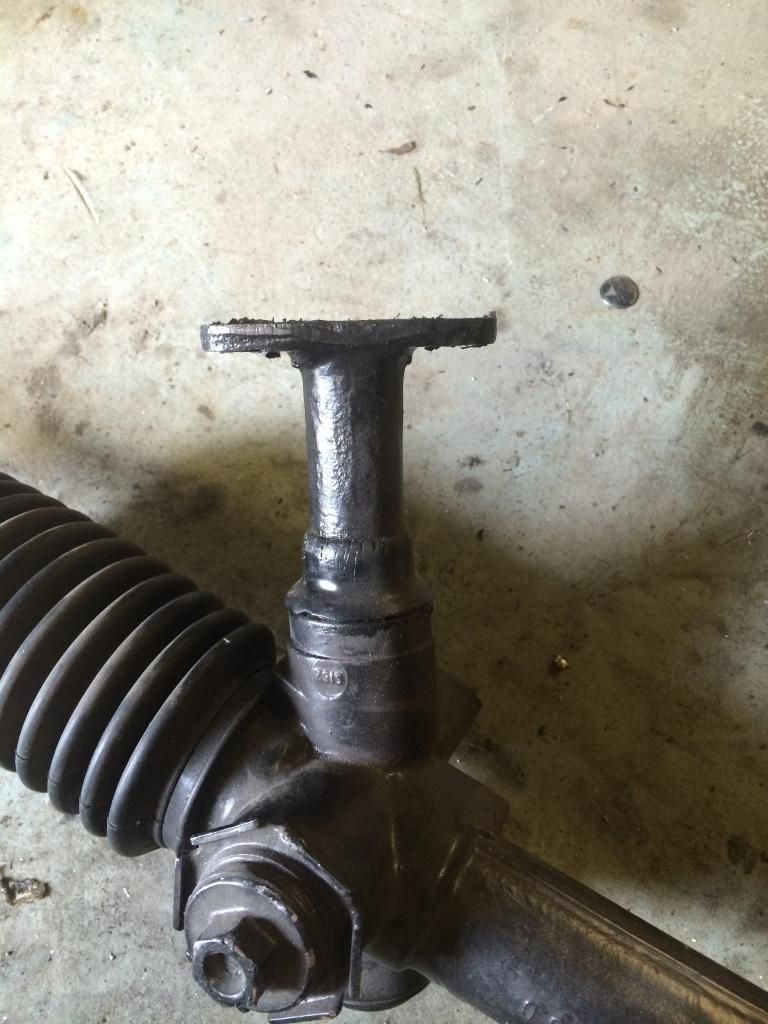 I have a spare rack, which I'll dismantle and whack this part in the lathe and turn in down so I can slide and weld a sleeve on it then a long shaft, kepin its diameters for torsional strength and hopefully will clear the subframe, or maybe need a slight scallop for clearance. |
| |
|
|
ChrisT
Club Retro Rides Member
Posts: 1,670
Club RR Member Number: 225
|
|
Jul 20, 2014 12:58:05 GMT
|
|
I know on the Manta B that joint needs to be flexible in some way, I tried replacing the worn out rubber joint with aluminium but it wouldn't turn afterwards - steering rack angle must be slightly out of line with the column. maybe with spacers it'll come into line......
|
| |
|
|
|
|
|
Jul 20, 2014 13:51:22 GMT
|
|
I'll be using a power column and moving mounts etc so will be x3 universal joints so no need for the flexy rubber doughnut joint
|
| |
|
|
|
|
|
Jul 23, 2014 19:13:54 GMT
|
Been on a spending spree! Picked this up from Buckingham way today as was working near there, needs some tlc. New blade, clean down, belt tensioner sorting and setting up properly 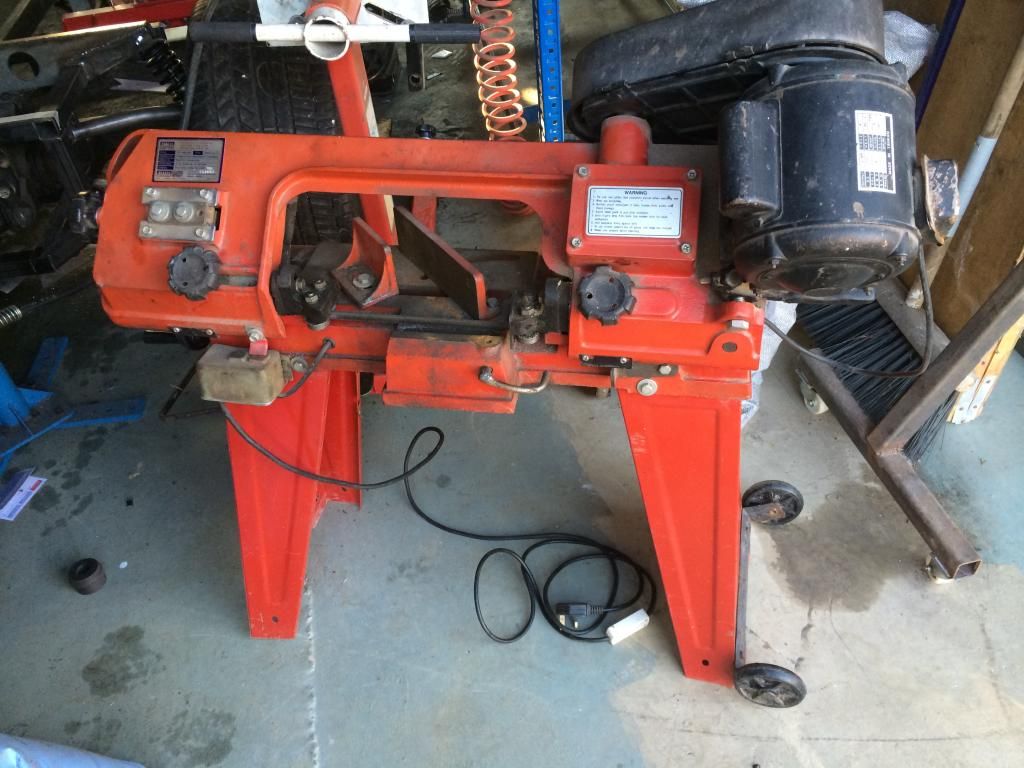 And got one of these coming, ac/dc machine. I can't bring myself to get someone else to tig up some bits for me knowing I can do it myself! Always wanted a proper machine (had cheap Chinese one that didn't get used much) now I've got the setup for it. Very good reviews from this outfit and backup spares etc 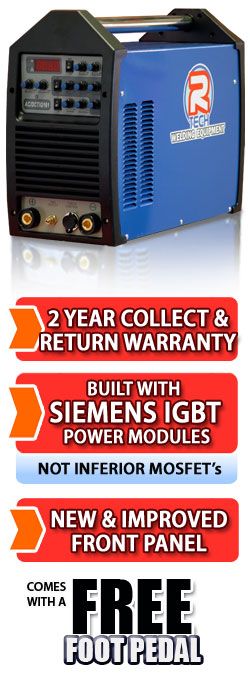 |
| |
|
|
|
|
|
Jul 23, 2014 19:37:58 GMT
|
|
Your killing it!! Sweet purchase's too!
|
| |
|
|
|
|
|
Jul 23, 2014 19:46:45 GMT
|
|
I'm proper motivated atmo, no progress this weekend though as got to shoot down to Exeter to see the outlaws, booooo
|
| |
|
|
|
|


