|
|
|
Oct 15, 2014 16:18:04 GMT
|
And the moment i've been waiting for almost a whole year now. It's back at my house! So the total account of the work done is >new floors >new inner and outer sills >various a post repairs >various arch repairs >new wing >new valance >new light panel As it arrived at my house 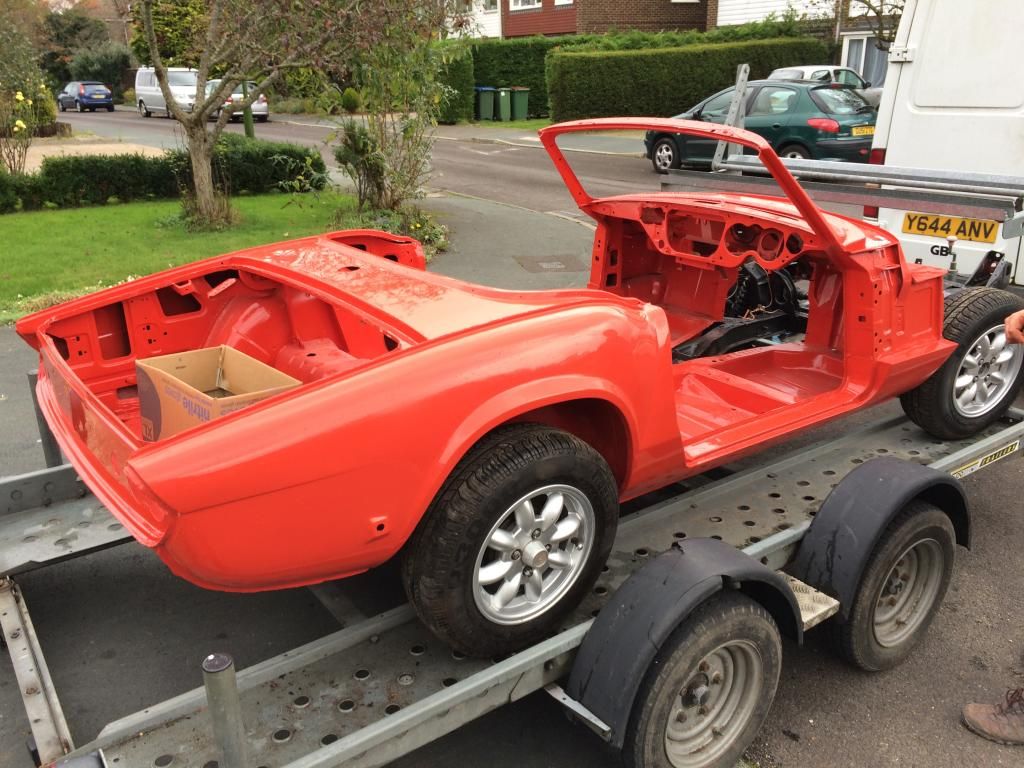 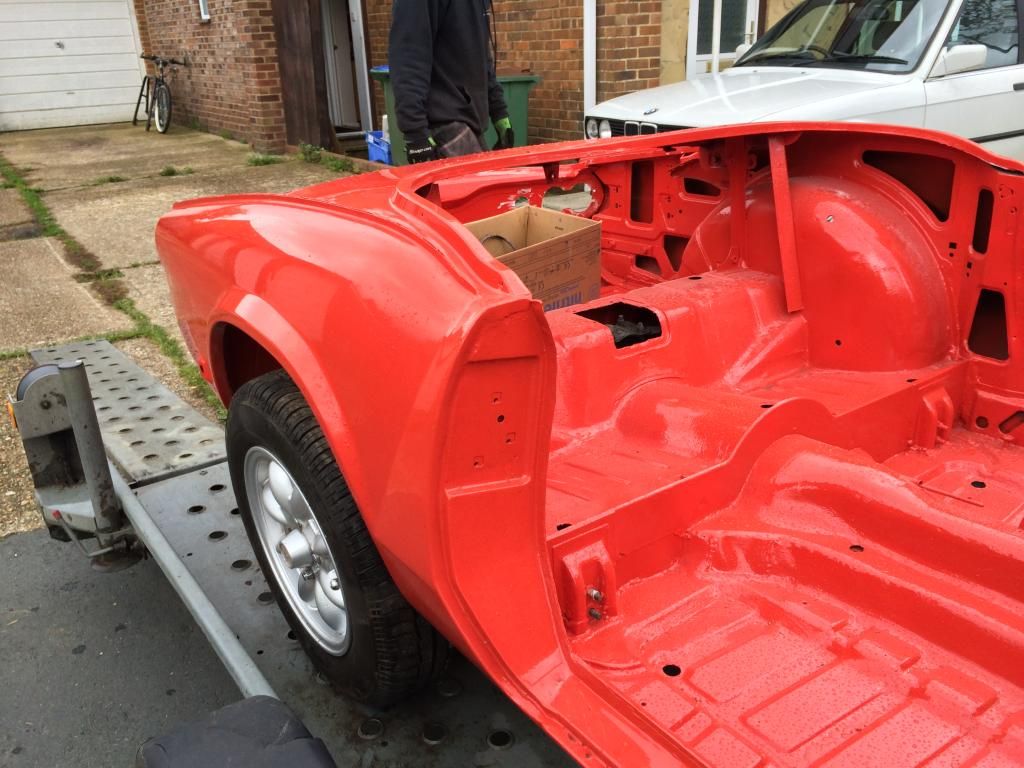 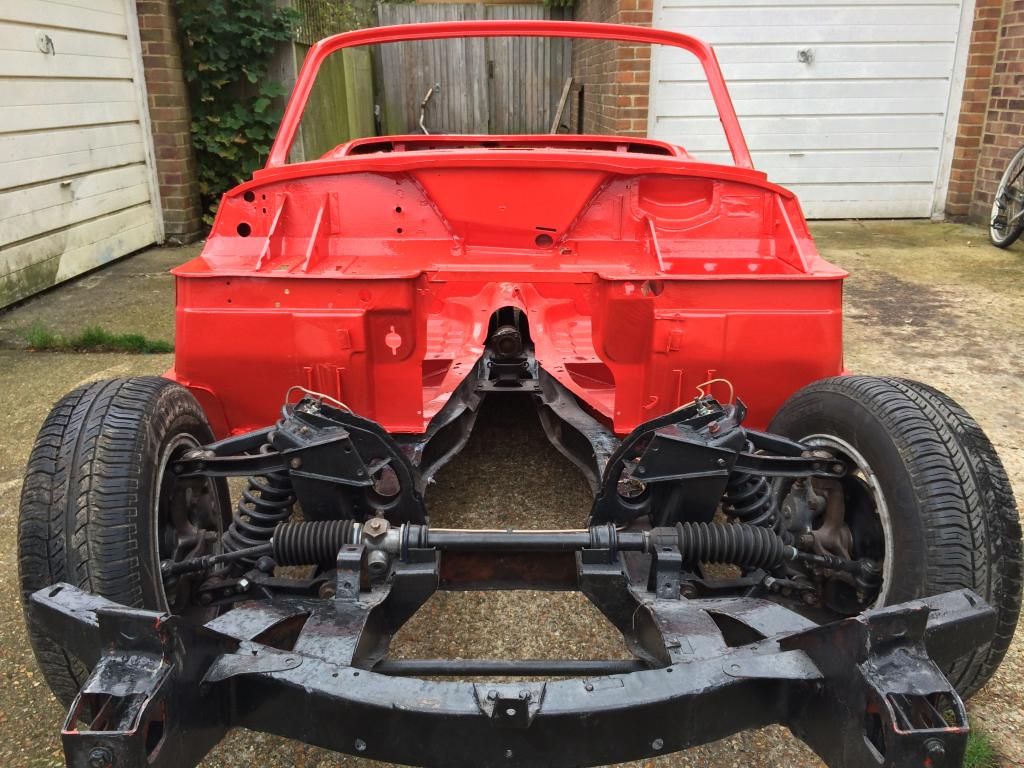 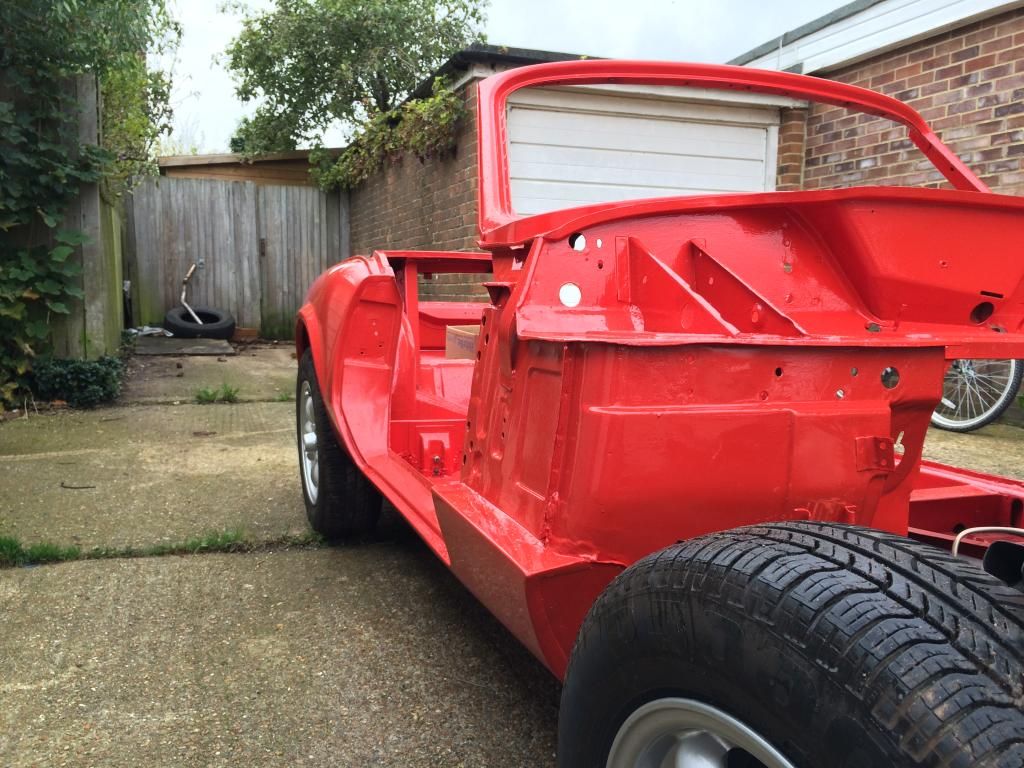 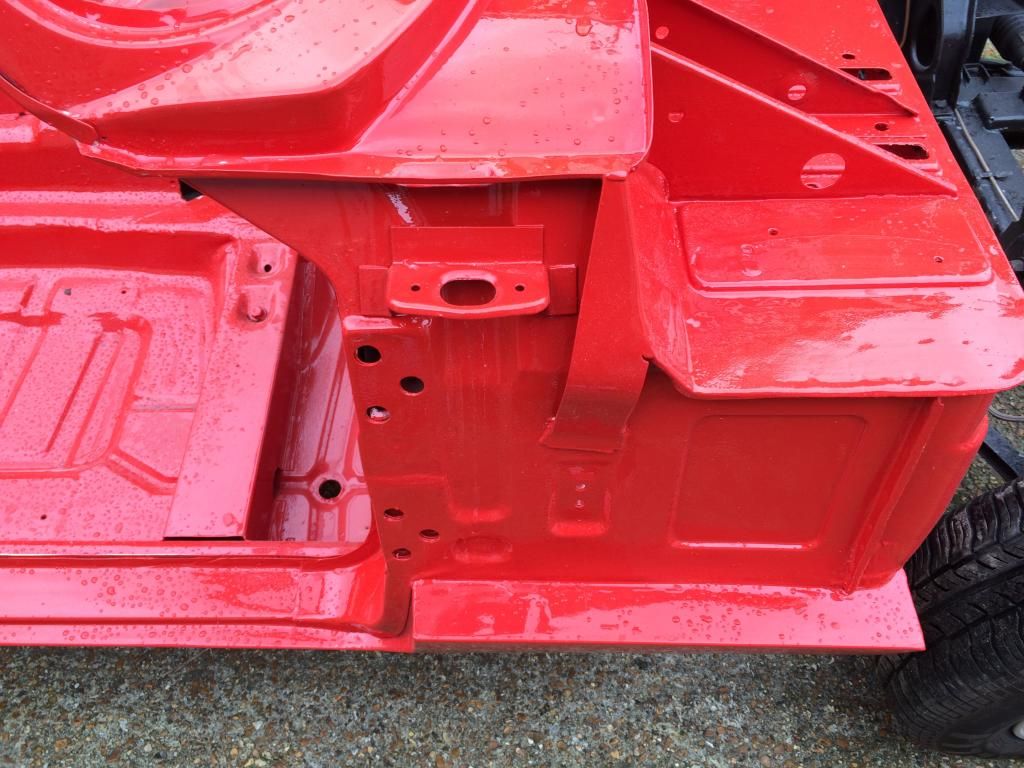 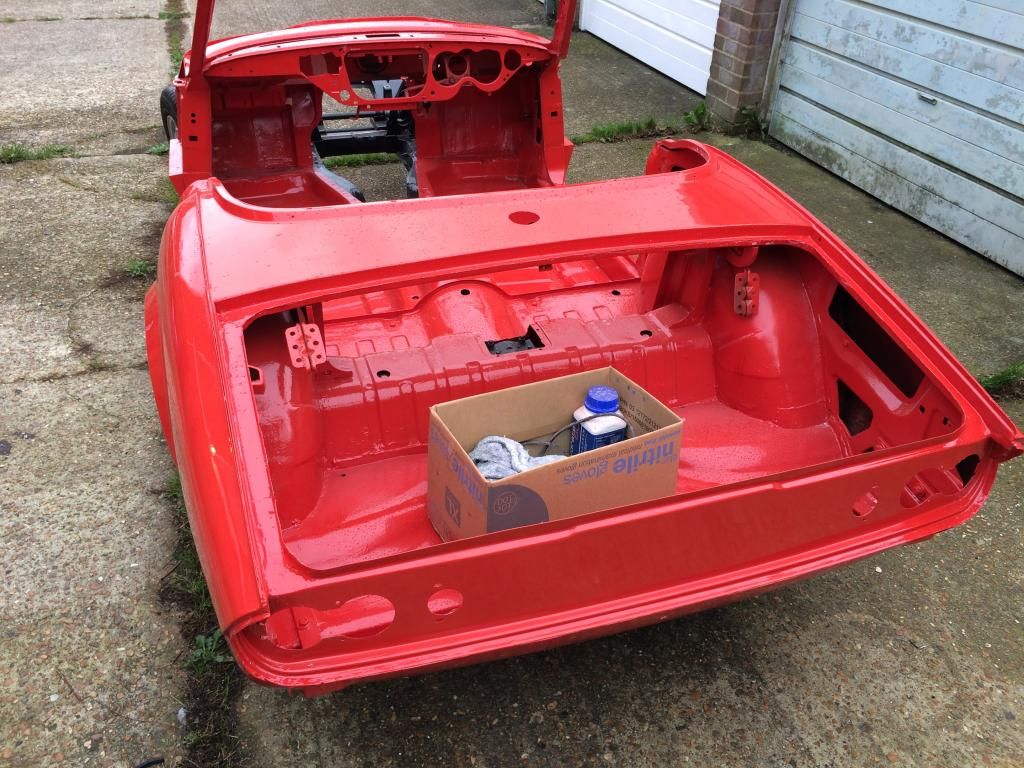  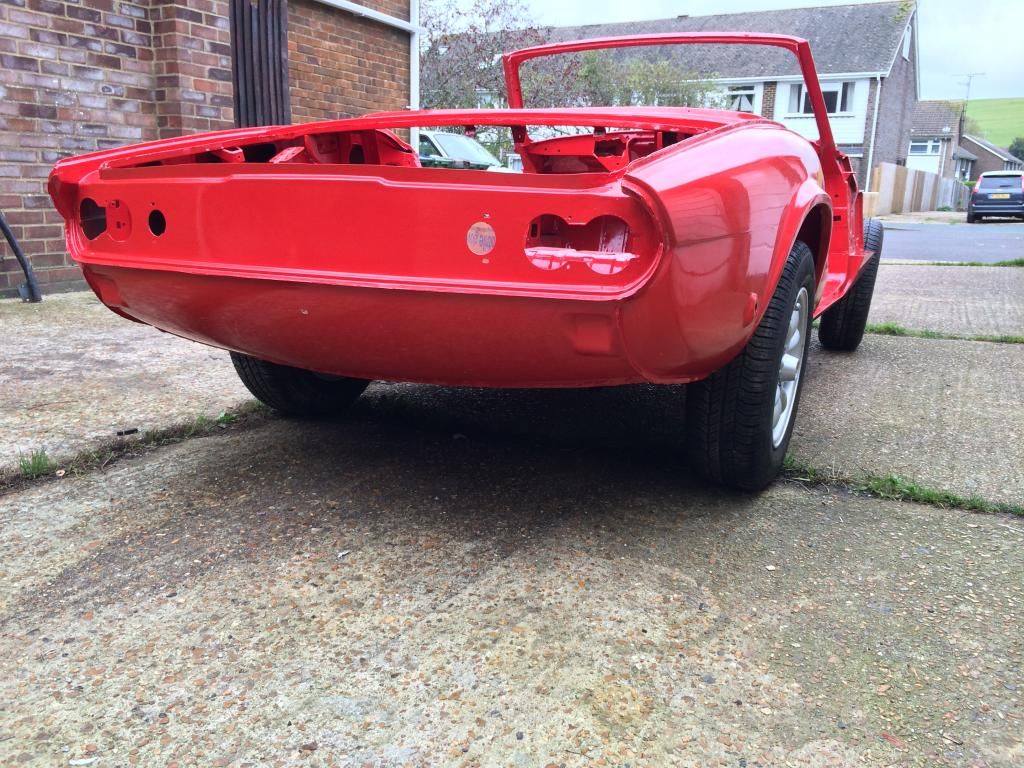 The cat seemed particularly dis-interested 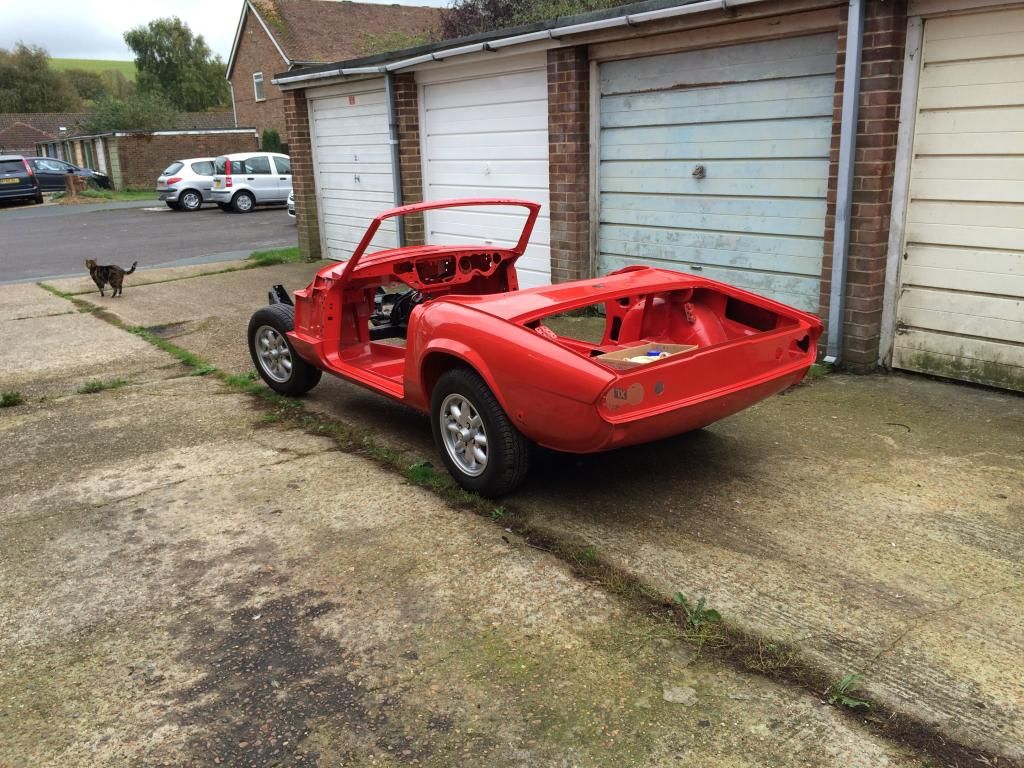 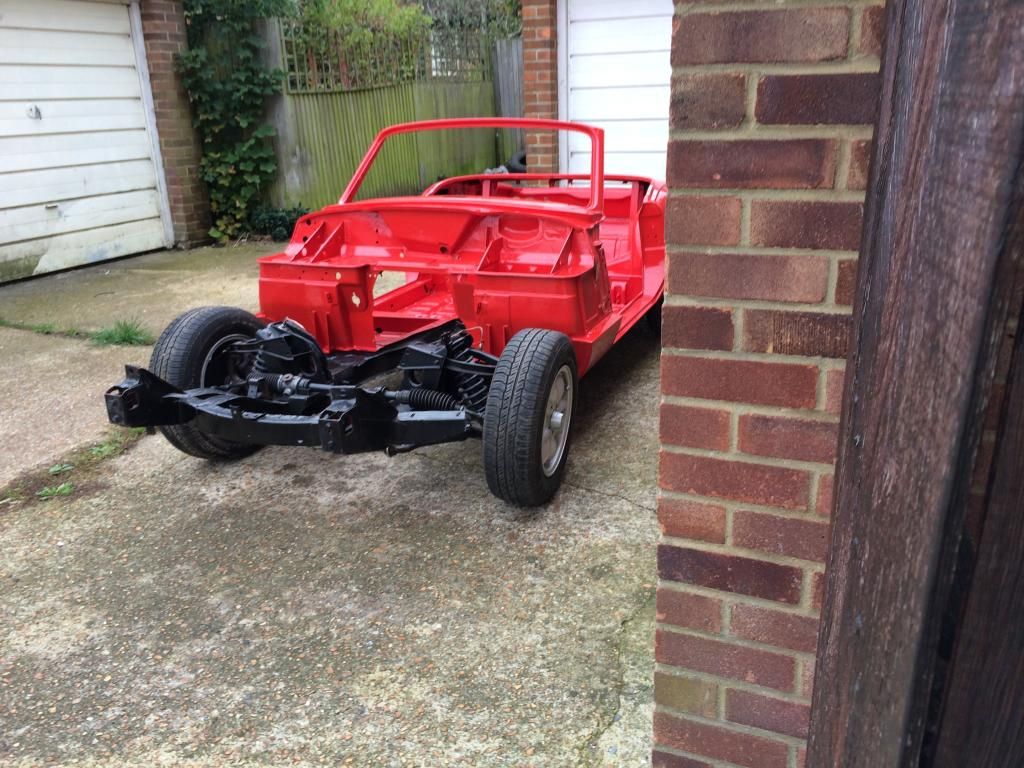 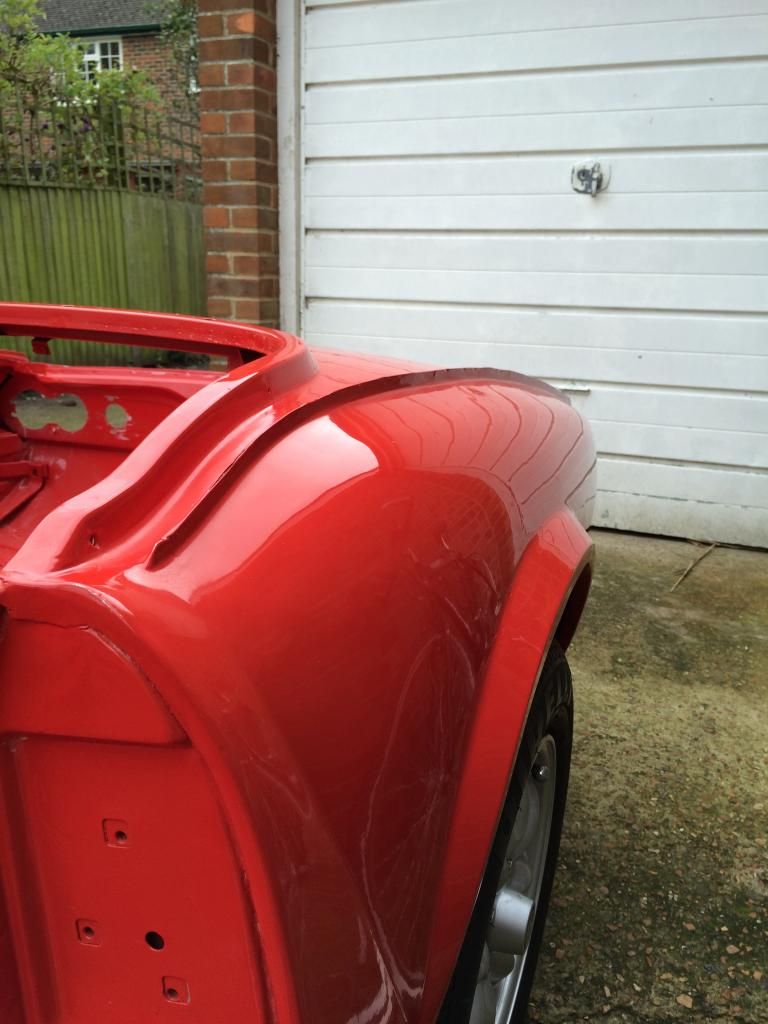 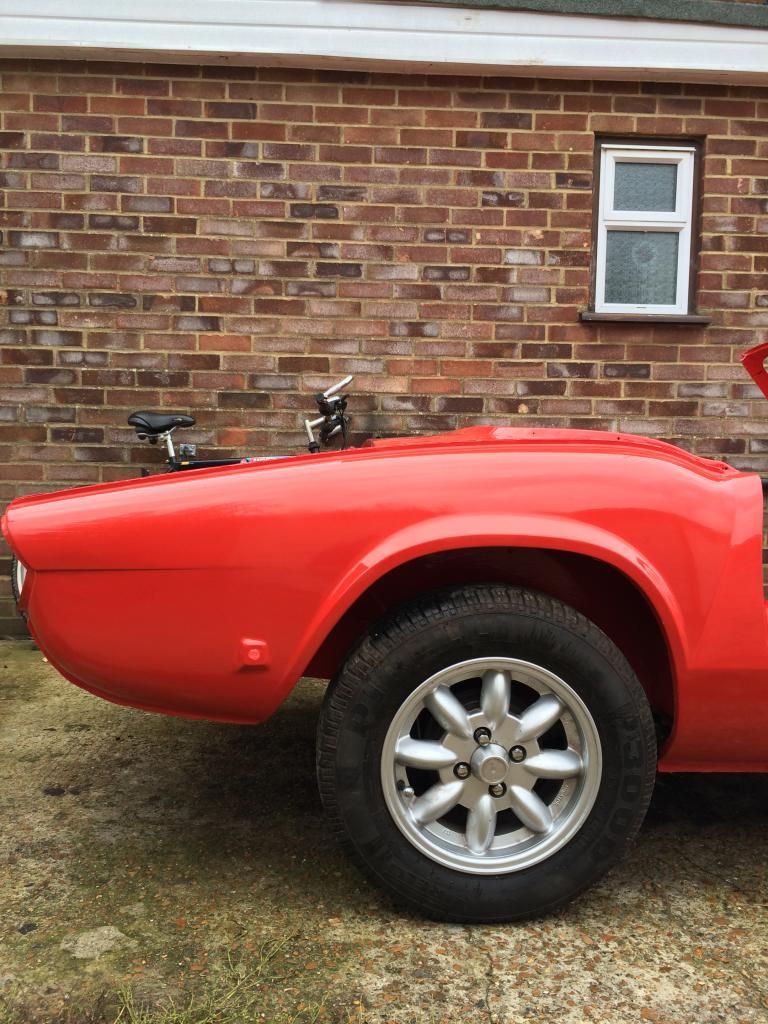 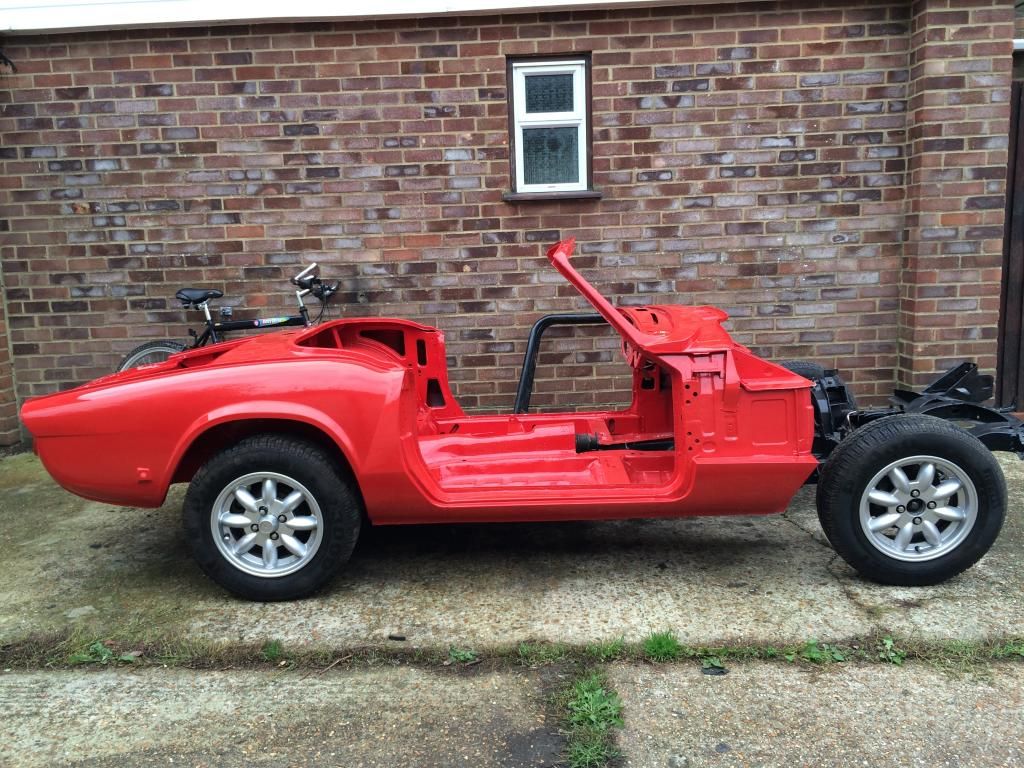 Tracking is a bit off, but that'll be sorted in future. Luckily ad it arrived at my house it started to rain, and we currently don't have any covered areas to store it in. So it'll have to deal with the rain for a while. |
| |
|
|
|
|
|
|
|
|
|
got a little delivery of some grommets and bungs, as well as some parachute cord to fit the windscreen. but that'll be done in time. Went into the garage and dragged out the boxes of neatly stored parts, some have done better than others, pedals need re-doing as the paint on them is awful. but i'm glad to report that it's all there.  New parts (ignore the couple of old bits sitting on top!) 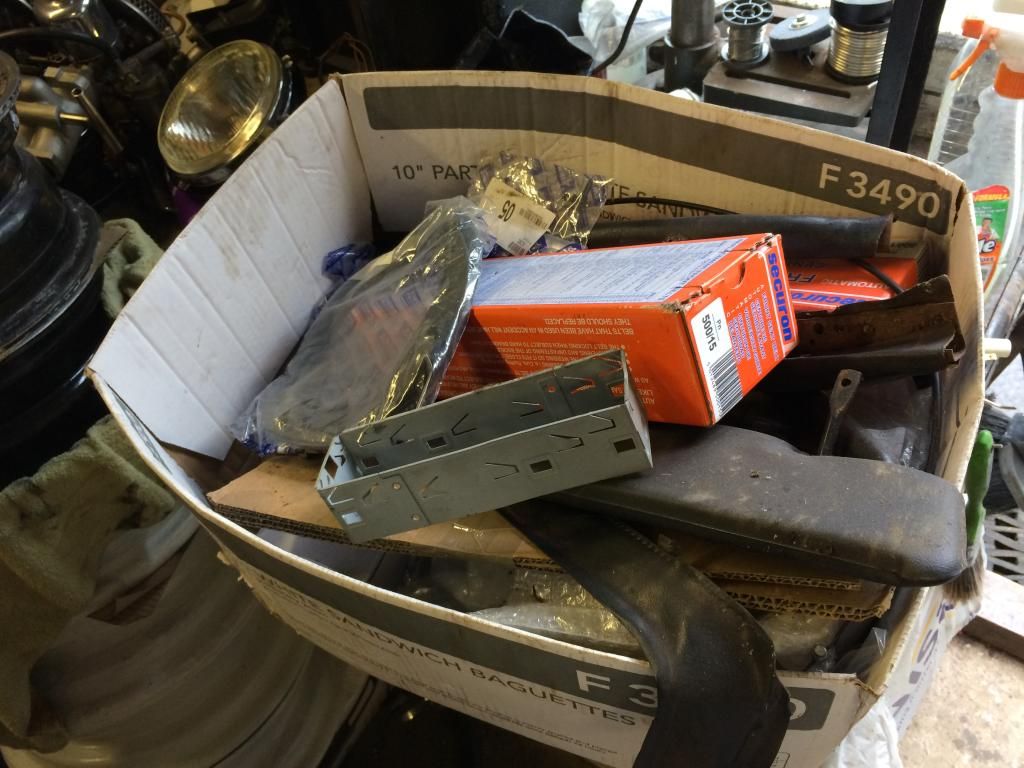 Larger bits and bobs (lights, brackets) 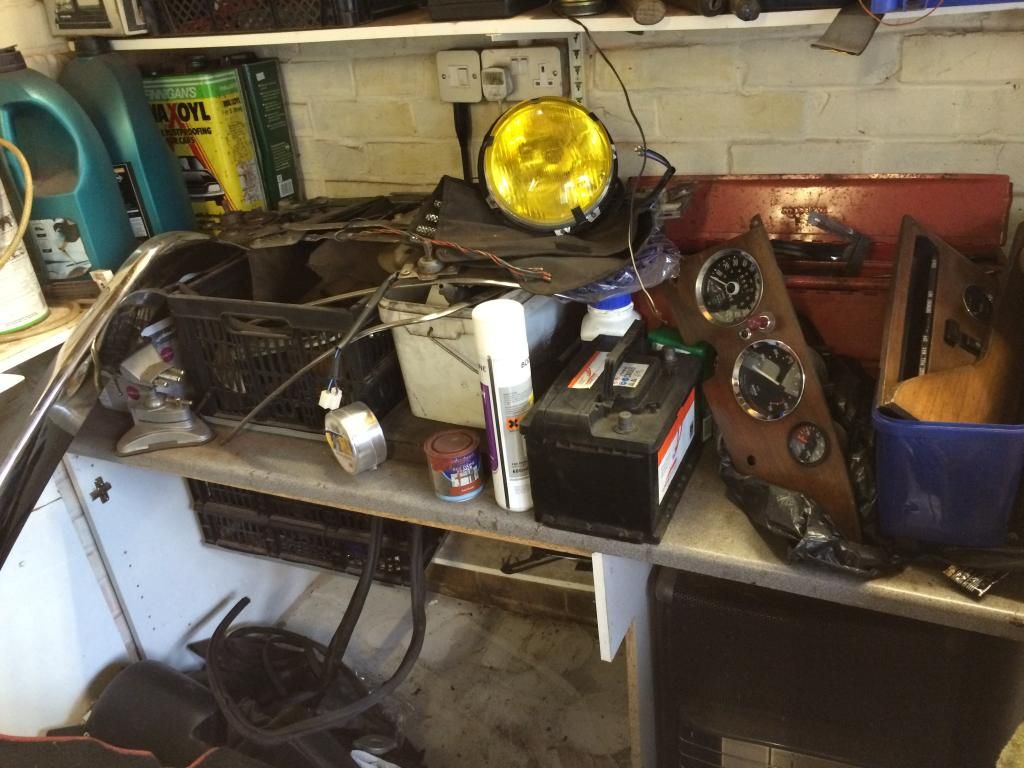 All the refurbished bits and pieces 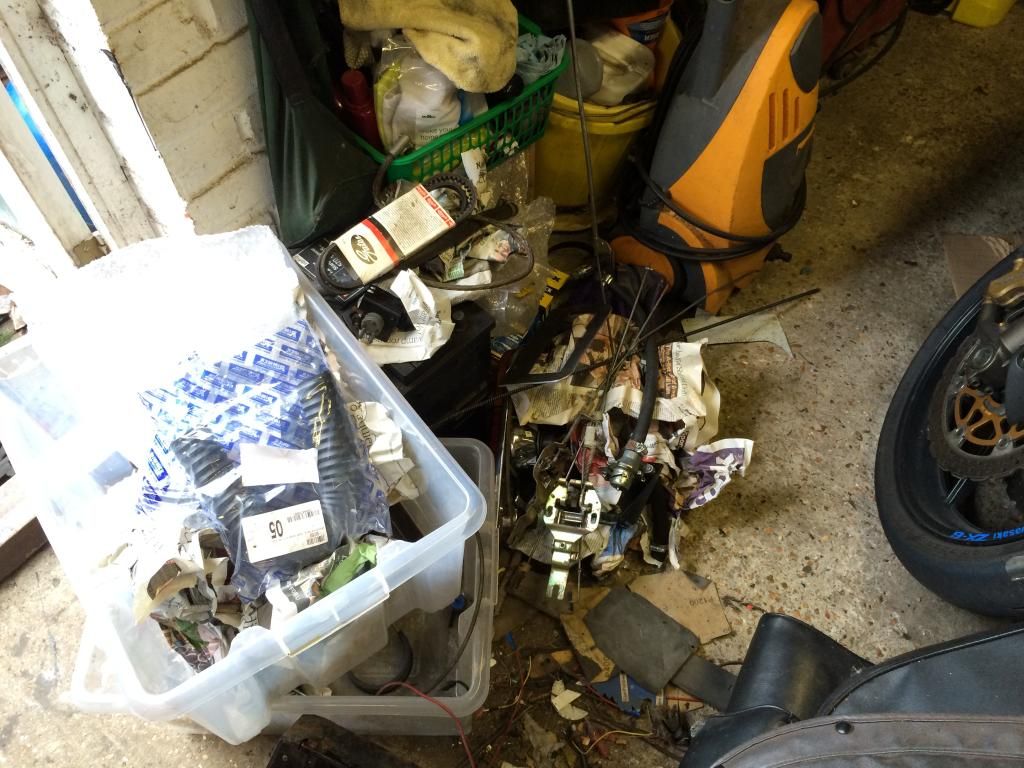 so far i've just fitted the heater box and the wiper mechanism as well as the washer jets. so nice working with new/refurbished parts! 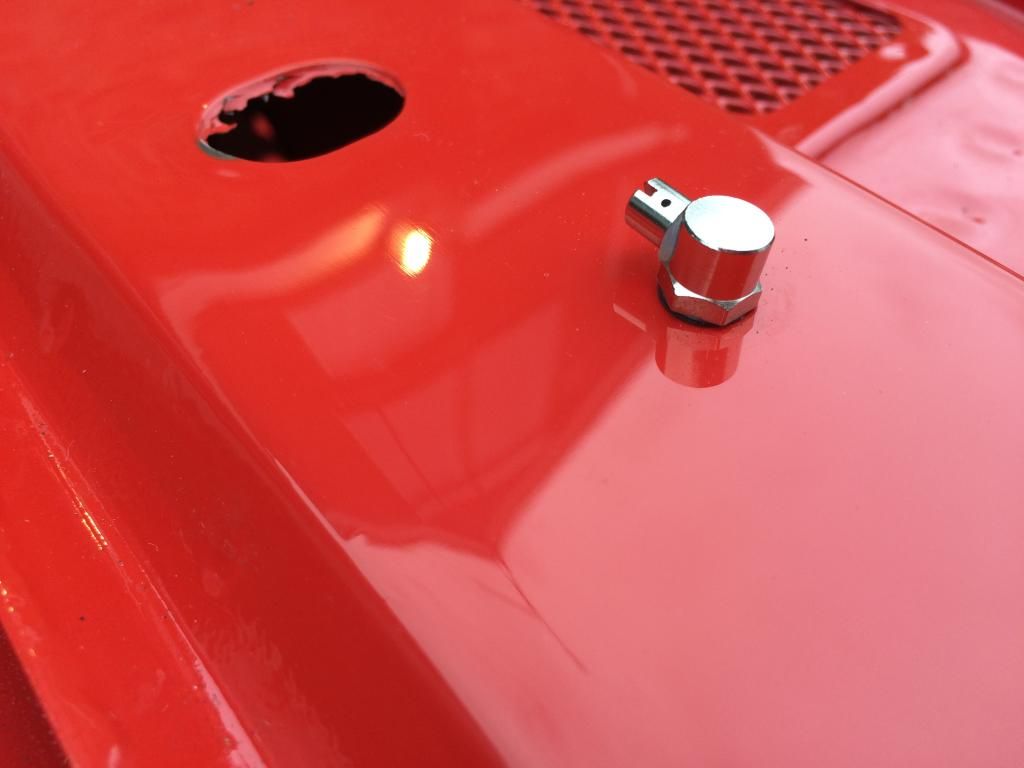  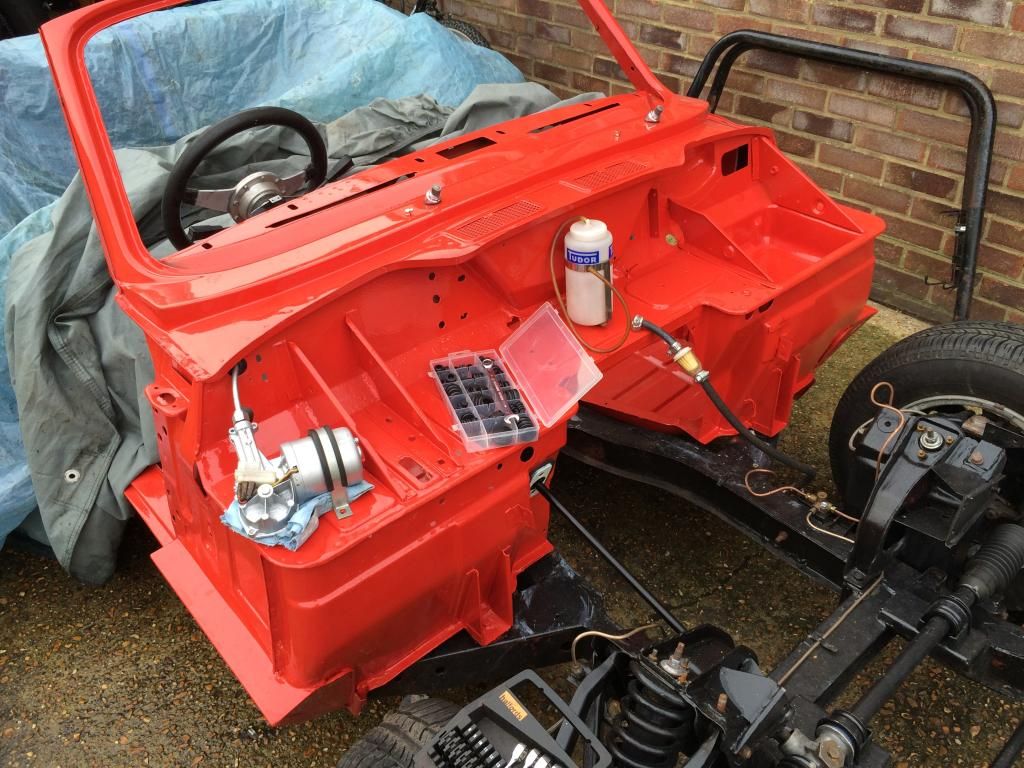  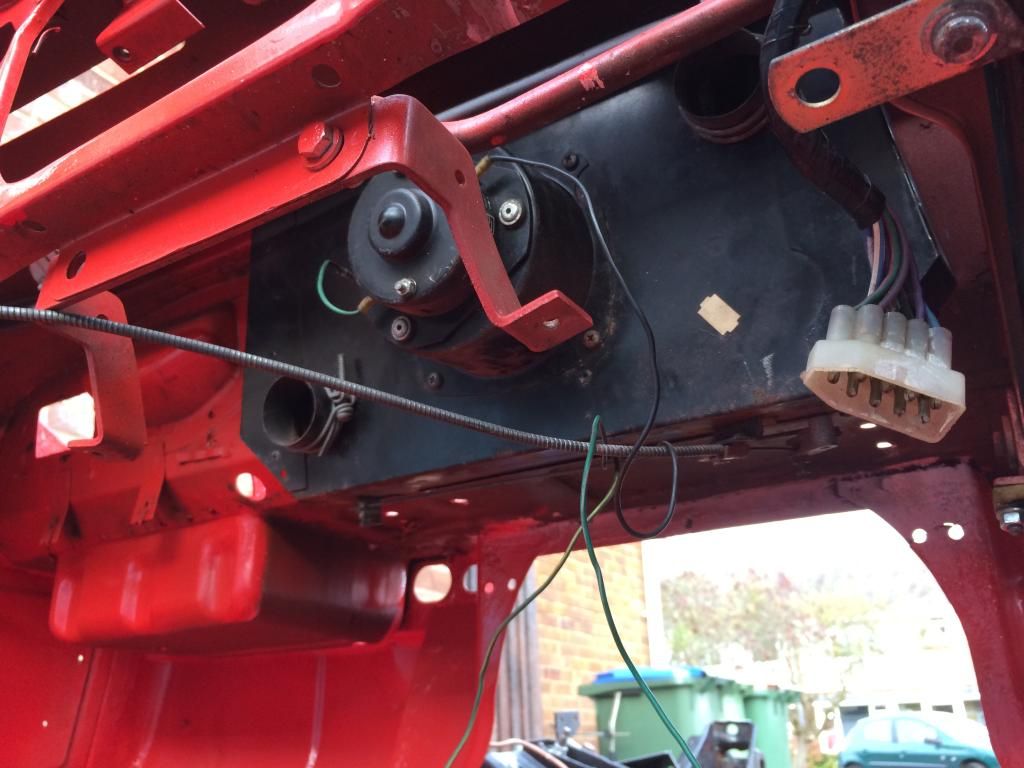 Fitting the wiring loom next, then engine, as the mounts have just arrived. if you rememeber back they were in much worse order than i'd expected. |
| |
|
|
|
|
|
Oct 24, 2014 12:13:42 GMT
|
Time for another assembly update, decided it was time to fit the windscreen and it's affiliated parts. so first things first. Dash top was looking a little grey and mucky, so out with the soap and water, then a good coat of boot polish to bring back the black. 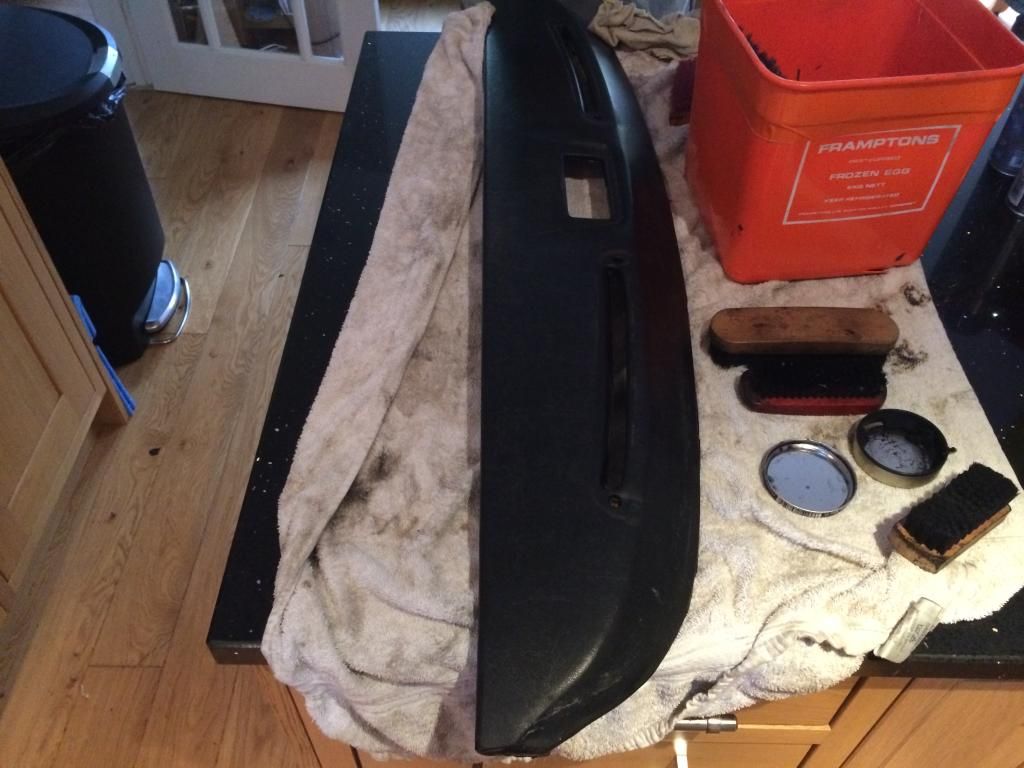 Test fitted in the car. 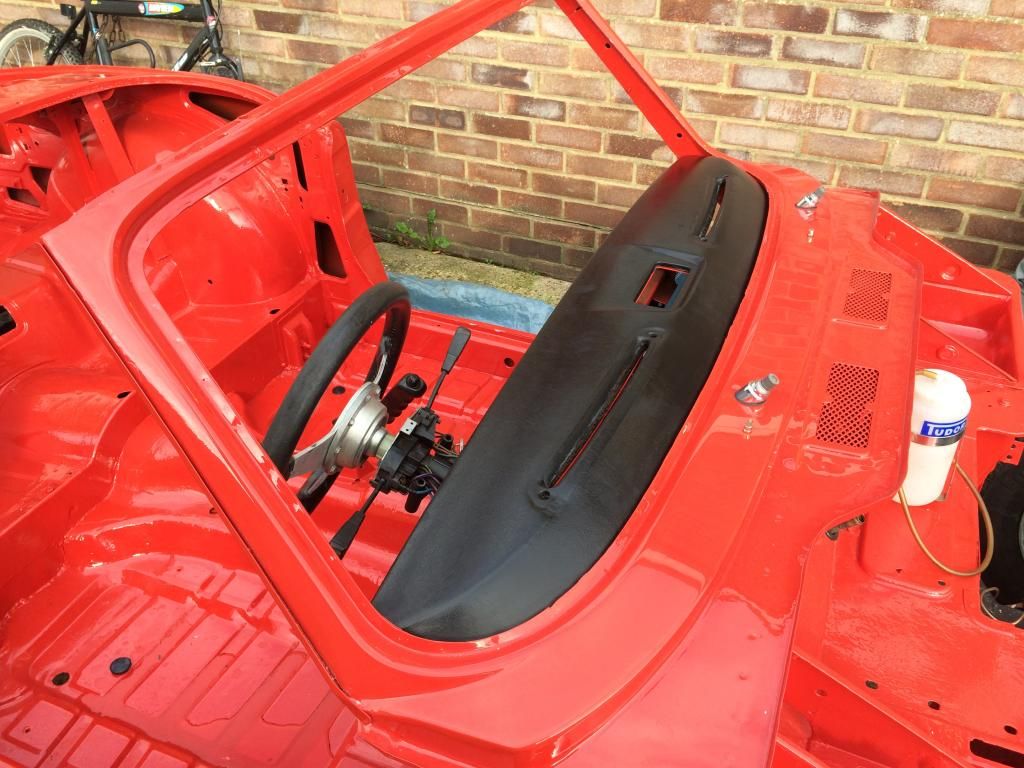 Now came the bit we'd been dreading, as it's one of the more difficult things for an amateur restorer to get right. We got the windscreen from it's box along with the new rubber seal, and figured out how it was meant to go on.  fitted the seal up and after a few failed attempts.... 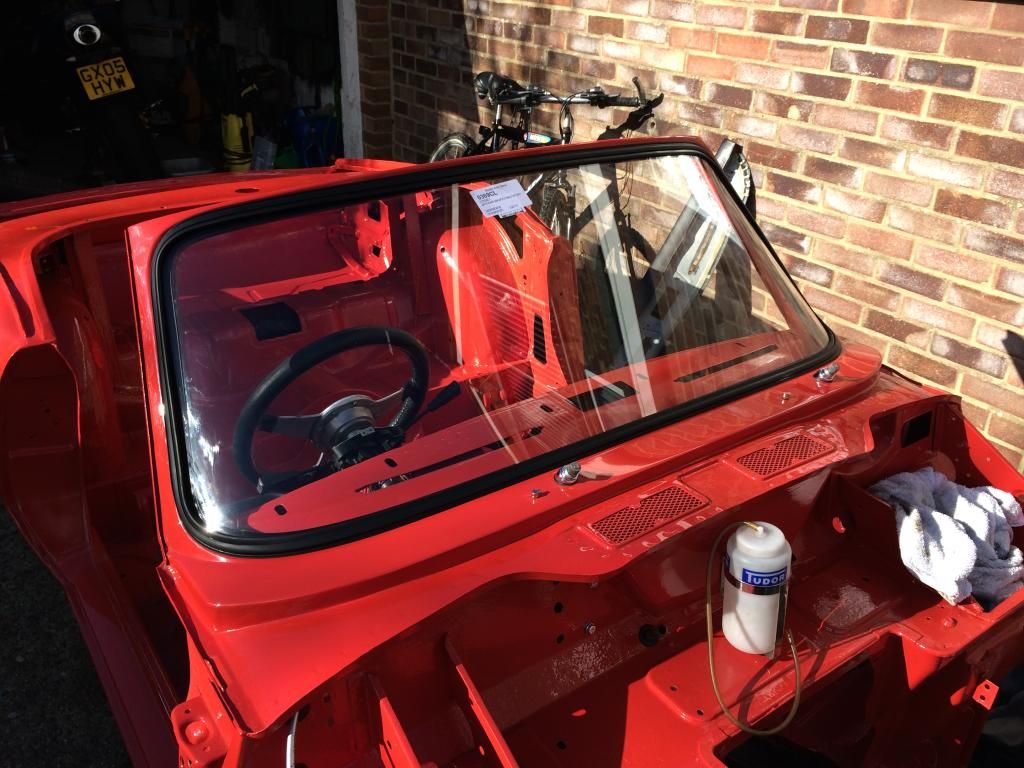 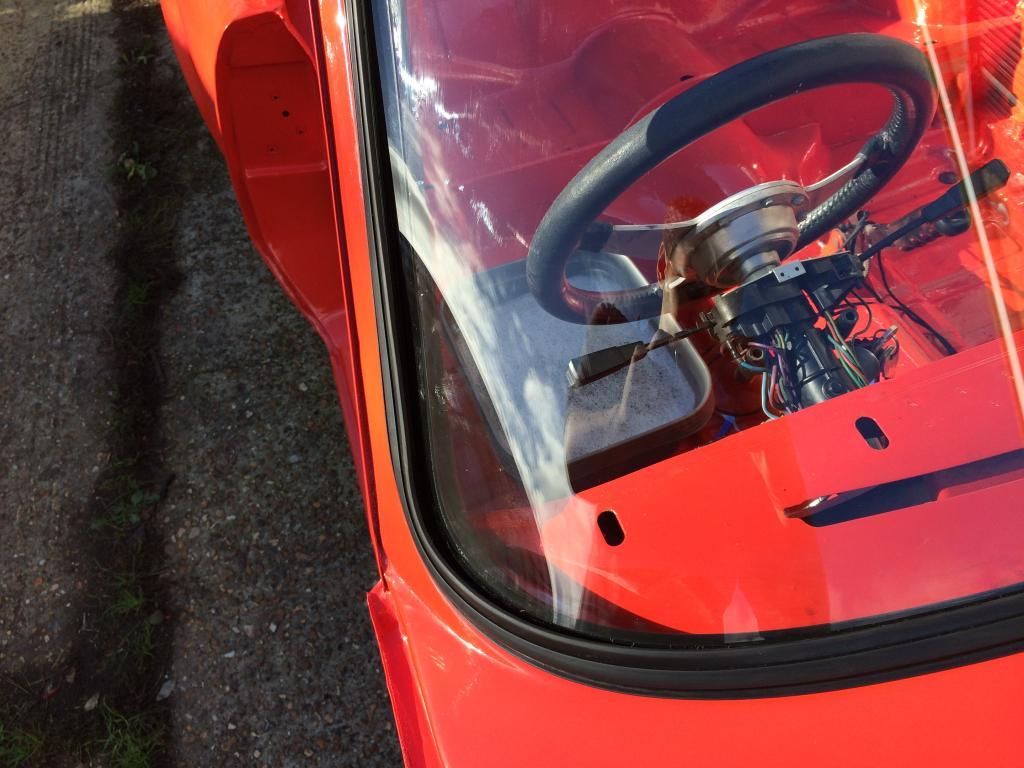 It was in! we've since fitted the dash back in and all its fixings and trim. looking ace. |
| |
|
|
|
|
|
|
|
Here's the picture of the fitted dashboard, everything went together really nice and seemed to fit better than it ever has. 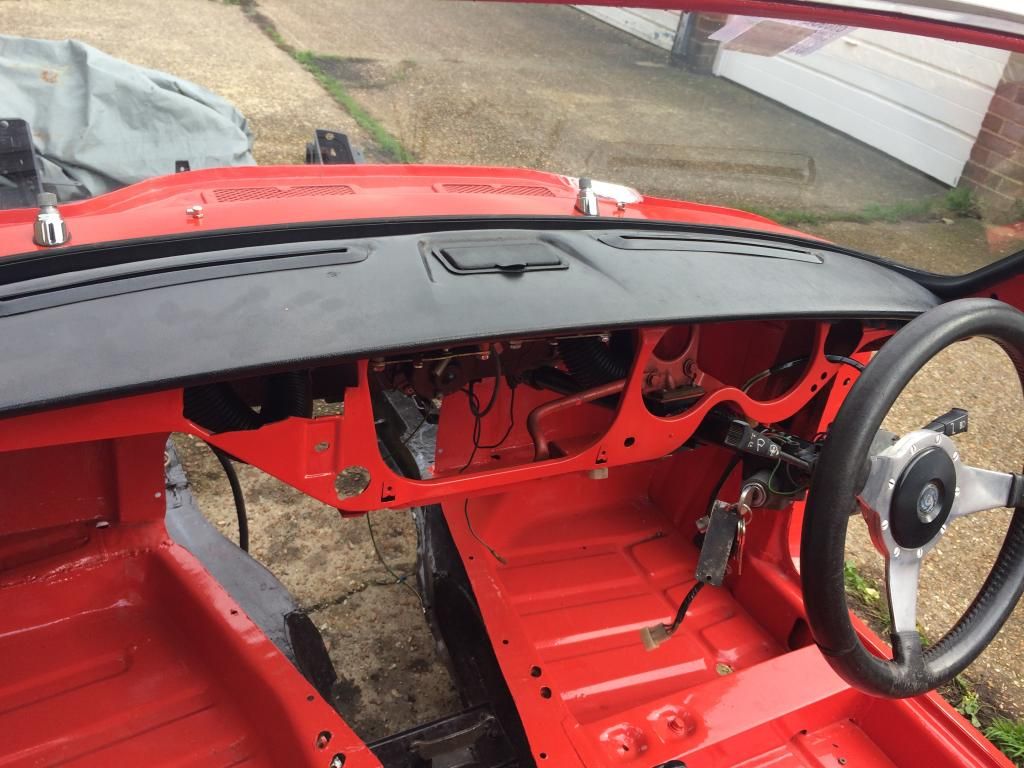 Windscreen capping goes on, not the nicest but it's more about getting it back on the road now. 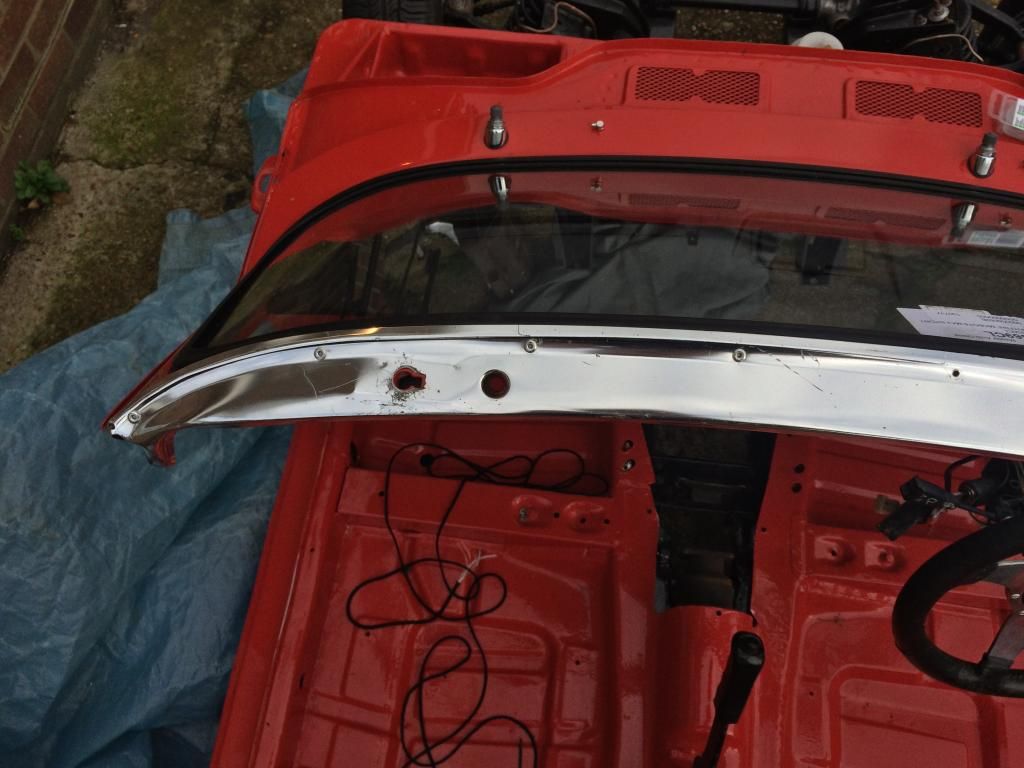 attached the poppers for the soft top, need to drill out some of the holes as they're a touch too small after paint. You can also see the paint is getting dirty.. it's difficult to not clean it off but it's more likely to scratch the paint, so i'll wait until more parts are on before i give it a good wash. 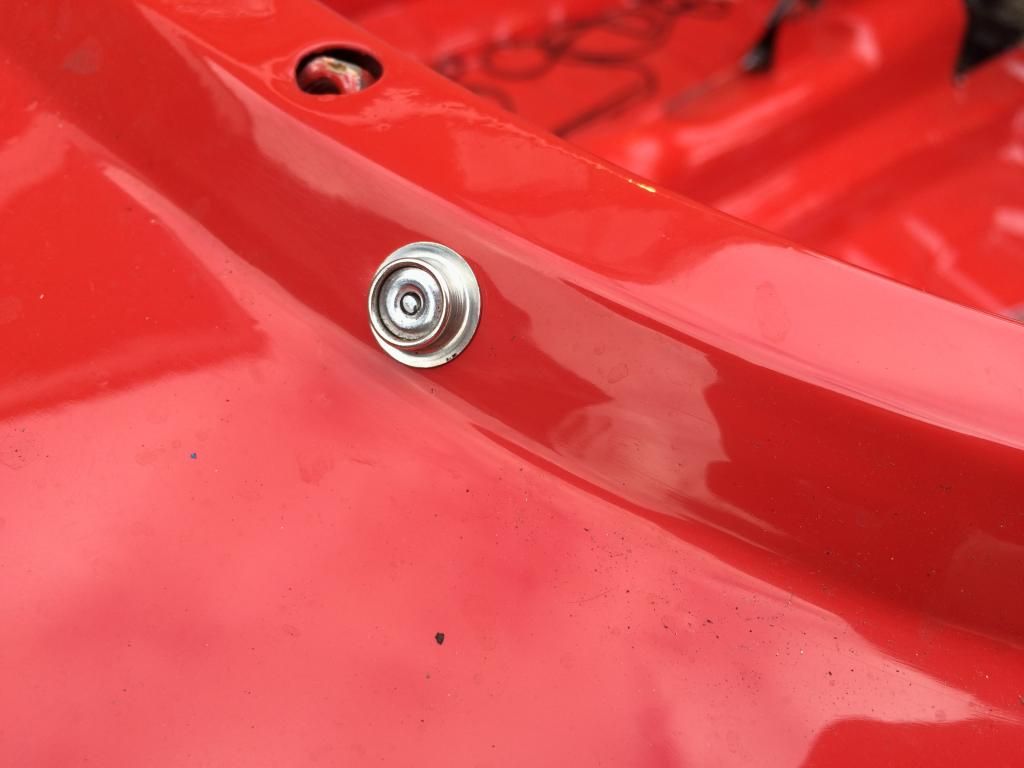 Repainted all the rear trim as it had been scratched in storage. looks lovely now, fits much nicer due to the straight panels (imagine that!) 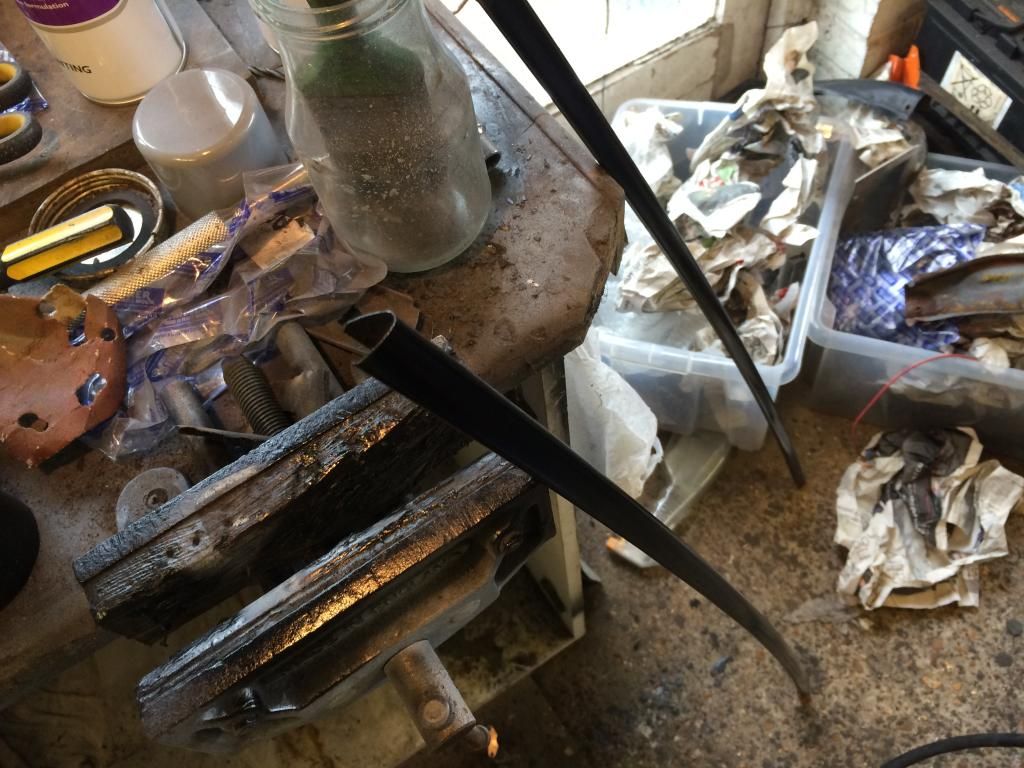 Re-fitted the newly rust proofed and painted rad support. 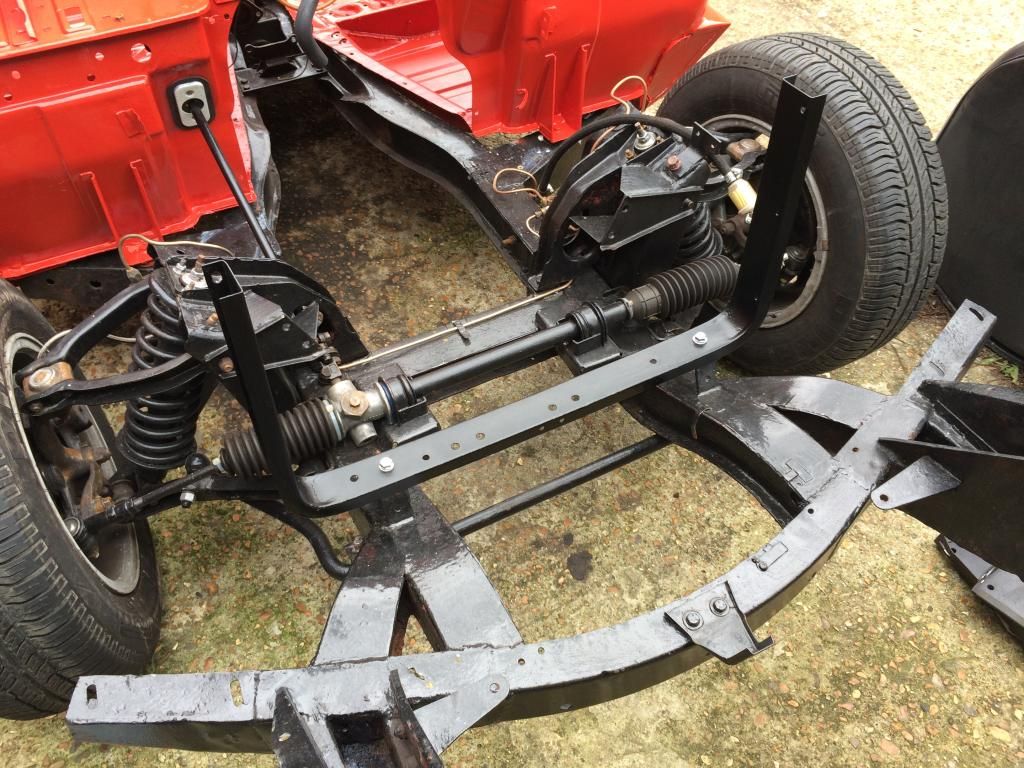 Dragged the engine from it's slumber, gave it a few turns to check it wasn't locked up at all, drained the oil (it'll have a full fluid transplant before it's first run) 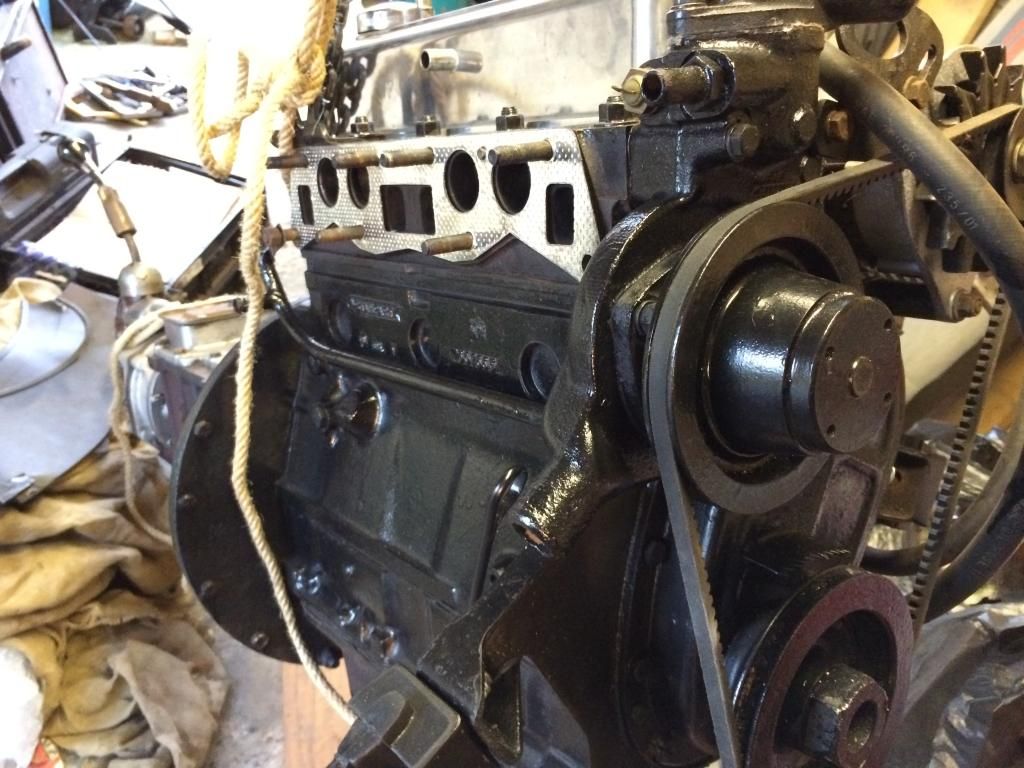 Incoming! 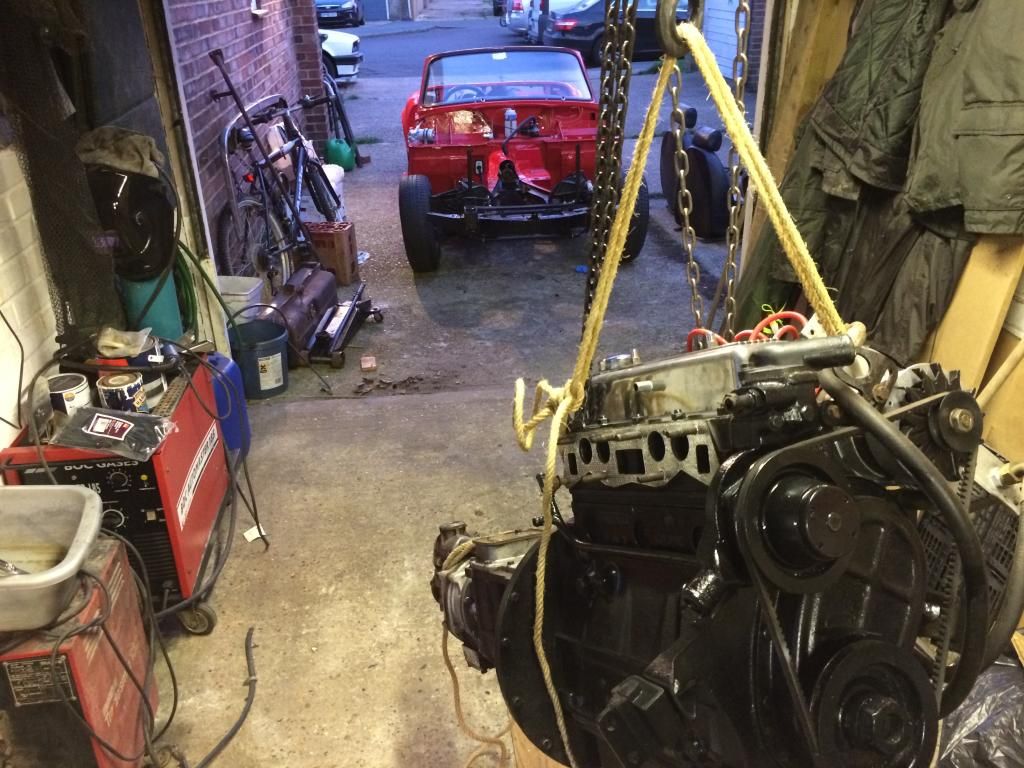 Only took about an hour to get it all fitted in and bolted up.  All away now in the garage, you can see how nicely the trim now fits in this picture. Worlds better than before..  Tomorrows job is the wiring loom, nice and easy to fit at this point as everything's exposed. |
| |
|
|
Speedle
Posted a lot
   Need a Country Rock band in the Hampshire Area? https://www.facebook.com/DirtRoadDiaryUK
Posts: 2,221
|
|
Oct 27, 2014 15:18:23 GMT
|
|
Awesome stuff this is going to look amazing back on the roads. Top work doing that windscreen on your own as well that's a tough job indeed.
|
| |
|
|
|
|
|
Oct 27, 2014 20:36:18 GMT
|
Awesome stuff this is going to look amazing back on the roads. Top work doing that windscreen on your own as well that's a tough job indeed. Just a bit fiddly yeah  but I'm glad it's done now. Did a little more today, fitted up the rear lights, and ran the wiring loom. 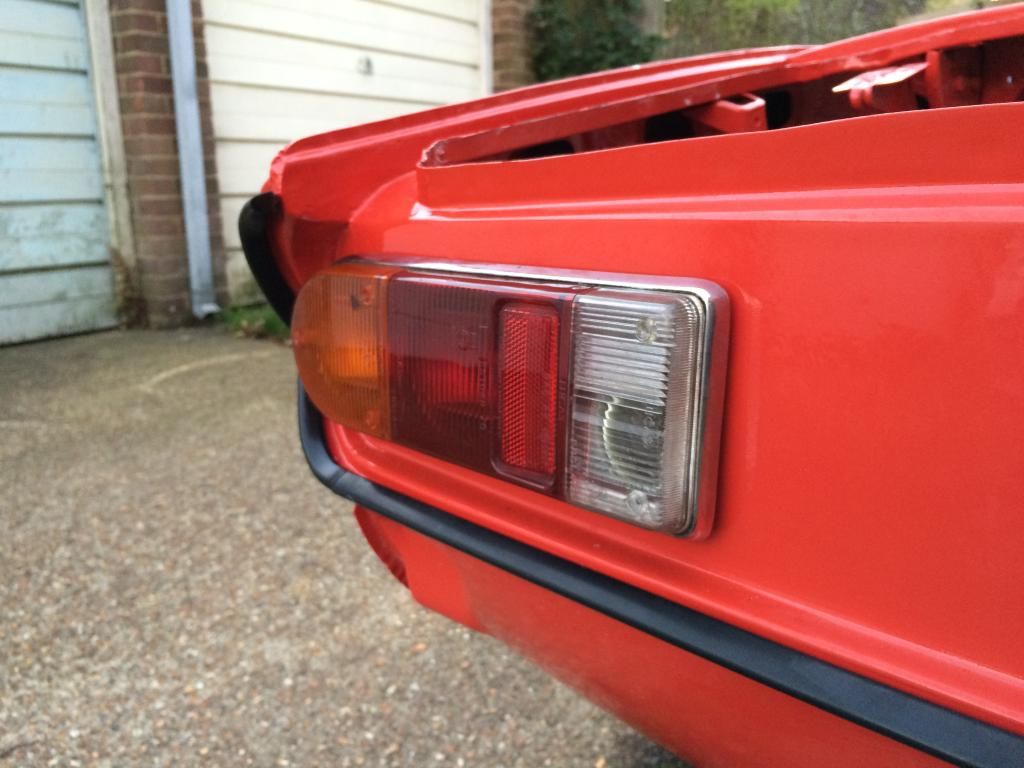 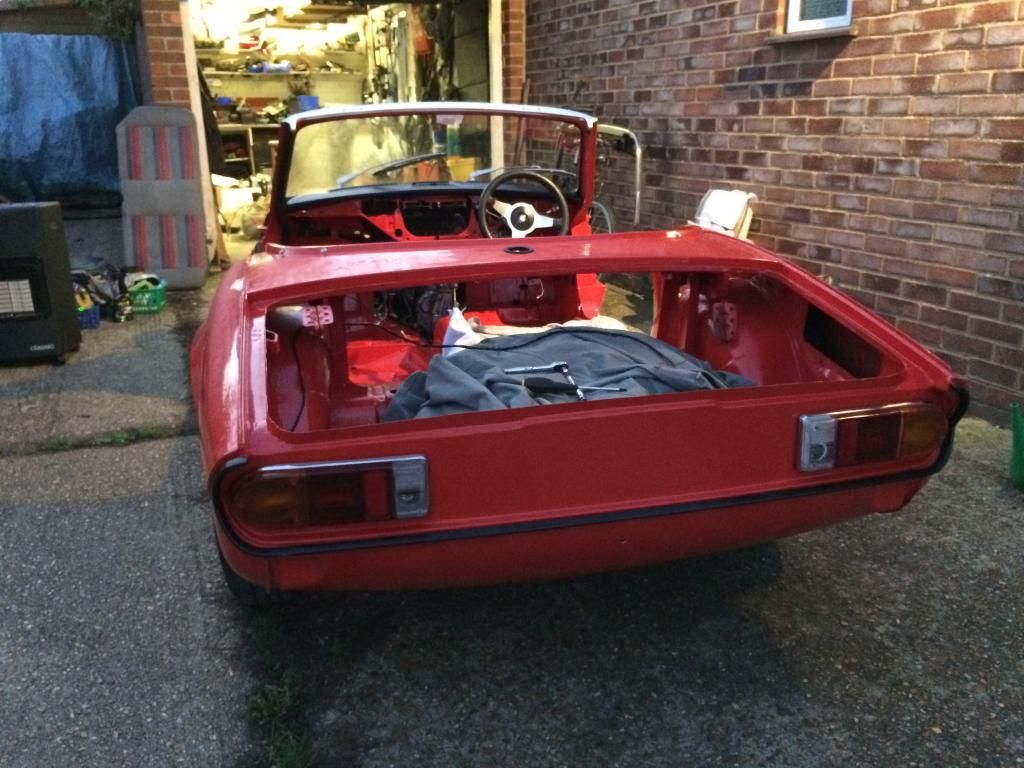 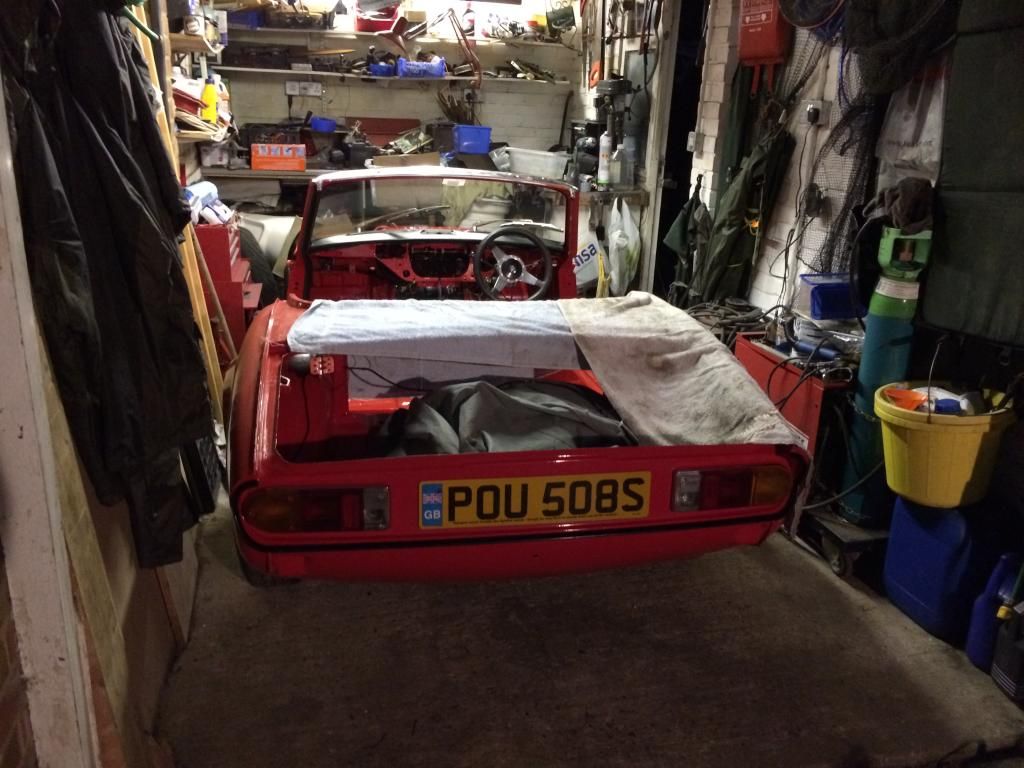 The whole loom is now routed and fitted, seems great quality and super easy to fit. |
| |
|
|
|
|
|
Oct 28, 2014 13:55:14 GMT
|
Hi Yorkebar! First post on here! Been following this thread for a few months now after stumbling upon it while doing research for my own Spitfire restoration. Very impressed with the work, detail and images; been a great help to me and also to know that I'm not the only one going through this level of hardship!  My project can be seen at the link below; might start a thread on here, always good to get more feedback and tips!  www.boards.ie/vbulletin/showthread.php?t=2057197258 www.boards.ie/vbulletin/showthread.php?t=2057197258Your Spit is looking super now and well on the way to completion, I envy you! hah. I shall be staying tuned for sure! |
| |
|
|
|
|
|
Oct 28, 2014 22:53:57 GMT
|
Hi Yorkebar! First post on here! Been following this thread for a few months now after stumbling upon it while doing research for my own Spitfire restoration. Very impressed with the work, detail and images; been a great help to me and also to know that I'm not the only one going through this level of hardship!  My project can be seen at the link below; might start a thread on here, always good to get more feedback and tips!  www.boards.ie/vbulletin/showthread.php?t=2057197258 www.boards.ie/vbulletin/showthread.php?t=2057197258Your Spit is looking super now and well on the way to completion, I envy you! hah. I shall be staying tuned for sure! Cheers man! As far as restorations go they're a really great starting point, as they have good parts support and there's plenty of info about anything you'd need to know. But your car is a different story, That's taken some serious dedication and i'm mighty impressed. Made some good progress on the dashboard today. I'd routed the wiring yesterday but as i quickly discovered lots of it needed to be exact so that it would all fit nicely. here's how the day started, cutting and fitting an e36 compact hatch seal to fit the boot opening, it's just a little tester as i got a load of rubber seald free from a mate and my old one was torn and nasty. 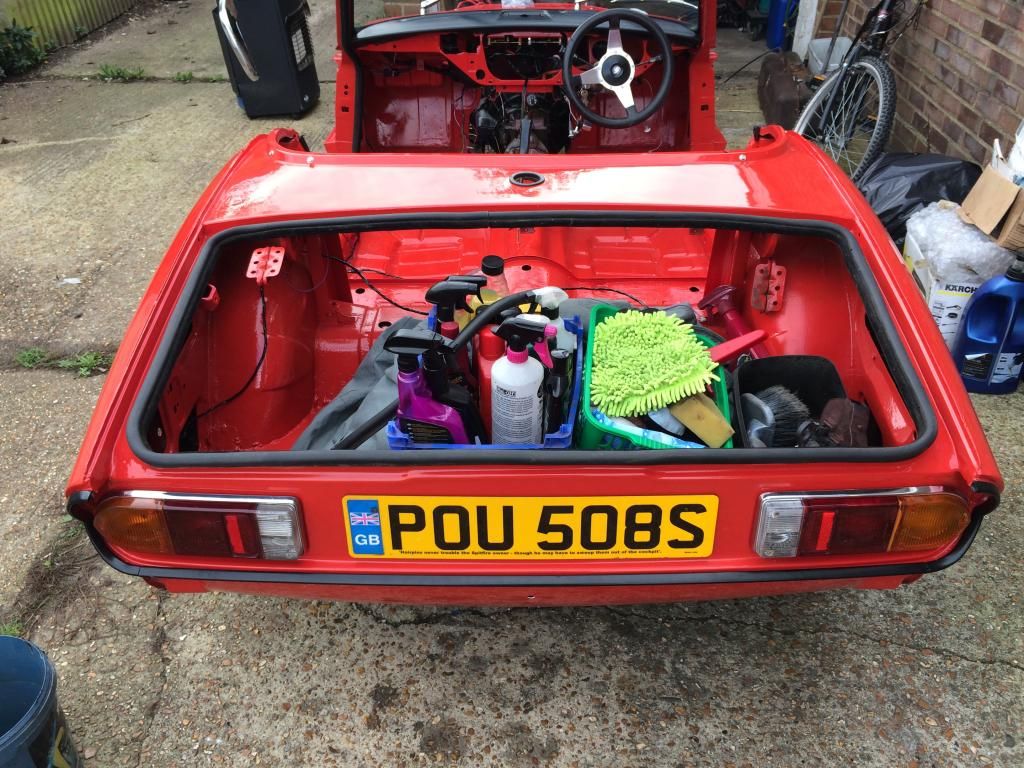 Repainted and refitted the wing seam trim. 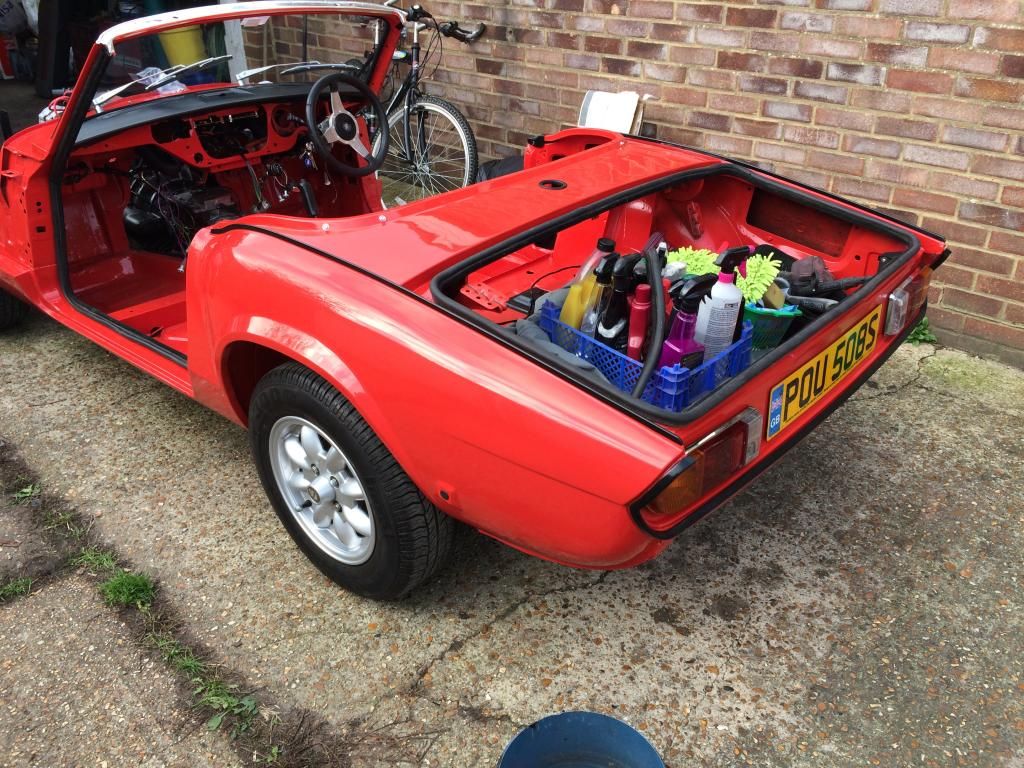 OOOHHH ARRRRR 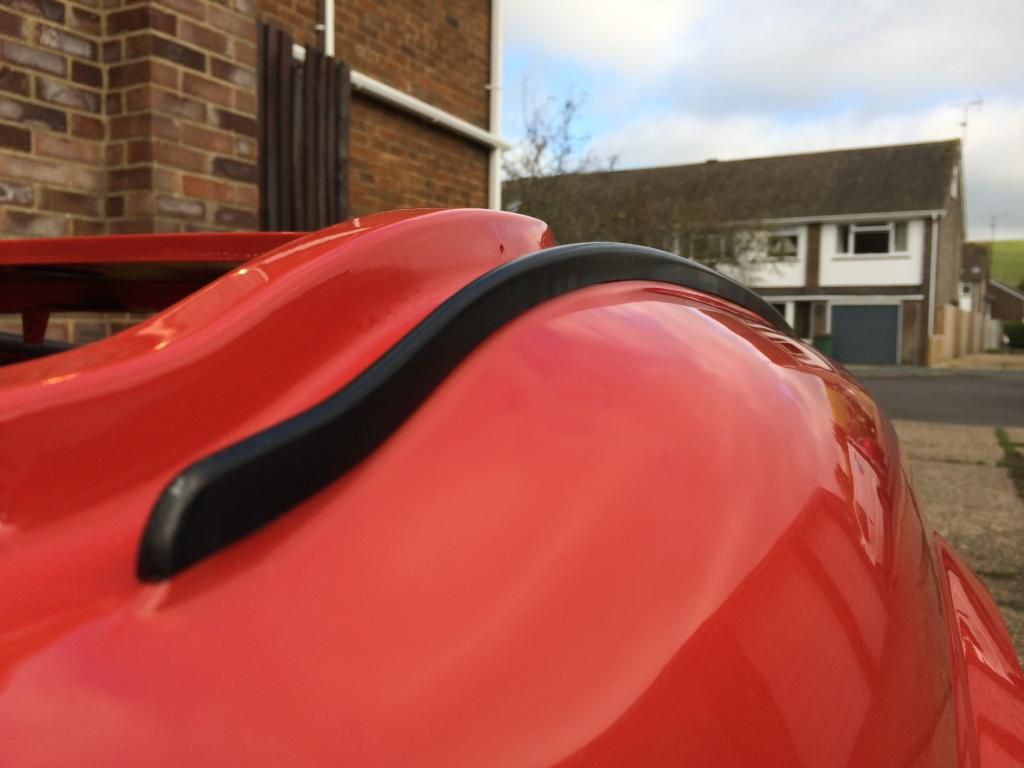 While i was doing this i redrilled some holes and fitted the rest of the pop rivets and roof poppers, as well as doing the windscreen capping. Then moved onto the dashboard, started with the center gauges and heater controls, then moved onto the main speedo and tach, a really fiddly job that i didn't enjoy at all.  scraped knuckles and a broken speedo cable. 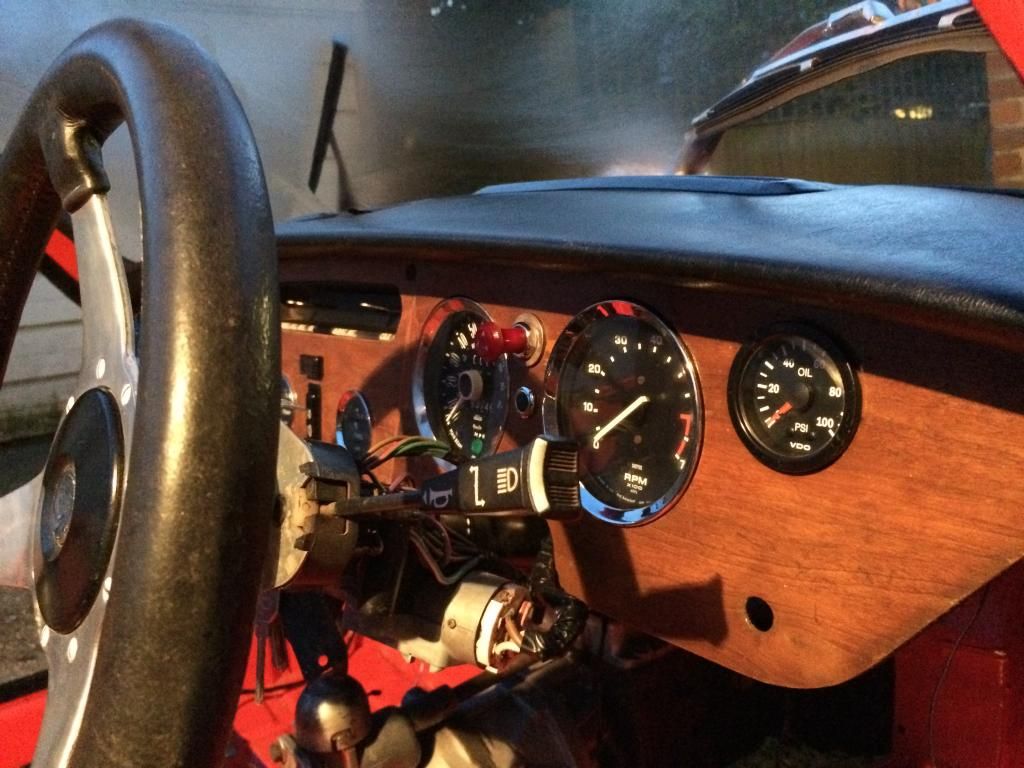 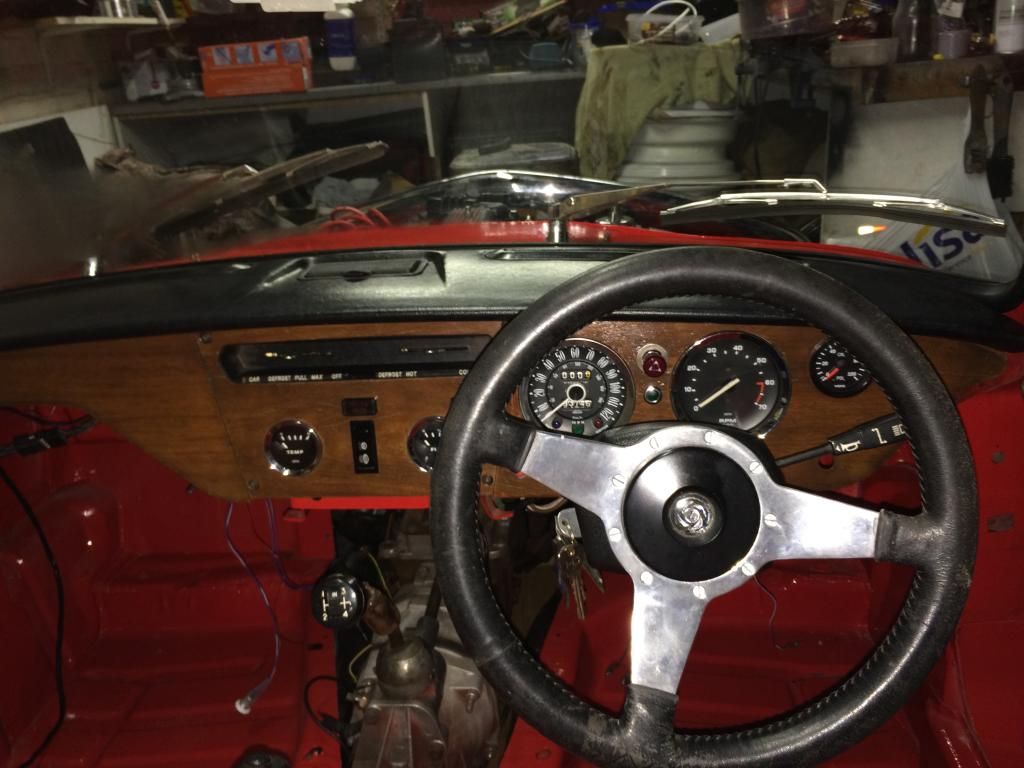 Also got another little project delivered today. 80's kyosho RC buggy. 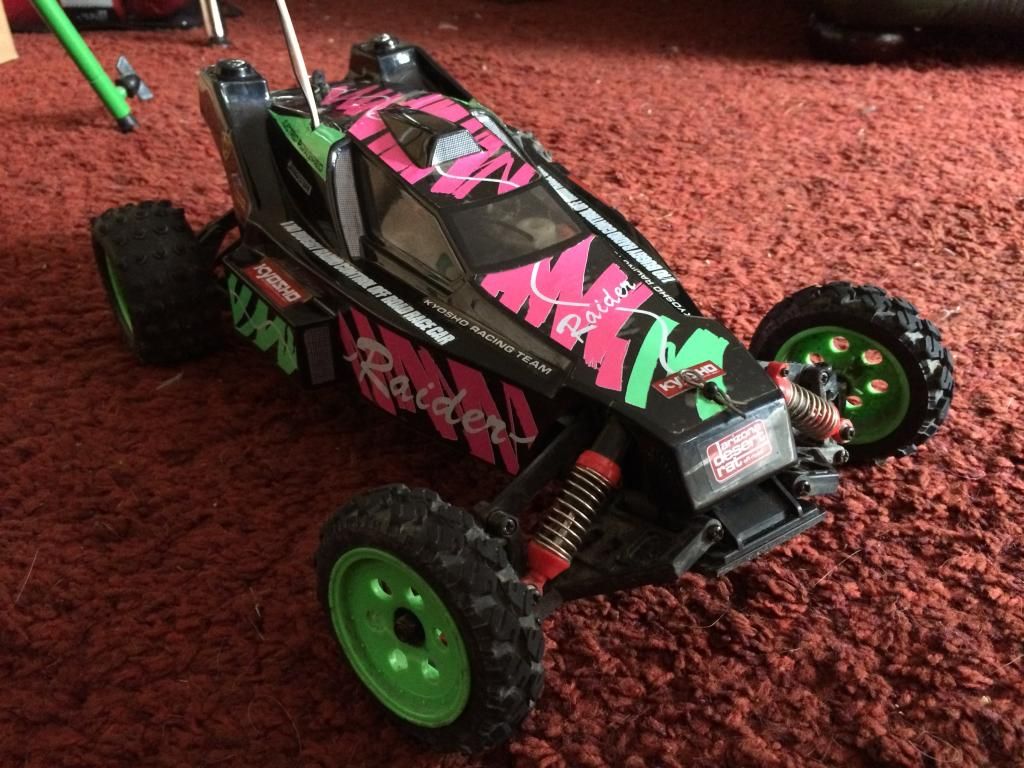 Plenty to keep me busy over the winter!  |
| |
|
|
eurogranada
Europe
To tinker or not to tinker, that is the question...
Posts: 2,556
|
|
Oct 29, 2014 18:34:39 GMT
|
|
Very nice work! That car is looking super! It really reminds me of my car. I love the contrast between the red and black and also how clean everything is looking.
|
| |
|
|
|
|
|
Oct 29, 2014 23:34:59 GMT
|
Very nice work! That car is looking super! It really reminds me of my car. I love the contrast between the red and black and also how clean everything is looking. I'm really happy with how it all ties together, shame it doesn't look too different from how it used to be, you notice the detail better when you're up close. 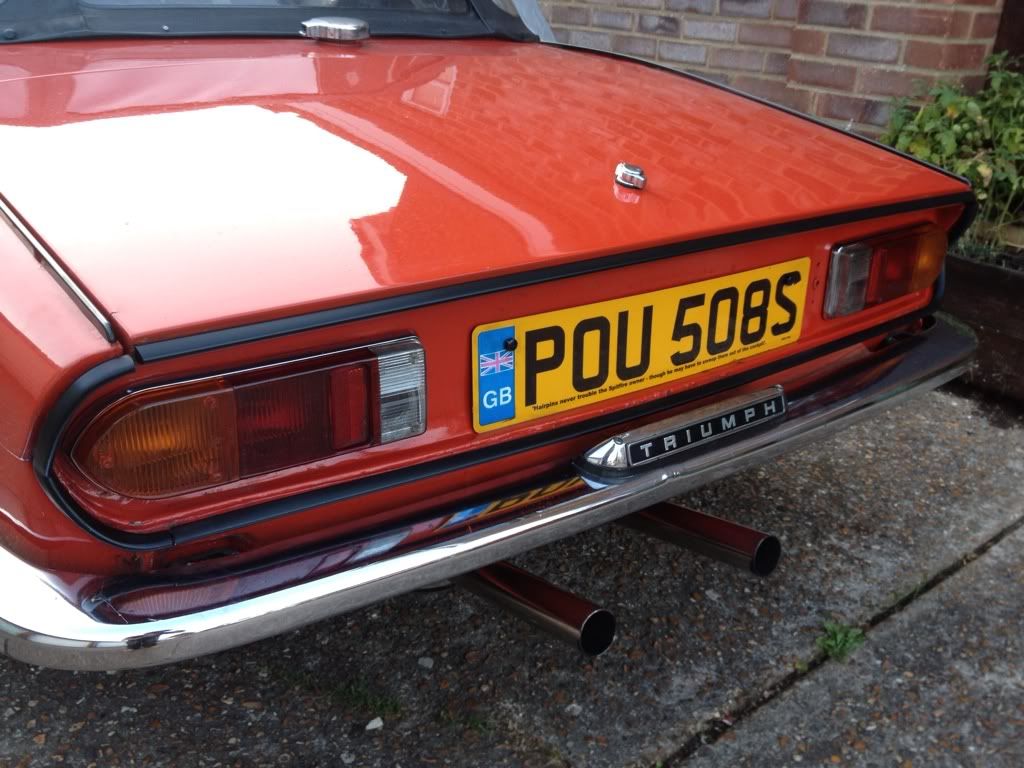 |
| |
|
|
|
|
|
|
|
|
|
Very nice work! That car is looking super! It really reminds me of my car. I love the contrast between the red and black and also how clean everything is looking. I'm really happy with how it all ties together, shame it doesn't look too different from how it used to be, you notice the detail better when you're up close. The real difference is knowing that you have a solid, rust free, well finished car! Might not be a big physical difference, but certainly a physiological one!  Now, just a little observation and me being very pedantic, but the speedo and rev counter; the former is an earlier Jaeger dial, more commonly seen on MkI to IV models, the rev counter is a later Smiths dial, common to 1500's, I'd have to have the two of them the same, in this case your speedo must have been changed at some point for this earlier replacement. But, thats just me  She's looking really well now! May I ask if you have seam sealed the internal joints etc? I ask because mine has been letting in a little water in the rear lower rear wings along the bottom seam (that internal space between the rear wing and inner boot panel). It was getting in, but not getting out and pooling somewhat. Had to dry it up, clean it out, rust proof it and seam seal; think I have her sorted! Last thing I want is rust setting in from the inside out! |
| |
|
|
|
|
|
Oct 30, 2014 12:50:07 GMT
|
|
looking good buddy, that's nice
|
| |
|
|
|
|
|
Oct 30, 2014 14:33:51 GMT
|
I'm really happy with how it all ties together, shame it doesn't look too different from how it used to be, you notice the detail better when you're up close. The real difference is knowing that you have a solid, rust free, well finished car! Might not be a big physical difference, but certainly a physiological one!  Now, just a little observation and me being very pedantic, but the speedo and rev counter; the former is an earlier Jaeger dial, more commonly seen on MkI to IV models, the rev counter is a later Smiths dial, common to 1500's, I'd have to have the two of them the same, in this case your speedo must have been changed at some point for this earlier replacement. But, thats just me  She's looking really well now! May I ask if you have seam sealed the internal joints etc? I ask because mine has been letting in a little water in the rear lower rear wings along the bottom seam (that internal space between the rear wing and inner boot panel). It was getting in, but not getting out and pooling somewhat. Had to dry it up, clean it out, rust proof it and seam seal; think I have her sorted! Last thing I want is rust setting in from the inside out! Now the speedo/rev counter is a thing i've notcied too, i did a little digging into it and it seems it's a replacement sometime in 1980-1981 and it's a dash from a late registered mk4 as it has 1974 production stickers all over the dash. i really like the look of the speedo, but finiding an electric tach to match it might prove difficult so i'll live with it for now  And the bottom of the car had some seam sealer applied in the main areas needed, it wasn't pictured as i'd forgotten to take my phone for pictures that day and just left it out. I still need to drill a drain hole in the back of the wing though as when it was left in the rain it pooled and needed cleaning out. |
| |
|
|
|
|
|
Oct 30, 2014 14:34:34 GMT
|
looking good buddy, that's nice Cheers man. Getting there! |
| |
|
|
|
|
|
Oct 31, 2014 12:29:27 GMT
|
Now the speedo/rev counter is a thing i've notcied too, i did a little digging into it and it seems it's a replacement sometime in 1980-1981 and it's a dash from a late registered mk4 as it has 1974 production stickers all over the dash. i really like the look of the speedo, but finiding an electric tach to match it might prove difficult so i'll live with it for now  And the bottom of the car had some seam sealer applied in the main areas needed, it wasn't pictured as i'd forgotten to take my phone for pictures that day and just left it out. I still need to drill a drain hole in the back of the wing though as when it was left in the rain it pooled and needed cleaning out. I'd be very reluctant to drill a hole in the wing after its been painted; you'll be exposing fresh metal that'll need to be treated/painted again to reduce the risk of rusting. Obviously they put drain holes in the sills, but, I wonder why not in the wings? I reckon I found the source of the leak in mine; it was coming in through a section of joint where the rear light panel meets the wing. I have it sorted, cleaned it out, blasted it with a hot air gun then smothered the lower inside edge in rust proof primer and seam sealer. So, even if a drop should get it it wont get down into the seam or be in contact with untreated metal!  Another issue that I'll have to look into too is when it comes to fitting the rear trim around the light panel is perhaps putting a thin bead of clear silicone around them to prevent water collecting in the strips and getting into the seams. Another trick is to drill a few tiny holes in the underside of the strip on the light panel and the one on the boot (which is notorious for holding water and rusting the boot lip out) to let any collected water out. |
| |
|
|
|
|
|
Oct 31, 2014 13:53:18 GMT
|
Now the speedo/rev counter is a thing i've notcied too, i did a little digging into it and it seems it's a replacement sometime in 1980-1981 and it's a dash from a late registered mk4 as it has 1974 production stickers all over the dash. i really like the look of the speedo, but finiding an electric tach to match it might prove difficult so i'll live with it for now  And the bottom of the car had some seam sealer applied in the main areas needed, it wasn't pictured as i'd forgotten to take my phone for pictures that day and just left it out. I still need to drill a drain hole in the back of the wing though as when it was left in the rain it pooled and needed cleaning out. I'd be very reluctant to drill a hole in the wing after its been painted; you'll be exposing fresh metal that'll need to be treated/painted again to reduce the risk of rusting. Obviously they put drain holes in the sills, but, I wonder why not in the wings? I reckon I found the source of the leak in mine; it was coming in through a section of joint where the rear light panel meets the wing. I have it sorted, cleaned it out, blasted it with a hot air gun then smothered the lower inside edge in rust proof primer and seam sealer. So, even if a drop should get it it wont get down into the seam or be in contact with untreated metal!  Another issue that I'll have to look into too is when it comes to fitting the rear trim around the light panel is perhaps putting a thin bead of clear silicone around them to prevent water collecting in the strips and getting into the seams. Another trick is to drill a few tiny holes in the underside of the strip on the light panel and the one on the boot (which is notorious for holding water and rusting the boot lip out) to let any collected water out. Lets just say they weren't designed to be long lasting  but i've used silicon before to seal the trim on, also helps cut down vibration and the chance of them falling off. but it's not the easiest to get neat. |
| |
|
|
|
|
|
|
|
Most of the firewall is now fitted up. wired up and ready to go but i'm still hesitant to connect the battery and see if it'll all light up, gotta get some new indicator flashers as both mine are broken. But more on that later. here's the wiper motor before the master cylinders were fitted.  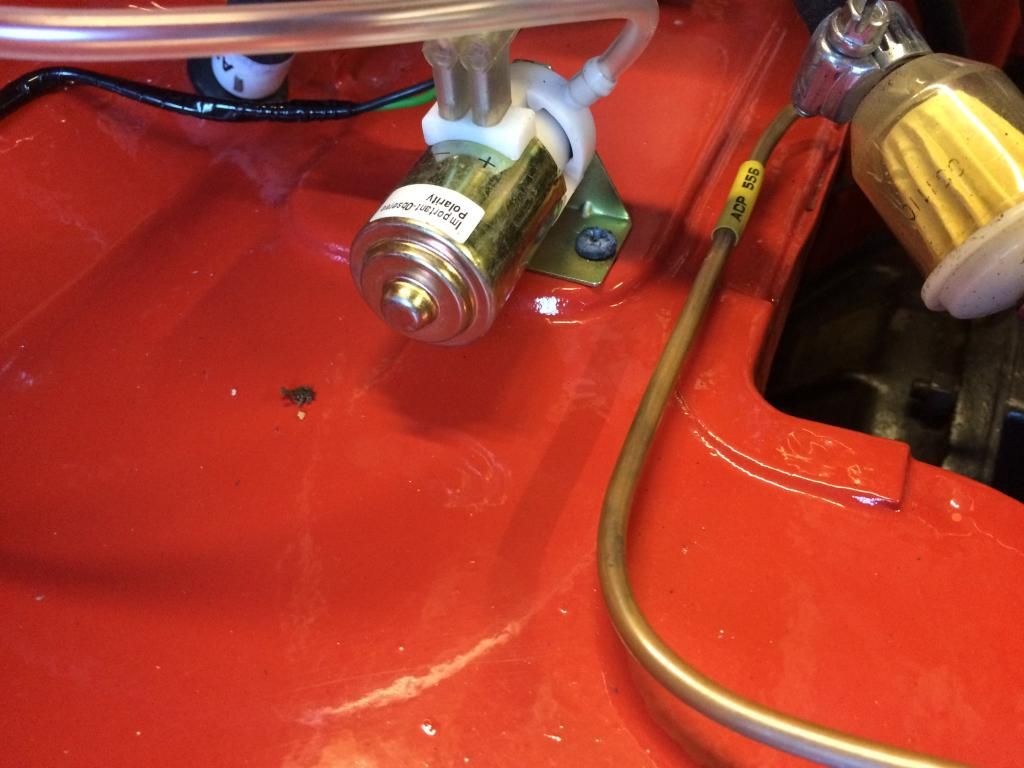 Really looking good now. Time to fit the rad. 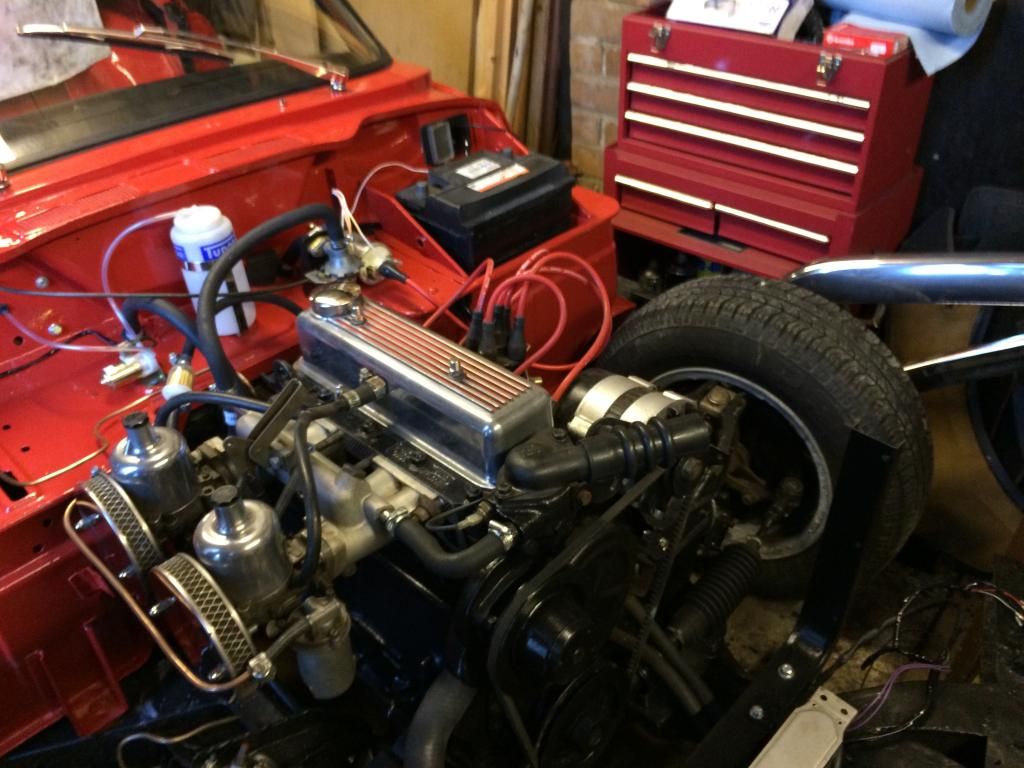 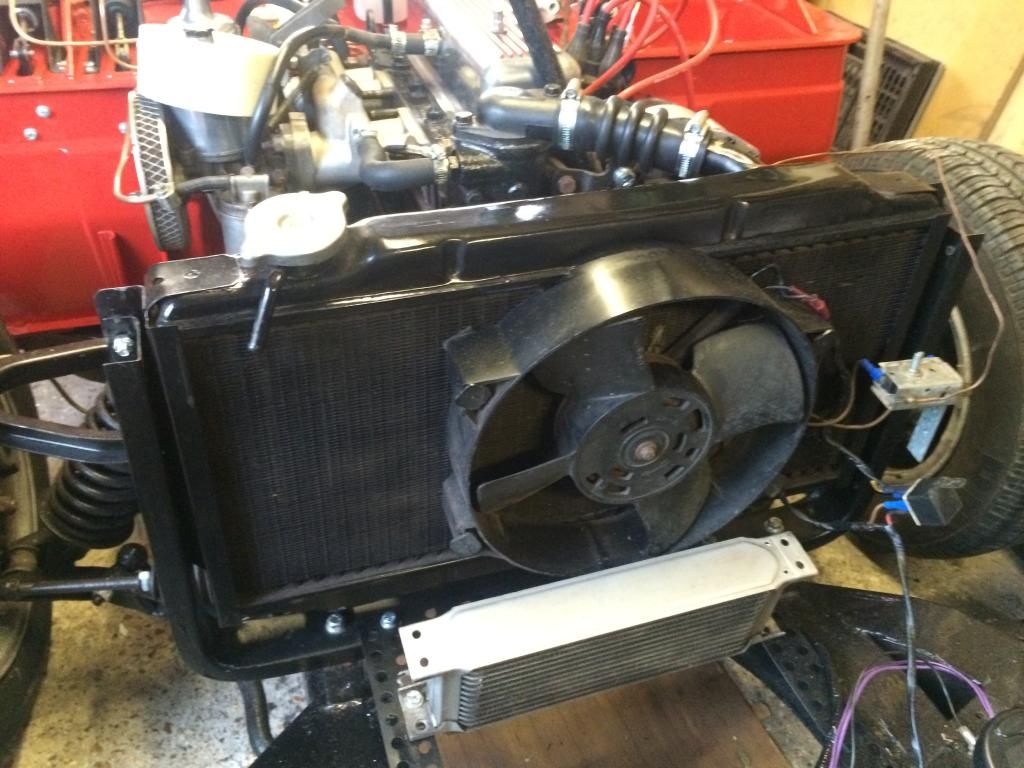 Modified my little blaupunkt to accept an ipod, i'll see how it sounds through a small speaker, but I might get a little amp and hide it behind the panel at the back of the cockpit. 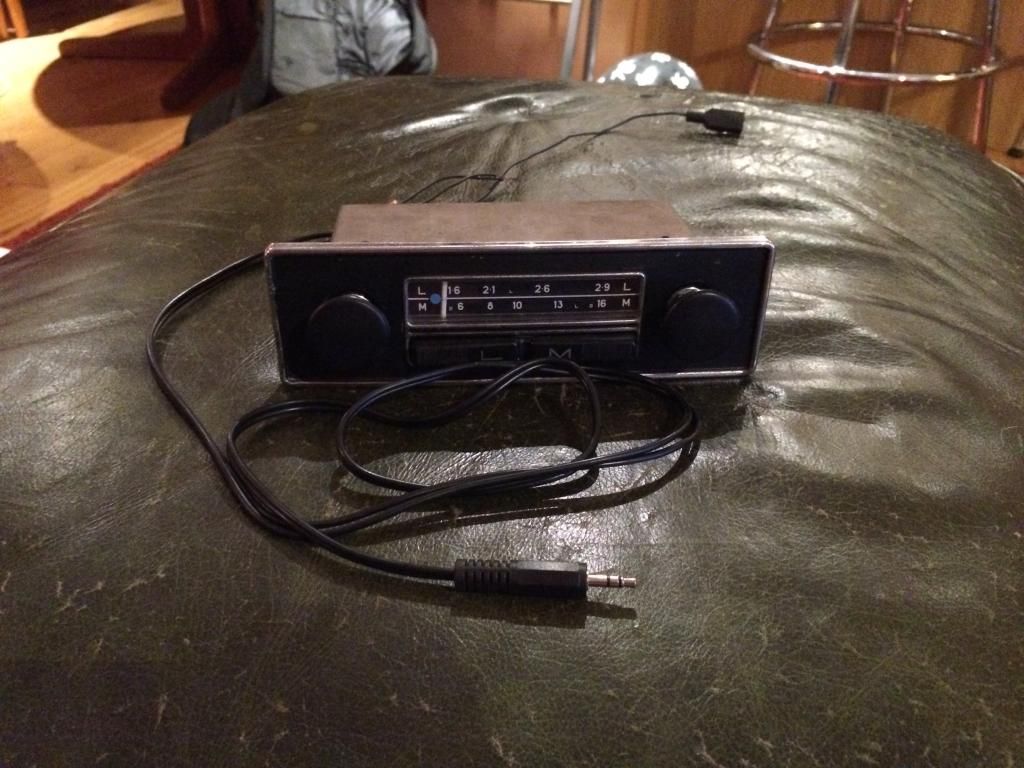 Master cylinders on as well as the pedals, need to get a new cap for the brakes as this one is horrid. 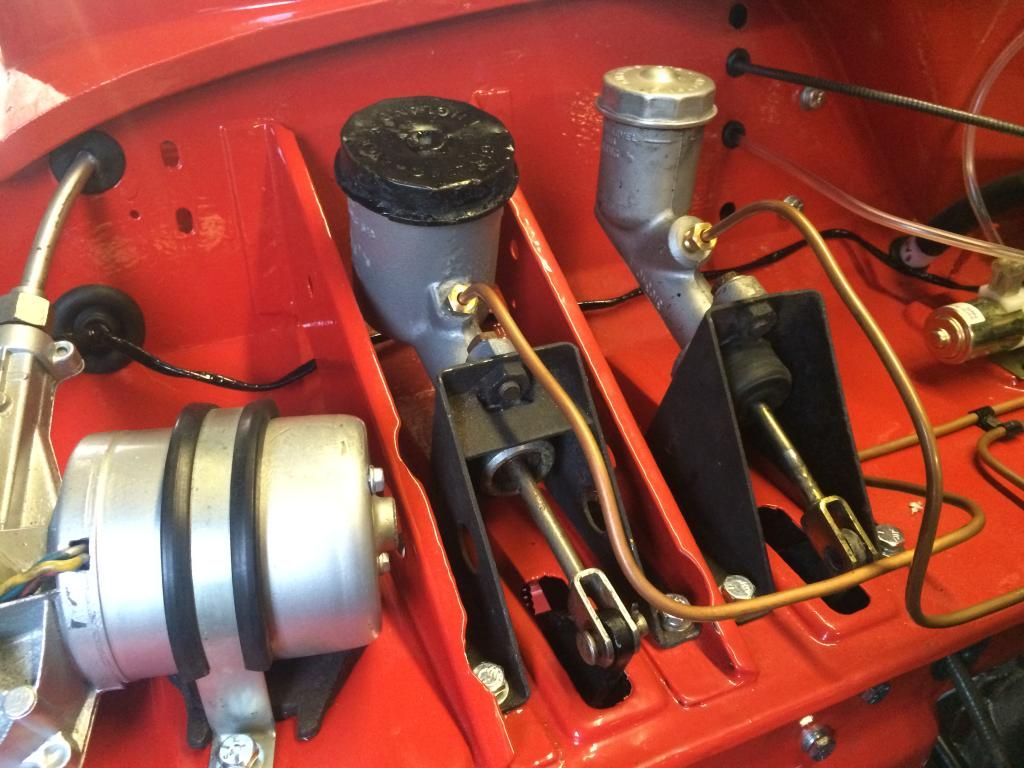 Starting to wire up the Starter and ignition. 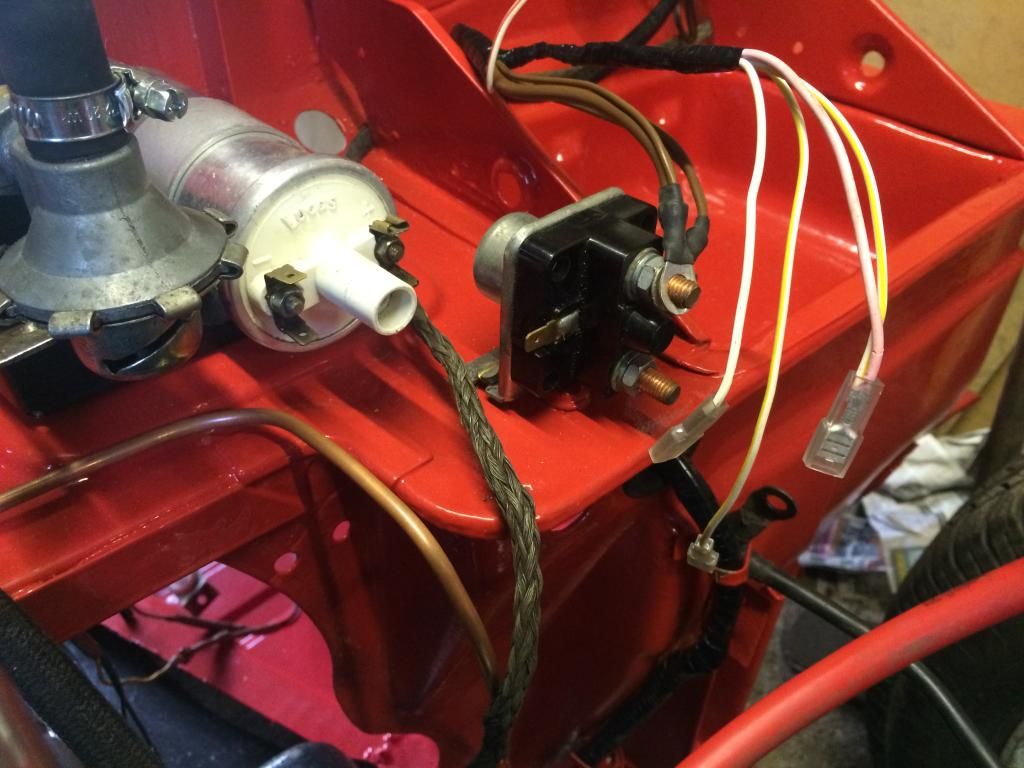 looking more like a finished thing now  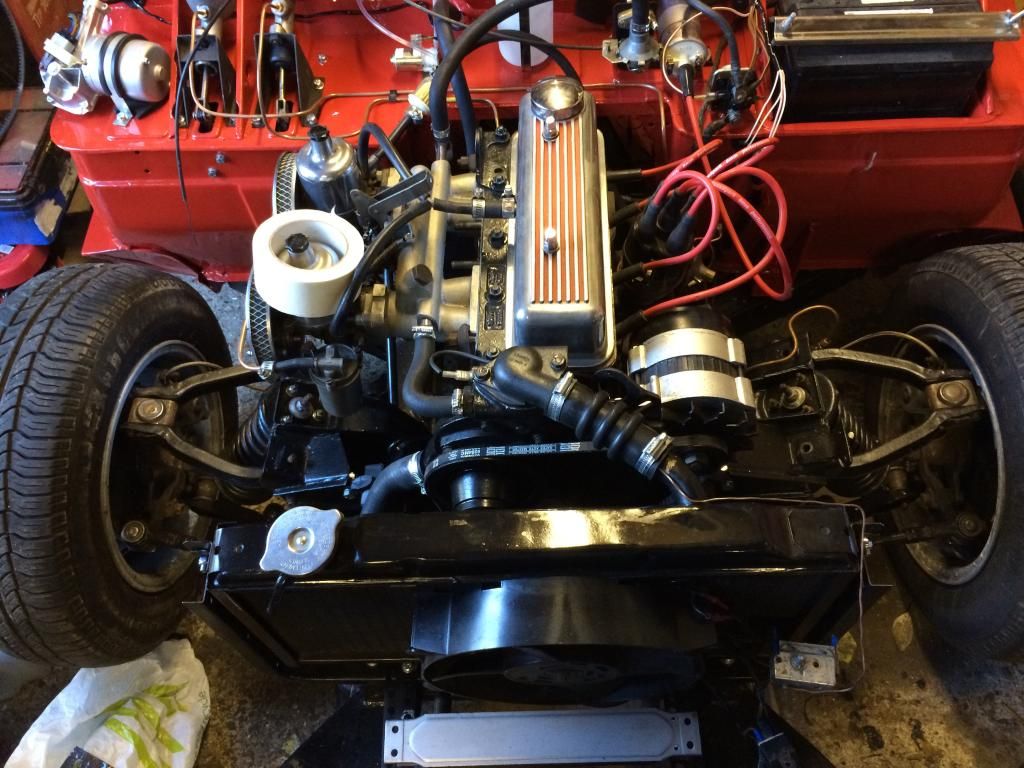 fan wiring added to the solenoid. 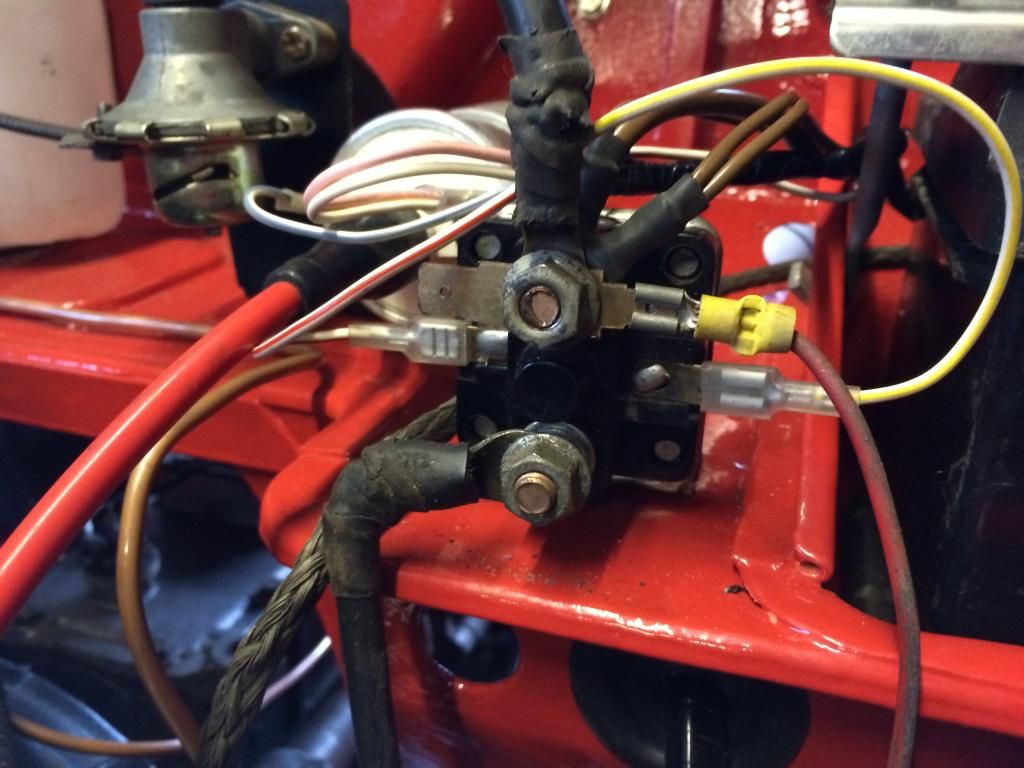 Tried to keep it looking neat but there's only so much you can do. 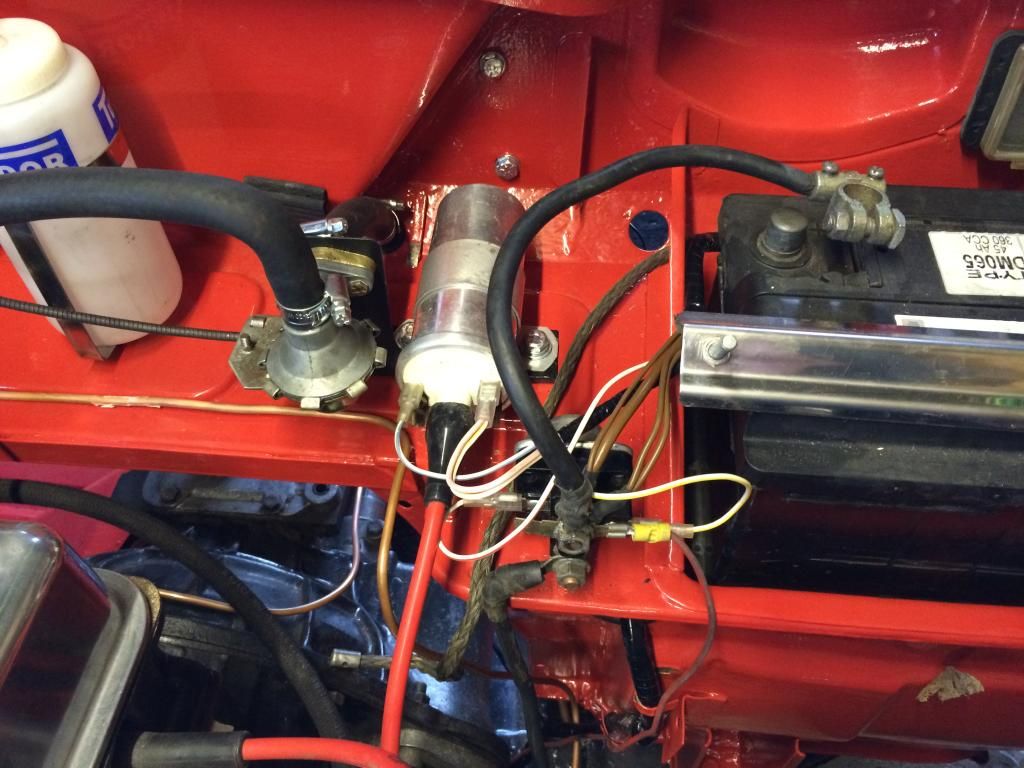 need to clean up the HT leads and dizzy cap as it got very dusty in storage. 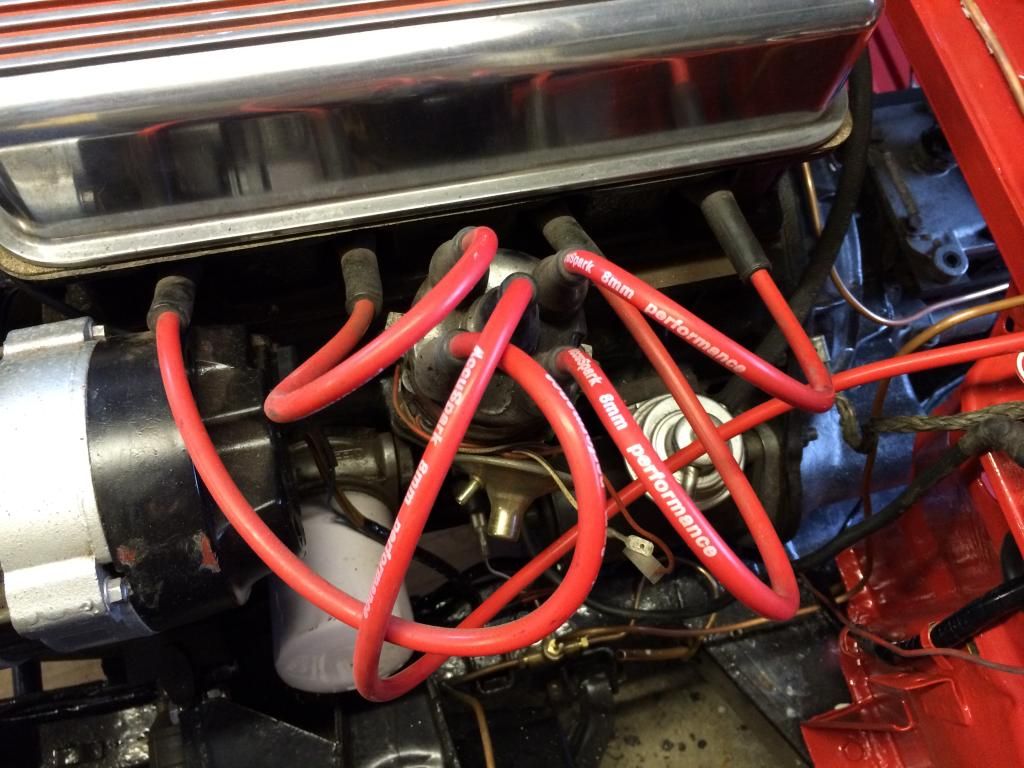 And then i noticed that i'd put the rocker cover on wrong at some point, might as well check the rocker adjustment while i'm there, few a bit out but nothing outrageous.  Should be getting the gearbox tunnel fitted tomorrow, don't like working with fiberglass  |
| |
|
|
|
|
|
Nov 20, 2014 10:35:40 GMT
|
Any progress?  You might recognise the stage I'm currently at. In fact, I'm gonna copy your process for treated the underside! I was searching and searching for a step by step method a few months back when I came upon this thread, so, its Bilth Hamber and epoxy resin all the way........eventually!  www.boards.ie/vbulletin/showthread.php?p=93111687#post93111687 www.boards.ie/vbulletin/showthread.php?p=93111687#post93111687 |
| |
|
|
|
|
|
Nov 20, 2014 11:17:40 GMT
|
Ooh that's looking good. All the hard work painting bits pays off when it goes back together looking shiny!  |
| |
|
|
|
|
|
Nov 21, 2014 15:03:33 GMT
|
Any progress?  You might recognise the stage I'm currently at. In fact, I'm gonna copy your process for treated the underside! I was searching and searching for a step by step method a few months back when I came upon this thread, so, its Bilth Hamber and epoxy resin all the way........eventually!  www.boards.ie/vbulletin/showthread.php?p=93111687#post93111687 www.boards.ie/vbulletin/showthread.php?p=93111687#post93111687Really good to know i've inspired someone to do the same on their Spit, and hopefully the paint shall help it last a good few more years than the conventional methods. And you stripping the inside before painting is a wise choice too as i had a tiny bit of bubbling where i'd been sanding the inside and it got a bit hot. |
| |
|
|
|
|


 but I'm glad it's done now.


 scraped knuckles and a broken speedo cable.


