|
|
|
Jun 21, 2015 16:12:06 GMT
|
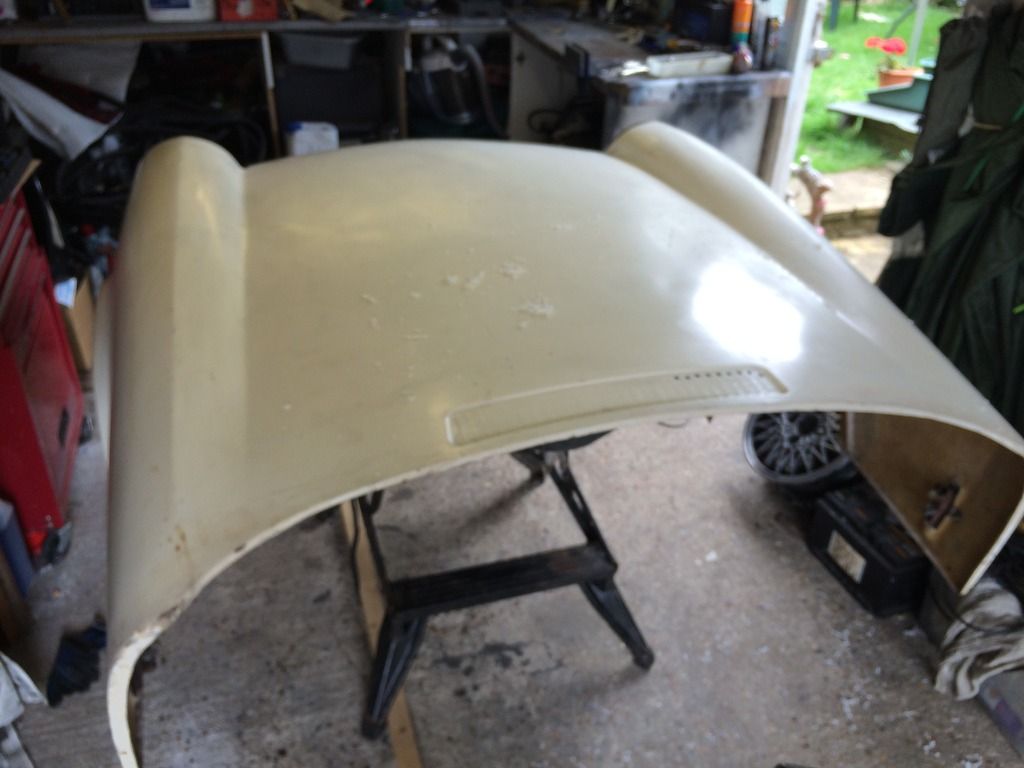
well, the day of reconing came, we ventured back to the garage to see progress after all this time only to be greeted with a dusty bonnet and no progress. how frustrating. So we've hatched a cunning plan, and gone and bought a fiberglass bonnet on ebay, should be collecting it within the week and painting it myself in the garage just to get the car on the road. and to make progress before we had that i brought the valances home and started making brackets that i didnt have out of scrap aluminum, then i sprayed the valances with etch and regular primer. Looked a bit cruddy so i ran a wire brush over them  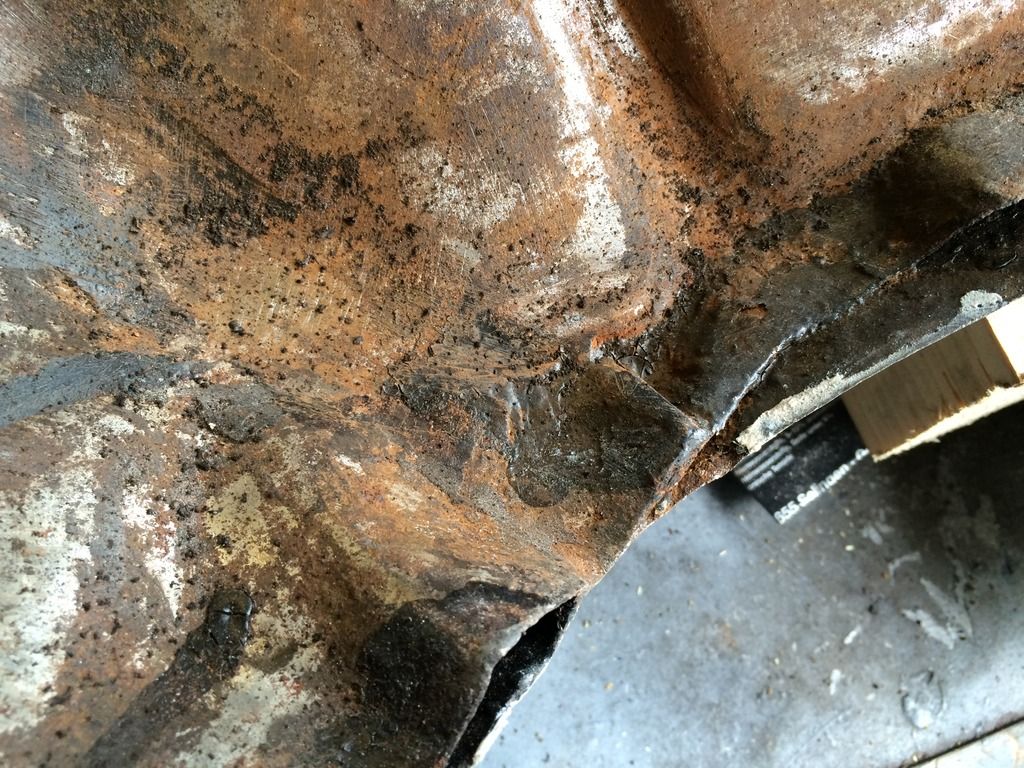 Then primed 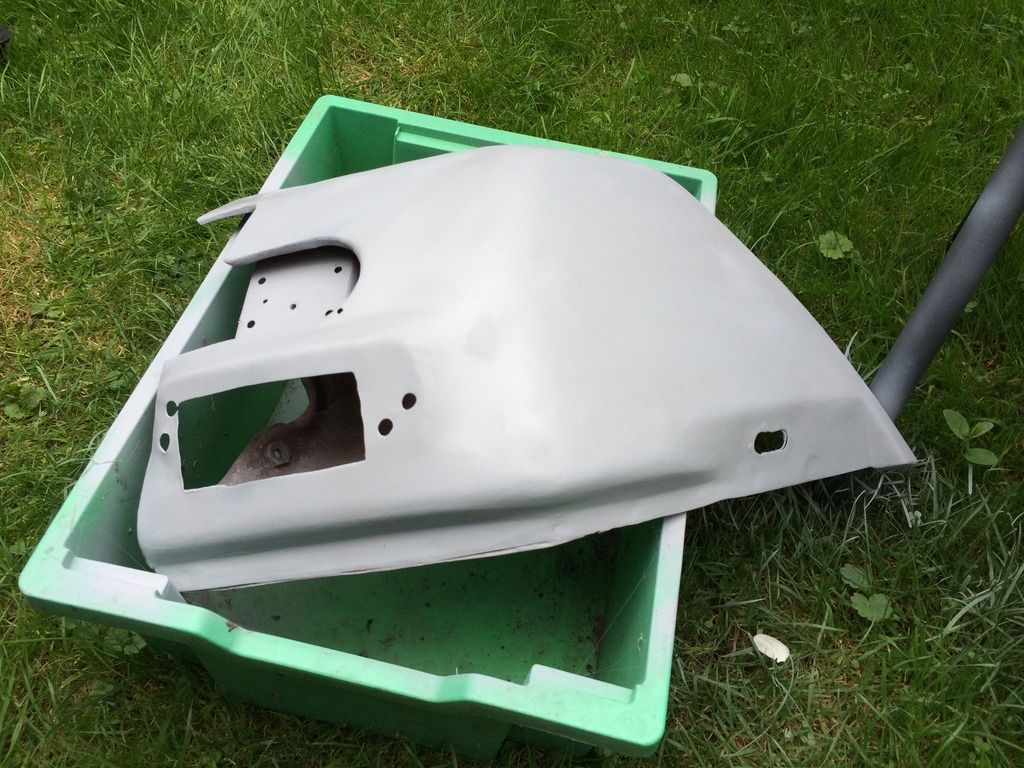 Knocked up some new brackets out of some old ally baking trays. 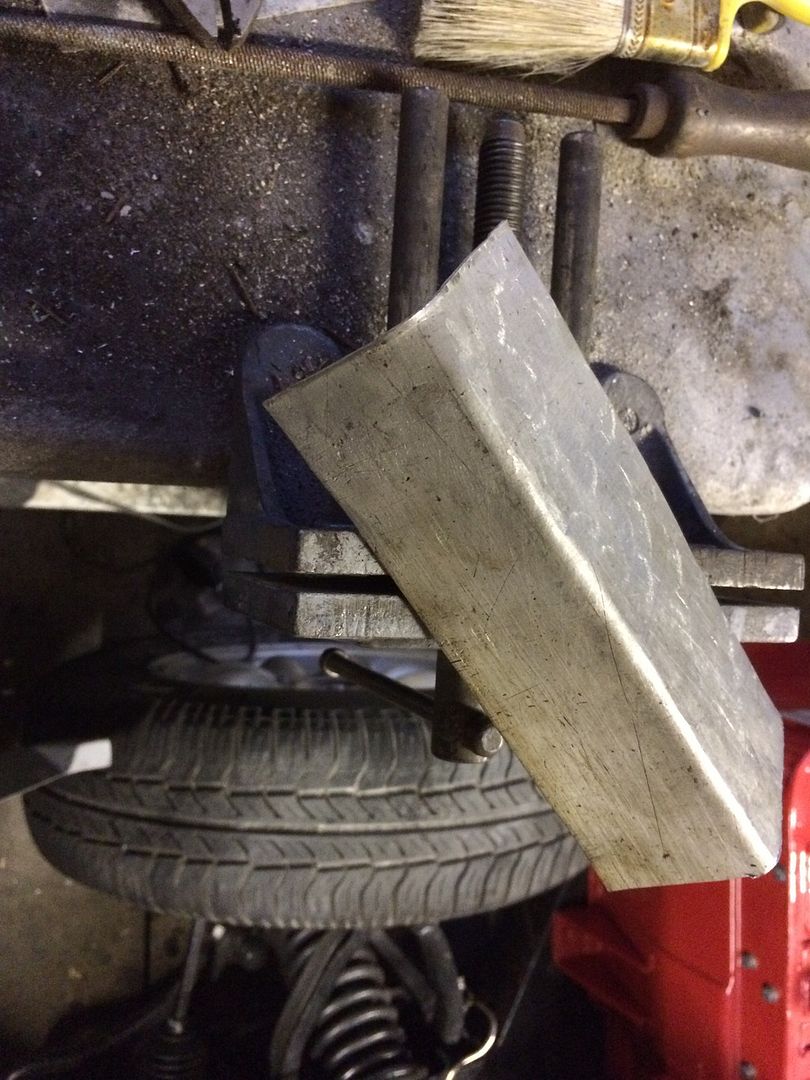 Came out looking good  Back of the valance came out really nice.  Second bracket mocked up. 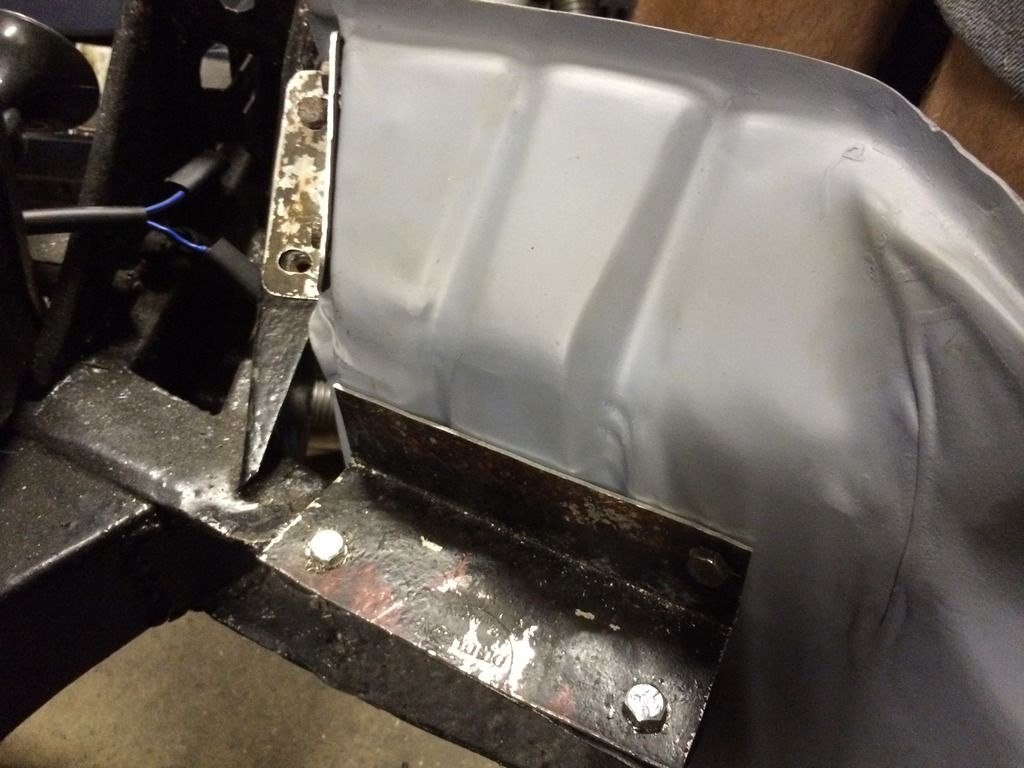 Now looking for a local place to supply fibreglass primer and alfa romeo rosso pompieri paint. then the fun begins! |
| |
|
|
|
|
|
|
|
Jun 23, 2015 14:27:18 GMT
|
That sucks, the situation with the bonnet!  I don't understand though, with all the work you put into the steel bonnet, it looked ready for paint, so why go to the expense of buying a fibreglass bonnet thats going to need paint also? Not to mention a half decent gun and spray equipment? Fun indeed!  Keep us updated!  |
| |
|
|
|
|
|
Jul 17, 2015 12:11:46 GMT
|
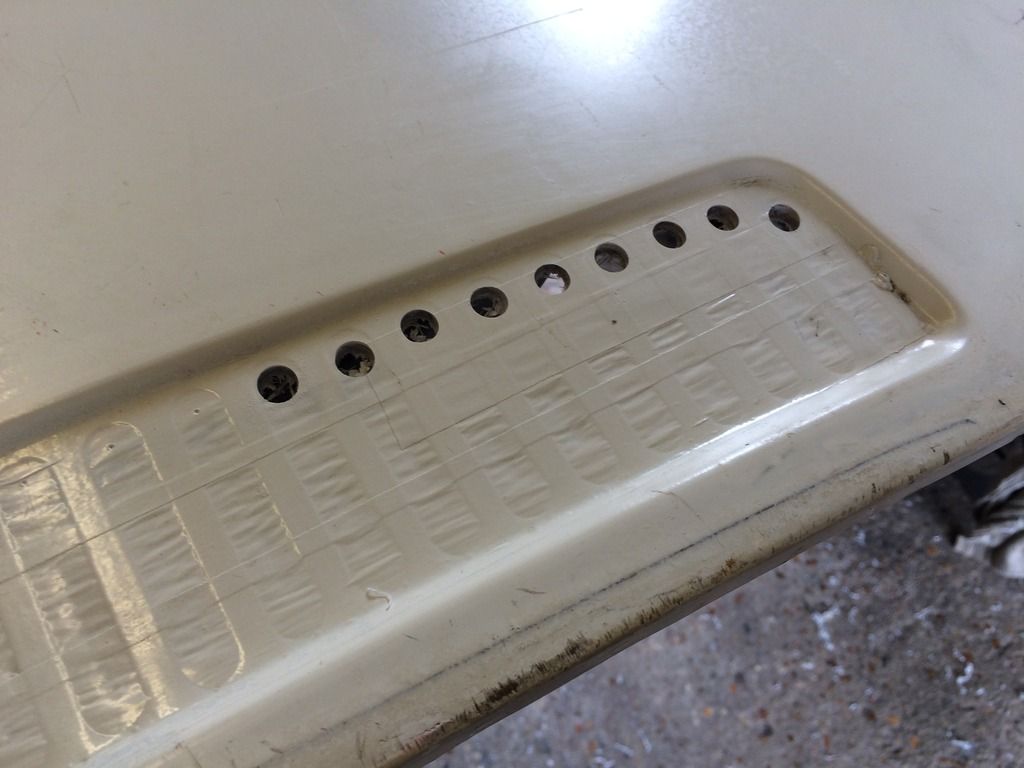
It's been over a month since my last update and progress has been slow, mainly because i purchased a bonnet off ebay and the seller (ben- top bloke who's also restoring a 1977 spit in red) was a little busy to have us come and collect it. so we had to wait a couple of weeks before i could get to work on it. so here's where we left off, the valances all fitted up with their new brackets and the bumper back on, which did require some cutting and tweaking.  Notice how that valance on the left is slanted? that's due to the bumper being twisted up on that end, sorted it out with my lardy self and a block of wood. Photo of the landrover in a clever disguise. 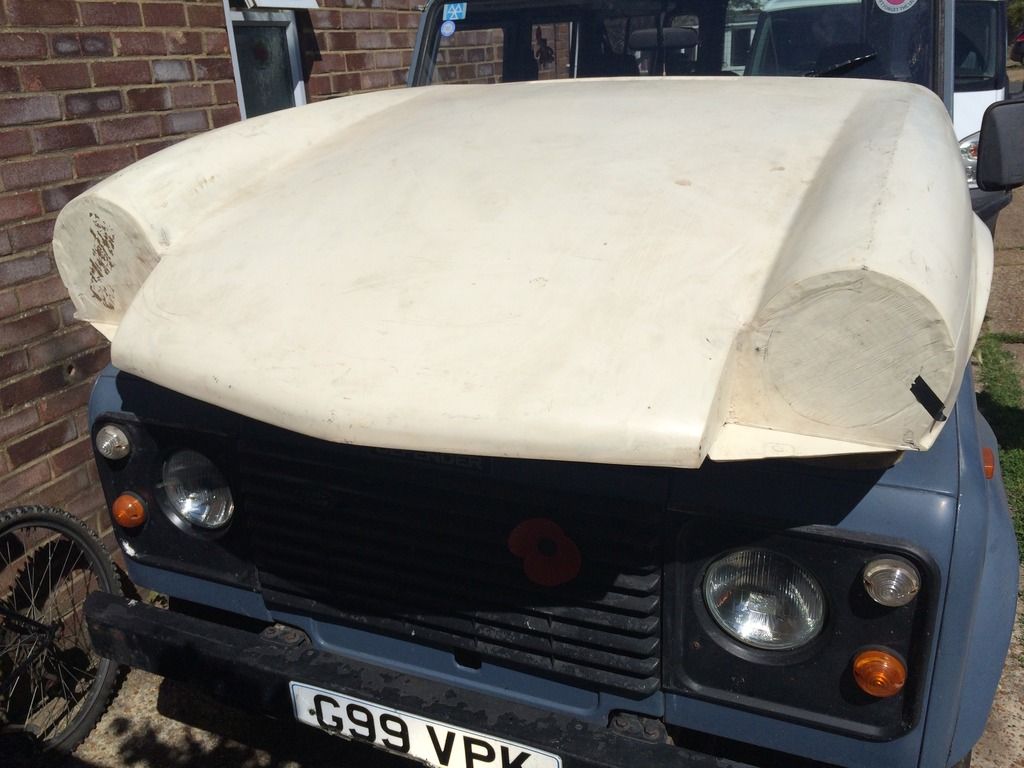 Dropping it in place showed that it fitted where it scraped  some carful angle grinder-ing later we had it sitting nice and it was time to attach the hinges (bought seperately in the sale with the bonnet as well as a speedo cable)  Pulled it back off to cut some holes. Not massively necessary but makes fitting the headight cowls a tad easier. 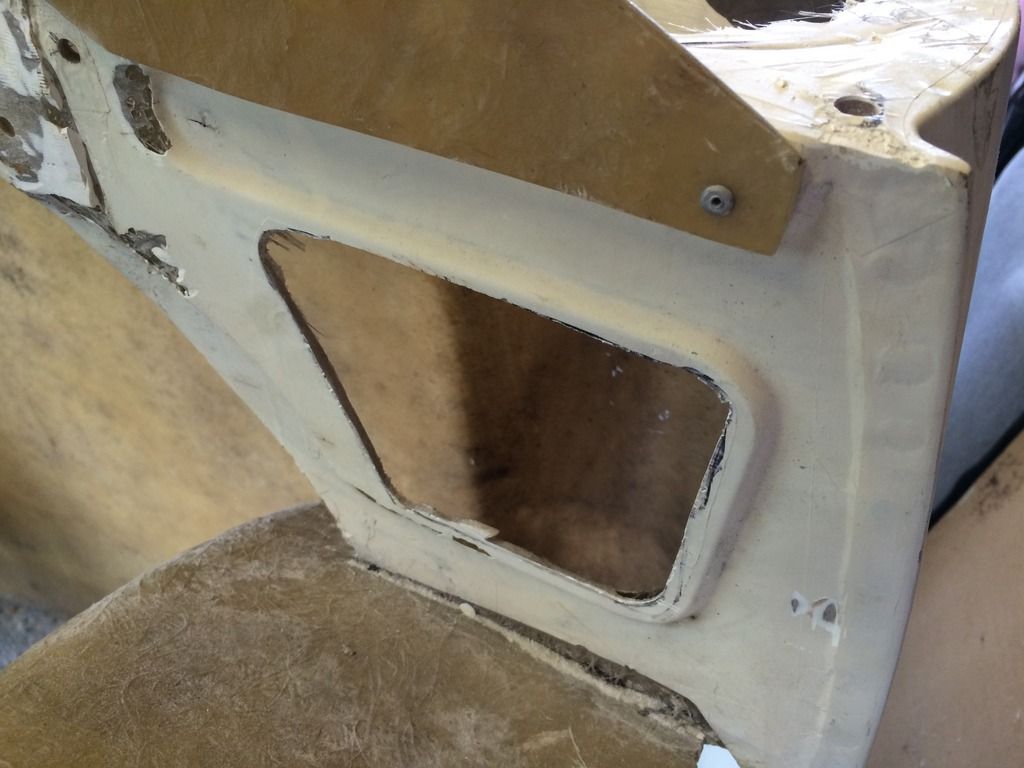 headlamp bowl holes next 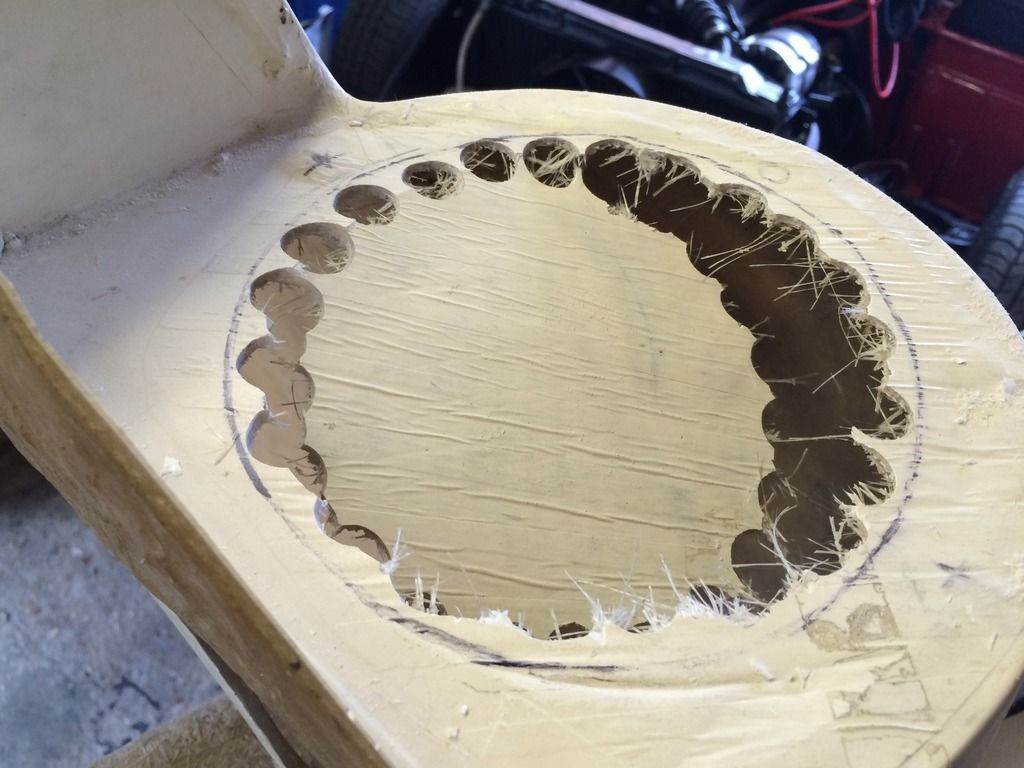 quick fit up and they're looking good! 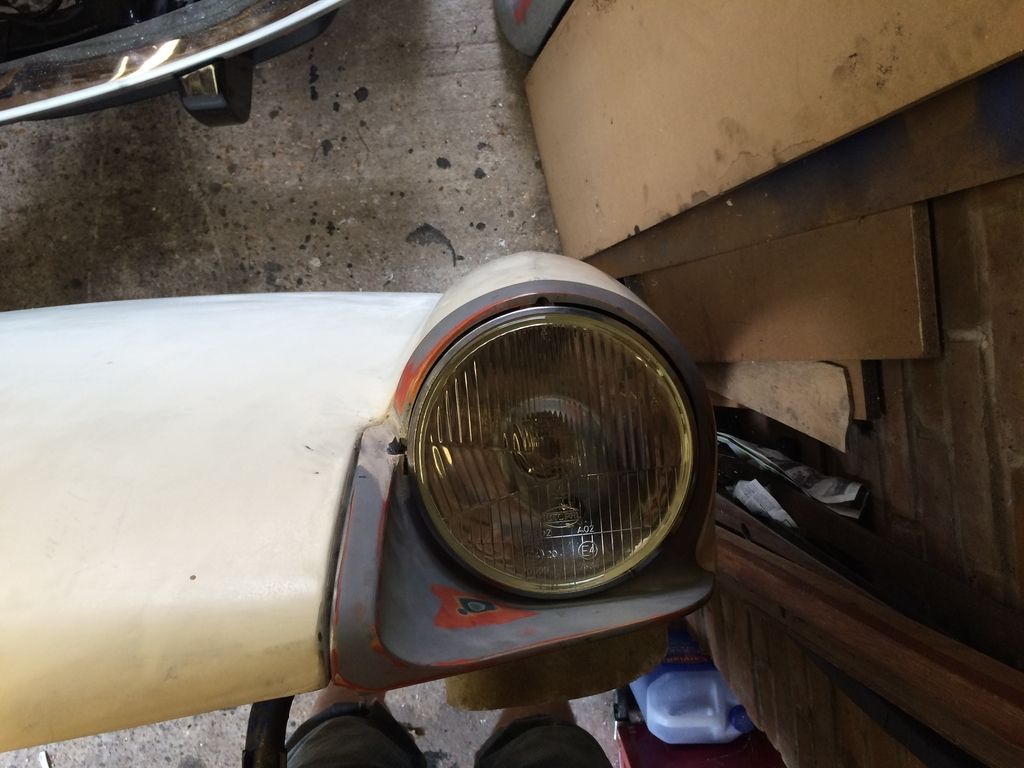 Bit of wiggling got his gap closed up.  hinges fitted i rested the bonnet on the car again, it seemed pleased. 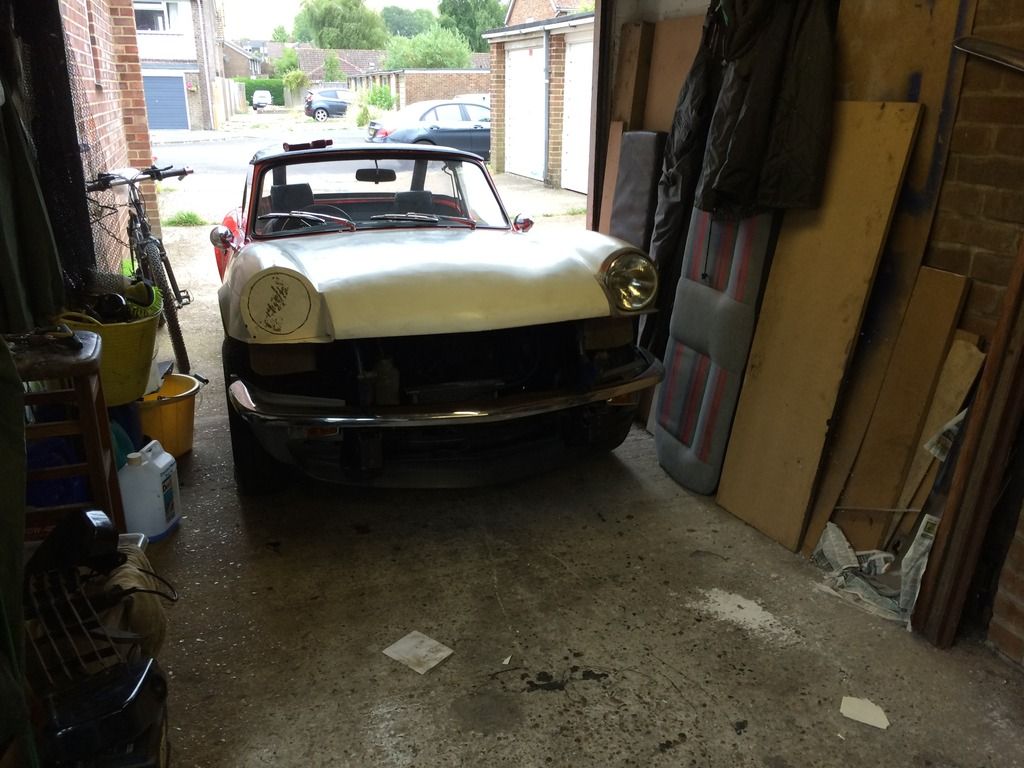 popped into the hinge boxes and bolted up it was time to adjust the fit. 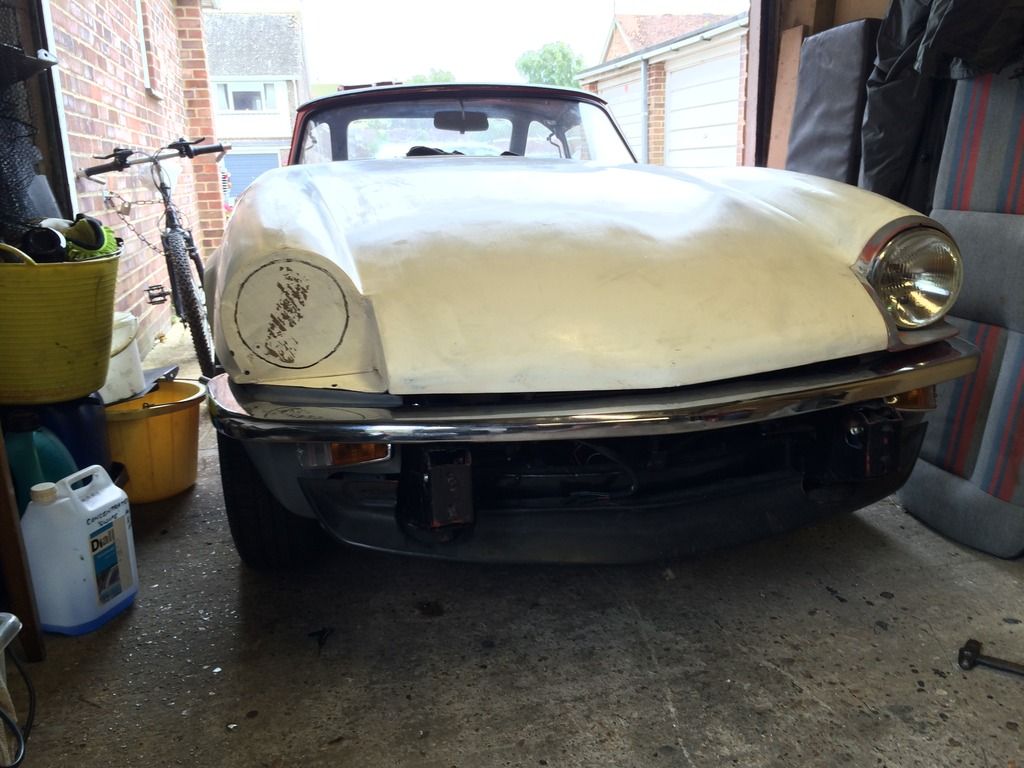 Pushed him outside for a quick standback and admire. 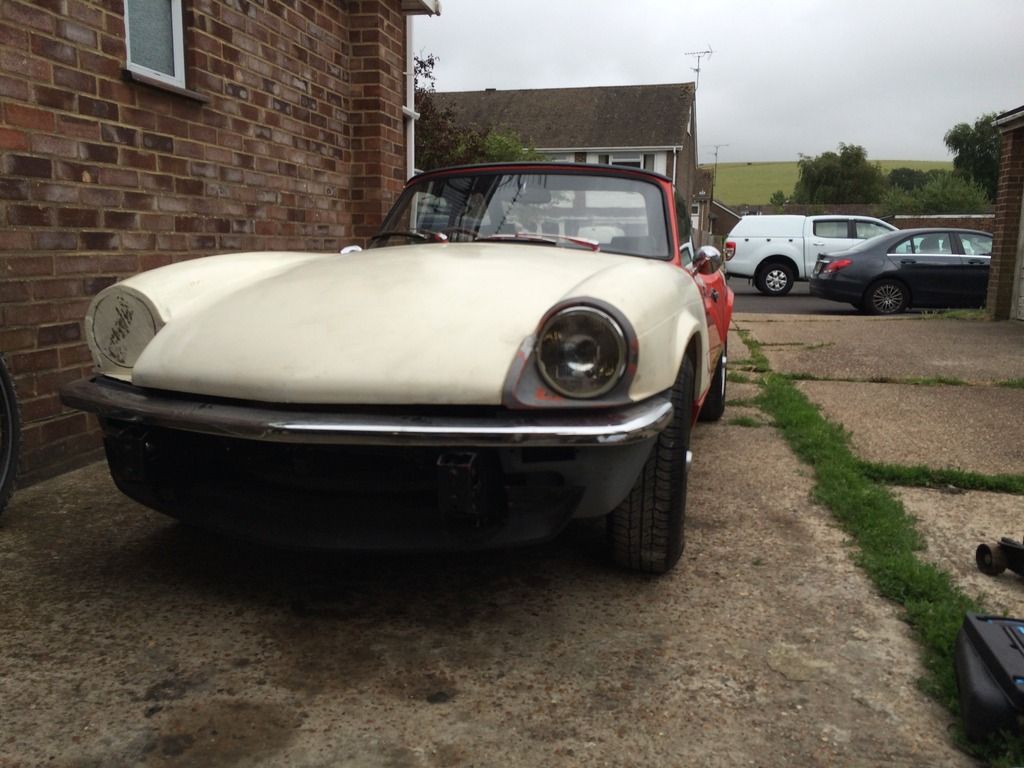 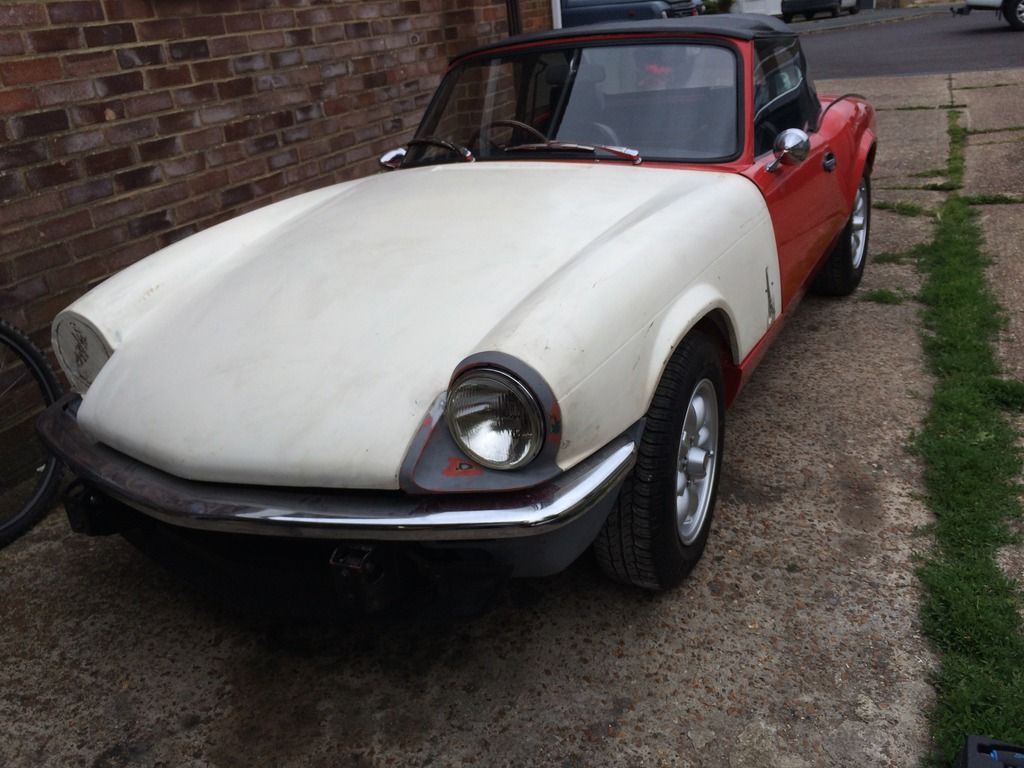 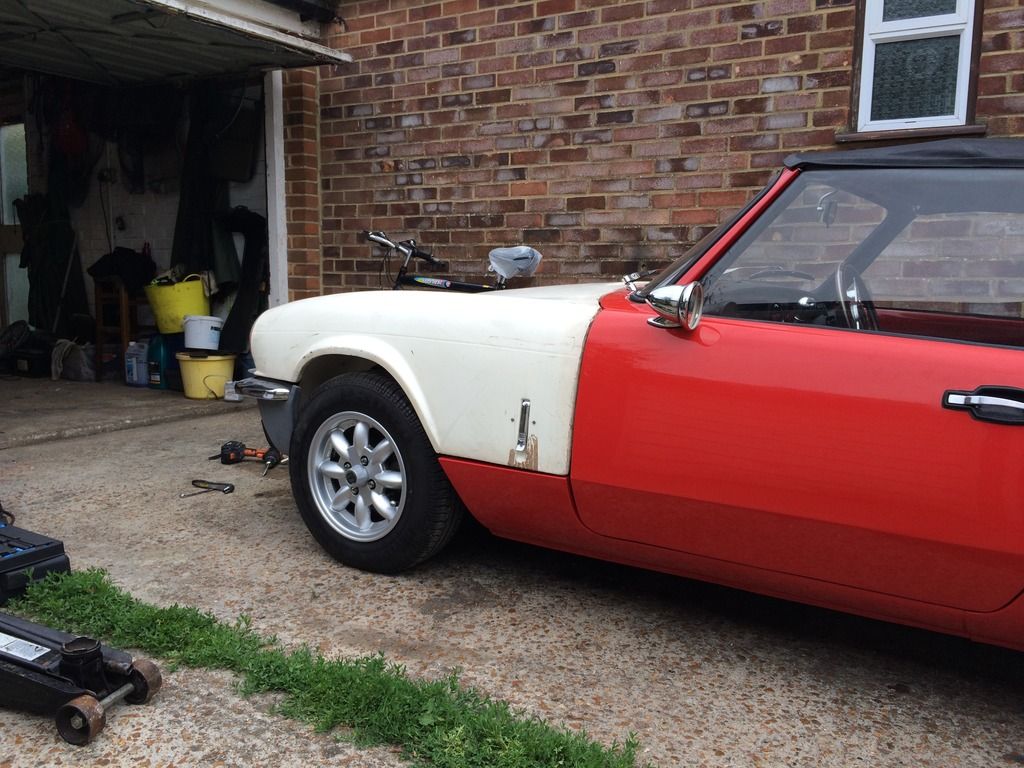 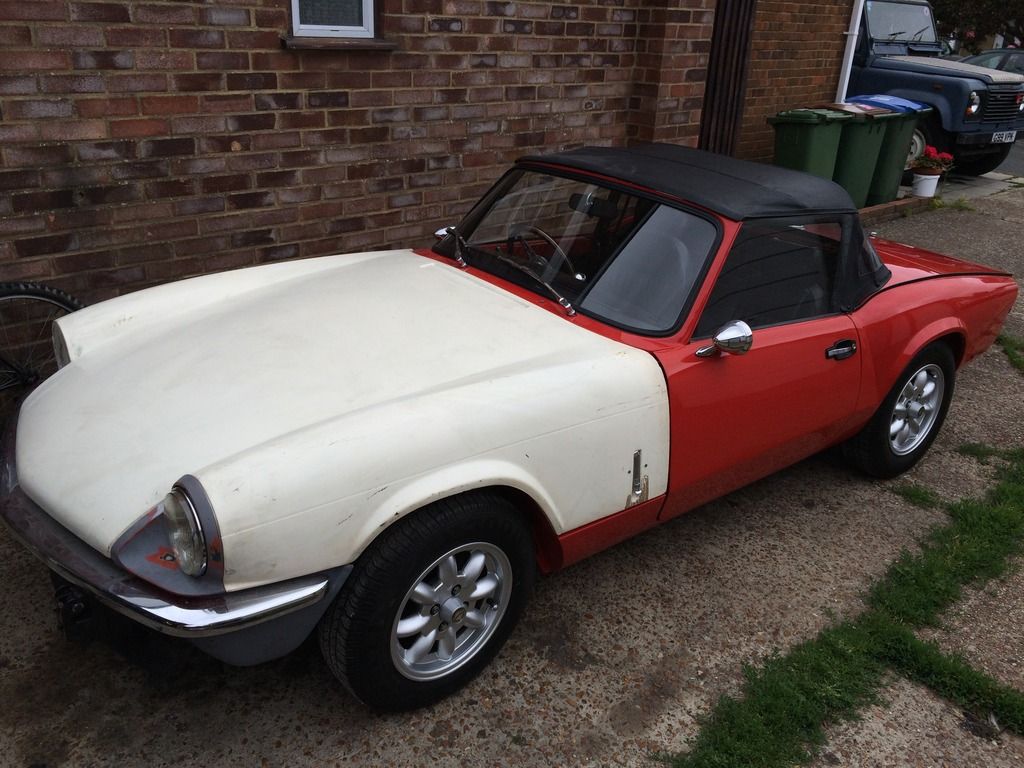 And then fitted up the other headlight. 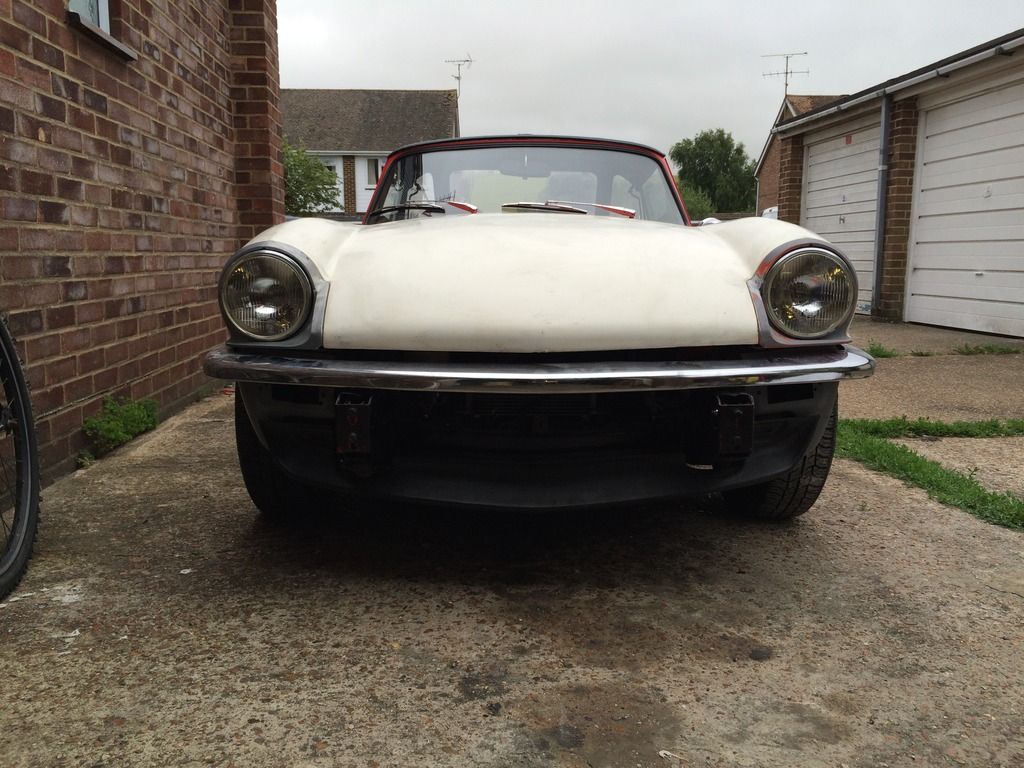 More updates coming later today, just got to organise the photos and upload them! |
| |
|
|
|
|
|
Jul 19, 2015 15:27:29 GMT
|
|
Your photo documentation is the best! It's very helpful in the reassembly of my 73 Spit.
|
| |
73 Spitfire (FM7361U)
Resto/Mod
|
|
|
|
|
Jul 19, 2015 16:07:56 GMT
|
|
cheers, always glad to hear that i've inspired or helped someone with their spit!
|
| |
|
|
|
|
|
Jul 19, 2015 16:32:13 GMT
|
|
|
| |
|
|
|
|
|
Jul 19, 2015 21:10:00 GMT
|
|
Mega progress, looking good!! :-D
I'm not sure what the painting process for fibre glass is but for the most part paint and silicone do not mix, silicone is also a contaminant and will spoil paintwork by causing fish eyes and little blisters on the finish, once it gets into the air it can stay in it for a long time, so panels would ideally require a silicone cleaner as opposed to a basic panel wipe. A polyurethane based sealer like Tigerseal would be a better option.
If it was silicone sealer you used then you may have to remove it, sorry. I'm not using or allowing any silicone products near my garage out of fear of silicone contamination =-O
|
| |
|
|
|
|
|
Jul 19, 2015 22:25:08 GMT
|
|
Looking good. The fit of that fibreglass bonnet appears to be exceptionally good (they are usually dire), or is that just the photos?
Nick
|
| |
1967 Triumph Vitesse convertible (old friend)
1996 Audi A6 2.5 TDI Avant (still durability testing)
1972 GT6 Mk3 (Restored after loong rest & getting the hang of being a car again)
|
|
|
|
|
Jul 22, 2015 12:28:32 GMT
|
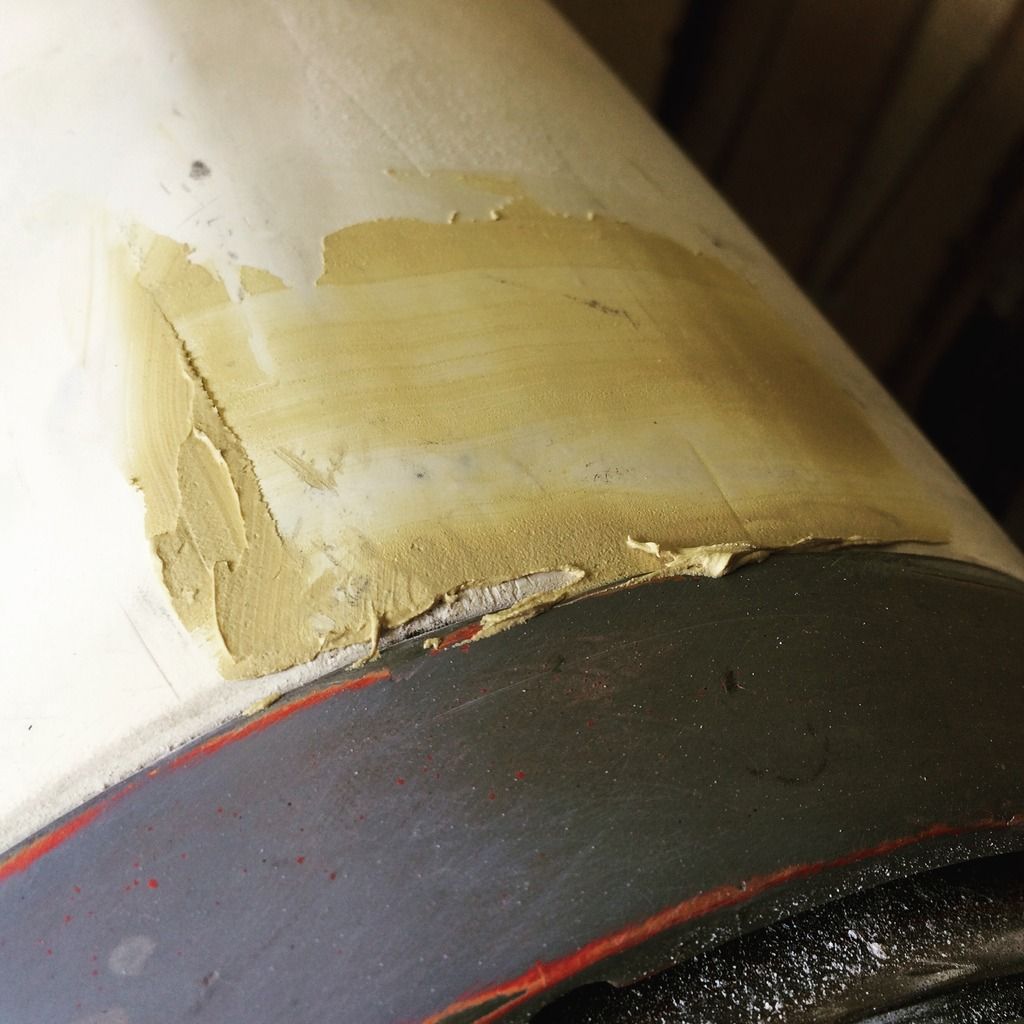
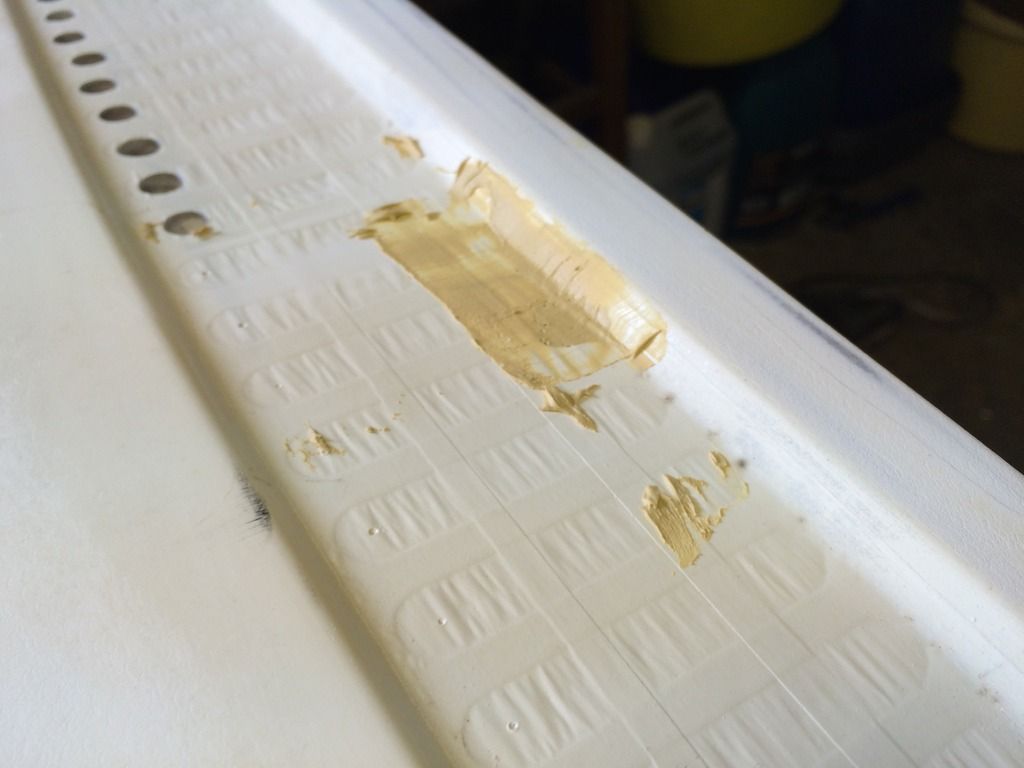
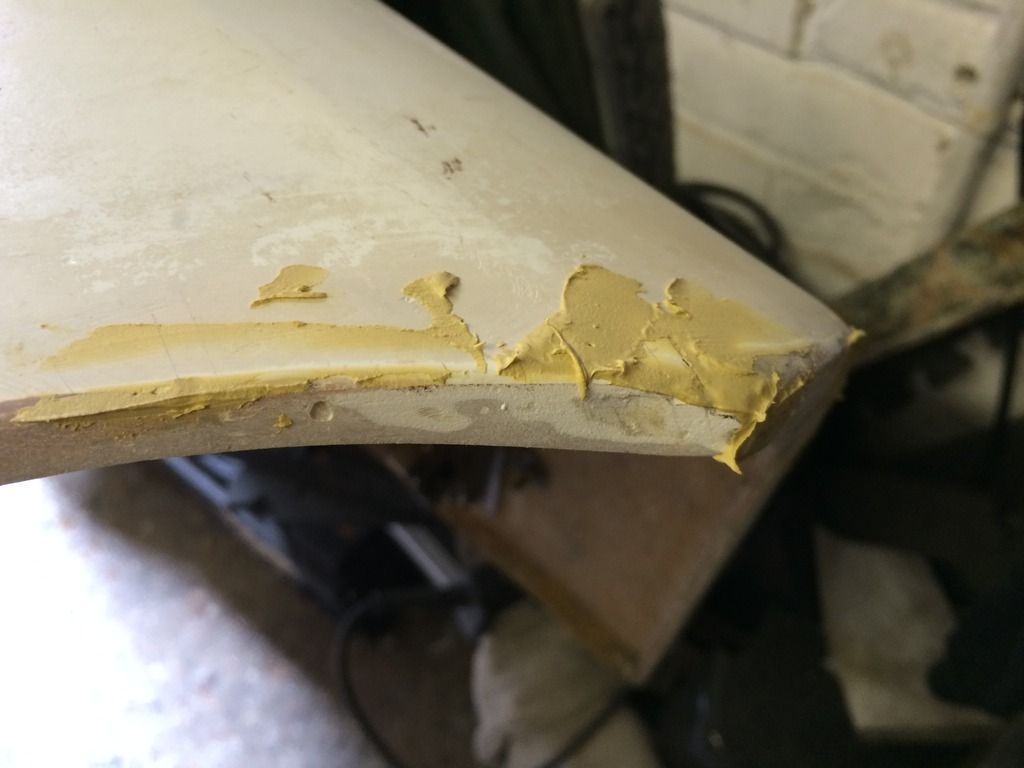
Looking good. The fit of that fibreglass bonnet appears to be exceptionally good (they are usually dire), or is that just the photos? Nick the guy who we bought it off had got it about 10 years prior from a very expensive company, and the fit and finish is pretty amazing for fiberglass, the only issues it has are lots of cavities in the gel around the edges so plenty of filler needed. |
| |
|
|
|
|
|
Jul 28, 2015 12:36:27 GMT
|
Mega progress, looking good!! :-D I'm not sure what the painting process for fibre glass is but for the most part paint and silicone do not mix, silicone is also a contaminant and will spoil paintwork by causing fish eyes and little blisters on the finish, once it gets into the air it can stay in it for a long time, so panels would ideally require a silicone cleaner as opposed to a basic panel wipe. A polyurethane based sealer like Tigerseal would be a better option. If it was silicone sealer you used then you may have to remove it, sorry. I'm not using or allowing any silicone products near my garage out of fear of silicone contamination =-O Was silicone that was promptly removed and cleaned, thanks for the heads up! |
| |
|
|
|
|
|
|
|
Jul 28, 2015 14:01:51 GMT
|
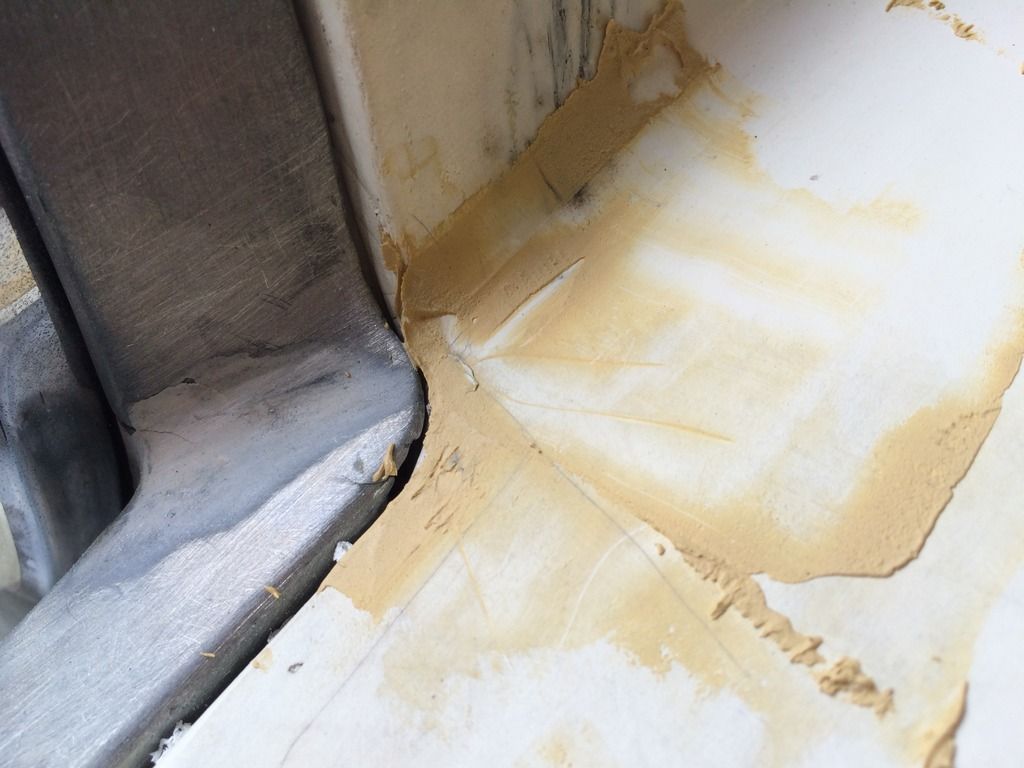
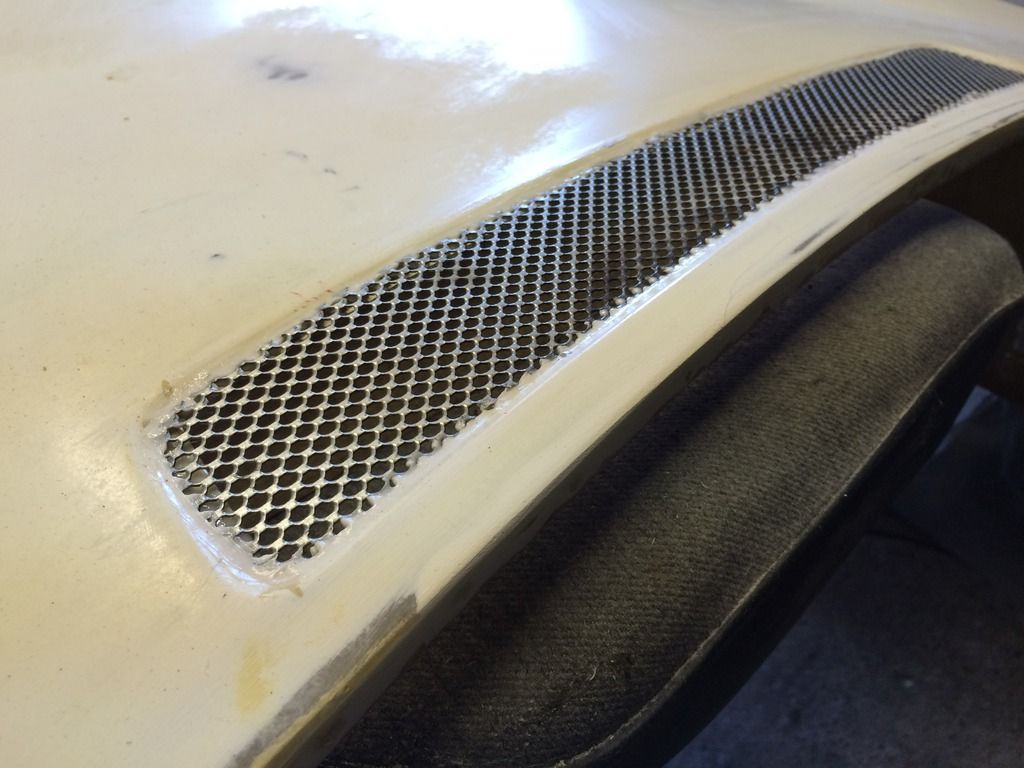
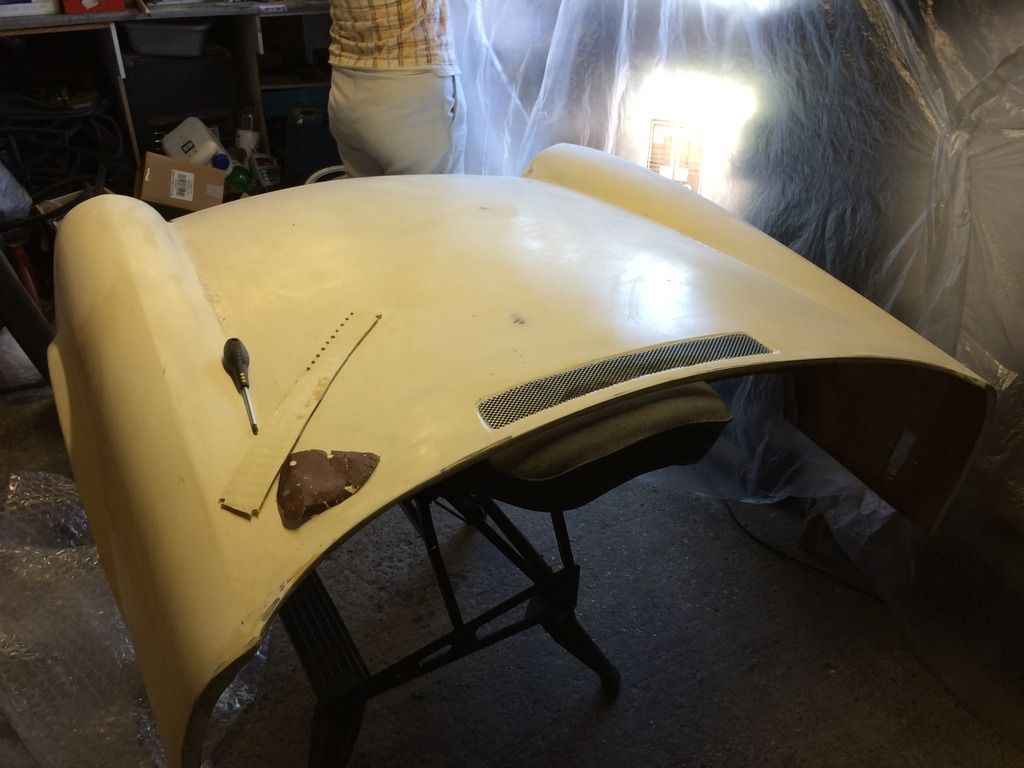
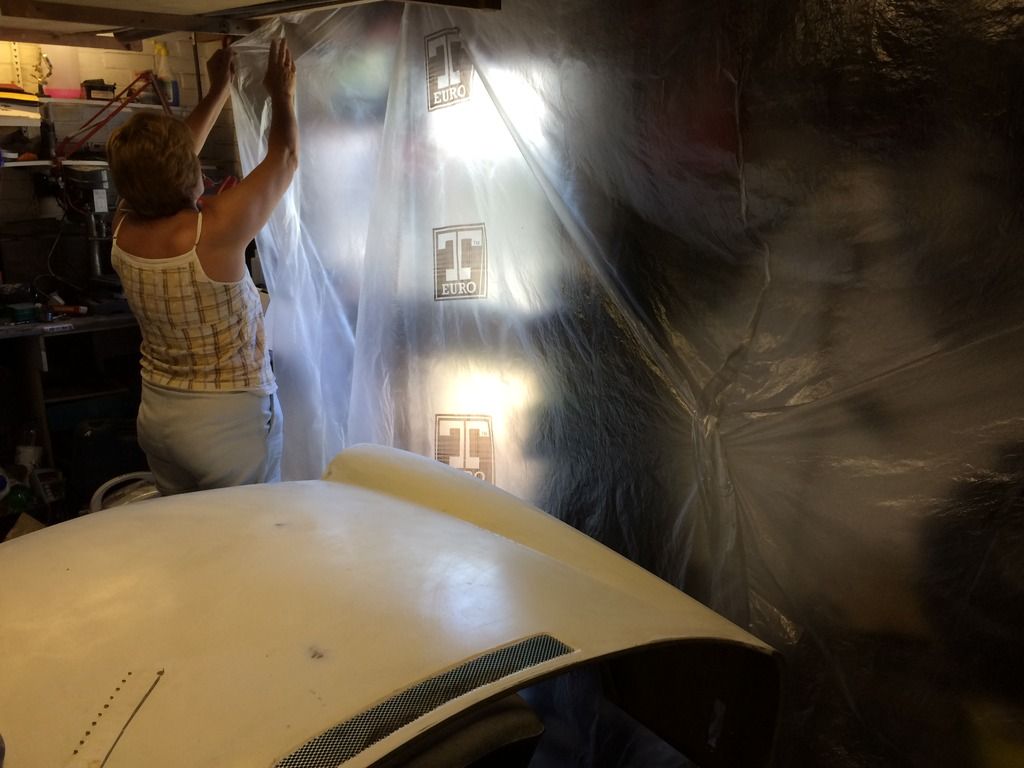
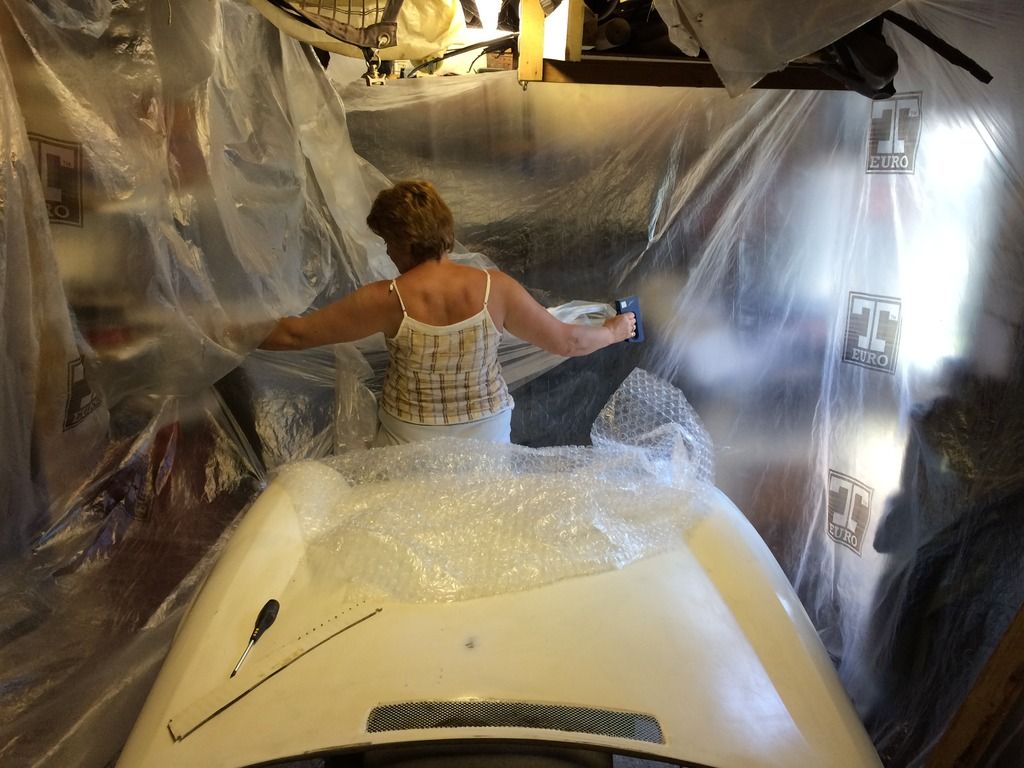
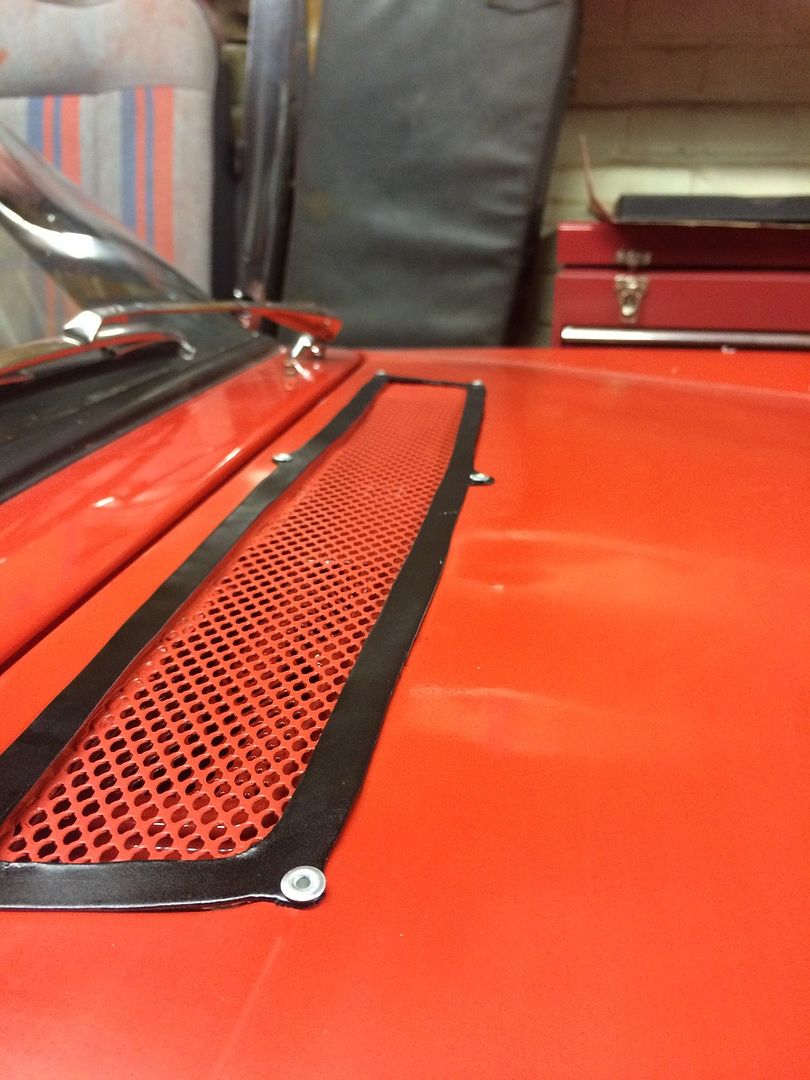
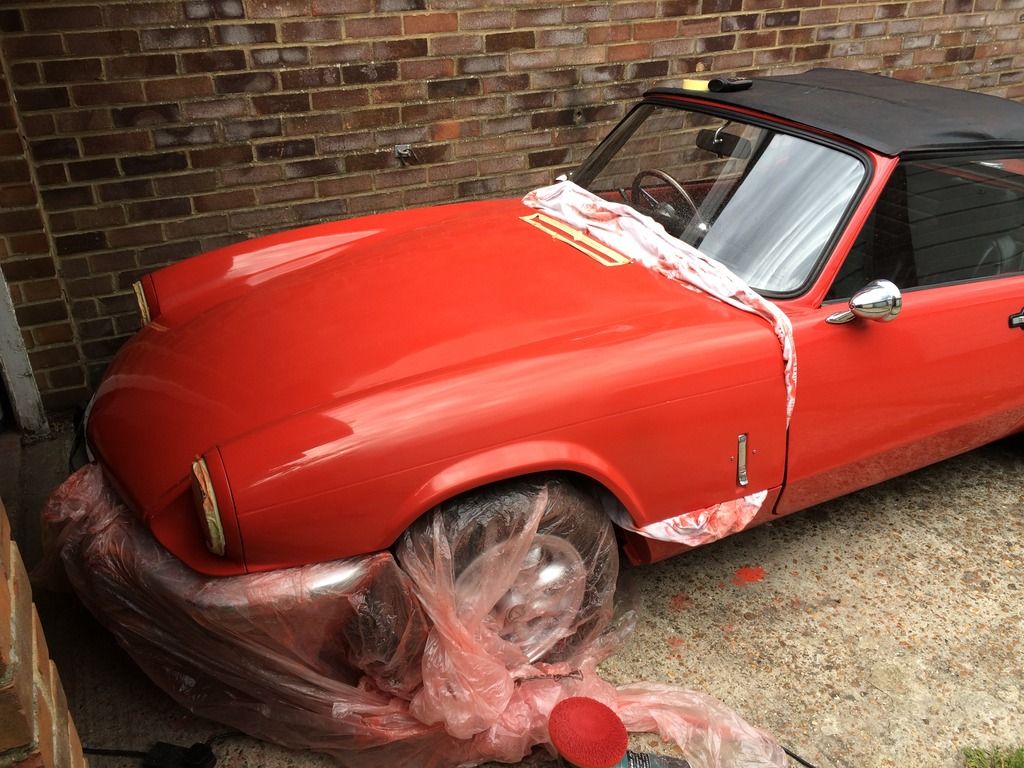
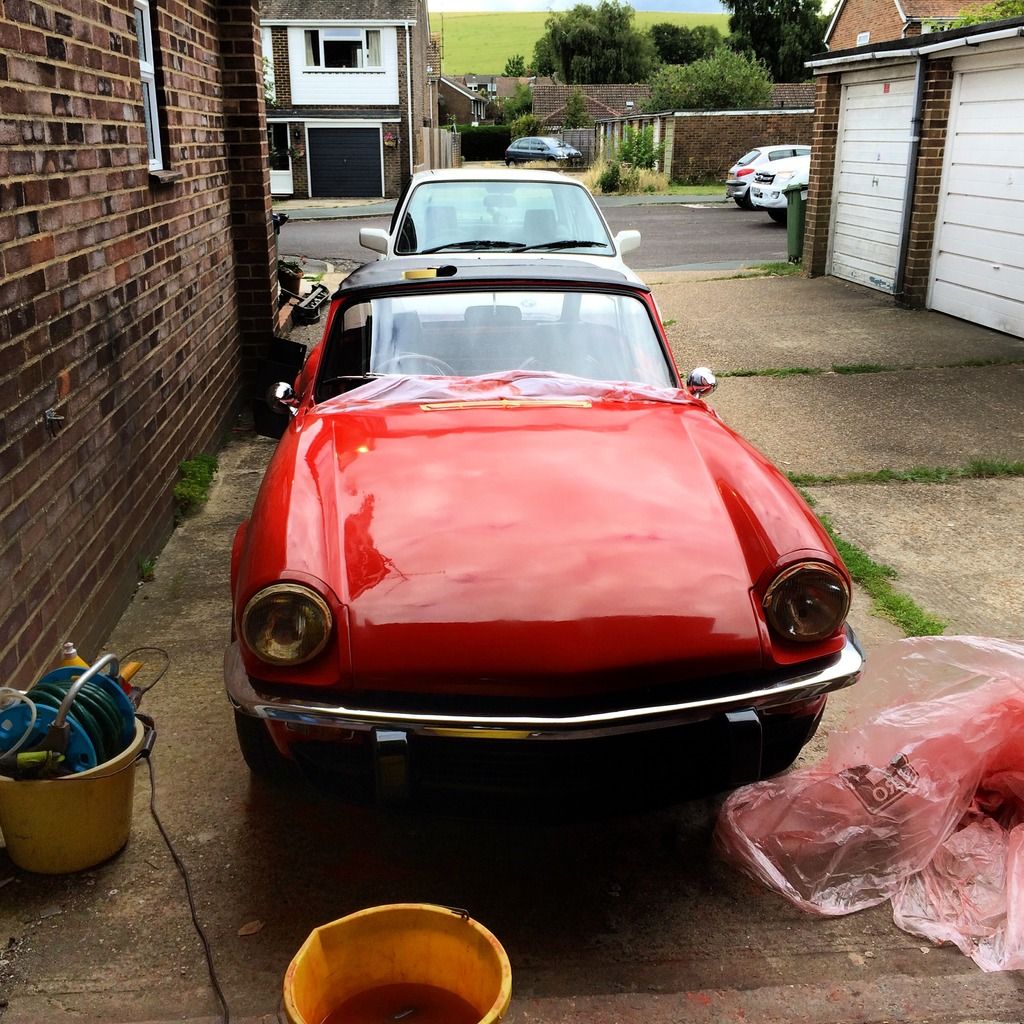
Here's where we started the day, bonnet needs a clean as the garage is nice and dusty. 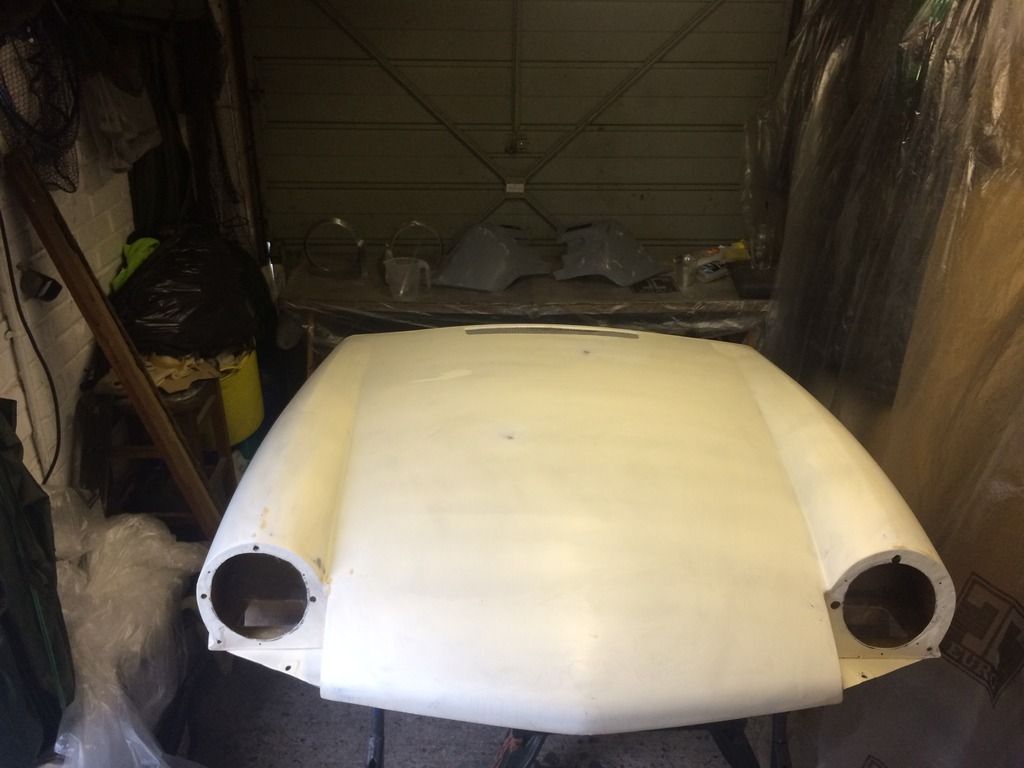  Bough some tinnys of primer as a high build layer to remove imperfections and scratches. Cracks be gone! 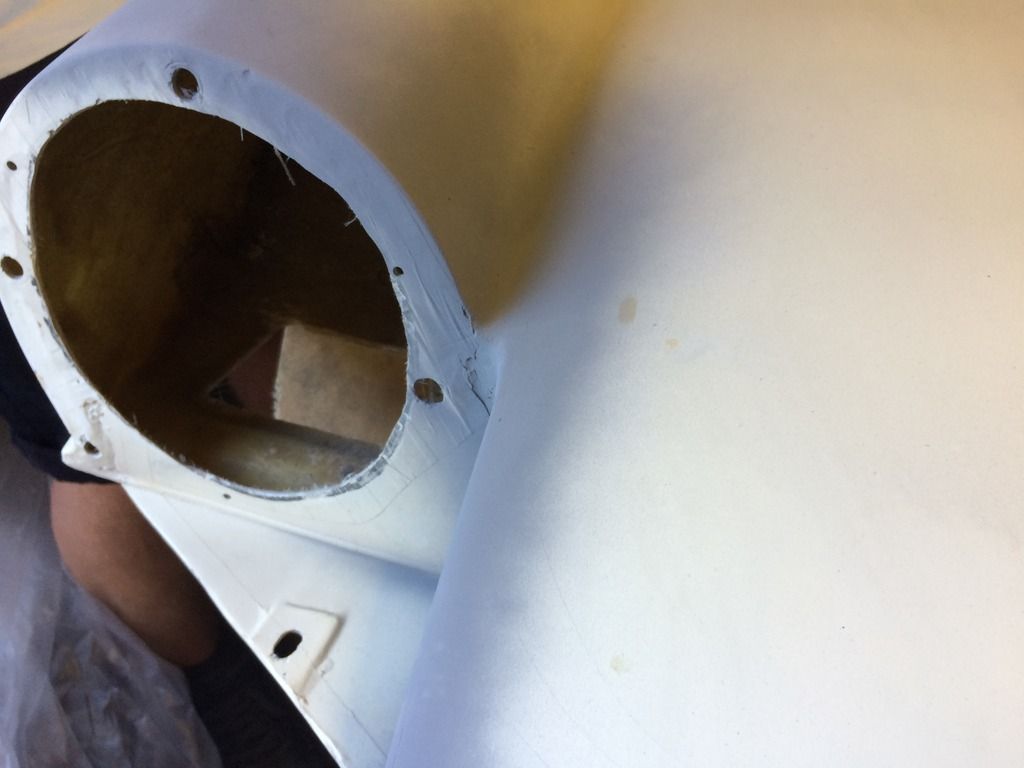 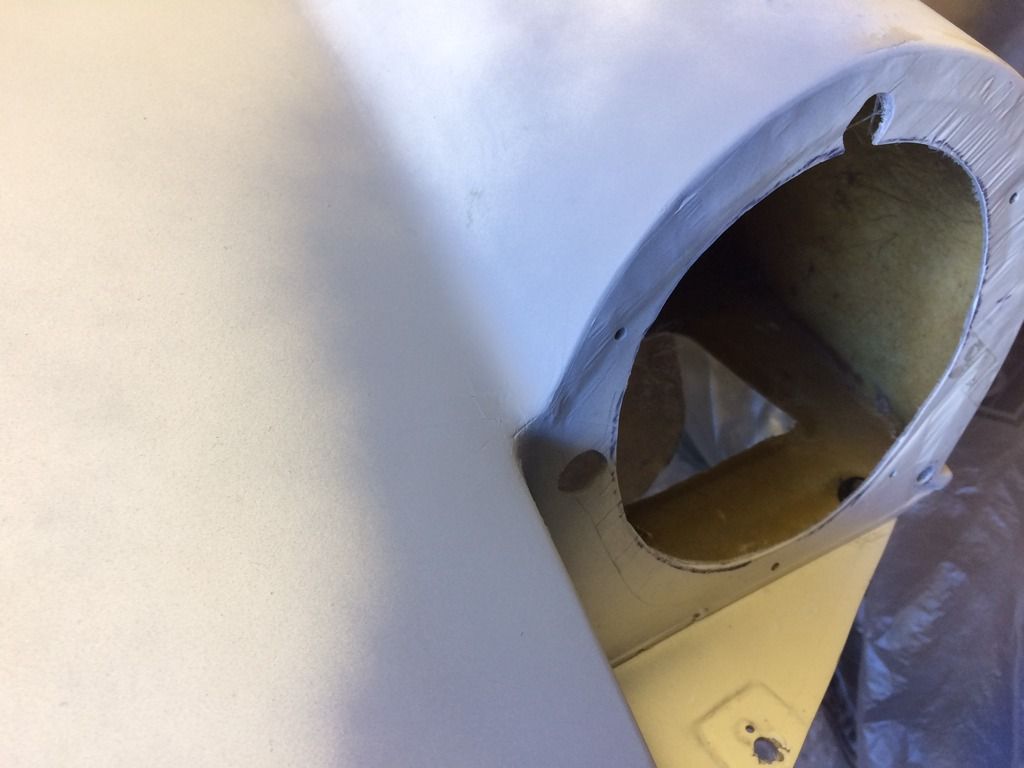 Removed the silicon and replaced with filler (bad move as it's messy looking and now needs a cover trim to be made)  Hung up ready for priming. 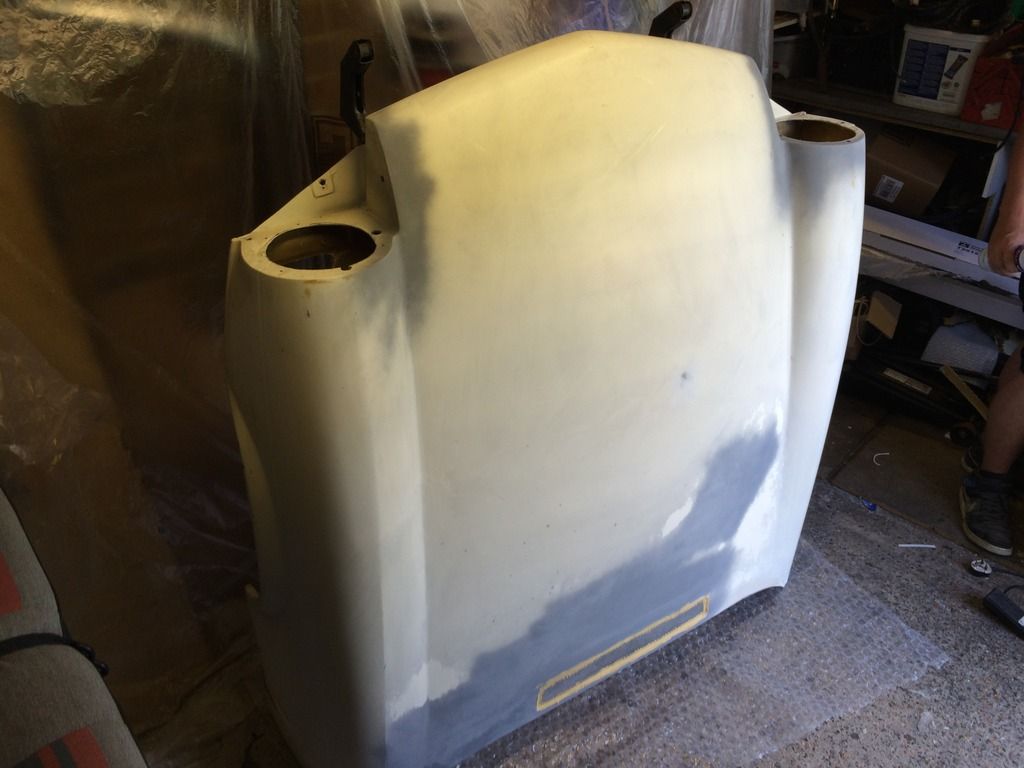 light dust coat. 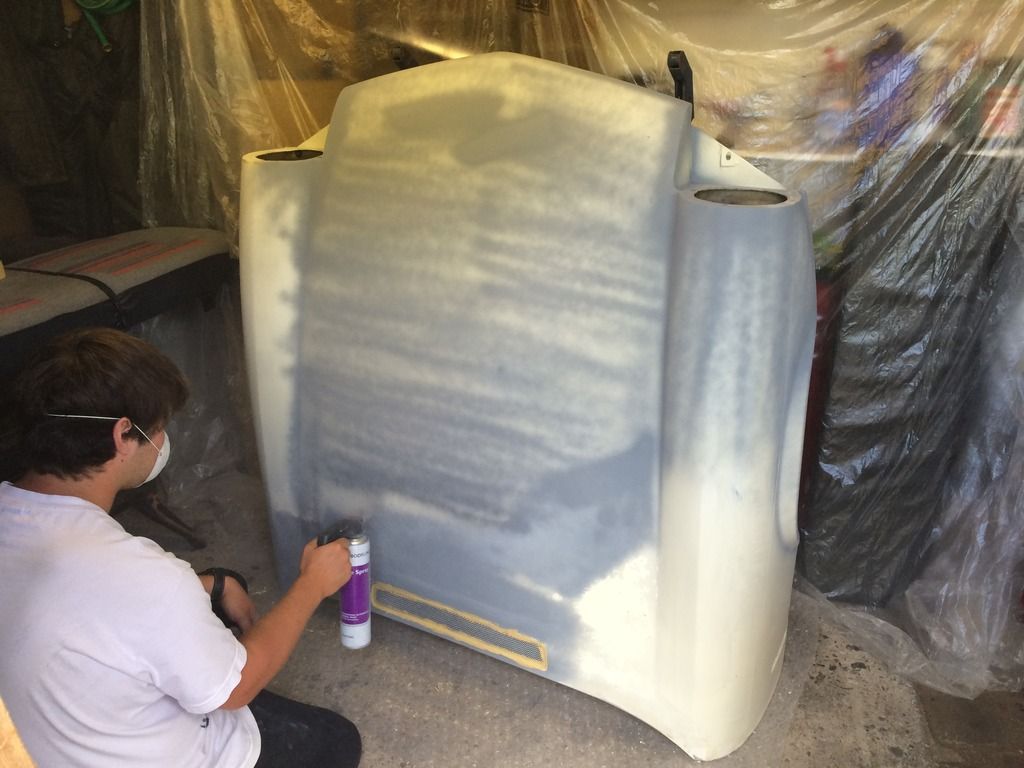 Second pass. 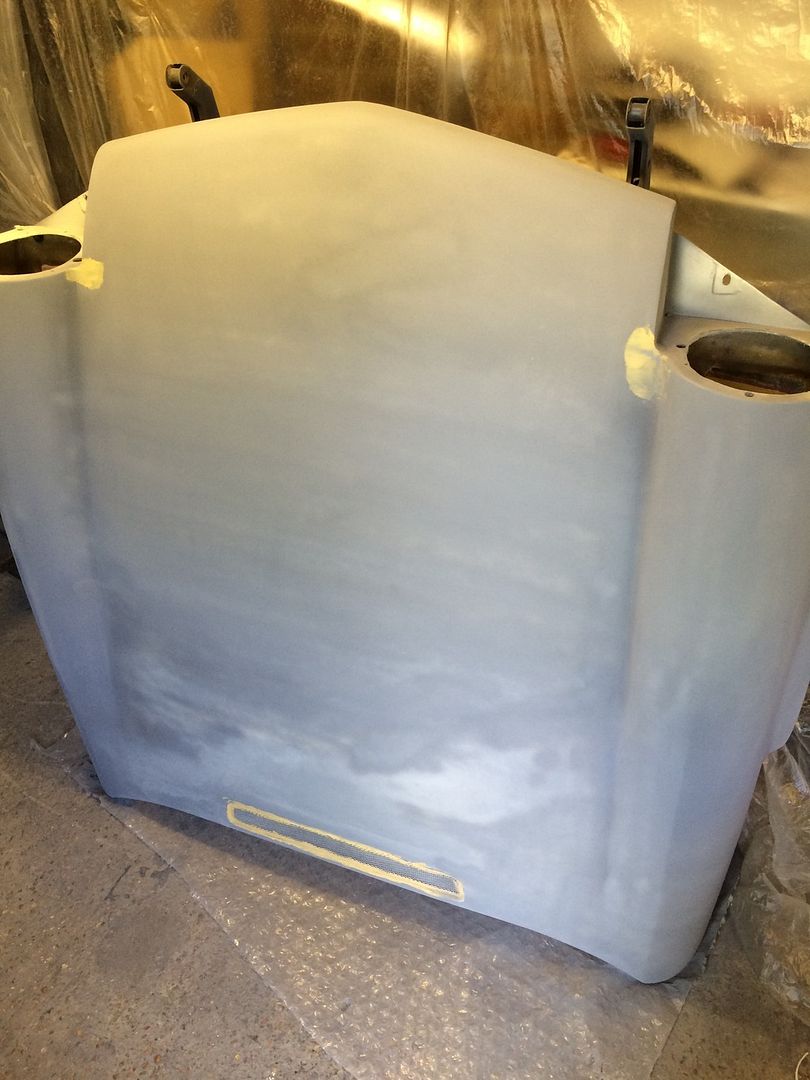 Smoothed over some more gouges and scratches that we'd missed.  Masked the back and started to shoot colour on the arch edges, in between this step we rattle can'd the underneath all black. 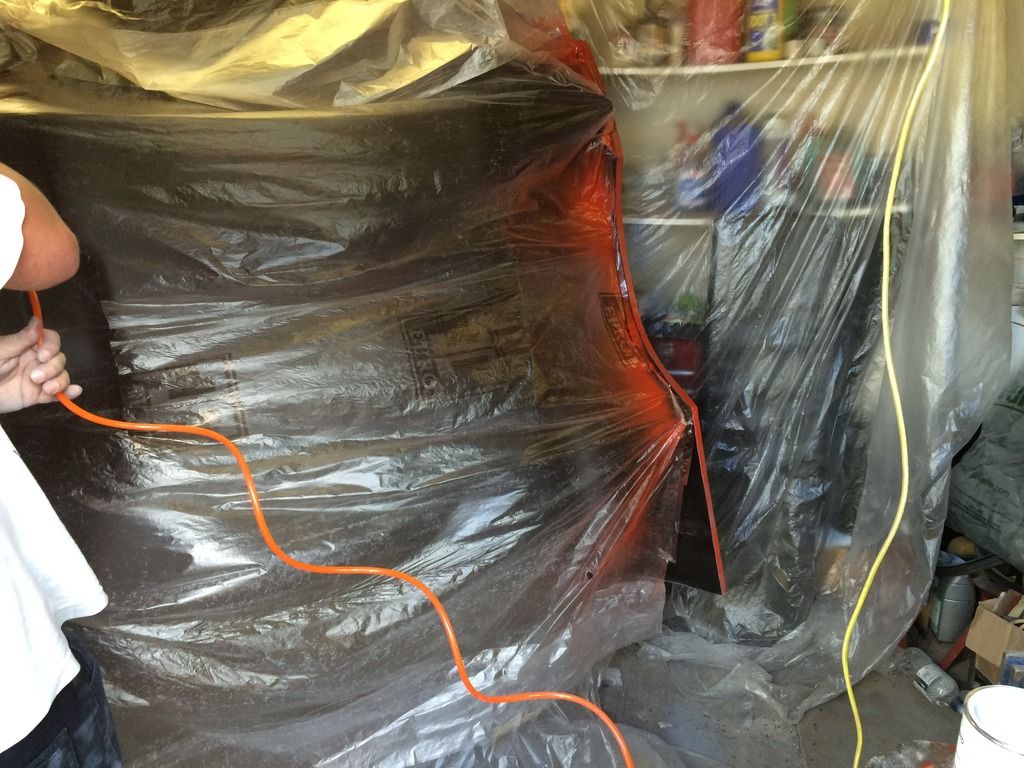 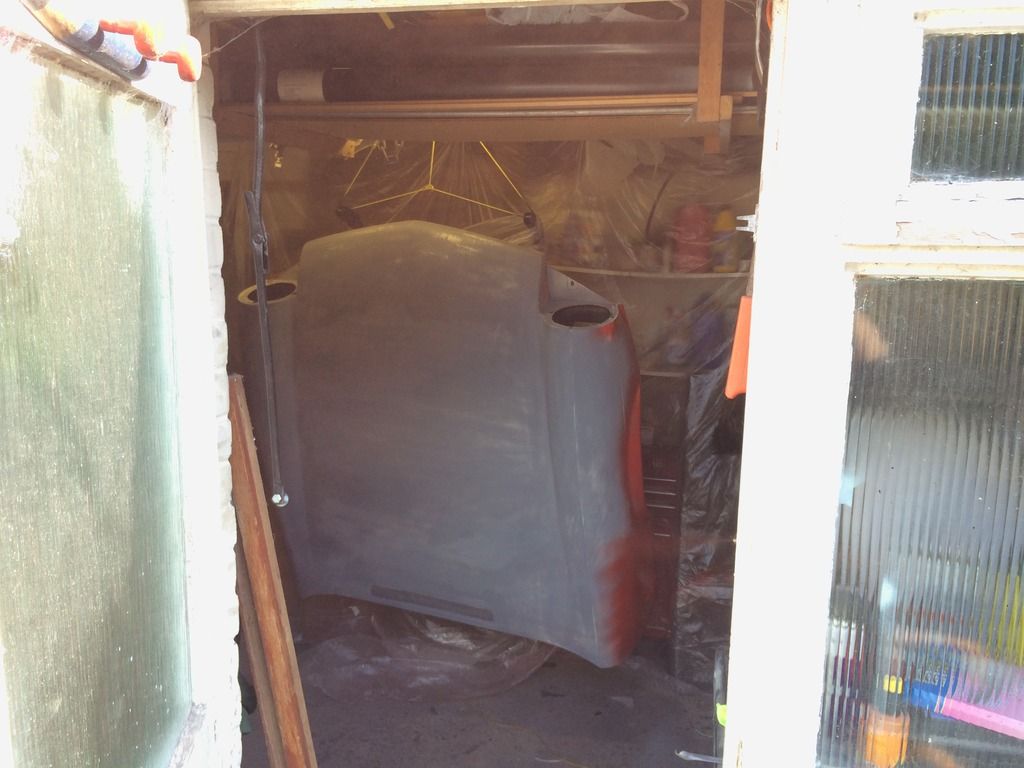 And before you know it the first coat is on! 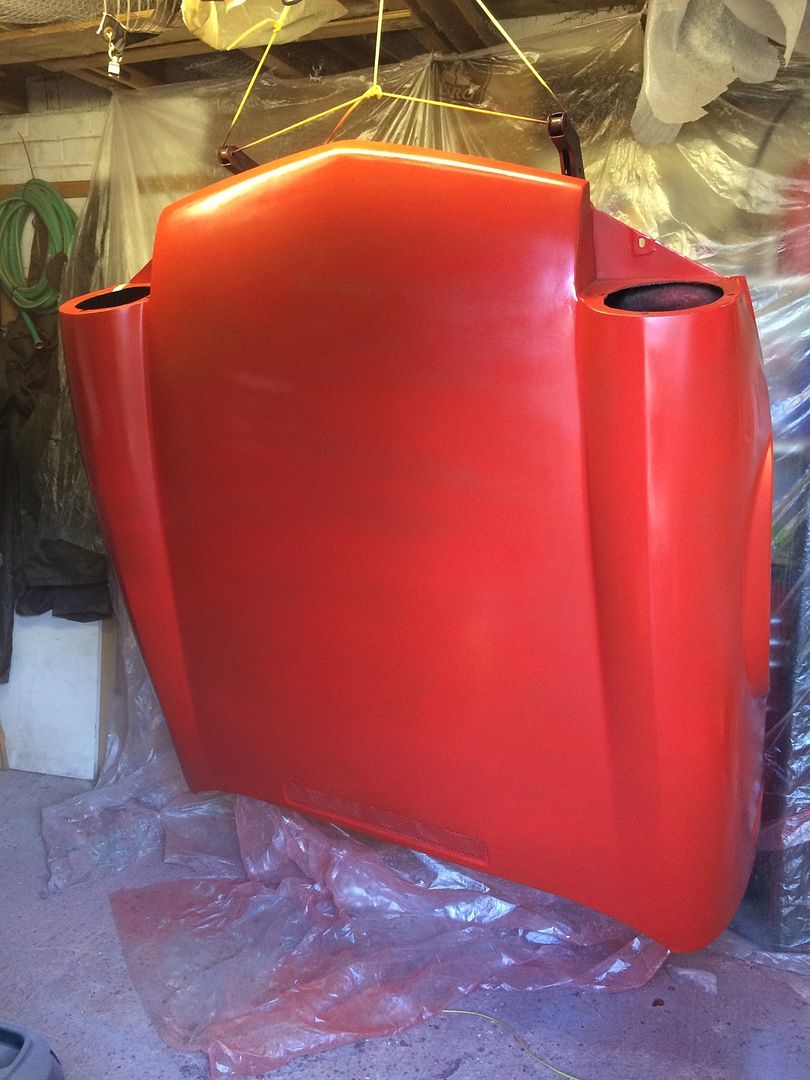 other bits all painted 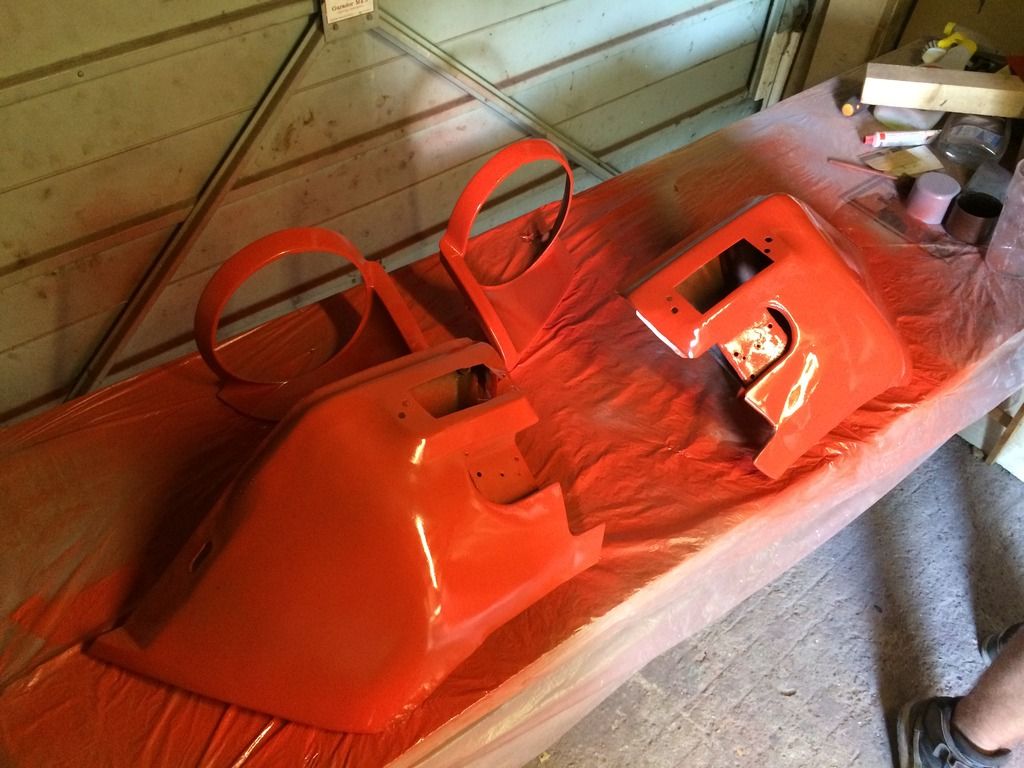 Second coat going on.  Bit of a run but nothing serious. 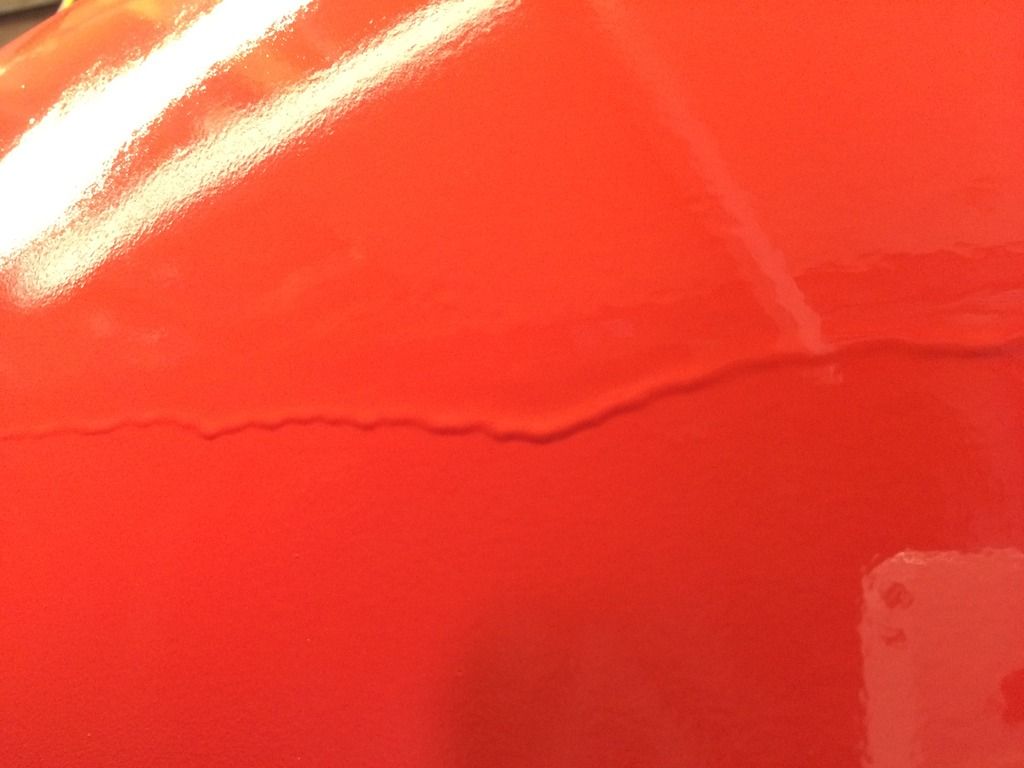 Bit of colour sanding and it'll come up nice.  Quick tester with some 800-1200-2000 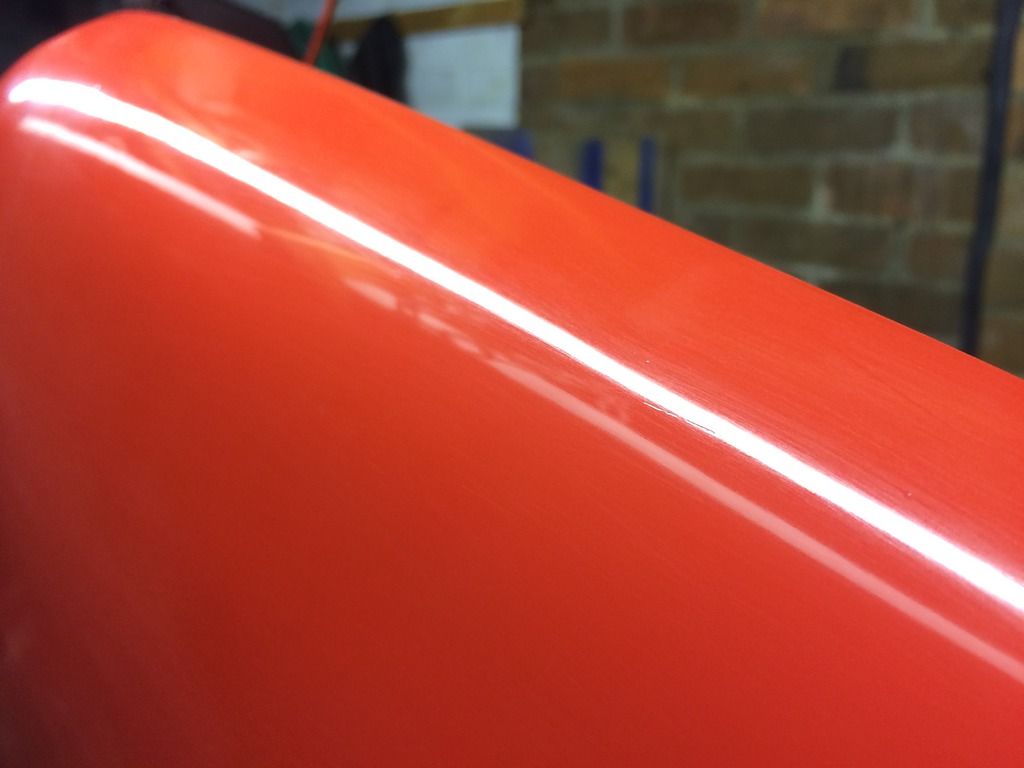  Valances came out nice too, didn't do too much prep as i know they face the floor and most people don't see them. 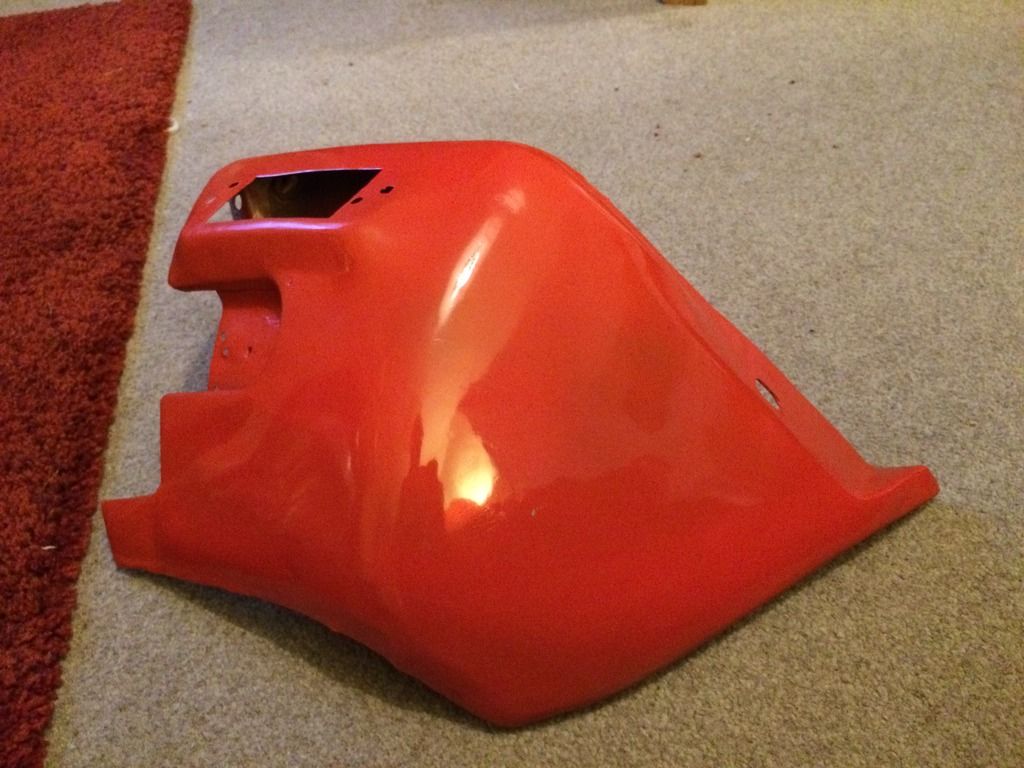   Another polish on th leading edge of the bonnet yielded good results. 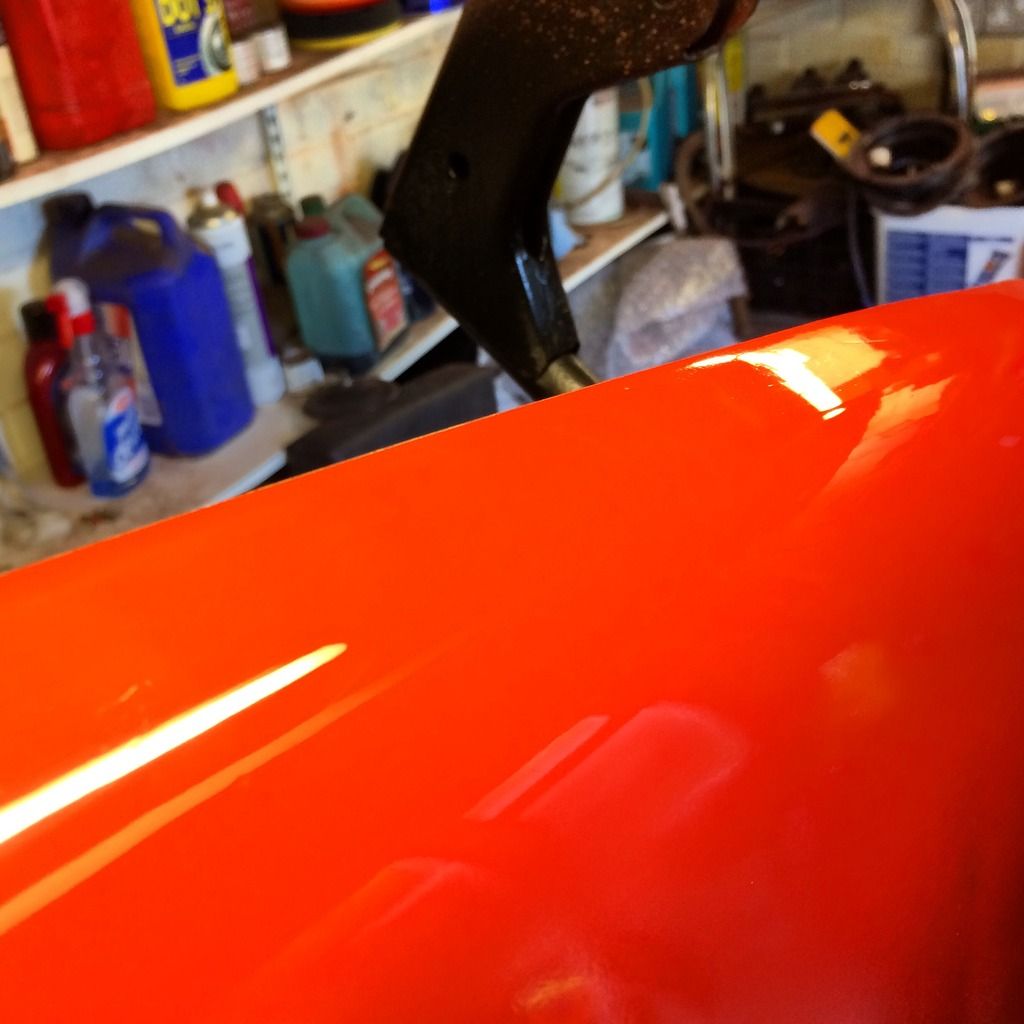 Car sitting outside overnight for the first time in years. 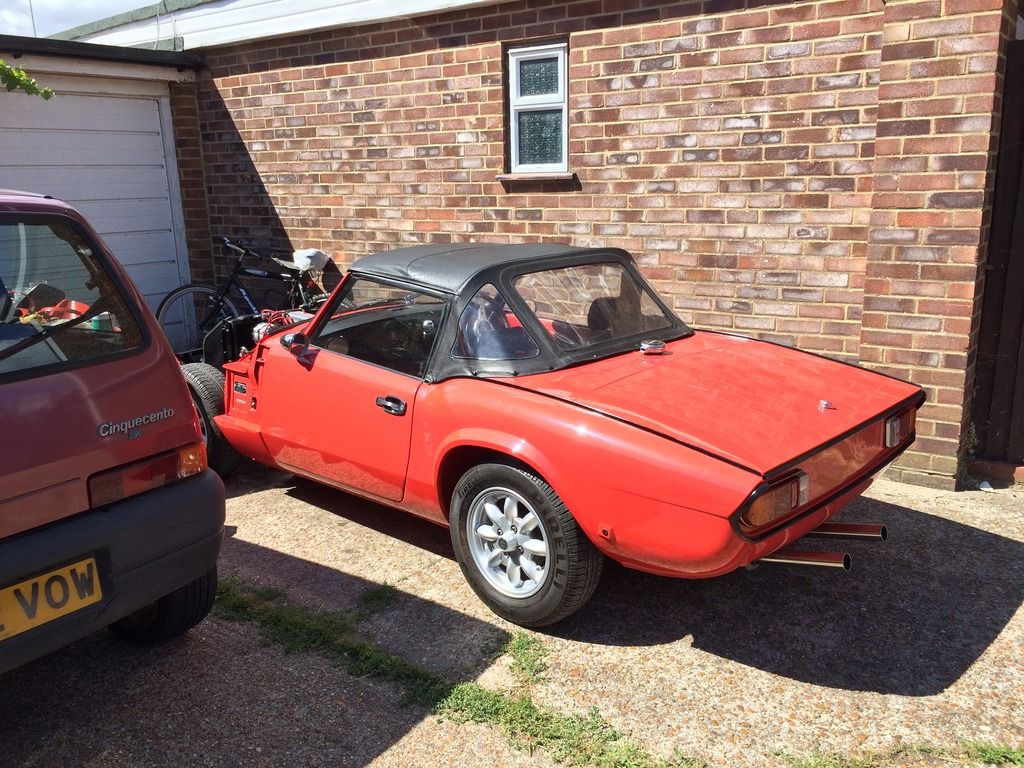 Valances get bolted on with their new indicators 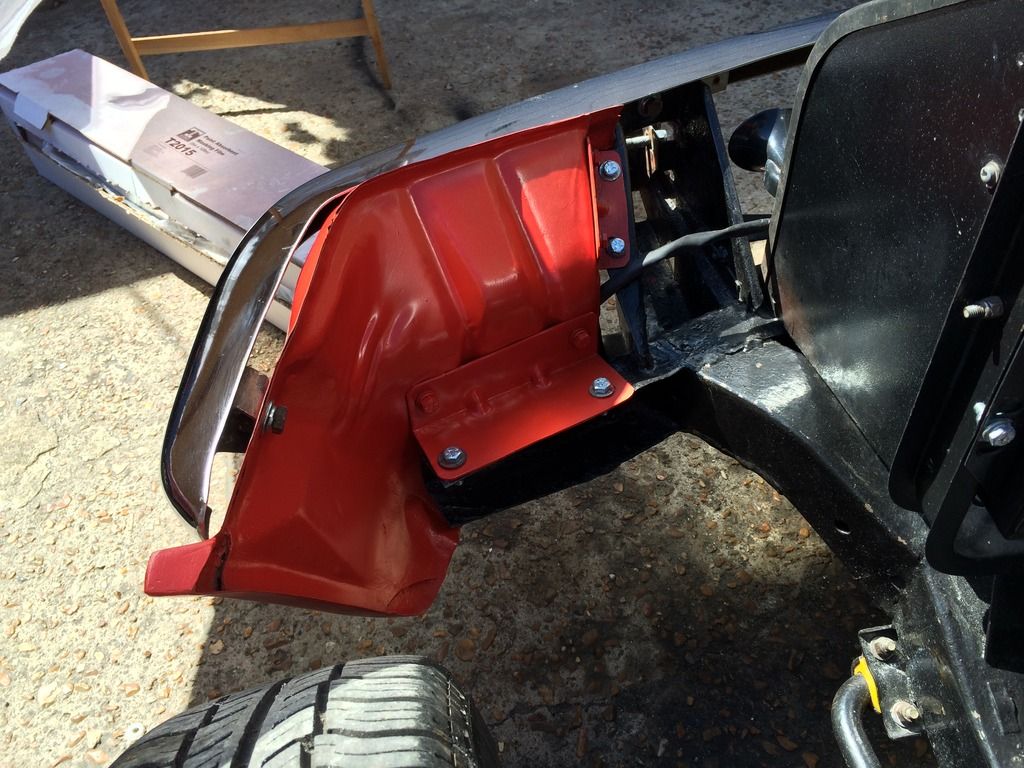 And the other side 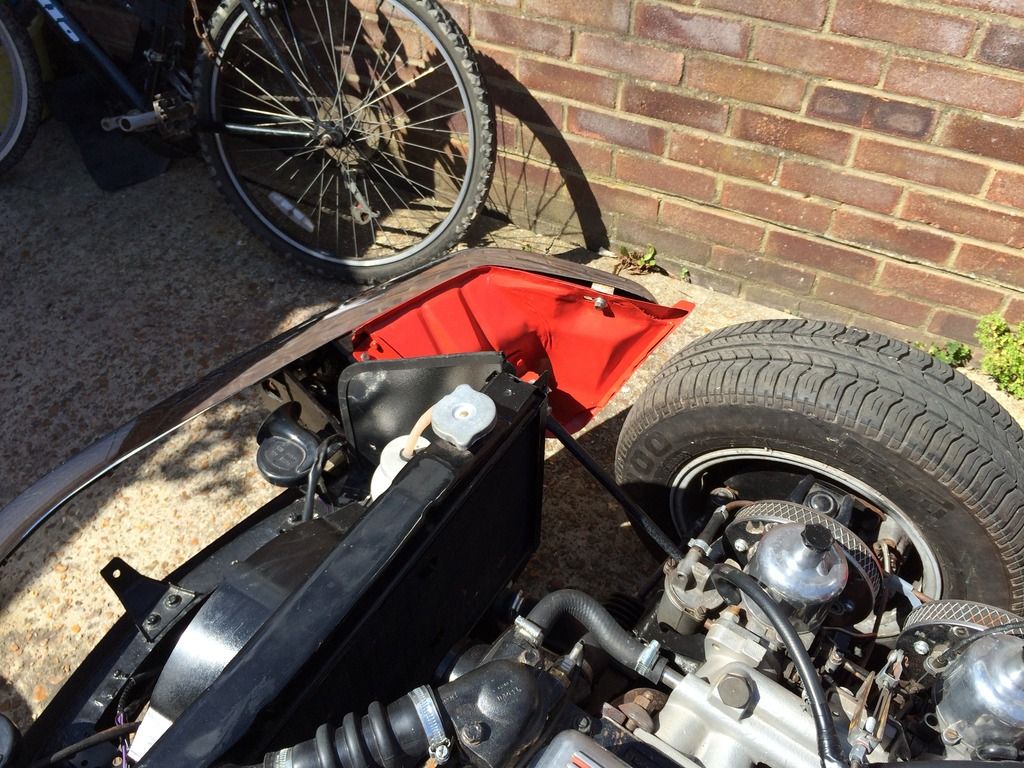 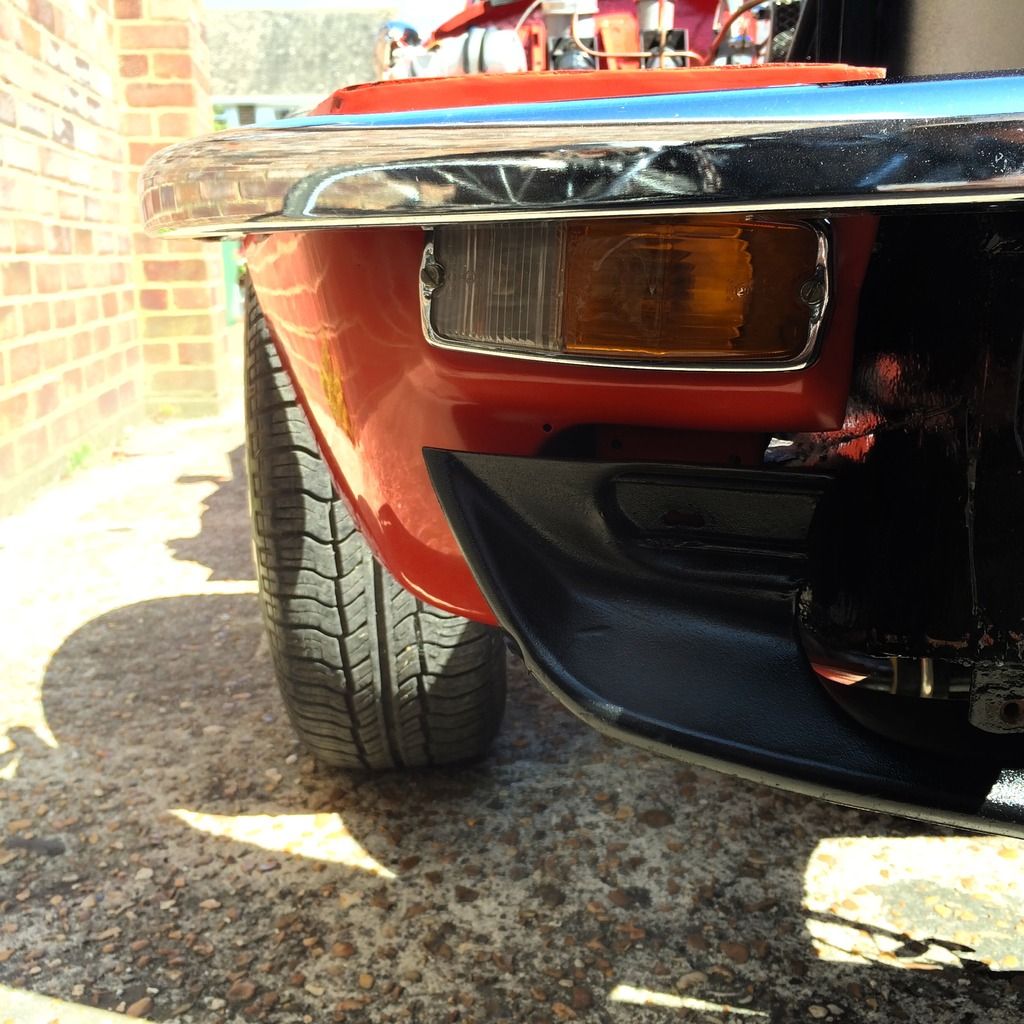 splitter got a coat of satin black as a touchup 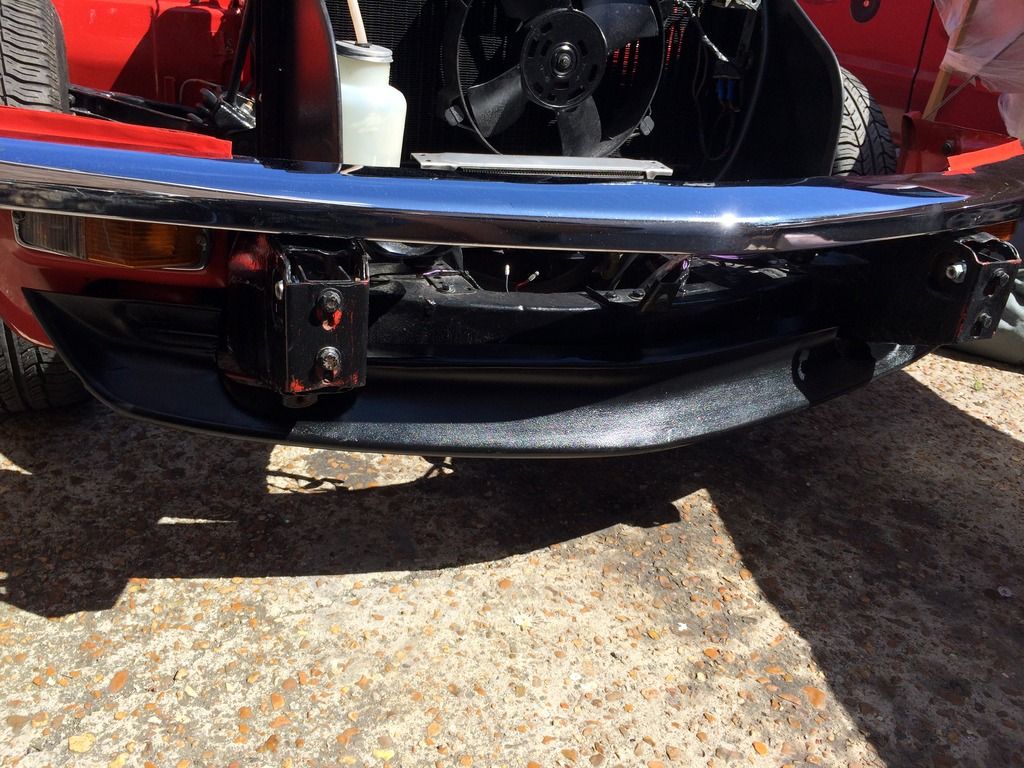 Third coat on the bonnet and it's ready to be fitted to the car for sanding.  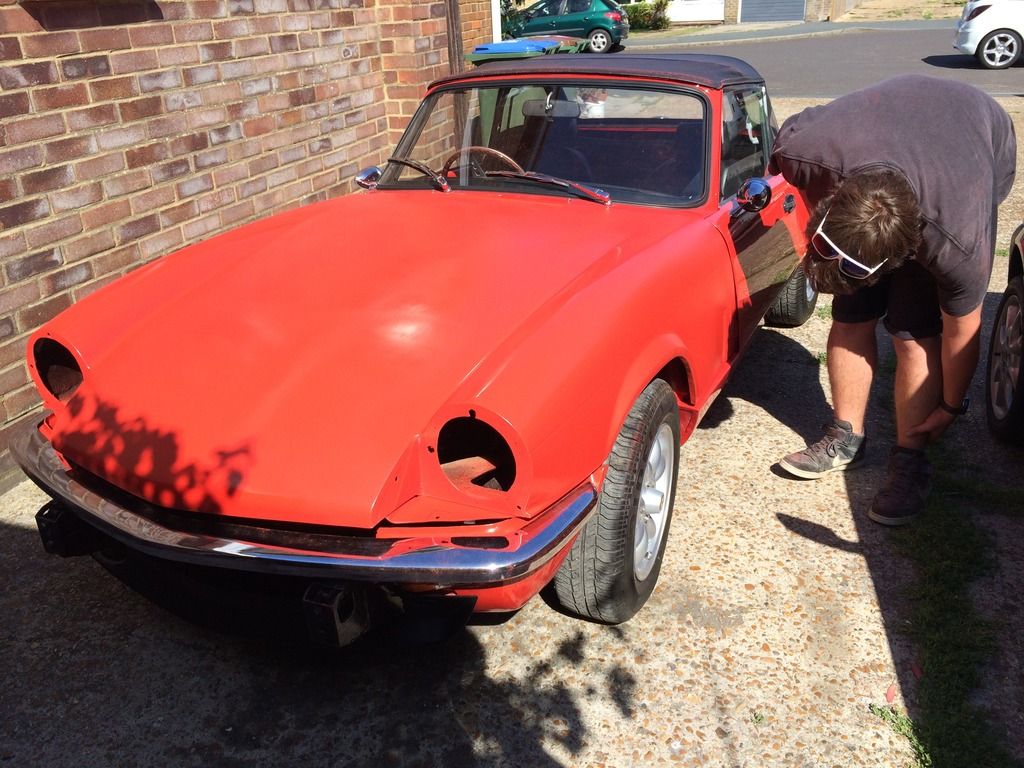 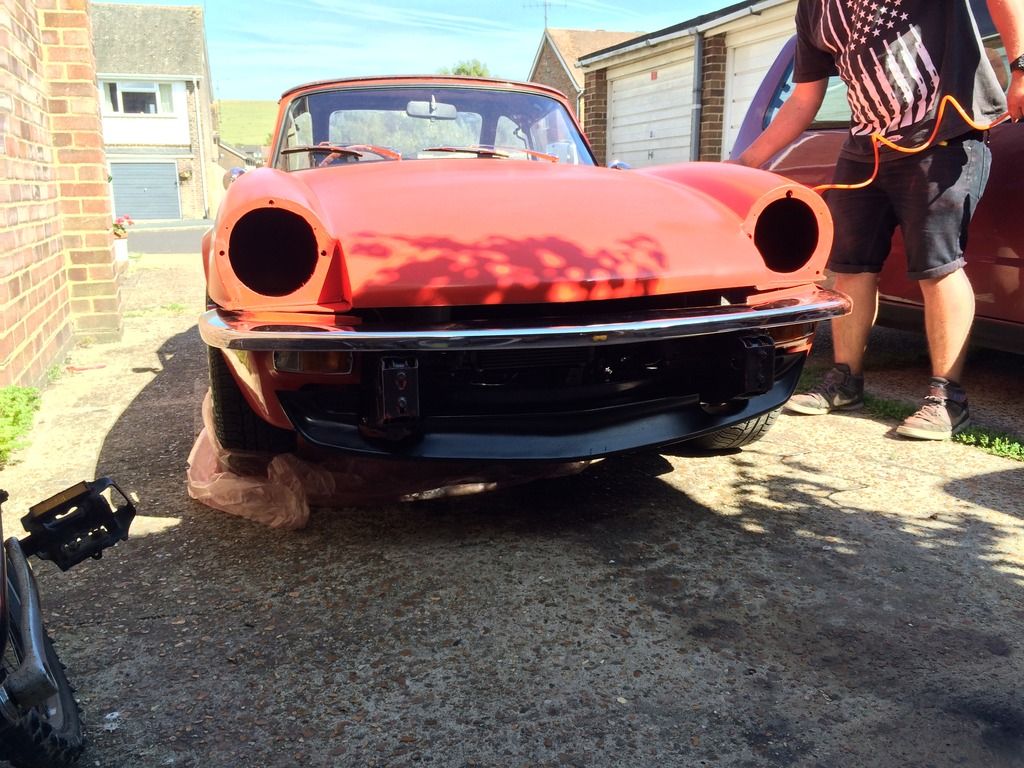 Catches fitted 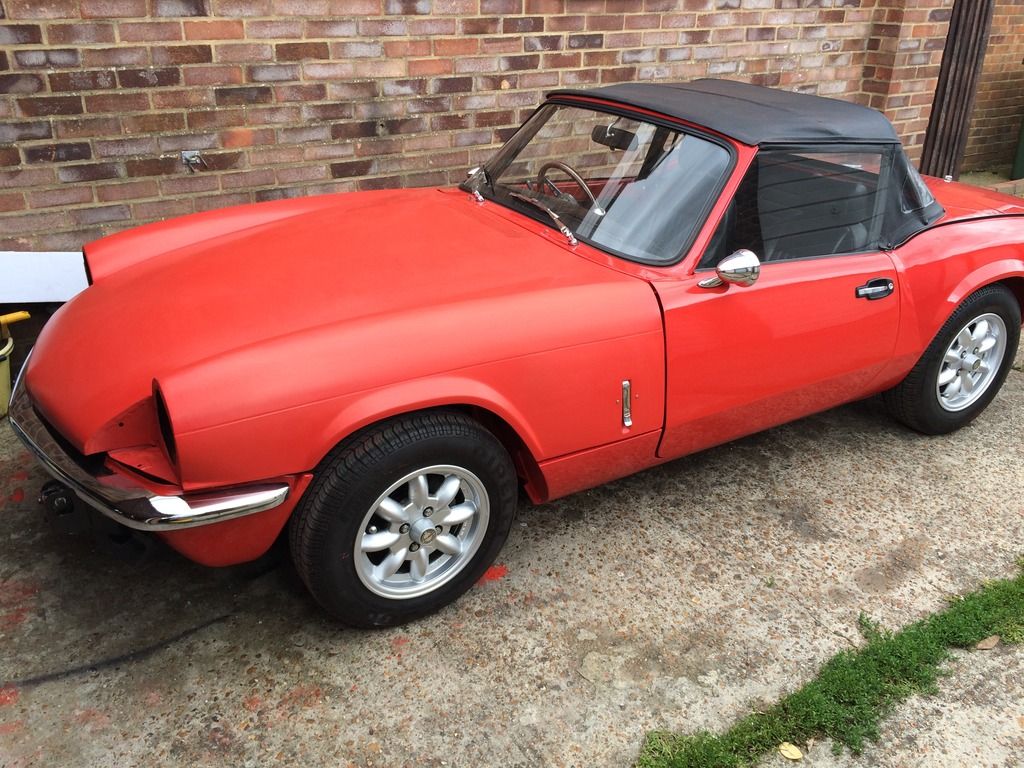 Light buckets pop riveted in. 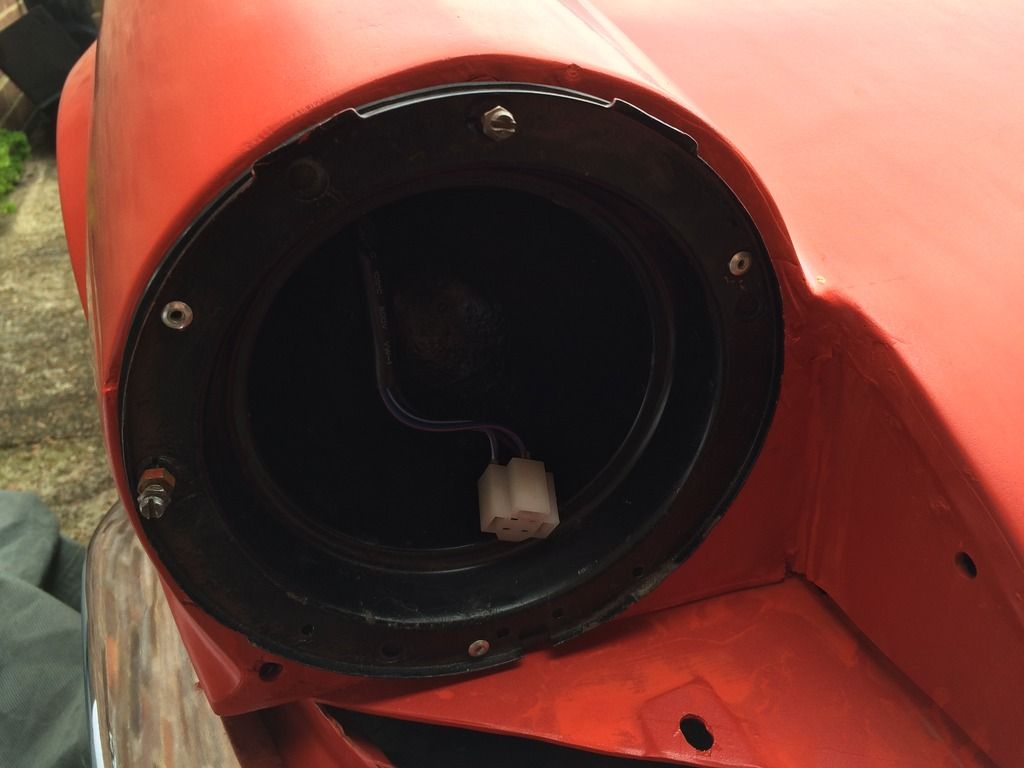 Working with a new loom makes everything a breeze. 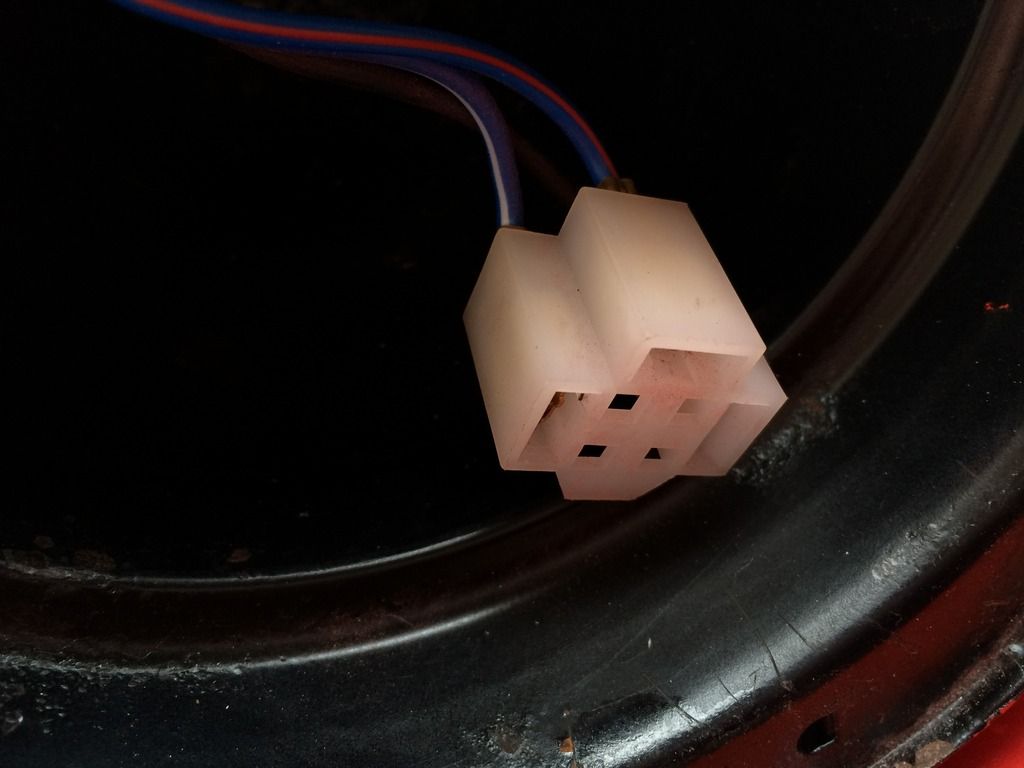 Sealed beam fitted  And finally the light cowl on. starting to take shape! 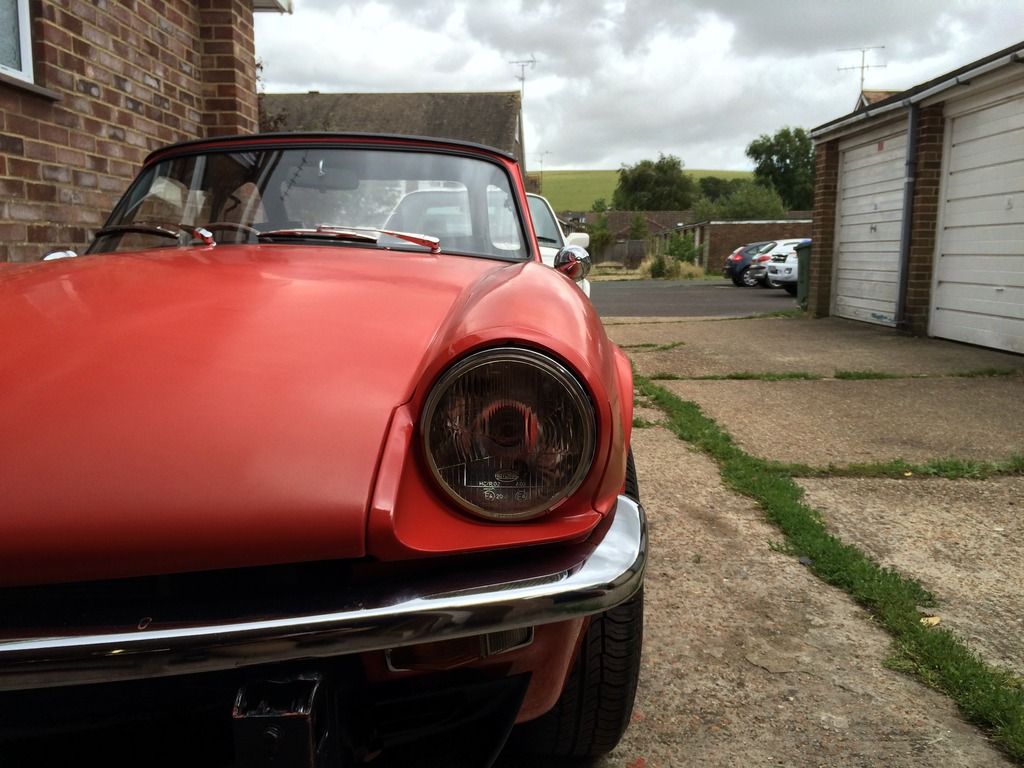 fitting nice even without any bolts, they should tighten the gaps. 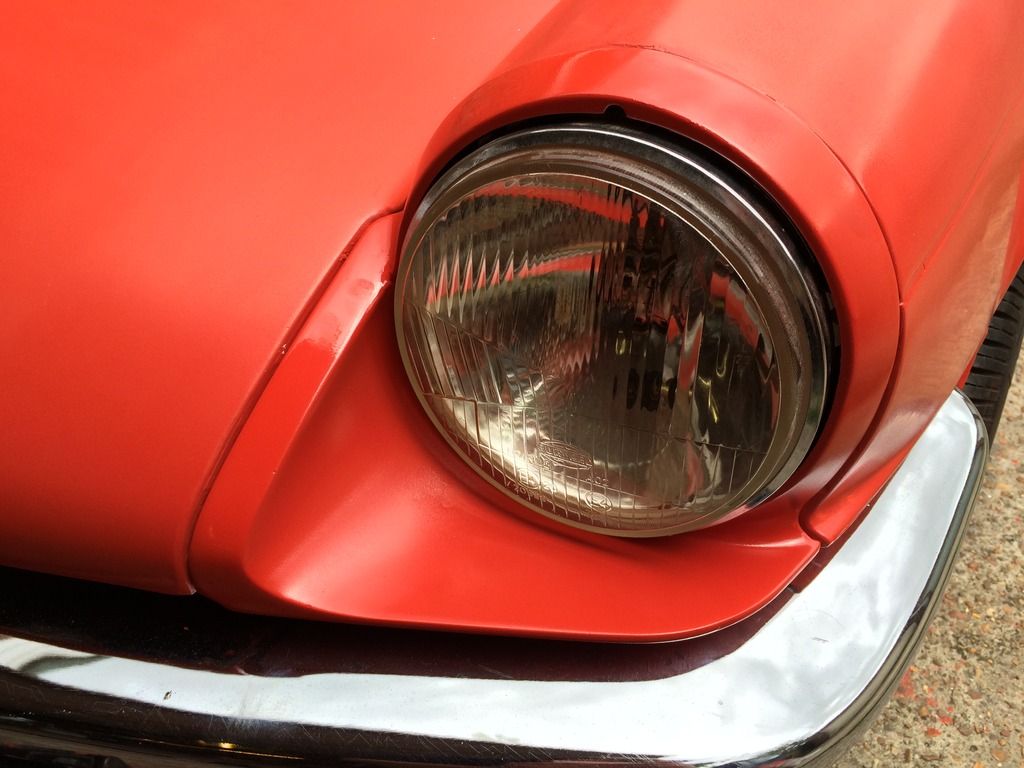 i spy overriders and a grille 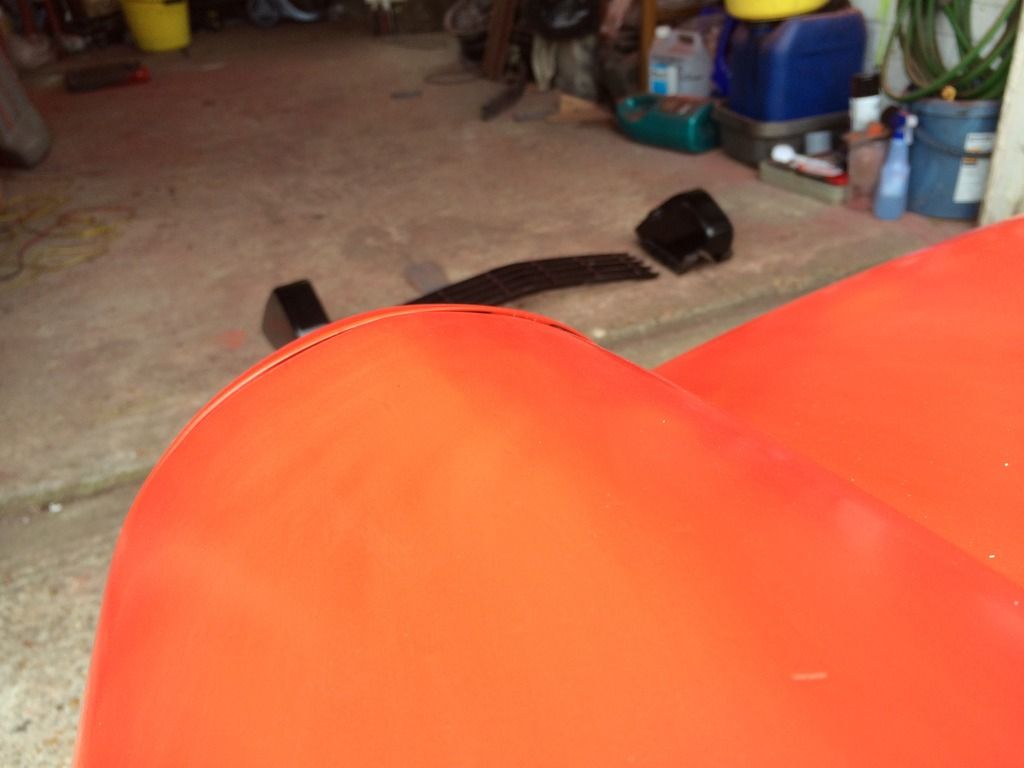 All back together!   So a quick run over with the mop and it'll all blend in. happy with the colour match too. MOT soon! |
| |
|
|
|
|
|
Jul 28, 2015 15:02:31 GMT
|
|
You've done a great job mate, that car looks brilliant. Had a 1500 MkIV a few years back, wished I'd kept it now!
|
| |
|
|
|
|
|
|
|
Excellent!!  Delighted to see it back together at last, looks ace!  Althought I've sprayed the underside and interior I'm both looking forward to, and apprehensive about spraying the exterior so fair dues to you for taking on such a large flat surface area like the bonnet. Did you use cellulose? What kind of spraygun did you use? |
| |
|
|
|
|
|
Jul 29, 2015 18:53:17 GMT
|
|
|
| |
|
|
|
|
|
Jul 29, 2015 19:26:46 GMT
|
|
looking very good well done
|
| |
|
|
|
|
|
Jul 29, 2015 19:48:40 GMT
|
|
|
| |
|
|
adam73bgt
Club Retro Rides Member
Posts: 5,002
Club RR Member Number: 58
|
|
Jul 29, 2015 20:38:25 GMT
|
Car is looking absolutely bang on, it neeeds those compomotives fitting for sure, get on it!!  |
| |
|
|
eurogranada
Europe
To tinker or not to tinker, that is the question...
Posts: 2,556
|
|
|
|
|
Well that came up great, didn't it! Looks great, a fun car for sure!
|
| |
|
|
|
|
|
|
|
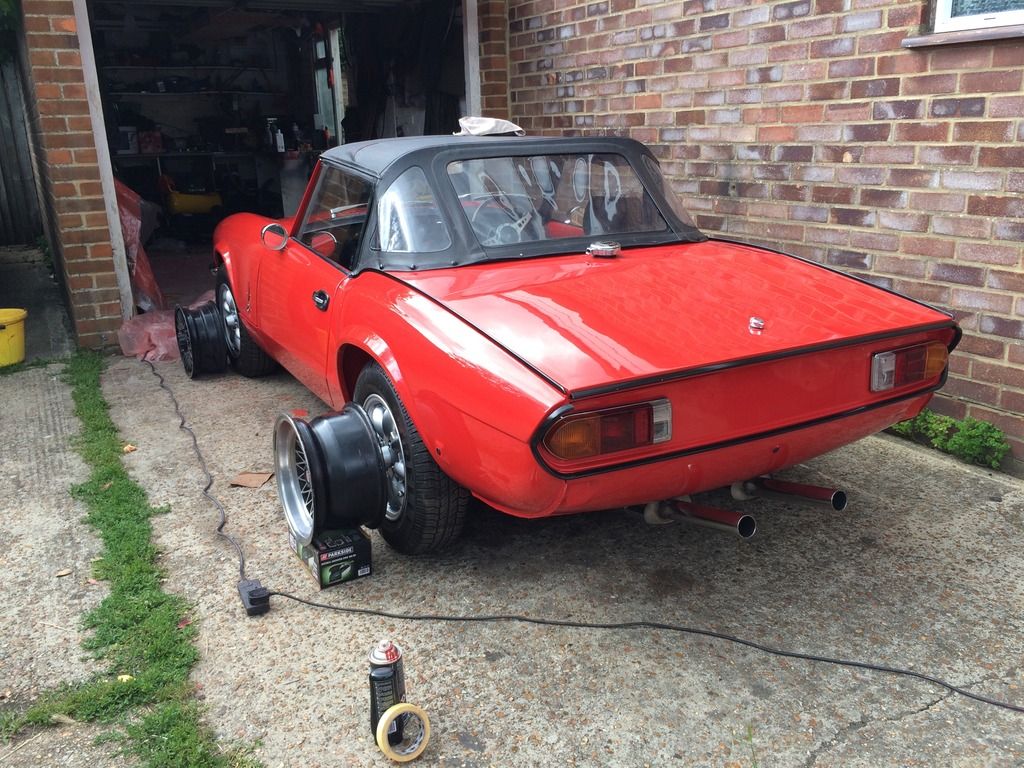
Another quick run over with the 800 grit and some g6 proved to do wonders for the finish! 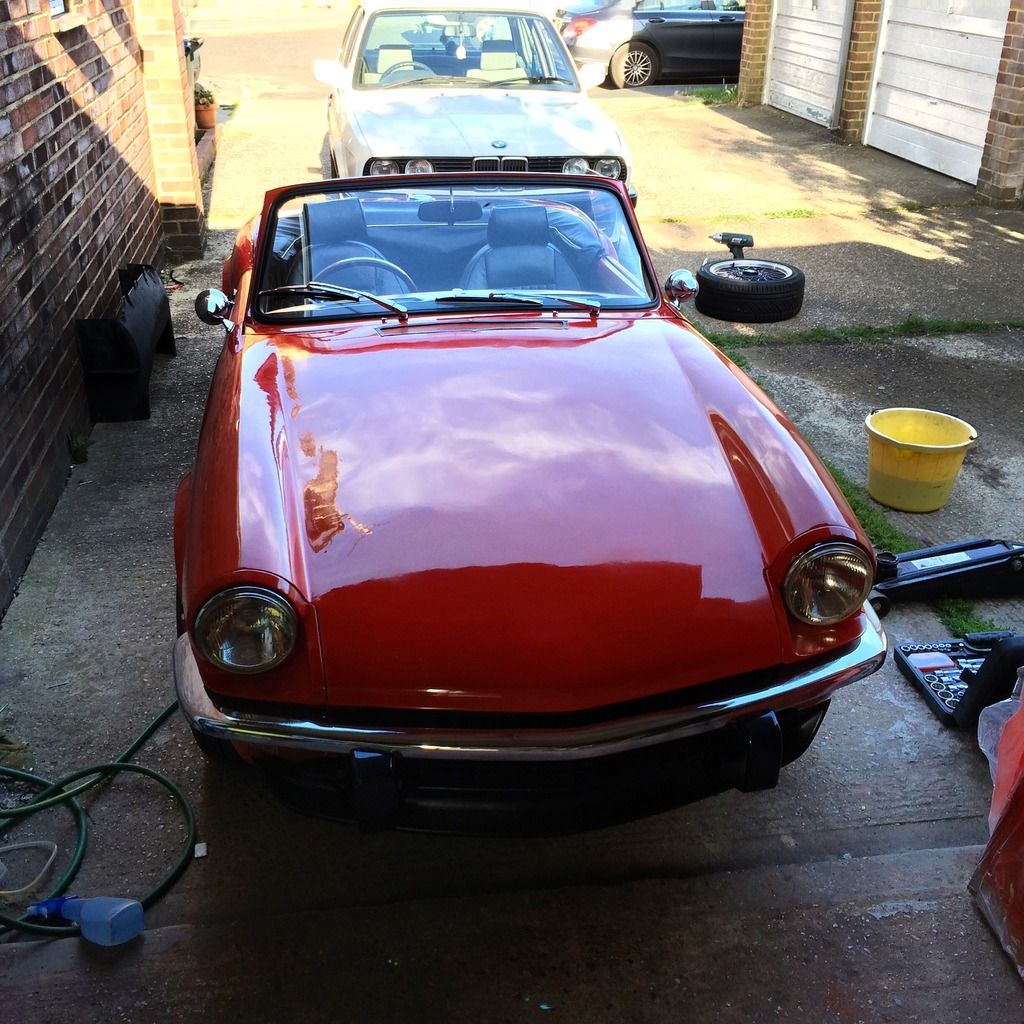 A slightly less blurry interior picture showing that i still need to make something resebling a glove box, as i'm not paying £30 for some shoddy bit of cardboard. 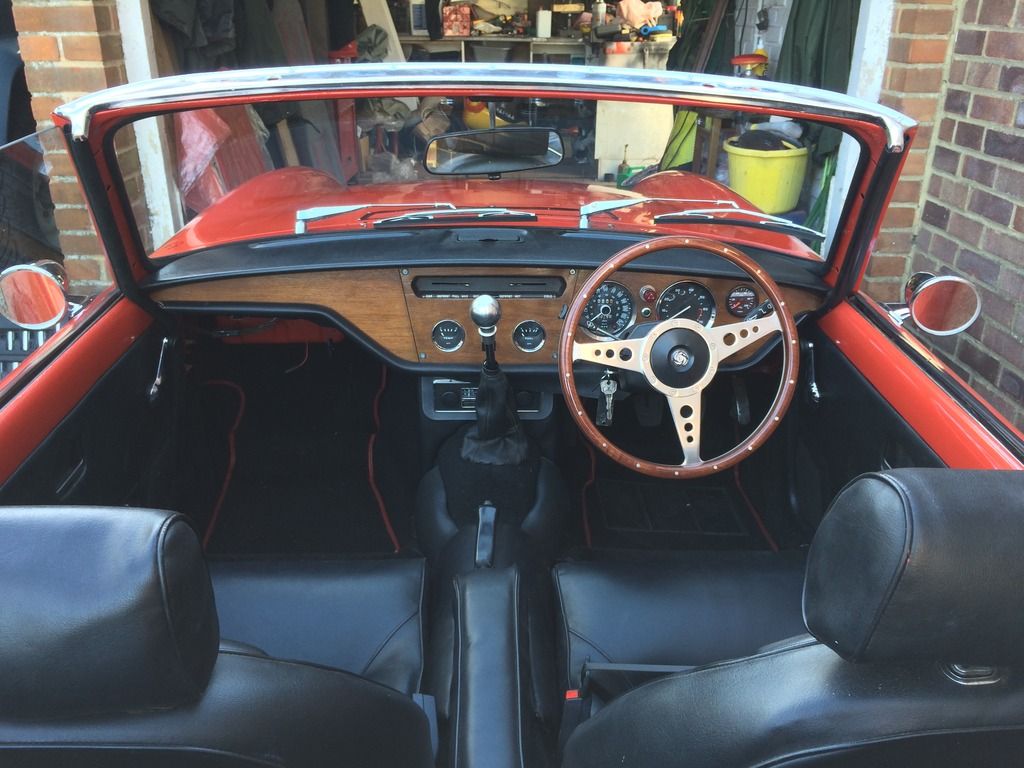 Pre test drive check over shows that we've got all the faulty bulbs and earths sorted. 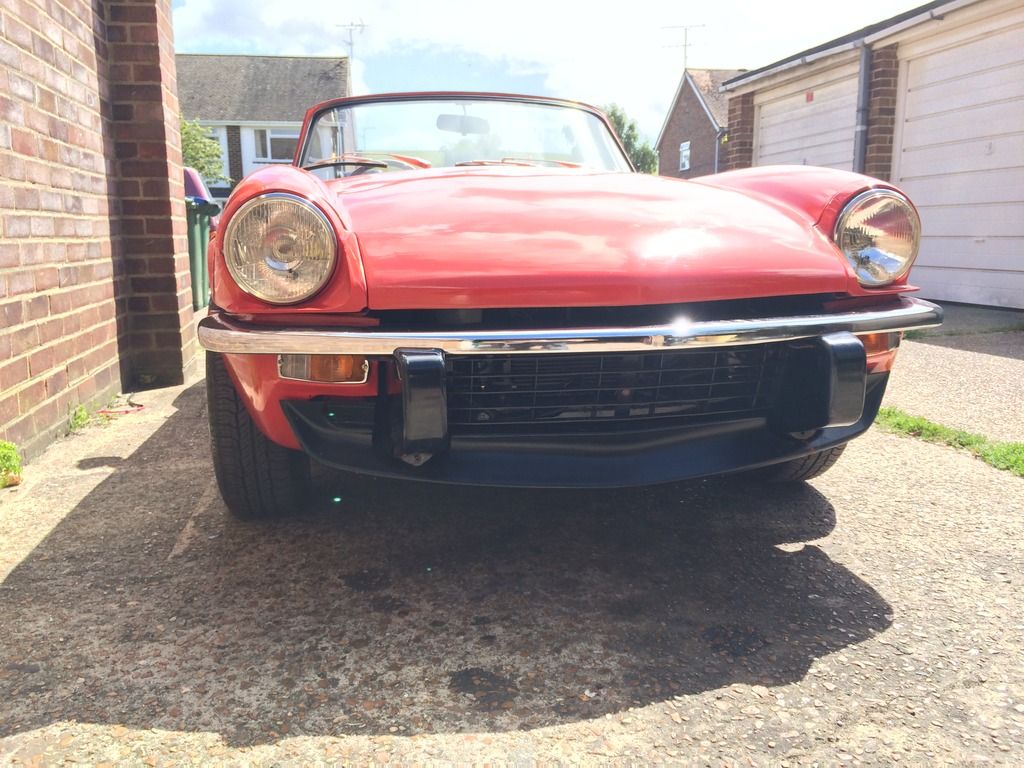 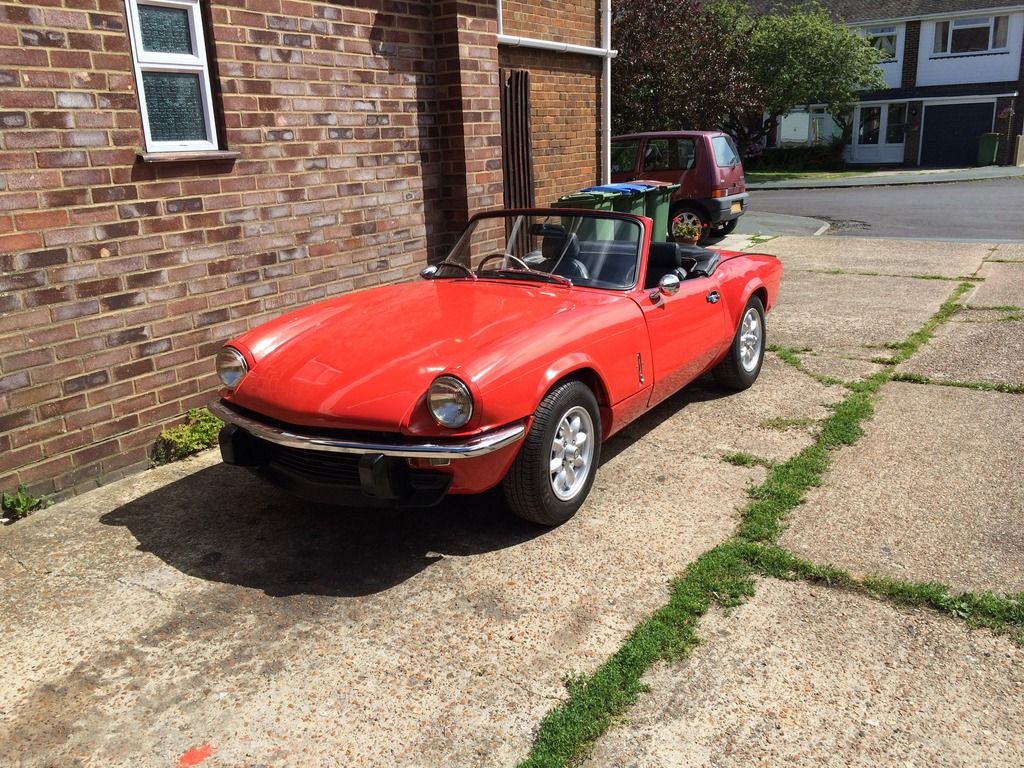 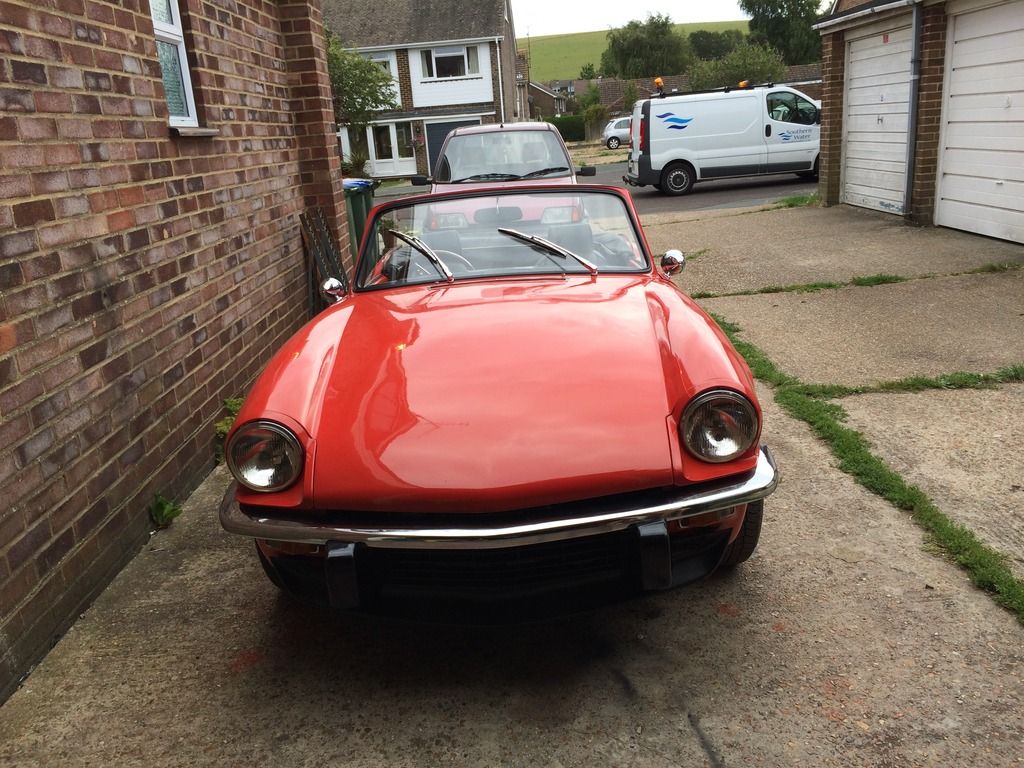 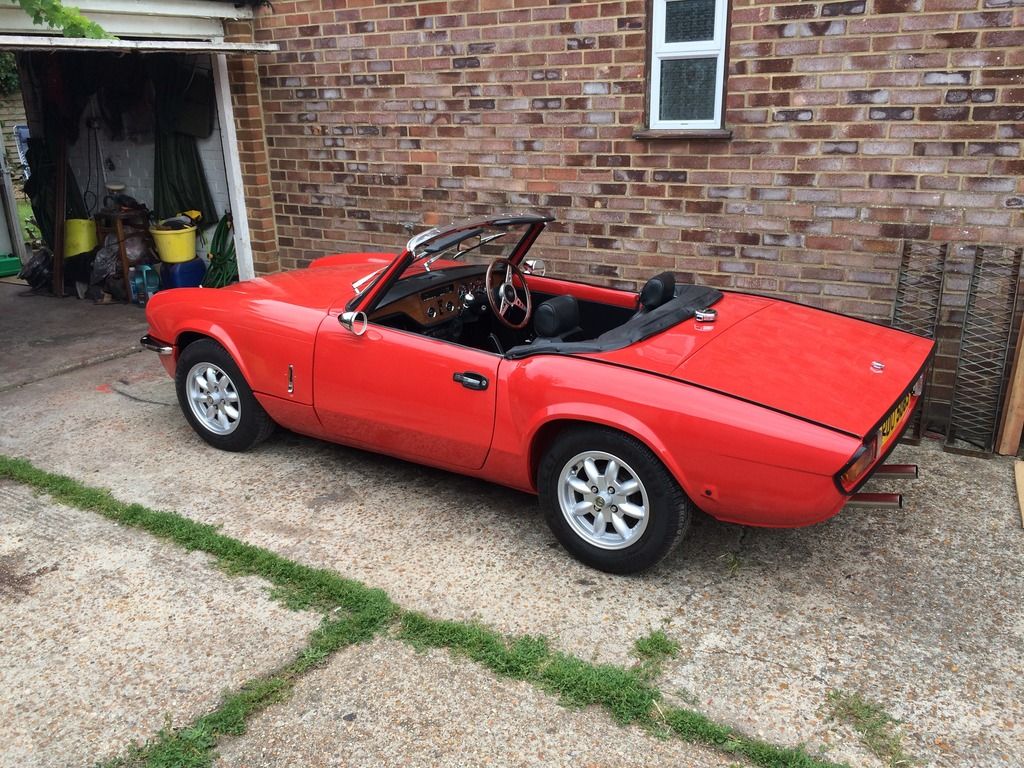  Fired the car up for its first voyage off the drive under its own steam in over 2 years. Then it started raining, typical. didn't stop us and we flipped the roof up in record time, straight to the petrol station for a quick fill. 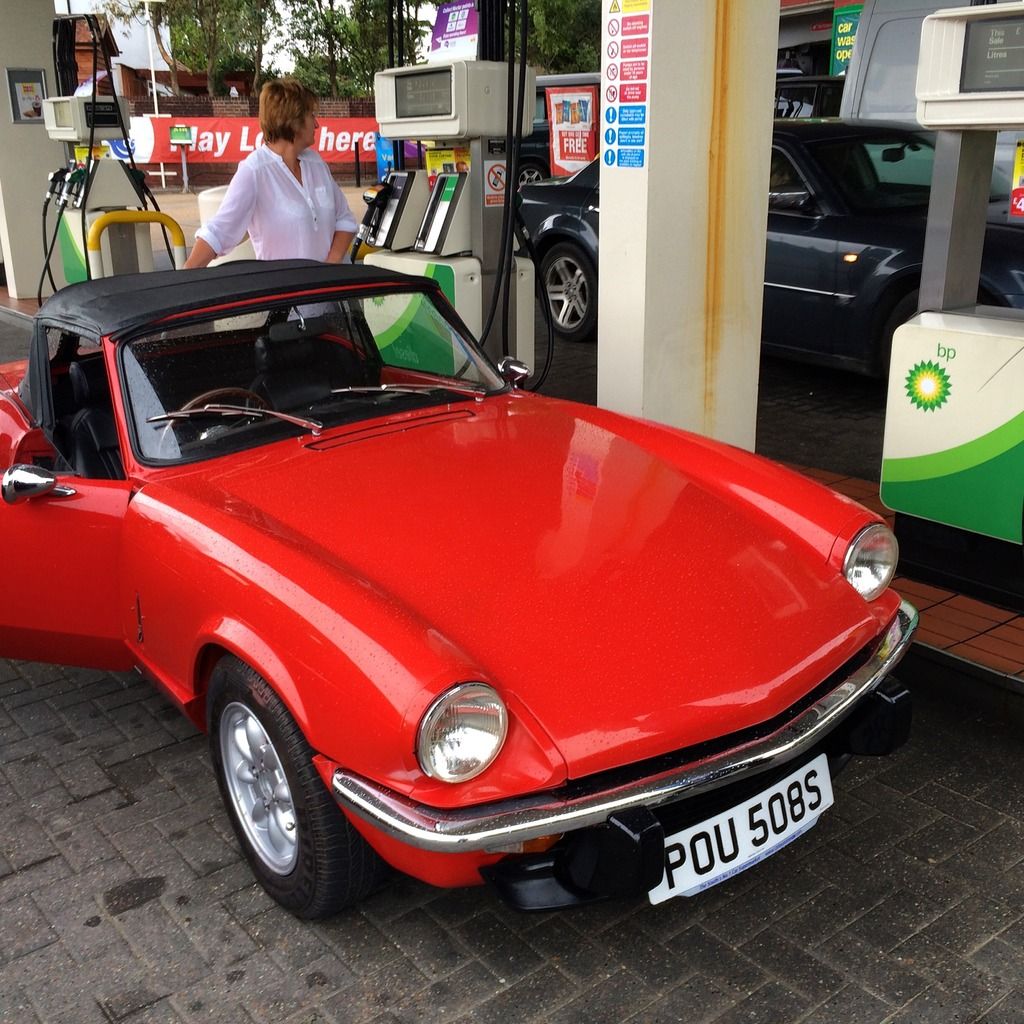 So the last issues to sort are the tune (suspected it was just because the vacuum advance had fallen off the carbs) and stopping the wheels scraping when steering left... bit of a mystery, but i knew there was a reason the previous owner had fitted halfords spacers  time for some adapters from mike satur then! |
| |
|
|
eurogranada
Europe
To tinker or not to tinker, that is the question...
Posts: 2,556
|
|
|
|
|
Great result! I'm hopefully not far behind you. Only mine's been 5 years in the making.
|
| |
|
|
|
|


 some carful angle grinder-ing later we had it sitting nice and it was time to attach the hinges (bought seperately in the sale with the bonnet as well as a speedo cable)












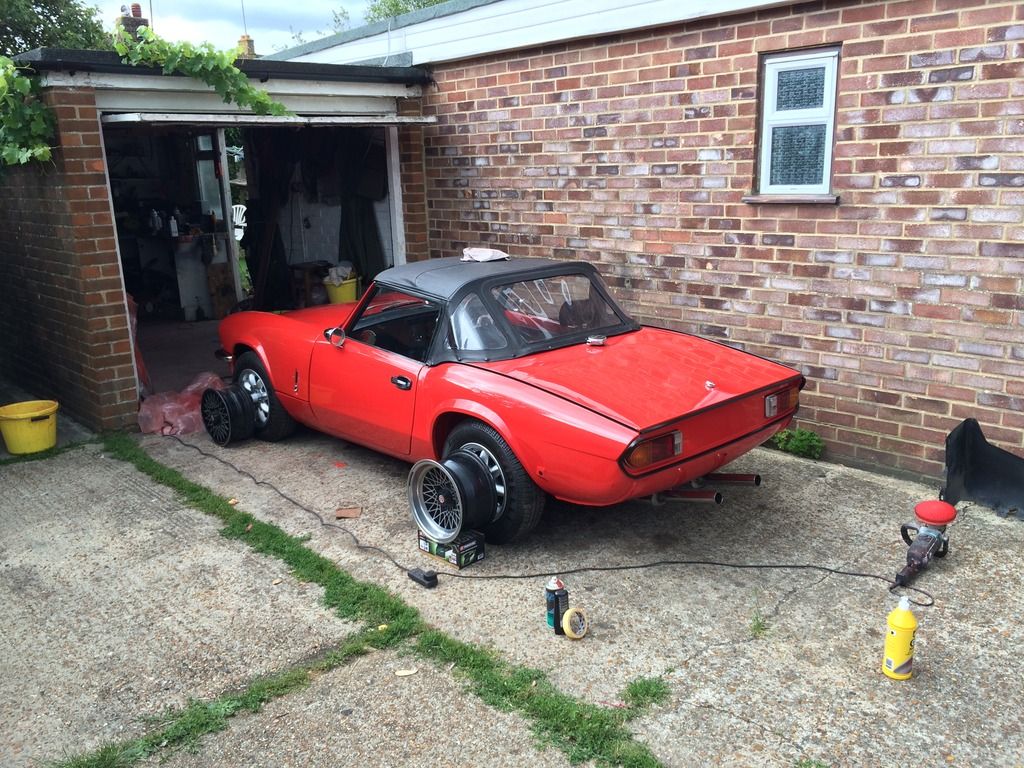
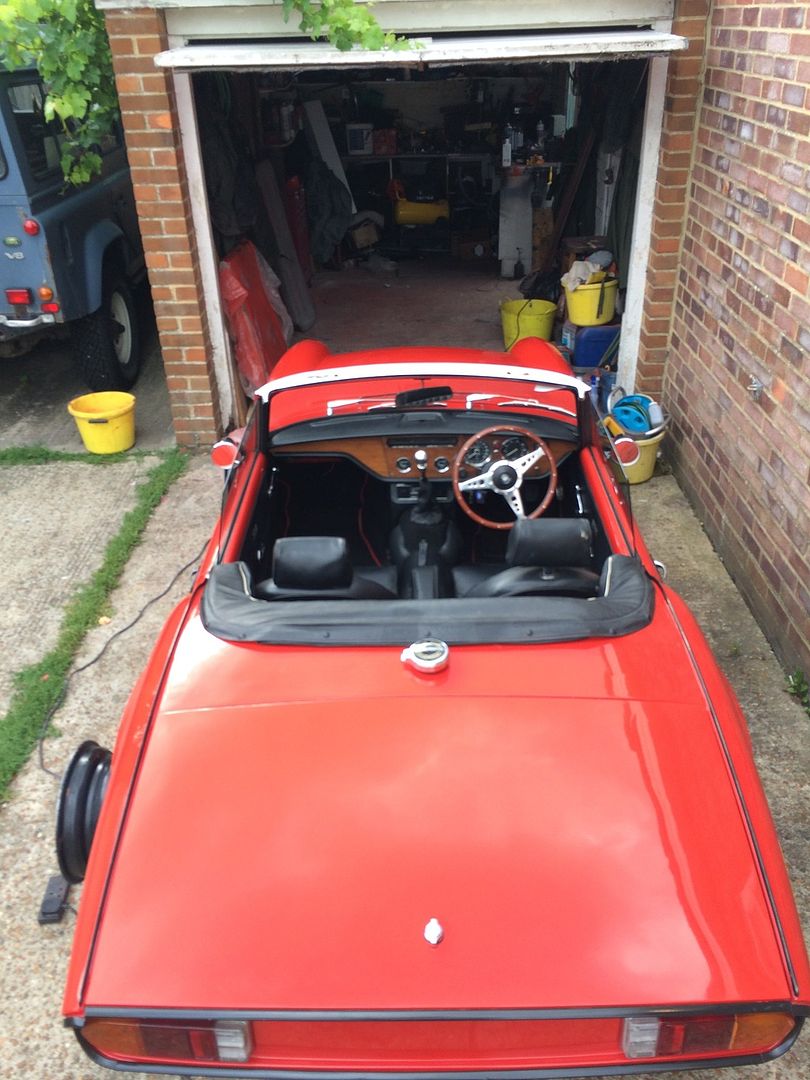


 time for some adapters from mike satur then!