drdick
Part of things
 
Posts: 359
|
|
Apr 18, 2016 18:02:45 GMT
|
Ah Dr Dick... The curse of ' it was alright before so I won't change that' which always works so well,on others threads but on mine,quickly gravitates towards ' complete rebuild'.... Glad to,see I am not alone.... Progress is progress, do you have a completion date? P.  yeah, I never seem to get away without rebuilding everything probably because I always take on projects that have stood for years so everything is dry, perished, seized or all three. I really want to get this finished this year which I will if I can get it painted! |
| |
|
|
|
|
drdick
Part of things
 
Posts: 359
|
|
|
|
A couple of hours were squeezed in on this on the Bank Holiday. I have continued with the worlds greatest engine rebuild. After realising I needed to spend yet more money last time I pushed all the oily bits roughly back into place and covered them with my freshly repaired sump. This might be engine rebuilding of the most dubious kind but I might as well try and keep some of the dirt out of it. After being relieved of more cash for bearings and a water pump I once again removed the guts of the engine. I balanced it all rather precariously on my welding trolley. I even put blue roll between the swarf covered trolley and the precious rotating parts.... 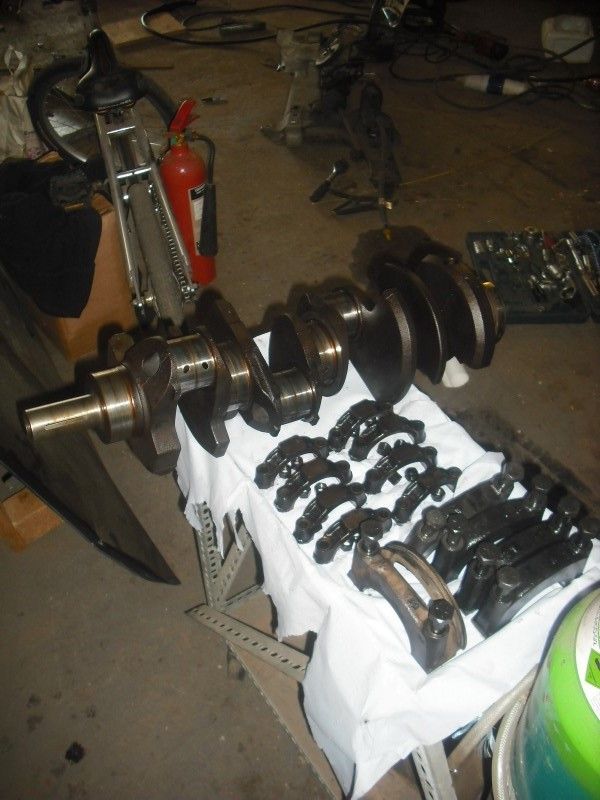 Cleaned things up a bit and then new bearings in: 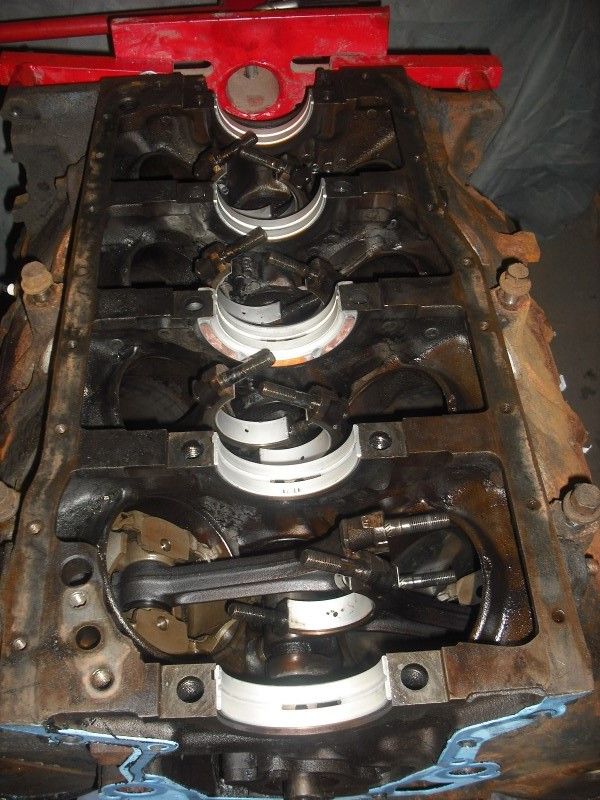 Looks better already! Shoved it all back together along with the new rear main seal, put all the timing gear etc etc on and all I have left now is turning it the right way up and sticking the new water pump on.  I even went as far as spinning it round twice by hand to check that it doesn't suddenly seize up! I also forked out for more brake shoes, the correct size this time! Didn't get very far with that though, just the standard firing of springs across the room accompanied by copious swearing. Perhaps they will get finished next time.... |
| |
|
|
Paul Y
Posted a lot
  
Posts: 1,951
|
|
|
|
Progress is Progress... When you said 'Ghetto' I was expecting to see a can of Blue paint.... P.  |
| |
|
|
drdick
Part of things
 
Posts: 359
|
|
|
|
|
Hmmm, paint and new core plugs, two things I have not applied to this engine so far that I probably should have done.
|
| |
|
|
|
|
|
|
|
|
Core plugs are a MUST. Especially if its been left sitting dry, the one behind the flywheel will certainly leak as it's an engine out job to fix. The easy to get at ones won't ever fail,lol.
|
| |
|
|
hairymel
Club Retro Rides Member
avatar by volksangyl
Posts: 1,081
Club RR Member Number: 207
|
|
|
|
hah - told you about the core plugs  not sure i appreciate the workshop being likened to a 'ghetto' ghetto ˈɡɛtəʊ/ noun 1. a part of a city, especially a slum area, occupied by a minority group or groups. verb 1. put in or restrict to an isolated or segregated area or group. ok maybe i can let you off, you are the only unit dweller to actually seem to be fixing anything, and your bit is the tidiest by far  |
| |
whats that burning smell?
oh curse word :-(
|
|
drdick
Part of things
 
Posts: 359
|
|
|
|
Core plugs are a MUST. Especially if its been left sitting dry, the one behind the flywheel will certainly leak as it's an engine out job to fix. The easy to get at ones won't ever fail,lol. Last taxed 1989 so I'd say it's been sitting dry for some time! What (if any) sealant do you go for on a core plug? |
| |
|
|
drdick
Part of things
 
Posts: 359
|
|
|
|
1. put in or restrict to an isolated or segregated area or group. yes, me and my weird, segregated tidy working area!  |
| |
|
|
|
|
|
|
|
|
You should not need a sealant, but a thin smear of RTV wont do any harm. Try to get brass plugs rather than steel and knock them in with a circular bit of wood or a good fitting socket that fits inside the outer ring snugly. This puts them in squarely and avoids distorting them as they go in.
Clean the block well on the mating surfaces with some emery tape or fine wet n dry to get a nice smooth surface.
|
| |
|
|
|
|
|
|
|
|
Only joined recently and just read your build, great build and so many of the pictures (rust!!) are identical to my Mustang build! Top job and keep up the good work.
|
| |
|
|
|
|
|
|
|
|
|
|
Yes top work on this. Proper dedication and lots of frequent updates make it one of my favourite threads on here.
|
| |
|
|
|
|
|
|
|
Good to see this project moving again. After reading the thread from start to finish, it seemed like a lot got done and then slowed down.Going form a binge read to "Real time" sucks. Keep going cause you are doing an amazing job on this one. Had to post because I am wrapping up my first V8 engine rebuild; a 302 Ford for the Molvo project. What I wanted to mention is that here in Canada I can buy the alloy heads for about the same cost as having the steel ones rebuilt with new parts at the machine shop. Yeah they are made of China, but the castings seem good and the parts check out when measured. For a low spec build that wont see any track time, it seemed like a good deal. Don't mean to hijack your thread, just tossing out some affordable options for these engines.  |
| |
|
|
drdick
Part of things
 
Posts: 359
|
|
May 28, 2016 17:06:59 GMT
|
Thanks for all the mojo boosting words. Since its the bank holiday weekend and SWMBO is off visiting her mum in France I had Friday off work to make some progress. To be honest not much has actually happened so far because I've been fannying around with various things and this morning I find myself cold and achey with a terrible sore throat so now I'm just lazing about hoping to get shot of it. A bit of stuff has happened, got the water pump and various other bits back on the engine. Then the rancid gearbox got cleaned down with petrol and brushes. 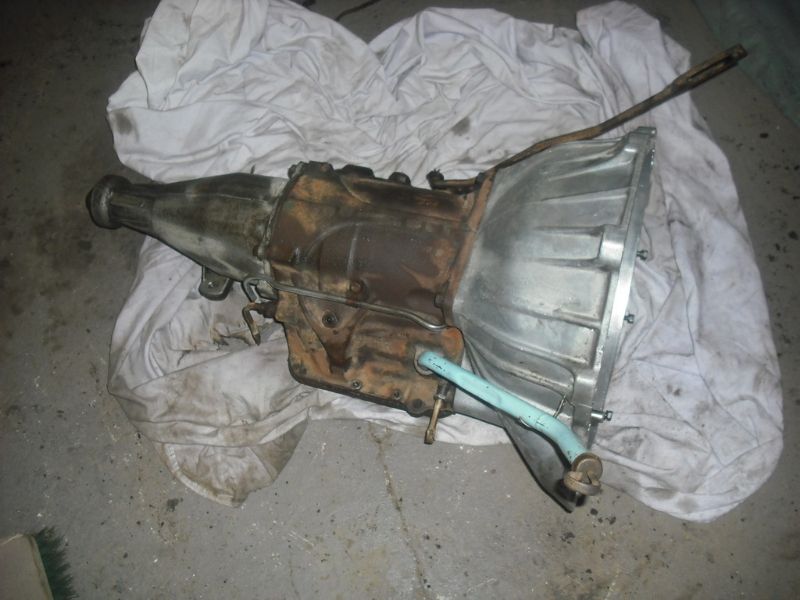 Then I spent a while getting the box and engine mated back up. 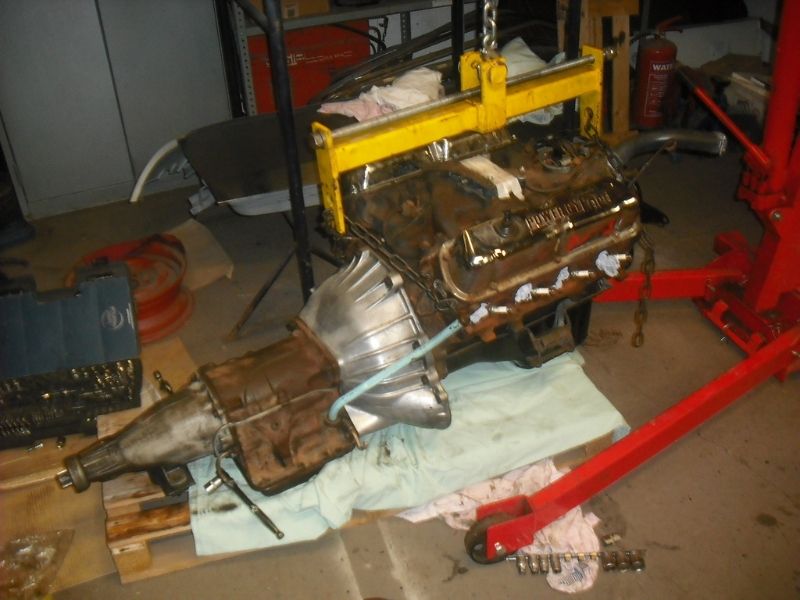 Then curse word got serious.... 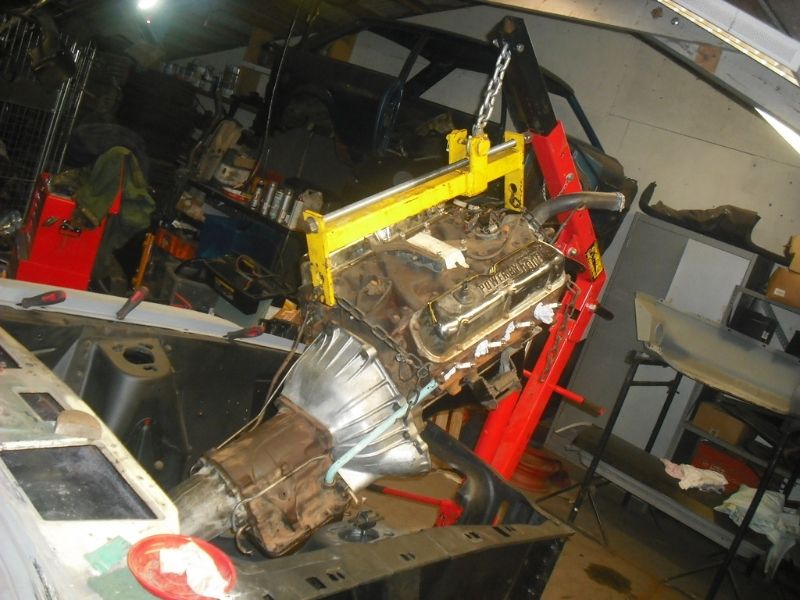 And in... 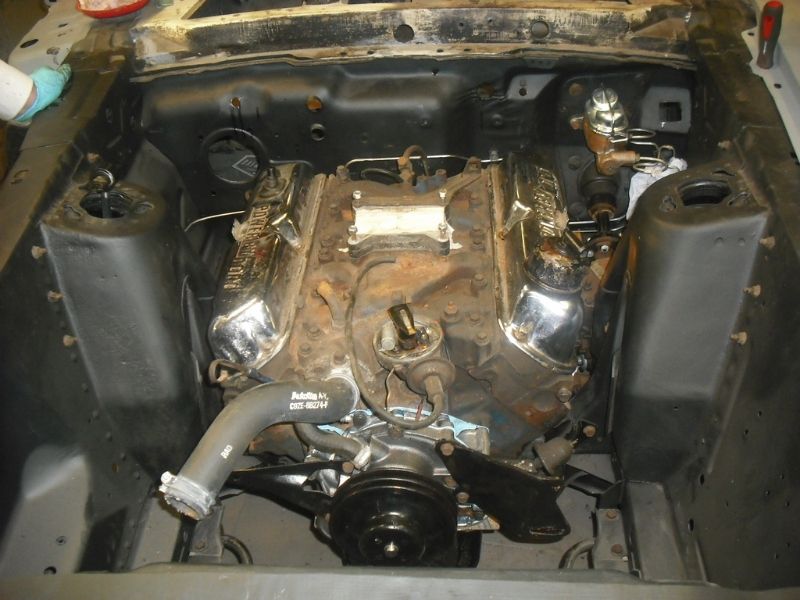 That made me happy  Then I decided to try and finish off some of the loose panels. As per the other side the wheel lip had rusted off so I attempted to replace it. At least there is metal there now to attach the filler to! 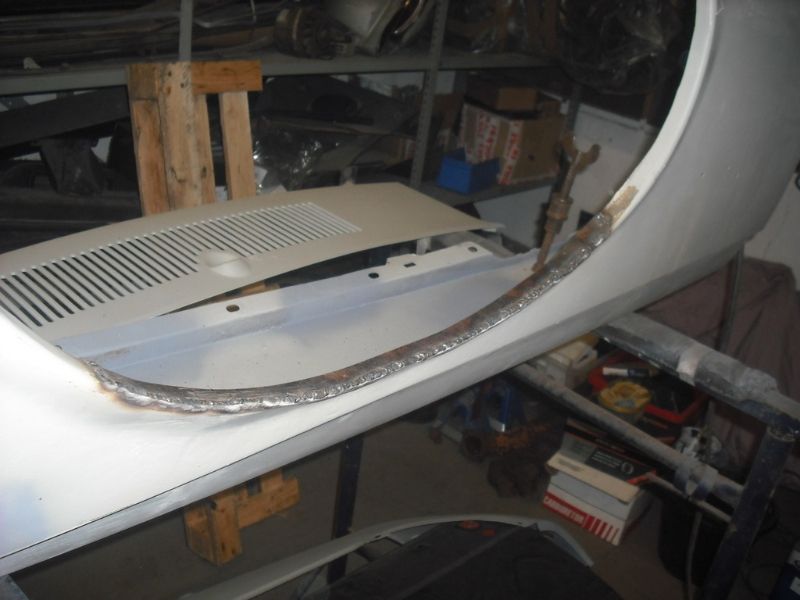 Cleaned it up and now we have two wobbly wings roughly hanging in place.. 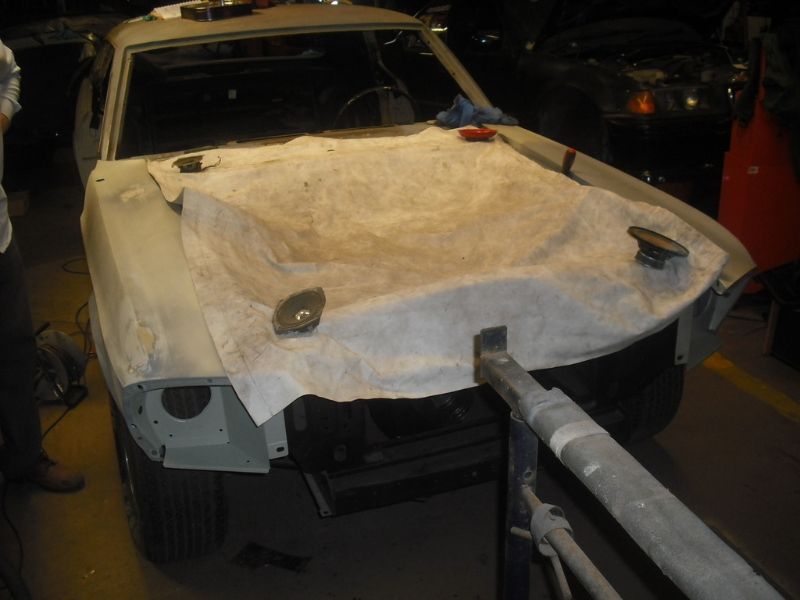 Finally before I had to give up because I felt rough as a badgers  I chopped out the grot at the front of the bonnet. 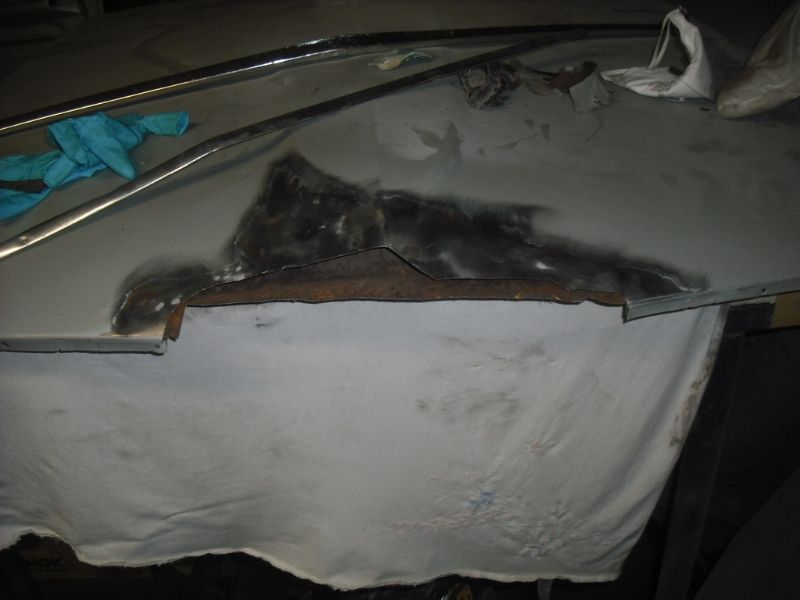 Hopefully some more tomorrow if I can get my head in order... |
| |
|
|
drdick
Part of things
 
Posts: 359
|
|
May 29, 2016 20:18:43 GMT
|
Typically my body has let me down and I still feel like curse word so no car action today. I did remember that my wonderful girlfriend bought me some new wheels for my birthday so have a picture of one of those to be going on with...  |
| |
Last Edit: May 29, 2016 20:26:13 GMT by drdick
|
|
drdick
Part of things
 
Posts: 359
|
|
|
|
Seems like this isn't really getting done at the moment. The upshot of buying another project is that I have spent time on that and also now find myself working in a much smaller space  I haven't been totally slacking, I have started to repair the bonnet:  The nose of it was all rotten and misshapen as well as being a complex shape. I have gone for the "patch it up solid and get the final shape with filler" approach. I've done a lot of it, there are about 8 patches in there and I still have a few more to go. As you can see I've also applied etch primer. Hairymel says I should put the filler on bare metal, Google isn't any help because there seems to be a split between those that say that and those that say put primer on first. Is there a correct answer to this? I don't disbelieve the Hairy one, I'm just looking for an excuse not to whizz all that primer I applied back off again  Also started putting the front wings on. After a bit of fiddling it was obvious that the bonnet needs to be there first so I'd better finish that! More worrying was that on the side where I repaired the inner wing the bolt holes on the inner don't appear to line up with the outer. This will need some checking, if they don't align I'll blame the repro panel I fitted but at least that would be an easy fix to move some holes. Painter A has also decided he can't really fit me in any time soon so Painter B will be getting a phonecall this week! |
| |
Last Edit: Aug 6, 2016 14:51:57 GMT by drdick
|
|
|
|
|
|
|
|
Modern fillers stick to primer ok, but you need a good epoxy primer on first.
Filler bond is only as good as the primer bond to metal.
|
| |
|
|
hairymel
Club Retro Rides Member
avatar by volksangyl
Posts: 1,081
Club RR Member Number: 207
|
|
|
|
once again i find myself agreeing with you mr Blackpop  my view is filler on bare metal or ideally onto epoxy primer although my view at the workshop is mostly of the inside of my eyelids  had a 4 hour snooze after you left MrRichard  |
| |
Last Edit: Jul 10, 2016 9:47:50 GMT by hairymel
whats that burning smell?
oh curse word :-(
|
|
drdick
Part of things
 
Posts: 359
|
|
|
|
Anything happening here? A bit I guess. Hoping to arrange paint guy to come and look next weekend so in the meantime I am saving money by removing old paint and attempting to get some of the loose panels to line up. Door on with lock and catch, not really lined up yet but it opens and closes! Gaps look ok (or at least like they can be made ok), skin is only folded round at the moment so much tweaking can occur before it's tacked into final position. That's a handy state of affairs given the visible misalignment at the bottom of the door in the picture:  I've also been stripping paint (and vinyl roof glue  ) from the roof. Or to put it another way, I supervised the process..... 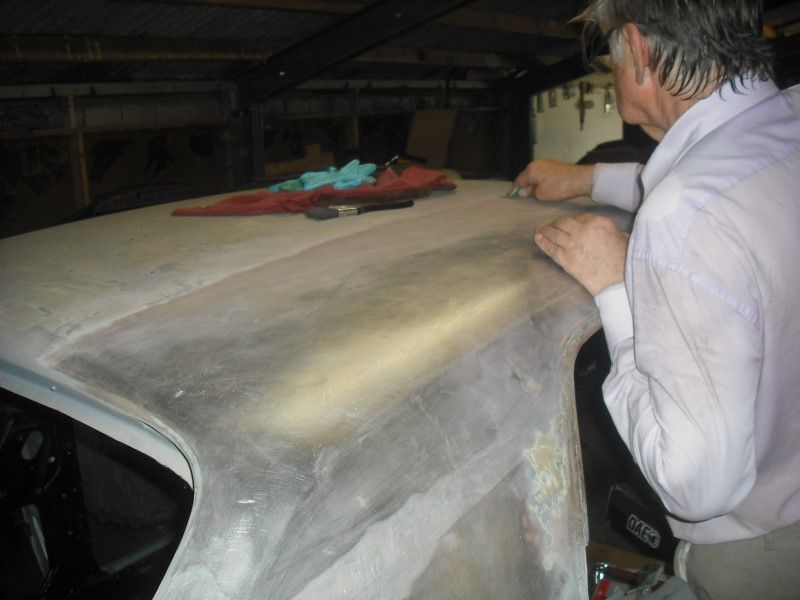 My assistant/slave/father managed to get about a foot in on either side but the centre of the roof is very floppy and we didn't want to damage it with too much pressure (all the roof has been sanded by hand to avoid denting it). Enter the patented "bird table, old cushion, prop type device": 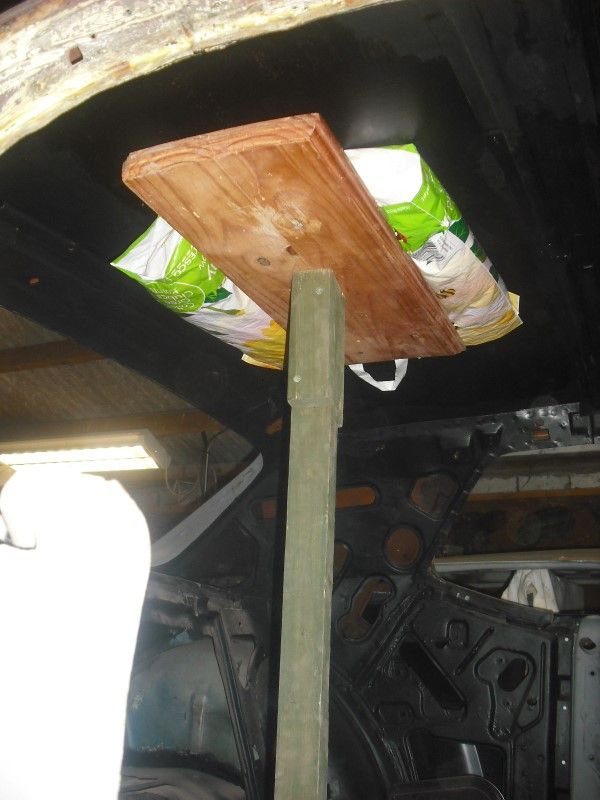 With this wedged up under the roof it was a lot less wobbly whilst sanding. I decided to actually help so we finished off the entire roof (still by hand), it took about another 2.5 hours between the pair of us so I guess there is a good solid days work in hand sanding a roof... 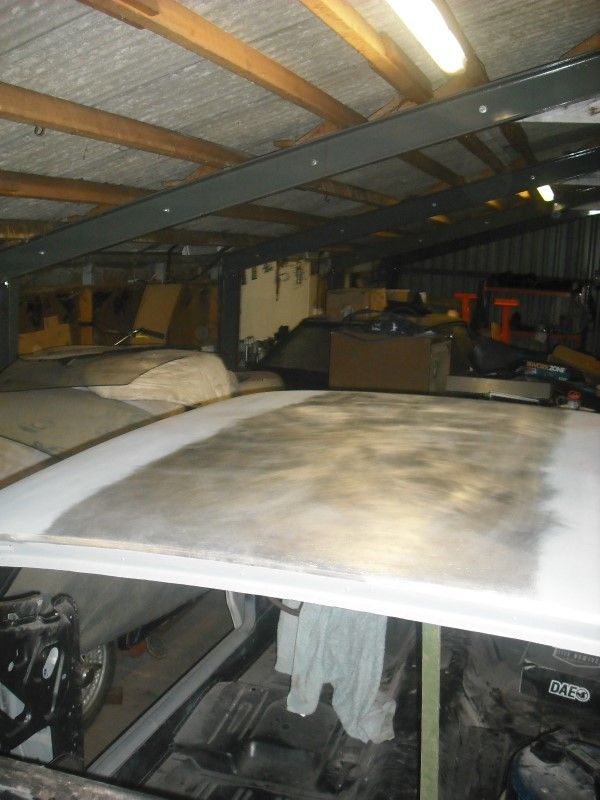 It'll need going over prior to paint with a finer grade of sandpaper but for now a dusting of etch primer was wapped over the top: 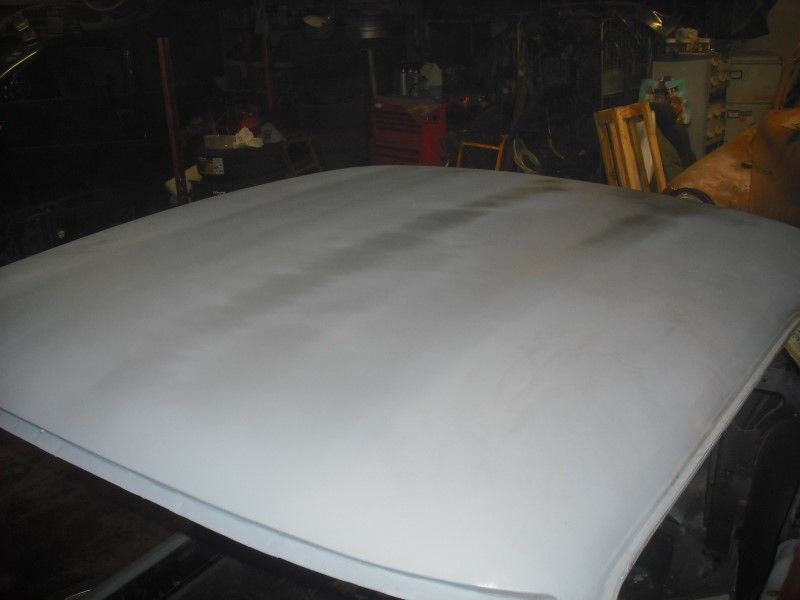 So hopefully next weekend will involve a discussion with the paint guy and more fitting and aligning of body panels. This would all be helped if I could remember to bring the freshly painted hood hinges back from my work........ |
| |
|
|
drdick
Part of things
 
Posts: 359
|
|
Oct 16, 2016 11:52:41 GMT
|
Paint guy met, he's seen the car and is still keen to do it. I now have a hard deadline which is less than two weeks from today. Perhaps I should be fiddling with car stuff rather than typing this.... Anyway, I created a list of things to do before then which can be summarised thus: - Sort out all the little bits and bobs underneath and slap paint/seam sealer on that
- Assemble the entire body so that a) painter has everything and b) I don't have to drill holes in a freshly painted car because I forgot something
Basically the first thing is done so only the second thing (which is a lot more work left to do). Fit the rear valance which involved drilling a bunch of holes. Also opened up the hole for the filer neck in the rear panel because it was about 6mm too small in diameter! Glad I spotted that before paint. 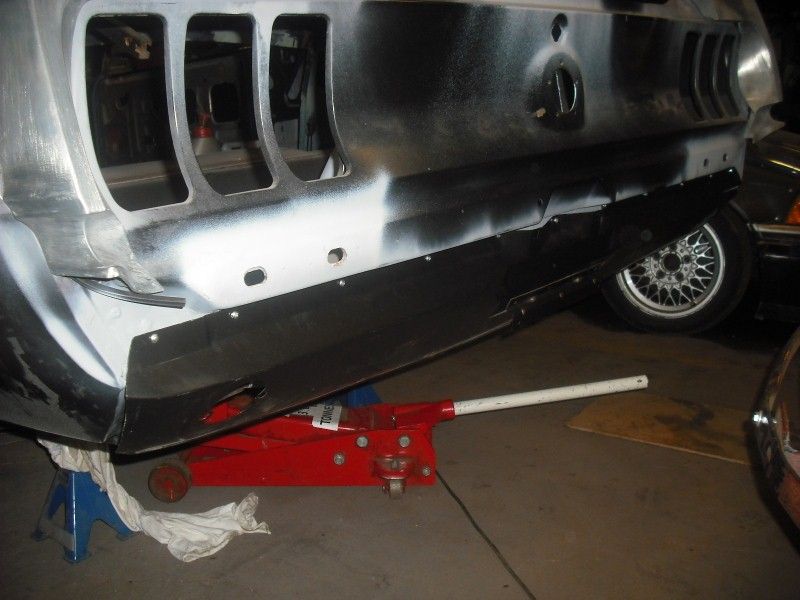 Shove on all the little trim bits etc: 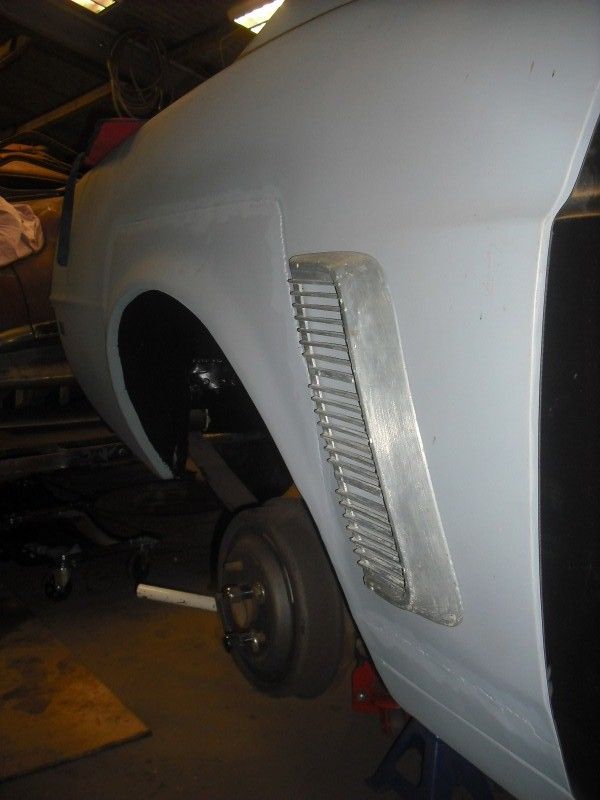 And then the main work, the front end sheet metal. I've wasted hours on this. The cowl is fixed, position wise, so you screw that on. Then align the bonnet to that. Then (and this is where stuff gets theoretical) put on the wings and align those to the bonnet. I say theoretical because on my car, despite the fact that the wings are the ones I took off and I did almost no welding on the inner wings, only about half of the bolt holes lined up. The bonnet also also looked utter curse word. Could not get it level, or even to follow the shape of the wings. Eventually I stepped back, the bonnet is twisted... I tried to take a photo but it doesn't show it so you'll have to believe me. So, as well as having a million bodgy patches in it I cannot get it to line up. There must have been a ton of filler in something when I got the car because that must be the only way it could have been even vaguely straight. So at this point I have something like 3 weeks until I agreed to deliver the car and no bonnet. Phoned everyone I know, asked the owners club and even resorted to finding out how quickly someone could get me a new one for (£600  ) Eventually my Dad turns a second hand one up locally! It's straight and just has a couple of minor scabs in it. Result  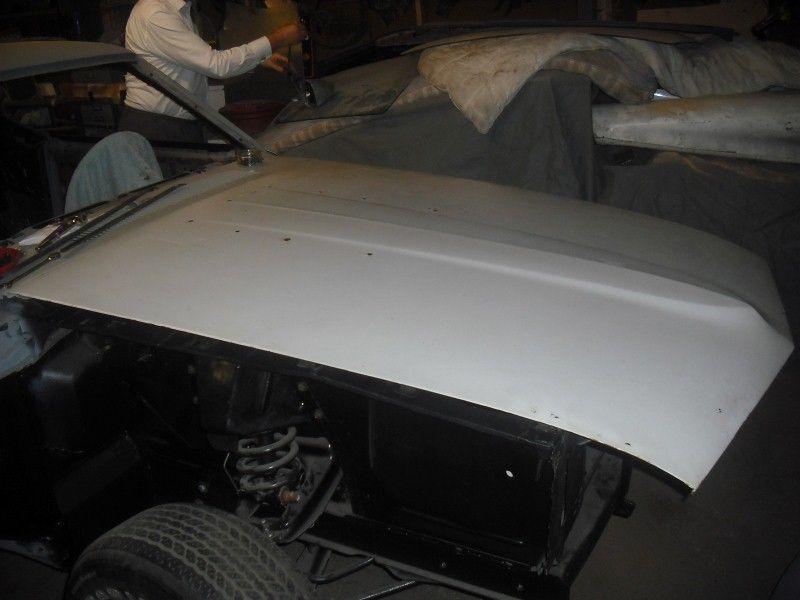 I still can't get the wings to line up though. I'm going to elongate the slots in the inner wings next week and just go with that but it still bothers me that, since they came off, they should go back on! Anyway, this is where I have left it, with zero bonnet to wing gap! 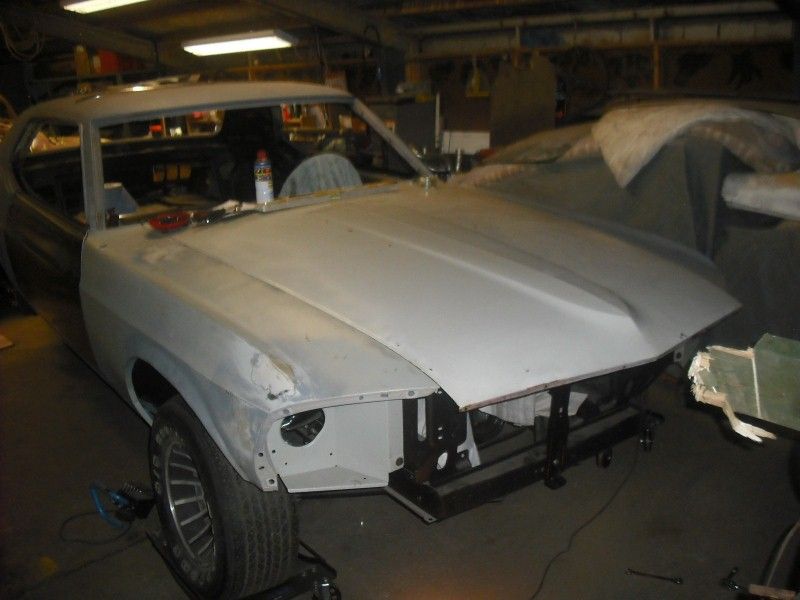 More soon, or at least in the next thirteen days! |
| |
|
|
|
|
|
Oct 16, 2016 18:44:17 GMT
|
|
quality welding work hats off
|
| |
|
|
|
|


 I chopped out the grot at the front of the bonnet.


 ) from the roof. Or to put it another way, I supervised the process.....


 ) Eventually my Dad turns a second hand one up locally! It's straight and just has a couple of minor scabs in it. Result
