|
|
|
Jul 29, 2014 19:35:51 GMT
|
|
|
| |
|
|
|
|
eurogranada
Europe
To tinker or not to tinker, that is the question...
Posts: 2,556
|
|
|
|
|
Excellent work once more! To have those skills....pffff
|
| |
|
|
|
|
|
|
|
|
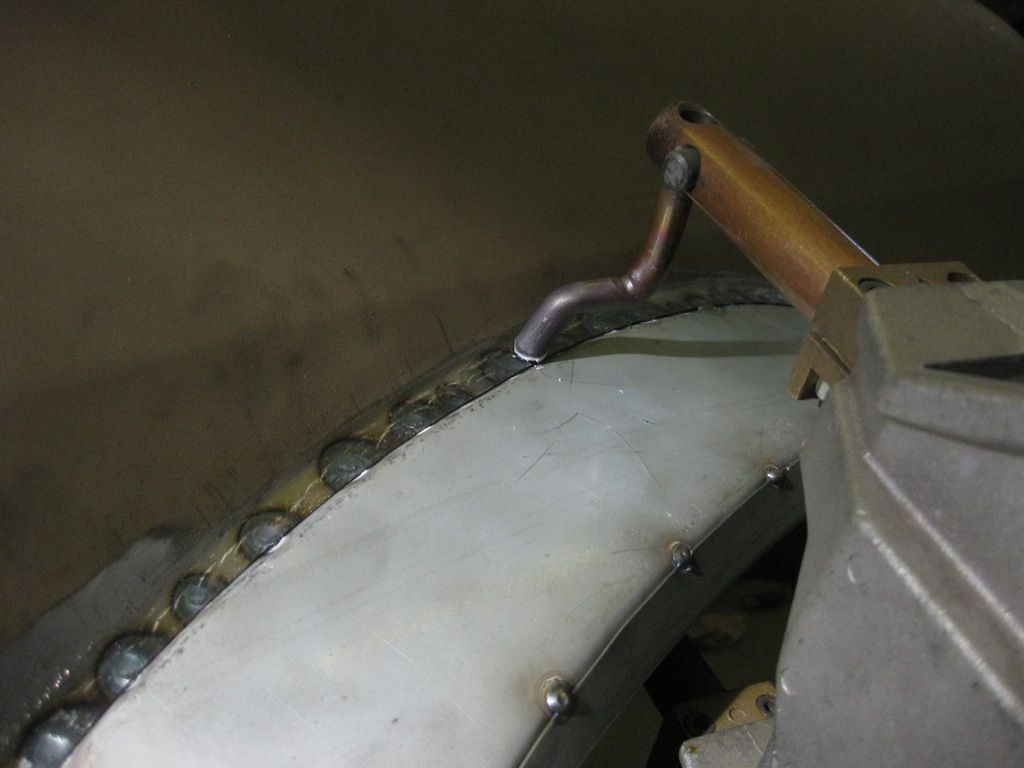
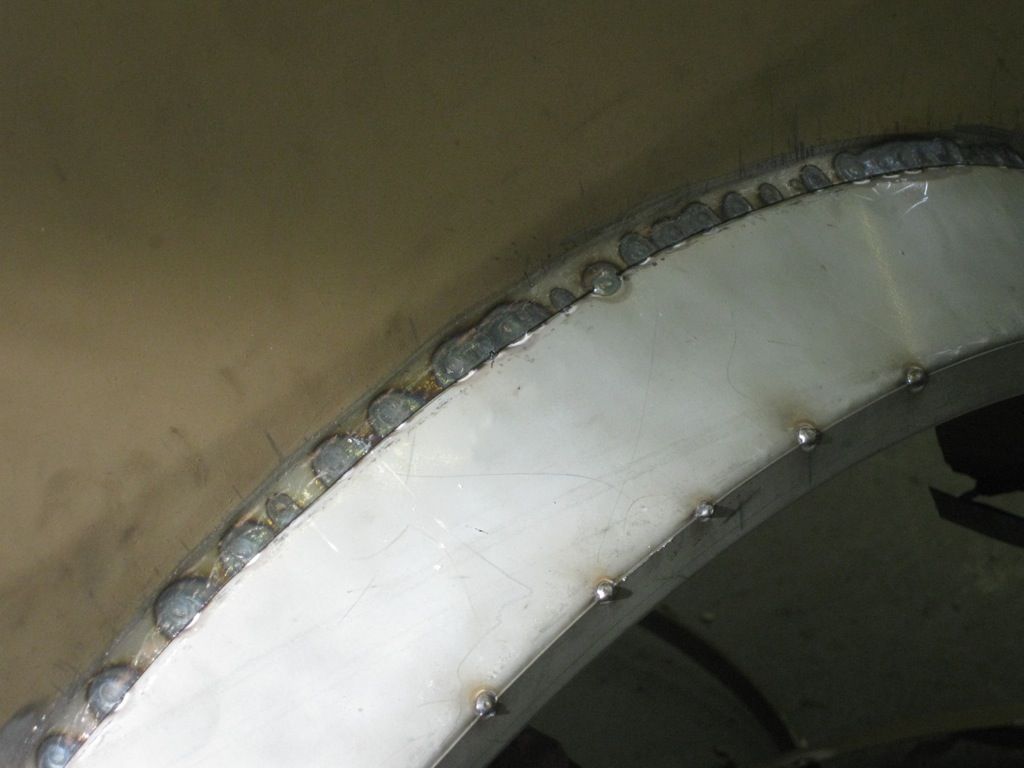
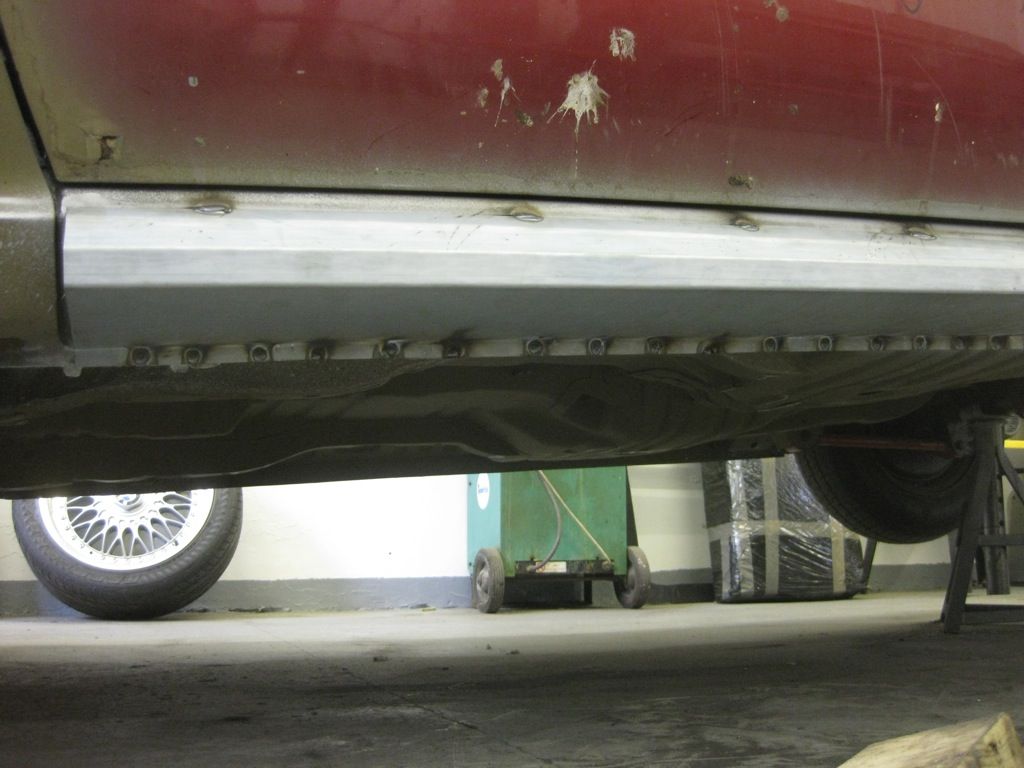
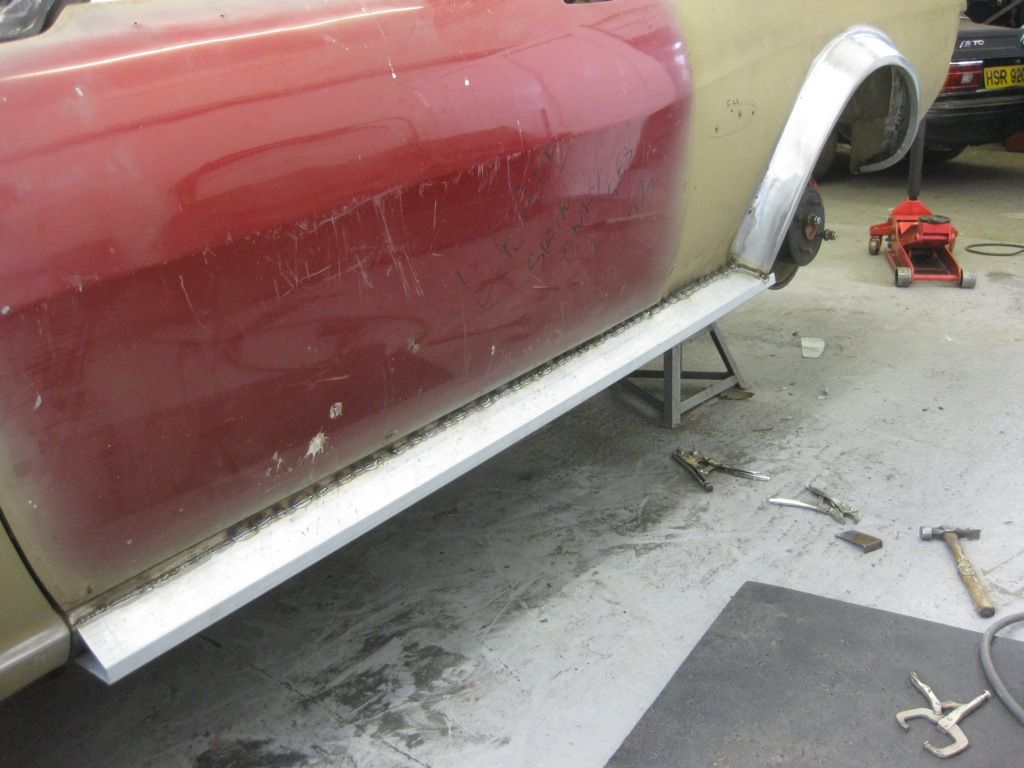
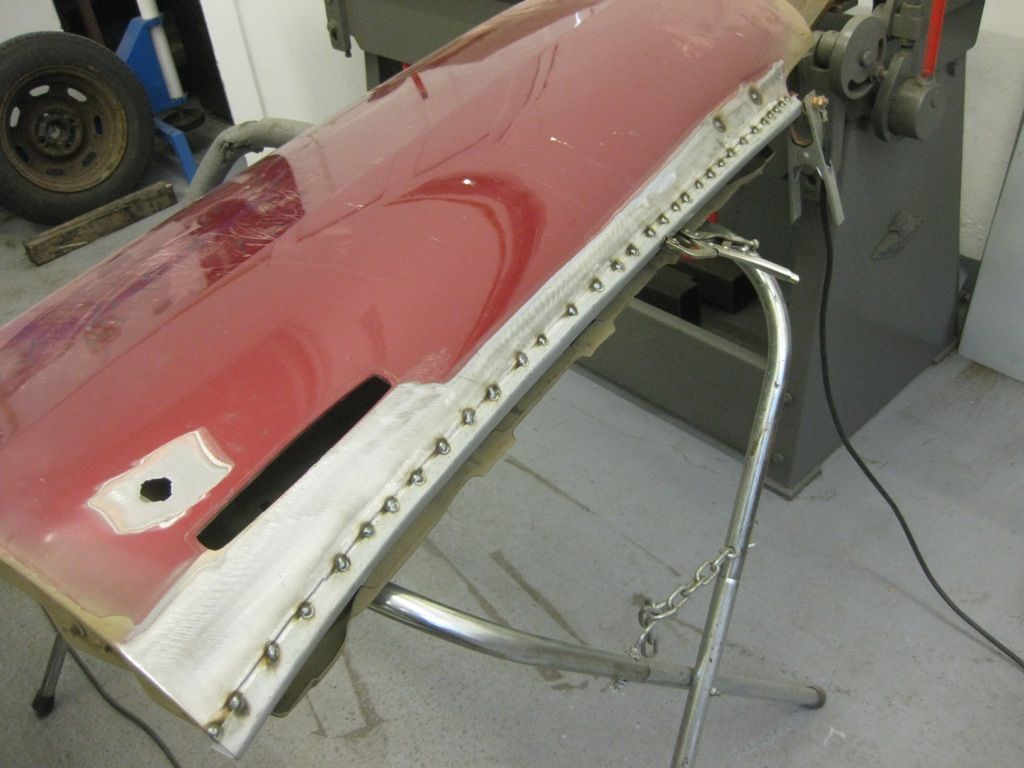
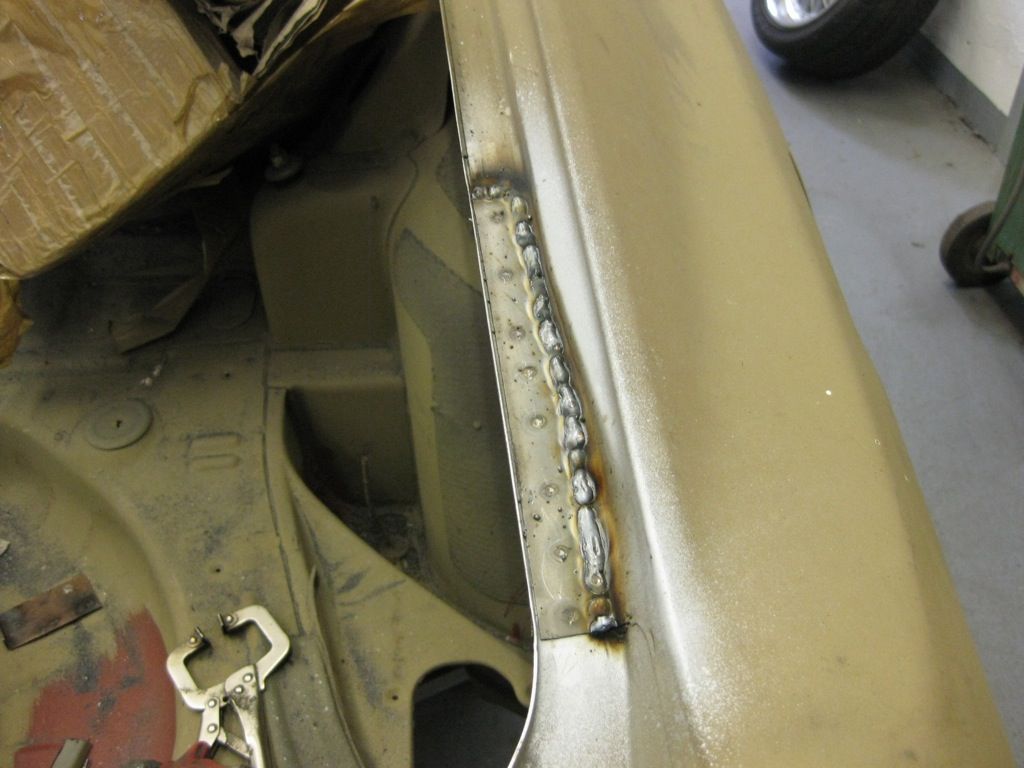
Dear Tony, I have to admit that did not meet the masters of body repair such a level as you. I registered on this forum just to learn your methods of work. And sometimes quite successfully apply them. I see that you are constantly using a continuous weld butt. How is it that the metal does not bend from the heat? When I'm in a similar way to weld body parts, they will inevitably change shape. Even if I'm not stitch at a time, and different areas, giving a little to cool the previous one. Thank you. I swear, you have a lot to learn.
|
| |
Master Body Repair Toyota
|
|
|
|
|
Jul 31, 2014 20:43:09 GMT
|
|
great work as usual tony,really looking forward to working with the old girl when she comes home
|
| |
|
|
|
|
|
Jul 31, 2014 21:30:52 GMT
|
|
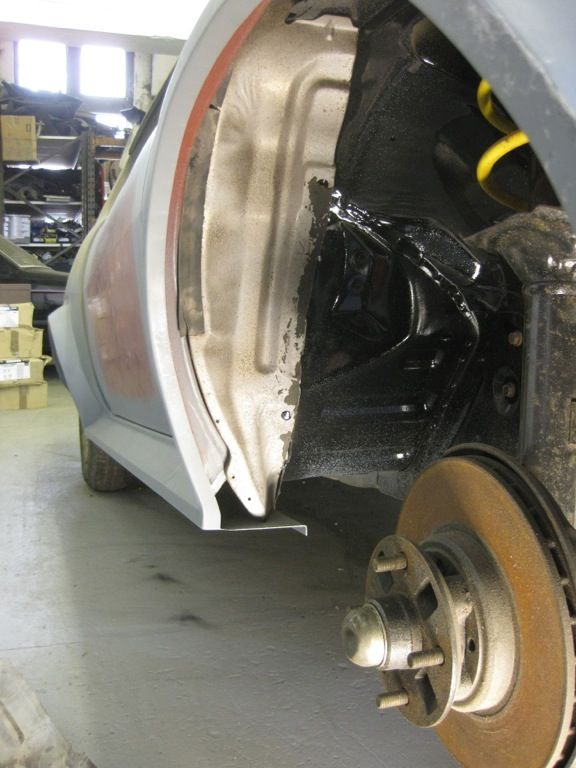
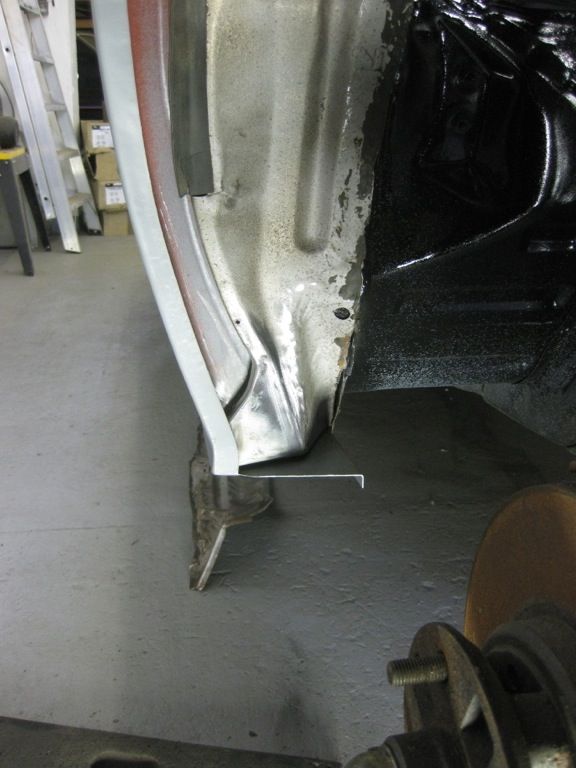
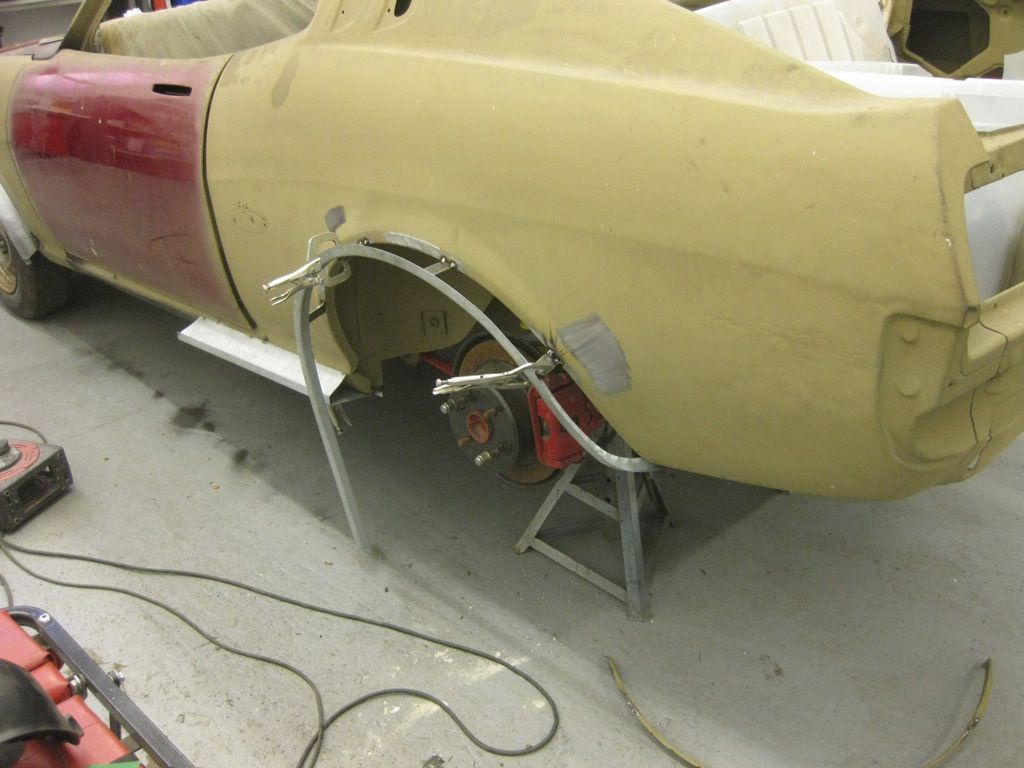
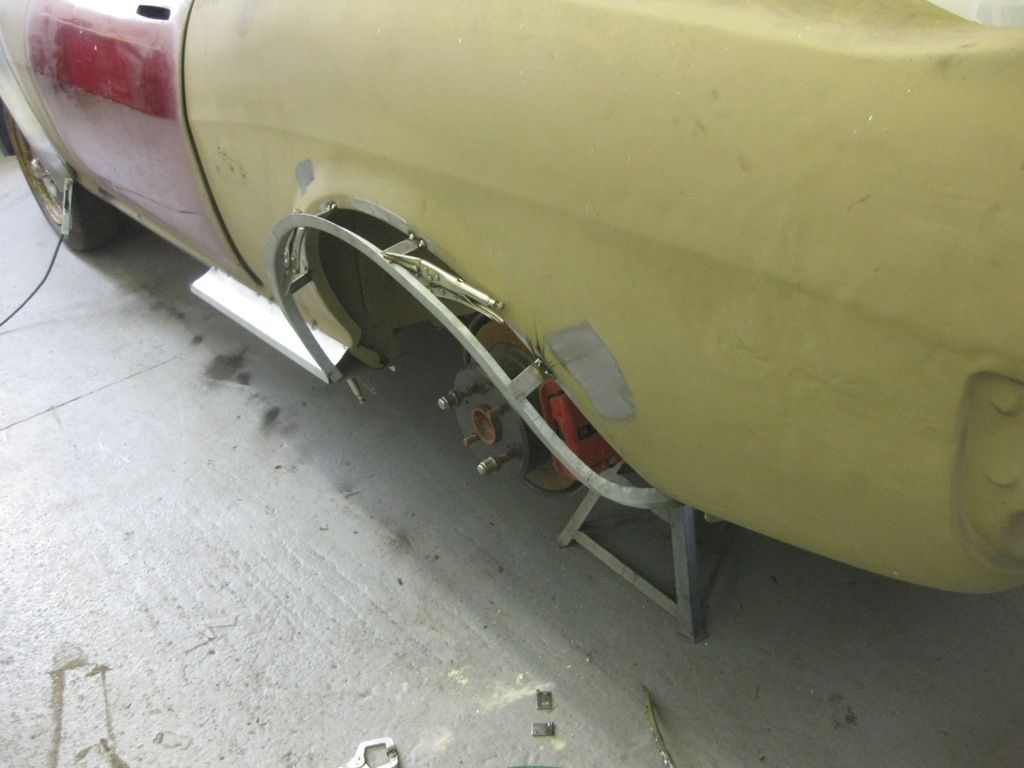
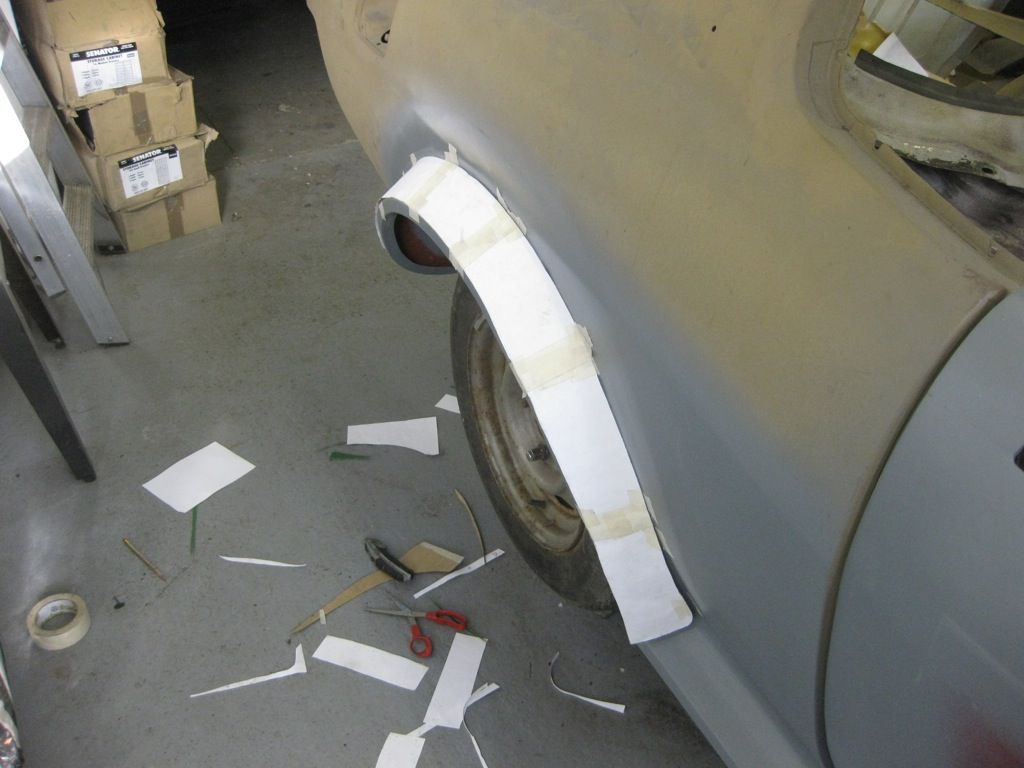
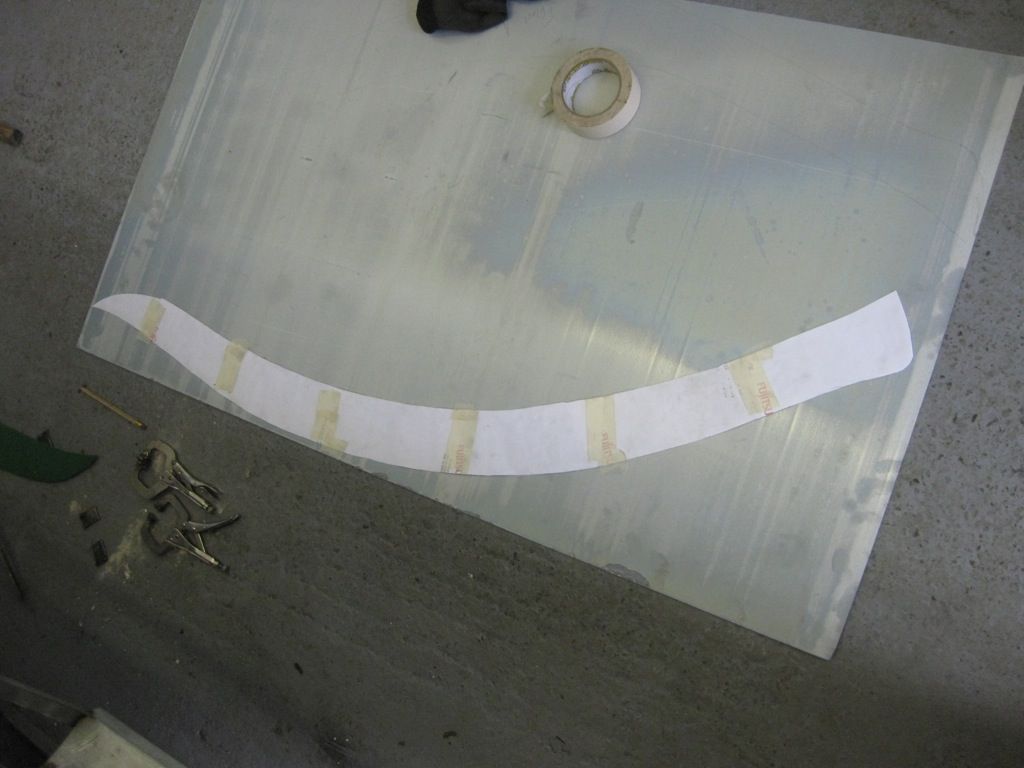
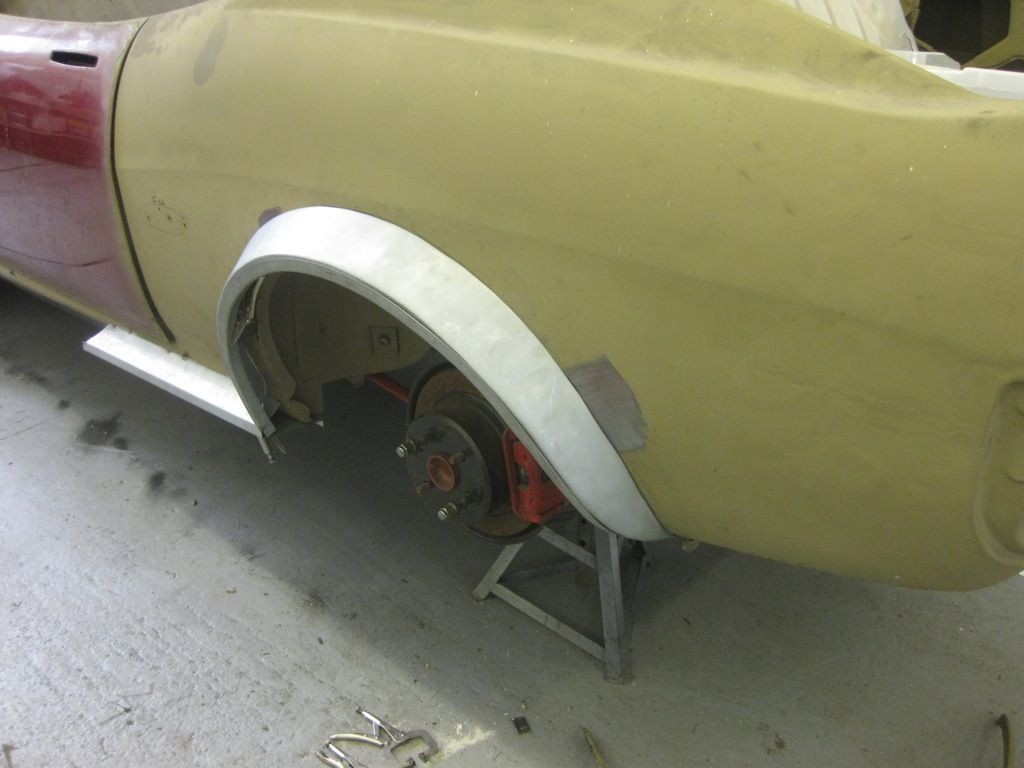
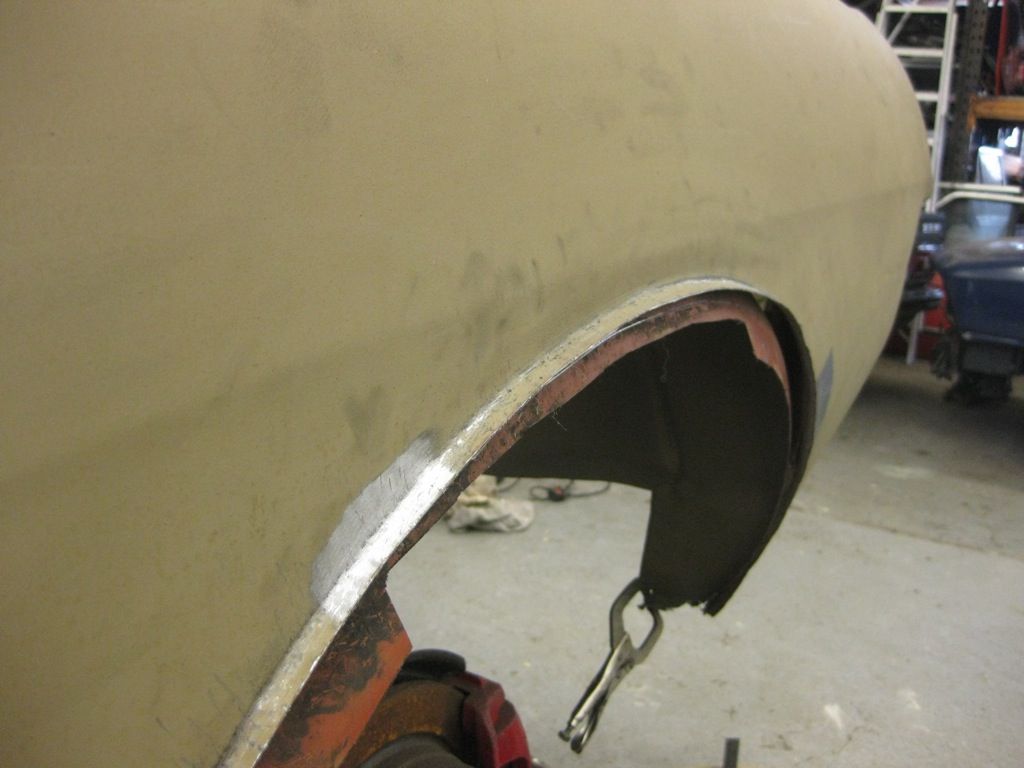
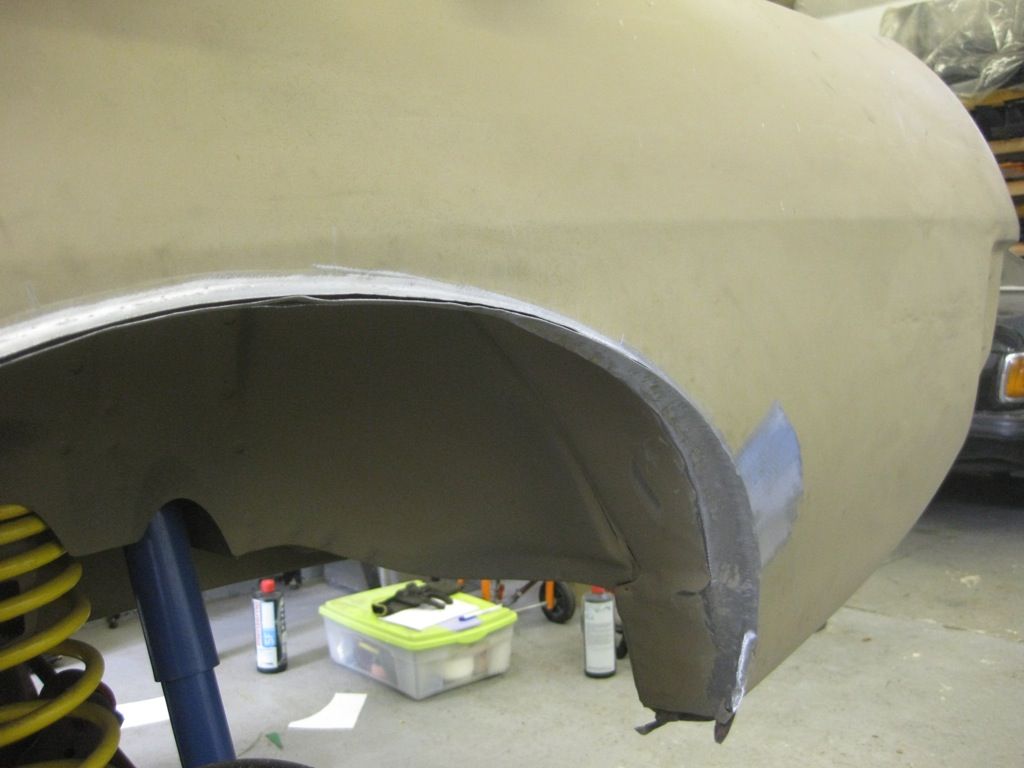
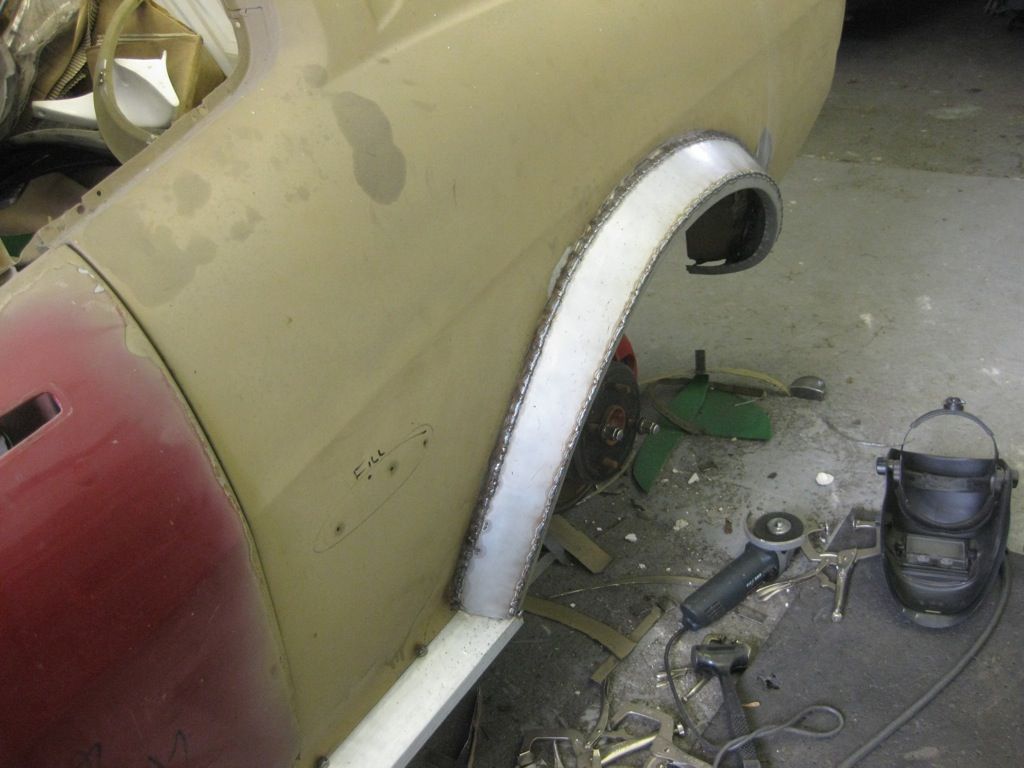
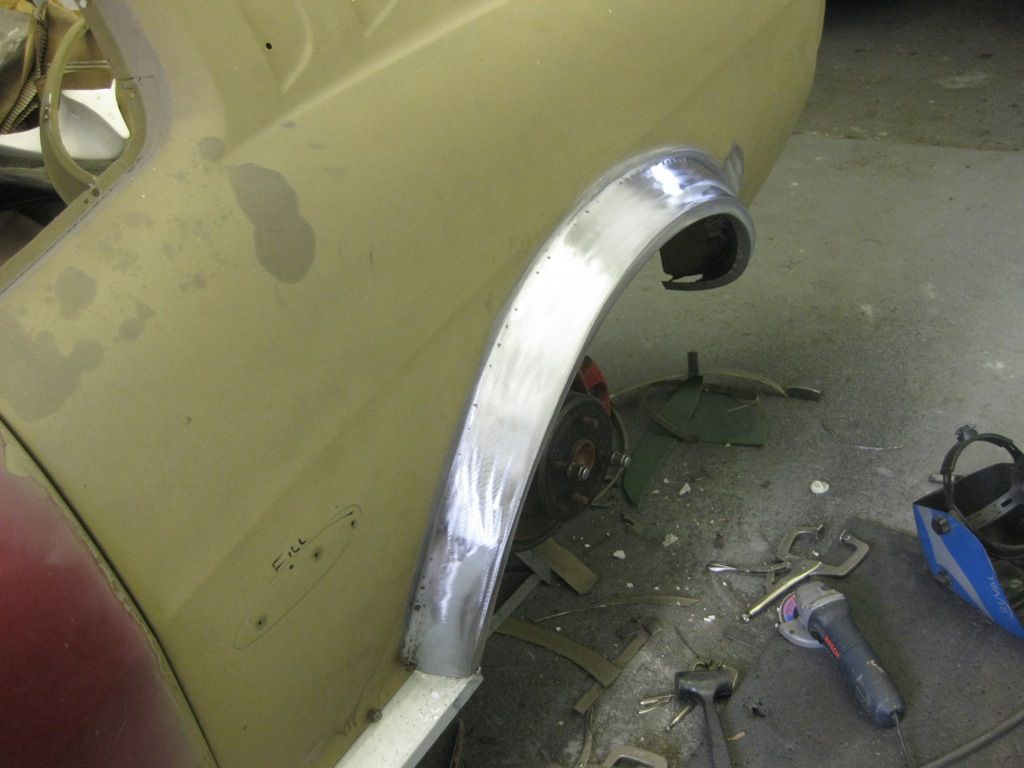
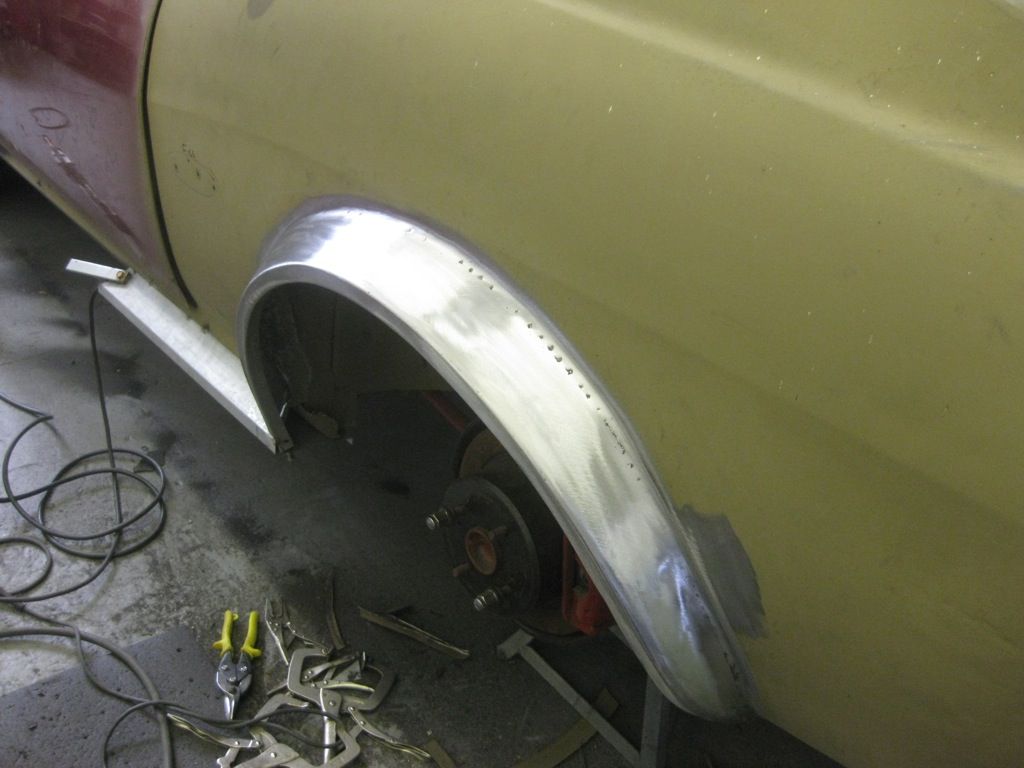
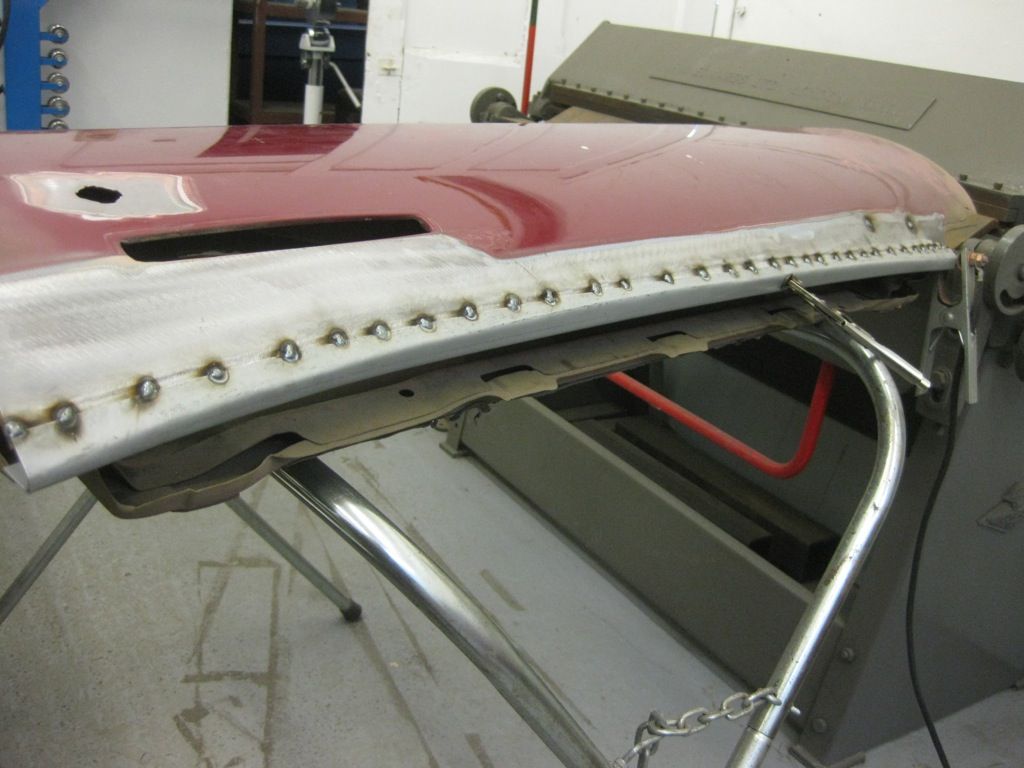
Fabulous work, am I right in thinking you bend a L section up and are then shrinking/stretching the flanges to form the arch contour ?
Really inspirational, thanks for sharing
Brian
|
| |
Last Edit: Jul 31, 2014 21:31:48 GMT by Good Scrap
|
|
|
|
|
|
|
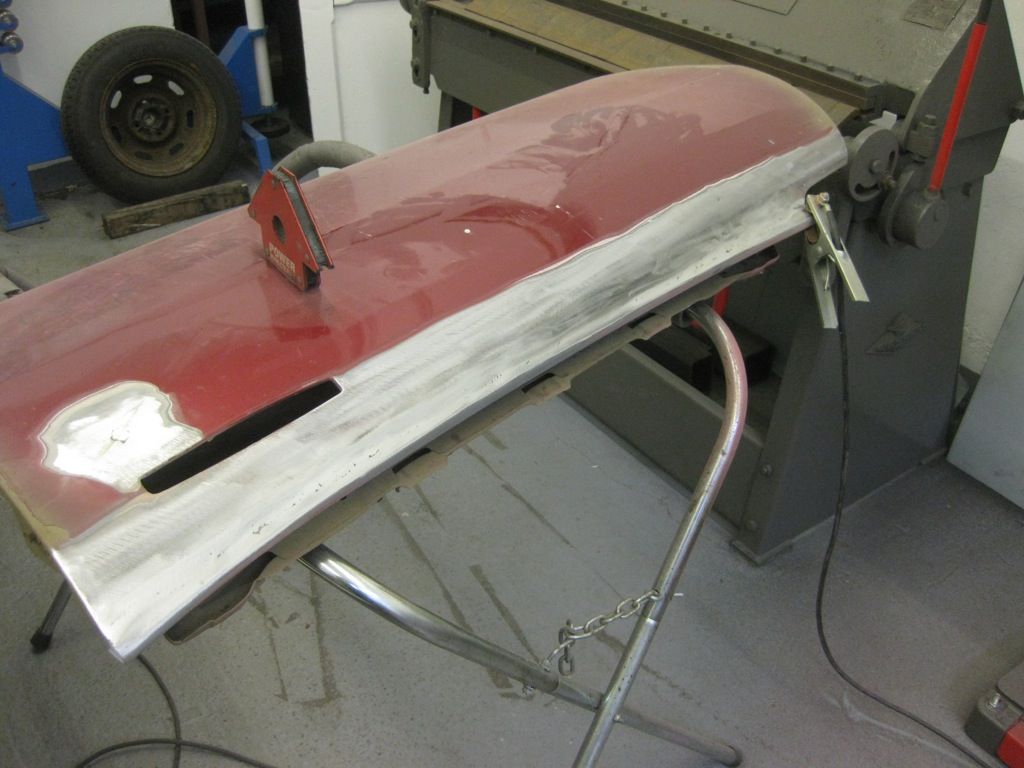
Dear Tony, I have to admit that did not meet the masters of body repair such a level as you. I registered on this forum just to learn your methods of work. And sometimes quite successfully apply them. I see that you are constantly using a continuous weld butt. How is it that the metal does not bend from the heat? When I'm in a similar way to weld body parts, they will inevitably change shape. Even if I'm not stitch at a time, and different areas, giving a little to cool the previous one. Thank you. I swear, you have a lot to learn. diegomoto, your right that you do need to just stitch at a time, but the shape of the repair and the position and size of the patch, can also help to control the distortion If I was to weld a big square patch in the middle of the door, then I would also have distortion Having the welder set up to a high setting also helps, this means that the weld gets good penetration straight away, which also helps to minimise distortion and heat build up And lots of practice Tony great work as usual tony,really looking forward to working with the old girl when she comes home Getting There David Fabulous work, am I right in thinking you bend a L section up and are then shrinking/stretching the flanges to form the arch contour ? Really inspirational, thanks for sharing Brian Yes thats exactly right Brian |
| |
|
|
|
|
|
|
|
|
in awe as usual!
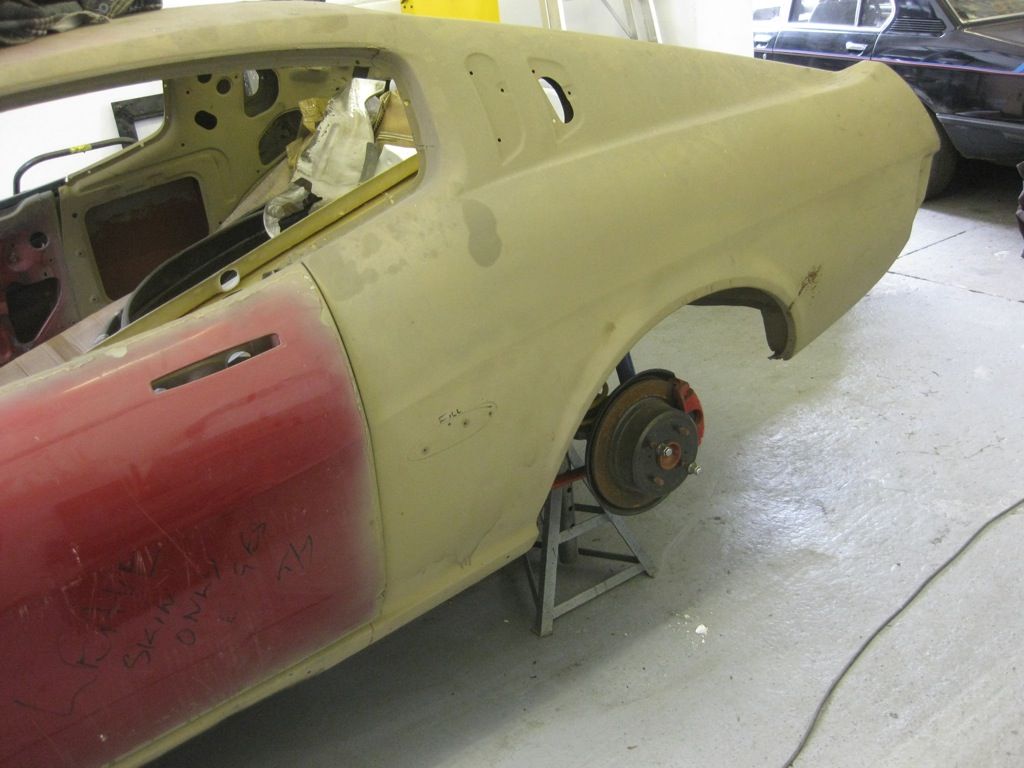
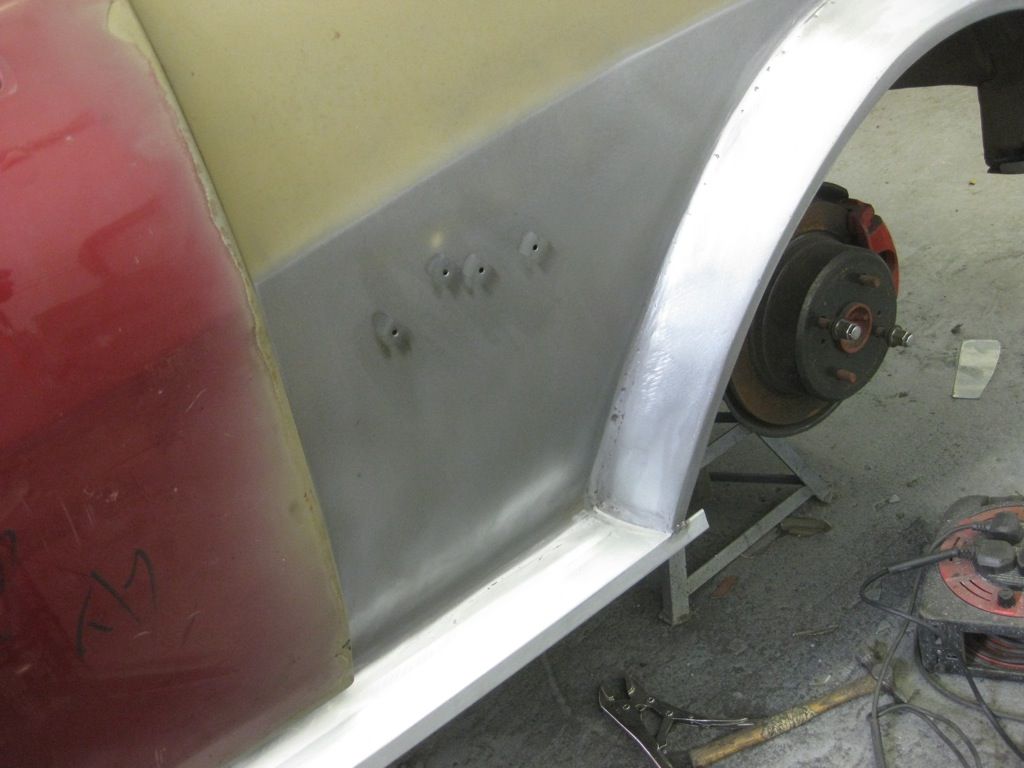
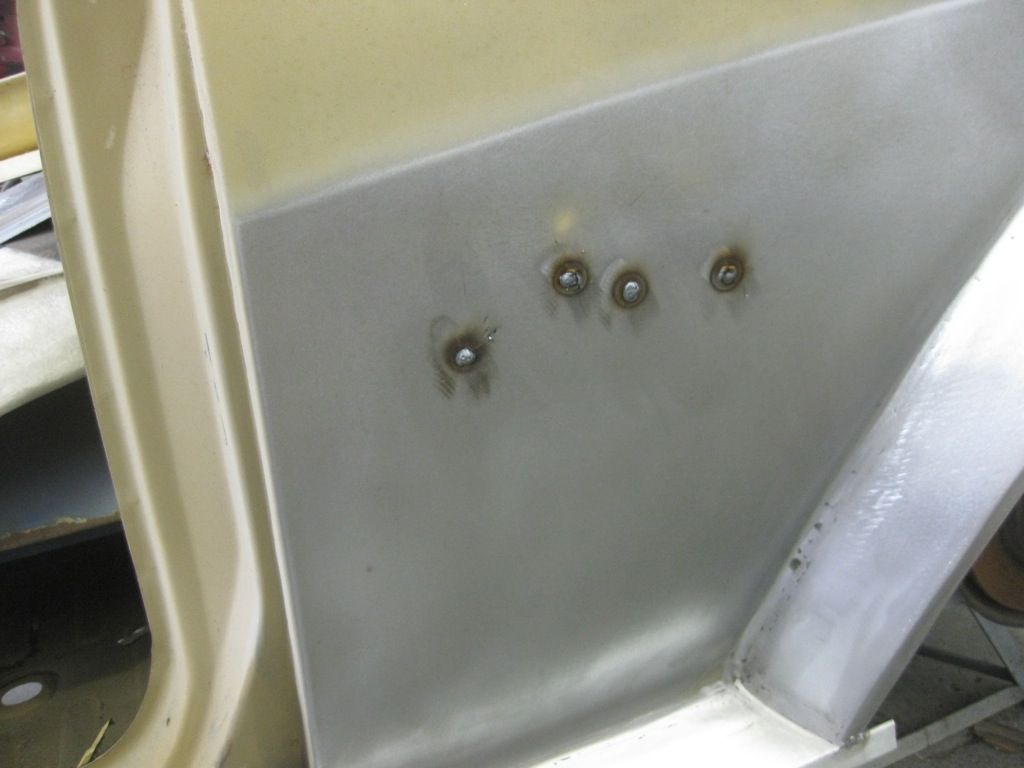
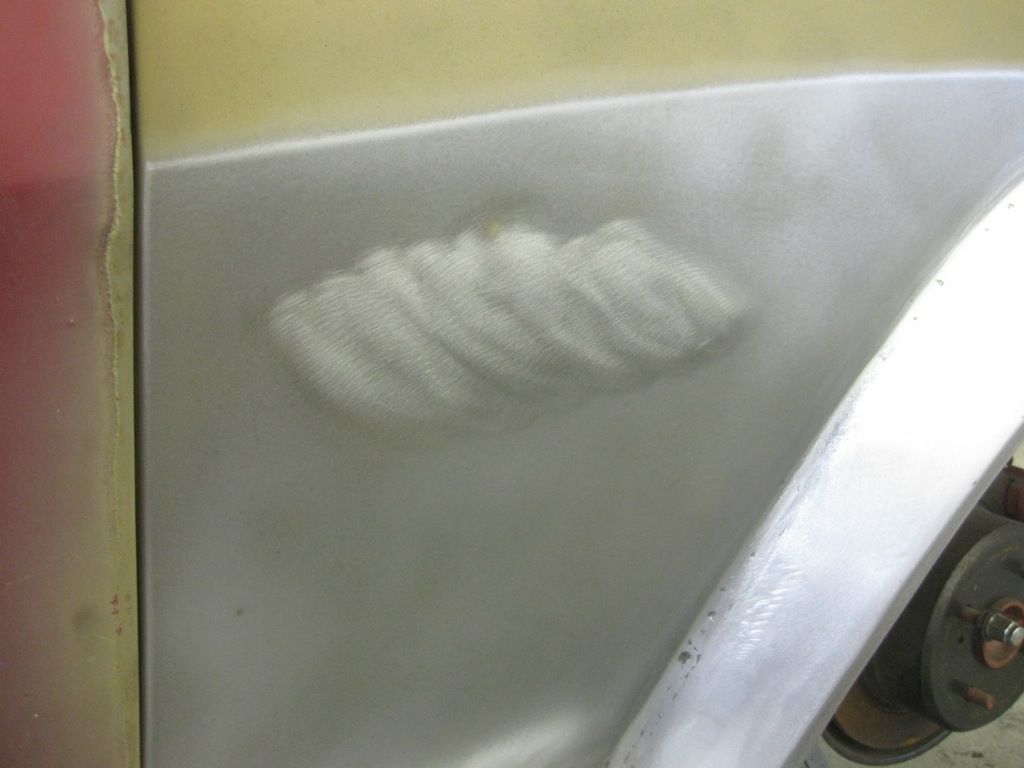
i have a tech question. example - where you put a few spots of weld in the pin holes on the rear lower quarter. how do you dress the welds back and avoid getting a 50p sized low spot around it as you inevitably have to remove some of the surrounding parent metal to get it perfectly smooth, no ?
|
| |
|
|
|
|
|
|
|
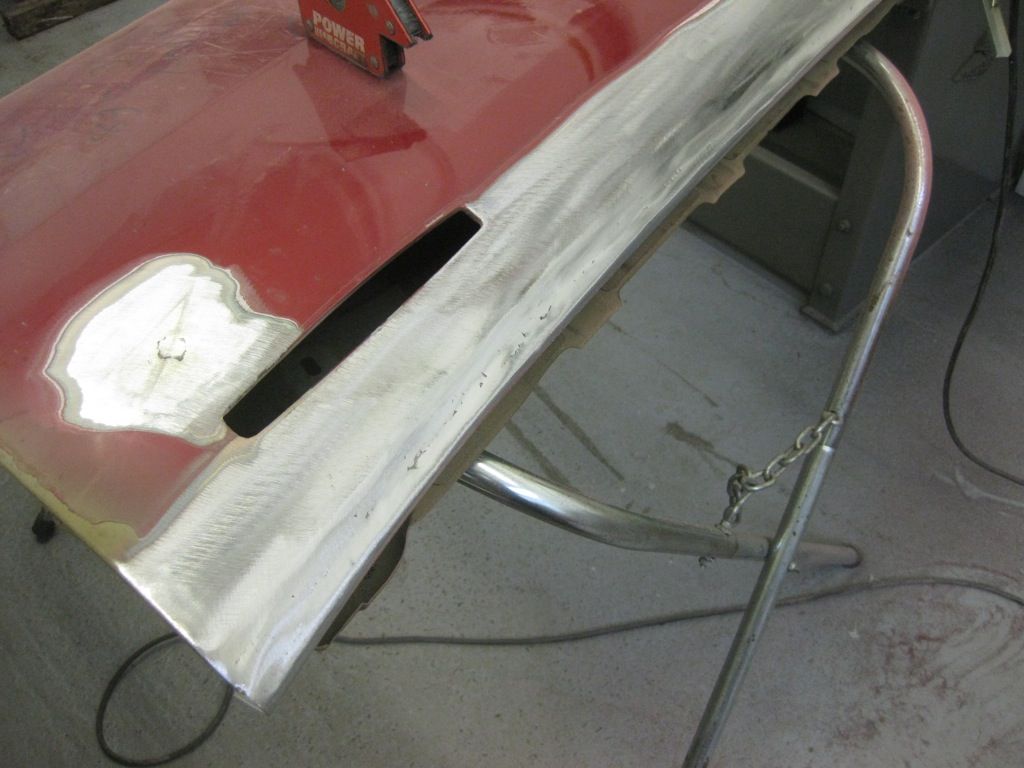
in awe as usual! i have a tech question. example - where you put a few spots of weld in the pin holes on the rear lower quarter. how do you dress the welds back and avoid getting a 50p sized low spot around it as you inevitably have to remove some of the surrounding parent metal to get it perfectly smooth, no ? Darren I use the flat of the flap disc or sanding disc, that way its keeps it as flat as possible, but you have to be careful not to generate too much heat, or you may warp the panel If you use just the tip of it then you will likely create a recess But at the end of the day any indentation can be filled with a good coat of primer or a light skim of filler Tony |
| |
|
|
|
|
|
|
|
Sept 21, 2014 10:54:23 GMT
|
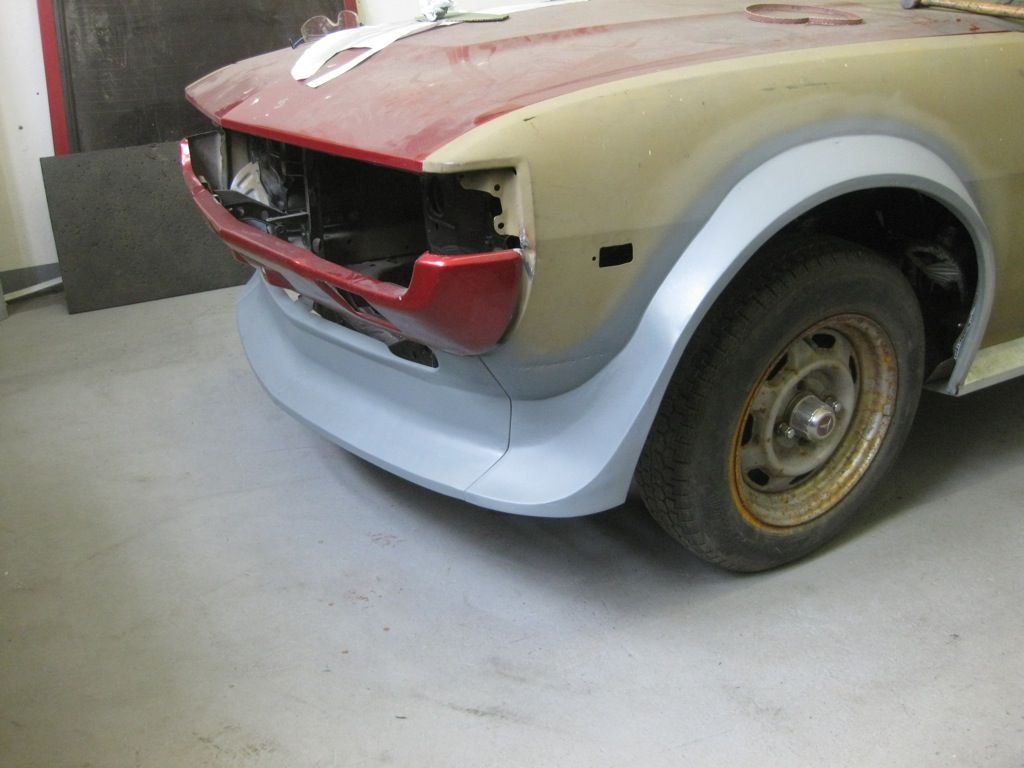
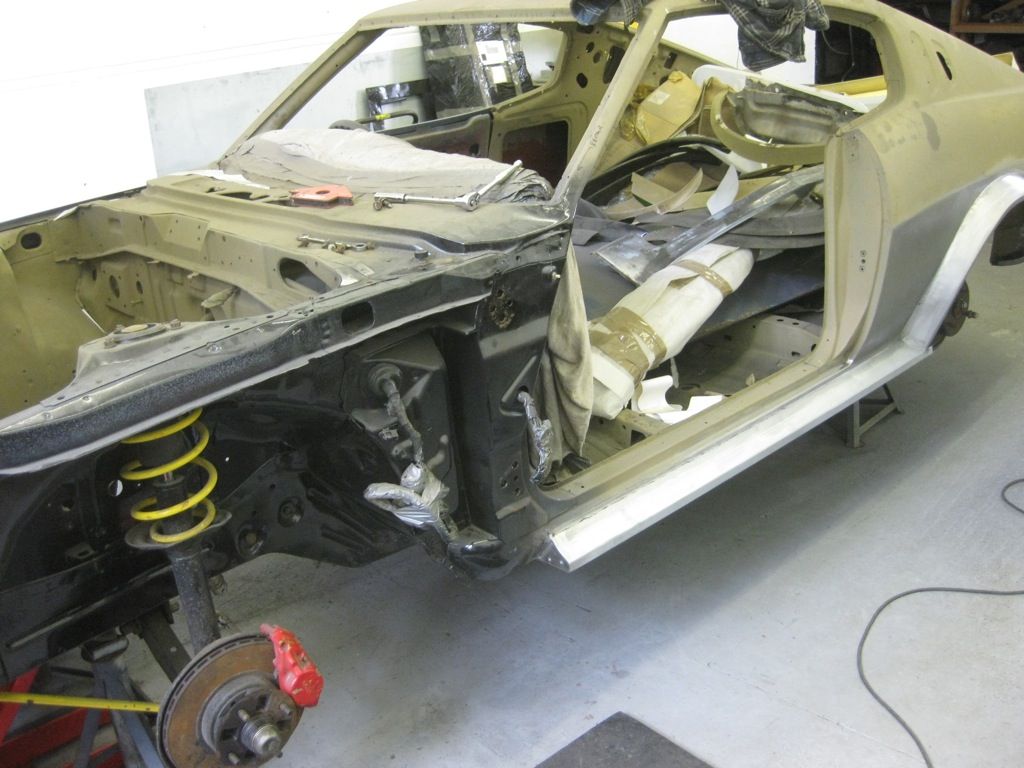
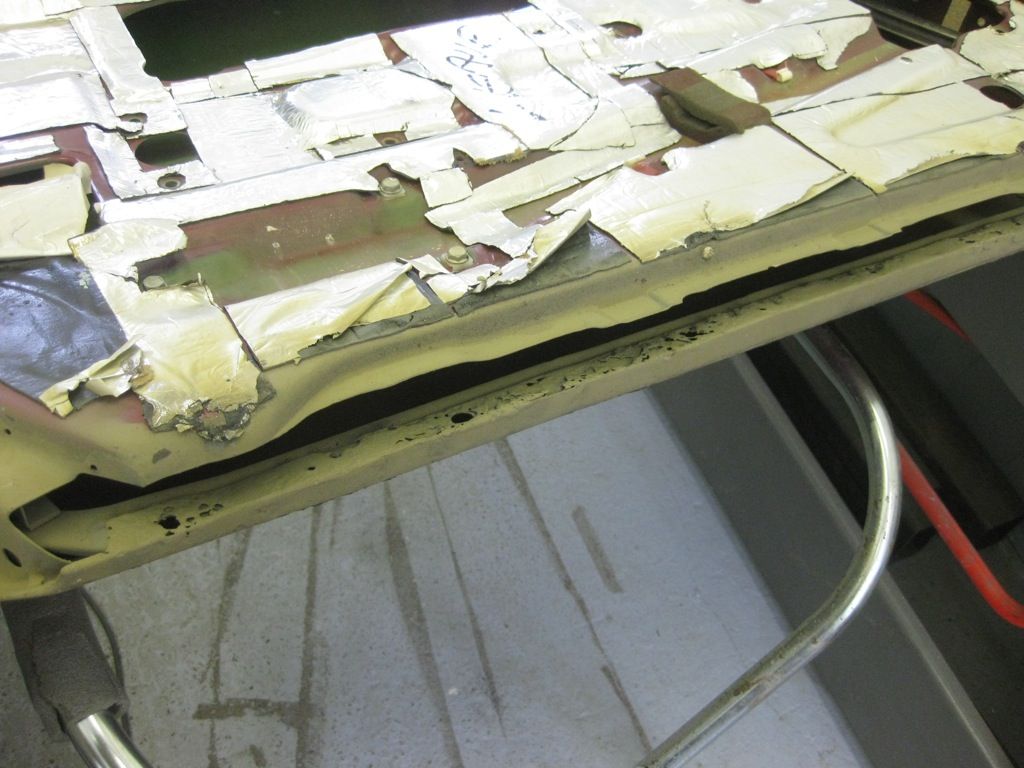
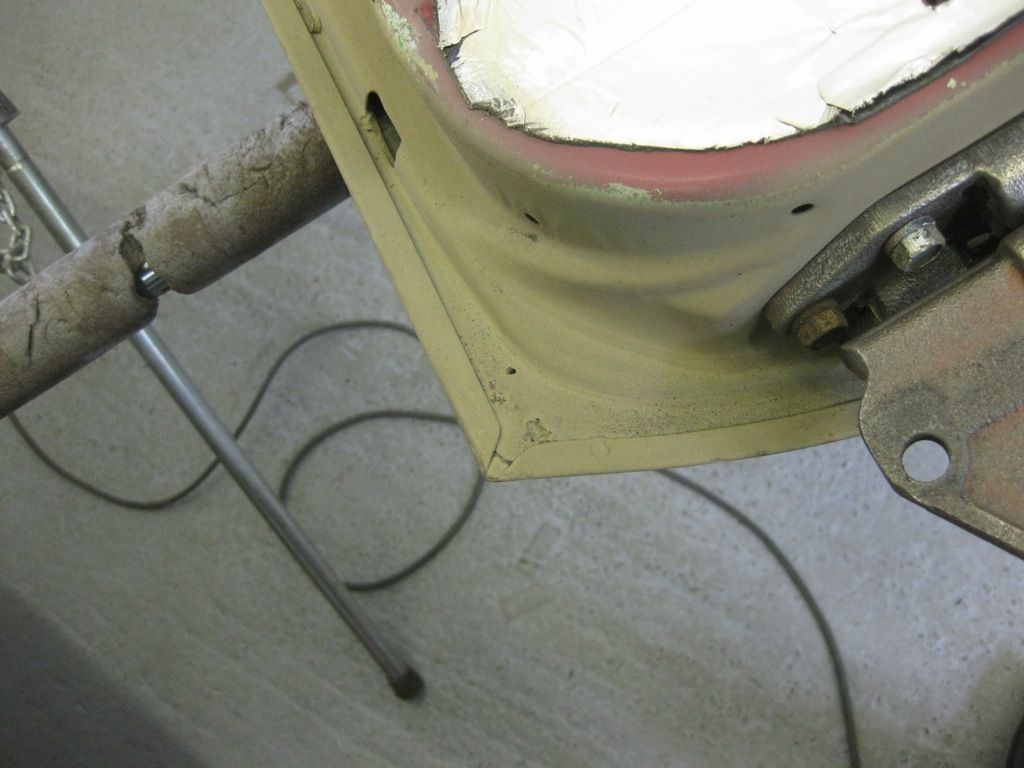
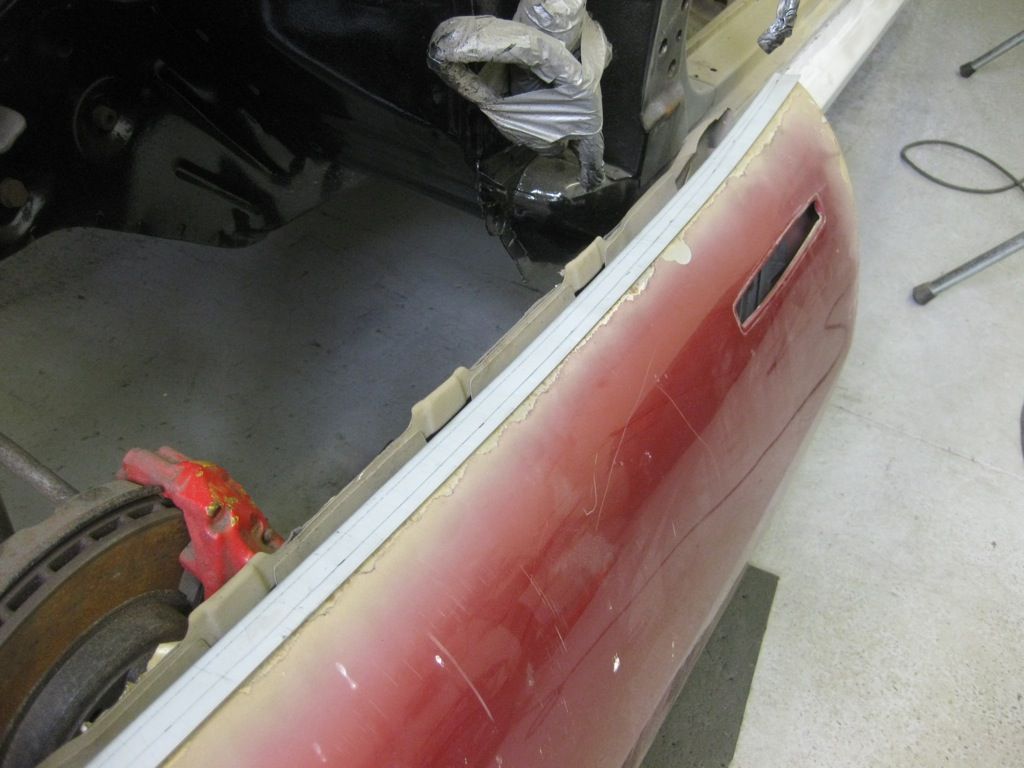
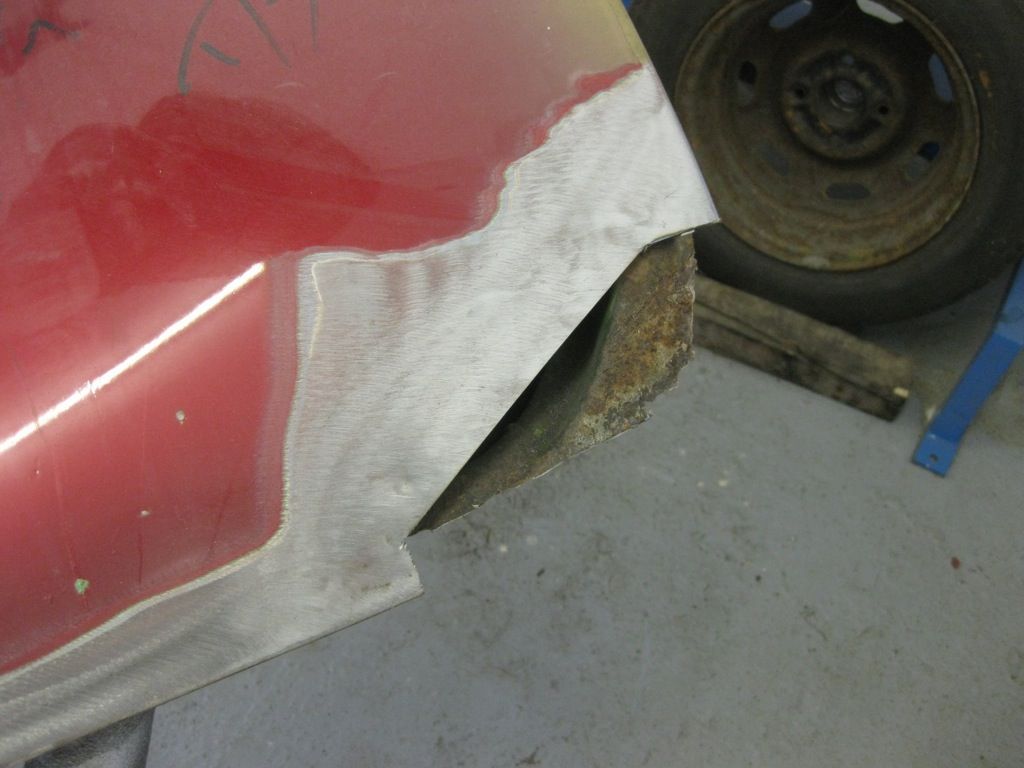
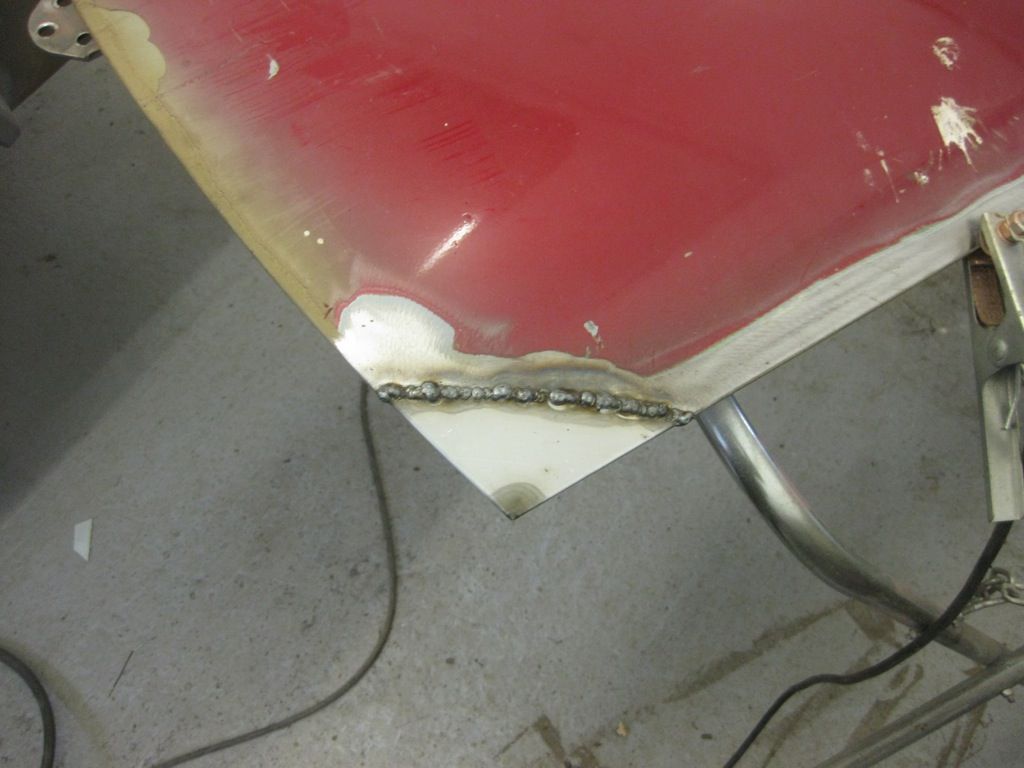
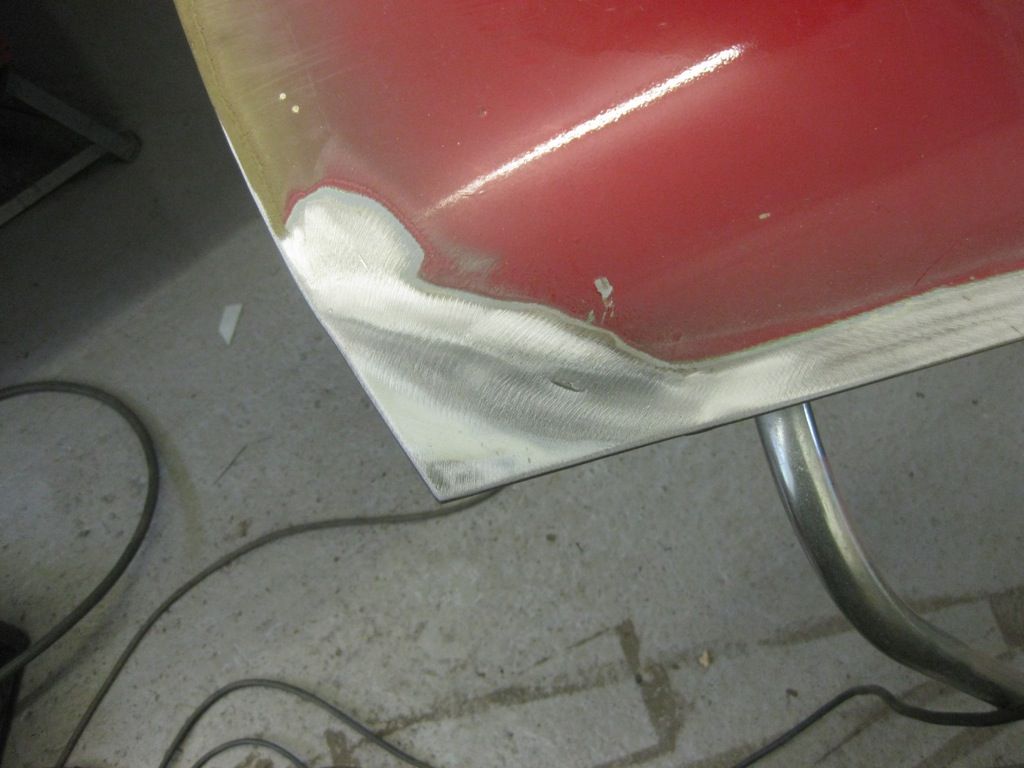
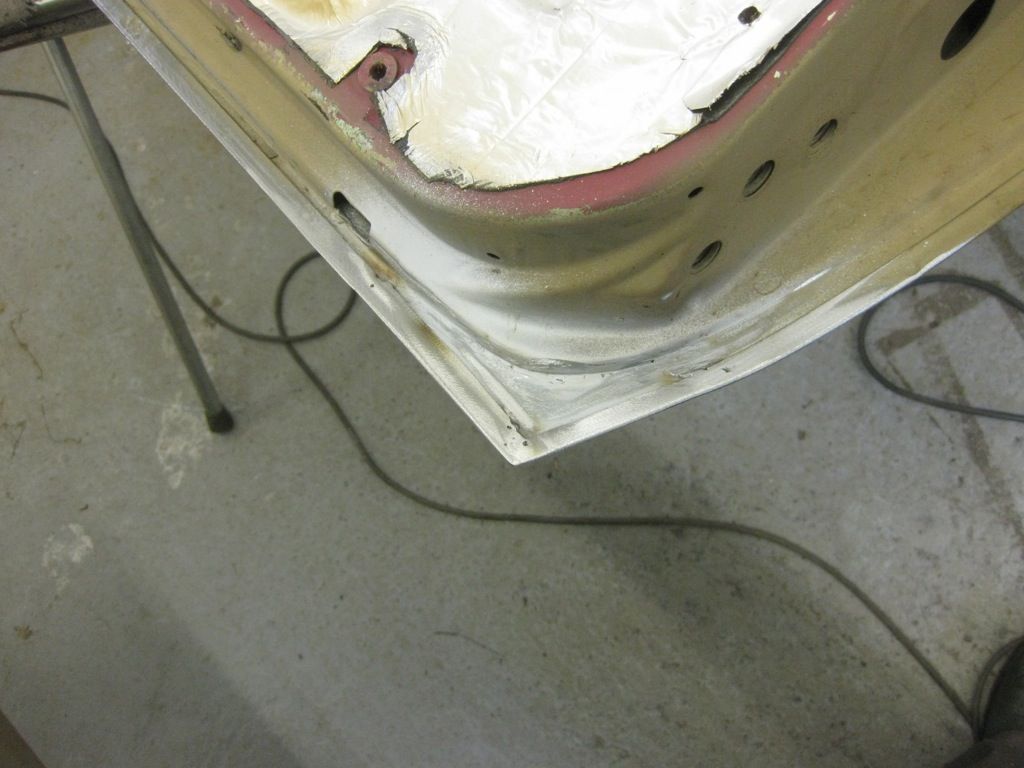
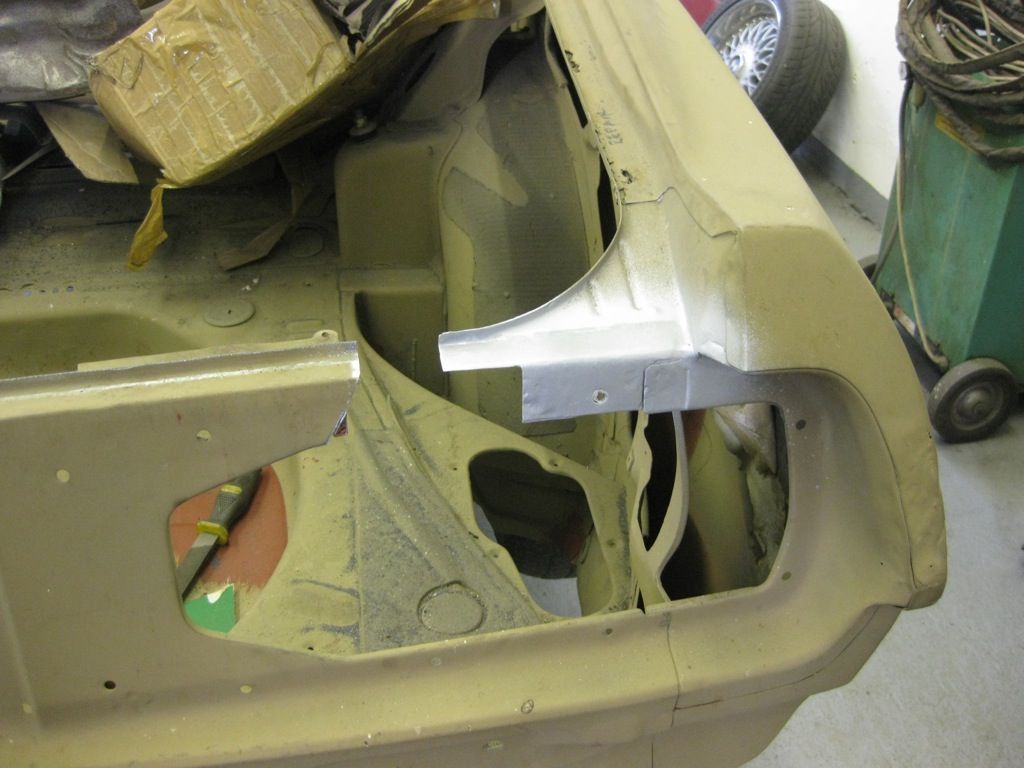
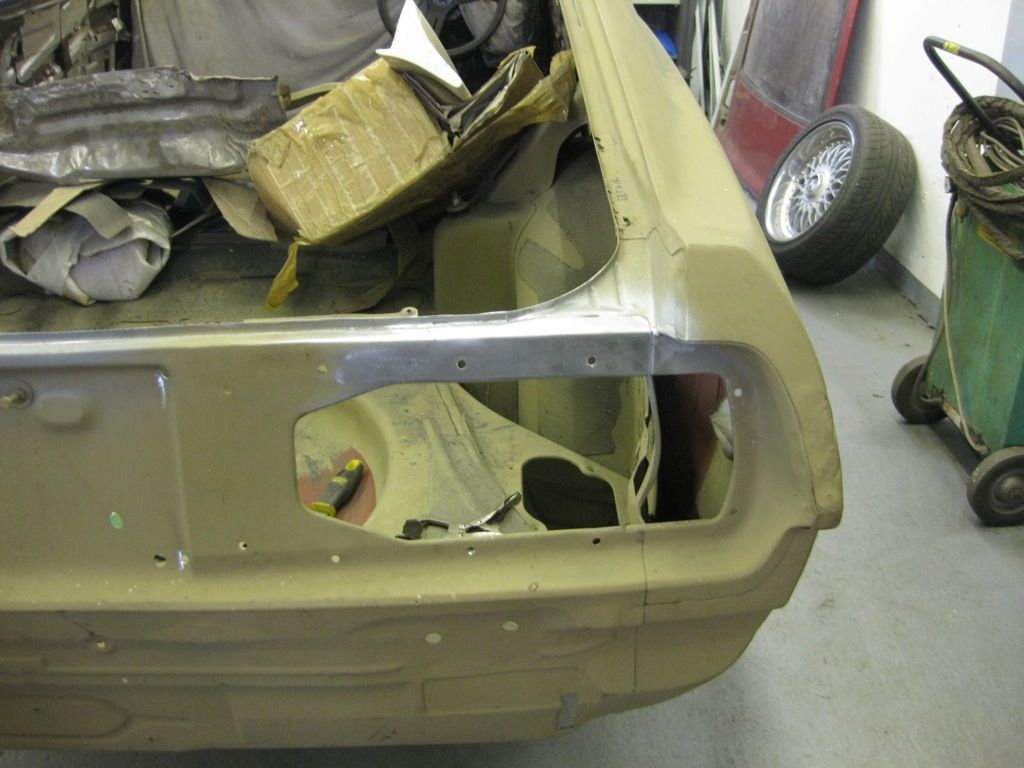
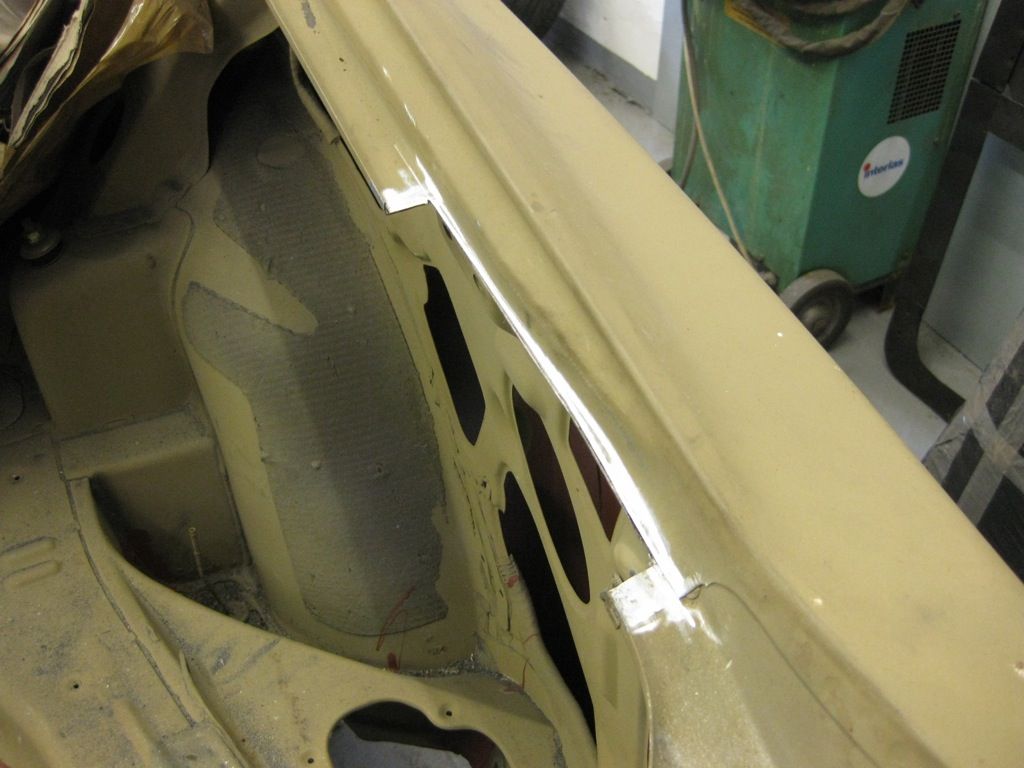
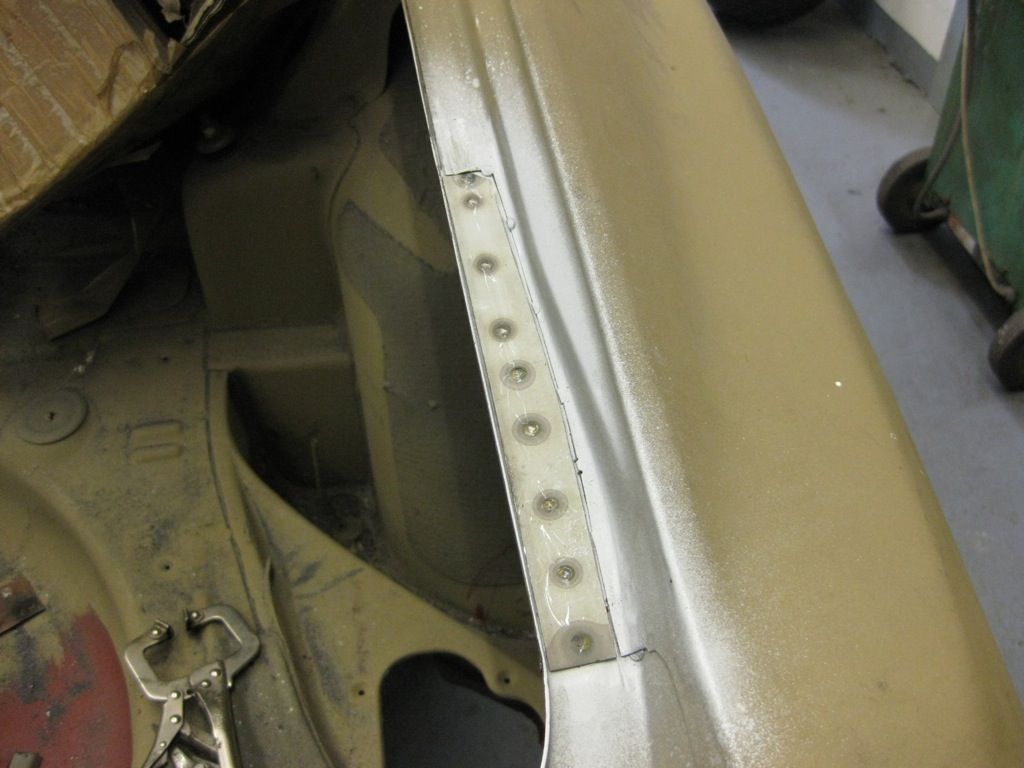
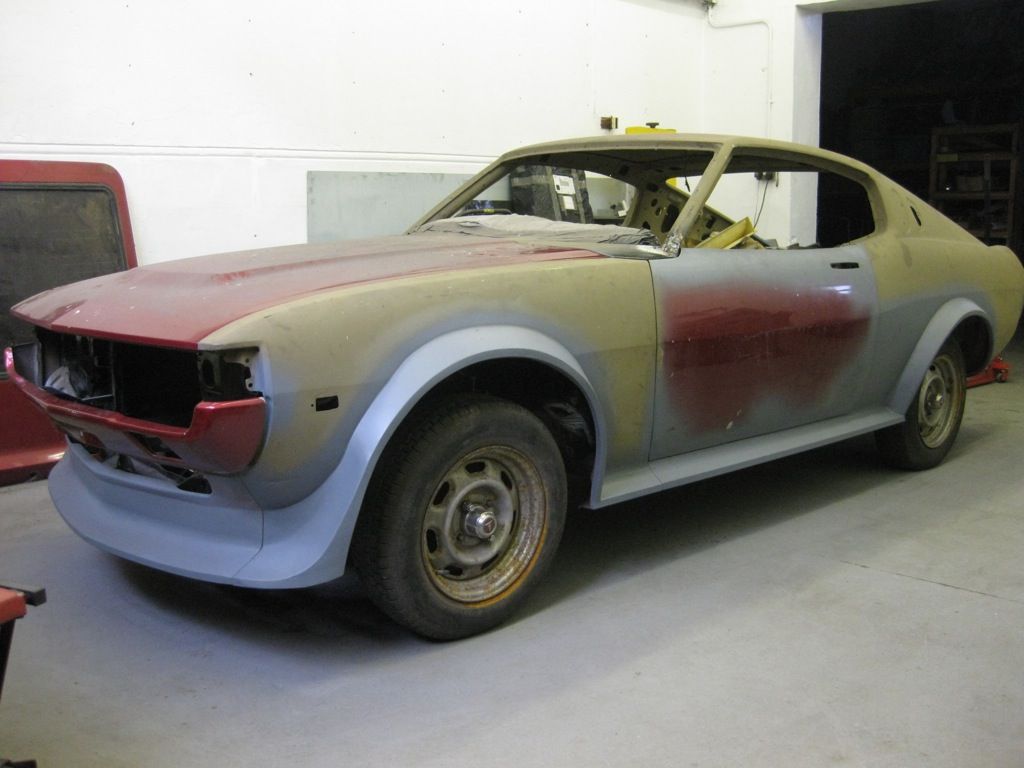
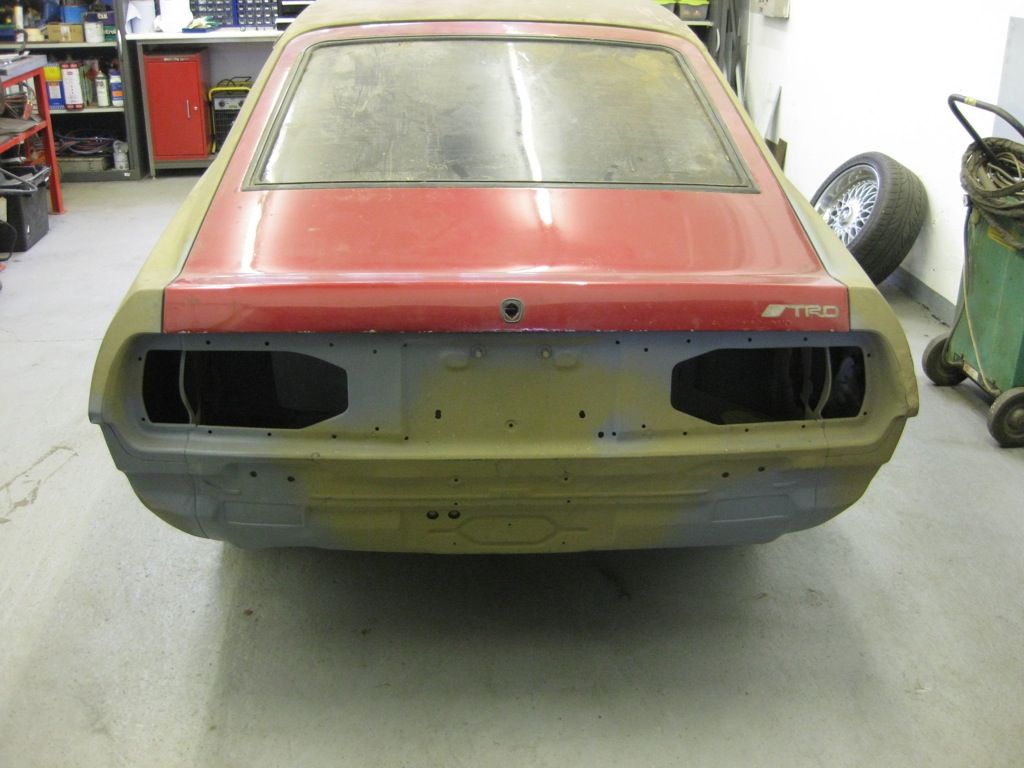
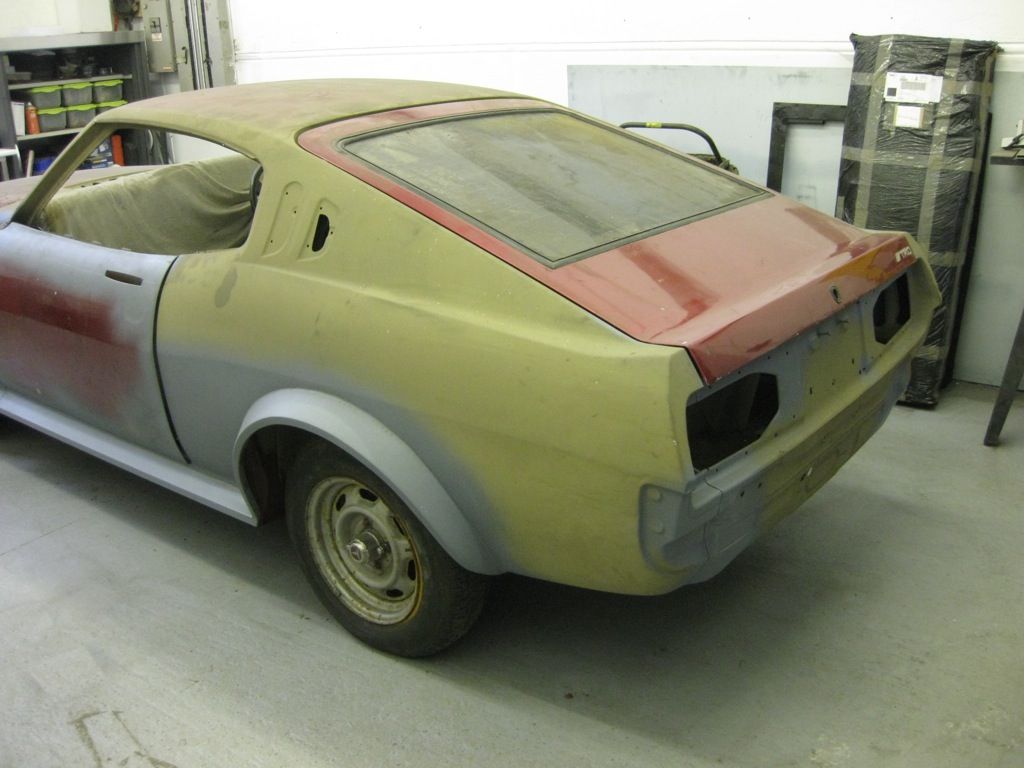
Well it seems an age since I lasted posted anything Life and work and have plotted against me to get in the way, Ive been doing bits and pieces along the way, but yesterday got a full day back on the Celica, and it felt good Once Id finished the welding on the Passenger side door, it still wasn't lining up right, so I needed to make some spacers for the hinges 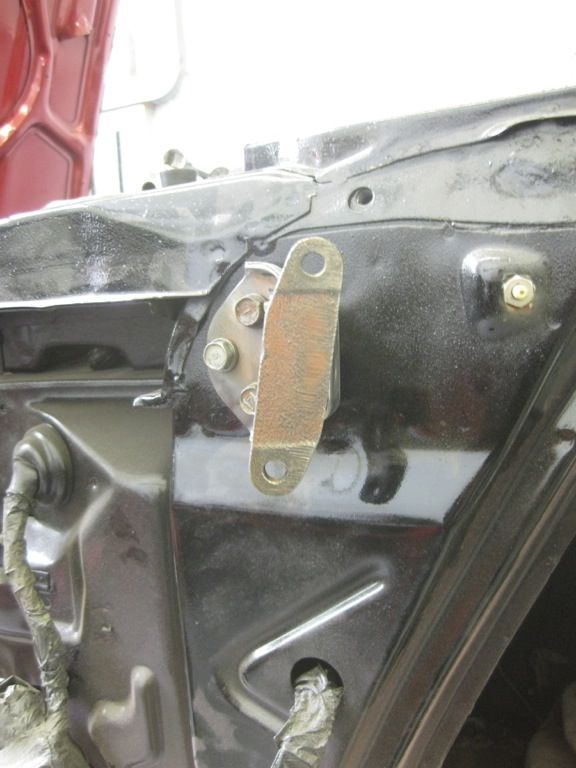  Then a bit of remodelling to the front of the door and sill 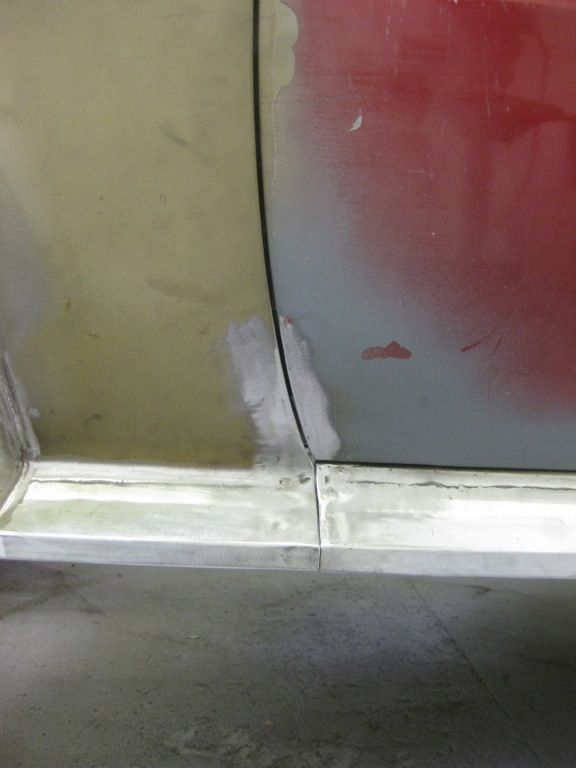 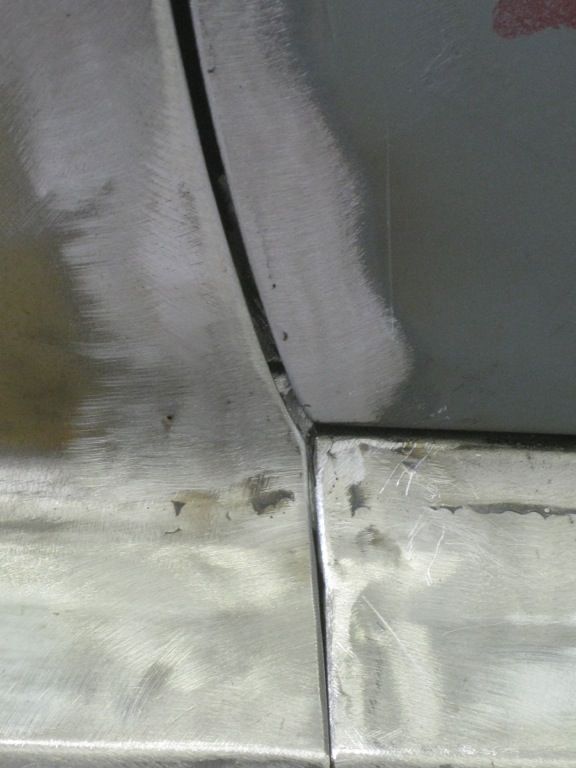 Starts to make it look right 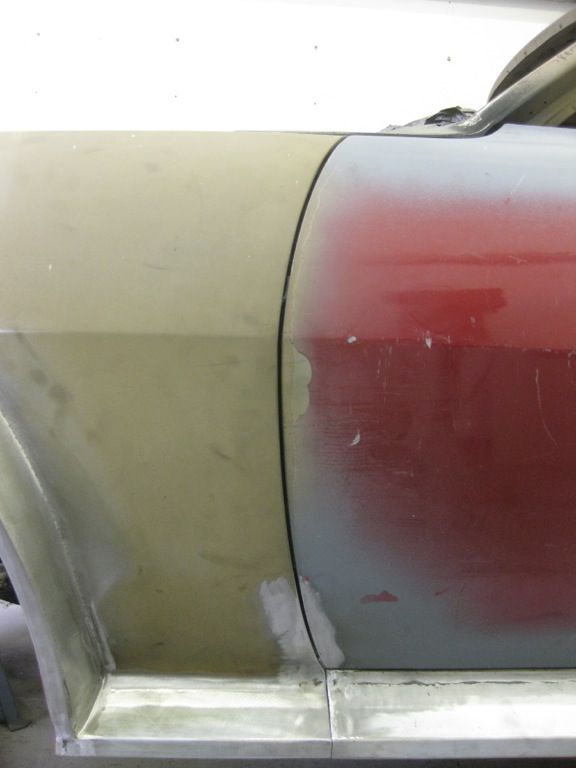  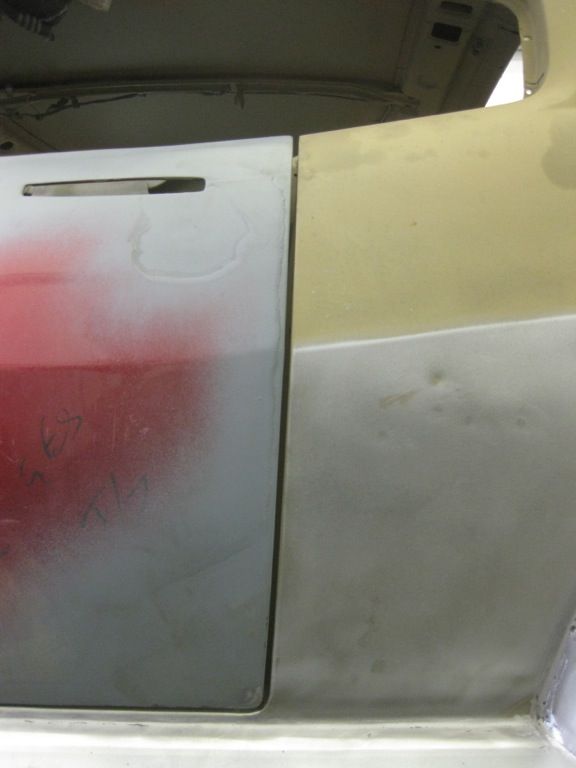 Then to complete the bodykit just this last little bit on the end to close up    so then onto some general repairs around the car, now considering this is a 1970's J its surprisingly rust free, It has been an Australian import so I guess that has helped a huge amount  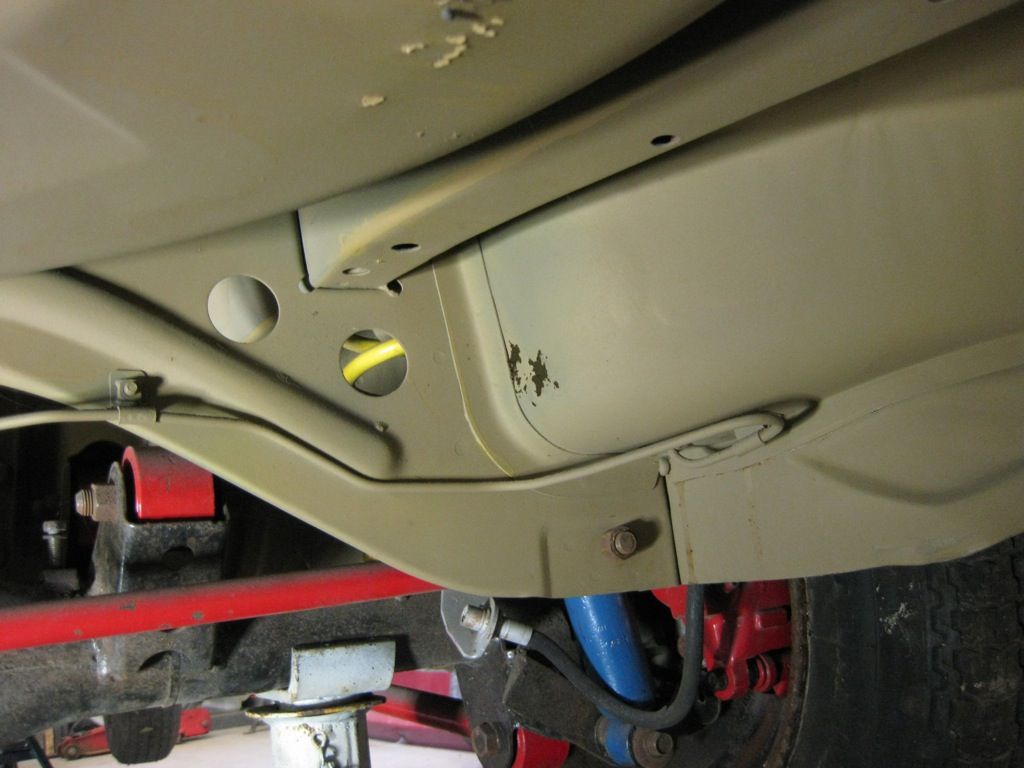 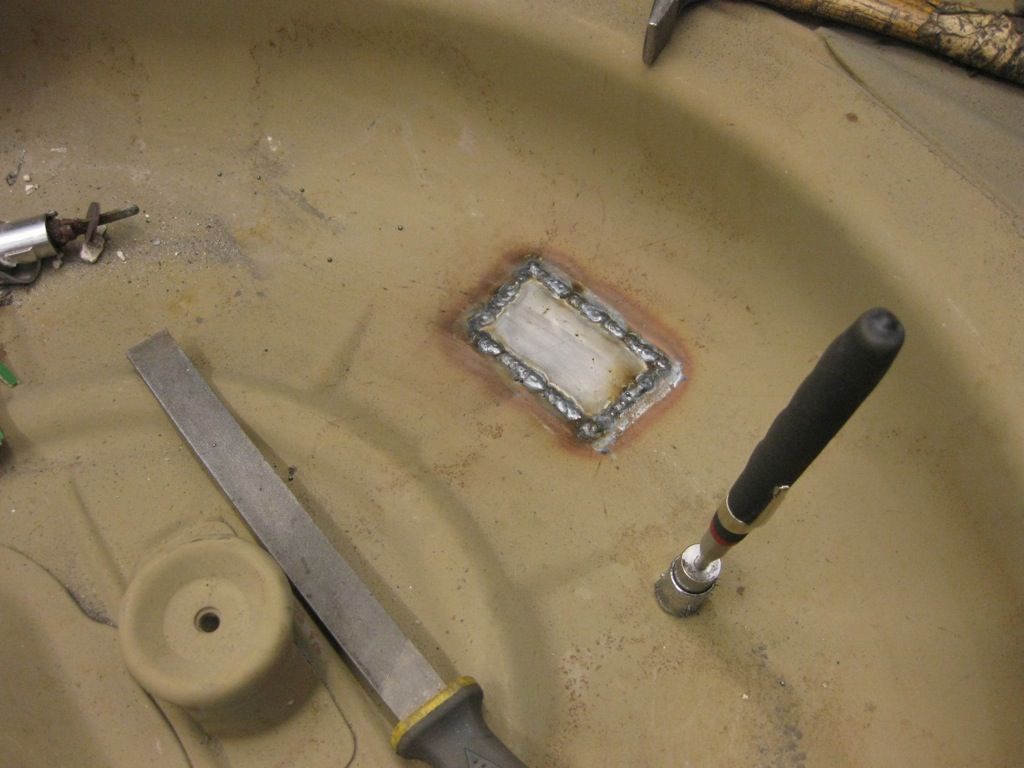 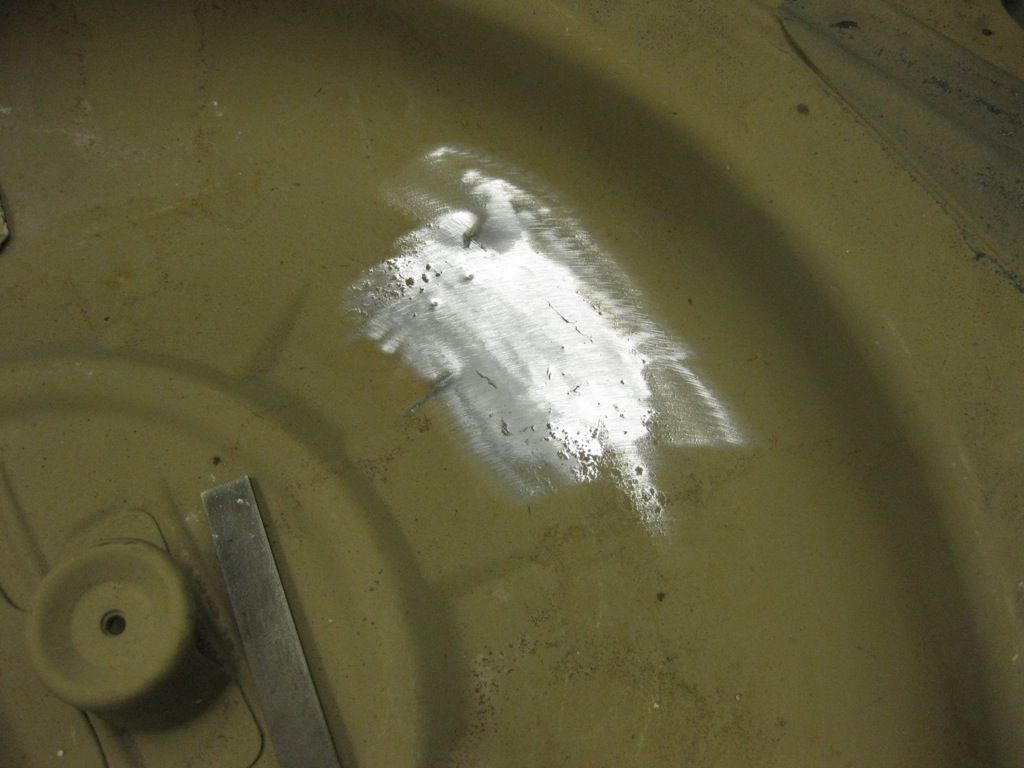 This bit on the rear lights has been patched several times before  so rather than add another repair, thought the best thing to do would be to cut it out and and make a new section 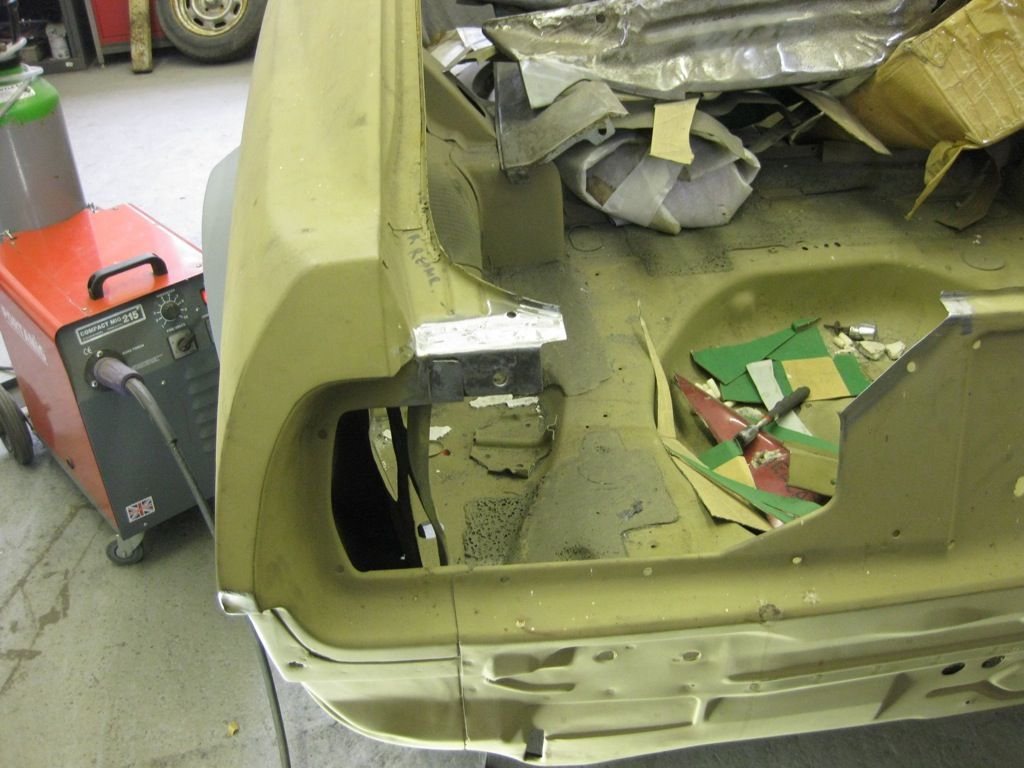 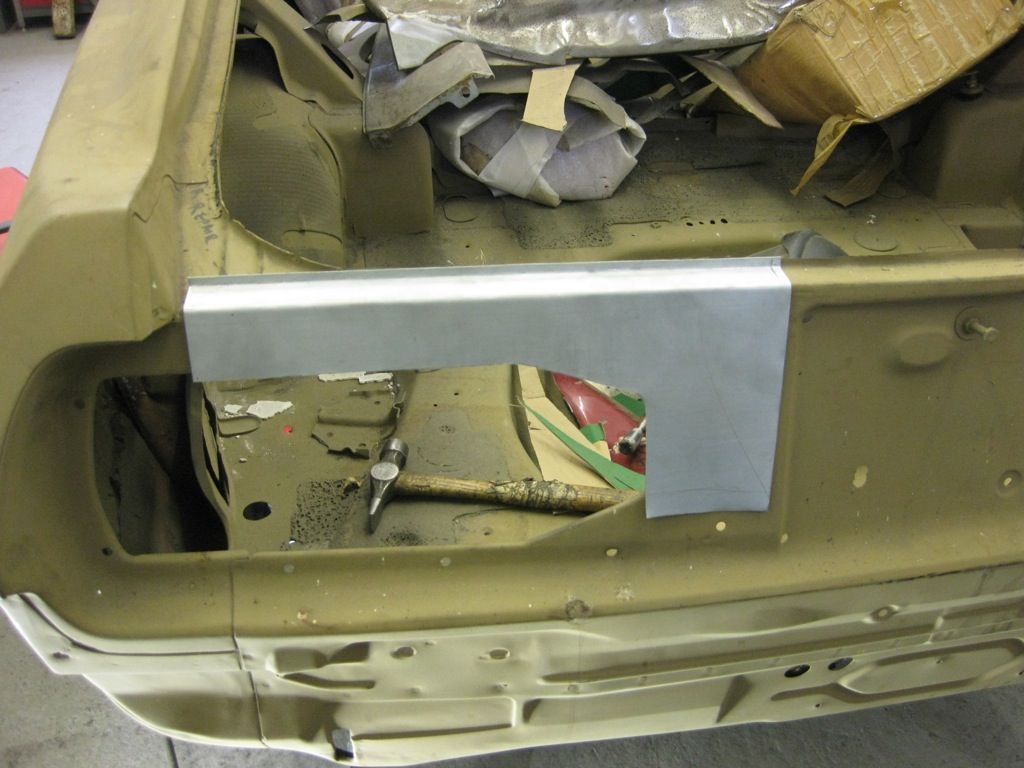  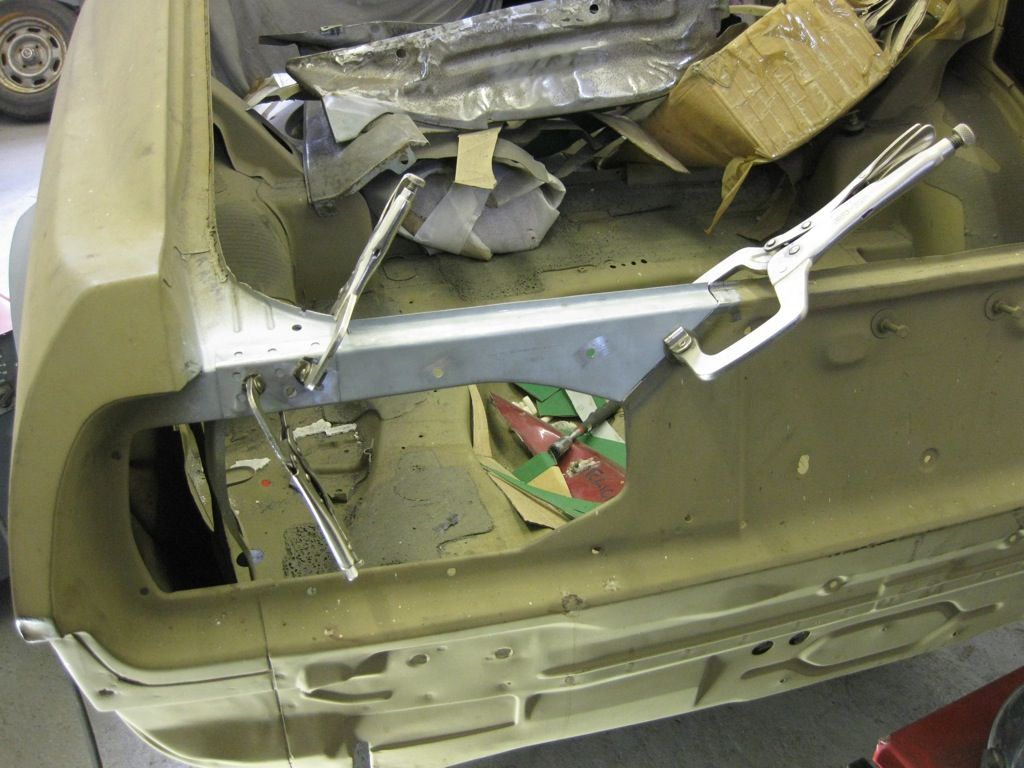 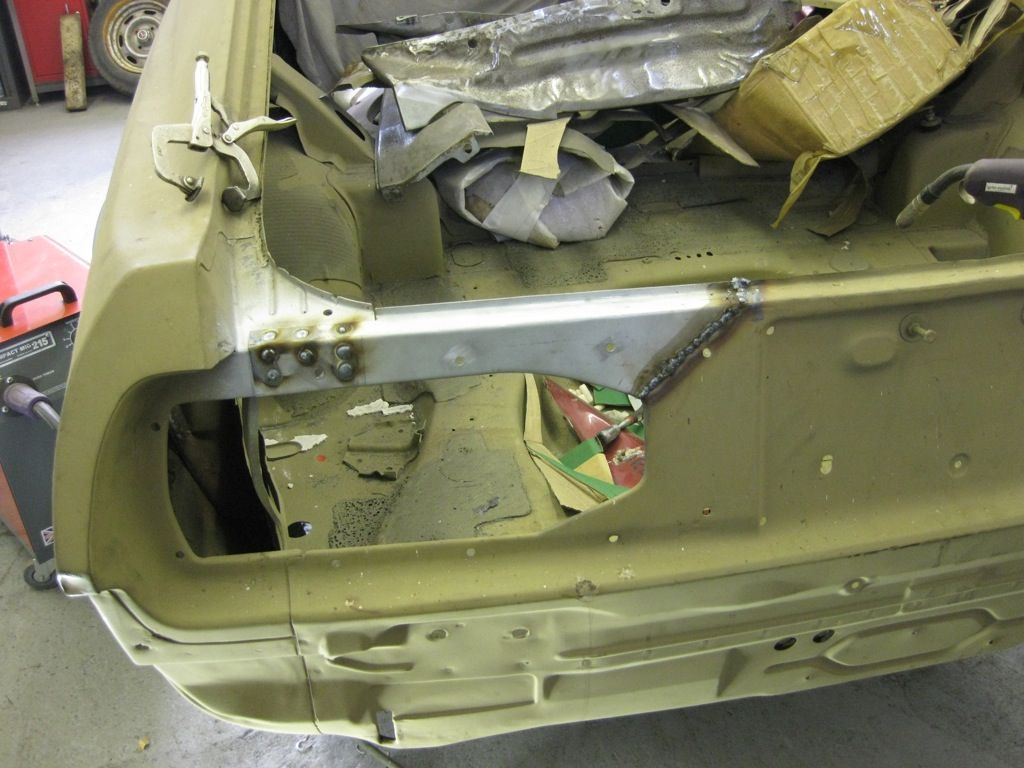  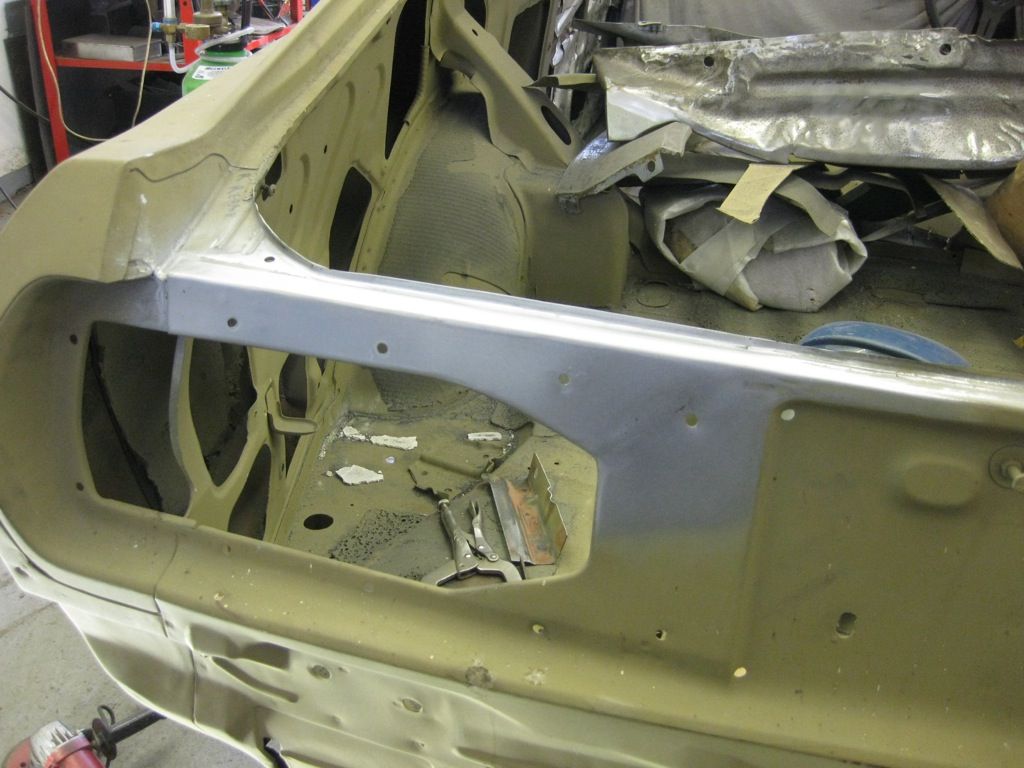 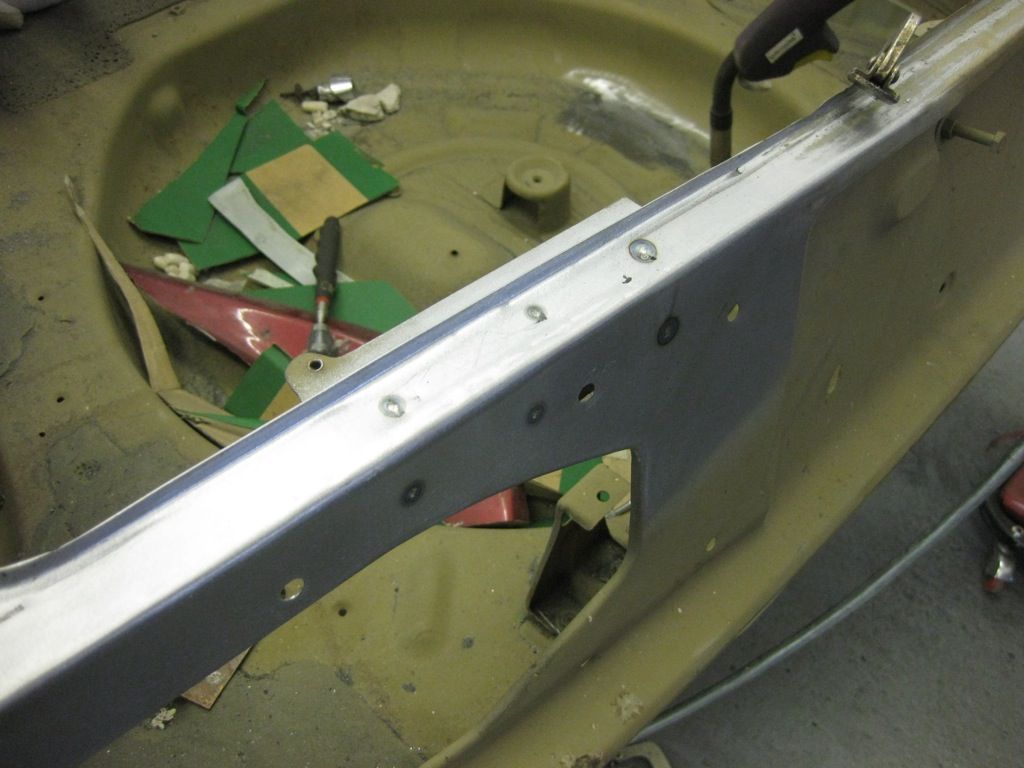 Trial fitted the light, goto love that 70's styling  Found another rust spot so cut that out swell 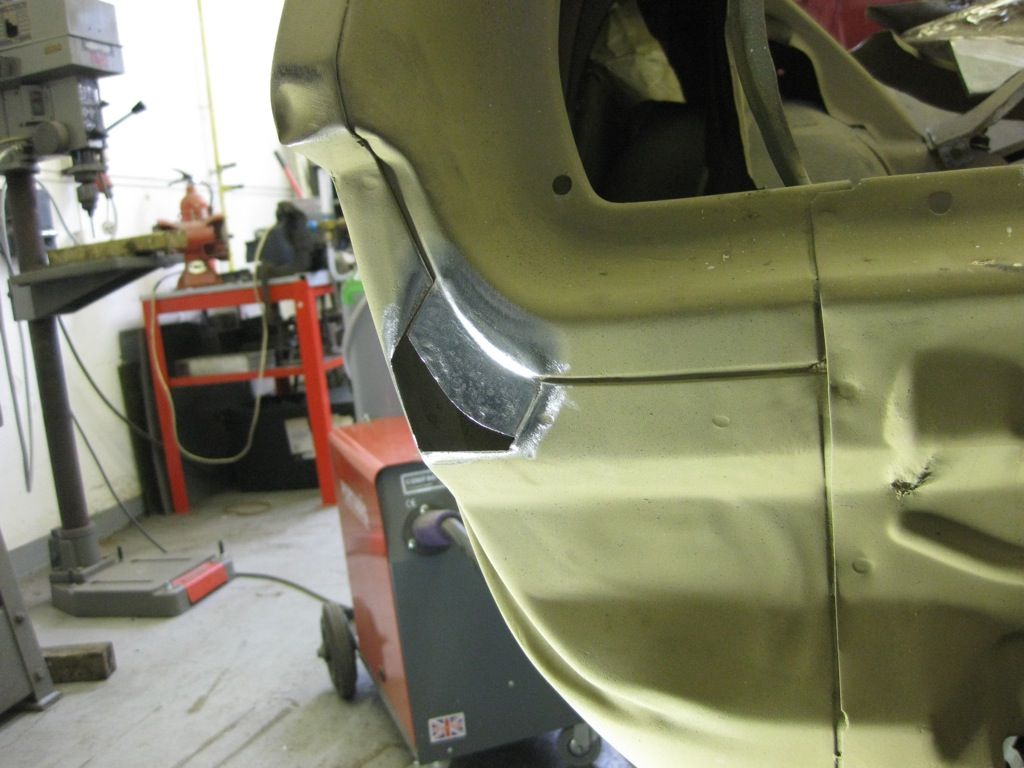 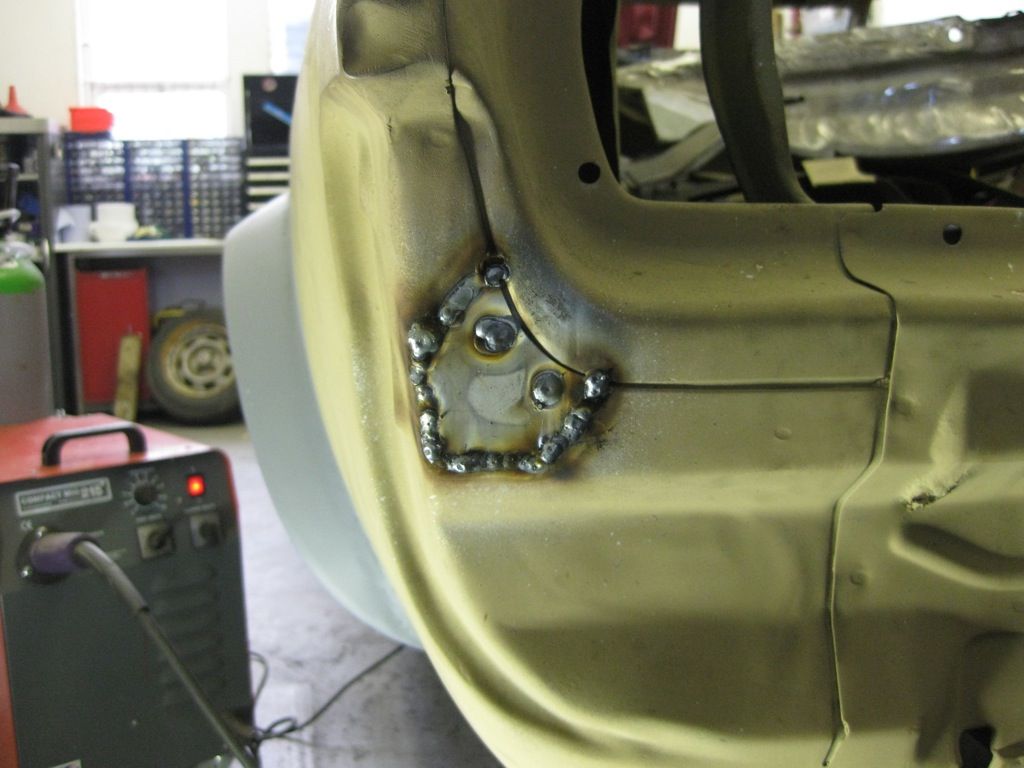 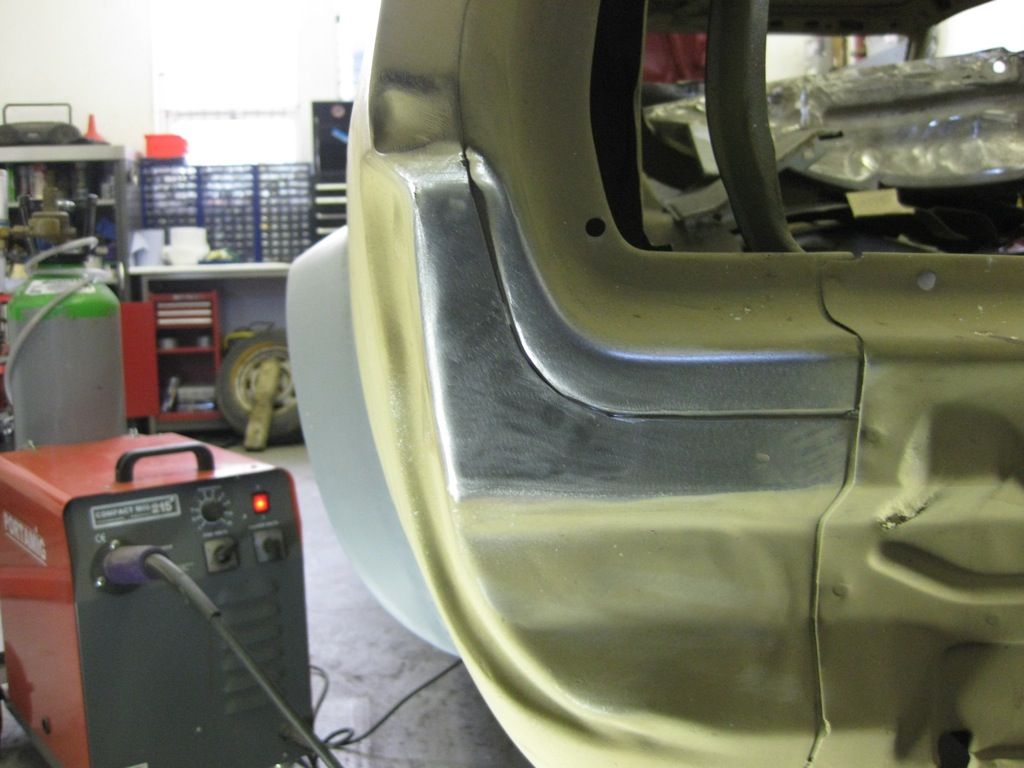 So thats that corner finished, and feels good to have made some decent progress 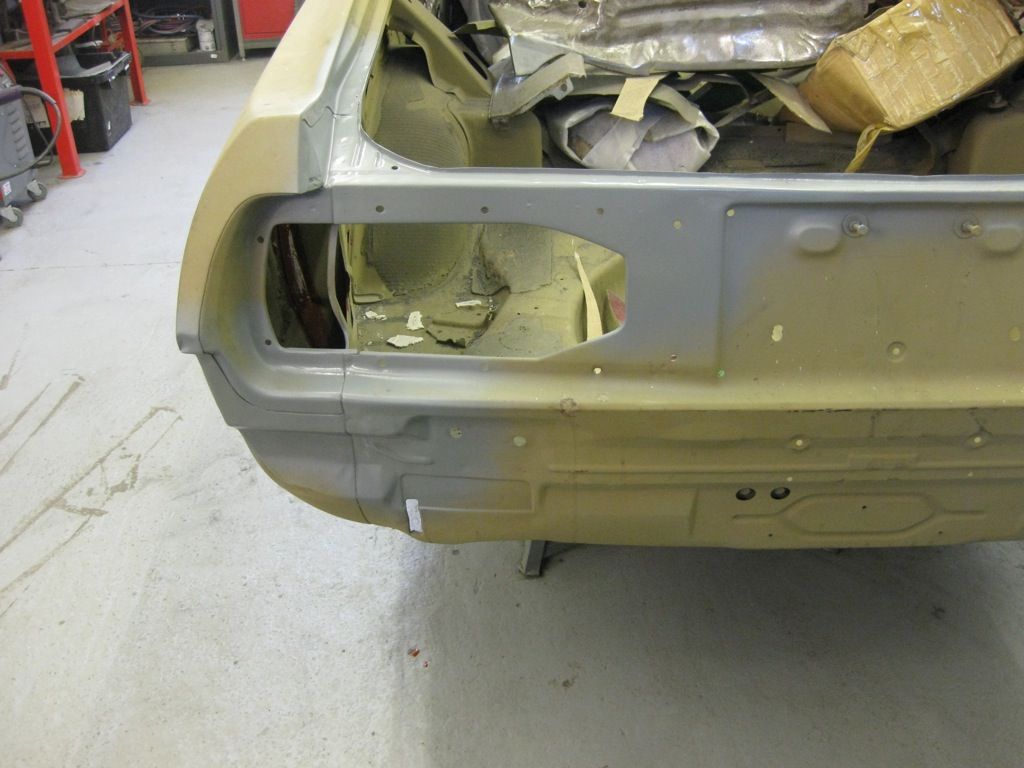 |
| |
Last Edit: Sept 21, 2014 10:56:47 GMT by tonybmw
|
|
|
|
jpsmit
Posted a lot
  
Posts: 1,274
|
|
Sept 21, 2014 12:29:39 GMT
|
|
Thanks for the update - fantastic as always, and so matter of fact.... Sigh. I wish it was that easy.
|
| |
|
|
|
|
|
Sept 22, 2014 0:43:18 GMT
|
|
Now that I've started to weld up my rustbucket, your updates are even more inspirational than usual. Thanks to the info you've shared, shaping panels is so much easier to work out. The key thing I've learned here is that it's a really good idea to think and plan how to make something and then just get on and make it. If a mistake is made, just do it again and keep practicing until you get the hang of it.
|
| |
|
|
|
|
|
Sept 22, 2014 5:24:00 GMT
|
Now that I've started to weld up my rustbucket, your updates are even more inspirational than usual. Thanks to the info you've shared, shaping panels is so much easier to work out. The key thing I've learned here is that it's a really good idea to think and plan how to make something and then just get on and make it. If a mistake is made, just do it again and keep practicing until you get the hang of it. Exactly Right Mr Vulgalour |
| |
|
|
eurogranada
Europe
To tinker or not to tinker, that is the question...
Posts: 2,556
|
|
Sept 24, 2014 17:13:10 GMT
|
|
Still showing off those amazing metal working skills, I see! How right you are to do so!
|
| |
|
|
|
|
|
Sept 30, 2014 18:20:59 GMT
|
|
|
| |
|
|
|
|
|
Sept 30, 2014 18:29:30 GMT
|
|
Peerless as ever Tony,good work whats the final colour , black?
/
|
| |
The louder you Scream the faster we go  |
|
vulgalour
Club Retro Rides Member
Posts: 7,275
Club RR Member Number: 146
|
|
Sept 30, 2014 18:34:53 GMT
|
|
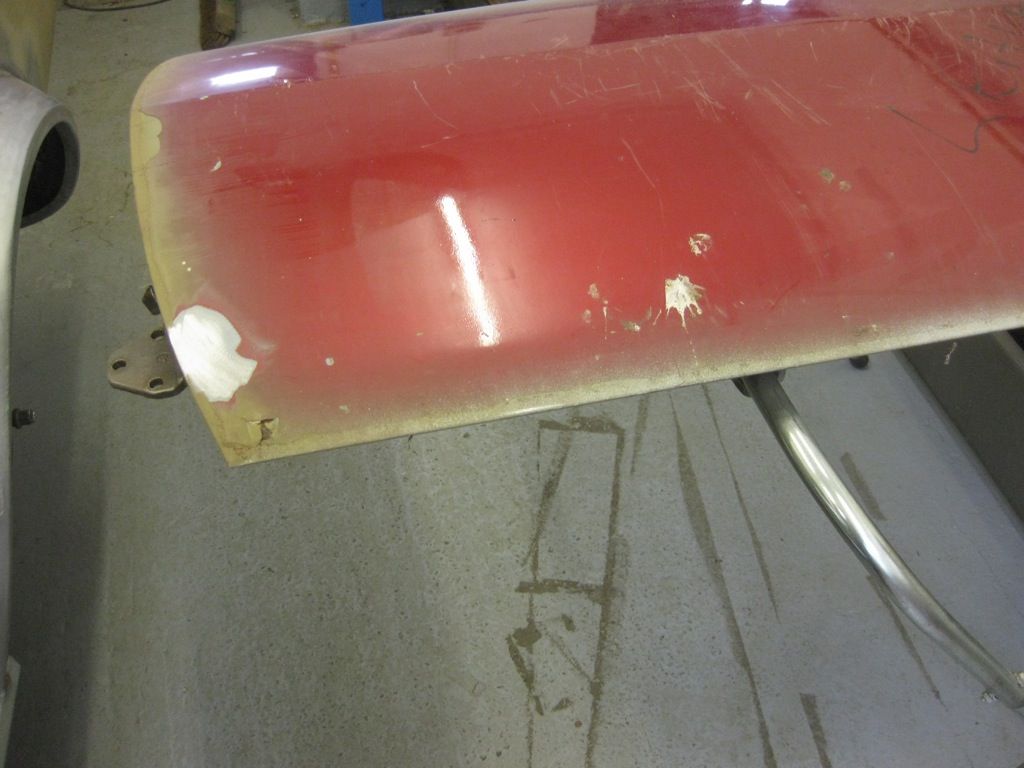
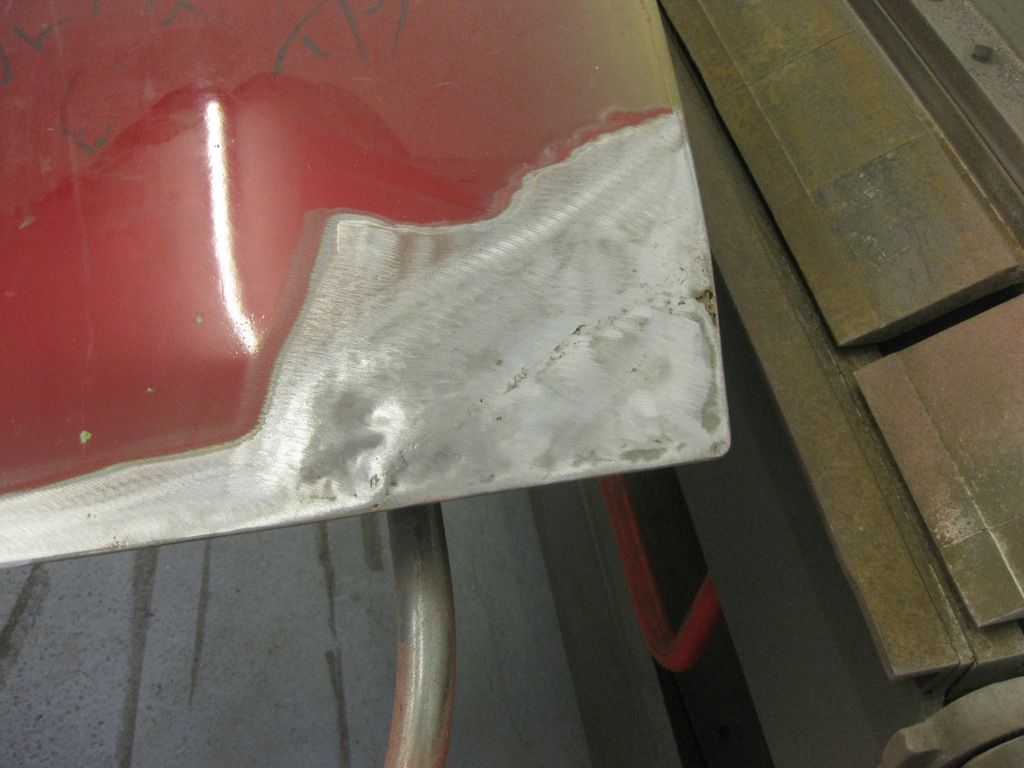
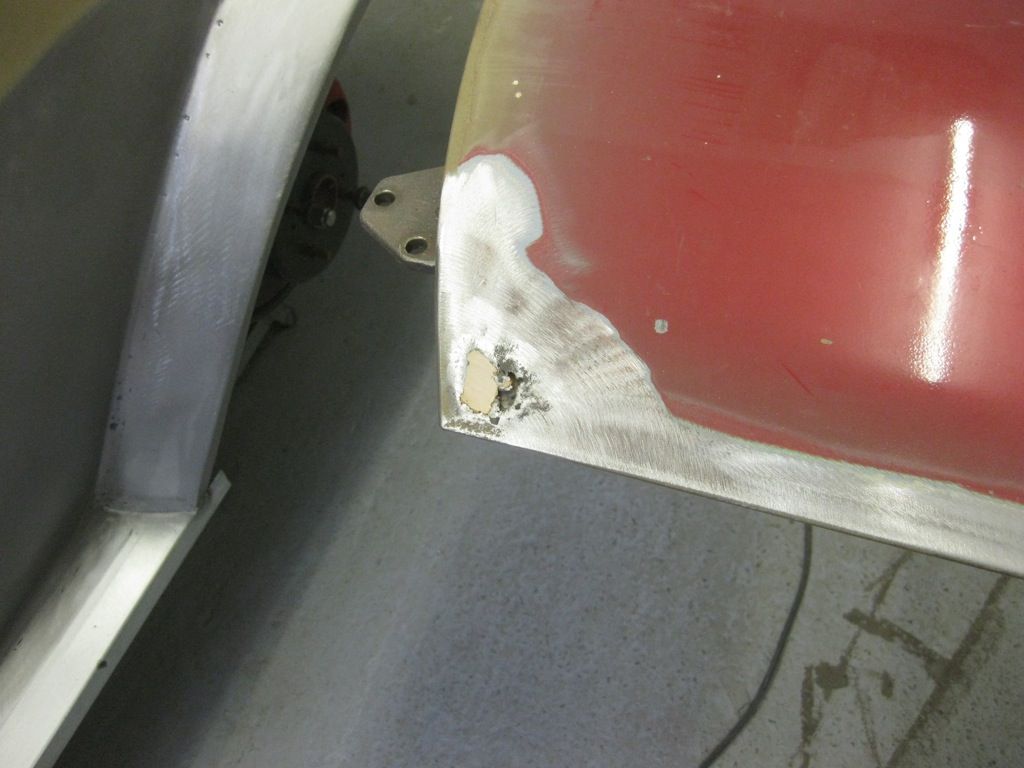
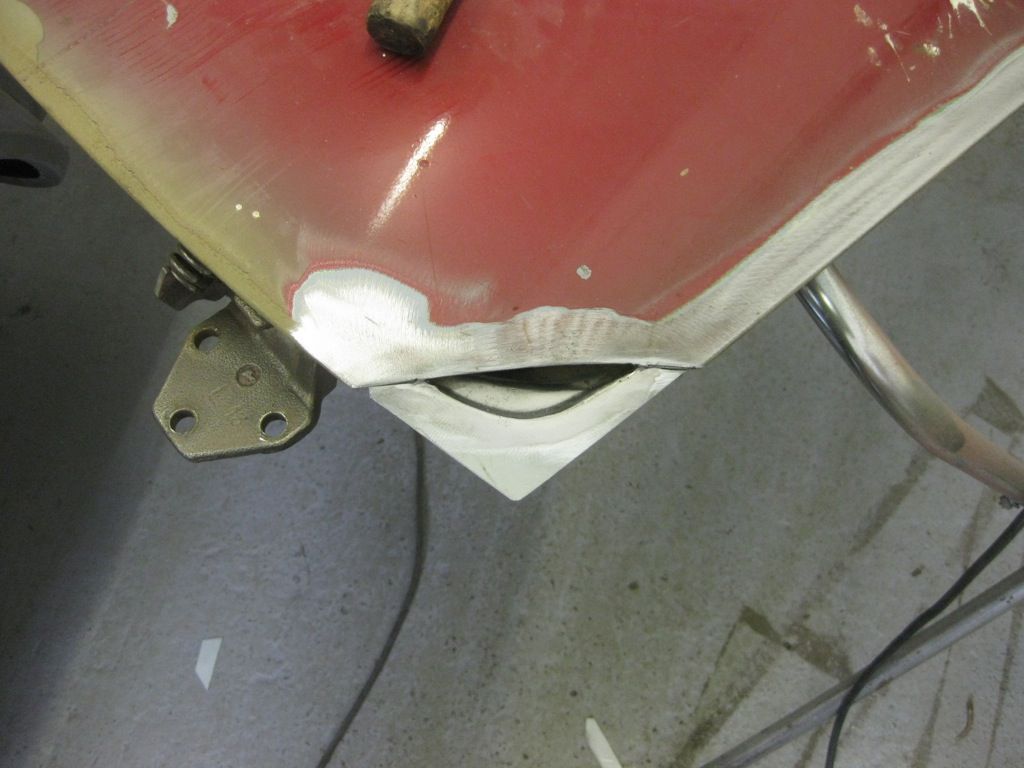
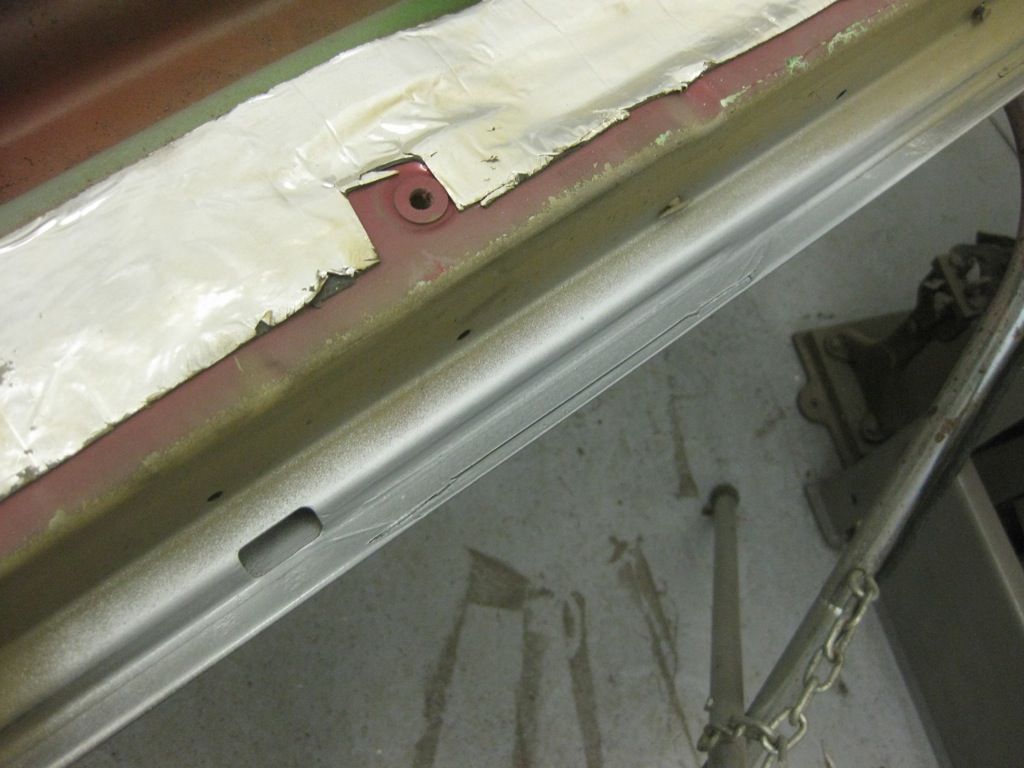
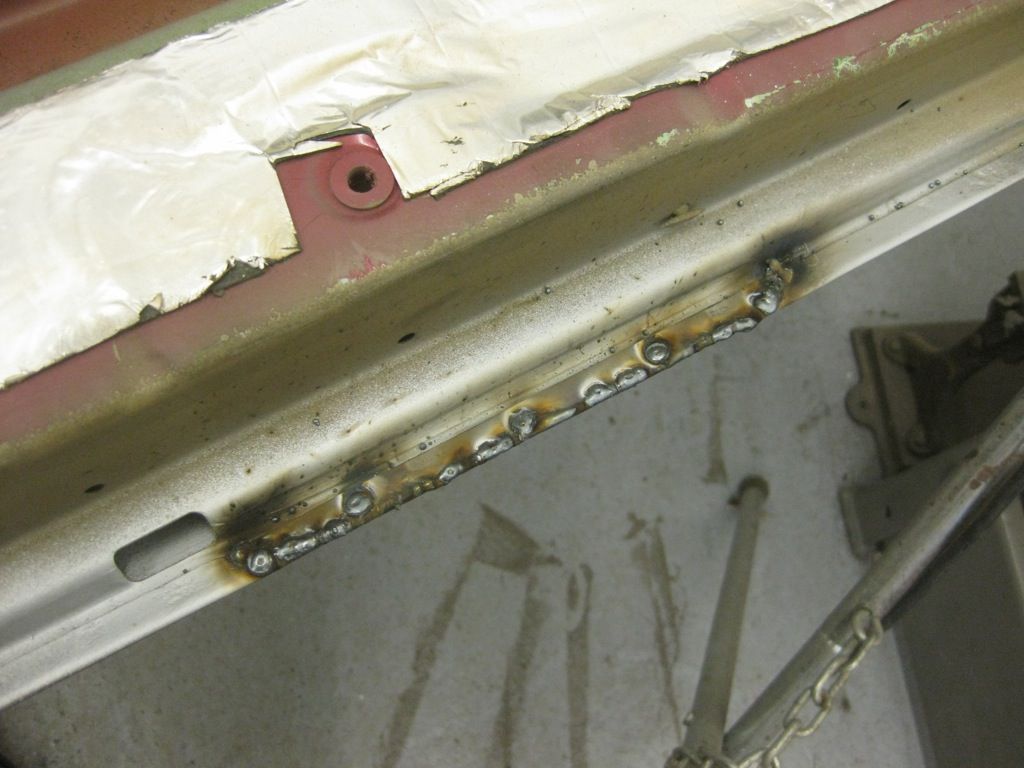
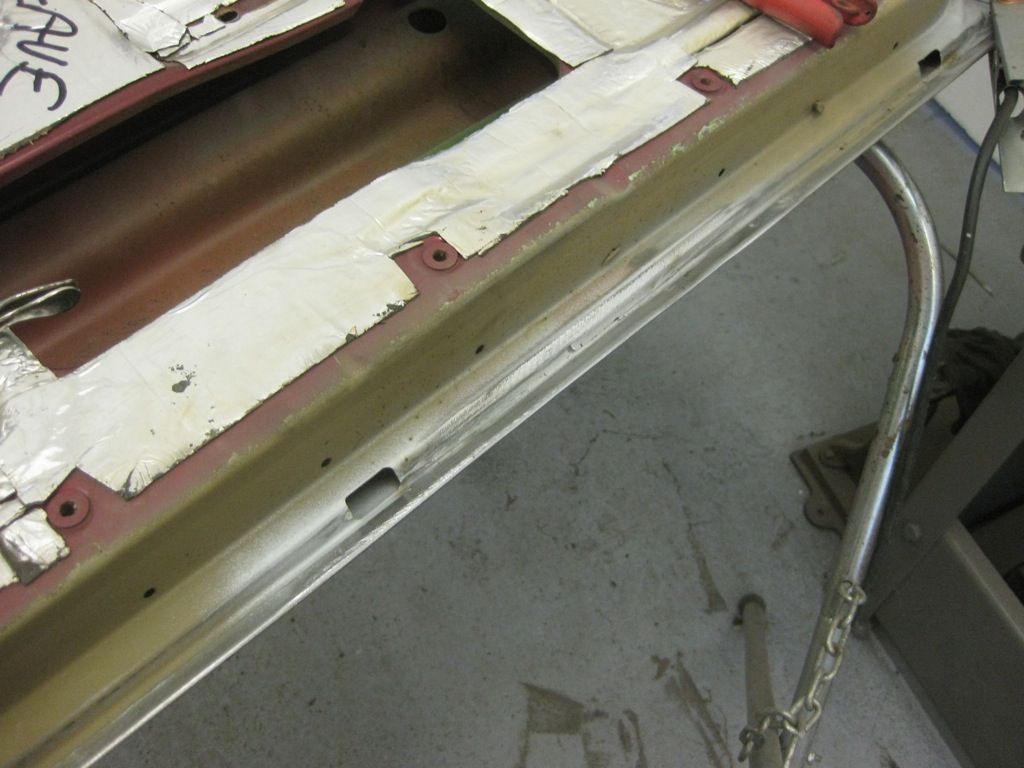
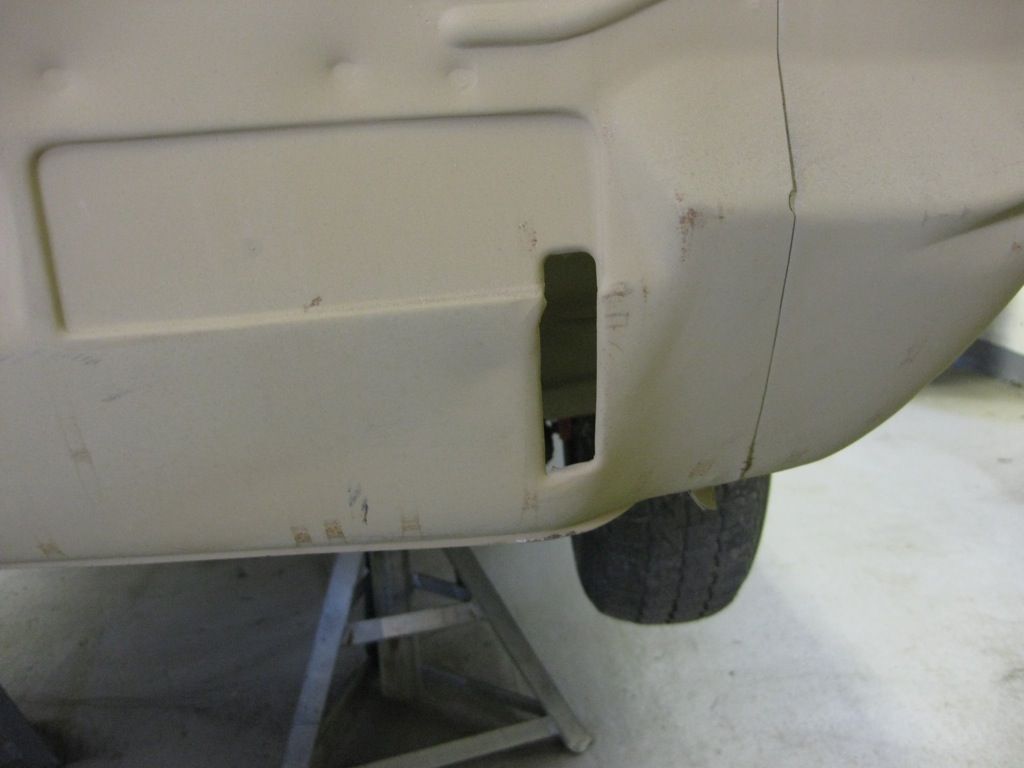
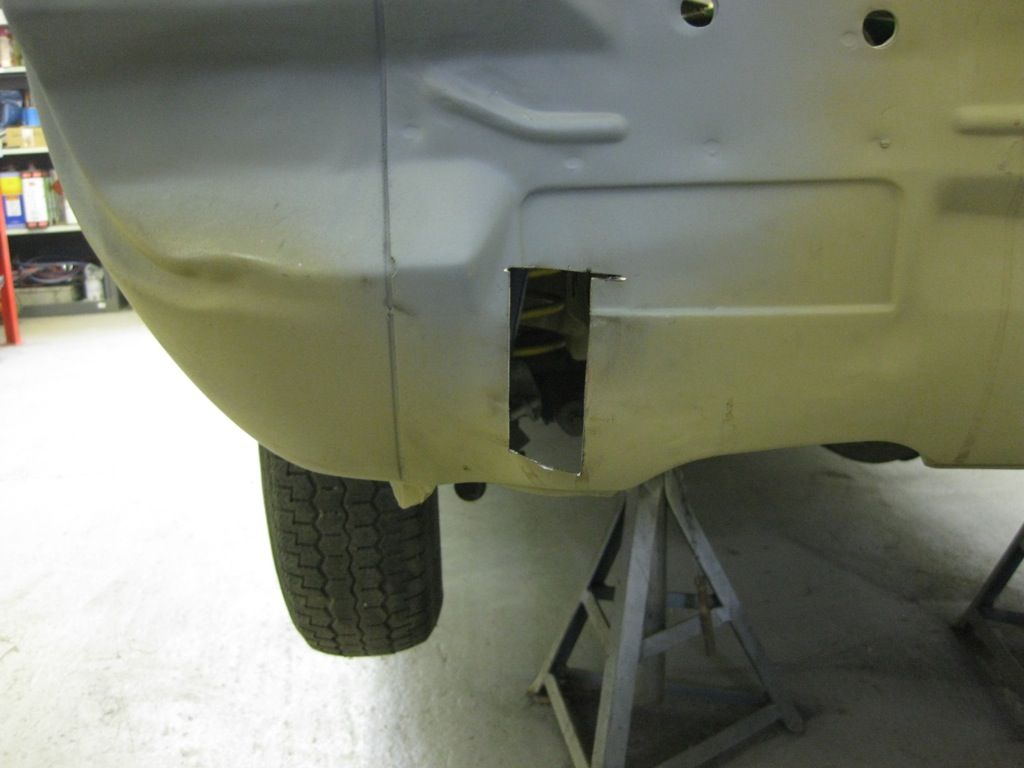
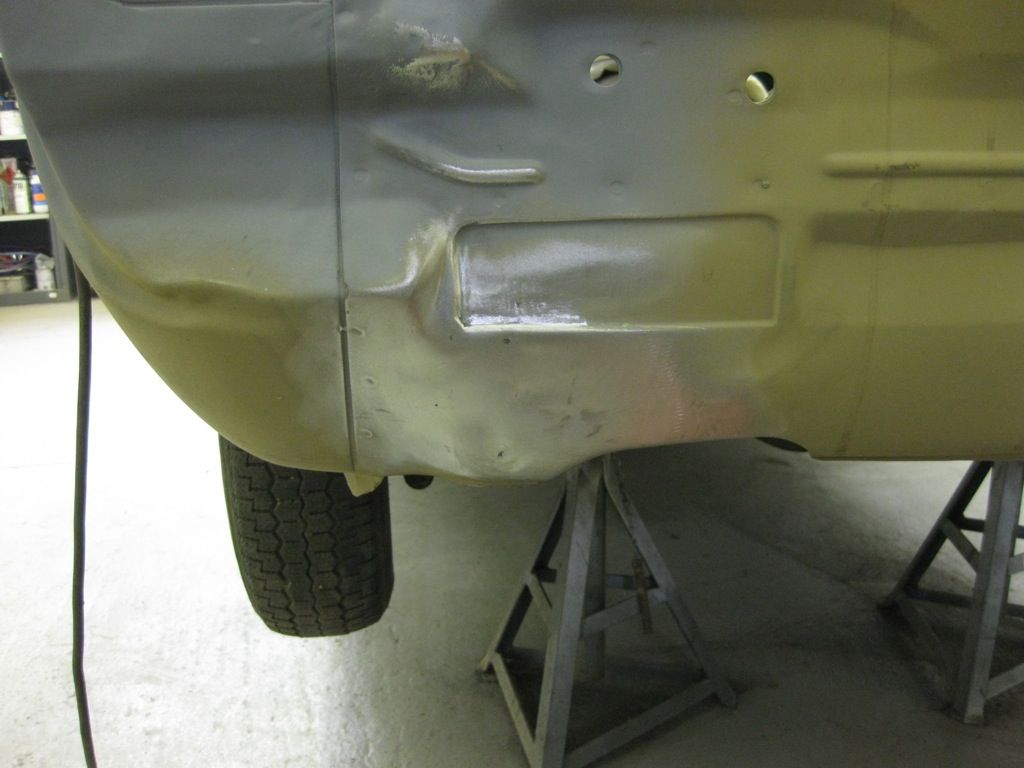
Very neat on the towing eye blanking, I think most of us would have just cut out the indents and put a smooth patch in, but this solution is far sneakier. Been a delight watching the work so far, really looking forward to the next update.
|
| |
|
|
|
|
|
Sept 30, 2014 18:36:06 GMT
|
Peerless as ever Tony,good work whats the final colour , black? / Thanks Broadie I think David was talking about Black, but that was a while ago, so not sure at the moment |
| |
|
|
Colonelk
Posted a lot
  
Posts: 3,742
Club RR Member Number: 83
|
|
Sept 30, 2014 18:42:49 GMT
|
Amazing work as always  |
| |
|
|
|
|
|
Sept 30, 2014 18:45:03 GMT
|
|
Beautiful work Tony,
What gas and wire do you use with your mig?
|
| |
|
|
|
|
