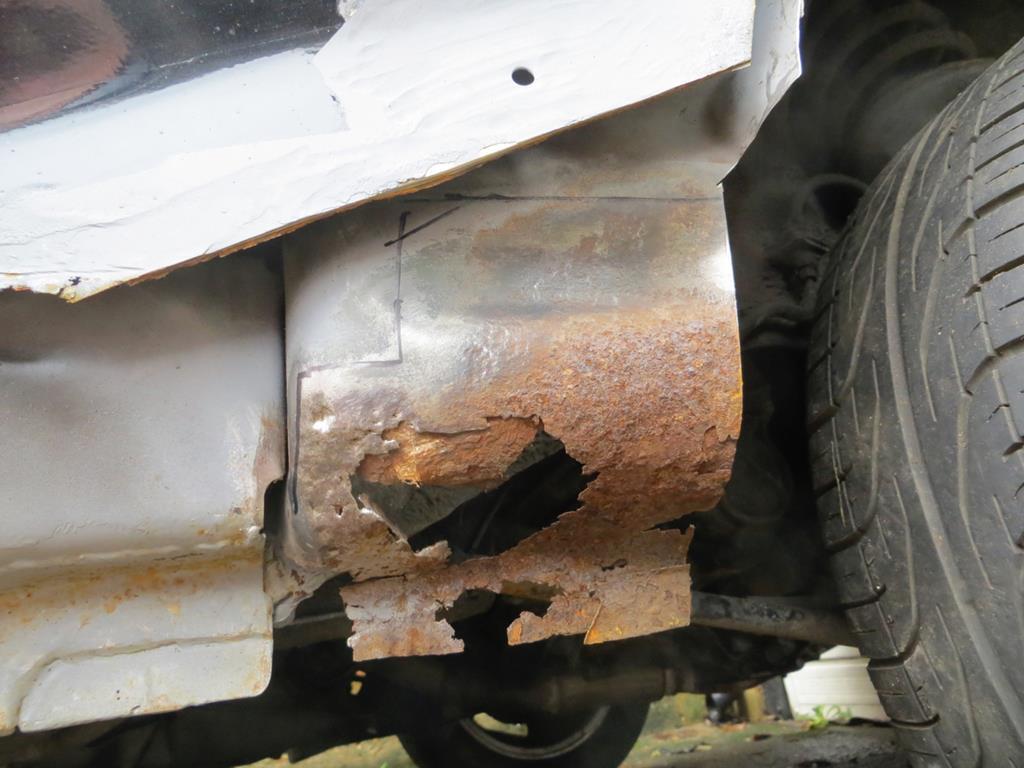
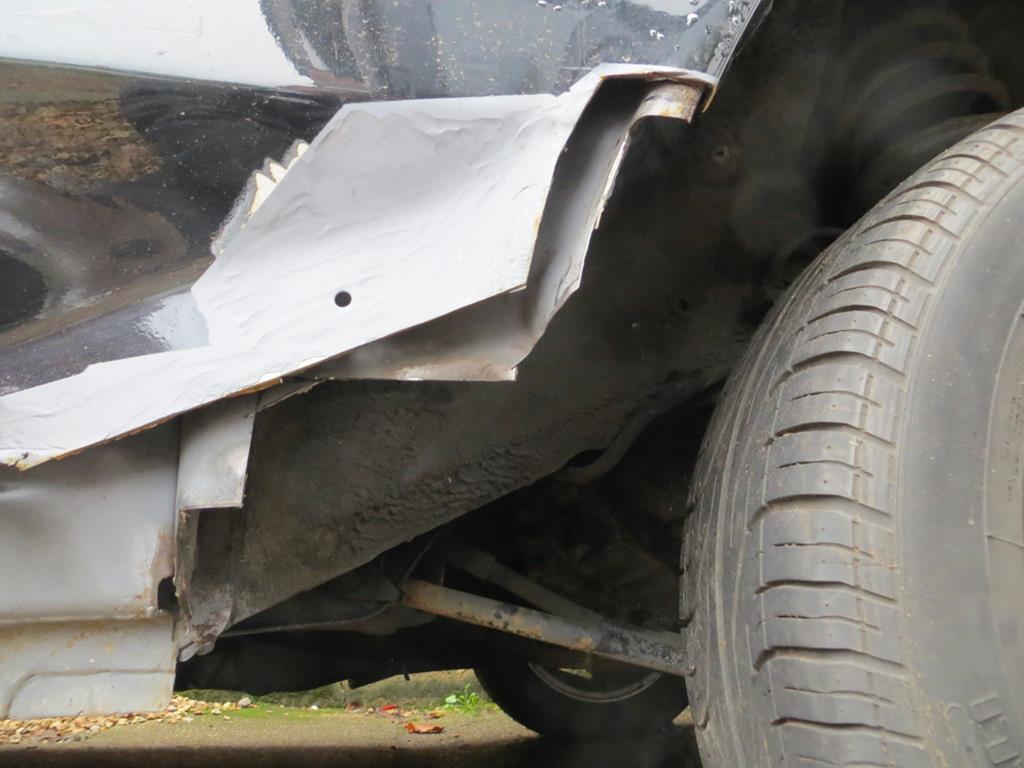
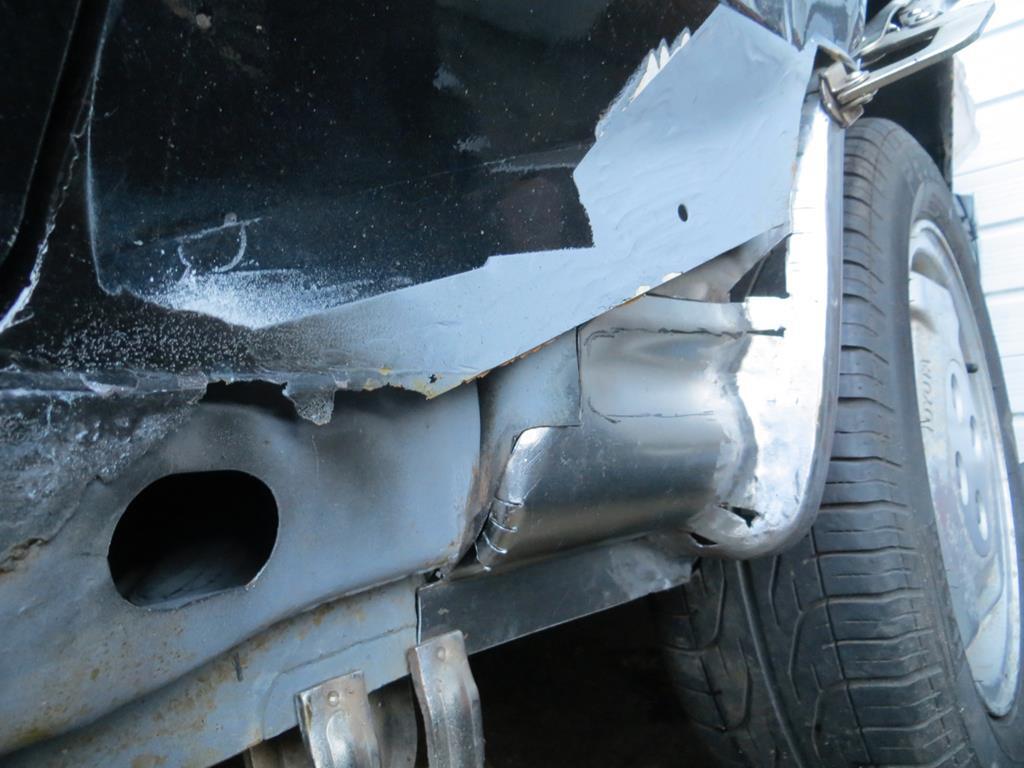
It's Christmas!
Well it's not Christmas anymore. But I can introduce you to some toys that Santa kindly dropped off. Later…
First this.
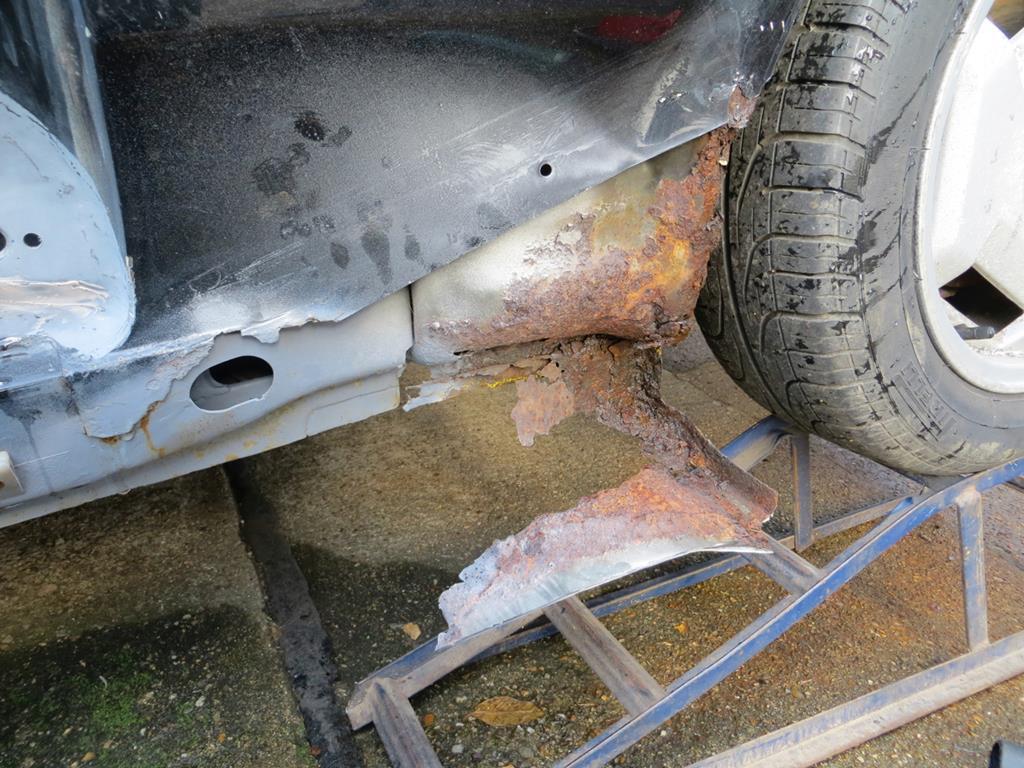
The outer wing is getting replaced at some point and is hidden behind the skirt anyway so a quick botch job will be fine there. Yeah right!
The inner wing is staying so it needs a proper repair done to it.
So I cut the remains of the outer panel away with the grinder and toy number one.
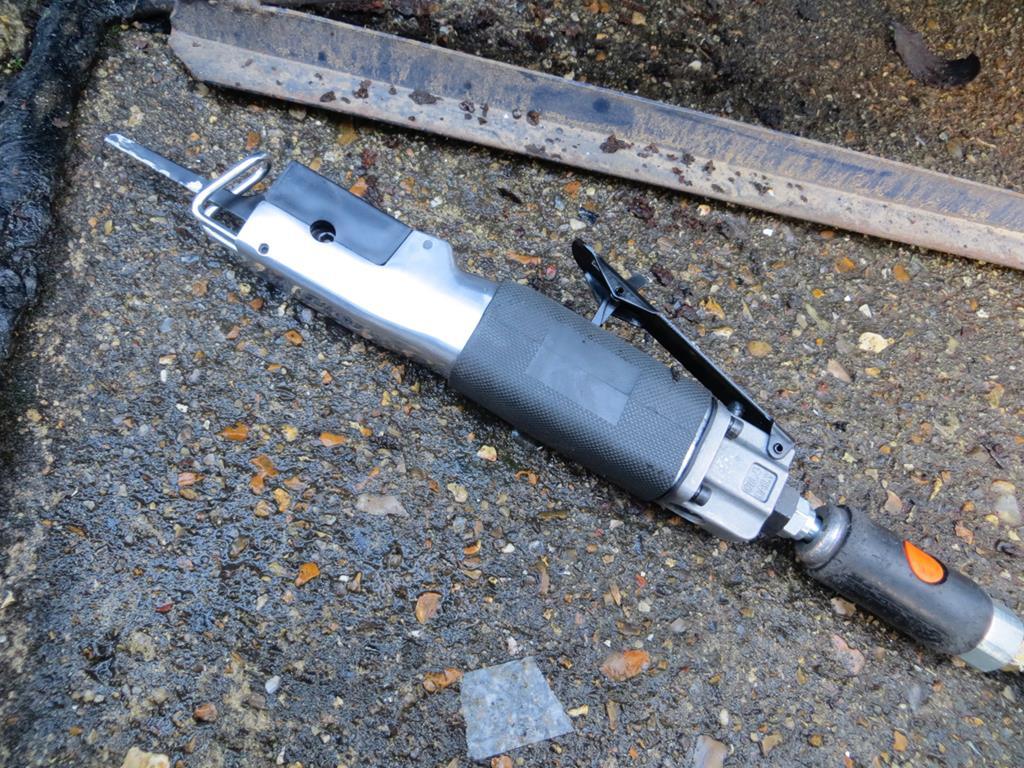
Air body saw! I'm not going to use it every day but it's really handy for those spots where you can't get the grinder in. I've cut the last bits with a hacksaw blade held in some thick gloves before now. It takes ages. This is much better.
First I need to make the inner arch edge. This curves in two directions - the curve of the wheel arch and it curls under the car too. In the past I've scribed a line matching one of the curves and tried to fold along the line. This works well but you always wind up hitting it a lot to 'adjust' it. Normally I have to cut and weld too although I try to avoid doing that in the face side - the bit that will be seen.
A better way would be to start with a bit of flat oblong of steel like this.
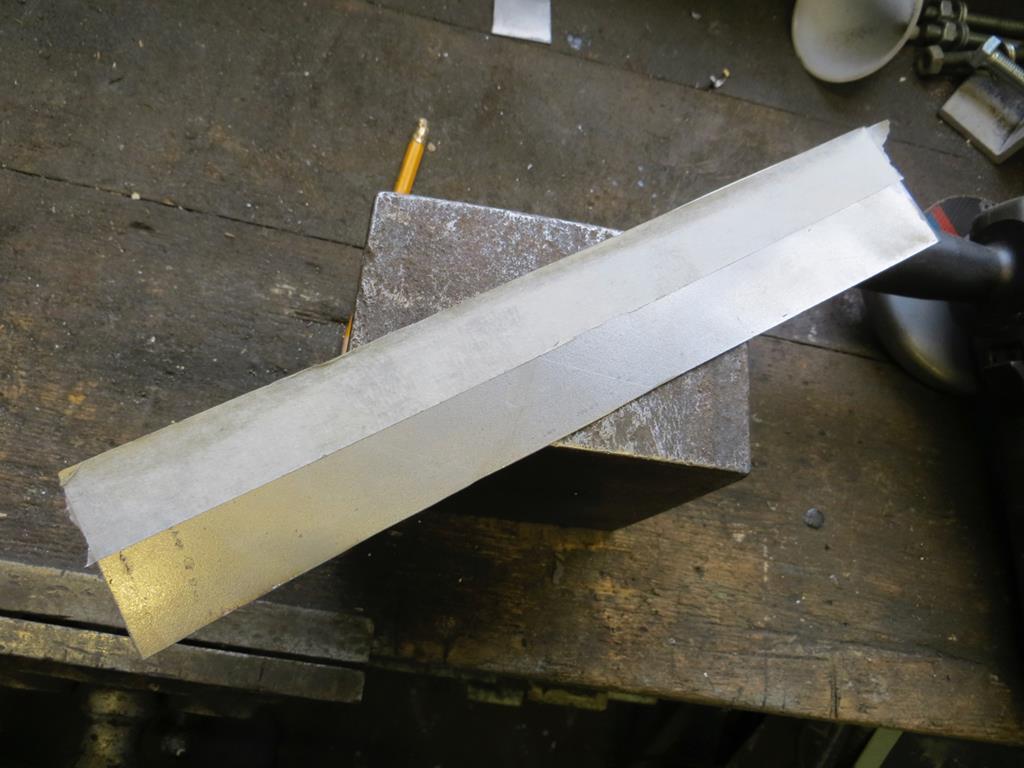
Which you put a 90 degree fold into. Then you add the curves with a shrinker / stretcher.
Santa, please please! I've been a good boy, honest!
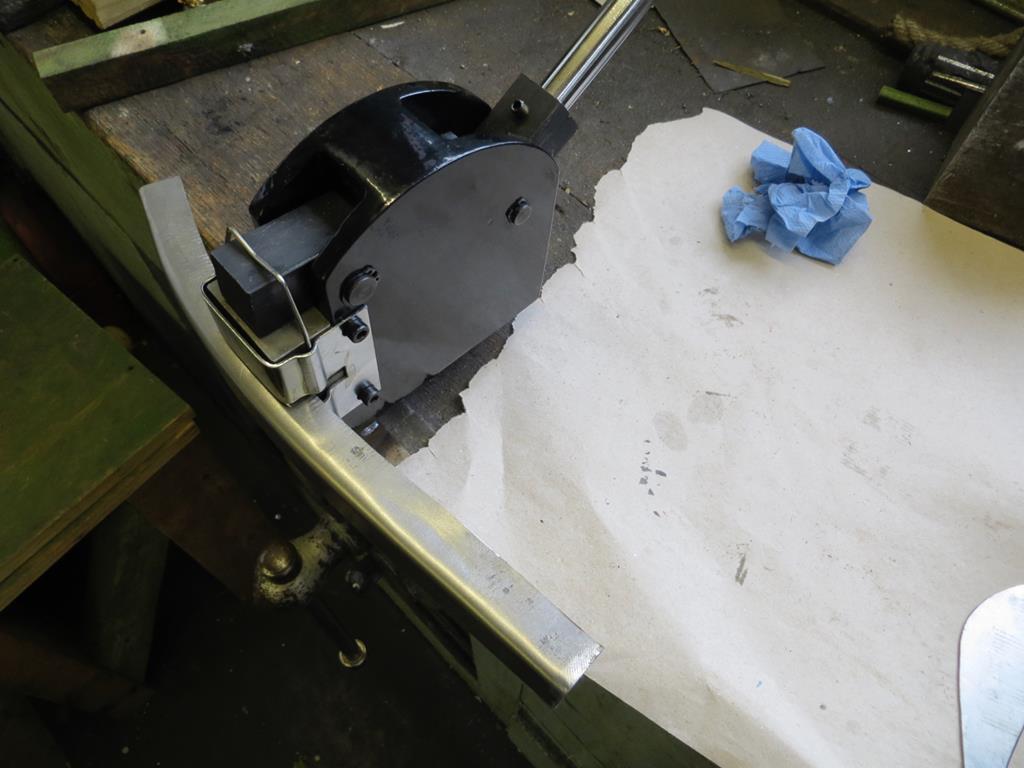
Oh baby!
It took a moment to get the hang of this but once you get going it really flys.
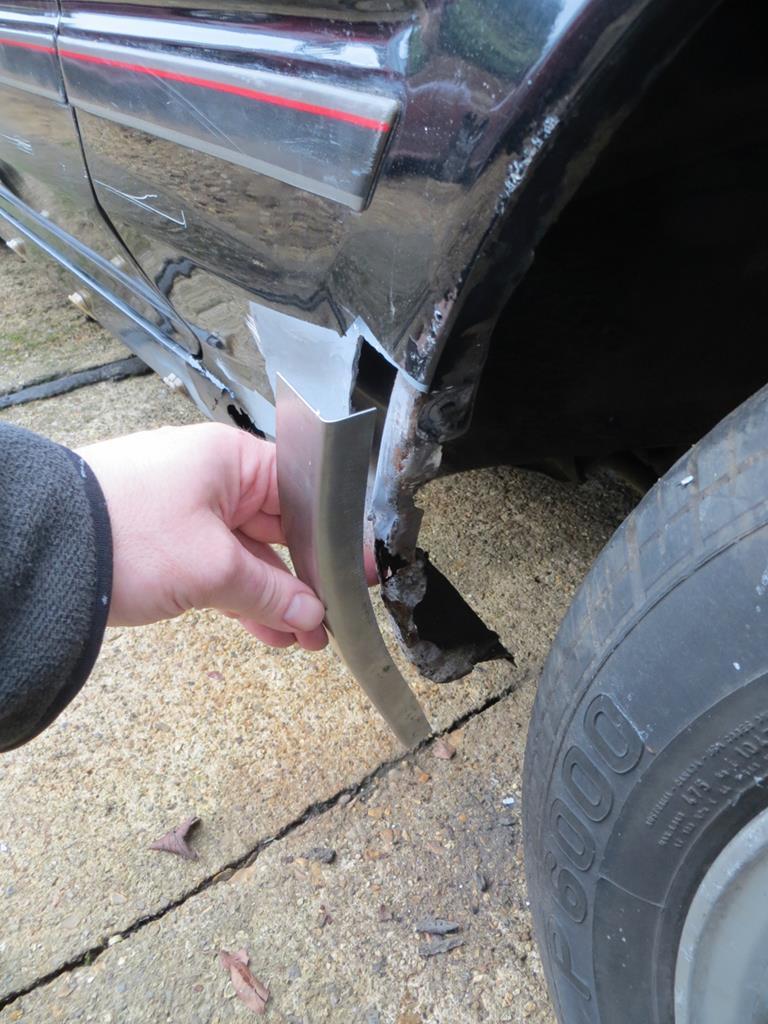
So much so that in the photo above I've actually over curved it. But that's easily fixed. Just put the stretcher jaws in and straighten it.
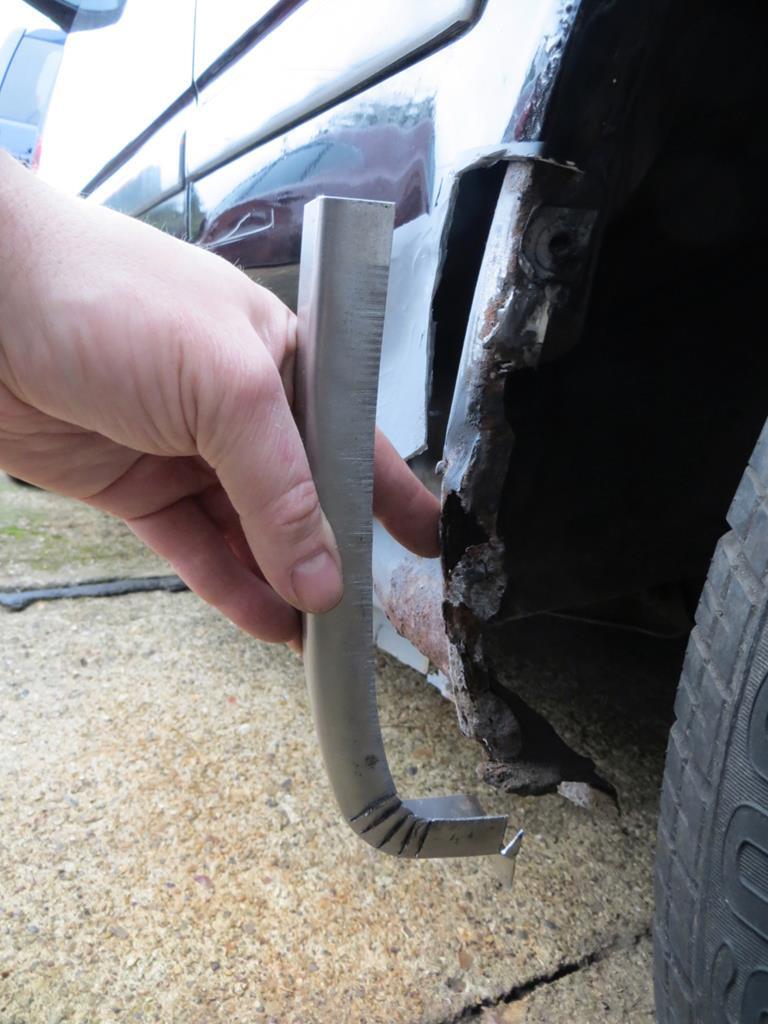
Here we go. There is a limit to what the shrinkers can do - I have no idea what that limit is but I figured that the bottom corner was beyond it. So I cut it just like the old days.
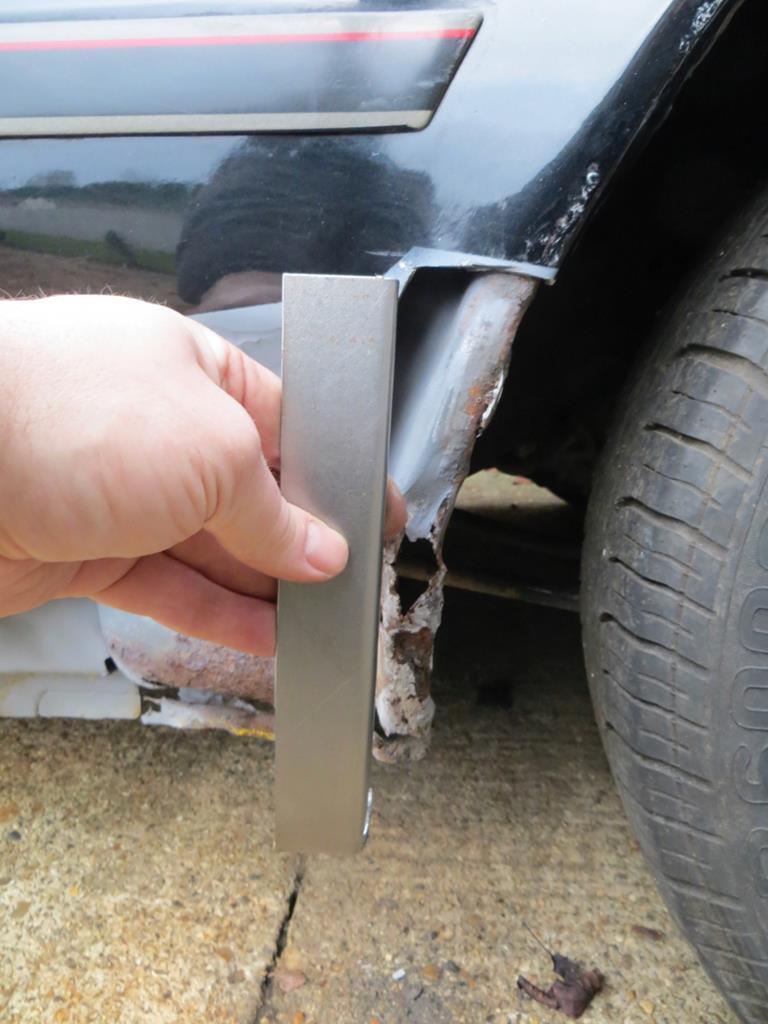
In the other direction it's still a bit straight. Easily fixed with the stretcher jaws in the tool.
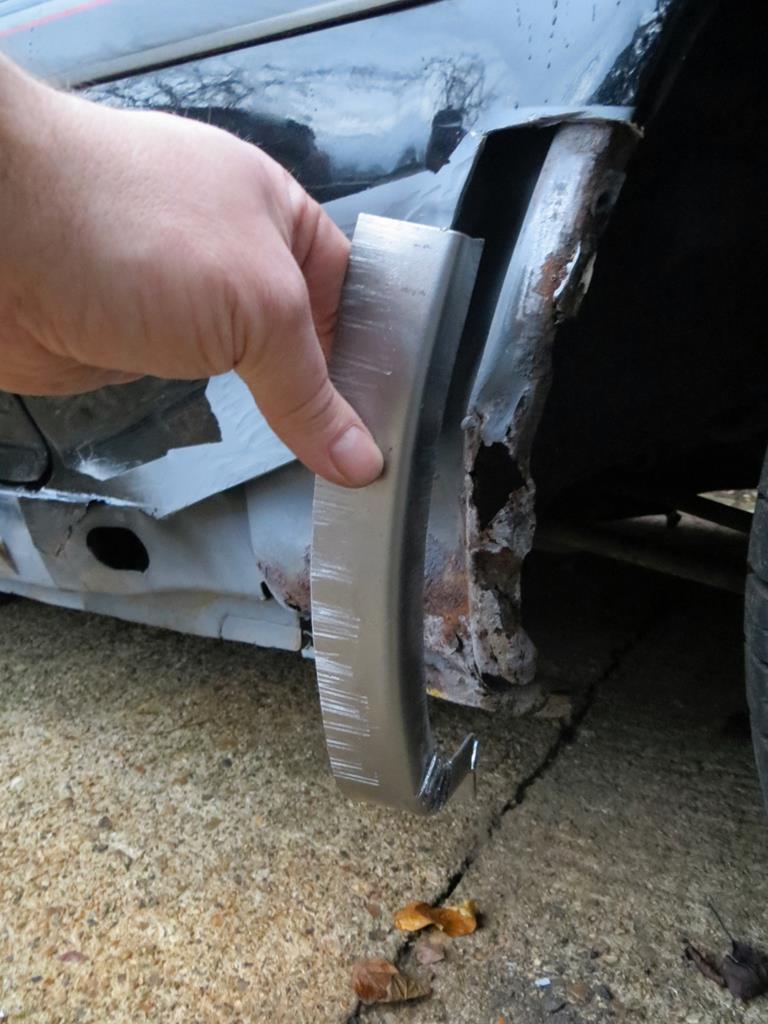
Nice! I have to say that if you are doing wheel arches just go and buy a shrinker / stretcher.
Next I had to turn the other fold in. You'll see what I mean in a moment.
Now I could have marked it, put a bend in, and then used the shrinker to put the curves right. And in future, when I'm a bit more confident, I might try that. But this time I was far too pleased to have got close to the right shape that I couldn't bear the idea of messing it up. So I slit and welded it - old stylee.
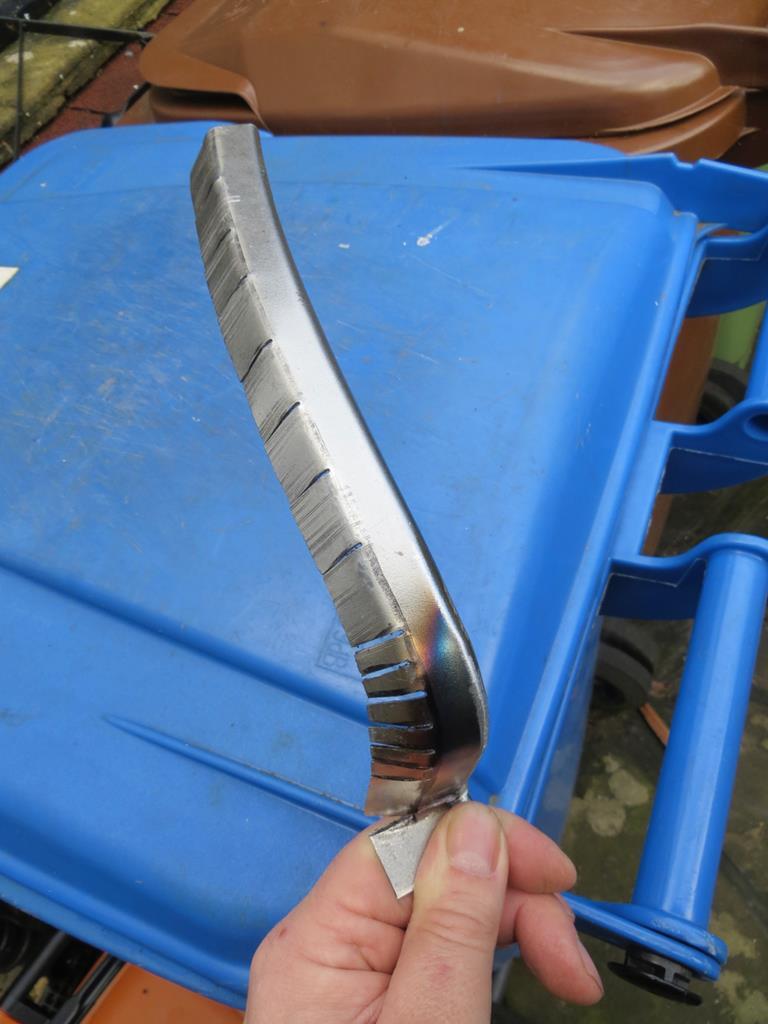
Here you go, against the car…
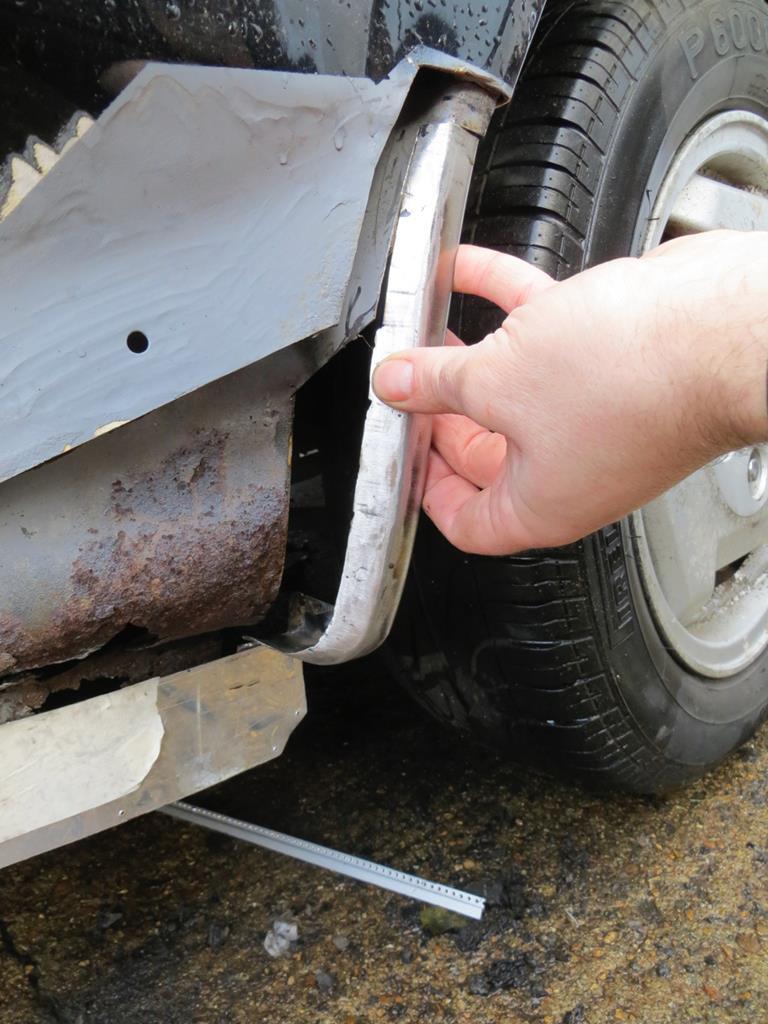
The bit of aluminium across the bottom of the sill is a guide so I can get the bottom corner of the arch in the right place. Hopefully.
Next I need to remake the panel in front of the arch. This has an annoying shape. It has a divot in it. Not for any reason other than strength. I could leave it out but I'll try and do it properly.
First I need a handy pipe of about the right diameter to put the bends in. A piece of cast iron down pipe looks good.
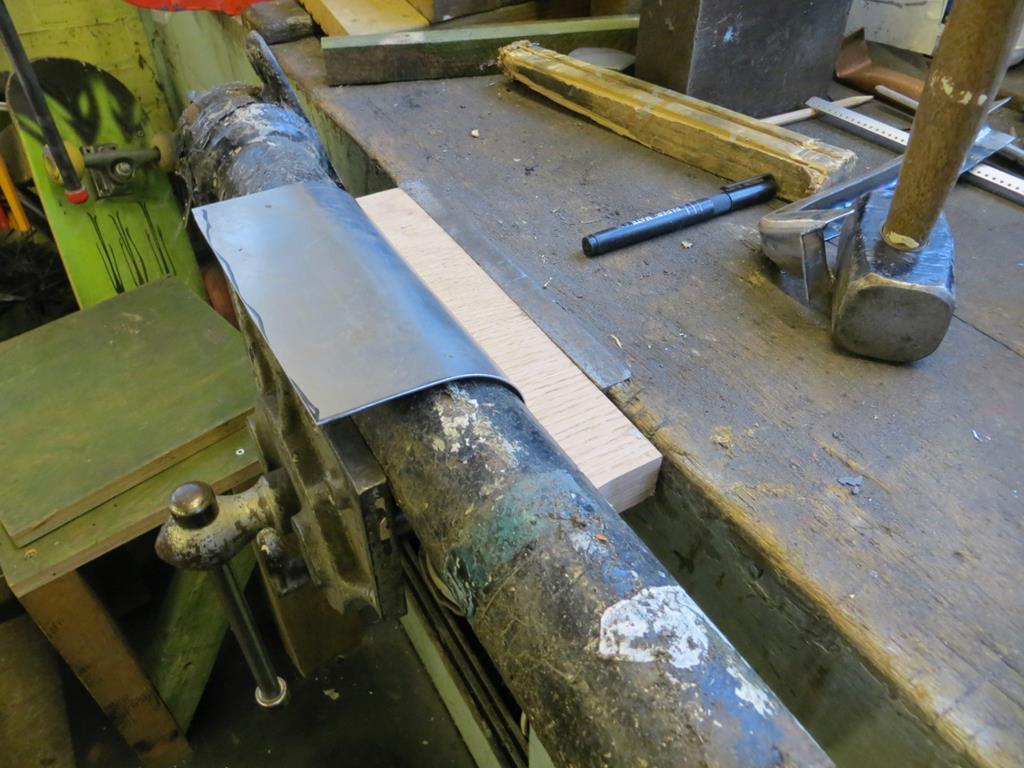
No I didn't hit it with the lump hammer! I just pushed it round the pipe.
Something like this looks like a promising start…
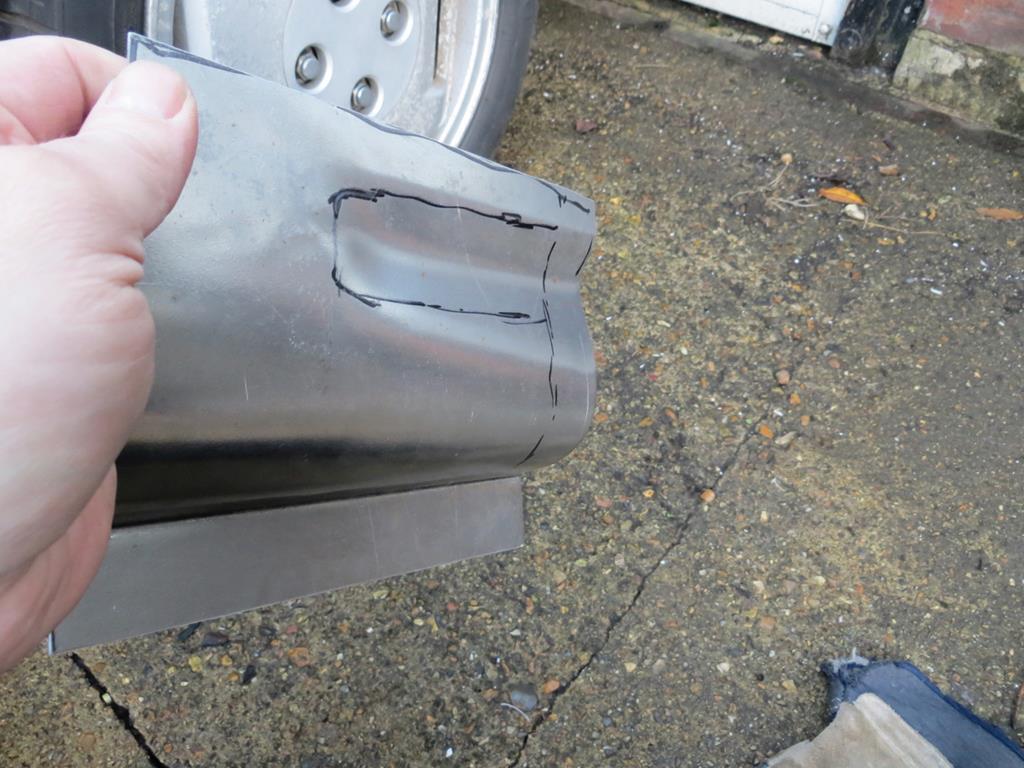
The back edge needs to curl out to meet the arch. Again, I just slit it.
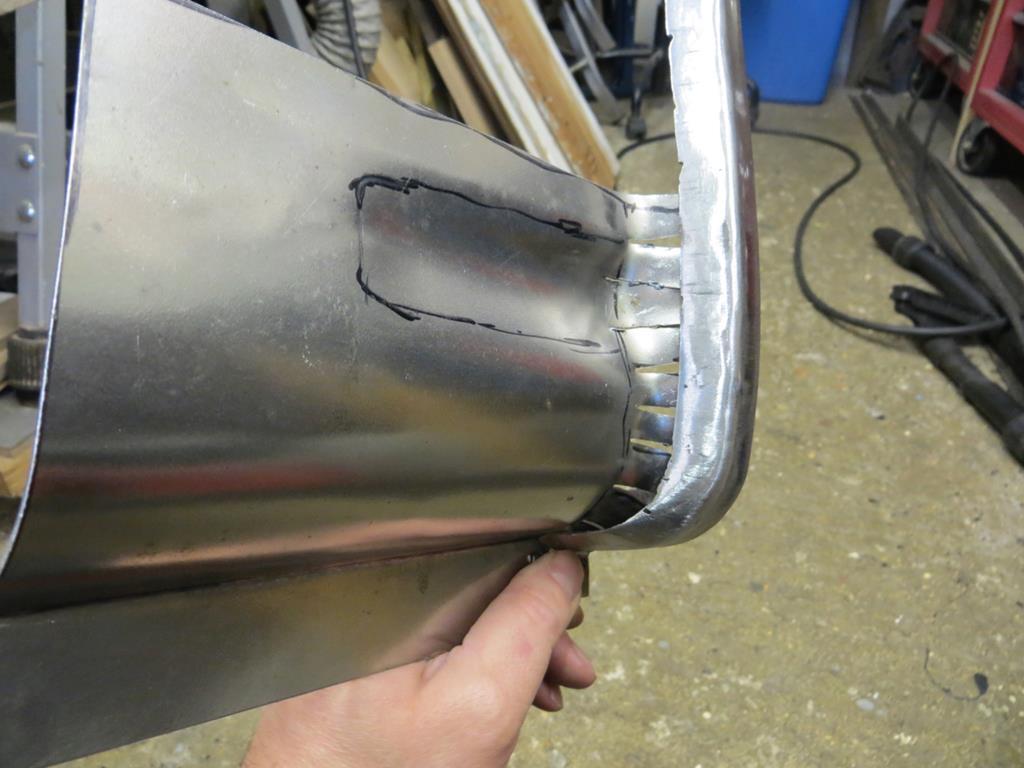
To be honest I had no idea what shape this join needed to be, nor how the two bits fit relative to each other. So slitting it gave me easy adjustability. And I've no idea how else to do it!
A brief aside here…
This is my work bench. Notice the piece of pipe in the metal vice and the hammer in the woodwork vice. Both are being used as dollies, something to hit against.
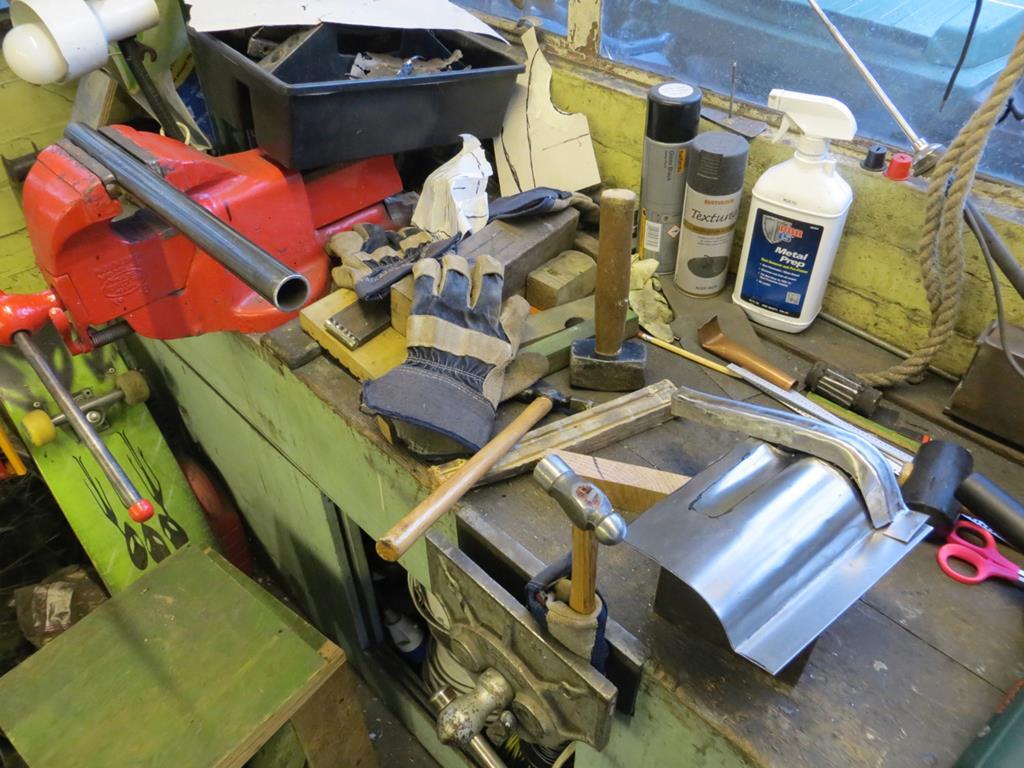
Well, I've been thinking for a while that a selection of proper dollies would be handy. I've just got to that point where I think I could use them. So…
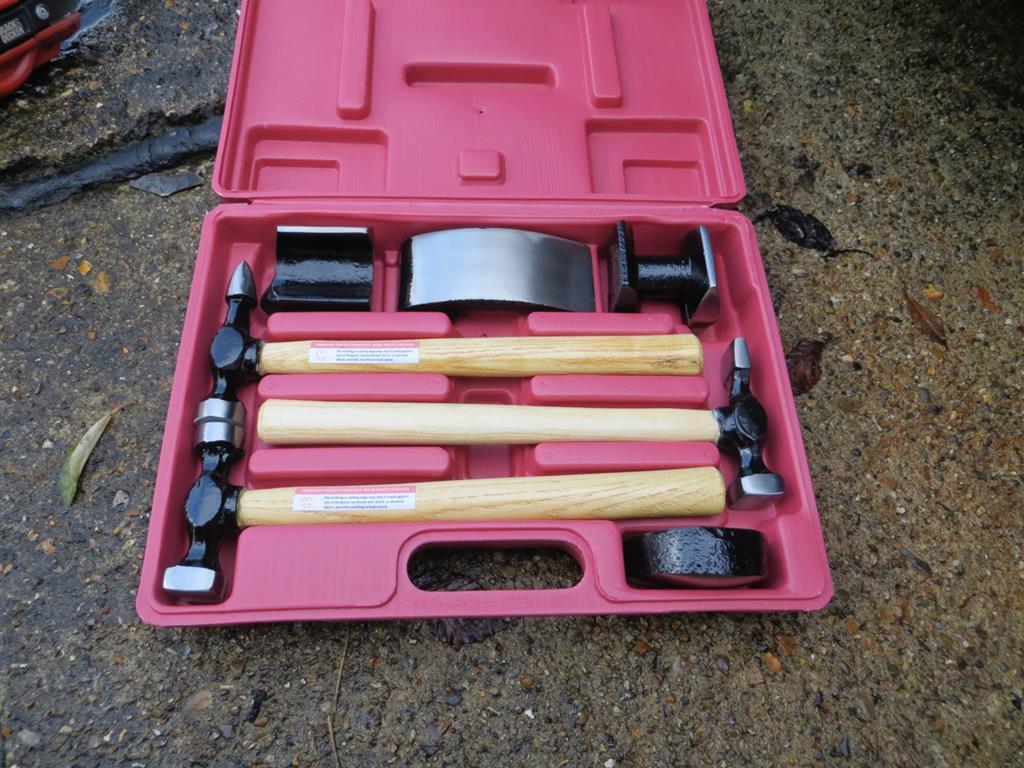
Santa has been good to me! These are just a cheap set - I'm never going to make it as a panel beater!
Back to the plot - dolly in hand.
I clamped the arch edge to the car and lined up the panel part. Then I tacked the two parts together.
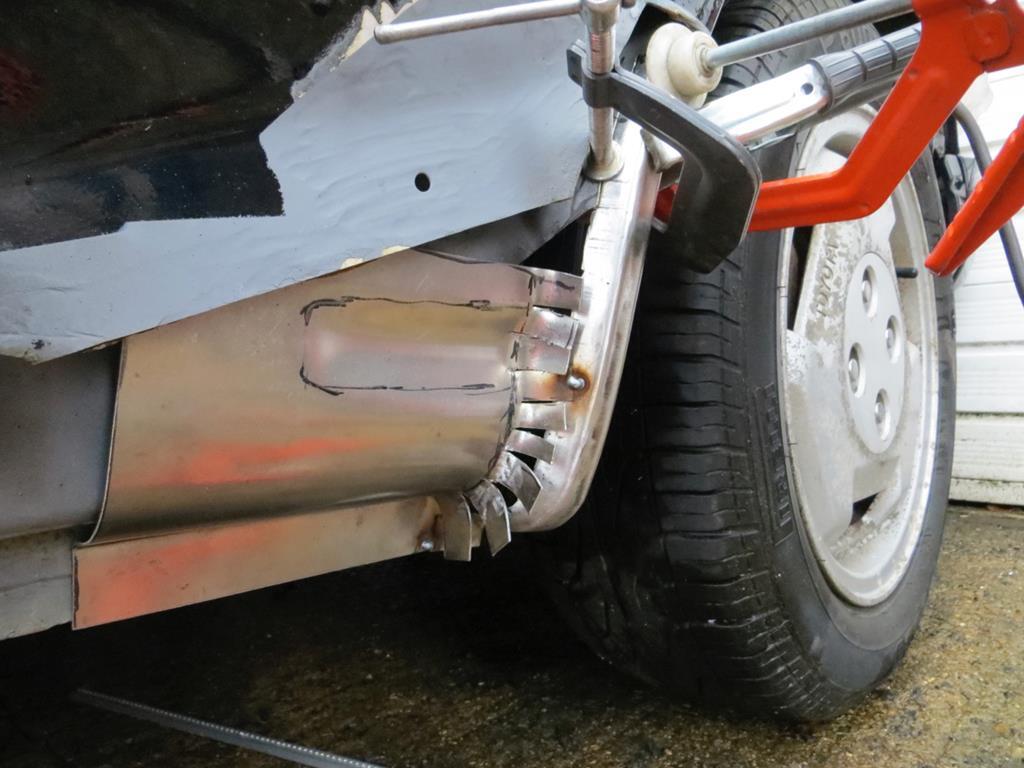
Then retreat to the garage and weld it together.
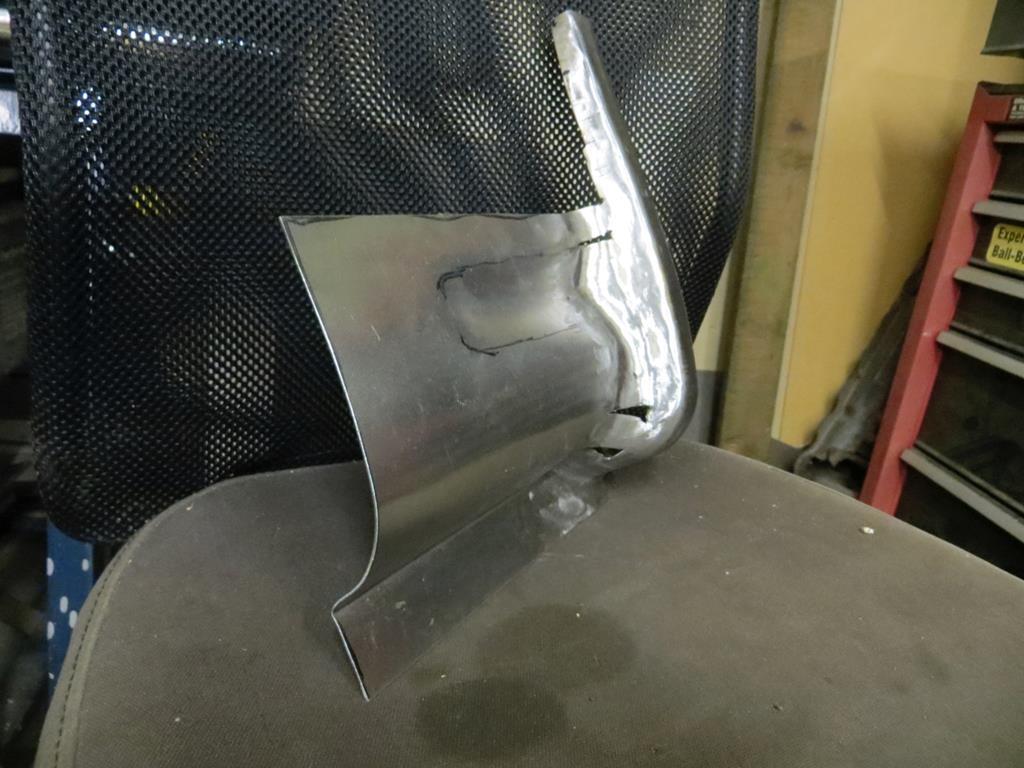
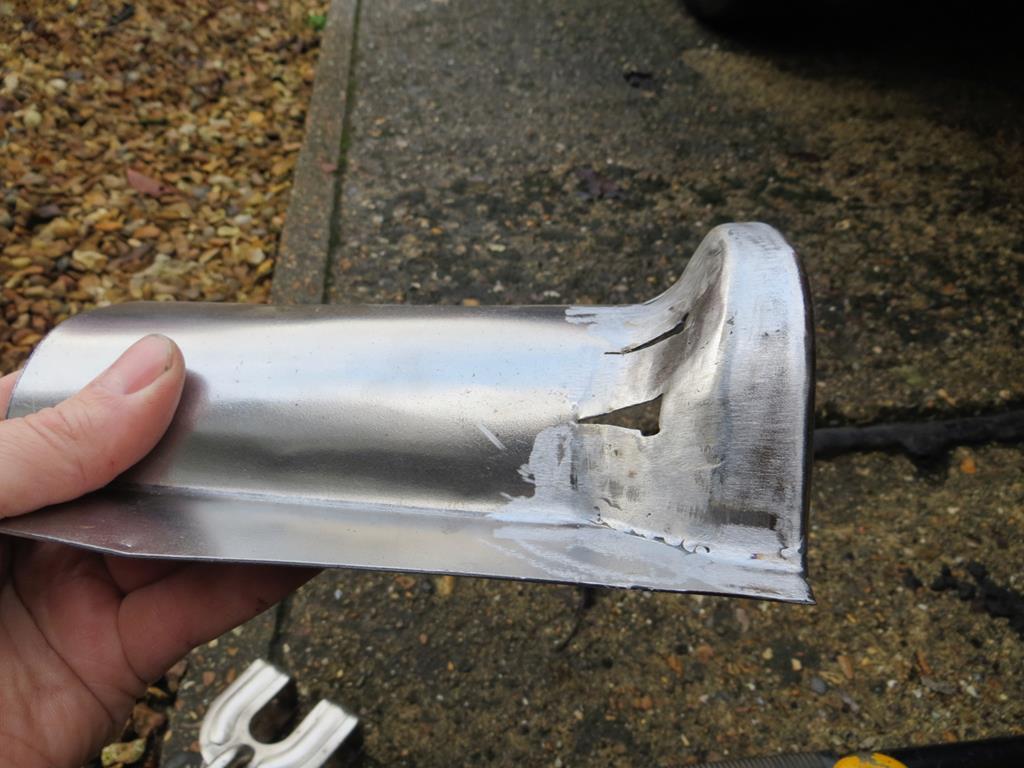
There are a couple of holes in it that I still need to deal with. But it's gone dark outside and I can't actually tell if it's likely to fit the car so thats where I'm going to leave it.
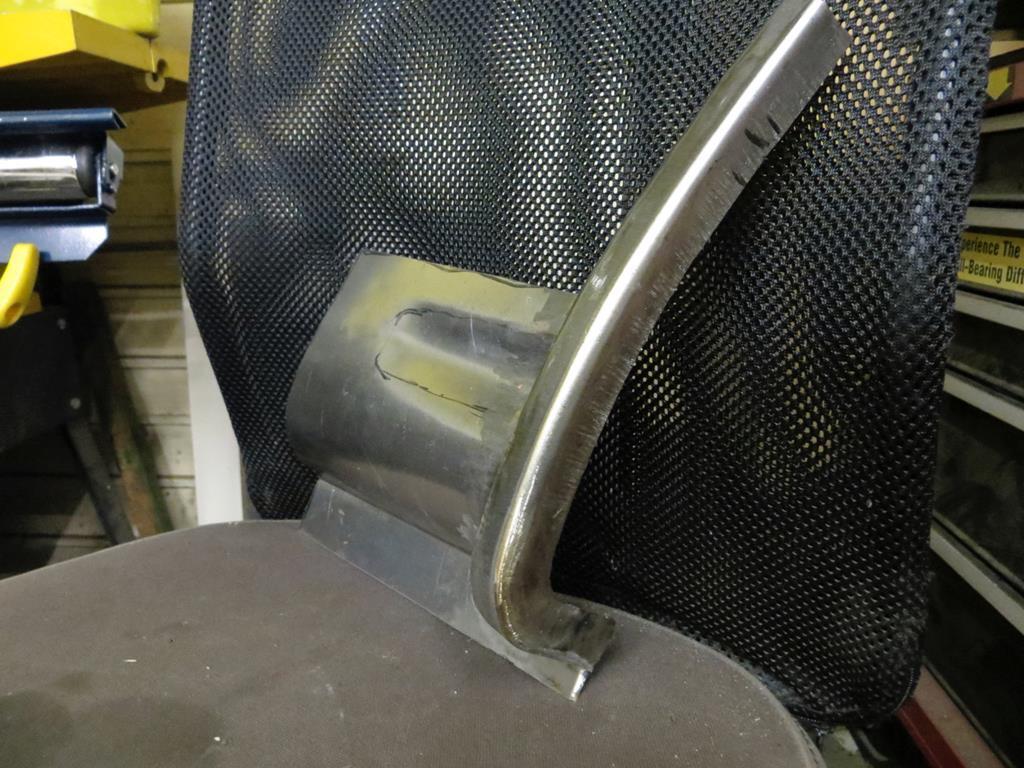
I really hope it fits! Plenty more to do to it yet.
James



 lucky I haven't done much since finishing my last project to really need them.