|
|
|
Oct 13, 2015 17:22:54 GMT
|
|
|
| |
|
|
|
|
camper damper
Part of things
  Another car bites the dust
Posts: 606
|
|
Oct 13, 2015 17:57:29 GMT
|
|
Your welding it fast you must have a date set to get it finished by
Have you found the Happy face on any parts yet its all over my j a p corolla wagon but not the Irish one. Something knew to look for
|
| |
|
|
|
|
|
Oct 13, 2015 19:27:34 GMT
|
|
Thank you for writing so well about an obvious labour of love! Your metal working skills are really being tested - and are proving more than good enough!
I sympathise with your rust/weldathon as I have worked on Sprites and Alfa Romeo Sprints.......
I also appreciate the desire to repair..... rather than buy and replace, for the many little - and large, parts/structures.
WELL DONE!!!
|
| |
|
|
heathrobinson
Part of things
  Broken everything
Posts: 848  Club RR Member Number: 111
|
|
Oct 13, 2015 20:03:34 GMT
|
|
Good shout on that paint, useful to know. I get so paranoid about fires starting in cavities that I've got a bottle of pub gas that I plumb into any voids I'm welding over. Having watched a transit catch fire and nearly take the entire workshop with it, I get a bit twitchy!
|
| |
|
|
|
|
|
Oct 13, 2015 20:14:51 GMT
|
Hello chaps! Well you seem to be moving at a pace now - nice work It's 'cos the car is at home at the moment. If / when it goes back to Canterbury the project will grind to a halt again. It seems when lot of people replace the sill they weld to the rear wing and not the inner rear part of the sill. Mark Oh really?! That's not good. There is a thick metal strengthening plate at each end of the sill that really needs to be welded onto. a non weld thru weld thru primer Outstanding idea that. They probably spent millions on R&D for it. Your welding it fast you must have a date set to get it finished by Have you found the Happy face on any parts yet its all over my j a p corolla wagon but not the Irish one. Something knew to look for A completion date!? It'll never be finished. Not a chance. Haven't seen a smiley face yet. I'll look out but mine is a UK model so probably hasn't got them. Interesting though. Thank you for writing so well about an obvious labour of love! Your metal working skills are really being tested - and are proving more than good enough! I sympathise with your rust/weldathon as I have worked on Sprites and Alfa Romeo Sprints....... I also appreciate the desire to repair..... rather than buy and replace, for the many little - and large, parts/structures. WELL DONE!!! Thank you! Although the desire to repair is largely driven by being a tight git. And the fact that there aren't many repair panels available anyway. What there are are hand made. |
| |
|
|
|
|
|
Oct 13, 2015 20:15:39 GMT
|
Today I 'as mostly been listening to Clannad's 'Banba', London Grammar's 'If You Wait' (their only album as far as I know) and The Best of Fleetwood Mac (who've had so many albums they've probably got a best of the best). Well, I got bored with Heart on the radio. And there is only so much of Steve Wright in the Afternoon that a chap can take before he has to commit suicide. I can get as far as "Hello and welcome to the show…" before reaching for a knife. Better than many people I think you'll agree. You probably haven't noticed but there is a divot in the inner wing. I thought it was a dint caused by somebody jacking the car in the wrong place but it looked wrong for that. It was too precisely formed to be an accident. It looked pressed into the panel. Sitting in bed last night I suddenly realised what it was for. The dint in the panel that is - not er, whatever else you might er, be thinking about in bed. 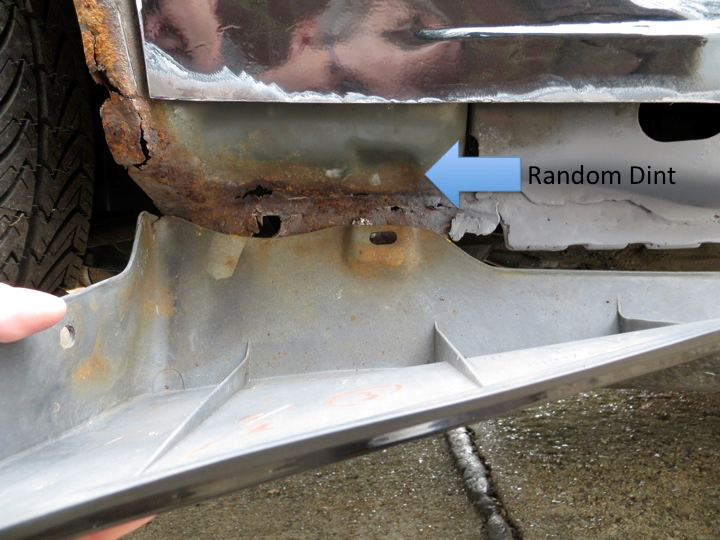 It's the relief for the side skirt mounting bolt. So it needs to be there. Which means I need to bash it in. I chiselled a piece from a handy lump of wood to use as a former. 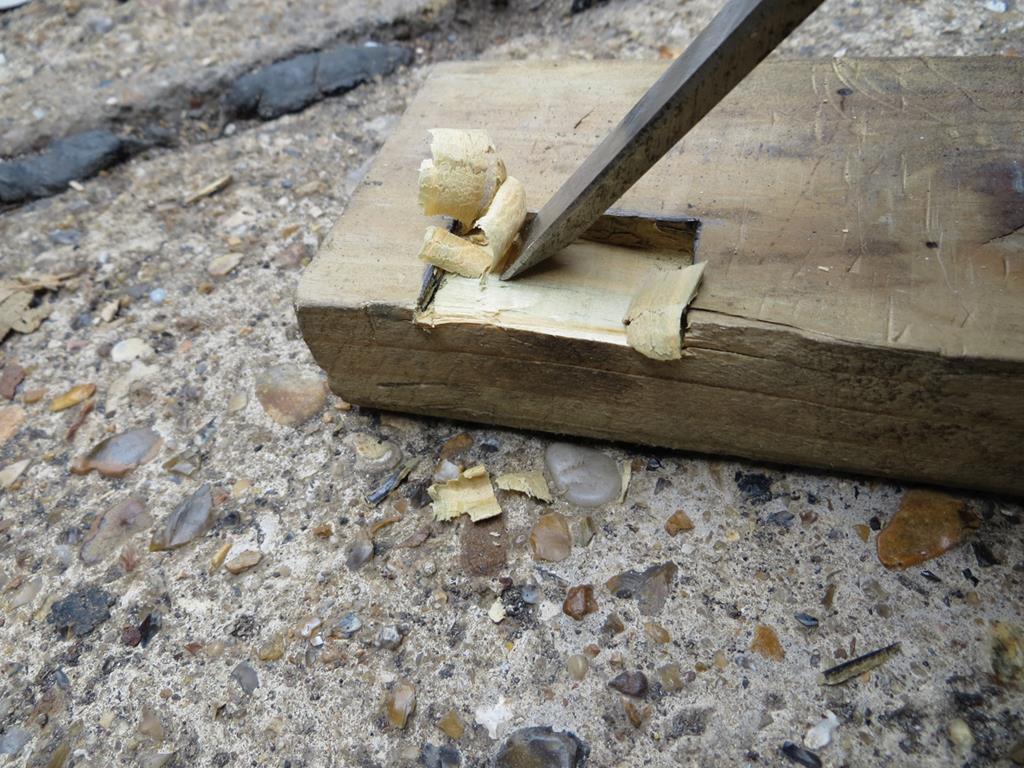 Sort of like this. 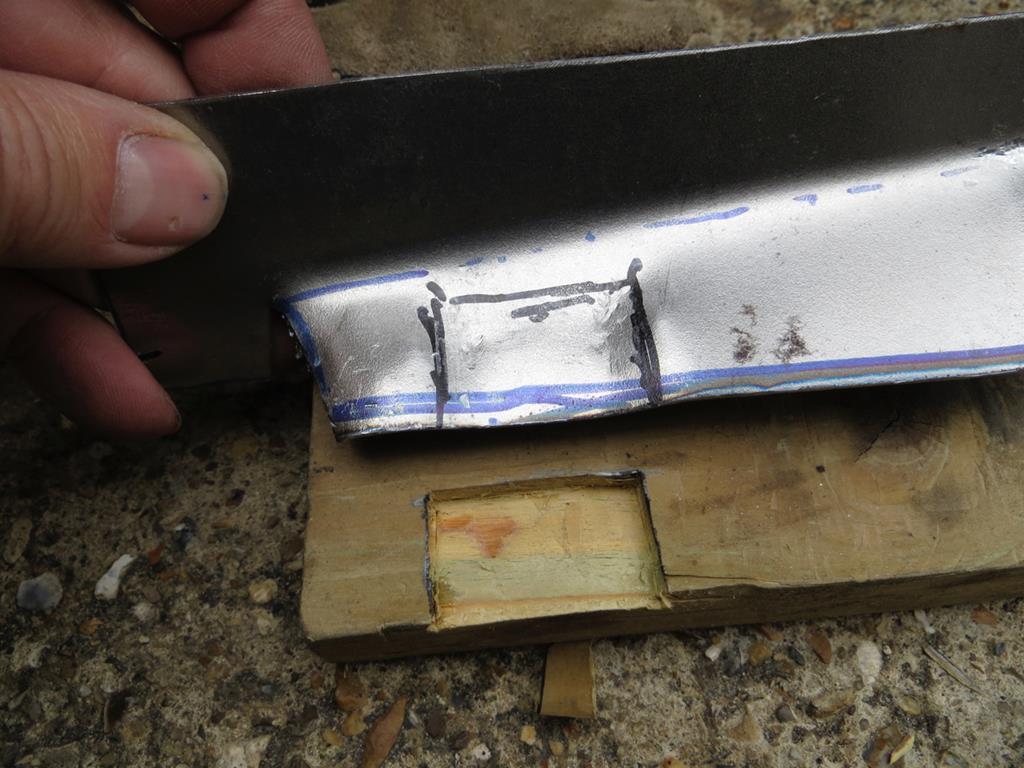 Trouble is, no amount of bashing was going to make it deep enough. This was about all I could get. 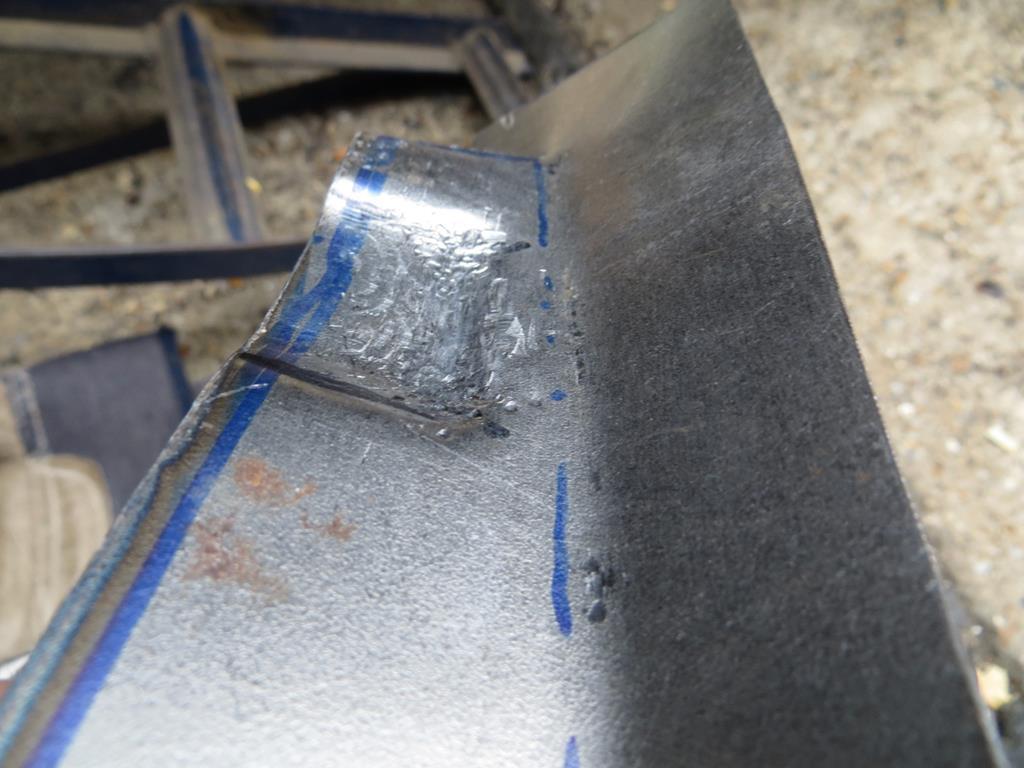 I need a better plan. Which will probably involve cutting it out and welding something in. Lets do the arch edge instead. 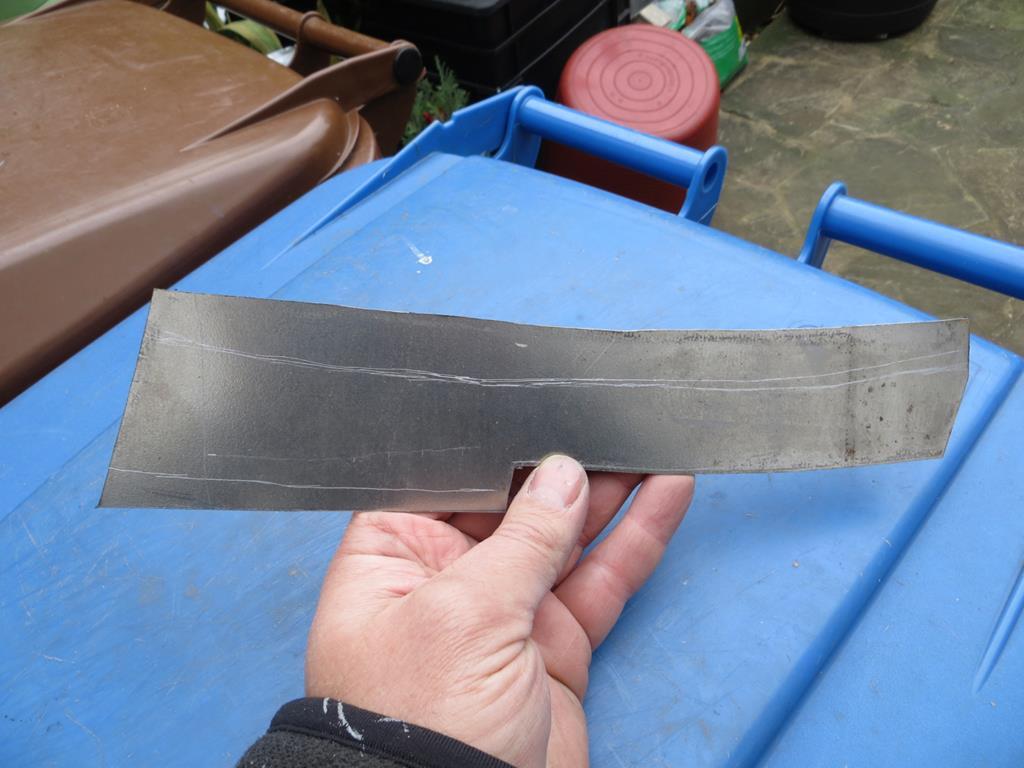 Bit of metal cut from the pattern with some scratch marks that should be the fold line. Lets bash the folds over then. 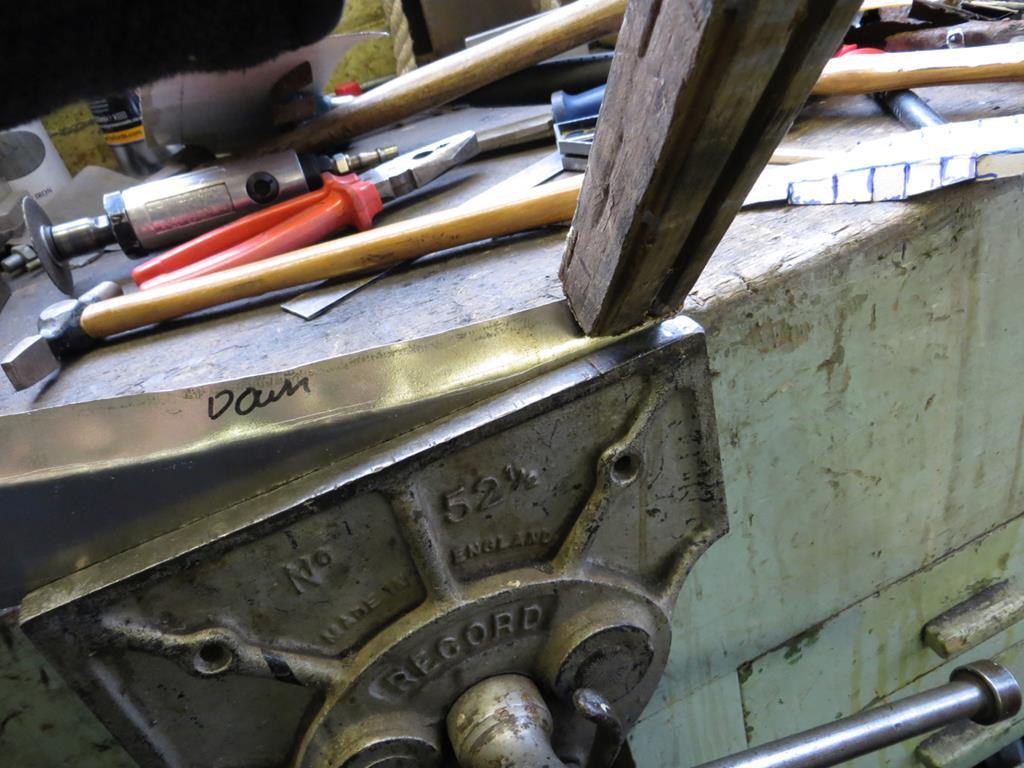 Hmmm. 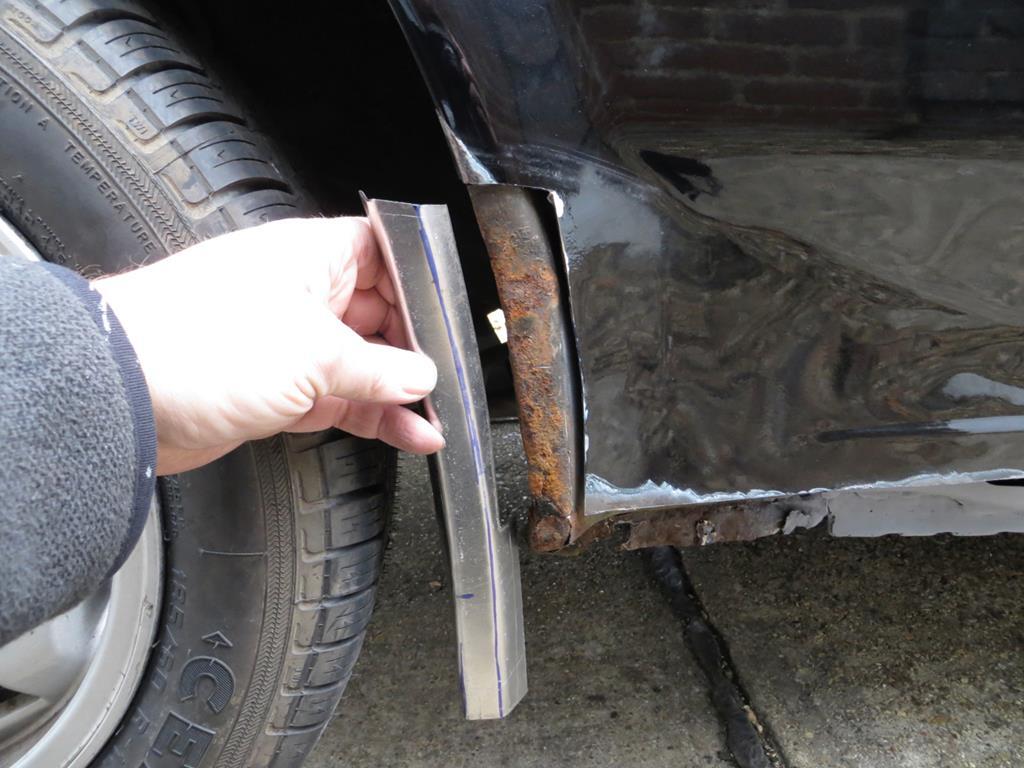 That's gone reasonably well. Lots of time to mank it up yet. 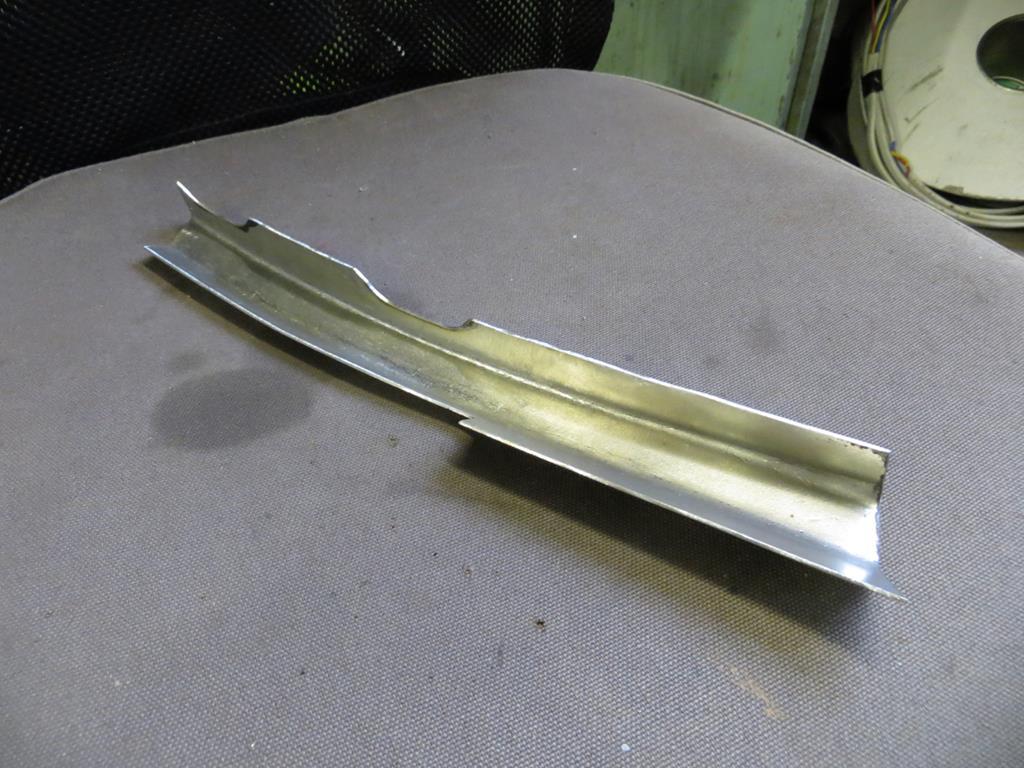 I need to curve it under the car next. If it was after Christmas and Santa had brought me a set of shrinkers I could use them now. But it's not and he hasn't so I'm going to have to cut and weld instead. Something like this. 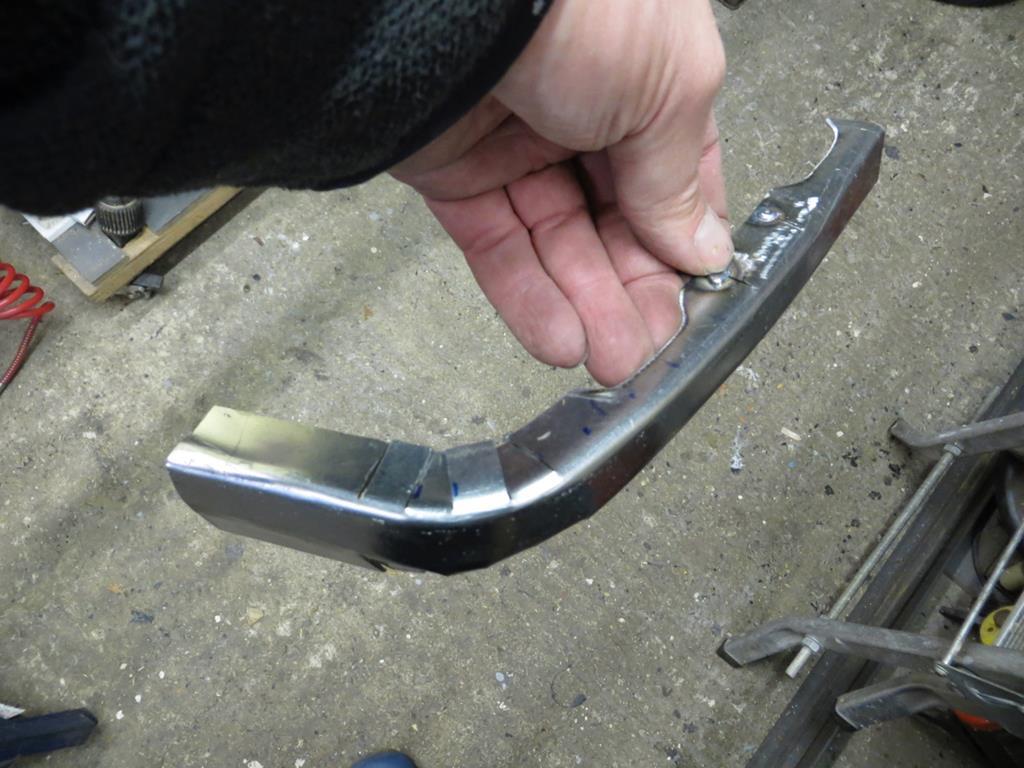 Somethings going terribly wrong with my metal bashing... 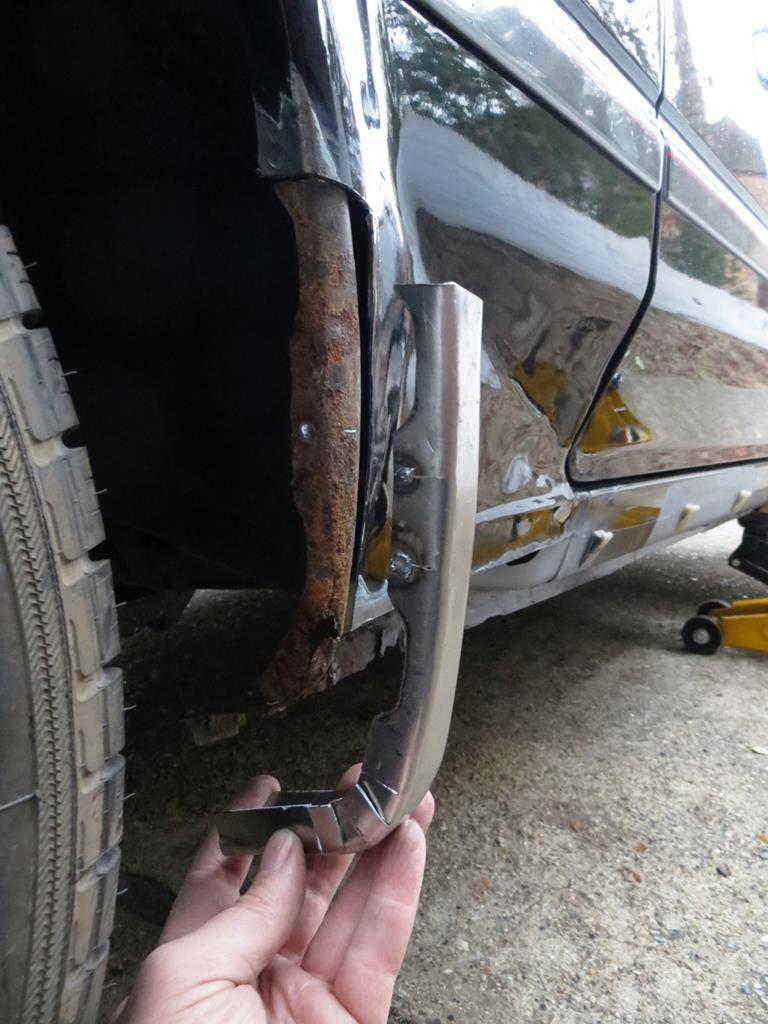 …It seems to be working! Even project manager Portia was impressed. 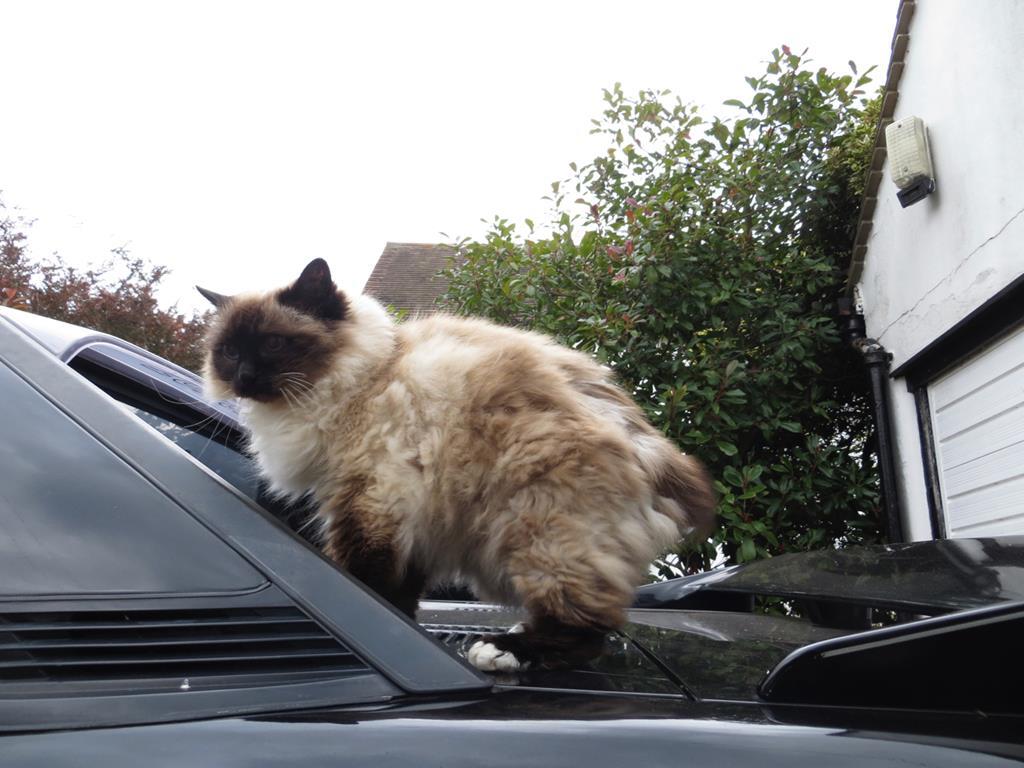 I know she doesn't look impressed but, take it from me, she was. She'd probably seen the complete mess I made of the front wing patch and was surprised. Anyway… 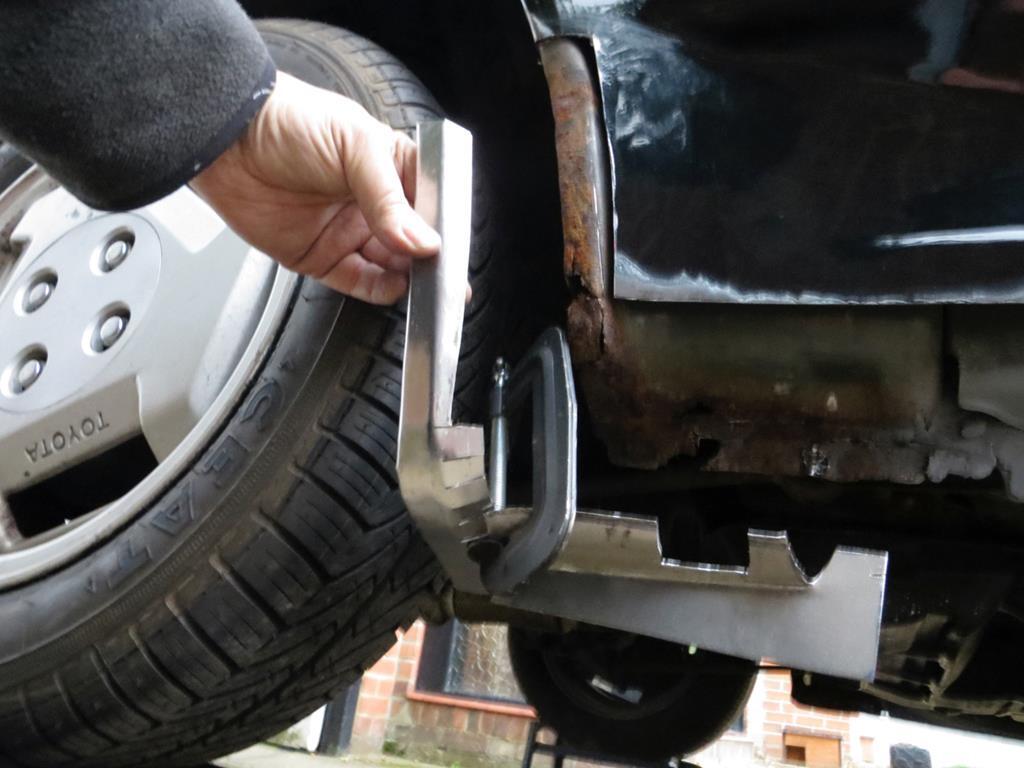 It looks like it might fit. Still plenty to do to it though. I can still resign it to the scrap pile - trust me. James |
| |
Last Edit: Dec 19, 2018 21:57:23 GMT by Sweetpea
|
|
|
|
|
Oct 13, 2015 20:37:21 GMT
|
|
One question if anybody has any good ideas?
When I weld the front structure / floor I'll have to do it from underneath.
My ramps are about 20cm high and I can barely get my welding helmet under the car let alone weld something securely. I have axle stands but they aren't that tall either. And I'm not fond of jacking the car really high on a trolley jack to get the stands under. My drive is a bit rough and the whole process puts the willies up me.
So how do you get the car high enough to weld under it, and not get burned, and not get squashed when it falls off?
James
|
| |
|
|
omega
Posted a lot
  
Posts: 1,060
|
|
Oct 13, 2015 22:04:04 GMT
|
|
the way I do it is to use spare wheels
|
| |
|
|
bstardchild
Club Retro Rides Member
Posts: 14,962
Club RR Member Number: 71
|
|
Oct 13, 2015 23:02:39 GMT
|
the way I do it is to use spare wheels And if you don't have spare wheels and are a tight git like @sweatpeajh don't want to buy any - pinch the wheels off the other side of the car and sit it down on the discs on a scaffold plank or similar stout lump of wood (so you can get a jack under to put them back (discs tend to sink into any driveway surface) Then you can put those wheel under your existing wheels to add a fair chunk of height I would have built a rolling dolly to get it high enough but that's mainly cos my little welding repairs tend to snowball and the car ends up with no interior, engine, gearbox, running gear, wheels and occasionally most of the floors!!! So my method isn't always a good one!!! |
| |
|
|
|
|
|
|
|
|
bigger trolley jack & axle stands.
|
| |
|
|
ToolsnTrack
Posted a lot
   Homebrew Raconteur
Posts: 4,126
Club RR Member Number: 134
|
|
|
|
You mean this high?  Remove rear bumper, use 2 towing eyes, and lift with engine crane on 1 ton setting...  Well, thats how I do it, but then I'm a baller with a funcy crane. I did find it was up and down a LOT though during my build... |
| |
|
|
|
|
|
Oct 14, 2015 13:38:18 GMT
|
|
Oh I want that garage............
I put 2" blocks of wood under my axle stands just to gain the extra bit
Mark
|
| |
14 Audi A3 Sportback - Easy driver
05 Audi TT MK1 3.2 DSG - Damn quick
73 Triumph 2000 - Needs work
03 Range Rover 4.4 V8 petrol. Had to get it out of my system.
|
|
|
|
|
Oct 14, 2015 14:02:56 GMT
|
|
id go with the bigger jack and stands , if youre scared it might fall down then stack spare wheels or similar under the car so if the worst happens you don't get squashed
|
| |
91 golf g60, 89 golf 16v , 88 polo breadvan
|
|
|
|
|
Oct 14, 2015 14:37:45 GMT
|
|
cant you put the ramps on a couple of breeze/concrete blocks and lengthen the run up with pieces of planking?
|
| |
I would be rich if i had not spent so much money on Cars and fast women...oh, i did waste some of it as well!
|
|
|
|
|
Oct 14, 2015 15:51:24 GMT
|
|
get a big bottle jack, drive the car up onto the ramps then put blocks under the bottle jack to get it up to the car then you can lift the rear end a good 12 inches higher then put blocks or off cuts of railway sleepers onto the ramps and lower car back down. you would struggle to knock the car off the ramps this way so nice and safe to work under. big bottle jacks arnt expensive either.
ps loving the way you have a go at anything before even thinking of paying out money..
|
| |
|
|
|
|
|
Oct 14, 2015 16:43:38 GMT
|
|
pair of 3 tonne axle stands from machine mart are beer money, pretty high at full reach, designed for 1.5 tonne each so are wide and stable with only high hunrdres of kilos on them.
also have 2 foot lengths of reclaimed 50+ year old railway sleeper which stack up nice, have enough mass to them not to be wobbly
|
| |
Last Edit: Oct 14, 2015 16:43:27 GMT by darrenh
|
|
|
|
|
Oct 14, 2015 17:35:59 GMT
|
|
excellent work doesnt matter about the fail , plug welds i would have done 1 inch apart , the 21 days you have for retest will be long gone ,by the time you have this wee toy done , good job
|
| |
|
|
|
|
|
Oct 14, 2015 20:33:43 GMT
|
What I really like about this forum is the enthusiasm and ideas that people share. You ask a question and people post their thoughts. Brilliant. Thank you all. Still not sure how to do it. I have realised that I actually own some sleepers. They were the base for a shed and, one day they will be the base for another shed. But in the intervening time they could be handy. Another idea I spotted a year ago was this... Imagine jacking the car up and putting the wheels on 4 legged stools. You then stick the jack under the stool base and lift it again. Magically the legs extend and you pop pins in like an axle stand. Unfortunately I can't find them again. Might have to build something over winter. Whatever I do, you've given me some things to think about so thanks for that. Right... I concluded that the first bit to go on the car should be the arch edge - remember this is just the inner wing so far. So I shaped the profile and tacked it to make sure it looked ok. 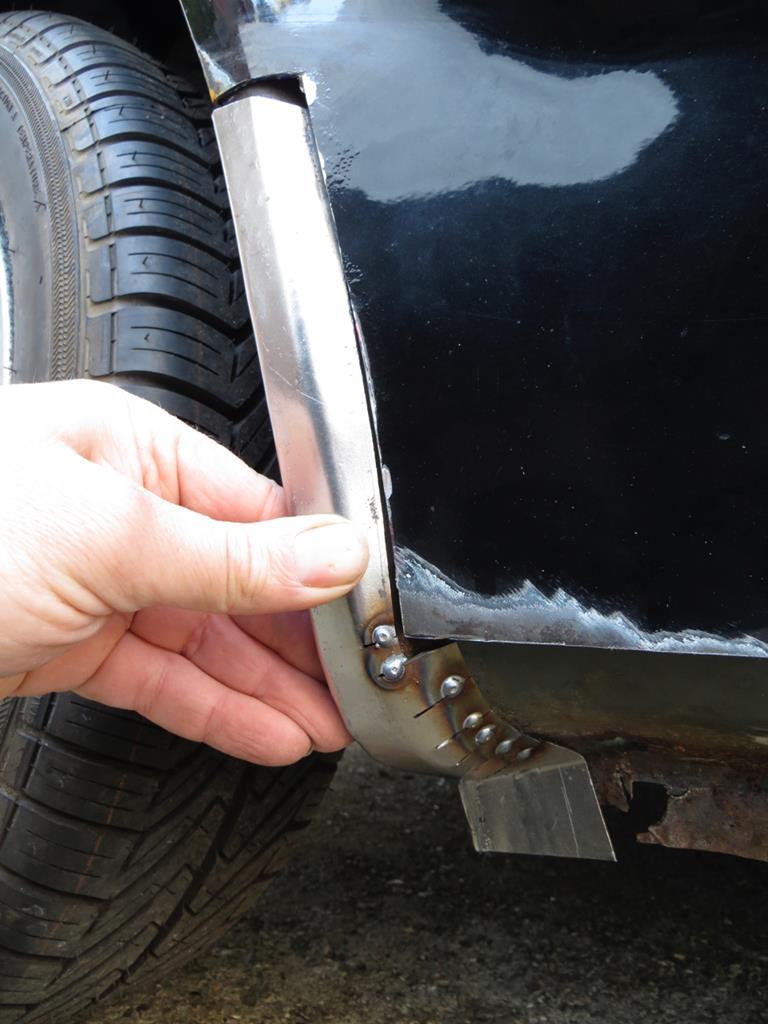 Looks good I reckon so I zipped it up and ground it back. Then I scored round it on the car and used that as the cut line. After a bit of chopping and fettling it fits. 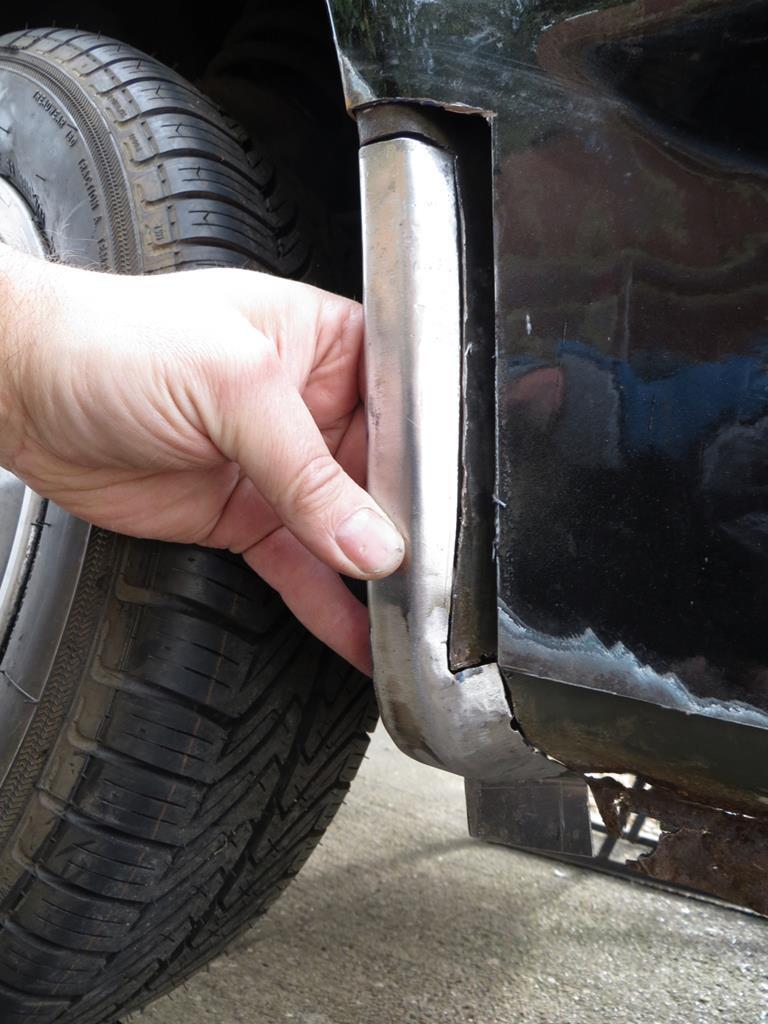 Well then… Tack it in I guess. 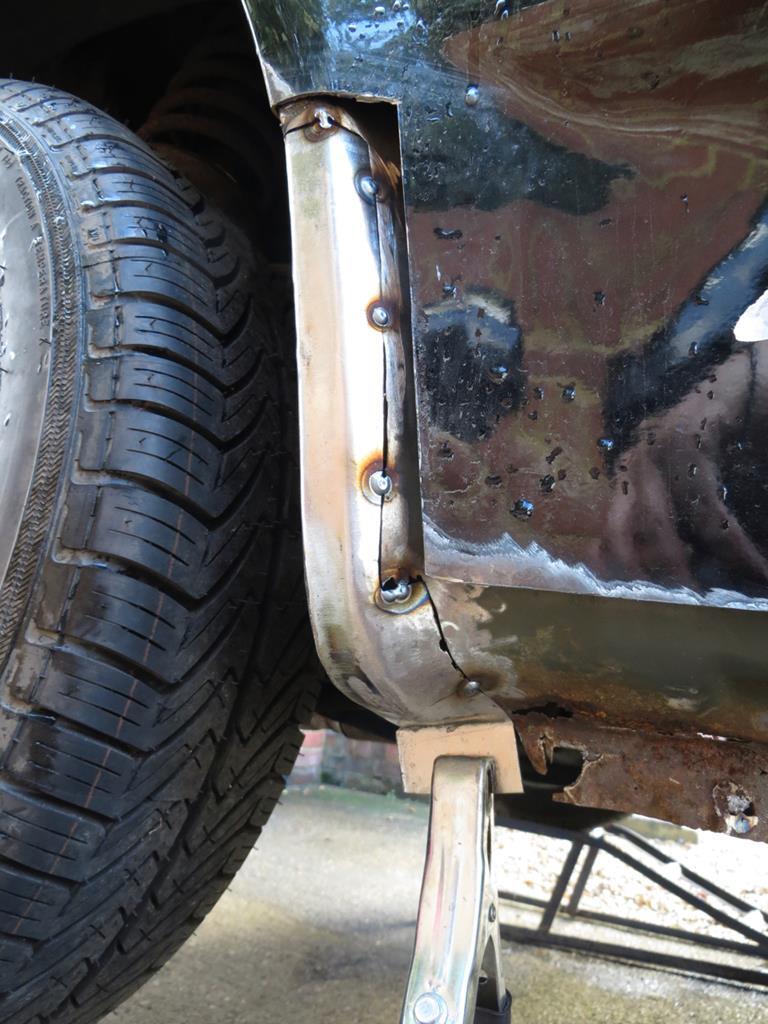 Are you looking at this and feeling vaguely impressed that it fits? Well I'm looking at this in complete and utter astonishment. When I welded it in I blew a few holes. 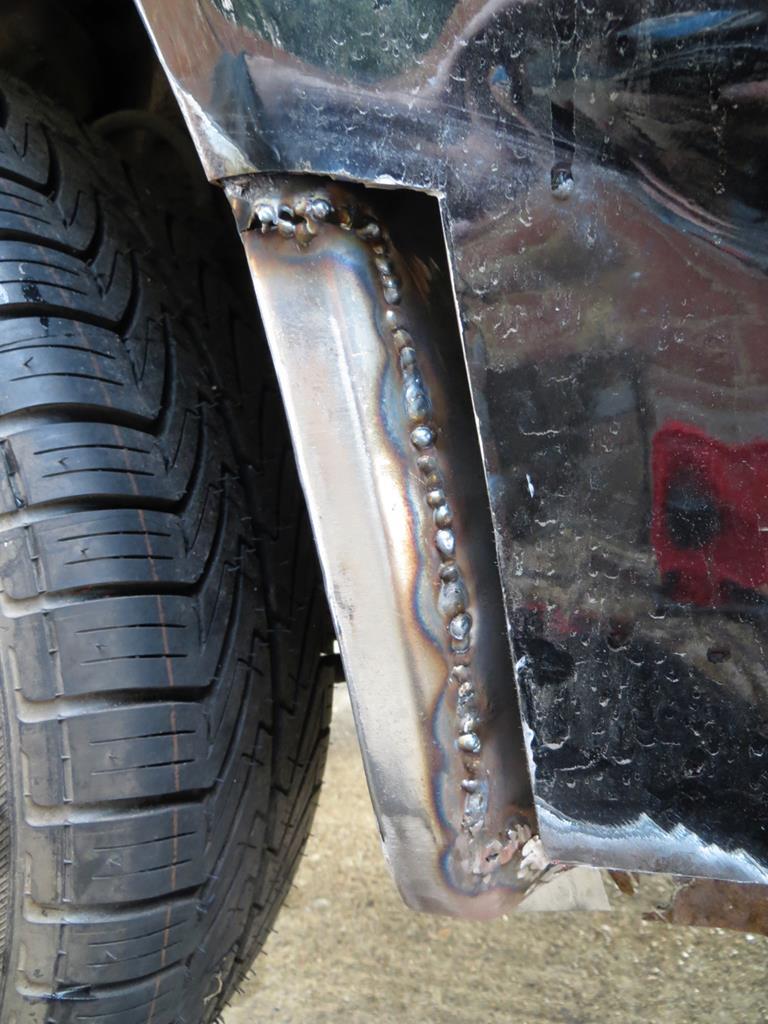 Not surprising about the holes. The original panel was a bit thin in places after cleaning the rust off. So I ground it back a bit to find the extent of the holes… 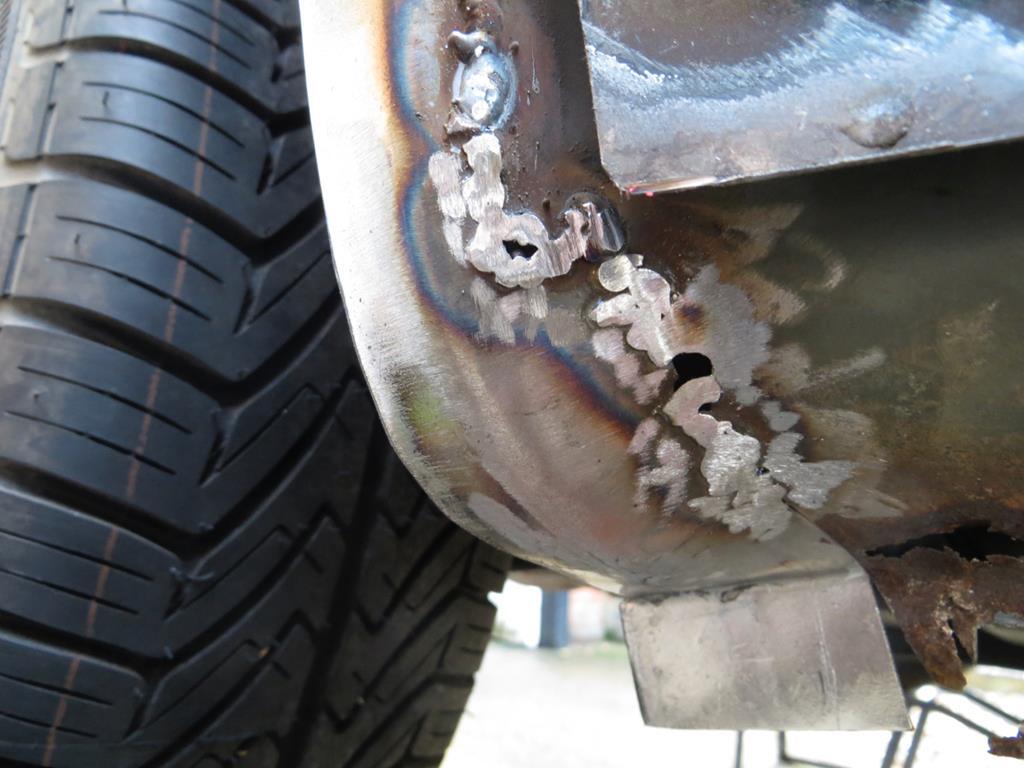 ...and did another pass in those areas. Probably should try joddling the overlap rather than butt welding. But then again I just looked up a tool and they are £40 or £50. I'll butt weld - it's good practice! Just as I was finishing off it started to rain so I lobbed etch primer on until it was dripping off the bottom of the car and called it a day. Anyway, er, well, er, here it is… 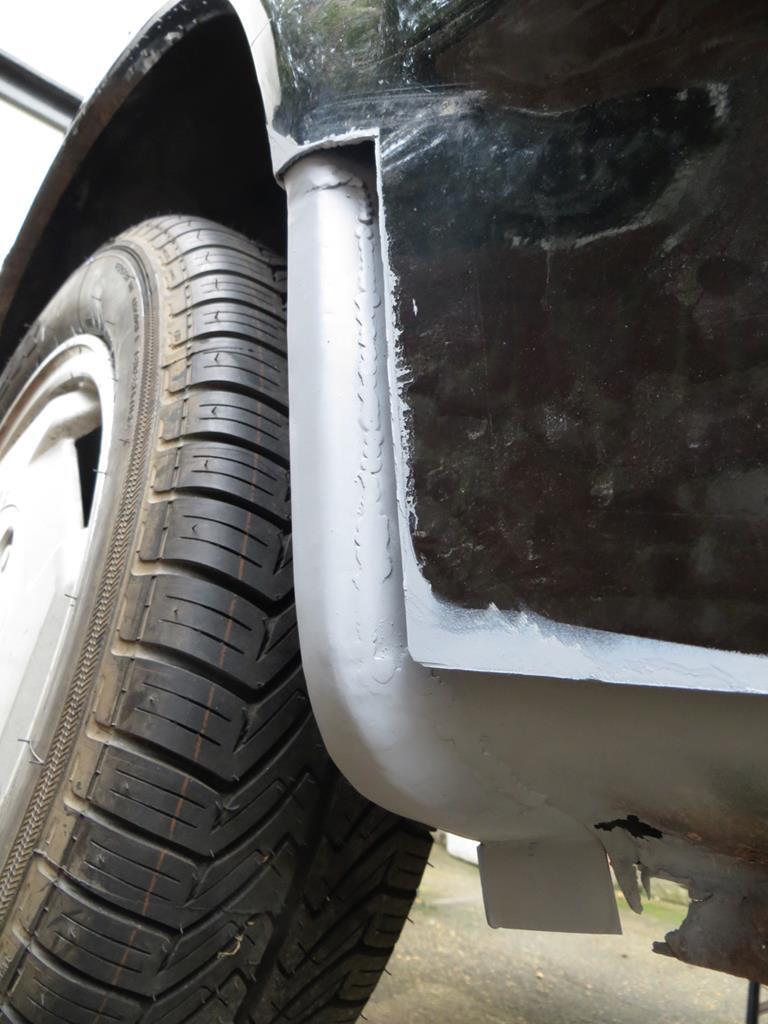 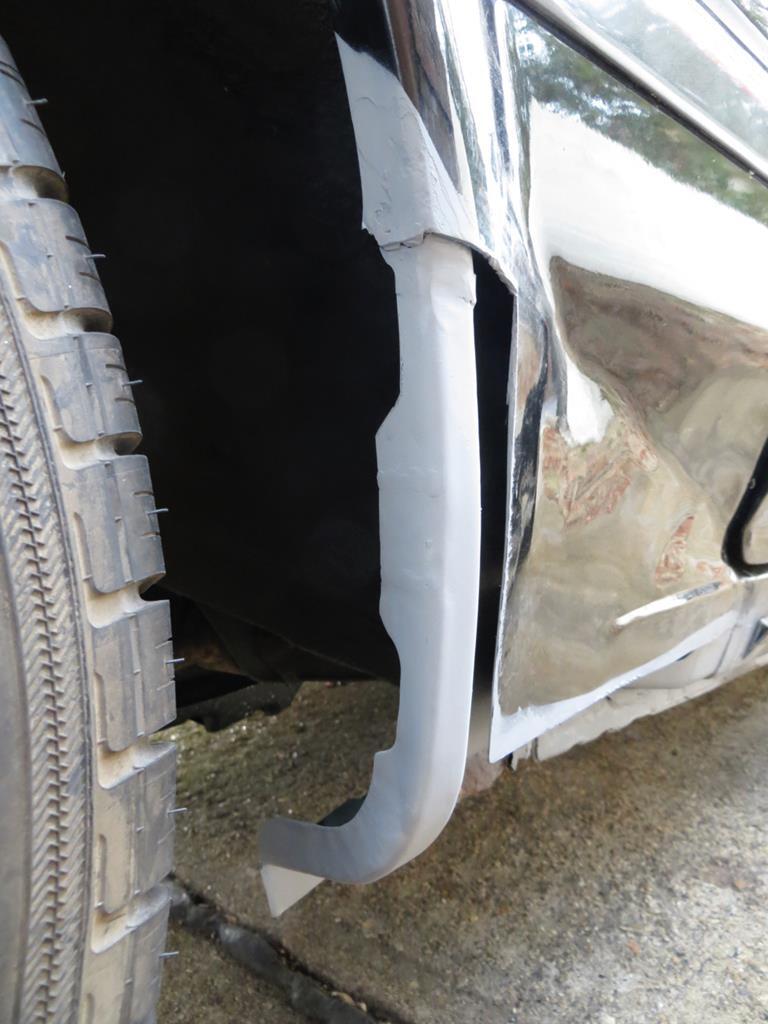 I don't much like blowing my own trumpet… And pride comes before a fall and all that… But, for once, to hell with it. I'm bloody chuffed with that. James |
| |
Last Edit: Dec 19, 2018 22:10:23 GMT by Sweetpea
|
|
|
|
|
Oct 14, 2015 20:39:38 GMT
|
|
thats a nice job. 100% agree that suspending a car high up is best done by its wheels (as they are lowest part of car) safety concerns assumed. just those certain times when you really need your head in the wheel arch, if you know what i mean
|
| |
|
|
|
|
|
Oct 14, 2015 21:03:35 GMT
|
|
That's a good job. I'm struggling with that bit myself.
Mark.
|
| |
14 Audi A3 Sportback - Easy driver
05 Audi TT MK1 3.2 DSG - Damn quick
73 Triumph 2000 - Needs work
03 Range Rover 4.4 V8 petrol. Had to get it out of my system.
|
|


