|
|
|
Jan 24, 2019 14:06:28 GMT
|
Oops, my mistake! I'm terribly sorry for the confusion. Must try harder...   God, I'm such a child sometimes. P.S. I've put a warning on the original post. My conscience demanded it of me... See, I'm not all bad! |
| |
Last Edit: Jan 24, 2019 14:21:04 GMT by Sweetpea
|
|
|
|
|
|
|
Jan 24, 2019 14:43:57 GMT
|
|
It's actually a perfectly innocent word if you look into Japanese culture as it means 'to splash or sprinkle'. It is the western obsession with it's other meaning that has deemed it unsafe for general googling.
A bit like water sports which coincidentally was your original problem with the spoiler!
|
| |
|
|
|
|
|
Jan 25, 2019 17:30:16 GMT
|
It's actually a perfectly innocent word if you look into Japanese culture No words are innocent when I'm using them! You should know that by now. But yes, I saw that too. And the 'practice' has interesting beginnings caused by Japanese law... (There is a bit on Wiki if anybody's interested about it but don't say I sent you...) I'll post something about the car later and we can move on from this embarrassing stuff. |
| |
|
|
|
|
|
Jan 25, 2019 21:28:45 GMT
|
It’s time to move on from recent events. And, at least, I’m now clear that those Japanese cars with unfeasibly large chins are not ,er, what ever I said… But are actually called Sudoku cars. Thanks johnthesparky ! All we really need is a quick “unfeasibly large chin” / Bruce Forsyth joke to wrap things up and we are done. Did you know that old Bruce was a hundred and sixty seventeen when he died and has 6 children? Didn’t he do well? Moving on… I filled the MR2 up today and went tool shopping. Knowing how much petrol I put in and how far I’d gone I can calculate the fuel consumption. Now I wasn’t sure what to expect here. Small, light car. Little engine. Old though. Not really cutting edge tech when compared to my modern hybrid thing which licks fuel from the tank as if it’s poison. So, the MR2… What do you reckon? Mid 30s? Thirty five, thirty six? No. It did 24 MPG. Hells bells, 24? Reeling from the shock or what? In fact the only thing that upset me more recently is that my environmentally friendly, fuel efficient, green hybrid’s fuel consumption dropped to 22MPG recently. So much for saving the planet. So anyway, tools. Nothing exciting but I came back with a die grinder. 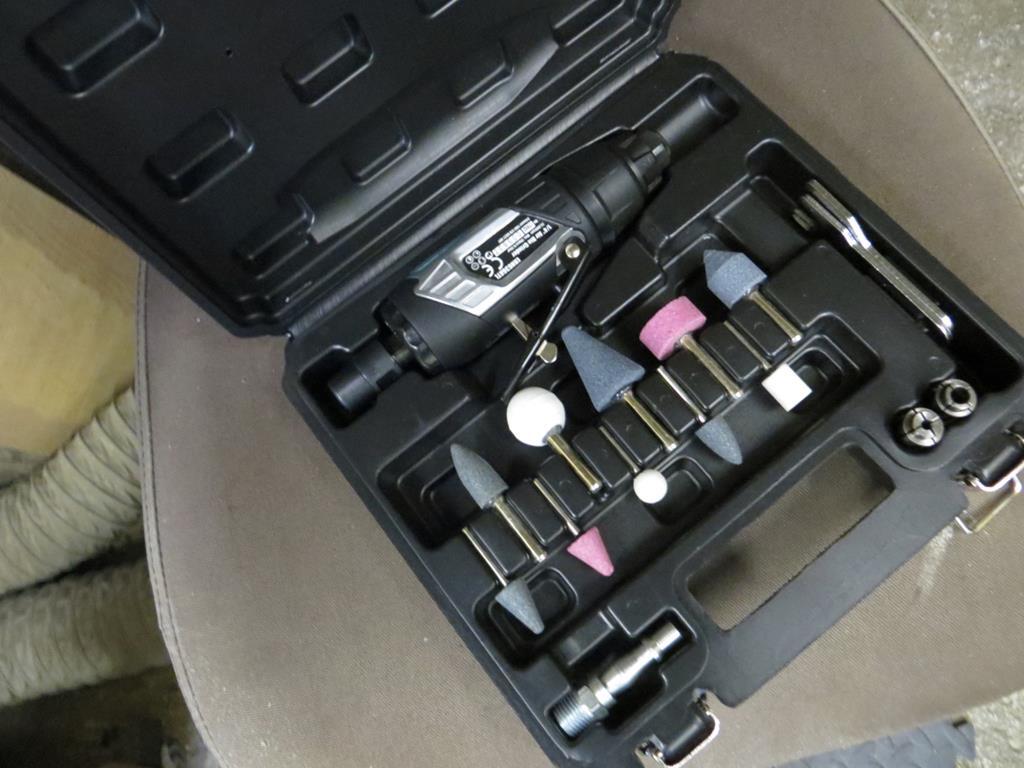 I’ve been intending to get one for ages. The spoiler has given me an excuse. Back at home in “Installation #651”, otherwise known as the garage, I started attacking the damaged bit on the spoiler. 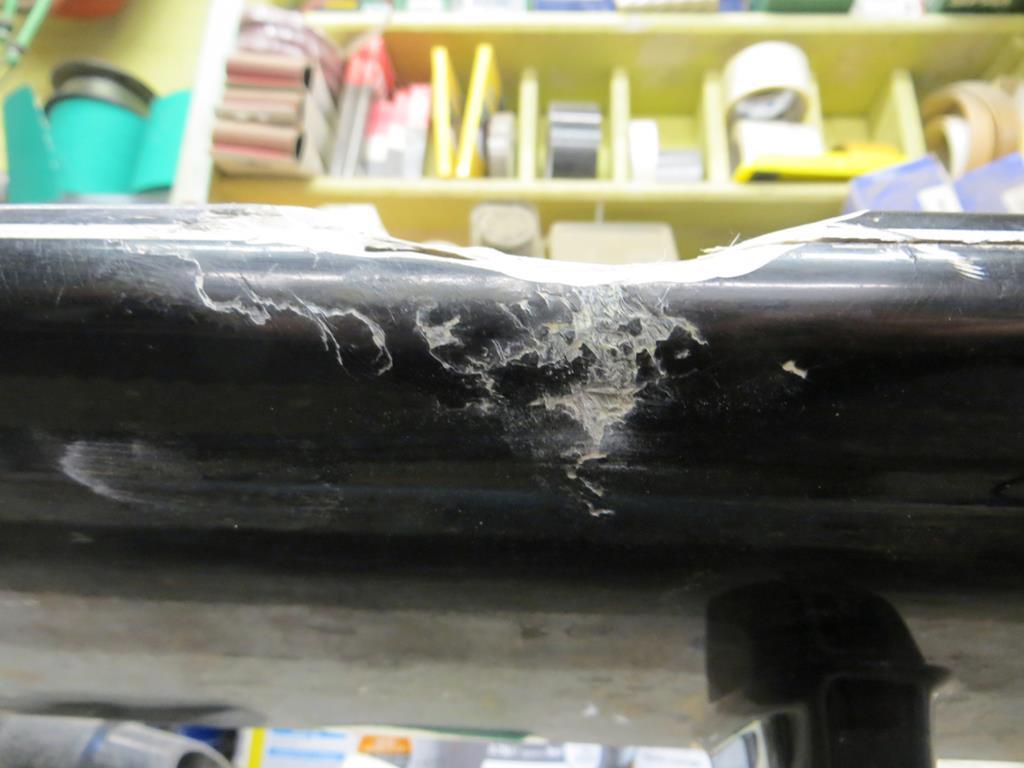 Grinding back the fractured GRP until I got to something solid. Eventually I wind up with this. 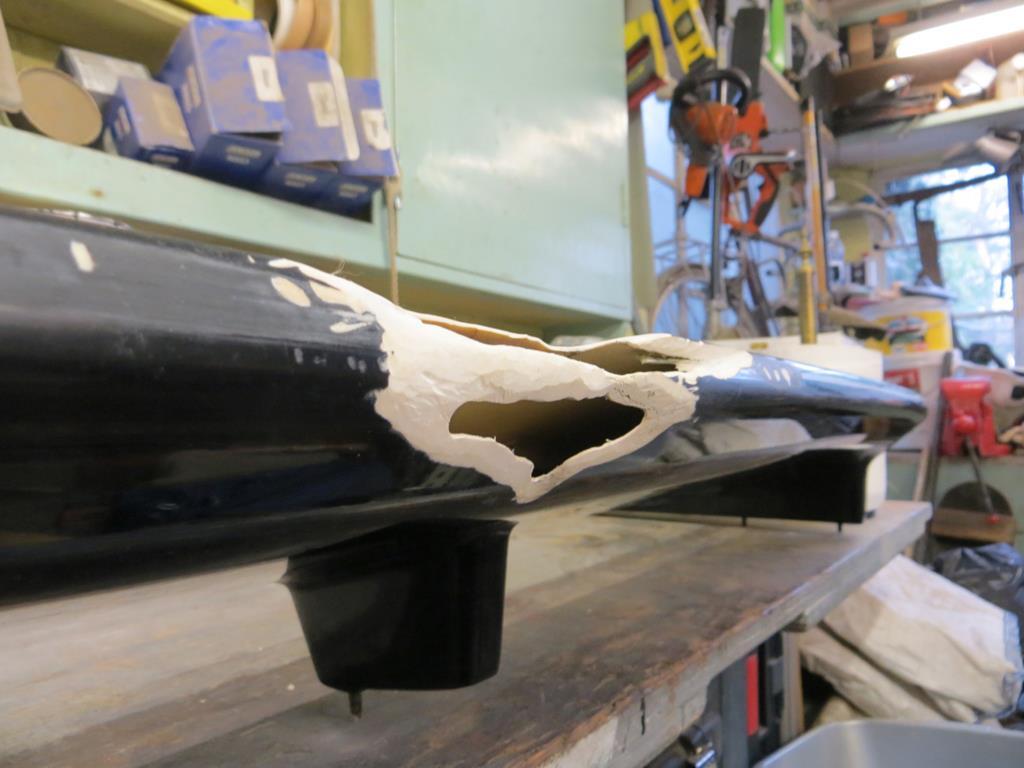 That bit across the middle does have a fracture in it but I’m leaving it as a support. 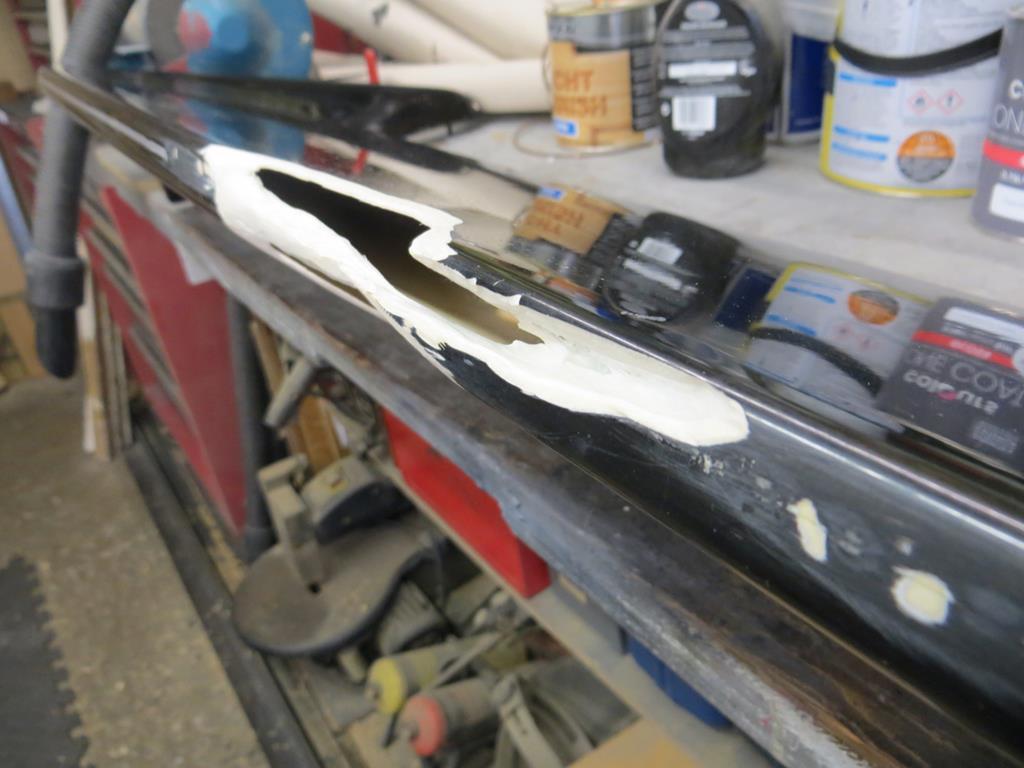 I followed along where the seam had split but found that it was actually fractured not just split so that all got ground out. Now. How to fill the hole. I was going to use P38 or P40 but various comments about it cracking out and vulgalour 's thought that I should use proper fibreglass resin made me think again. Santa actually brought me a fibreglass kit for Christmas so why not use it? Well because glass matting needs to be moulded over a form. It’s not strong enough to bridge the hole. I’m going out on a wing here. I have no clue if this’ll work. But I made a couple of card templates that would bridge the holes. 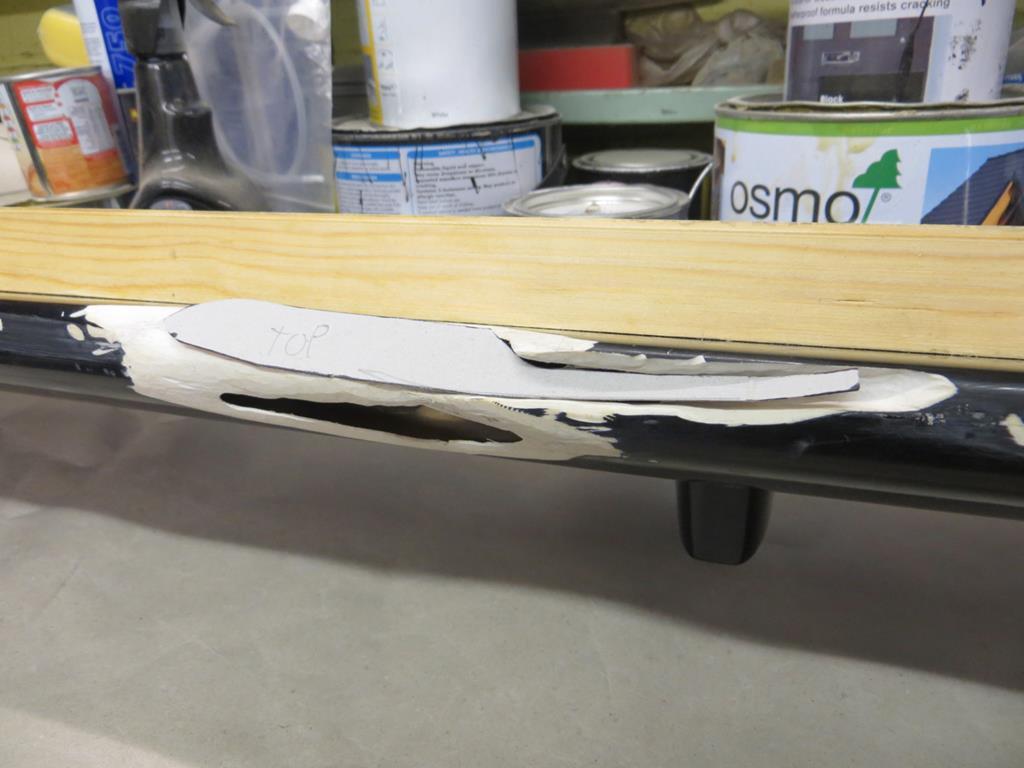 Like so. The wood across the top of the spoiler is clamped on by the way. Now I’ve cut some of the back out the top has sprung up a little. The wood should hold it flat until the fibre glass is in there. Back to the plot. I traced the shapes onto a piece of paper I was using to cover the bench and taped some cling film over it. 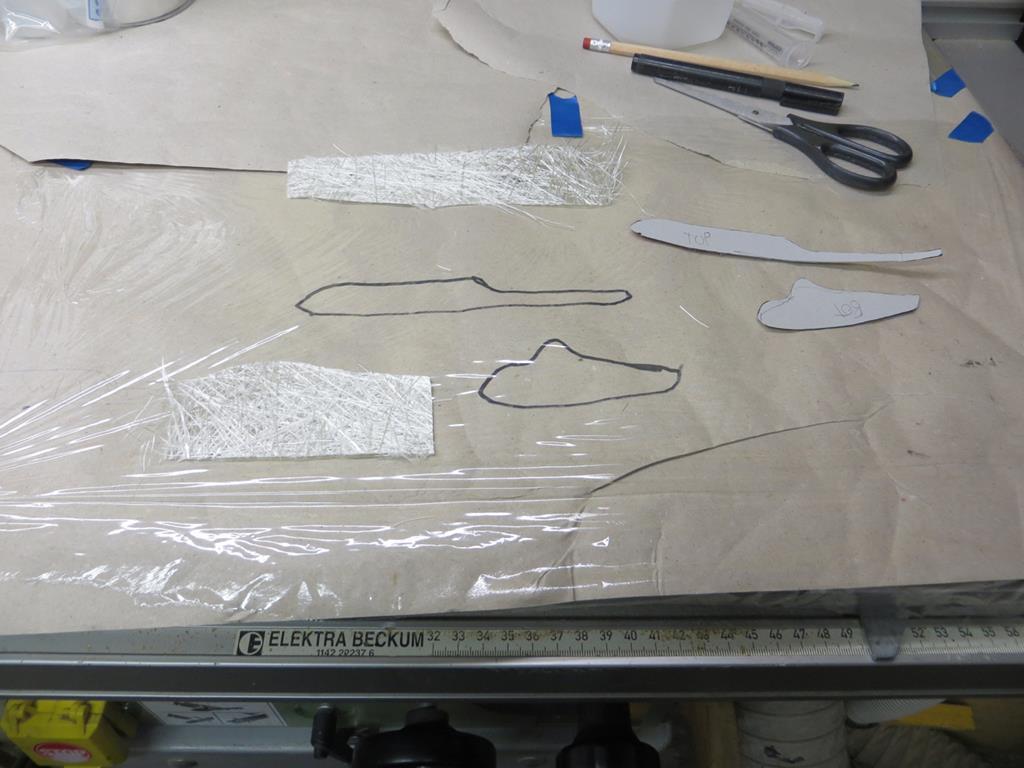 I cut a couple of bits of matting just big enough to cover the markings and… 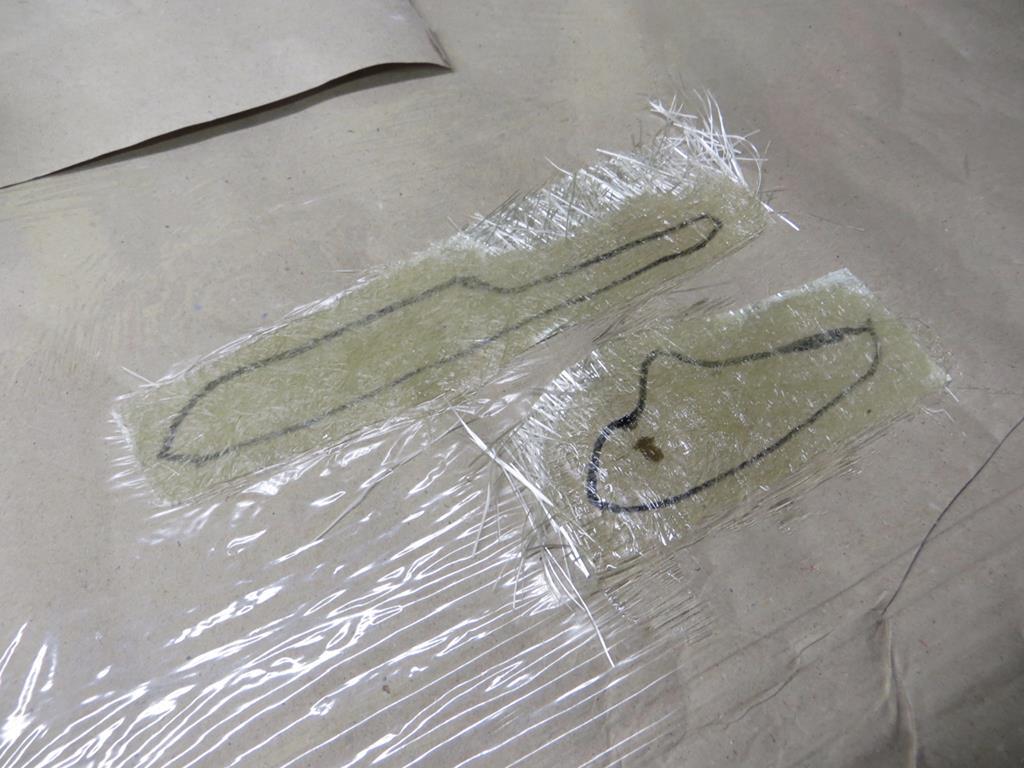 …and resined them up. If that’s a word. What I should wind up with is two bits of stiff matting that I can cut to size and bond into the holes. These can then support more layers of matting that will build up the the hole. Will the resin go off? Will the matting come off the clingfilm or stick to it forever? Will it bond into the existing spoiler? Will it bridge the hole and support the further layers? All these questions and many more will be answered one day. Maybe. James |
| |
|
|
|
|
|
Jan 25, 2019 21:44:46 GMT
|
James - Really disappointed that you have not attempted a 'In Period' grade 'A' bodge of this namely squirting some expanding foam into it - trim it back when it goes off - slap some P38 & P40 over it then some paint - job done - A grade 'B' in period bodge would have been the easier & more economical strip of black gafa tape stuck over the crack  |
| |
|
|
jamesd1972
Club Retro Rides Member
Posts: 2,922  Club RR Member Number: 40
|
|
Jan 25, 2019 22:00:25 GMT
|
James - Really disappointed that you have not attempted a 'In Period' grade 'A' bodge of this namely squirting some expanding foam into it - trim it back when it goes off - slap some P38 & P40 over it then some paint - job done - A grade 'B' in period bodge would have been the easier & more economical strip of black gafa tape stuck over the crack  I'd already suggested the gaffa tape option and been poo-pooed - so a whole other level of disappointment here. James |
| |
|
|
ToolsnTrack
Posted a lot
   Homebrew Raconteur
Posts: 4,137
Club RR Member Number: 134
|
|
Jan 25, 2019 22:19:14 GMT
|
James - Really disappointed that you have not attempted a 'In Period' grade 'A' bodge of this namely squirting some expanding foam into it - trim it back when it goes off - slap some P38 & P40 over it then some paint - job done - A grade 'B' in period bodge would have been the easier & more economical strip of black gafa tape stuck over the crack  This. This is how i did substantial hole filling in mine. |
| |
|
|
|
|
|
Jan 25, 2019 22:28:43 GMT
|
James - Really disappointed that you have not attempted a 'In Period' grade 'A' bodge of this namely squirting some expanding foam into it - trim it back when it goes off - slap some P38 & P40 over it then some paint - job done - A grade 'B' in period bodge would have been the easier & more economical strip of black gafa tape stuck over the crack  Shhhhhh Don't give him ideas. LOL |
| |
|
|
|
|
|
Jan 25, 2019 22:29:53 GMT
|
|
I wouldn't have thought using expanding foam would be a bodge so long as you then used fibreglass mat over it. I agree body filler wouldn't do but a lot of spoilers and body kits are made of foam and fiberglass anyway, using foam as a backer sounds a good idea to me.
|
| |
|
|
vulgalour
Club Retro Rides Member
Posts: 7,287
Club RR Member Number: 146
|
|
Jan 25, 2019 22:48:42 GMT
|
|
Guys, he's doing it properly. Do we need an intervention? He's learning. He's only going to get stronger. I blame Skynet.
|
| |
|
|
|
|
|
Jan 25, 2019 23:00:02 GMT
|
I need your clothes, your boots, and your motorcycle... Anyway, I always do things properly. There's only one rust hole filled with a piece of plastic milk bottle.  Edit... I wondered about using squirty foam as a backing. But I'd be worried that if water got in the foam would hold it. Not a huge problem against GRP but I'd still rather not. |
| |
Last Edit: Jan 25, 2019 23:09:48 GMT by Sweetpea
|
|
|
|
|
Jan 26, 2019 10:40:37 GMT
|
|
@grumpynorthener is grade A the best, or the least worst
Asking for a friend
|
| |
Last Edit: Jan 26, 2019 10:41:26 GMT by darrenh
|
|
|
|
|
Jan 26, 2019 10:44:23 GMT
|
@grumpynorthener is grade A the best, or the least worst Asking for a friend Probably the least worst - lets put another way its far better than sticking a load of scrunched up newspaper in there and a bucket of filler over the top of it - some spoilers has already stated are now formed from a medium density foam with an applied finish to make it look cosmetically acceptable |
| |
Last Edit: Jan 26, 2019 10:48:15 GMT by Deleted
|
|
79cord
Posted a lot
  
Posts: 2,617
|
|
Jan 26, 2019 12:54:46 GMT
|
|
Don't forget the earlier '80's self-skinning urethane foam spoilers that really display the problems of rusty soggy spoilers.
Meanwhile the benchtop fiberglass had me thinking some packing tape applied over the big holes might have provided a slightly more appropriately shaped former for the thin fiberglass that could then be trimmed to properly fit into the aforementioned holes for further covering with fiberglass once the tape was removed.
|
| |
|
|
|
|
|
Jan 26, 2019 20:40:39 GMT
|
Meanwhile the benchtop fiberglass had me thinking some packing tape applied over the big holes might have provided a slightly more appropriately shaped former Wish I'd thought of that... I have answers to some of those questions from yesterday. 1, Will the resin go off? Oh yes. Today I had two little bits of GRP to play with. 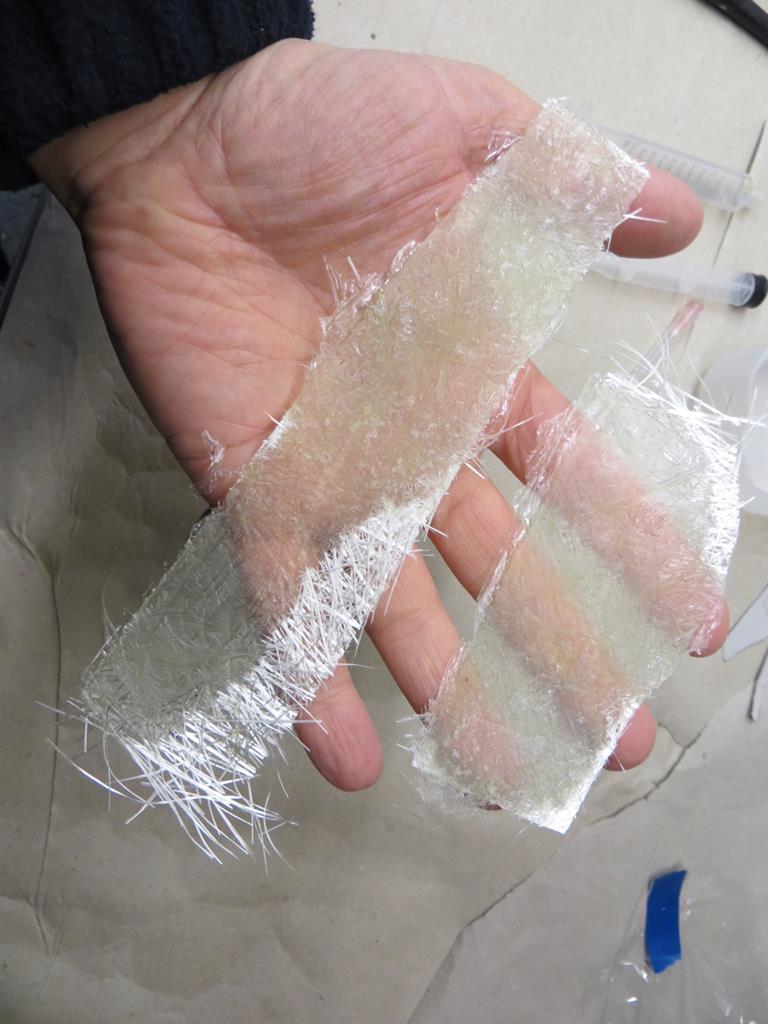 2, Will the matting come off the clingfilm or stick to it forever? Er, no. It didn’t come off. The resin sticks quite well to clingfilm. To do this again I’d have to use a release agent on something a lot stiffer. Anywhooo, it’s not a problem because I just ran the die grinder over the back to take the cling film off. Next I trimmed the patches down with a pair of scissors - or rather I didn’t. Even a single thickness of matting is way to tough to cut with scissors. I actually cut it with tin snips. Then a little more resin was mixed up and I glued the bits into the hole. 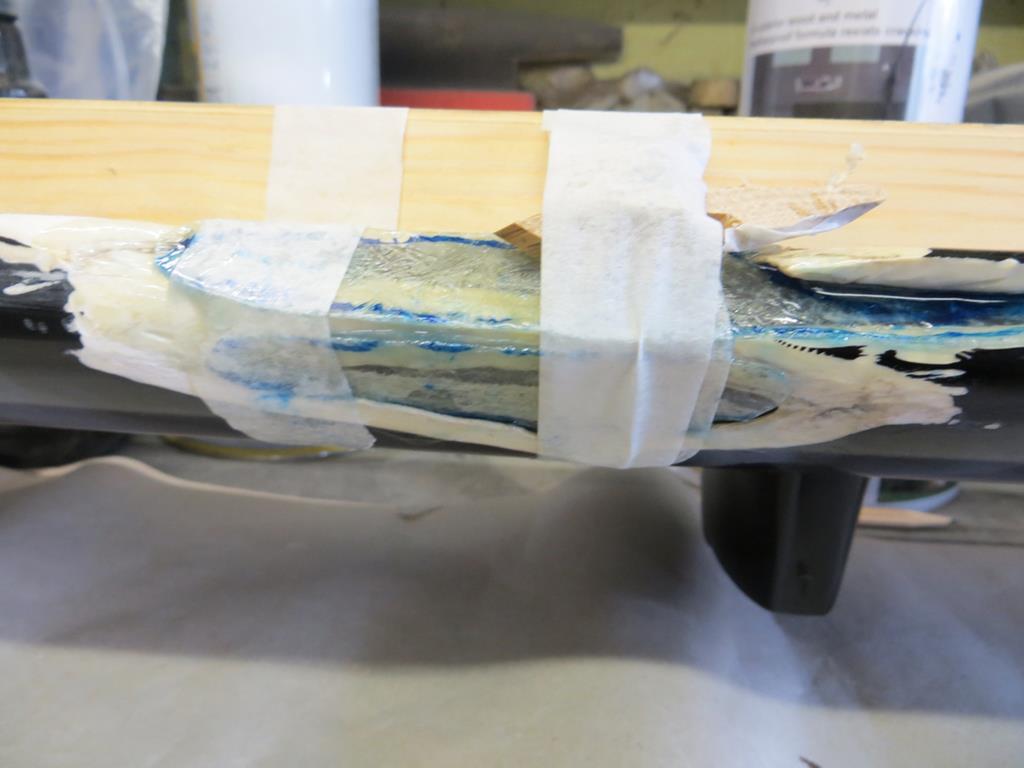 That was going to take a while to go off so I got on with some wood work. More architrave. This lot is for two of the bedroom doors. 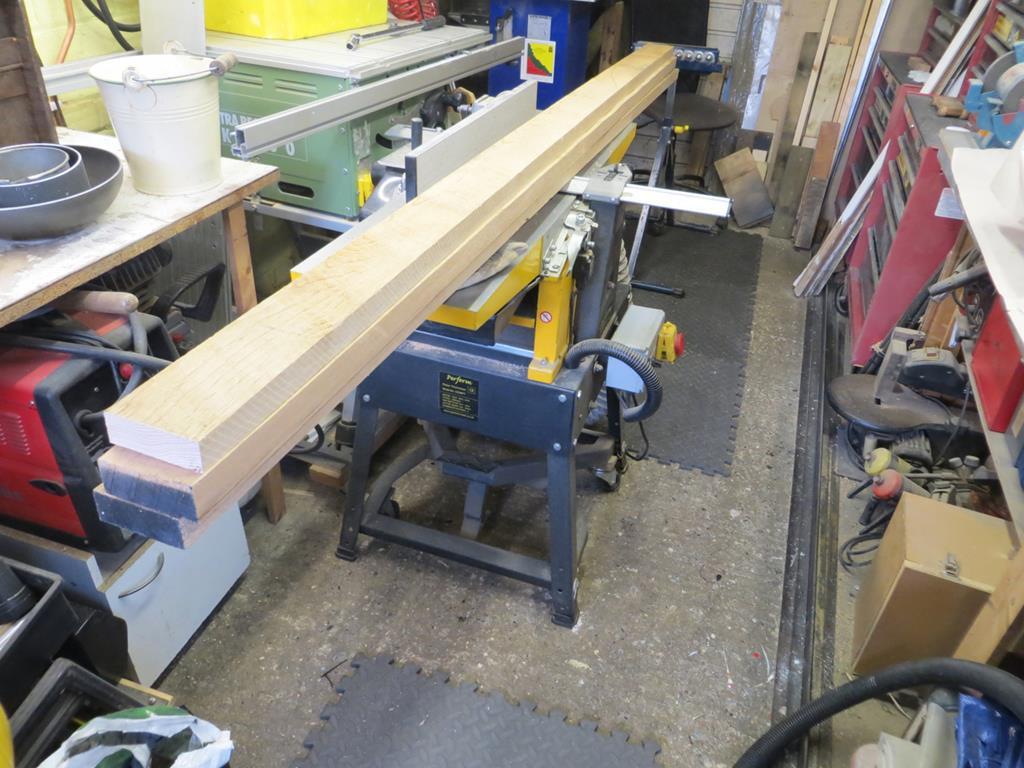 And when this is done there’ll be another two batches to make. All was going well until I over filled the dust extractor. 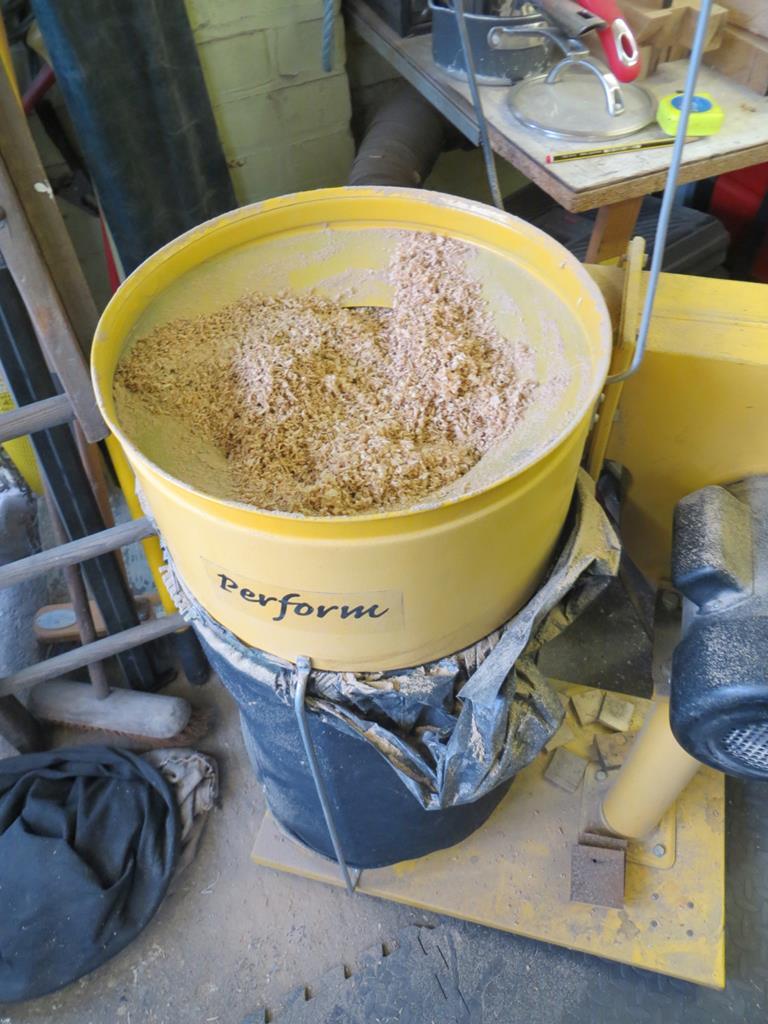 Which isn’t a massive problem except it’s a disgusting, dusty, messy job to sort out and fills the entire garage with dust which then take ages to settle out. 3, Will it bond into the existing spoiler? Why yes, yes it has. Sometimes my outstanding skill surprises even myself. And a good dollop of good luck helps. 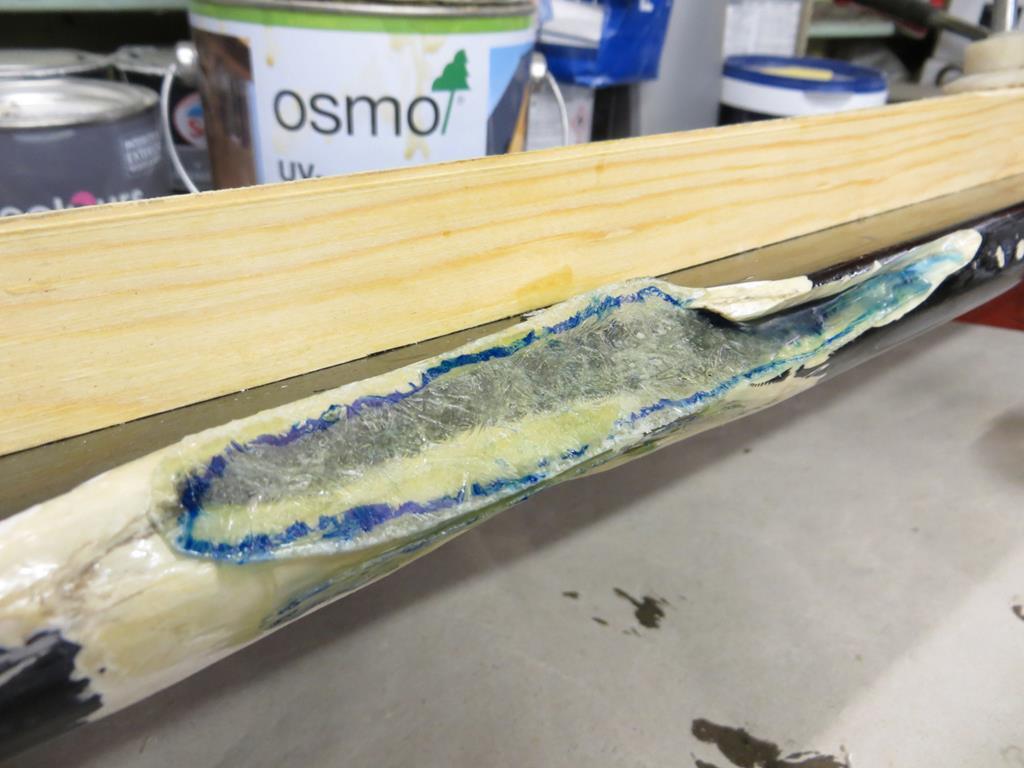 I broke out the die grinder again and knocked the corners off. Just enough to blend it in a little. 4, Will it bridge the hole and support the further layers? With the hole bridged I started layering more matting on to it. So I guess the answer is that it has bridged the hole and it is supporting further layers. 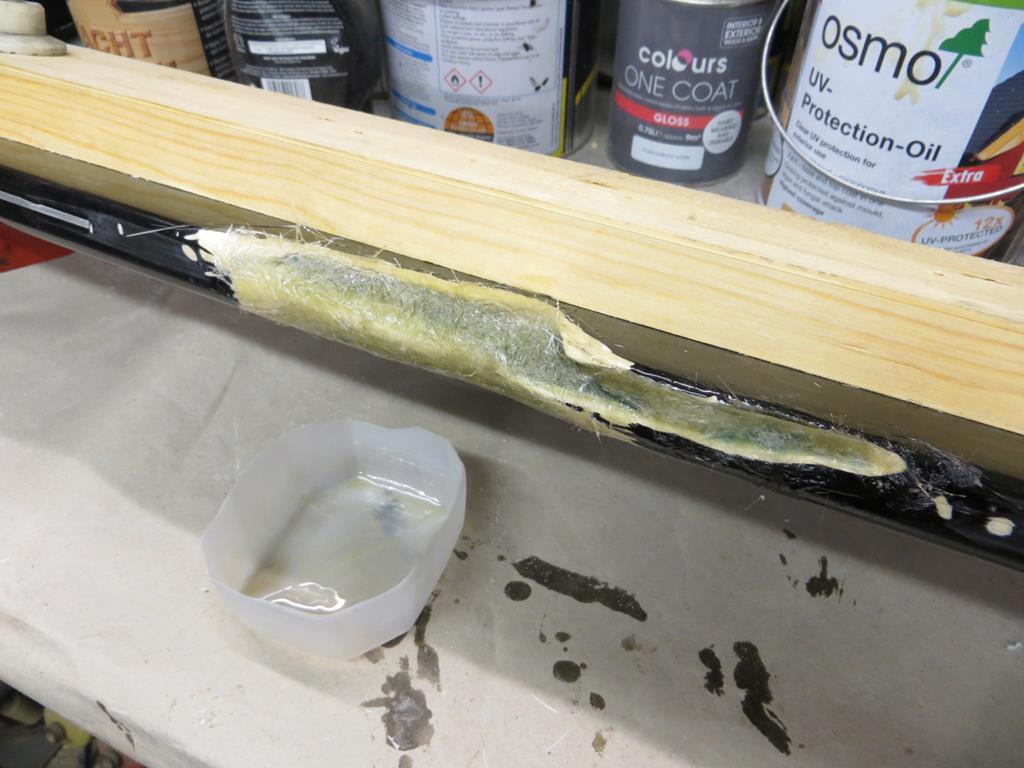 So, at the moment, it looks like this. Still a fair way to go but it’s looking promising. 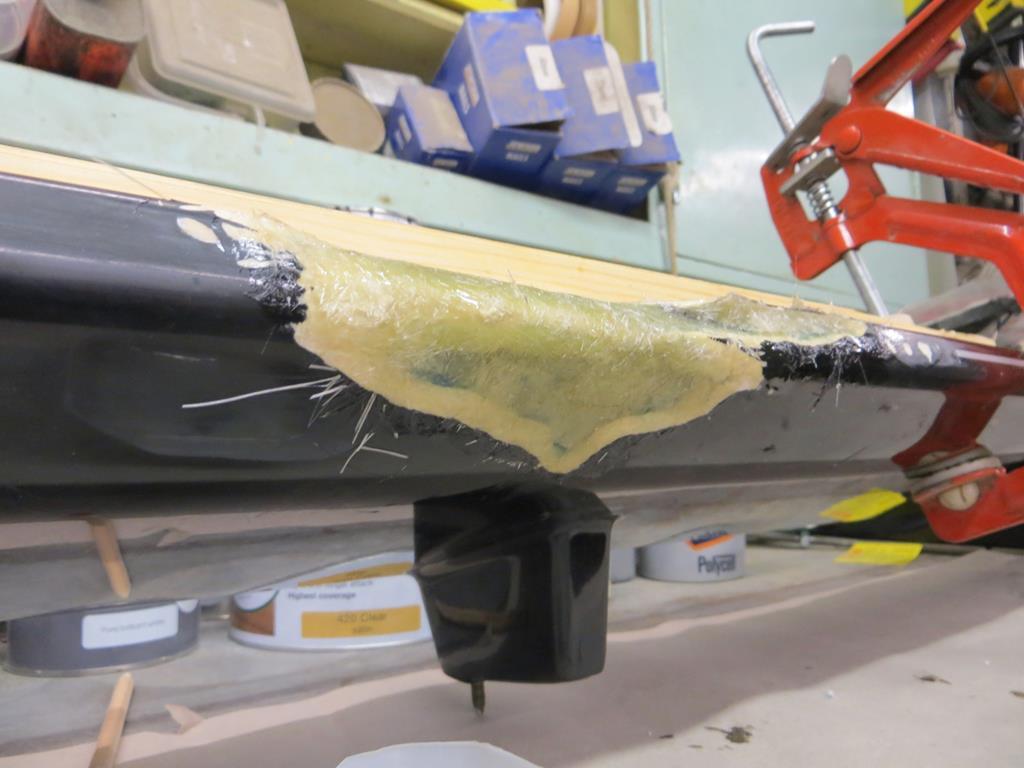 Now, if you’re thinking that this looks like fun, you’d be correct. It is fun in a childish messy sort of way. If you are thinking you could do a bit of fibreglassing on the kitchen table. Stop right there. This is easily the messiest thing I’ve done in ages. You literally wind up with everything stuck to your hands. And your hands stuck to what ever you are dumb enough to lean on. I’m going to go through a lot of paint brushes and surgical gloves too. James |
| |
|
|
|
|
|
Jan 31, 2019 13:45:11 GMT
|
|
Top job again James!
I know we've passed it but expanding foam doesn't soak up water, but what it can do is come unstuck from whatever it was squirted too, then trap moisture against it. So all these fools that fill their sills up with foam - it might seem a good idea a the time but after a while, the foam comes away from the metal and moisture is trapped against it. Then it rusts, then you come to cut it out and weld and end up setting fire to your sill! Far better to fill with wax, keep drain holes open, and let areas breath.
Talking of filler, i saw you dust extractor and thought for a moment you were going to mix the dust with PVA and make a wood filler for the spoiler! MDF body kits next aye?
|
| |
|
|
|
|
|
|
|
Talking of filler, i saw you dust extractor and thought for a moment you were going to mix the dust with PVA and make a wood filler for the spoiler! MDF body kits next aye? Not as novel as you might think.. ;p   |
| |
|
|
|
|
|
|
|
Oh wow and i was only joking hahaha  |
| |
|
|
|
|
|
|
|
|
i was using muslin instead of glass matting, felt like a pioneering aviator for about 12 seconds.
re the brushes, i was using cellulose thinners to clean it up, but it kind of turned the resin to a jelly porridge, which then just bashed out or wiped out of the bristles.
|
| |
|
|
|
|
|
|
|
Talking of filler, i saw you dust extractor and thought for a moment you were going to mix the dust with PVA and make a wood filler for the spoiler! MDF body kits next aye? No, but a chap at work 3D printed and adjustable spanner using some sort of wood impregnated filament. Interesting in so far as it comes out looking and feeling a lot like MDF. Never going to make it as a spanner though. That has to be a test fit thing to get it looking right? Hopefully. That said there was a photo on here somewhere of a car with a square wooden rear bumper... i was using muslin instead of glass matting, felt like a pioneering aviator for about 12 seconds. re the brushes, i was using cellulose thinners to clean it up, but it kind of turned the resin to a jelly porridge, which then just bashed out or wiped out of the bristles. Muslin? When was this? The 1600s? You don't look a couple of hundred years old... Do explain. Re the brushes. I'd been soaking them in Xylene which seems to do the same. Doesn't get them clean but seems to make them reusable a few times. James |
| |
|
|


