eurogranada
Europe
To tinker or not to tinker, that is the question...
Posts: 2,556
|
|
Jan 30, 2013 13:45:14 GMT
|
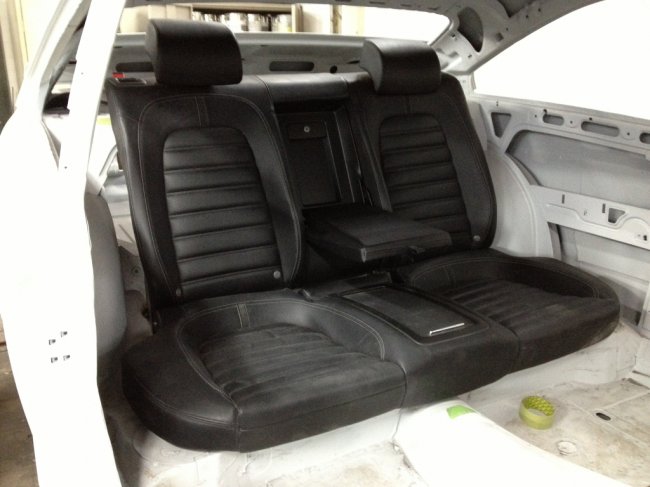
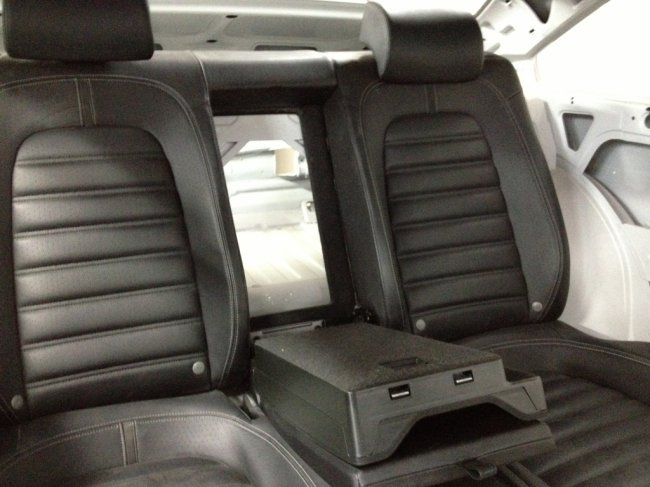
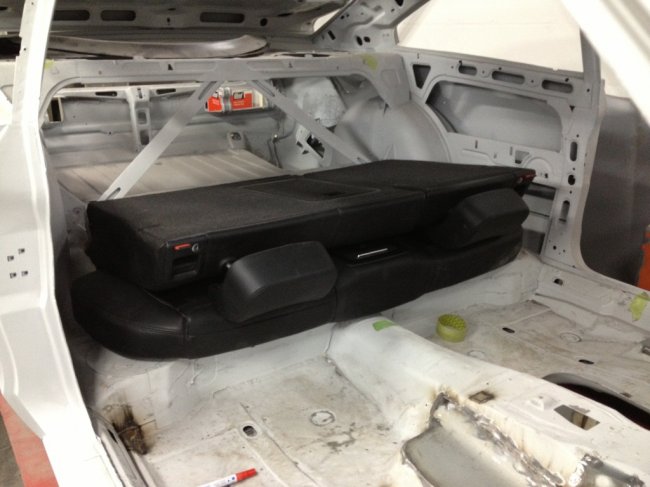
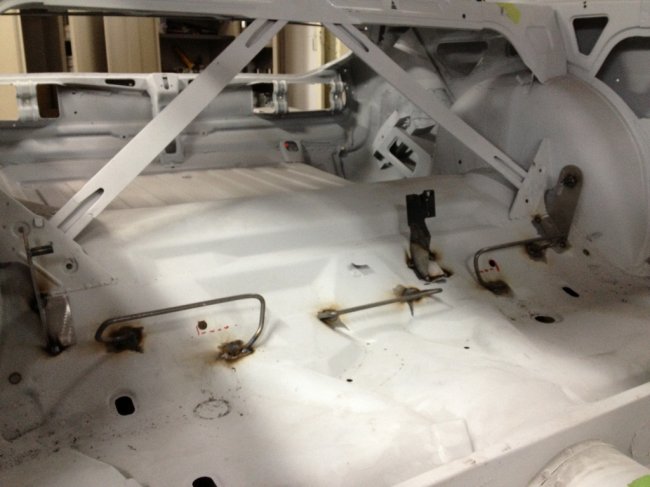
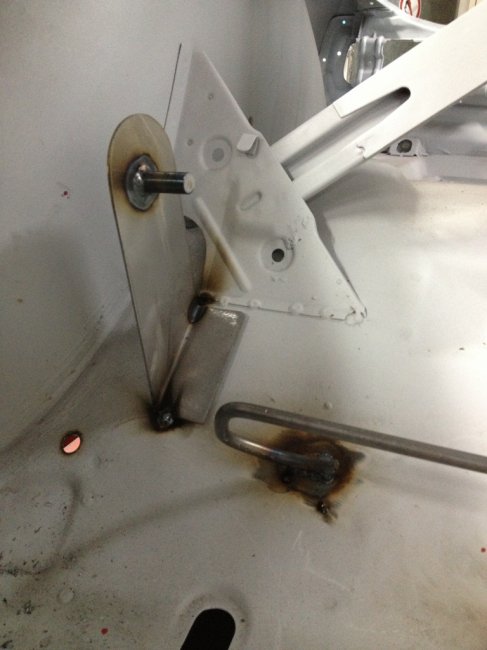
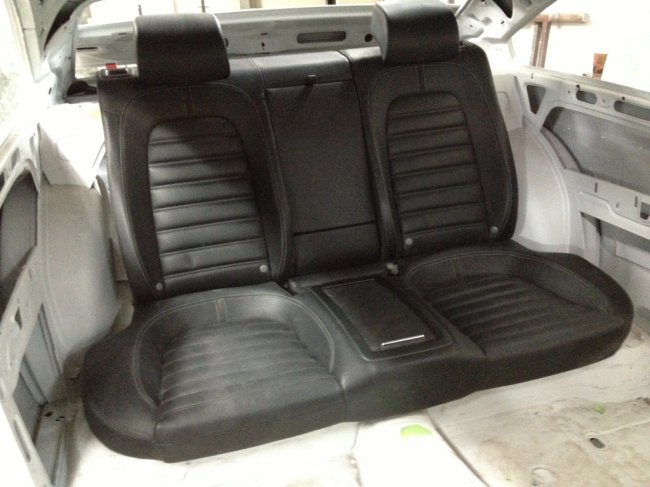
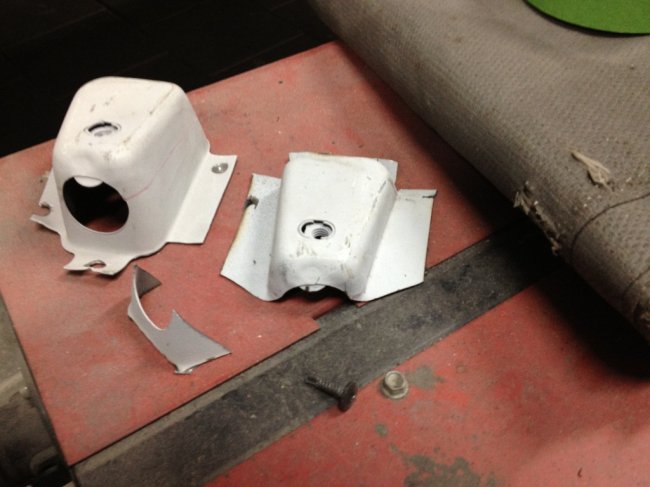
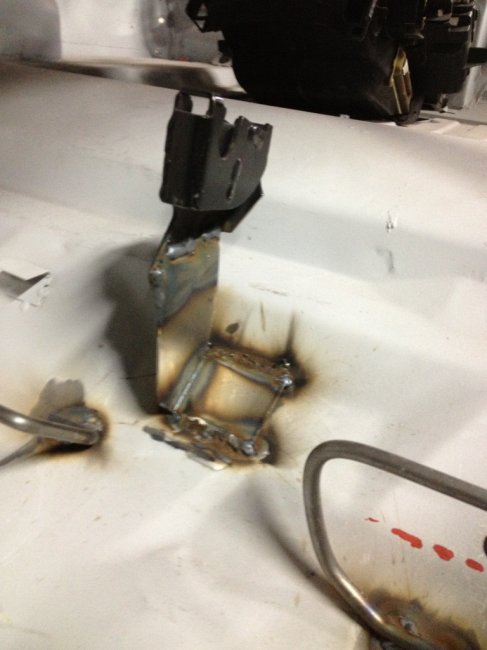
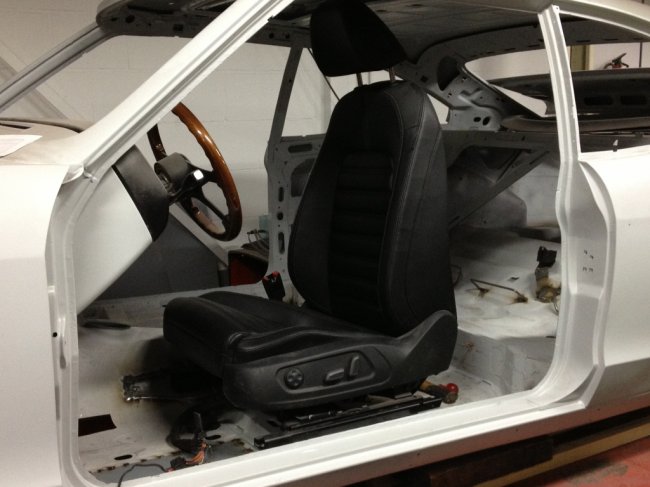
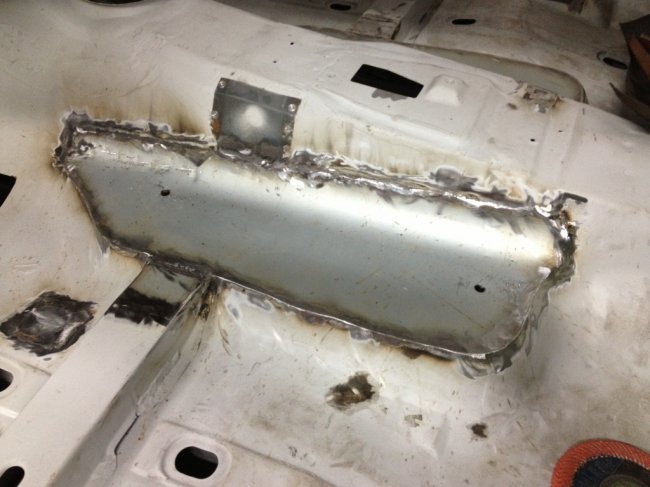
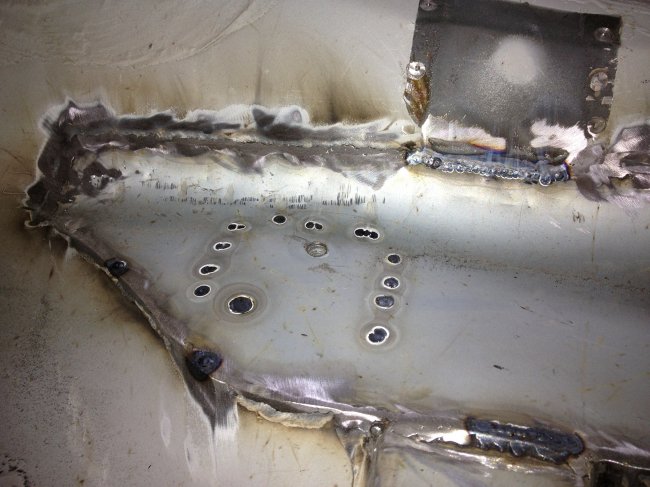
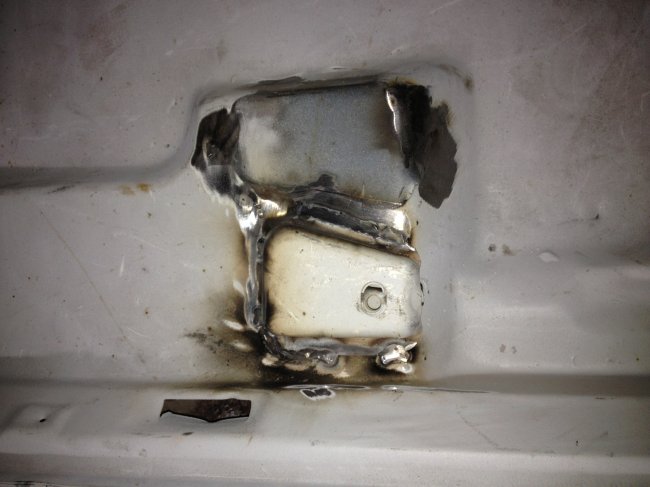
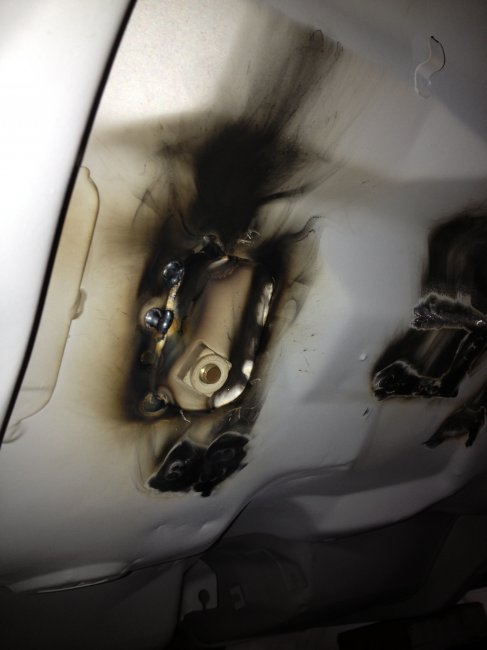
I think I left you guys after having made a start on fitting the interior by making the necessary modifications and brackets. I also described the plans for the aircon install. But the focus now is more on finishing the interior modifications and getting the welding started. The rear seat base and backs will fit nicely without much work. The same could not be said for the front seats... I went on to fitting the new, non original modern car, front seats. The granada has a rather awkward floor pan arrangement with 4 different hights for the seat mounts, leveld out by either the seat track brackets or metalwork on the floorpan. The new seats are fully electric and due to the mass of motors that are in there, the have the seat tracks moved very much to the outside. No room to narrow them because of the motors. Also they are meant to be bolted to a flat floor.... So, I had my work cut out for me. Besides that, the modern high seat backs and headrests meant that for a perfect fit I'd have to lower the mount bij 4 cm's. I started cutting the brace that ties the inner sills together over/to the transmission tunnel. I cut the spotwelds and took a chunk out. I then got on with a big cut. 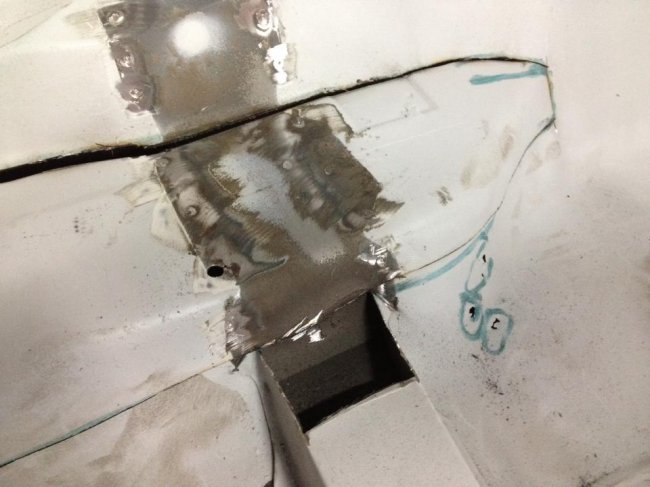 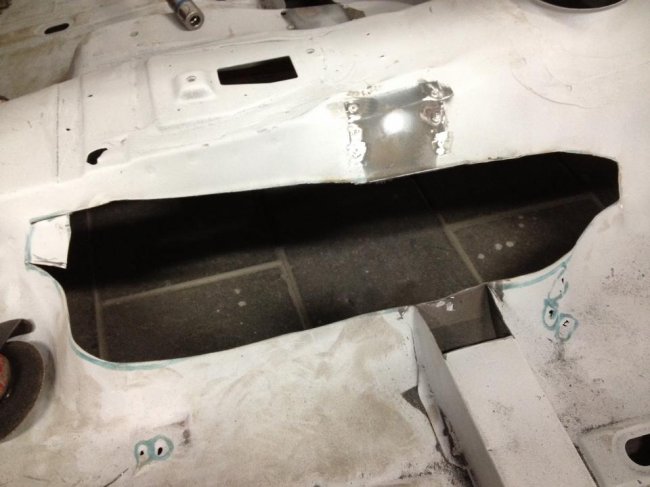 And the same on the other side... 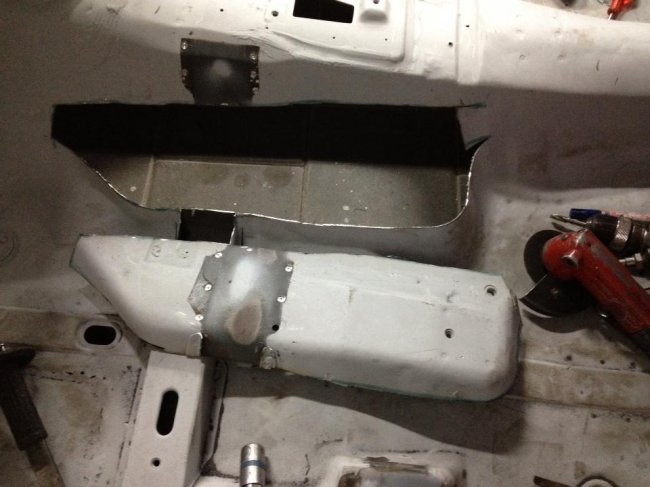 I also cut off the raised outer mounting points to create a level floor. A 1cm "tower" for the mounting point will be needed and made from the originals. Leaving me with this: 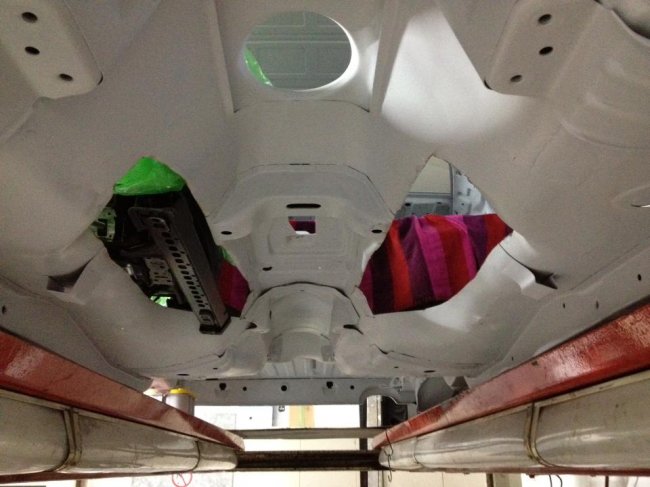 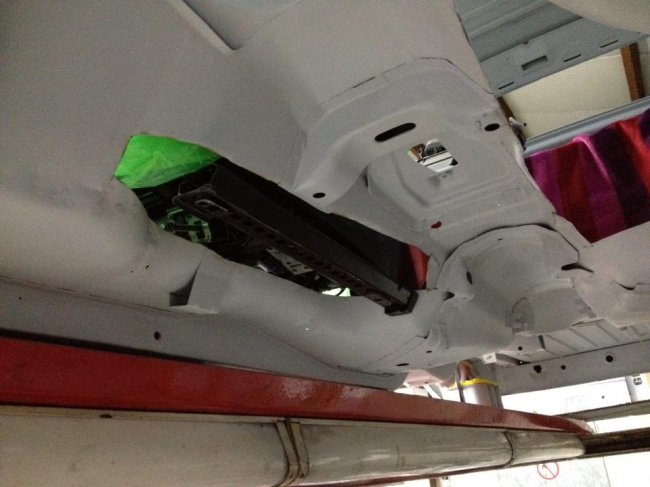 The seat is just in, not in the right position. After that came a real milestone. So far all I had done to the body was either taking (rusted) metal out of making brackets to weld/bolt in place. What follows now is fixing up the first of many holes and problem areas. The welding has now started and will continue till the body is fully sound again. The quality of welding is super. Not much finishing was needed (pics sadly erased from stupid iPhone). Penetration was excellent. These welds are done with a special type of wire that is composed to work very well with car bodywork. It shows. 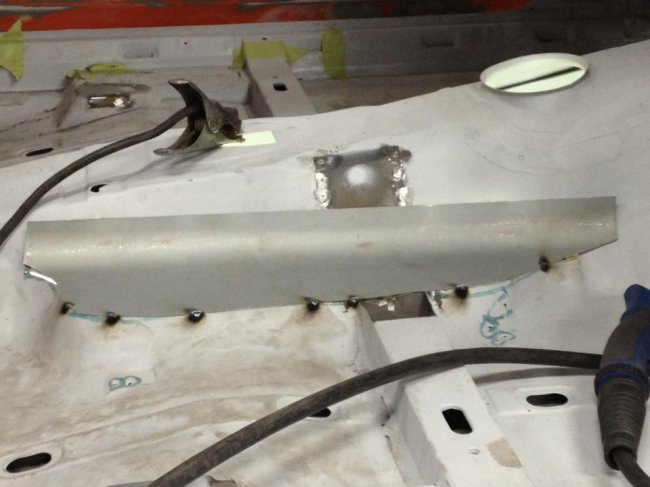 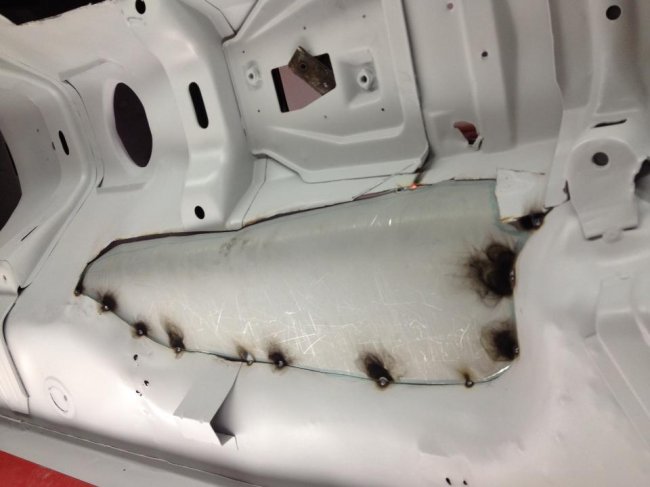 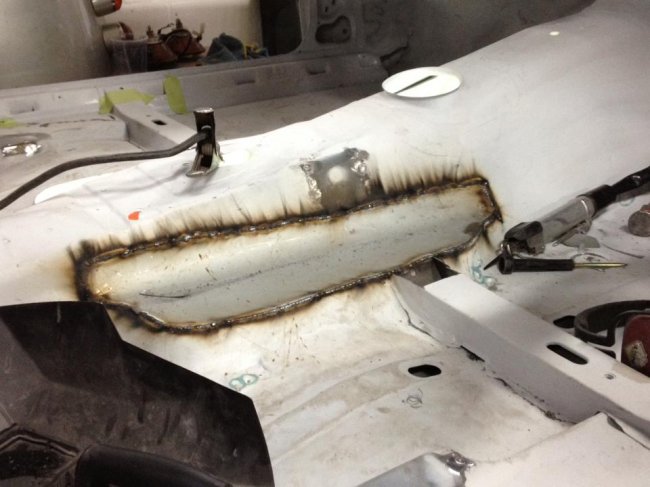 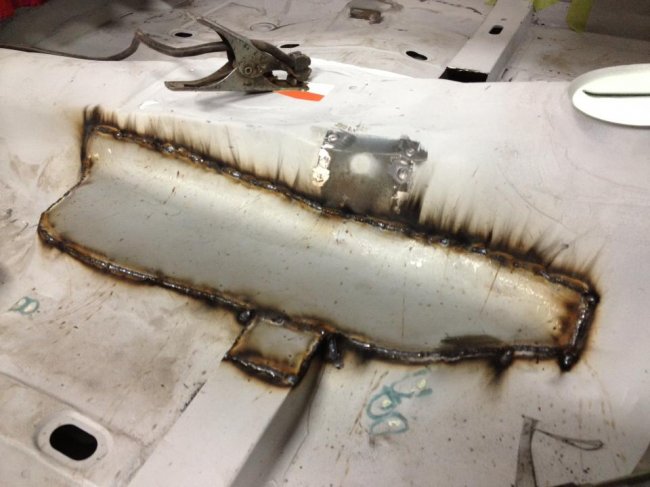 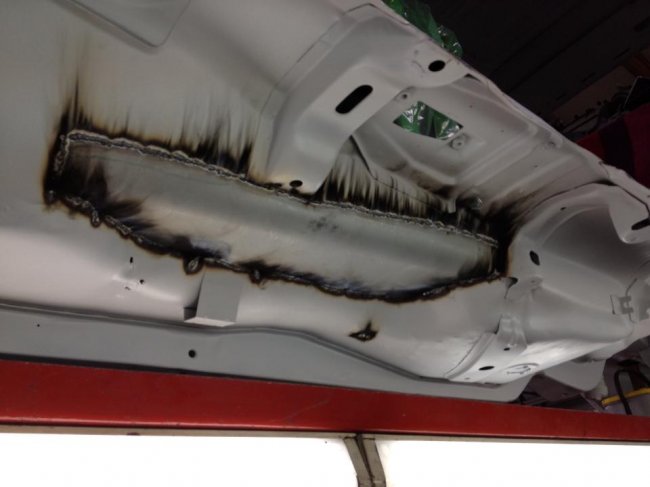 The braces removed from the inside will be added on the bottom of the floor in a slimmed down version. That way everyting will stay tied together as originally intended. I doubt that it would make a huge difference if I left them out, but i'll put them in anyway to be safe. That's where I'm at with the body and seat modifications. Work will start progressing more rapidly now. I'm currently cutting out some old floor repairs to do it right this time round. I find it's quite time consuming cutting stuff out that was already welded in once before. The welds are harder and I like to work back to a state that I can put in the repair almost as originally intended. In the mean time, I have reworked the interior design of my "shed" so I can store more stuff yet have the floor and workbench free to work on. It's still cramped though. But at least I can work now. I'm now making a fresh start on putting all this together again. 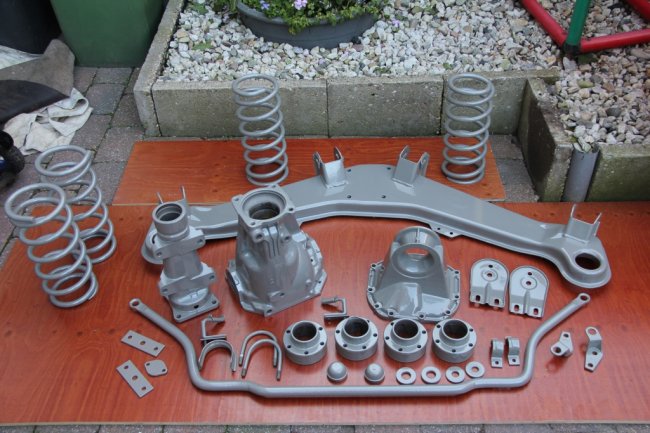 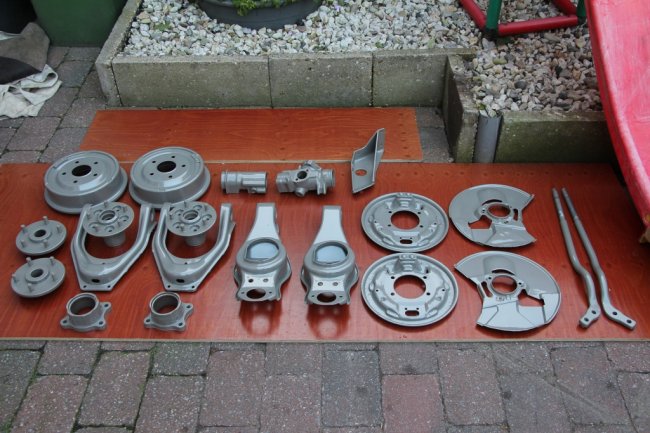 After which I will finally get to try to get the BOB running. So far, I think I have that covered. All that is needed there is some help eliminating the original fuse boxes and making a custom one. Marked every wire I certainly need. Just have trouble getting the fuse boxes eliminated from the equasion. 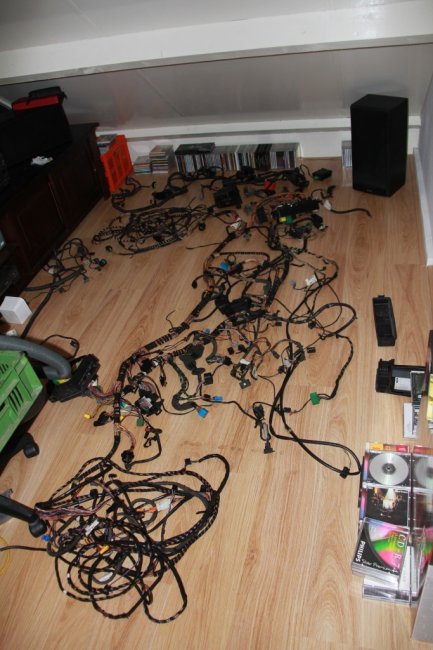 So there you have it, project BOB in a MkI granada coupe...as it stands.... |
| |
|
|
|
|
jpsmit
Posted a lot
  
Posts: 1,274
|
|
Jan 30, 2013 16:01:44 GMT
|
|
Awesome! thank you - BTW could you please say a little more about the welding wire? I have not heard of such a thing and am not even sure it is available on this side of the pond.
|
| |
|
|
eurogranada
Europe
To tinker or not to tinker, that is the question...
Posts: 2,556
|
|
Jan 30, 2013 16:28:05 GMT
|
|
I'll have to check what makes it special, but I understood it had something to do with the materials it's made from.
|
| |
|
|
stevietuck
Posted a lot
   Never argue with idiots,they drag you down to their level then beat you with their expertise!
Posts: 1,350
|
|
|
|
|
Iv just read the whole thread, you are doing great work can't wait to see this finished. cheers steve. ;D
|
| |
|
|
johnrh
Part of things
 
Posts: 958
|
|
|
|
|
Good work as always, keep it up!
|
| |
|
|
eurogranada
Europe
To tinker or not to tinker, that is the question...
Posts: 2,556
|
|
Apr 17, 2013 15:00:54 GMT
|
|
Sorry, I didn't see or get a message that the thread was updated...So apparently I'm slow to respond...
I've been at it a lot lately... Still cutting sheetmetal and letting that in... Some areas are completely done others are in progress. Still lots to do. I got kind of discouraged in the weldathon so I'm focussing on some of the less hard parts to fix.
That discouragement comes from my own welding s.cking quite badly burning holes in the .7mm and .9mm thin plates. Added by the fact that that means I'm dependent on my bodyman for any actual welding. Which is holding me back...
Otherwise I have also started to put together the frons mechanicals. Struggling a bit with the coil springs. They need to be so far compressed to put in... I can now put them in, but have no way then of undoing the compressors. The best solution: putting the weight of an engine on top to hold the pring compressed while undoing the compressors and then permanently attaching the upper wishbone. So I'll get it done, but it's not really easy with my spring compressors. The granada springs also are definately very strong.
But it's looking great!
The customisation for the interior is also fully welded in now. Just need to find some weldable nuts for the seat belt bolts (different thread to regular metric nuts). That interior also looks super and is fully functional!
So I'm keeping busy with the project. Reason for no updates is that I'm having an issue getting the pics of my stupid phone. And these stories aren't worth a dime without pictures...
|
| |
|
|
sonus
Europe
Posts: 1,392
|
|
|
|
Would love to see an update on this  |
| |
Current
1968 TVR VIXEN S1 V8 Prototype
2004 TVR T350C
2017 BMW 340i
Previous
BMW 325d E91LCI - sold
Alfa Romeo GTV - sold
Citroen AX GT - at the breakers
Ford Puma 1.7 - sold
Volvo V50 2.0d - sold
MGB GT - wrecked by fire
MG ZT 1.8T - sold
VW E-golf Electric - sold
Mini Countryman 1.6D -sold
Land Rover Discovery TD5 - sold
|
|
eurogranada
Europe
To tinker or not to tinker, that is the question...
Posts: 2,556
|
|
|
|
|
Wow, thanks... I had thought this would have been forgotten by now! I basically decided that because of the type of work I would update when one side of the car was done, but is has taken longer then desired, expected etc.
There has been a lot of work done since last post, but it is all still welding welding and welding. And as I'm in IT and not panel beating, it takes a lot of time to fashion all the patches to be welded in. Also, I take everyting out that is slightly questionalble. And it turns out to be a lot. But my car is sound when finished. And of course doing modifications for things as the interior (very happy with the results!!!) also take a lot of planning. I have pictures but nothing has been uploaded yet. The left side is now all tacked in an 90% fully welded. I might add that compared to previous welding work from it's first restoration in 2006 it is looking fabulous. The welding quality is so good I have almost no werk in dressing them.
I just started the right side yesterday. With cutting out the outer lower panel behind the rear wheel arch. And then the inner to fix that first. This side has less work to it as the floor is much better and so is the sill. But, the rear wing and outer inner wheel house will require more attention.
The weather was so hot the last few weeks. Last friday it was 66c in the shop at roof level, 40+ at groundlevel, so not much got done. And it's the holiday season, so first I went on holiday and then the shop where my car is kept was closed for 3 weeks. But we're getting going again!
If only I could weld myself, then progress would be faster, now I have about 20 panels made, but have to wait for an hour here or there to get them put in.
I also got news as to the plans itself. The car was going to be a white pearl metallic from the Ford Ka. but this paint system is so exepensive as it is impossible to predict how many coats are required to give good coverage and nice even colouring that I decided on another colour. That saves a whopping 1500 Euro's easily according to my high standards body man.
Tada, I decided on Ford Mustang Grabber blue. Either with silver accent colour or plain black! It's going to be one visible car! Although a sample is still to be sprayed so I might have to change my mind if I don't like it in the flesh. On the 70ies and 2010+ mustangs it looks awesome. And some member here has a fiat in a similar colour and I also really like that!
Also looking for info on some issues, like how or where to get custom airconditioning lines made up and eliminating the fuseboxes from the cosworth bob wiring loom etc.
So I'm still very busy and I hope to have the car on wheels and in paint end of year. Hopefully fully finished this spring.
I am soooo motivated right now that I want to tackle several things at once. As taht won't work I have to hold myself to one or two things at a time. Also next month i will have a small buidling project on the house itself so that will also take away from this build.
I'll try and update later today with pictures if I can get them updated.
I'm also rethinking my website... I want it to be less of a blog type and more of a task or part project focussed site. For example not blogging about what I've done today on the car, but more a complete story around for instance the welding, the engine, the suspension etc. And possibly in english instead of dutch or both.
Thanks for not forgetting my project!!
|
| |
|
|
eternaloptimist
Posted a lot
   Too many projects, not enough time or space...
Posts: 2,578
|
|
|
|
|
Love this.....need pictures!
|
| |
XC70, VW split screen crew cab, Standard Ten
|
|
eurogranada
Europe
To tinker or not to tinker, that is the question...
Posts: 2,556
|
|
|
|
|
Will be working on that later, pics to follow, but be warned, mostly from welding...
|
| |
|
|
|
|
|
|
|
Wow, thanks... I had thought this would have been forgotten by now!!! This will never get forgotten about...!!! Good luck with the build... |
| |
***GARAGE CURRENTLY EMPTY***
|
|
eurogranada
Europe
To tinker or not to tinker, that is the question...
Posts: 2,556
|
|
|
|
This will never get forgotten about...!!! Good luck with the build... Well thanks, that makes me feel humble I guess. I never thought my project was very interesting to others. But I probably measure that wrong... I tend to measure that in number of replies. I myself actually do love what I'm doing even though it is slow progress. Slower than I would want at least. The good thing is things are getting done. And every thing done is one less to do! As of now I'm getting my pictures up to date for you guys to update you with images as well. Cu later! |
| |
|
|
brocky
Part of things
 
Posts: 100 
|
|
|
|
|
You cant beat a mk1 granny, it paints me to say this but I've sealed the fate of a few mk1's, 2's and cortinas in my earlier years on the banger track.
|
| |
Current Projects-
1971 Vauxhall Firenza
|
|
eurogranada
Europe
To tinker or not to tinker, that is the question...
Posts: 2,556
|
|
|
|
|
|
| |
|
|
eurogranada
Europe
To tinker or not to tinker, that is the question...
Posts: 2,556
|
|
|
|
|
ps. some pictures are hard to discern when selecting from thumbnail and/or out of sequence, but anything you see just tacked in, you can rest assured has been or will be fully welded.
|
| |
|
|
eurogranada
Europe
To tinker or not to tinker, that is the question...
Posts: 2,556
|
|
|
|
So after a picture upload marathon... on to the welding pics. A couple of area's have been welded up. As seen a bit in the previous post on the seats, there were modifications made to accomodate them and the newly added rear seat belts: In some more detail, the seat pan fixes end result (very pleased with that): 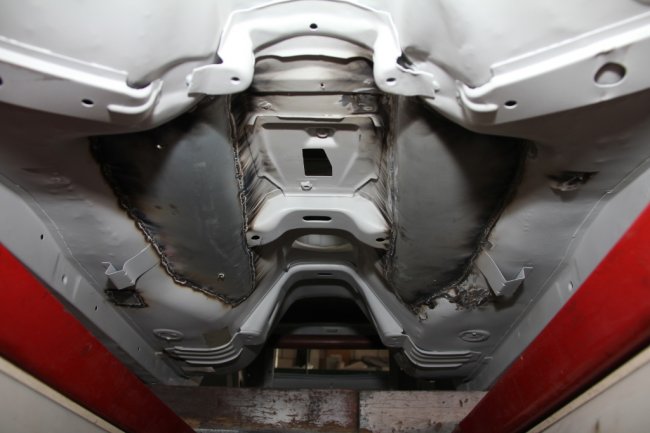 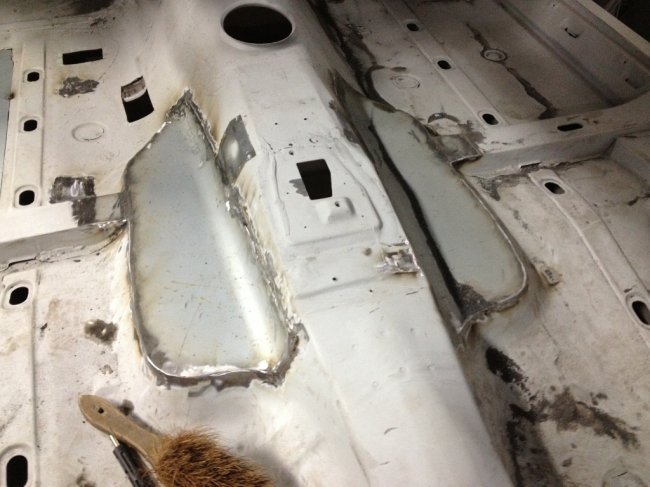 On to the floor, driverside (LHD) front was very rotten. Previously welded in, but the welds ground so thin holes were blasted through while sandblasting. Direct from blaster: 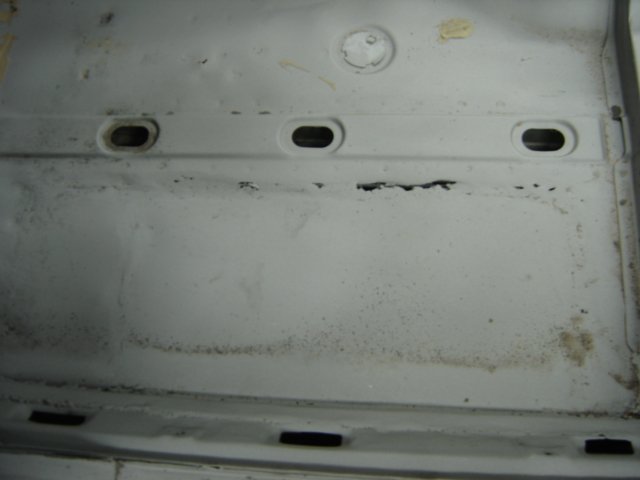 All cut out (second time unfortunately): 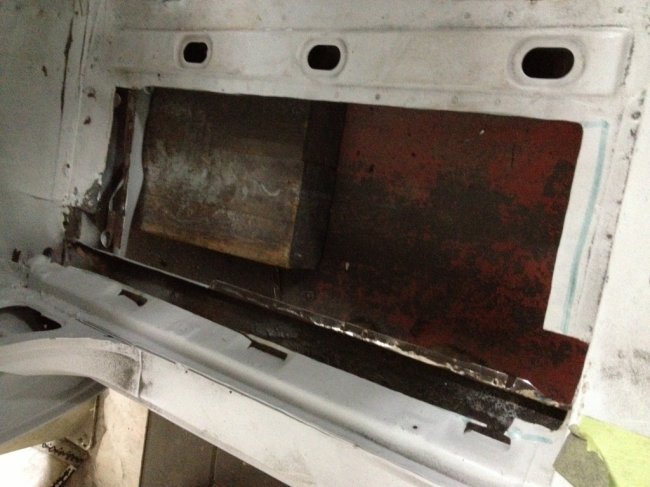 Repairs: (all welds have been or will be dressed even if they aren't already in the pictures) 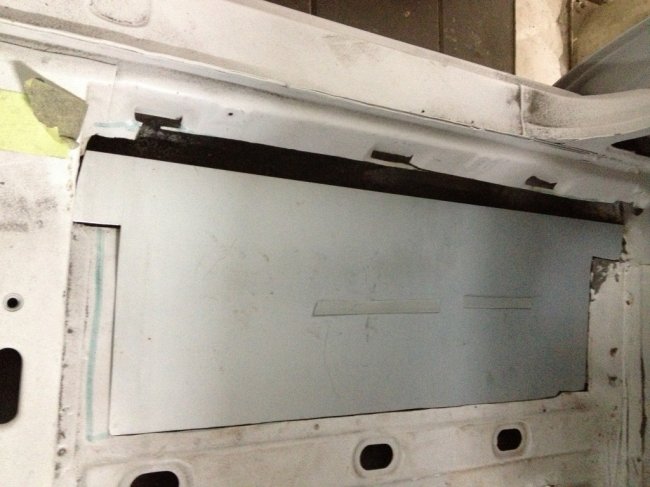 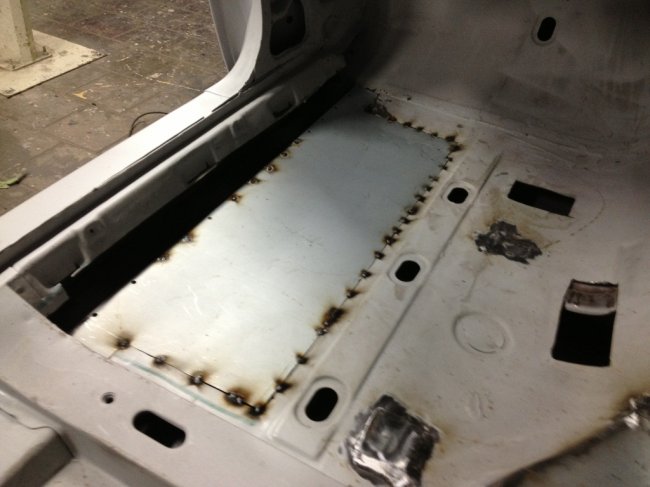 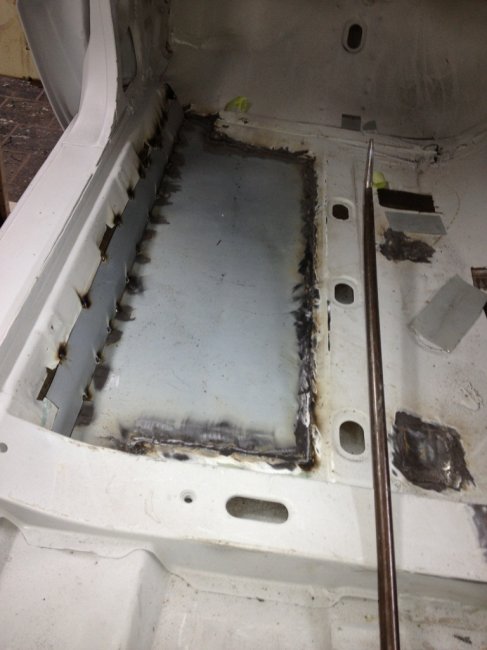 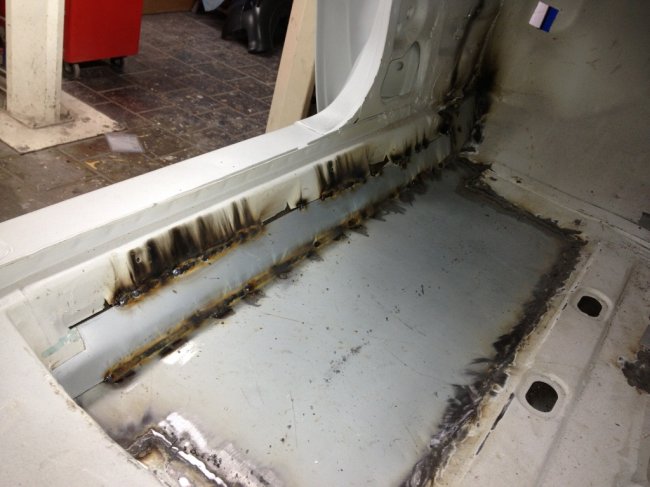 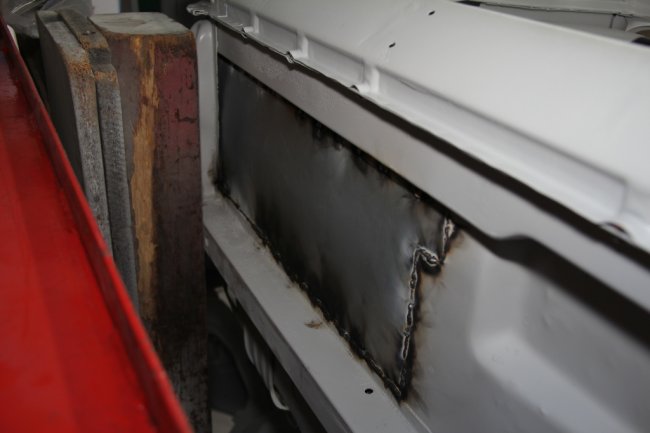 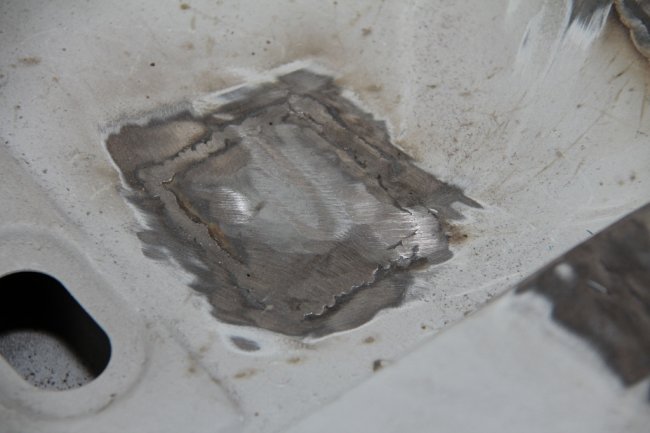 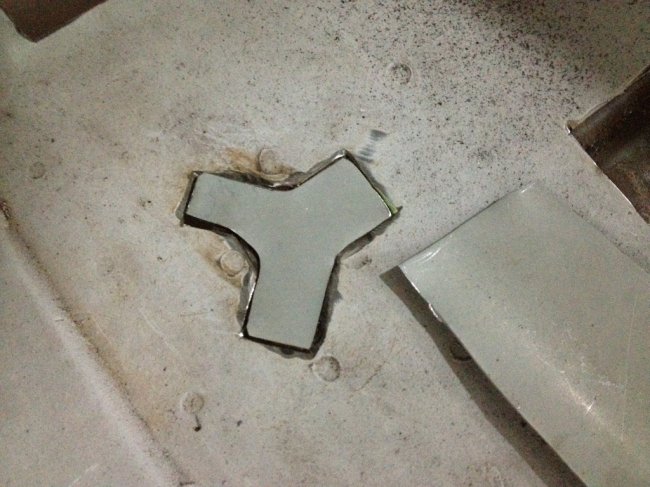 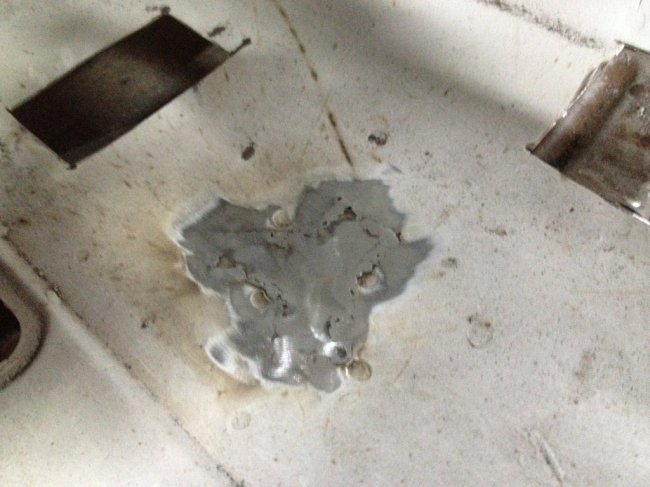 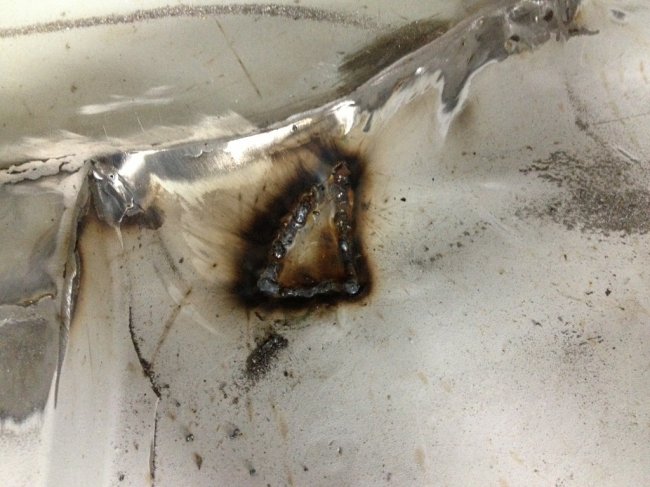 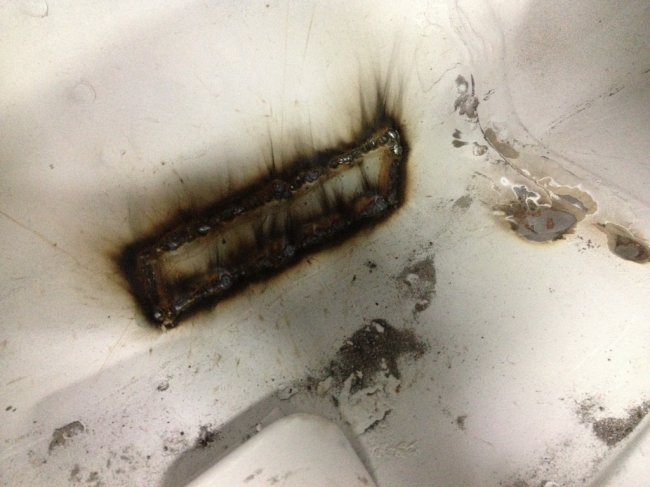 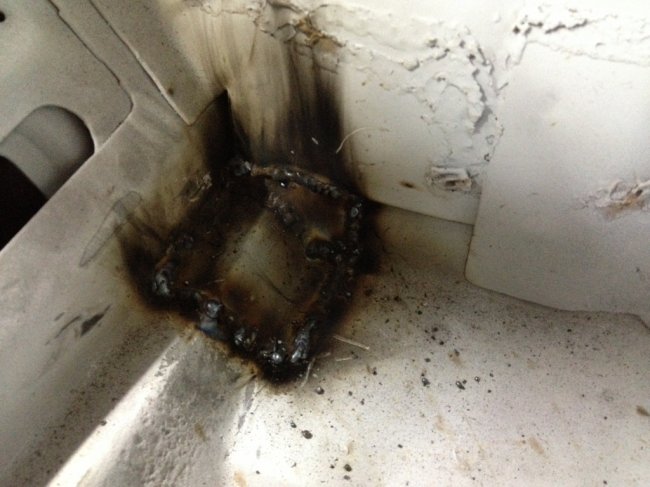 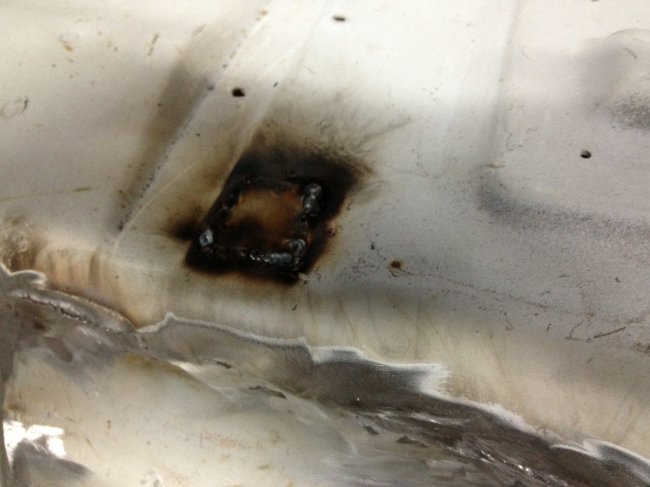 To finish off: 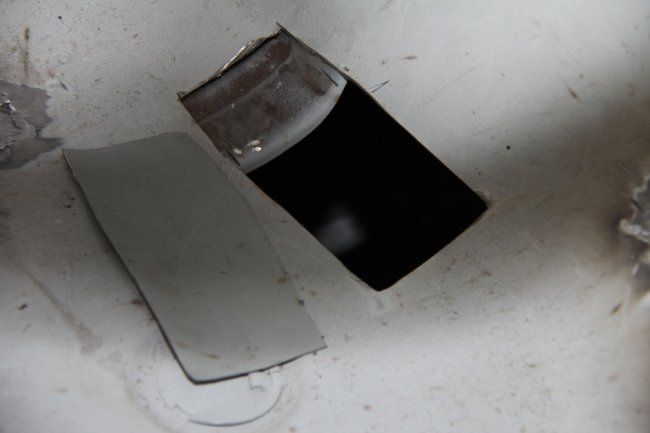 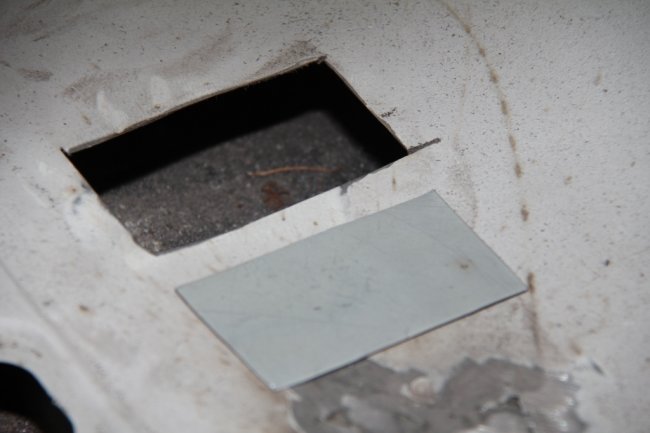 So that's most of the driversside floor work. But there's more, after all it is an old ford. Rear beam diff mount: 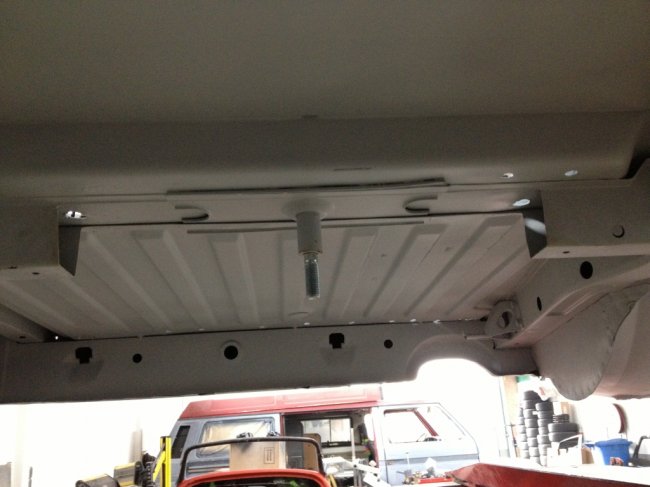 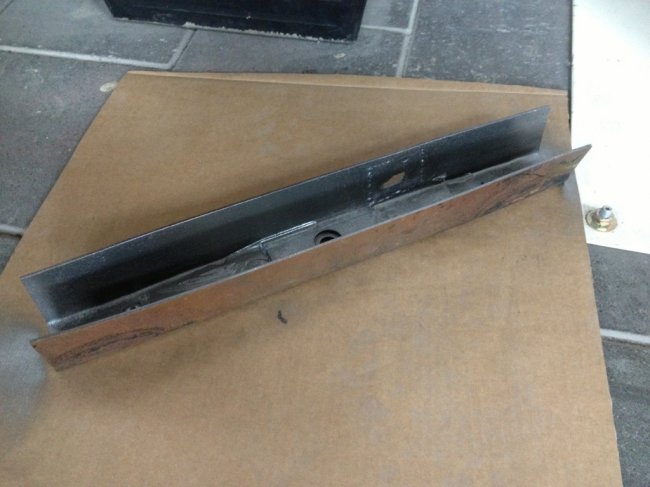 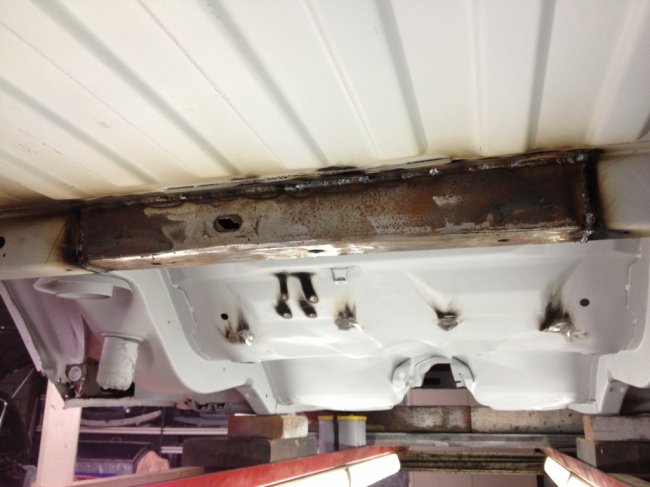 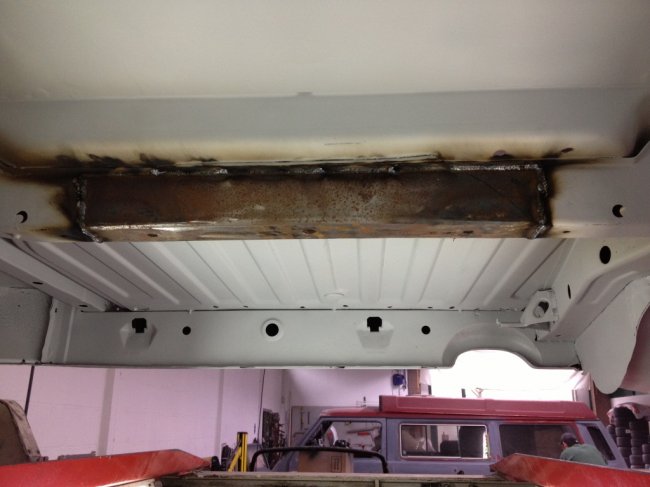 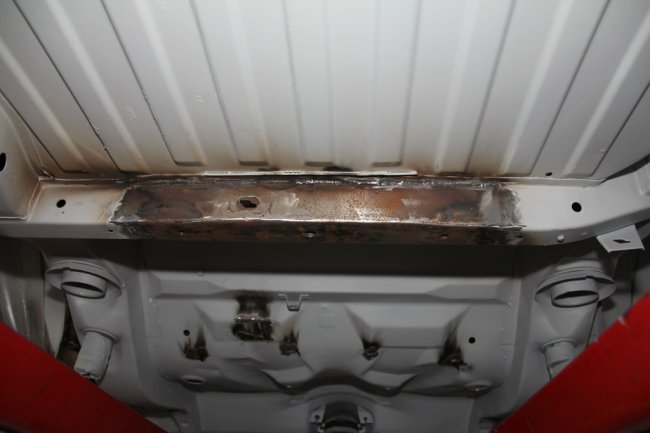 That will do nicely. On to the most dreaded corner: driversside end of sill. As from the blaster: 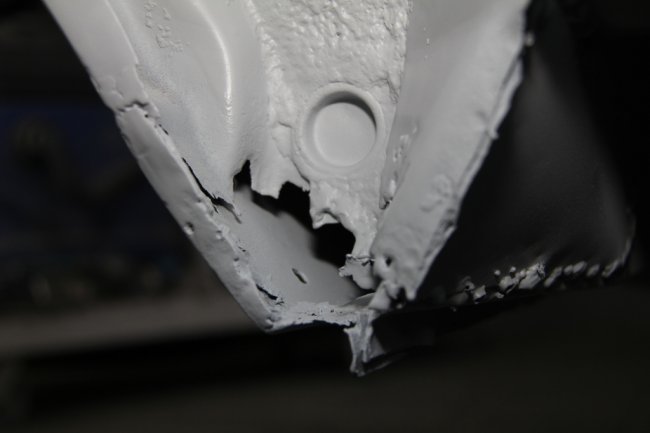 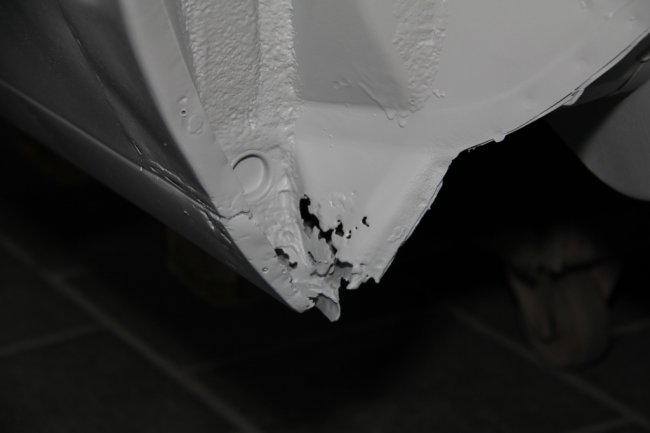 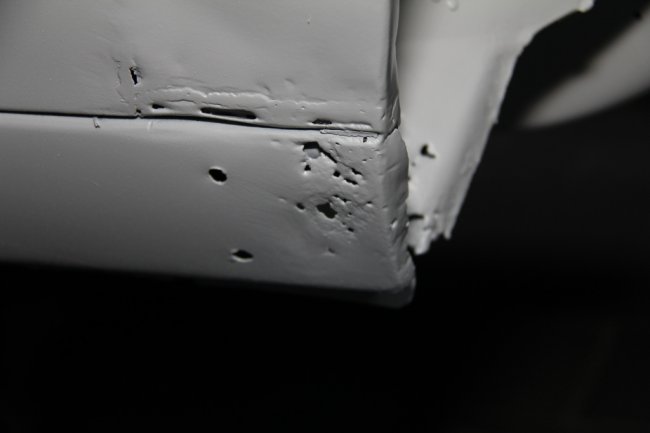 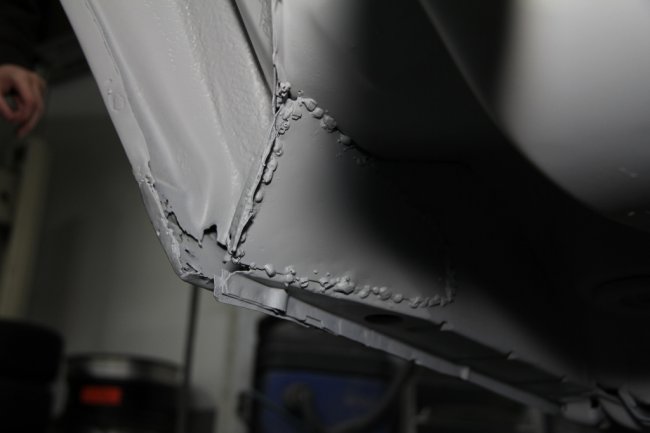 Was hiding this: 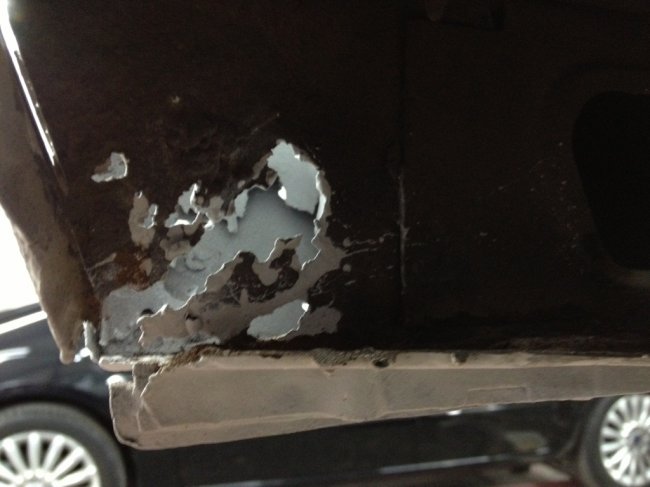 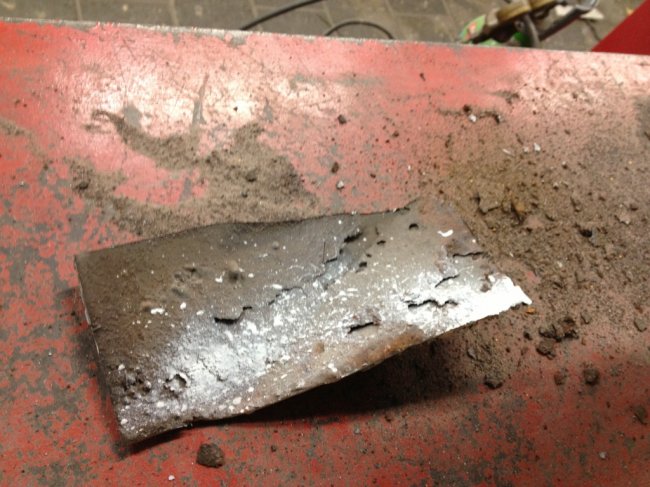 Cut away: 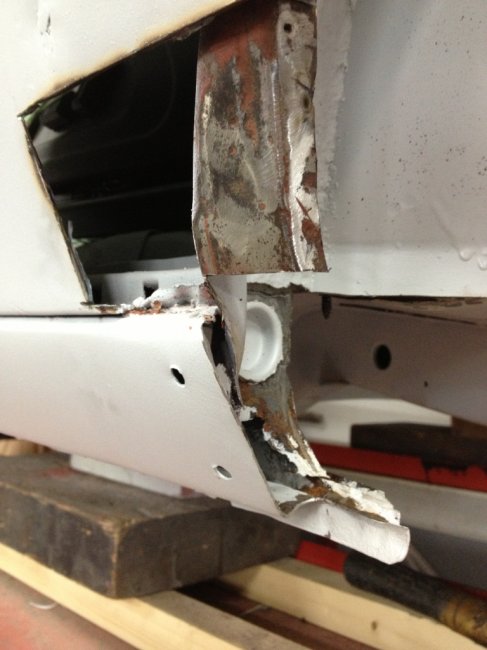 First layer restored: 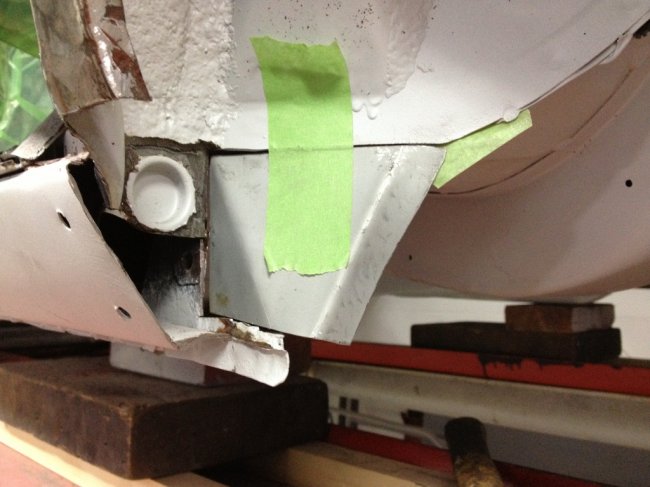 Second layer (midway): 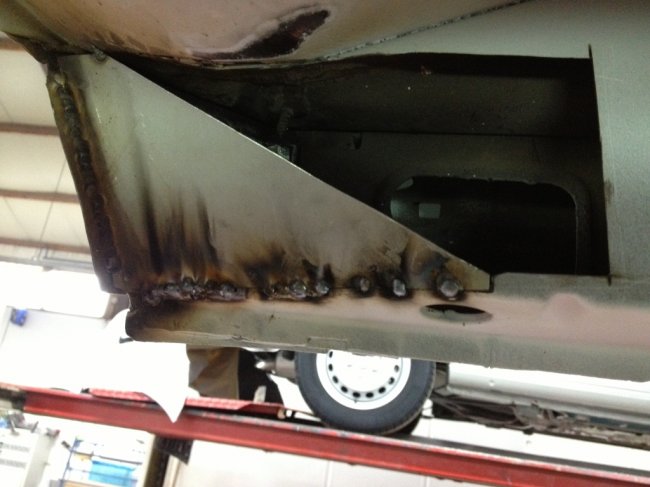 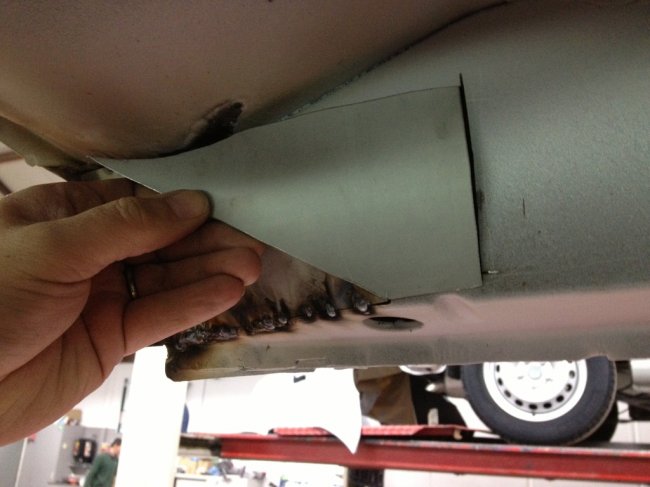 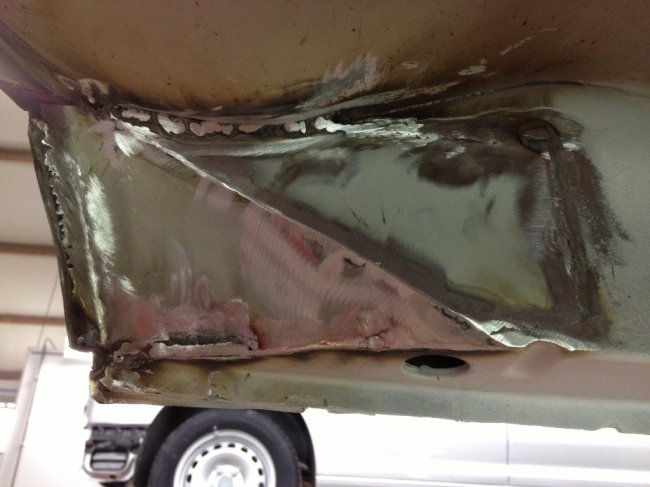 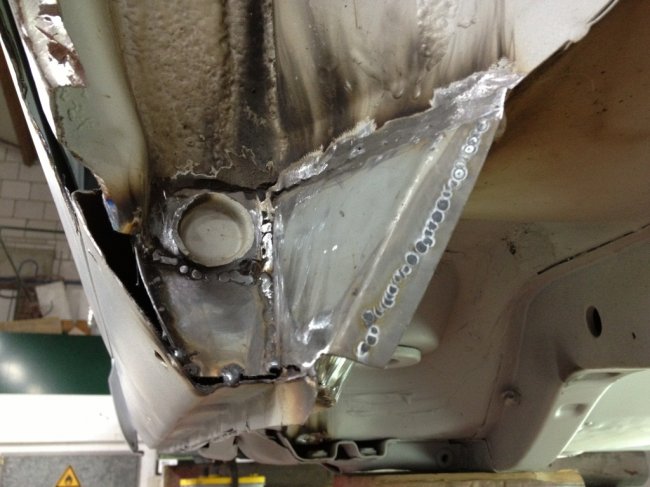 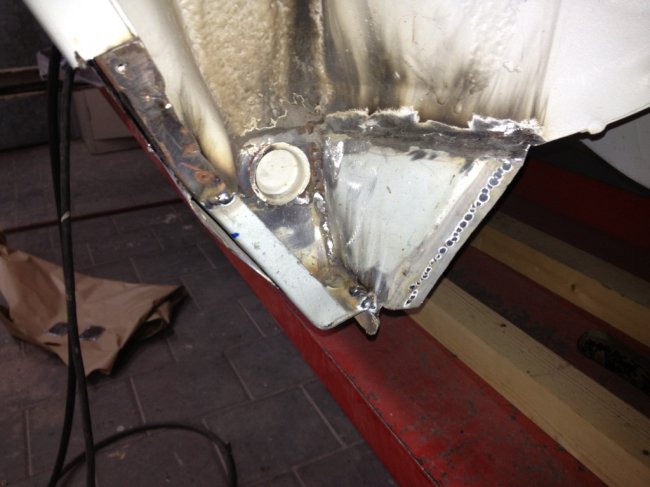 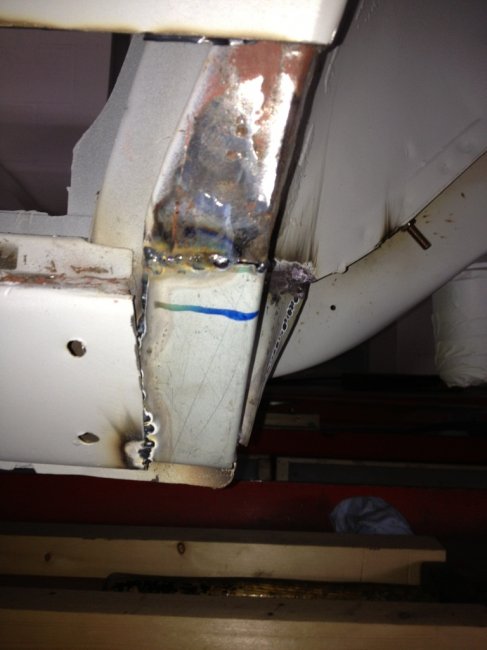 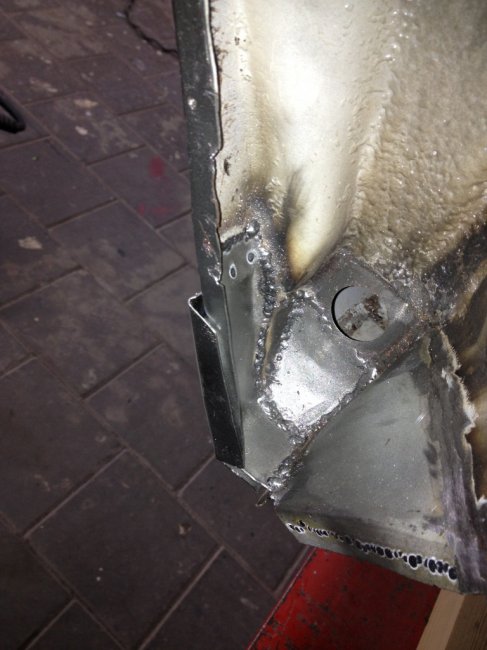 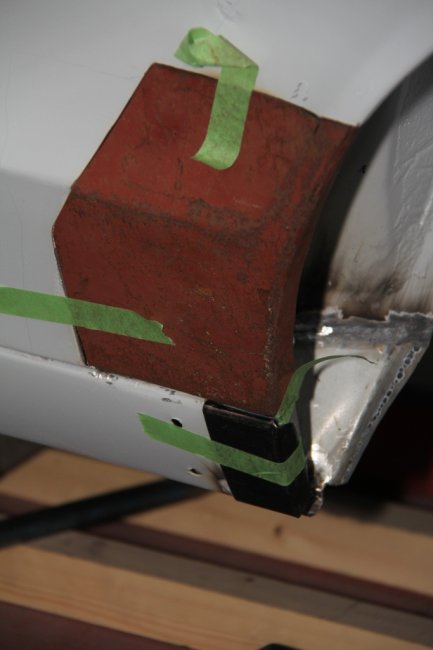 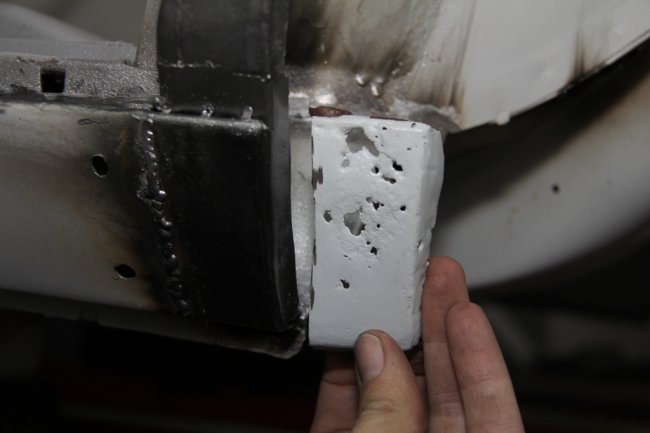 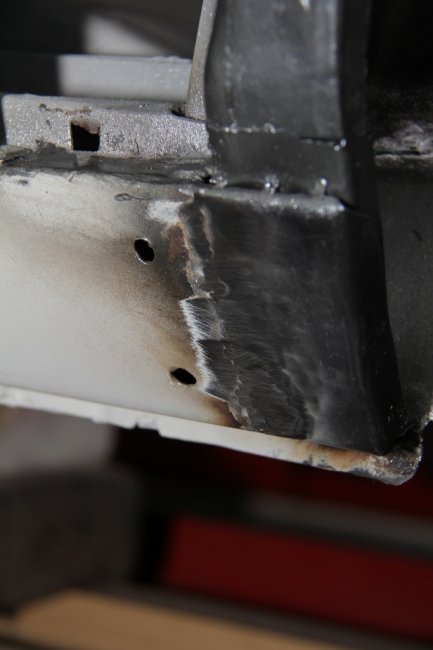 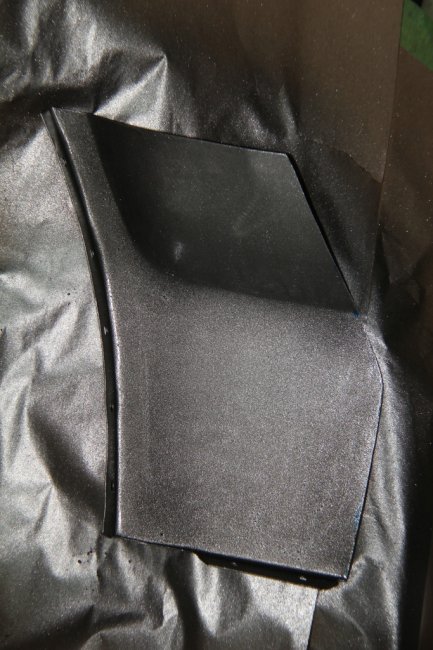 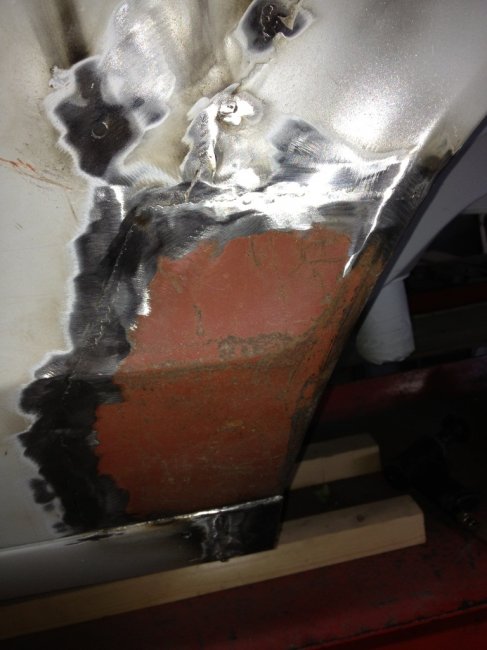 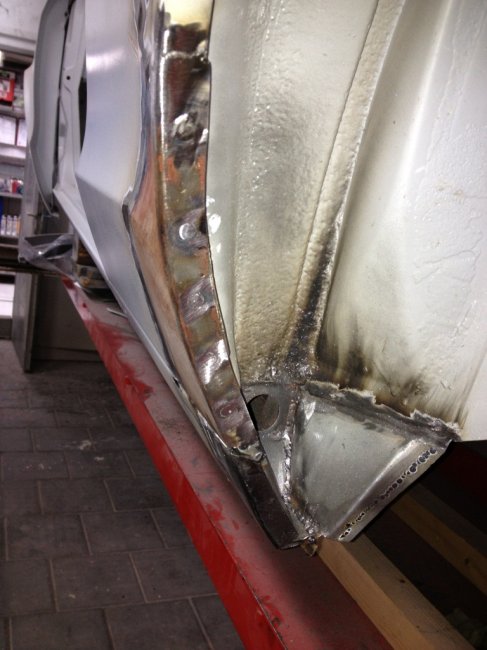 Another bit sorted. On with the front wings. Some early welds from before moving to this body shop. They were crude so needed cleaning up. Because of the effort in creating the panels though, the work was not beyond saving. 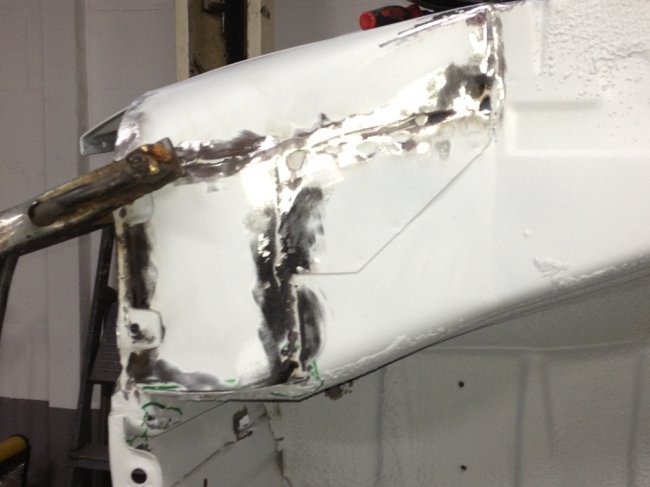 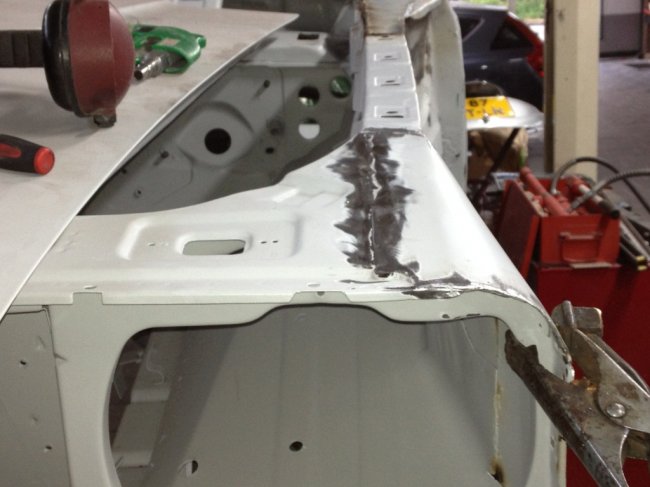 then the big work 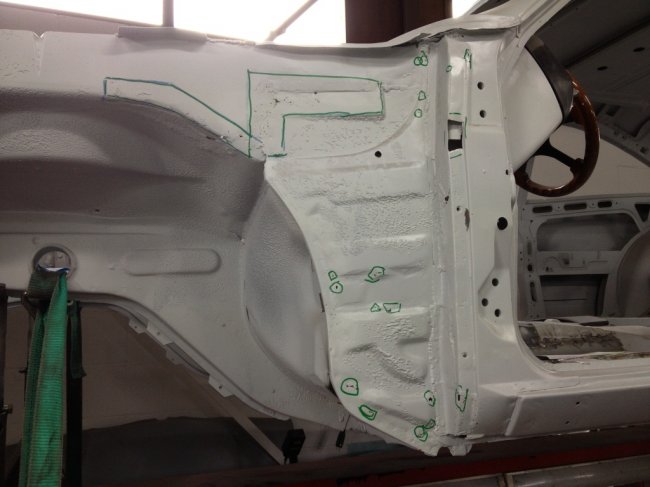 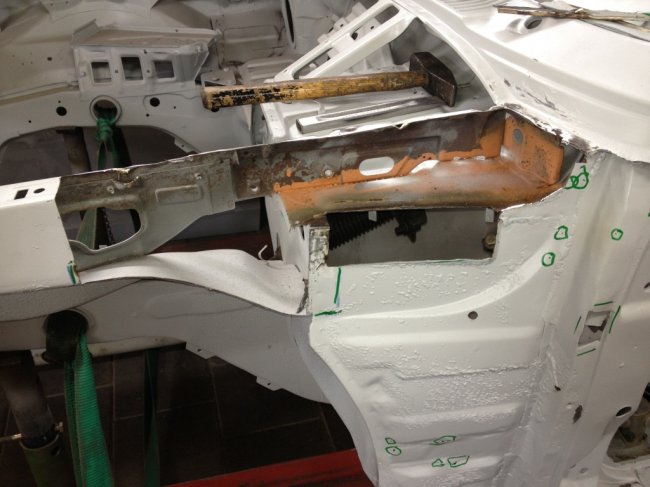 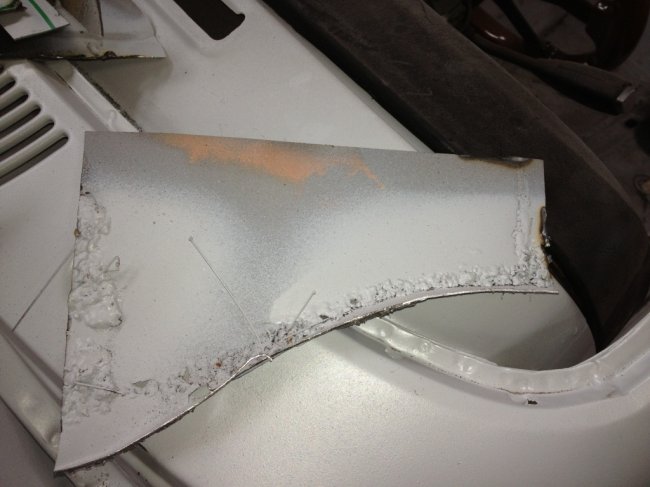 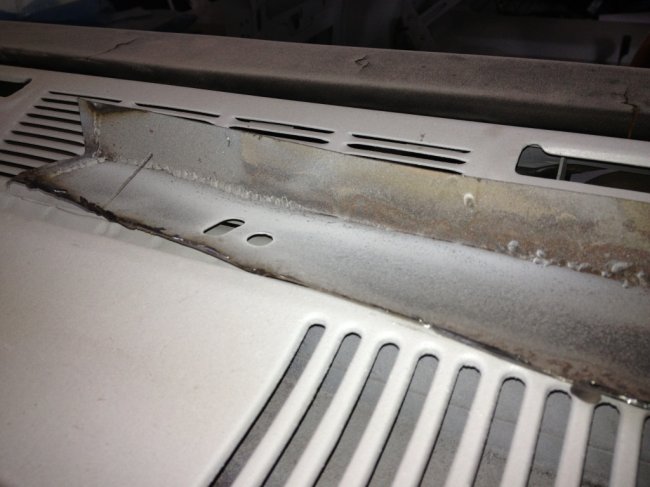 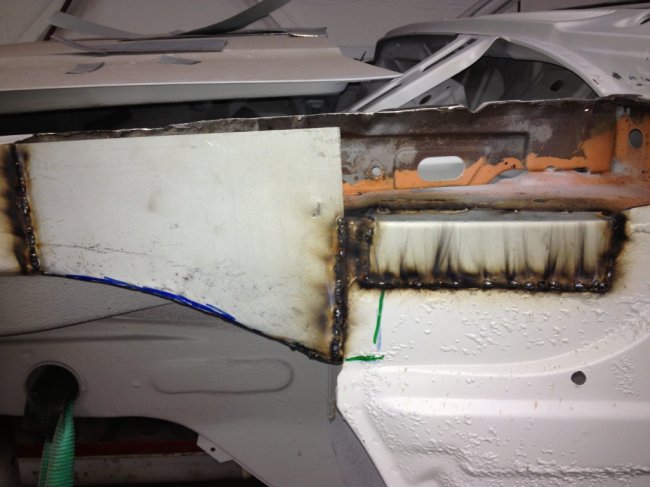 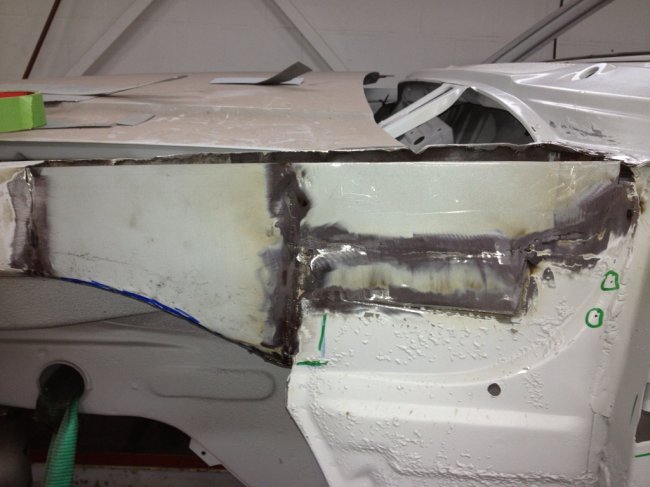 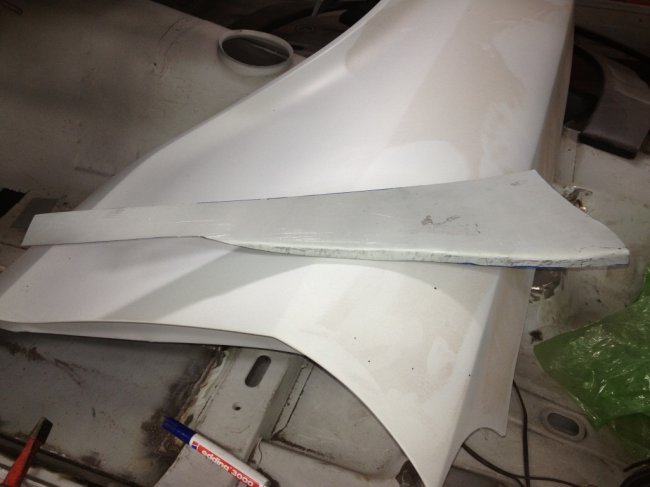 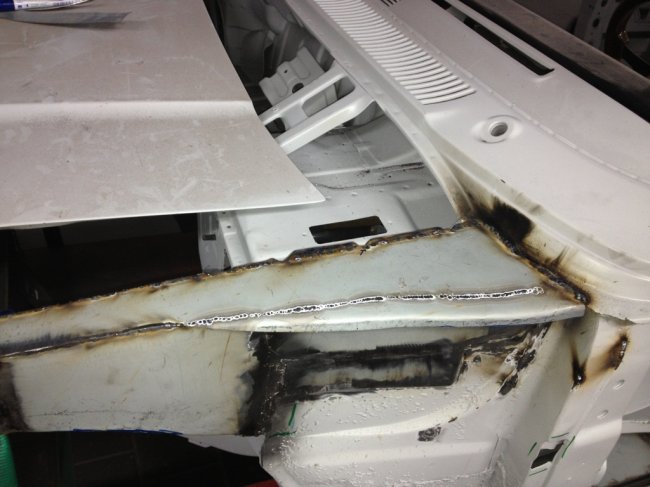 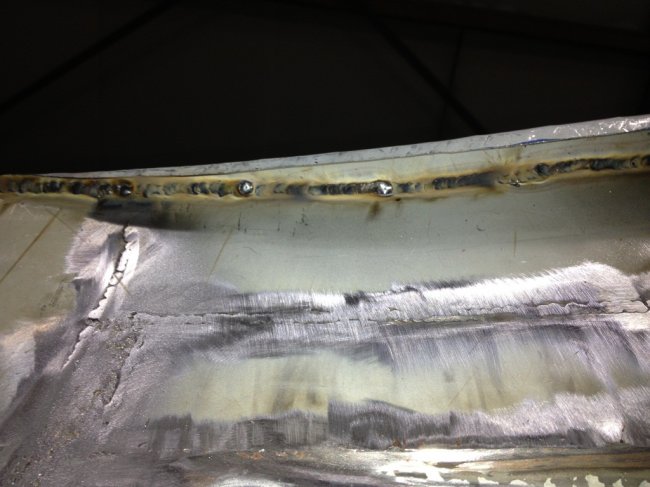 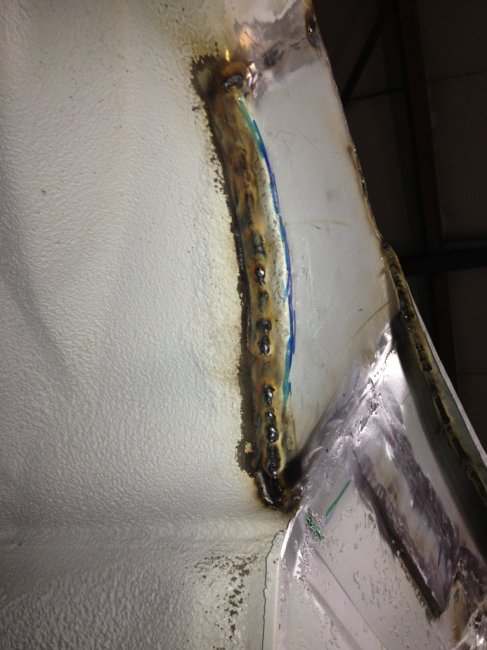 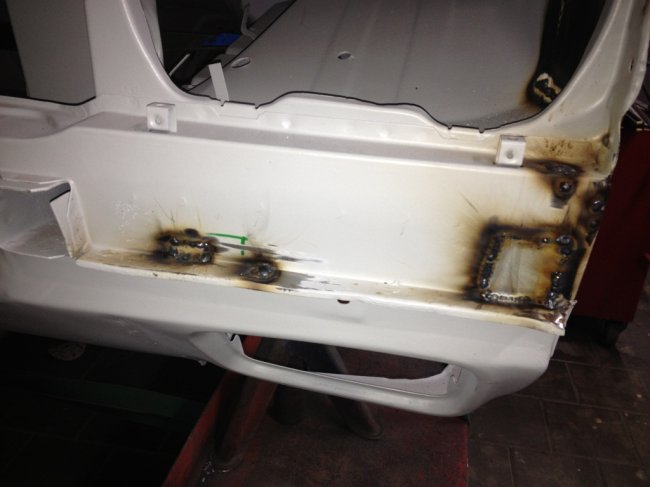 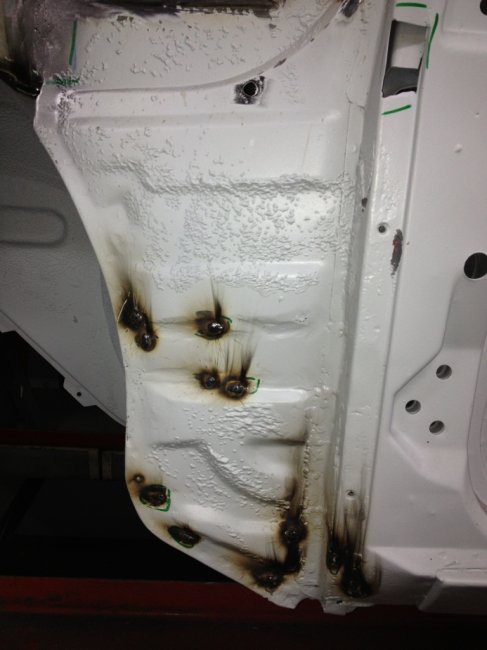 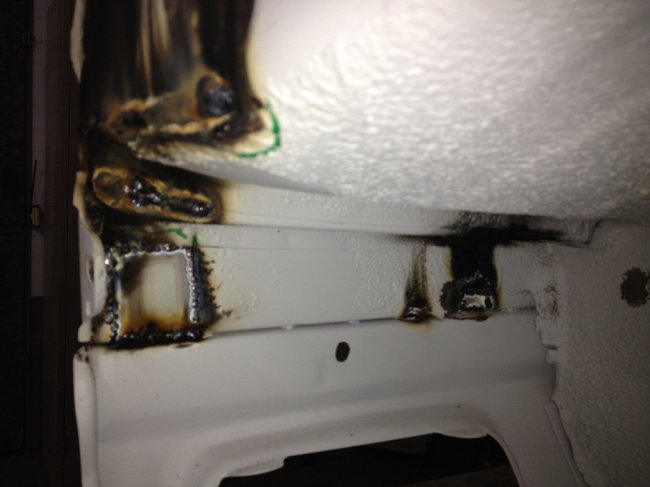 Next issue: rear wheelarch outer skin patches to lower rear. Not too visible here, but an ugly previous wheel arch repair to deal with: 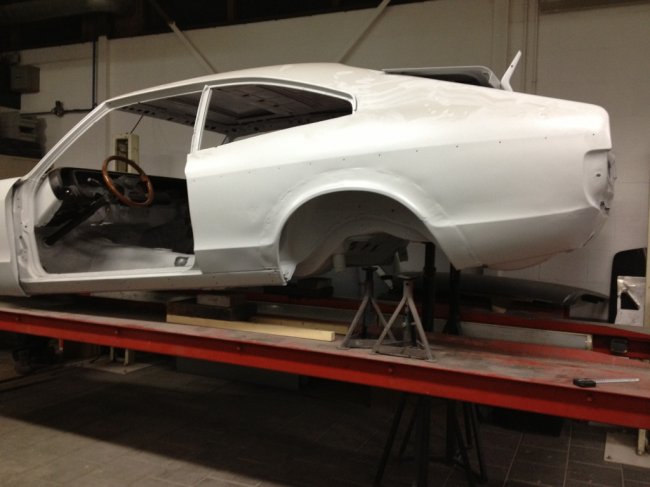 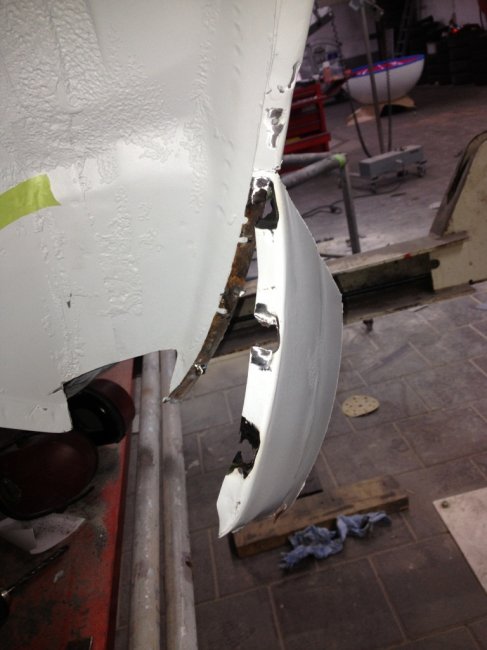 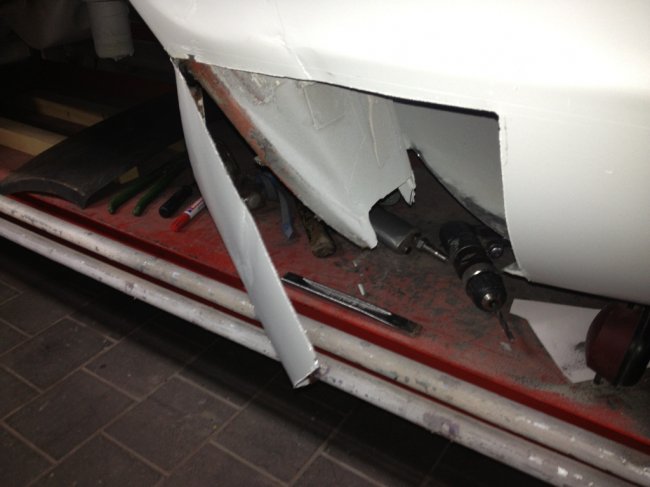 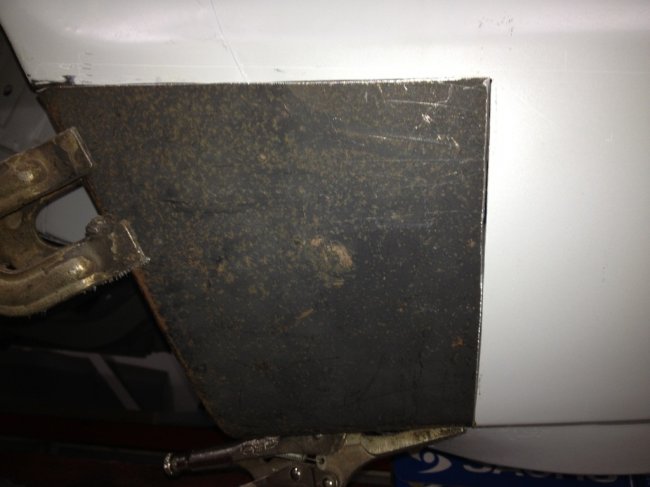 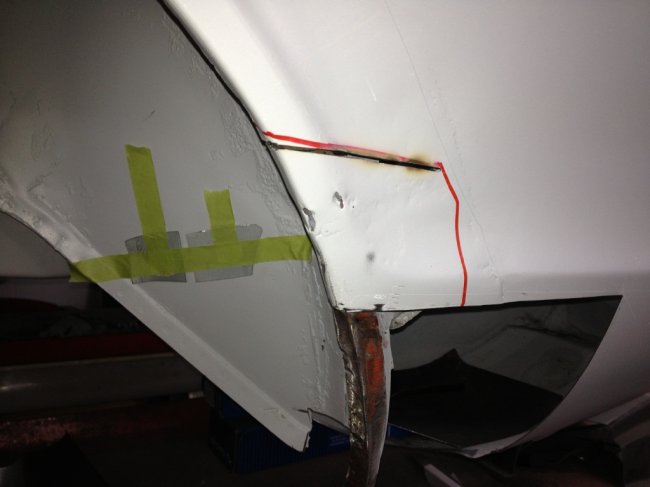 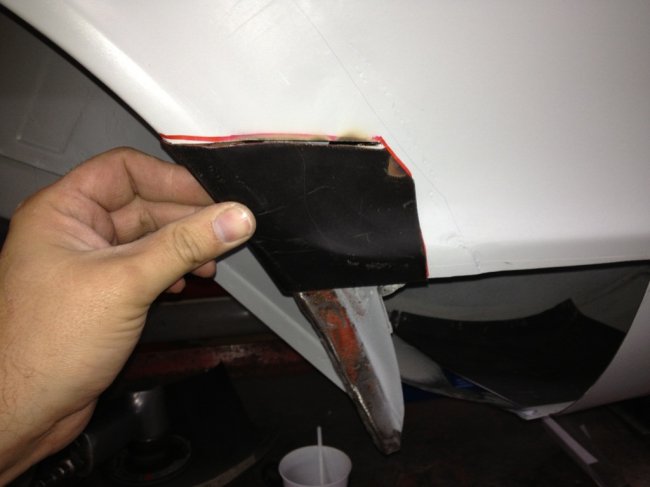 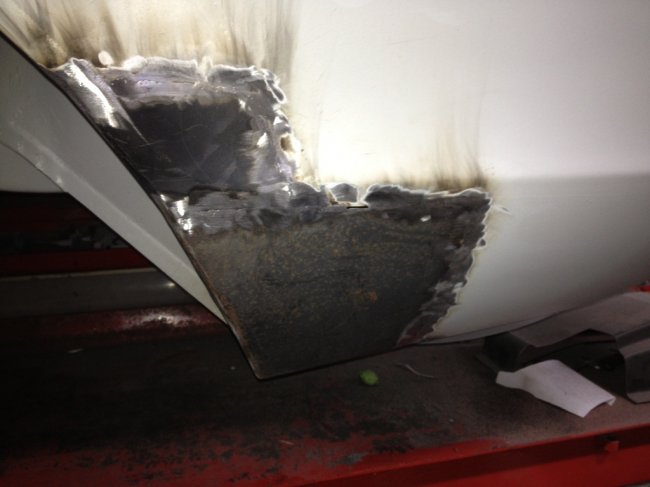 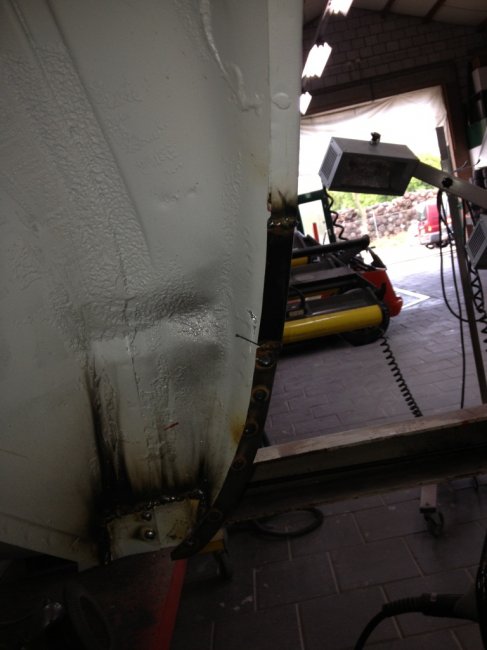 That is mostly what is done. I've got some repairs lined up waiting for an hour or two of welding time: 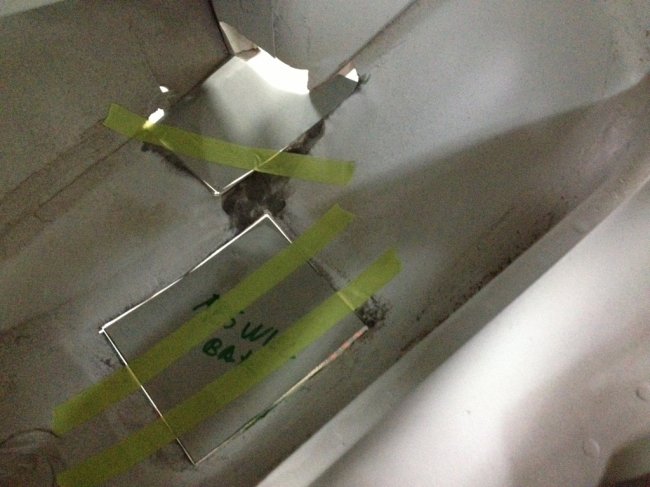 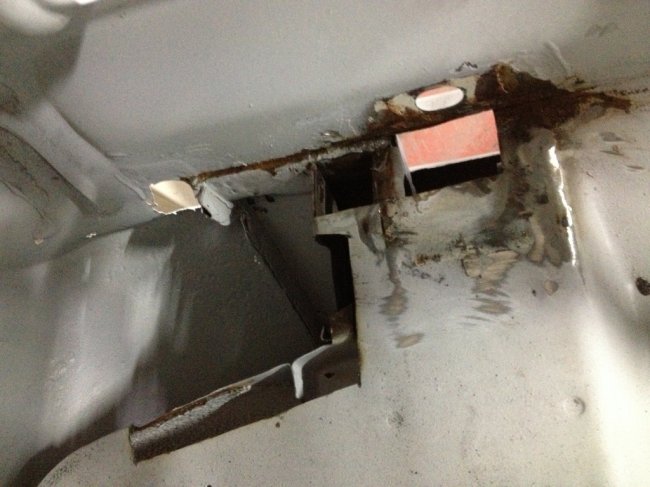 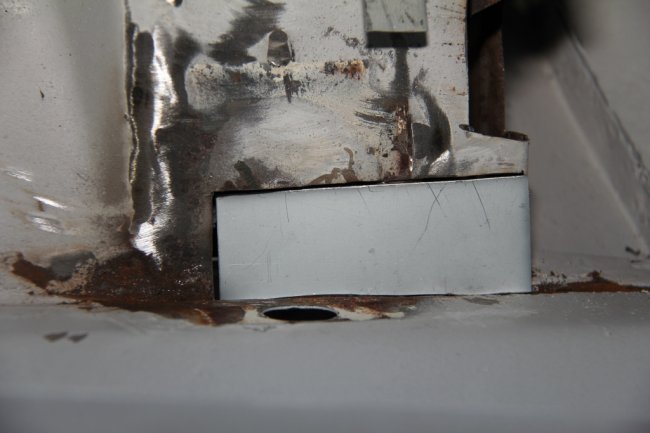 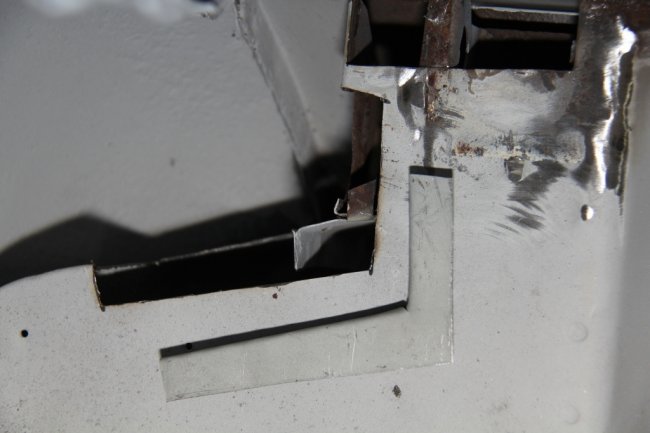 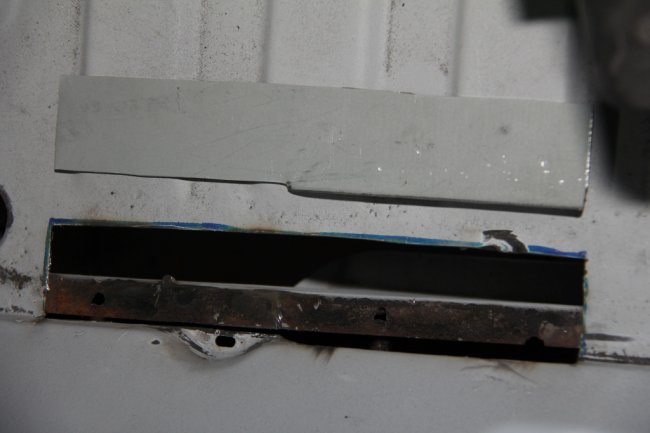 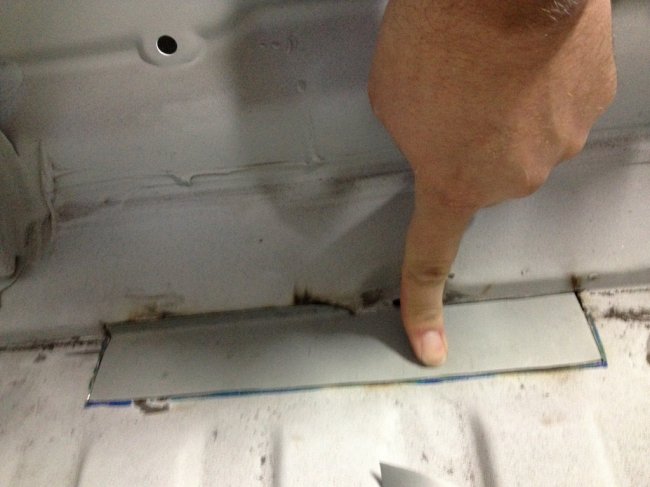 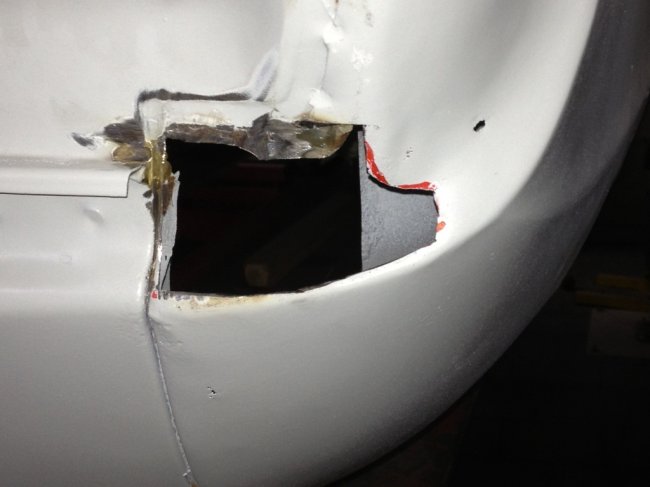 When this is done, the complete left side and cross over to the right via the boot area will be done. I expect to have that done in the next two weeks tops. As this is mostly waiting on the welder, I have started ripping apart the reight side of the car. The right side is generally speaking better, but the rear wheelarch and back need some more attention. When this is done it is time to fit a subframe, engine and modify the dash for the aircon unit. Plenty to do. But after that it is prparing the body for paint. |
| |
|
|
|
|
|
|
|
|
Great to see the update
and love those rear seats
|
| |
Last Edit: Aug 7, 2013 18:10:02 GMT by tonybmw
|
|
Granadaman72
Part of things
  I likes Granada's, Cortina's, Sierra's, Viva's, Marina's....................
Posts: 483
|
|
|
|
Great update, i love reading threads like this and the seats look really good  |
| |
|
|
PhoenixCapri
West Midlands
Posts: 2,685
Club RR Member Number: 91
|
|
|
|
Coming along really well, and the rear seats look stunning! Love it  |
| |
|
|
naki
Part of things
 
Posts: 89
|
|
|
|
|
another weldathon. holu moly.
good work anyhow
|
| |
90 Range Rover Vogue SE 3.9 V8 LPG, Lifted & modified for Off Road
93 XJ40 3.2s- awaiting 4.0 Manual conversion
91 XJ40 3.2 Sport Pack MANUAL (project)
93 XJ40 4.0 Sovereign- Daily Driver
91 XJ40 4.0 Manual
92 XJ40 4.0 XJR Manual
93 XJ81 6.0 Daimler Double Six
|
|


