eurogranada
Europe
To tinker or not to tinker, that is the question...
Posts: 2,556
|
|
|
|
|
Got myself up to the task of fixing the VR yesterday evening. Also measured the size of the pipe and hose for the oil lines.
This morning I got me a meter of 35bar capable oil resistant rubber hose. So I don't think this will ever happen again!
Now to find time to fix the car. Holiday preparations eat into my available hours...
Hope to update with success later!
Oh and as for being tough, I think I just did what any of you would have done. I don't consider myself tougher than the next guy...
|
| |
|
|
|
|
eurogranada
Europe
To tinker or not to tinker, that is the question...
Posts: 2,556
|
|
Jul 29, 2017 11:25:06 GMT
|
So yesterday I made short work of finding a new suitable piece of hose, unfortunstely I didn't find the time to also de the repair. So today after seeing my daughter off to horse riding I got myself to the garage. Puushing the car back far enough to work, but not so far as to have the wheels drop off the end of the garage floor to street level. If things would for some reason not work out, I'd at least be able to push the car back in fully by myself. After that the repair was started by taking out the grill which went very smooth. I undid the top cooler hose which was teh one that split and took it out. Next moved to the engine compartment where this line was attached to the radiator. I needed it off as I had the hose clamp fitted before the line and that meant it turned out to be inaccessible in situ. The line was tight and when it let go I cut my hand. So there's a little more blood (and sweat) that's gone in to this build! I undid the lower hose and no more fluid escaped. So I could safely undo the other end, but it also shows that there had been quite a bit of fluid lost! Having to work in the tight space between the engine and the fans on the radiator my arm started to look like ground meat. Making the new lines was a doddle. I even remembered all the hose clamps in time so no do-overs here. It's a nice sturdy line so it should now be good. With the repair done it was time to see how much fluid was in the system, but nothing read on the dipstick. SO engine started, warming up the system. I added 5 liters in increments and going through the gears. It now reads on the dipstick but it's not an exact science. I'll monitor it for a while. The new lines did not leak and the car moved under its own power! That's good! Upon exiting the garage I got a scare though, a nice big puddle under the car. I have no way of knowing if it was there before or if it was caused by running the engine again. If it is, it means there's a problem with the gearbox. I have a spare but still. Not looking forward to that event... But on the other hand, the car drove, and where I had been, there was nothing to be found. The occasional drip but they seemed to match the original split hose location and have just come off from driving it. In conclusion, I'm not convinced I'm fully done yet. I now fear a gearbox issue... But time will tell. I'll probably go donw the garage later today and have a look and run the car some more to see what it does or doesn't do. 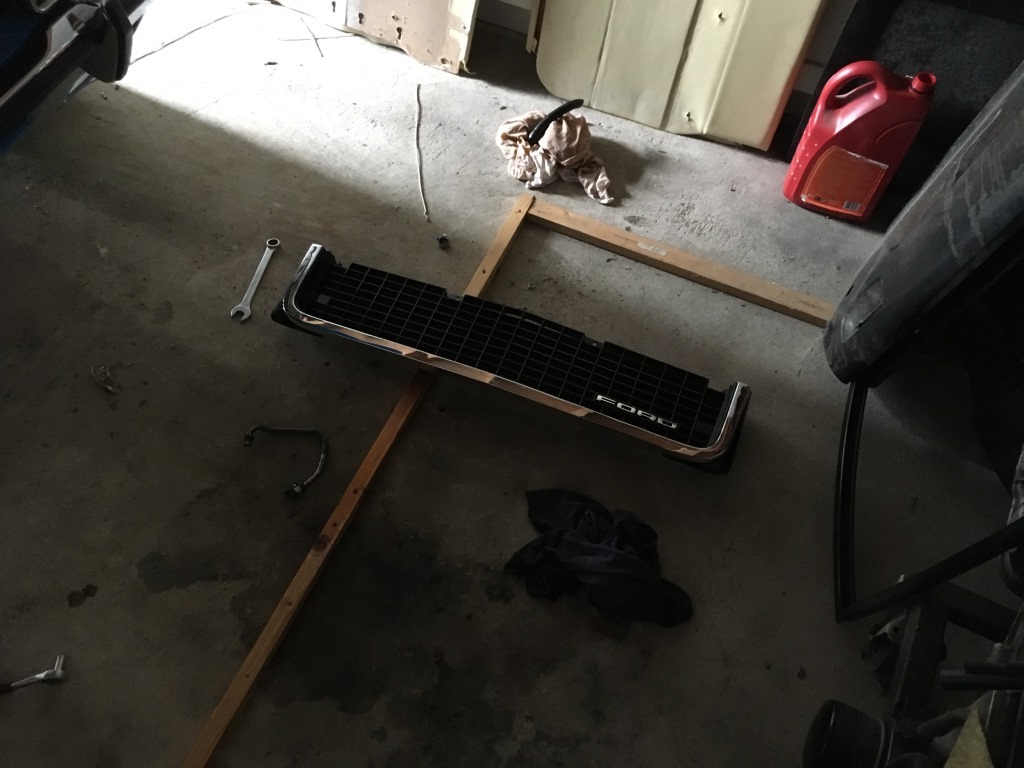 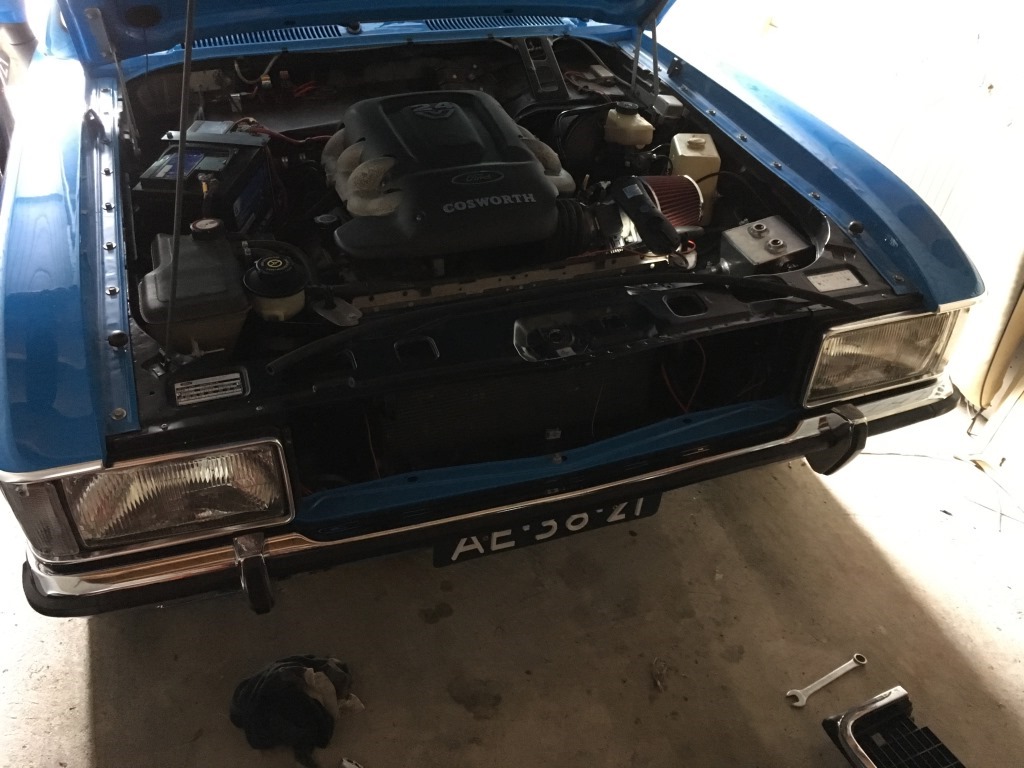 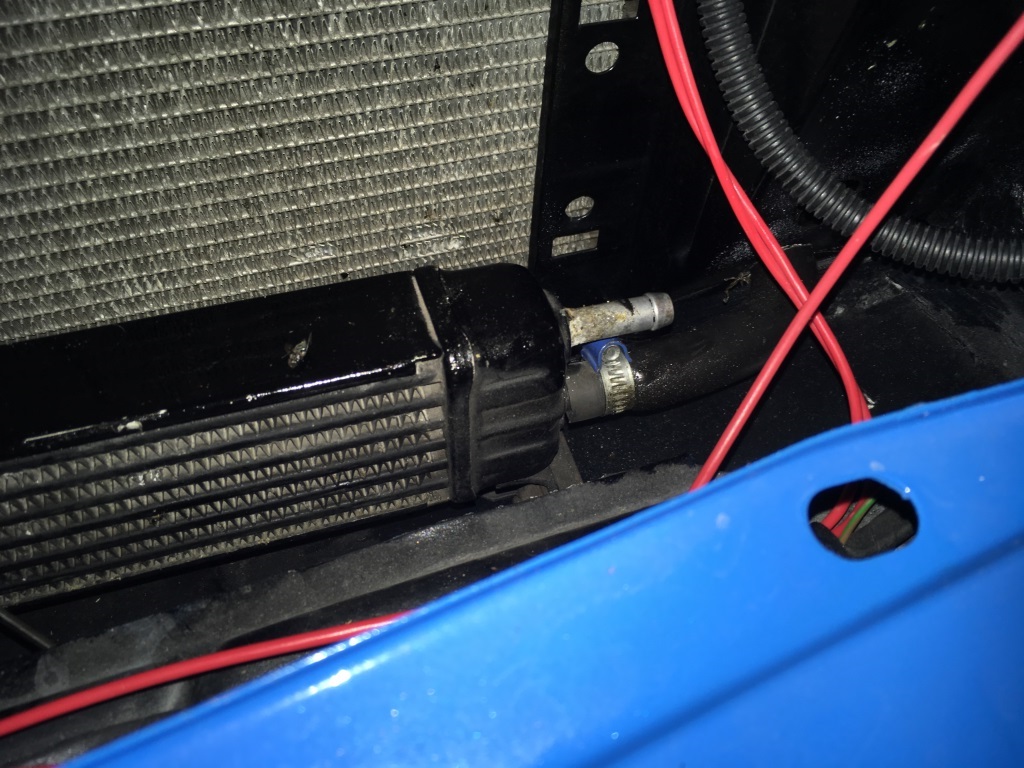 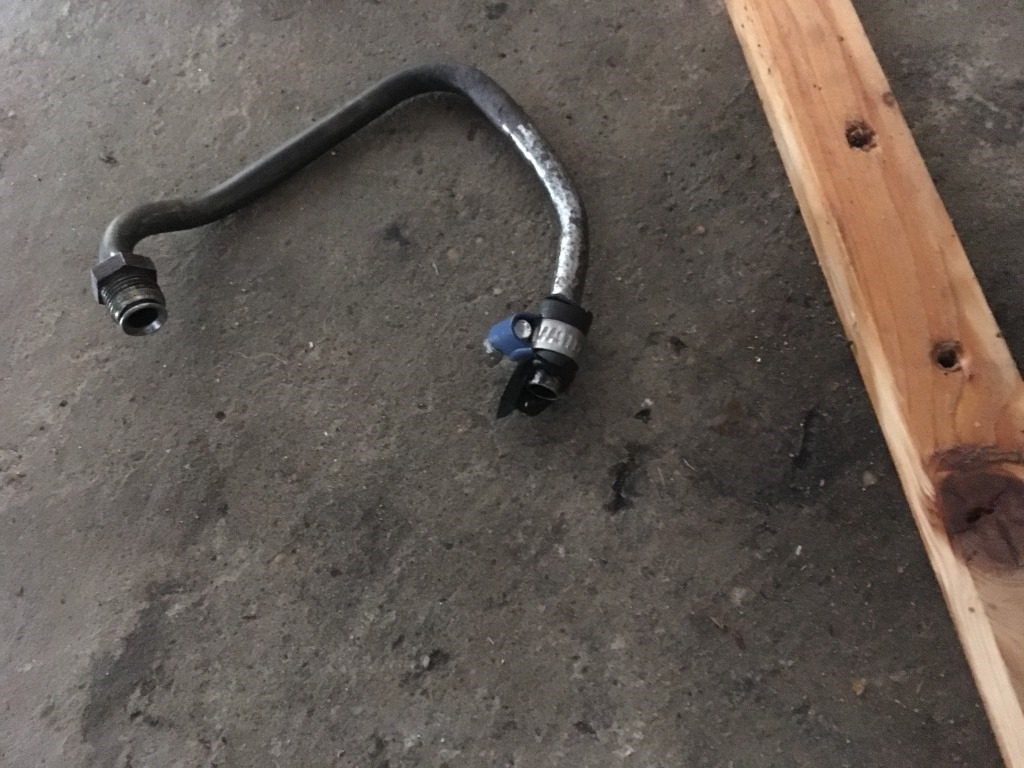 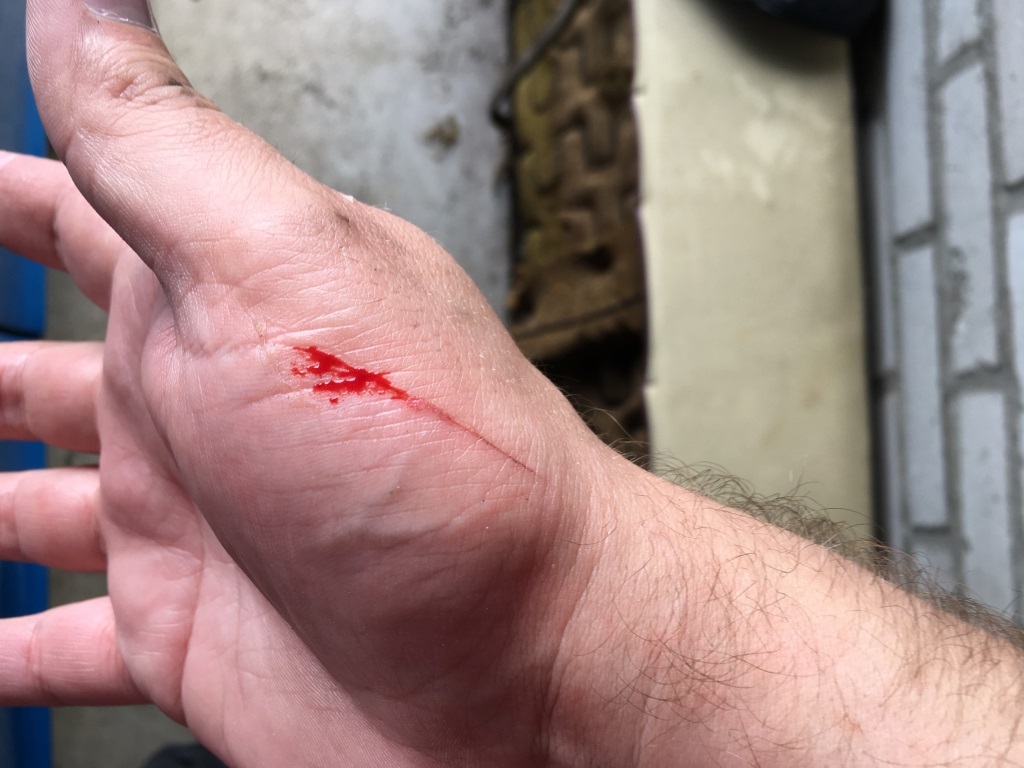 |
| |
|
|
eurogranada
Europe
To tinker or not to tinker, that is the question...
Posts: 2,556
|
|
Jul 29, 2017 14:36:21 GMT
|
|
Few hours later now and I just looked... few drops directly under the box pan... but when running and in gear nothing comes out...no drips. A bit more confident but not there yet...
|
| |
|
|
vulgalour
Club Retro Rides Member
Posts: 7,287
Club RR Member Number: 146
|
|
Jul 29, 2017 19:19:21 GMT
|
It'll be fine, you made the requisite sacrifice after all  |
| |
|
|
eurogranada
Europe
To tinker or not to tinker, that is the question...
Posts: 2,556
|
|
|
|
|
Well some good news finally...
The gearbox is fine. I just over filled it!! Dipstick is not easy to read.
Today I went again and I put in just a few drops of fluid after having found no more dripping overnight! And immediately it started dripping again.
Not feeling anything wrong with the box, I left it at that.
I took the temp sender out of my spare engine and went home. At home I have an easily accessible spare box and low and behold, just where my drip comes from there's an air vent on top of th box. This is a huge relief. Taking some oil out is easier than swapping the box!!
Now this restores trust in the car! Feeling good!
Although still no reading on the temp gauge so that still is a mystery. Will now test the other sender to see how it behaves...
|
| |
|
|
eurogranada
Europe
To tinker or not to tinker, that is the question...
Posts: 2,556
|
|
Jul 31, 2017 12:38:40 GMT
|
|
Hm, other engine matched sender under boiling water does not produce a reading on the gauge. Although this one did consistantly measure resistance.
The dash matched sender temporarily in the car using the original direct feed to the cluster (on the old VR still) did not produce a reading to the gauge.
Next up testing the new VR that by now is corrected, but with vacation coming up it may be too much to manage.
|
| |
|
|
eurogranada
Europe
To tinker or not to tinker, that is the question...
Posts: 2,556
|
|
|
|
|
So...... everything comes to a stand still from today as vacation prep and vacation take over life for a few weeks.
I'll have the car being checked on regularly by friends but none get the PATS key, lol...
|
| |
|
|
|
|
|
|
|
|
I'm playing a bit of catch-up here, seems you have had a busy summer.
Regarding the temp sender, I was surprised to read that there is just one sender, and that the ECU sends a signal to the cluster on the BOB.
But in that case, my strong advise would be to use the correct sender for the ECU and try to fit a standard Granada sender somewhere for the gauge. The ECU needs the correct coolant temp not only for the fans, but more importantly for the fuel calculations. Especially important for starting but it is a factor that is always used to tune the fuelling needs.
I also suspect that the BOB ECU gauge signal will be something like a 0-5V signal, not a variable resistance to ground as the gauge expects. Of course it is possible to build a converter but that's probably more work than it's worth.
Regards
Gustaf
|
| |
|
|
eurogranada
Europe
To tinker or not to tinker, that is the question...
Posts: 2,556
|
|
|
|
|
So, been a while....
Let me just first express my sentiments about our family holiday...
This year we embarked on a totally different kind of adventure from our norm. For the first time ever (in 16 years of being a family) we took our own car and drove to the south-west of France where we had booked a little charming apartment, a "gite". We did 3000 km's in two weeks. Even as the sole driver I must say the experience was a great one. The gite fulfilled it's promise of being a charming little place and we had a great time in it. The domain it was located on was also great. So in short we've had the best vacation ever and all returned refreshed and in a good mood!
On the Granada front I didn't do much. I had it checked up on while we were away and when home and with everything slightly back to normal I went to it and started it up. Even after 3 weeks standing it fired right up!! Still no leaks from the tranny area or the replacement hoses.
A few days later after a short drive I took out the fuel tank for recoating. I'll have to find some more containers though as after 26 liters all of mine were full and the tank still dropped like a bomb, meaning it wasn't nearly as empty as I had guessed and expected given the fuel tank reading. The good news is that must mean the car is pretty good on fuel economy...
So I'm trying to find a good way of safely storing (not just evaporating) 20 liters more fuel. Then I will attack the tank with the required processes to get it coated. I went for the POR-15 product in the end, having a better 'feeling' about that than the others. No real good reason though....
The gauges are still a work in progress. Adding a ground wire to the VR has made the fuel gauge come to life but it now reads too low I think. But this is still on the old style VR. The solid state one is waiting to be fitted.
And here I can now link to the previous poster's comments. Testing has made clear that the sender the BOB engine needs is very different from the one the gauge needs. Now the specialist who helped me with my harness marked a wire from the BOB loom's instrumentation unit for attachment to the old style gauge. But I now think this is not suitable after all. I agree that the best solution is to fit the original BOB sender in the BOB so the ecu gets what it needs and adding a second sender somewhere in the coolant hoses to feed the gauge. Using the solid state VR for power. So I'll try and see how this is done the simplest way. With the gauges fixed the dash can go together again and the car is complete again.
I'm also still or again working on and thinking about my cubbies for filling the space between side panel and seat. The wood used for the current version has warped from heat.
I hope the great post vacation spirit will now help me get the last Granada things done.
This year has been a disappointment in a certain way as I'd expected to visit meetings from march up to september, but actually still haven't gotten to a single show. It's been almost a year since MOT... So next year I hope to be ready from day one of the season.
Hope all of you had great vacations too for those who had time off and I'll now get back to following up on at least 26 threads...
|
| |
|
|
gess
Part of things
 
Posts: 220 
|
|
|
|
|
Good to hear that your vacation was a success even if it wasn't spent in a Granada.
A total rebuild will, as you have noticed, reveal unknown challenges and problems you couldn't have thought of when you started. Hopefully you will solve the rest of the minor issues during winter and tha car will be ready to take on every event and meeting you have planned for next year.
My vacation was also nice, spent it with the family and haven't gotten to do anything to my car. So that is a bit disappointing. But I am optimistic, and next year will be a better car year!
|
| |
|
|
eurogranada
Europe
To tinker or not to tinker, that is the question...
Posts: 2,556
|
|
Sept 11, 2017 8:56:28 GMT
|
Well it's time for another little update. The Granada has been stationary since removing the tank, which I think is about where I left you in this story... So with the tank out it was time for some work. But first I had to get rid of another 20-25 liters of fuel. I used all the spare old oil and coolant and even paint prep containers I could find and so managed to stuff another 15 liters into closed bins. But the last bucket of about 8 liters I just had to leave in the bucket... But at least the tank was now empty so work could begin. I then created a bench test situation for the float/fuel gauge. So I hooked my solid state VR, my spare gauge and the tank up to power and ground. Next I tested the float by levering it to max and after the gauge had followed suit to min. At max the gauge over read a bit and coming from max down the gauge would bottom out on the low end of empty. When cutting power the gauge comes to rest. When re-applying power the gauge would not move back to the low reading but remain bottomed out. As soon as the float moves though, the gauge responds. Next I did sort of a calibration test as when I removed the tank from the car the gauge read below half while there was actually approximately 50 liters in the tank. Probably partially due to the VR in the car and partially due to the float. So out came a watering can with 1 liter marks over the full 13 liter capacity. Not taking them as a very exact liter but it should tell me something. 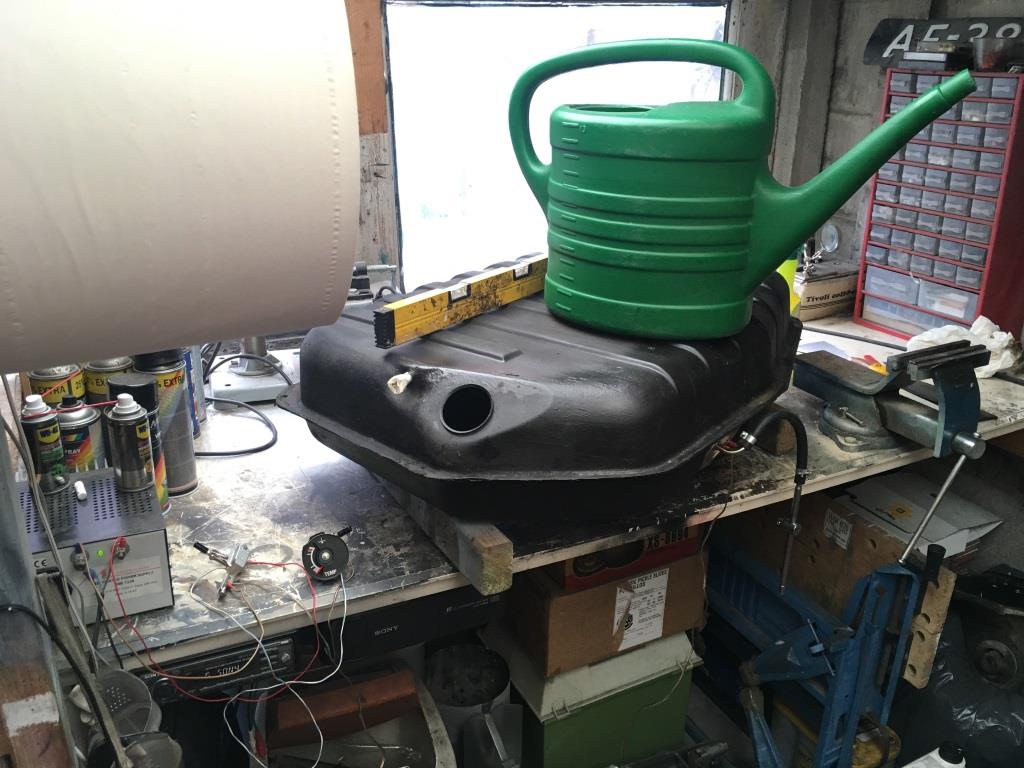 So with the first 10 liters in the tank...Nothing! And with 20 in the tank...still nothing at all! And with 30 in the tank...a little movement: 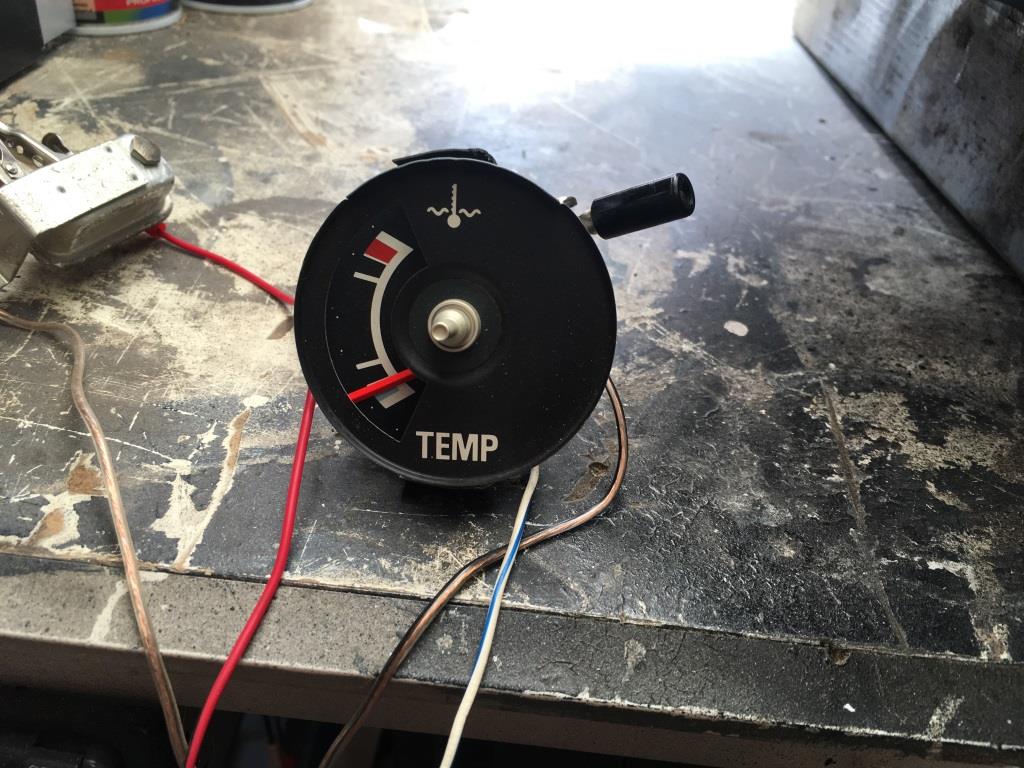 And with 40 in the tank: 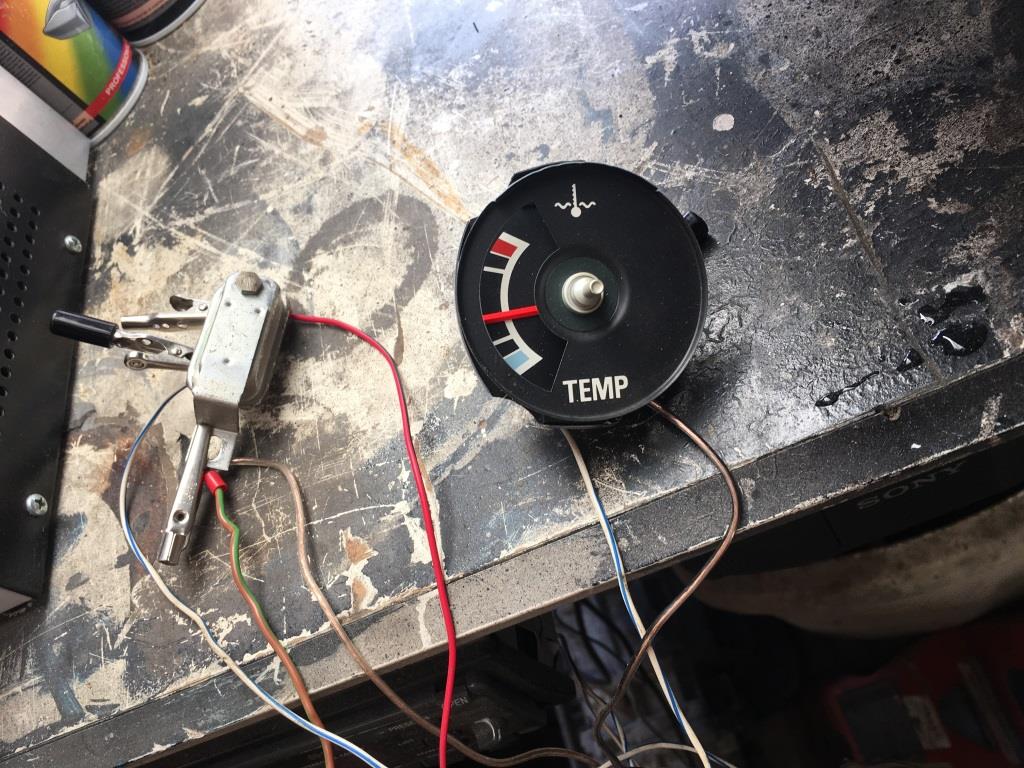 It eventually took 46/7 liters to get the gauge to read exactly half full. And that on a 60 liter tank! It maxed out at 53-ish liters as I couldn't get any more in due to the lack of filler pipe. 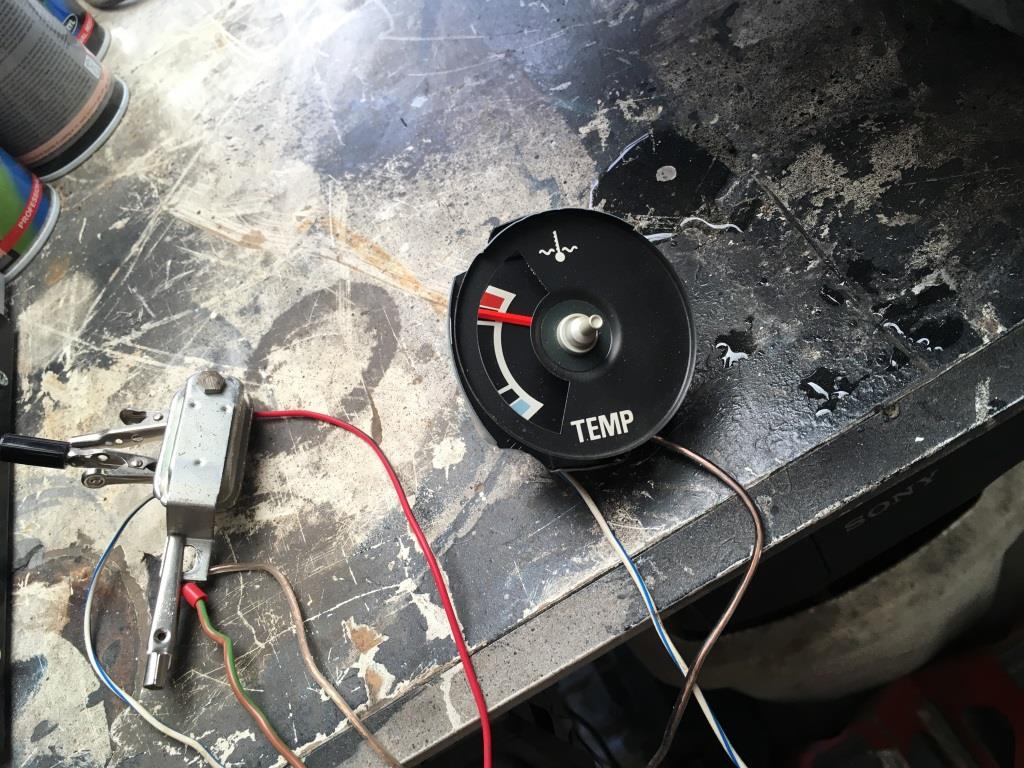 But at that point the float still had a lot of room to move up and when manually doing so it maxed out easily as expected. So the lesson was that it can't be normal for the tank to read empty with 20+ liters of fuel in the tank and not even full with 54-ish liters in the tank. So I decided to adjust the float so it was lower down in the tank and would start reading sooner. As I continued work on the tank, the adjustment will need to prove itself later. For now I drained most of the water, took the float out and covered the hole with duct tape. I added pebbles from the garden and started my first fuel tank dance event. Sloshing the water and pebbles all through the tank. I began with this (lousy pics). 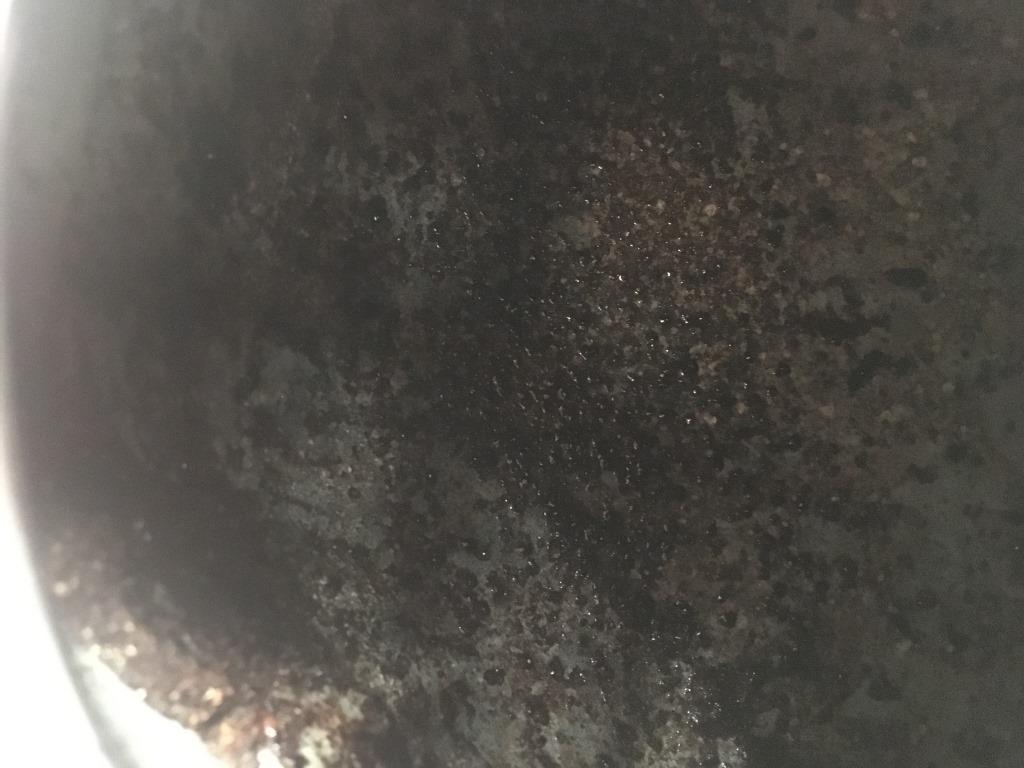 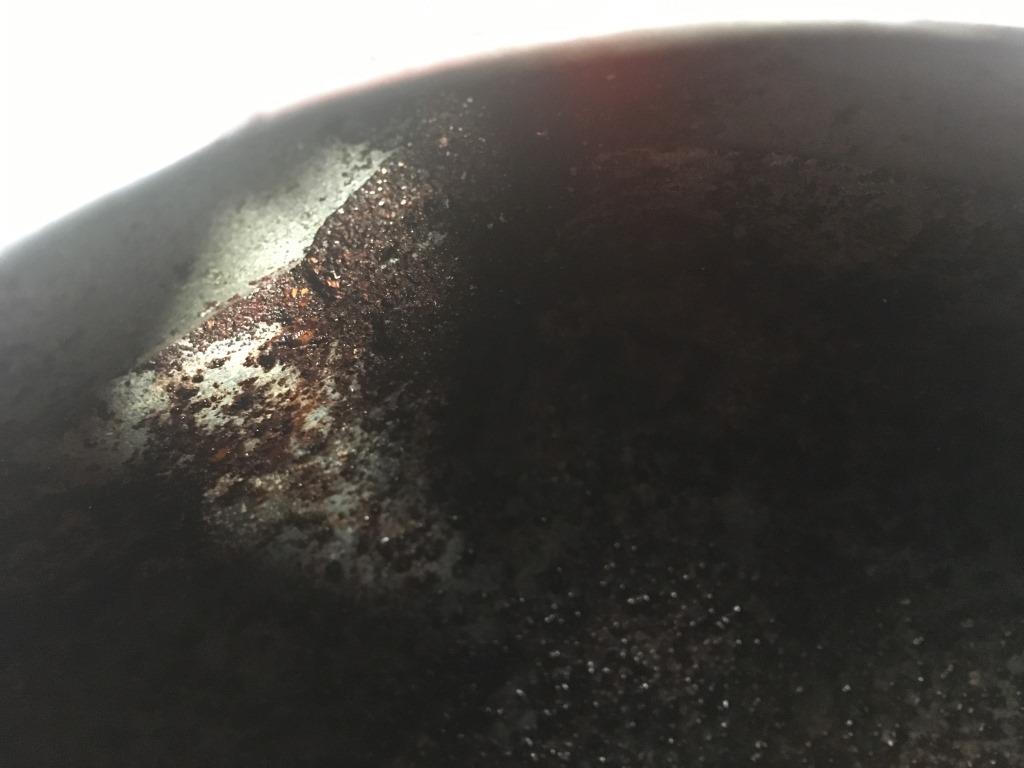 After a bit of a shake I drained the water and repeated the process. The water was very very dirty orangy brown. And when eventually the pebbles came out they were the same dirty colour even after rinsing. The duct tape also is a good indicator of the dirt removed. 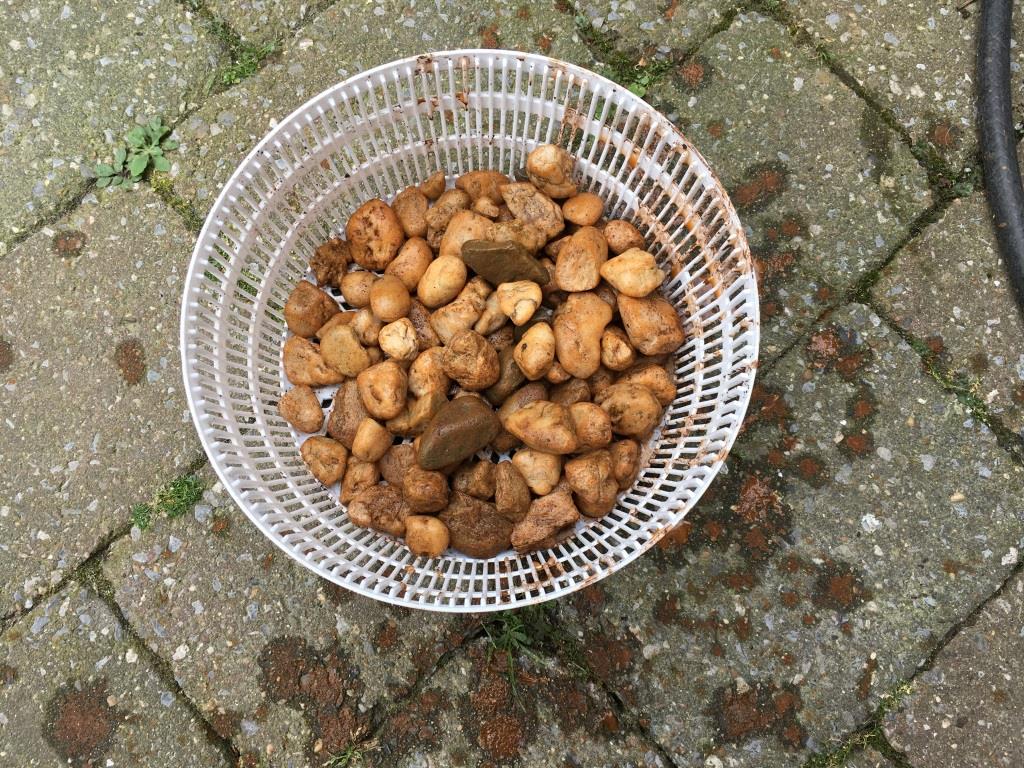 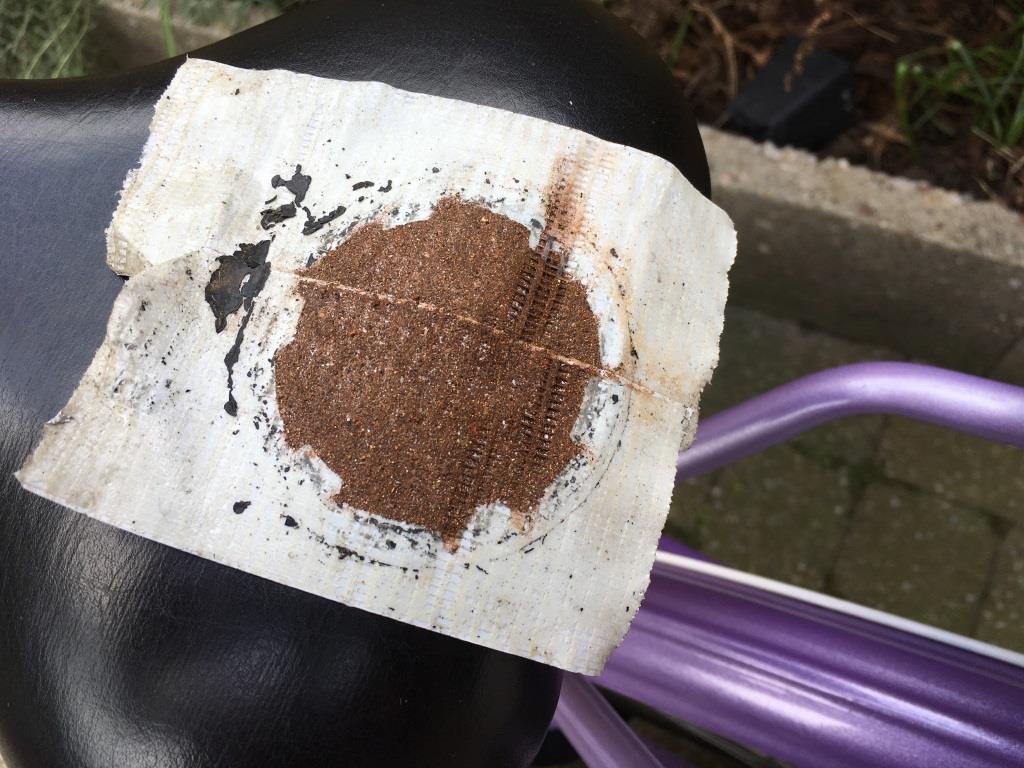 With the tank rinsed out, I poored in the tank cleaner from the kit and treated the tank to another round of dancing. Before leavin it to soak in switching position every 30 minutes so each and every tank surface would have it's 30 minute soak. 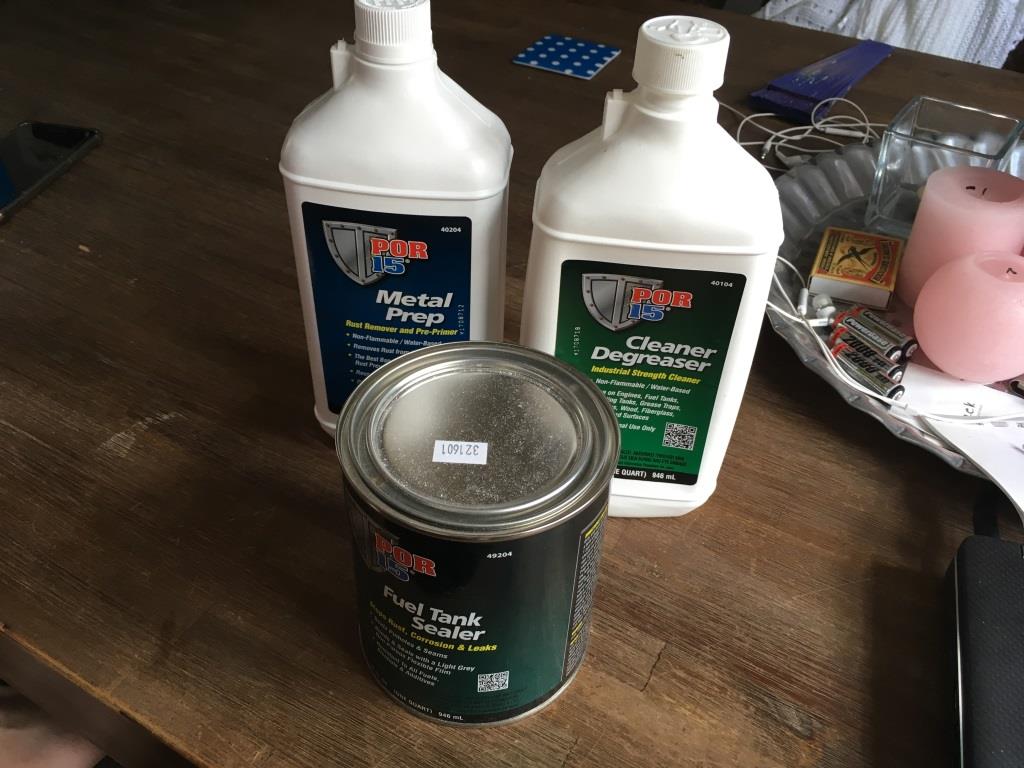 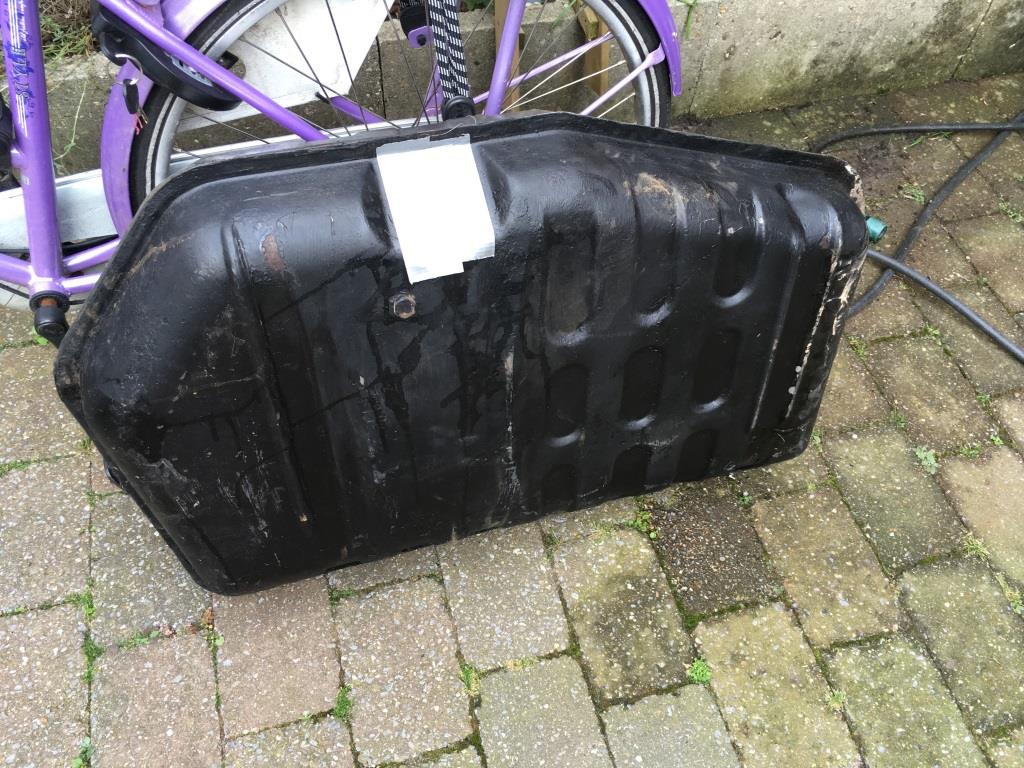 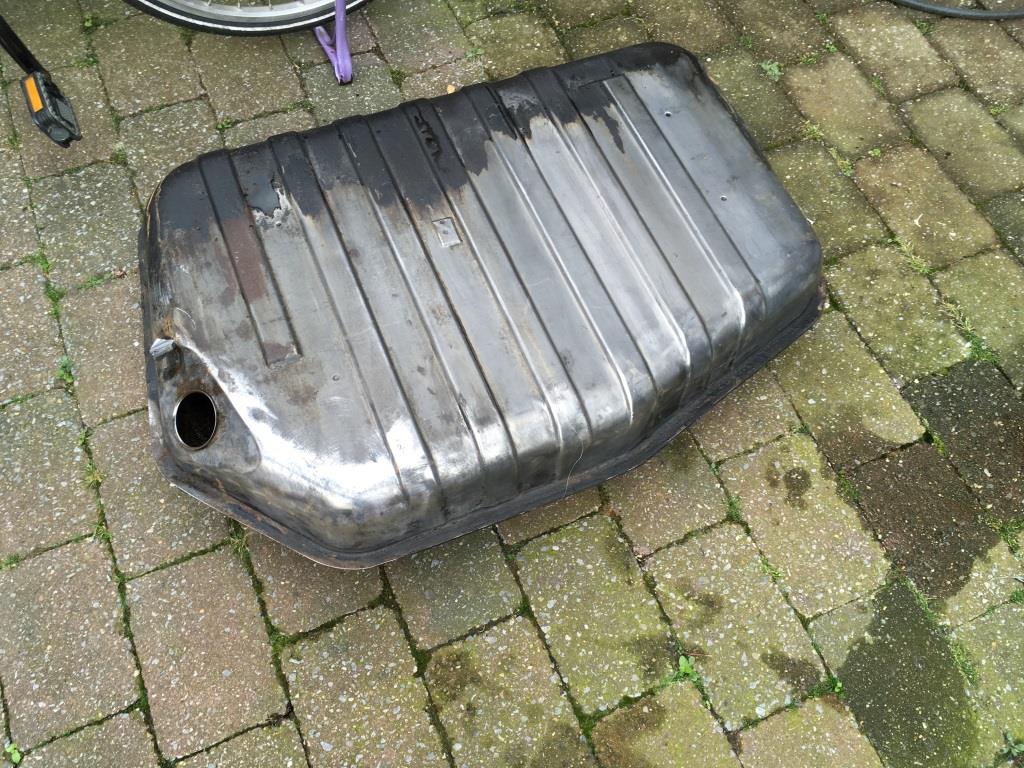 After this process, I let the tank dry out for a day, before adding the metal prep. I didn't want the working of it compromised by residue of the cleaner. So the above repeated itself: another dance, another round of reporistioning the tank so all surfaces would get treated. Taking special care with the seams and the non filler end of the tank. One could clearly see that I had had it stored in an upright position with fuel in it for quite some time as that area was affected most. I found 5 pinholes in the tank! Four on that one side on the upper edge, one on the top of the tank. After carefully drying out the tank it was ready for coating. 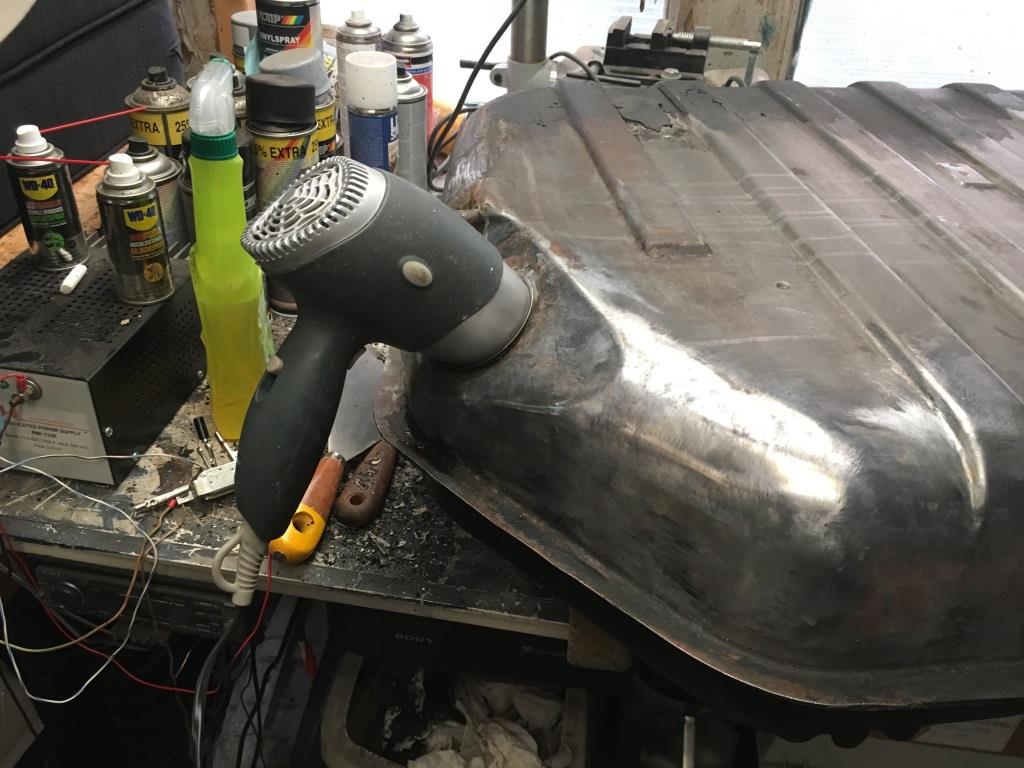 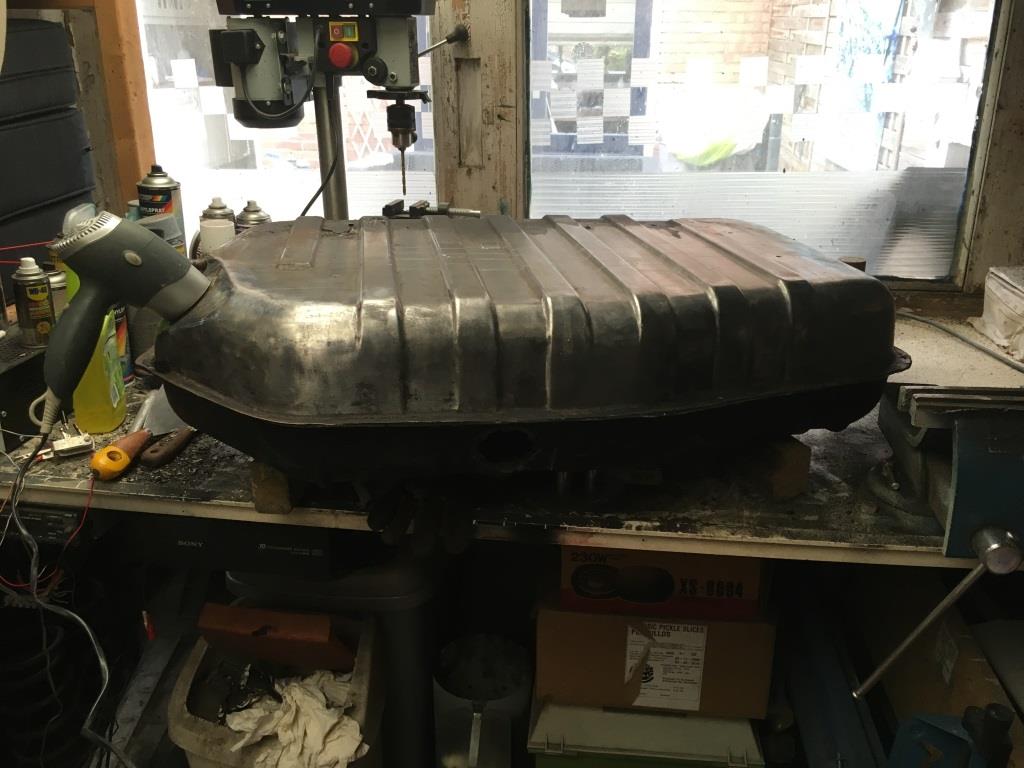 But as the outside of the tank was also looking pretty ugly with rust coverd by bitumen based coatings I decided I'd better get that cleaned off before coating the tank. I wouldn't want the risk of the coating failing because of locally added heat from rotary brushes and or even the paint remover heat gun. Good decision as I had to resort to the heat gun in a couple of extra stubborn areas. 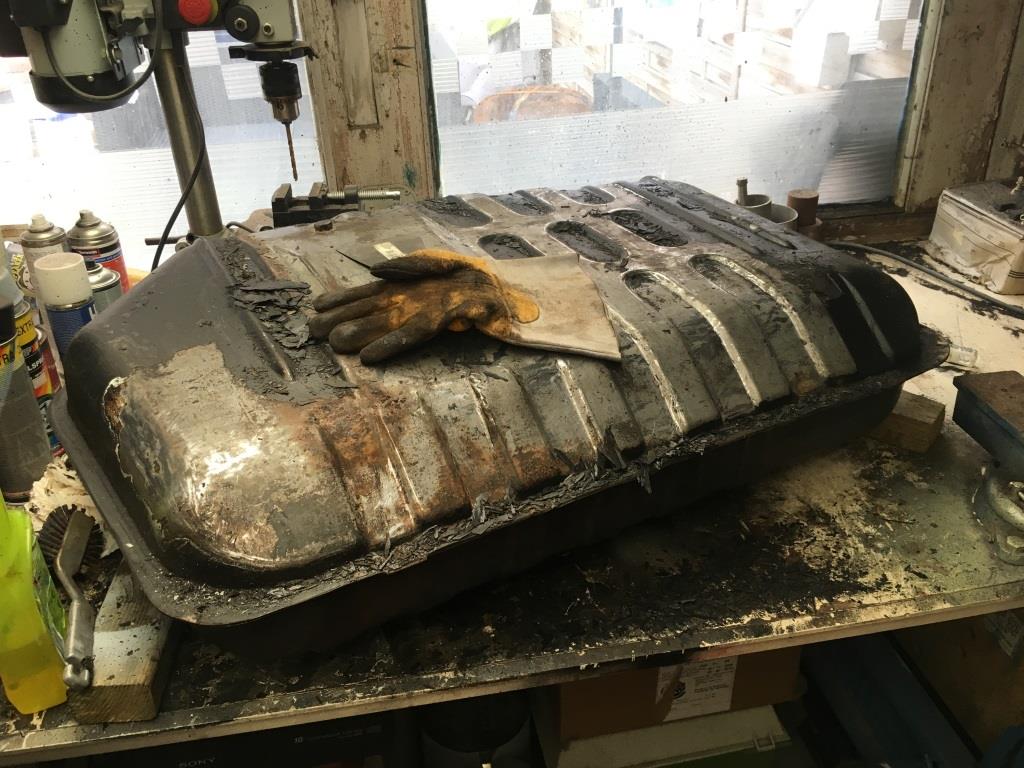 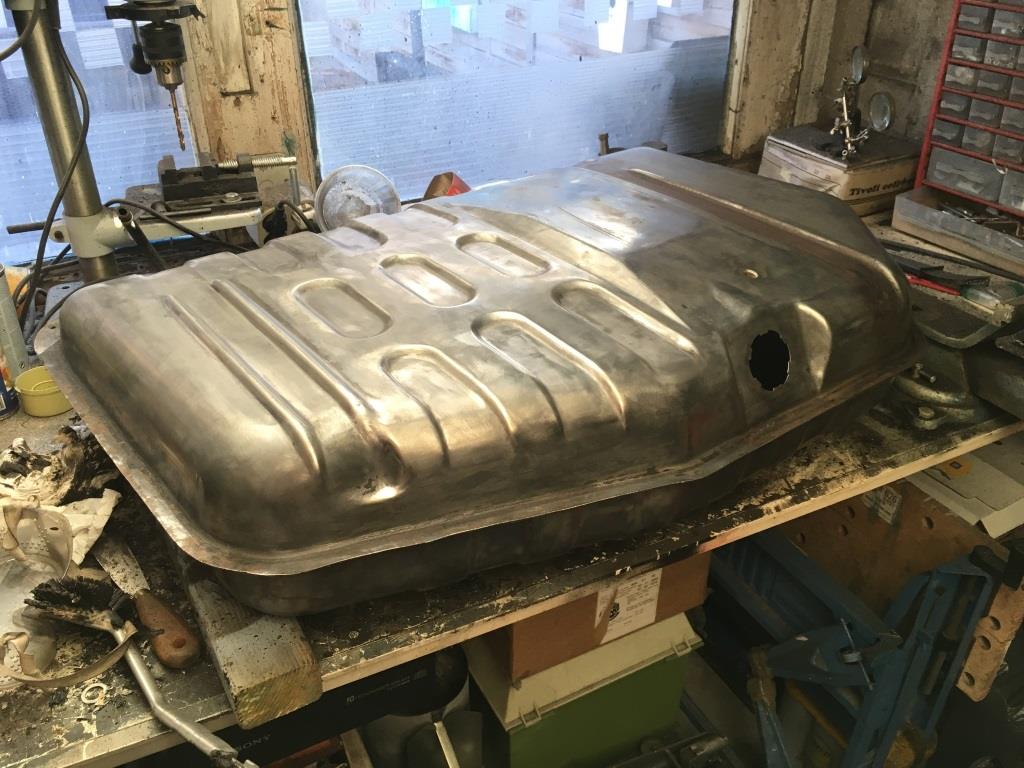 After several hours worth of pretty tough hard labour, the full tank was cleaned up! Ready finally for the coating. So late saturday evening I was once again seen in the garden, intimitely dancing with a fuel tank. Throwing her over my head, from shoulder to shoulder and holding on for dear life. I have to admit with a tank this size it's a workout for my arms and back. Now the coating itself is a great product. I have to say how impressed I am! After opening the tin you'll find it is brimmed. So stirring as you're supposed to do is a challenge without making a mess. It was however needed to get the stuff from the bottom to mix nicely. It looks like a very thin product with many metal particles floating around in it. Before using it I had my doubts if this one quart (American product from Por-15) would get the whole tank done. But I was not disappointed at all. Again I plugged all holes with duct tape. Except for the breather pipe. I filled that with a length of 3 wire power cable right up into the tank. It was exactly the right thickness. Had I just plugged the outside hole of the breather, the coating would have collected in it and knowing what I know now about the curing process, this would have led to a very obstructed breather. The process calls for tumbling the tank for about 30 minutes and keeping tabs on it I could see the coating stick to the tank. Again I took extra care on the seams. I actually tumbled and danced around for a little longer and then found it was time to drain the excess so no pools exist in the tank. By carefully choosing how I moved the tank, I was able to drain it in a way that the top did not become riddled with drips. It's wonderous that 1/3rd of the full product came right back out! But the full tank seemed to have a nice coating. Funnily enough the coating seemed to be extra tough on the most rusted areas. The smooth areas of the tank deceptively looking less well covered. On to the curing. The product cures in air, so the moment the tin is opened the curing starts. It's actually a pretty fast process and you see the coating transform a little. It seems to become thicker like it's expanding somewhat. This is well seen in places where I spilled some (in the garden, oops). The full cure takes 96 hours, but after only 12-14 I couldn't find a single wet spot and the 1/3rd filled tin was solid already! I'm now just waiting on the 96 hours to pass, but the result looks amazing. Also the five pinholes were successfully filled. To be sure they would get filled I had covered those with a piece of tape. I pulled that tape off after the first 30 minutes as I didn't want it to permanently stick to the holes. Upon removal it was immediately clear how nice the coating worked! 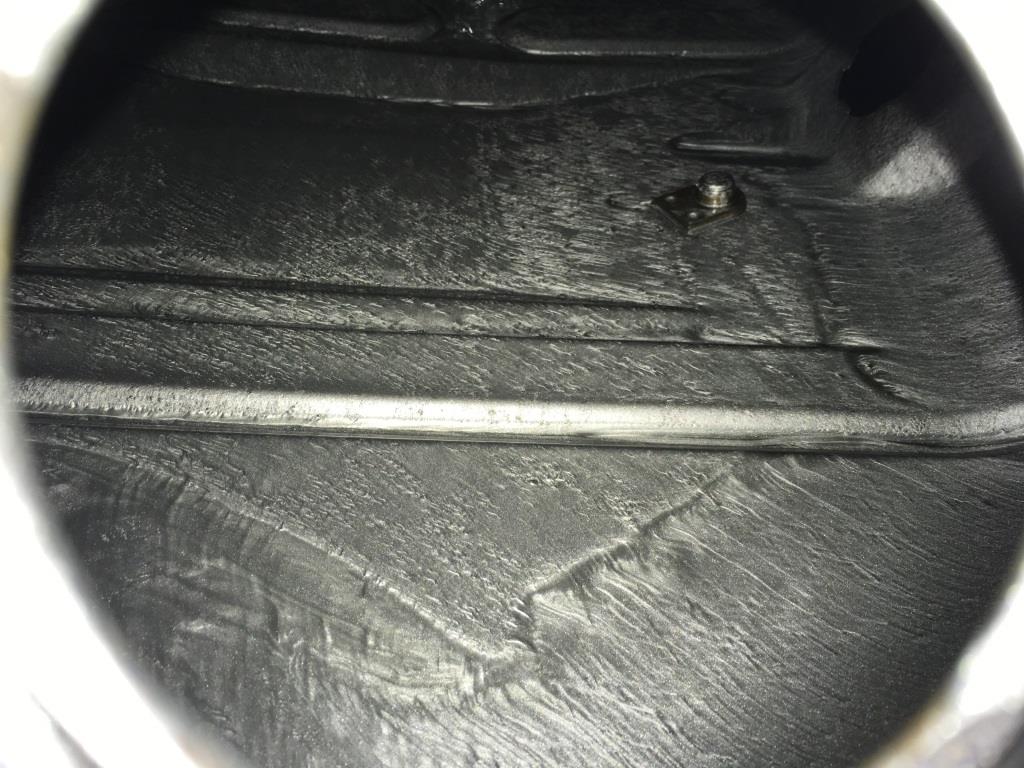 I hope I'll finally have cracked this issue once and for all. On the gauge front I need to start looking for an adapter to fit in my coolant hoses that allows for a sender to be fitted. I'm pretty sure that issue can then be resolved pretty easily. That should see the car back in full working order. Ready for some shakedown runs. |
| |
|
|
gess
Part of things
 
Posts: 220 
|
|
Sept 12, 2017 5:12:14 GMT
|
|
Your neighbors must think you are insane, dancing around with a fuel tank at all hours. But hey, it is still better than dancing with the stars :-)
I hope the POR 15 product delivers as promised, it is an expensive treatment and not to forge, time consuming.
The temp gauge you use as a fuel gauge, are you sure they are identical when it comes to Ohms and reading? I am no car electrician and don't know how these gauges work besides having a needle and a coil. I just thought about how the different temperature senders with their color coding affect the temperature reader differently. Will the temperature gauge read the fuel sender signals correctly?
|
| |
|
|
eurogranada
Europe
To tinker or not to tinker, that is the question...
Posts: 2,556
|
|
Sept 12, 2017 6:19:03 GMT
|
Your neighbors must think you are insane, dancing around with a fuel tank at all hours. But hey, it is still better than dancing with the stars :-) I hope the POR 15 product delivers as promised, it is an expensive treatment and not to forge, time consuming. The temp gauge you use as a fuel gauge, are you sure they are identical when it comes to Ohms and reading? I am no car electrician and don't know how these gauges work besides having a needle and a coil. I just thought about how the different temperature senders with their color coding affect the temperature reader differently. Will the temperature gauge read the fuel sender signals correctly? I was told by an old geeser in the know that the only reason they (the fuel and temp gauges) have different partnumbers is that they have a different face attached to the exact same inner workings. The two gauges are reportedly the same and from experience do indeed look exactly the same on the inside, but each get their own signal. And yes, between cluster types and model years there are different gauges using different senders. I had two binnacles from the same model year only a few months apart. Both were specified to have the same sender (white ringed) for the signal feed. But though this gauge now reads temp on the face it is actually a fuel gauge that I repurposed as the spare temp gauge was broken. So in this application it should be right and my measurements should mean something. When attached to a temp sender the readings might be off, but it's not really expected. Of course, when the tank is reinstalled, first thing I'll do is monitor the gauge moving the float through it's range. Then again when filling the tank in five liter increments (due to the container sizes I had available). Oh and yes, the Por-15 treatment is not cheap. The kit was about 80 euro's. One can save a bit by using unbranded cleaner and metal prep solutions but I didn't want to take the risk. Also there are products out there for half the price, but they just couldn't really convince me. The coating in pictures found just wasn't so visible and the description of the size of pinholes that could be filled was also lacking. Por-15 just stated all those things more clearly and with better imagery to go along. And I must say, it seems to deliver! |
| |
|
|
gess
Part of things
 
Posts: 220 
|
|
Sept 26, 2017 10:47:39 GMT
|
I was wondering if I had linked to this guy in England who is restoring a Granada coupe, but I couldn't find any links in my posts so here it is: autoshite.com/topic/25964-1975-ford-granada-coupe-now-up-to-425-hours-of-welding/page-1It is not a coke bottle Granada but it is still a coupé, and it is undergoing an extensive body repair. Thought you might like to see that others also had to deal with rust and time consuming repairs. He is also using Por-15 on his build, but to another extent, and another product category. |
| |
|
|
eurogranada
Europe
To tinker or not to tinker, that is the question...
Posts: 2,556
|
|
Sept 26, 2017 13:05:58 GMT
|
So the tank is back in the car... From where the previous entry ended I went on with painting the tank in an old fashioned iron protecting paint. Used to be good at keeping rust from bare metal for years. I painted the tank with it, but the paint took a long time to cure. I then painted the top which is out of sight black and the bottom which can be seen silver. Nice contrast to the black straps and blue of the car. 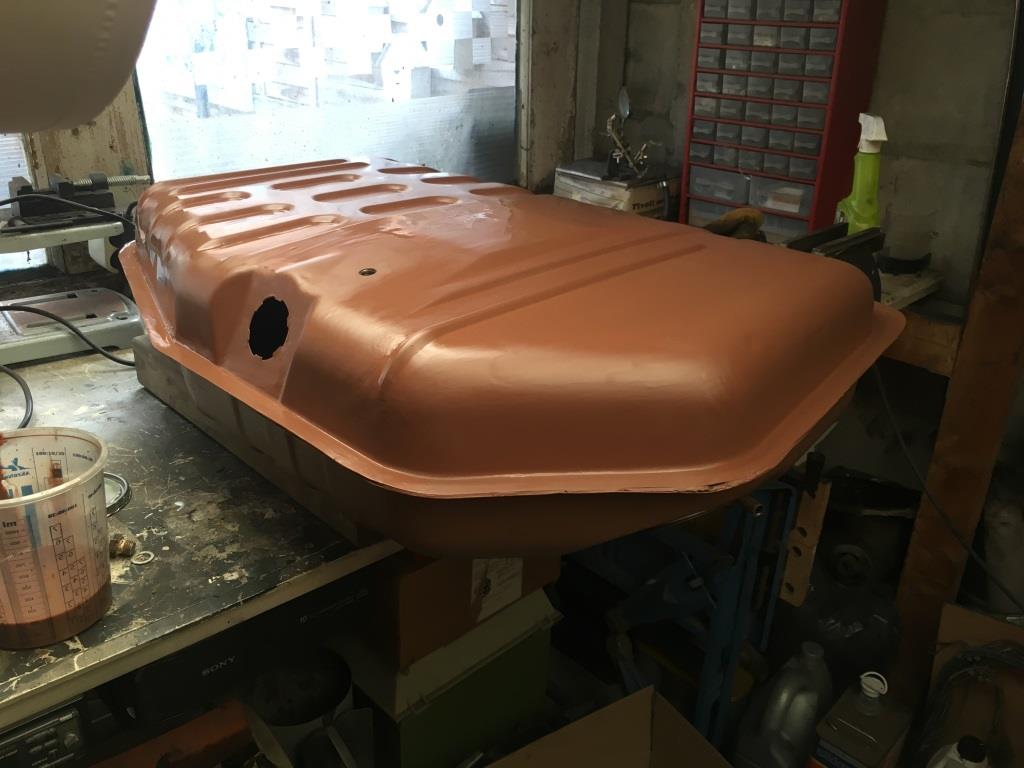 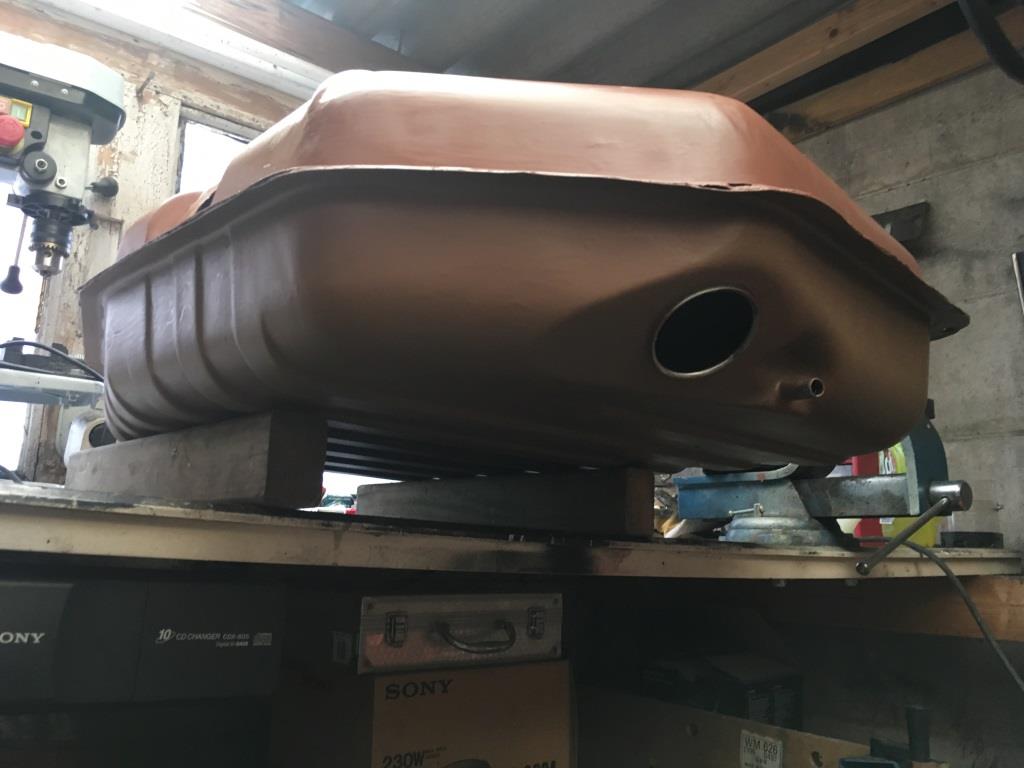 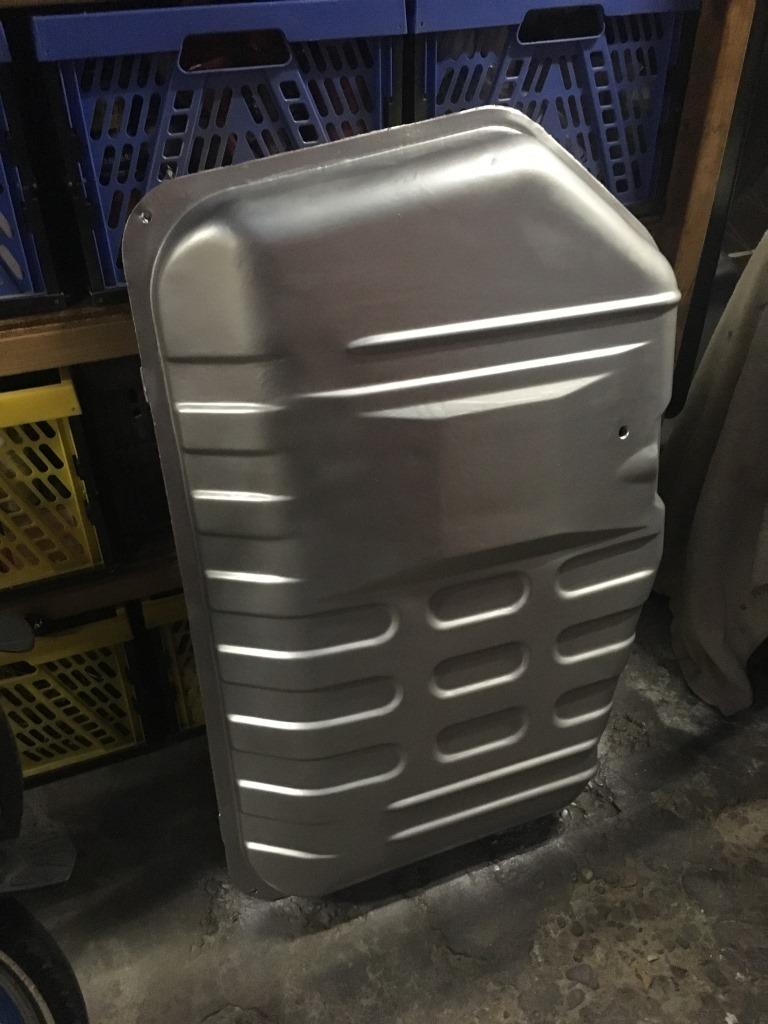 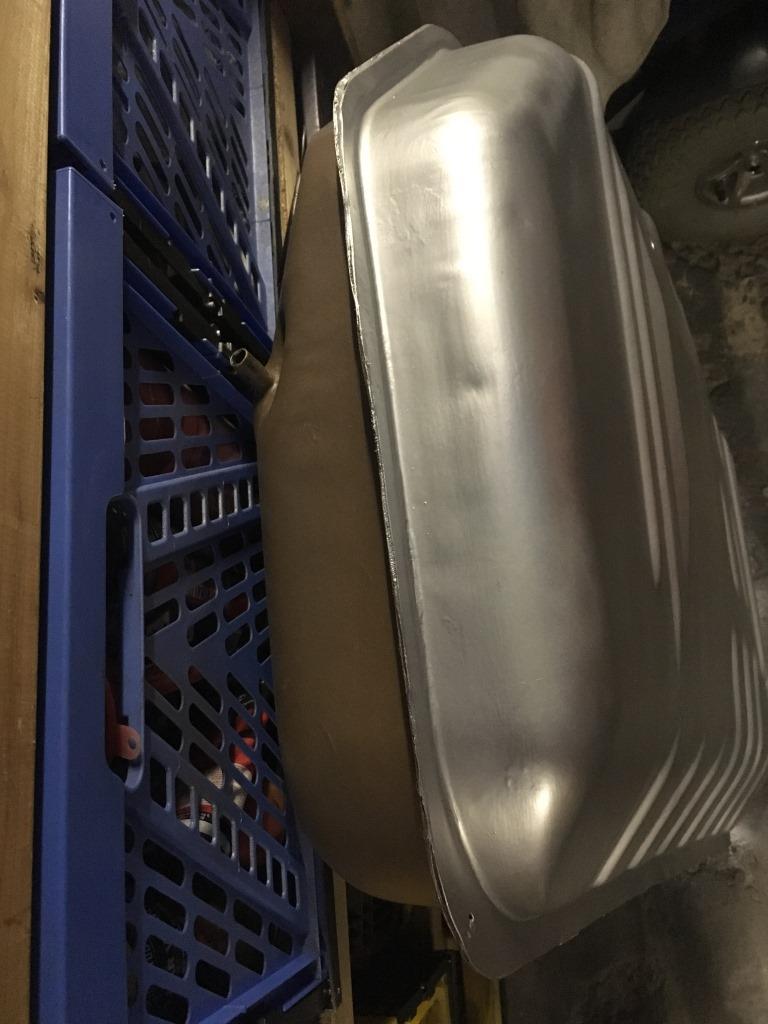 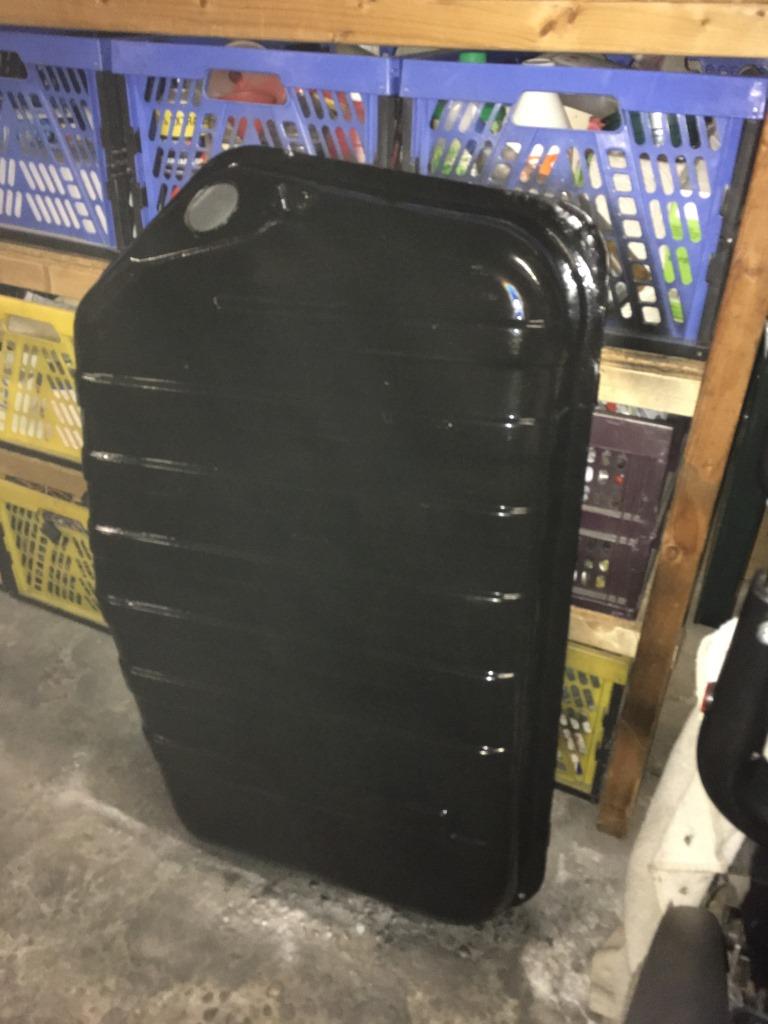 Before putting it back on I did another water/gauge level test to set the float to show top line of red empty area at 15 liters. 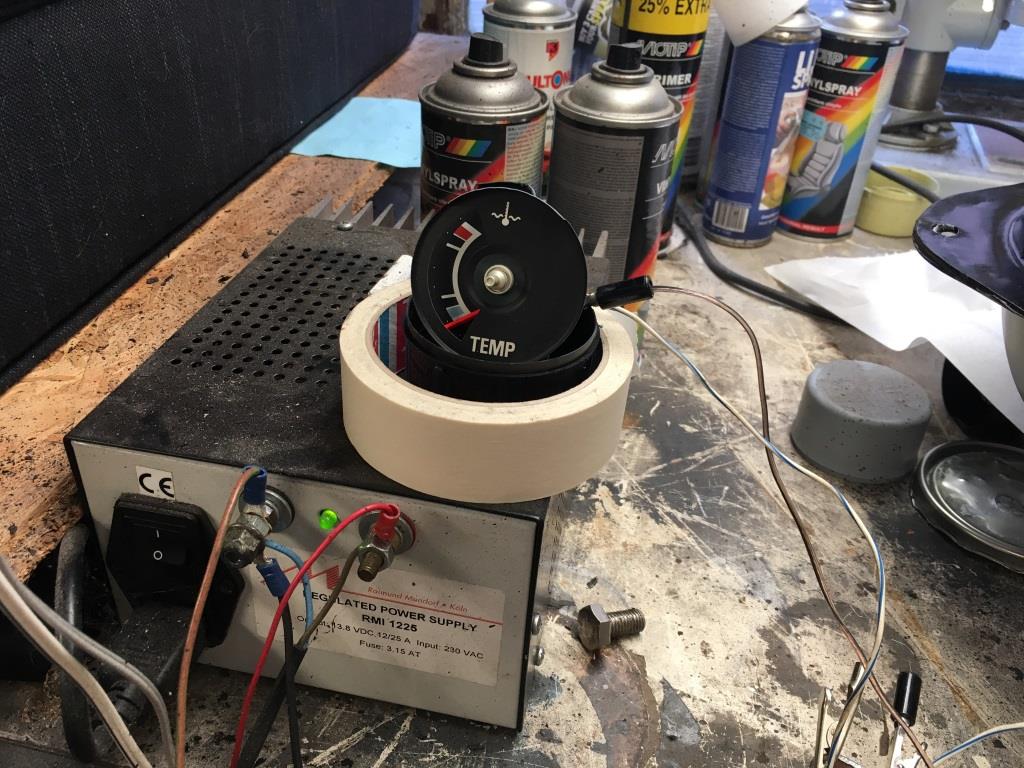 Then came the install. Nothing really difficult. Just a little fidly with the car on the ground and the fuel filler pipe to push into it's rubber. Maybe half an hours work or less. Hooking all the lines up and tightening the straps. 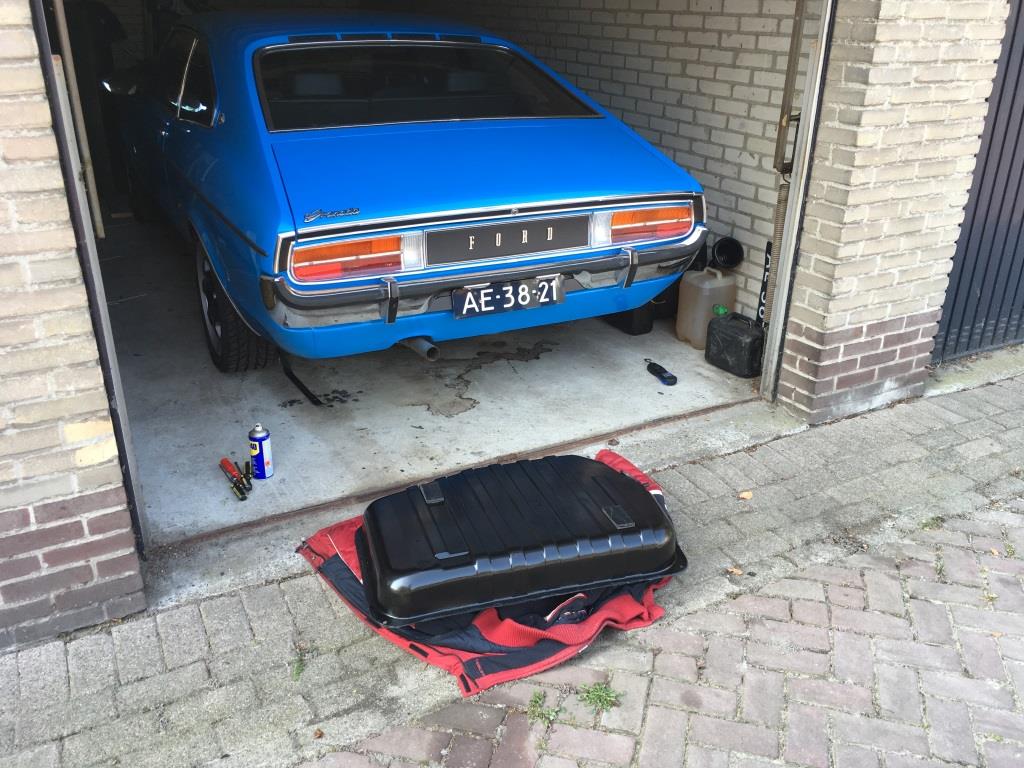 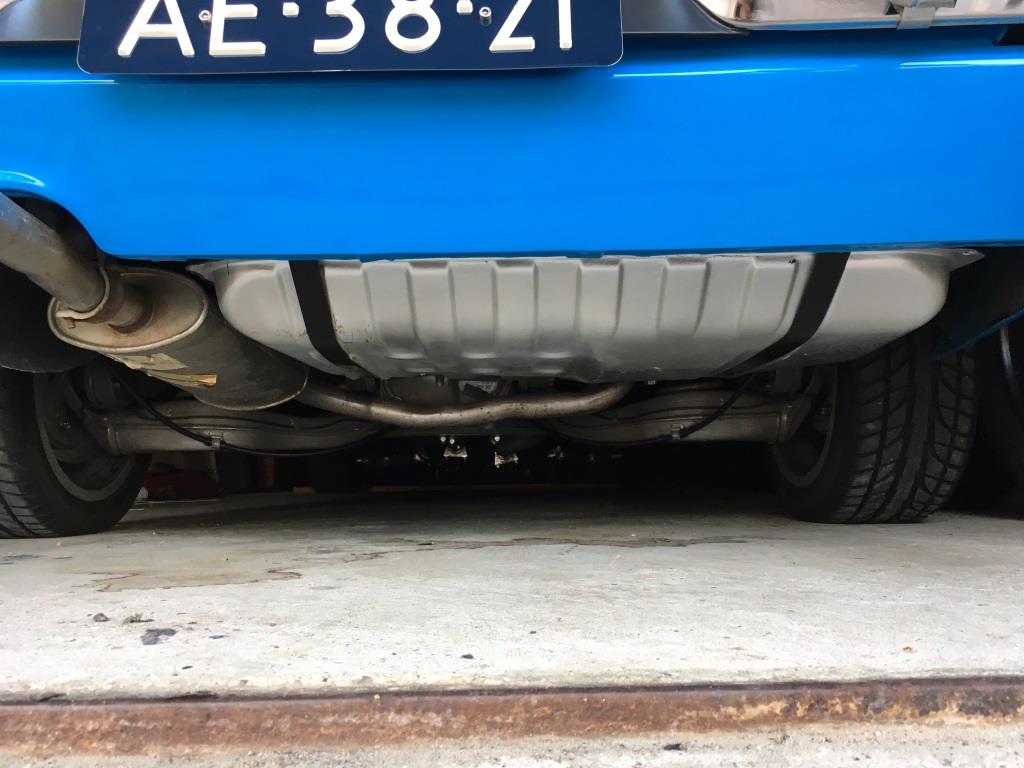 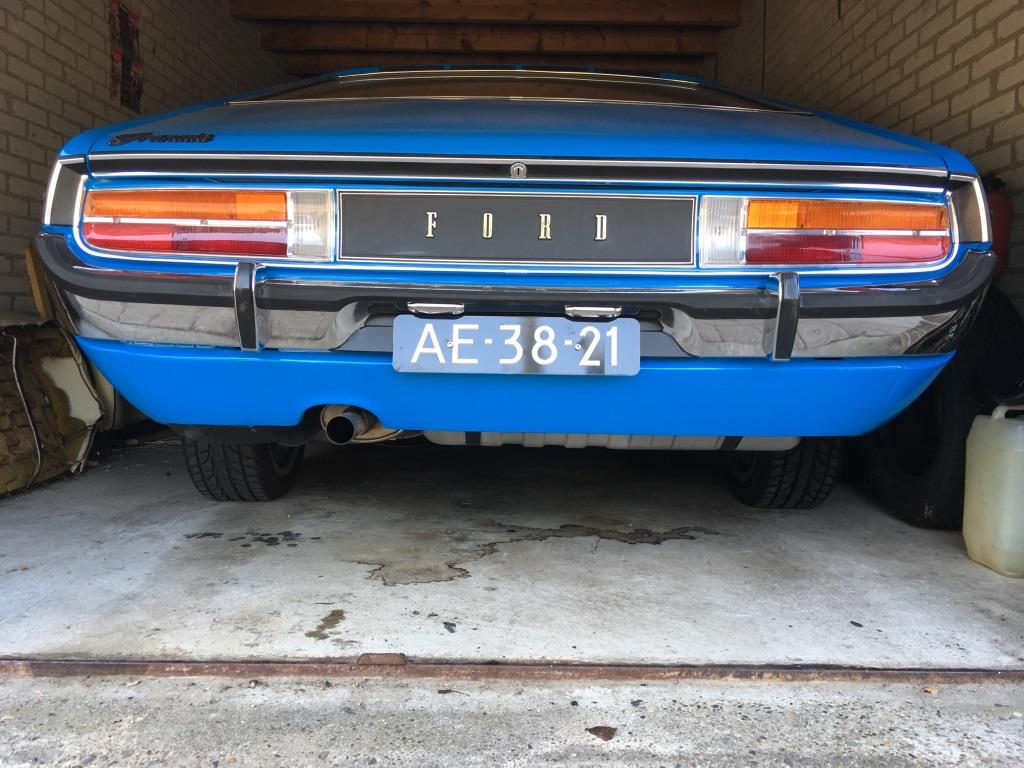 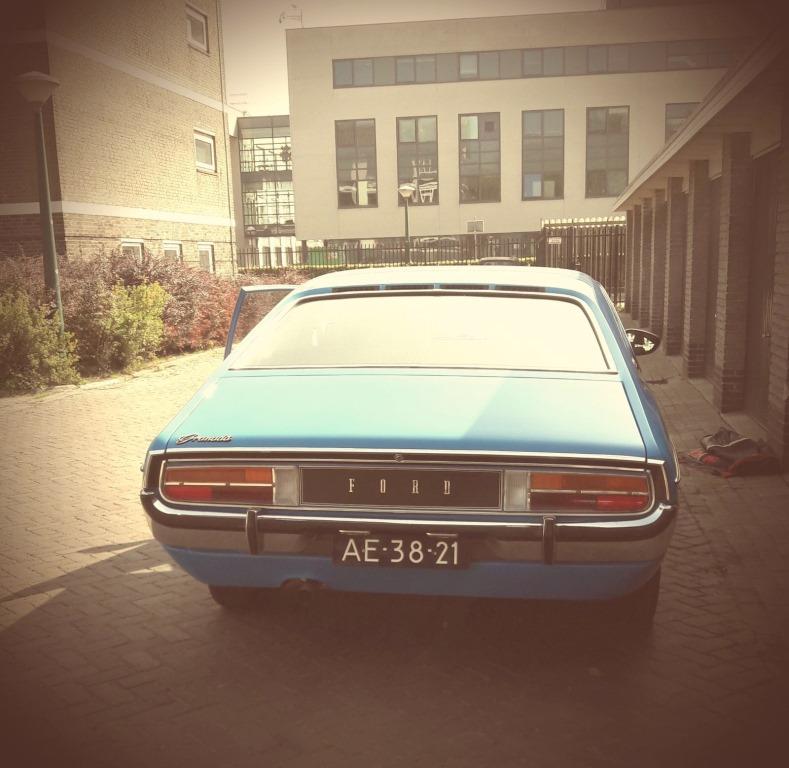 And then I quickly changed over the engine temp sender for the one matching the ecu and hooked that back up. And I changed the VR on the cluster to the solid state one. Backed the car out a bit to fill up the tank from the temporary containers. Put 15 liters in and.... no movement on the gauge at all... Pffff. Changed back to the old VR, no change... I'm baffled. I'll clean up the ground connection and will get the trusty old multimeter out. See what is going on... But with the tank fitted and the engine cranked it started up in one try. I also now actually feel the tank seal. That is, it is now creating a vacuum, so the holes in the tank are definitely now sealed. Opening the cap you hear air rushing in (at least I presume it's going in). I'm using the original breather hose as an entry point for the return line. I'm not sure if I need to address that seperately, create a new breather line. I don't want a vacuum to cause me to come to a new type of halt... lol. Opinions? |
| |
Last Edit: Sept 26, 2017 15:17:40 GMT by eurogranada: Last paragraph was incomplete
|
|
Phil H
Posted a lot
  
Posts: 1,448
Club RR Member Number: 133
|
|
Sept 27, 2017 6:47:16 GMT
|
|
You will need a breather line for sure. More modern tanks don't necessarily have a breather but they take a breather from the filler tube instead (or have a vented cap instead).
|
| |
|
|
eurogranada
Europe
To tinker or not to tinker, that is the question...
Posts: 2,556
|
|
Sept 27, 2017 7:19:15 GMT
|
You will need a breather line for sure. More modern tanks don't necessarily have a breather but they take a breather from the filler tube instead (or have a vented cap instead). I thought so... I also thought my fuel cap should be the vented type as the original vent system is like you say: a hose between the tank vent pipe and a short pipe high up on the side of the filler tube. I can also see that a vented cap was offered on the 72 models, but a non vented as well. So no way of knowing which engines came with a vented or non vented cap. Simplest solution seems to be changing the cap or drilling a vent hole. |
| |
|
|
|
|
|
Sept 27, 2017 8:40:55 GMT
|
|
Modern cars use a charcoal canister to stop petrol fumes from coming out, and ut is then purged to the inlet manifold when the ECU says so.
The nicest solution would be to implement that system since you have an ECU that will handle it. That would mean less petrol fumes in your garage from a vented cap or open tank vent. It needs some plumbing and stuff though.
Another easy solution is to just add another vent tube, and lead it to a charcoal canister and not use the purge system. The canister will eventually "saturate" and be less effective in filtering the fumes. But that will take some time.
Regards
Gustaf
|
| |
|
|
eurogranada
Europe
To tinker or not to tinker, that is the question...
Posts: 2,556
|
|
Sept 27, 2017 11:22:52 GMT
|
|
I think I have the cannister purge connected to the ecu and vacuum lines to have the engine behave as much as original as posssible, but I don't have the actual connection to the tank.
Adding another vent tube means adding another splitter to already crowded lines. A small vent hole should suffice given how small the holes in the tank were that previously acted as the vent.
|
| |
|
|
mk2cossie
Club Retro Rides Member
Posts: 3,063  Club RR Member Number: 77
|
|
Sept 27, 2017 16:43:18 GMT
|
That's a lovely job you've made of the fuel tank eurogranada  I'm not sure what the filler neck on your coupe is like, but on my mk2 saloon near the top of the neck is a little pipe that heads back towards the tank that originally just vented along side the fuel tank itself. There is also a pipe about 20mm diameter that goes from the tank up to the top of the filler neck as well if that's any help for you? |
| |
|
|


