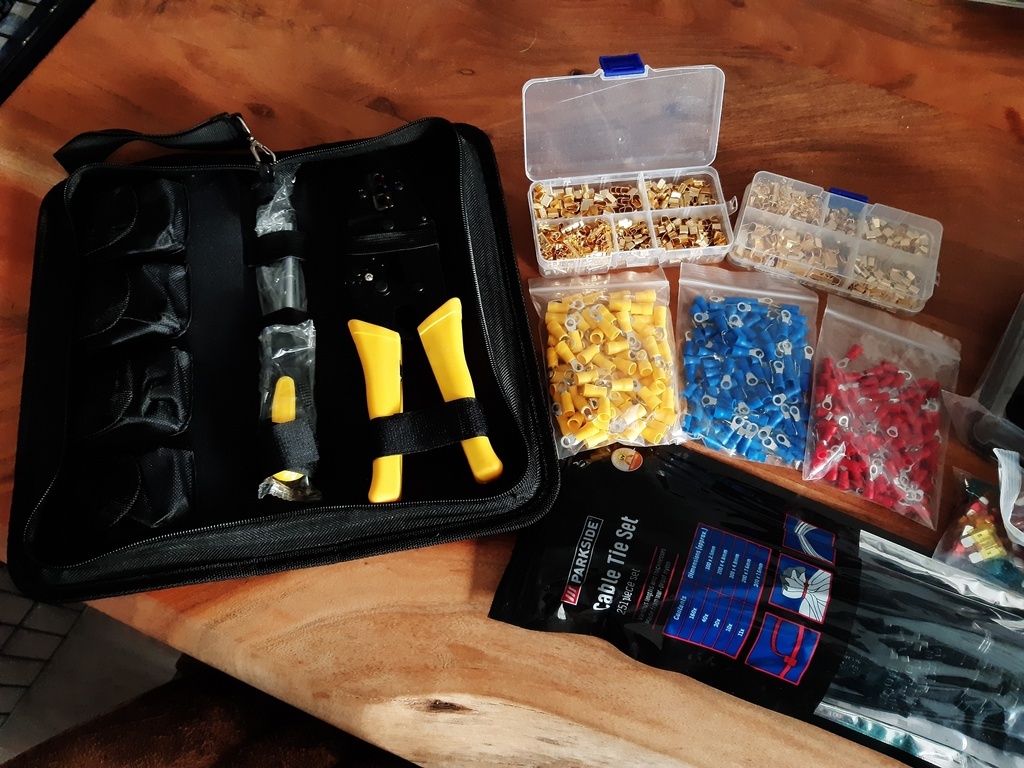
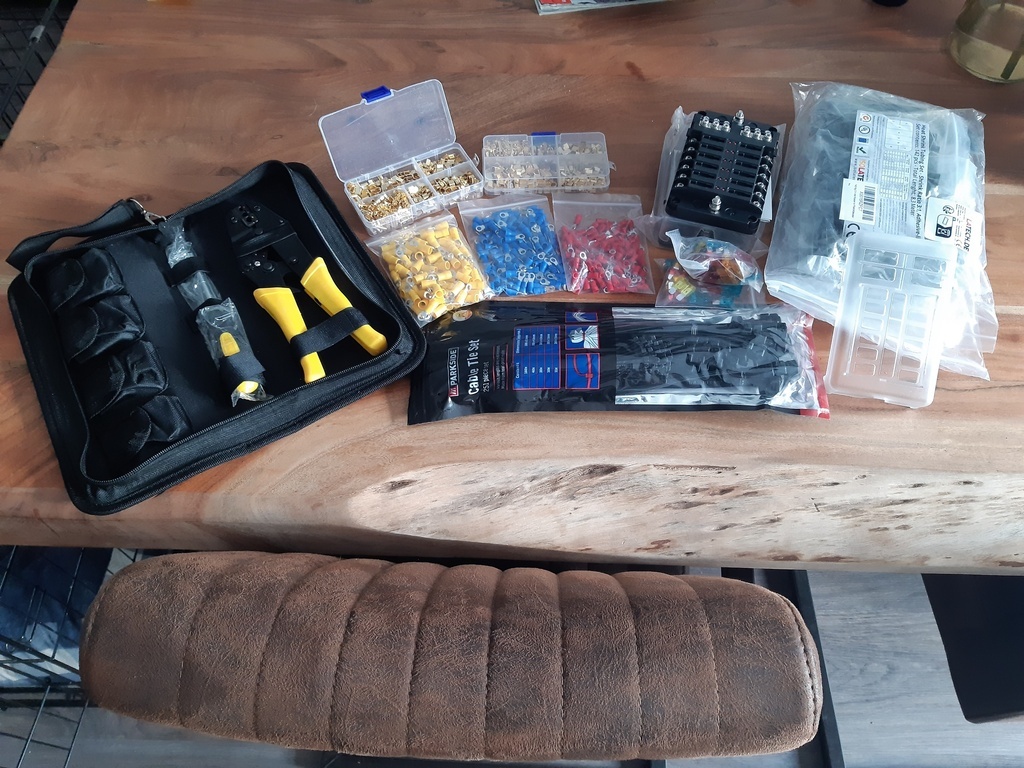
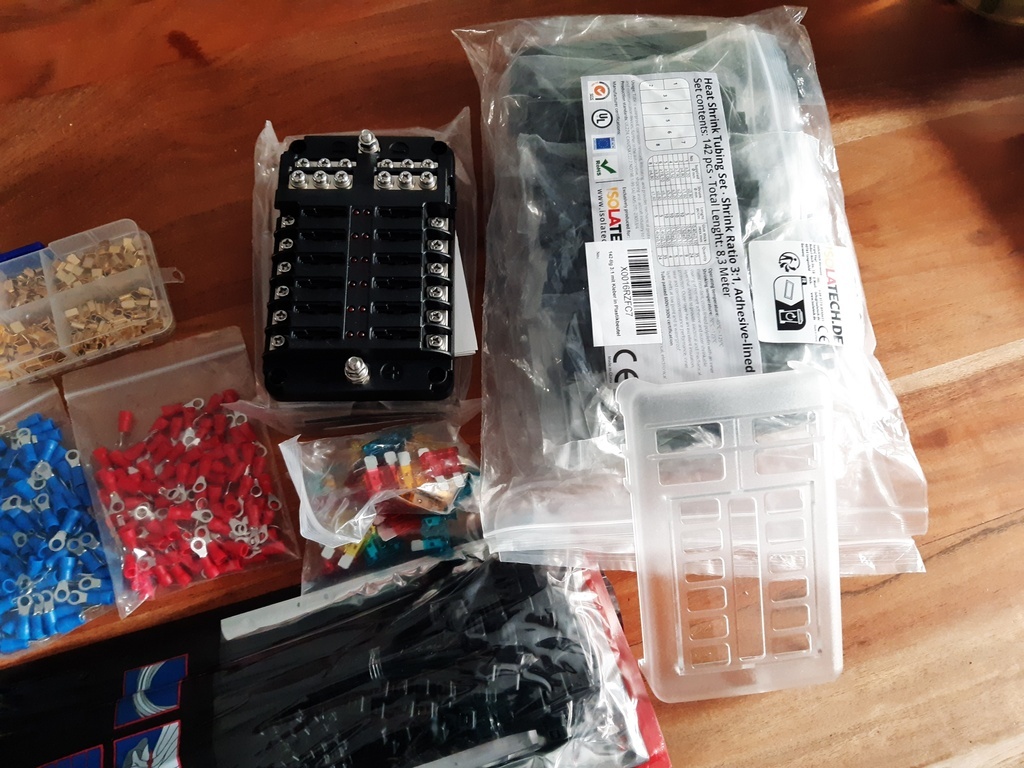
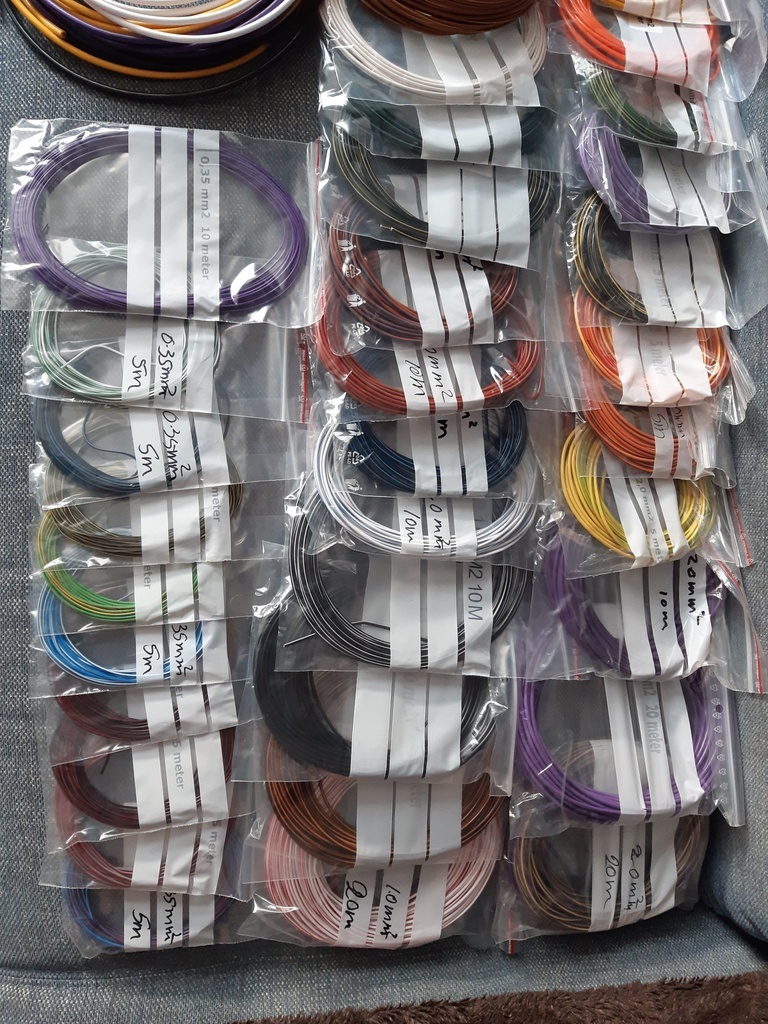
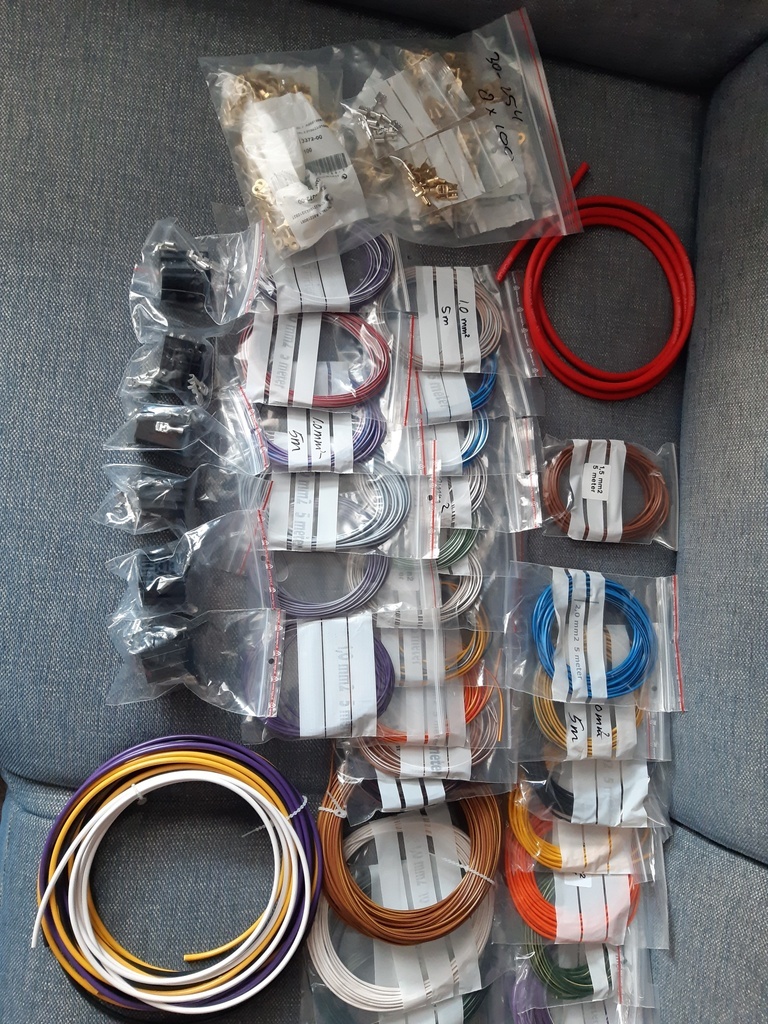
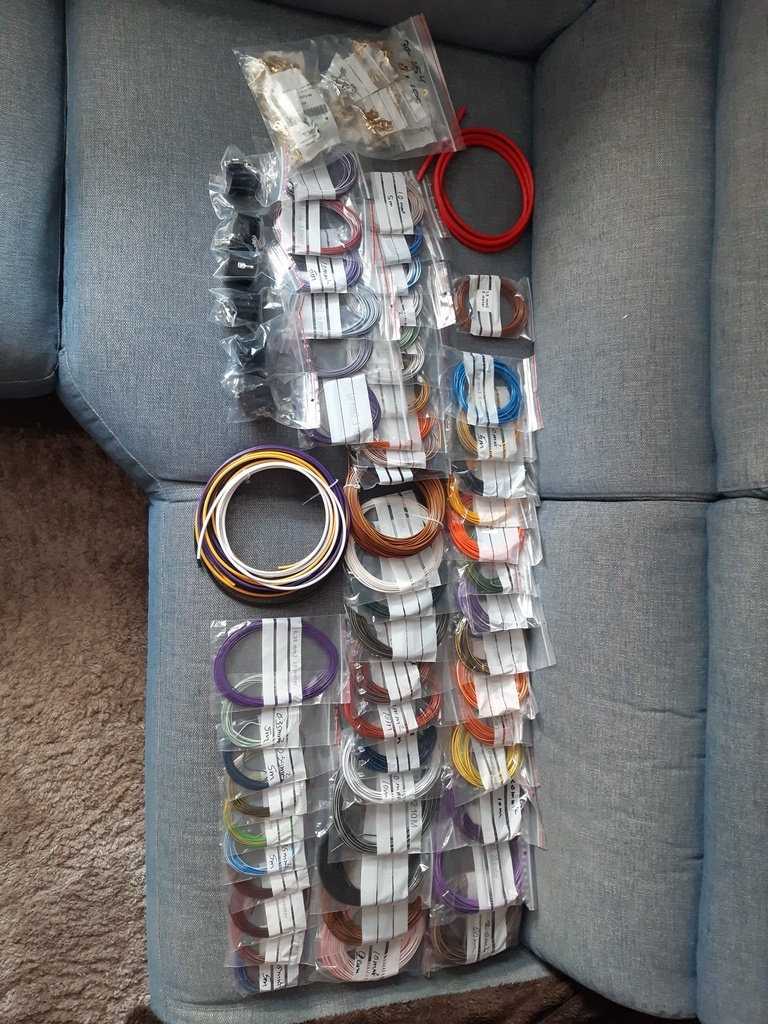
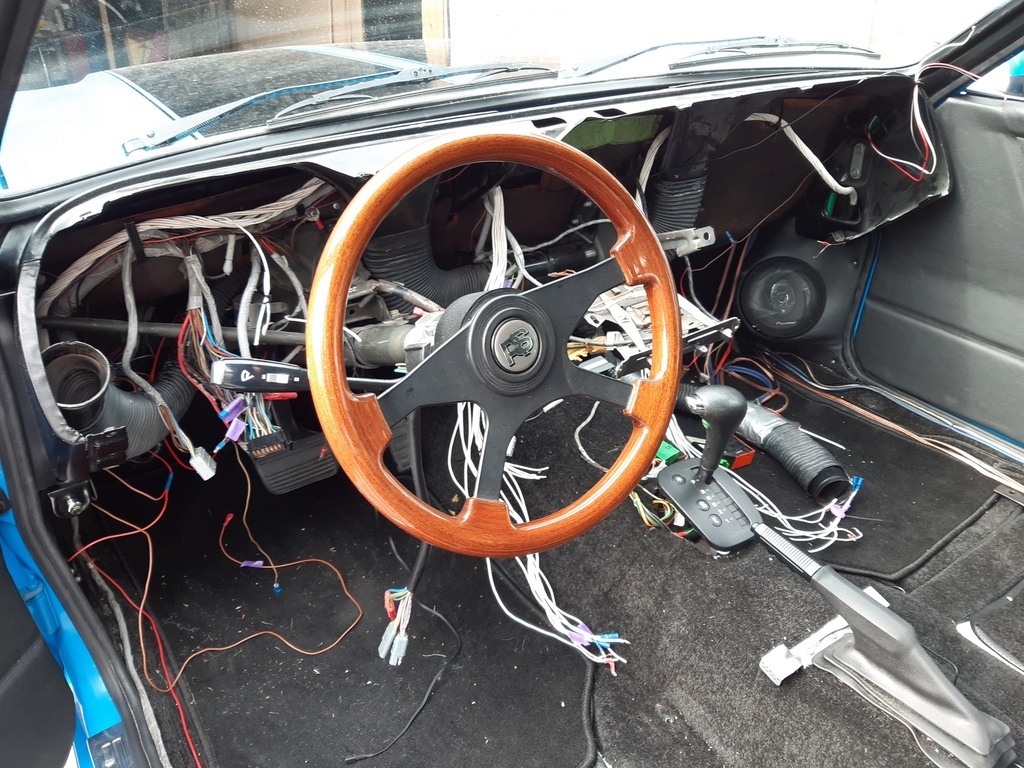
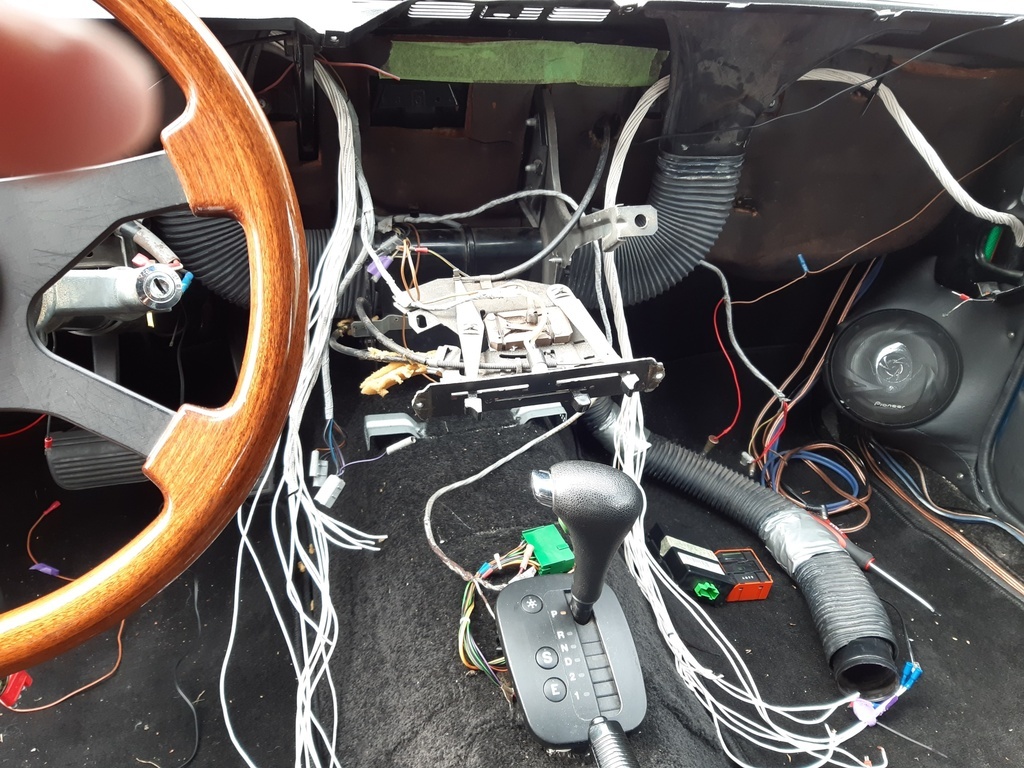
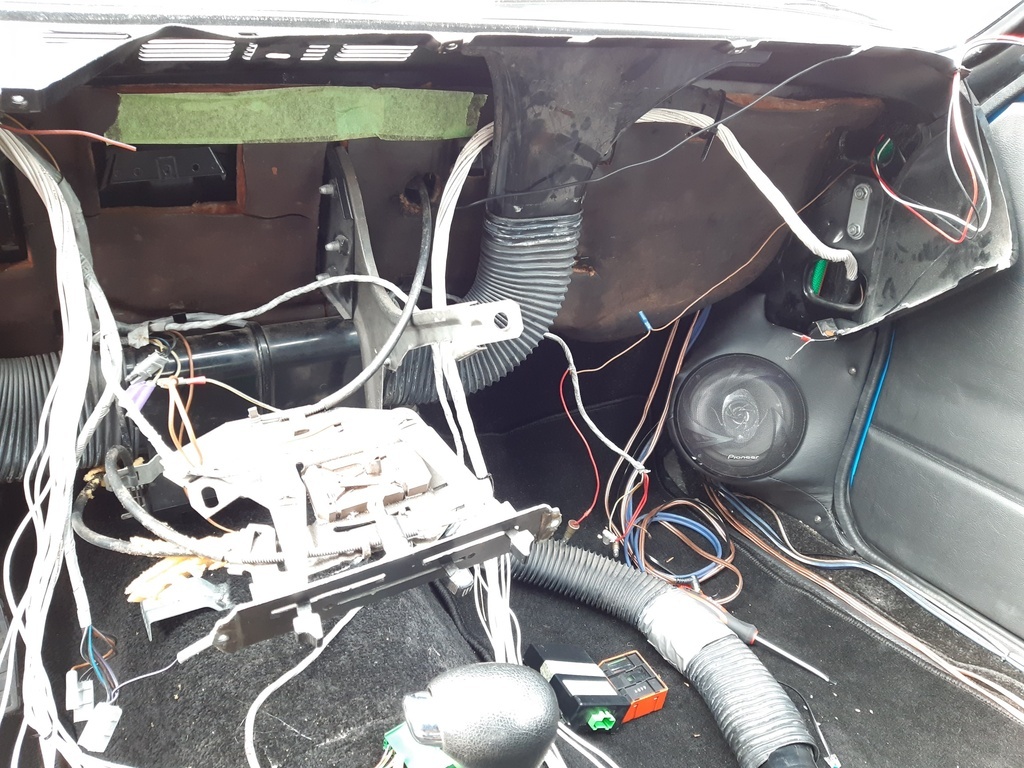
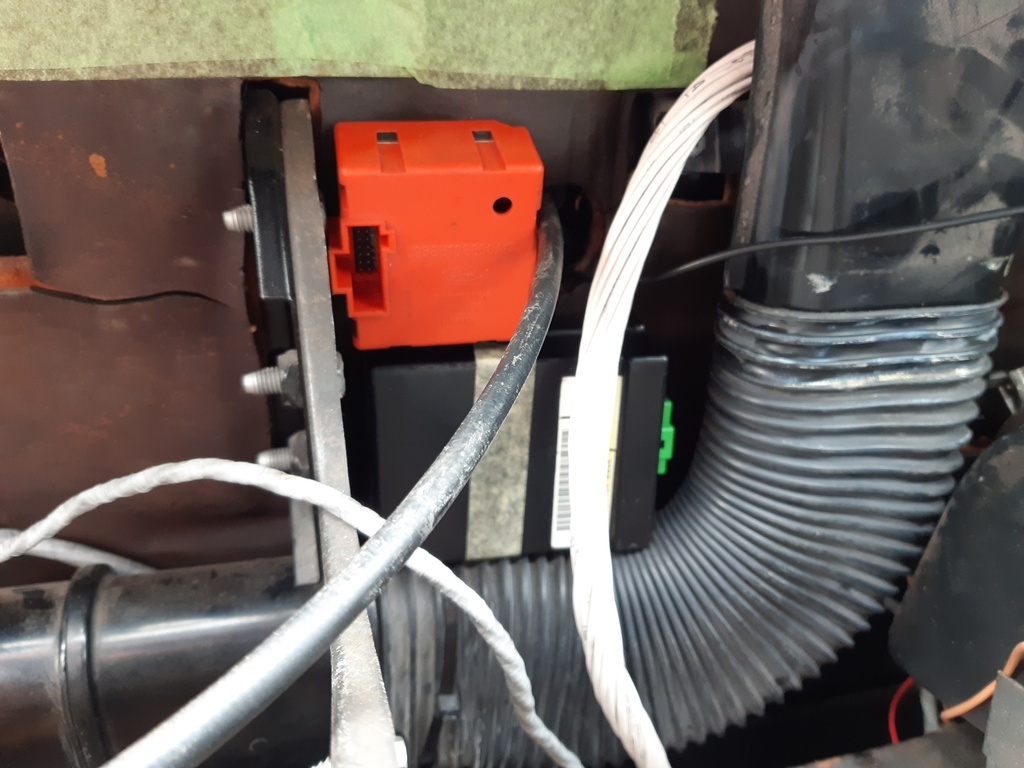
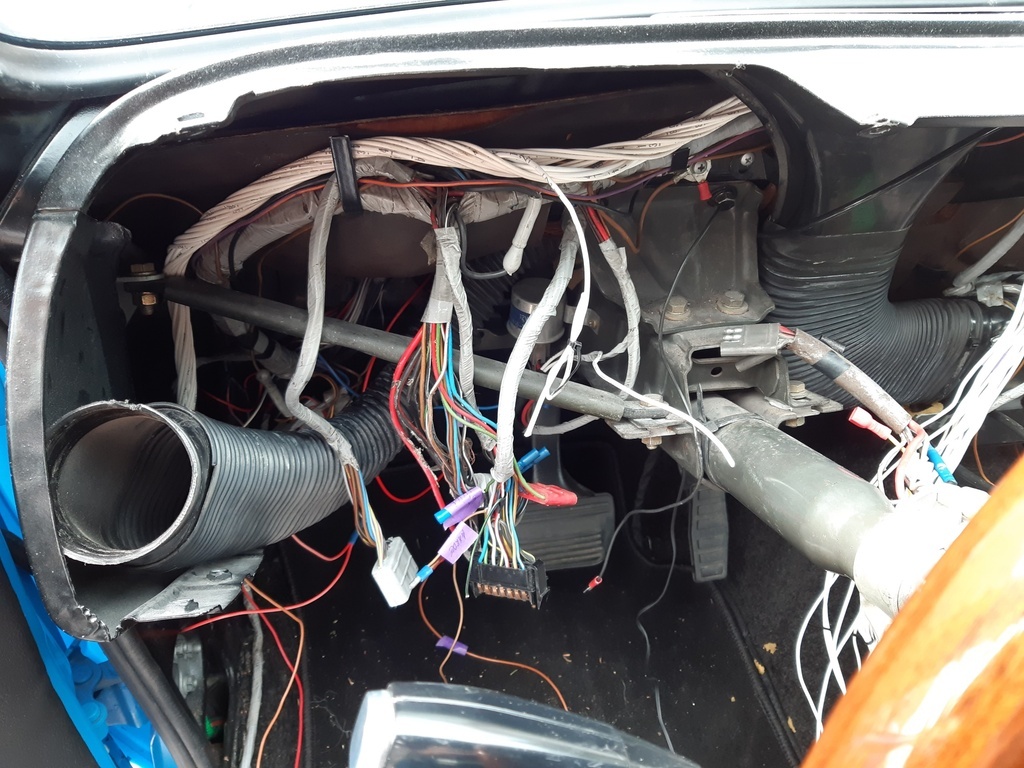
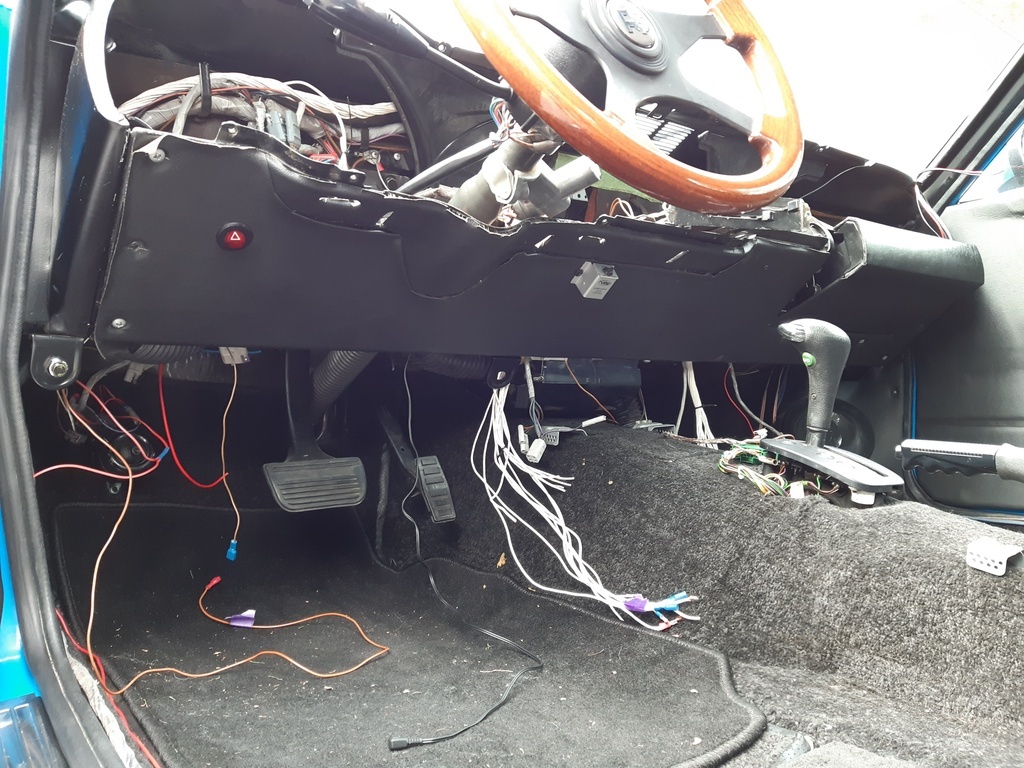
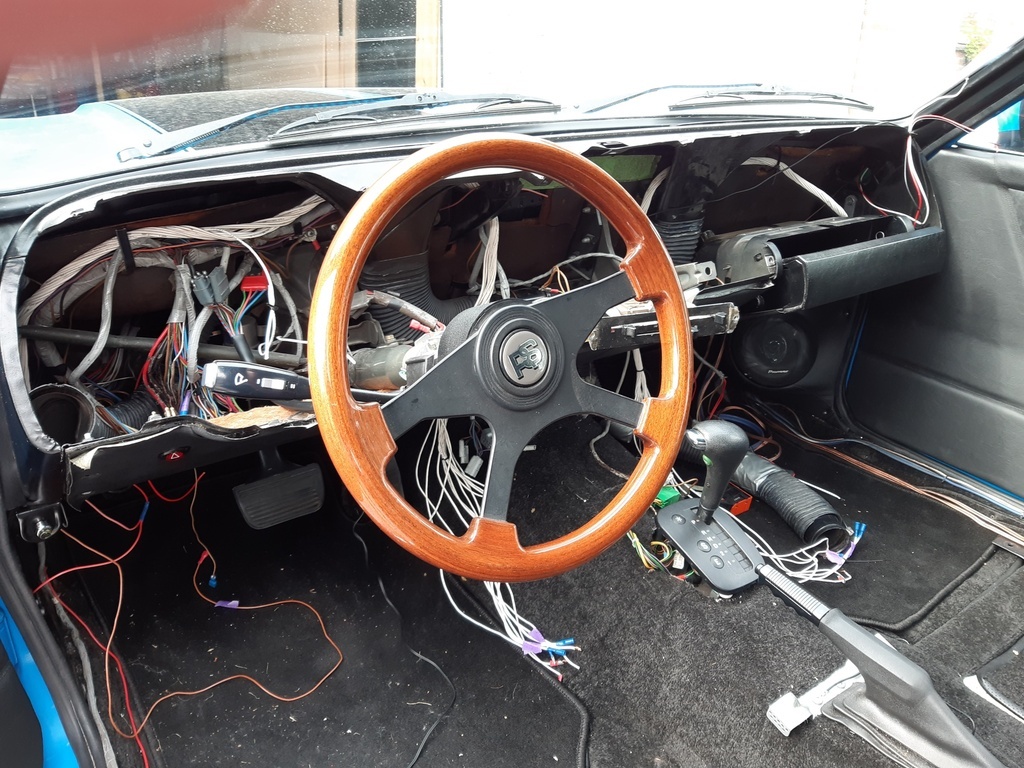
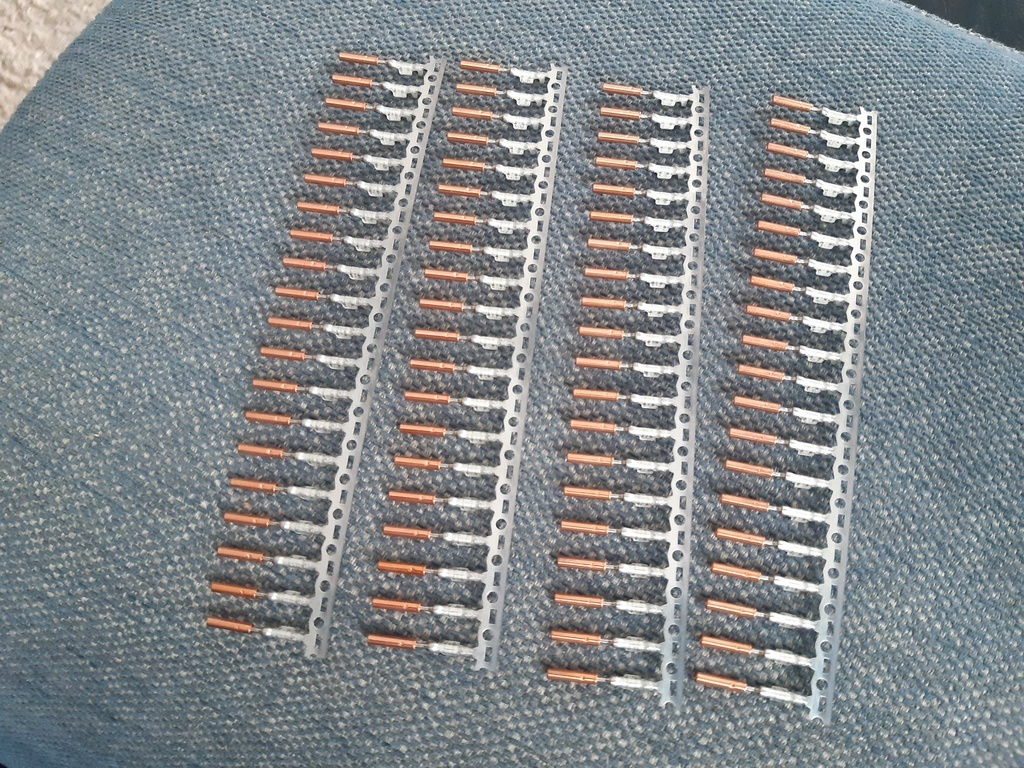
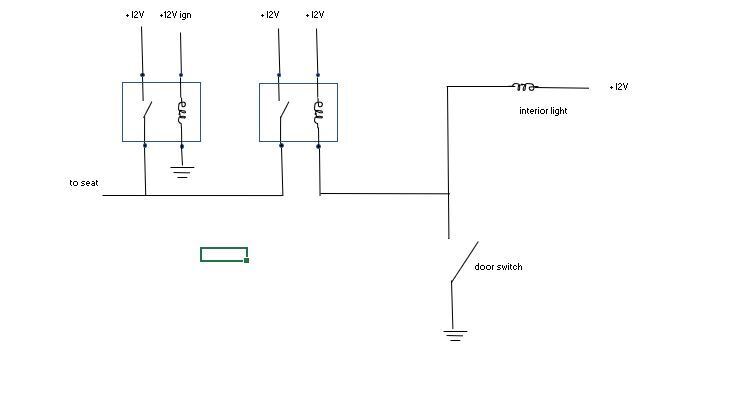
So realizing I would need some time to work out what and all to buy for the new loom section and the weather rapidly turning to more and more rain I felt I needed to push on with what in my mind was phase 2 of this whole ordeal: replacing the engine and gearbox loom.
I consider this job to have four main components or phases to it:
- Fixing the ecu to engine bay loom
- Replacing the engine and gearbox part of the loom
- Reworking the added circuits in the car to the new fuse box design
- Fixing the original loom damage and remounting the interior bits (still in doubt about checking the whole of the original loom)
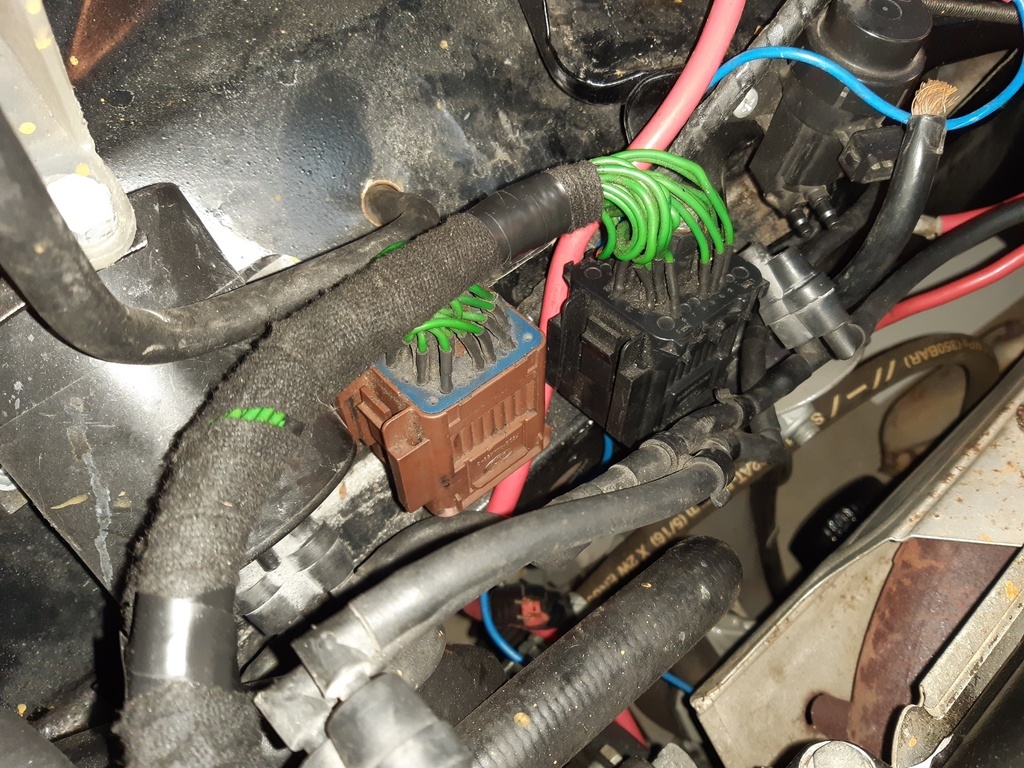
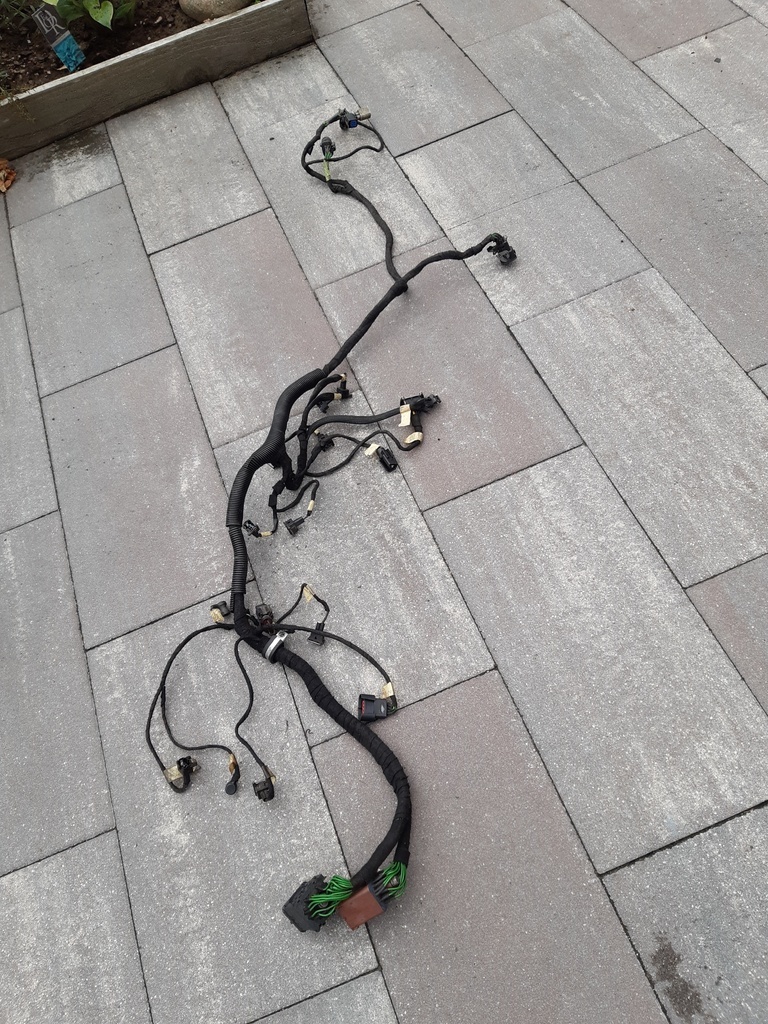
The Cosworth BOB loom is a two part unit. It is split in the engine bay by way of two massive connectors. This means I have an ecu to engine bay loom up to these connectors and then the engine and gearbox loom from those connectors to the many connectors on the engine and gearbox. The ecu to engine loom is partly located inside the dash area of the car and has some sensor and fan related wiring in the engine bay as well as those two main connectors. The engine and gearbox loom then runs mainly across and through the “v” valley of the engine over to the gearbox. This means it is a pig of a job as the entire intake system, fuel rails and lines and cooling bits need to come off the engine. With the engine on a stand this proved enough of a challenge, but now the combo was actually in a car, meaning more reaching and a lot less space around for tools to be put on nuts and bolts…
So with the idea in my head that I do not want to do phase two in the very cold or wet, I thought I’d better make use of the relatively warm and gentle weather we are having now. I told my wife that I’d claim Friday and Saturday and that I would not be available for the usual flood of small jobs usually requiring a lot of chauffeuring about.
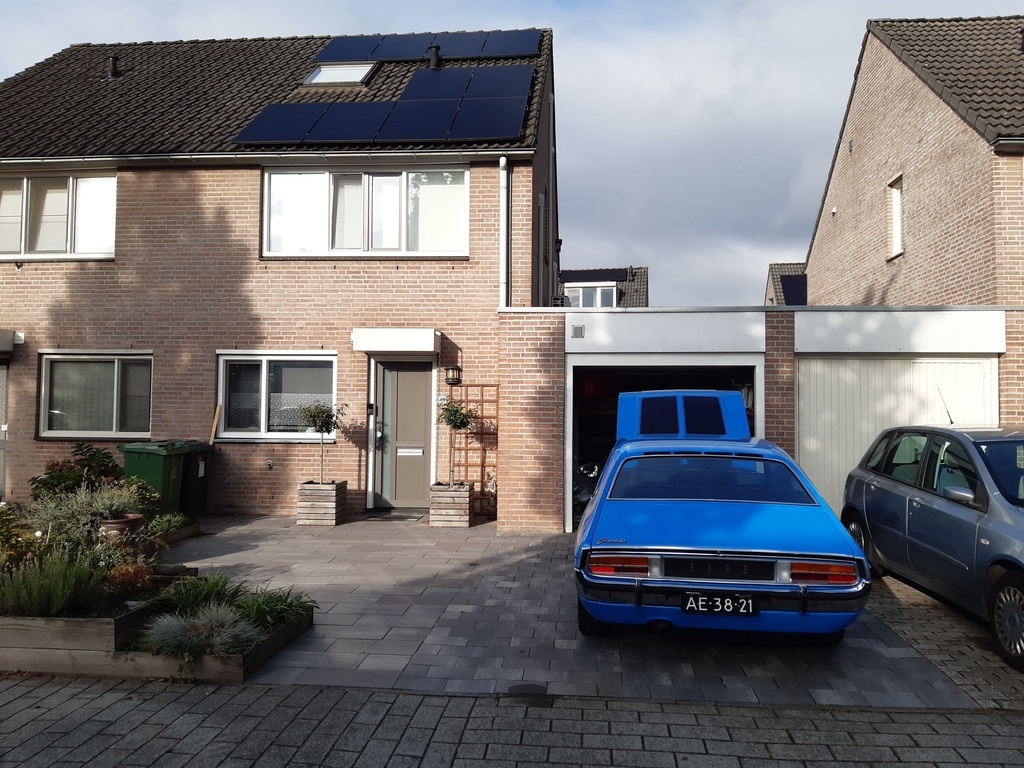
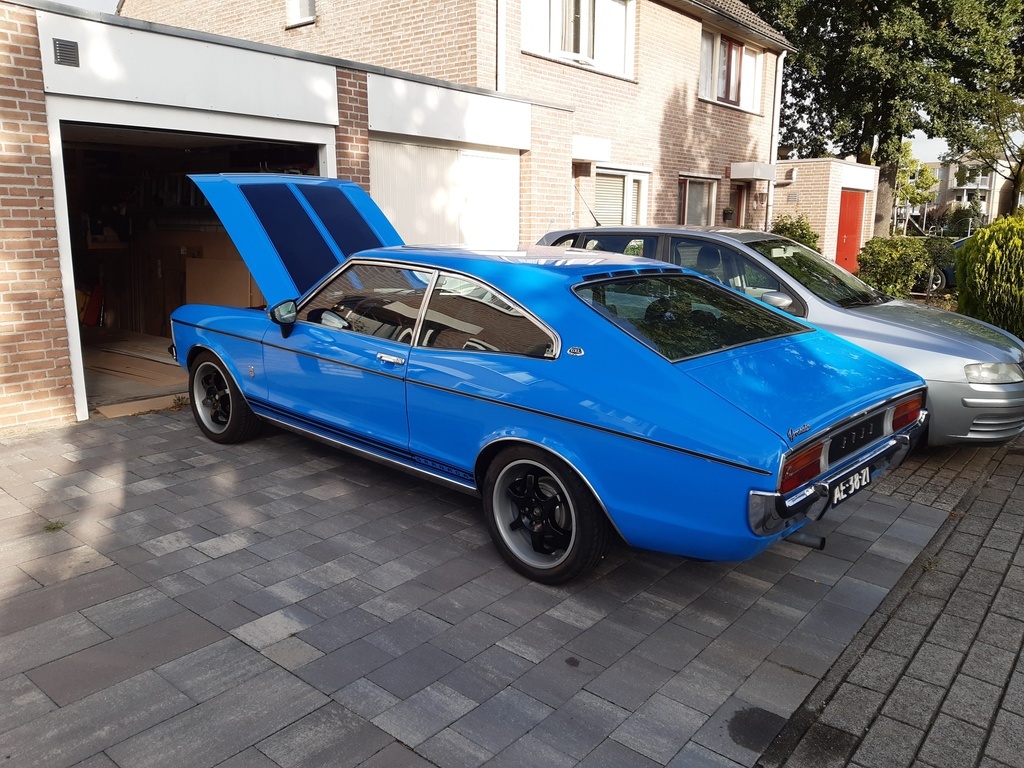
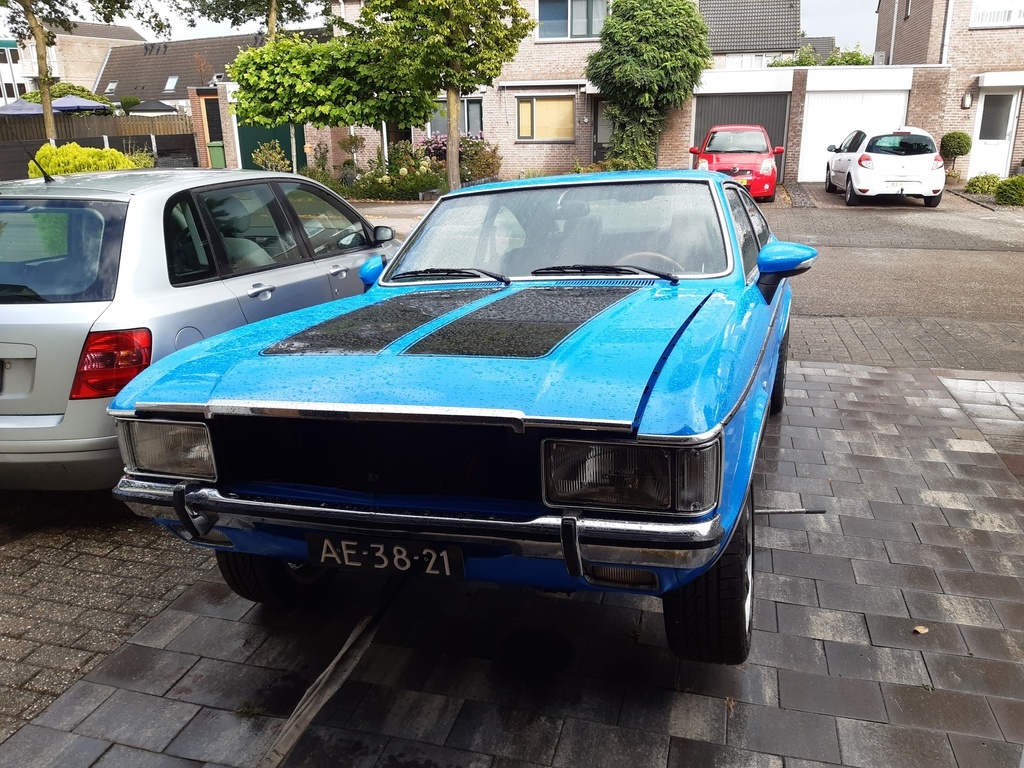
And so it was that I started Friday morning at a reasonable hour by putting the car outside to have both light and access. Opened the bonnet and just dove in.
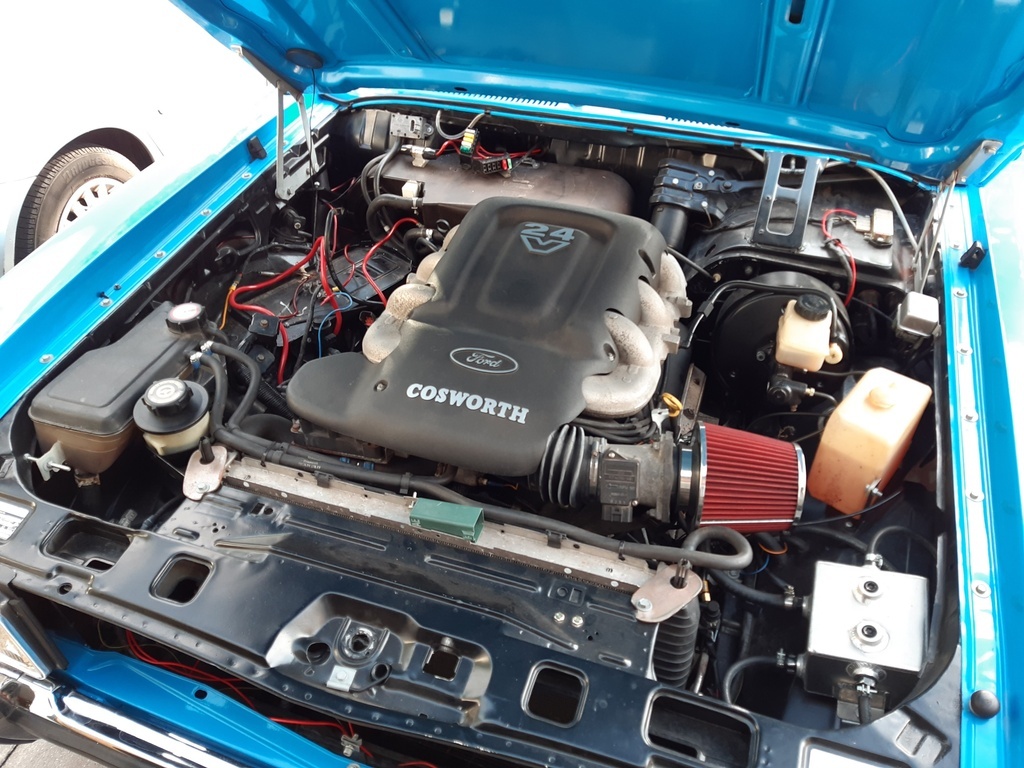
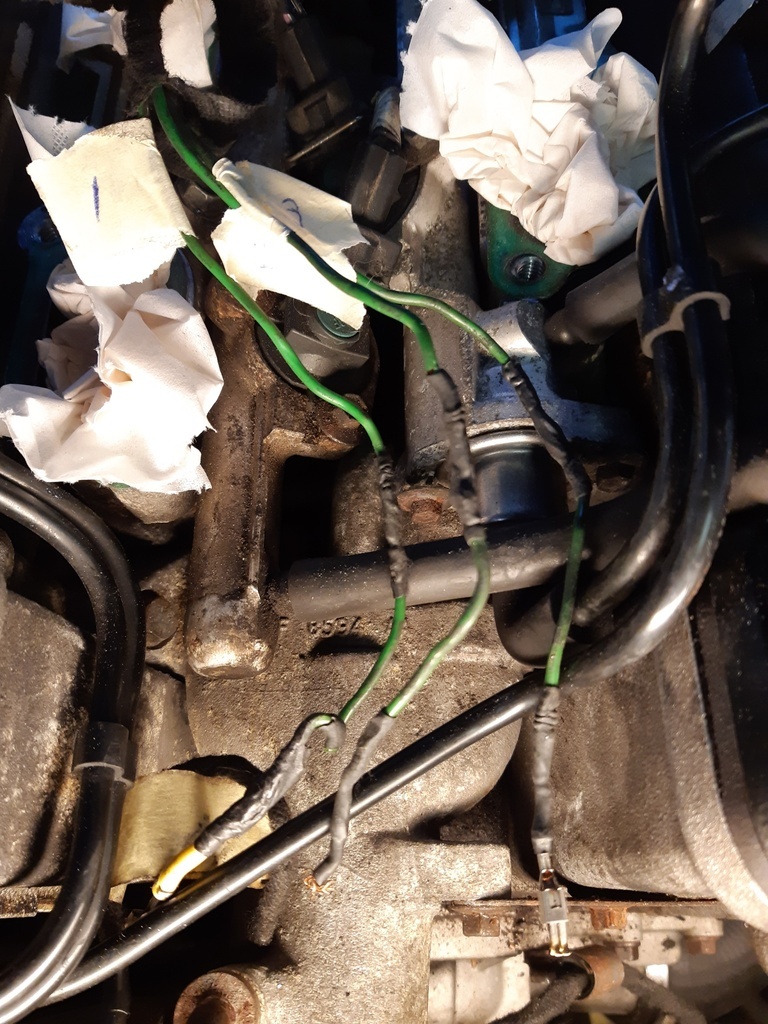
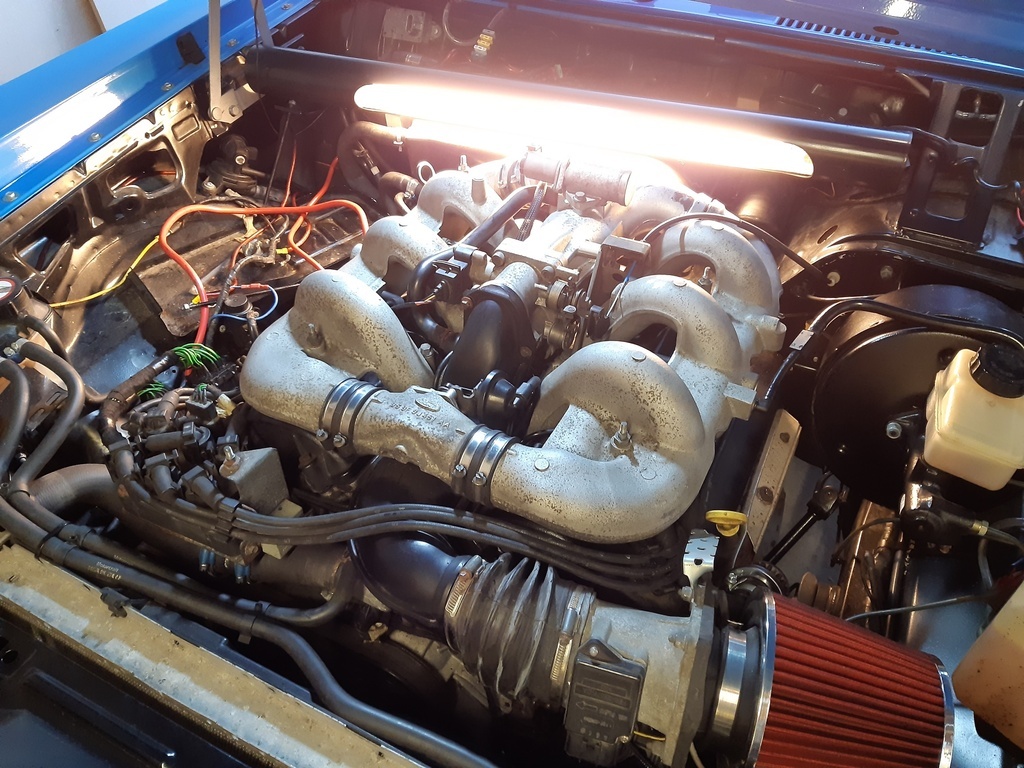
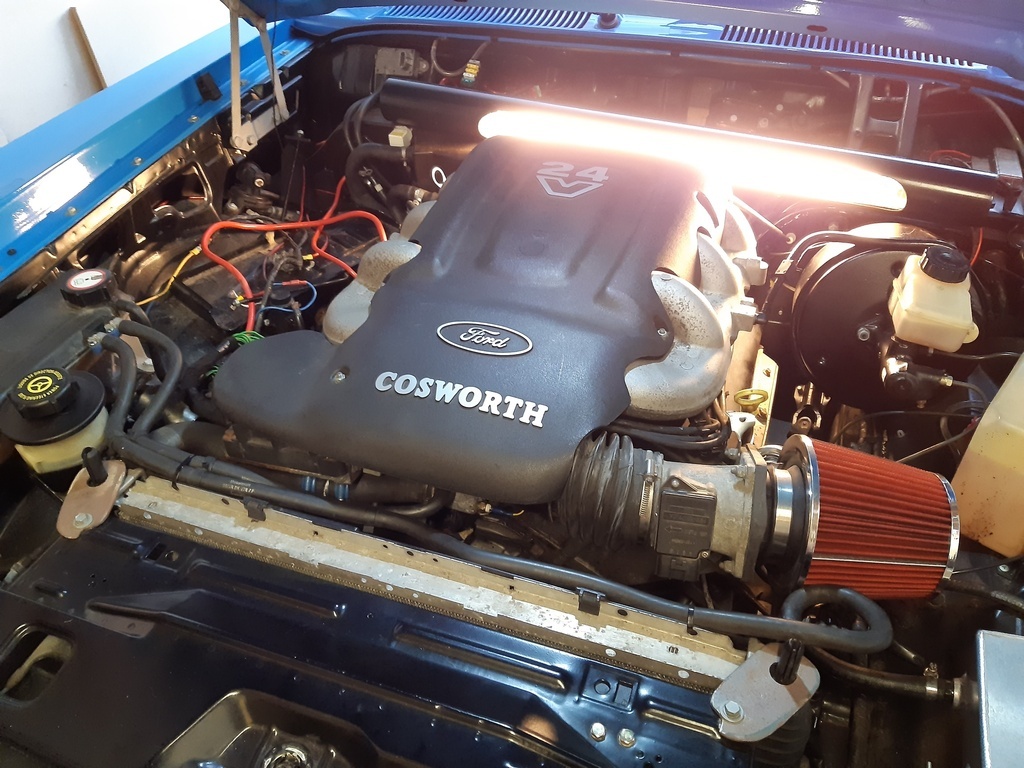
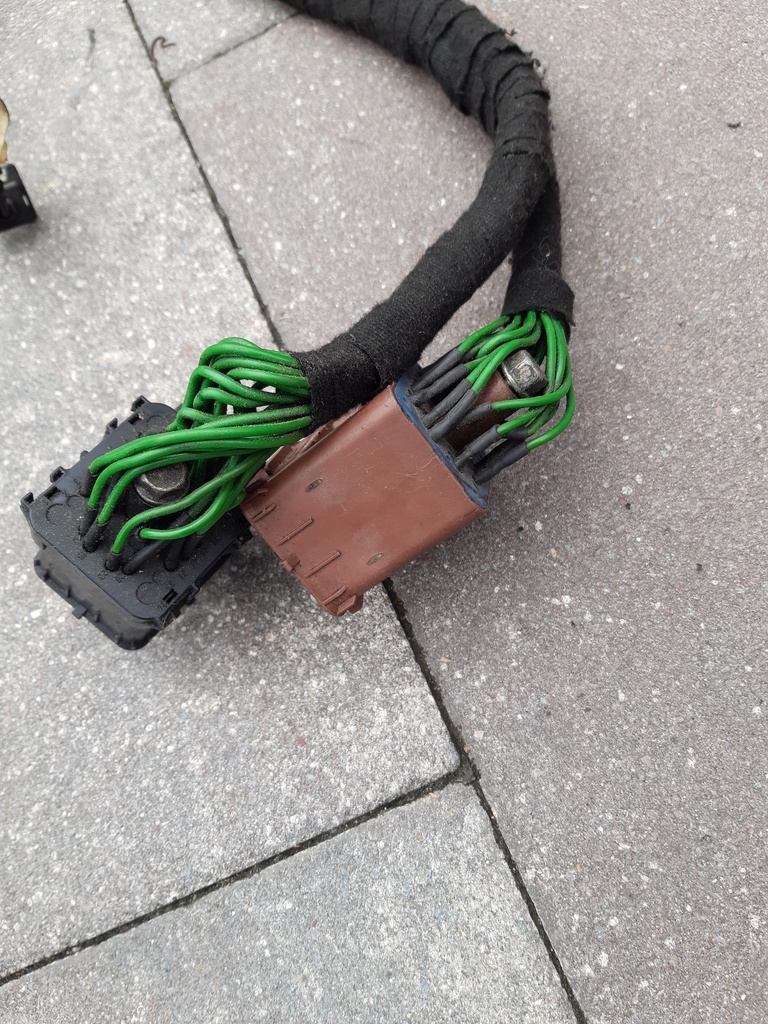
First bit to go was the engine cover, a nice simple start to the job. Next up the MAF with the air filter attached as a unit. Also nice and simple job. And then the intake itself was next. It’s a massive three piece thing that I have always felt much more comfortable removing and replacing as a unit. So I undid all the bolts, some of which are a pain to access as you cannot get a socket on, most other tools are too long and or have little purchase so it took a while, but I got them all to release without too much trouble. With the bolts undone it was time to see what else needed to be undone. A few vacuum lines, a PCV thingy and trickiest of all, the EGR tube to manifold. The latter is bolted to it and these screws were pretty long and not the easiest to access. But with patience comes success. After undoing three of the HT leads so other bits could pass freely, I was finally able to lift the intake off and felt I was actually doing rather well. Removing the intake also gave a first look into the state of the loom which was horrifying. Some injectors had no insulation left. It’s not obvious if it had crumbled away or burnt off. So I can’t say for sure that anything in this loom caused the issues. But it is obvious that problems could have originated from the state of this loom.
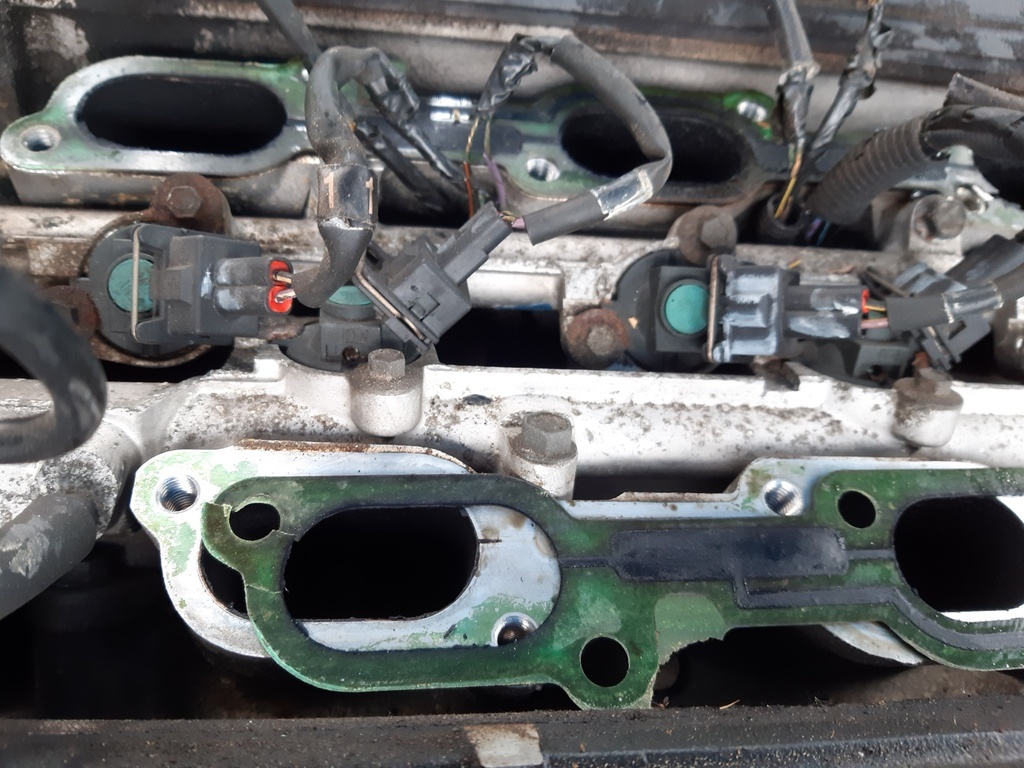
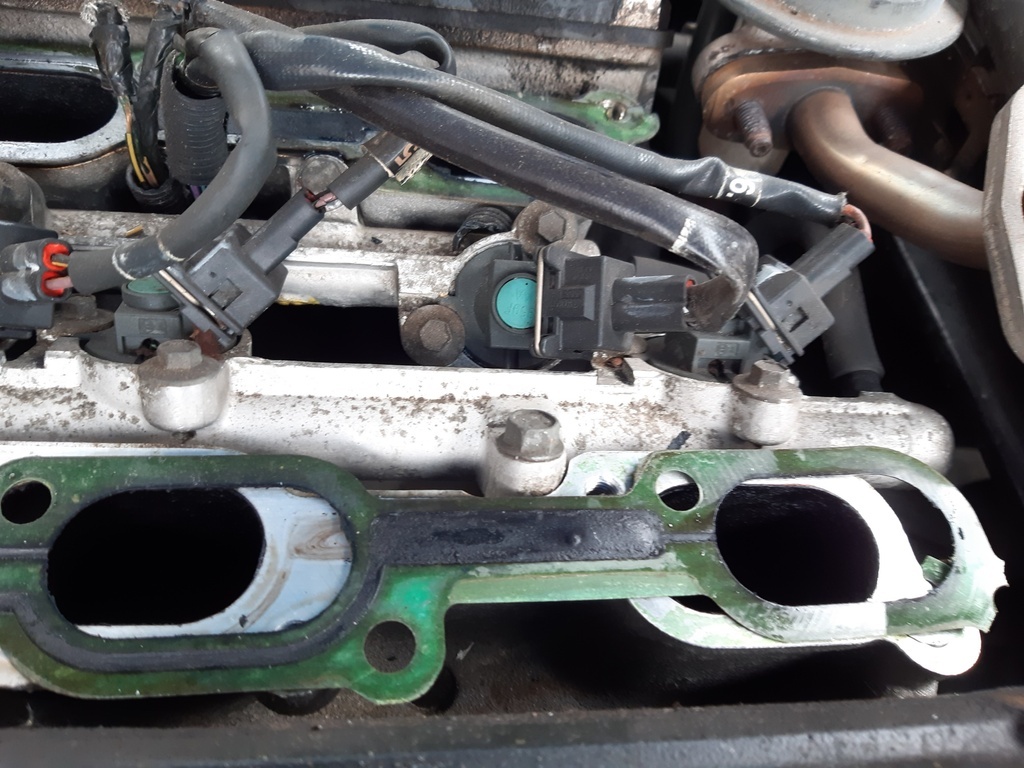
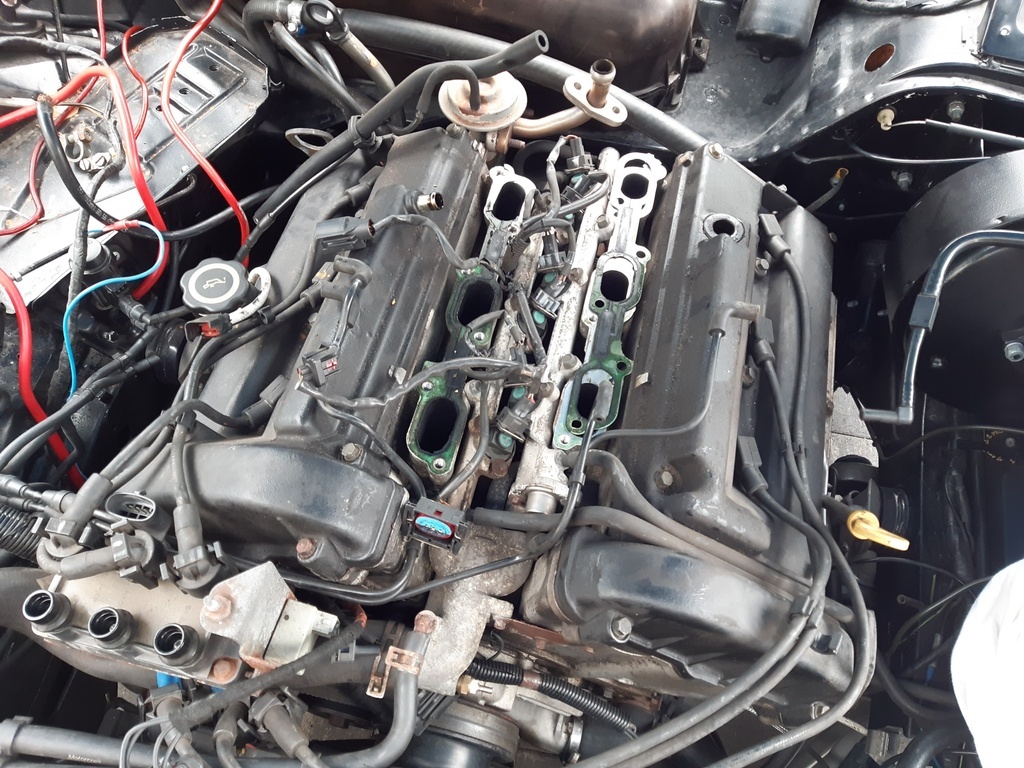
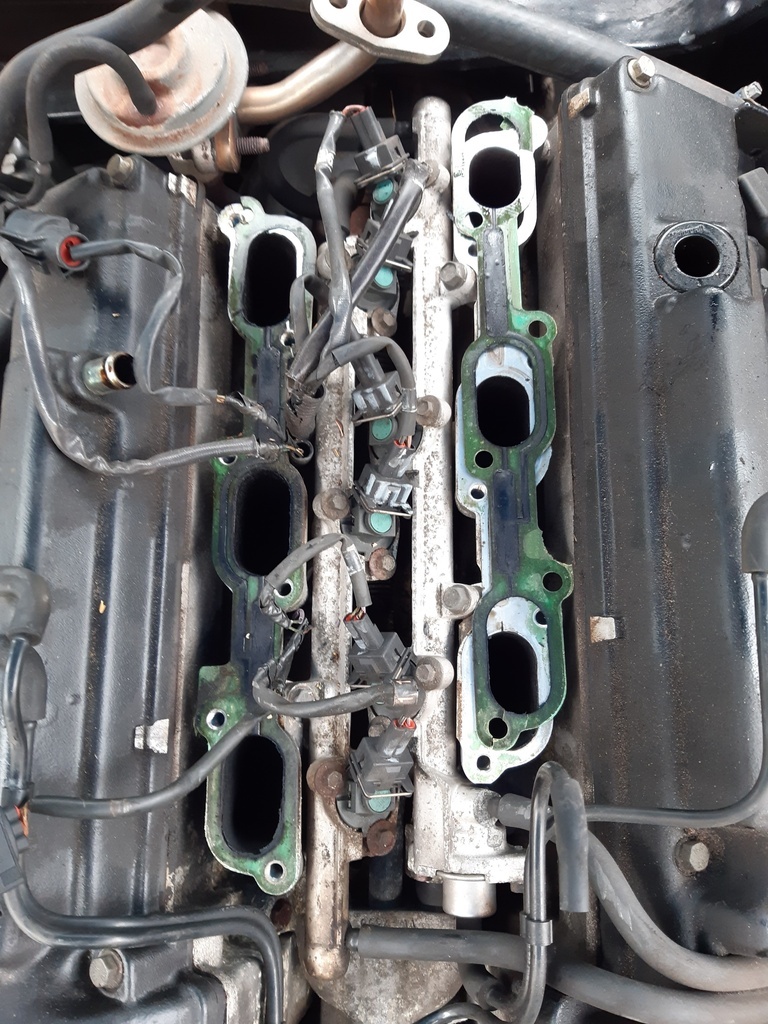
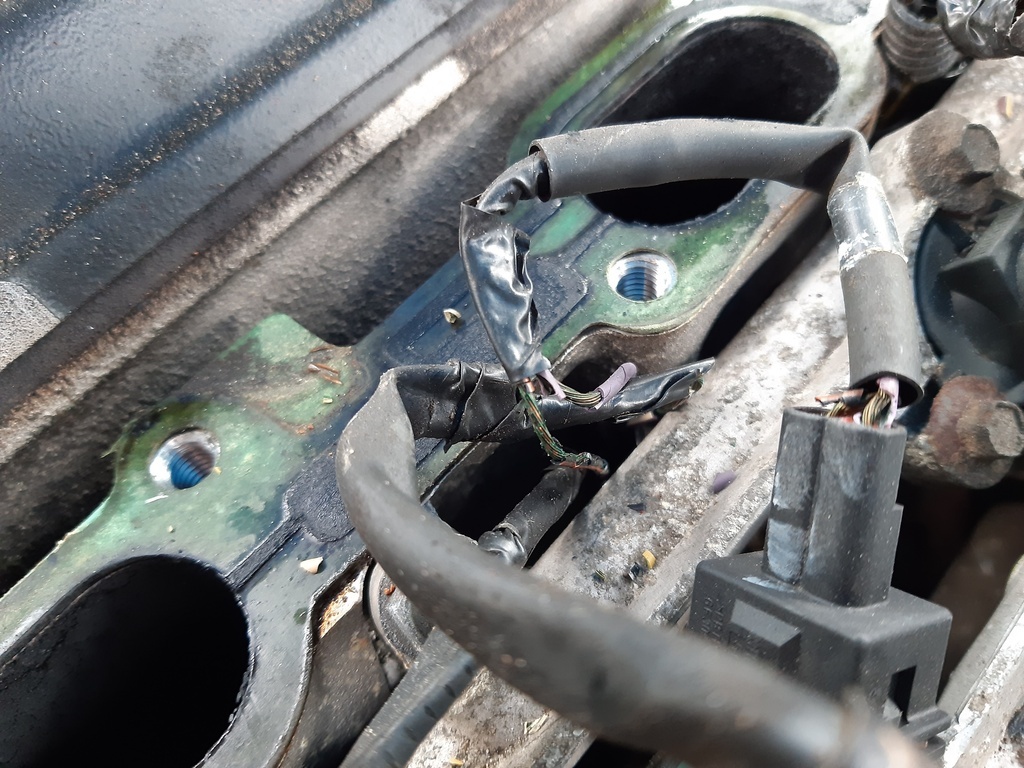
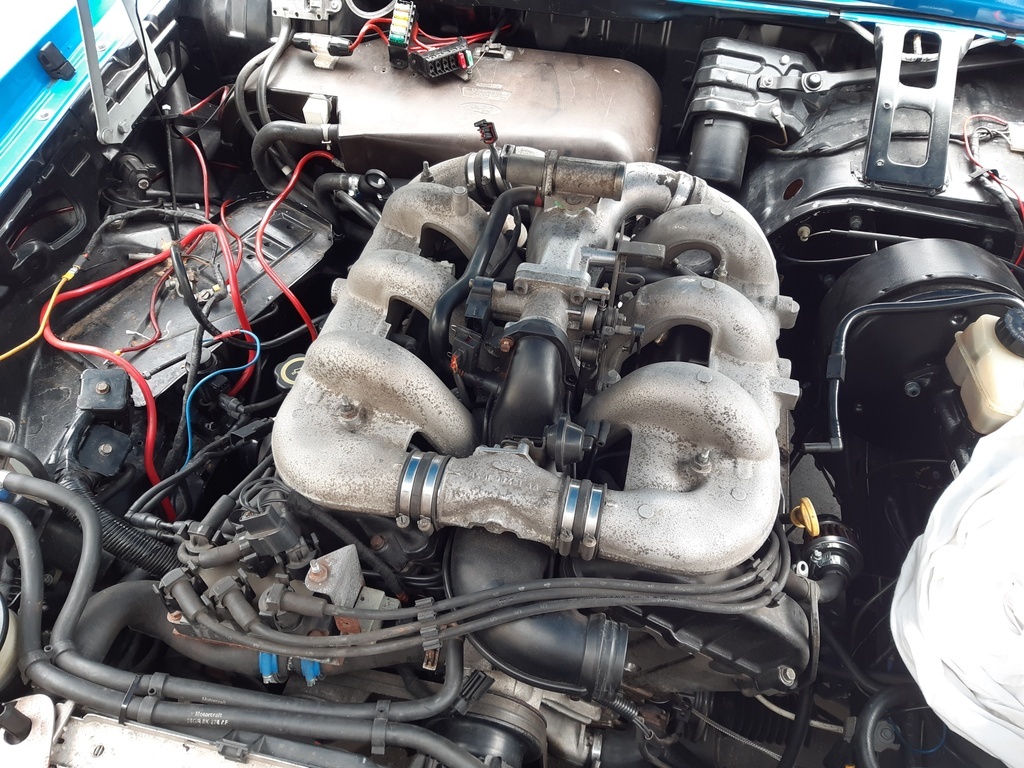
Next up was removing the upper coolant hose. This is both attached to the snout on the cooling bit in the “v” valley on the engine as well as in the way of a p clip bolt holding the loom to the engine.
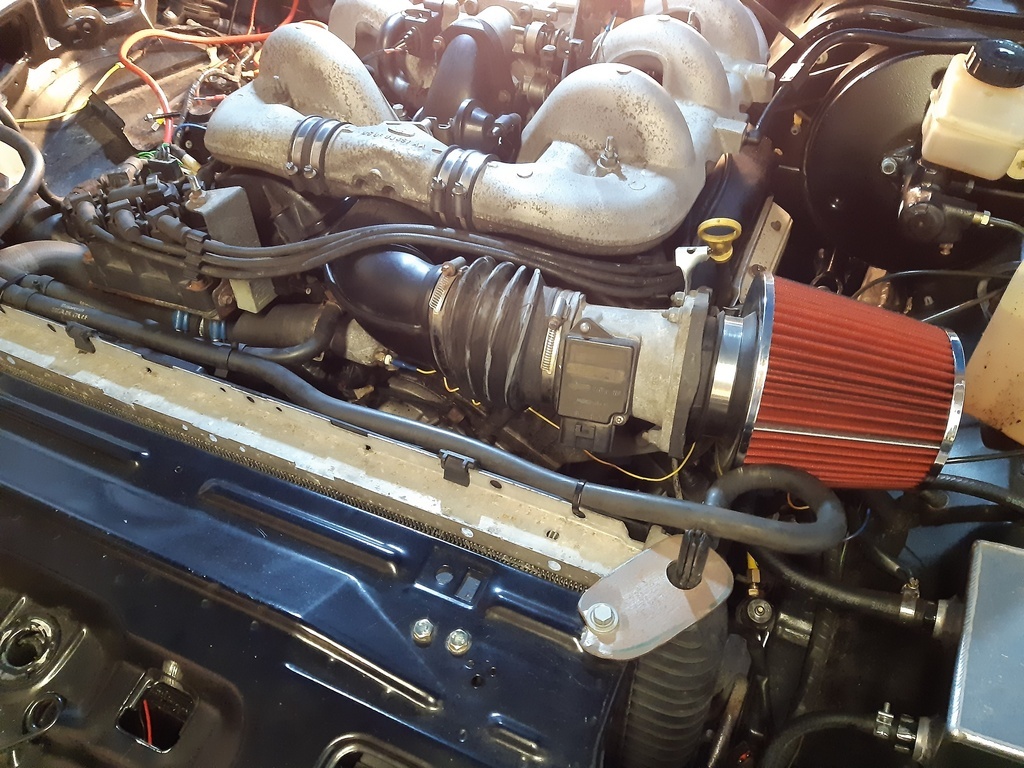
I always dread coolant drains as it is always messy. However big your catch can is, it’s always too small or coolant runs along other bits of subframe and drains to the ground in unexpected places. Undoing the hose also usually leads to an uncontrollable flood that usually runs right up your arm to your armpit. So I did what I could and undid the hose. Much to my credit and disbelief, most of the fluid actually drained into the three catch devices I had set up. And I didn’t even get doused myself! The water stains you see in the pics are the ones I made when flushing the little spills after cleaning them up.
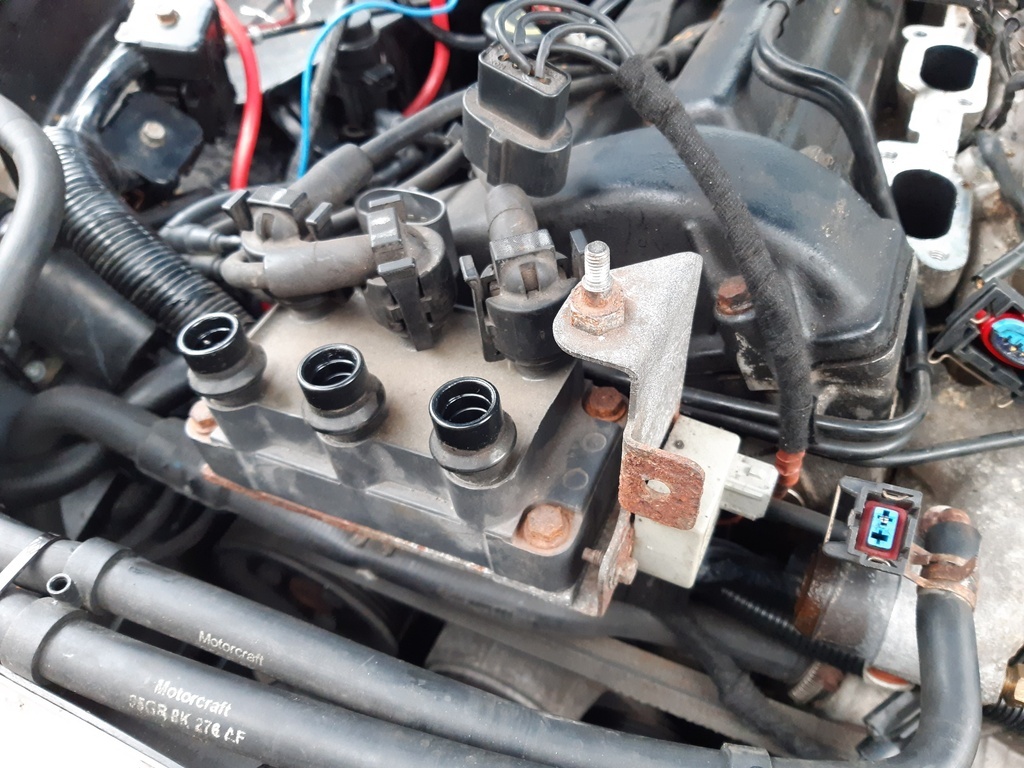
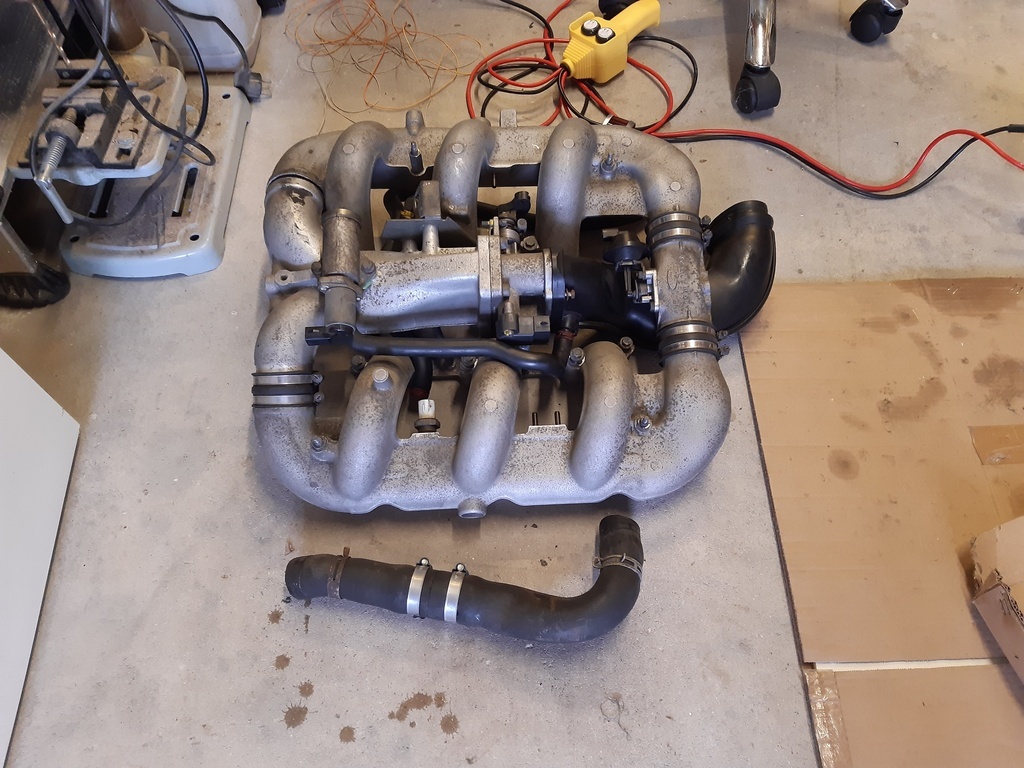
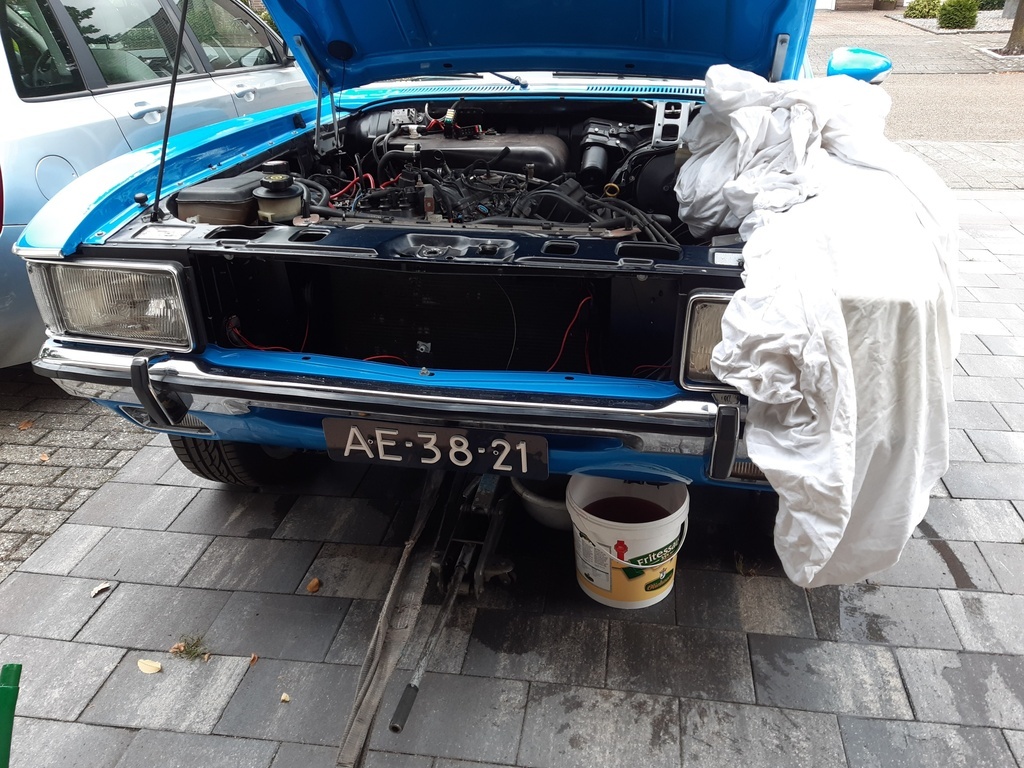
Next up were the fuel rails. But not before lowering the car back to the ground. Not too difficult really. I quickly had it off. I took some pics to be able to check back on how the loom was in there and where the fuel lines went. To fully remove them I needed to undo the fuel lines to the swirl pot as the original way these lines are put on means they are better left attached.
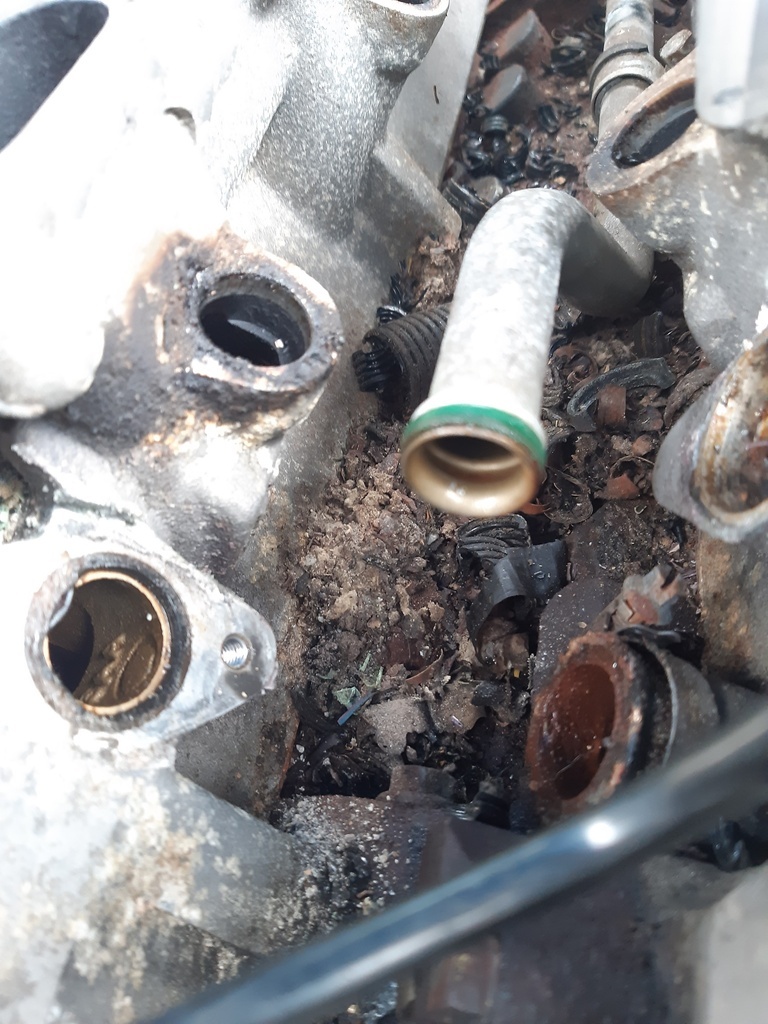
It quickly became apparent that the intake gaskets had seen better days and were not reusable. The crumbled upon touch.
Also visible how much muck is in the valley of the engine. I vacuumed it all out to clean it up a little.
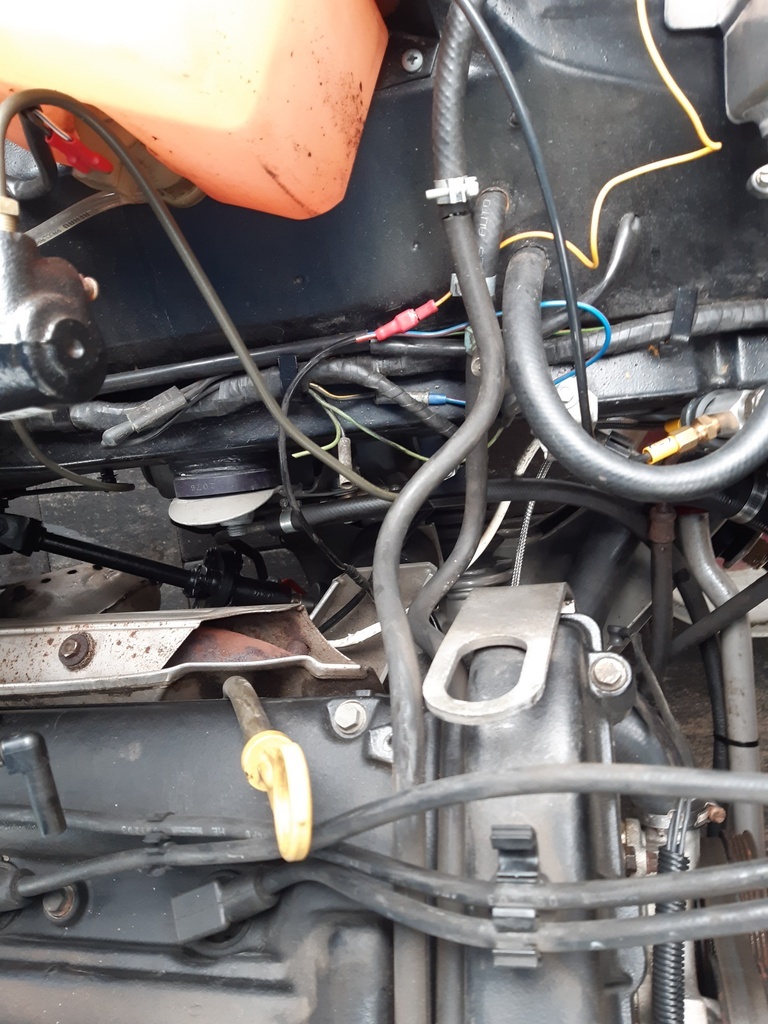
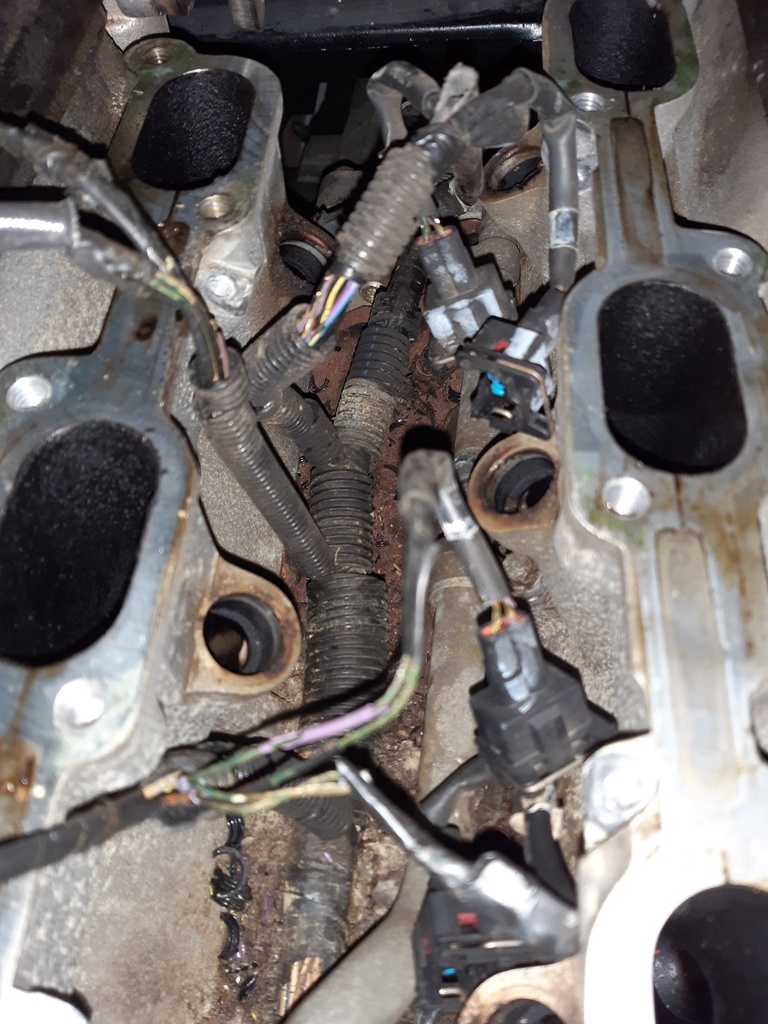
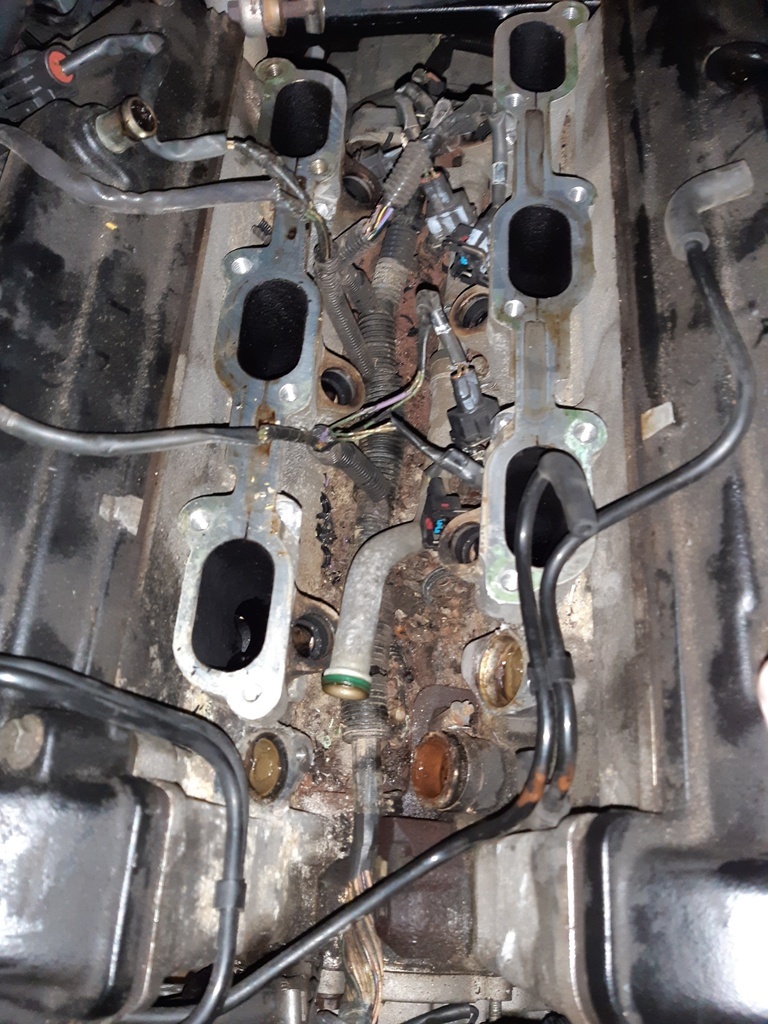
I had a bit of a fight with some bolt that held some p-clips to the engine. They were behind the pulleys and belt bits and access was dramatic. Again I persevered and won, but these little things take so much time.
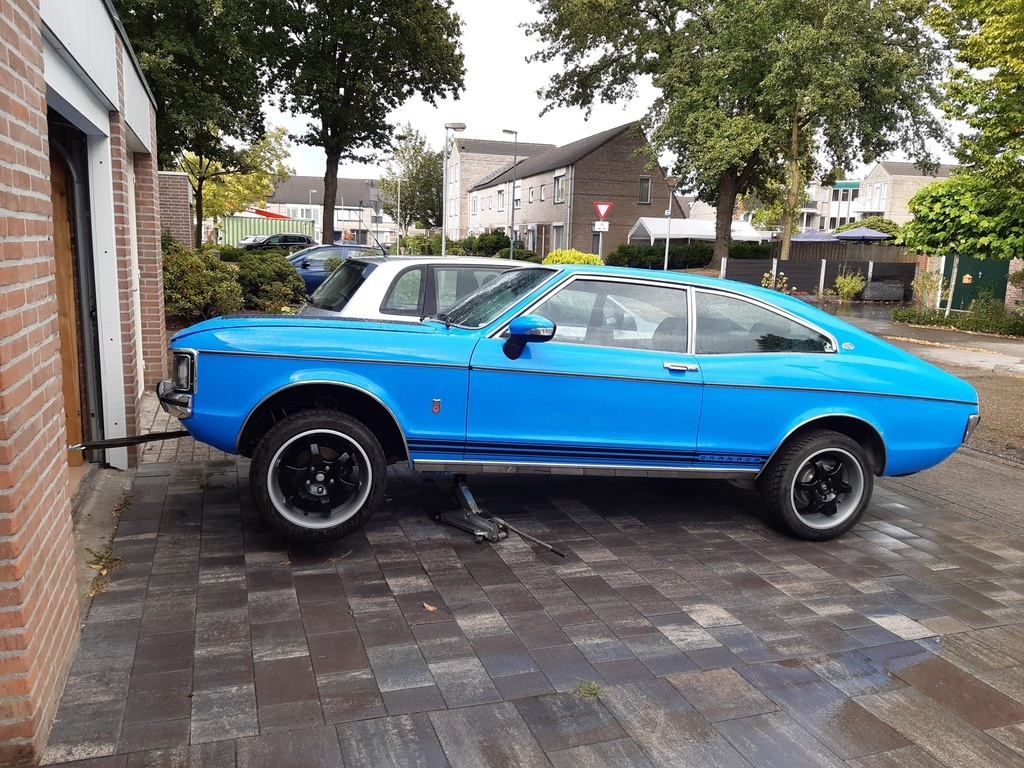
I now had the loom loose from the engine in all places and should be able to take it out after undoing the gearbox end of things. So up in the air the car went again, this time properly supported by an axle stand as I was going to really be under it. I never fail to put in extra security against getting crushed by the car. My life is too precious to not spend 3 minutes extra doing this.
The gearbox end bits undid quite easily and the hardest bit was getting the loom unclipped form its clips and getting the connectors past all the linkage bits. With that done I could gently pull from above. A bit of pulling from above, freeing up from below and the loom was out! Halfway there at last!
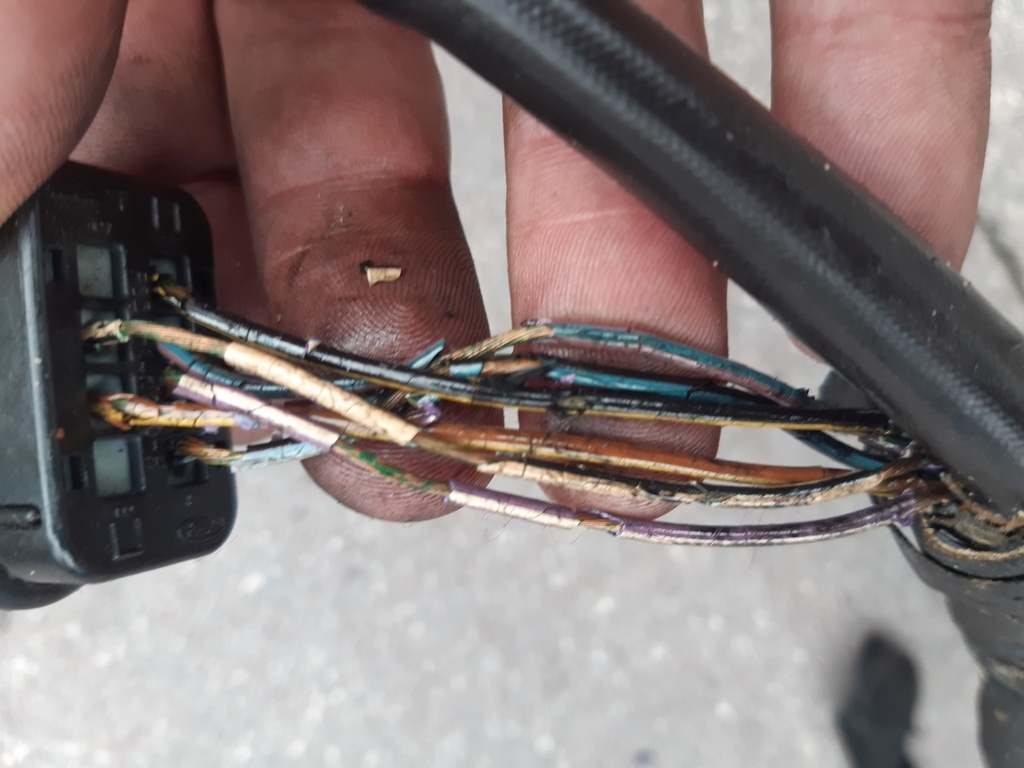
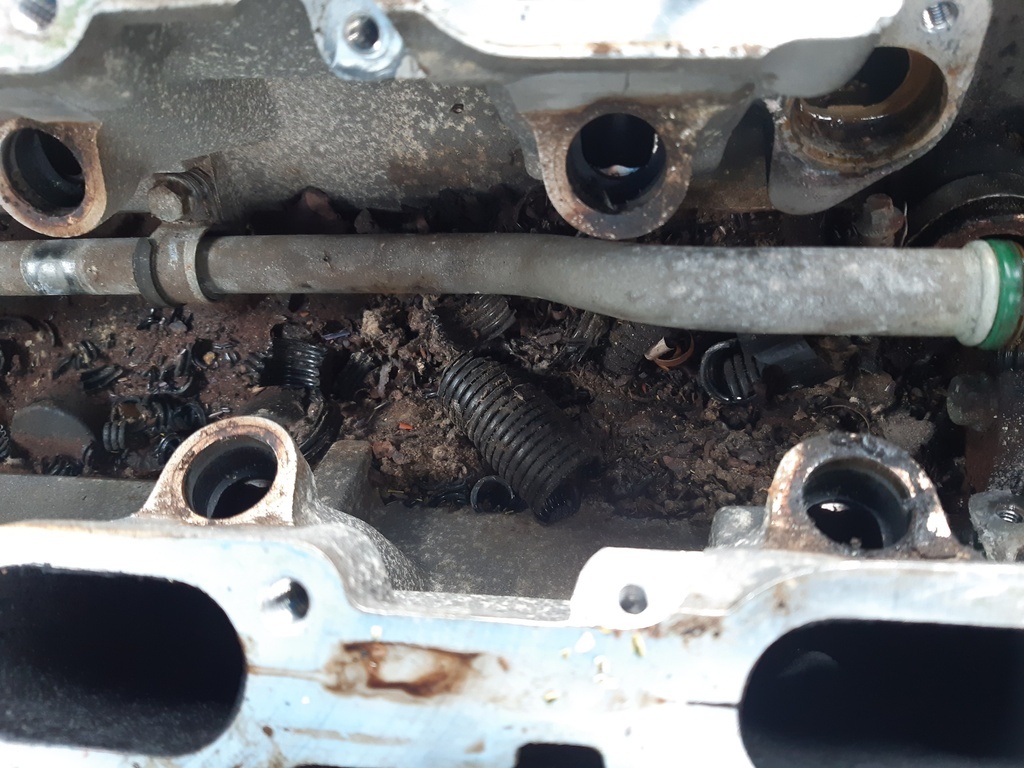
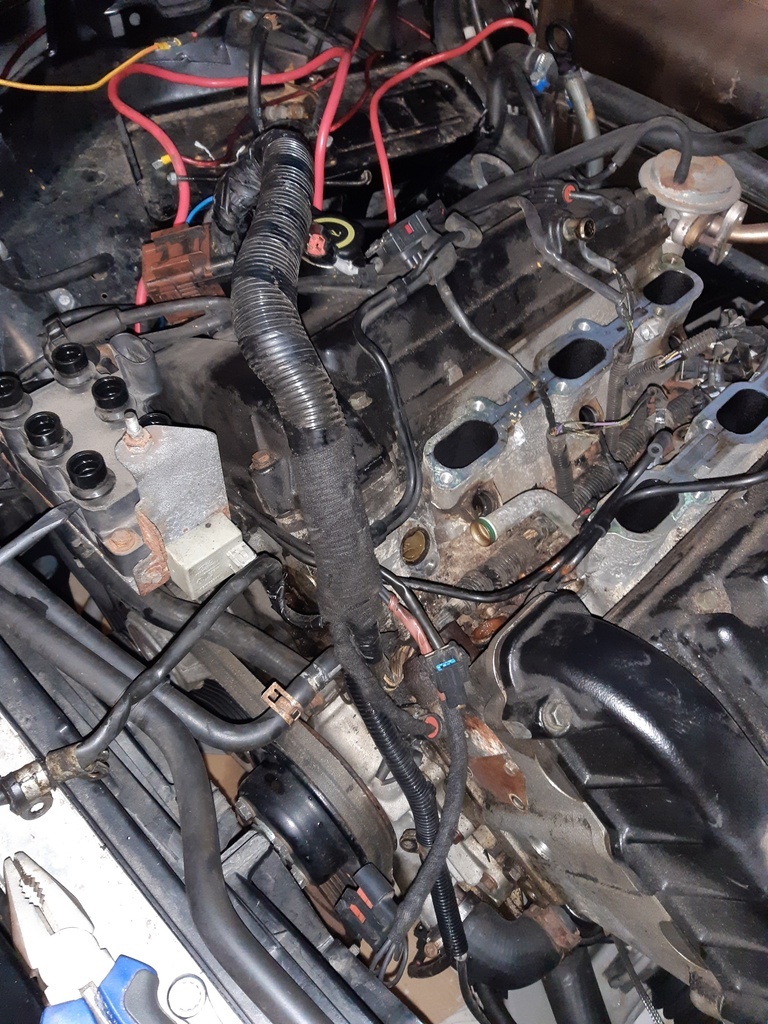
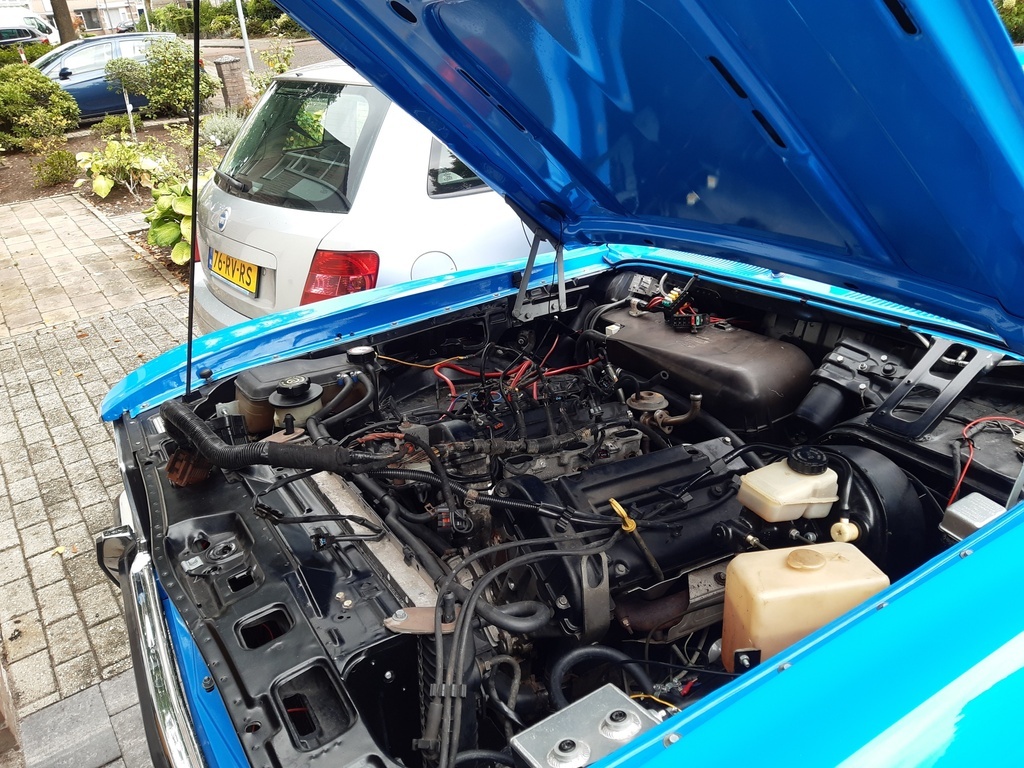
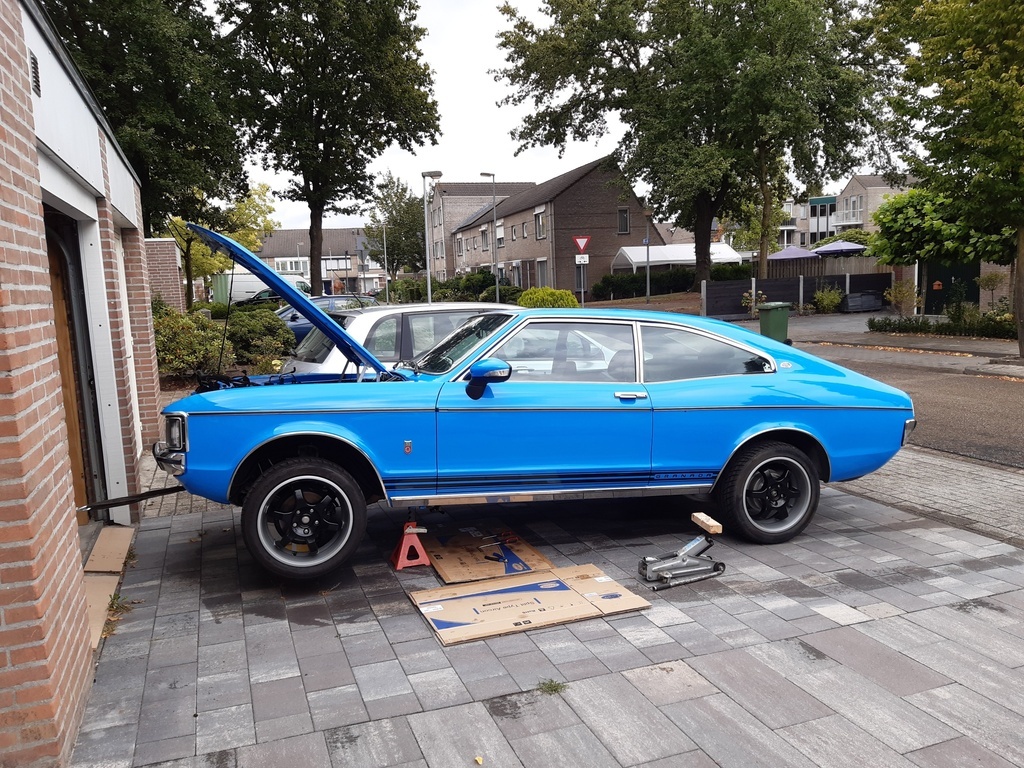
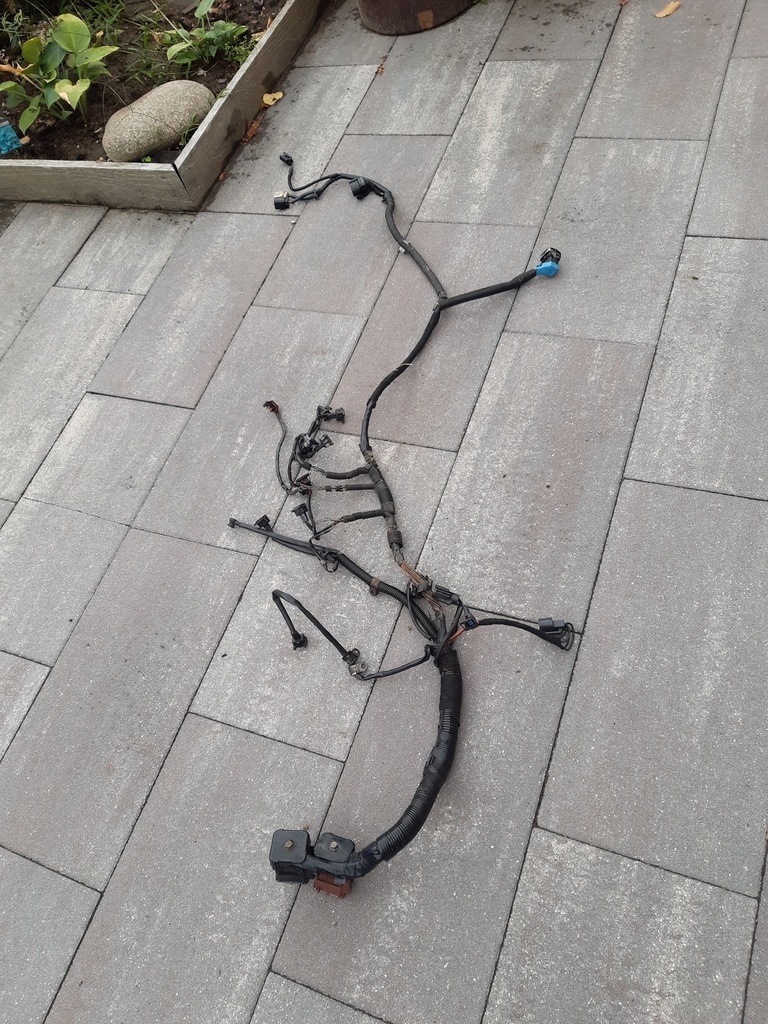
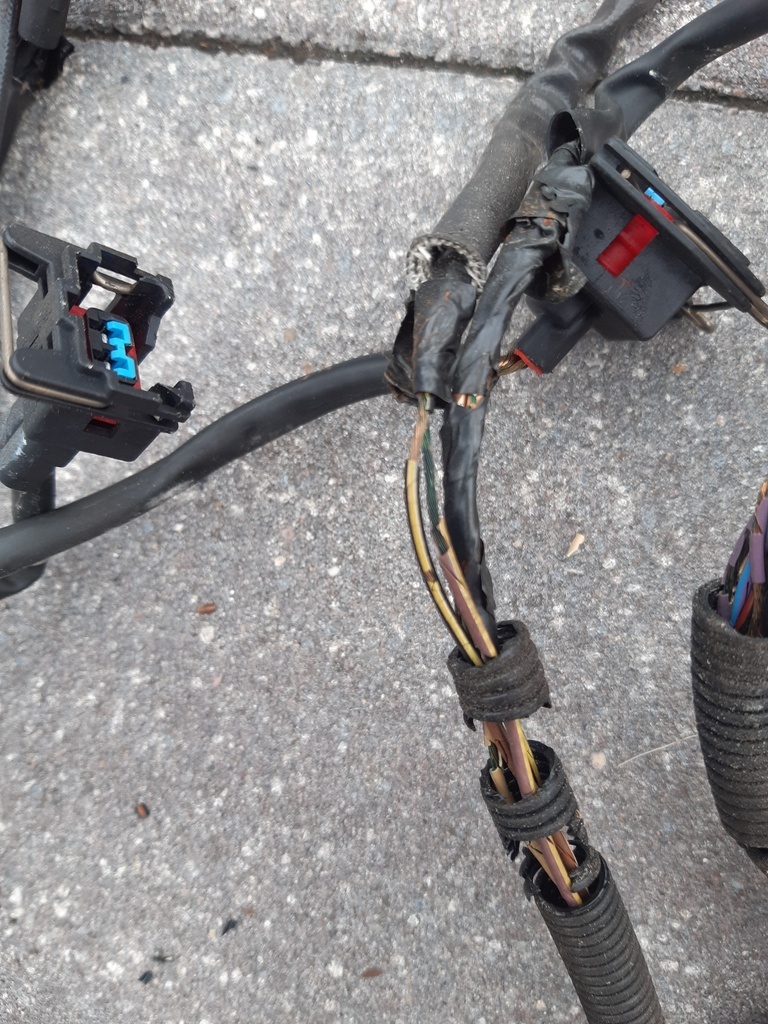
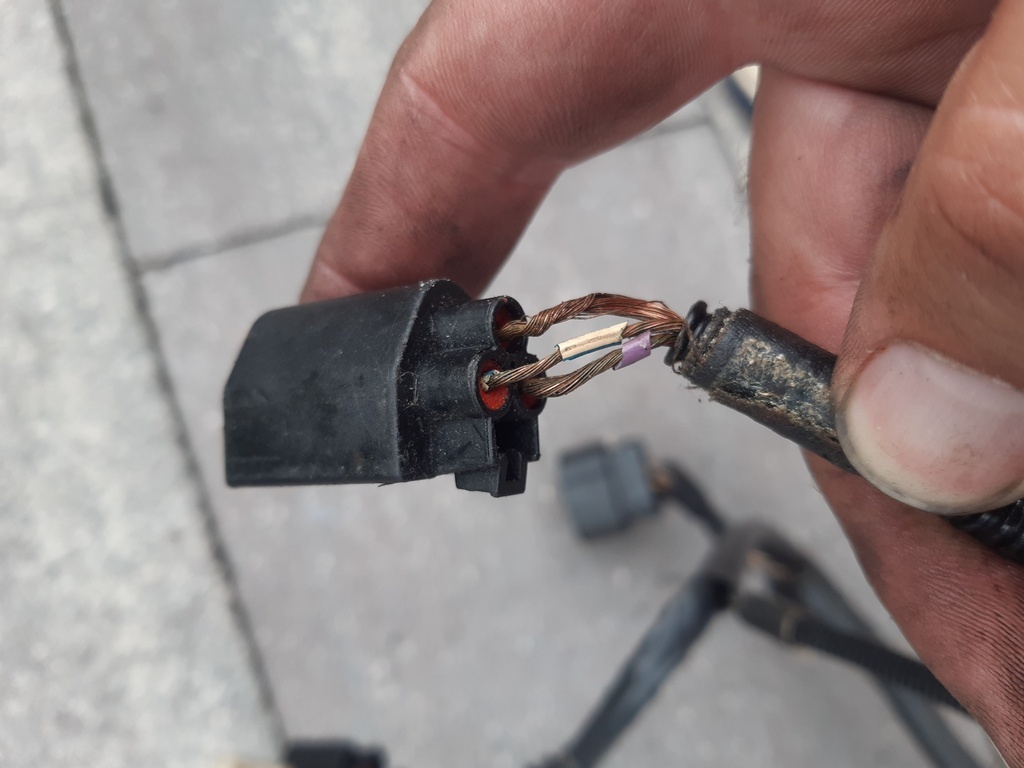
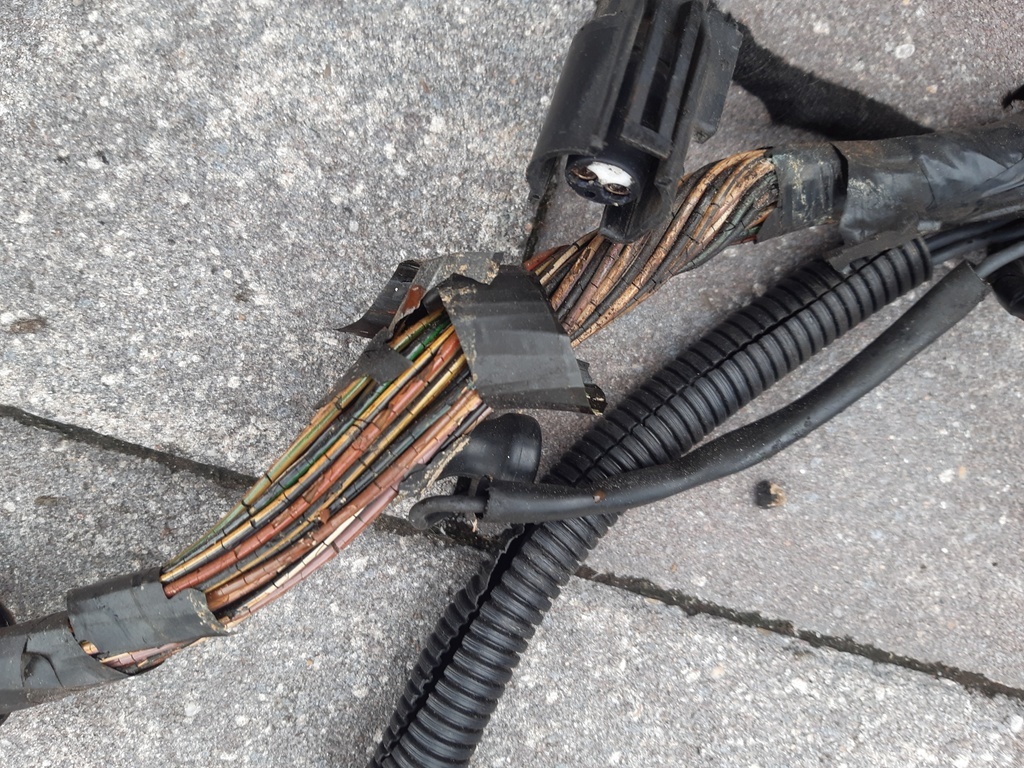
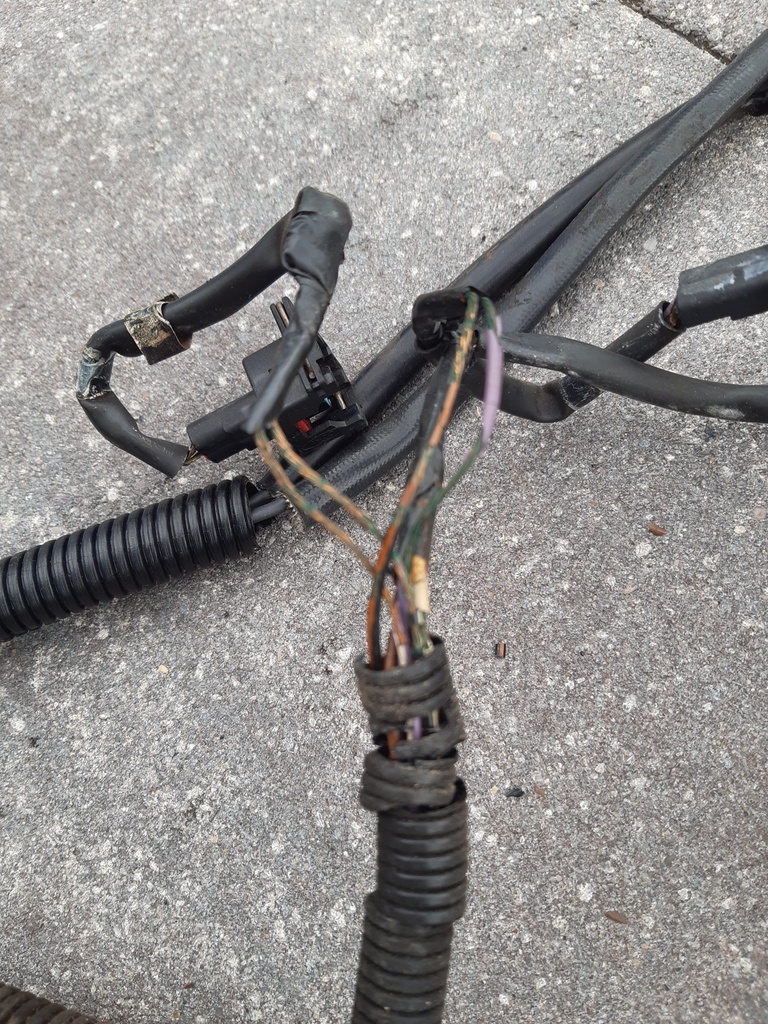
I got as far as pulling the spare loom from the shelves and roughly putting it in position before rain stopped play. I decided to clean up and call it a (successful) day! After which I winched the car back inside.
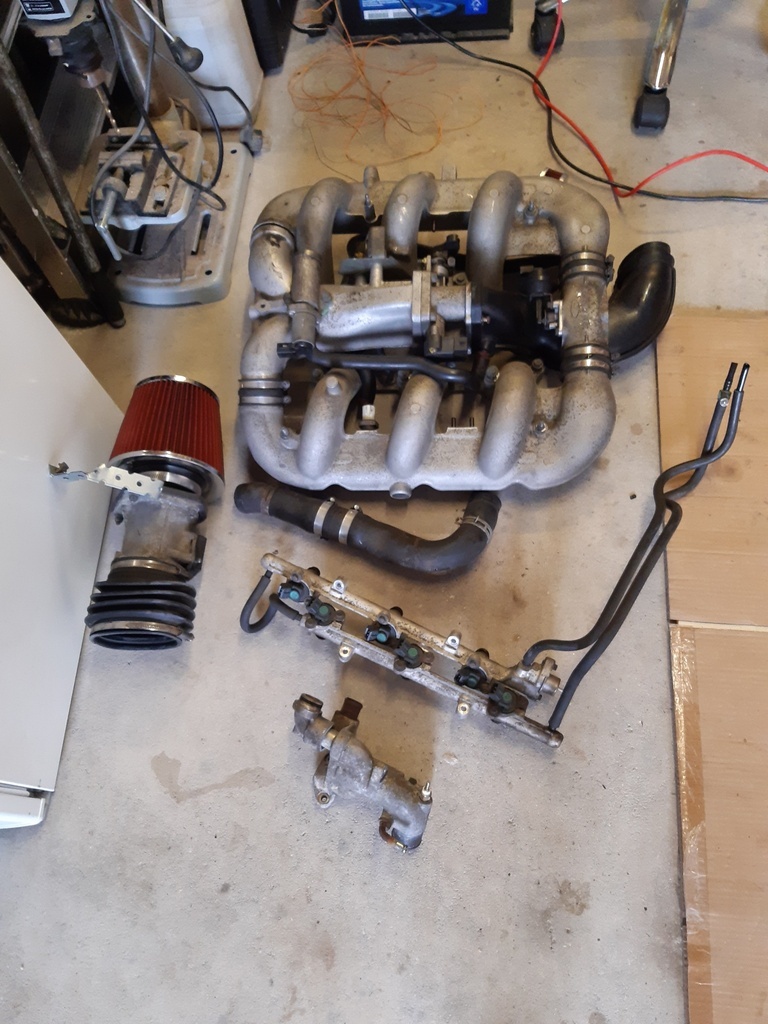
Next day was supposed to just be the reversal of the day before, right? Should be easy enough, right? Well, it really wasn’t. I don’t know if it was me, or the car, but everything went crappy and slow. Each step creating new works to do first.
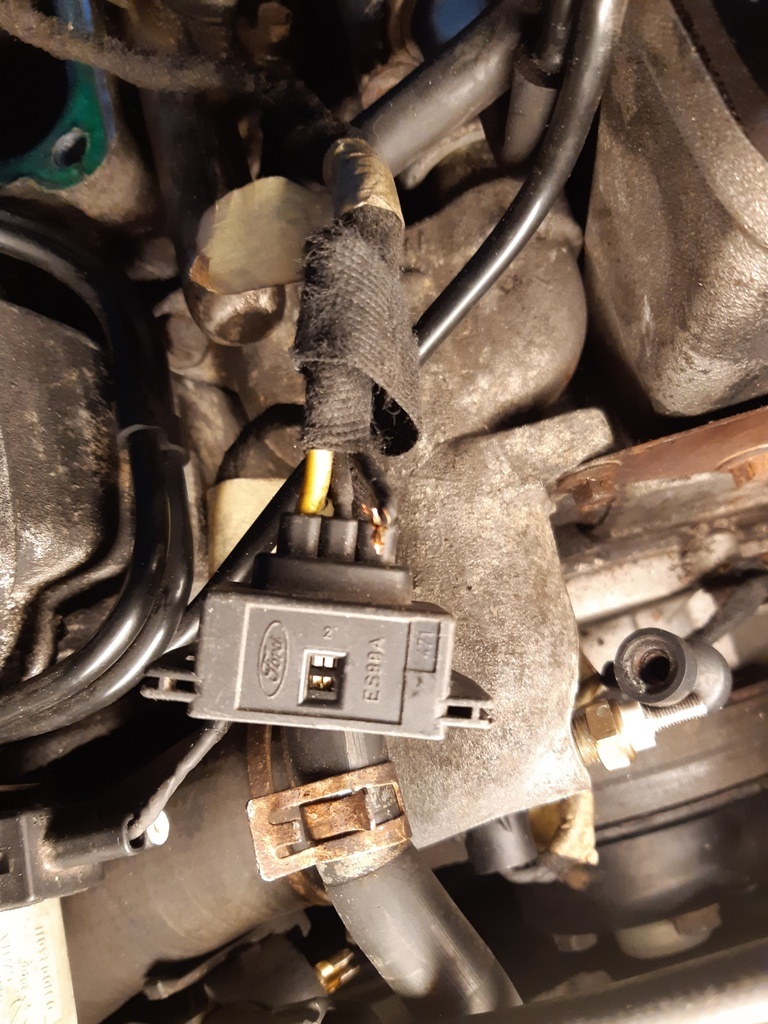
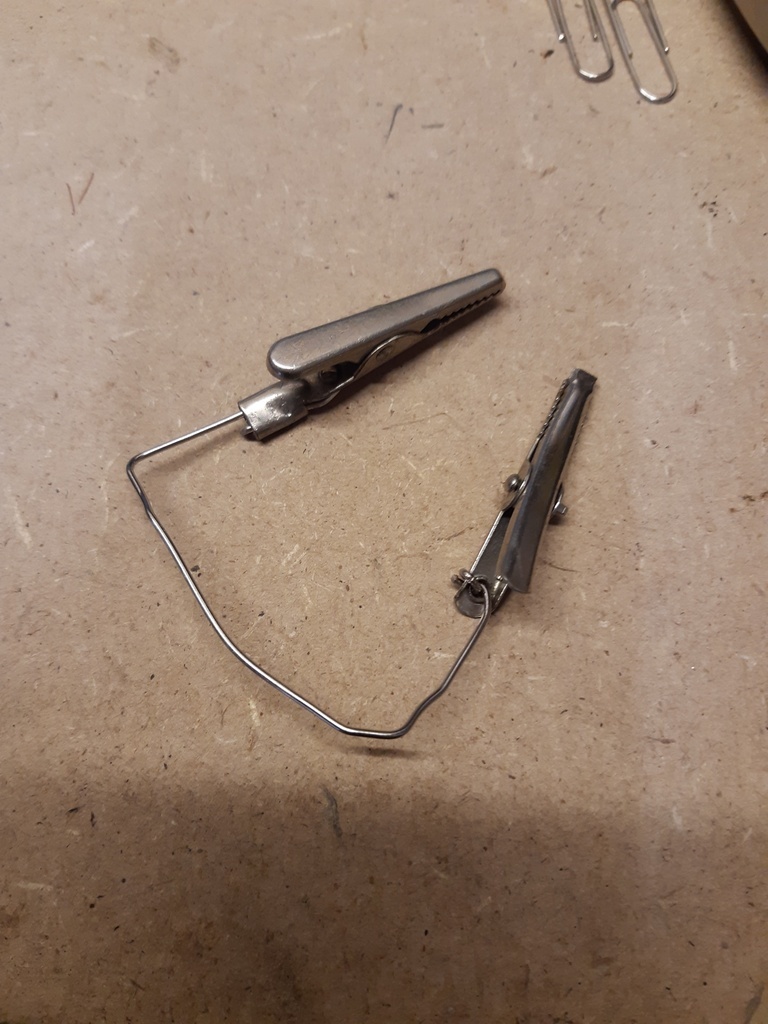
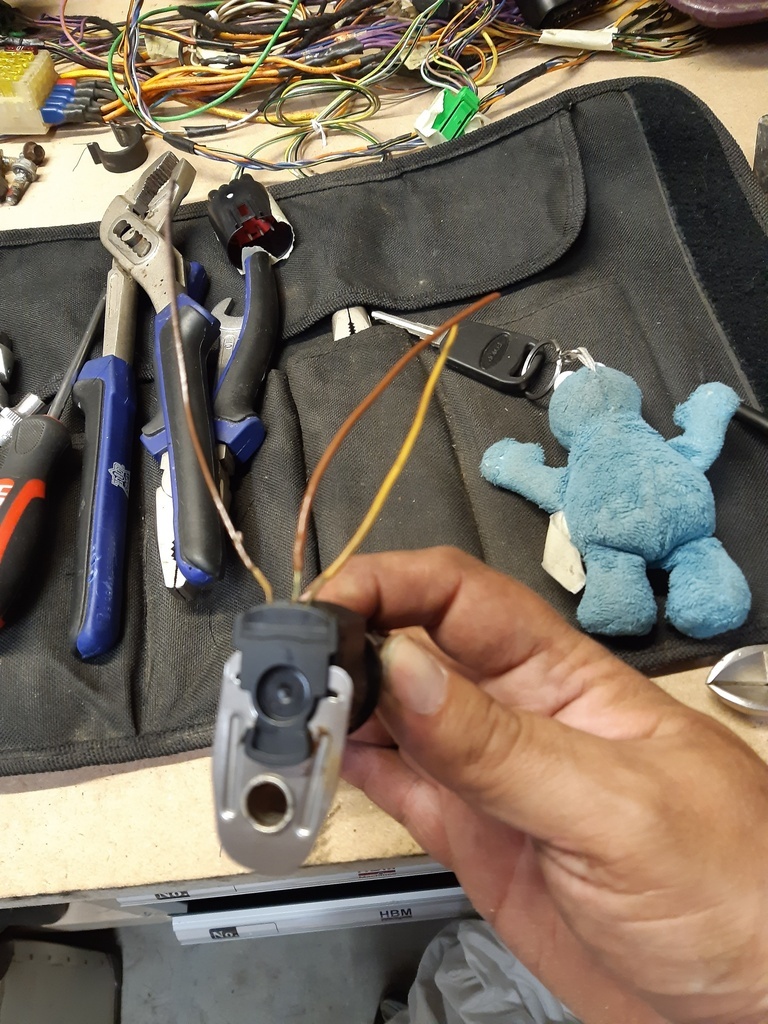
I had the loom roughly in place end of play, yesterday and so my attention was immediately to putting that onto the gearbox end so I could get to work in the engine bay. But while under the car connecting things up I found a LAMBDA wire half cut, which I decided to fix properly. Then I see the VSS sensor has no insulation on both connector and body end. So I decide to repair this. Should have been easy, but wasn’t. Got it done in the end but by now frustration was building. I also had to do all this work inside my 3x6 unit as it was raining outside… Then there was the issue of clamping up the loom in the right places. No way in hell my hand could bend that way AND generate enough pressure to do so. Not fooled easily, I used a laminate flooring tool to pull the loom into the required clips. I won in the end, again!
I could now lower the car again and get on with the engine bay works. First of which was to create a more easily accessible/useable earth point on the engine. This is the point I had both battery to engine and engine to body leads on. This used to be a bolt that holds a cover plate on that covers what in earlier renditions of this block was the distributor hole. I replaced the bolt with a purpose made stud that I could screw in and run a nut on to hold the clamp (although the cover seems pressed in and not really needing a bolt). This location being under the intake and obstructed by the EGR system, means that getting that bolt in when it’s time to put a new earth lead on there is challenging to say the least. Now with it being a stud, it should be much easier to just hook a new lead over it and put a nut on. It may still be a bit fiddly but not the pain it was before.
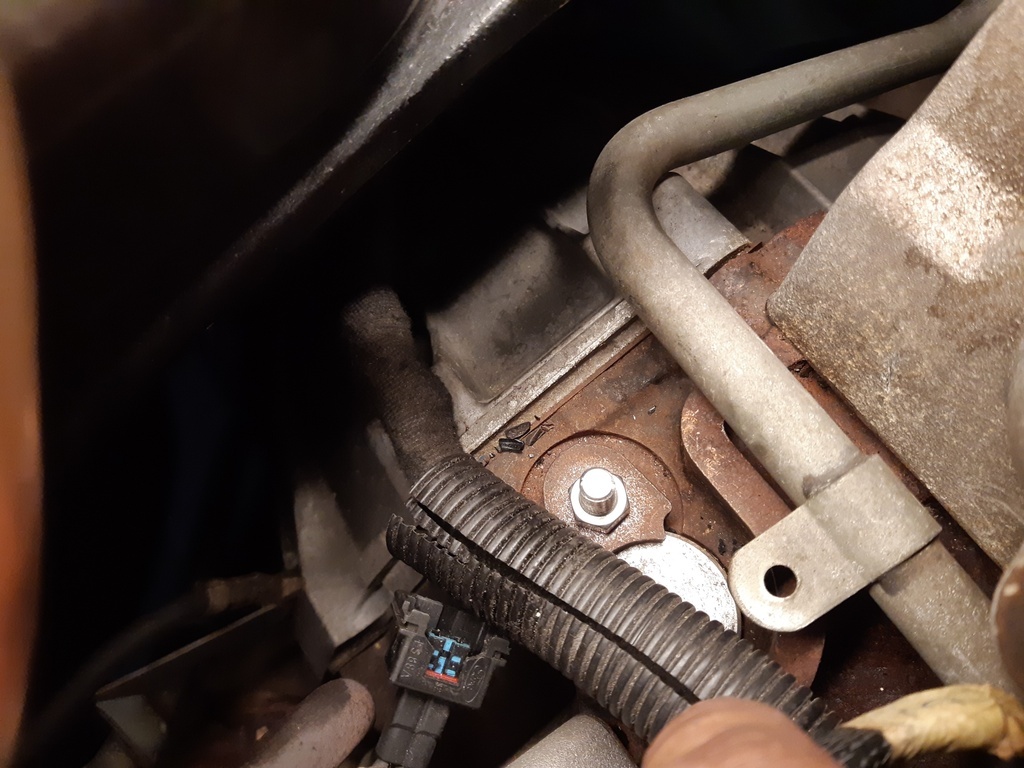
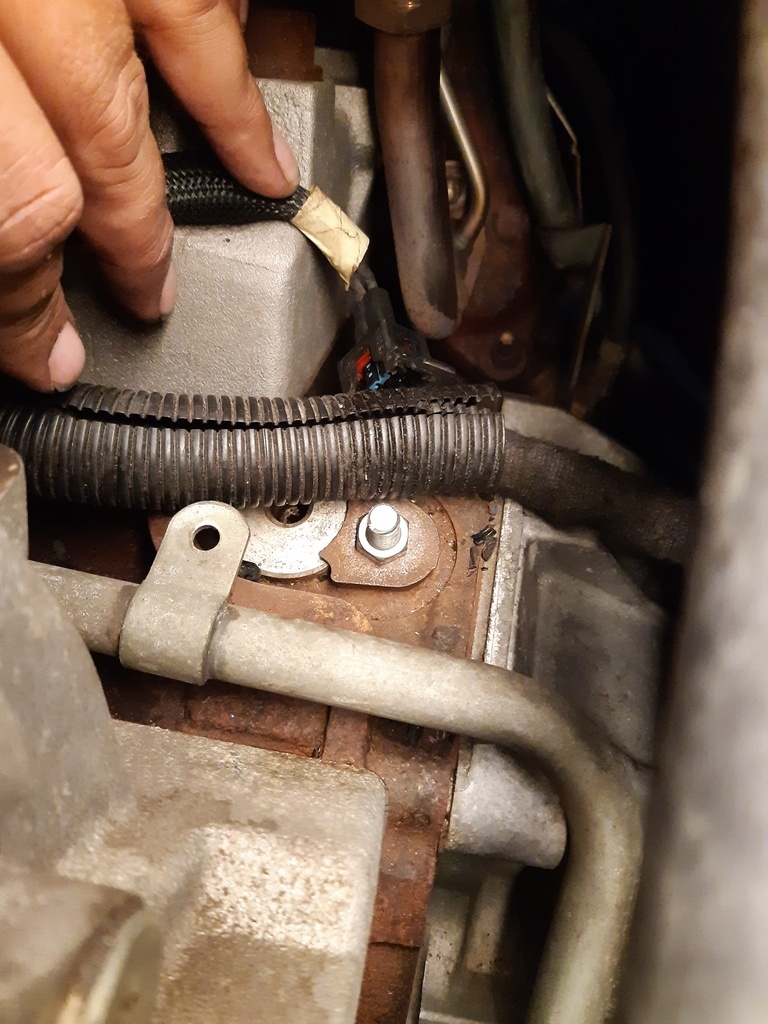
With that future issue now dealt with I could start putting things back. The loom found it’s natural way of routing although I could immediately see that this was not exact to the previous one and may cause issues down the line. First to go back in was the coolant system snout. This attaches to a rubber hose going through the head and to a metal tube and the heads. It’s an important and fiddly bit to get back in but it went fine. I then either did the fuel rails or the coolant hose, can’t remember. The coolant hose went on well. I shortened it 1,5 cm and it sat even nicer than before, when it was restricted a little from a slight pinch that was present when fitted. This pinch was now gone so flow should be even smoother.
The fuel rails went in fine as well, but as predicted the slightly differently taped loom, wouldn’t sit in the same position and reach no1 cylinder injector. To rectify this I had to take them out again and move the loom around a bit. Cylinder no 1 now reached, just, but now cylinder no 5 was facing similar issues. I just got it on. If I ever do this again (on the fresh bob I dream of) I will lengthen these wires by 4 cm’s or so.
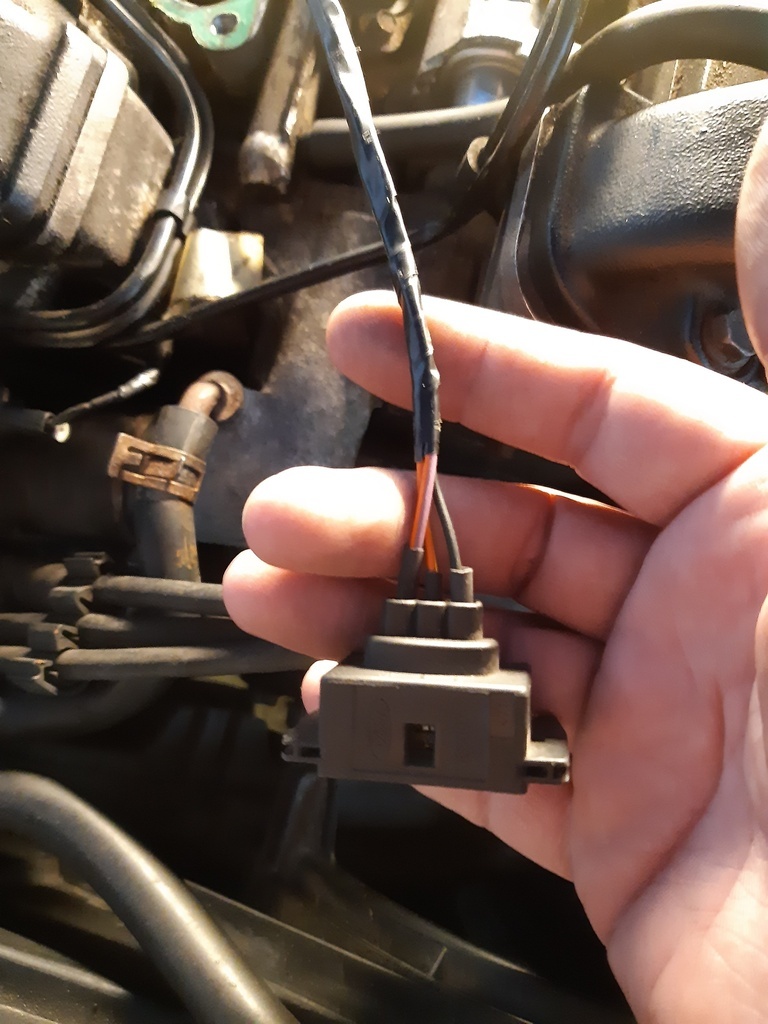
Anyway rails were in, injectors connected back up, fuel lines connected back up and I was back in a good place. So with good spirits I set to the final bit to put back, the massive intake. I had found a set of better used gaskets to put back on and I “glued” them in place with a little bit of liquid gasket as I didn’t want them to move. I think they should be put on the intake rather than the engine really, but as the intake is heavy, has a lot of things to do up to it requiring it to be moved about a bit I felt the chances of damage were smaller when put on the engine bit. Anyway the intake landed ok, I got the wiring where it needed to go and connected all the vacuum bits back up. I was just about ready to bolt it down when I noticed the bolts wouldn’t seat on one side of the block. Guess what, tha gasket had shifted! And with no room to shift these delicate things with the intake on top I had a gut feeling that really I knew what I needed to do. The decision was eventually made easier when I also found that one wire had pulled out the TPS sensor connector. One more thing to fix, but one that would be easier if there’s a bit of room to work with… So off the intake came again.
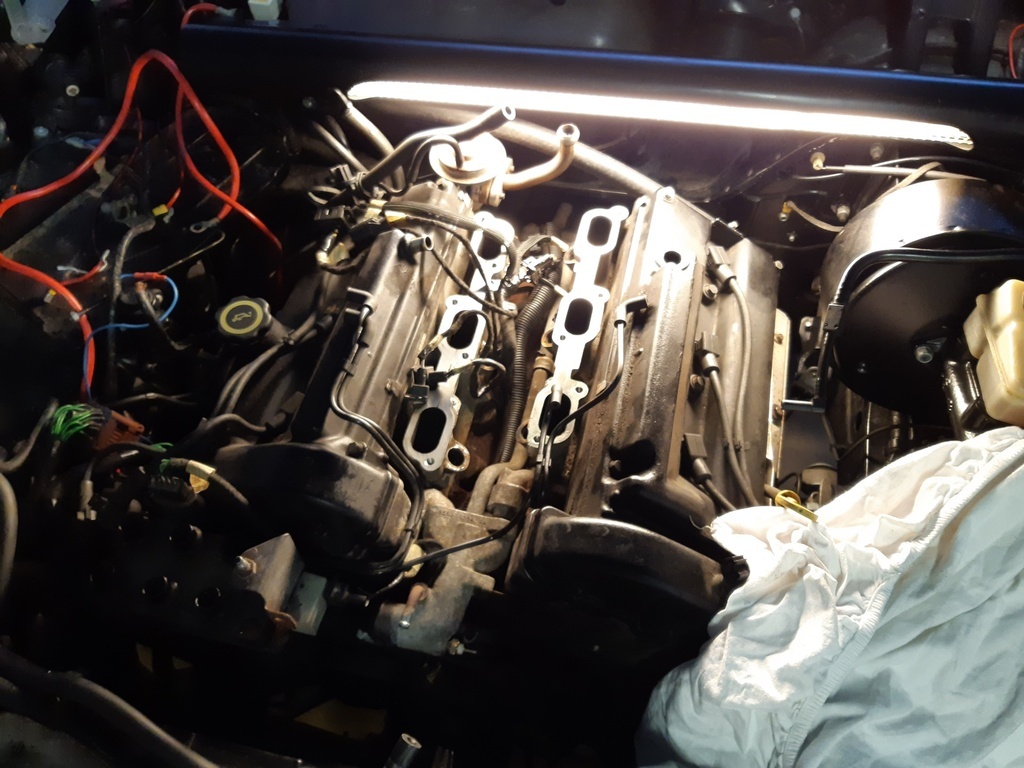
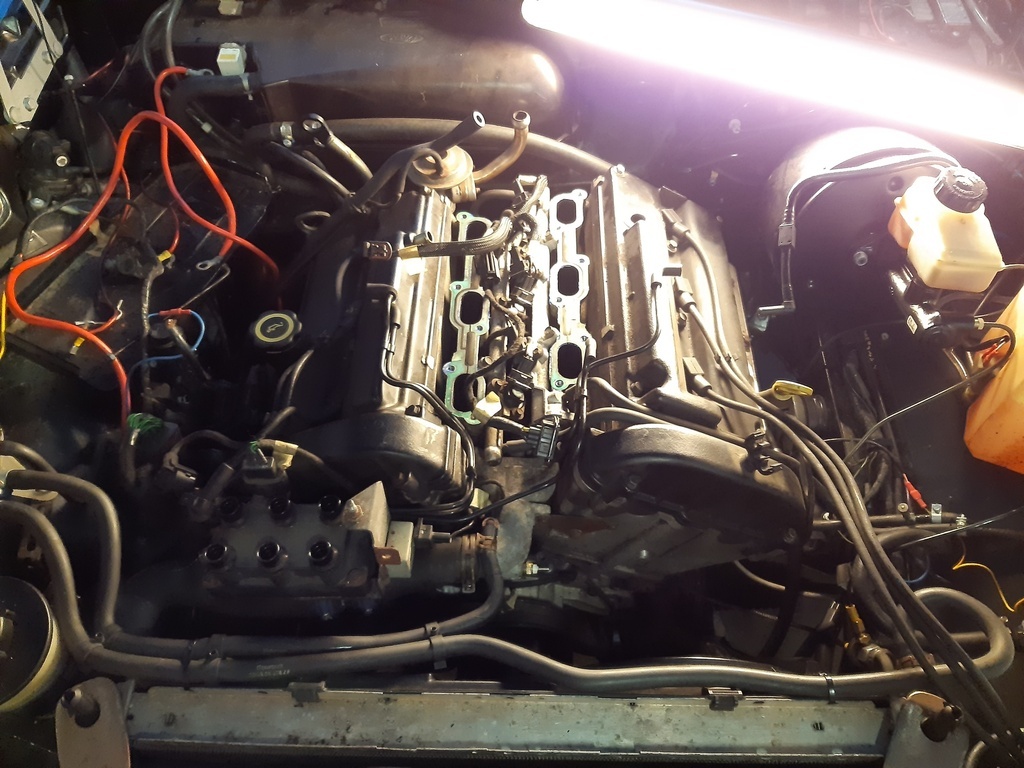
And at that point it was late enough in the day and my mood was such that I just cleaned up shop and gave up. Fight another day! So plan is to fix the connector if at all possible Tuesday evening and if time permits bolt the intake back on then as well. That would at least mean one of the phases is complete…
It’s all taking way too long and with my luck this will mean that I have the car up and running in the winter, when no fun can be had with it anyway…
I hope I get phase two buttoned up this week and an order ready for the loom stuff, But with currect price developments over here it's tough to need to spend on the car...


