eurogranada
Europe
To tinker or not to tinker, that is the question...
Posts: 2,556
|
|
|
|
So I owe you guys a little update. Last week a friends words helped me get my ass in gear and actually do something on the Granada again. I was sort of avoiding it as I was unable to determine for sure if I had a leaky hose or a head gasket issue. I had figured I wanted to pressurize the coolant system to see if I could narrow it down a little. For this I needed to make a pressure cap for the reservoir. All this coincided with dropping off the wife and daughter to go see Taylor Swift, which meant that I had a long day for myself as well. And as if it was a sign, there was a detour on my way home from the train station that brought me past my preffered MOT center. They do tires so I went in and asked for a tire valve for a hobby project. They kindly just gave me one. I used this to turn a spare cap into one that can be pressurized. Here you see it in action. 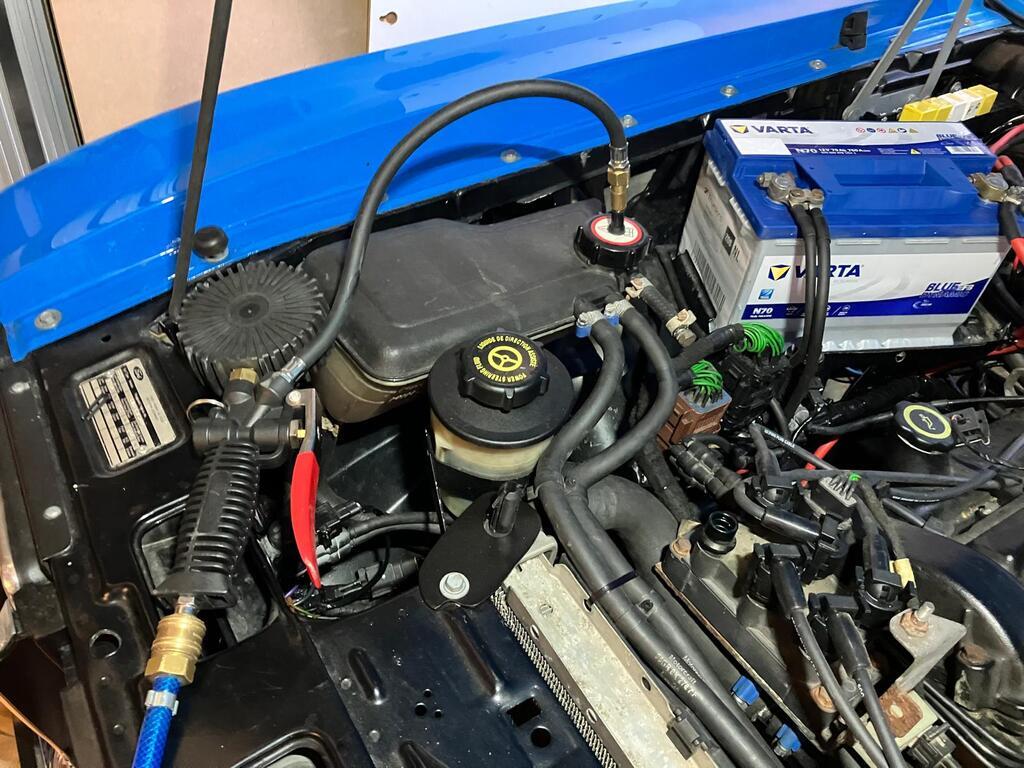 You can also see I had to plug the overflow port to build pressure in the system. The pressure quickly dropped off (an extra o-ring or seal in the cap would help), but I was able to put enough pressure in the system to replicate te leak. Unfortunately no amount of mirrors and lights would tell me for sure if it was the hose or worse. Only thing I new for sure was the exit point. But given that point, the fact there was noi oil or water mixed in the system and no bubbling was seen when the car still ran, my most logical conclusion was that the hose was easiest to check. I could do that with a little bit of effort without removing the fuel system so that would be a win. I set to doing that and got the hose out. It was then quickly confirmed it ws the problem. A win in my book. Mostly as it is a cheap fix. Although it may prove challenging getting a new hose back in place with the head in situ. We'll have to see. 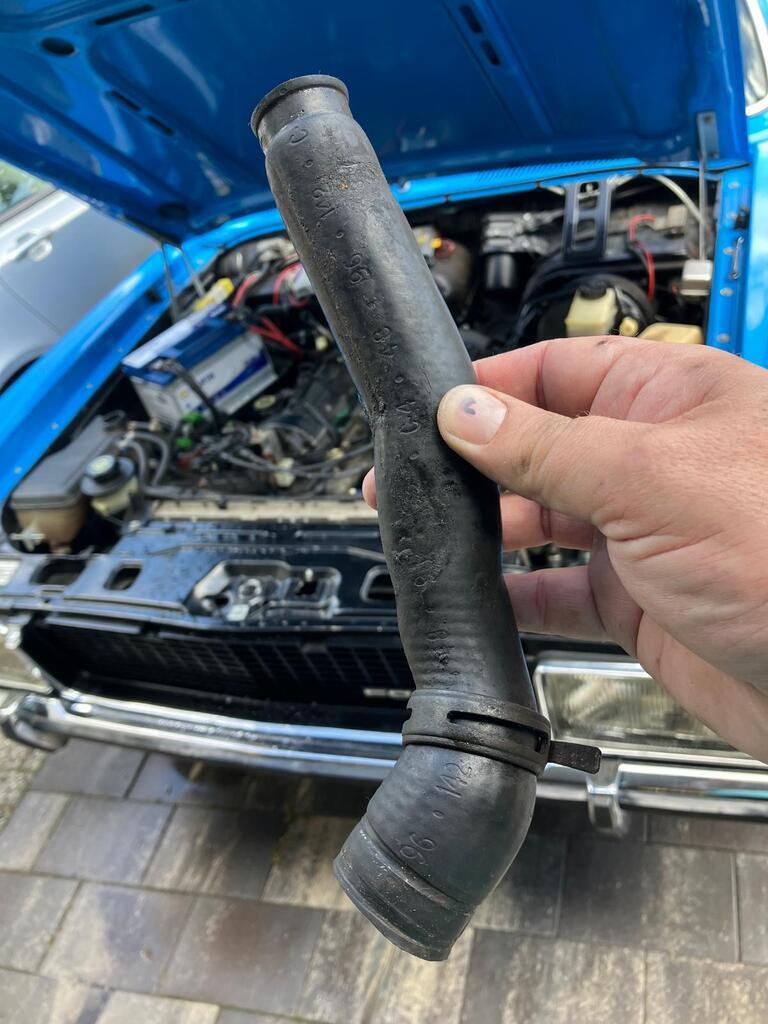 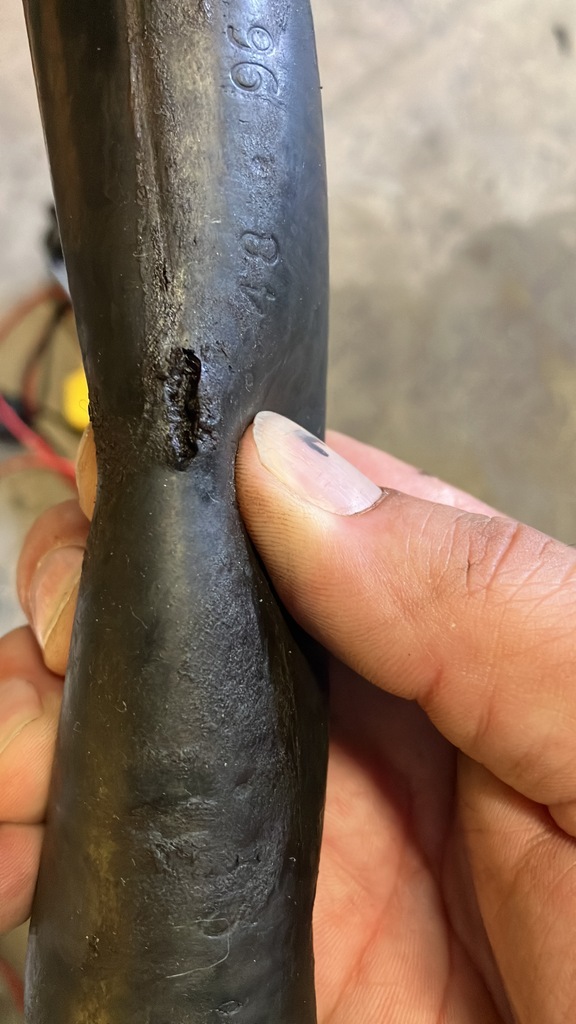 I quickly purchased one from a UK vendor as that was the easiest route. It's a silicone replacement and I hope it will have the right shapes. It's sold explicitely for the BOB engine. It will be here tomorrow so when it arrives I will probably set to fixing it asap. Having both cars running again would be good for both my morale as well as being able to catch some more meeting or tour activities before the season ends. And when the car is running again, I can start some of the other things I want to do to it like the 3d printable stuff. Although I cannot print this stuff myself and probably even need help getting it drawn up. But I'll try to design the stuff as best I can. |
| |
|
|
|
|
mk2cossie
Club Retro Rides Member
Posts: 3,058  Club RR Member Number: 77
|
|
|
|
Thats a good find on the coolant leak  Before fitting the new hose, it may be worth seeing if there is any protruding head gasket material. As I know that's a common issue for that pipe that goes from the back of the thermostat housing to the water pump  |
| |
|
|
|
|
|
|
|
I said it would be the hose  glad you got to the bottom of it. |
| |
|
|
thomfr
Part of things
  Trying to assemble the Duett again..
Posts: 691
|
|
|
|
|
Superb!
Please also use new and good quality hose clambs ;-)
Thom
|
| |
73' Alfa Giulia Super
64' Volvo Duett
65' Volvo Duett
67' Volvo Amazon 123GT
09' Ford Focus 1.8
20' VW ID4
71' Benelli Motorella
65' Cyrus Speciaal
The difference between men and boys is the price of their toys
|
|
eurogranada
Europe
To tinker or not to tinker, that is the question...
Posts: 2,556
|
|
|
|
Well…. Granada 1, Alex 0 I’ve spent 6 hours today, one cleaning hoses and thermostat and the pieces the hoses should go on and 5 trying to get the new silicone hose fitted… my arms and hands are beaten up and mighty sore! And I just for once gave up, it was 32 degrees outside and probably more under the bonnet. I spent 1,5 hours trying to get the hose and hose clamp on its stub (searching for the right word). That didn’t work. Then I reversed the order and had the hose on in 1 minute. But now the next problem became the hose clip. It just wouldn’t go up high enough on the stub/hose. The new hose is thicker maybe but it leaves no room for the hose clip on the front side of the engine. As it is deep in the engine valley I used my longest tools to move it up. Finally after 45 minutes of trying I had it up where it should work. But, every time I tried to fasten the clip, it ended up sliding down. The thicker edge of the tube end is not very defined either but it sort of feels like the bottom of the clip doesn’t slide up with the rest of it meaning when it gets tightened the top bit changes position. I did this dance I don’t know how many times… same result every ff-ing time… And then I did something I don’t often do, I quit…. I can have another go tomorrow, but not knowing what to do differently why should I expect a different result. In part I feel the silicone hose is just less grippy than the rubber ones, but I couldn’t get one in rubber. And the spare I have has surface cracks in the outer layer so will no doubt Ben on its way out as well. I feel truly beaten this time…. By the way, I had hoped to be able to do this with the fuel rails in place. Removing them may give me slightly better acces… but I really only want to do this as a last resort. The wiring is vulnerable, the seals as well… Any tips? I really don’t fancy taking a head off just to fix this as that means I might just as well start building a new engine…  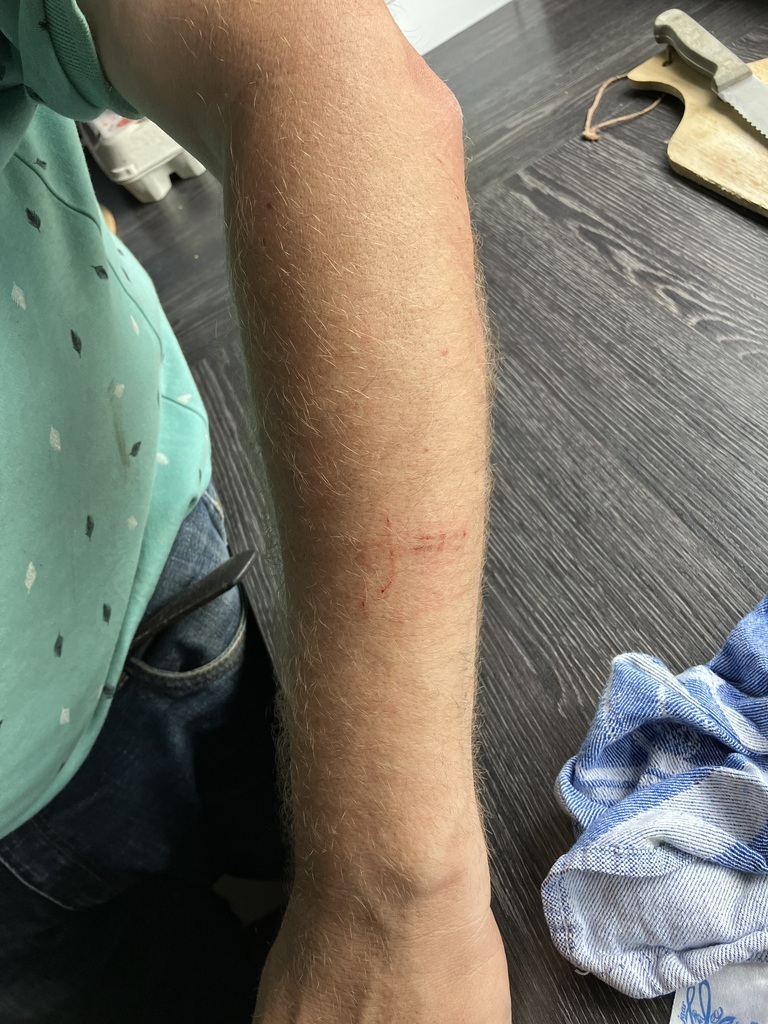 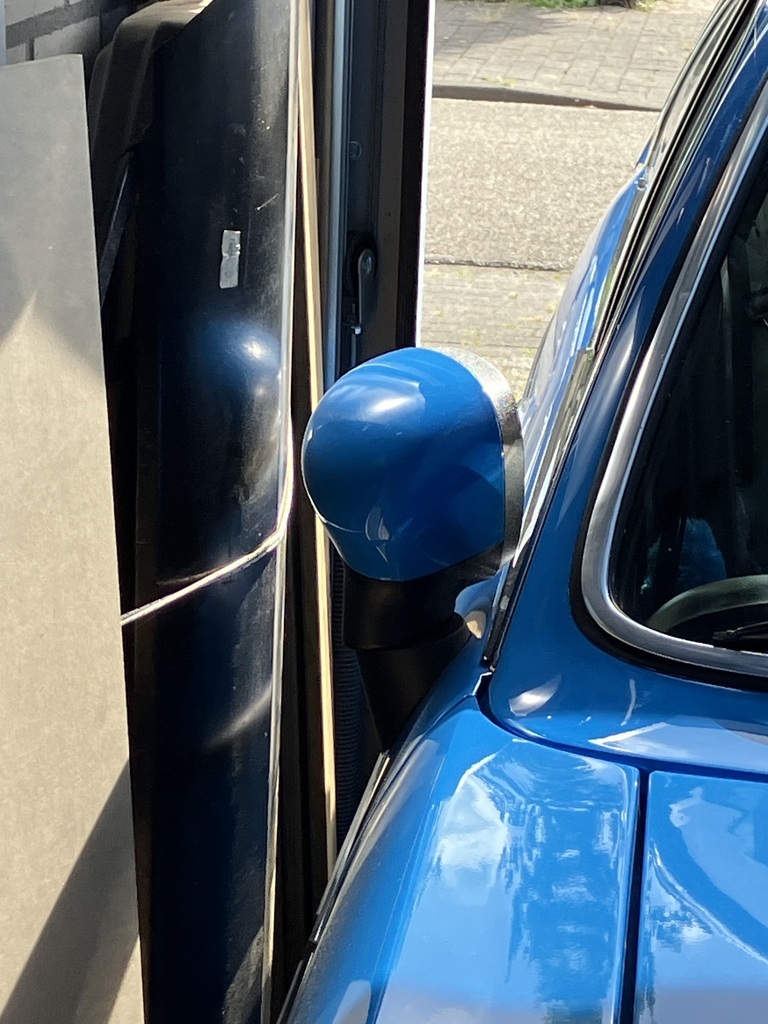 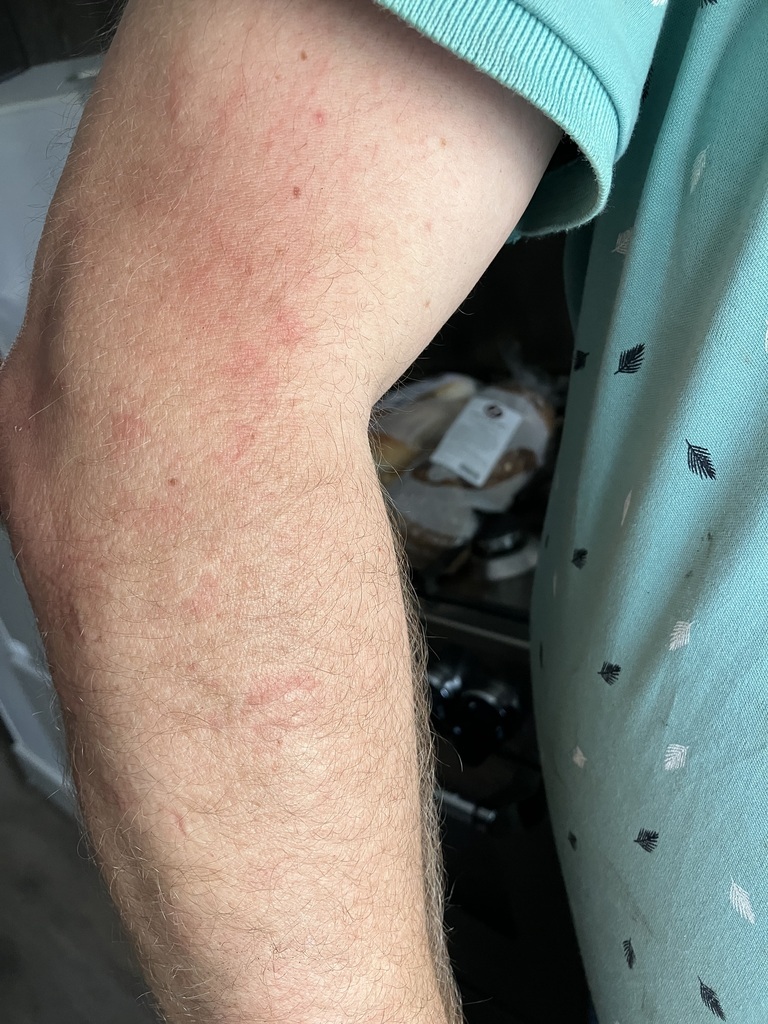 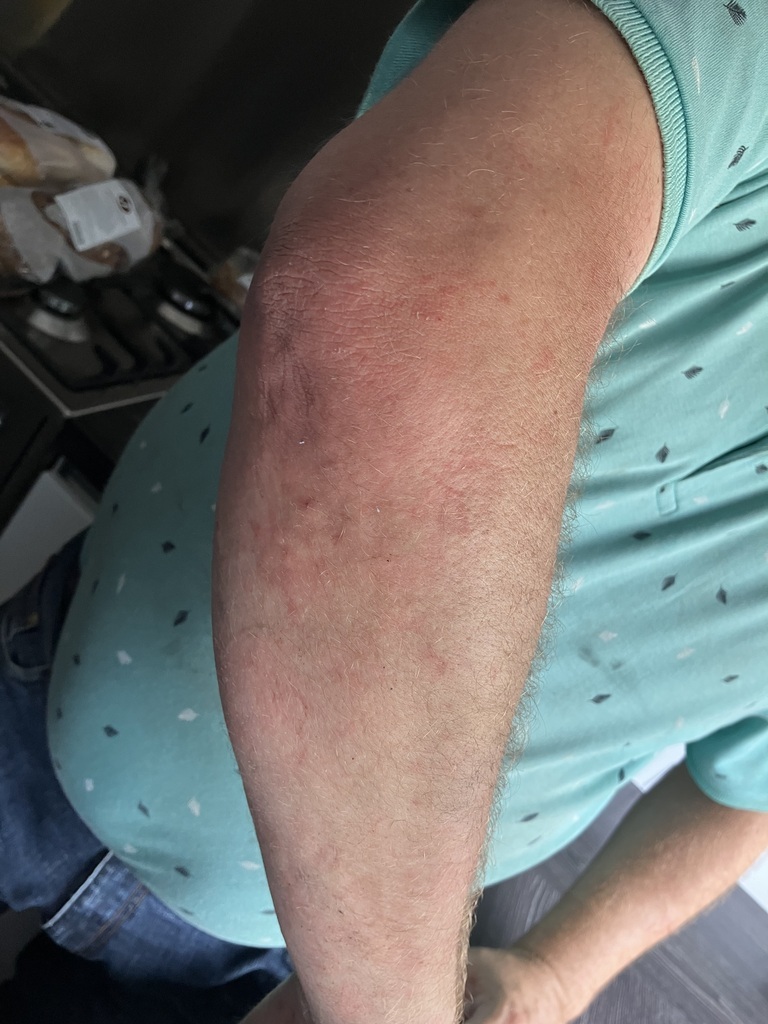 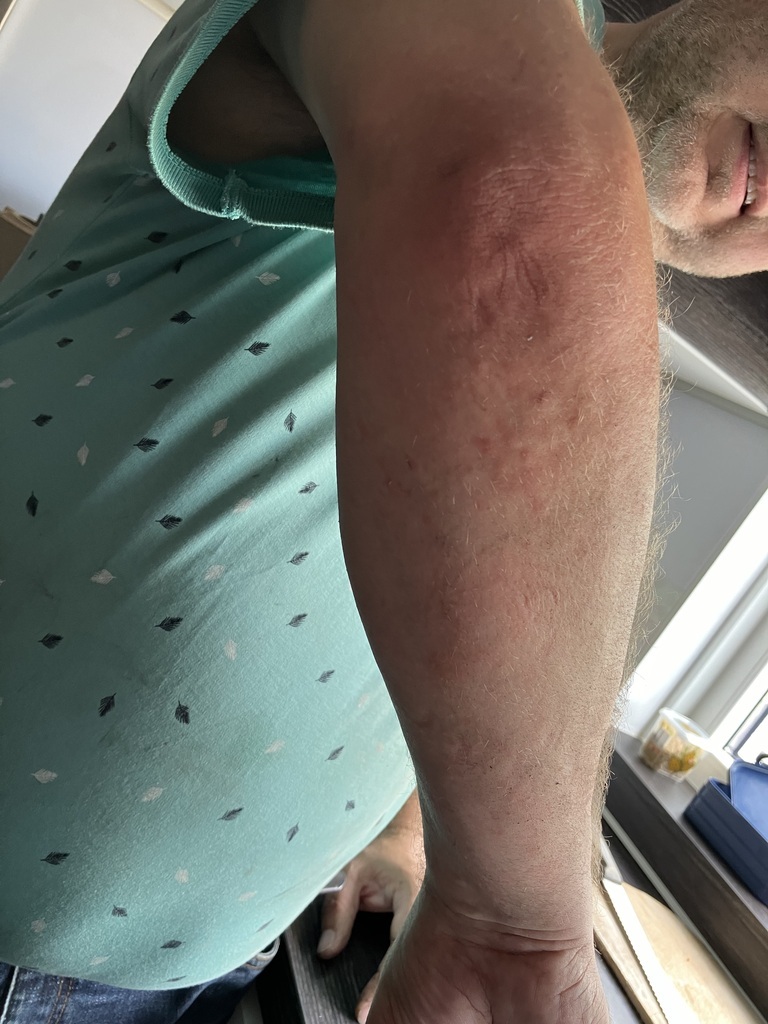 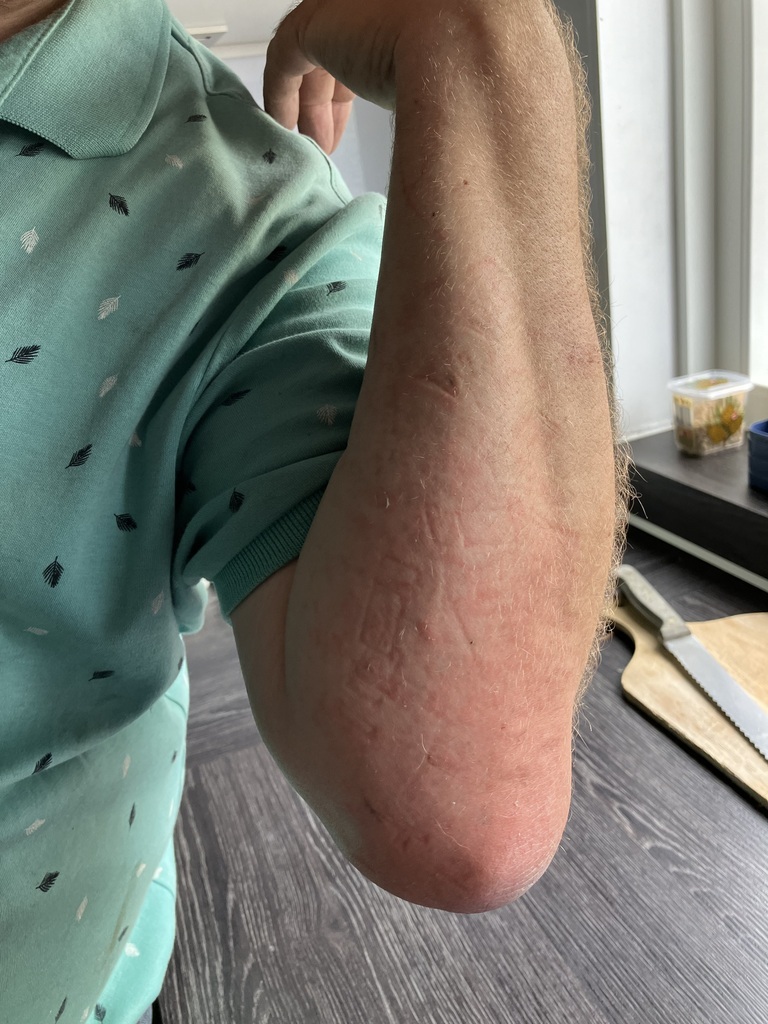 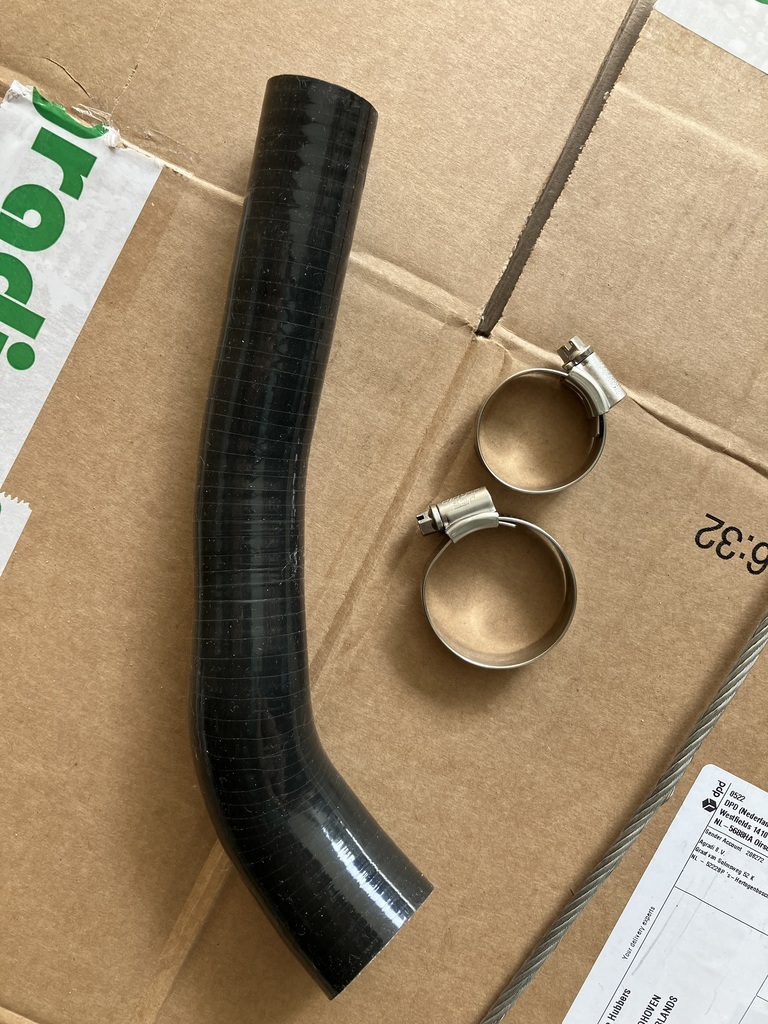 |
| |
|
|
|
|
|
|
|
|
2 thoughts:
1) it seems like the blook sacrifice was a bit on the small side. Try harder next time ;-)
2) Glue might be your friend. Can you glue the hose clamp onto the hose & try like that?
Keep at it, you'll get there. Volhouden! :-)
|
| |
|
|
mk2cossie
Club Retro Rides Member
Posts: 3,058  Club RR Member Number: 77
|
|
|
|
If I've read the above right, it's the hose clip in the vee of the engine thats giving you issues eurogranada? If so, I've had success using a socket on an extension. Used the socket to position the hose clip, fed the hose through the cylinder head recess, and through the loosened hose clip  By no means as easy as that was to type out, but the way I've found easiest  |
| |
|
|
eurogranada
Europe
To tinker or not to tinker, that is the question...
Posts: 2,556
|
|
|
|
|
Yeah, that was my exact process… and variations on the theme.
Problem is even when all is in the right place tightening the clip makes it move down off the stub and sit against the head… other problem is that the hose itself uses up all space so the hose clip really doesn’t want to fit in the same space.
I’ve decided to try next time with the fuel rails removed… hopefully that will simplify things.
|
| |
|
|
thomfr
Part of things
  Trying to assemble the Duett again..
Posts: 691
|
|
Jul 10, 2024 10:30:50 GMT
|
|
Creating that mm more space with a dremel?
Thom
|
| |
73' Alfa Giulia Super
64' Volvo Duett
65' Volvo Duett
67' Volvo Amazon 123GT
09' Ford Focus 1.8
20' VW ID4
71' Benelli Motorella
65' Cyrus Speciaal
The difference between men and boys is the price of their toys
|
|
eurogranada
Europe
To tinker or not to tinker, that is the question...
Posts: 2,556
|
|
Jul 10, 2024 12:27:55 GMT
|
|
I even tried that but at least with the fuel rails still in, I couldn’t get to it. So that is still on the table for next time. Probably will have the mindset to try again on Friday.
|
| |
|
|
misteralz
Posted a lot
   I may drive a Volkswagen, but I'm scene tax exempt!
Posts: 2,484
|
|
Jul 10, 2024 14:03:04 GMT
|
|
It'll go on like a dream tomorrow. I had exactly the same sort of experience with the main boost hose on my wife's old TT. What I really needed was someone else to hold the jubilee clip in place from above, while I tightened it from below. Doing it up enough to hold before installation on the turbo ensured it wouldn't slip over the turbo flange. Not doing it up enough ensured that when you tried to get a socket on it, it would rotate the jubilee just 10⁰ rather than seat. Tape or glue wouldn't stick to the silicone hose. I think I finally ended up getting a second person to come and stick their finger on the jubilee from above while I attacked it from below, and then it took seconds to tighten! Sometimes you've just got to ask for help.
|
| |
|
|
eurogranada
Europe
To tinker or not to tinker, that is the question...
Posts: 2,556
|
|
Jul 11, 2024 15:27:54 GMT
|
|
Problem here is that it sits in the v valley of the engine, there’s no getting to it from below. Space is also so limited between the hose stub and the cylinder head that the new stainless clamp was too wide to even fit between them. So I used another new but regular metal one which is slightly less wide. Also the same type that came off originally….
But hopefully you are right about it going smoothly tomorrow (or next time if I don’t get to it).
|
| |
|
|
|
|
|
Jul 11, 2024 16:43:14 GMT
|
|
Is it worth taking the hose off and roughing the outside with some abrasive paper to help stop the clip sliding off?
|
| |
|
|
eurogranada
Europe
To tinker or not to tinker, that is the question...
Posts: 2,556
|
|
Jul 13, 2024 22:01:11 GMT
|
Update time! Today I found the will to work on the Granada. Yesterday was such a bad weather day with rain all day long that I just couldn’t set myself to it. Today was much better but still with wet spells so working with the car mostly in the garage again with just the rear end sticking out. Anyway, I had decided to remove the fuel rails and injectors. Took me ten minutes tops, probably even less. So this turned out to be a humble lesson in time management. Trying to save time (ok and the seals) by leaving them in place had cost me 4 extra hours at least on my previous attempt. This time, with the fuel rails out of the way it took me less than 30 minutes or so. I was able to get the hose in the right place, to get the hose clamp in the right place and even to get them both in the same plane. I could now get the clamp higher up and in the right orientation with help from a finger from below, which although tight turned out to be accessible, just. So with it all in the right places, I was a bit hesitant to tighten the clamp, but it had to be done. Lo and behold it stayed in place!! In the first try. It also was tight and I couldn’t pull the hose off either. Success, now the rest should be easy! Mind you I’m saying should be…. 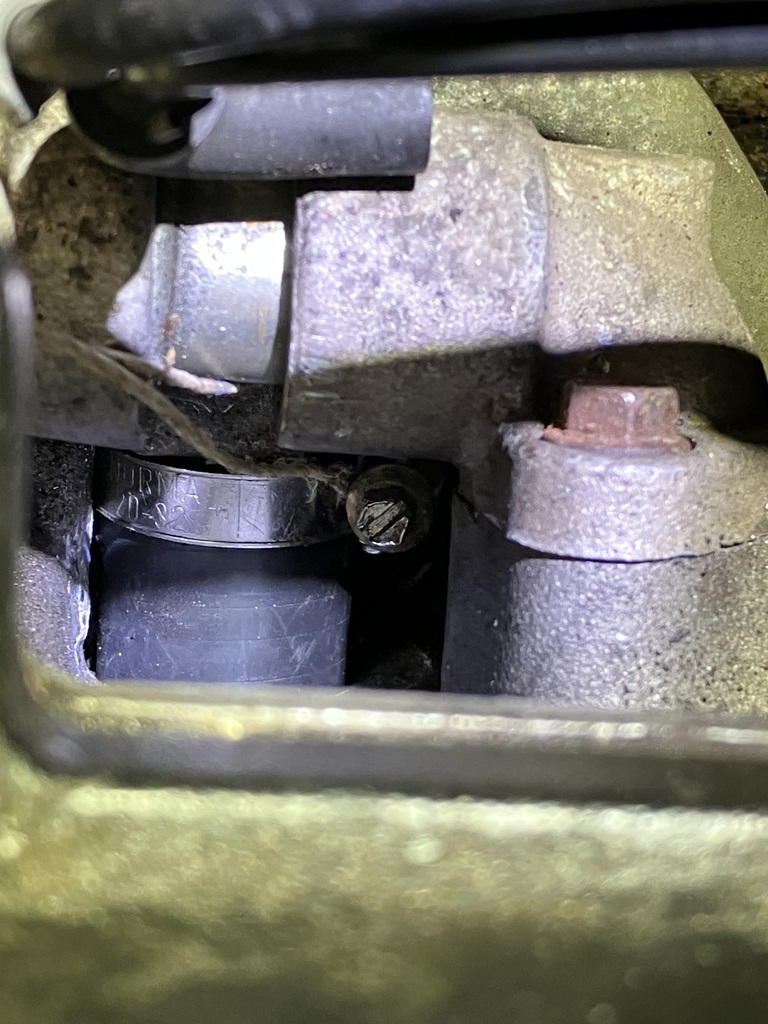 So with this done I rebuilt the rest of the cooling system. I had taken most hoses off to clean the stubs on the thermostat (floating unit) and the water pump etc. Also clean the hose ends. This went well enough. I ended work to go out to buy new coolant by cleaning the mating faces for the intake, ready for new gaskets this time around. Back with the coolant I set about putting the inlet back on. From previous experience I like to “glue” the gasket to either the block face or the intake as if I don’t it always moves upon assembly so I did that with a thin smear of sealant. Next made sure everything was present and accounted for. Bar one! So a step back and I had to undo the fuel rails again as one connector for the intake was left underneath… ok no real biggie. With everything now ready it was a bit of jiggling to get the intake to seat. As usual one gasket still moved slightly so another attempt with the gasket realigned was more successful. In between I tested the cooling system by slowly filling it but it showed a leak from the small elbow from pump to thermostat. The hose clamp didn’t survive tightening any further so I had to drain the system again (thankfully not too much present yet). Swapped out the hose clamp and tried again. Seemed to be dry now. Finally I just had to put the filter and maf sensor bit back on. Everything connected up and the car fired only to die immediately. It kept doing this… Now I had done something else. When I took apart the fuel rails I noticed that the numbers on the wires to the injectors didn’t match the cylinders. 1 was on 1, 4 on 4, but 3 was on 2, 2 was on 5, 5 on 3 and 6 on 6. For the life of me I couldn’t dream up why I would have done this back then. But, the car ran well like that. But now I had changed them to match the cylinders. And now it won’t stay running. It starts up, revs quite high and dies when the key is let go. So now I’m wondering. Should I go back in and switch it all back? Did I now put it right but is the Ecu astray? Nothing else was changed and I don’t think I have forgotten anything. Firing order is as it should be, confirmed. For now I have pulled the negative lead from the battery to reset the Ecu. I can try again next time and read the Ecu. But I guess I have to go back in. Still I can’t understand why I had the injectors as I did… this loom is now first used since my wires melted so I didn’t have reference back then but the numbers should have been clear enough… so I’m going round in my head. Why did I have them this way and why did it run great like that but not with them what I would think to be correct… And if this really is correct then why does it die? I haven’t touched anything but the injectors and intake wiring. Not anything that should cause this… |
| |
|
|
eurogranada
Europe
To tinker or not to tinker, that is the question...
Posts: 2,556
|
|
|
|
|
This morning, after a full night of no power, tried again, same result. No codes. Bar one stating Ecu was unable to complete diagnostics, but as there’s no run cycle I don’t think it is of essence here.
So I guess the best bet is changing back the injector wiring…
That will be a job for tomorrow…
|
| |
|
|
|
|
|
|
|
|
Yep, that would be my first call on it - if it works like that then it works.
|
| |
|
|
spot
Part of things
 
Posts: 105
|
|
|
|
When I took apart the fuel rails I noticed that the numbers on the wires to the injectors didn’t match the cylinders. 1 was on 1, 4 on 4, but 3 was on 2, 2 was on 5, 5 on 3 and 6 on 6. For the life of me I couldn’t dream up why I would have done this back then. But, the car ran well like that. But now I had changed them to match the cylinders. And now it won’t stay running. It starts up, revs quite high and dies when the key is let go. Perhaps you switched between the two conventions of counting the Cylinders (viewing from front of engine): A) Left Hand Bank - 1,3,5 Right Hand Bank - 2,4,6. B) Left Hand Bank - 1,2,3 Right Hand Bank - 4,5,6. Which is weird because it suggests (if A) 5 & 4 are incorrect: or (if B) that 4 & 2 in either case! Yes  |
| |
|
|
eurogranada
Europe
To tinker or not to tinker, that is the question...
Posts: 2,556
|
|
Jul 15, 2024 17:26:13 GMT
|
|
Ok so I had another go at the engine. I’m a star at quickly removing the full top end of a cosworth BOB now. I think I can do it in less than 10 minutes.
I had switched the injector wiring over in no time. Then took a side step to convert the egr pipe mount to studs instead of bolts as they have always given me grief on this engine. Turned out one was cross threaded. So I chased it with a tap and it’s al good now, including studs instead of bolts. This makes refitting this bit a lot easier.
Having everything together again the engine fired and ran. Barely and crappy. What the hell?? Nothing very obvious but I noticed a loud hissing. Turned out my egr conversion was letting air in/out. Spraying brake cleaner the engine livened up. So I undid this and checked with a mirror that it was seated correctly and refitted the nuts. Still a hiss, tightened them a bit further adding a washer between the clamp and the nut and it al seated nicely. Fired up and ran great again!!!
Succes!!! Finally!!
Which is when I noticed a fresh puddle of coolant. Now perhaps this was shaken out of some nook or cranny when the engine was rather lumpy but that seemed implausible. A look underneath confirmed a small stream of coolant coming again from the hose area but I was quite sure it was now not the cause anymore unless it leaks past the clamp in the v. But that was very tight.
So curse word! Fixed but not fixed. If it is the head gasket I don’t think this engine warrants fixing that. I’d rather build a fresh one then…
Next option is to get a borescope down the valley from the rear of the engine and see if any drips are visible. If not than it must be the head gasket in the hose through the block area.
Bummed, still not drivable and will now probably miss all the rest of the season…
|
| |
|
|
thomfr
Part of things
  Trying to assemble the Duett again..
Posts: 691
|
|
Jul 15, 2024 19:08:34 GMT
|
|
Meten is weten!
Please pressurice it again and you might see something, or not..
Thom
|
| |
73' Alfa Giulia Super
64' Volvo Duett
65' Volvo Duett
67' Volvo Amazon 123GT
09' Ford Focus 1.8
20' VW ID4
71' Benelli Motorella
65' Cyrus Speciaal
The difference between men and boys is the price of their toys
|
|
spot
Part of things
 
Posts: 105
|
|
Jul 15, 2024 20:42:03 GMT
|
|
|
| |
|
|


 glad you got to the bottom of it.


