LowStandards
Club Retro Rides Member
Club Retro Rides Member 231
Posts: 2,719
|
|
Sept 24, 2012 17:43:05 GMT
|
Sorted then, out with the iron, in with the Cappo lump ;D Thought i'd best get started sorting the engine before I do anything else, I want to get it on the stand and have it running before it goes in so I know the wirings right. Seperated the engine from the box and hauled it onto the stand 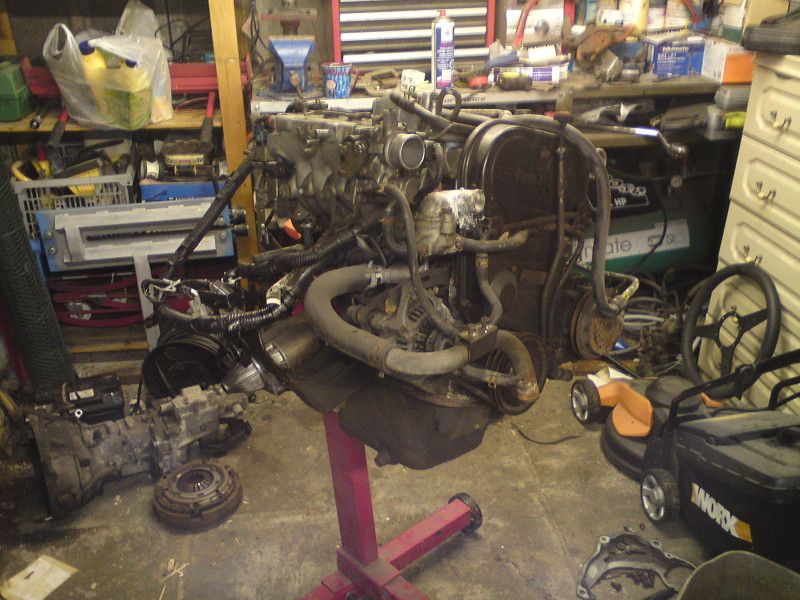 Looks quite big up there, its really not,. Here's the box, just to show comical sizings, thats a normal car battery, an extension reel and the flywheel for reference 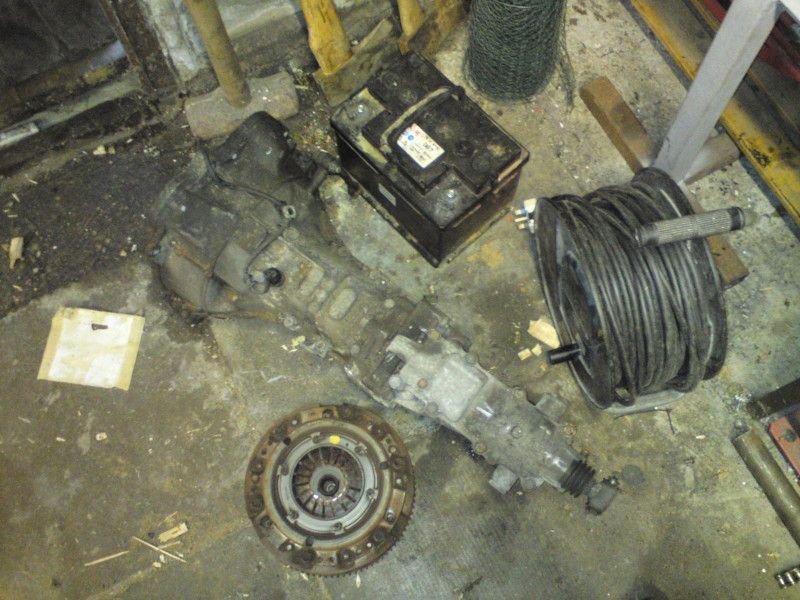 Twincam 12!!! 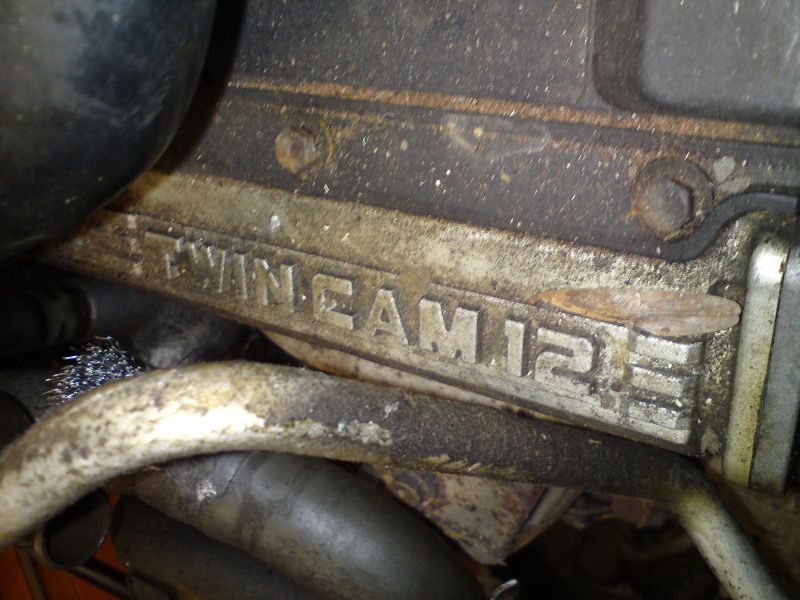 And here's where the magic happens, tiny little turbo, my finger shows how small it is, that's the rotor housing behind it. Aw, look at the little actuator... 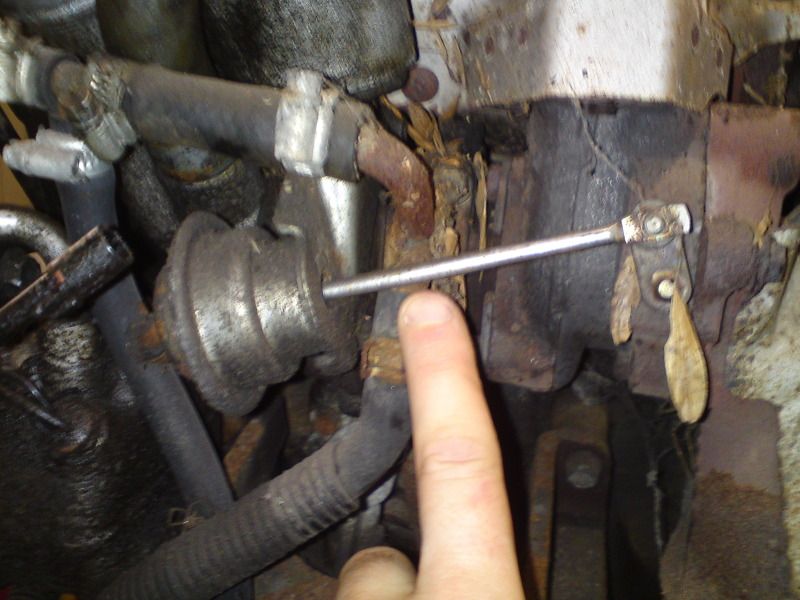 Now I know very little about turbo's but i'm guessing 24mm is'nt the largest available  Anyways, that's where i'm at, i'm hungry so i've come inside. Next job is to start pairing down the wiring to seperate whats needed to run the engine from the curse word that turns lights on when you open a door etc, fun! |
| |
|
|
|
|
luckygti
Posted a lot
   I need to try harder!
Posts: 4,912
|
|
Sept 25, 2012 7:46:10 GMT
|
|
That is a very cool looking car, be really interesting to see how you go around fitting the Cappo engine! Going to be a real little screamer ;D
|
| |
|
|
|
|
|
Sept 25, 2012 9:13:29 GMT
|
Blimey, that turbo is tiny. Bless  Definitely think the capo engine is the right way to go. Much better, very different, more fun. It;s not like the cars a pristine original example. Just do it! |
| |
Project Diary1975 Viva / 1988 T25 Camper / 1989 Mini / 1991 MX5 / 1992 Mini / 1994 Saab 9000 / 1997 Saab 9000 / 2008 Saab 9-5
|
|
Onne
Part of things
 
Posts: 822
|
|
Sept 25, 2012 11:24:25 GMT
|
|
Might be a silly question, but how do you get things in the boot? Looks sizeable enough...
Great conversion though The Standard Kei 8!
|
| |
1990 Mercedes W126 300SE
1997 Mercedes W140 S320L
|
|
LowStandards
Club Retro Rides Member
Club Retro Rides Member 231
Posts: 2,719
|
|
Sept 25, 2012 14:03:28 GMT
|
|
The 'boot' is accessed from inside the car, the removable panel that you see actually houses the spare wheel
|
| |
|
|
|
|
|
Sept 25, 2012 14:18:18 GMT
|
|
this is random, but if you have gran turismo 5, choose 95 cappo and look at the stats is shows you the torque and bhp curve. surprisingly for a sort of bike engine it makes max torque ridiculously low in the rev range, indicative of the undersize turbo. would you say thats realistic from the performance on road ?
|
| |
|
|
LowStandards
Club Retro Rides Member
Club Retro Rides Member 231
Posts: 2,719
|
|
Sept 25, 2012 15:11:28 GMT
|
I have no idea mate, I never did get to drive the Capp :/ Here's a dyno sheet from a standard Cappuccino on a dyno - shamelessly stolen from ClubCappo 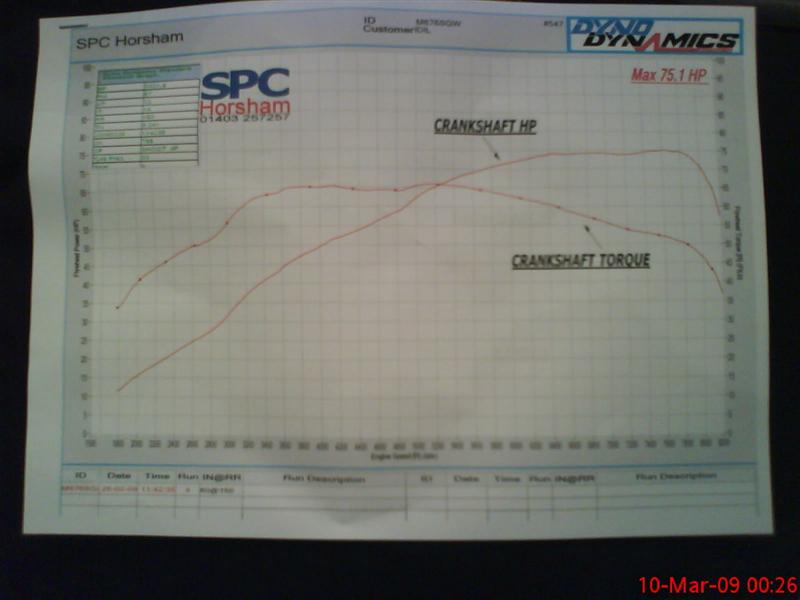 Not overly clear, but torque seems to peak around 4000rpm on this one??? |
| |
|
|
LowStandards
Club Retro Rides Member
Club Retro Rides Member 231
Posts: 2,719
|
|
Sept 26, 2012 8:44:13 GMT
|
Took some measurements last night and came up with this 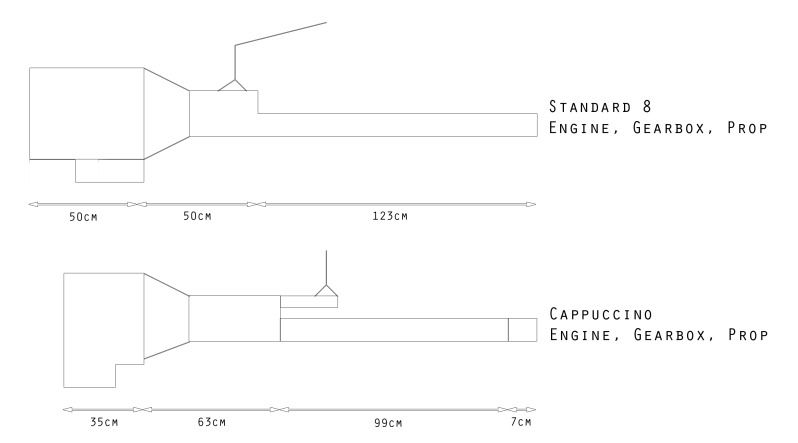 It would appear with a prop spacer that the whole lot will fit in rather well, the only problem I think I'll encounter is the gearstick will now come up where the handbrake lever is, so I was thinking about cutting it off and making it curve around the stick, like this? (red dot shows stick location) 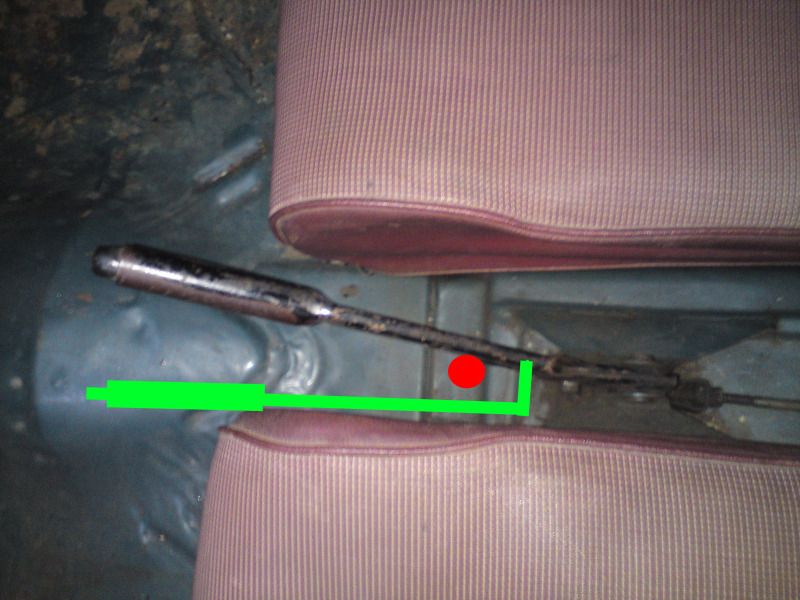 The new stick location will actually be a lot better than the old one, as originally it was tight to the bulkhead with a rather long, bent gearstick and changing gear was a lot like stirring soup! Have a pic to demonstrate 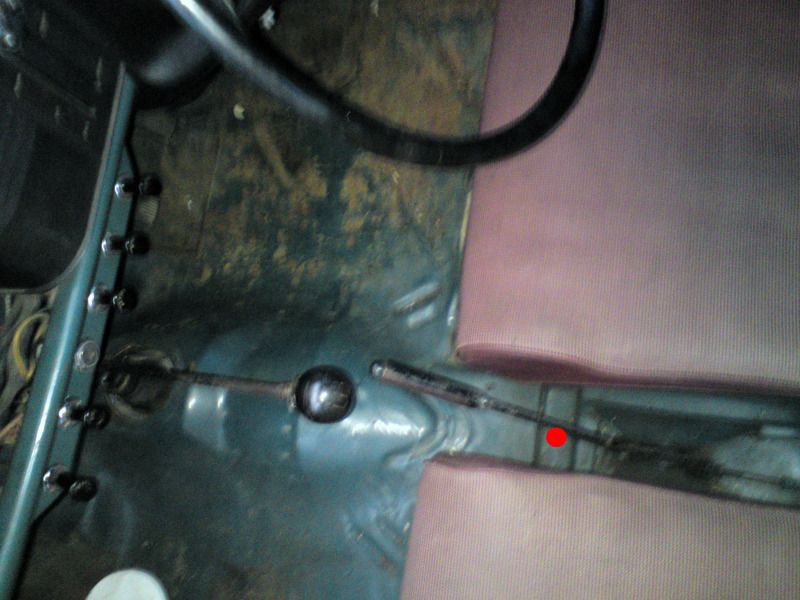 also, maybe some engineery type could advise me, would having a 50-100mm steel prop spacer at the diff end be of any detriment? It will allow me to match the Suzuki prop to the Standard diff and give me the extra length I need, one like this? 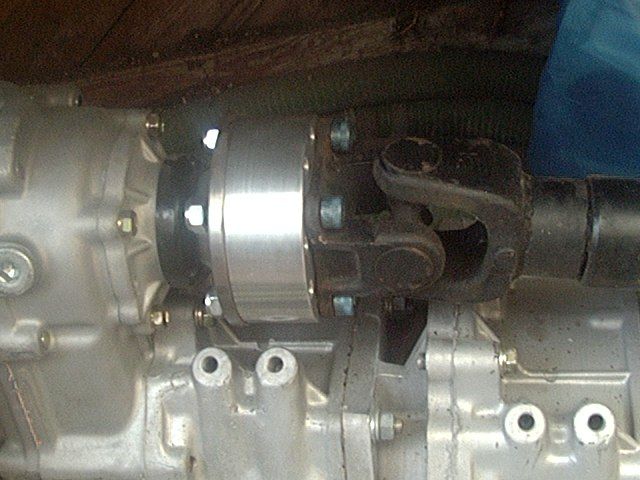 I also have all this to sort through, joys 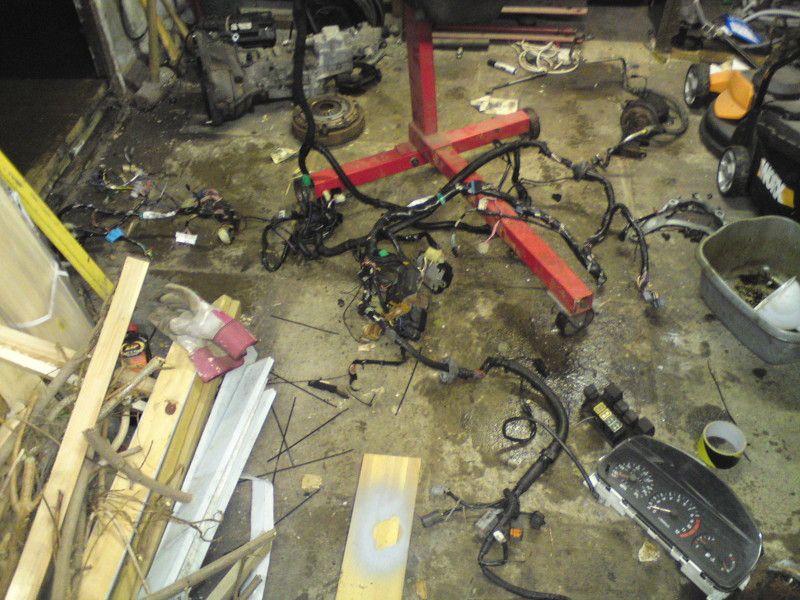 |
| |
|
|
|
|
|
Sept 26, 2012 8:53:37 GMT
|
|
the only issue i can see with the spacer would be side loadings on the endcase bearing. could you not do two thinner spacers one at each end of the prop ?
handbrake solution looks ok. bit of trivia but the new position over to the passenger seat is like the standard layout on mk2 astra/kadett-e. theres an old fable that the floor pan was based on LHD kadett so the handbrake lever points in the wrong direction for UK vehicles.
certainly not incovenient to use anyway, i mean the LR handbrake i have to bend over double and face roll the steering wheel to reach.
|
| |
|
|
|
|
|
Sept 26, 2012 8:59:02 GMT
|
|
looking forward to seeing this one progress, good luck and get cracking!
|
| |
|
|
|
|
LowStandards
Club Retro Rides Member
Club Retro Rides Member 231
Posts: 2,719
|
|
Sept 26, 2012 10:08:00 GMT
|
the only issue I can see with the spacer would be side loadings on the endcase bearing. could you not do two thinner spacers one at each end of the prop ? Afraid not, its a splined joint at the 'box end. It soes have a centre bearing though, i'll see how its attached to that as i could have a spacer there, failing that i'll have to get the prop lengthened... |
| |
|
|
Seth
South East
MorrisOxford TriumphMirald HillmanMinx BorgwardIsabellaCombi
Posts: 15,543
|
|
Sept 26, 2012 22:55:47 GMT
|
also, maybe some engineery type could advise me, would having a 50-100mm steel prop spacer at the diff end be of any detriment? It will allow me to match the Suzuki prop to the Standard diff and give me the extra length I need, On the Herald mine is about 2" (50mm) thick and I'm not sure I'd have felt easy with something much thicker than that. 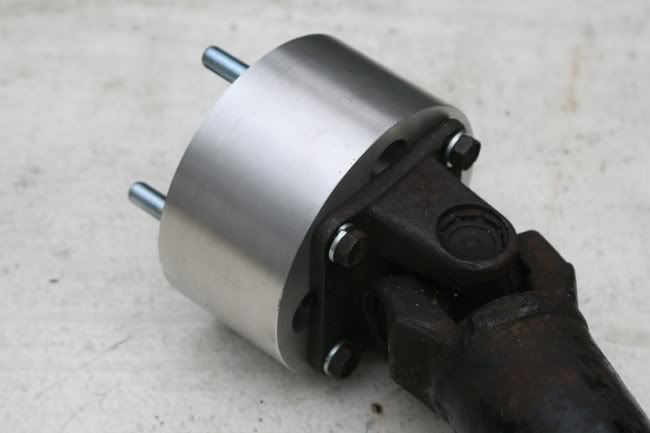 Herald diff is solid mounted too whereas you'll be putting one on a moving axle. Longer prop will always be a better option. |
| |

Follow your dreams or you might as well be a vegetable. |
|
|
|
|
Sept 26, 2012 23:46:15 GMT
|
|
if your werid about spliting loom why not fit the lot inc lights, wipers, etc just change connecters.
what about an ali spacer for prop?
|
| |
theres more to life than mpg & to much power is just enough.
|
|
|
|
|
Sept 27, 2012 7:44:50 GMT
|
if your werid about spliting loom why not fit the lot inc lights, wipers, etc just change connecters. what about an ali spacer for prop? Thats what l'm doing with my Herald, fitting the whole escort loom and just stripping out what l don't need  Great project  , supprised the standard had floor mounted hand brake, lots of cars of that era had dash mounted. |
| |
|
|
|
|
|
Sept 27, 2012 8:59:31 GMT
|
|
Shaping up to be pretty epic, can't wait to see this done. Should sound good too!
|
| |
Sierra - here we go again! He has an illness, it's not his fault.
|
|
chamba
Part of things
 
Posts: 199
|
|
Sept 28, 2012 21:41:05 GMT
|
This is my favourite Readers Rides posting of the moment. This little lump in an old Standard 8. Truly a one off combination, but I think it's going to work really well. Don't keep us waiting...  |
| |
|
|
LowStandards
Club Retro Rides Member
Club Retro Rides Member 231
Posts: 2,719
|
|
Sept 28, 2012 21:49:16 GMT
|
|
I'm in the middle of parting out the loom, which is being a nightmare. My advice to anyone having the luxury of removing their ownloom from a donor is to cut off the plugs from the bits you know you don't need, lights, switches etc as the plugs cause it all to get horribly tangled and if they were cut off the wire would pull free easily!
I know have a printout of tne wiring diagram printed across 16 a4 pages stuck to my wall...
As a bonus a little parcel arrived today from Dez with some Lucas L448 flat glass lenses to replace the orange indicators front and rear...
|
| |
|
|
|
|
|
Sept 29, 2012 13:11:48 GMT
|
|
What happened to the Capp? I'm battling through mine, although havent updated thread for a while. Got one sill done (triple skinned horrible-ness) but the scary bit is trying to rebuild the subframe mounts. don't mean to hi-jack your thing i have this bookmarked as Cappo engine is a great idea!
|
| |
Got a garage now but still no car. Plenty of ideas tho!
|
|
LowStandards
Club Retro Rides Member
Club Retro Rides Member 231
Posts: 2,719
|
|
Sept 30, 2012 18:17:41 GMT
|
Have another small update, nothing fancy, but its a way of me documenting the build I stripped all the tape from the loom, this was not a good idea, it went from a neat loom to this 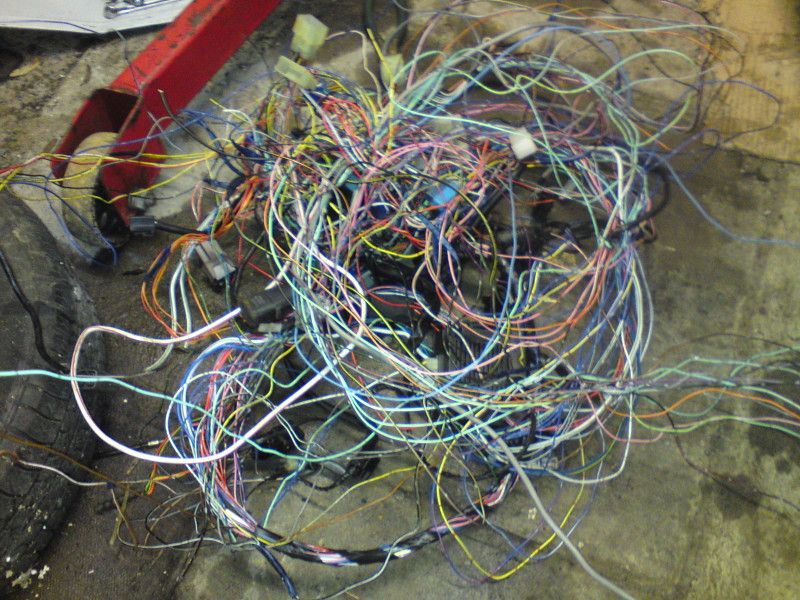 The fact that, most things share an earth and wires interconnect meant as soon as I tried sorting it, it tangled horribly. I pondered over this for hours 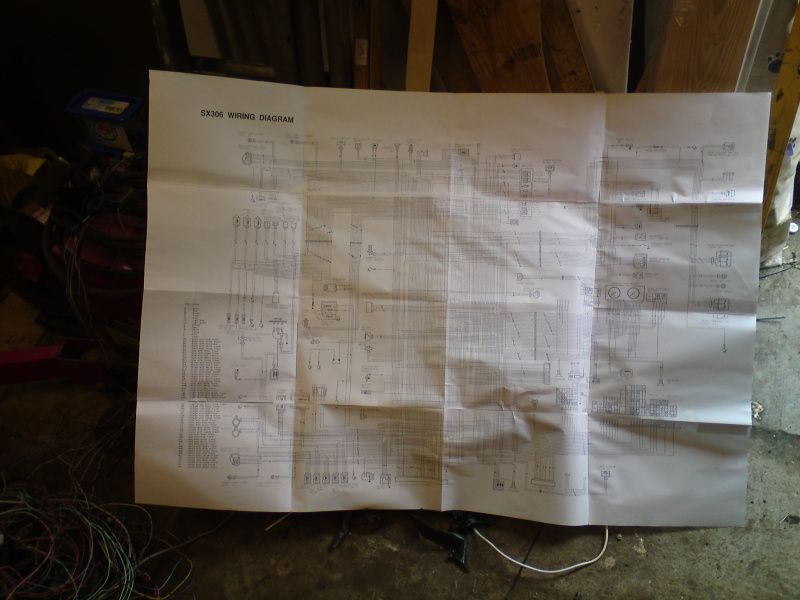 Before deciding to cut most of it and start over, at the end of play today I have most of the wiring done from the ecu to the engine plugs. 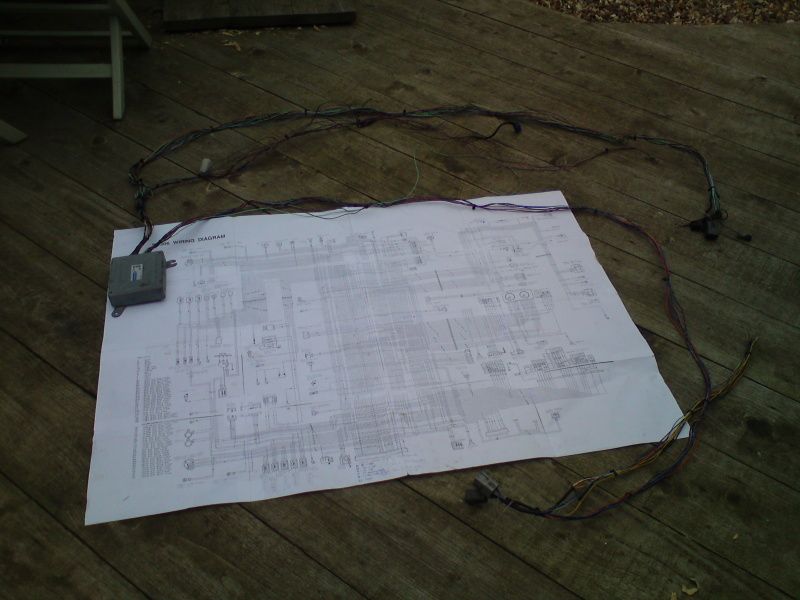 This makes me happy, though I do feel i'll be insane by the time i've finished tracing the wires across from the diagram... |
| |
|
|
LowStandards
Club Retro Rides Member
Club Retro Rides Member 231
Posts: 2,719
|
|
|
|
Still wiring i'm afraid, taking its time due to house related stuff and the fact its a fecking wiring loom from a turbo, injection car! After studying the diagram for many hours I thought it was best to spend many more in photoshop removing all the not needed stuff, lights, heaters etc. This got me to this, much better (compare it to the diagram in a previous post) 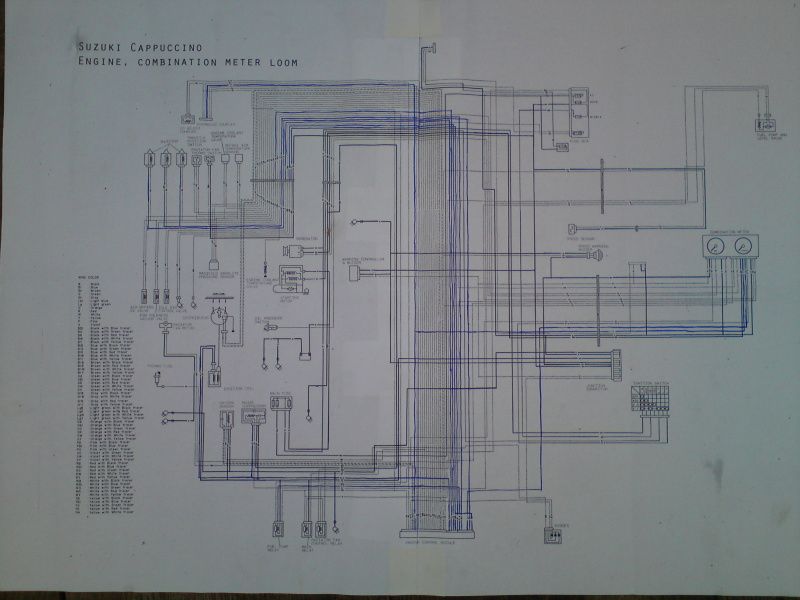 The blue bits are when i've traced a wire back to its plug, that way anything not highlighted needs my attention, still lots to do then! Trying to be really thourough so any wire not used has its end cut and shrink wrapped 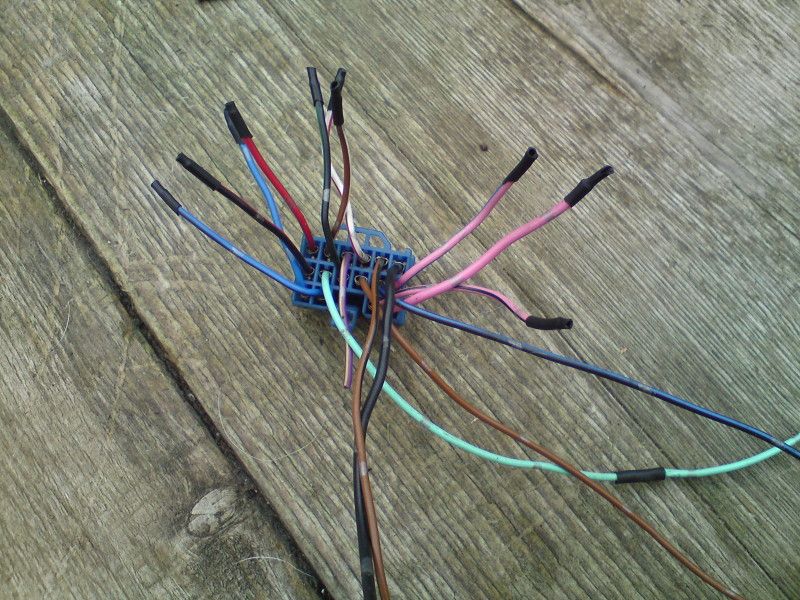 Then any groups are, err, grouped 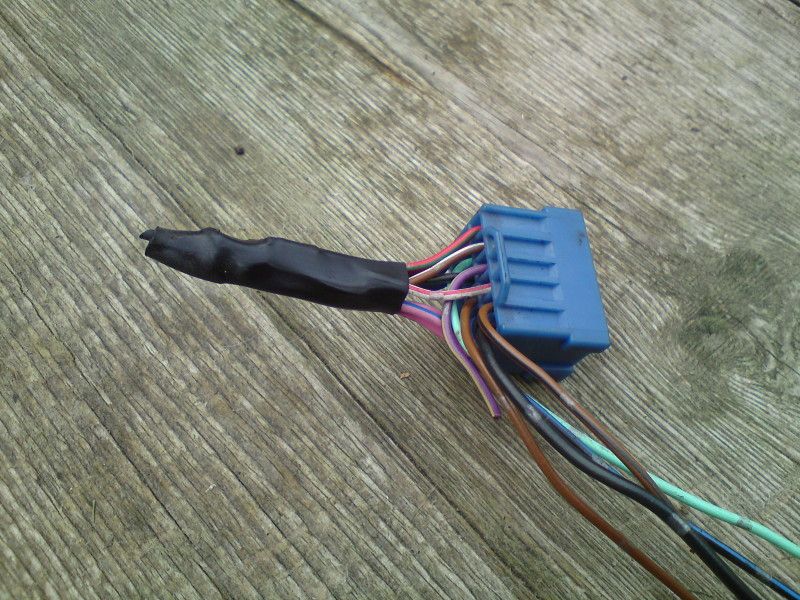 Look, the bit that spiral wrapped is done 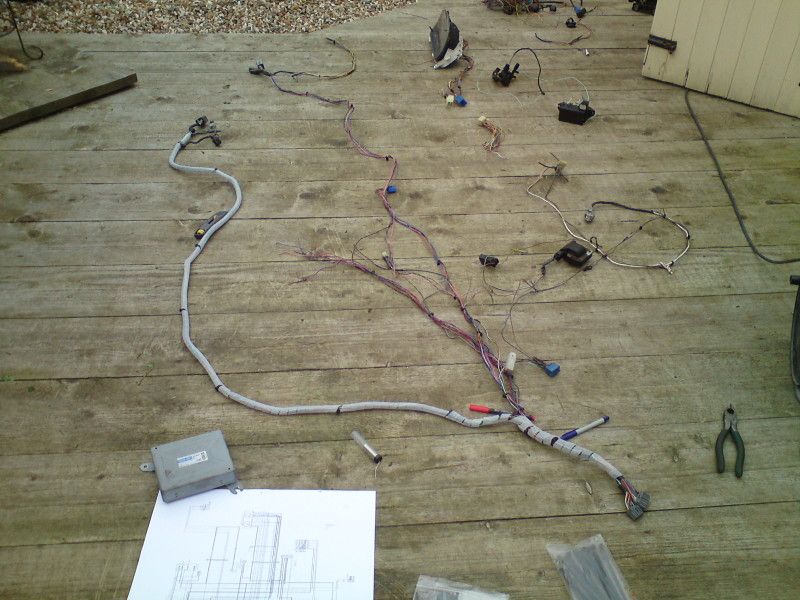 Another few hours and i'll have me a loom... |
| |
|
|
|
|


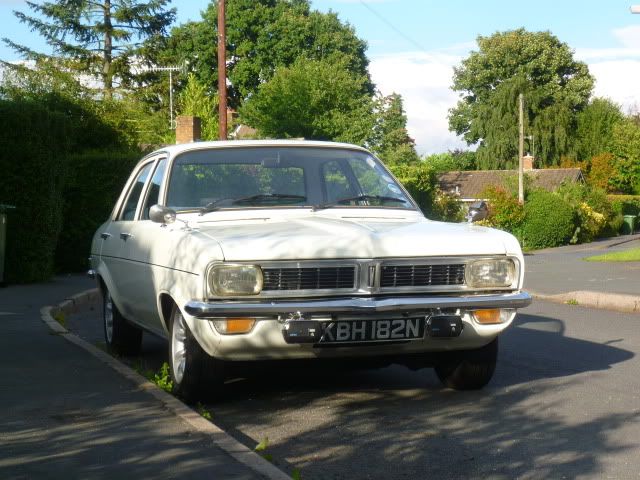
 Definitely think the capo engine is the right way to go. Much better, very different, more fun. It;s not like the cars a pristine original example. Just do it!


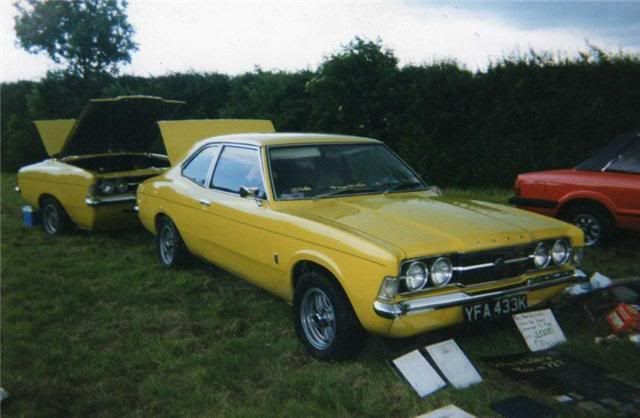


 , supprised the standard had floor mounted hand brake, lots of cars of that era had dash mounted.


