Hi,
Time for an overdue update.
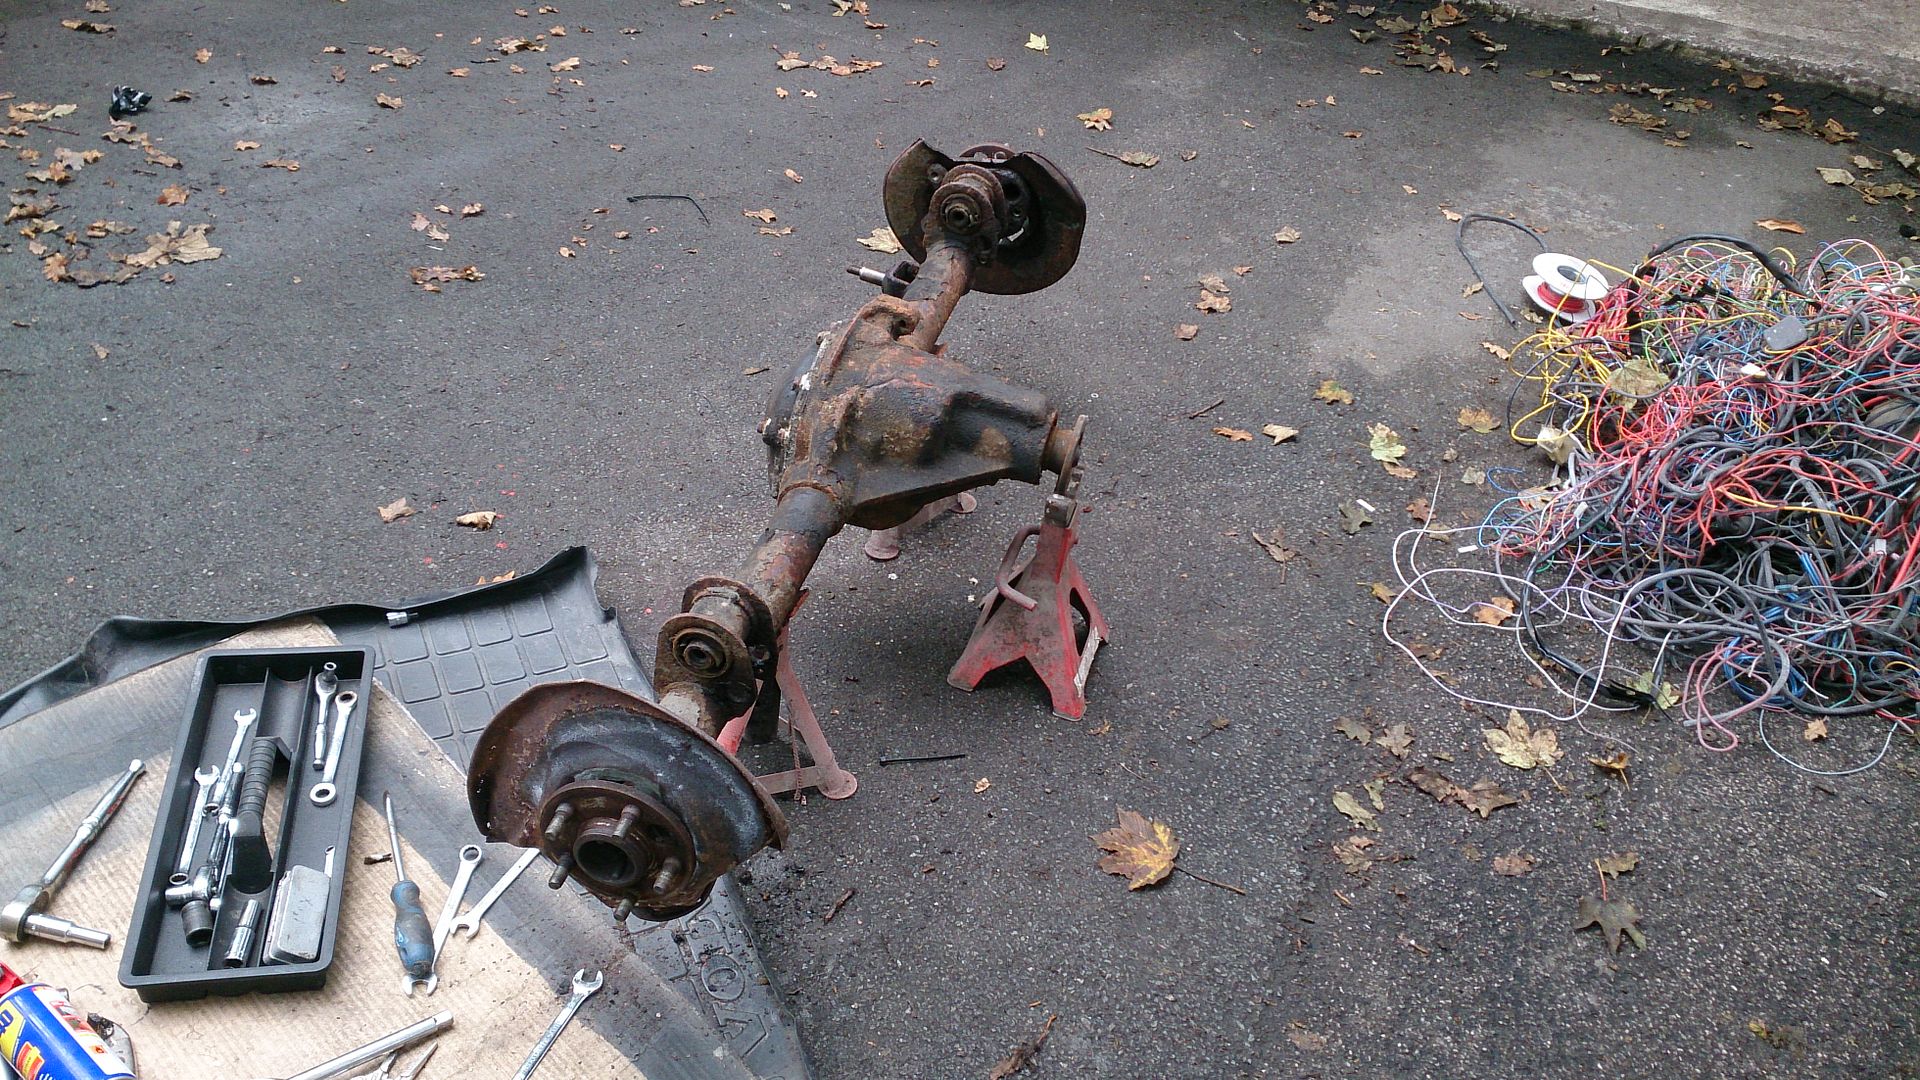
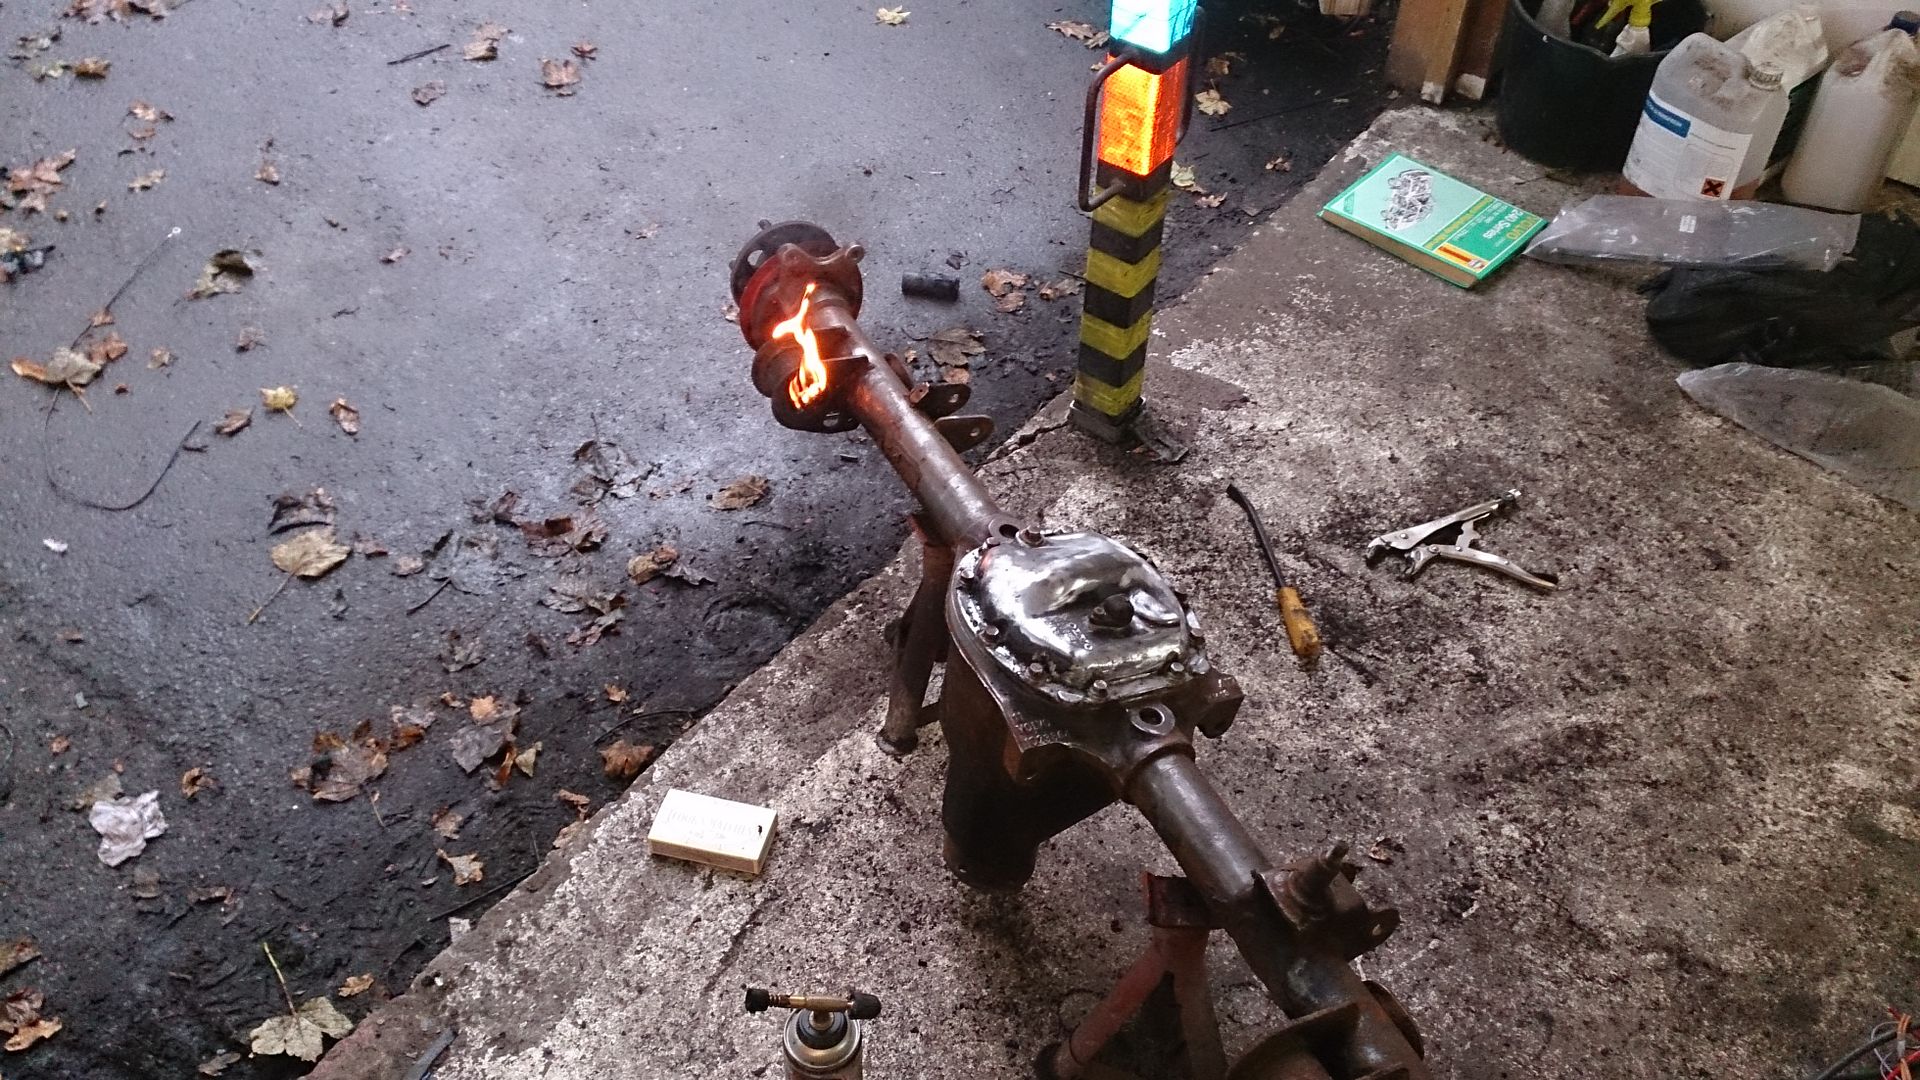
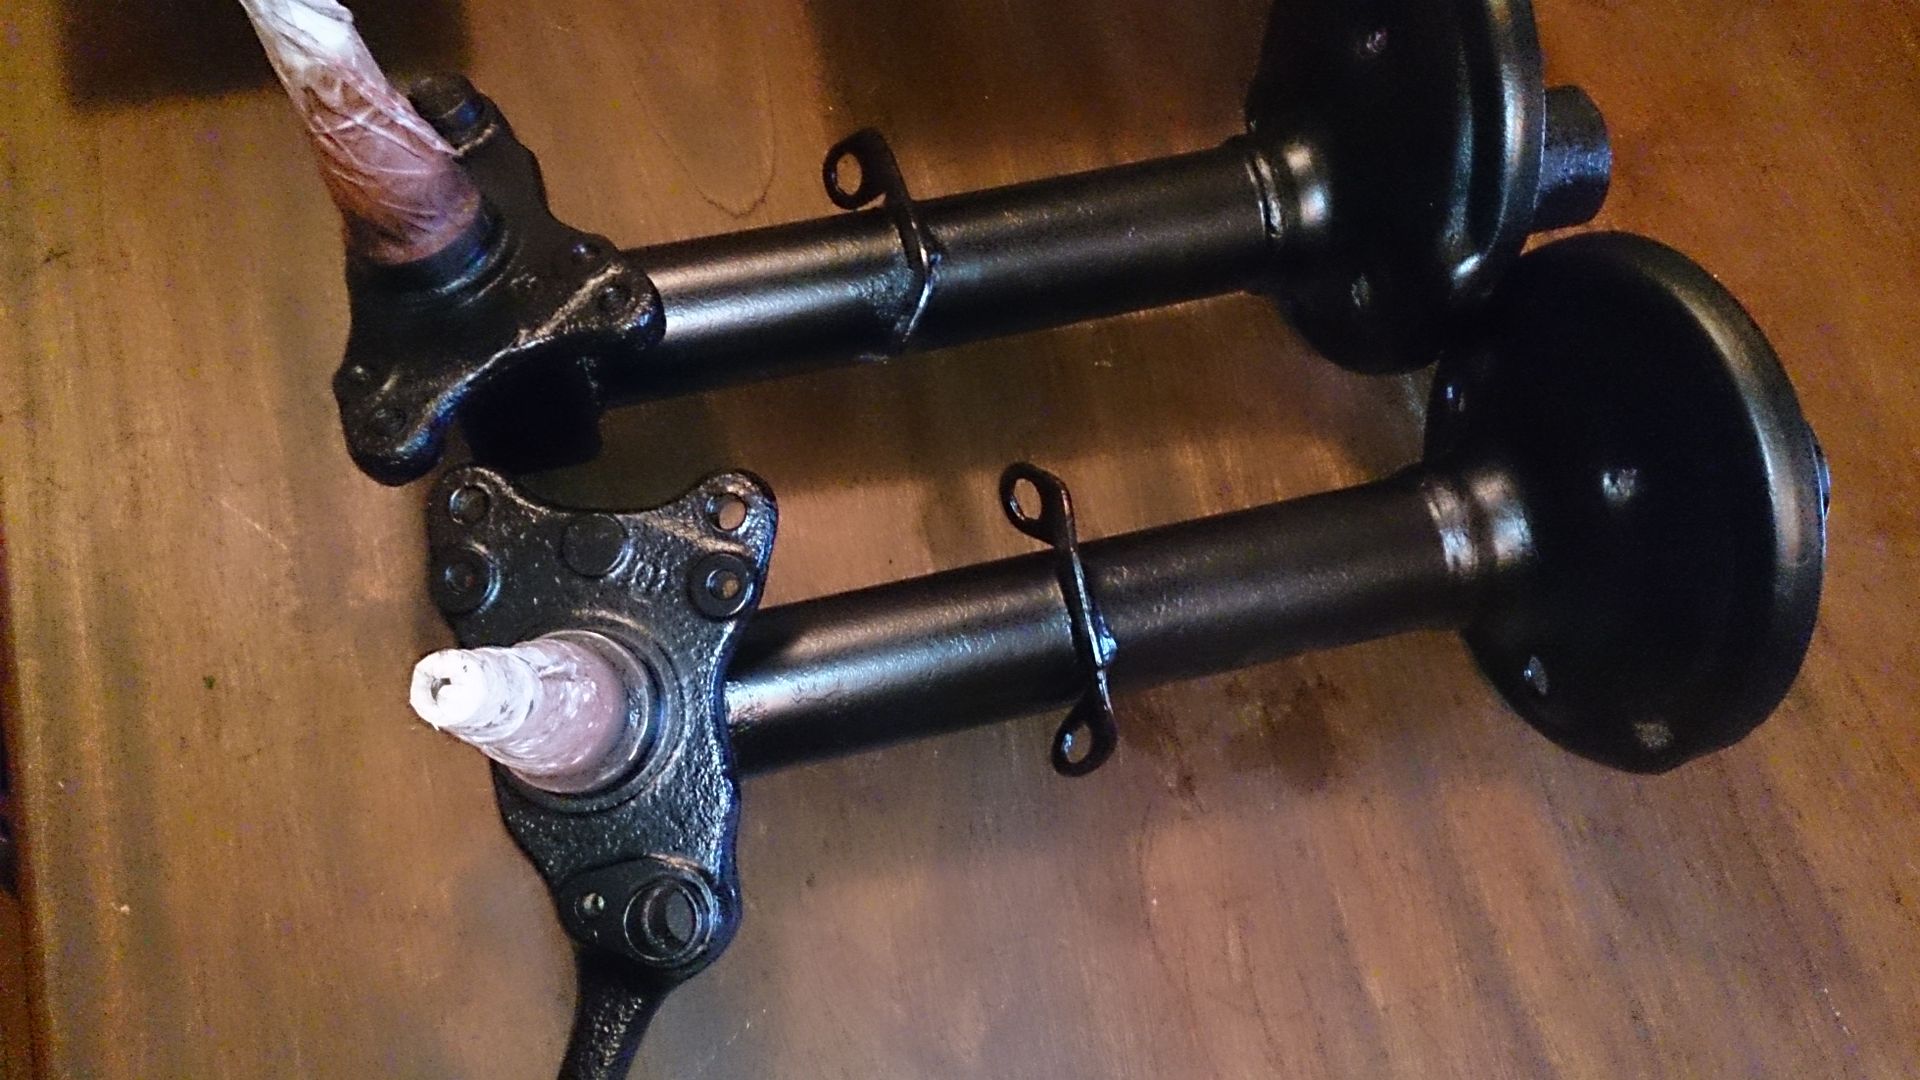
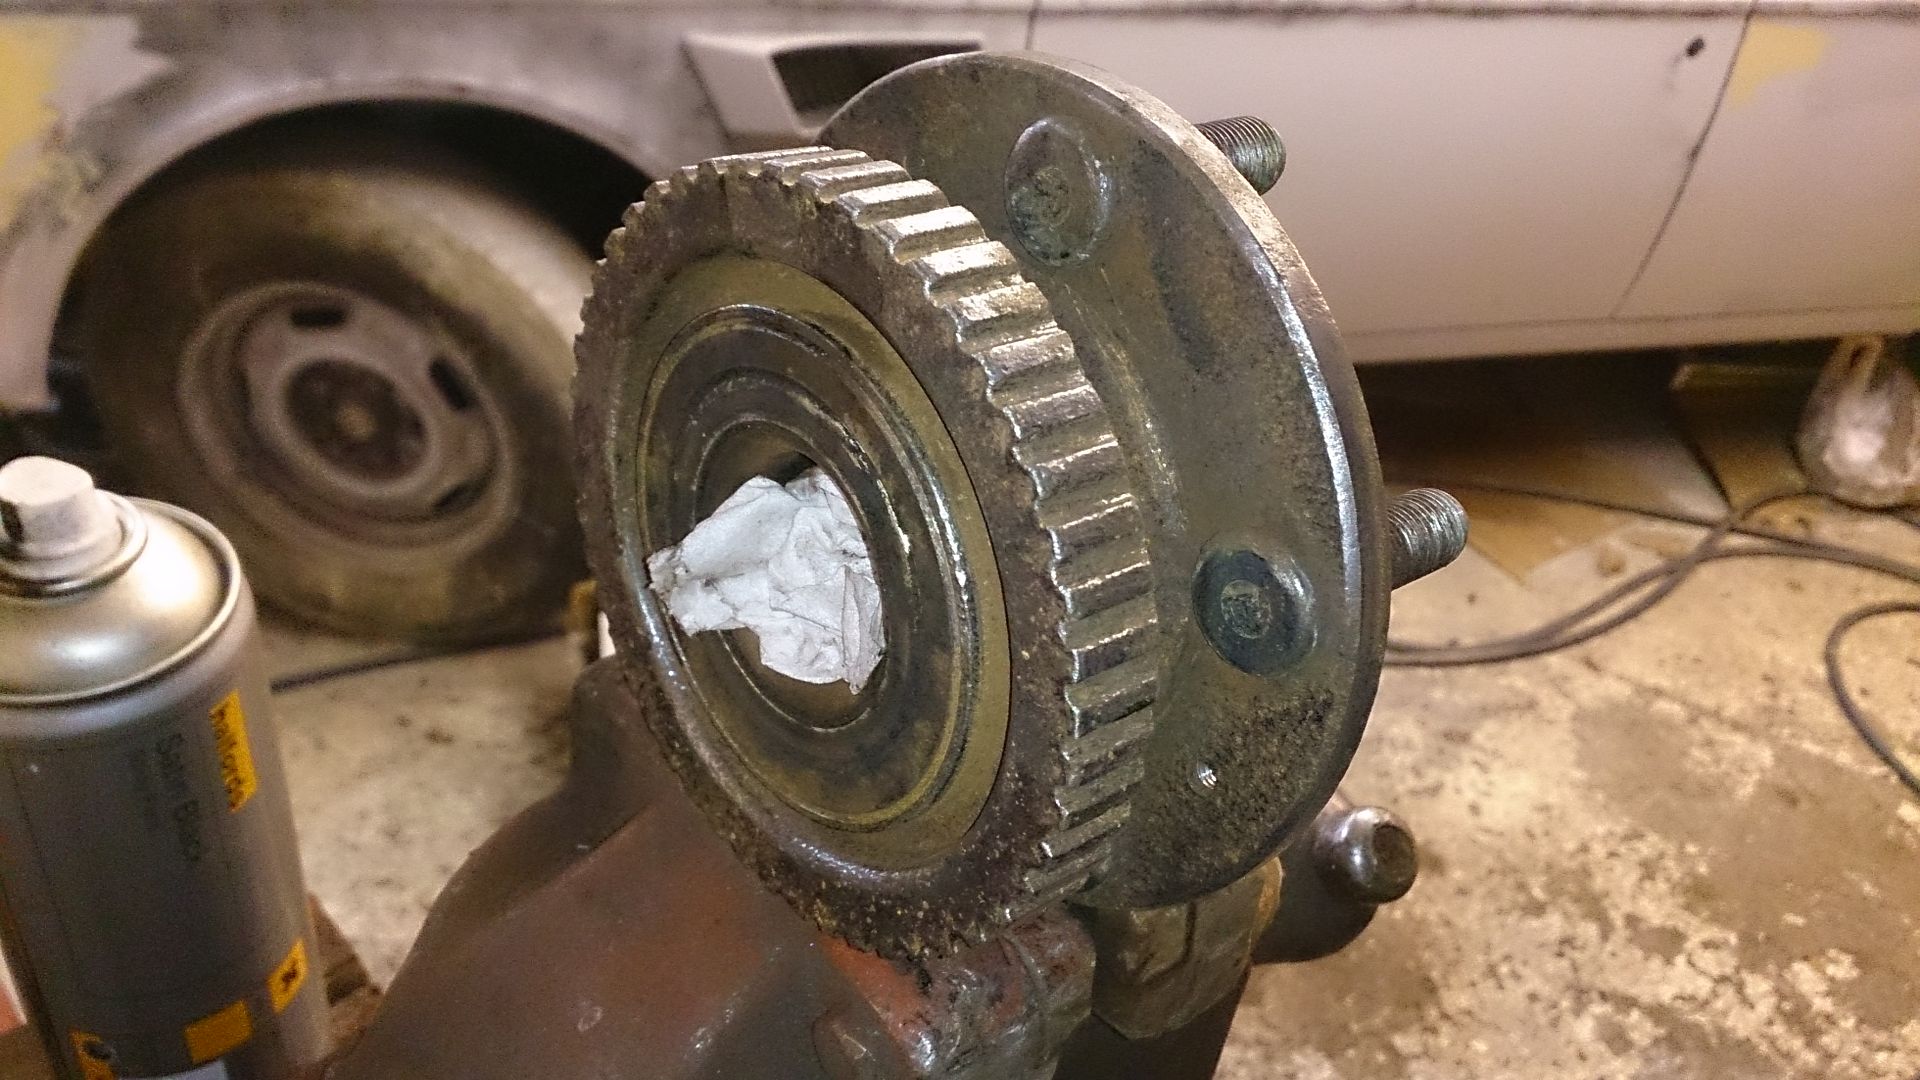
ABS projectCarrying on with the axle swap, I removed the old axle. Temporarily, I am still using the original non-ABS brake set-up, so I swapped the axle without disturbing the hydraulic circuits at all. I disconnected the callipers and all brake pipes from the axle as a single unit, complete and still connected, and suspended it all under the car while the axles was swapped. Everything then just bolted up to the 'new' axle with no pipe connection or bleeding needed.
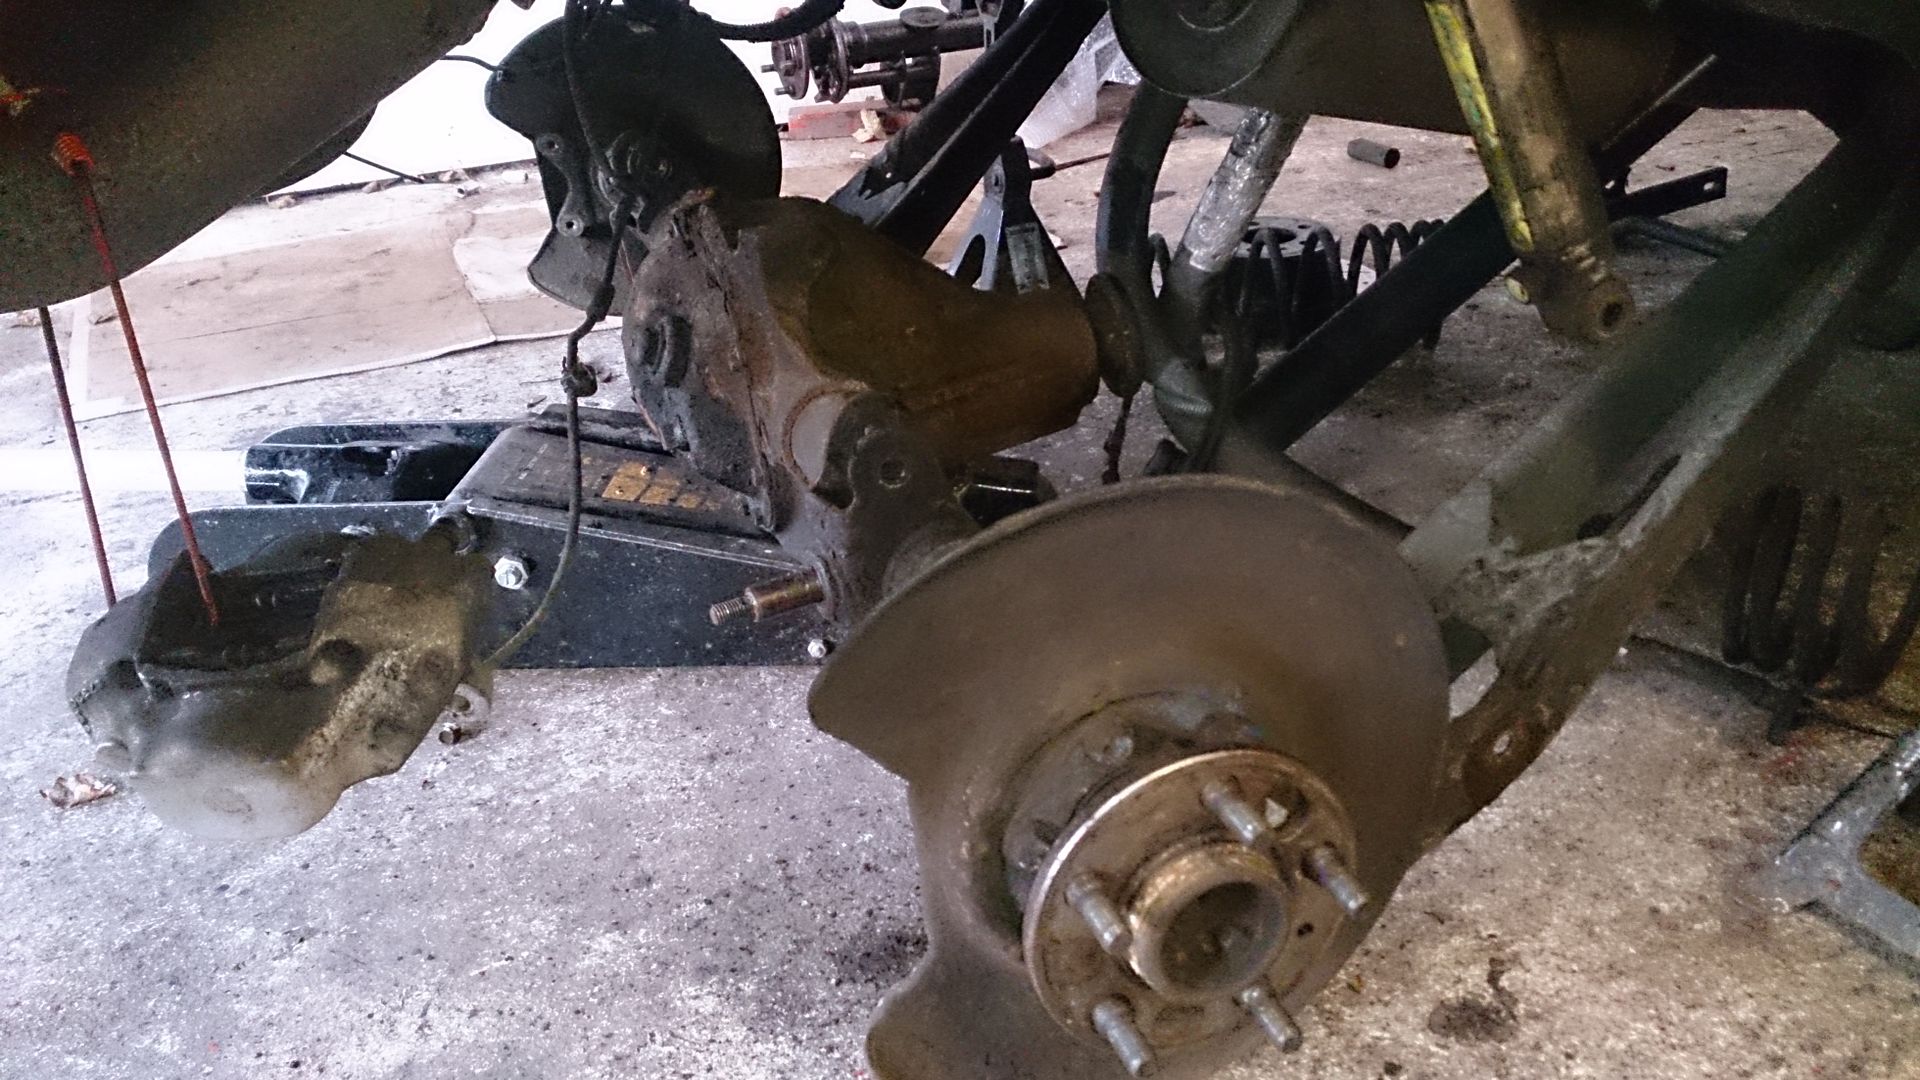
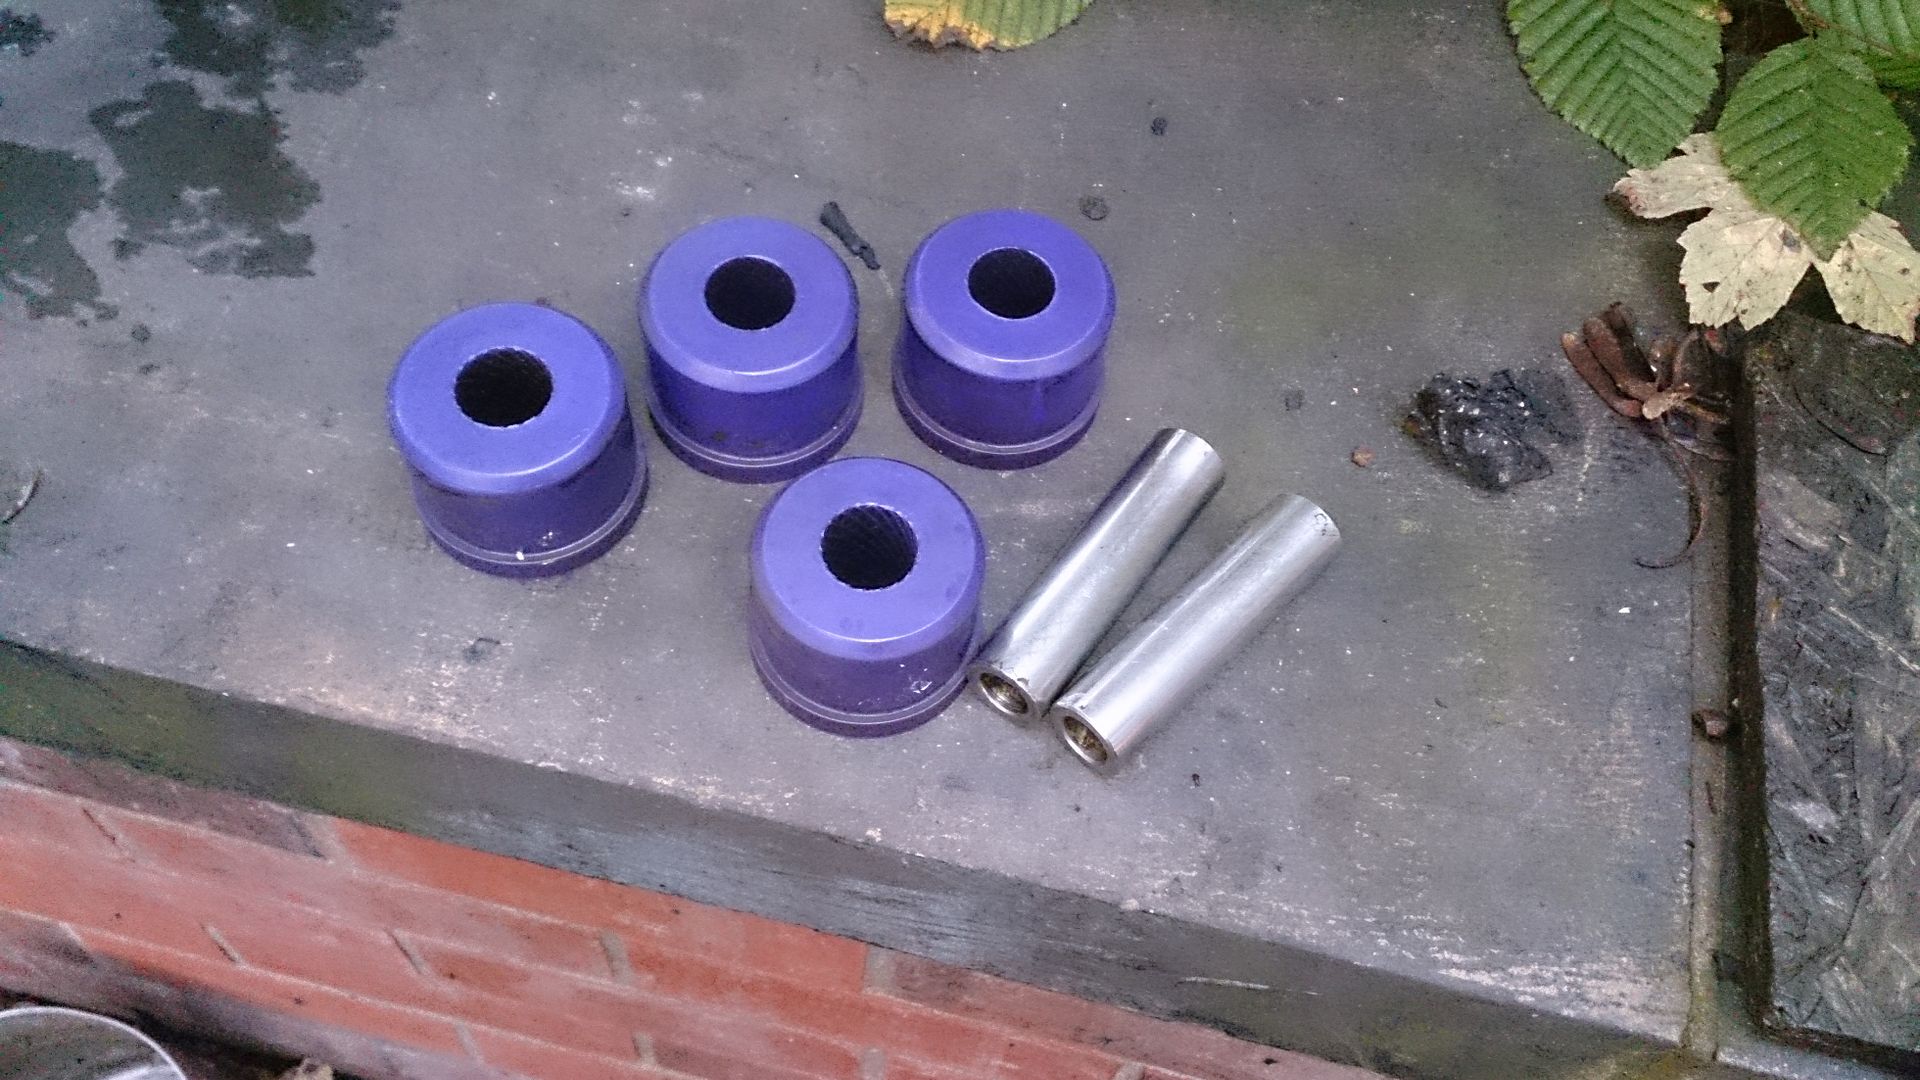
I removed and cleaned up the poly bushes and fitted them to the new axle
While doing this swap, I discovered that both of my bump-stops had very nearly separated from their mountings. One actually fell off when I knocked it very lightly with the ratchet, I was lucky the rubbers hadn't been lost.
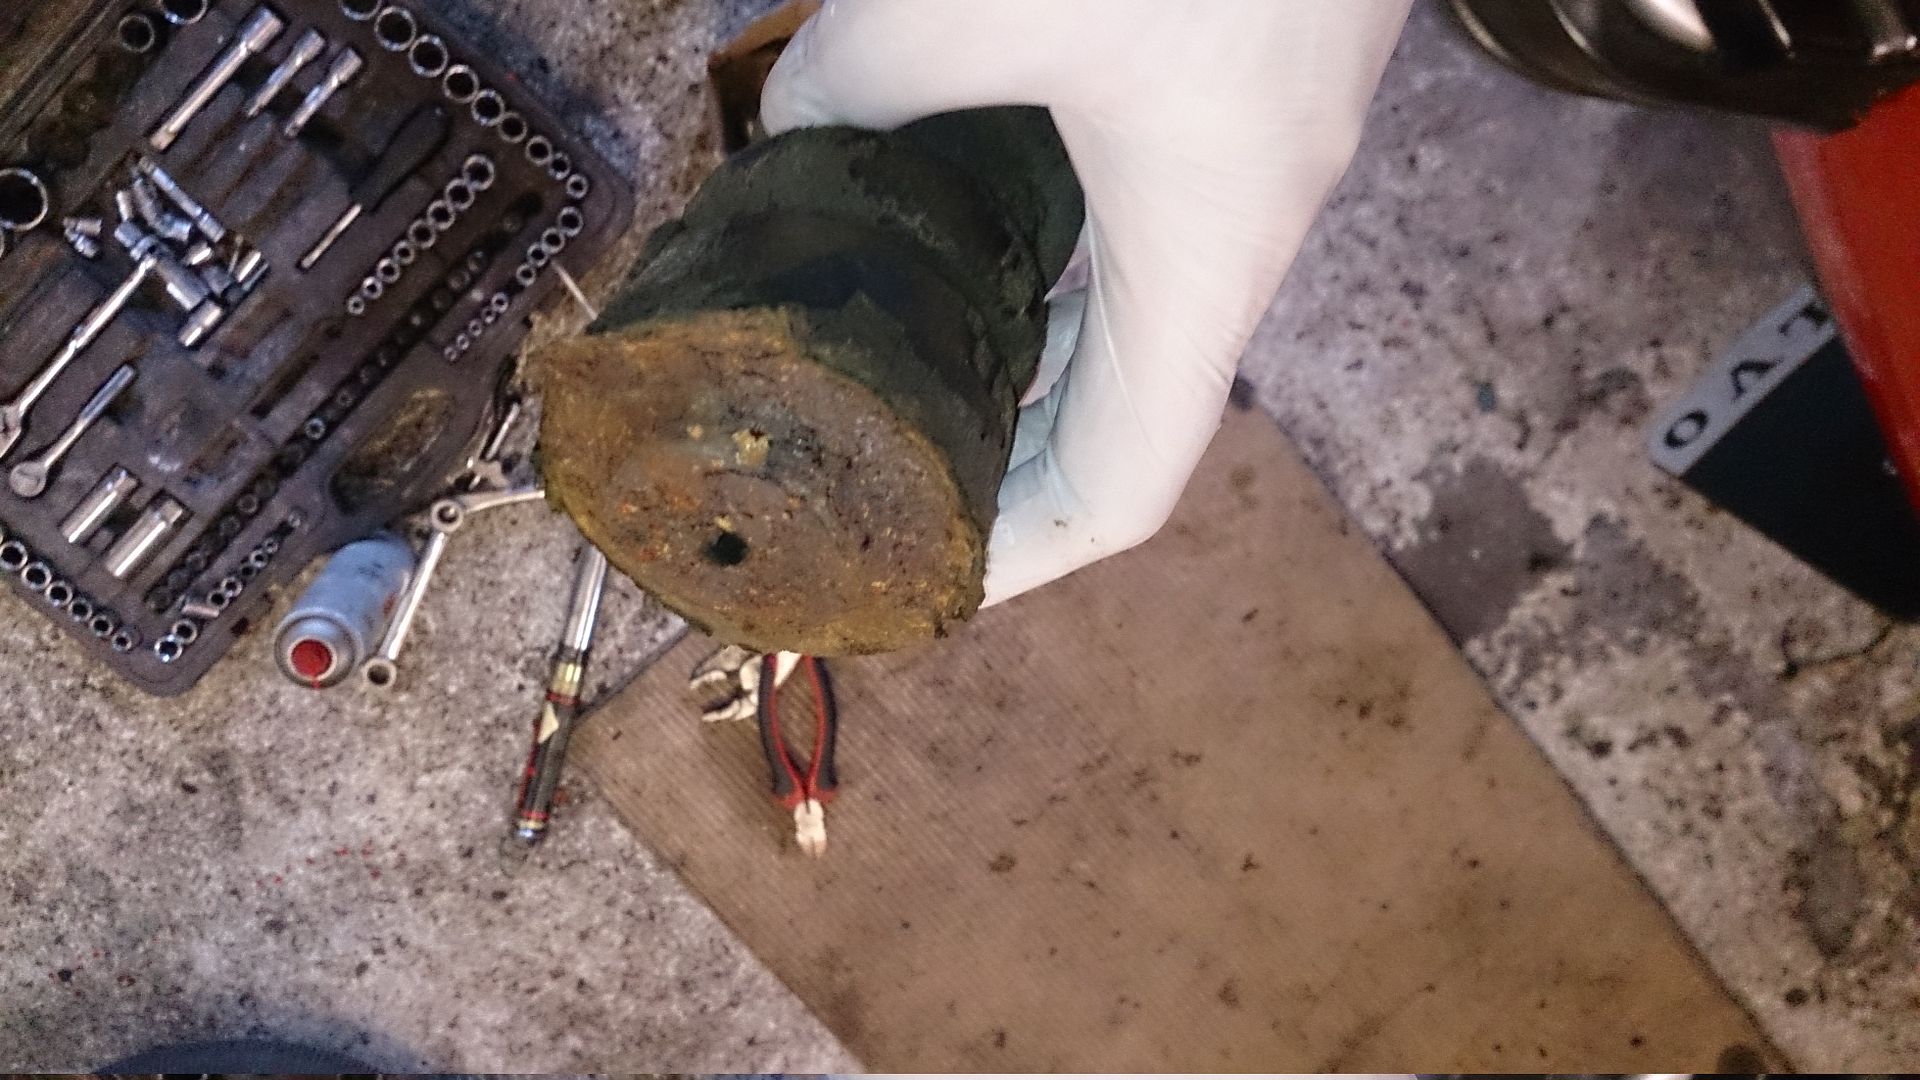
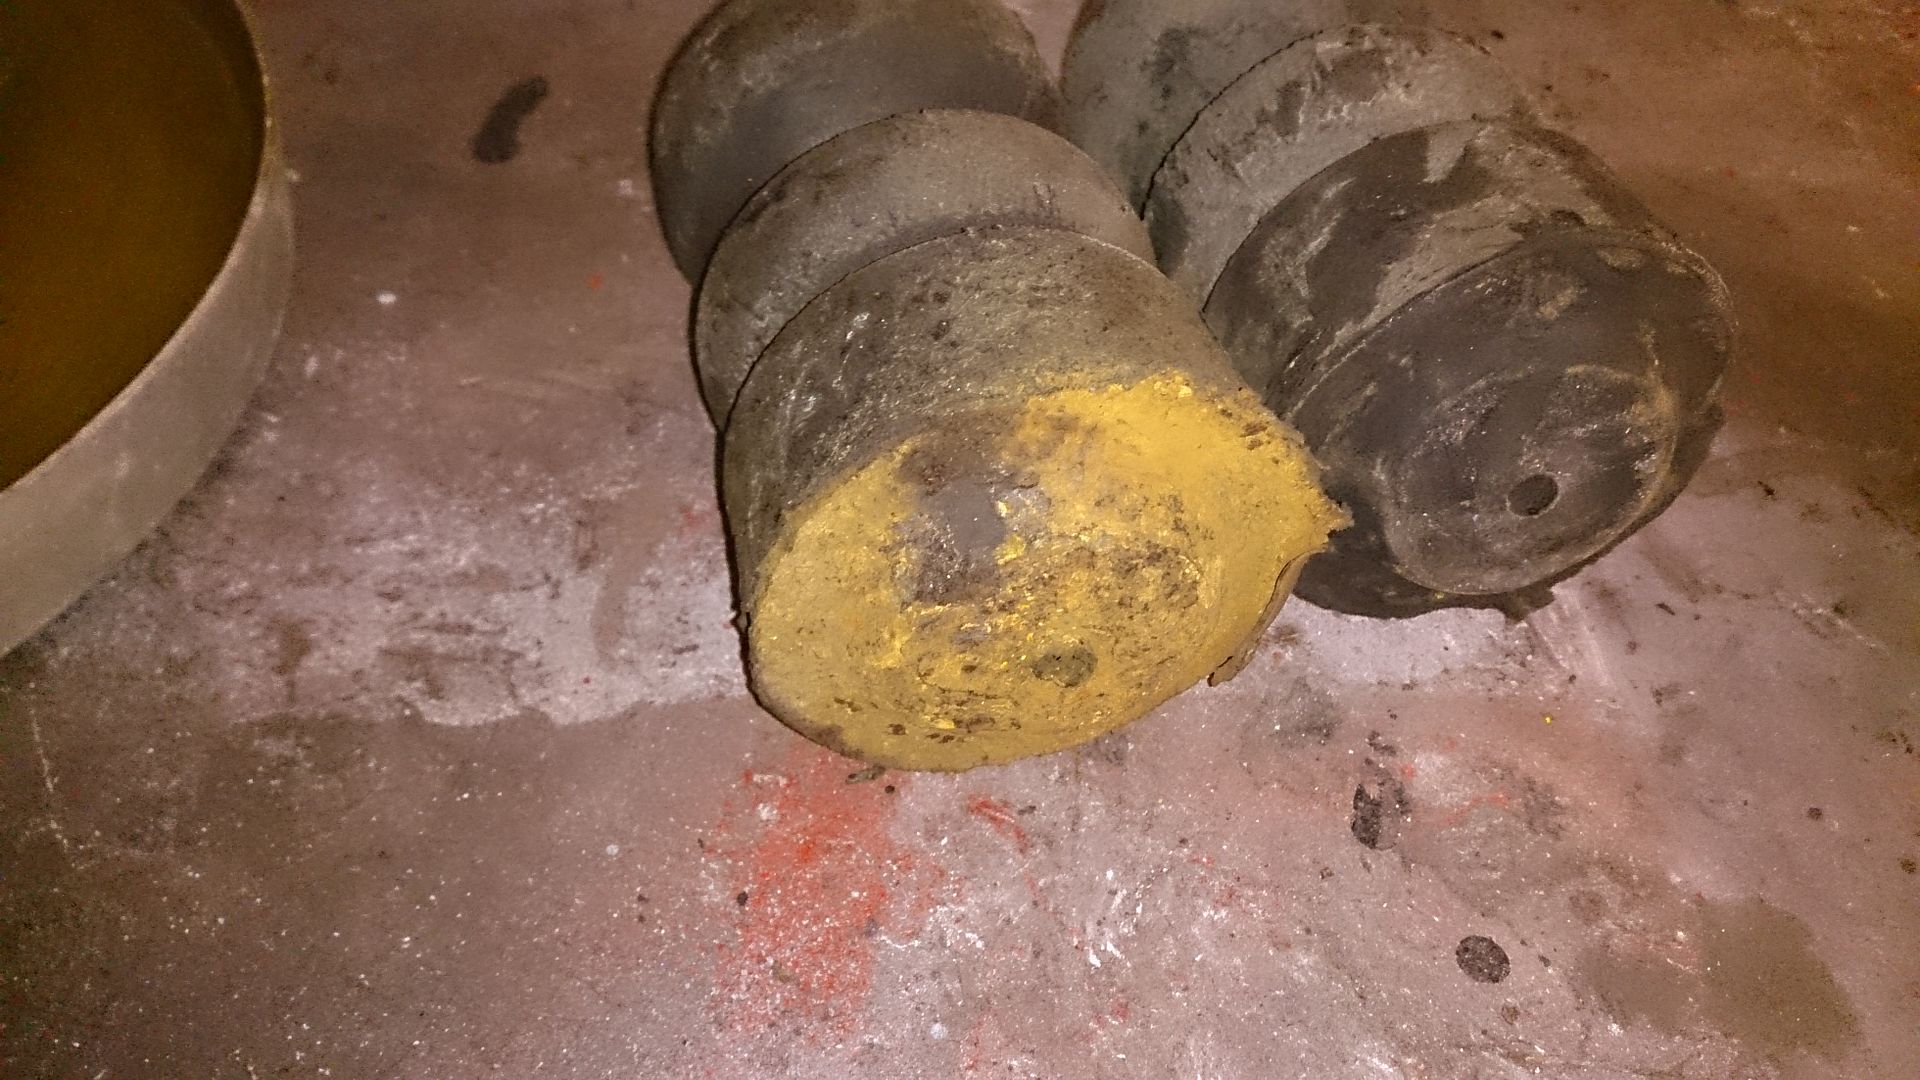
This failure might just be age related, but my theory is that my lowered suspension combined with original length bump-stops mean that they are flexed much more often, compared with standard height springs, and this has accelerated the process of pulling away the bonding and letting water in to corrode the baseplate.
I was thinking I would order new bump-stops, but I found they are surprisingly expensive, so I decided to try a repair to see if I can make them last longer.
I measured the point at which the damper bottoms out, and worked out how much I could shorten the bump-stops without causing any other problems.
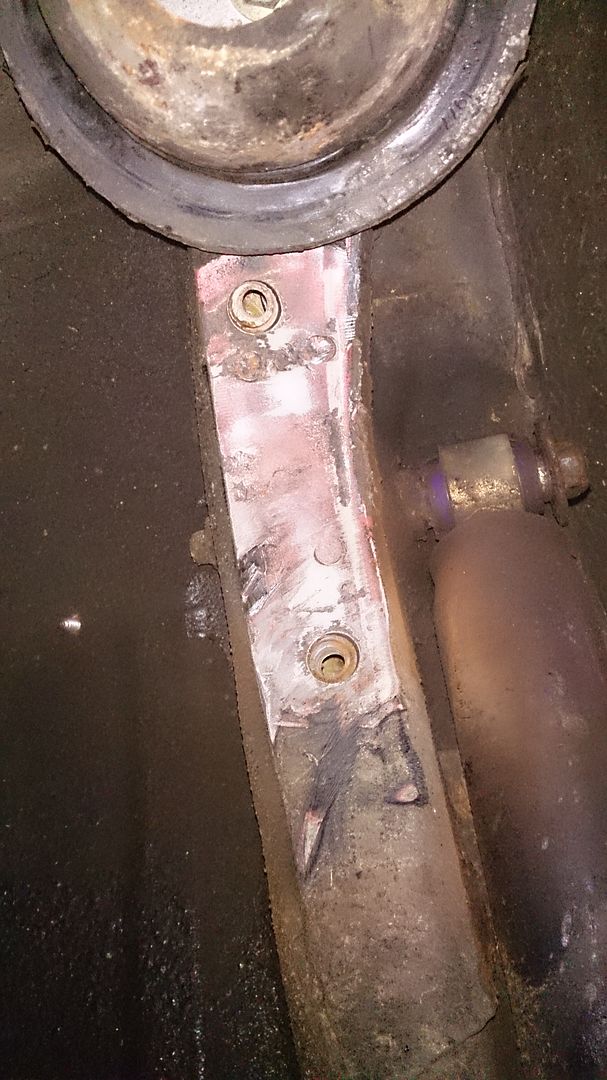
I cleaned up and de-rusted the base plates

Then I rebonded them using Carbond, adding a central screw to help the bonding hold. I also shortened and repainted them. No idea how long this will last, but I'll monitor them and report back.
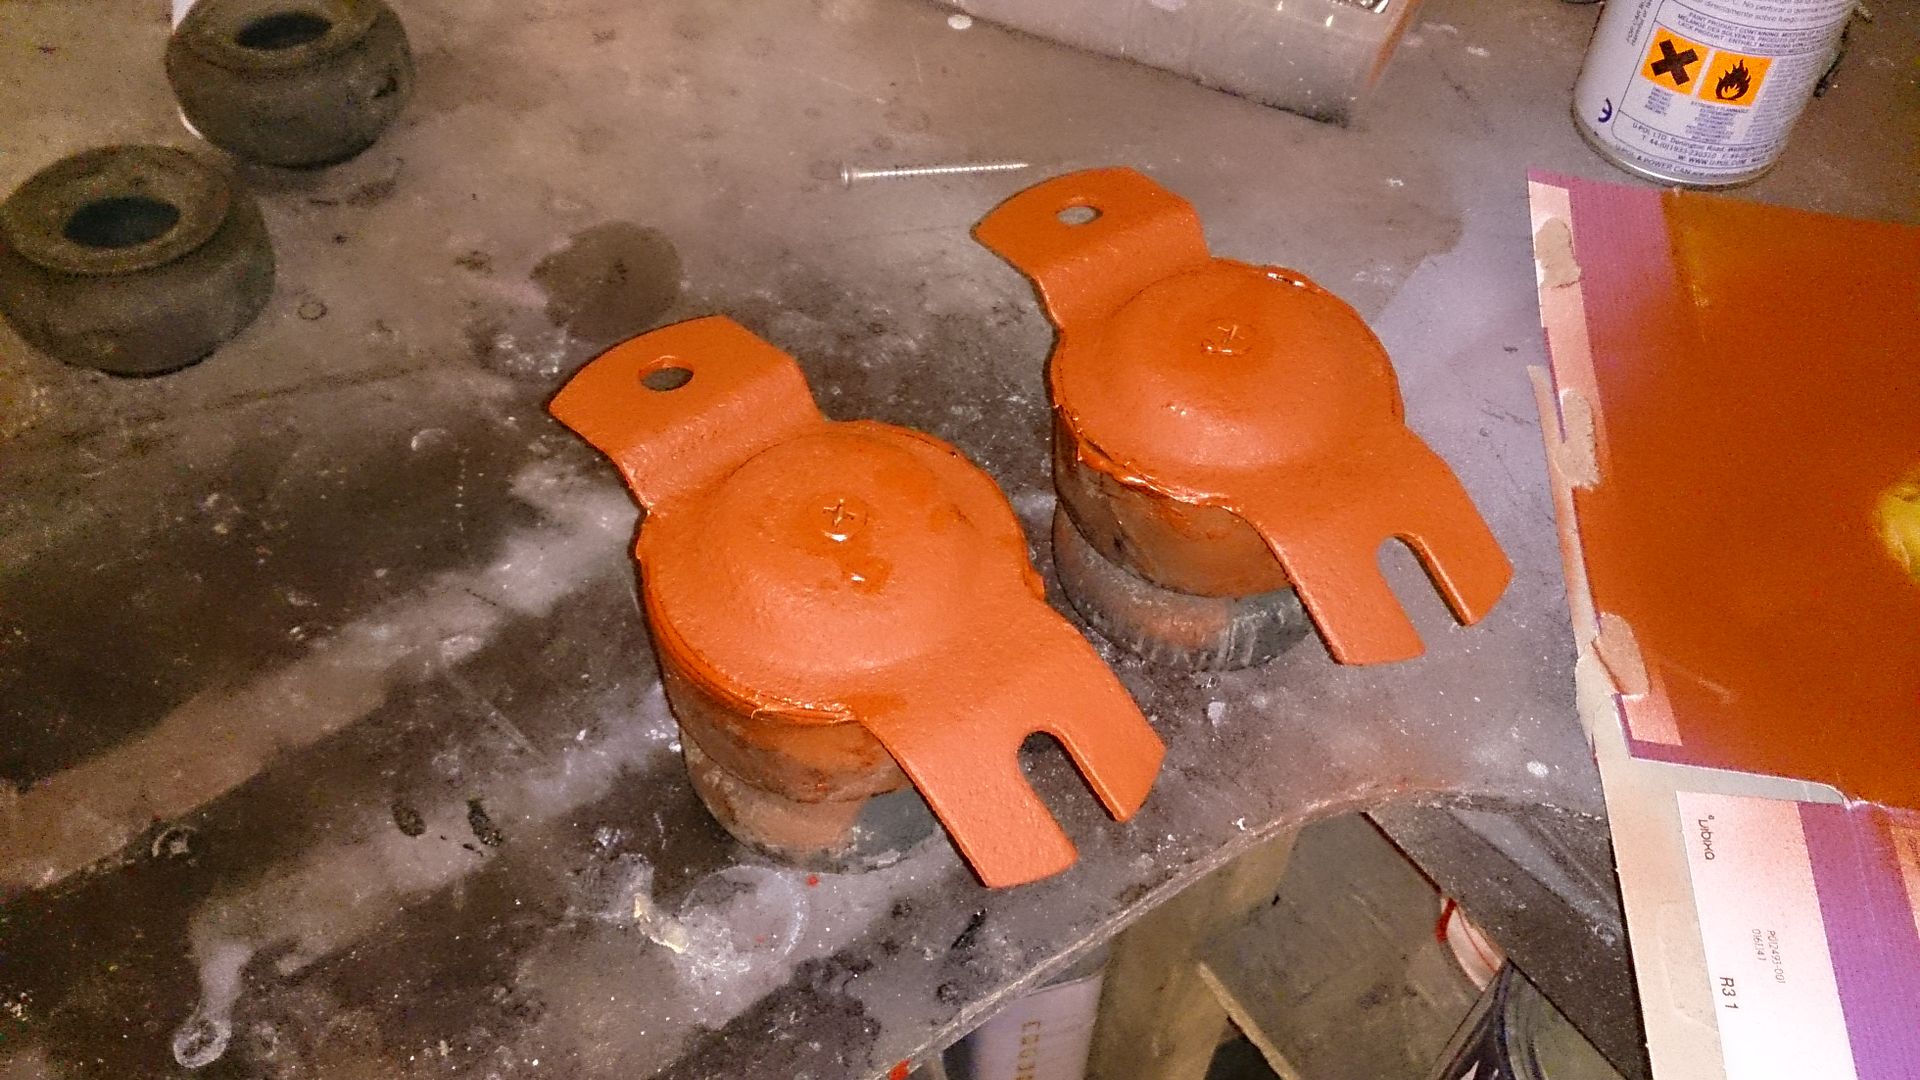

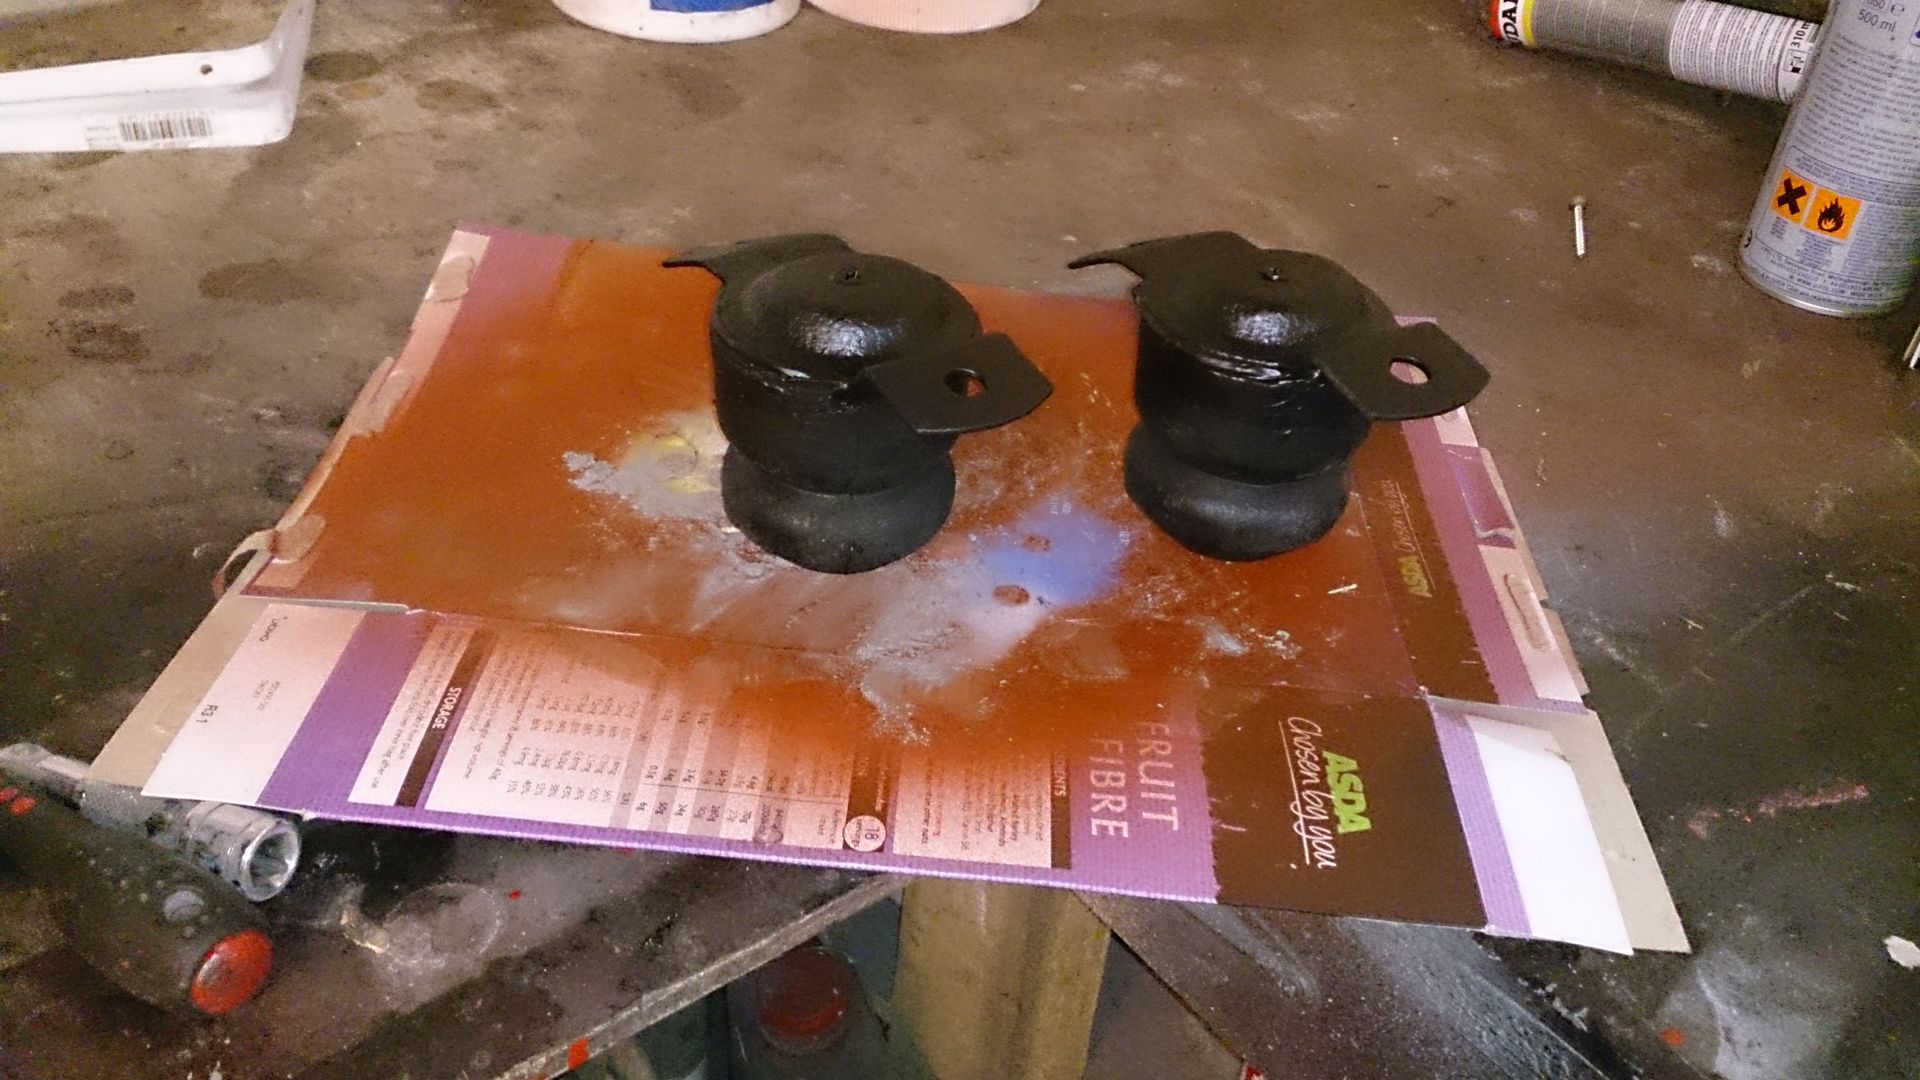
Luckily, the rust on the base plate had not spread onto the car's chassis rails. They just needed light sanding and painting with red oxide. then Dinitrol to protect them. I would advise any 240 owner to remove their bump-stops, then clean out, check and protect this water/mud trap before refitting.

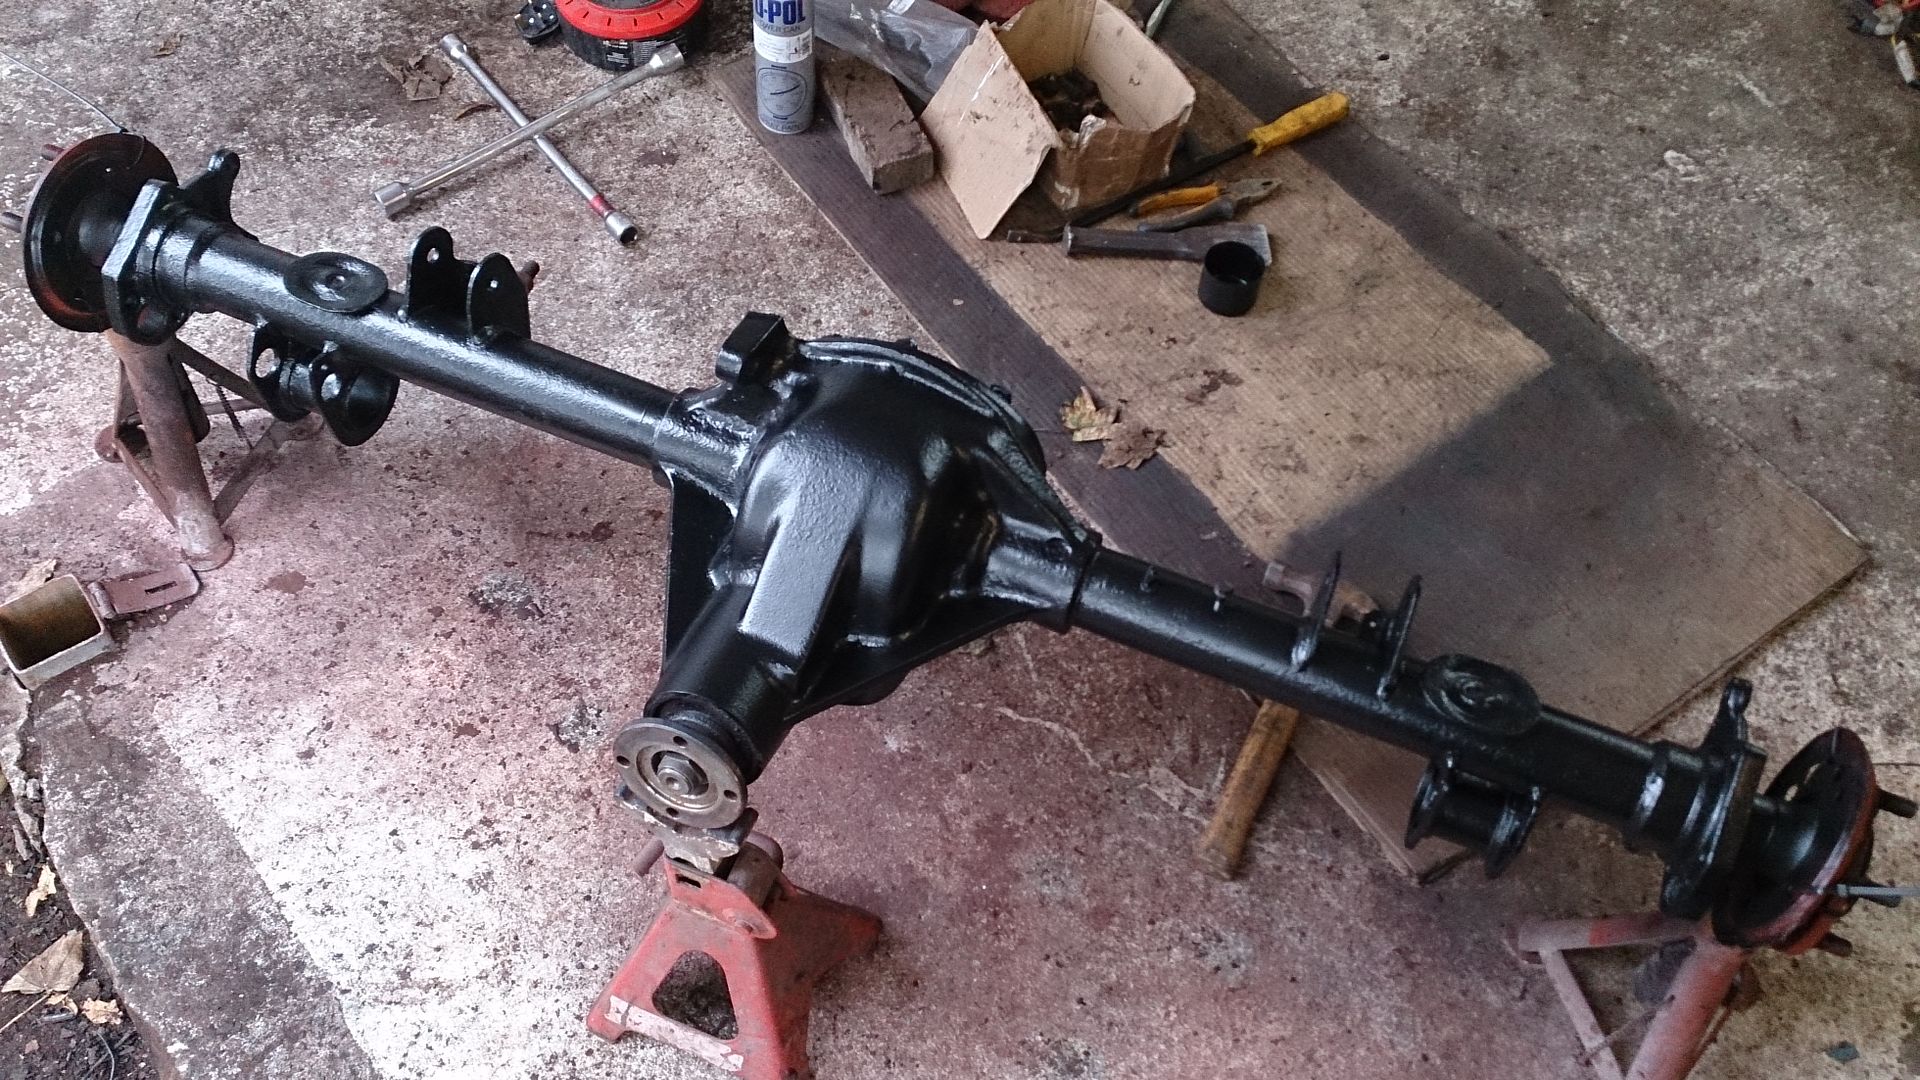
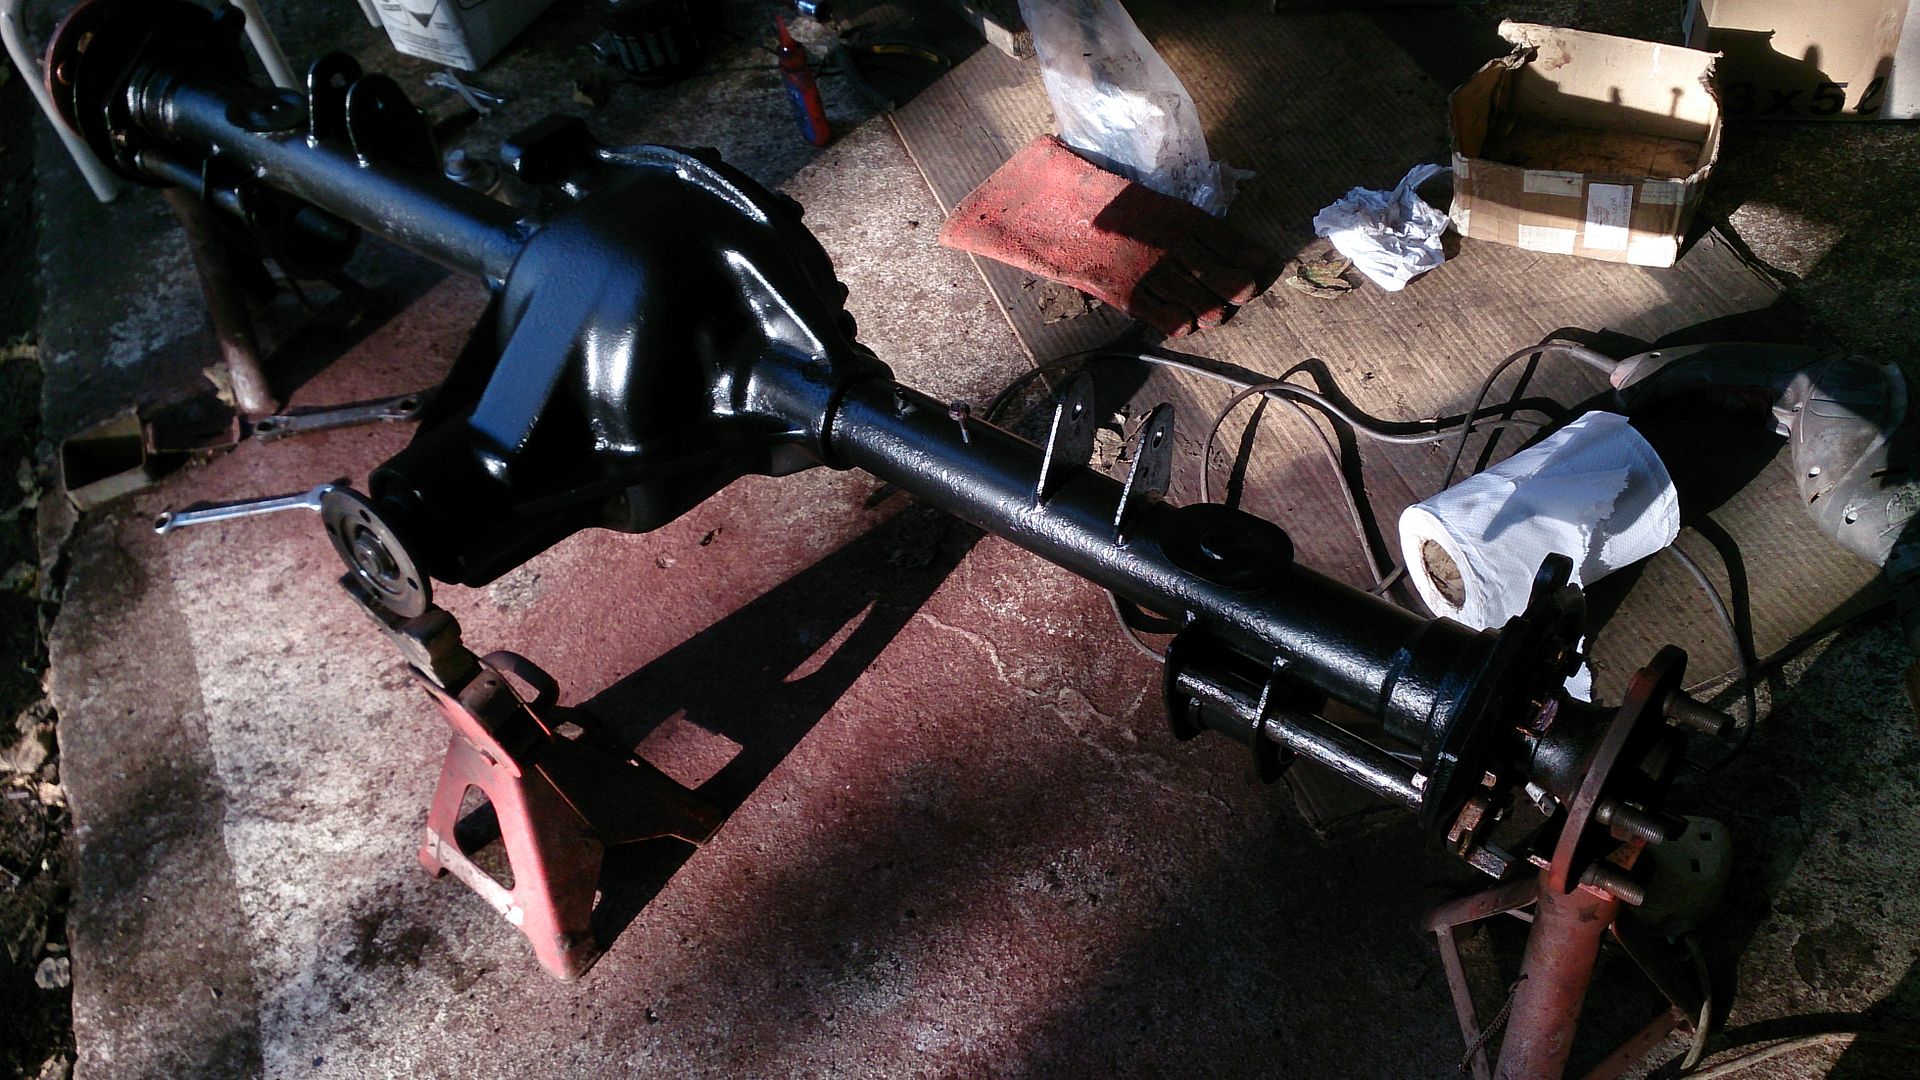
I fitted the axle.
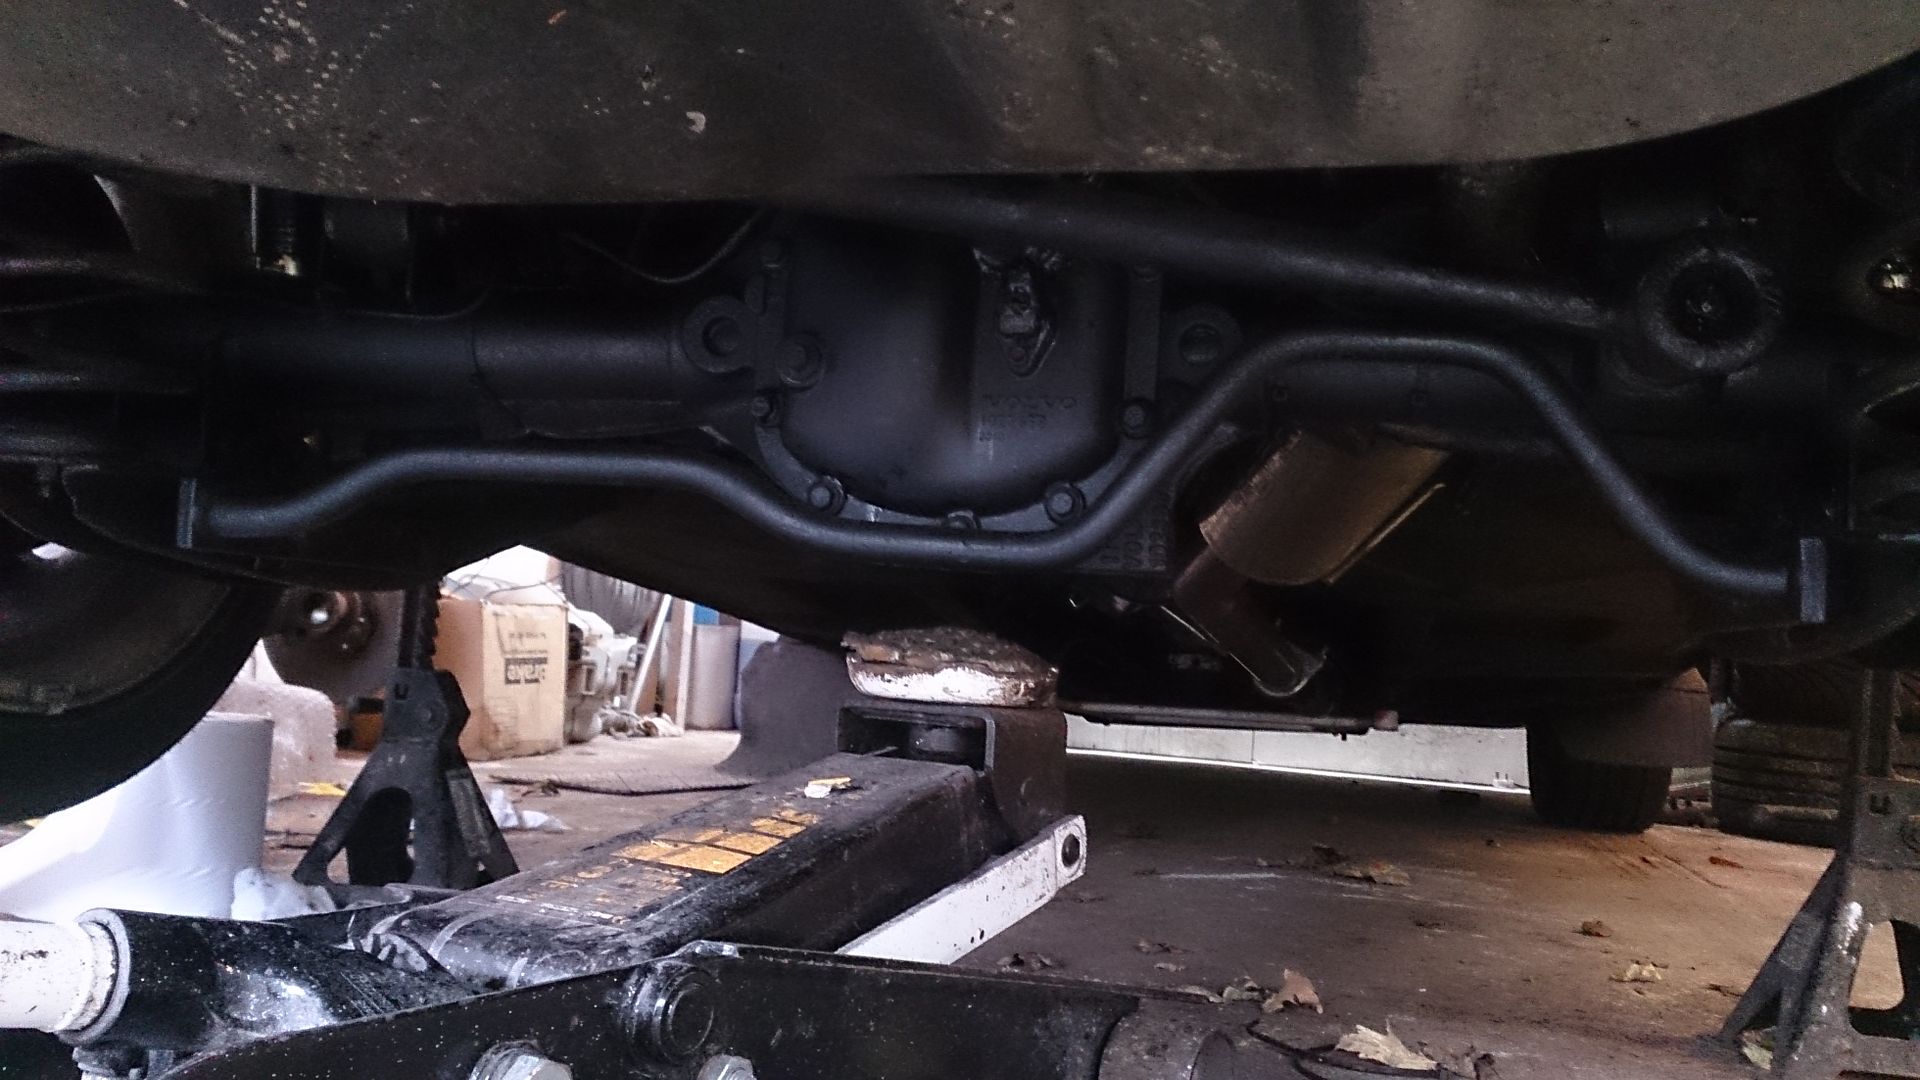
I changed the axle oil. The oil that came out looked clean, which was encouraging. No separate drain plug on the ABS axle, so it is drained through the lower diff cover bolt.

The replacement axle is all fitted and working now. It's much quieter, only about 5% of the loud whine that the original axle made once it was warm. Now, you need to turn off the radio and concentrate hard to hear it.
However, there is a new noise from this axle - and I'd appreciate your ideas about the cause. From zero to 5 mph only, there is a noise which sounds like running your fingertips along a sheet of paper. Not loud, but enough to notice. It doesn't sound worrying, but I would be interested to hear any suggestions about what might be the cause. The noise is the same whether accelerating or slowing.
I wondered whether this might be bake pads bedding in the a slightly different position (I did refit discs and all the pads the same location they were before). However, I don't think it's that. I have never heard brakes make this noise, and it hasn't changed after a couple of hundred miles of driving.
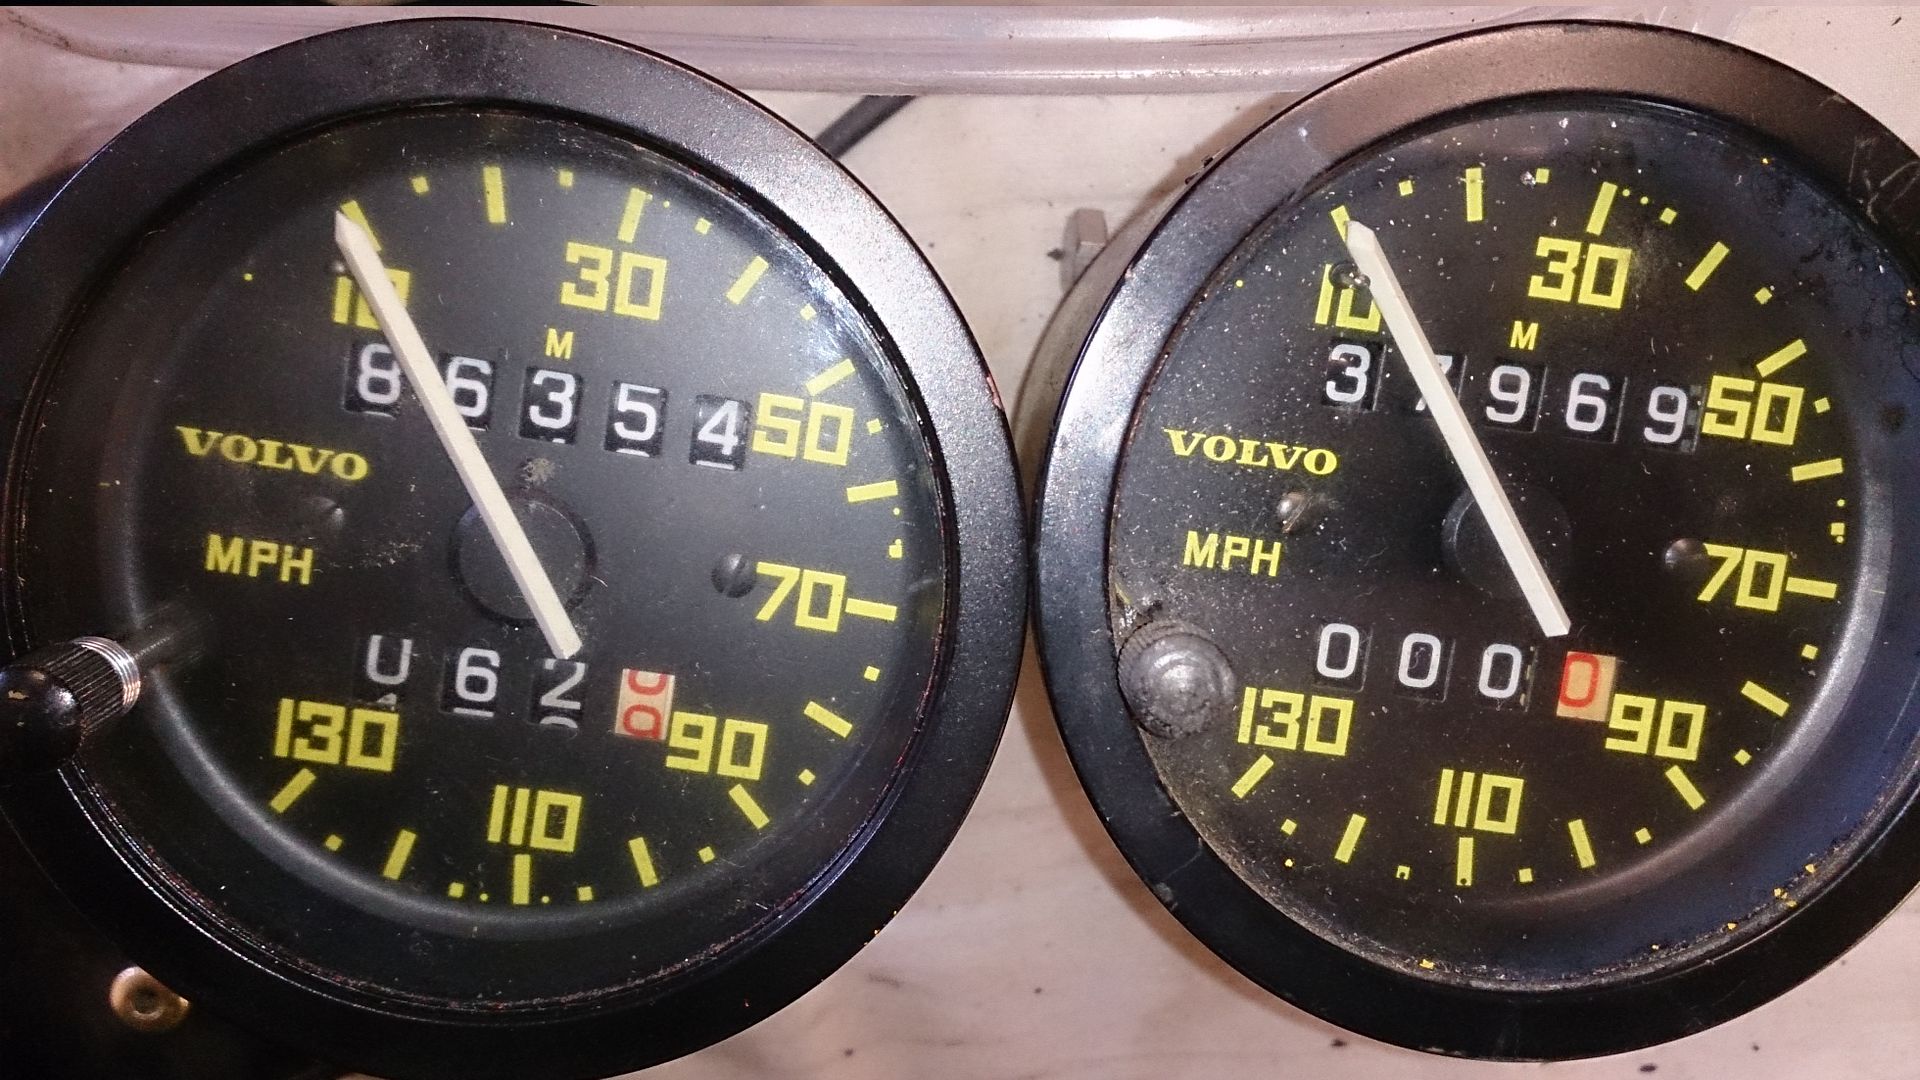
I have checked the speedo sender is working. The one job remaining is to recalibrate the cable-x unit to correct my speedo. The ABS axle has 48 pulses per revolution instead of 12 on the old axle, so my speedo currently reads 120mph when travelling at 30...
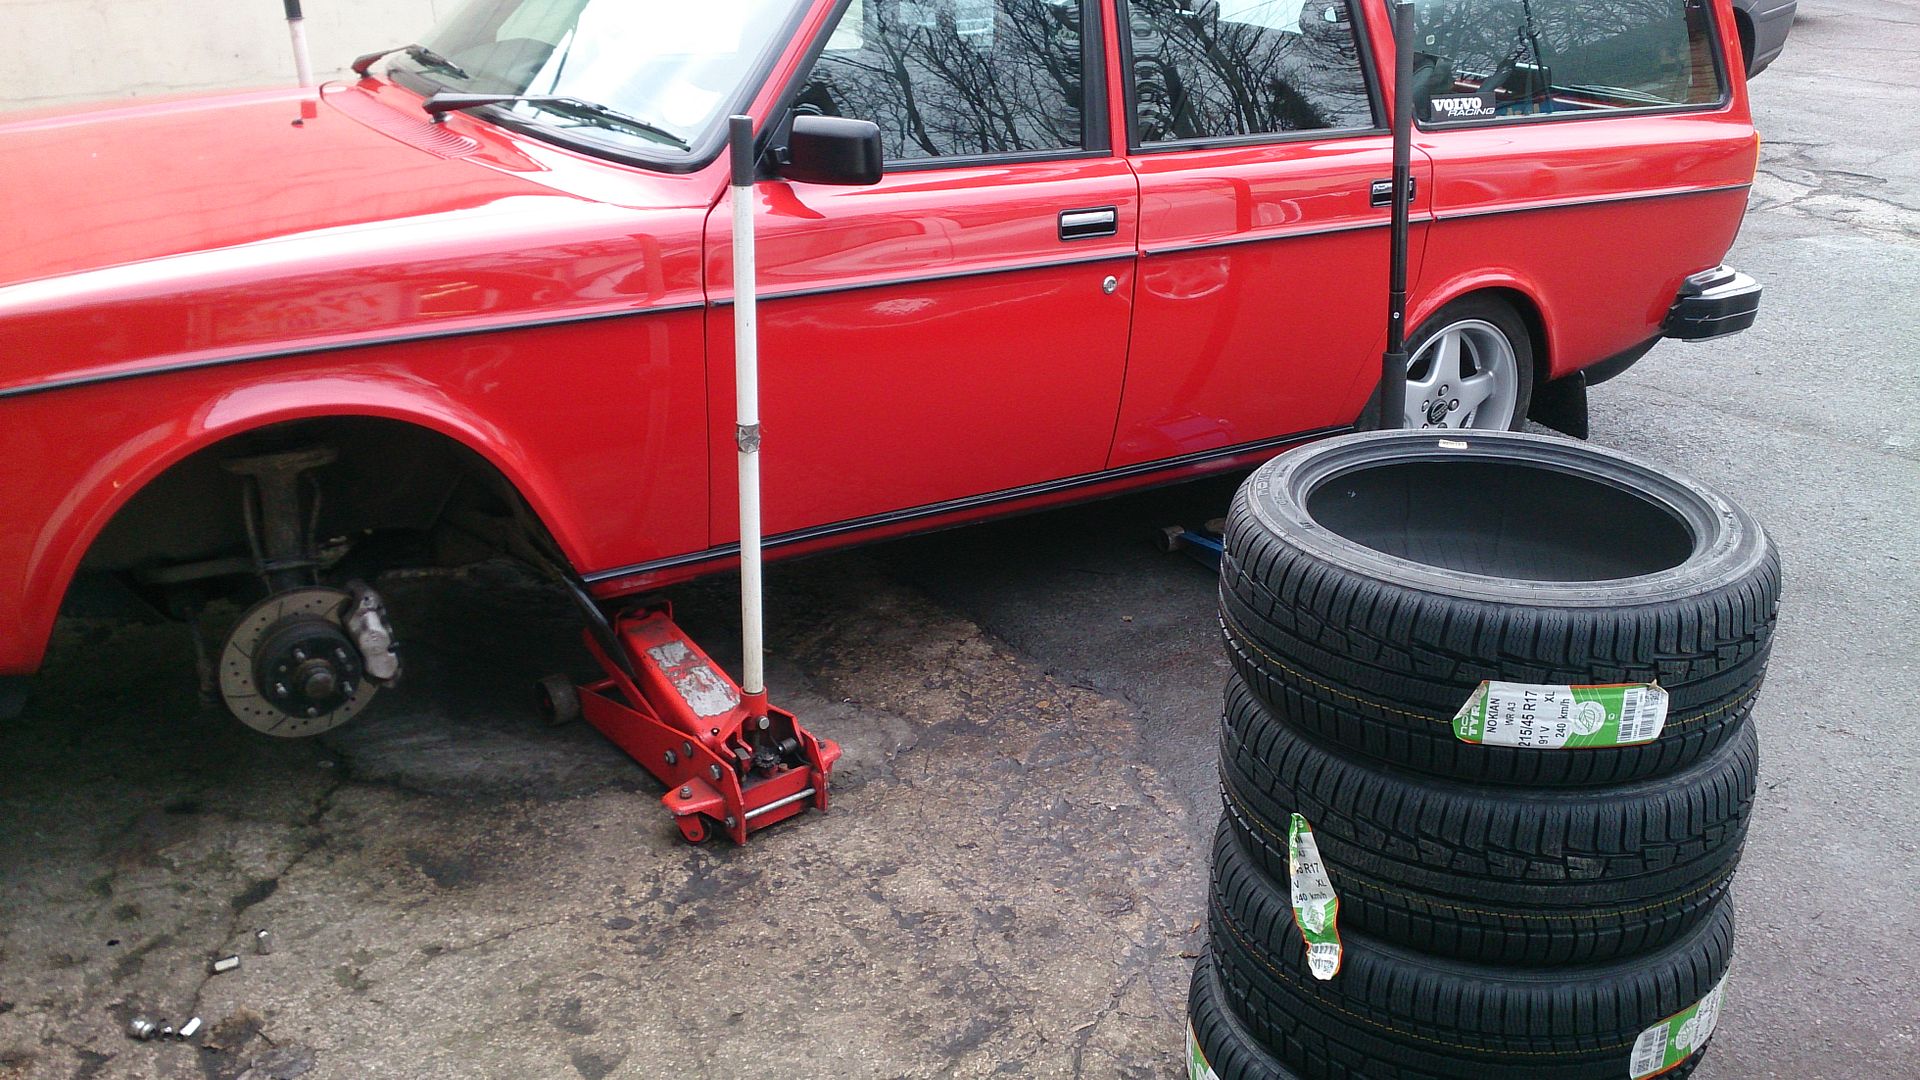
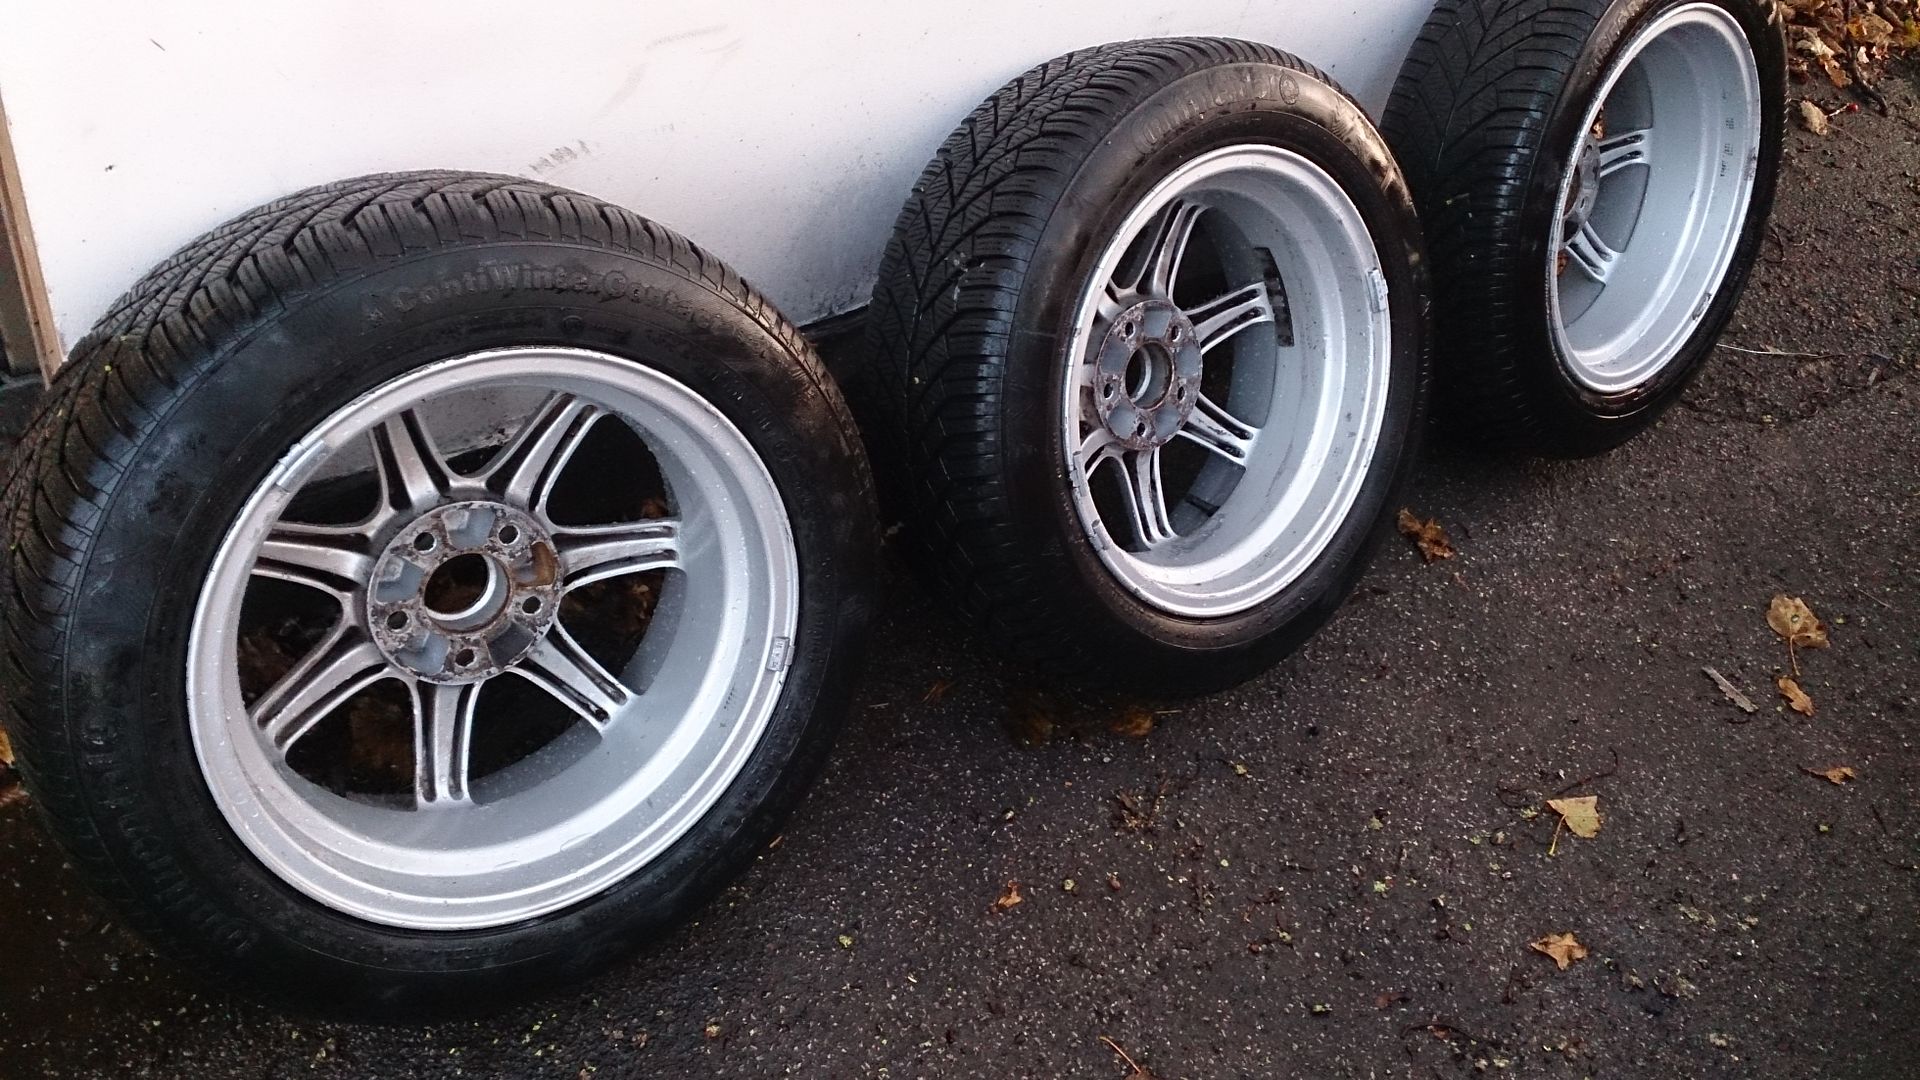
Winter wheelsMy winter galaxy wheels are looking dull and they have some corrosion, so I decided to repaint them before fitting. First step is a deep clean, I'm on with preparation now and more photos will follow
 Top engine steady... again
You might remember that my third engine mount bracket failed a few months ago. We repaired and strengthened it as best we could, but really I knew a stronger bracket was needed. Sure enough, the down-pipe recently started rattling against the steering column on acceleration, informing me that it had fatigued again - time to fix it properly this time.
I considered other methods for a top mount, and I do particularly like the compression mount that Matt Brace has used from the right side of the engine block to the inner wing. However, weighing up the options, I am not starting from scratch and only one part of my system has caused problems, so I decided that the best solution in my circumstances was to stay with my design but make a better bracket.
I designed a new mounting to take a strong steel box as the mounting bracket.
Ste welded in captive nuts top and bottom, so that good size bolts can be used without having to try to get a spanner into the small gap behind the bracket.
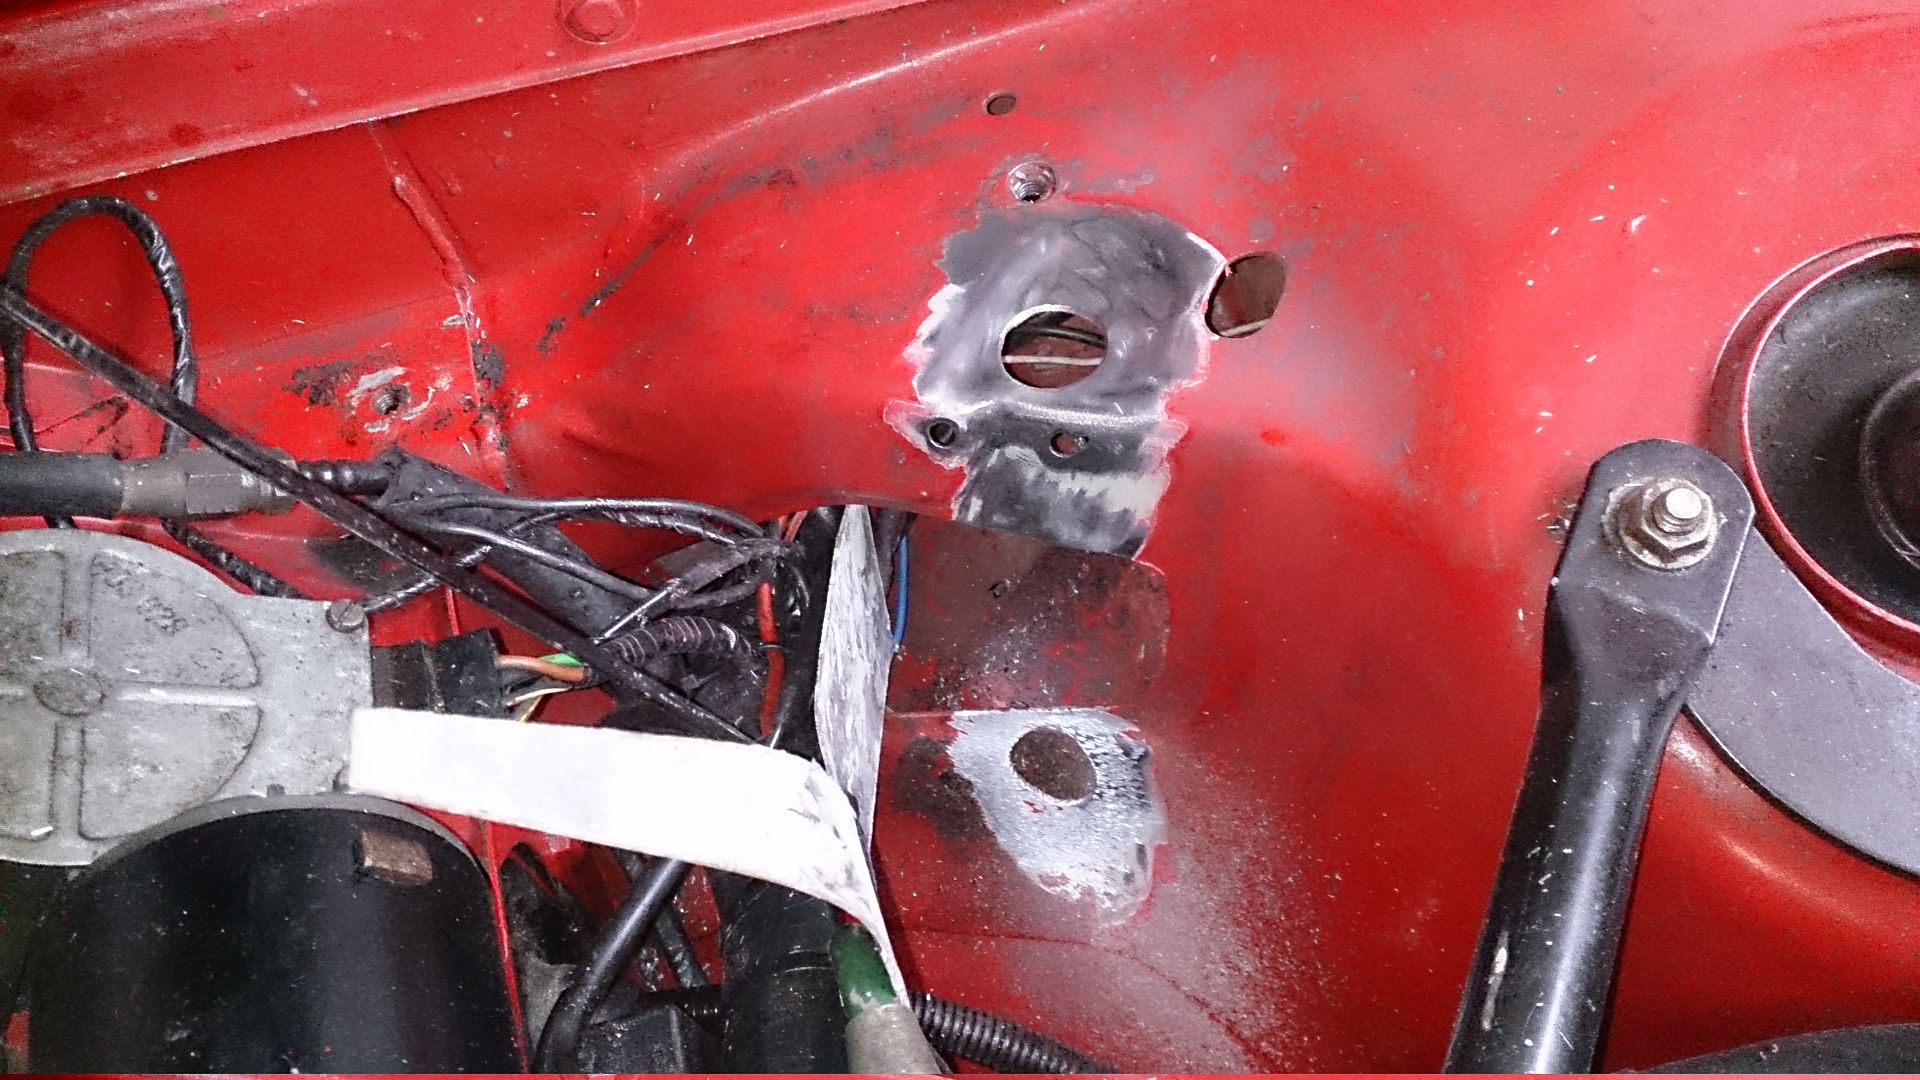
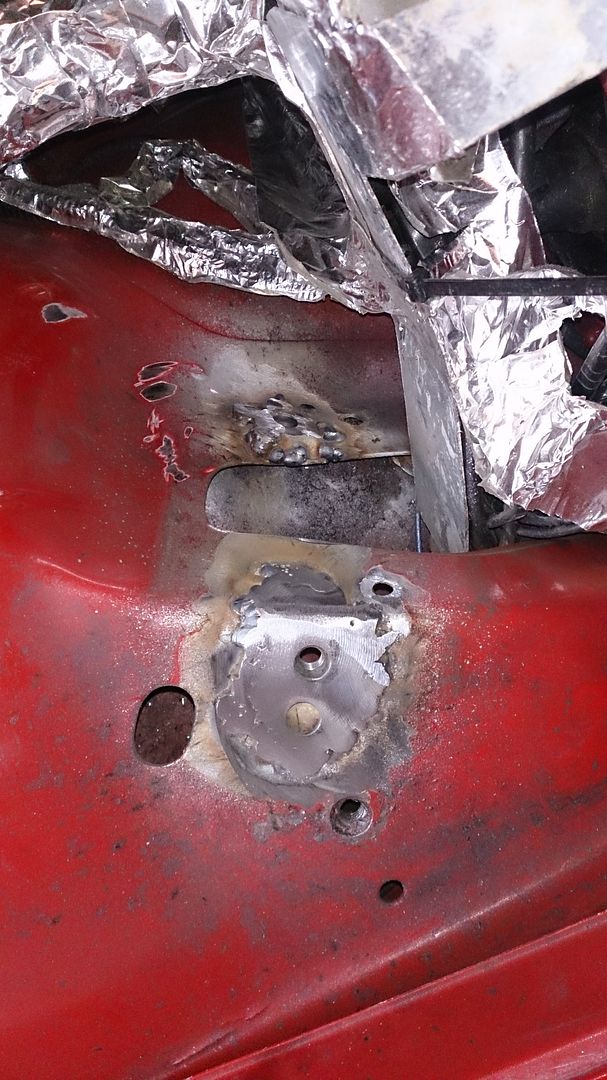
Making the bracket. It's made from a length of rectangular section box, with the front surface folded over and welded at the correct angle to make the upper mount.

Test fit
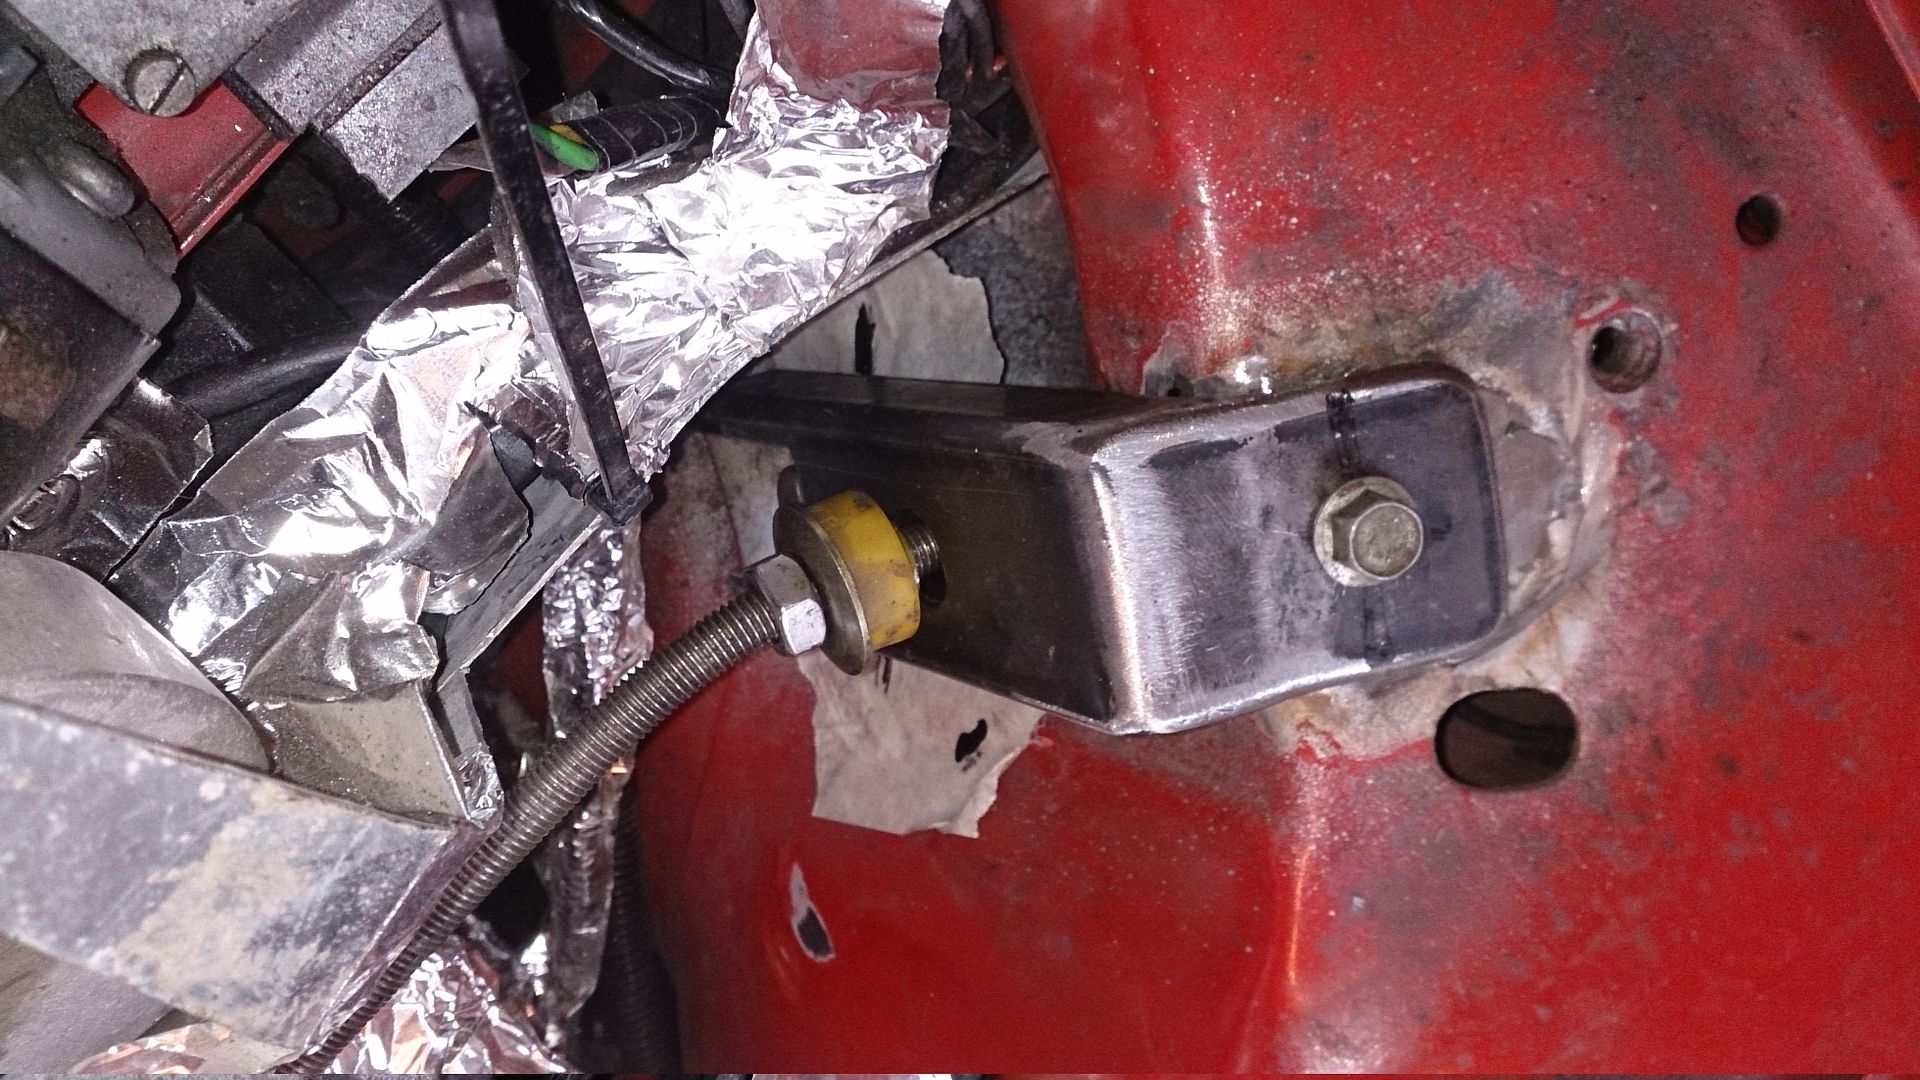
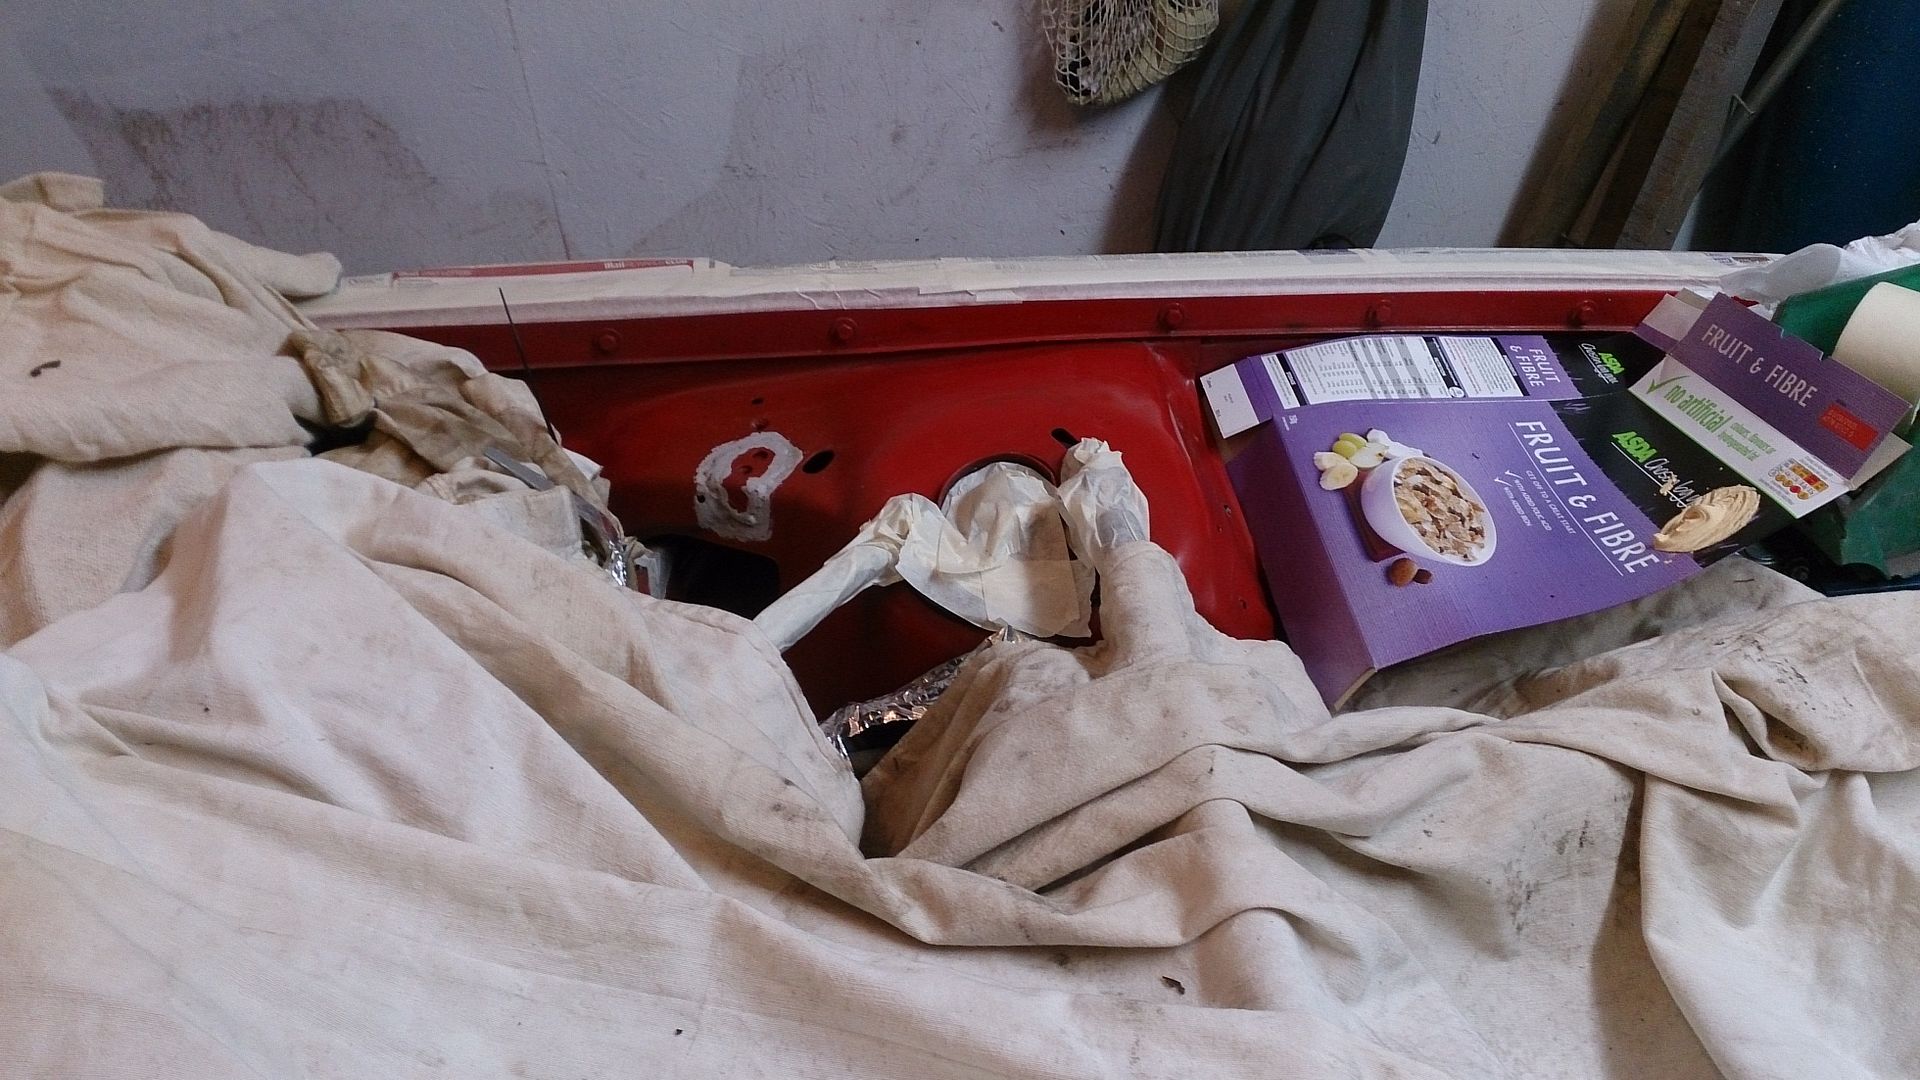
After sealing the welds with seam-sealer, I resprayed that section of the engine bay

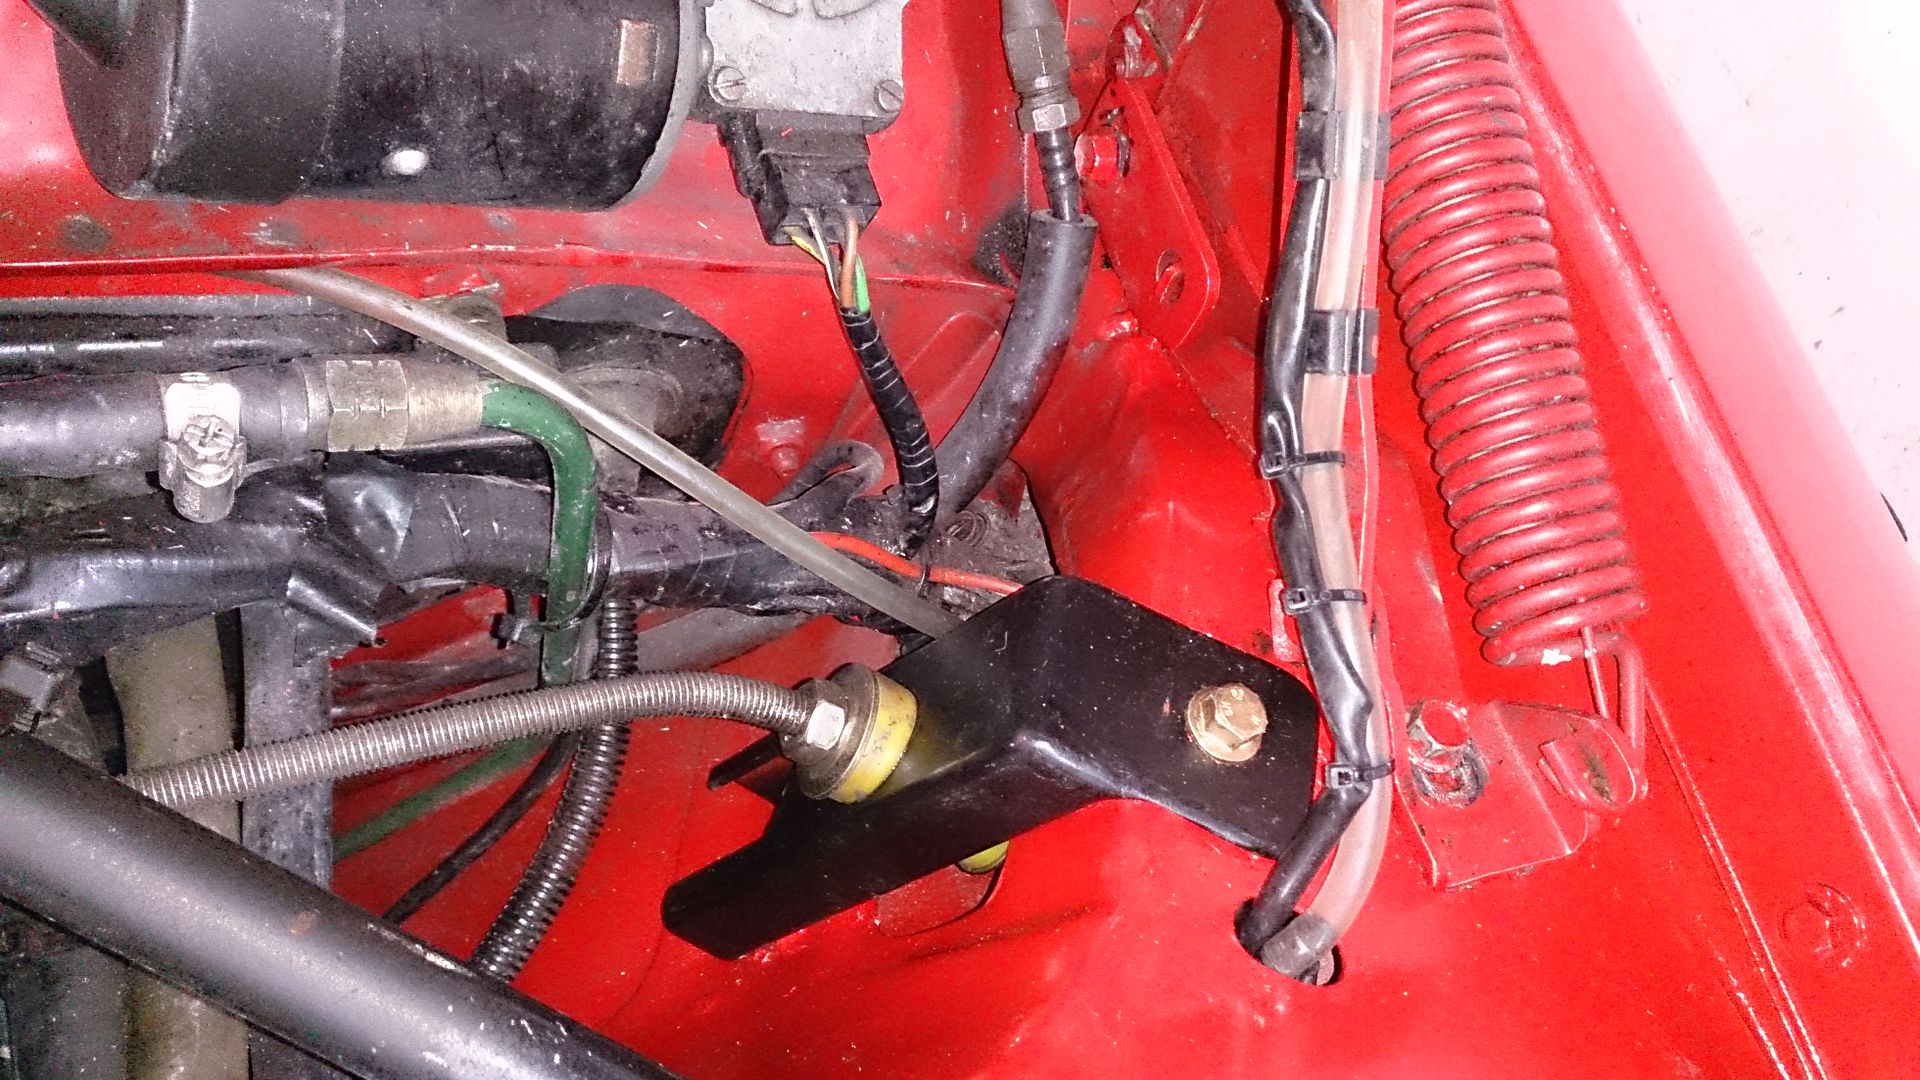
Fitted, and adjusted to give the right clearance both sides
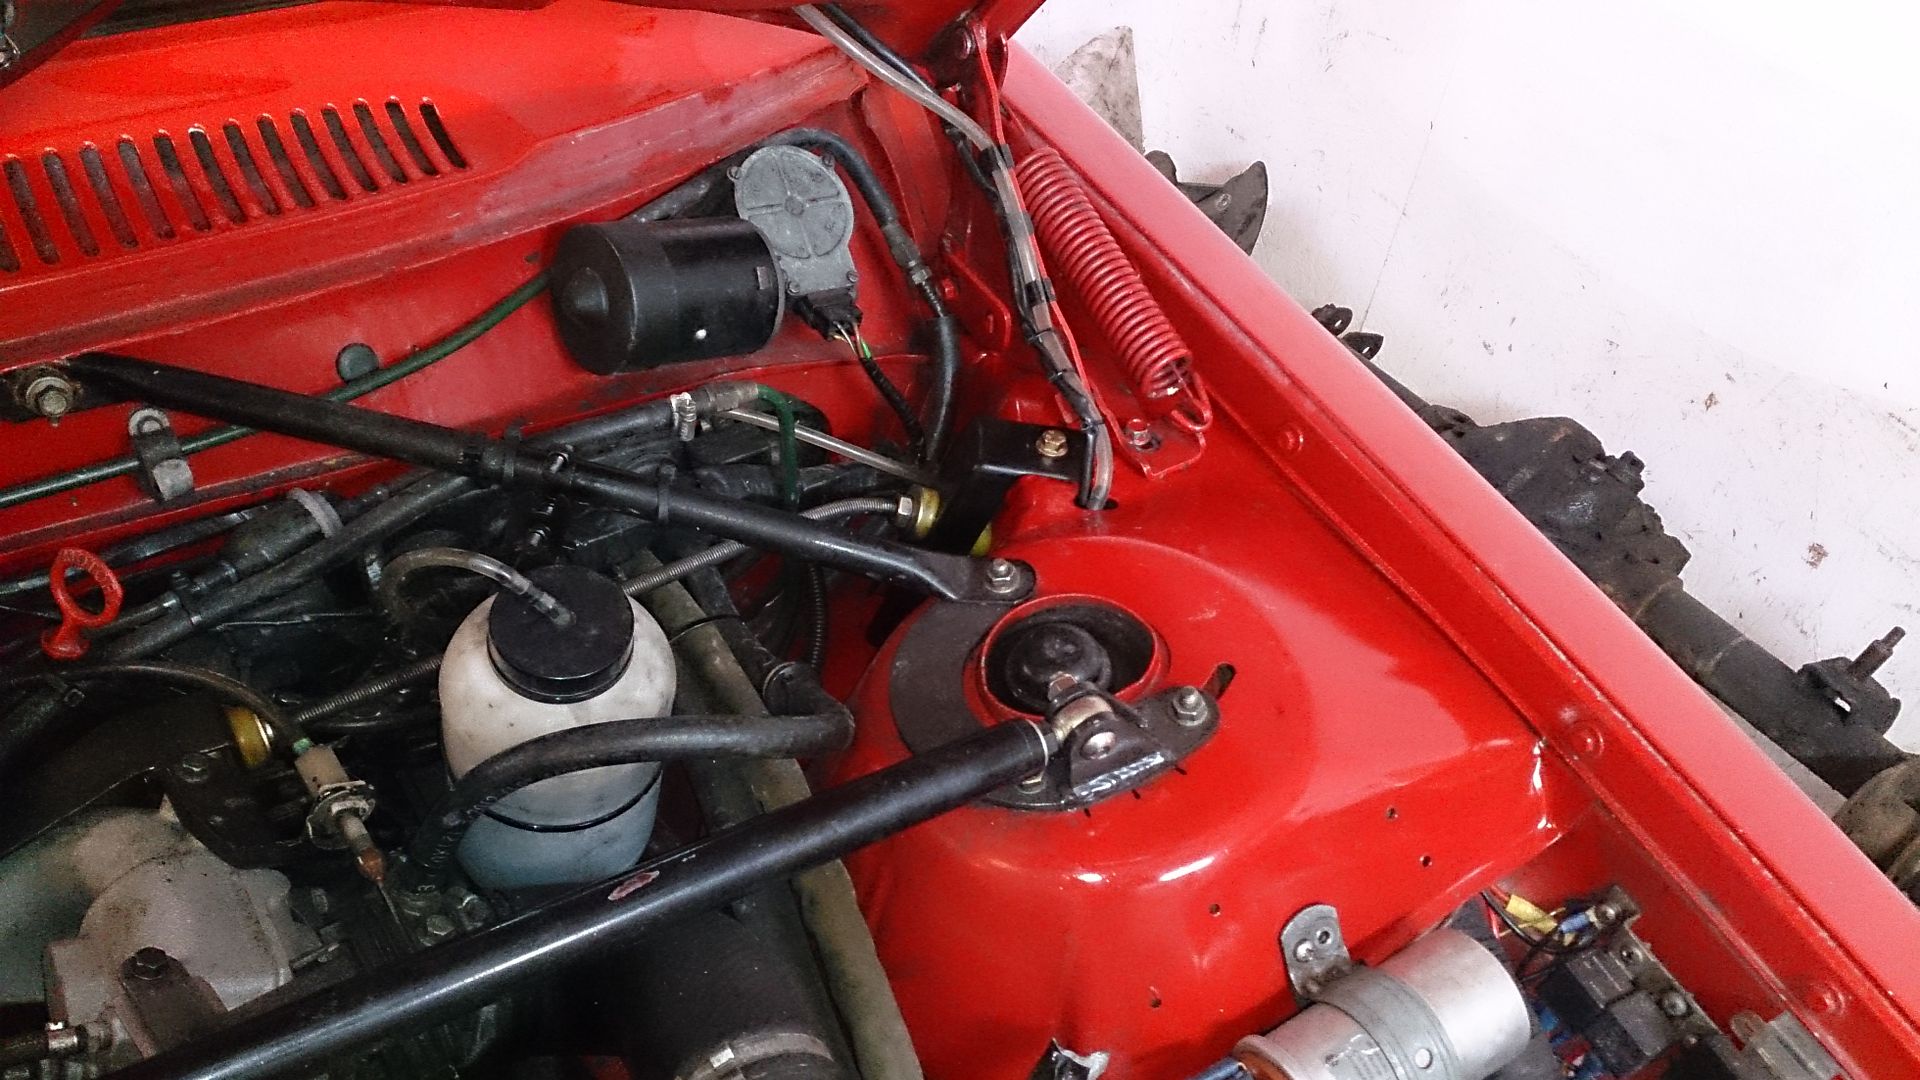
That's all for now
Cheers
John
