jonomisfit
Club Retro Rides Member
Posts: 1,787
Club RR Member Number: 49
|
|
May 11, 2014 17:51:06 GMT
|
So spent a bit of time in the workshop today. My knee is still bust so causing me some gyp and didn't get a huge amount done.. Started gusseting up the front end to tie the suspension mounts back to the chassis. Little 3mm plates going from the edge of the bracket back to the tubes, just to ensure the load path does try and overturn teh bracket, causing cracks. 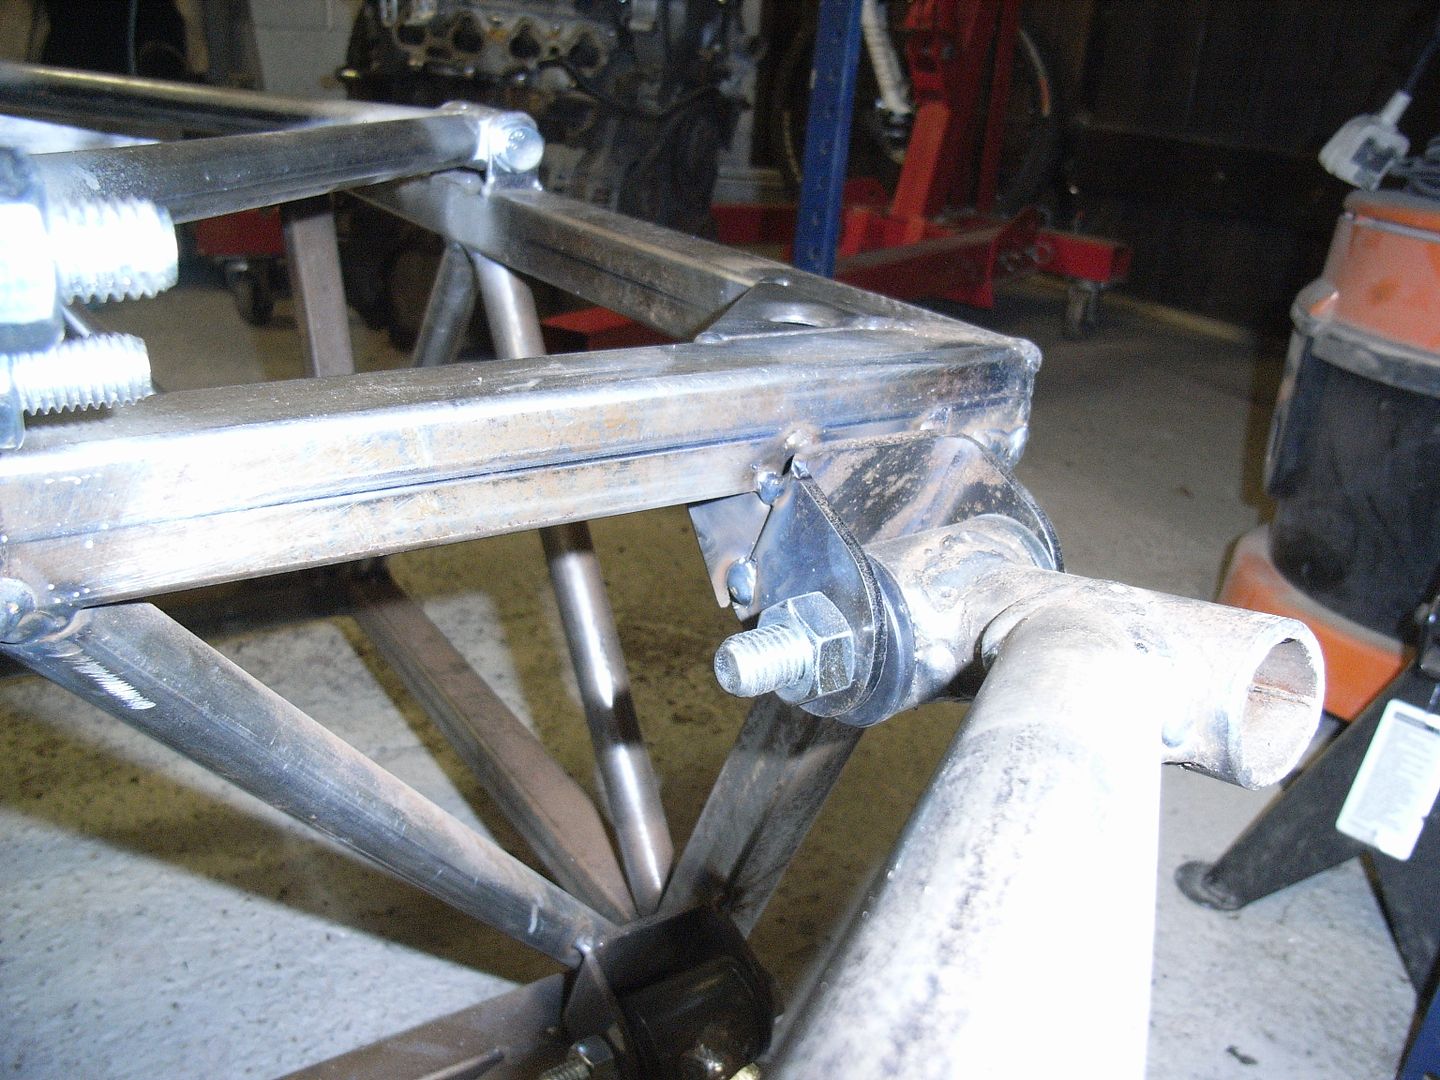 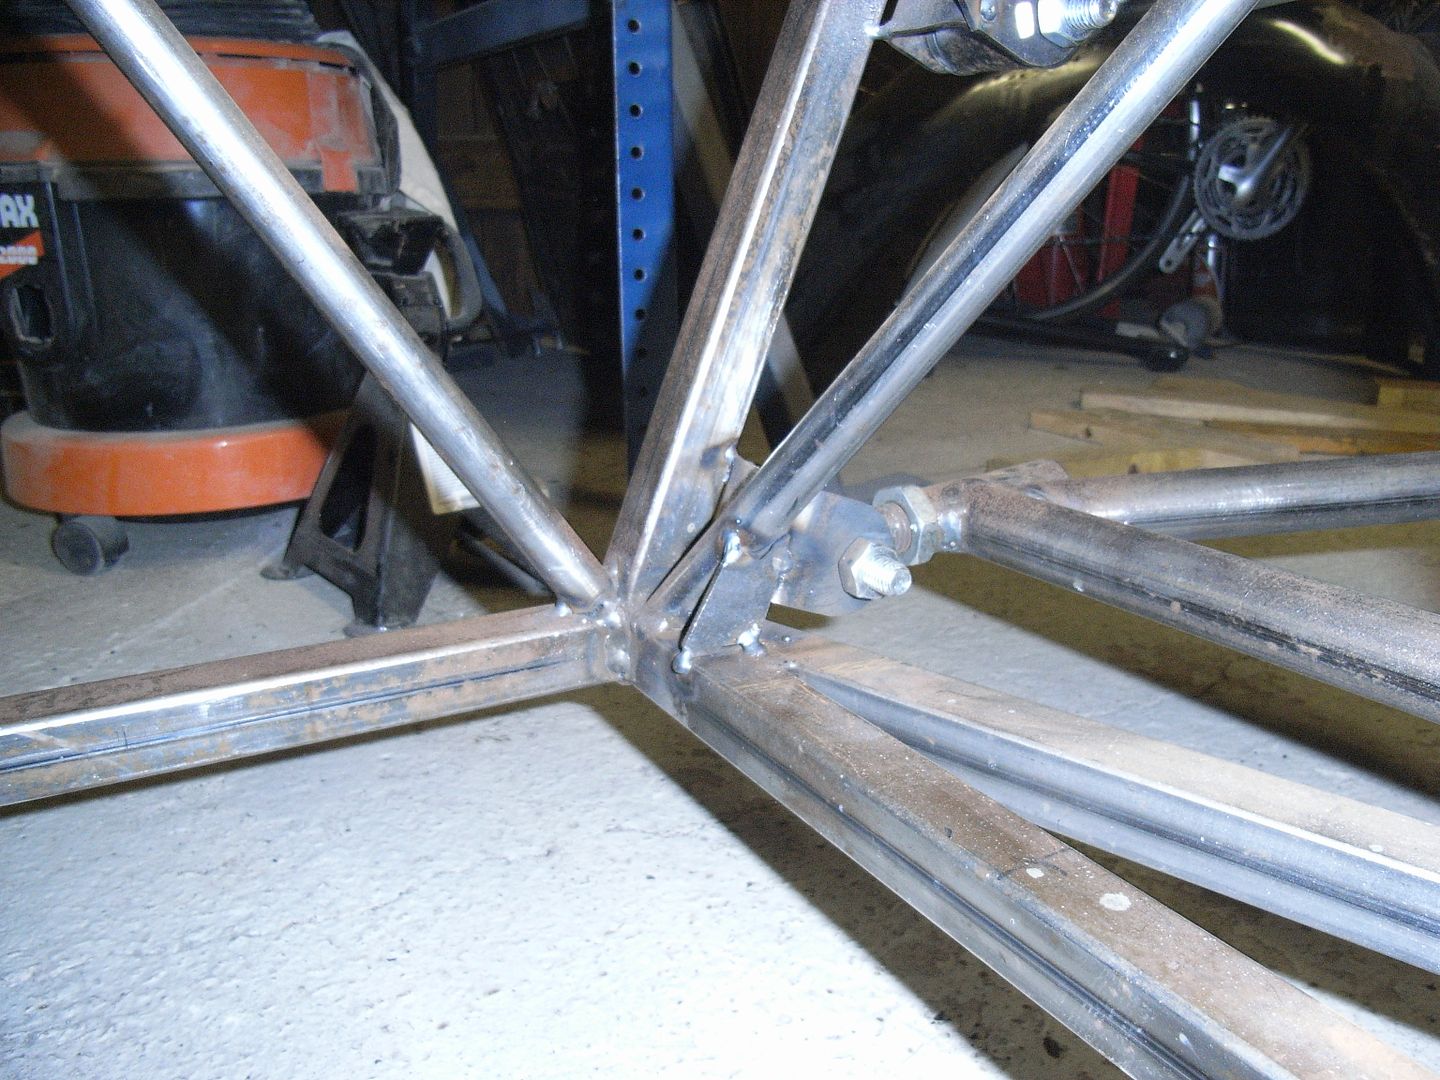 I put some corner gussets in to tie back to where the suspension bracket gusset goes to the chassis. Help to spread the loads a bit, but also because i bought a few dimple dies and wanted to play with them :-) 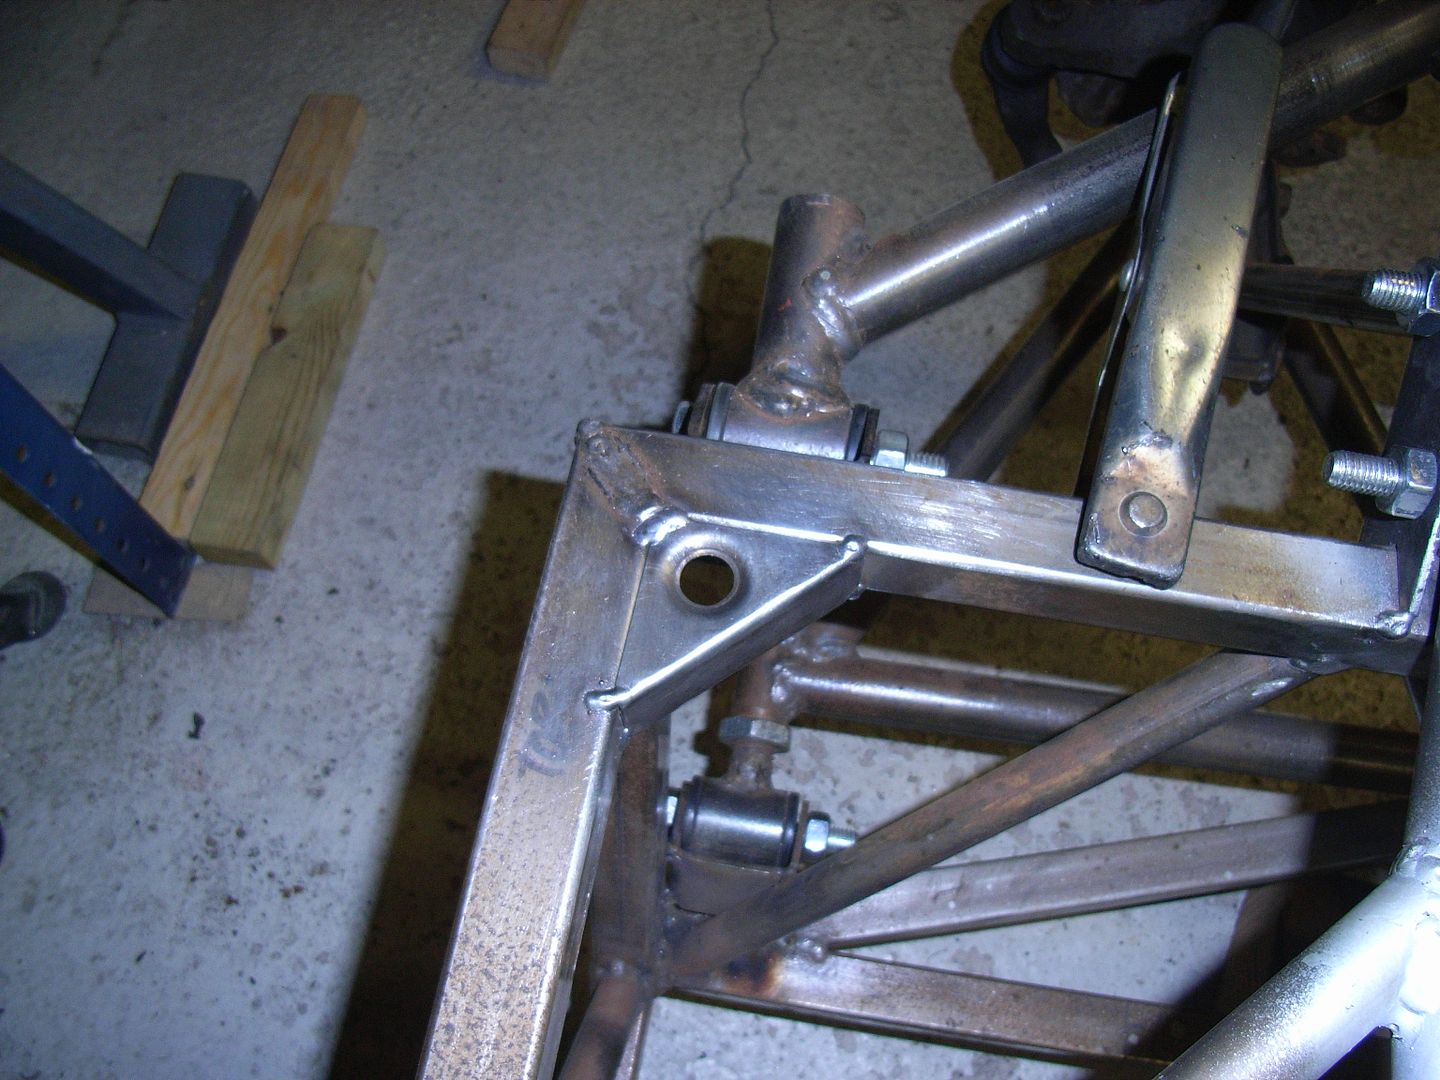 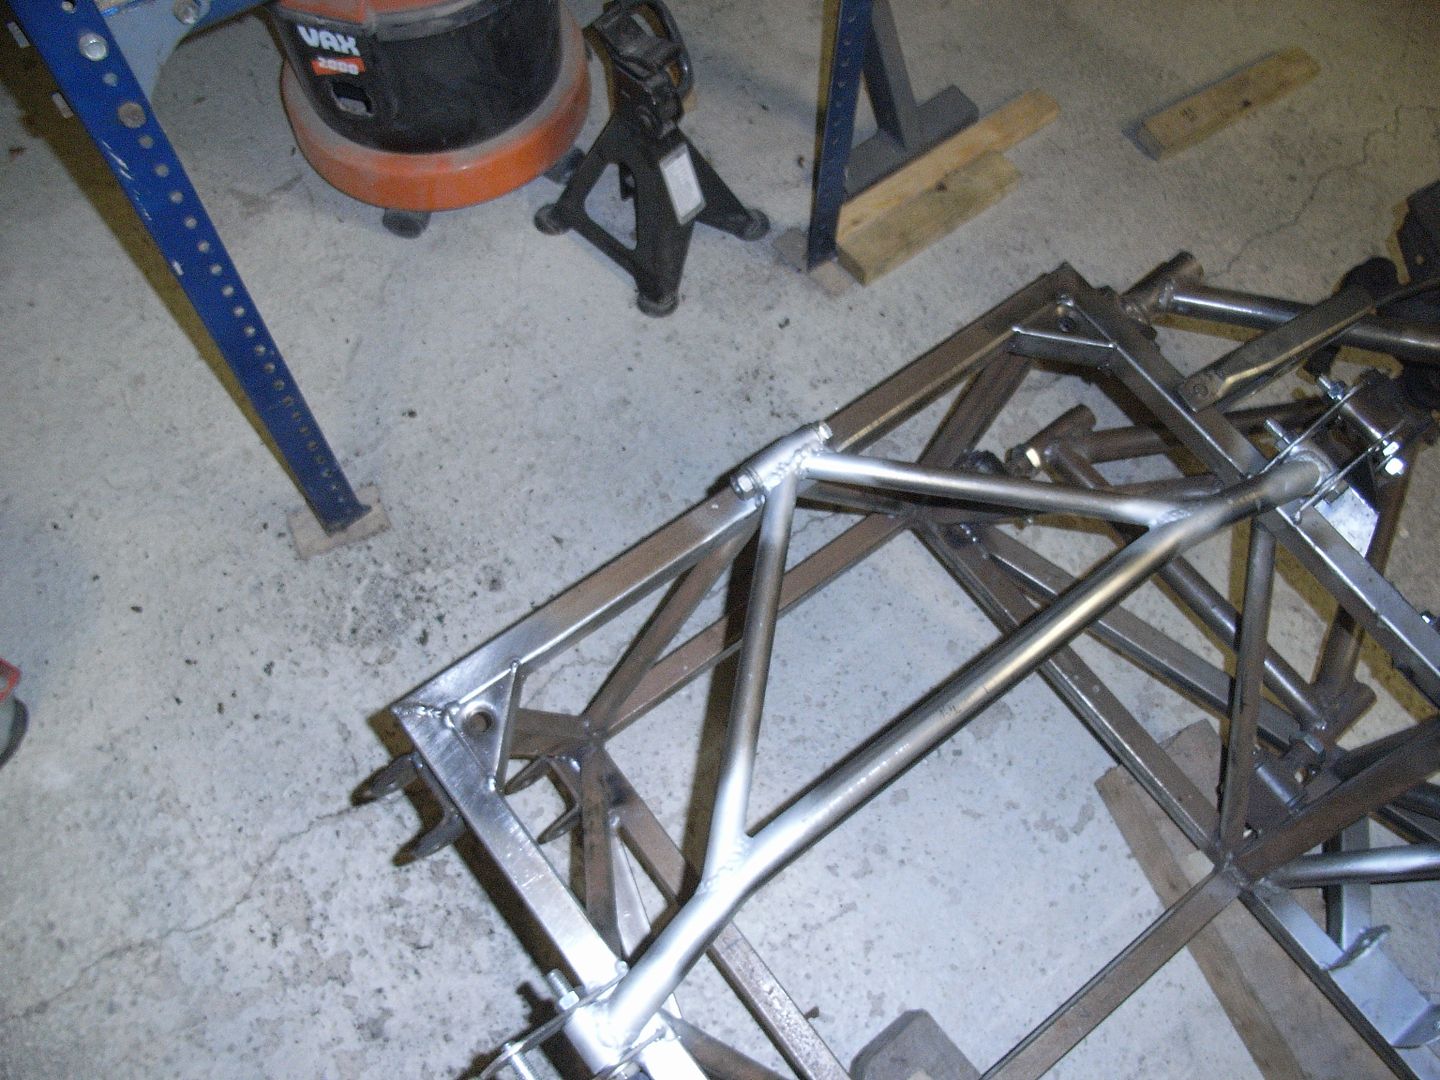 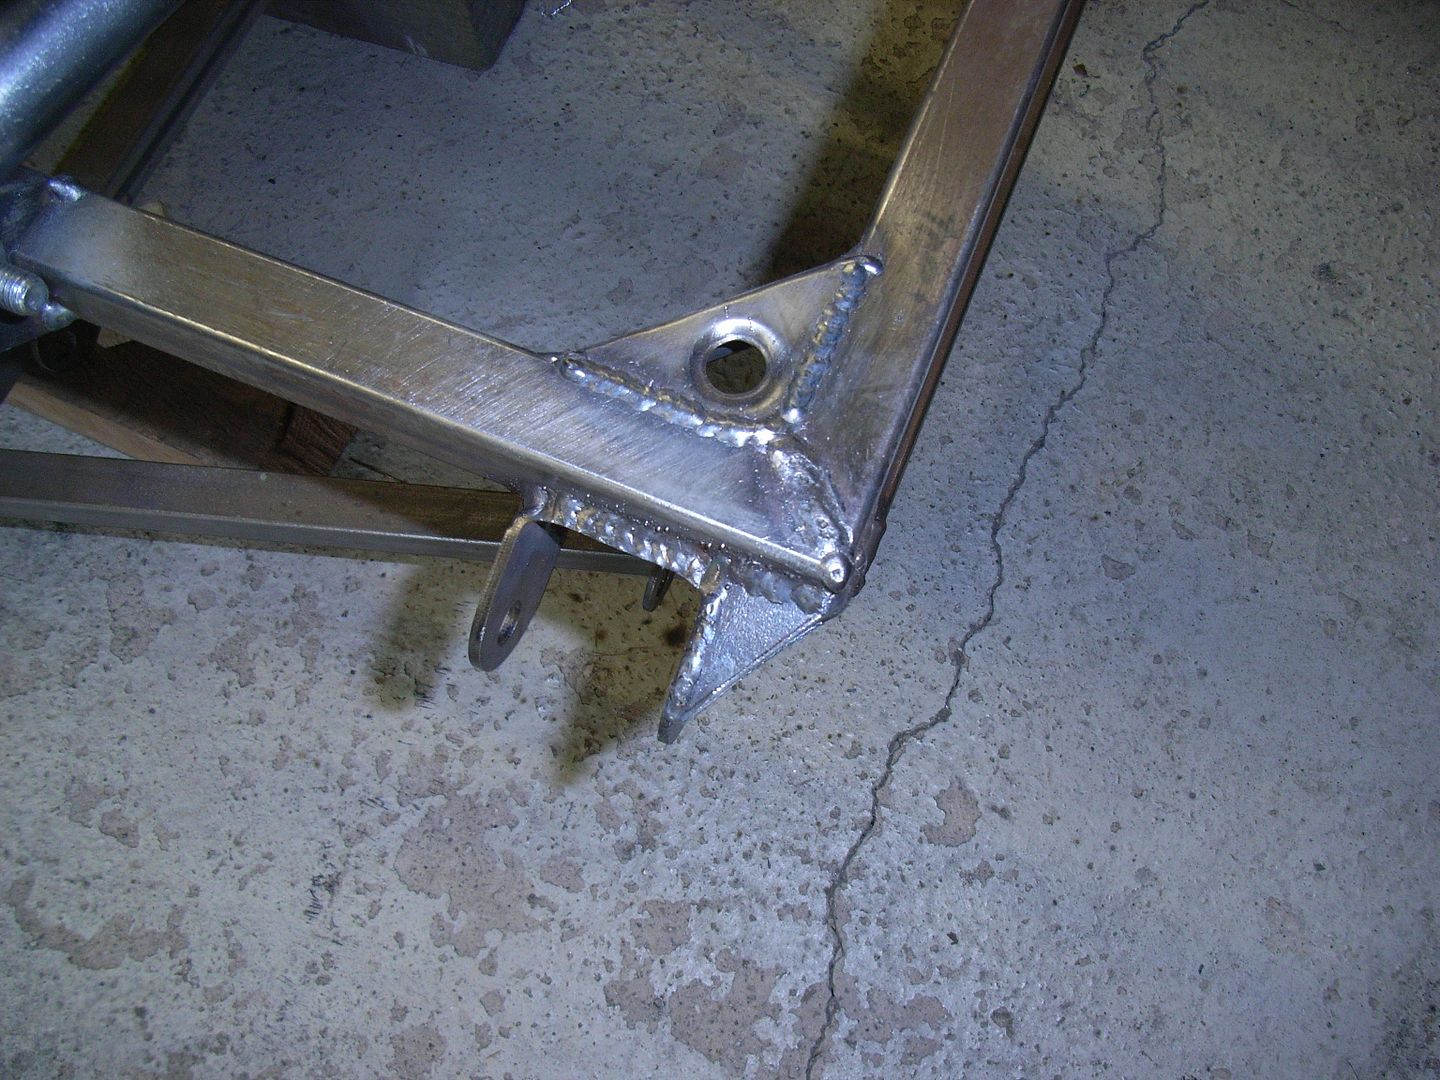 I also put some little brackets in to tie from the front of the bracket onto the chassis. This stops any lateral shimmying. 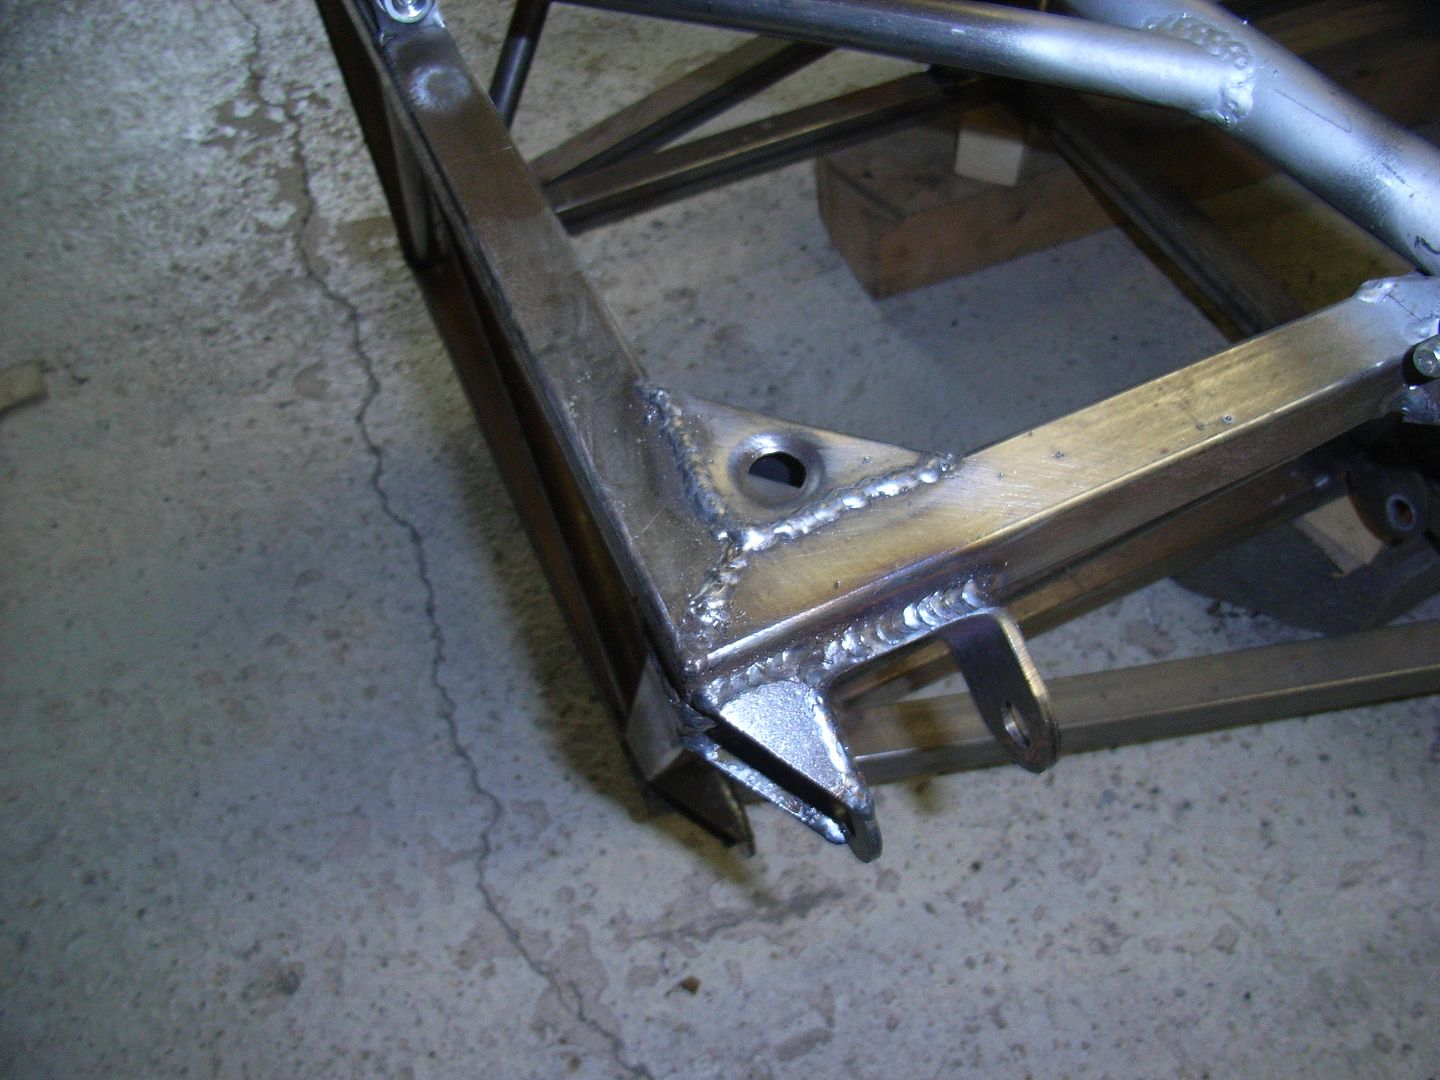 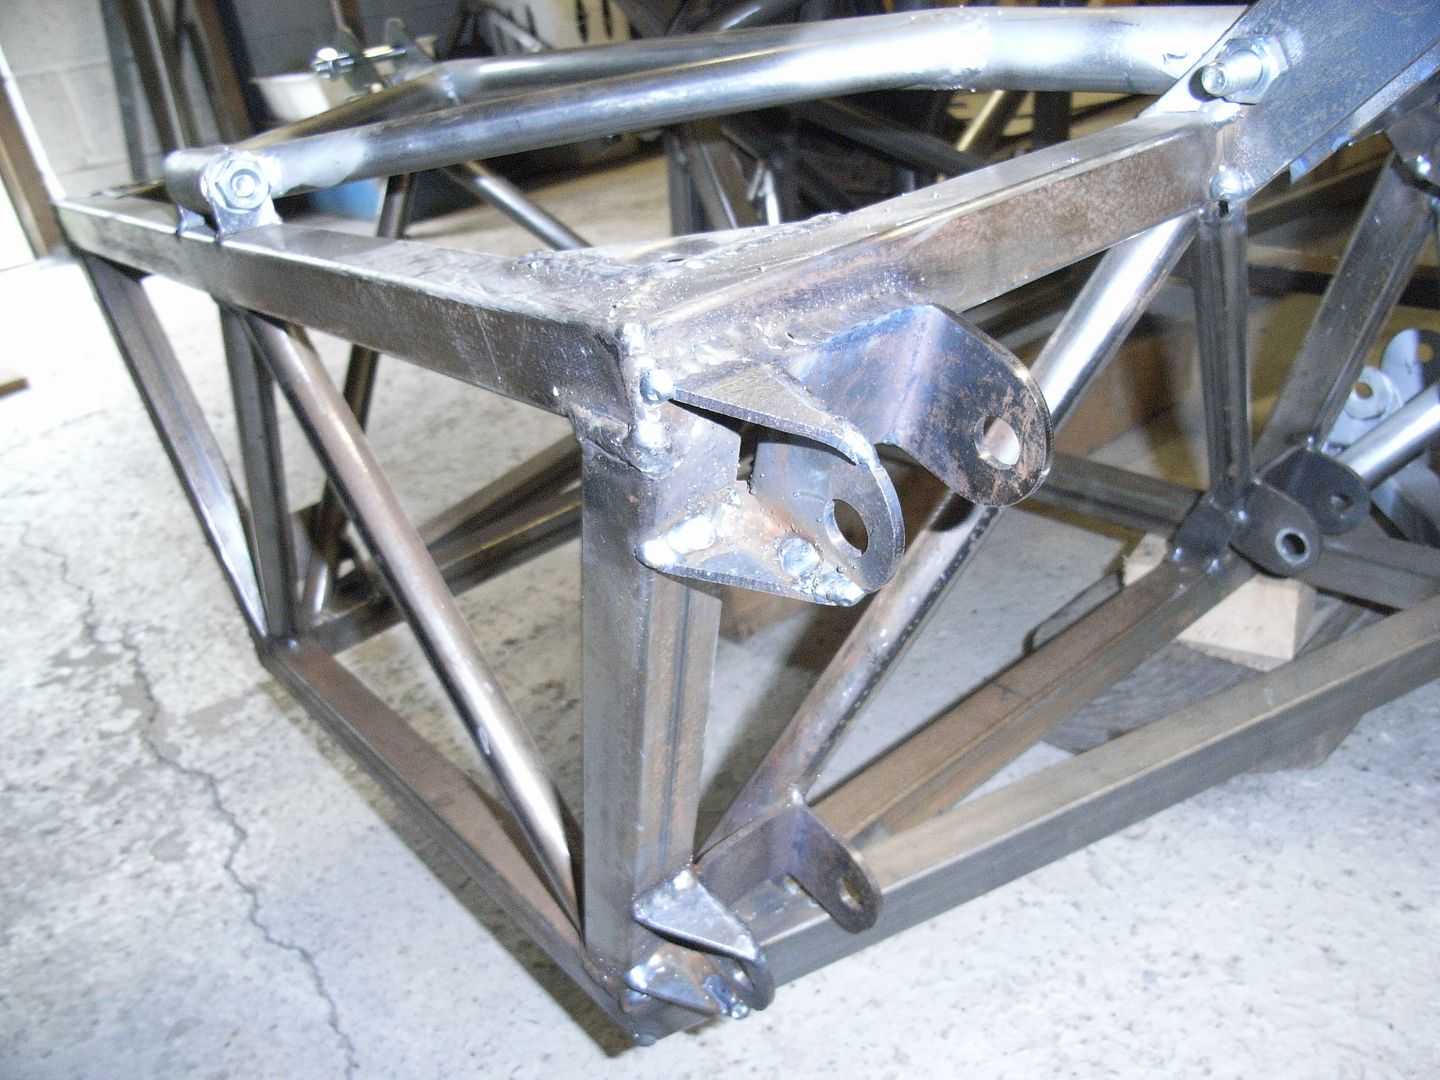 And just for good measure i put a cross brace in the base of the front module, although i forgot to photo. Then onto the back starting a similar process. Making the brackets Cardboard template 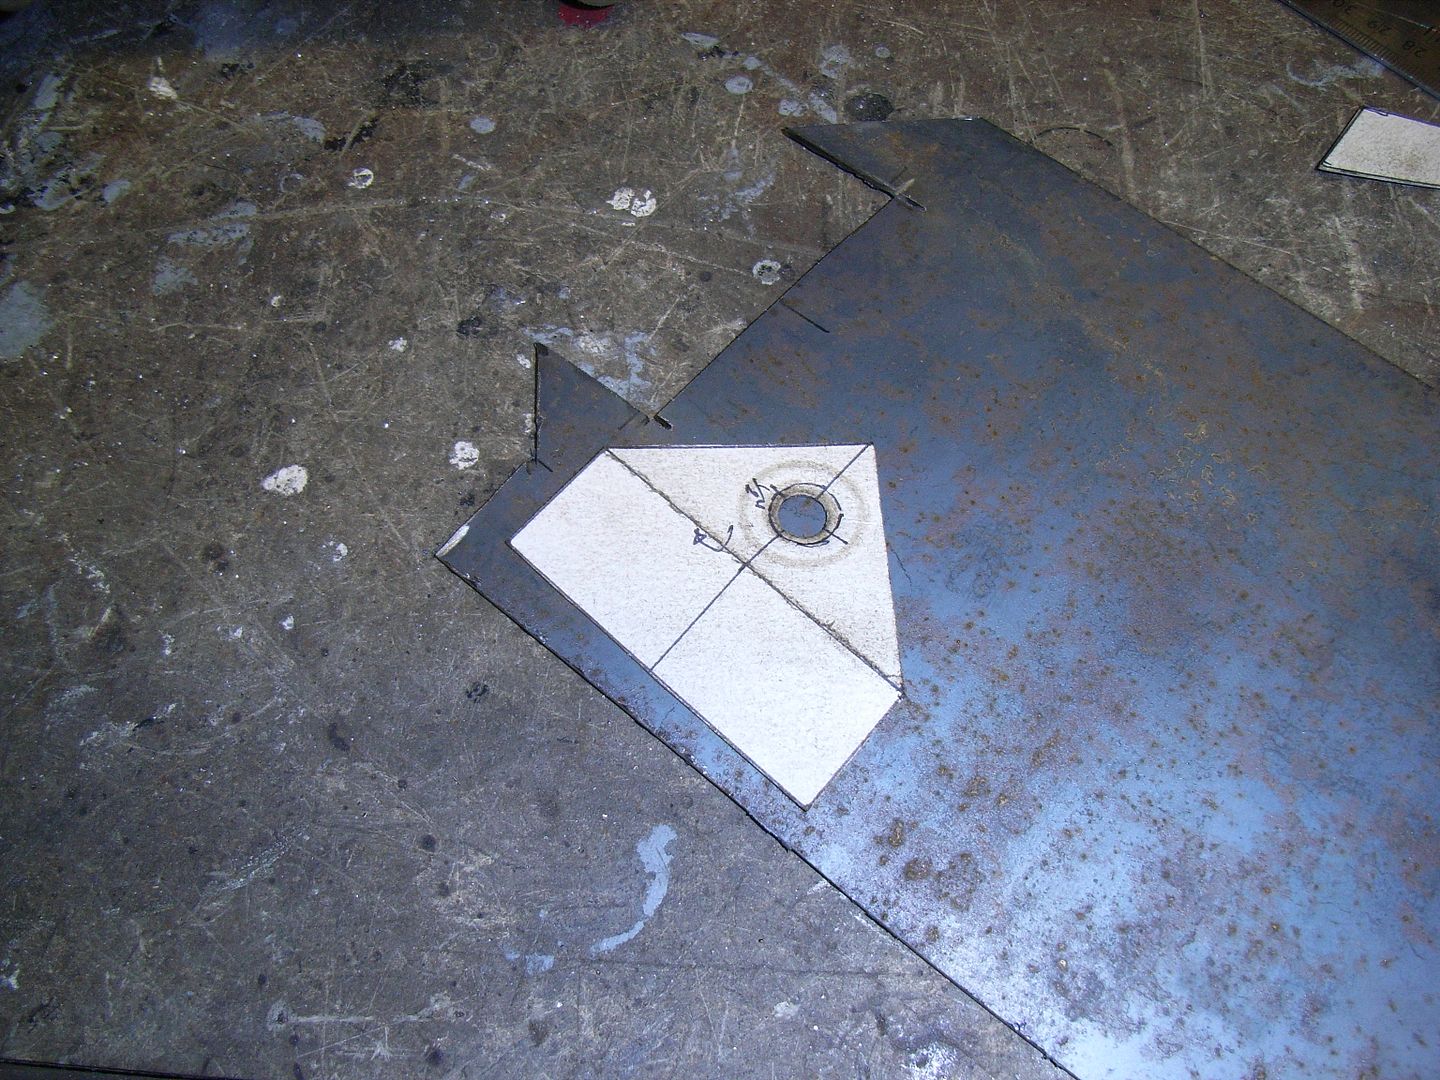 Mark out 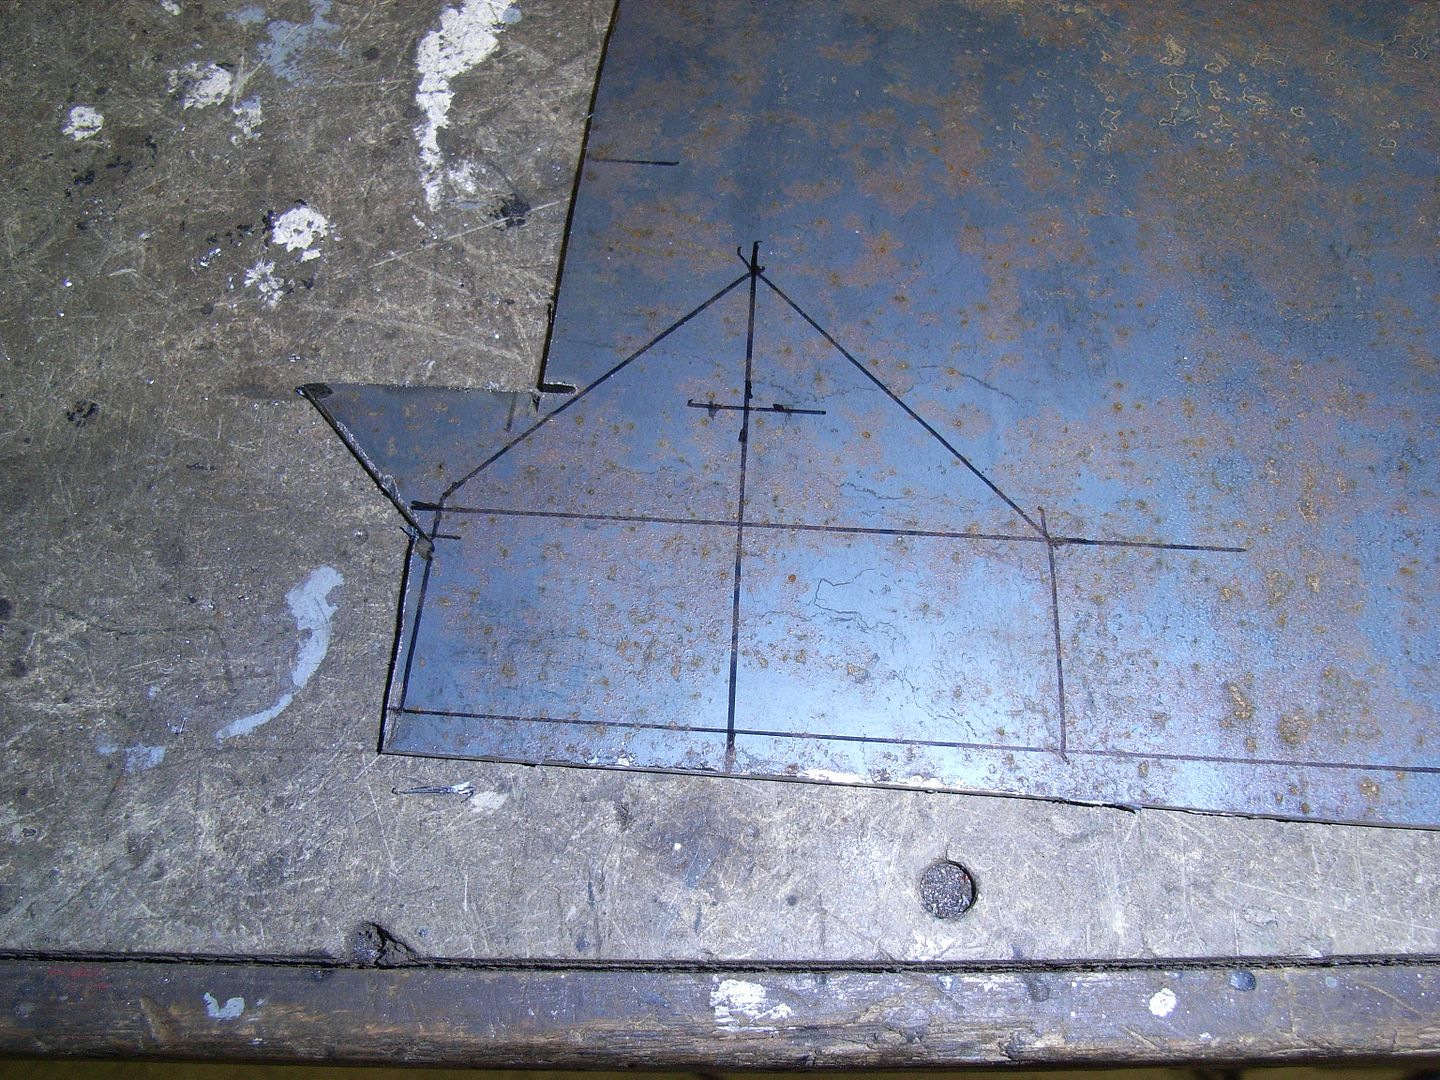 Cut and Clean 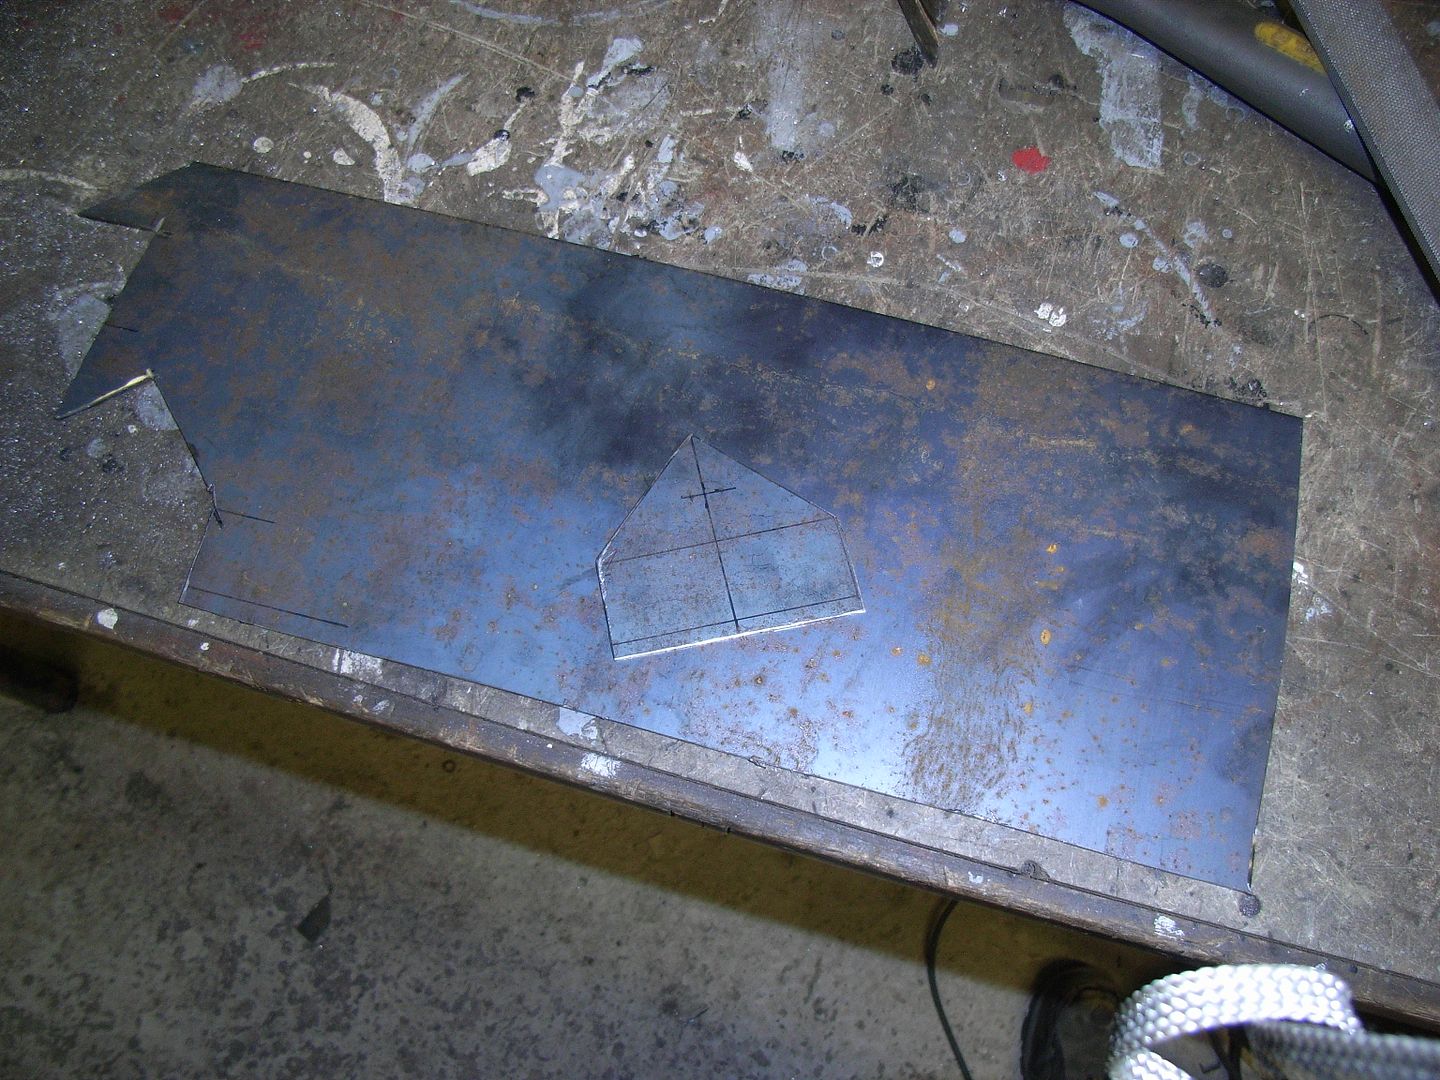 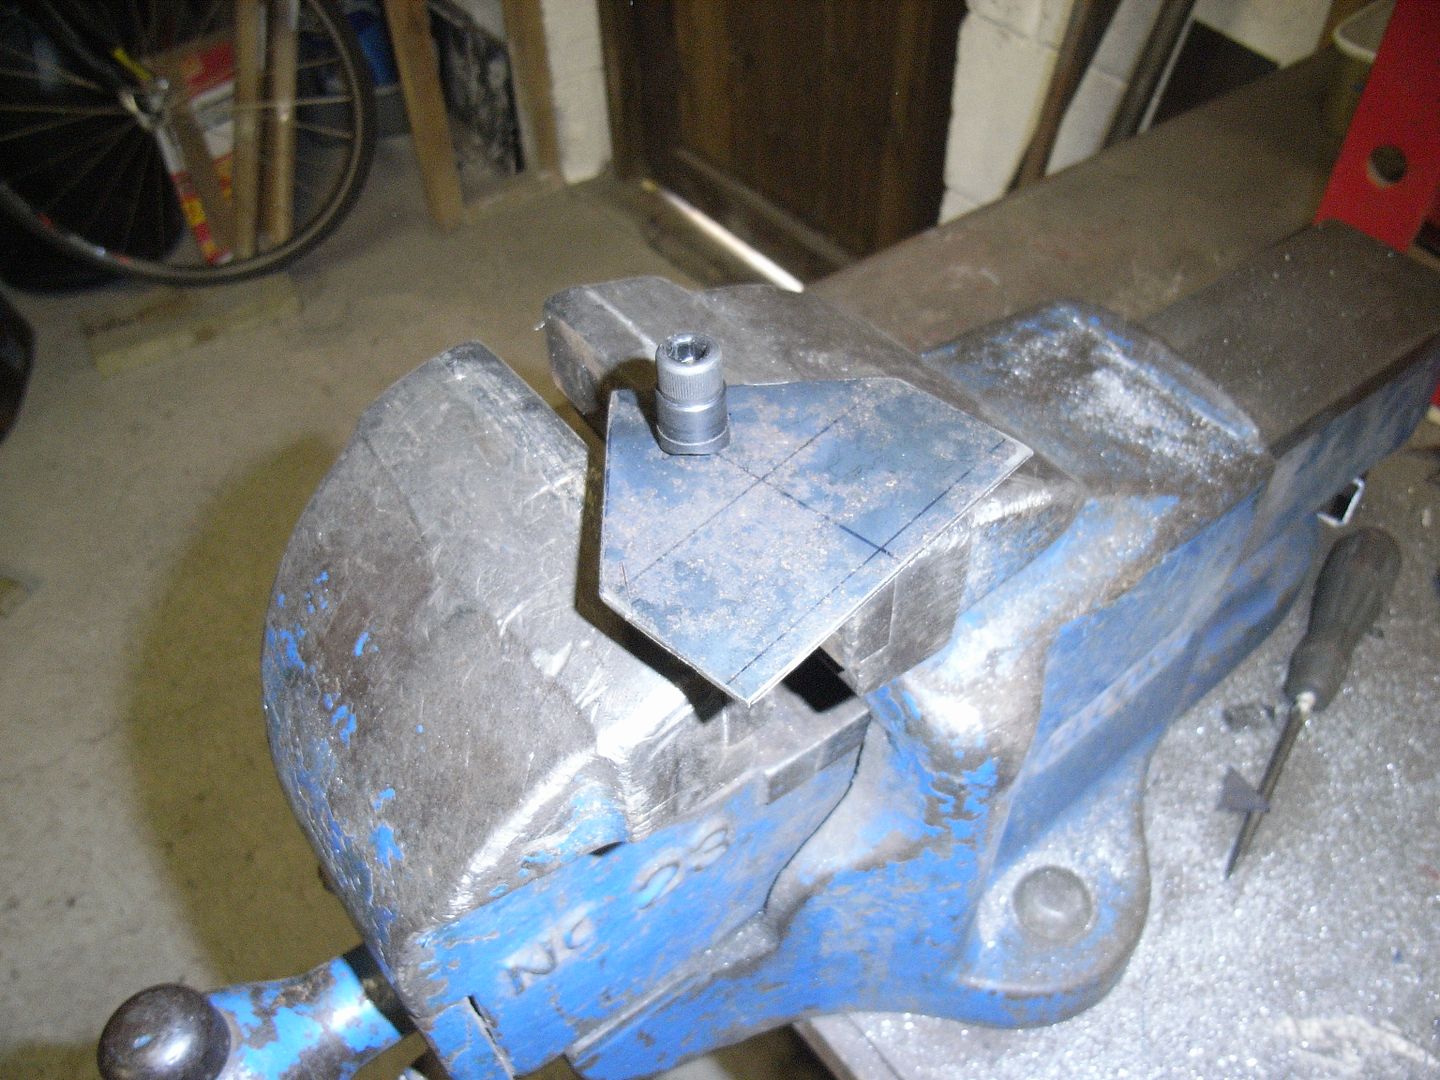 Fold 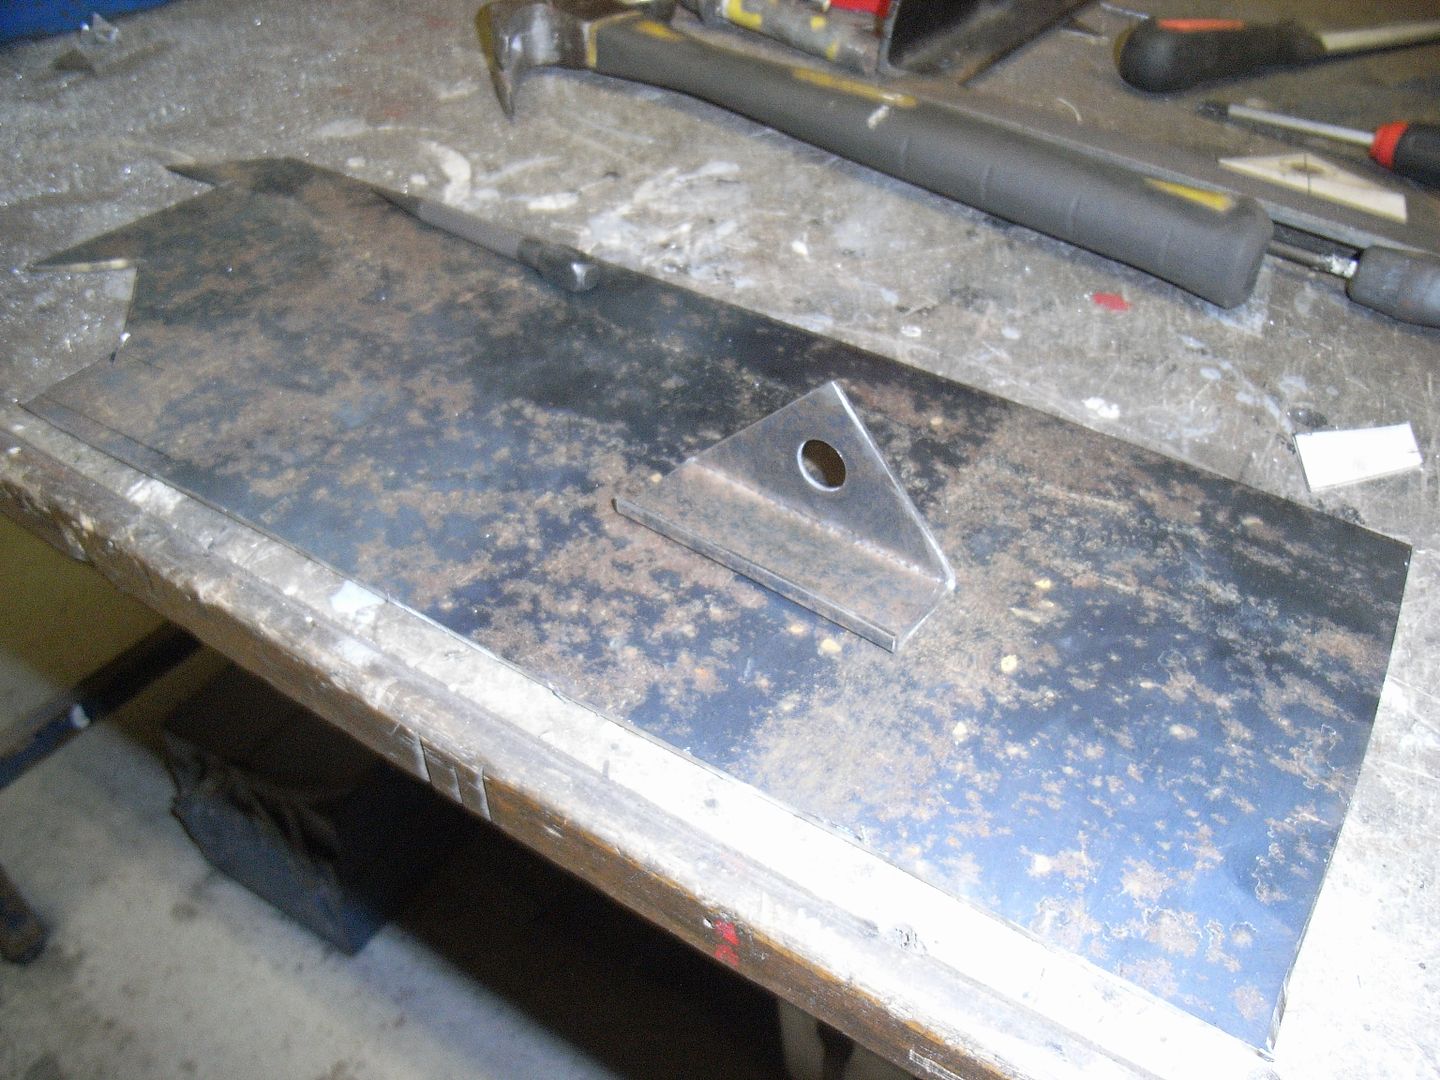 Dimple. The dies i bought are designed to be bolted through to clamp, but i had the press sitting there and it takes less effort :-) 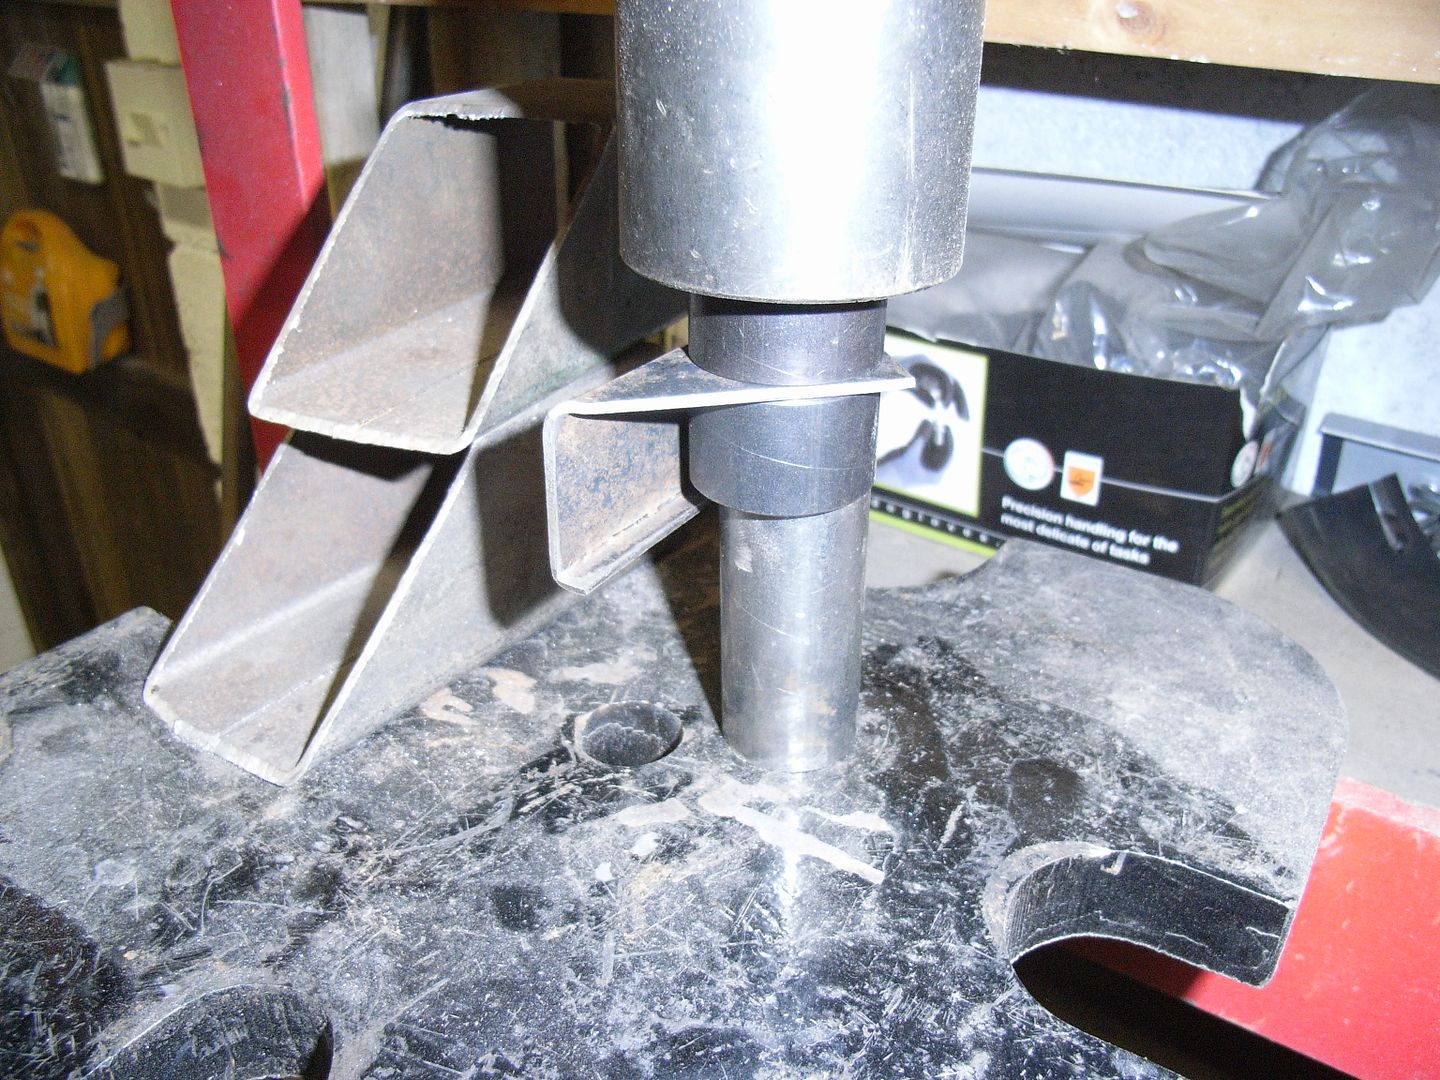 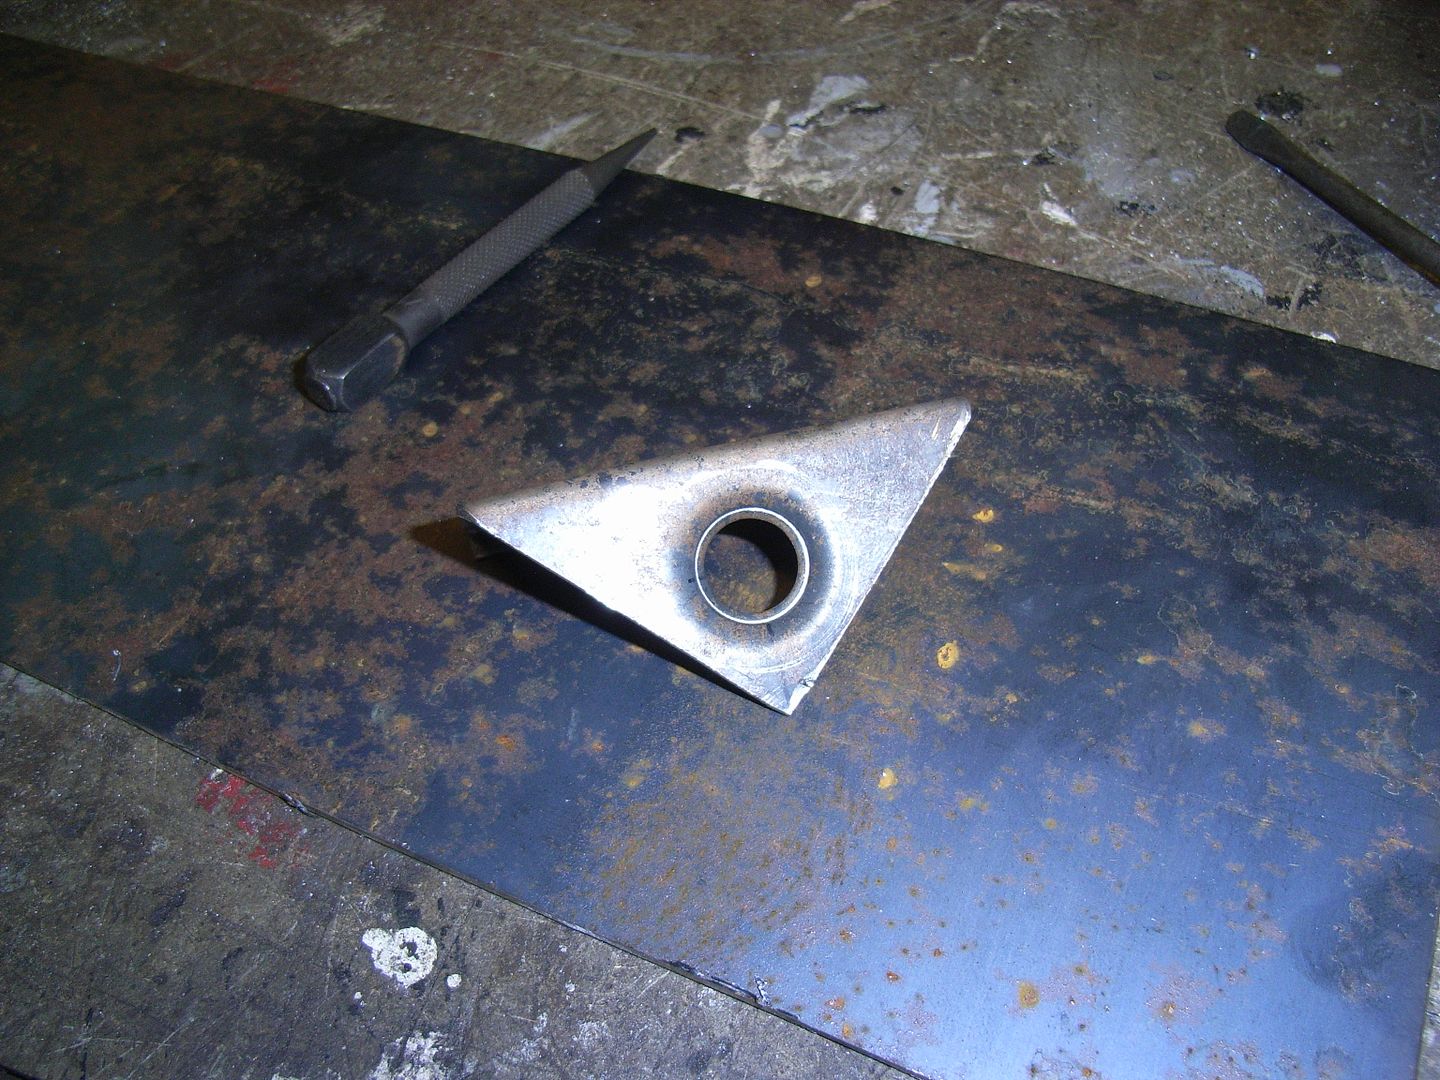 Welded in 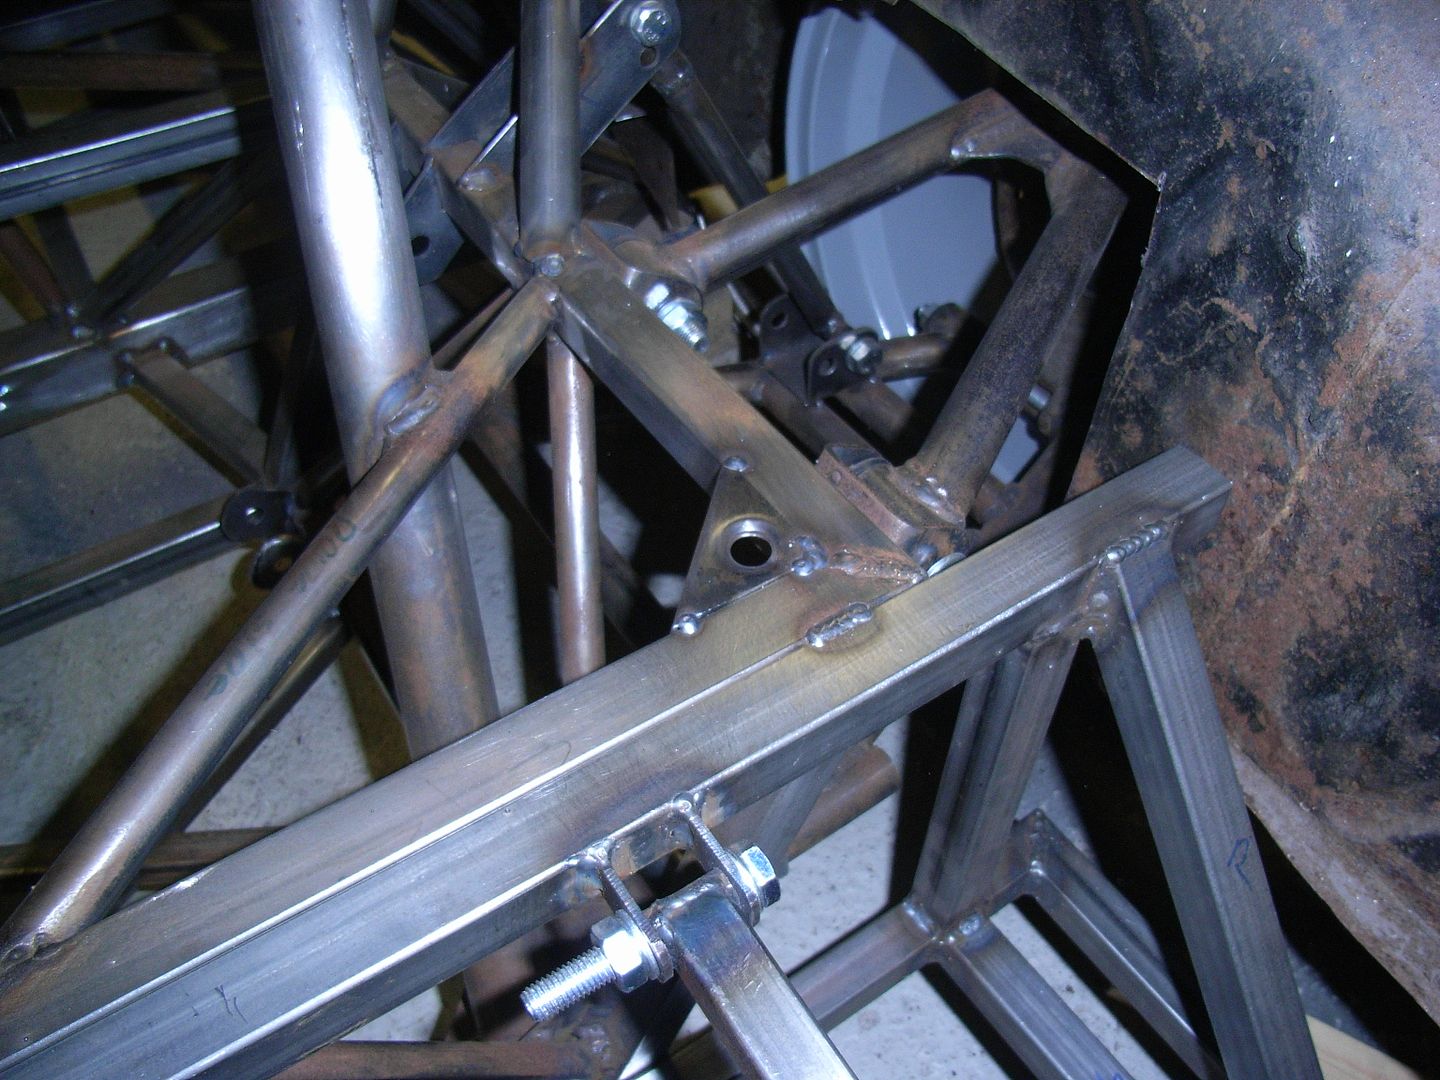 I cross braced the back, but due to the way the diff and its brackets sit I couldnt do it corner to corner. A compromise, but then again all engineering usually is.... I also started on the seat mounts. These are flat brackets at the present, but will have a 10mm wide "halo" round them for transverse stiffness. 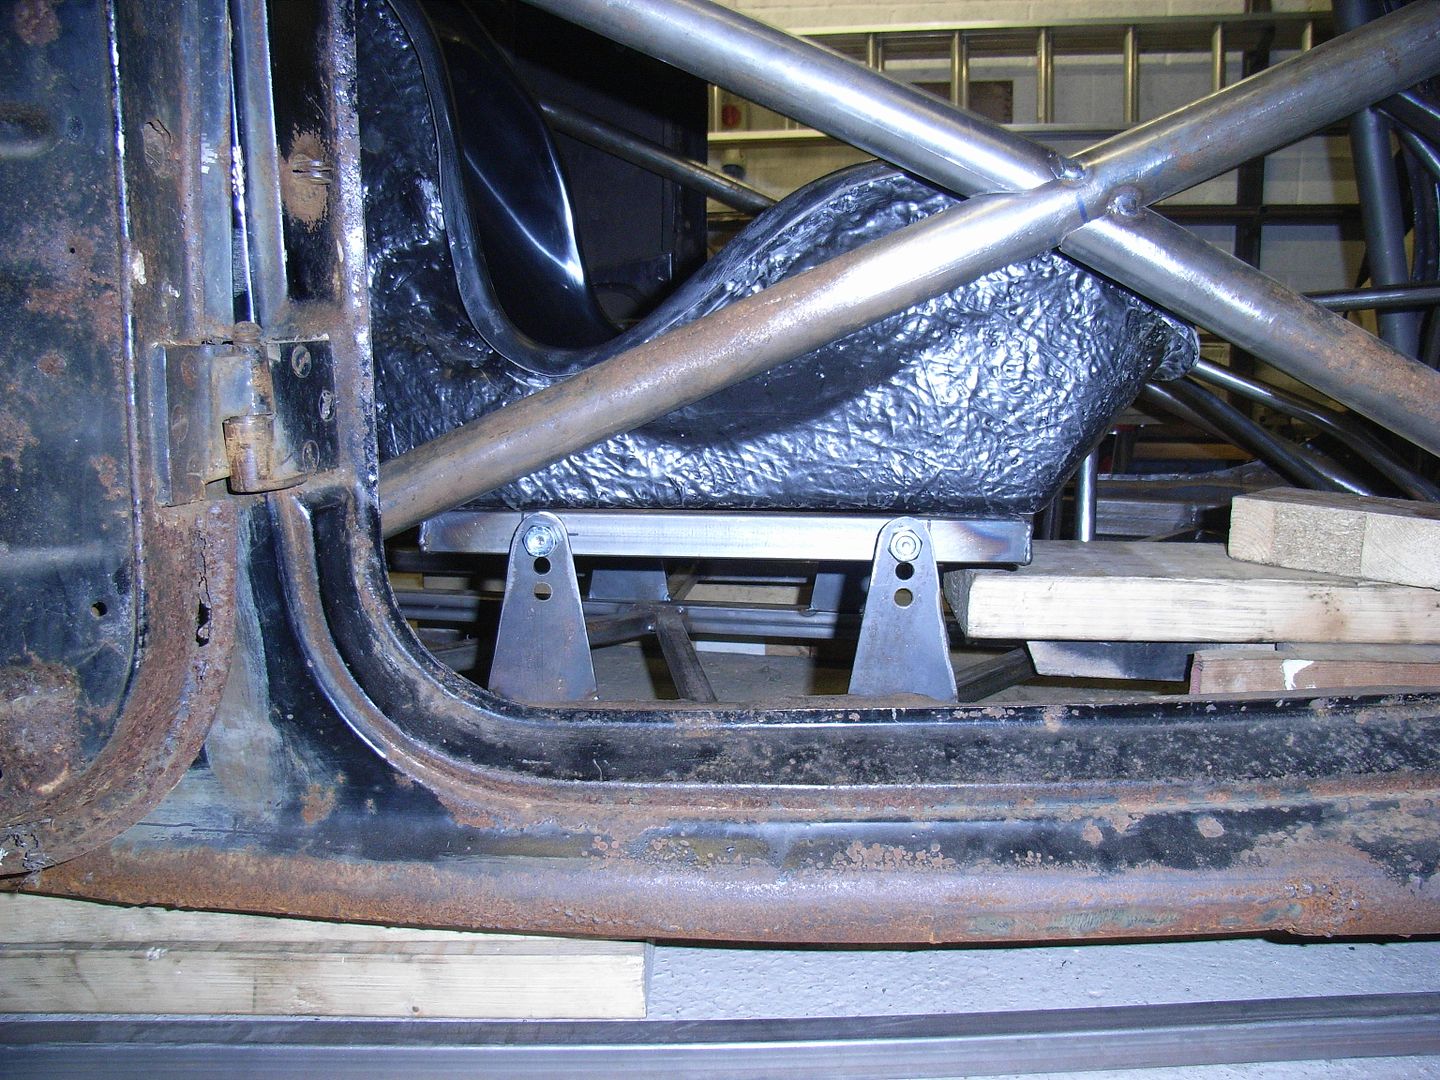 I might get some more done next weekend, but i'm sorting a replacement road car so may be playing with that instead :-) Laters |
| |
|
|
|
|
|
|
|
May 11, 2014 18:02:03 GMT
|
|
your pics aint working
|
| |
|
|
jonomisfit
Club Retro Rides Member
Posts: 1,787
Club RR Member Number: 49
|
|
May 11, 2014 19:05:04 GMT
|
|
Bandwidth exceeded.
Should be sorted now.
|
| |
|
|
|
|
|
May 11, 2014 19:12:57 GMT
|
|
Looking good, I really want a press, what do you use?
|
| |
|
|
jonomisfit
Club Retro Rides Member
Posts: 1,787
Club RR Member Number: 49
|
|
May 11, 2014 19:57:08 GMT
|
|
It a clarke 10 tonne one I think.
Quite handy, but it ends up right on its limit for pressing out bearings from hubs. If i was goind for one now, i'd get a bigger one.
|
| |
|
|
jonomisfit
Club Retro Rides Member
Posts: 1,787
Club RR Member Number: 49
|
|
May 18, 2014 18:57:37 GMT
|
My new (to me) car arrived on friday, so wasted a lot of weekend playing with that. Got some time on the Morris today though. More gussets, this time on the rear suspension. 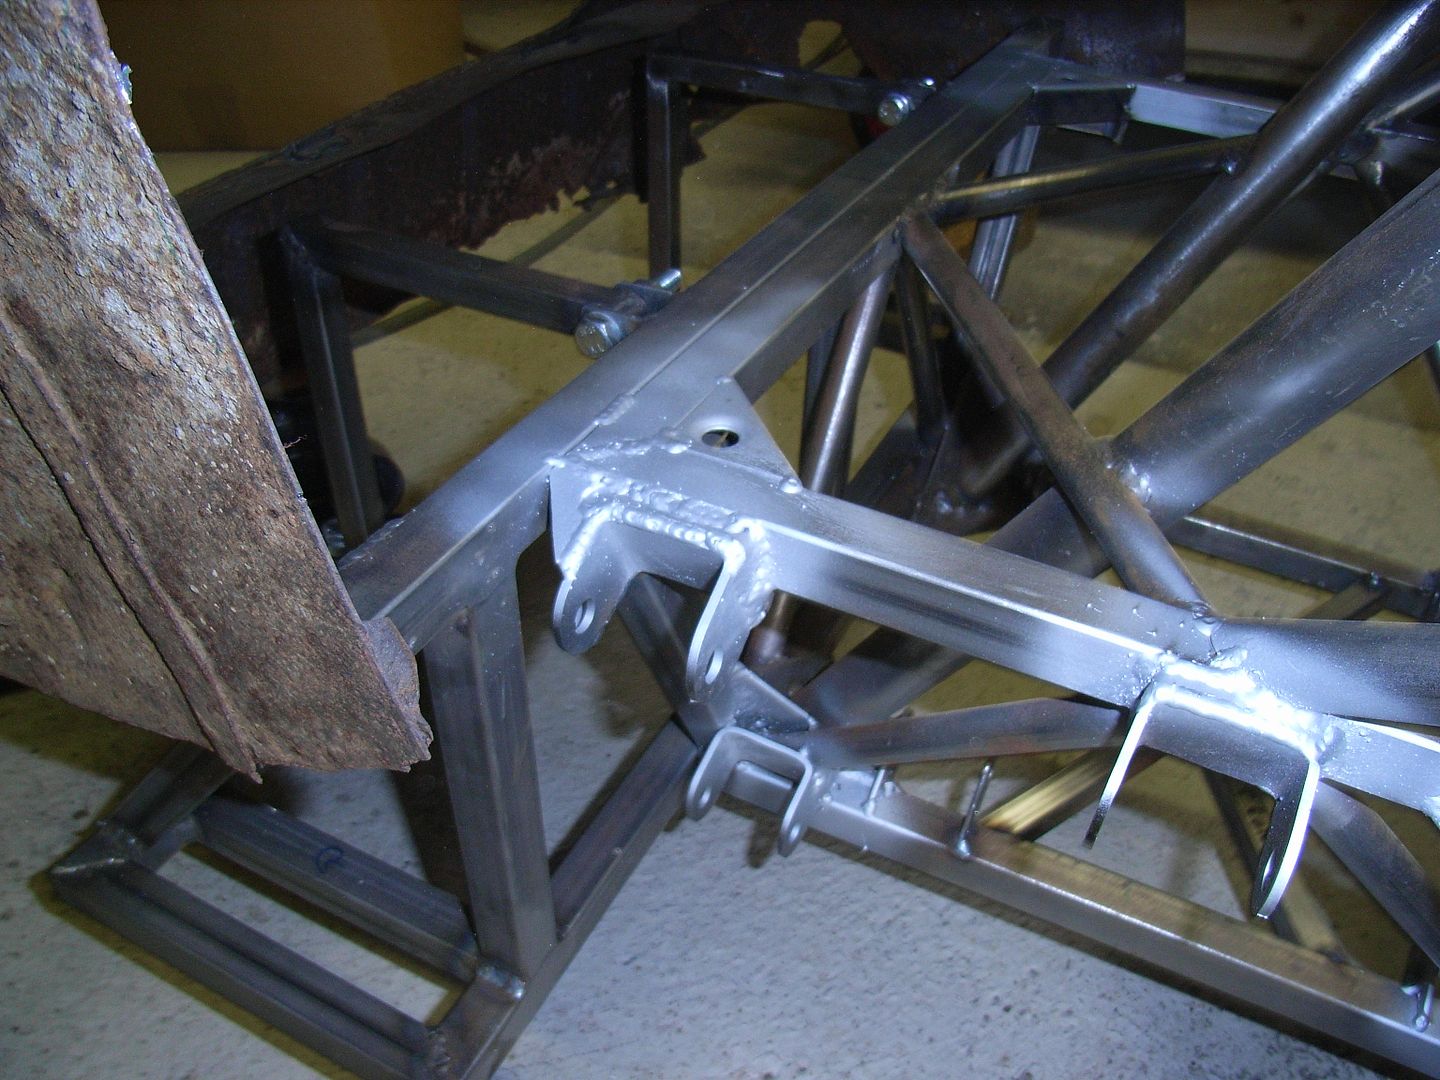 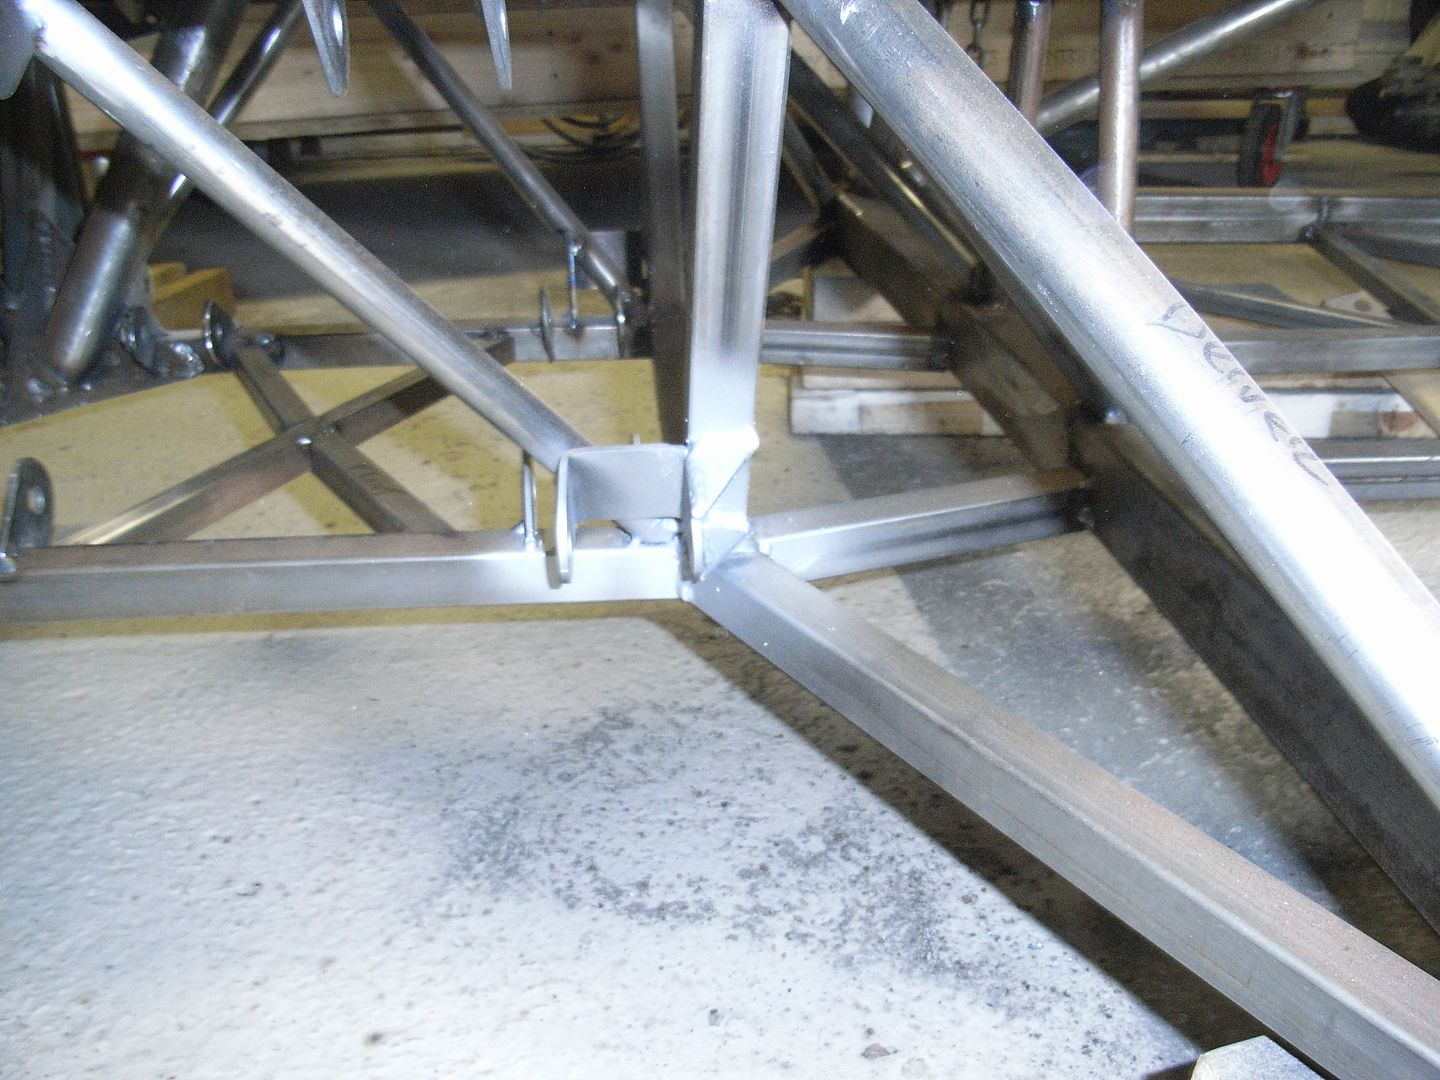 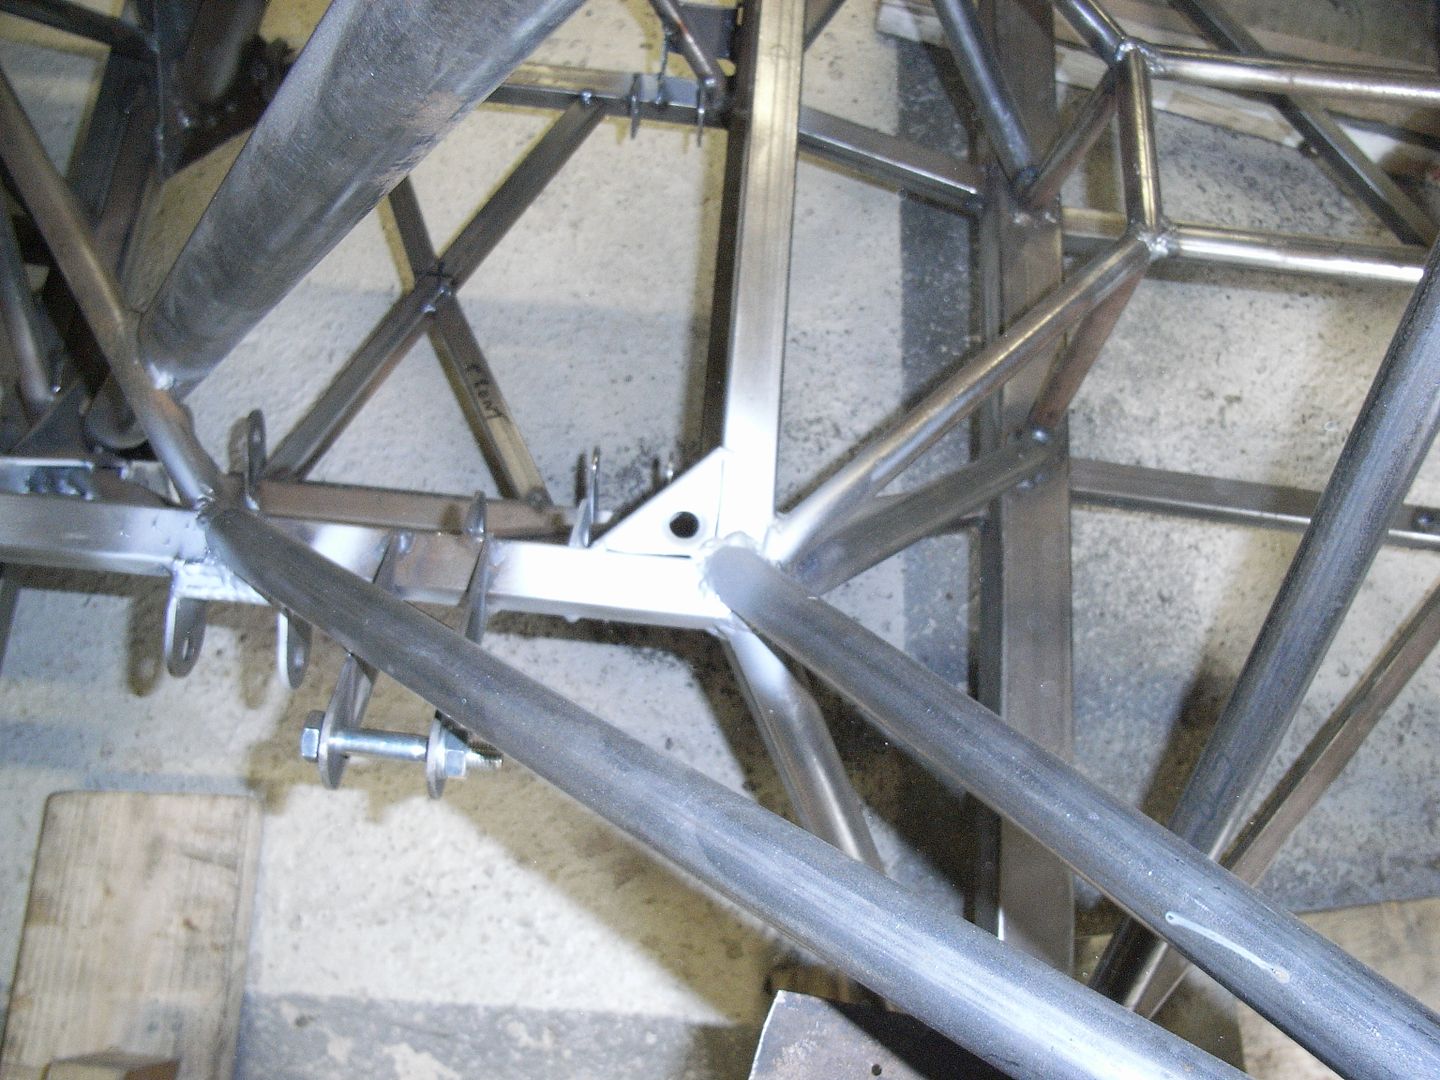 Not very interesting as pretty much the same as the front. I also cut out the remains of the inner sills and lading plates. Much effort swearing, 2 cutting disc blades, ad 3 power hacksaw blades saw it off. I't have been much easier if id' done this prior to tacking in the door bars. (pic is extra cr*p i'm afraid) 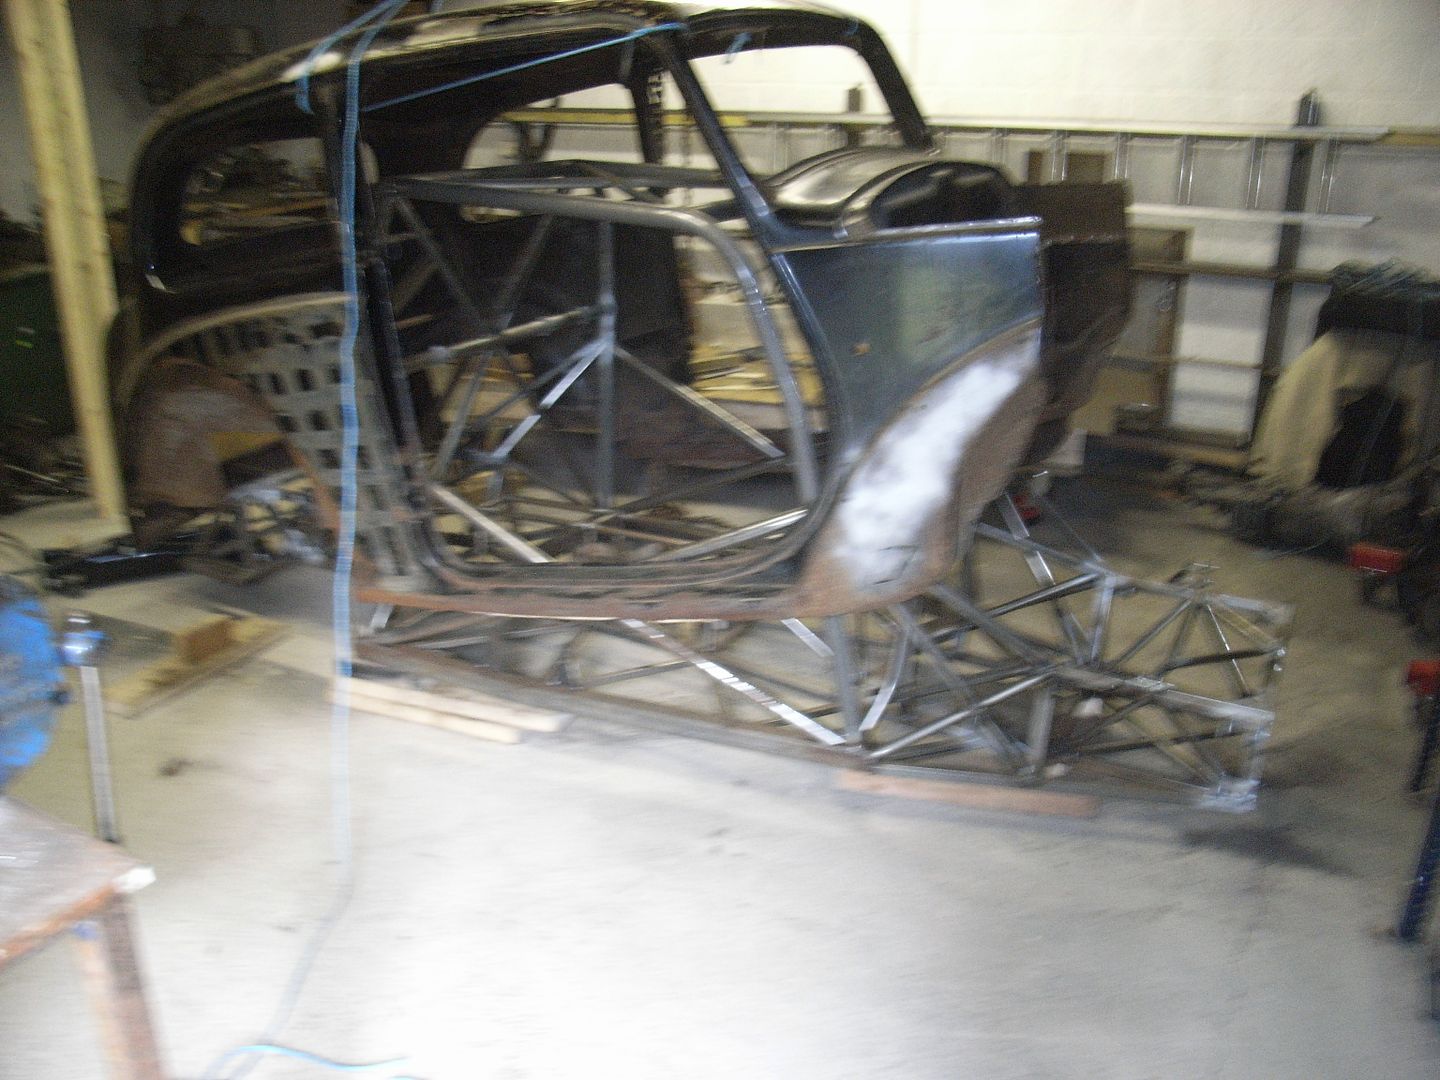 The whole point to lifting the body off it get access to the impossible to reach points of the cage. Still will be able to weld them next weekend. It's also to let me in to weld in a small filler panel between the chassis and the body. 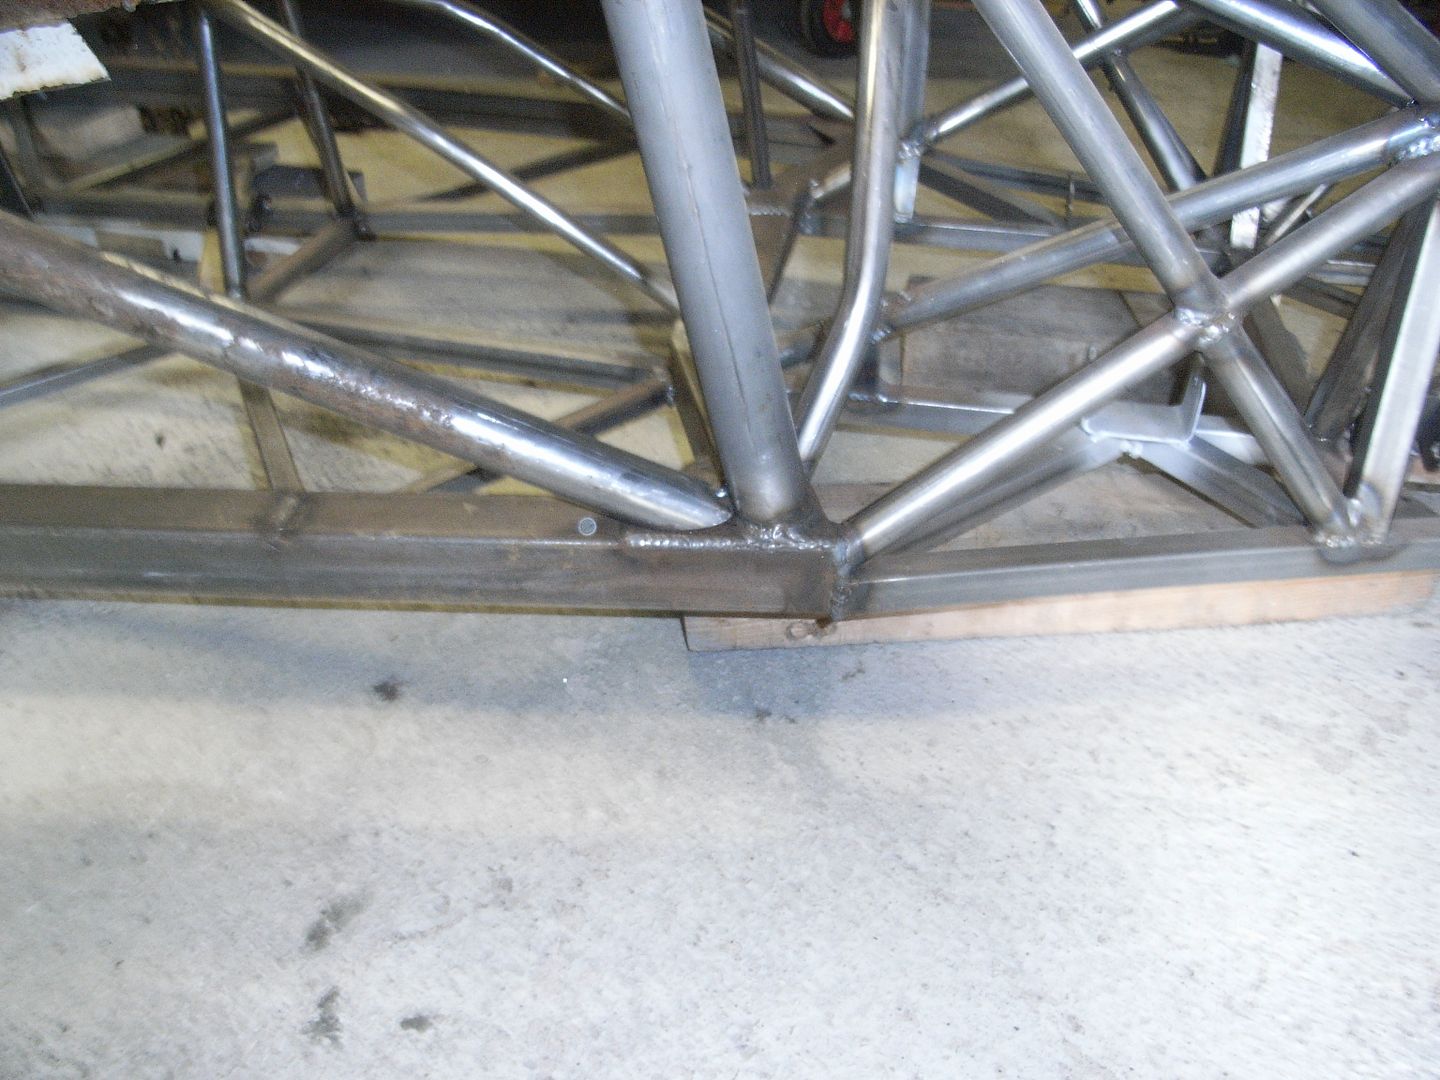 Inside of the sills are not pretty and will be cut out and repaired/re-profiled quite heavily. 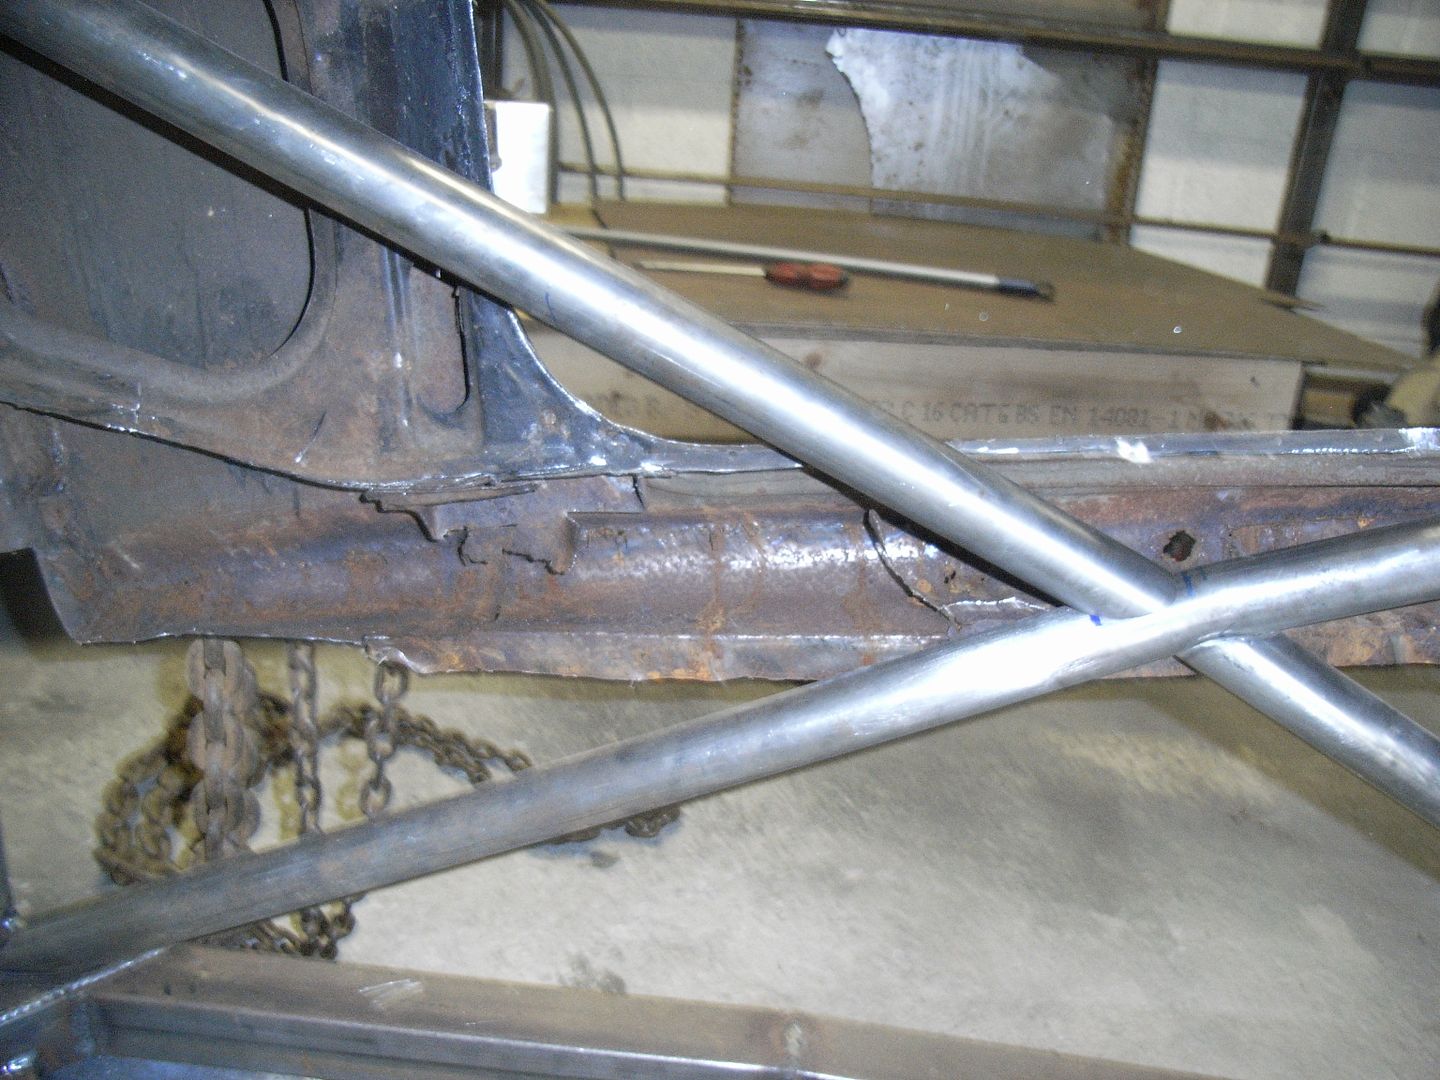 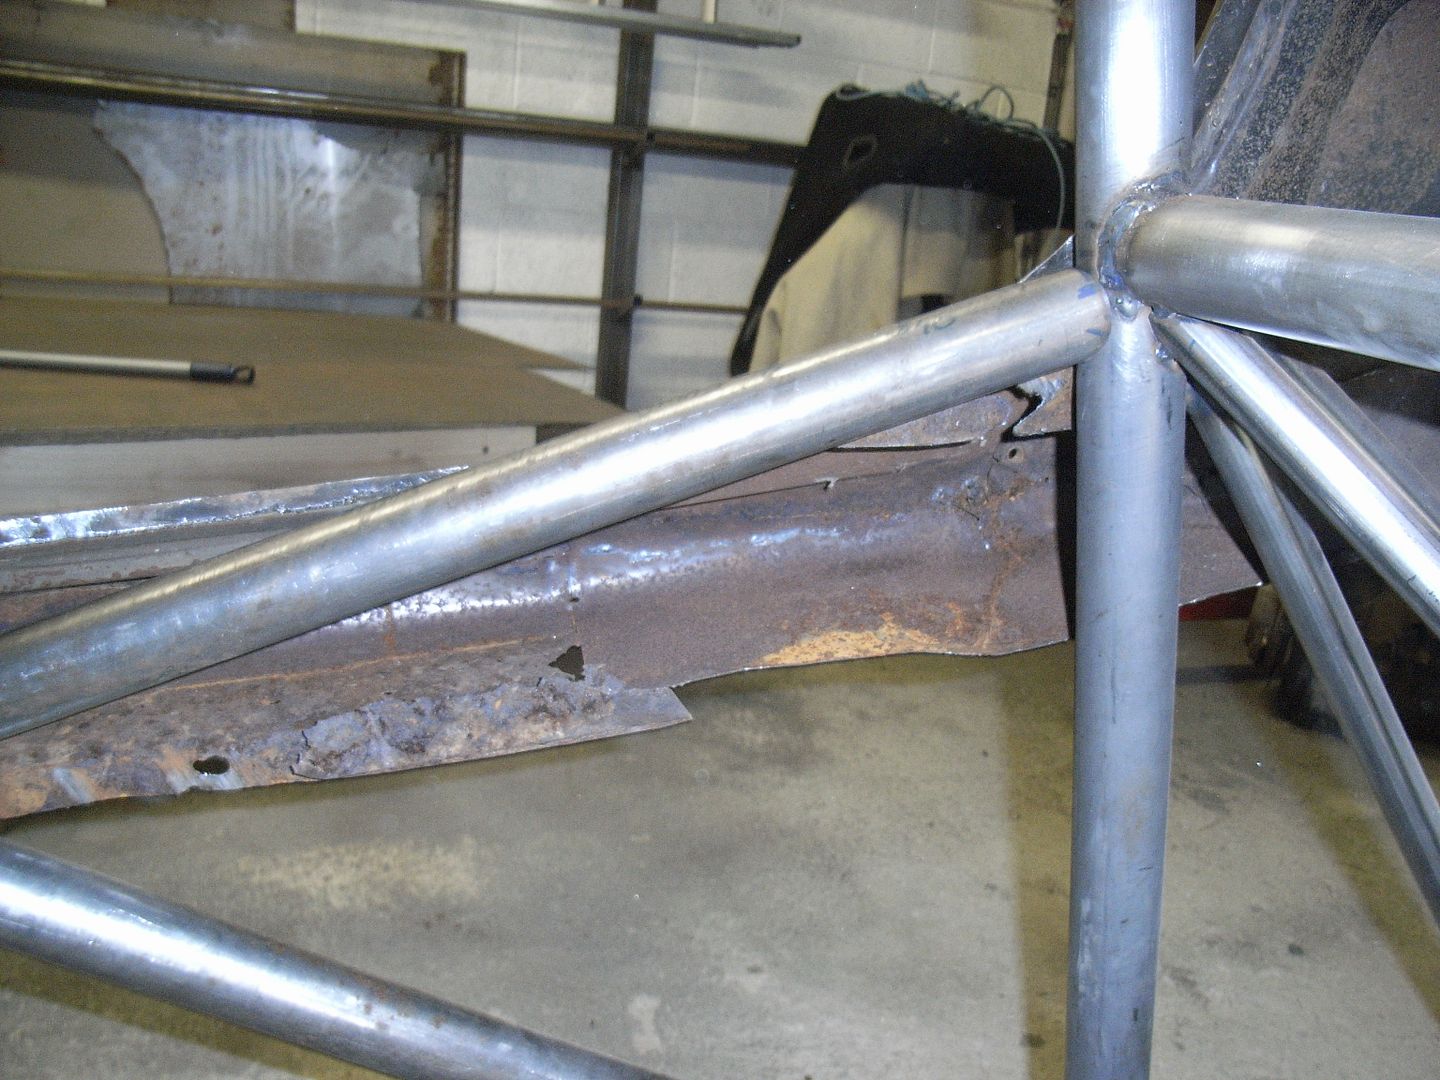 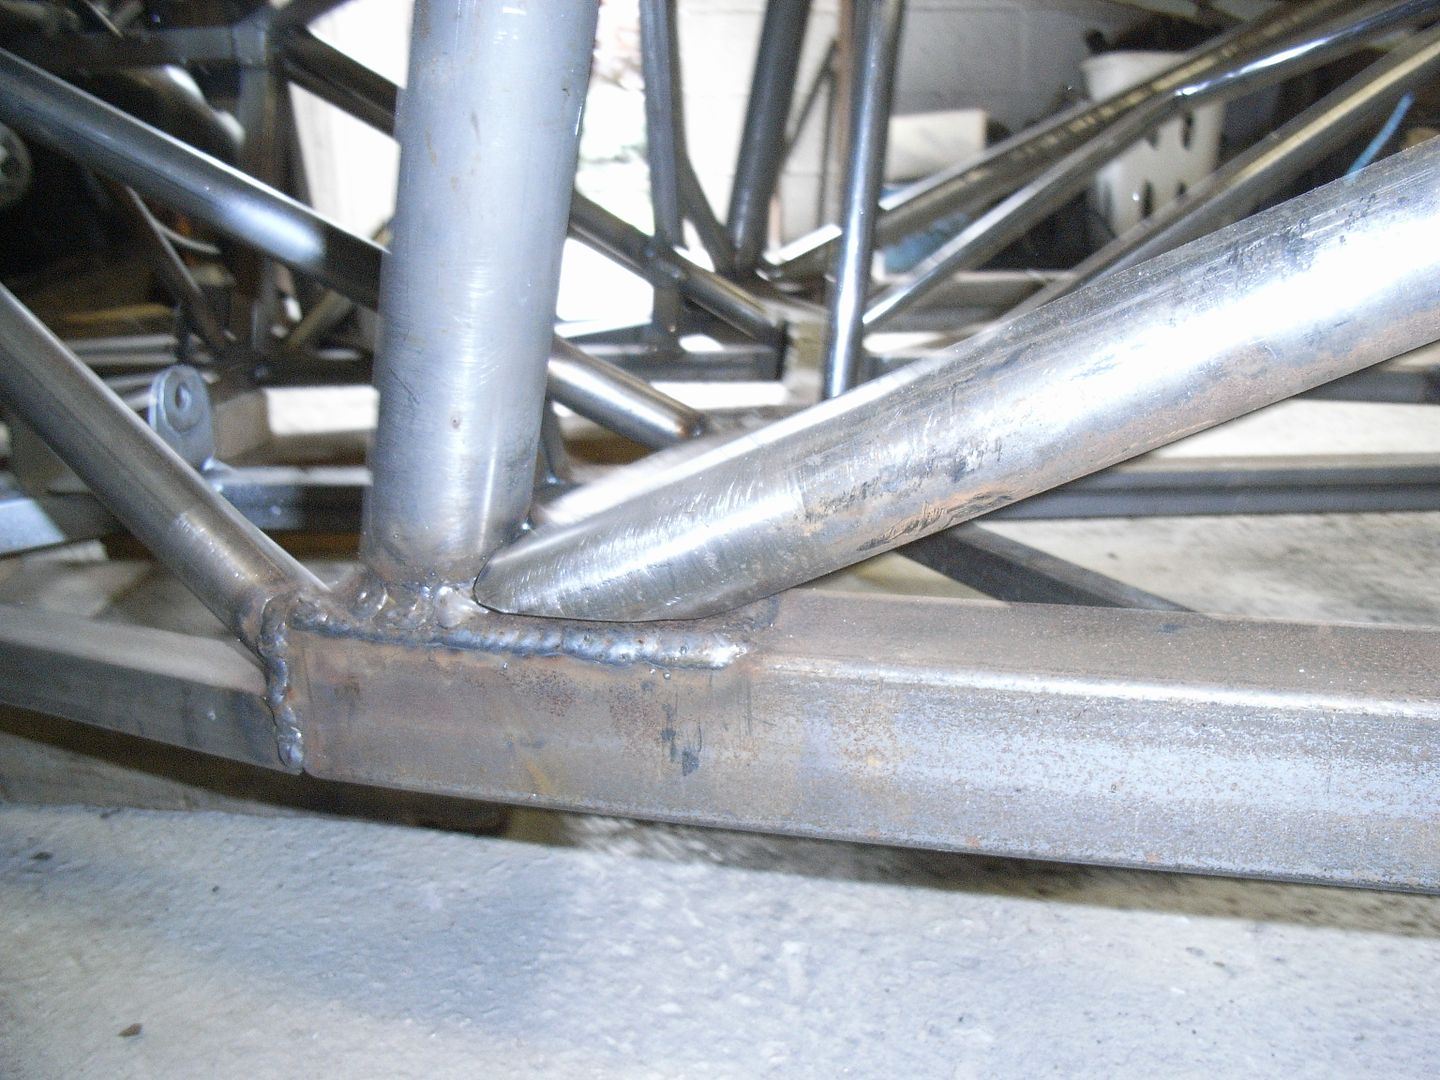 The "repair" panels appear to be old washing machine or similar and no real attempt has been made to profile them... 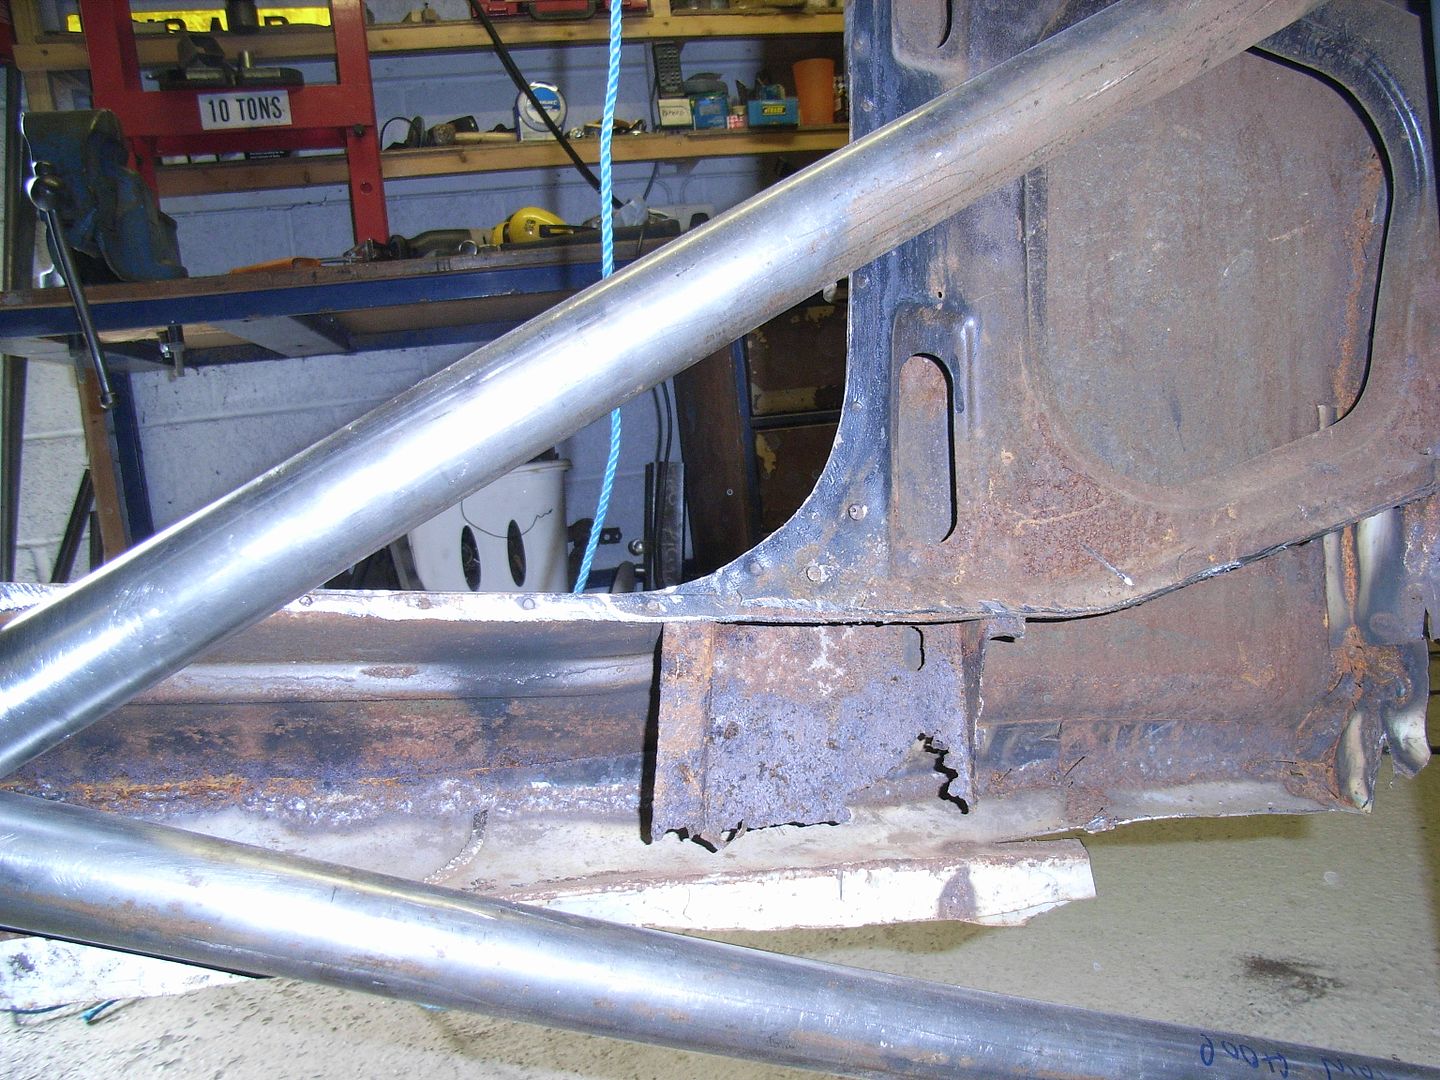 Hopefully get some done next weekend. I should also have my new accidental Ebay purchase / workshop toy arriving. |
| |
Last Edit: May 18, 2014 18:58:50 GMT by jonomisfit
|
|
|
|
|
May 24, 2014 18:52:33 GMT
|
|
Just read through the whole thread, keep up the good work! This will be awesome when done.
|
| |
|
|
jonomisfit
Club Retro Rides Member
Posts: 1,787
Club RR Member Number: 49
|
|
May 25, 2014 20:36:45 GMT
|
Busy weekend again. It was my bands last gig for the foreseeable future on the Friday at ice N Sleazy festival. Was good but meat i was tired as a tired thing Saturday so not hugely productive. I did weld up the hidden edges of the cage though. 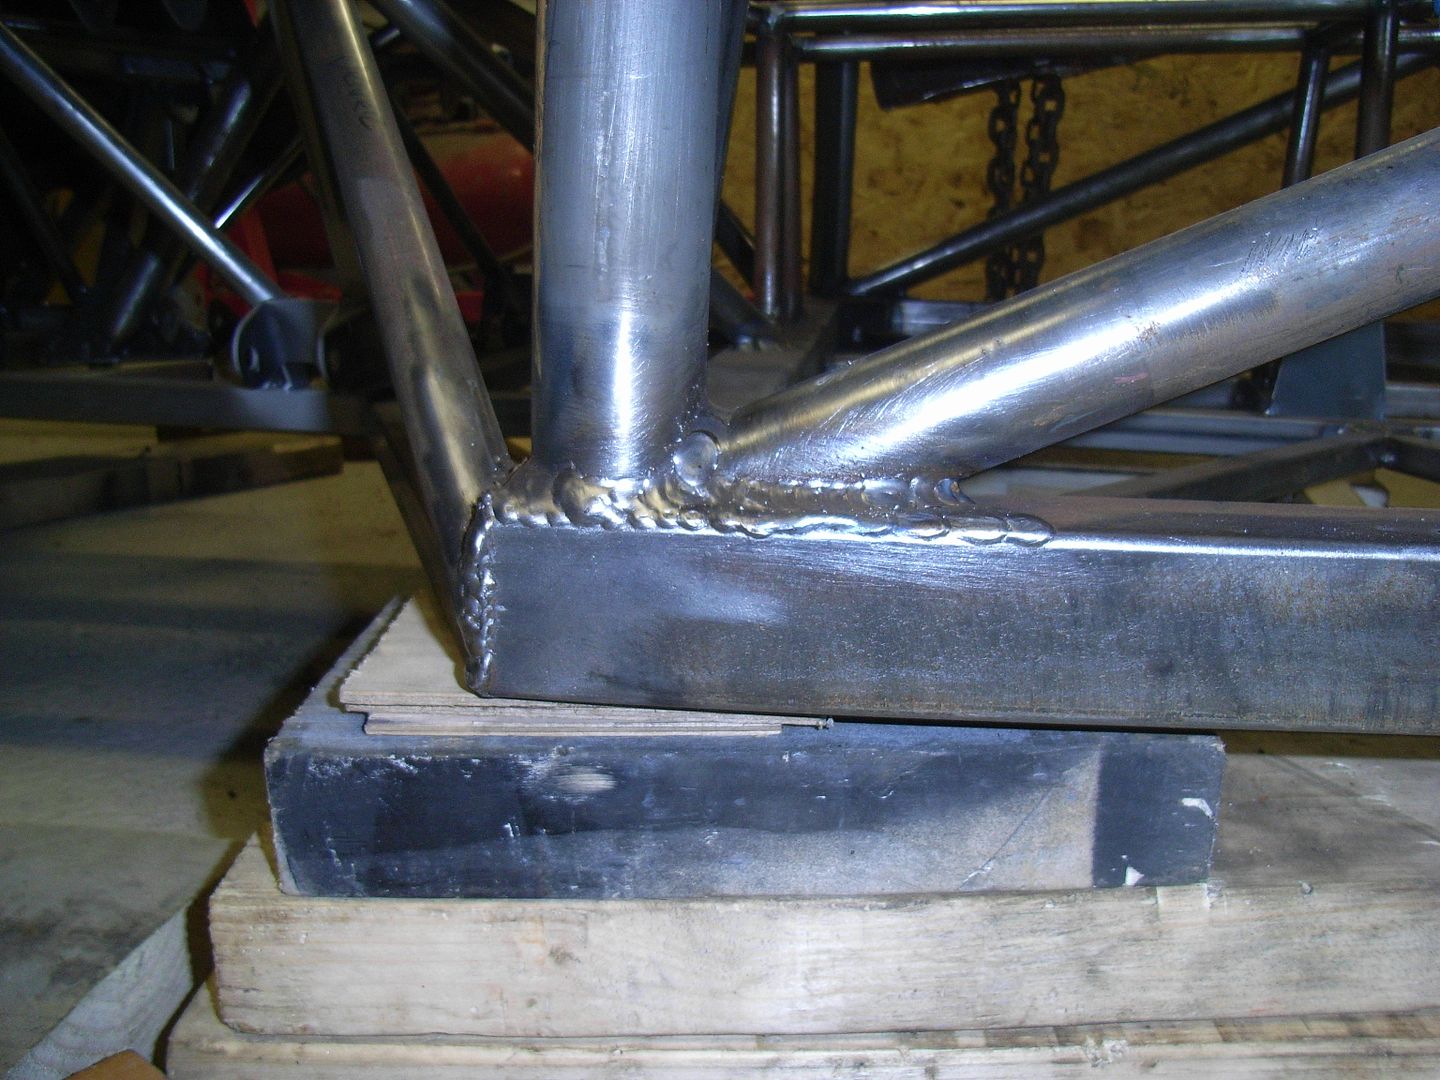 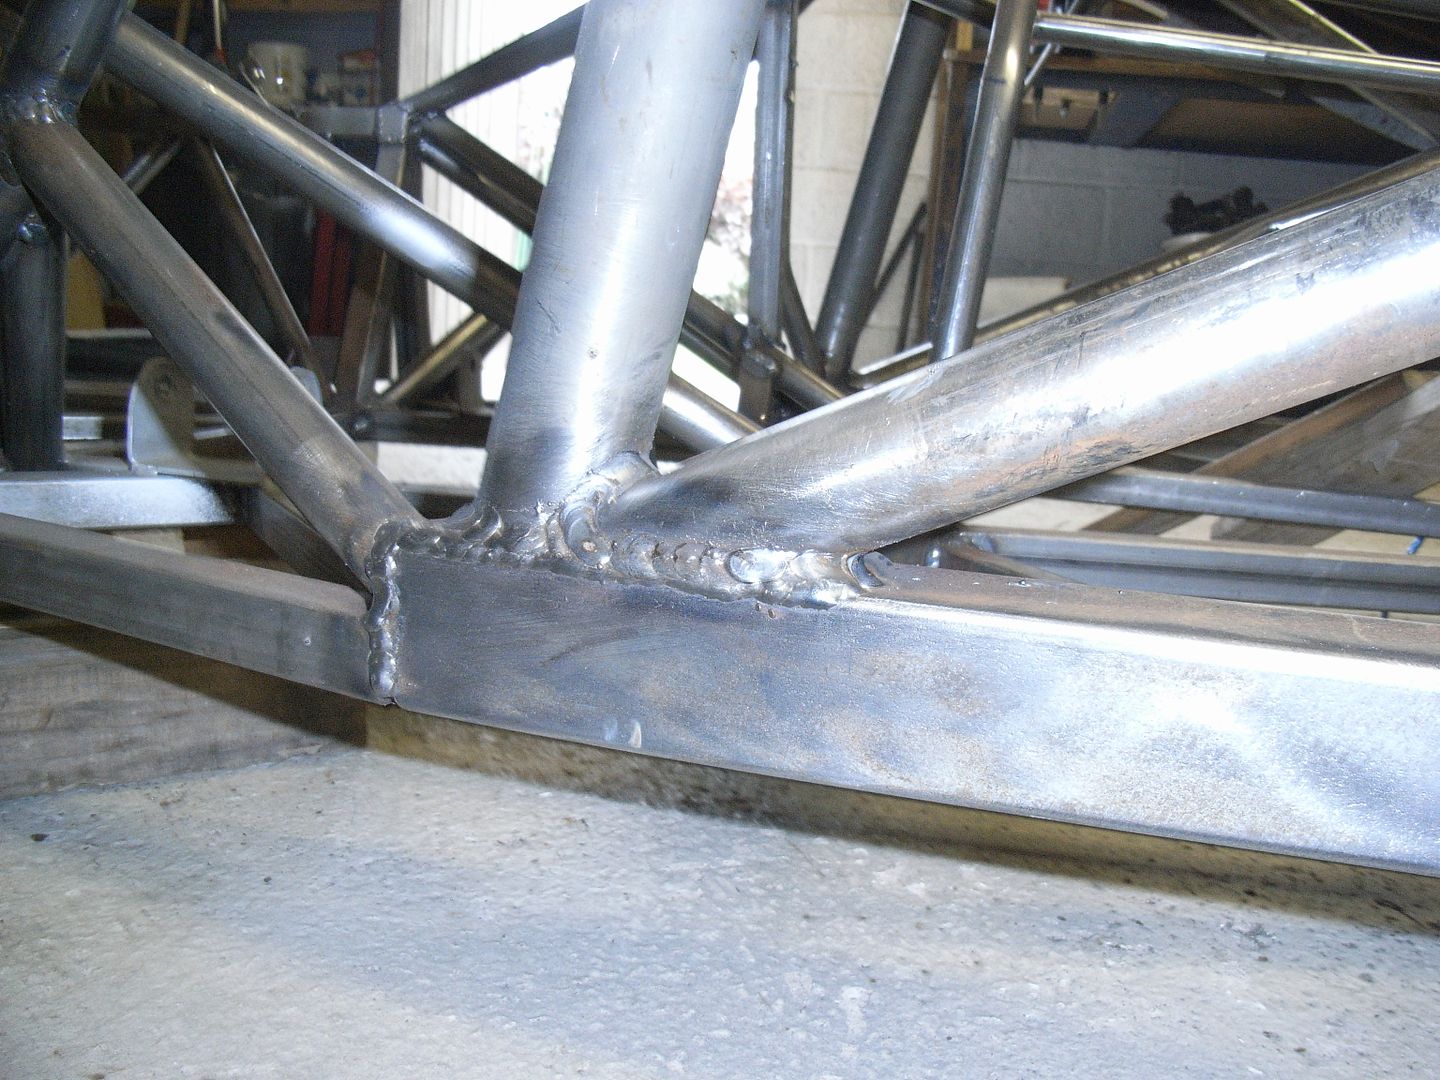 And this turned up on ebay not too far from me for a good price. 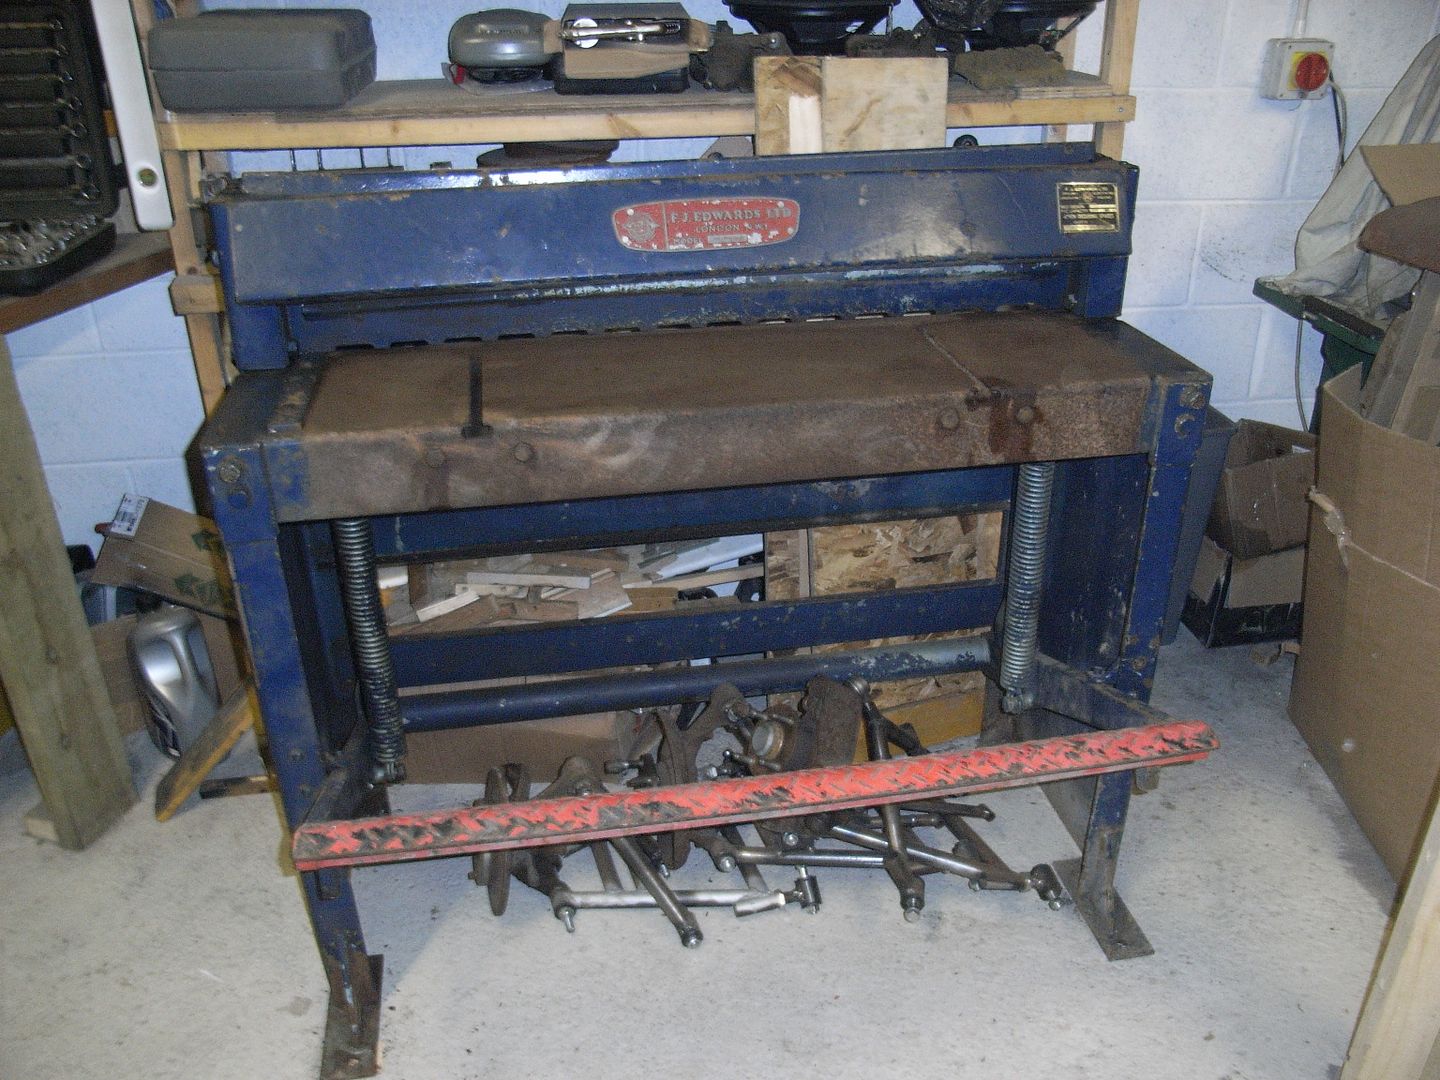 Its rated to 3/16" (4.76mm) steel, however putting my full weight on it (13 stone) needs some bouncing to cut 1.5mm sheet so not sure how it would do on 4.75! Still works nicely, fantastic straight cuts and can cut surprisingly fine amounts off. Makes making bracket very quick. 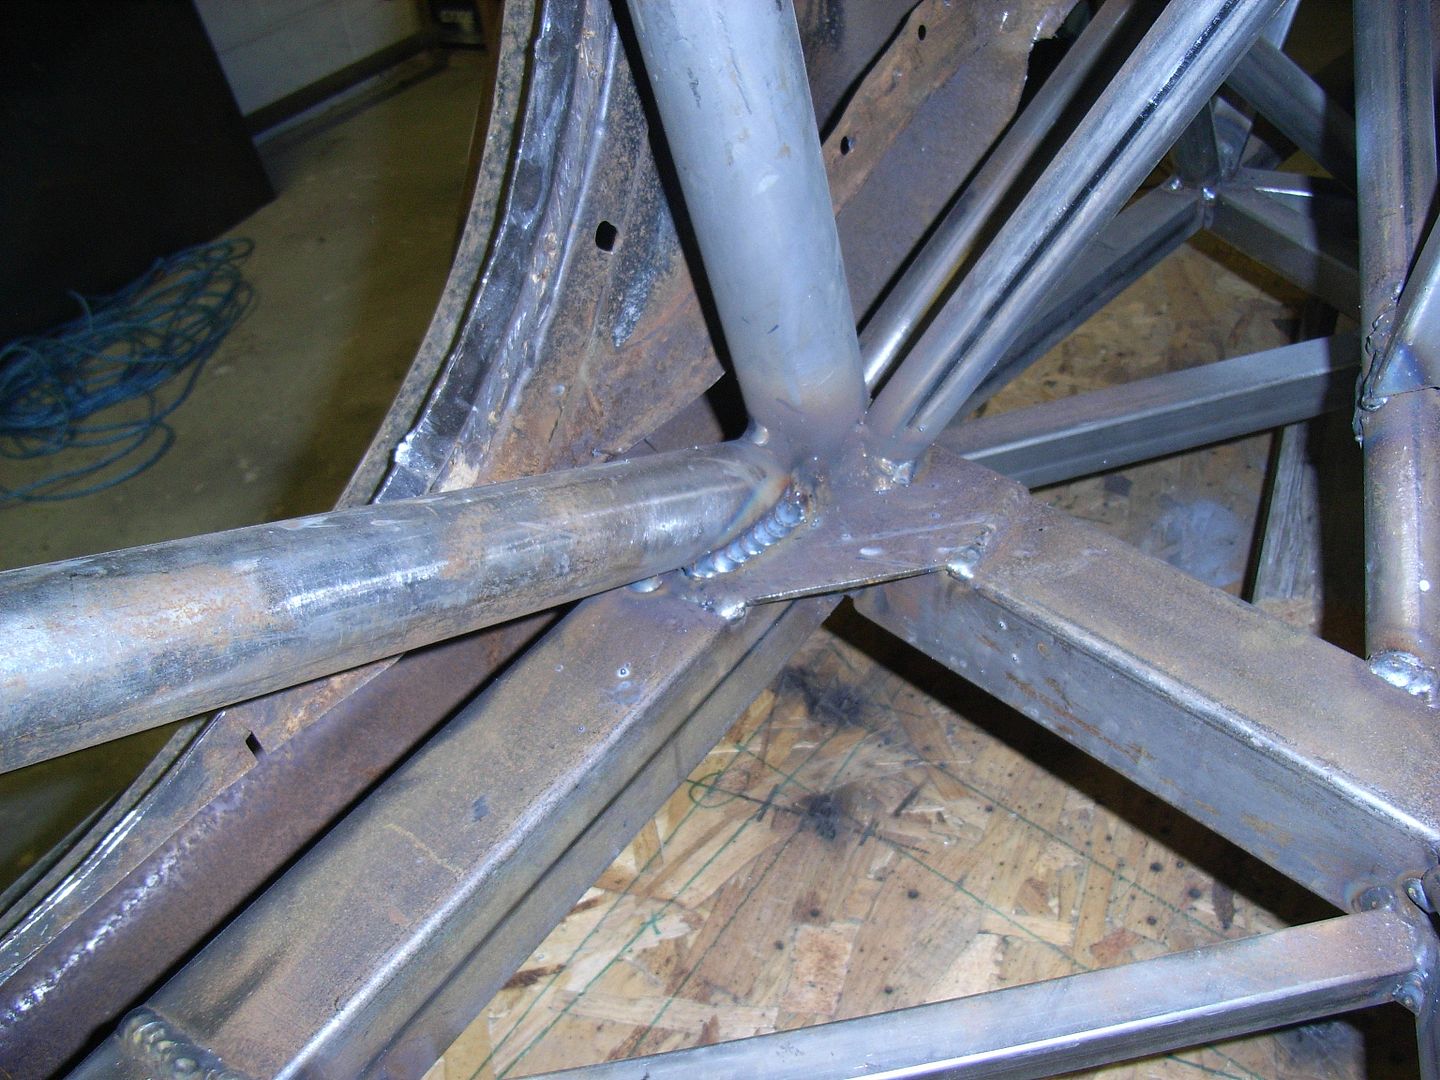 And just generally today has been weld weld weld. 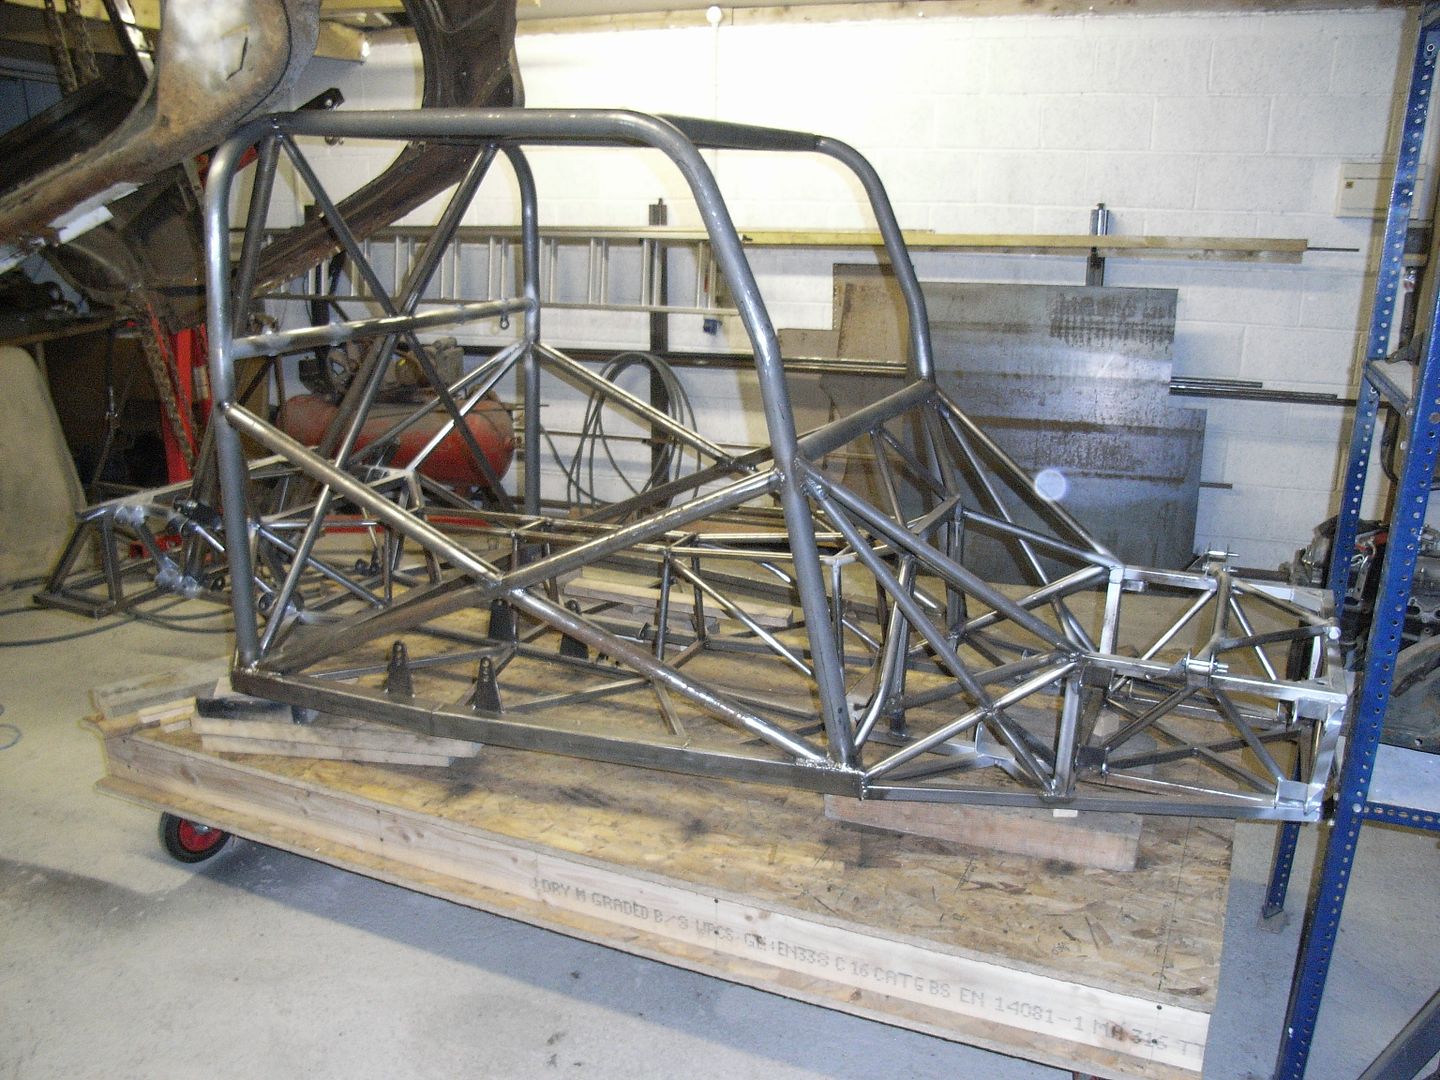 Had a shuffle round in the workshop and used the hoist to lift the body off the chassis so I could weld the top of the cage. Got carried away and took the thing completely off.  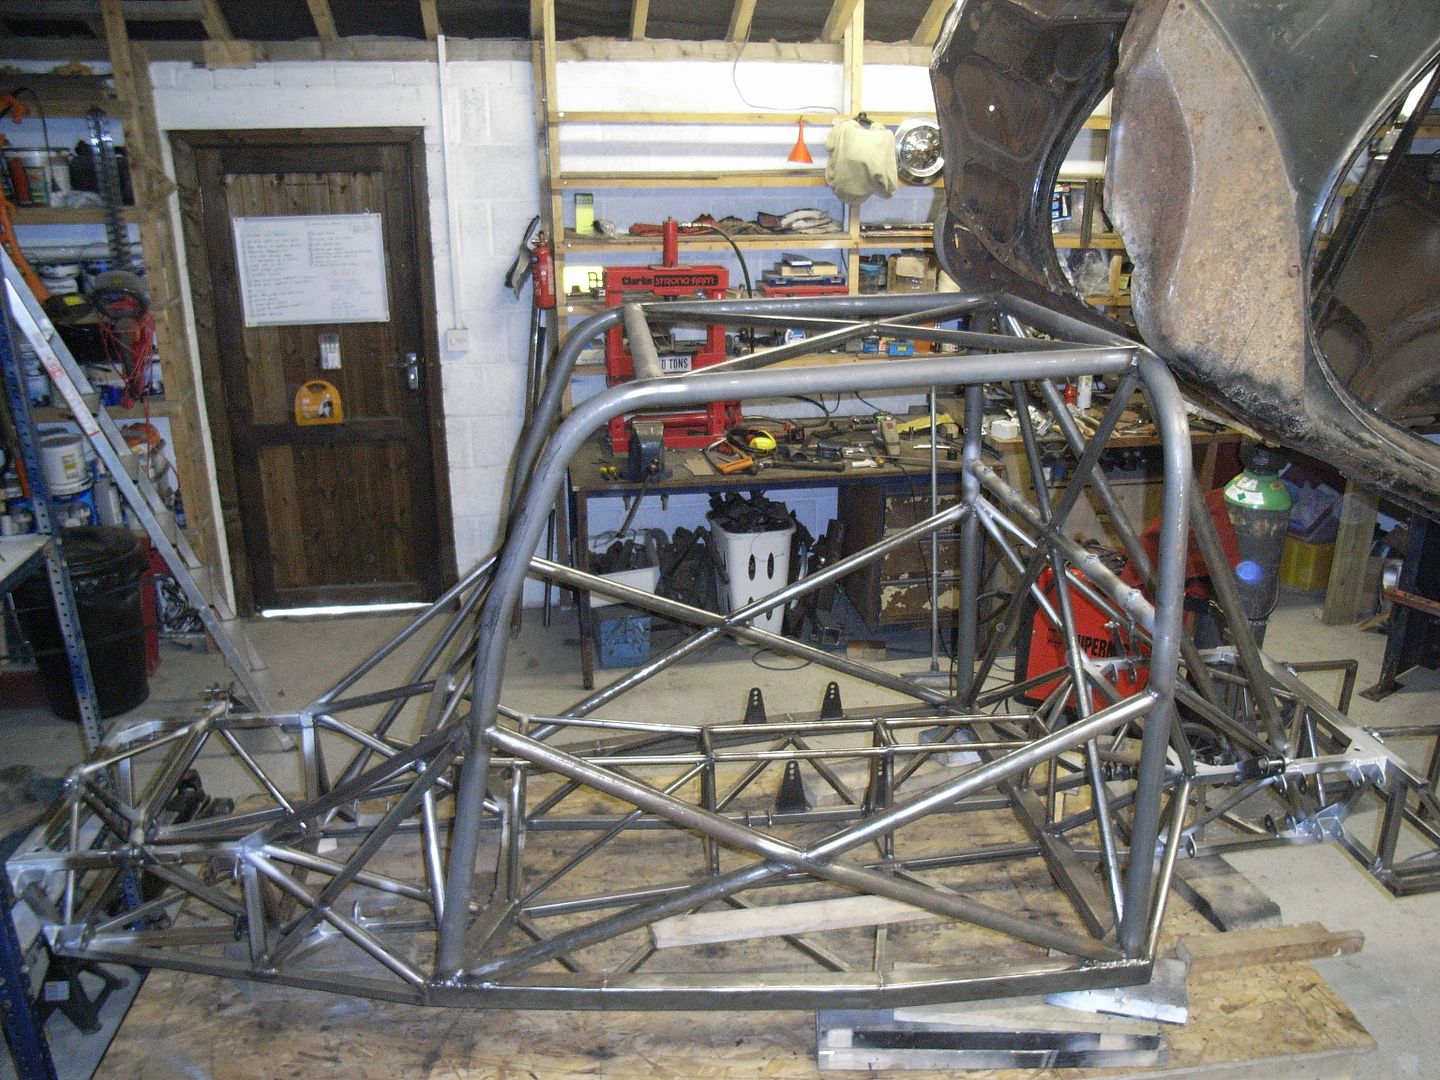 This means I will be able to put it on the floor and turn over easily to weld the underneath. I also tried picking up the chassis. Standing in the middle of the car using the tunnel I can pick the whole chassis up. Its got a bit of weight to it, but not hugely so. I think it must be about 85 - 90 kg. CAD said it'd be about that so not bad. The pics last week didnt really show the state of the body "repairs" that well so took some more. 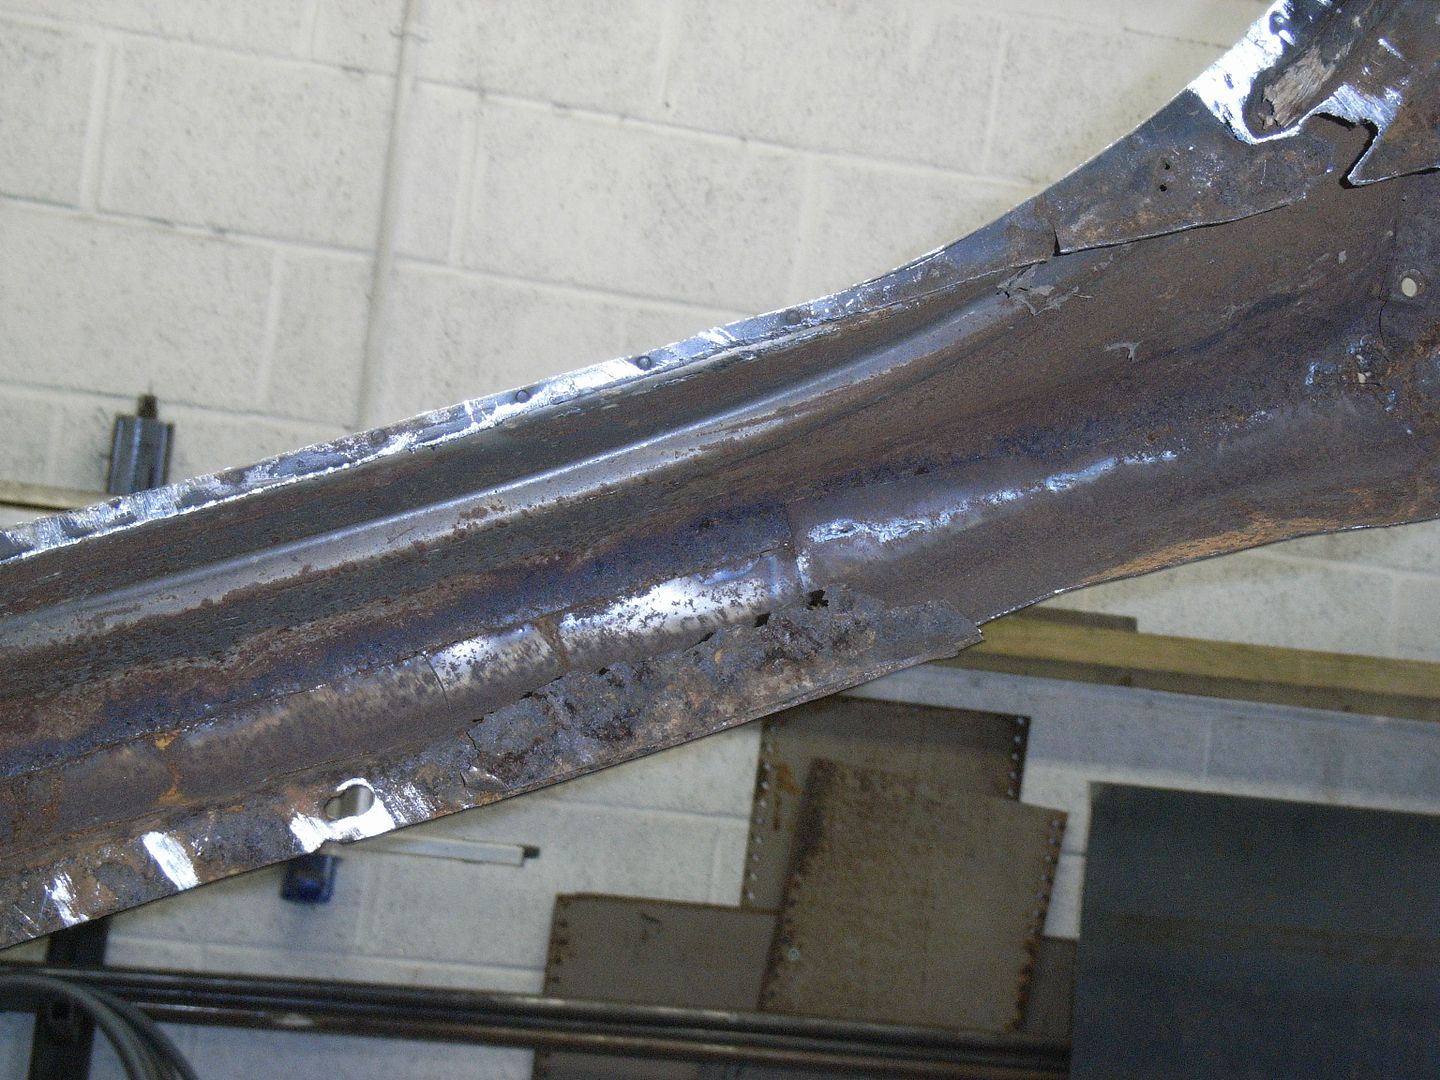 Random collection of overlapped plates 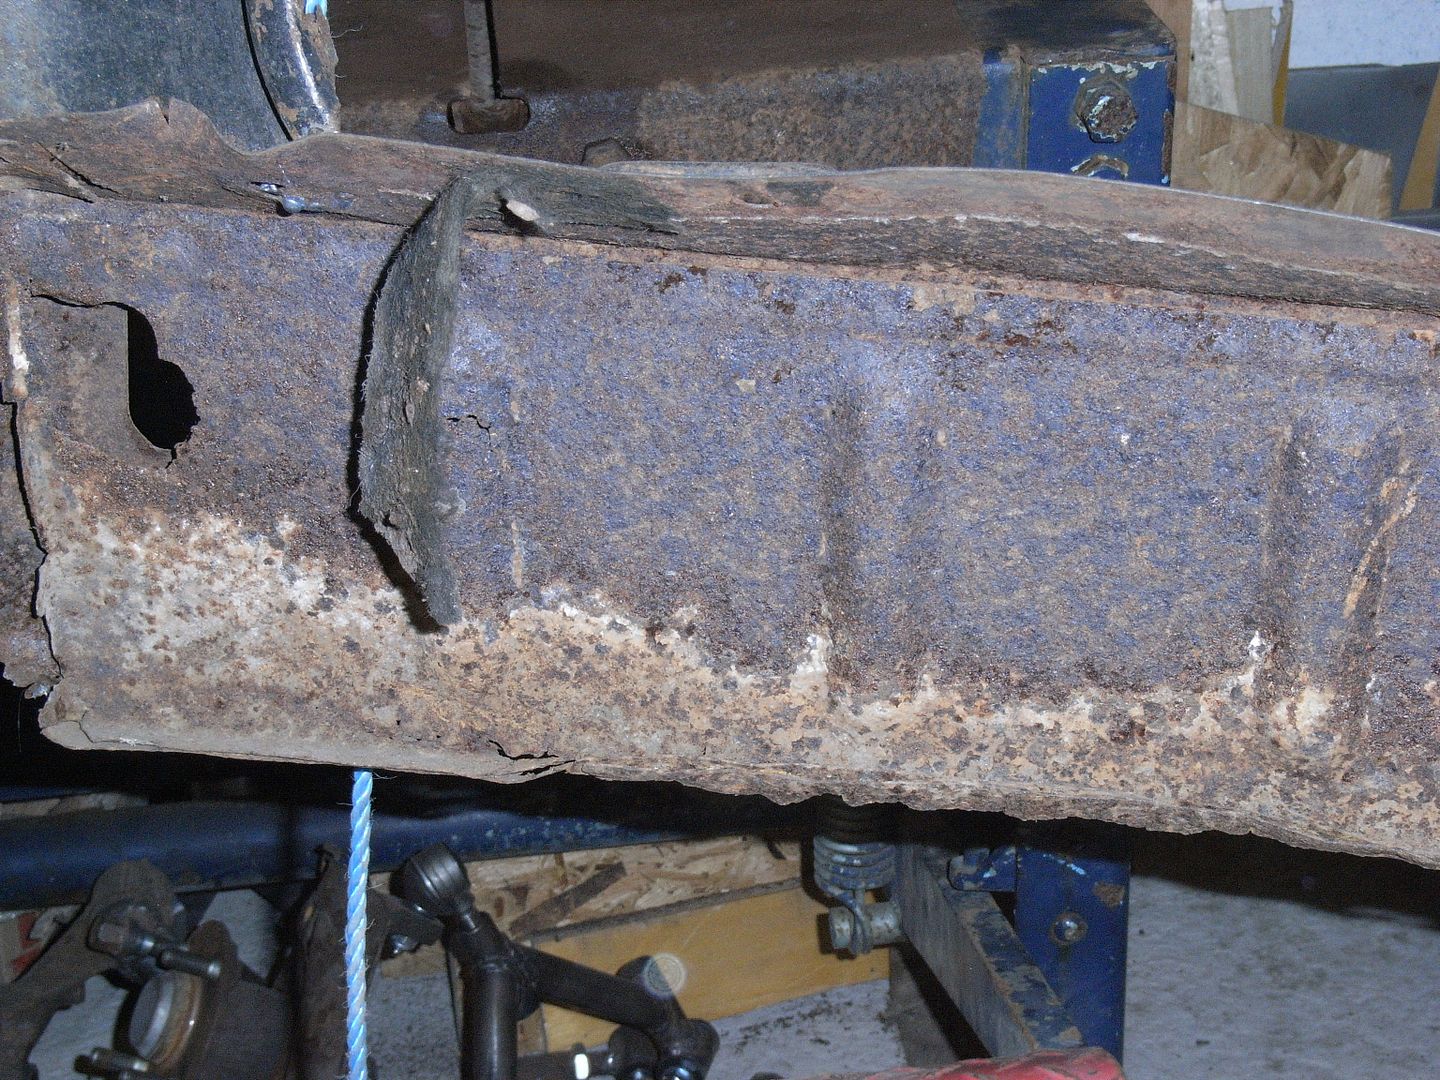 Inside of the back panel, which will need fully replaced. 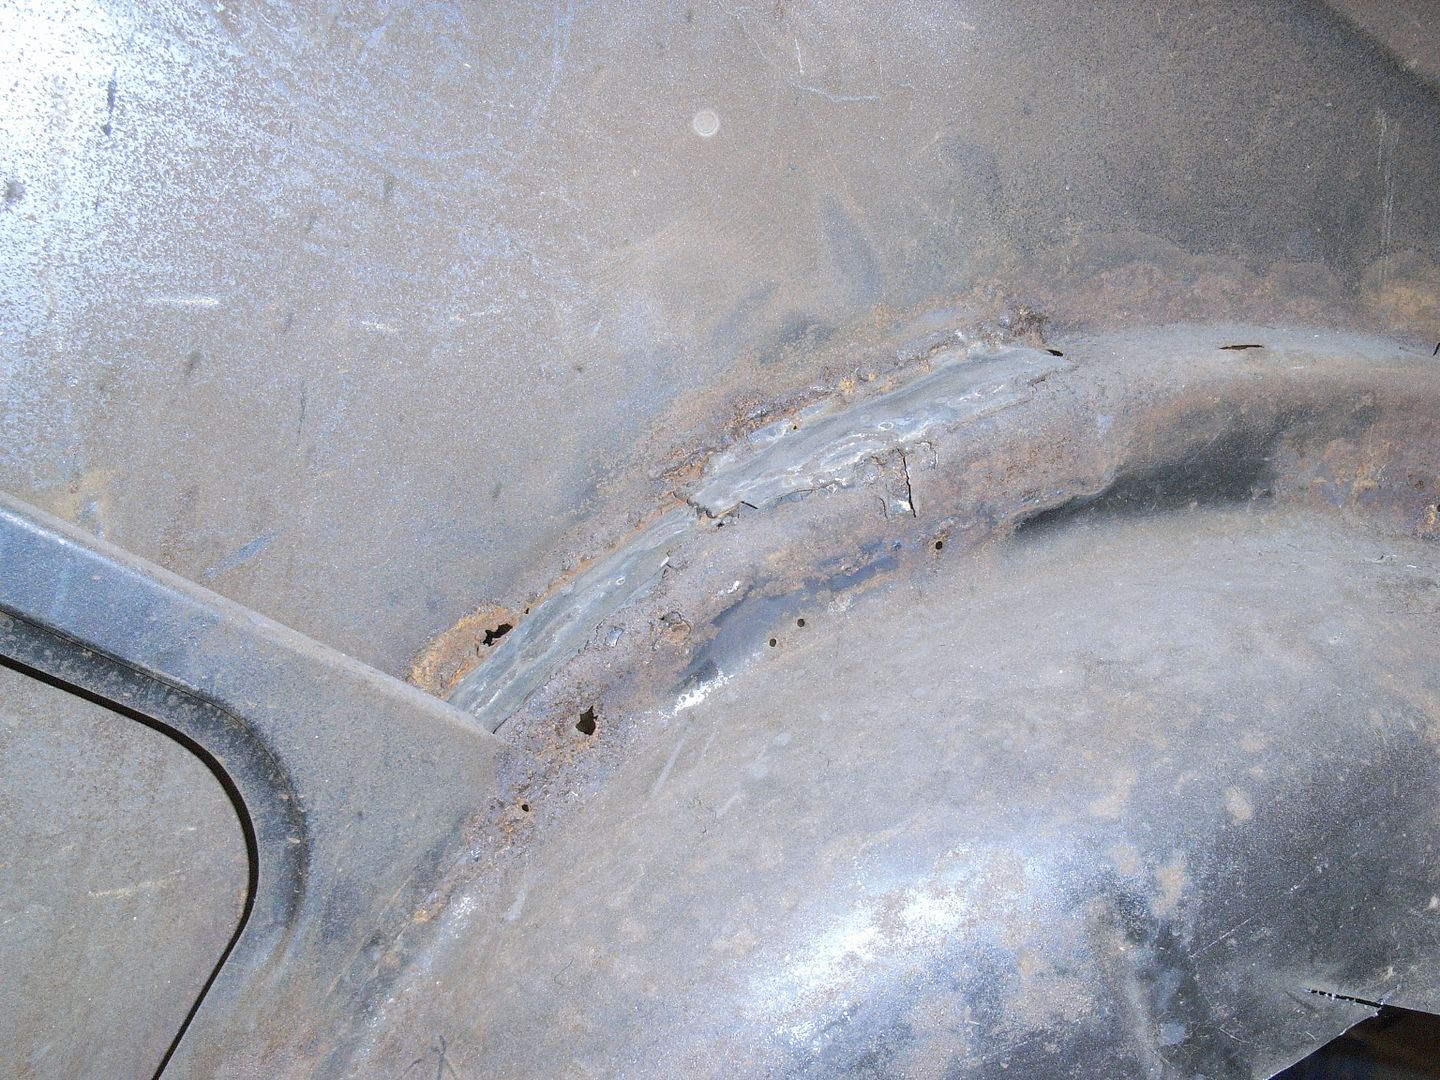 Inside of wheel arch. This will all need cut out and the lip re-making. Ideally without all the distortion it presently has.. 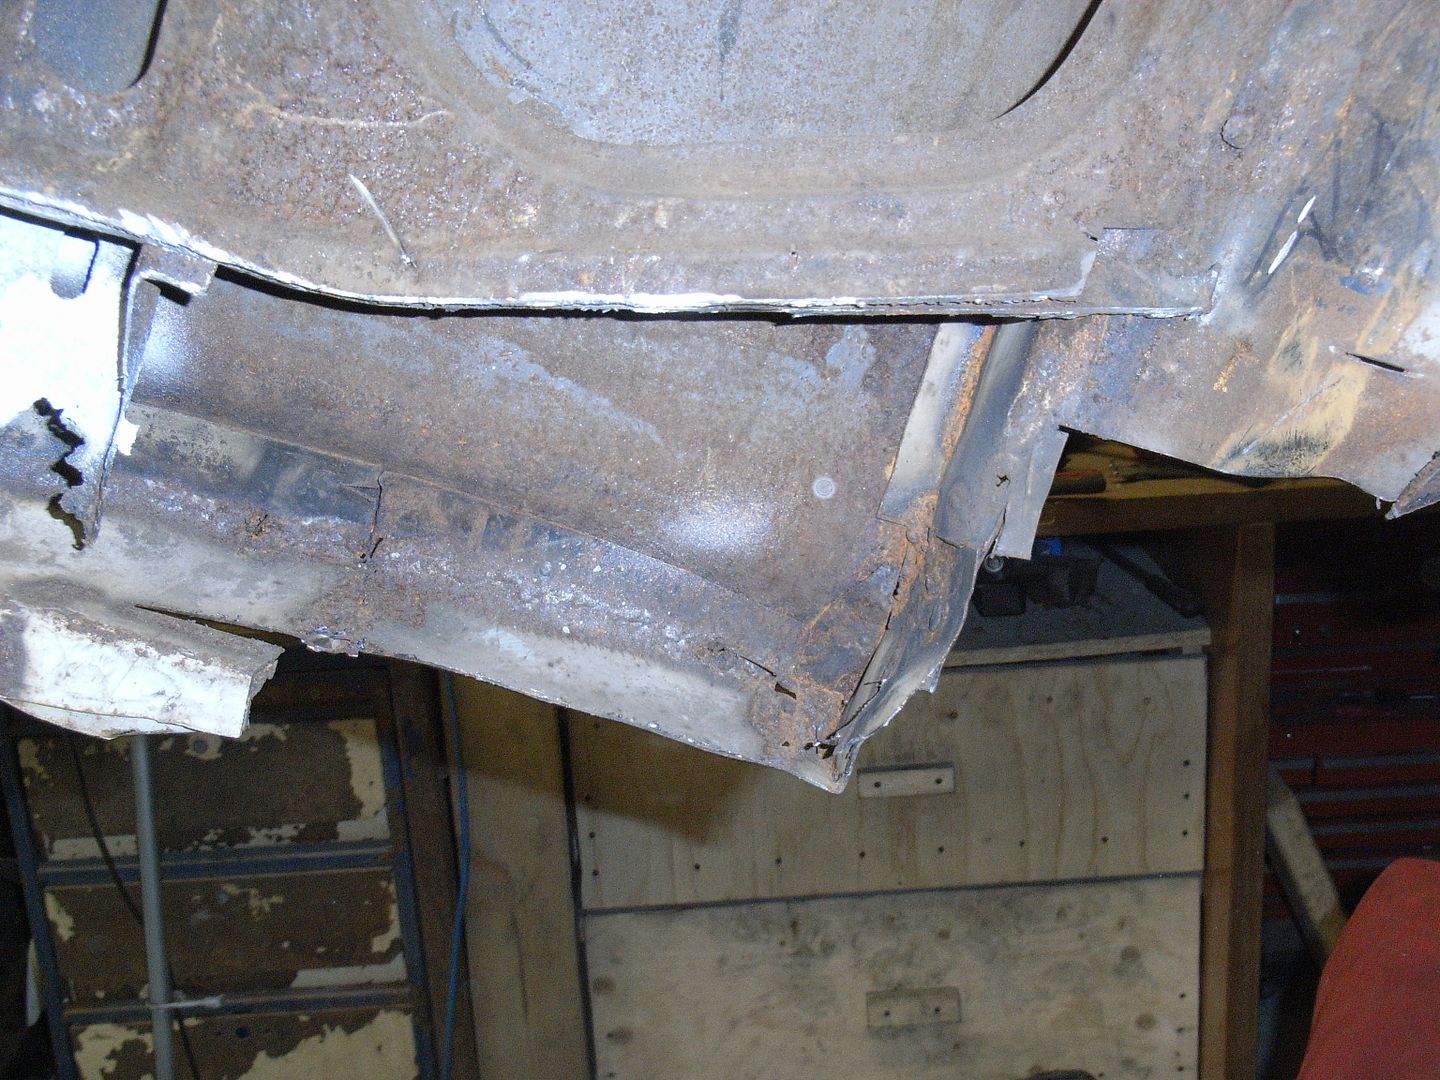 Why fix things with one plate when you can use 25 small pieces and overlap.... 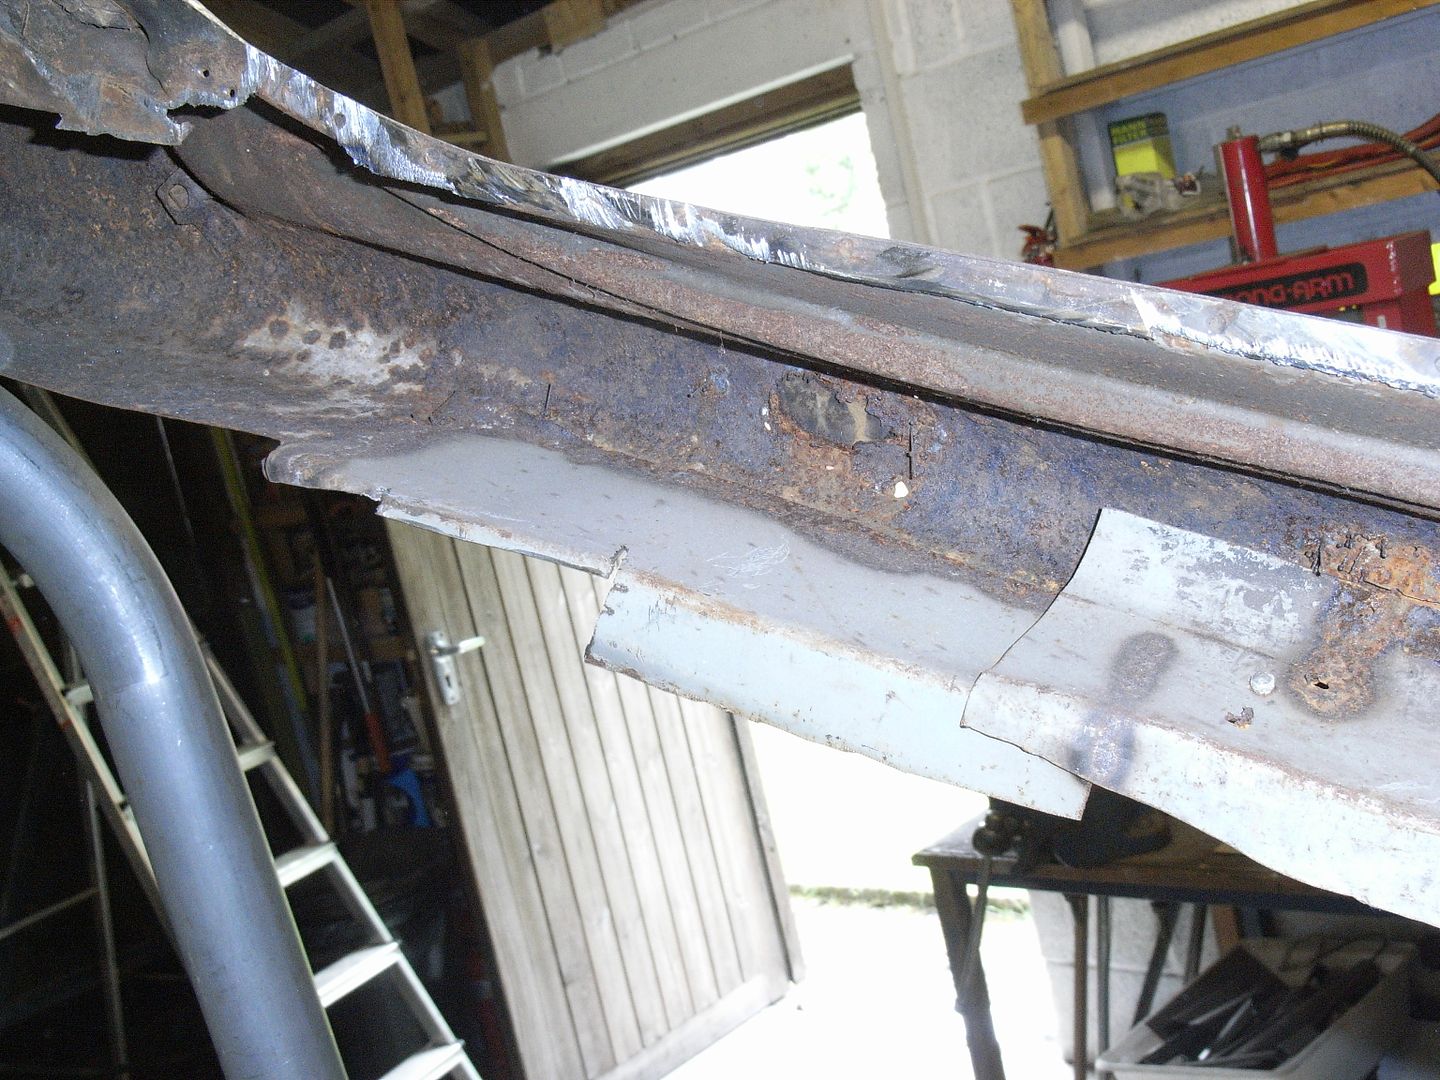 I know i use sheet steel that i have about the place, but this really does look like washing machine or something.... After getting bored looking at the rust I went back to welding all the joints that were just tacked. I moved around a lot to keep it from twisting. 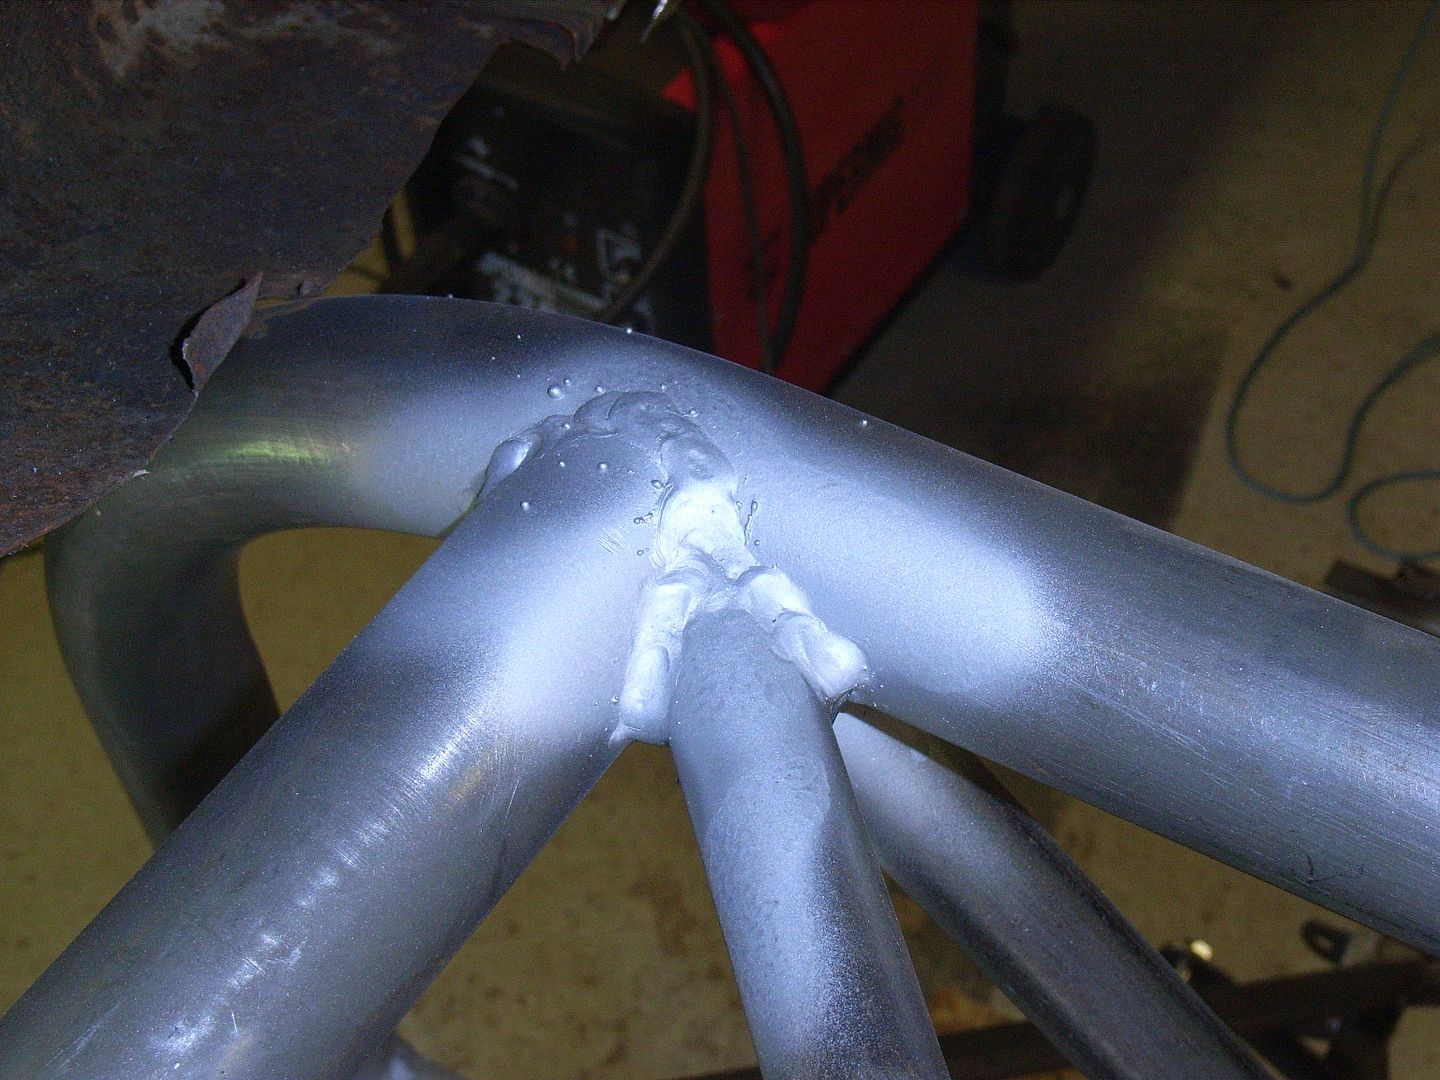 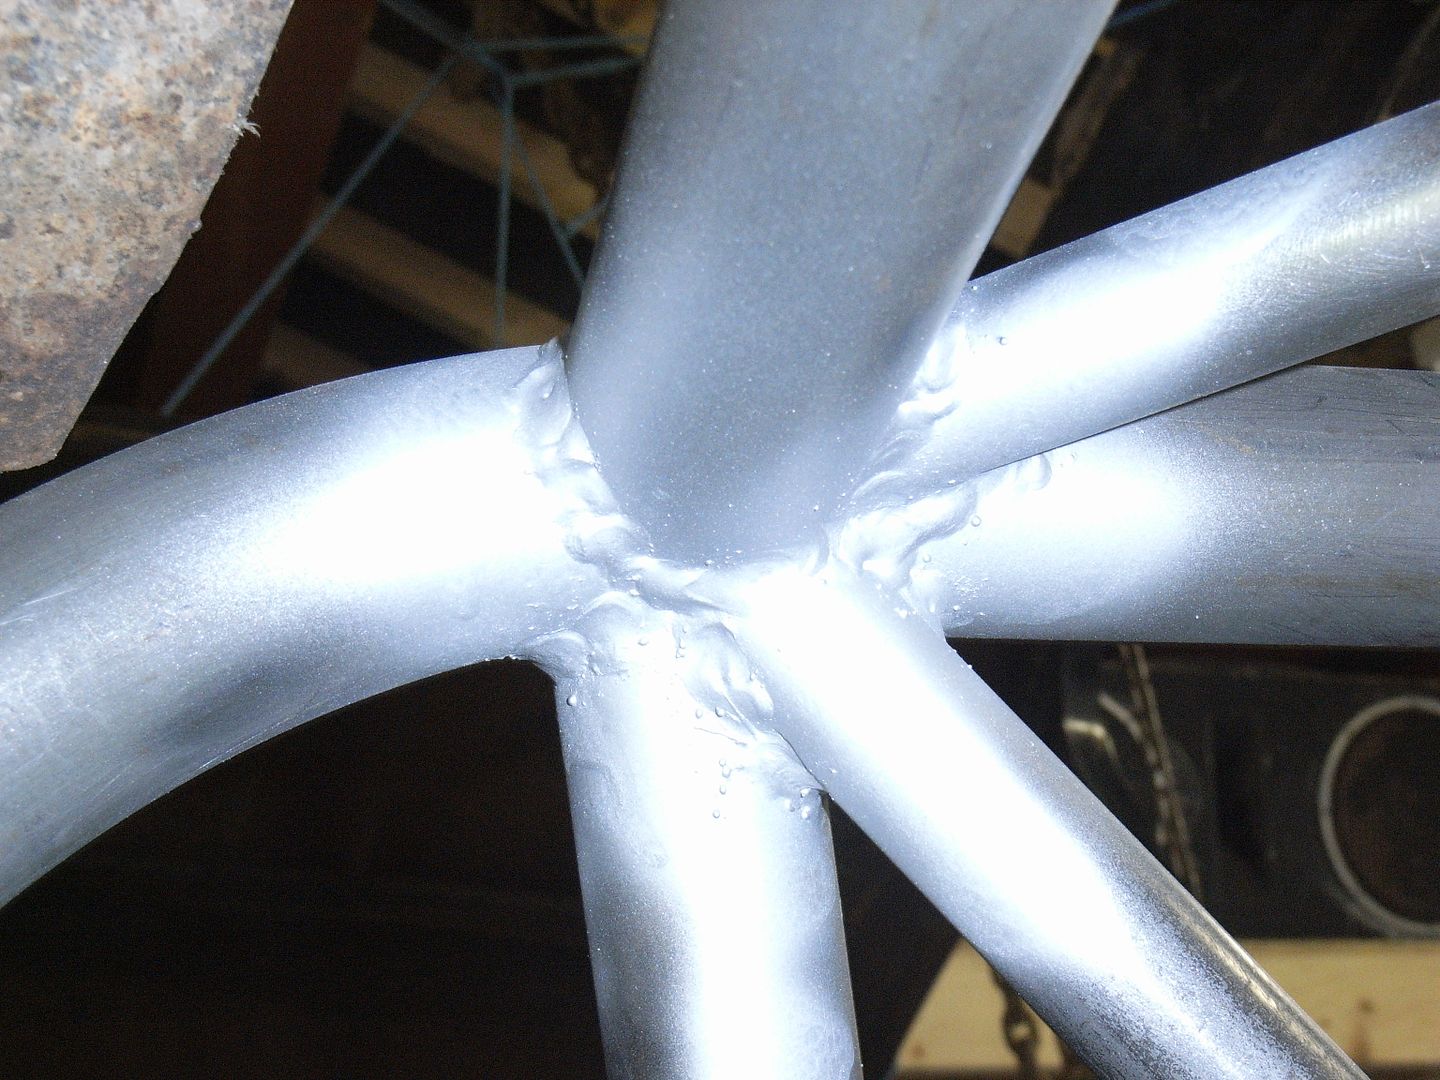 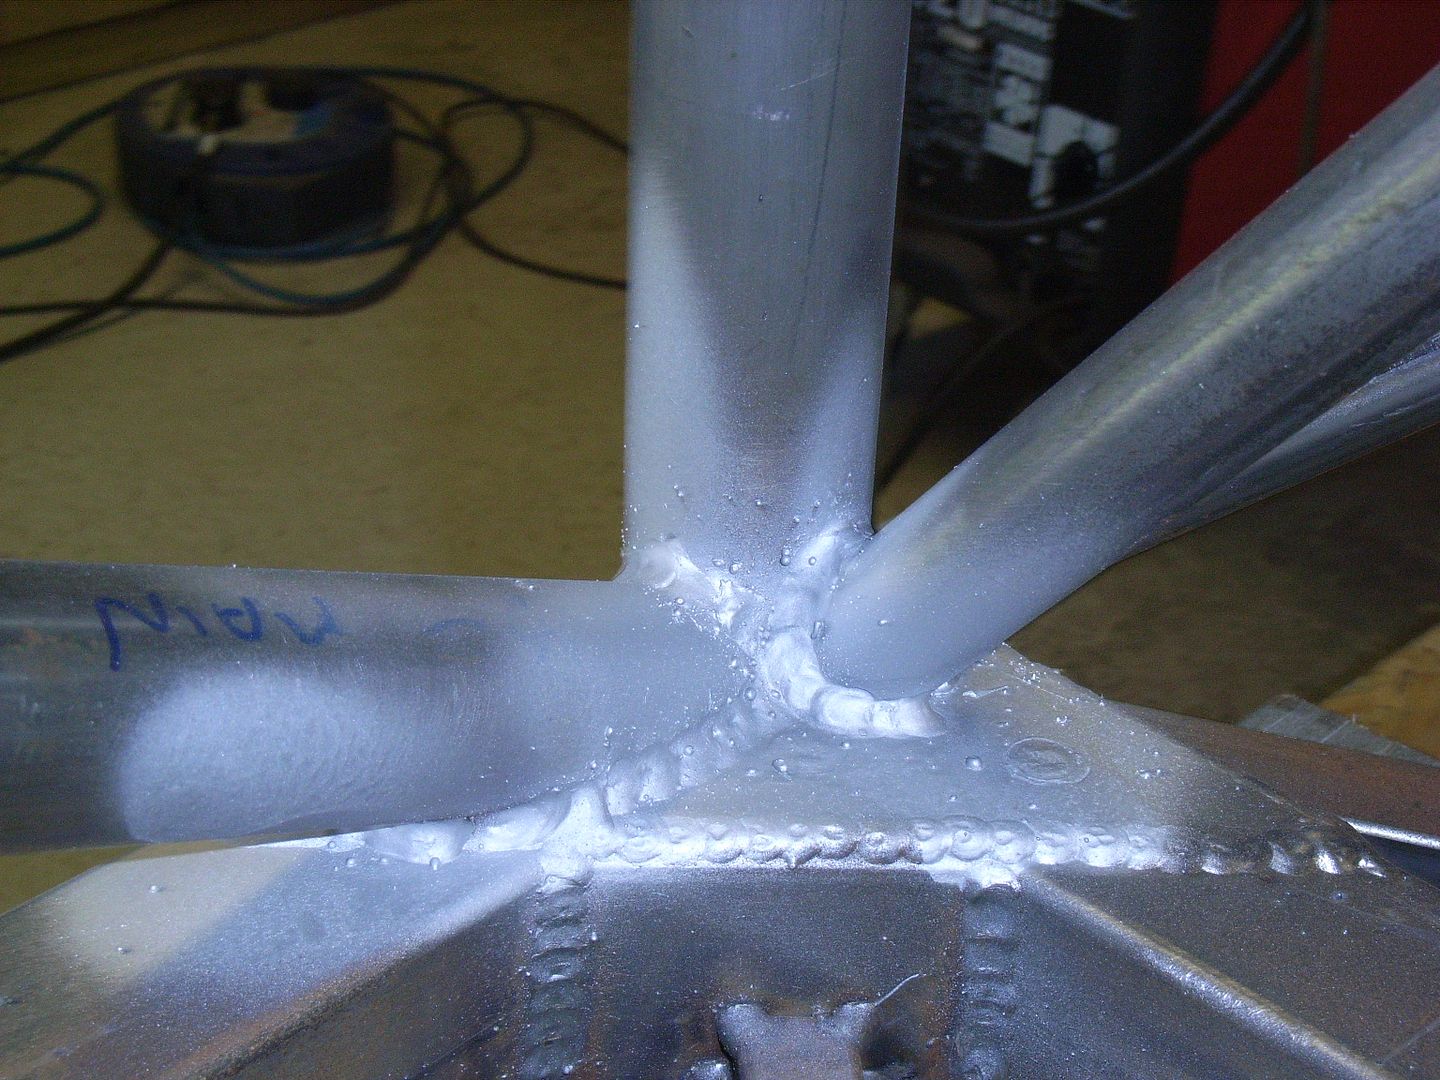 I then decided the chassis needs some load spreader plates, and seeing as I now have dimple dies I got a bit carried away. 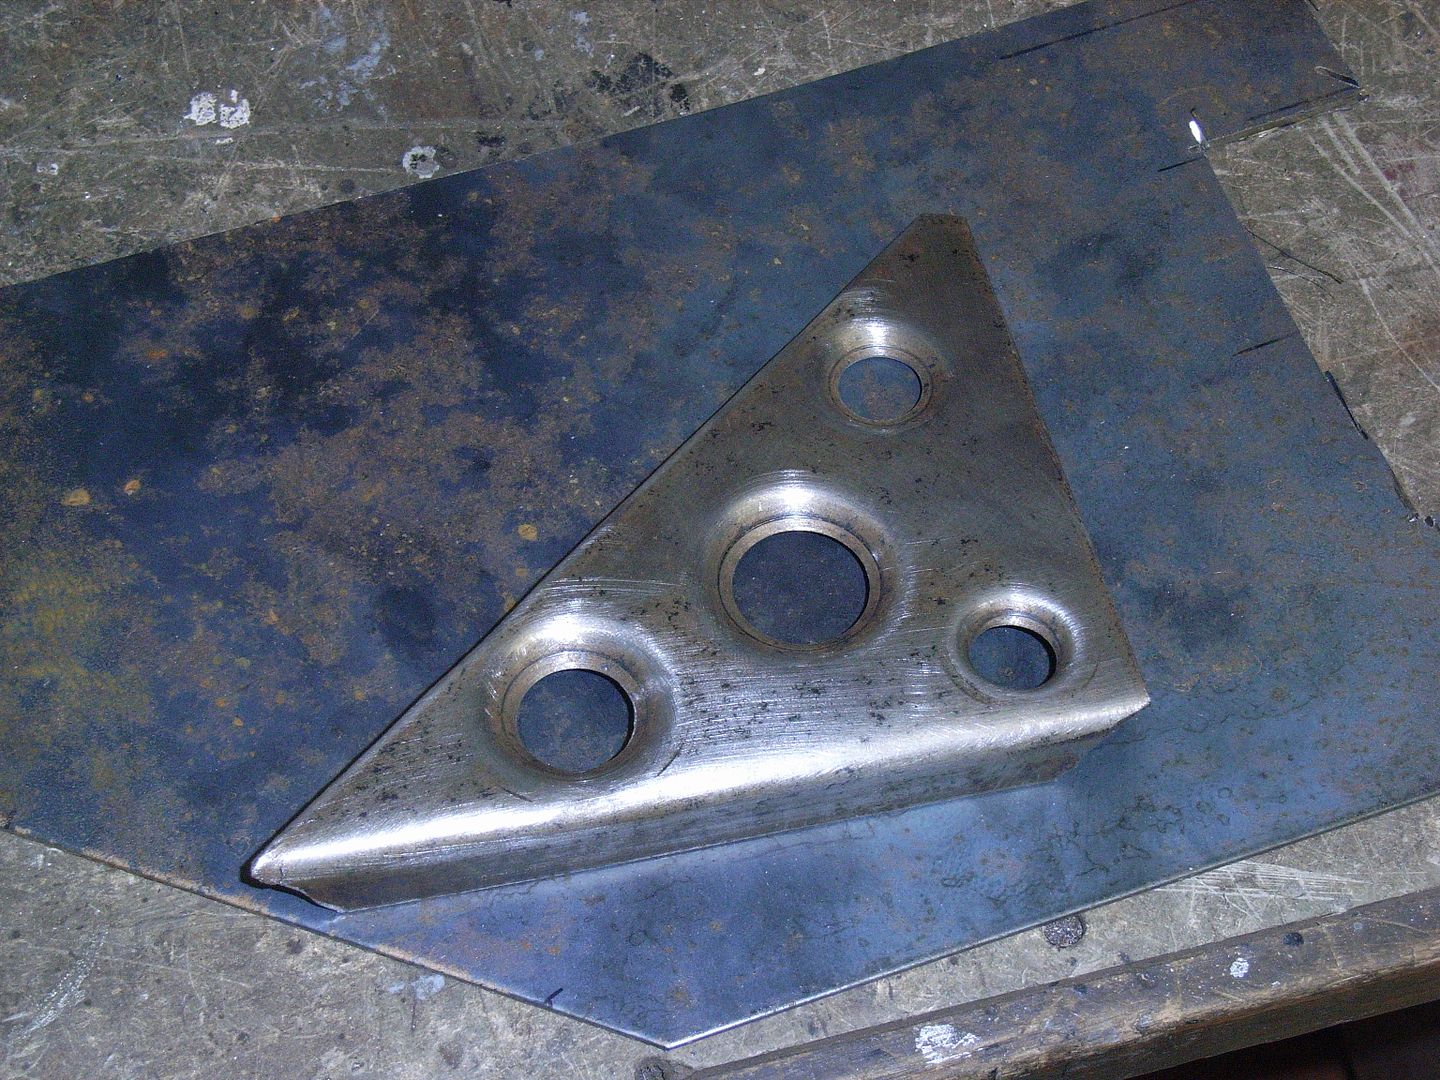 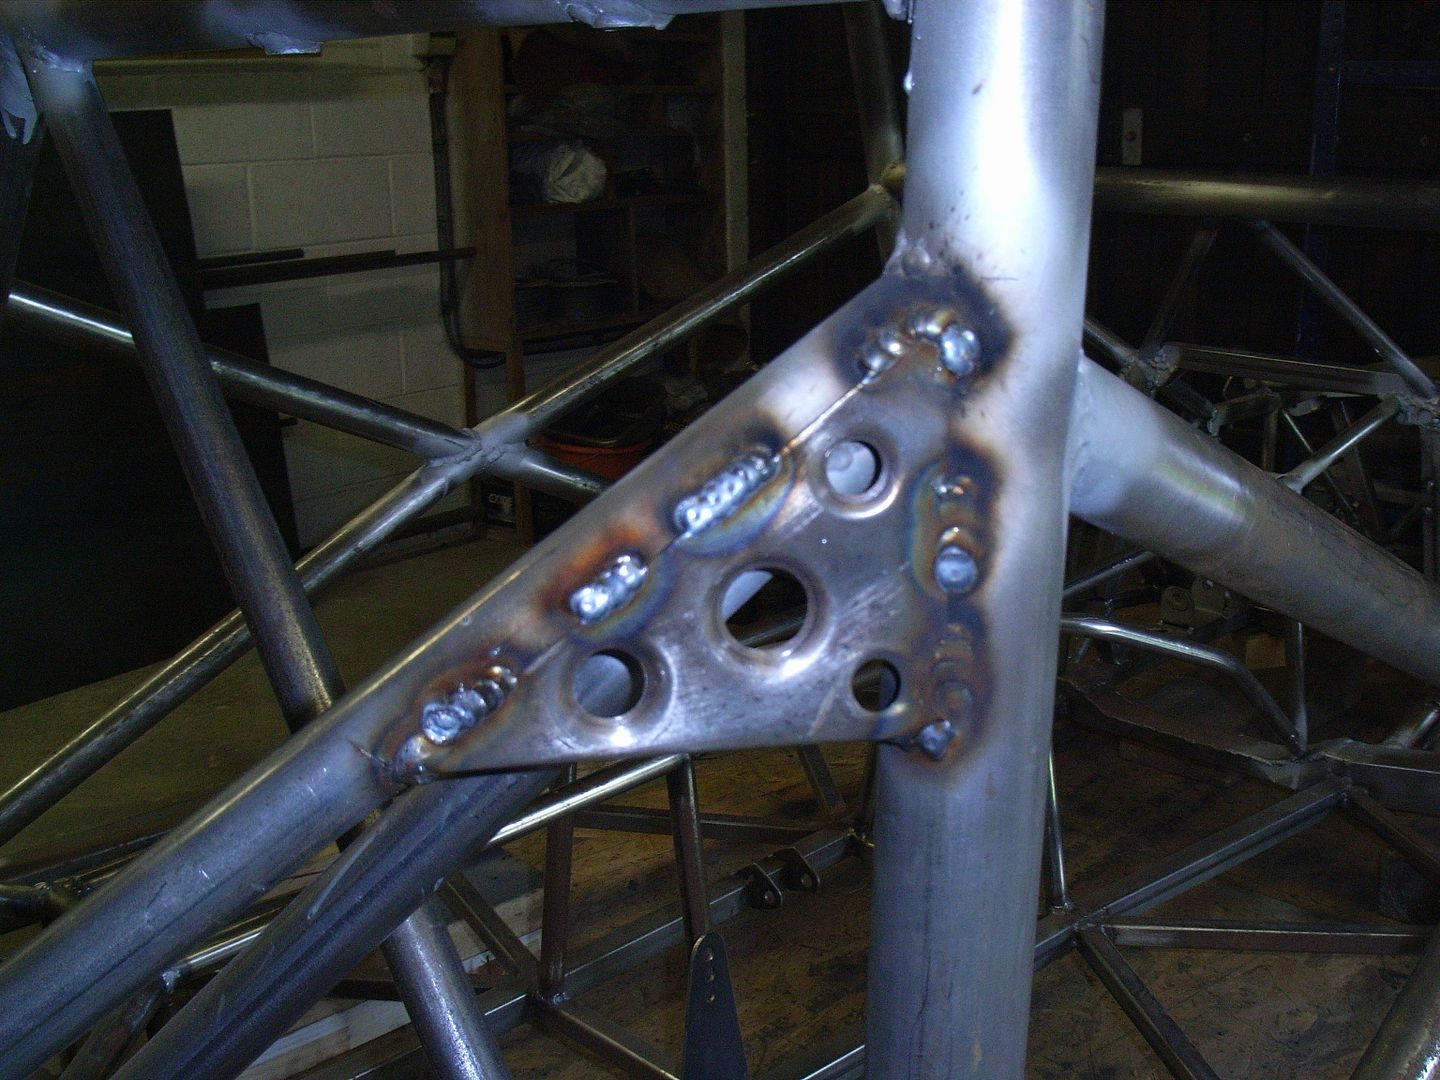 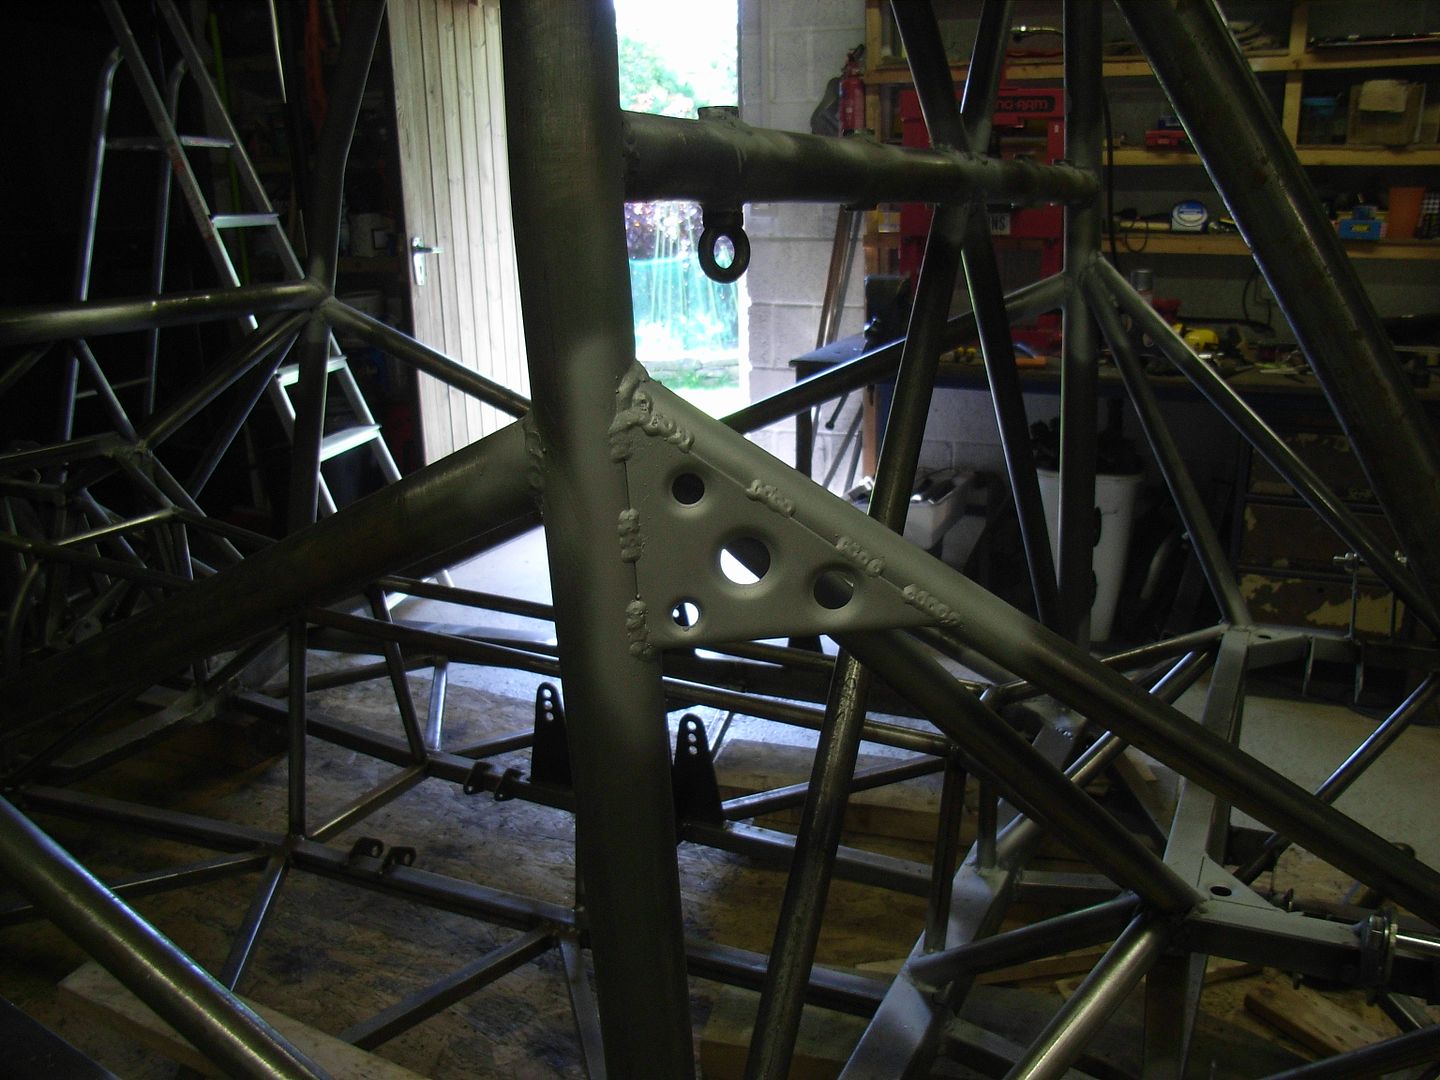 When finished this is hidden by the side panel of the body. I'll know its there thought :-) Then on to welding some more bits and pieces 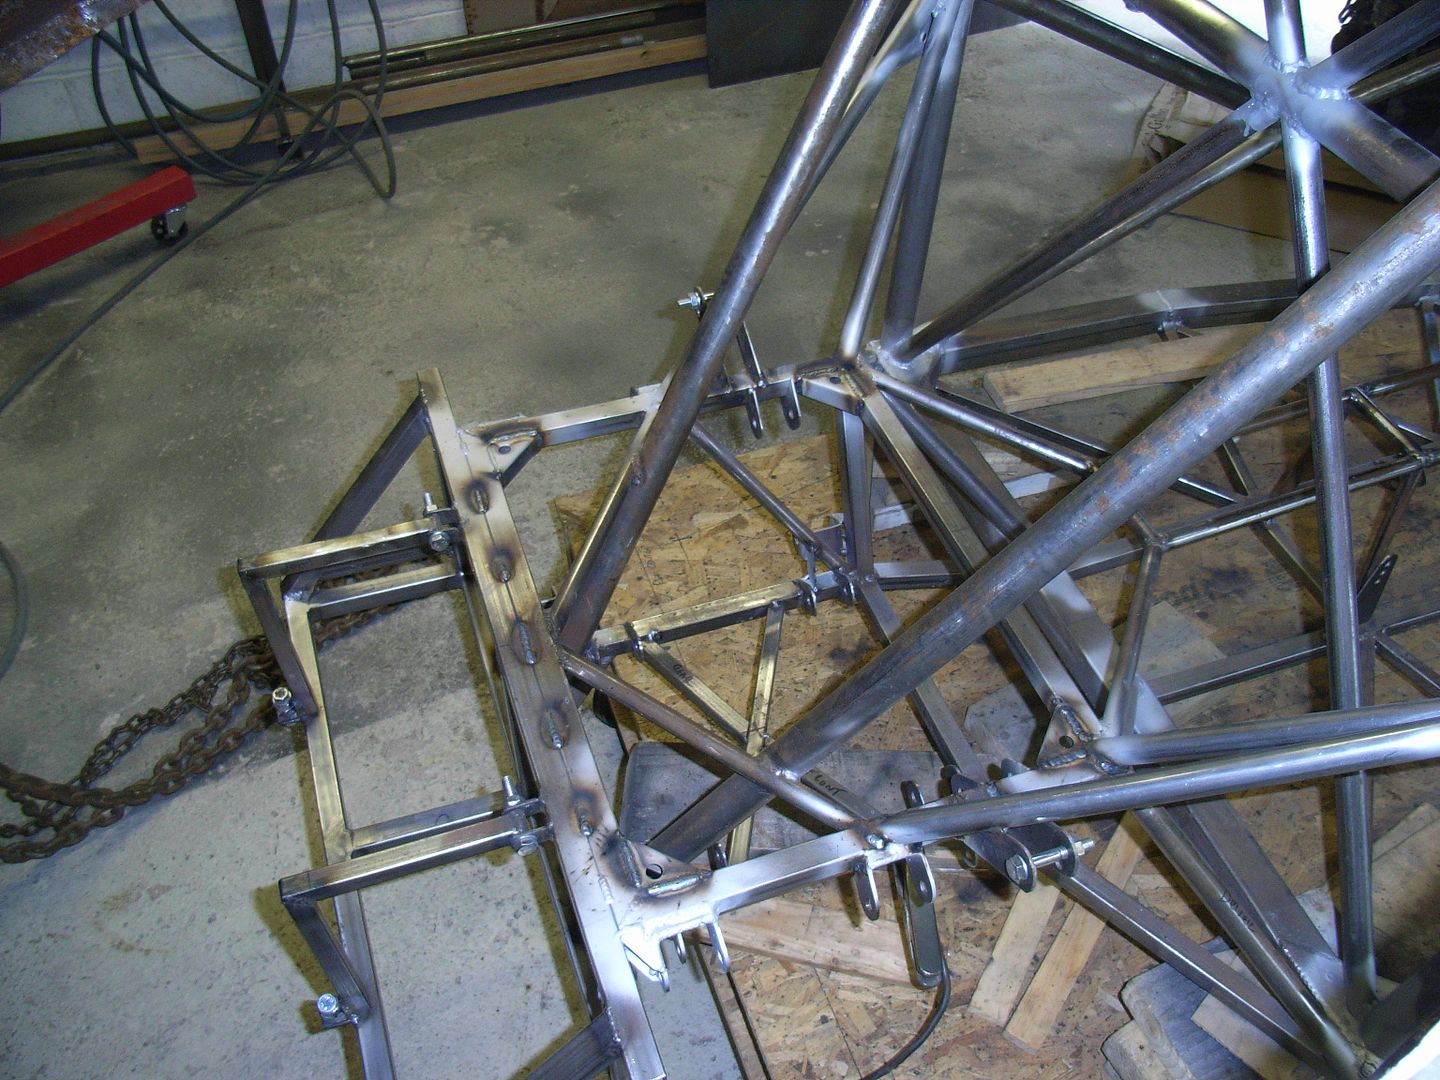 And more gussets 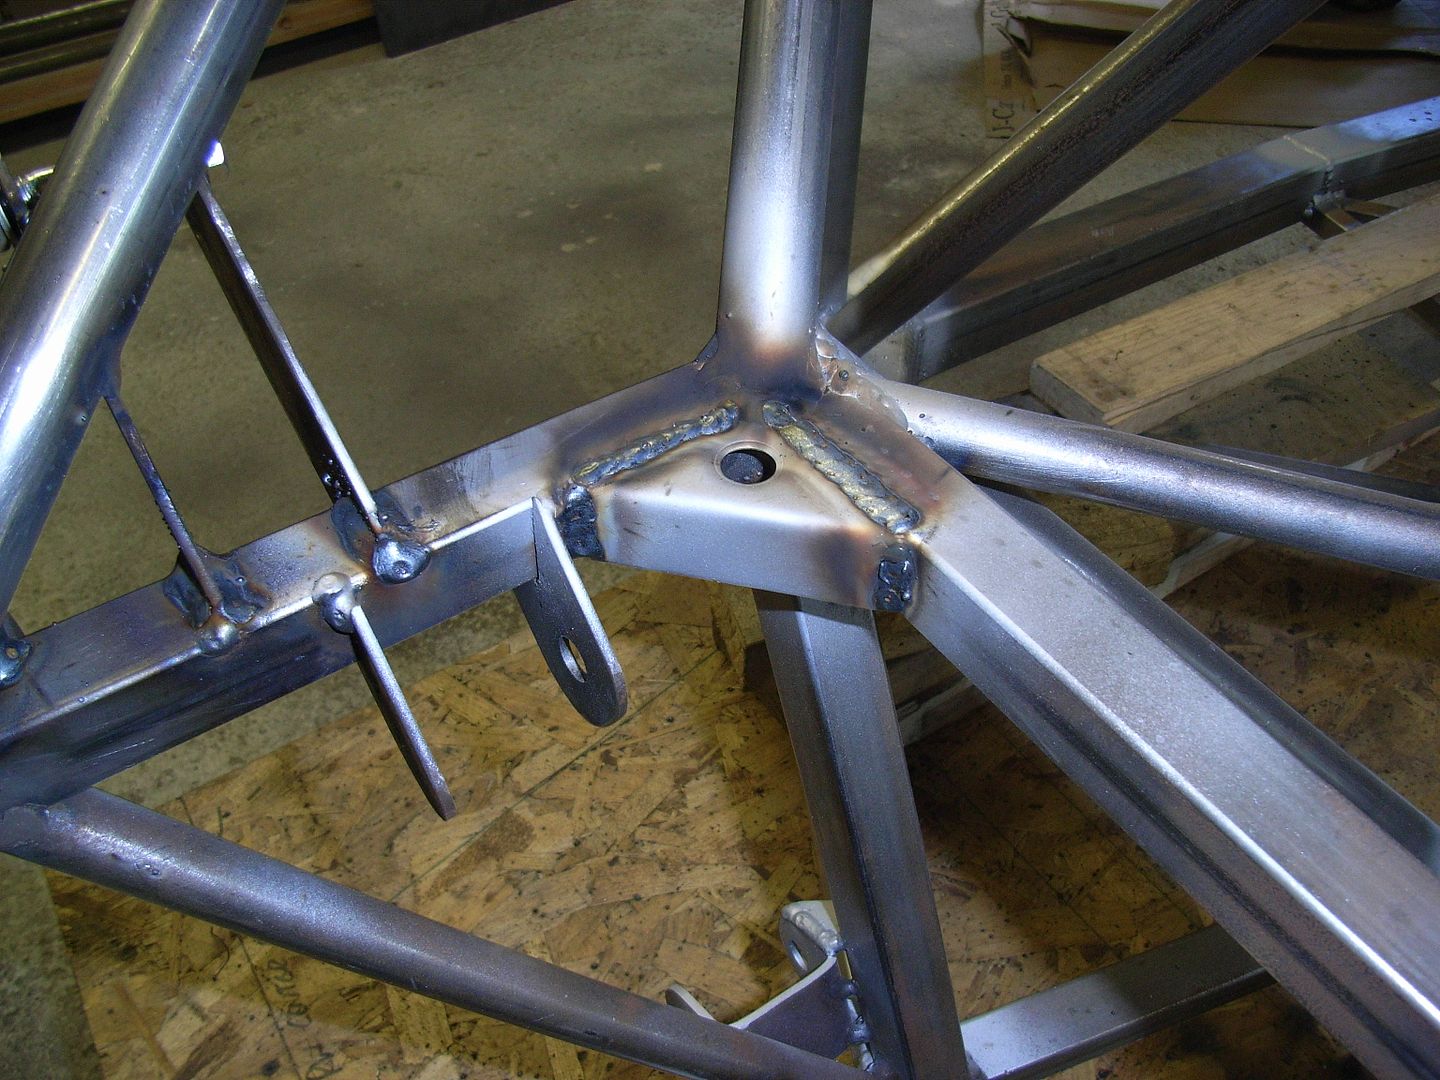 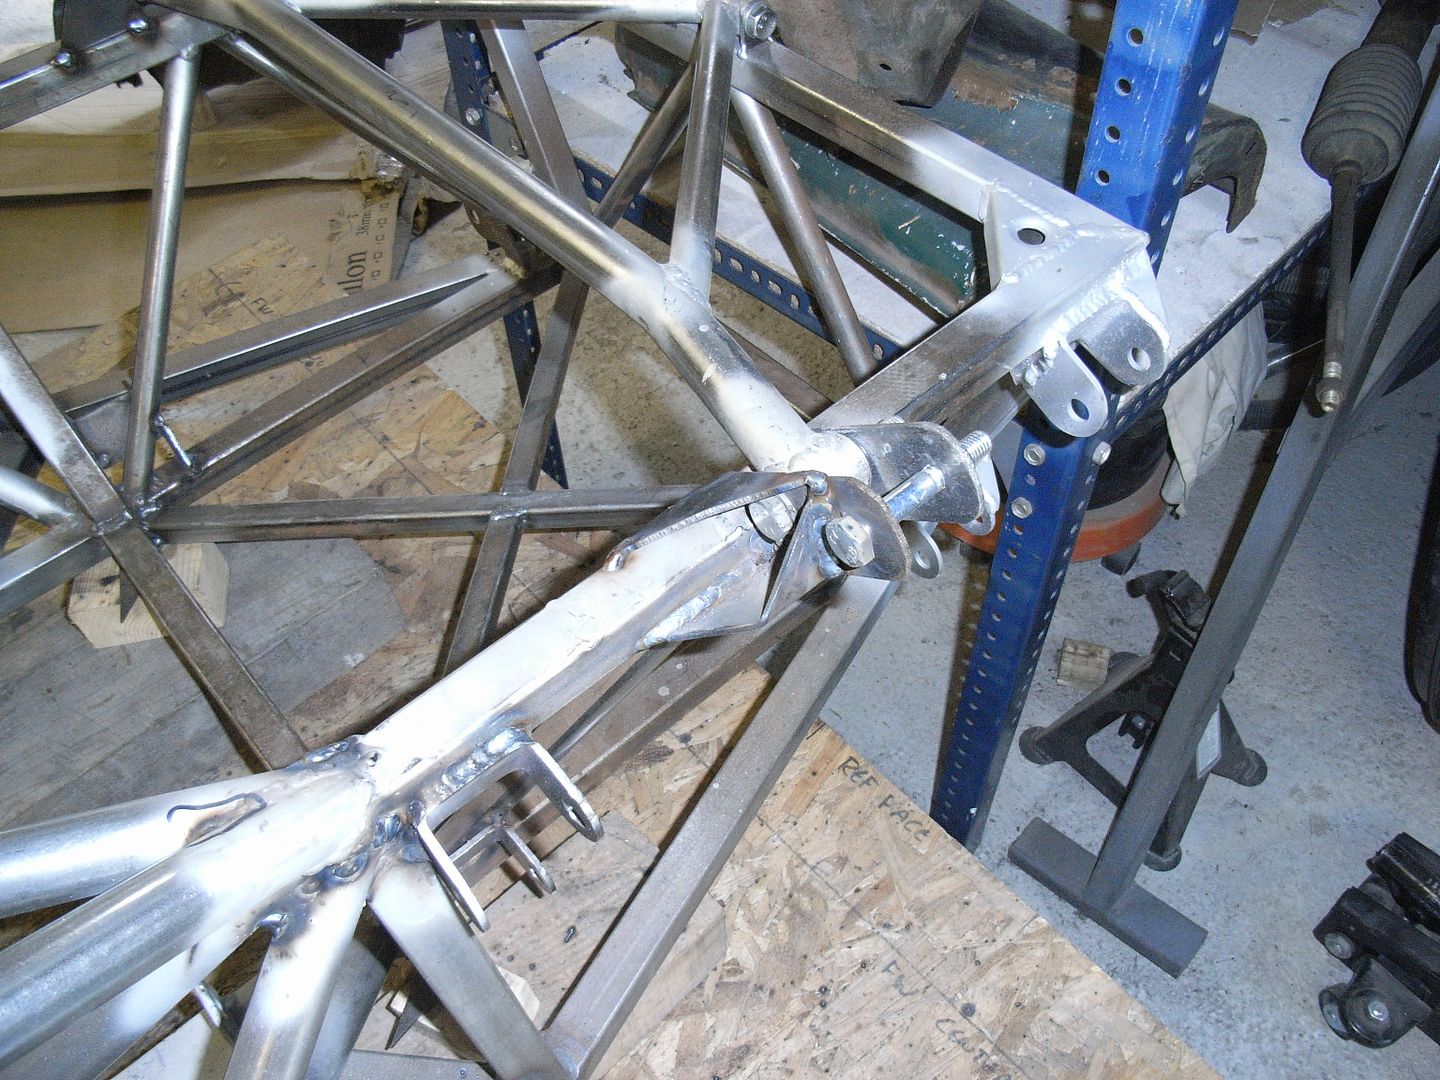 Last thing i did today was the door bar x point tie back. This links the door bars back to the chassis and the FEA assessment ages ago showed this adding a fair bit of stiffness to the side of the car, especially with the bellied tube to give more knee clearance. 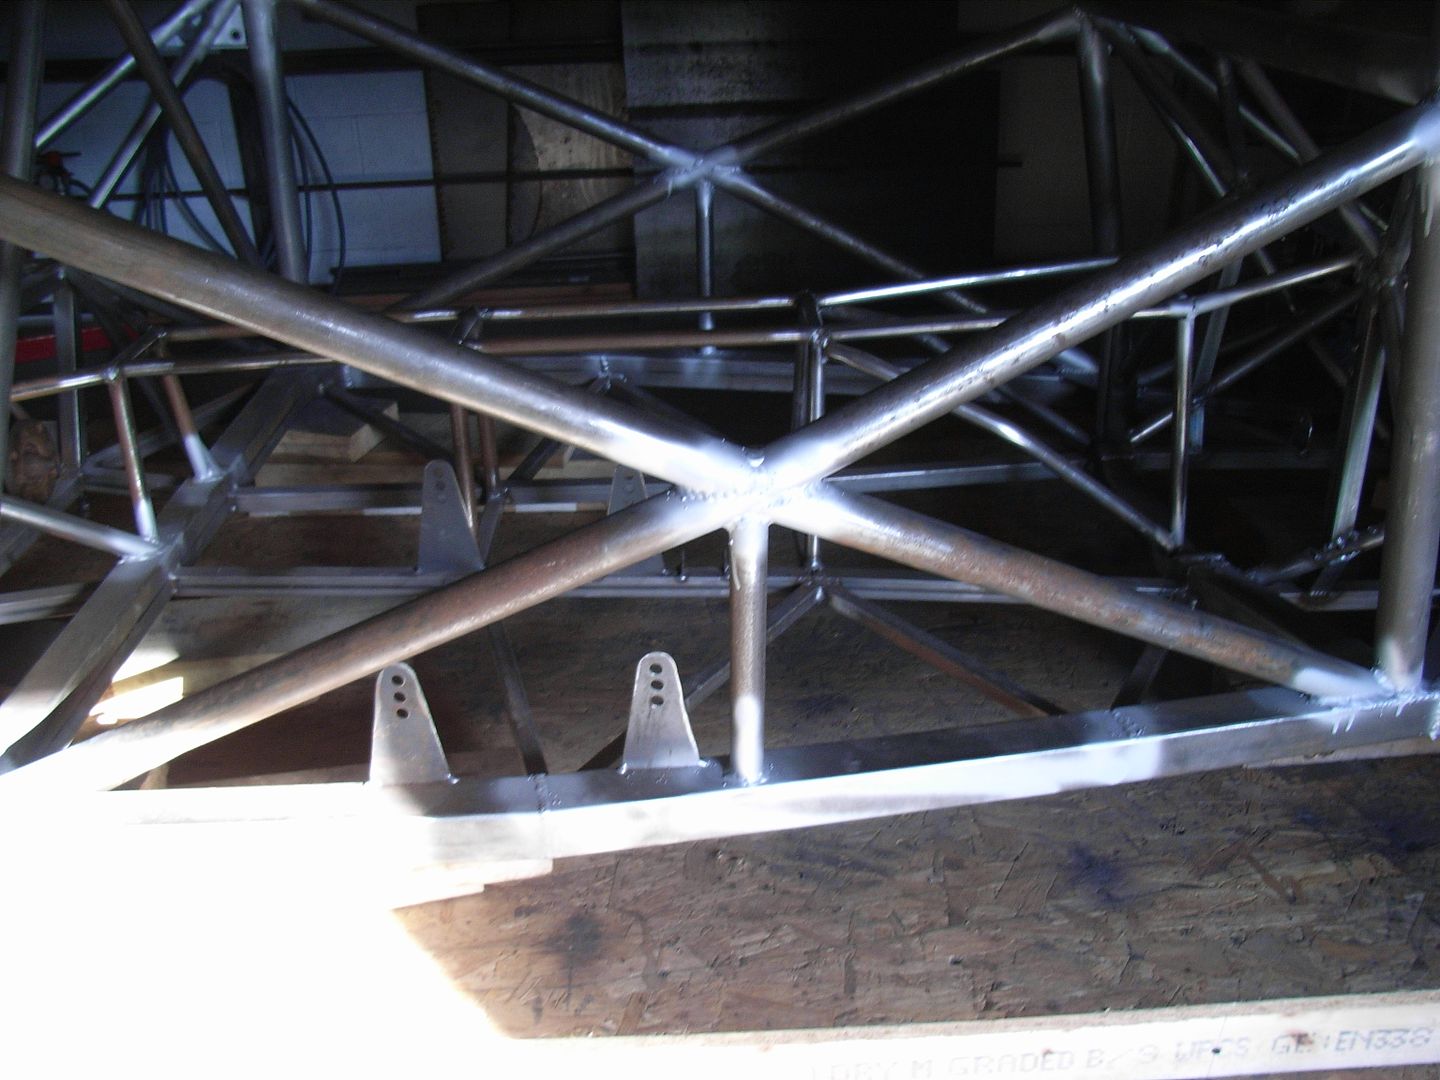 I've got a load of other things on tomorrow, so might not get any work done on the Morris. |
| |
|
|
|
|
|
|
|
Looking mighty fine  Keep it up  You could use the hoist to lower a heavy weight onto the shear to chop thicker metal  |
| |
|
|
93fxdl
Posted a lot
   Enter your message here...
Posts: 2,015
|
|
May 26, 2014 16:39:00 GMT
|
|
If the guillotine is an Edwards, I served my apprenticeship building their machines. Many centuries ago. Usually its only the left hand end of the blades that is really blunt, try cutting 6" in from the stop, the blades are reversible, so have 4 cutting edges if you like, I can rake through the dusty remains of my memory and write up, how to change/set the blades
Ttfn Glenn
|
| |
|
|
|
|
|
|
|
May 26, 2014 16:46:15 GMT
|
its not rated to 3/16" - its a 3ft wide guilly, rated to 16swg  |
| |
|
|
jonomisfit
Club Retro Rides Member
Posts: 1,787
Club RR Member Number: 49
|
|
May 26, 2014 20:25:57 GMT
|
|
Thanks for the input guys. Will definitely have a look at the blade and see if its already been flipped.
I put it to use this afternoon making a completely over the top rollcage gusset, but pics will need to wait till the next update. Once I got a technique going on the cutting front seems to go much easier.
|
| |
|
|
jonomisfit
Club Retro Rides Member
Posts: 1,787
Club RR Member Number: 49
|
|
Jun 10, 2014 17:37:53 GMT
|
Not had much chance to work on the car as been away with work, then away on holiday. After a mere couple of hours painting bits of house, digging drainage for the workshop downspouts, and some other odds and sods, I got some time on the car today. Made a few gussets for the chassis. It doesnt really need them, but I like playing with my new sheet metal shear and dimple dies :-) Que carried awayness First step, remove body from chassis completely. 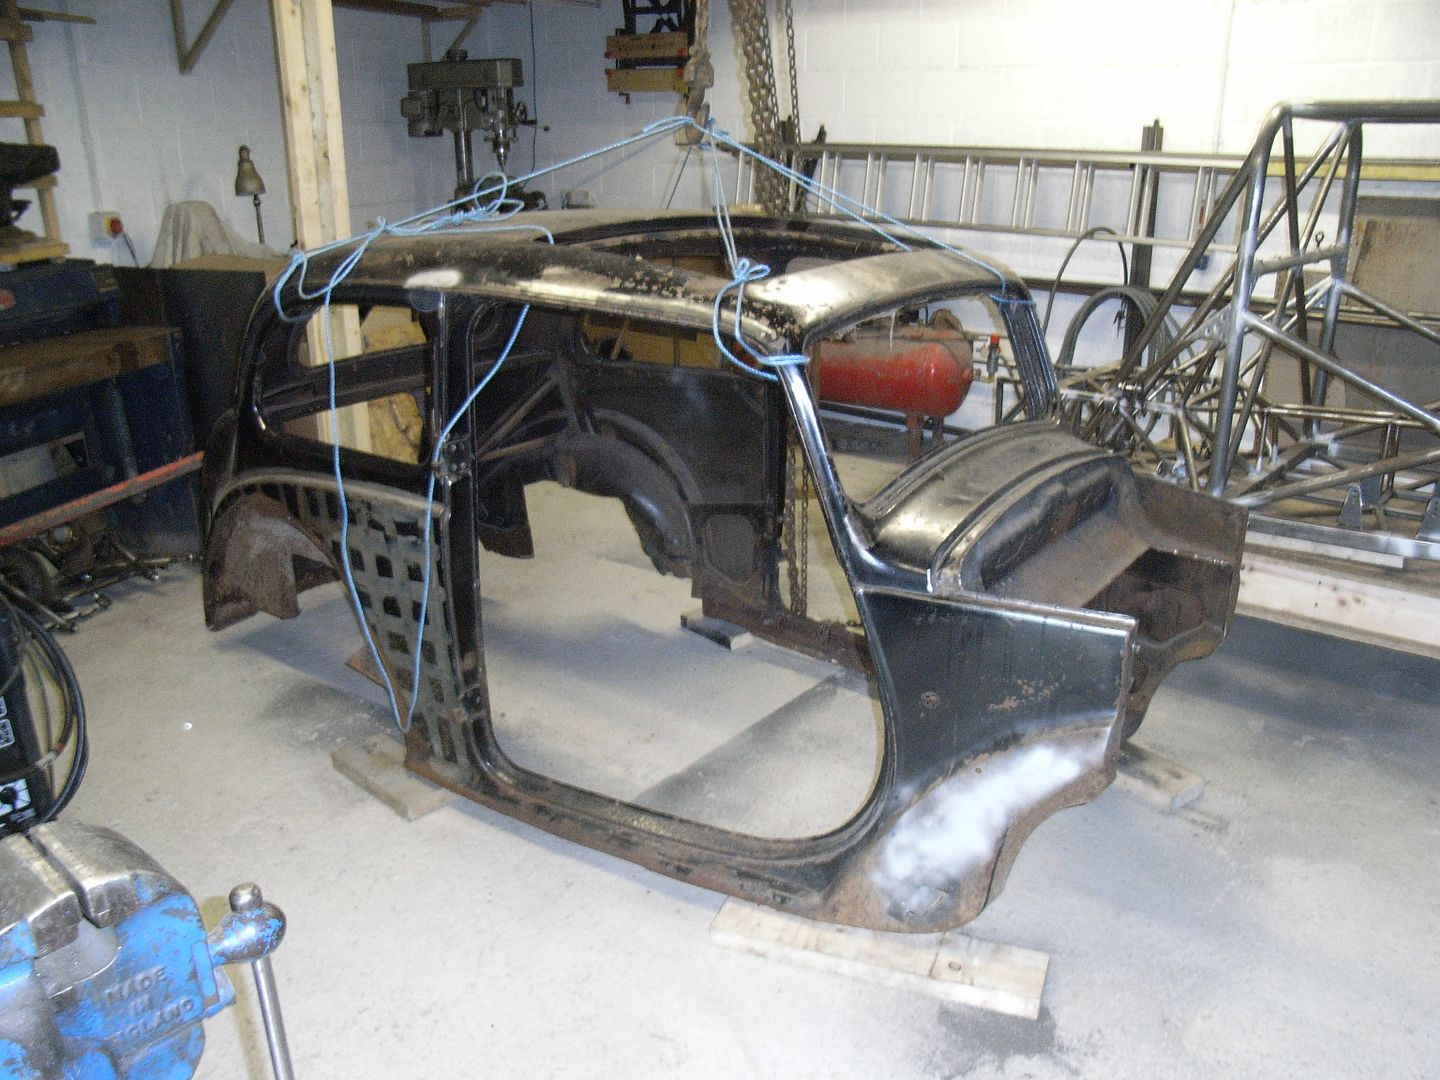 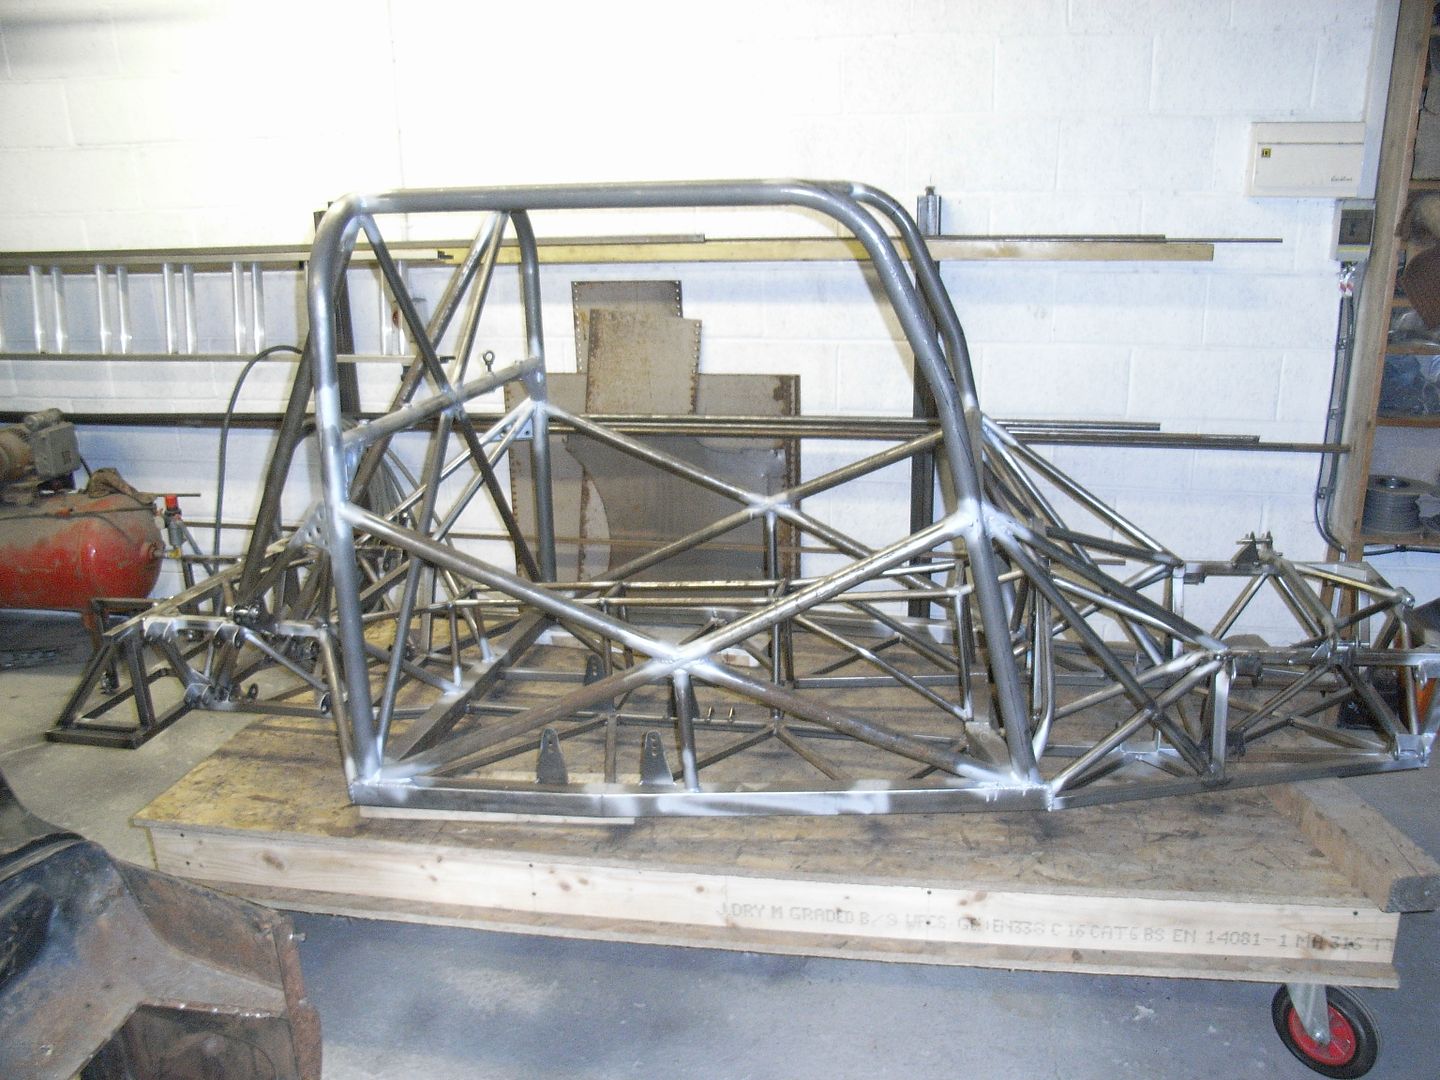 Main hoop to harness bar gussets 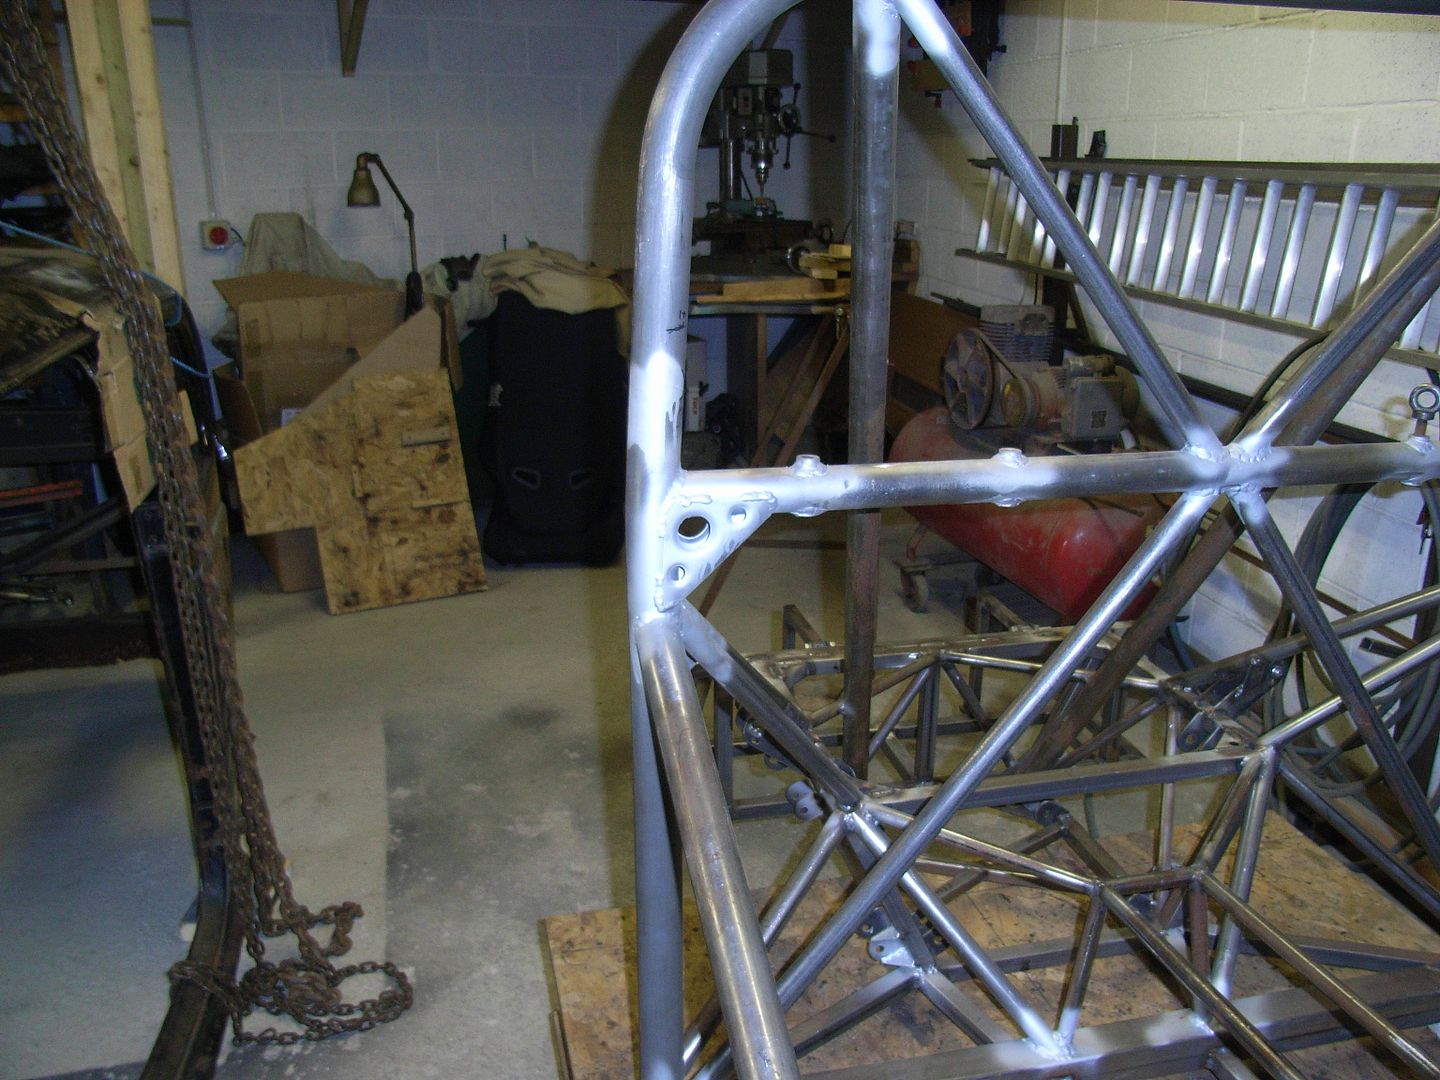 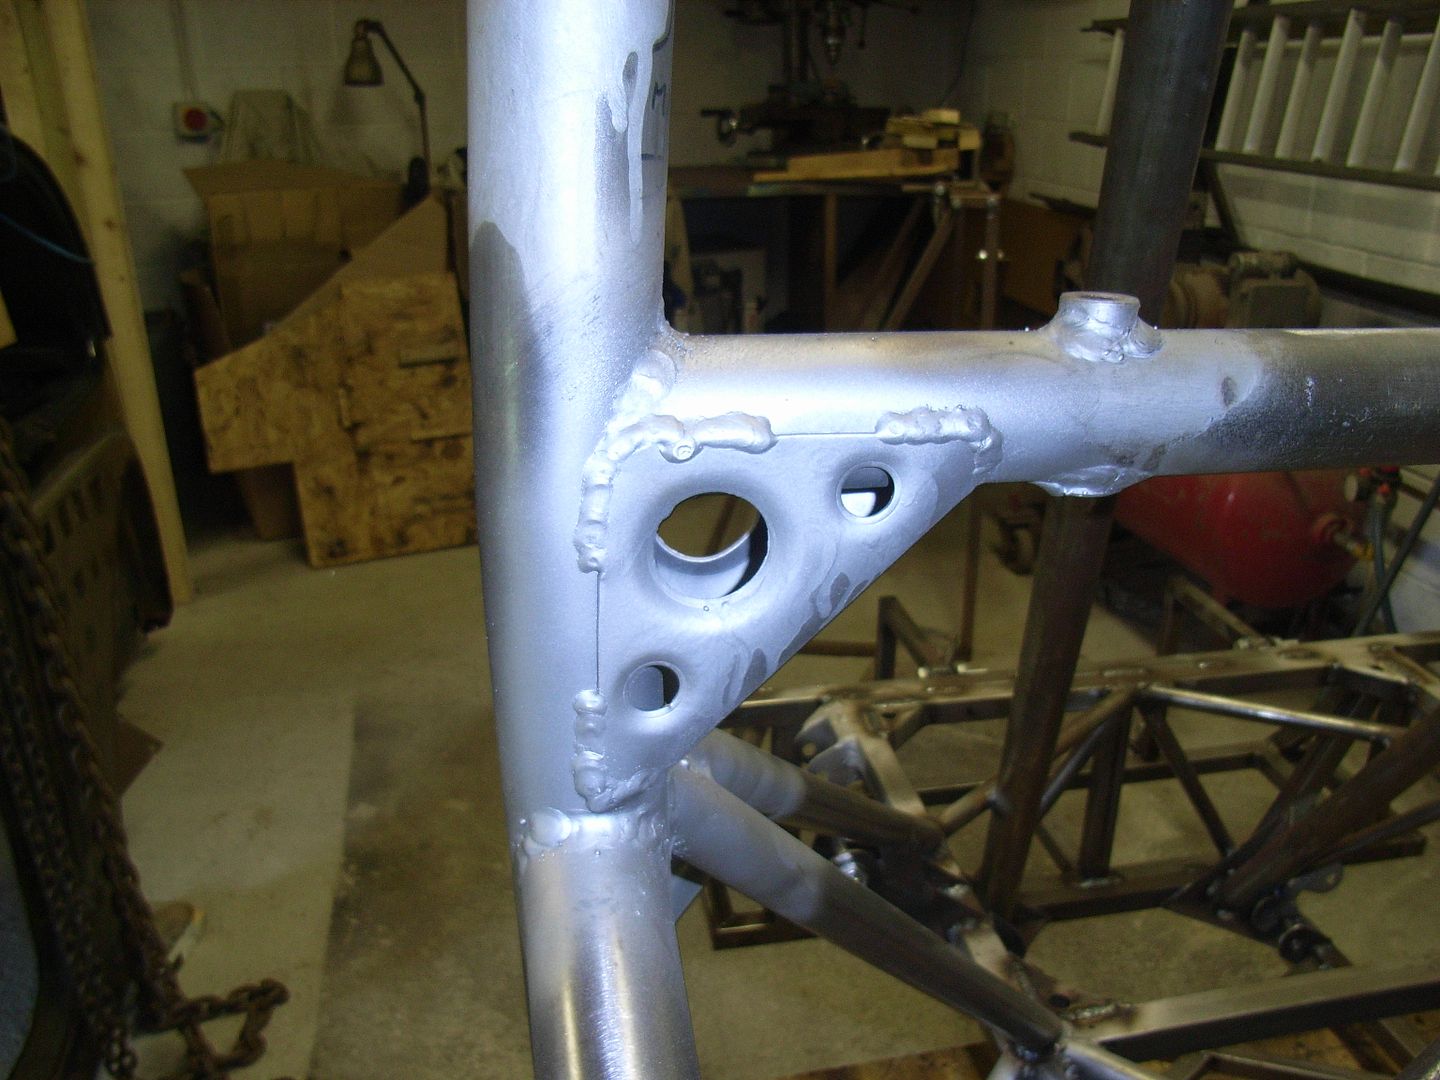 With the way I designed the chassis, a lot of the stiffness comes from the door bars down. The upper bits a really to prevent me being squashed in a crash. Whilst the main hoop, the section over the top of the driver / passenger are nicely cross braced, the same cant be said for the screen area. Without severely gettign in the way of the screen its not possible to cross brace so decided to make a couple of over the top gussets..... plus i like the look of swaged panels,so these may be a significant feature of the cars interior... 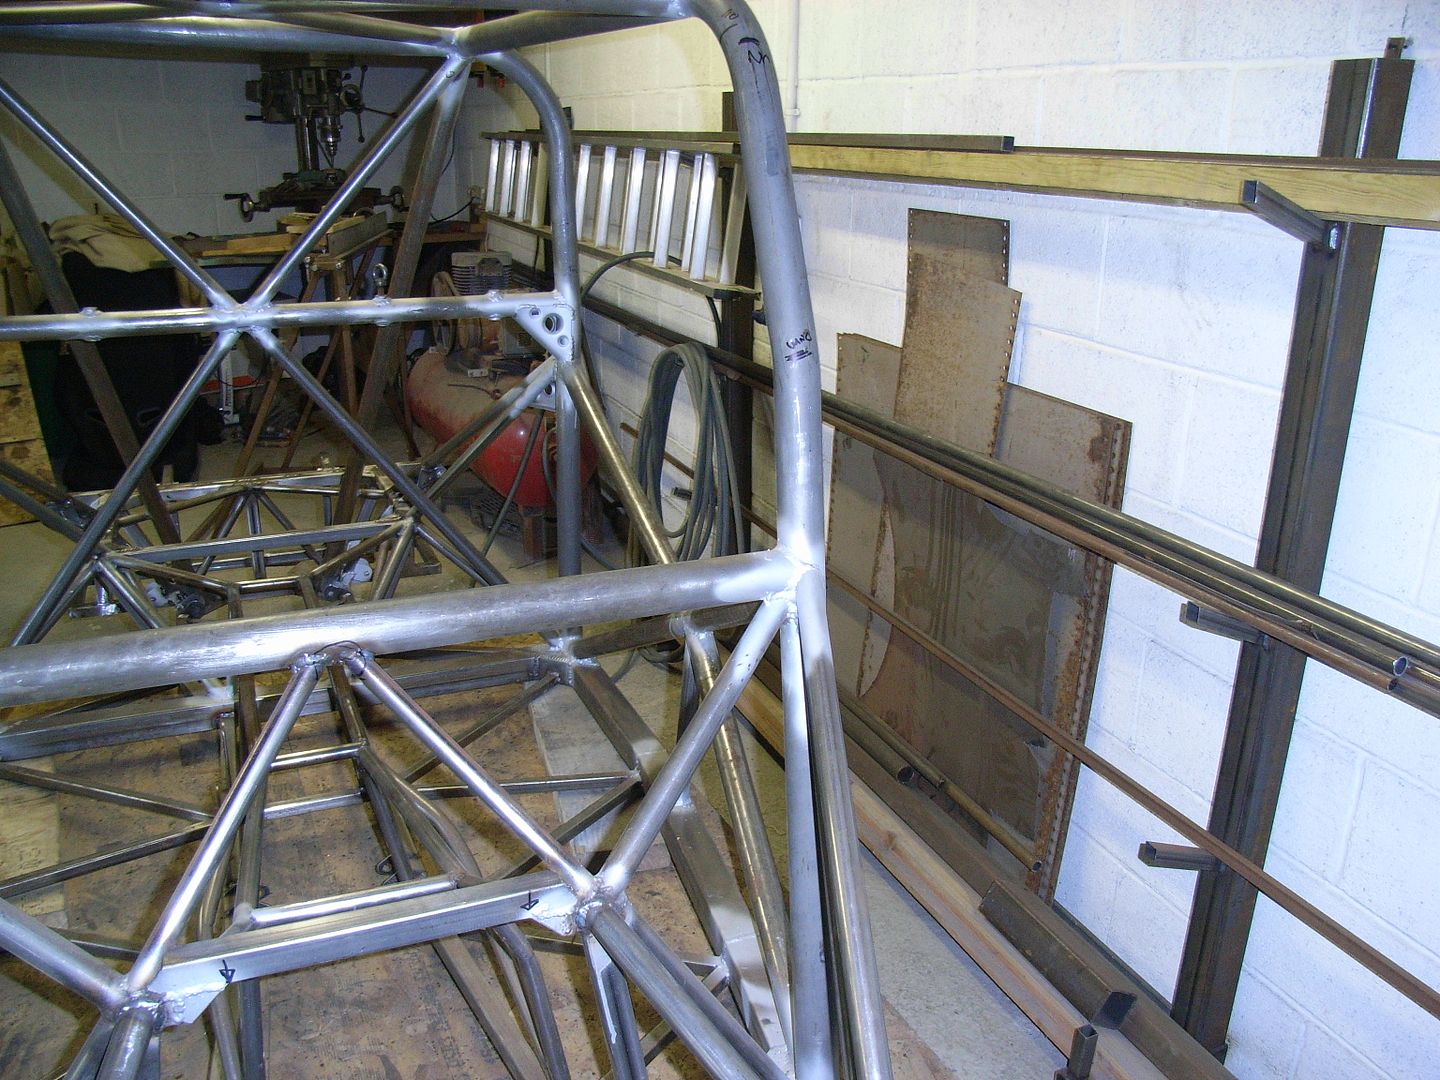 Card Template 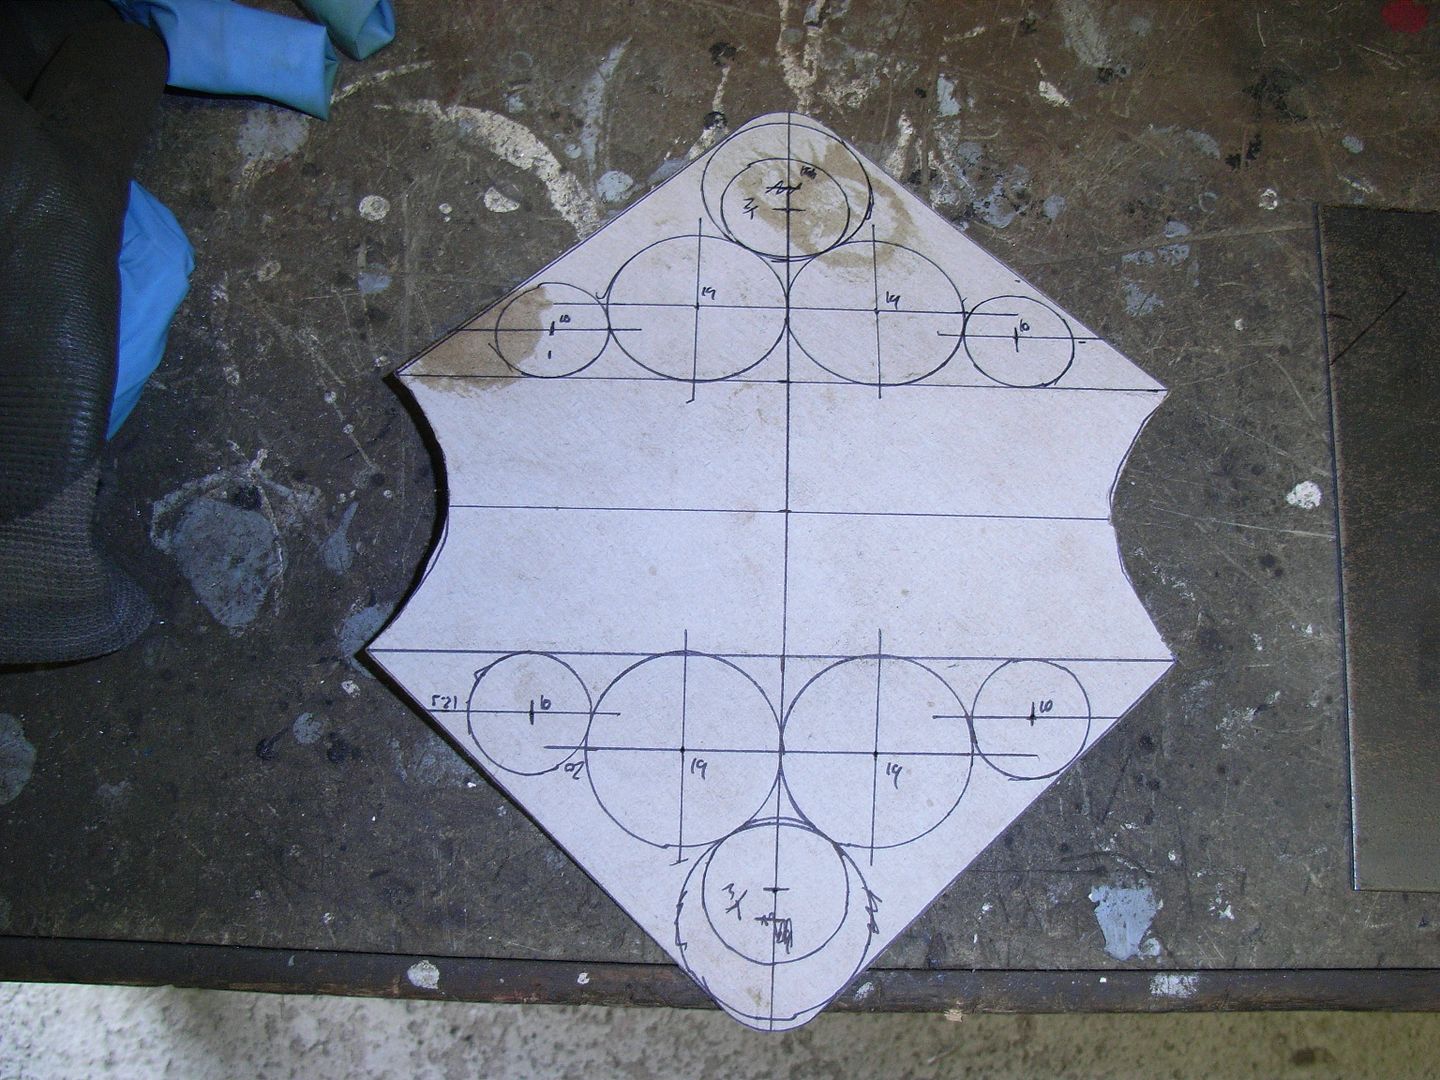 Trimmed steel plate 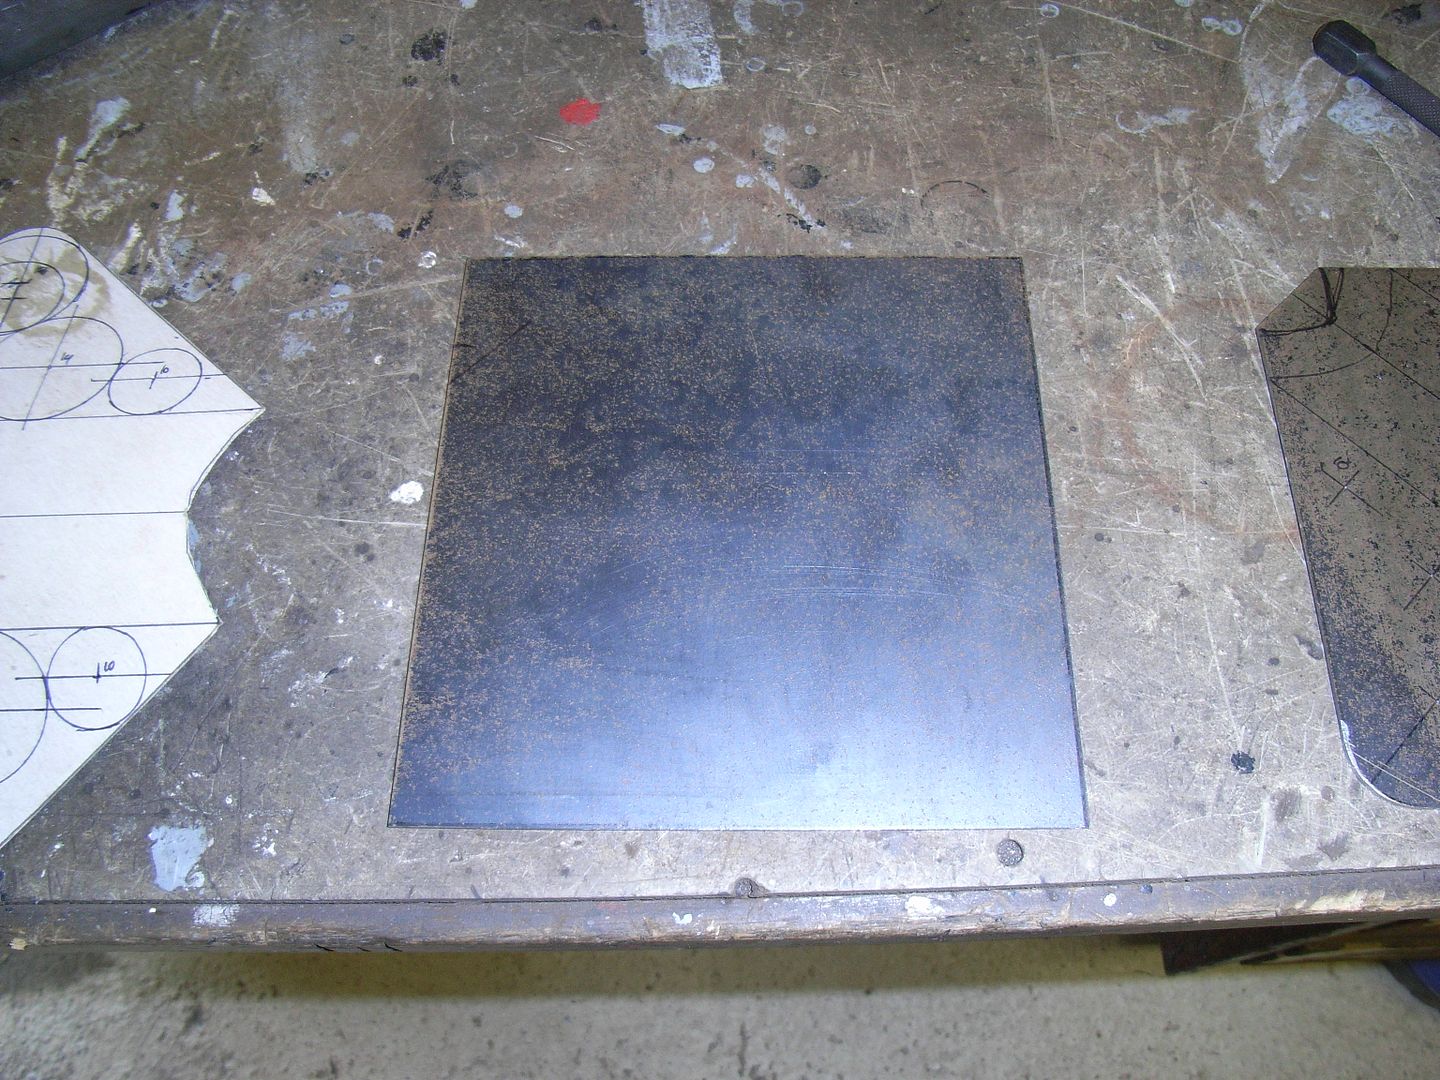 Marked up plate 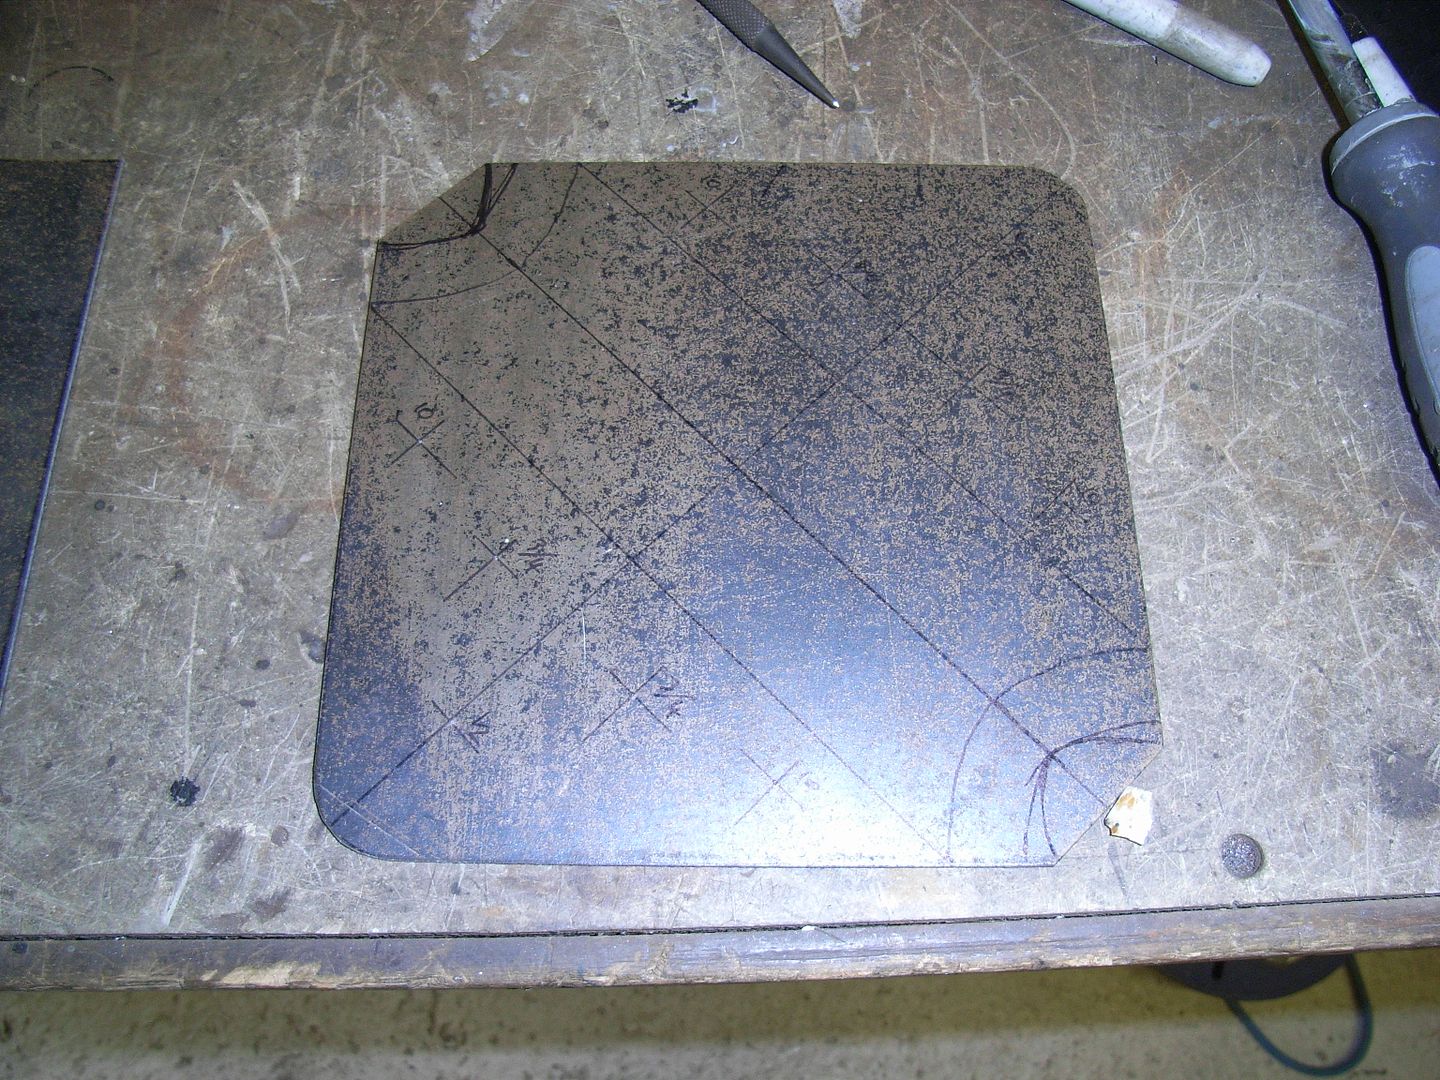 Holes cut 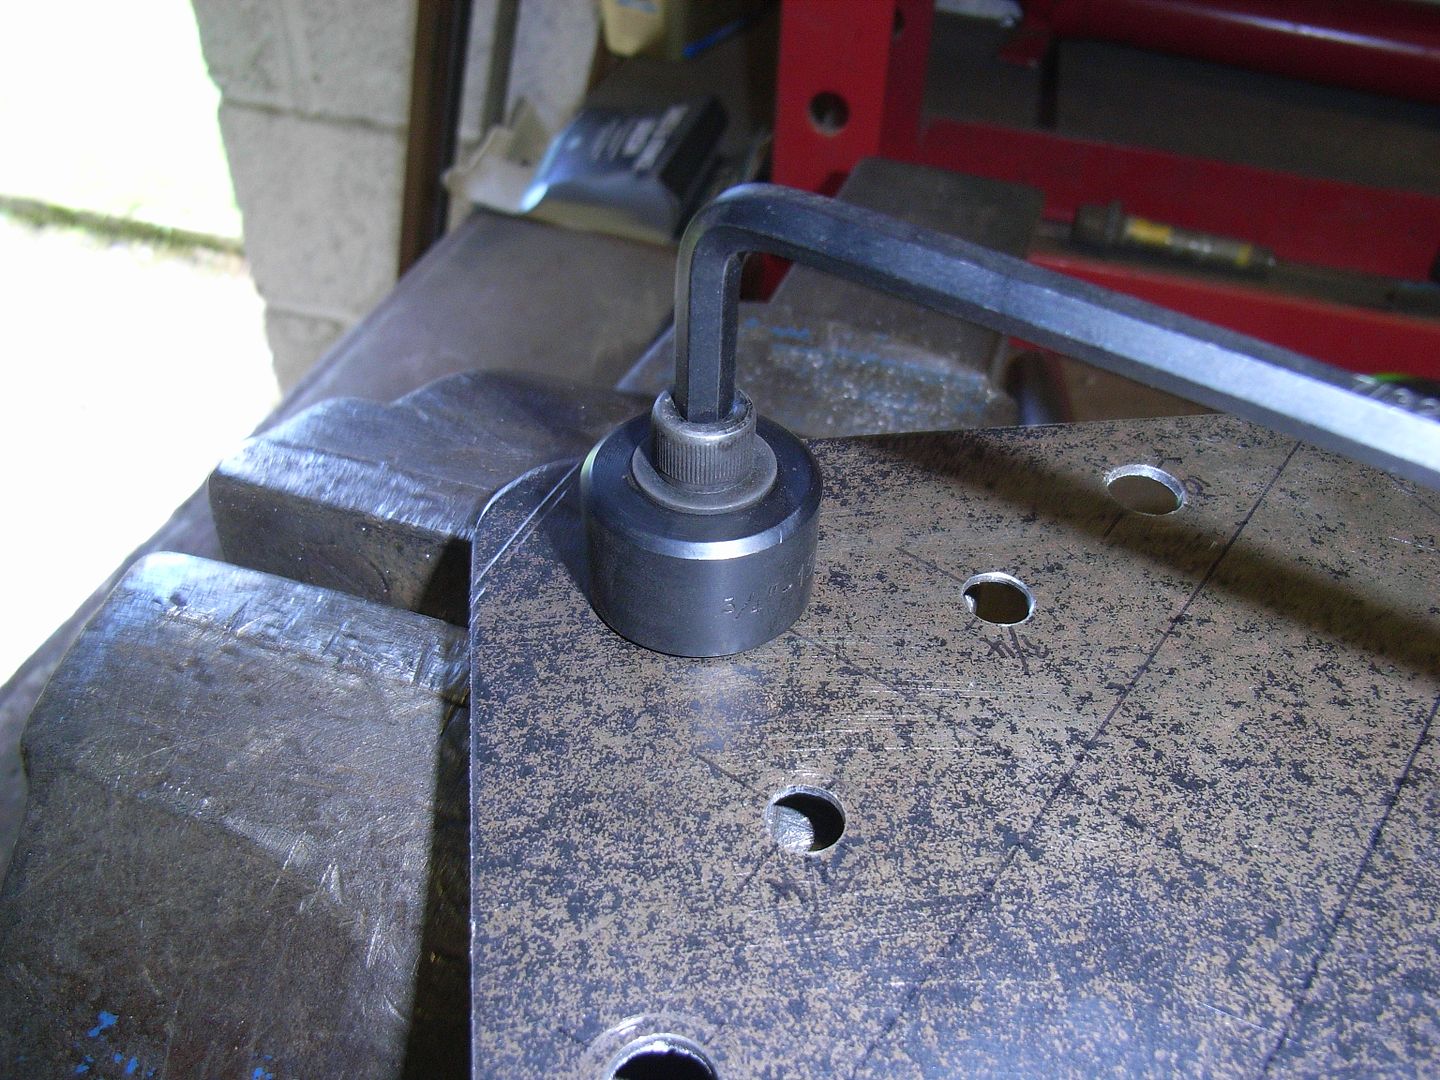 More holes cut 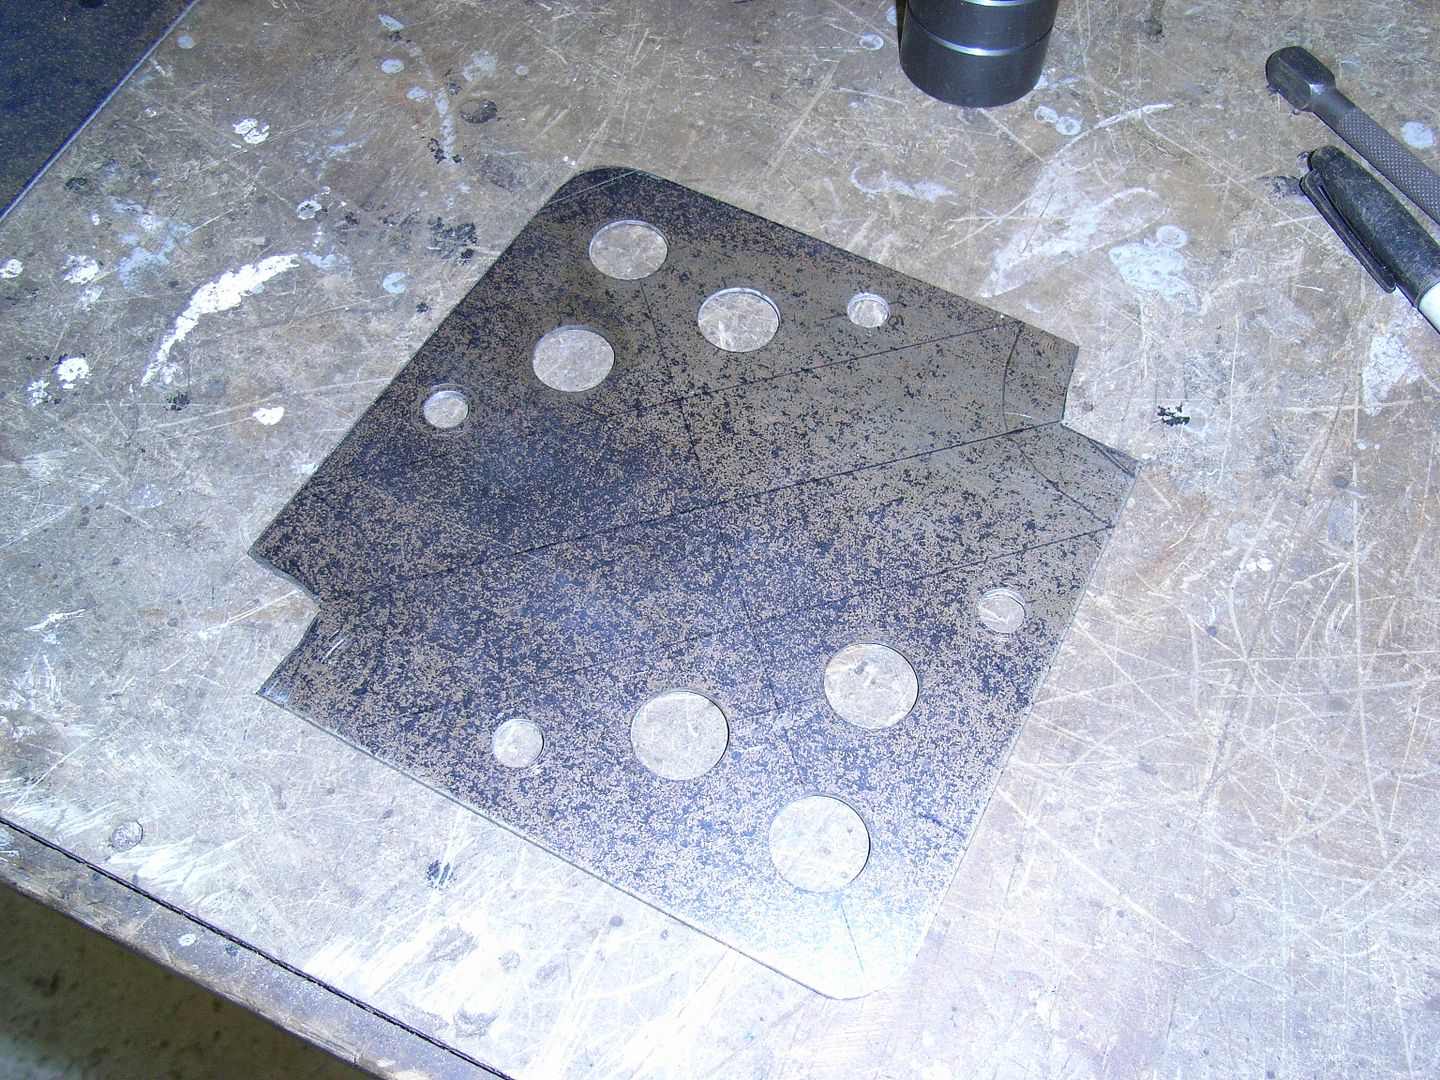 I'm going to make an adapter for the press for the cutting tools as it can be a nightmare to get them through sometimes. Seems to be no rhyme or reason as to why as one hole will be hard to cut and the next with the same cutter goes through easily Swage swage swage 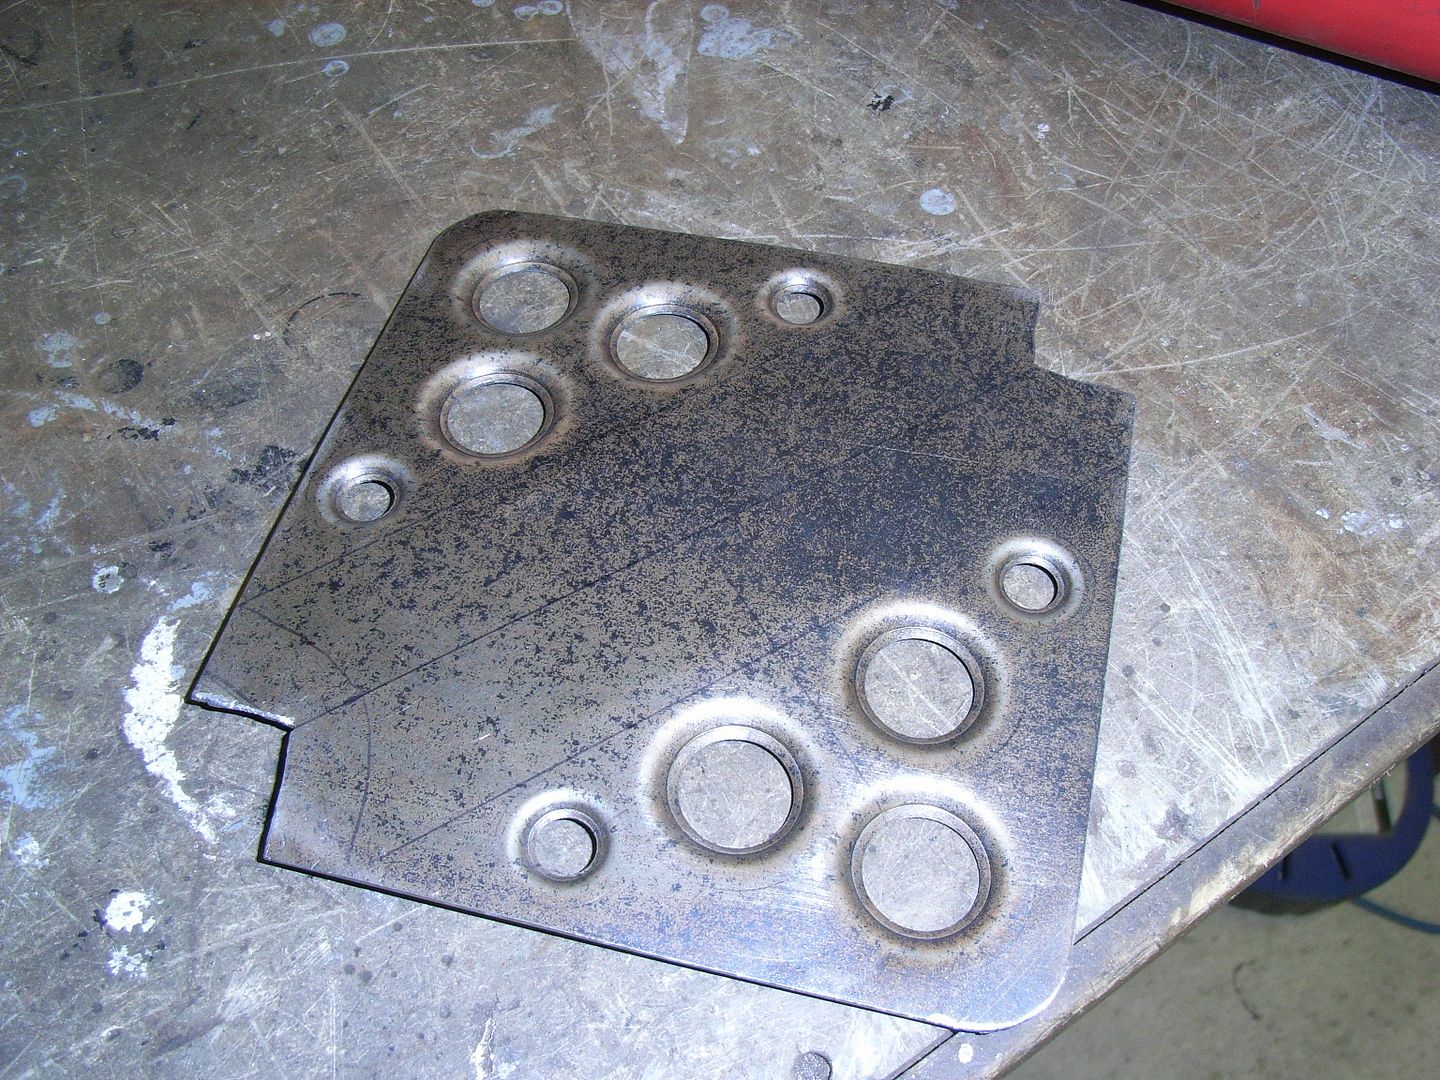 Shape 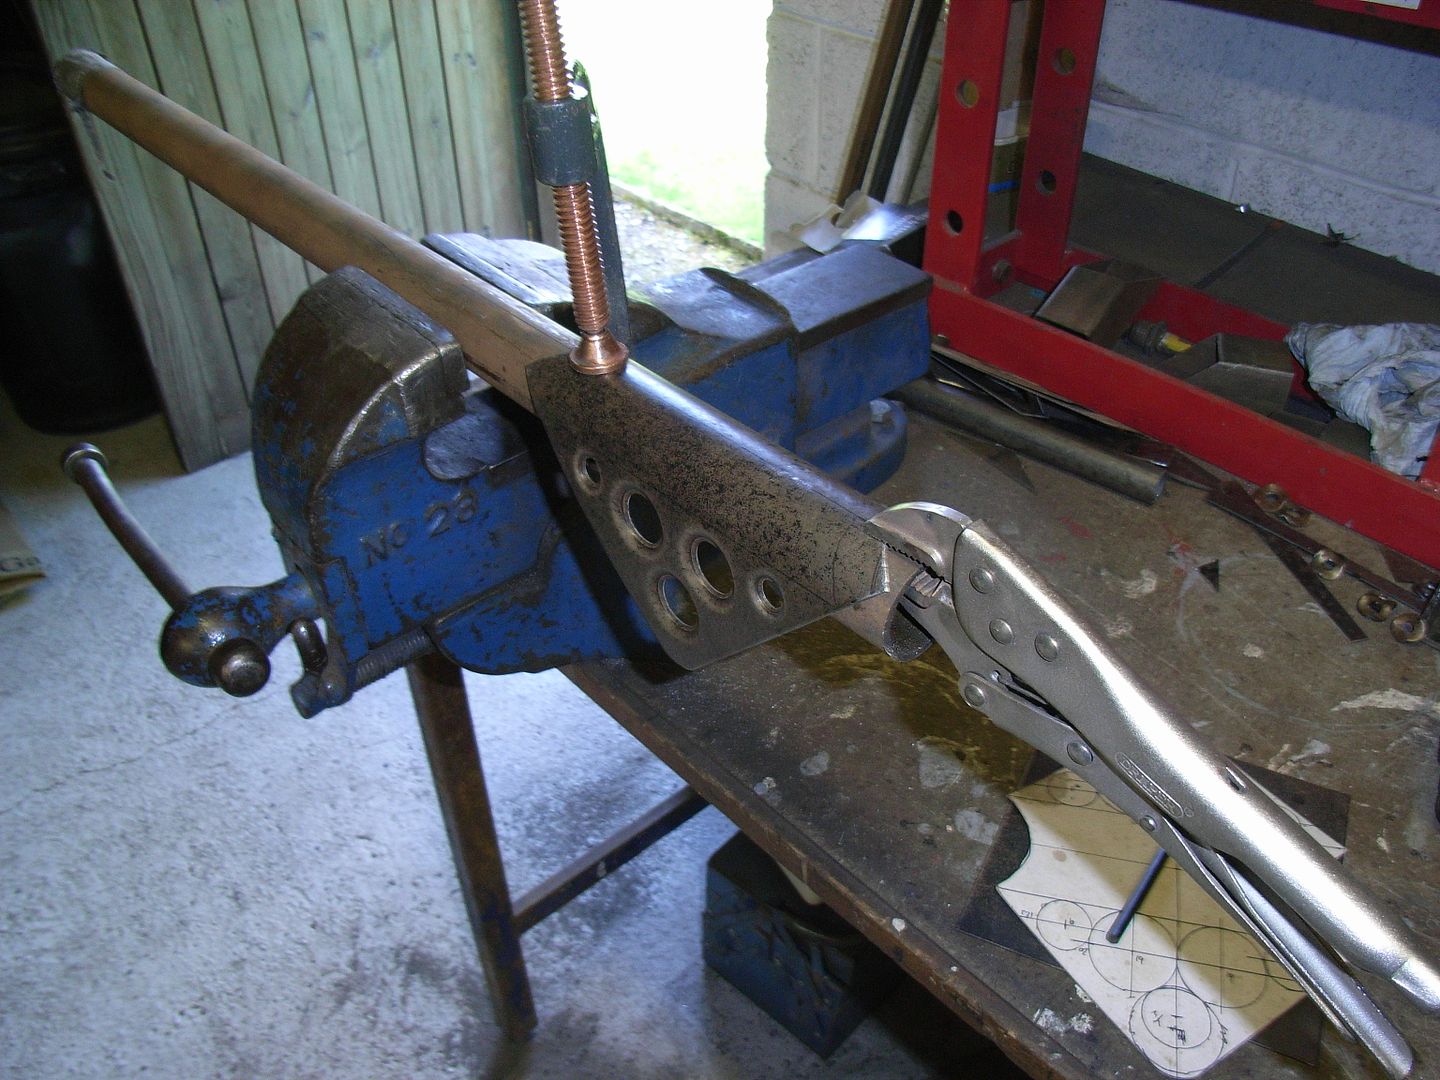 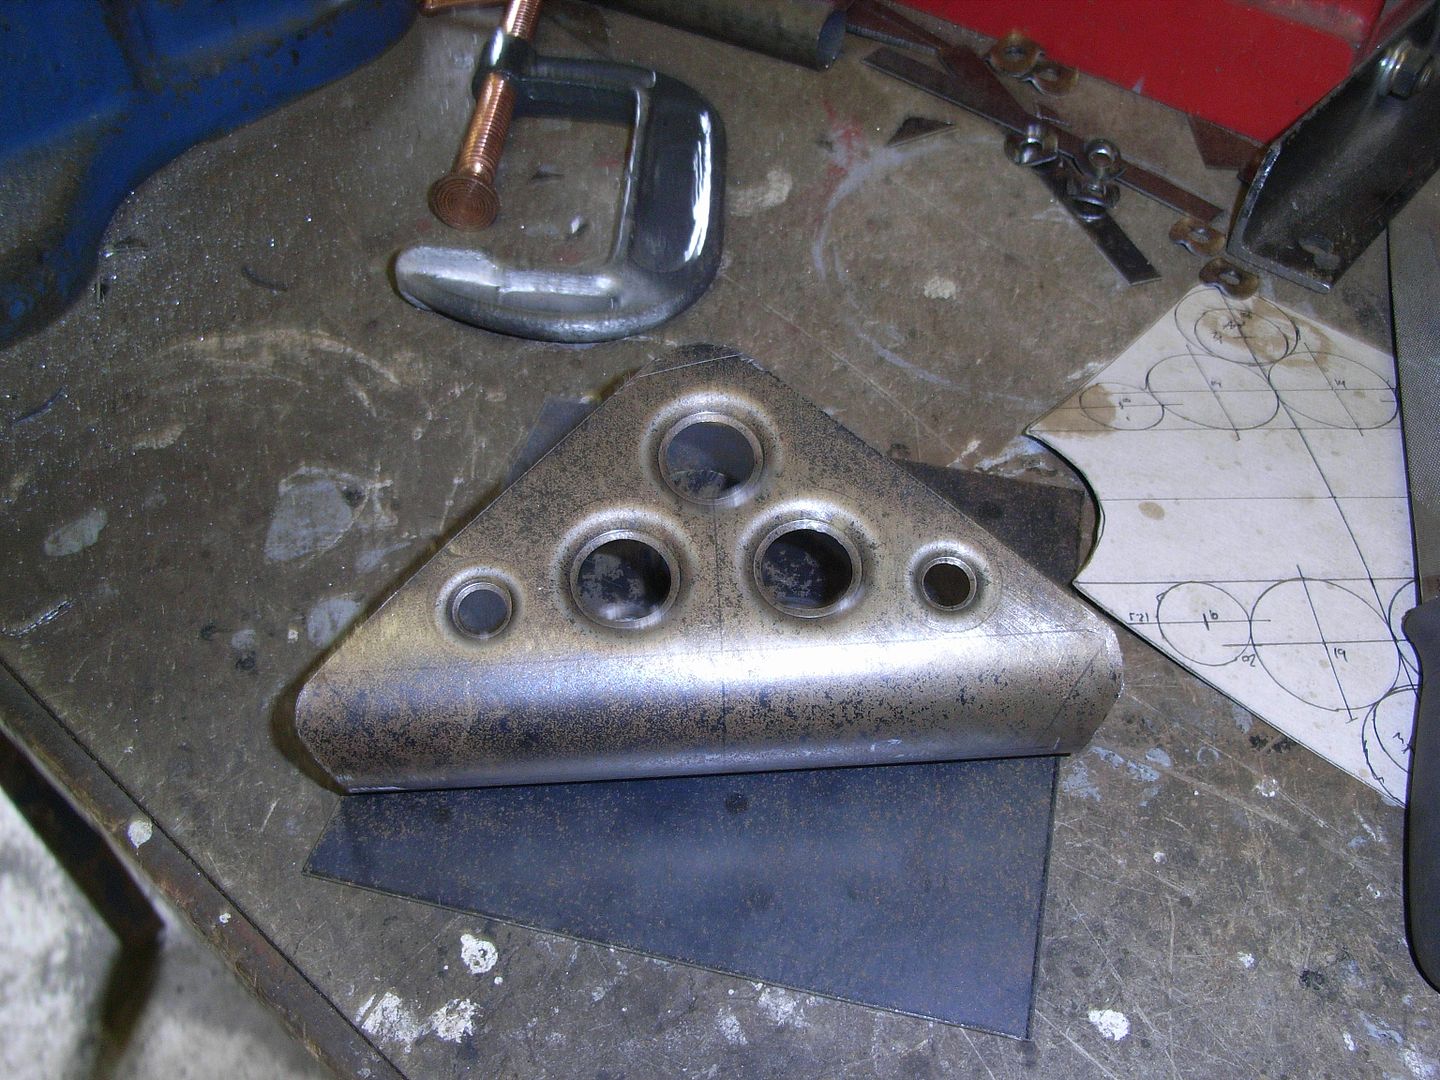 Tack in place 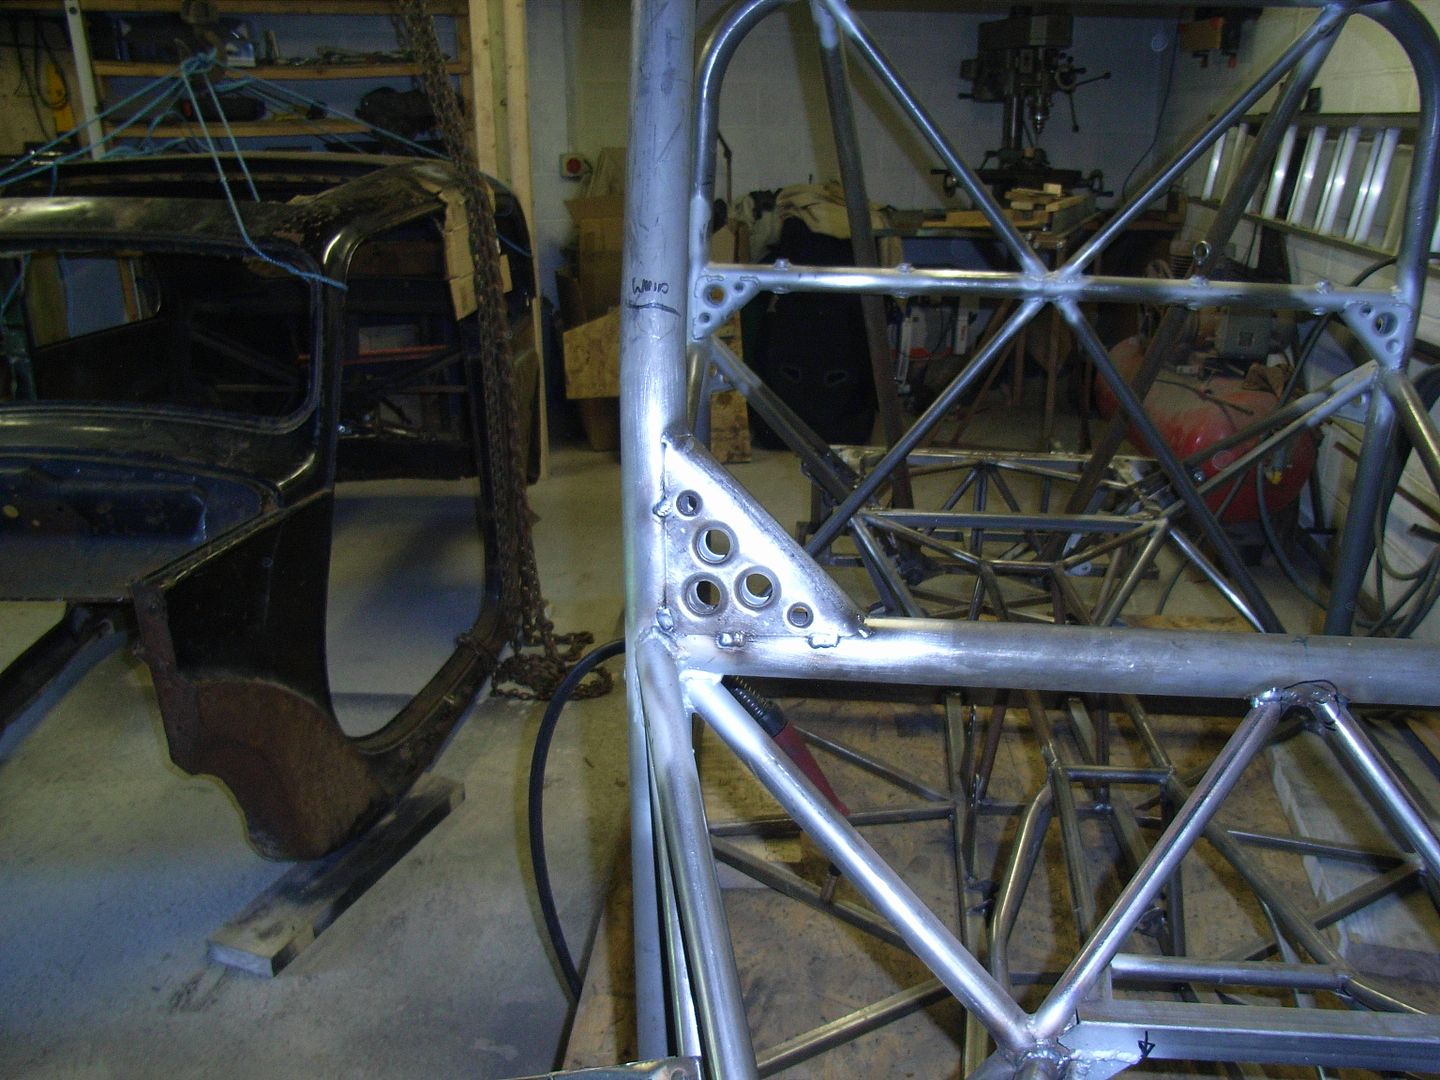 Rinse and repeat 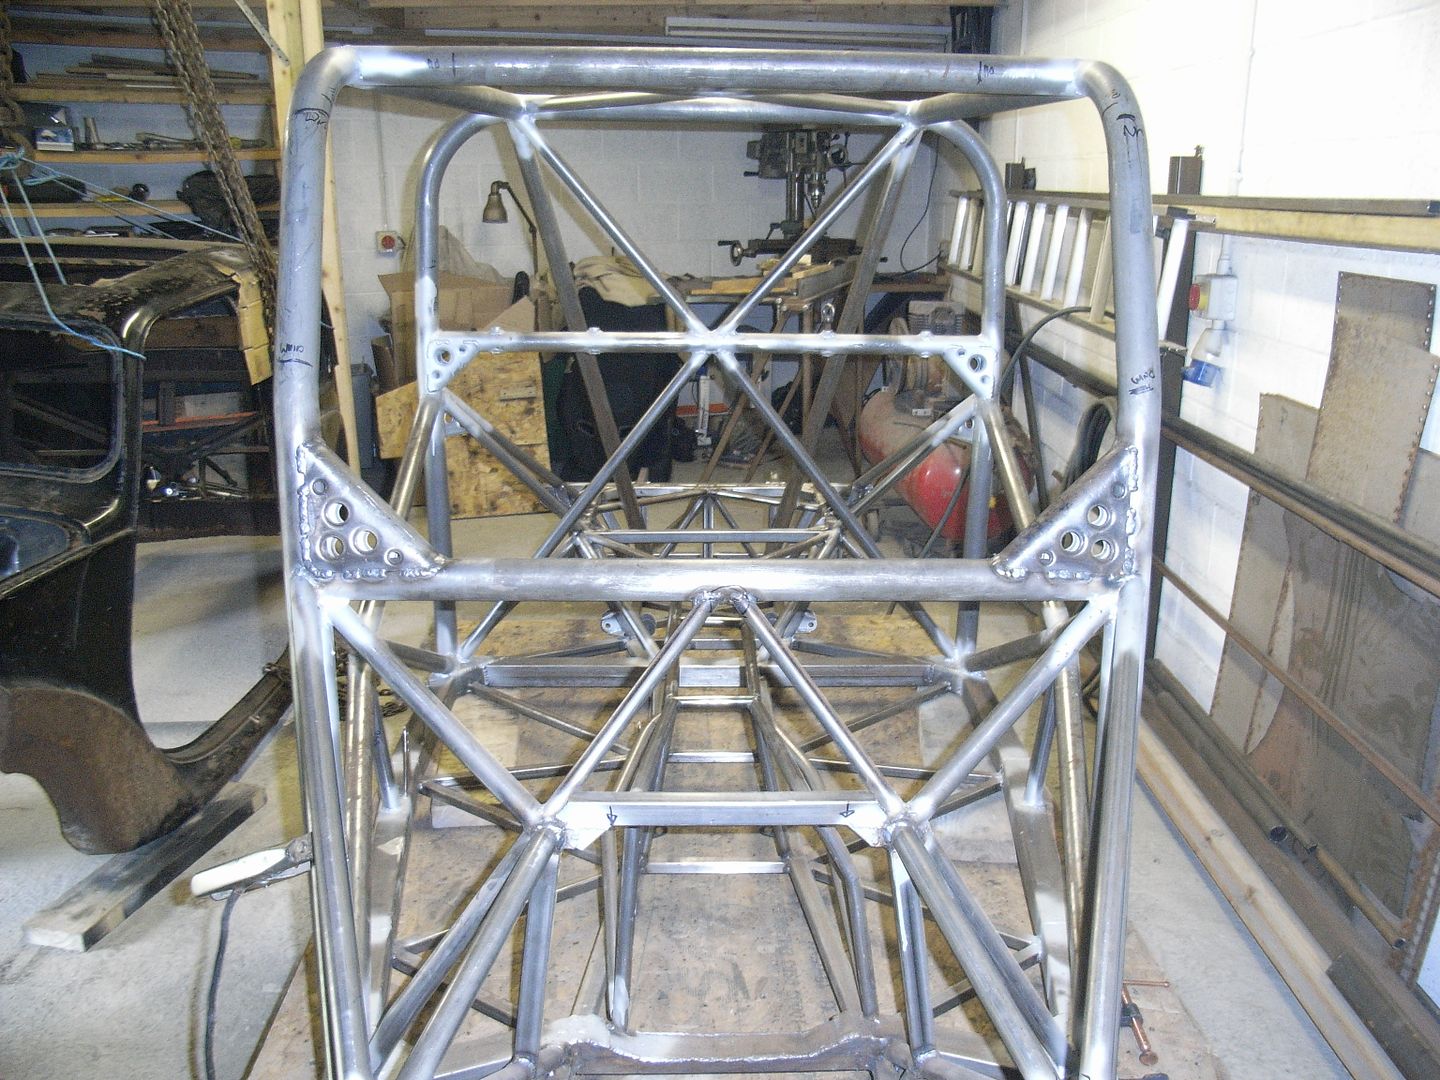 The chassis pretty much just needs final welding now...... but i like making gussets.... so might make a few more to go on it....... We'll see.... Might take the bathroom scales out tomorrow to measure the weight of the chassis. |
| |
|
|
|
|
|
Jun 10, 2014 19:37:41 GMT
|
|
great progress on the tube work.
so those little dies just punch holes in the sheet from pressure alone, no circular cutting motion? i don't mean this as a solution for you, but i'm assuming if an M10 bolt can do it, your vice in the background would be more than capable ? (i've got a hefty record no.24)
i was gonna use hole saw in the pillar drill, but this looks a bit quicker/neater/repeatable ? already got hole flaring set though
|
| |
|
|
jonomisfit
Club Retro Rides Member
Posts: 1,787
Club RR Member Number: 49
|
|
Jun 10, 2014 19:59:53 GMT
|
|
When you tighten the cutters up the body doesn't rotate, the cutting face below pulls through the sheet. Its a shear cutter like scissors / guillotines etc. These are called "Q-Max cutters" from frost, but there's others out there. If you want very good round holes that are accurate, these are the ones to use. My experience of hole saws inst that great for cutting thin sheet. The cutters i have are separate from the dimple dies, but you can get a combined cutter / dimple die.
The only difficulty on my cutters is most have a 5/16" bolt or something on them (which is fine from a strength point of view) but the hex wrench is quite small so feels like its about to snap!
You can use the vice, but the bolt is needed to keep it all centered. I'm going to turn up a bit of back stock with a hole bored in it to let the bolt pass up the centre. I can then use the vice or the press. The press takes less effort to work so will prob use that as i'm lazy :-)
Holes cut pretty quickly < 30 seconds however you need to drill the pilot hole first.
|
| |
|
|
|
|
|
Jun 10, 2014 20:30:43 GMT
|
nice one thanks  agree on the hole saw its neat enough but tends to walk around and end up with 1mm bigger hole that the saw itself. if its just a cosmetic hole like gussets that would be ok, but all in all seems a very aggressive high energy way to get a hole in something |
| |
|
|
jonomisfit
Club Retro Rides Member
Posts: 1,787
Club RR Member Number: 49
|
|
Jun 15, 2014 19:31:18 GMT
|
I got a little bit more work done on the morris over the week / weekend. First off gave the chassis a weight. 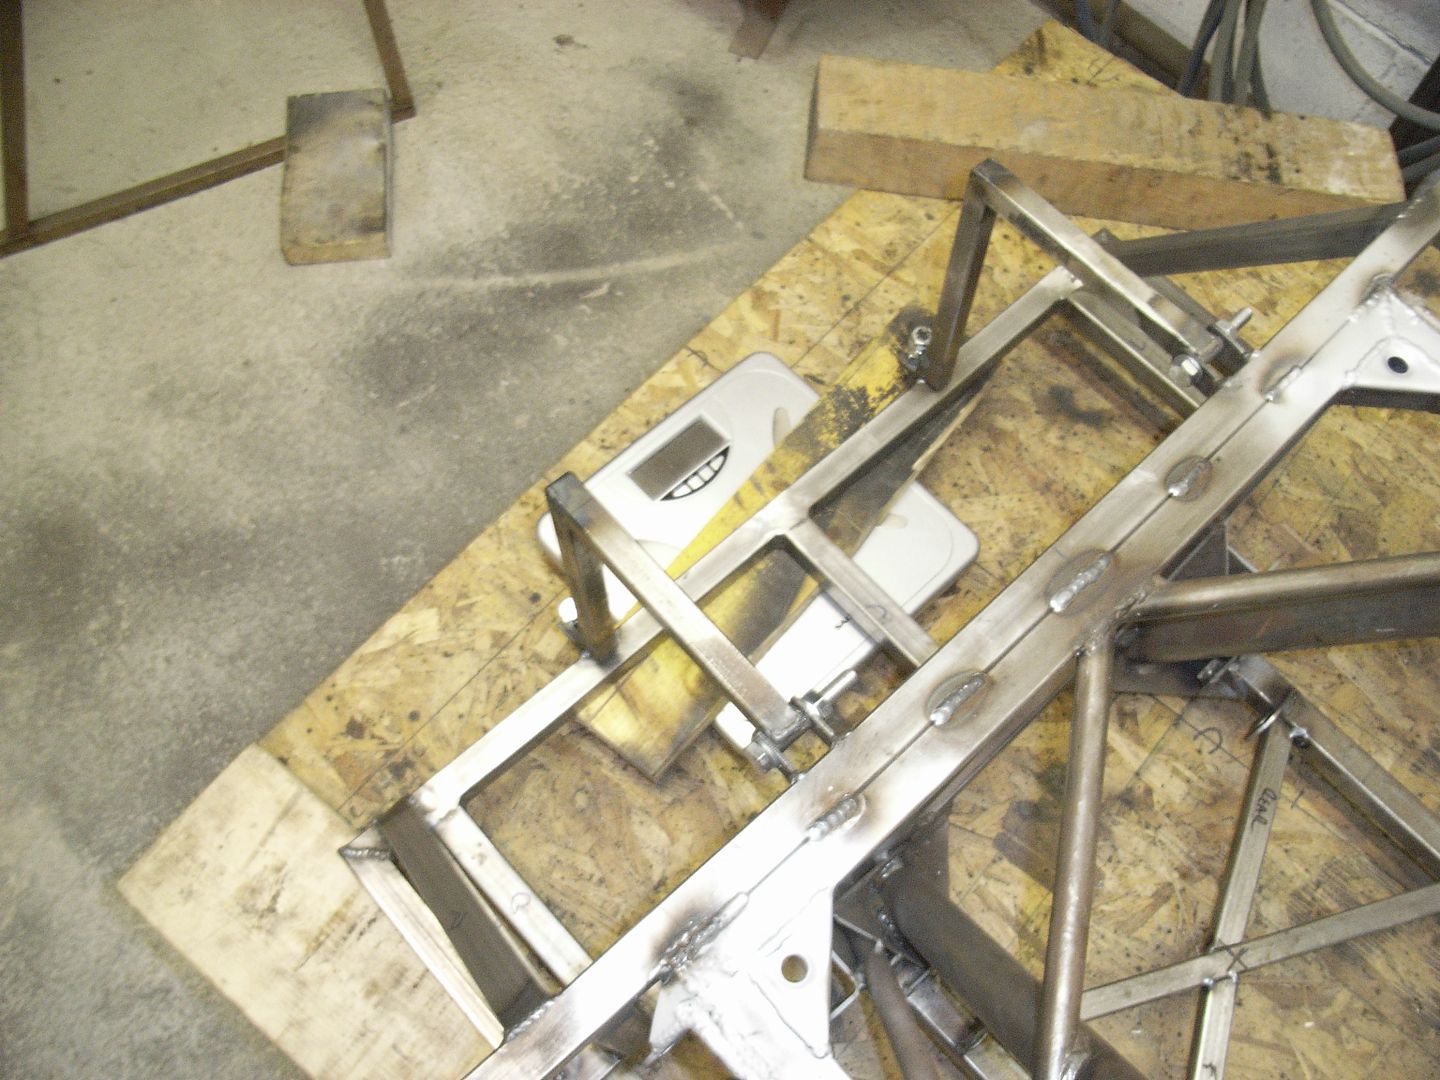 Comes out at 110kg with 66% of the mass on to the rear of the center line. Then welded the entire chassis. This took something like 8 hrs in total to weld and clean up. 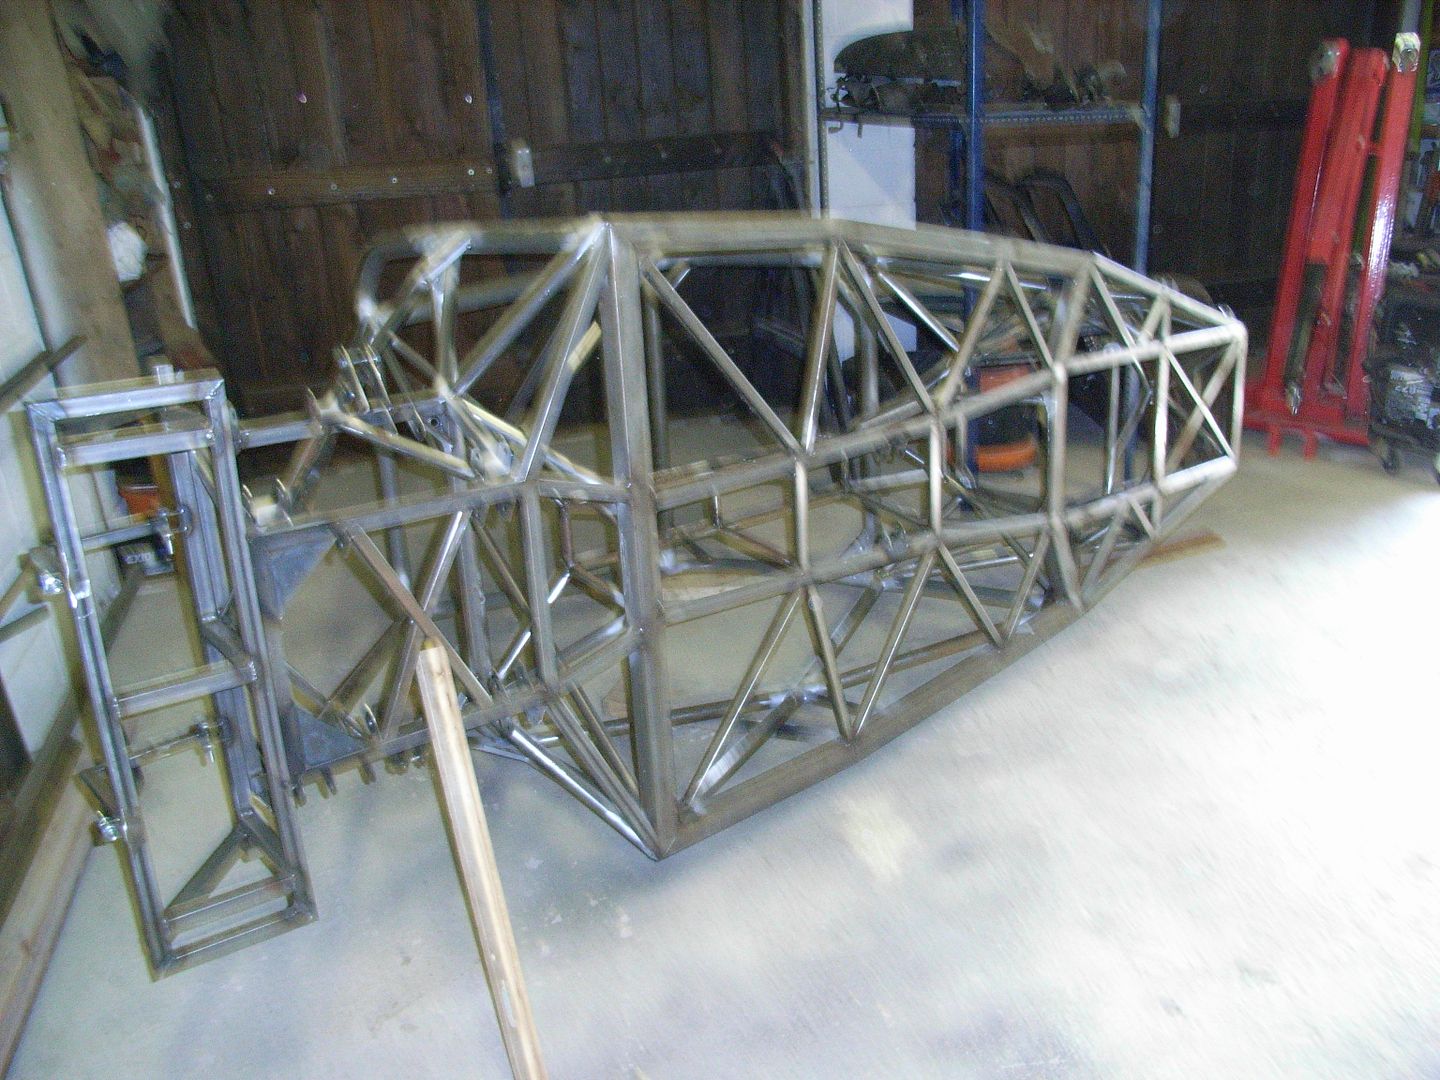 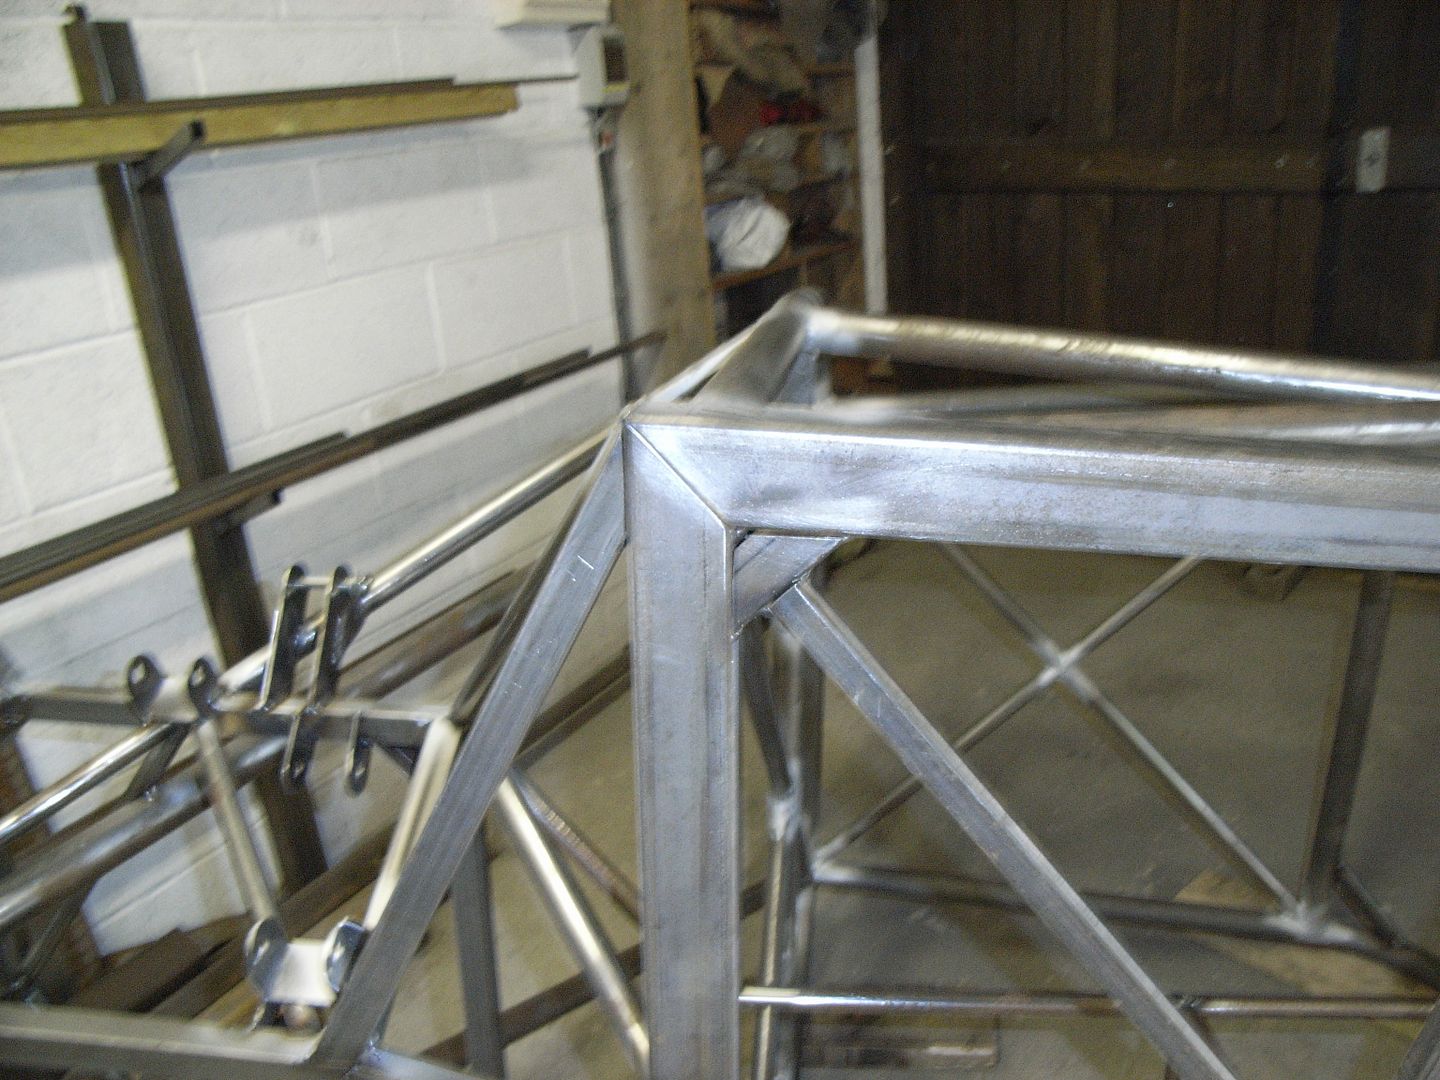 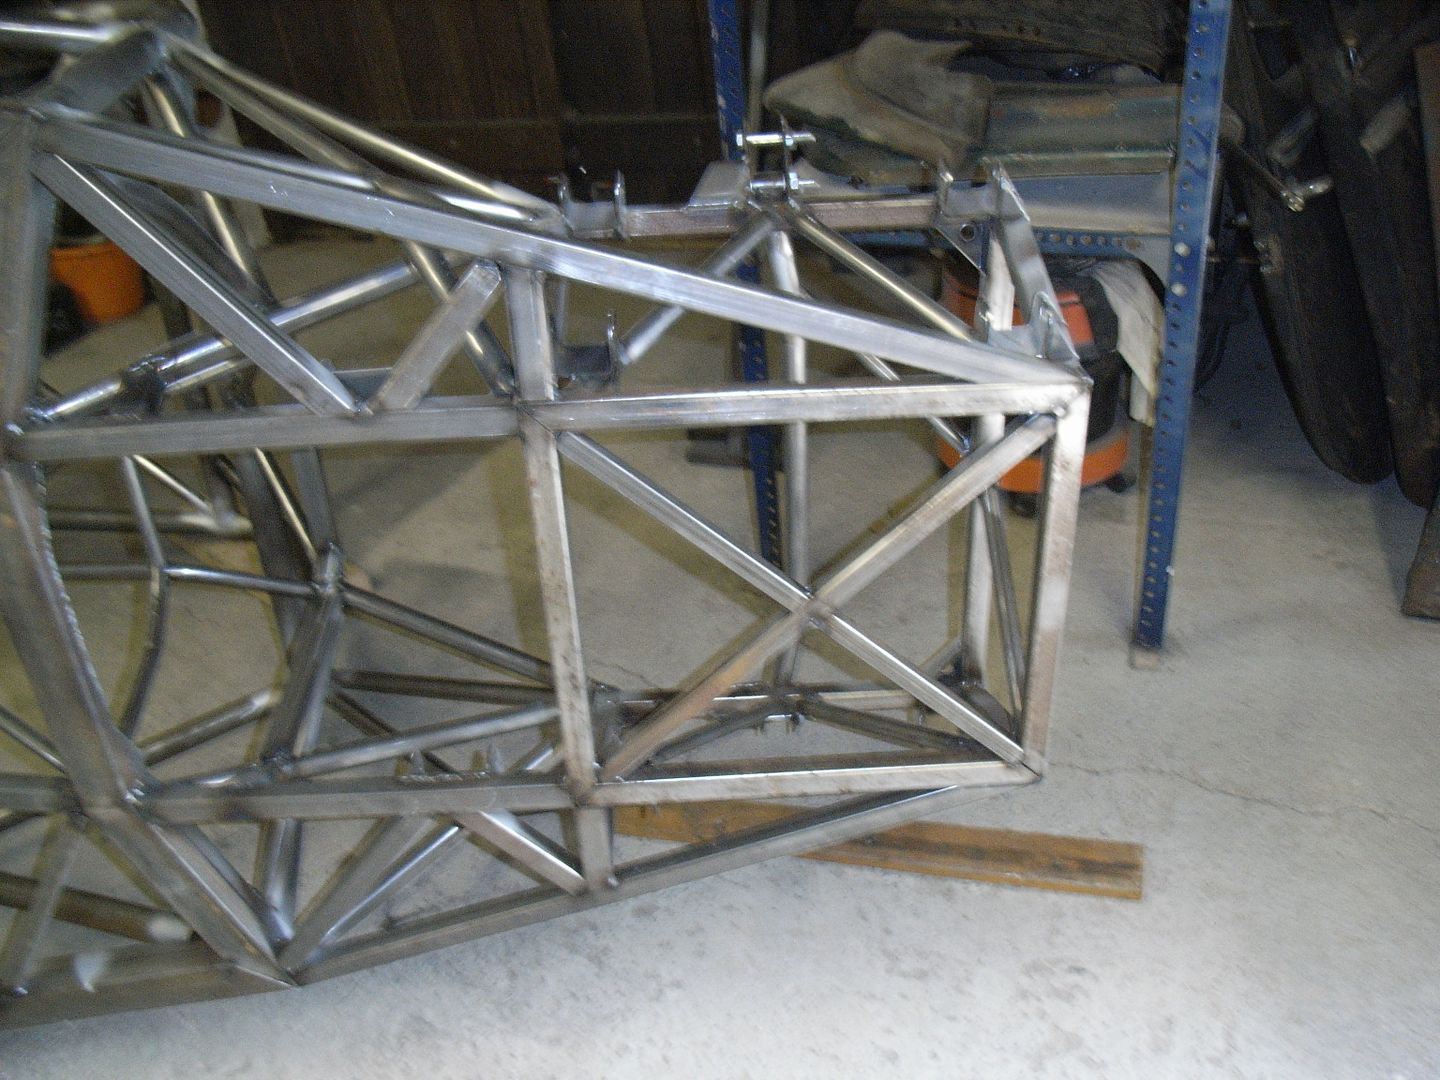 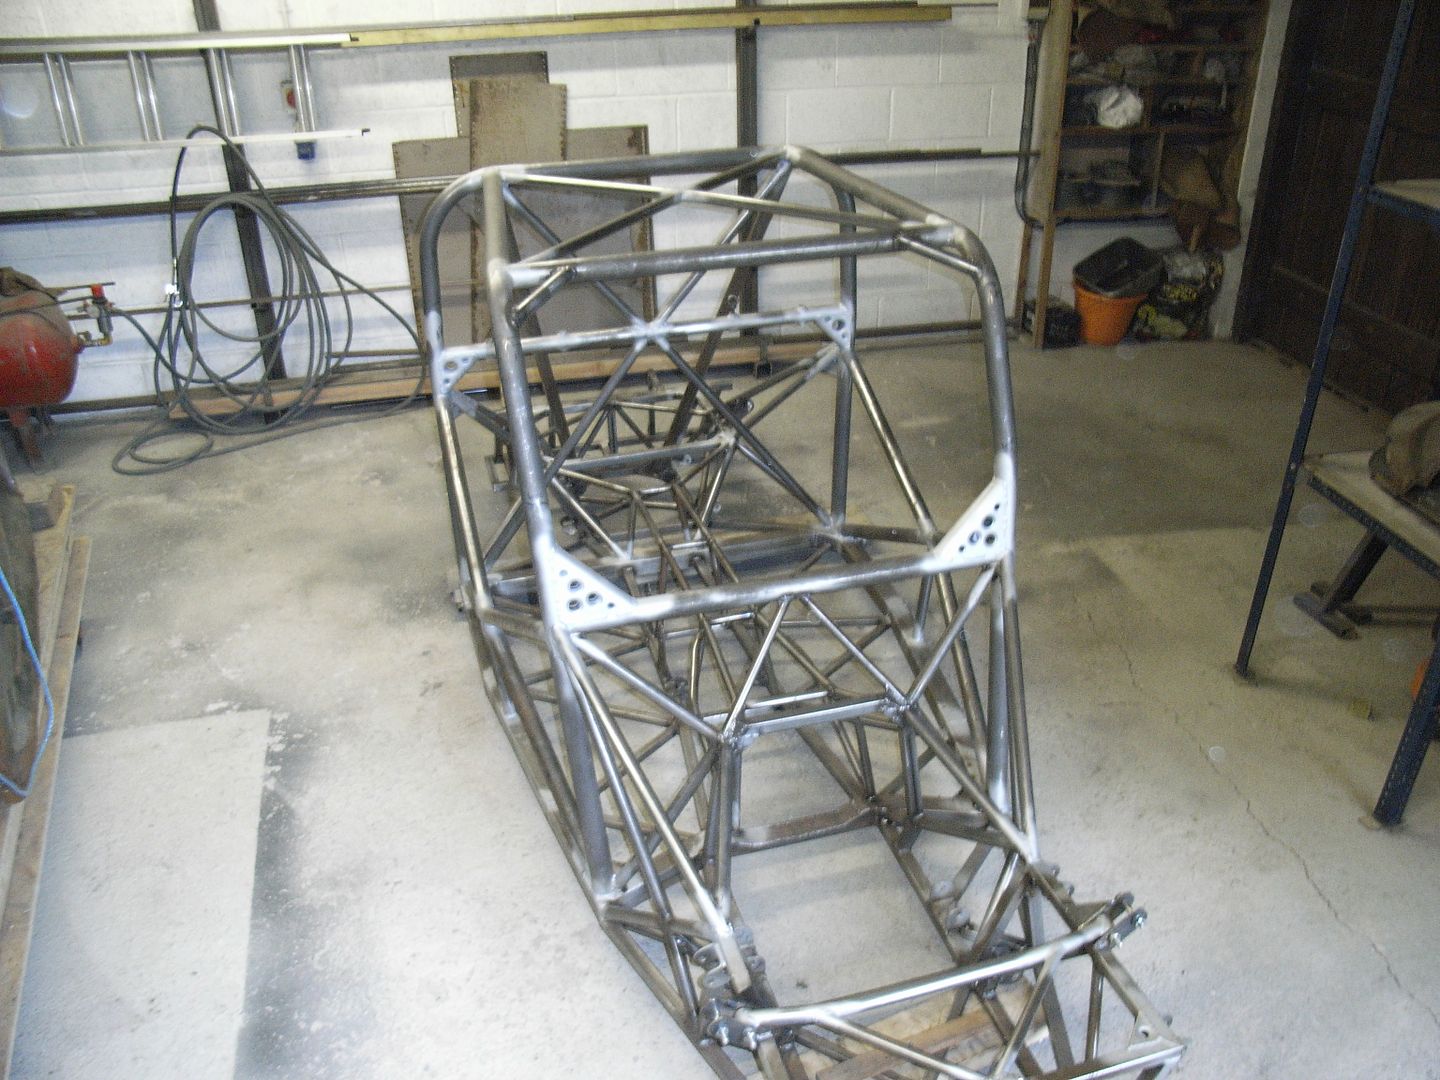 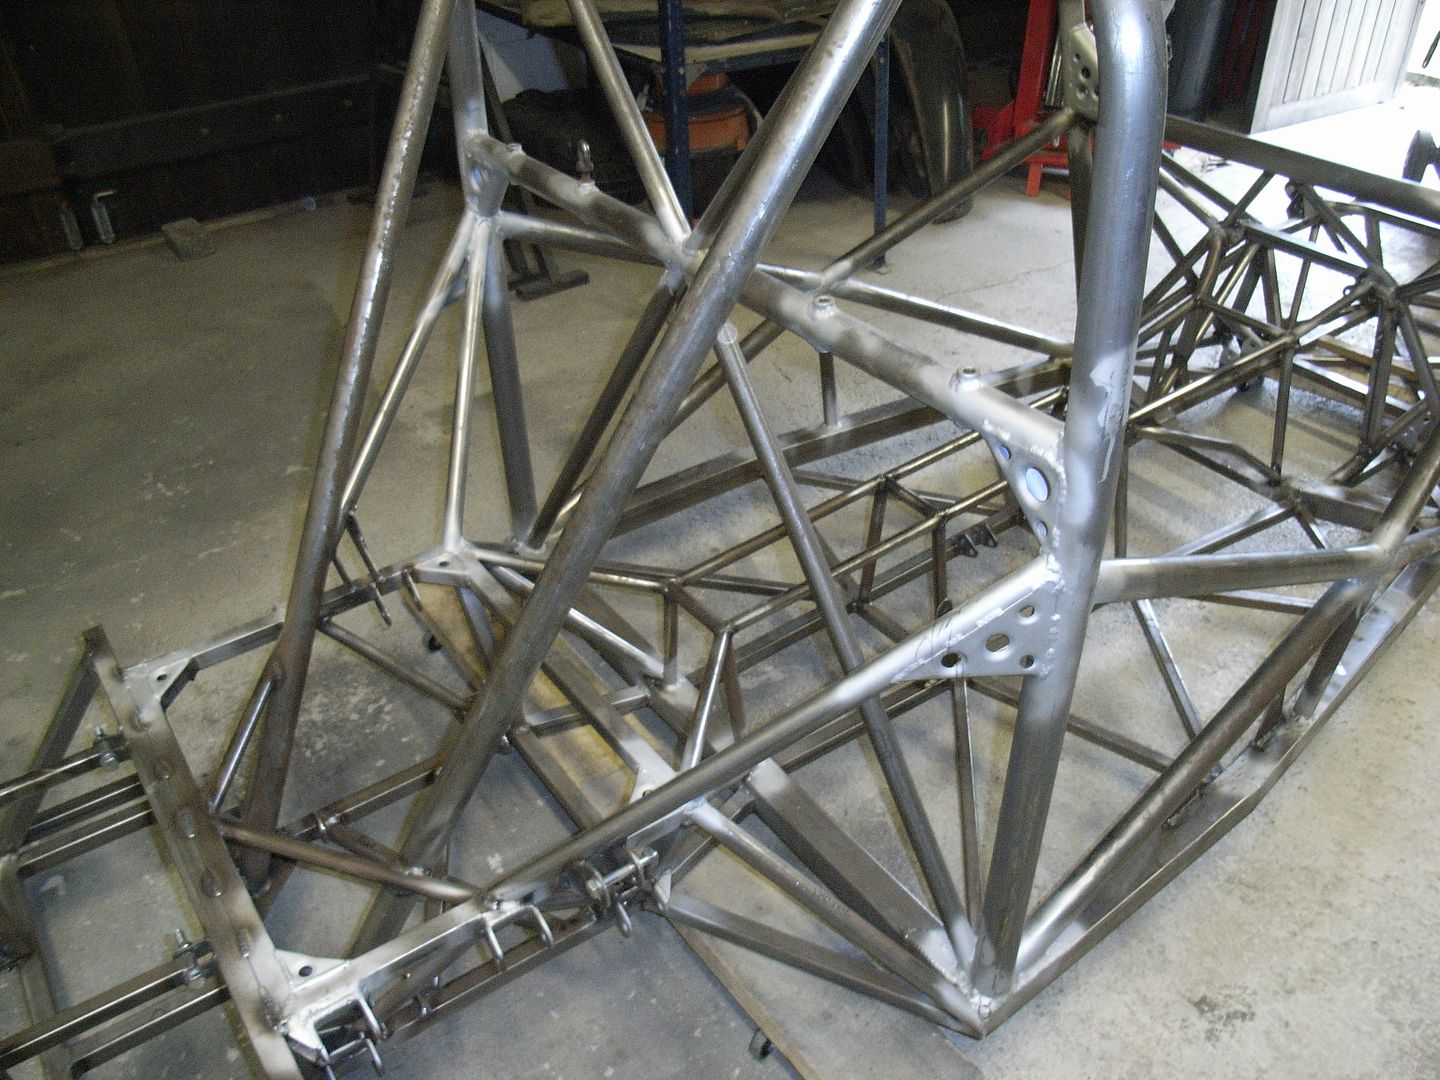 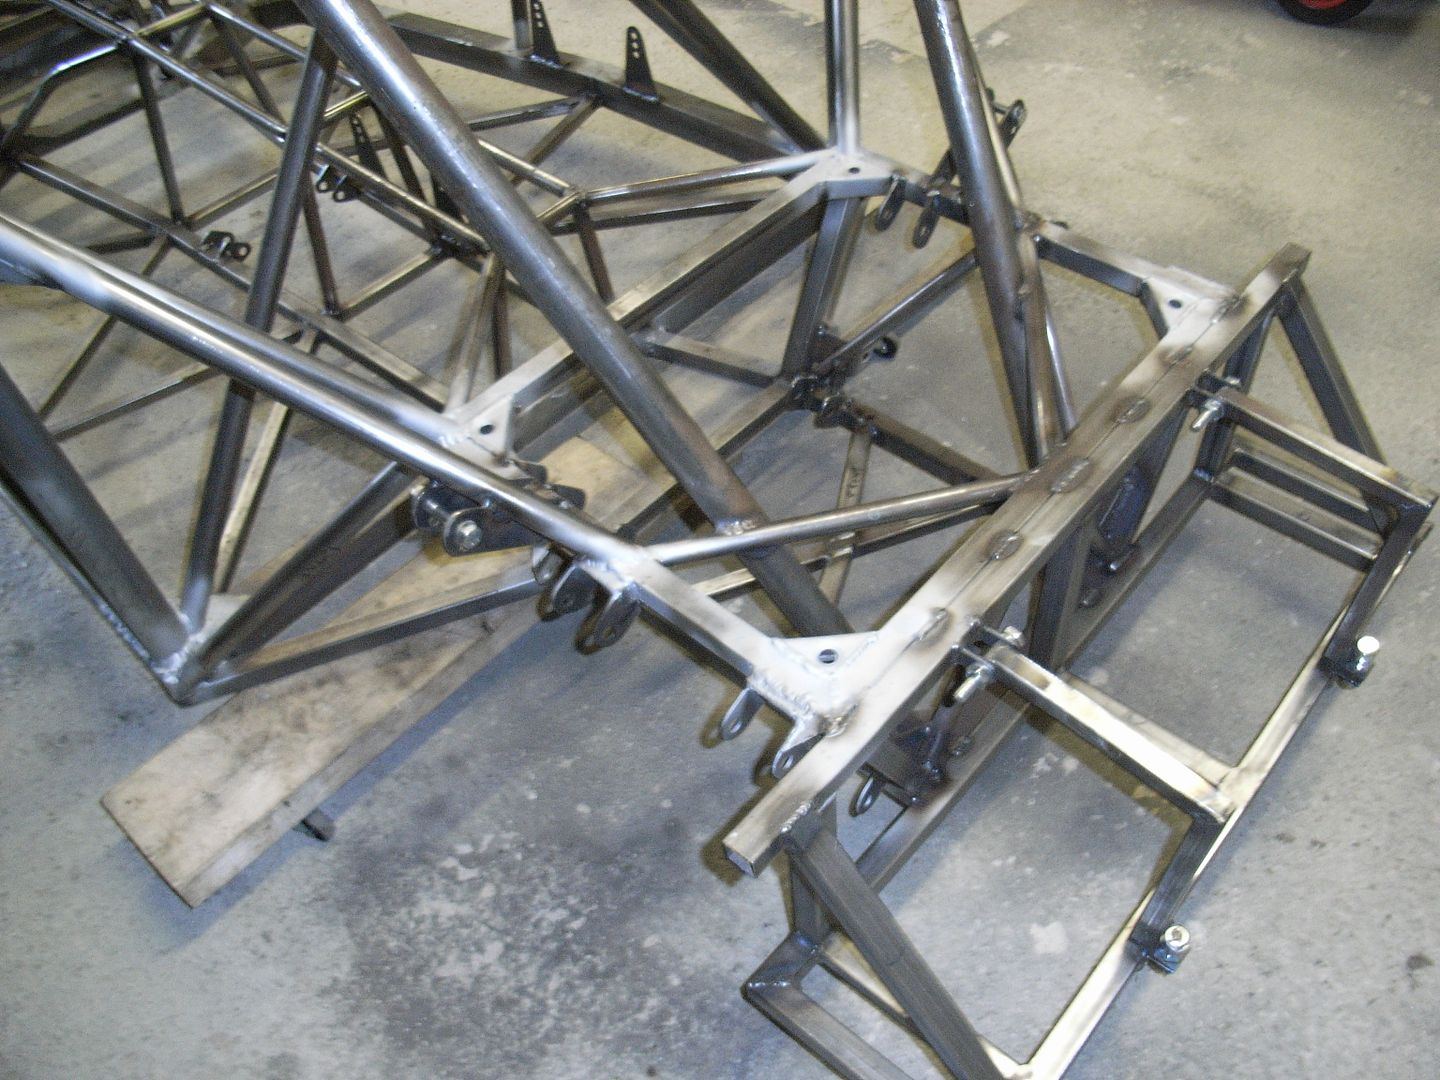 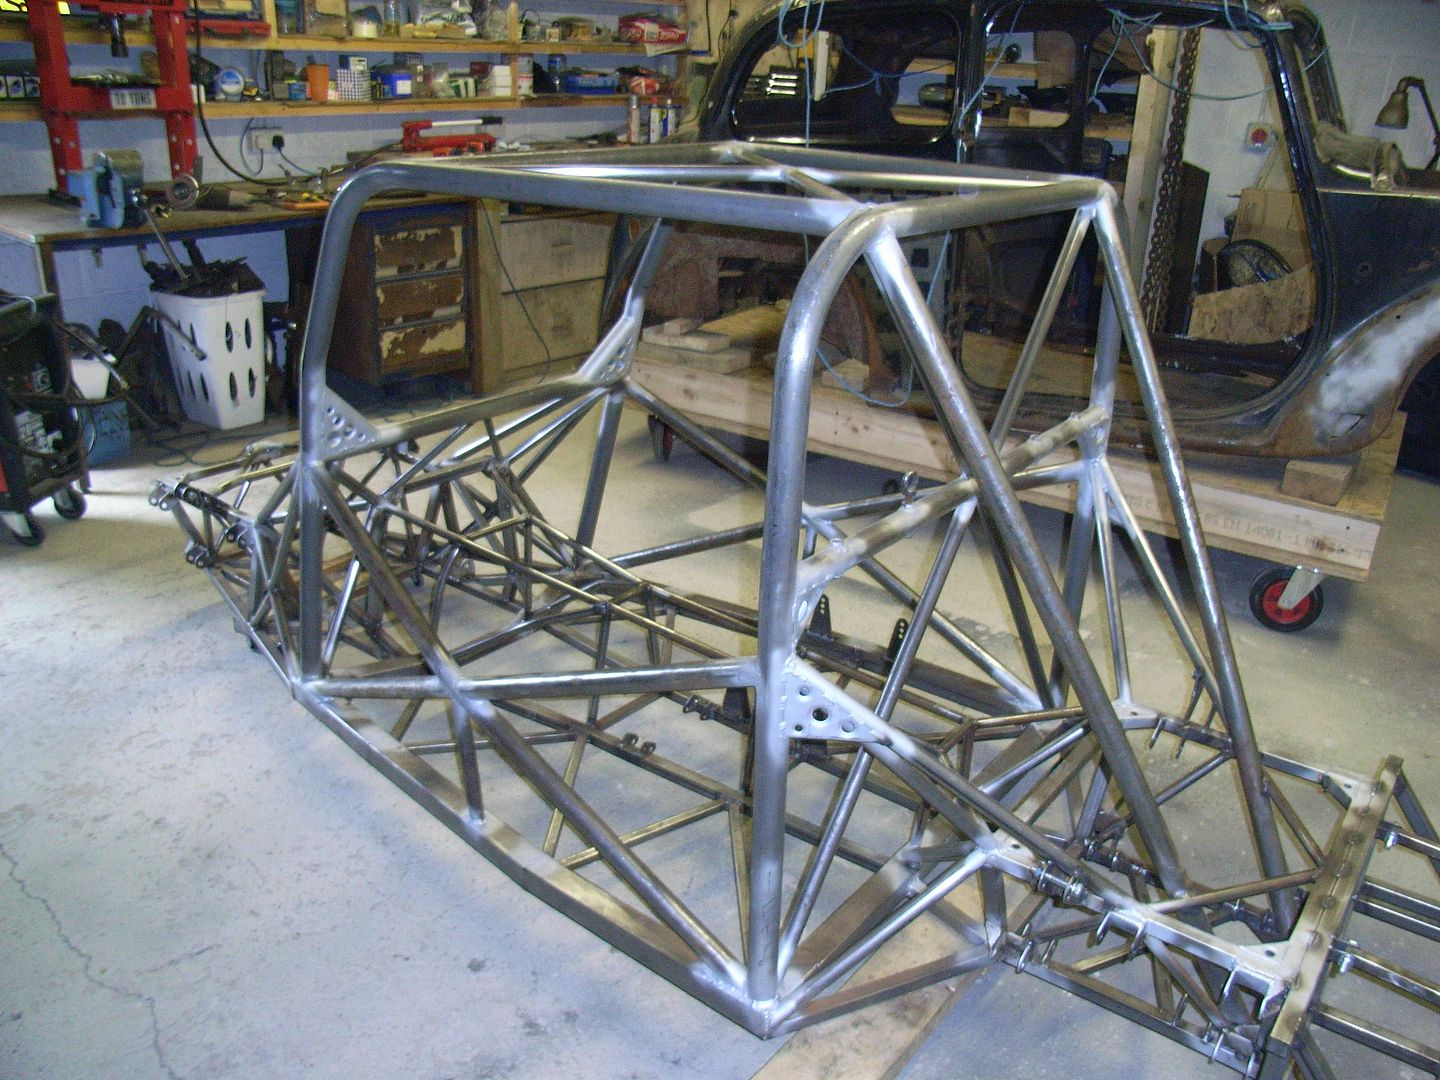 Then made a start fitting the body in its final position. Made up a couple of temporary mounts and tacked the body to the chassis in the final position (forgot to take pics). Then made a start on the front crumple box / jack point / front cowal / wing support 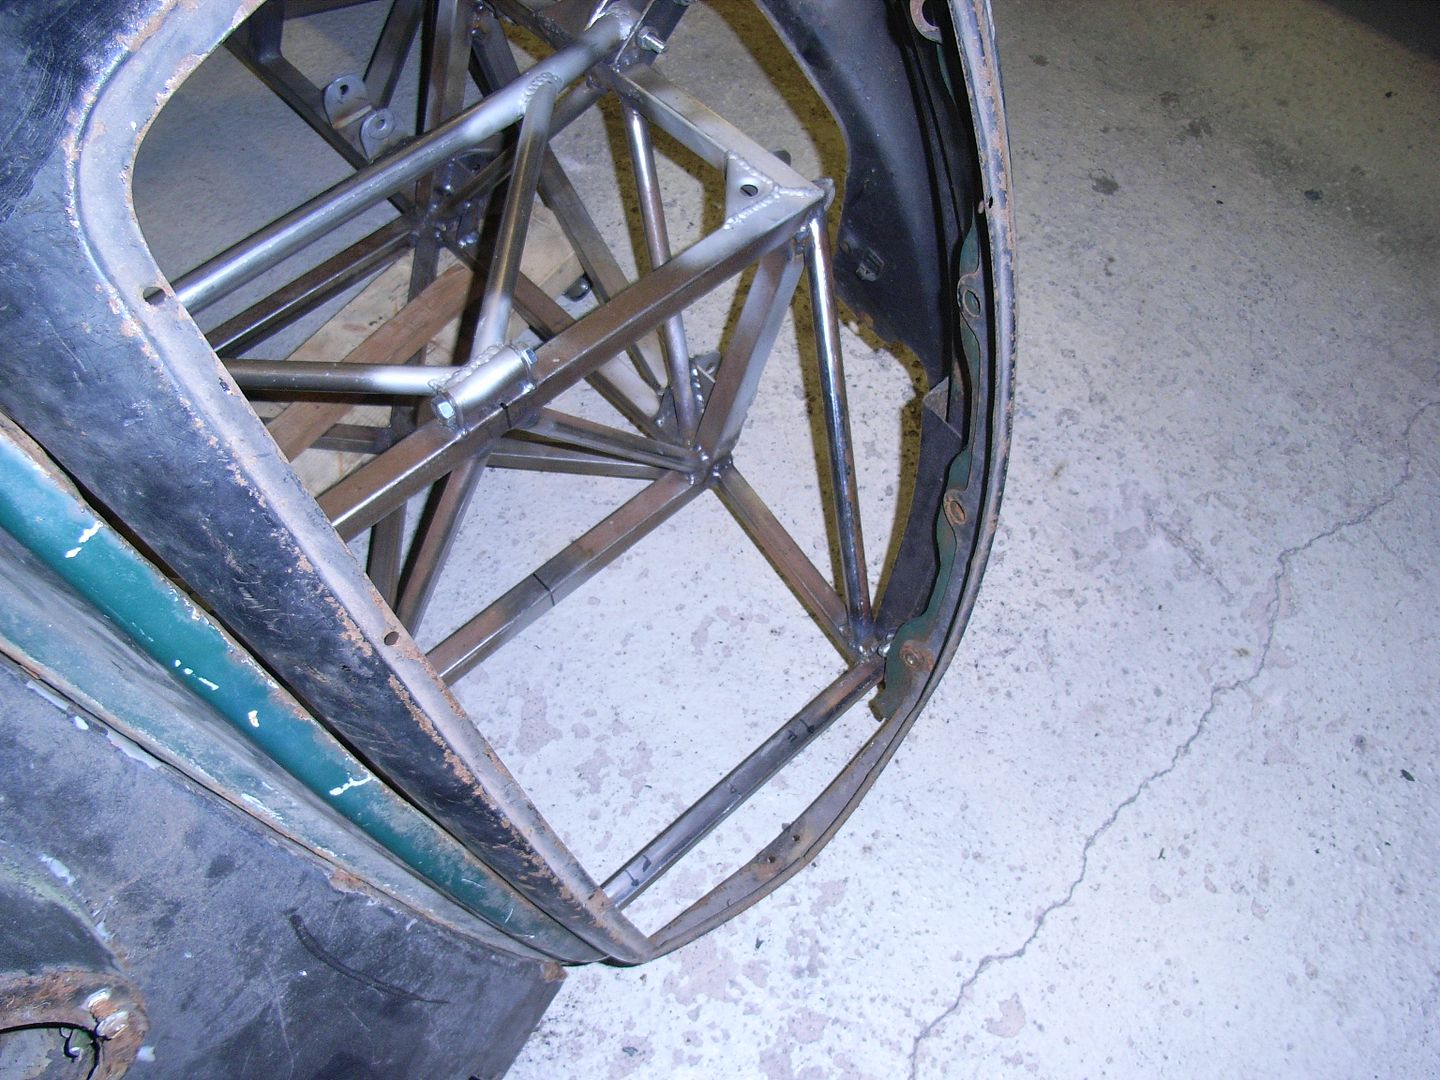 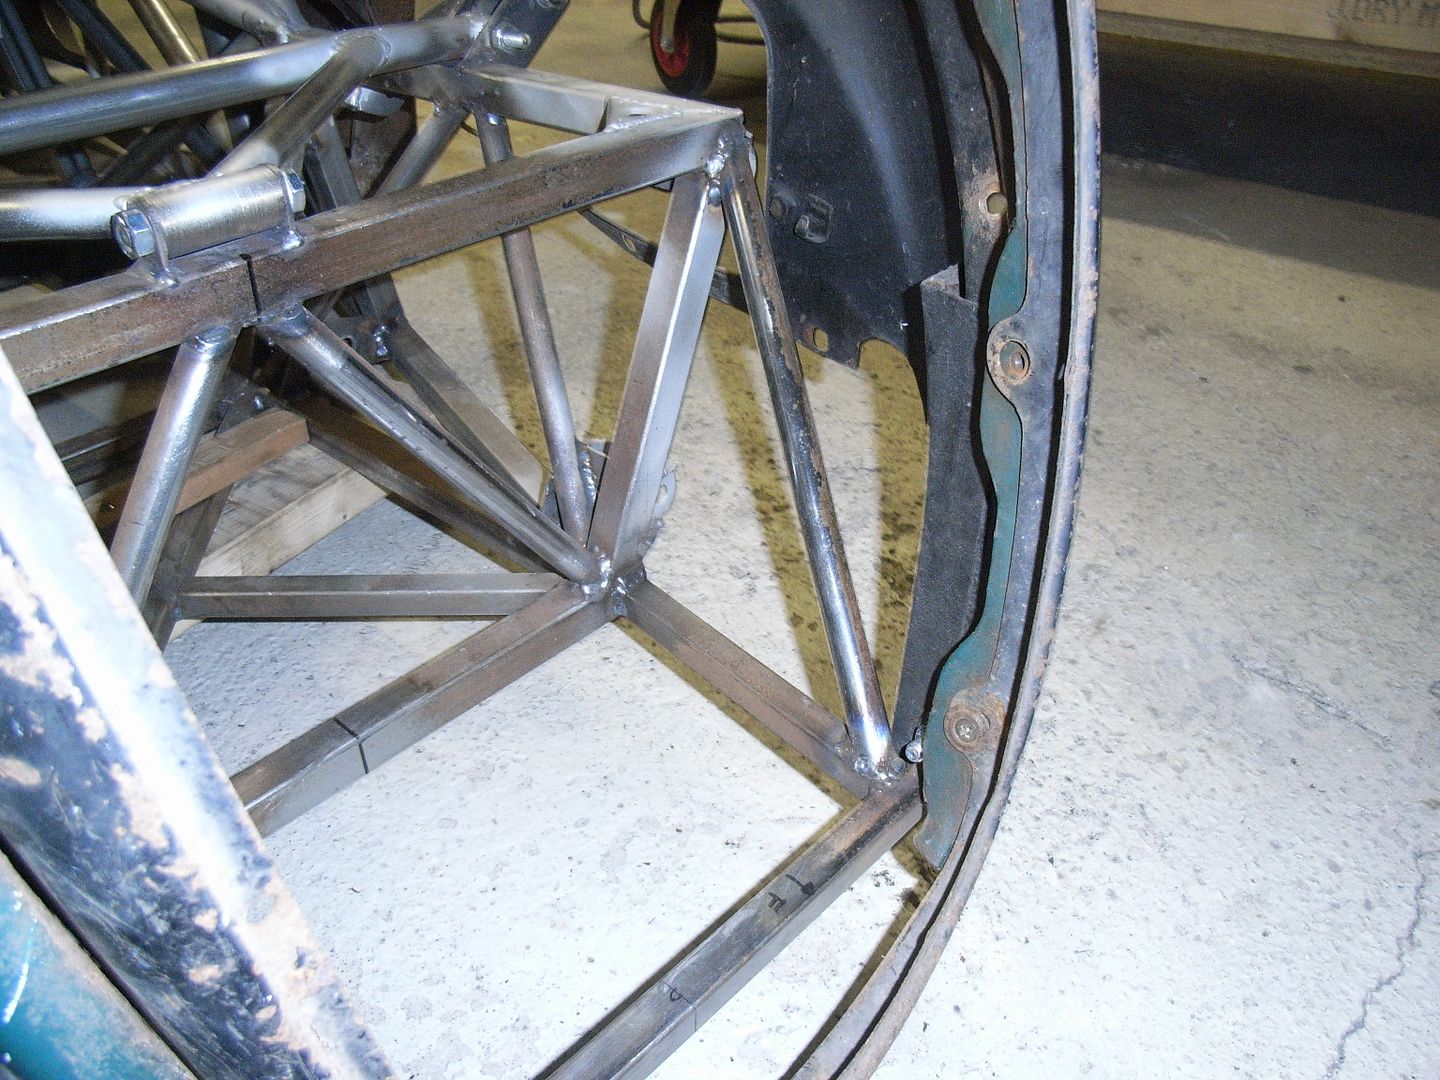 The "antlers" are attached to the bolt in cross brace and go up to the inside of the front inner wings. These are there to take the weight of the front wings (which isnt insignificant) as the mounting holes on the panels are starting to pull out from the weight! 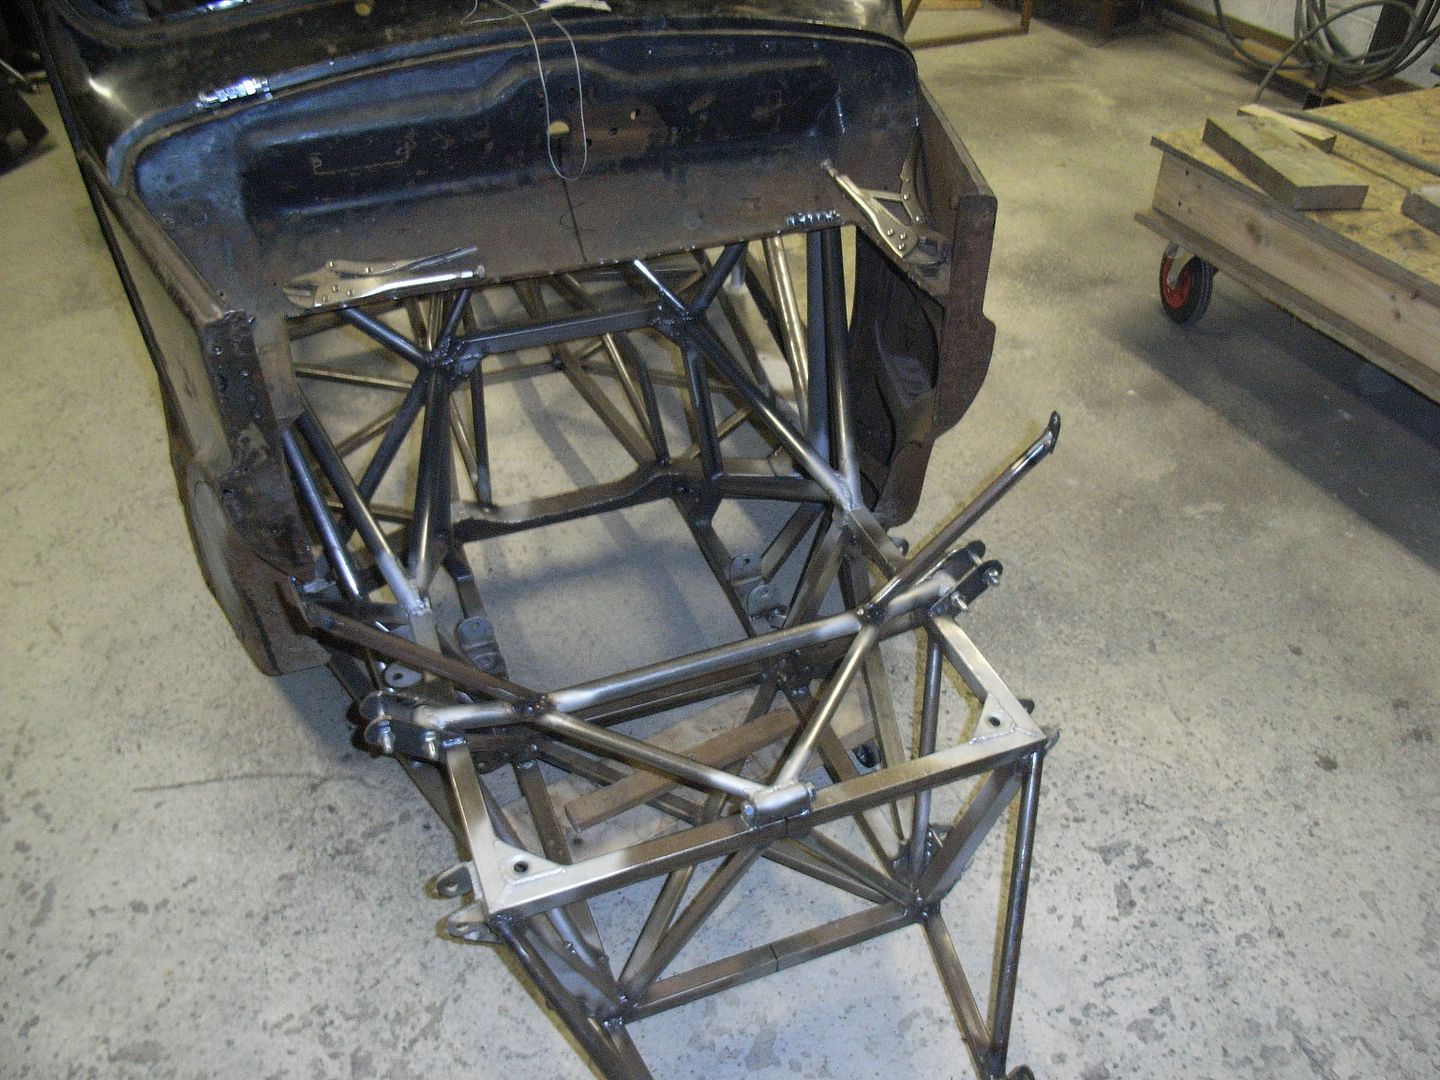 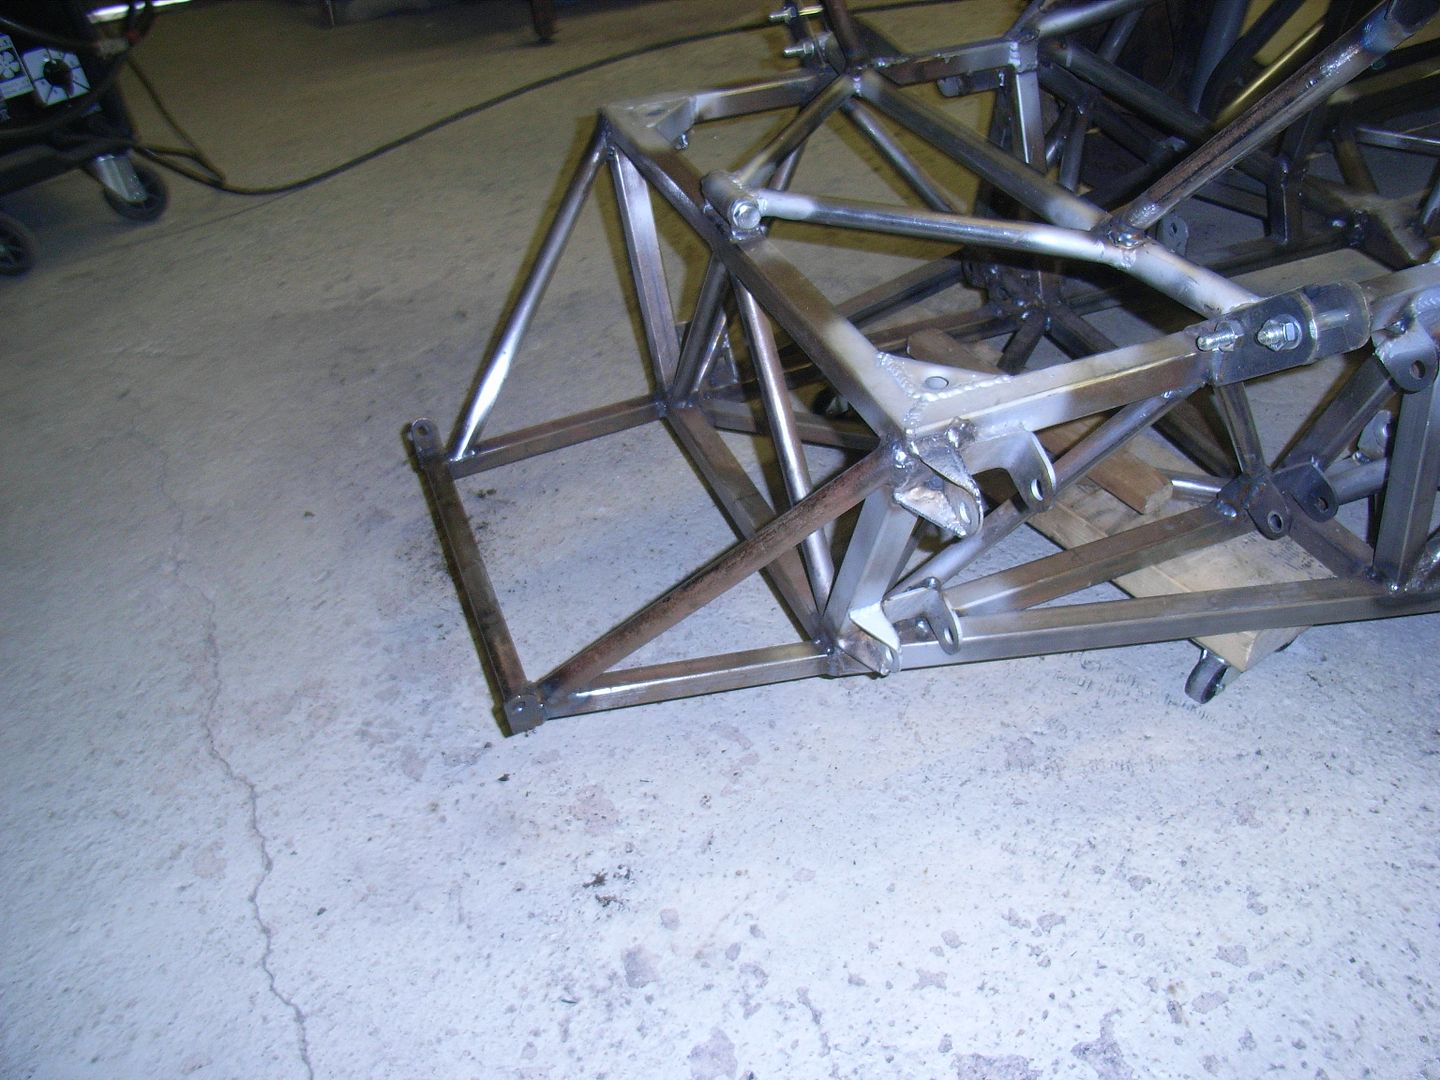 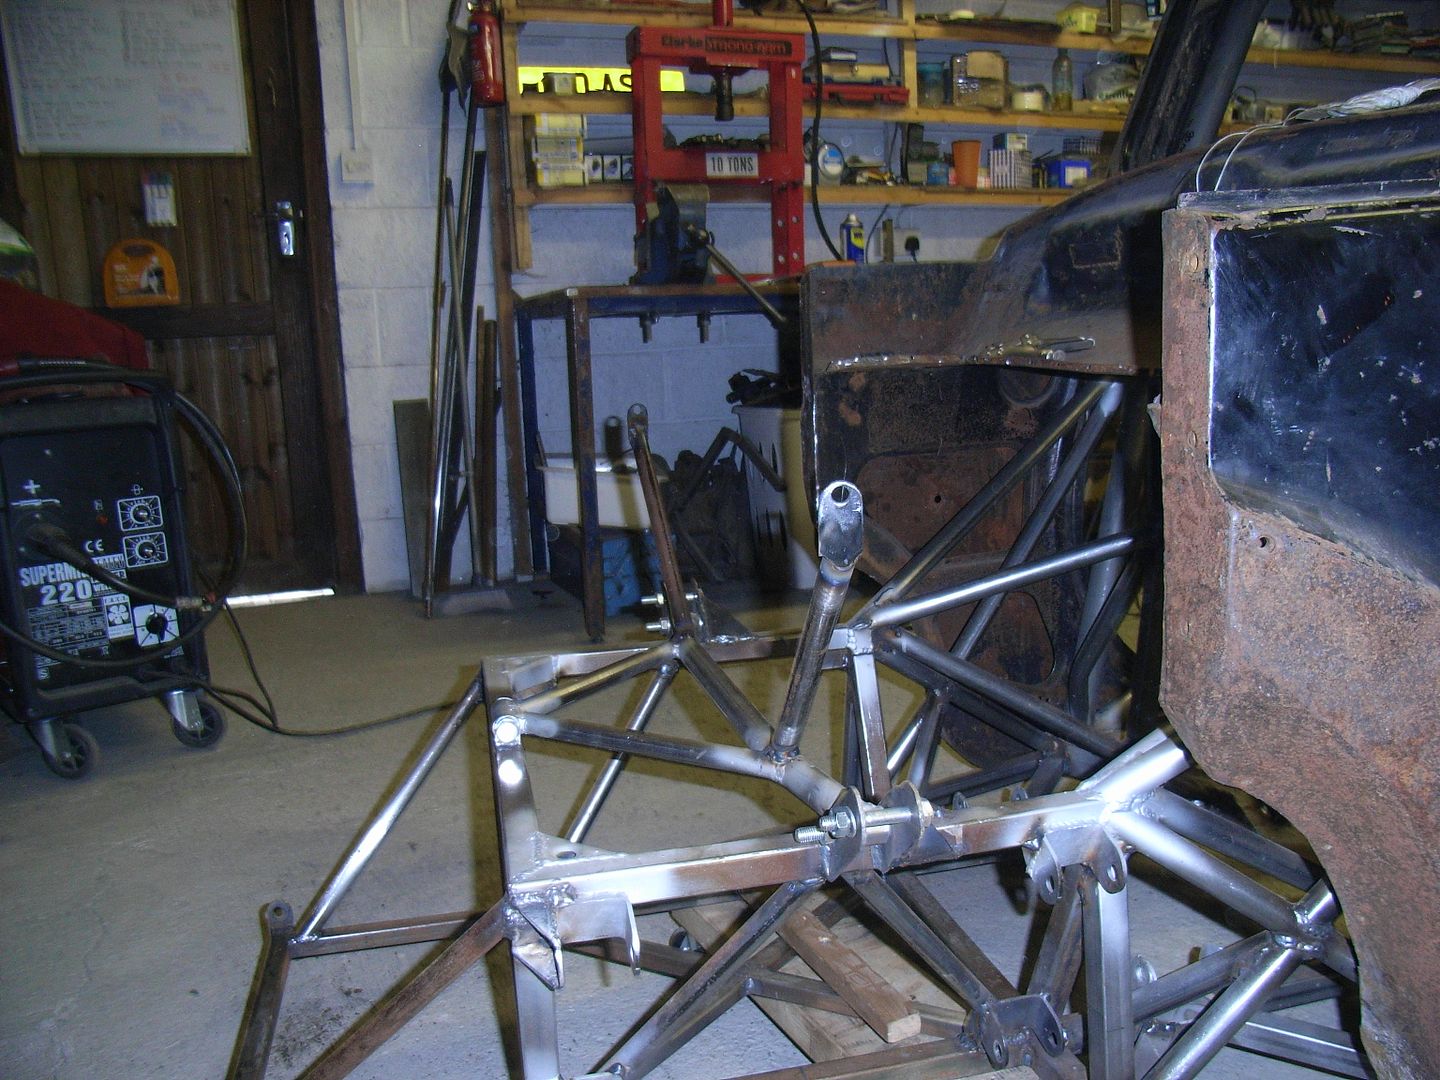 I'm not going to be fitting trafficators (as will need to have proper indicator lights etc for SVA) i filled in the holes. 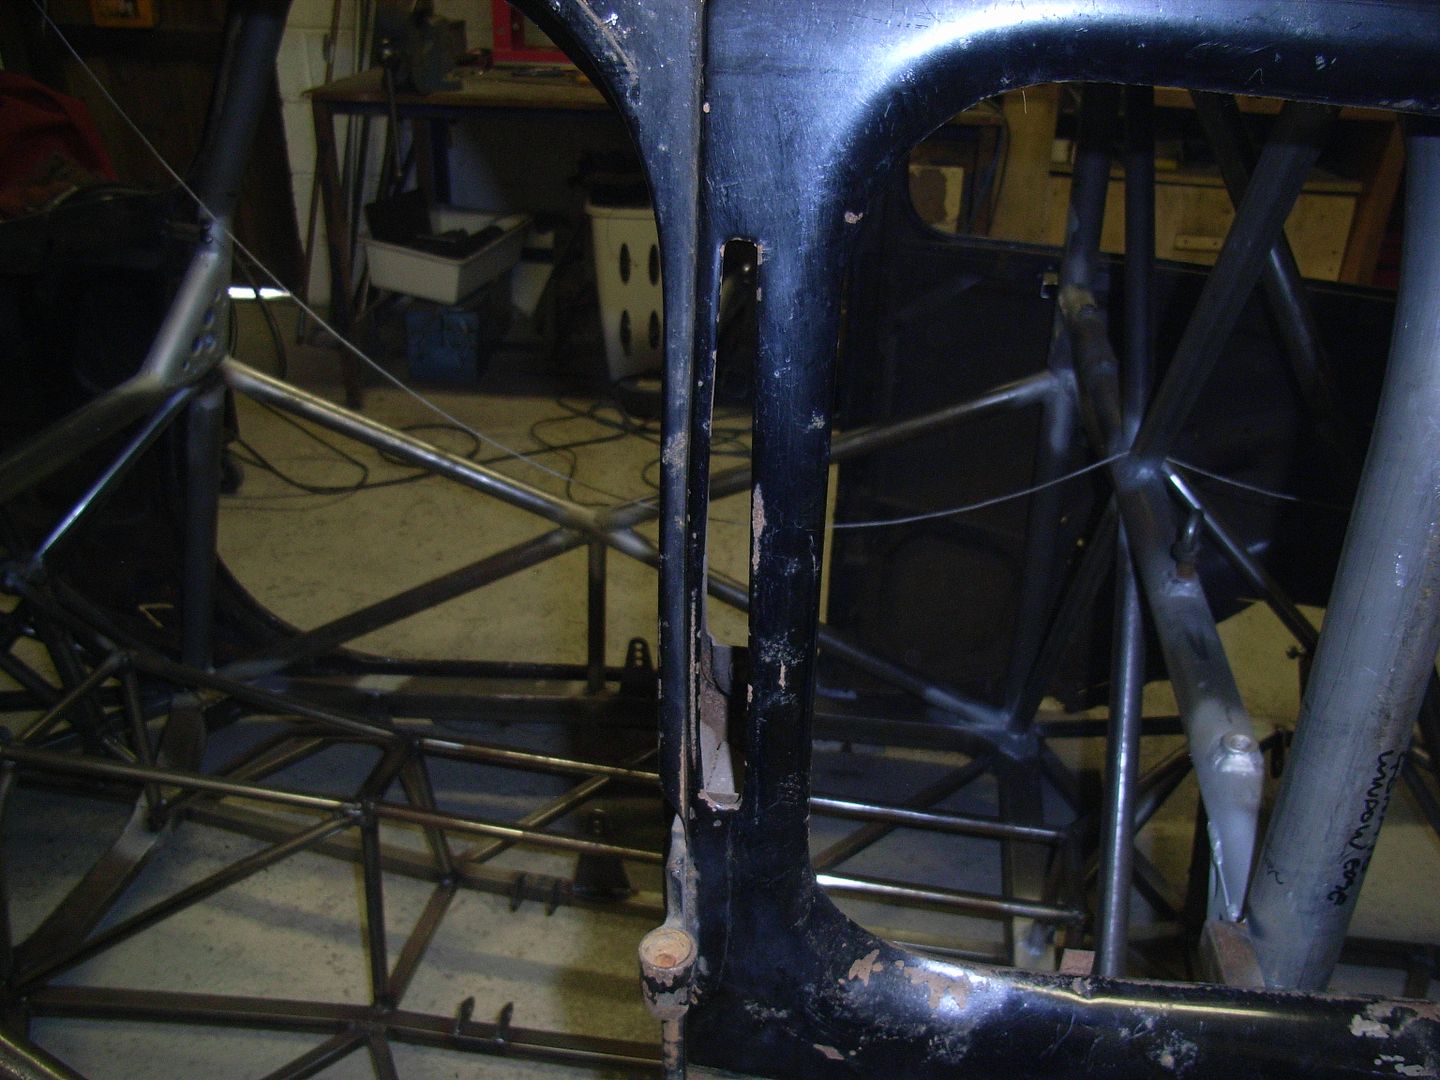 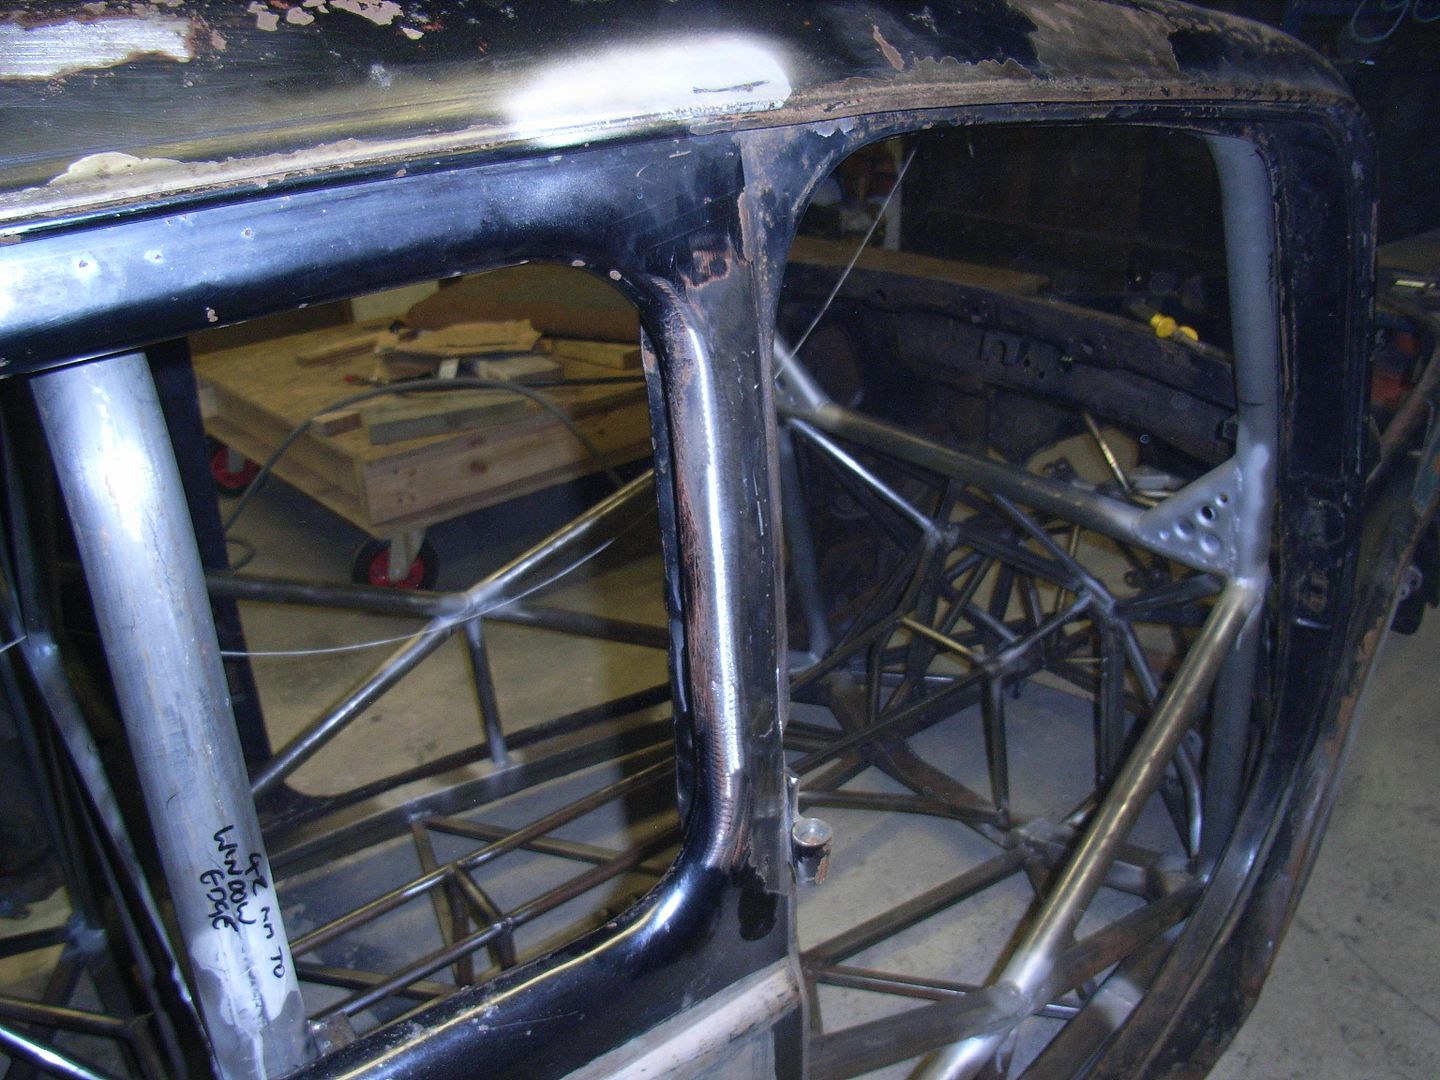 I did both sides. I also trimmed the front bulkhead so the engine can fit in propperly and made return lips so filler paels can be welded to it (but forgot to photo). As i need to get a load of things before I can make the infill panels to the body I was looking for other jobs to do, so started on the roof dents. I forgot to take a before shot (it was about 1" deep with quite sharp crease to it and its positioned above the sunroof drain port and mounting panels making it a pain in the bum to get to).  There are a couple of small flats left in it I cant get to nudge out, but should come good with minimal filler. Not likely to get anything done for a few weeks now but will bang up some pics when I do. |
| |
|
|
|
|
|
Jun 15, 2014 22:51:48 GMT
|
|
Good progress!
Was the weight what you were expecting?
|
| |
 Click picture for more |
|
jonomisfit
Club Retro Rides Member
Posts: 1,787
Club RR Member Number: 49
|
|
Jun 16, 2014 21:21:03 GMT
|
|
Pretty much.
My CAD model said about 95kg without any brackets, the fuel tank support, a couple of the bracing bars, thicker wall tube for a couple of the bars, and a few other bits. So not too bad really.
Should hopefully still be light enough when all paneled up.
|
| |
|
|
jonomisfit
Club Retro Rides Member
Posts: 1,787
Club RR Member Number: 49
|
|
Jun 22, 2014 20:19:09 GMT
|
My dad was down to see me, so was out doing things with him most of the weekend. Went to the Lakes motor museum, only took a few pics on my phone and havent transed them off yet. There are some nice cars in there and I was loving the citroen traction avant. For my next car i might well look for something with a nice swoops 30's look to it. Onto progress. No pics, but I stripped the extension tubes out of the front wings to have a look at them. The early series E's had the slanted lights which look a lot better. I think i might see if i can find something more modern that would fit the hole. Beetle or early porsche slant lights might be good. classiccars.brightwells.com/images/lots/mo1.jpgI then went round the roof looking at all the dents. I used the rotary wire brush int eh grinder to take the paint off, then gave the accessible dents a tap.I'm not a very good panel beater so was just looking to get them somewhere close to right. A lot of the dents have box sections behind them, so I will need to pull them with the slide hammer.  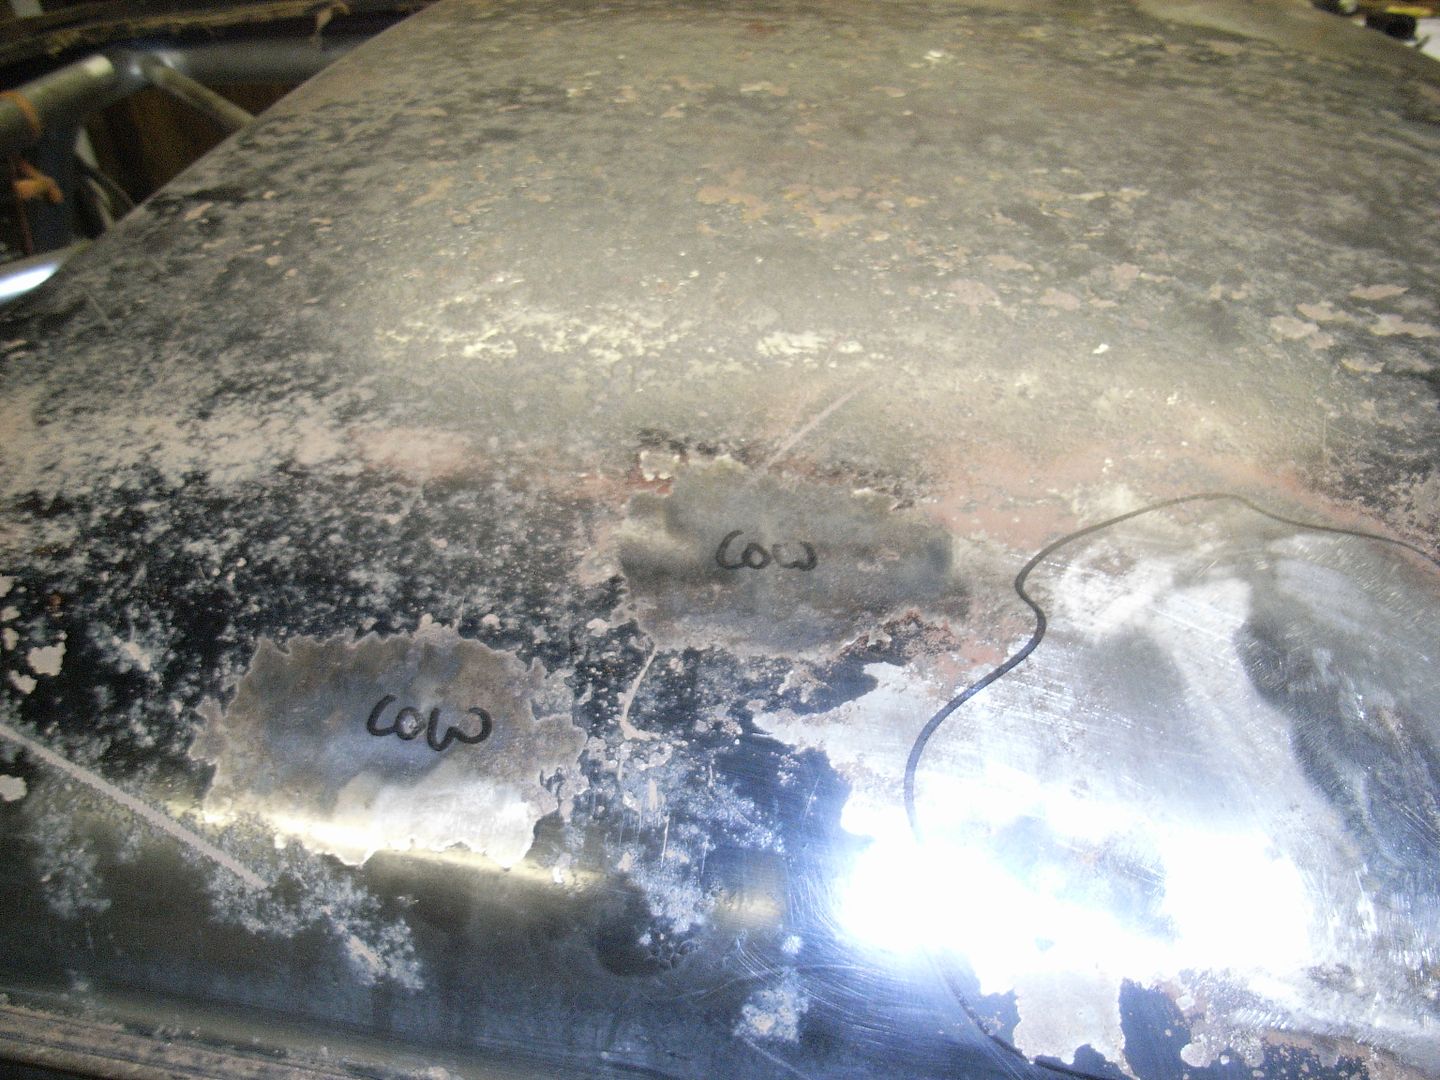 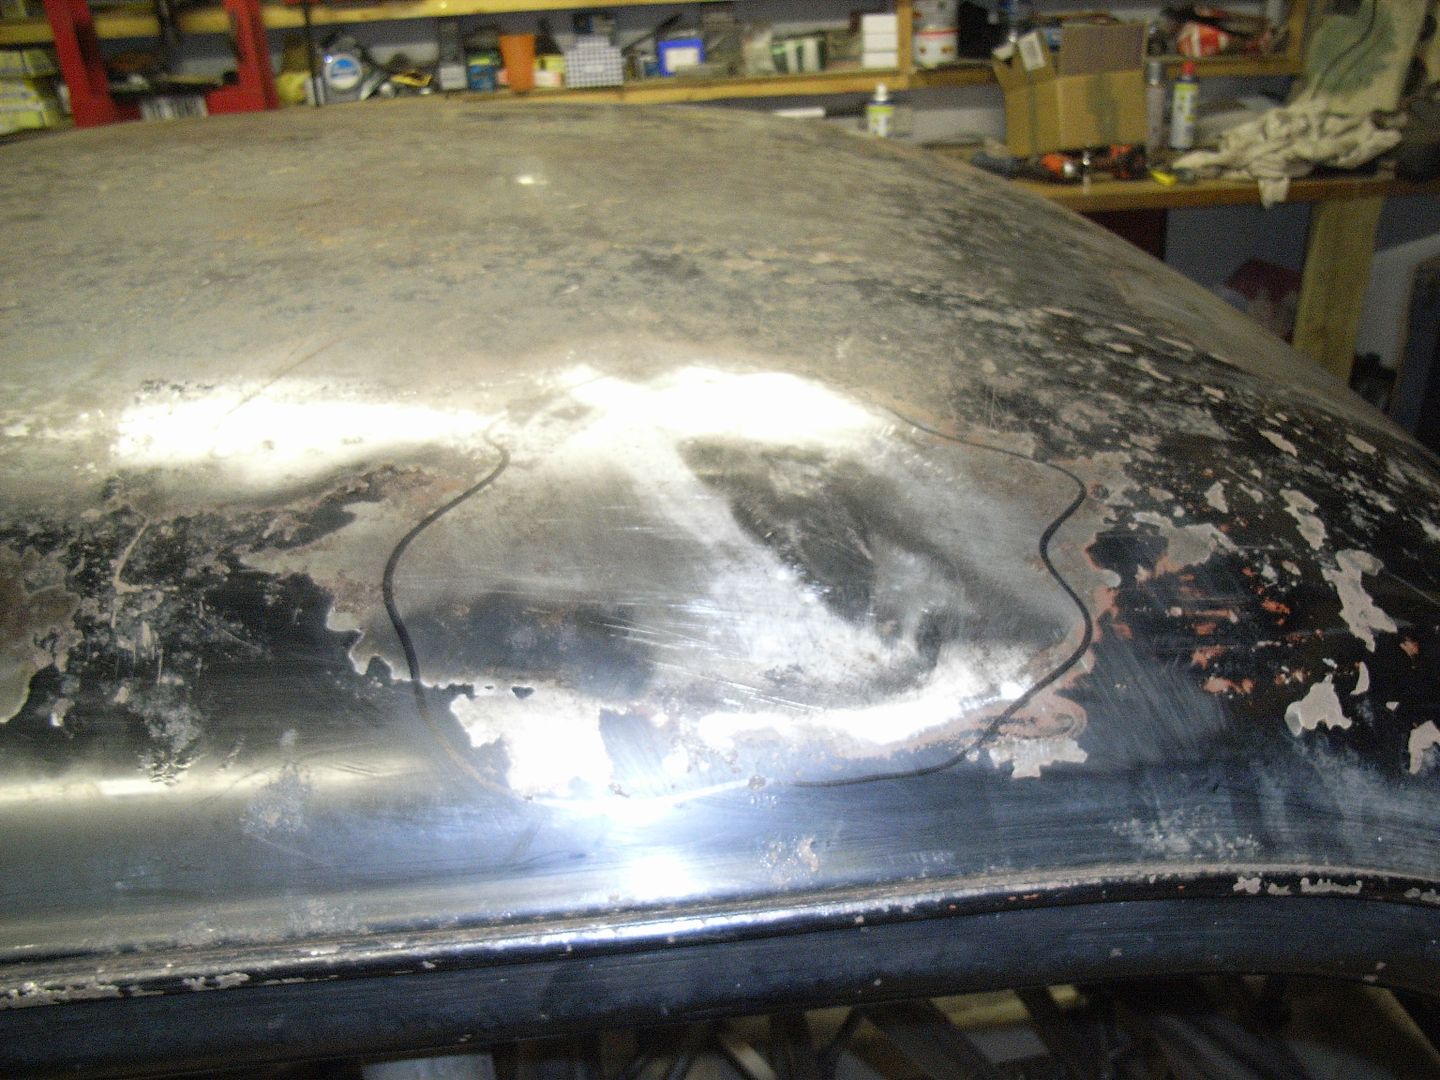 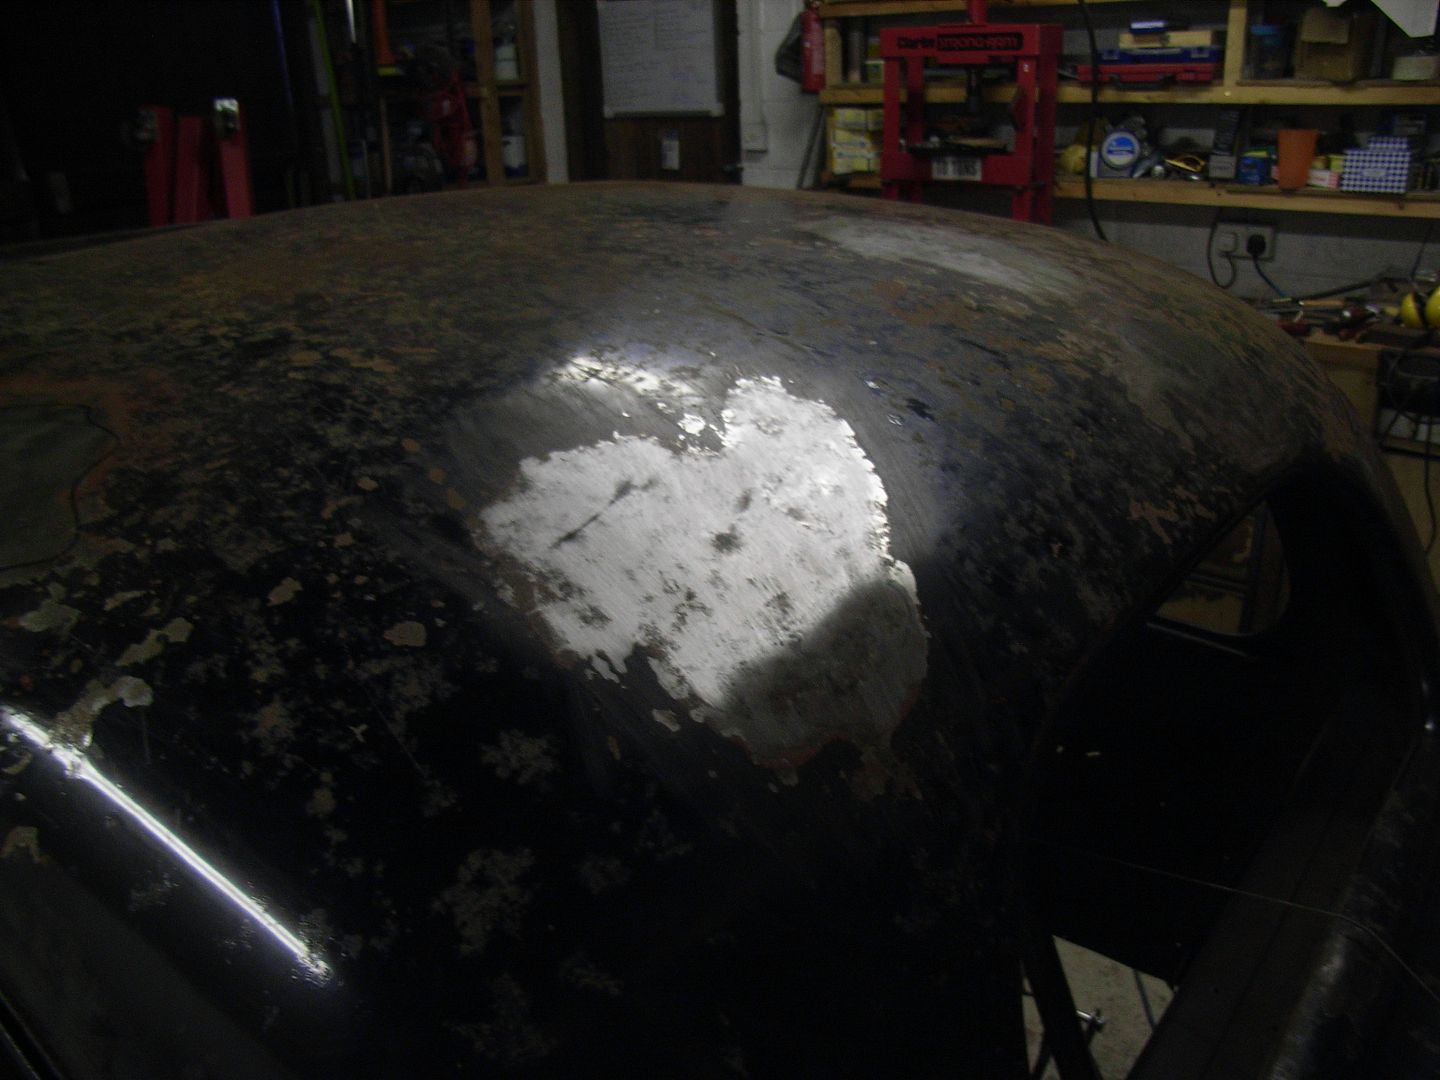 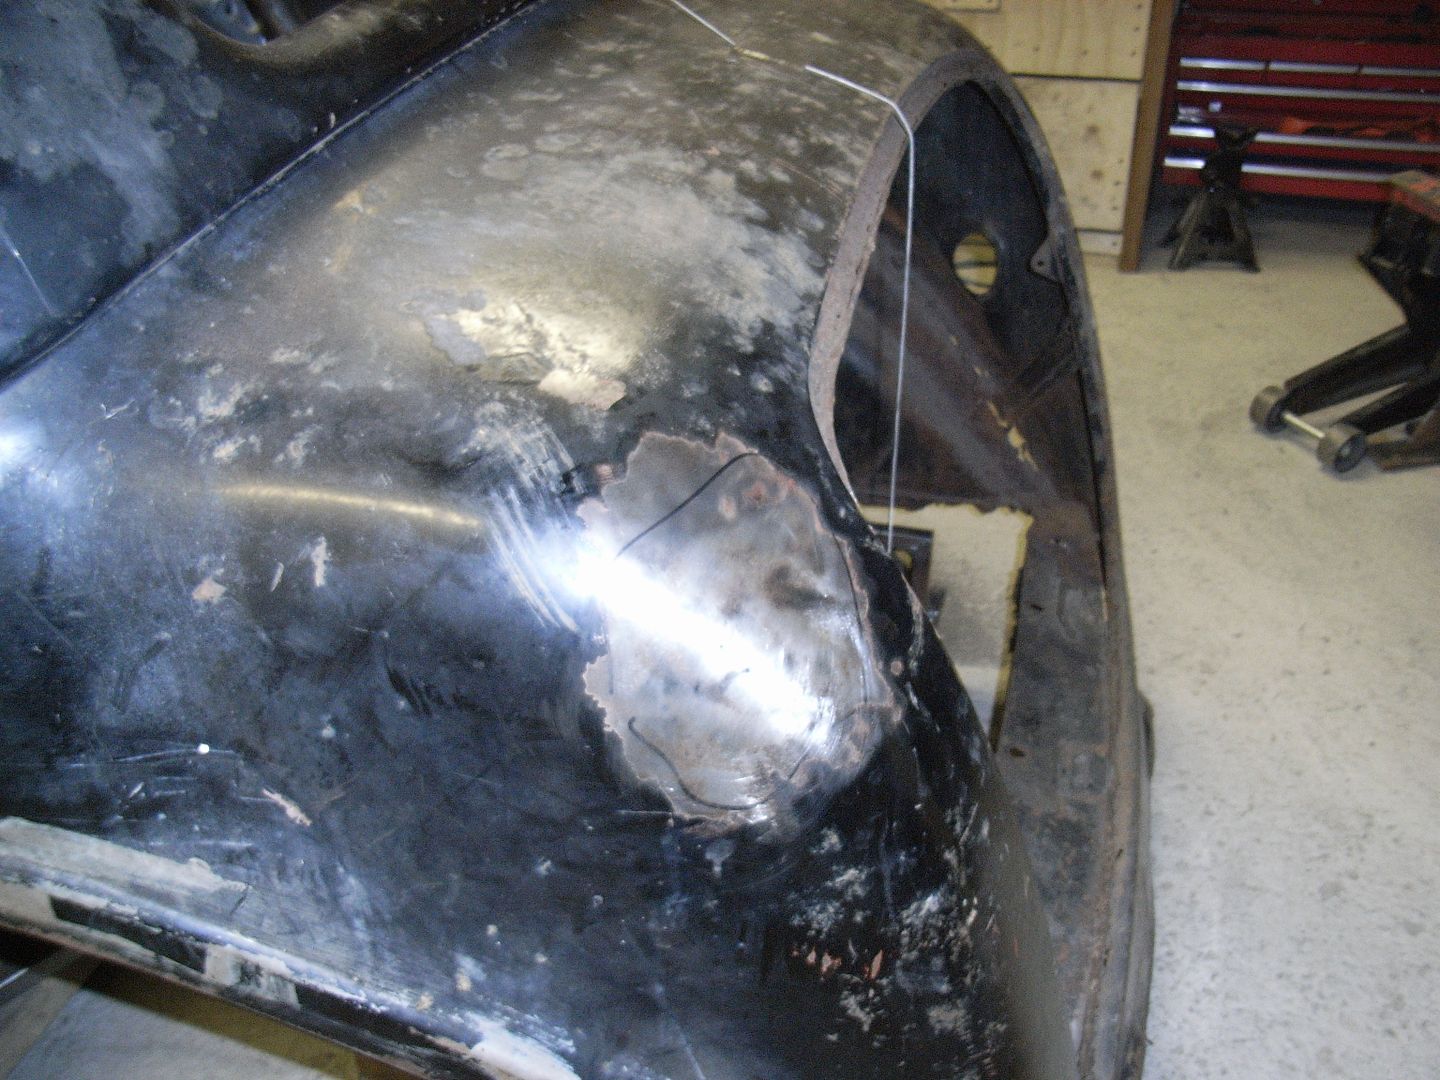 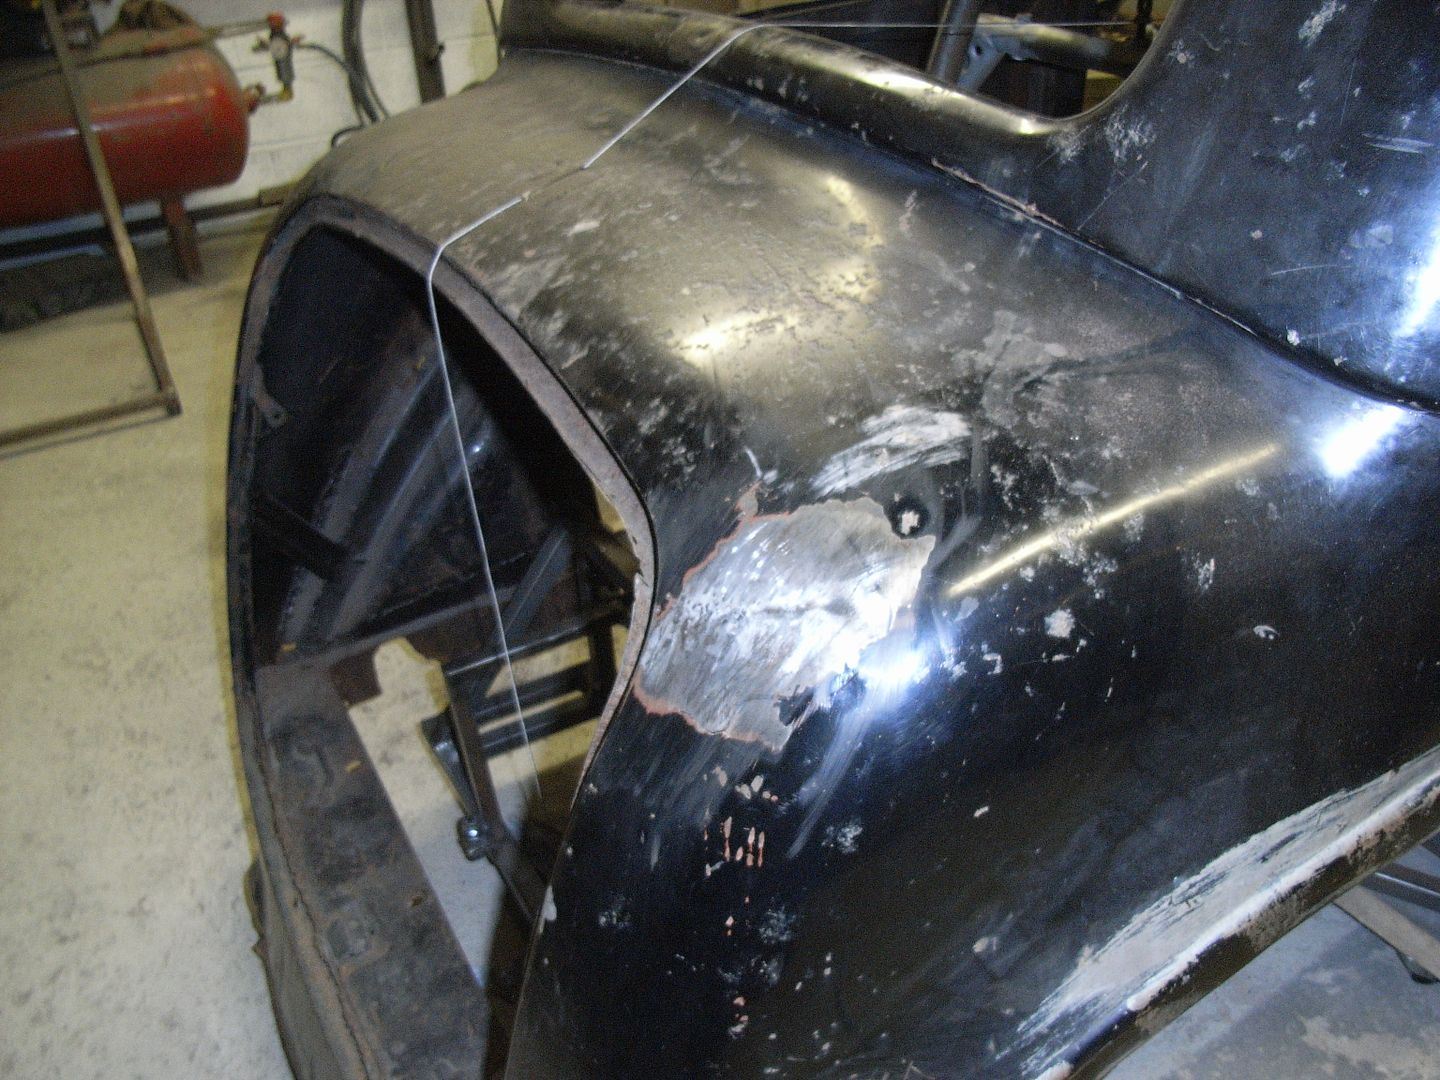 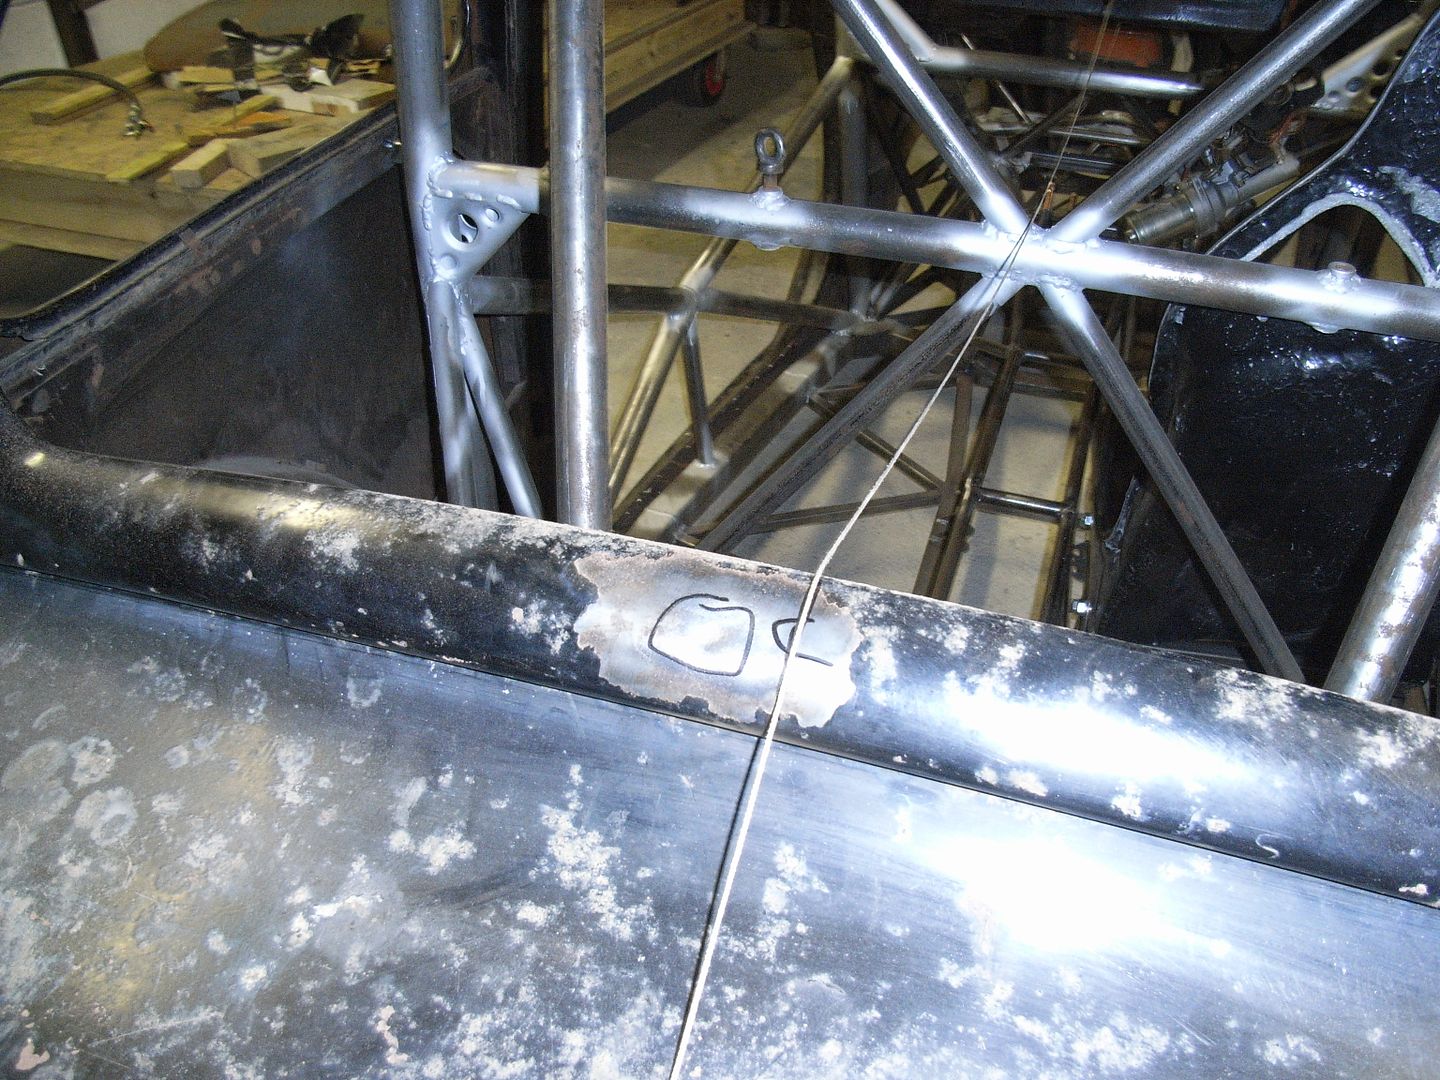 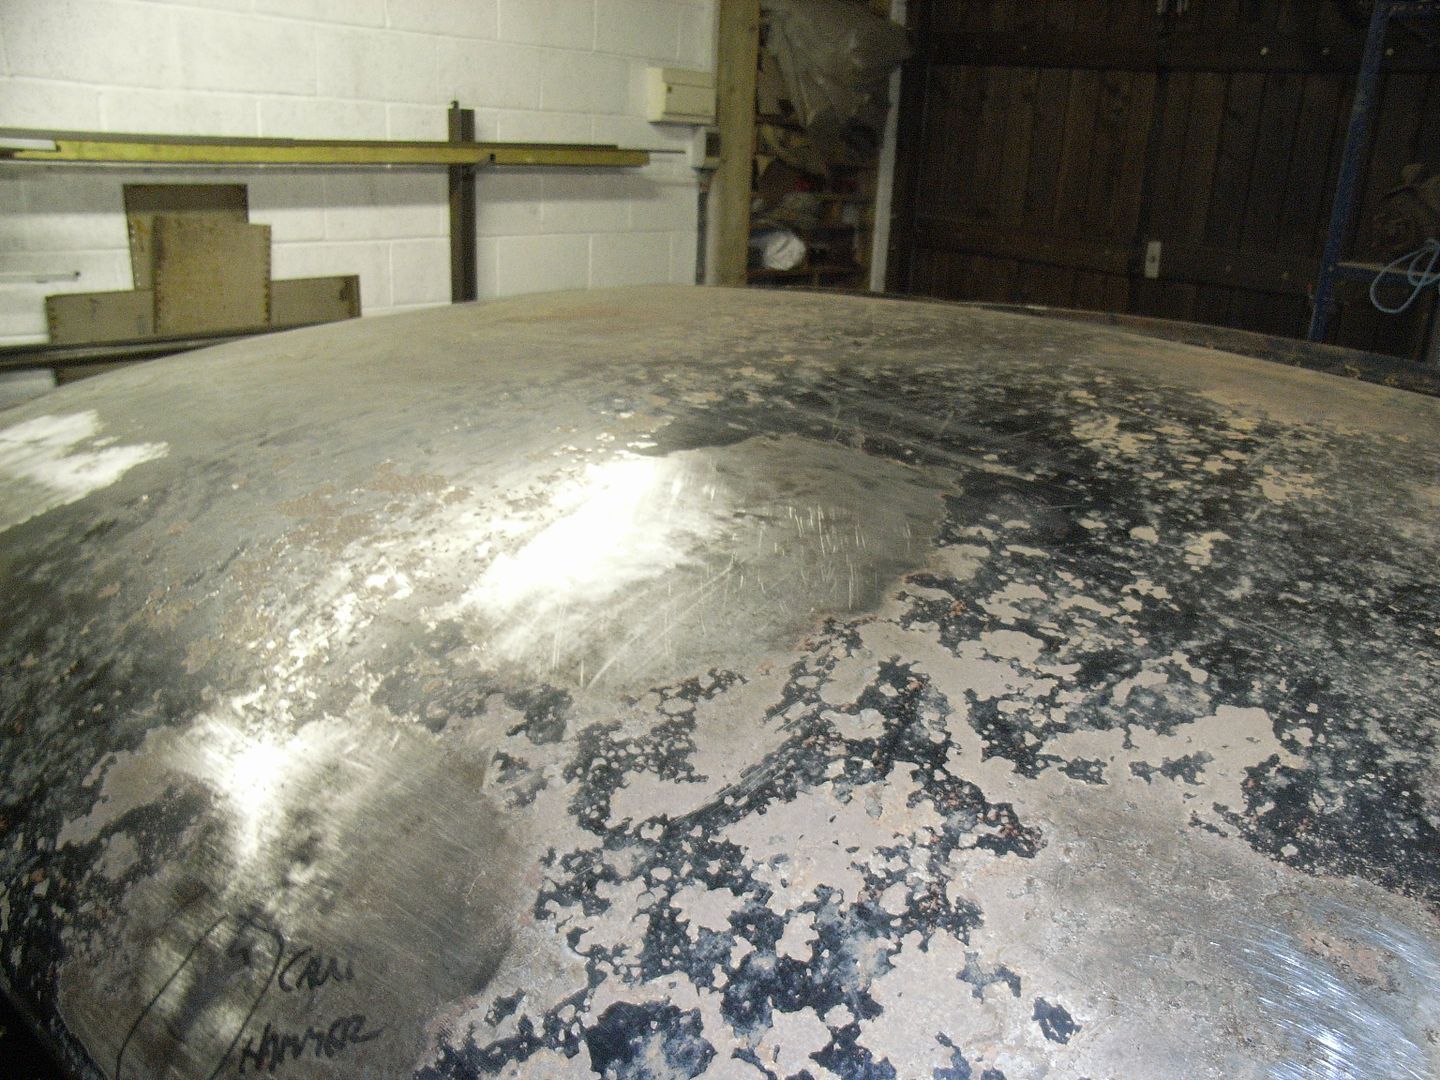 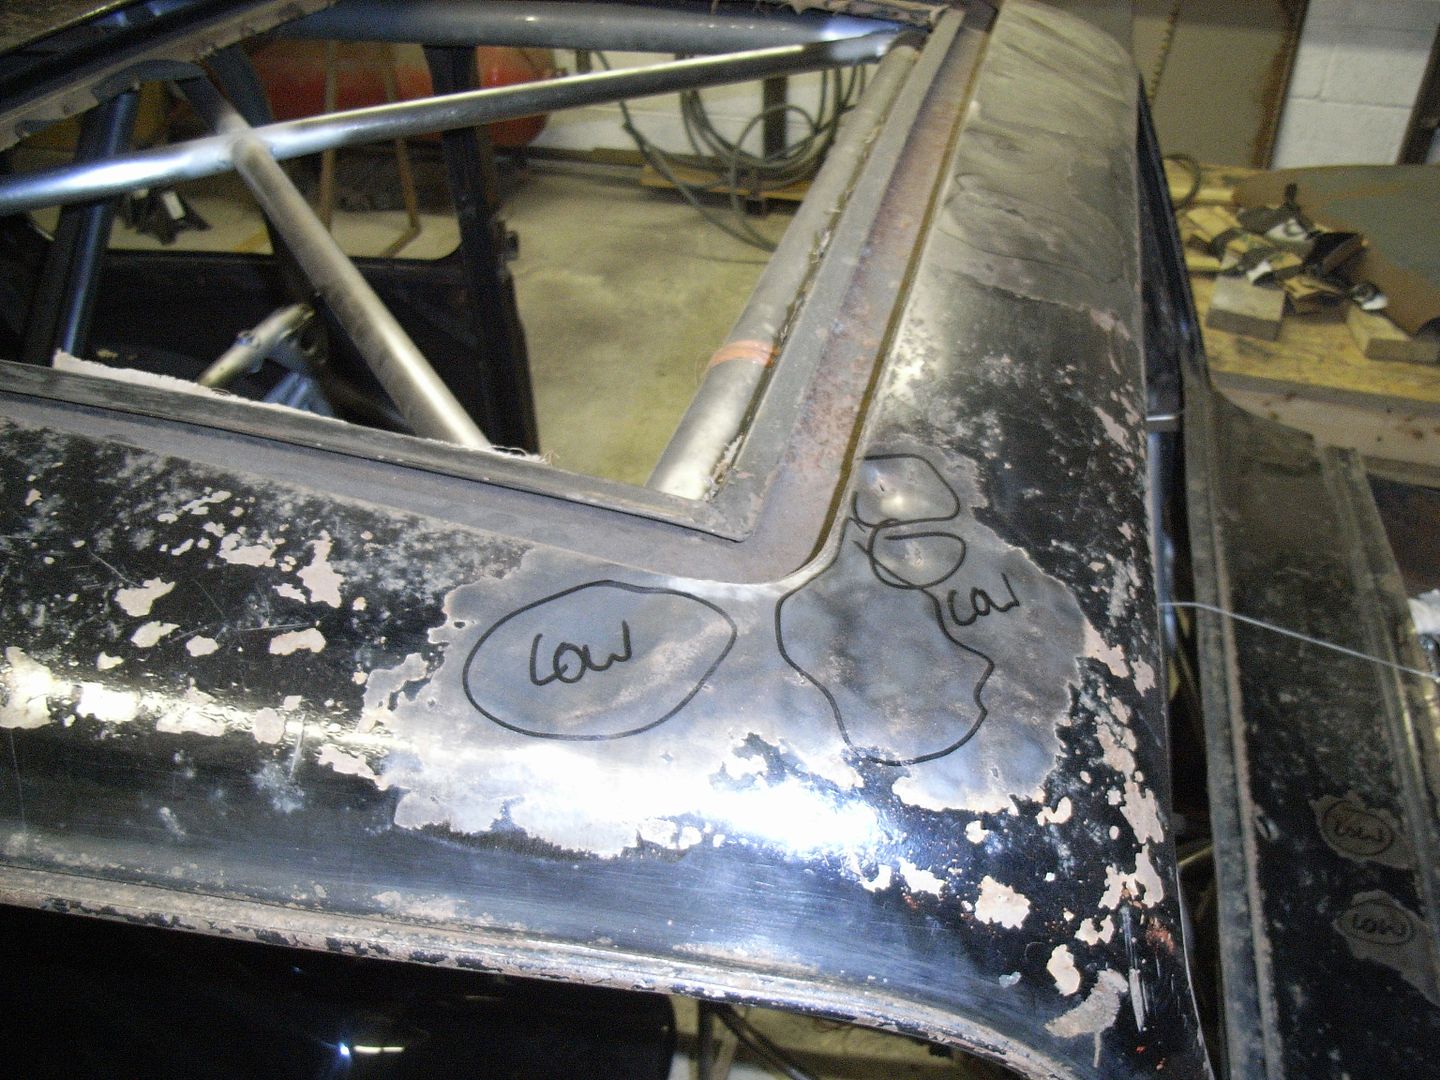 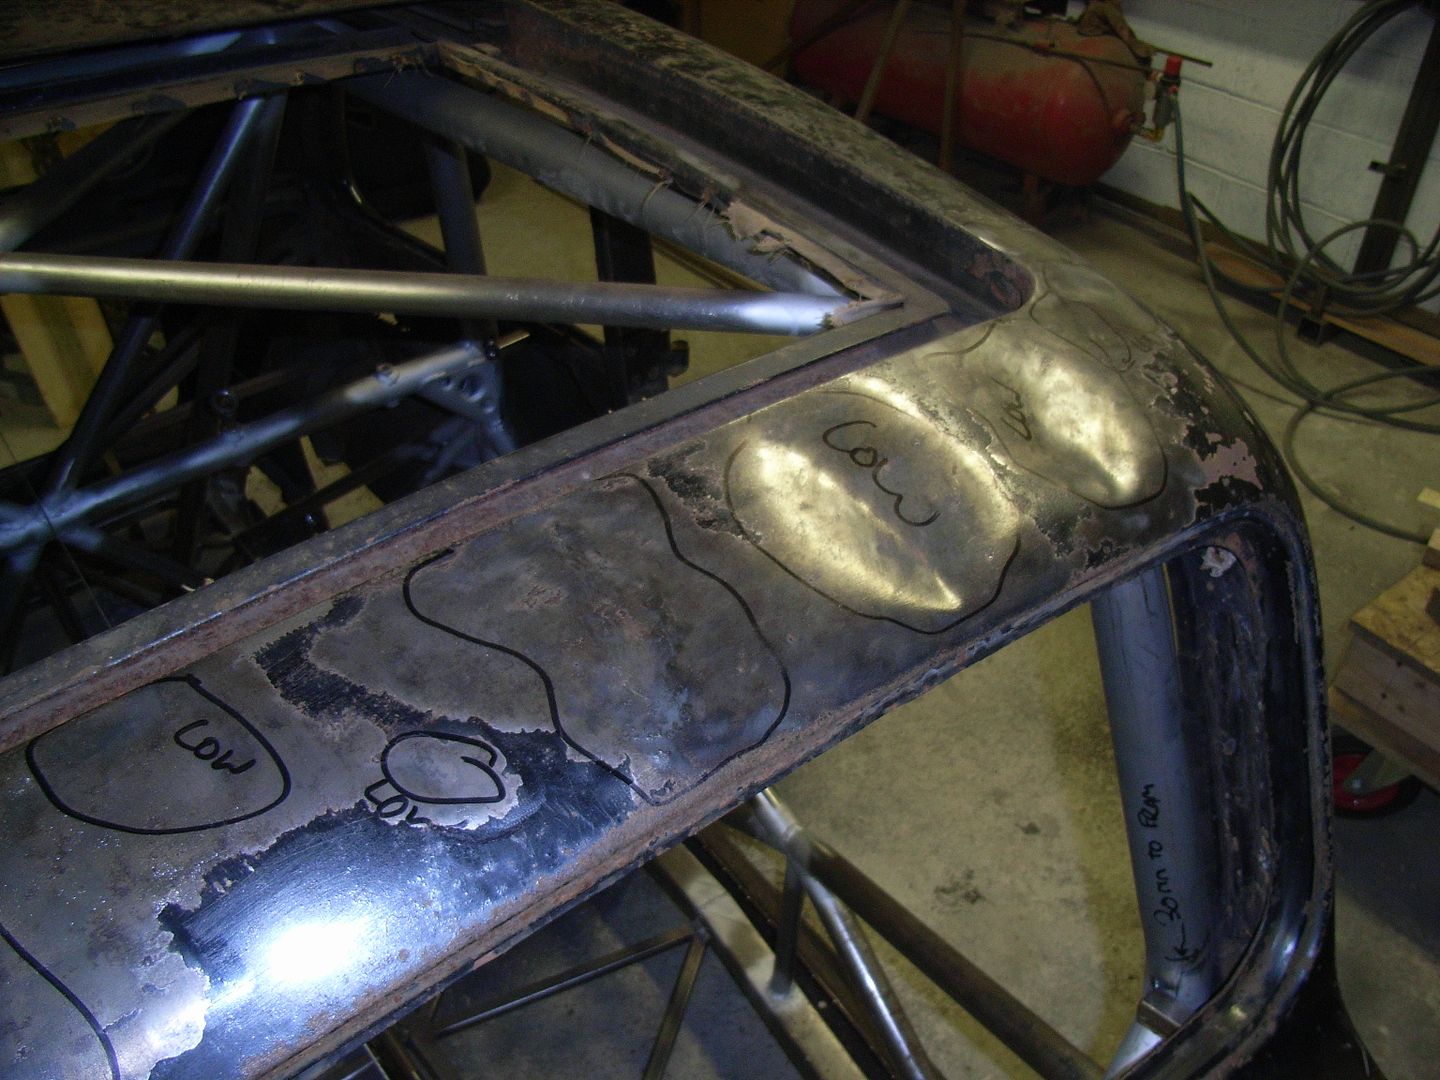 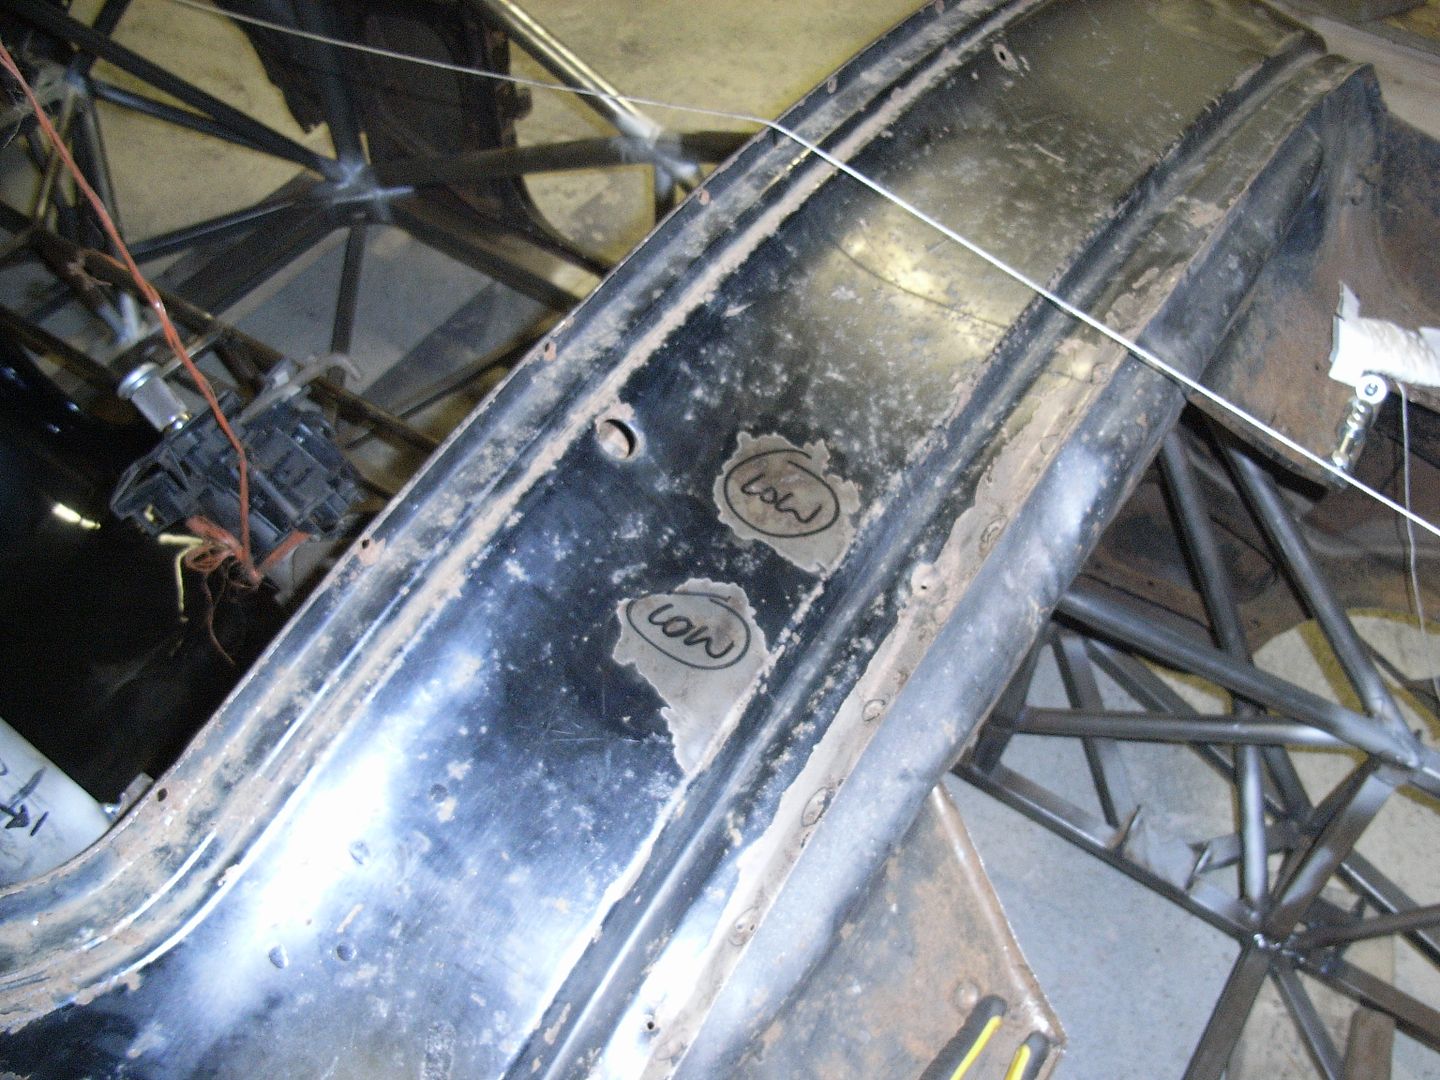 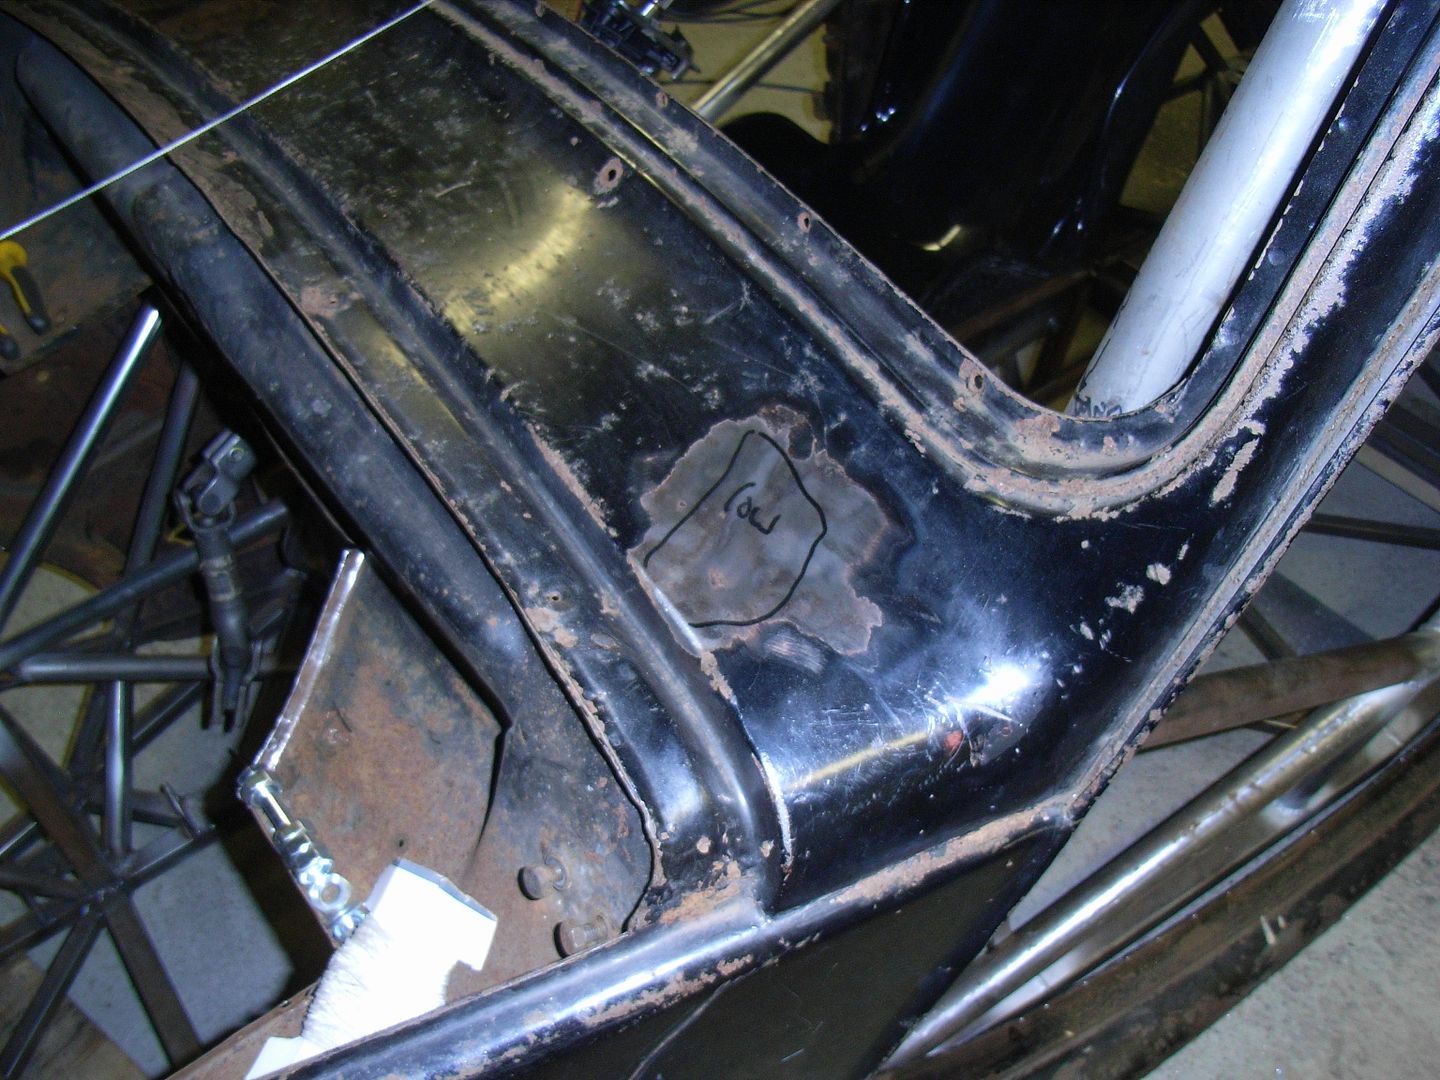 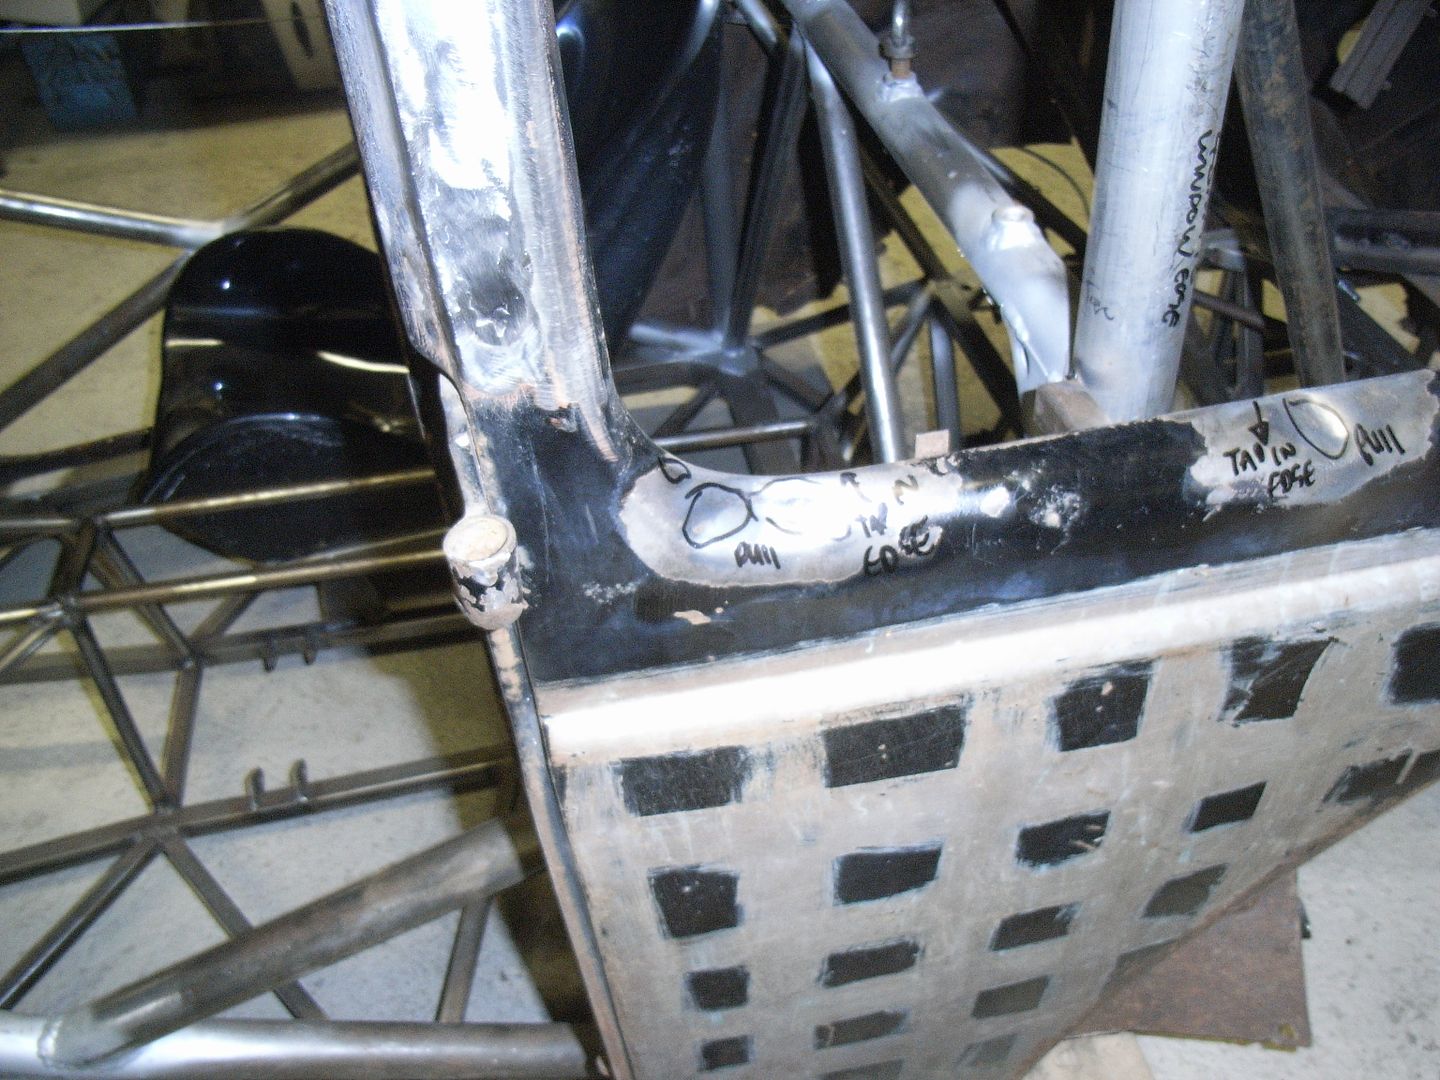 I really don't know what someone did to this car, or how pi$$ed off they got with it and attached it, but the shell is covered in dents. Getting it straight for paint will be a fair challenge. After very much pi$$ing mrs _Misfit with the 2 hrs of constant grinder and hammering I though i better give it a rest and move onto something else. I spent a little bit of time putting a spare electric column vaguely in the direction of a potential position to see how it fits. The answer not easily. I may well have to turn it upside down in order to get the motor to clear the door bars.... Some thought needed. 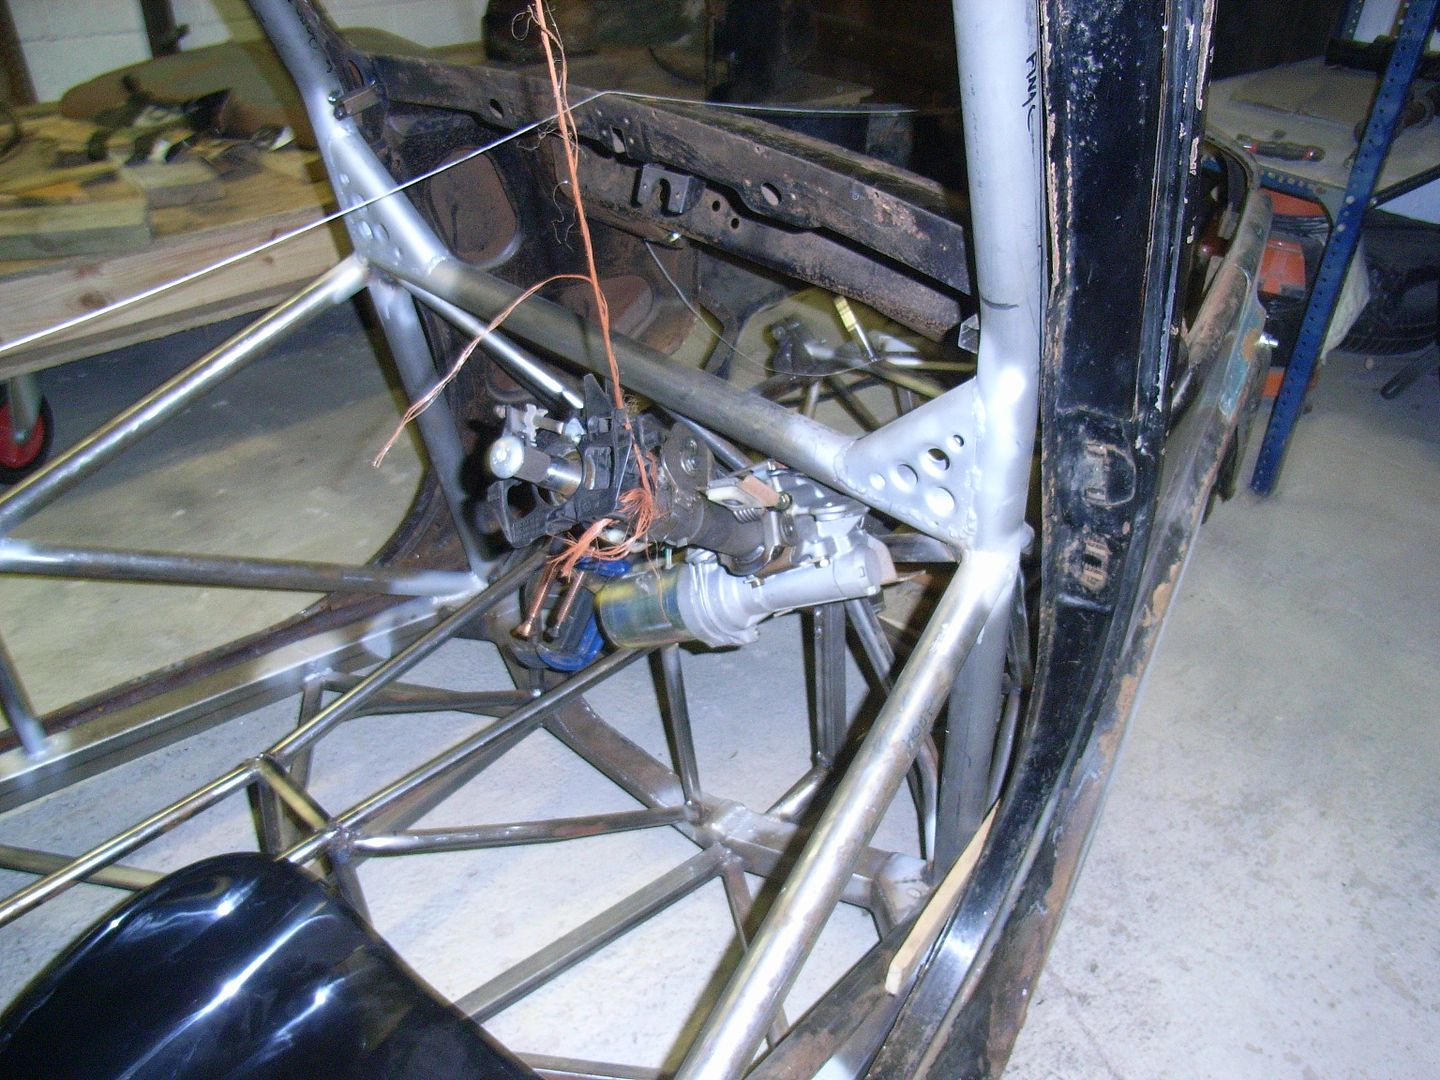 The high tech bailer twine installation tool was used to take the weight off. I|t must be an easy 10 - 15 kg. I started making up the infill plates from the chassis to the bodyshell. These arent structural really (shell support / attachment load will be taken by other brackets when i'm ready) as such this was done with 0.8mm steel sheet. Drill out all the spot welds and remove the remains of the old closer plate 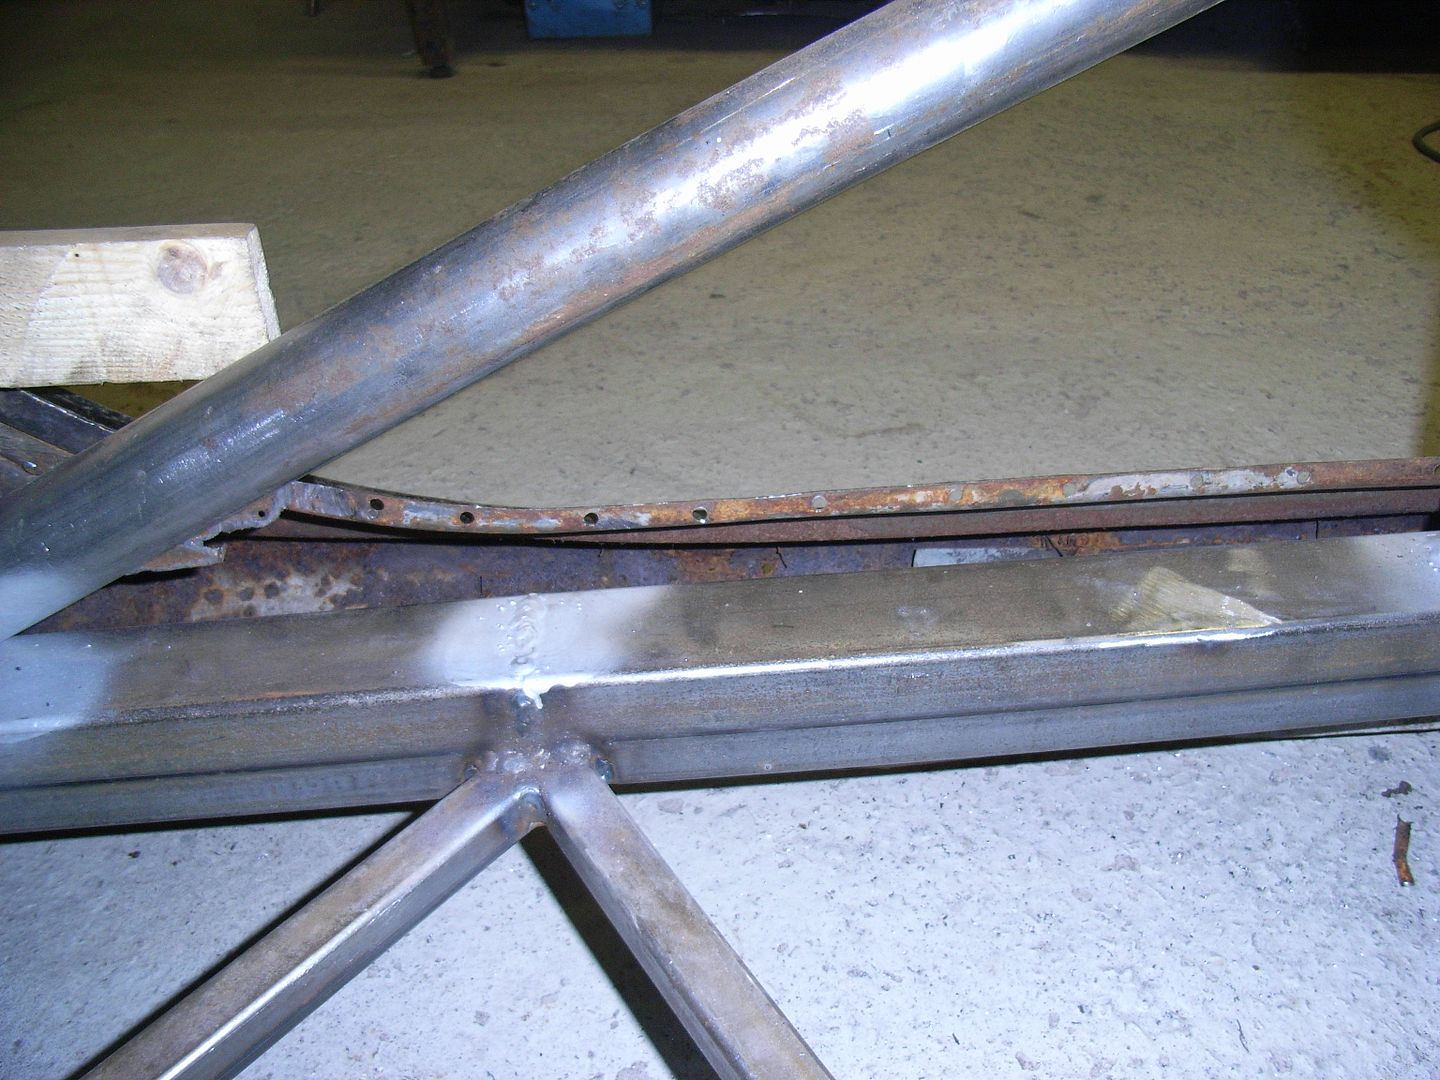 Mark out and cut some strips of steel 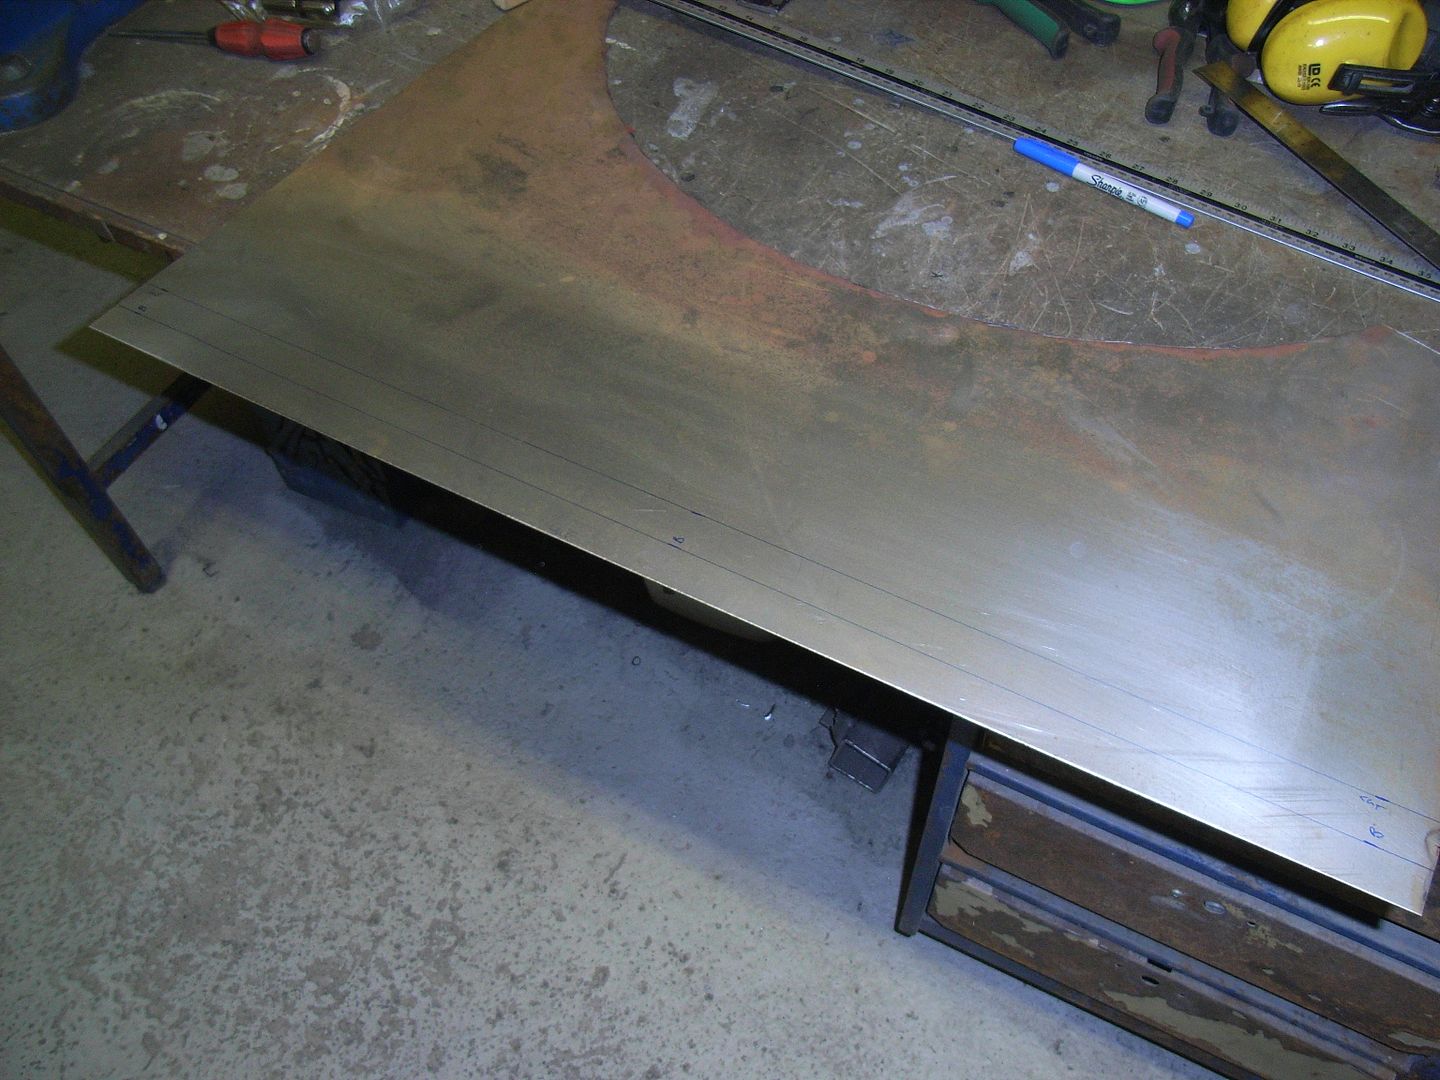 Fold to 90 degrees 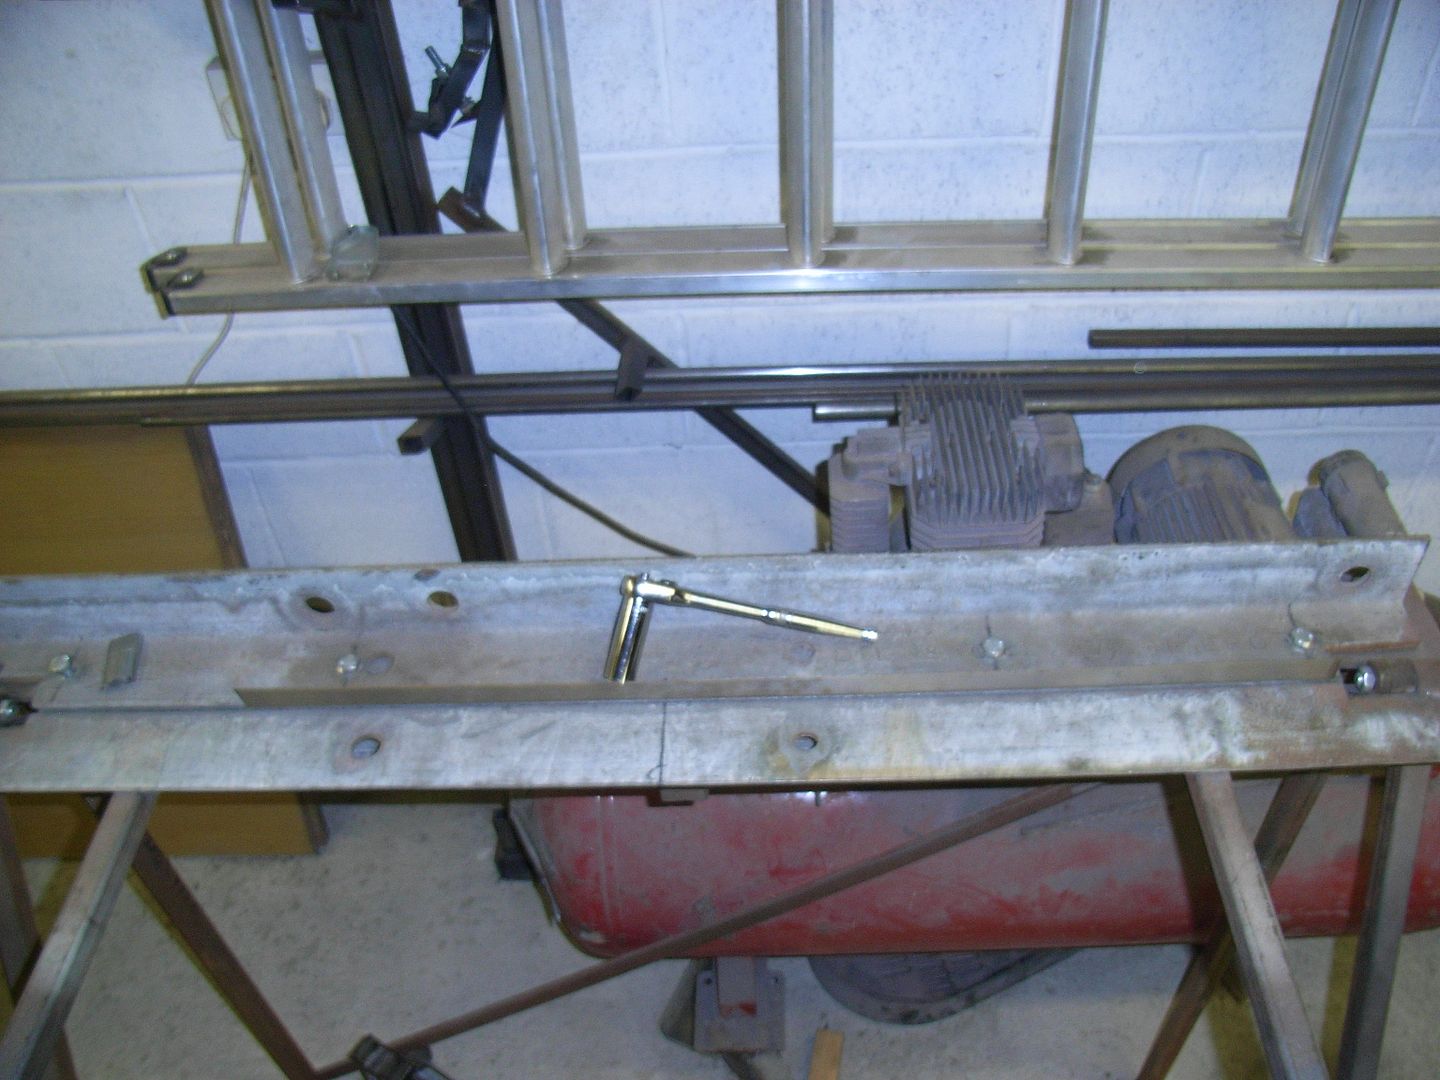 Trim a bit 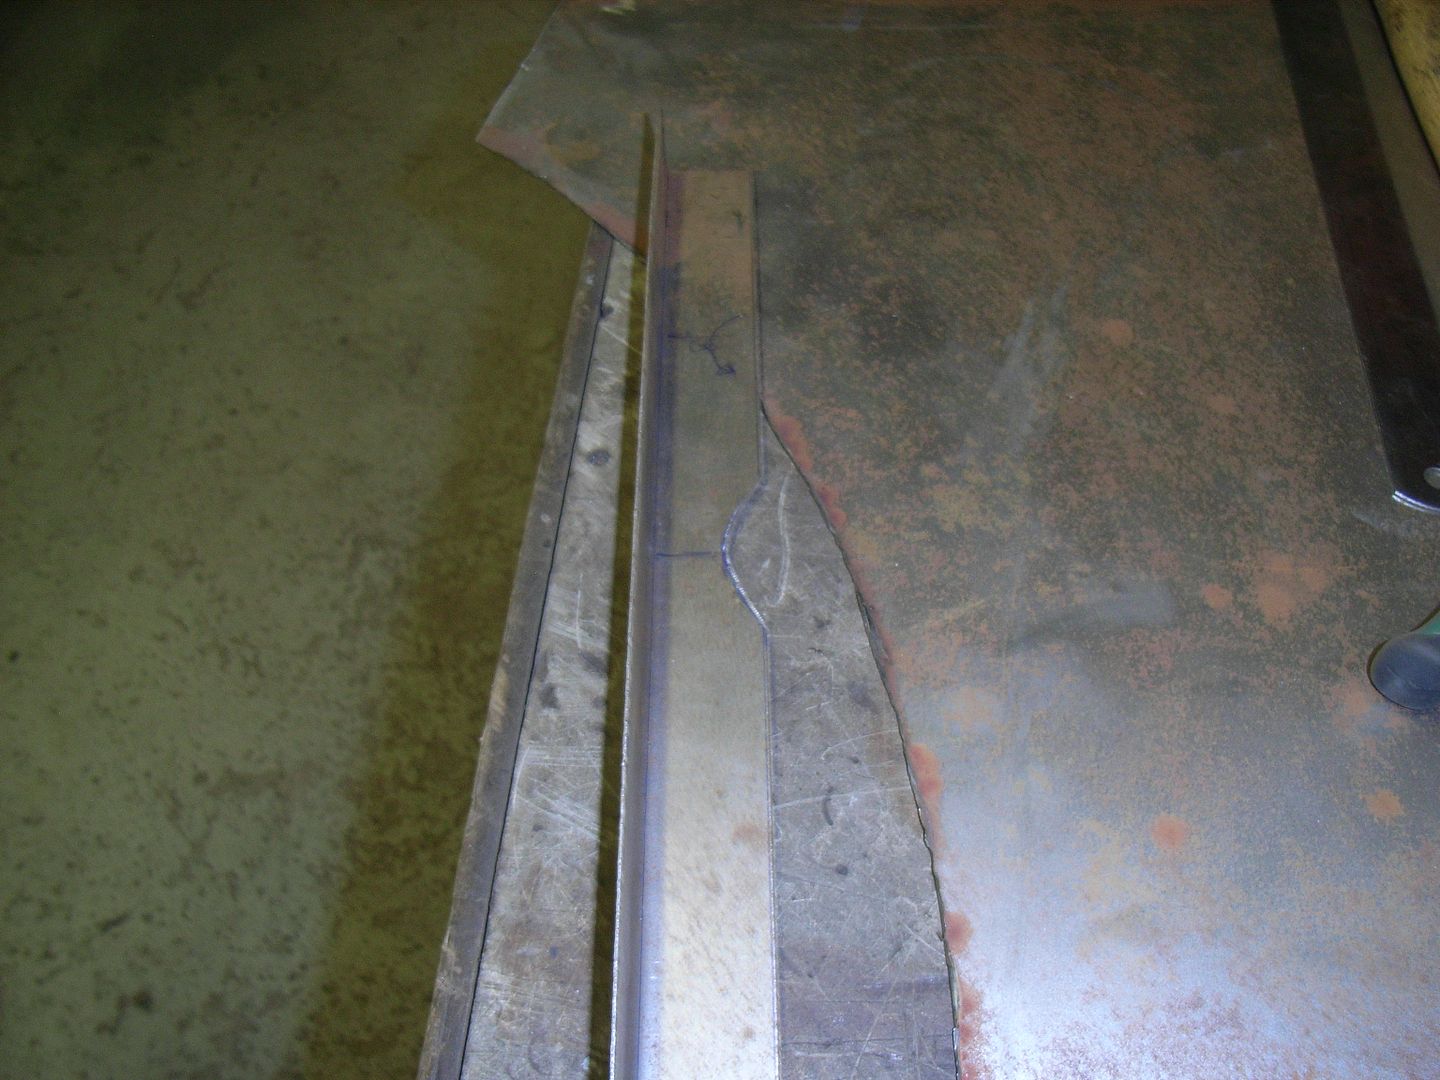 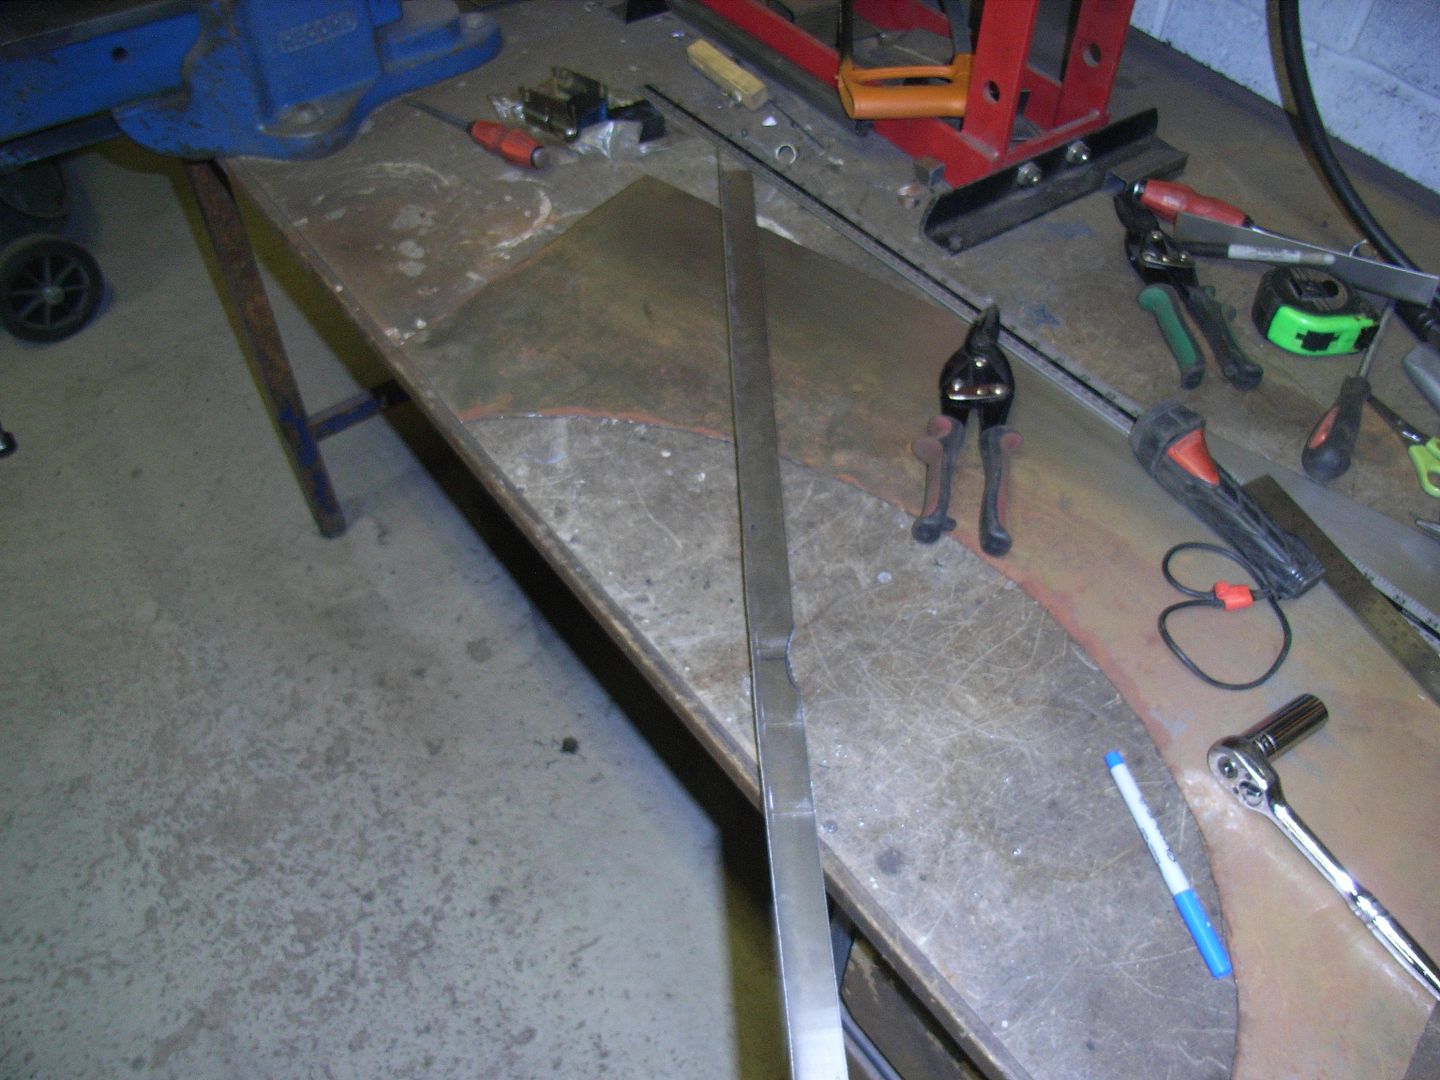 Put in the shrinker / stretcher to get to the right curve (everying has a nice curve to the bodyline) 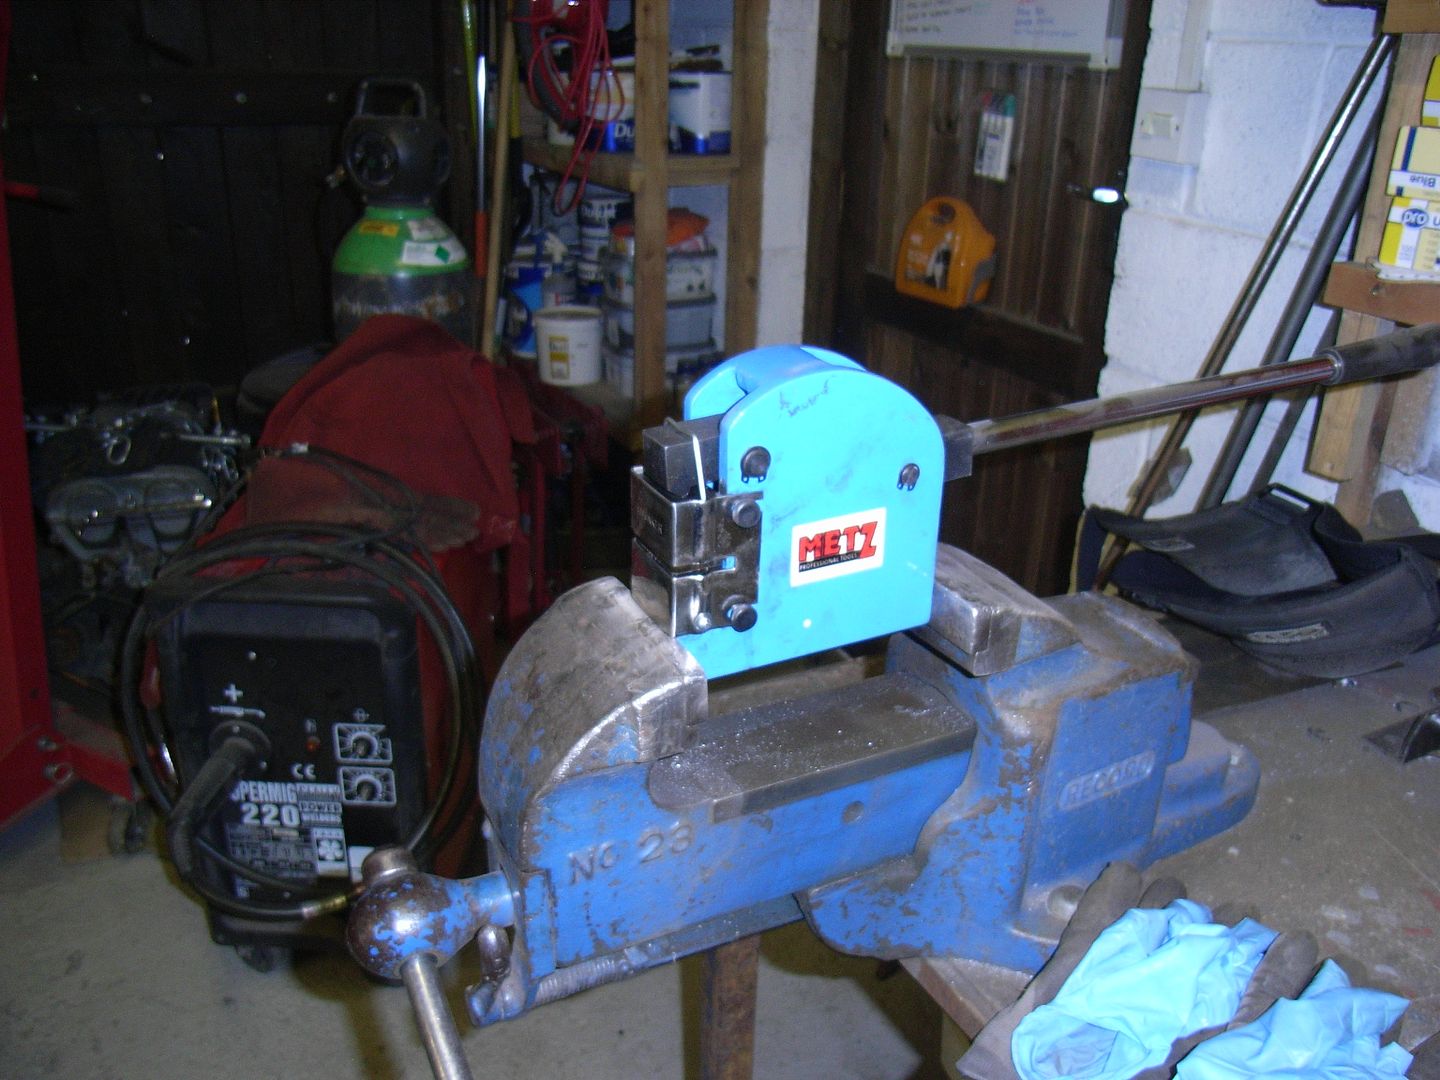 Put in the shrinker / stretcher again... trial fit about 50 times..... 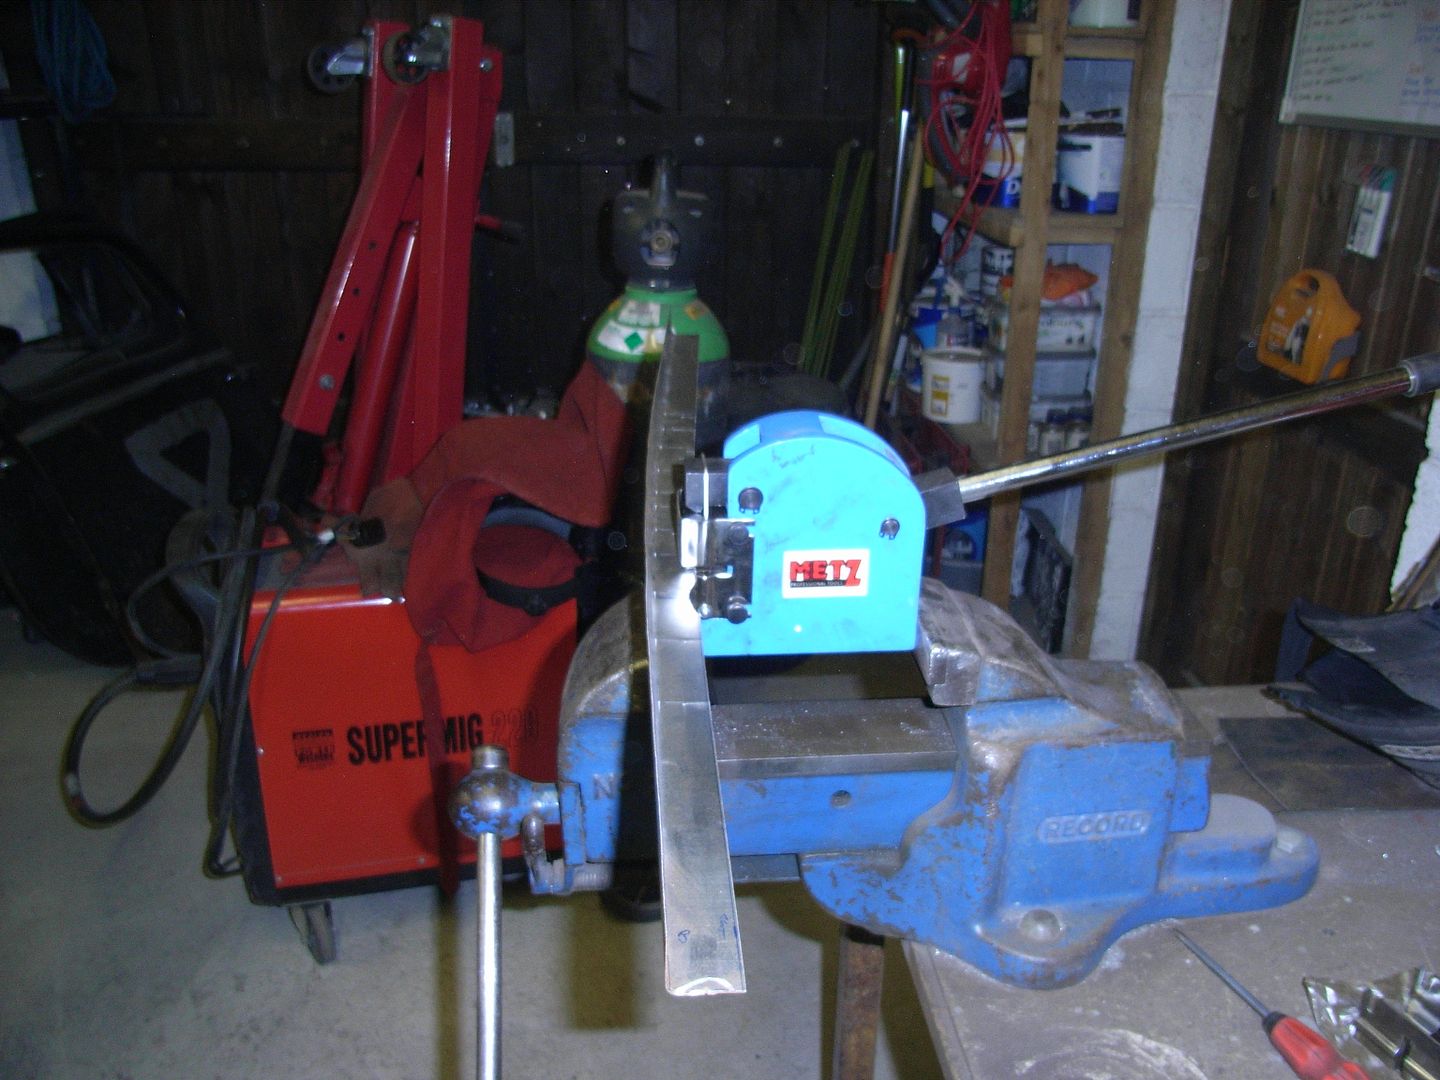 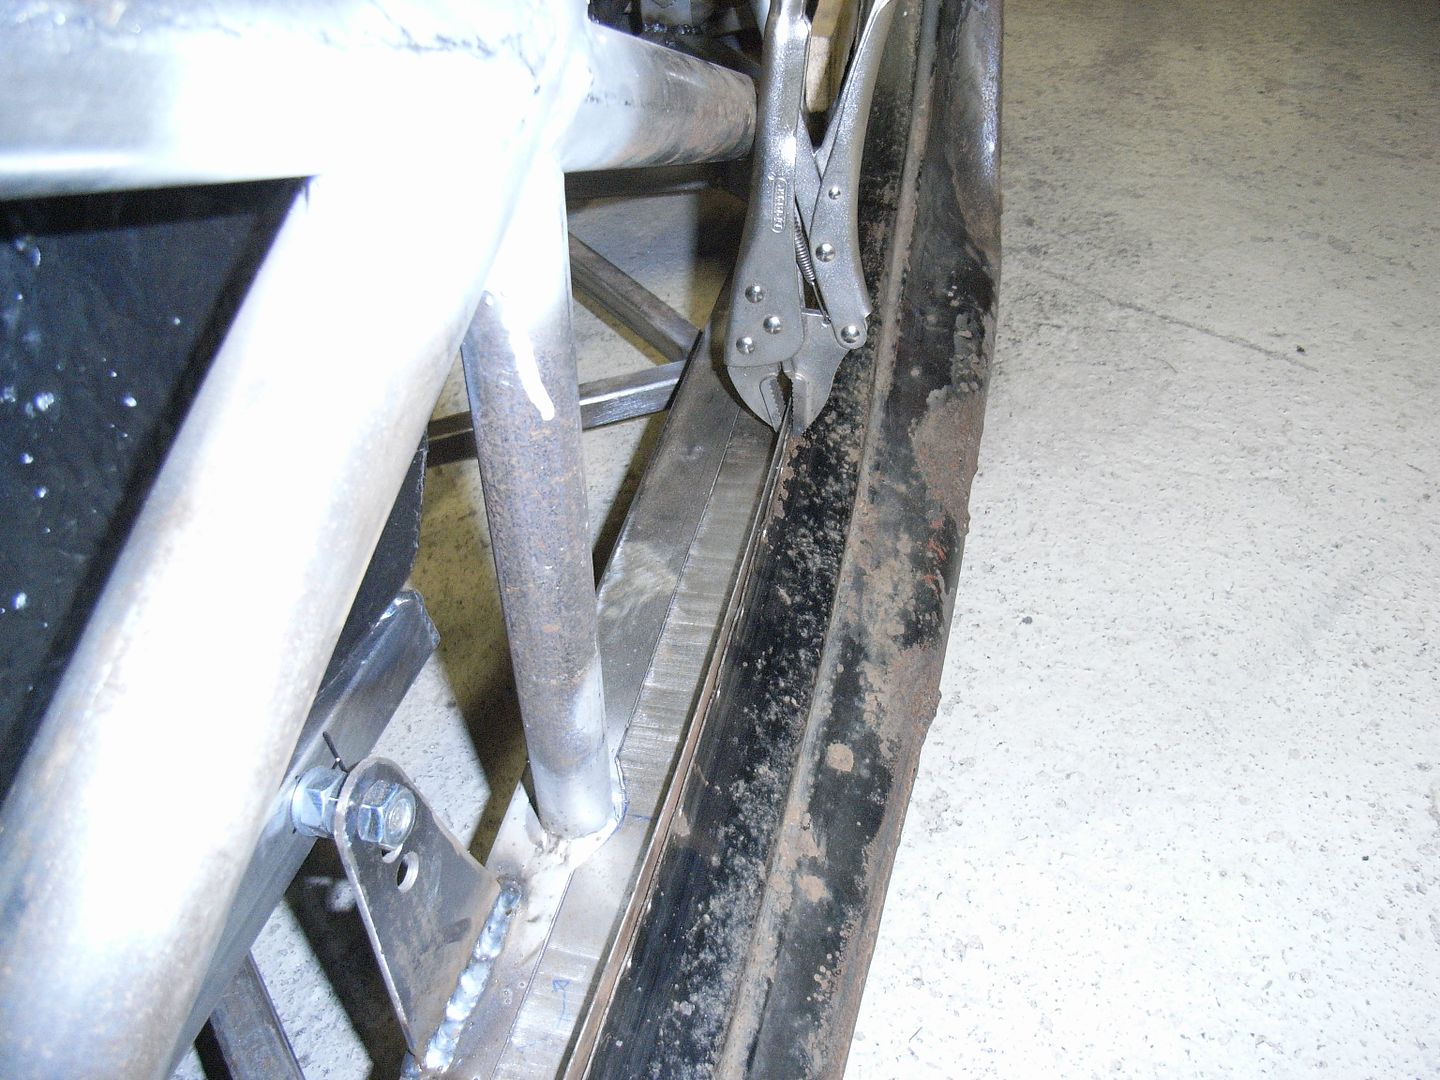 Drill some holes, prime, clamp into position... Do the first bits of welding.... 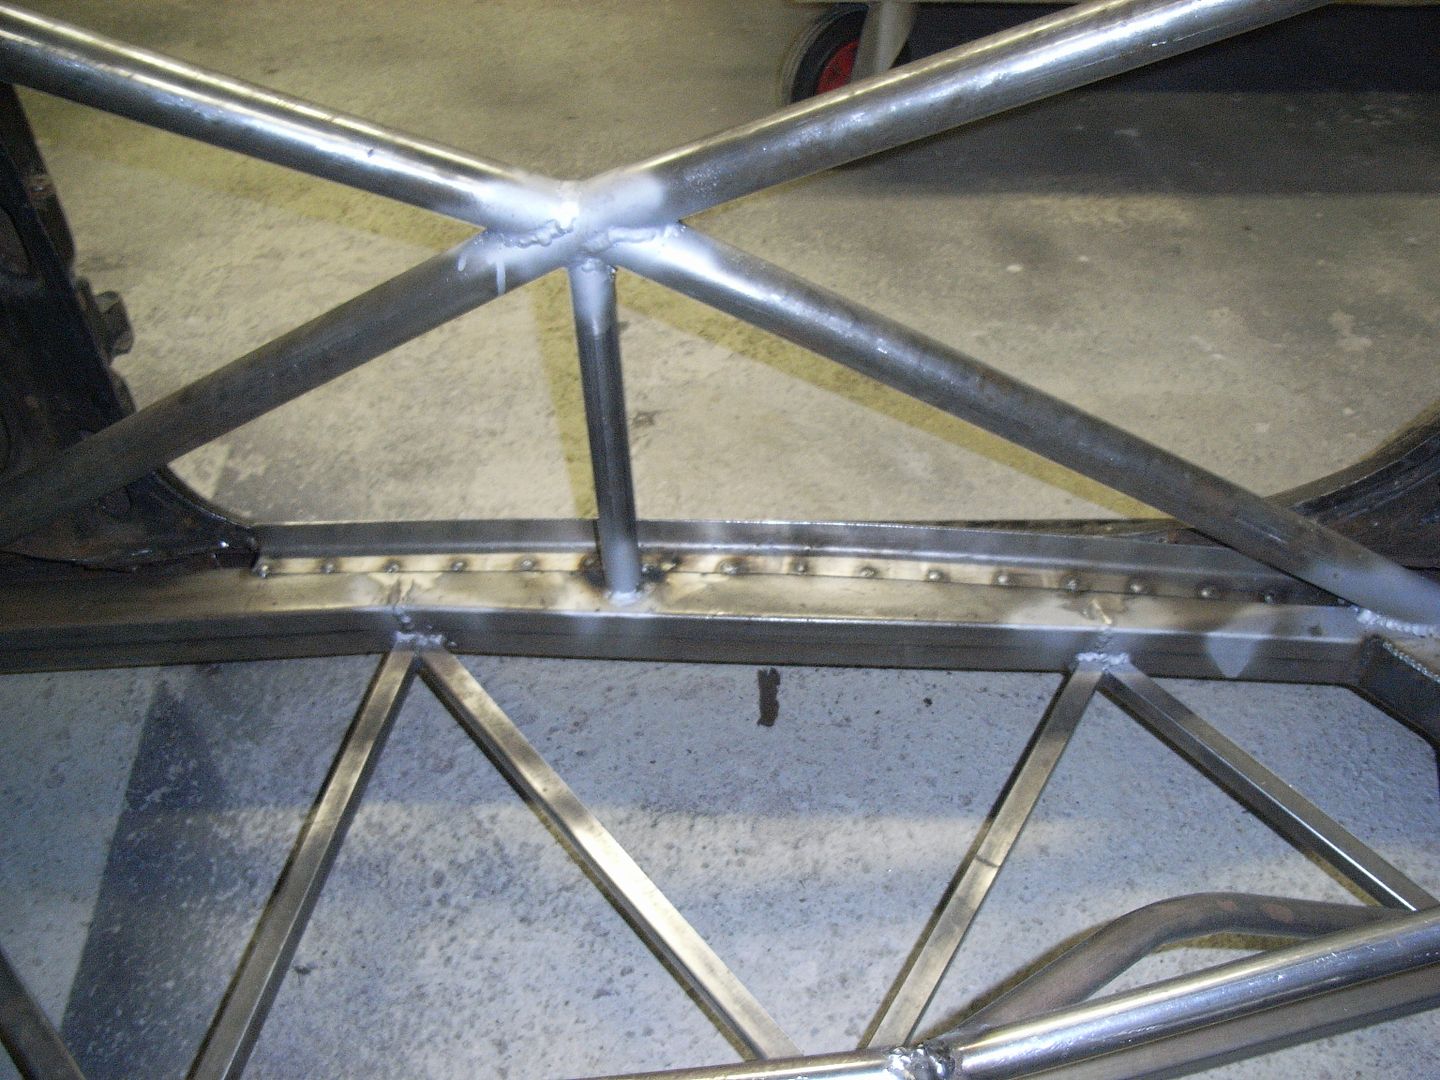 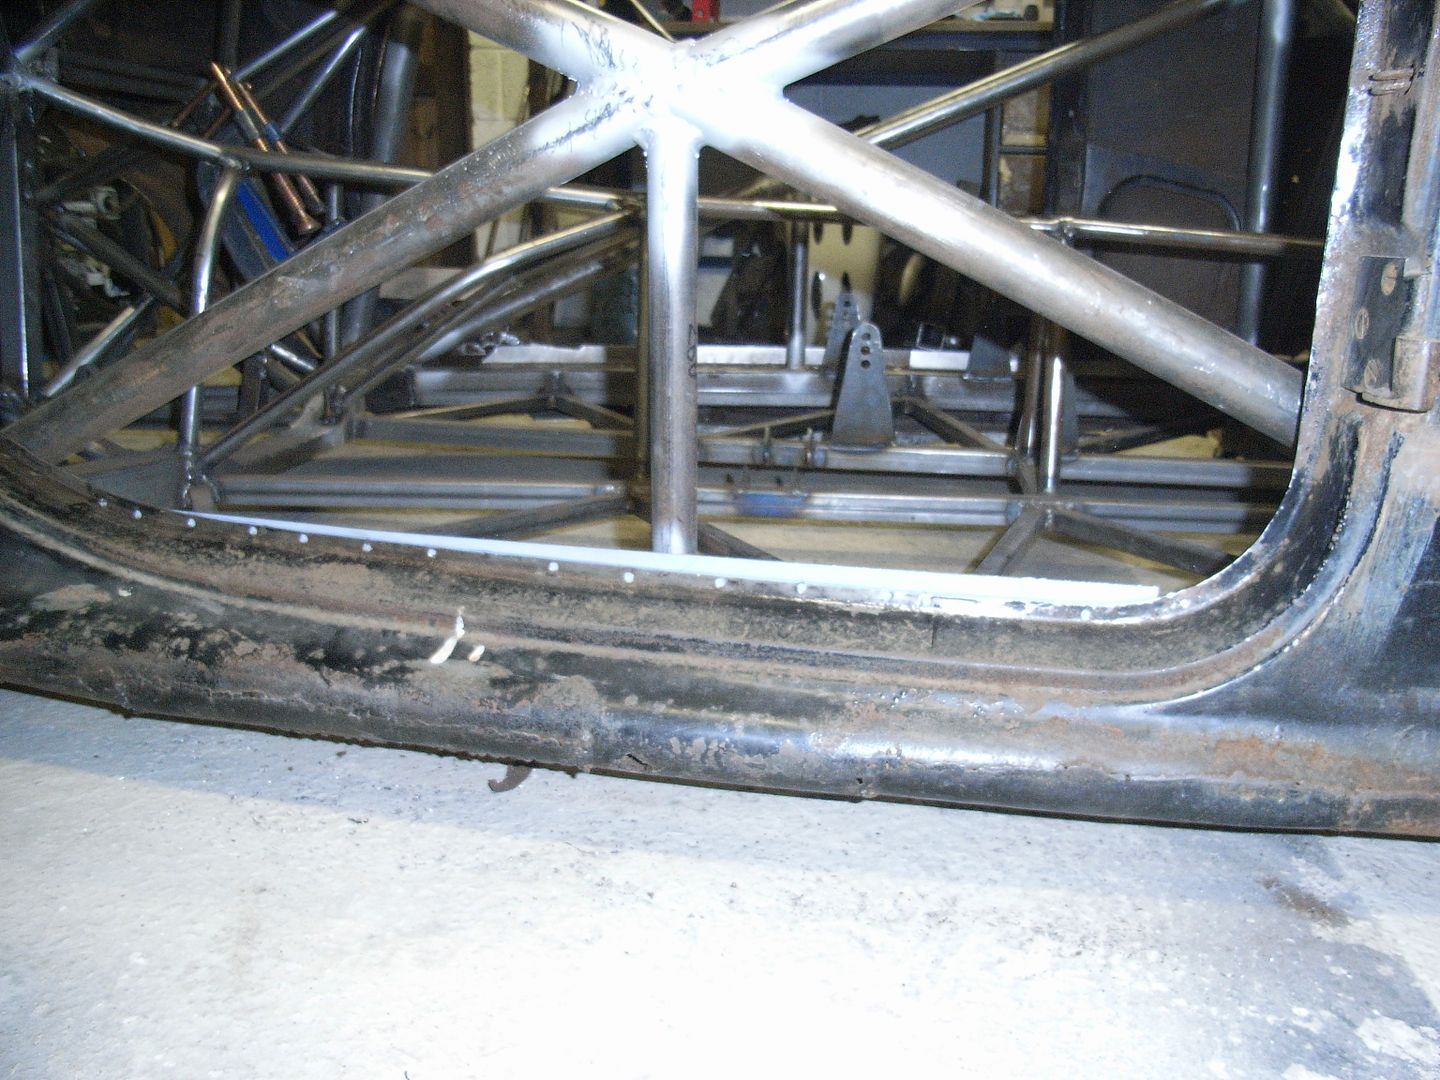 The excess is marked and I will either trim it when the body is off, or might trim it in situ to ensure both edges nicely match. Forget to take any more pictures Once these are done I can take the shell off again, weld from underneath, do a few more tweaks, clean up the sill internals, then I'll be able to fit the body... once i've made more seat mounts, gussets... etc. I might get some more work done on the weekend. Maybe. There are a load more infil panels to make. Need more steel first though.... and welding gas as ran out. |
| |
|
|
|
|


 Keep it up


