jonomisfit
Club Retro Rides Member
Posts: 1,787
Club RR Member Number: 49
|
|
Nov 14, 2017 21:34:54 GMT
|
|
Its very very tight trying to get it in in one go. Mainly due to the transverse chassis member that goes under the gearbox.
The easiest way I've found to get in so far is split the engine and box. Hence the bolt access hatch.
|
| |
|
|
|
|
|
|
|
Nov 15, 2017 13:23:17 GMT
|
|
cool idea...nice to have the option in case you need it. does the gearbox slide out from under okay?
nicely done...love the shaping and template work...
JP
|
| |
I know its spelled Norman Luxury Yacht, but its pronounced Throat Wobbler Mangrove!
|
|
jonomisfit
Club Retro Rides Member
Posts: 1,787
Club RR Member Number: 49
|
|
Nov 15, 2017 19:06:44 GMT
|
|
The gearbox has to go in from the engine bay.
To get the maximum internal space everything is very tight to the gearbox so there isn't space for it to be drawn back through the bulkhead.
The compromise of custom vintage cars!
|
| |
|
|
jonomisfit
Club Retro Rides Member
Posts: 1,787
Club RR Member Number: 49
|
|
Nov 18, 2017 19:58:50 GMT
|
I continued on with the base plate Tacked it in. Well, tacks a bit more. It'll take a few visits to get it all welded in without distorting. 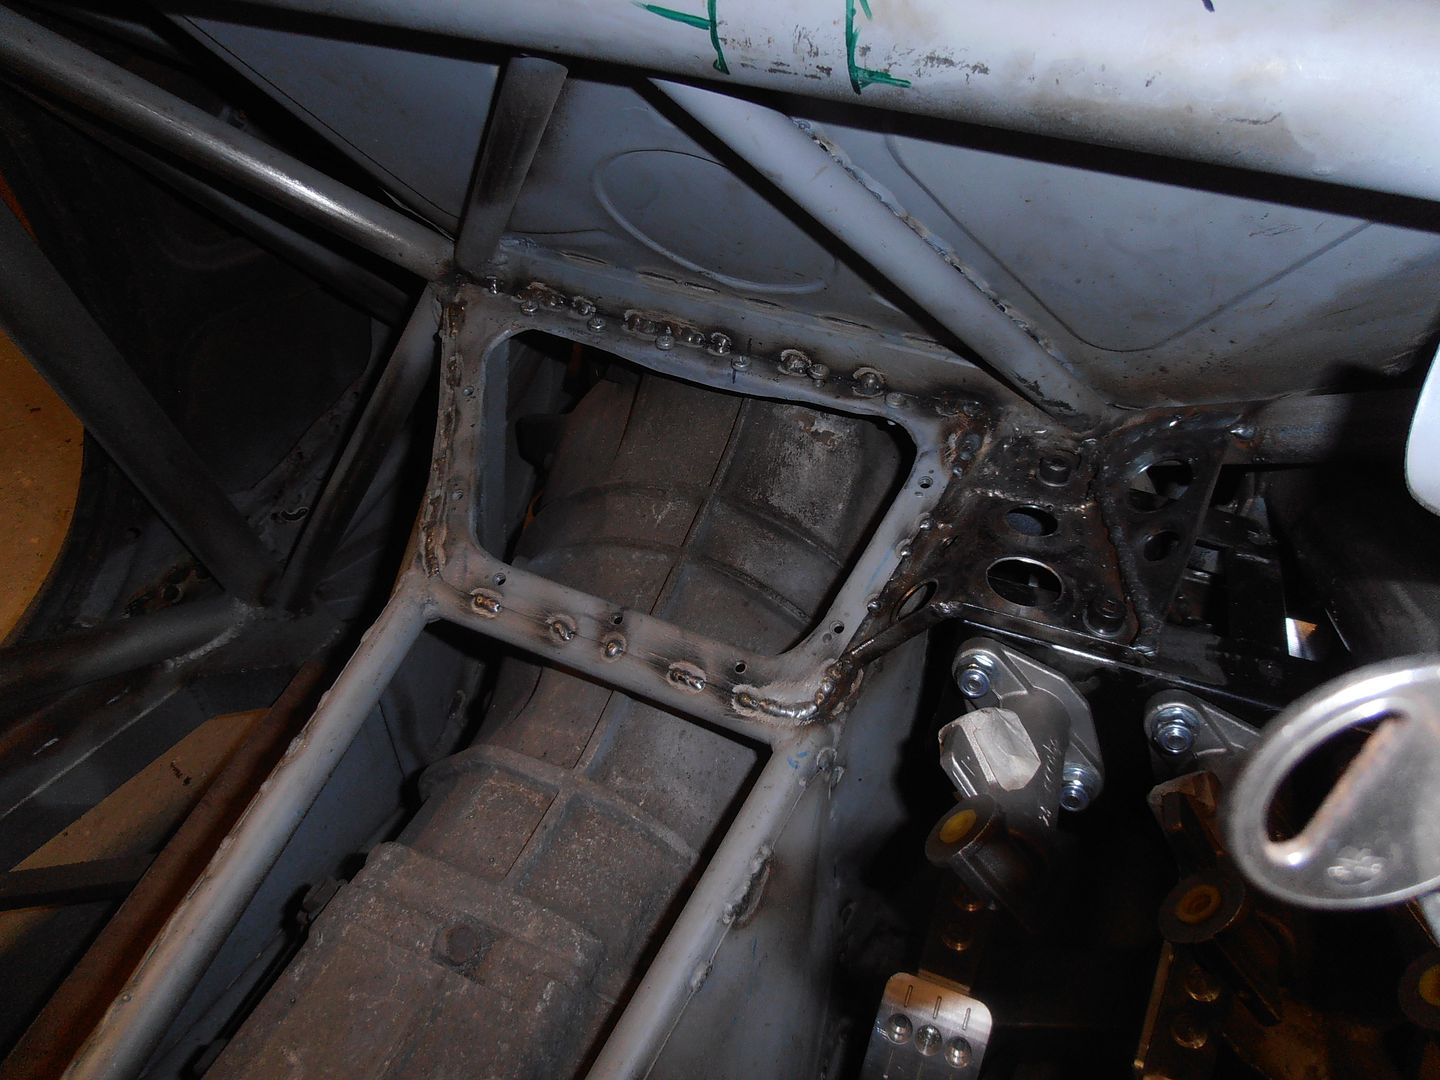 so thought I'd start another plate 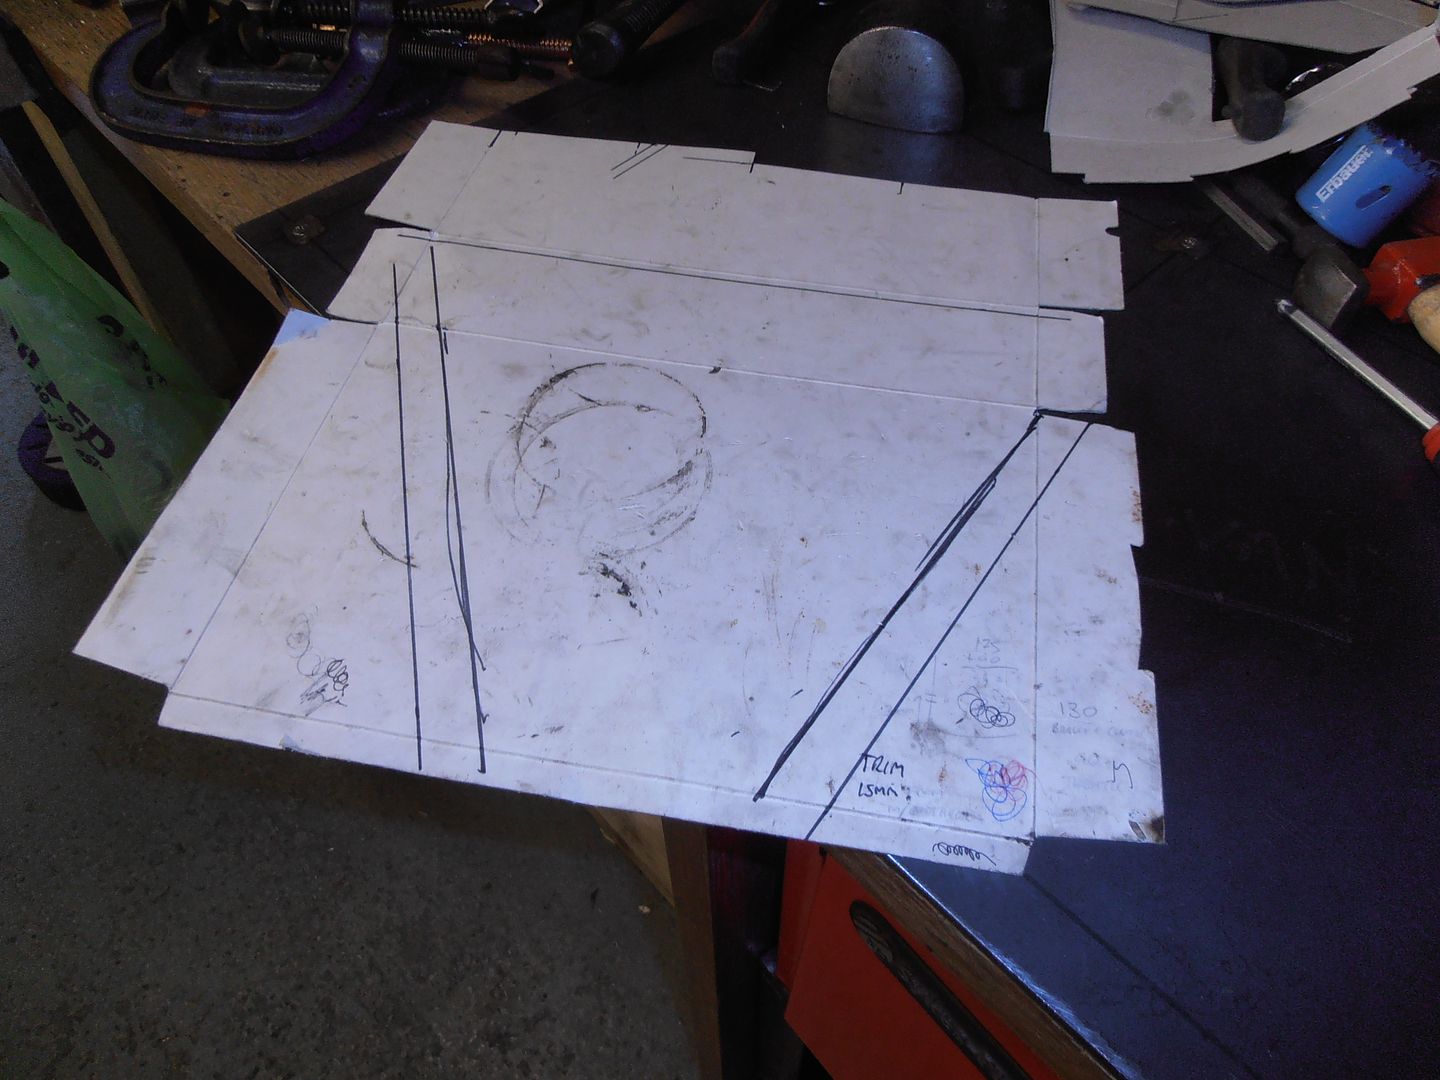 to go here. so the outside edge of the throttle foot has something to stop against and not go into the gap between the door bars 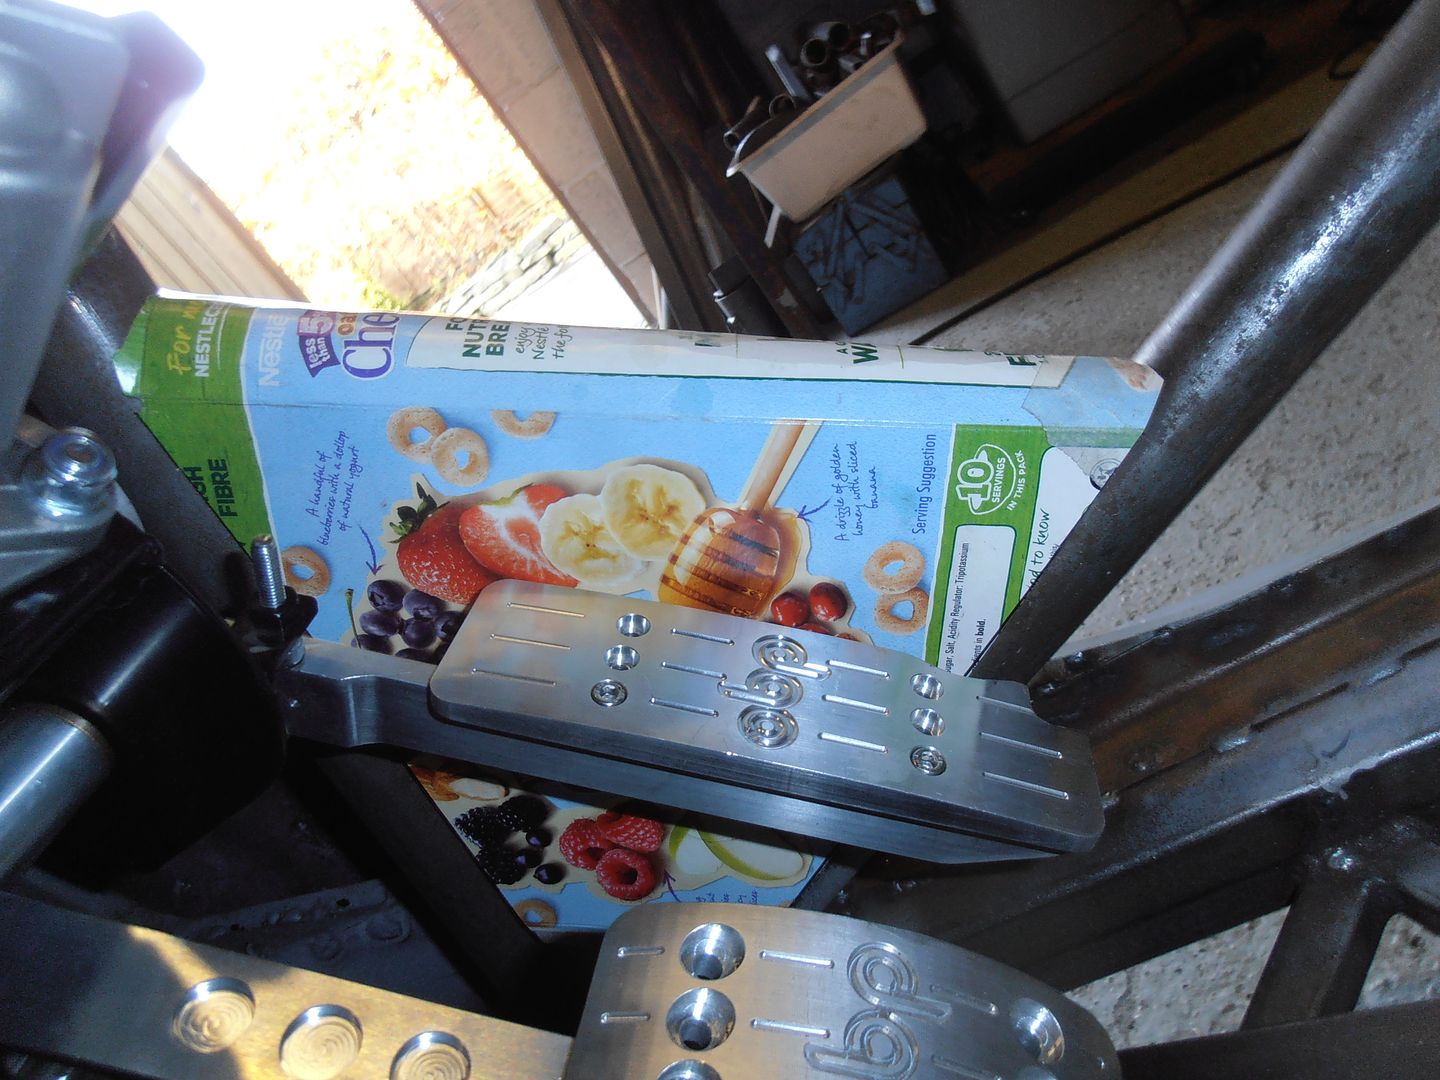 A plain sheet would be a bit dull though 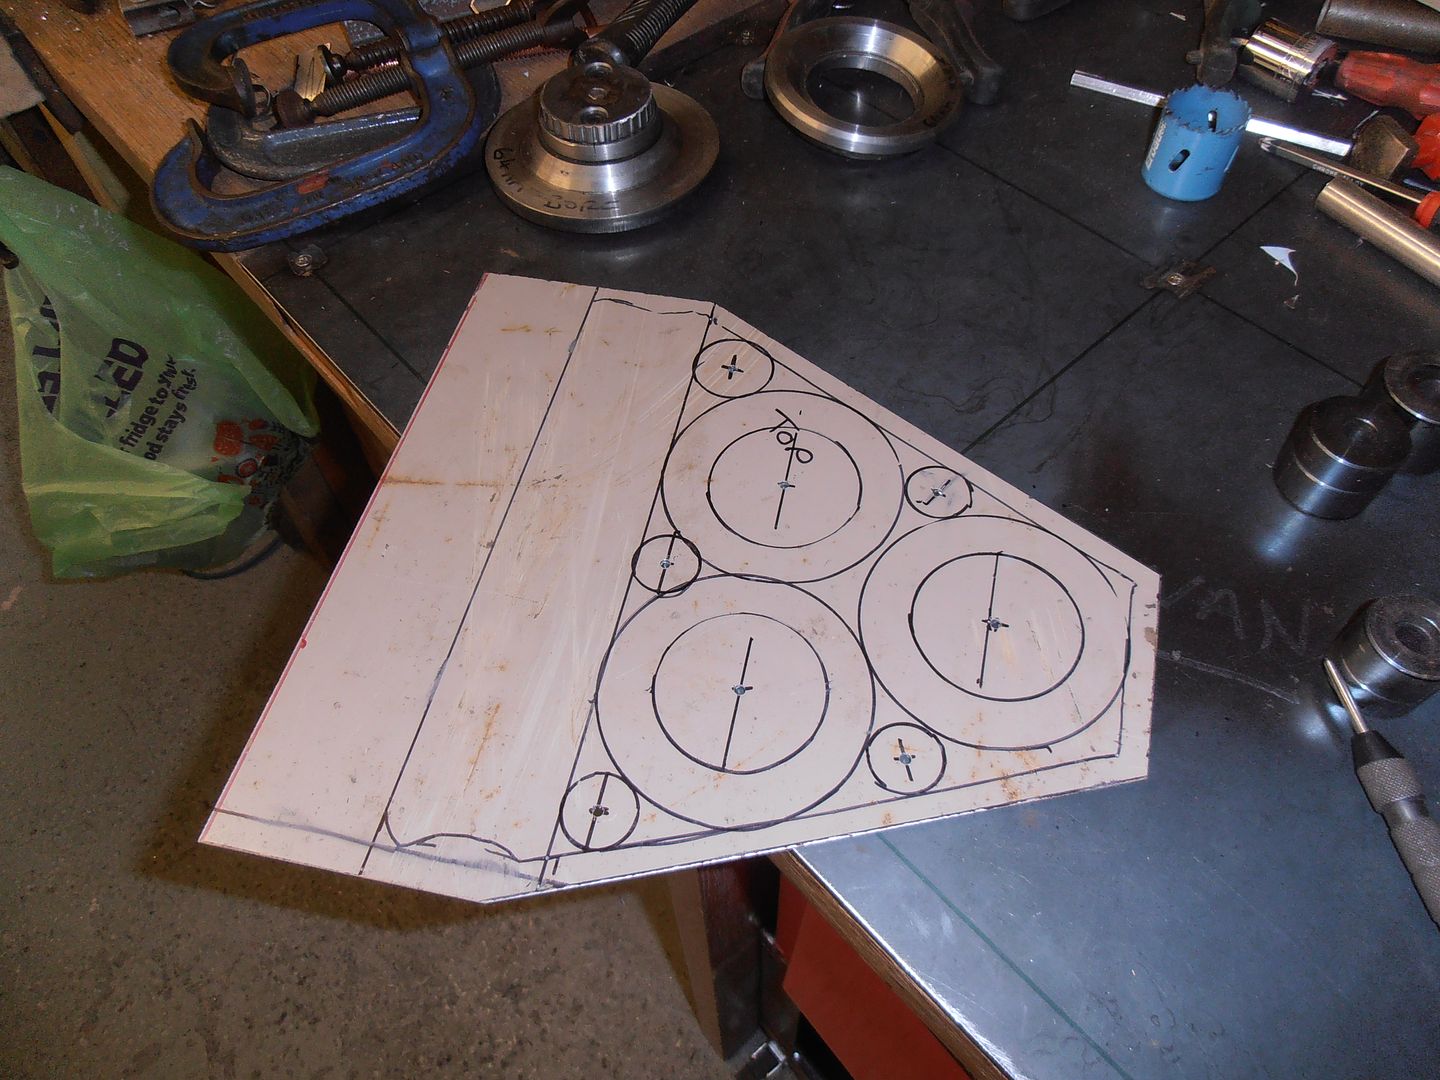 into steel and cut the holes  clean up the metal and trim a bit 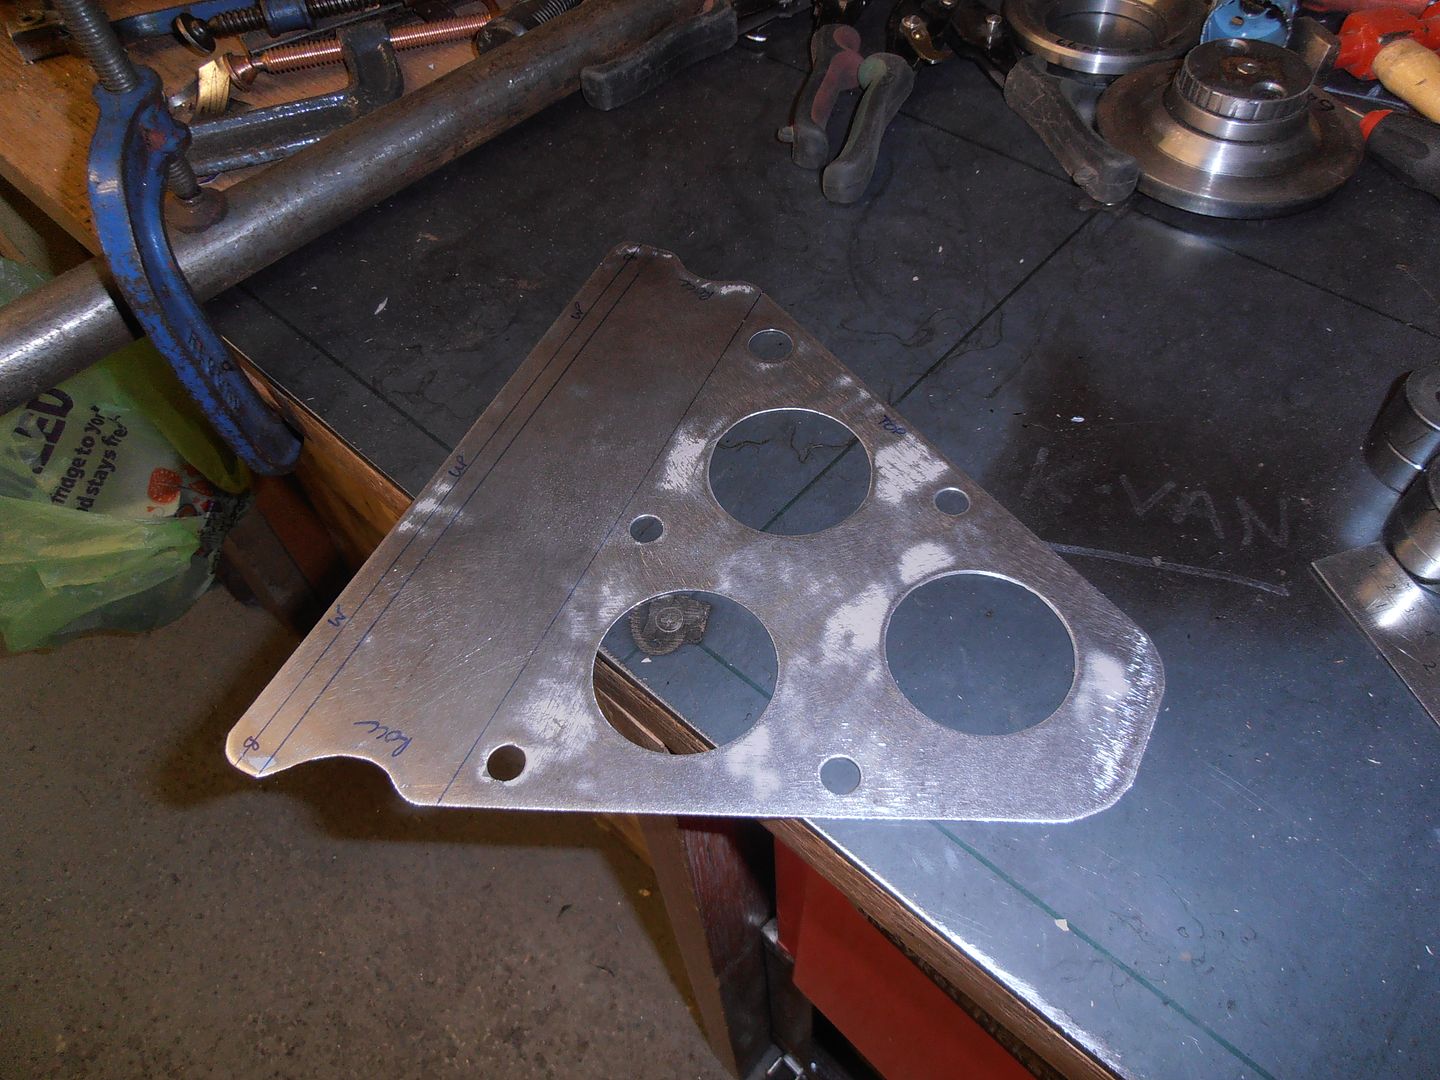 swageyness 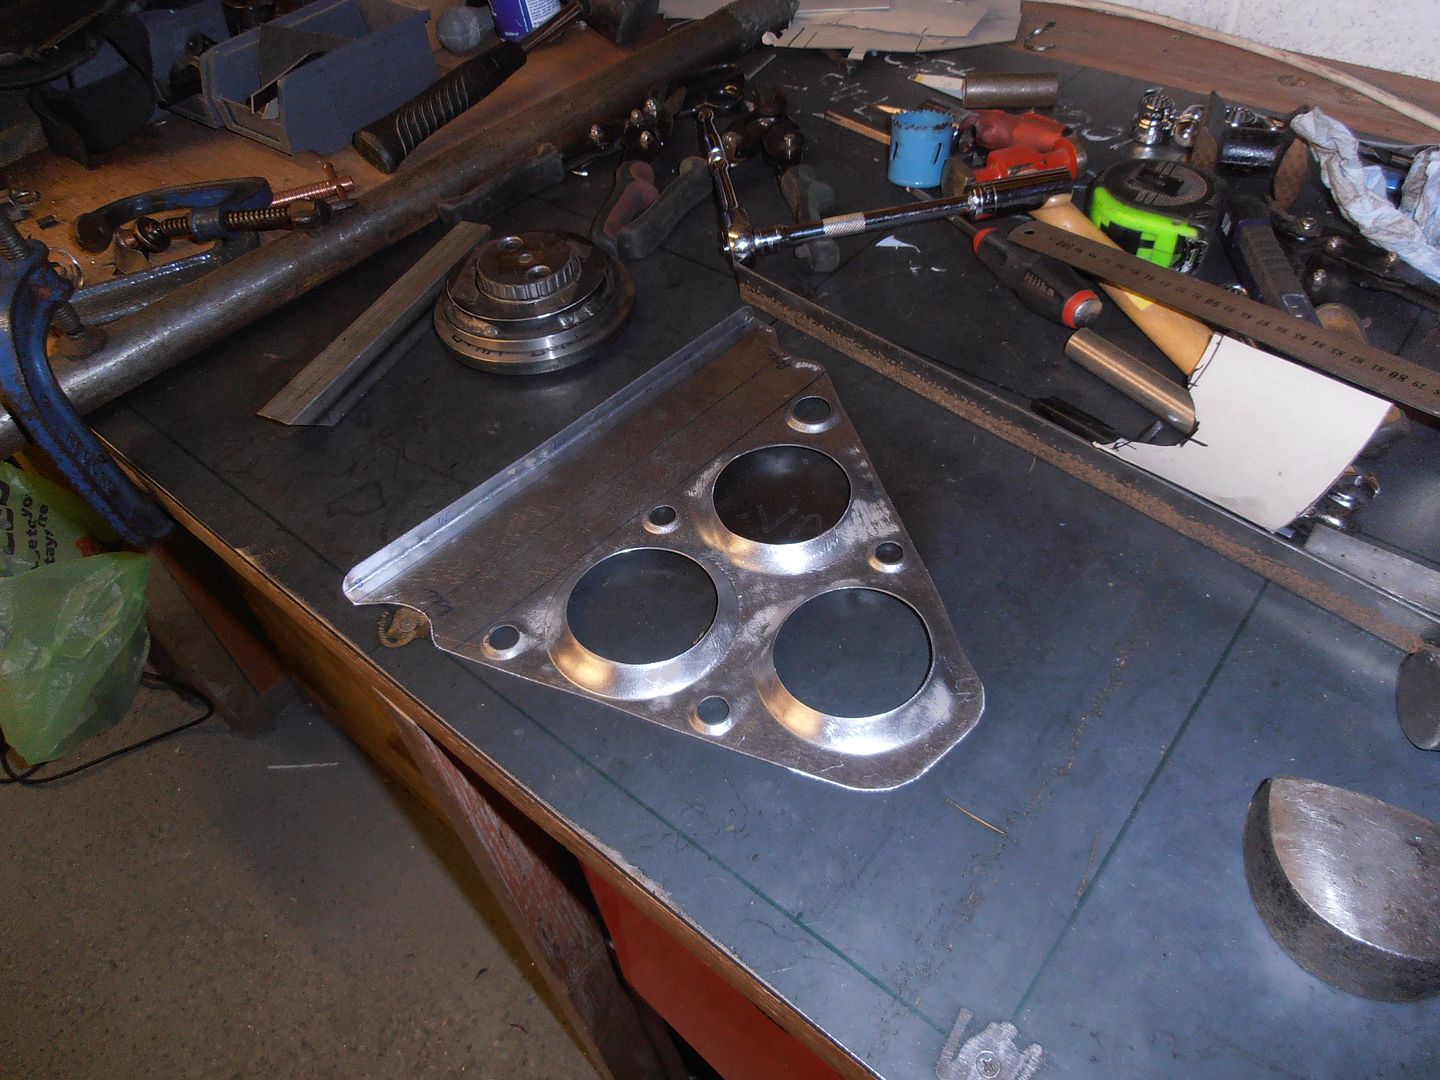 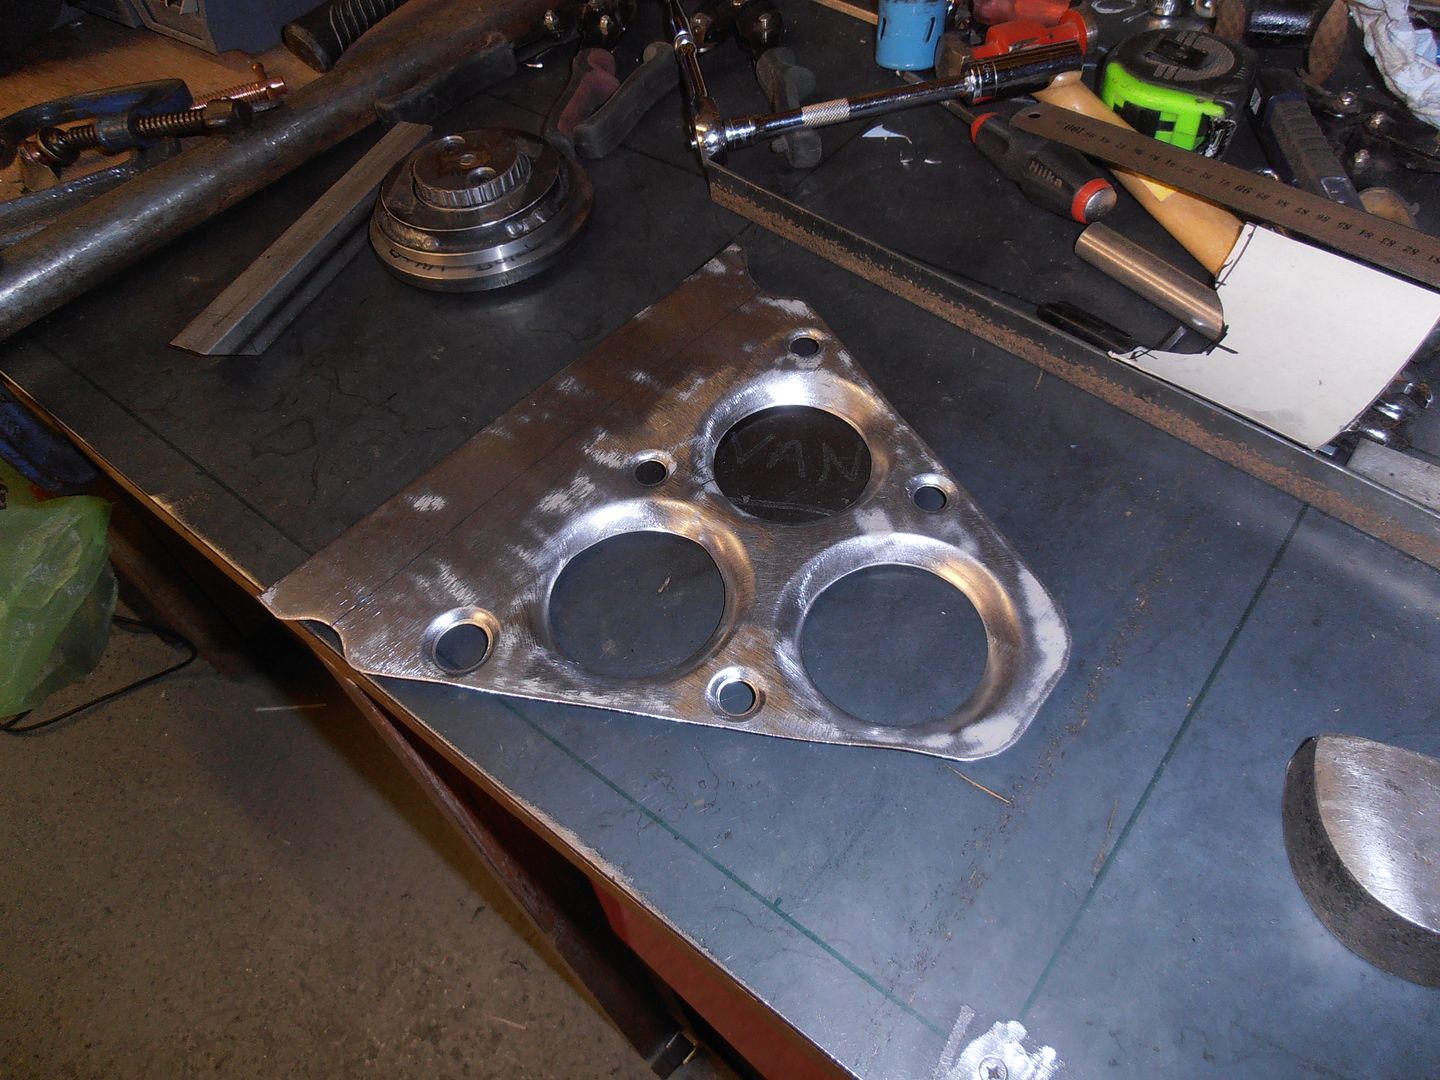 start bending up the return 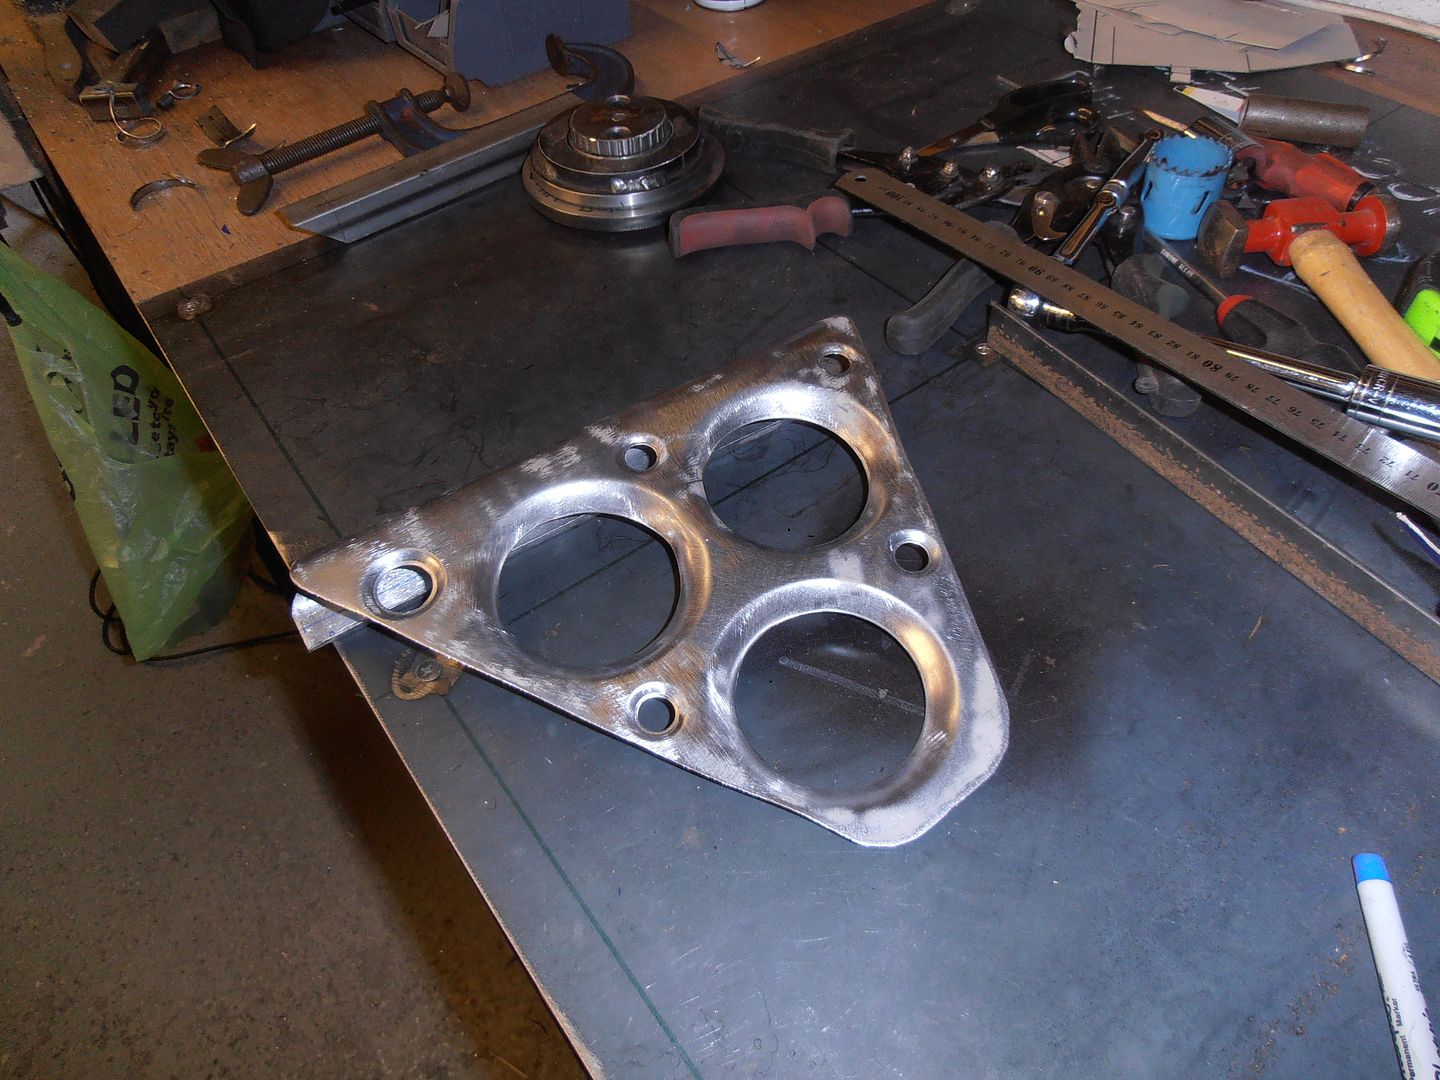 goes in here like so 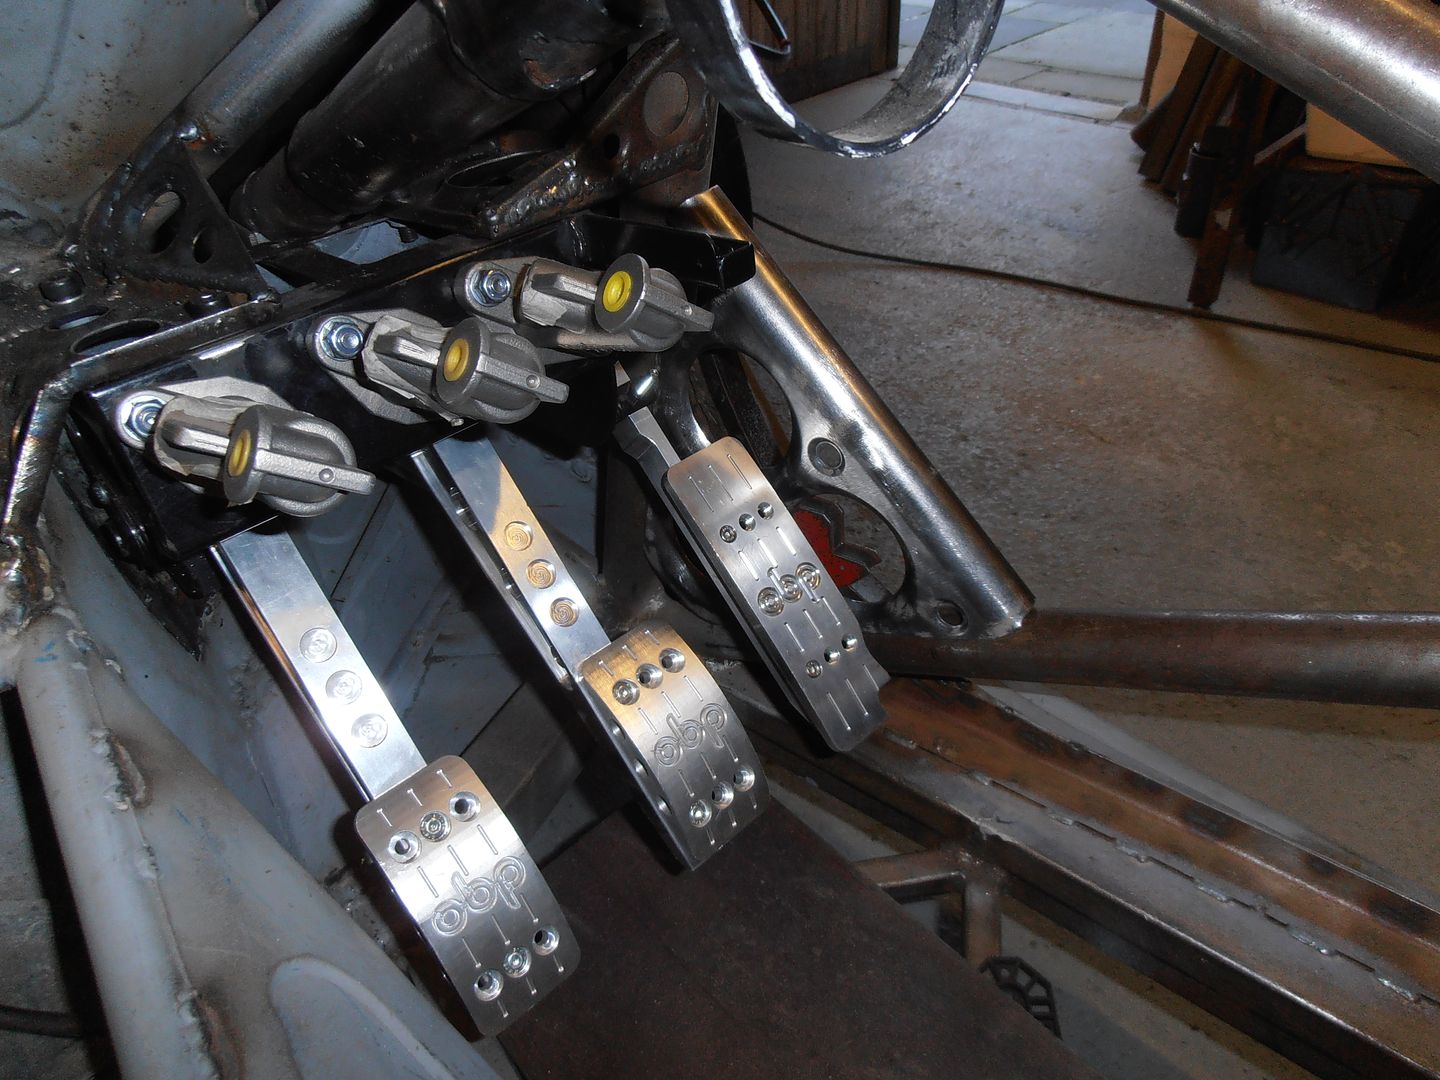 clears the throttle and will help guide the food down 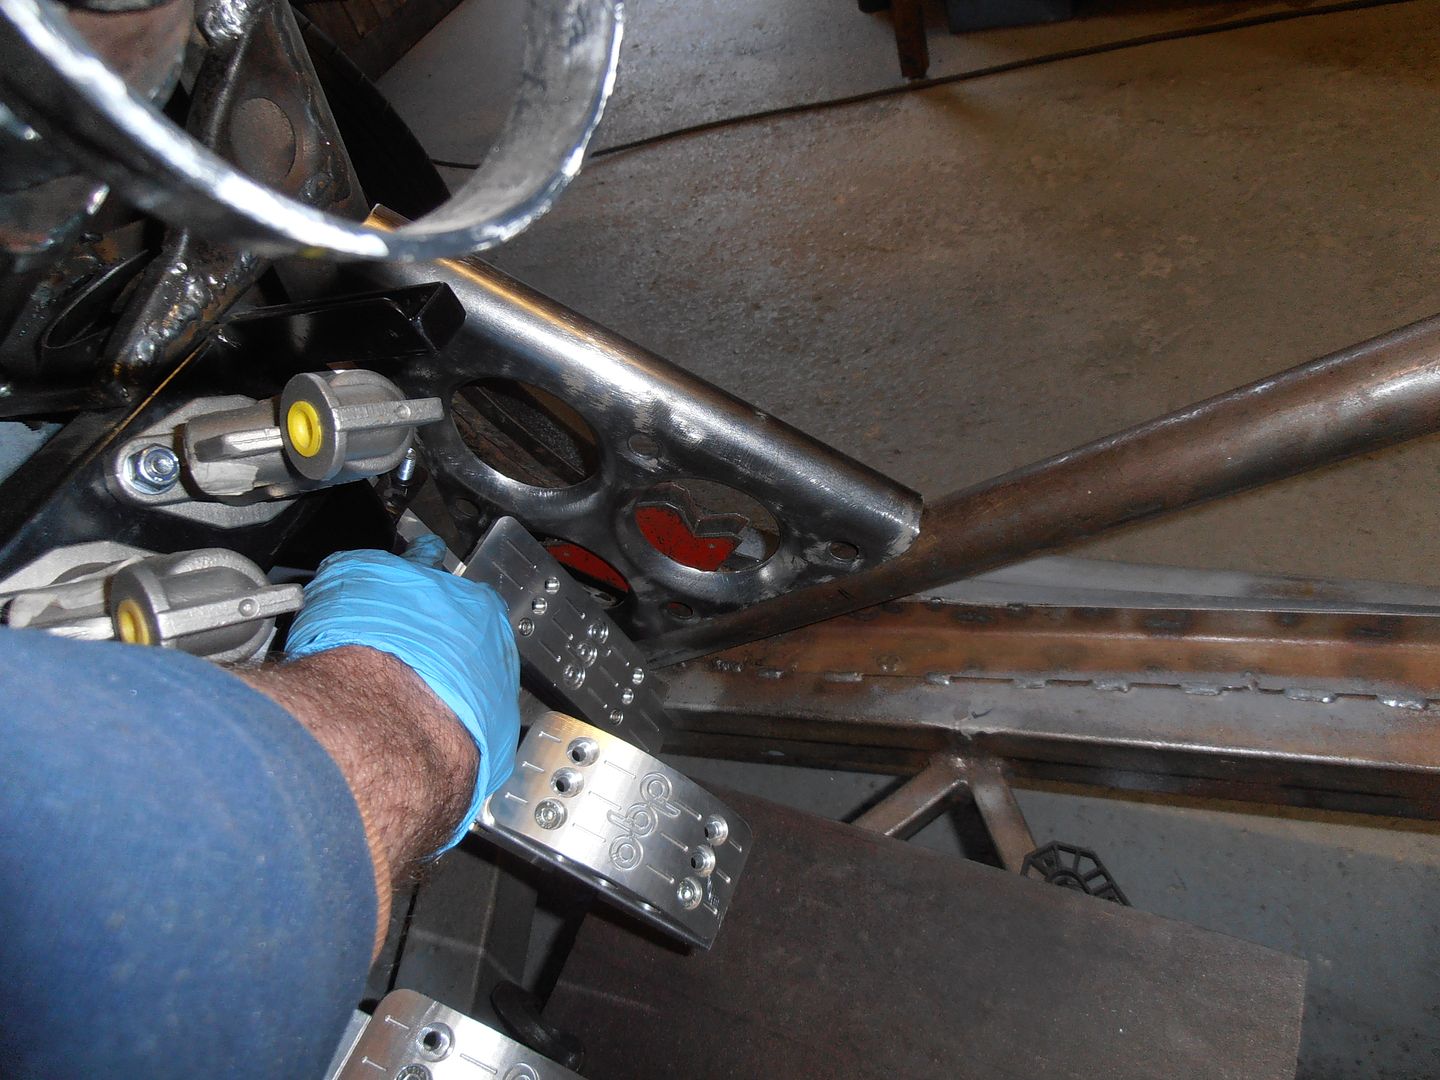 i didnt weld it in as i'm ot sure if I really need it, and if I do, am i better making it bolt in. So onto some other metal work. Back to the tunnel forget to take pics for a while Bit of metal cut to shape with some lines on it 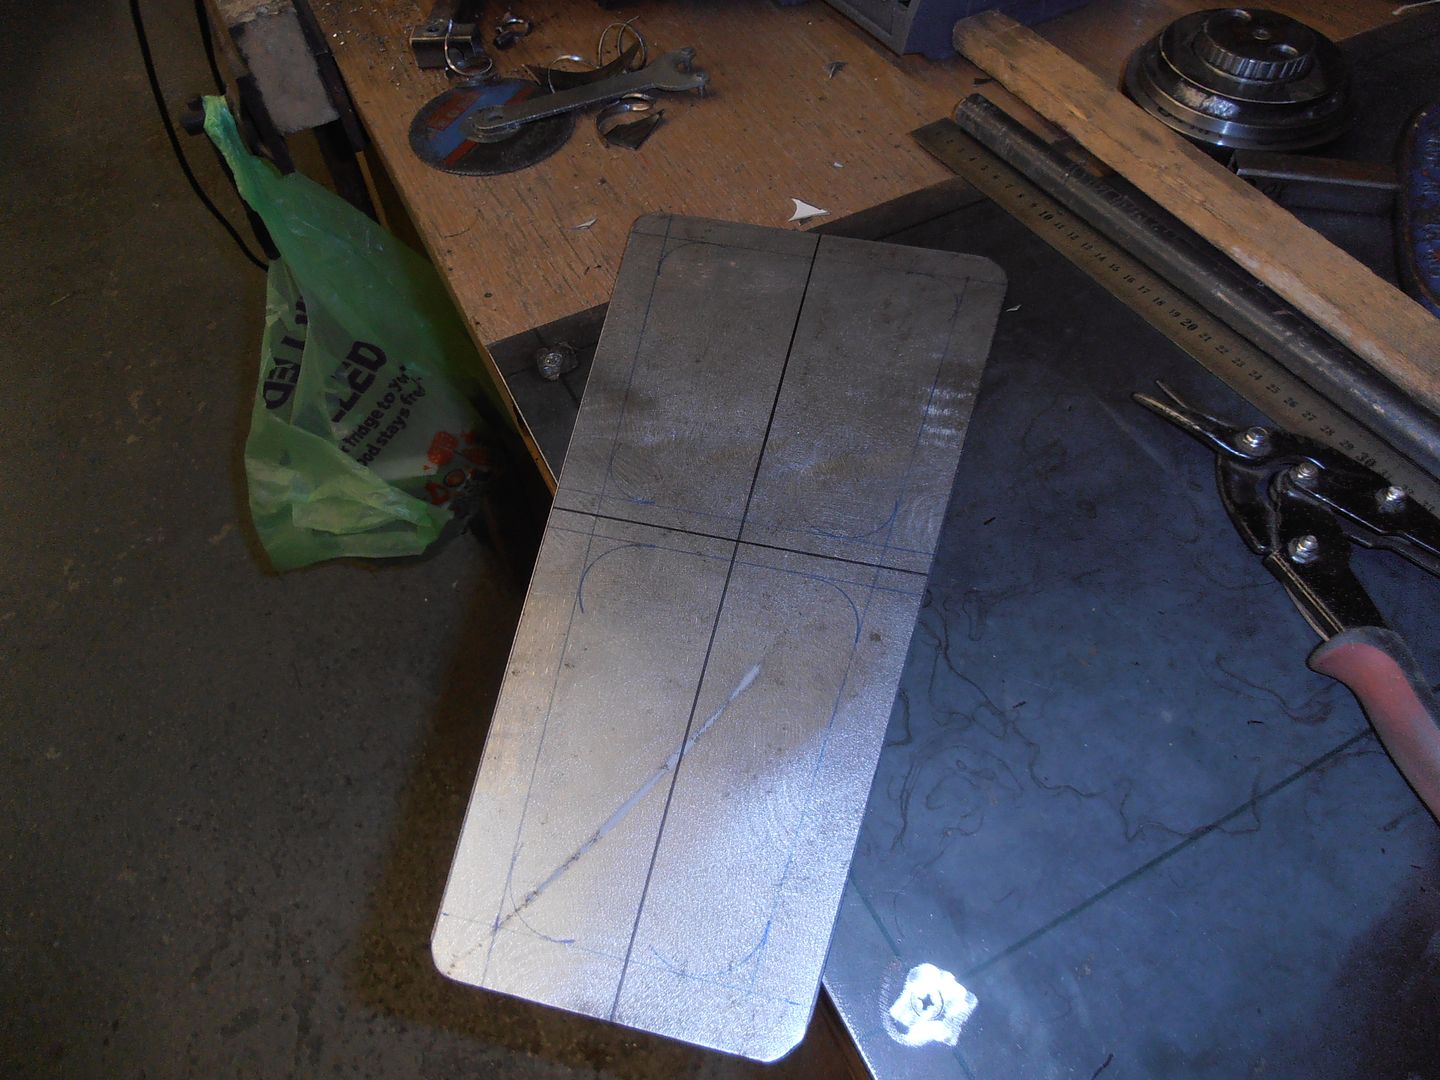 goes here 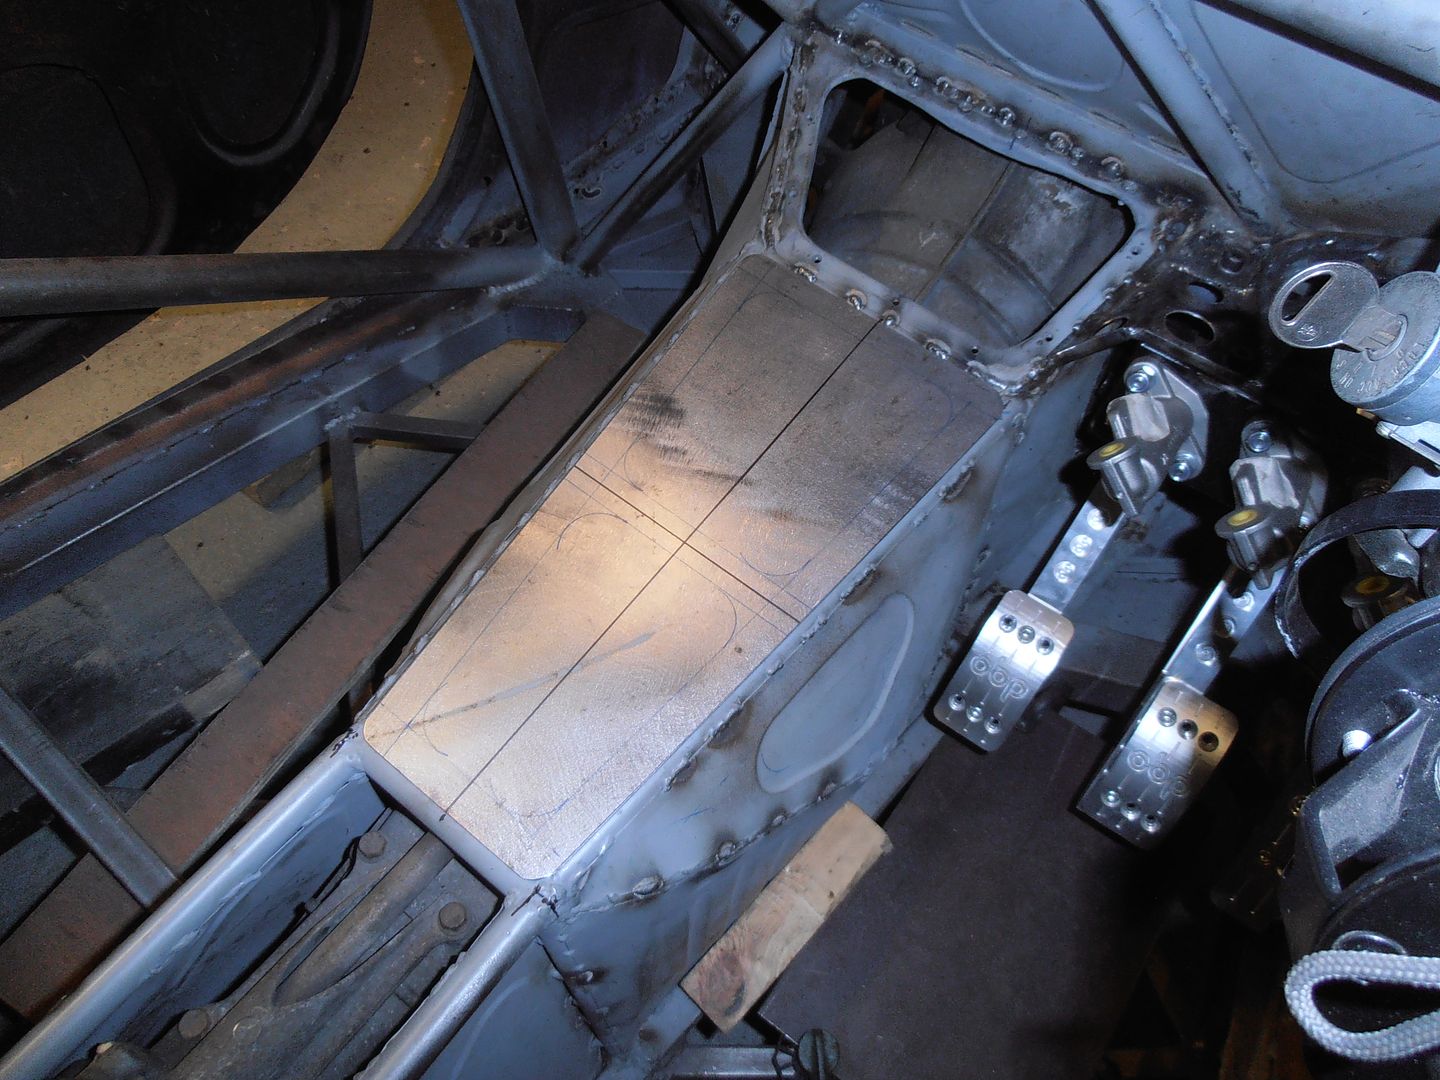 but needs some depth to give it some stiffness. Bead rolling time. Or rather stepping roller time. Que nervous period as its been so long since ive used it! came out ok 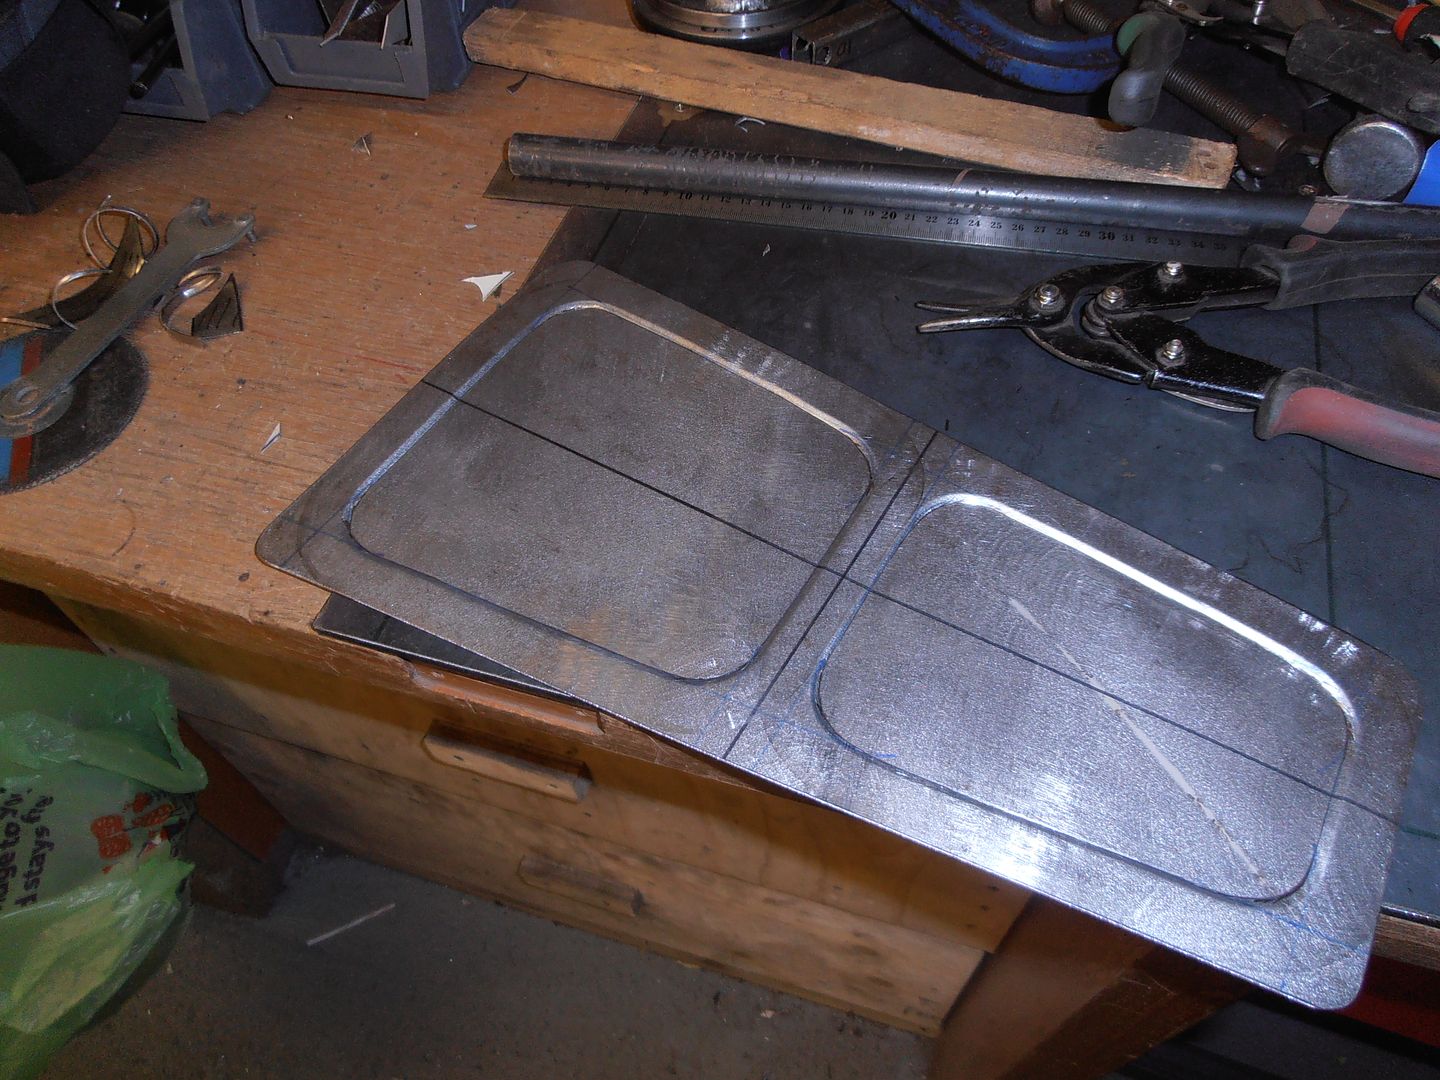 prime it 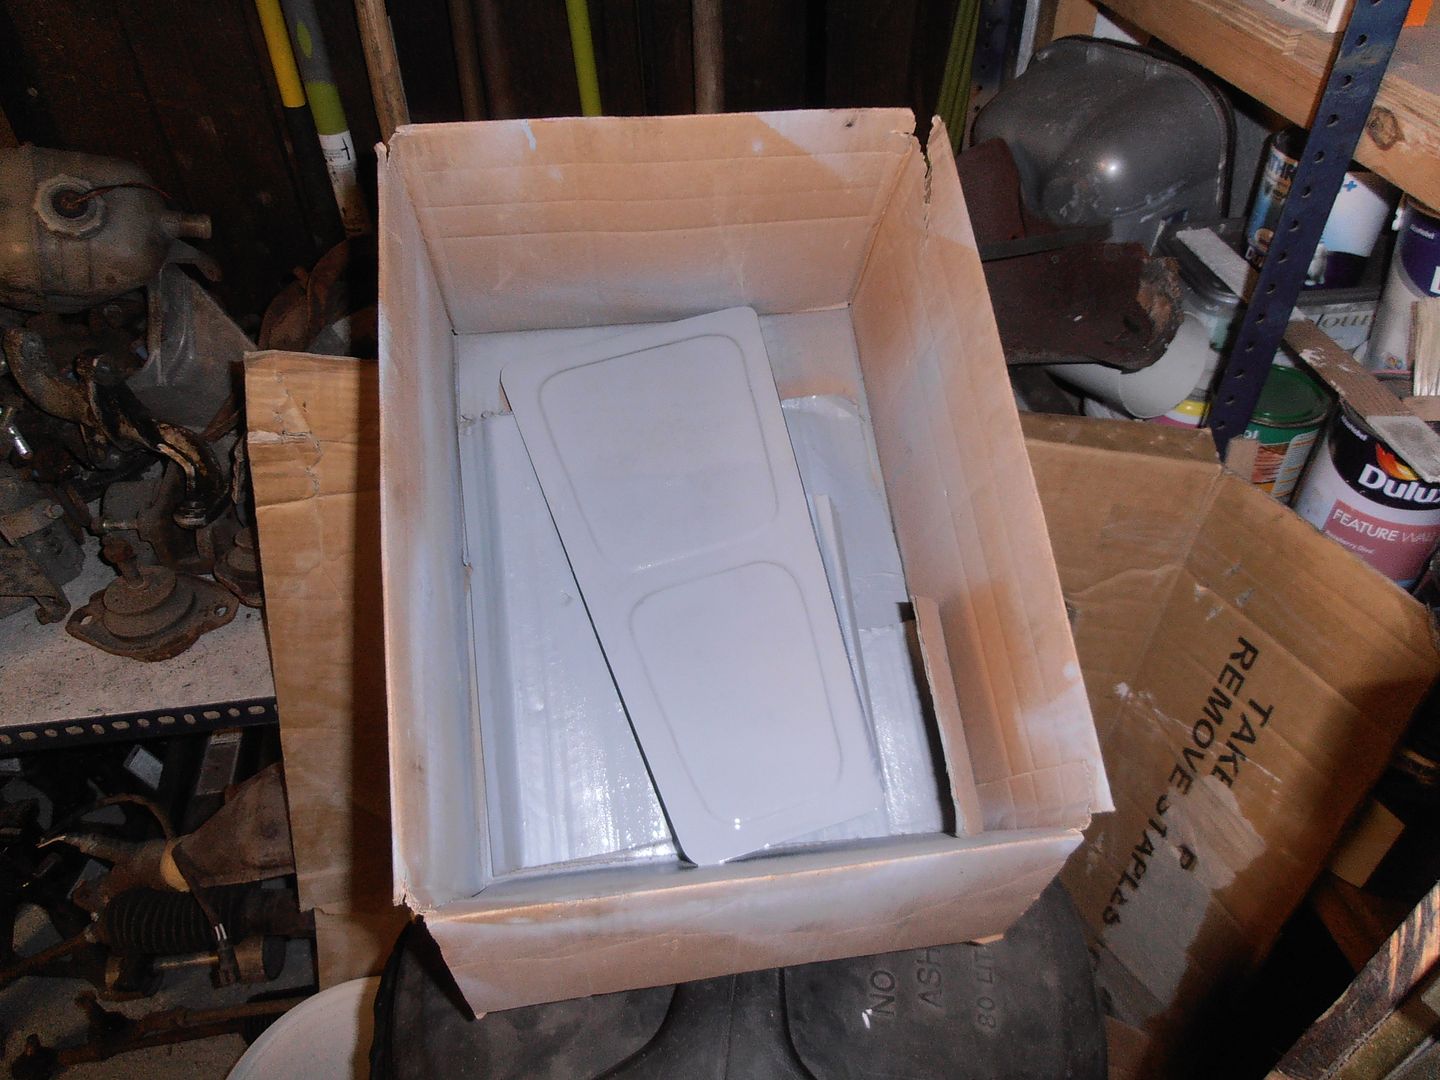 tack it in 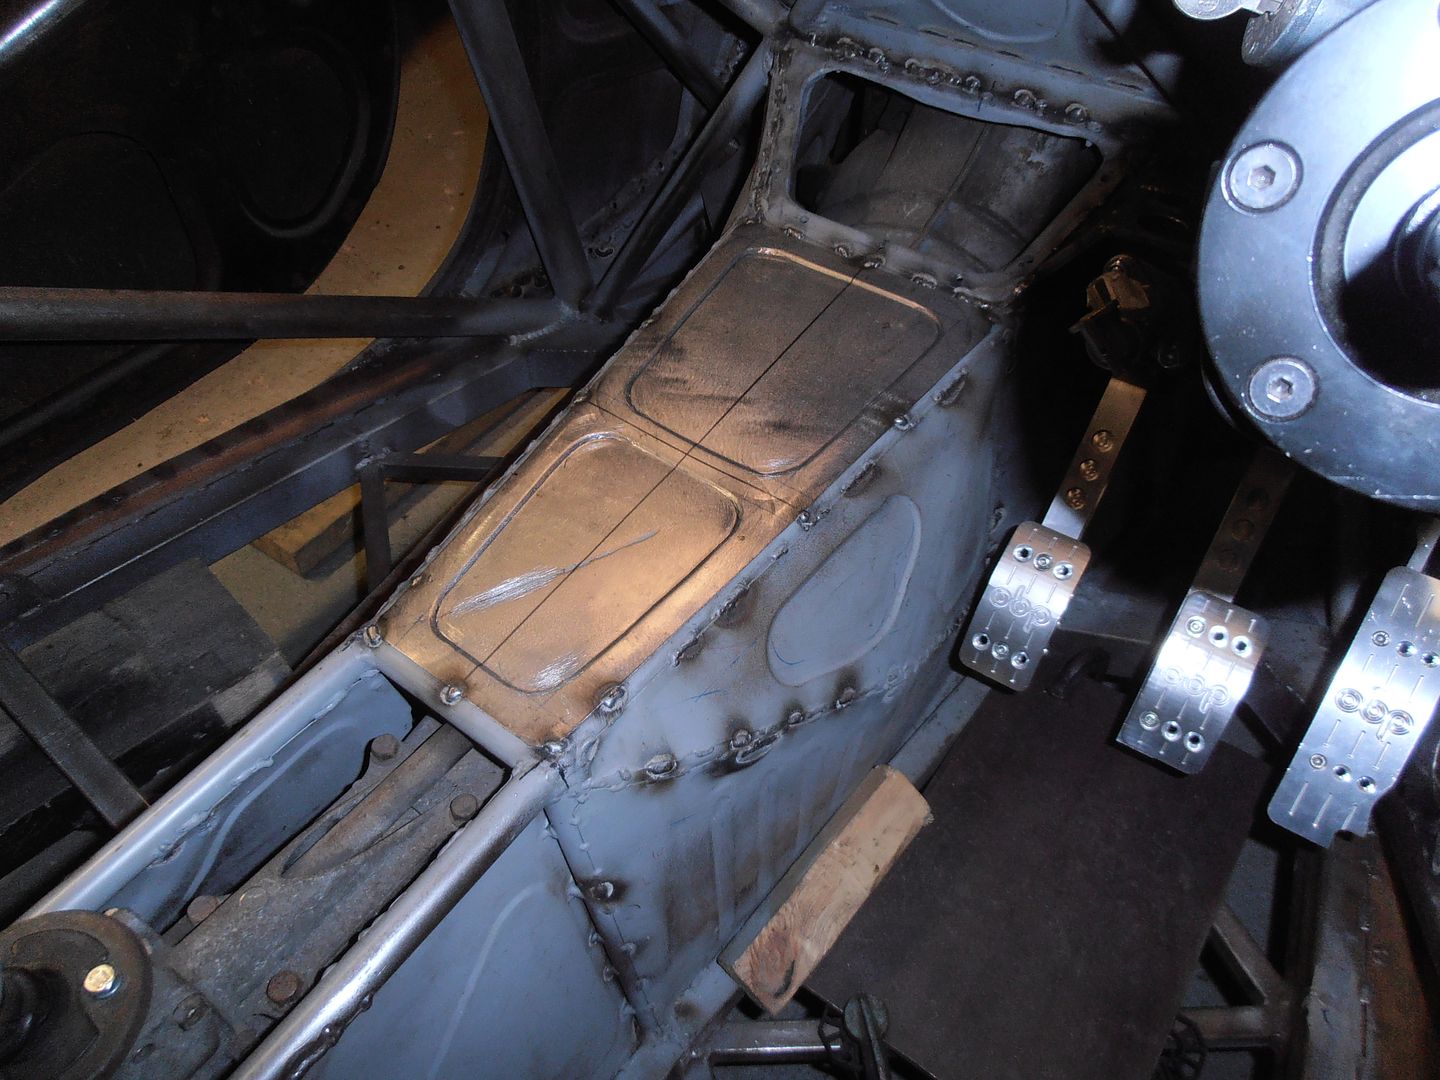 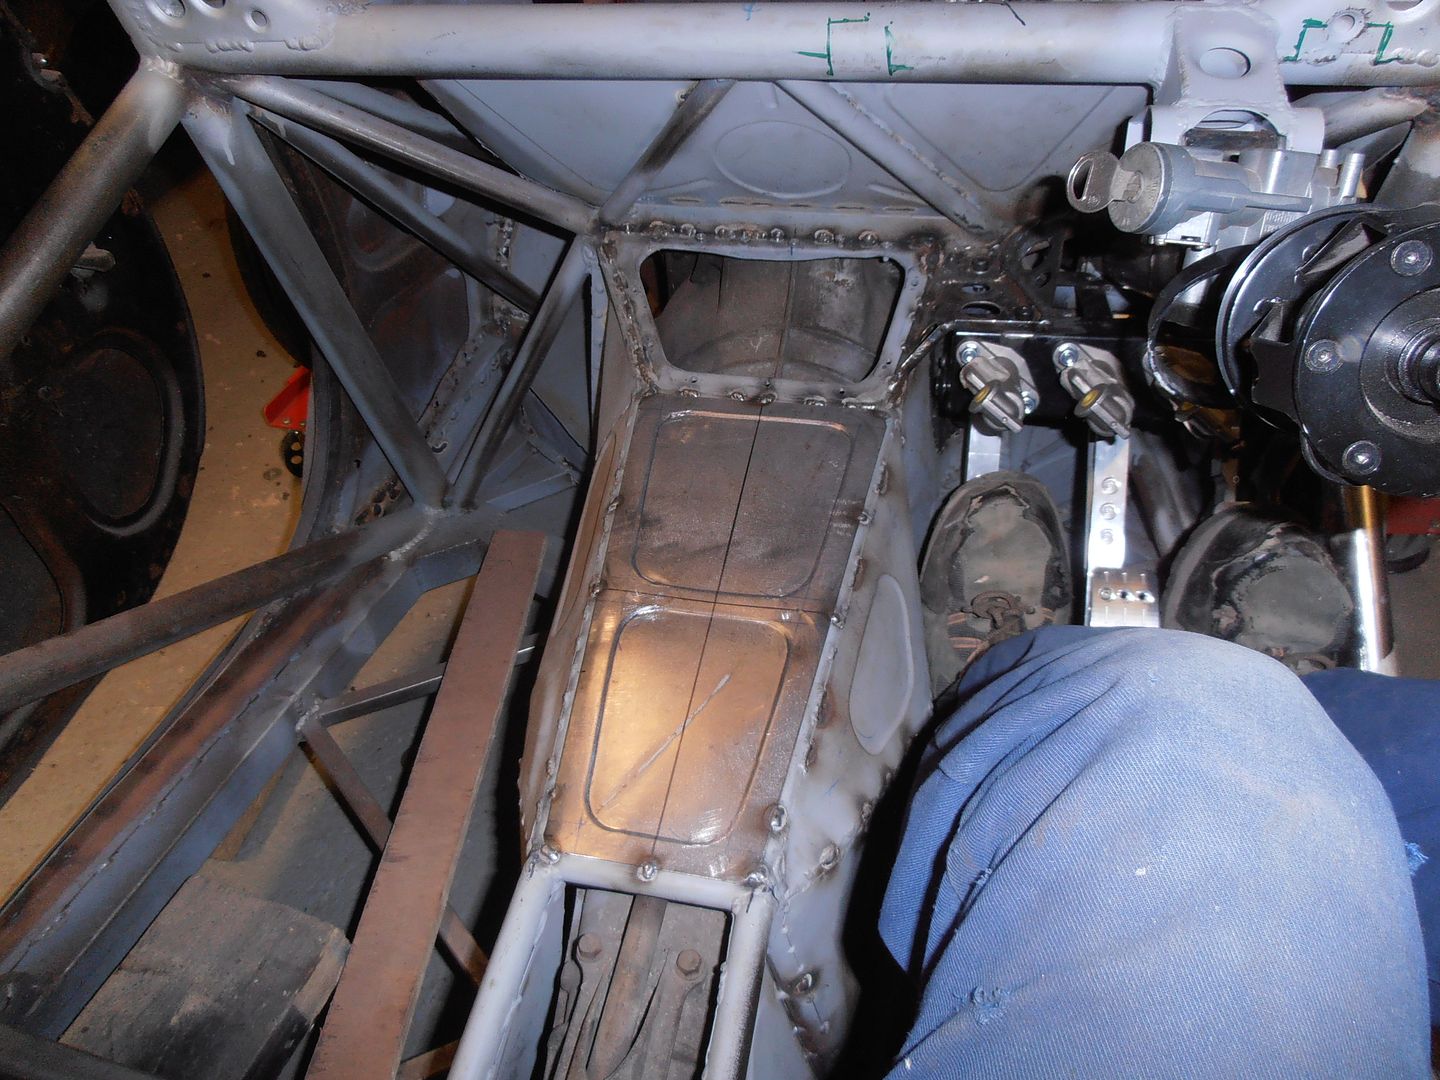 End of this weeks progress. |
| |
|
|
glenanderson
Club Retro Rides Member
Posts: 4,329
Club RR Member Number: 64
|
|
Nov 18, 2017 20:25:12 GMT
|
|
Good stuff.
I’ve got a spray booth exactly like that! 😂
|
| |
My worst worry about dying is my wife selling my stuff for what I told her it cost...
|
|
jonomisfit
Club Retro Rides Member
Posts: 1,787
Club RR Member Number: 49
|
|
Nov 26, 2017 20:13:25 GMT
|
So i'm starting prep for the migration from Phuckyoubucket. They really are trying to shaft people to make it really hard to move from them! I've noticed the "Download album" button is now no longer available for your own albums! I emailed them and got an email back saying basically "tough" download one at a time. With 3000 photos this is some effort! F*ck you photobucket. I checked my photo archives and had everything other than the first 200 photos or so. I've now manually downloaded the first 900 from my phuckoffbucket account, so will begin the slow process of re-populating the thread with pictures hosted elsewhere. Flickr most likely. Anyway, less of the moaning and on with todays work. Need a cover for here  PB254196 PB254196 by jono_misfit, on Flickr Start a template  PB254197 PB254197 by jono_misfit, on Flickr cut some holes  PB254198 PB254198 by jono_misfit, on Flickr will fit like so  PB254199 PB254199 by jono_misfit, on Flickr more lines  PB254200 PB254200 by jono_misfit, on Flickr some steel  PB254202 PB254202 by jono_misfit, on Flickr with added lines  PB254203 PB254203 by jono_misfit, on Flickr some steel  PB264204 PB264204 by jono_misfit, on Flickr fits like so  PB264205 PB264205 by jono_misfit, on Flickr start the second half of the template  PB264206 PB264206 by jono_misfit, on Flickr goes here  PB264207 PB264207 by jono_misfit, on Flickr mid cut out, and looking like an iron cross...  PB264208 PB264208 by jono_misfit, on Flickr mid way through being hit with a hammer  PB264209 PB264209 by jono_misfit, on Flickr and tacked on  PB264210 PB264210 by jono_misfit, on Flickr  PB264211 PB264211 by jono_misfit, on Flickr and in situ  PB264212 PB264212 by jono_misfit, on Flickr  PB264213 PB264213 by jono_misfit, on Flickr] i then gave it a quick lick of paint and put it to one side onto the next bit of the pedal box, the supporting foot plate. The temporary bit is a tad heavy....  PB264214 PB264214 by jono_misfit, on Flickr some steel  PB264216 PB264216 by jono_misfit, on Flickr initial mark and trim  PB264217 PB264217 by jono_misfit, on Flickr starting to put some shape to it  PB264218 PB264218 by jono_misfit, on Flickr fits in like so  PB264219 PB264219 by jono_misfit, on Flickr however it needs stiffening up a bit so think i will bead some longitudinal beads in it. Which will have to miss the floor bracing. Start marking up  PB264220 PB264220 by jono_misfit, on Flickr and run out of time :-) I shall continue it next weekend. There may be some attempts starting now to begin migrating the pictures over. |
| |
|
|
tristanh
Part of things
  Routinely bewildered
Posts: 990 
|
|
Nov 26, 2017 22:40:58 GMT
|
|
I really like your piece around the gear lever. top notch metalworking.
|
| |
Whether you believe you can, or you cannot, you're probably right.
|
|
|
|
|
Nov 27, 2017 14:08:28 GMT
|
I really like your piece around the gear lever. top notch metalworking. ditto here...very nicely done JP |
| |
I know its spelled Norman Luxury Yacht, but its pronounced Throat Wobbler Mangrove!
|
|
jonomisfit
Club Retro Rides Member
Posts: 1,787
Club RR Member Number: 49
|
|
Nov 27, 2017 18:16:56 GMT
|
|
Cheers.
I'm still in two minds on it.
It might look better tapering up from either end rather than just the centre.
I was a bit concerned about elbow clearance doing this though.
|
| |
|
|
joeytalent
Part of things
  ITB Everything.
Posts: 440
|
|
Nov 27, 2017 18:44:35 GMT
|
|
Great stuff, love this build.
Re: Photobucket - not sure how tech savvy you are, but this page has some great instructions for grabbing all your images: https://gist.github.com/philipjewell/a9e1eae2d999a2529a08c15b06deb13d
PM me if you need any help.
|
| |
|
|
|
|
jonomisfit
Club Retro Rides Member
Posts: 1,787
Club RR Member Number: 49
|
|
Nov 27, 2017 21:03:48 GMT
|
Thanks. I shall give that a go :-) Baby_Misfit was being very cooperative tonight as went to sleep without much fuss, so i snuck out the garage for a bit. Bent the flange down  PB274221 PB274221 by jono_misfit, on Flickr then gave the panel a trip to the bead roller  PB274222 PB274222 by jono_misfit, on Flickr  PB274223 PB274223 by jono_misfit, on Flickr and in situ  PB274224 PB274224 by jono_misfit, on Flickr i then drilled off some mounting holes.  PB274225 PB274225 by jono_misfit, on Flickr I just need to make the short tabs to bolt it to. |
| |
|
|
jonomisfit
Club Retro Rides Member
Posts: 1,787
Club RR Member Number: 49
|
|
Nov 28, 2017 19:50:15 GMT
|
Great stuff, love this build. Re: Photobucket - not sure how tech savvy you are, but this page has some great instructions for grabbing all your images: https://gist.github.com/philipjewell/a9e1eae2d999a2529a08c15b06deb13d PM me if you need any help. Thanks for the link. Very helpful and very very simple to get the pics, no coding needed. Basically select all the files in the photobucket, get the HTML link, paste into a text file, open the file as a webpage, and save as offline content. Done. 3500 pics copied back to my computer :-) I "just" need to re-host and rebuild 31 pages of thread :-) Then I can say so long and phuckyoubucket. |
| |
|
|
joeytalent
Part of things
  ITB Everything.
Posts: 440
|
|
Nov 28, 2017 20:12:27 GMT
|
Great stuff, love this build. Re: Photobucket - not sure how tech savvy you are, but this page has some great instructions for grabbing all your images: https://gist.github.com/philipjewell/a9e1eae2d999a2529a08c15b06deb13d PM me if you need any help. Thanks for the link. Very helpful and very very simple to get the pics, no coding needed. Basically select all the files in the photobucket, get the HTML link, paste into a text file, open the file as a webpage, and save as offline content. Done. 3500 pics copied back to my computer :-) I "just" need to re-host and rebuild 31 pages of thread :-) Then I can say so long and phuckyoubucket. Glad it helped! Now you have more time for the swaging and beading 🤣 |
| |
|
|
CaptainSlog
Part of things
 
Posts: 510
Club RR Member Number: 180
|
|
|
|
Snip
Then I can say so long and phuckyoubucket. The sad thing is that so many fora are now broken, people's threads that were built up over years and so full of priceless information are now screwed, posters have moved on, died or whatever. These bastewards are responsible for so much content being lost - the whole internet should boycott them and force them out of business. ABC hosting (or whatever they are called) lost loads of stuff in a cock up of biblical proportions that completely deleted some of the fora I follow, these forums have never recovered and have gone from thousands of active members to just a few, Photophuckit's move will possibly be worse. Pity there is no watchdog to police these things - private, not for profit, users should only pay for bandwidth used at the worst, not fourfrigginghundred dollars! Rant over (for now). Sorry jonomisfit |
| |
|
|
jonomisfit
Club Retro Rides Member
Posts: 1,787
Club RR Member Number: 49
|
|
|
|
Yep, photobucket have decimated the forums of the world. Hopefully there's some smart people like Hotwire out there working out how to re-host it all and bring back the dead threads. I was looking at the footplate and thinking wouldnt it be nice to recess all the bolts  PC024226 PC024226 by jono_misfit, on Flickr to the lathe  PC024227 PC024227 by jono_misfit, on Flickr tool made  PC024228 PC024228 by jono_misfit, on Flickr some of the trial holes  PC024229 PC024229 by jono_misfit, on Flickr I tweaked it lots but it still kept drawing in the edge badly. I think it was too tight a step on too small a diameter to give the step without doing this. it works, but i have quite a large concern that it will badly distort the plate, so i decide to not recess the holes. I'll use rounded edge bolts. Mounting tabs.  PC024230 PC024230 by jono_misfit, on Flickr with captive nuts added  PC034231 PC034231 by jono_misfit, on Flickr i need some more  PC034232 PC034232 by jono_misfit, on Flickr tabs welded in  PC034233 PC034233 by jono_misfit, on Flickr plate bolted down  PC034234 PC034234 by jono_misfit, on Flickr gives a nice base for my feet. Should work well. where too next? Ah yes, you my friend  PC034235 PC034235 by jono_misfit, on Flickr CAD time  PC034236 PC034236 by jono_misfit, on Flickr piece of steel  PC034237 PC034237 by jono_misfit, on Flickr marked up  PC034238 PC034238 by jono_misfit, on Flickr start trimming to shape  PC034239 PC034239 by jono_misfit, on Flickr folded flanges  PC034240 PC034240 by jono_misfit, on Flickr starting to dress the rounded corners  PC034241 PC034241 by jono_misfit, on Flickr rounded  PC034242 PC034242 by jono_misfit, on Flickr trimmed the edges down  PC034243 PC034243 by jono_misfit, on Flickr and give the top a little bend  PC034244 PC034244 by jono_misfit, on Flickr I ran out of time then. Will hopefully get back onto it next weekend. I already thing though that i'll need to cut it and make it in two pieces and weld it back together. The shape is going to be awkward to do. |
| |
|
|
jonomisfit
Club Retro Rides Member
Posts: 1,787
Club RR Member Number: 49
|
|
Dec 16, 2017 18:54:29 GMT
|
only a short session in the workshop today. Started making a new flange  PC154245 PC154245 by jono_misfit, on Flickr to replace the end of this  PC154246 PC154246 by jono_misfit, on Flickr mainly as getting it all to work in a oner was proving impossible for me adding some shape  PC154247 PC154247 by jono_misfit, on Flickr the two pieces in situ. I drilled one hole on each, then used ball bearings to mark the other holes out  PC164248 PC164248 by jono_misfit, on Flickr tacked together  PC164249 PC164249 by jono_misfit, on Flickr filling the gaps  PC164250 PC164250 by jono_misfit, on Flickr and after a first rough pass with the grinder  PC164251 PC164251 by jono_misfit, on Flickr and in situ  PC164252 PC164252 by jono_misfit, on Flickr starting to get some of the gaps filled.  PC164253 PC164253 by jono_misfit, on Flickr It'll all be under carpet once done though Then i started looking at the fuel tank mounts, which need sorted properly.  PC164257 PC164257 by jono_misfit, on Flickr I contemplated for a bit and have worked out what i'm going to do. I just eed to do it now :-) |
| |
|
|
jonomisfit
Club Retro Rides Member
Posts: 1,787
Club RR Member Number: 49
|
|
Dec 27, 2017 21:35:07 GMT
|
I got out the workshop for a bit this afternoon Started making the tank upper mount Some steel cleaned up  PC274258 PC274258 by jono_misfit, on Flickr marked out  PC274259 PC274259 by jono_misfit, on Flickr some holes cut  PC274260 PC274260 by jono_misfit, on Flickr a few additional holes drilled  PC274261 PC274261 by jono_misfit, on Flickr and in one picture jump on nearly 2 hours of effort bending this up....  PC274262 PC274262 by jono_misfit, on Flickr then swage the holes and re-straighten  PC274263 PC274263 by jono_misfit, on Flickr goes in here like so  PC274264 PC274264 by jono_misfit, on Flickr and the fuel tank sits against it like so  PC274265 PC274265 by jono_misfit, on Flickr meaning the top of the tank is nicely support, as its at an angle. I primed it but as its cold it hadnt dried for me to weld it. Start making the base for the removable cover one side  PC274266 PC274266 by jono_misfit, on Flickr goes in here  PC274267 PC274267 by jono_misfit, on Flickr and the other side  PC274268 PC274268 by jono_misfit, on Flickr got to make the top and bottom, then an absolutely mahoosive lift off cover and better tank straps. |
| |
|
|
|
|
|
Dec 28, 2017 18:39:10 GMT
|
|
great metal fabricating!
|
| |
|
|
|
|
|
Dec 28, 2017 18:58:09 GMT
|
|
Have you made the tank yet Jon?
|
| |
|
|
jonomisfit
Club Retro Rides Member
Posts: 1,787
Club RR Member Number: 49
|
|
Dec 28, 2017 19:24:49 GMT
|
|
4th last picture.
It's the fuel tank from a kit car.
Although I need to mod it a bit to make the filler work better.
|
| |
|
|
|
|


