jonomisfit
Club Retro Rides Member
Posts: 1,787
Club RR Member Number: 49
|
|
Mar 30, 2016 20:14:31 GMT
|
As long as its light I'm not too fussed what it made from. I'm trying to keep the externals looking standard (ish) so think its unlikely to feature any swaged holes. That said, my plan for the running boards is mega swaged holeyness :-) I was off today... well.. .I was meant to be at work but decided yesterday I'd rather have today off and do some car things. It was peeing it down this morning, so no pushing the other car outside. As such it was back onto the pedal box Cut some 1.5mm sheet using the cut off discs 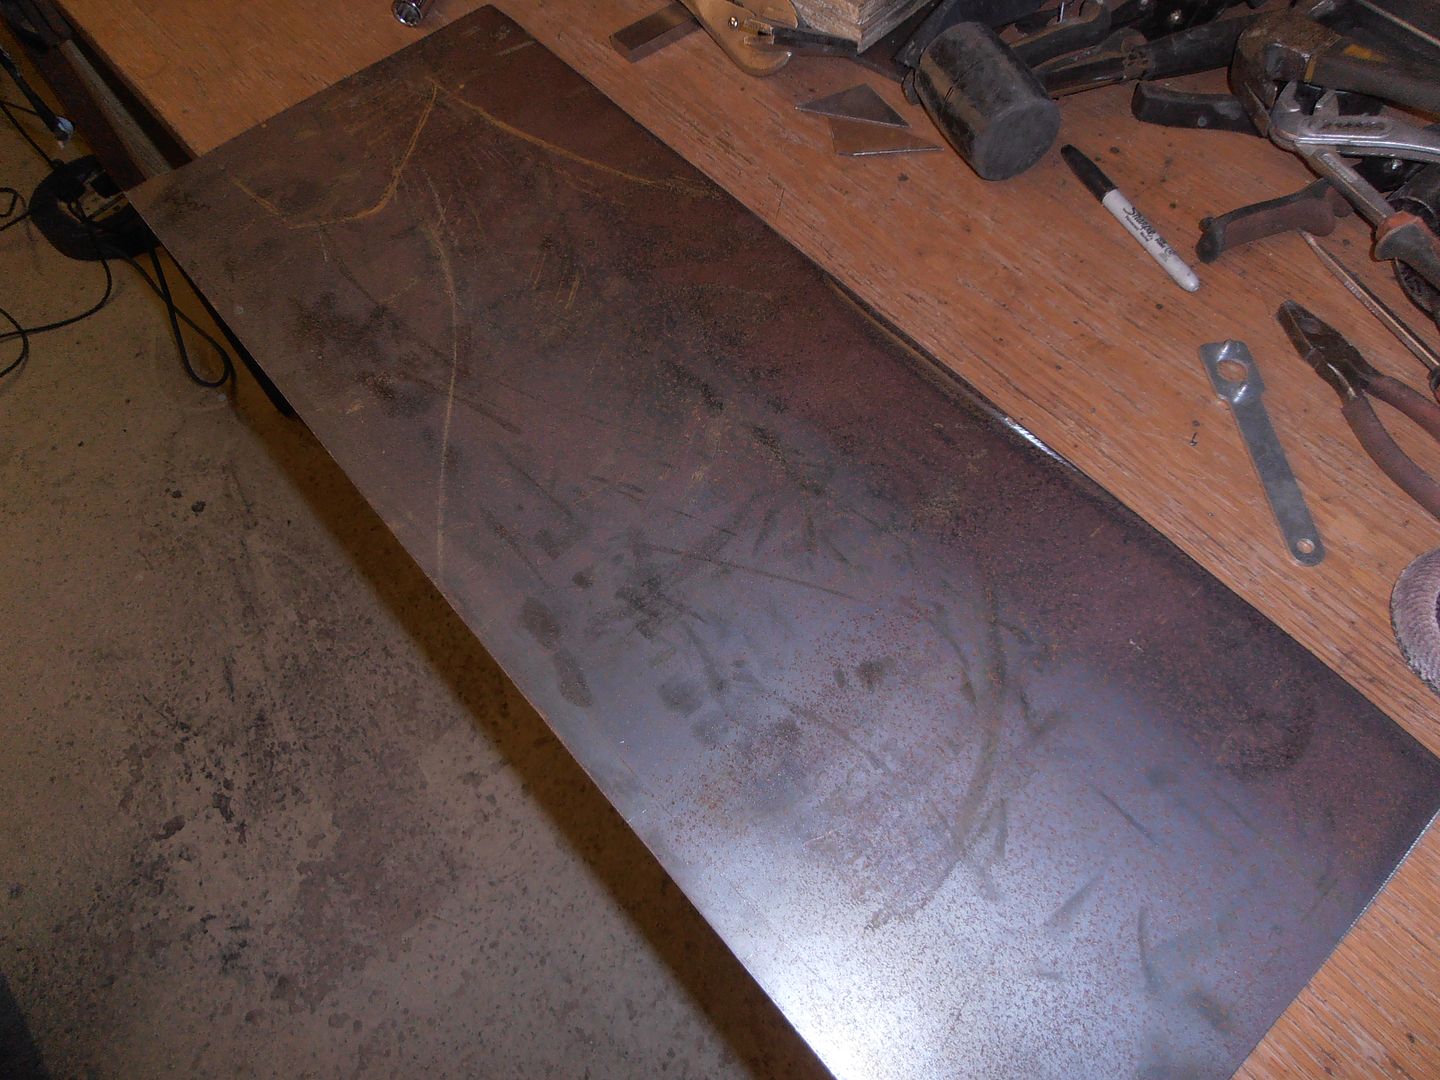 cut it down to roughly the right size 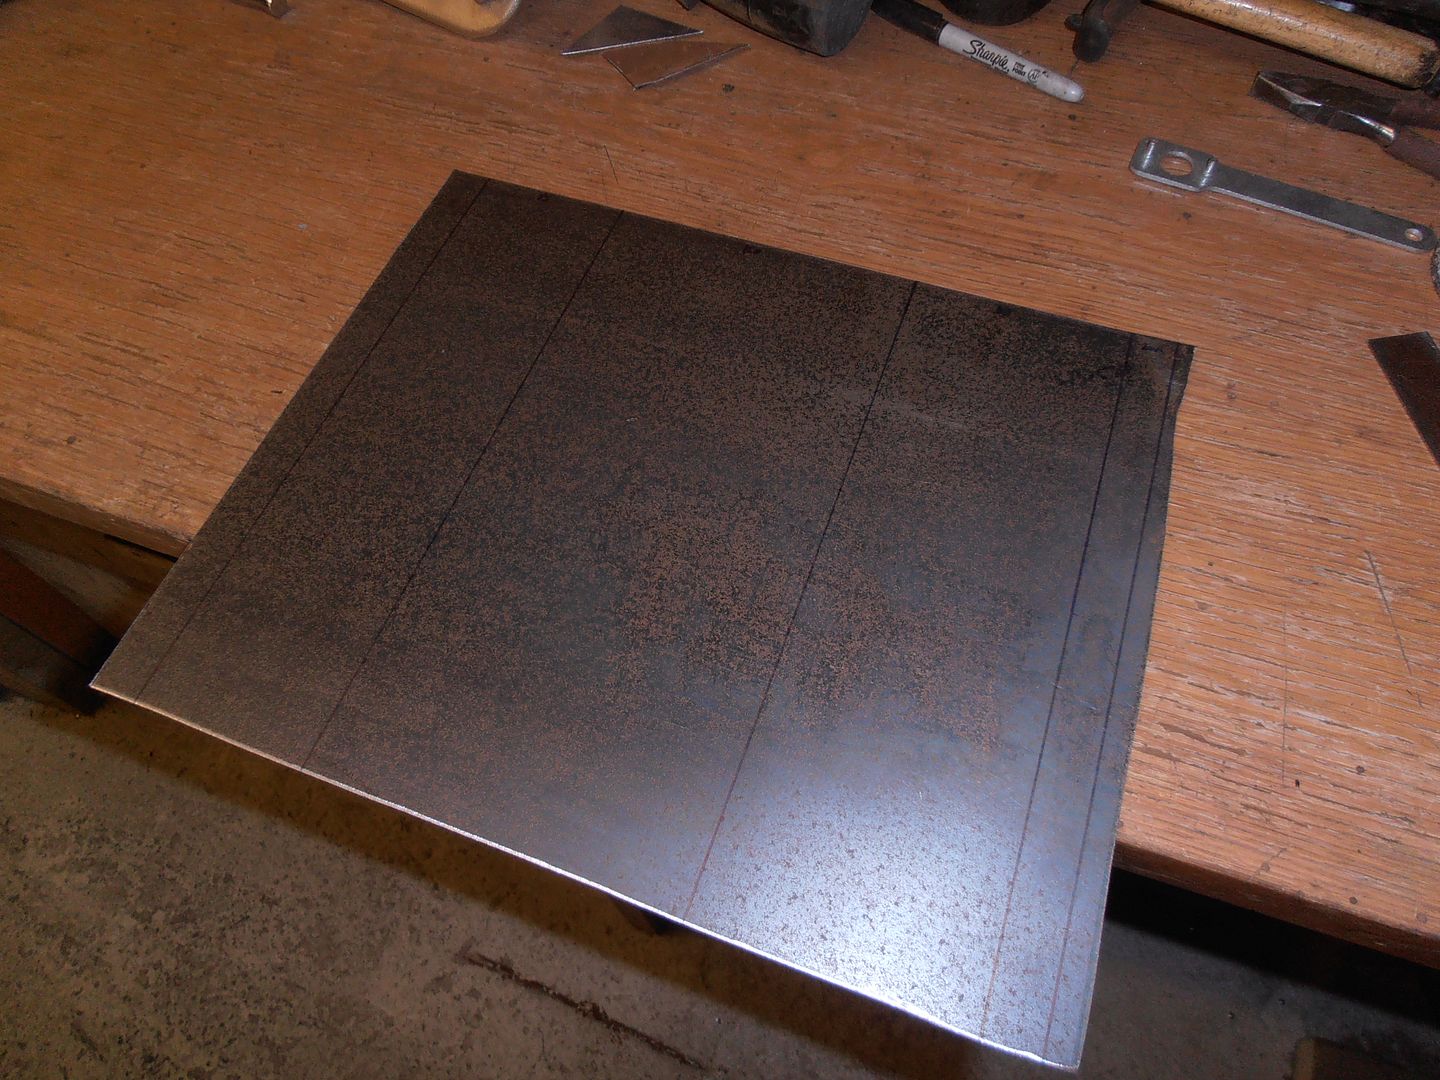 start marking out 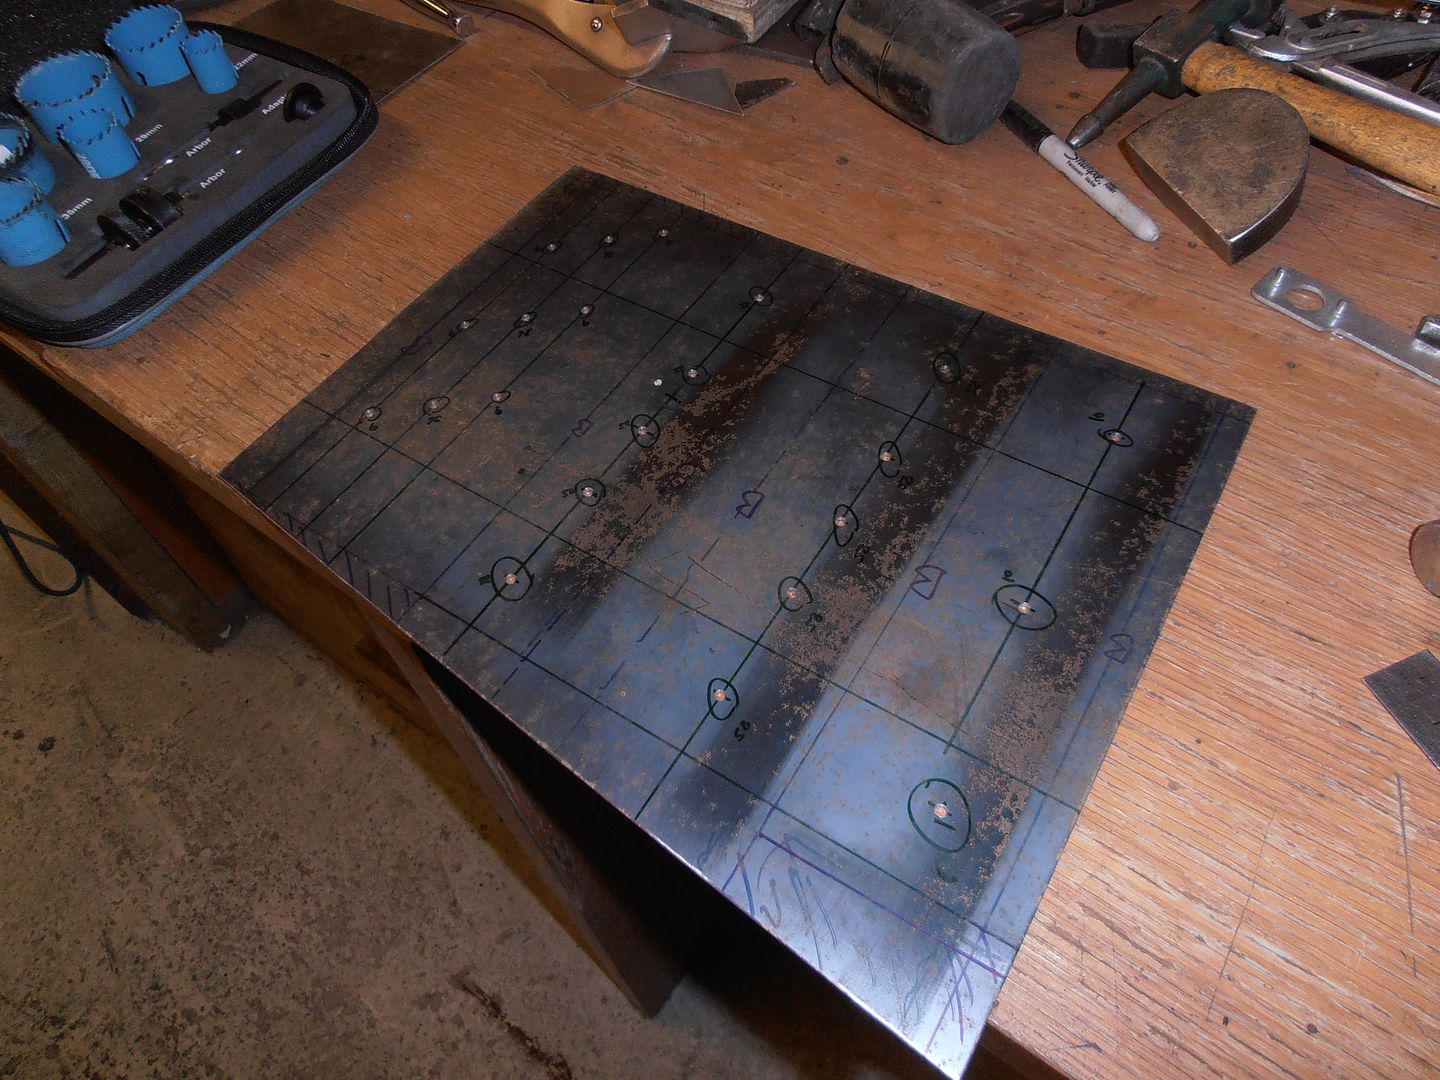 start drilling holes 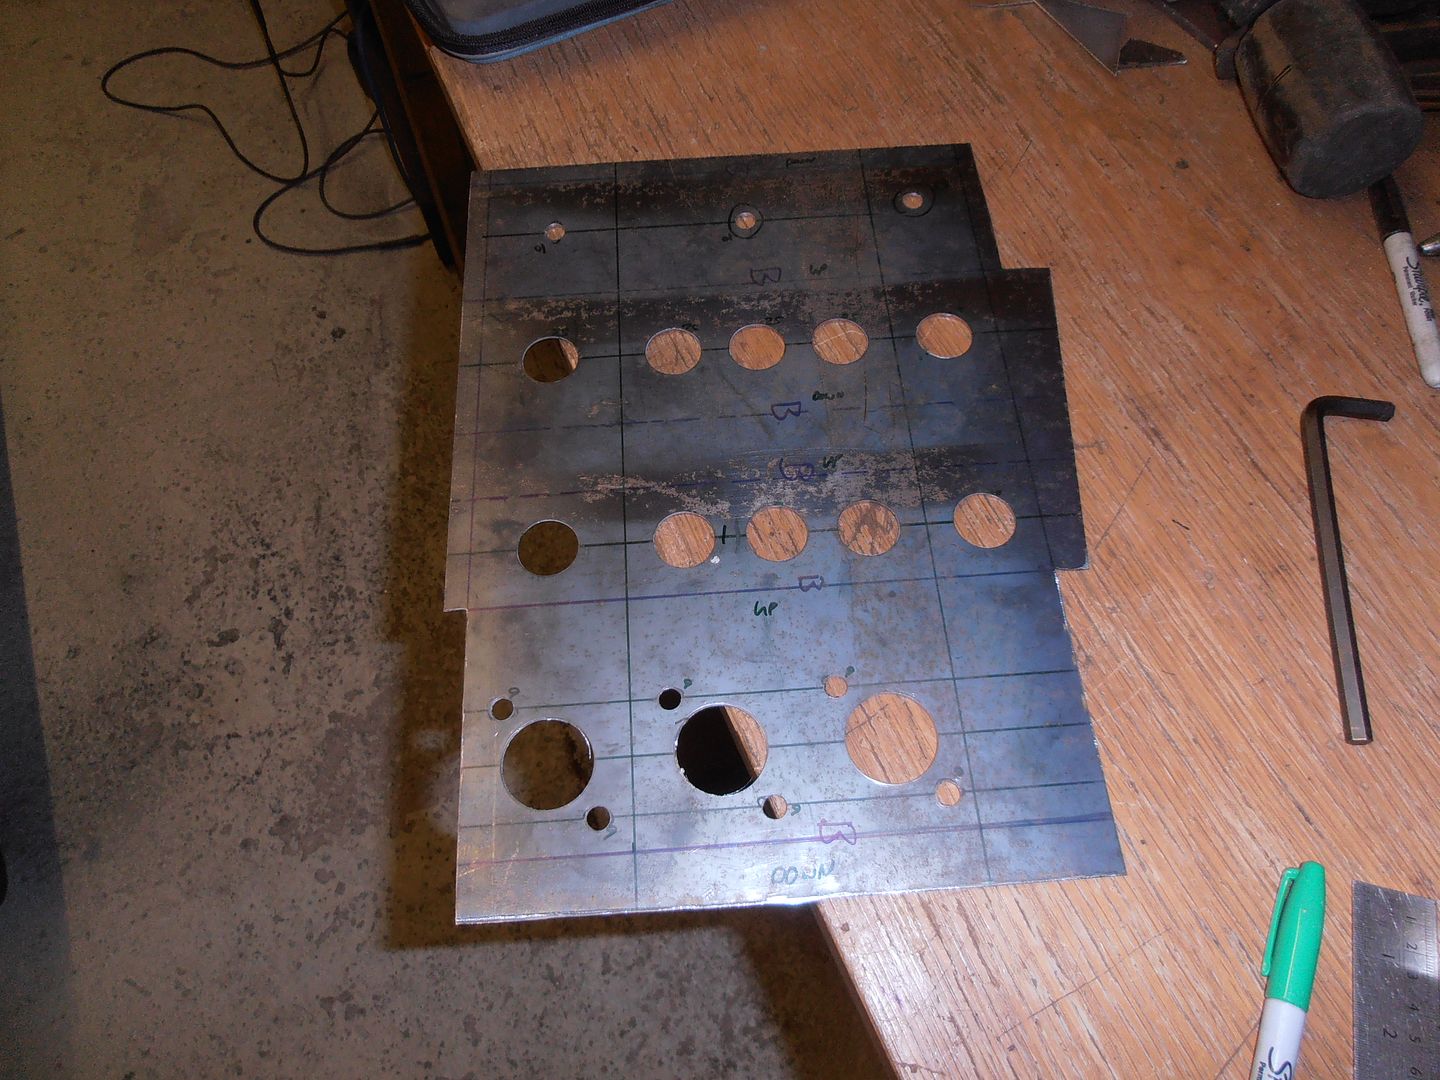 continue drilling holes 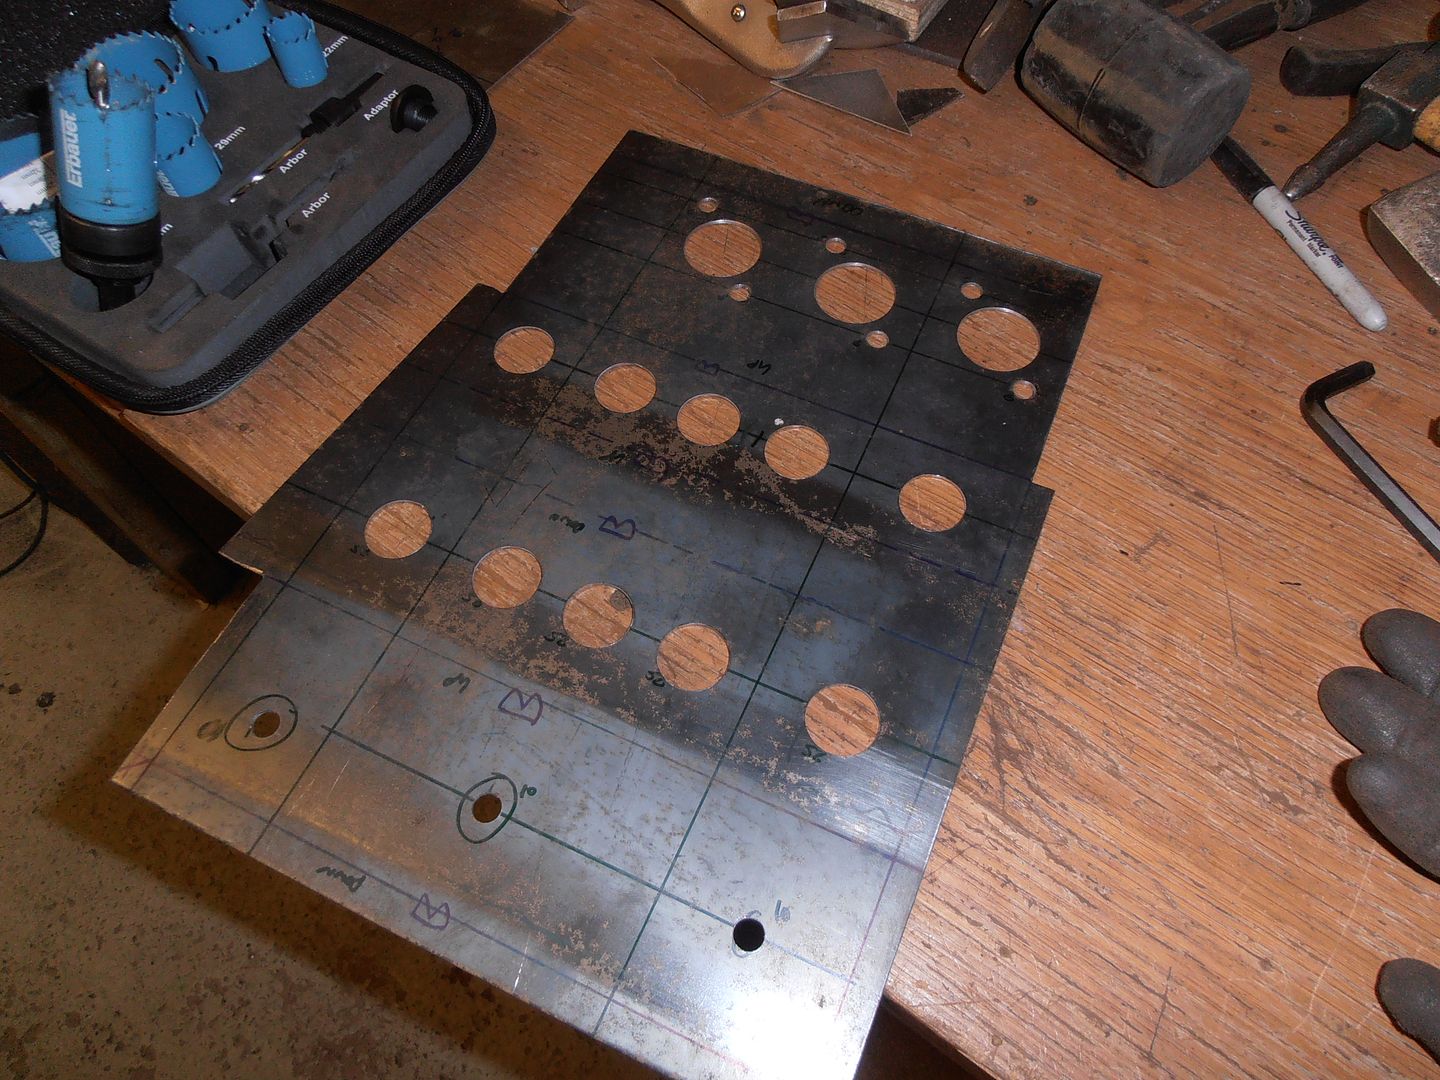 put in the first bends using the new press brake. 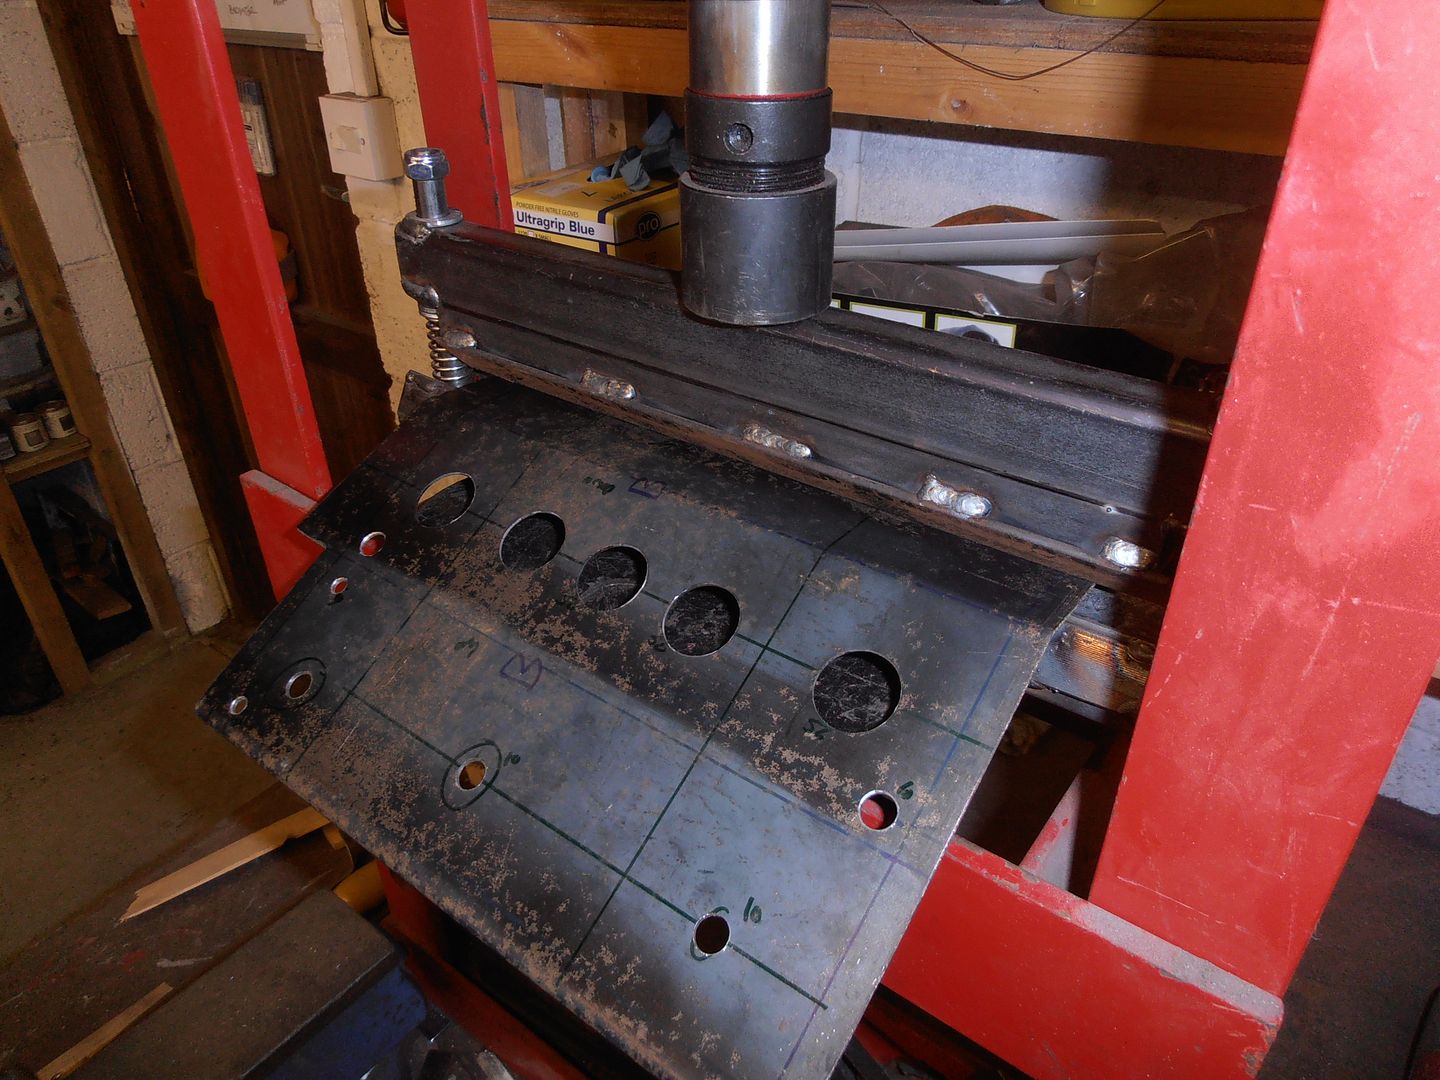 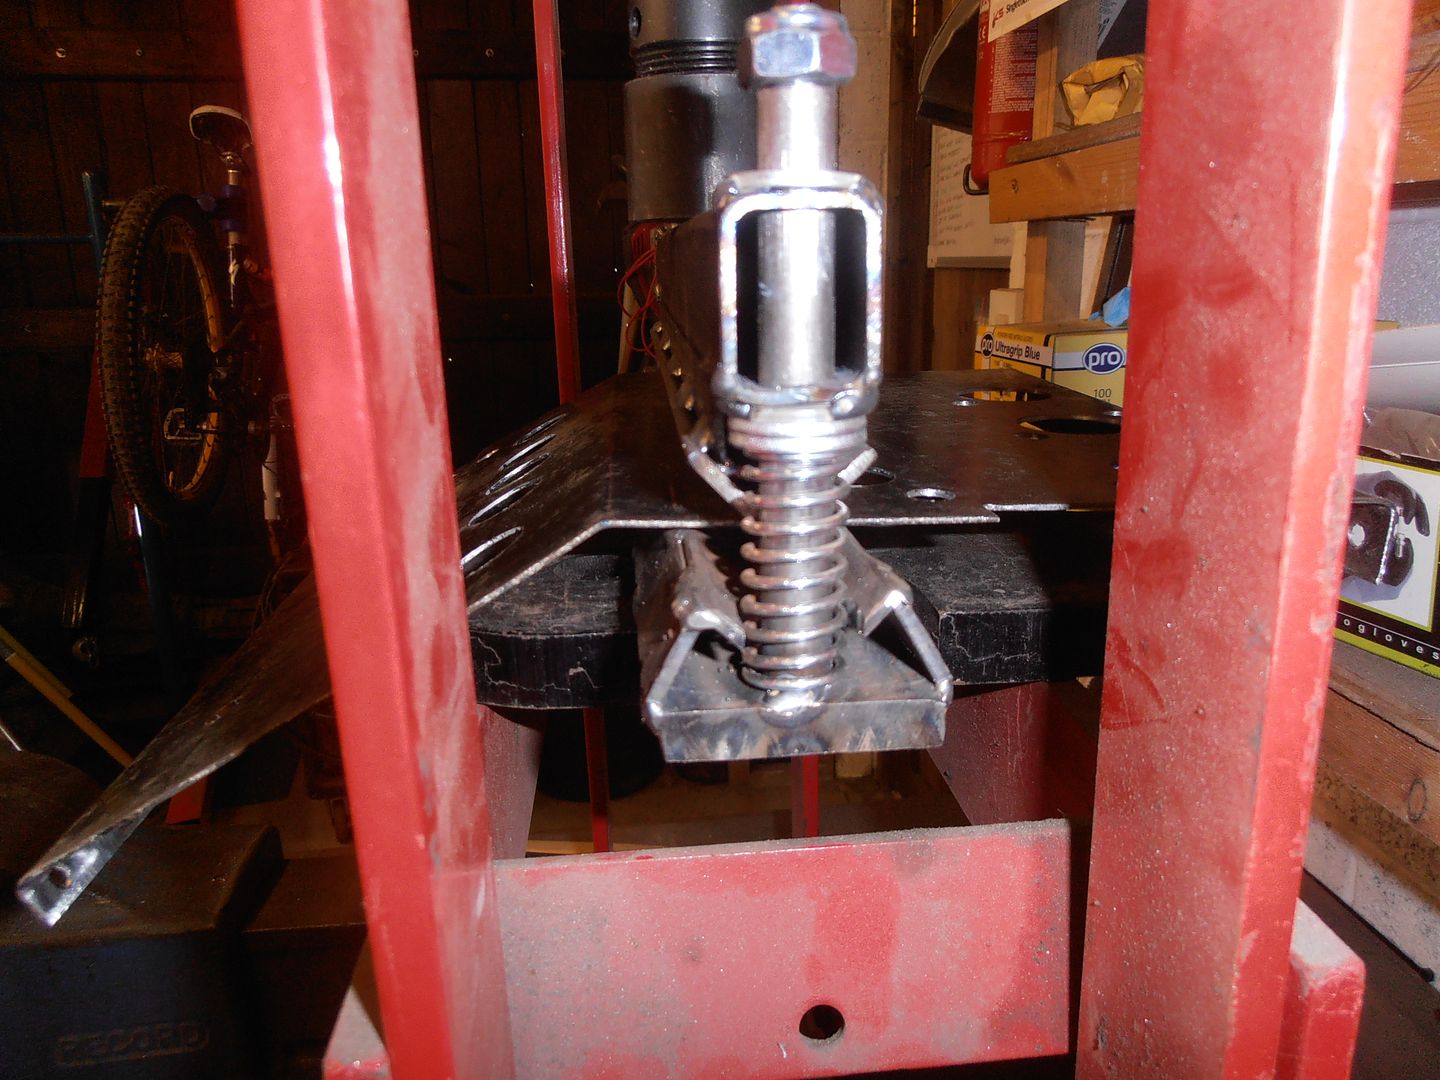 bent nicely ad cleanly thankfully 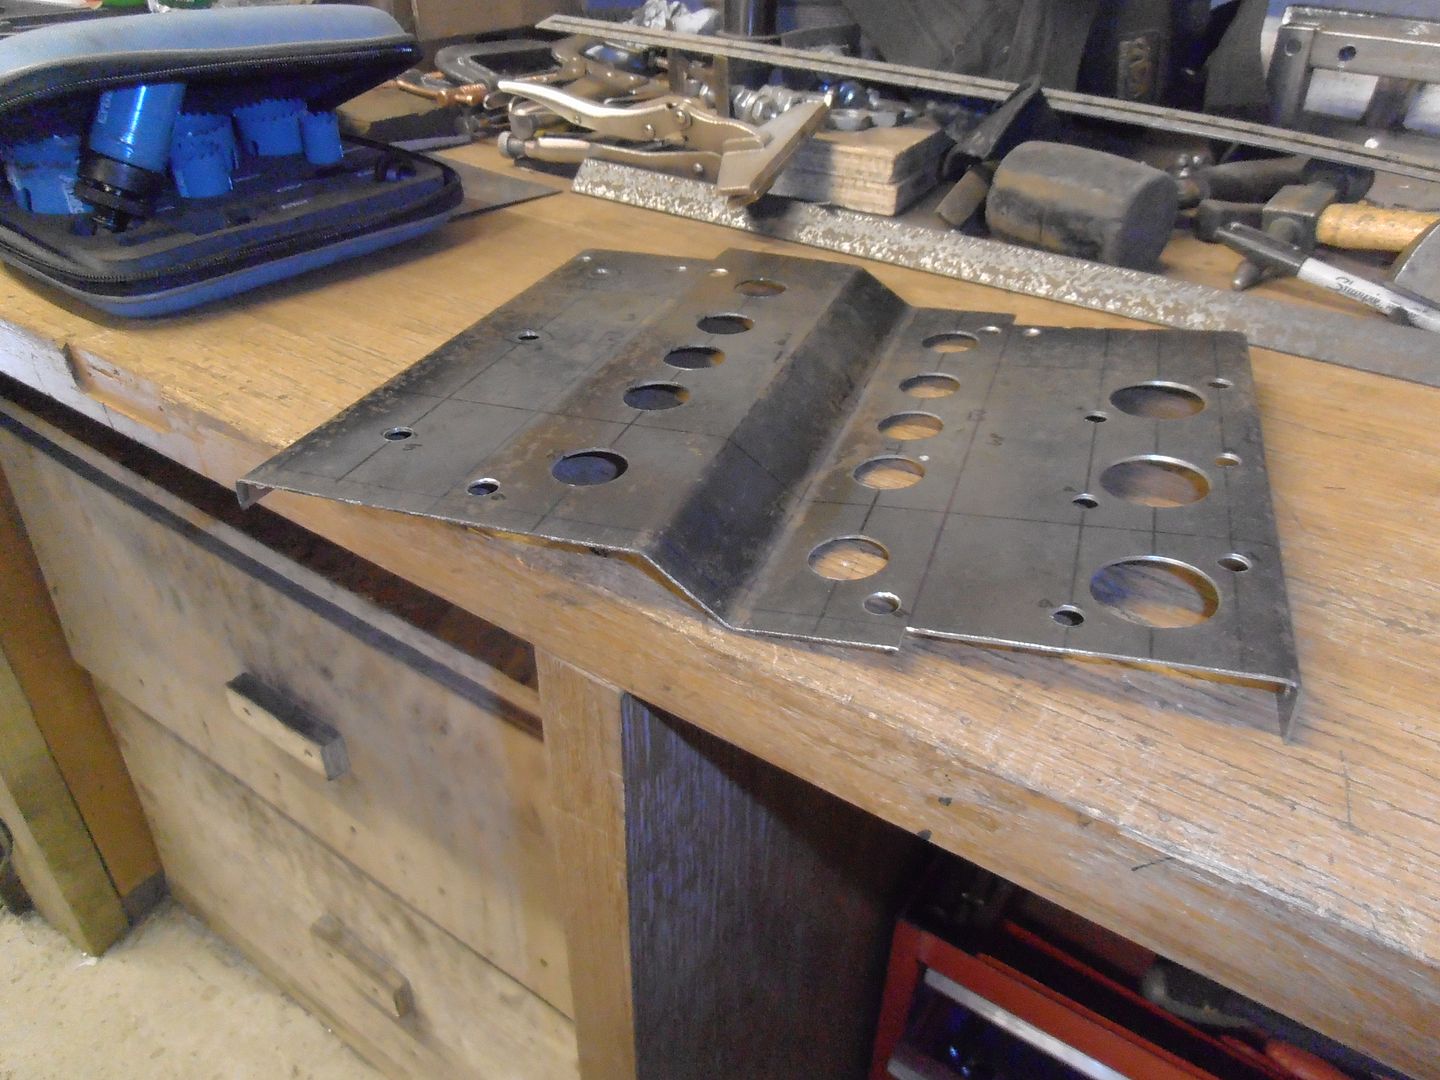 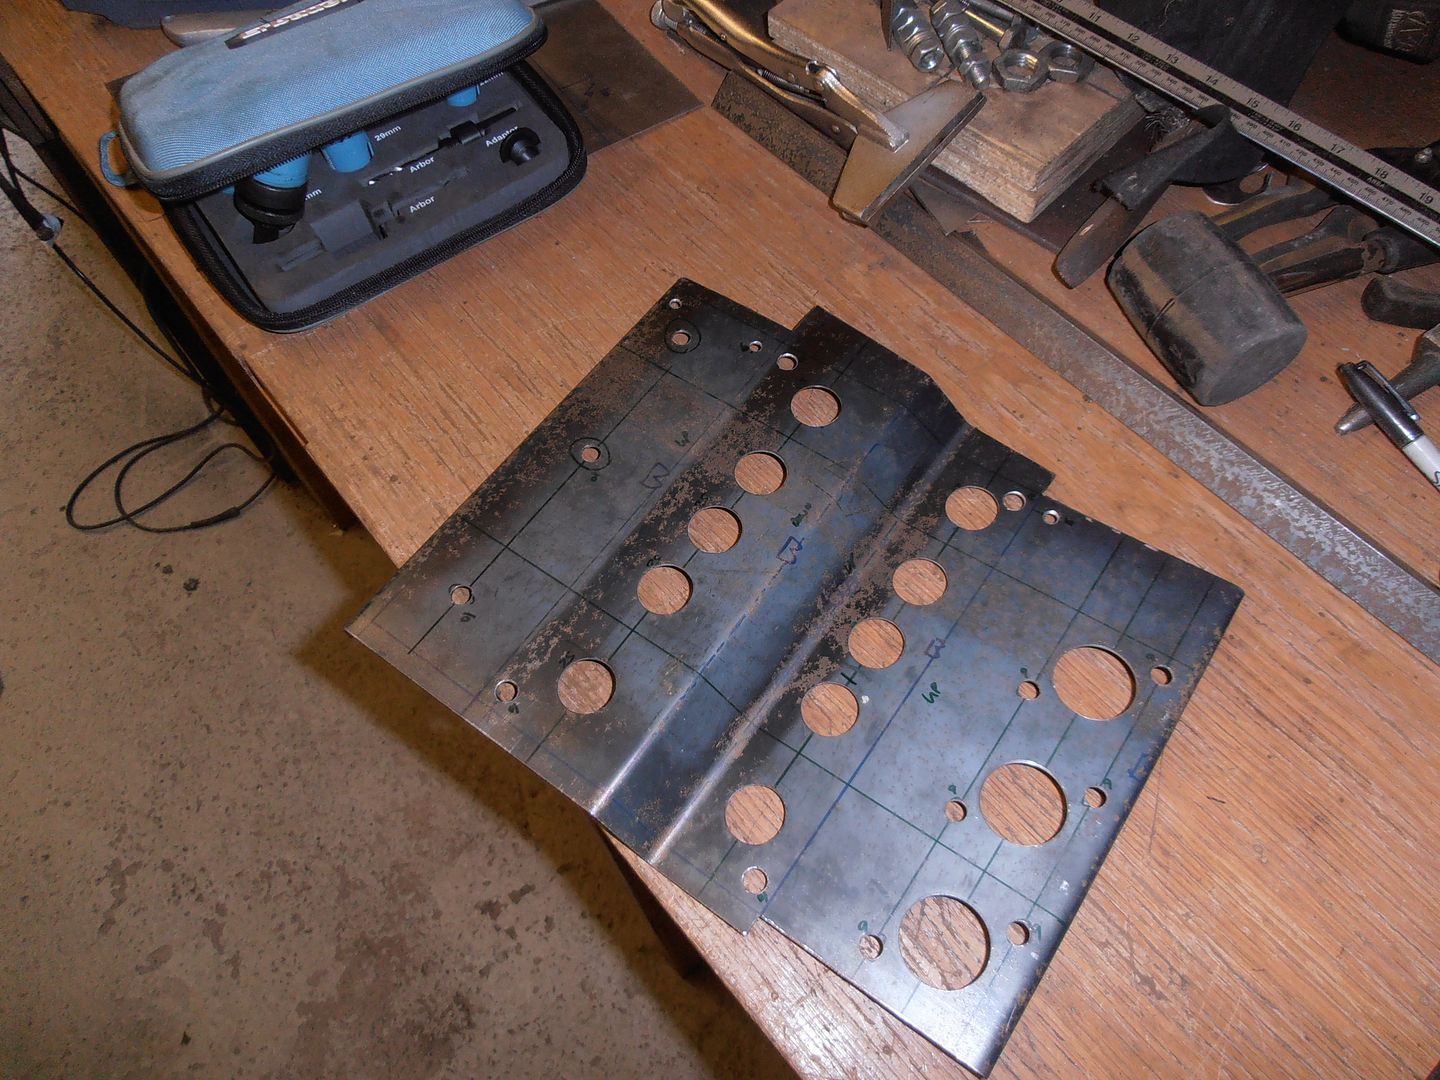 bend up one end of the return 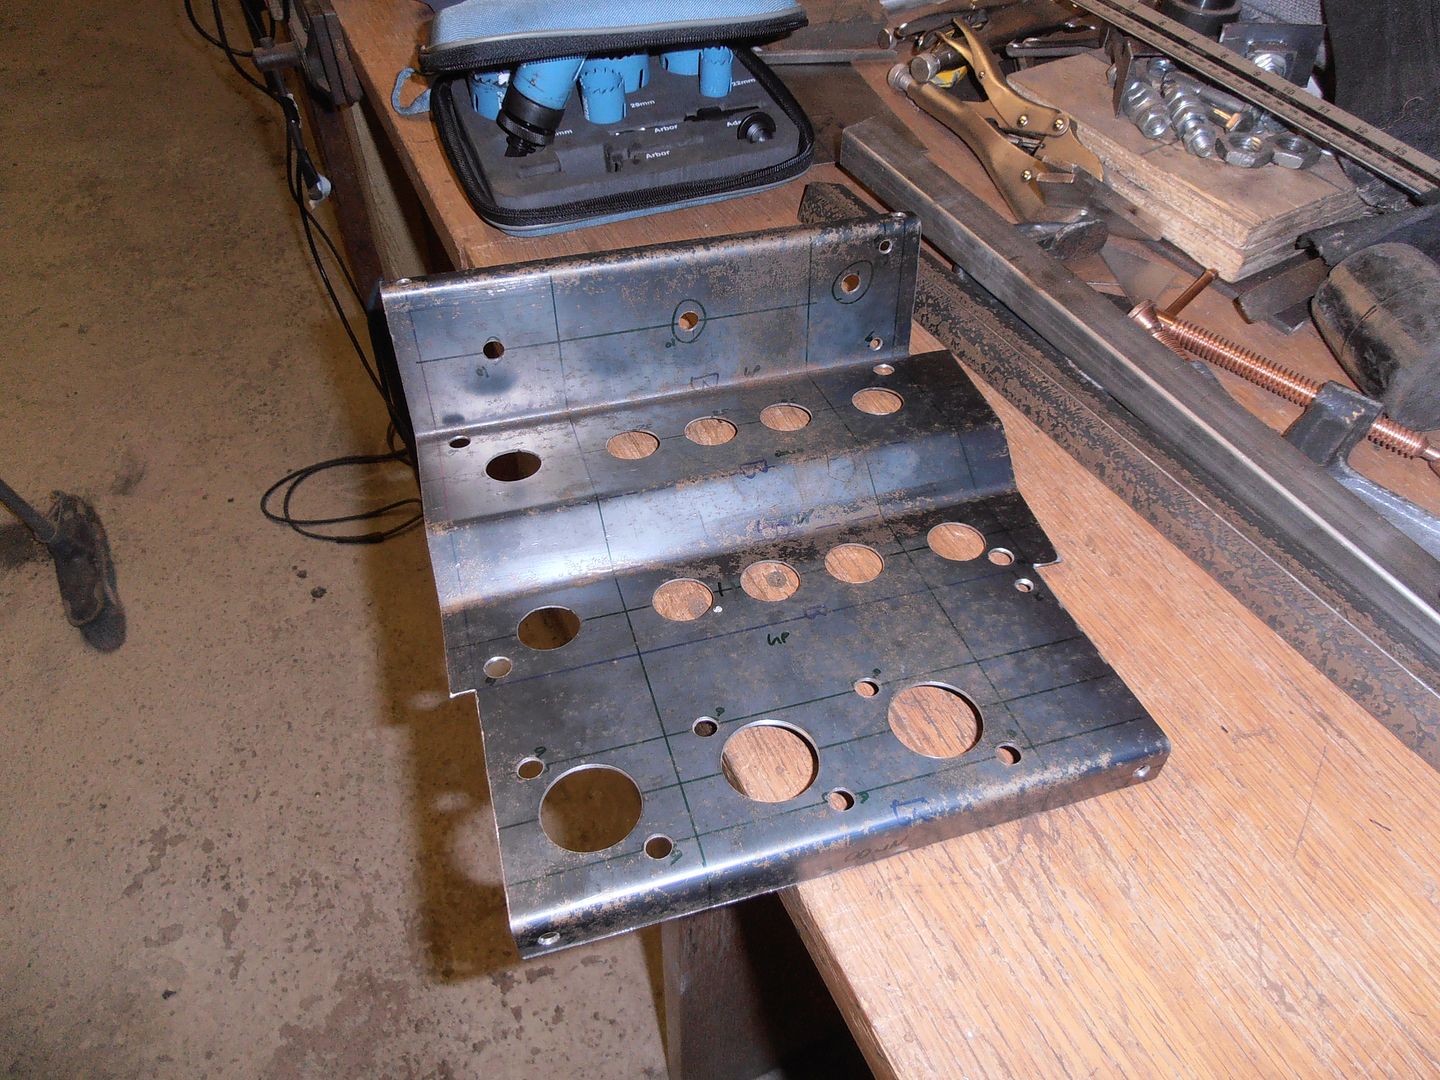 and the other 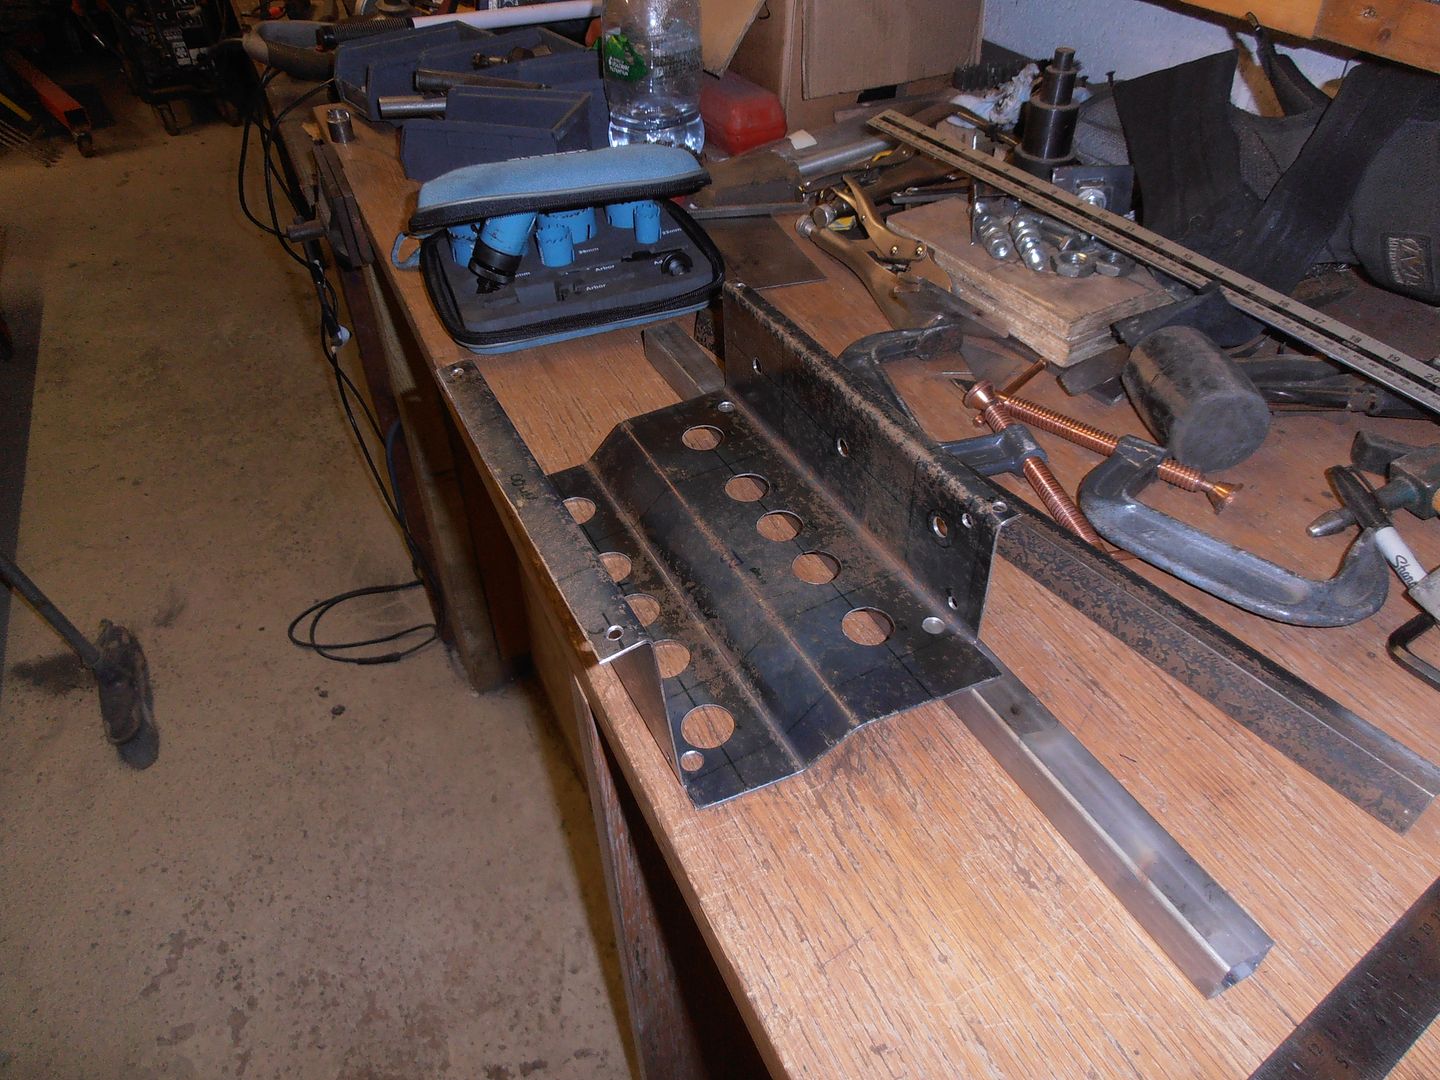 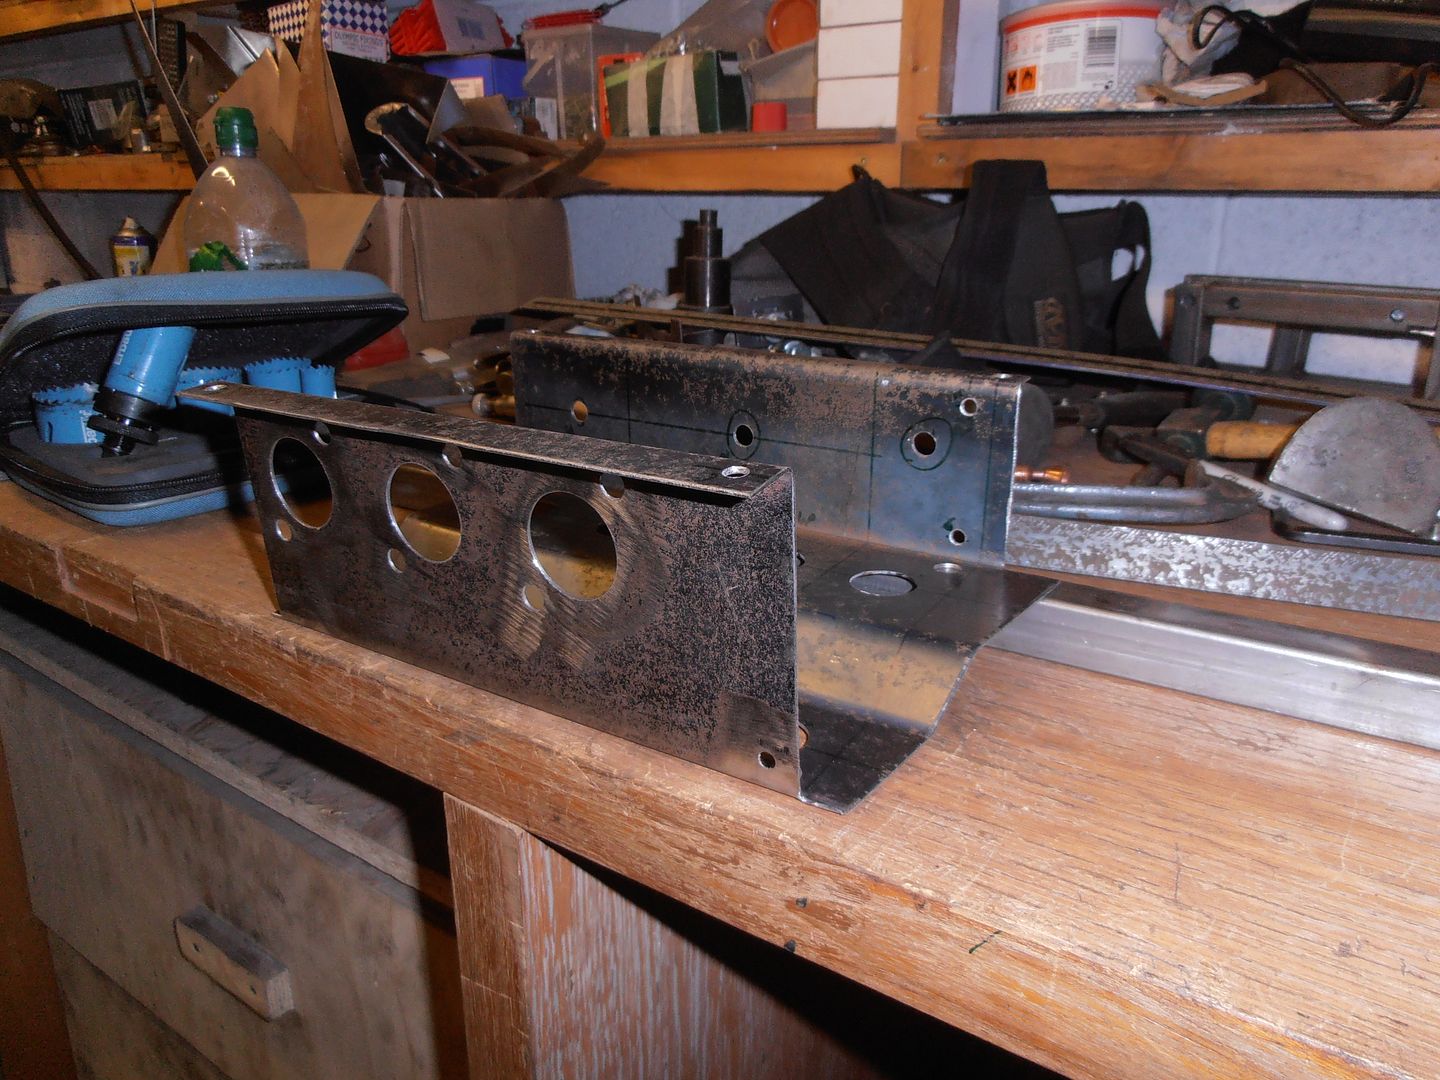 start making the internal webs 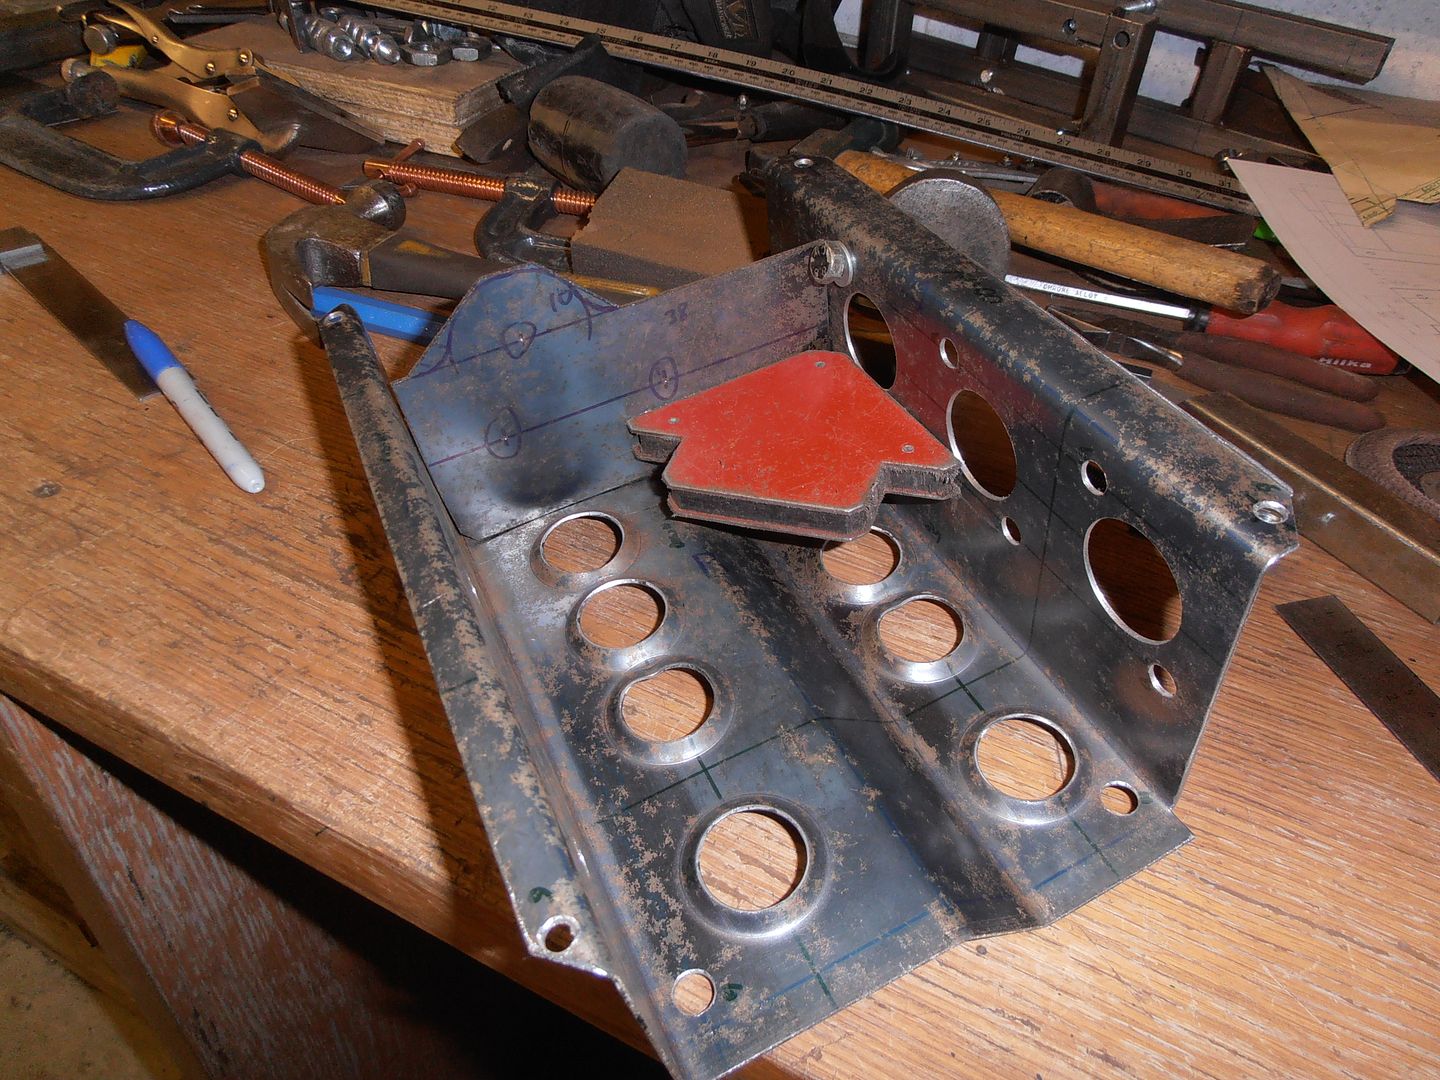 trim and drill holes / slots 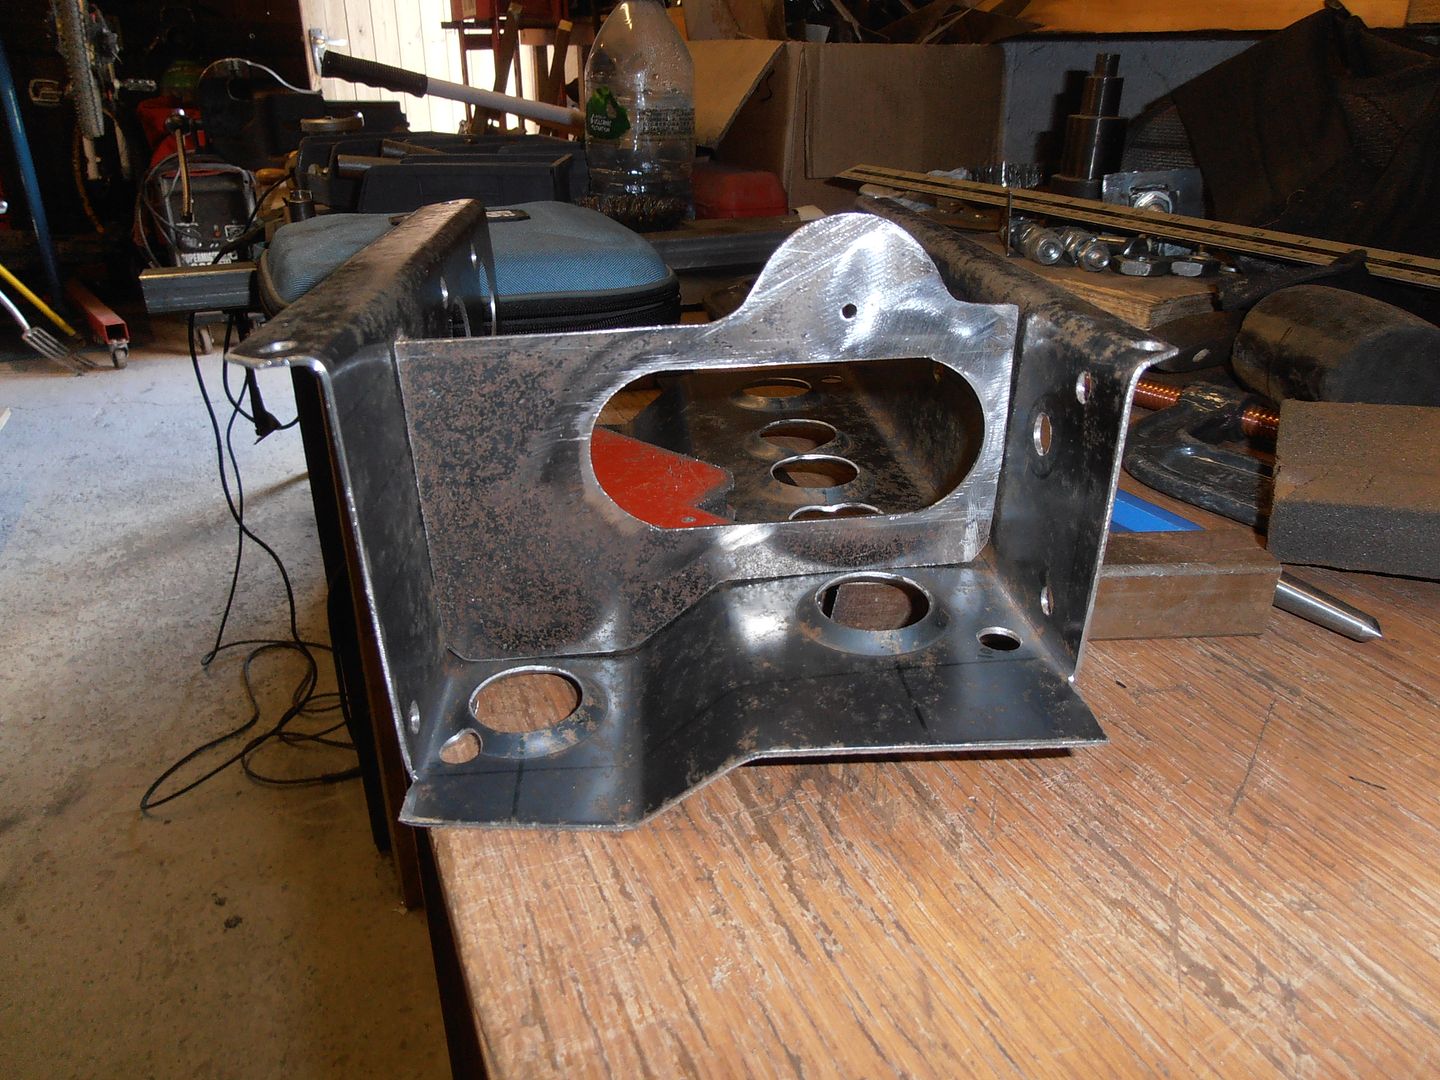 trial fit 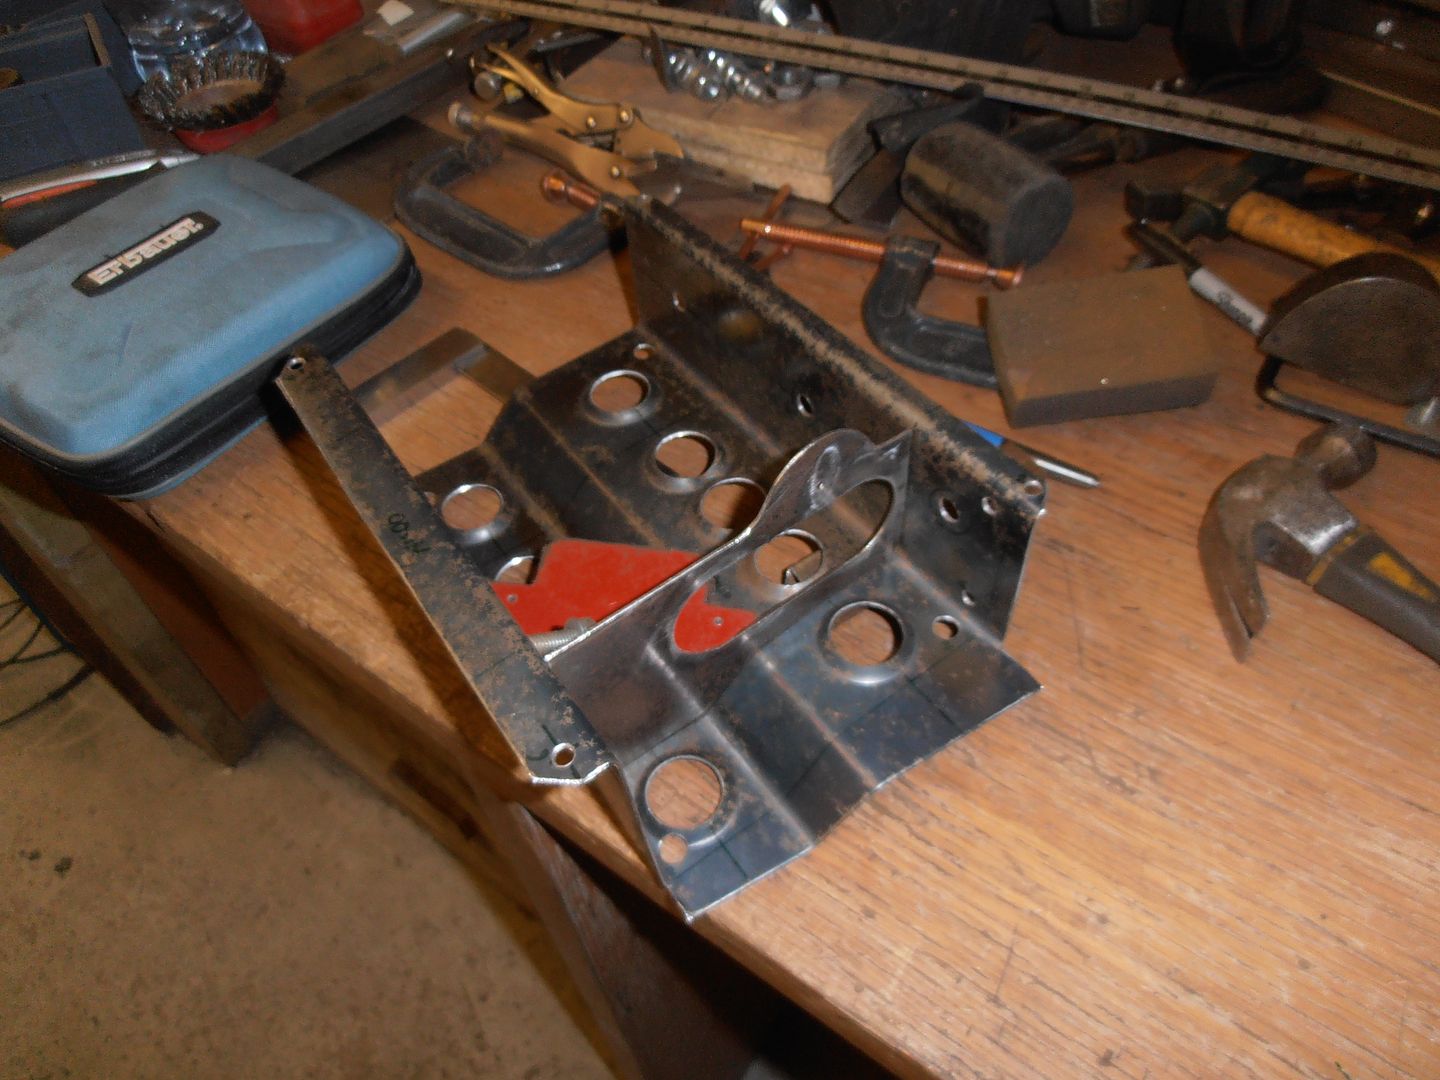 start marking out other webs 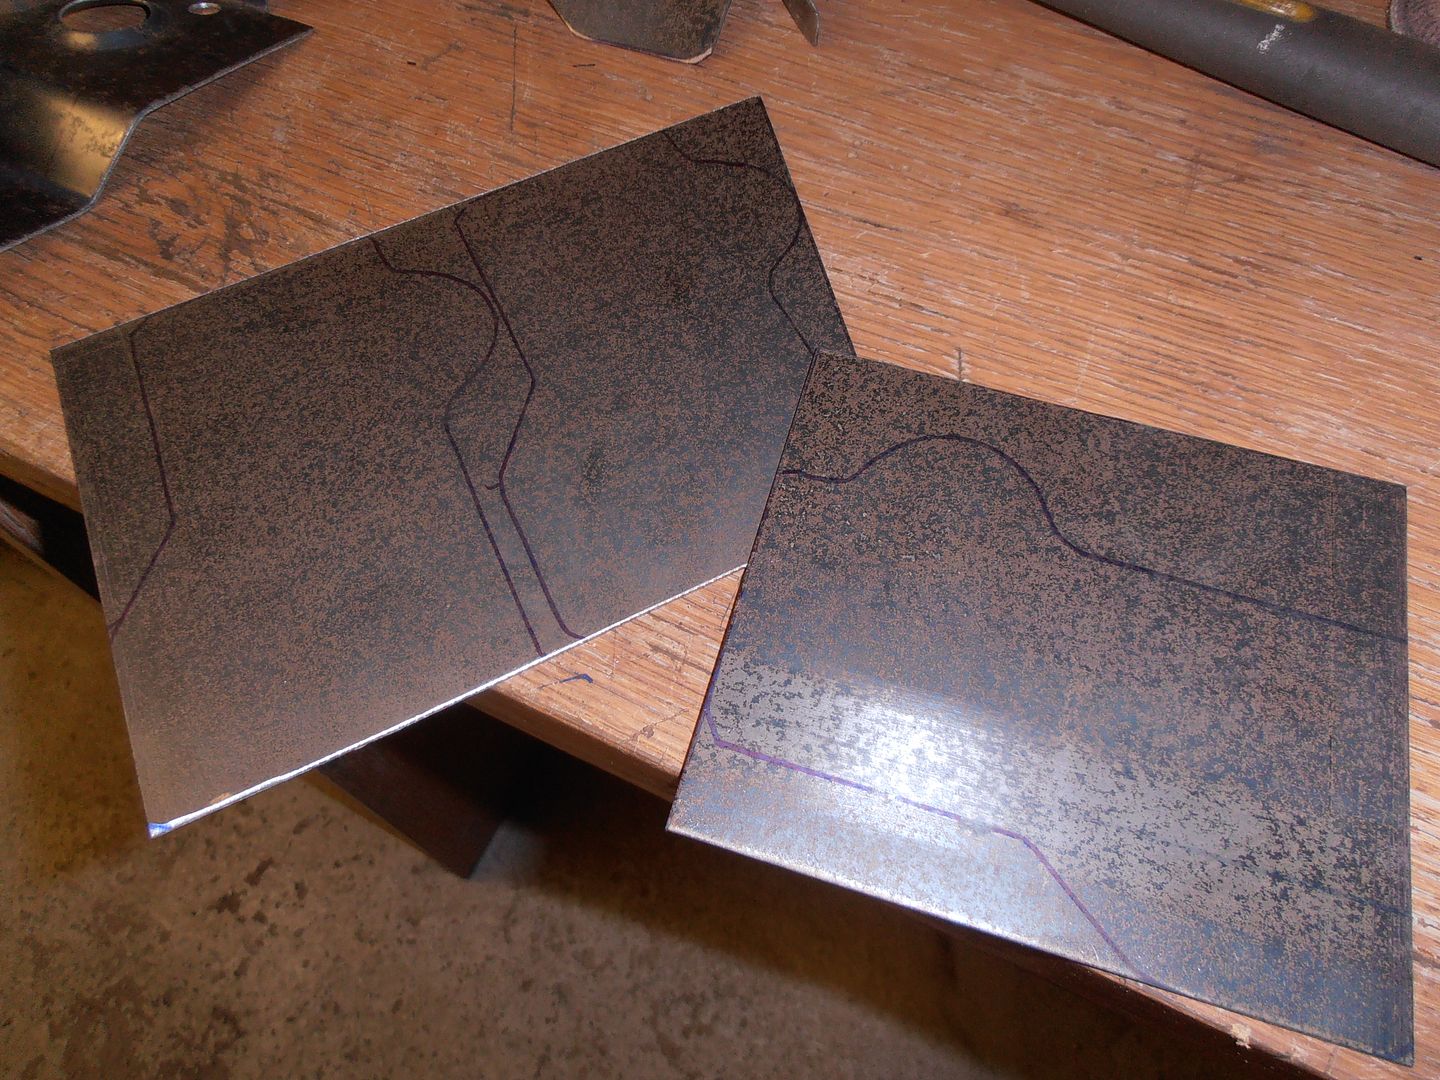 start trimming 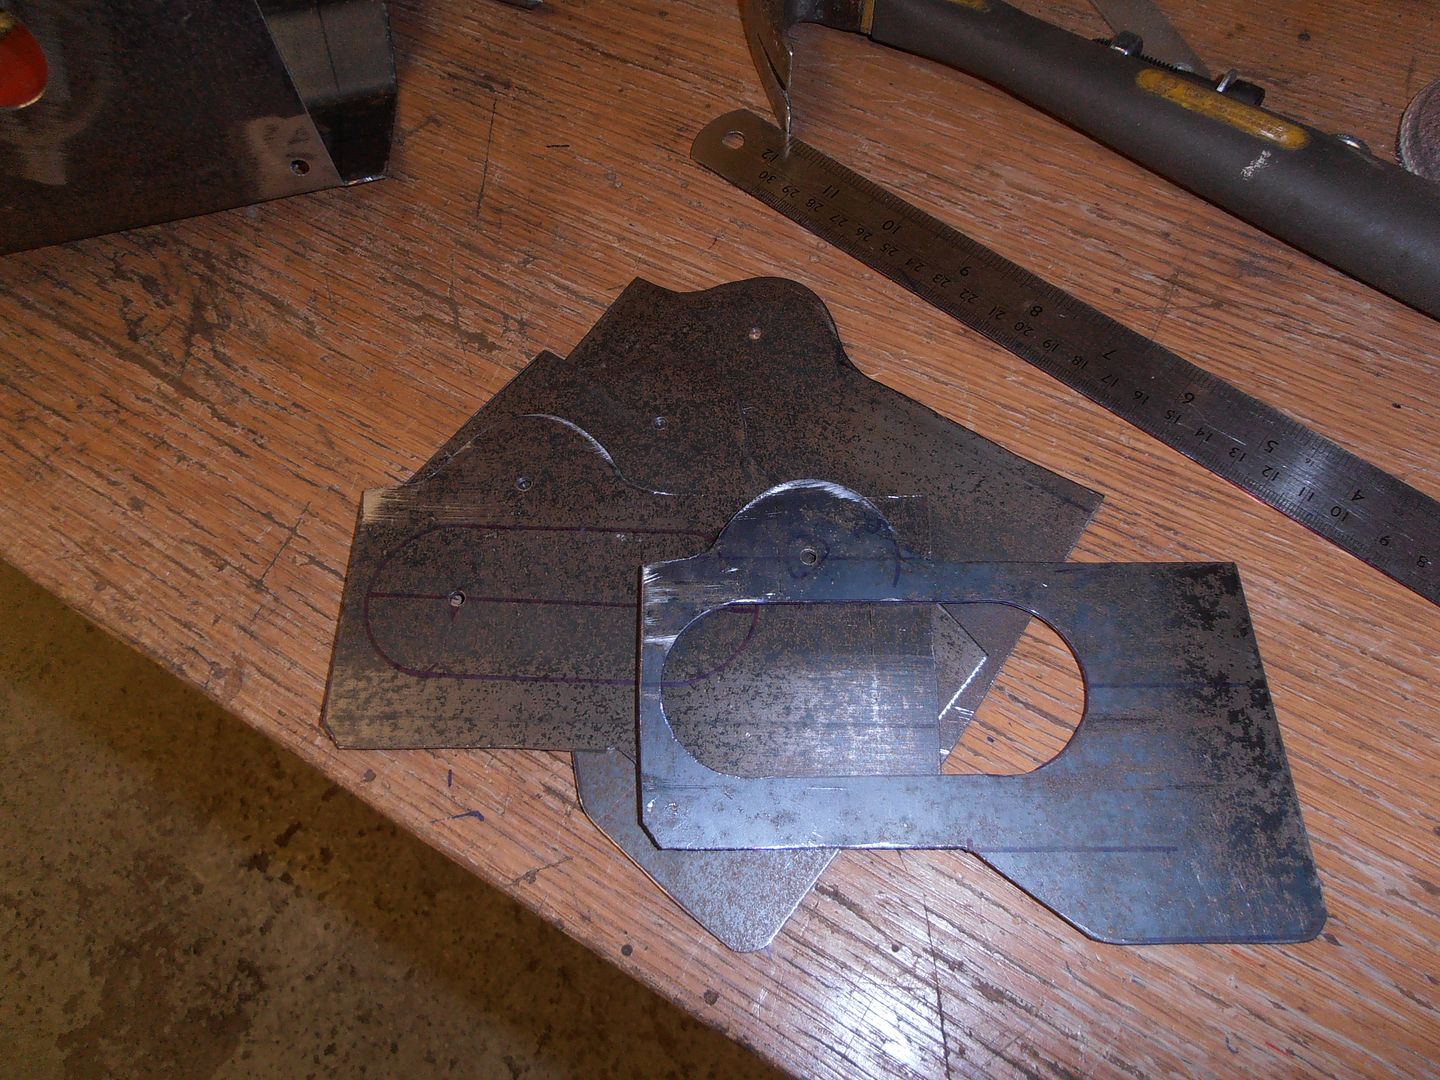 much trimming / drilling 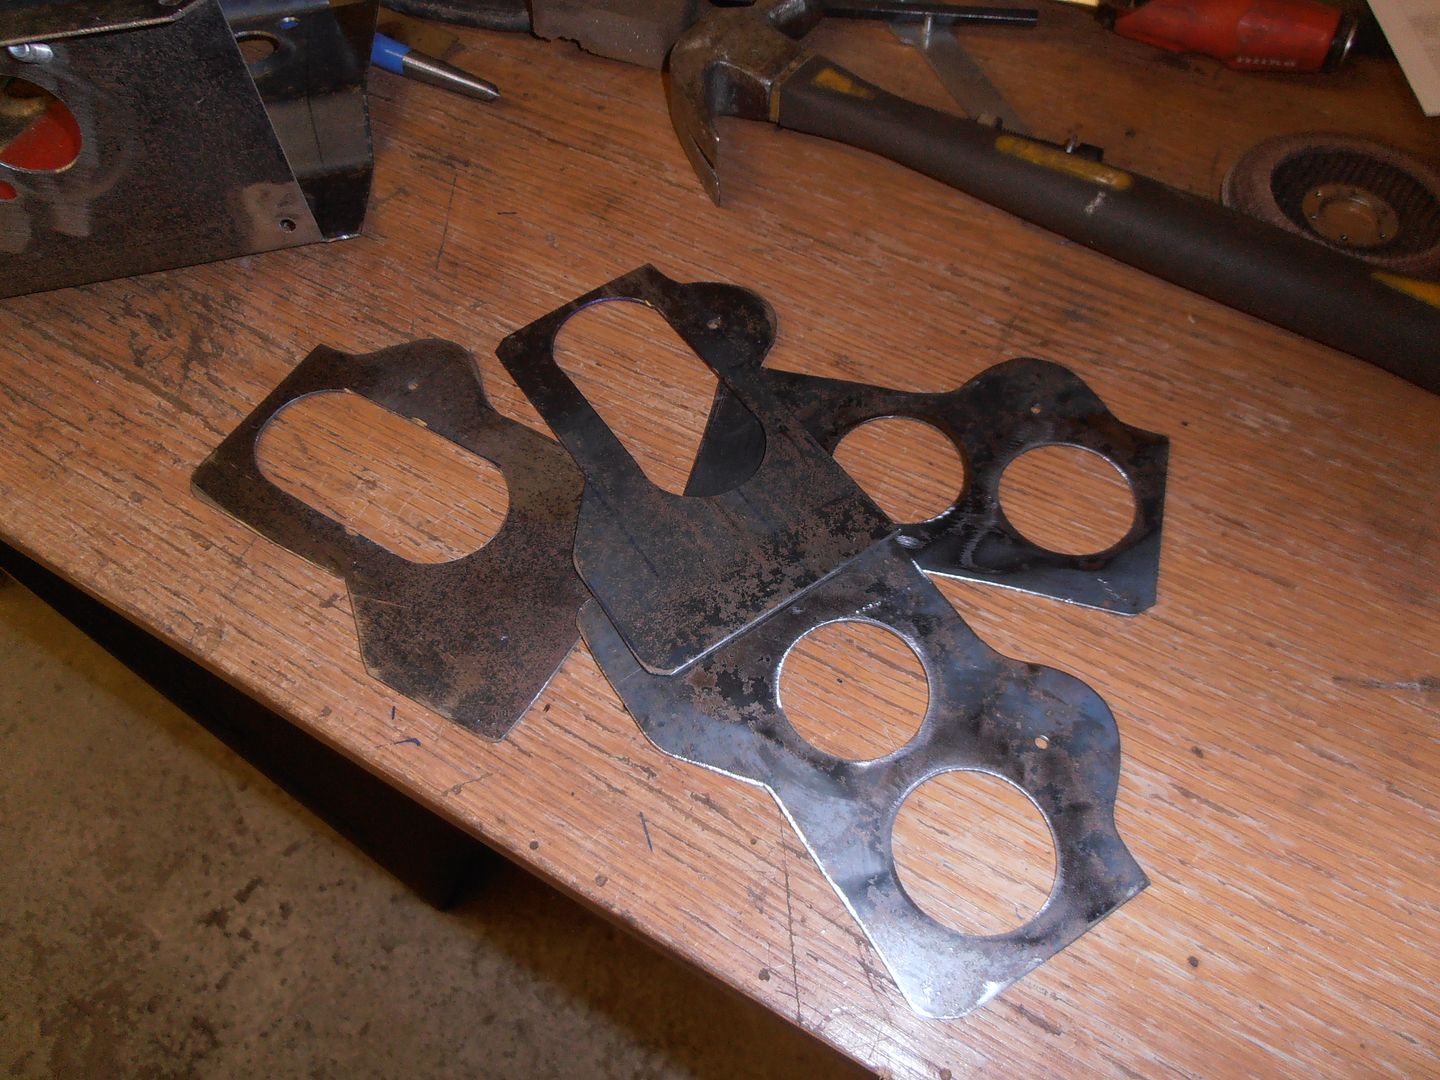 clamp it all together on a flat block 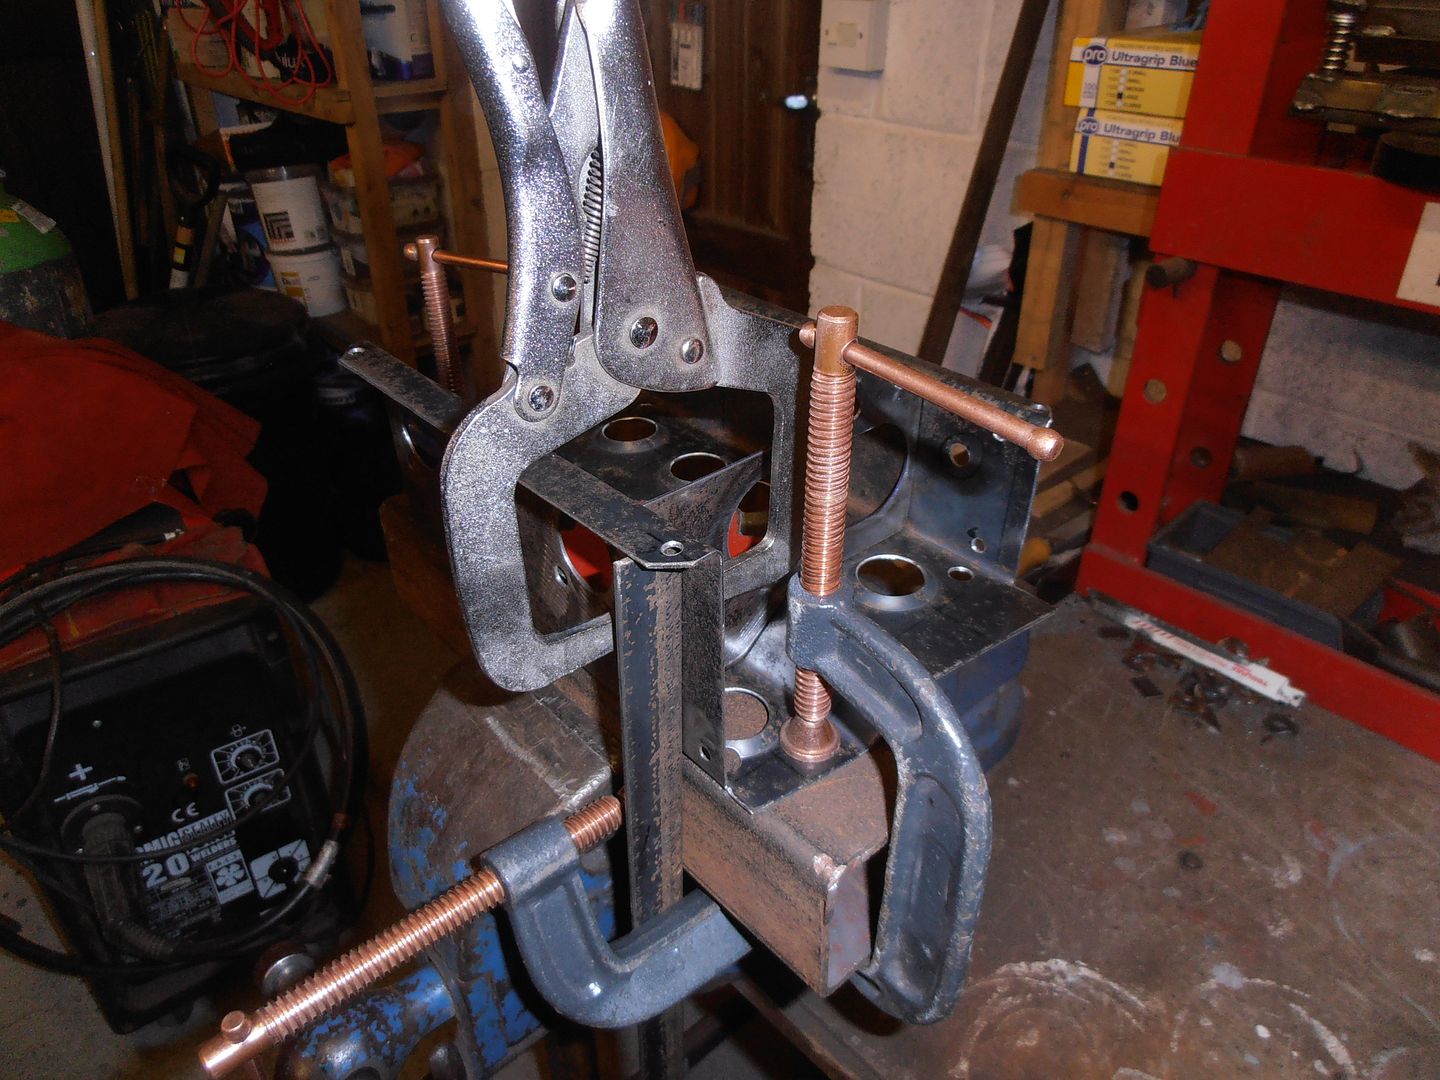 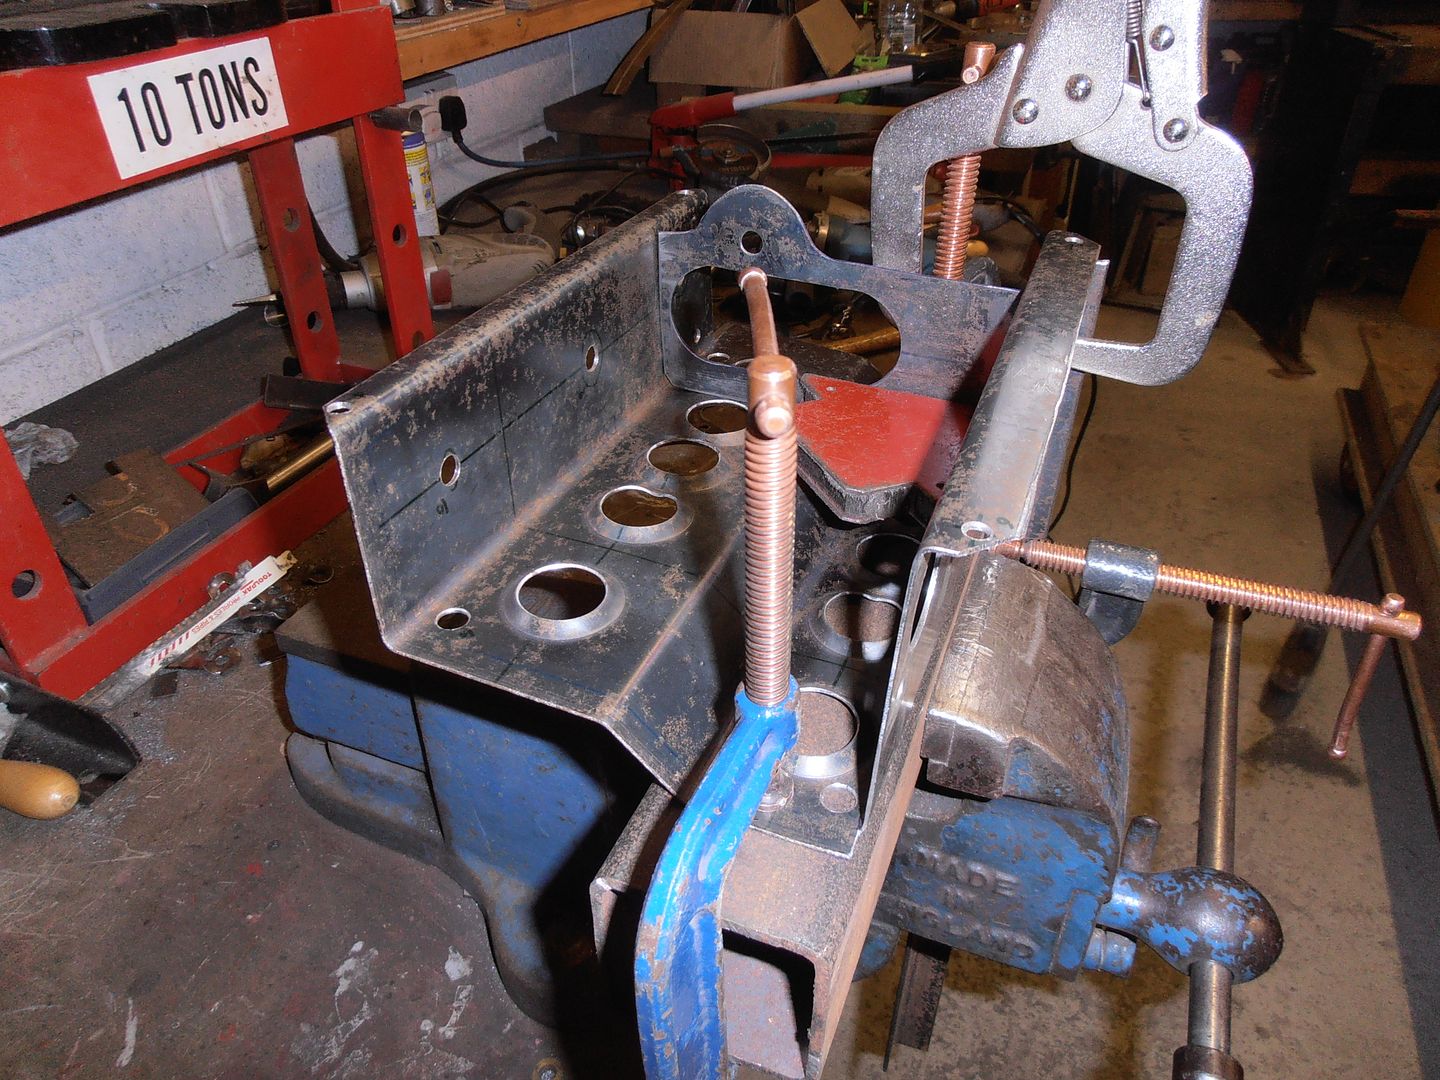 tack in the webs 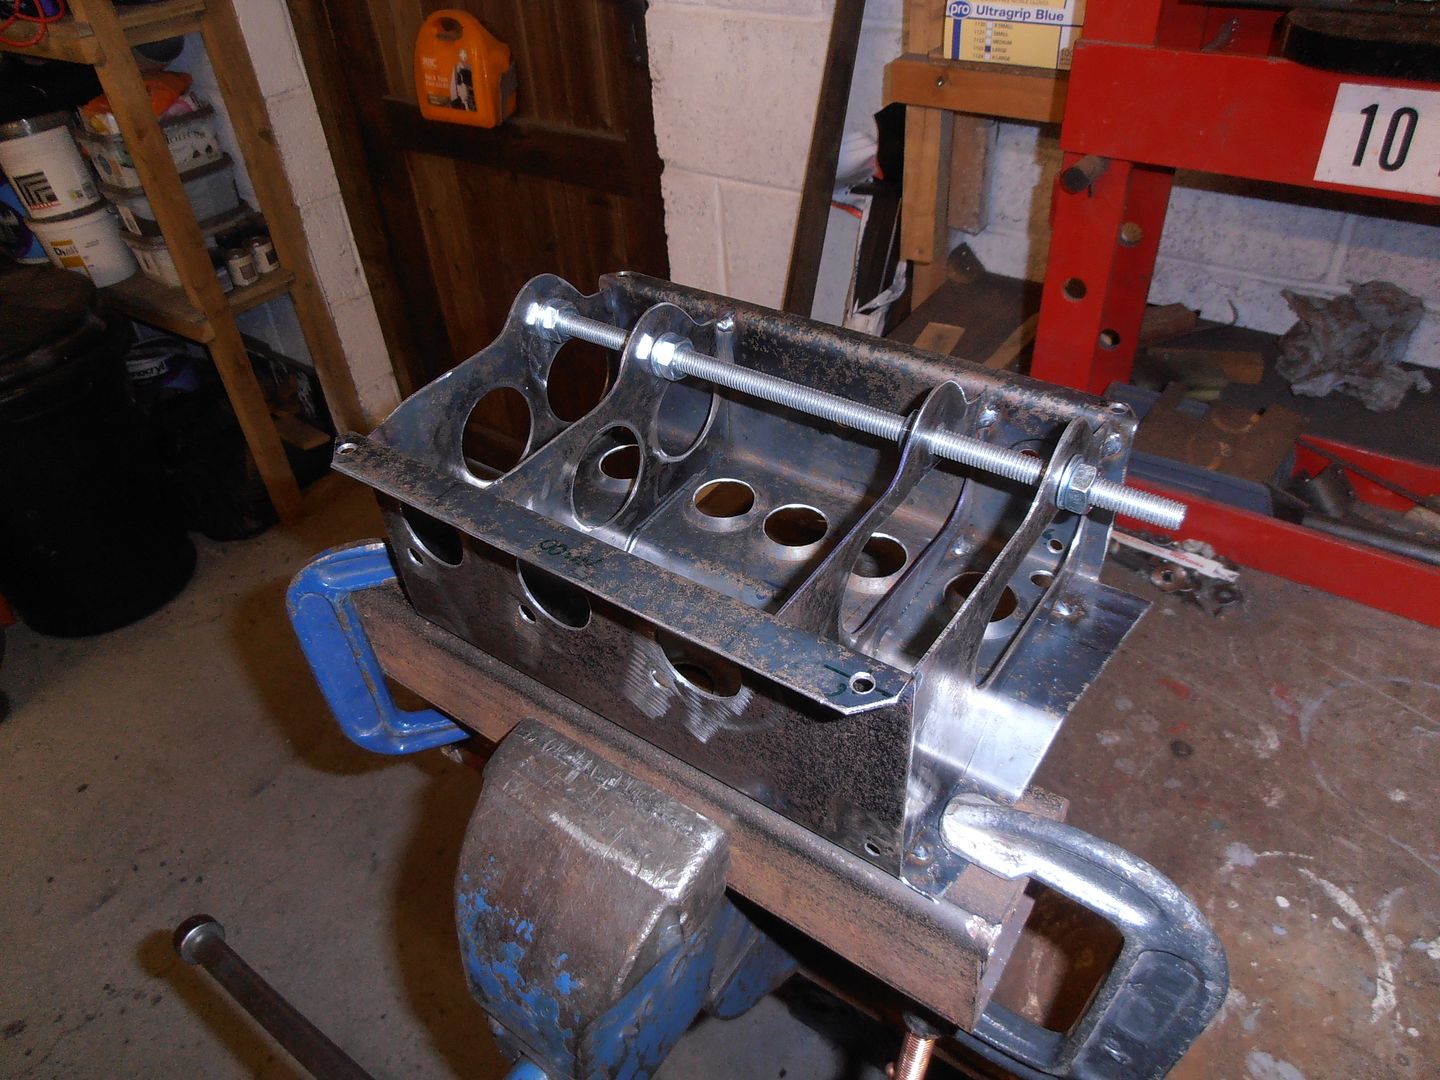 threaded rod used to ensure its all square and the spacings are correct. The washers will be getting welded on permanently as additional support 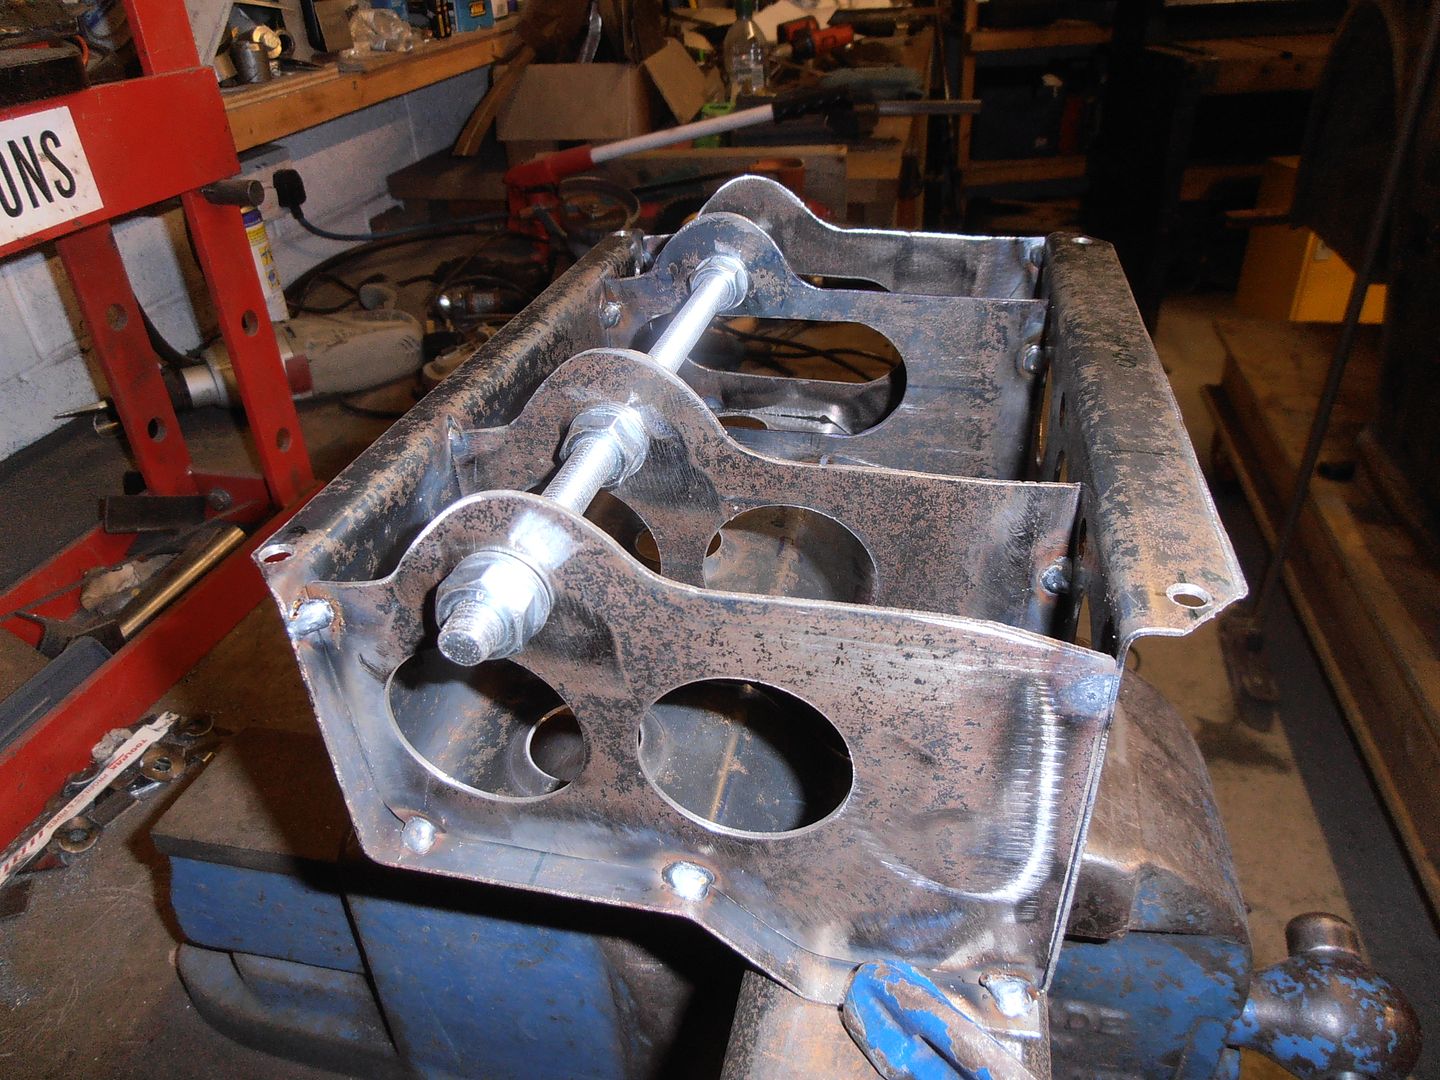 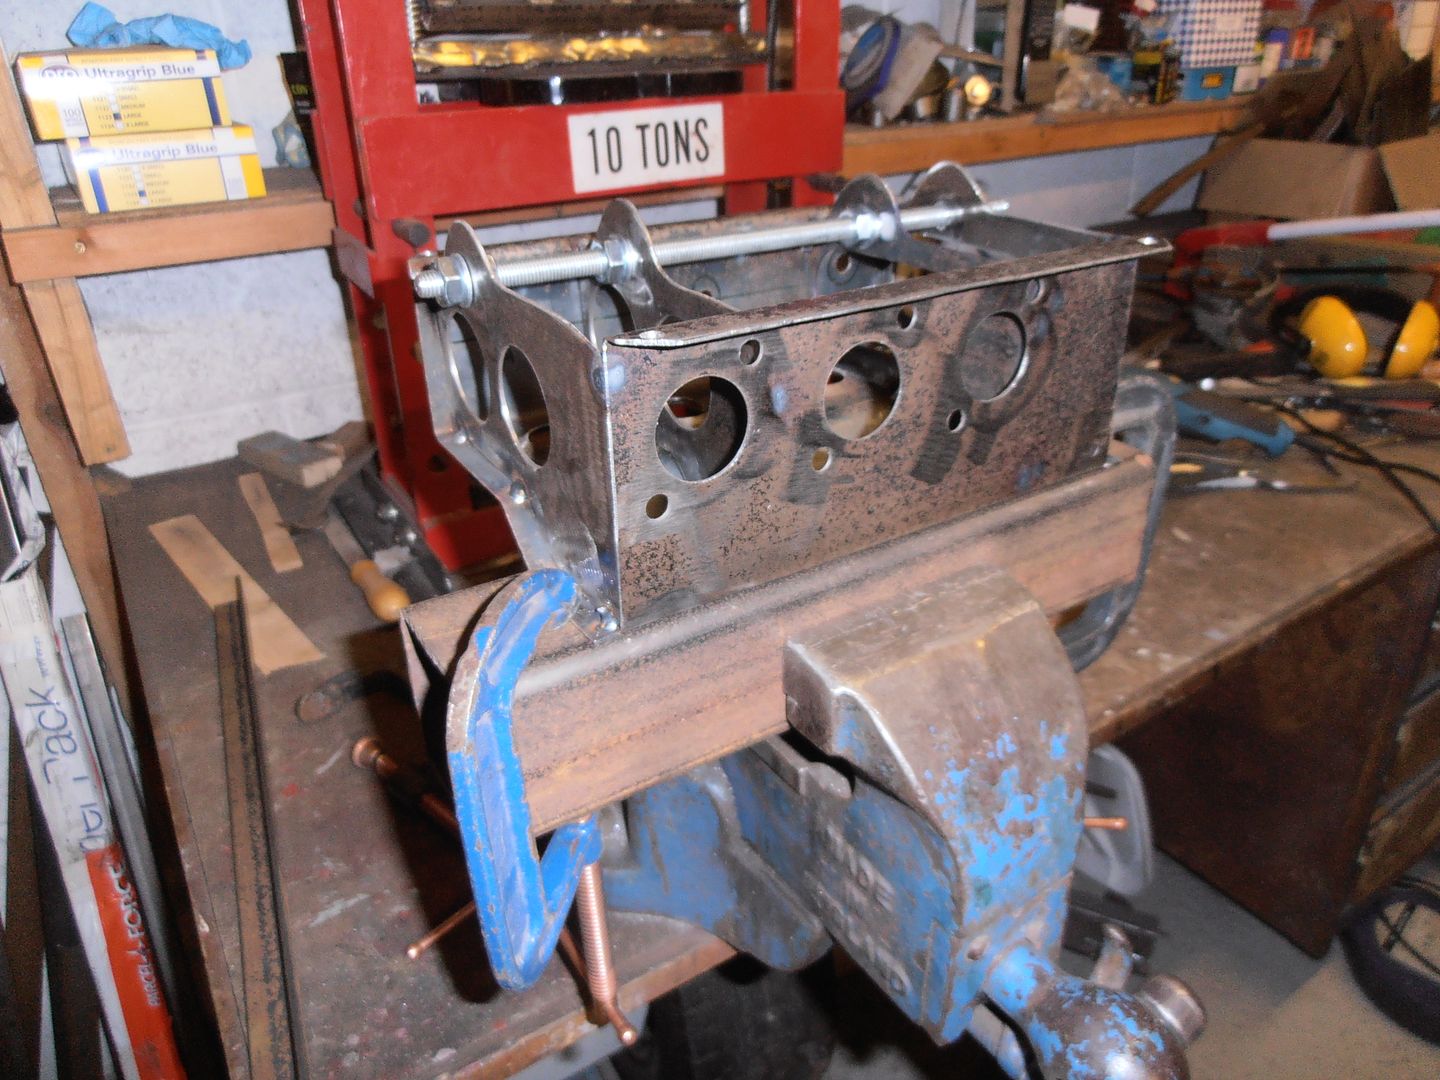 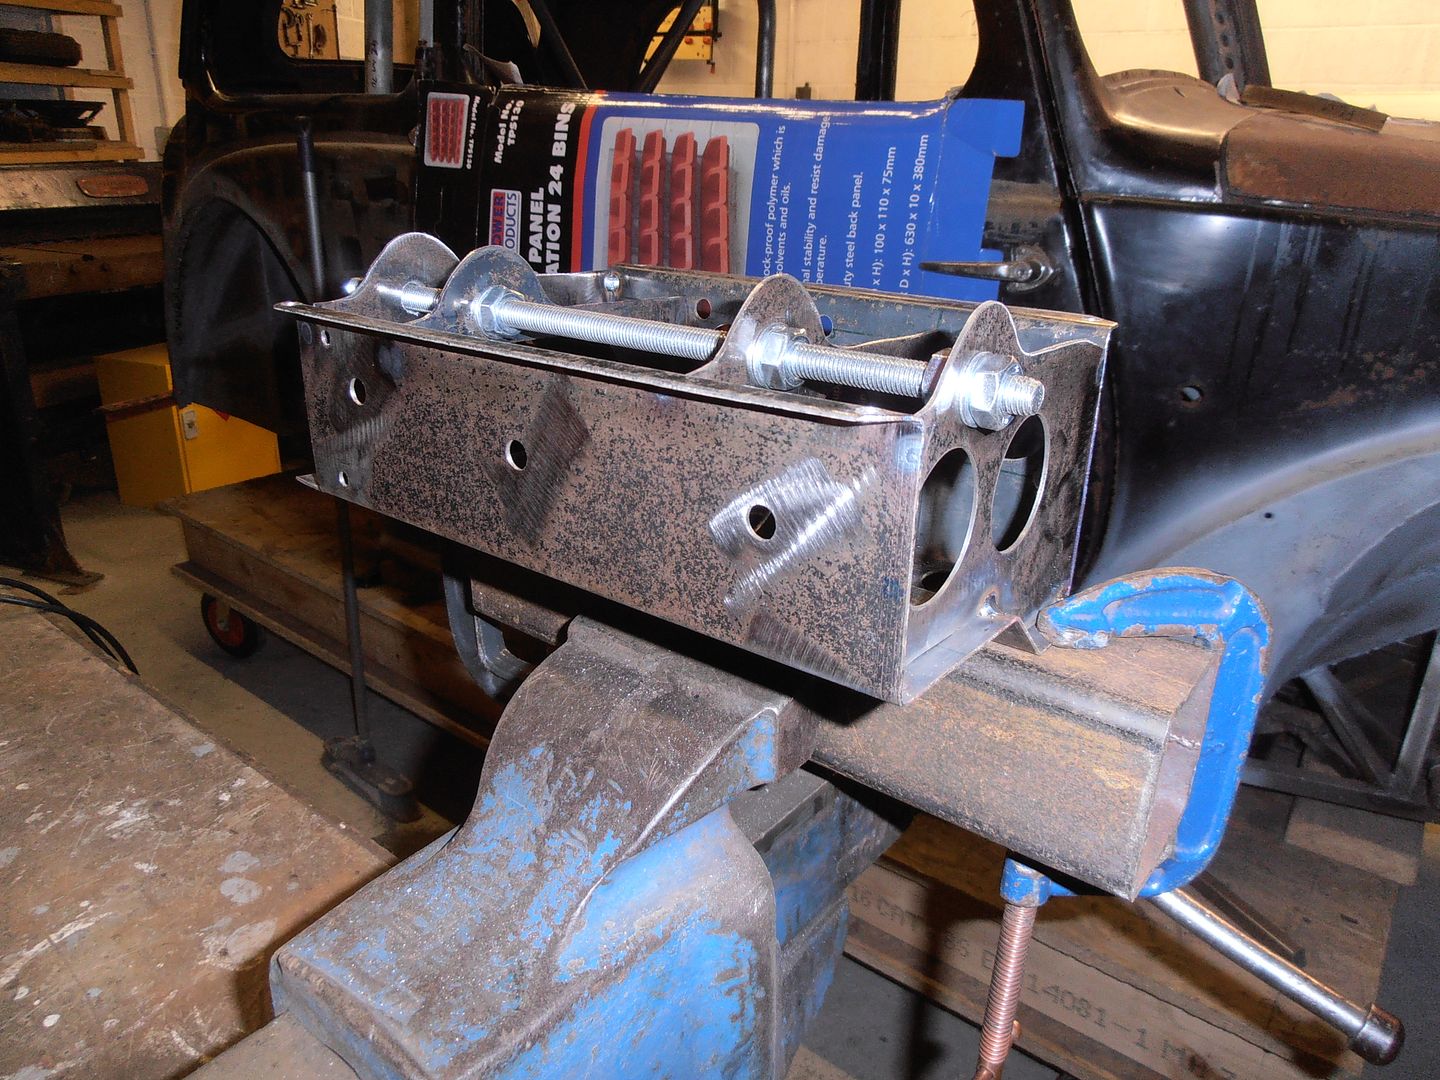 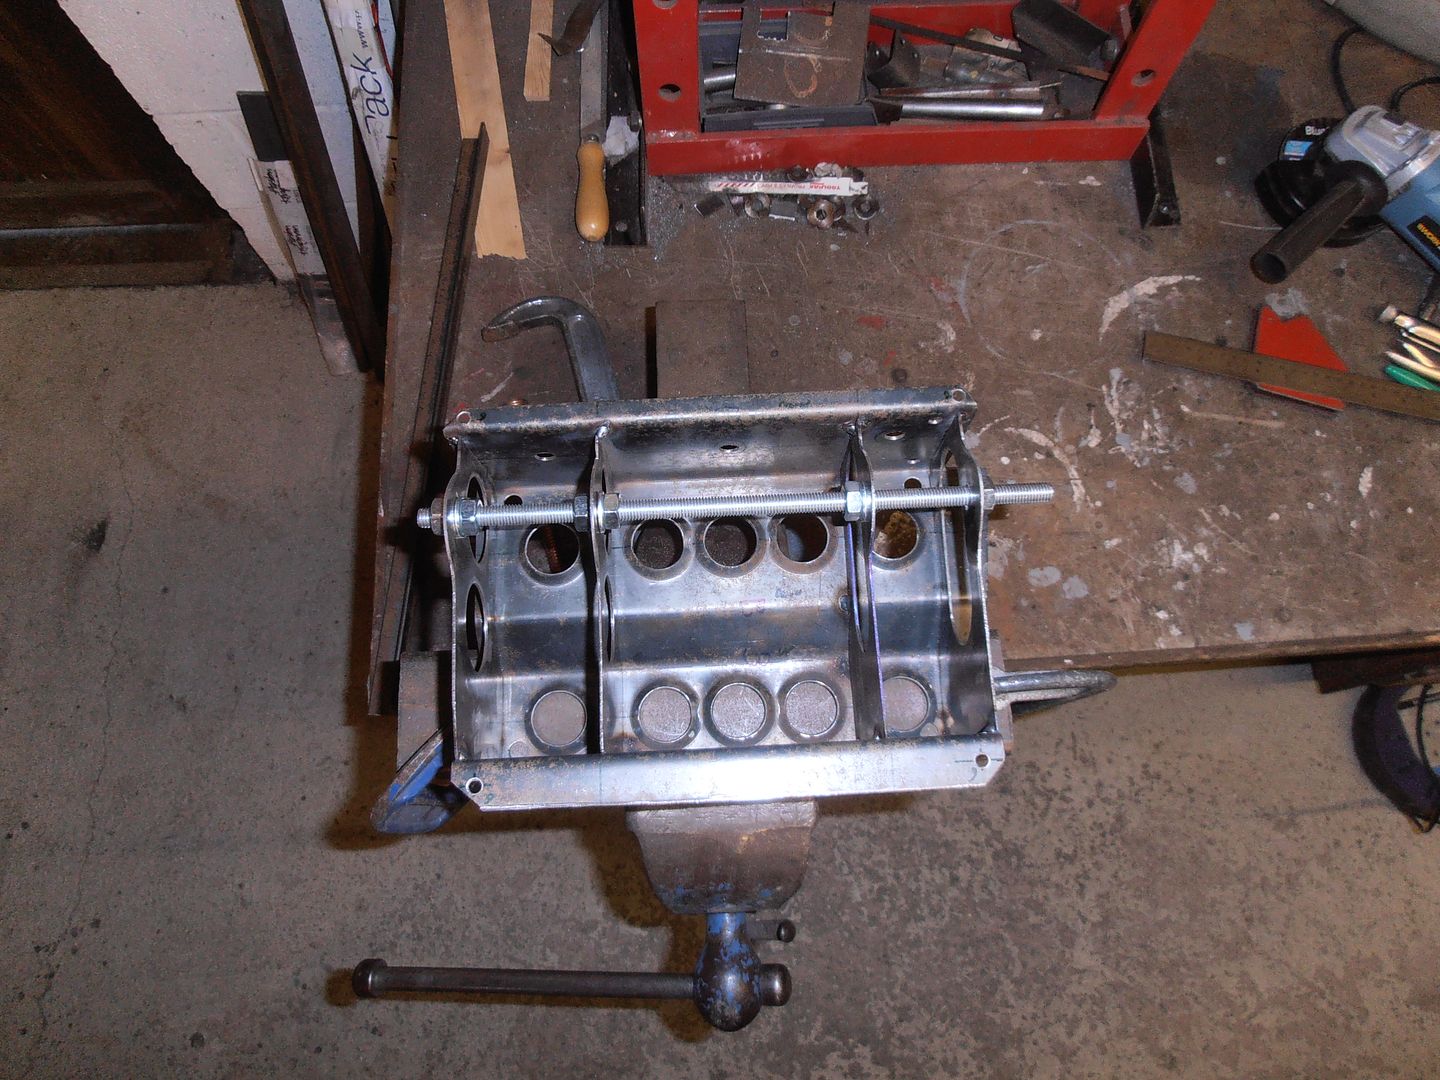 I ran out of time to weld it together any further, if you look at the CAD image a few posts up you can see there is a stiffening flange on the sides and pedal stop bar to put in.... and the heel board to make as well I couldnt resist dropping it in the footwell 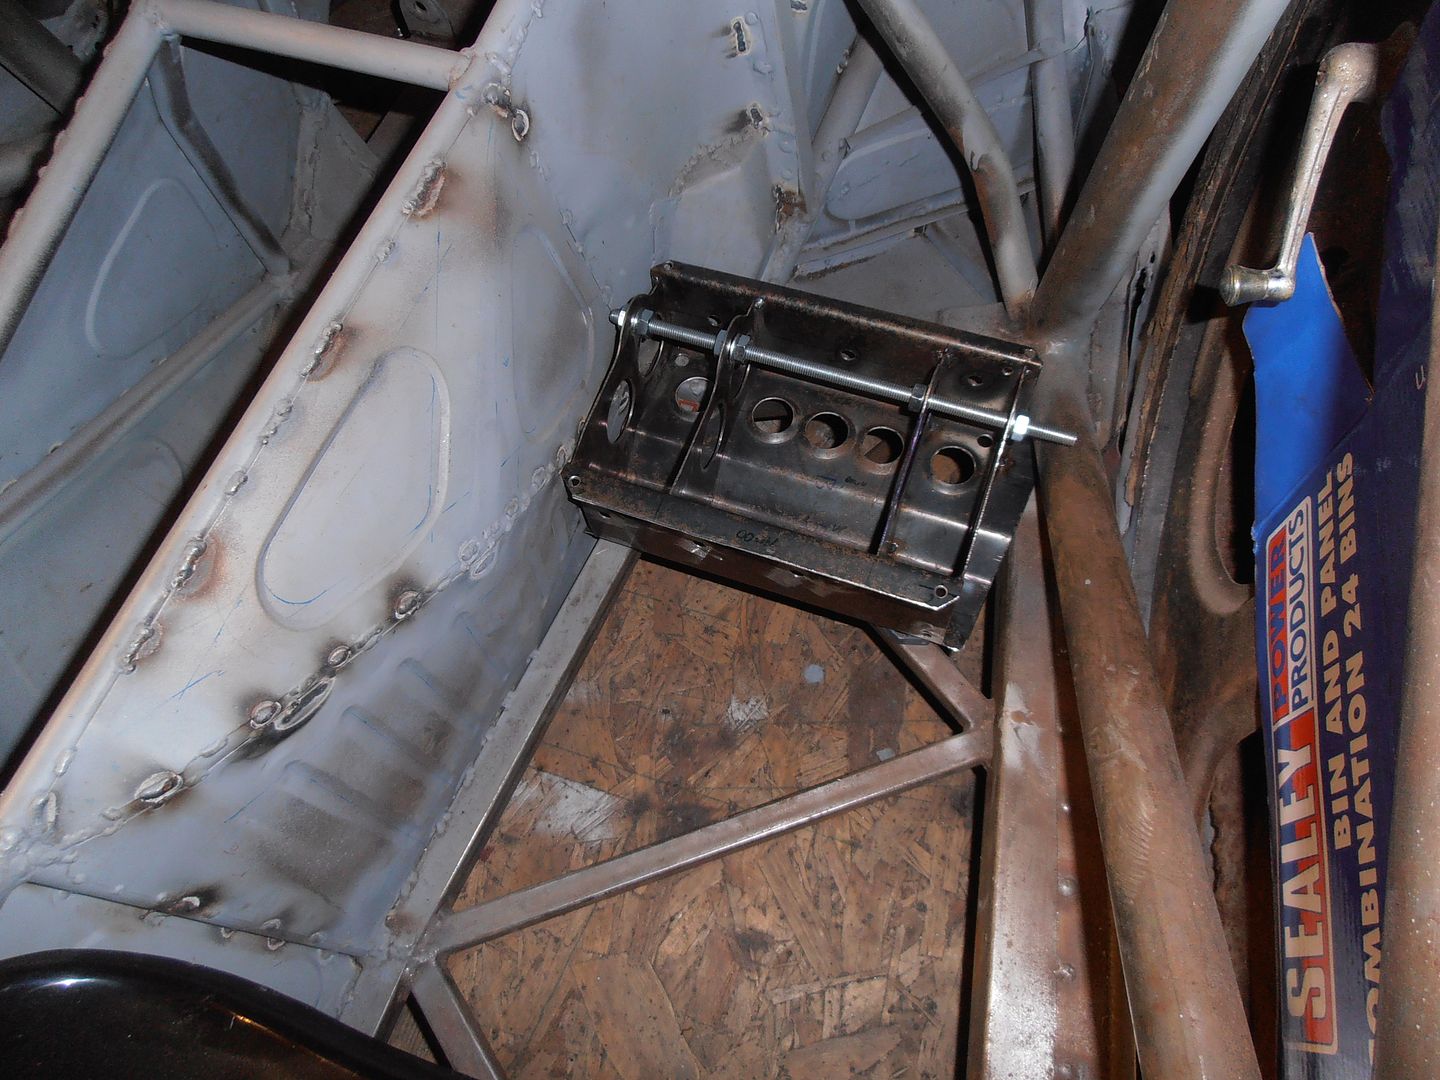 tight, but fits nicely. 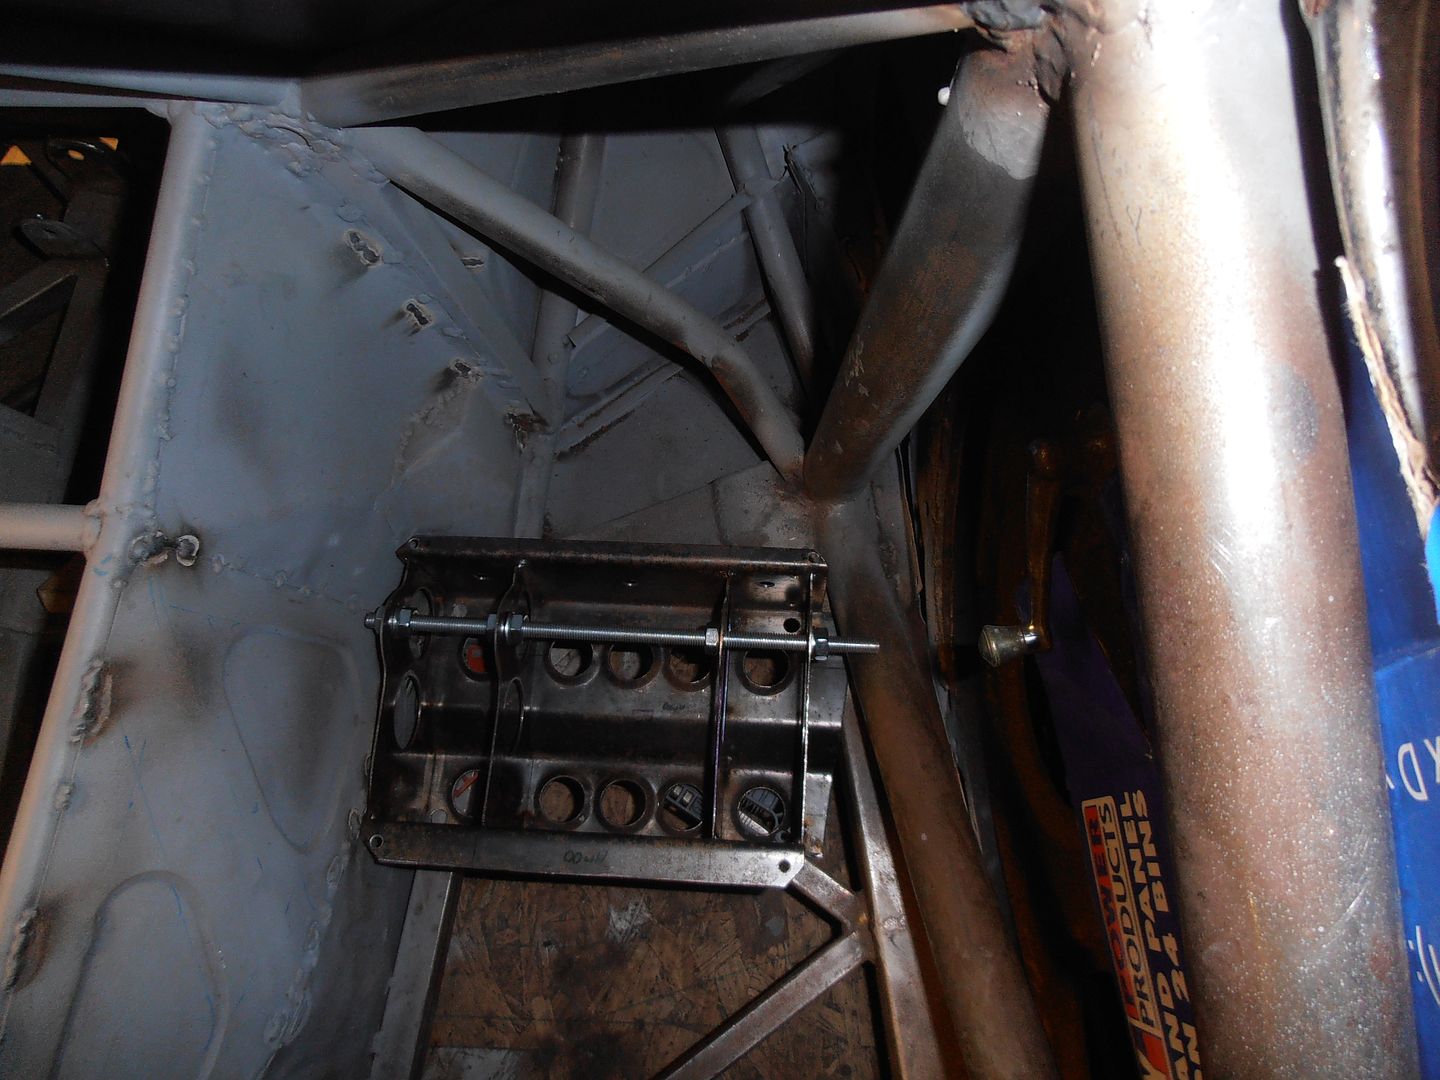 |
| |
Last Edit: Mar 30, 2016 20:16:56 GMT by jonomisfit
|
|
|
|
vulgalour
Club Retro Rides Member
Posts: 7,268
Club RR Member Number: 146
|
|
Mar 30, 2016 22:26:45 GMT
|
Show off  |
| |
|
|
jonomisfit
Club Retro Rides Member
Posts: 1,787
Club RR Member Number: 49
|
|
Apr 10, 2016 20:22:52 GMT
|
Not much in the way of progress this weekend. I sold my other car, which means the workshop is the morris's alone once more. I took the opportunity to take the car back off its build table. 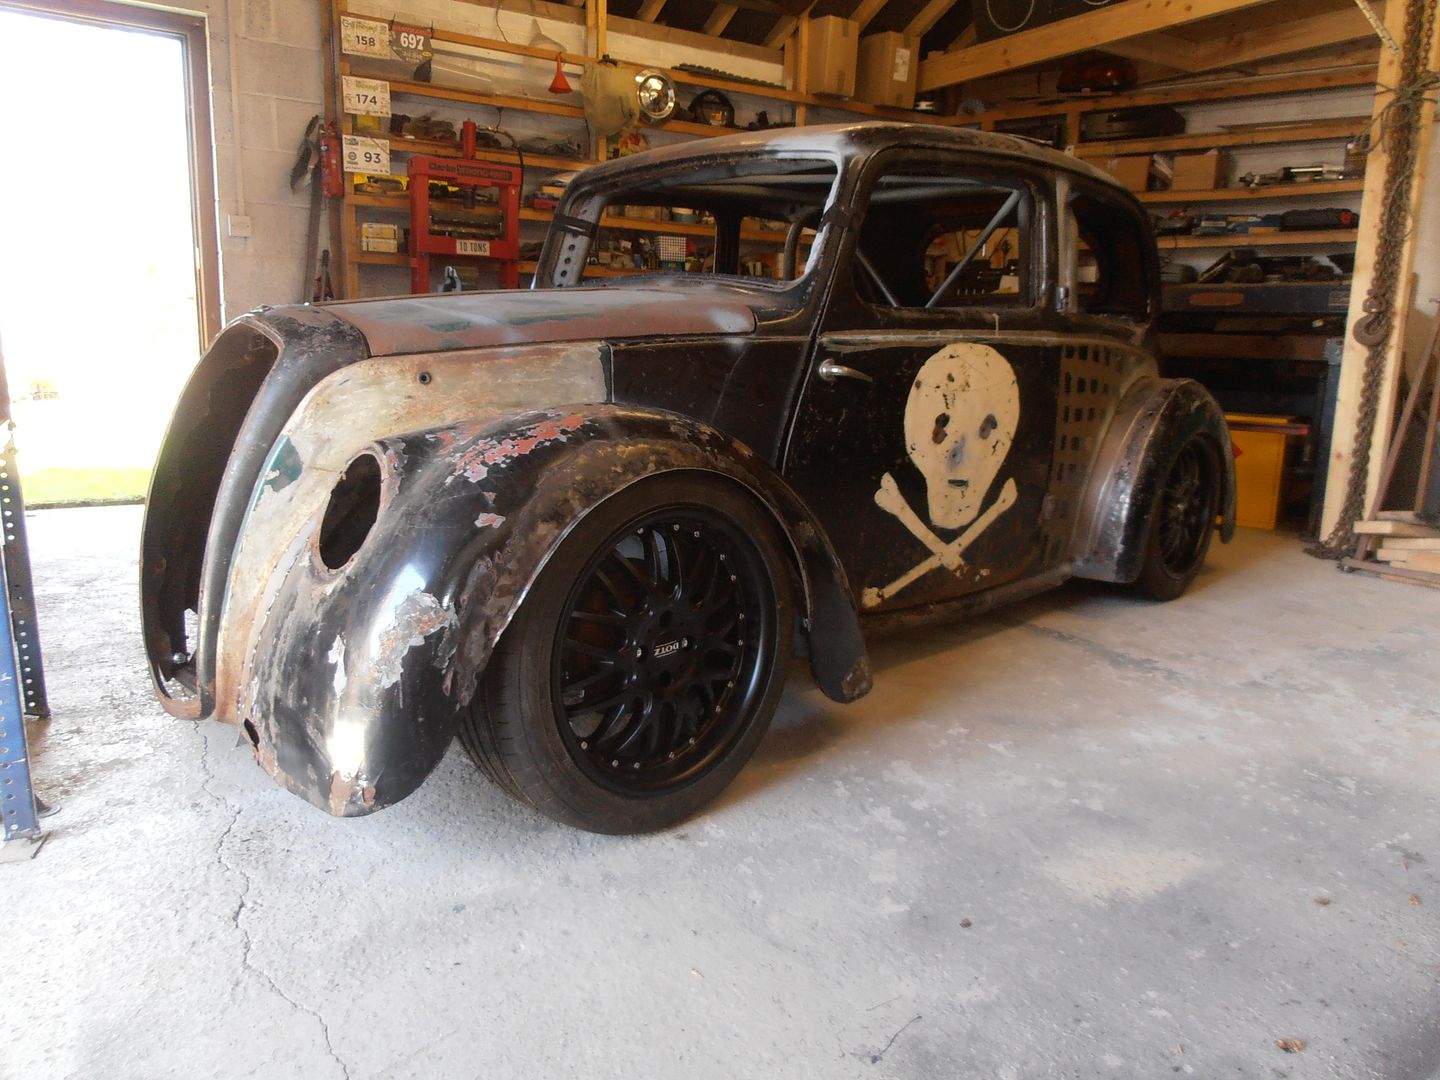 I'm still waiting on parts to be delivered for the pedal box, so its on hold again. patched in the rear arch corner to stiffen it up a bit 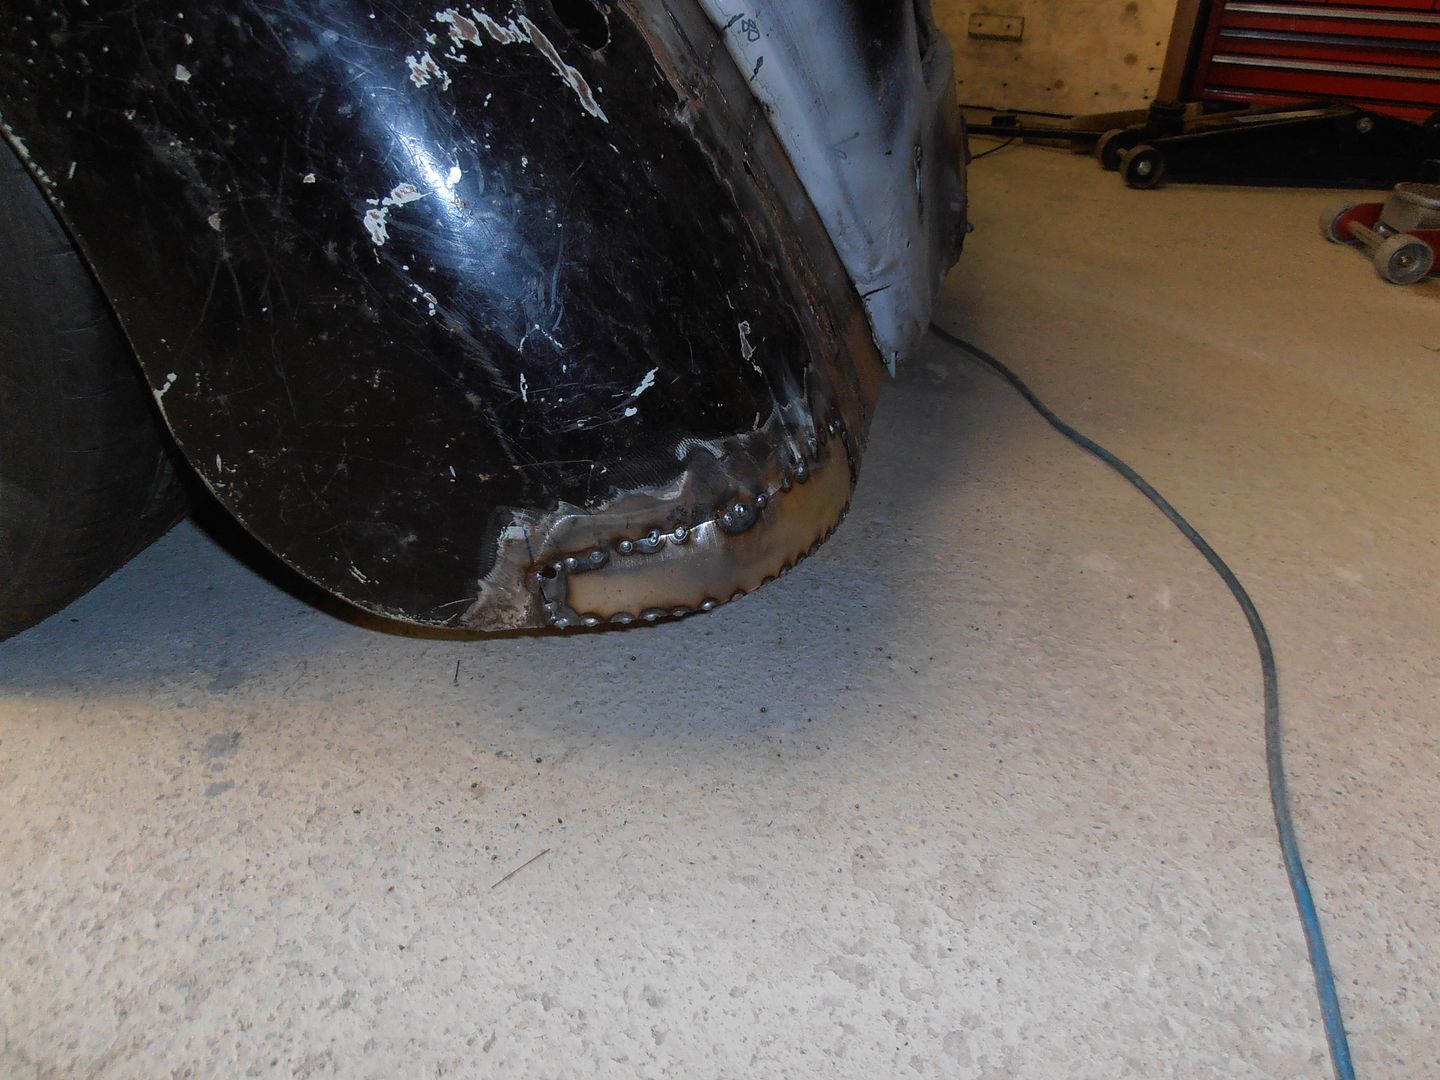 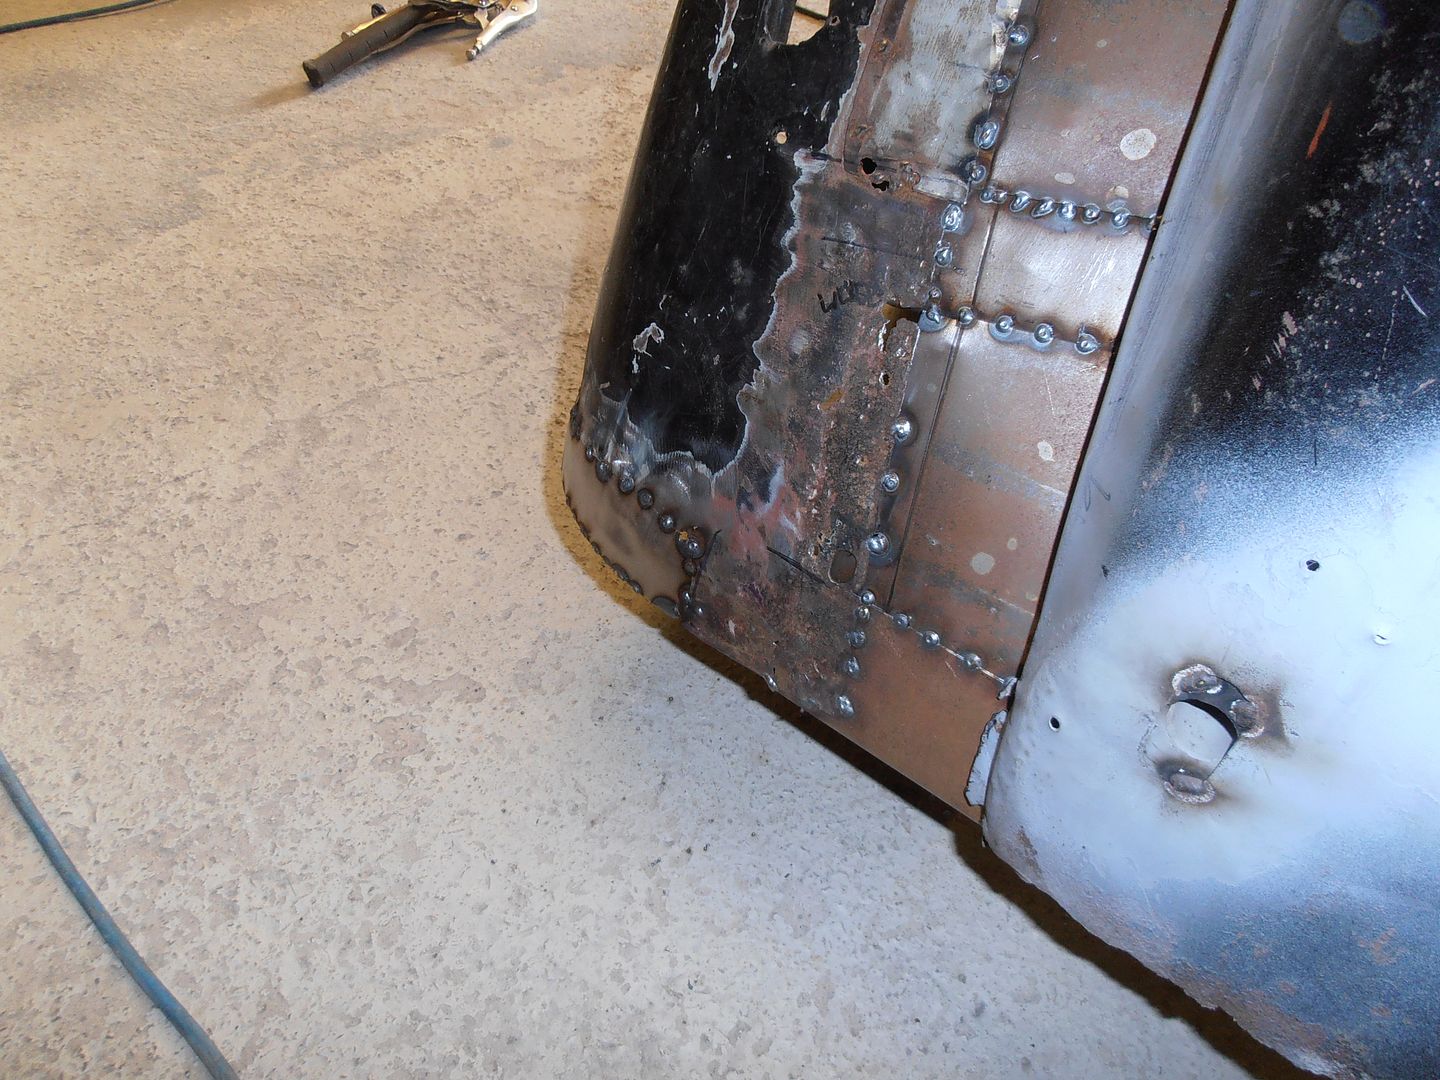 rear arch doesnt match the front, so time for some modding 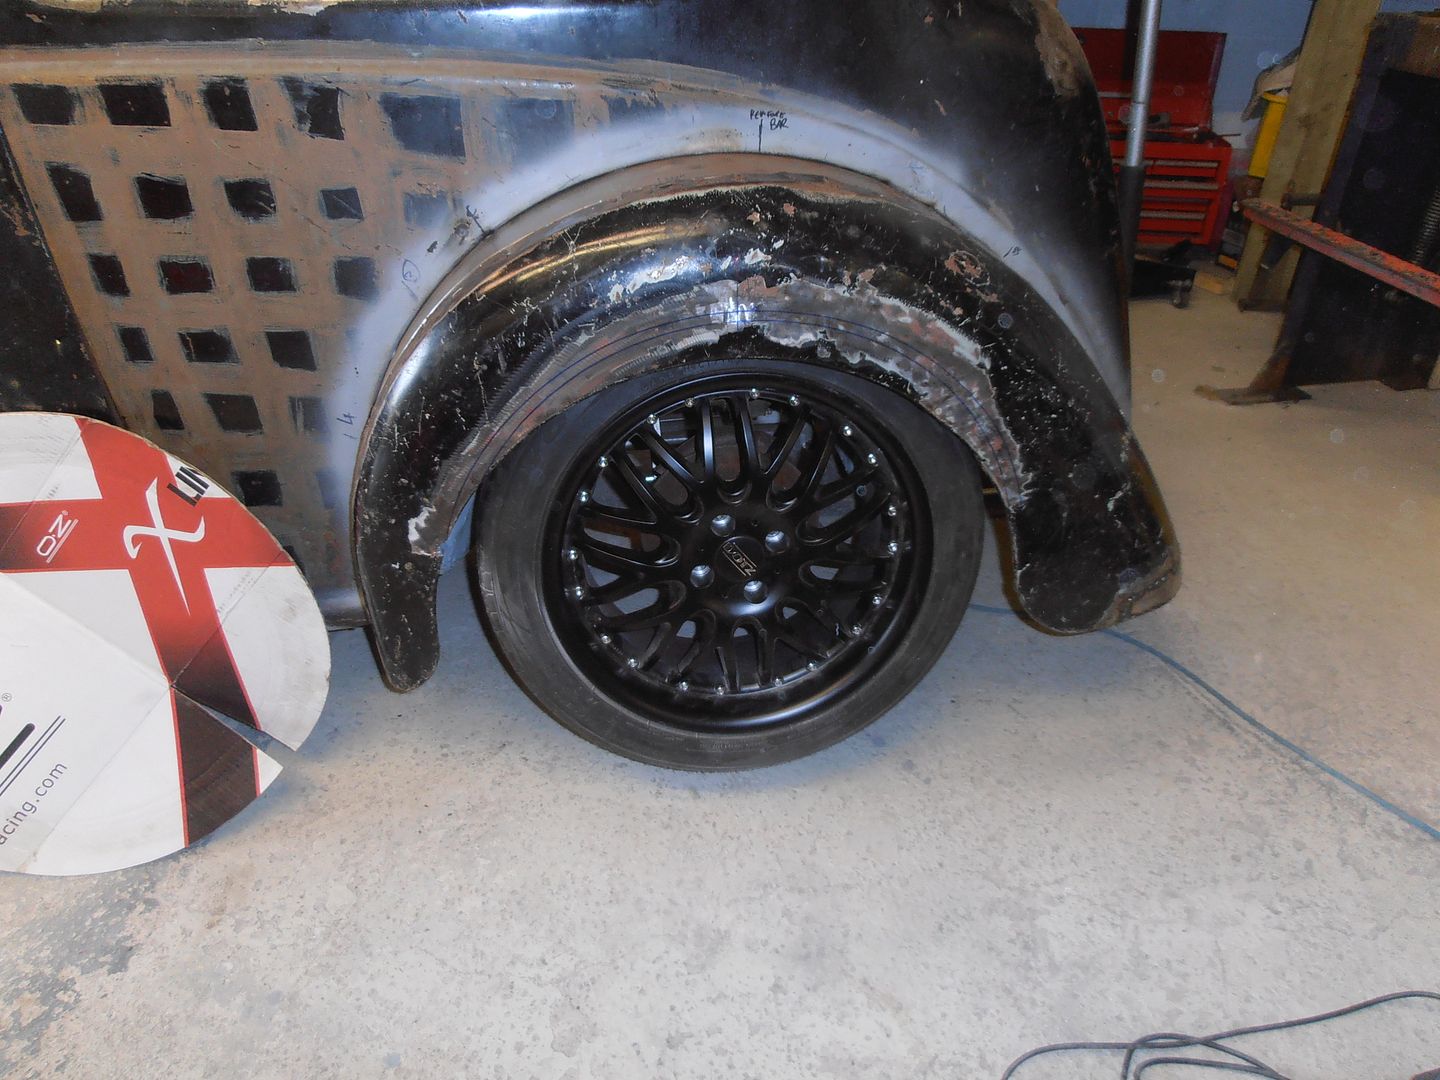 cleaned back and marked 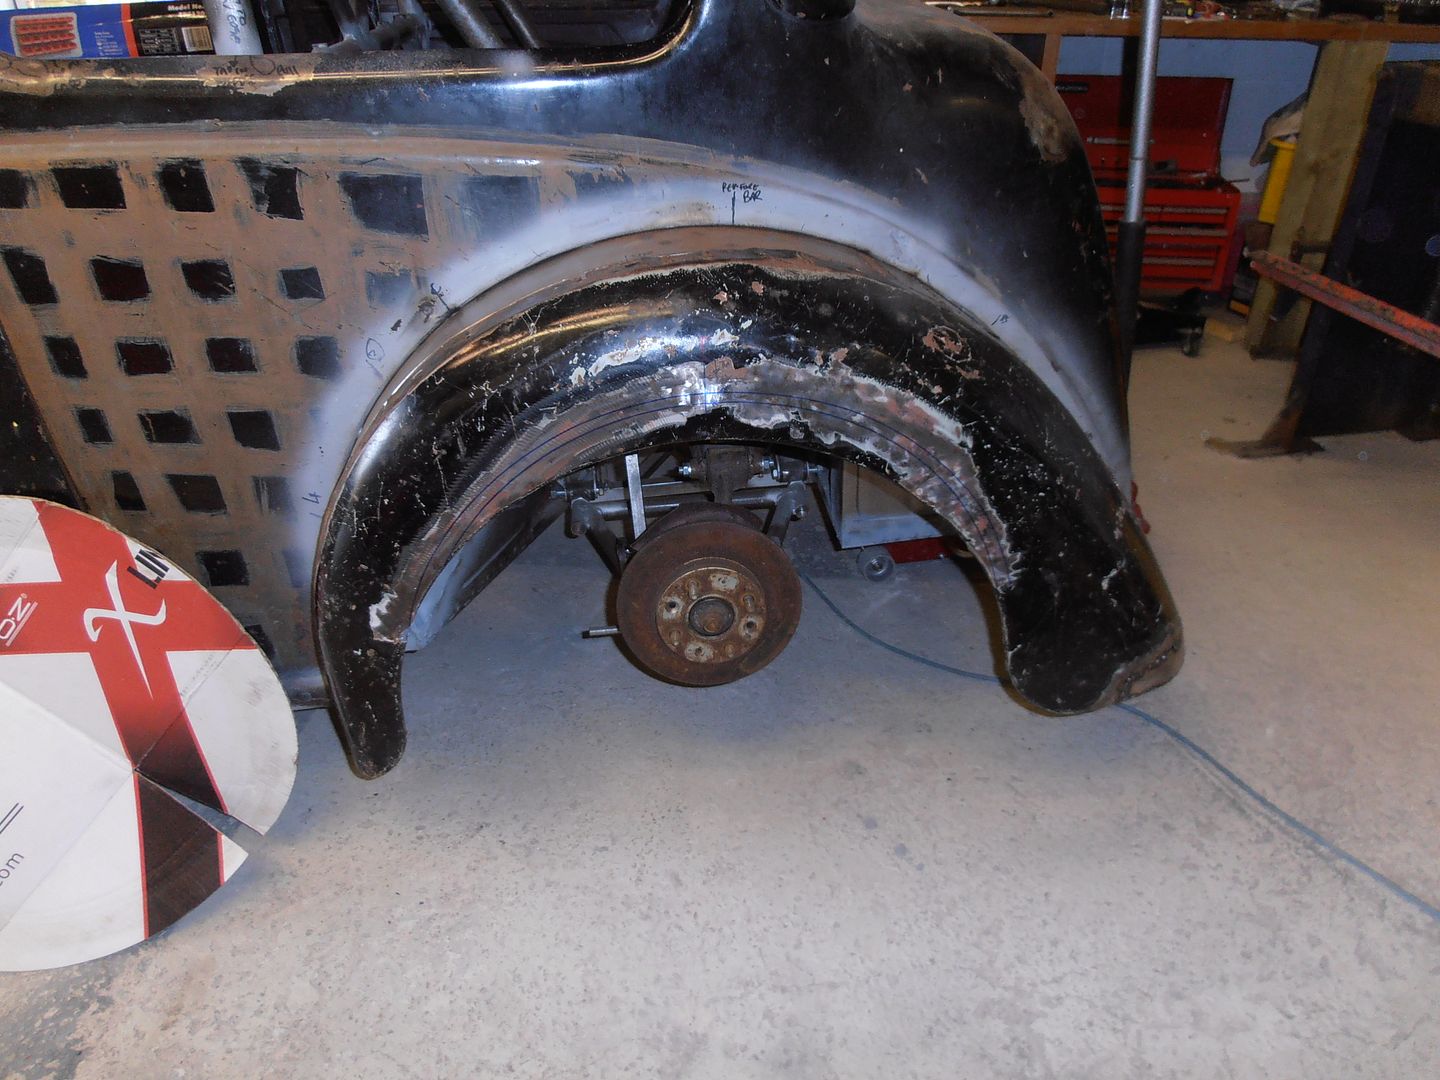 cut 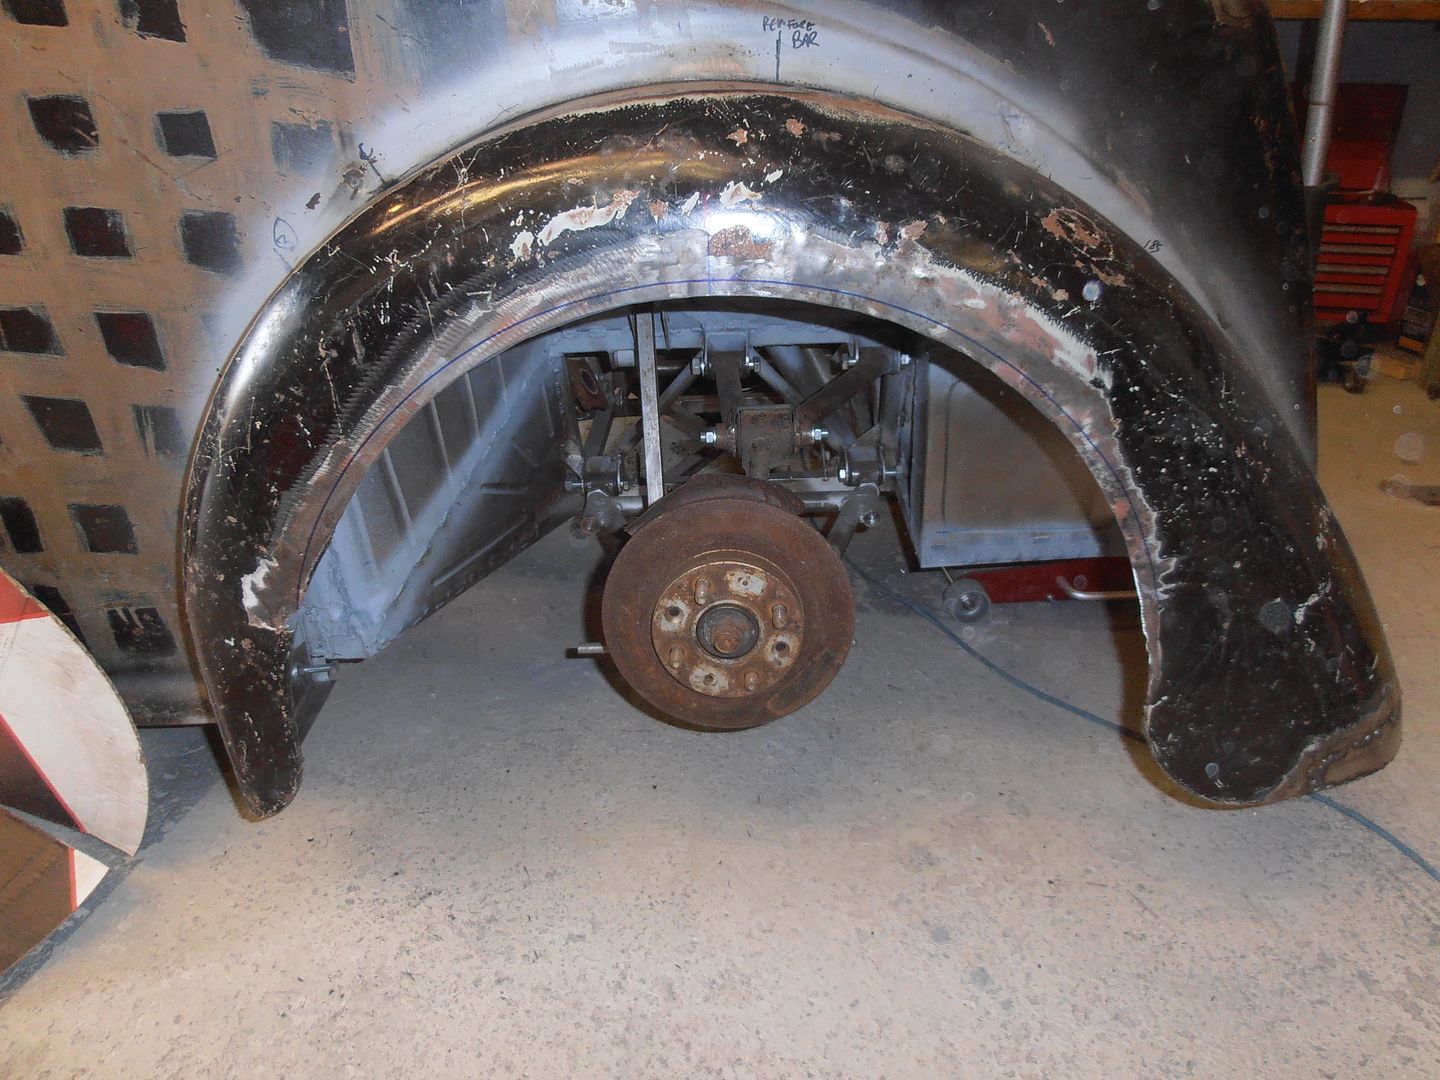 lip bent 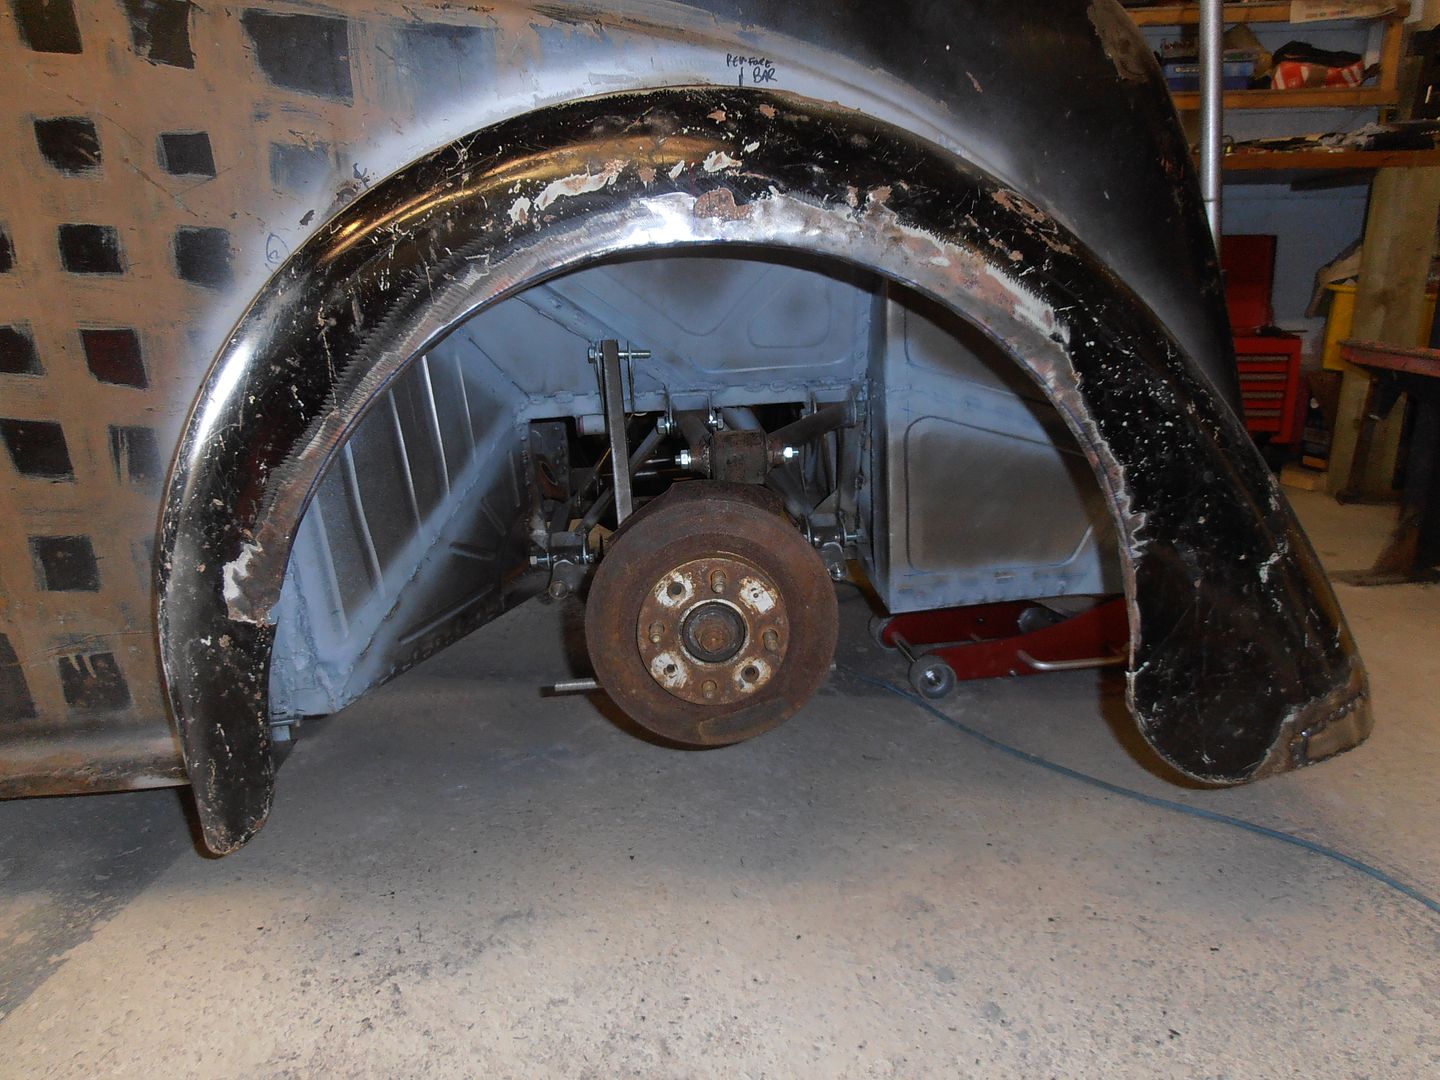 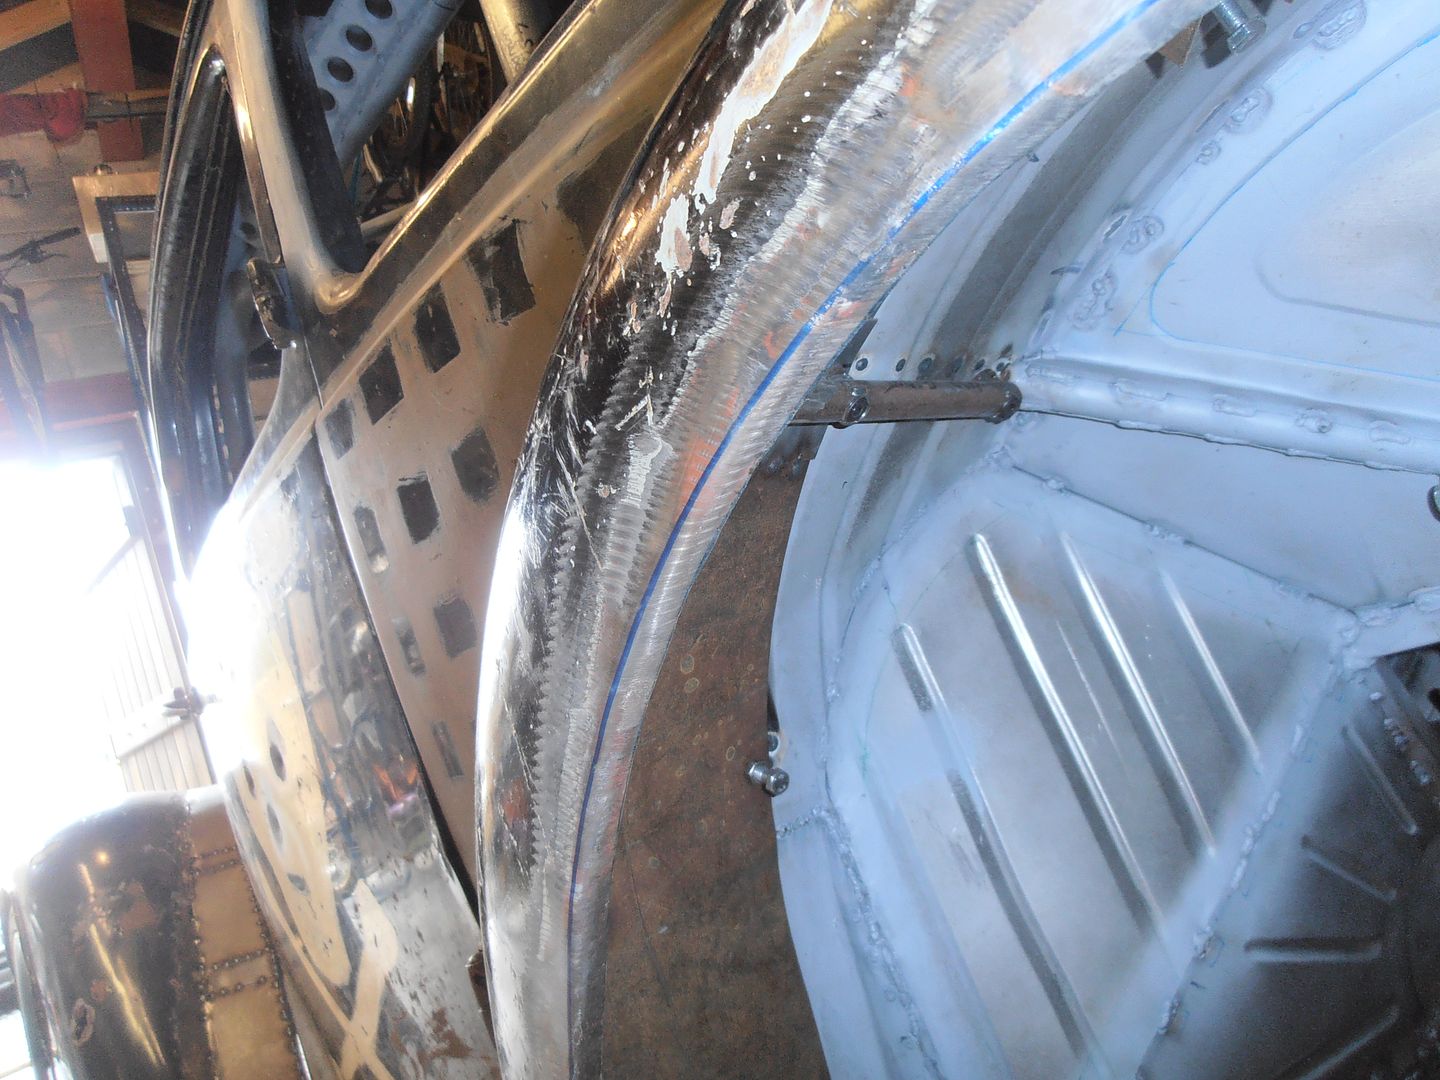 wheel in situ 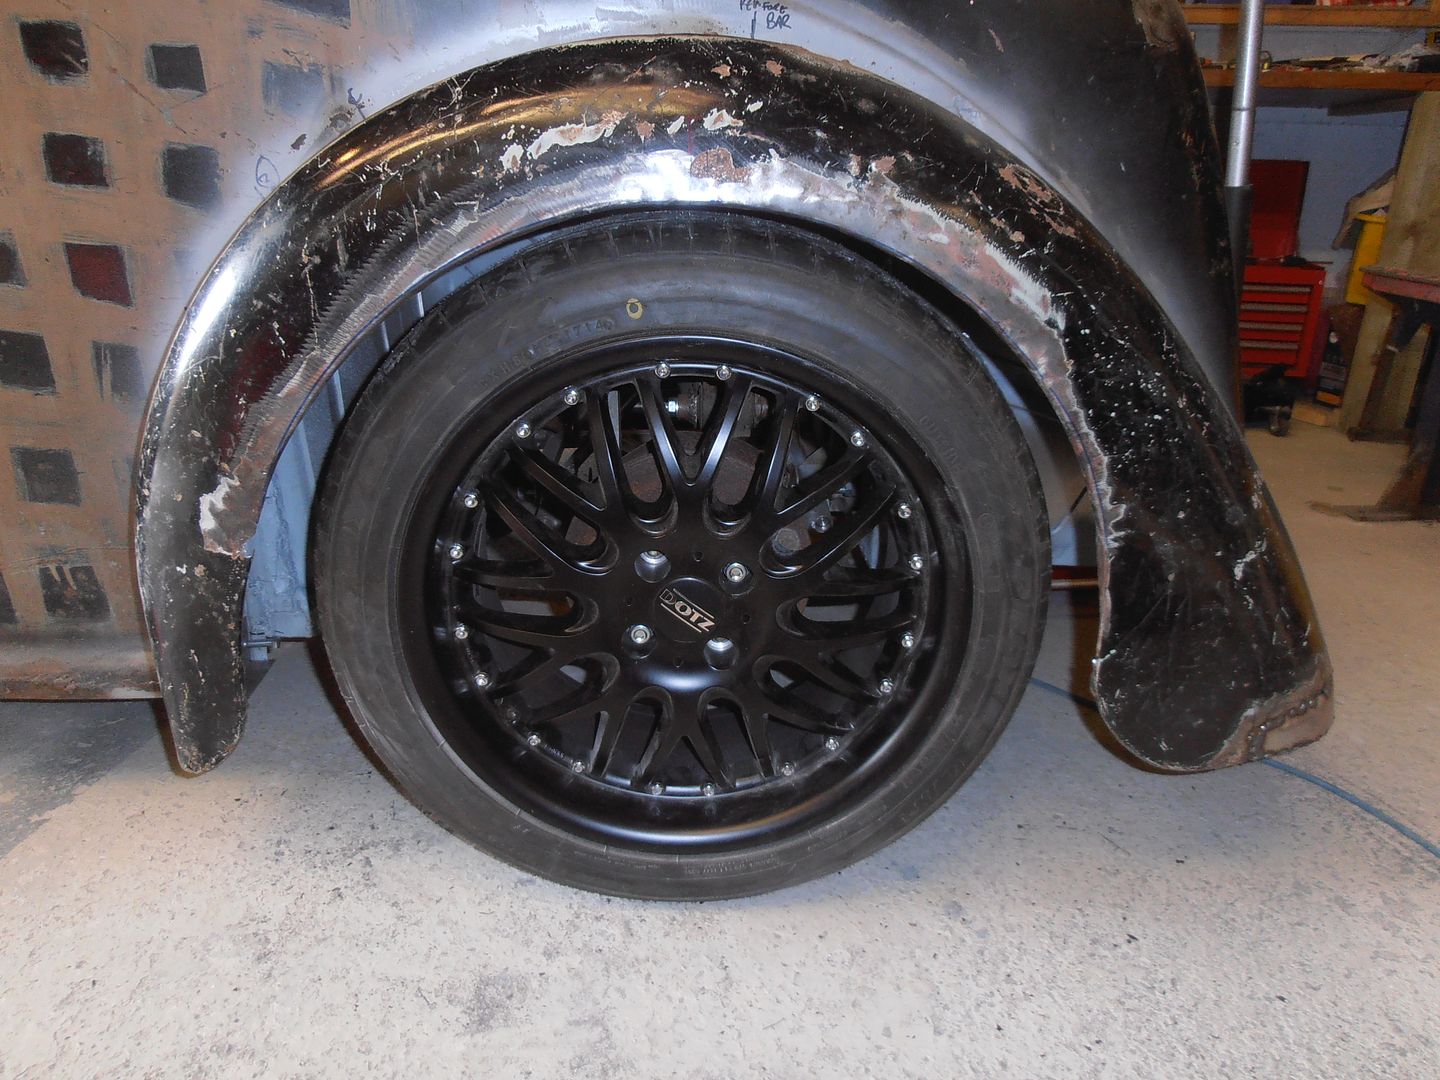 There's some work needed to sort the lower part of the radii to get it looking better. But before I do that I want to make an easy setup for setting the tracking etc. Turned up an insert 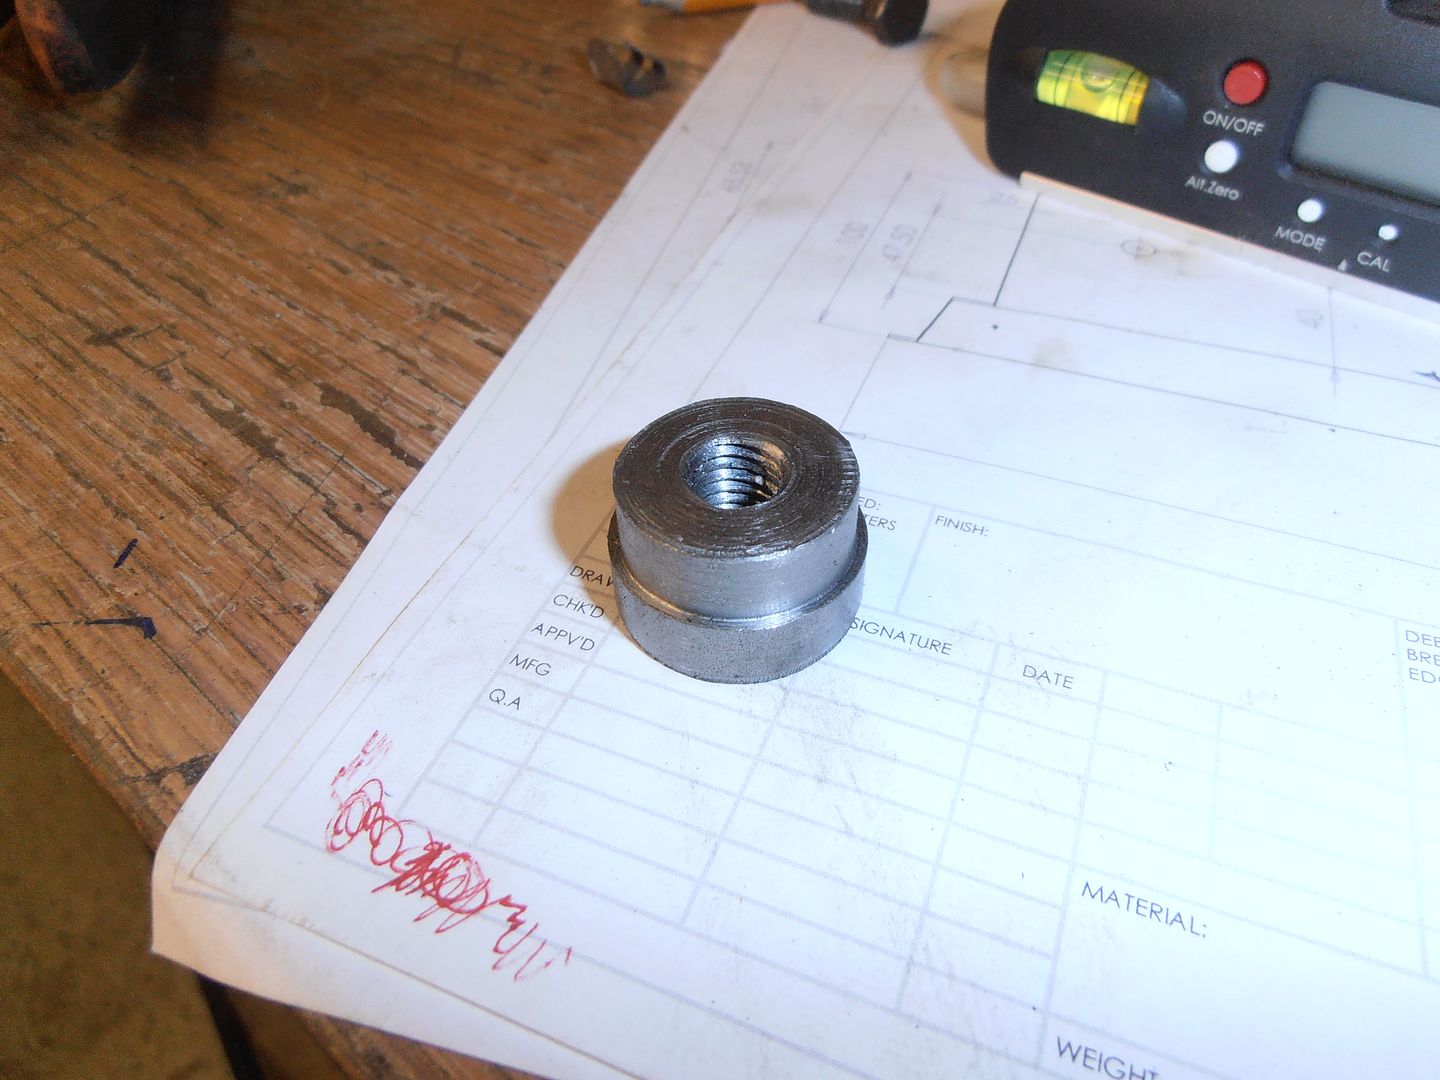 to go in here on the rear 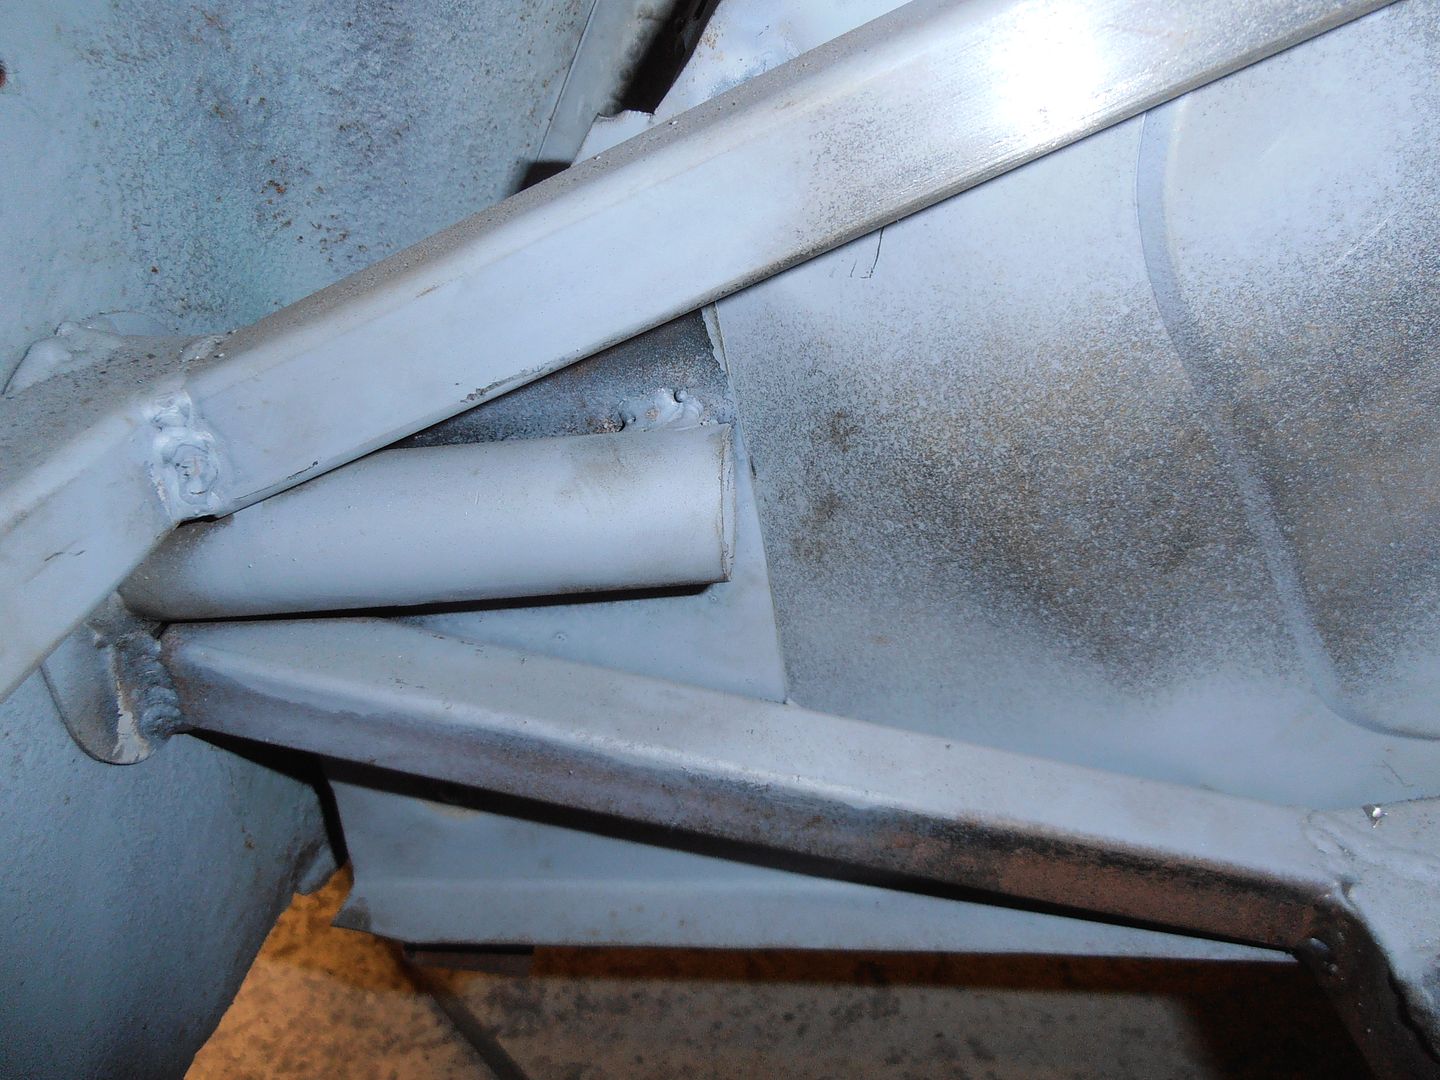 roughly pushed in 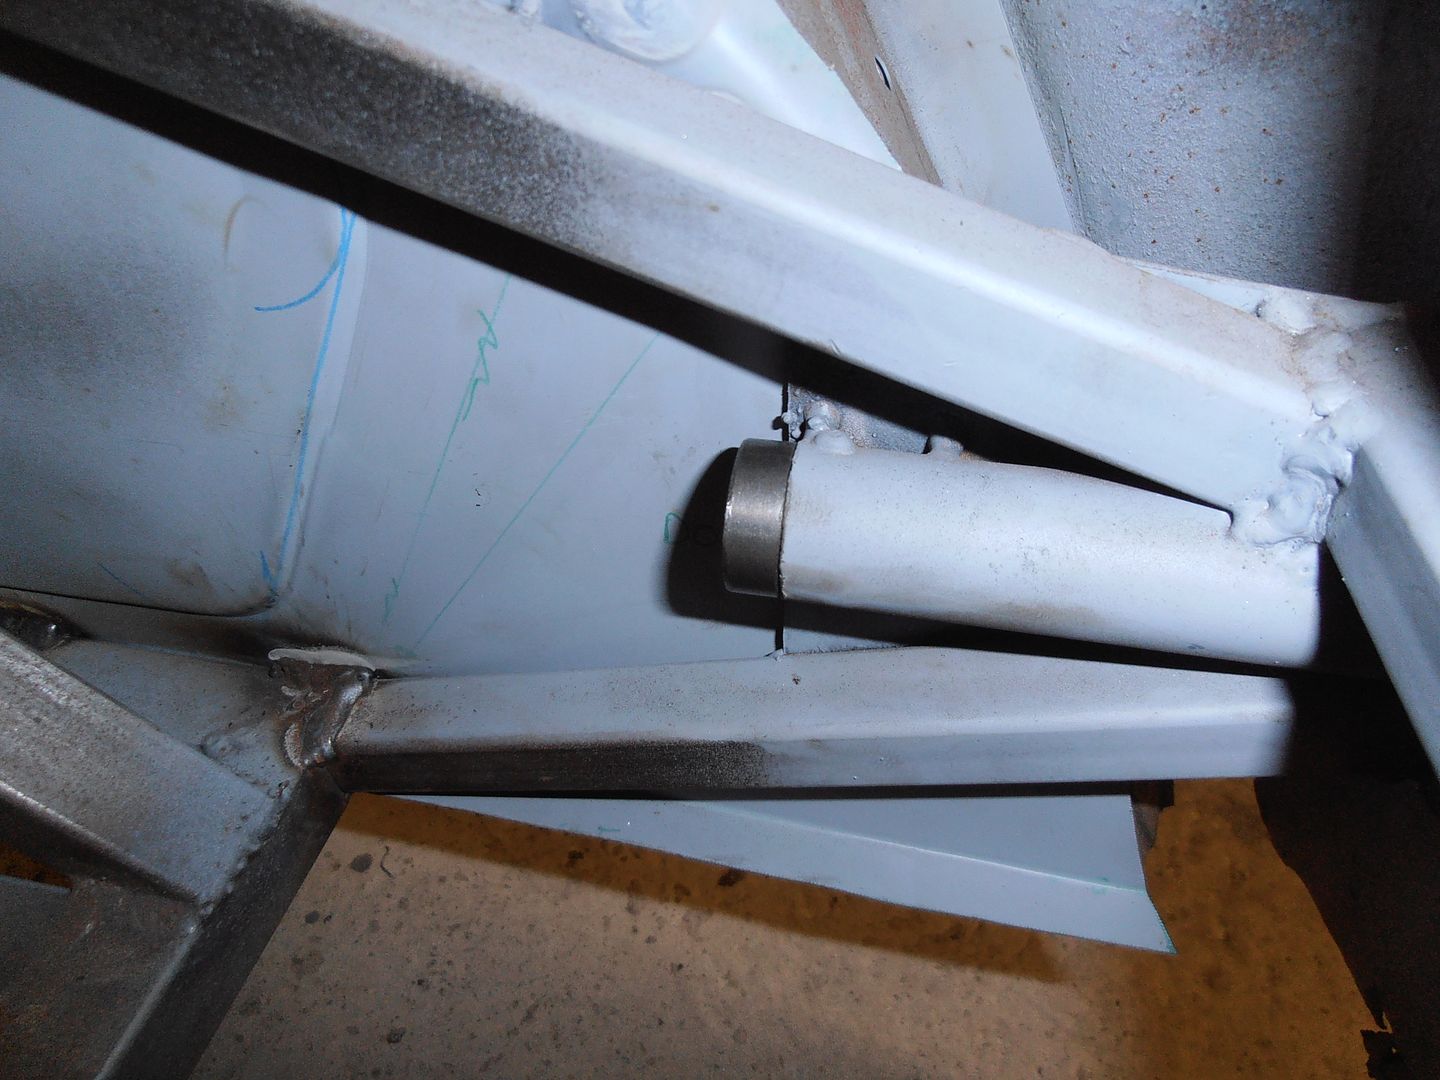 I want to ensure its all set concentric to the tube, so made a setting bung 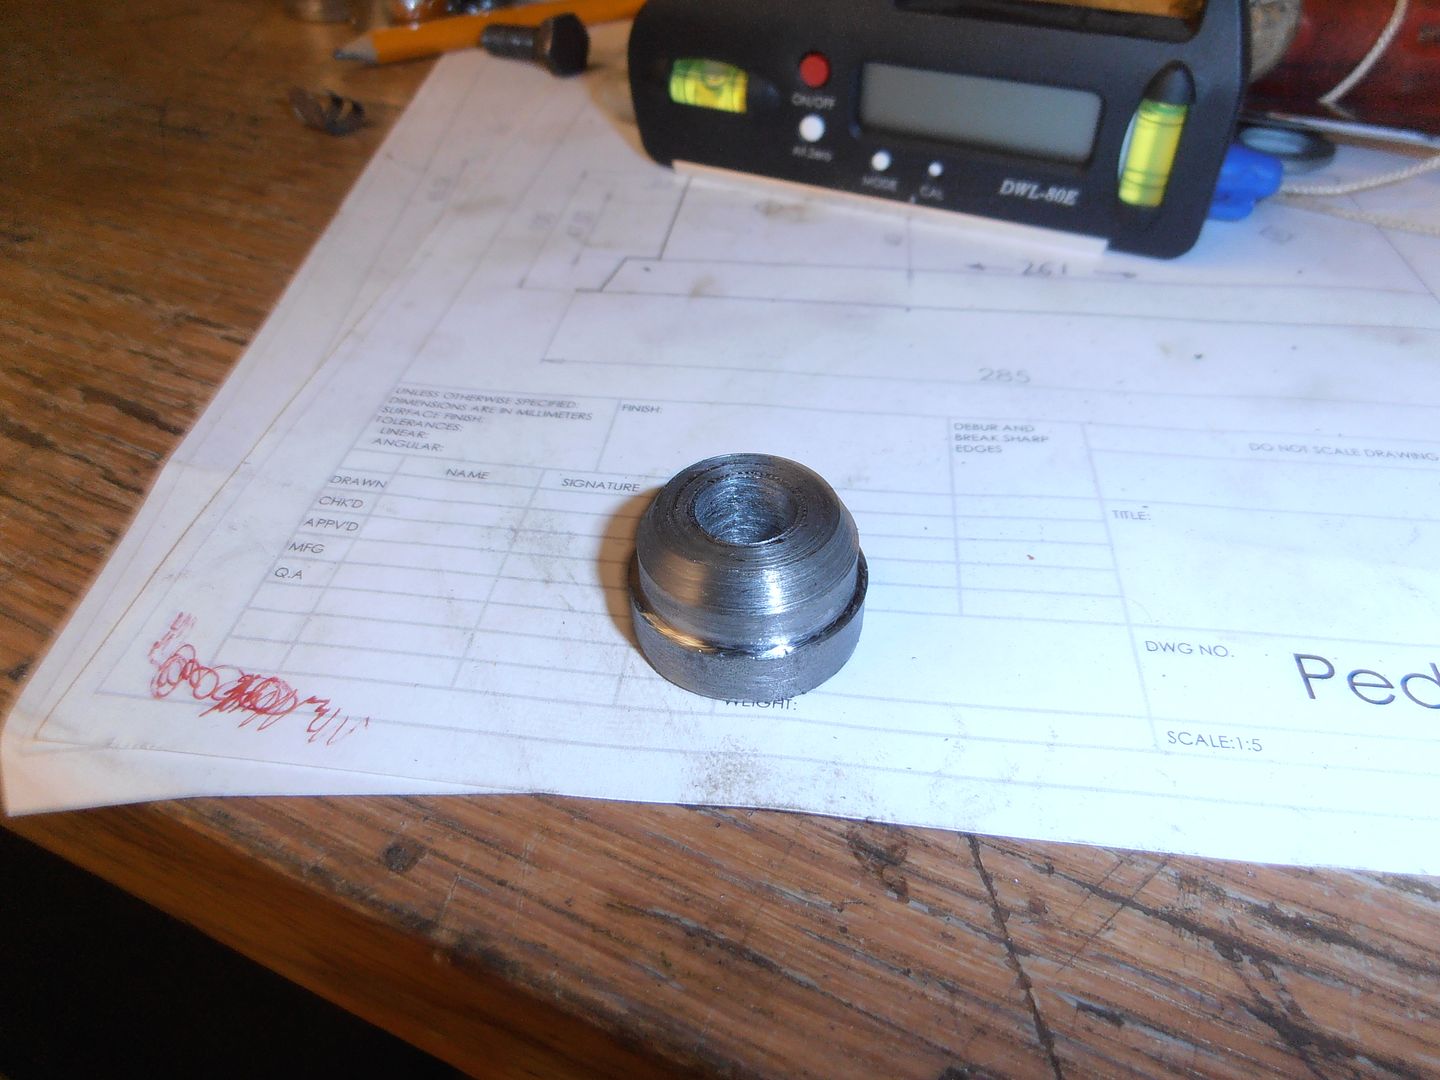 which goes in like this to set it all square. 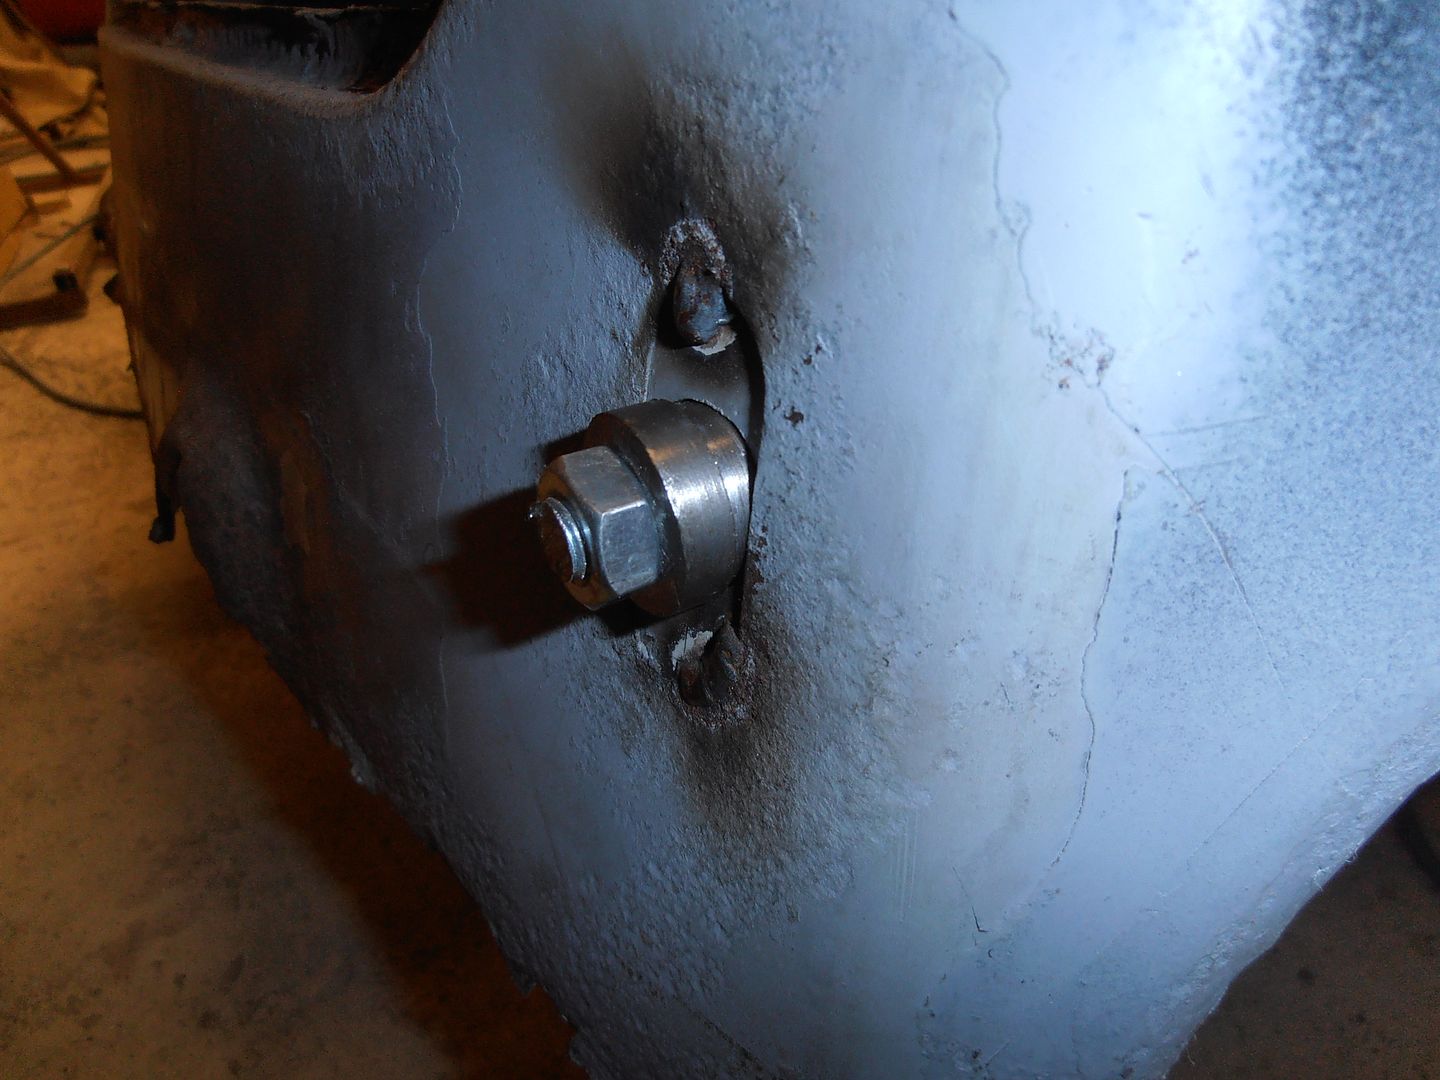 I ran out of time to weld it. Then was away DH mountain biking today. Hopefully get some time on it next Saturday, but i'm racing Sunday. |
| |
|
|
jonomisfit
Club Retro Rides Member
Posts: 1,787
Club RR Member Number: 49
|
|
Apr 16, 2016 18:10:22 GMT
|
Very minor progress today. I was busy with other things and my dads come down for the weekend. trial fit master cylinder 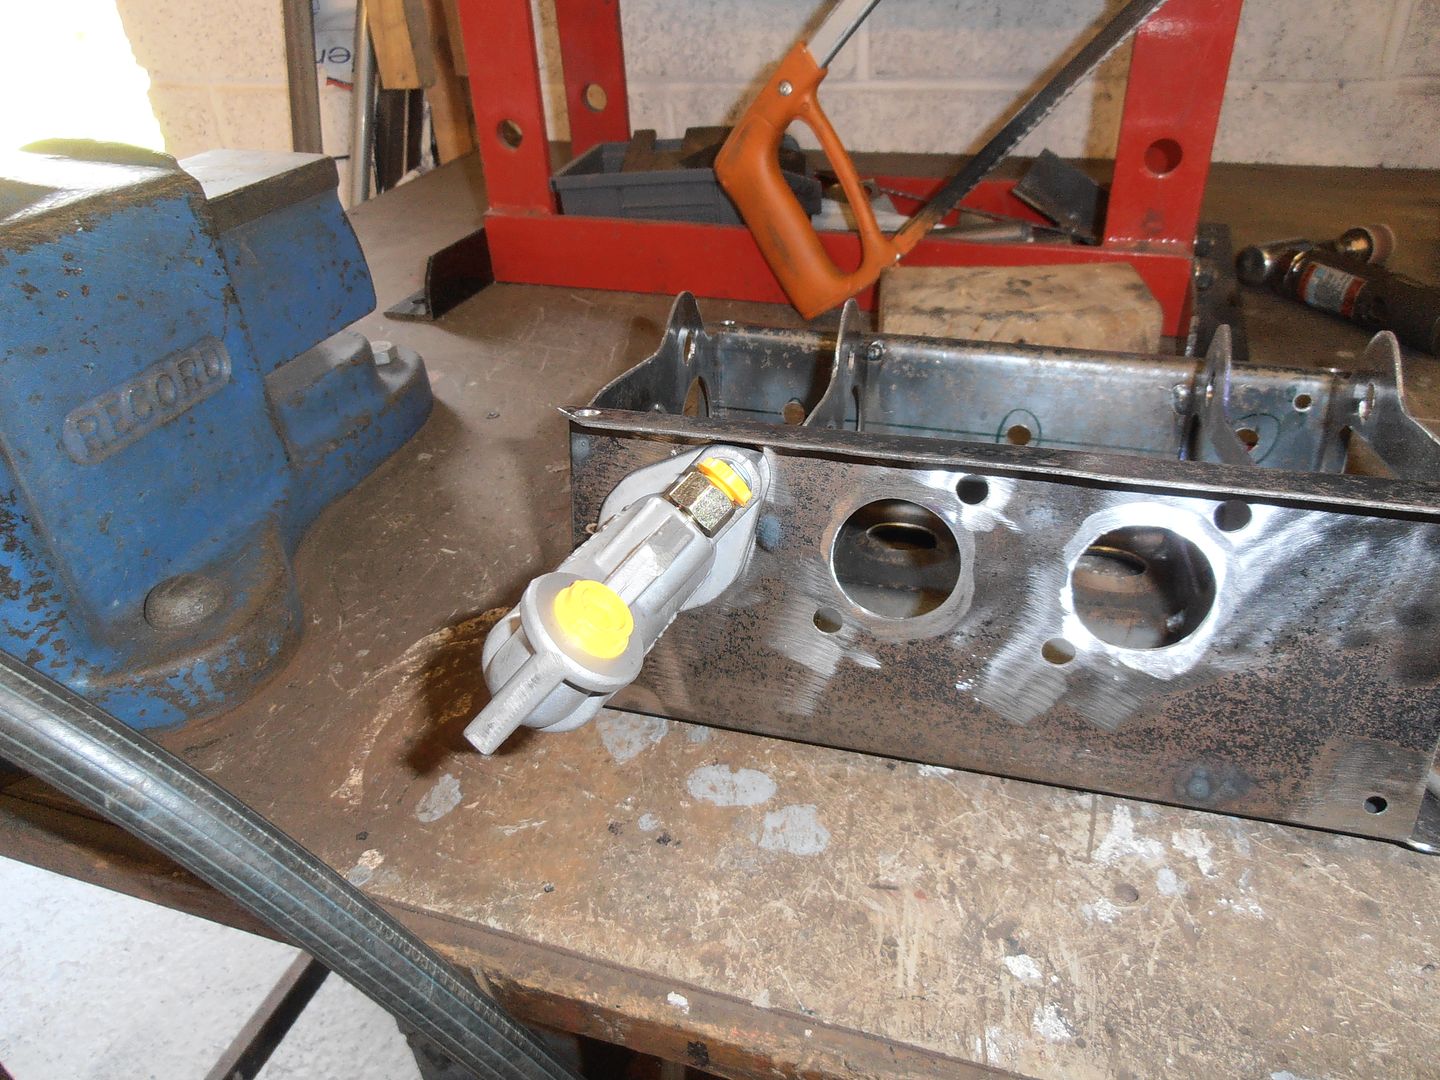 the main holes were a bit tight, so i needed to give them a light tickle with the die grinder to open out a fraction. all lines up now though 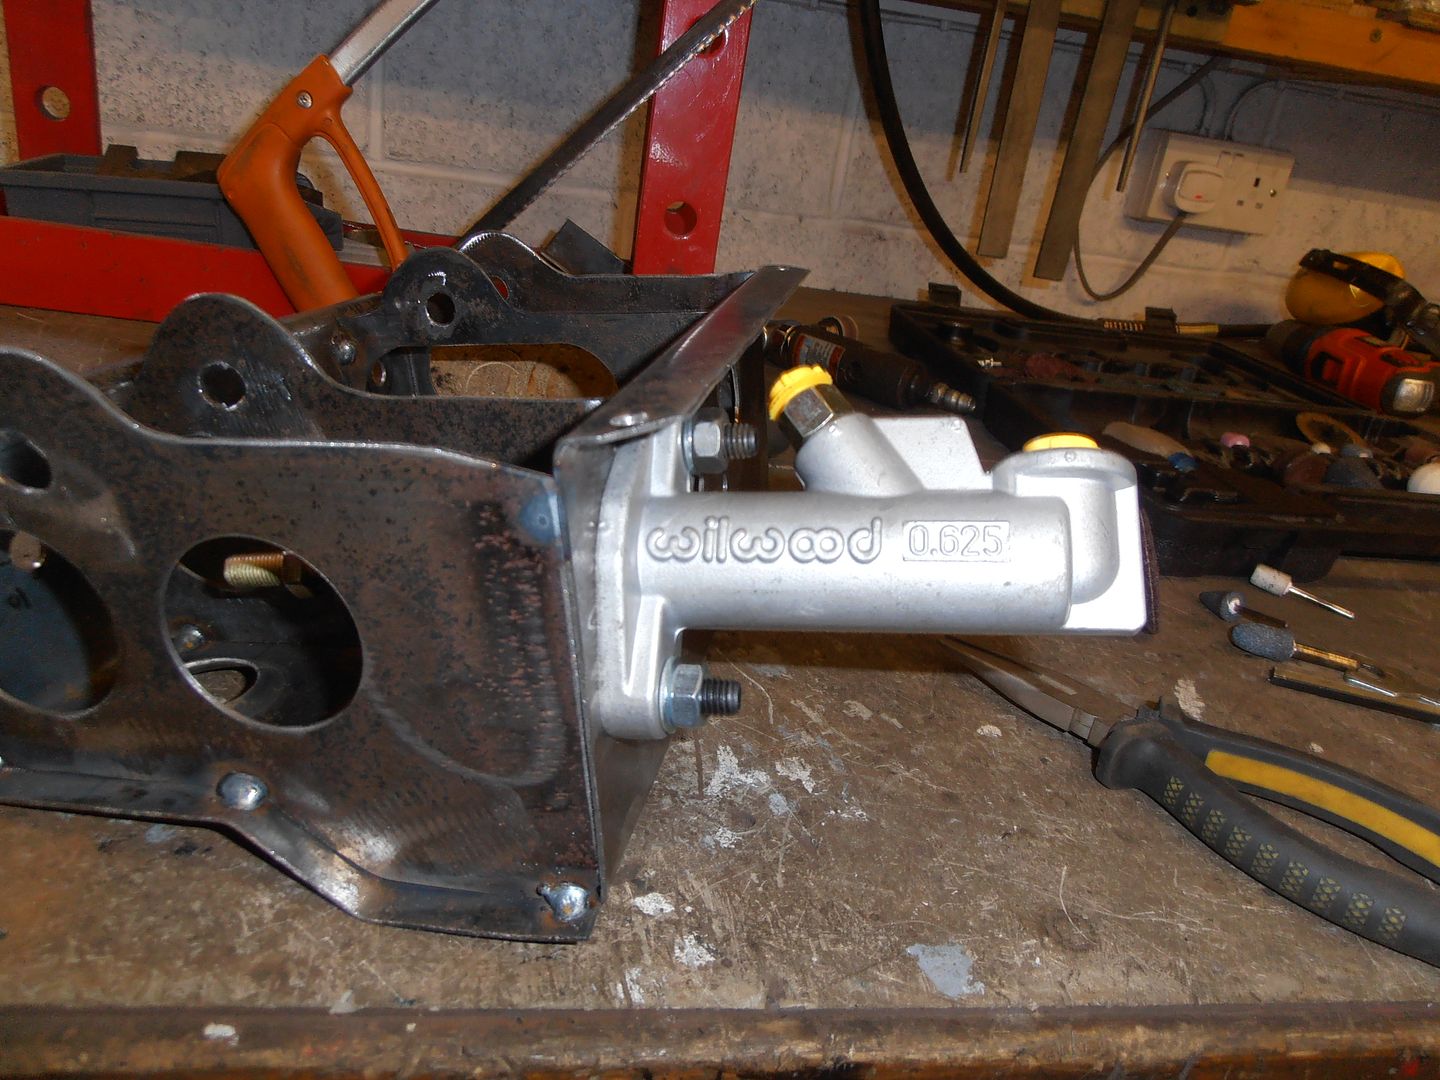 Then back onto the tracking setup tooling bungs tacked in 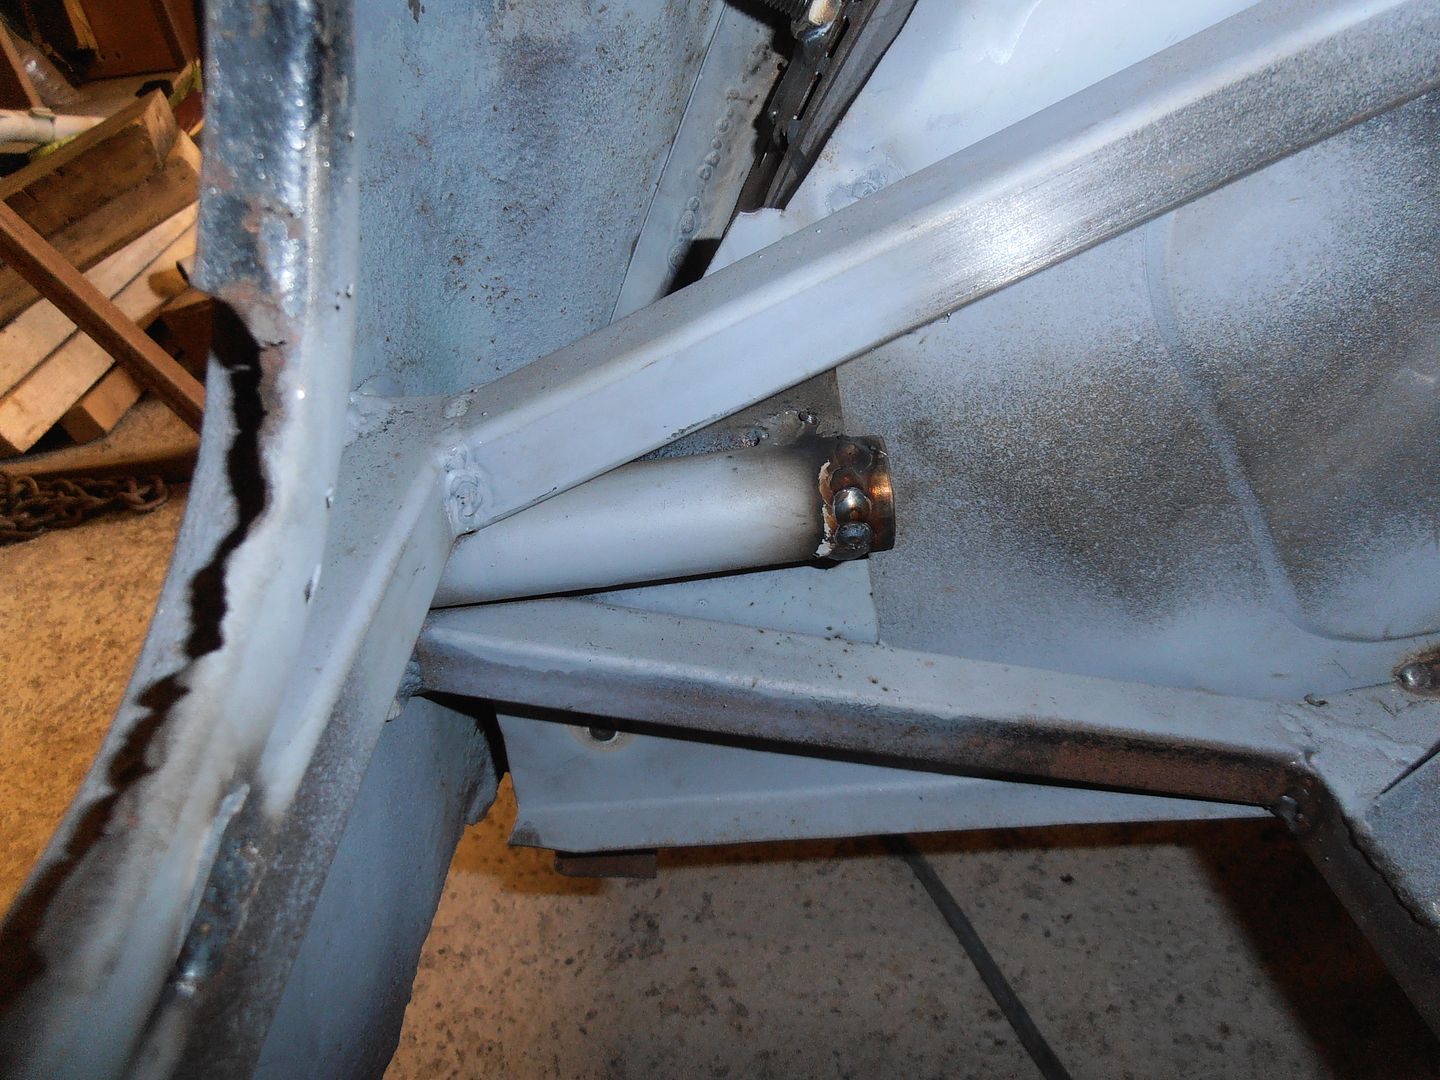 then turned up these pieces 22mm OD 19mm ID spacers, and cut to length and polished 19mm tubes 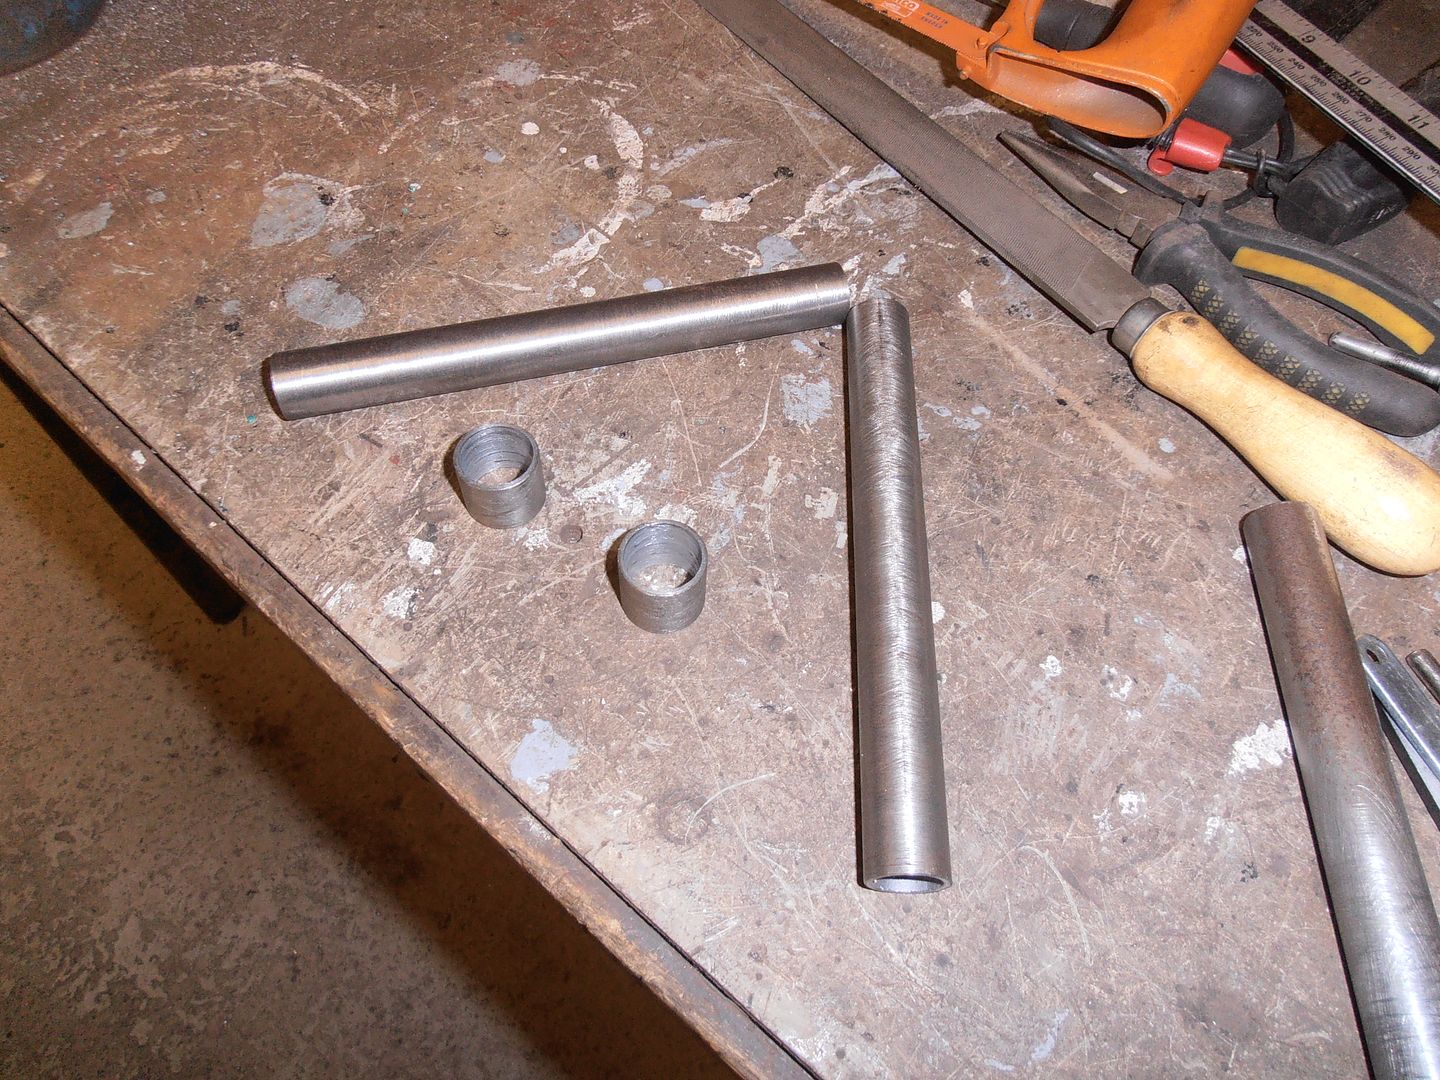 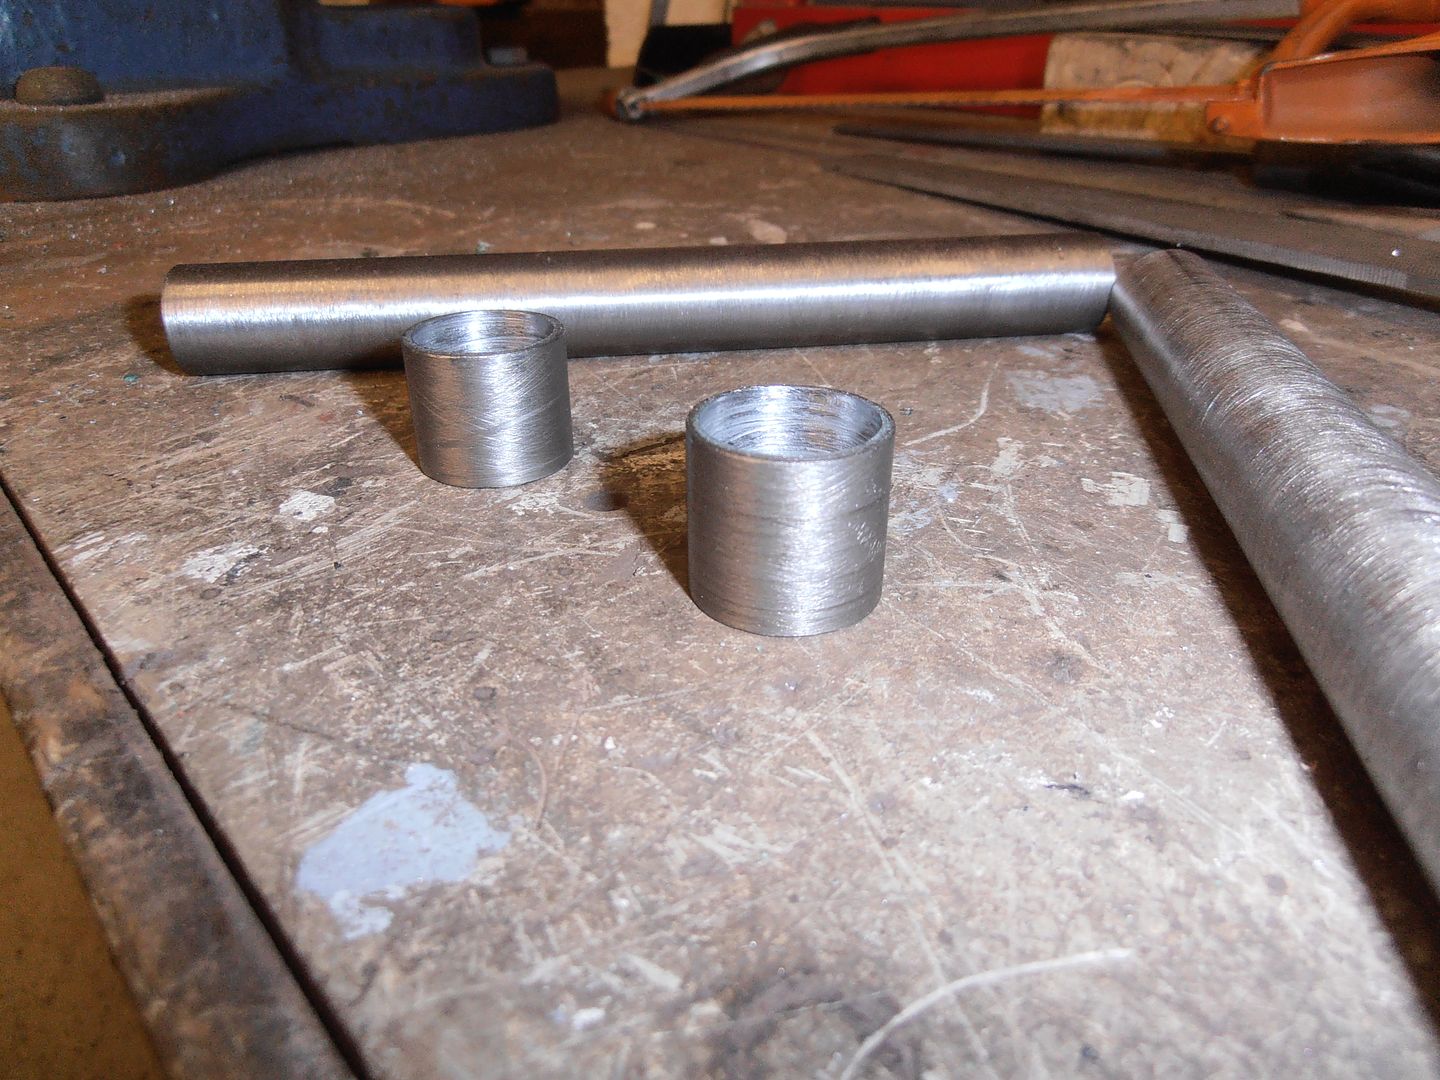 which go on like this 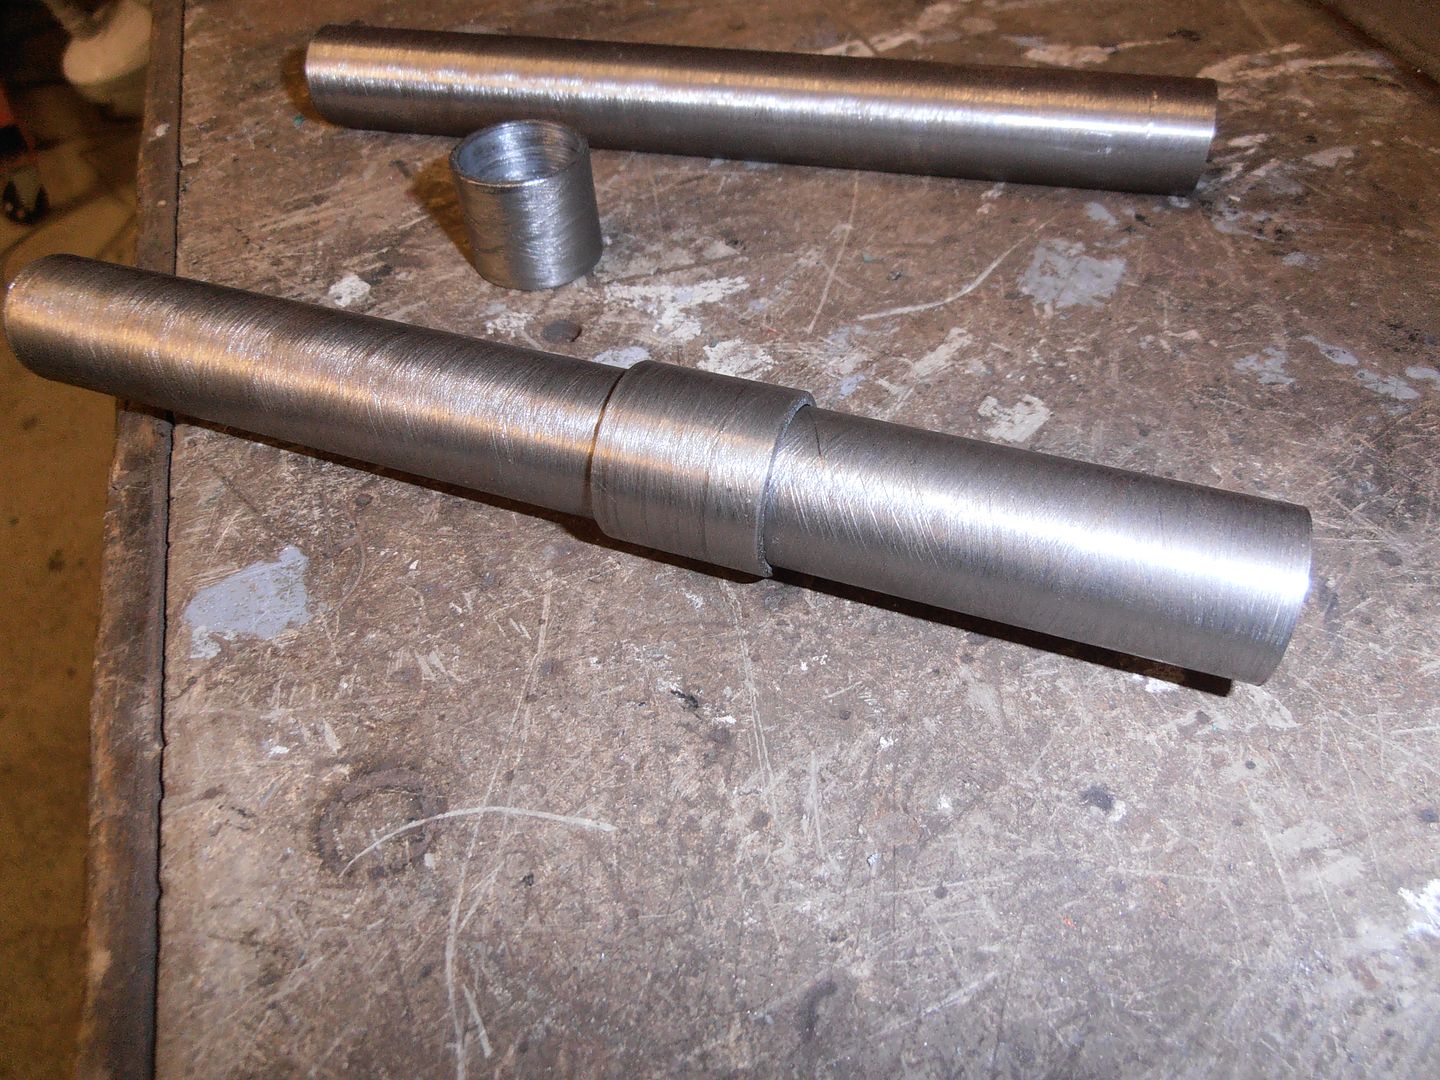 tacked on and inserted in the holes 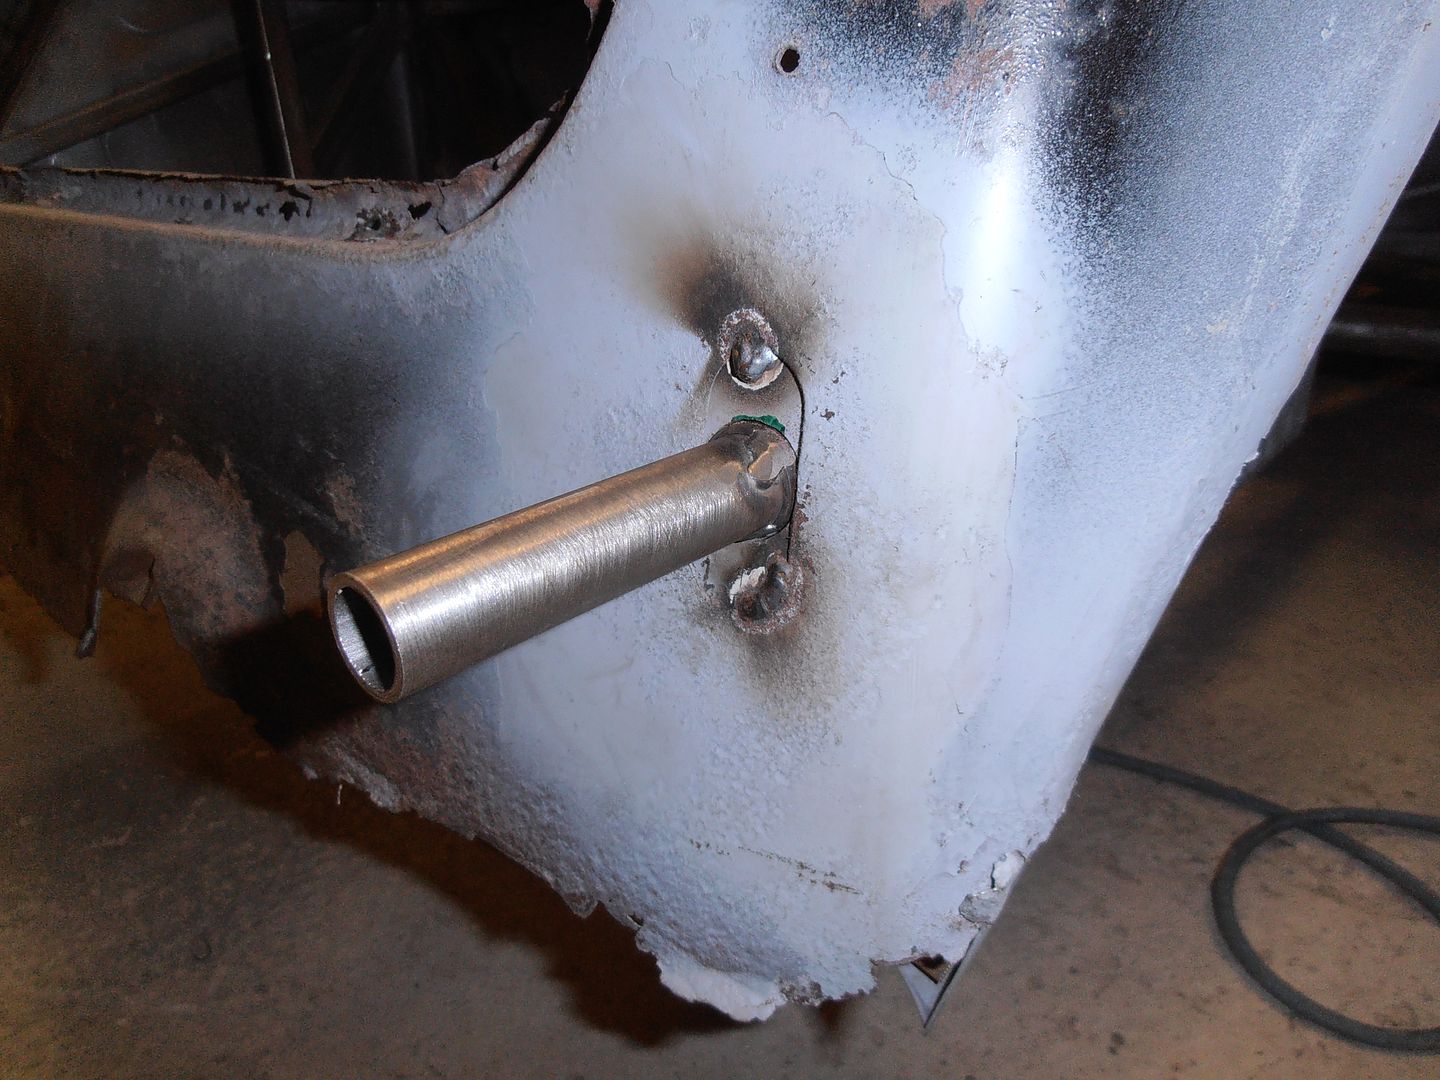 piece of box section put in place to work out how long it needs to be 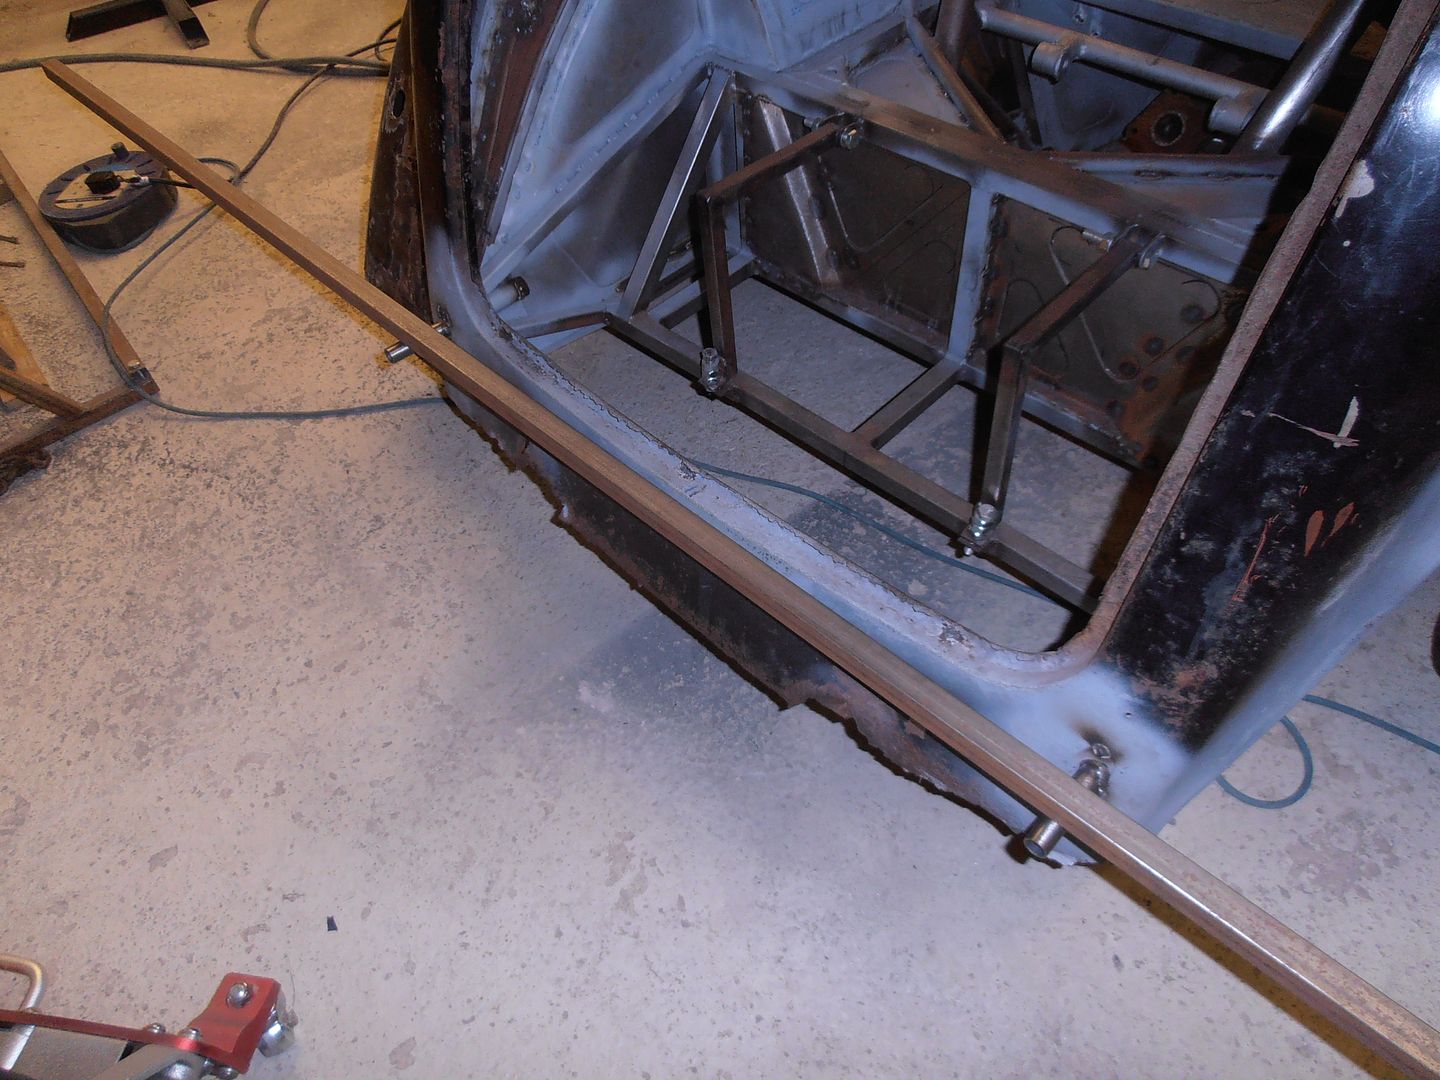 then drilled some correct diameter holes and push the bar on 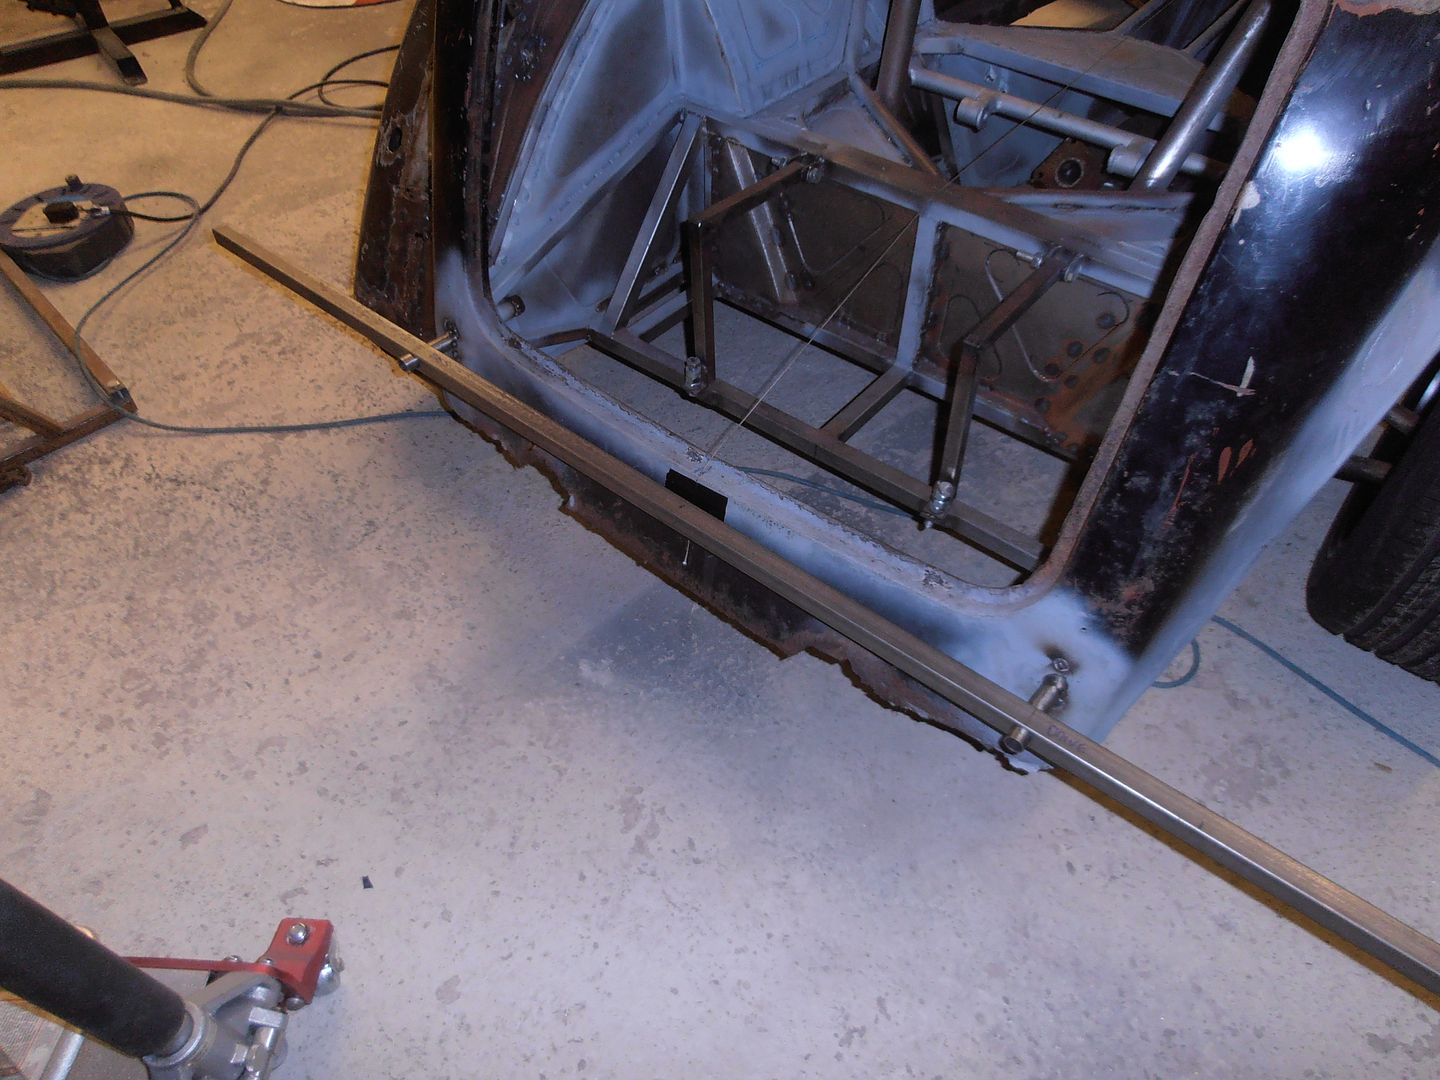 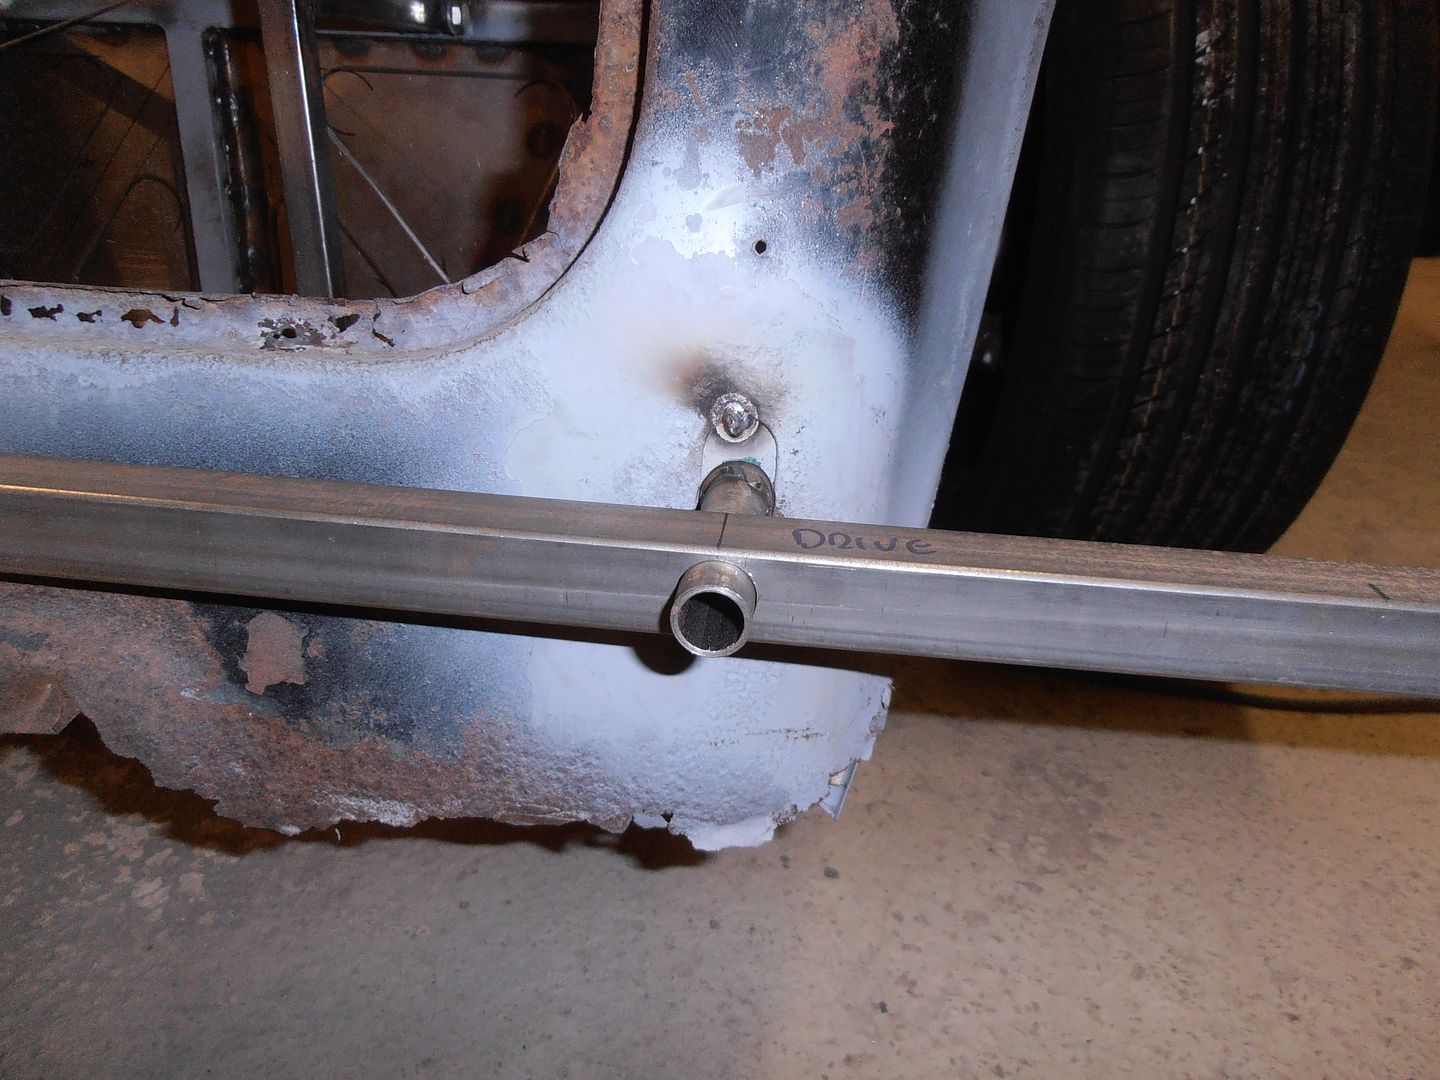  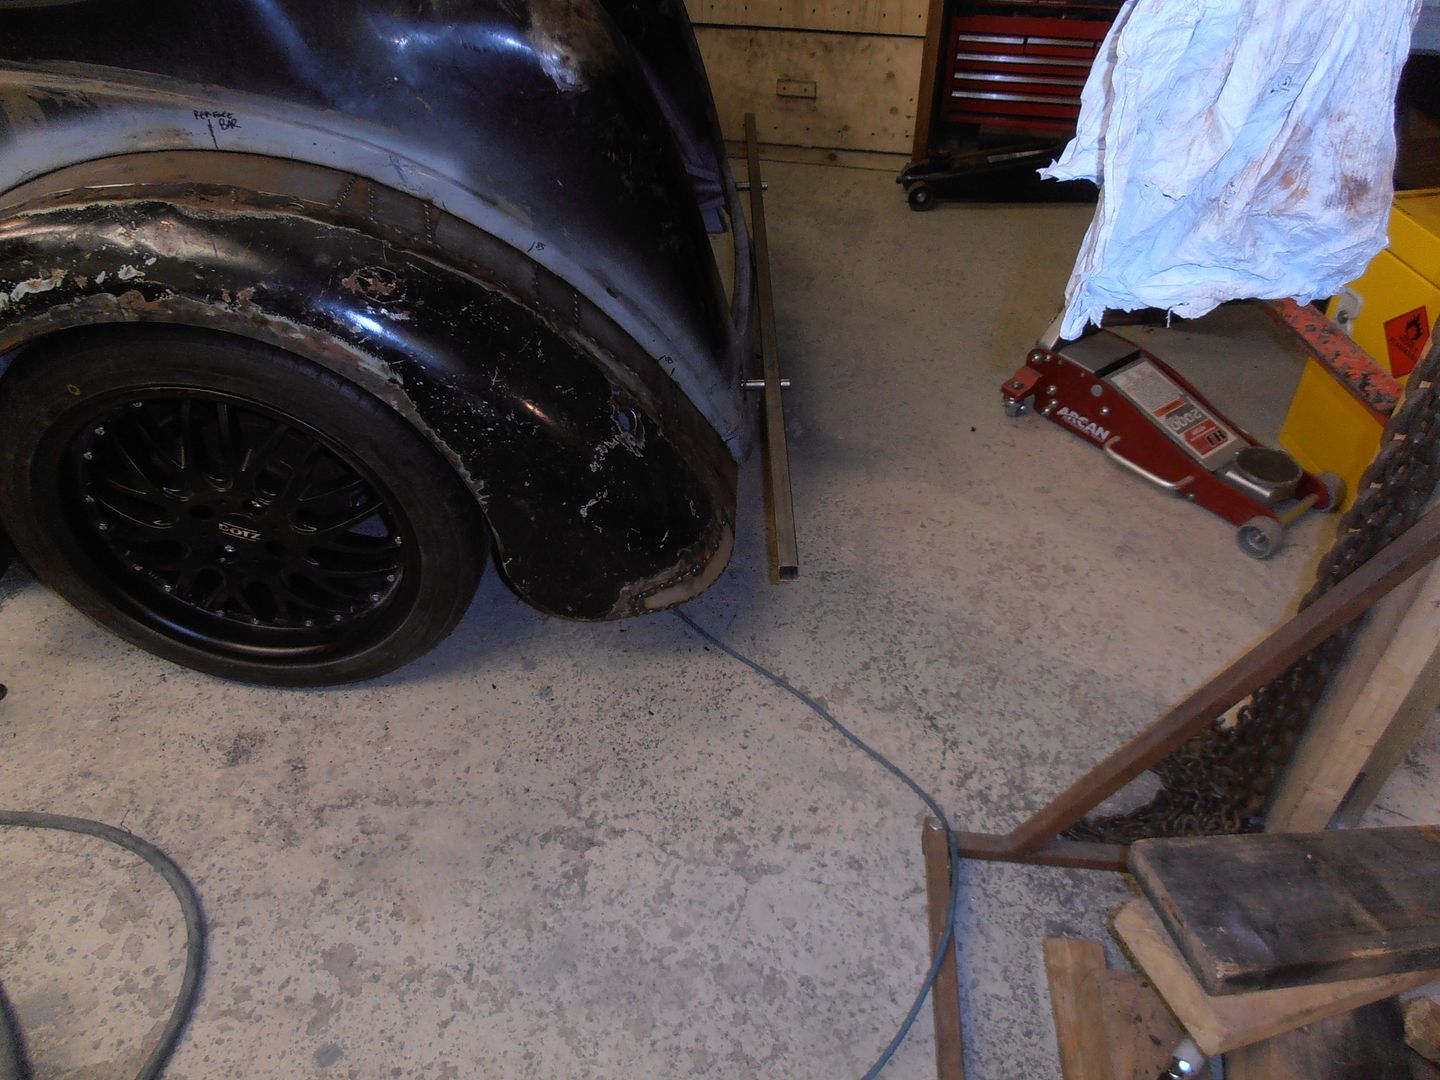 The bar looks short in this picture, but sticks out past the arch by about 150mm. just need to tack together, then make a couple of accurately placed up stands that fishing wire can be wrapped round..... and then make the front version. Race tomorrow, so no more work on the car this weekend. |
| |
Last Edit: Apr 16, 2016 18:12:05 GMT by jonomisfit
|
|
jonomisfit
Club Retro Rides Member
Posts: 1,787
Club RR Member Number: 49
|
|
Apr 17, 2016 19:40:16 GMT
|
My mtb race did not go well. I smashed the mech hanger and rear mech on the second practice stage. I had a spare mech but no spare hanger so did even get to start the race in the end! I was back home for 12:30, so consoled my pi$$ed off mood by doing a small amount on the morris Finished off the rear bar by adding locating washers (can really see them) and tacking on carefully located upstands to loop a string round. 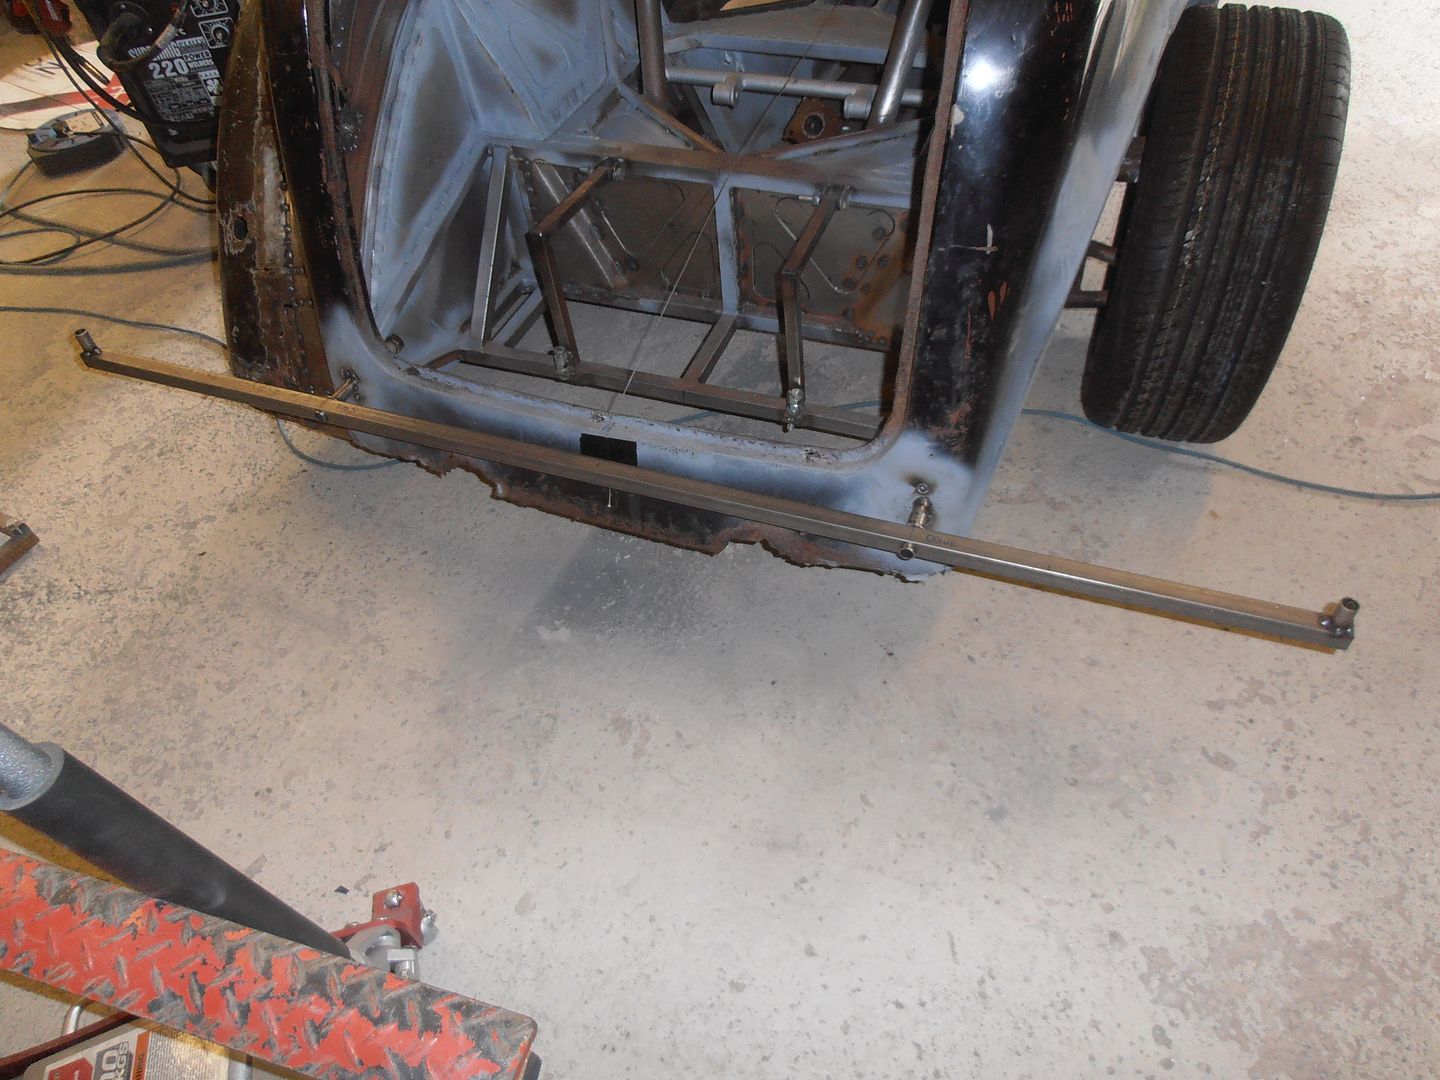 Started on the front which took ages to work out how to mount it so It doesnt interfere with the wings etc in the future 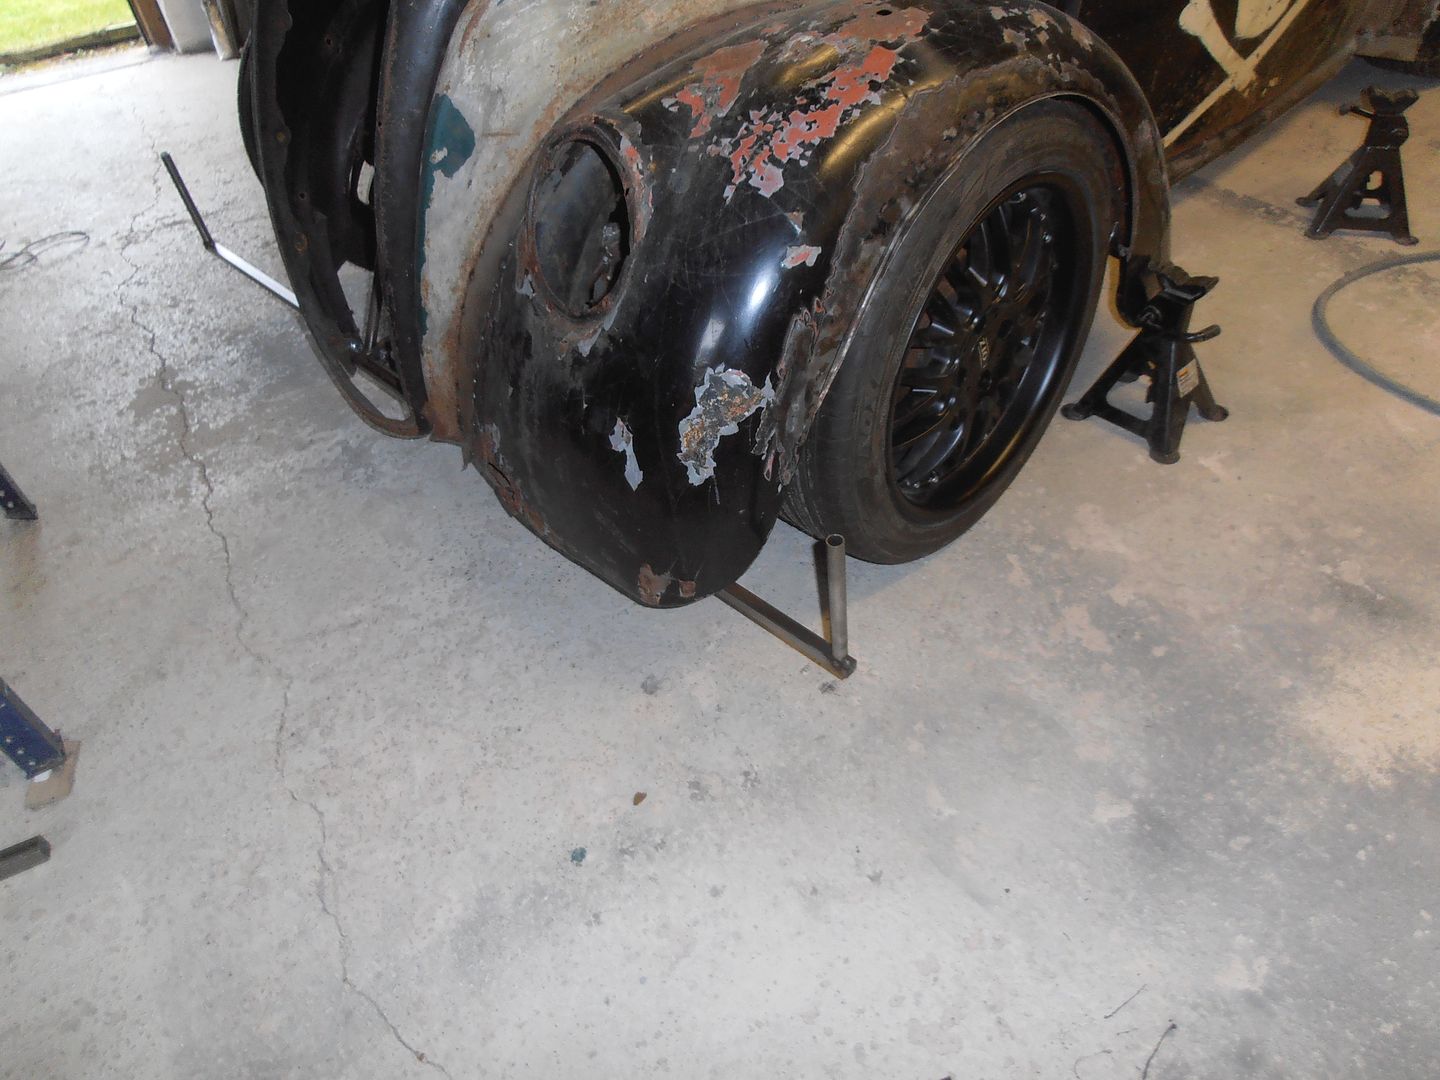 its bolted into the front "crash" structure / radiator support then extends across below floor level. 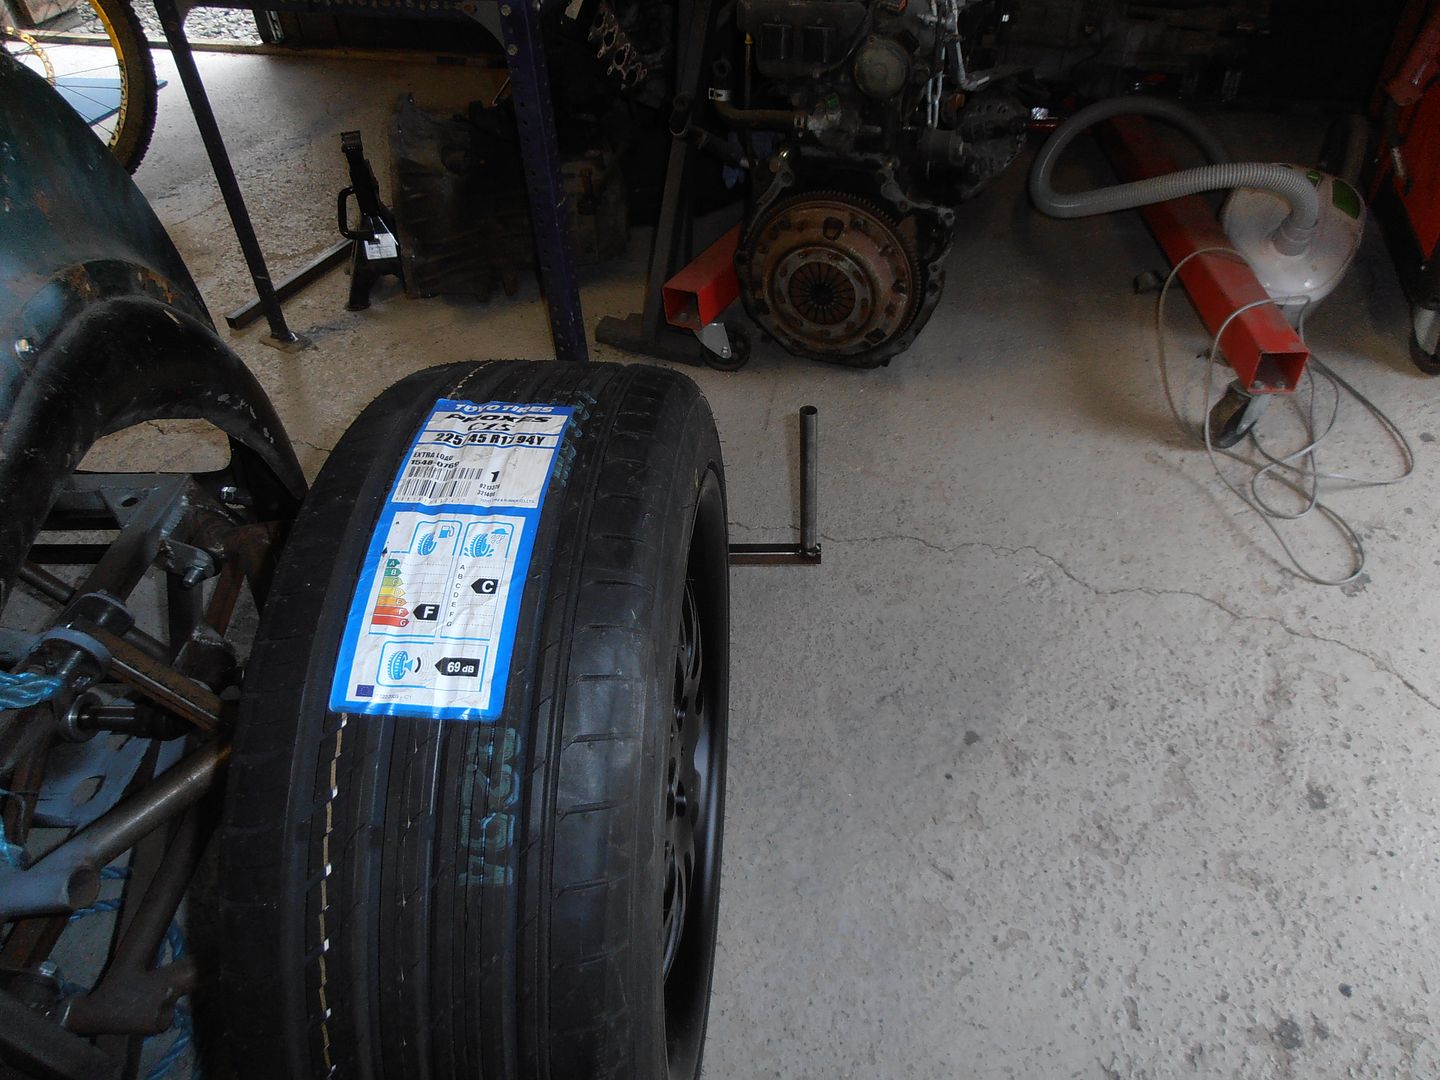 The upstands are much longer are the same height to the top as those on the rear. string guage sits level across the centre of the wheels. 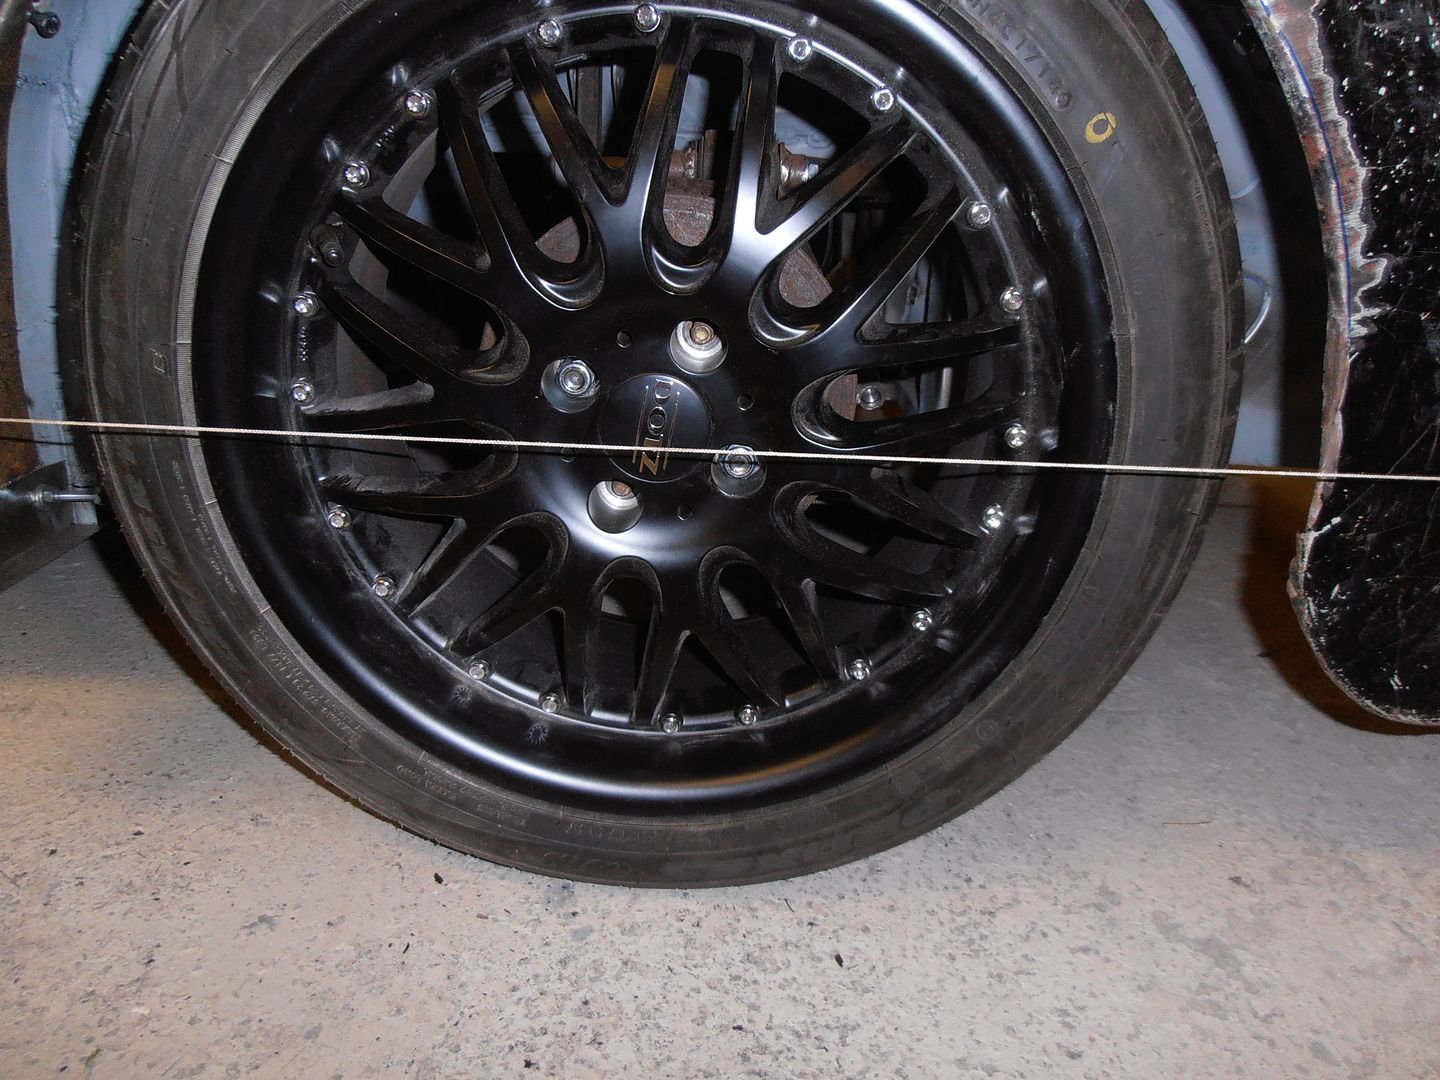 I measured everything and the rear arch is within 2mm front and rear to the string line which isnt too bad for the independent bar I was using before. The center-lines of both rear wheels are the same distance back from the setting bar. The only thing I need to adjust is the toe angle of the rear wheel. Its about 10 degrees toe in at the present. There's adjustment on the wishbones stand but this will move the centre line back relative to the arch centreline as well. I may well make up some adaptors and weld in a rod end adjuster. |
| |
|
|
|
|
|
Apr 17, 2016 20:11:39 GMT
|
You are the only other person I have seen on the 'tinternet that does string box tracking! I swear it is more accurate than the laser rigs that garages use  |
| |
|
|
jonomisfit
Club Retro Rides Member
Posts: 1,787
Club RR Member Number: 49
|
|
Apr 17, 2016 20:35:55 GMT
|
|
Its more driven by necessity rather than not wanting to use lasers (i don't have any so cant :-) )
We used a similar setup on the hillclimb and race cars, and as long as you took your time they worked fine.
I'll be getting some fine fishing line when I want to set them properly.
Its really only for rough setting at the moment so I can make sure the arches are square to things.
|
| |
|
|
|
|
|
Apr 17, 2016 21:23:39 GMT
|
I agree with blown imp. By far a better method. Ive had cars lasered up and its never right from so alled proffesionals. Had a car done the old school way years ago with string lines at a rally car prep workshop and it drove perfect! Good progress by the way, keep going as its making me feel guilty not Cracking on with mine?  |
| |
|
|
jonomisfit
Club Retro Rides Member
Posts: 1,787
Club RR Member Number: 49
|
|
Apr 23, 2016 18:15:31 GMT
|
Right, back on with lining up the rear suspension. I re-tracked the rear wheel and the centerline moved back less than I was expecting squaring the wheel. I'm still going to make an outboard toe adjust, but its ok for the moment. I checked the rear arch and its pretty nicely square across at the bottom. So onto trying to correct the arch profile. Template 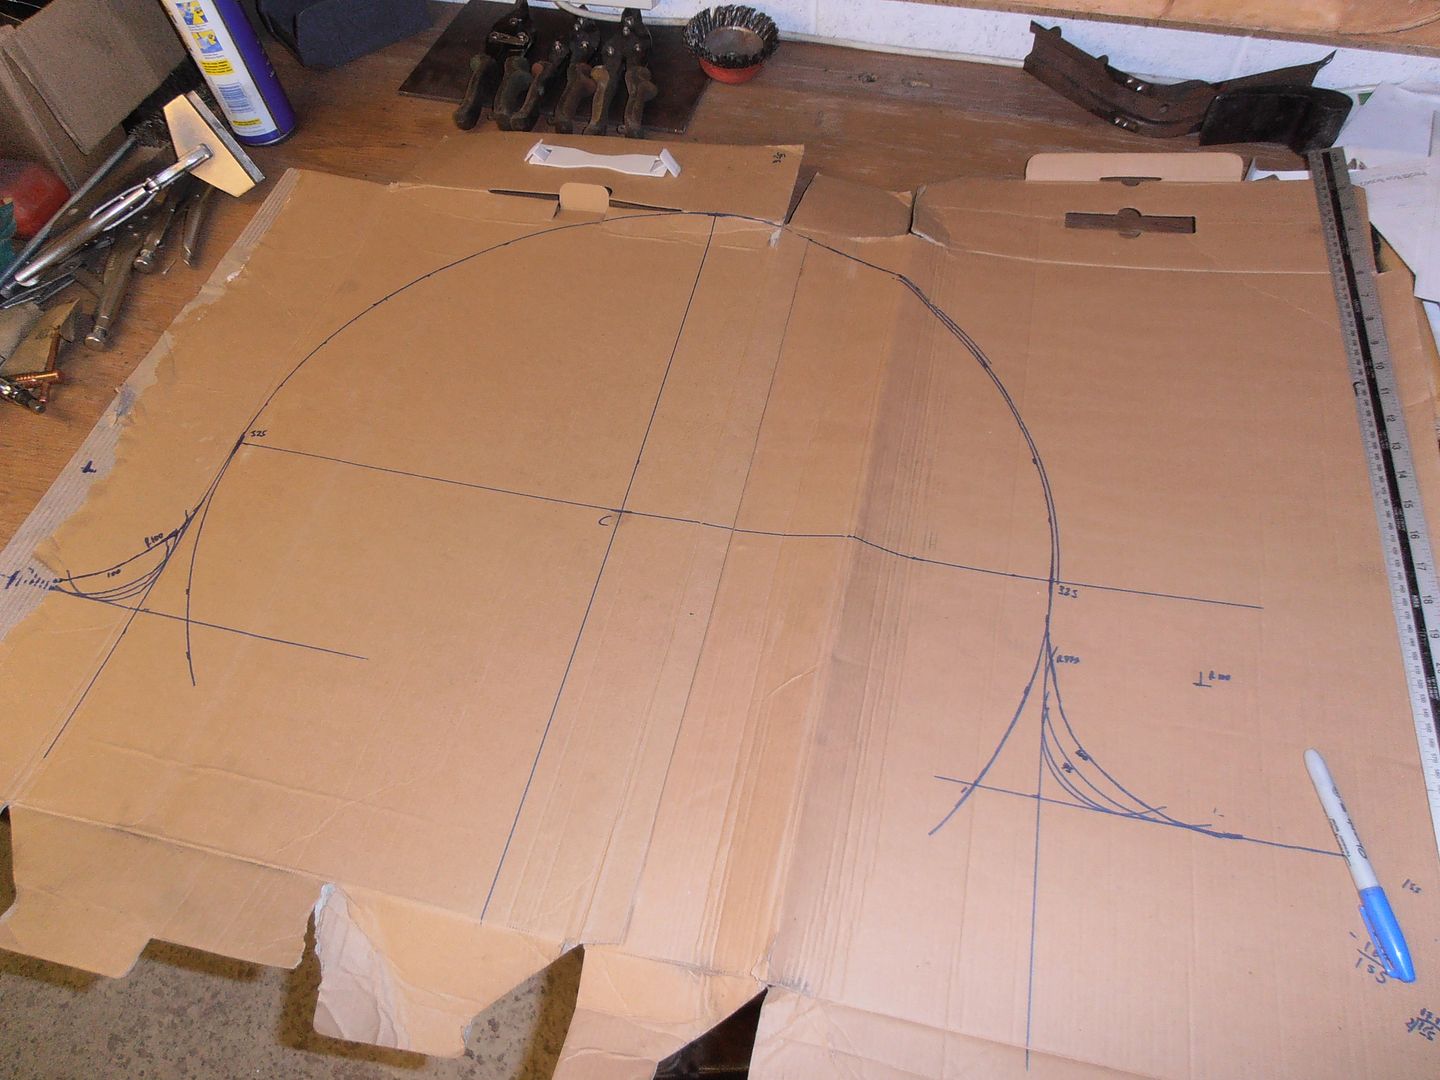 trimmed 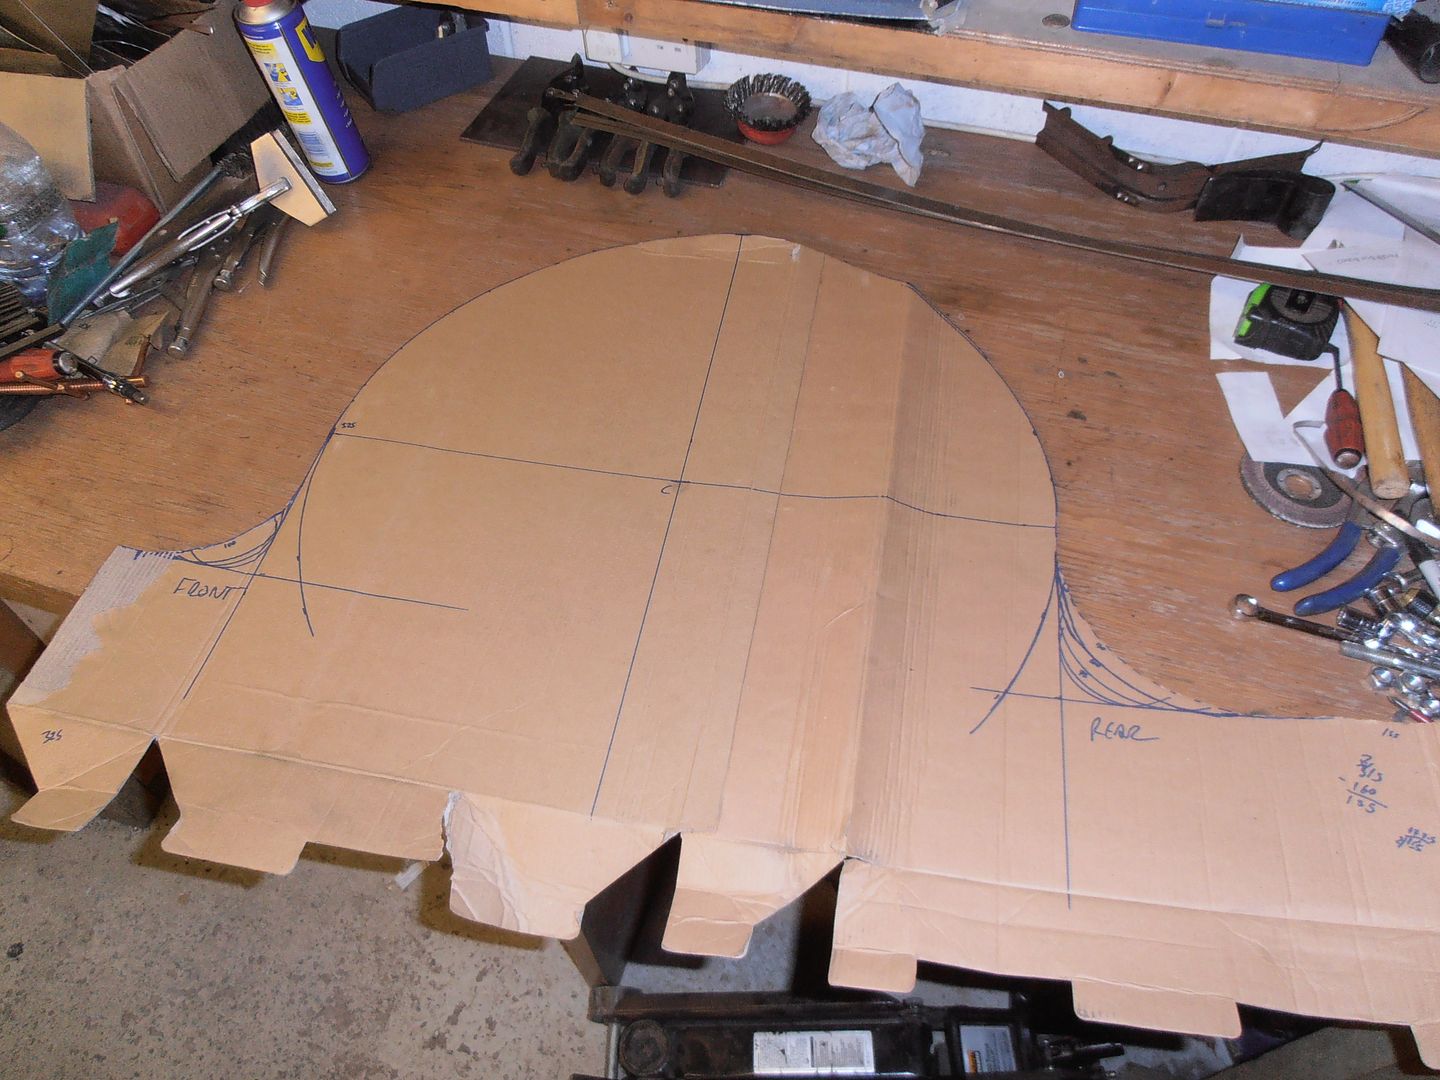 the back end is pretty close, but the front side needs a lot of work 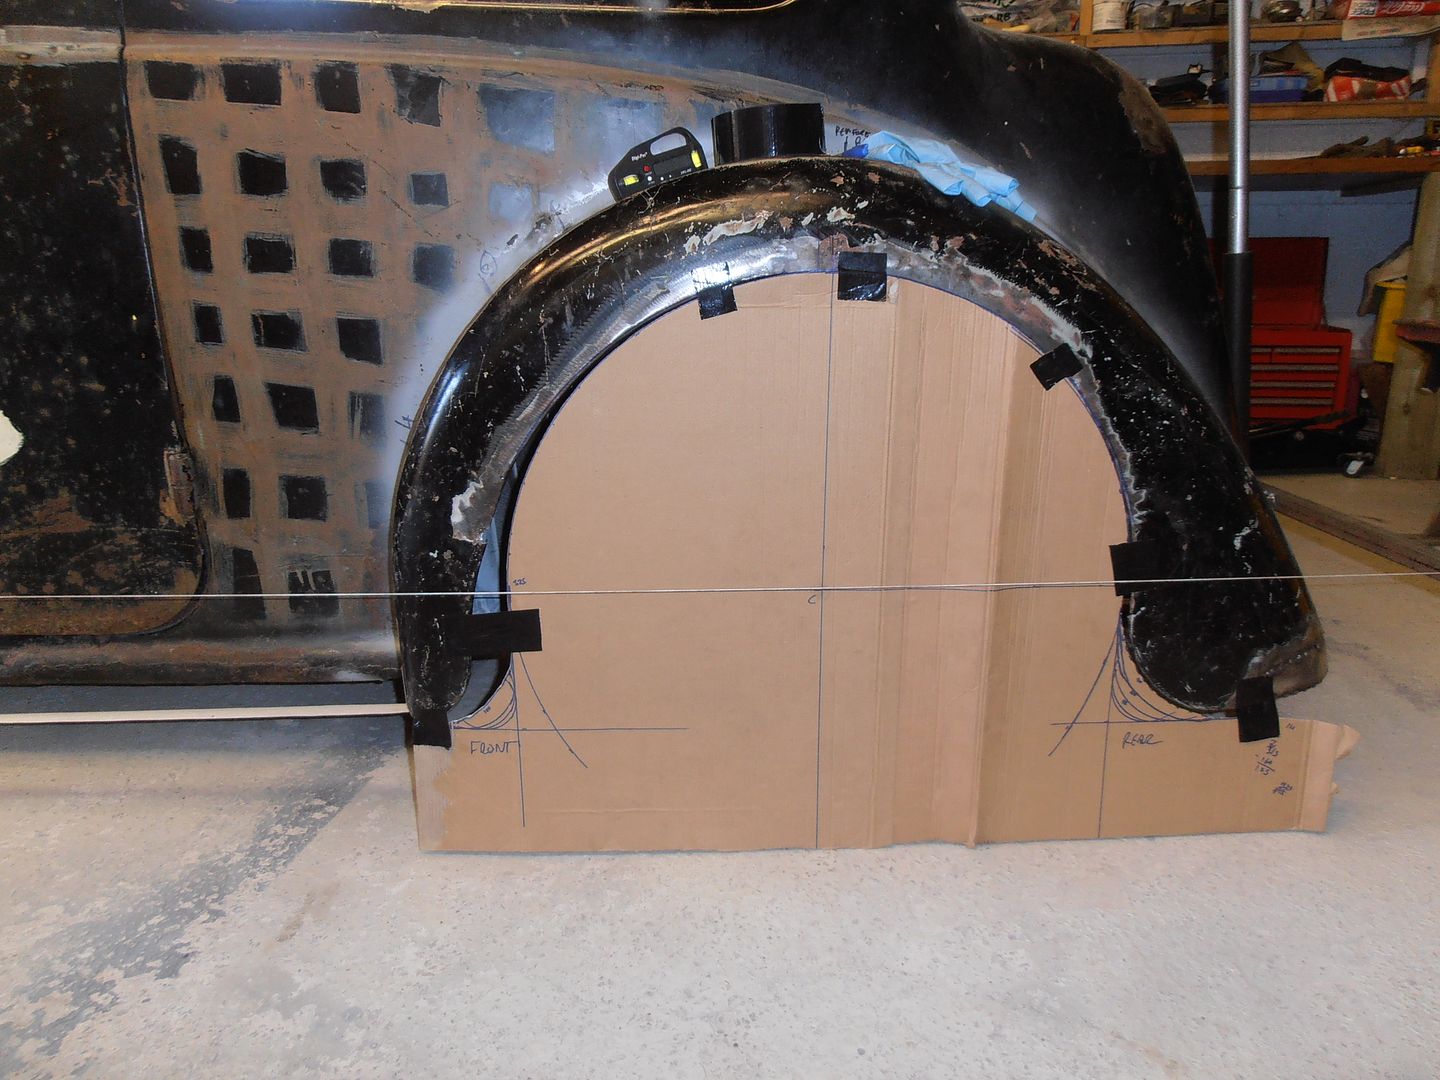 just a slight correction on the rear 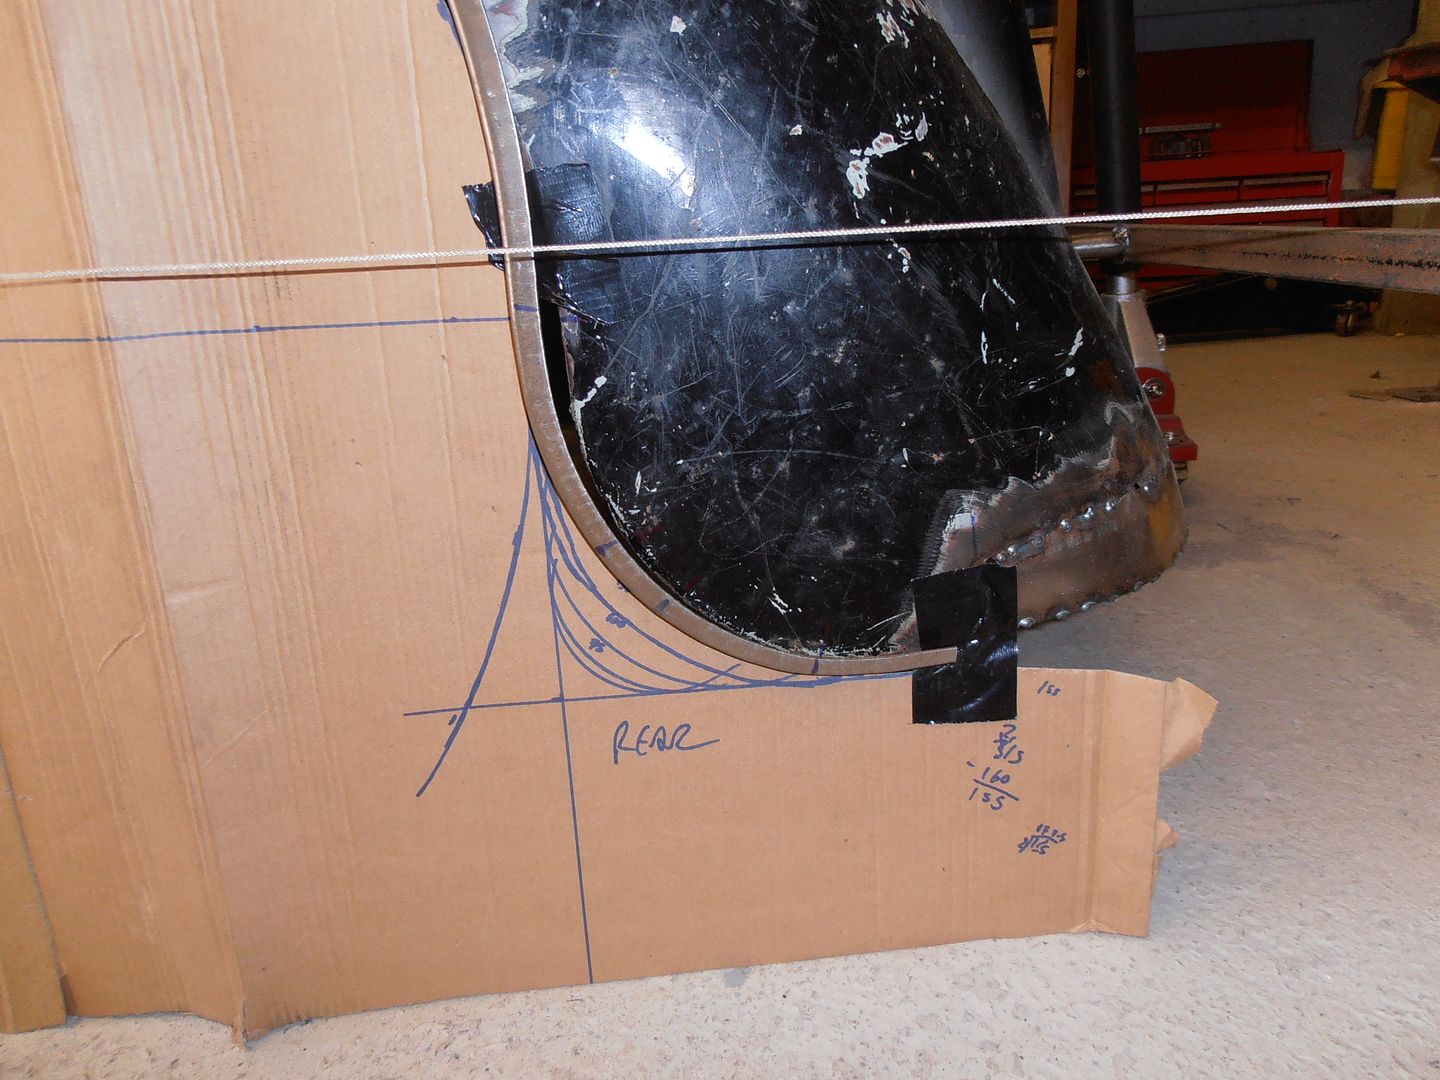 the front needs a lot more 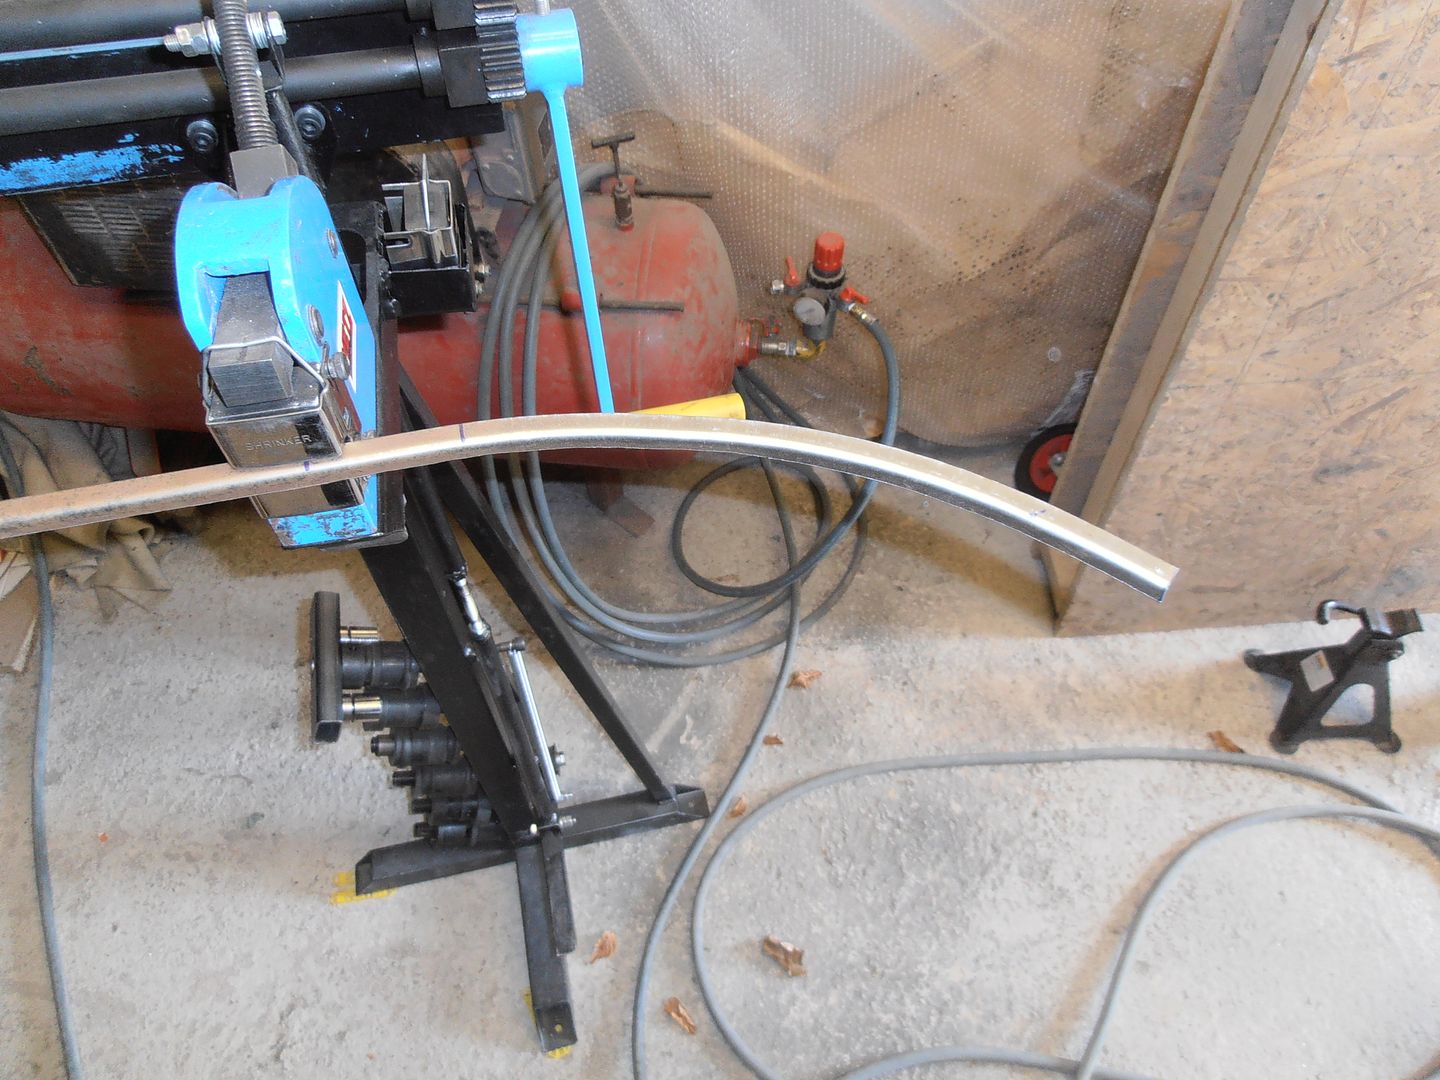 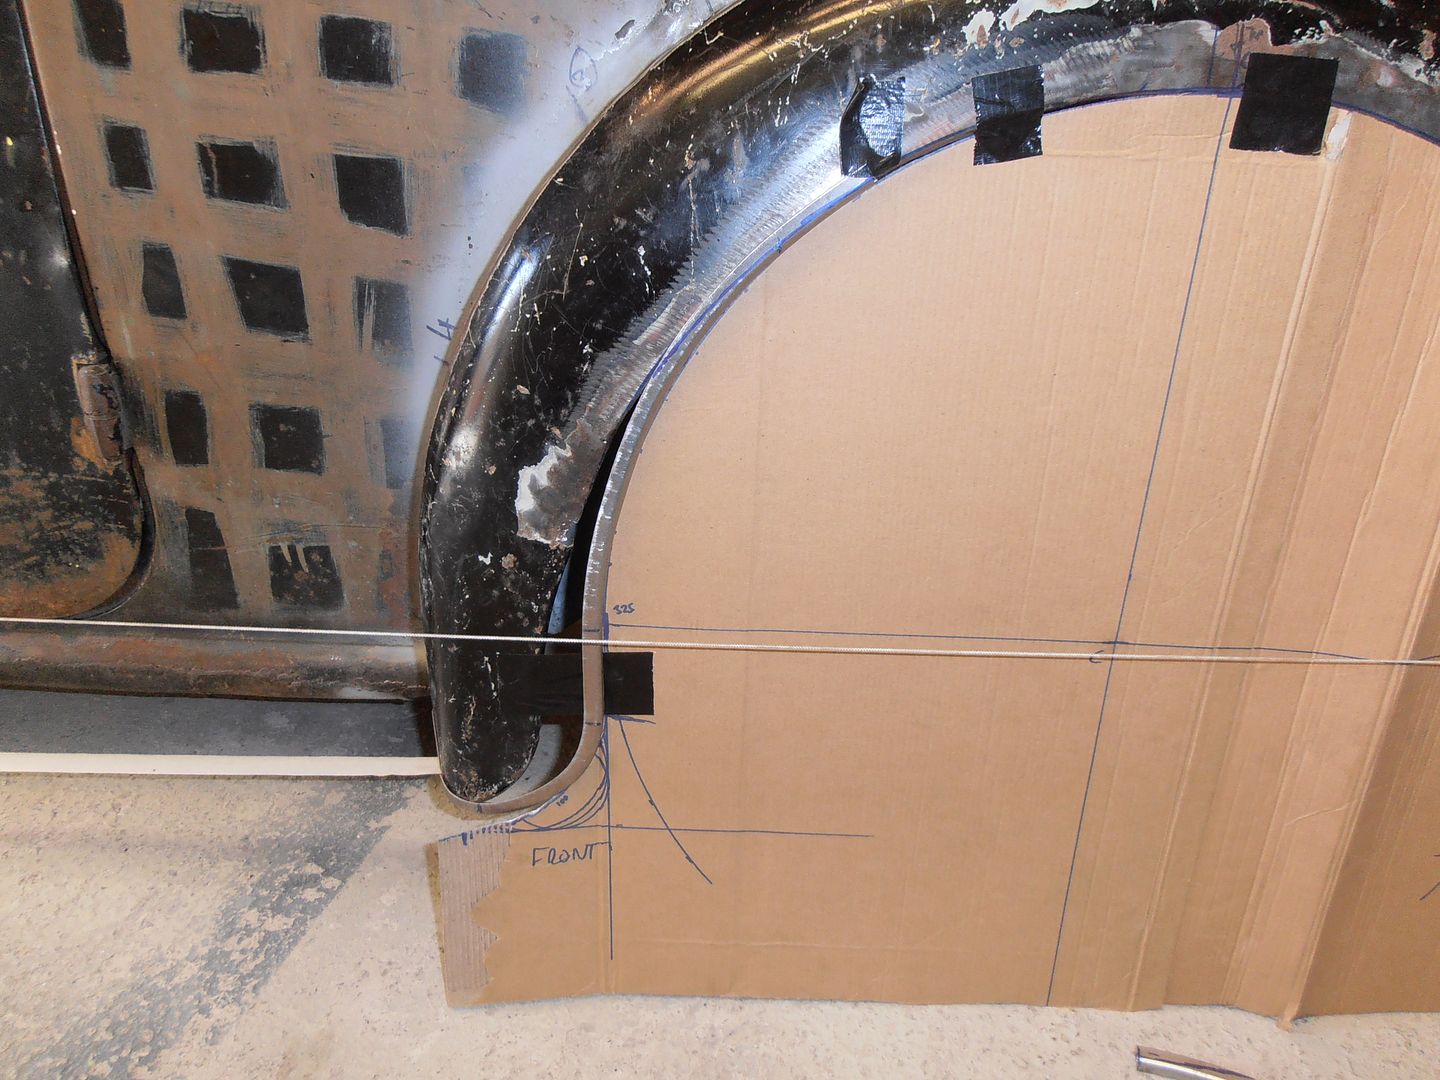 tack them on 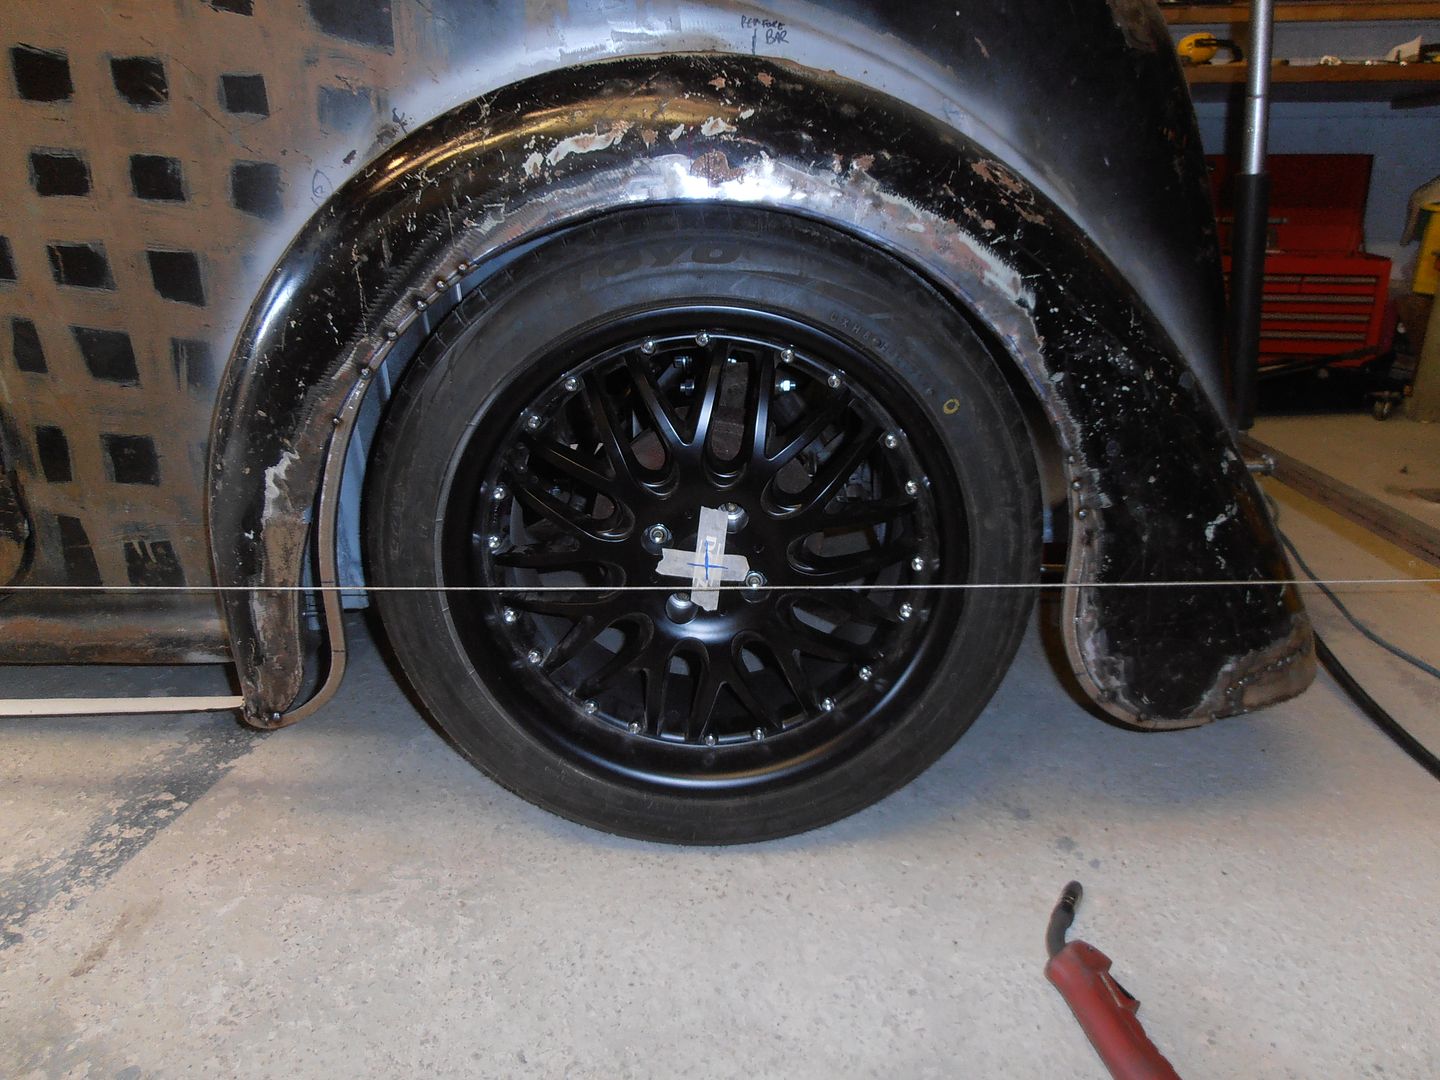 It looks like the arch follows round beyond vertical, but it must be a perspective thing as its vertical on the car?! infilled 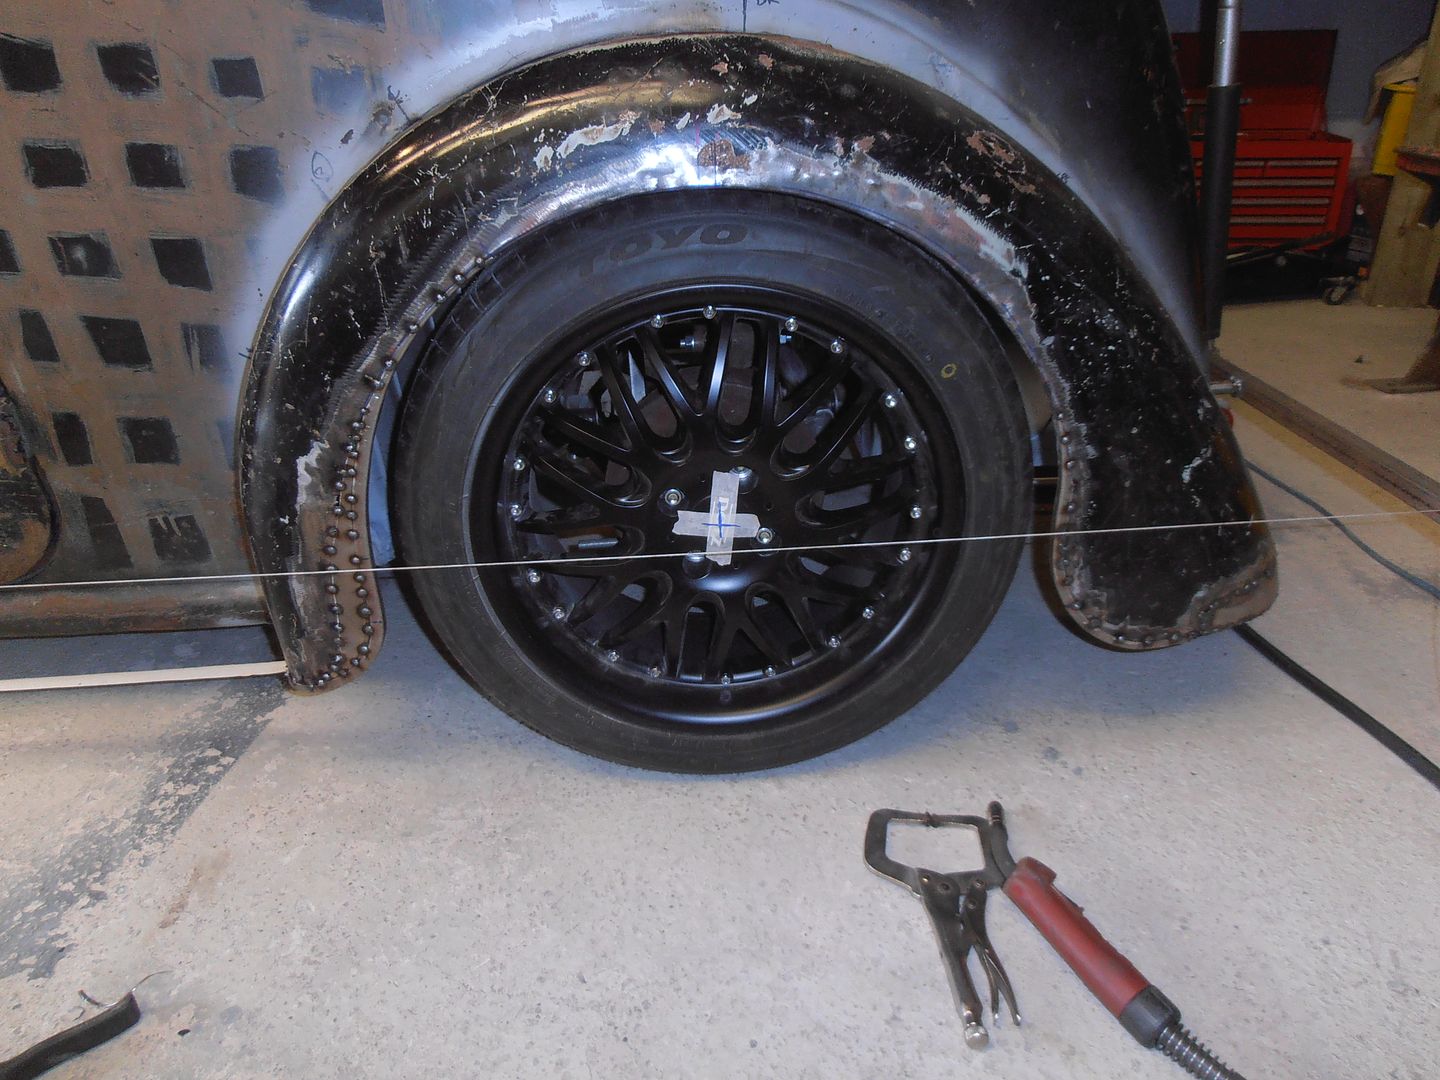 I like the look 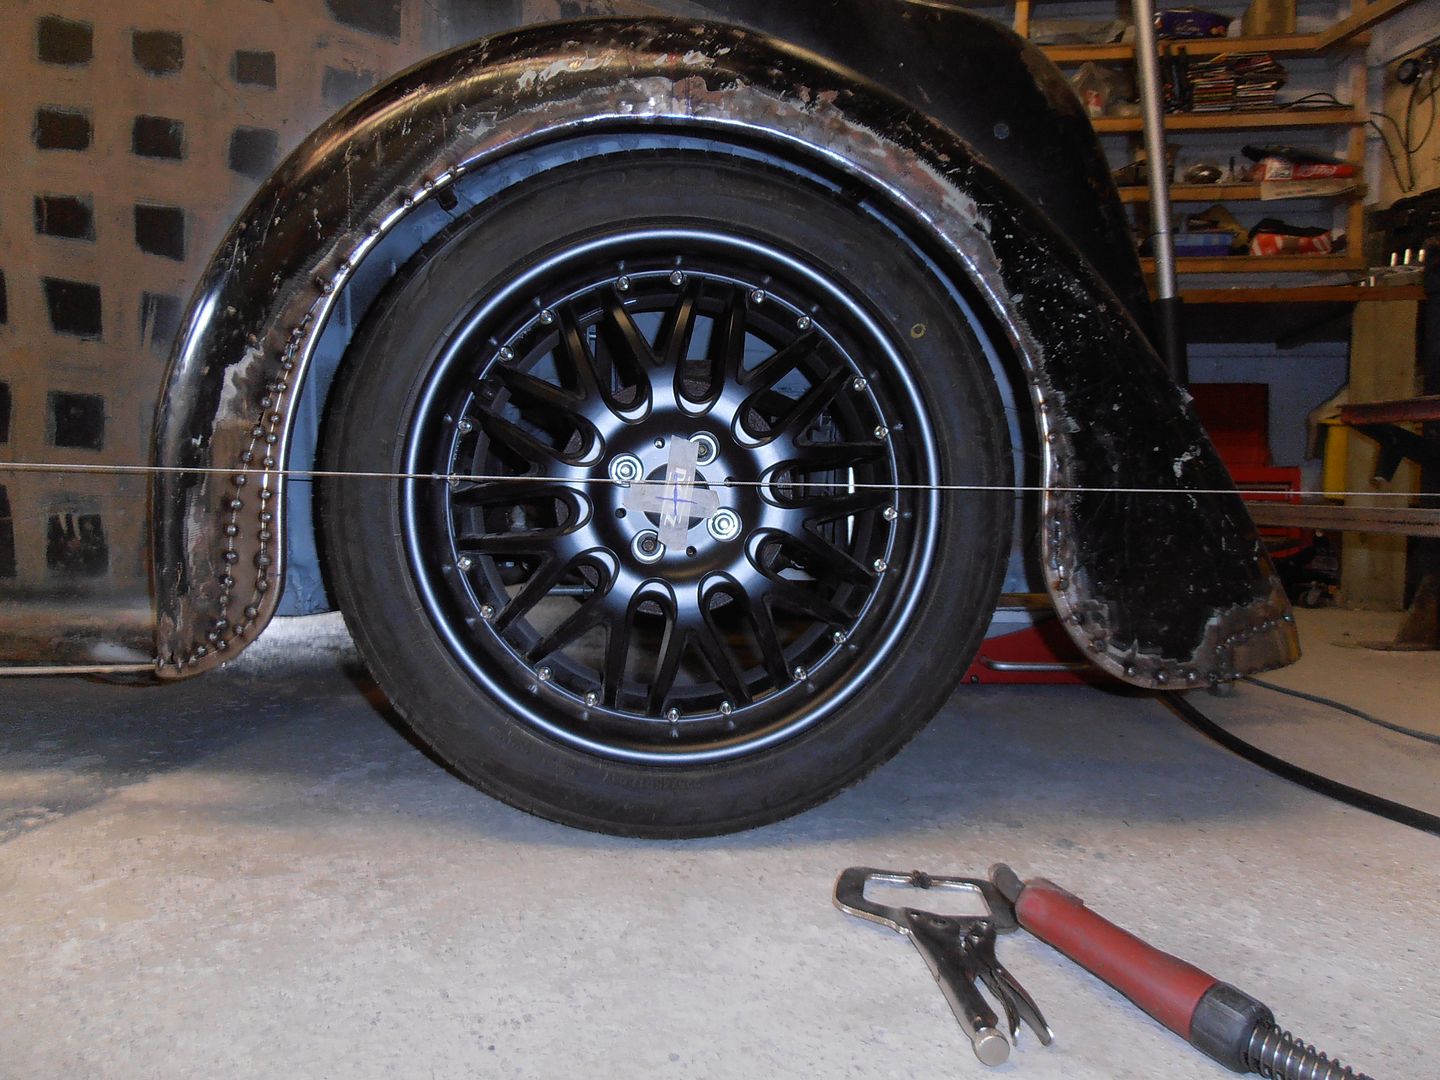 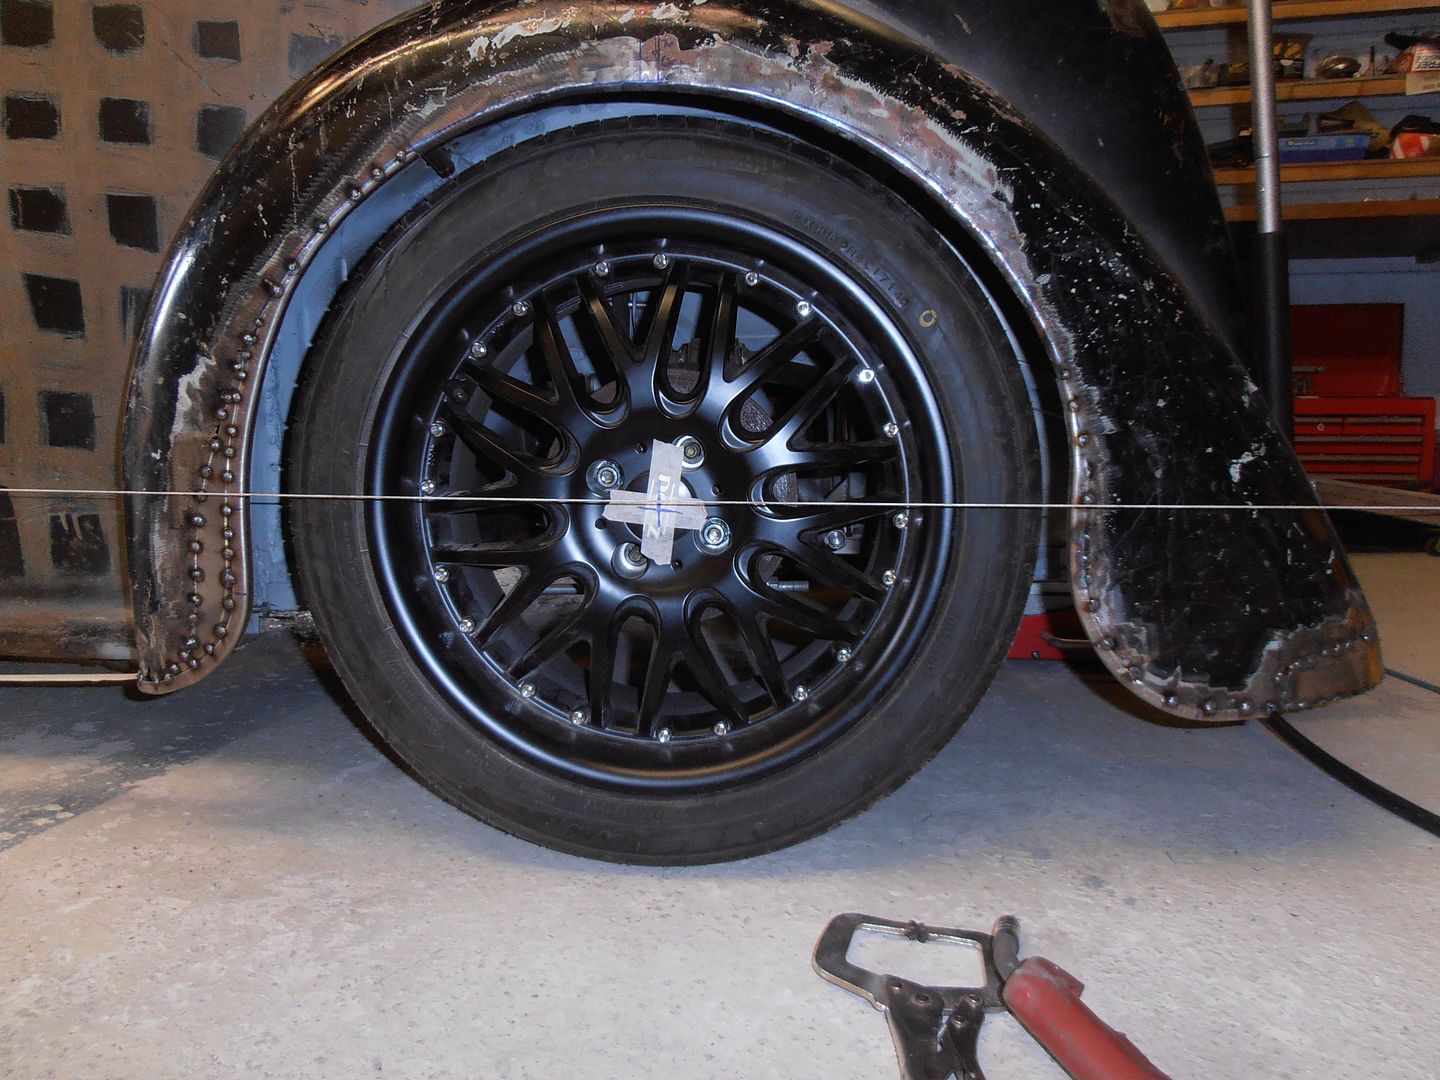 i decide the top could do with pulling back in a bit. I set it vertical, but think a bit of lean will suit it better. Que cutting all the tacks (fronts east as there were about 5, the back had about 30.....) re-set 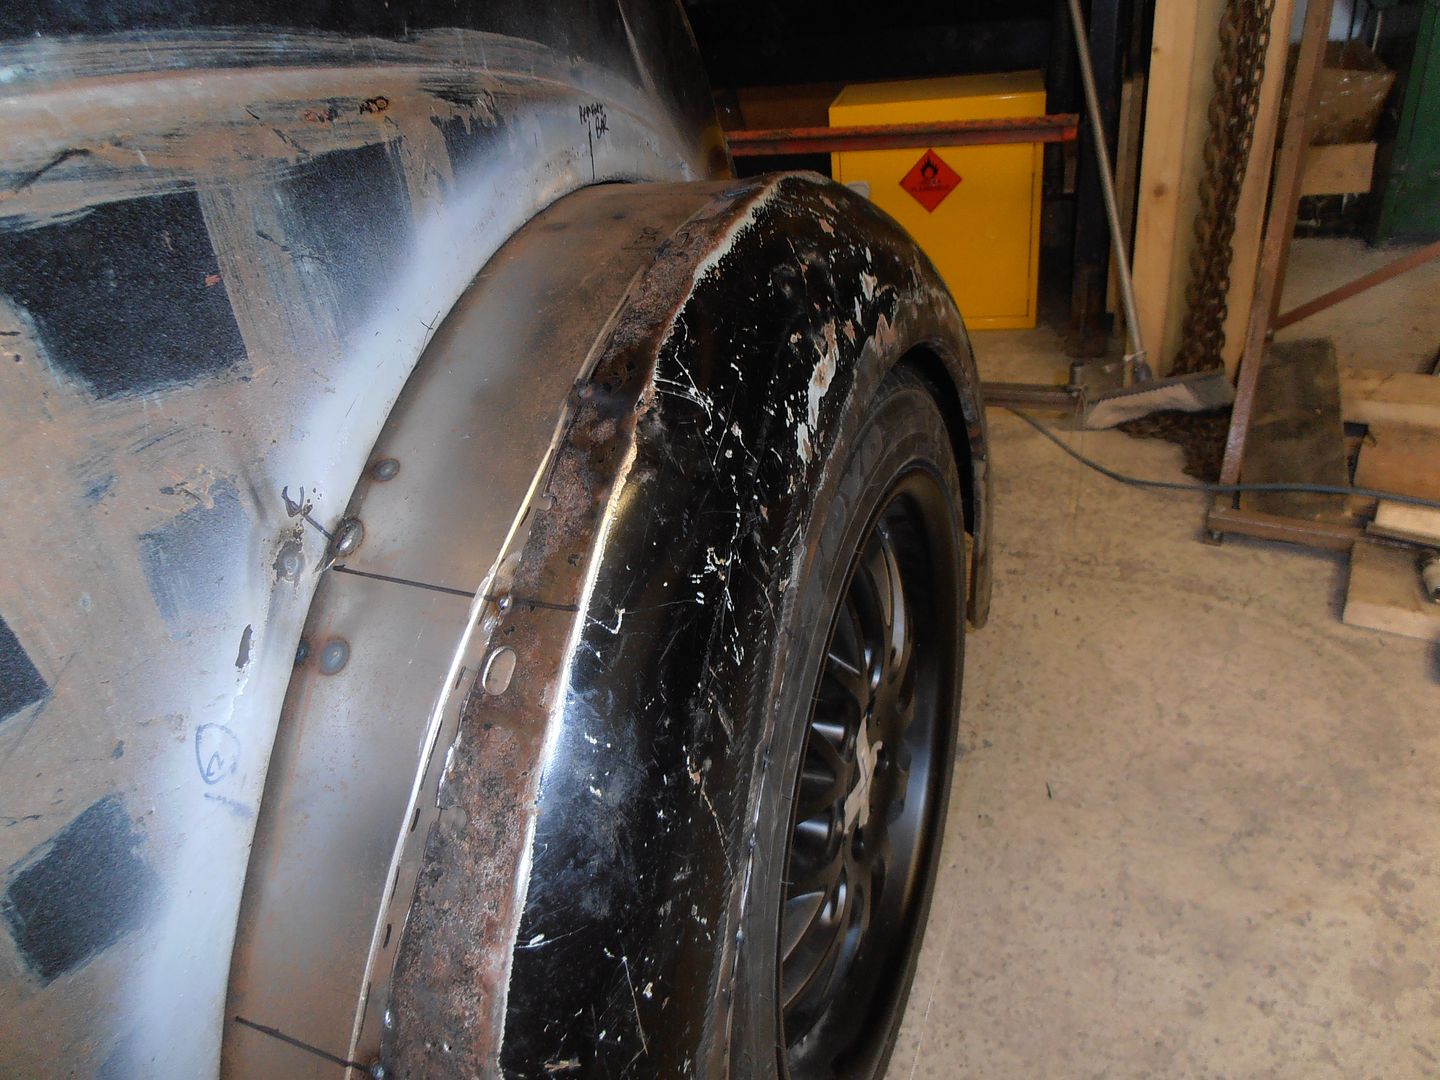 will see how it all sits when the whole car is done, but might need to re-drill the wing mounts 10mm further out, just to push the wheel to the edge of the arch. I thought i'd mock up a very rough running board from some scrap dexion shelf I have 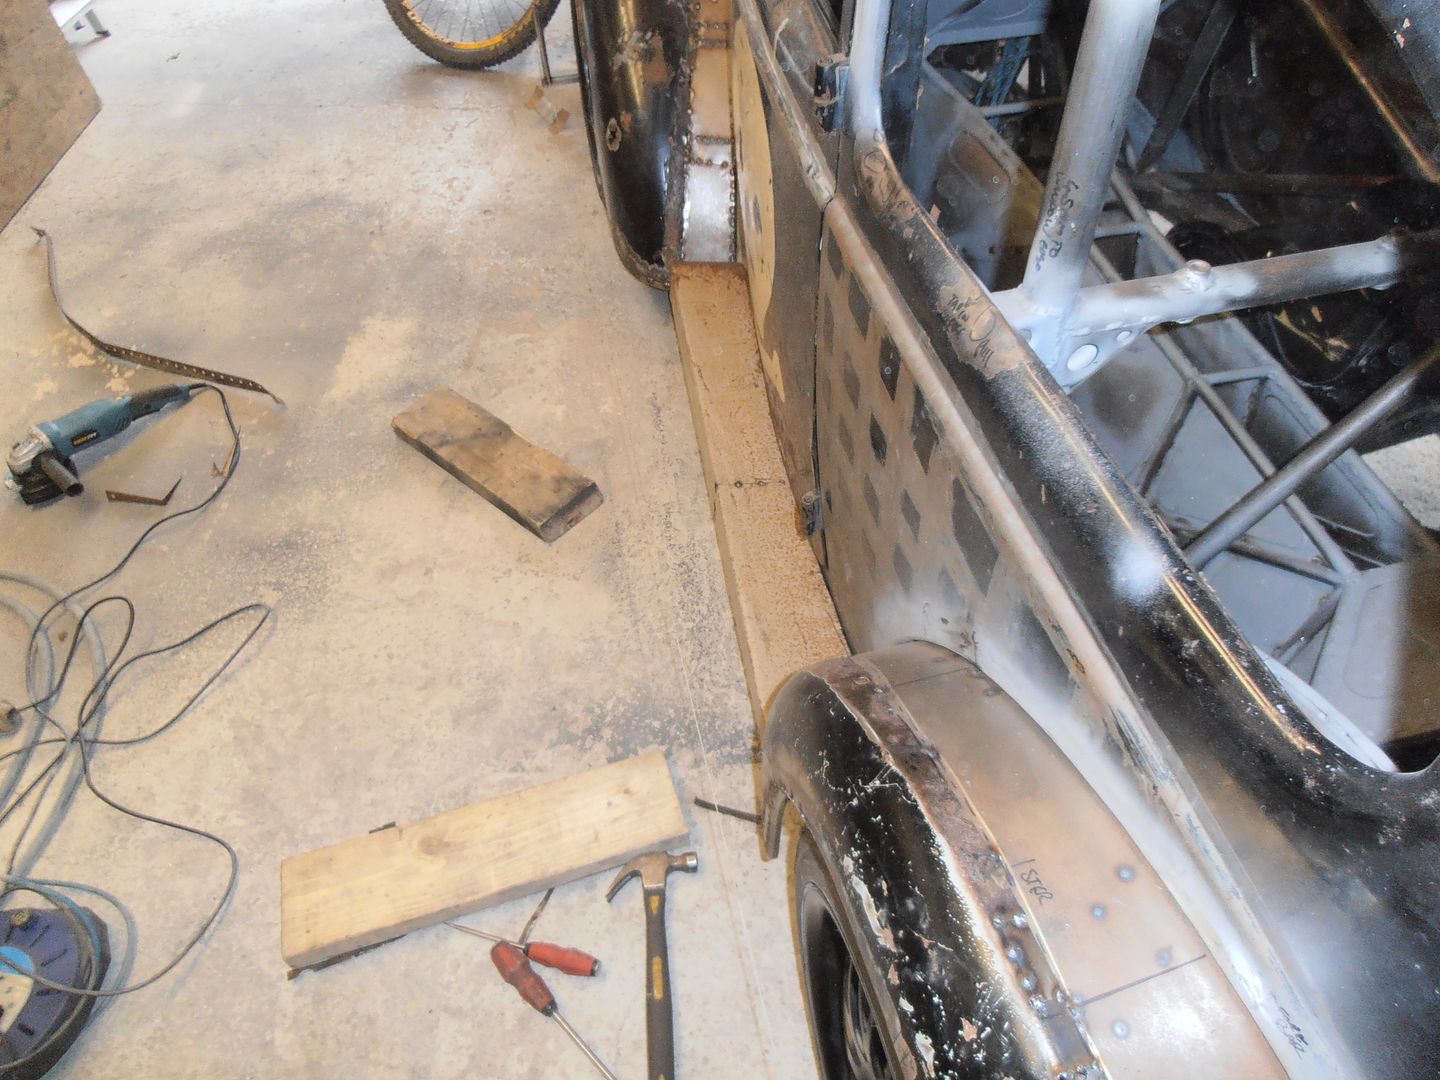 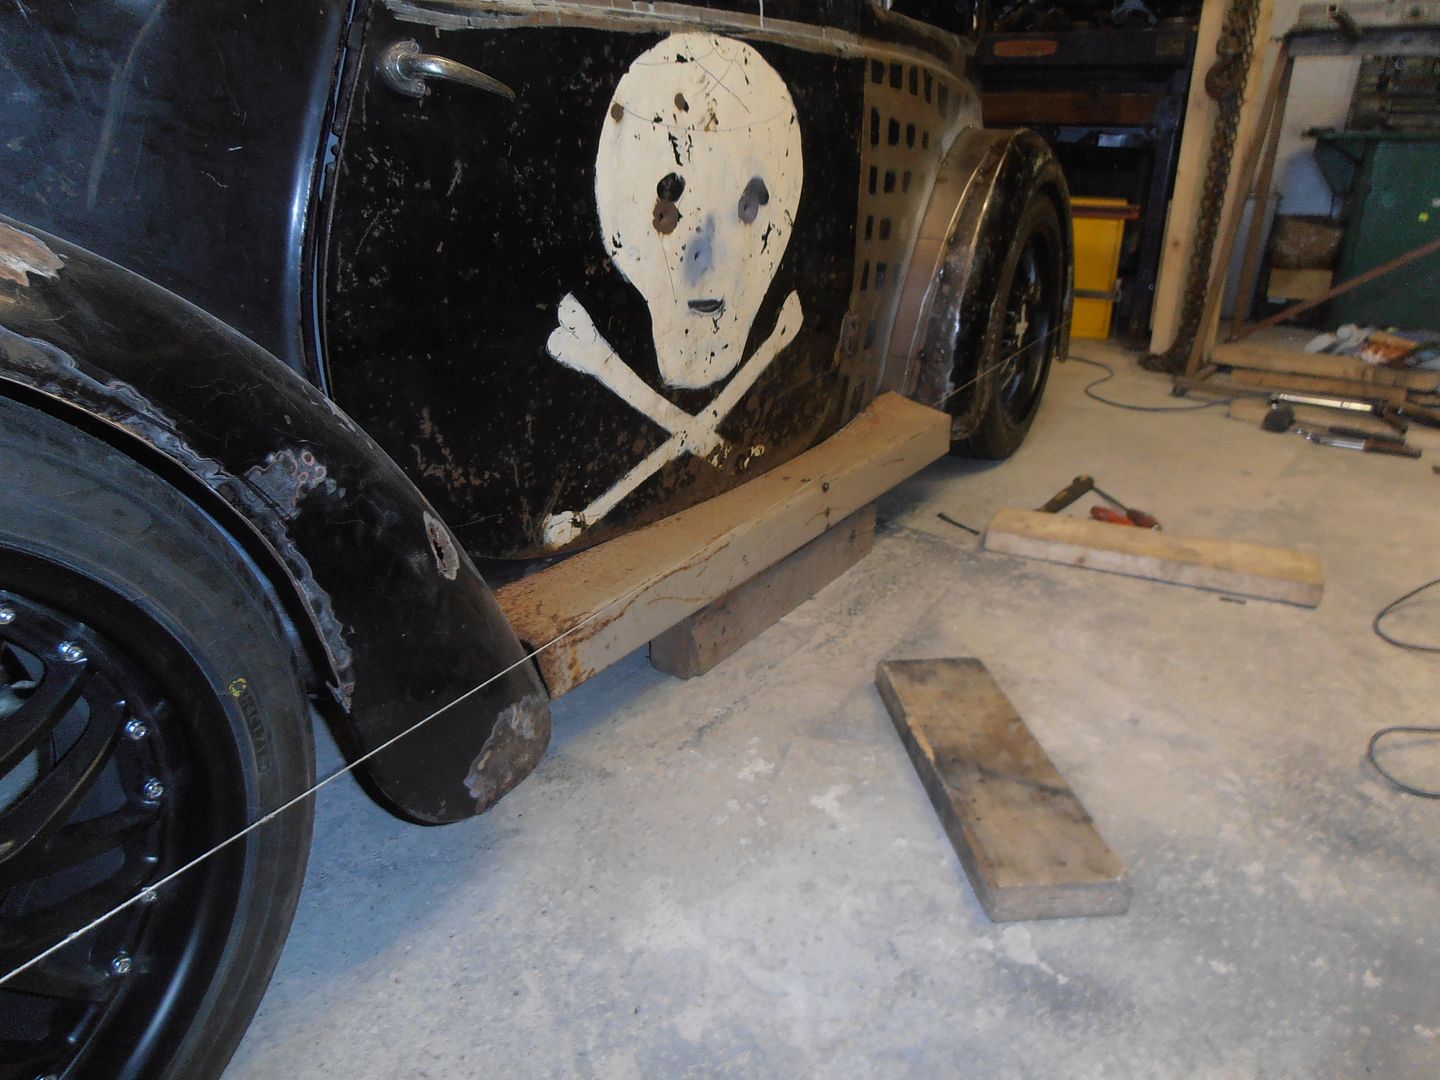 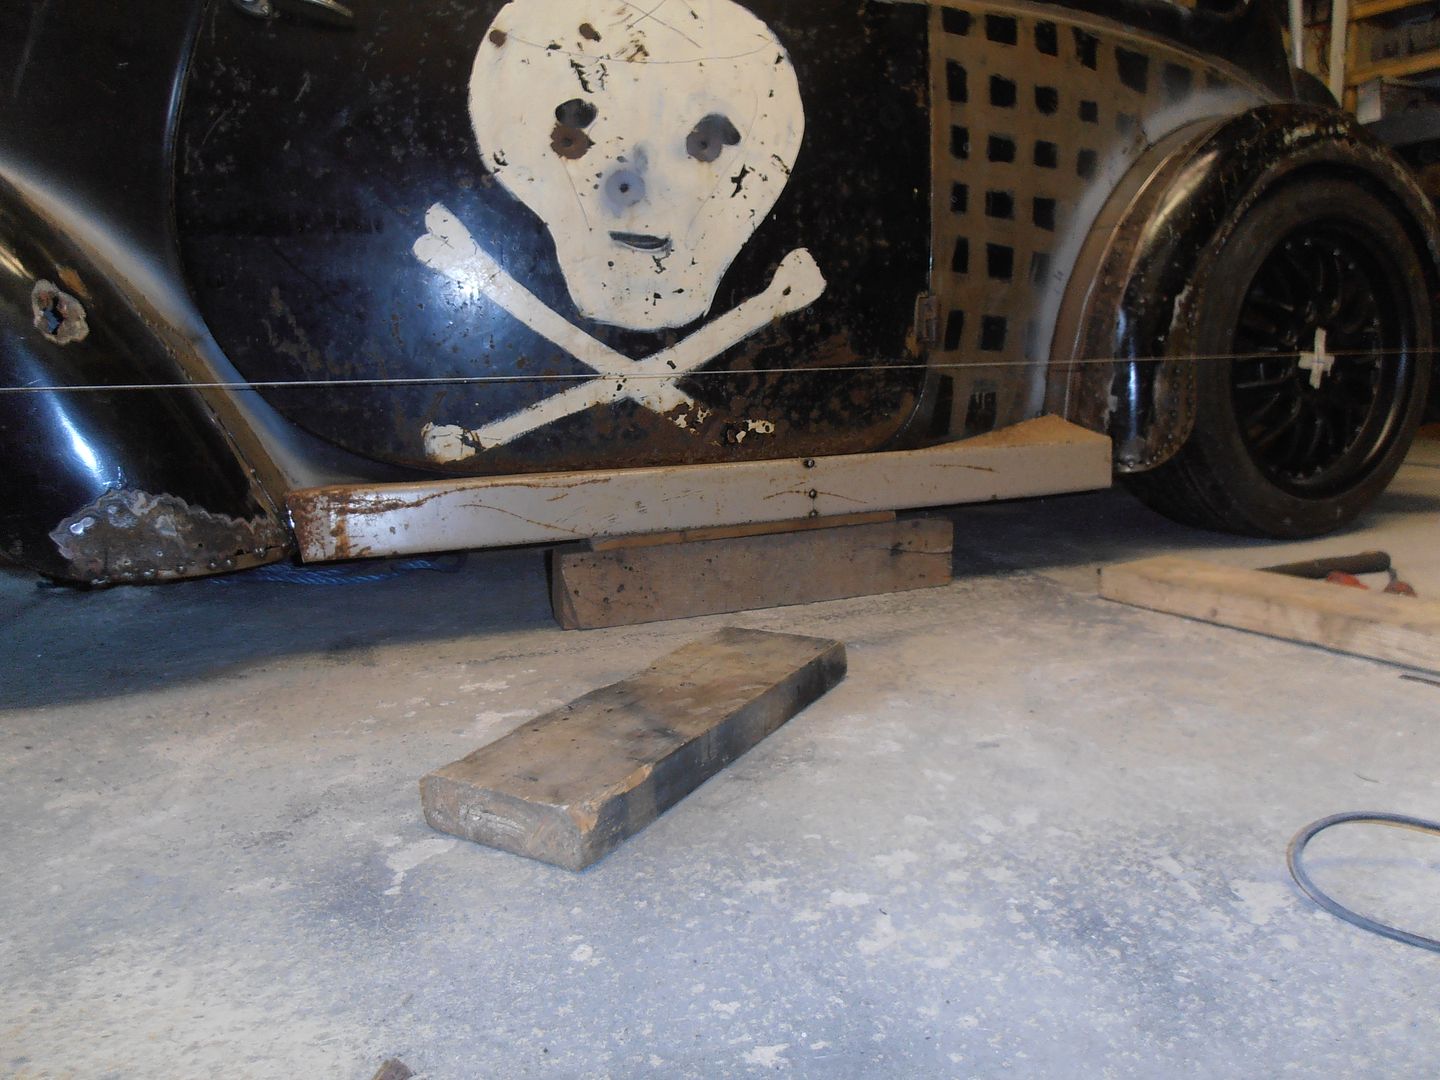 It does pull the car lower visually, however square edge is a no no as it looks very heavy. The real one will need to be curved to get make it look more slender. that was it for today as I must have spent an hour contemplating.... Out mountainbiking tomorrow, but i've got Monday off so will do some more then. There is very likely to be a big disruption to the work on the morris coming up. I've taken a new job which means a wholesale relocation house move etc. will see what happens over the next few months. |
| |
|
|
vulgalour
Club Retro Rides Member
Posts: 7,268
Club RR Member Number: 146
|
|
Apr 23, 2016 22:21:45 GMT
|
|
I like how you made the template. Optical illusions are weird, that really does look like it's pulling in at the bottom on the trailing edge but it's definitely not, some of it is the camera lens playing tricks too. Seeing the running board rough in place proves it needs them, it ties the whole lot together and makes those arches look like they've had a lot less added in width than they really have, balances the proportions out nicely. Not only to the boards lower the car visually, they help stretch the length of the cabin too which sorts the proportions out a bit more.
If you made the trailing edge of the rear arch similar to the front arch you would probably eliminate that optical illusion, but it might cause the wheel to look pushed too far forward in the arch radius.
|
| |
|
|
|
|
|
|
|
Apr 25, 2016 16:14:23 GMT
|
|
i like the new rear arch swoopyness, is it weird that i thought it almost looked beautiful ? elegant then, that sounds less weird !
|
| |
|
|
jonomisfit
Club Retro Rides Member
Posts: 1,787
Club RR Member Number: 49
|
|
Apr 25, 2016 19:08:44 GMT
|
Thanks dudes So I was off work today so managed to get a bit more work done. Template for front arch. i used the rear to start with, then decided to go for a halfway house between the existing front and new rear 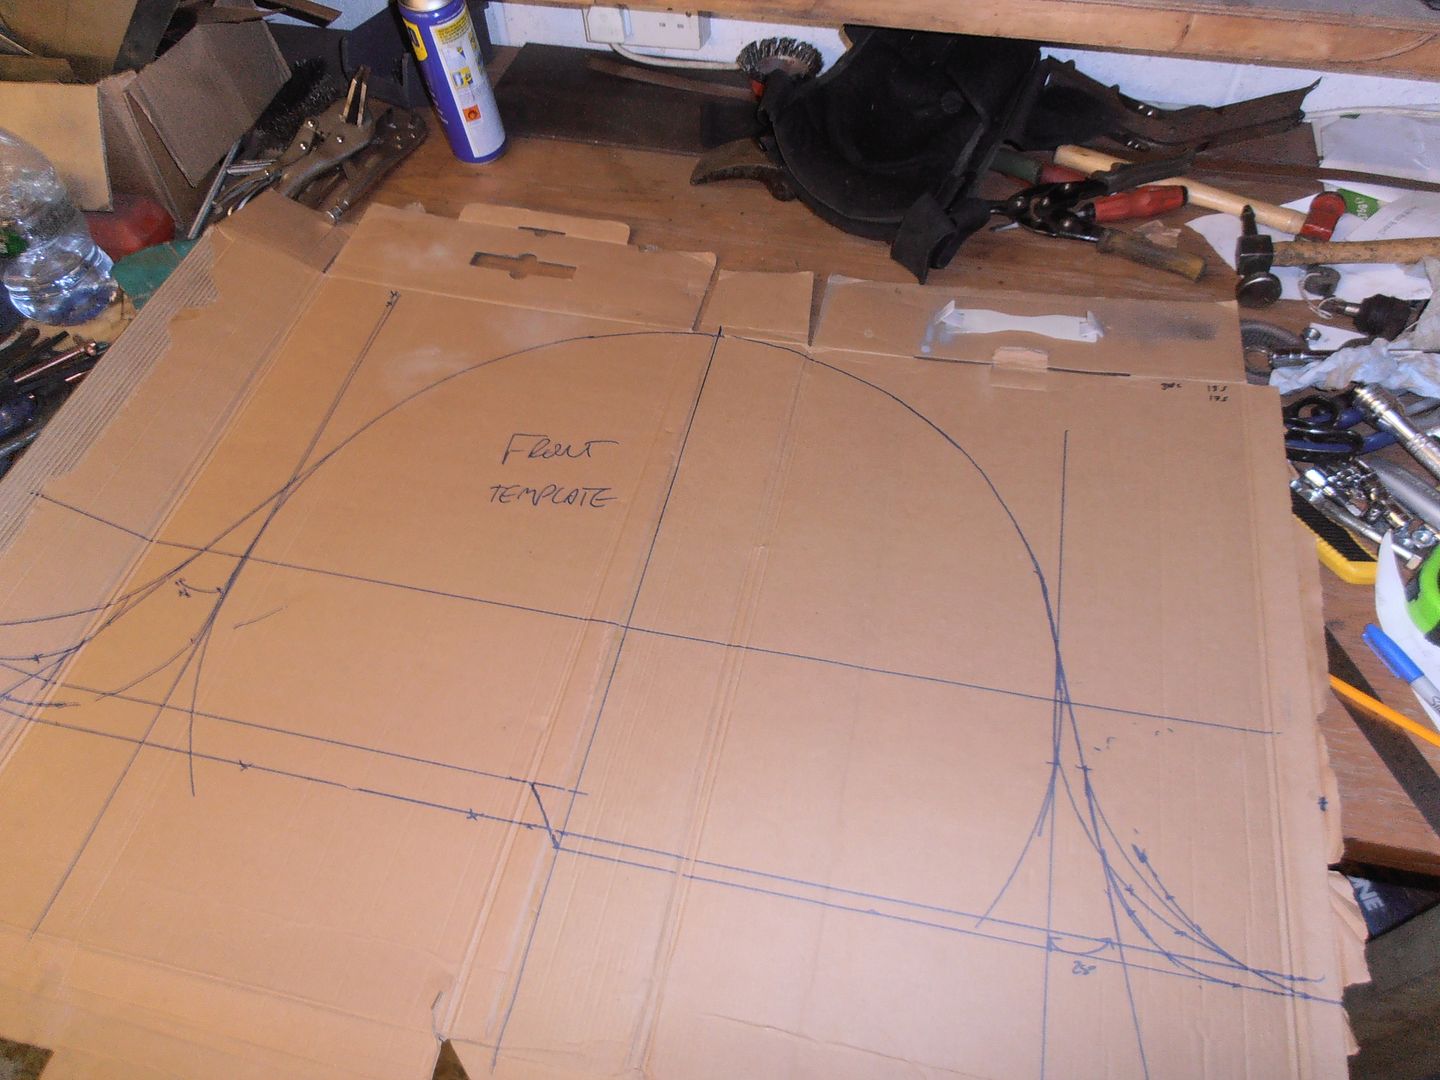 fitted to the arch on centre line. Looks like its only the front needs modding.... 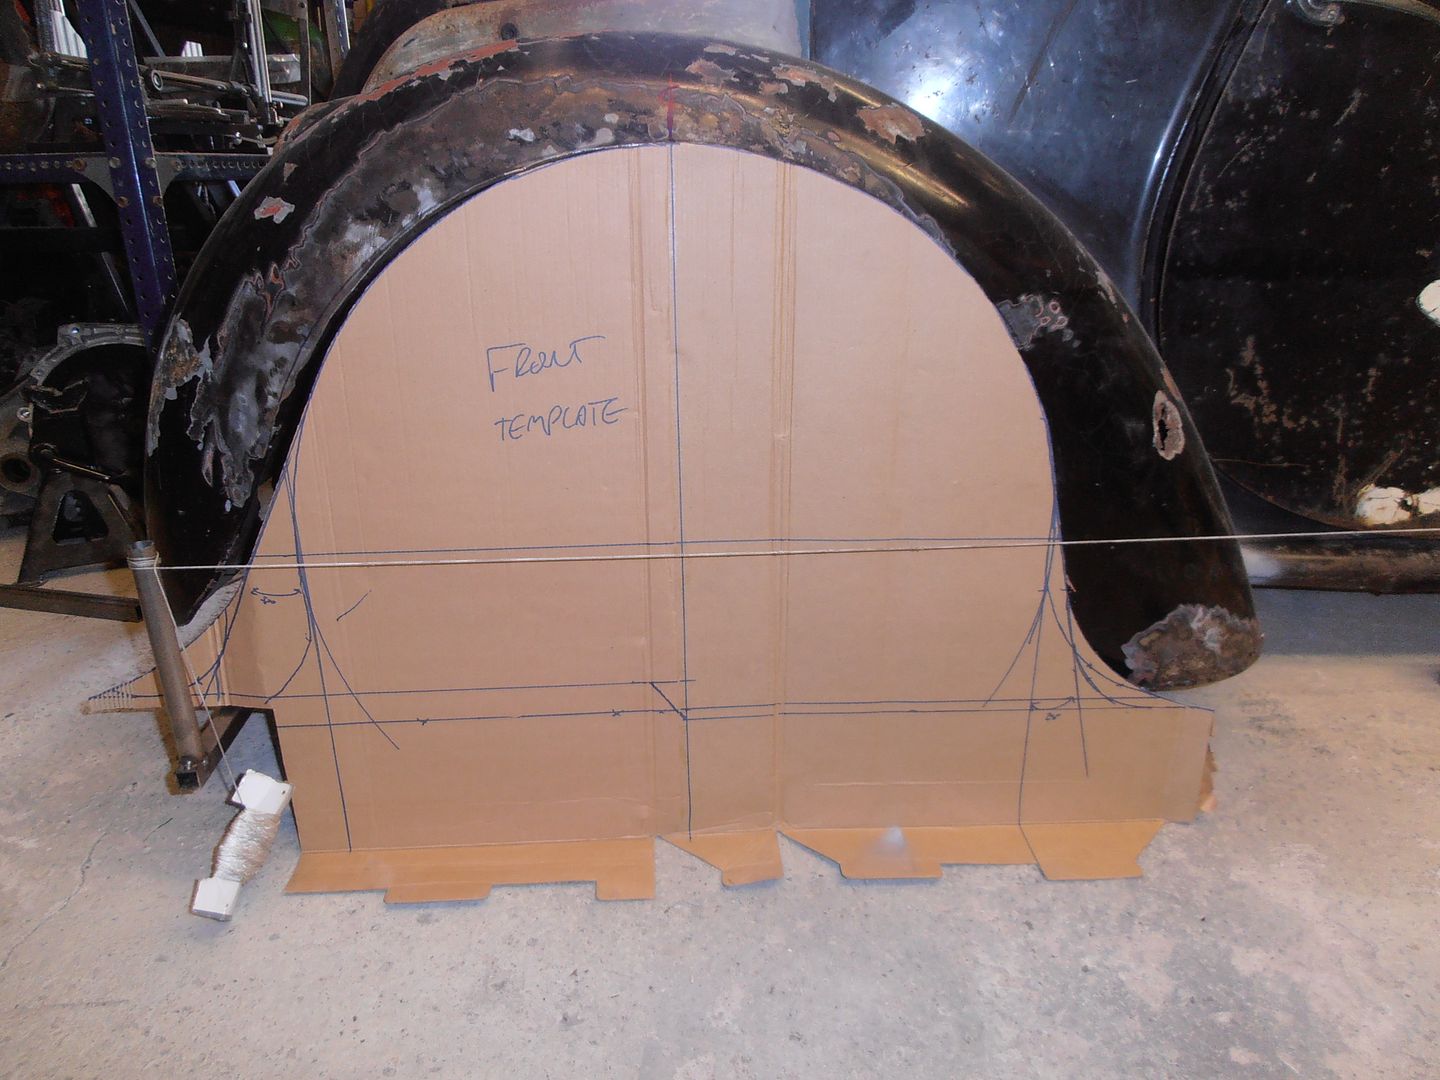 oh no its not... about 25mm overlap 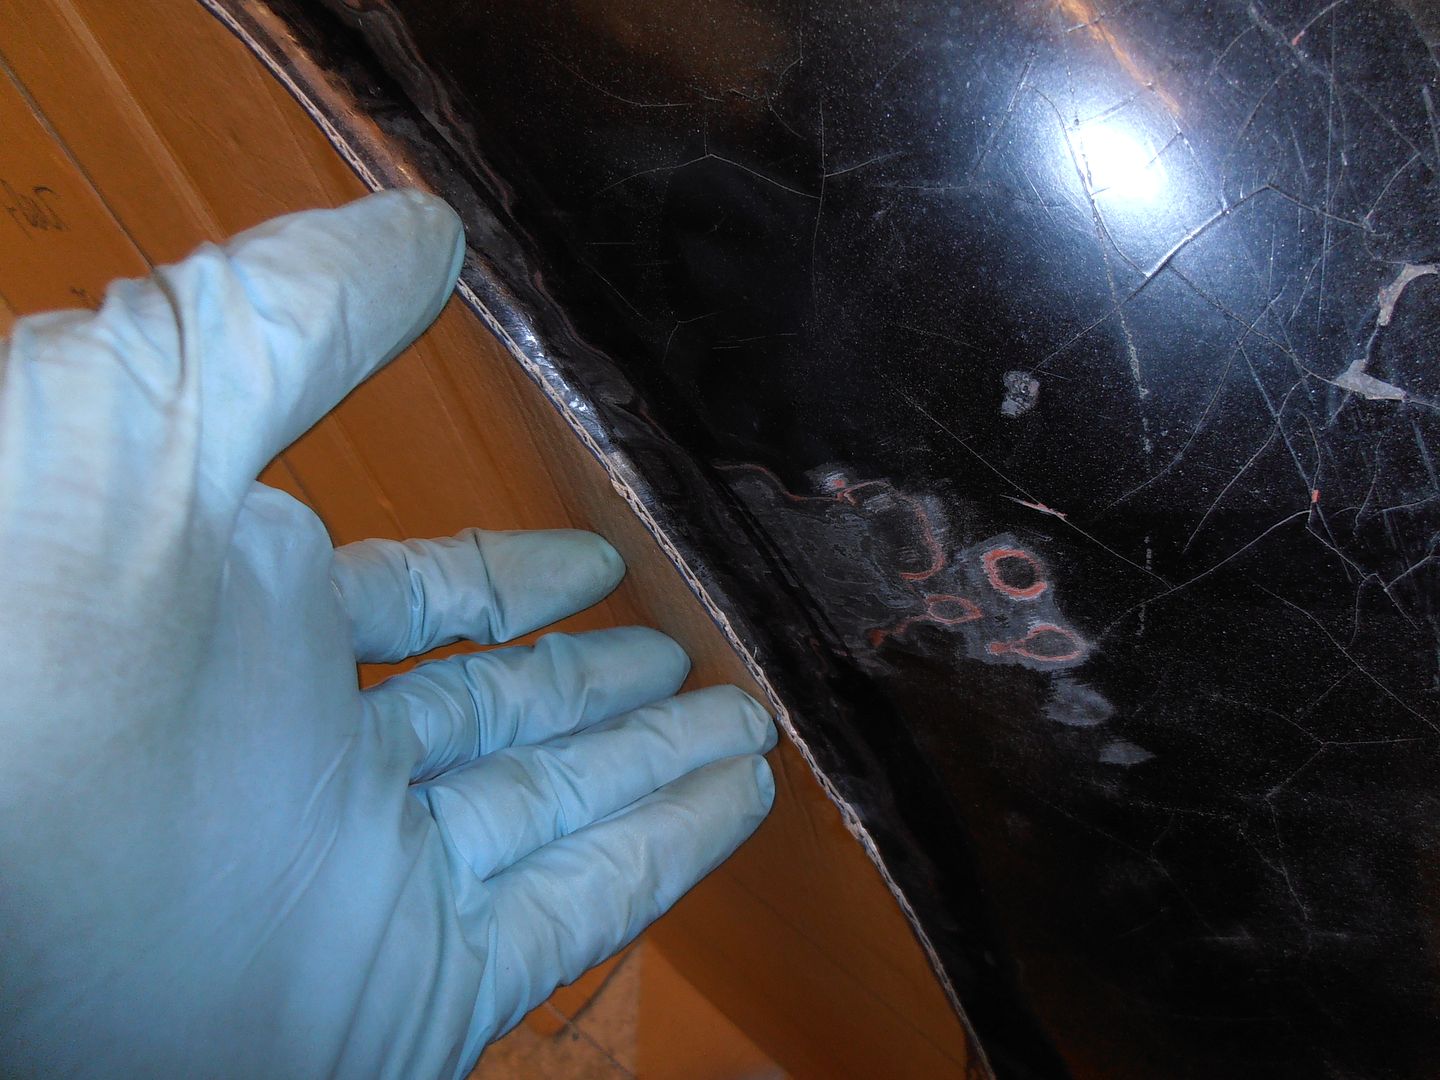 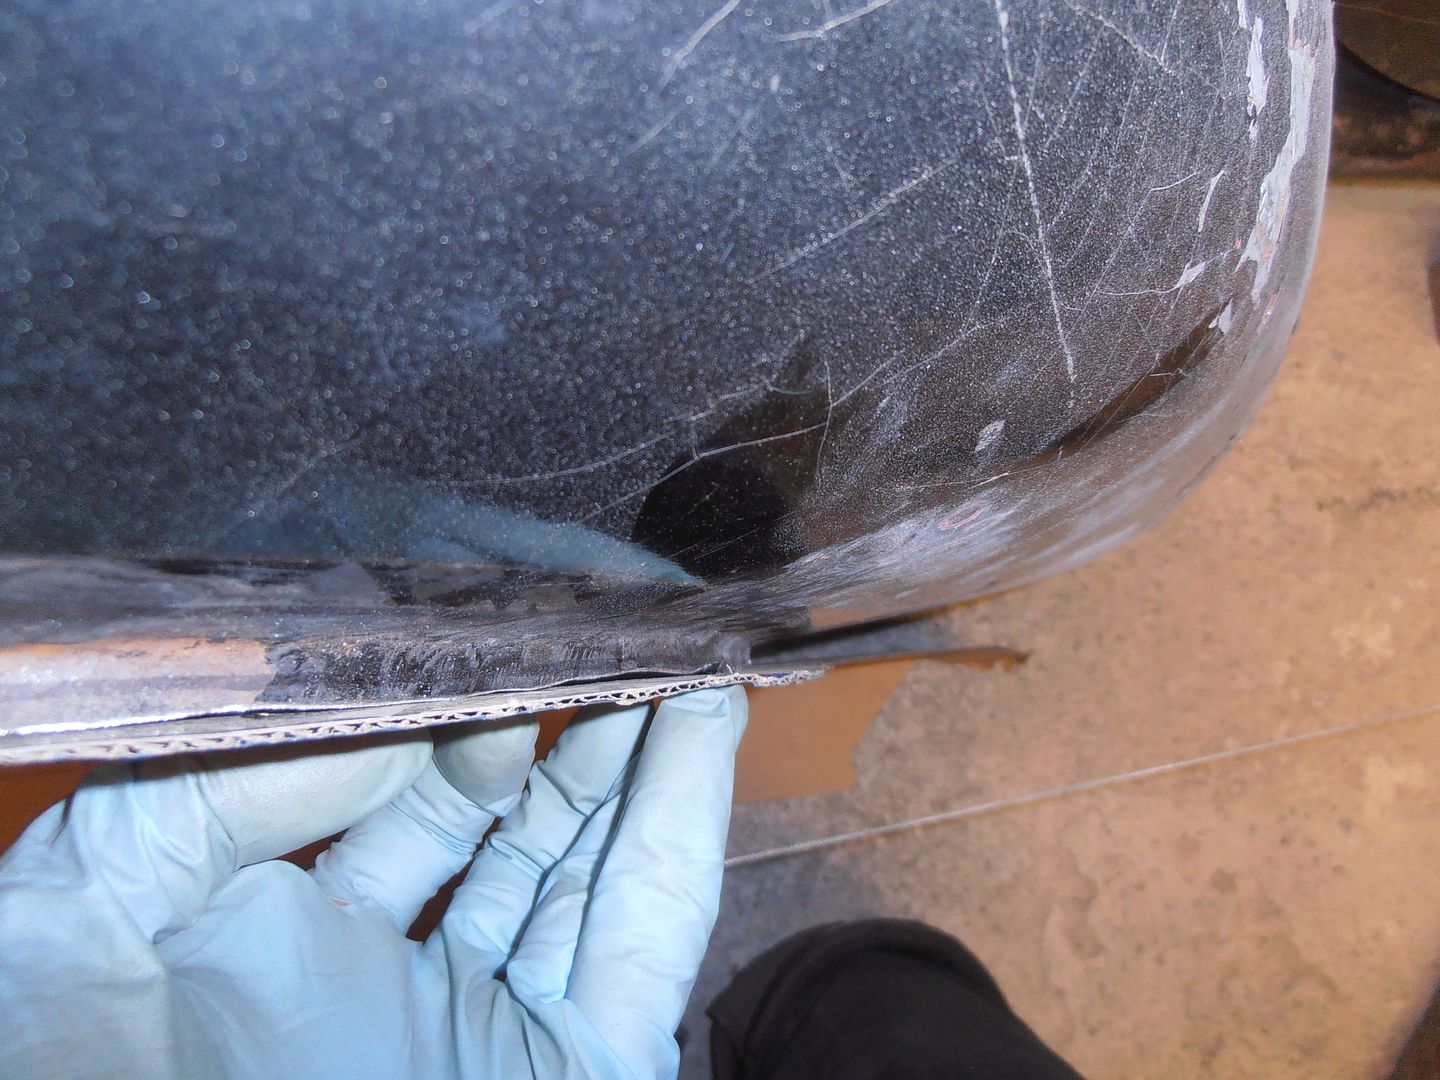 front needs a lot of bringing in and shape to curve round to the front 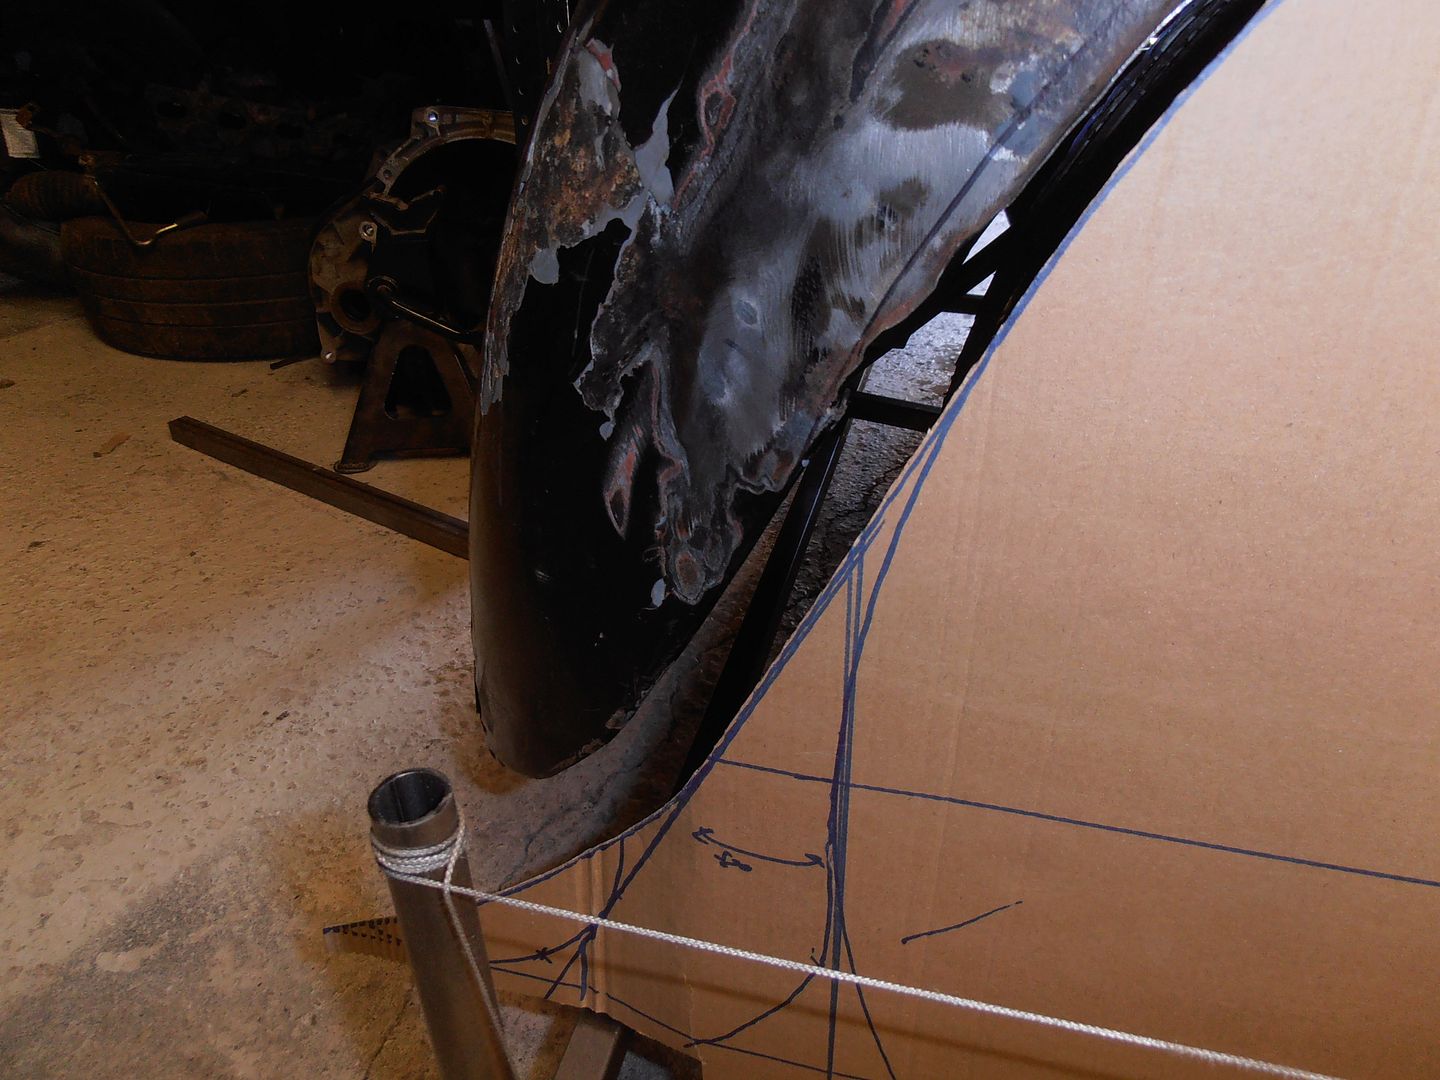 cleaned up and marked for the cut. Nothing for it but to suck it up and cut... 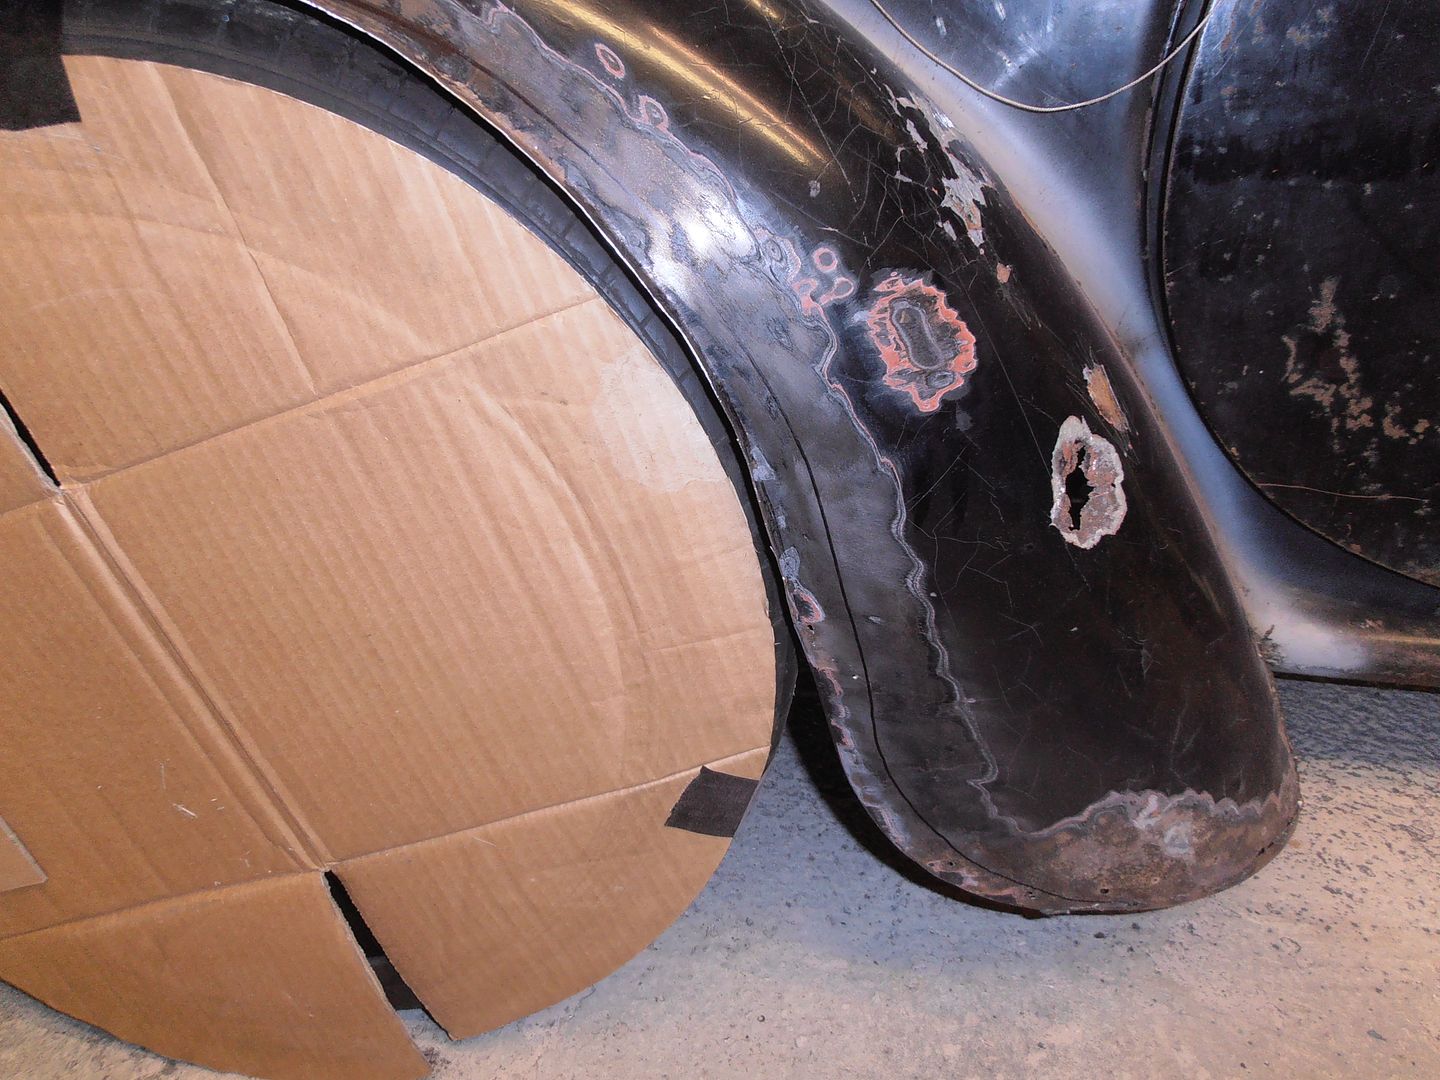 so... to avoid doing that I thought i'd go and make a new lip first cut some 20mm wide strips 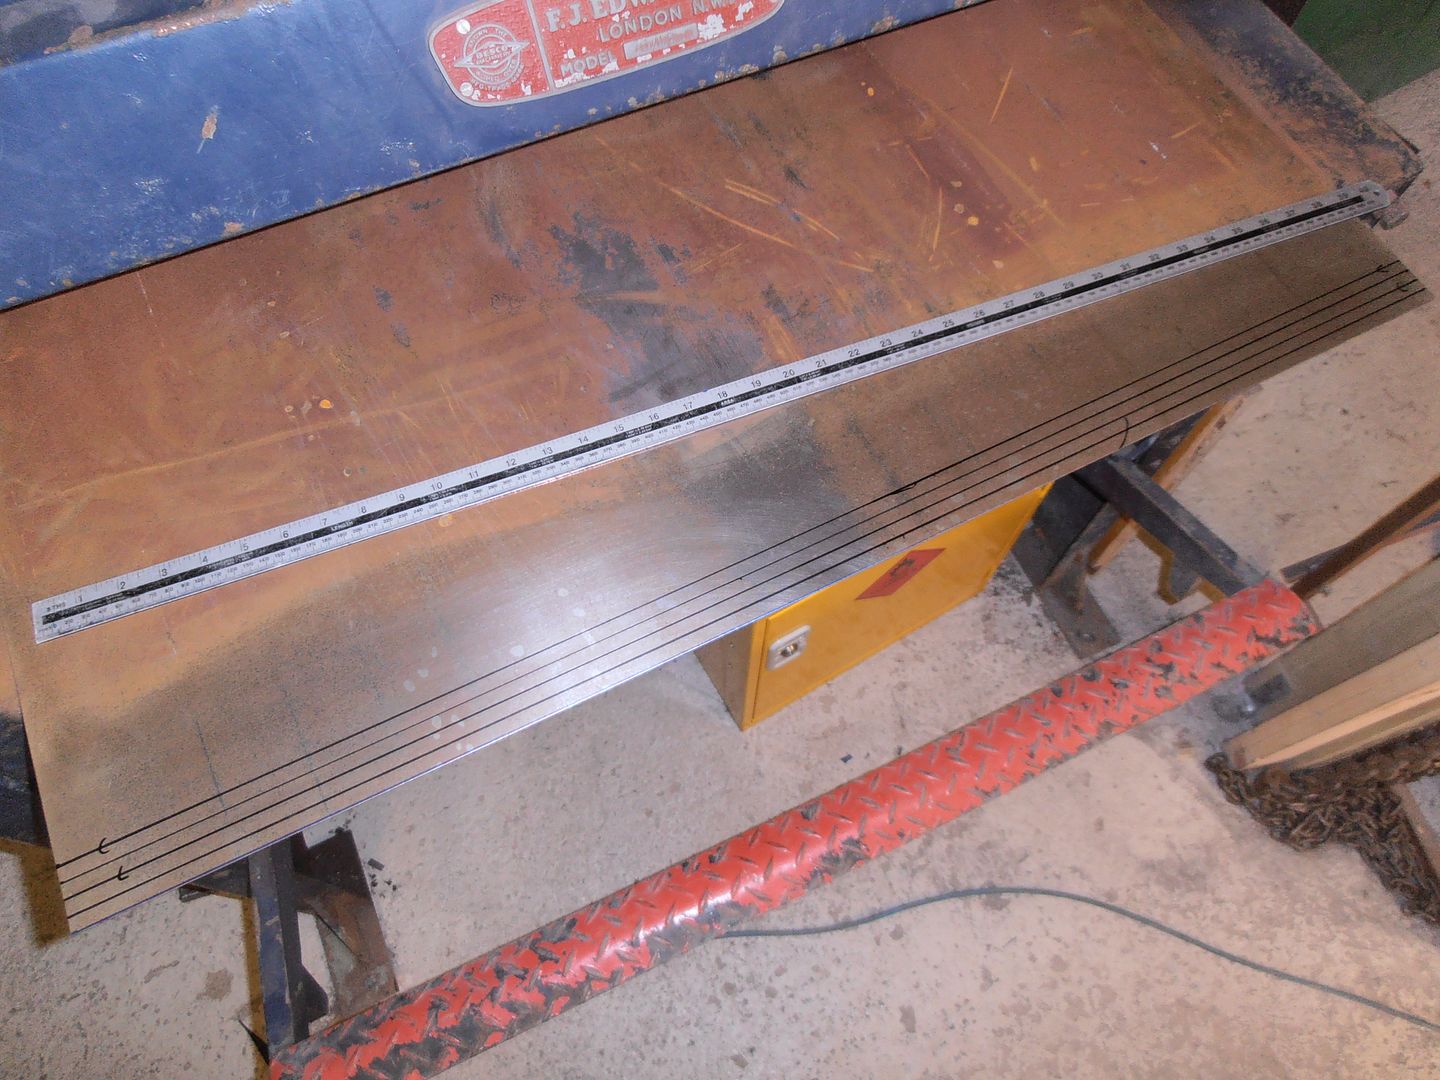 the metal shear is very very handy for this... 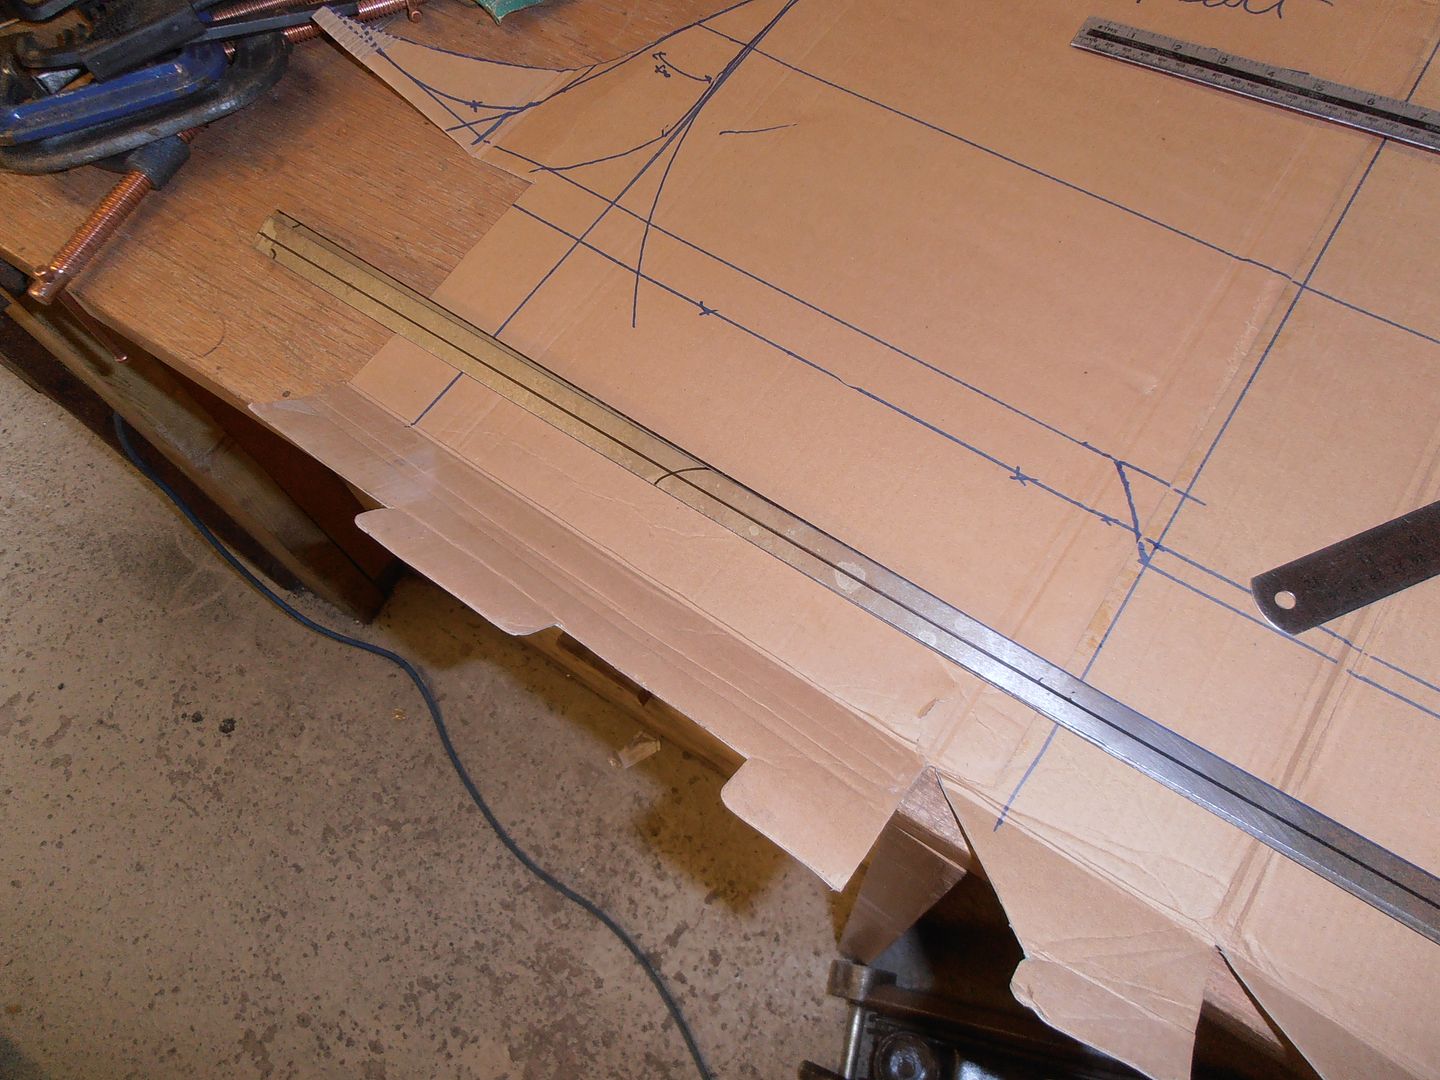 fold up to a right angle 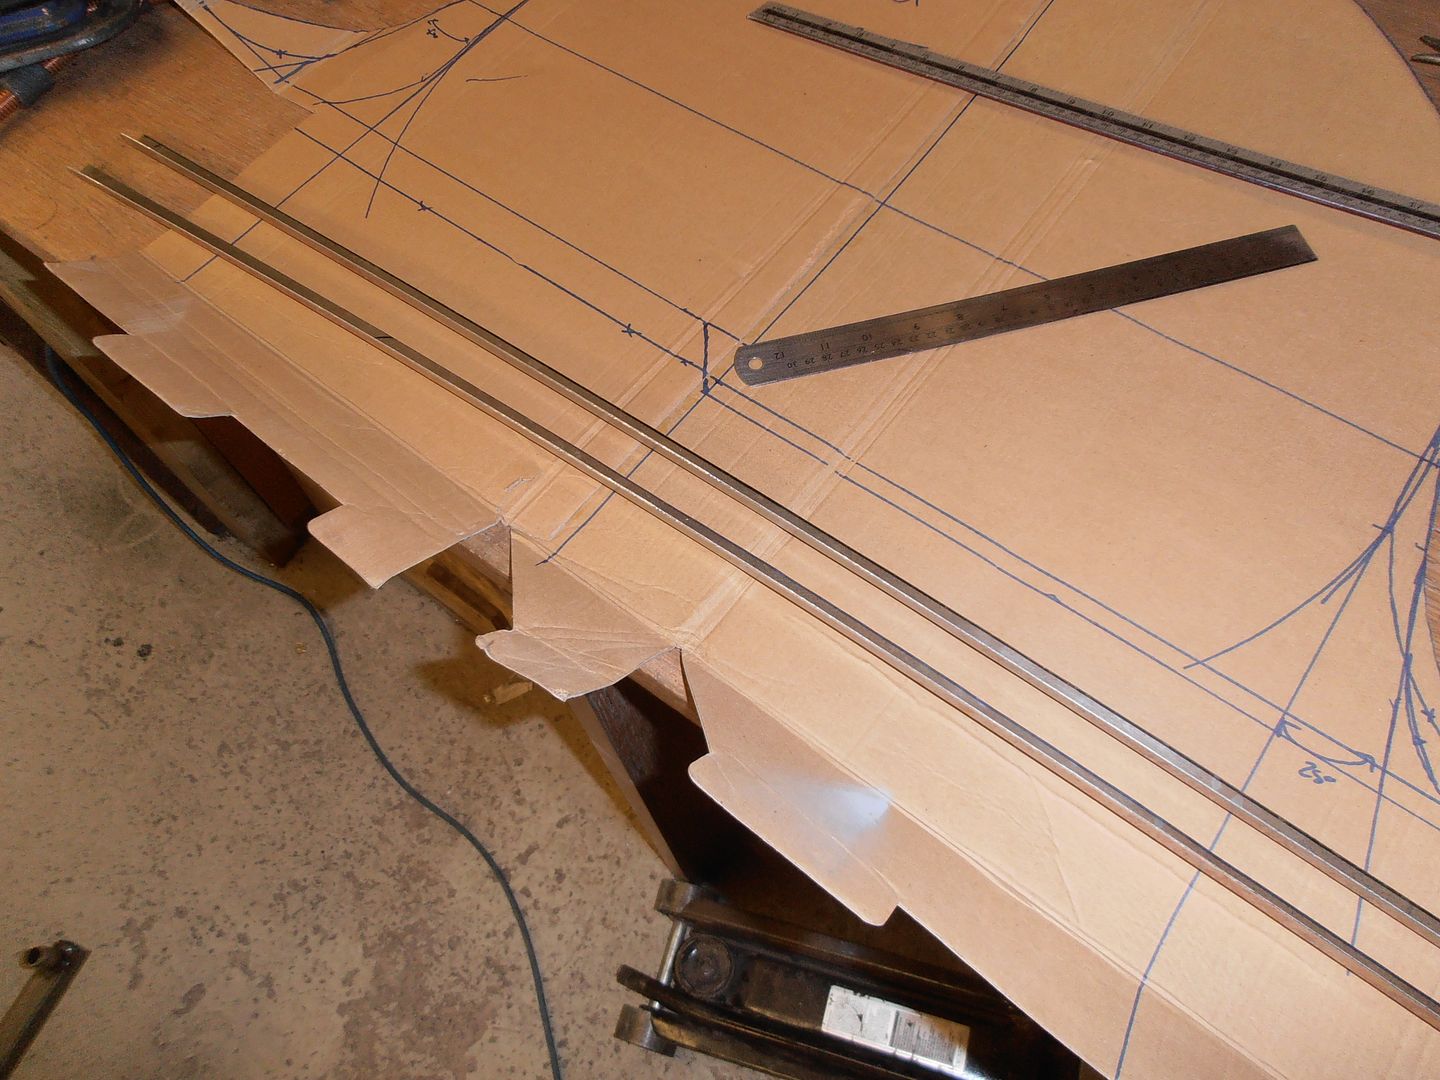 que about 45mins with the shrinker/stretcher to do the rear half (also apologies for the offensive state of the benches my tidyness has gone to pot recently) 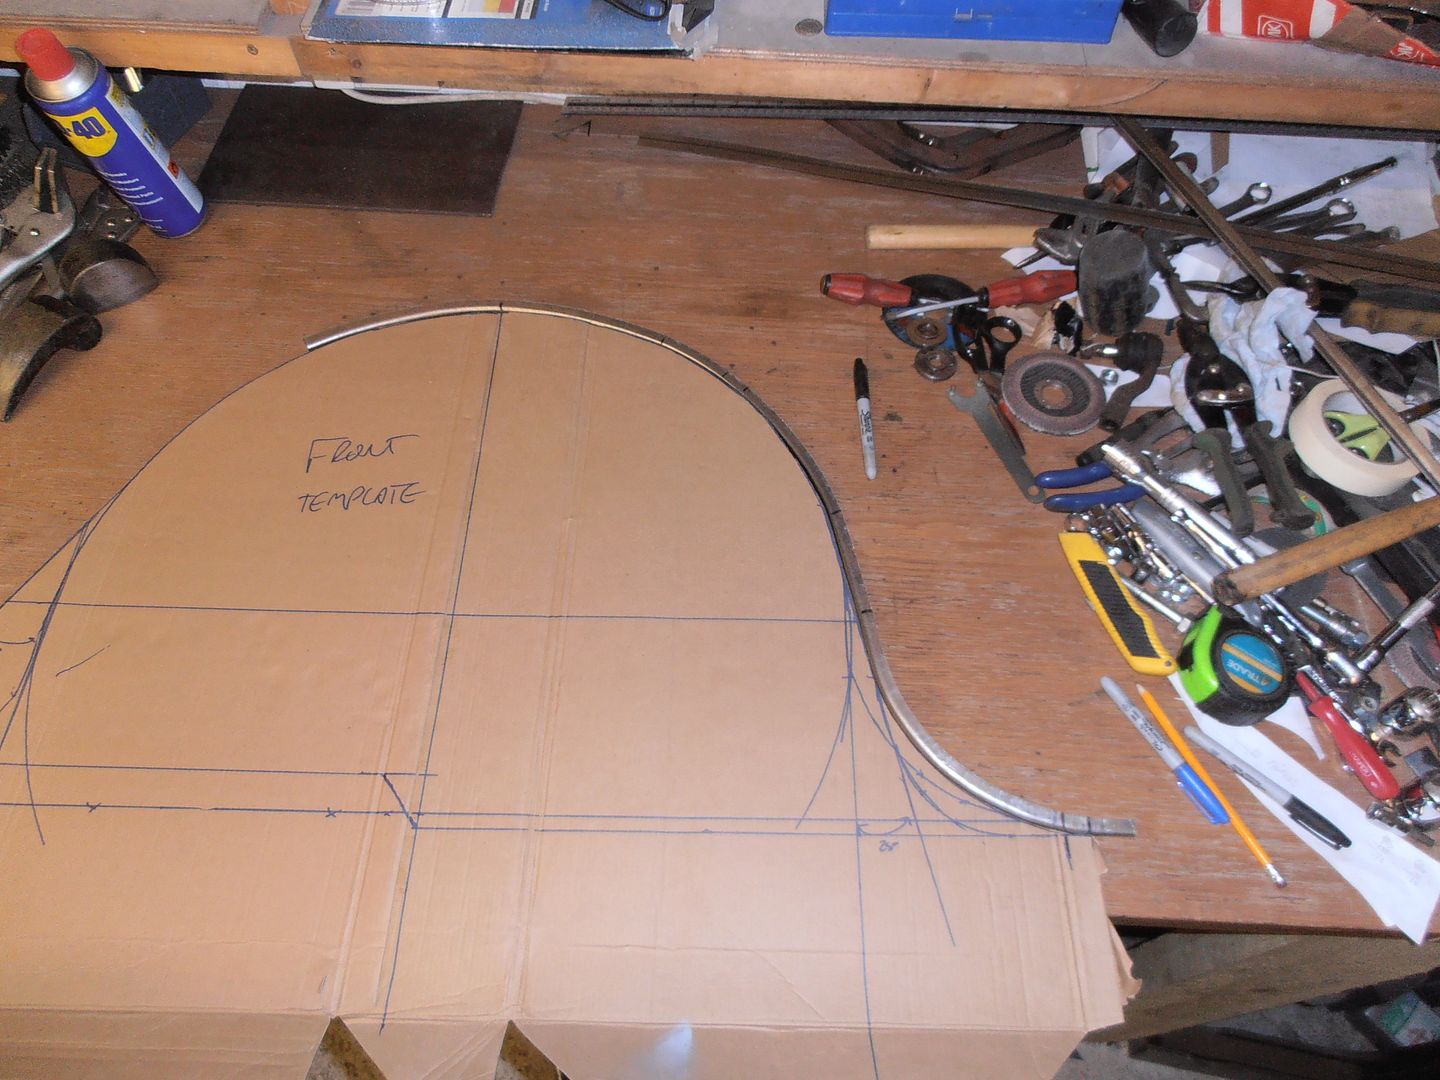 and a similar amount of time for the front half 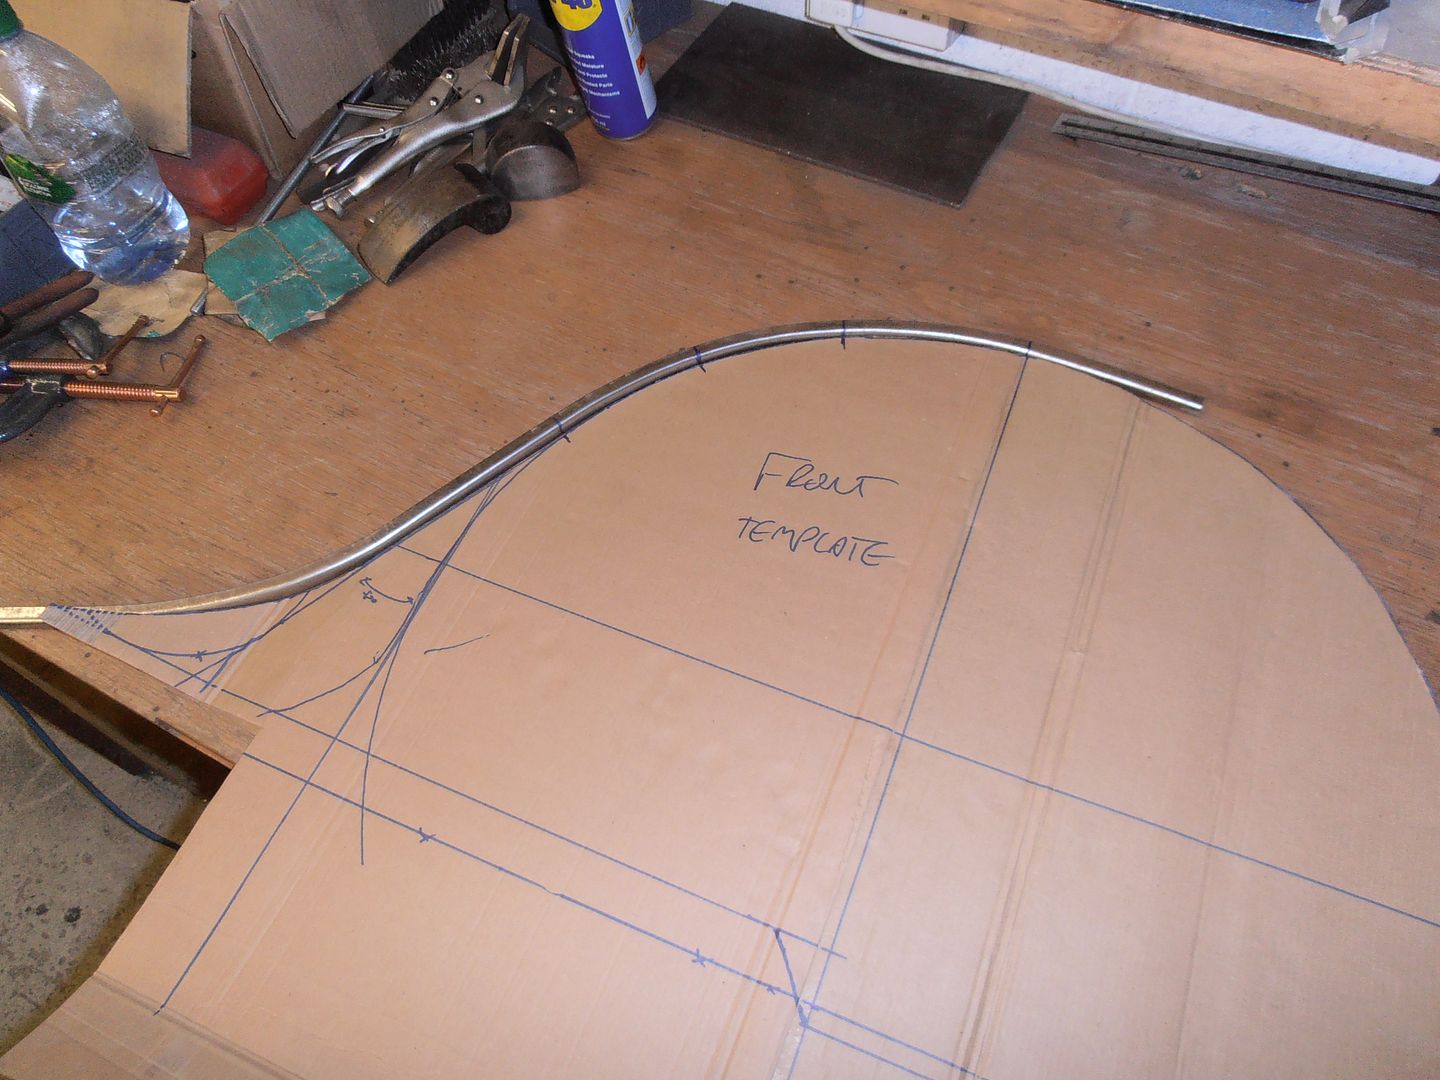 carefully cut and patch together 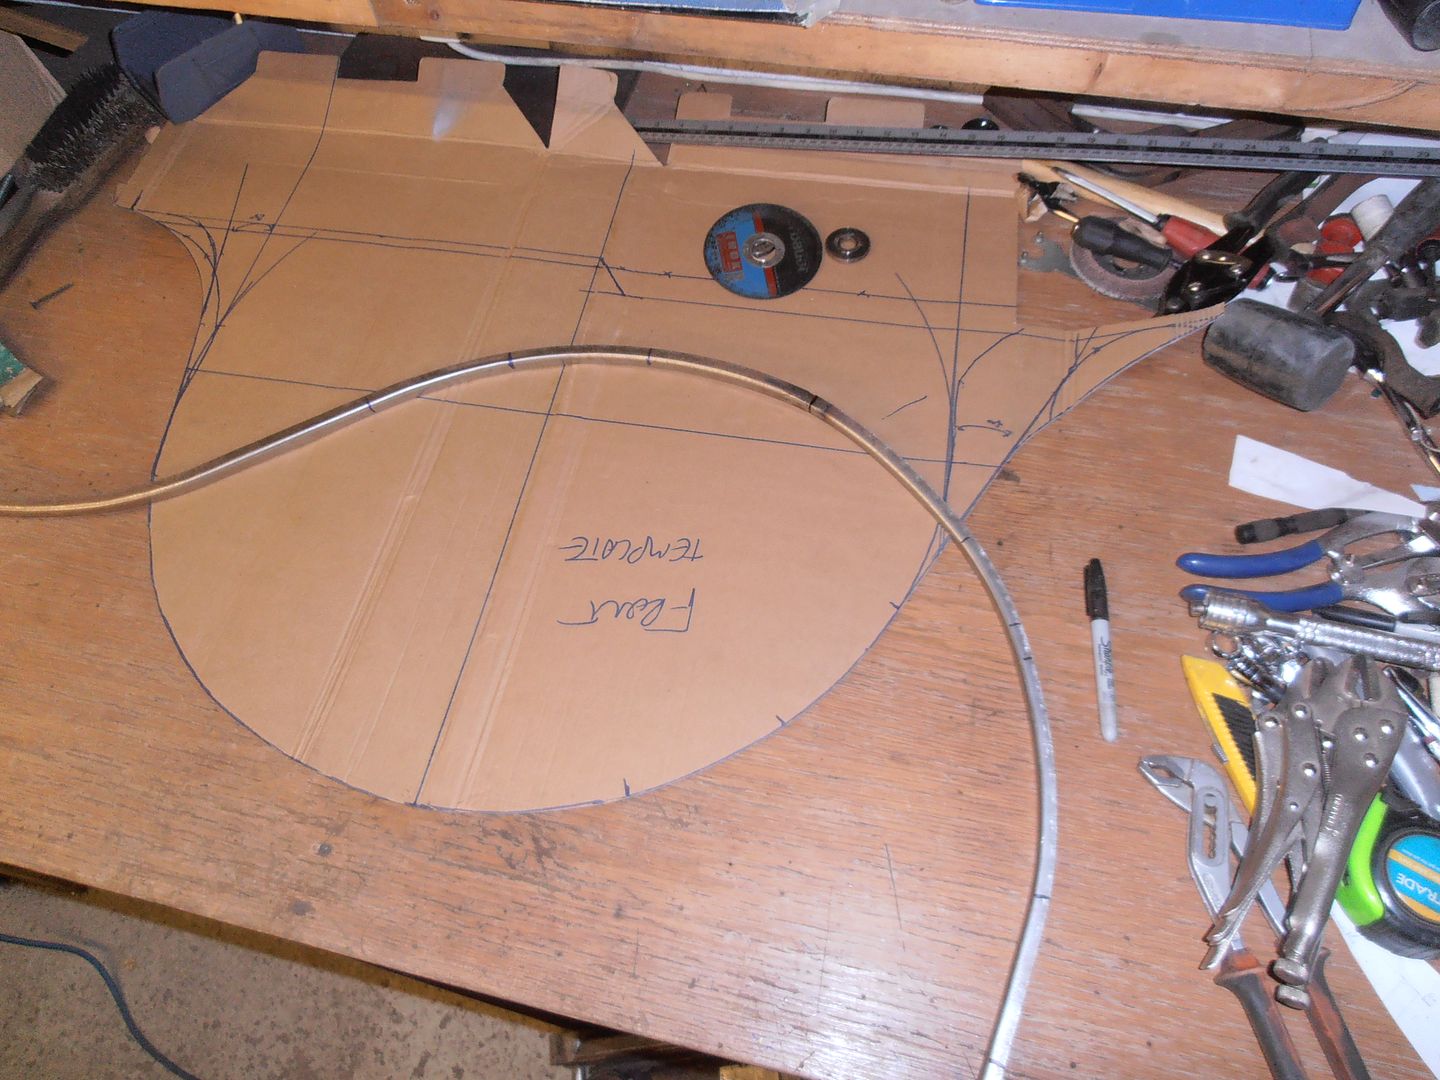 also.... i got a front section for the drivers side at the same time as I may have forgotten which side to shrink / stretch on..... oops Oh well, nothing else for it, cut cut time 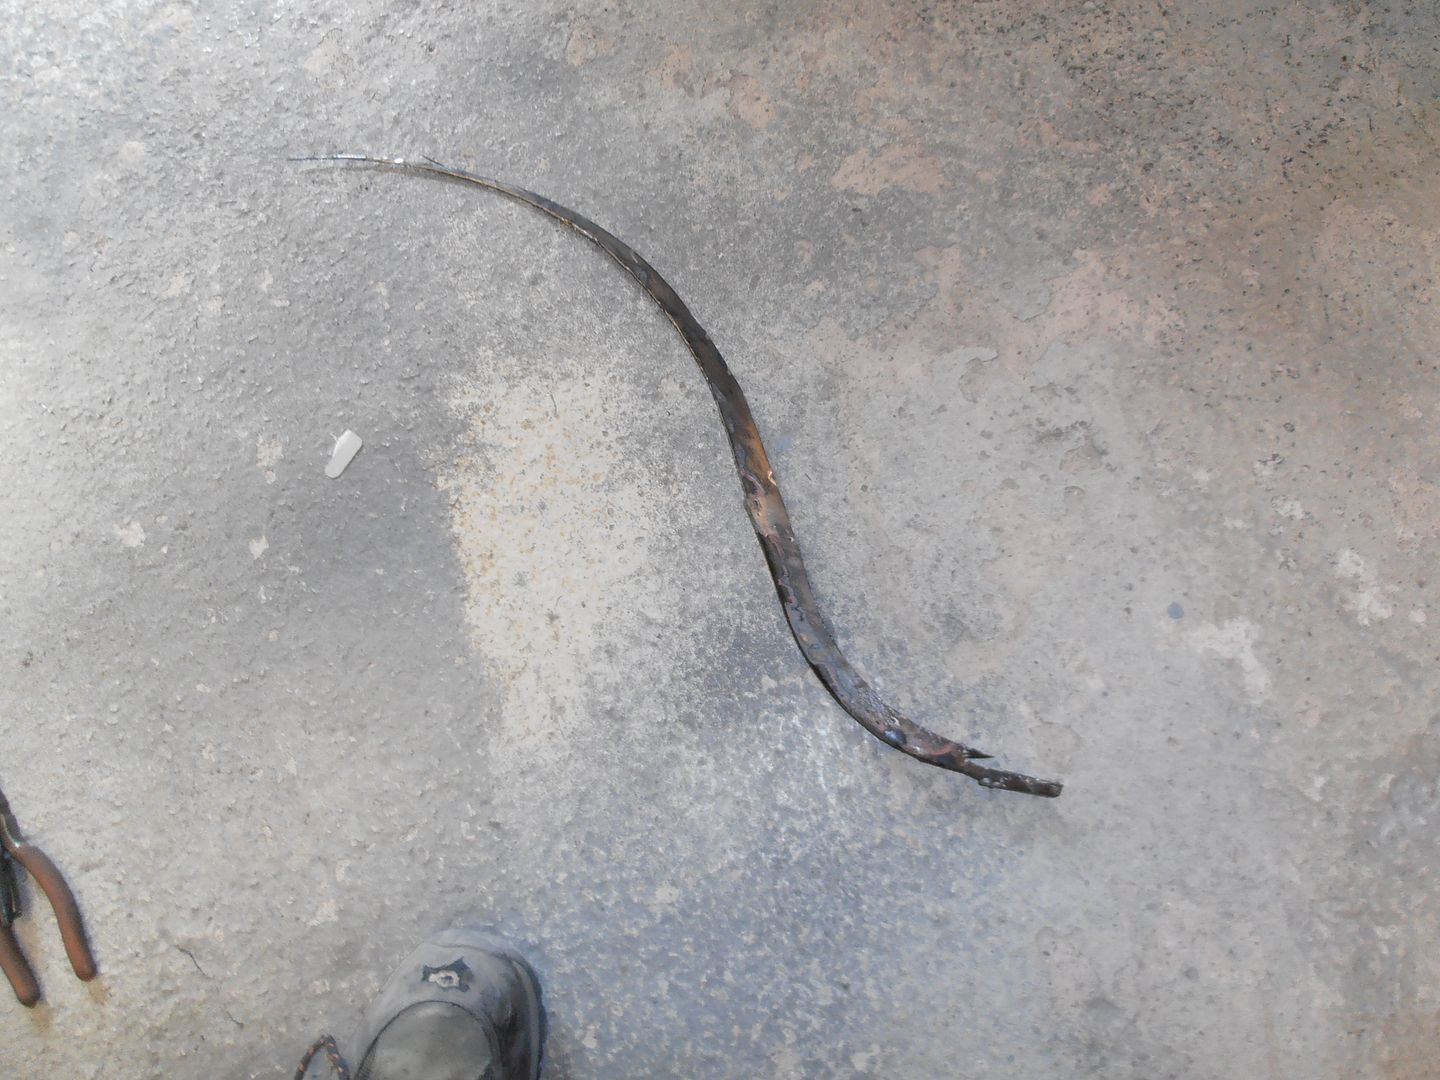 wing cleaned up and the arch profile held in place 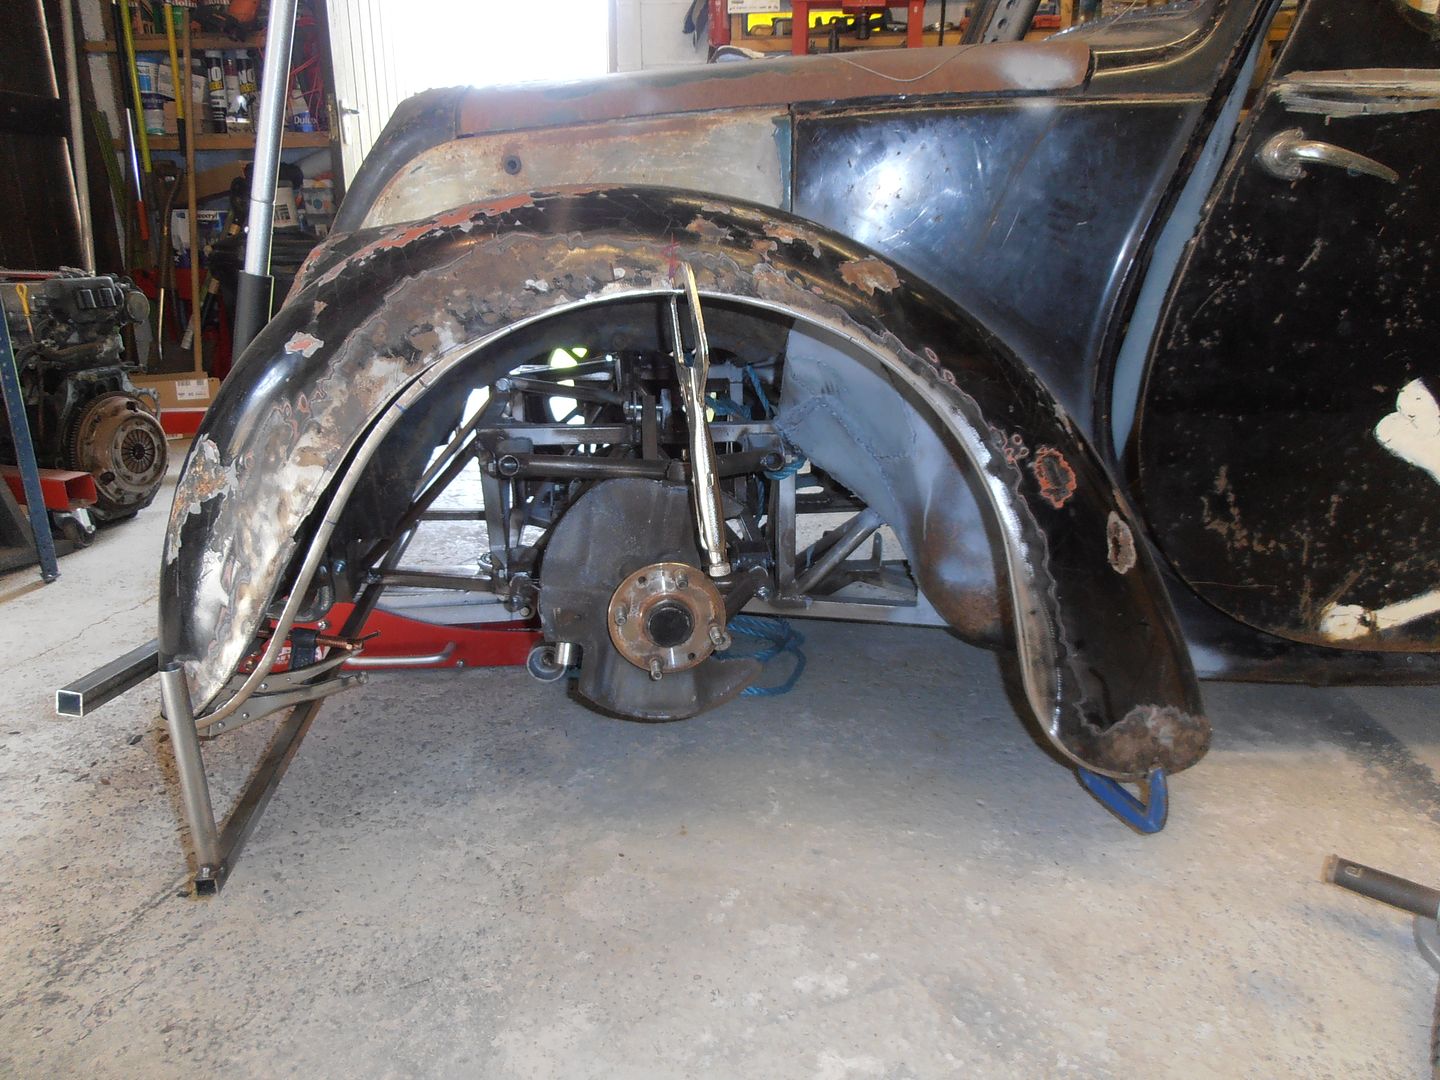 tacked in 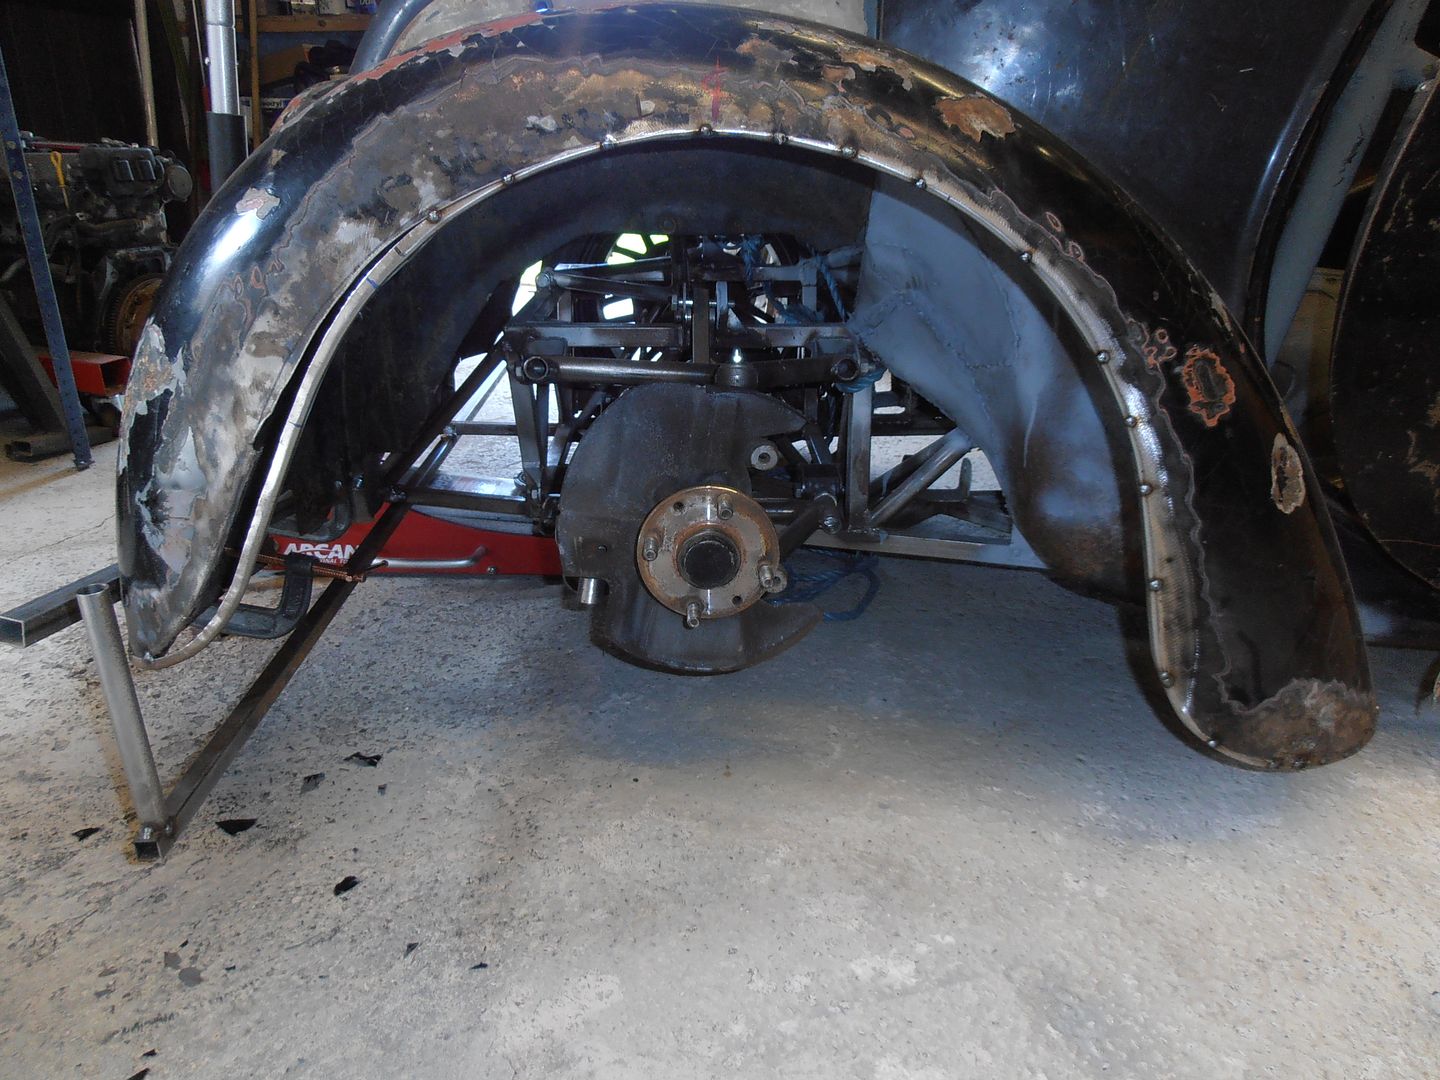 template check 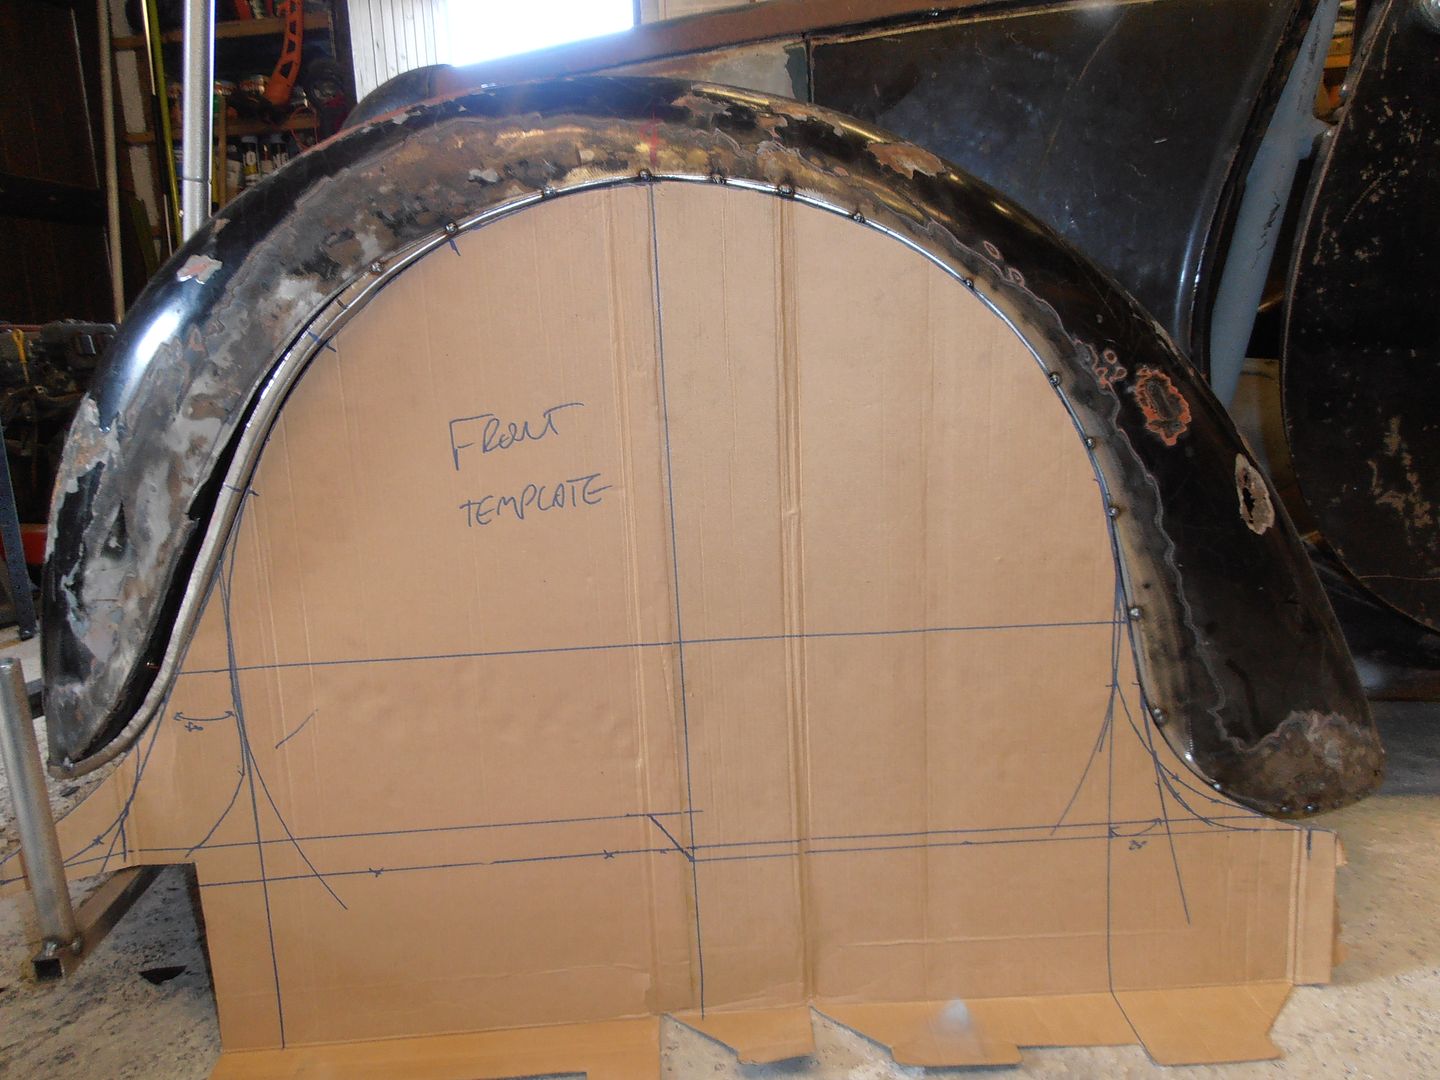 wheel check 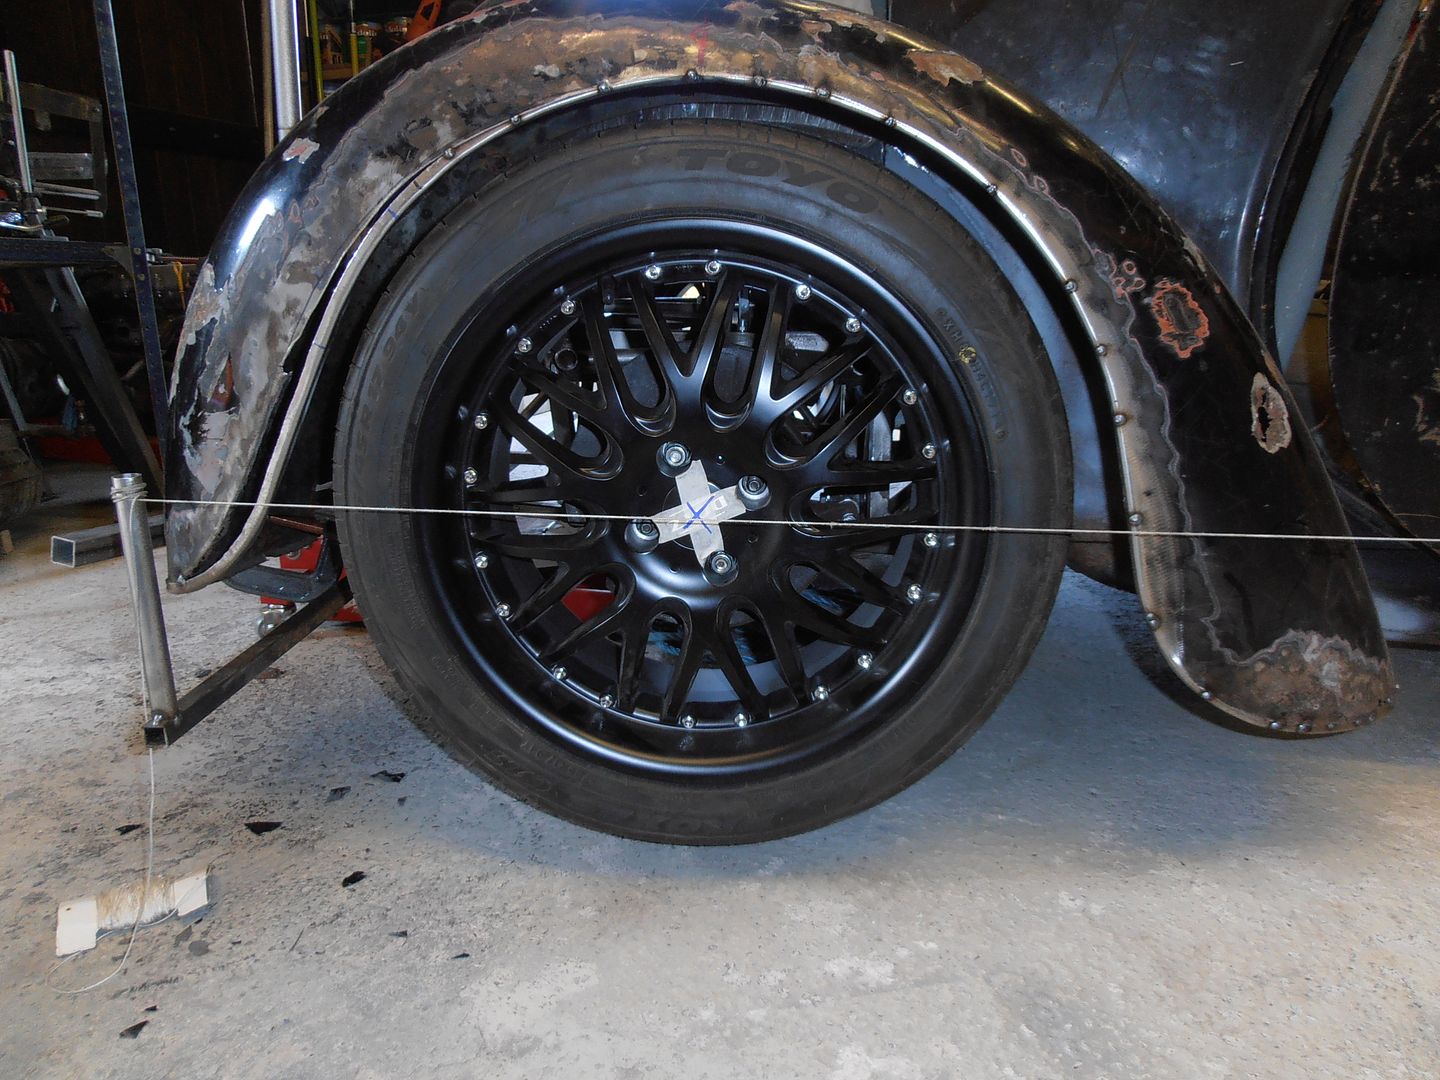 hmmmm front looks fractionally off, yep, about 5mm too far in so cut and re-set 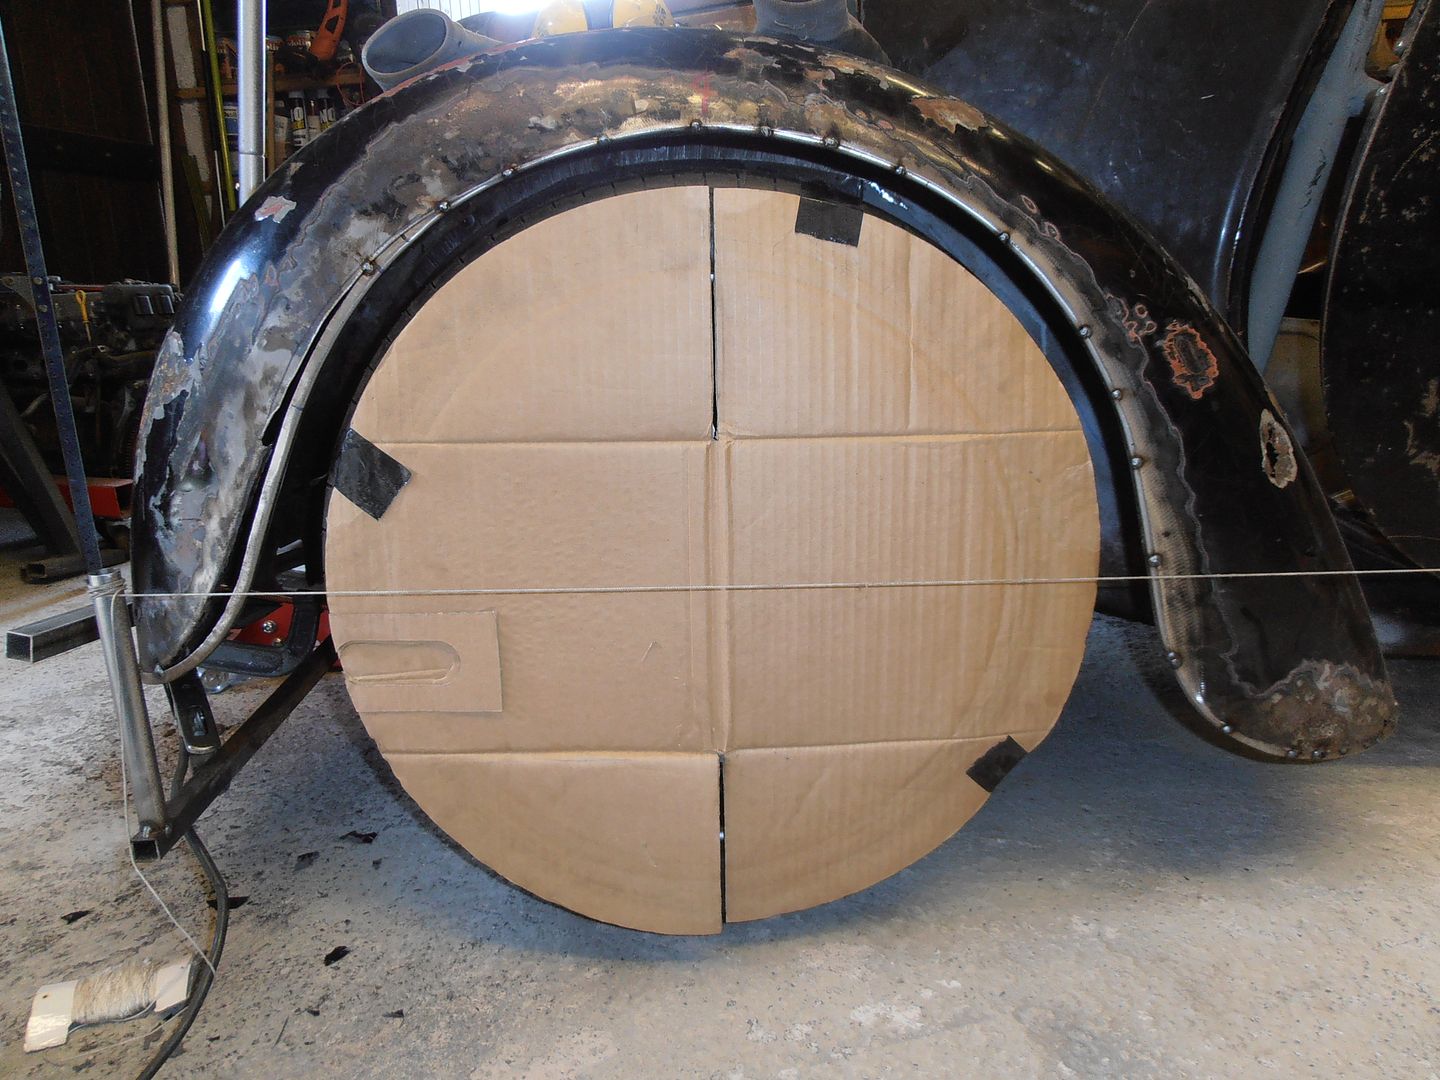 much better I then forgot to take any pictures for two hours..... I did the infill from the arch line to the wing then fitted a re-enforcing plate to the front of the wing to hold it all stable (it was cracked on the lip and also rusted, so was moving about a bit) I also decided the rear of the arch stuck out too far so cut all the tacks and moved the bottom of the wing over by 10mm which pulled it in much better 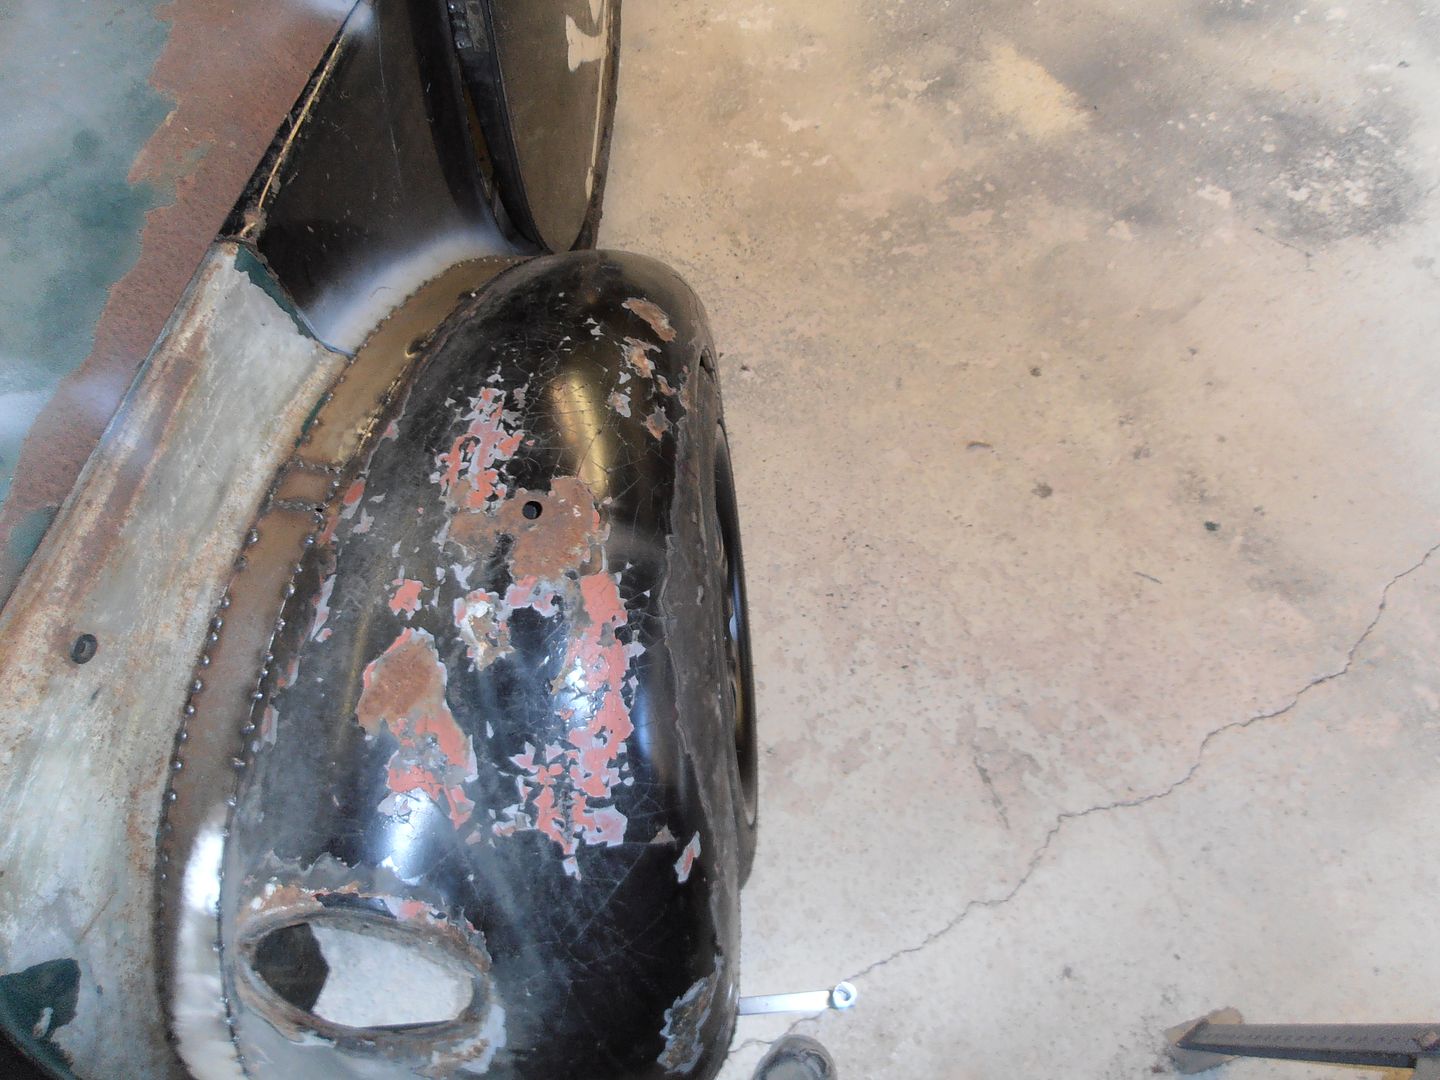 tread is suitably covered, but tyre comes nicely to the edge of the arch 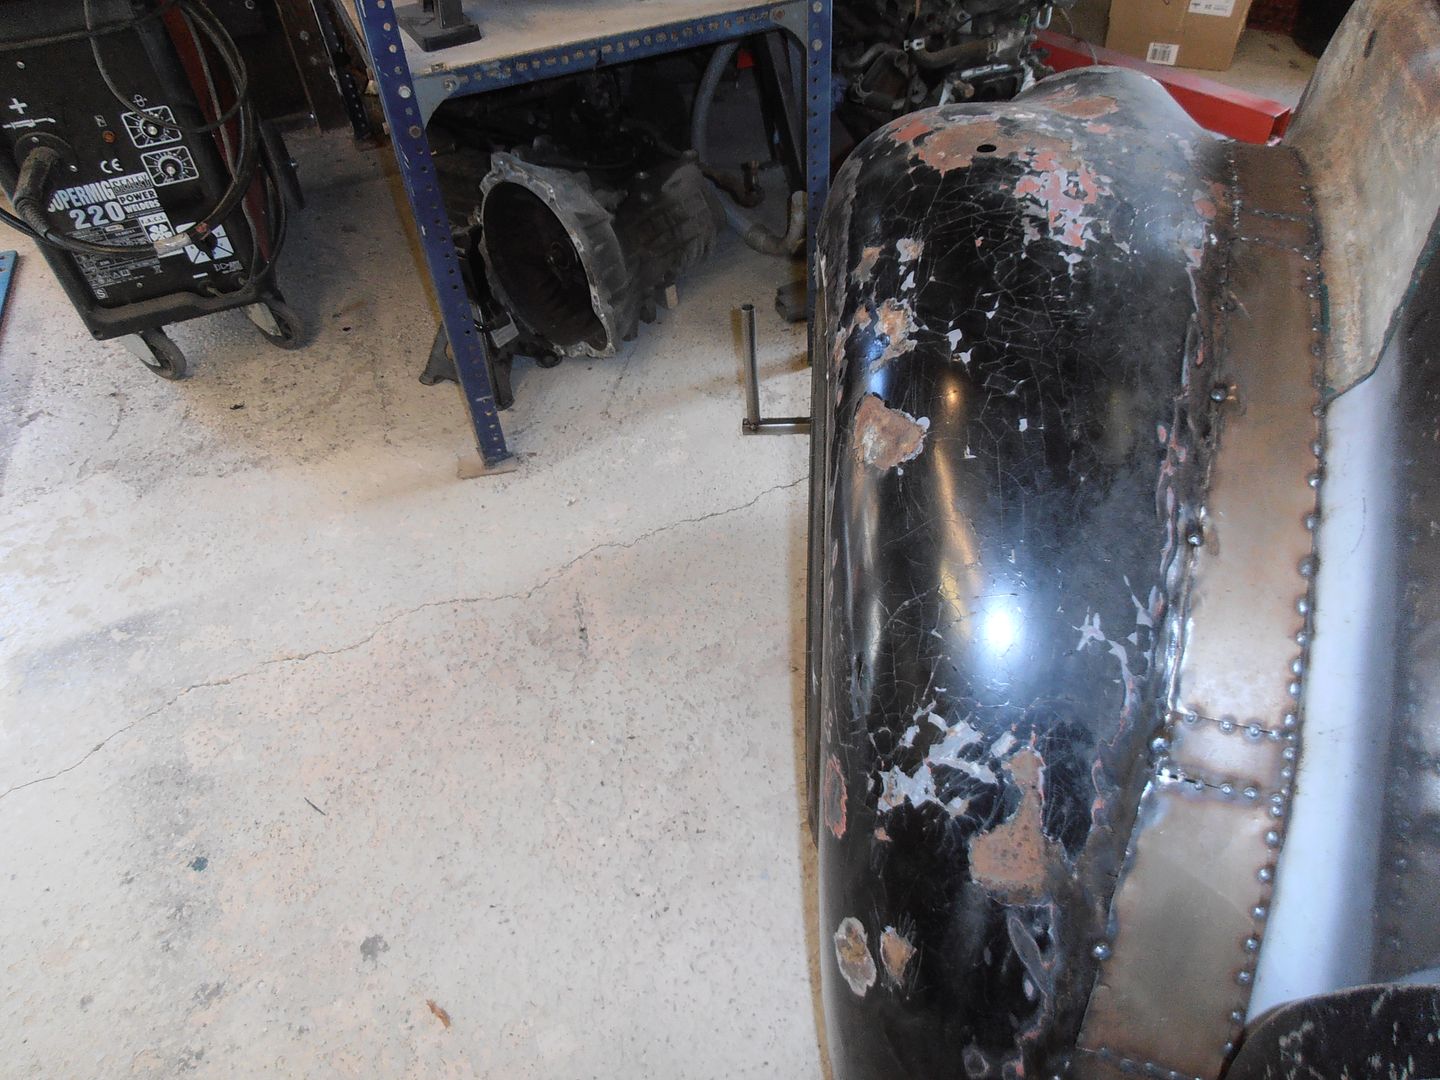 theres still a few ripples to work out on it but its getting there rear arch 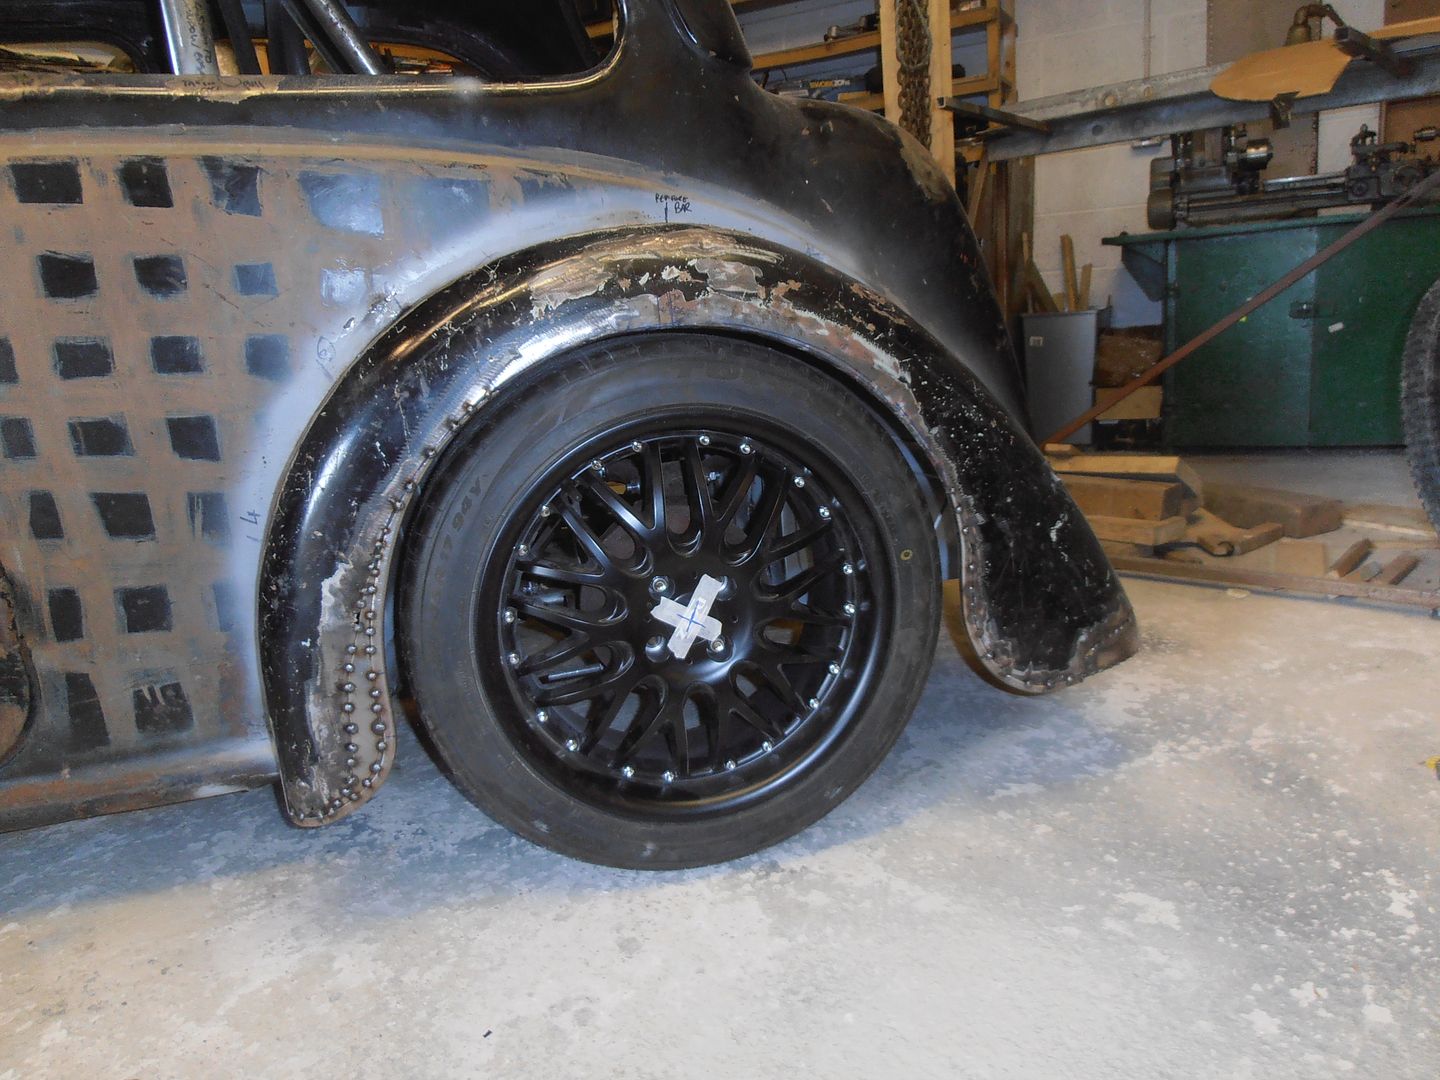 some other pics of the car 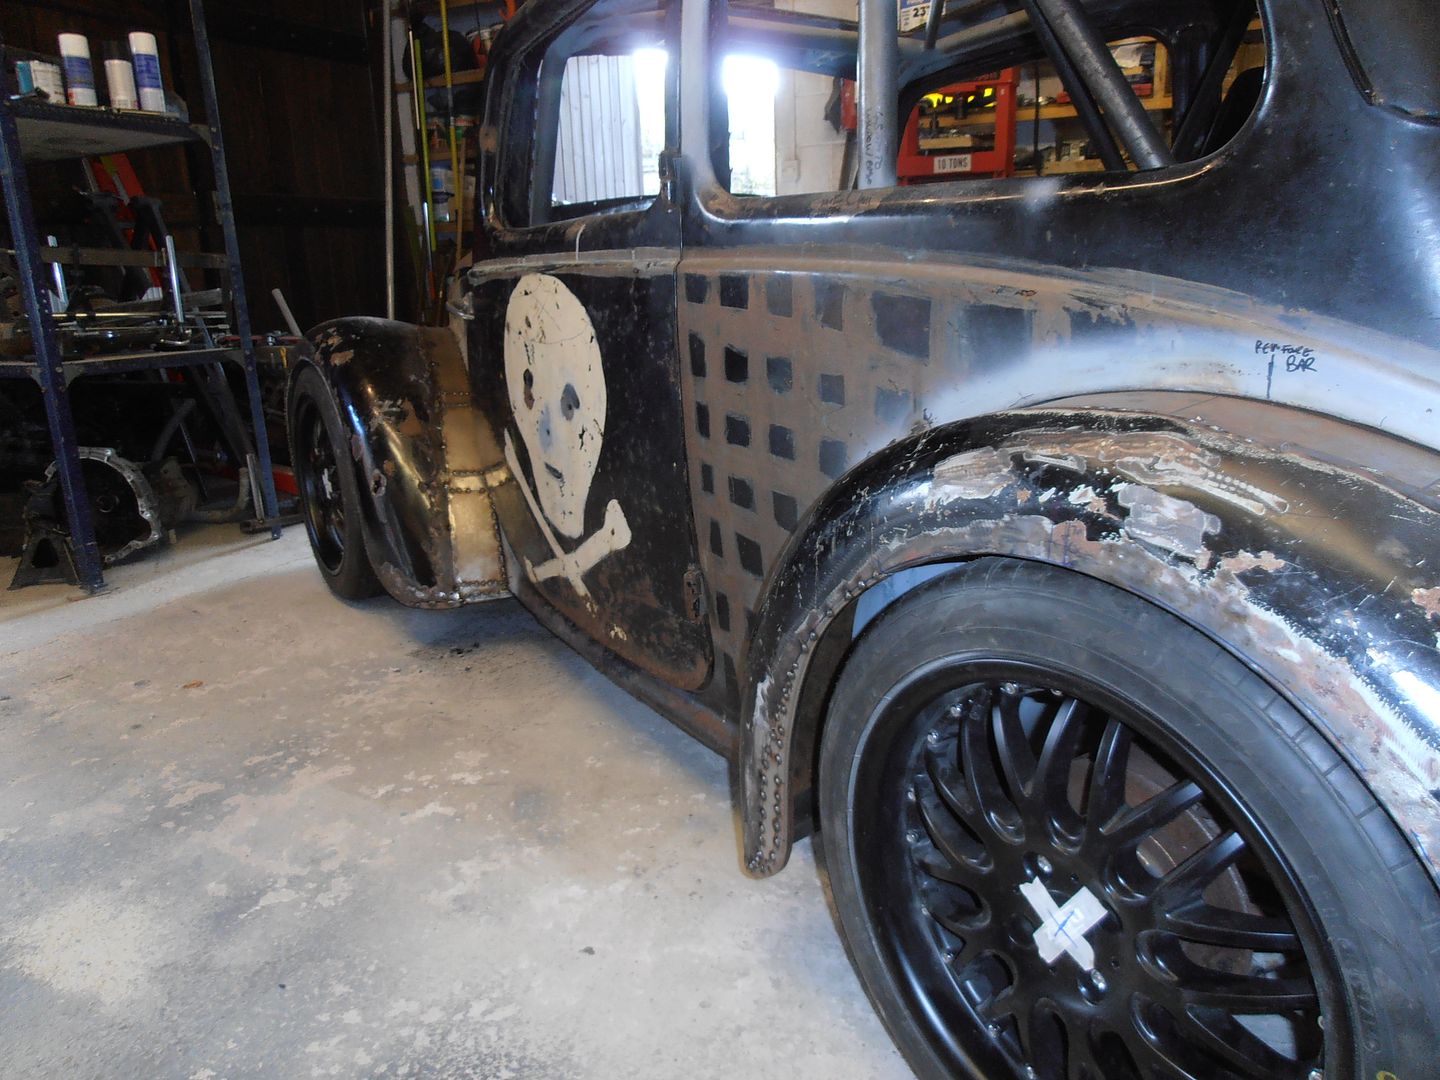 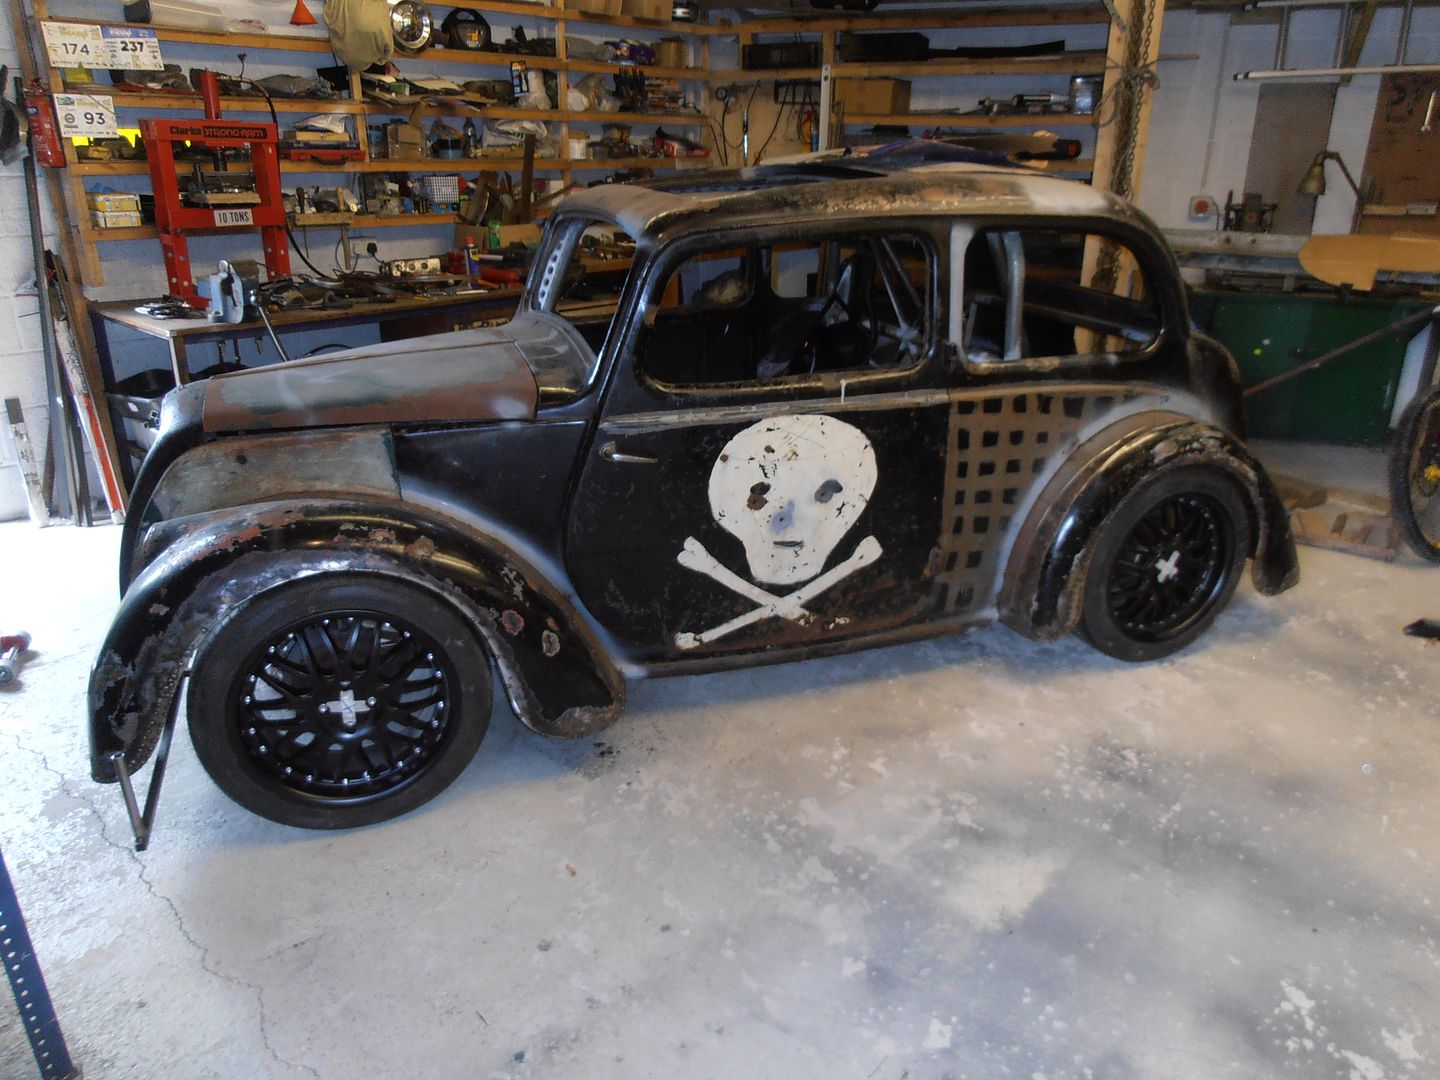 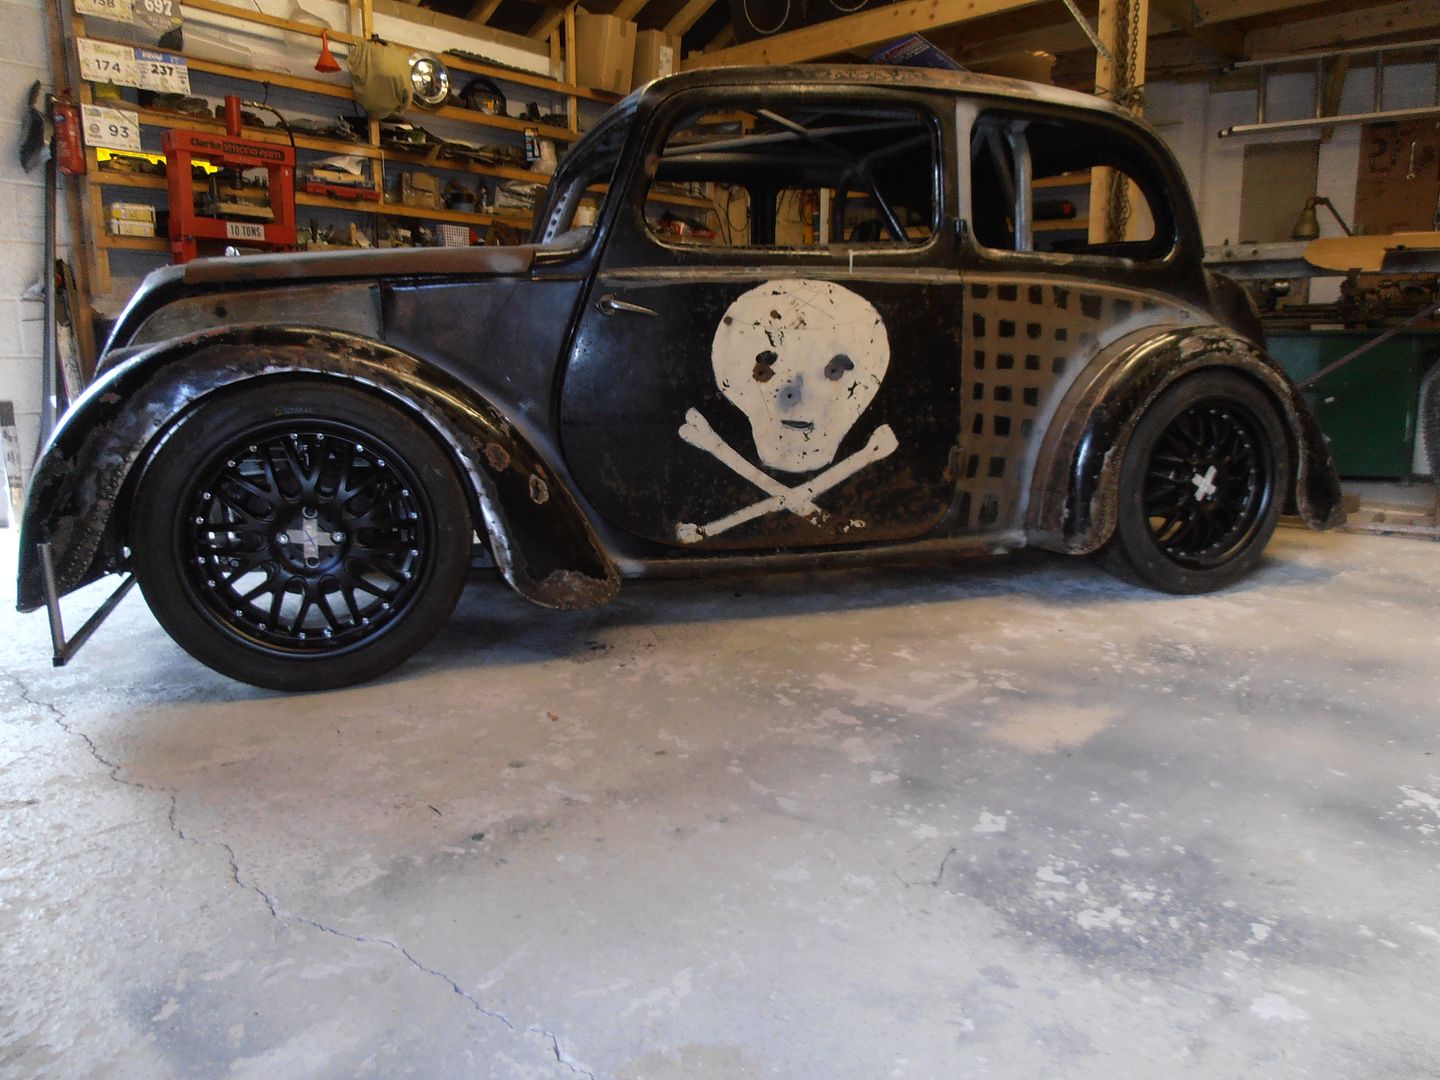 Not sure how much time i'll get next weekend, but the plan is to move the rear arch mounting holes in by 10mm. This will move the arch over so it has similar tyre clearance to the front . Also, I need to lower the front of the rear arch so its the same height as the rear of the front arch. Its currently 15mm higher. Then its only the real fun.... trying to get the other side to match.... |
| |
|
|
v8ian
Posted a lot
  
Posts: 3,828
|
|
Apr 25, 2016 19:22:40 GMT
|
|
Looking good, cant help but think the front wing leading edge needs more of a corner like the leading edge of the rear wing, of course it might just be the photo.
|
| |
Atmo V8 Power . No slicks , No gas + No bits missing . Doing it in style.
Austin A35van, very different------- but still doing it in style, going to be a funmoble
|
|
jonomisfit
Club Retro Rides Member
Posts: 1,787
Club RR Member Number: 49
|
|
Apr 25, 2016 19:57:26 GMT
|
|
I might give it a go with some card and see what it looks like.
It might make it a bit heavy looking on the front. The taper does hide this a bit and give it a thin look.
I'm almost thinking of going the other way and tapering out the front of the rear arch, rather than the way I have it at the moment.
Will see what its all like after I re-set the rear.
|
| |
|
|
jonomisfit
Club Retro Rides Member
Posts: 1,787
Club RR Member Number: 49
|
|
|
|
Very minor progress this weekend. Tacked in some reinforcing washers into the pedal box. 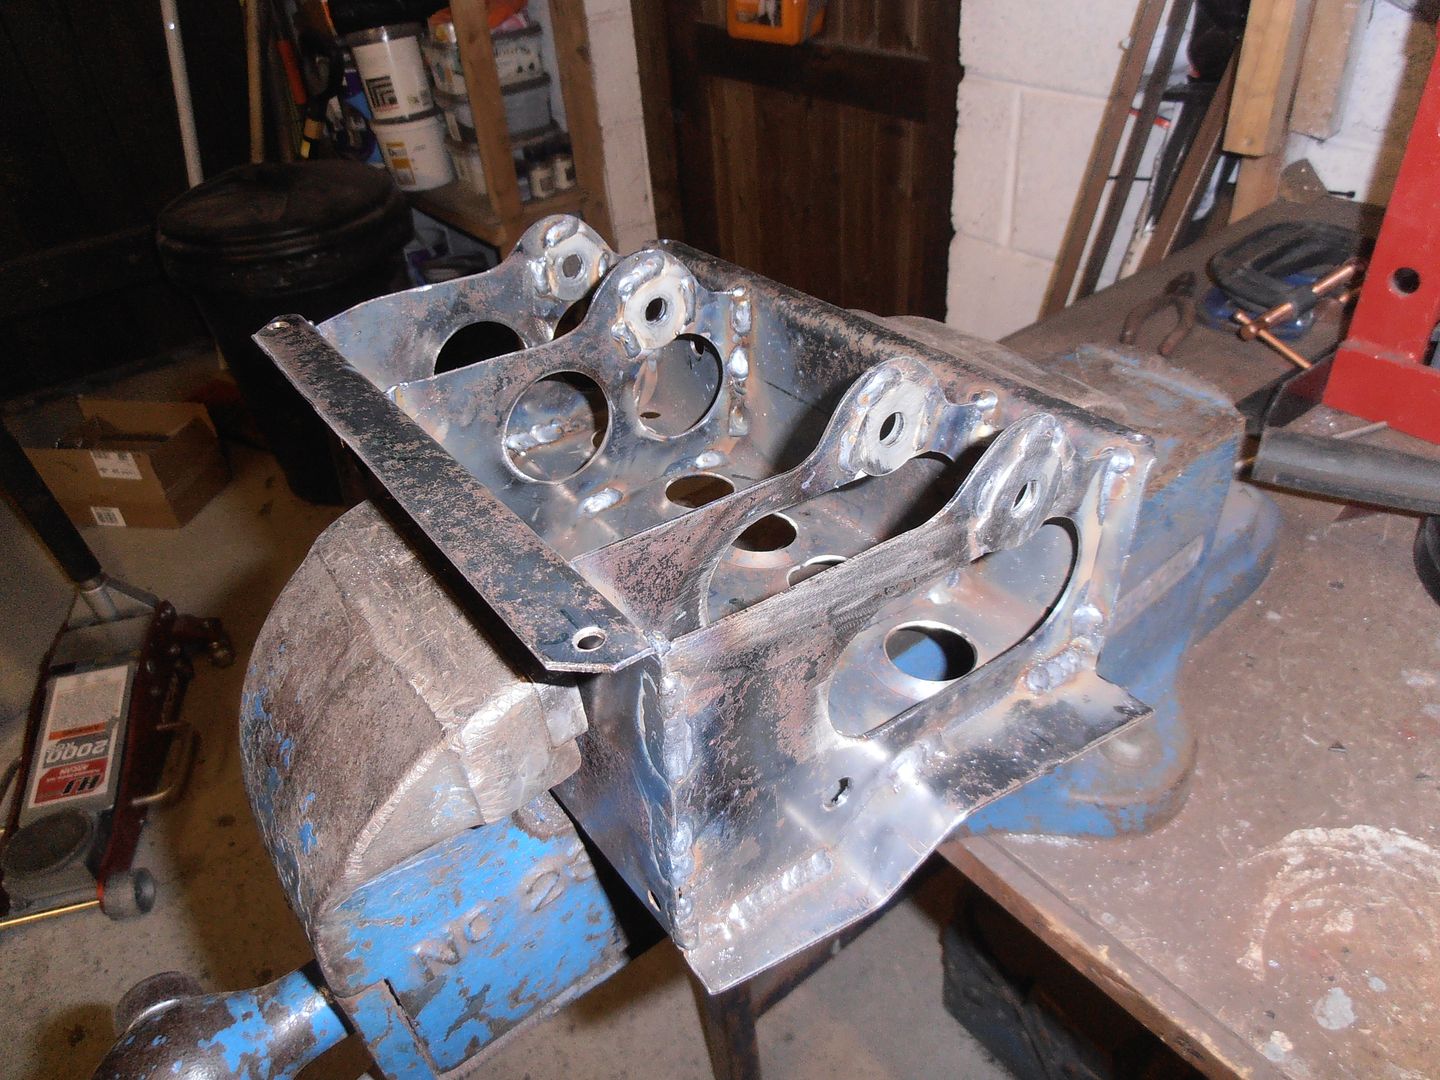 these are to ensure the brake pedal (mainly) doesnt try and push through or warp the supports. 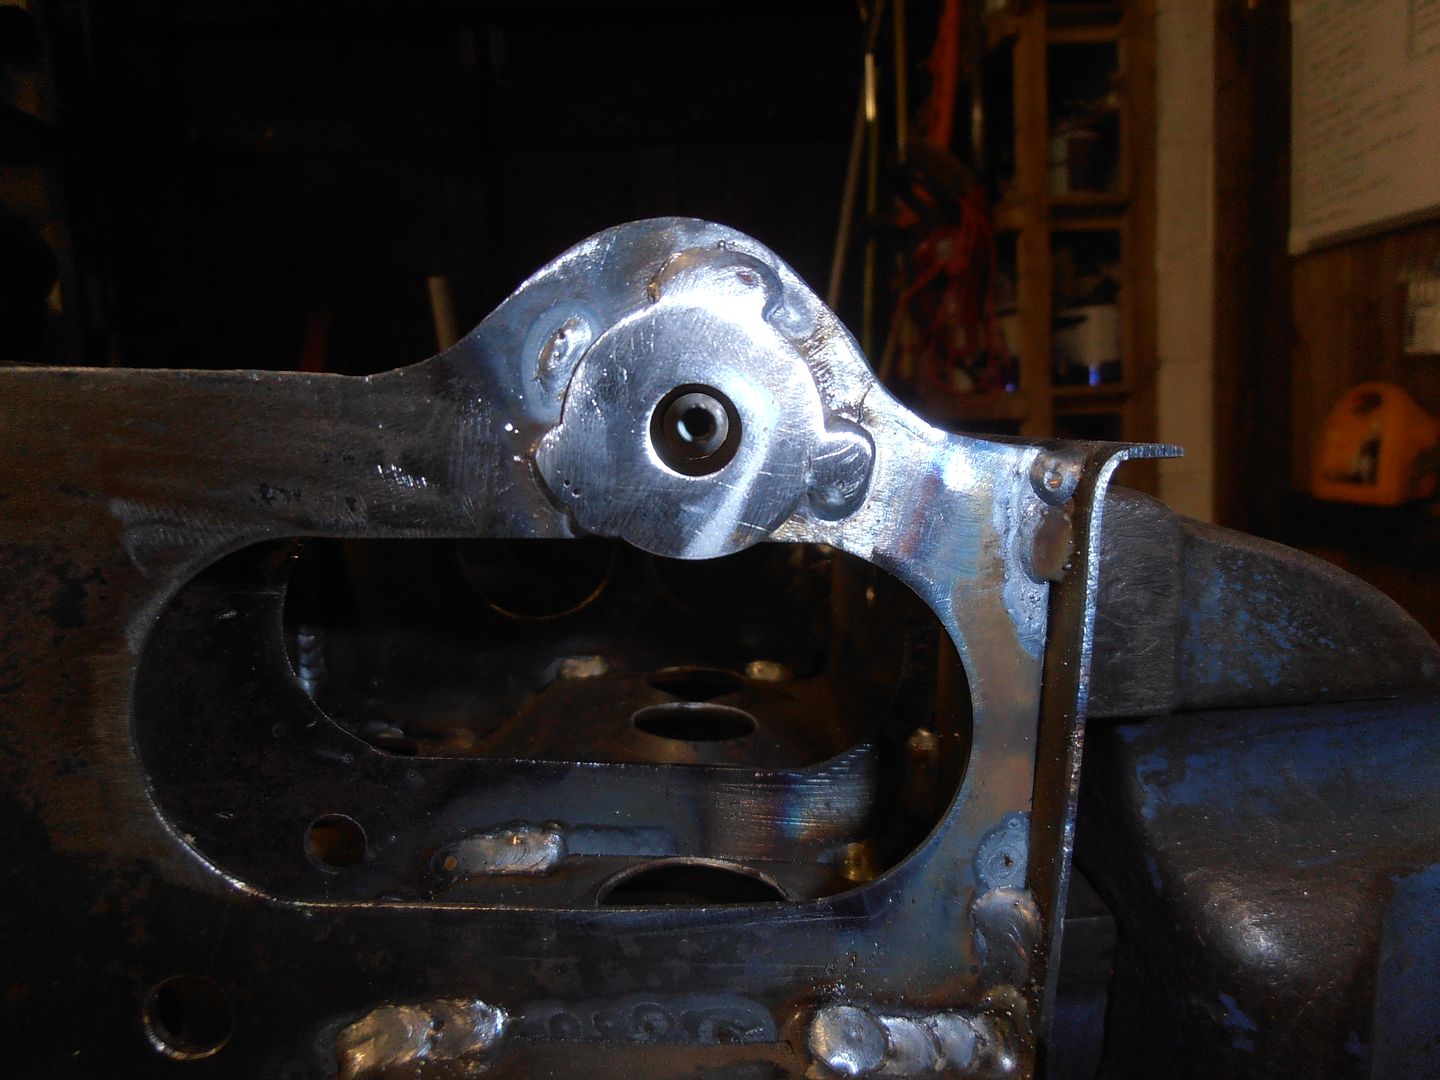 i also tacked more of the pedal box together. It'll need a further session, but i didnt want to weld it all solid until the stiffening fences were in 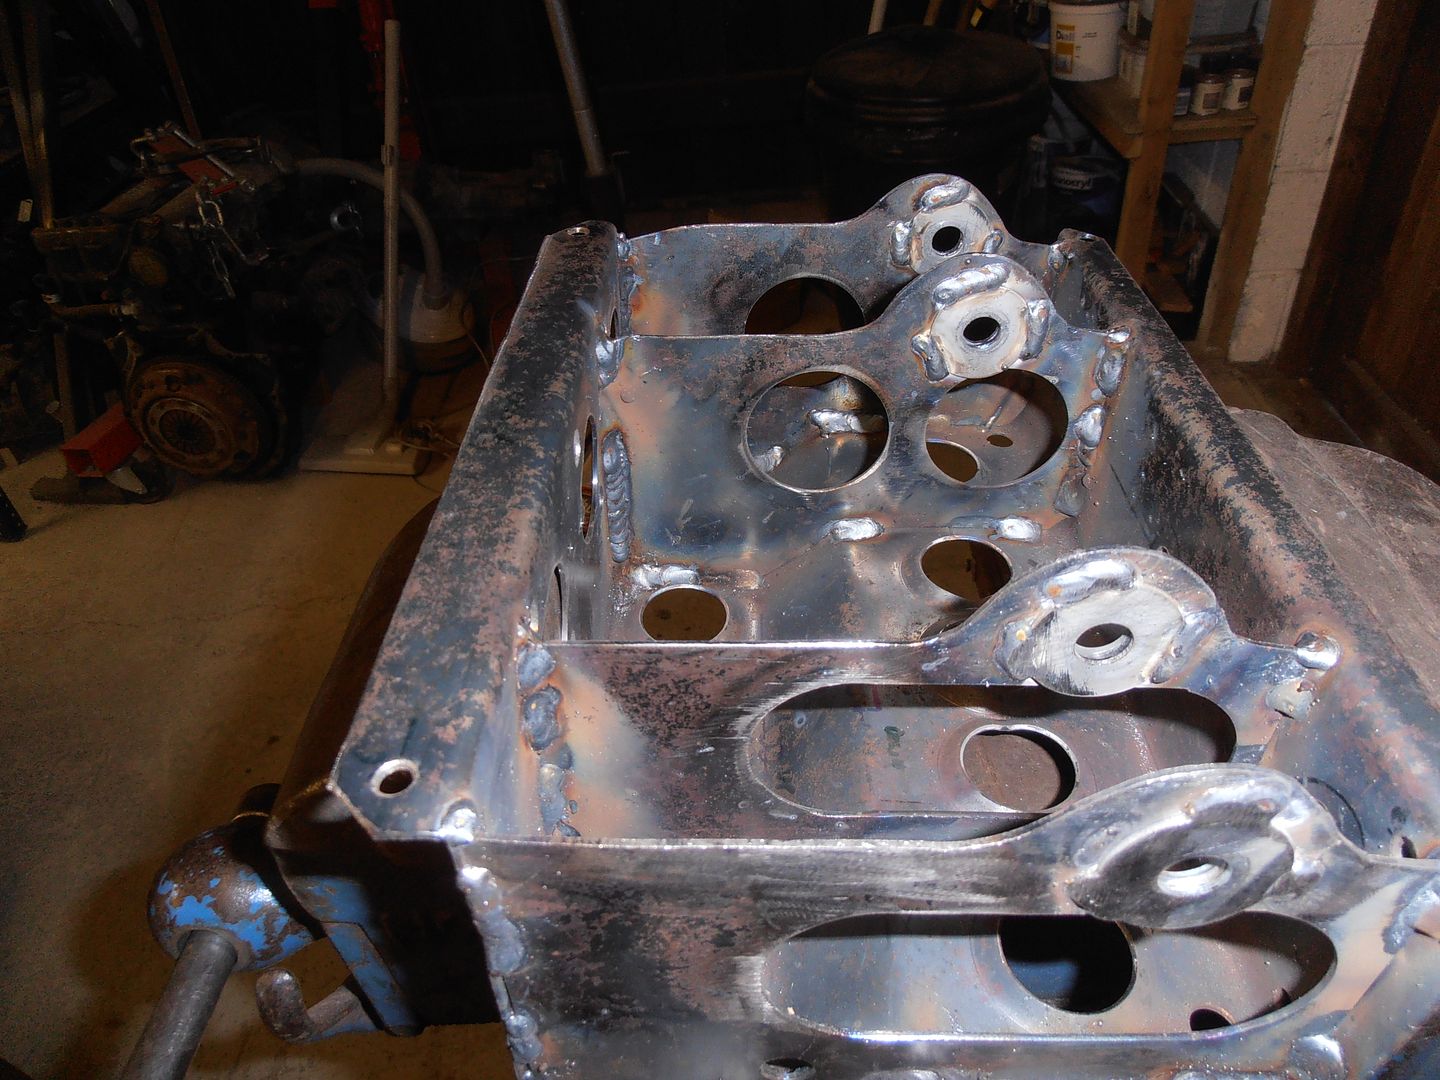 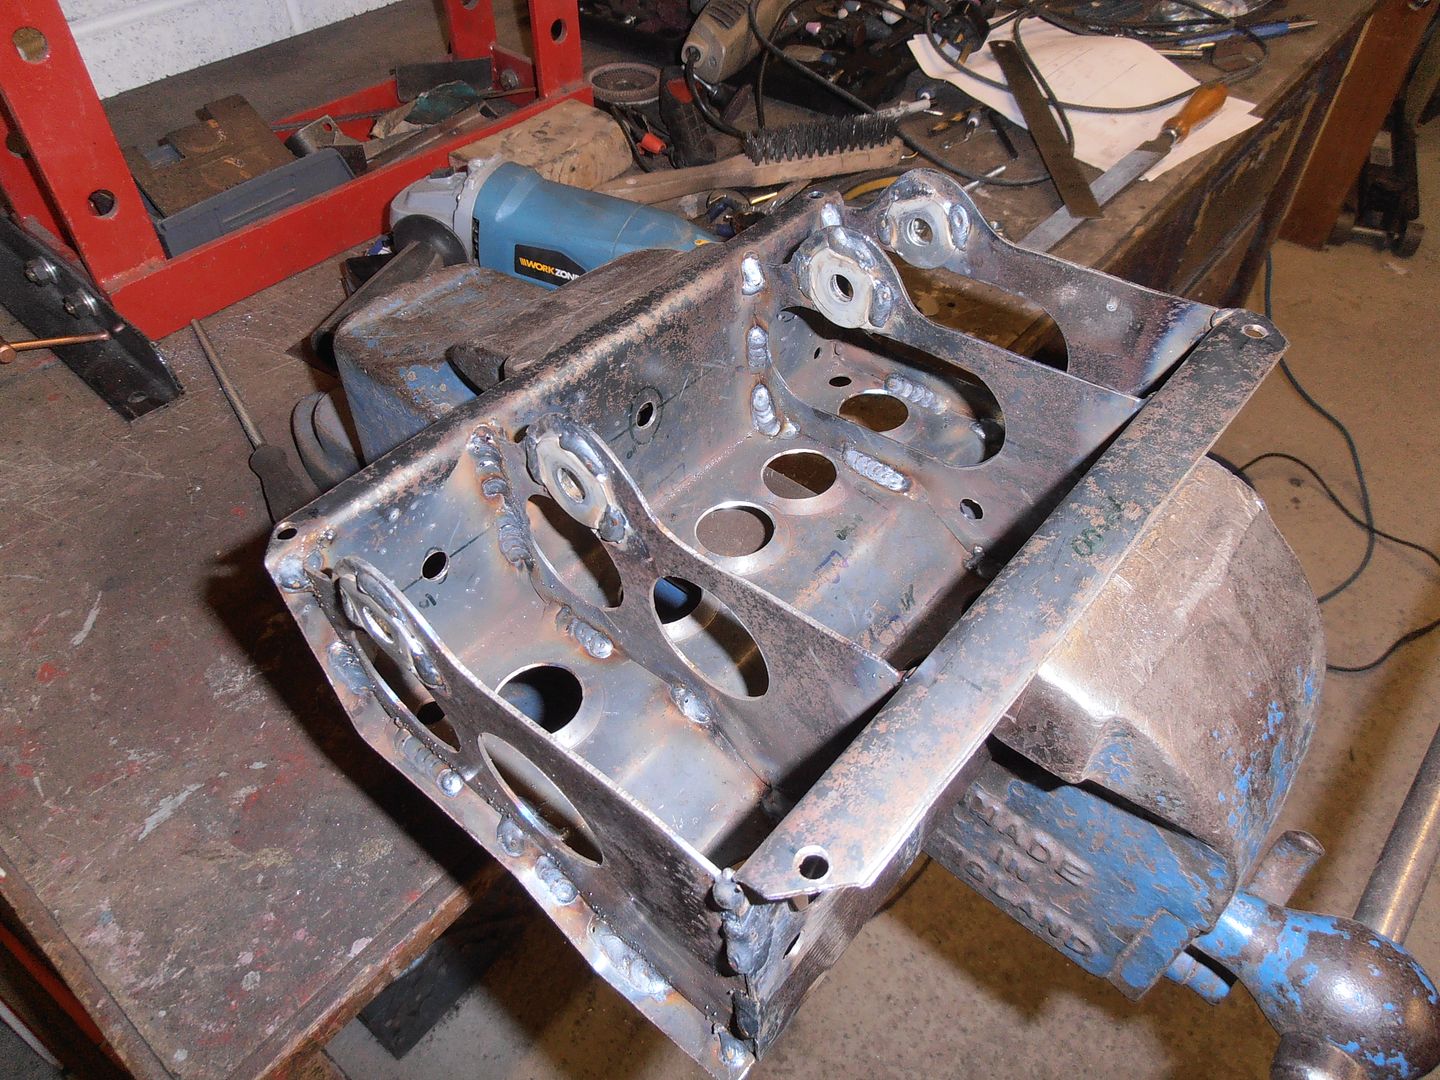 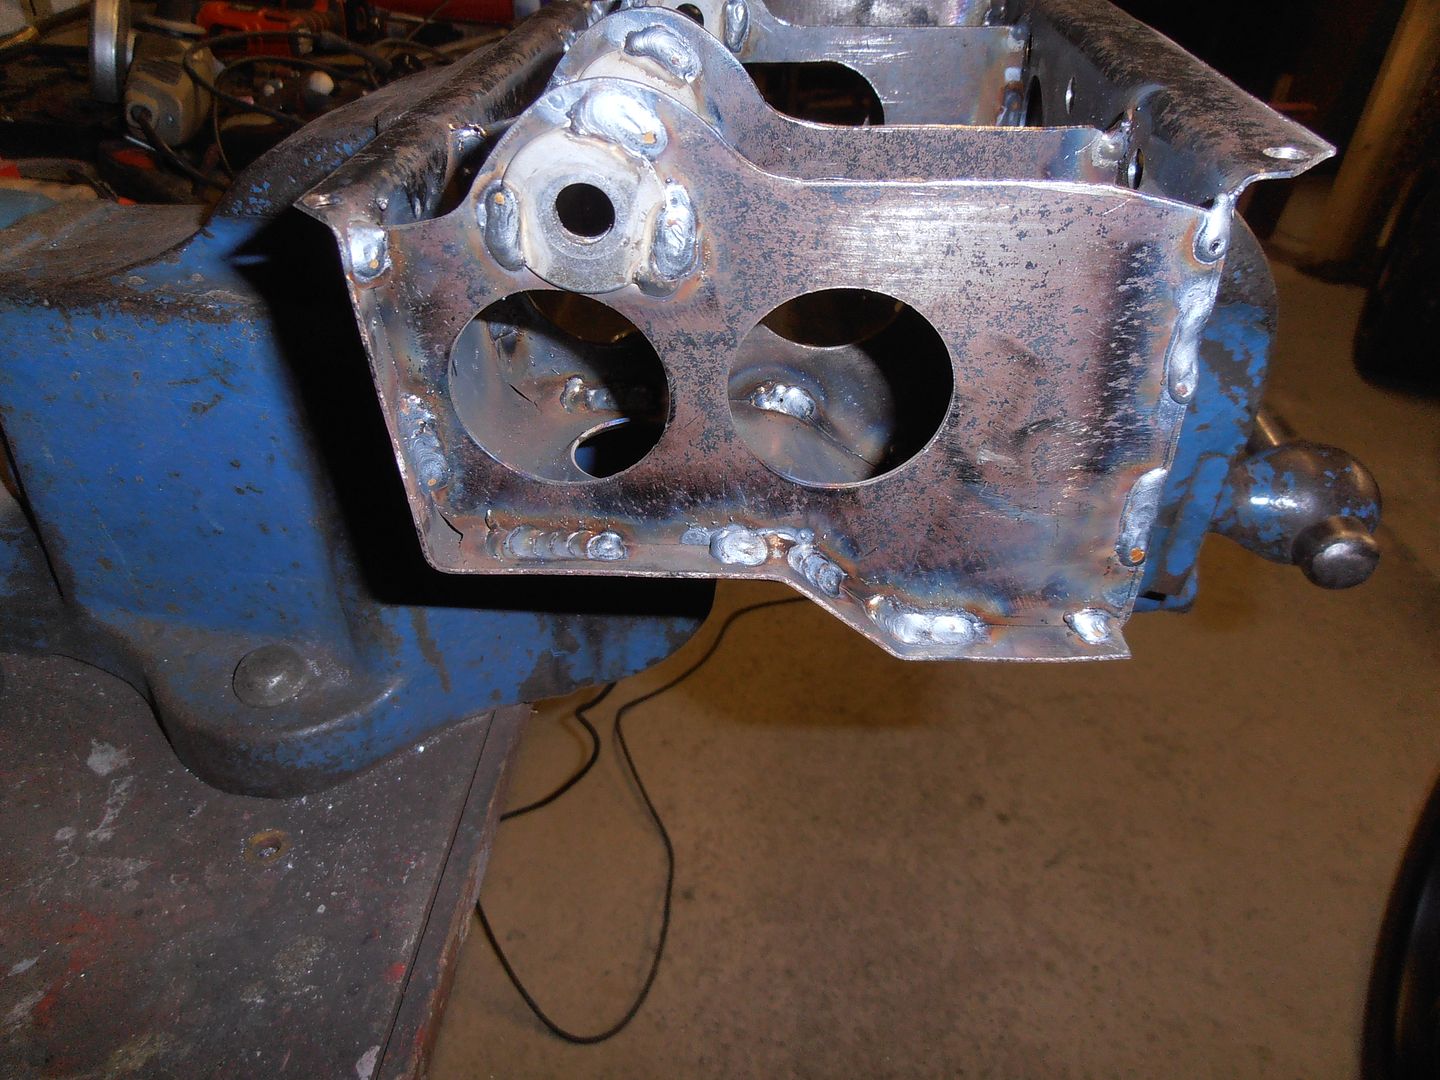 ground rod for supporting the pedals 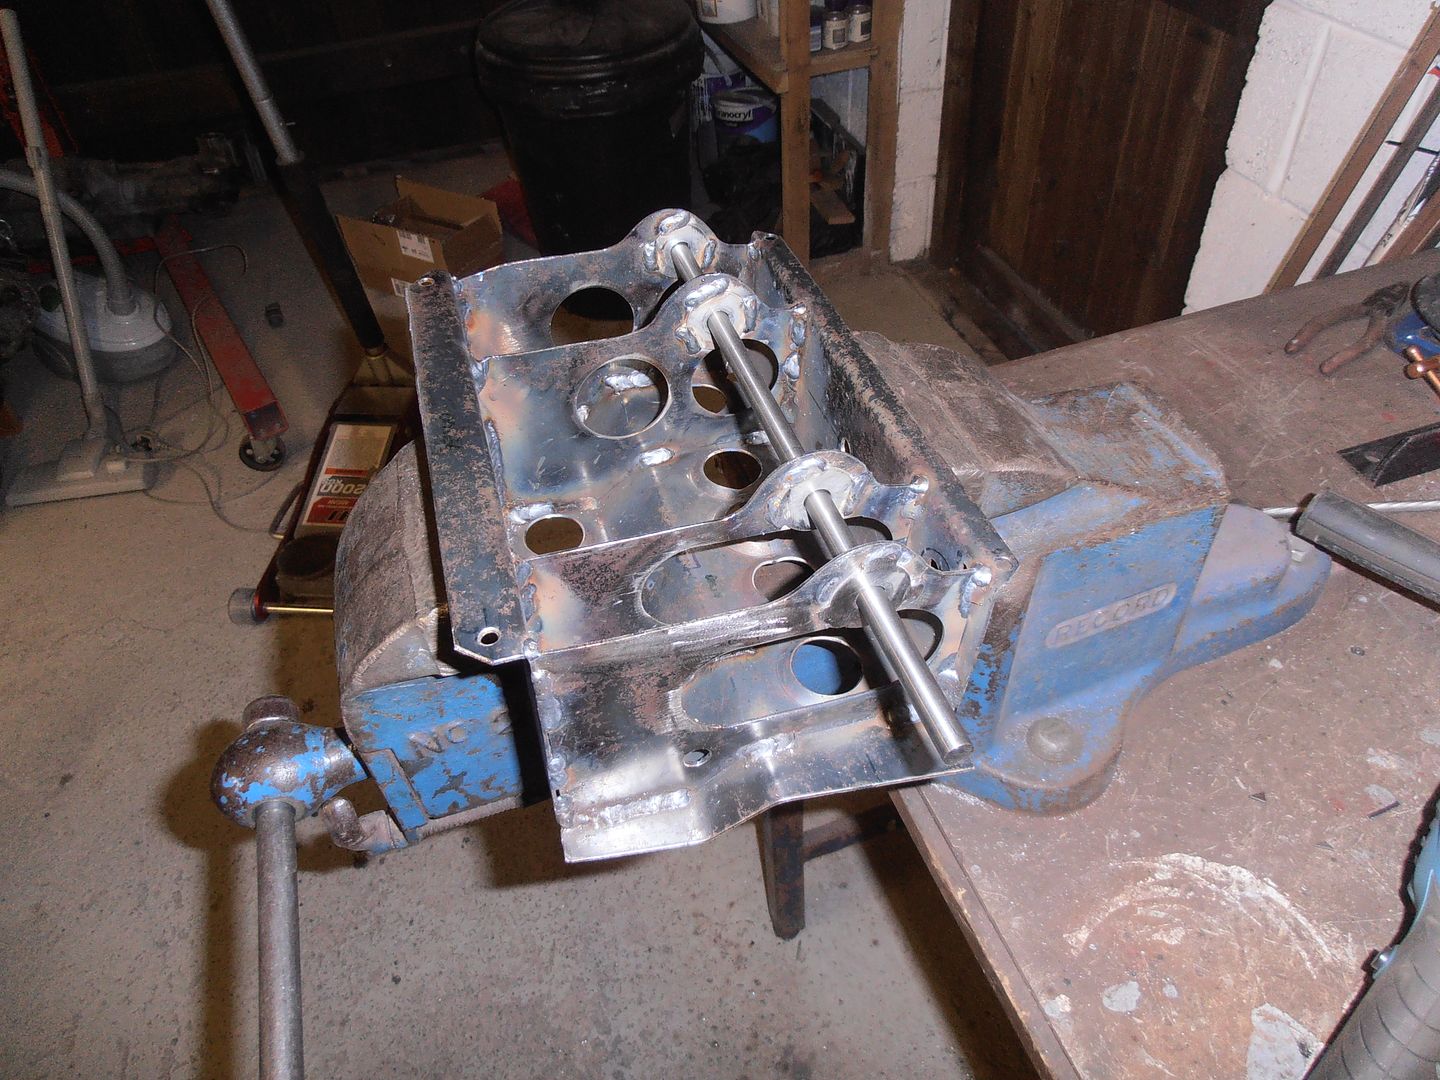 bought a finger sander / power file today and tidied up the welds on the support washers. Very handy tool, should have bought ages ago. 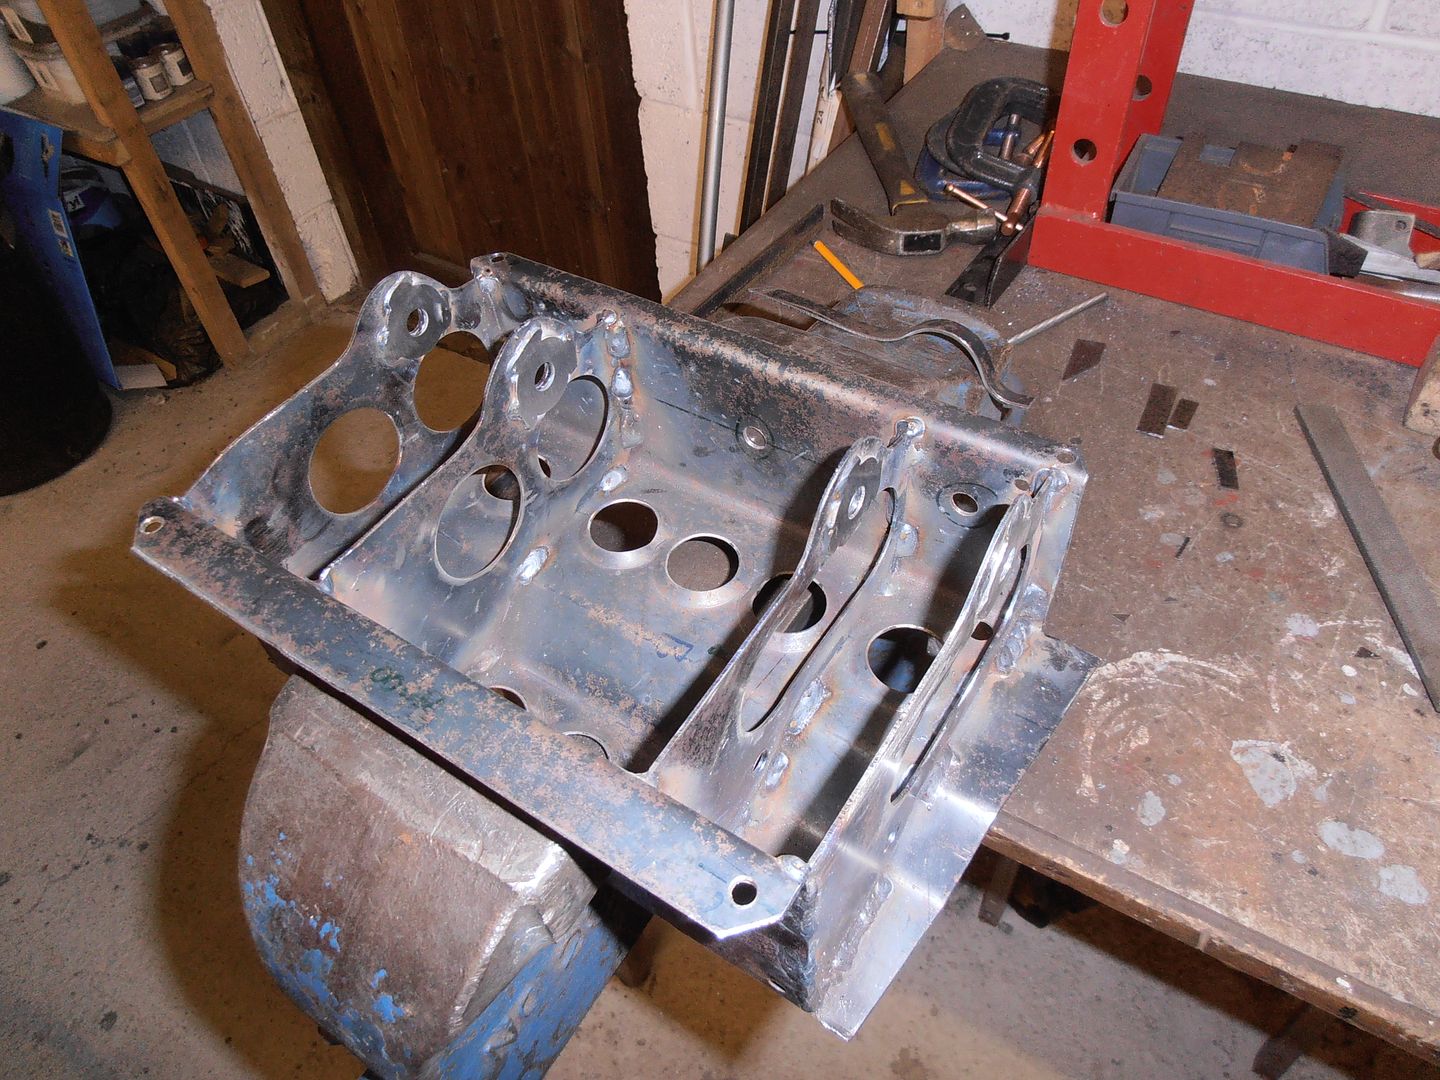 then made the stiffening fences 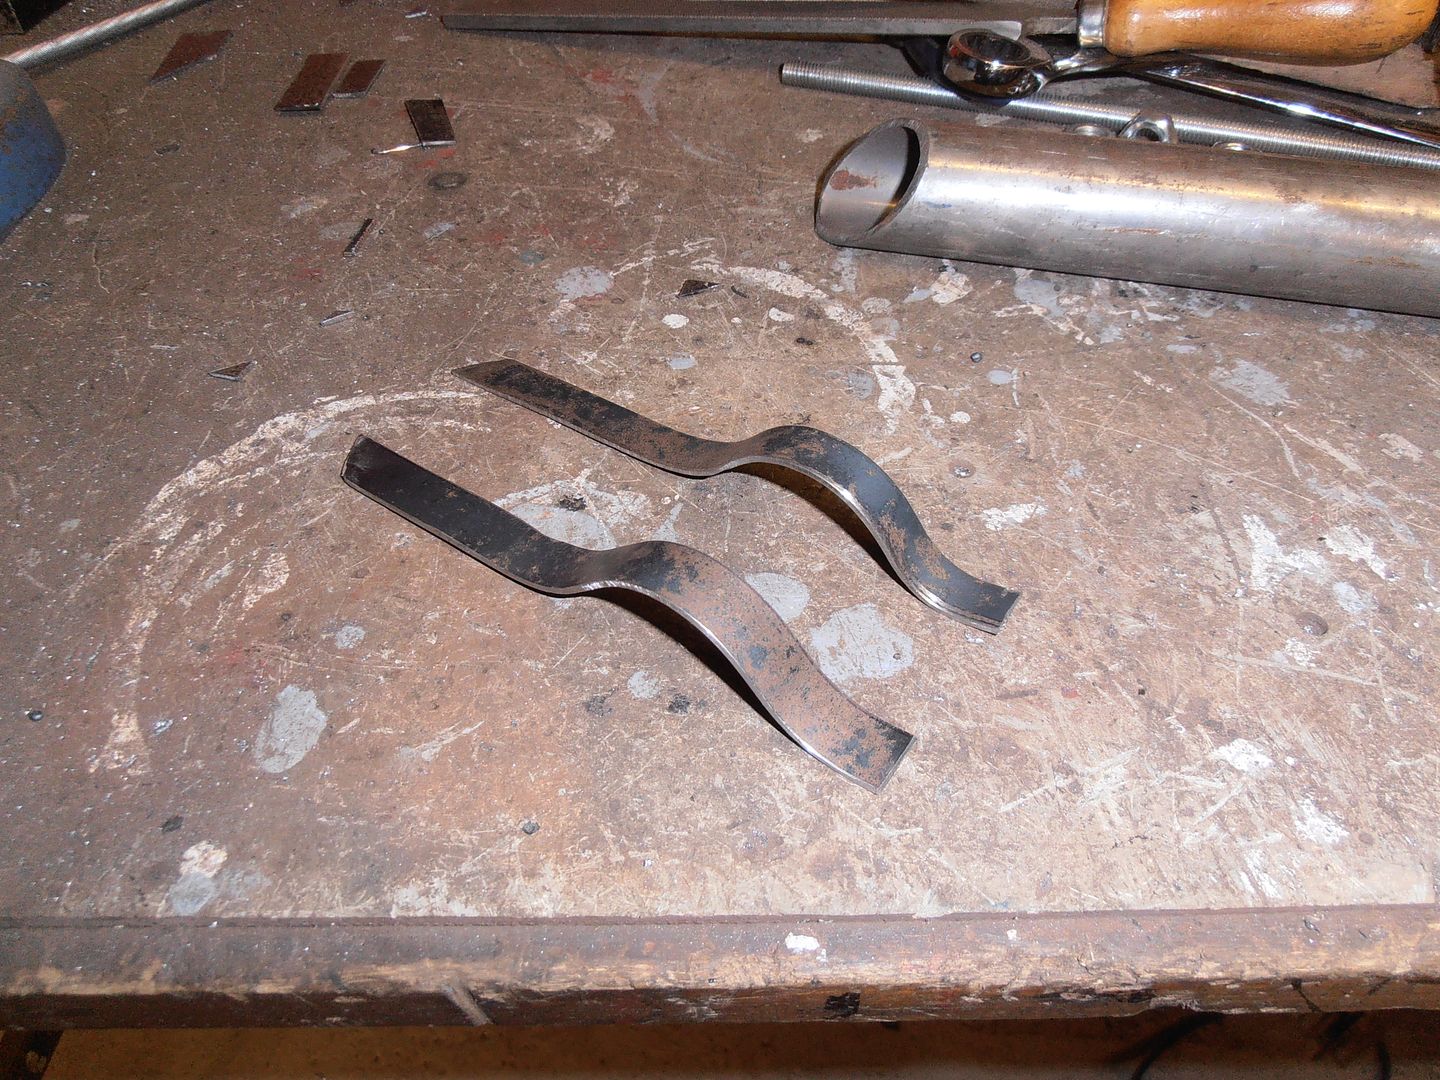 welded in 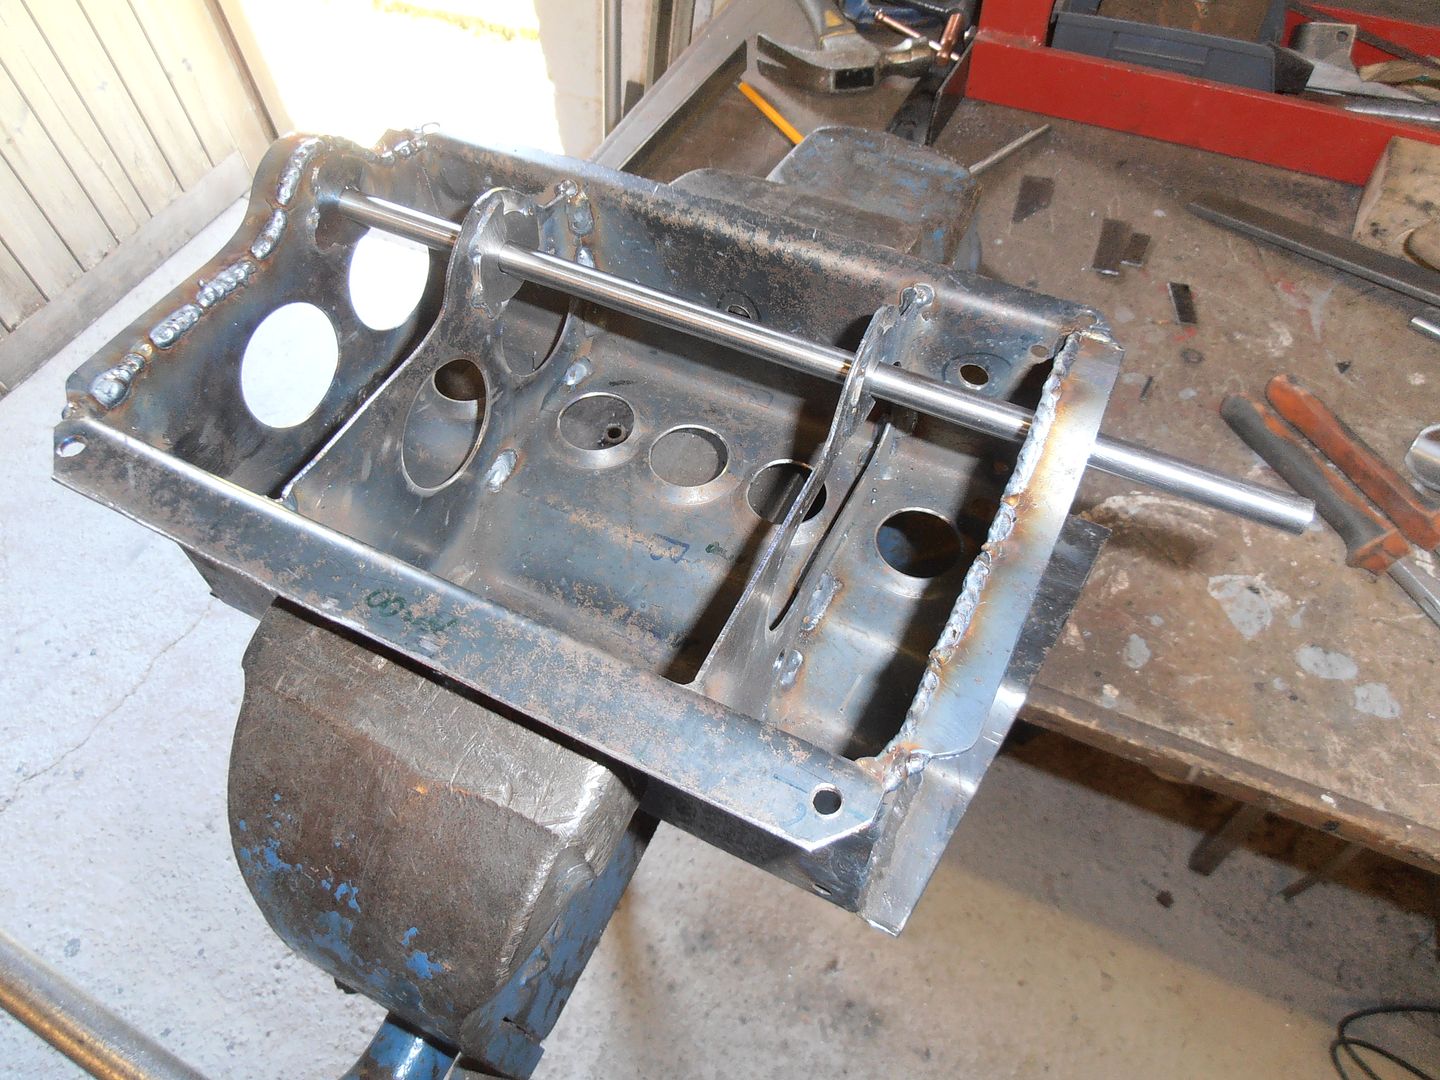 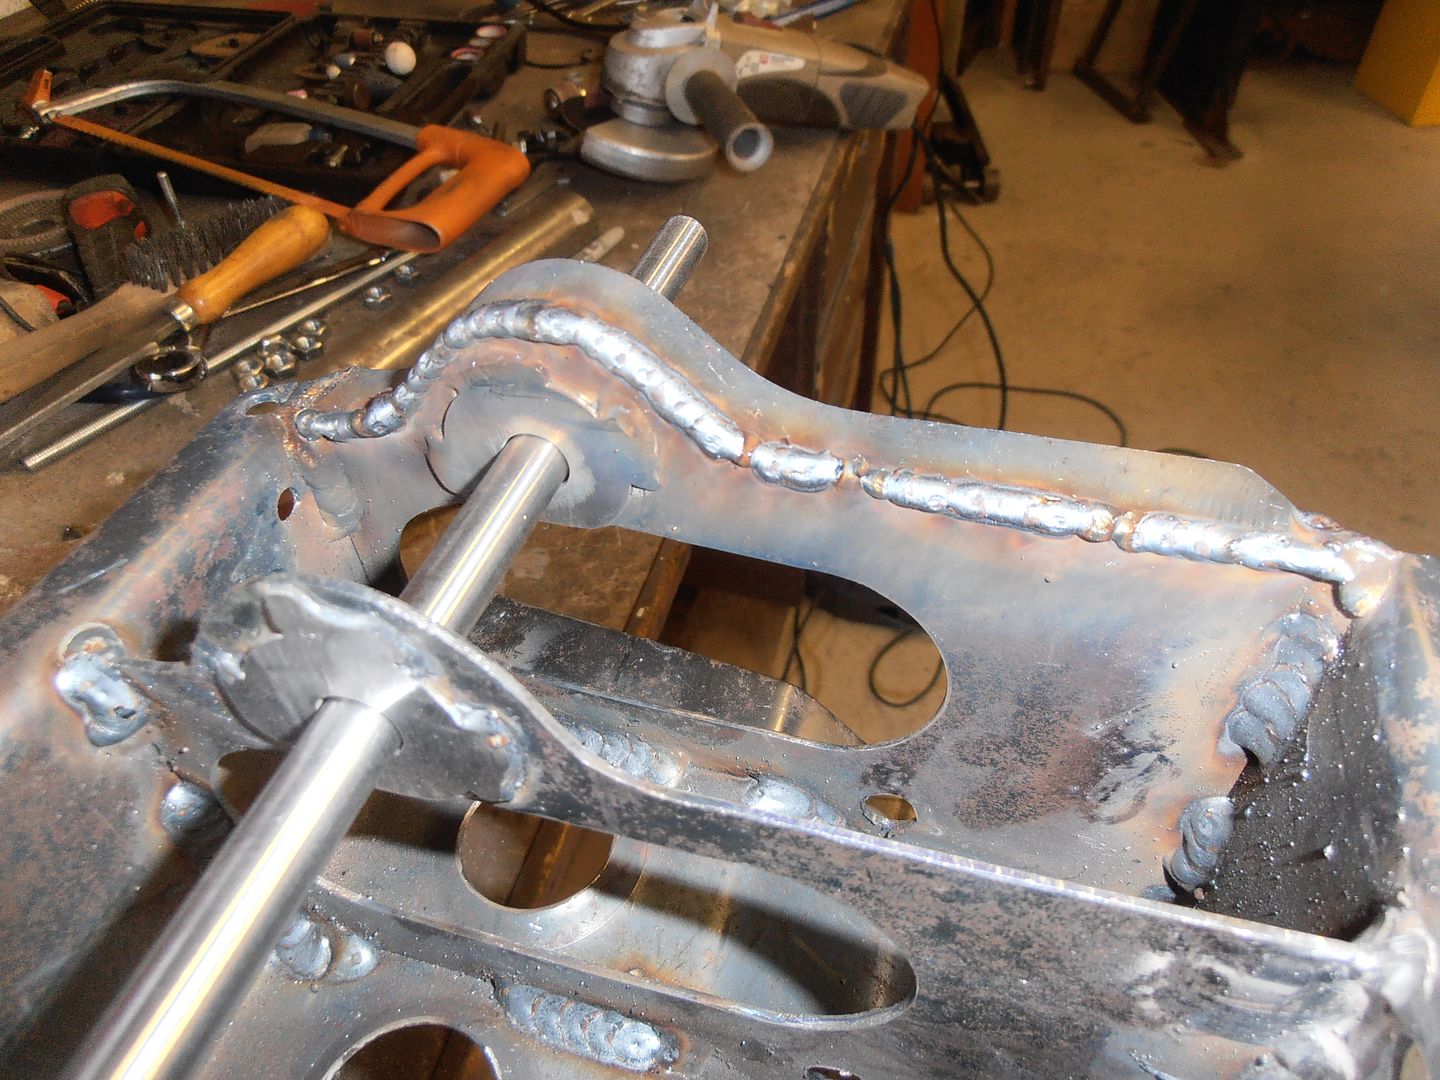 started to clean things up, buy my mind was pre-occupied with new job start tomorrow, so left it before breaking something 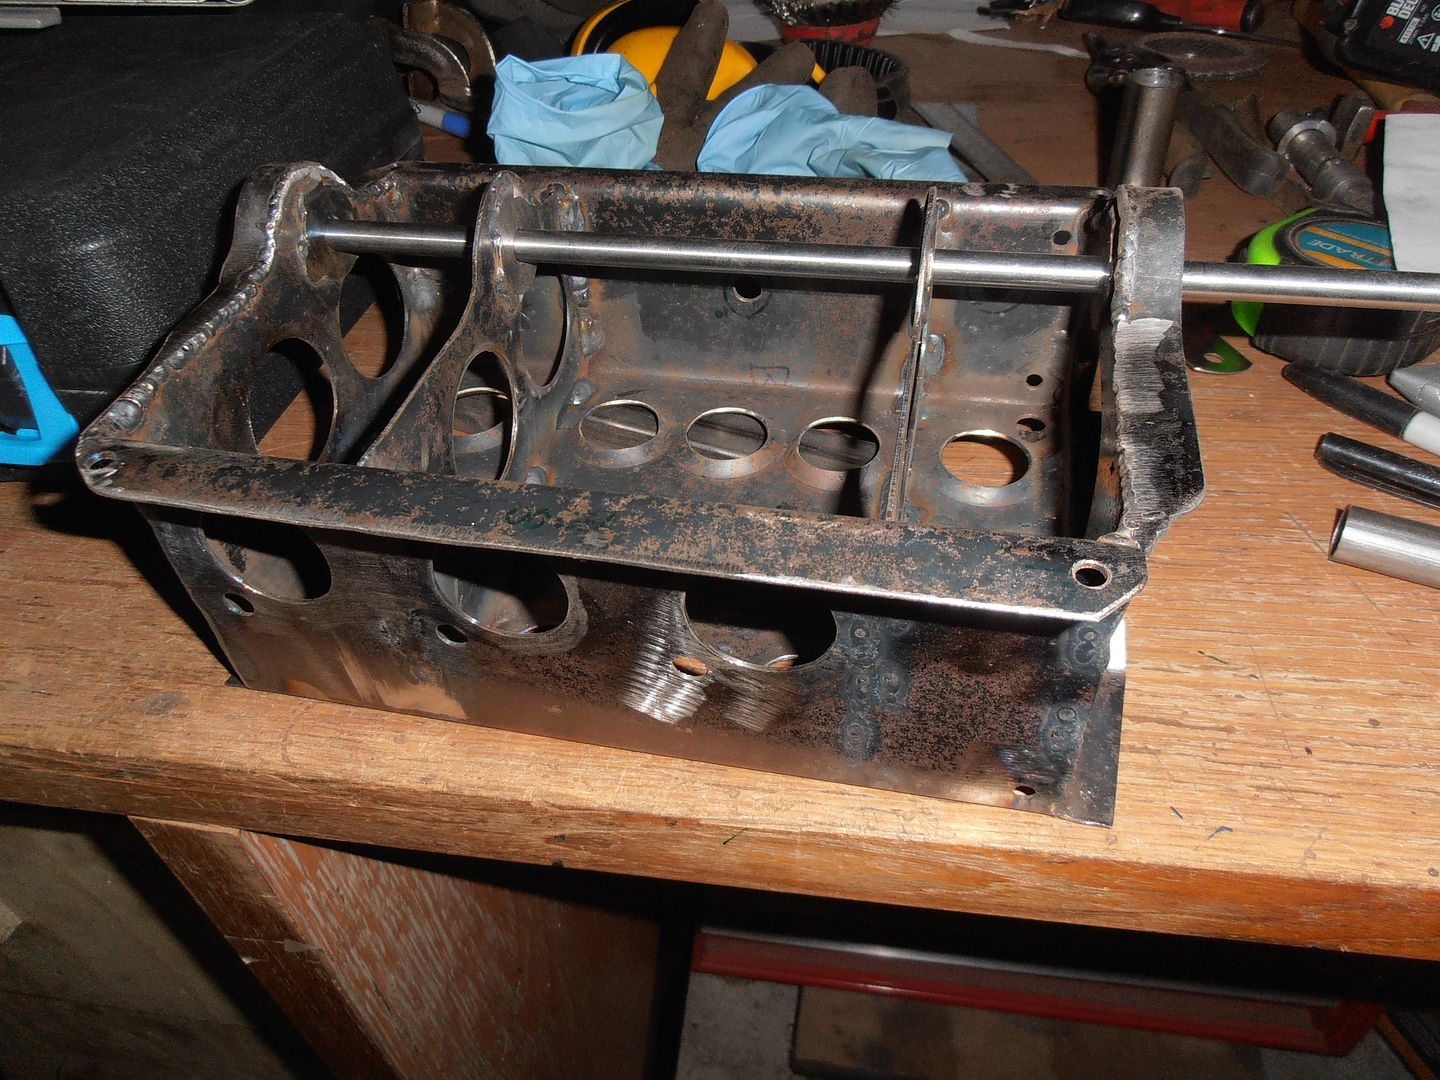 will see what happens next weekend. |
| |
|
|
gazz81
Part of things
 
Posts: 842 
|
|
|
|
Love this, looks like a bigger version of my mates Legend race car!  |
| |
|
|
|
|
|
|
|
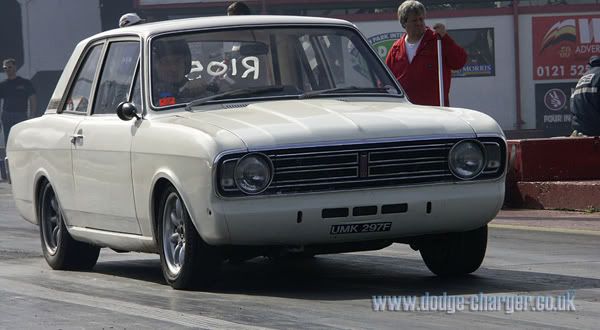
Really love the look of this at the moment. It's very Mad Max.  Minus the spikes, etc. In regards to the arches, keep in mind the front of the rear arch will not be as chunky looking once it's tied in to the running boards, and you'll be more likely comparing the front of the front to the rear of the rear, which looks pretty good to me as is. Are you going to smooth the boards in to the arches with a bit of a radius, or have them squared off? |
| |
|
|
jonomisfit
Club Retro Rides Member
Posts: 1,787
Club RR Member Number: 49
|
|
|
|
First week at new work and trying to settle into the change of location meant I didn't get much work done on the car. I spent about 4hrs today on the lathe starting the pedal mounts. I looked at the brake pedal and was going to turn up a solid bar, but decided it would be too heavy, and would need a lot of boring out inside to get the weight out of it. So decided to do two welded in bungs into a tube. Bungs 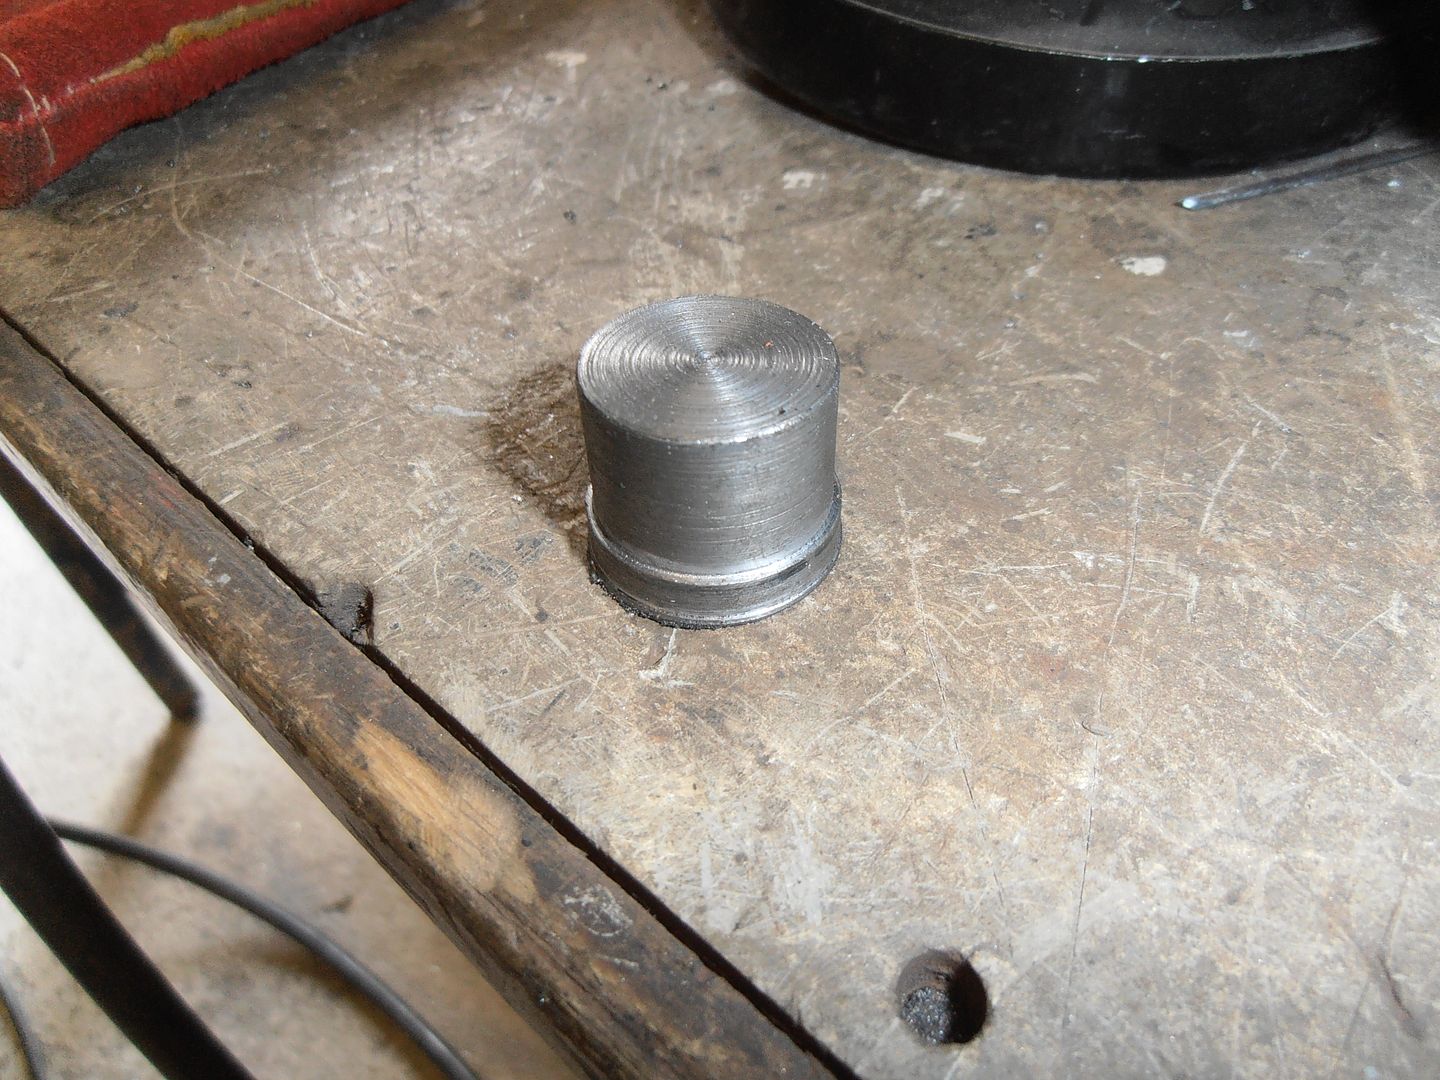 tube 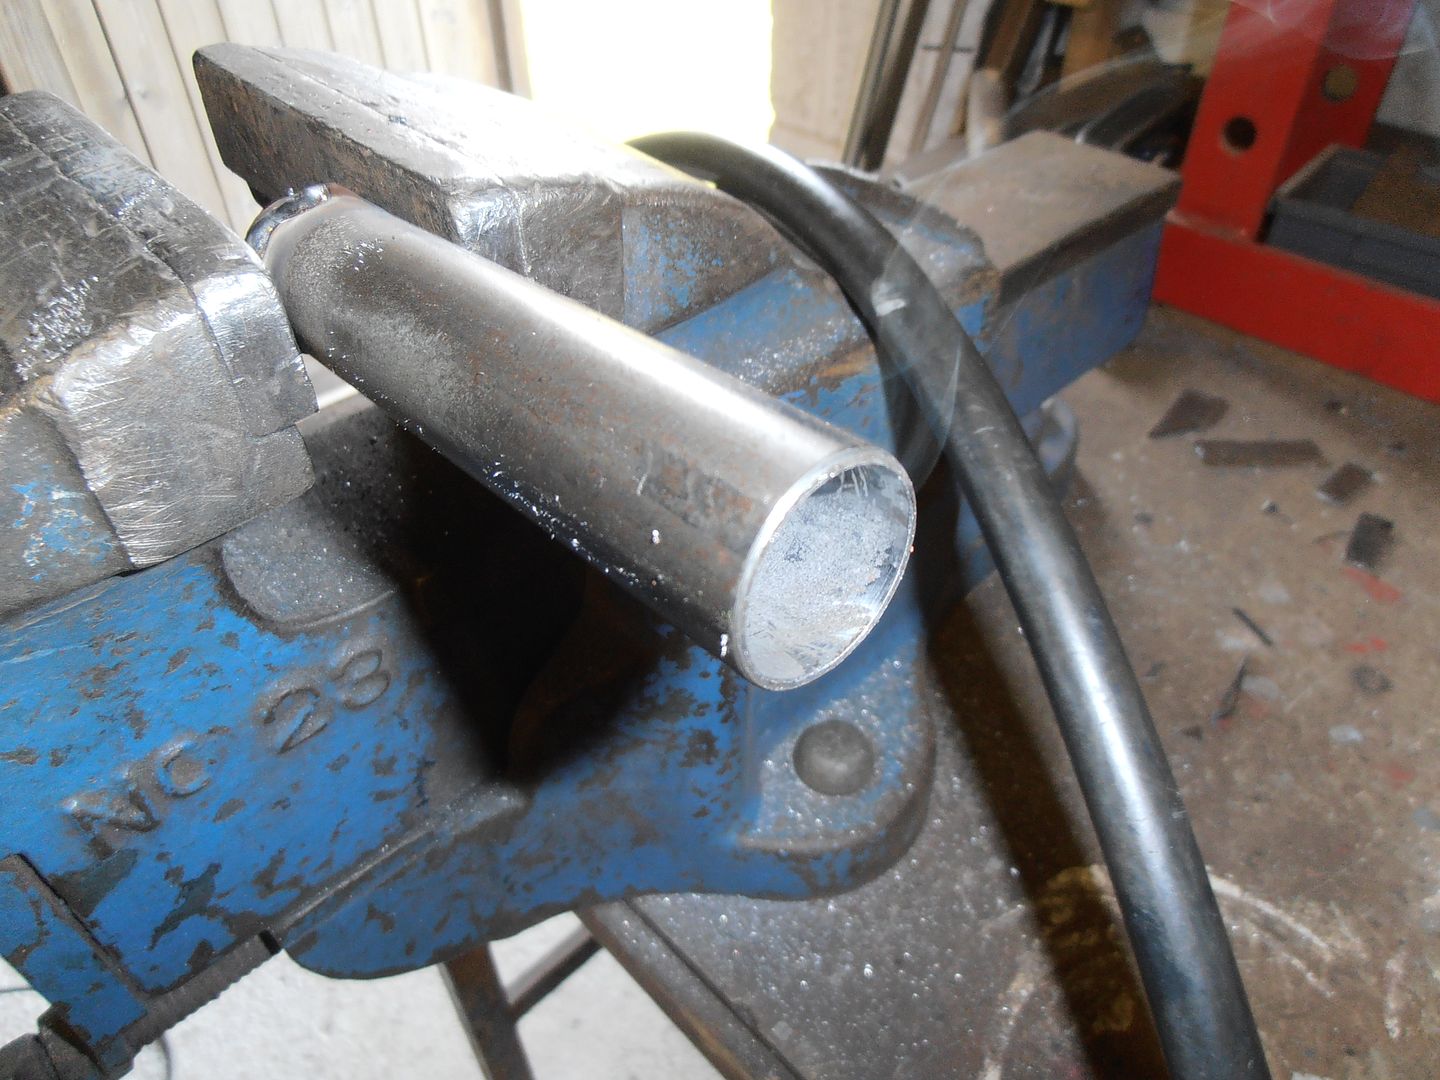 welded in on high power to get decent penetration. 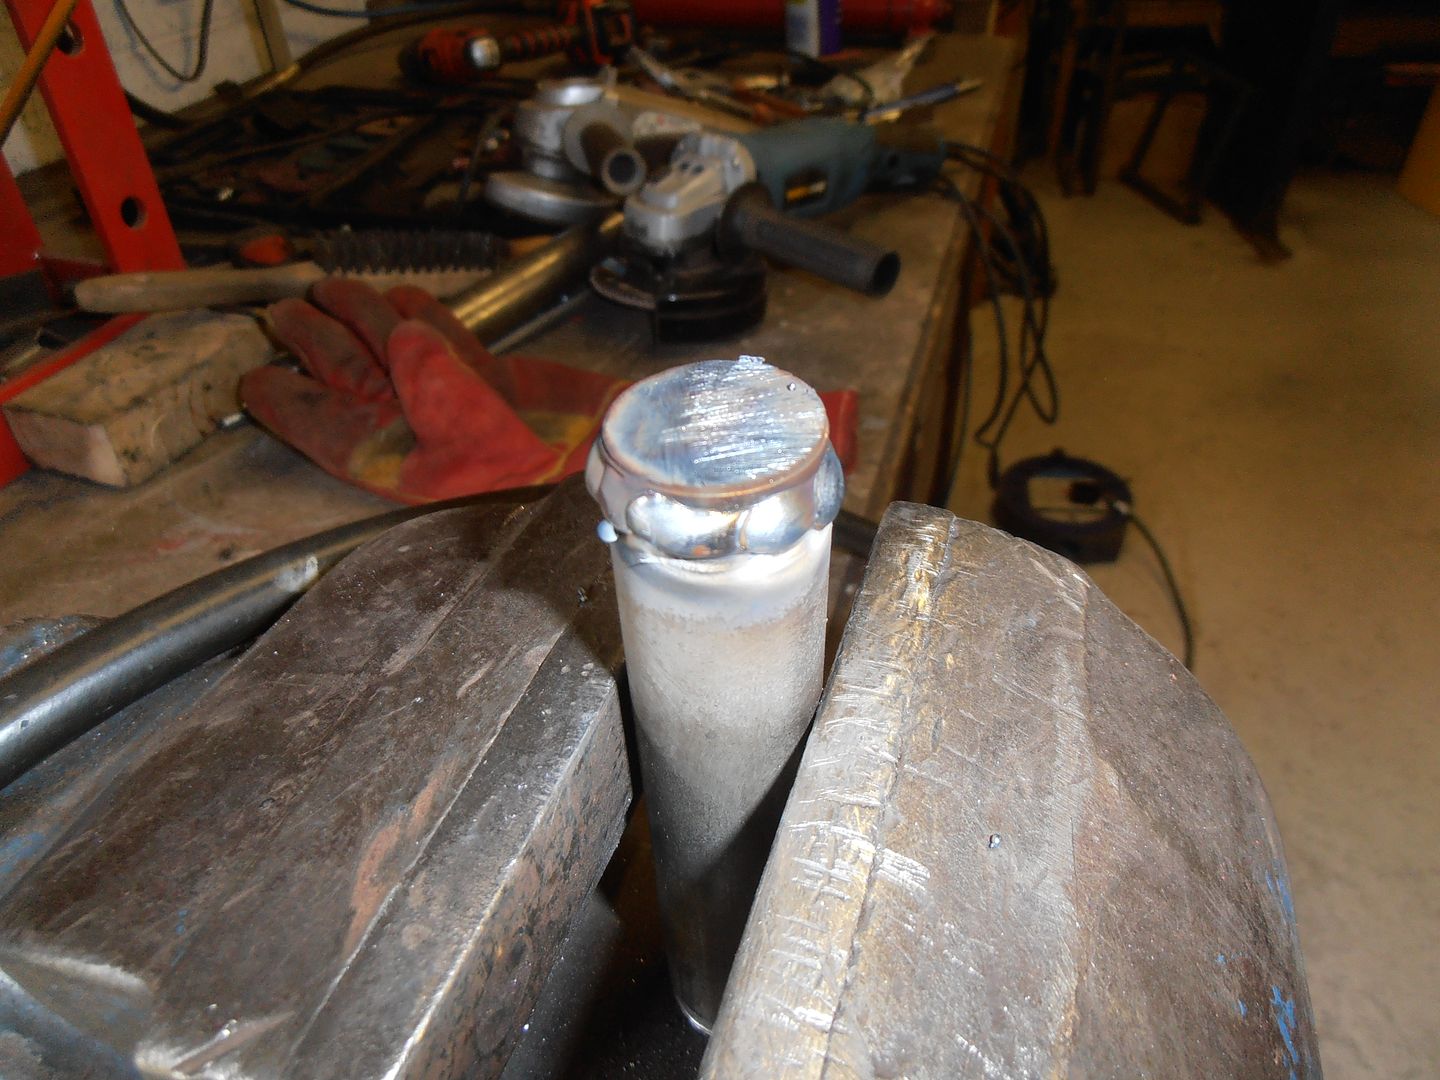 forgot to take any photos for a while.... But rough cleaned up the welds with a grinder, fitted to the lathe, clocked it all in and trued the weld surface back. Squared the ends / turned to length, and the bored a hole the correct size through the centre. Fitted the oilite bushes, and checked in place 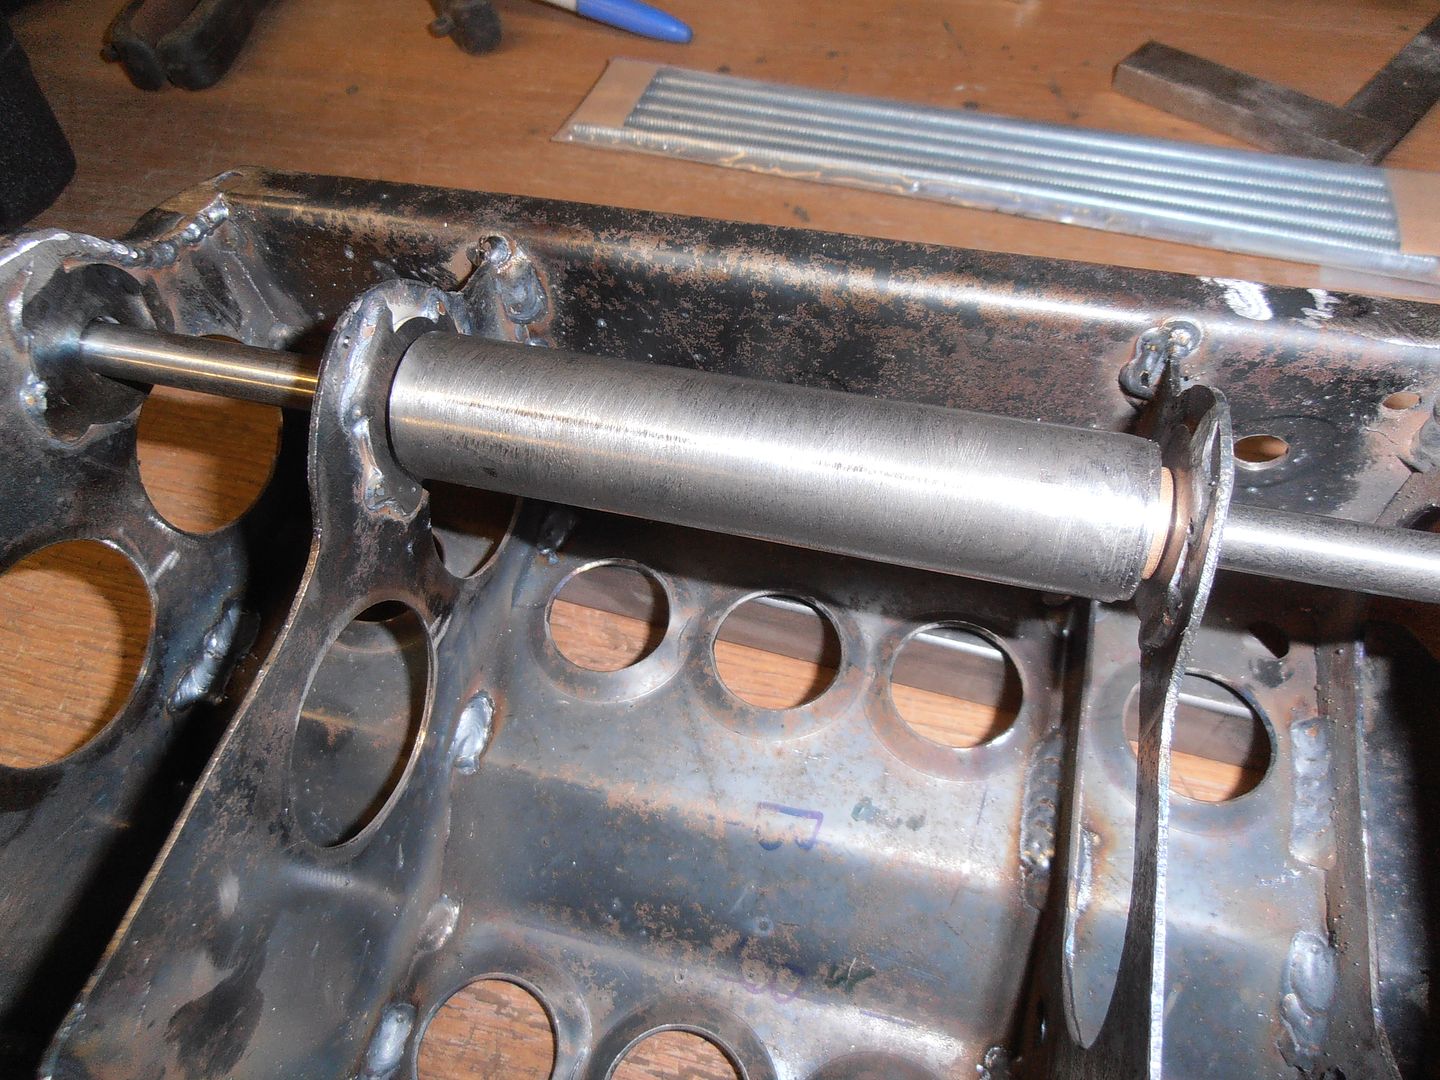 came out surprisingly ok with only a minor fettle. 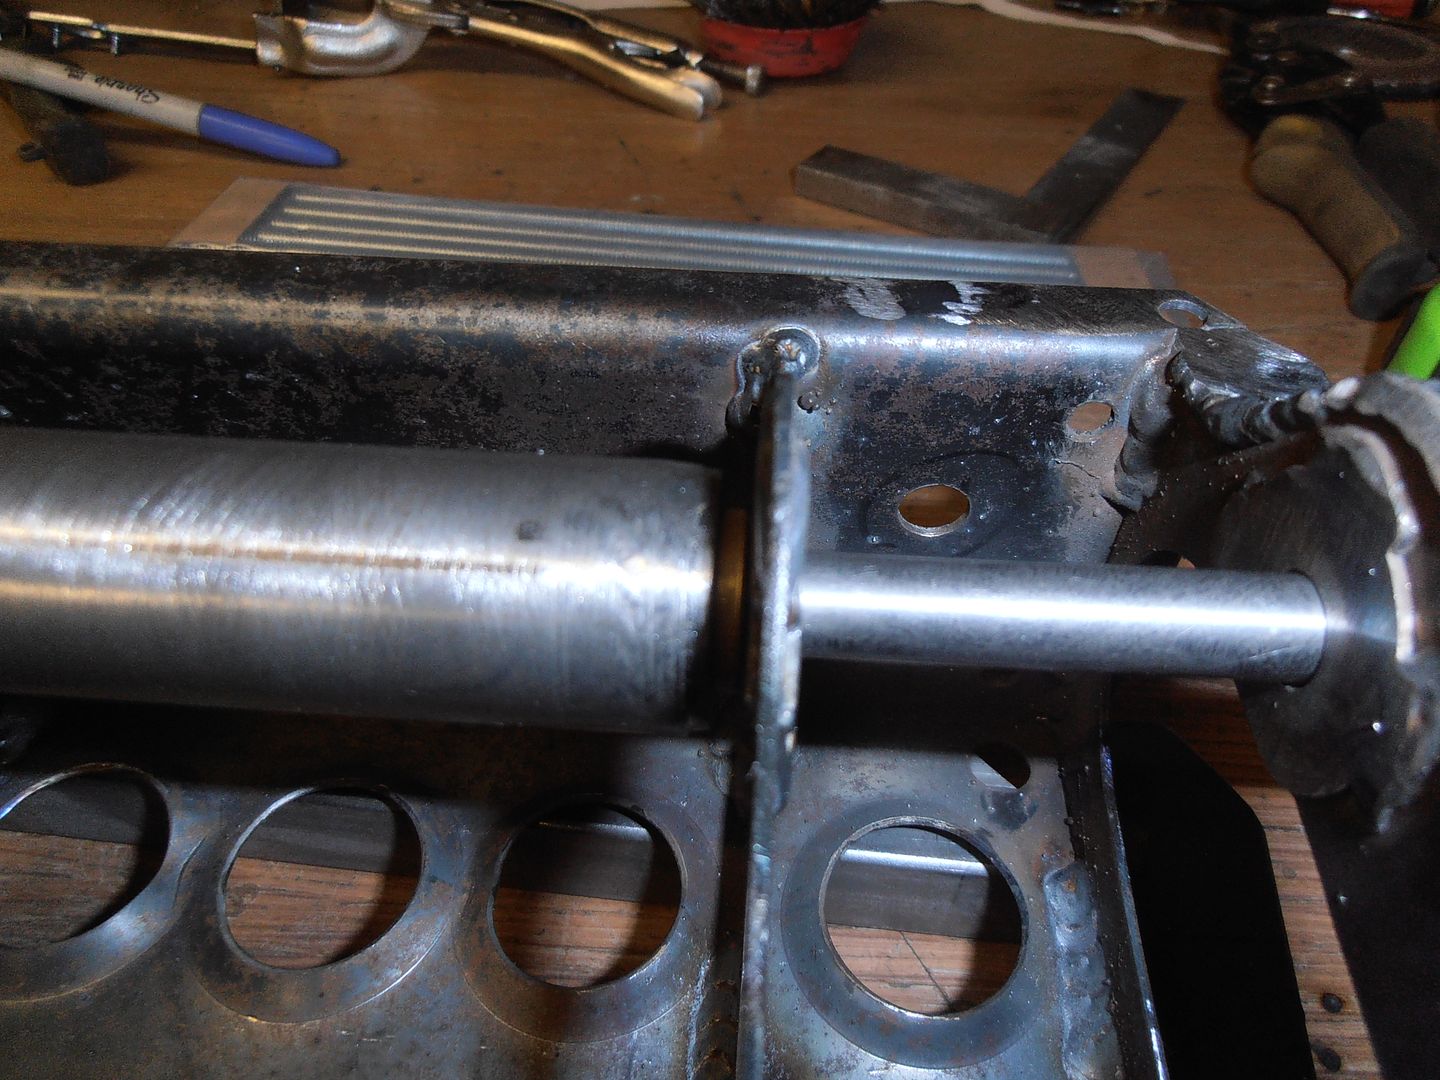 made the clutch mount. Just turned to size, with the correct size hole bored, then some internal relieving. 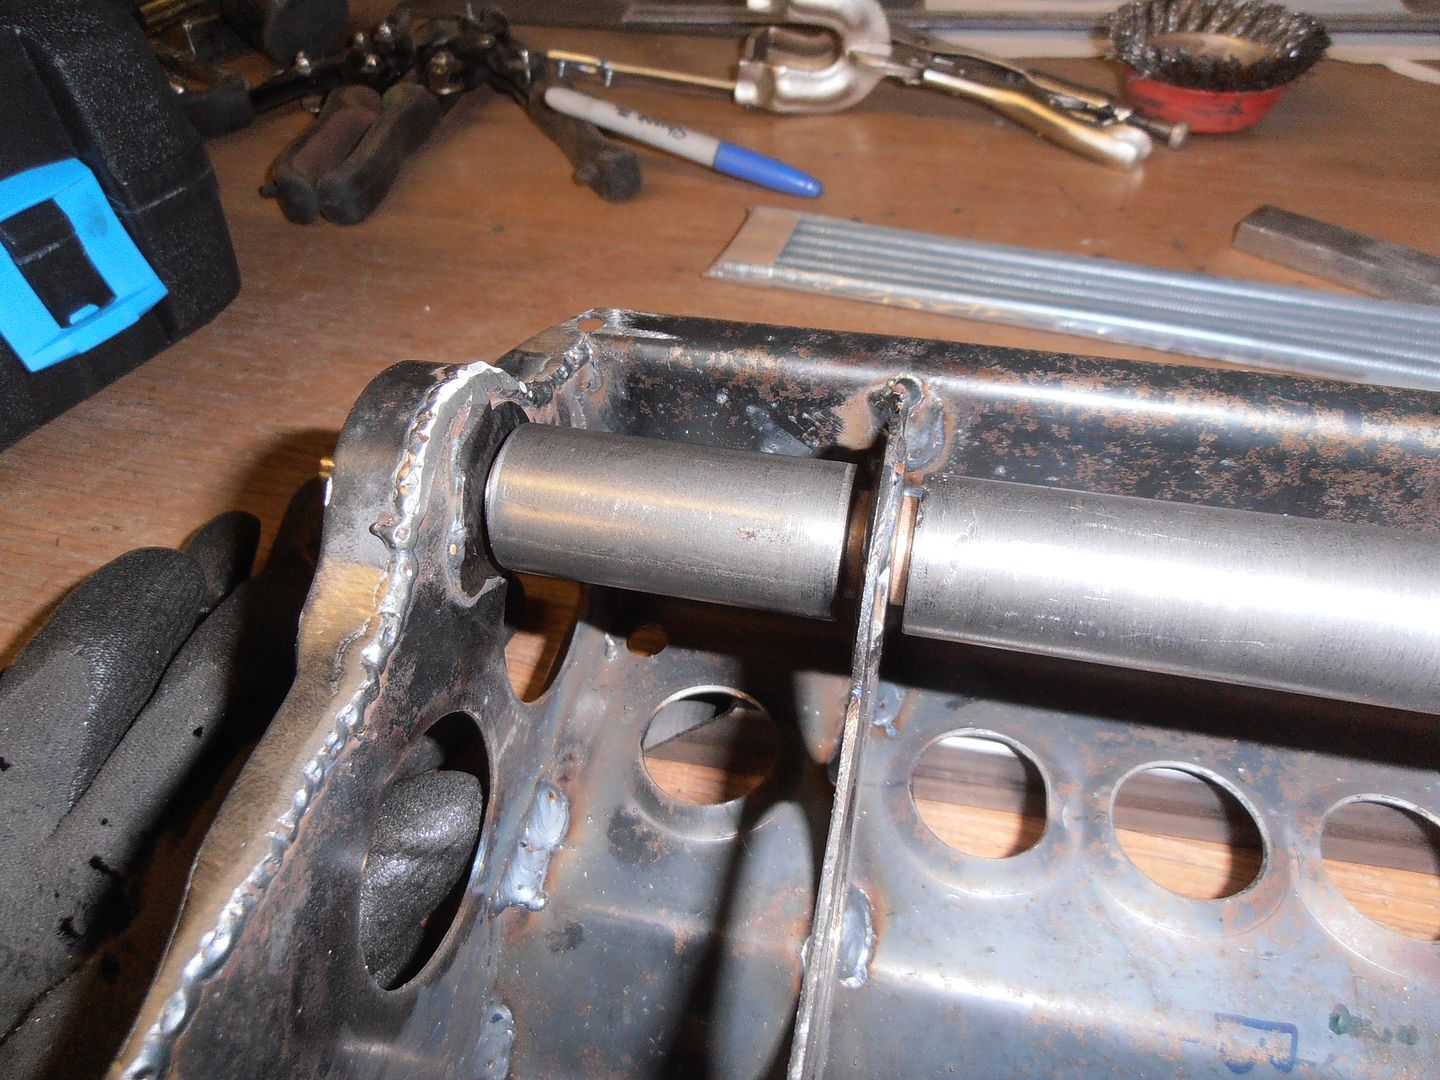 both of them. 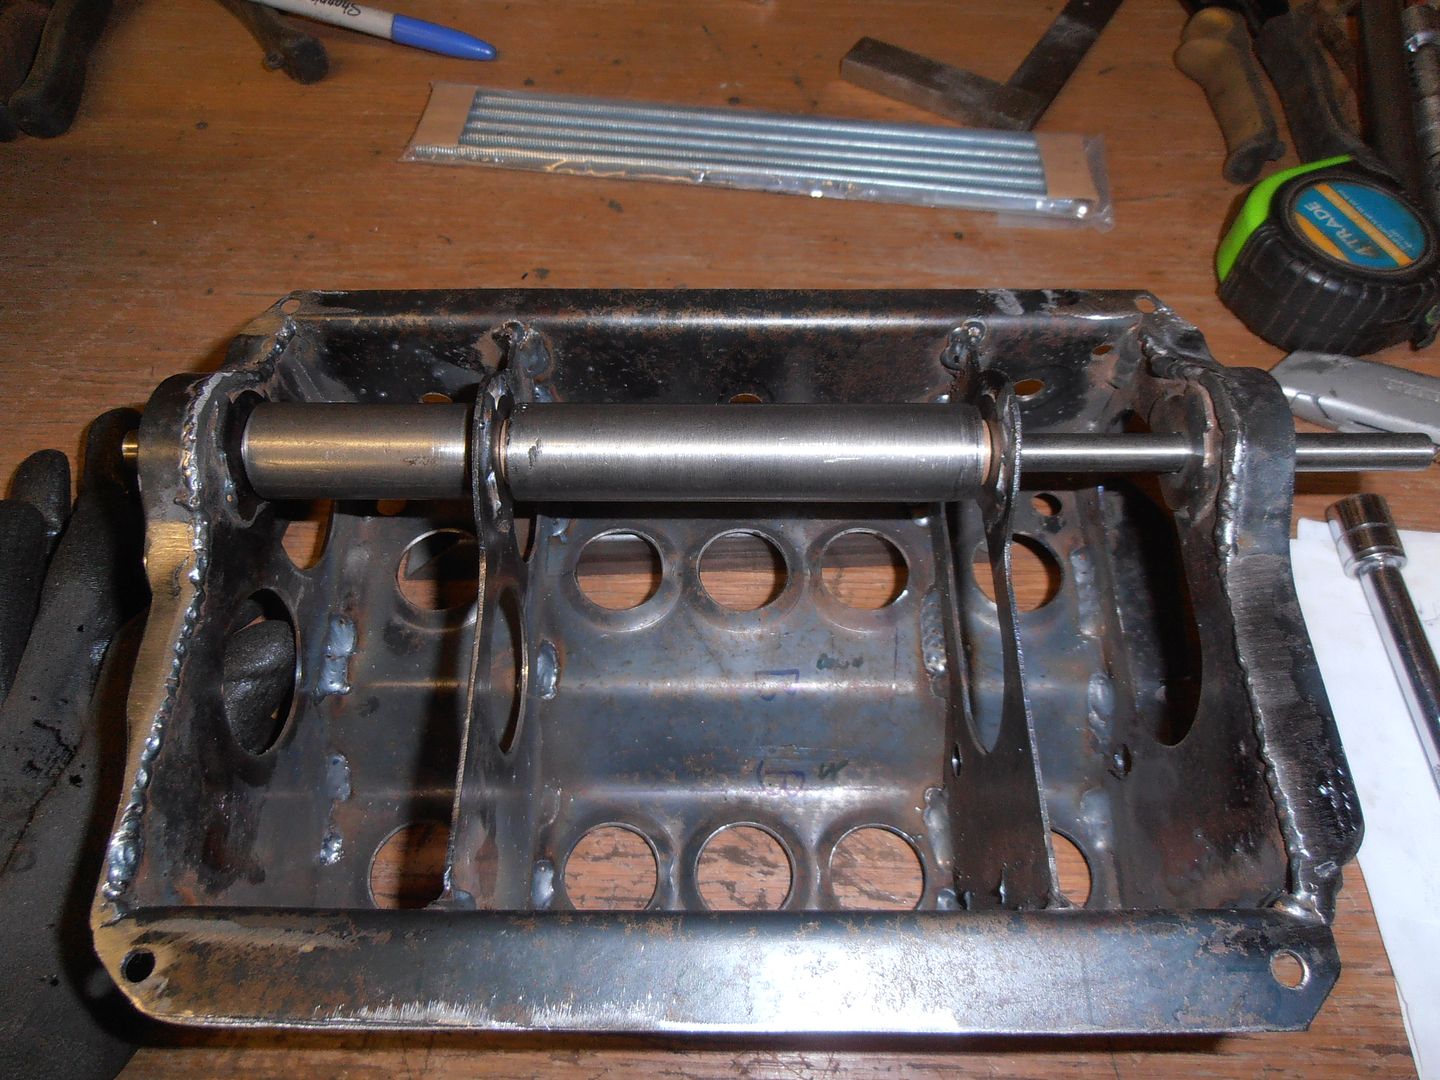 Move quite freely, even with some clamping applied. If they don't feel good when complete, then mark 2 version includes either needle or roller bearings. Throttle still to do, but need some more bar stock to do it. Plus I needed to get in and sort out some other things. Hopefully get a bit more progress on it next weekend, that looks like some actual progress. |
| |
|
|
jonomisfit
Club Retro Rides Member
Posts: 1,787
Club RR Member Number: 49
|
|
May 15, 2016 17:44:52 GMT
|
Well... i completely forgot to order up any of the material I need, so the pedal box is back on hold. Not great progress with anything else as had to do a spot of DIY. Living away during the week now means that anything i'd have just have done on the odd night has to wait till the weekend taking up garage time  Anyway, less moaning more pictures. I re-set the rear arch to bring it in to what I think looks good. 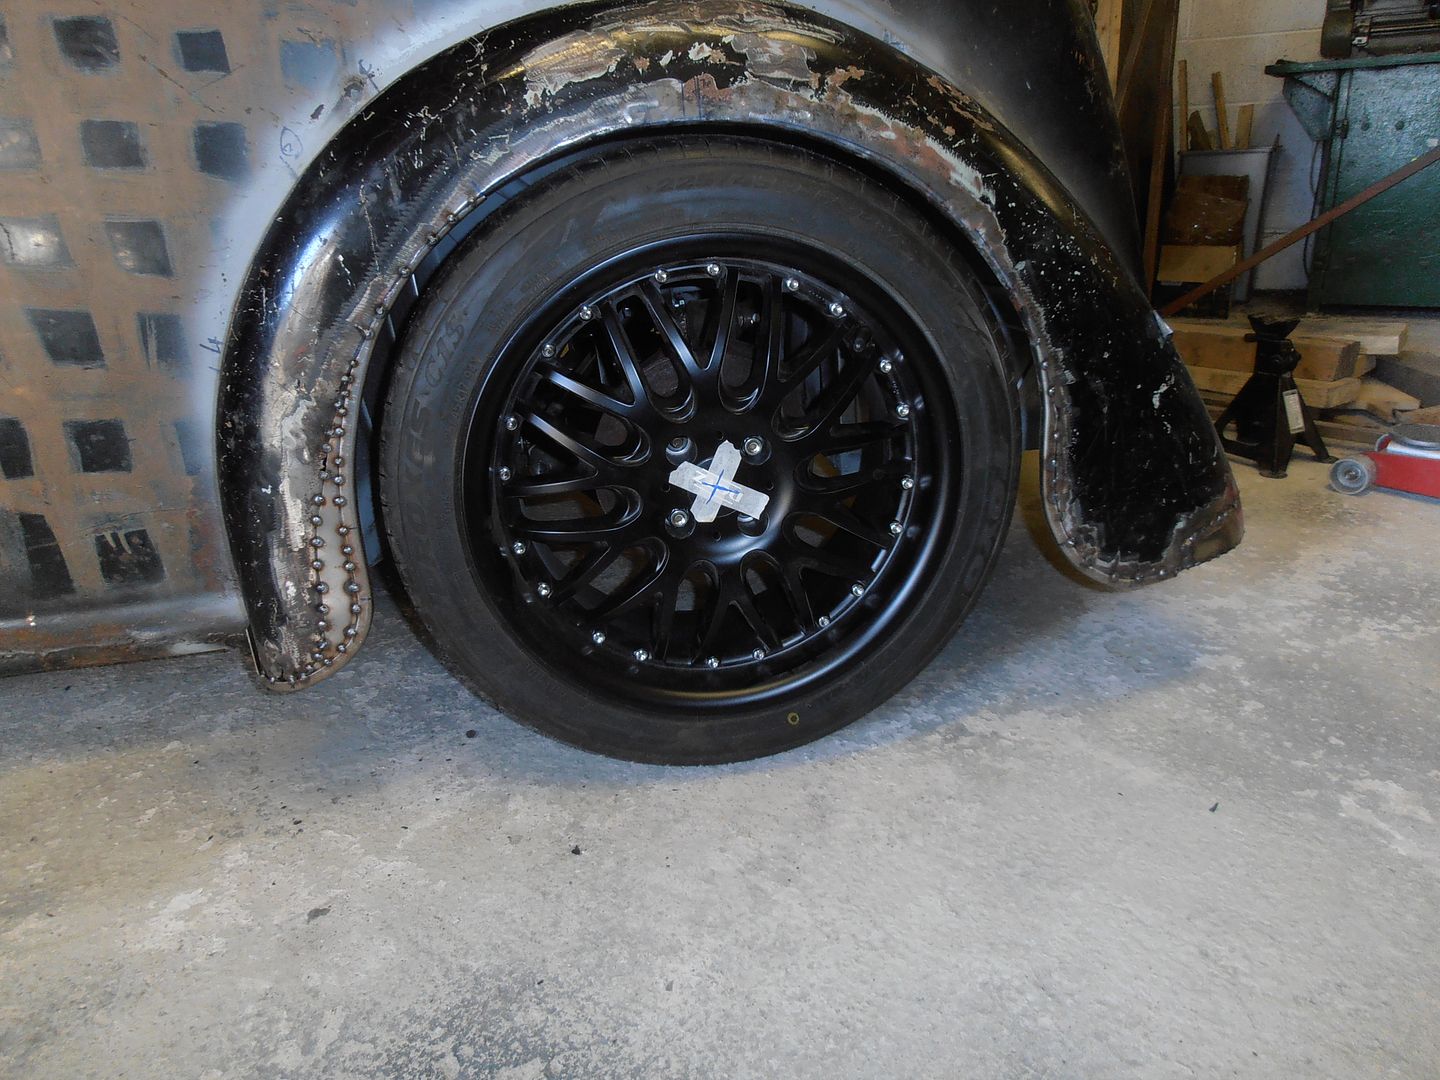 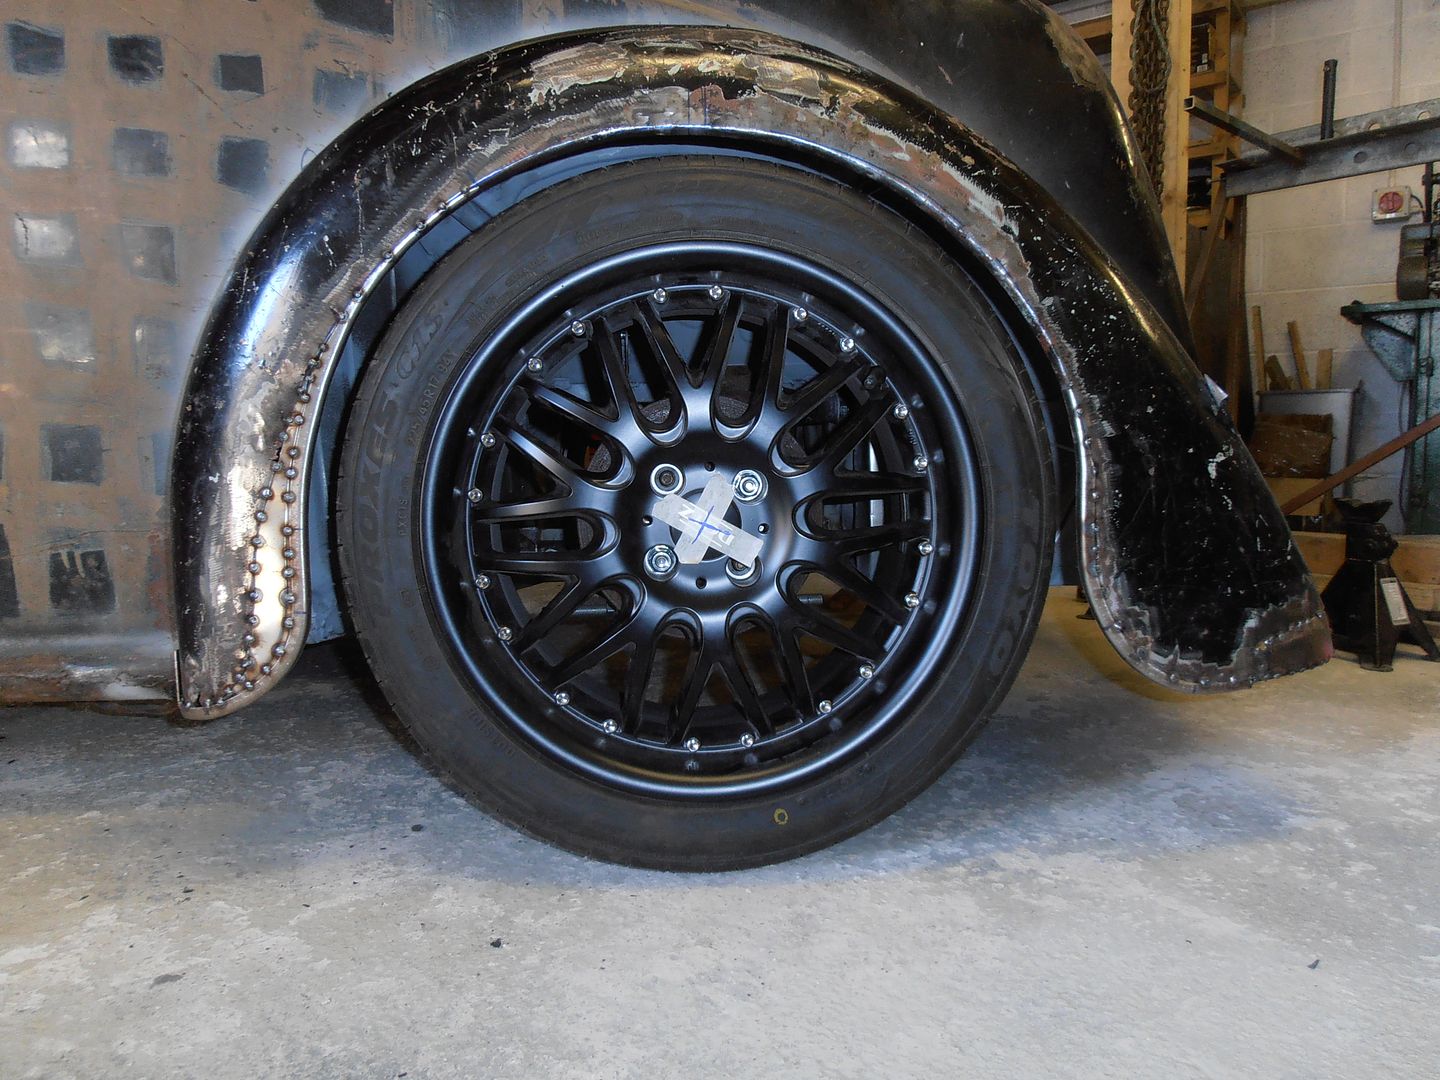 tread is just under the arch and the sidewall ends flush with the arch 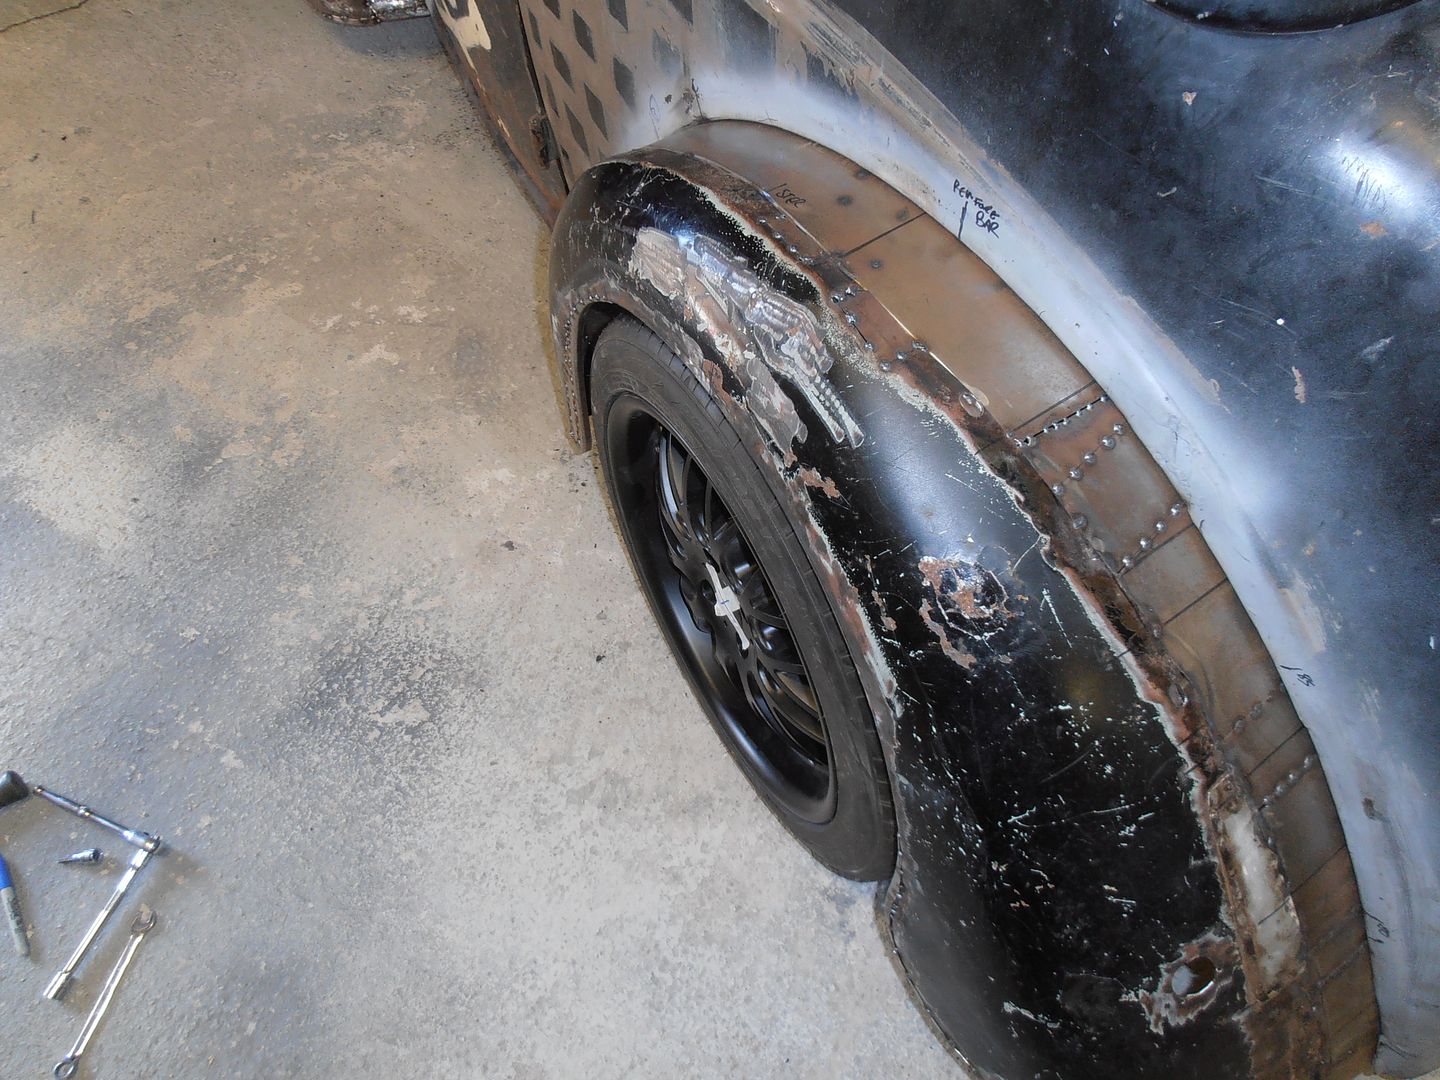 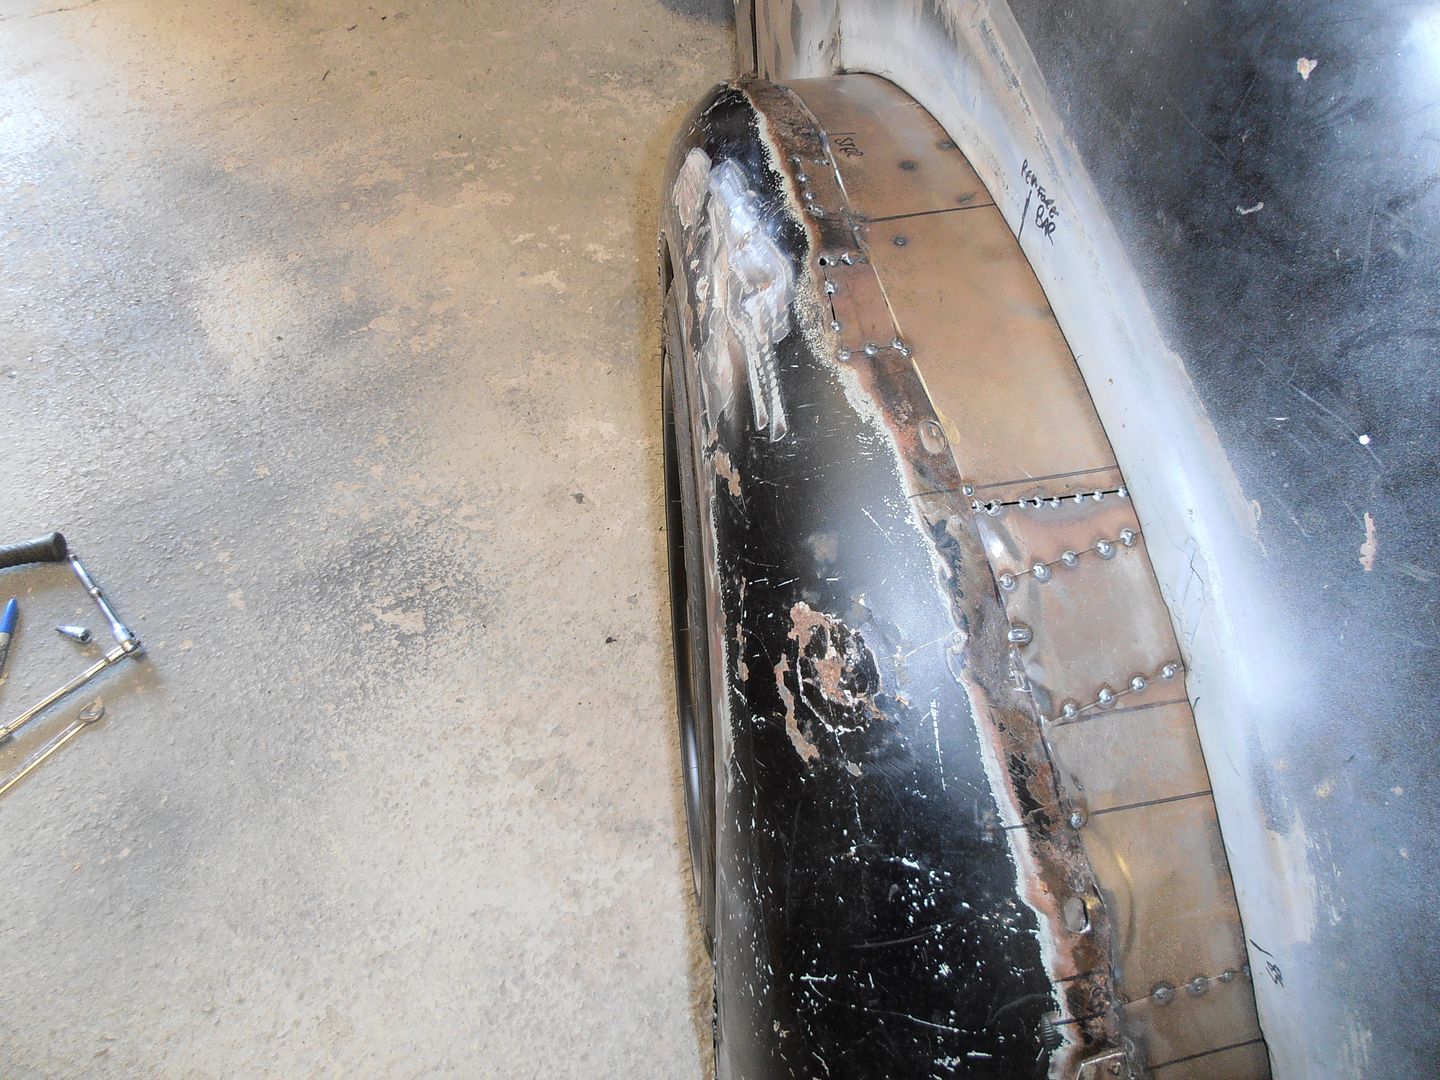 i think it looks a lot better like that, rather than recessed. It'll need to have the lip tickled a bit so it all clears, but it'll be getting a semi round profile when layed up to give the necessary IVA rad. Then after an hour or so tidy up of the workshop i started thinking about the drivers side front wing. First off make a mounting flange Steel 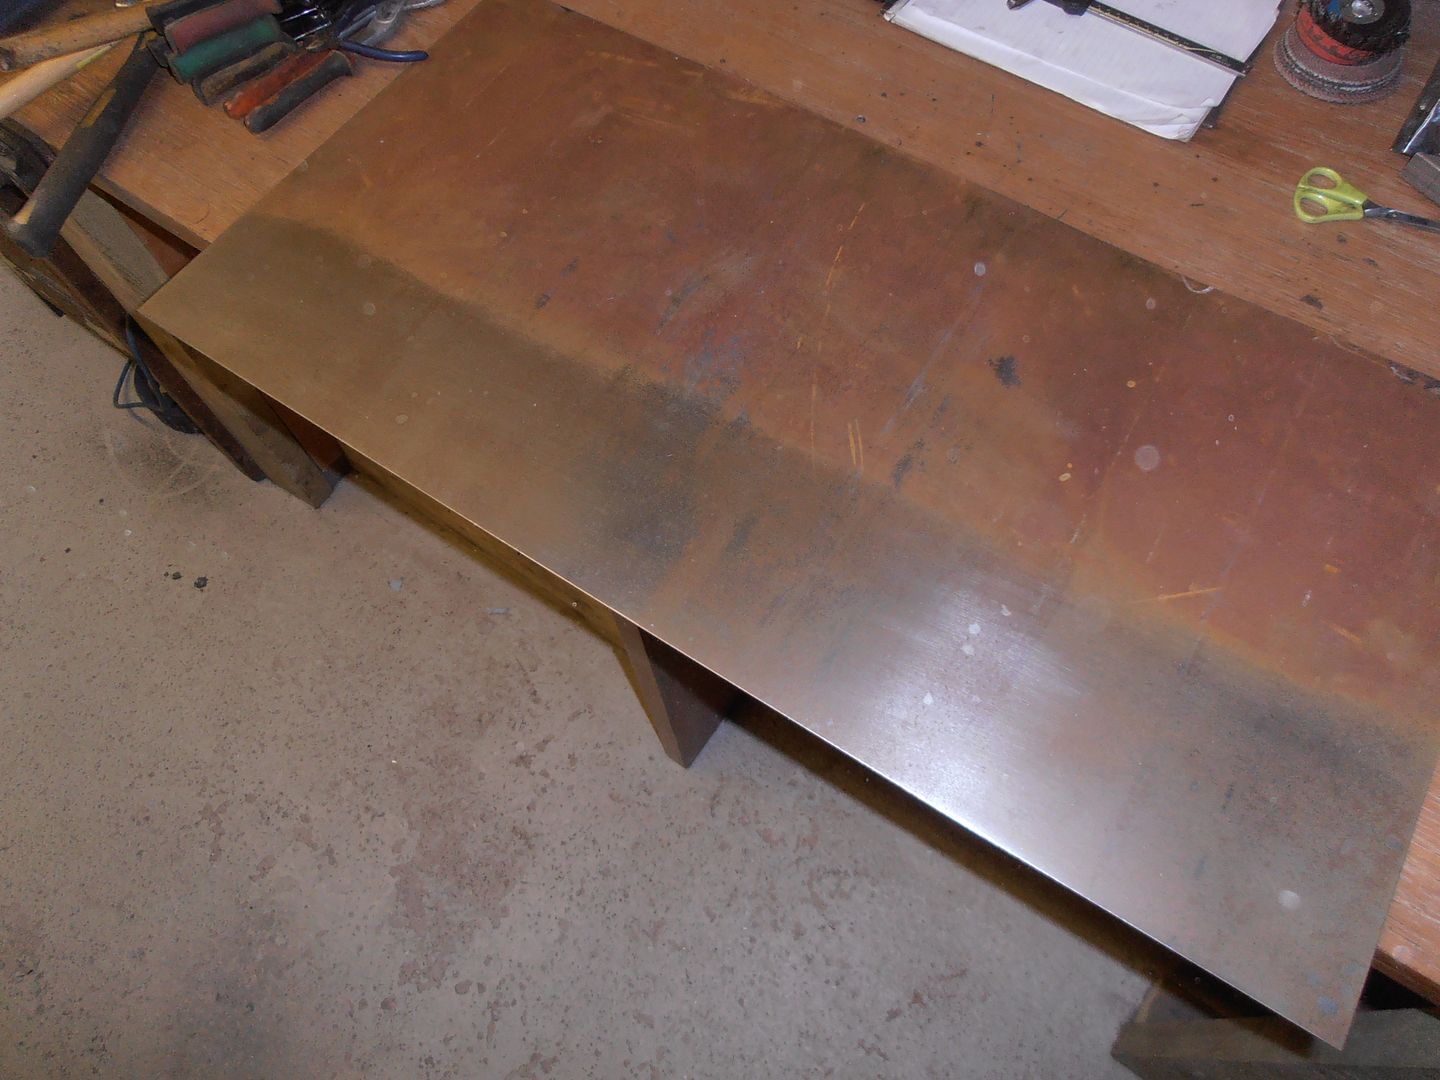 mark-out 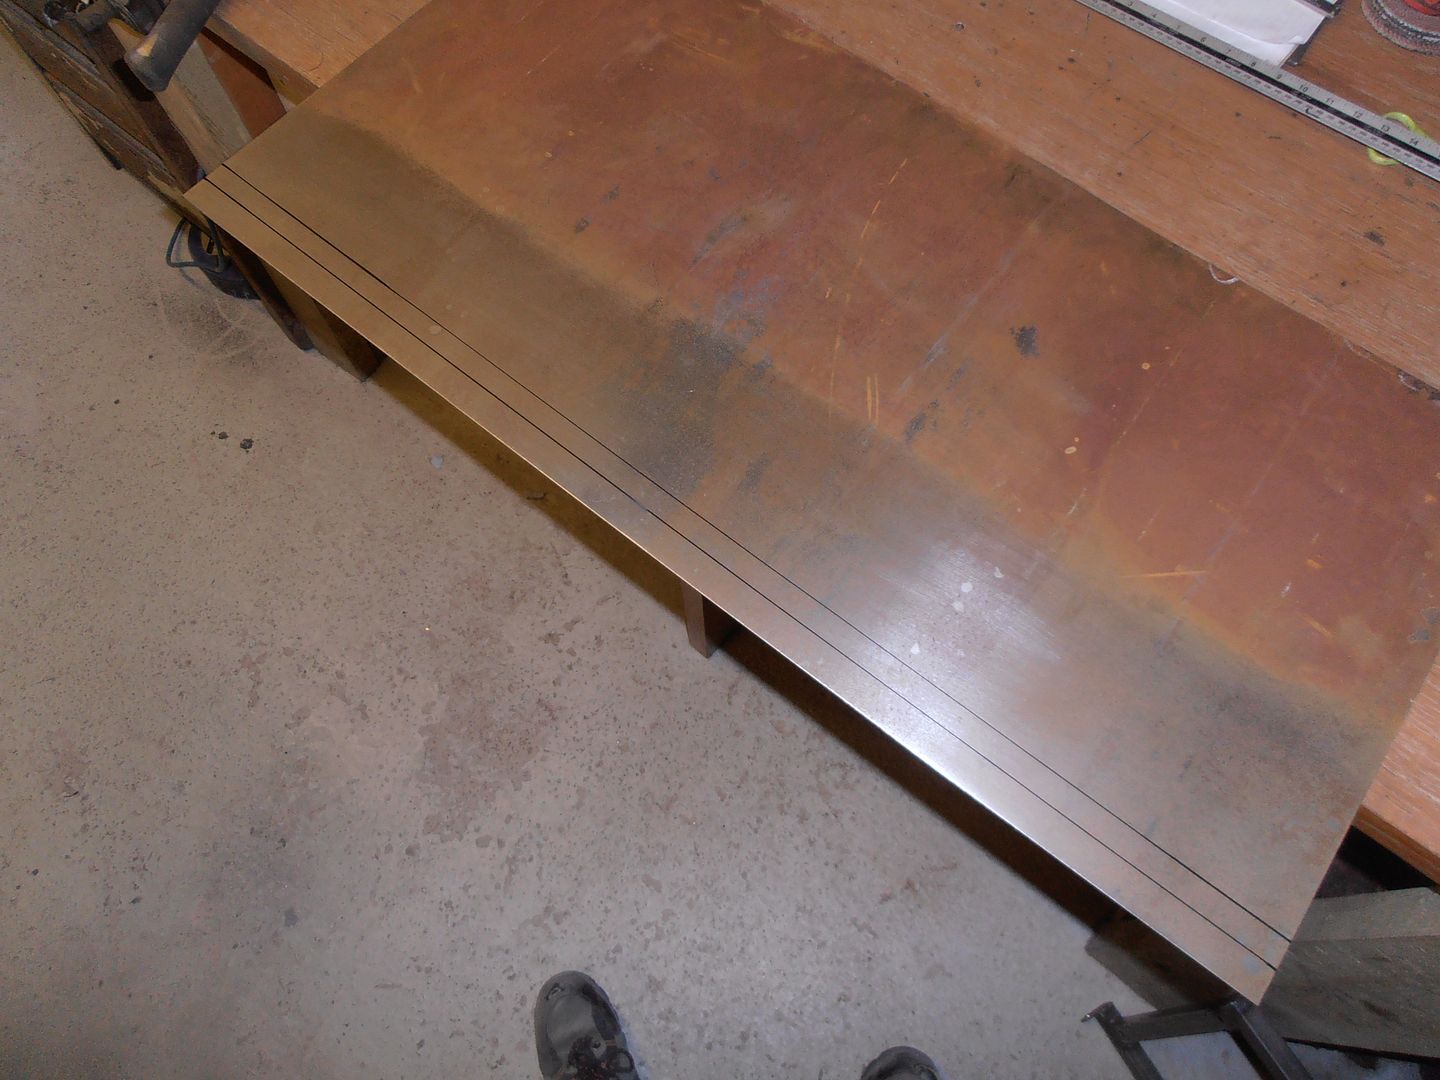 cut, bend and start forming 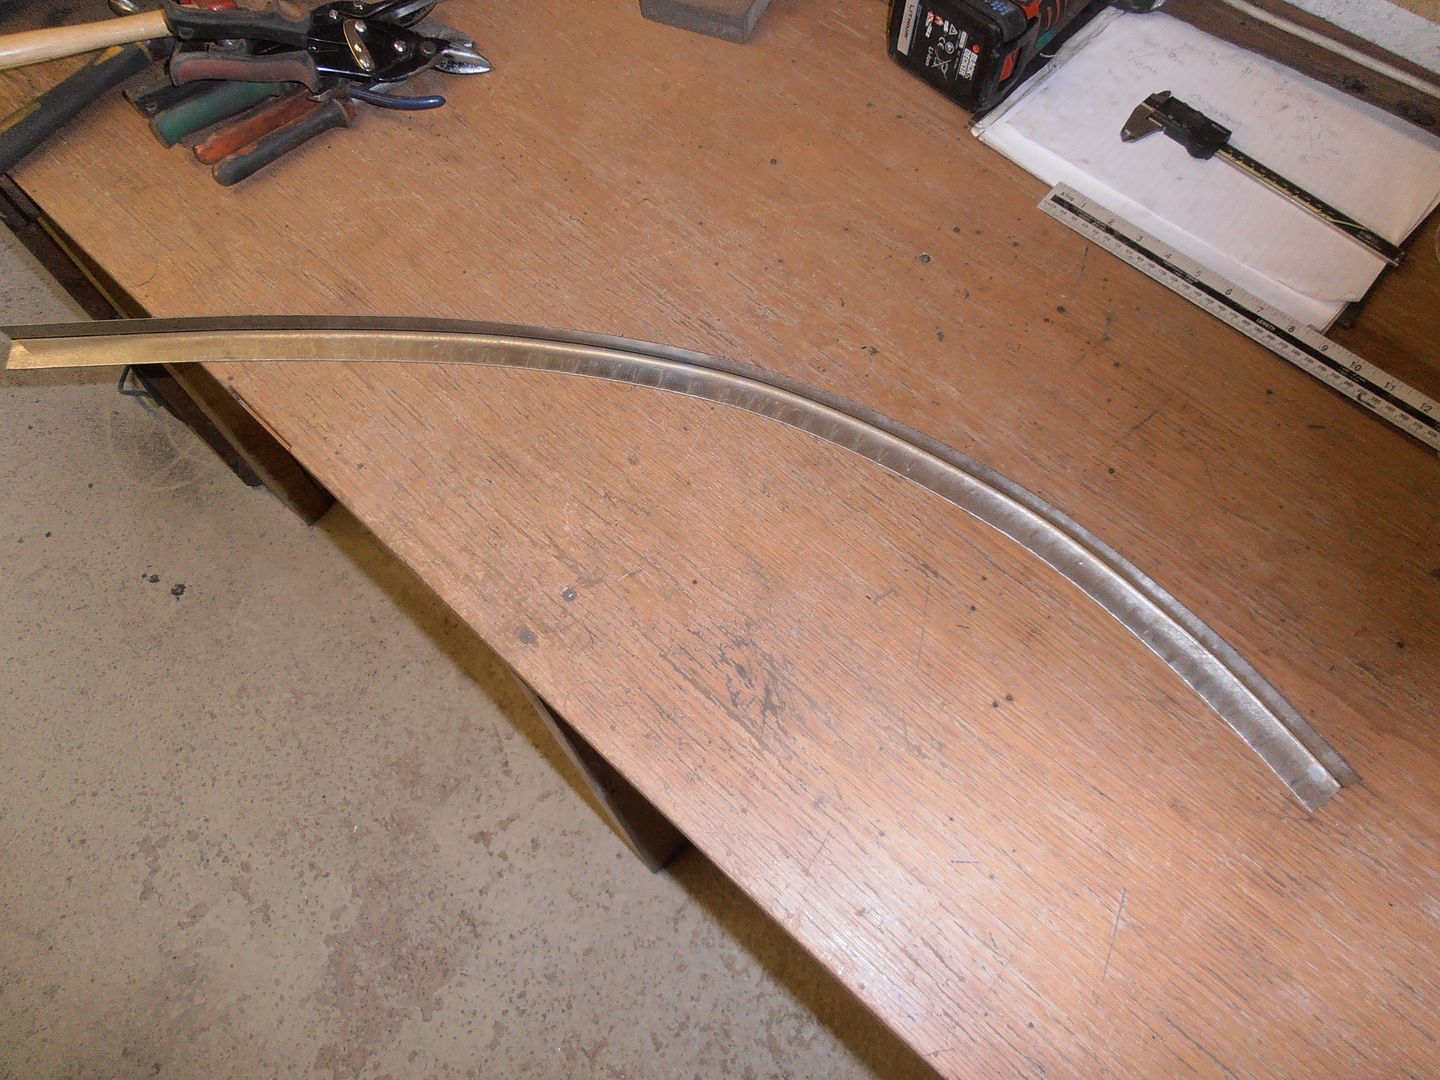 bolted up 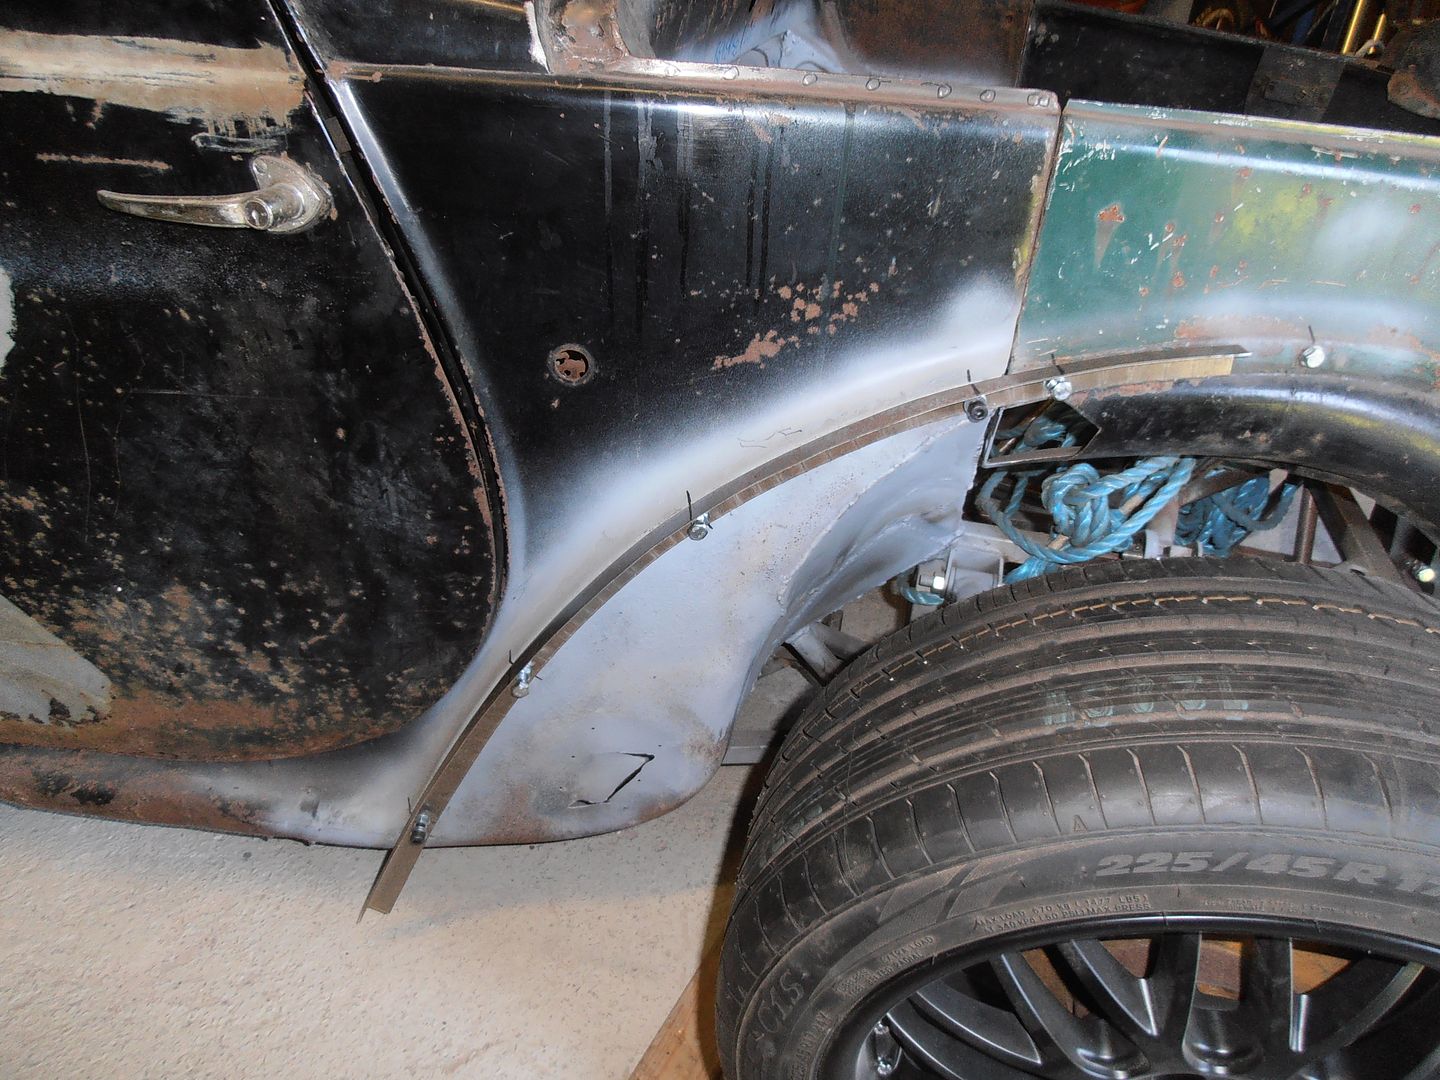 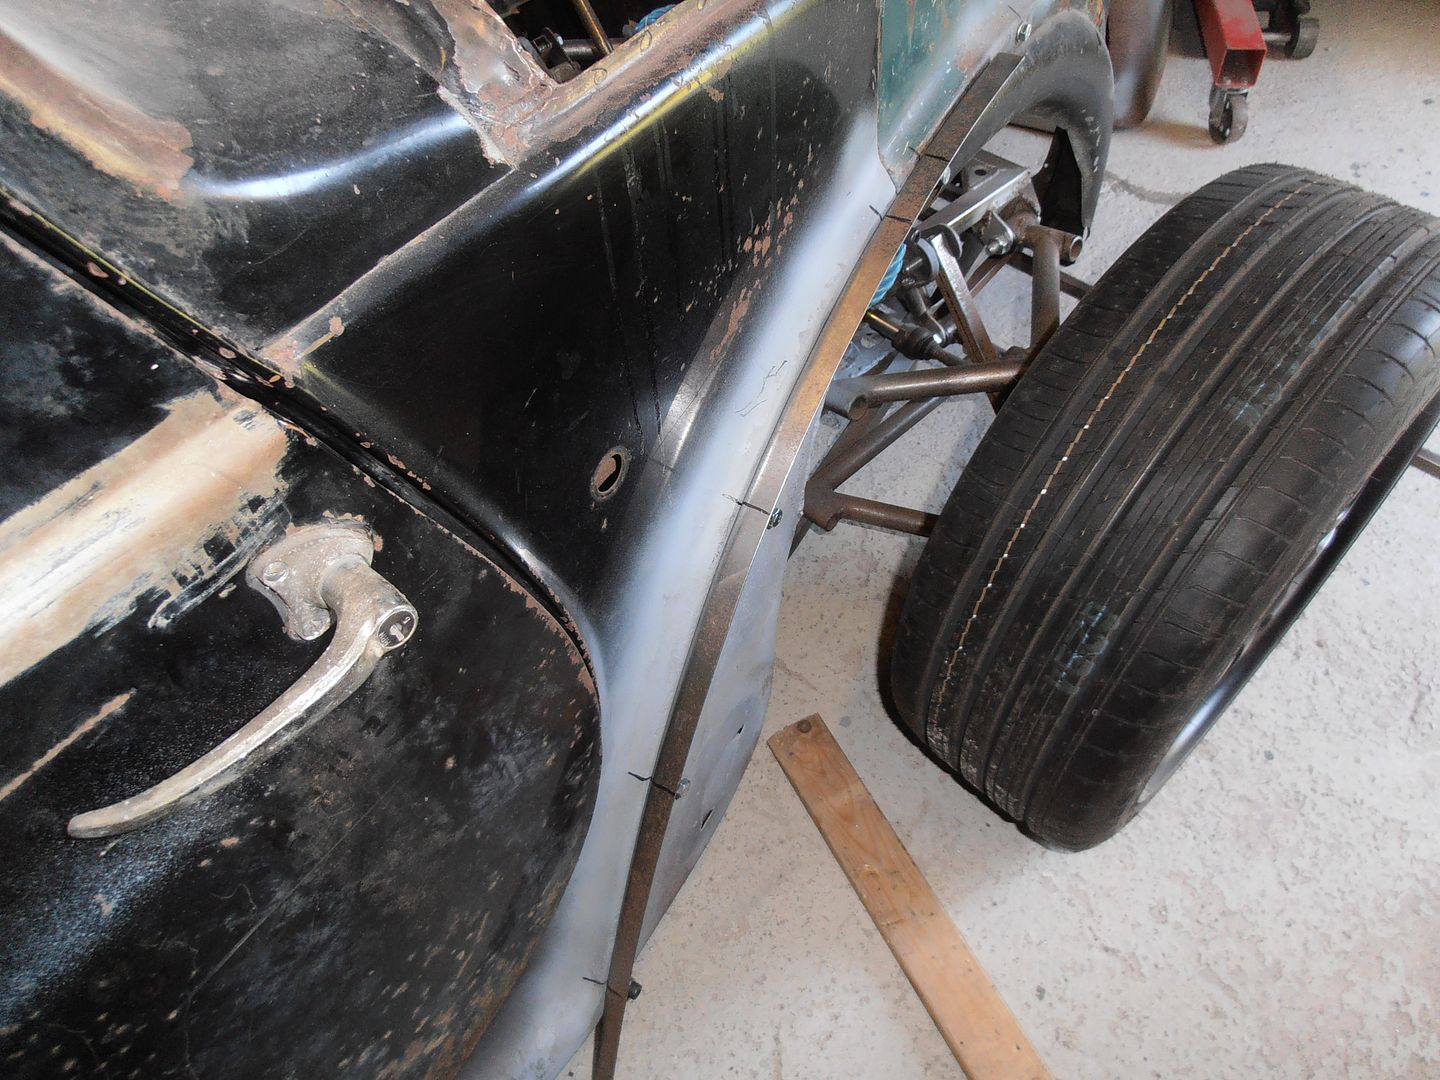 then onto the front section 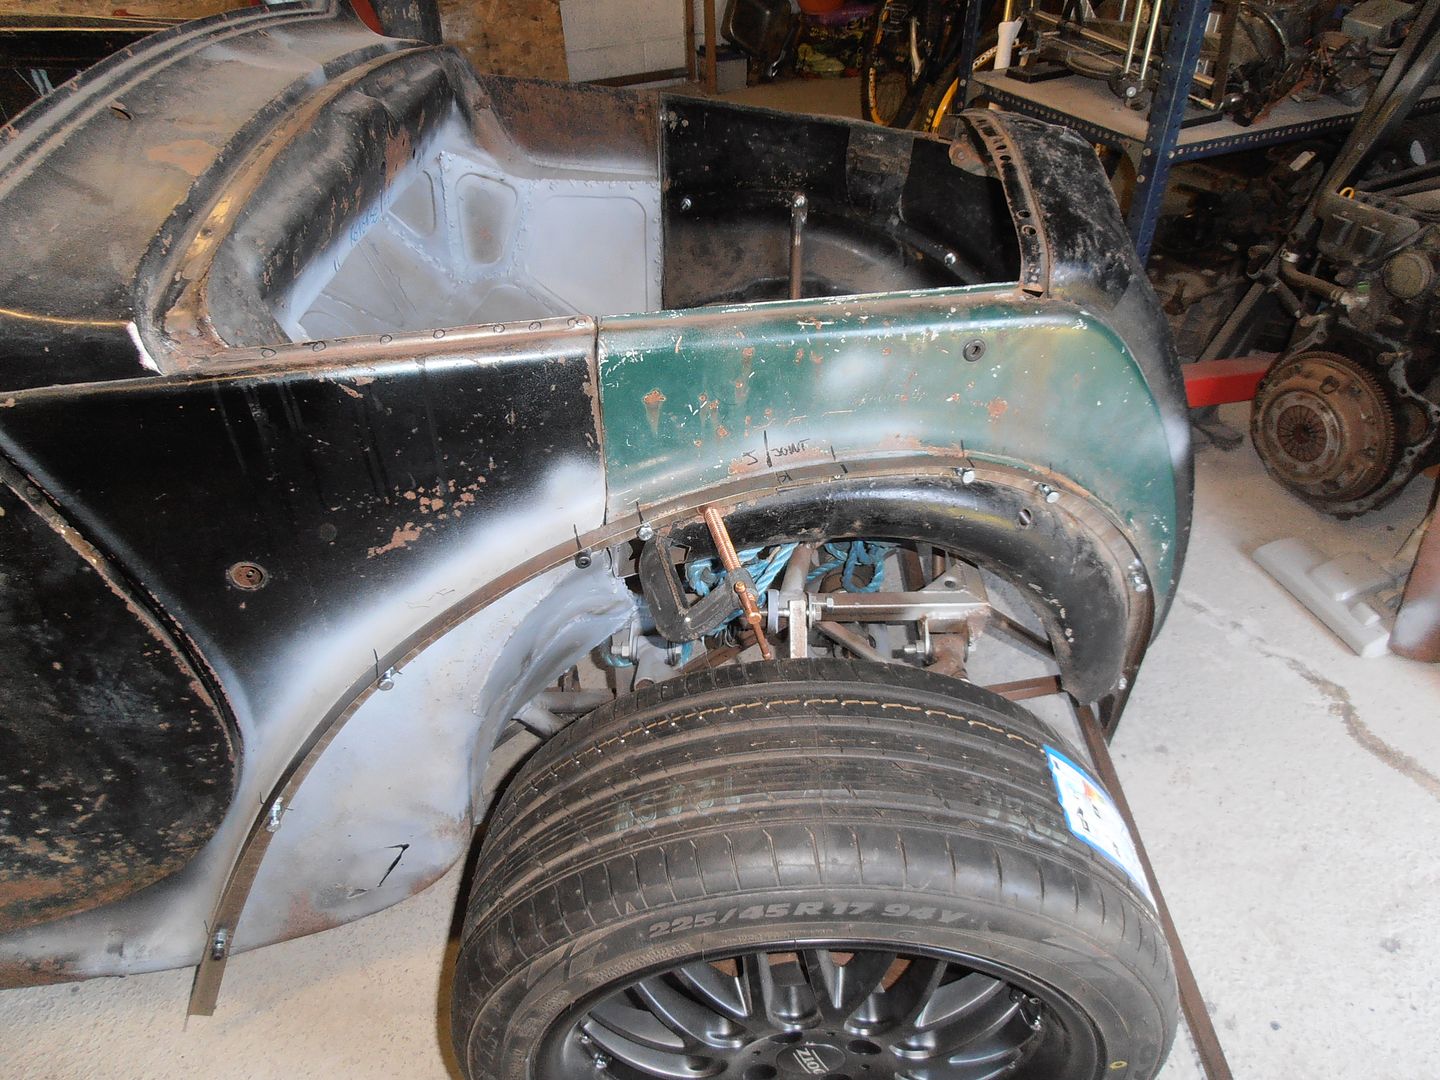 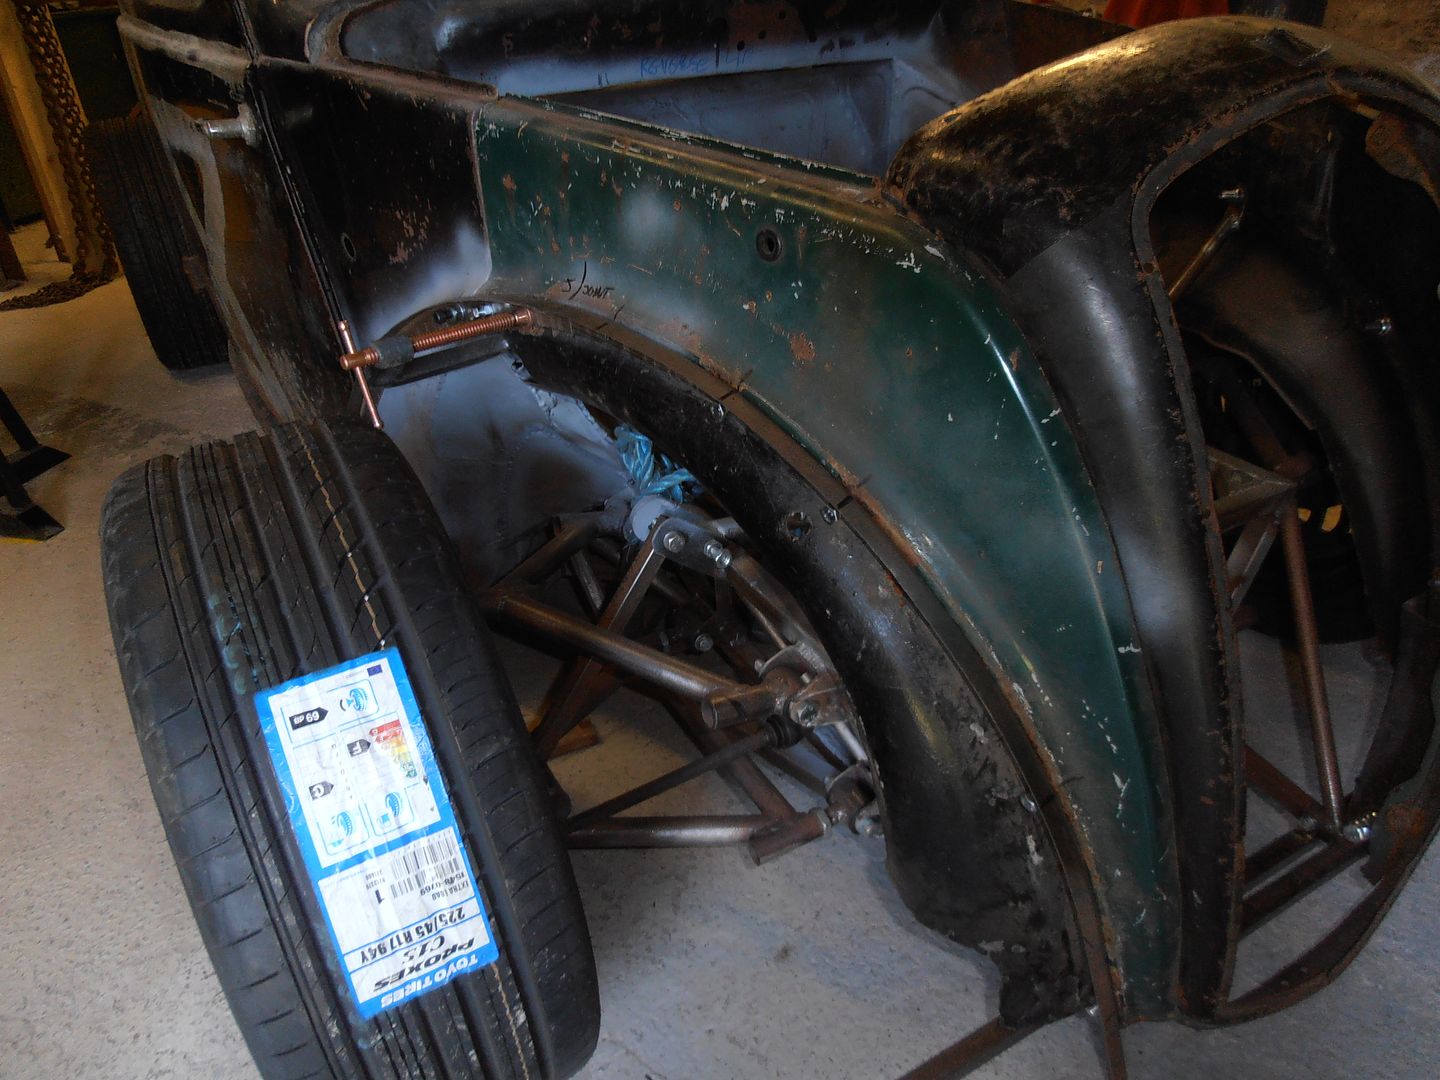 joined the two pieces 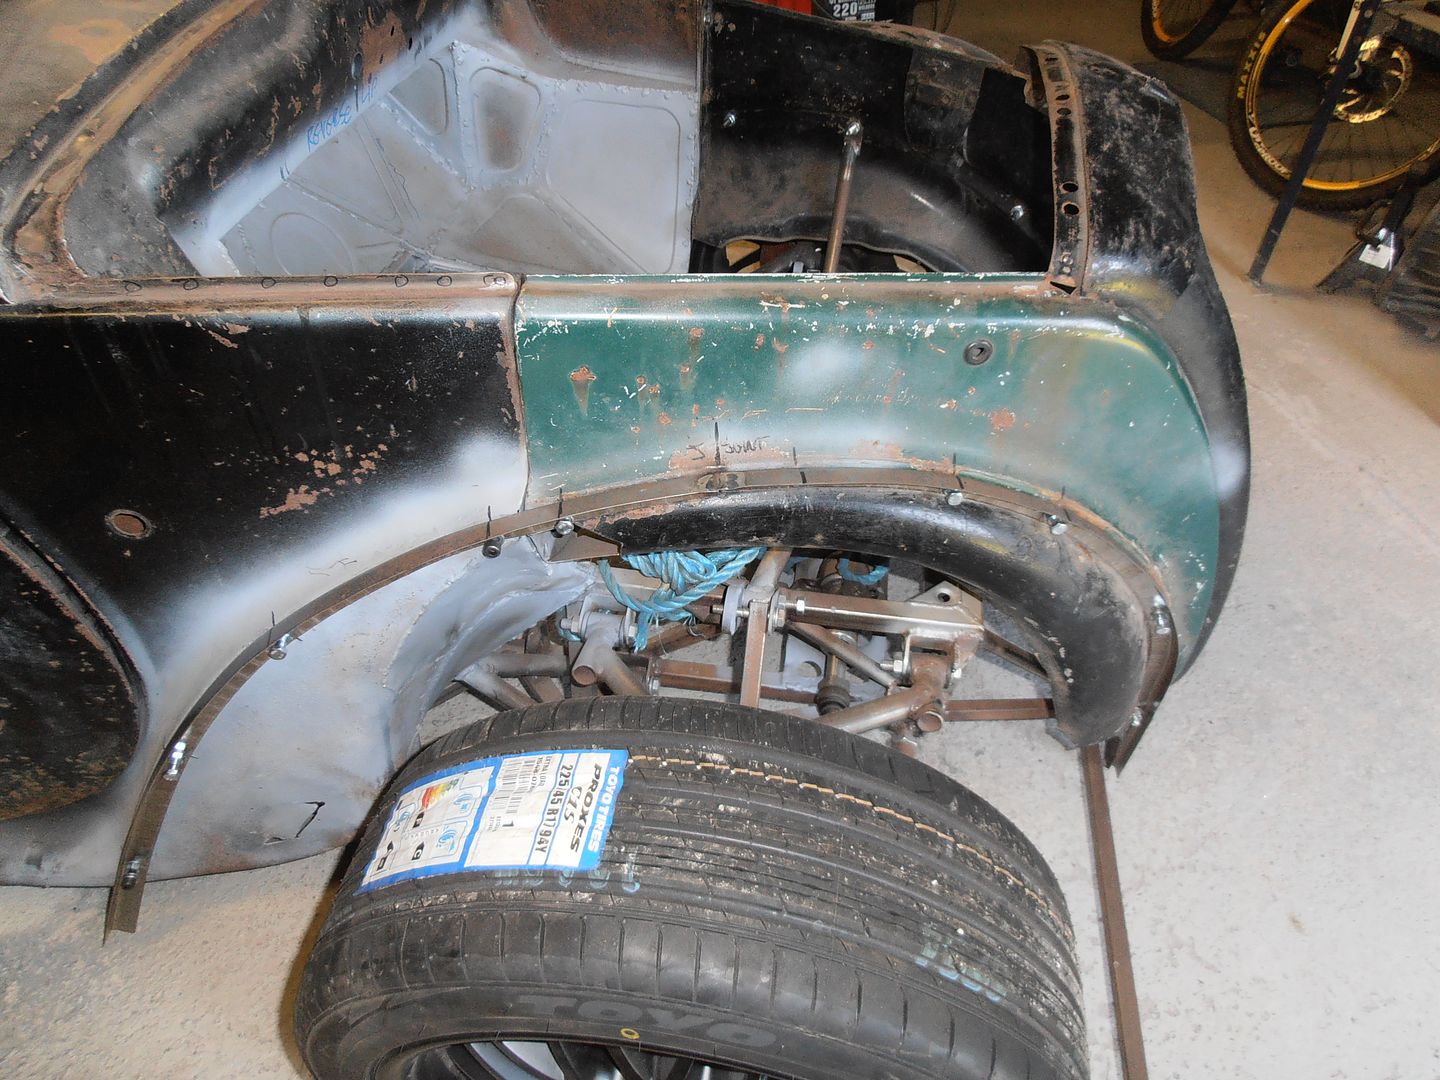 then check check check the front suspension to ensure both front wheels are at the same setback, track, and camber. It was miles out.... I spent a while looking to adjust things, then realised the drivers side bottom ball joint bolt was missing and it had rotated out of the wishbone. Bolted that up correctly and the wheel swung back into the right position :-) adjusted the tracking to the correct toe (this side still has an MX5 ball joint, but is going to be swapped out to match the passenger side. 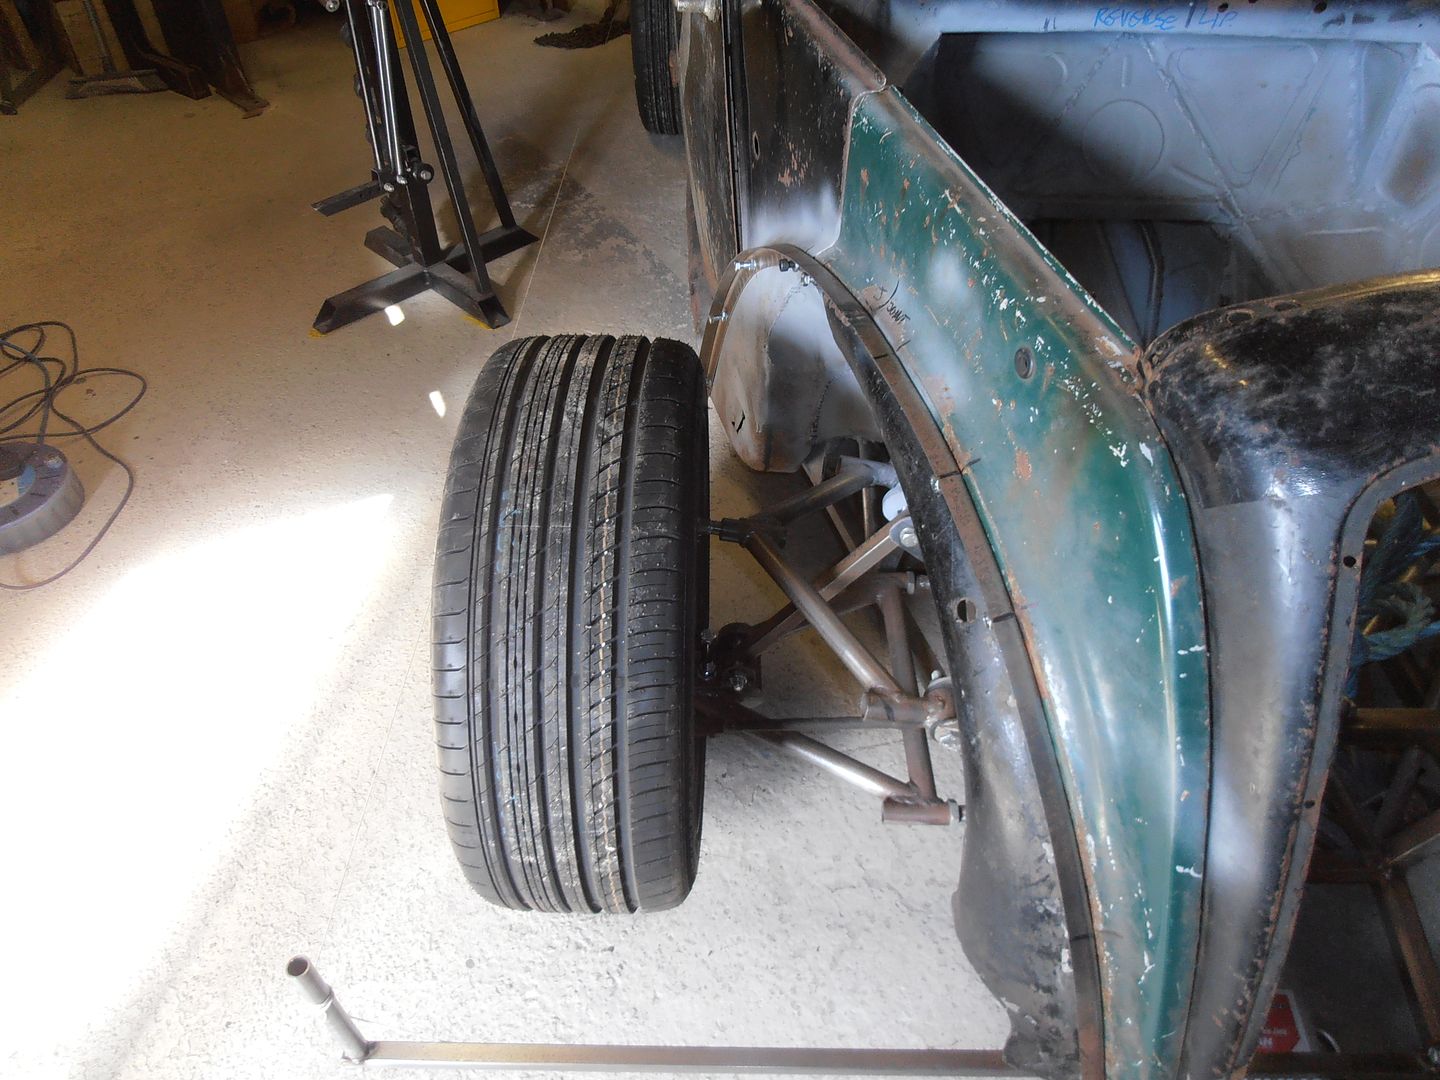 then onto the task of trying to make the wing sit in the right position. 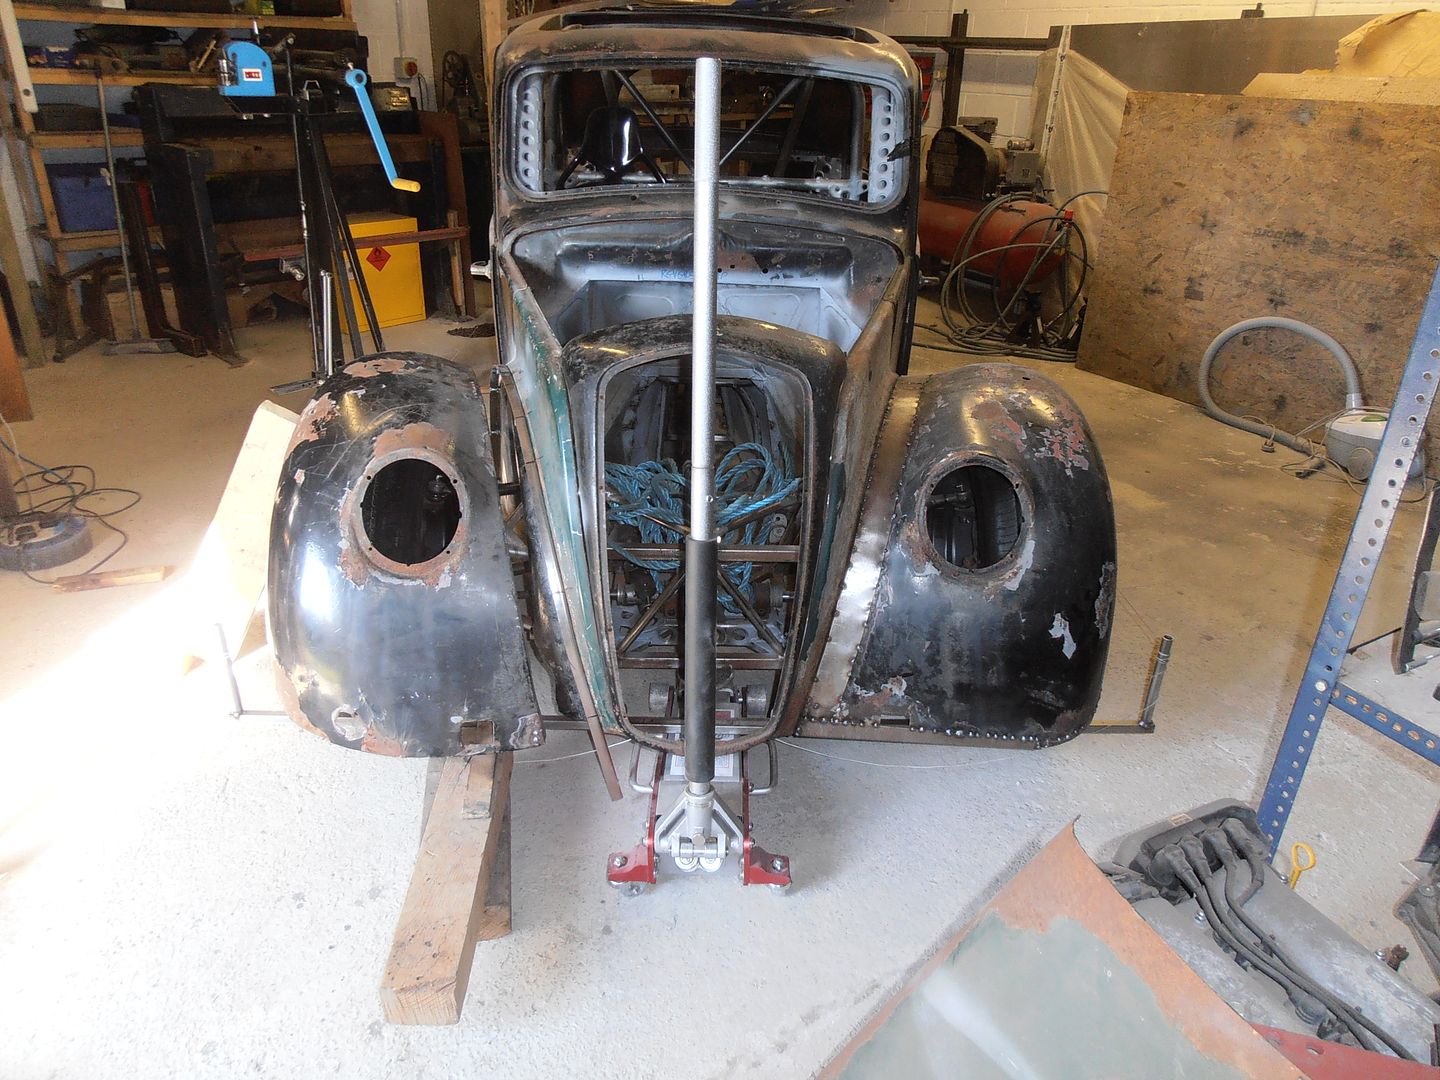 i cant get the wing in quite the right position without cutting the arch back first. I ran out of time today, so thats on the list for the next session on the car. Should look quite nice coming up behind people. 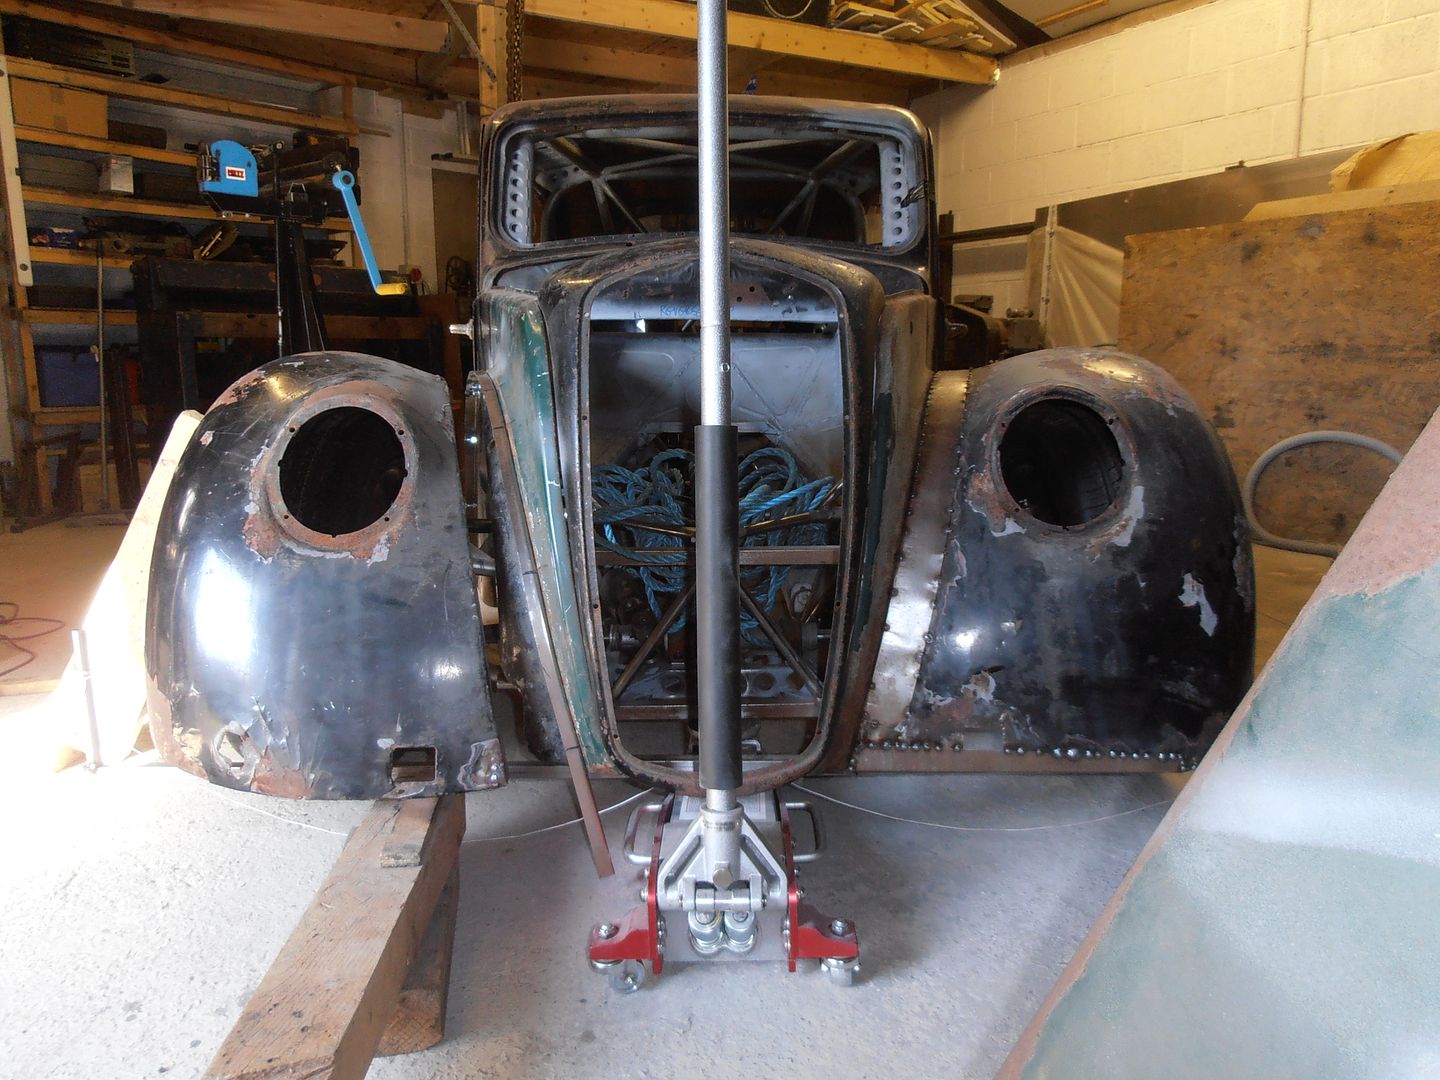 |
| |
|
|
jonomisfit
Club Retro Rides Member
Posts: 1,787
Club RR Member Number: 49
|
|
May 22, 2016 17:02:36 GMT
|
Minimal morris progress. Front wing roughly cleaned back where it'll be getting cut / welded. 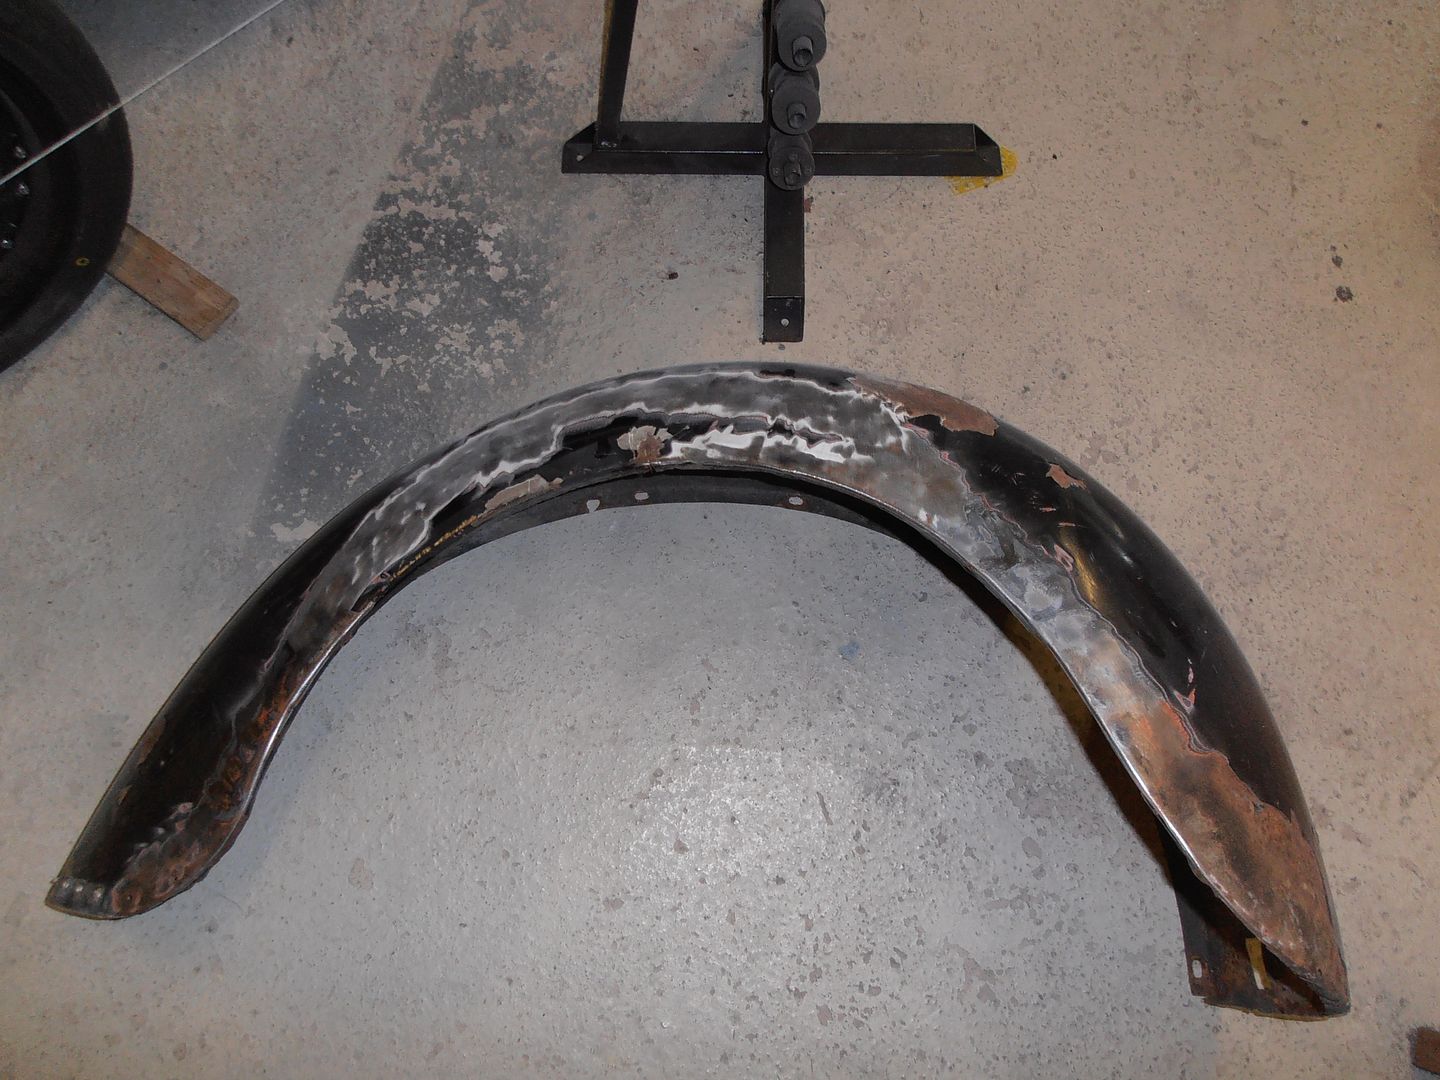 doesnt really show up great in the pic, but its about 6mm thick in filler and the metal underneath is fairly heavily dented. 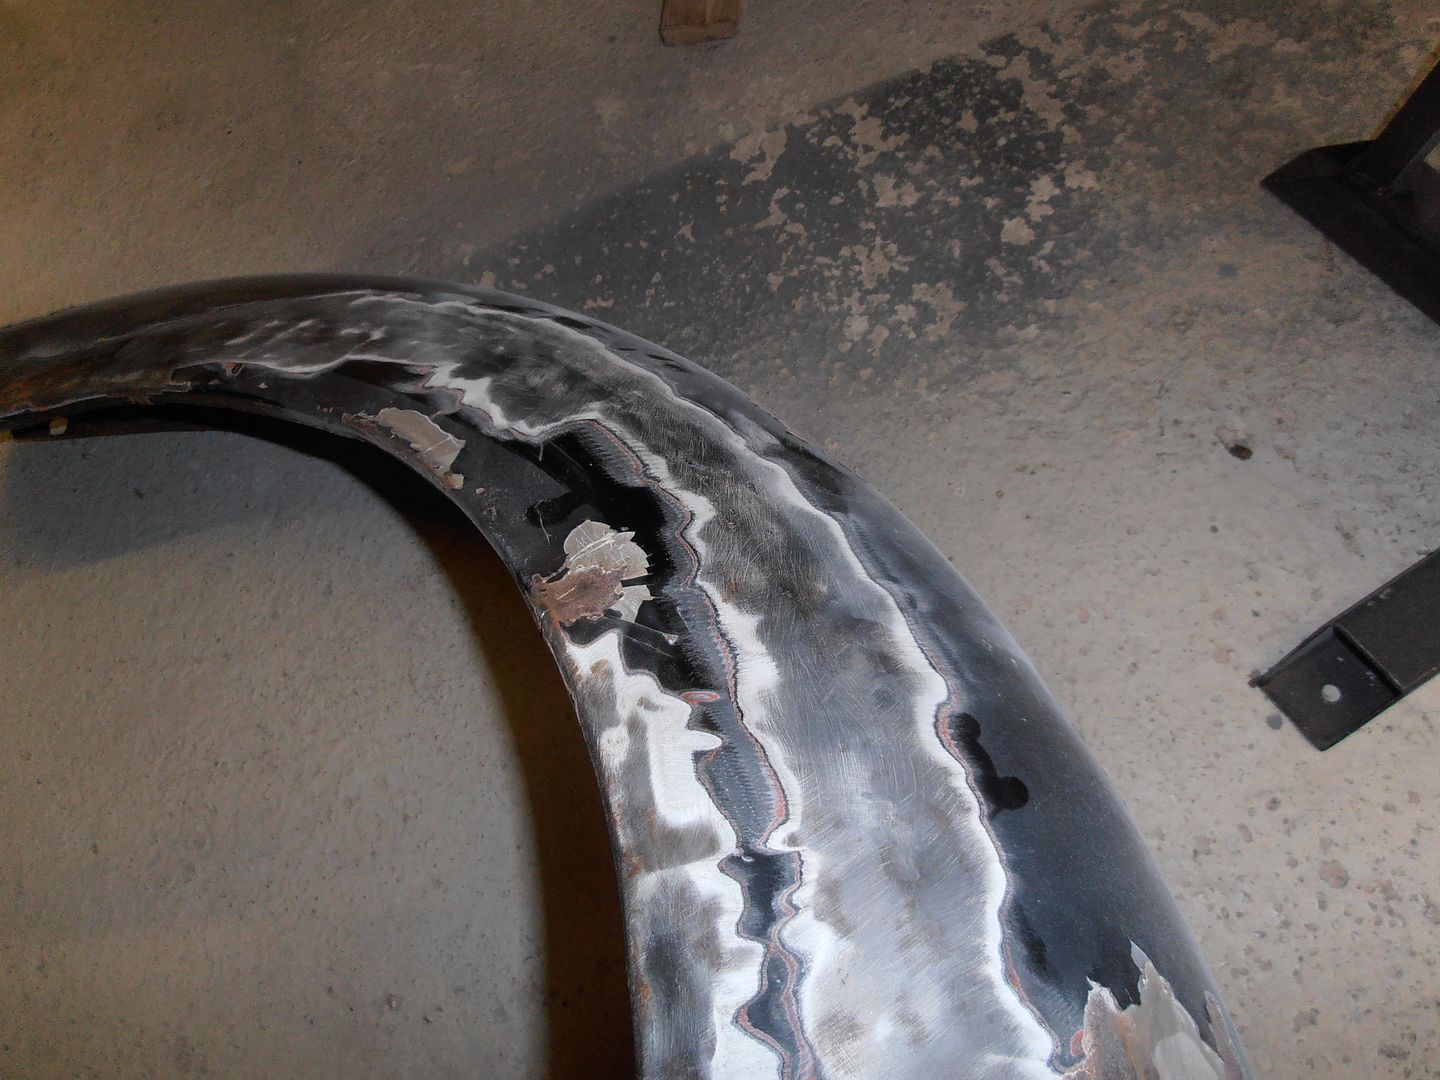 A few tabs tacked onto the new arch rail to get setting distances correct. 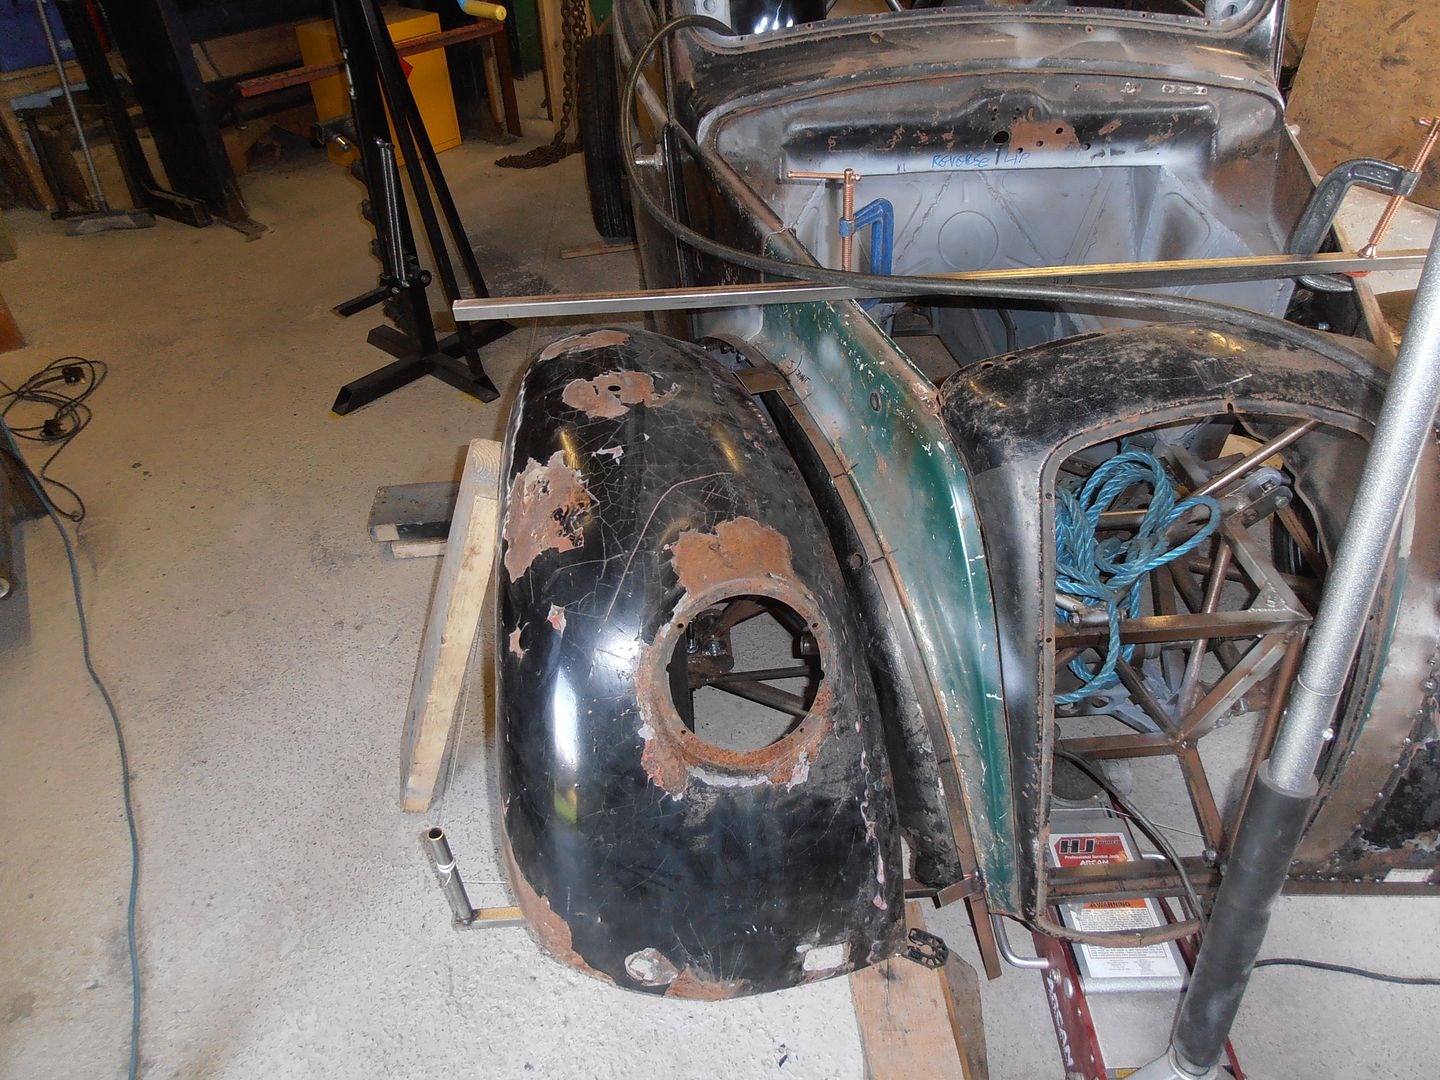 then adjust adjust adjust to try and get it all to match the other side. 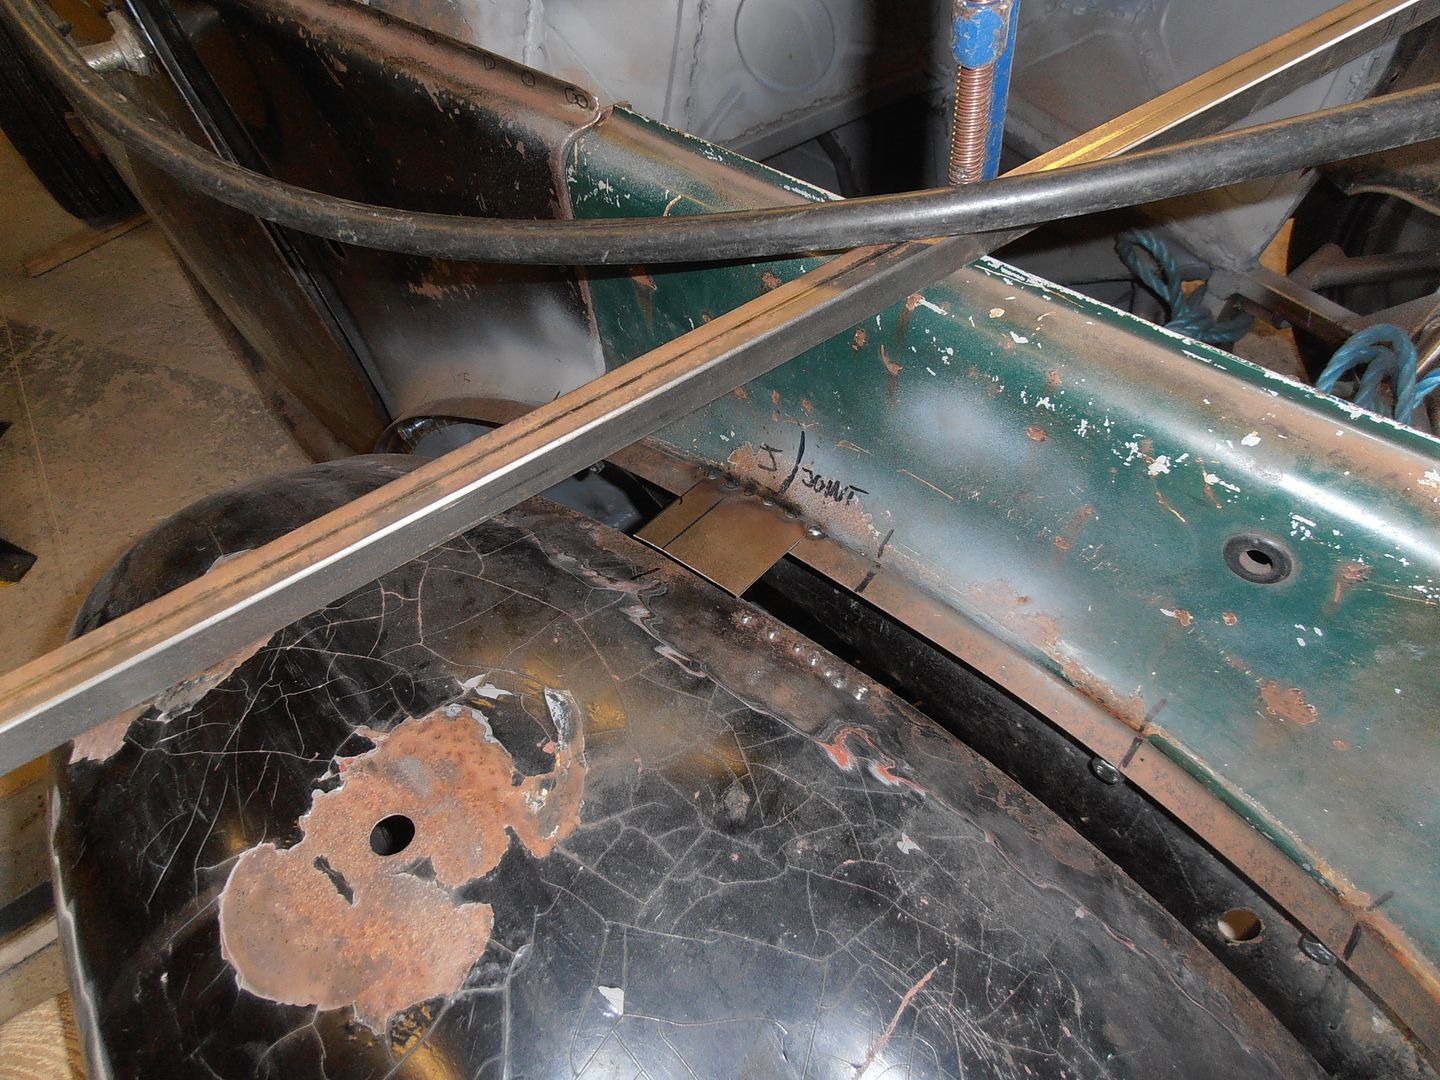 .... using whatever there was kicking about 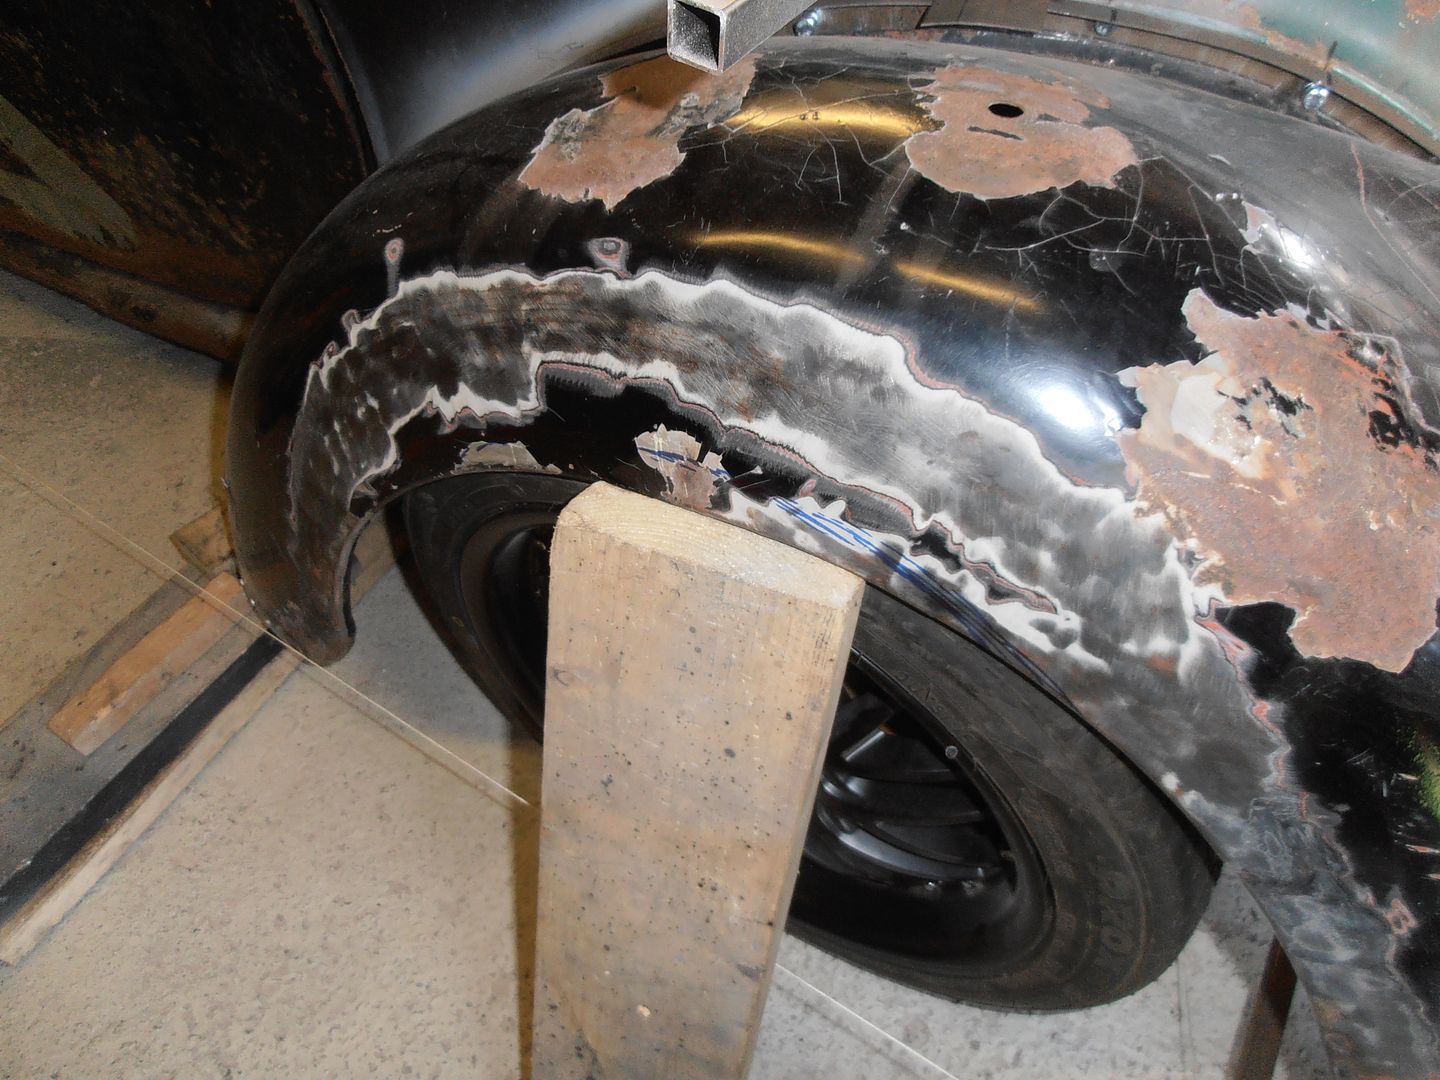 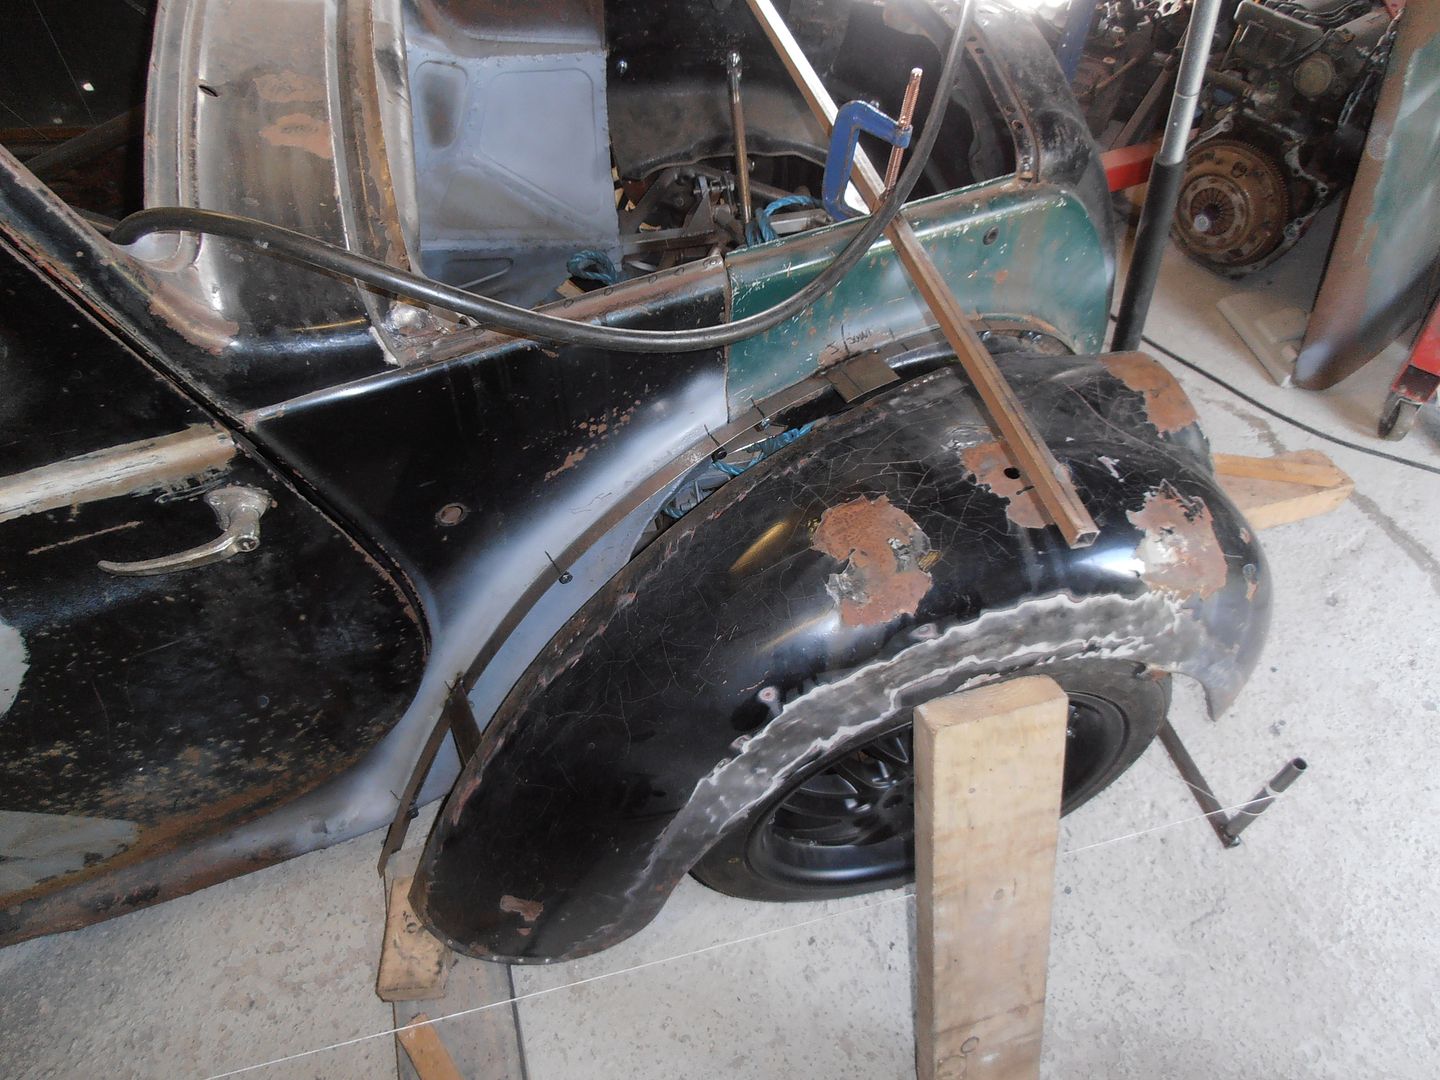 It was a fight to get it to line up. but eventually I bit the bullet and tacked it on 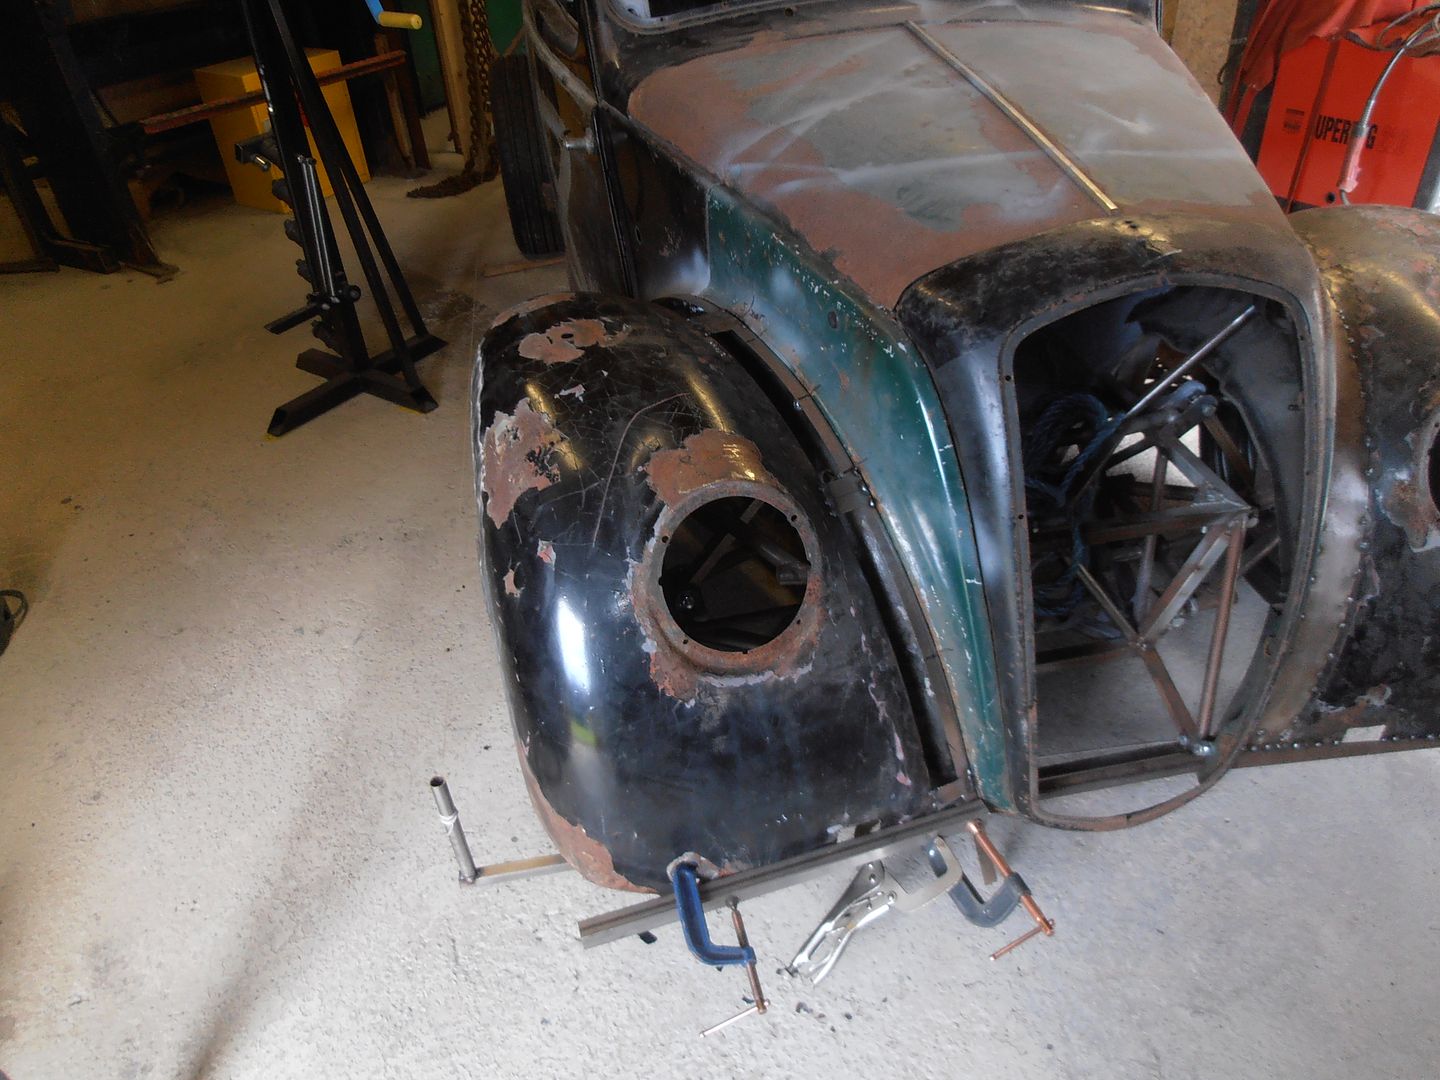 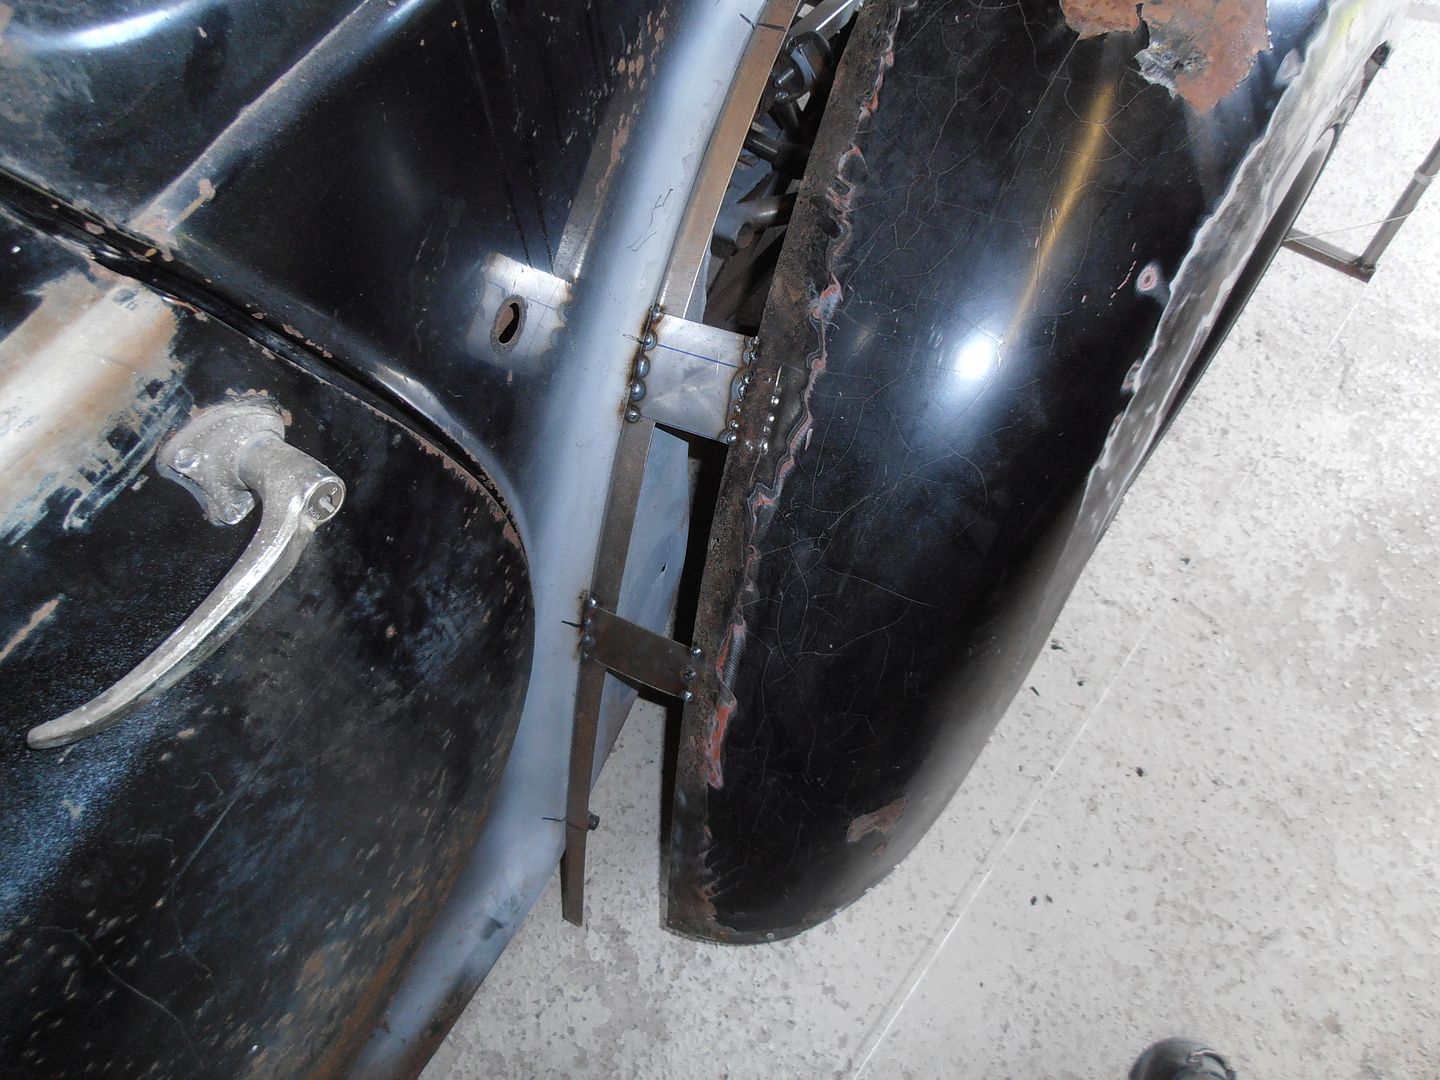 the rear needs some adjusting on angle behind the wheel to match the other side, but I used the new lip to pull it in last time, so will do the same on this side. The started making half of the lip 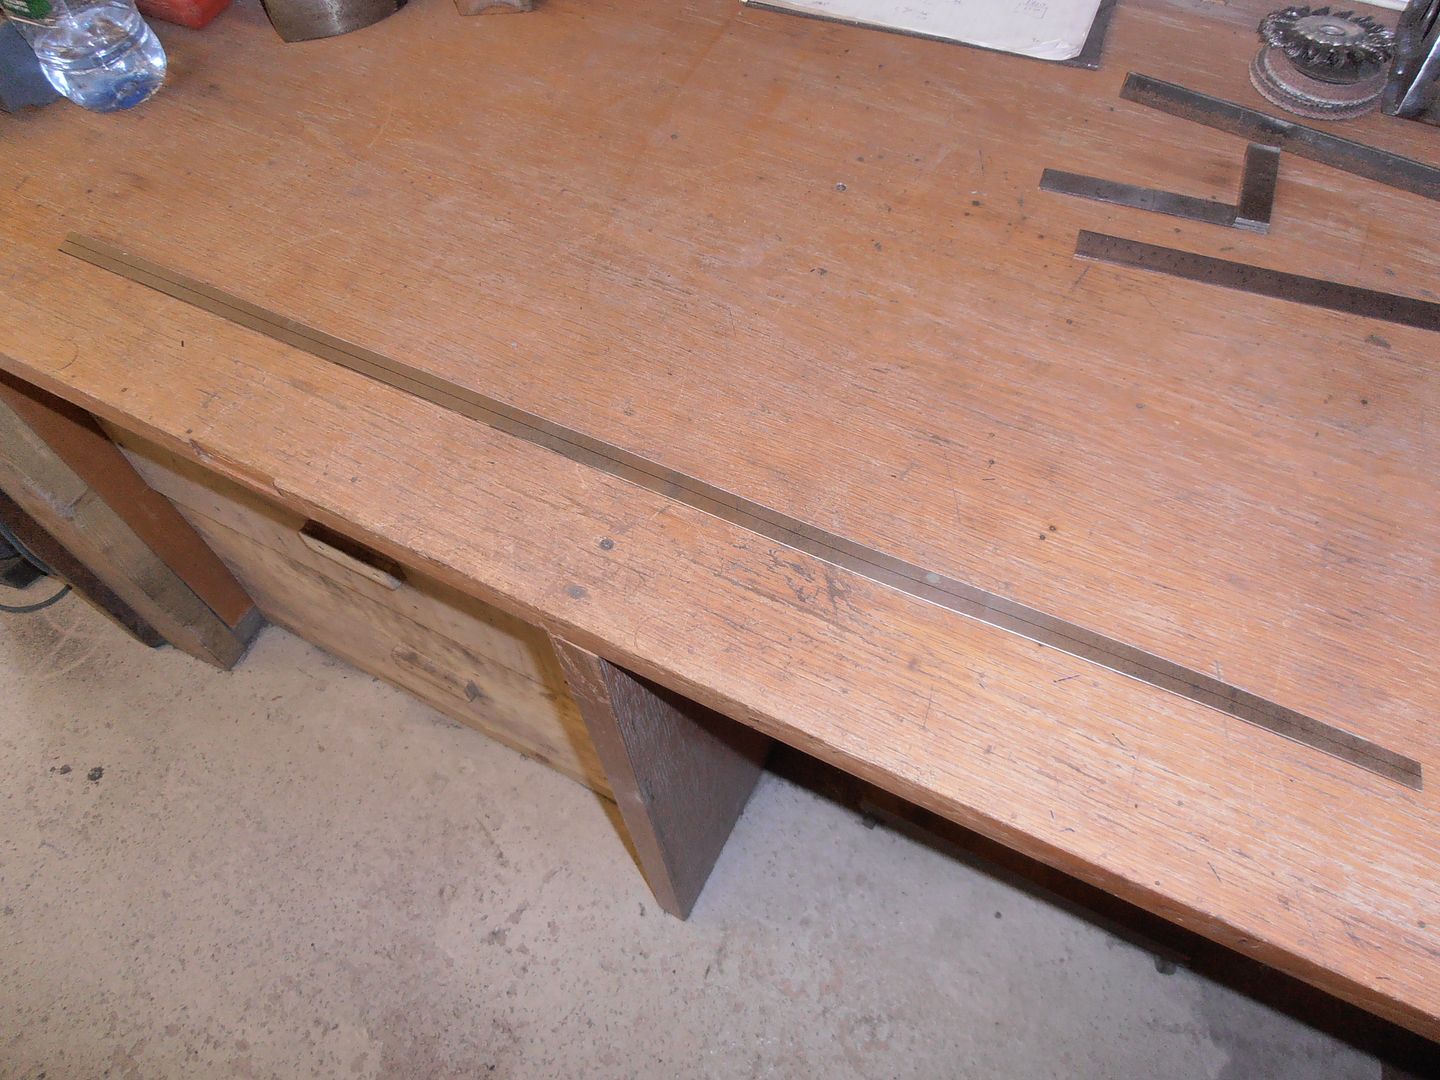  It was at this point I got distracted by the state of the garage floor, so have started tidying it all up so I can re-paint it next weekend. There may be a few weeks delay on the morris to allow for this. |
| |
|
|
|
|


 [*]
[*] [*]
[*]




 Minus the spikes, etc.


