jonomisfit
Club Retro Rides Member
Posts: 1,787
Club RR Member Number: 49
|
|
Sept 6, 2014 17:28:59 GMT
|
|
|
| |
|
|
|
|
jonomisfit
Club Retro Rides Member
Posts: 1,787
Club RR Member Number: 49
|
|
Sept 7, 2014 17:26:42 GMT
|
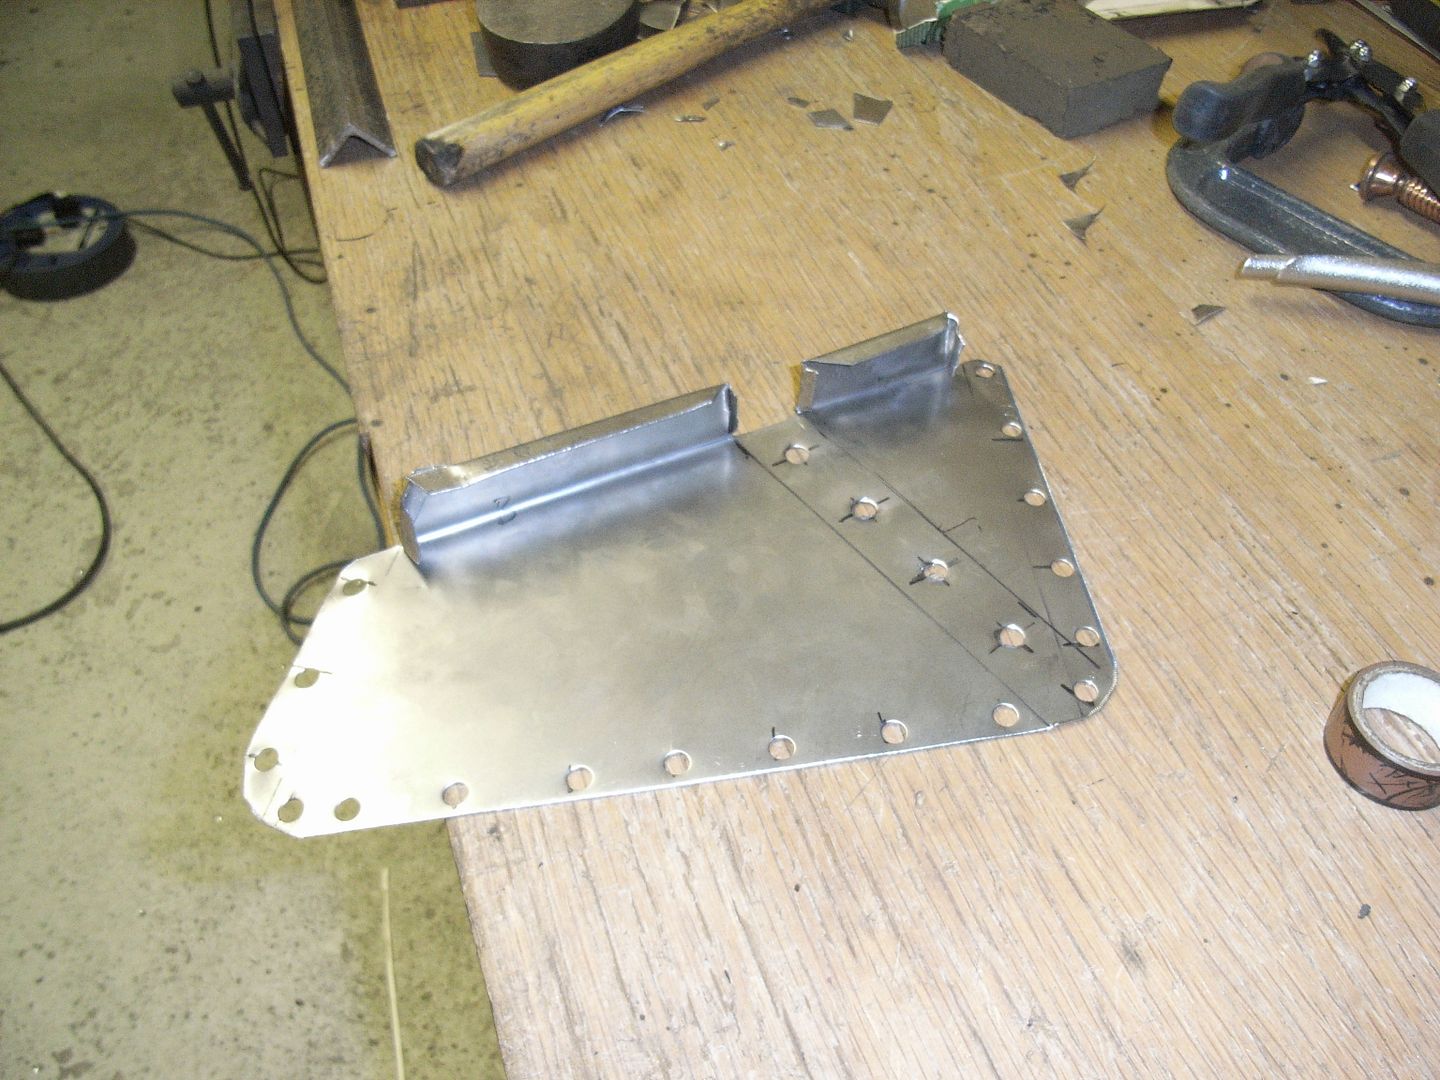
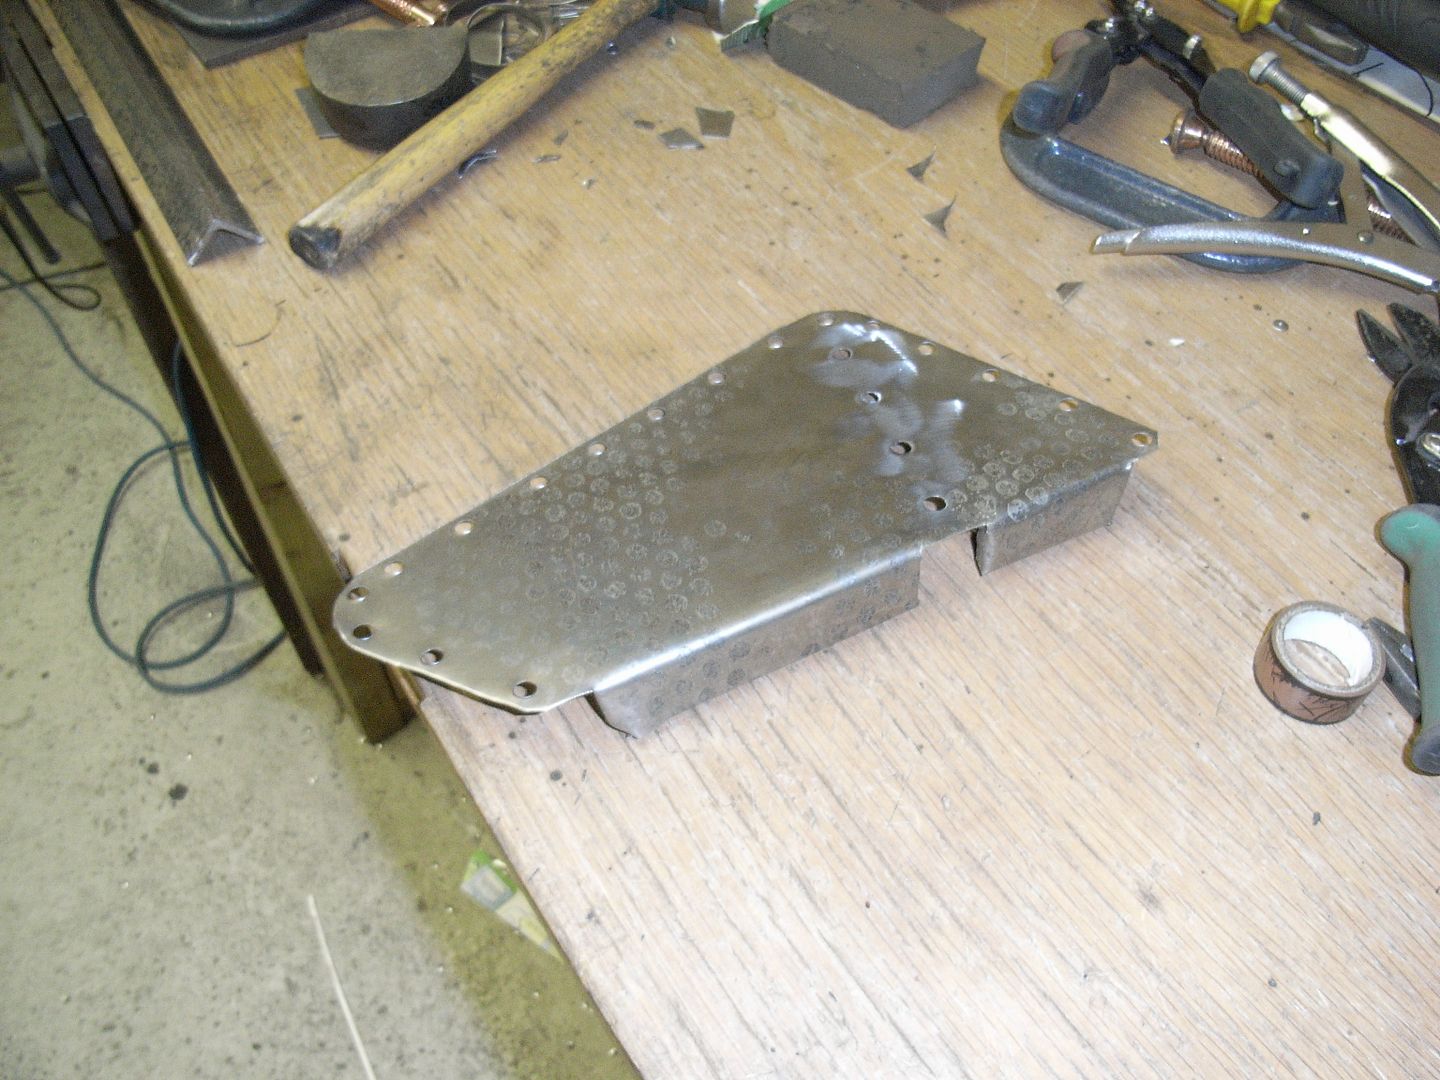
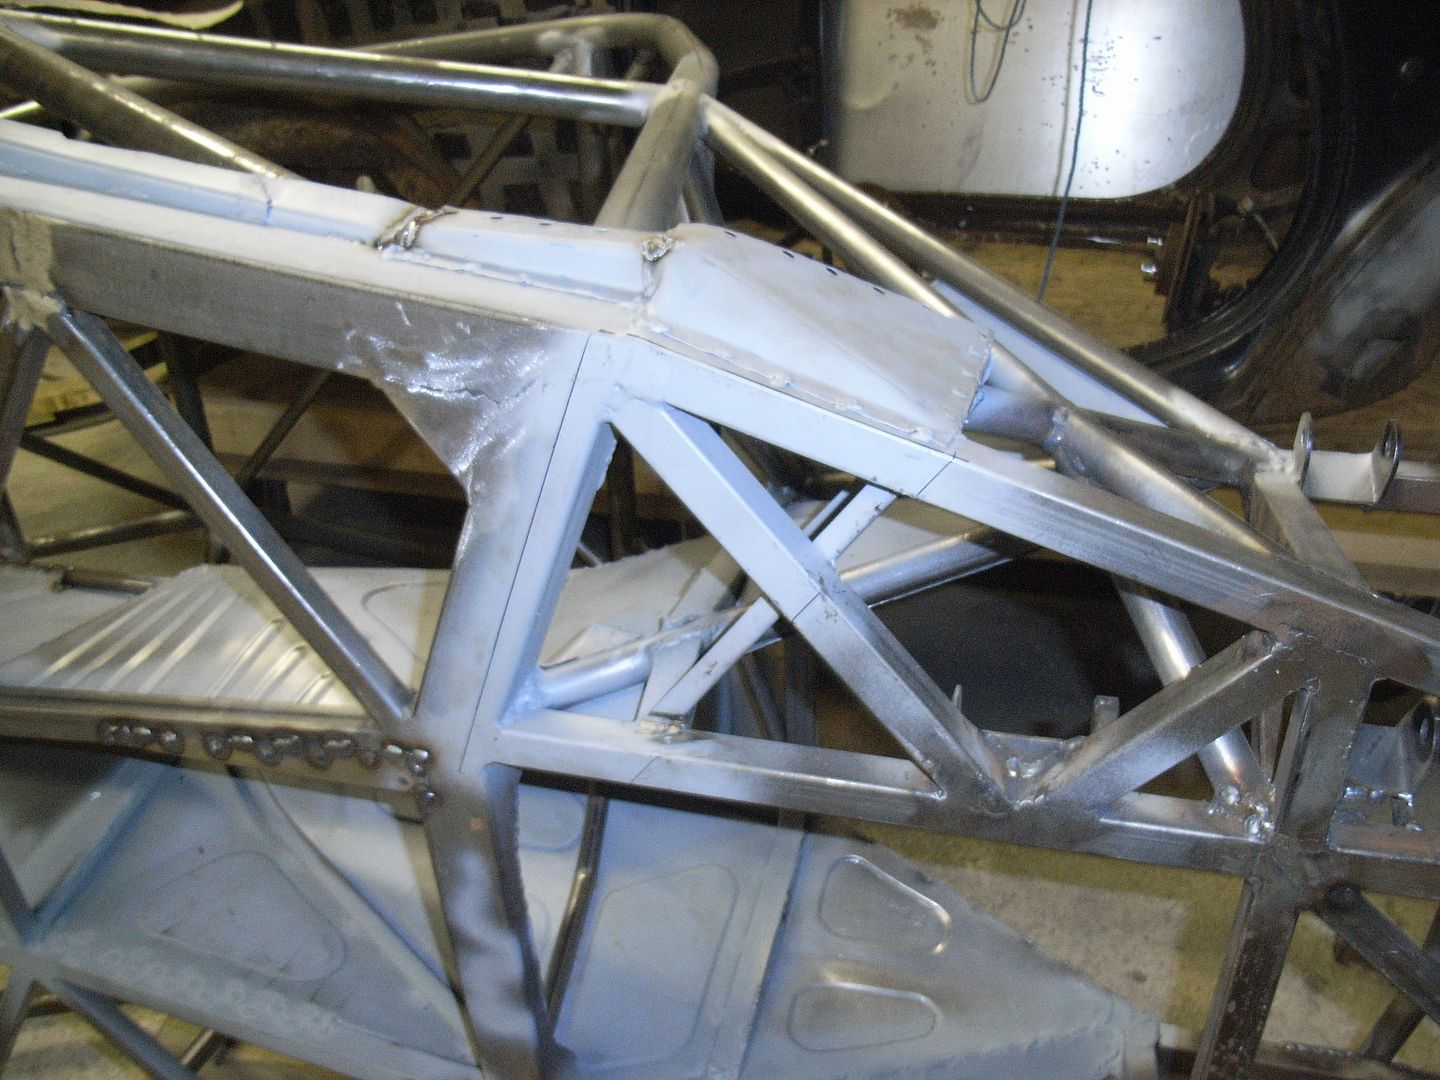
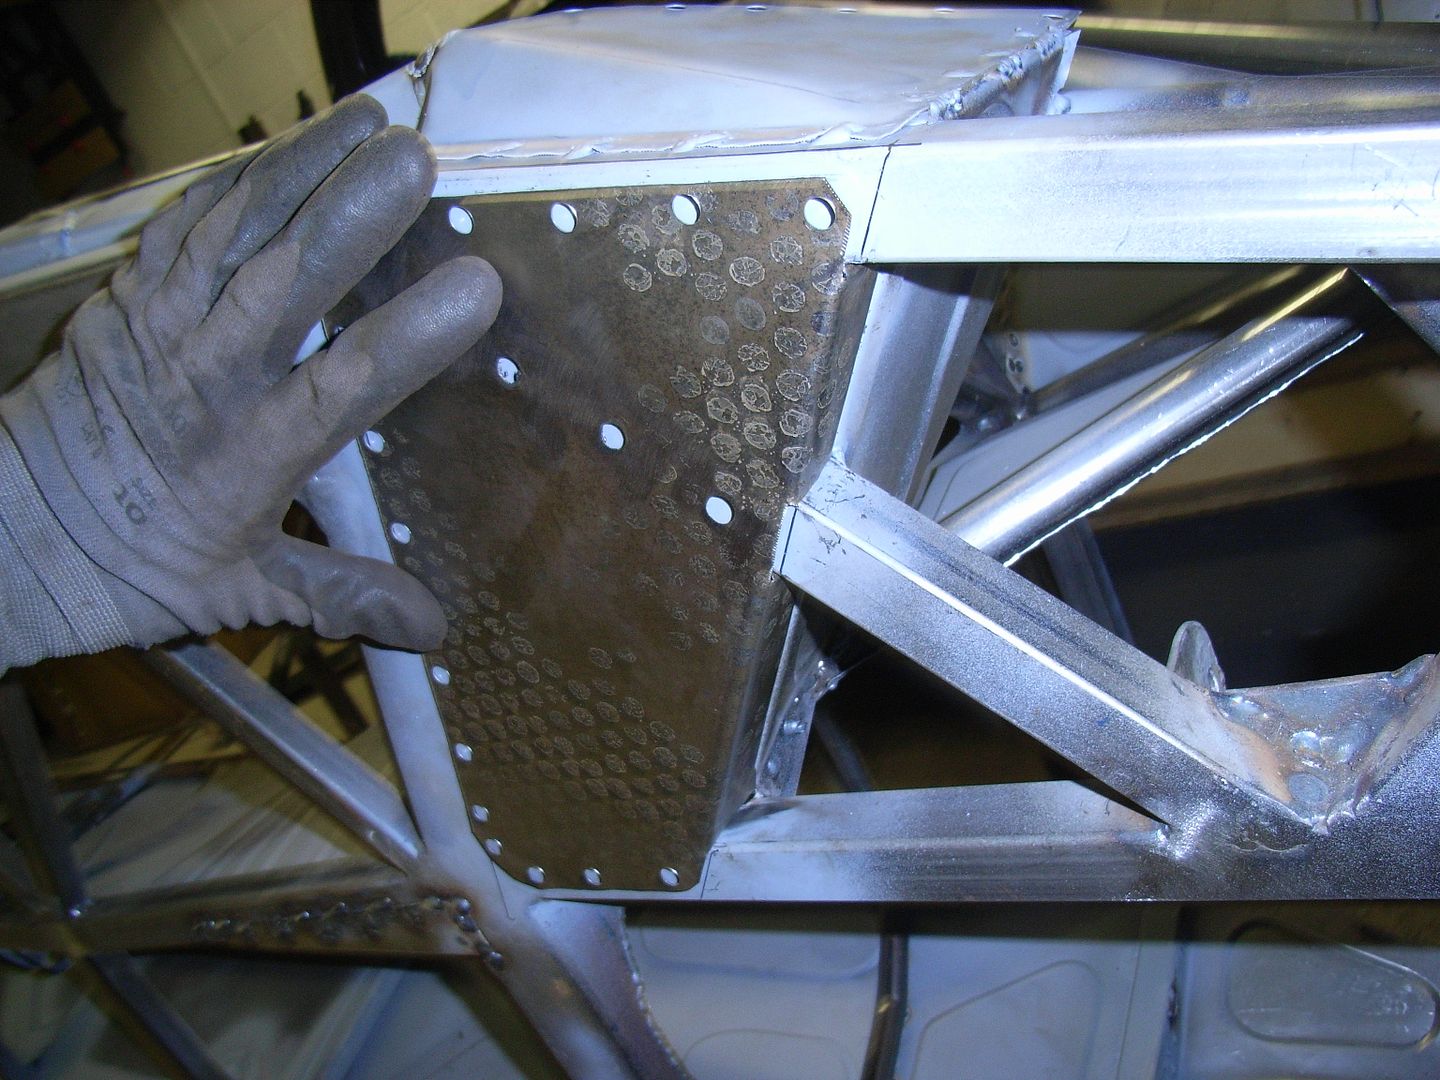
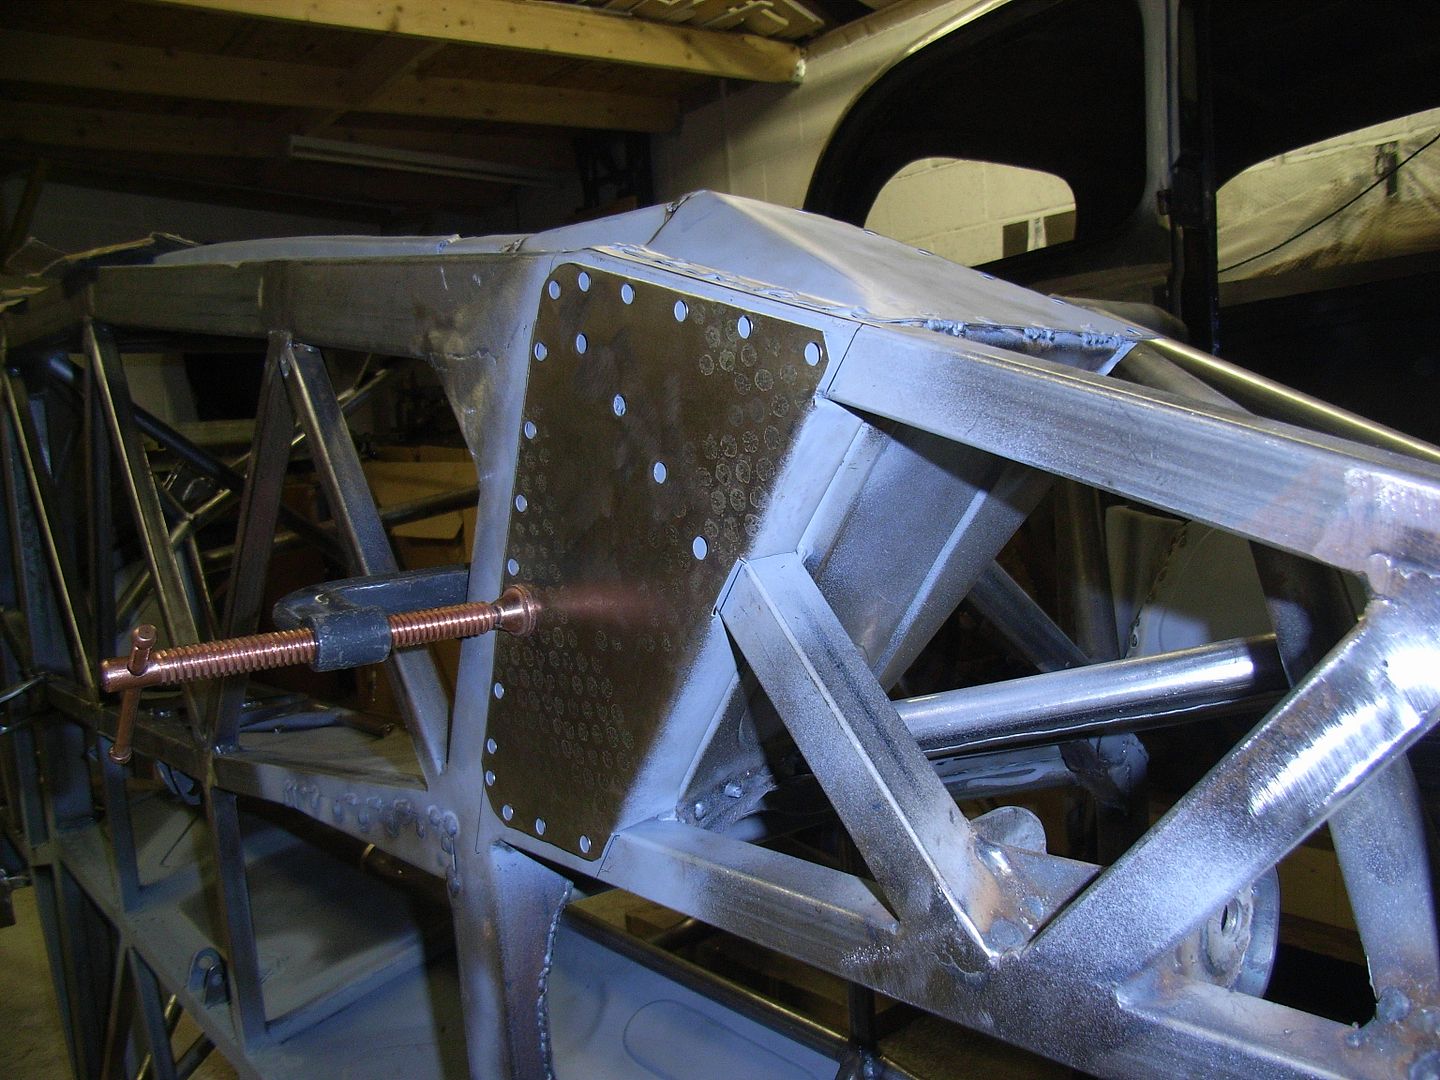
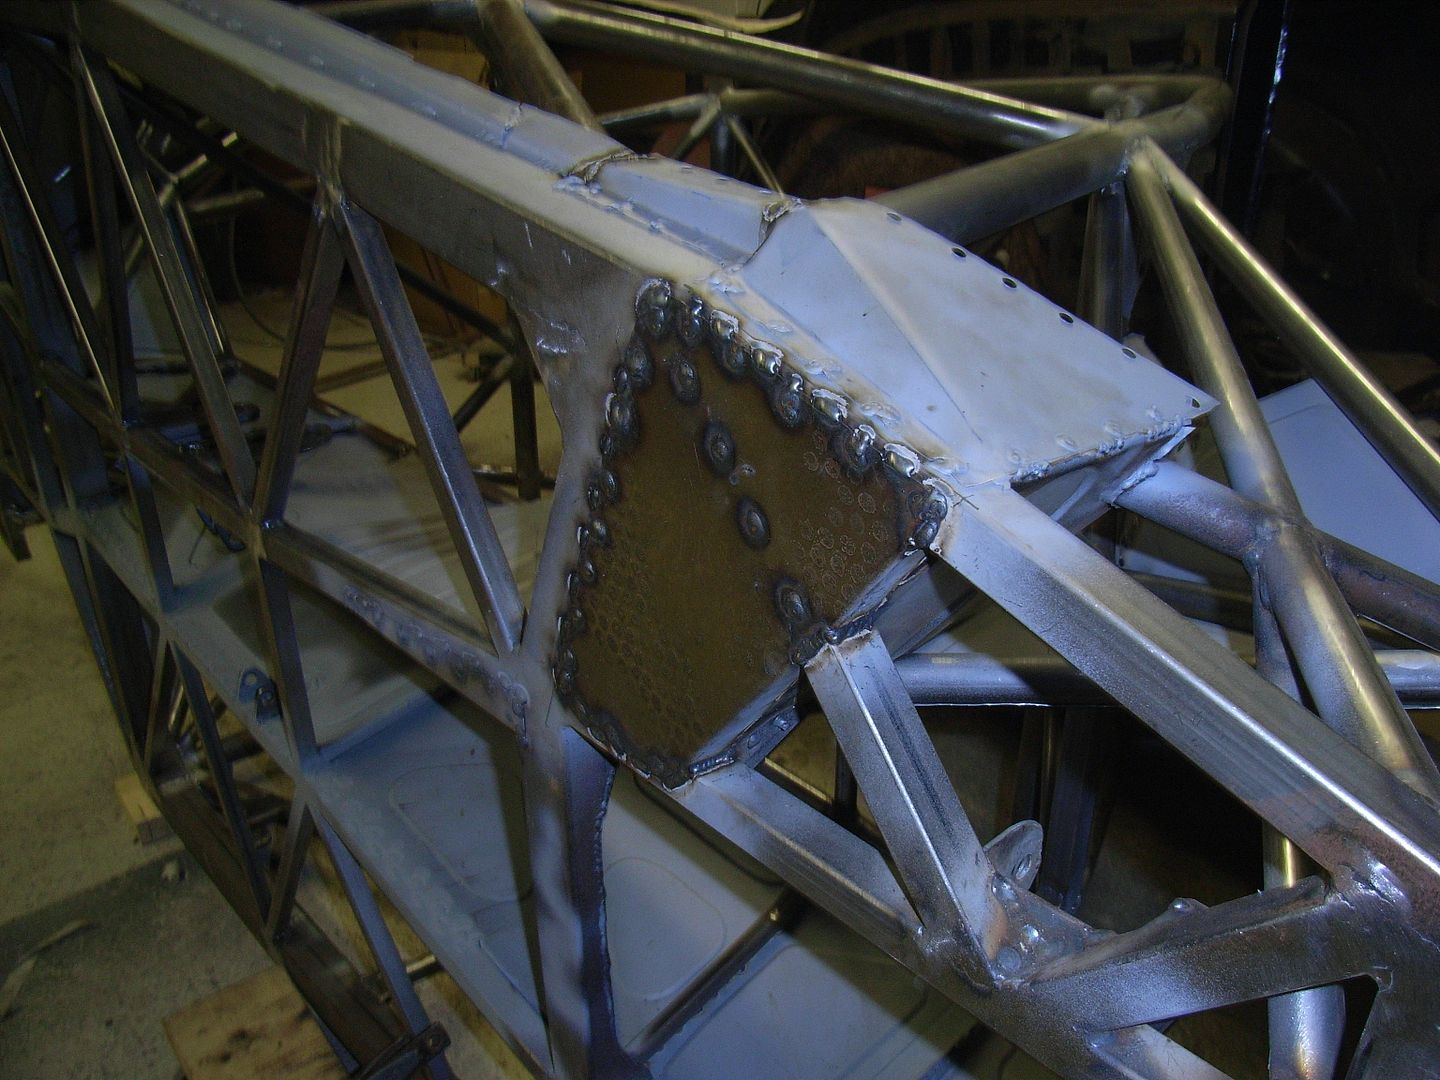
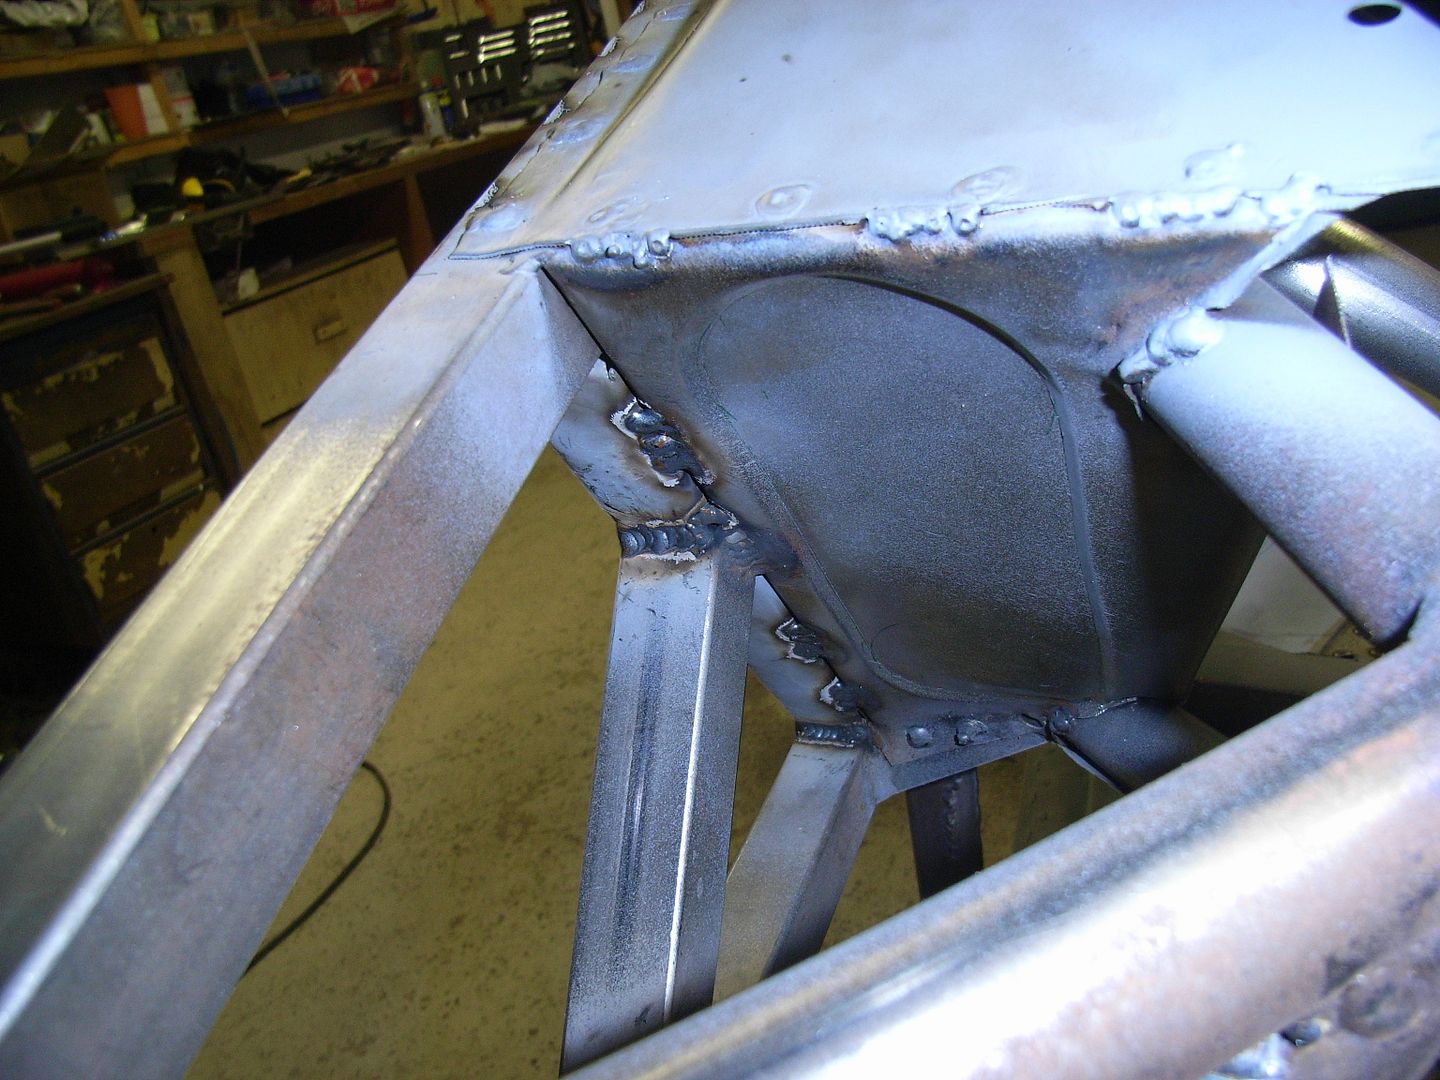
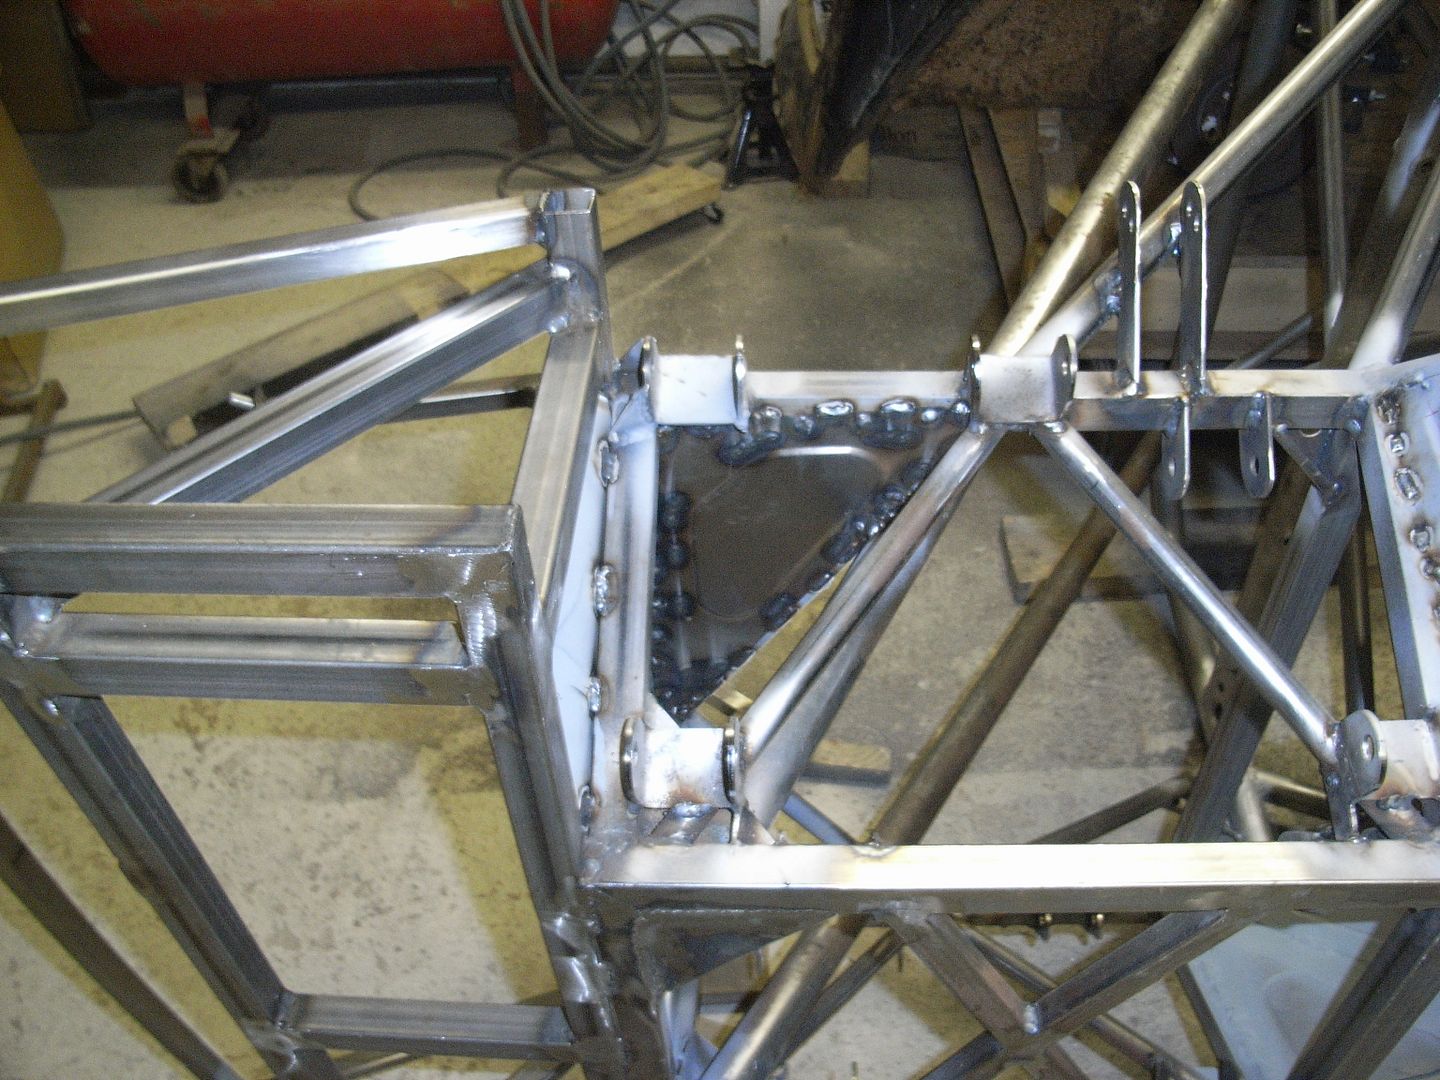
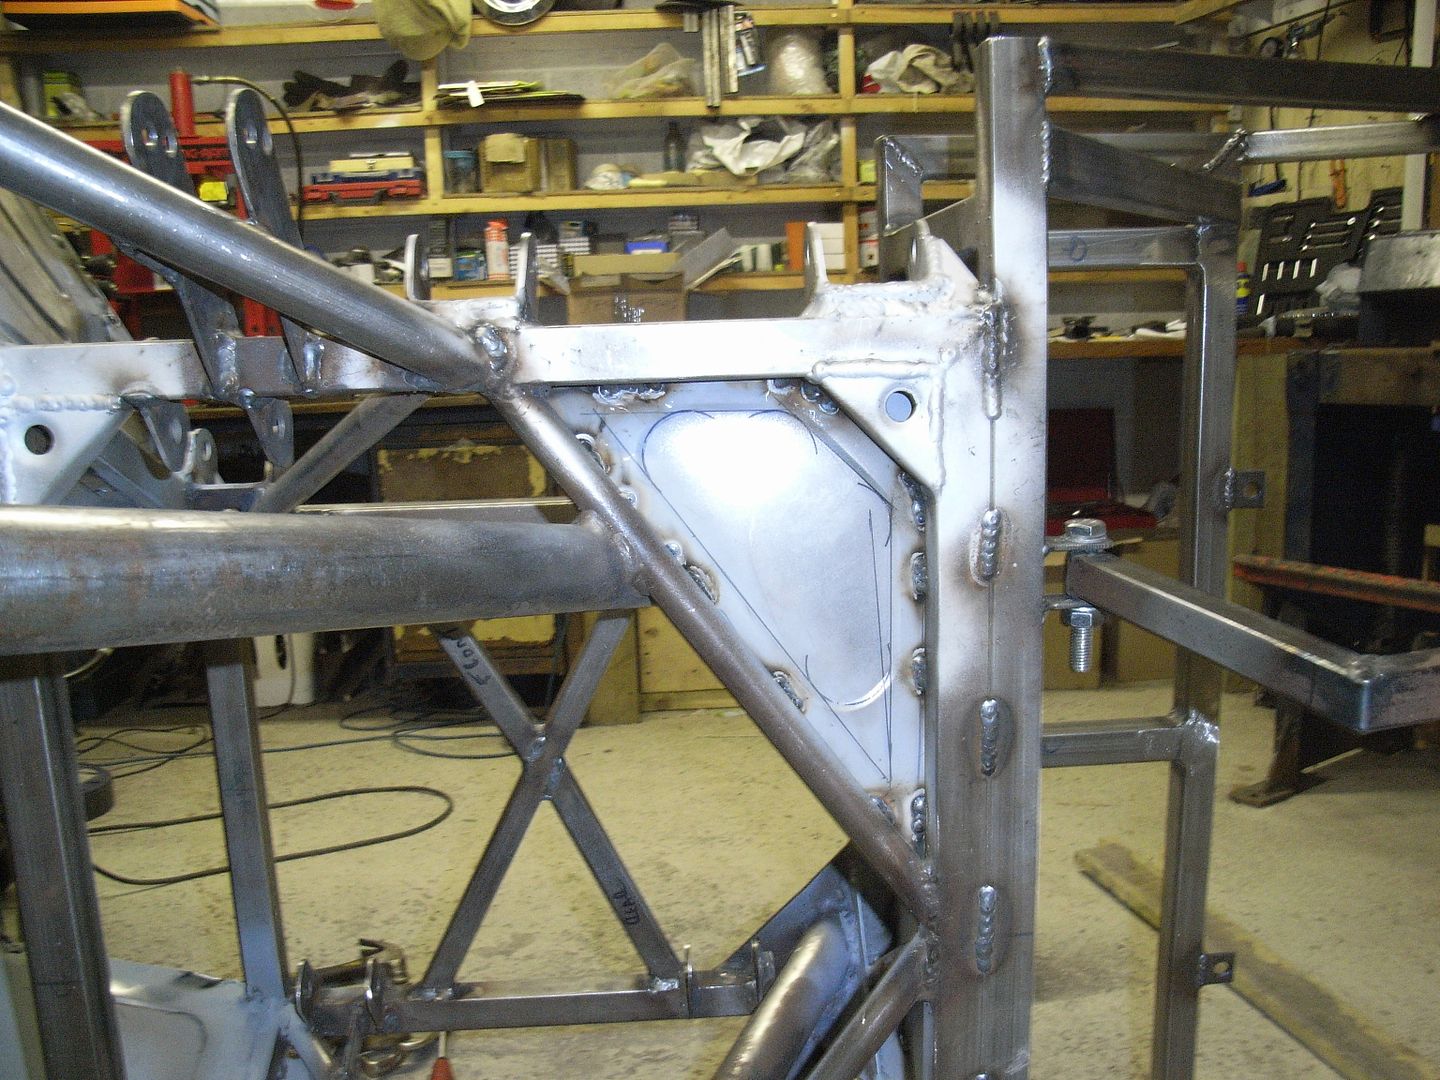
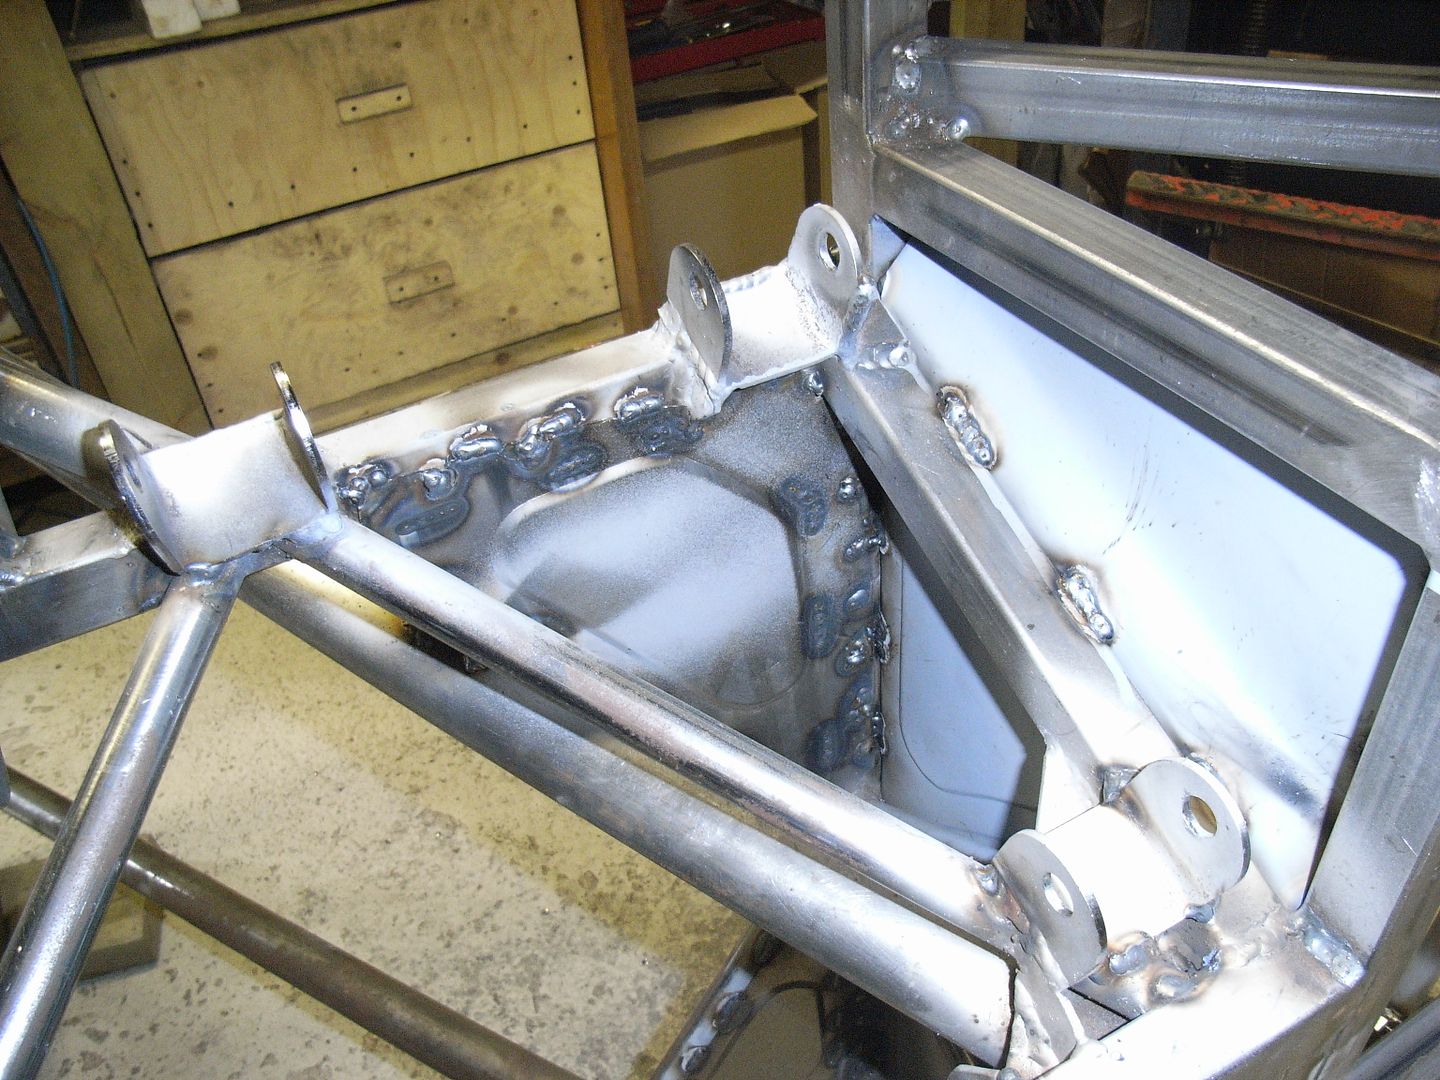
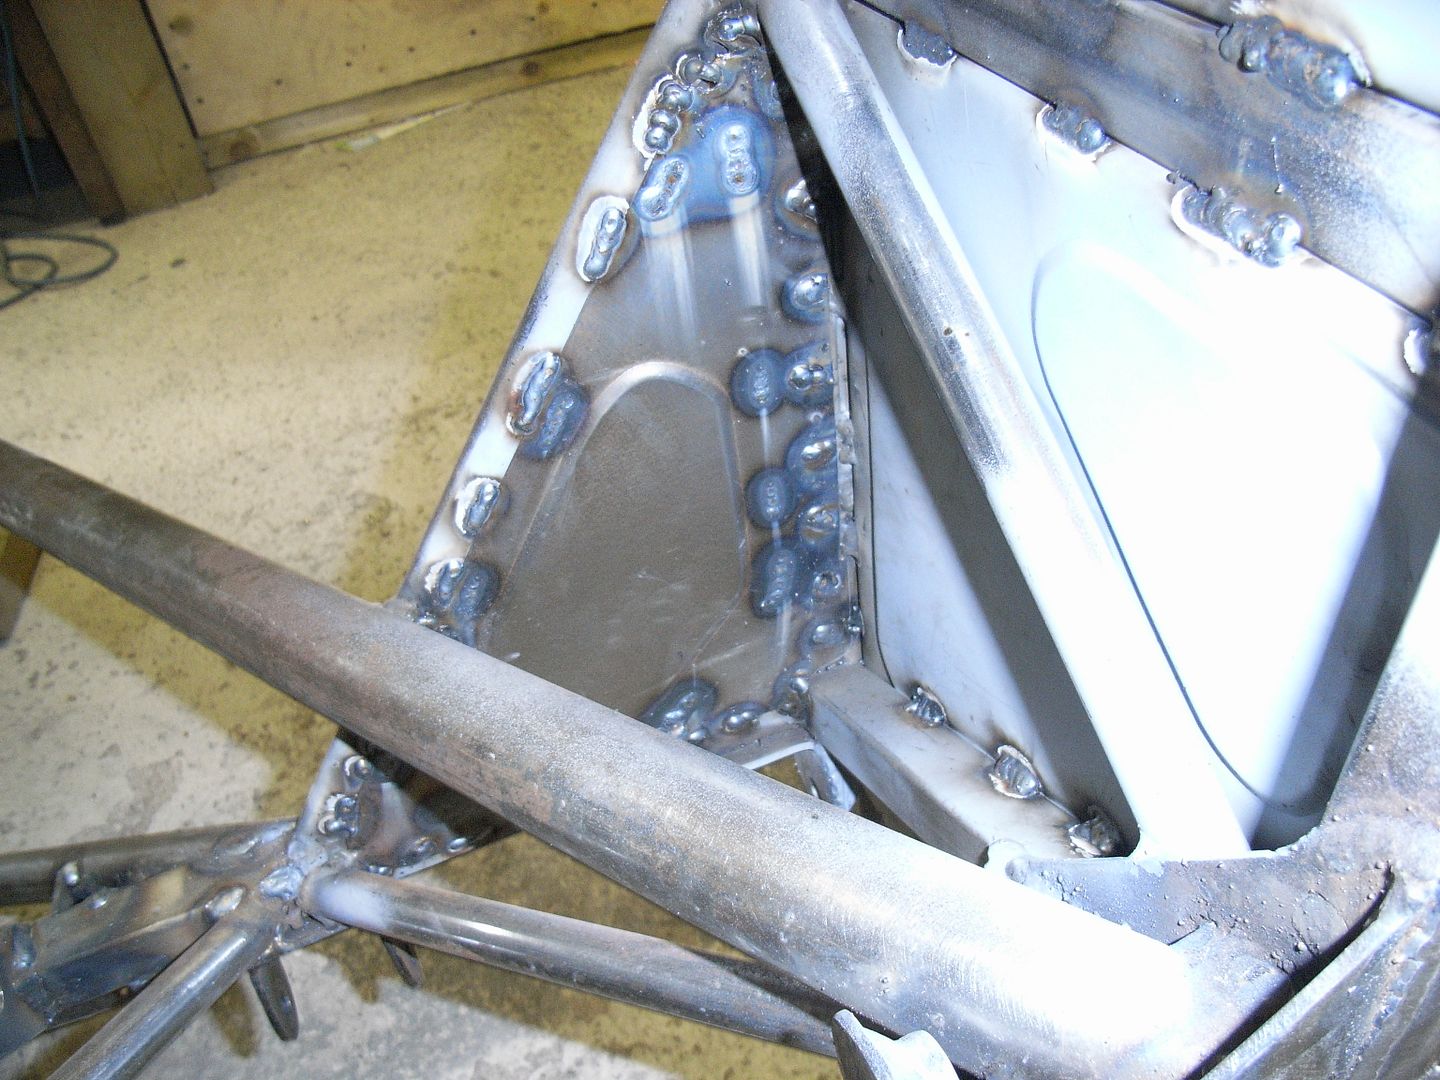
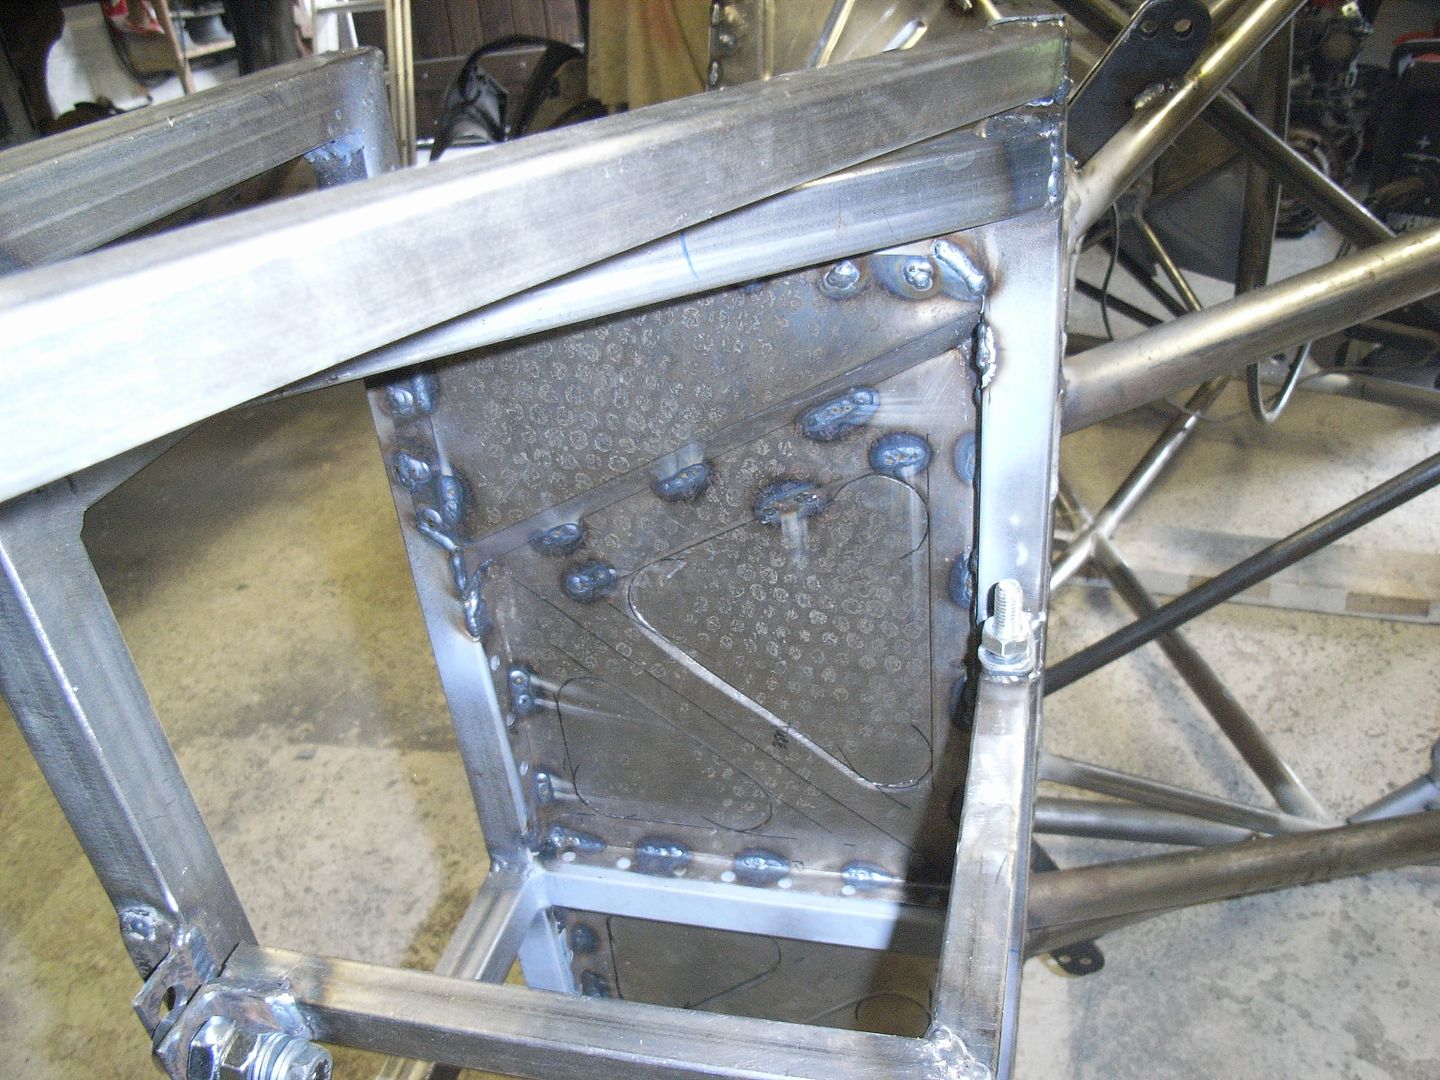
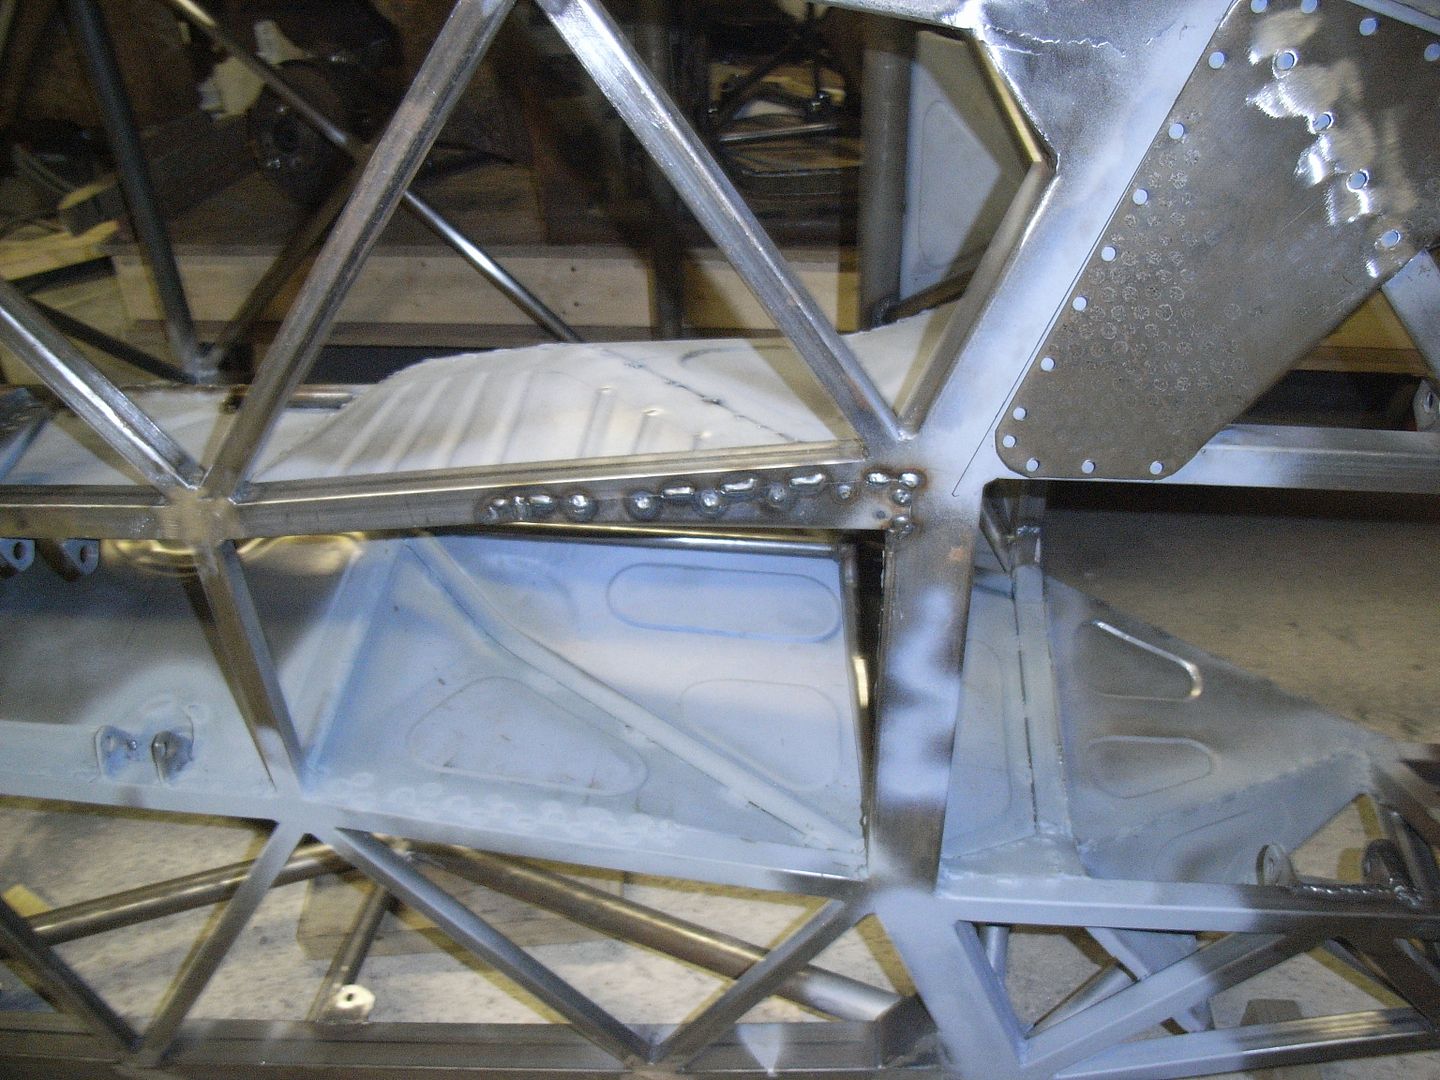
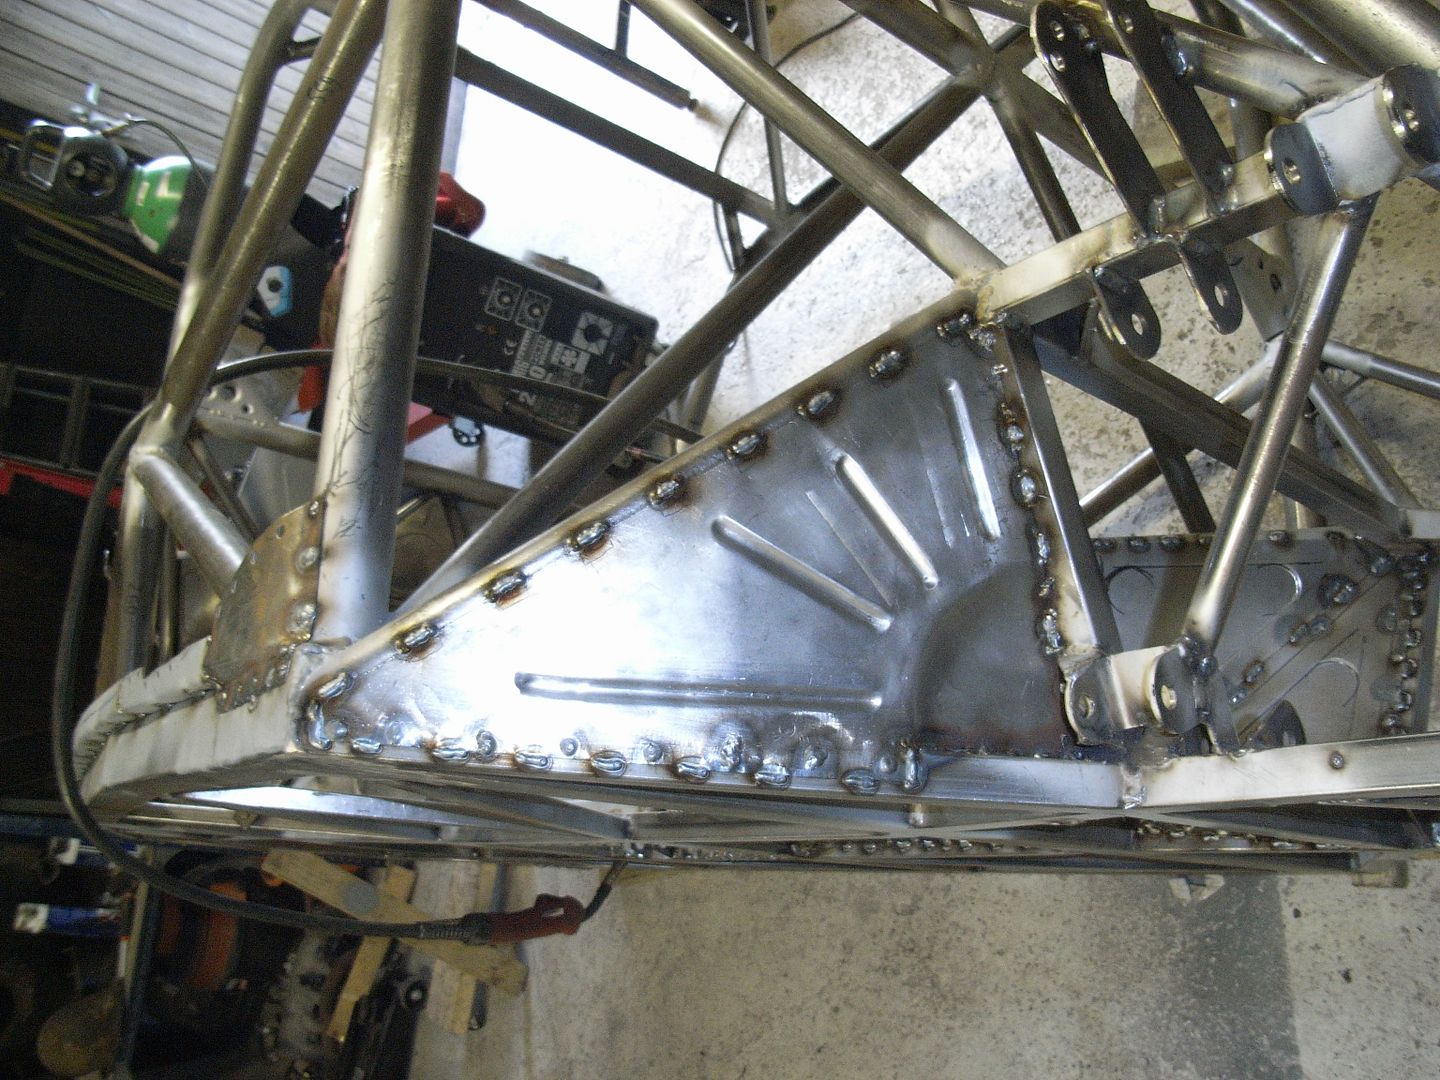
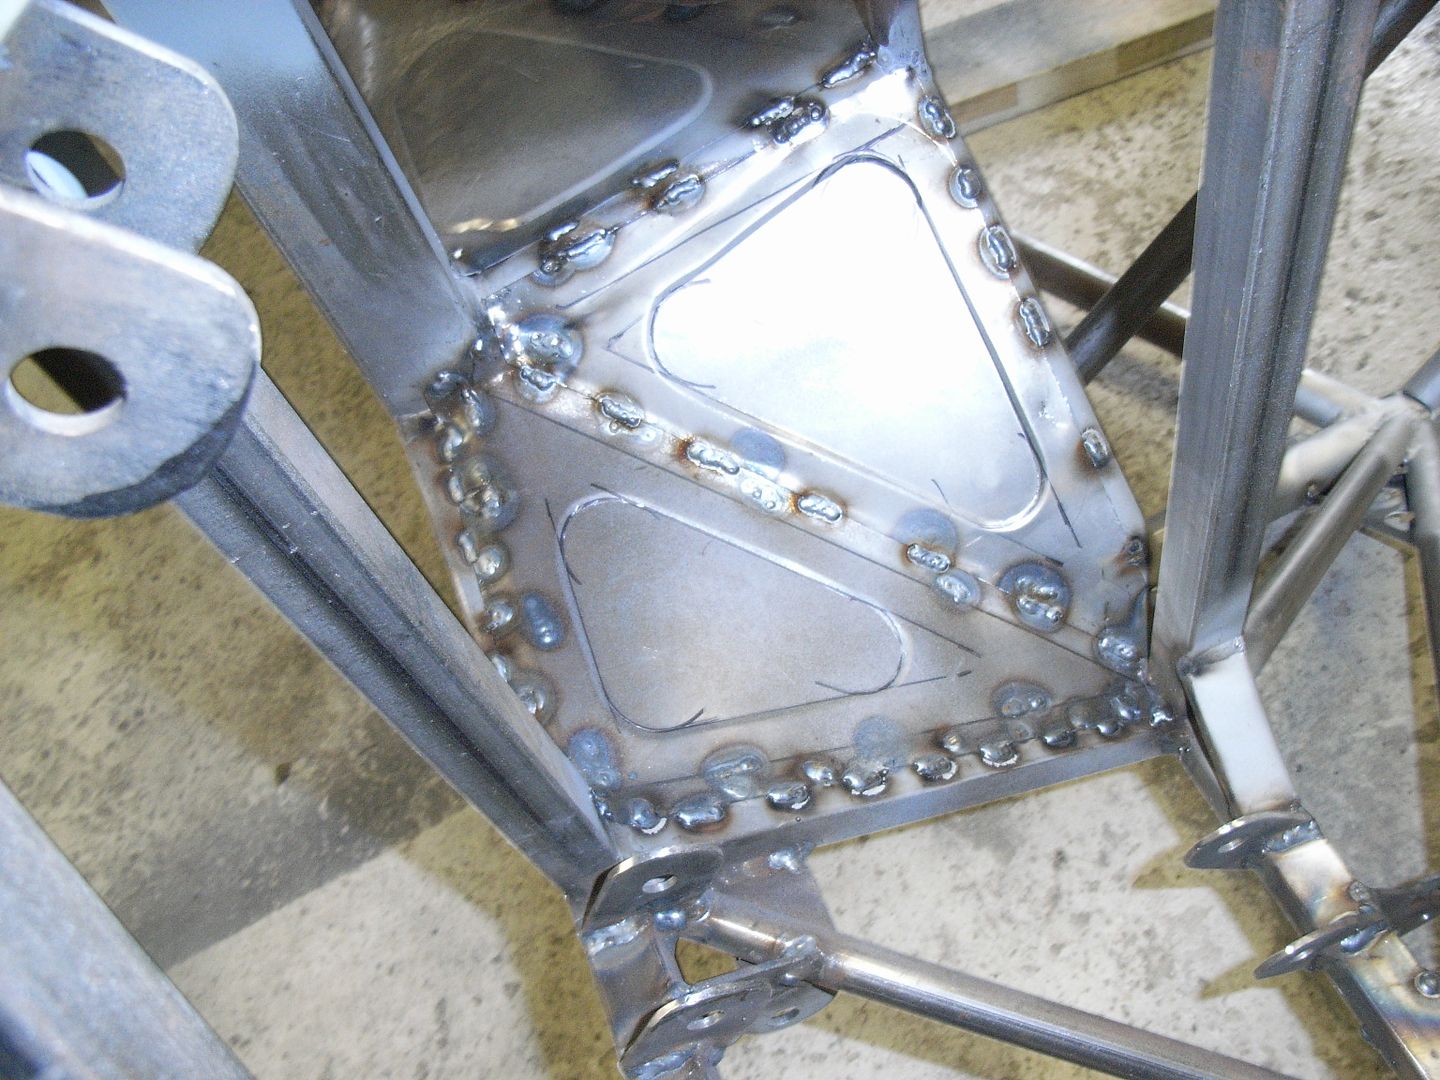
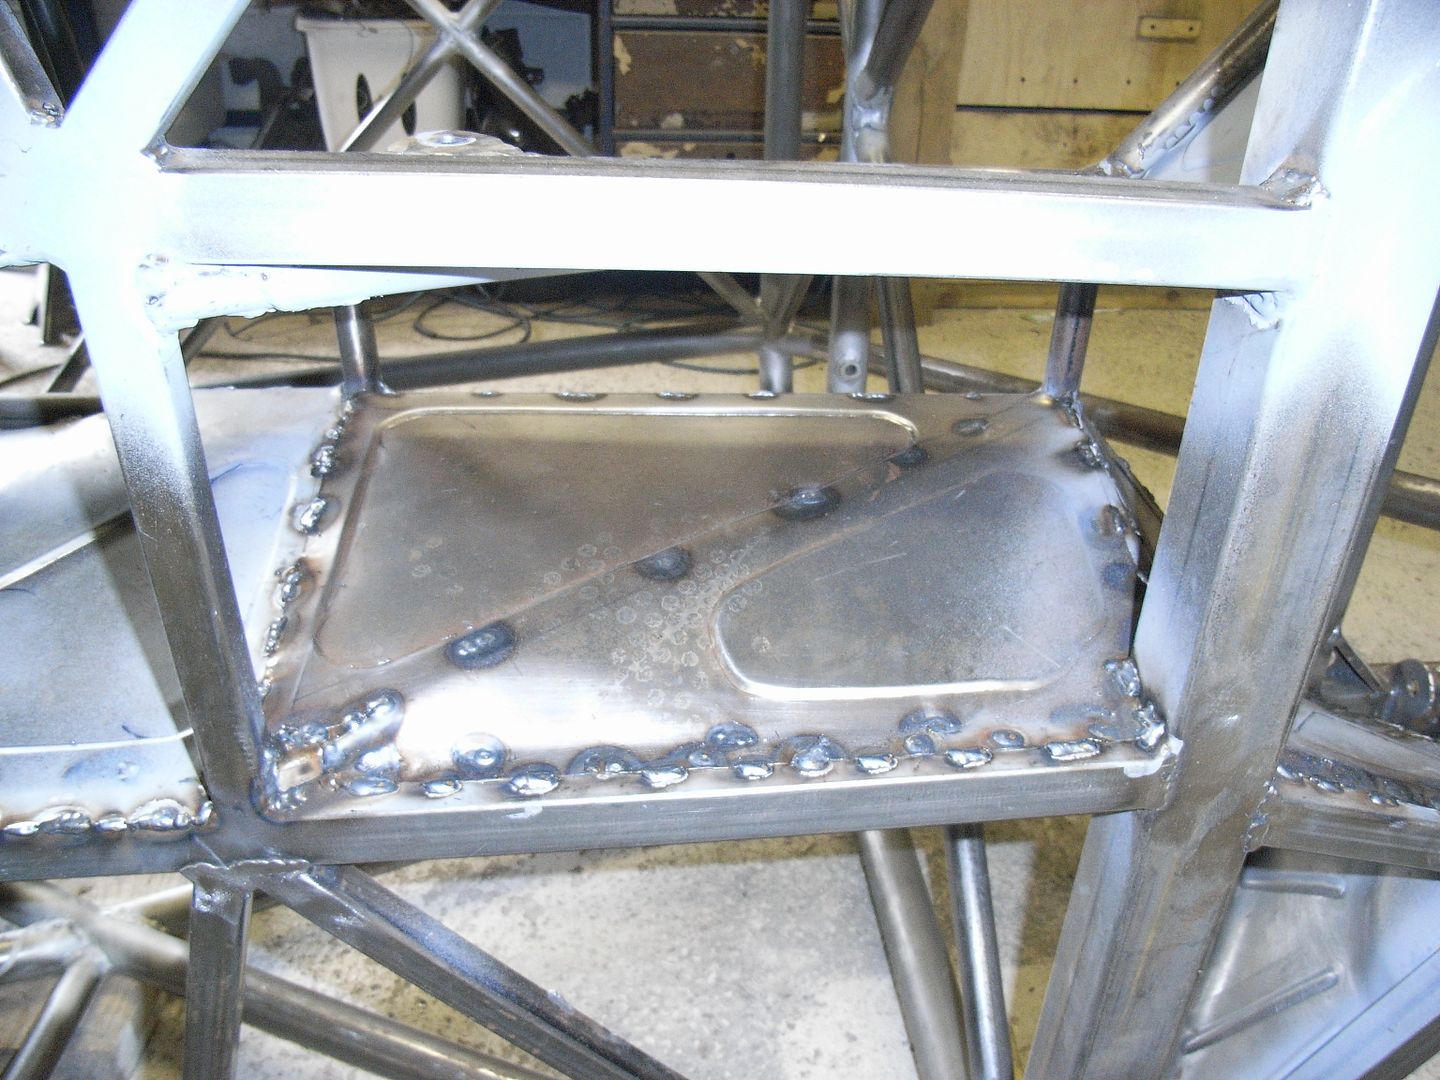
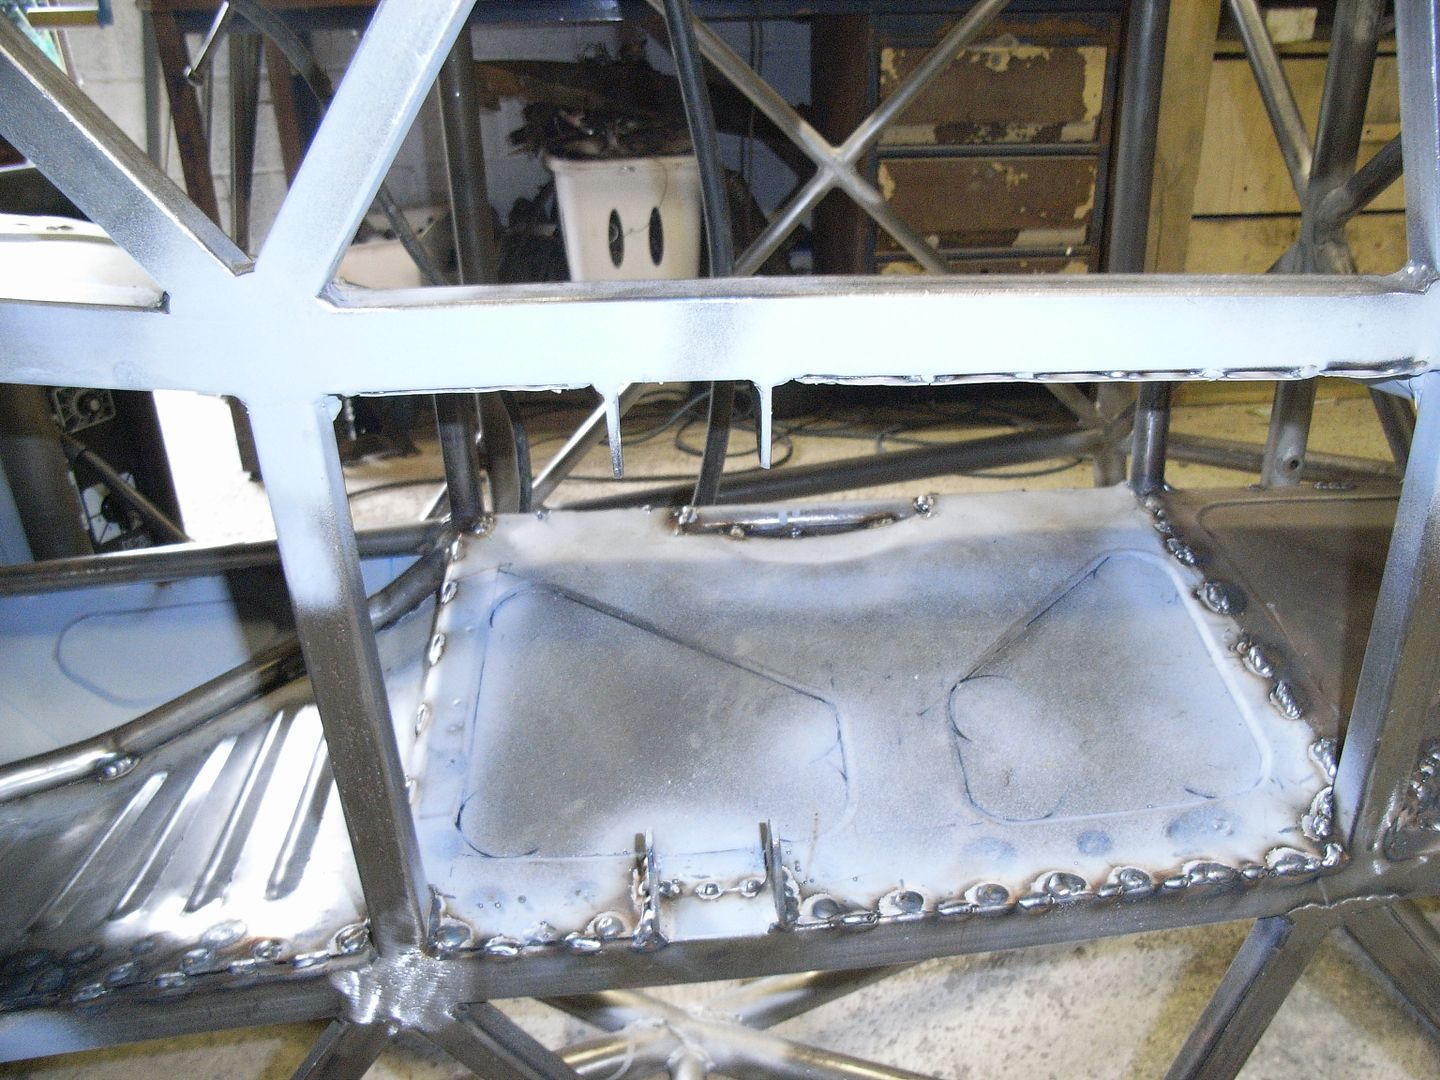
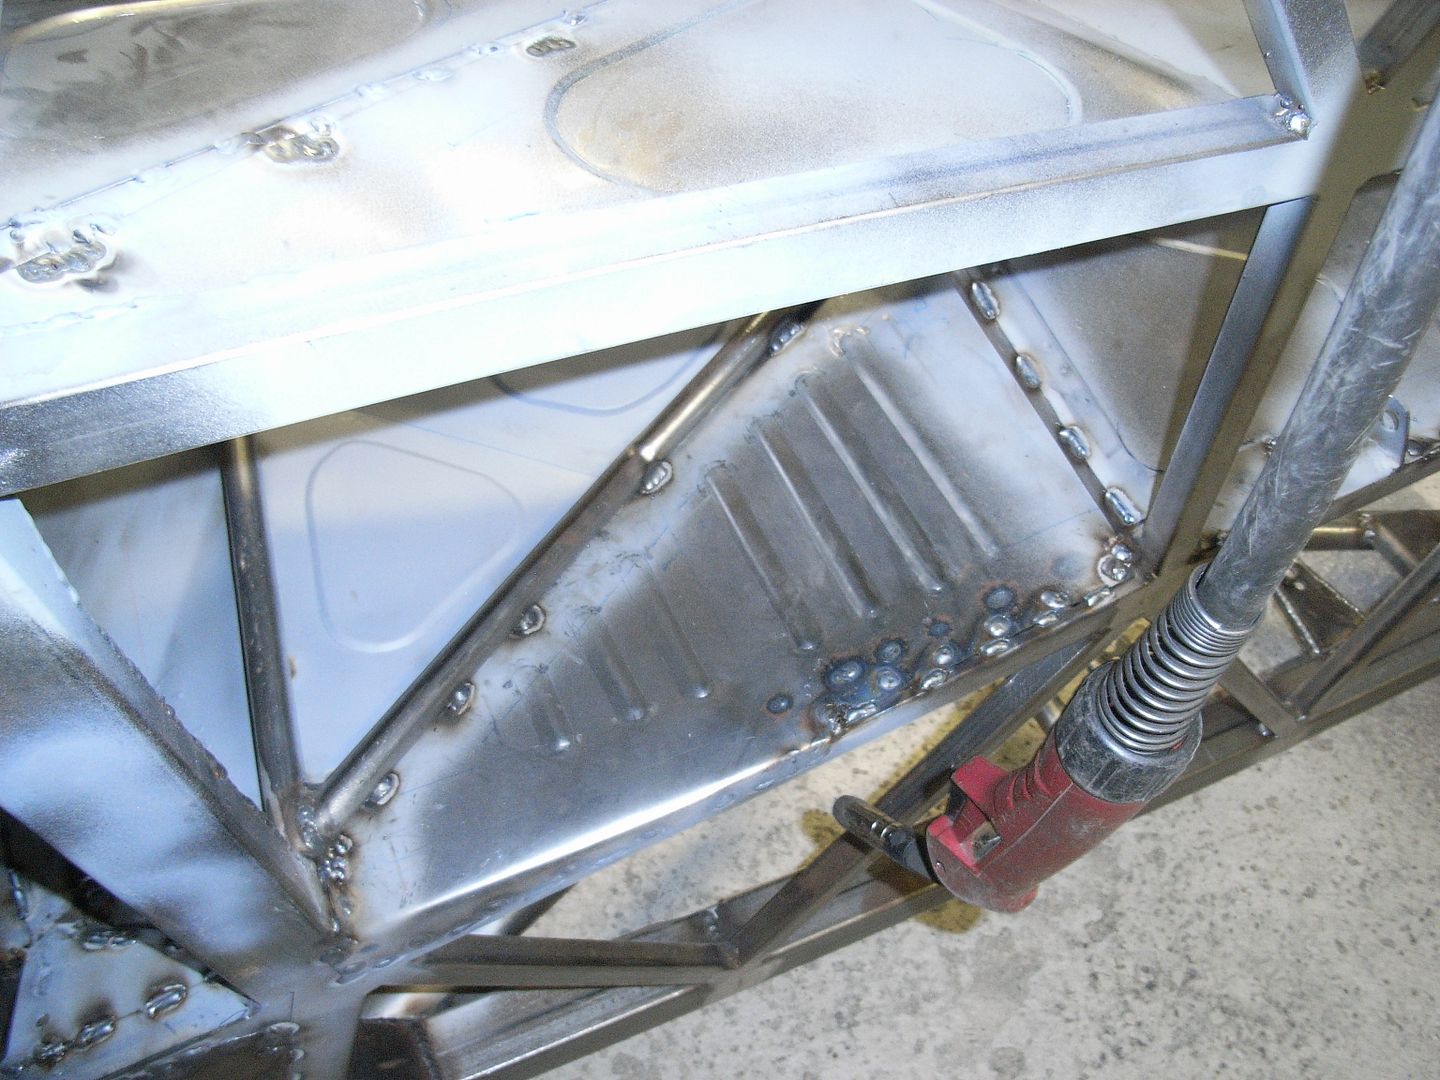
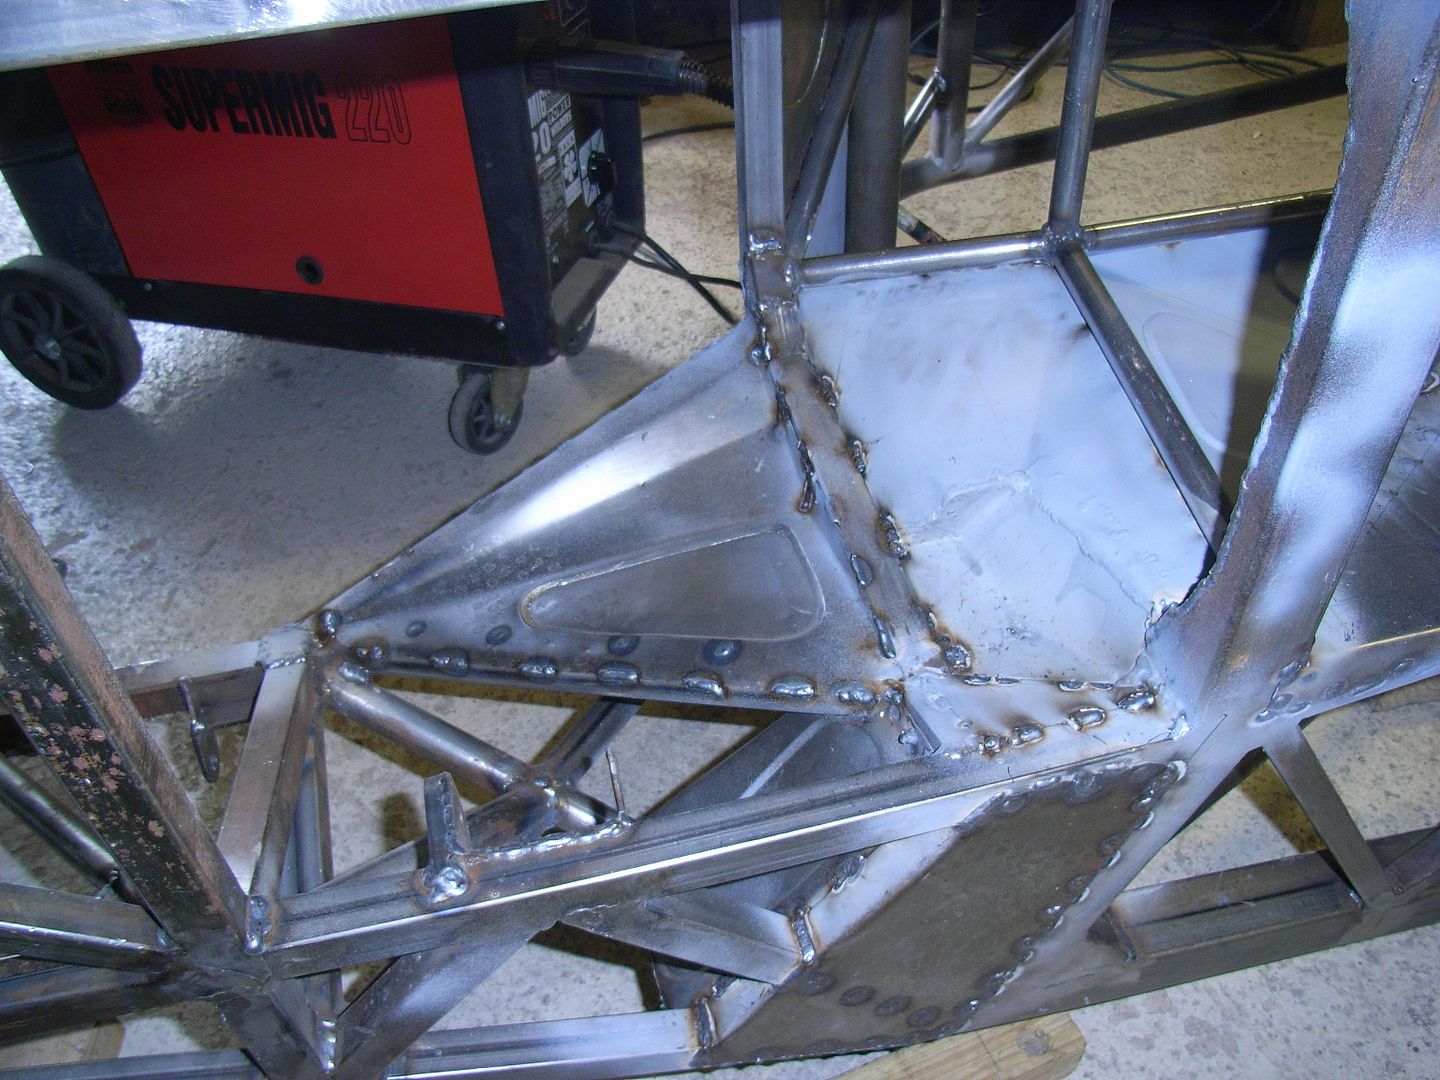
I was pretty knackered after my cycle so didnt get a huge amount done. Lower bulkhead panel for the passeger side 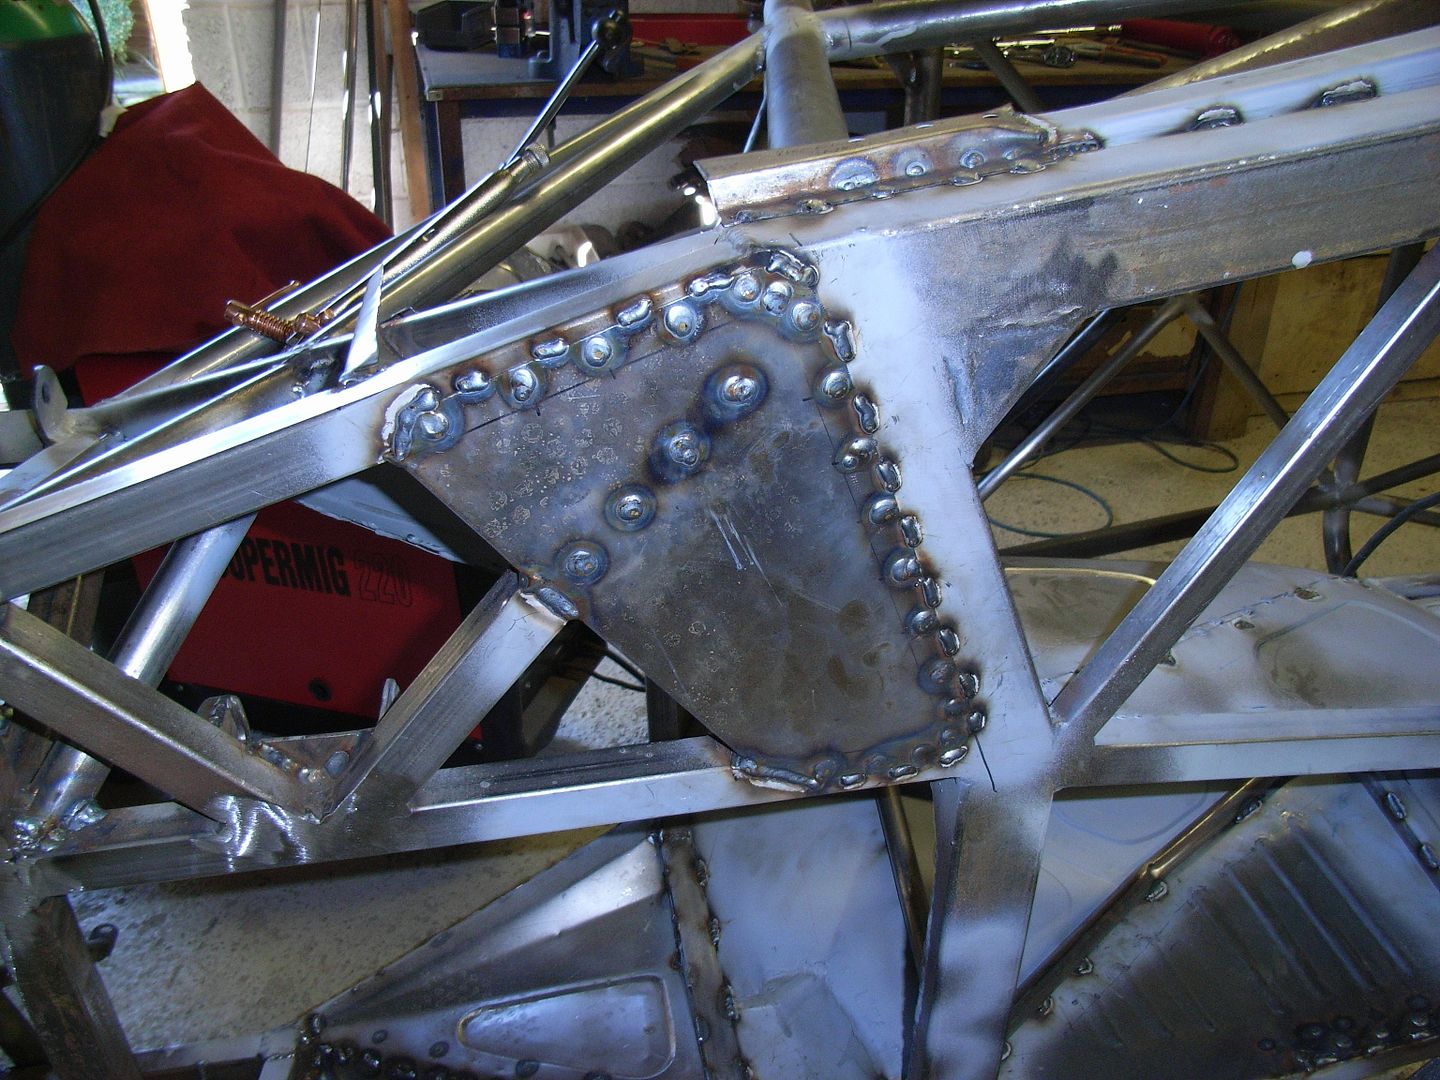 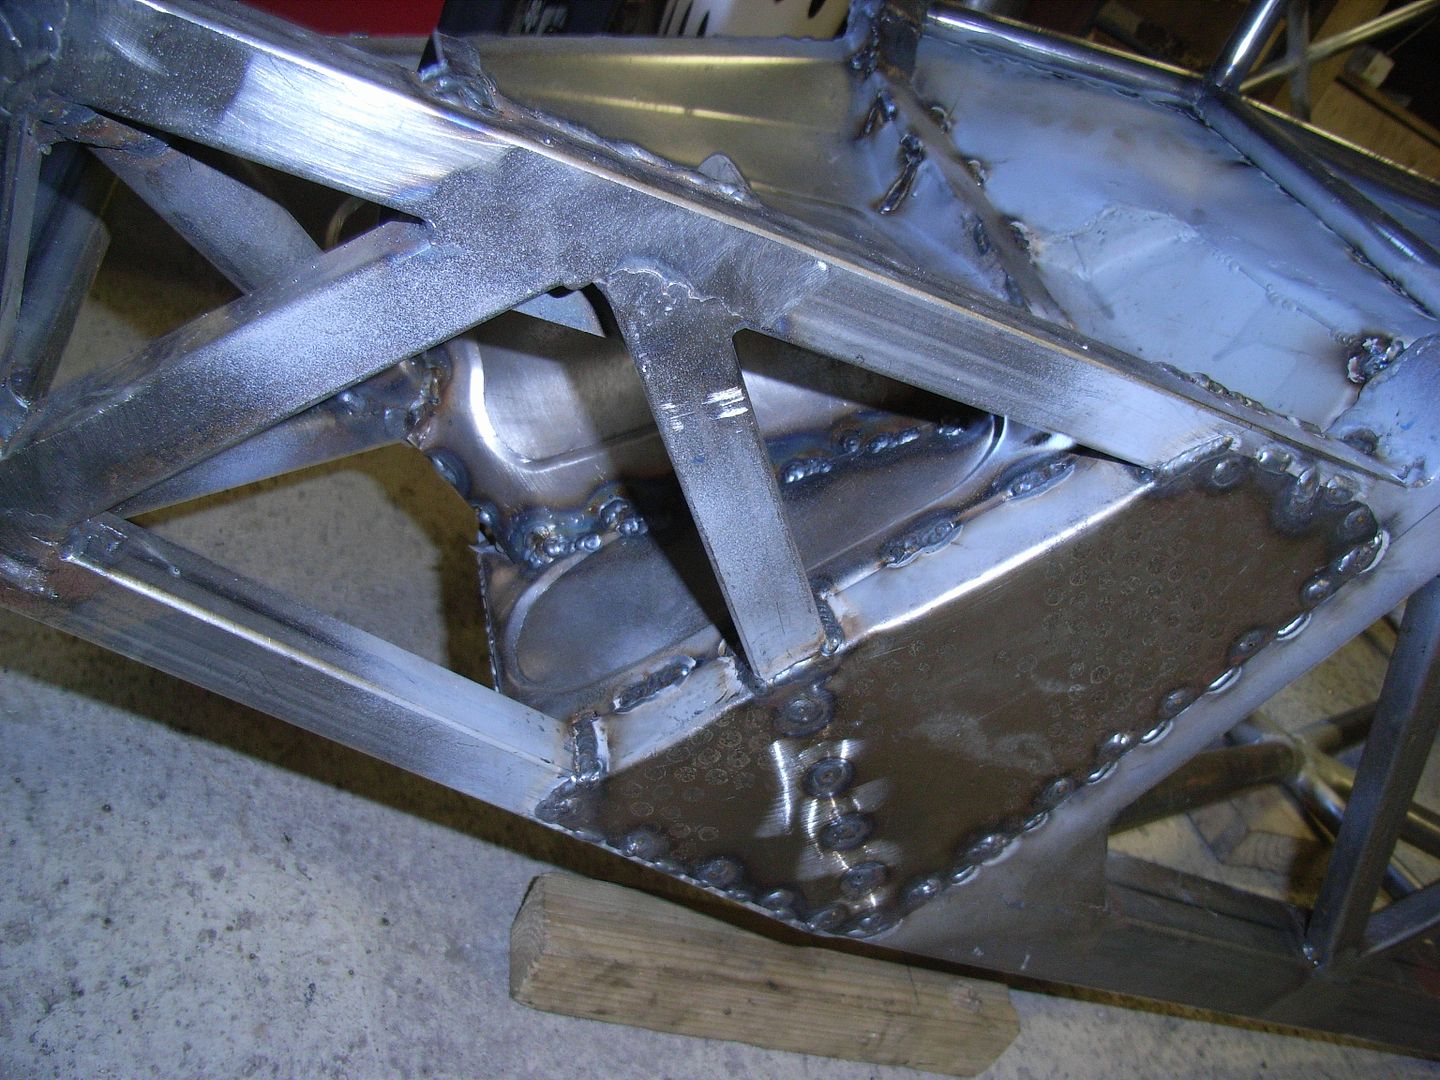 Driver side bulkhead closer panel 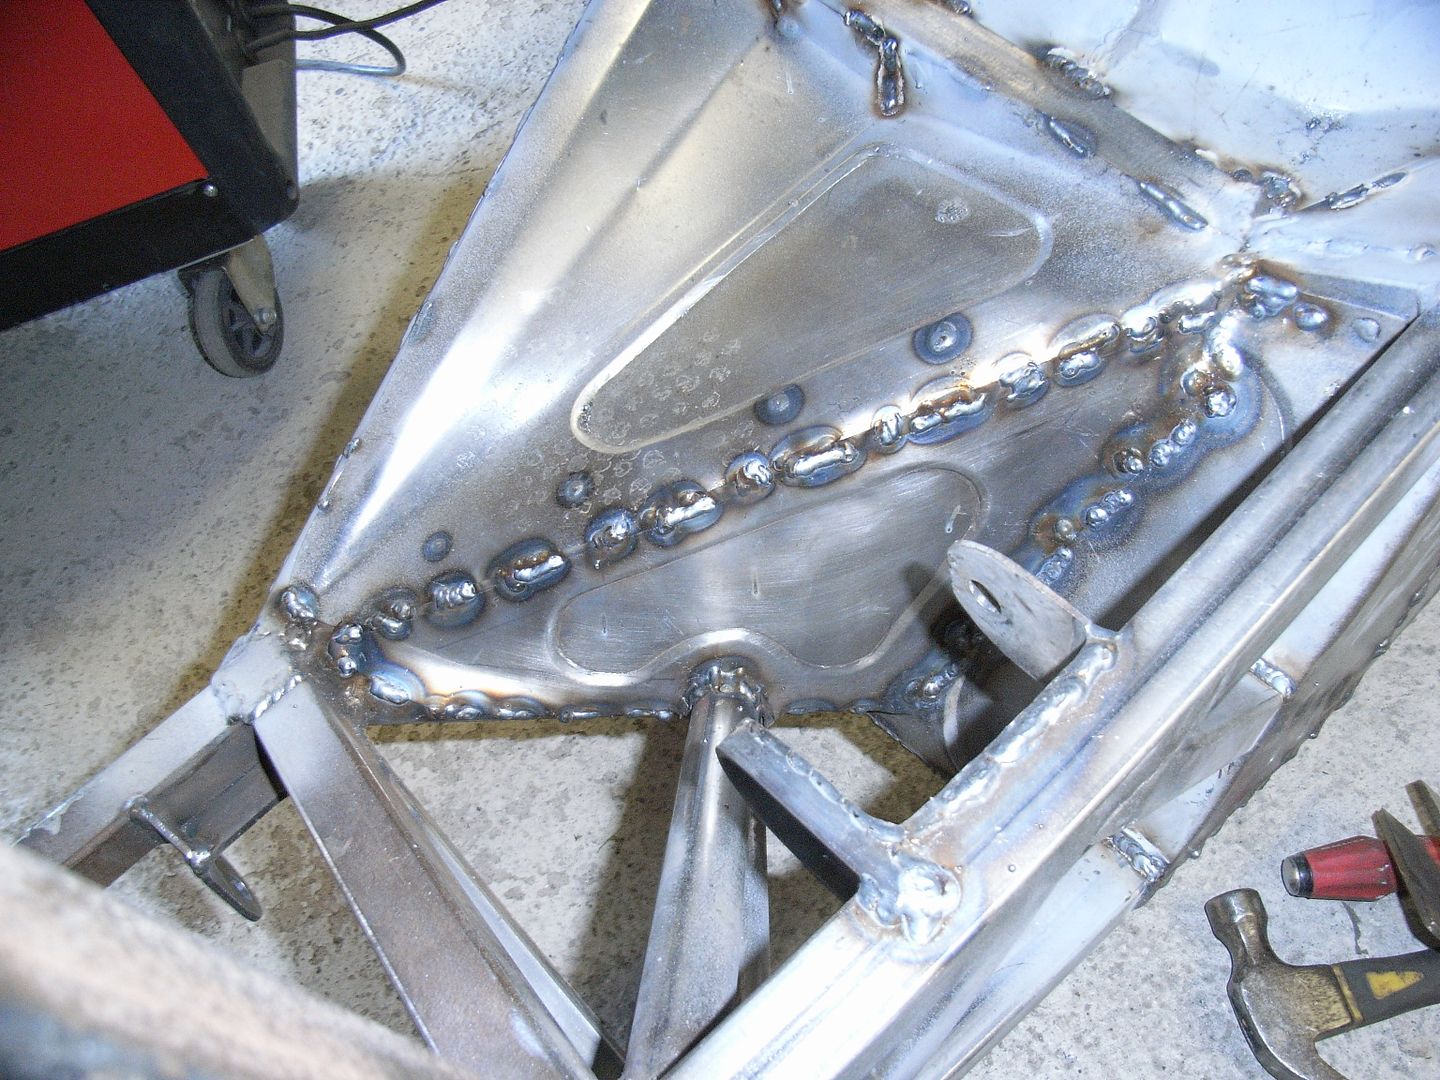 Then to fill this gap between teh sill closer and the bulkhead 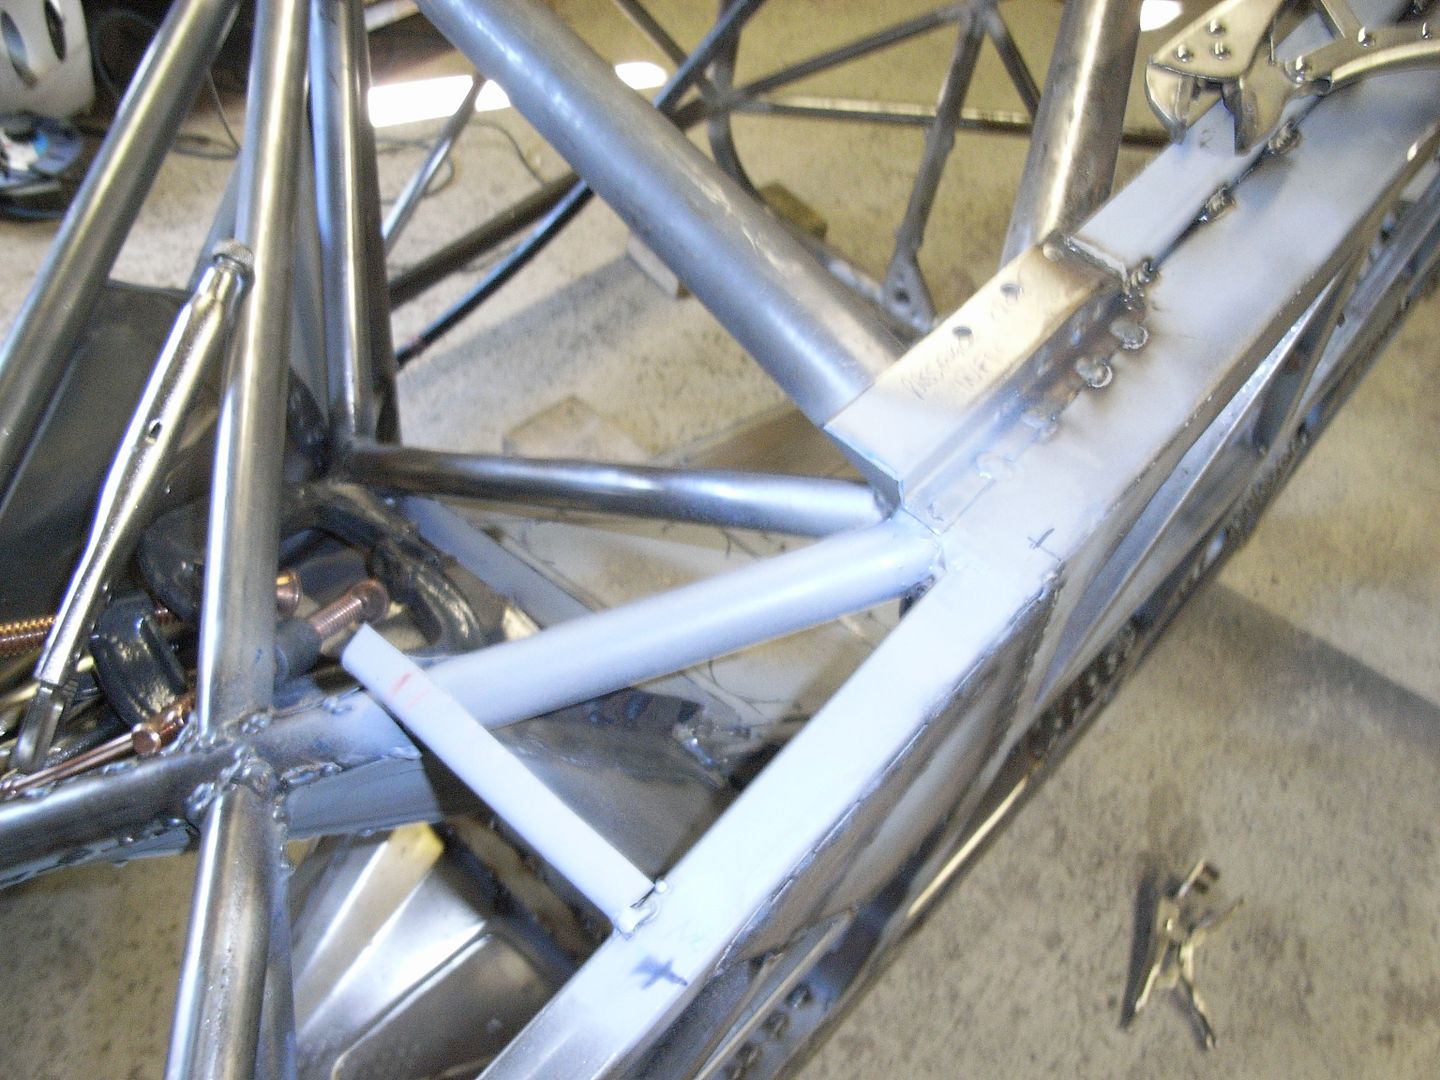 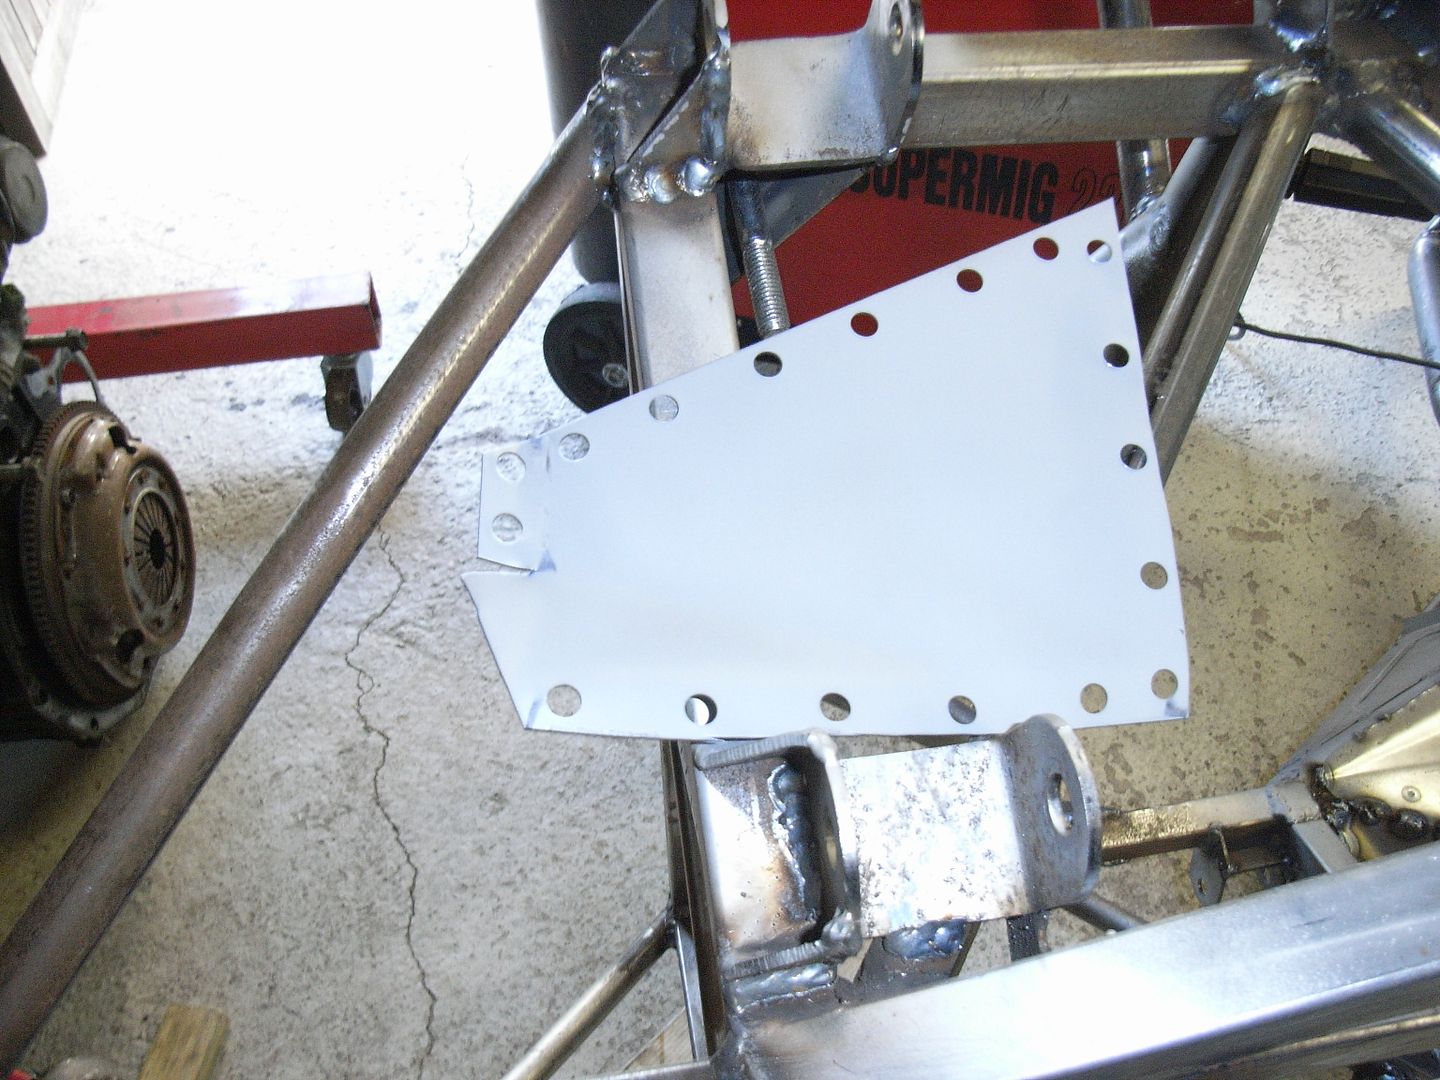 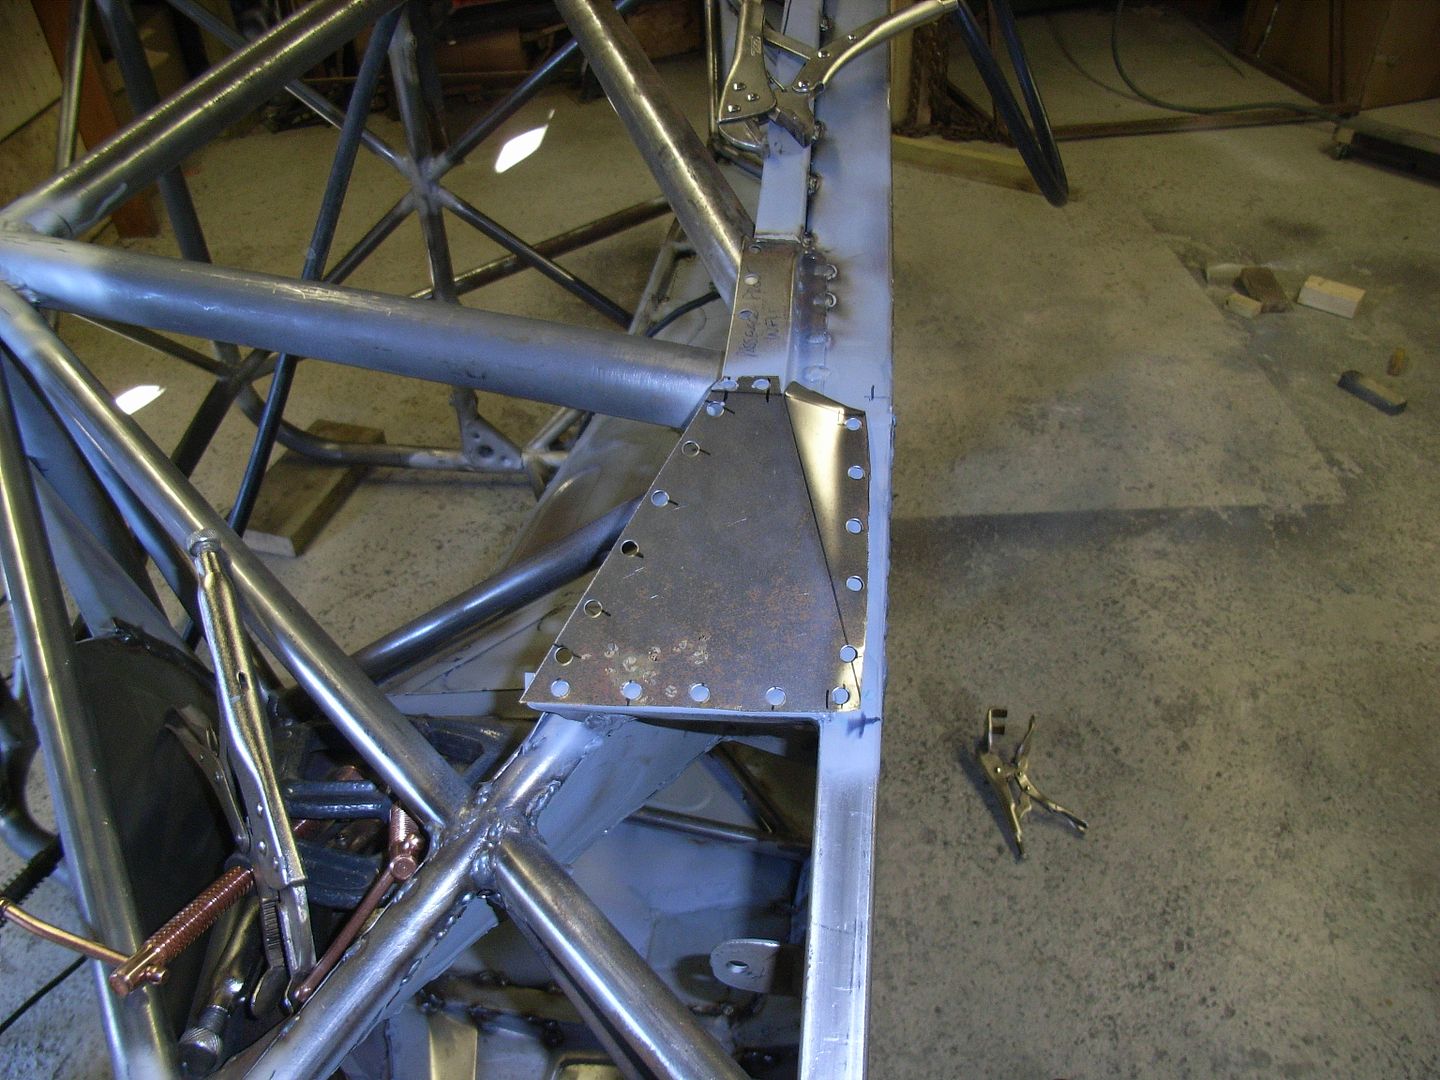 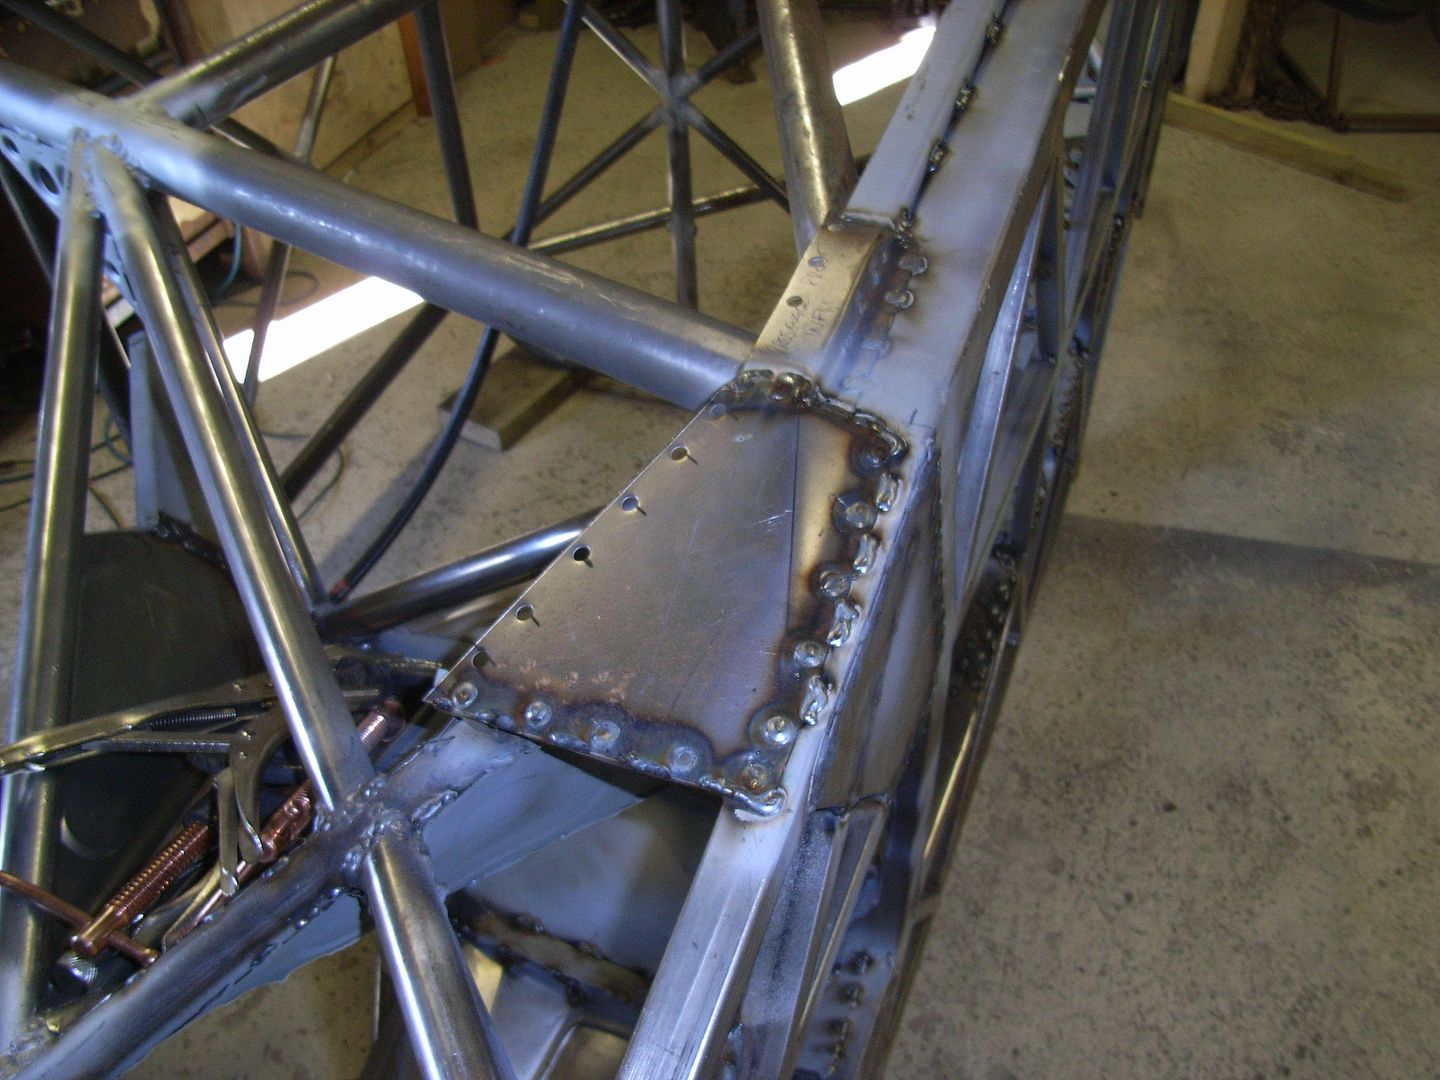 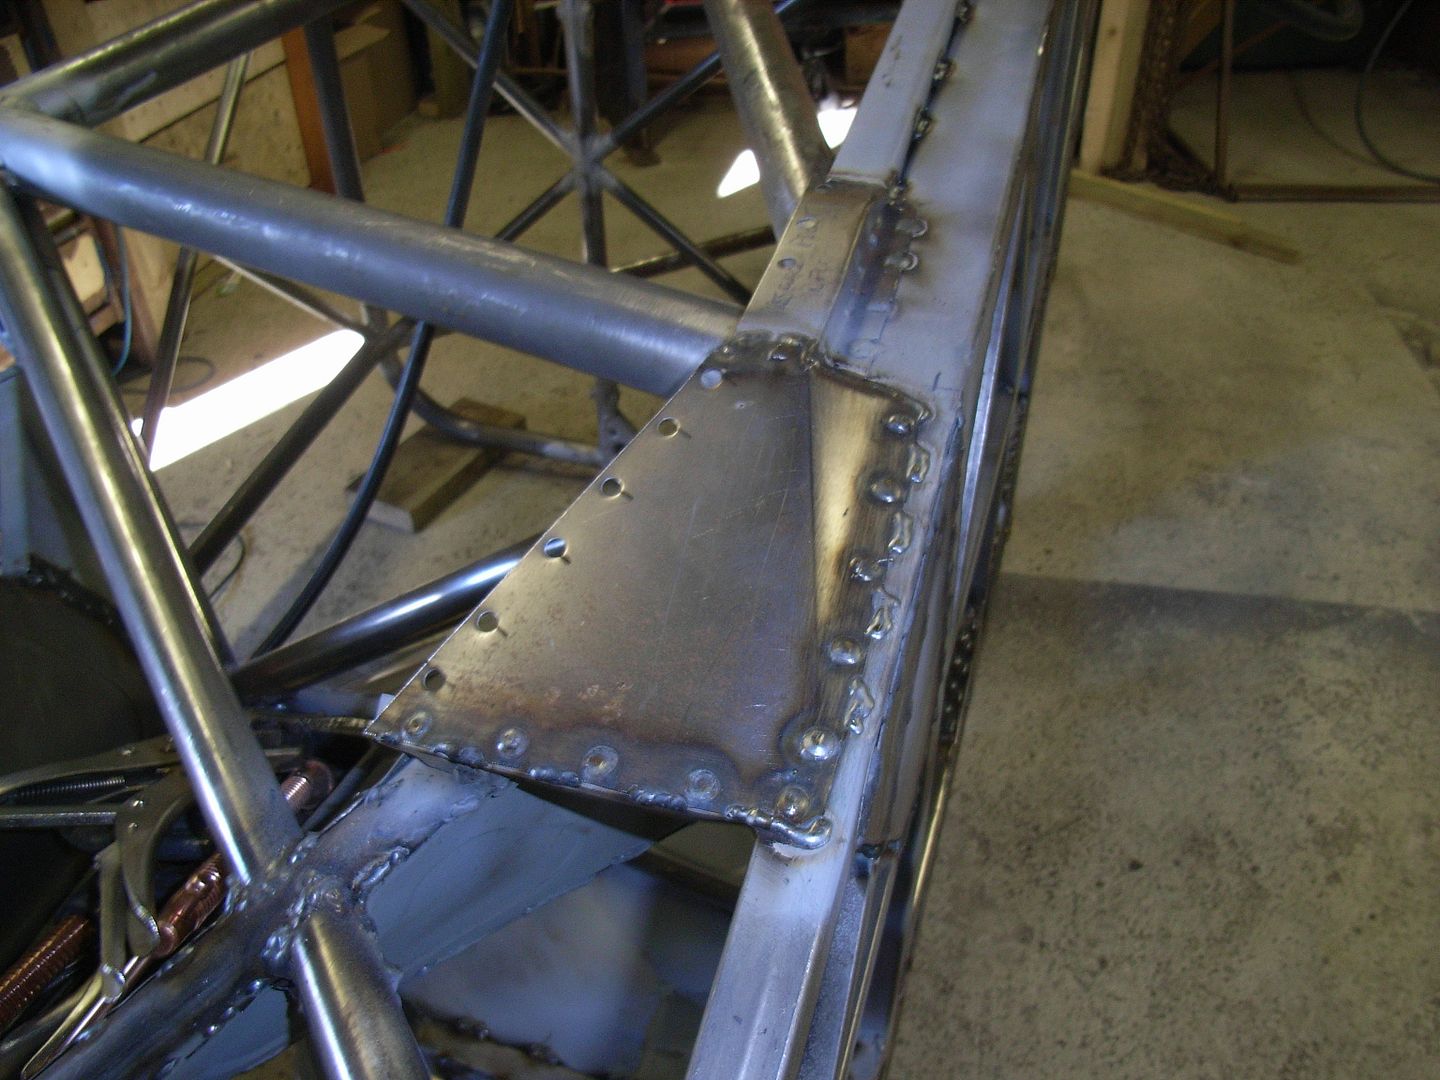 I was starting to feel rough after this so jacked it in for the weekend. Hopefulyl my modded rack will be available this week. |
| |
|
|
|
|
|
Sept 7, 2014 17:46:40 GMT
|
Keep up the good work - better to have a rest then start afresh than to burn yourself out  *n |
| |
Top grammar tips!
Bought = purchased. Brought = relocated
Lose = misplace/opposite of win. Loose = your mum
|
|
eurogranada
Europe
To tinker or not to tinker, that is the question...
Posts: 2,555
|
|
Sept 8, 2014 14:13:07 GMT
|
|
I admire your metal forming skills! Keep it up!
|
| |
|
|
jonomisfit
Club Retro Rides Member
Posts: 1,787
Club RR Member Number: 49
|
|
Sept 21, 2014 17:15:19 GMT
|
Right, Surgery went well and after a week my leg is almost working properly. I was feeling tired so not much progress this weekend. I bought this off another forum member, so chance i might end up super charging the morris... or compound charging. Pulley looks to be keyless press fit, so may prove interesting trying to reduce pulley size. 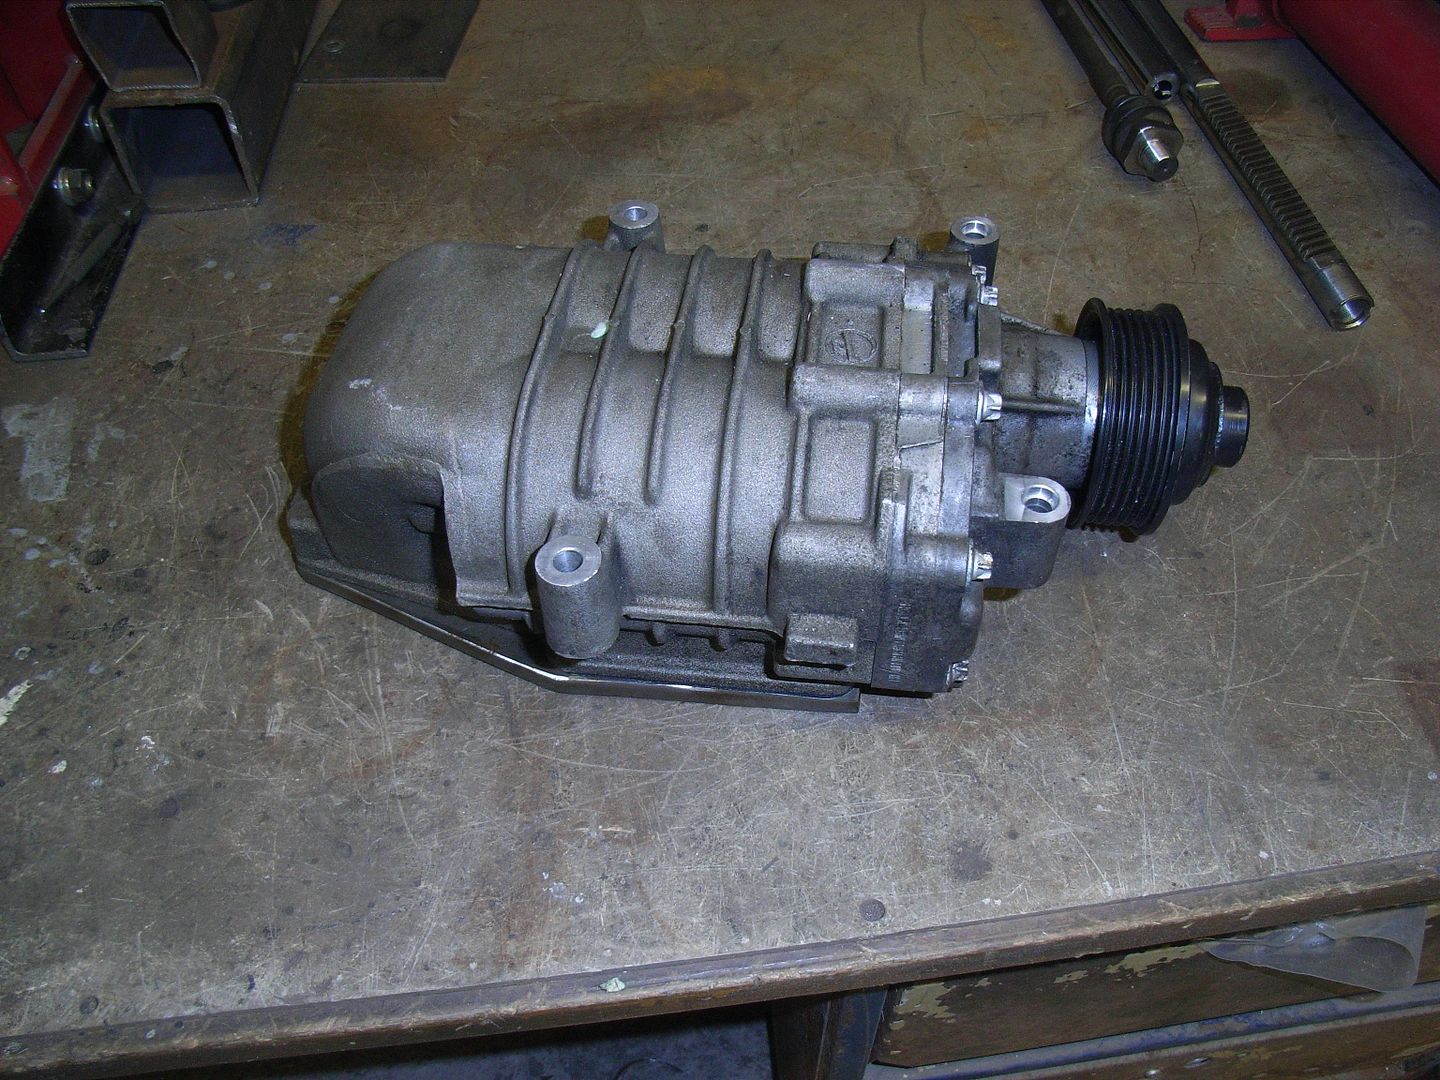 I got the rack shortened. Went well with the exception that I c*cked up on the thread size. I thought I measured it at M16, but its M17. The machinist caught it, smacked me round the back of the head and educated me on the error of my ways. 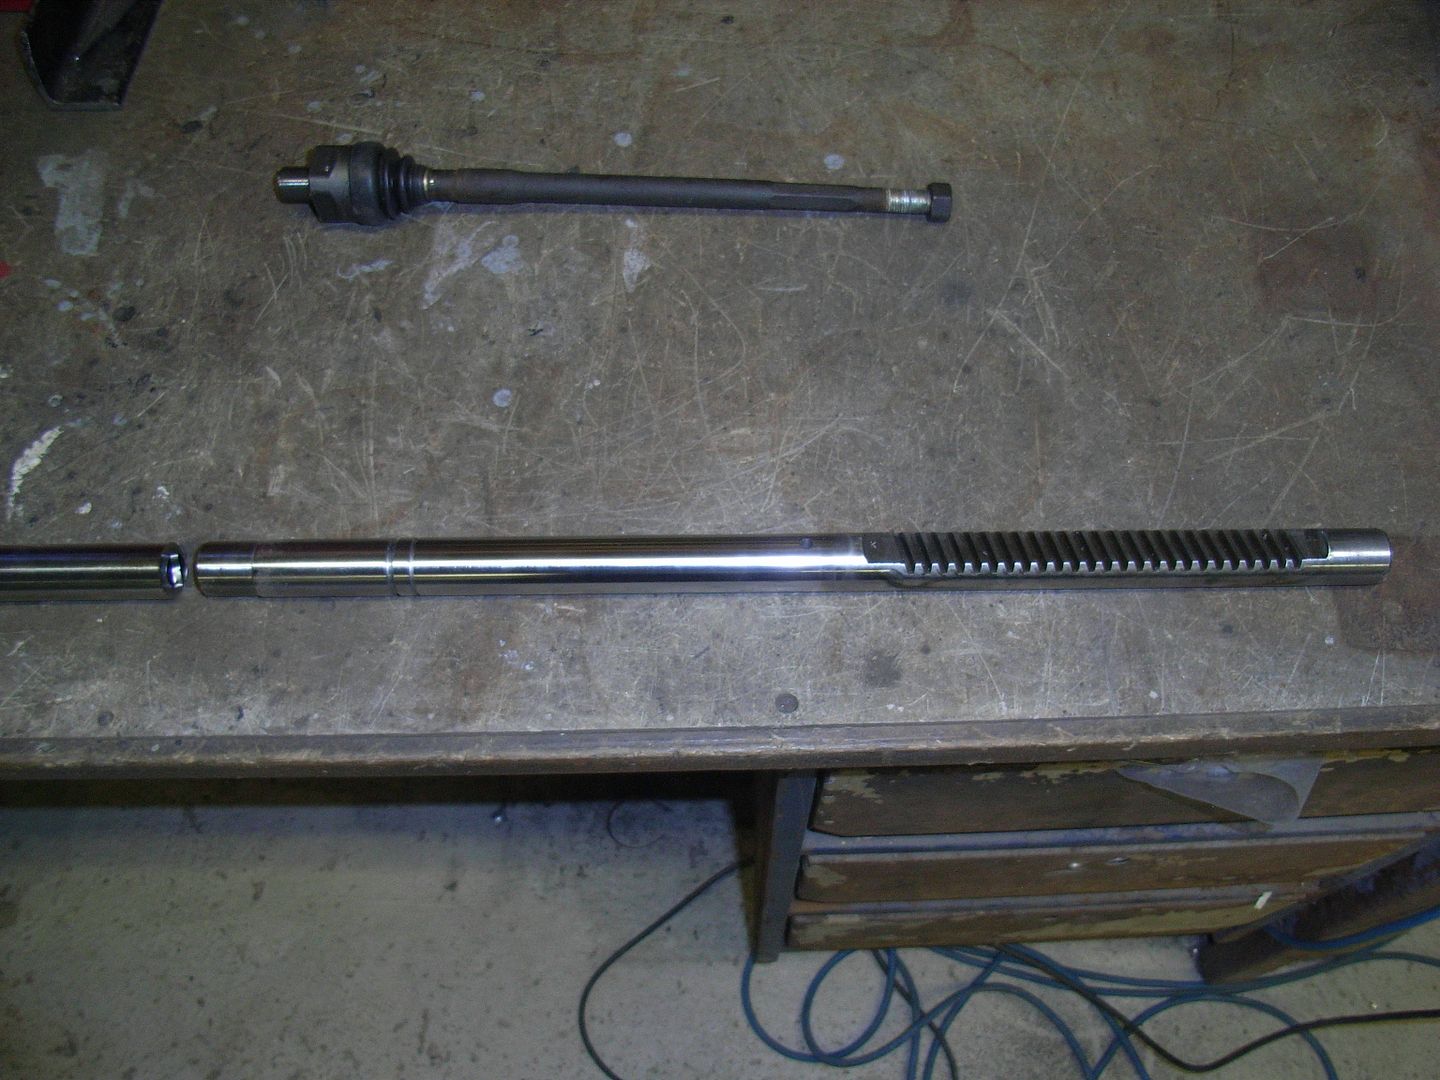 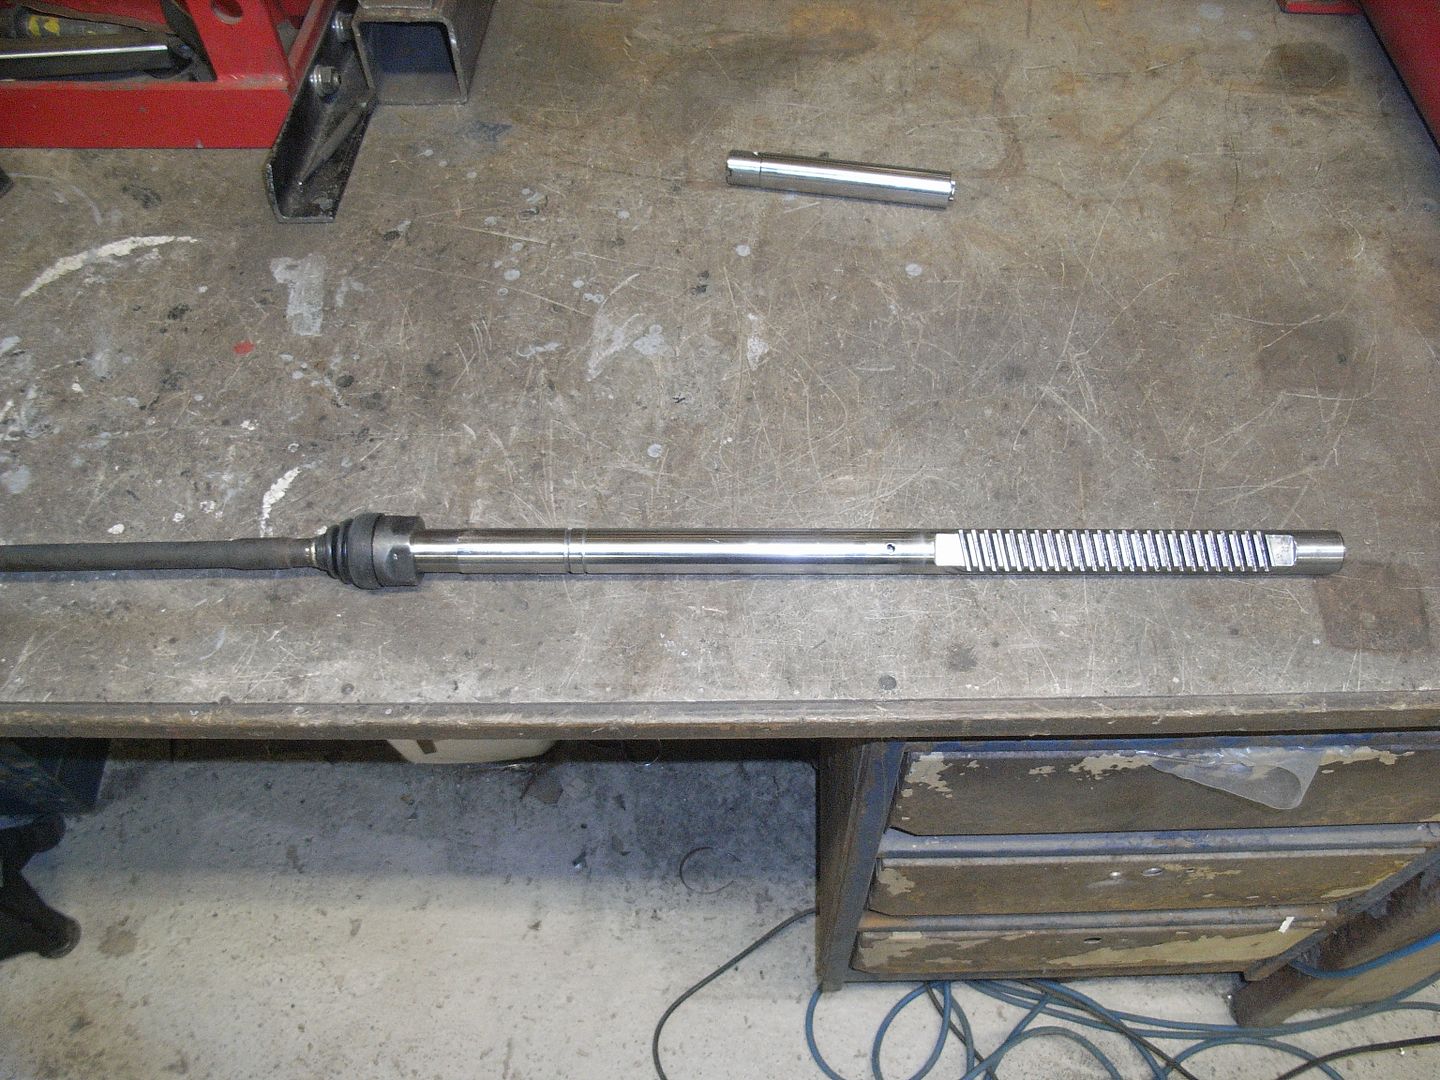 Just the housing to sort now.... Cut out excess section from the center of the housing. 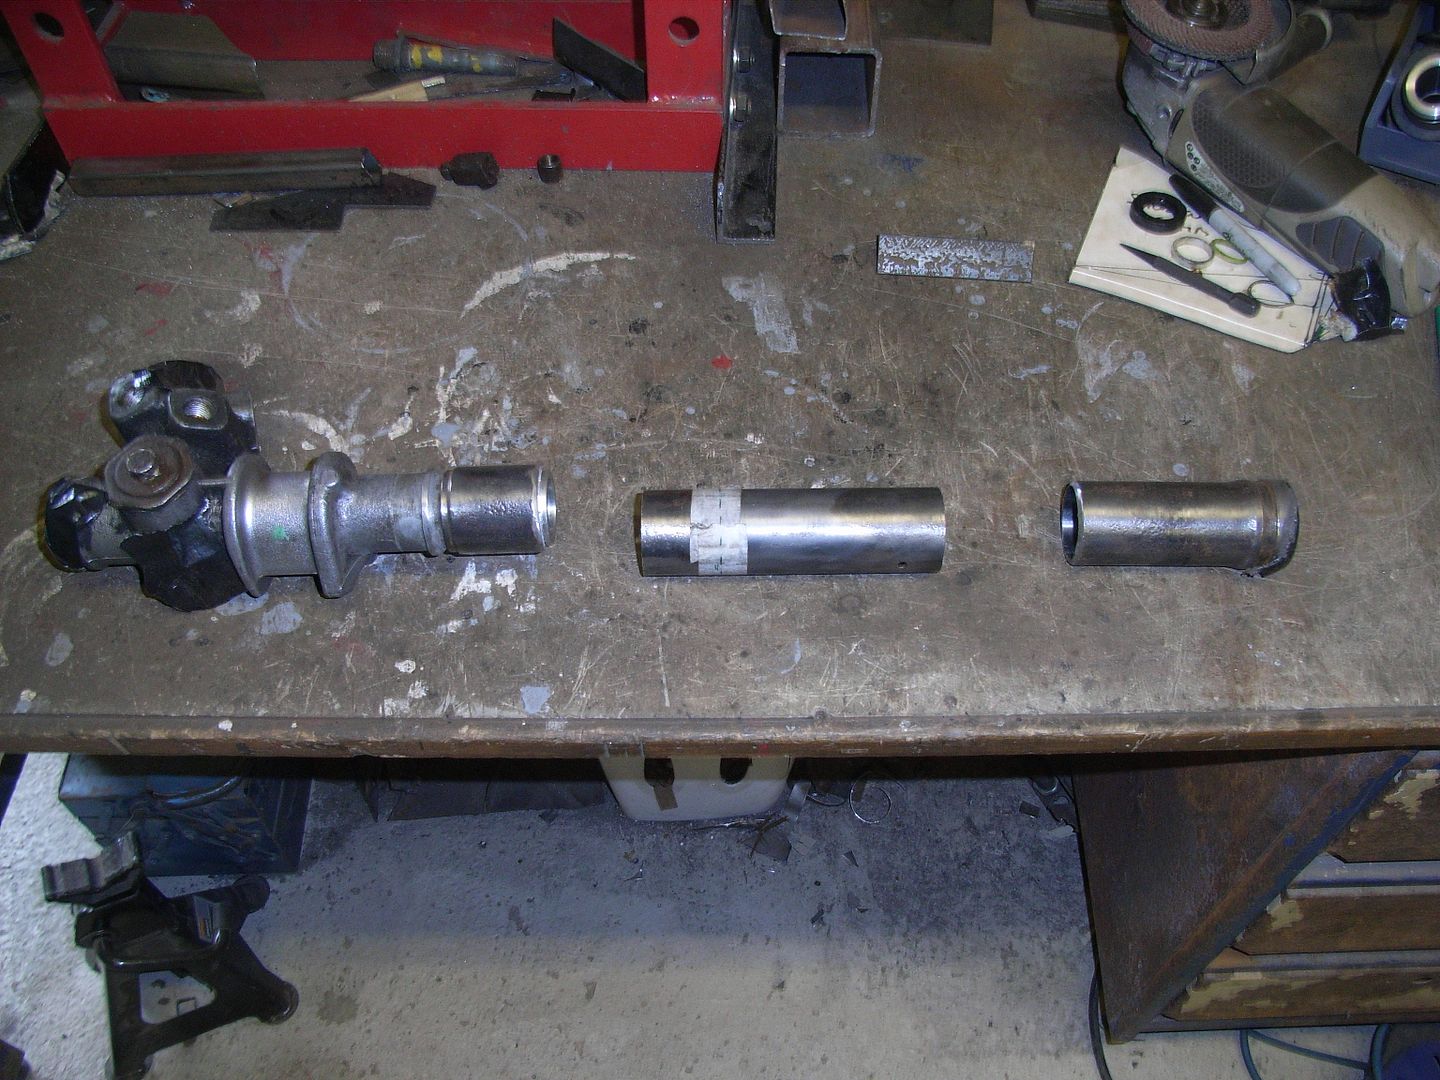 Tack on some angle iron to ensure all square. 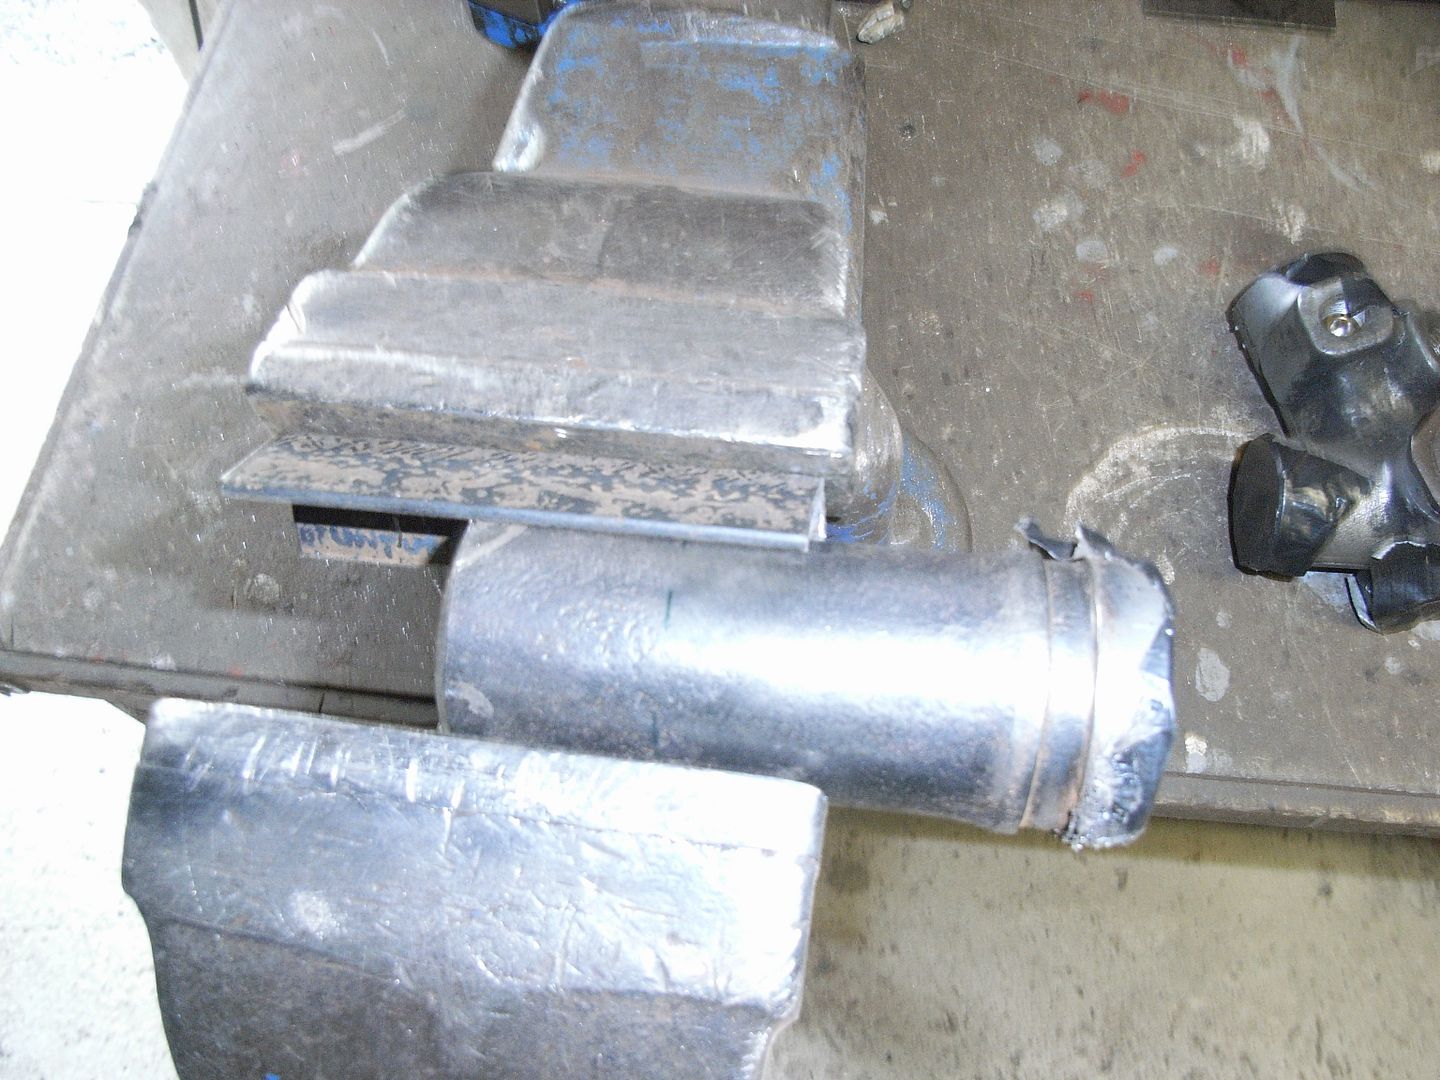 Tack parts together 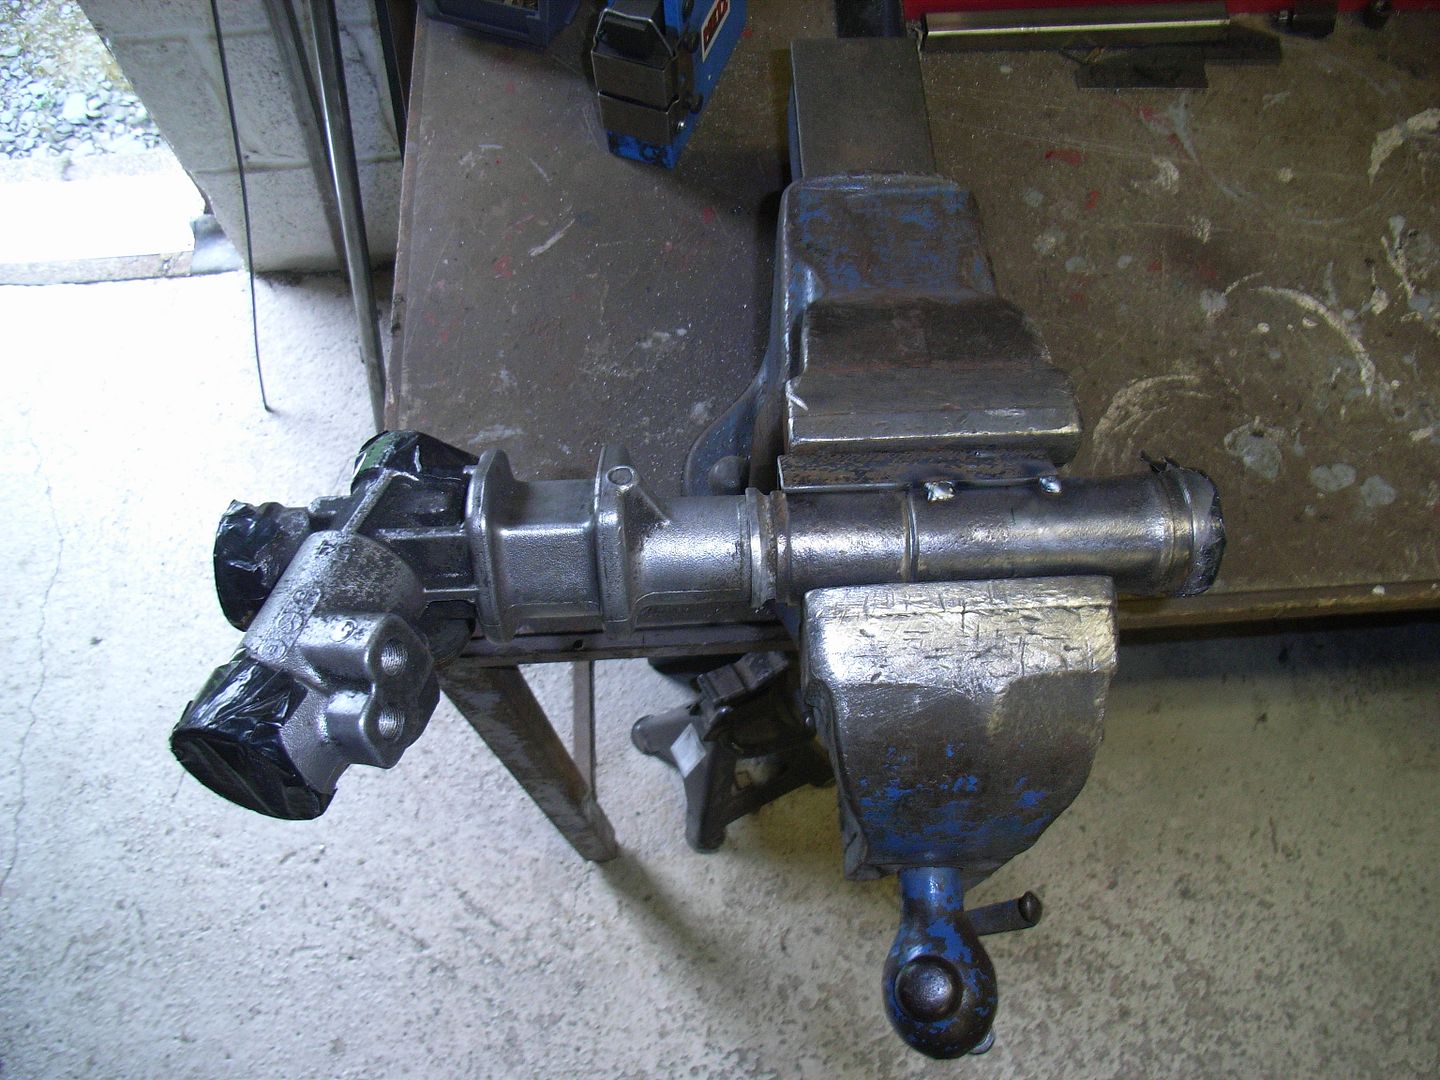 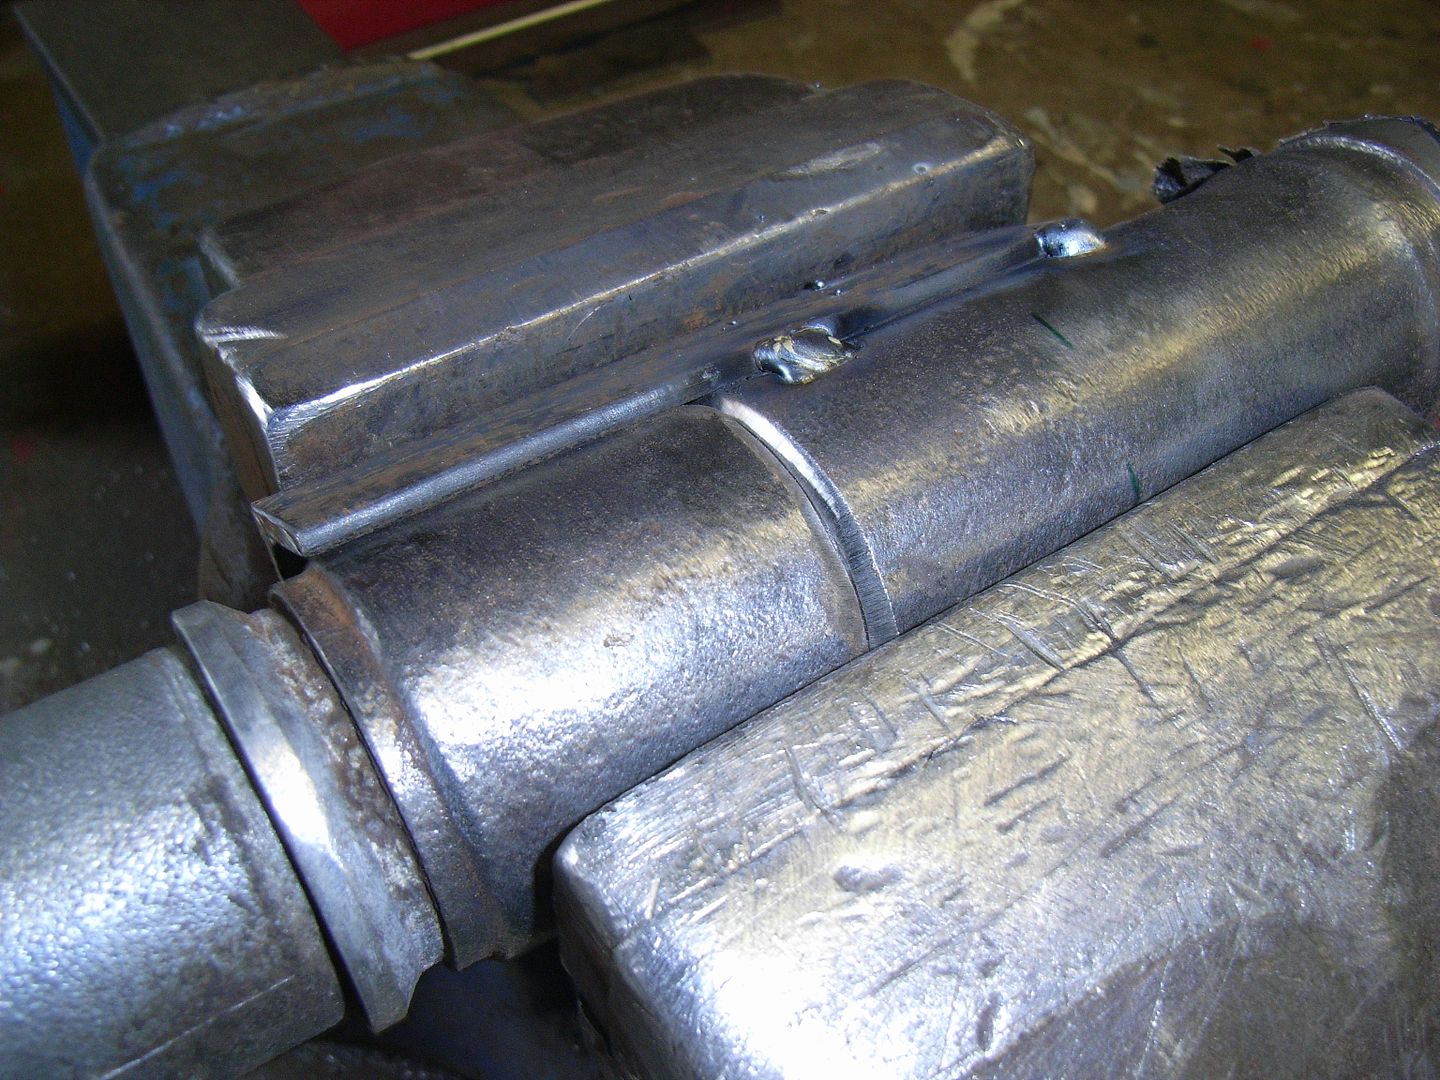 Trial fit components, then final weld. Clean up and prime. 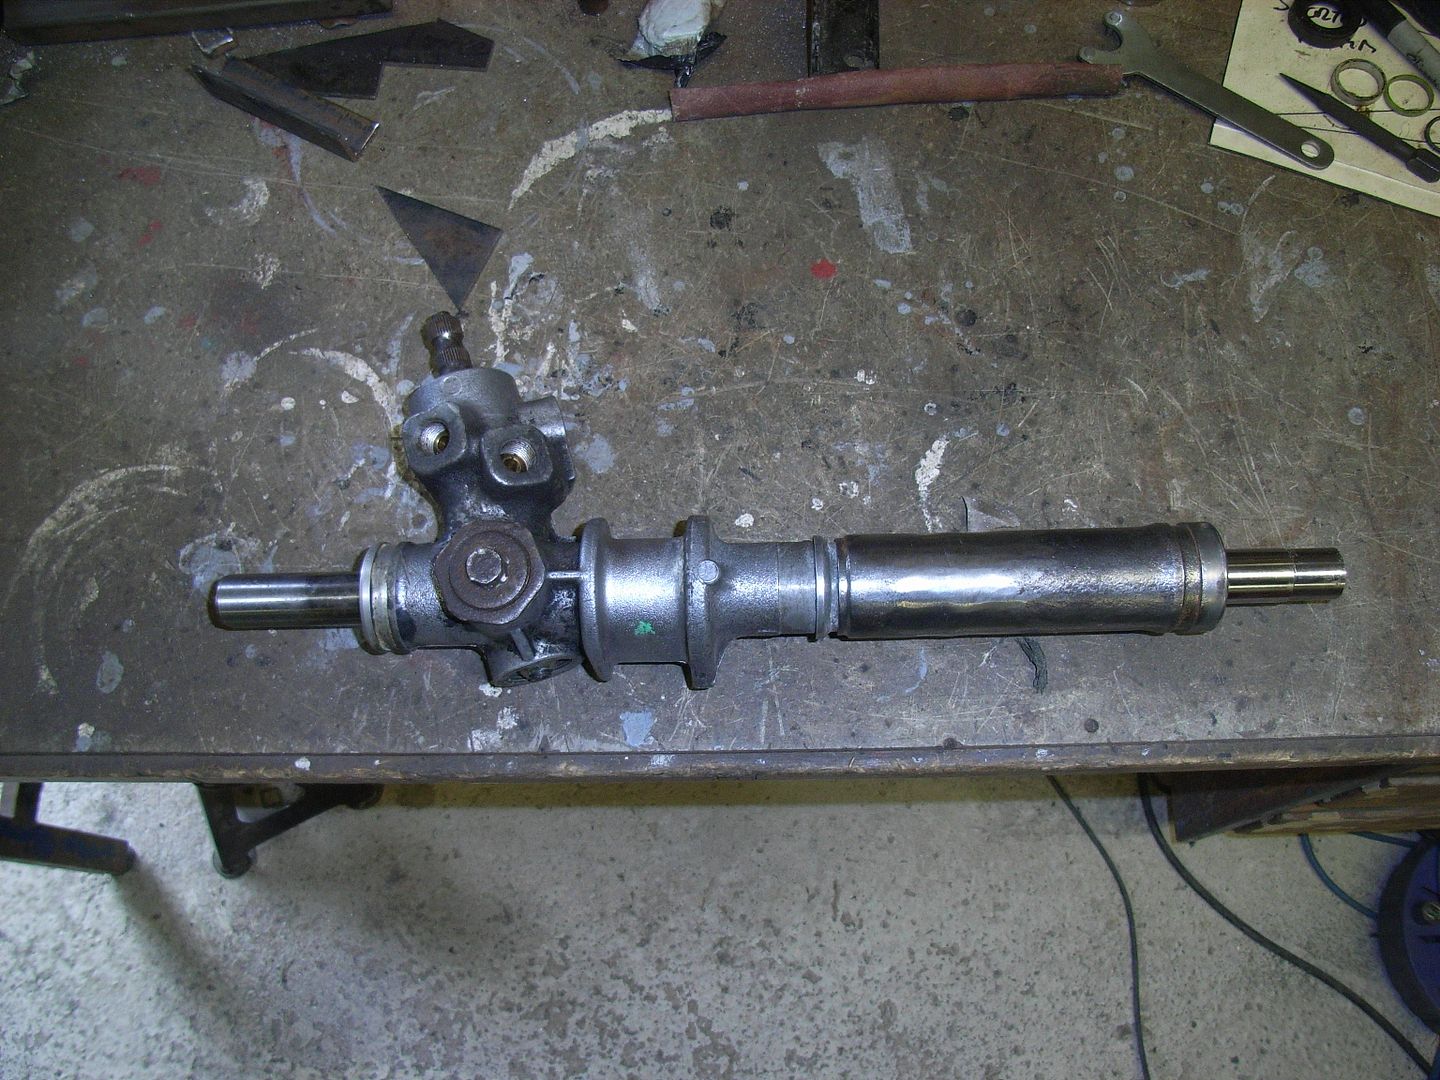 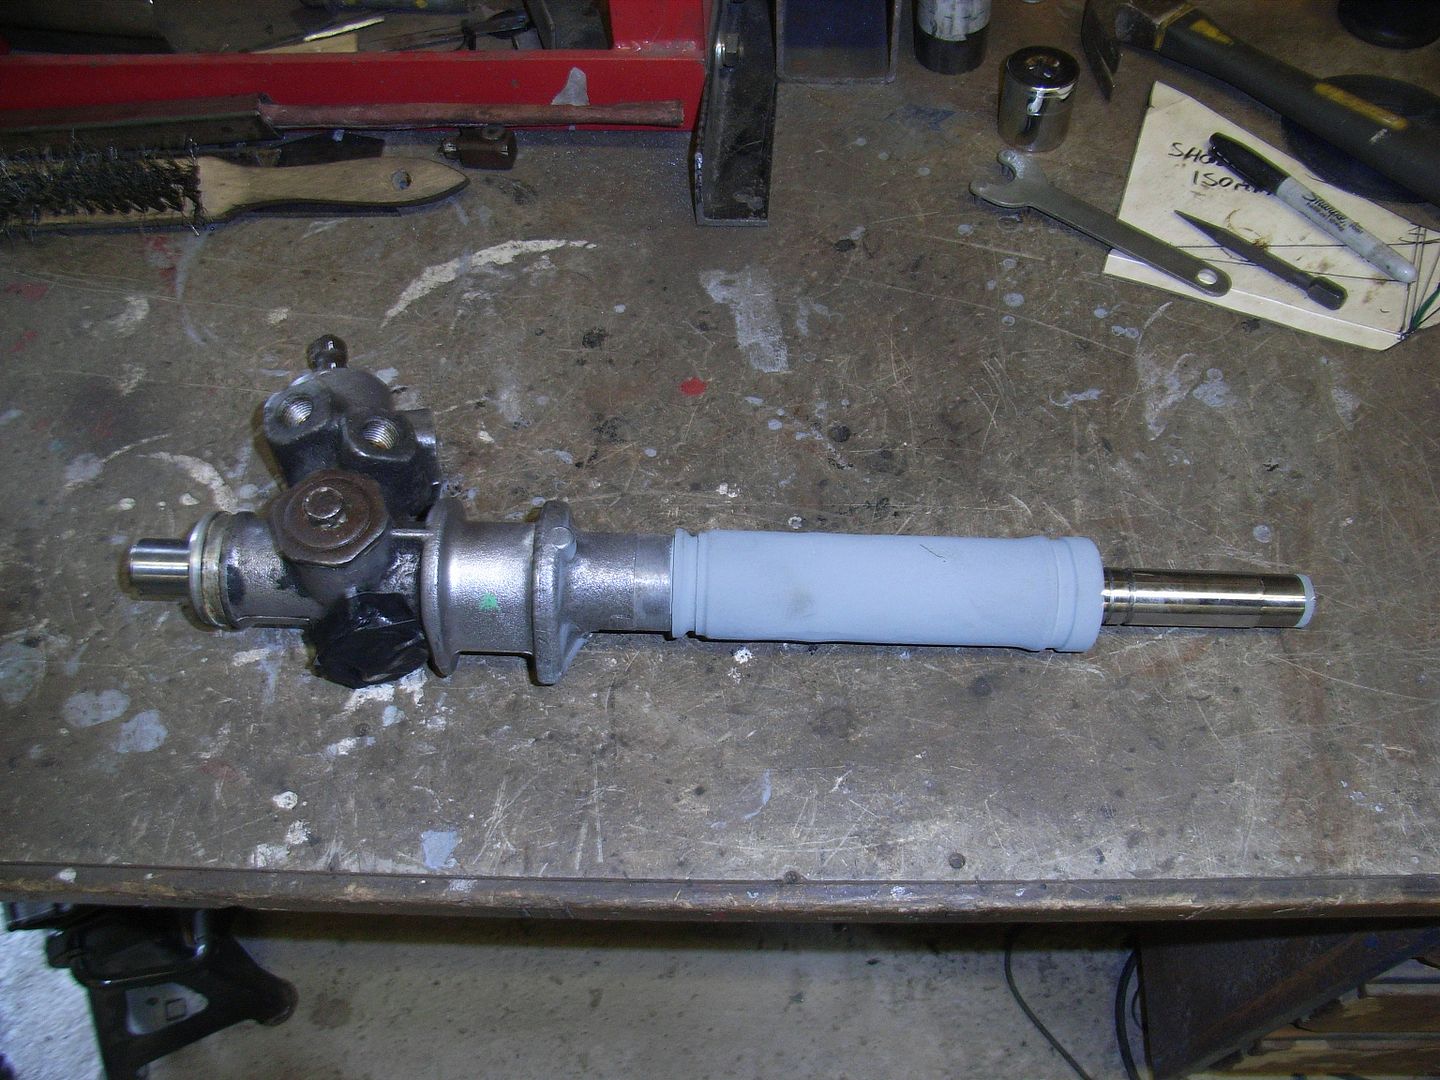 I then went and put a few more weld beads on some of the panels 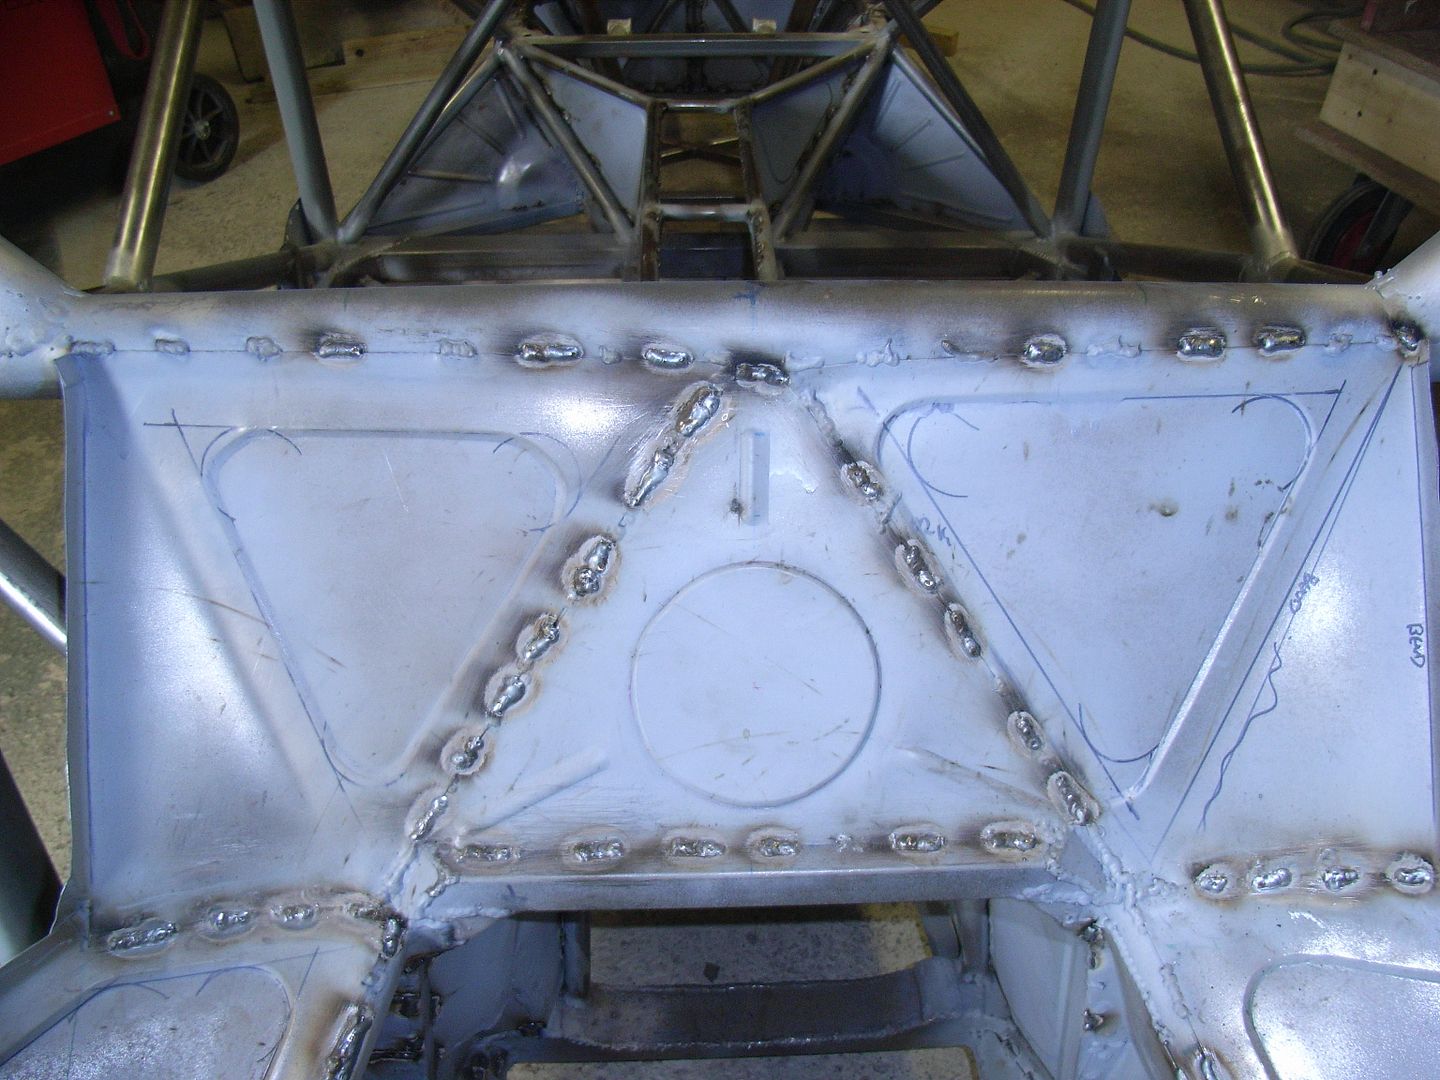 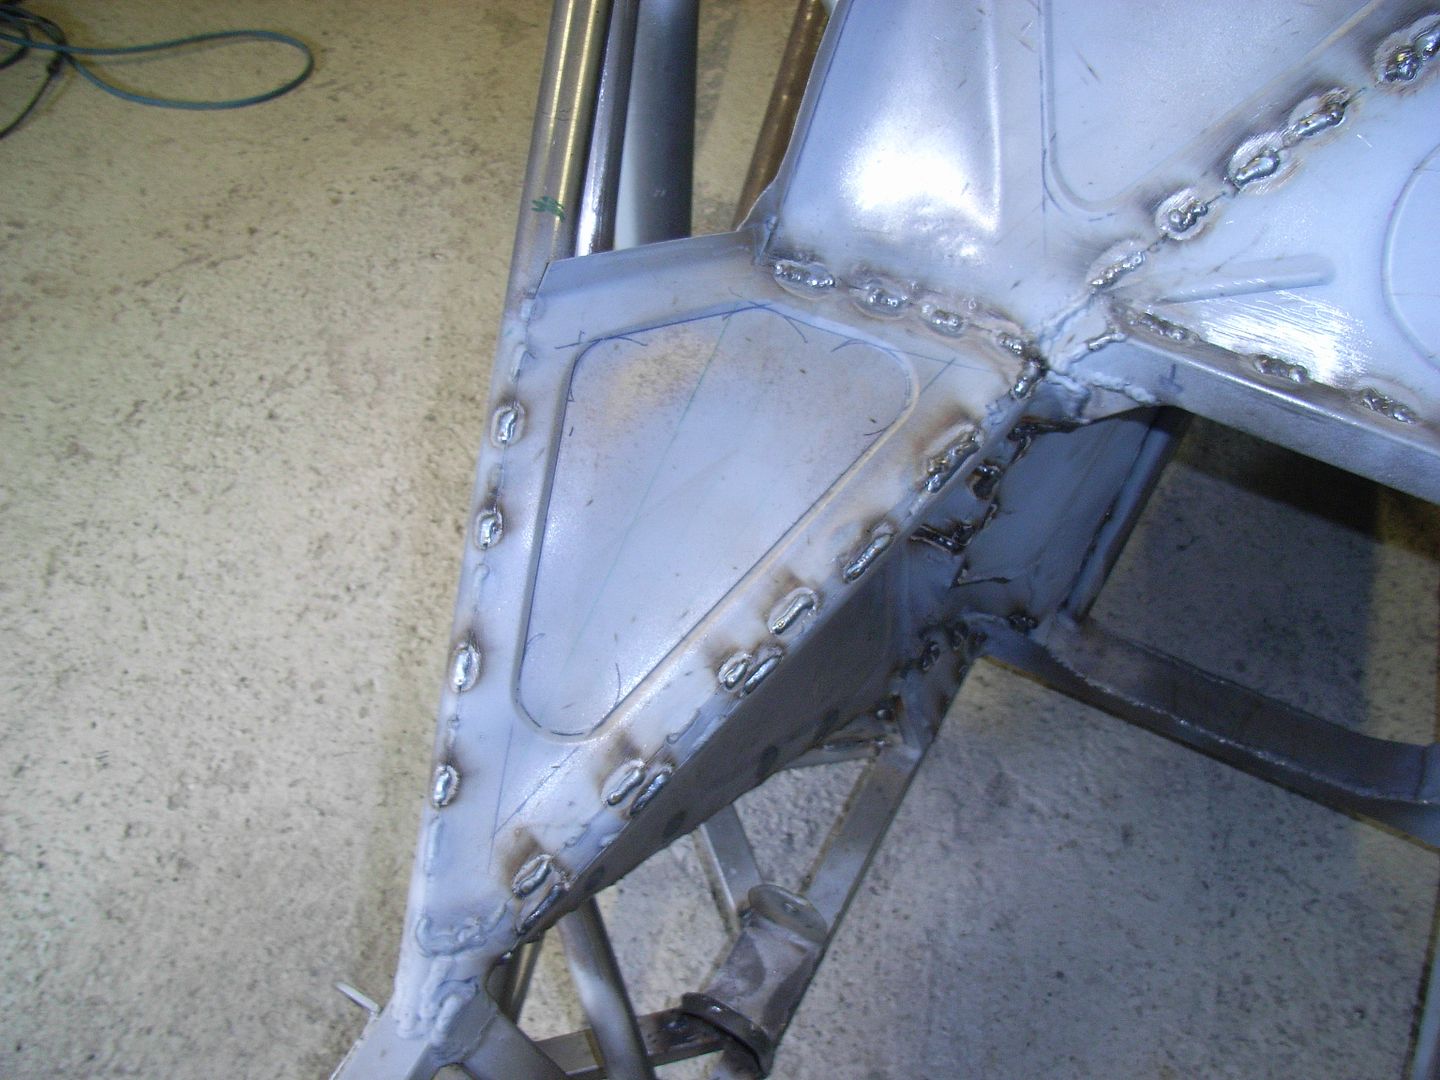 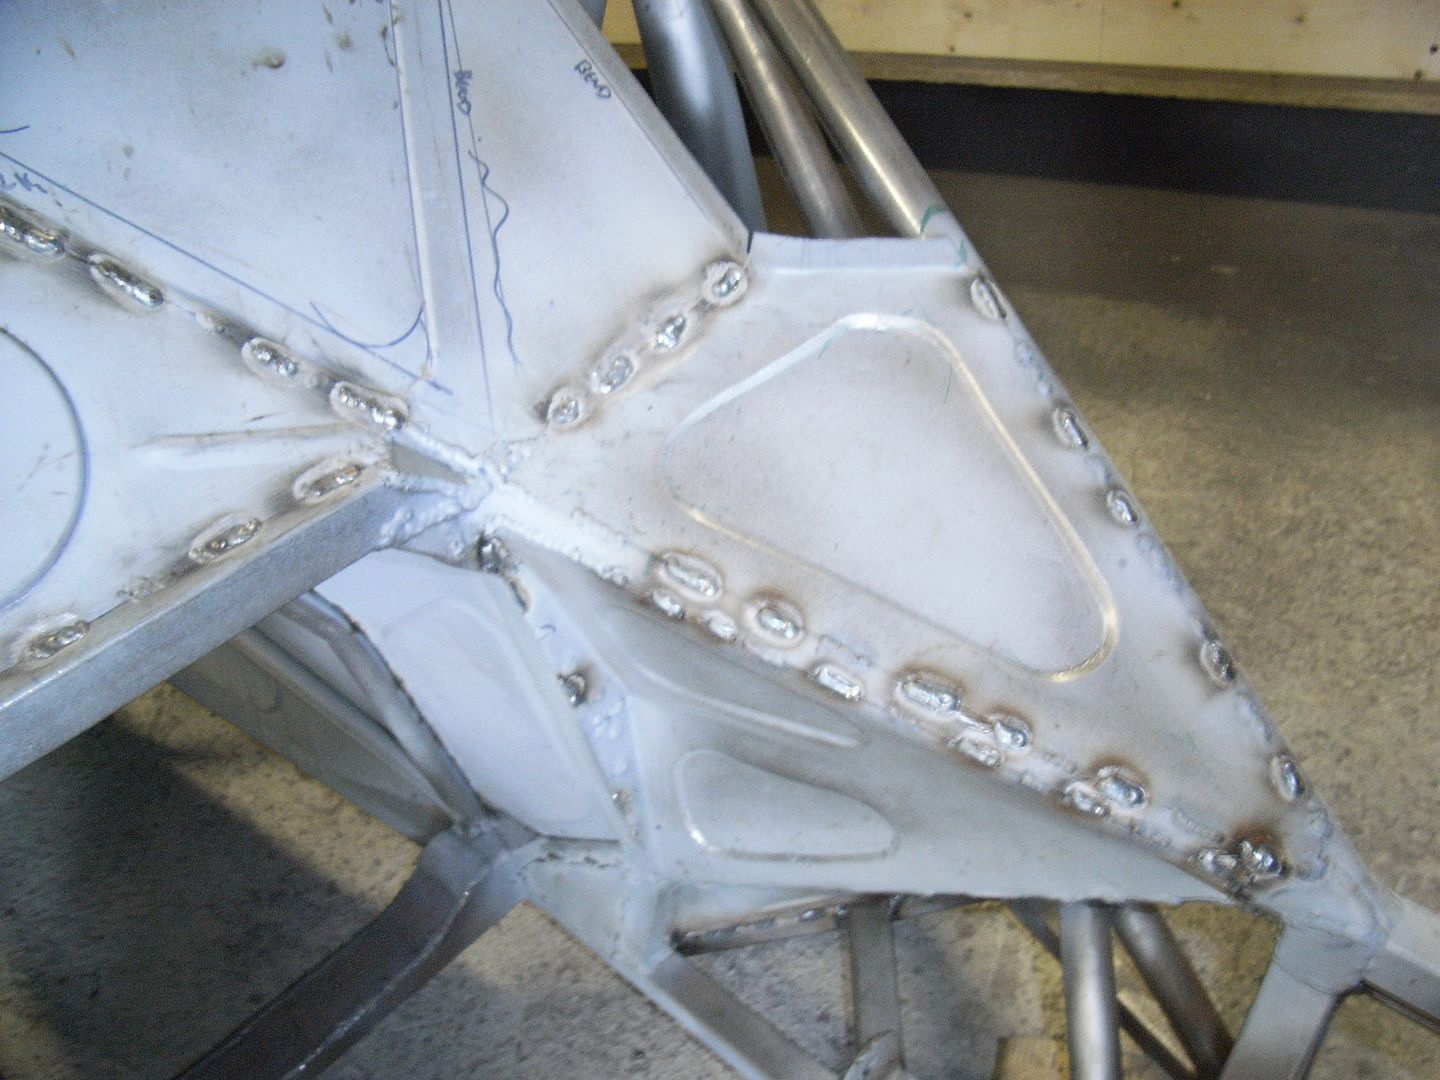 The started work on the transmission tunnel close out panels. Fairly straight forward shape, but I decided to match the round portal shape from the front bulkhead. 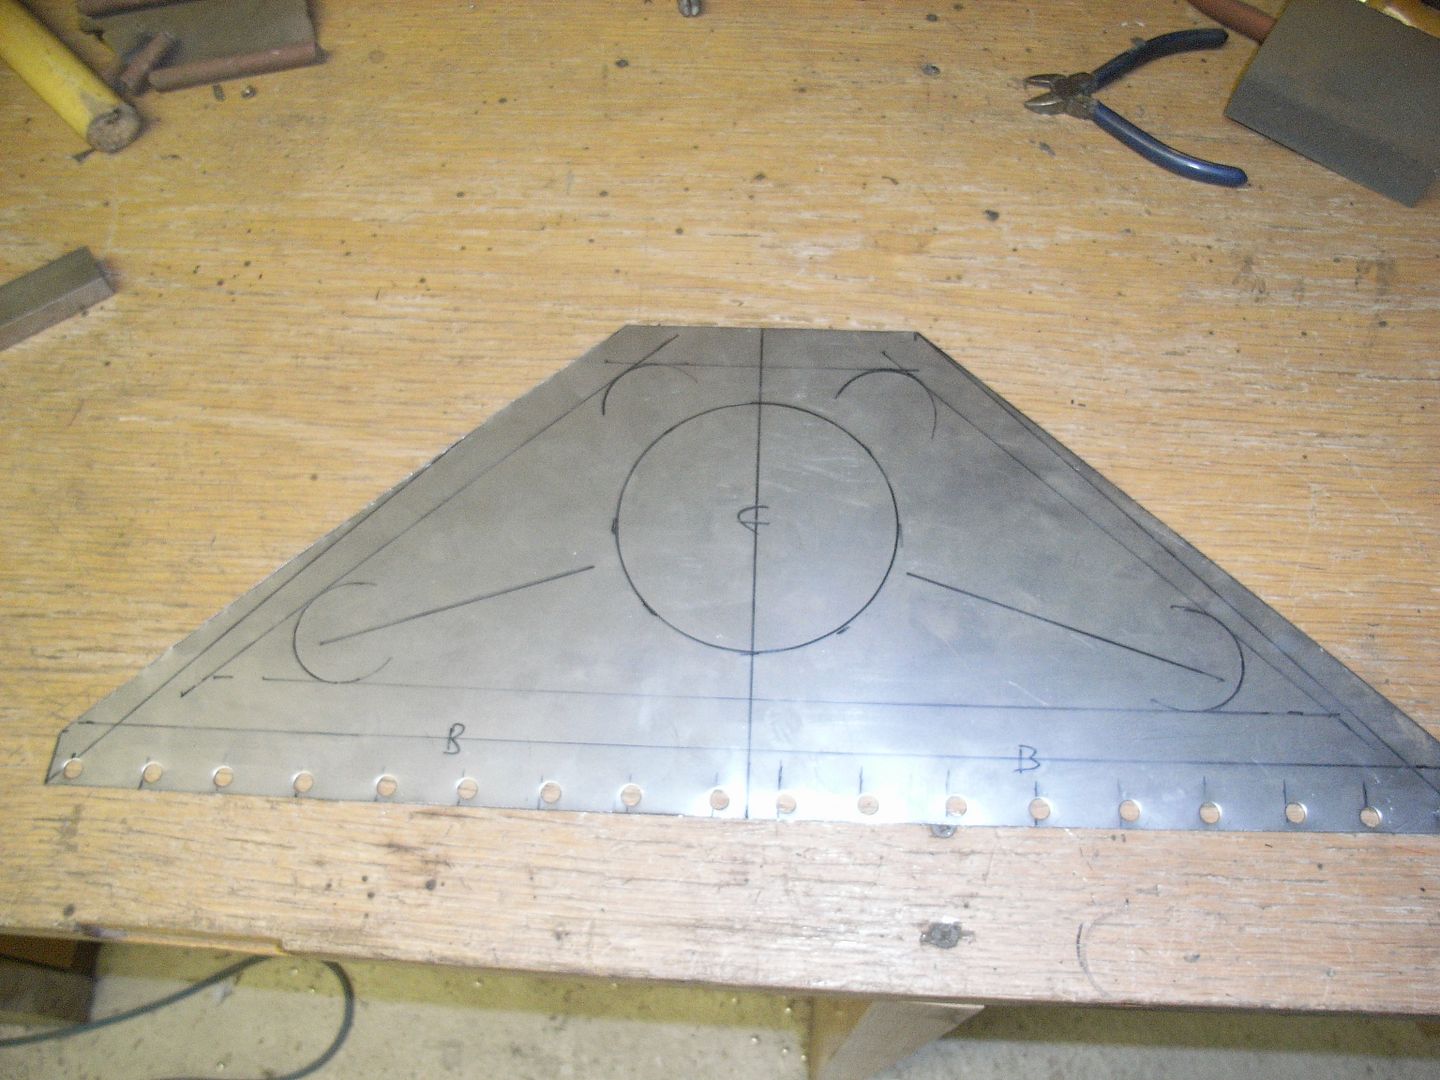 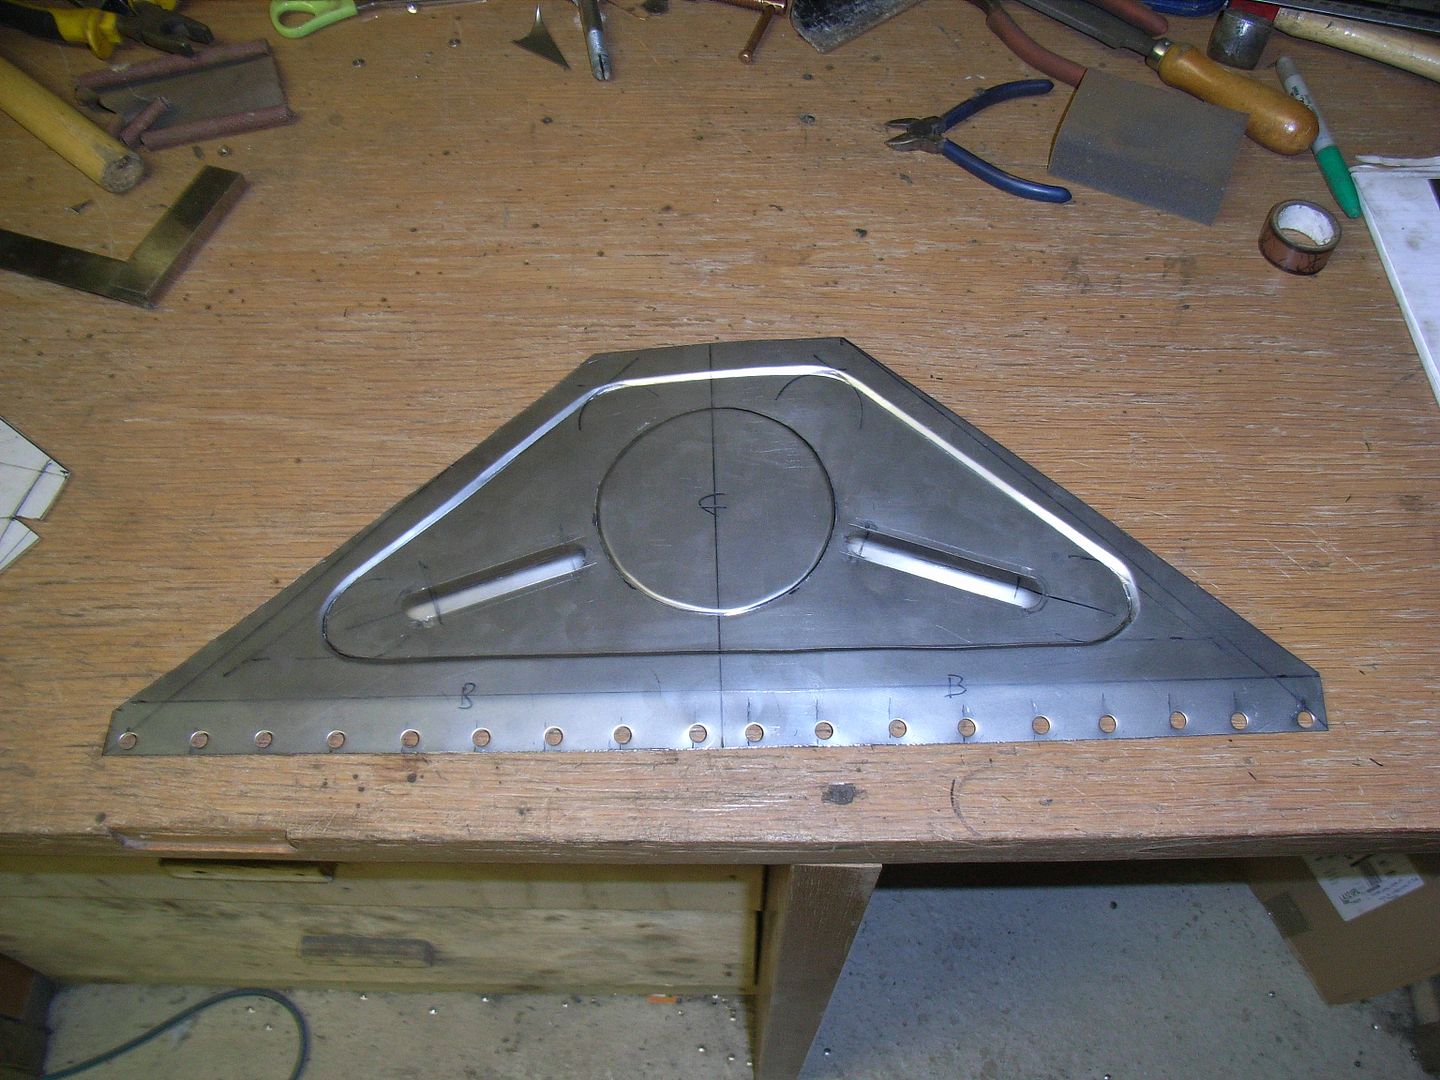 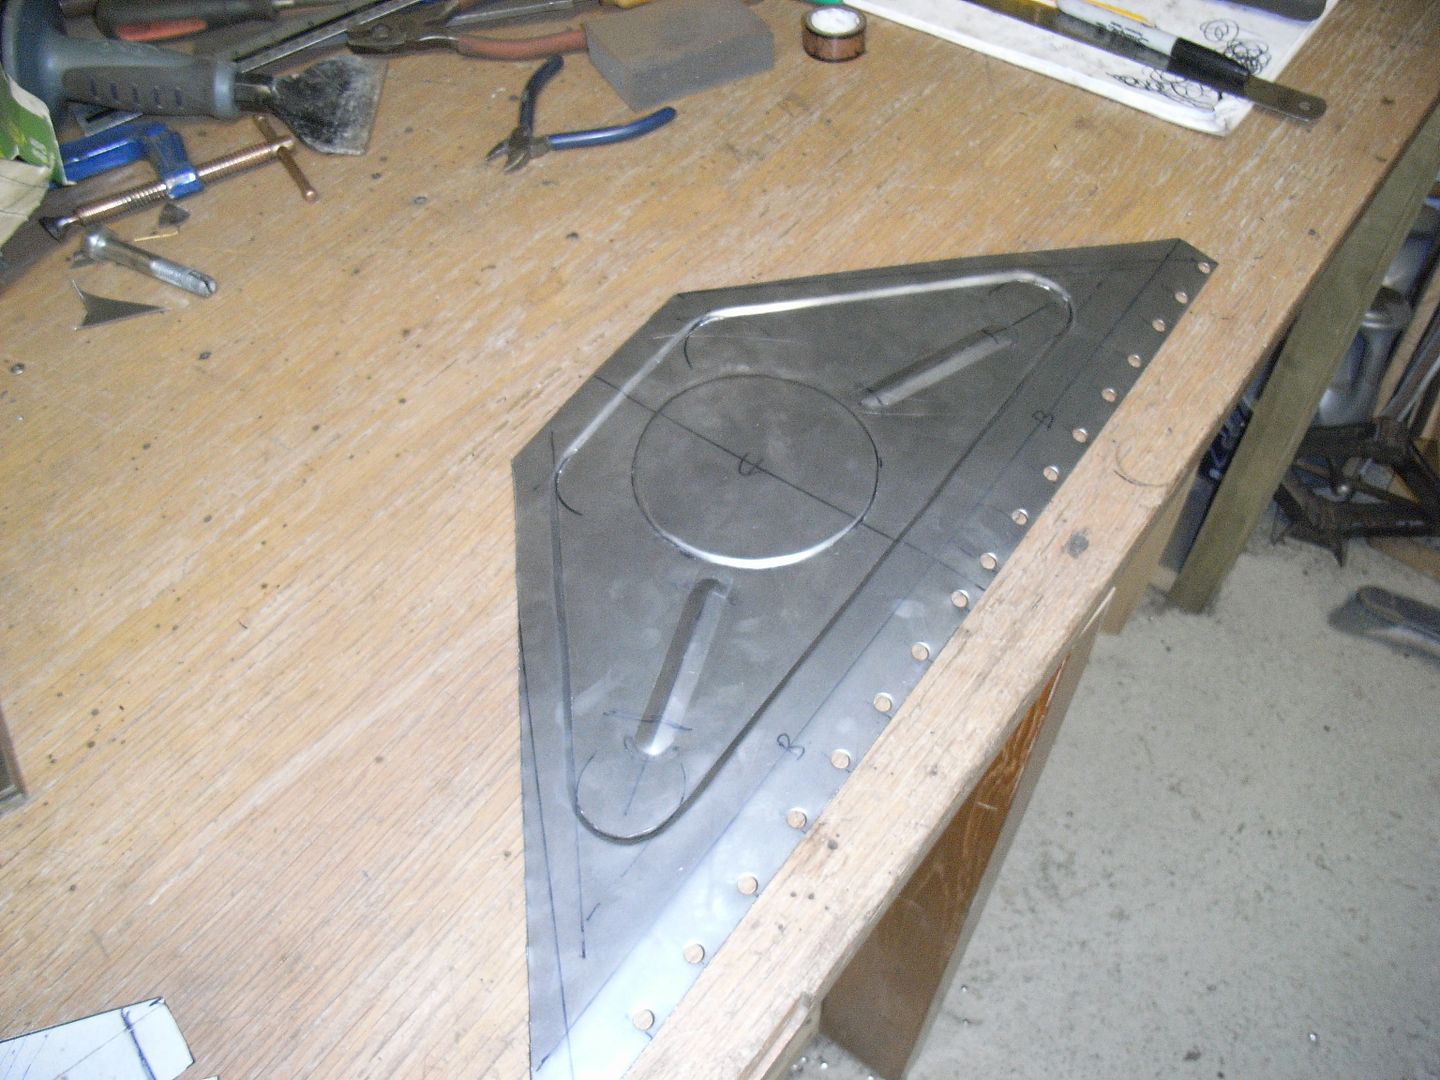 I ran out of primer so didnt weld the panel on 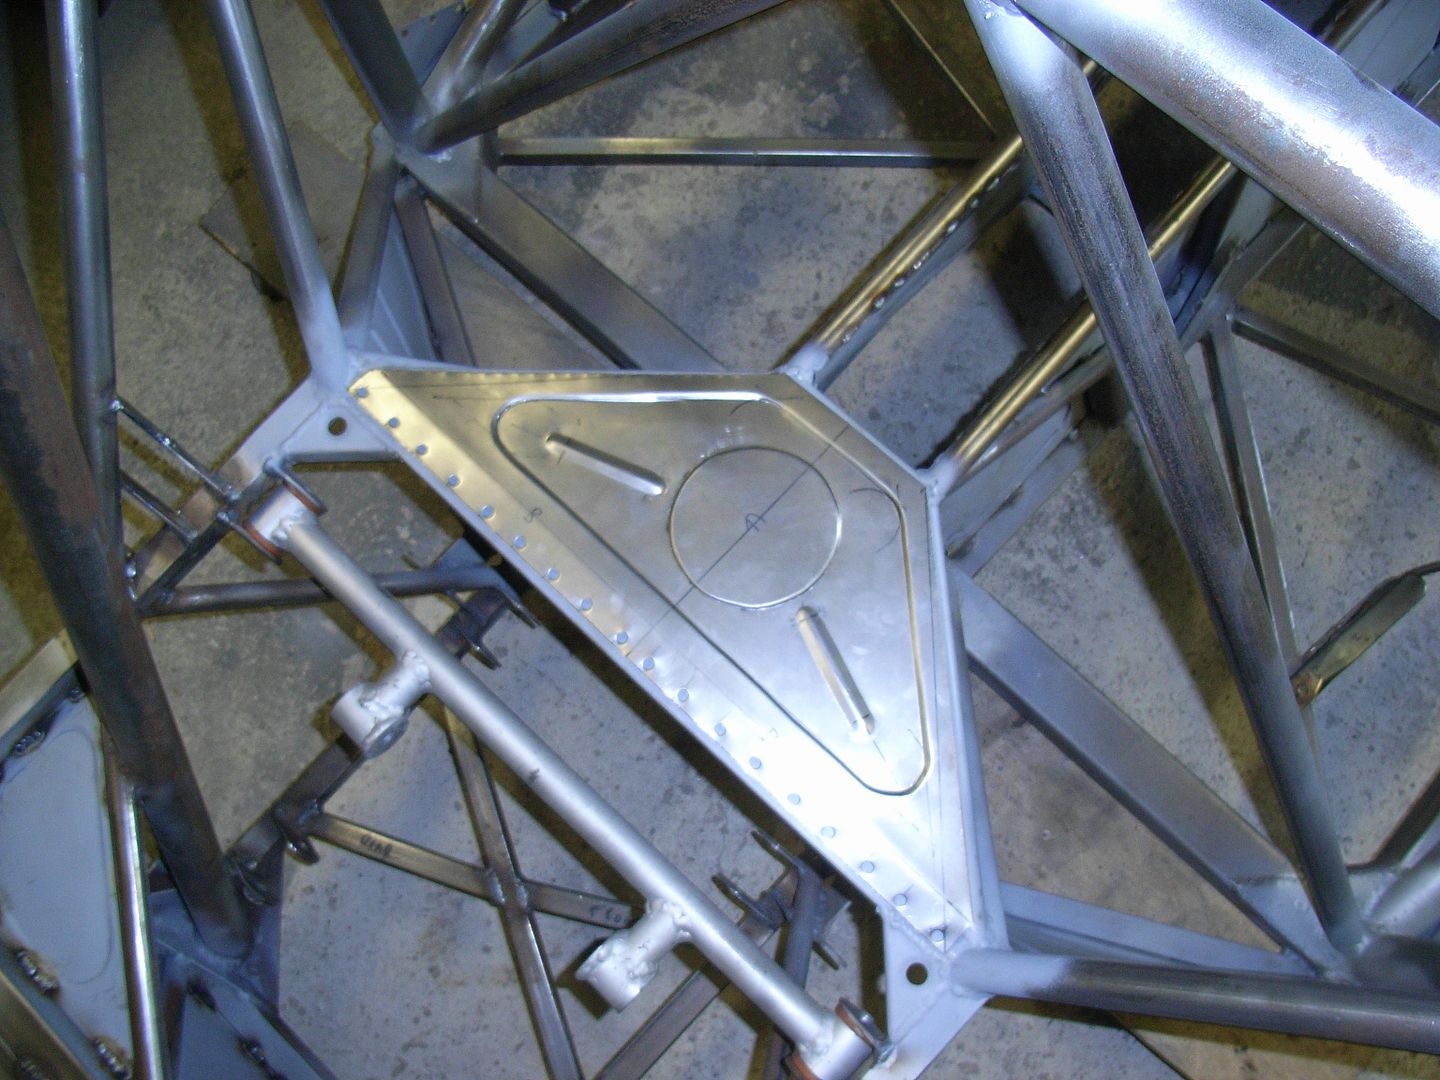 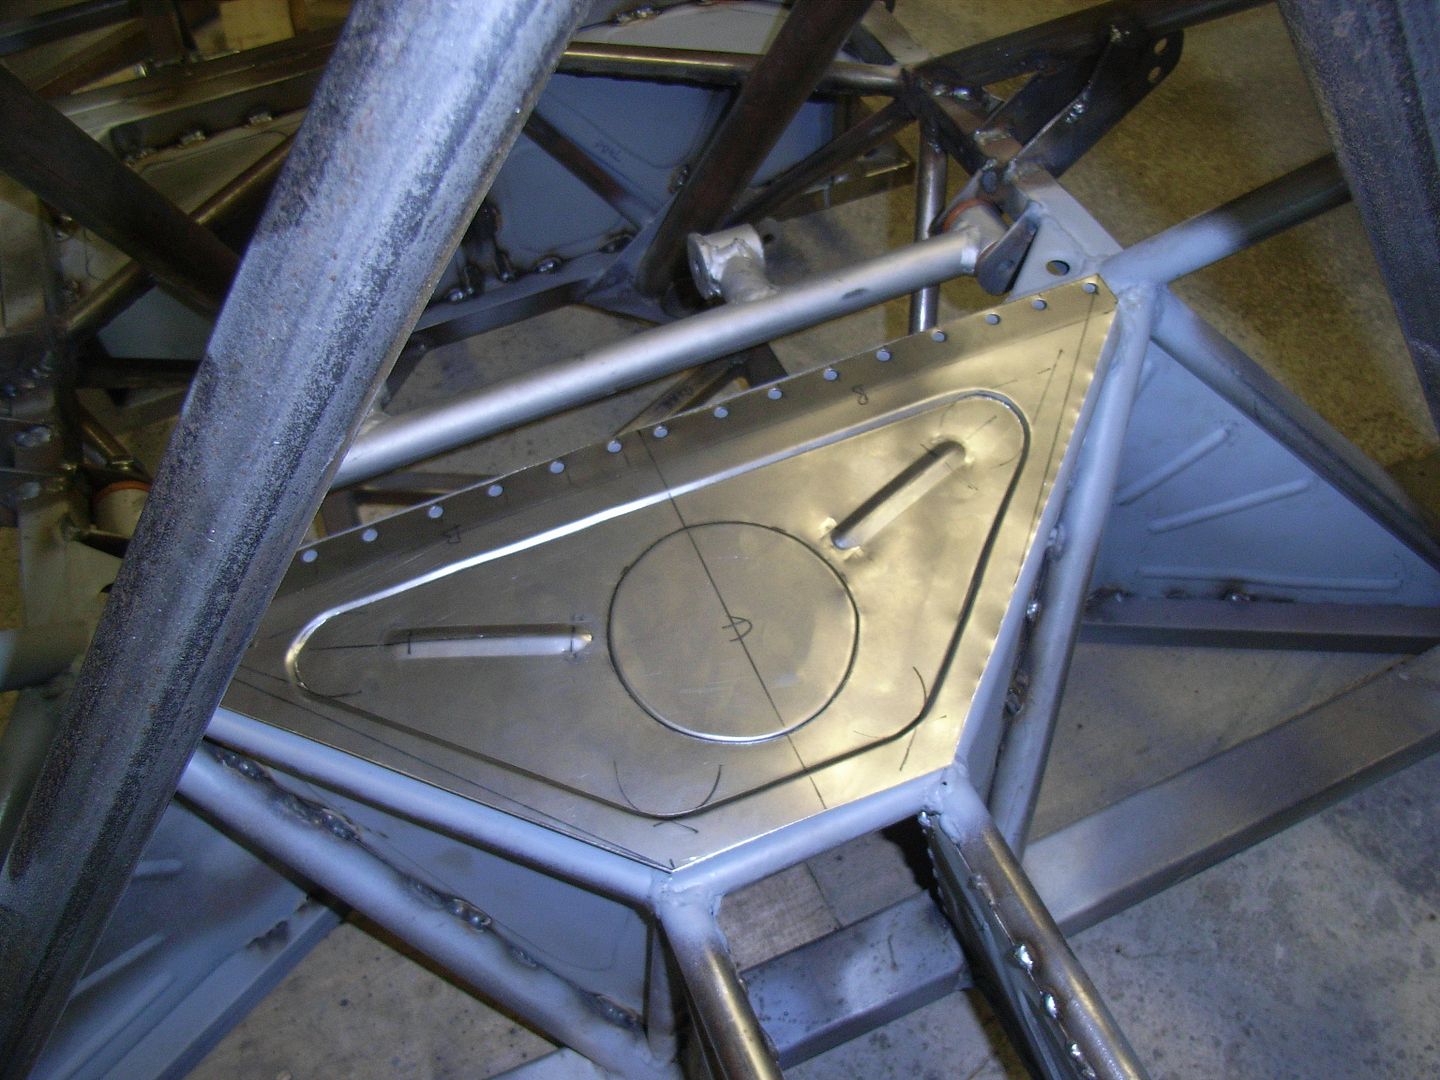 By this point my knee was aching a bit so I gave up and came in. |
| |
|
|
|
|
|
Sept 21, 2014 18:54:45 GMT
|
|
Fantastic stuff. It must be lovely to work with nice clean metal all the time and not old rusty curse word
|
| |
|
|
jonomisfit
Club Retro Rides Member
Posts: 1,787
Club RR Member Number: 49
|
|
Sept 21, 2014 19:24:44 GMT
|
|
Yep, it makes a big difference.
I've done my share of rust wrecks in the past and with having worked on this, i'm seriously tempted to get the next project dipped / blasted before I start it..... but that'll be a looooong while off having to worry about that.
|
| |
|
|
jonomisfit
Club Retro Rides Member
Posts: 1,787
Club RR Member Number: 49
|
|
Oct 12, 2014 18:32:21 GMT
|
|
Non exciting progress made this weekend, so no pics.
I mainly spent today buffing off rust with the knot wheel in the grinder, painting it with rust passivastor, then painting it with etch prime.
I then lifted the body back onto the chassis for another check. I'm hoping i can get away without taking the shell back off again, but need to fit sunroof drain tubes, so will depend i f i can get to these. If I can, then next update will likely have the body being welded onto the chassis.
|
| |
|
|
|
|
|
|
|
Even non exciting progress is progress  . |
| |
|
|
jonomisfit
Club Retro Rides Member
Posts: 1,787
Club RR Member Number: 49
|
|
Oct 19, 2014 19:45:59 GMT
|
Not much progress this weekend again. I went out for a few drink Friday and...... well..... the normal. Felt human by this afternoon so went out ad did some bits. Body back on the chassis and re-aligned. 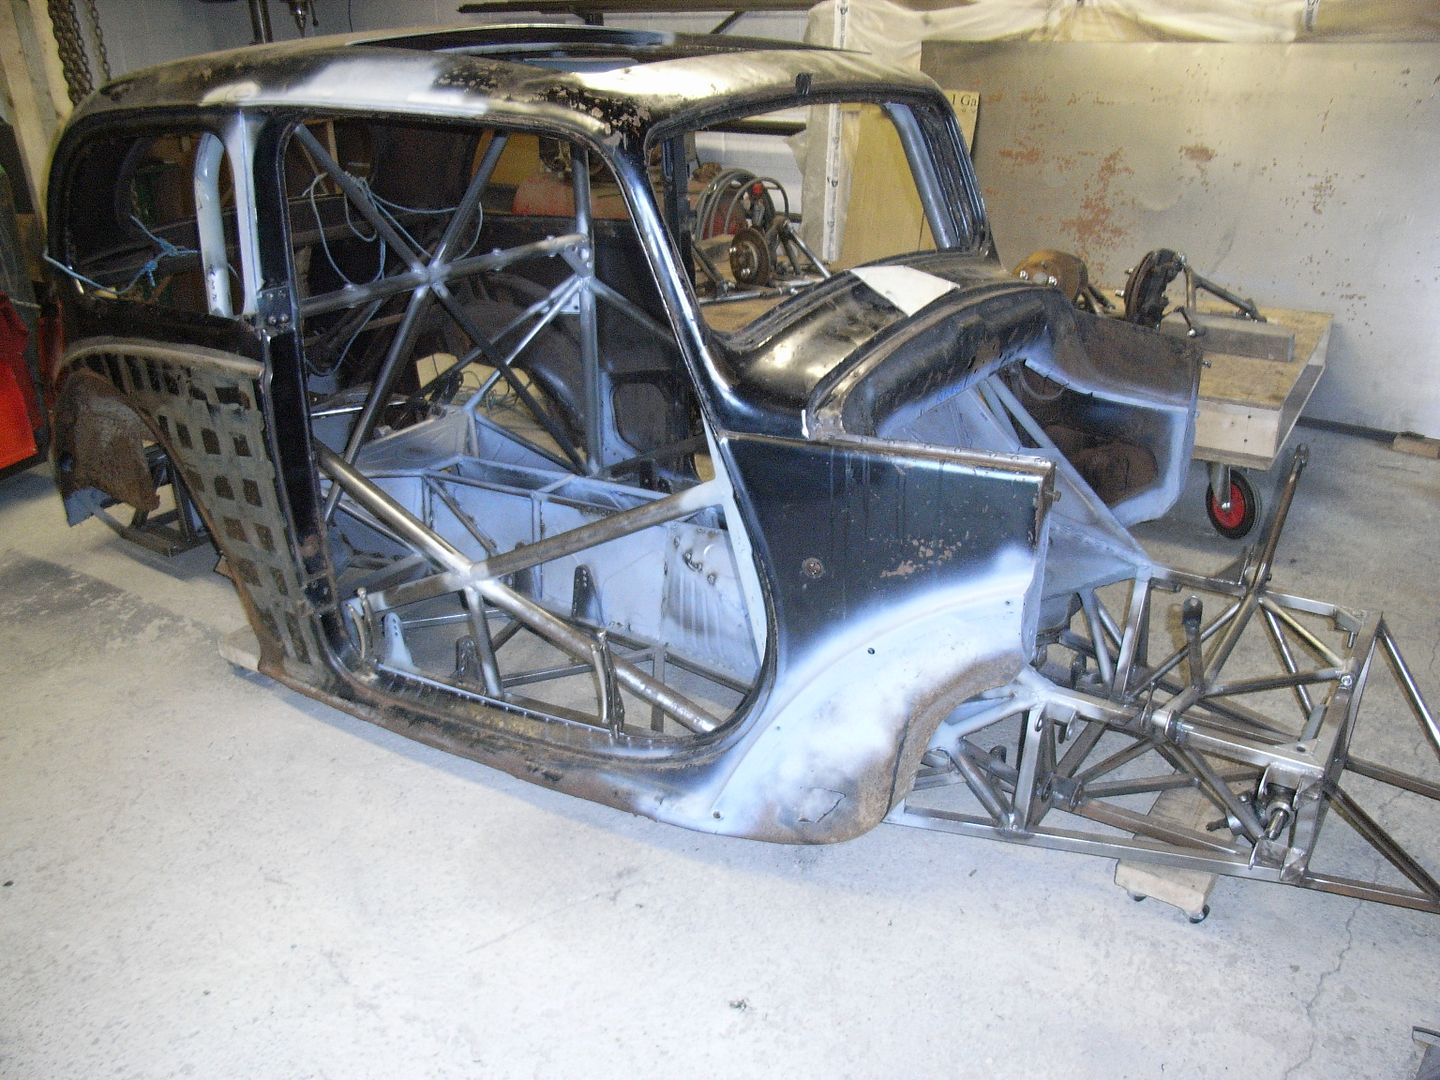 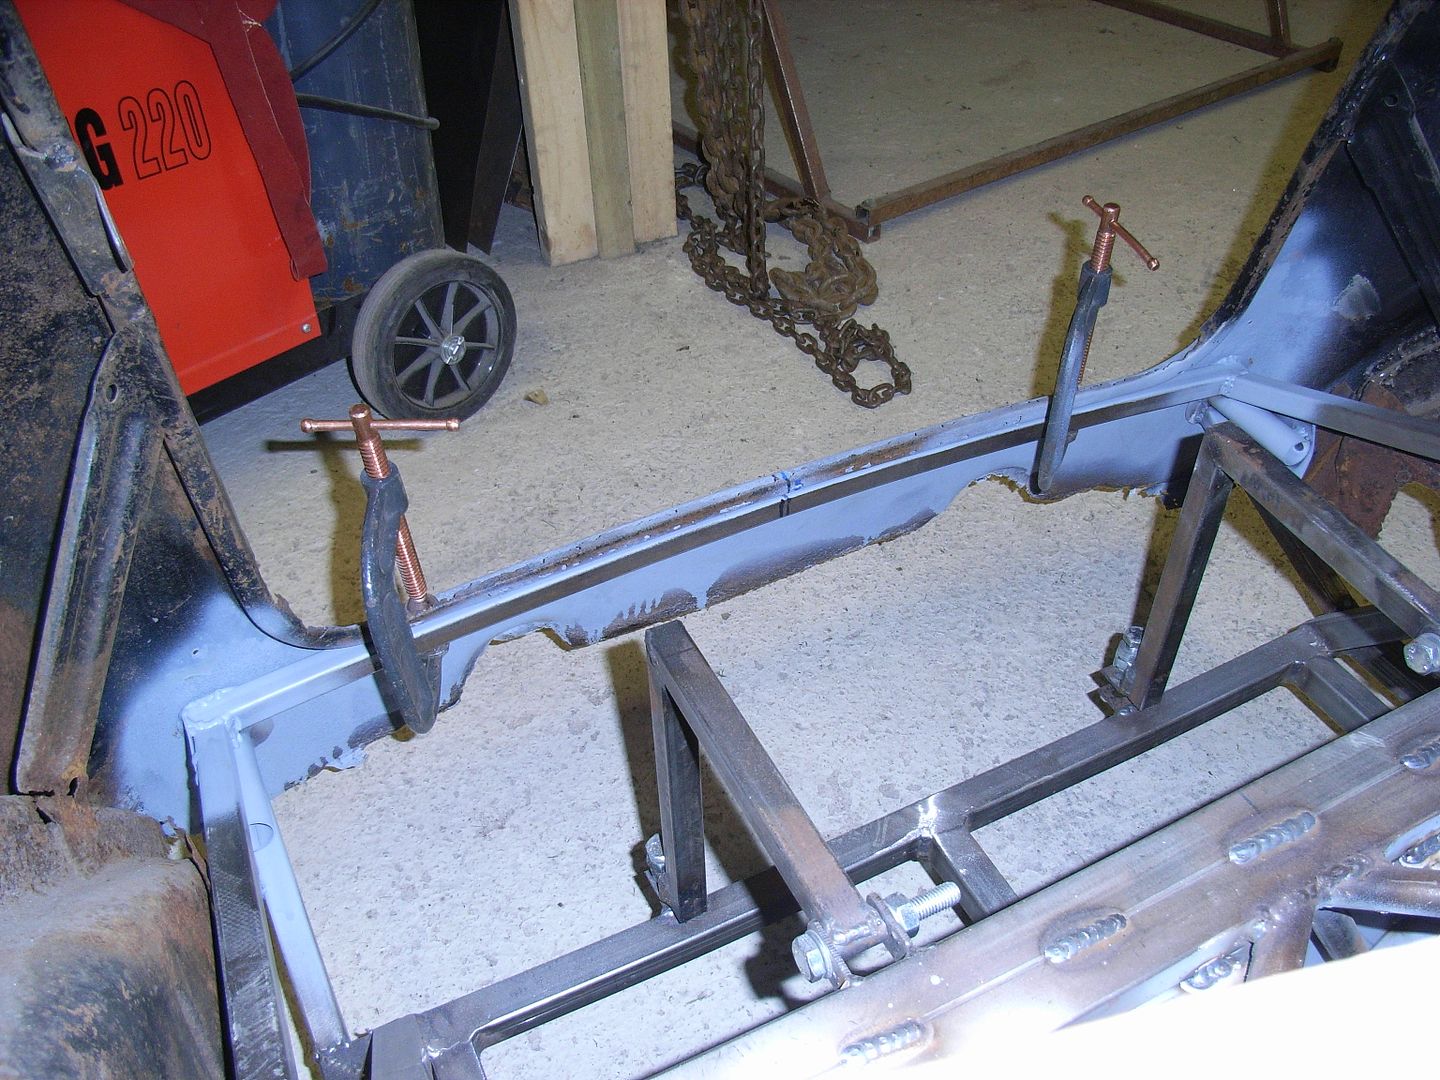 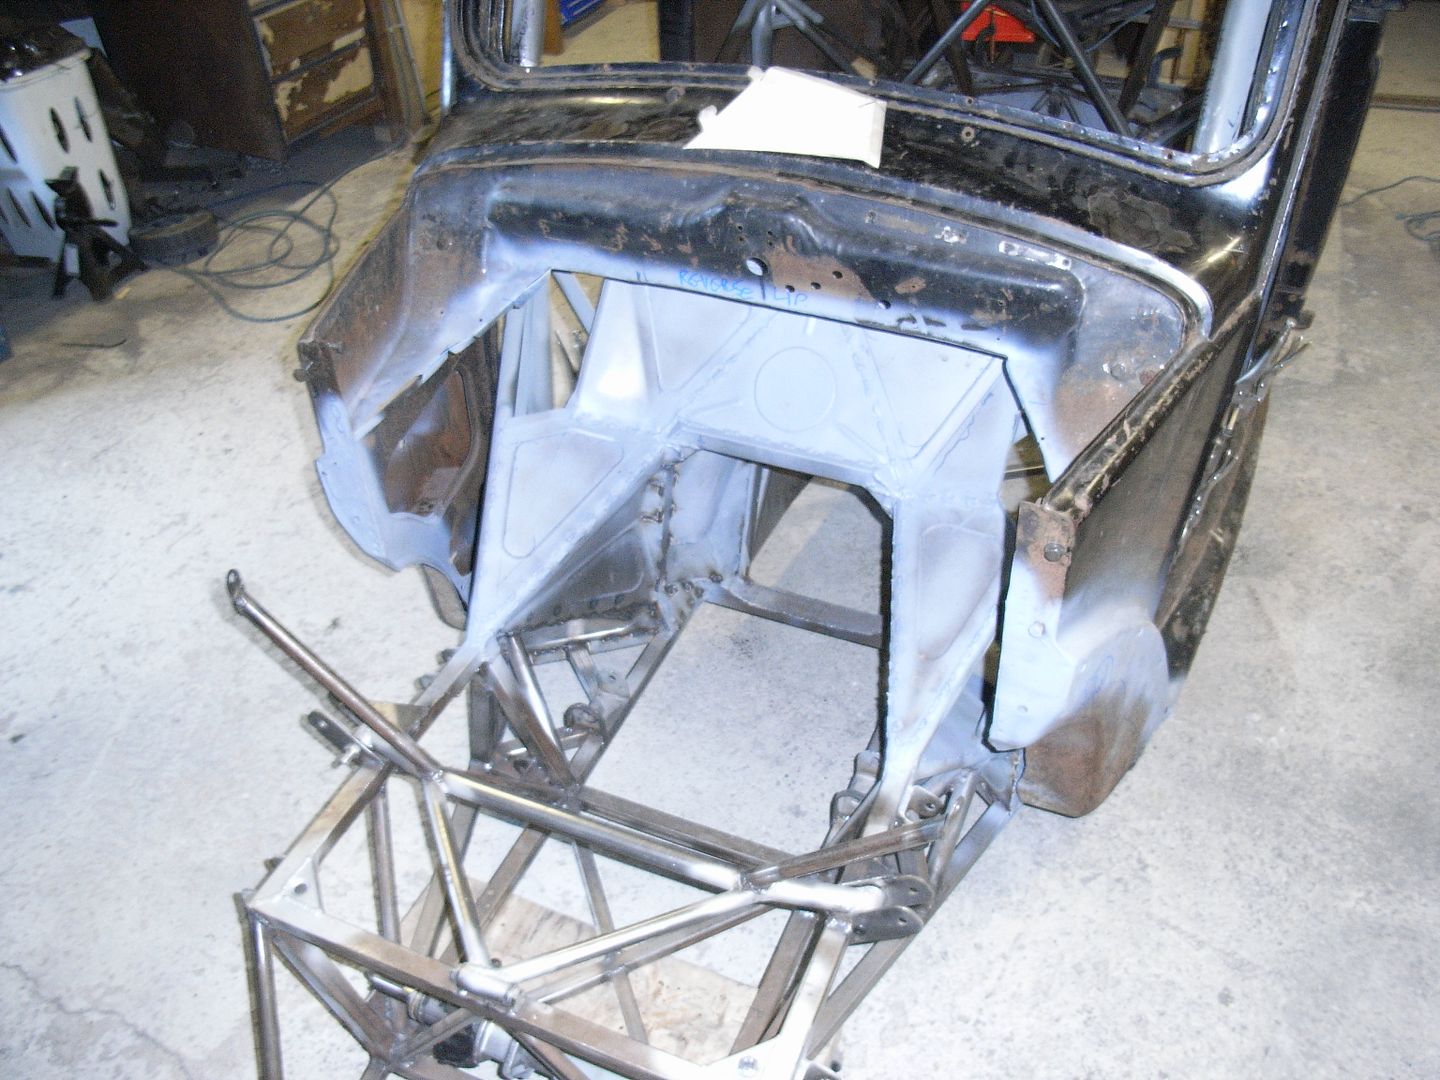 Cleaned up round the wing mounts 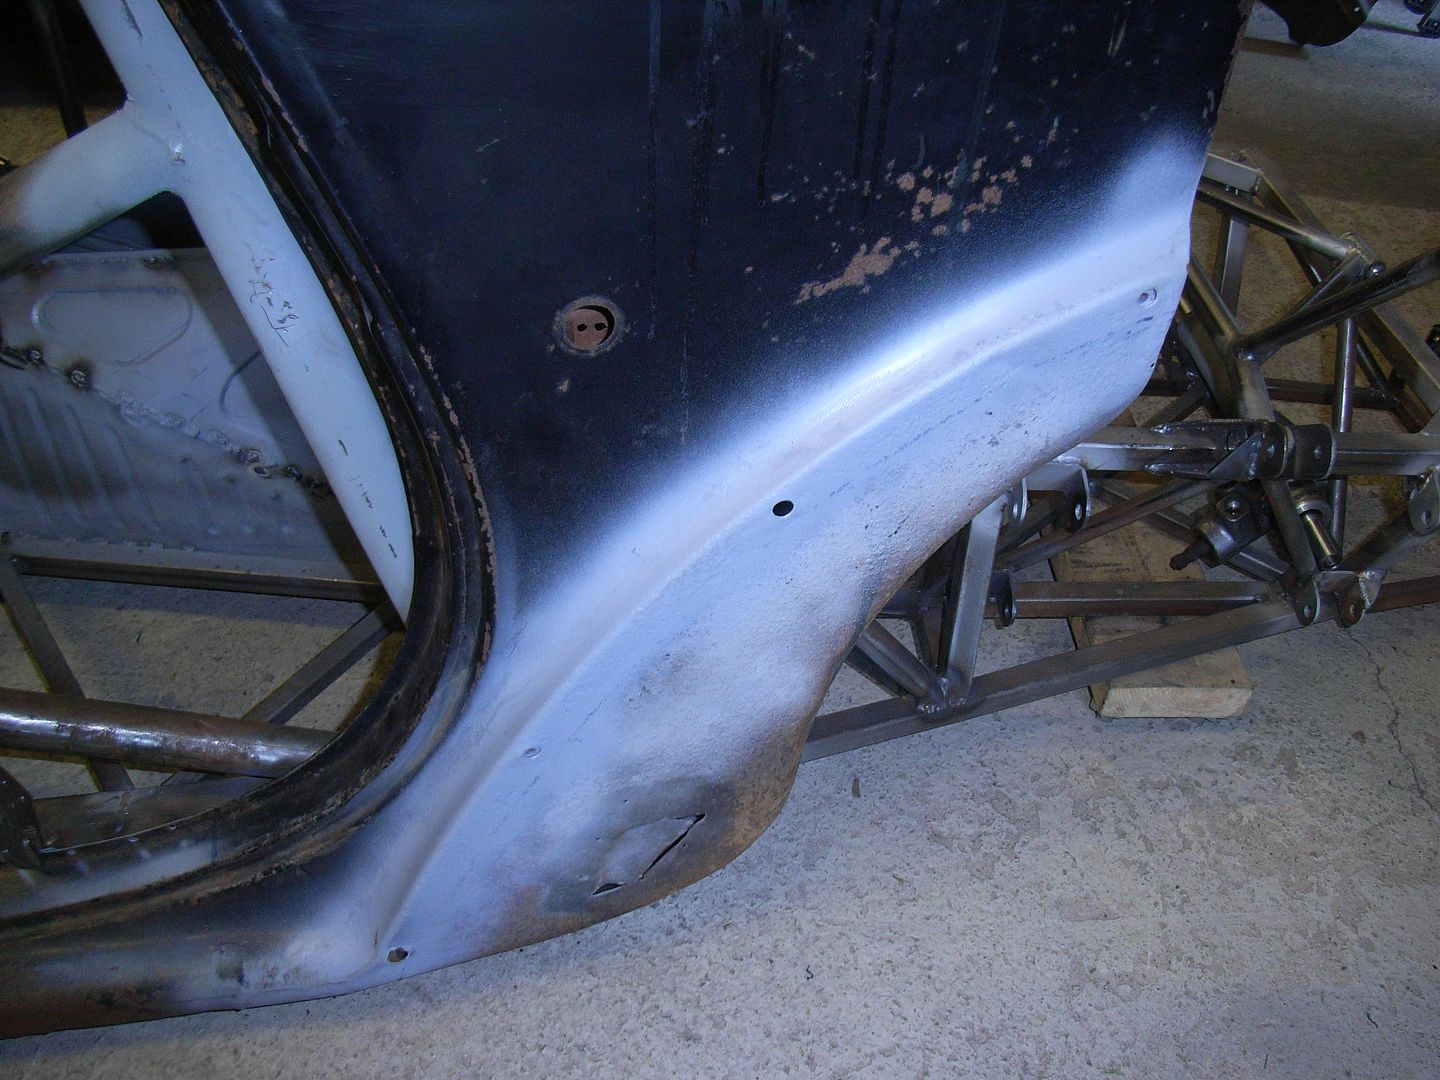 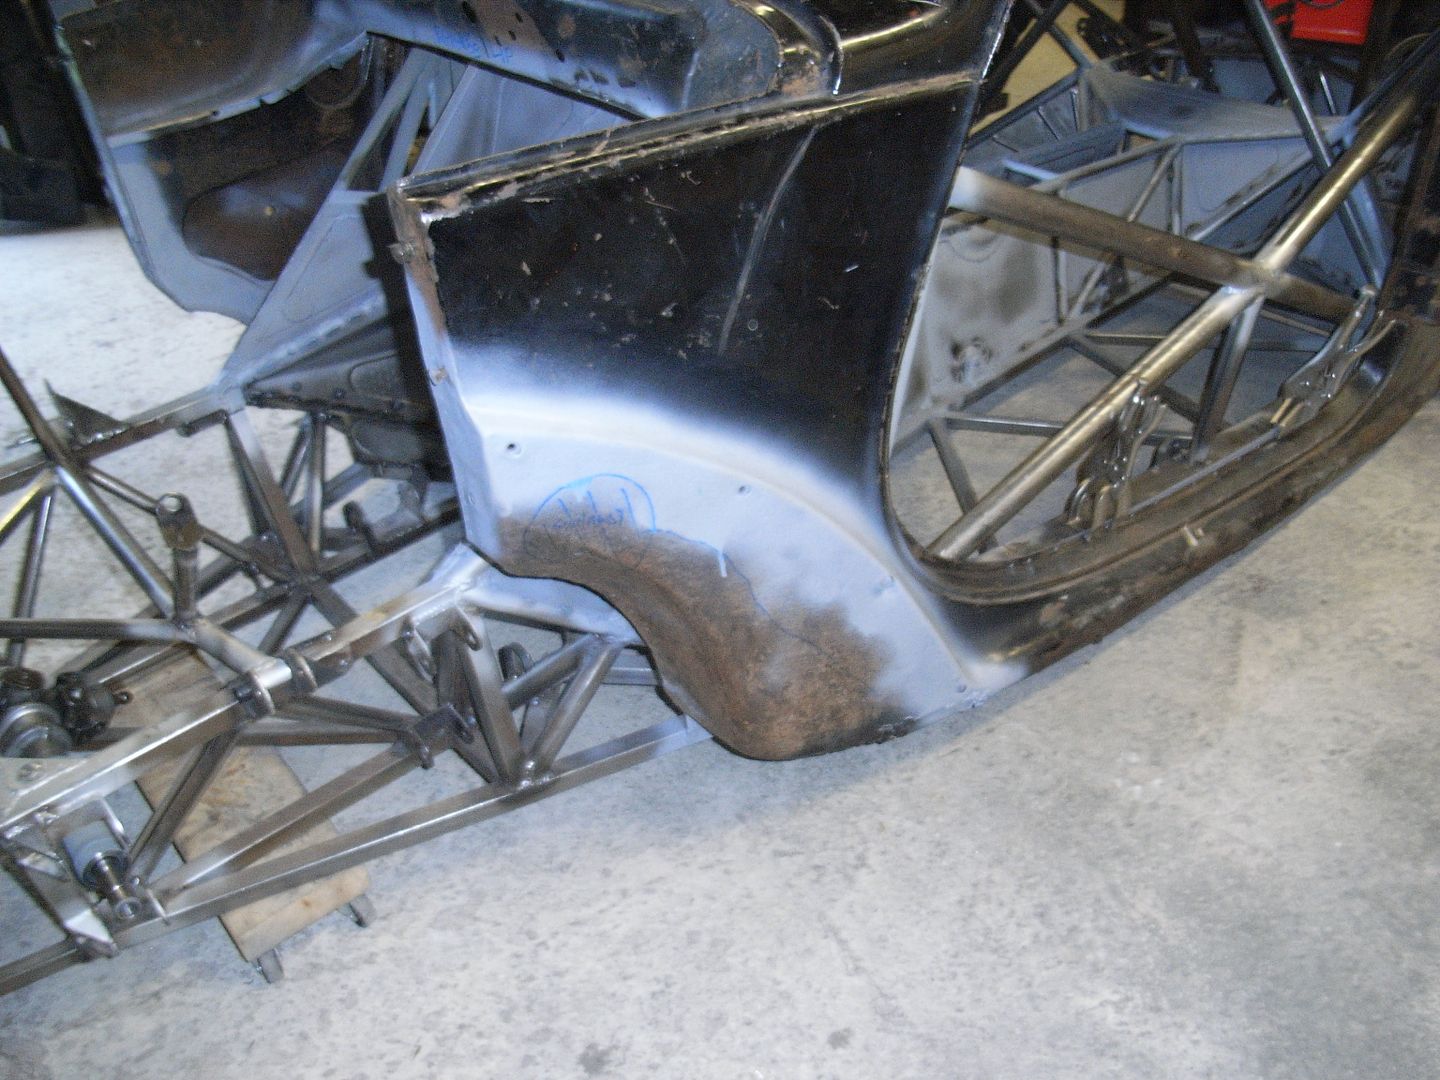 Started infilling the front bulkhead from chassis to body. Its not welded at the top as I might have to take off again to get drain tubes in for the sunroof..... 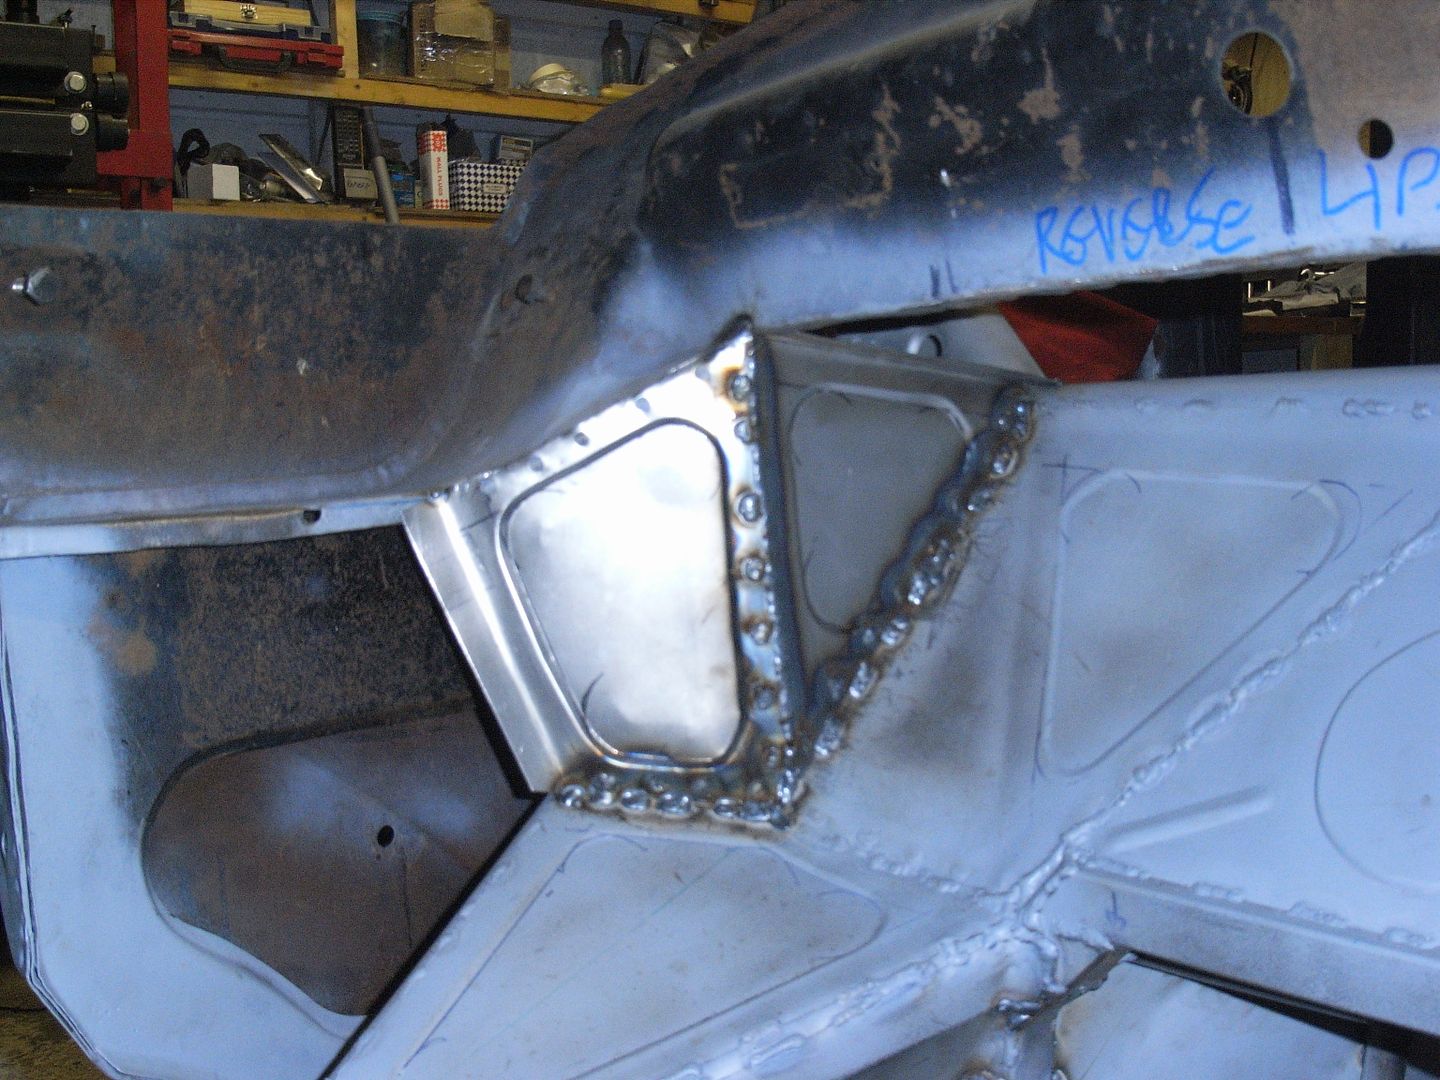 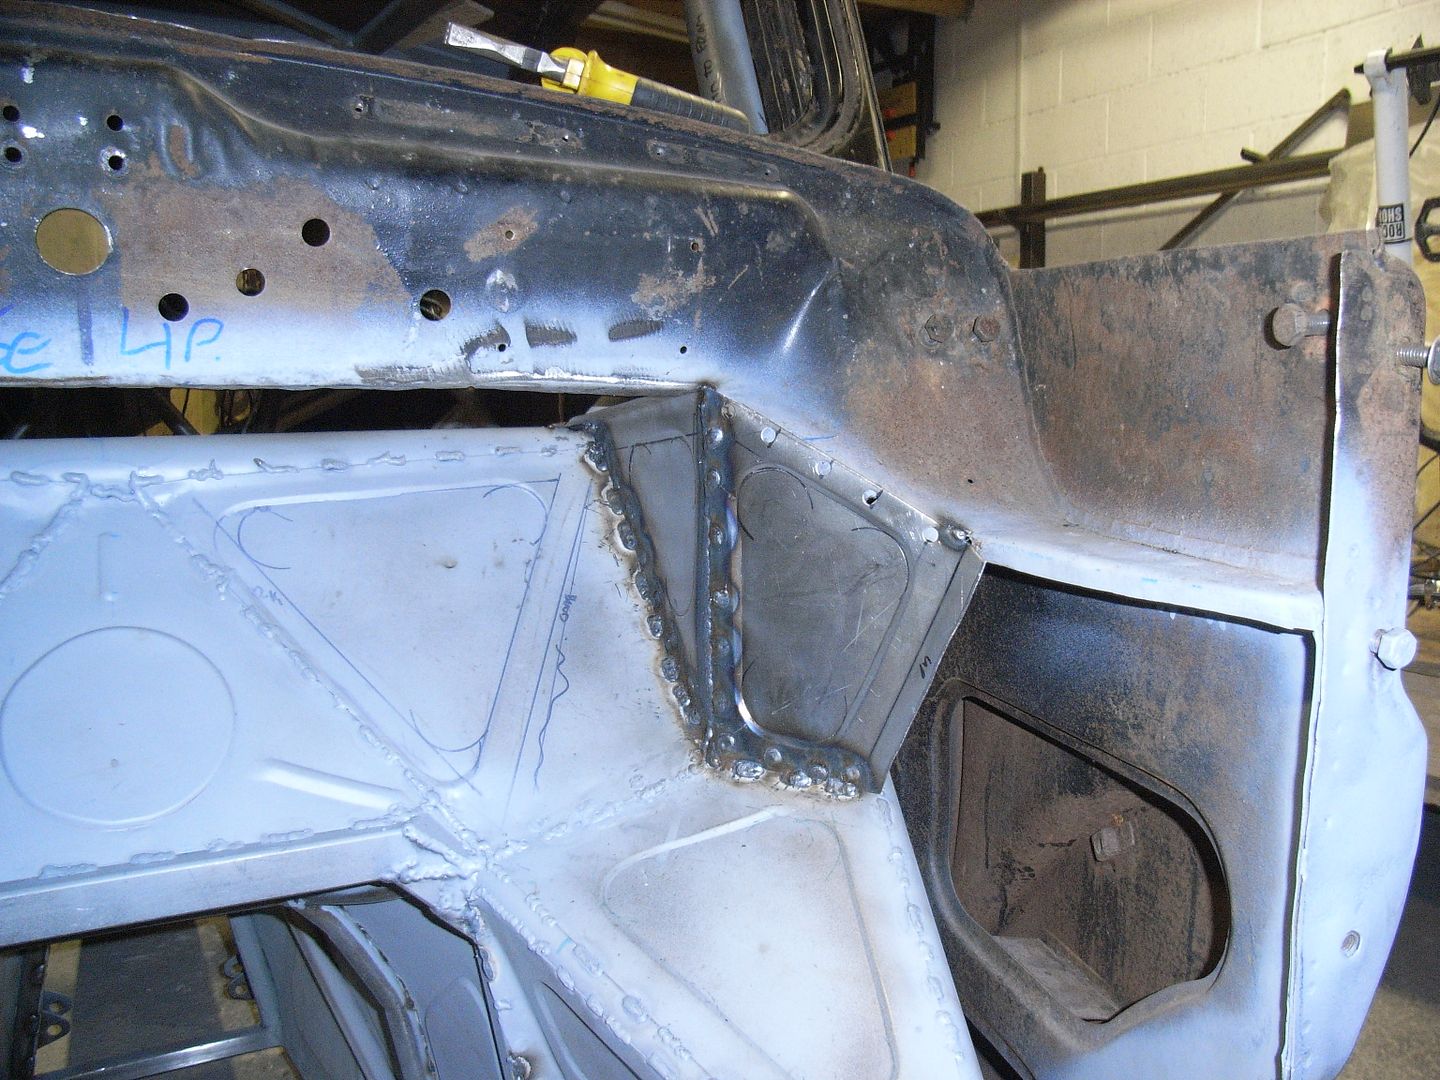 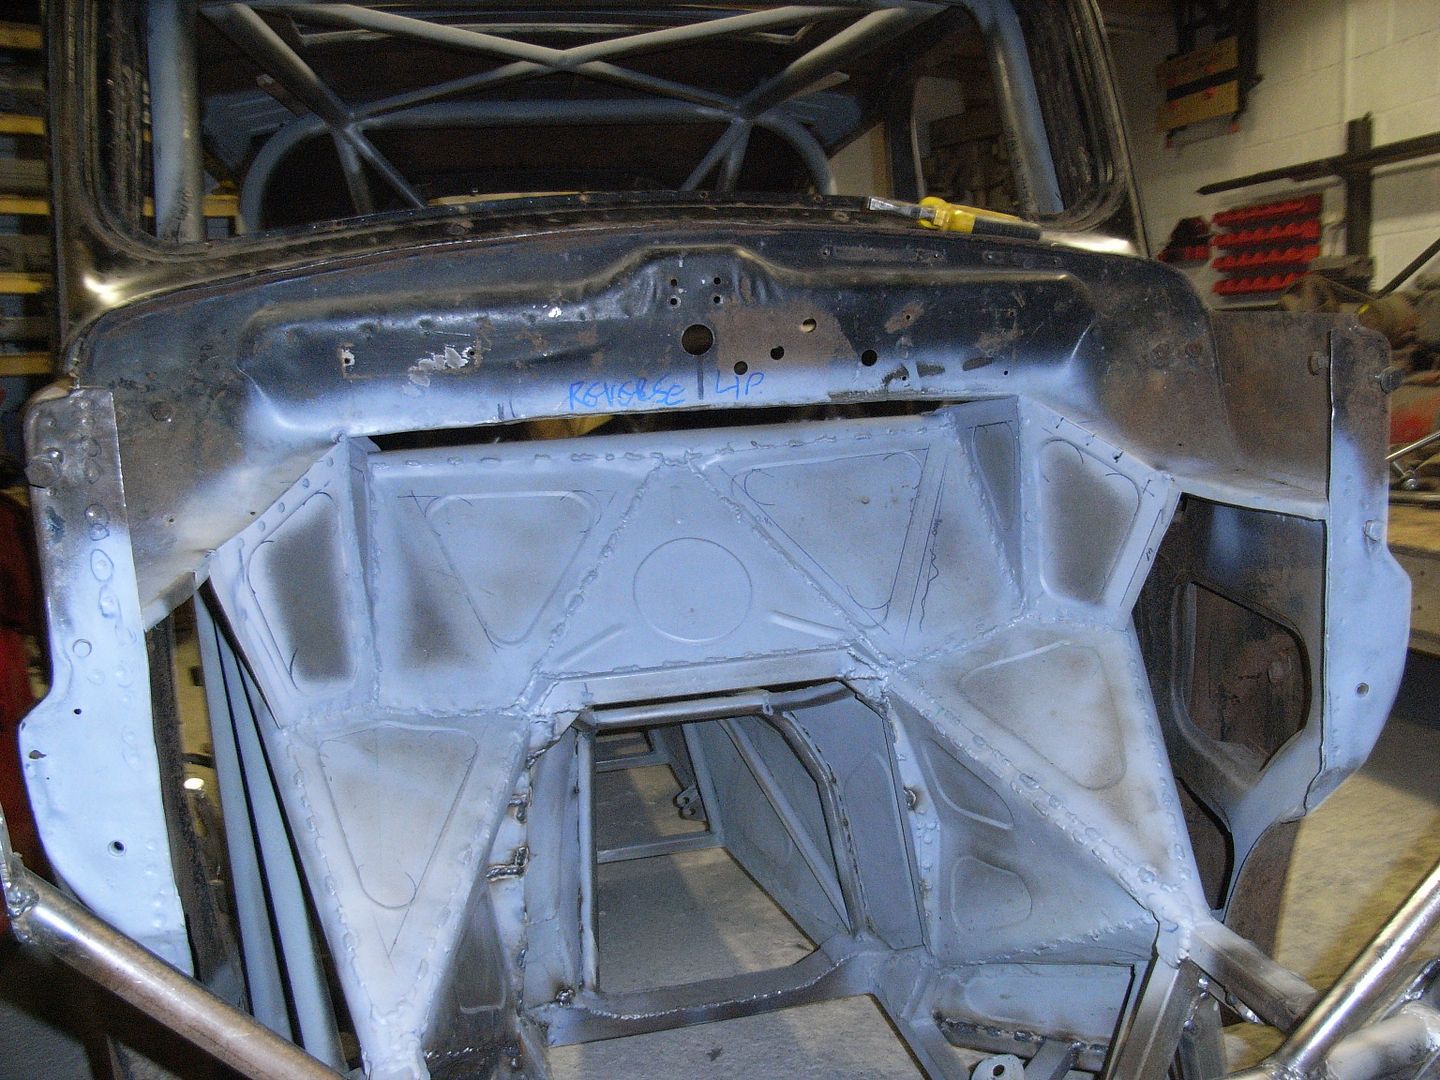 Started looking at how i'll replace the rear wing mounts. This side doesnt look too bad (although is pretty frilly in places) but the other side has been properly abused when "repaired" by someone. 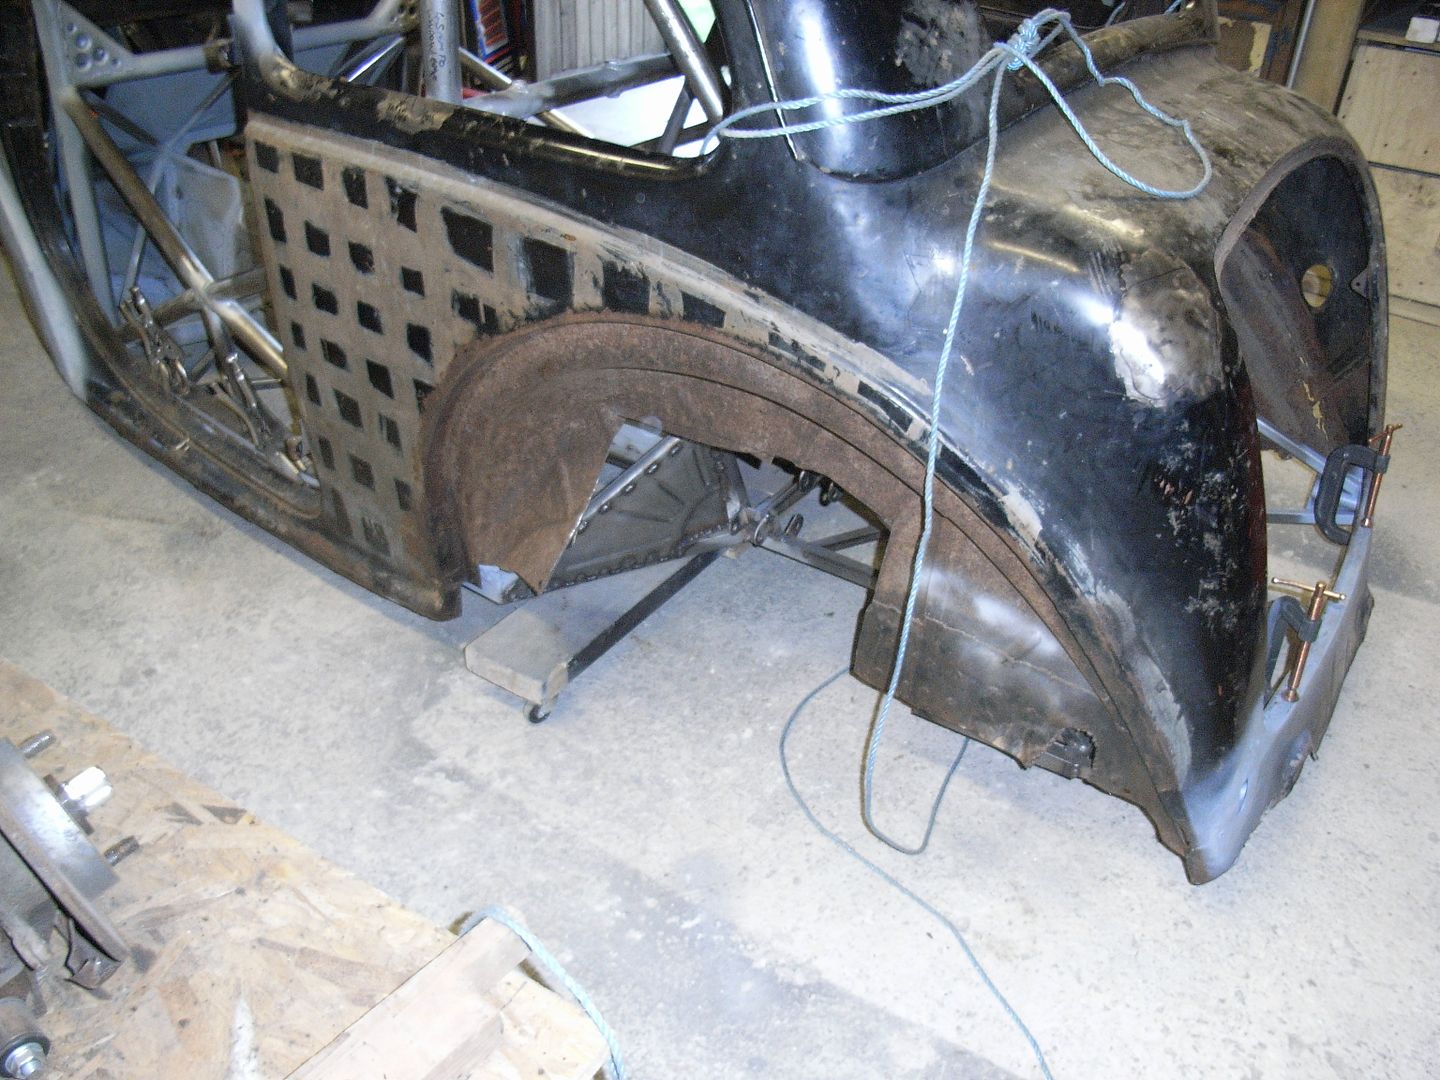 Made a cardboard template of the arch profile. 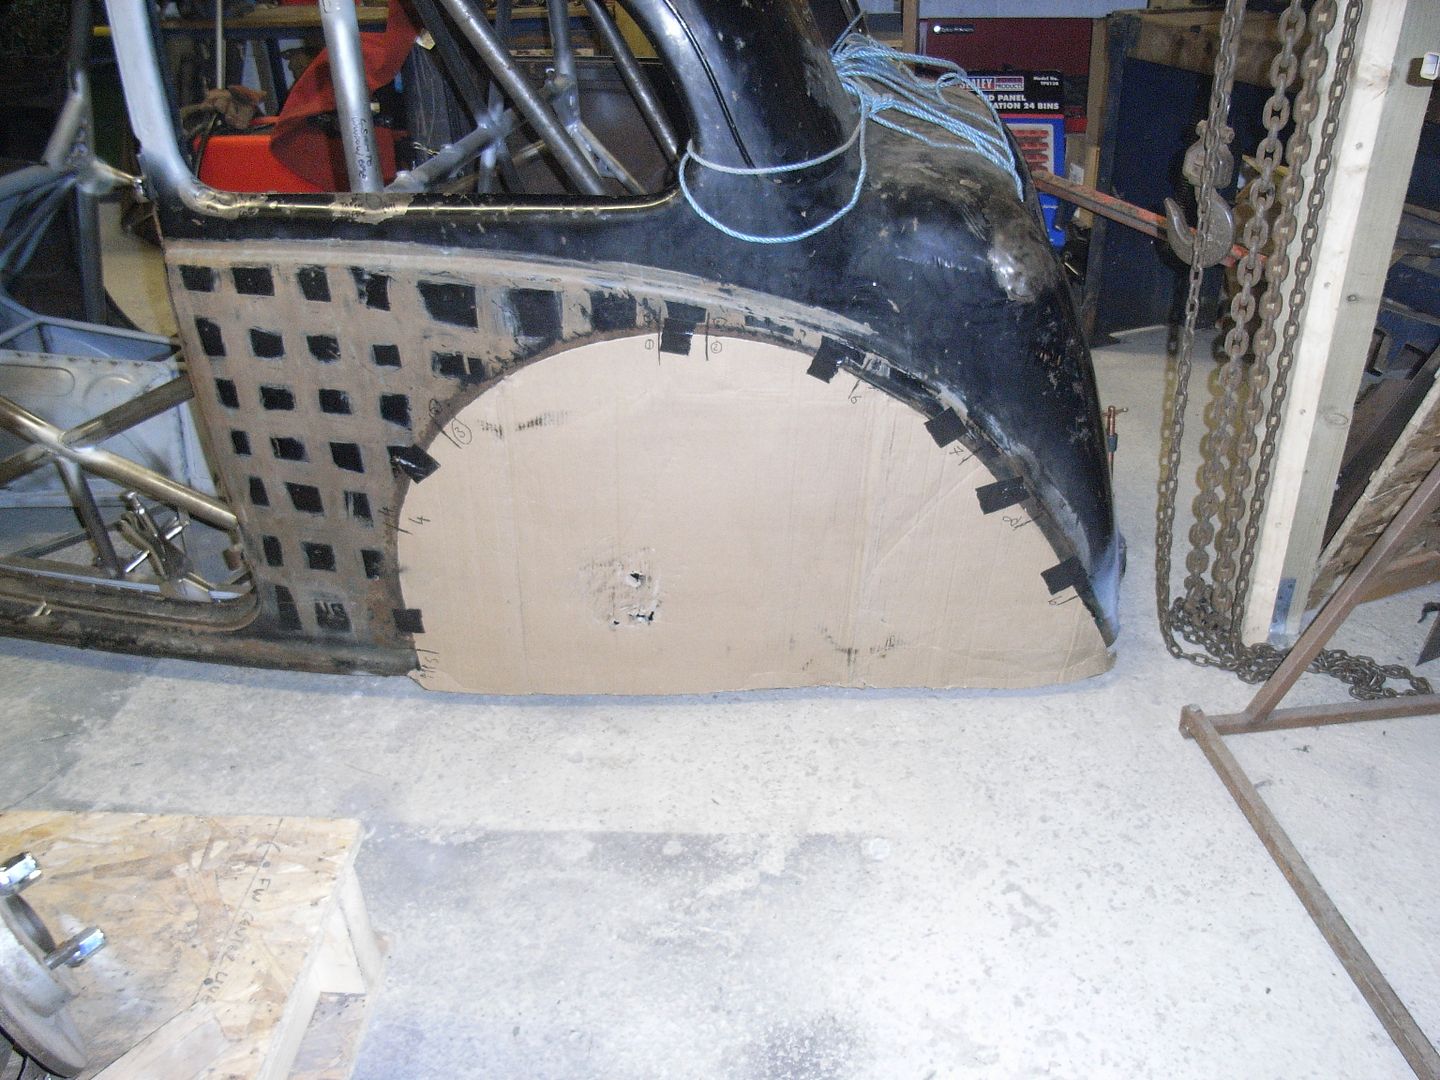 This then needs transferred into wood, and I can then shrink / stretch some folded sheet to match. Hopefully i'll resist drinking so much next weekend and make some actual progress :-) |
| |
|
|
|
|
eternaloptimist
Posted a lot
   Too many projects, not enough time or space...
Posts: 2,578
|
|
|
|
|
Brilliant build. Love the thought you're putting in to this.
|
| |
XC70, VW split screen crew cab, Standard Ten
|
|
jonomisfit
Club Retro Rides Member
Posts: 1,787
Club RR Member Number: 49
|
|
Oct 26, 2014 20:05:08 GMT
|
Some progress. Today was mainly spent trying to make some rear arch flanges. Turned out to be quite a bit of effort. I took my cardboard template and made it into a plywood one. 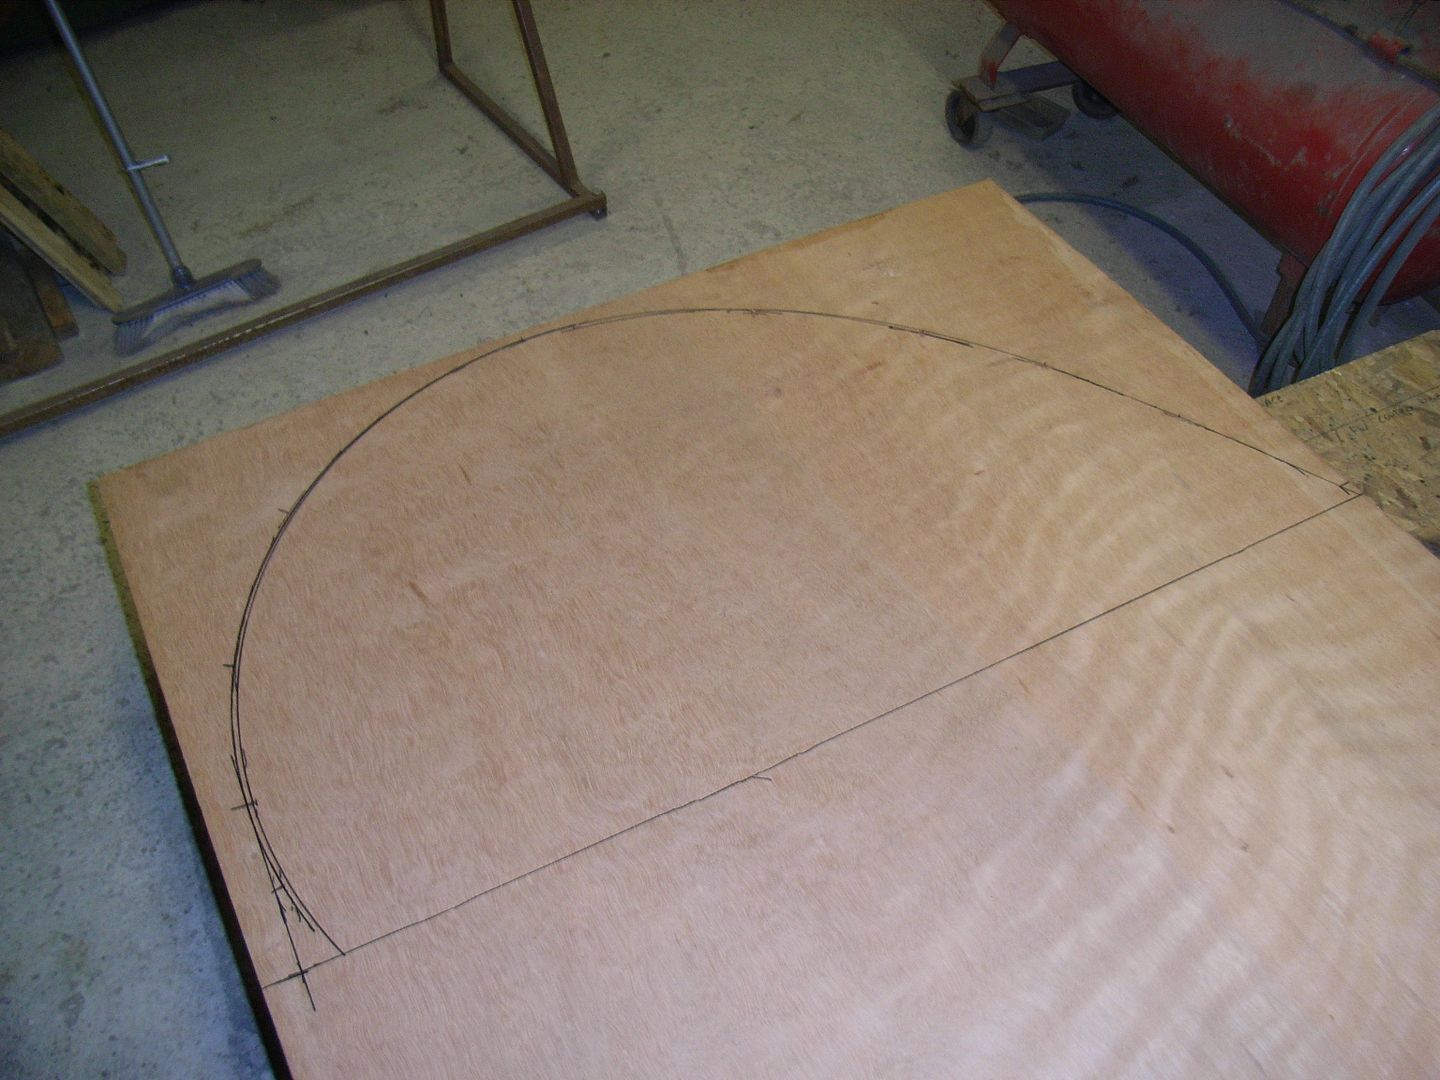 then applied a lot of elbow grease tidying up to fit the arch profile 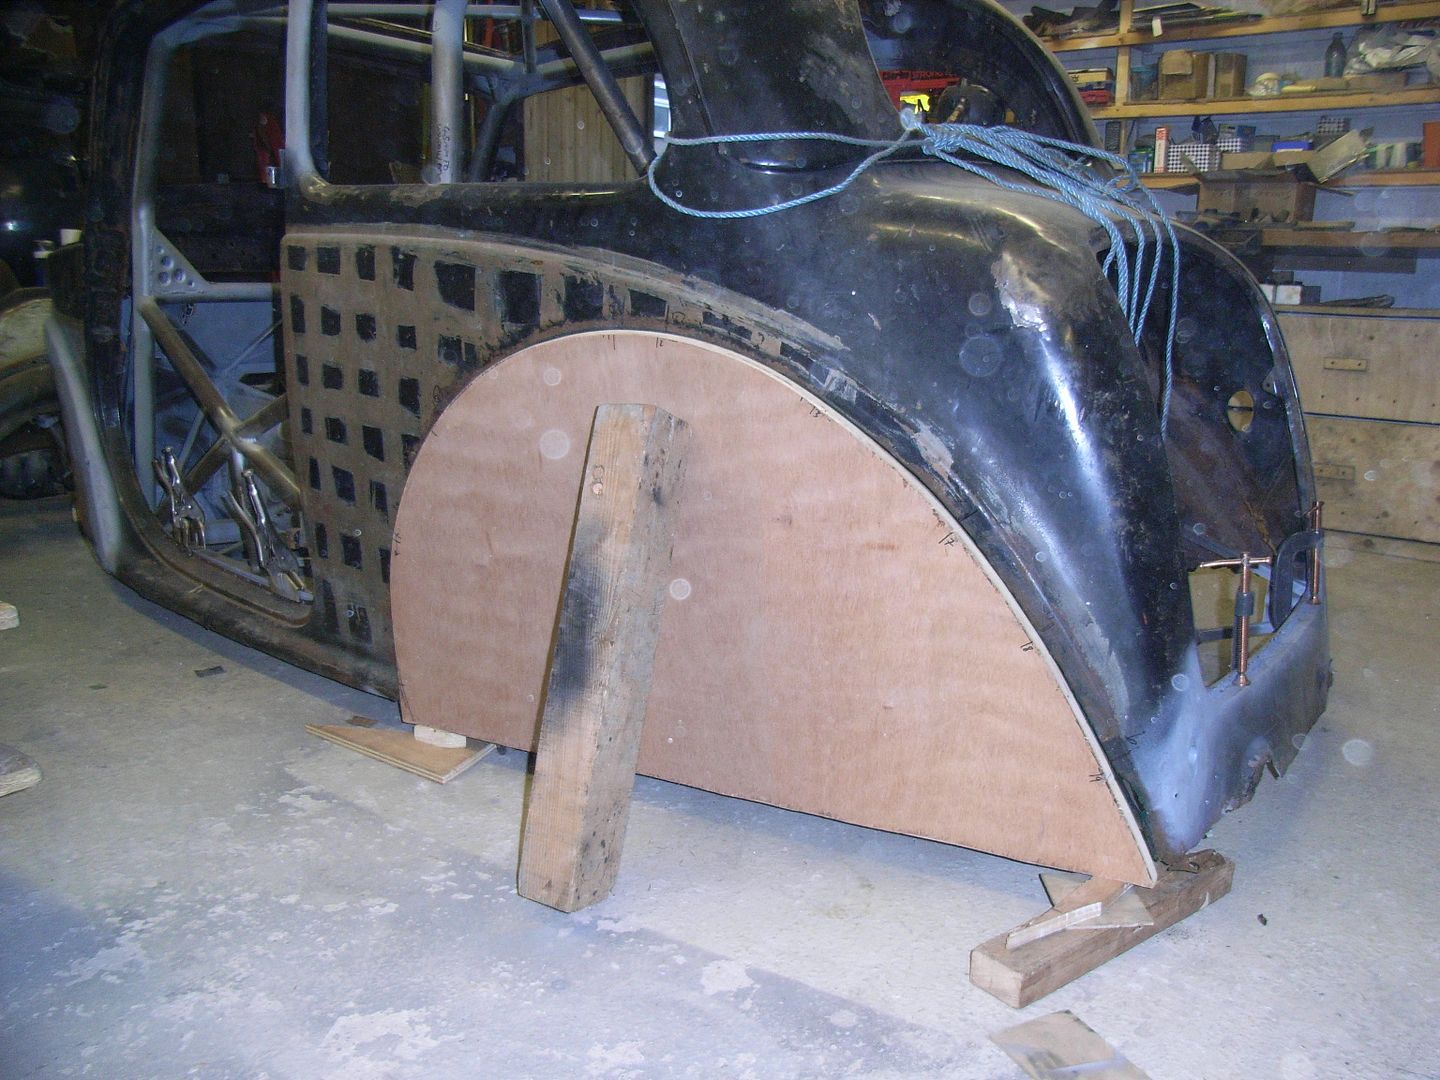 The screwed it onto the end of the build table to make it easier to work with. 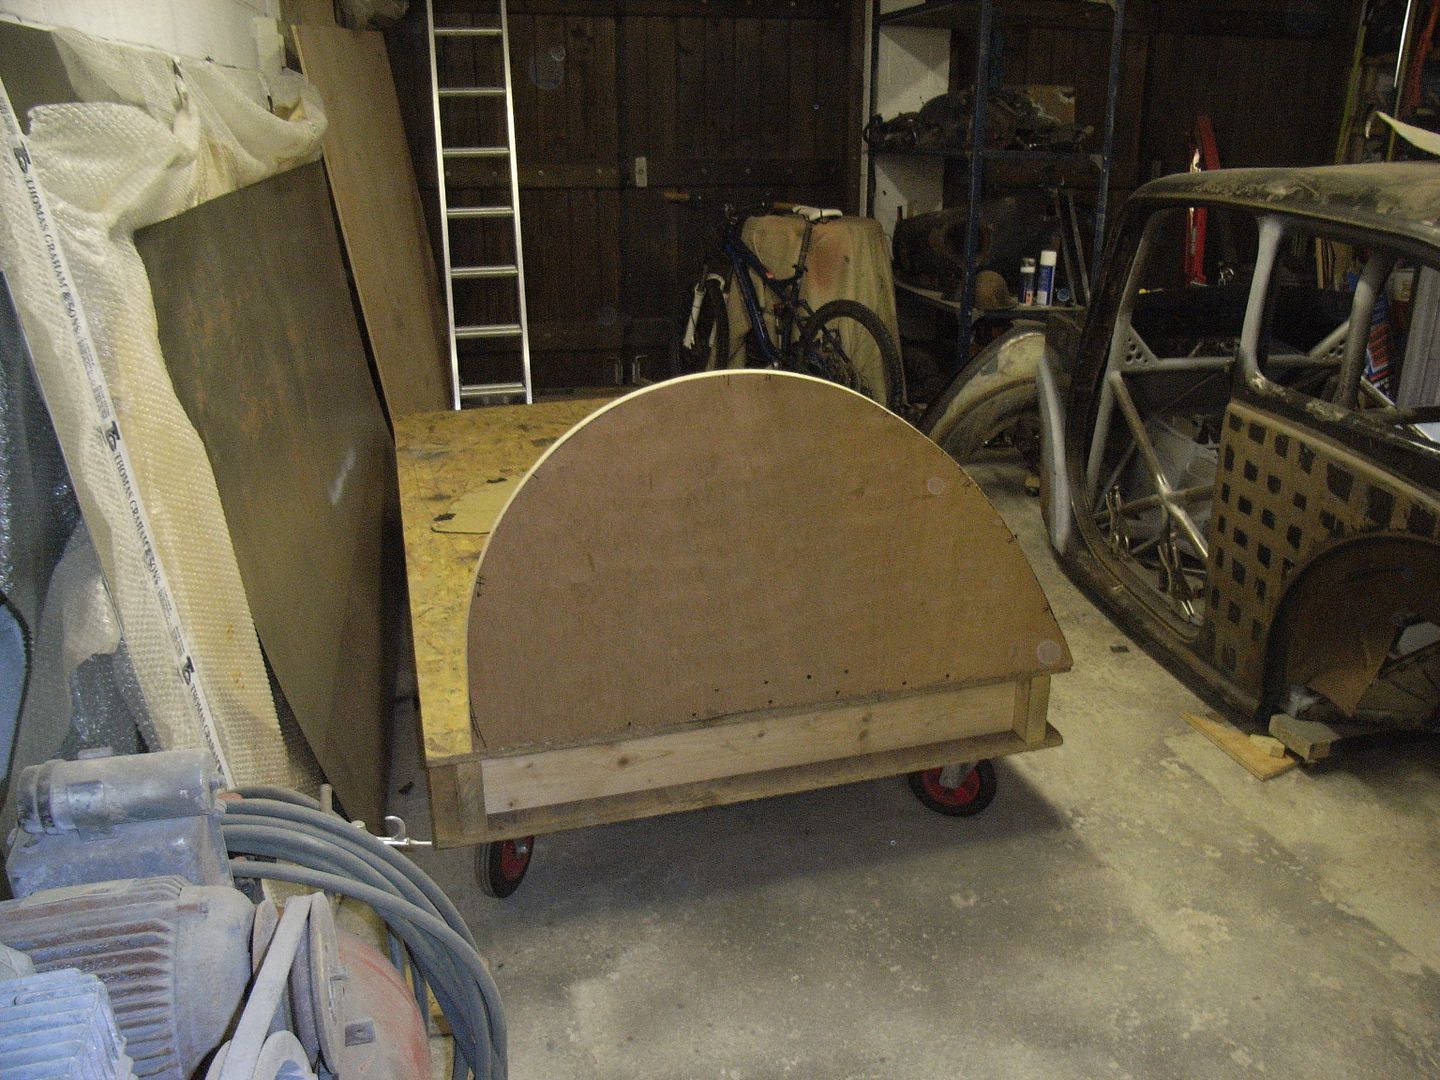 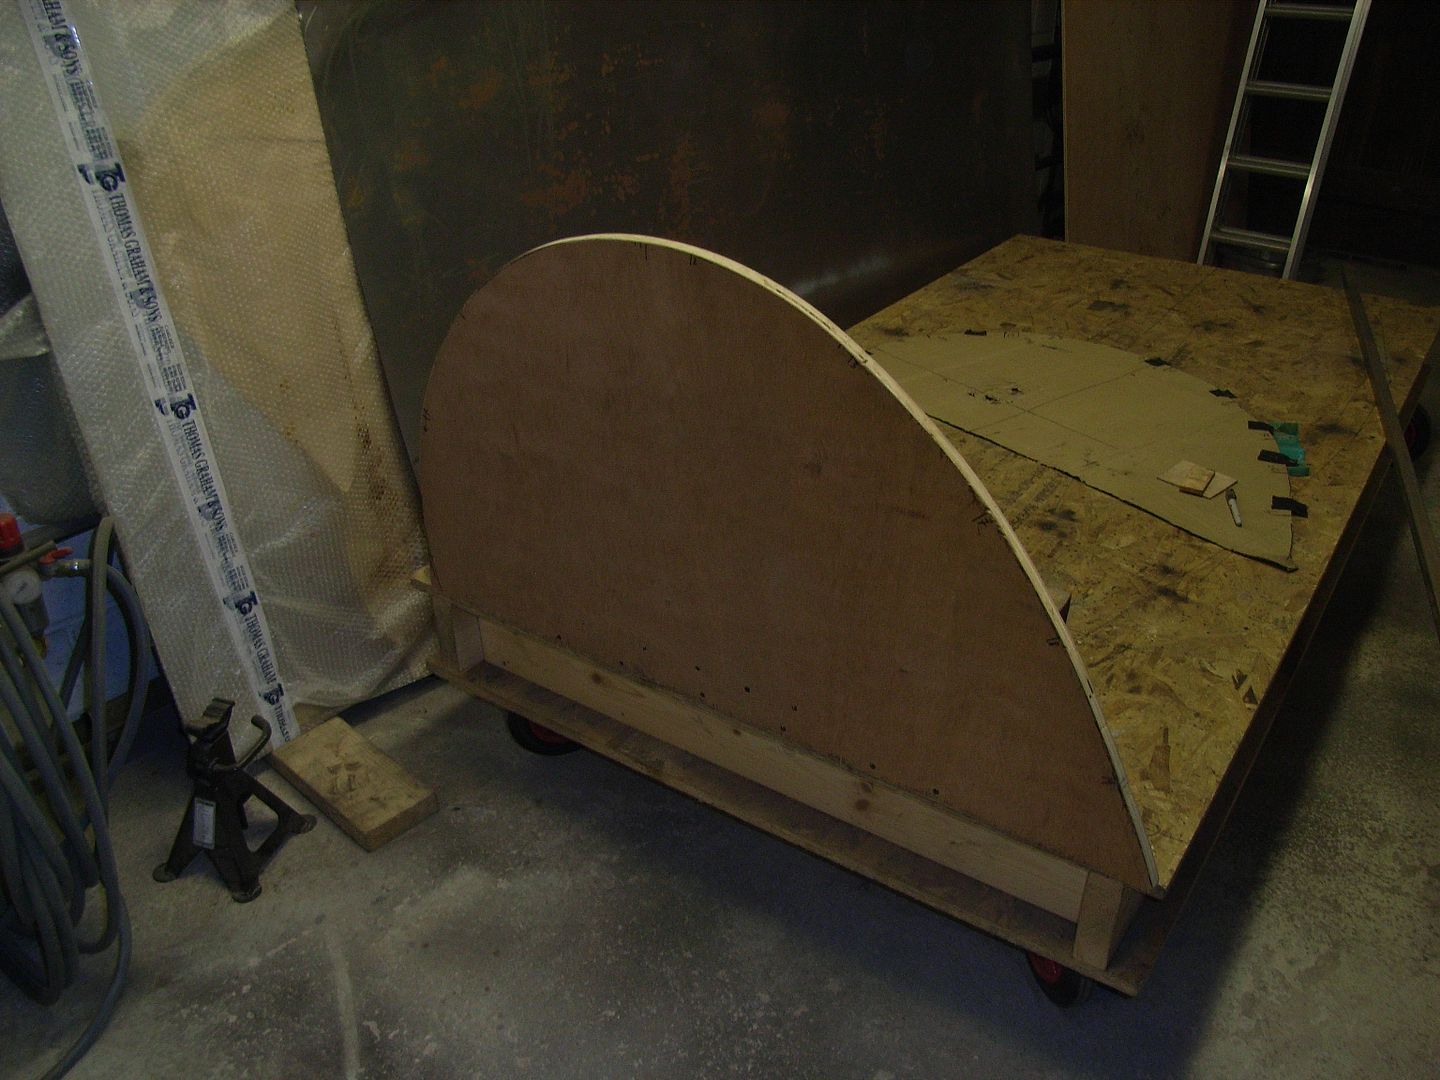 Then cut some strips of 1mm steel 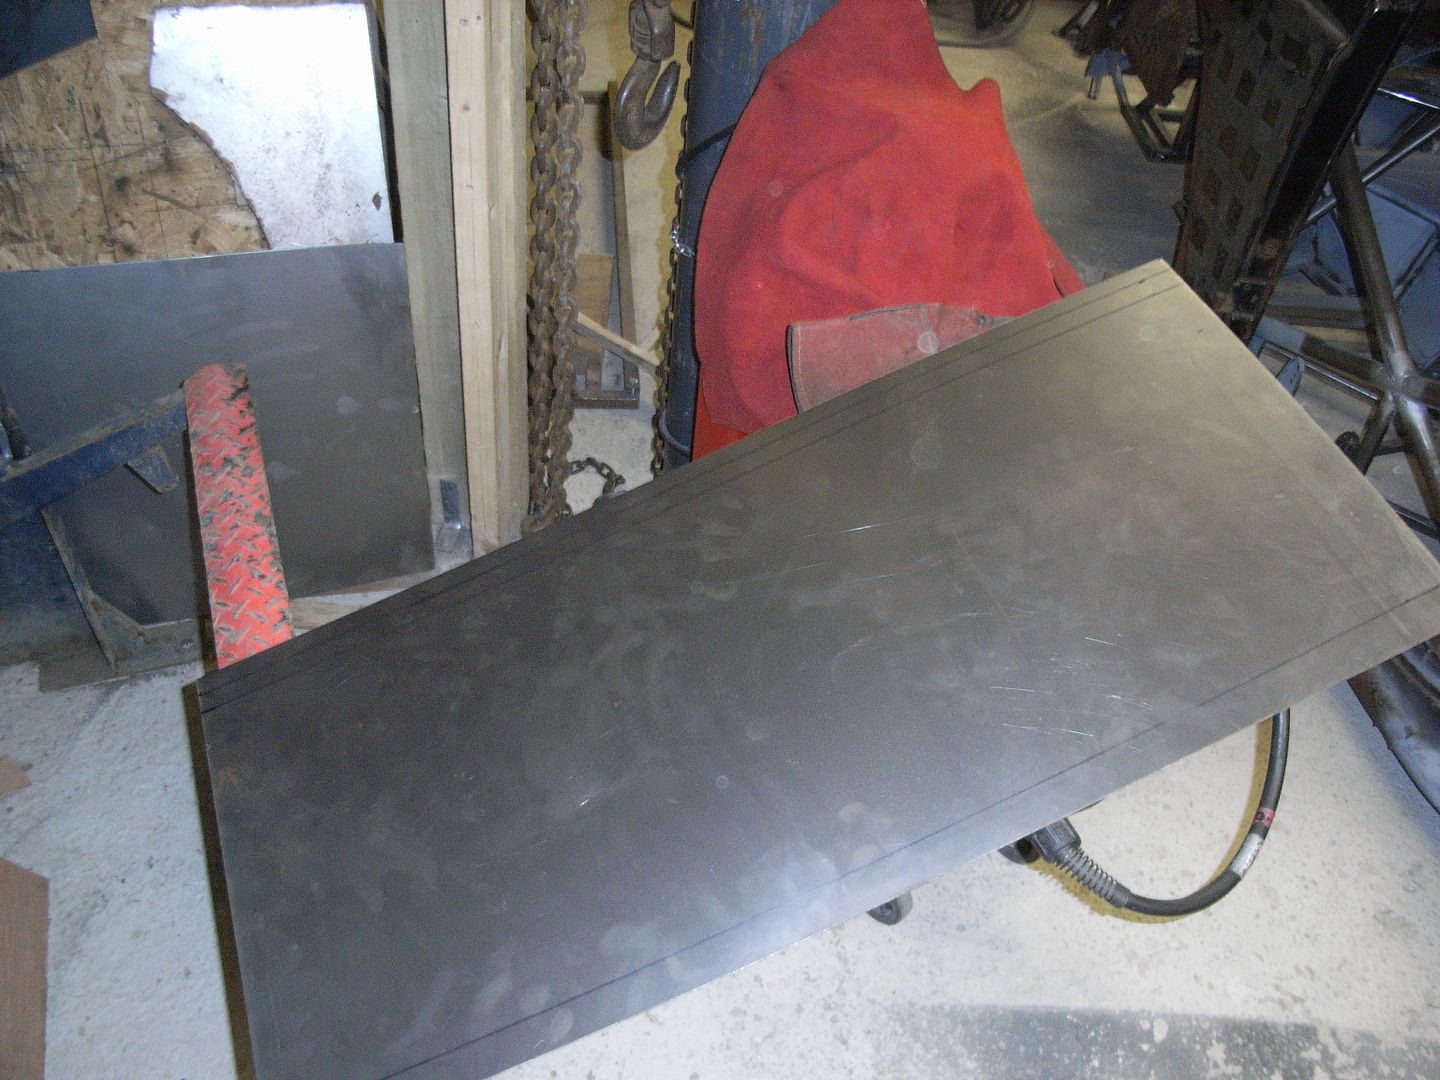 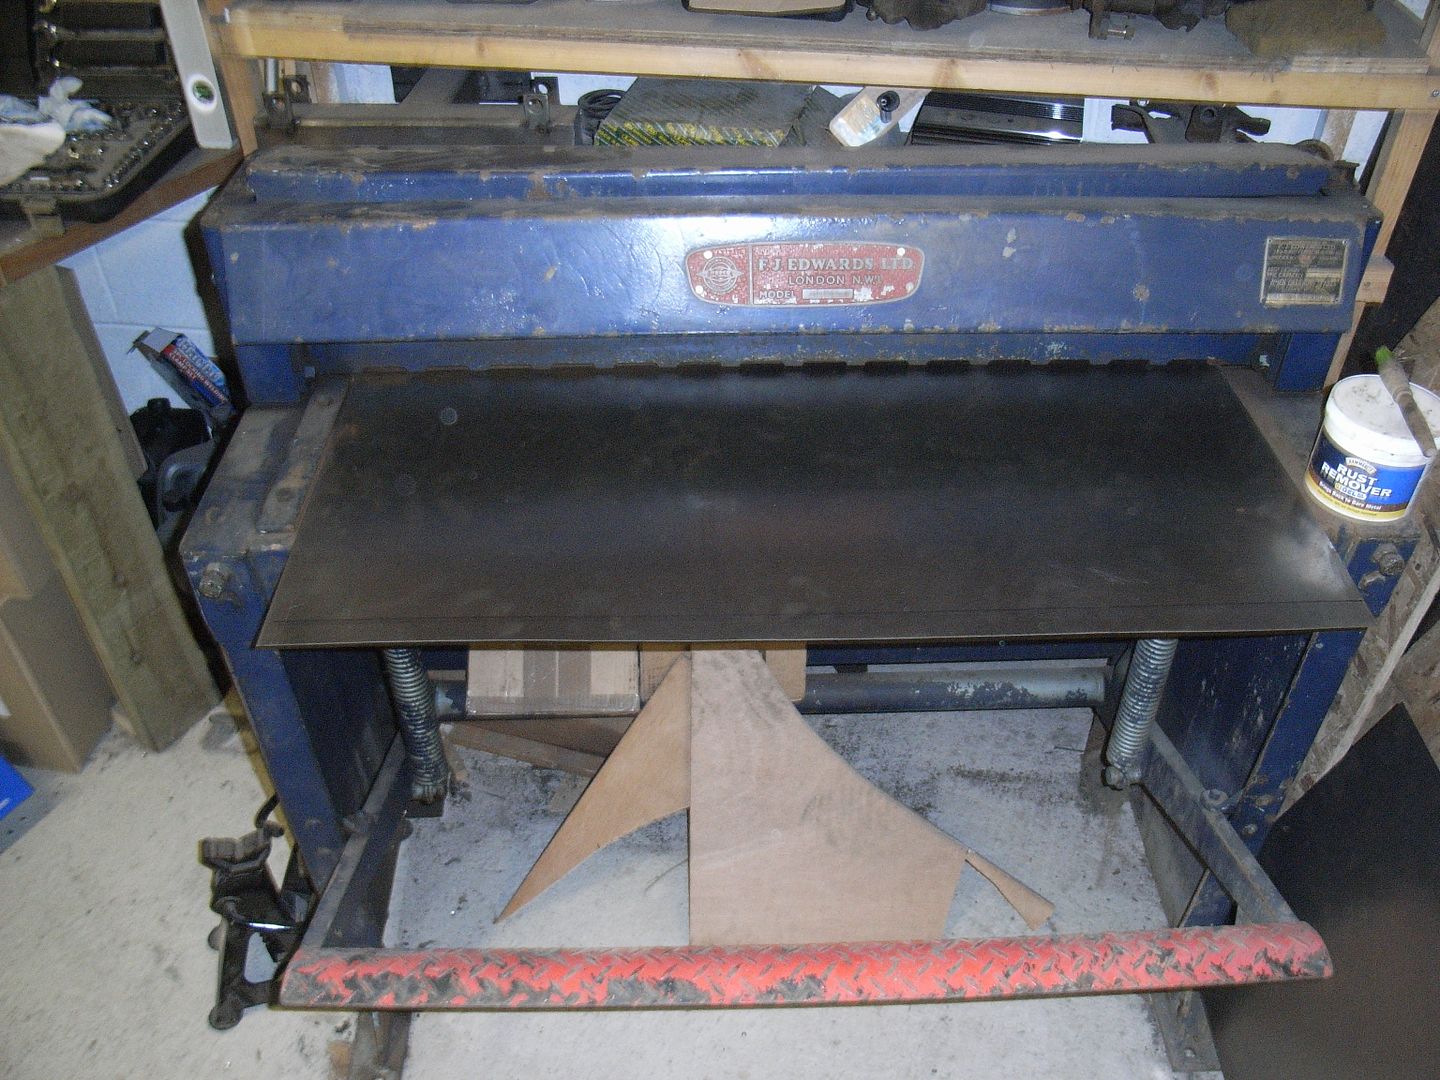 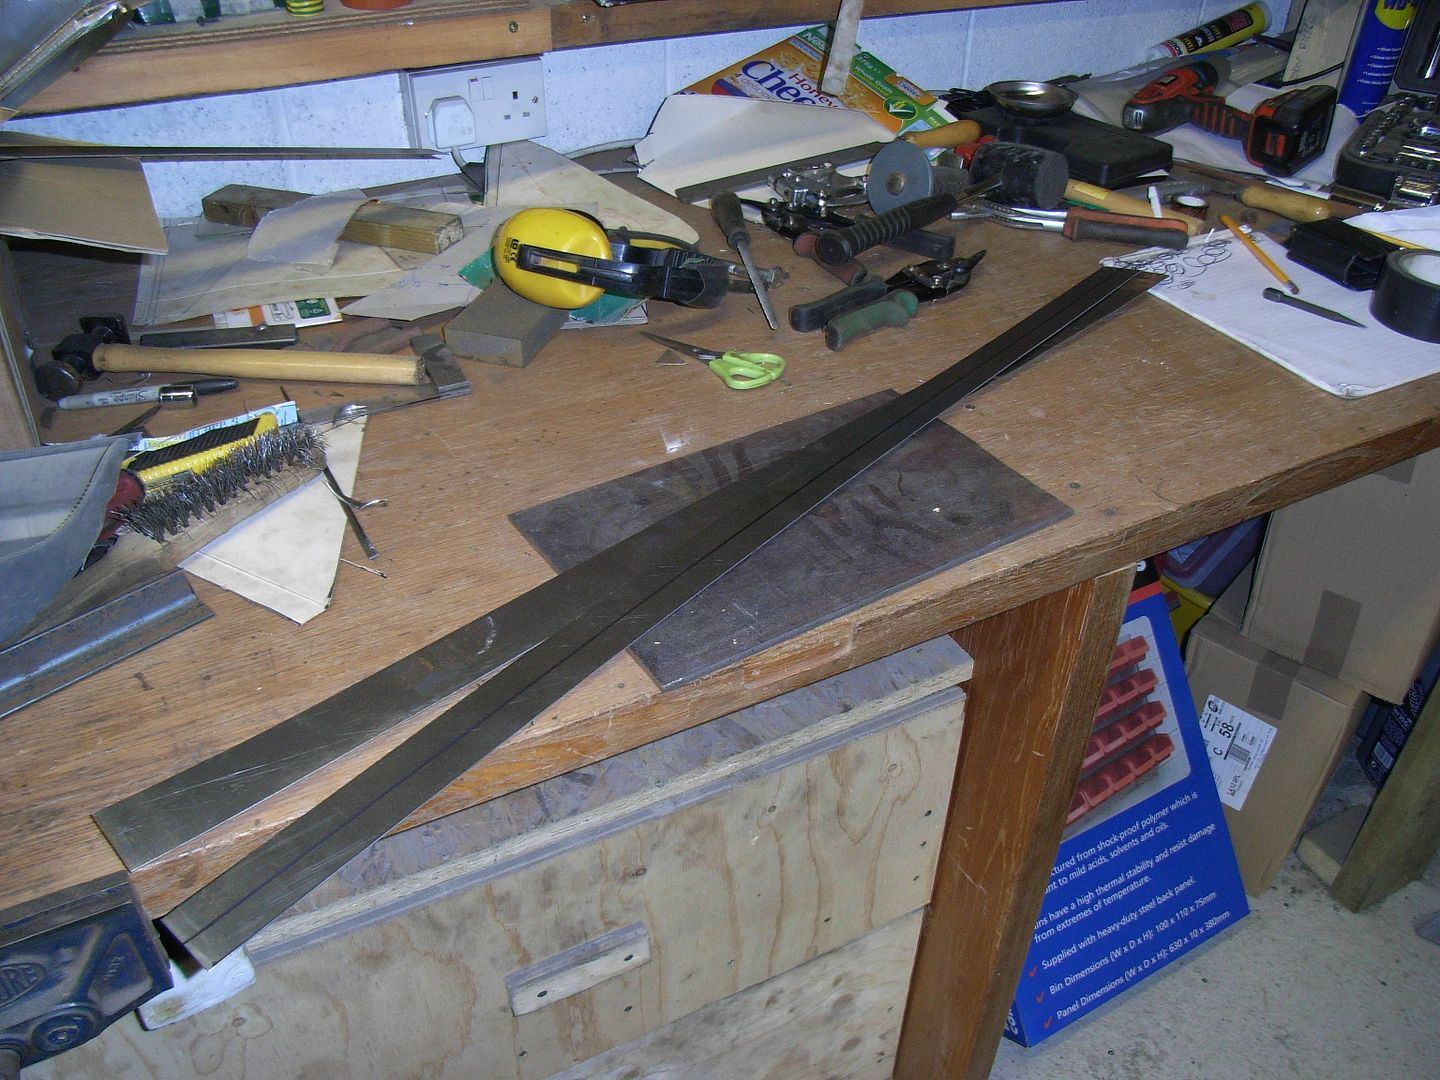 Then bent them to a right angle 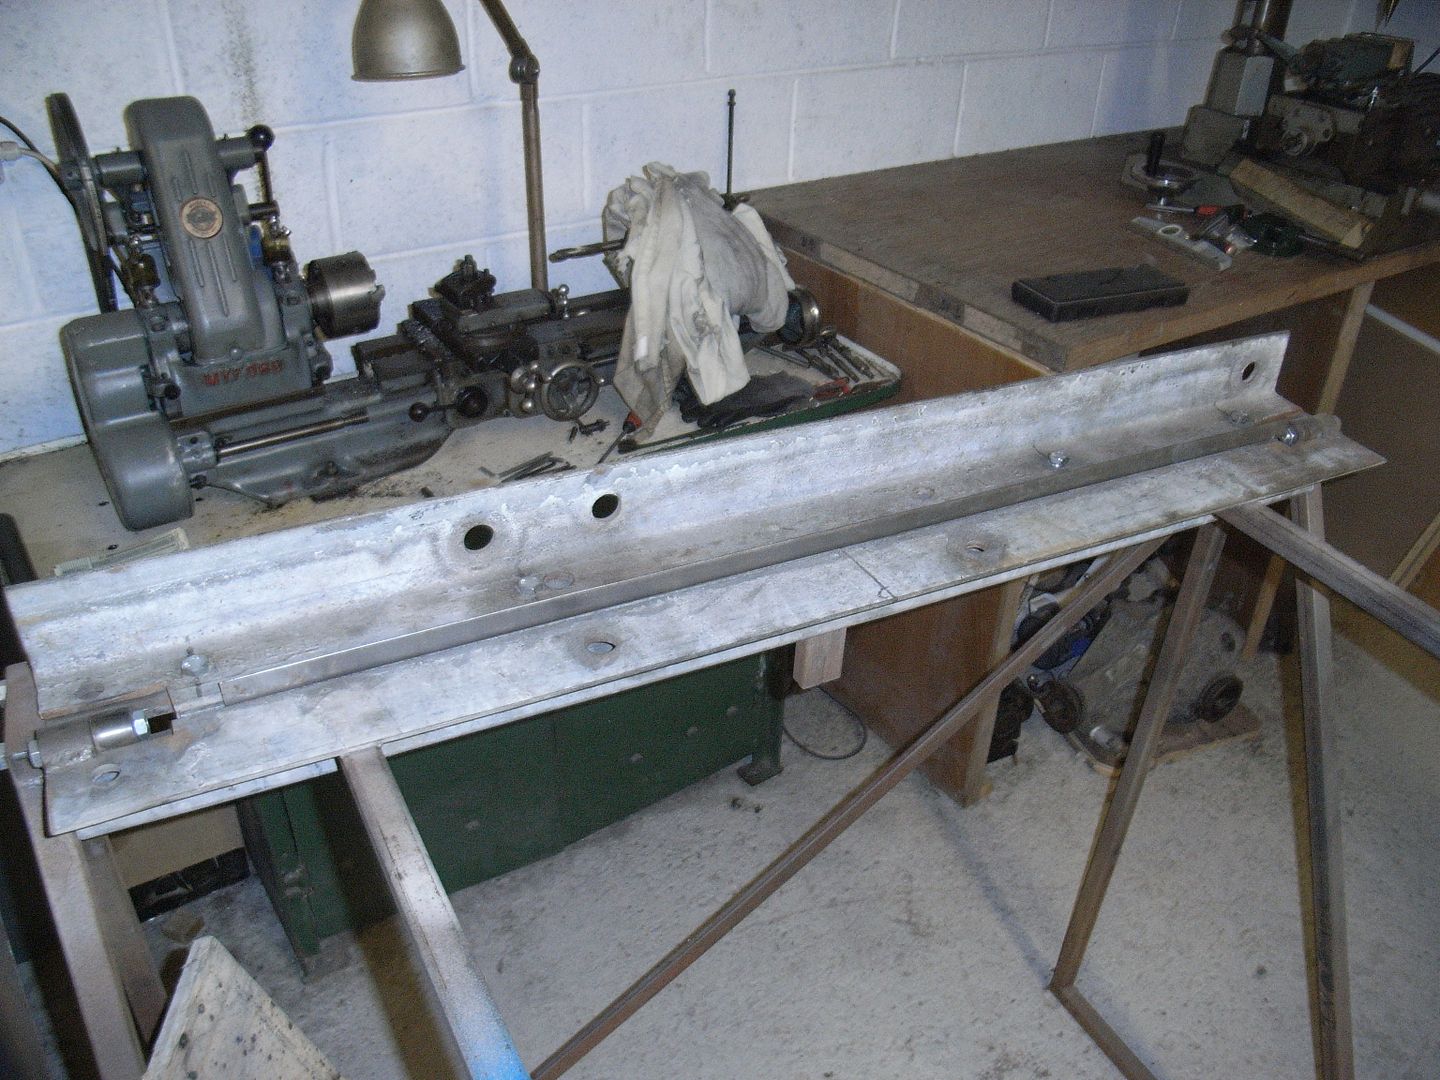 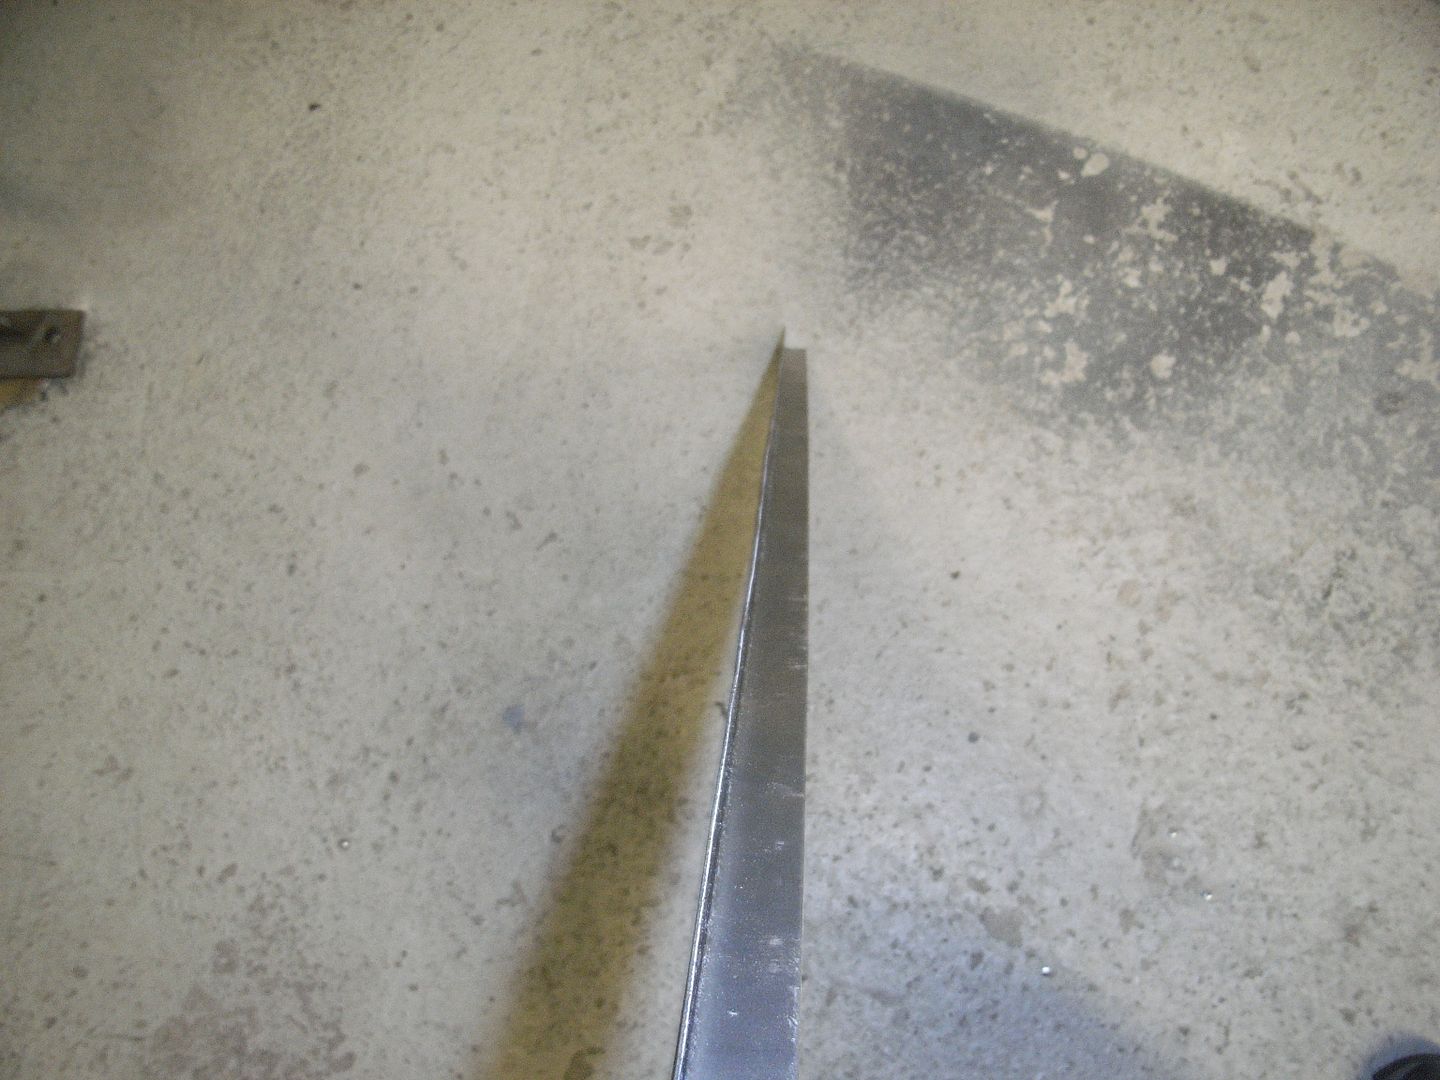 Then attacked them with the shrinker / stretcher 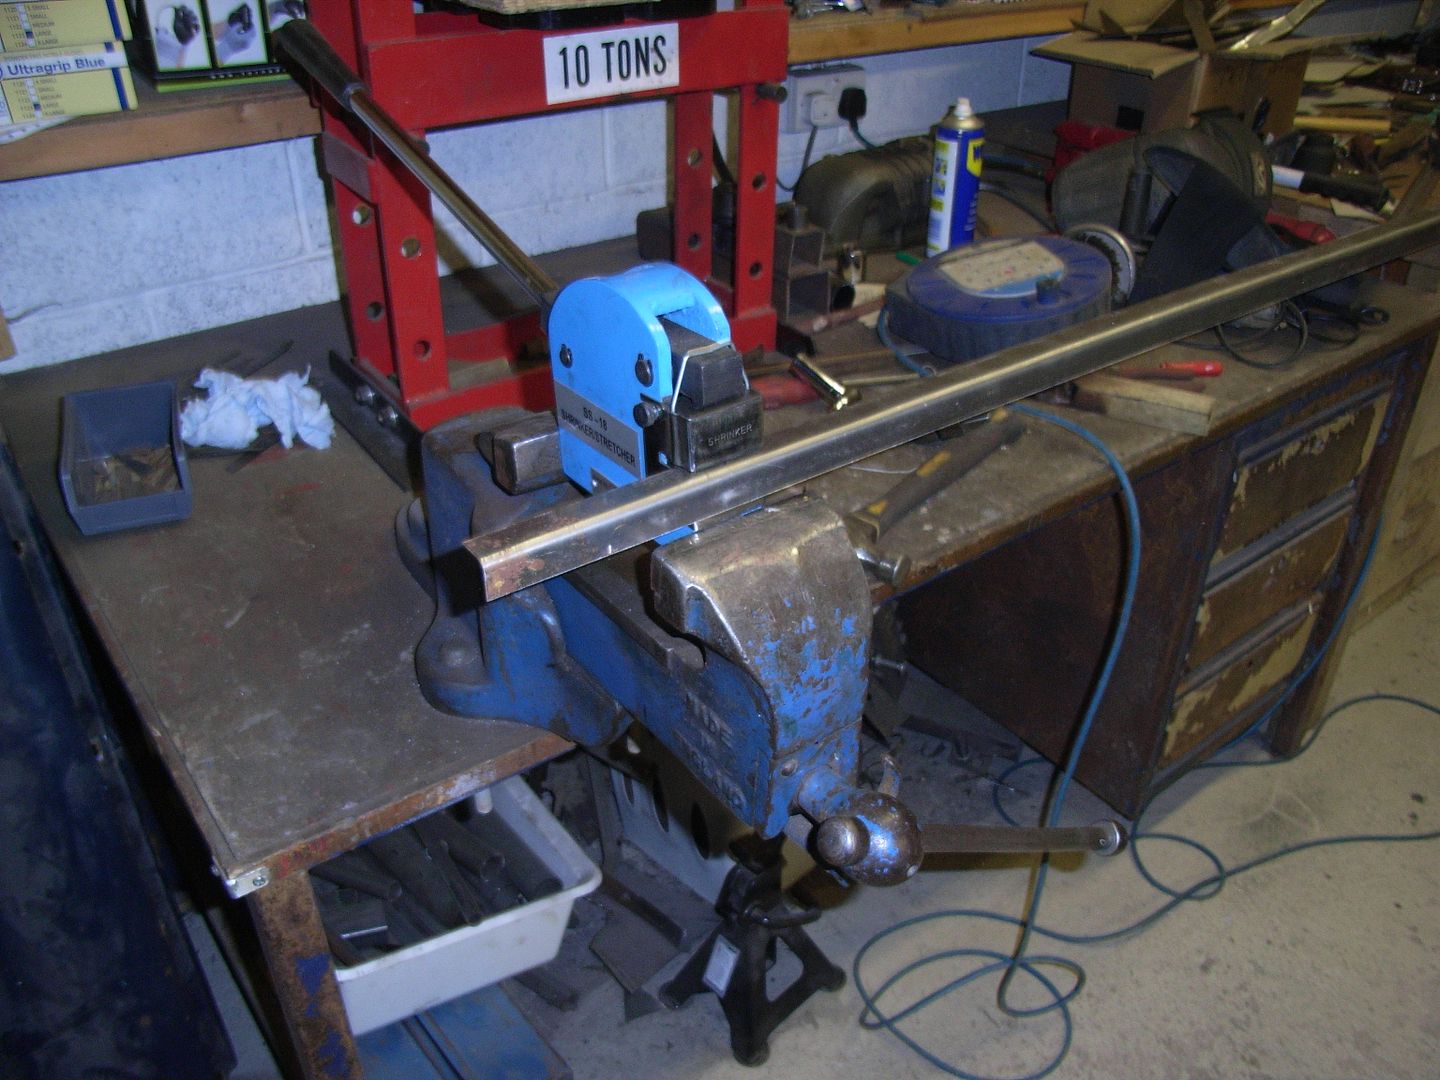 And check repeatedly against the form. 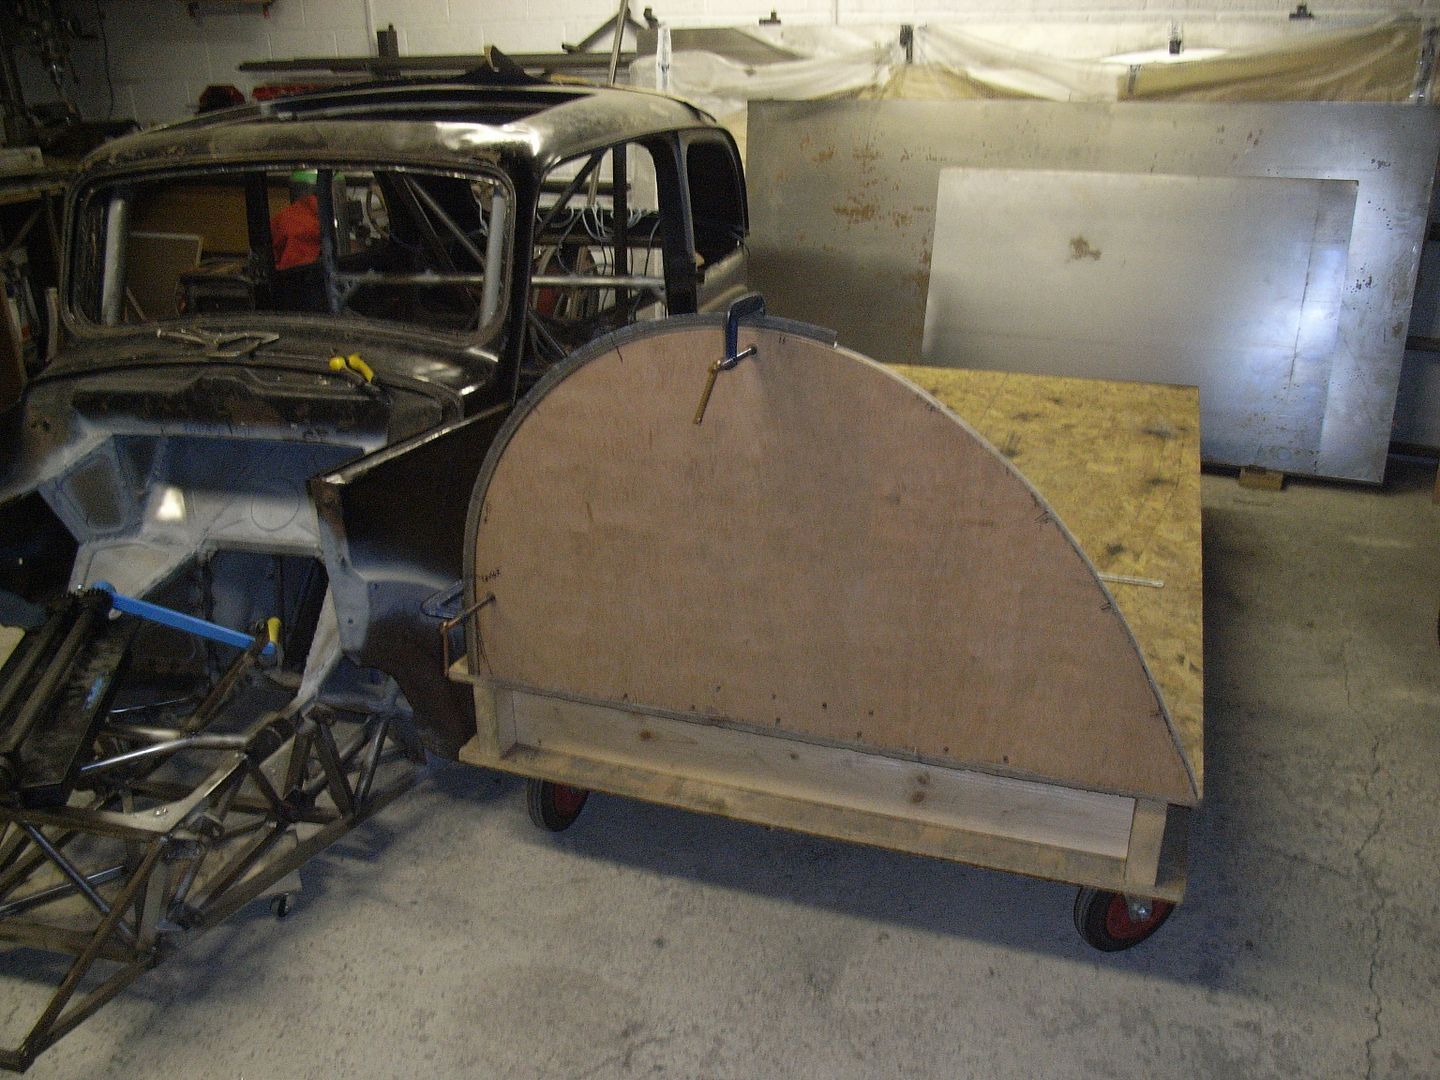 And and stretch and shrink and stretch and shrink (note to self, make foot operated treddle for the shrinker!) and check against the form. 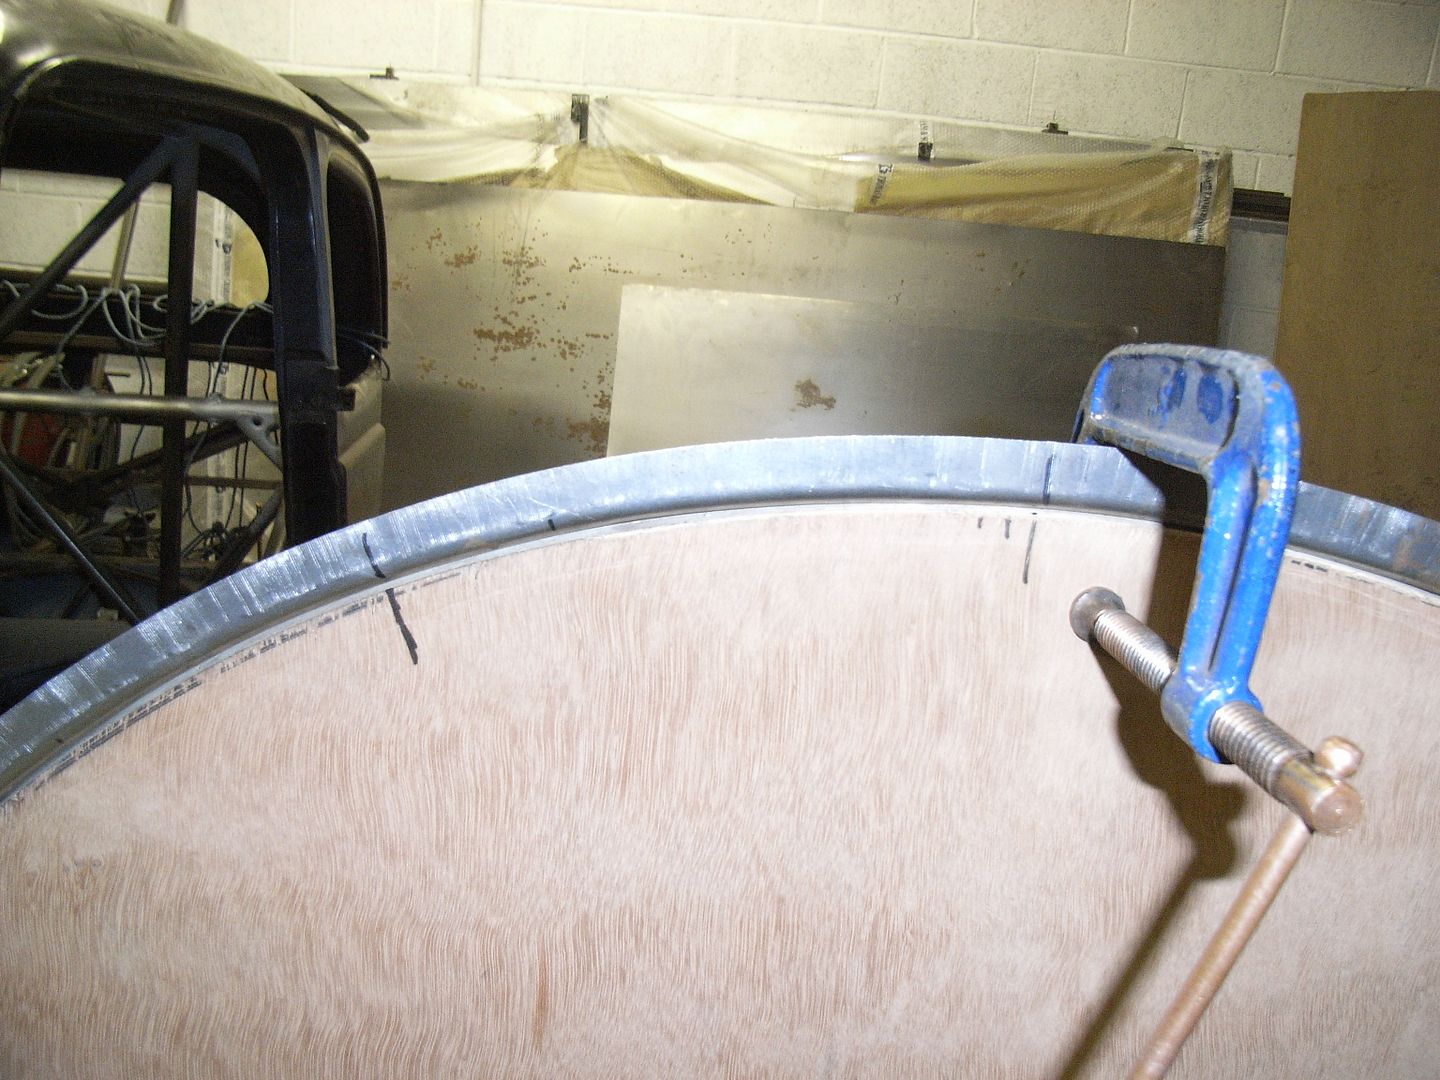 And the second piece 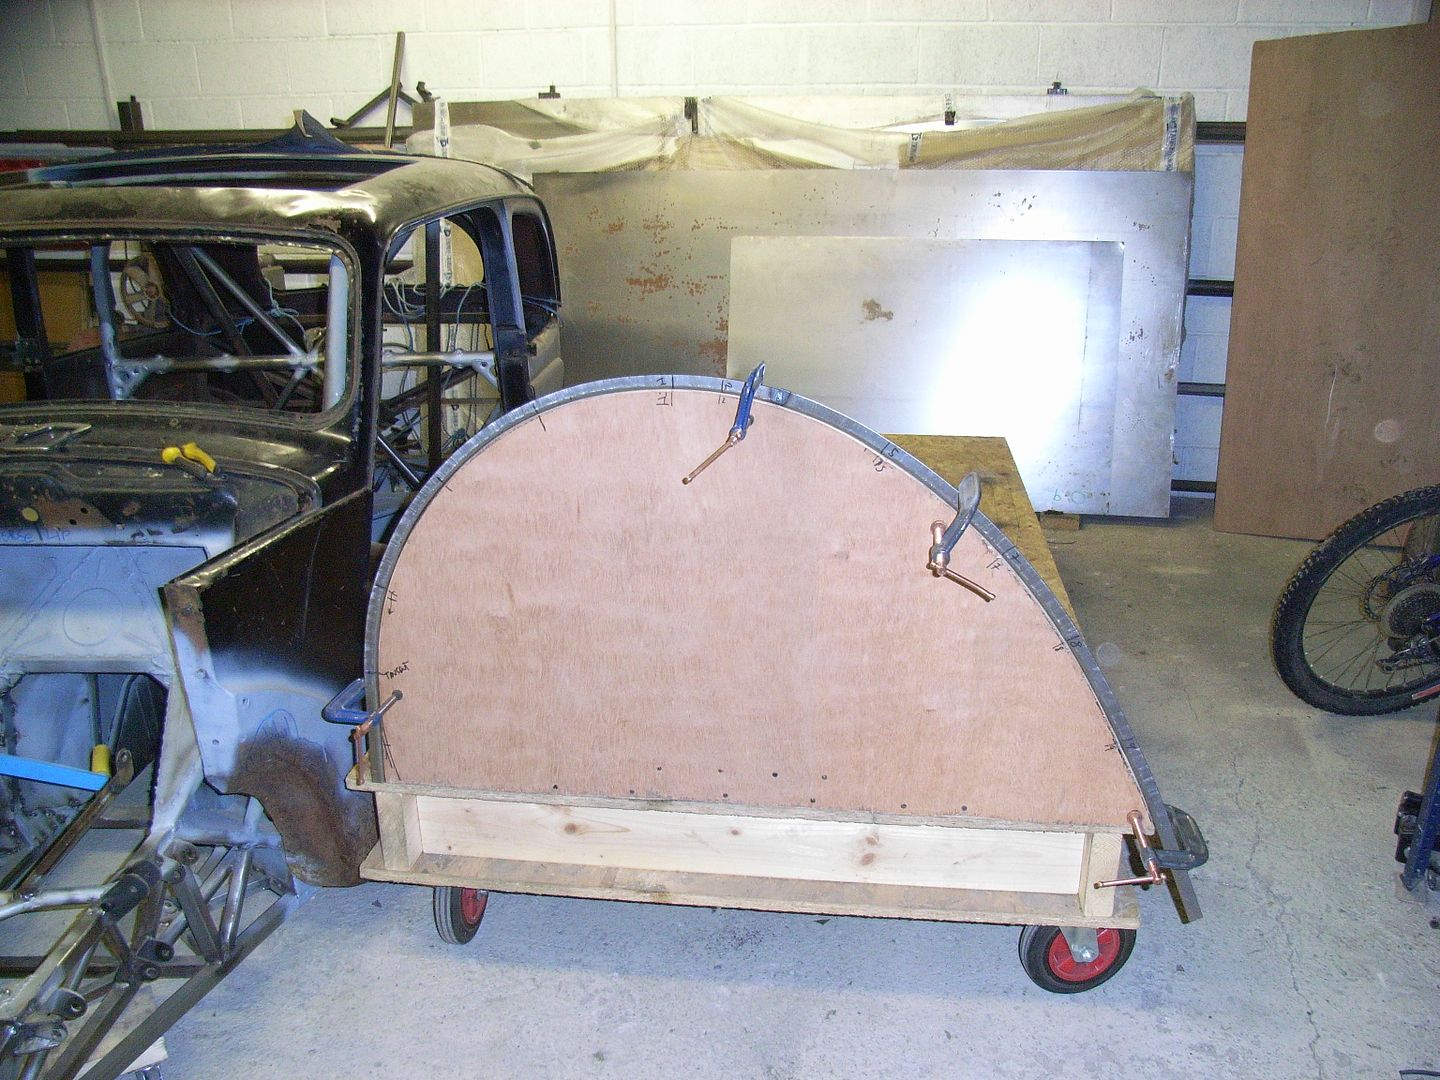 Weld together into a single arch. And check 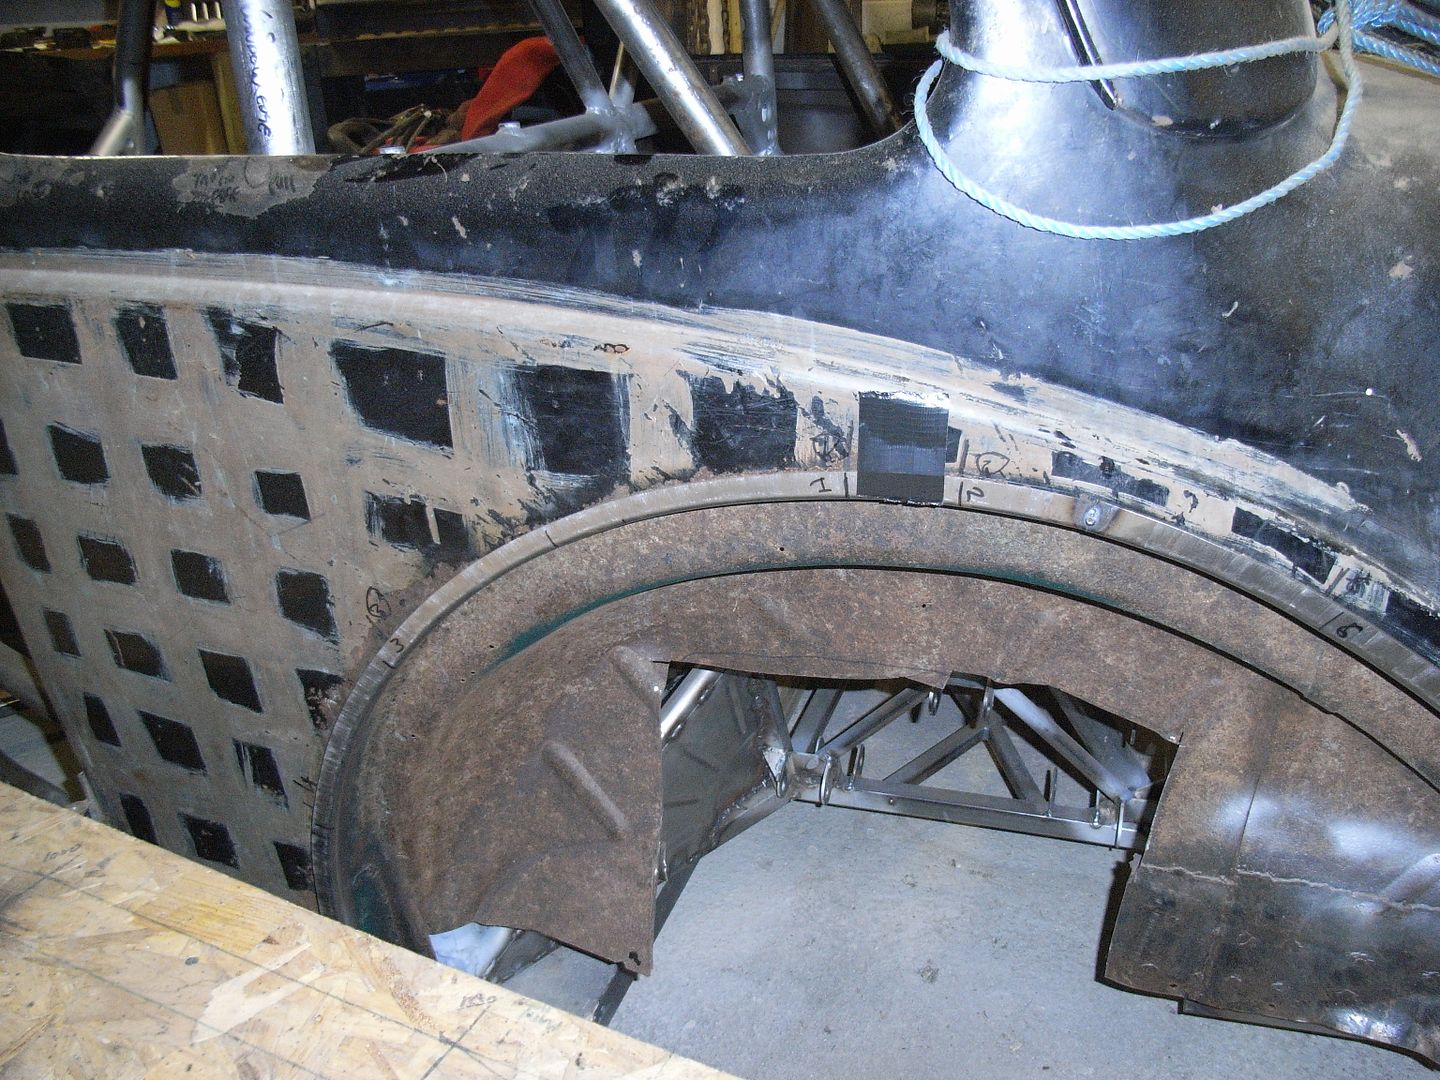 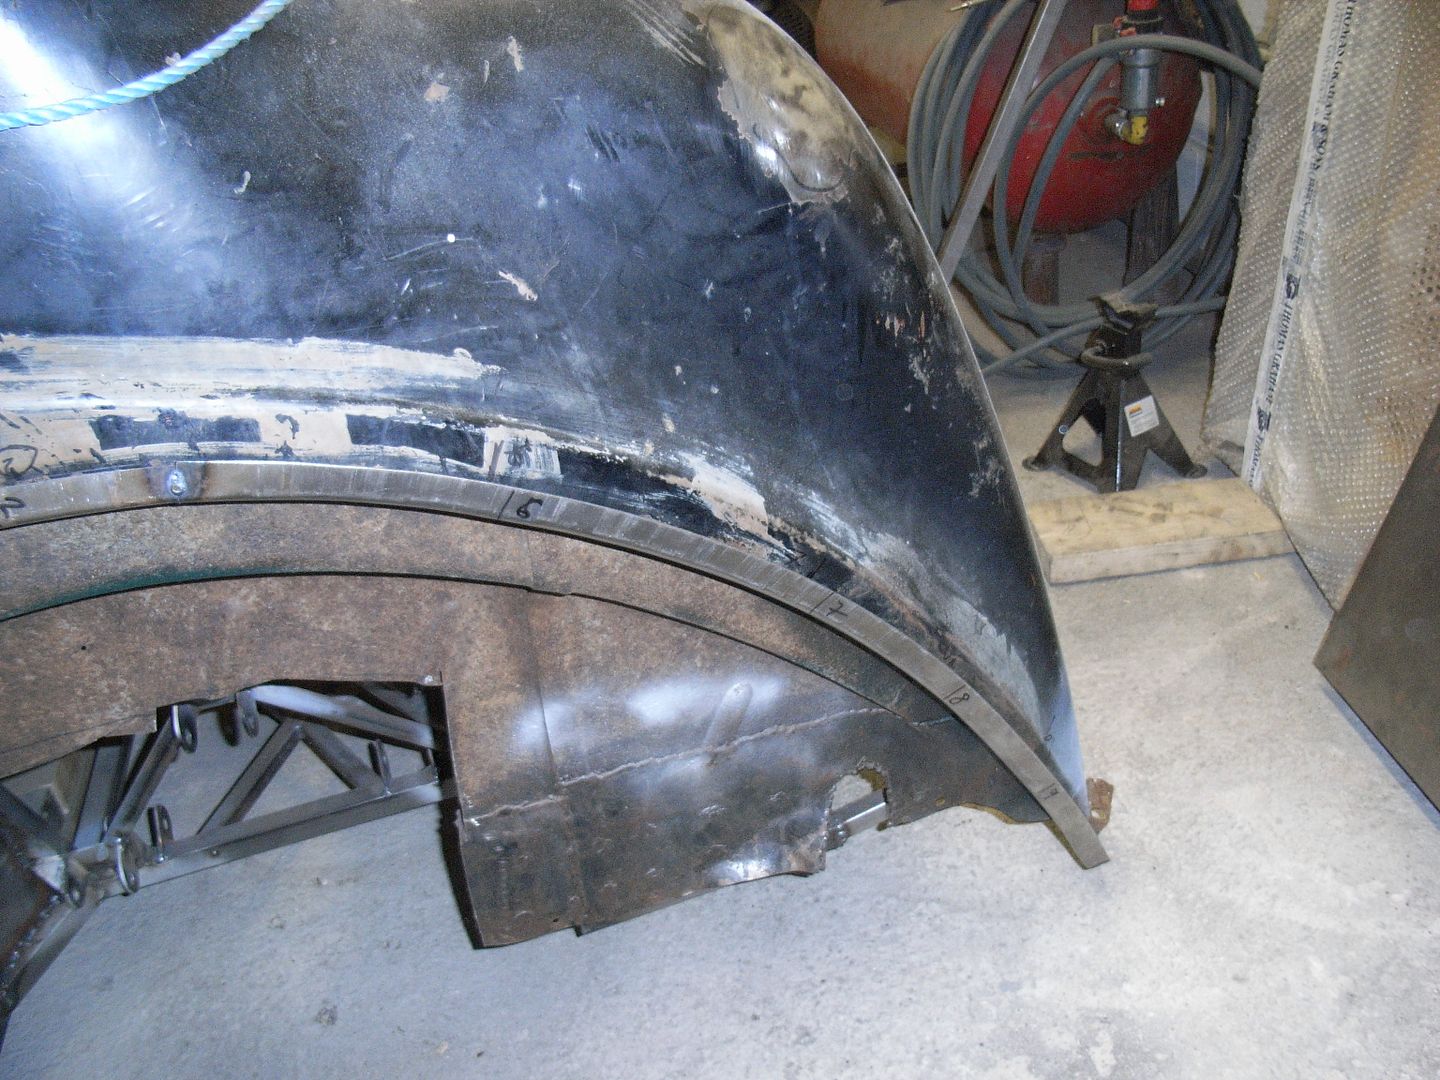 Its come out surprisingly OK. The last arch i made i made a hammer form, but it was difficult to get it into a smooth curve without the arch shrinking back in. As the result was OK i then made the other side 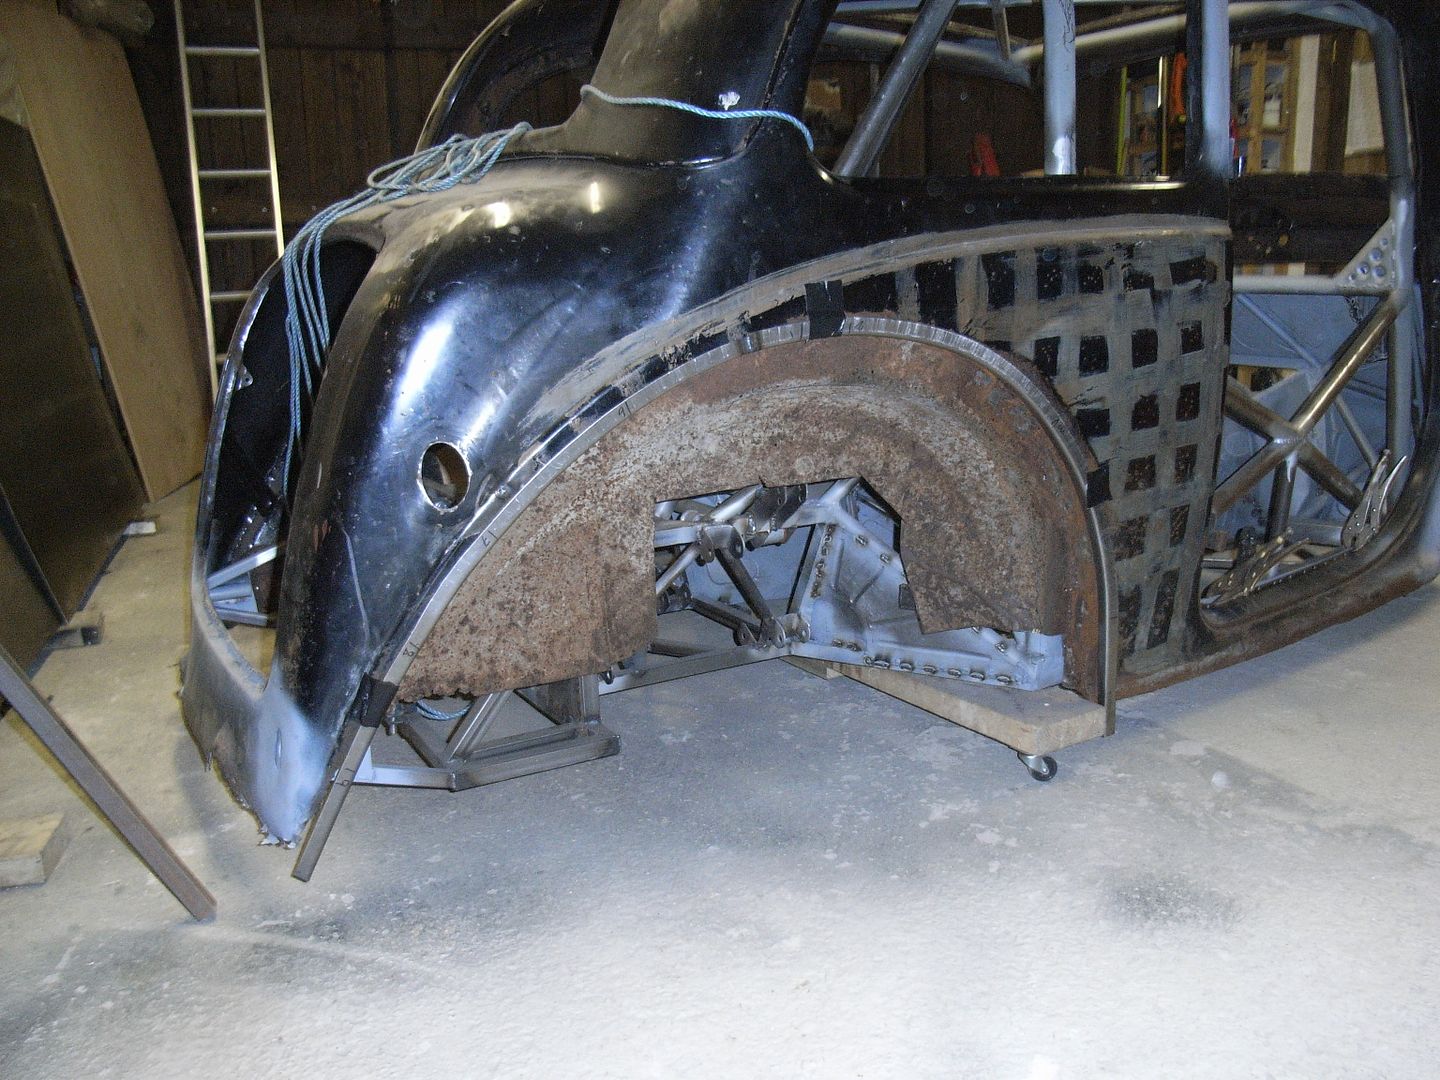 That was the end of work for today as it took quite a while to do. Next step is to cut out whats left of the existing arches, fix the rippling to the rear quarter panels caused by the "repairs" made by whoever "repaired" it last time. This isnt likely to be quick to do. No work for a few weeks as i'm away mountain-biking, |
| |
|
|
v8ian
Posted a lot
  
Posts: 3,828
|
|
Oct 26, 2014 23:04:05 GMT
|
|
That's another idea of yours I might be copying, the inner arches on my Austin are sh-gged, as are the returns, I'm fortunate mine are basically circular, and can get away with using trailer arches for the inner arch repair, I was just going to patch the returns, but I'm sure I can make a new one now,
|
| |
Atmo V8 Power . No slicks , No gas + No bits missing . Doing it in style.
Austin A35van, very different------- but still doing it in style, going to be a funmoble
|
|
sonus
Europe
Posts: 1,391
|
|
|
|
.....No work for a few weeks as i'm away mountain-biking Now that's just cruel; 1. You're not going to give me my sunday fix and 2 you're going to do what I love second best to cars  Where are you going for weeks on end mountain biking? |
| |
Last Edit: Oct 27, 2014 6:06:37 GMT by sonus
Current
1968 TVR VIXEN S1 V8 Prototype
2004 TVR T350C
2017 BMW 340i
Previous
BMW 325d E91LCI - sold
Alfa Romeo GTV - sold
Citroen AX GT - at the breakers
Ford Puma 1.7 - sold
Volvo V50 2.0d - sold
MGB GT - wrecked by fire
MG ZT 1.8T - sold
VW E-golf Electric - sold
Mini Countryman 1.6D -sold
Land Rover Discovery TD5 - sold
|
|
jonomisfit
Club Retro Rides Member
Posts: 1,787
Club RR Member Number: 49
|
|
Oct 27, 2014 20:06:35 GMT
|
|
The morris unfortunately has a few radii in the rear arches, so making the inner arches is going to be a bit of a mare.
If the person who had a go at the arches before me hadnt made such a mess of them, i'd probably look to tidy up and patch in sections rather than make an entire new lip. I'm concerned it's going to pull the panel when I weld it on. Fingers crossed.
Alas Sonus i have 5 days of work in between the riding sessions. I'm heading to Glentress/Innerleithen near Peebles (about 30 miles south of Edinburgh) this weekend, followed by riding closer to home in Cumbria the week after. I'm intending to get out and do some time in the alps next summer though.
|
| |
|
|
|
|
|
Oct 28, 2014 13:18:49 GMT
|
|
Really like this build, look forward to the updates, keep at it fella!
|
| |
|
|
jonomisfit
Club Retro Rides Member
Posts: 1,787
Club RR Member Number: 49
|
|
|
|
Well, its been a long time since i got any work done on this. I got distracted by destroying and re-building my kitchen which took ages. I was about to get back to it this weekend, but a fairly routine cambelt change on my vx220 car has taken a major turn for the worst. A spark plug snapped off in the head.... After a significant amount of raging i've started stripping the head off to remove the remains of the broken plug, and to clear out any detritus thats ended up in the bore. 7hrs of graft today has seen 6 broken exhaust studs, but finally the inlet and exhaust manifolds disconnected. Just to to strip all the other parts from the head before I can remove it. The car is a mare to work on. Anyways I have been doing some Morris shaped thinking. I've started firming up designs for the pedal box. Its still unbelievably tight in there, but it'll be what it is. 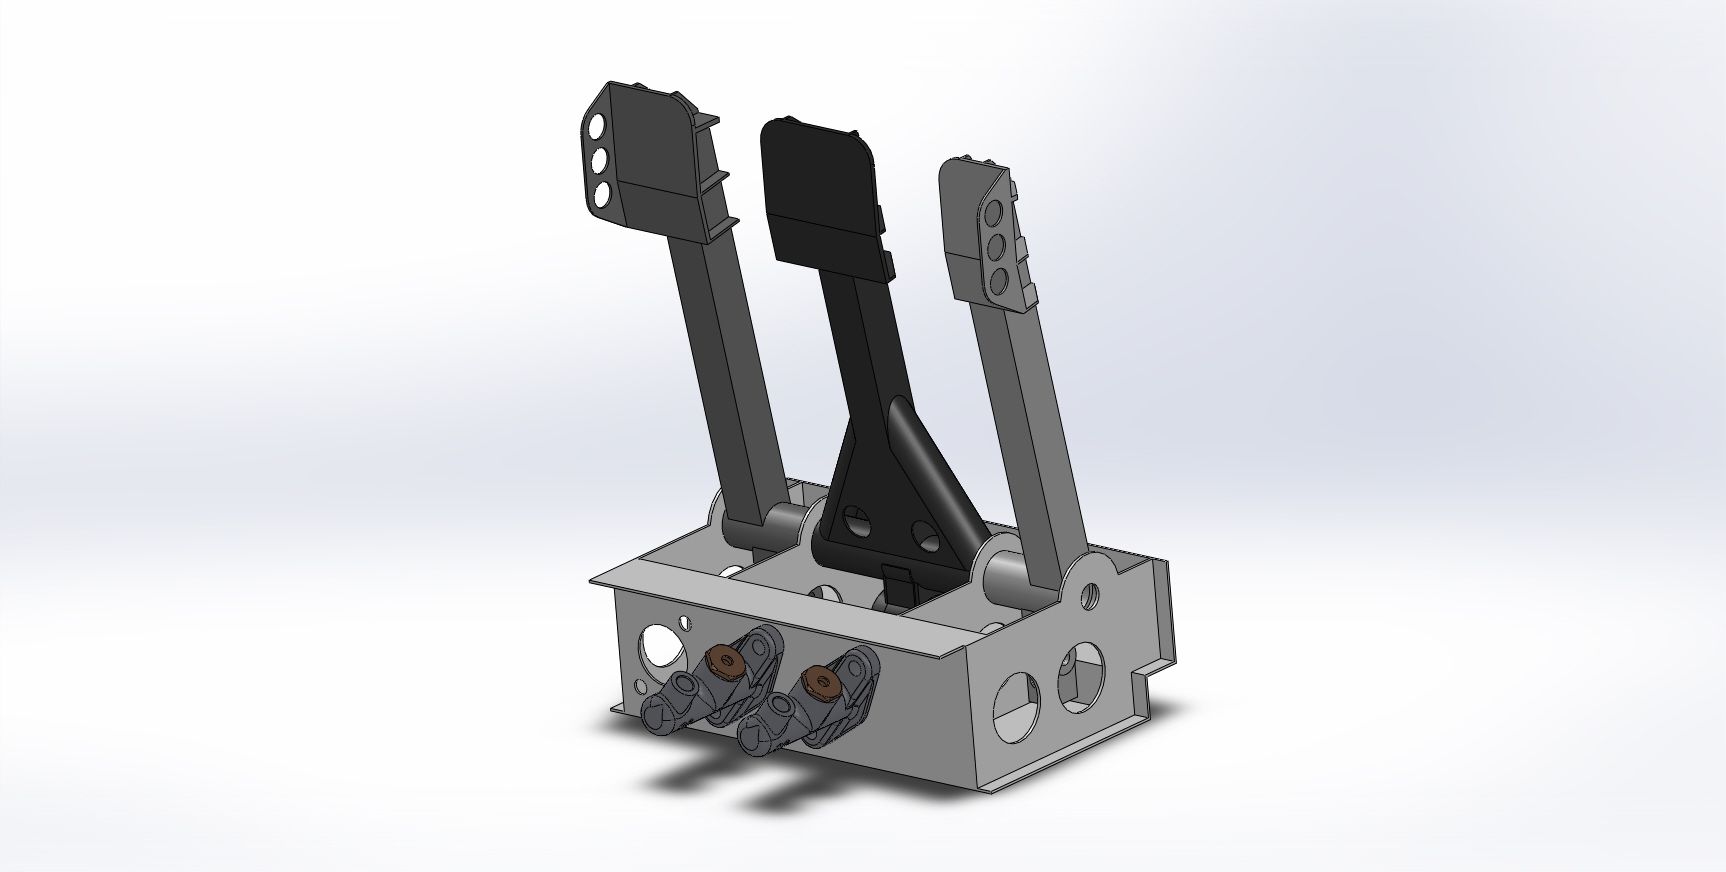 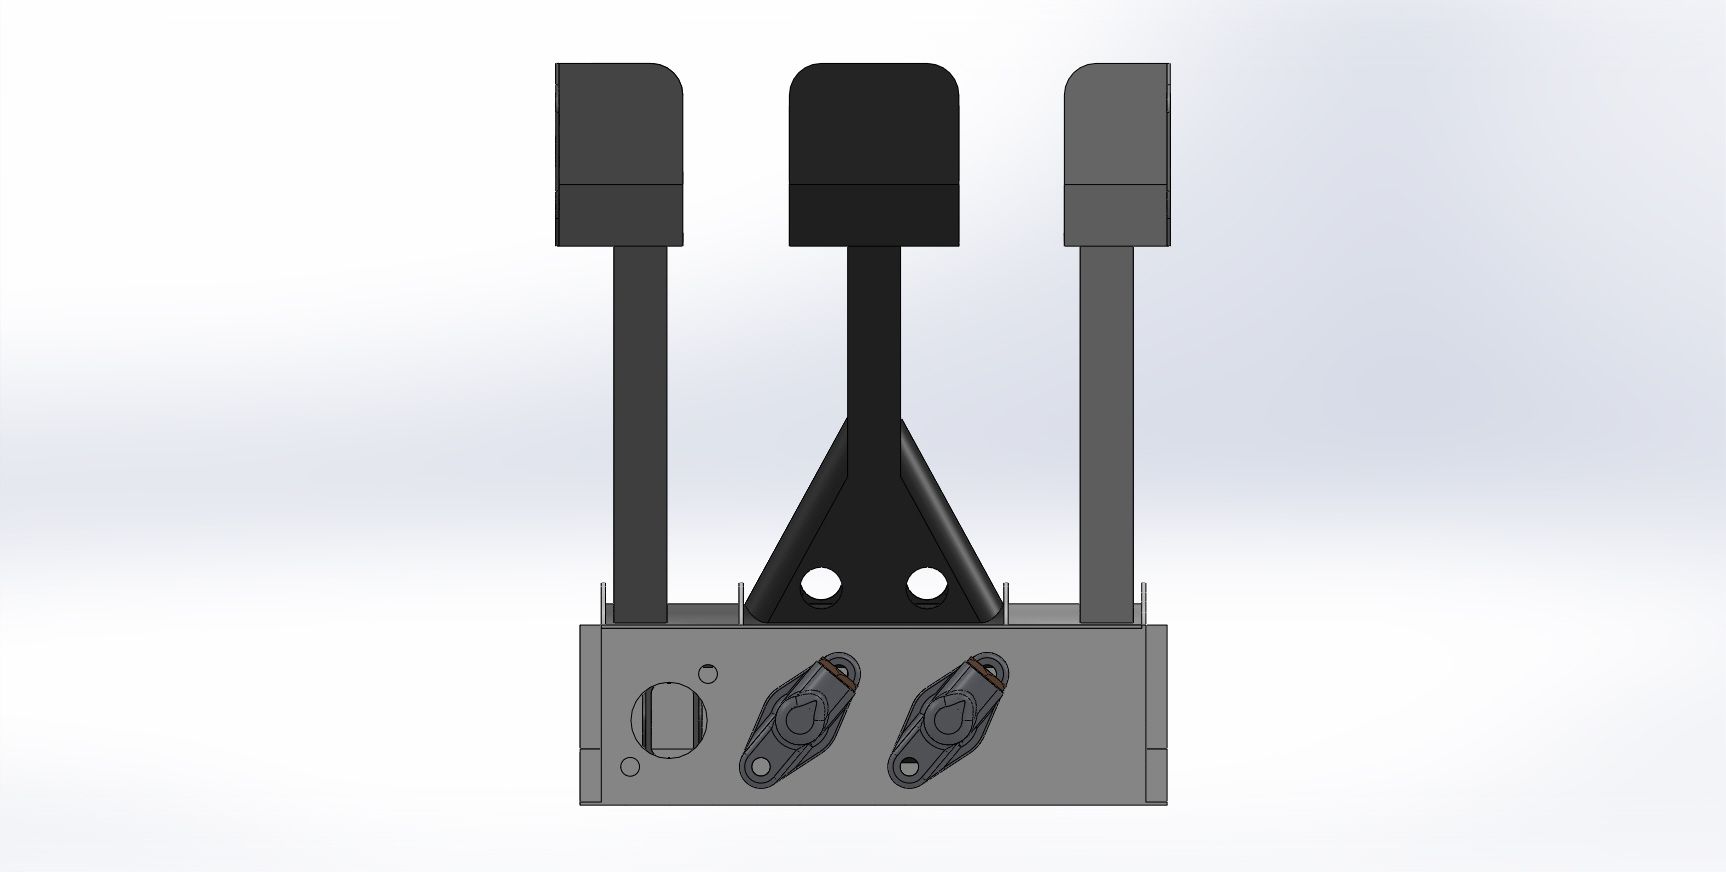 |
| |
|
|
sonus
Europe
Posts: 1,391
|
|
|
|
|
Any progress?
|
| |
Current
1968 TVR VIXEN S1 V8 Prototype
2004 TVR T350C
2017 BMW 340i
Previous
BMW 325d E91LCI - sold
Alfa Romeo GTV - sold
Citroen AX GT - at the breakers
Ford Puma 1.7 - sold
Volvo V50 2.0d - sold
MGB GT - wrecked by fire
MG ZT 1.8T - sold
VW E-golf Electric - sold
Mini Countryman 1.6D -sold
Land Rover Discovery TD5 - sold
|
|
jonomisfit
Club Retro Rides Member
Posts: 1,787
Club RR Member Number: 49
|
|
May 25, 2015 20:30:15 GMT
|
After 8 months (!) off the car, I finally got a couple of hours on it today. I finished rebuilding the VX220 on Sunday morning and gave it a shake down. All seems ok and nothing went bang. But the workshop was a state so first stop tidy up. Where's the morris? 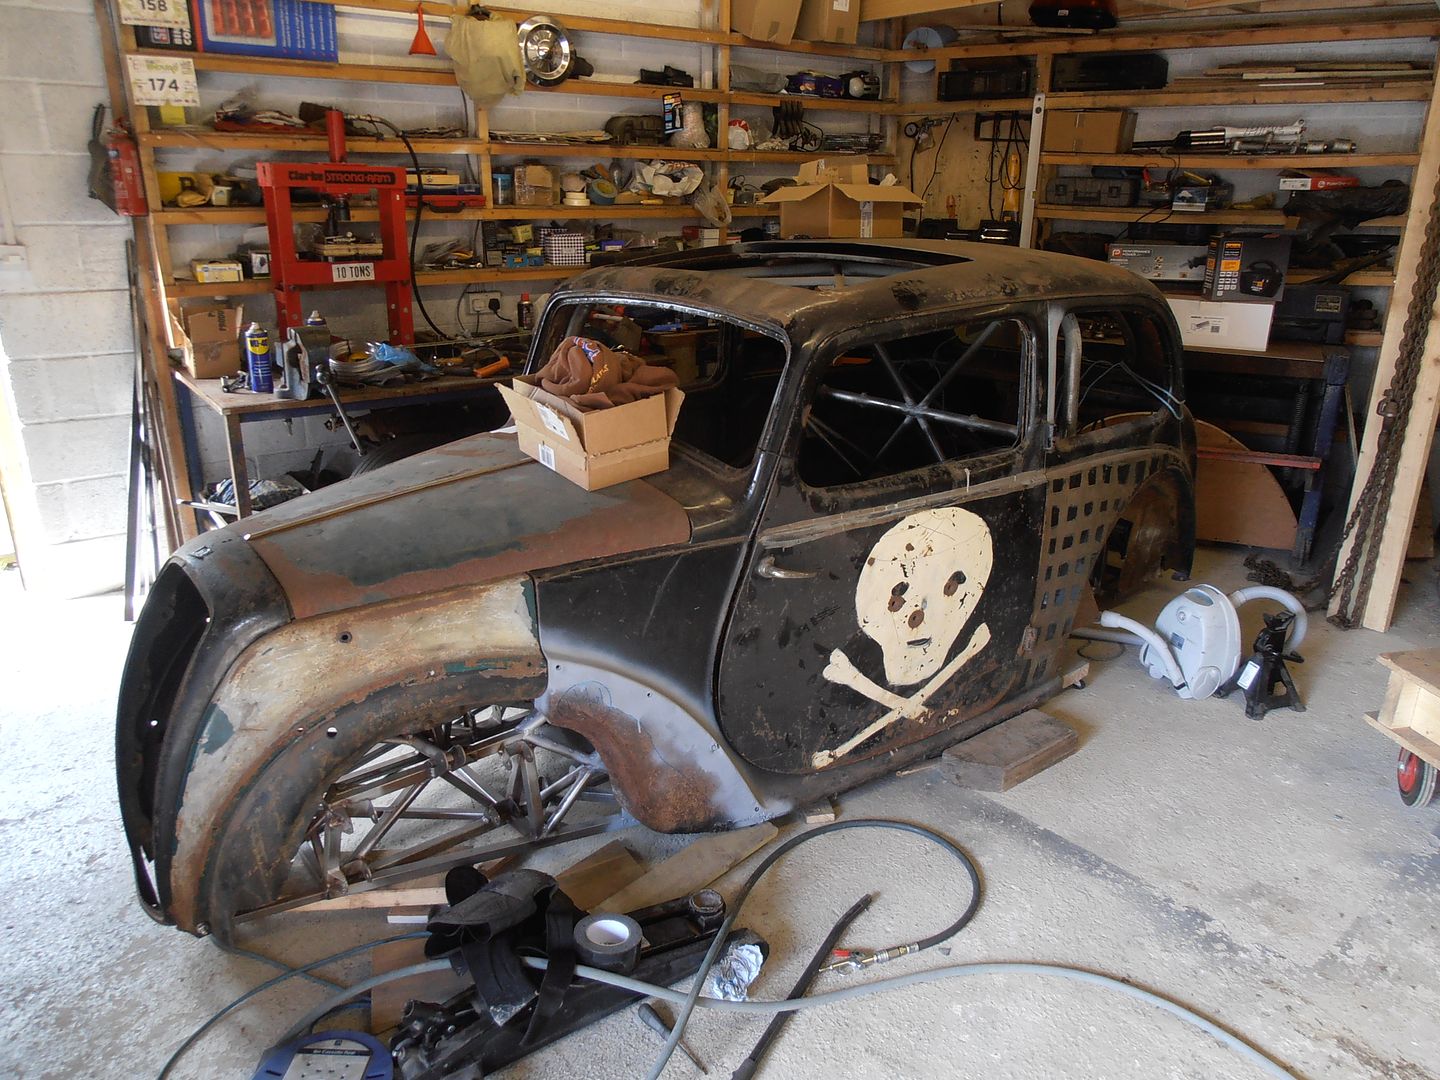 Bench too messy to think 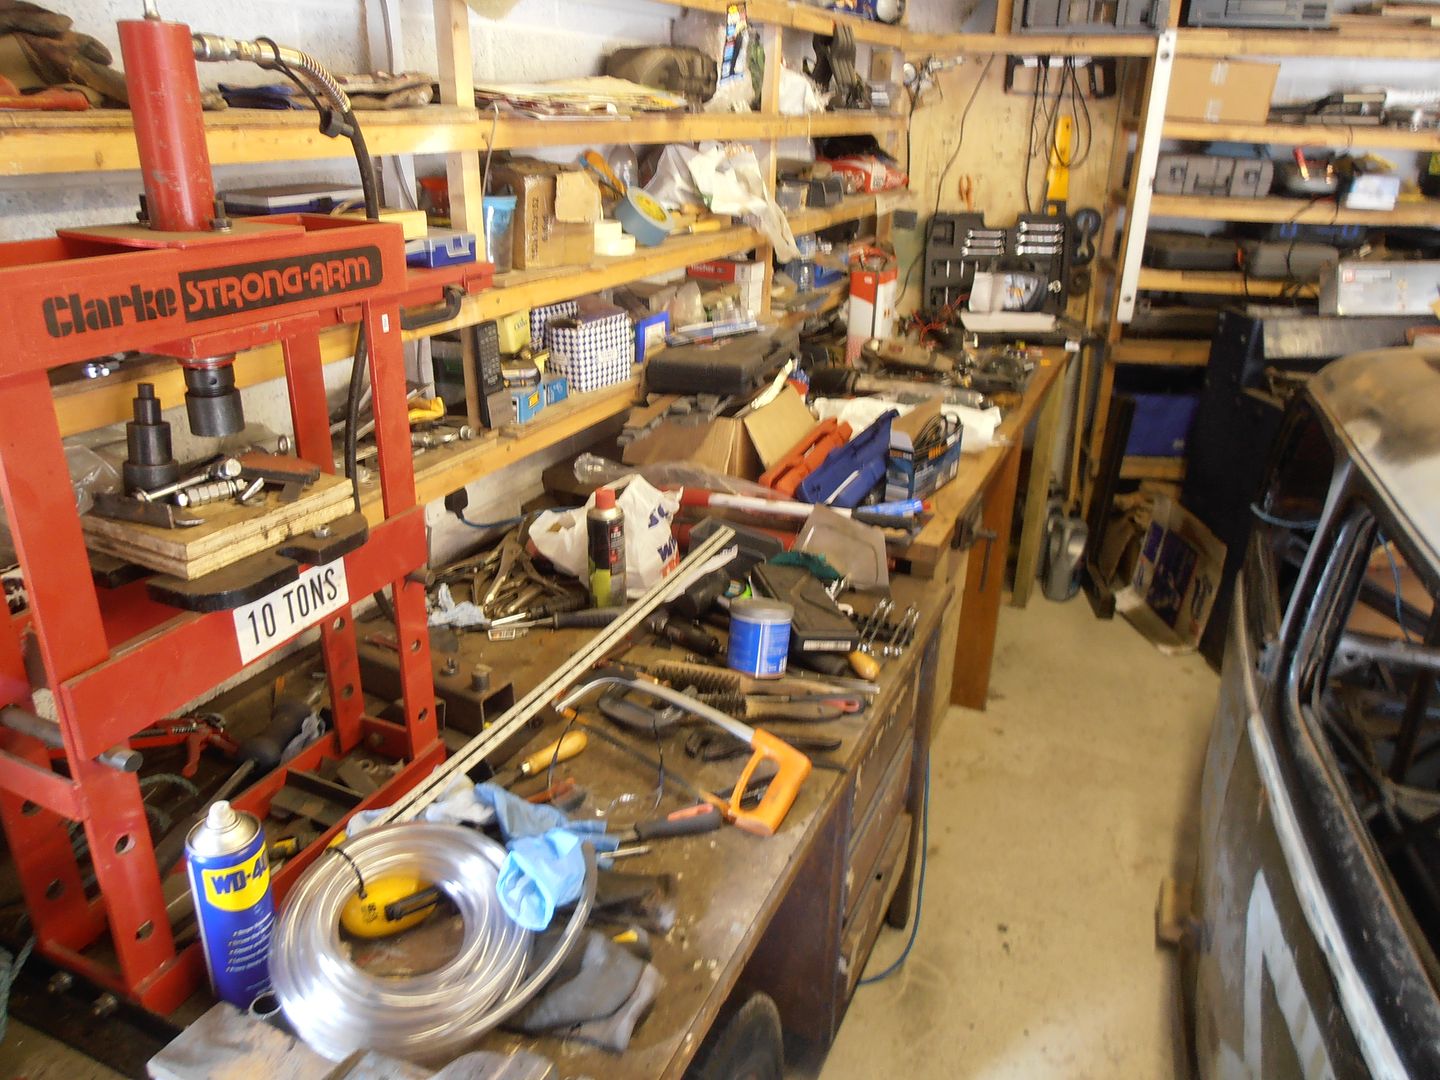 better 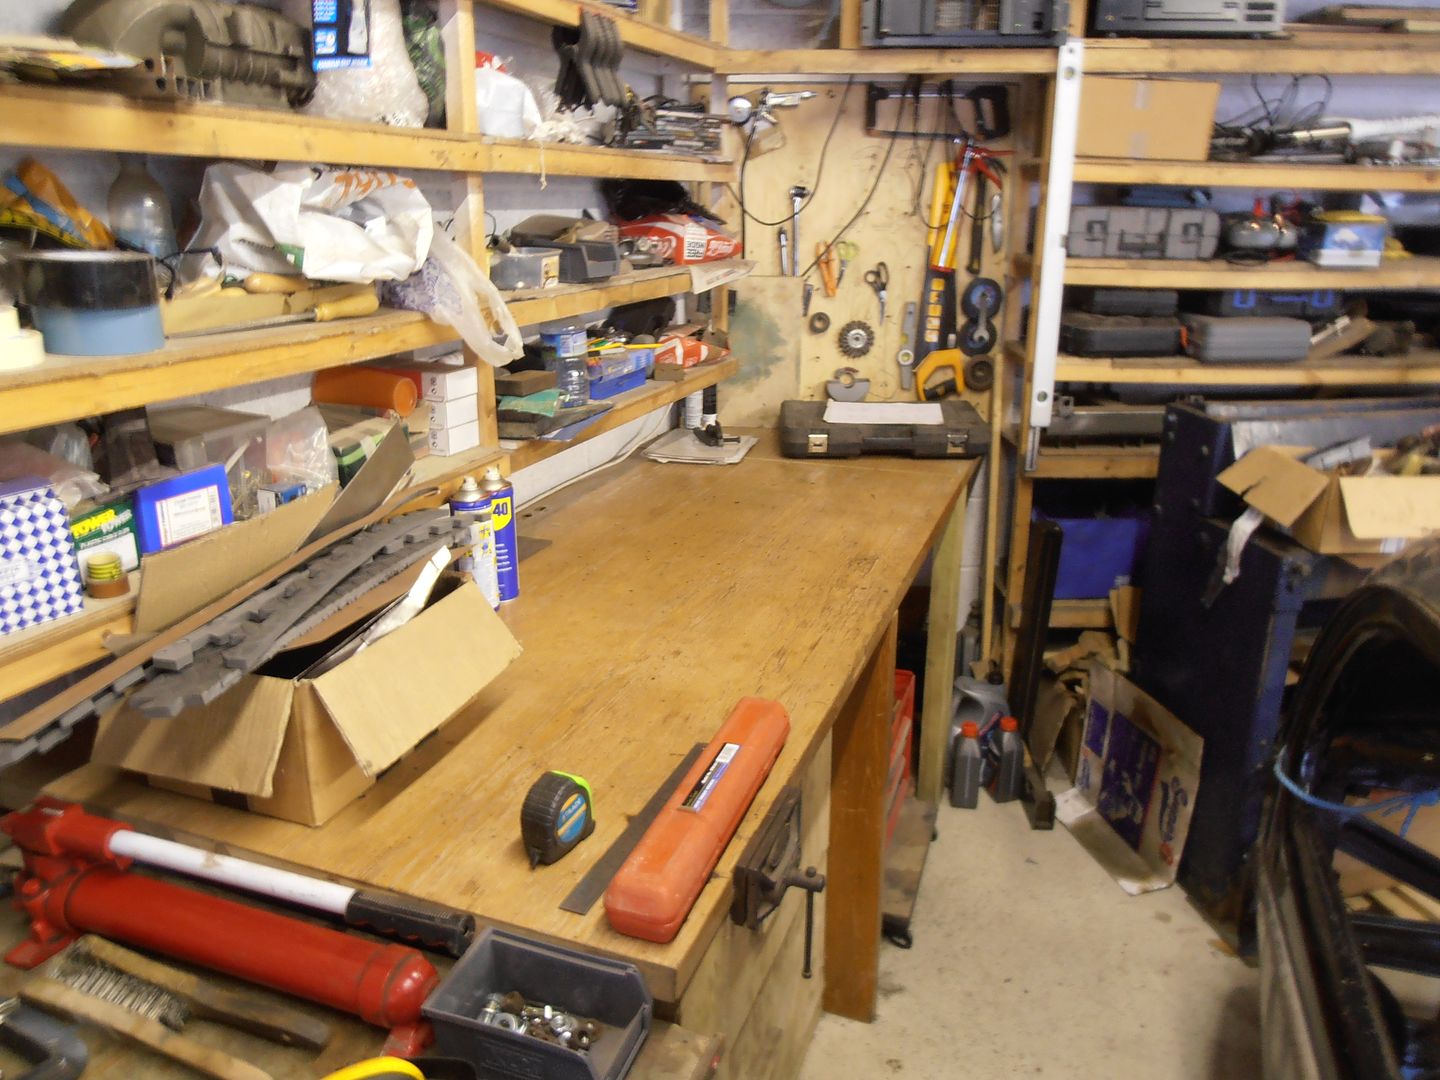 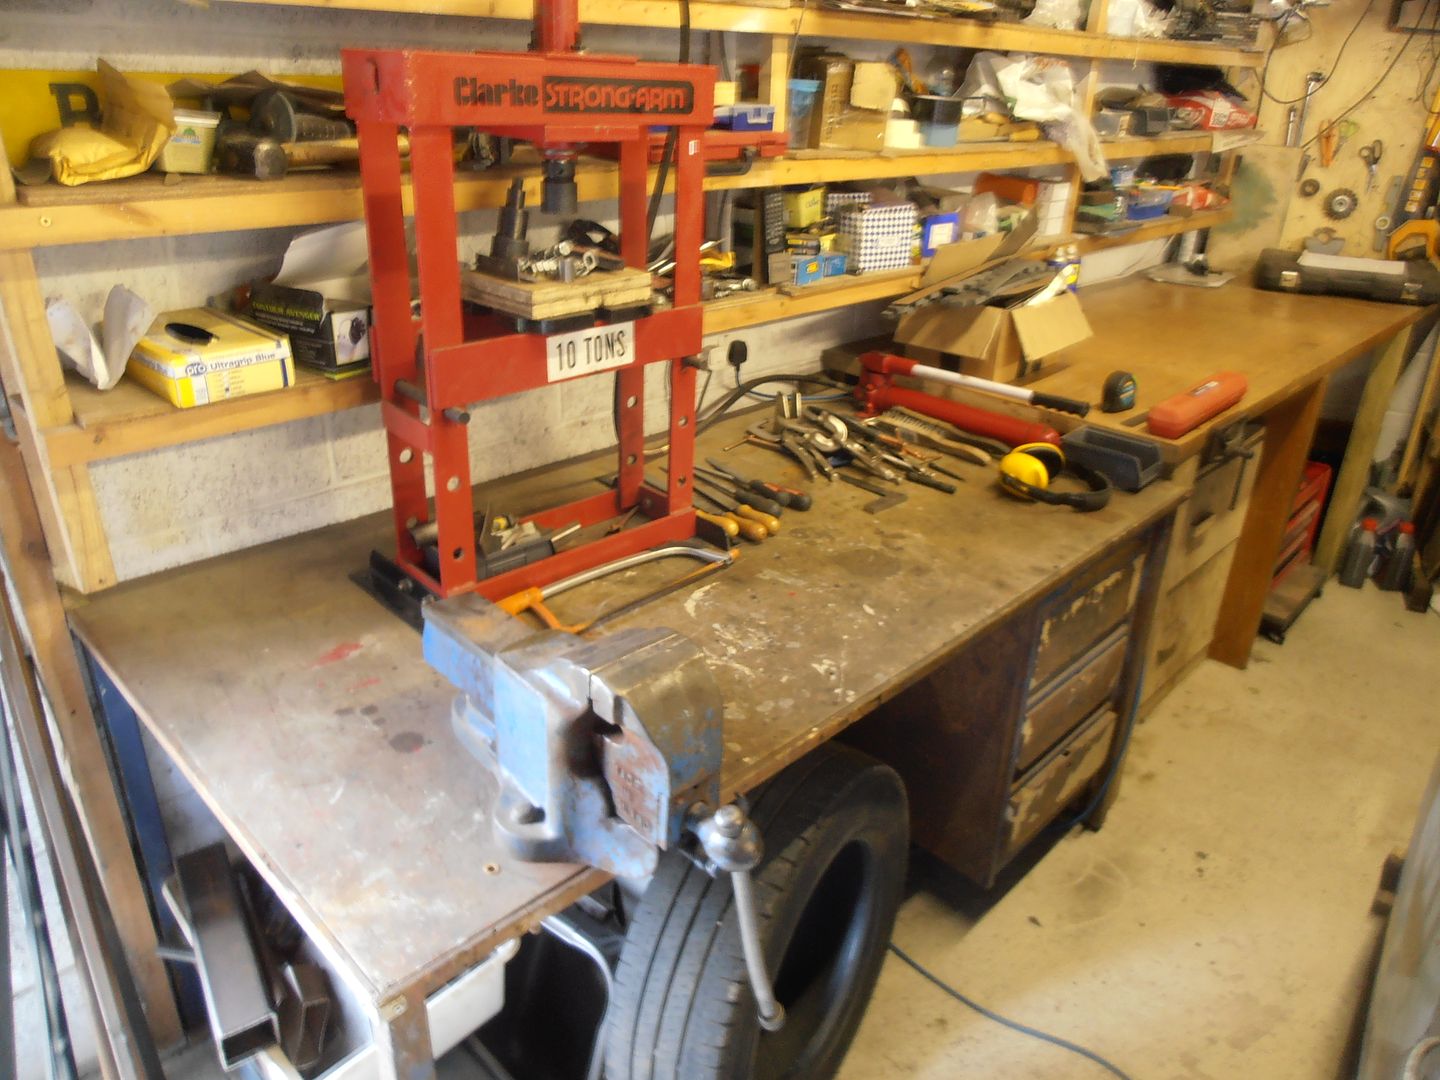 Right, where was I with the morris? Um..... Um.... Oh yeah, replace the rotten wheel arches. spin it out into the workshop floor to get a better look round it. 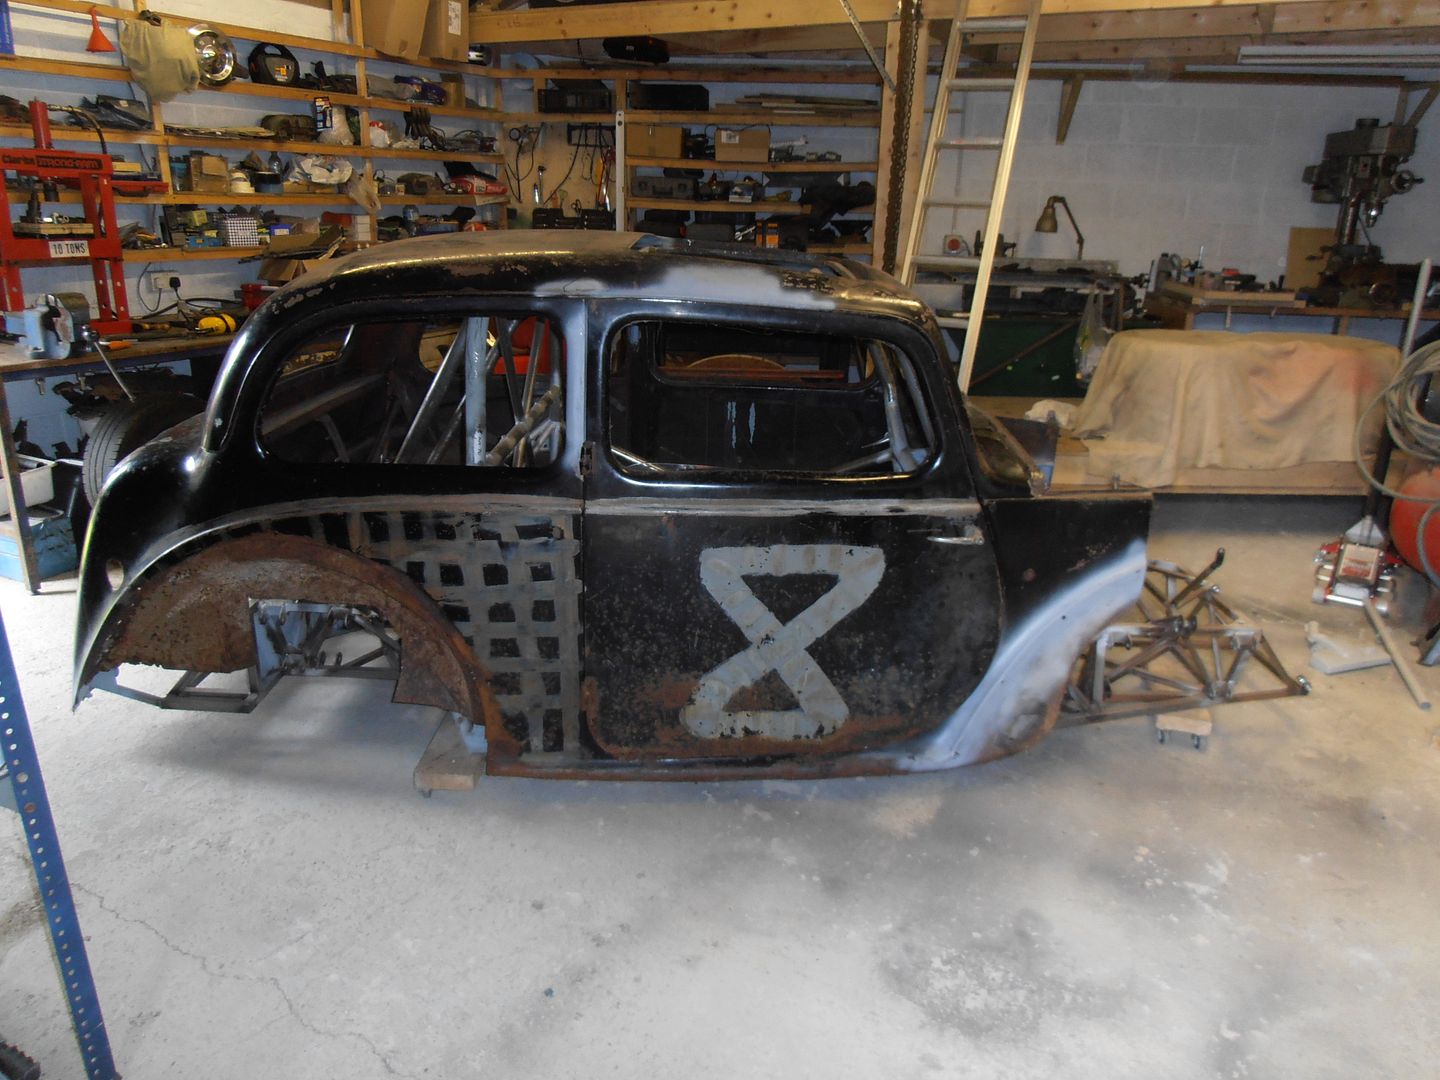 Having looked at how floppy the back end would become with the arches cut out, it was time to weld the body onto the chassis. 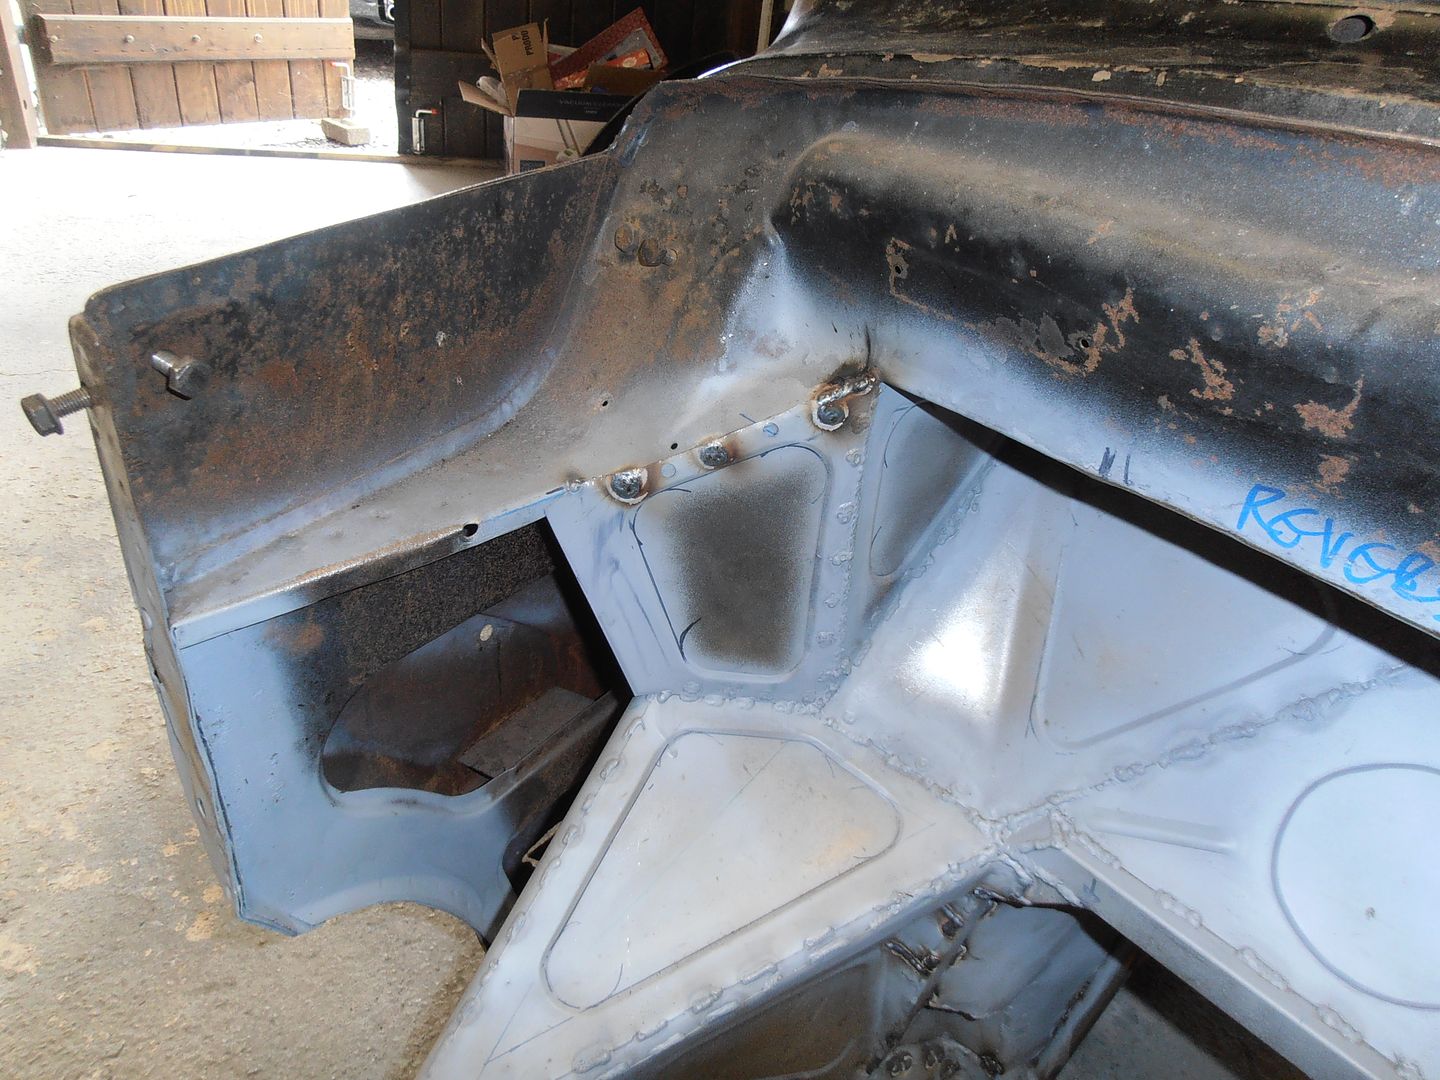 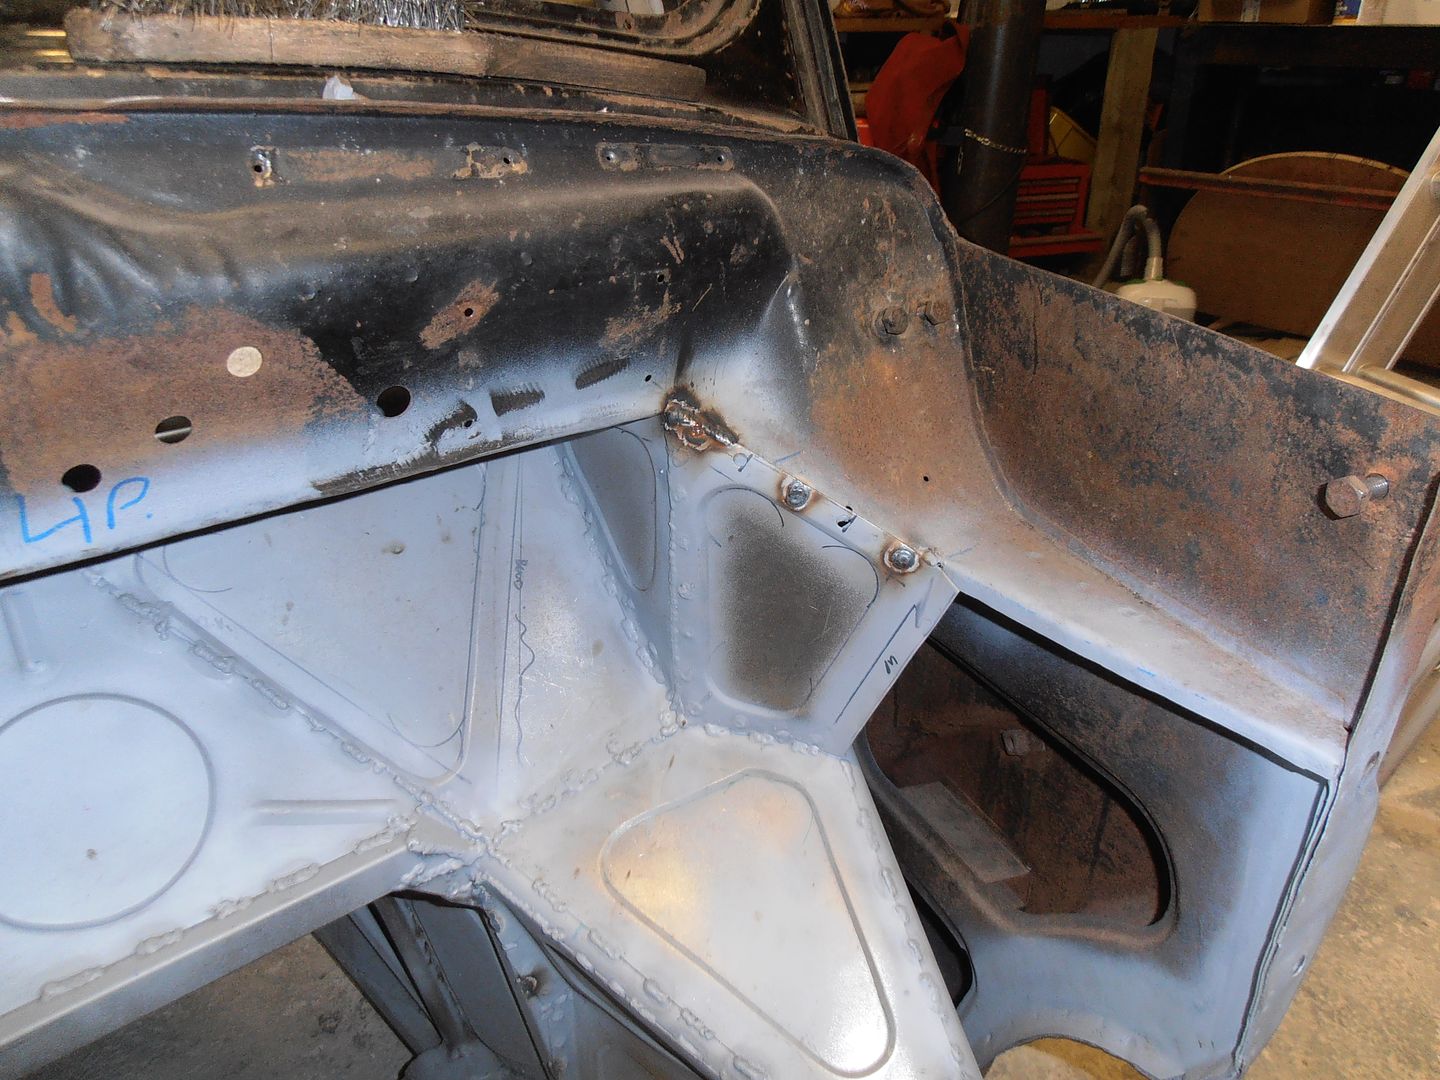 sill to chassis fill plates 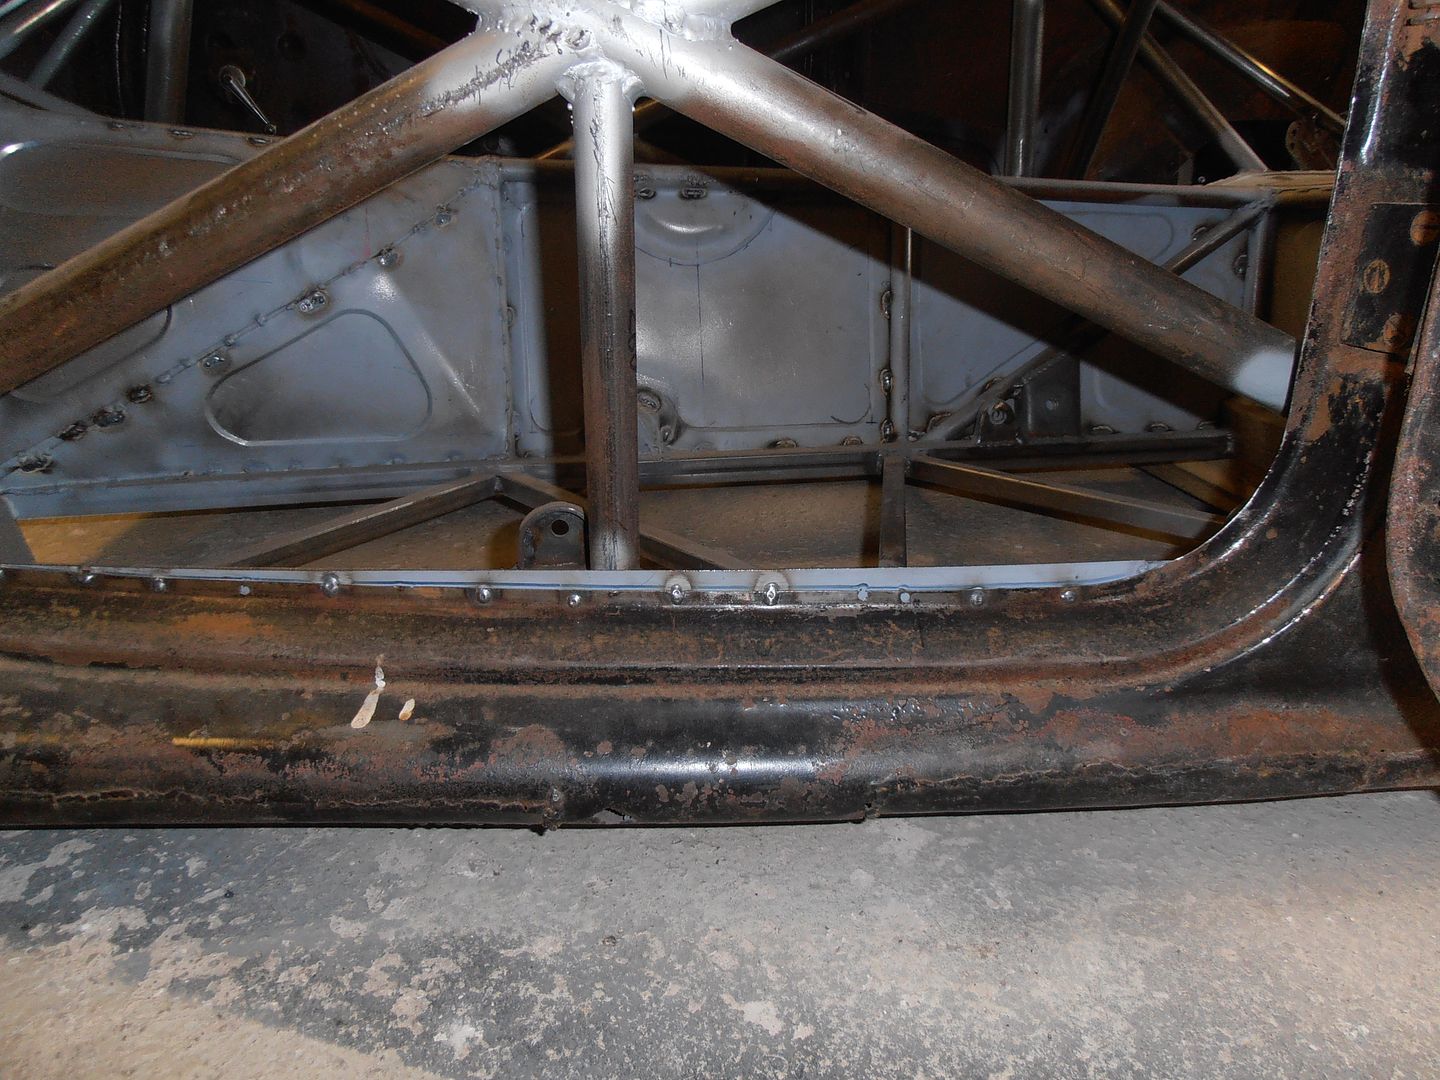 The extra filler plate will be cut off once its all welded solid. better put some temporary stiffeners in as well. 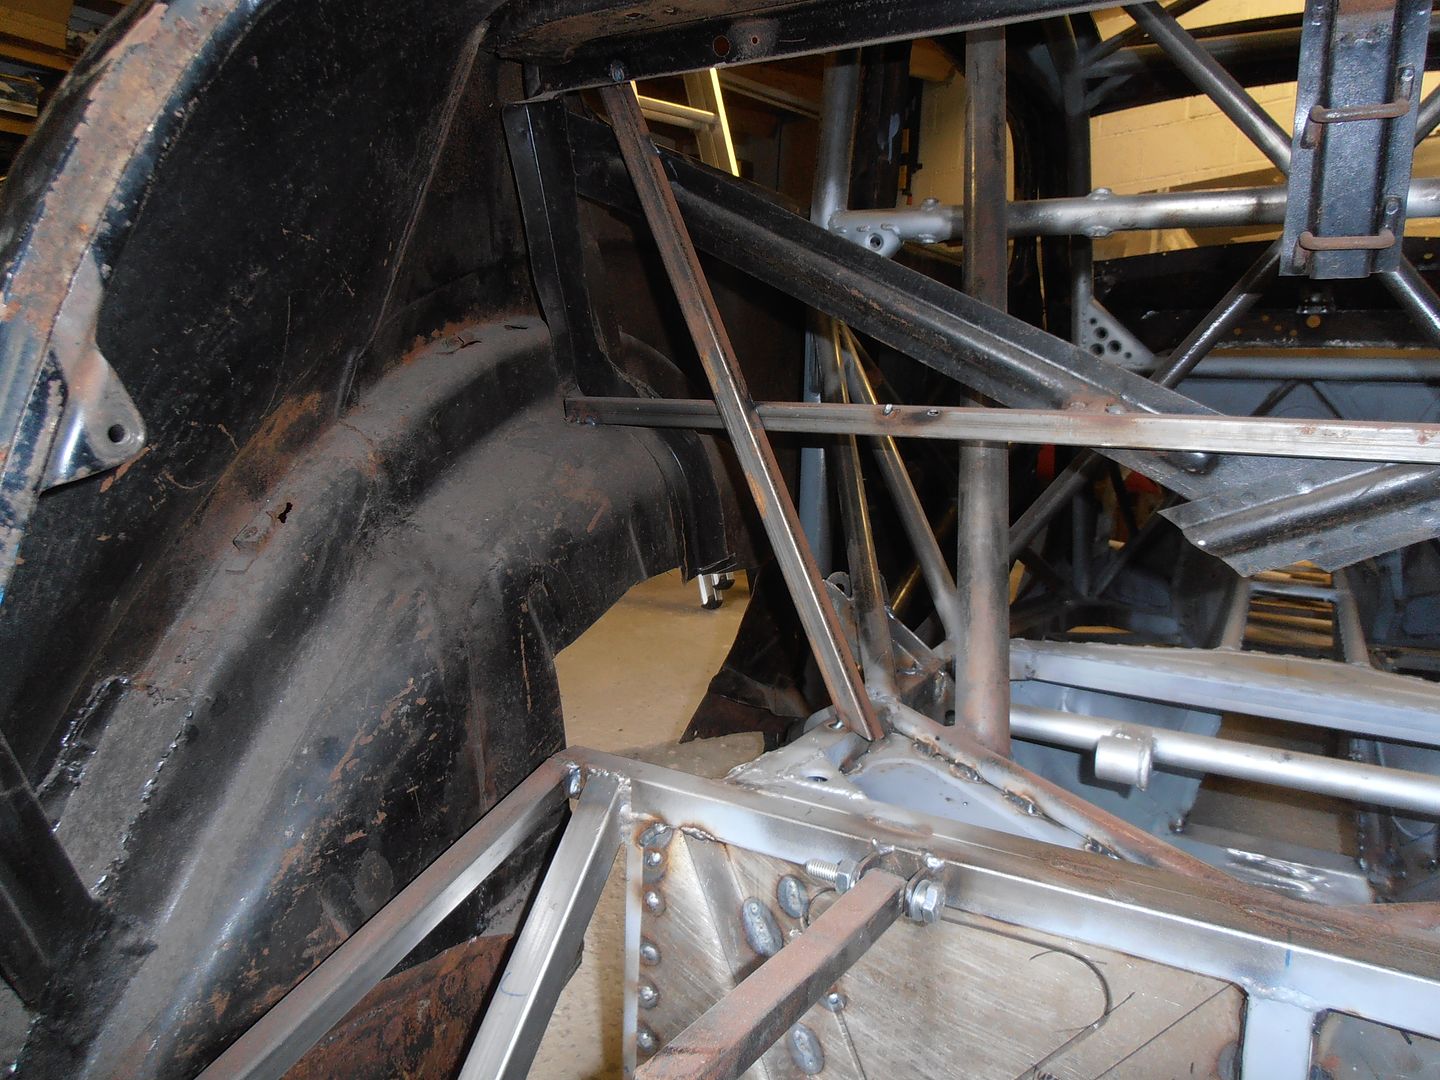 giving the shell a good push and the was still a fair bit of lateral movement in the back end. Time to tie it all together. Bracket from cage to window rail Mocked up in cardboard 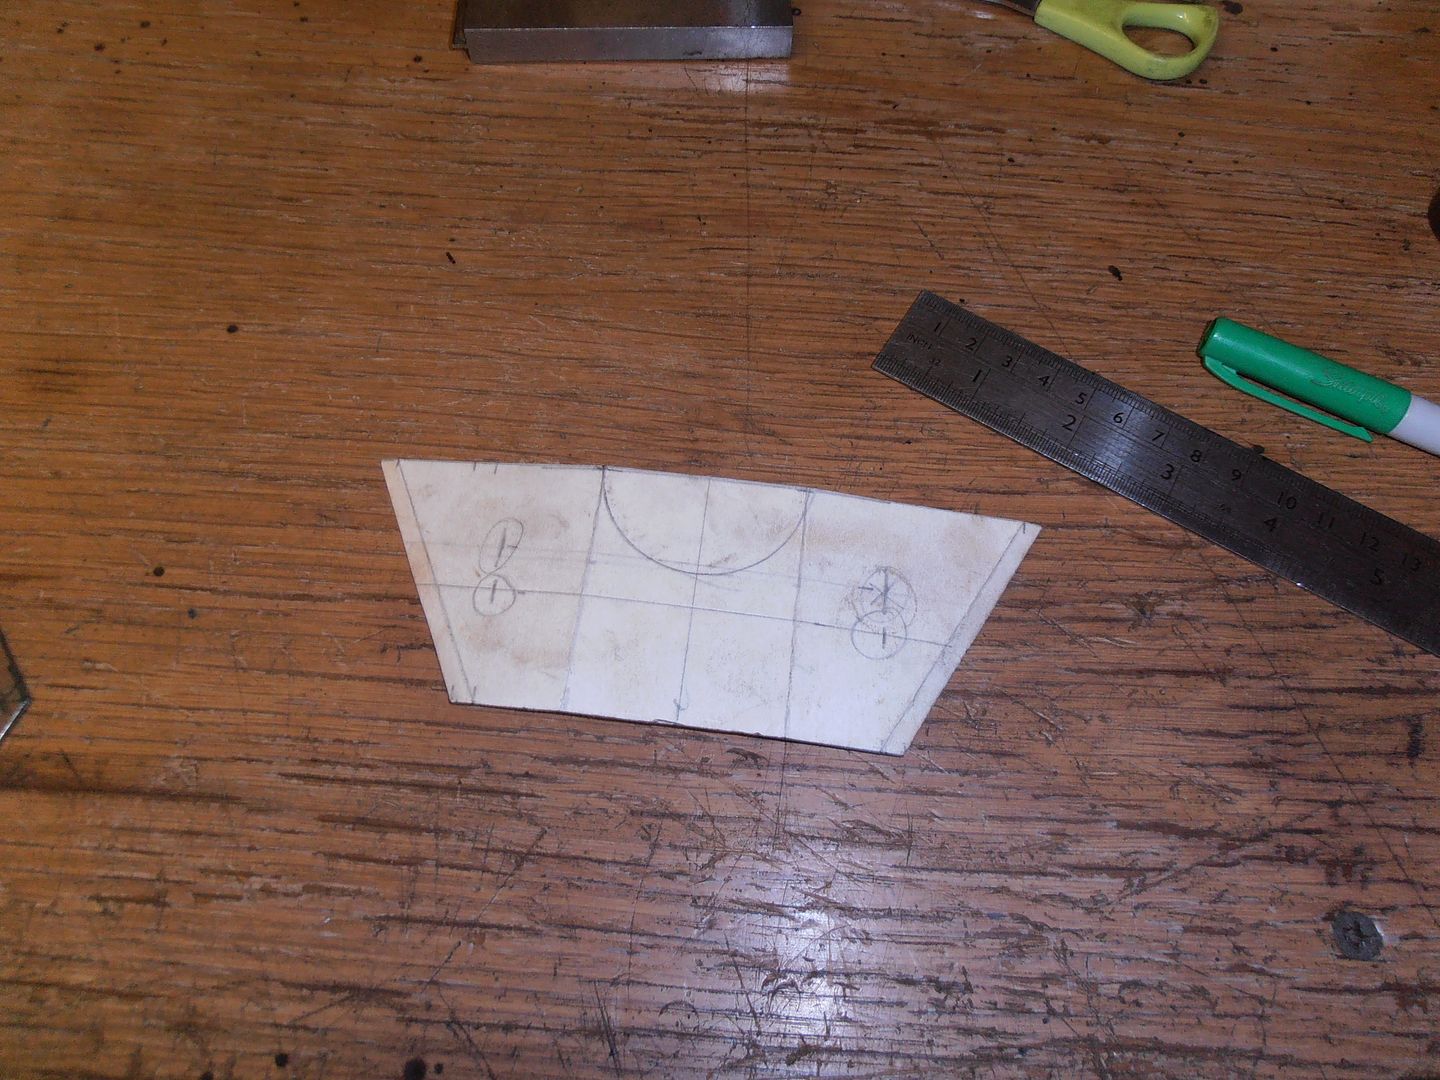 Taped in and trial fitted window. All clears nicely and can still get the glass in / out. Steel time. Make two back to back as quicker 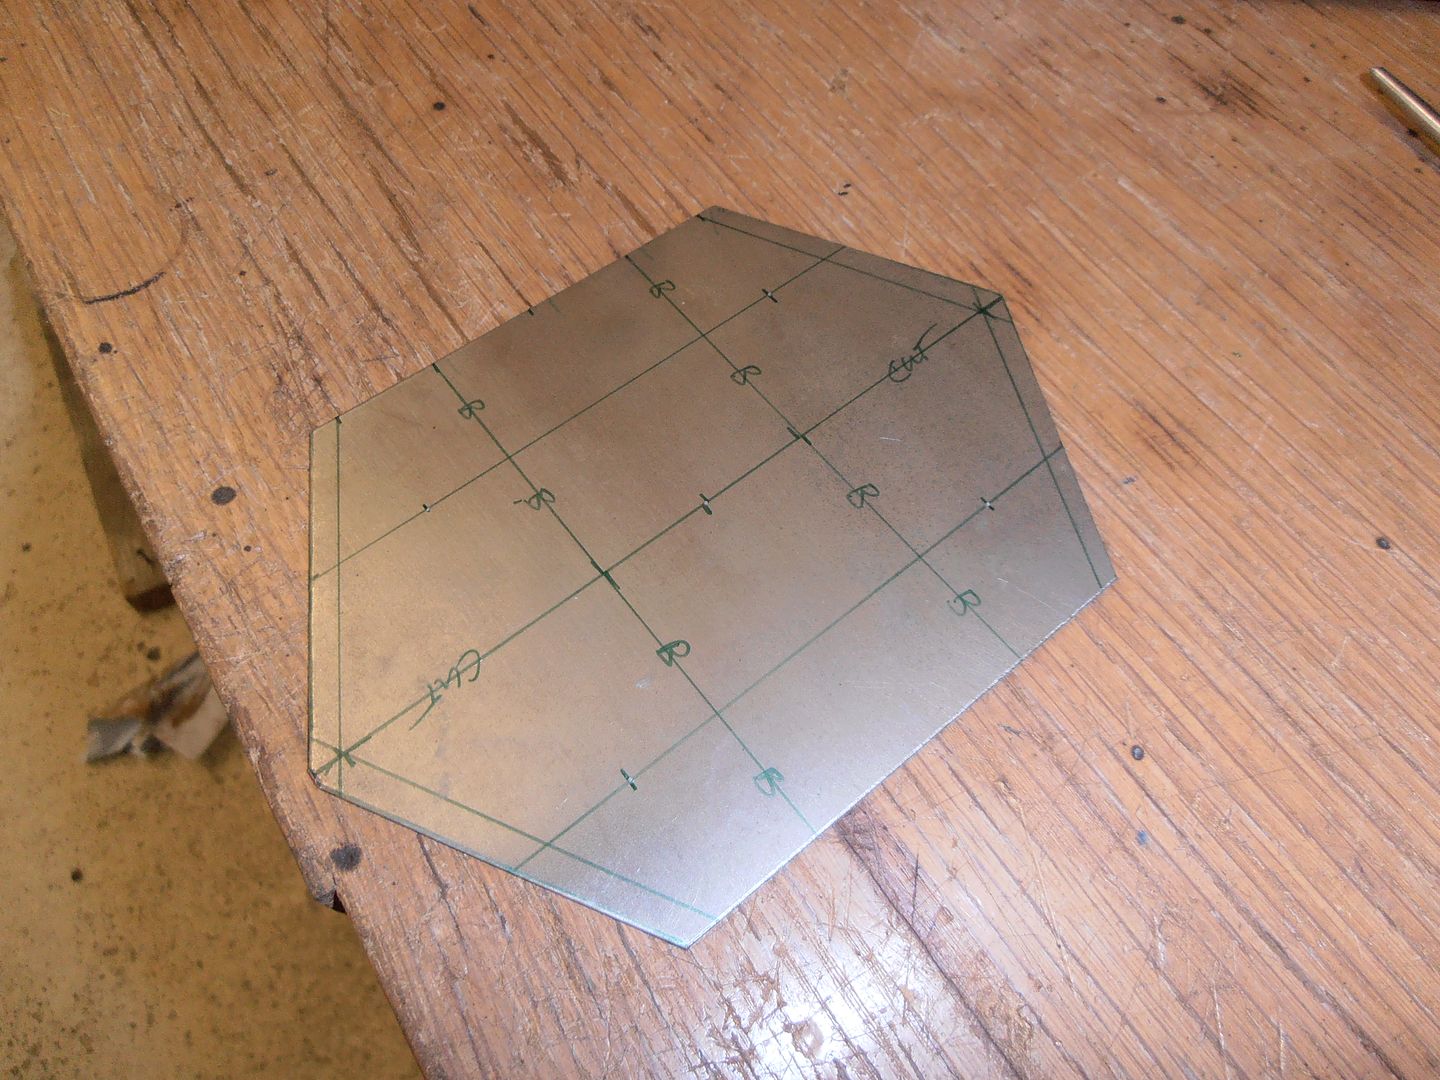 My metal shear and q-cutters are massive time savers :-) 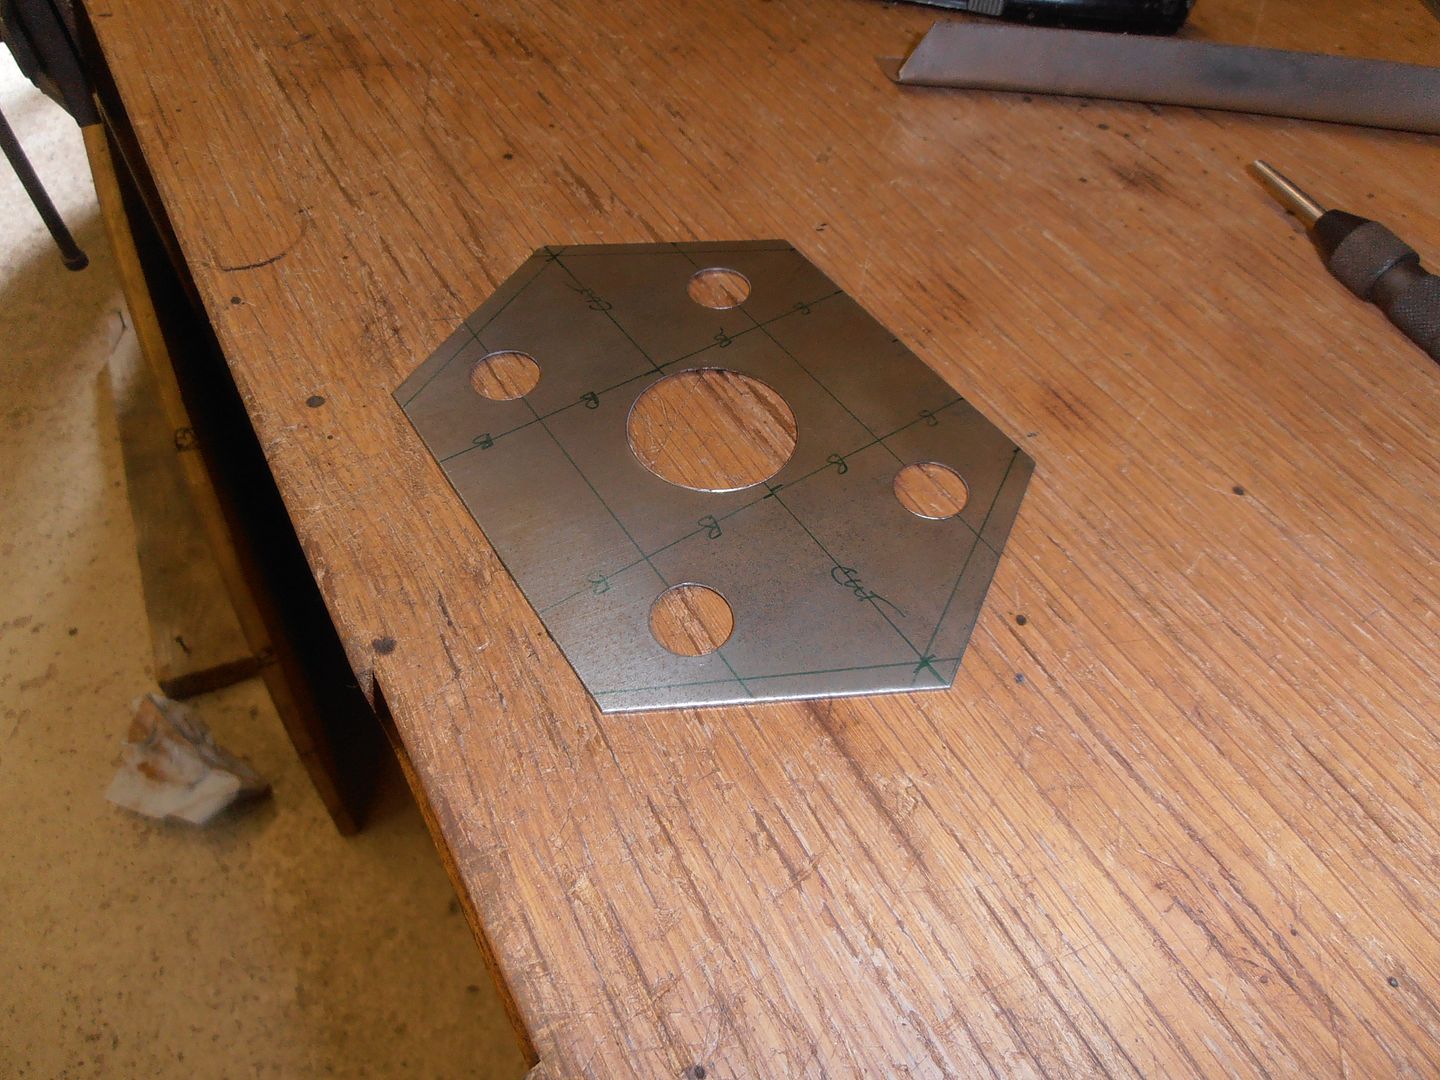 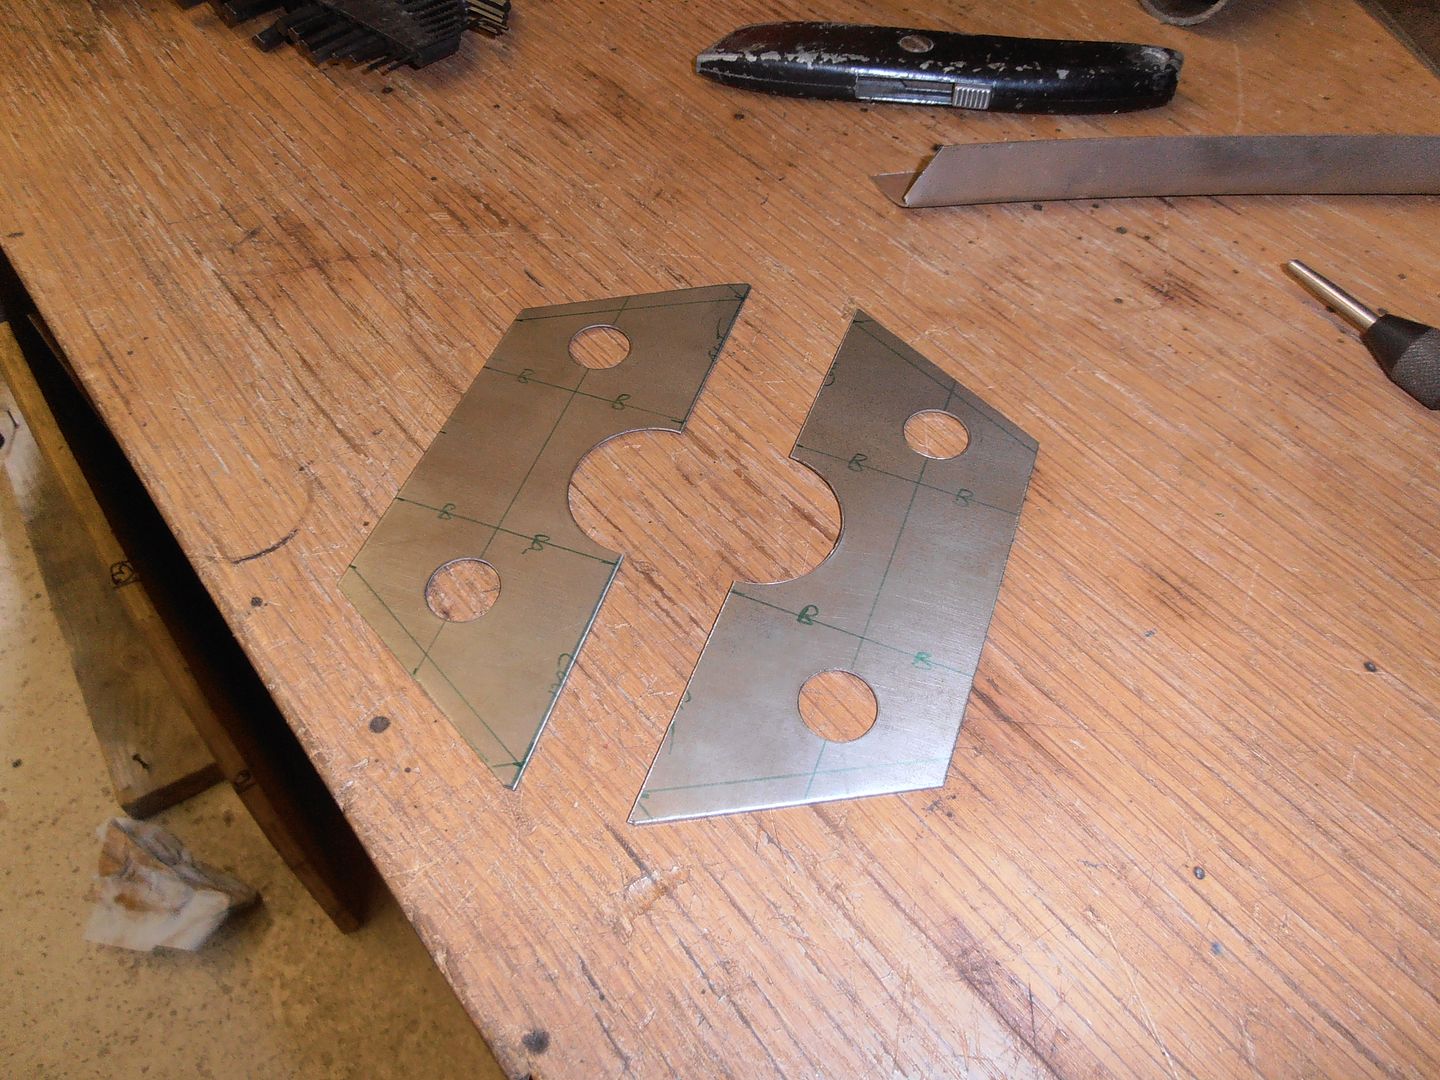 Holes.... cant have holes without swages :-) 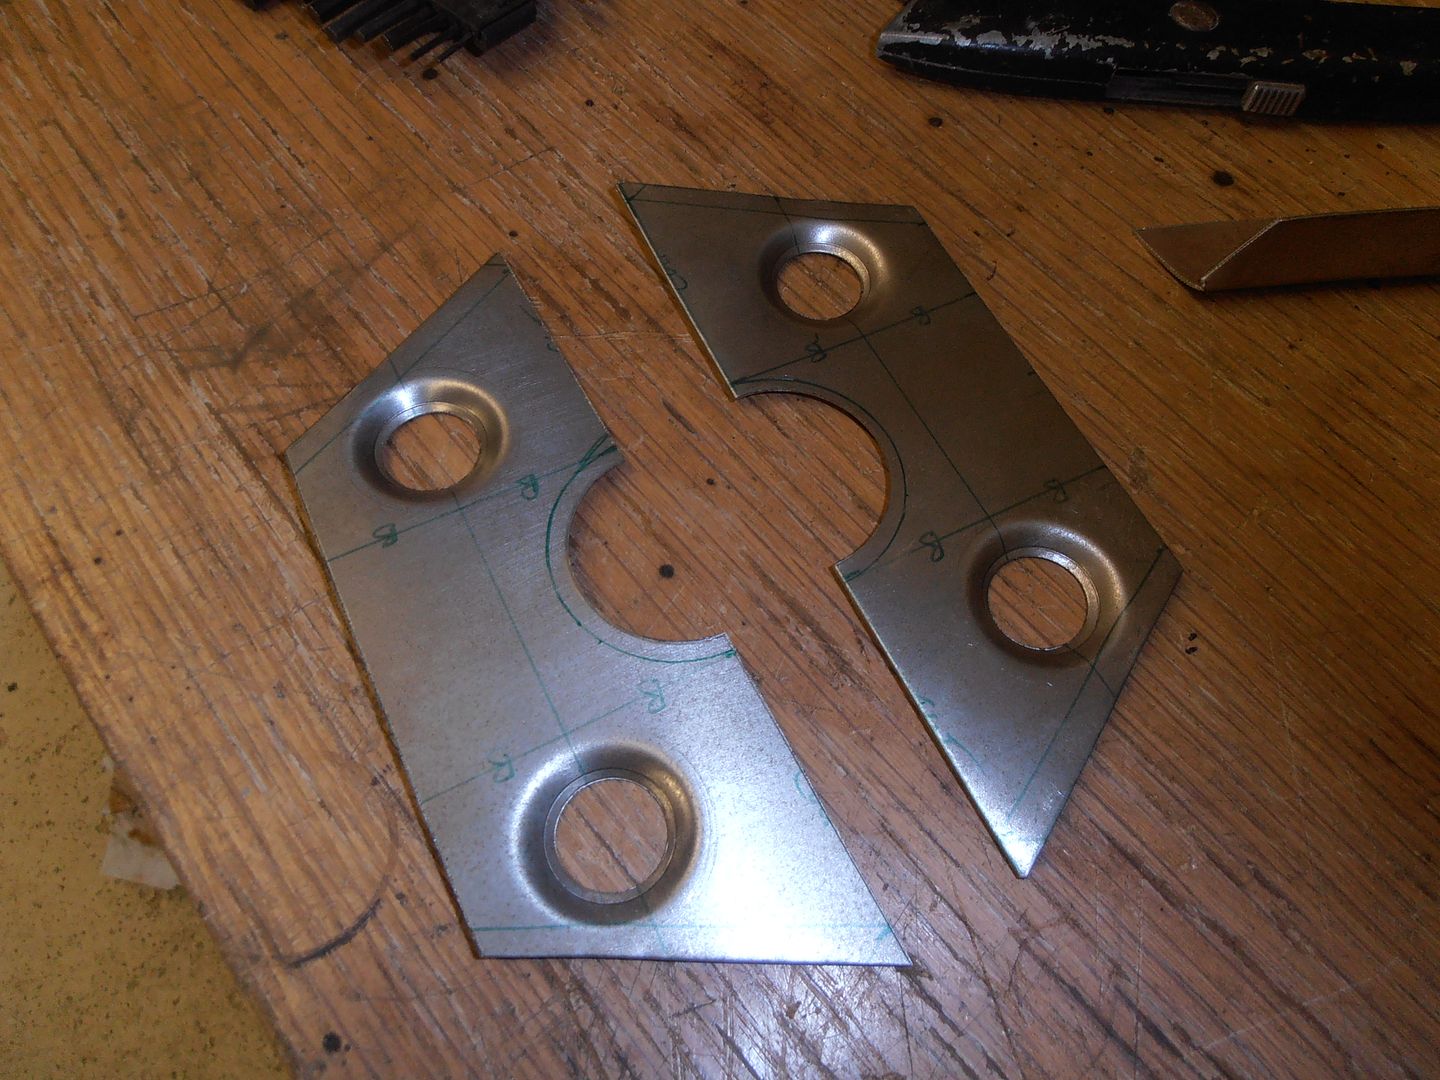 Bending this was a right pain in the bum. 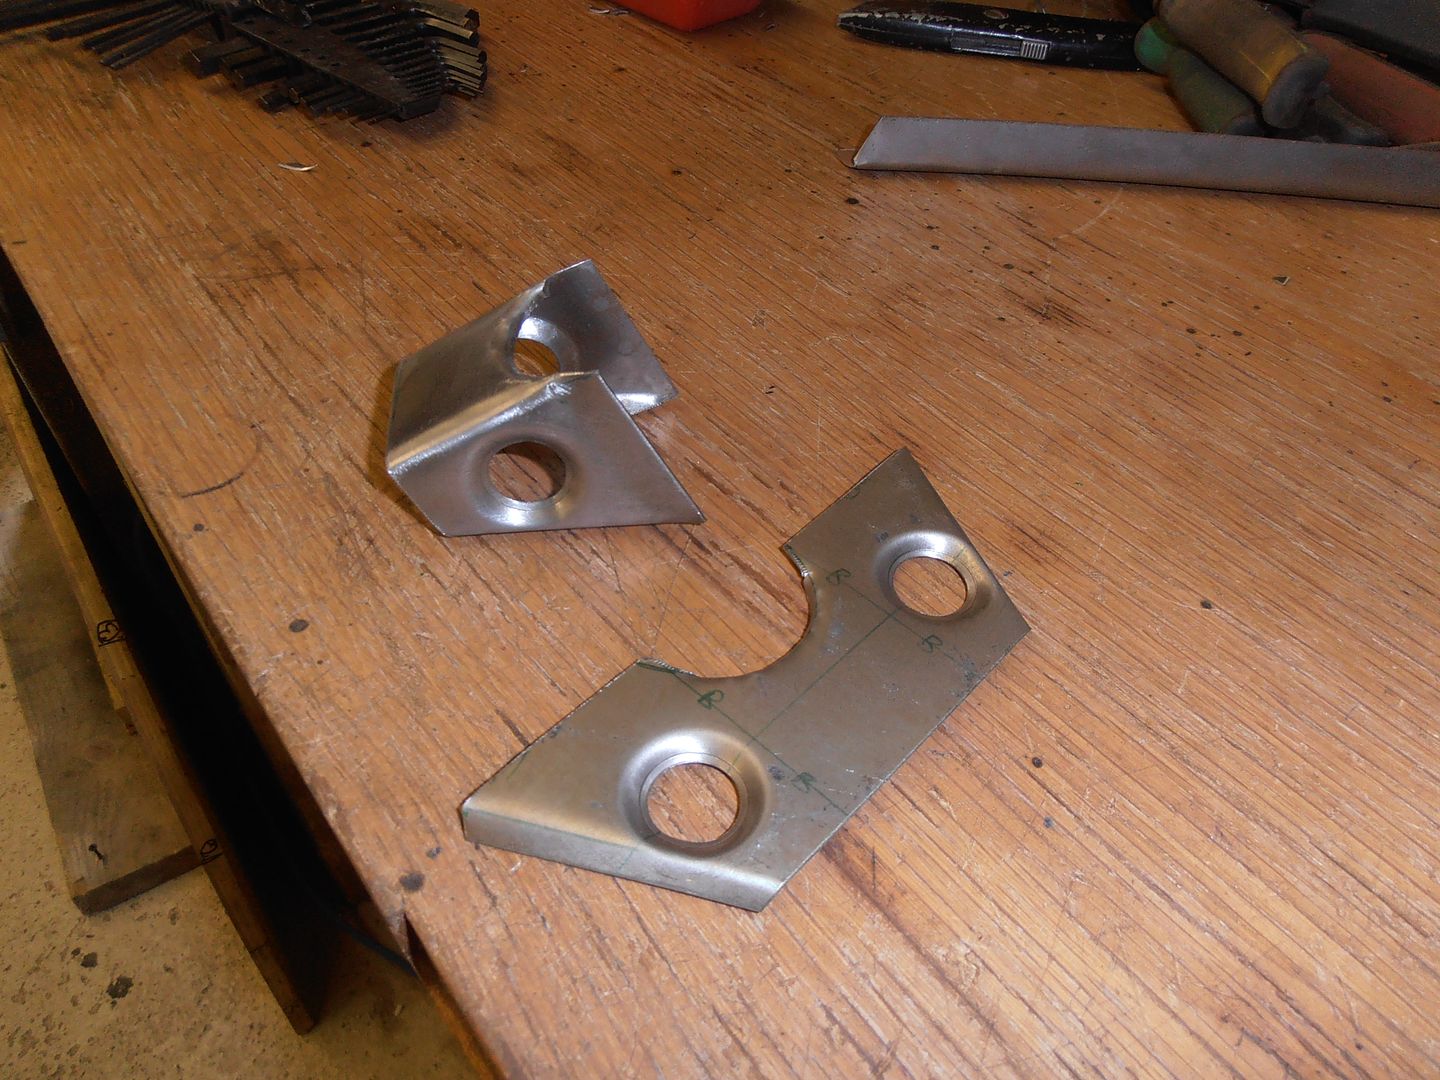 roughly in position 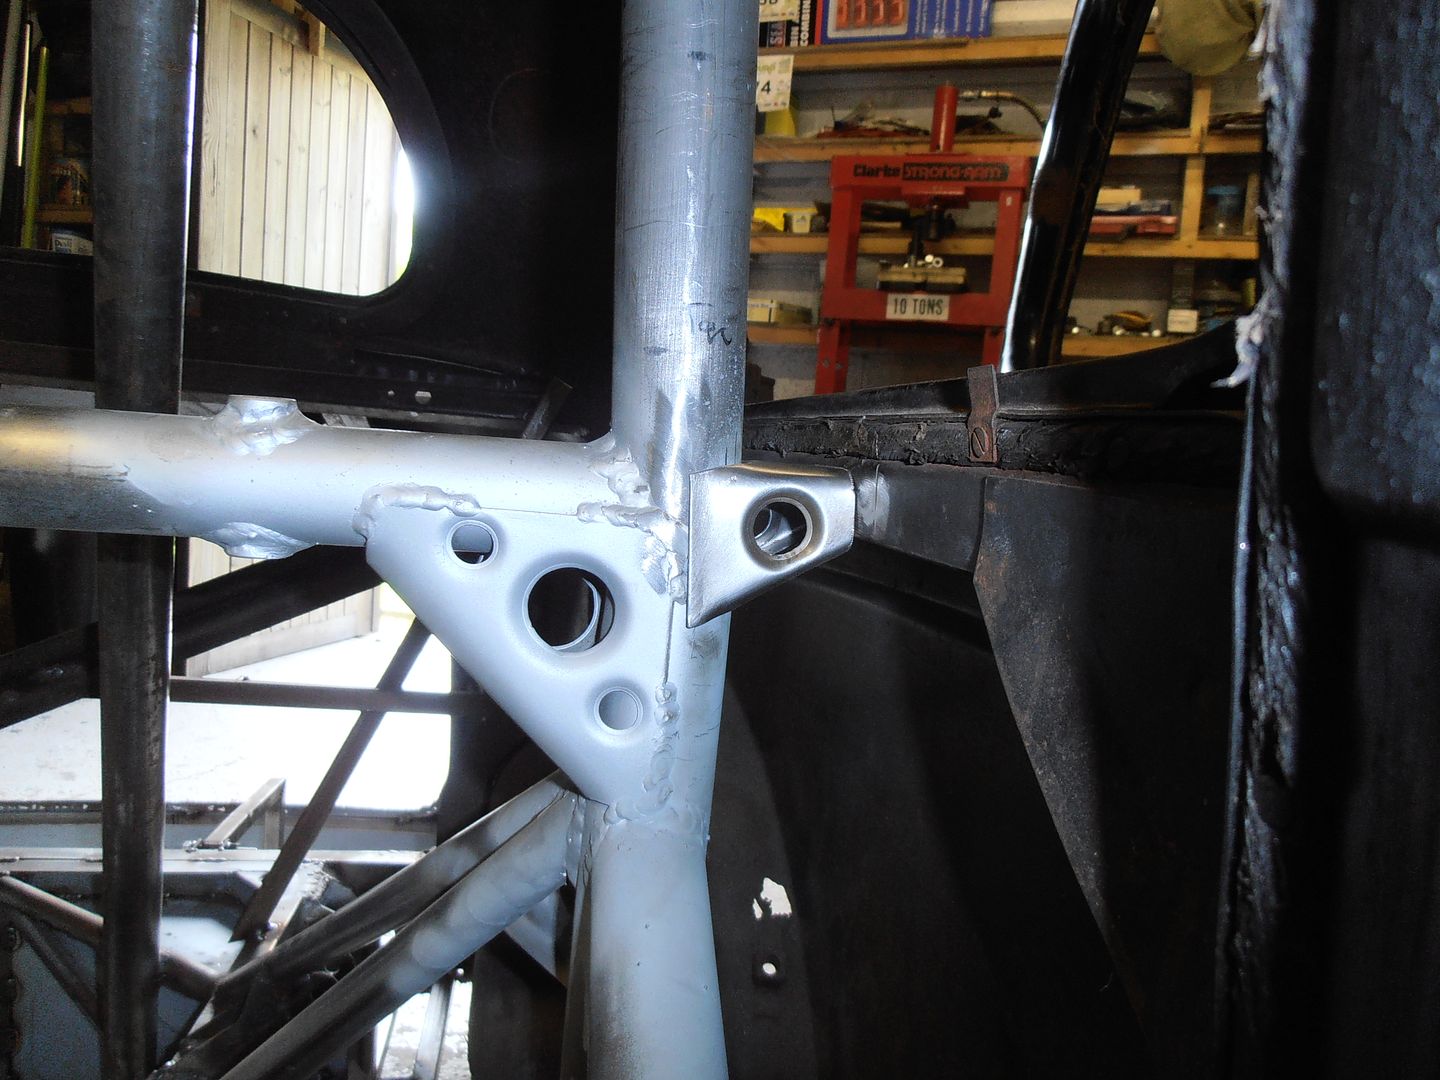 welded in (still needs a clean up) 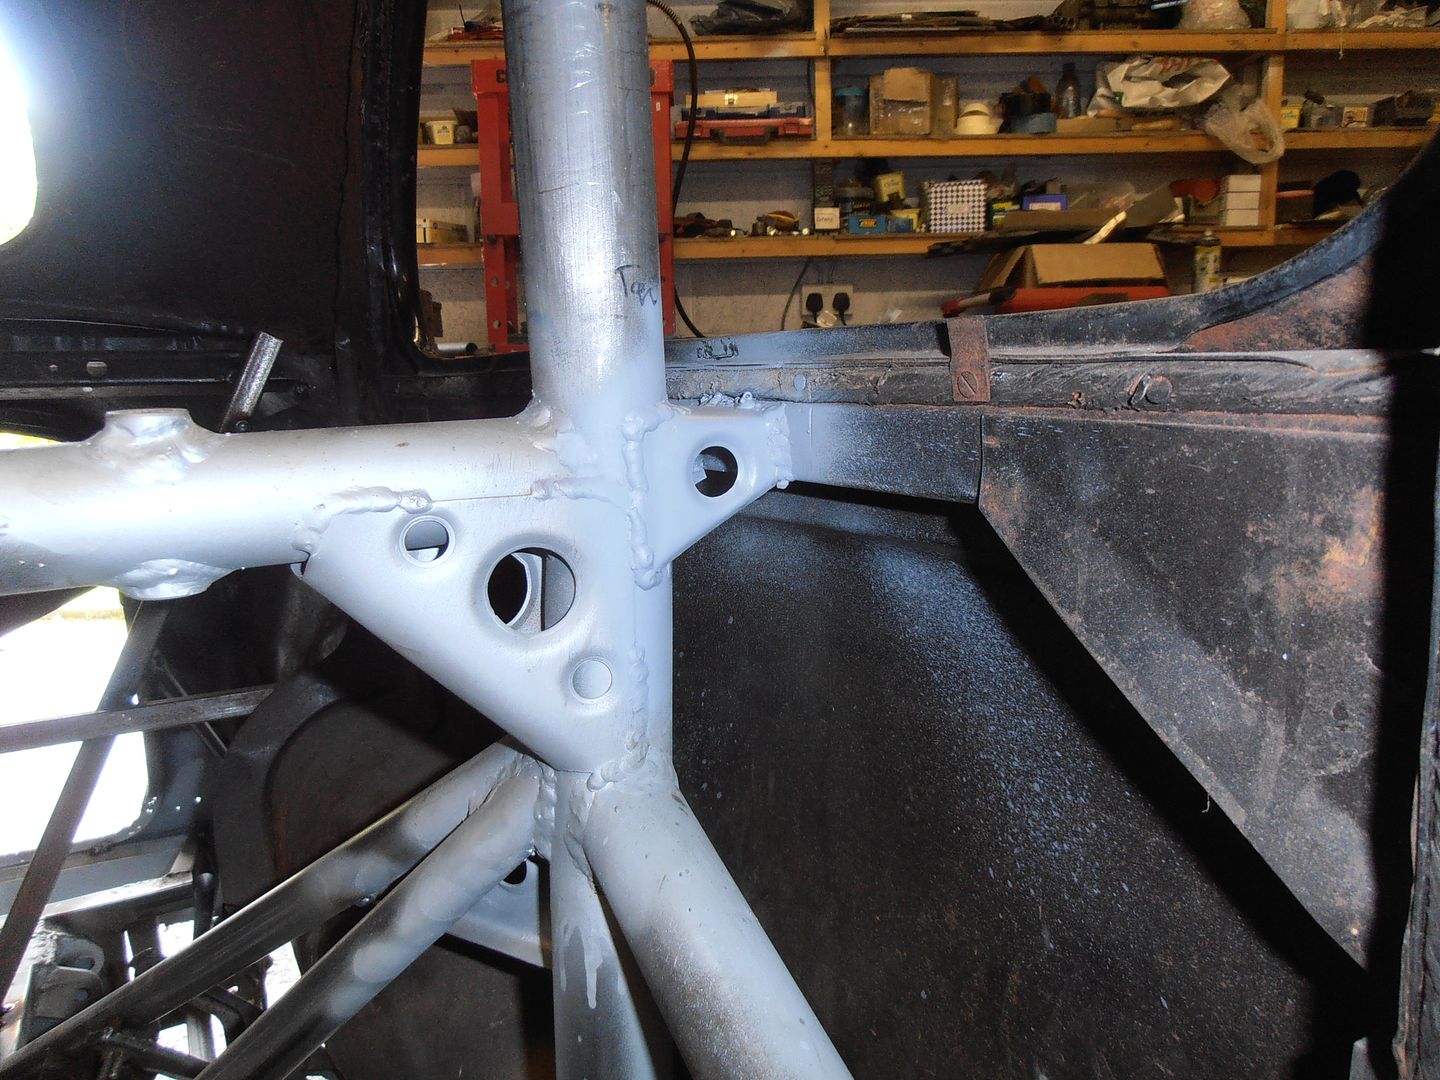 otherside 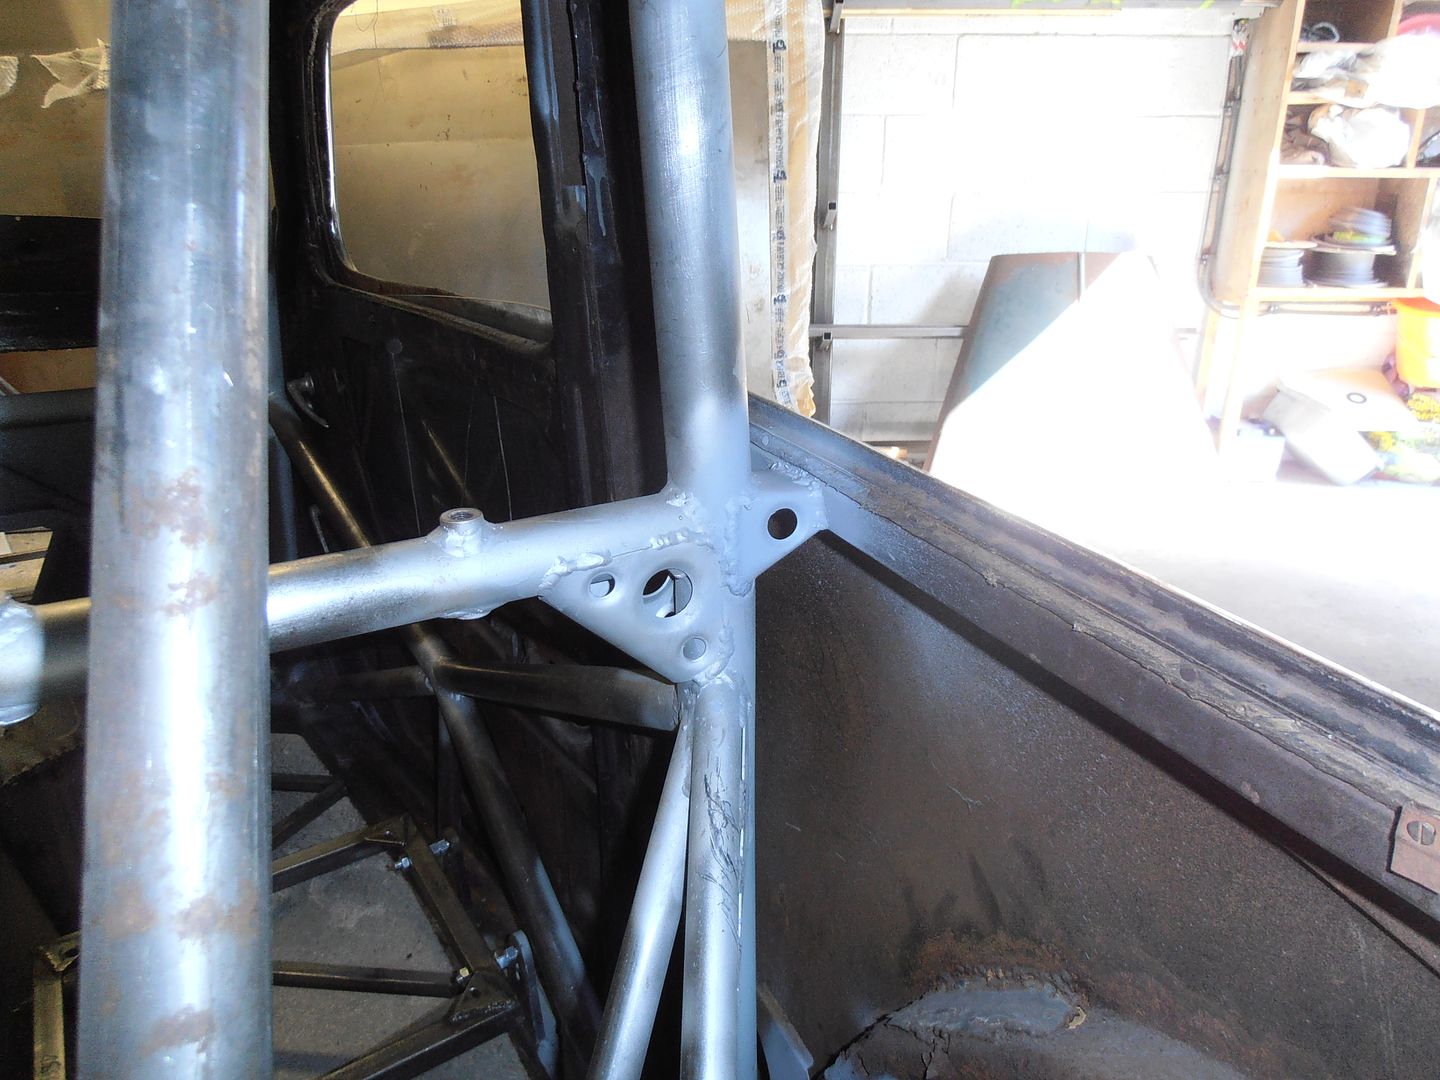 The shell is now suitably stiff. Manky old arch. 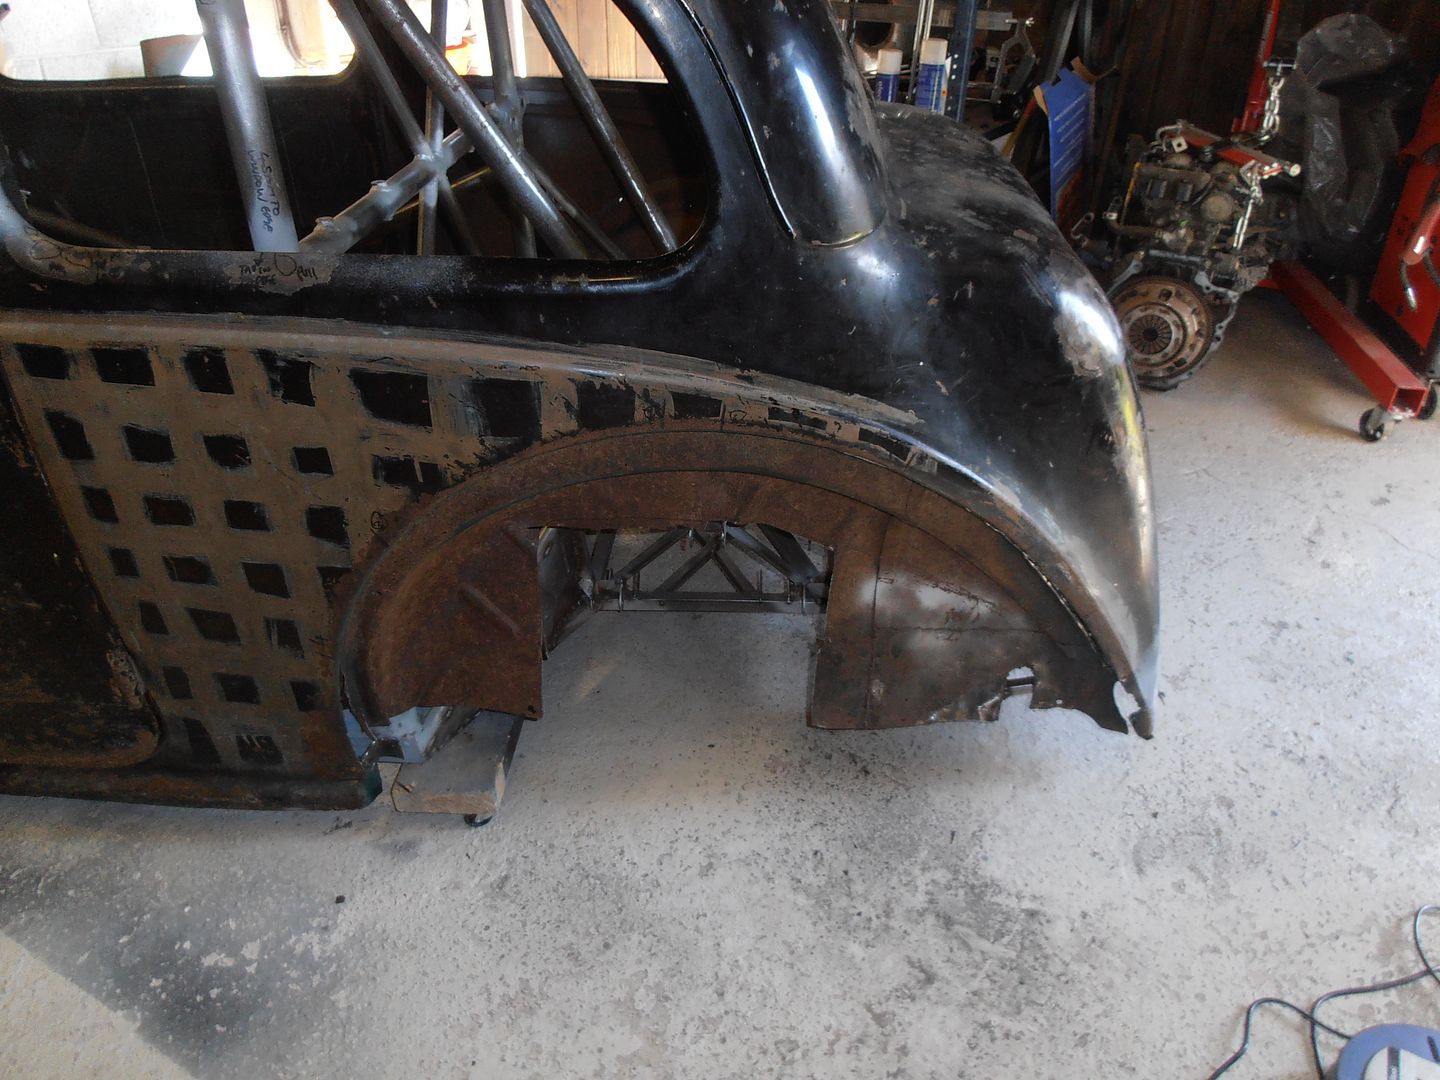 manky old arch gone 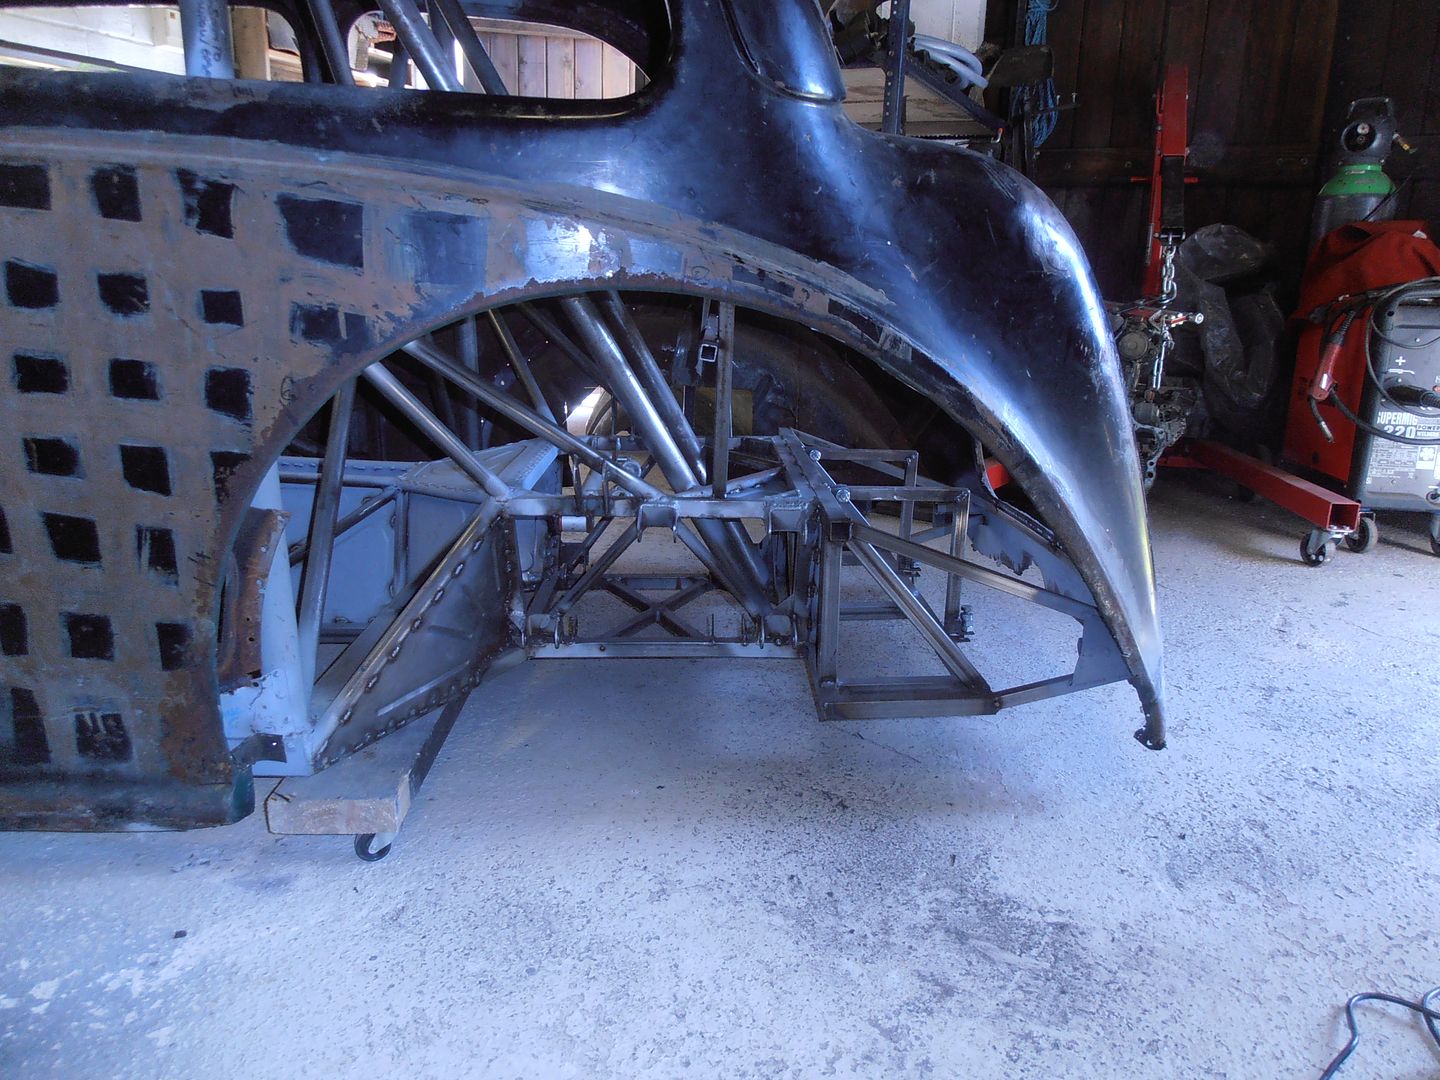 More ferrous for the recycling pile 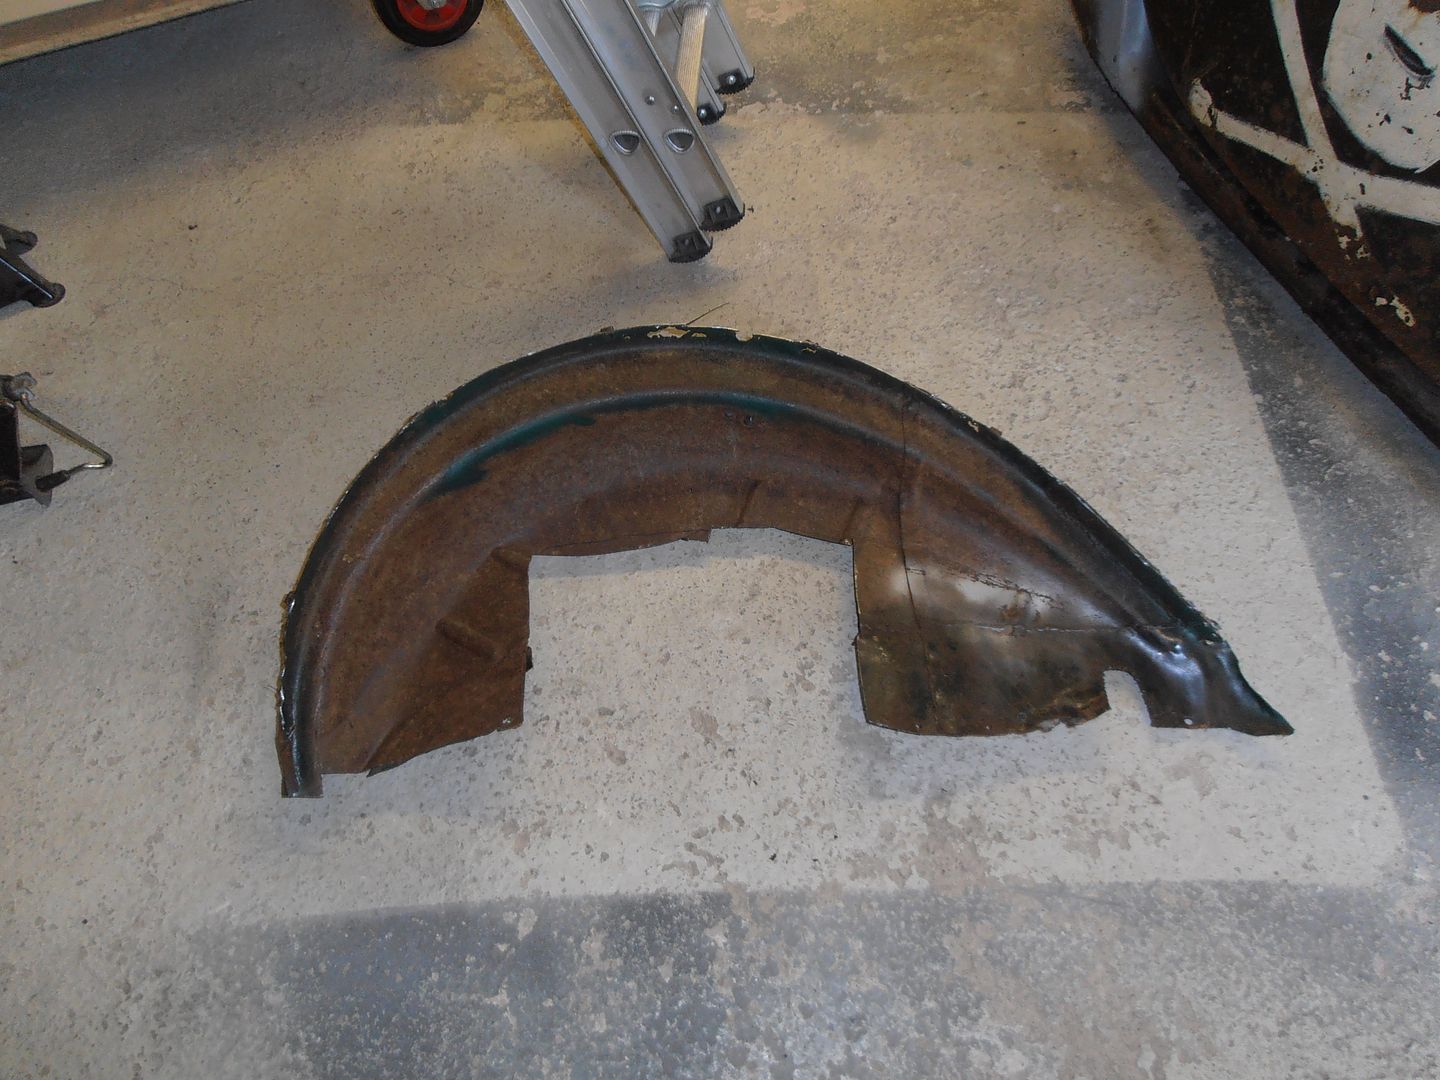 other side 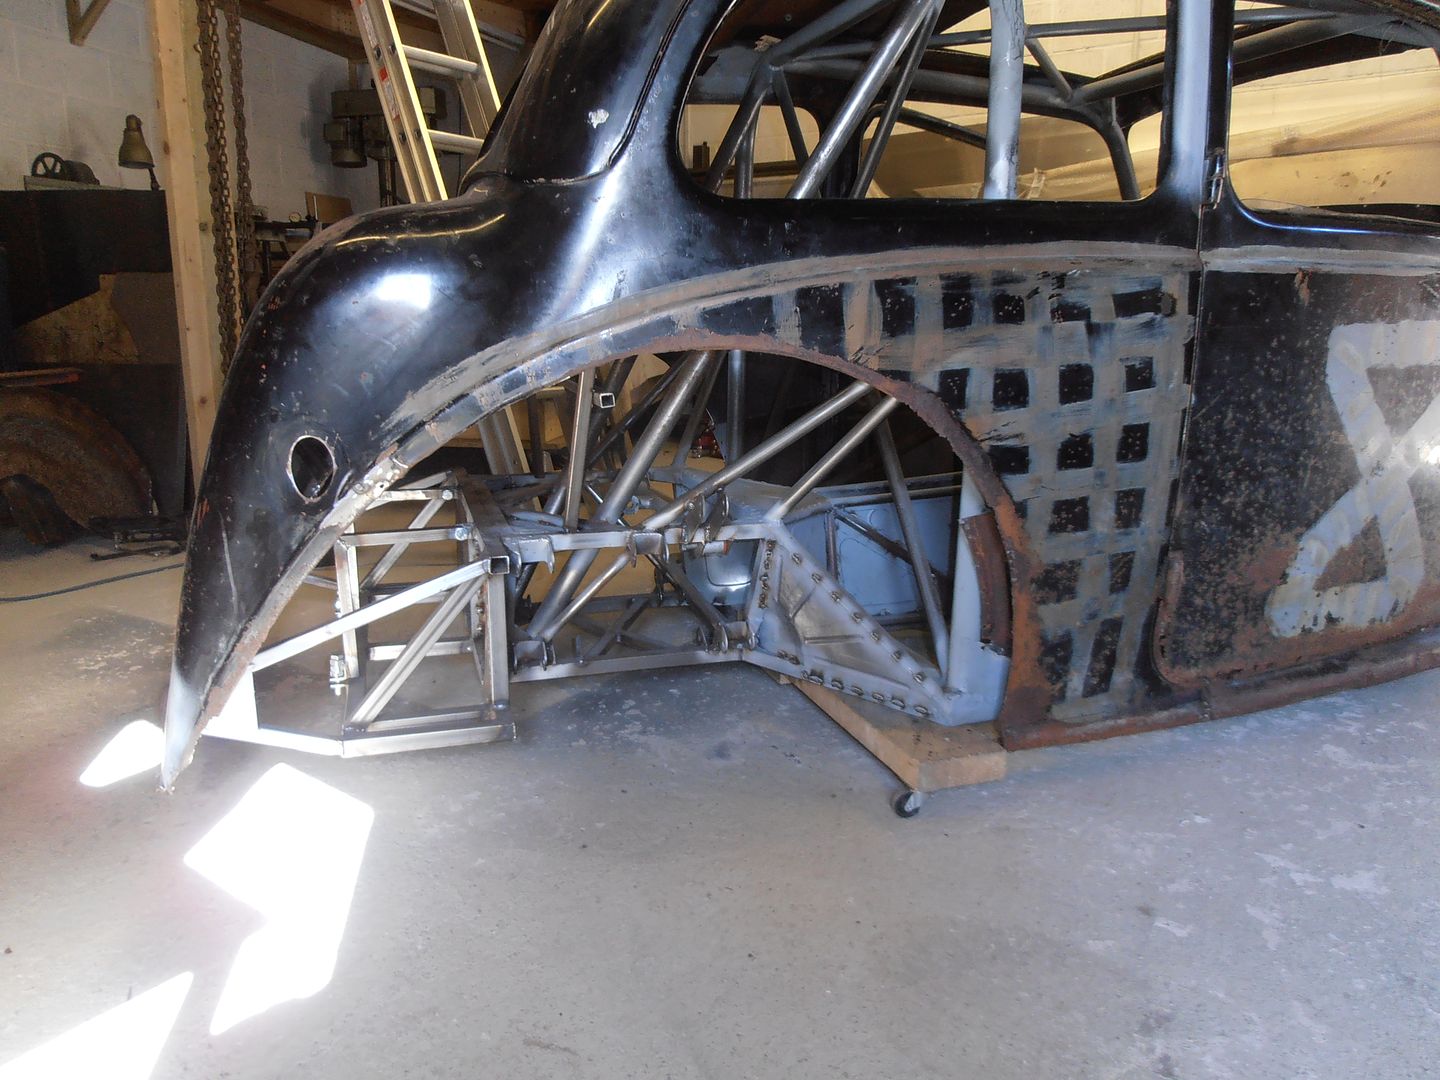 This was the end of progress for the day as the drummer in my band called to ask where I was.... turns out today is monday not sunday and I was late for band rehearsal. OOps Not sure when I'll get onto the morris again but might be a couple of weeks. |
| |
|
|
sonus
Europe
Posts: 1,391
|
|
May 25, 2015 20:41:53 GMT
|
|
Thanks for the update. Always looking forward to see your progress.
|
| |
Current
1968 TVR VIXEN S1 V8 Prototype
2004 TVR T350C
2017 BMW 340i
Previous
BMW 325d E91LCI - sold
Alfa Romeo GTV - sold
Citroen AX GT - at the breakers
Ford Puma 1.7 - sold
Volvo V50 2.0d - sold
MGB GT - wrecked by fire
MG ZT 1.8T - sold
VW E-golf Electric - sold
Mini Countryman 1.6D -sold
Land Rover Discovery TD5 - sold
|
|
|
|
