jonomisfit
Club Retro Rides Member
Posts: 1,790
Club RR Member Number: 49
|
|
|
|
Yep, its definitely a road car and is very unlikely to make it near a track when complete. Going by my past precedence its also unlikely to get driven much when it is done.... I'm not overly concerned over the current arrangement once I have a high misalignment bearing fitted. I did a some calcs on it when I designed it. When you look at ball centre location for the MX5 joint verses my setup there is minimal difference in steering arm face to ball centre between them. The setup I have has a 12mm stub coming straight up from the steering arm, where as the MX5 joint necks down from 12.5mm to a fraction less than 10mm after the end of the taper (you cant see this unless you cut off the boot). 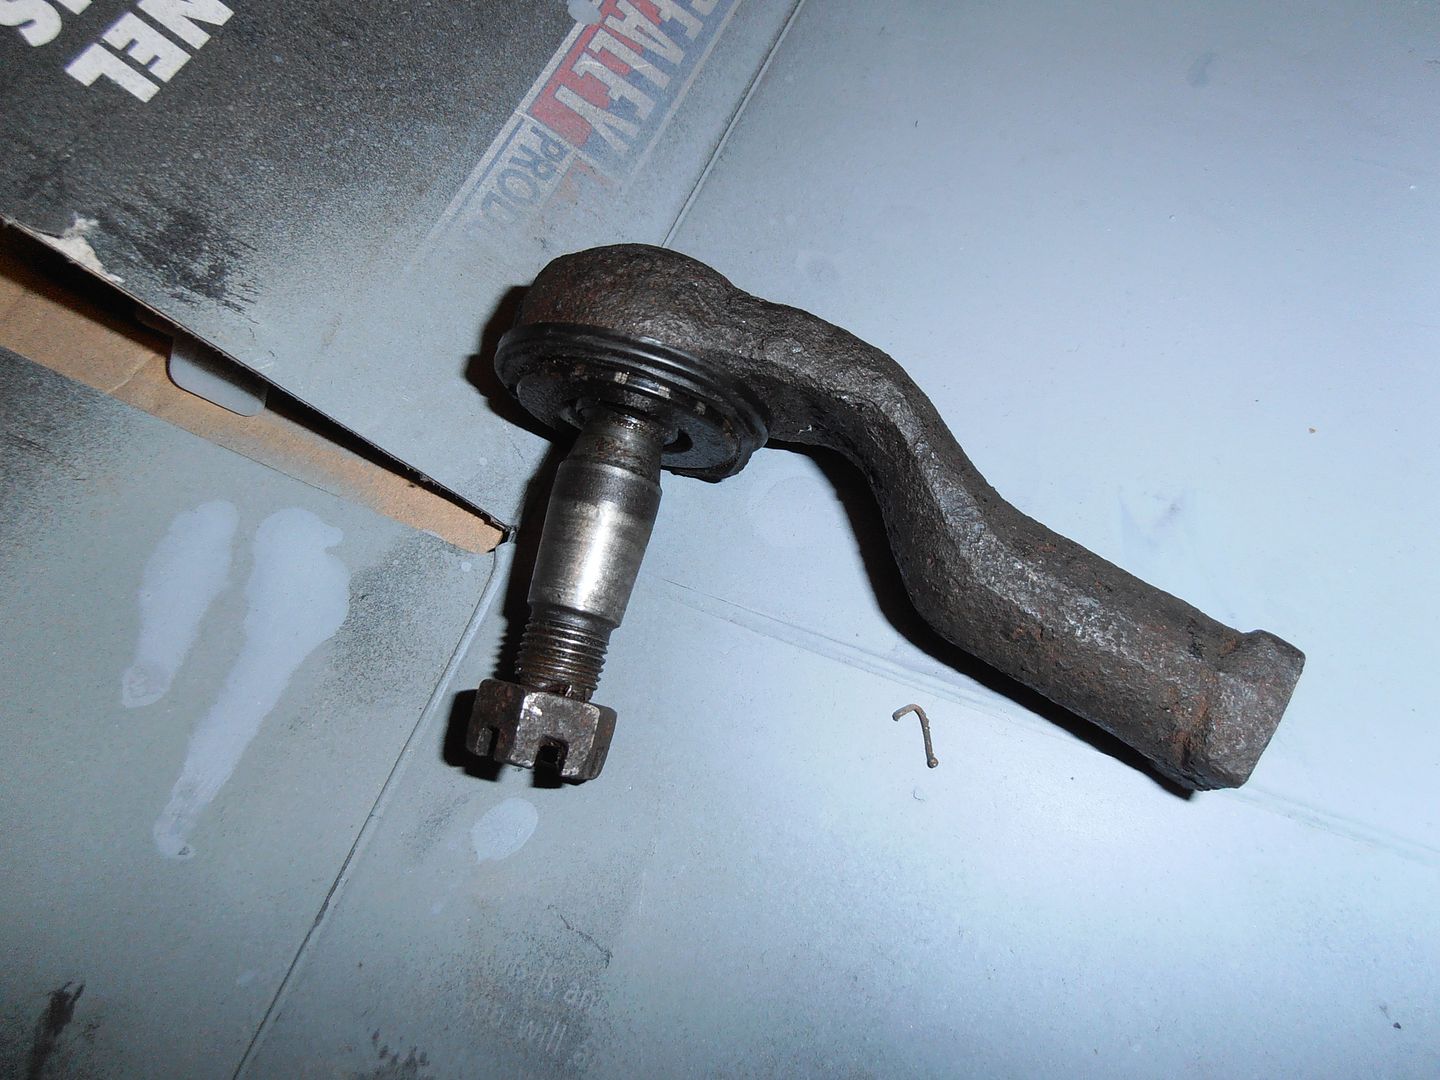 My design also has a 12.9 bolt up the centre of the stub threaded into the middle of the taper. This give a significant compressive load to the spacers, and joint centre. The standard ball join has the narrowed stem under direct bending loads as it prob about 1/2 way from the ball centre (and hence load point) to where the taper sits in the hole (end of the discolouration on the above pic). The standard track rod end is evidently strong enough for the loads imposed over many many cycles, which makes me suspect even at a 10mm diam minima its fairly oversized. I might look at how I could add a second bracket on though so I can put it in double shear and take out the majority of the bending loads. I have a late model upright which has a pad for an ABS sensor on it. I think that would be adaptable to drill, tap, and mount the arm (as I don't have ABS). That said I shall also give this all some though as how to proceed as It may well be easier to make use of the standard track rod ends. I've got a spare upright, so might look at buying the correct size taper drill and reamer for the MX5 joints to give it a try. If i'm not happy with it after cutting I still have the option of cutting a parallel bore to fit a taper insert if that's the way I want to go. |
| |
|
|
|
|
jonomisfit
Club Retro Rides Member
Posts: 1,790
Club RR Member Number: 49
|
|
Feb 20, 2016 18:58:42 GMT
|
So finally spent some time in the garage today after a busy few weeks on other things. Thought I better finish my shrinker and bead roller stand. turned a couple of nuts down to fit inside a tube 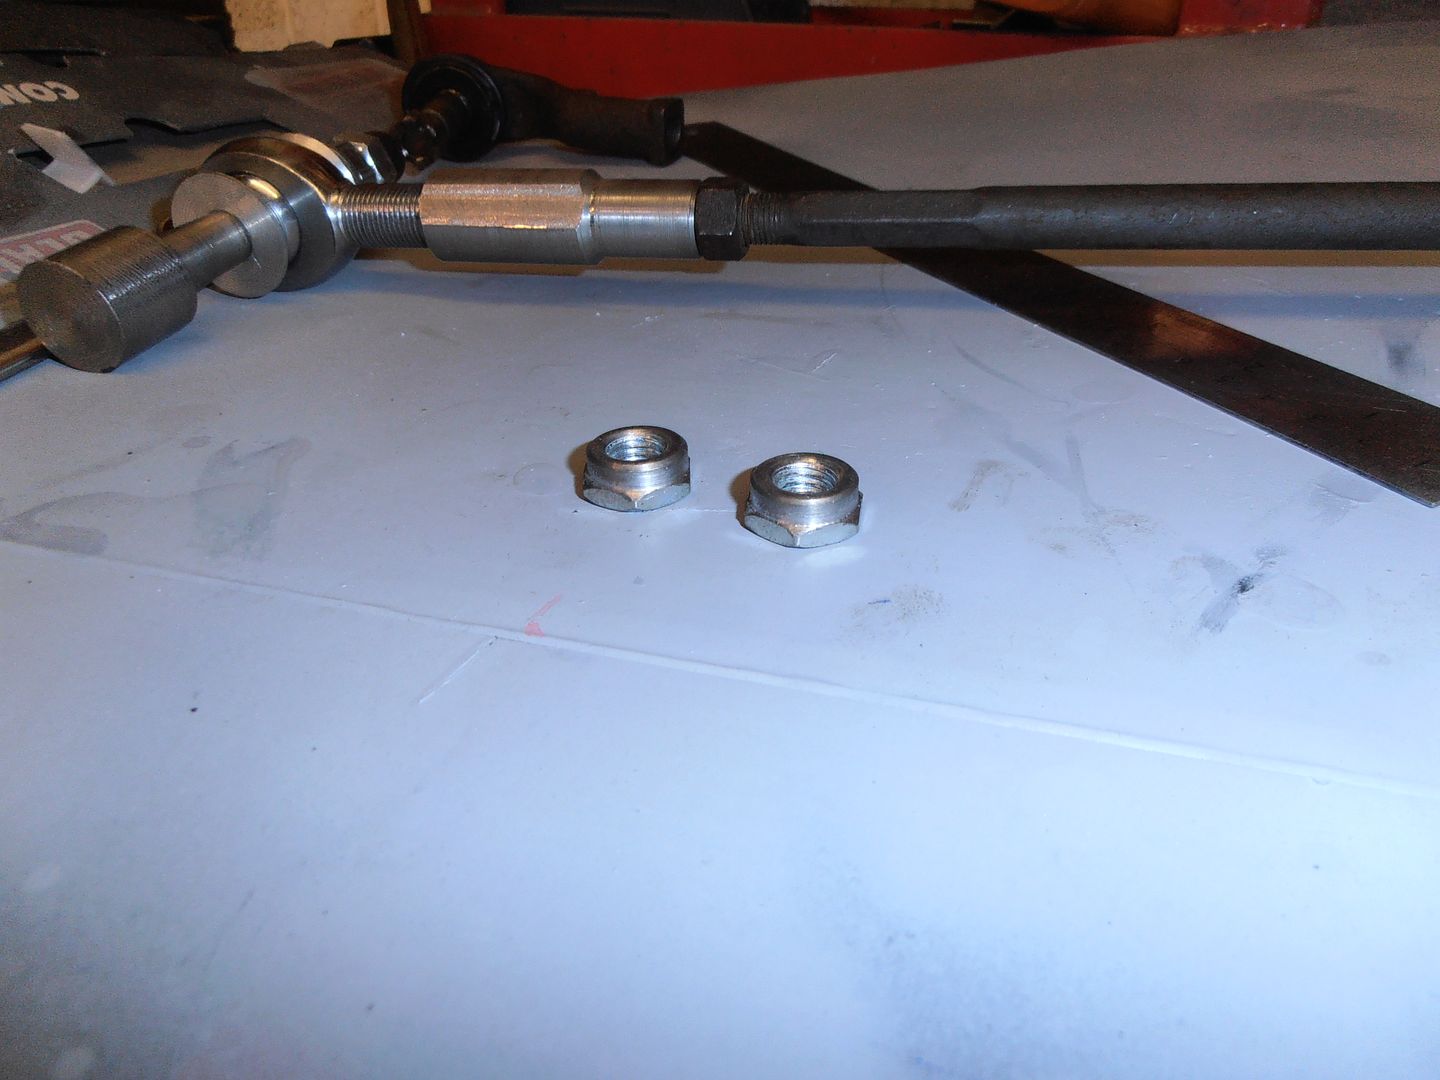 then machined up a piece of aluminium for a bush and cut a cout of pieces of tube to the right size 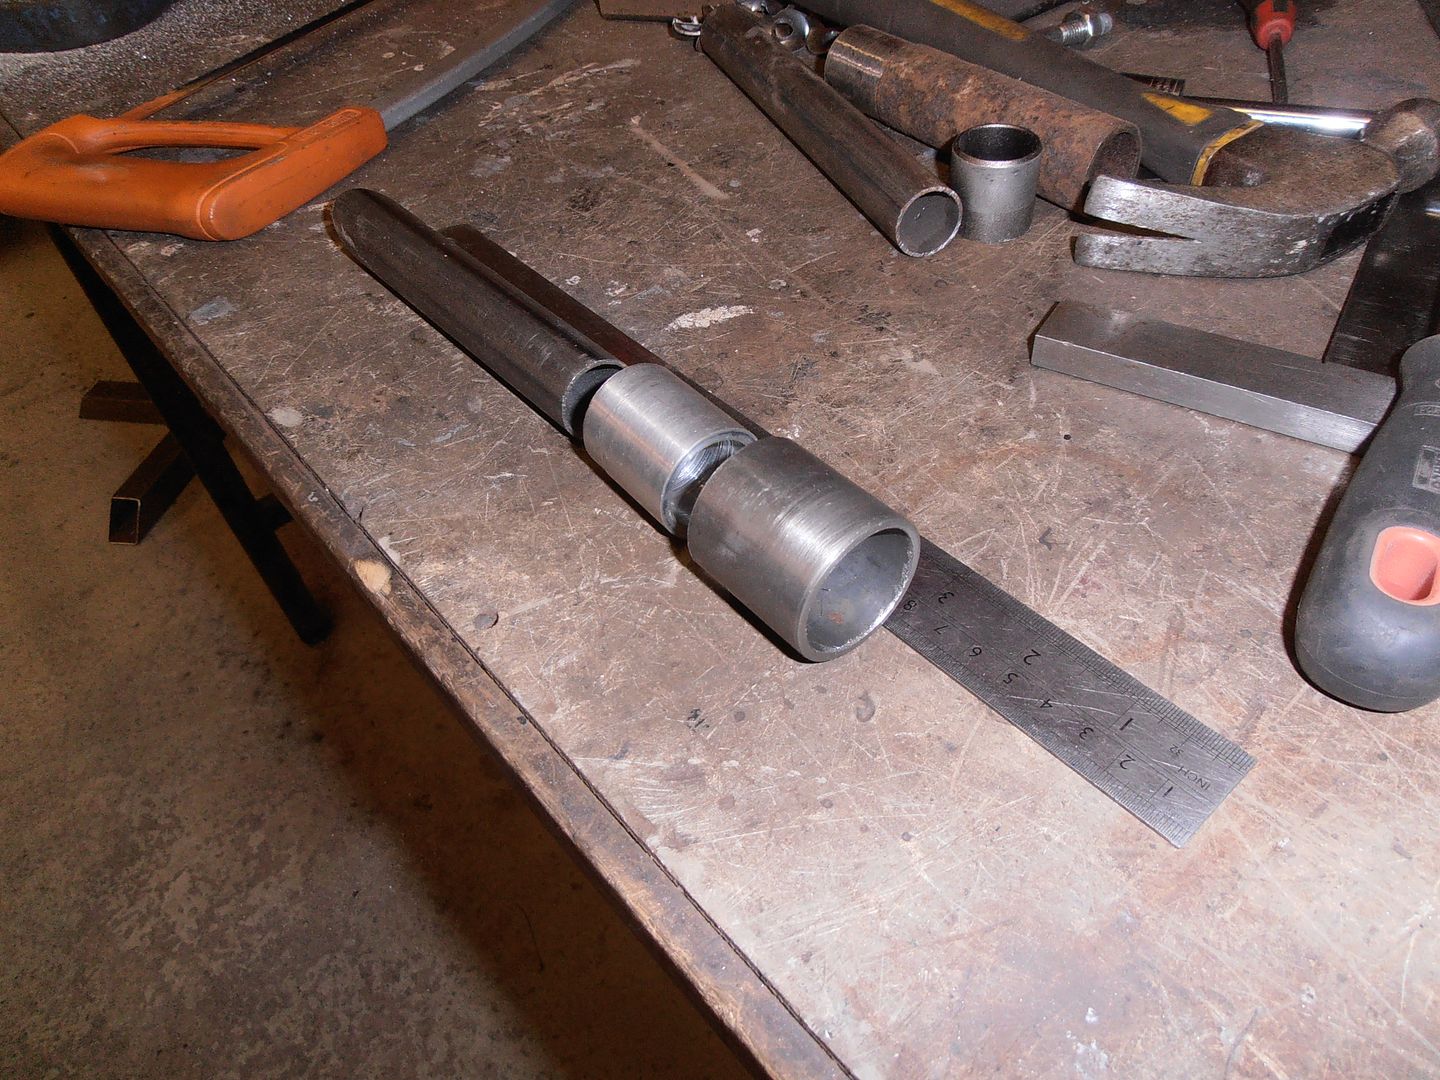 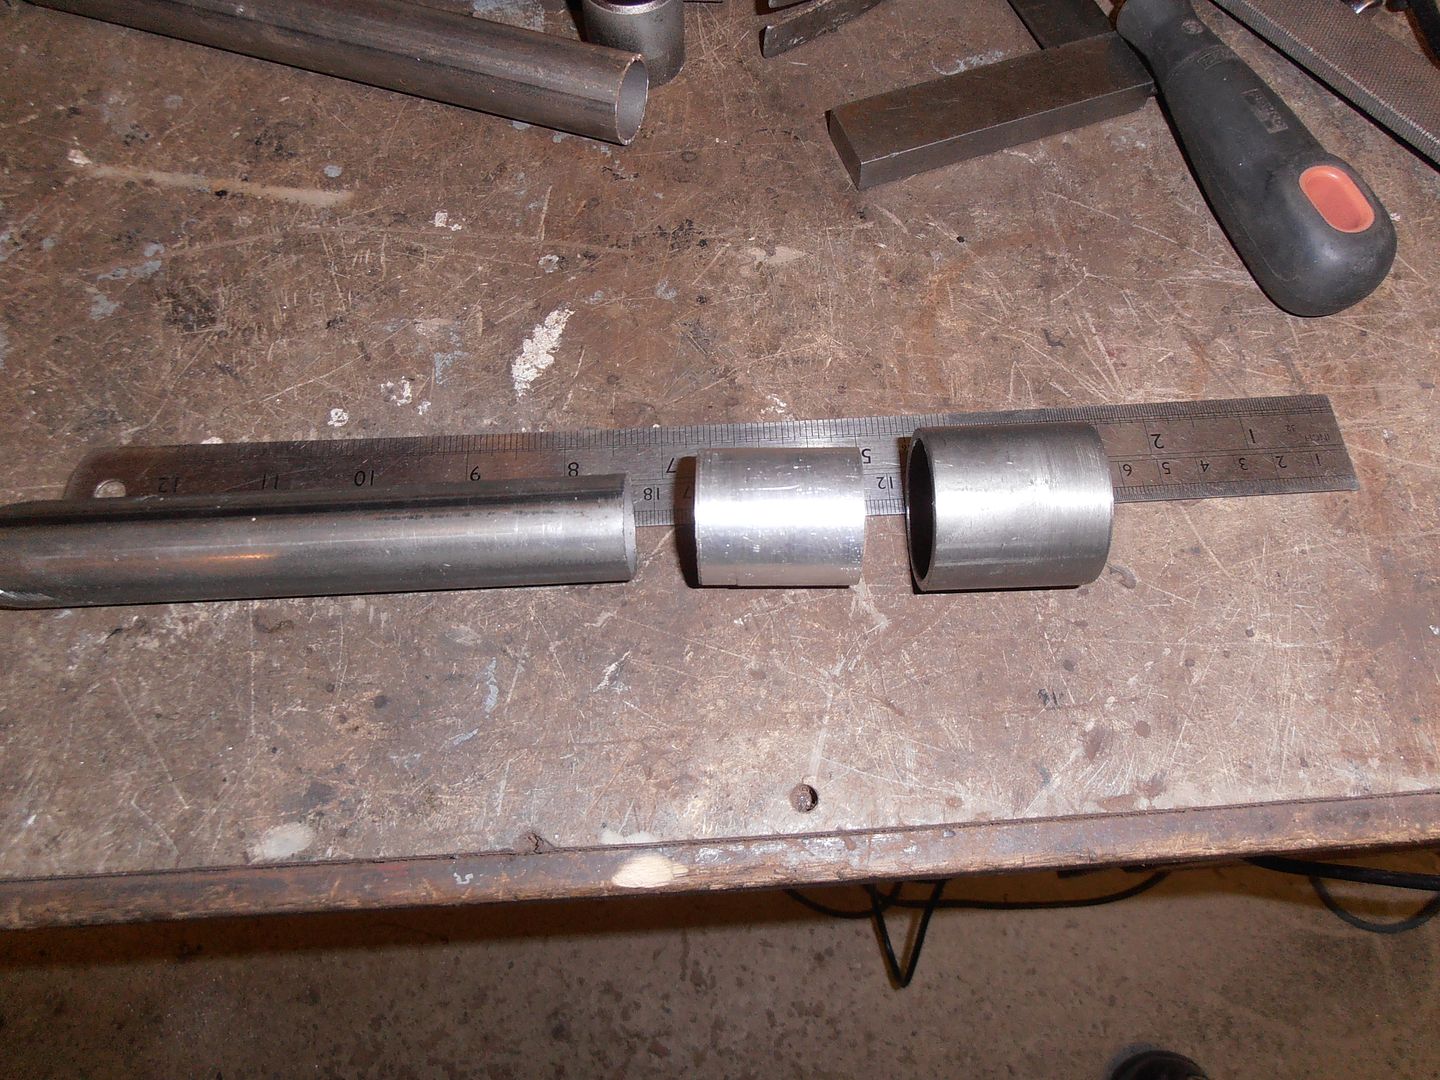 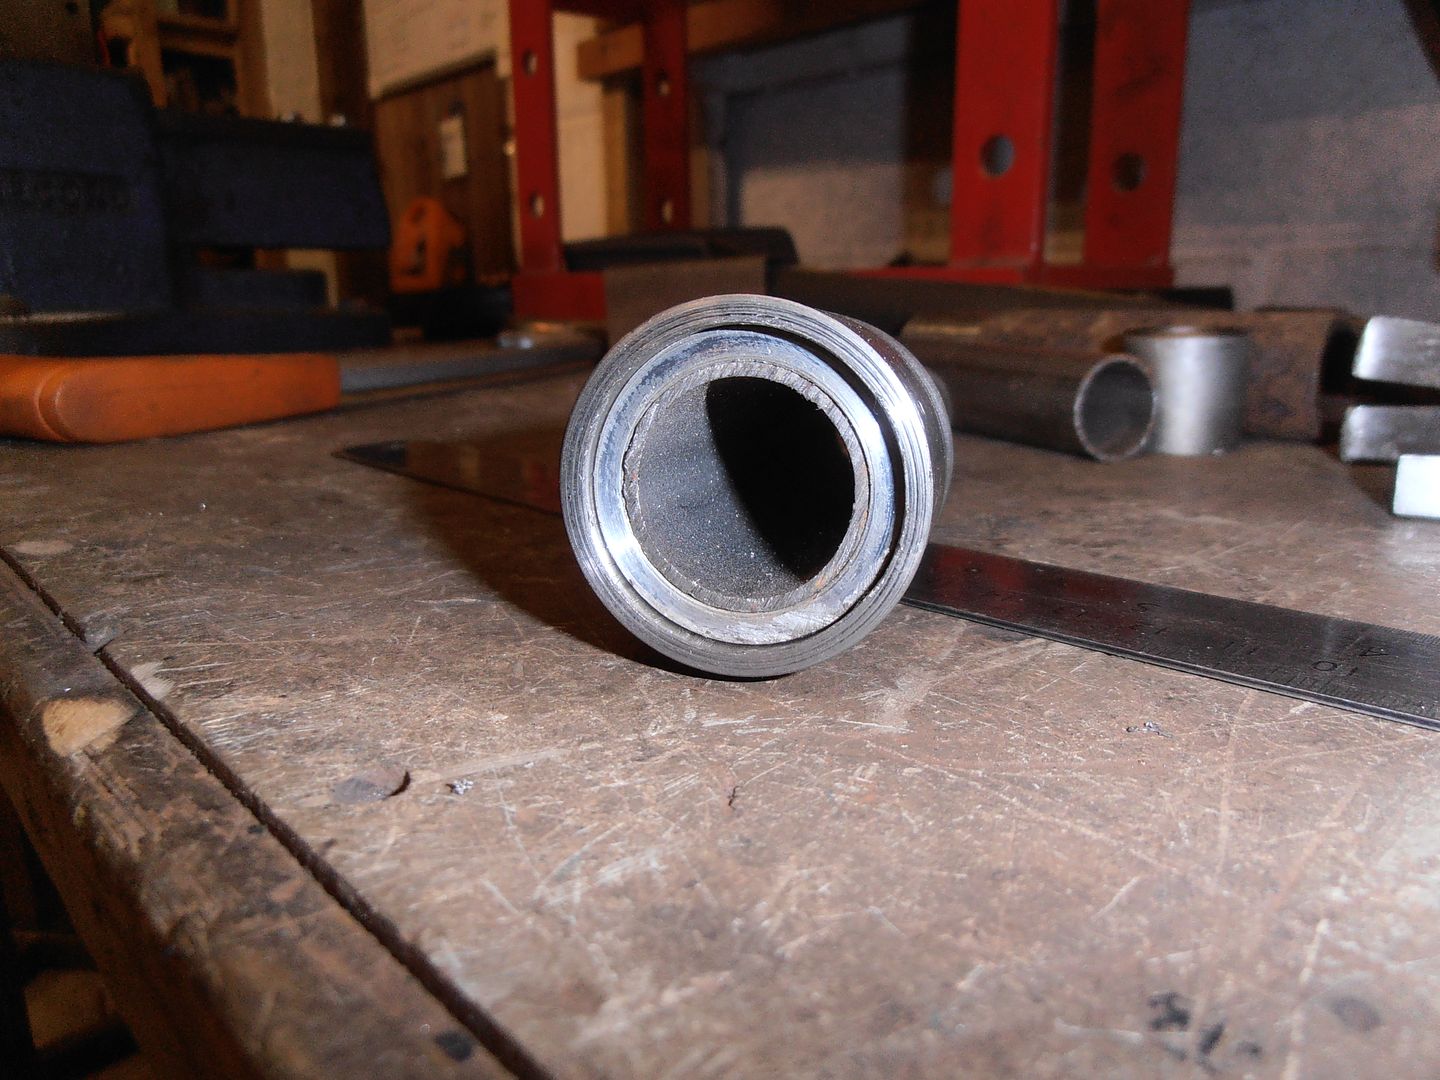 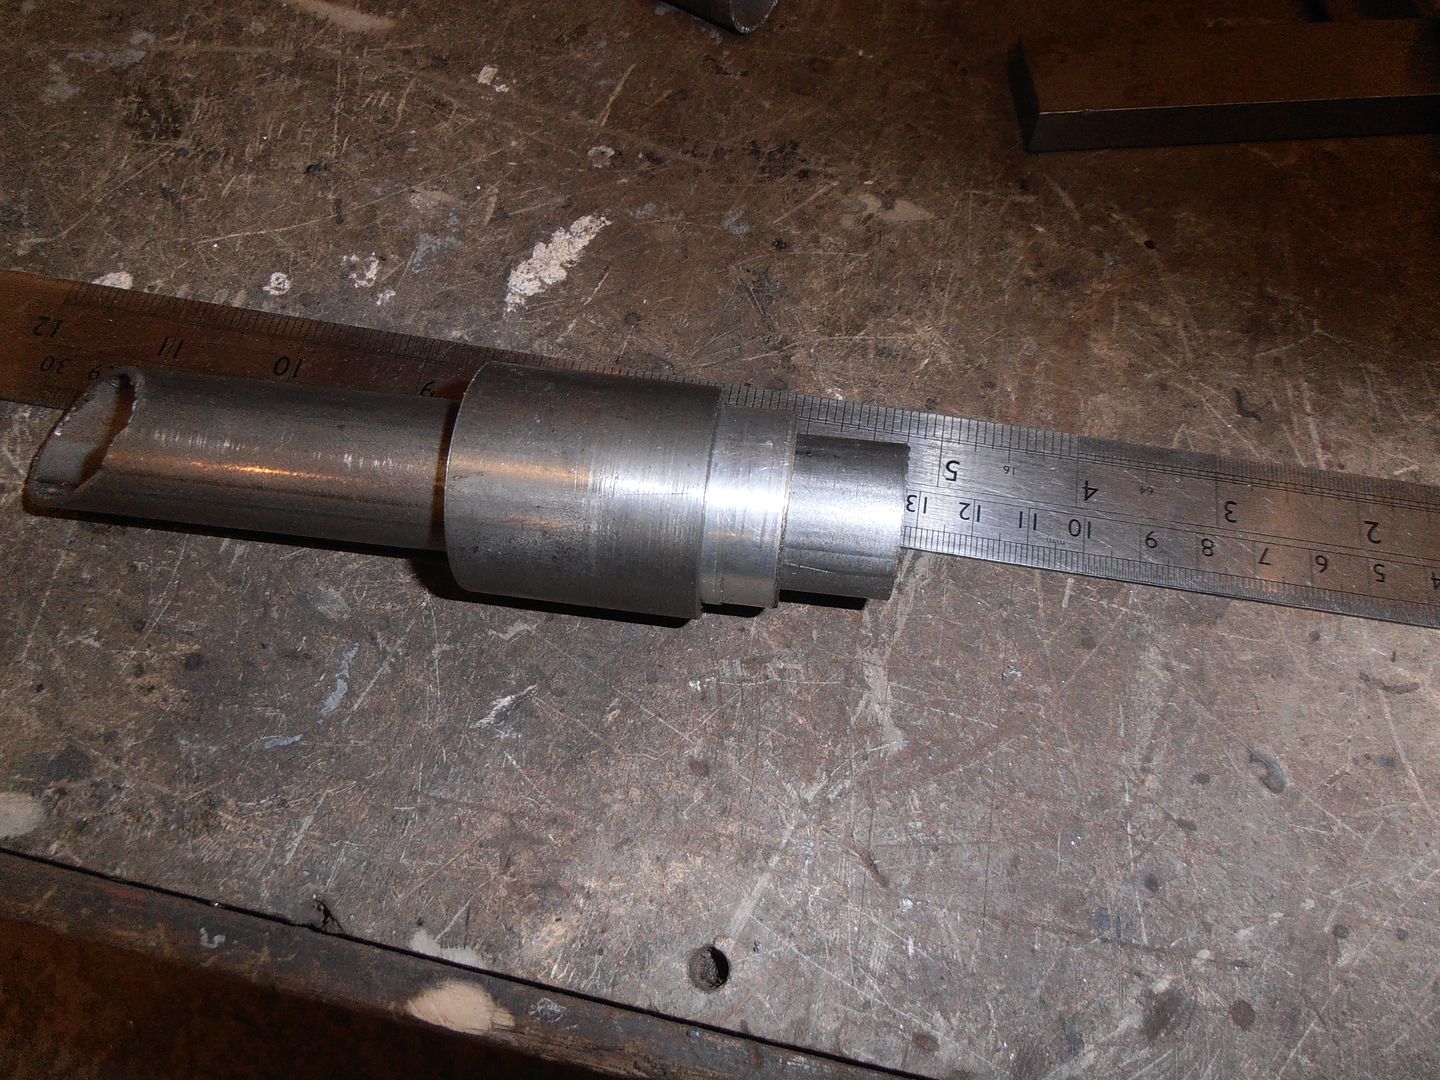 then forgot to take picture for quite a while..... 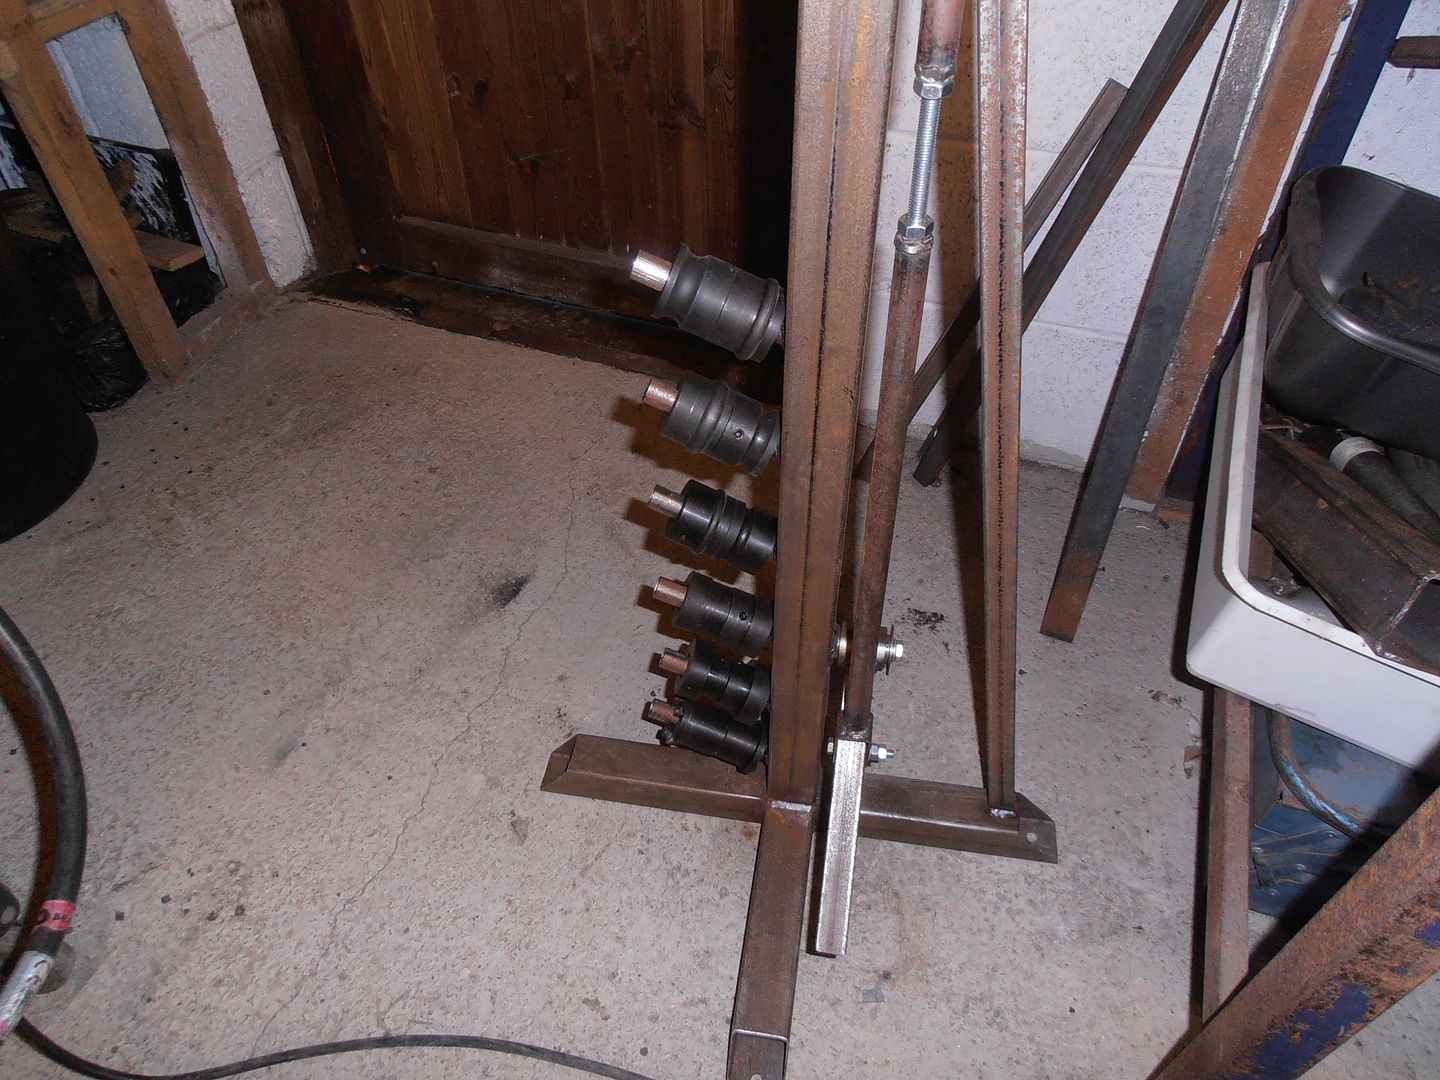 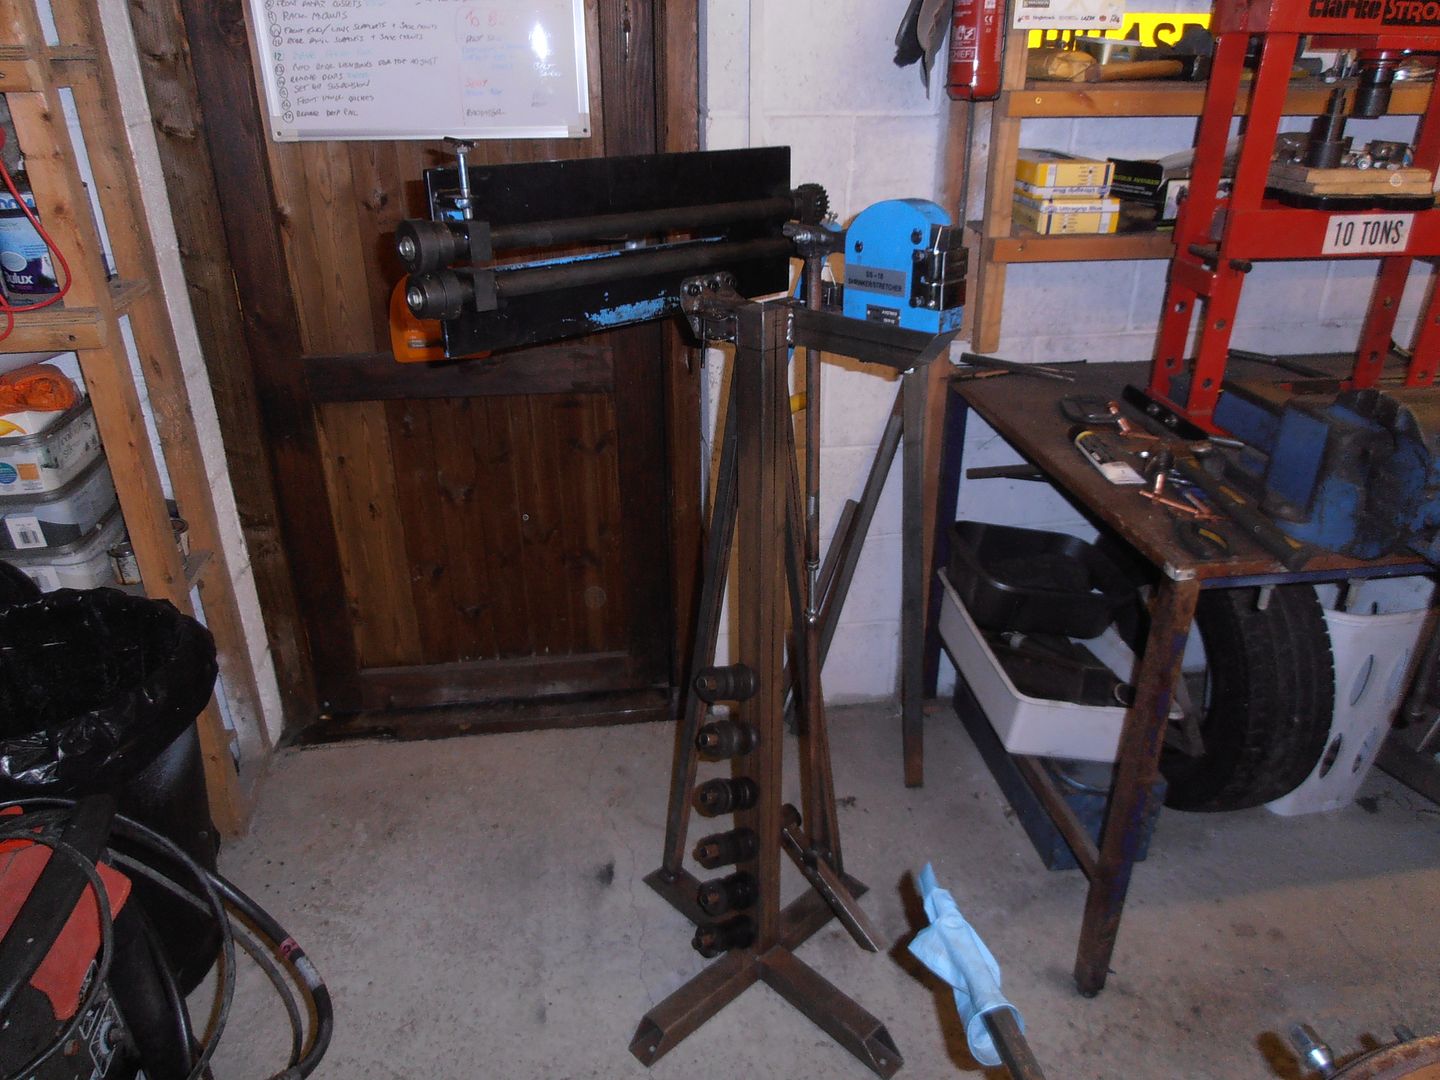 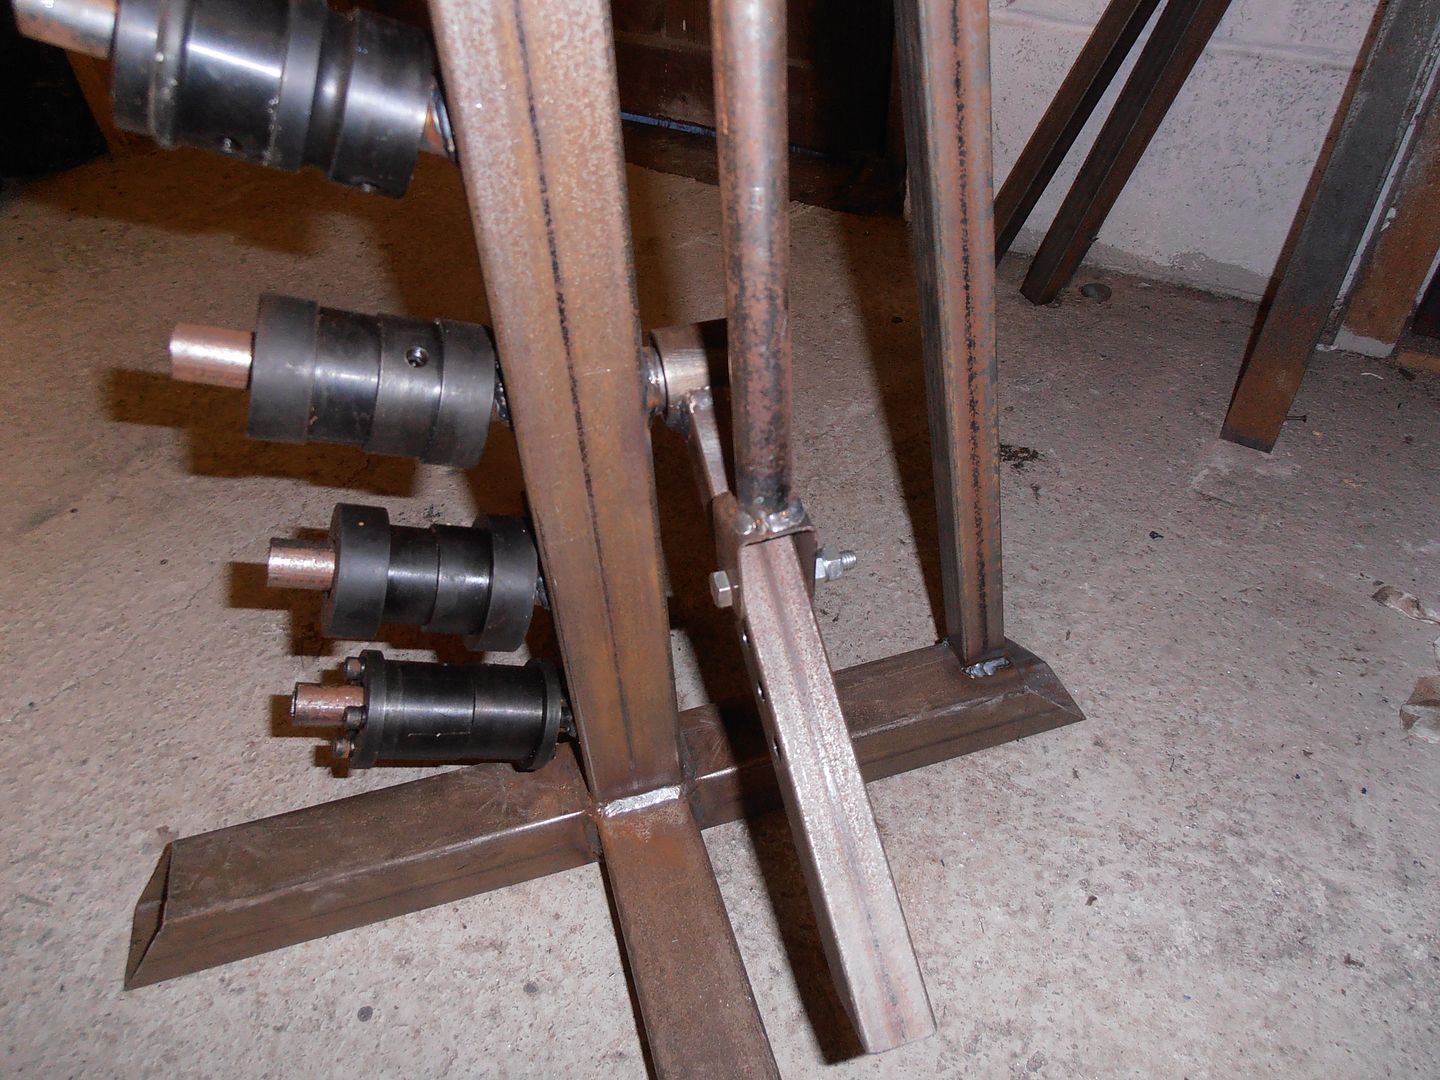 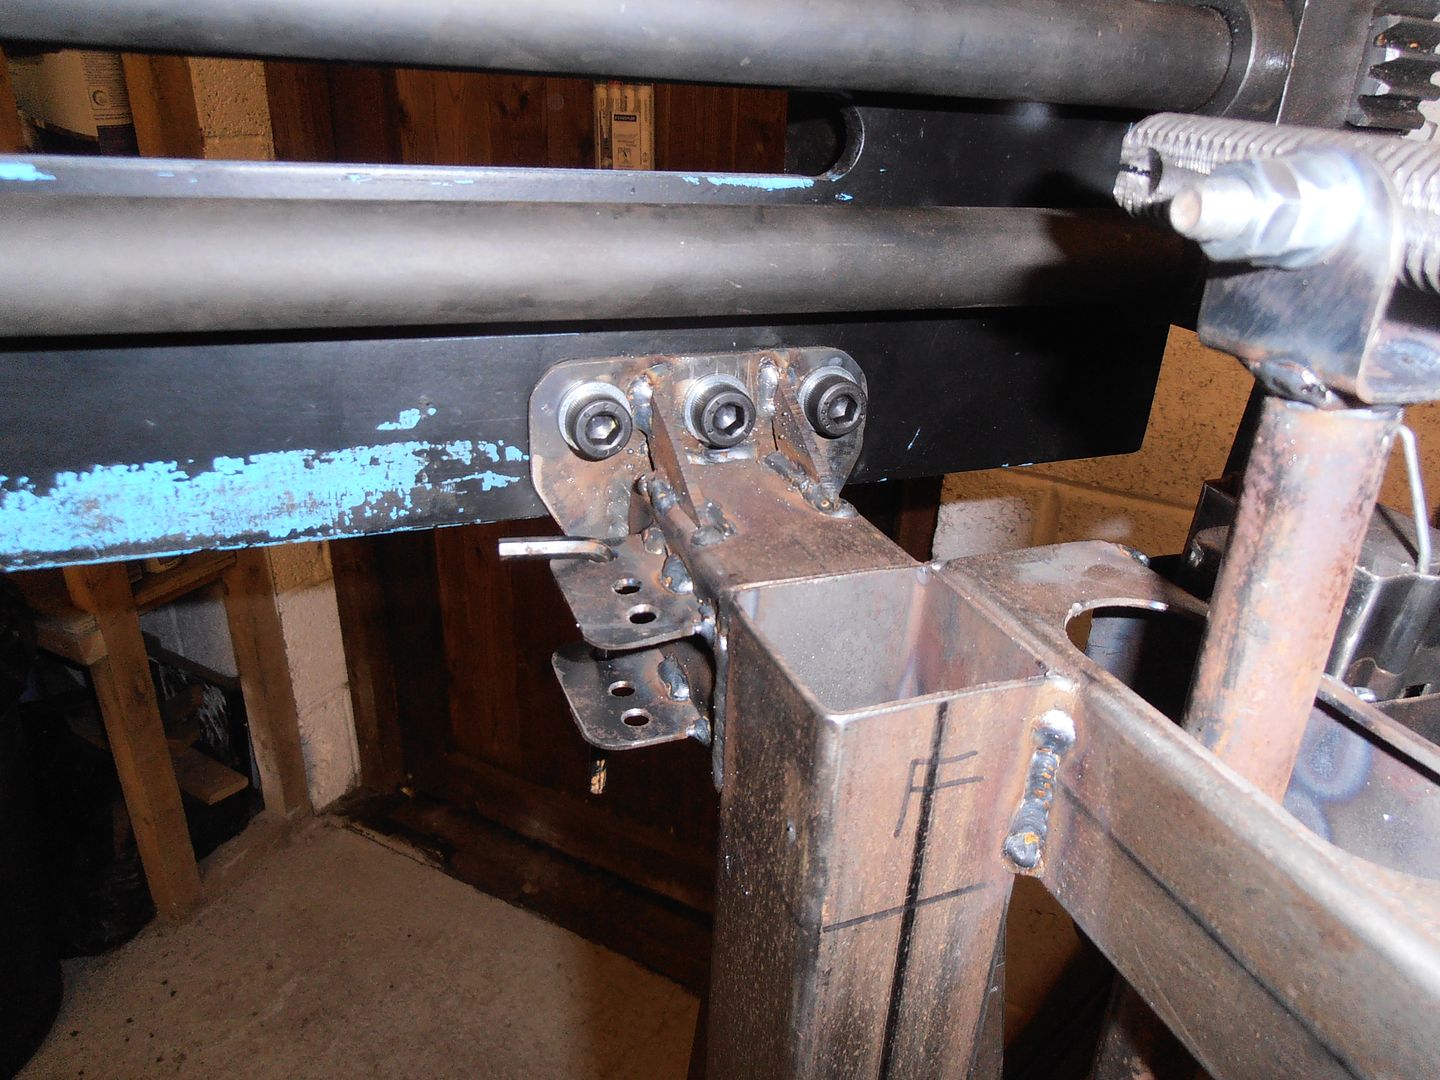 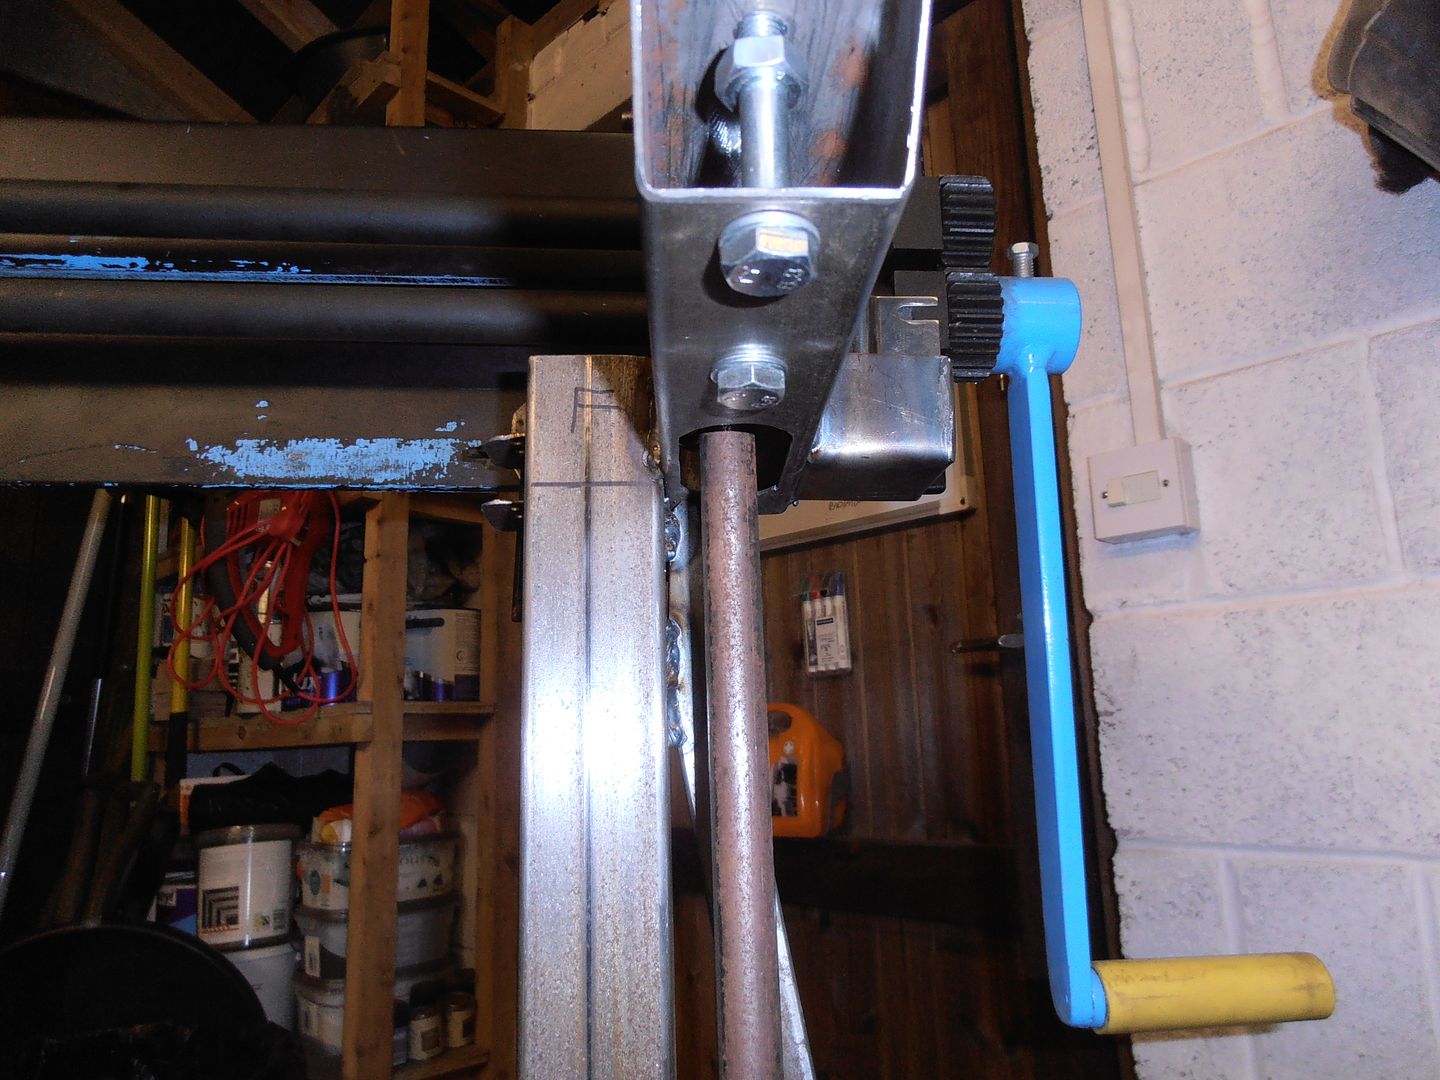 needs some tidying up still 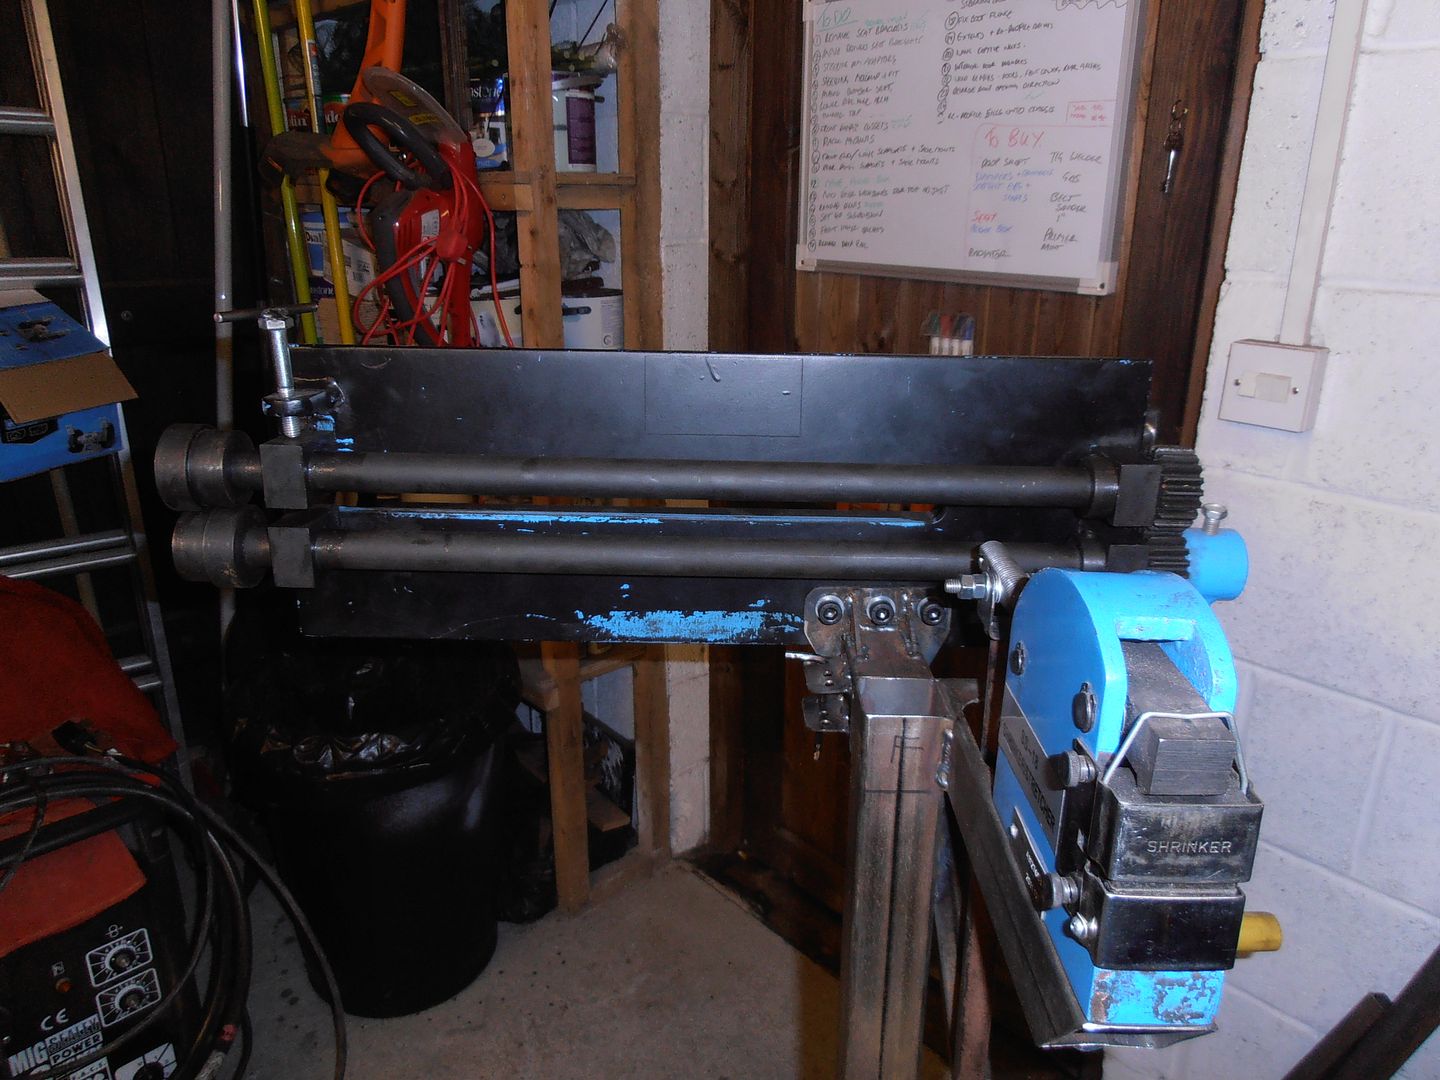 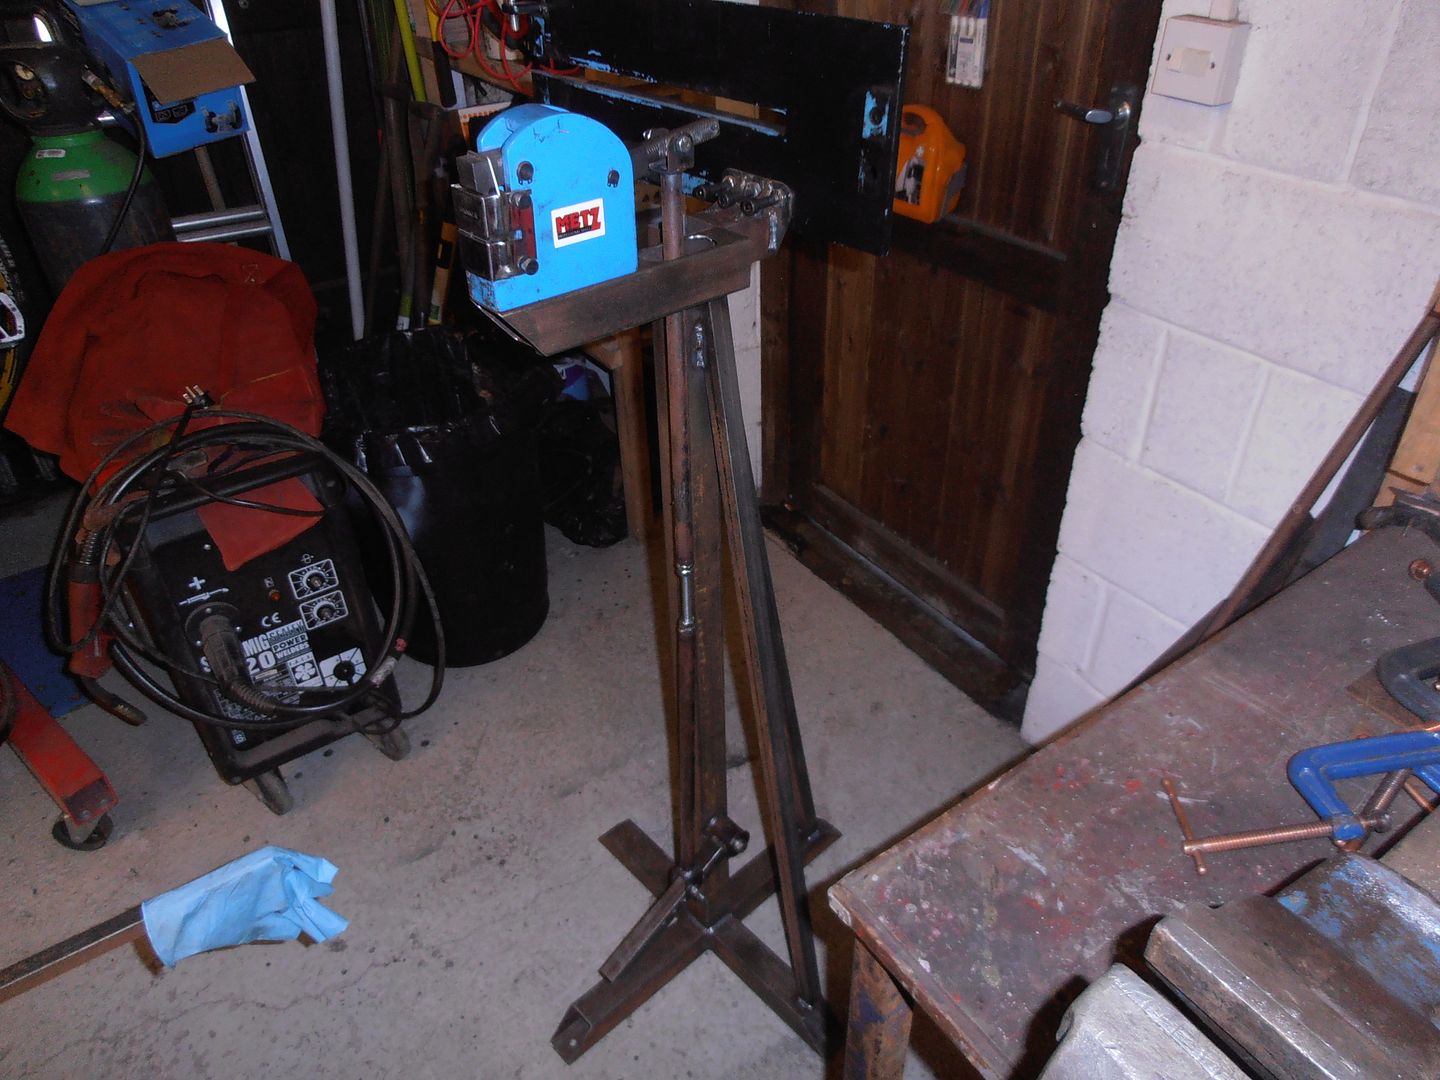 Pedal is adjustable so I can set for length / force 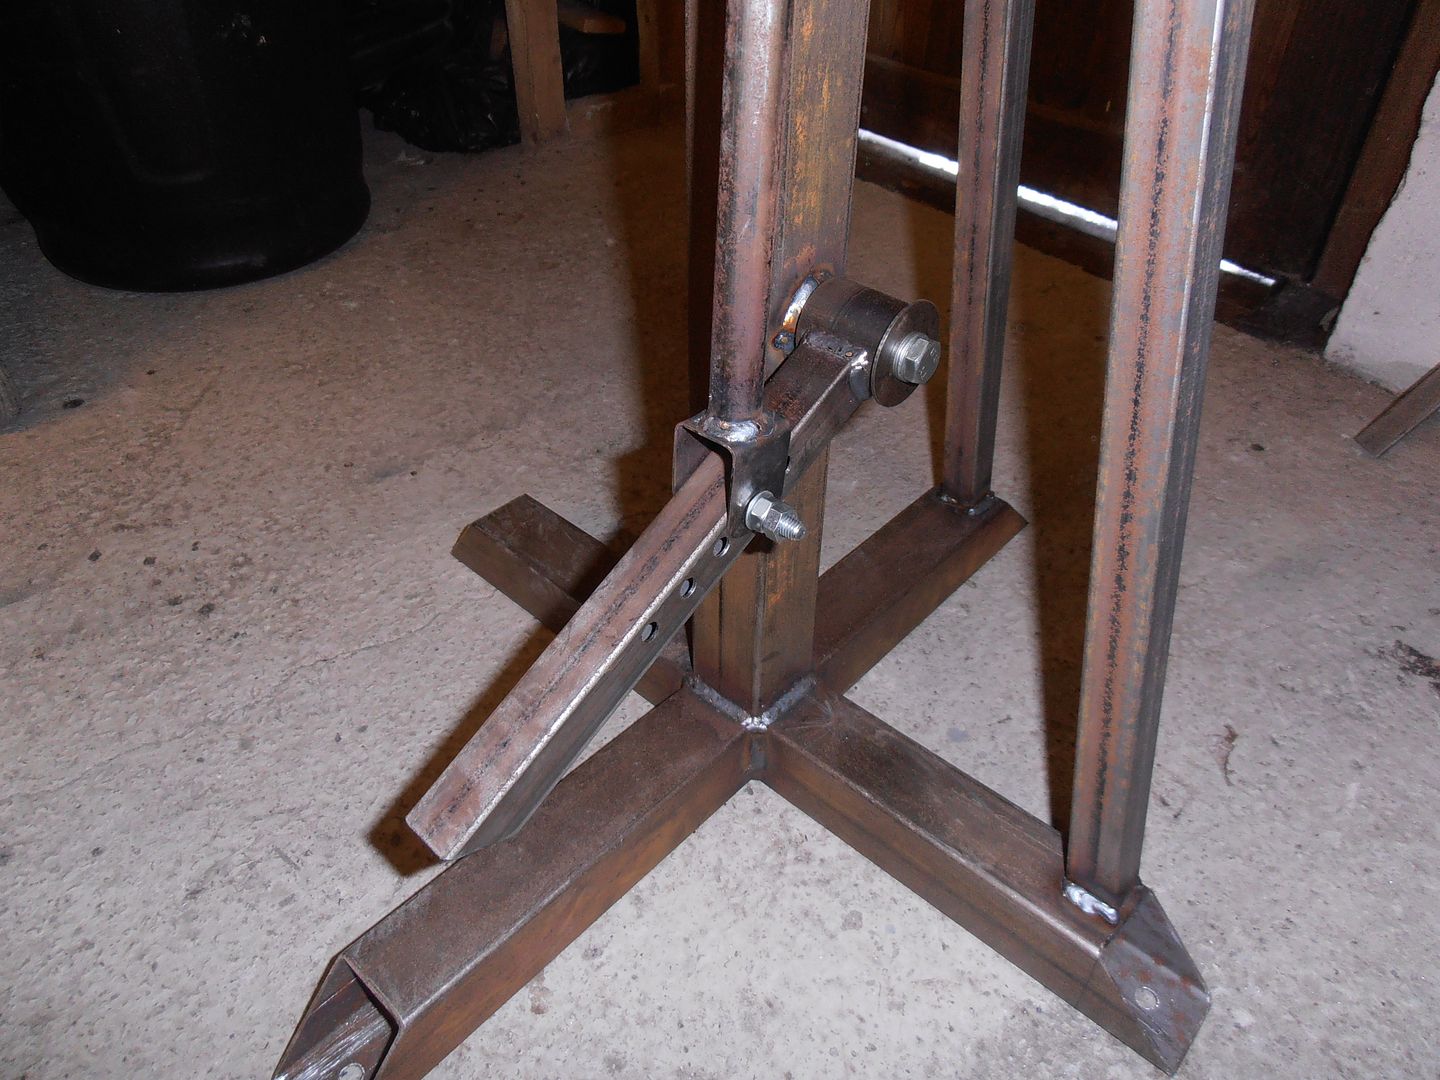 Just need to get a spring to pull it back up Threaded is rod is for future expansion and linking to a second shrinker / strether 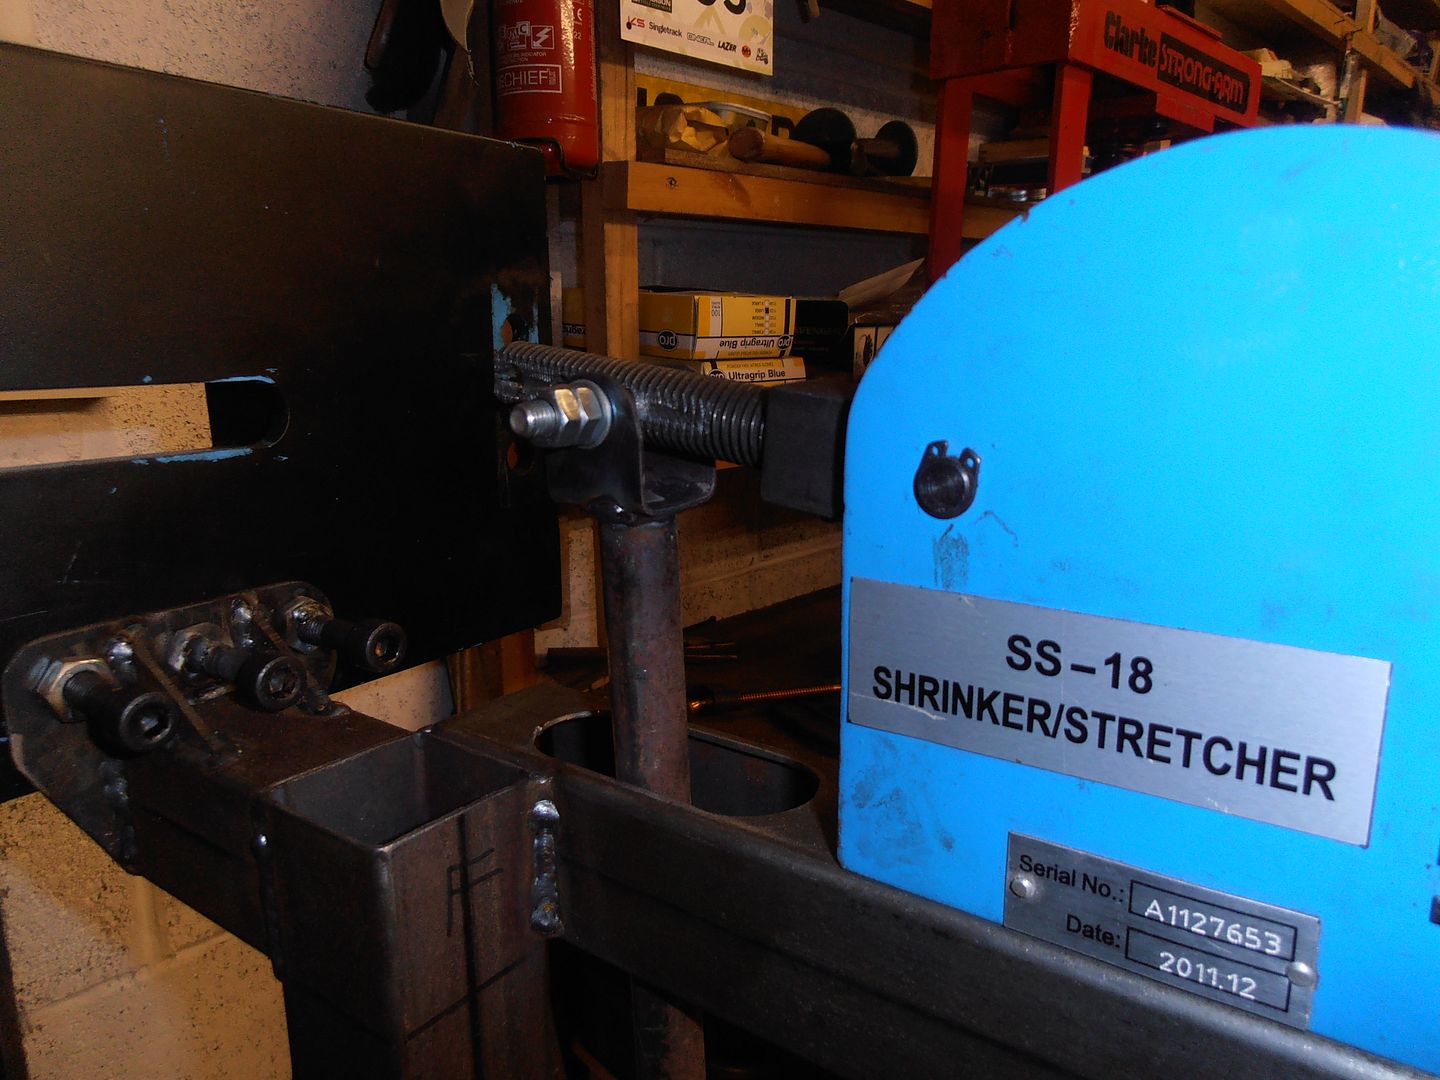 bead roller die holders 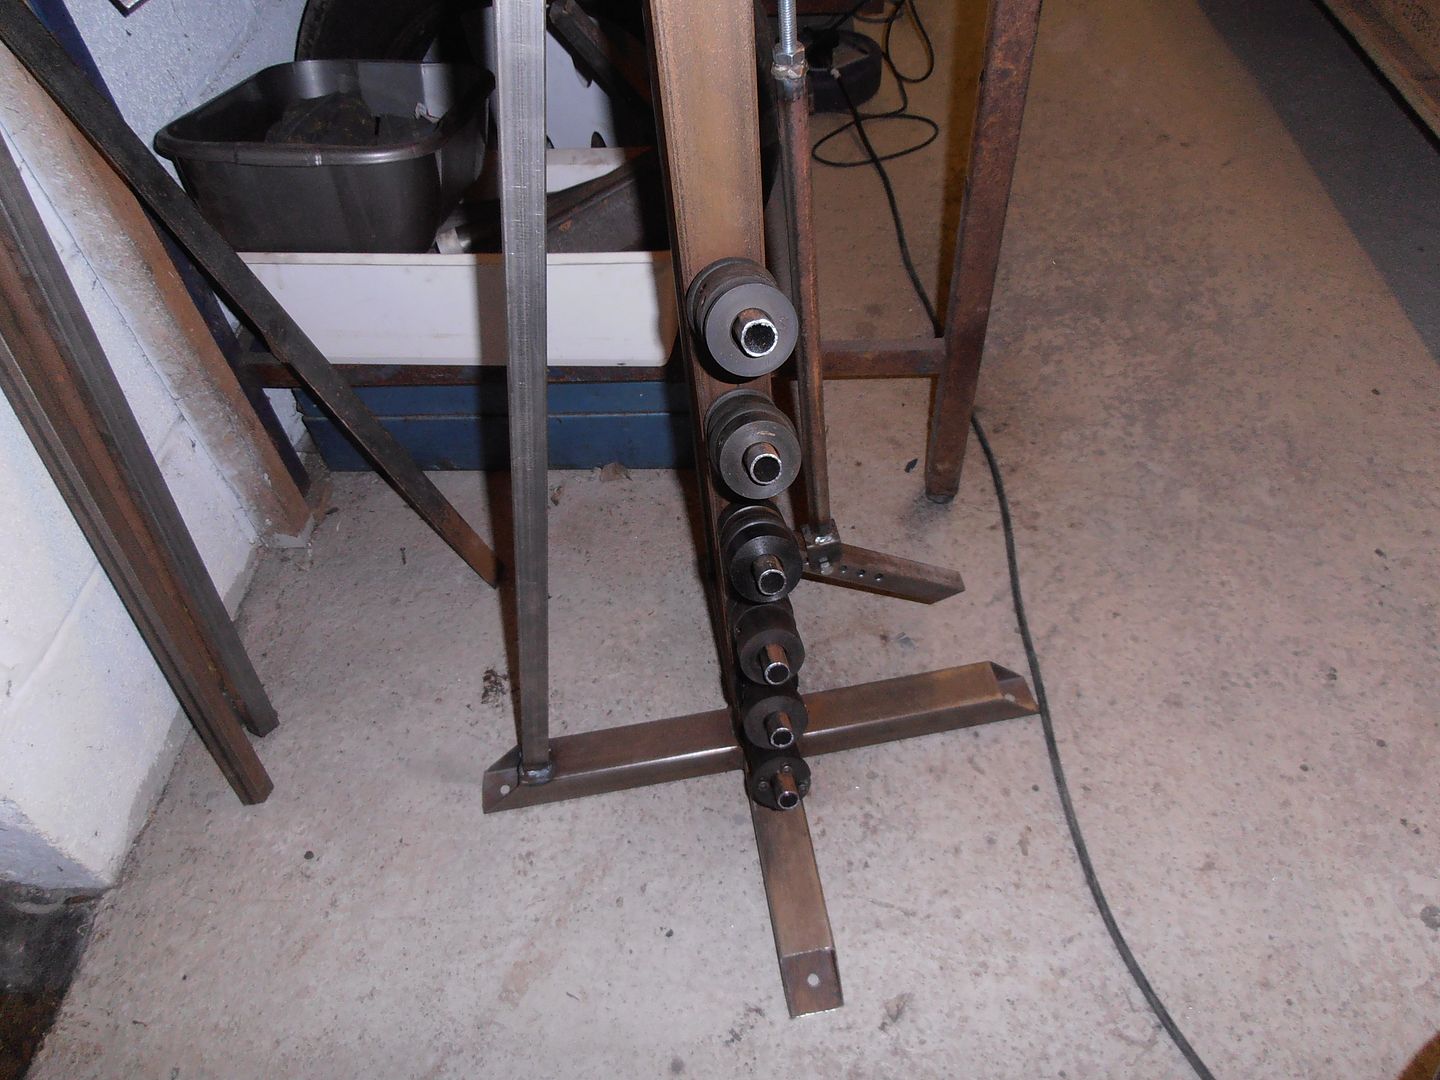 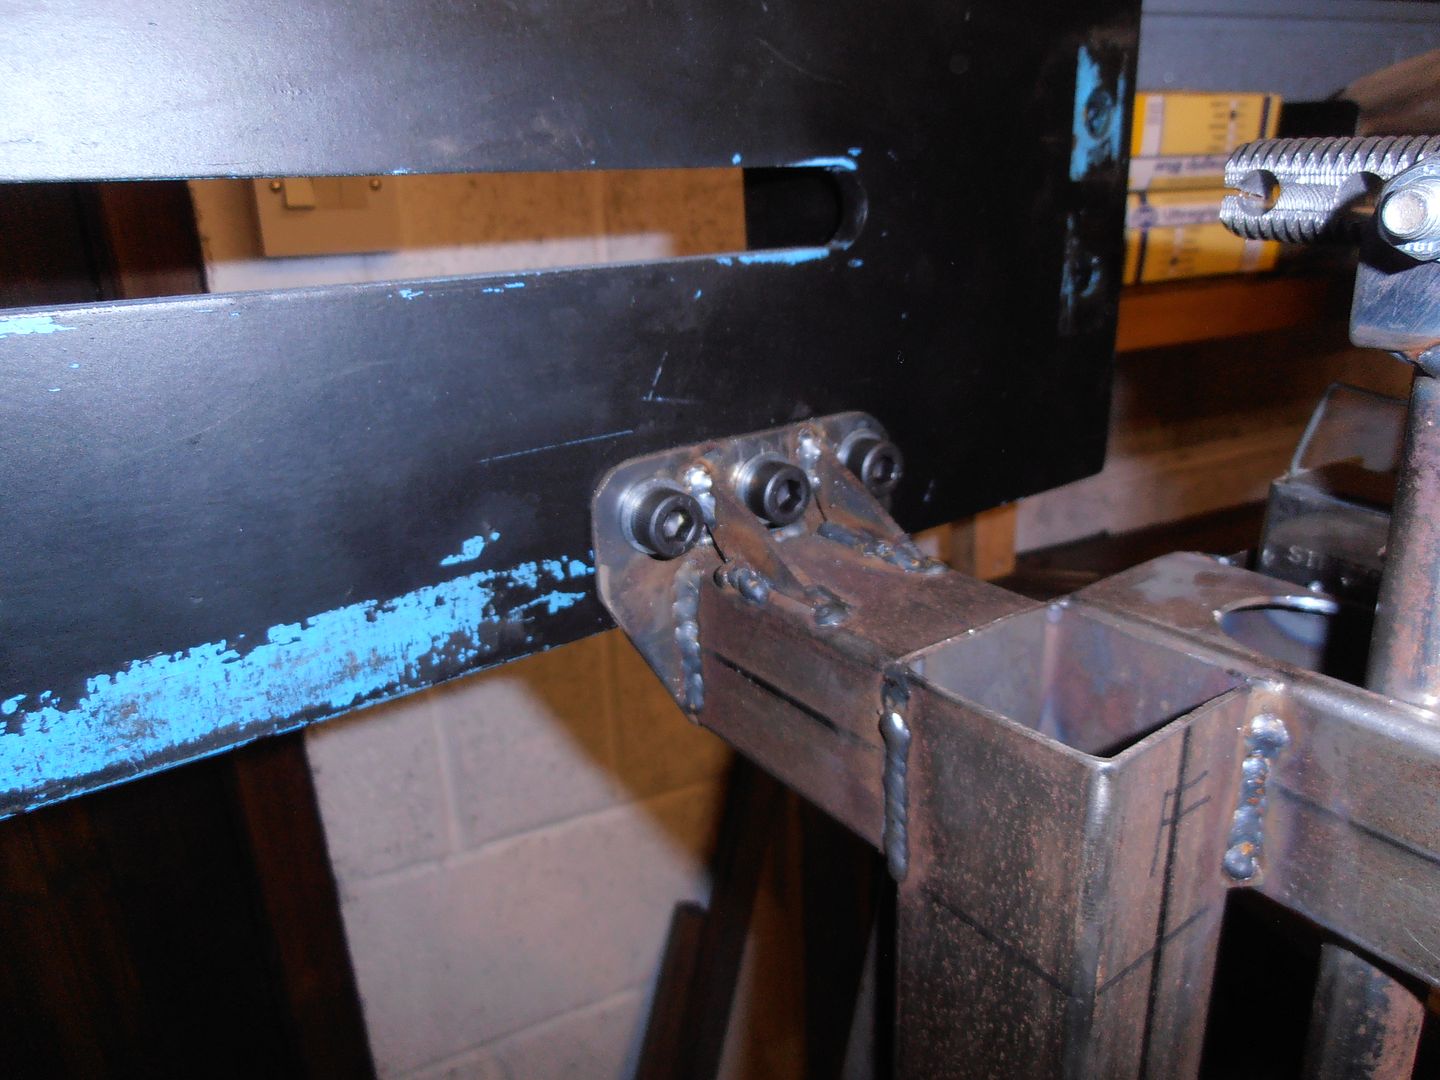 and a little box for holding the shrinker / stretcher die that isnt in the machine 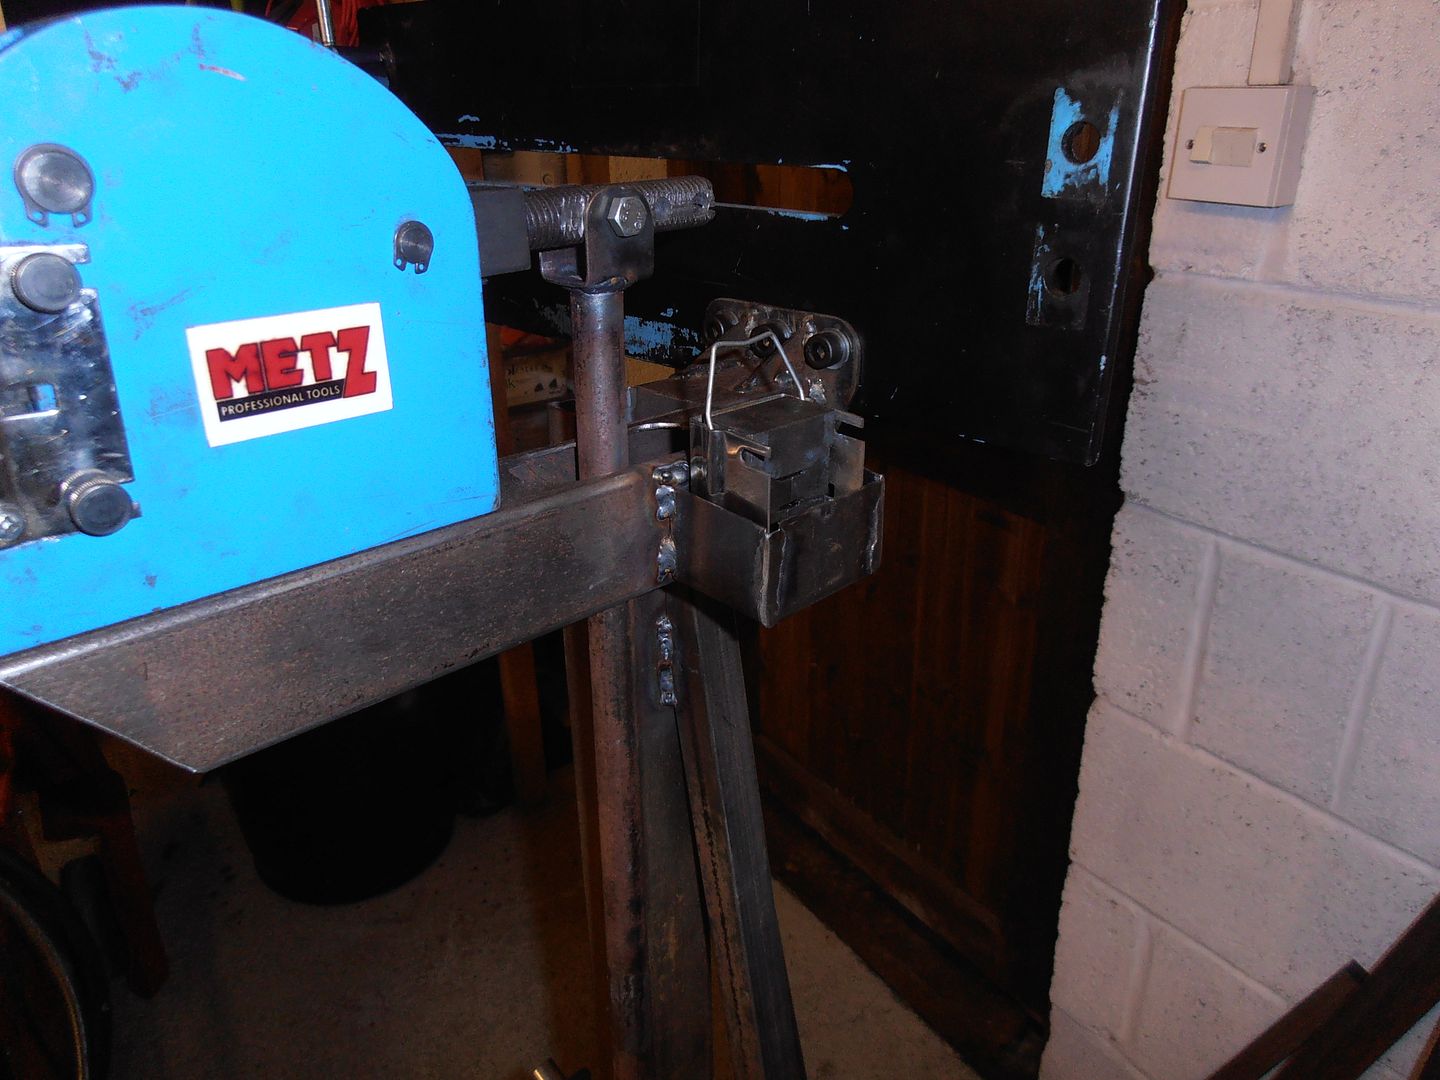 Then made a start on the spacer block for the steering rack 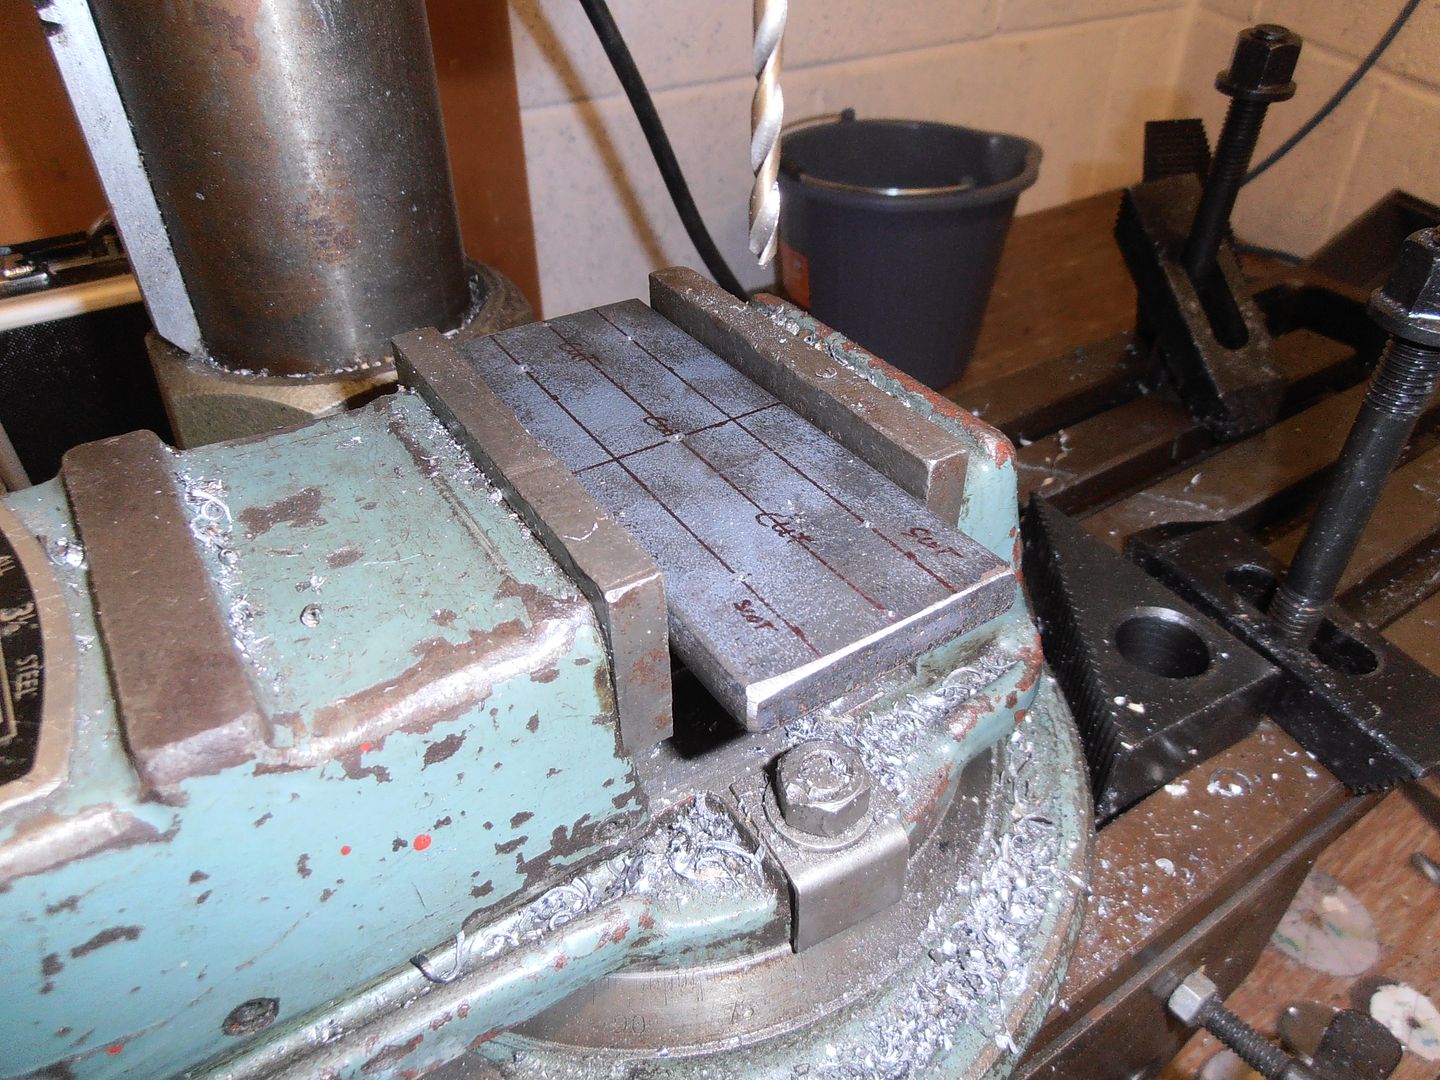 10mm thick, machined a couple of the holes as slots Then decided it didnt look very flat, so fired the fly cutter over the top and bottom 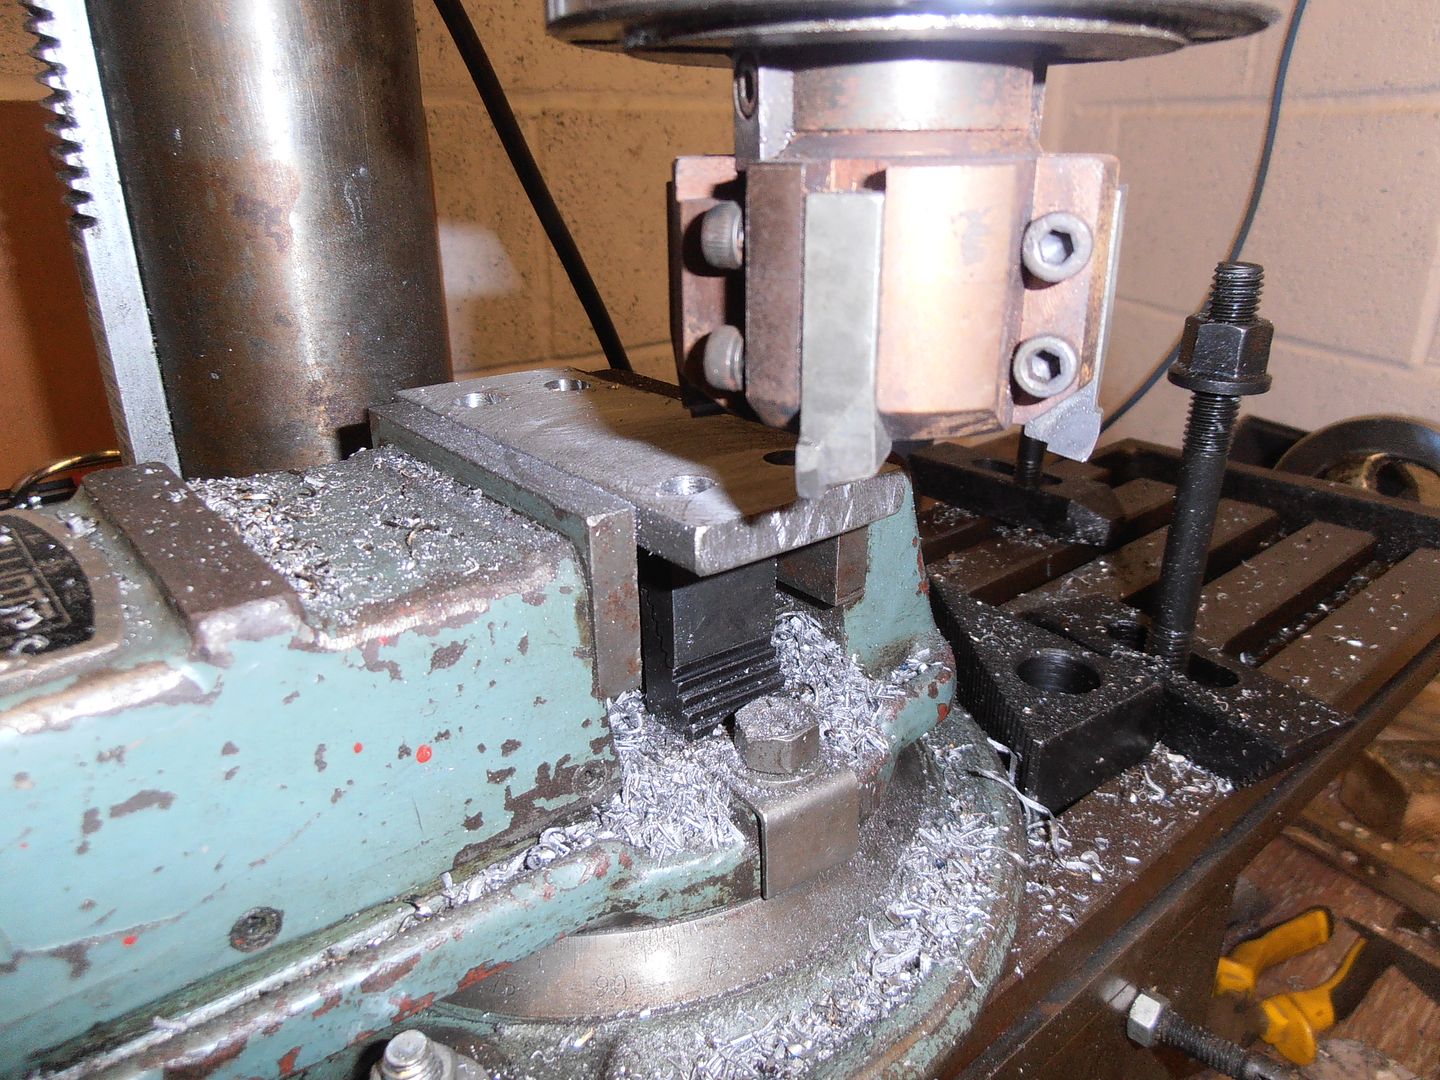 tomorrow task is cut in half and clean it up. Lots of hacksawing  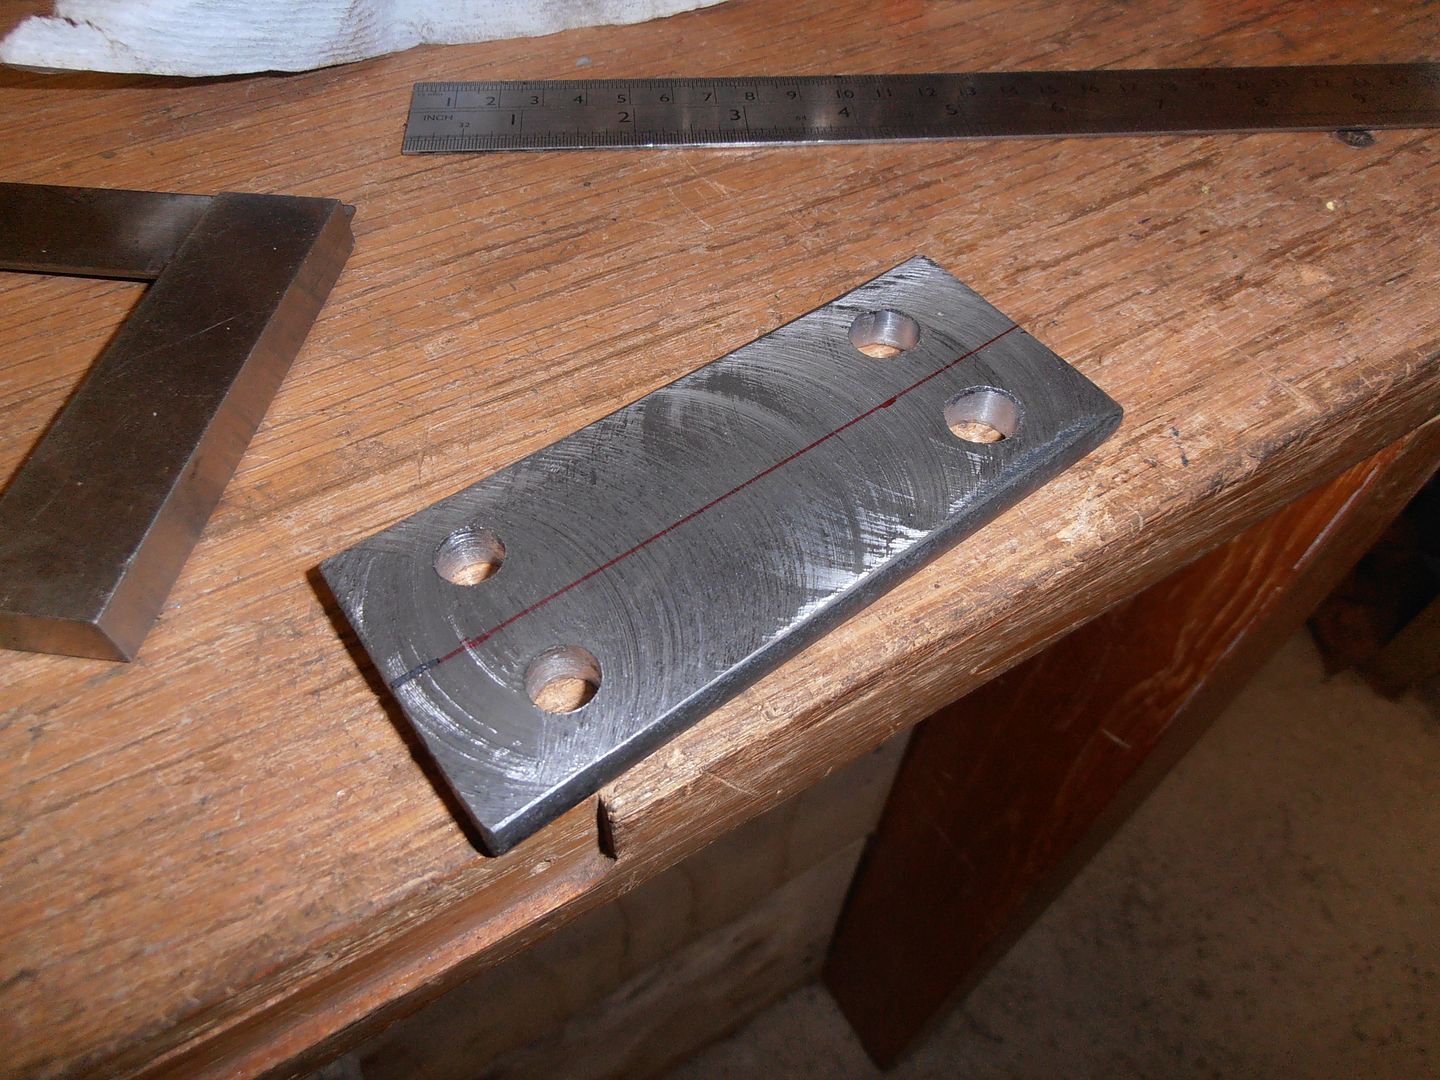 Thats all for today |
| |
|
|
jonomisfit
Club Retro Rides Member
Posts: 1,790
Club RR Member Number: 49
|
|
Feb 21, 2016 18:09:43 GMT
|
Not great progress today. First stop, I was fedup with the mess the benches were in. Before 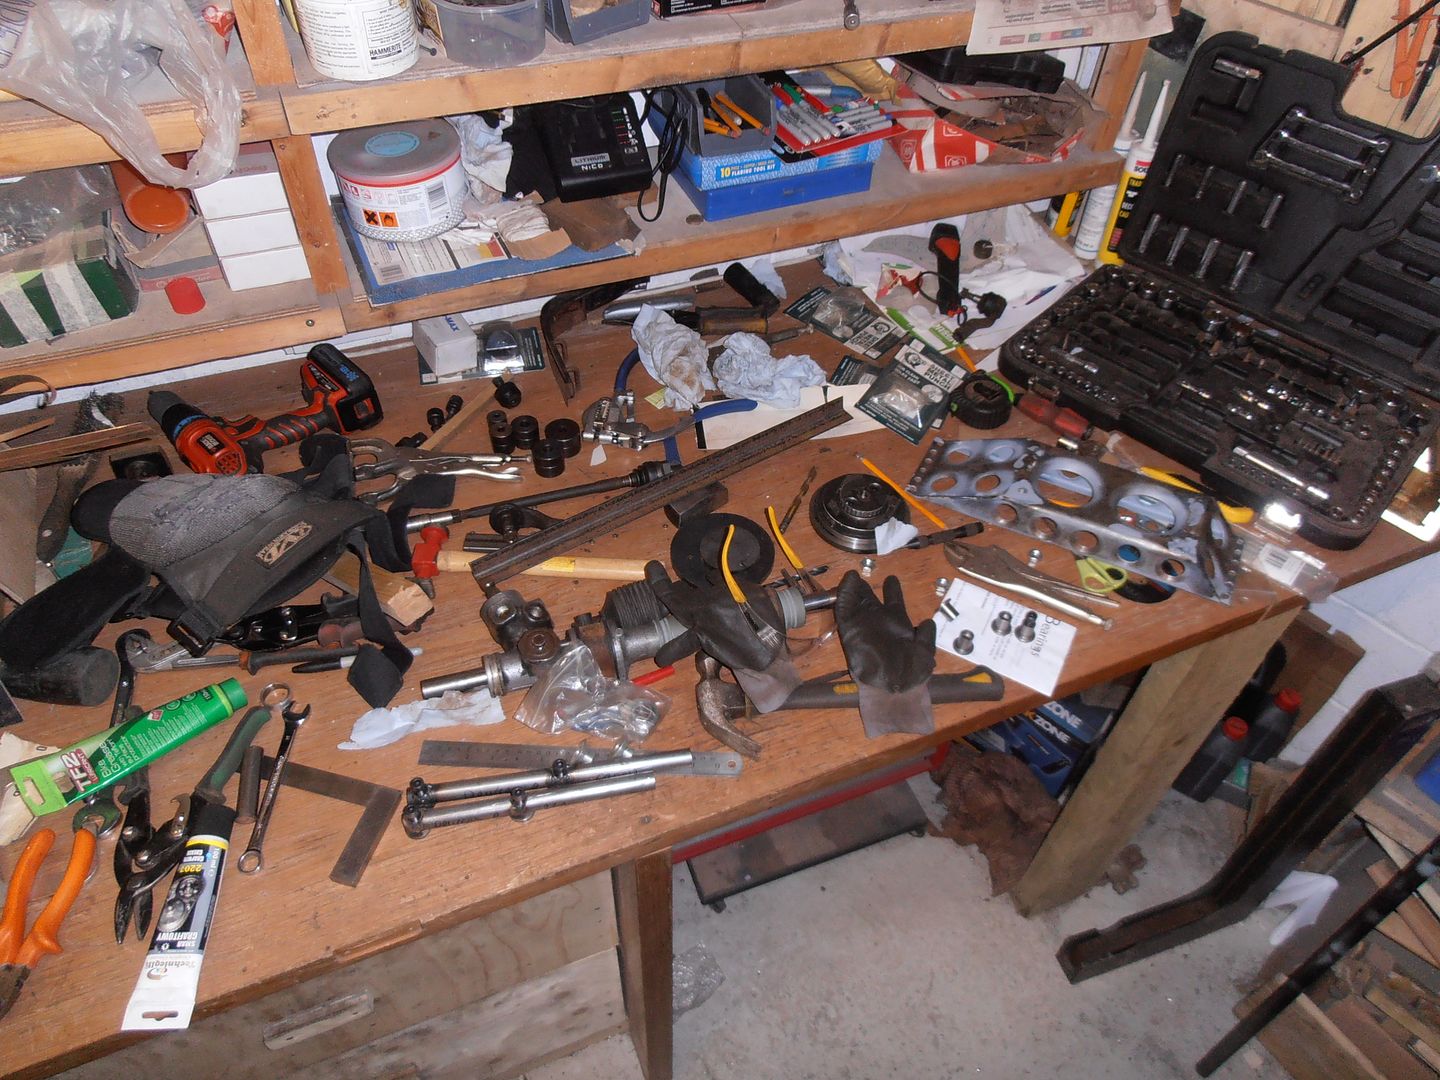 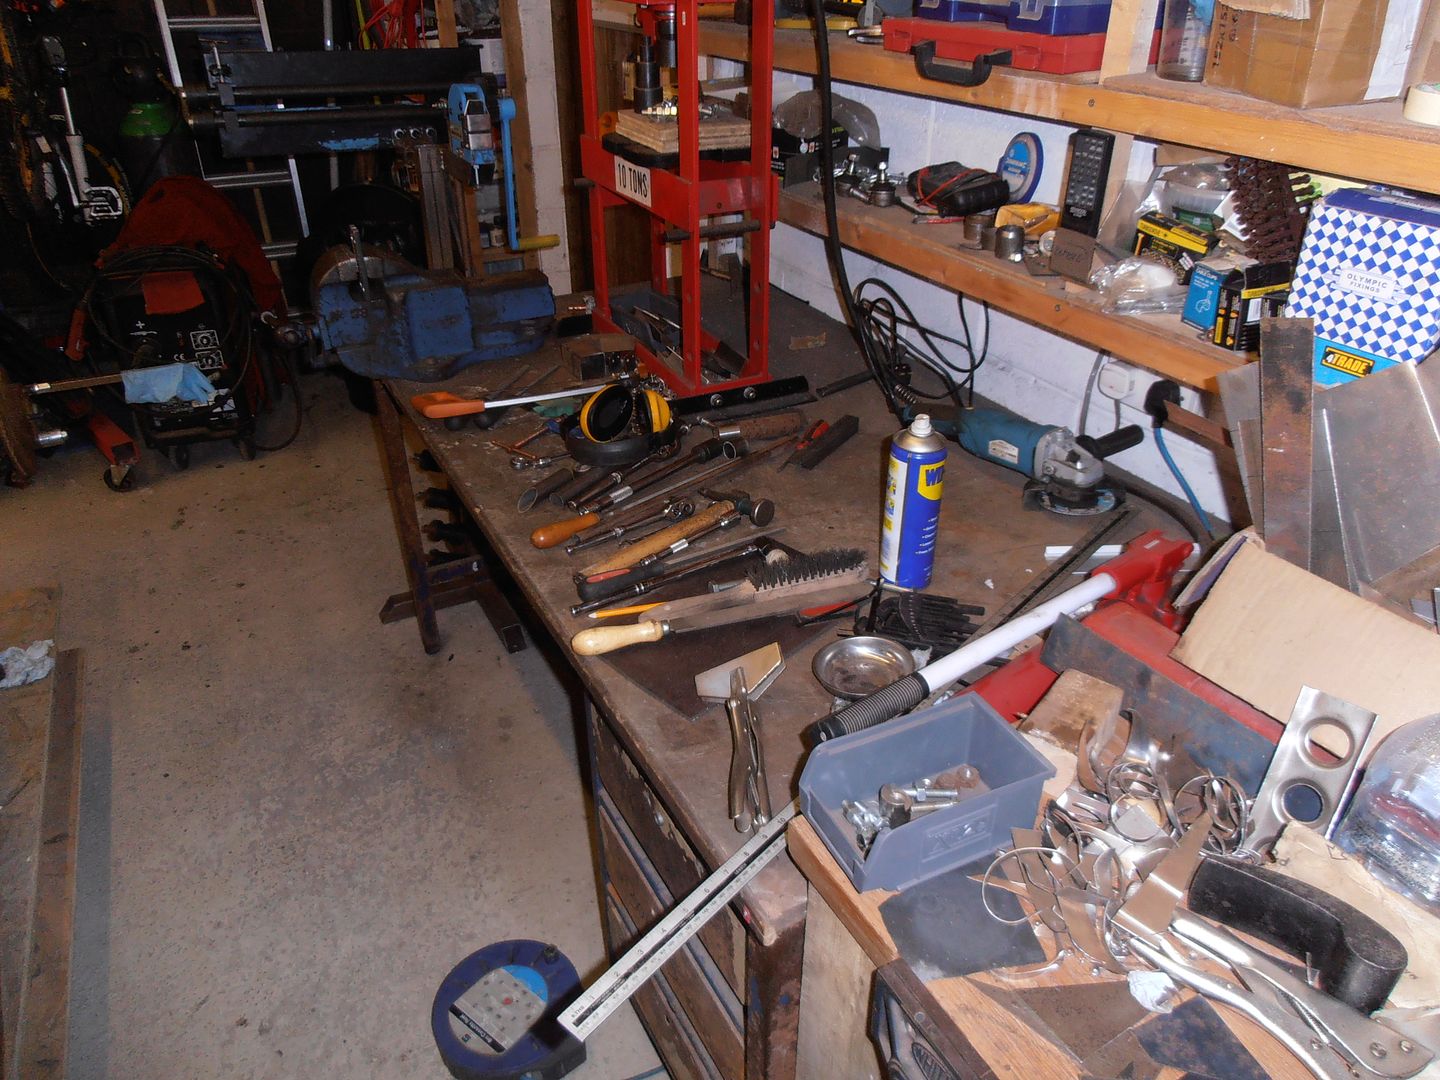 After 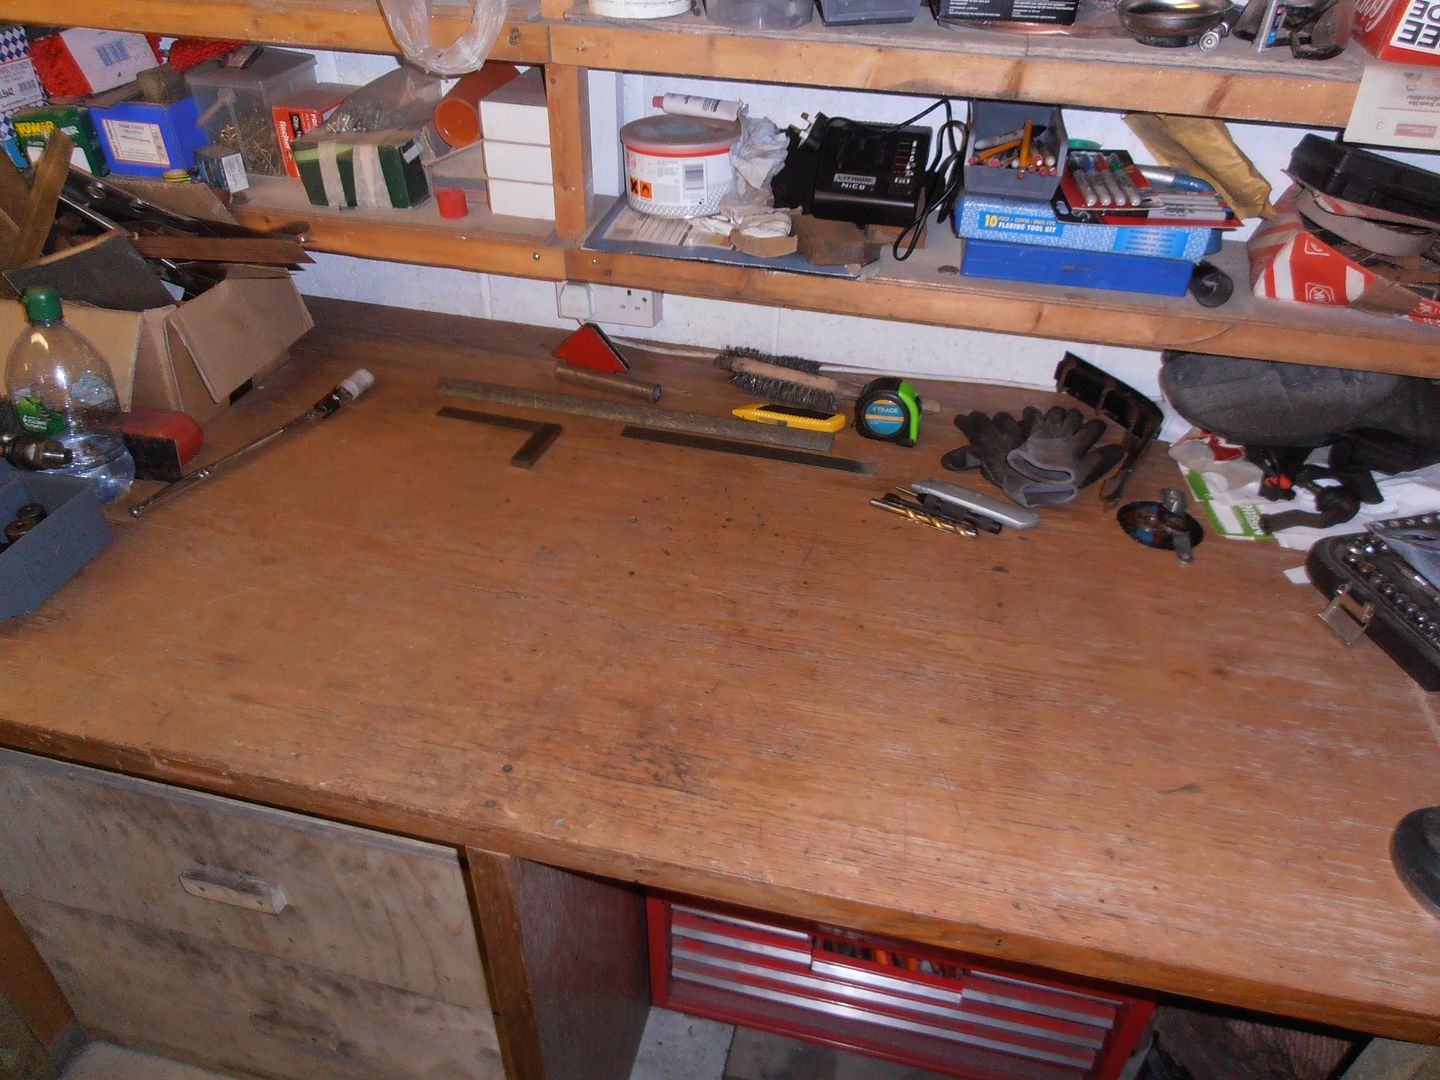 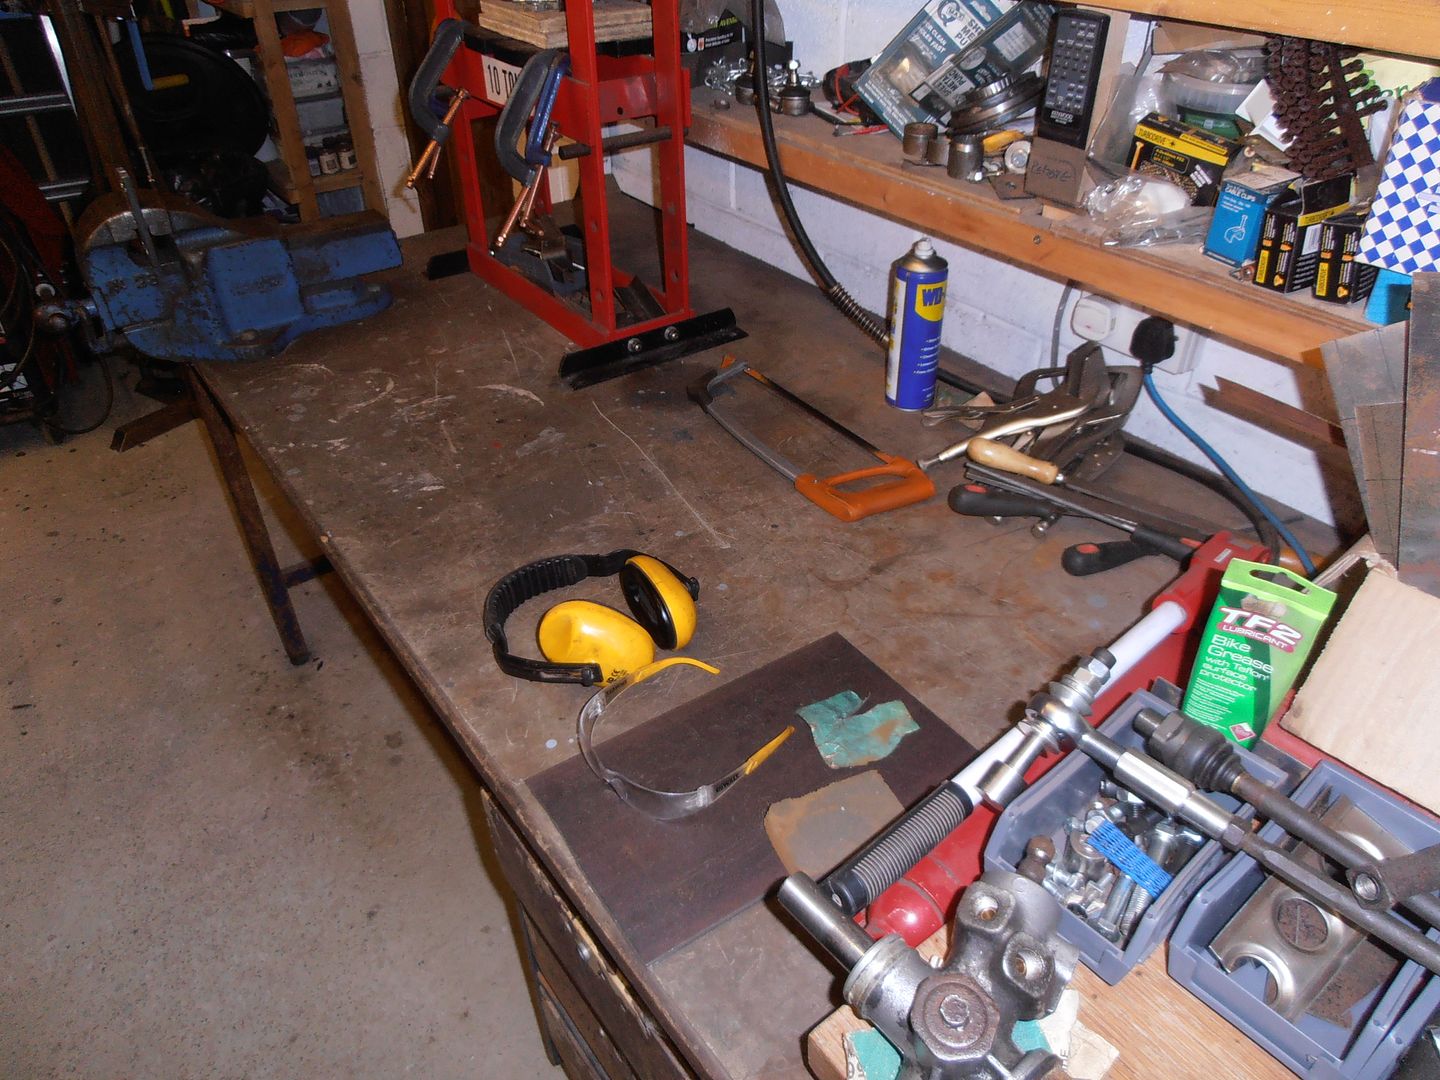 lathe de-swarfed and given a clean over along with a re-grease / oil on everything 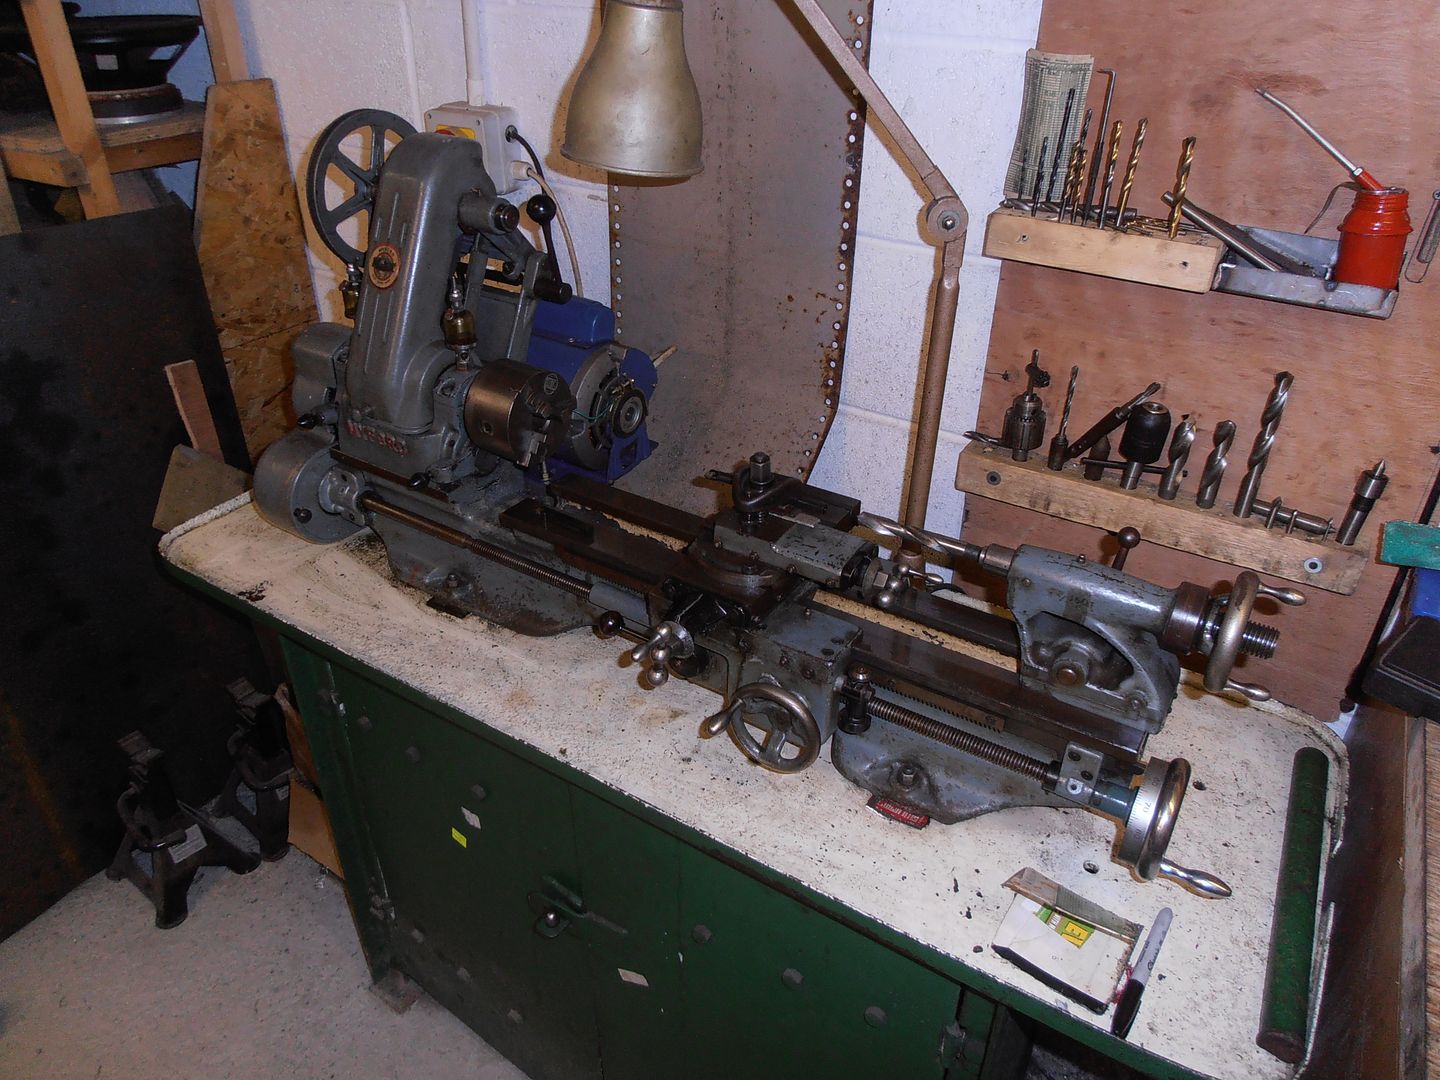 and the mill 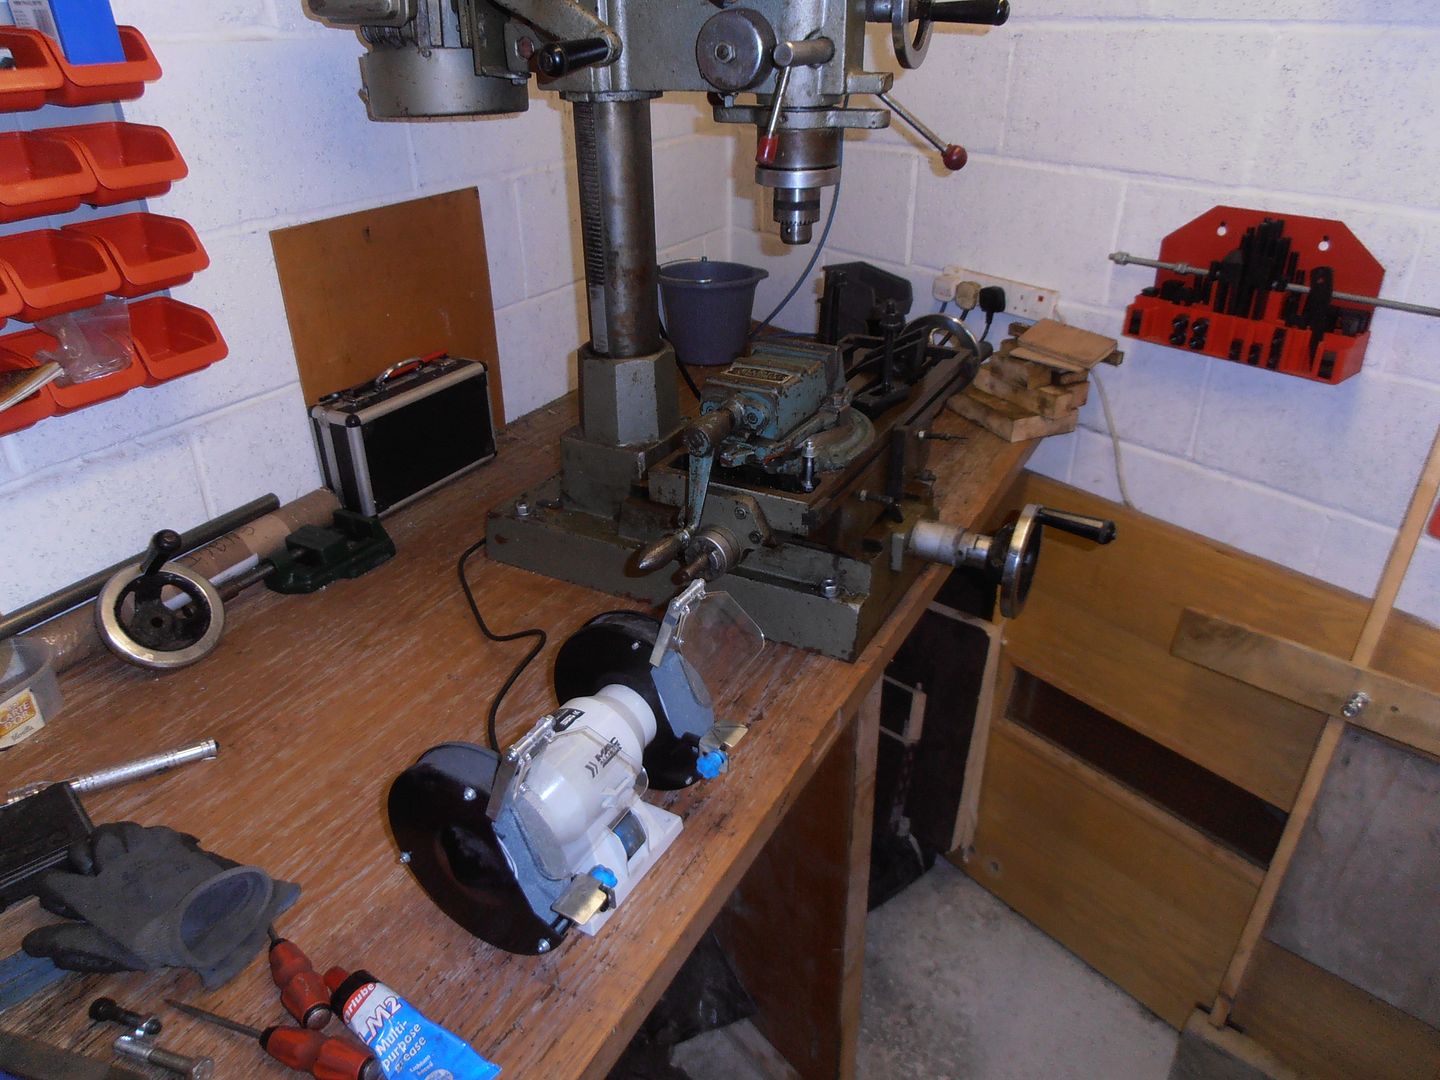 I can think again now.... Right, 10mm thick block cut in half tidied up and put on the rack mount 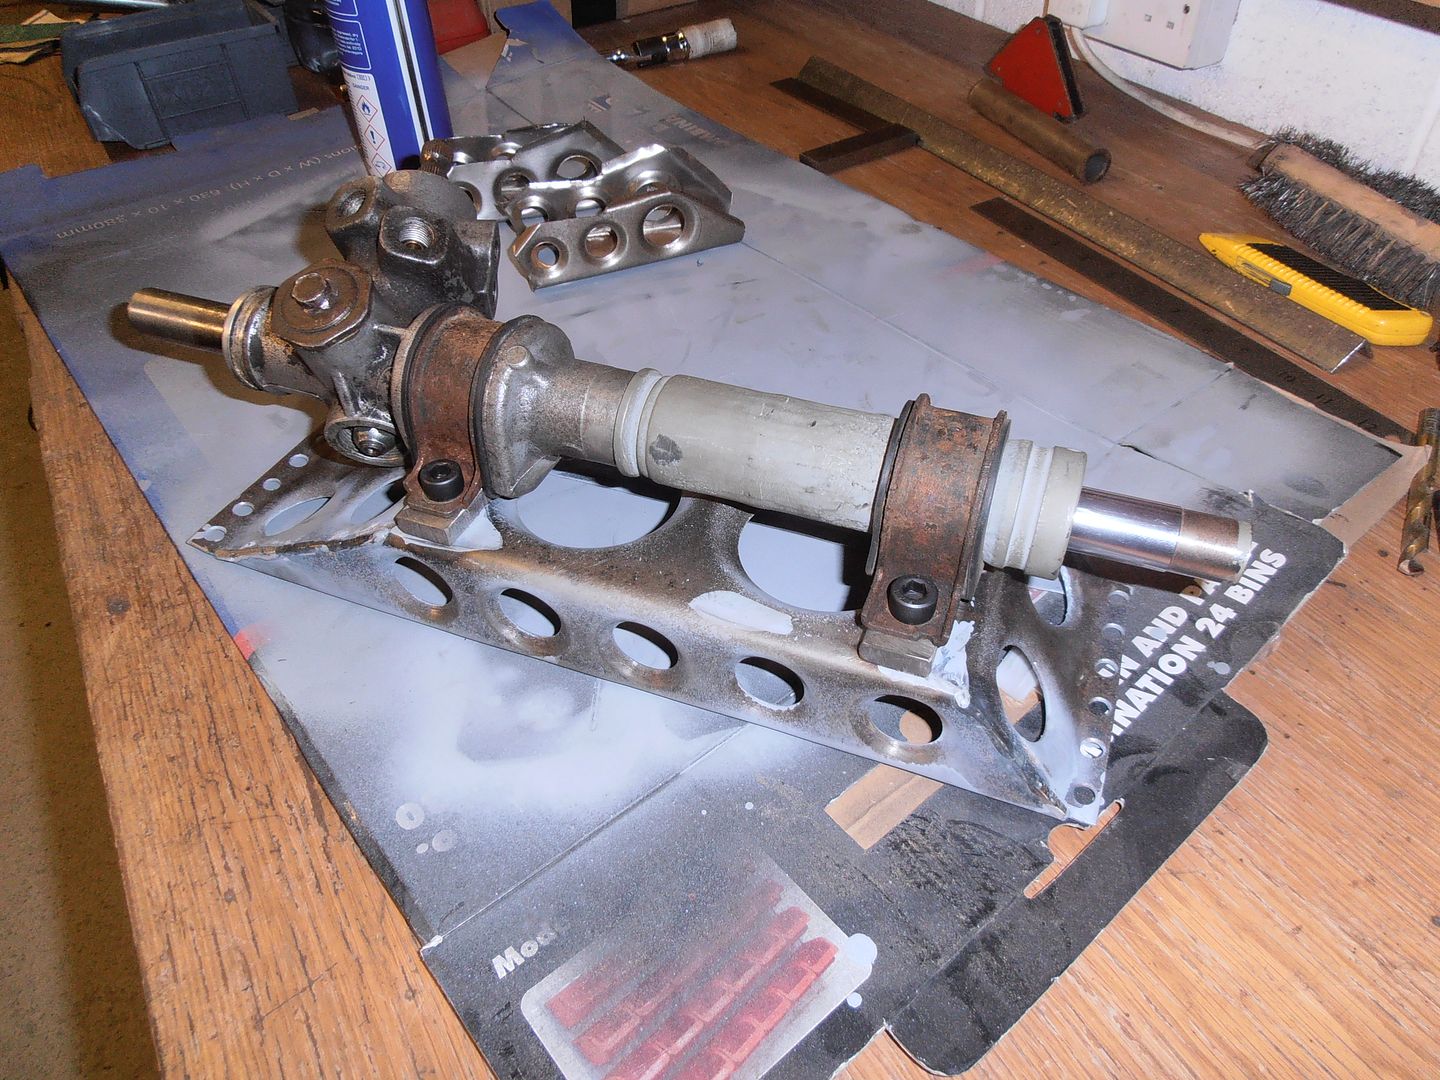 extra spacer shims made up to shim the rack up if needed in the future 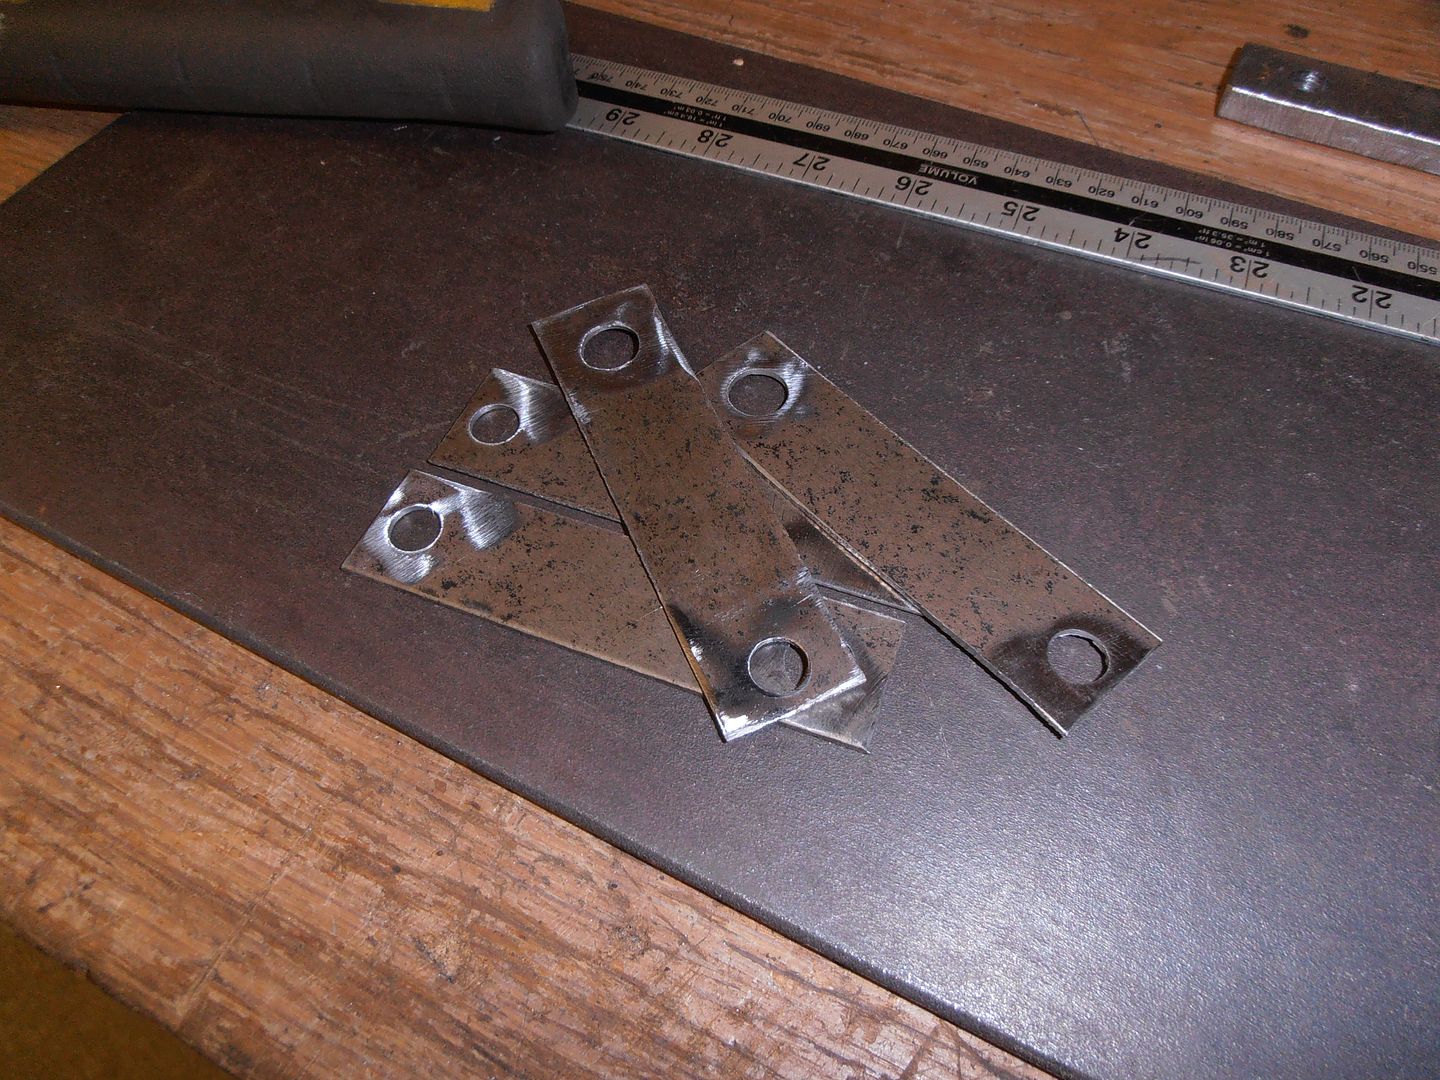 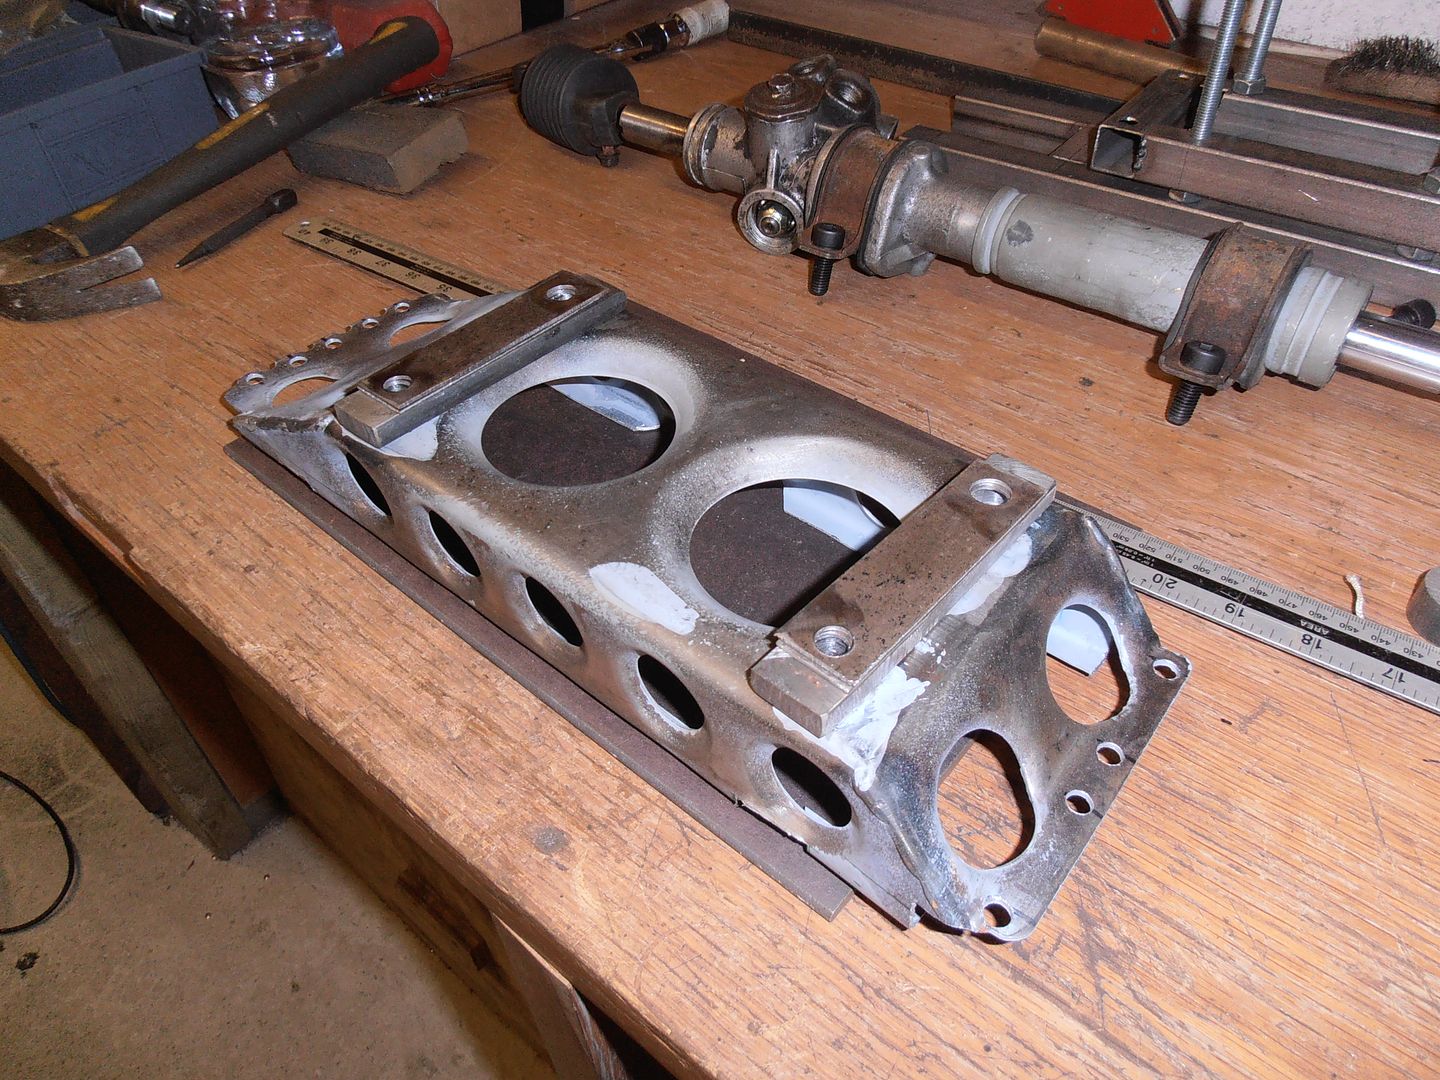 A balls up was made :-( I didnt take into account the rack position jig incorporated the rack mounts into it, so my nice bracket is 10mm too tall for the right position. Balls. Apply hacksaw 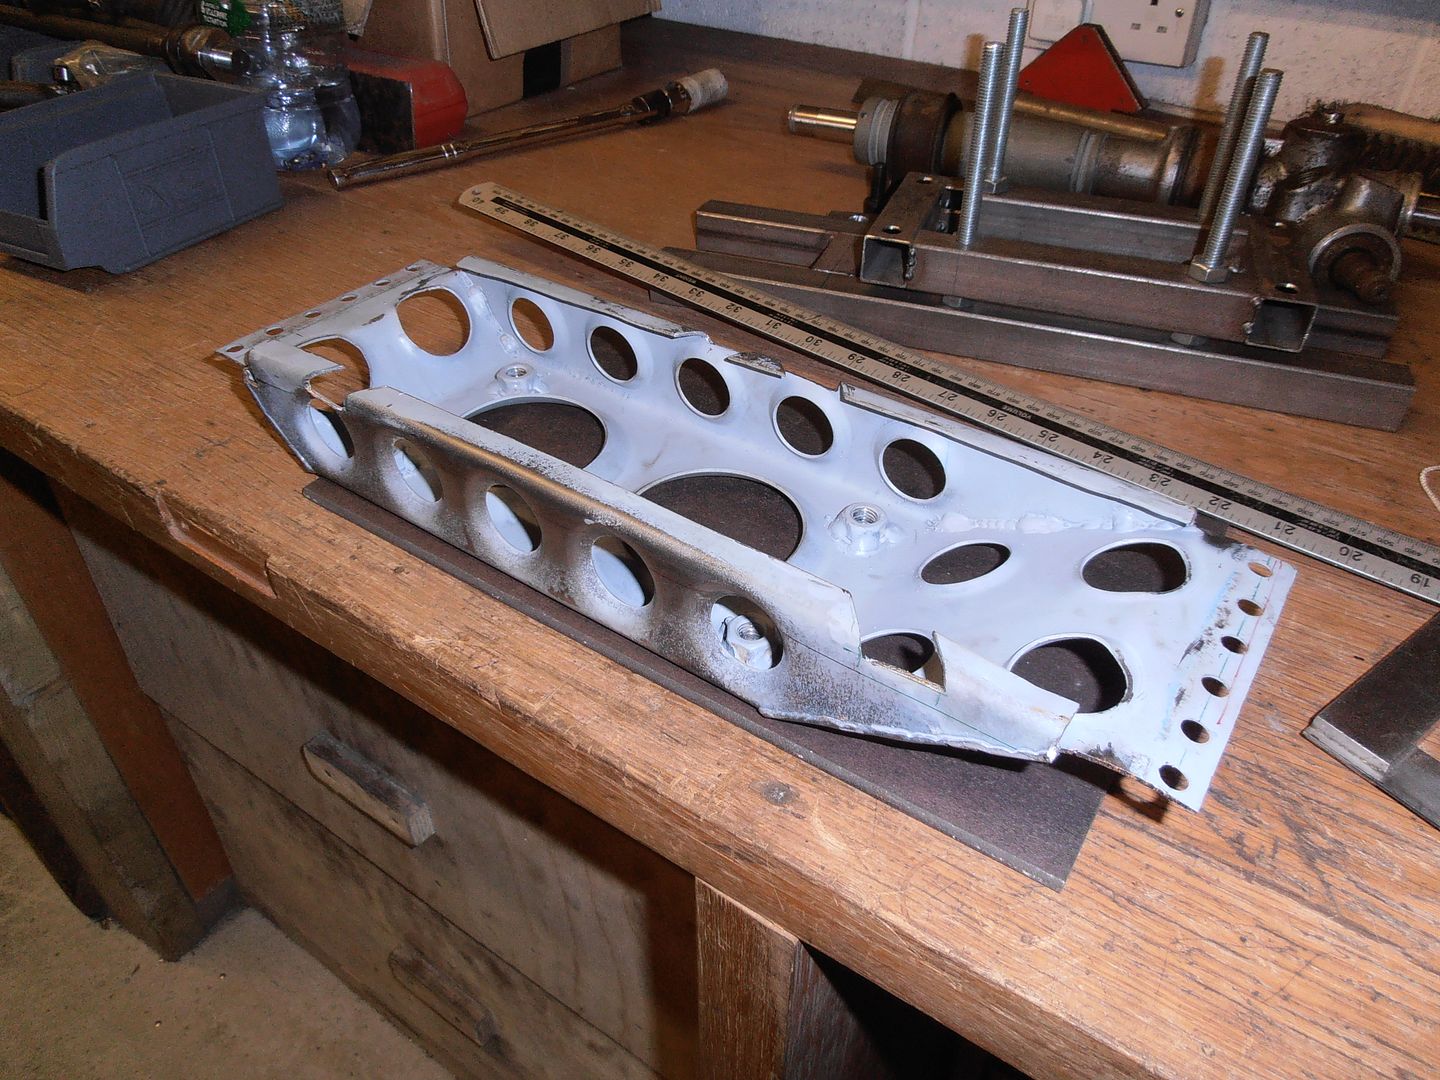 notches made 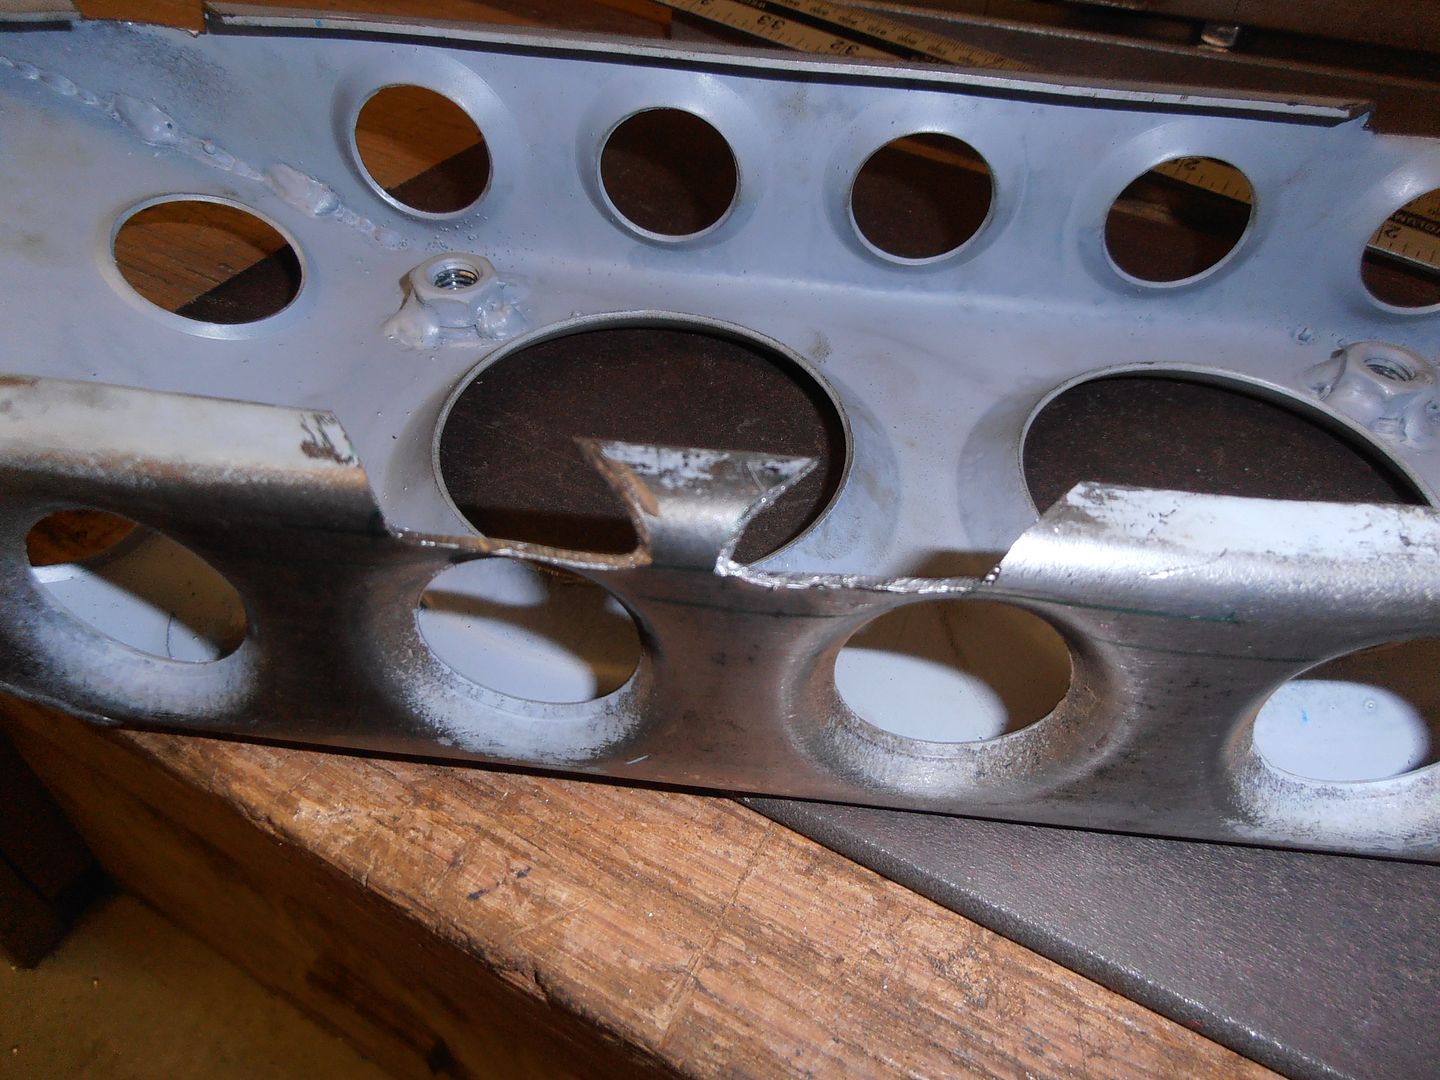 This lowers the rack down to the correct height, and also means the rack bracket now picks up on the cross bracing, so it attached to the chassis in more places. measure Measure Measure some more Hold breath, tacked in 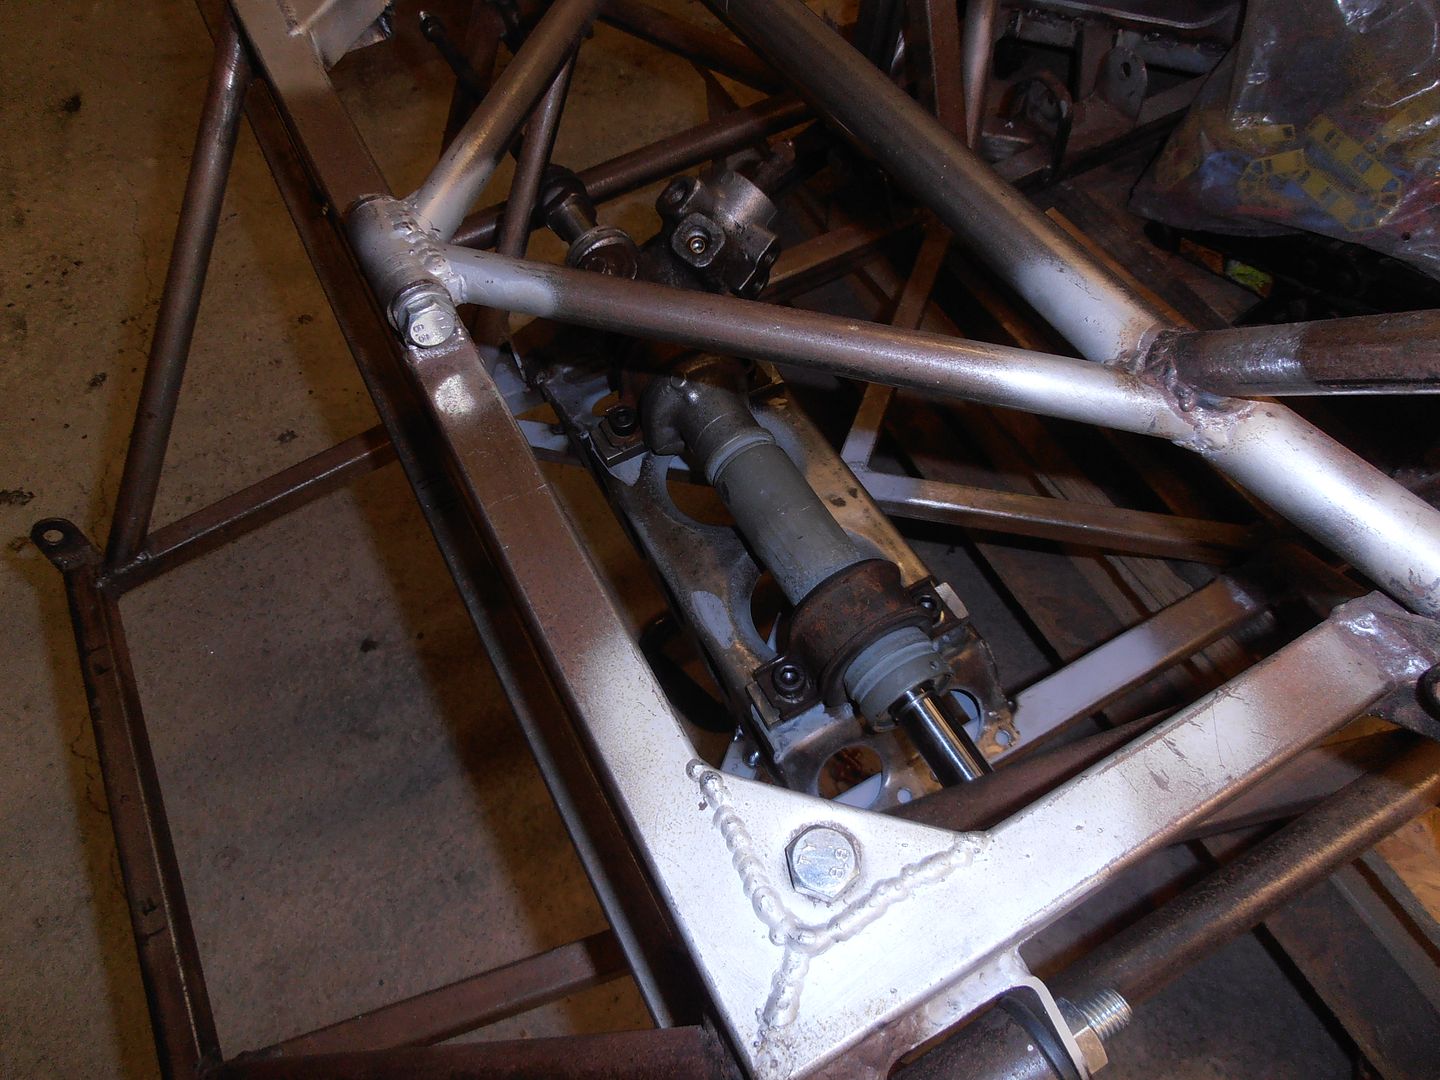 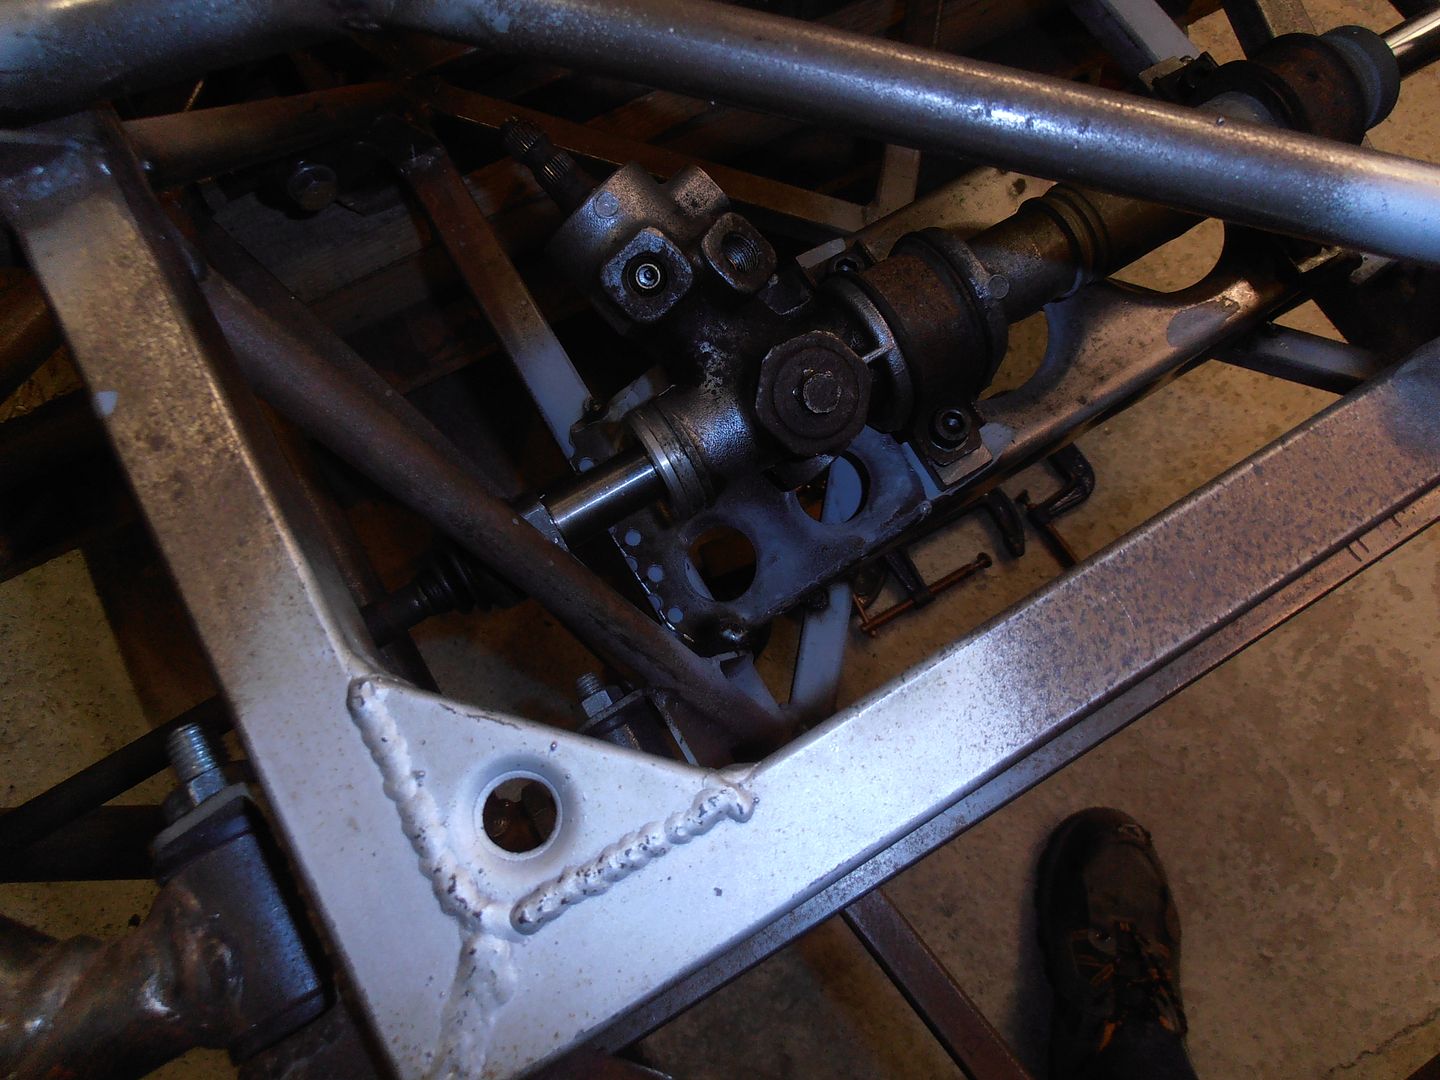 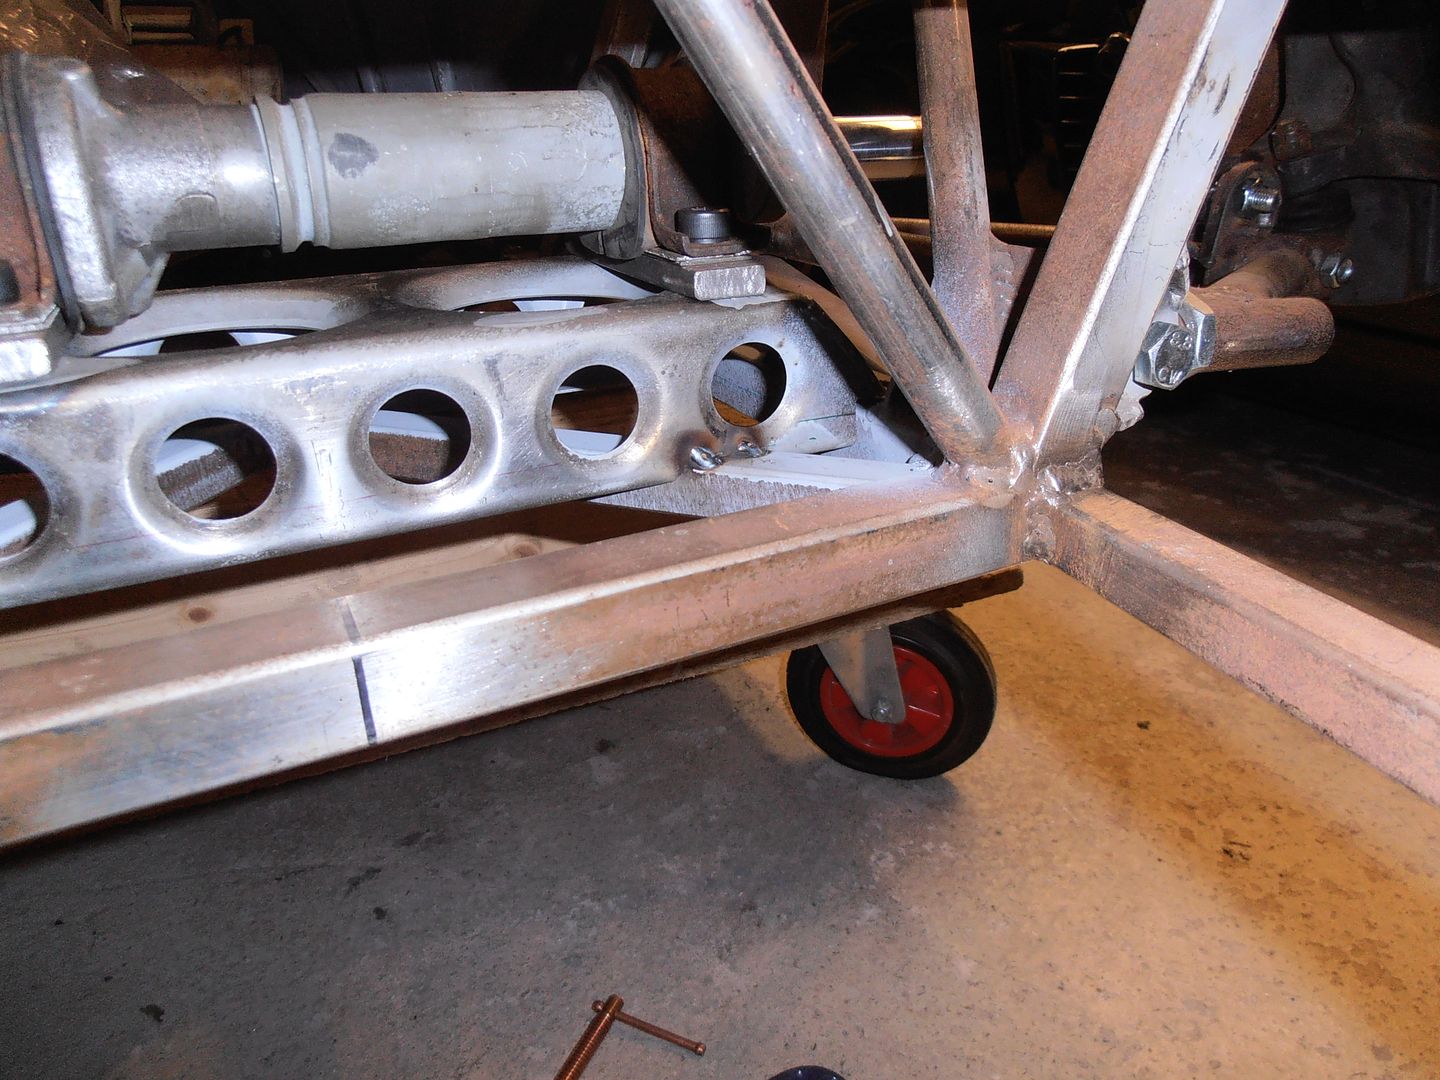 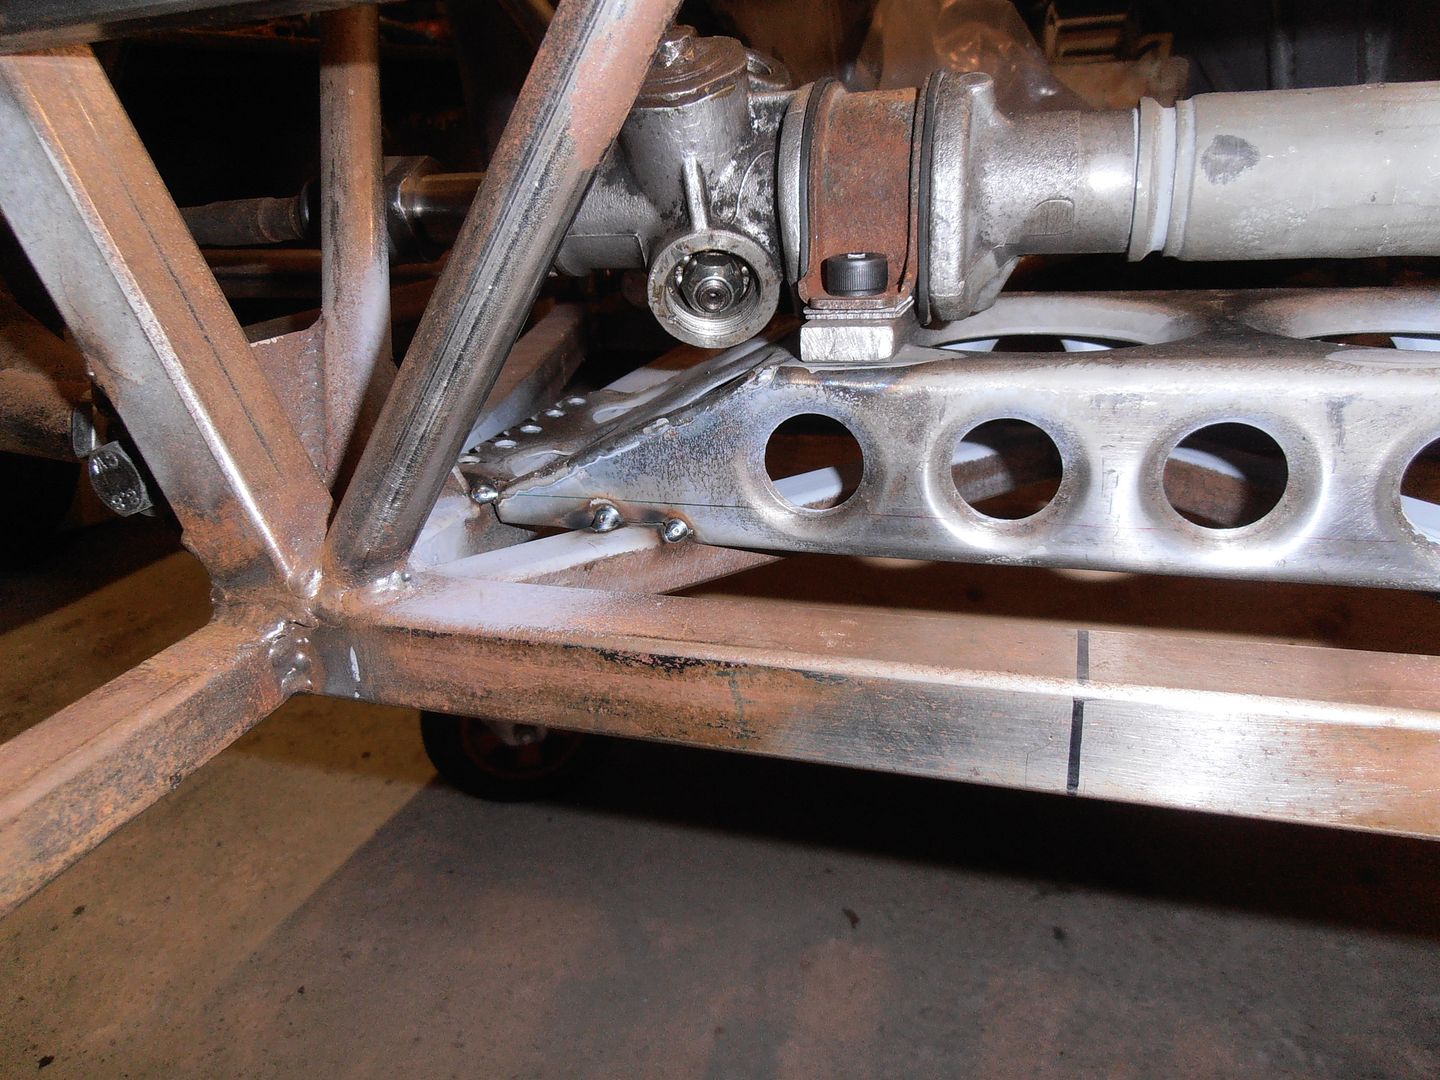 Measure again. Longitudinal = OK Lateral = OK Horizontal.... 5mm too high drivers side, 6.5mm passengers side Balls, Balls, Balls, Balls, BALLLS! I measured all these before tacking in and it was fine, I must have been having complete and utter brain fade. :-( I threw a wobbler and came in. FU Car. Next weekend will be cutting the tacks, cleaning up, and re-welding it properly. :-( |
| |
|
|
heathrobinson
Part of things
  Broken everything
Posts: 848  Club RR Member Number: 111
|
|
Feb 21, 2016 18:23:13 GMT
|
|
Gives the rest of us some hope. I can cope when it's just a difference of balls-up to success ratio, there's hope of improvement. A complete lack of balls-ups is slightly demoralising to us mere mortals.
|
| |
|
|
jonomisfit
Club Retro Rides Member
Posts: 1,790
Club RR Member Number: 49
|
|
Feb 28, 2016 20:11:07 GMT
|
I was still in a sulk with the steering rack, so went to the local farm supplies place and got some springs. I didnt know what length would be best so bought a few 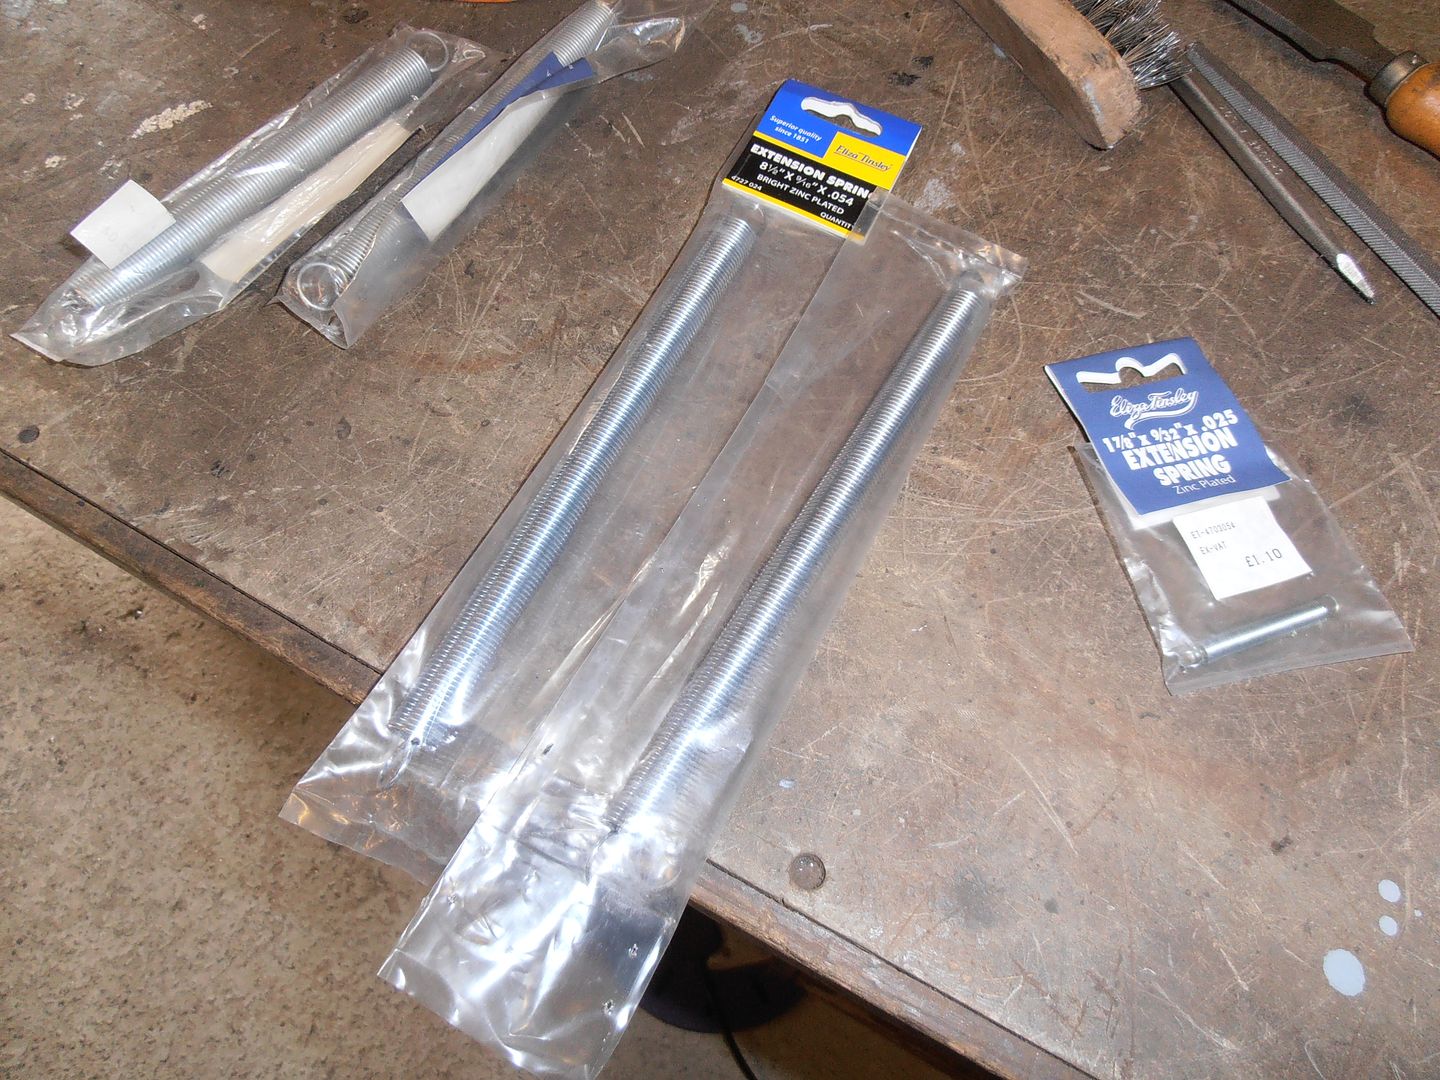 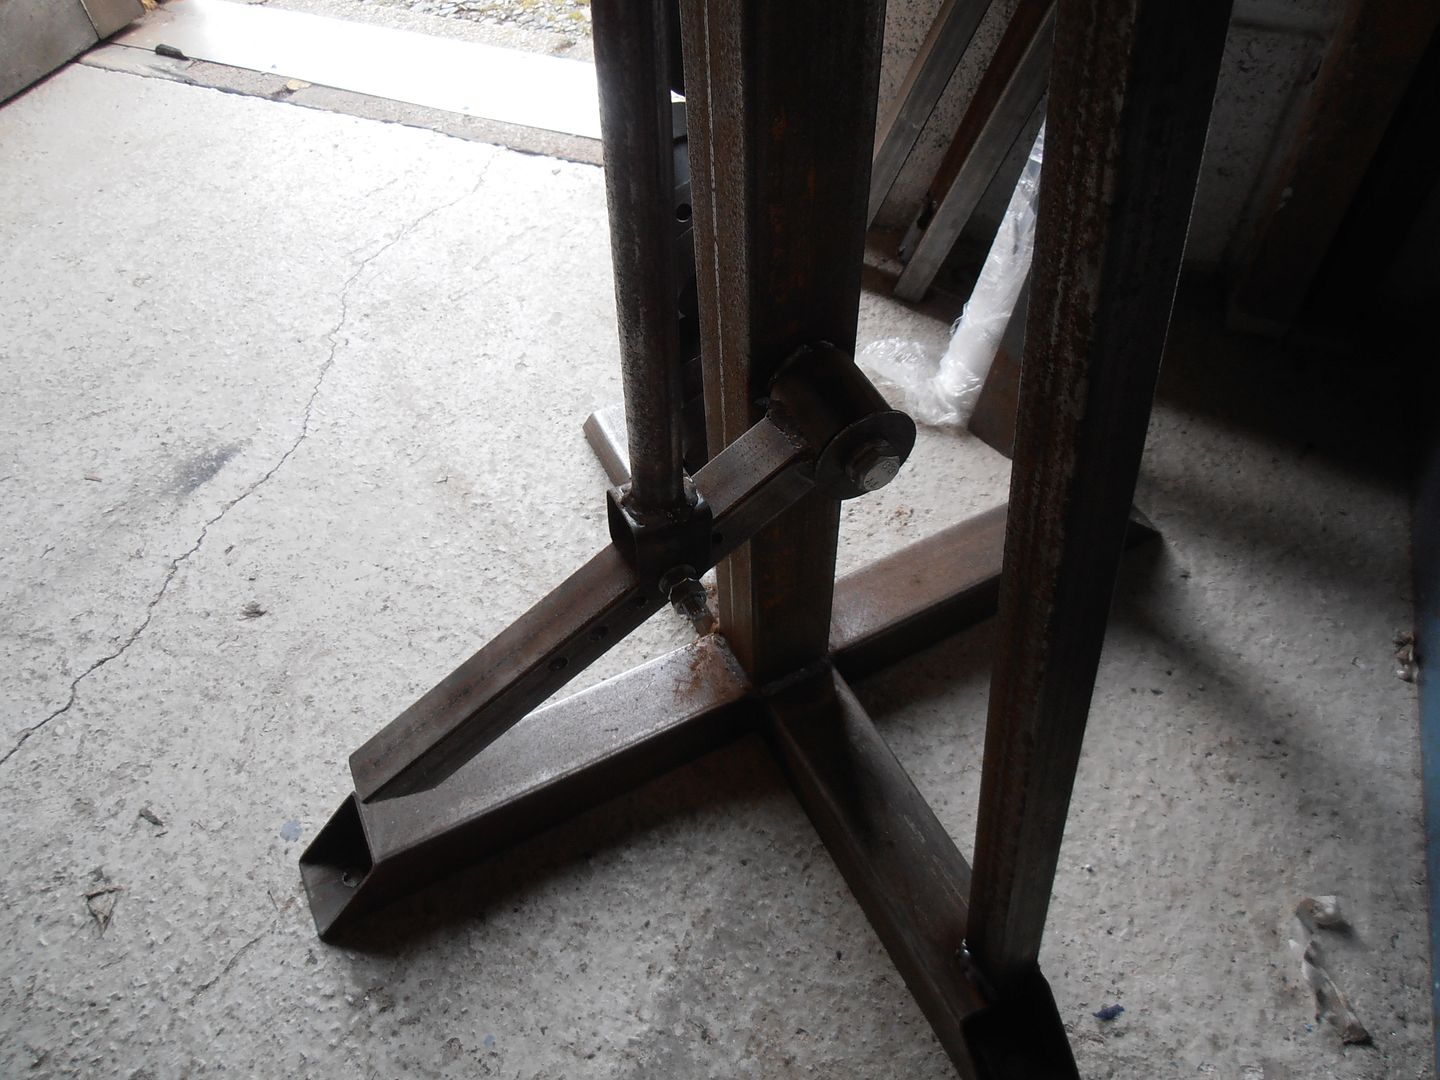 Set them so there is enough force to happily return the foot pedal, but not too much 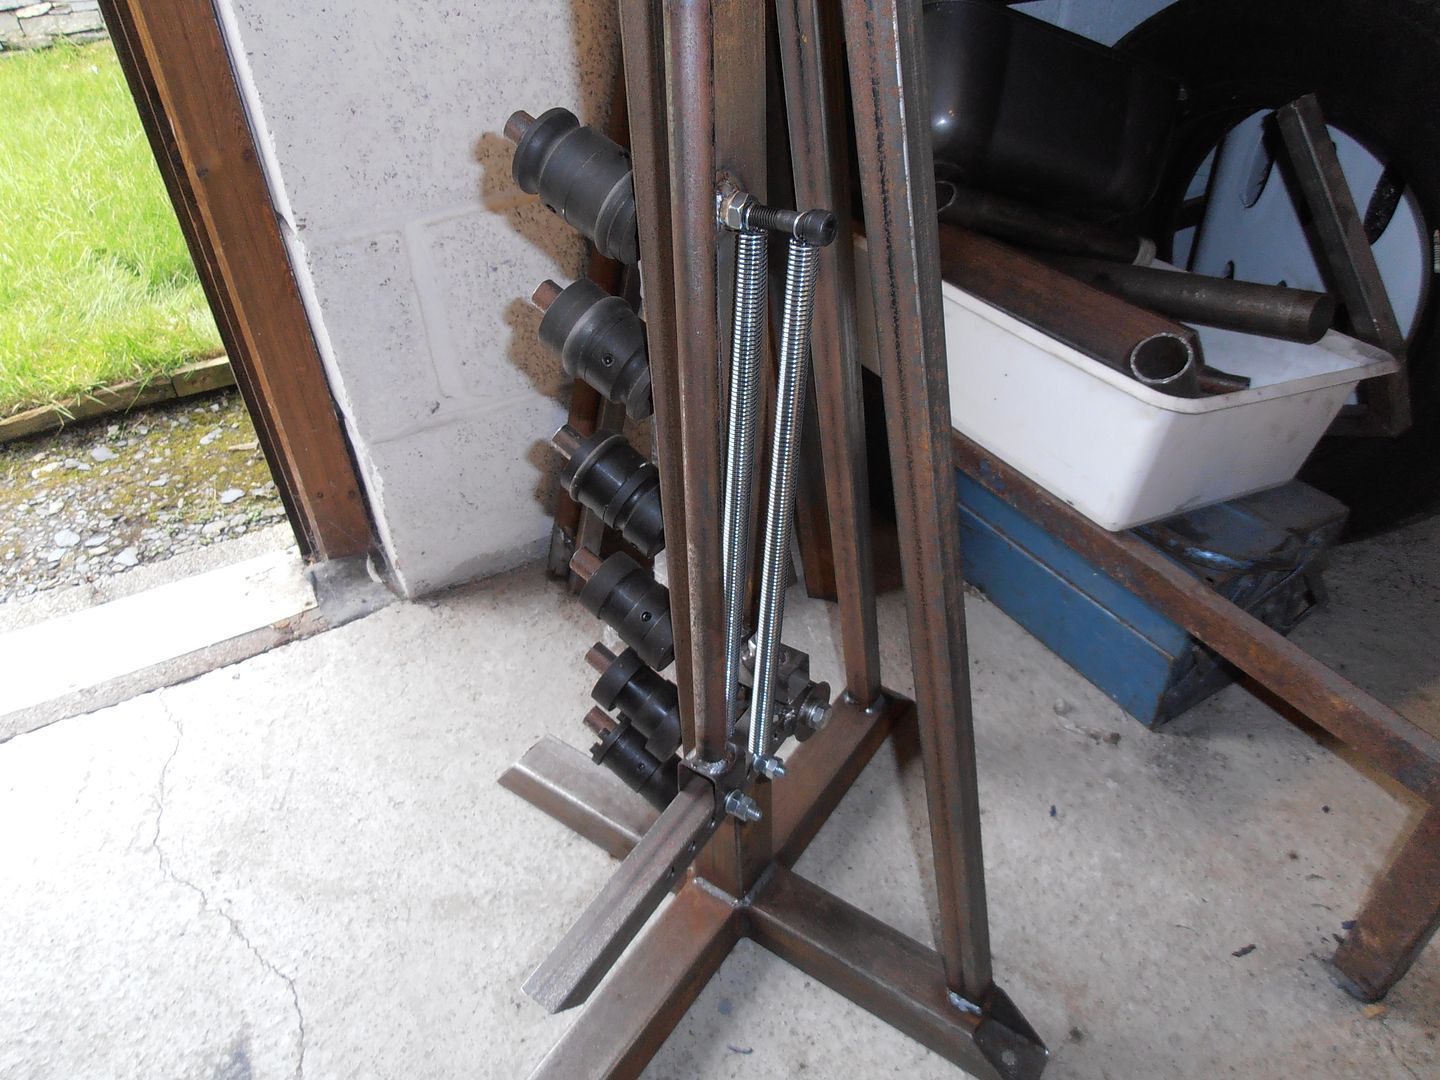 Not the neates solution, but they are closed end springs 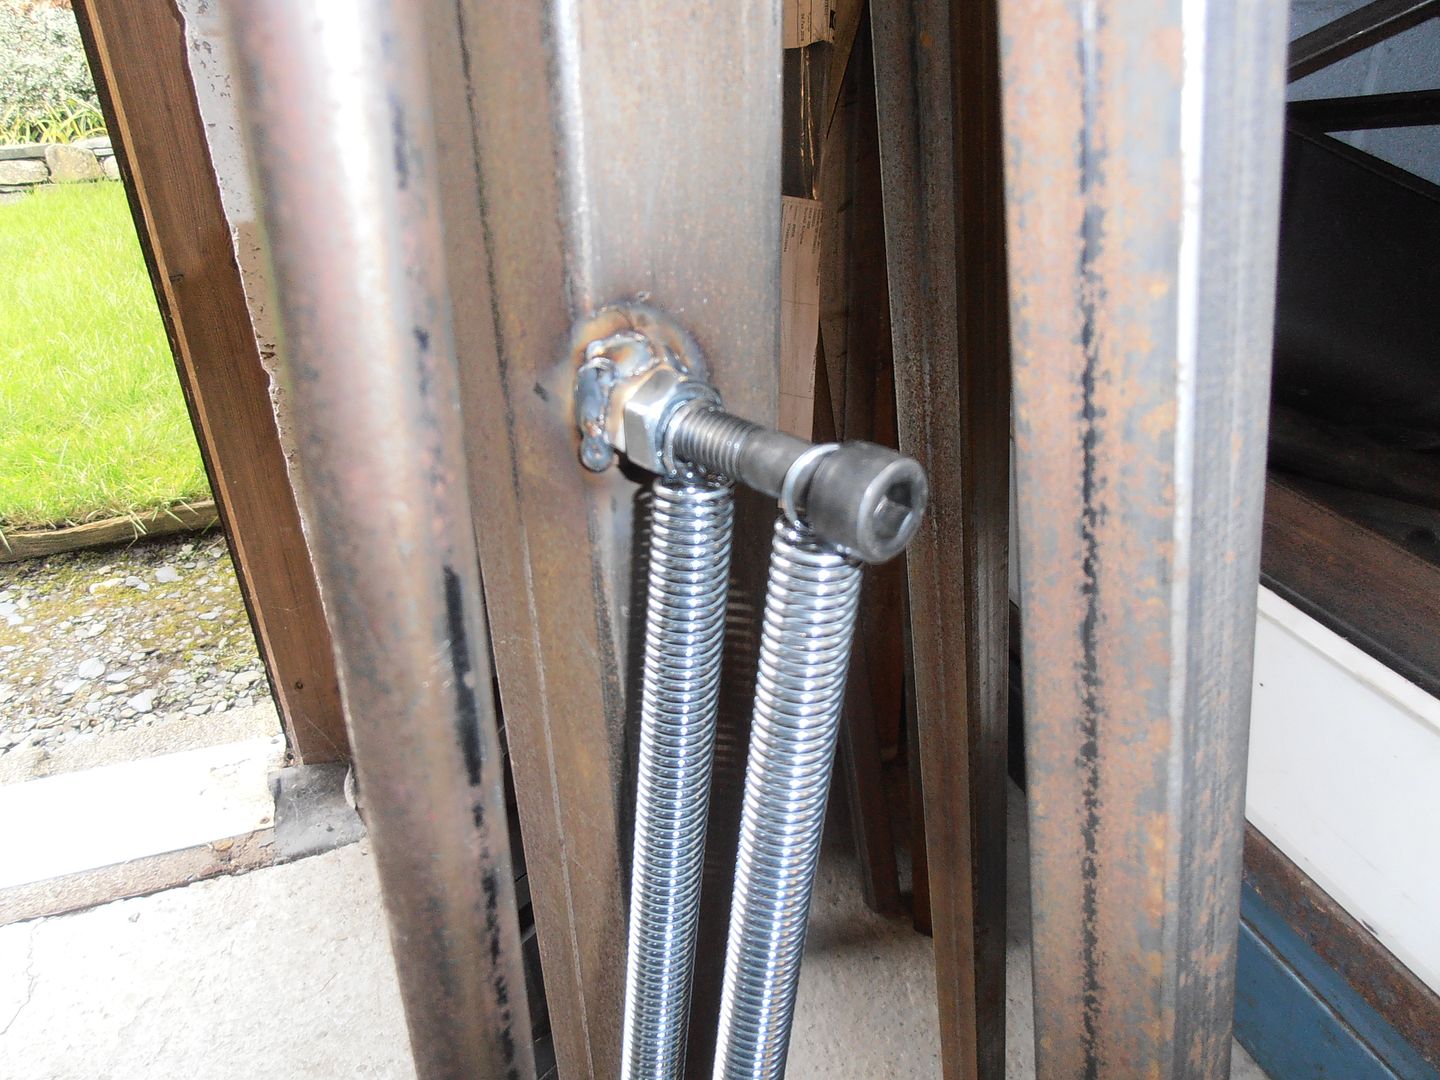 adjustable return stop 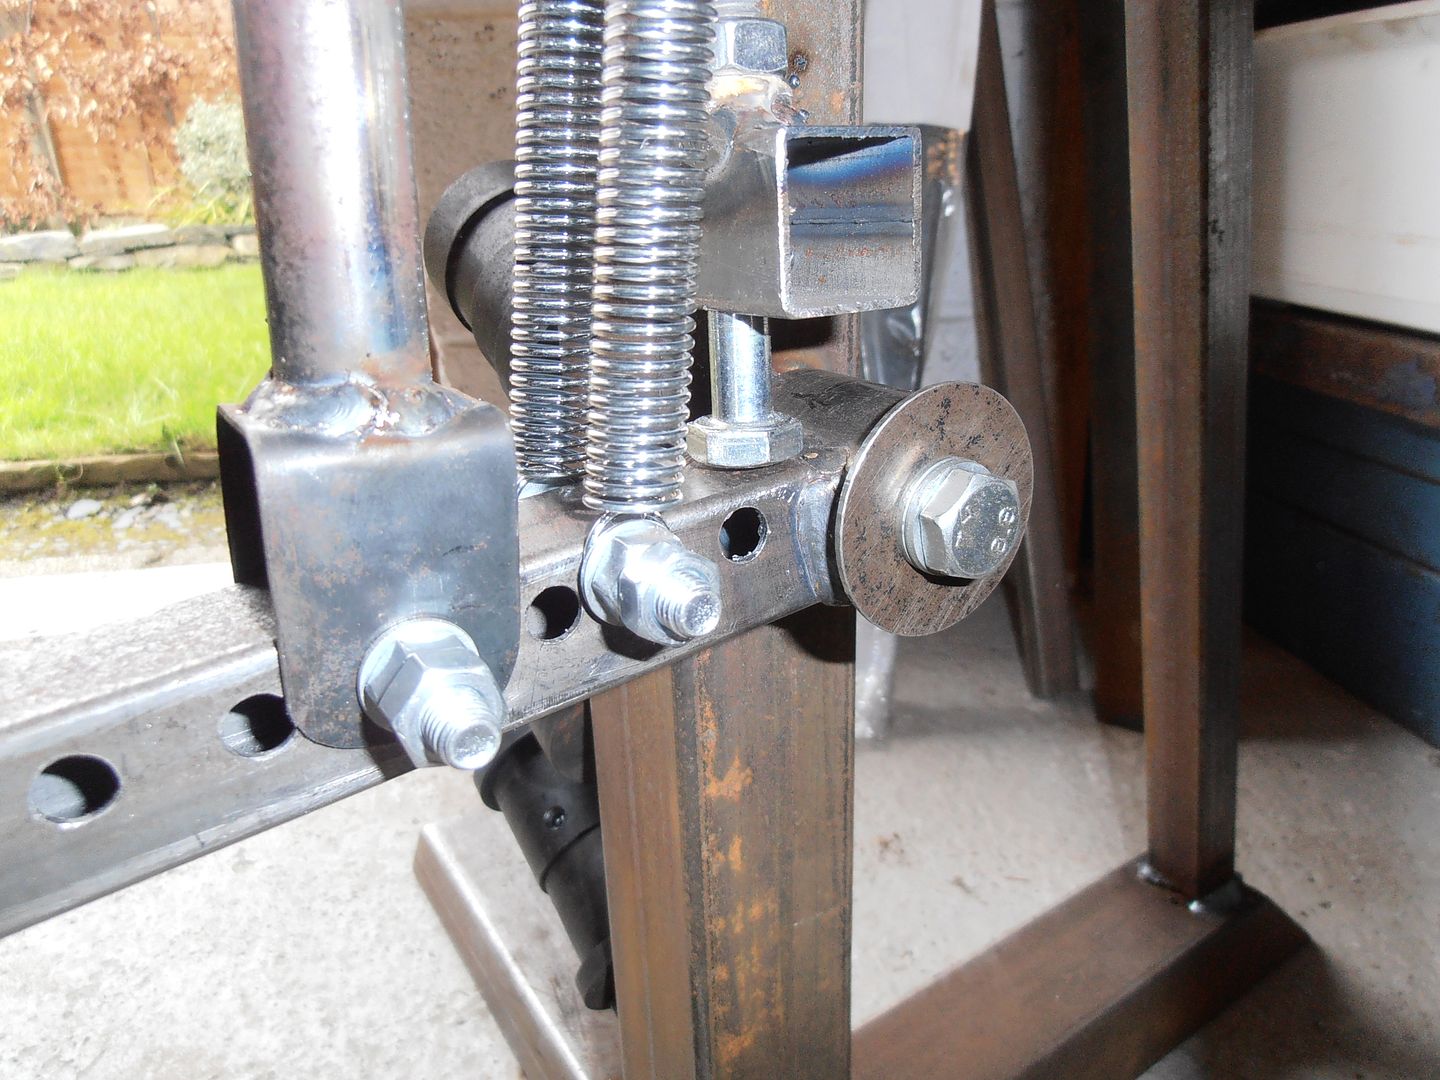 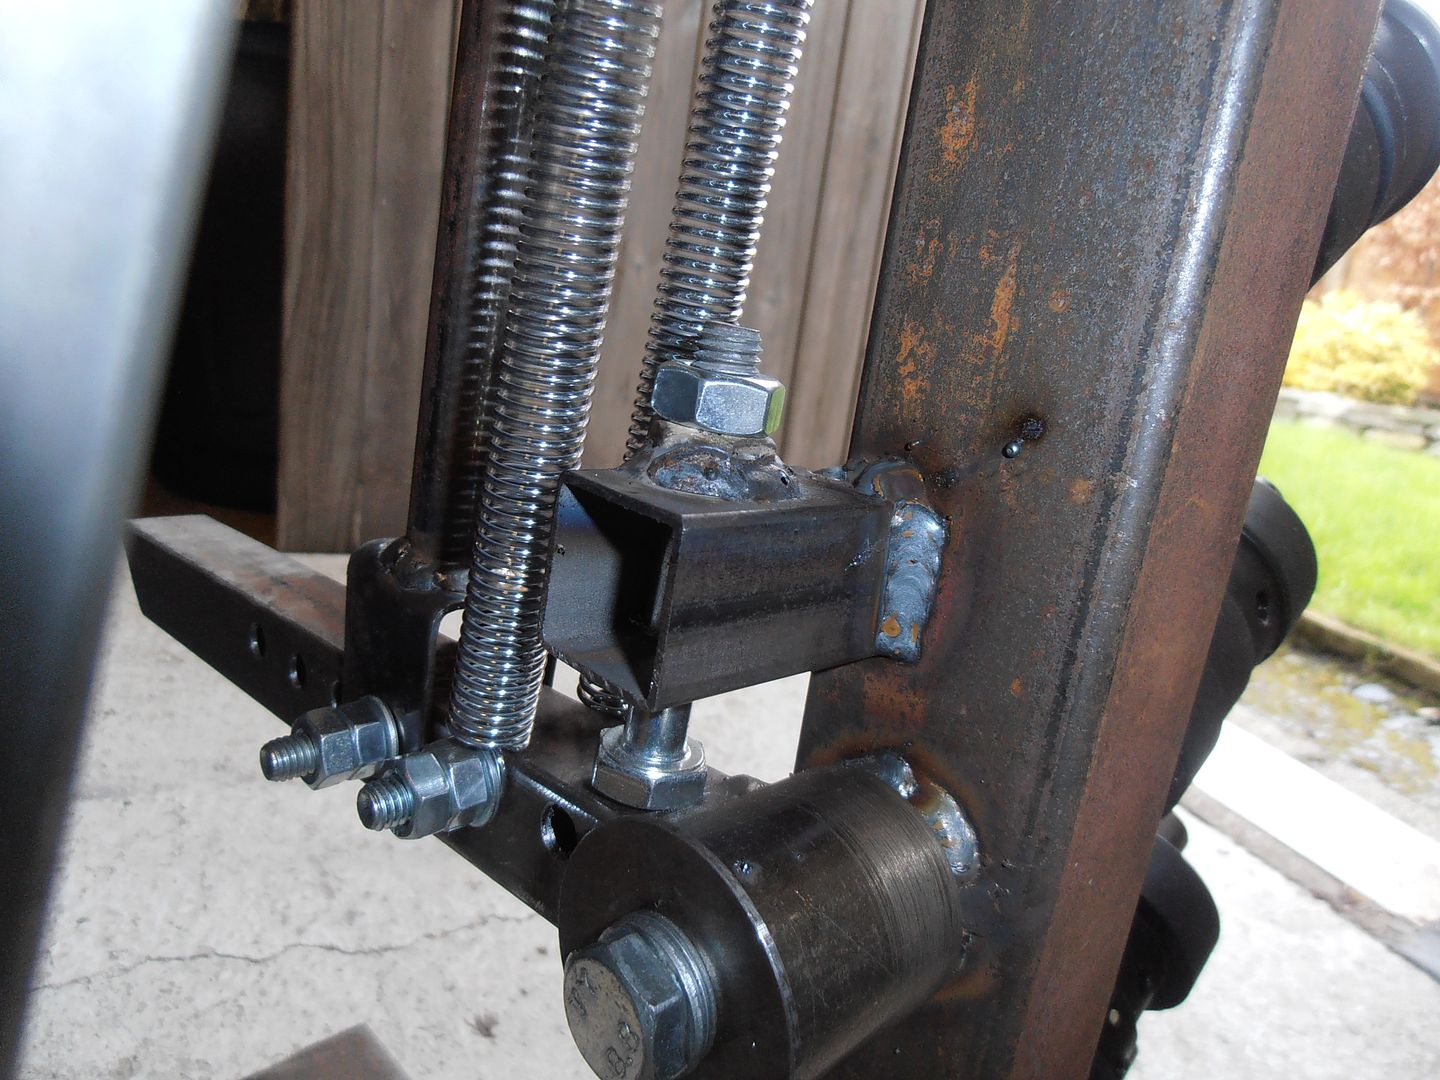 .... then thought I'd better face up to the rack mount. cut cutting :-( 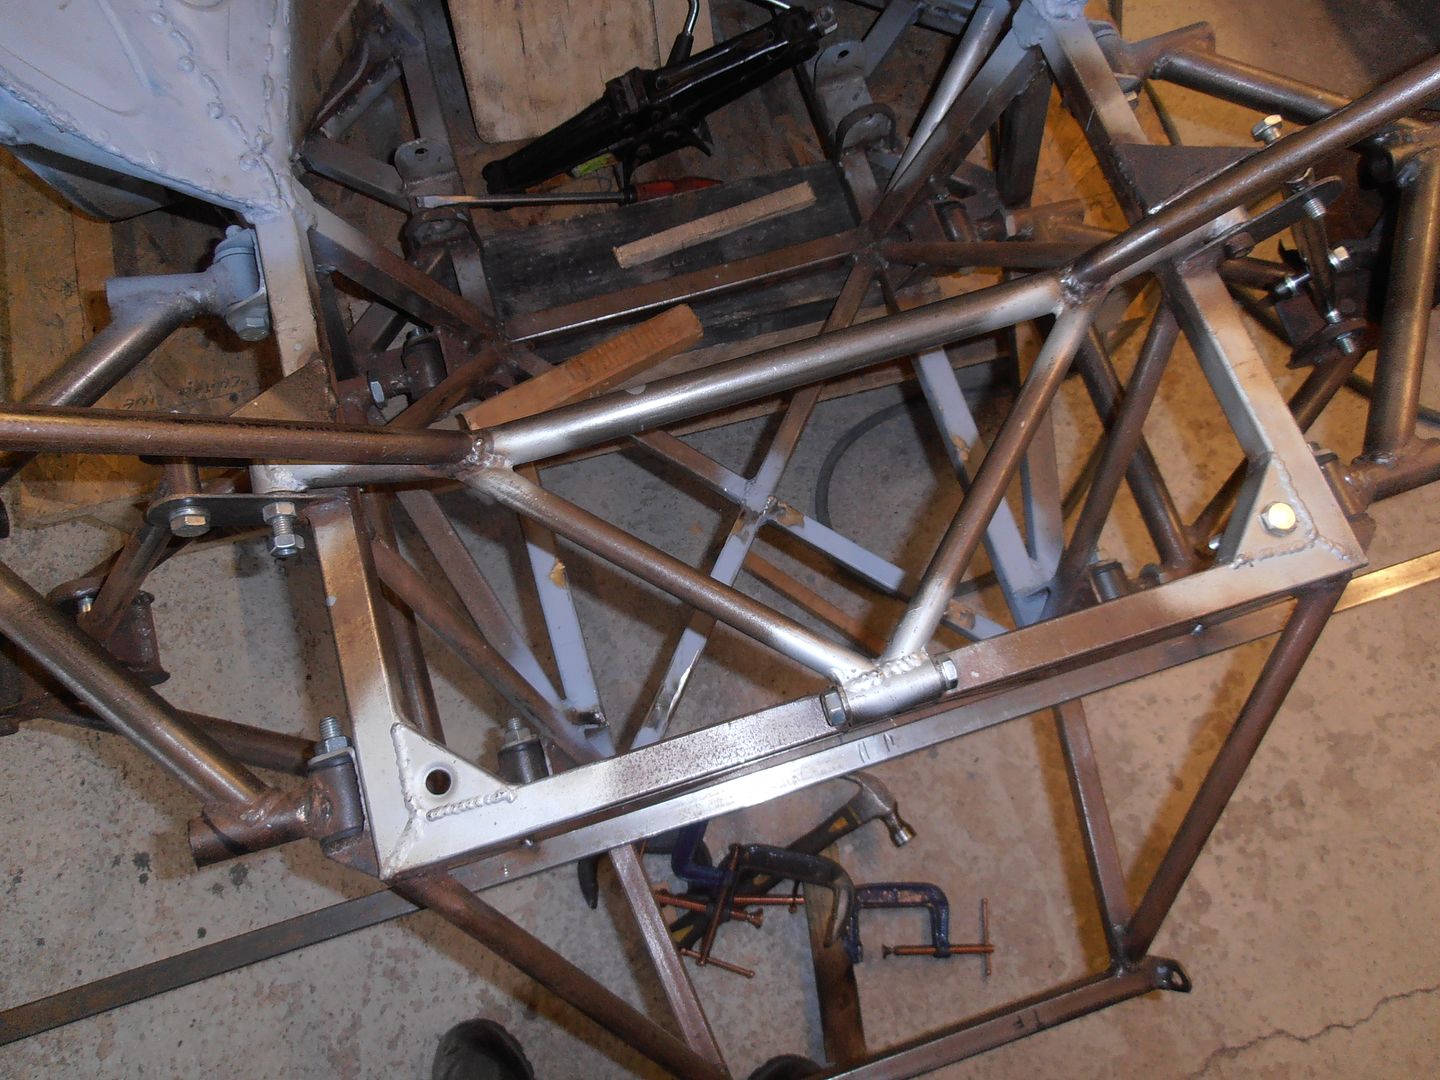 cutting the rack mount, and mocking it up again with measurements taken about 50 time 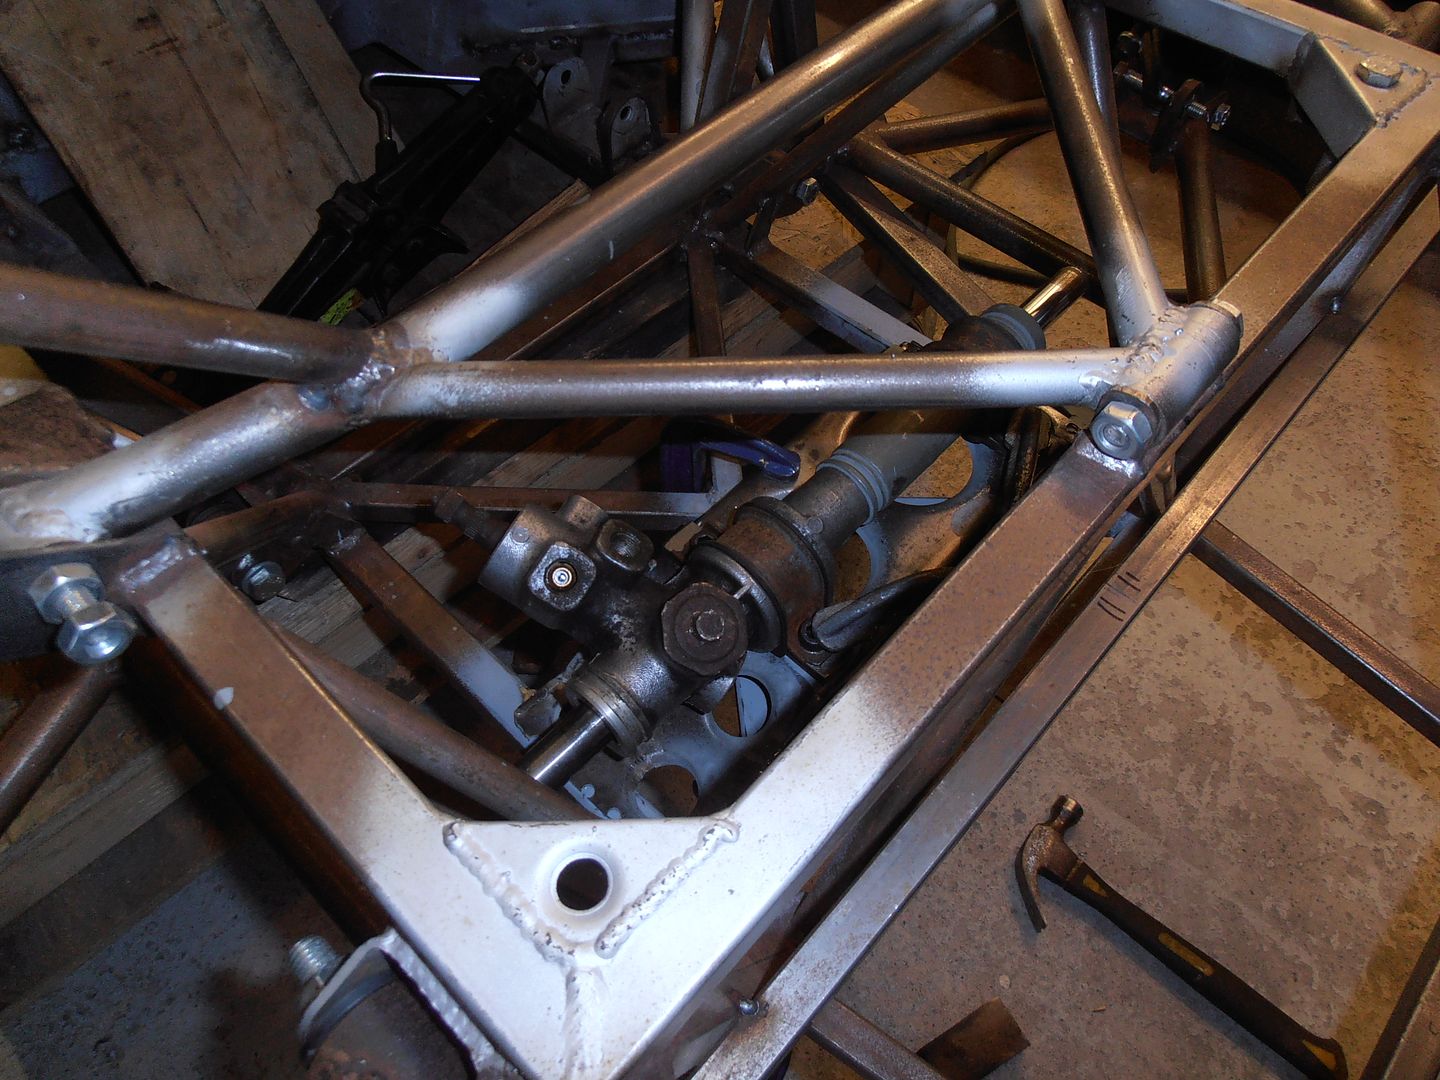 holding breath, tack it in 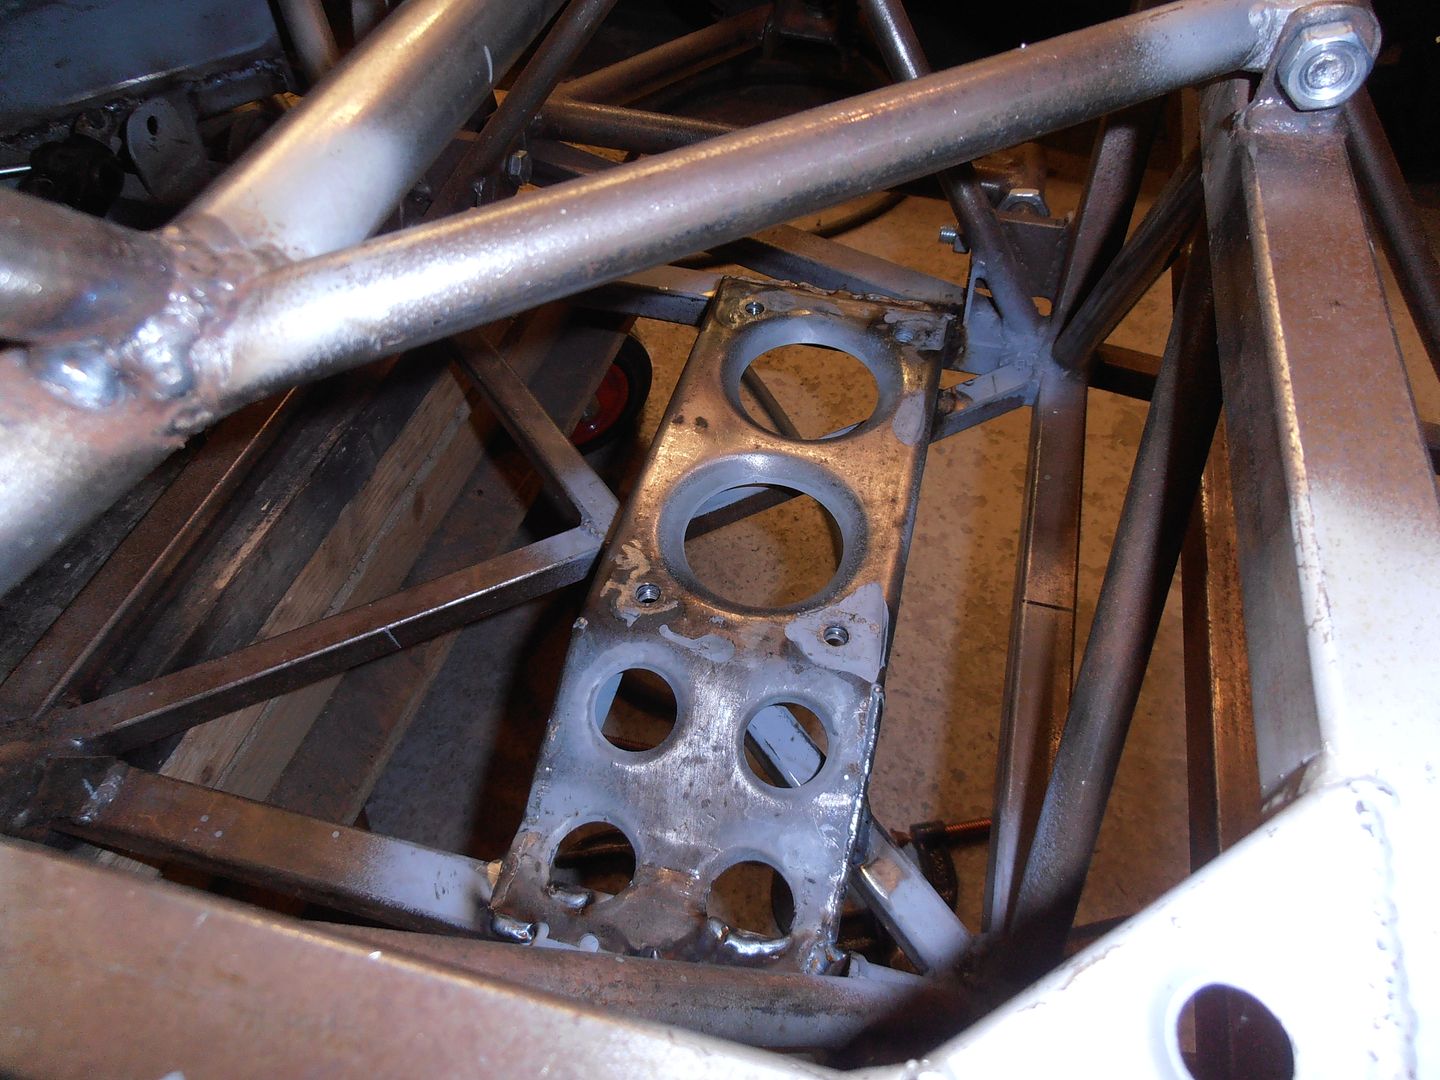 Measurements come out ok this time. Thankfully. within 0.5mm lateral and vertical. Welded in solid. The rack mount feels like it has no flex. Which is good. 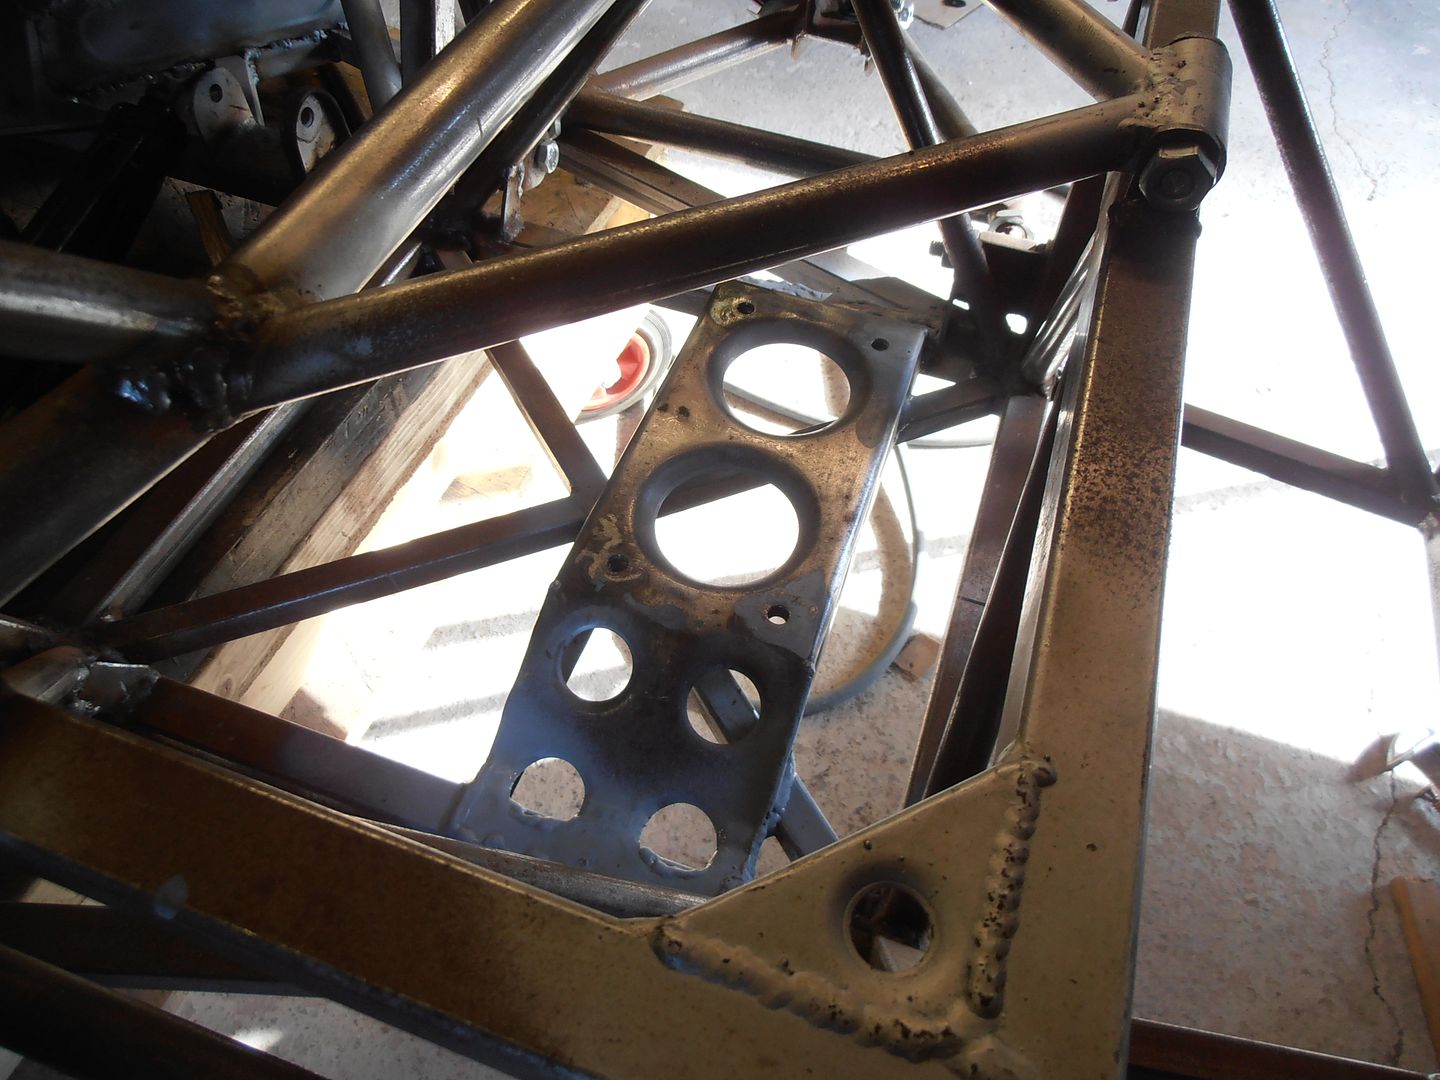 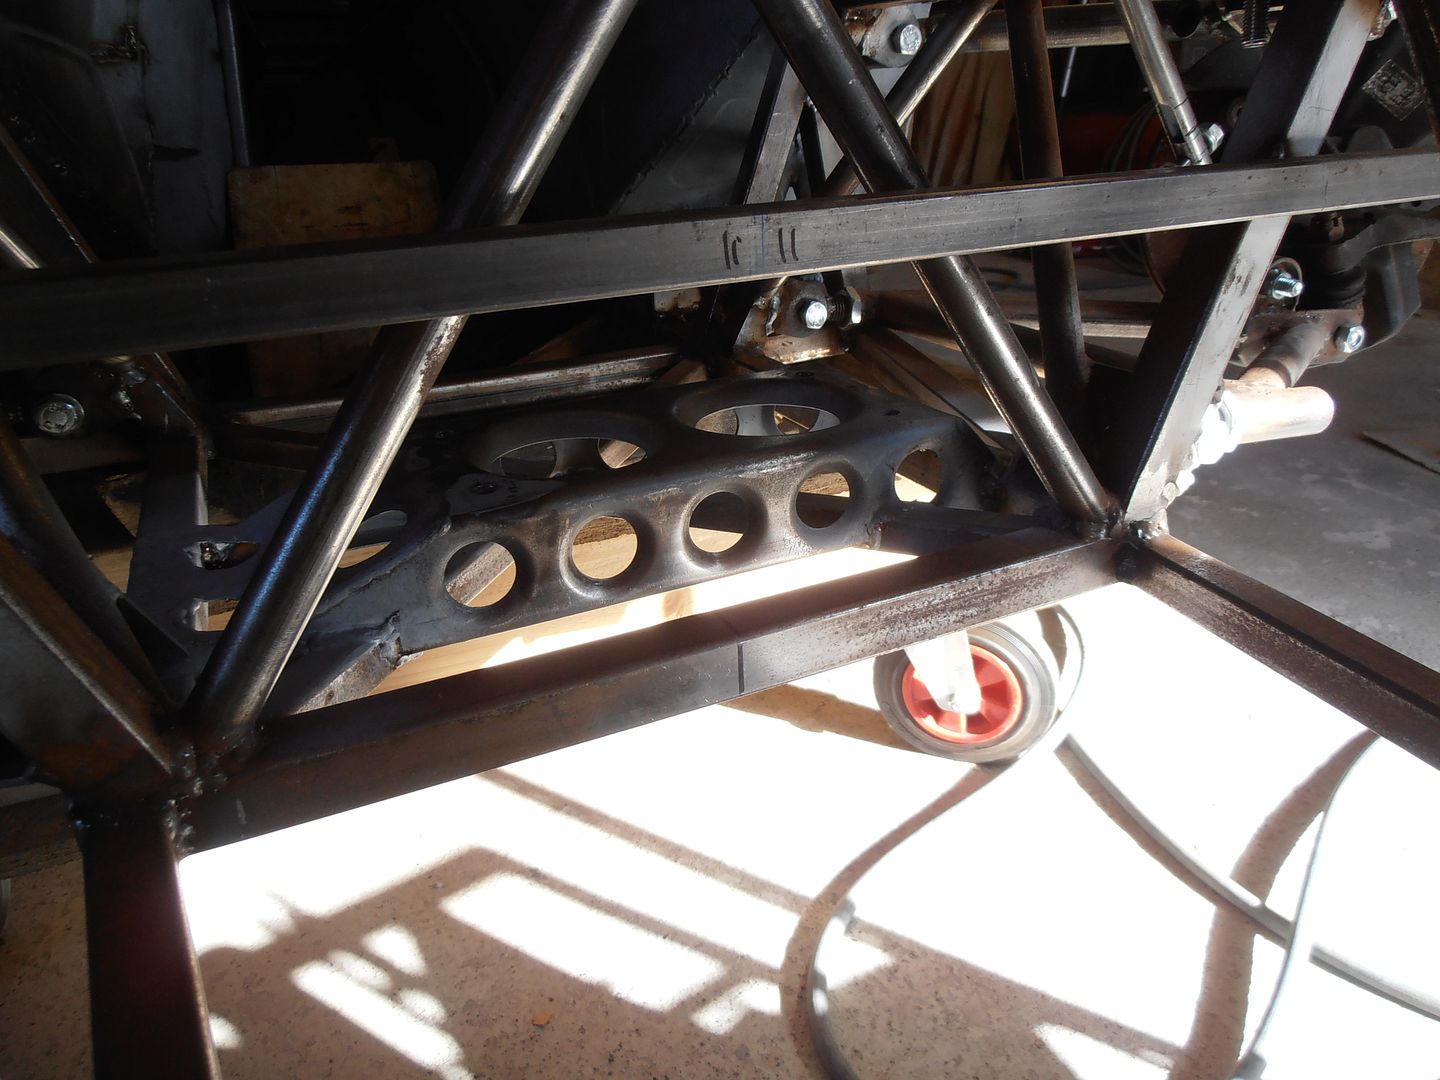 This gives an idea of how much I dropped the bracket / rack down. 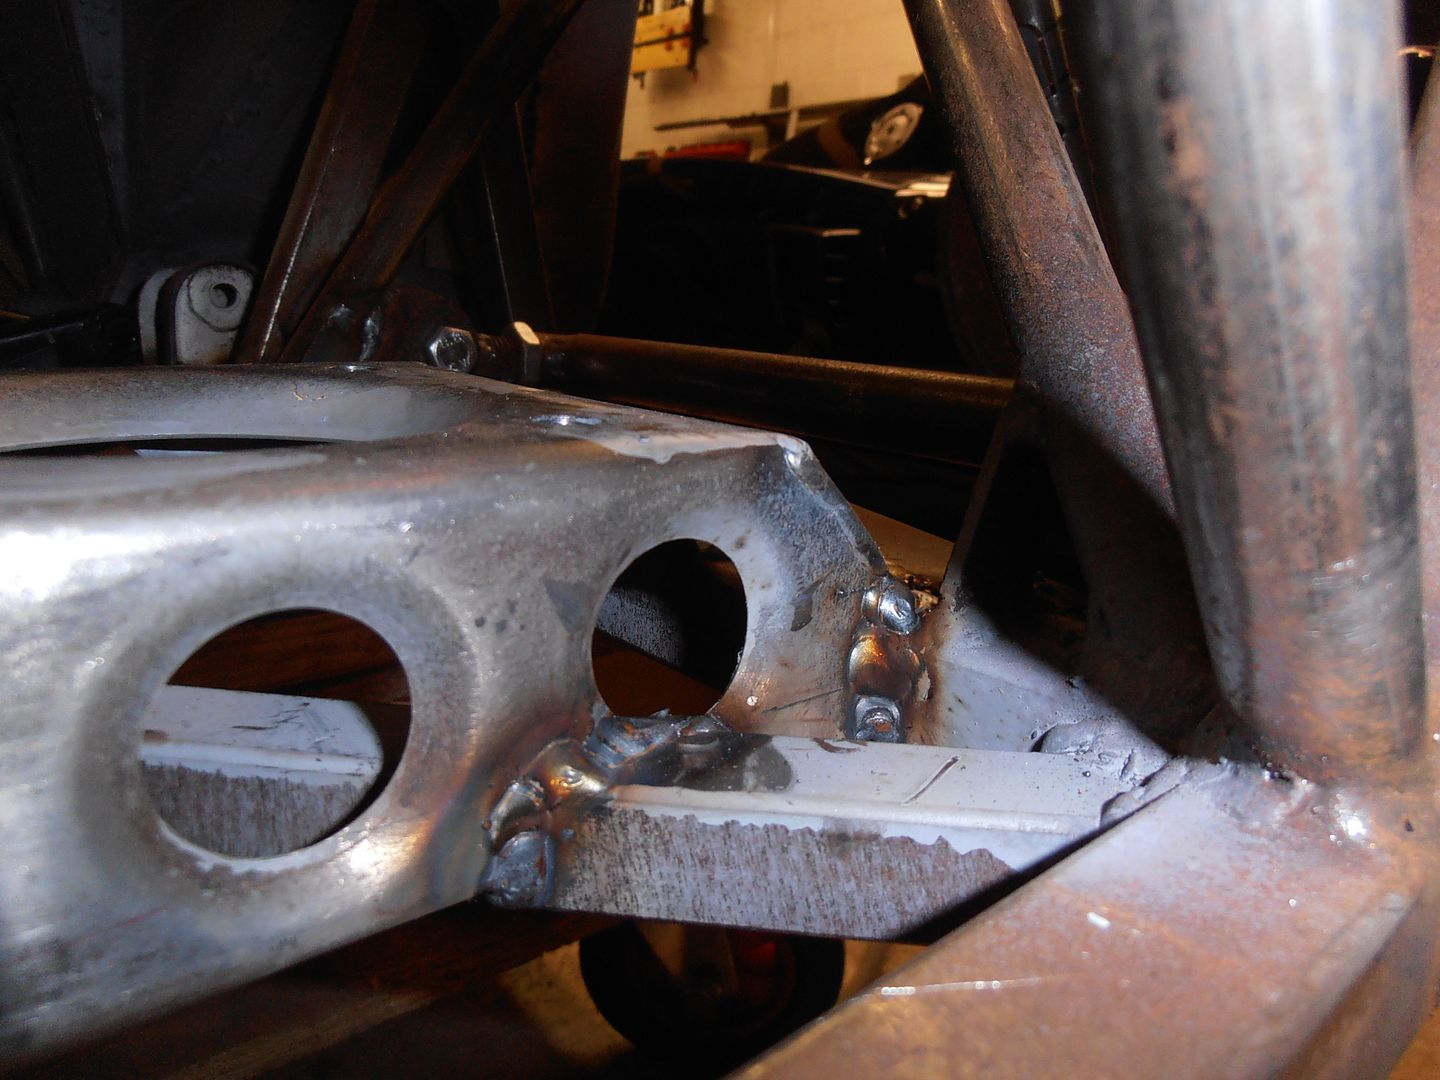 I stuck the suspension back together and tried it. I now need to shim the rack up to get to a neutral bump steer position which is exactly what I wanted. I now have adjustability depending on how I setup the suspension. Next stop was a quick coat of paint on the shrinker / bead roller stand. 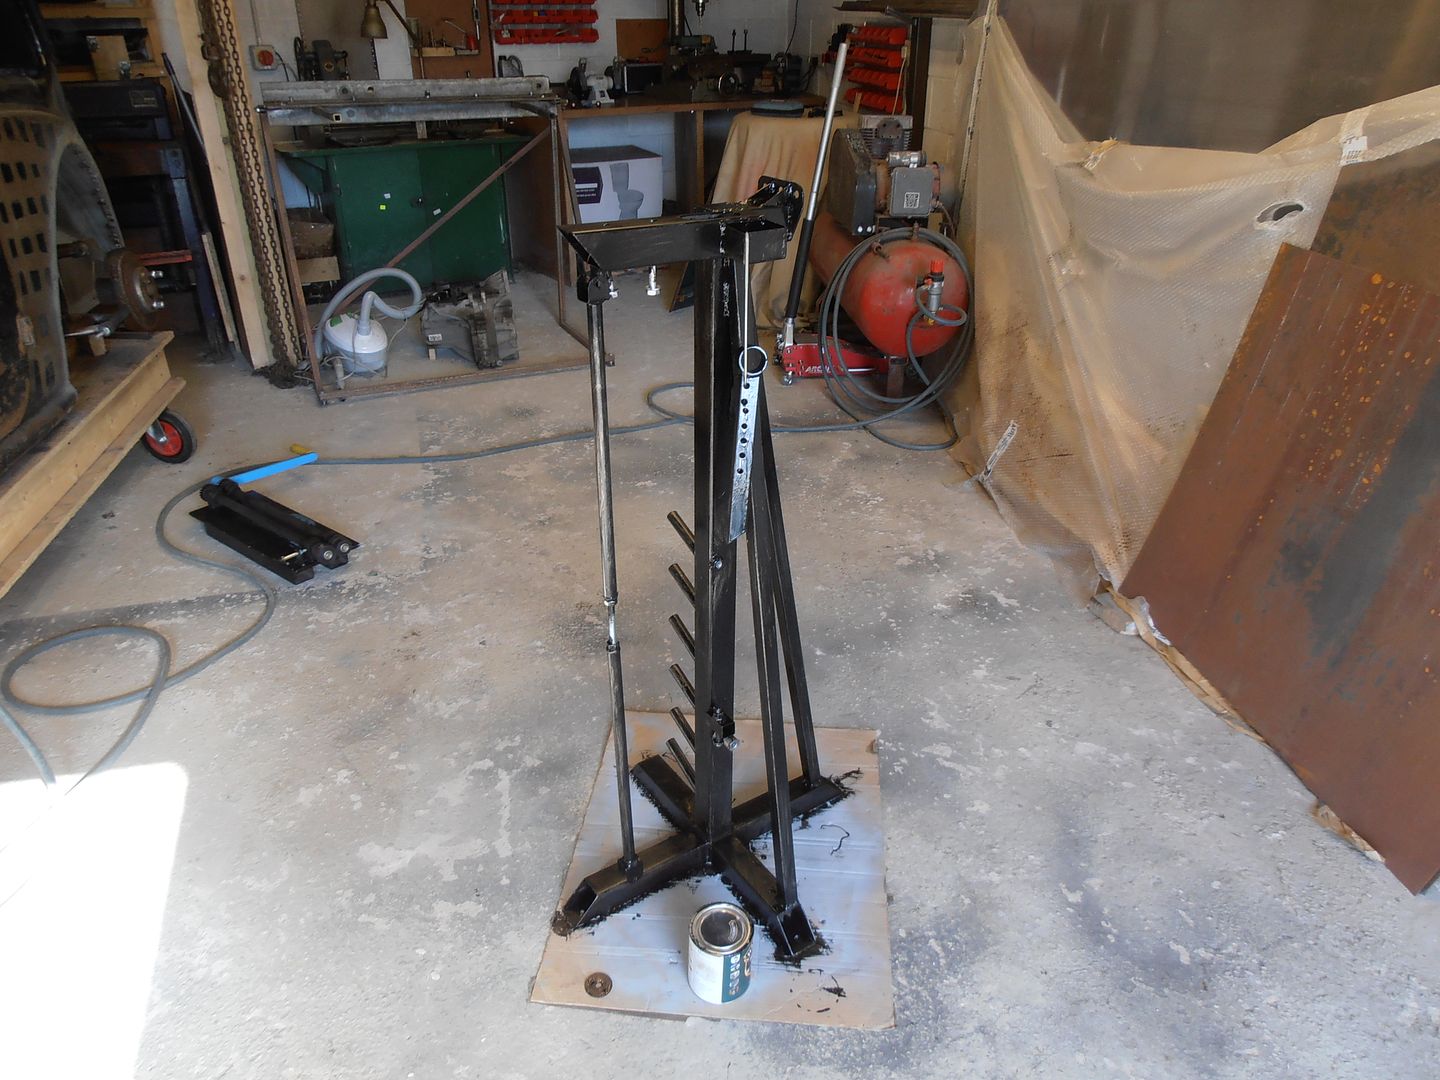 Just painted in hammerite rather than sprayed. then remembered I'd never welded in the screen support brackets, so welded them in 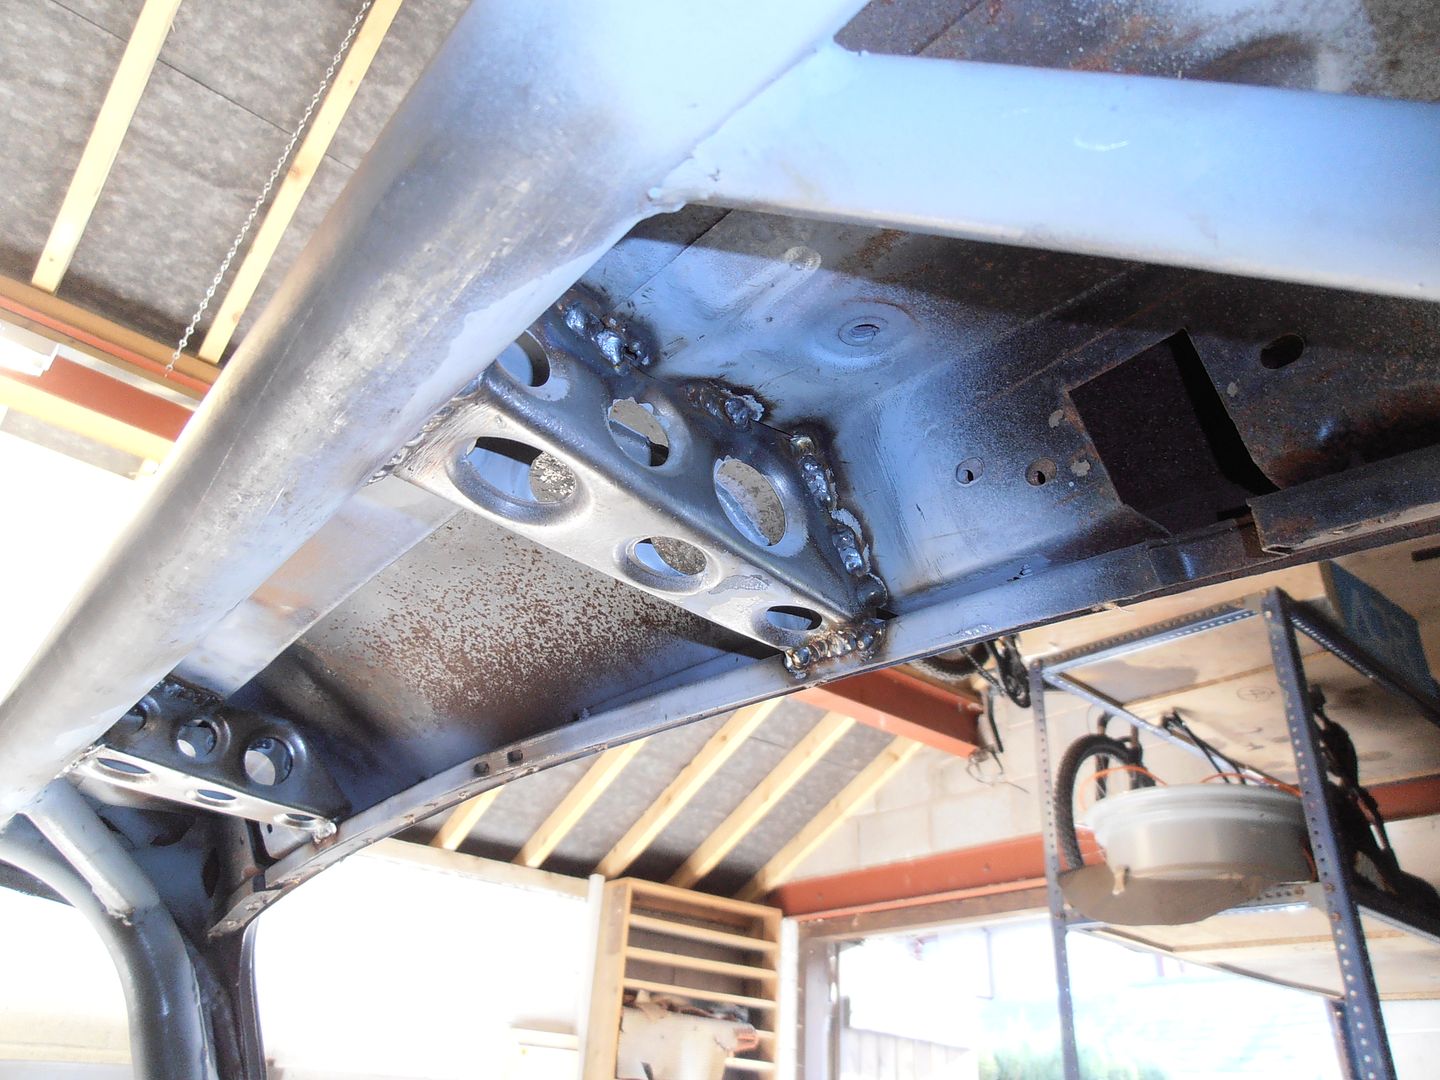 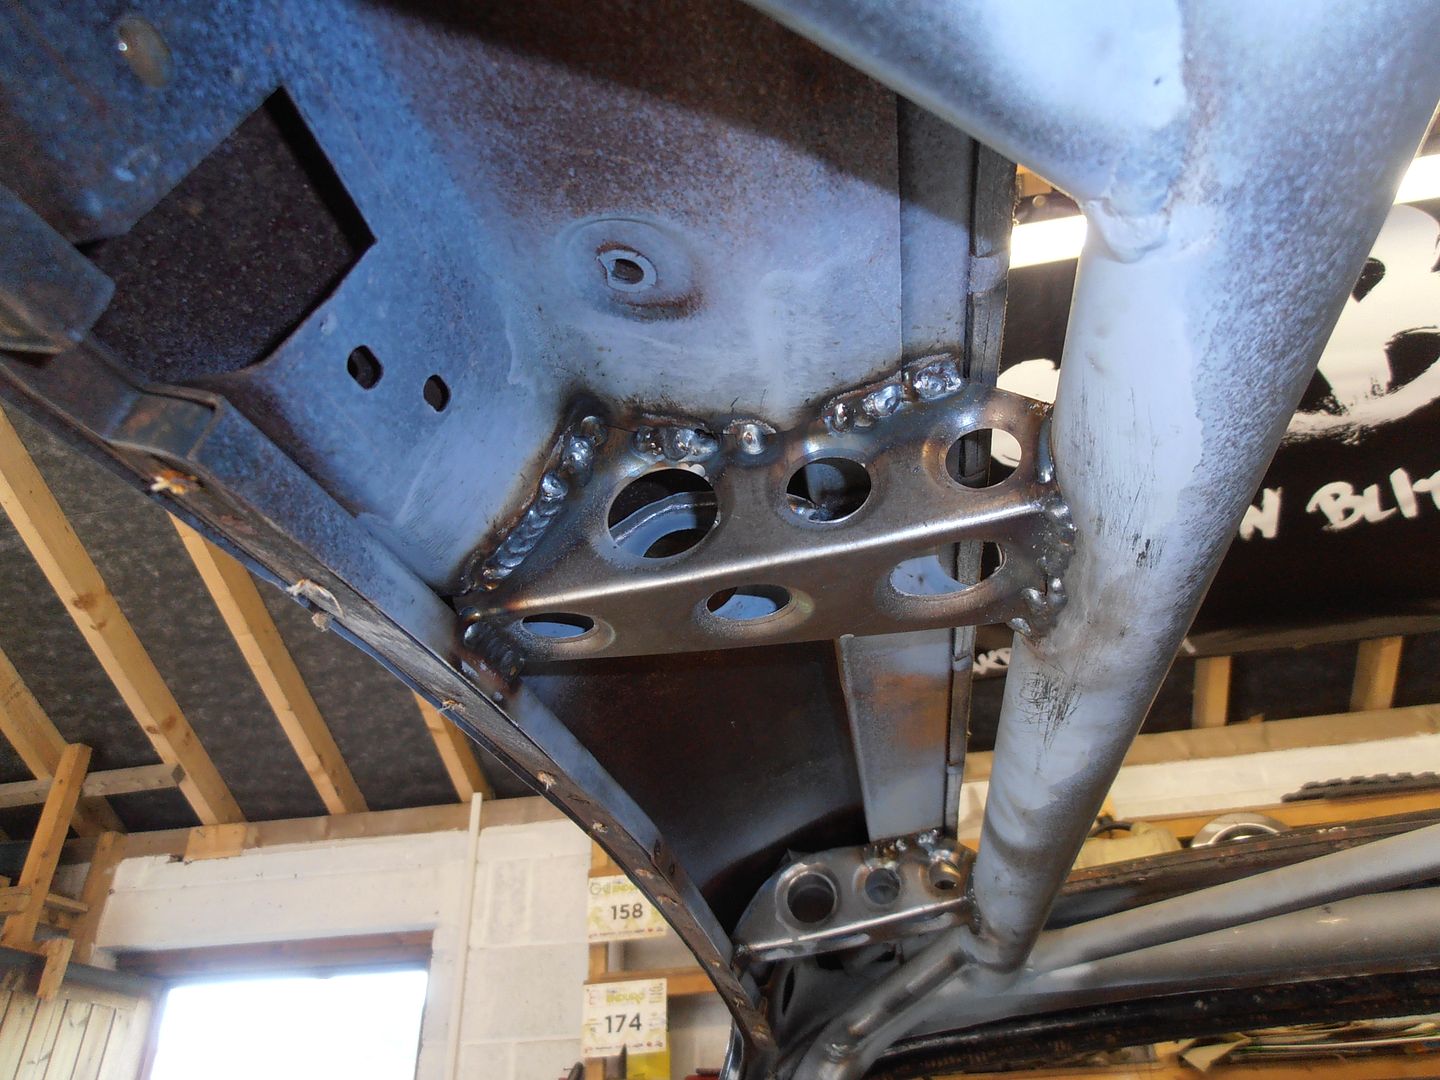 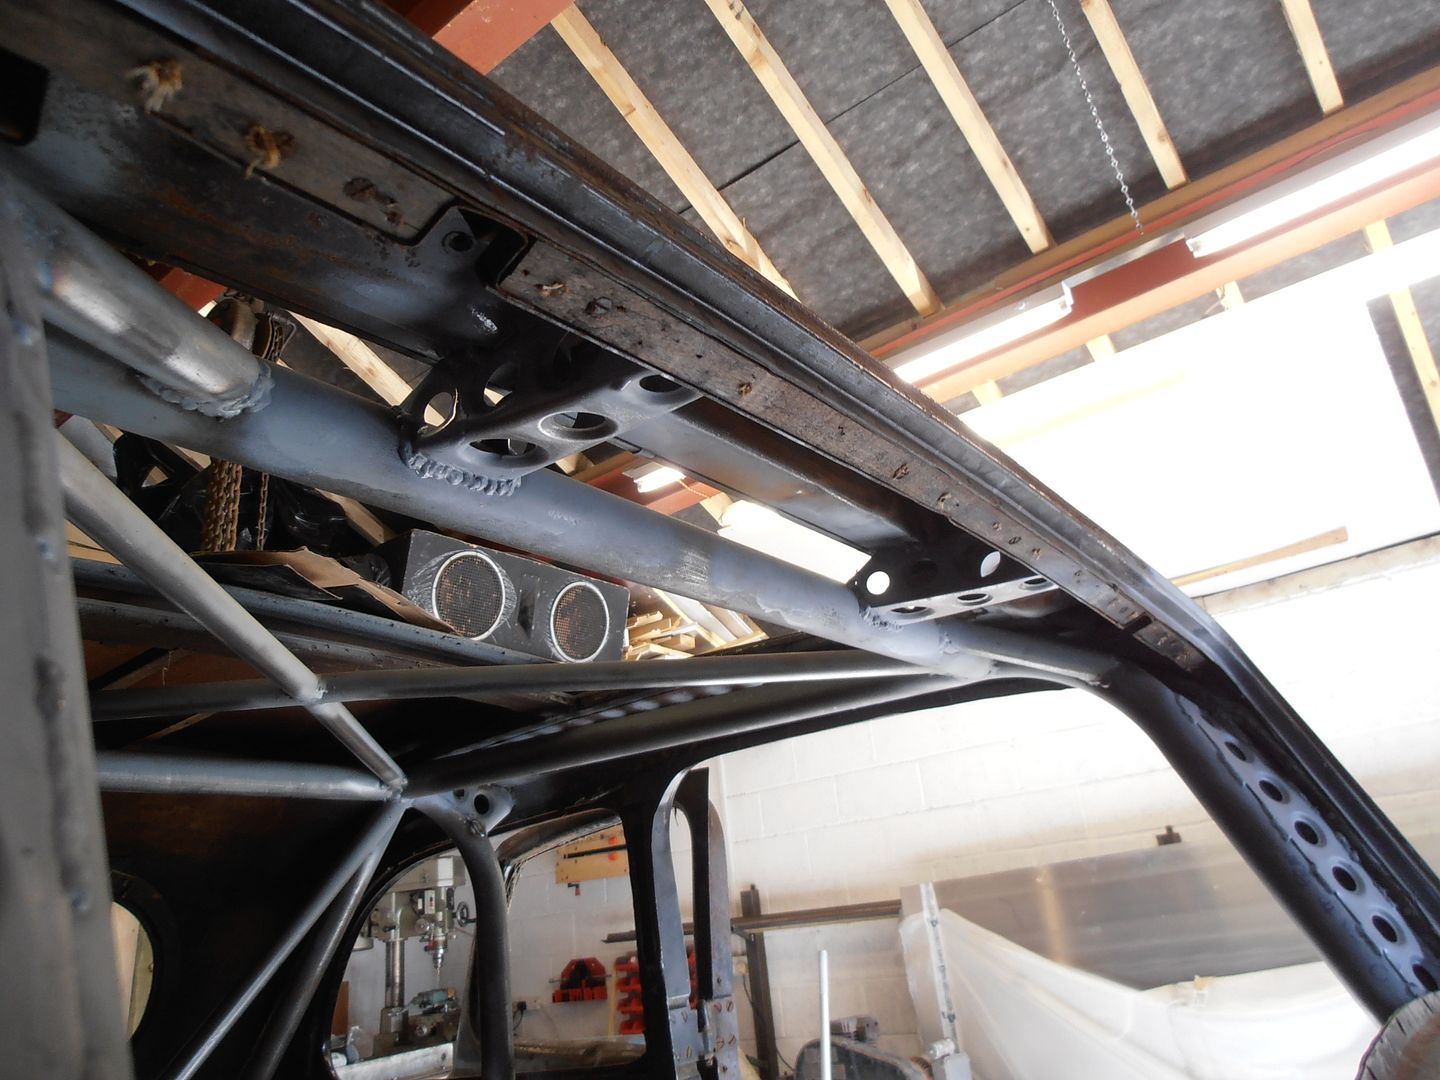 Then decided to add a stiffening edge to the top of the damper mount. 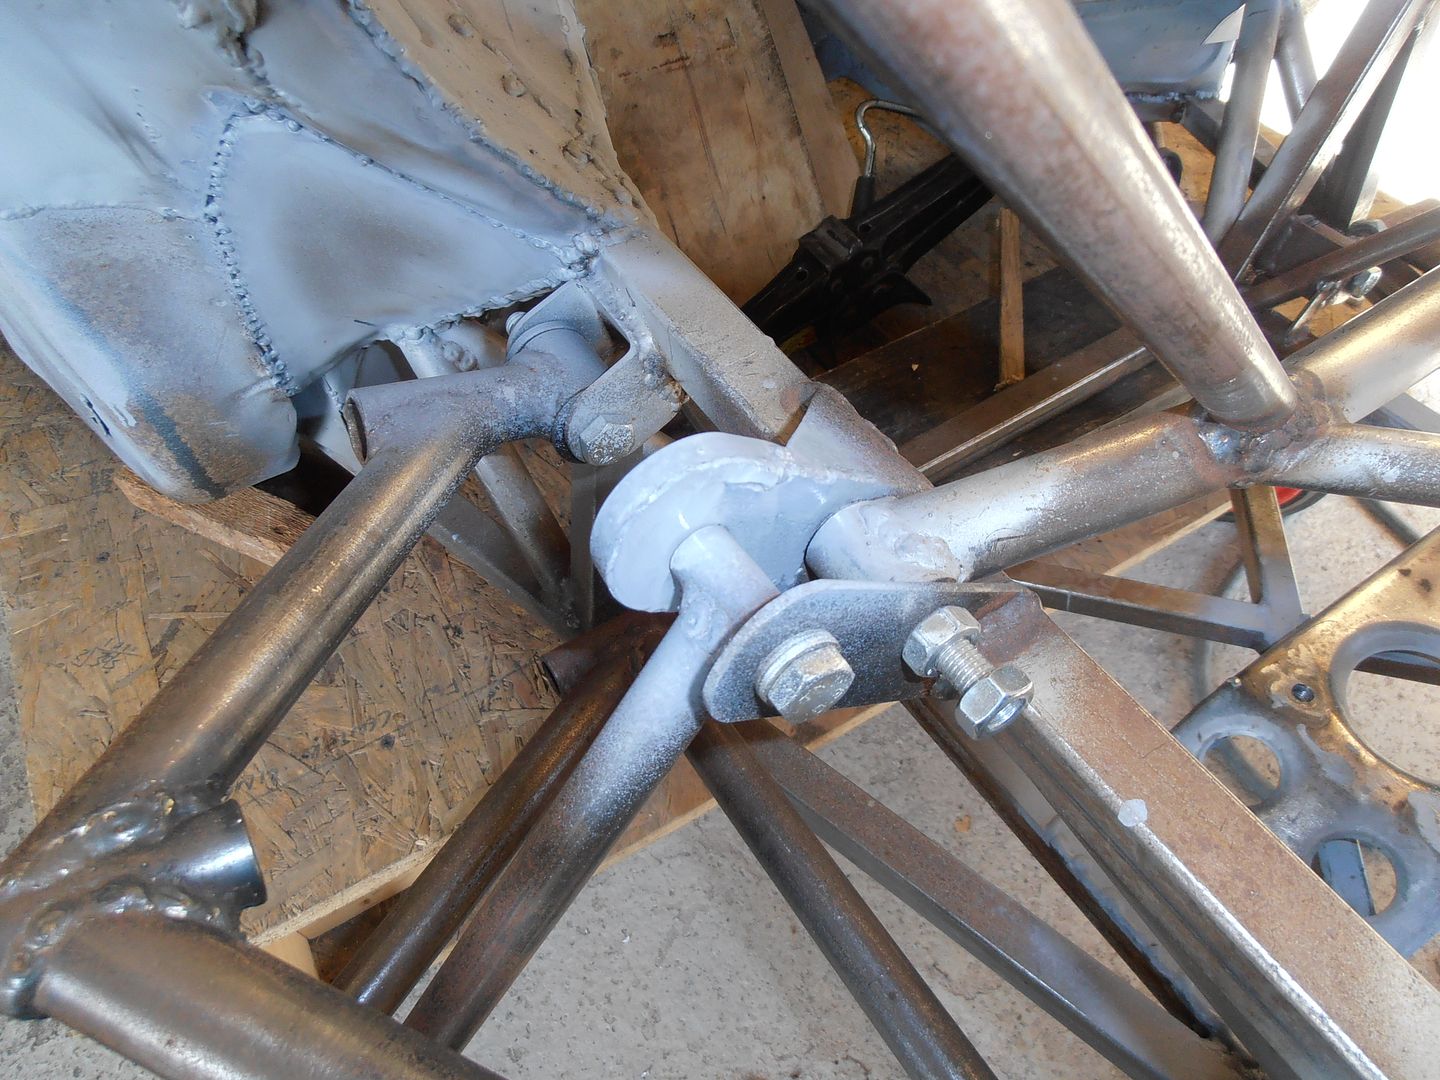 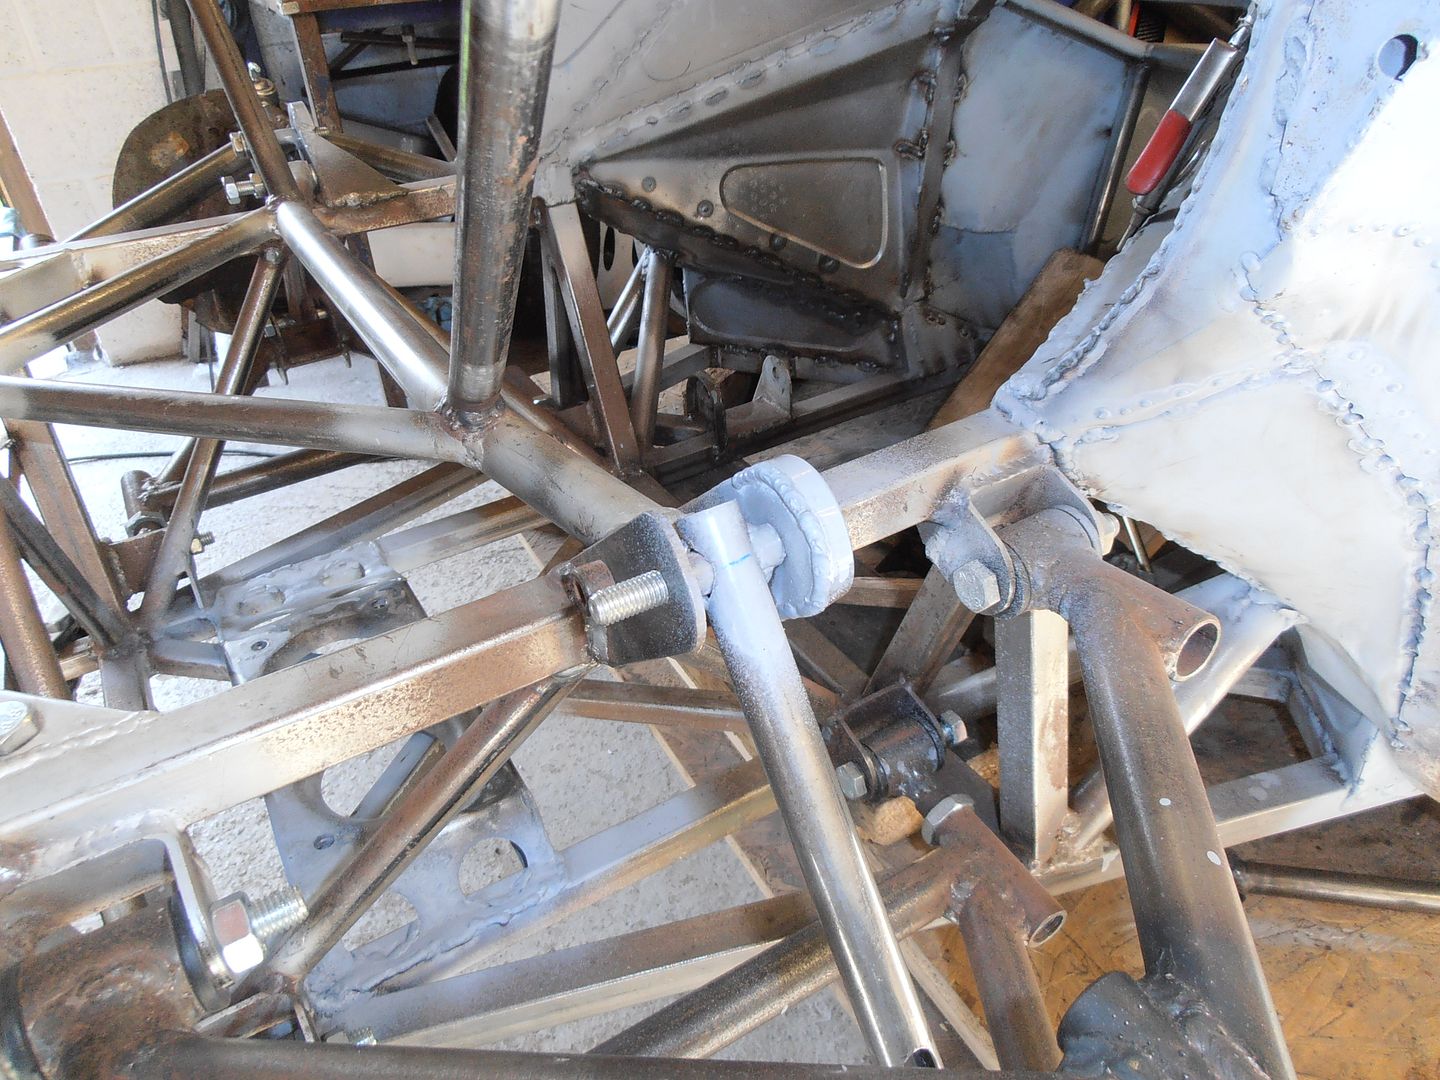 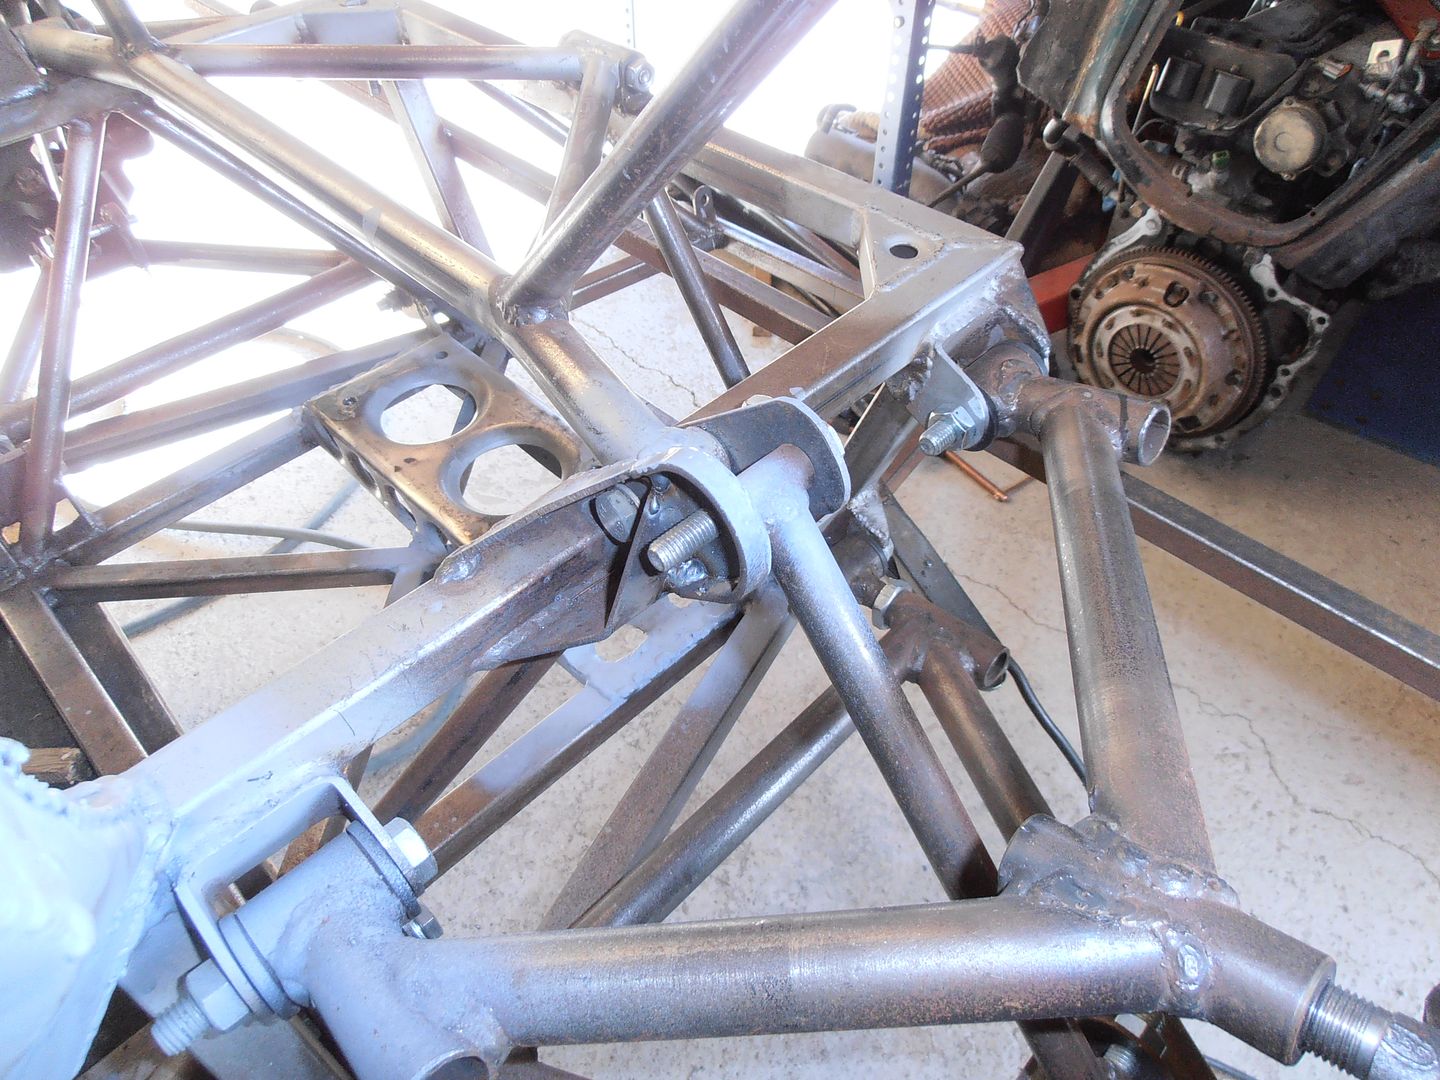 And finally got onto the passenger side rear arch supports. 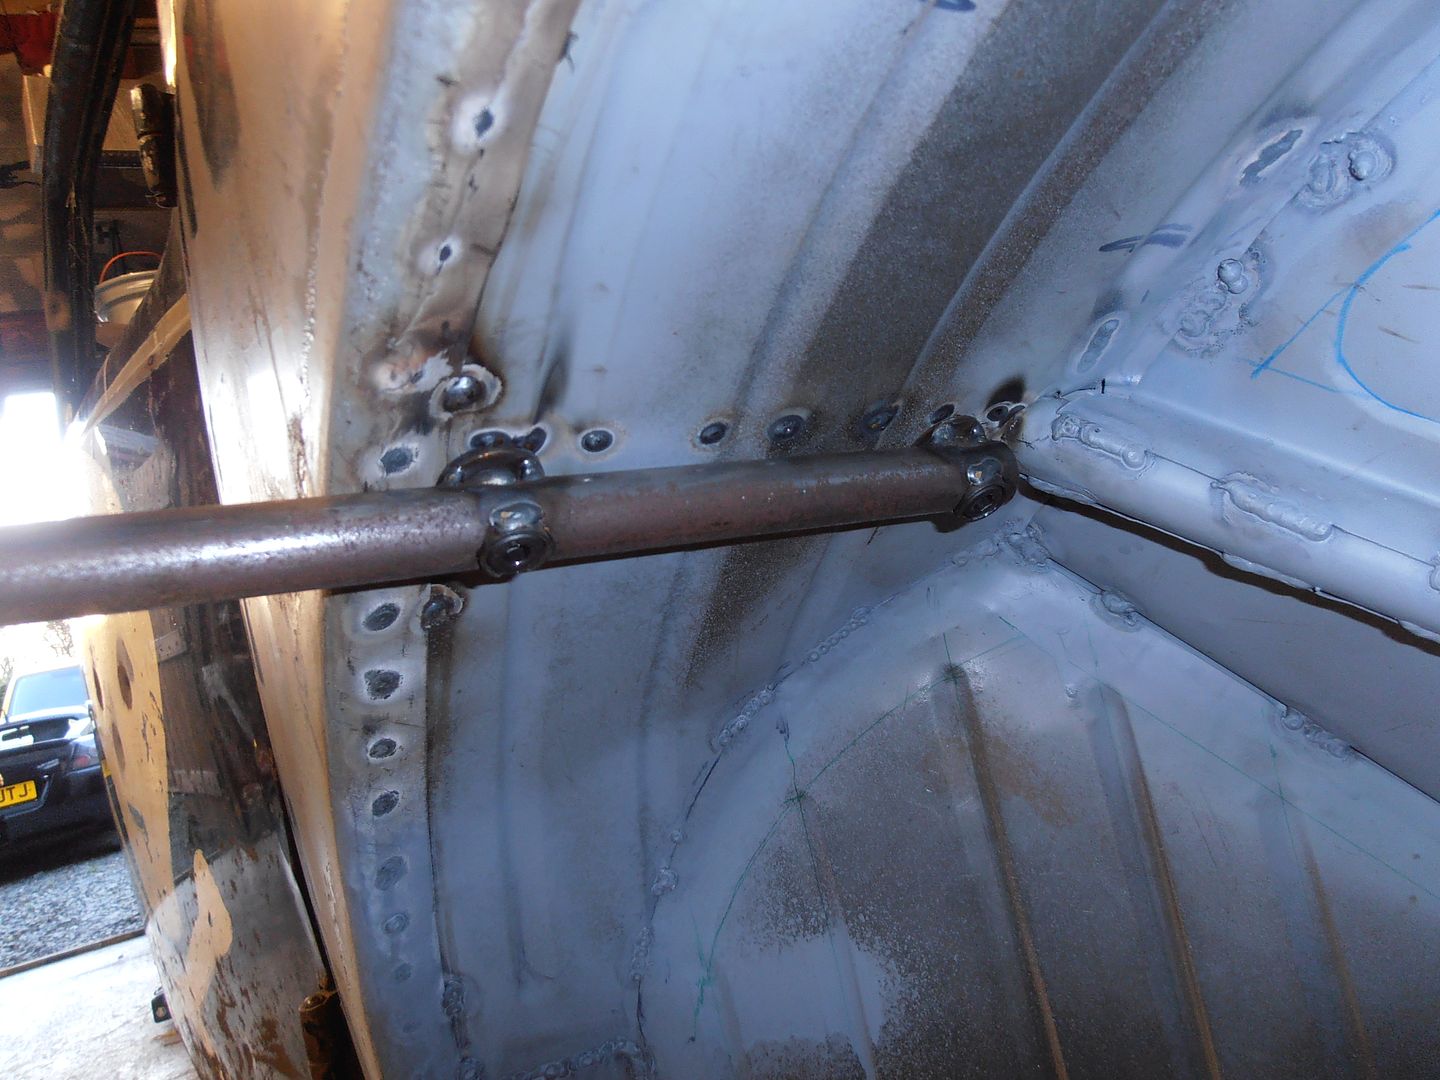 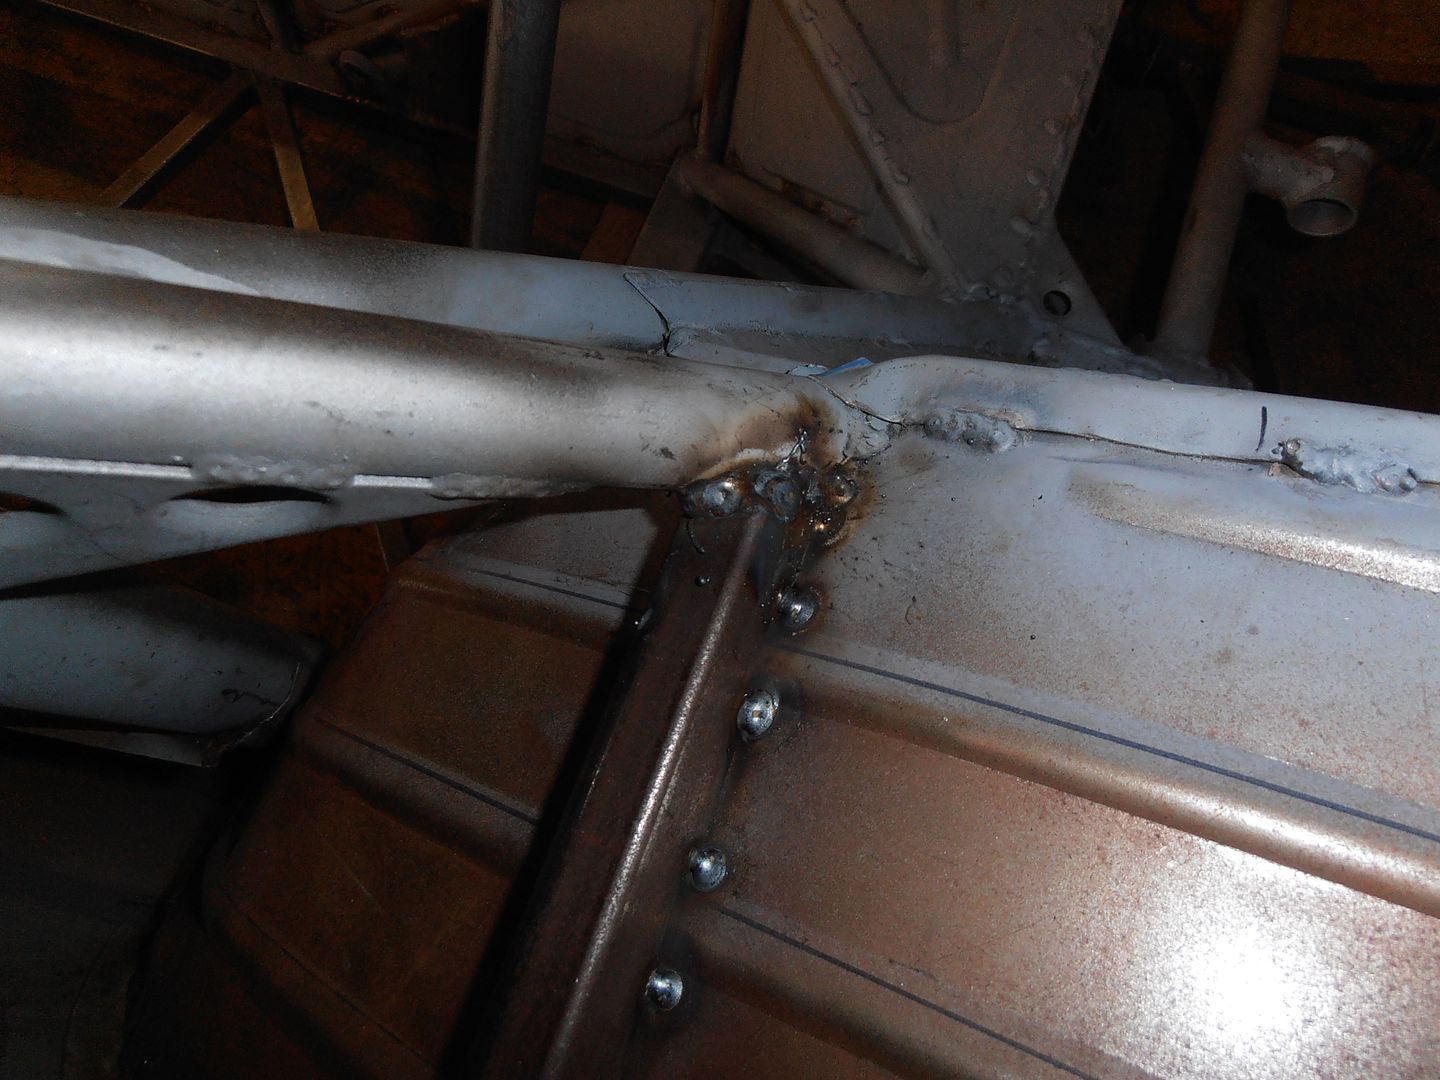 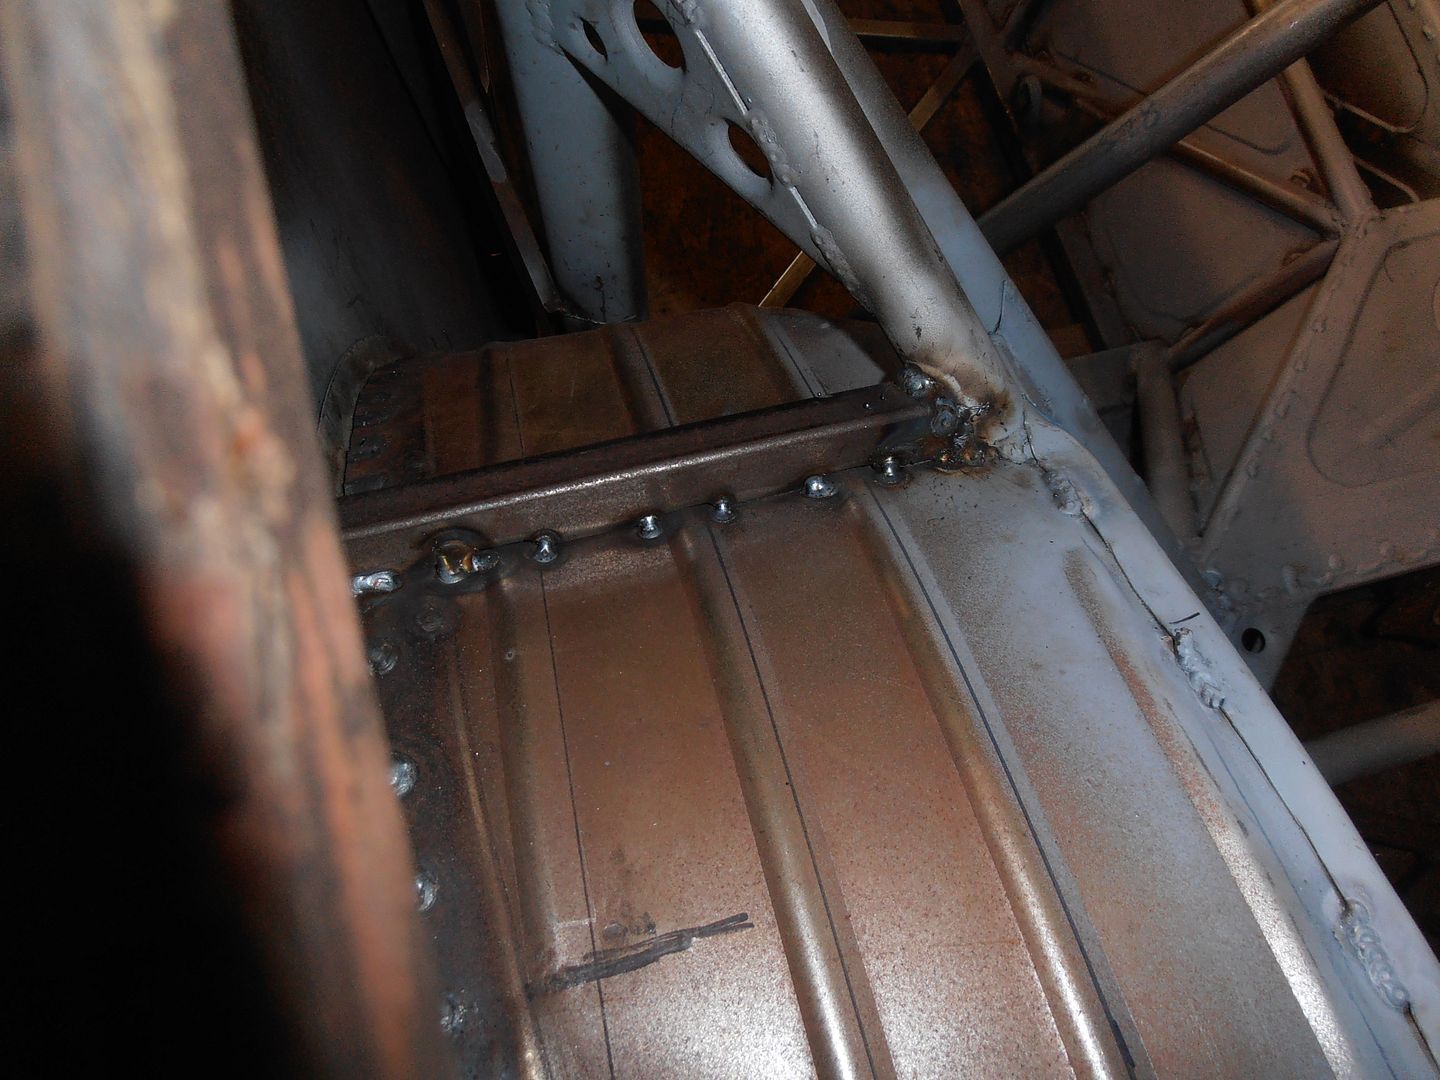 Also did the rear mount but forgot to take a picture. Slowly getting some progress. |
| |
|
|
glenanderson
Club Retro Rides Member
Posts: 4,360
Club RR Member Number: 64
Member is Online
|
|
|
|
Nice. Keep it up.  |
| |
My worst worry about dying is my wife selling my stuff for what I told her it cost...
|
|
jonomisfit
Club Retro Rides Member
Posts: 1,790
Club RR Member Number: 49
|
|
|
|
Not great progress this weekend. Saturday was spent re-cementing the chimney cap as its cracked through. Still dealing about next door in order to get agreement to get whole lot replaced but progress is slow. In the meantime it leaking heavily so spent nearly 8 hrs making temporary repairs. Got out the workshop today though. As it was nice all doors open to get some air through and dry it out a bit as was feeling damp. Onto getting arches set. Mocked up front. 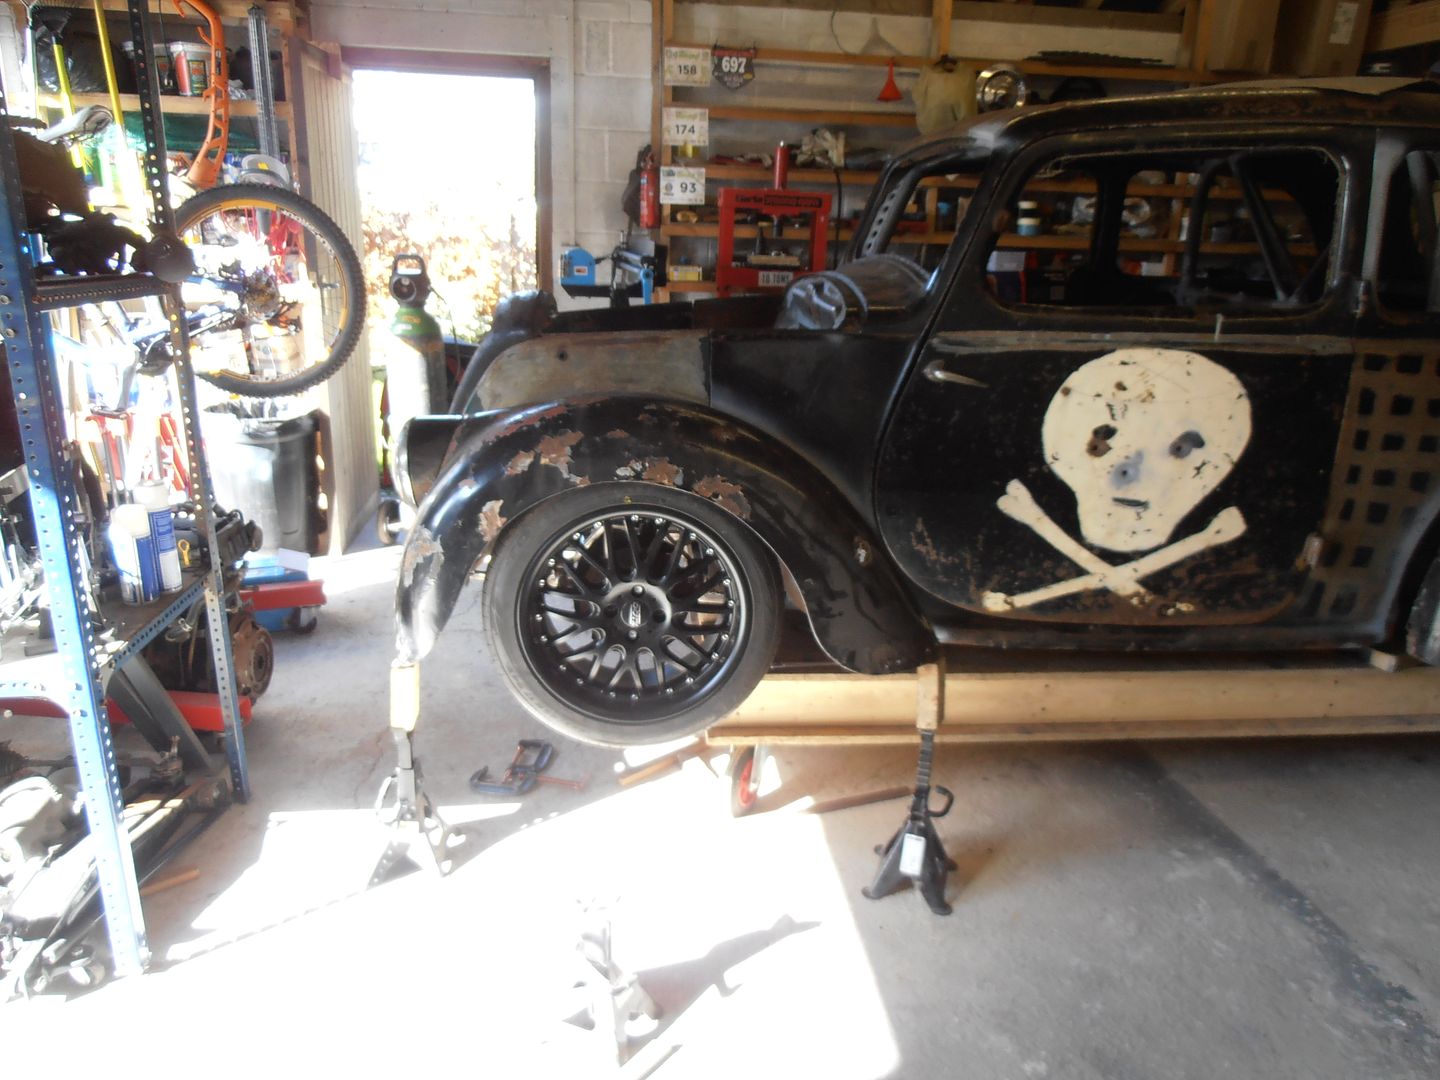 and rear 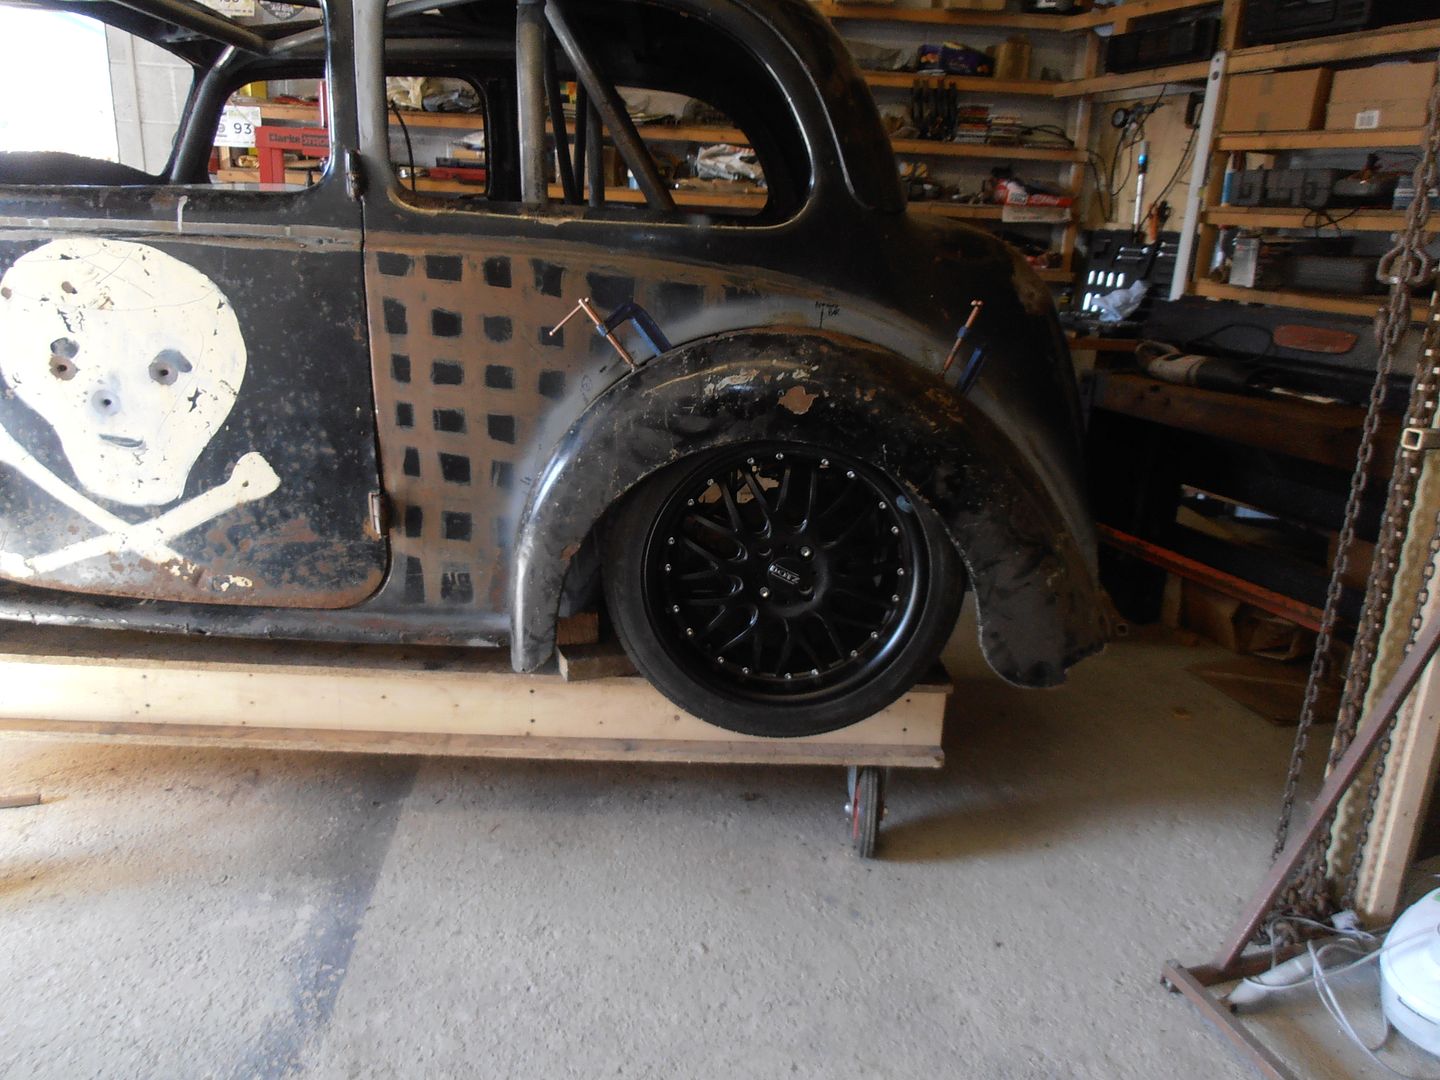 rear is a lot more tucked than the front. 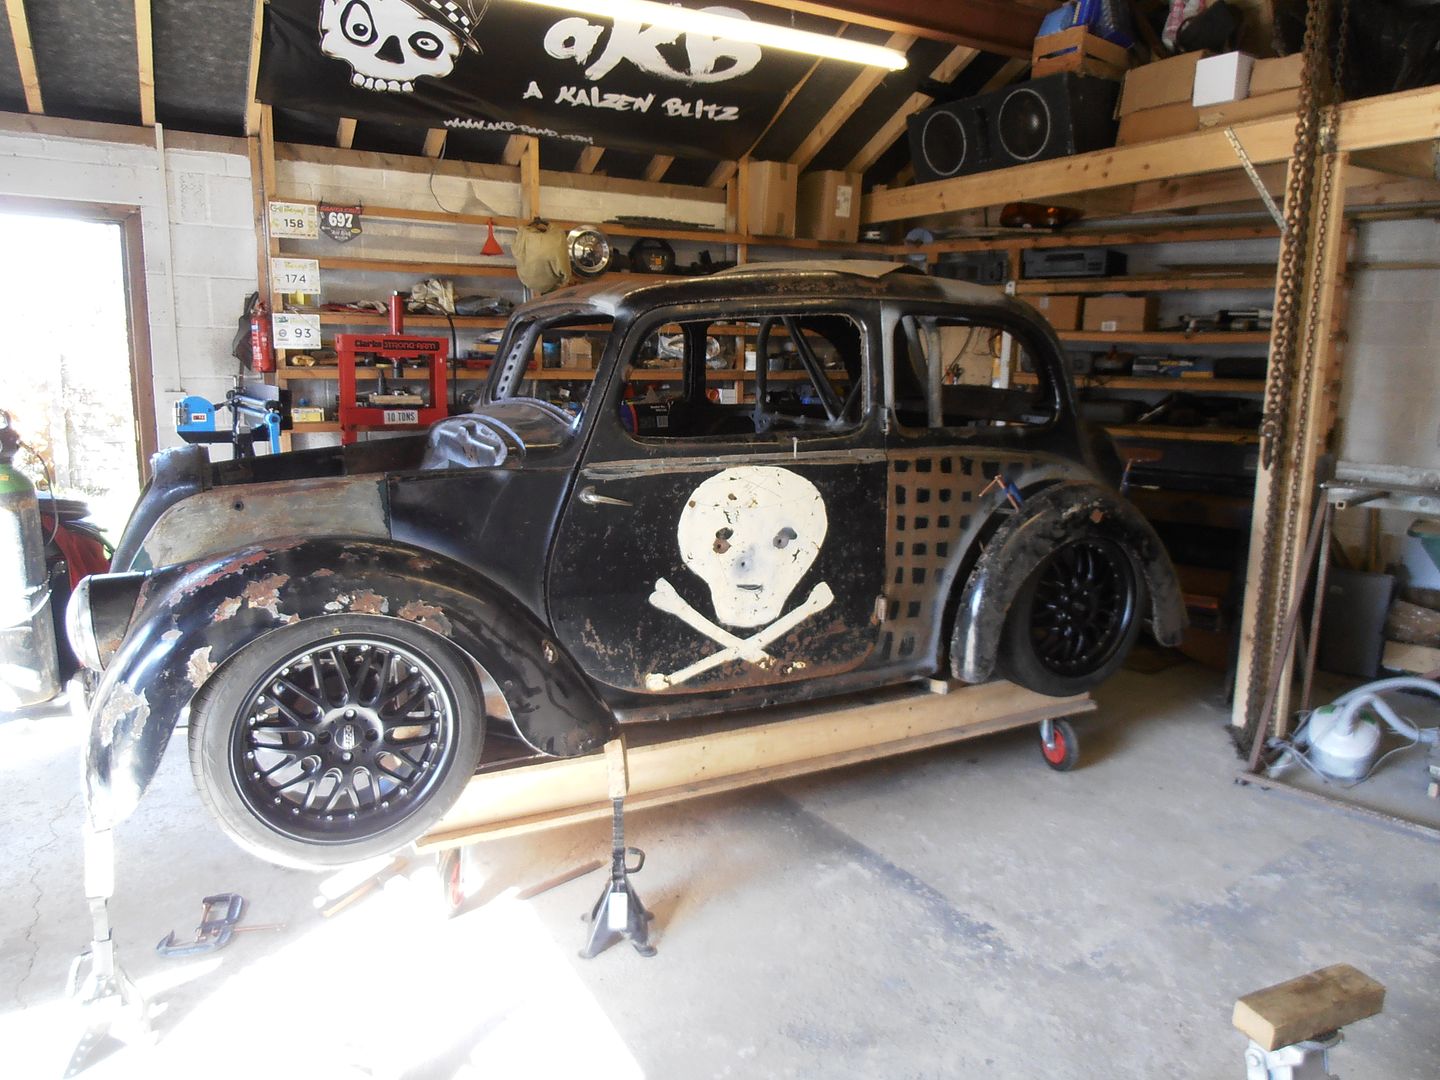 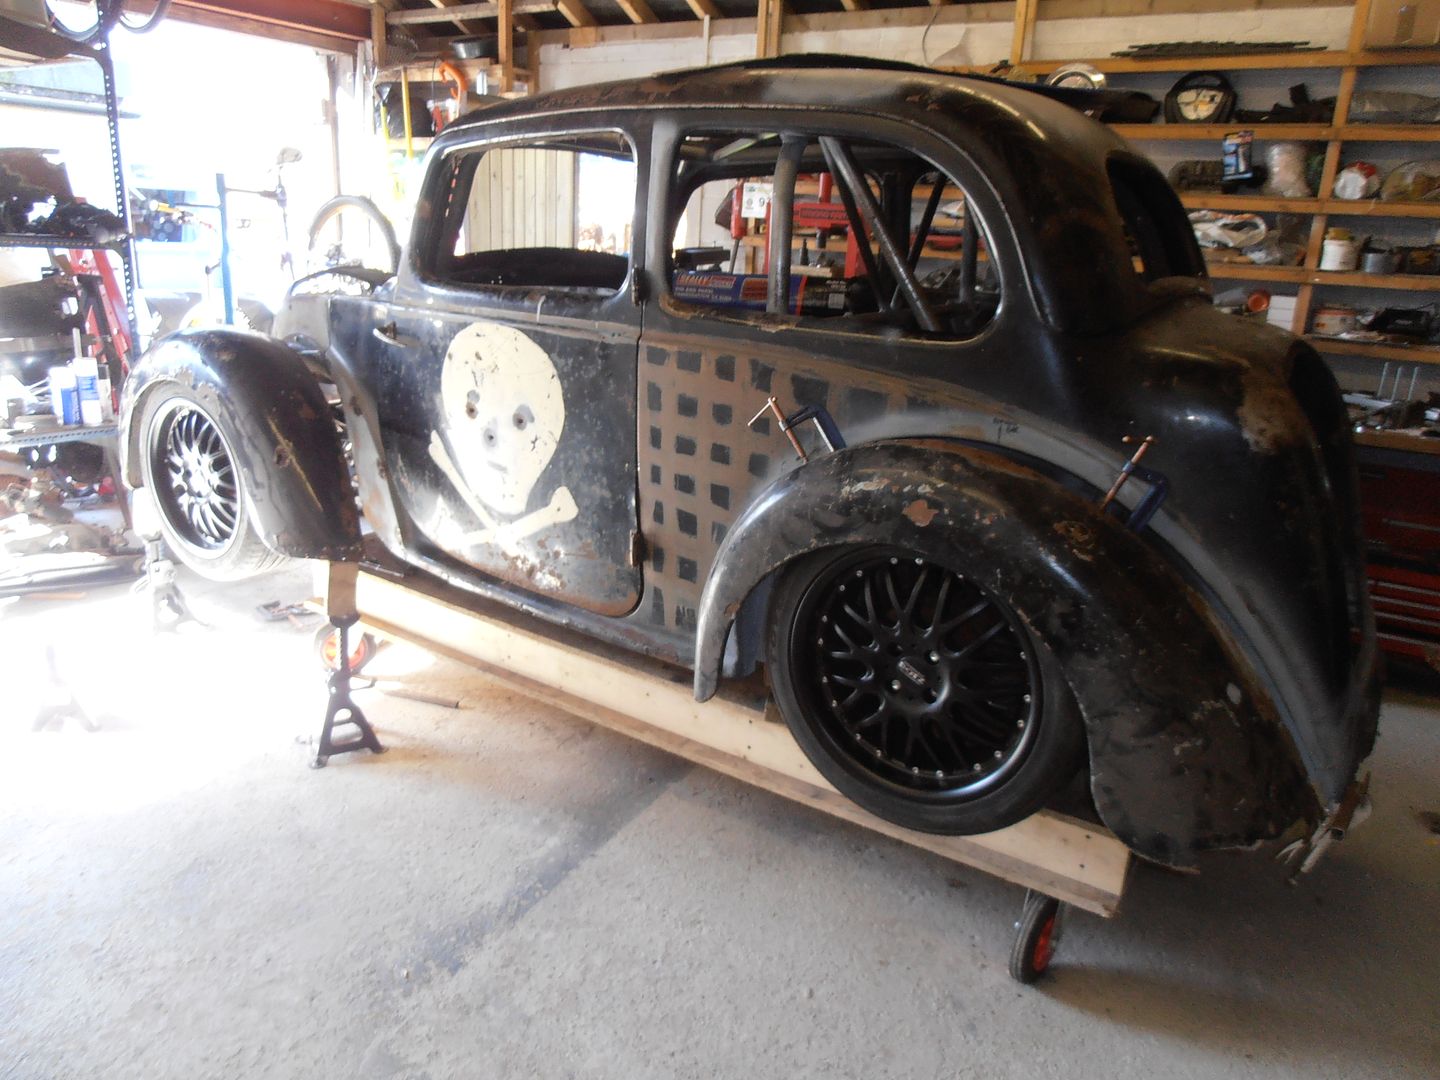 but still has potential i feel 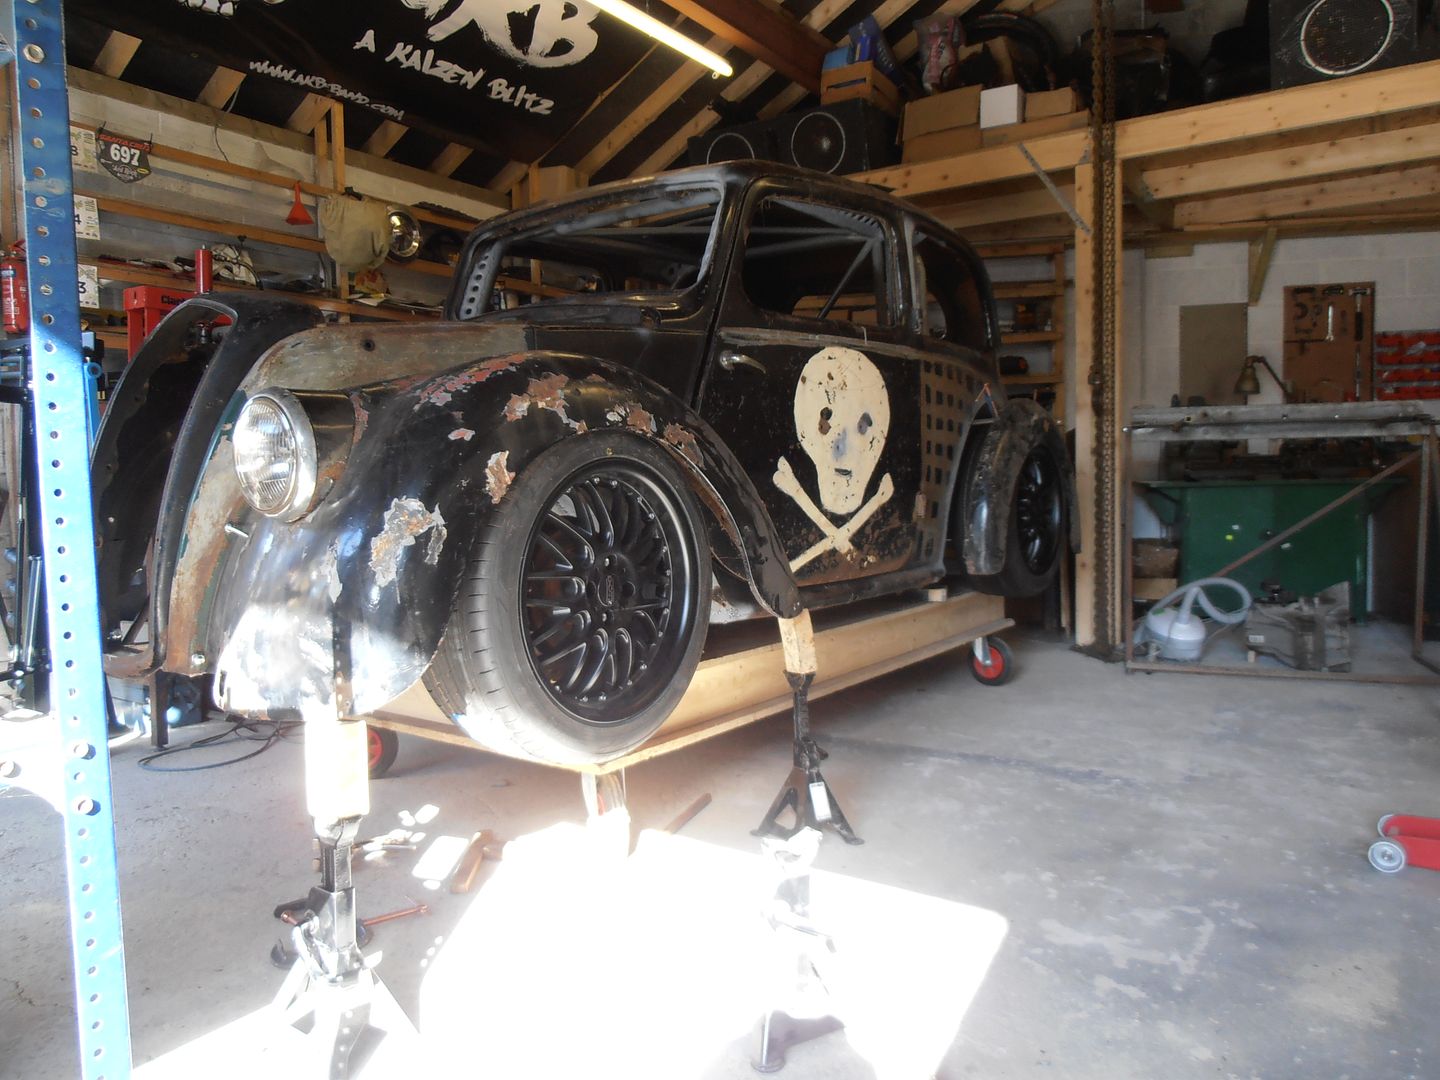 To try and get the front into some sort of correct location I need something to set it off. The arch needs moving out by about 100mm and I don't want to put extensions on the outside if I can help it, or widen it in the centre (as it'll look heavy), so opting to space it out from the wing mounts. Make a flange 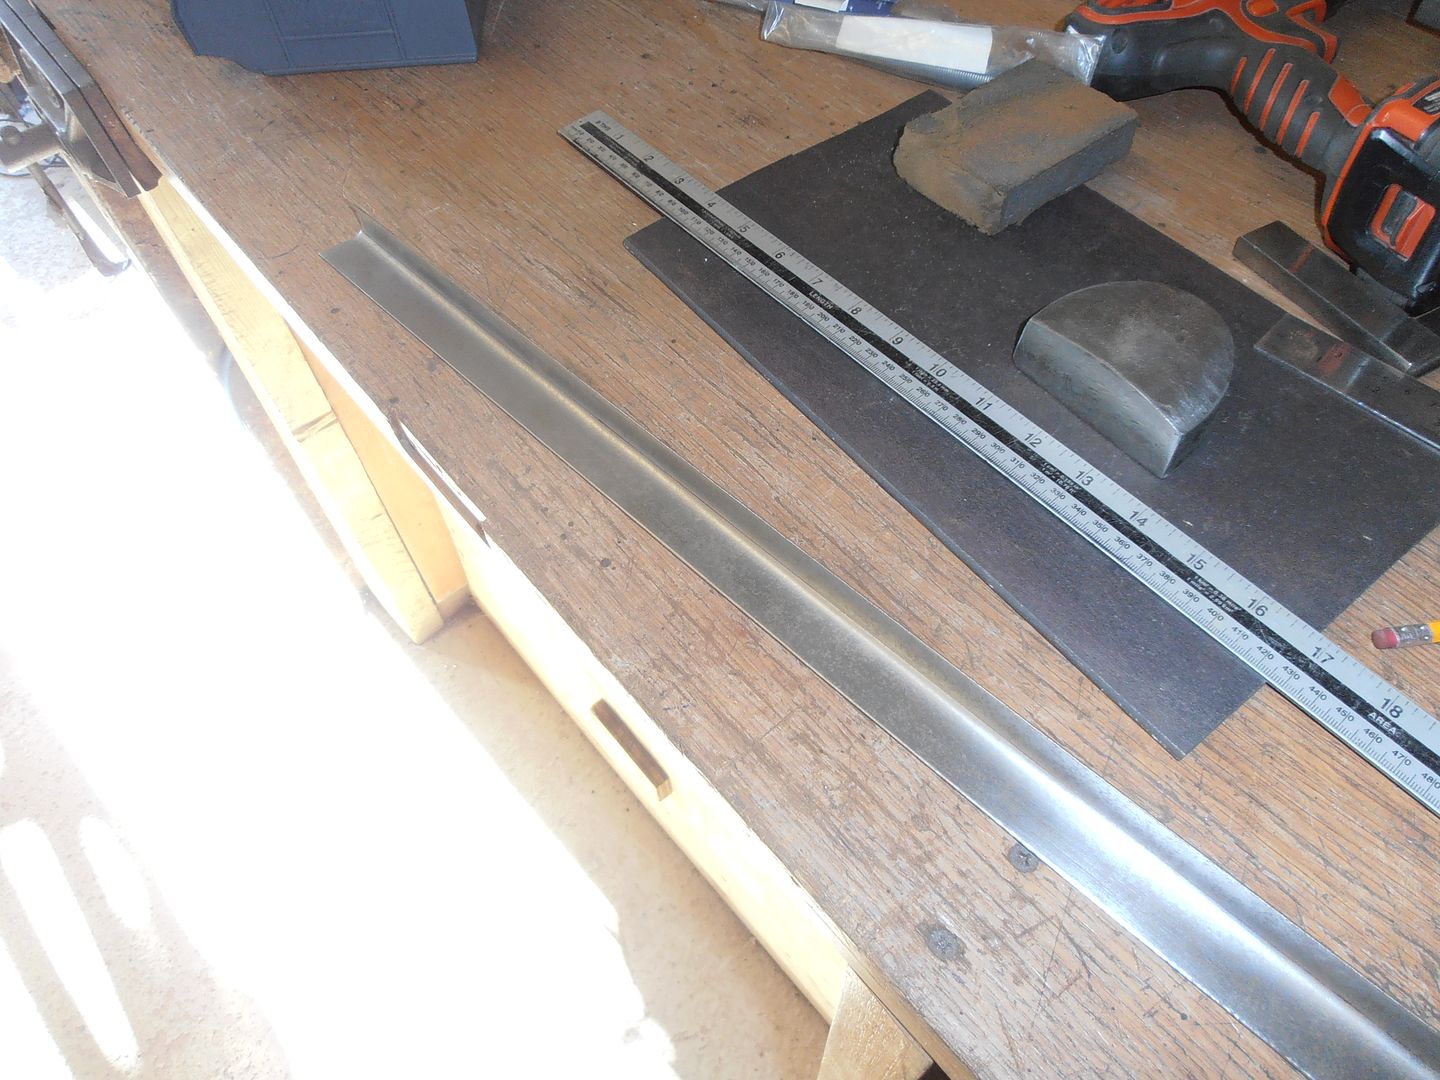  and start shrinking it to shape. 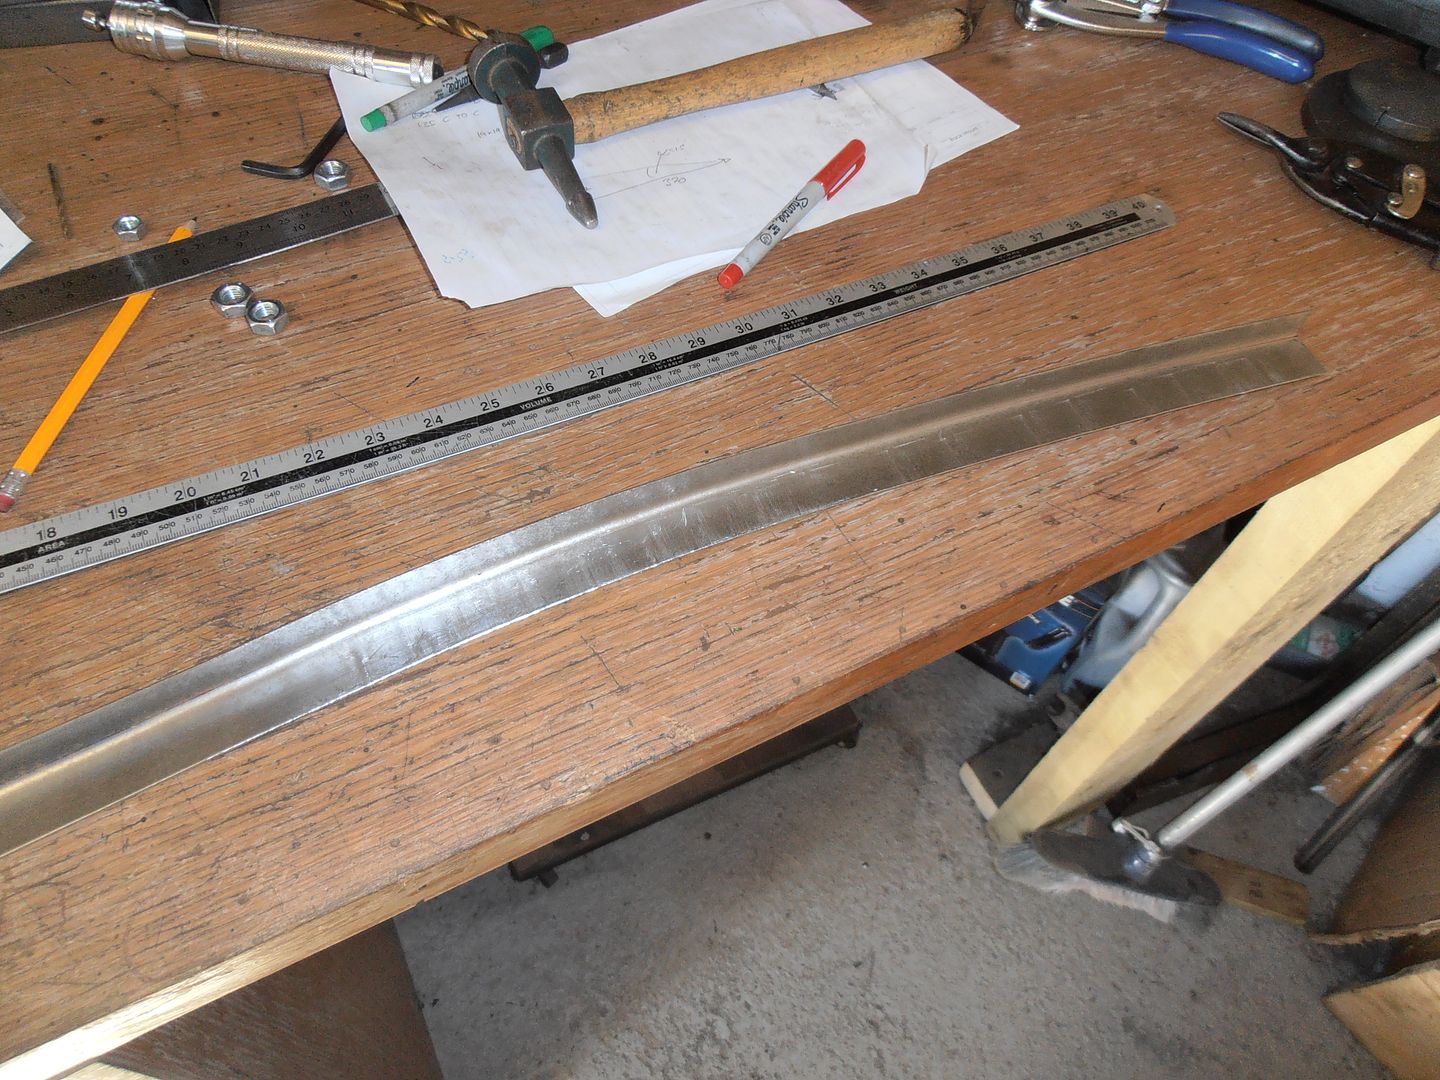 continue shrinking (much easier to use now I have a foot pedal for it :-) ) 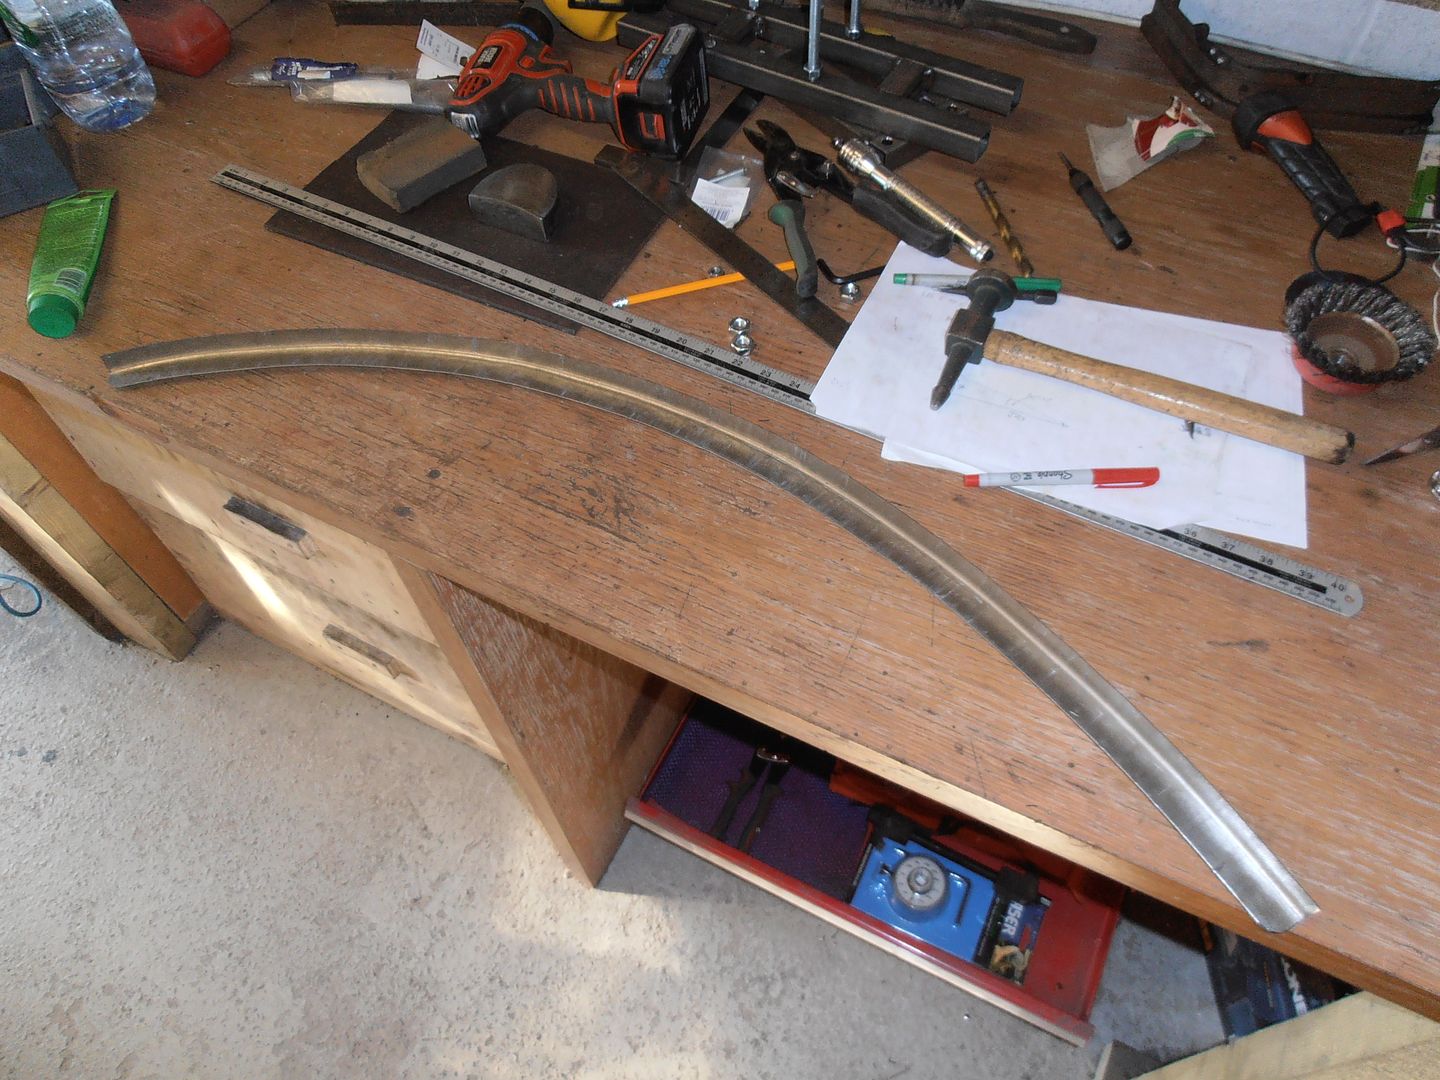 Bolt it up to the handy captive nuts fitted months ago. 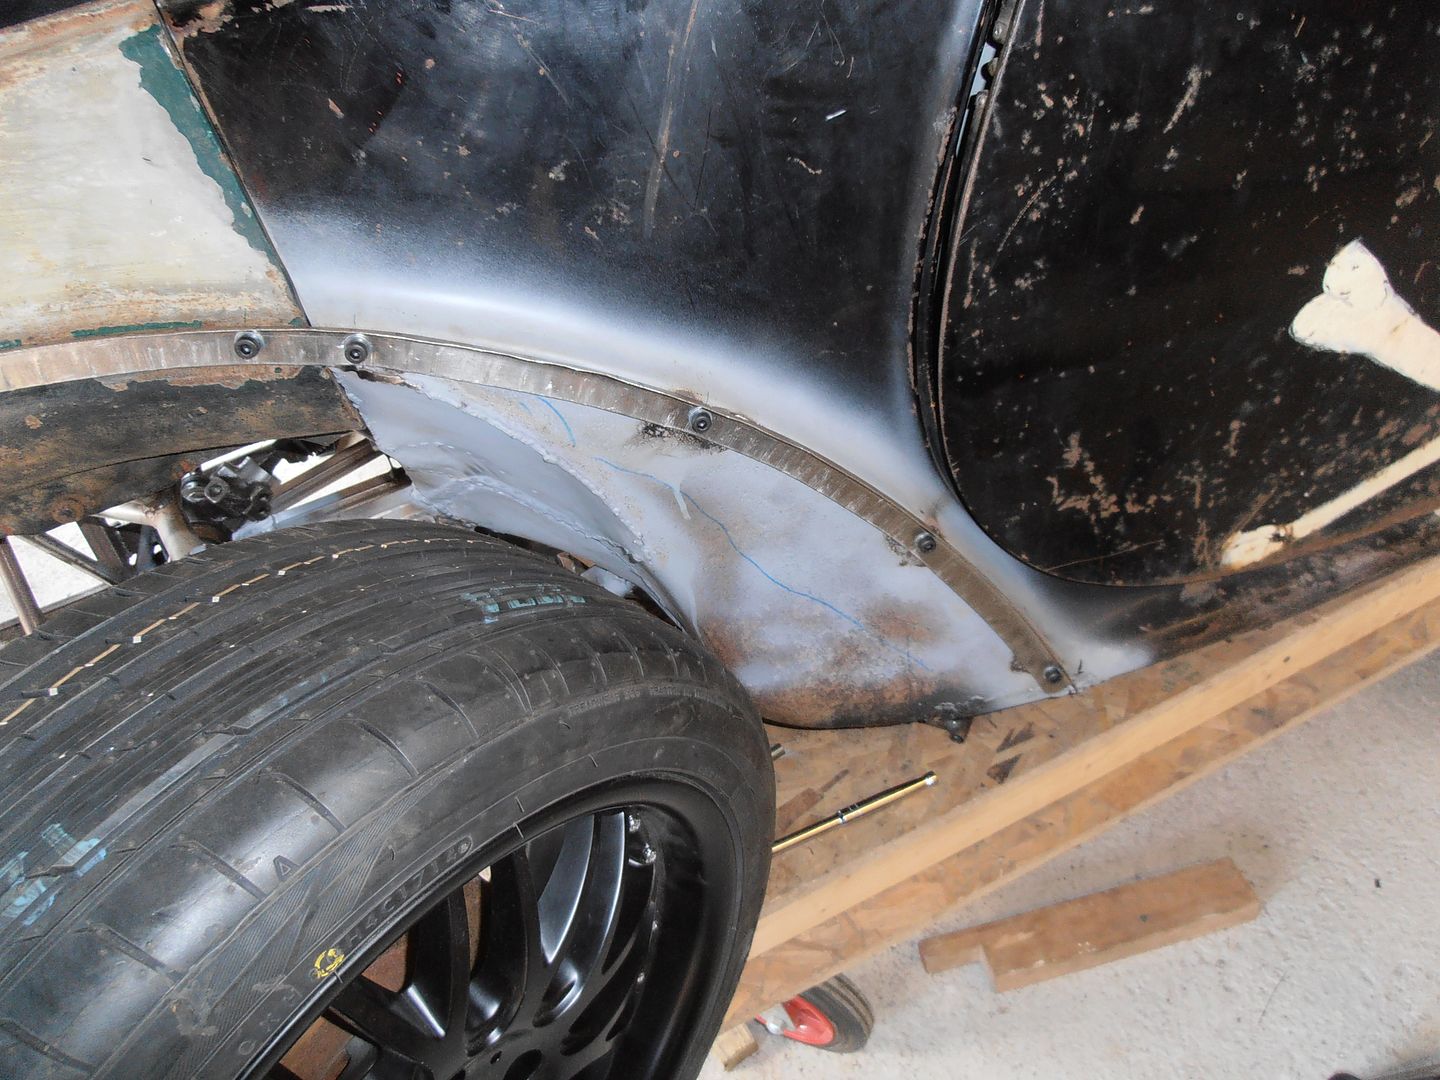 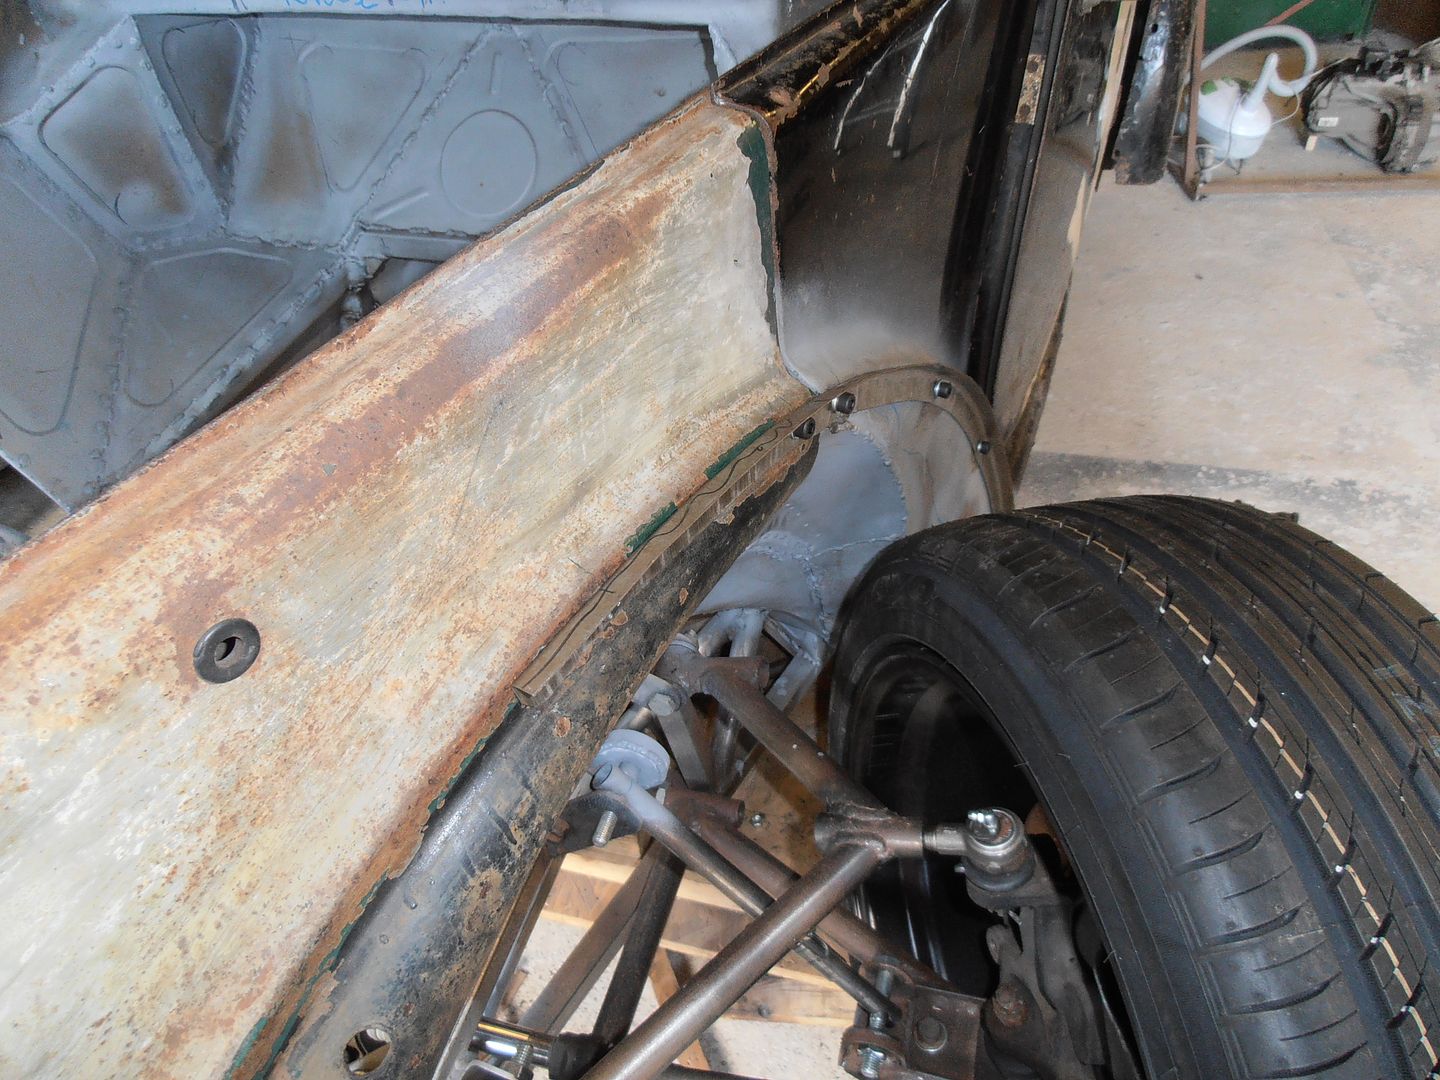 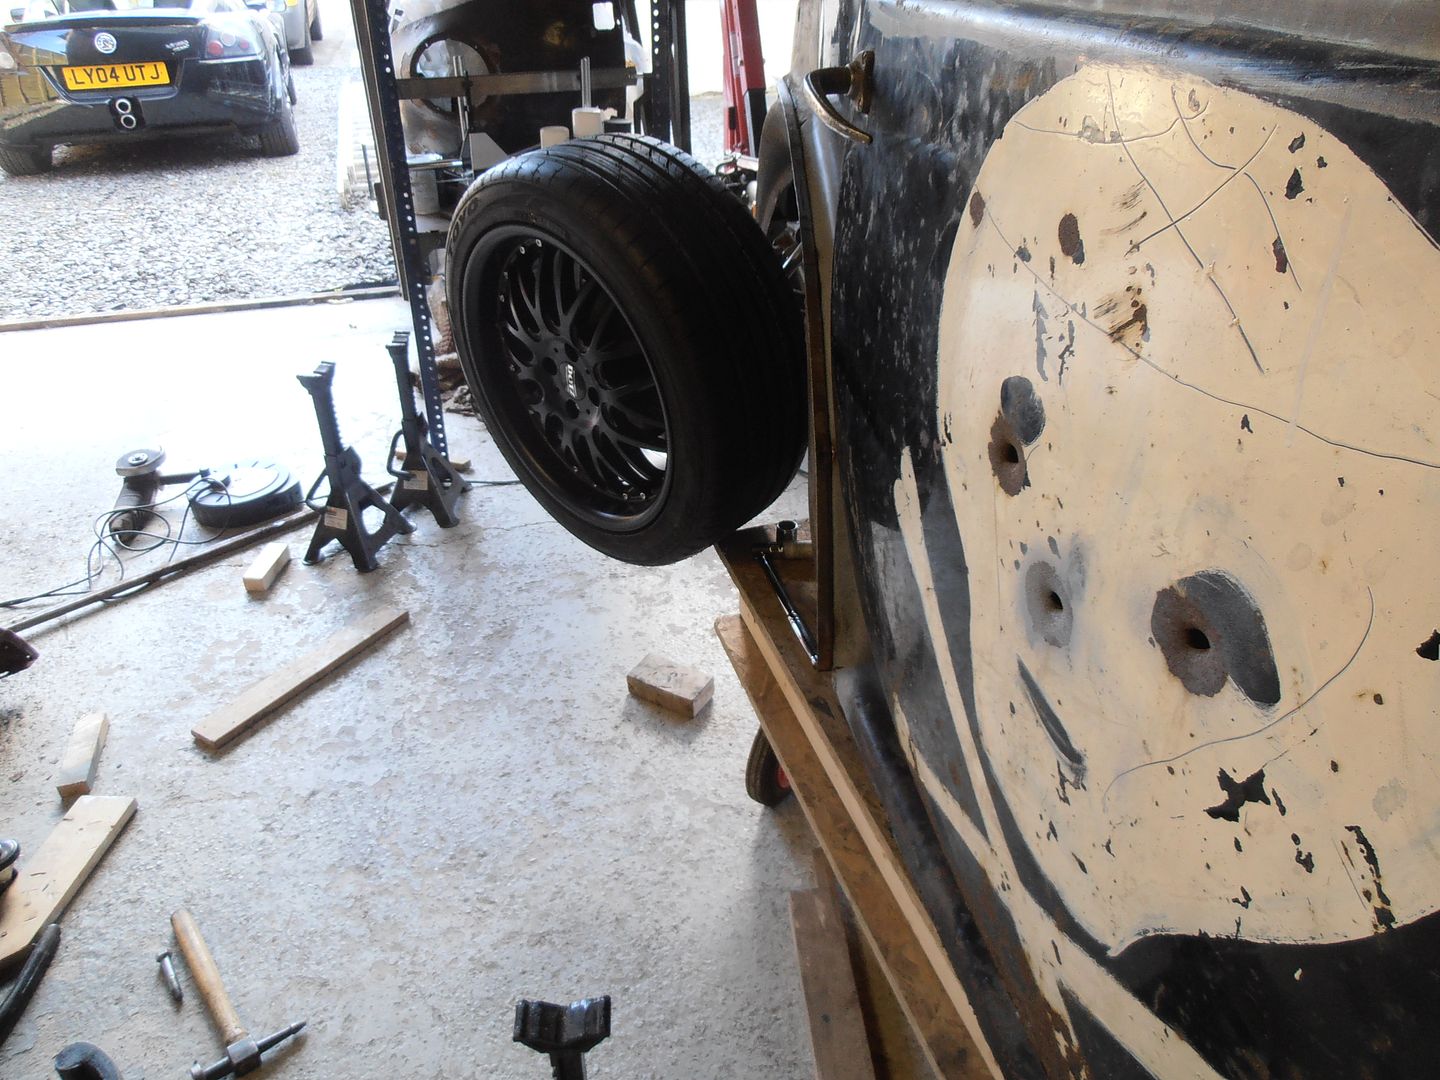 then onto the front half. Make a flange 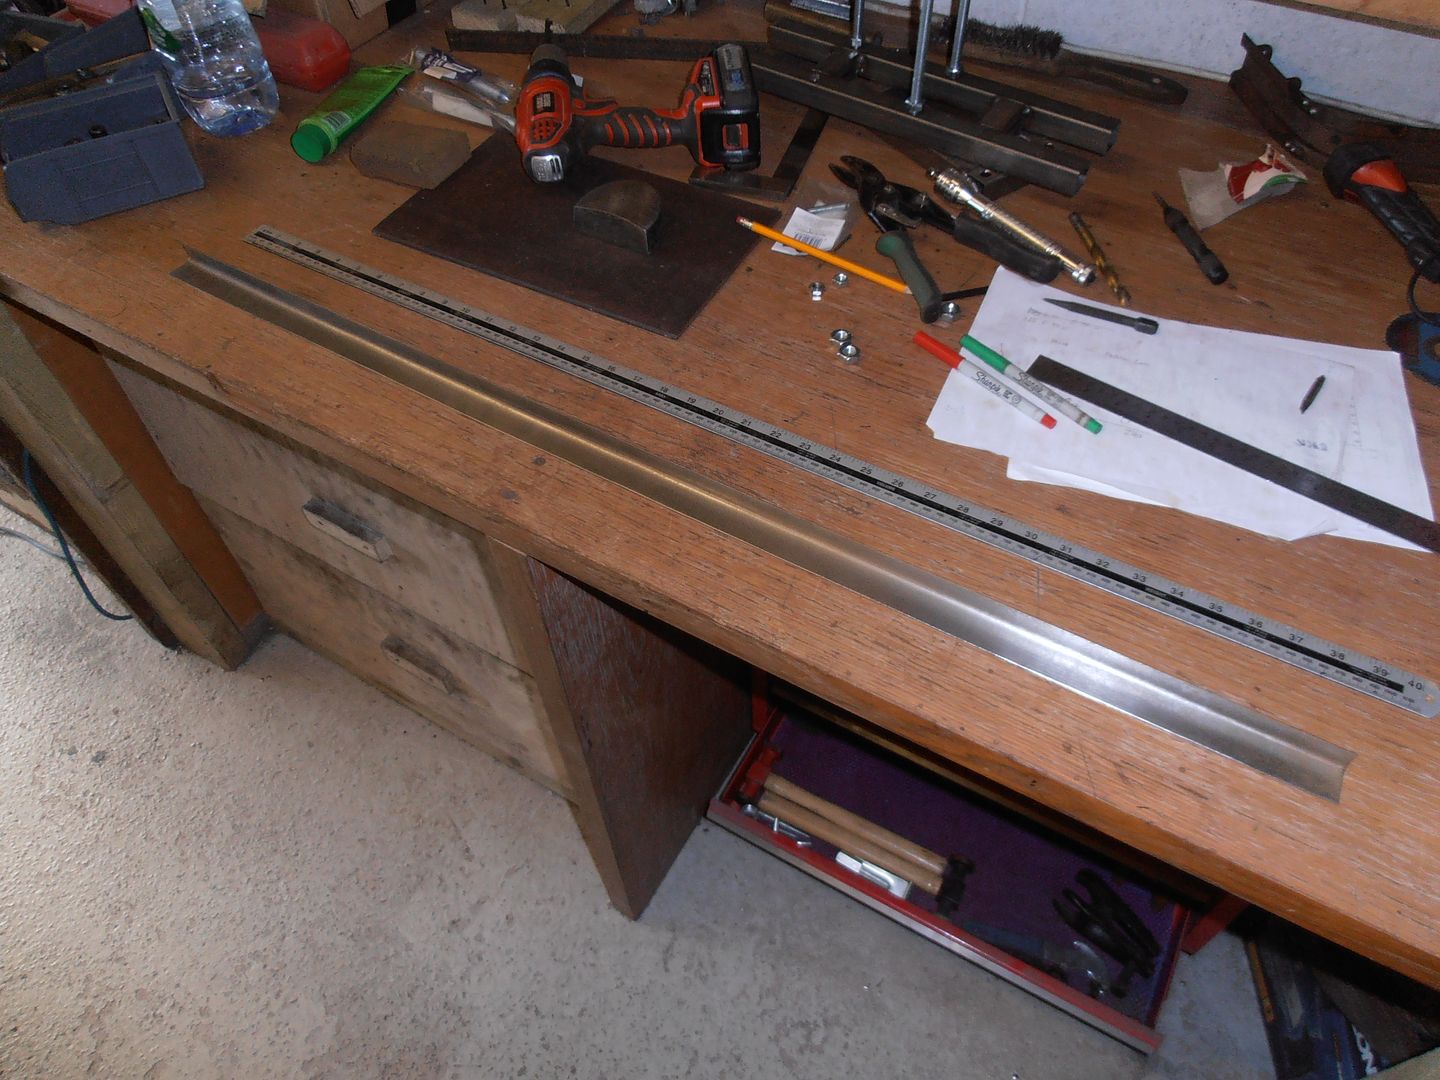 shrink it to shape with lots and lots of shrinking / stretching (as it curves both round and backwards to the nose of the car) And bolt it up 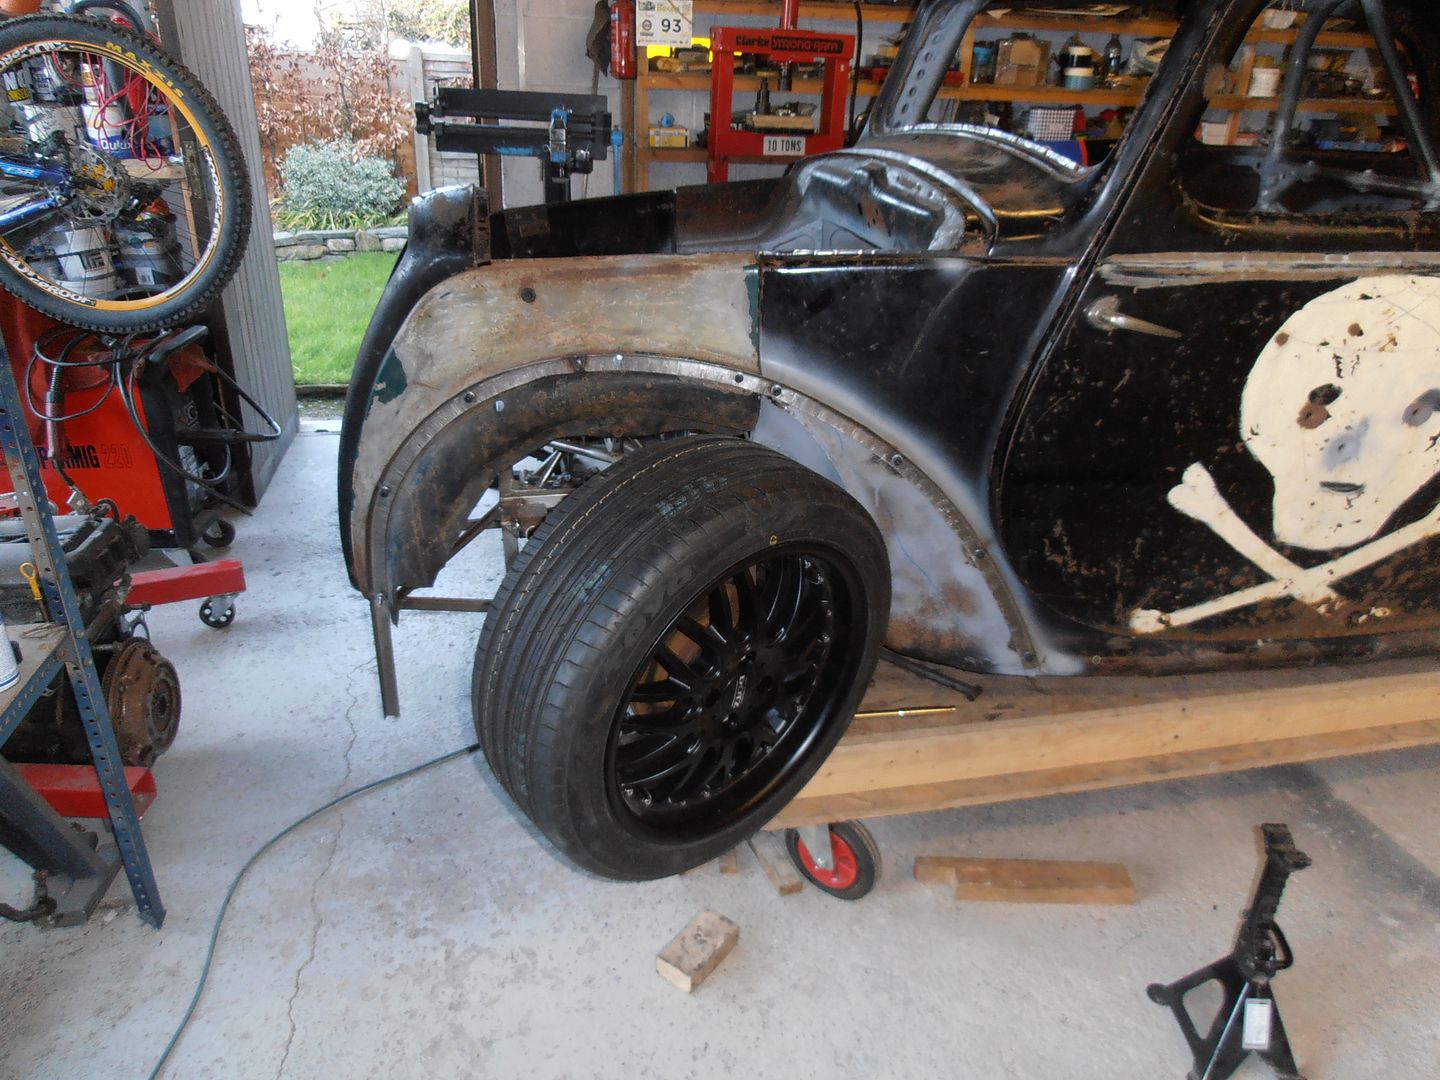 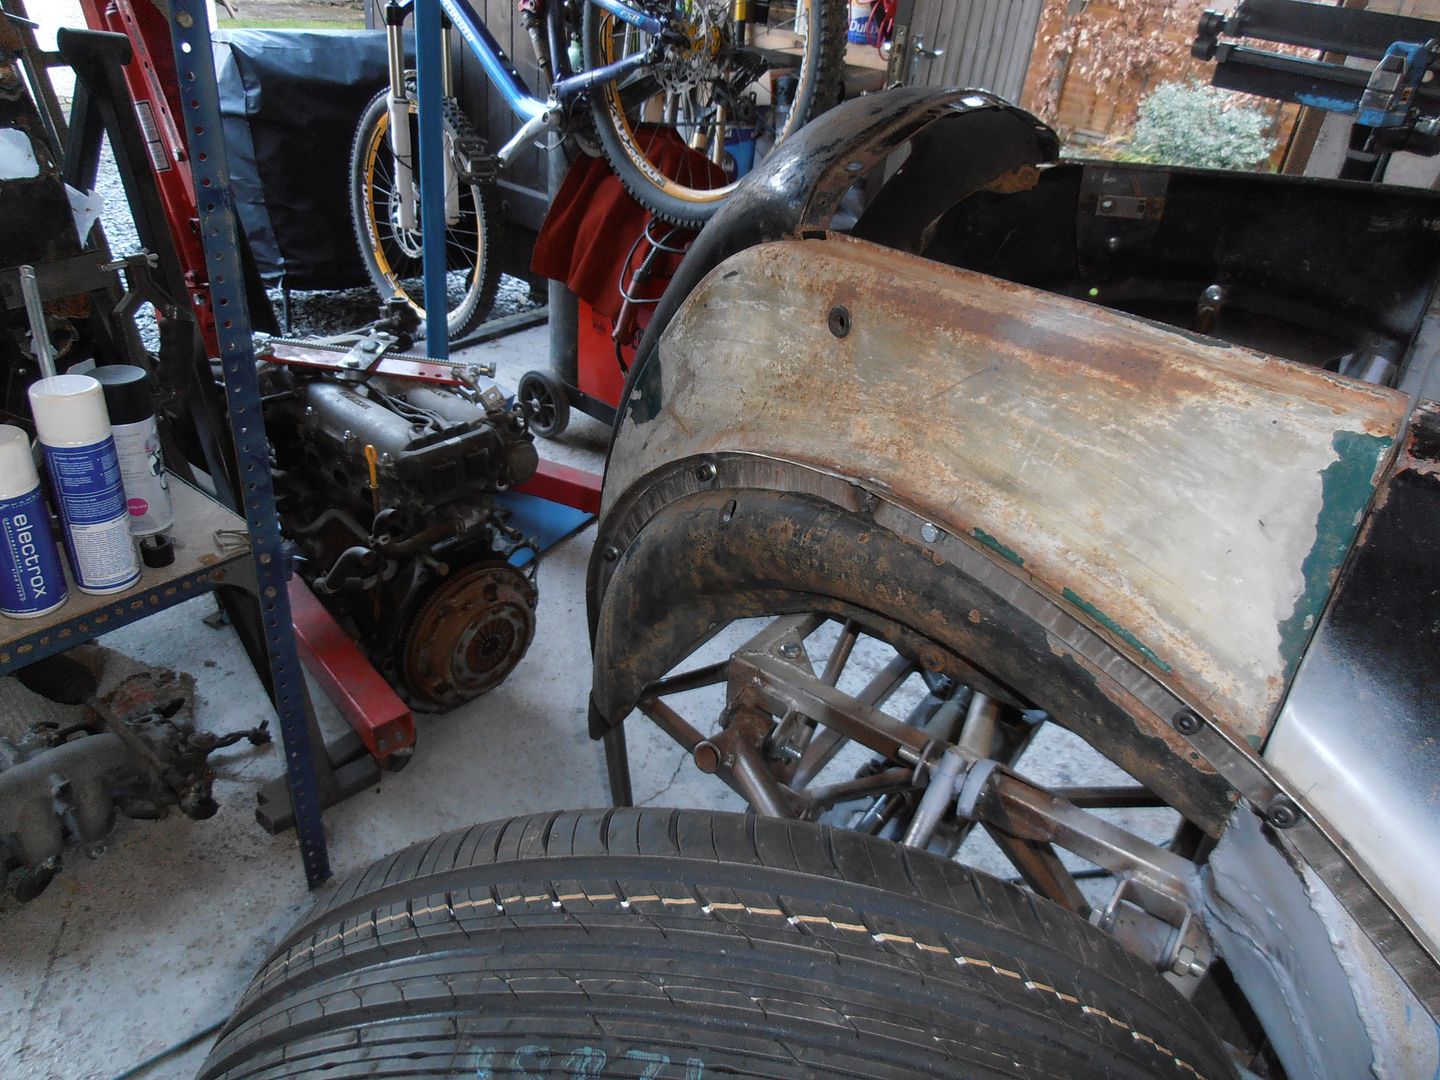 weld it together 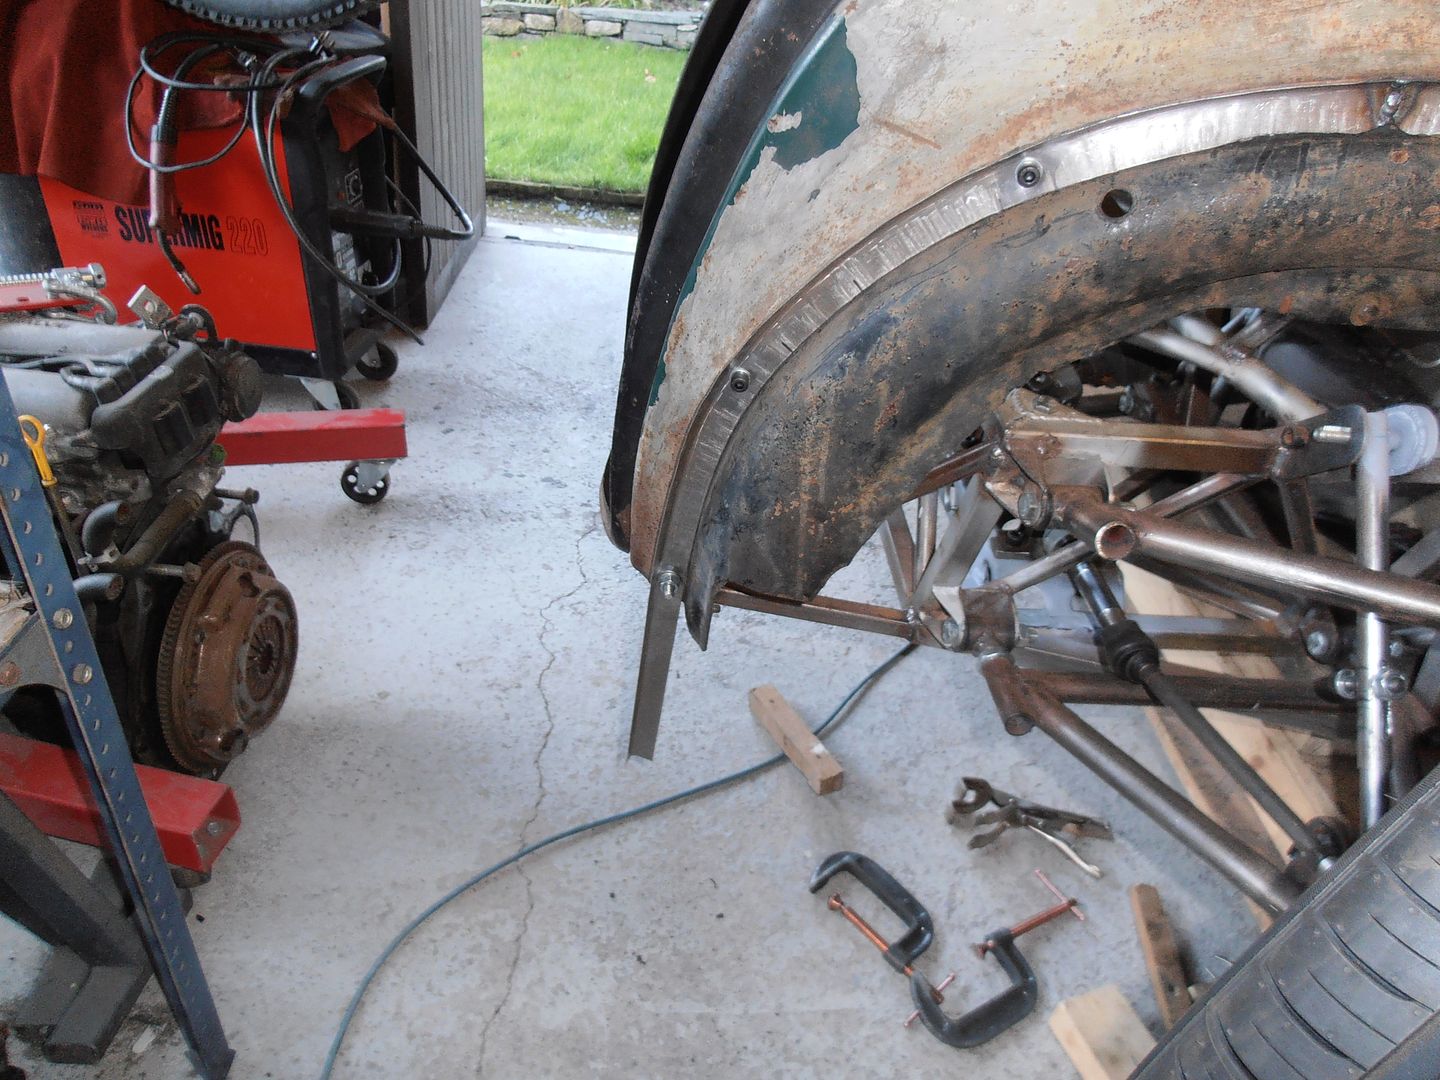 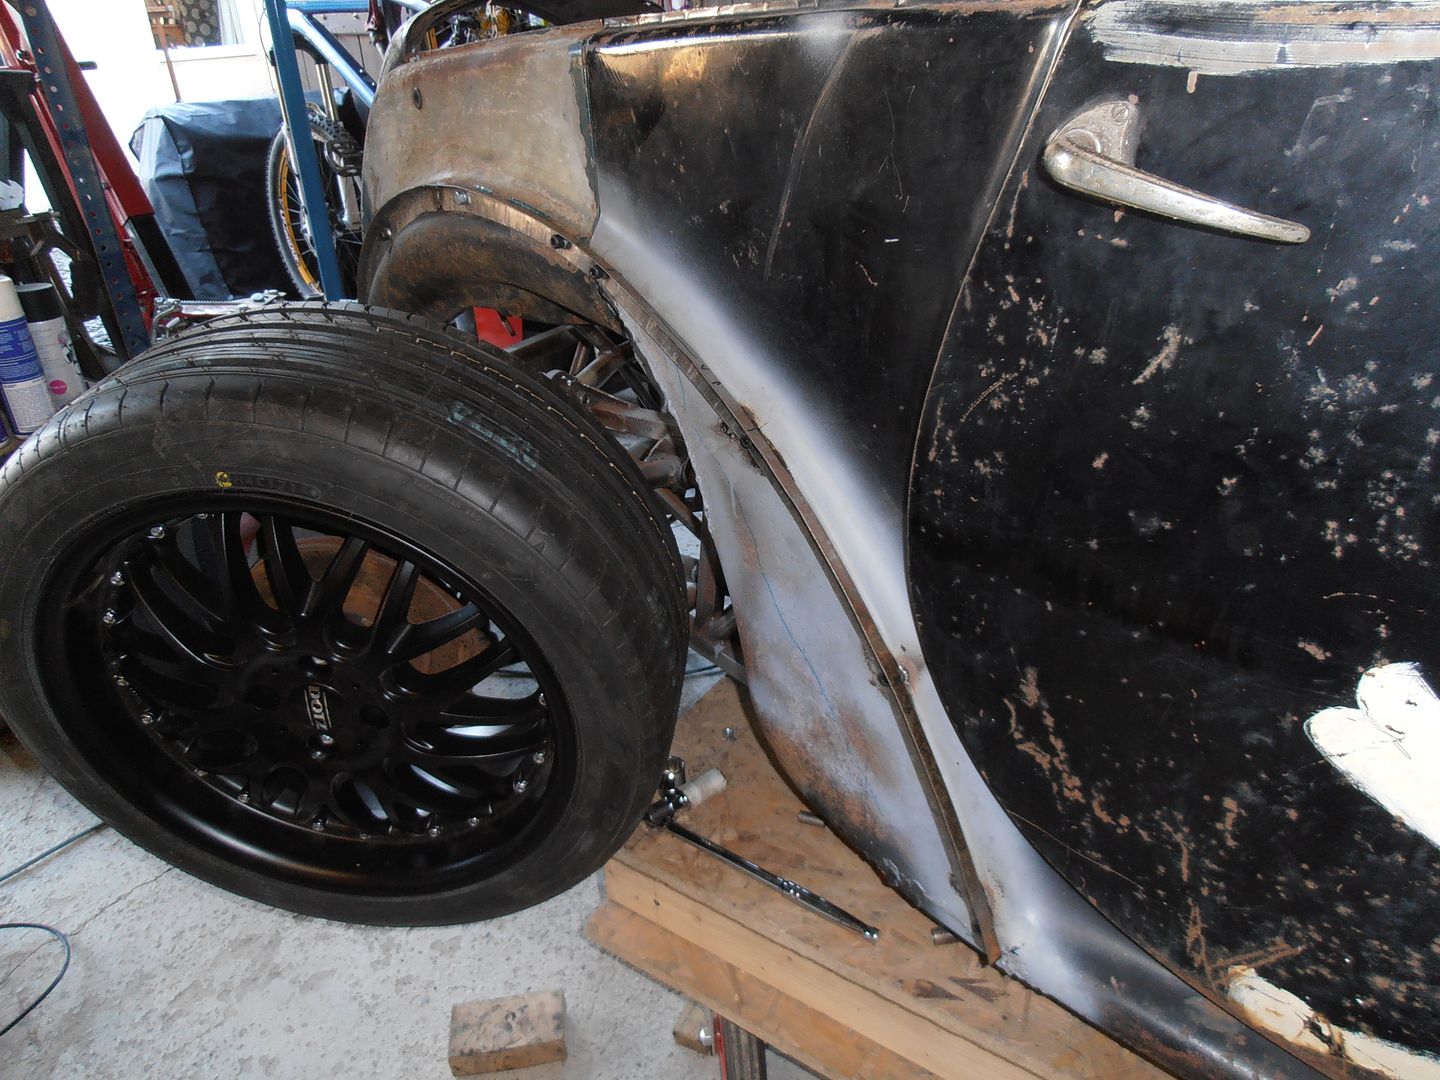 On this last one you can see how much clearance there is on full bump and full lock to the scollops I put in the inner wings. muck about with wood, metal, anything I can find to get the position that clears on full bump and full lock. Which looks like this on normal ride height 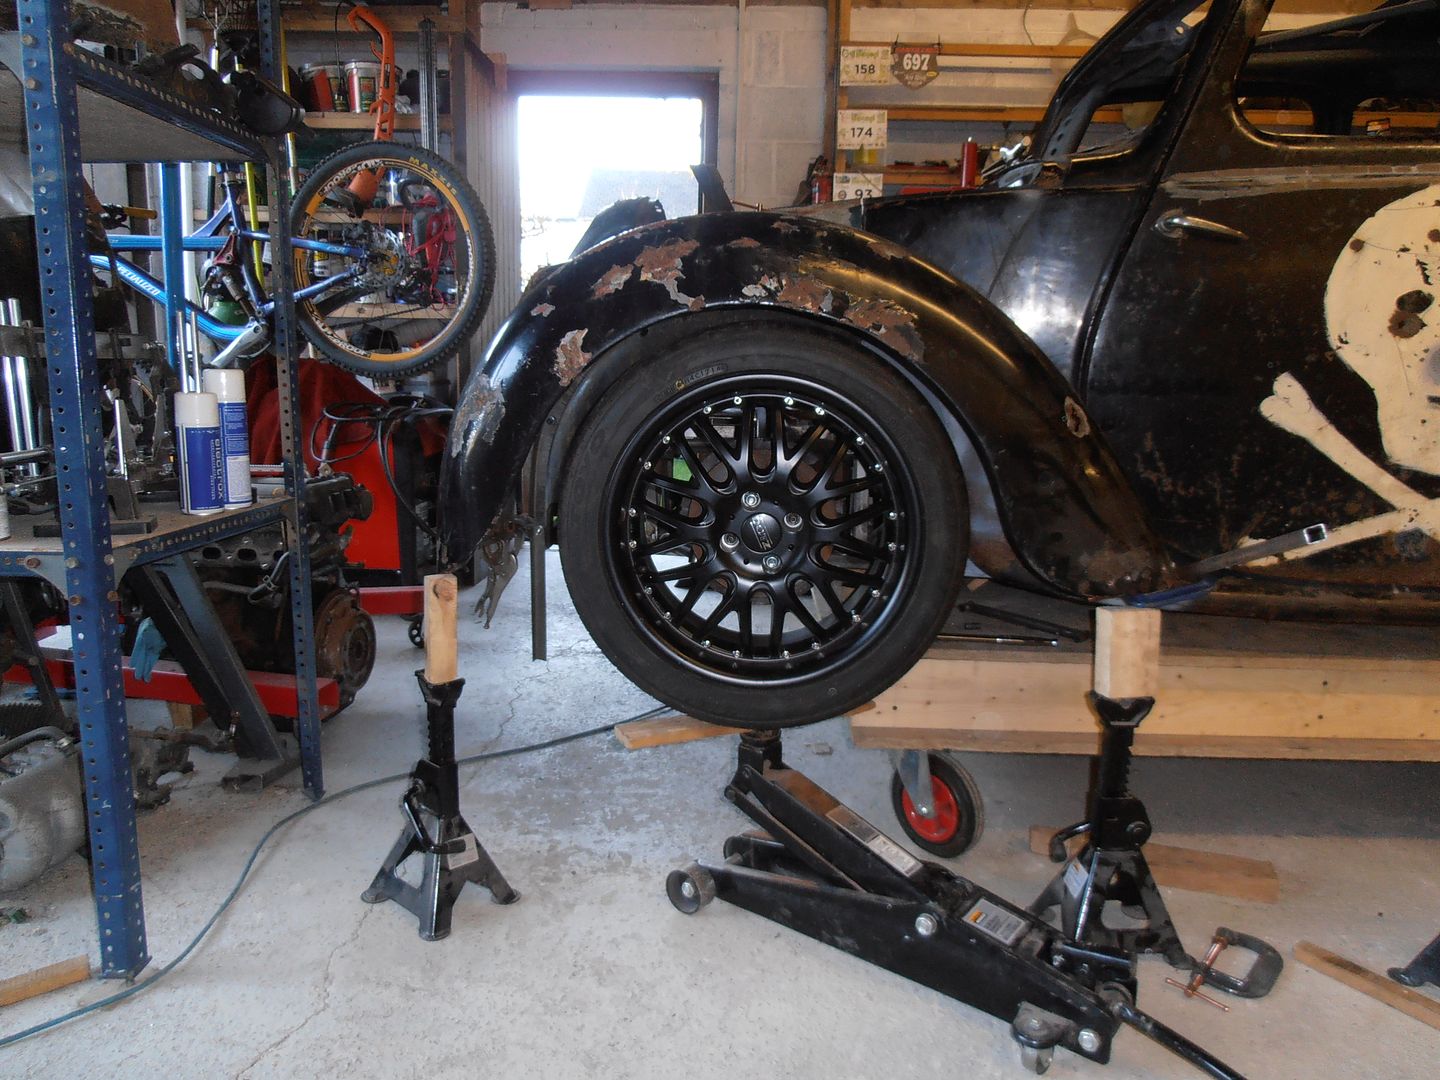 and on full bump  I thought i'd check against a VX220 to see how the clearance is on normal ride height 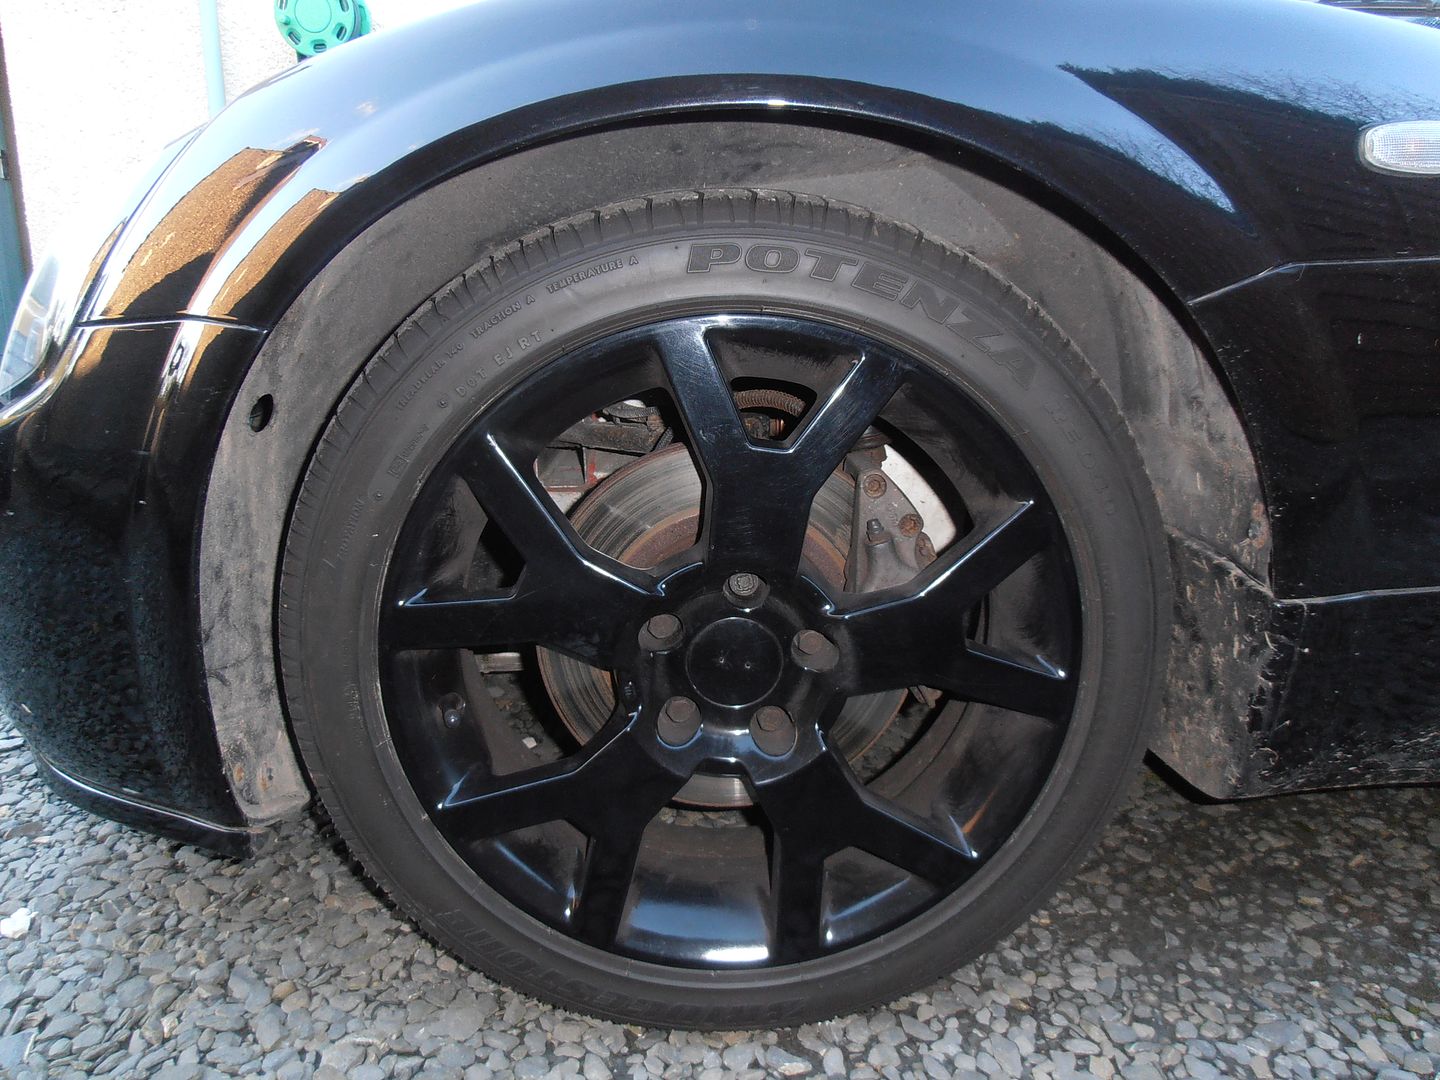 They have huge clearance around the wheel, and even on heavily lowered ones there is usually still 25mm plus clearance of wheel. Its not the look I wanted really, plus the door catches on the raised wing, so que a few hours of moving the wing up, down, fwd, back etc. 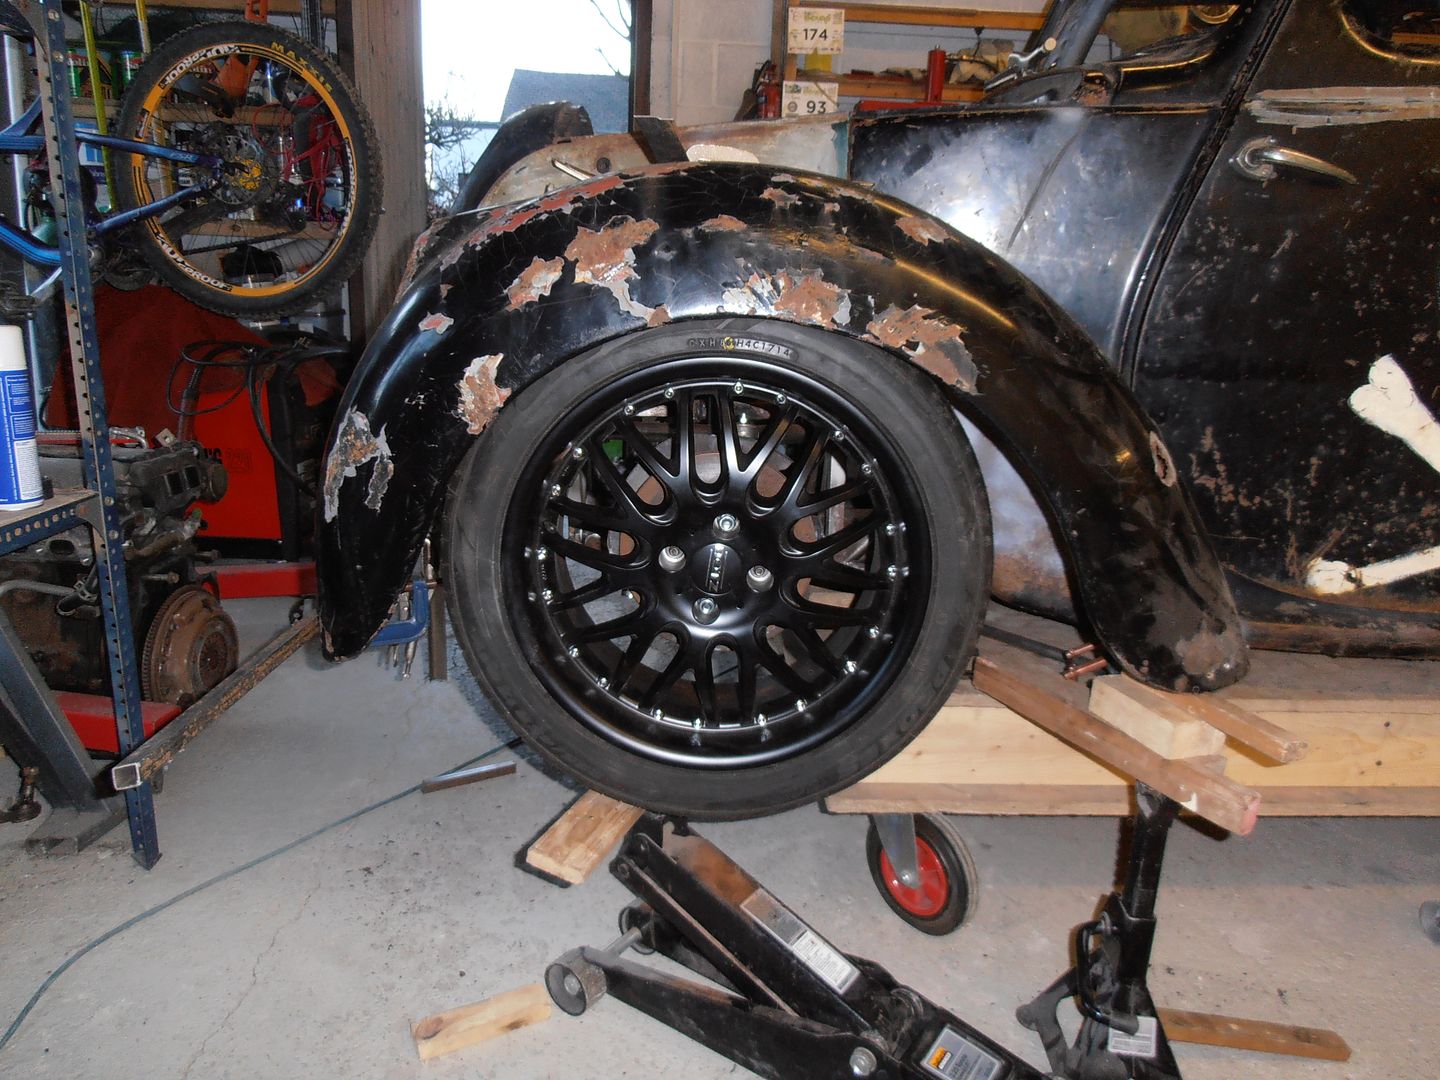 This location works and looks quite good for standard ride height location. But this is the clearance arch to wheel to achieve :-( 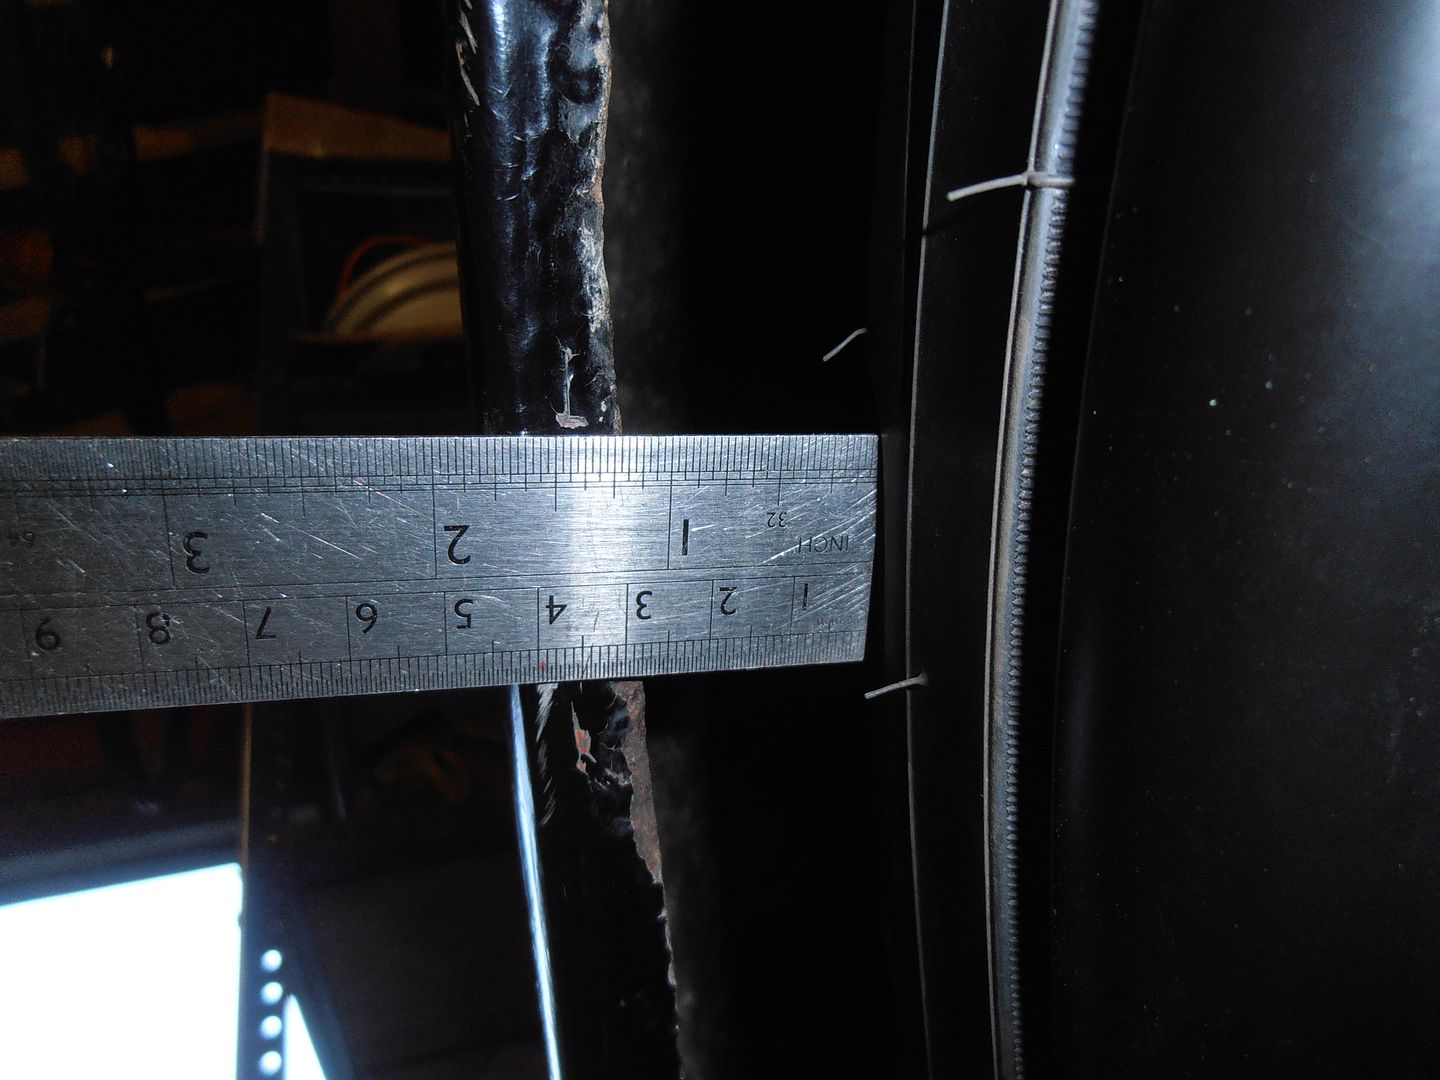 Looks curse word in the flesh. Reset again for where I want it to be 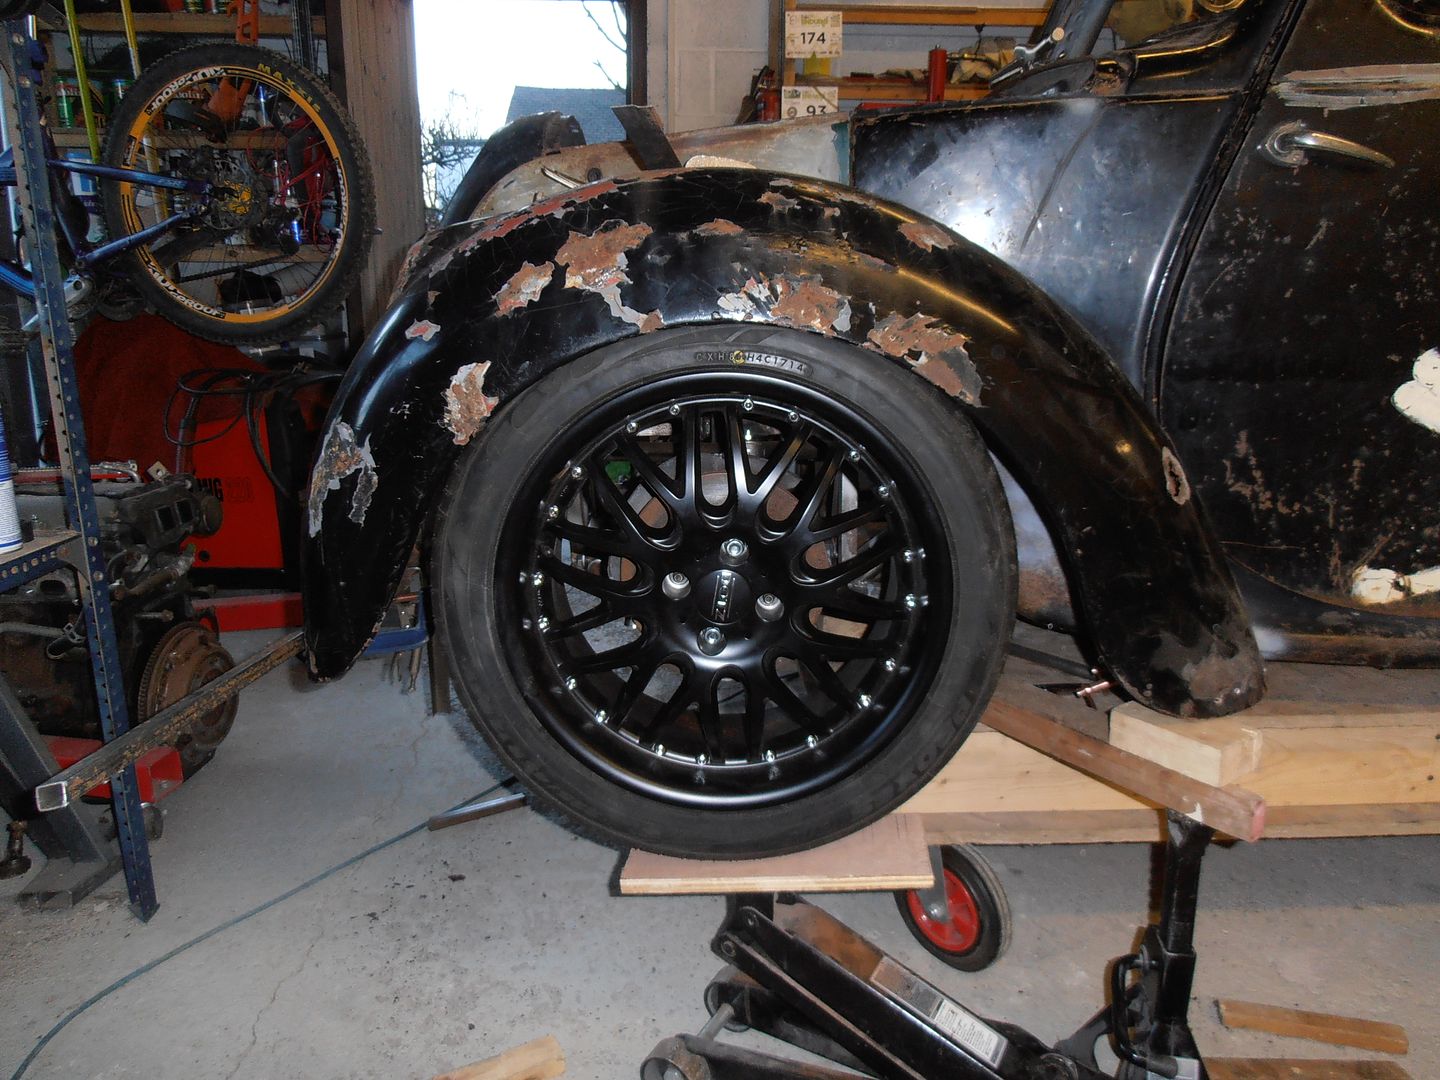 Clearance is much tighter (arch lips will be rolled up tight) 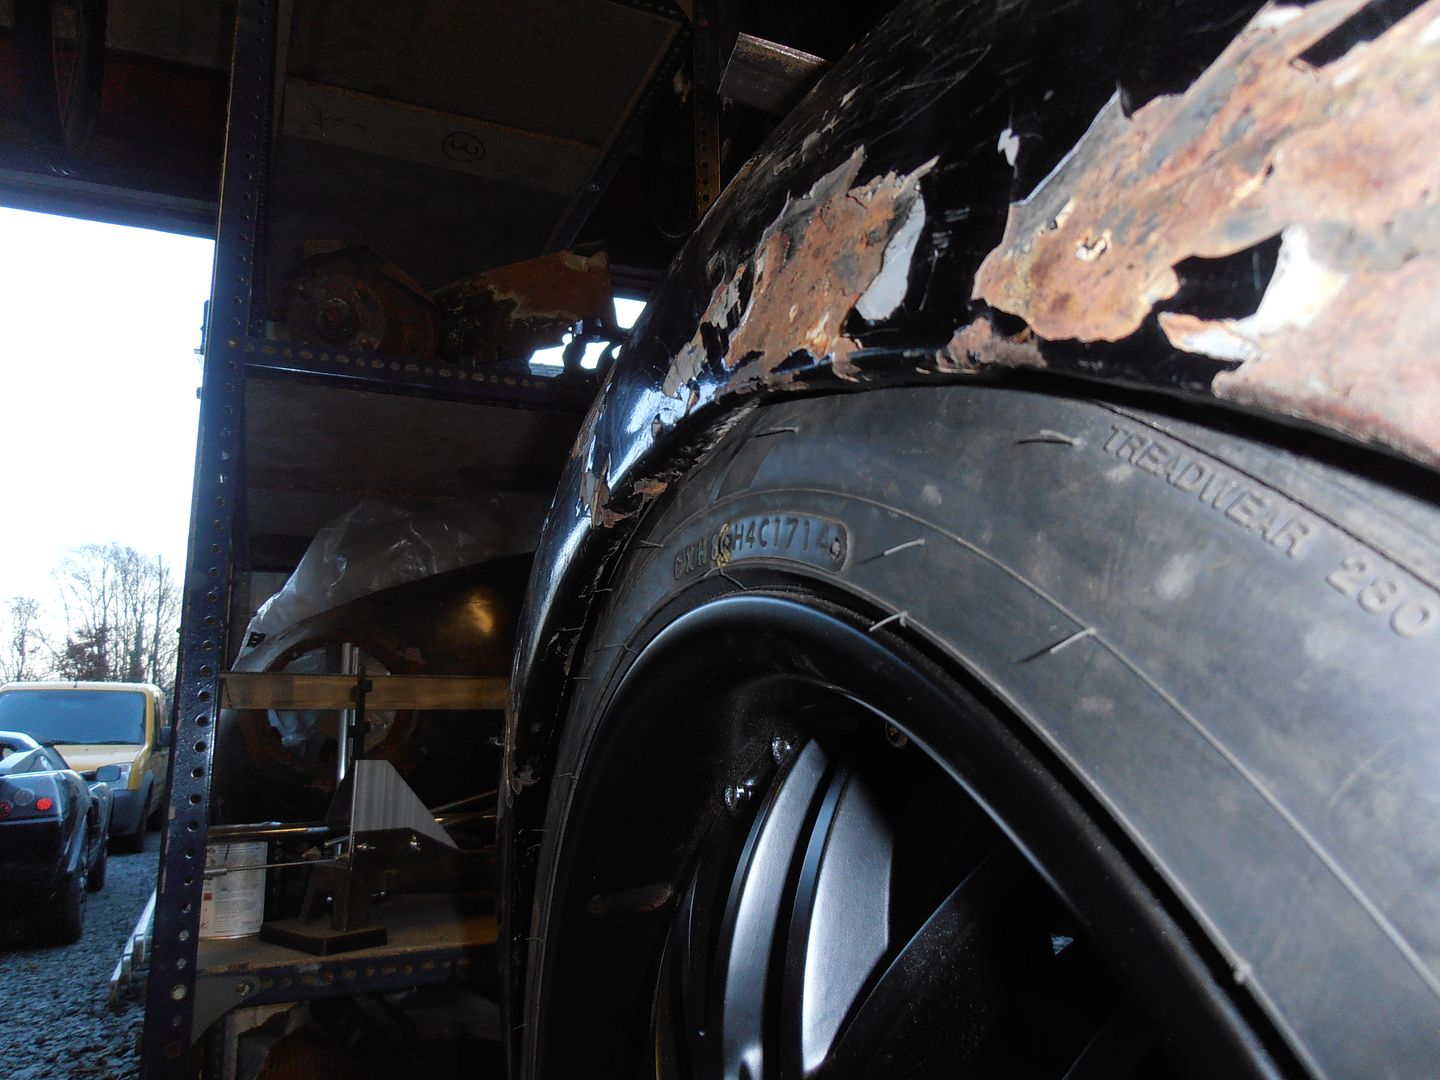 No matter what I do I cant get it looking the way I want and getting full bump clearance on full lock. I think i'll have to re-profile the arch to give the clearance needed, with possibly the addition of a slight arch extension to get me there. Next weekend job. |
| |
|
|
hairymel
Club Retro Rides Member
avatar by volksangyl
Posts: 1,081
Club RR Member Number: 207
|
|
|
|
hey Jono my bedtime reading at the moment is a big pile of practical classic back issues, and i keep coming across your car in the staff car saga section. the car has certainly made much more progress in your hands! looking good  |
| |
whats that burning smell?
oh curse word :-(
|
|
vulgalour
Club Retro Rides Member
Posts: 7,286
Club RR Member Number: 146
|
|
|
|
|
That looks a tough job to get right, lots of complicated shapes going on. If you just wanted it to look good it'd be a lot easier, you could compromise much more on the mechanical side of things. Is it wearing headlight extensions in the mock up?
It's really amazing to see all that work come good now, even though you're just in the mock up stage it's starting to look so right. I questioned the choice of wheel early on but with the bodywork looking like it does it doesn't really need anything. Seriously impressed with this build and very excited to see where you go from here.
|
| |
|
|
stealthstylz
Club Retro Rides Member
Posts: 14,961
Club RR Member Number: 174
|
|
|
|
|
I wouldnt bother with that much clearance, chances of the wheel going to full bump and lock at the same time are pretty remote.
|
| |
|
|
|
|
jonomisfit
Club Retro Rides Member
Posts: 1,790
Club RR Member Number: 49
|
|
|
|
|
Cheers dudes.
The headlight extensions are a standard feature on post war morris 8's. I really don't like them so will be looking to do sloped inset lights. Sort of like beetles lights.
Sorting that is somewhat further down the list though.
|
| |
|
|
mylittletony
Posted a lot
  
Posts: 2,426
Club RR Member Number: 84
|
|
|
|
I wouldnt bother with that much clearance, chances of the wheel going to full bump and lock at the same time are pretty remote. ^^This. Full lock is almost exclusively slow speed manoeuvring, while full bump is an almost exclusively high speed occurrence. Also, in the extreme circumstance of you getting full bump at full lock, your tyre will be under so much side load it would probably clear anyway. IF it touched under those circumstances it might rub the tyre a bit. I'd aim for zero clearance at full bump and lock. Really pleased to see this progressing, you must be happy with progress? |
| |
|
|
jonomisfit
Club Retro Rides Member
Posts: 1,790
Club RR Member Number: 49
|
|
|
|
|
I shall give it some consideration.
At the moment I have negative clearance on full bump and lock so something needs modding.
I've also ignored the fact that to get full bump the bump stop would need to be squashed out of existence as well. There may be more pressing things to consider if i've ever managed to achieve that sort of bump :-)
Its nice to see some, but when I look at the car I just see a lot of things I need to do still. Perspective is difficult.
|
| |
|
|
|
|
|
|
|
I have thought that the wheels were ill-suited all through the build... But with arches on, they work really well. Good choice, nice vision realised  *n |
| |
Top grammar tips!
Bought = purchased. Brought = relocated
Lose = misplace/opposite of win. Loose = your mum
|
|
|
|
|
|
|
although it has to be said, with the DTM style wheels it does make it look like a "fun cup" beetle  |
| |
|
|
jonomisfit
Club Retro Rides Member
Posts: 1,790
Club RR Member Number: 49
|
|
Mar 12, 2016 19:15:21 GMT
|
Not great progress today. I'm feeling rough, plus it raining so didnt want to put the other car outside so couldnt be welding. I did however mock up a pedal box. 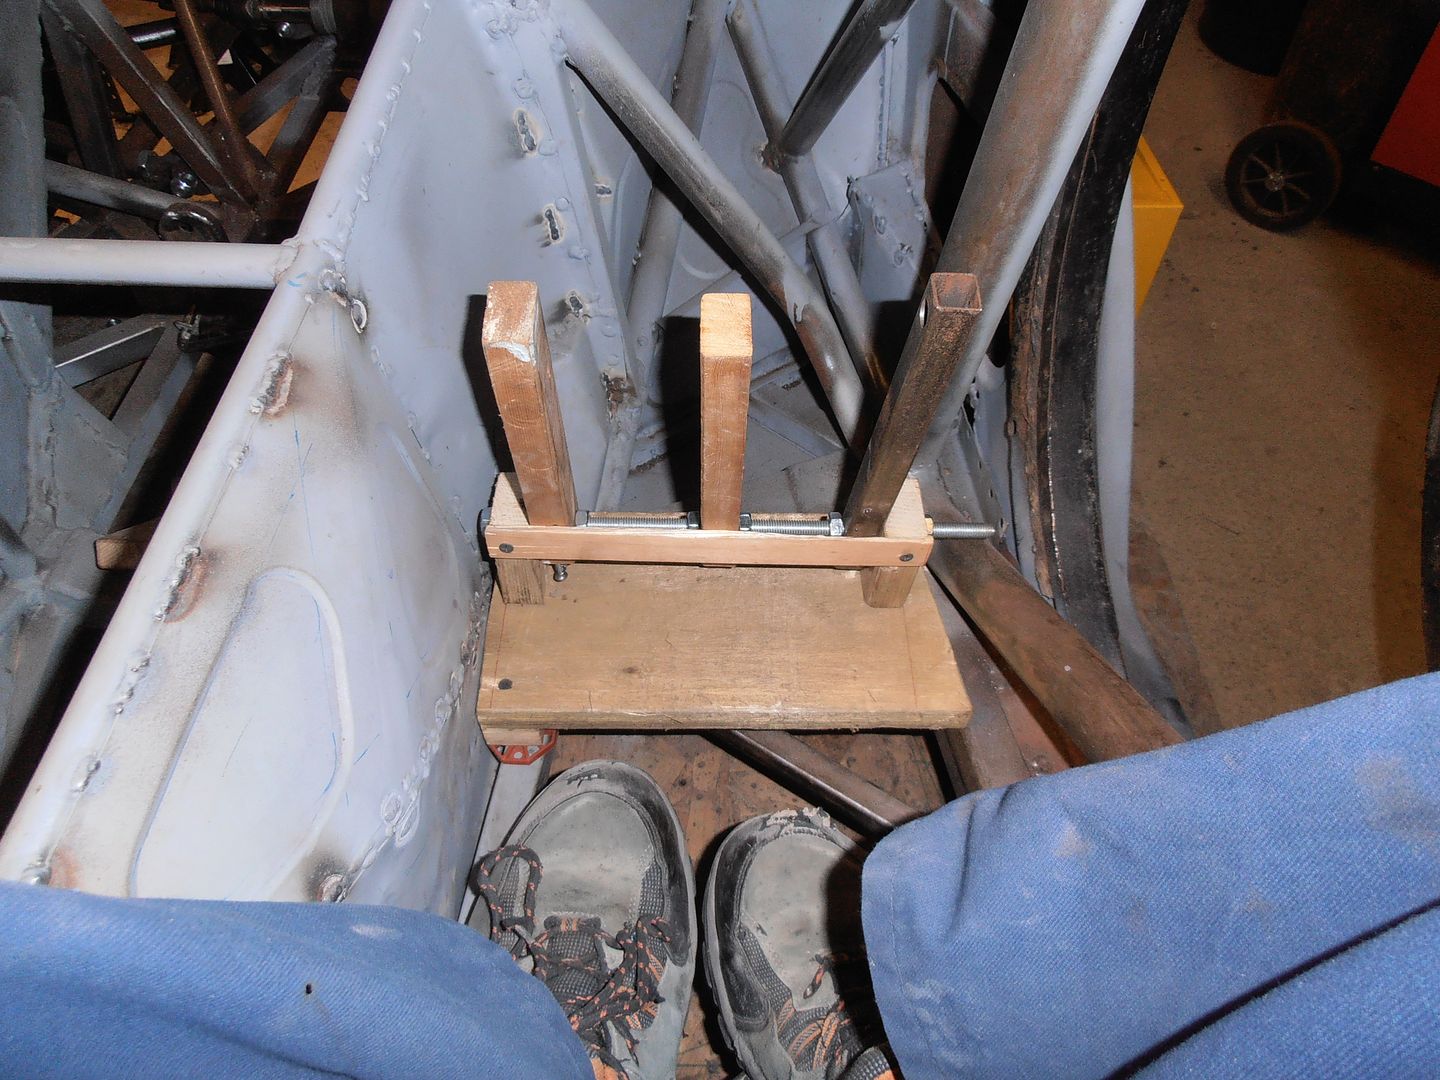 there definitely isnt room for boots in there. It'll need to be racing booties. Brake and clutch, 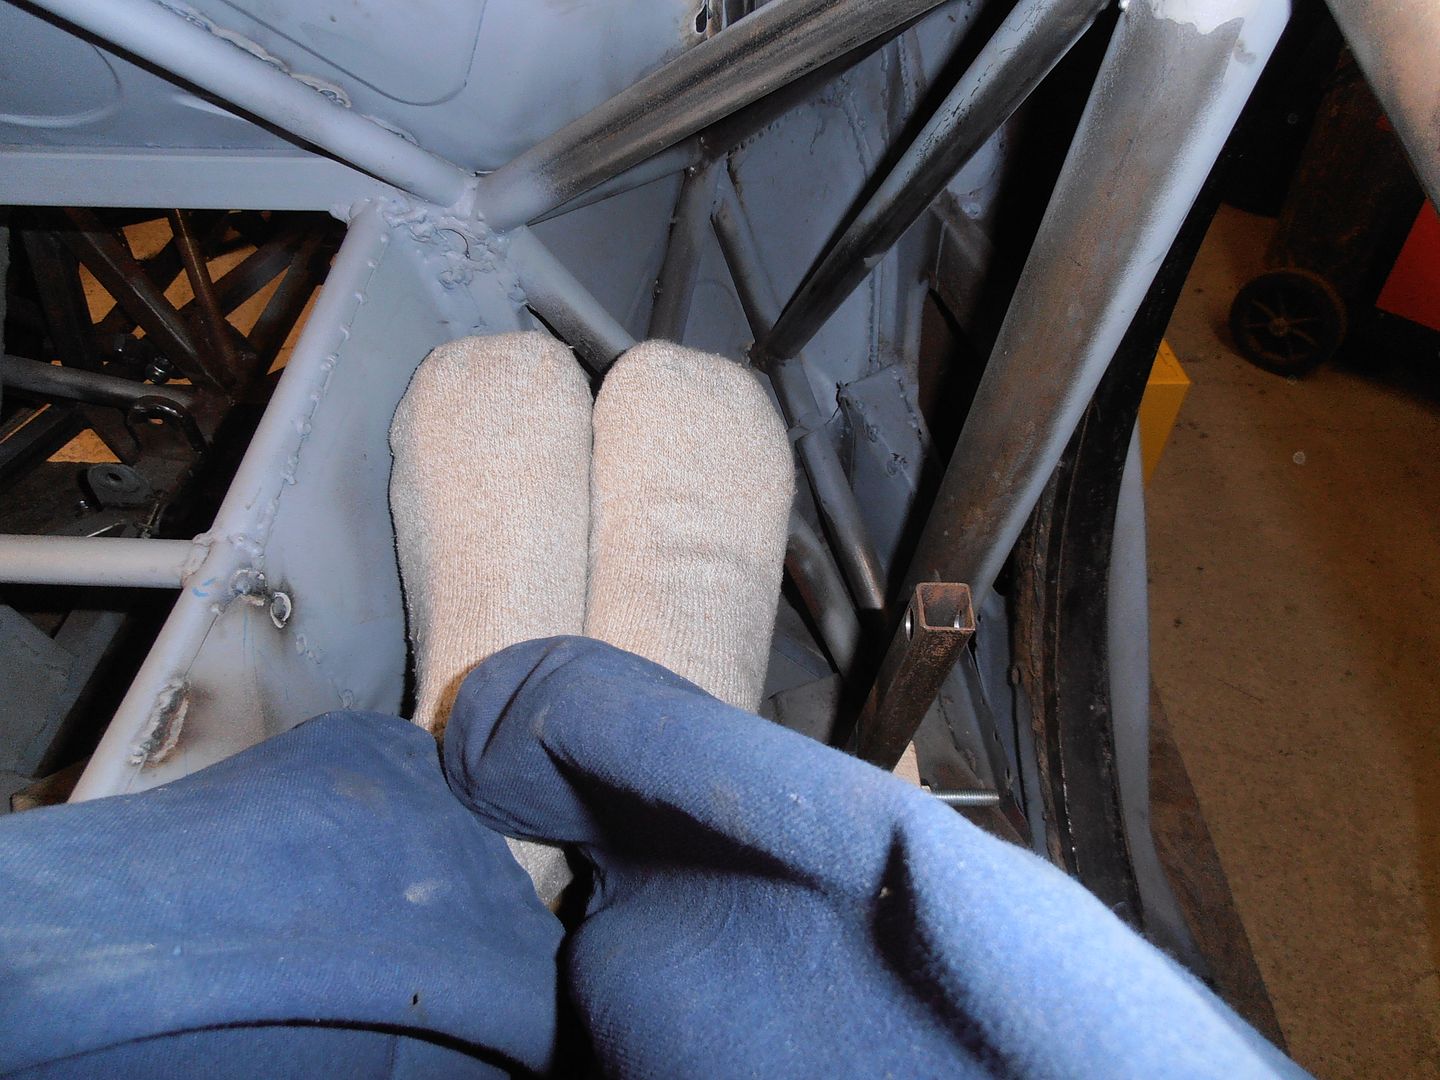 Brake and throttle 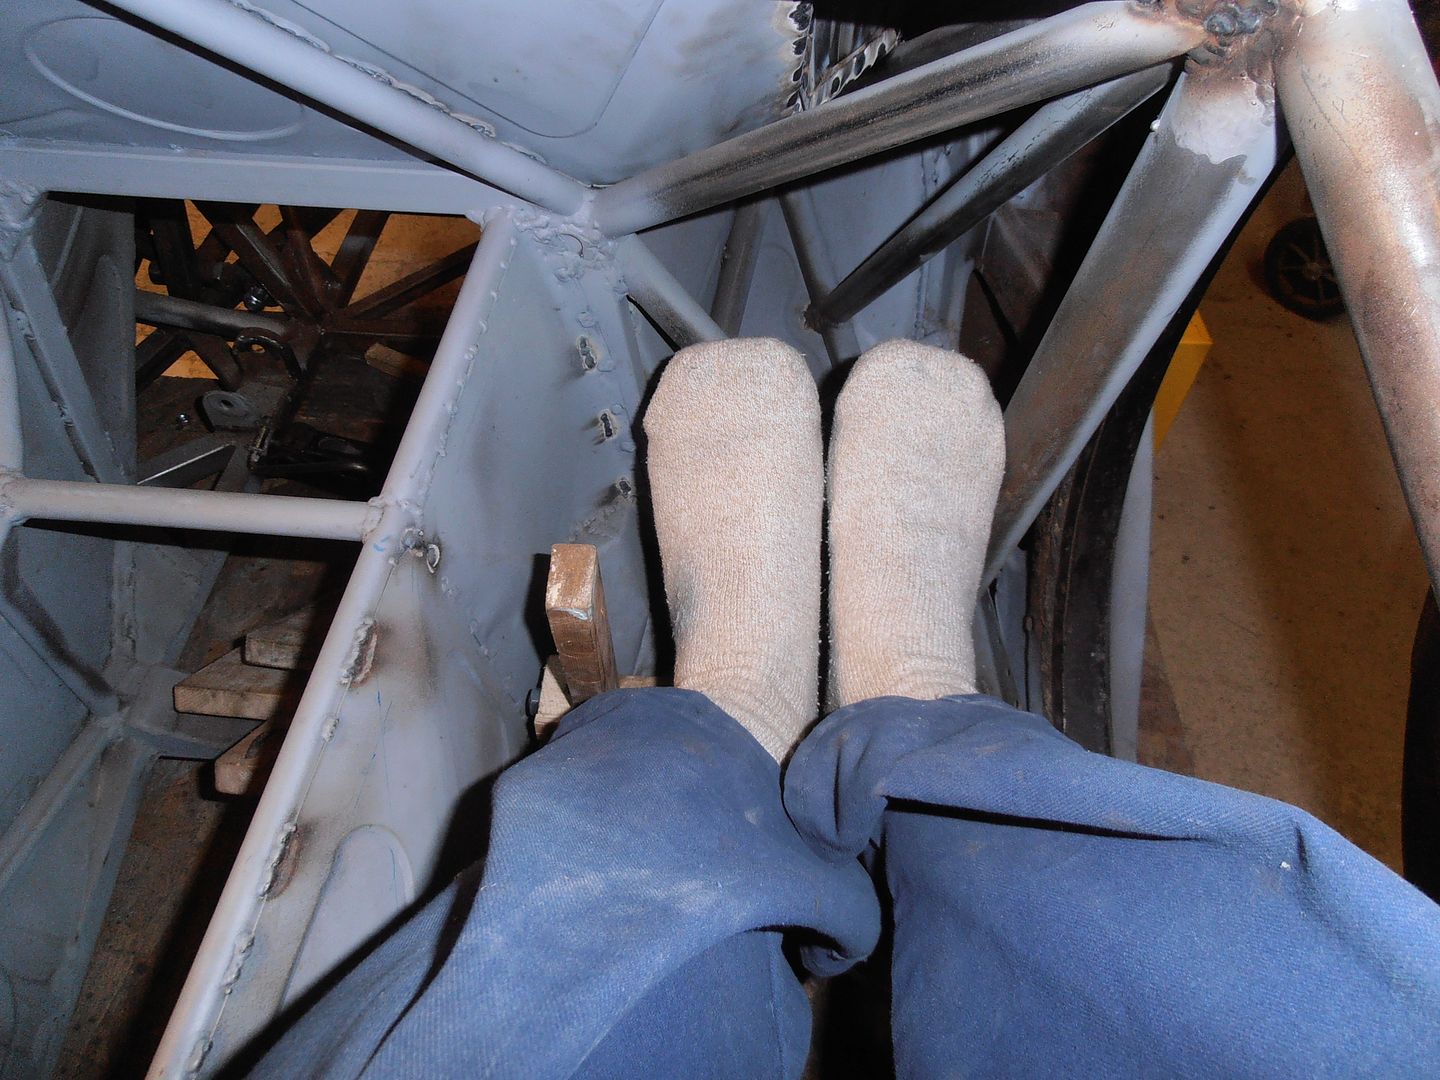 clutch and throttle 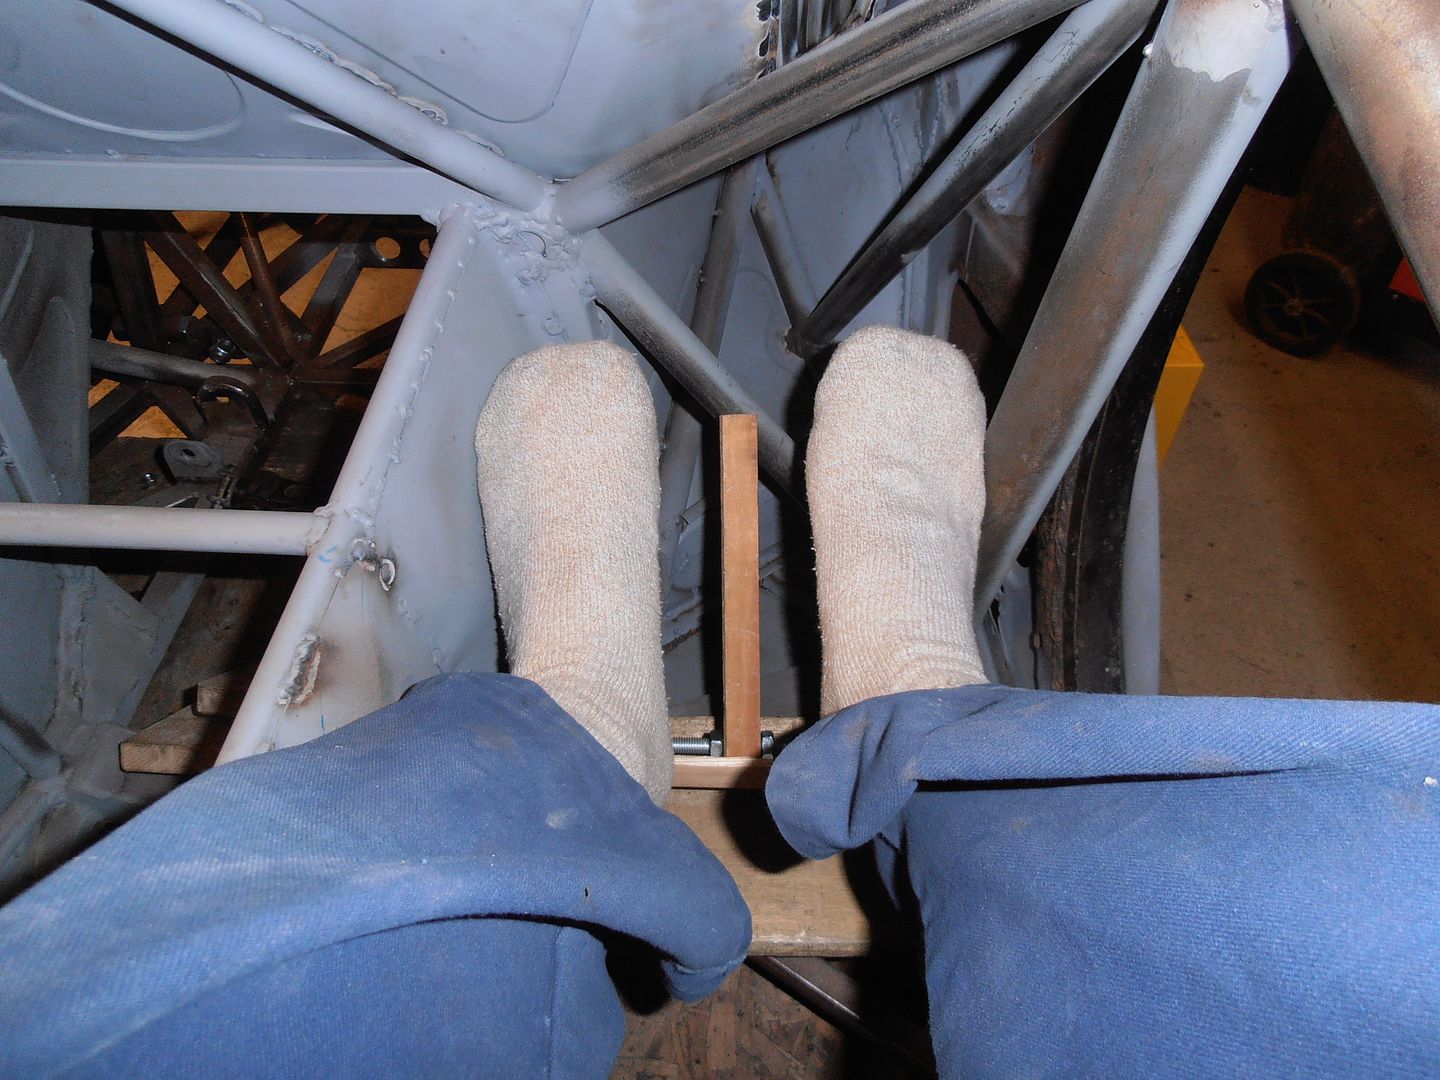 quite a lot of space behind it to set it back further and help it not feel quite so cramped from the driver seat. 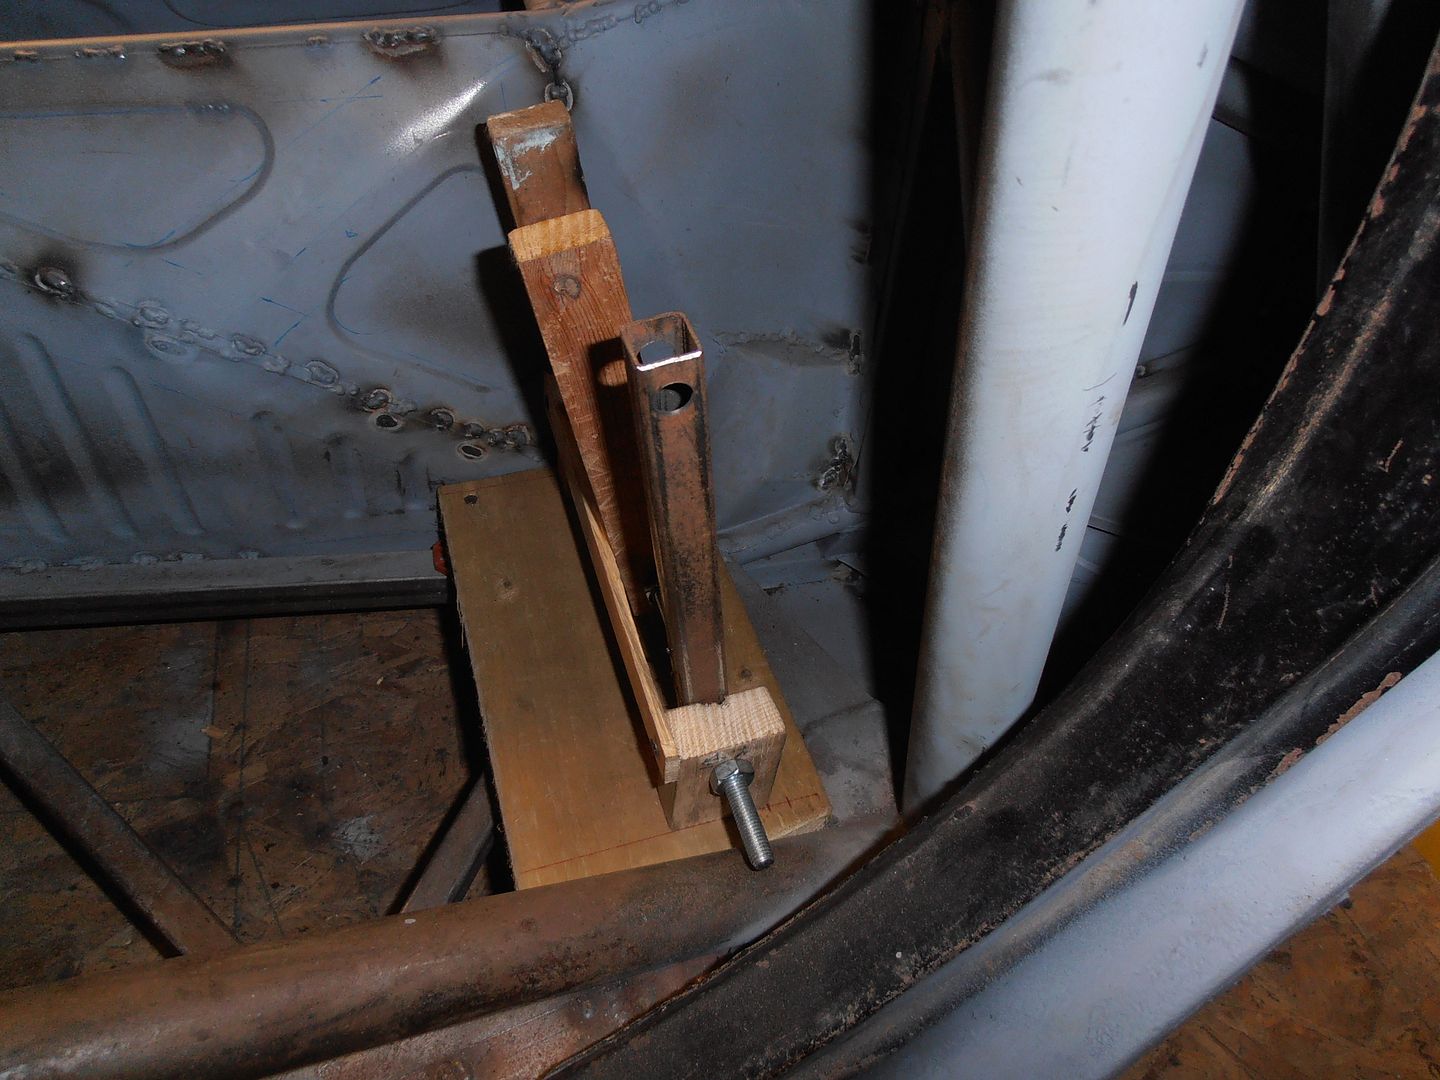 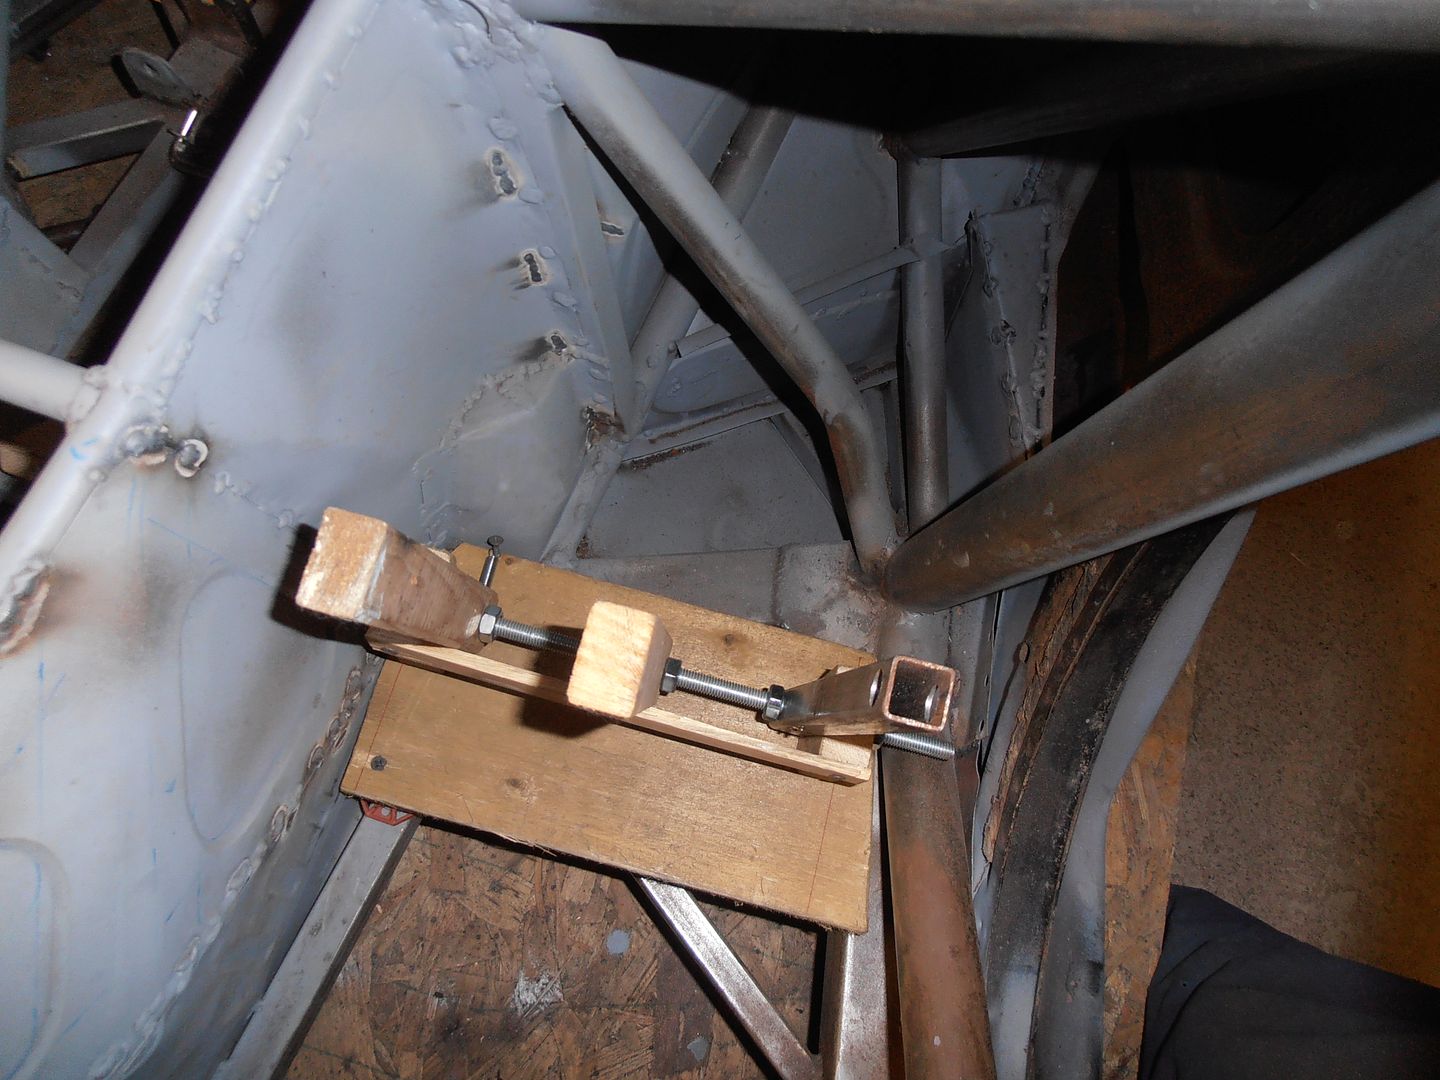 Took a record of the key dimensions and used to build a quick cad model. 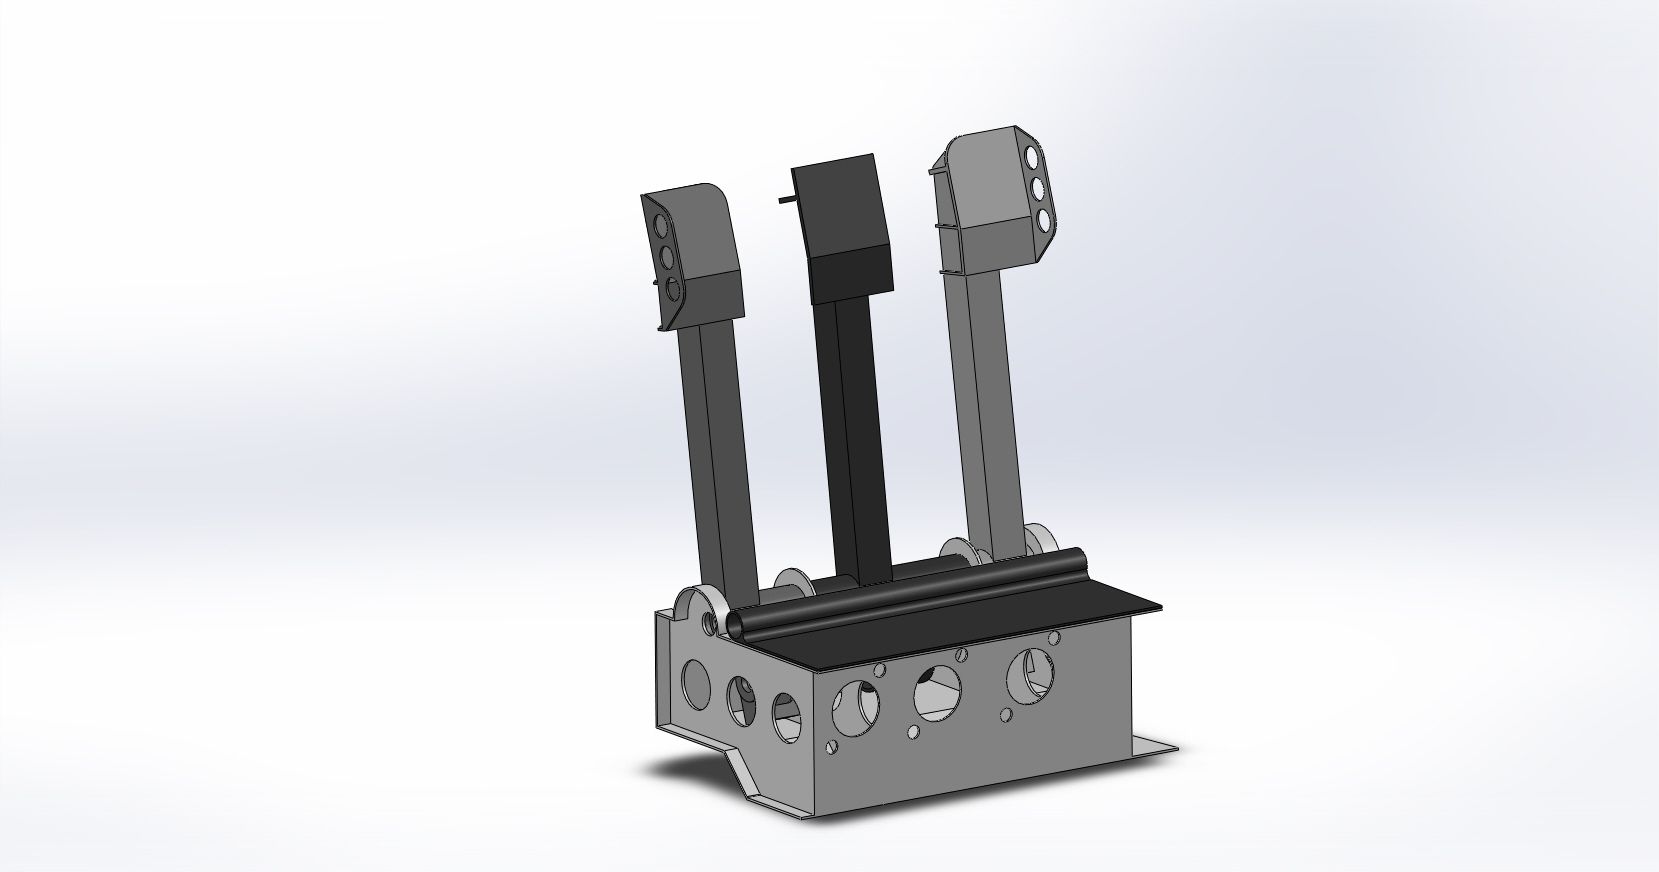 feet are based on my racing slippers :-) 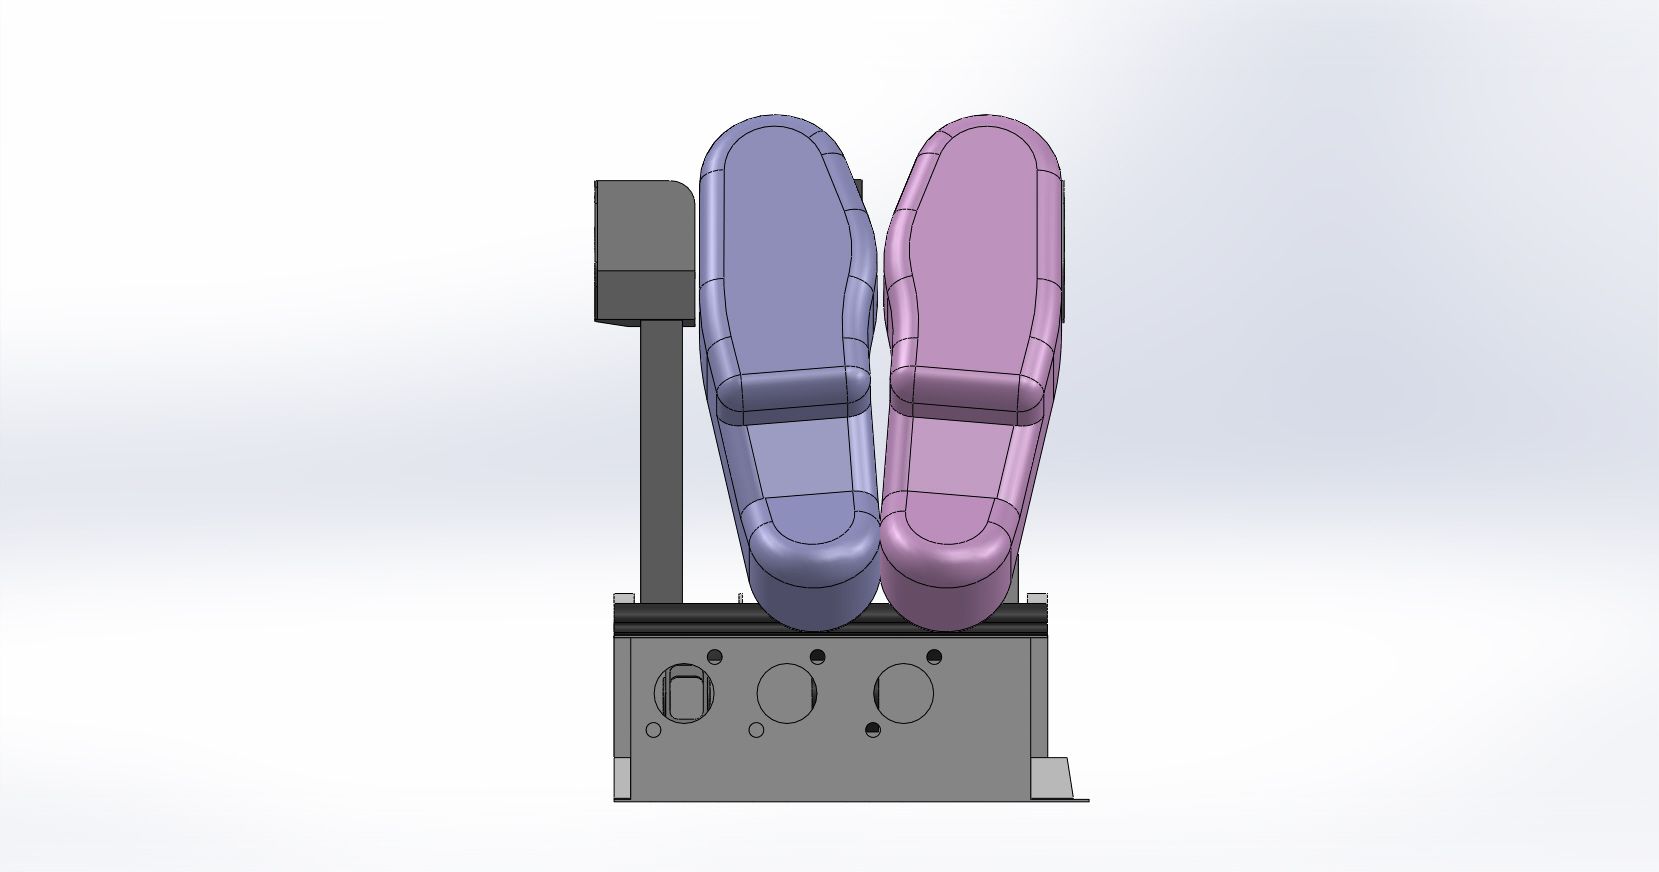 not massively spacious, but just about enought room 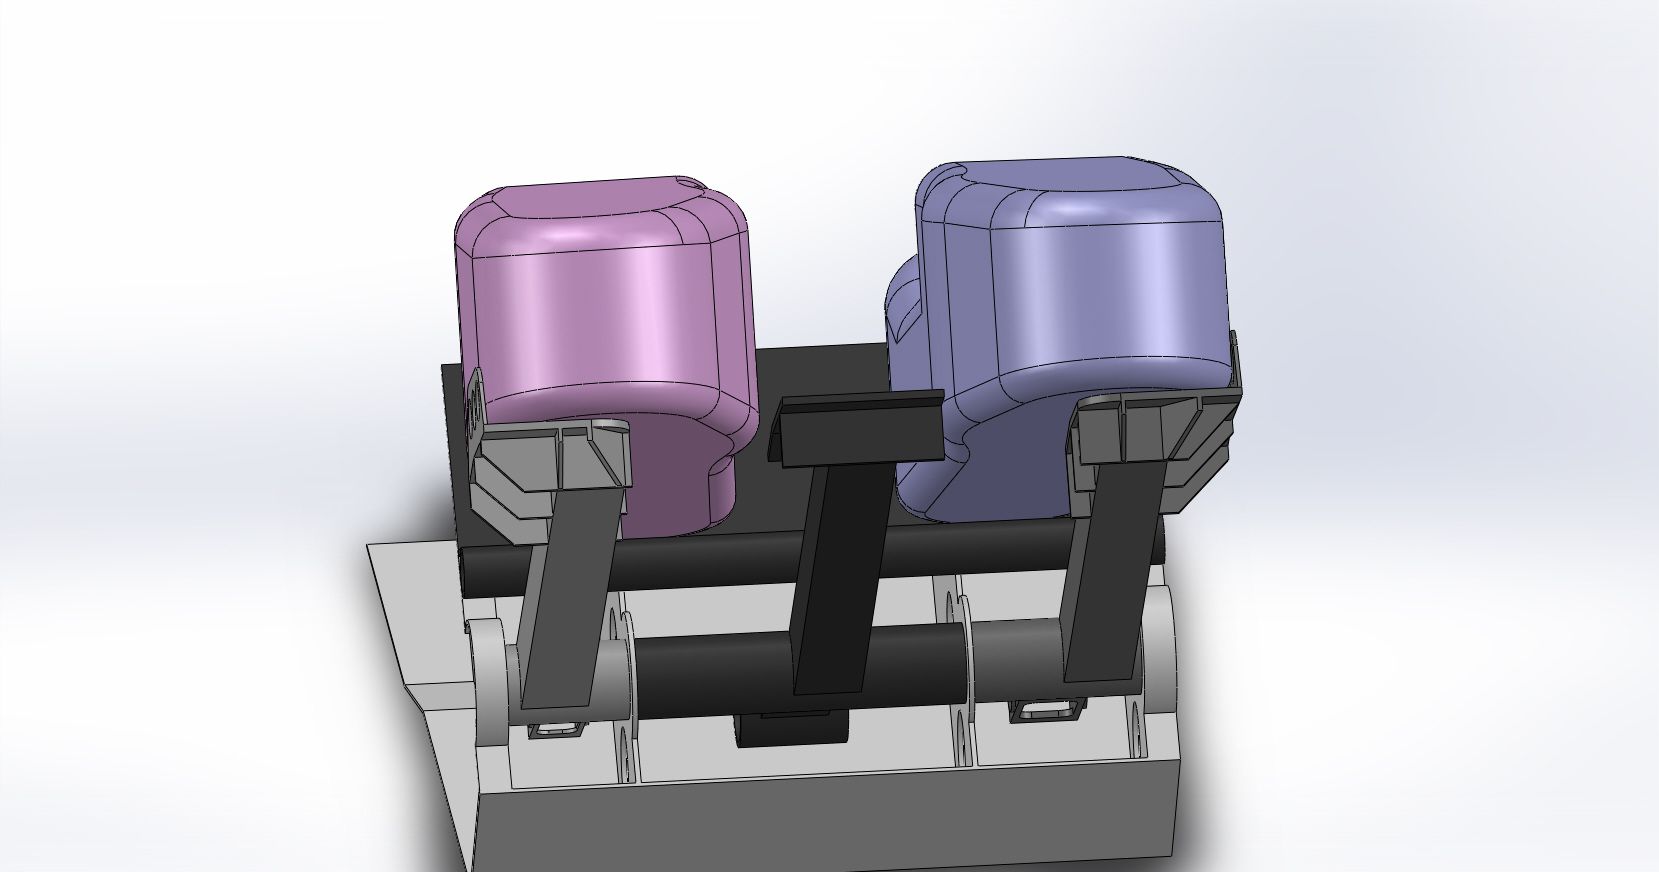 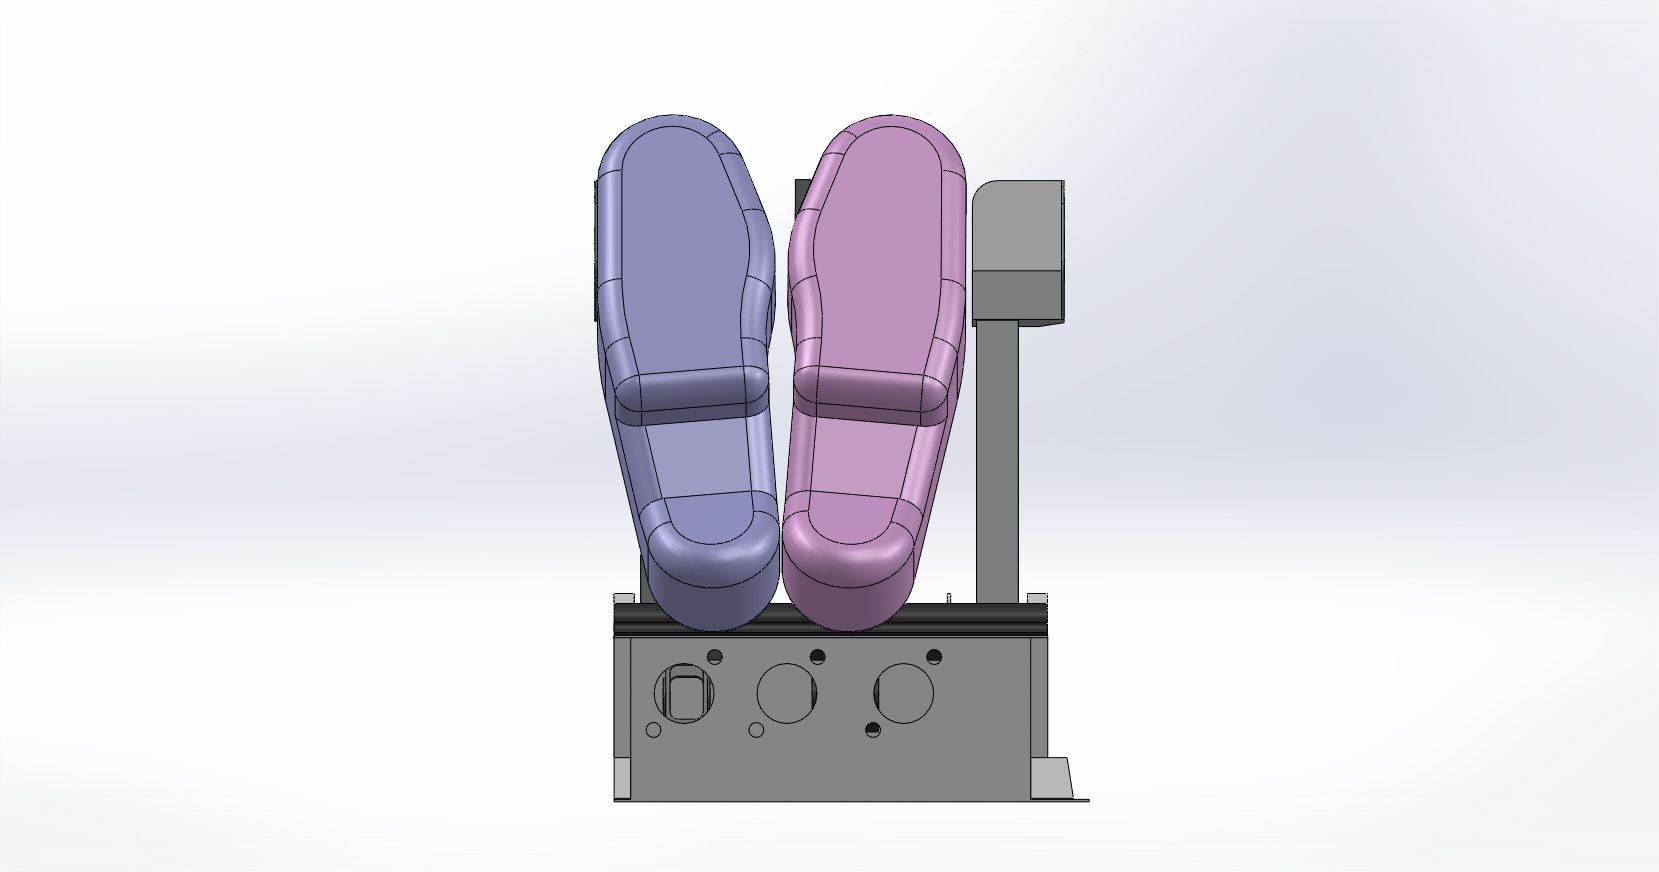 Hopefully i'll feel better and have some motivation to do something tomorrow. Jono |
| |
|
|
vulgalour
Club Retro Rides Member
Posts: 7,286
Club RR Member Number: 146
|
|
Mar 12, 2016 23:06:34 GMT
|
|
So... about the same as a Citroen AX then. Looks like the biggest hindrance is the cage and there's not really anything you can do about that at this stage.
|
| |
|
|
Seth
South East
MorrisOxford TriumphMirald HillmanMinx BorgwardIsabellaCombi
Posts: 15,543
|
|
Mar 12, 2016 23:39:09 GMT
|
|
Can you put a bit of a bubble in the tunnel, towards the gearbox which might let you move the clutch pedal left a bit, or at least give you foot a bit more room when you push the clutch right down?
|
| |

Follow your dreams or you might as well be a vegetable. |
|
jonomisfit
Club Retro Rides Member
Posts: 1,790
Club RR Member Number: 49
|
|
|
|
|
The main culprit of the restricted footwell space in pushing the engine / gearbox back and raising them up into the body.
In the original car and with most hotrod the body sits over the gearbox to some degree.
Unfortunately there is little room left to bubble into the gearbox tunnel. I've already narrowed it as far as I could but am limited now by the space needed to remove.
From yesterday's experimenting it should be ok to use. I'm also looking to make a button actuated clutch from the gear lever, ala audi quarto s1.
When I do this the clutch will mainly be for setting off.
|
| |
|
|
v8ian
Posted a lot
  
Posts: 3,832
Member is Online
|
|
|
|
|
I suppose another option would be use a modern 5/6 speed auto, but rather than using a torque converter have a clutch, "Clutchflites" were a old drag racing trick, that would give you the ability to control your launch with a clutch by have the reliability of seamless gearchanges,
Convert the gearbox to a manual valve body and you have full control of your gearchanges without using the clutch.
|
| |
Atmo V8 Power . No slicks , No gas + No bits missing . Doing it in style.
Austin A35van, very different------- but still doing it in style, going to be a funmoble
|
|
|
|


