jonomisfit
Club Retro Rides Member
Posts: 1,790
Club RR Member Number: 49
|
|
Aug 30, 2015 17:53:31 GMT
|
Hmmm. been a while since I've done anything on this., mainly due to weddings, mountain bike races, drinking, some more drinking, dressing up as Brunel whilst drinking, and being away with work. I got back from a long haul Friday, so cleaned up as I was in zombie mode yesterday. Where was I, oh yeah, cutting out stuff Template made from drivers side 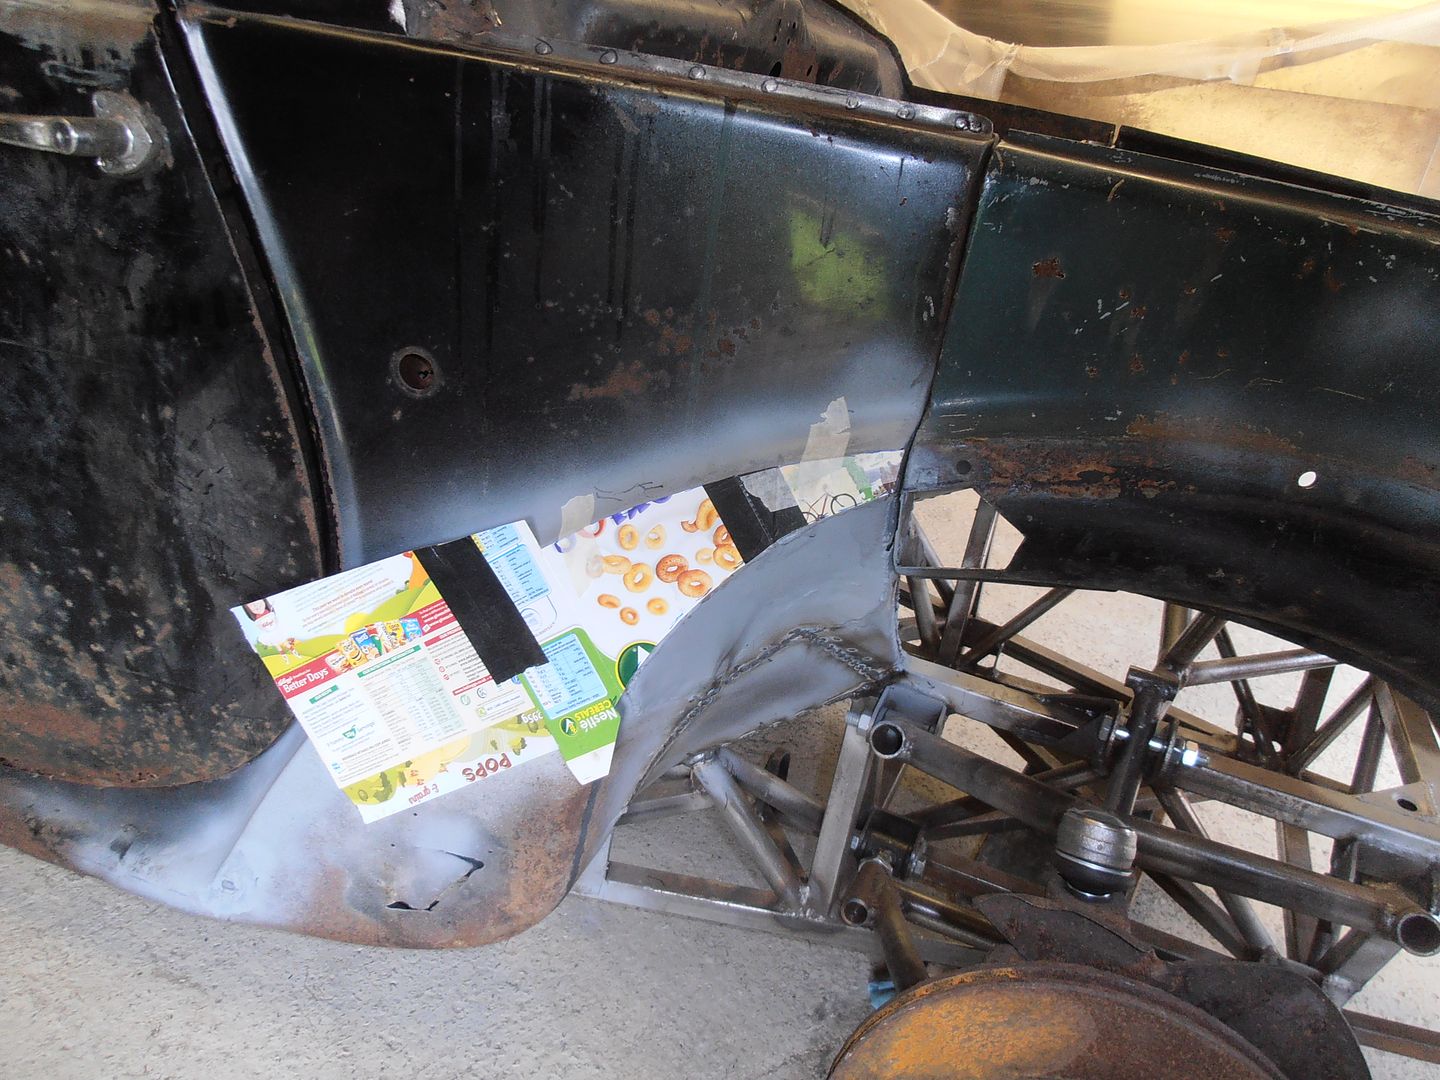 transferred over 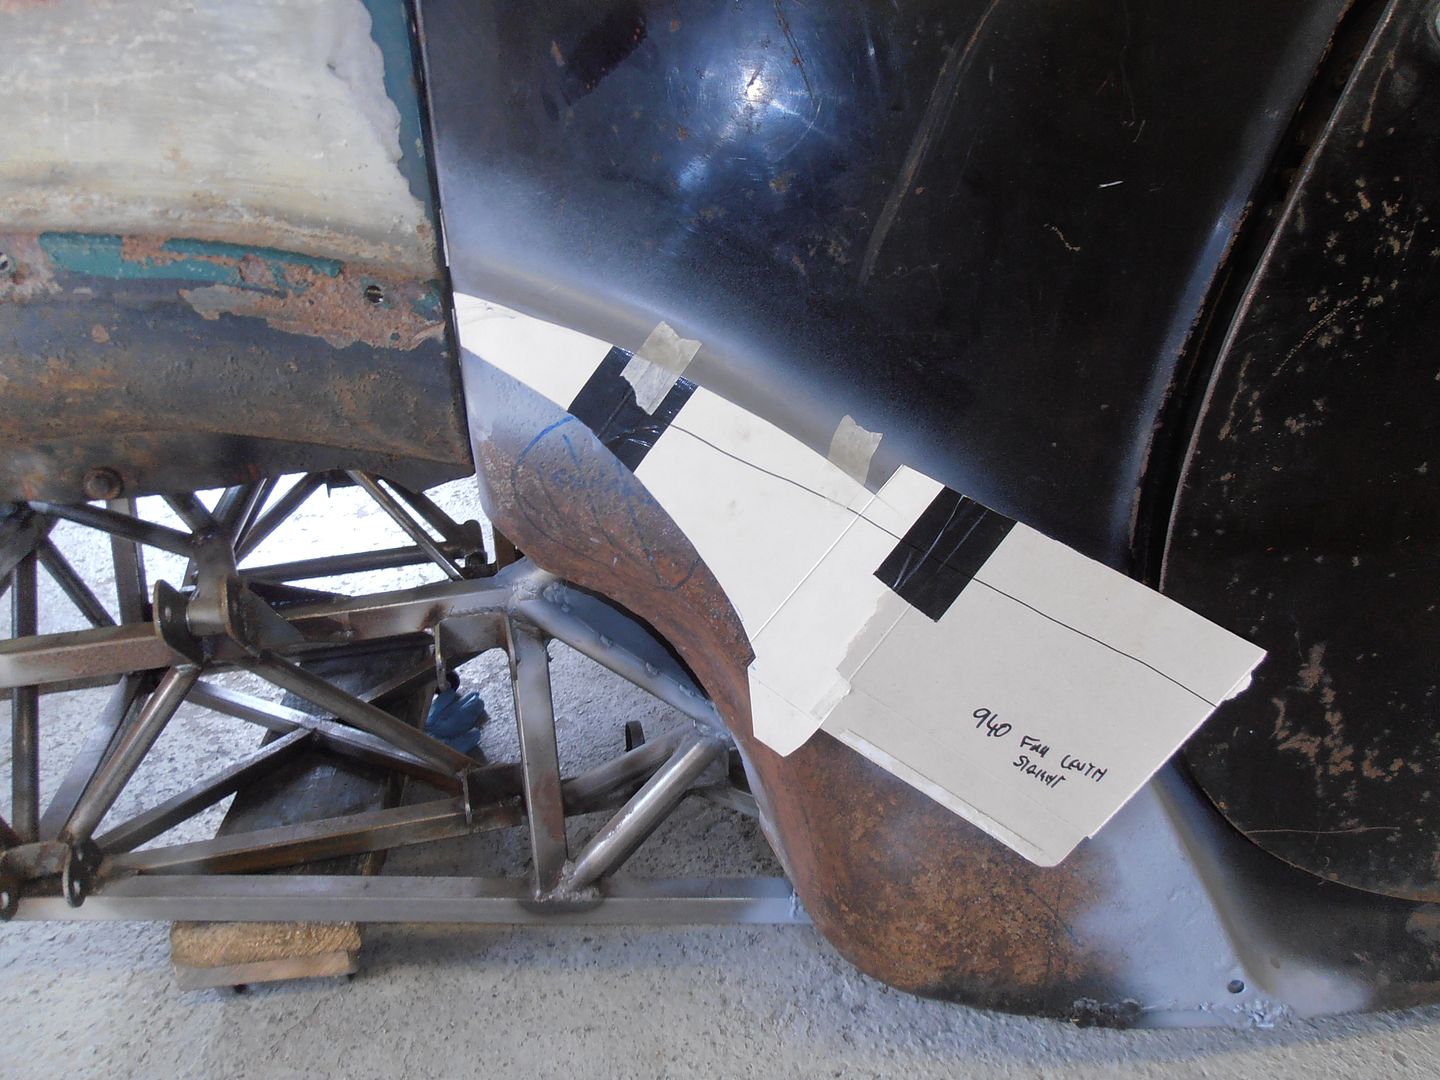 Cut out.... 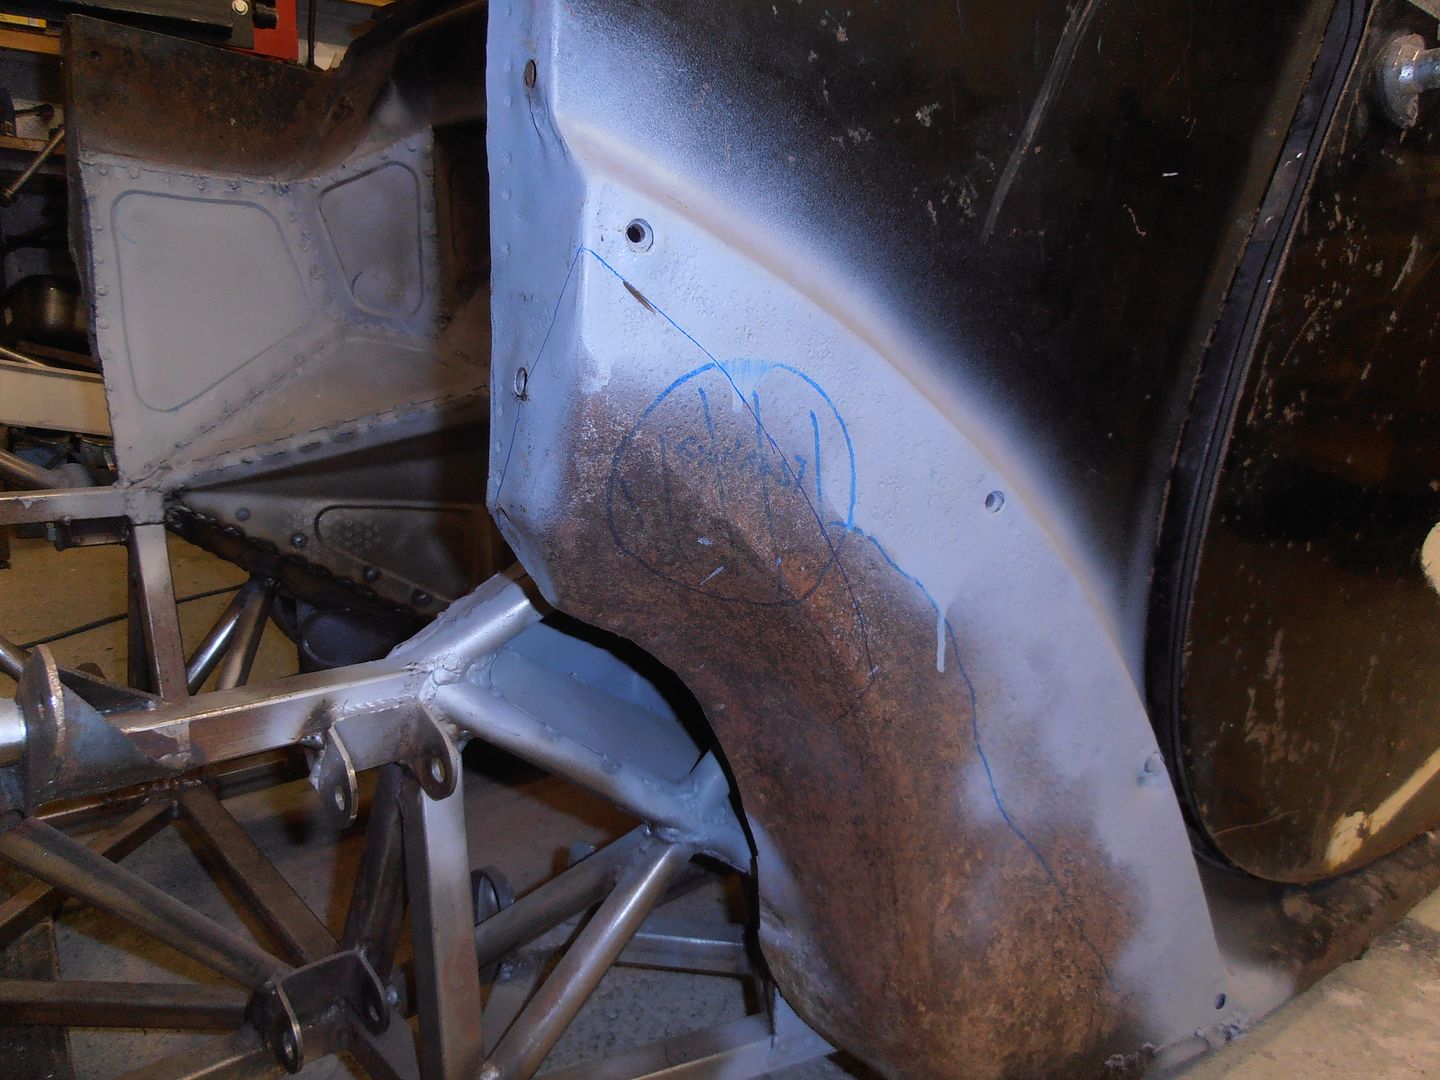 Clearance is good 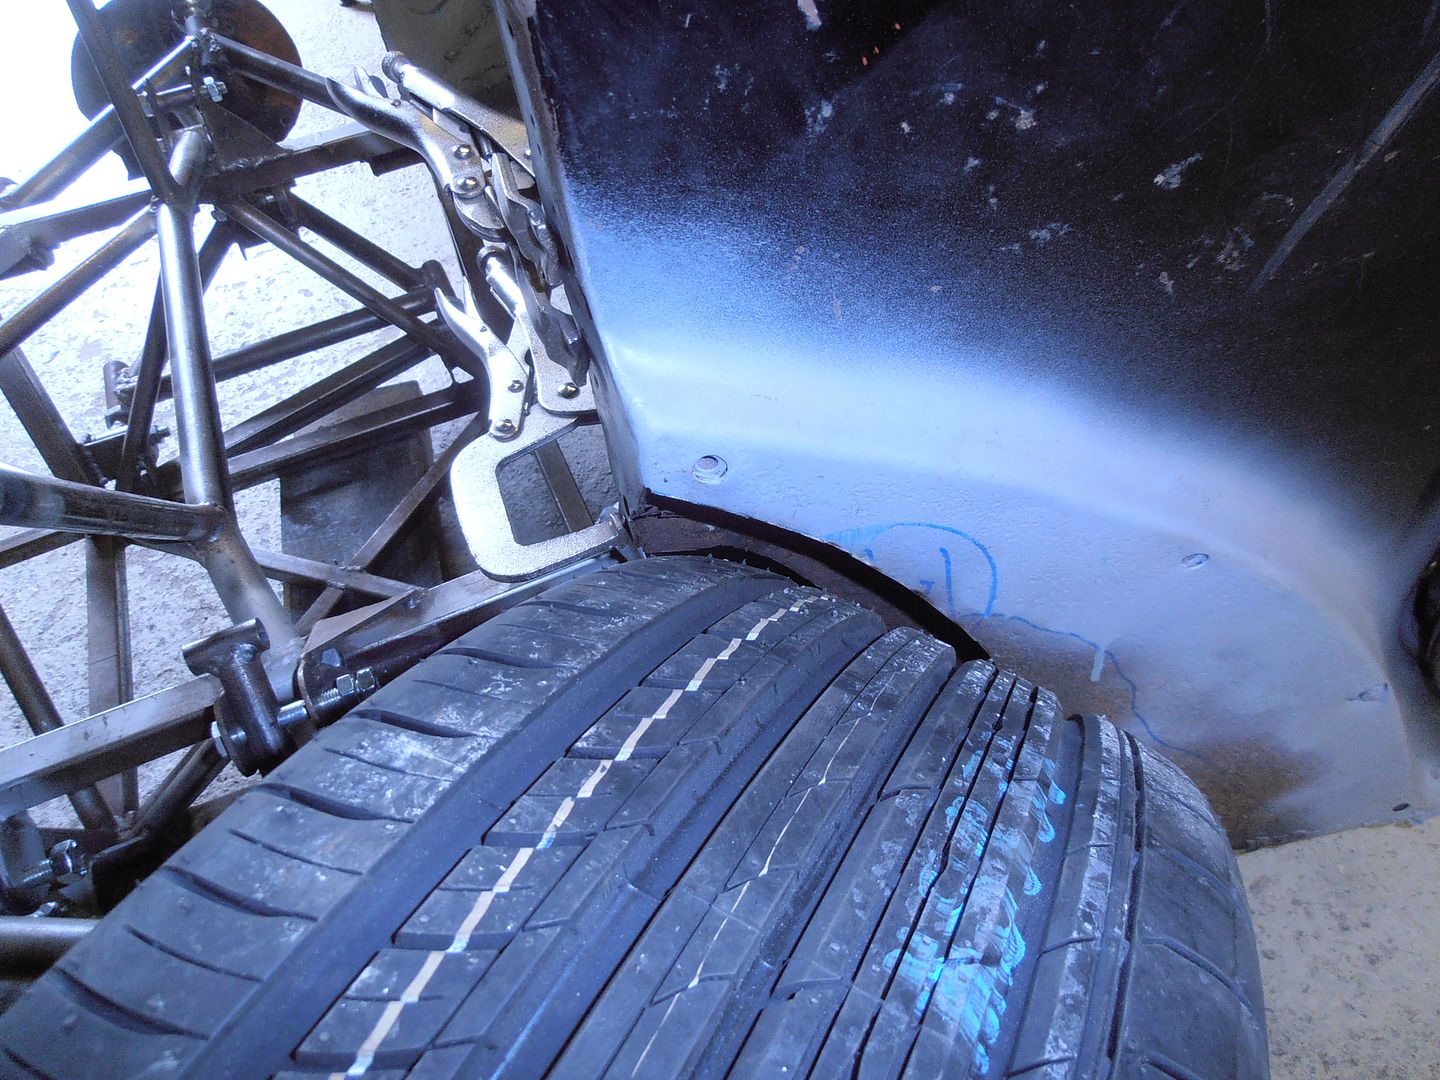 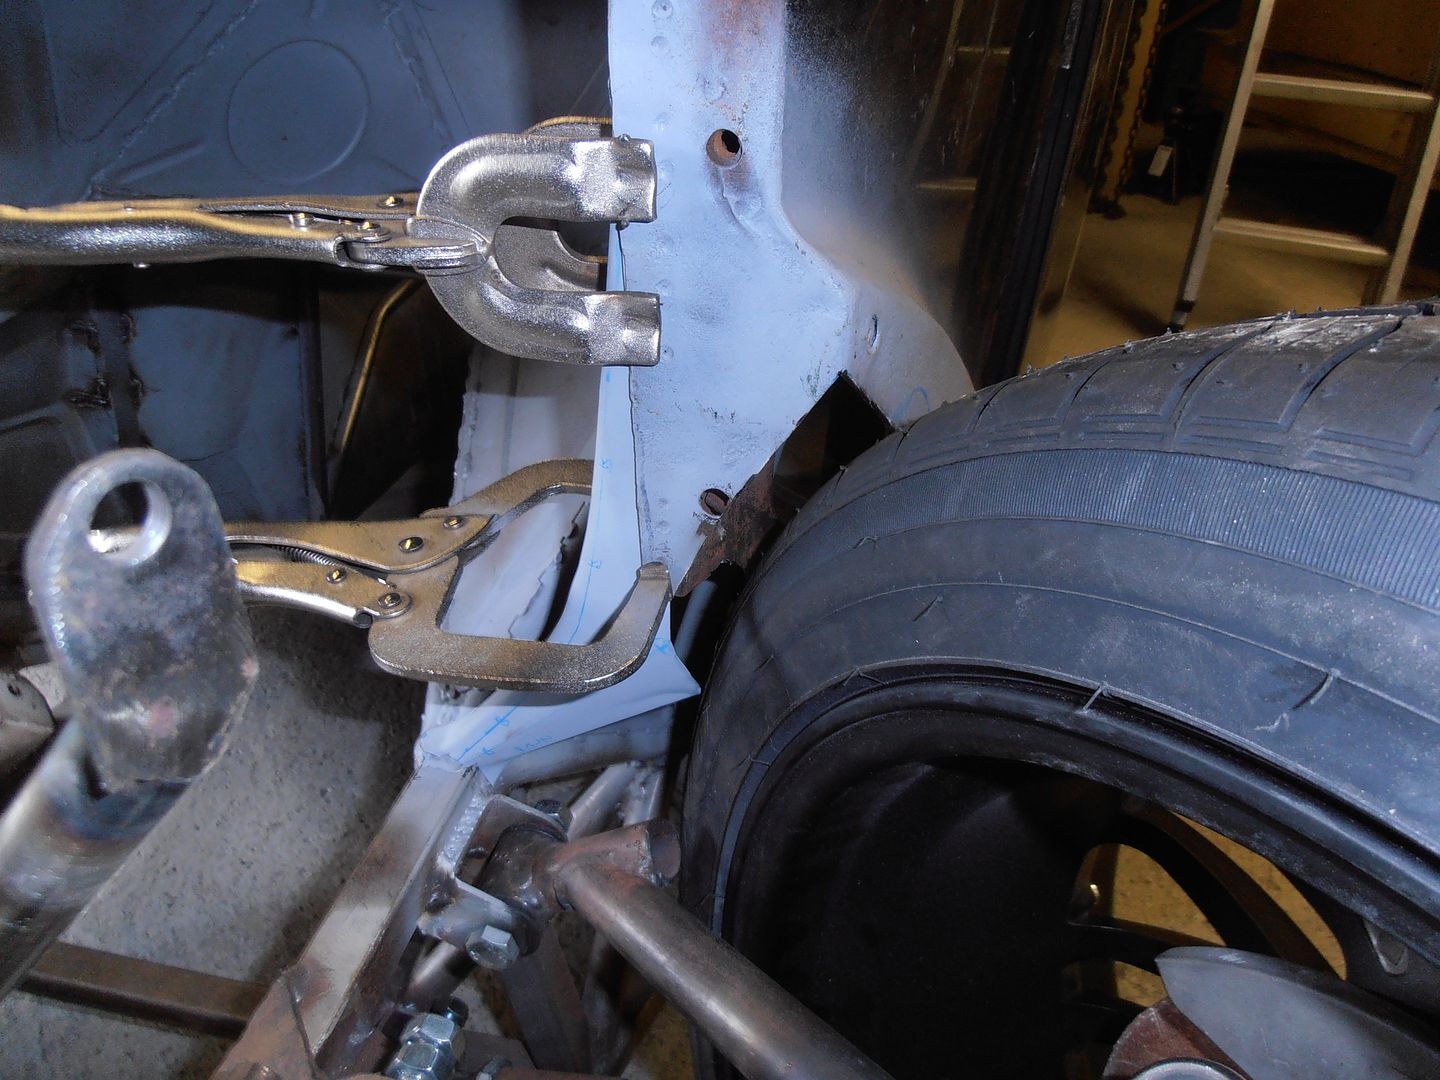 Make up the end closer 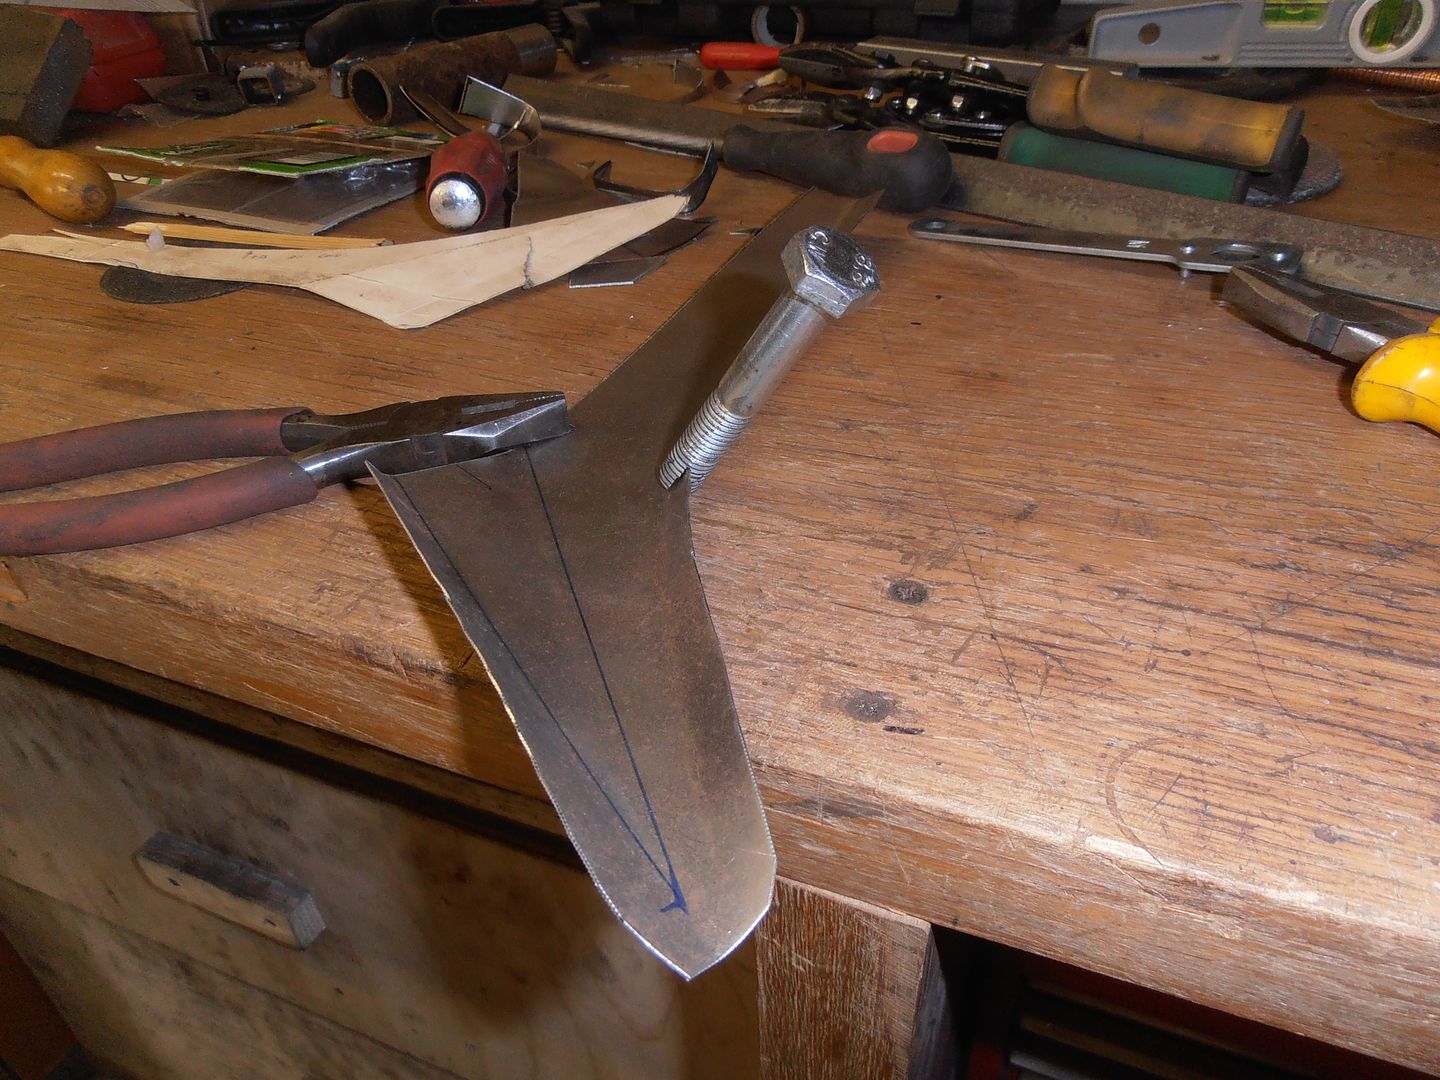 my trusty lipping bolt 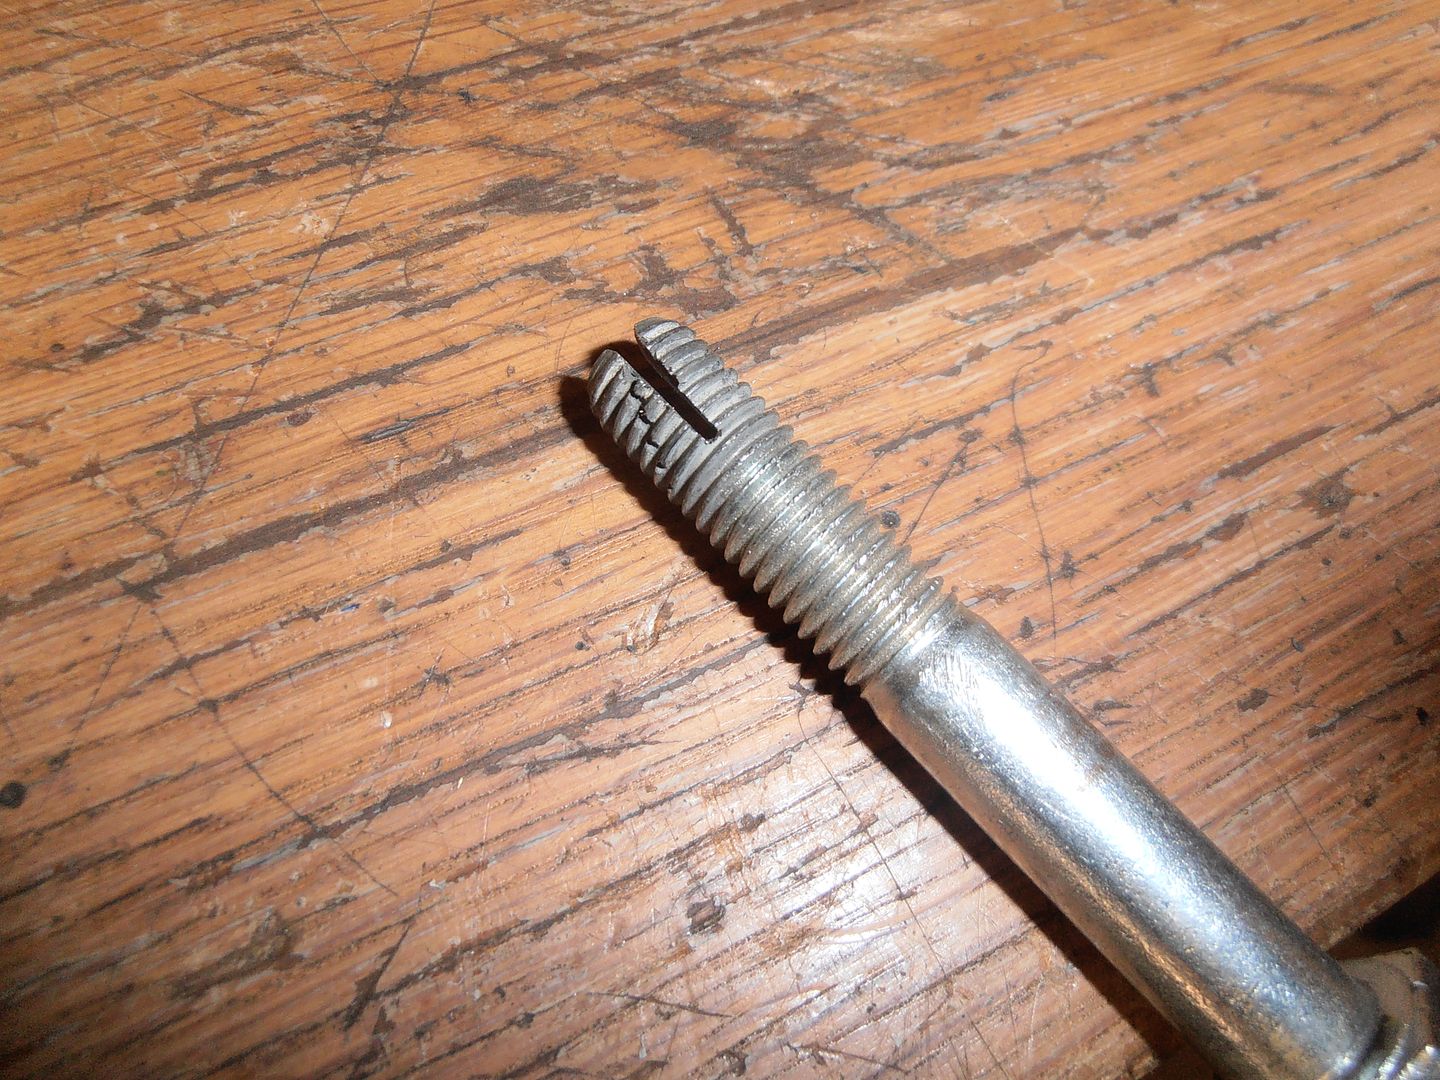 closer tacked in 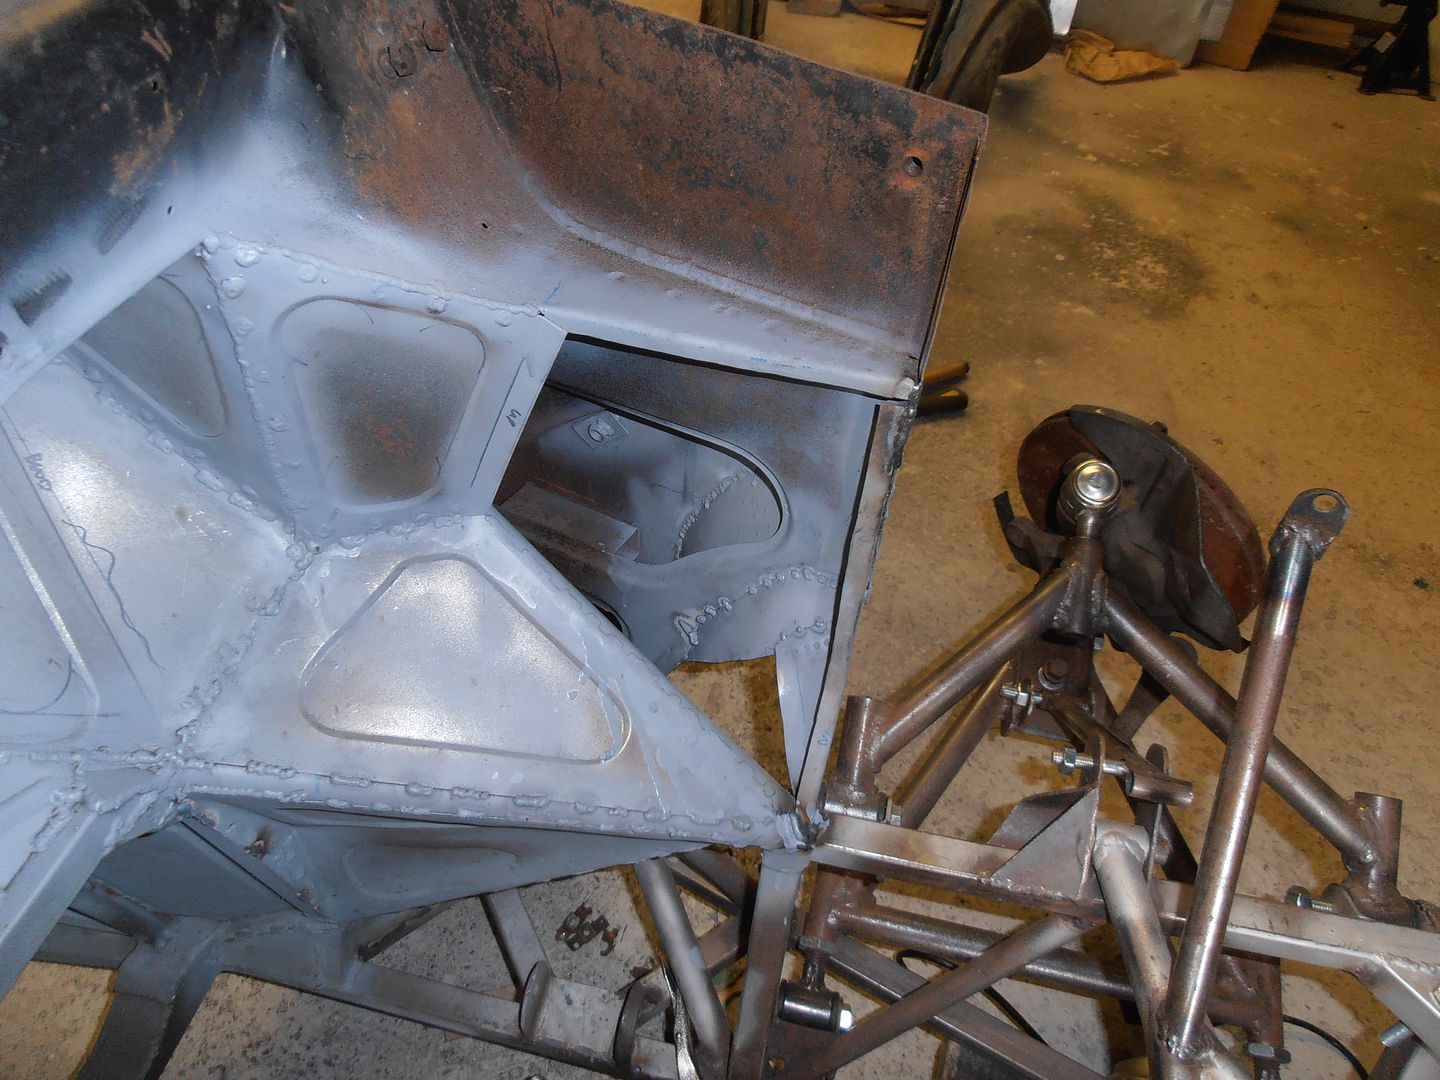 upper infill panel in 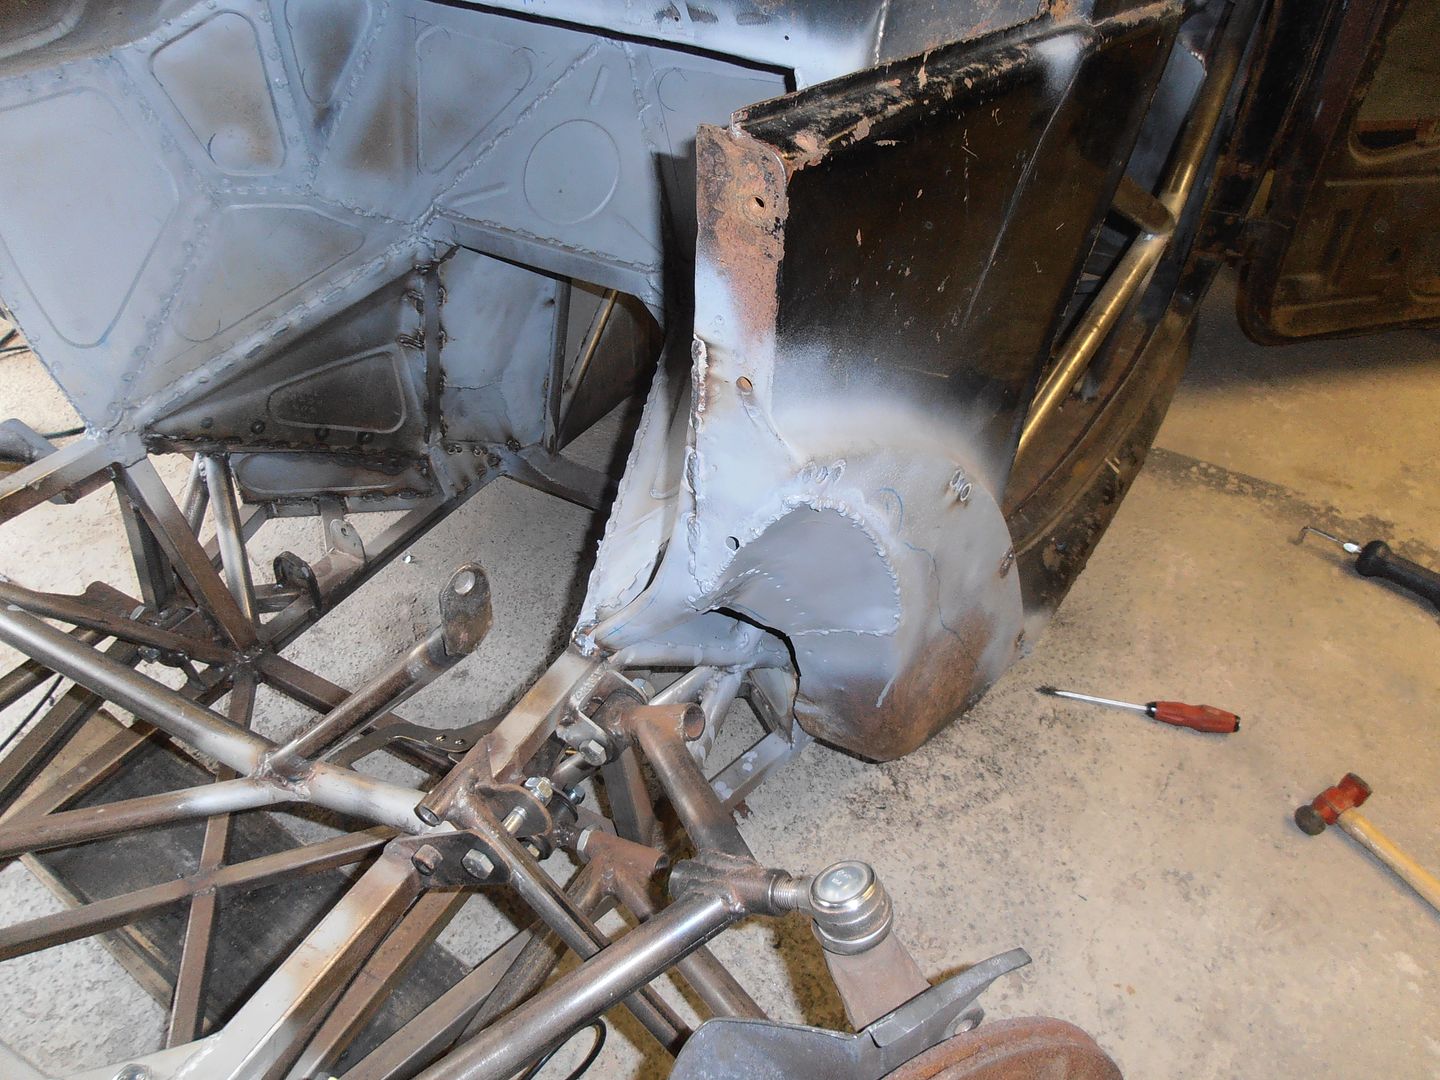 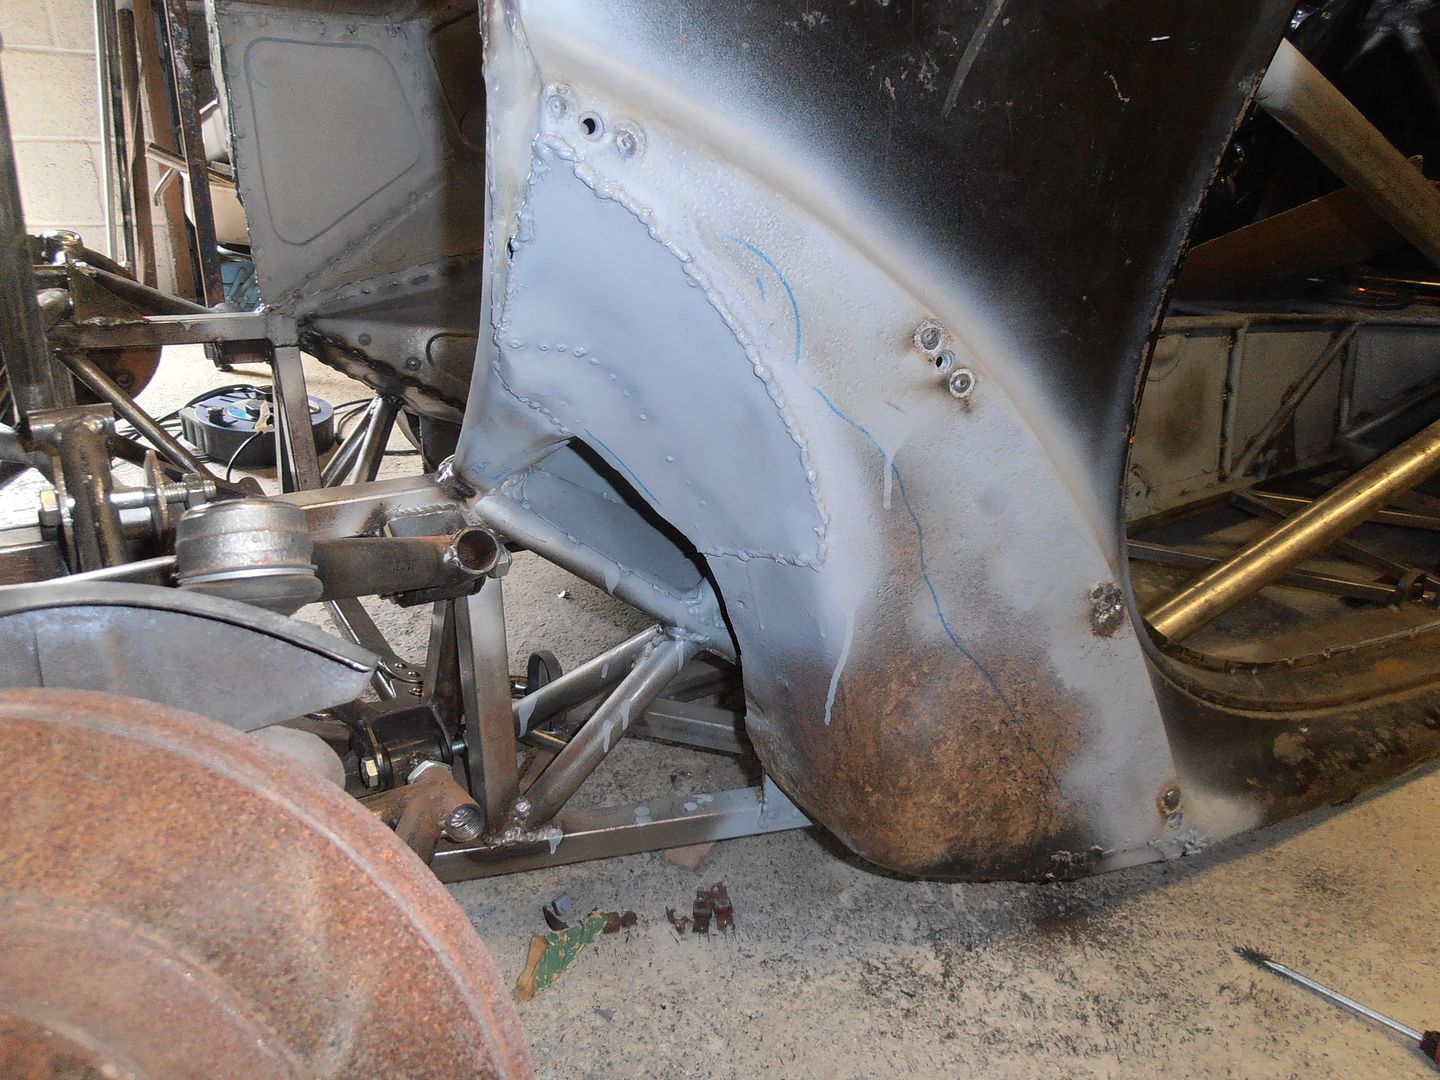 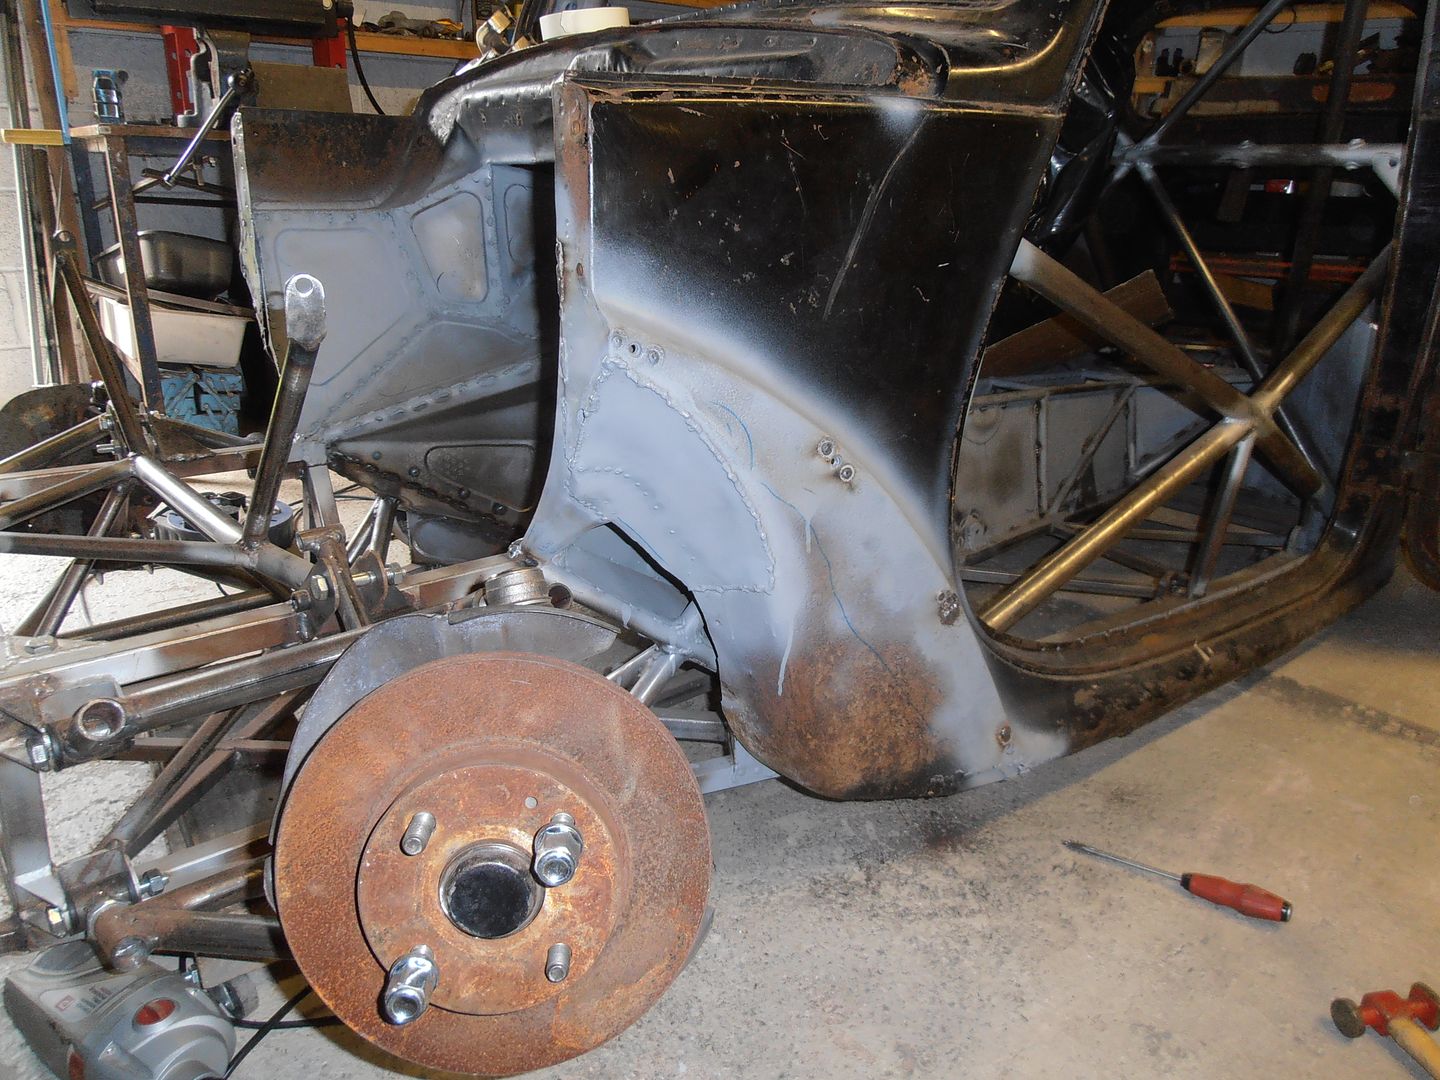 lower infill panel 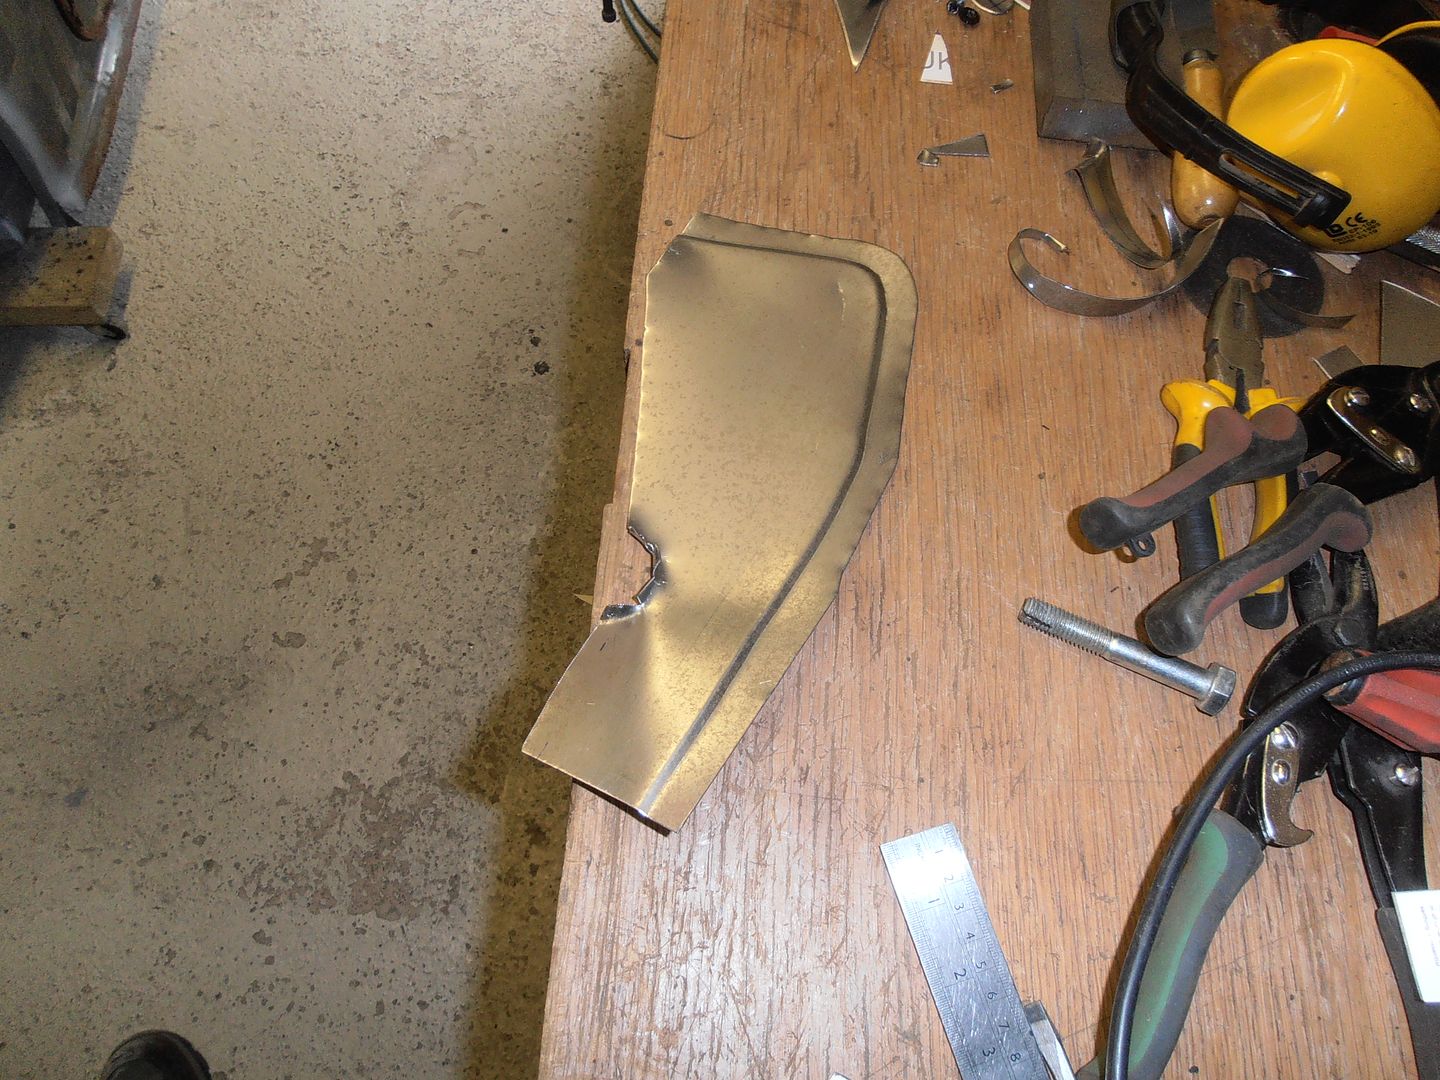 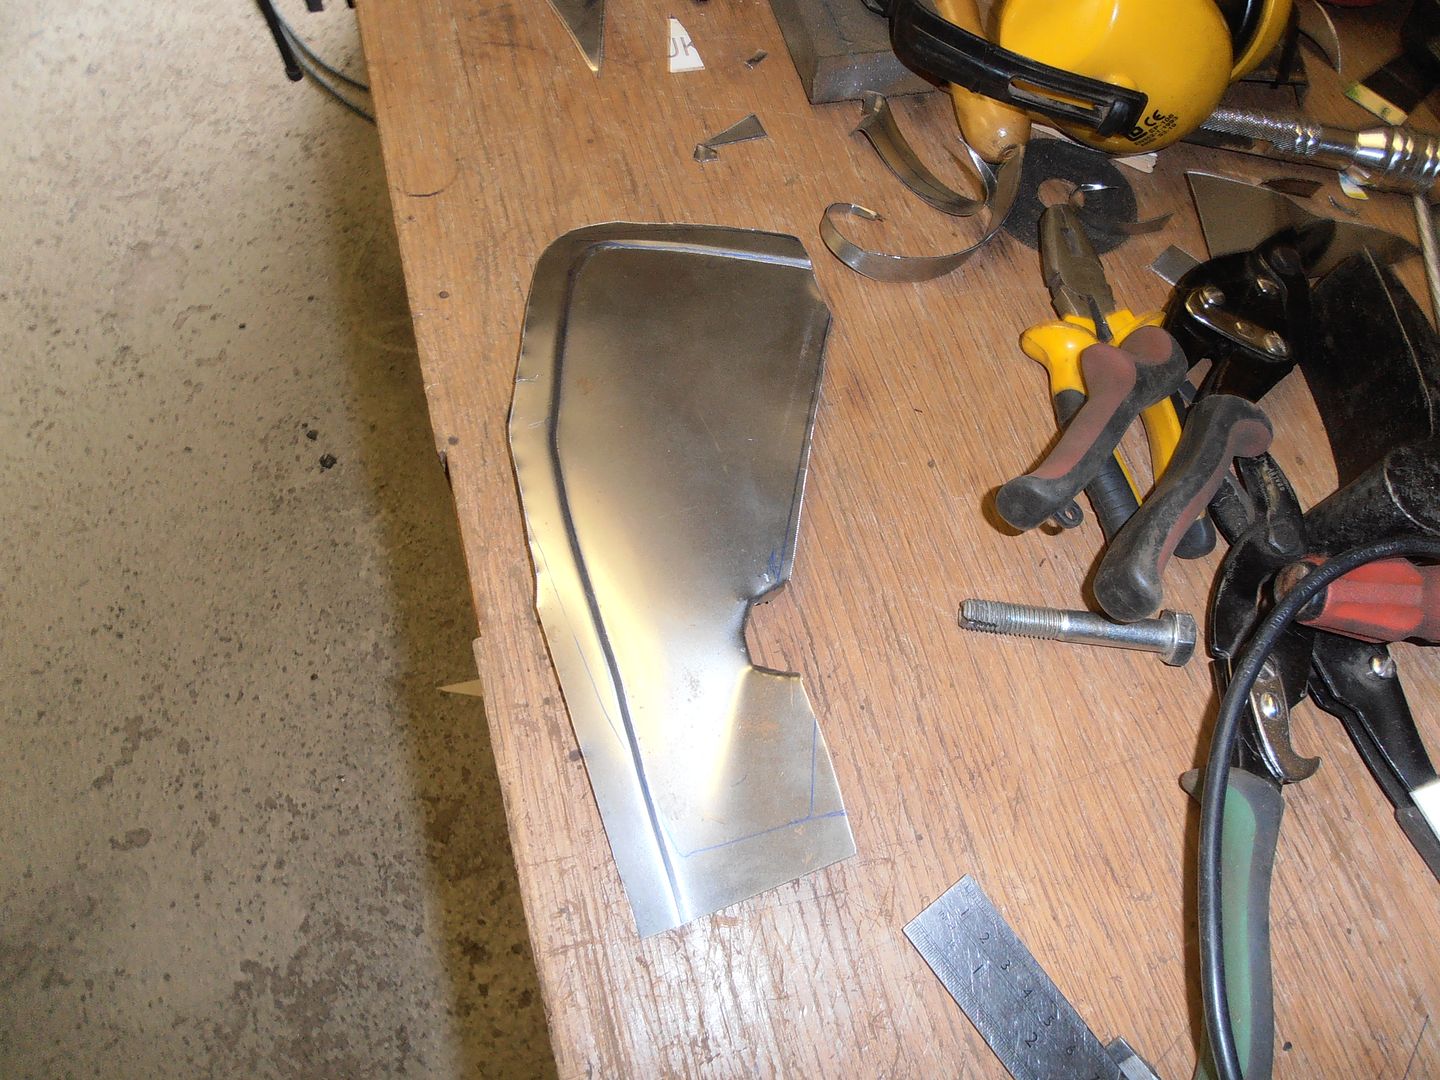 to go in this hole 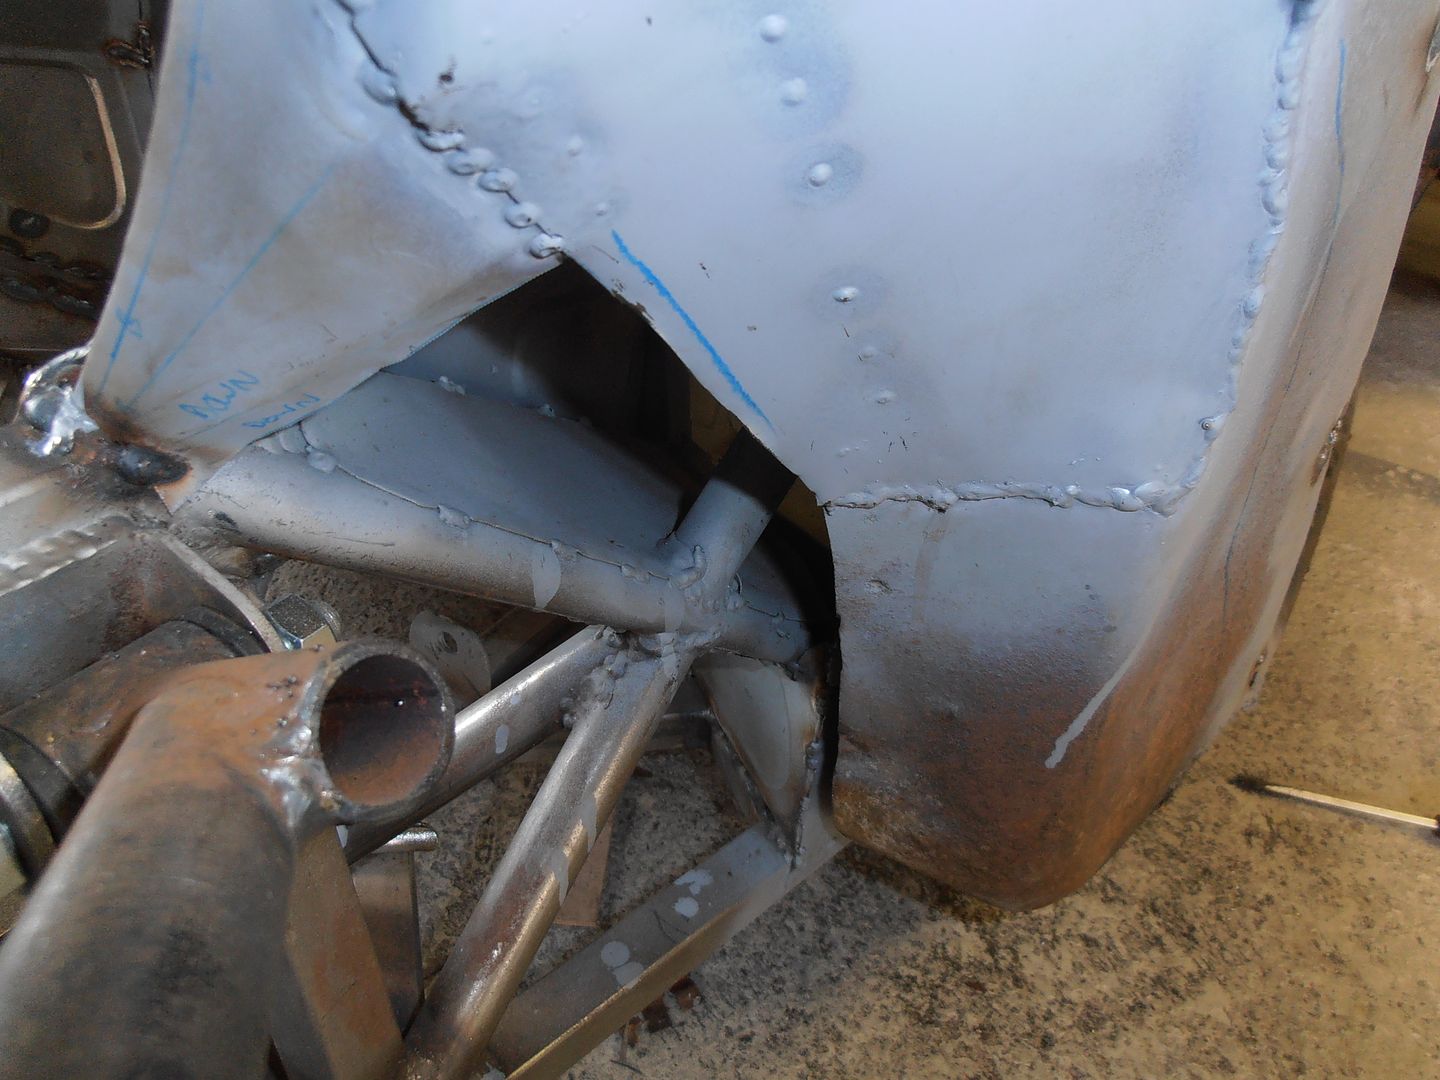 i sprayed weld through primer over everything, so whilst waiting to dry I made up the upper inner infill. 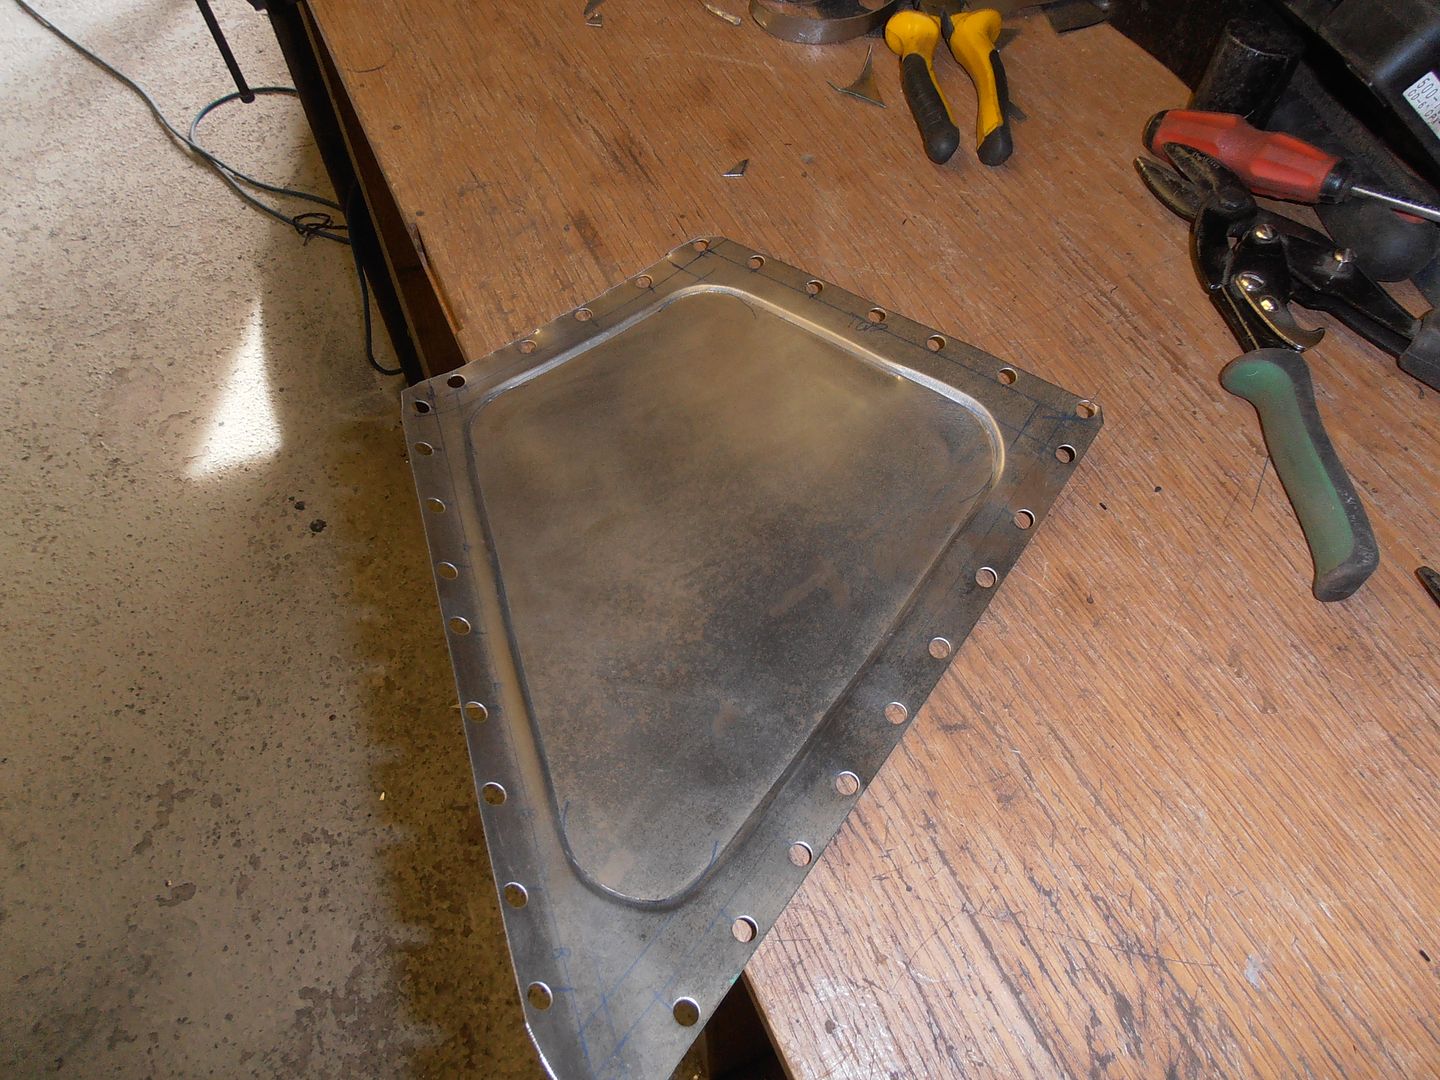 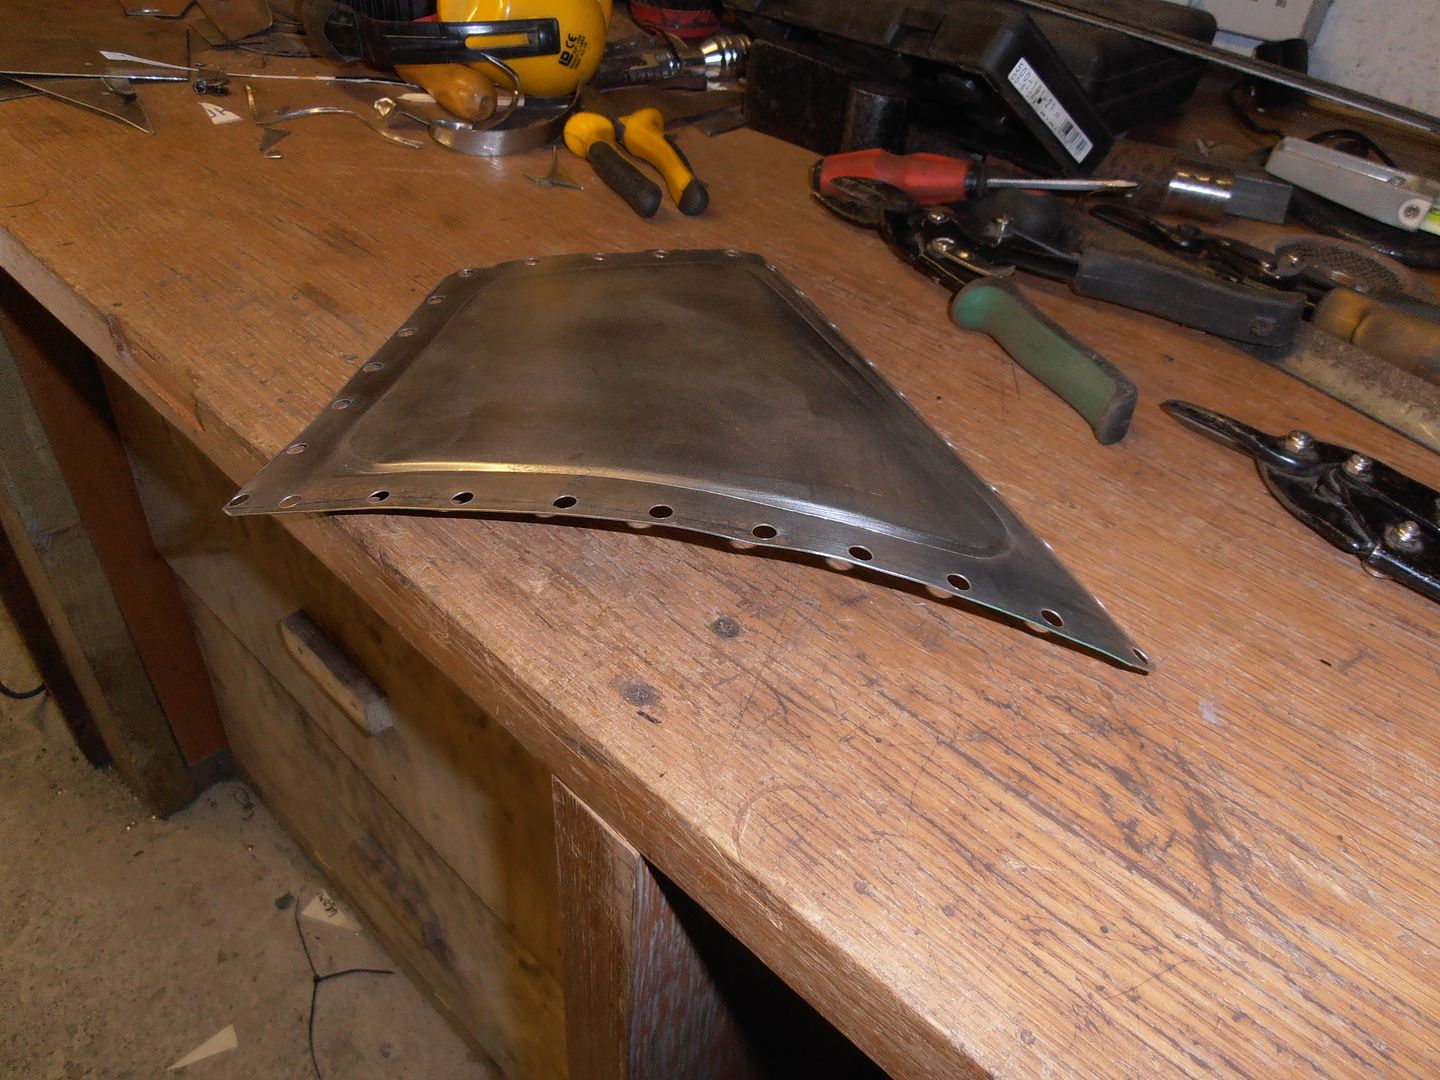 Once dried i welded it in 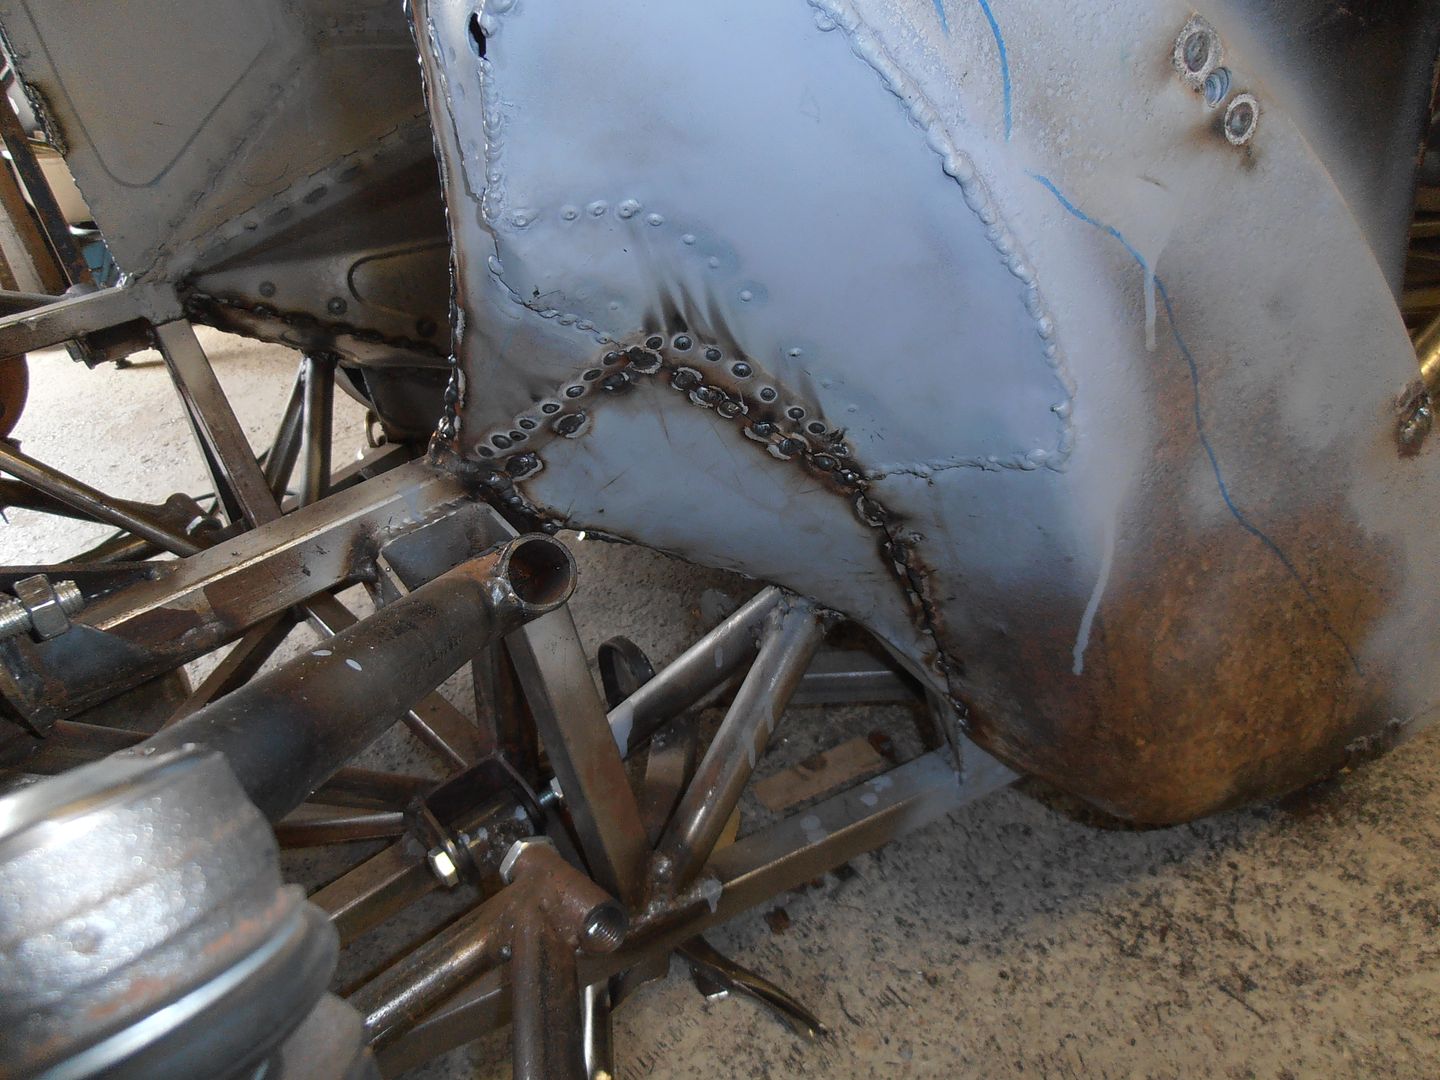 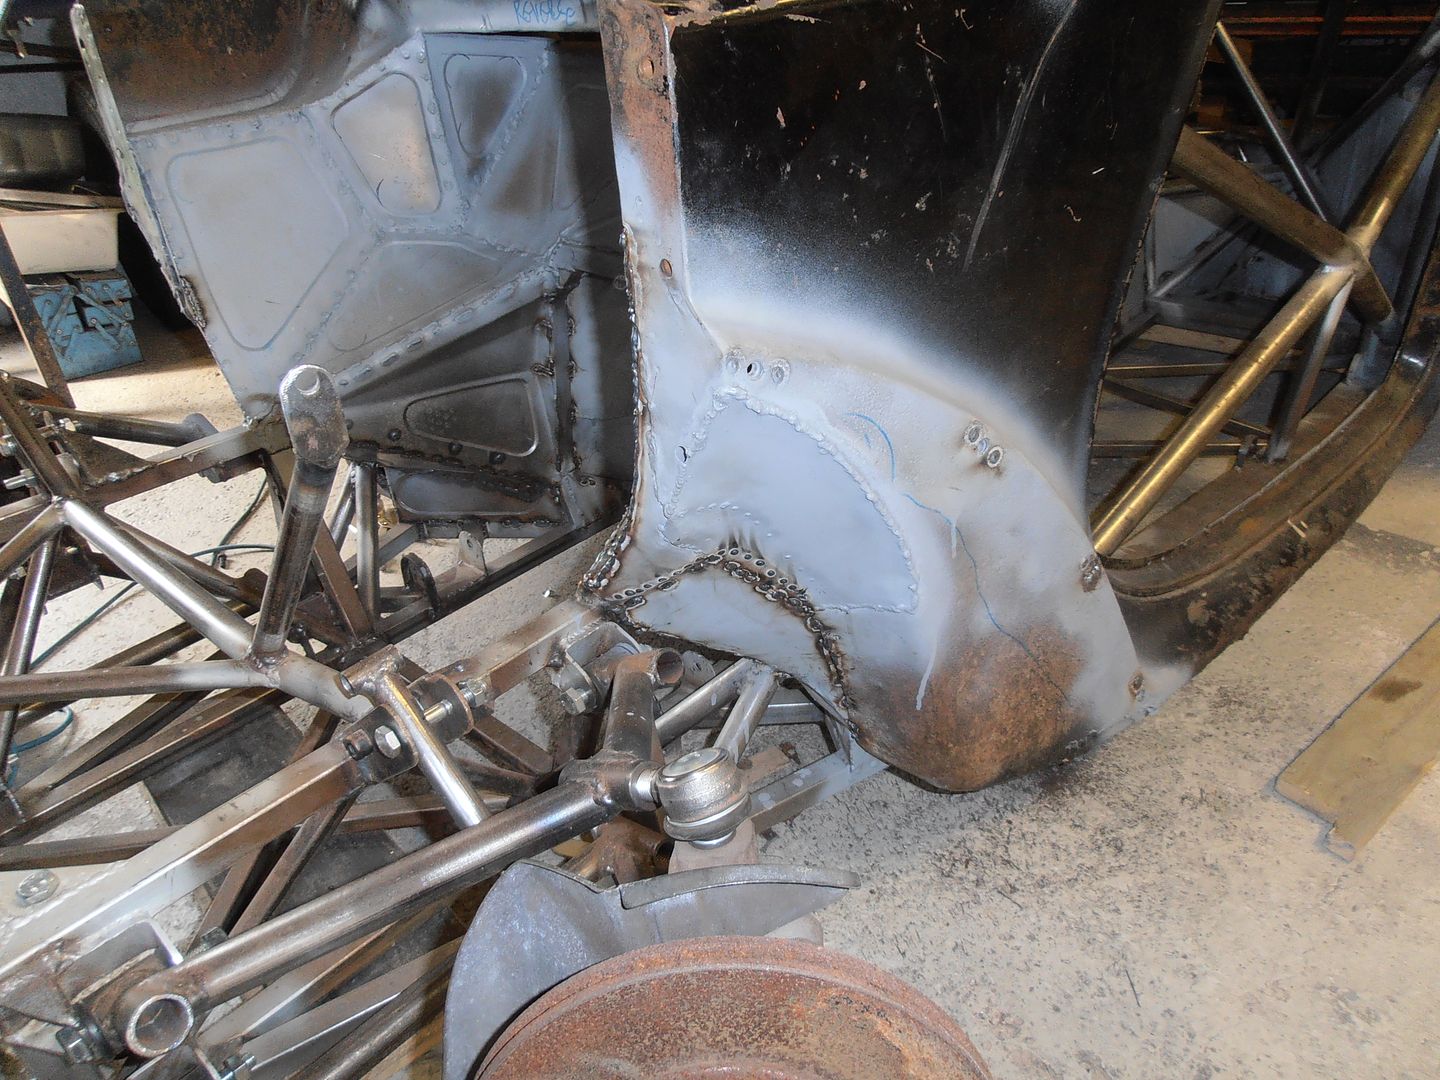 I also welded in new captive nuts, but didnt take any pics. Then welded in the upper fill panel. 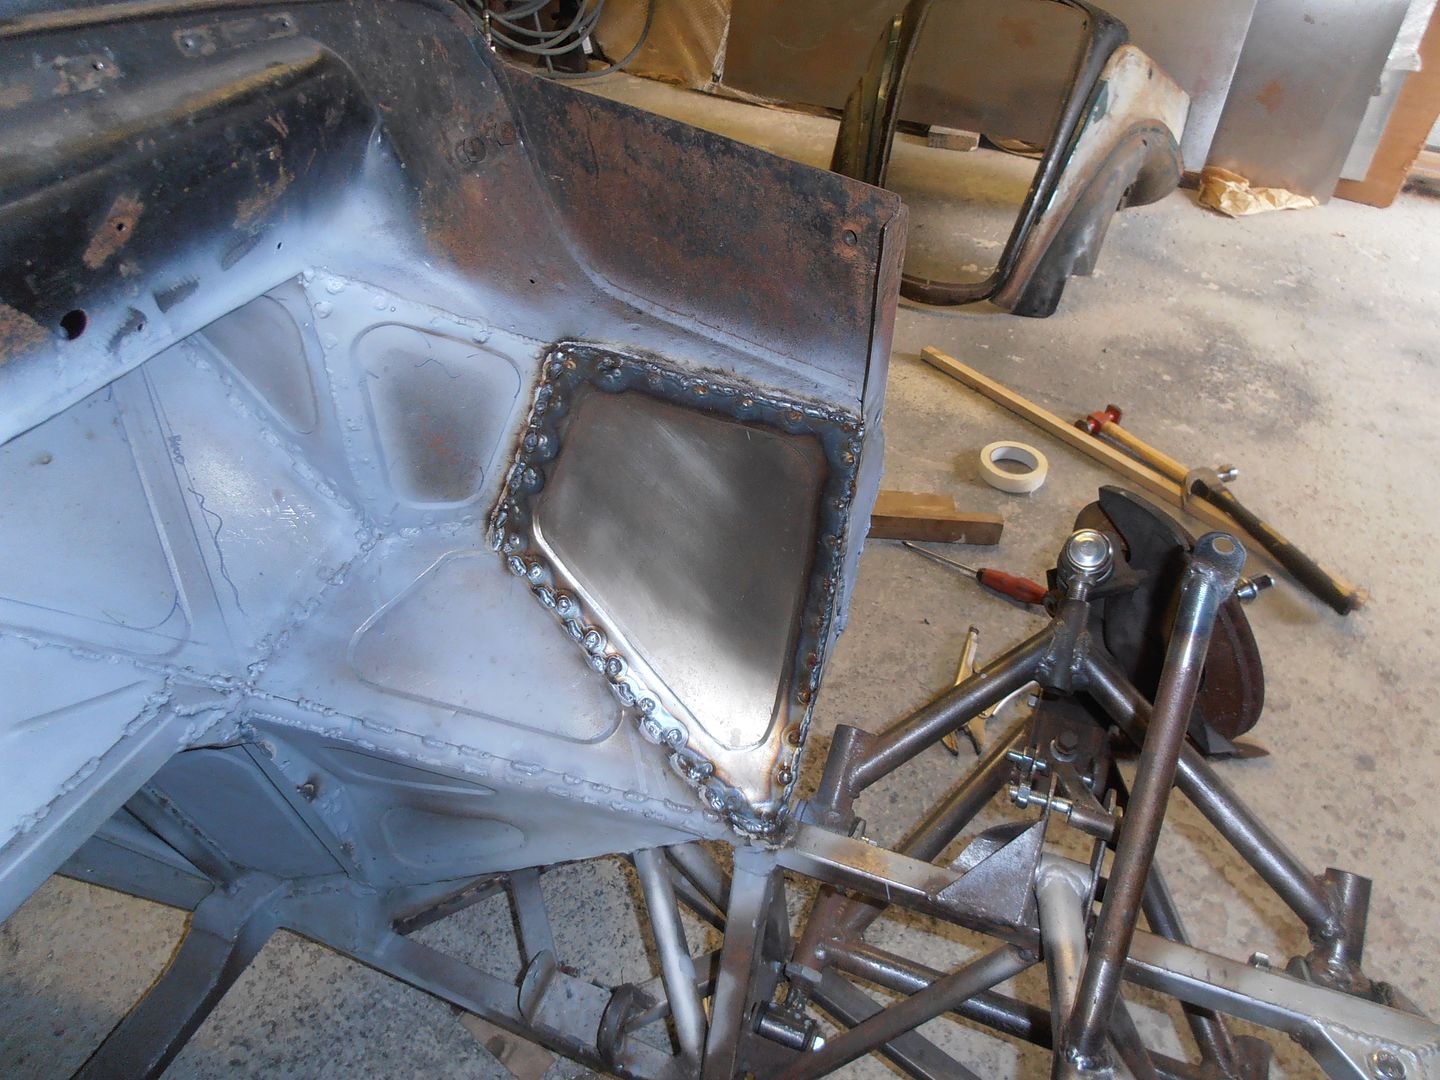 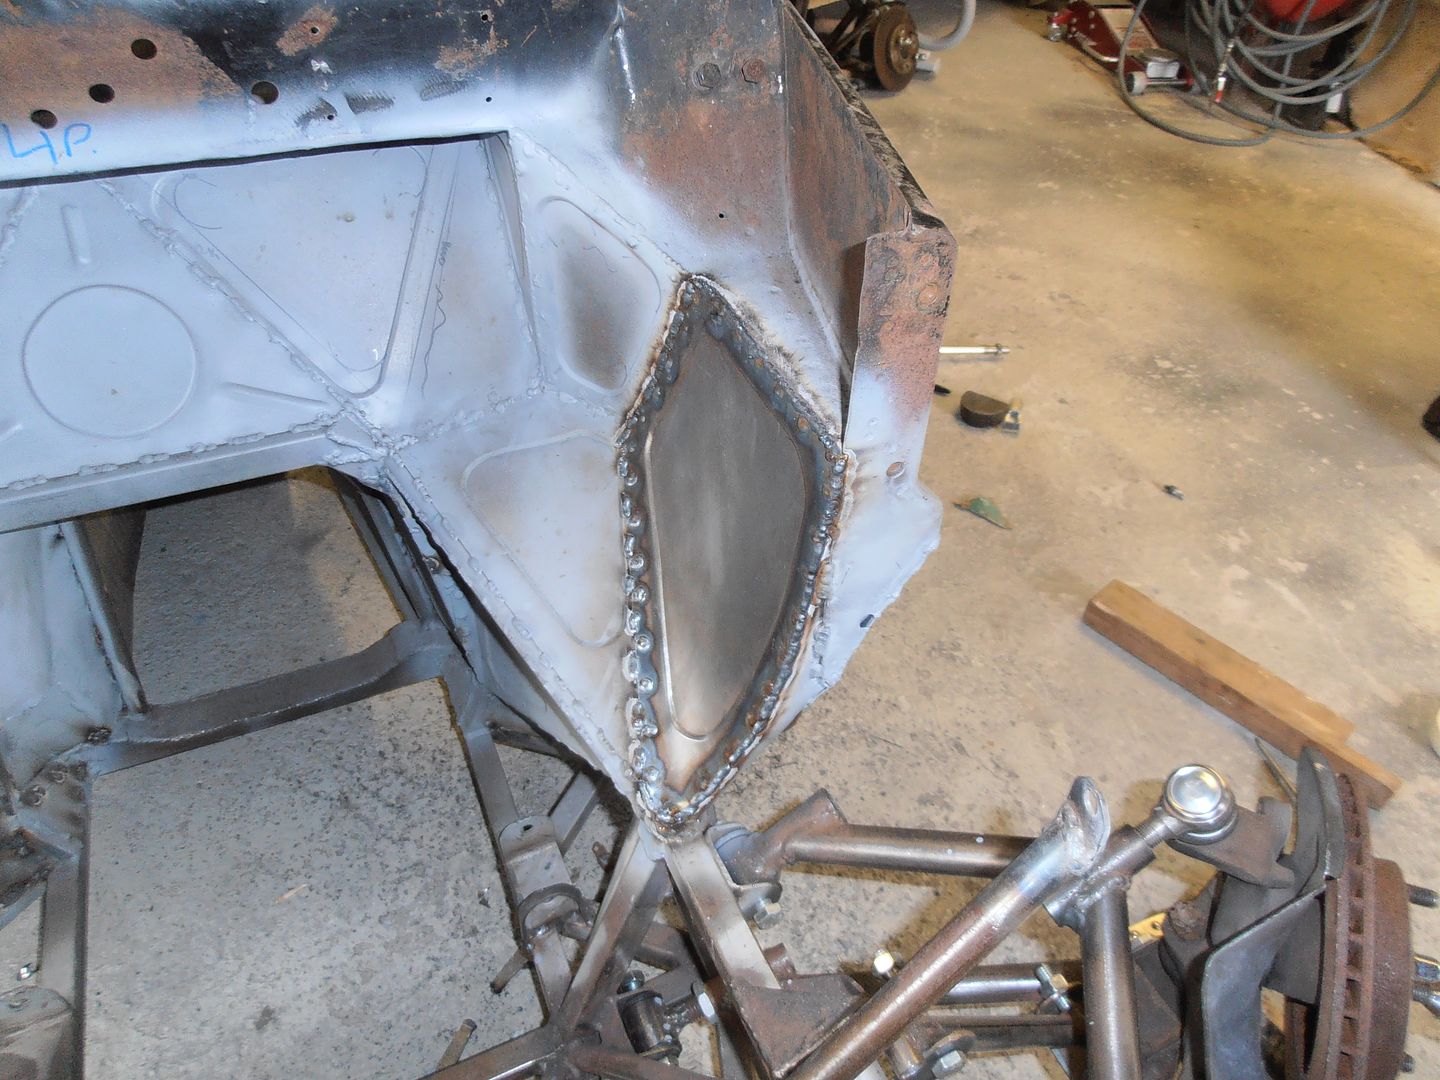 once its all ground back i'll almost have a complete engine bay 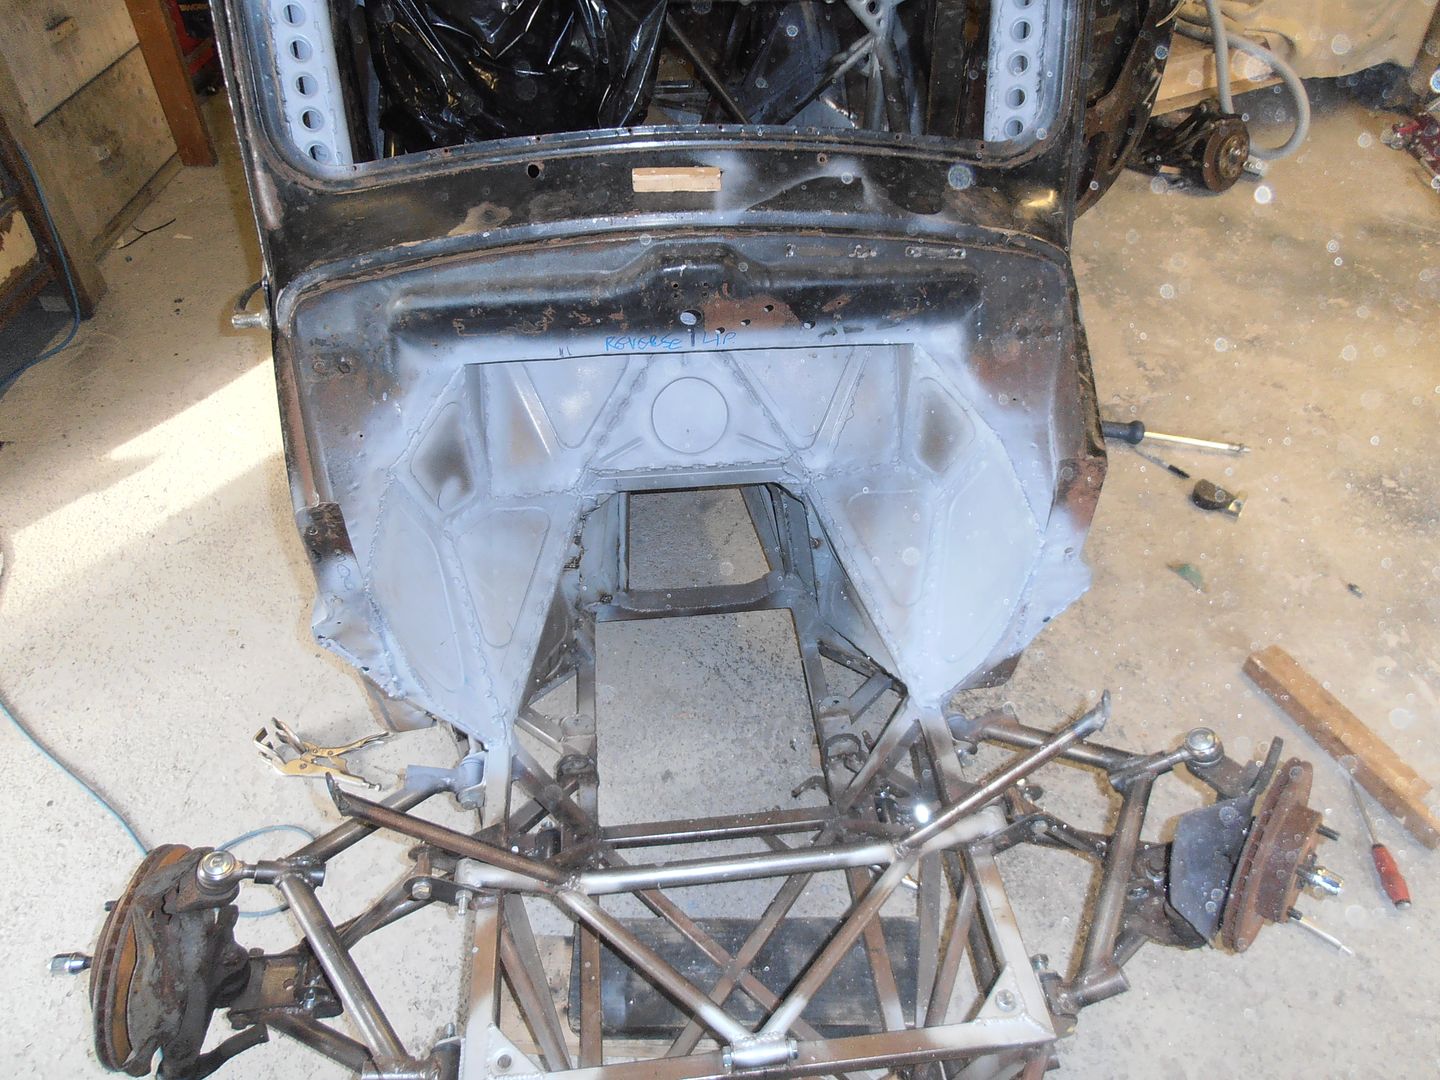 Apart from that bit where the de-mister will be and i havent worked out what to do yet.... 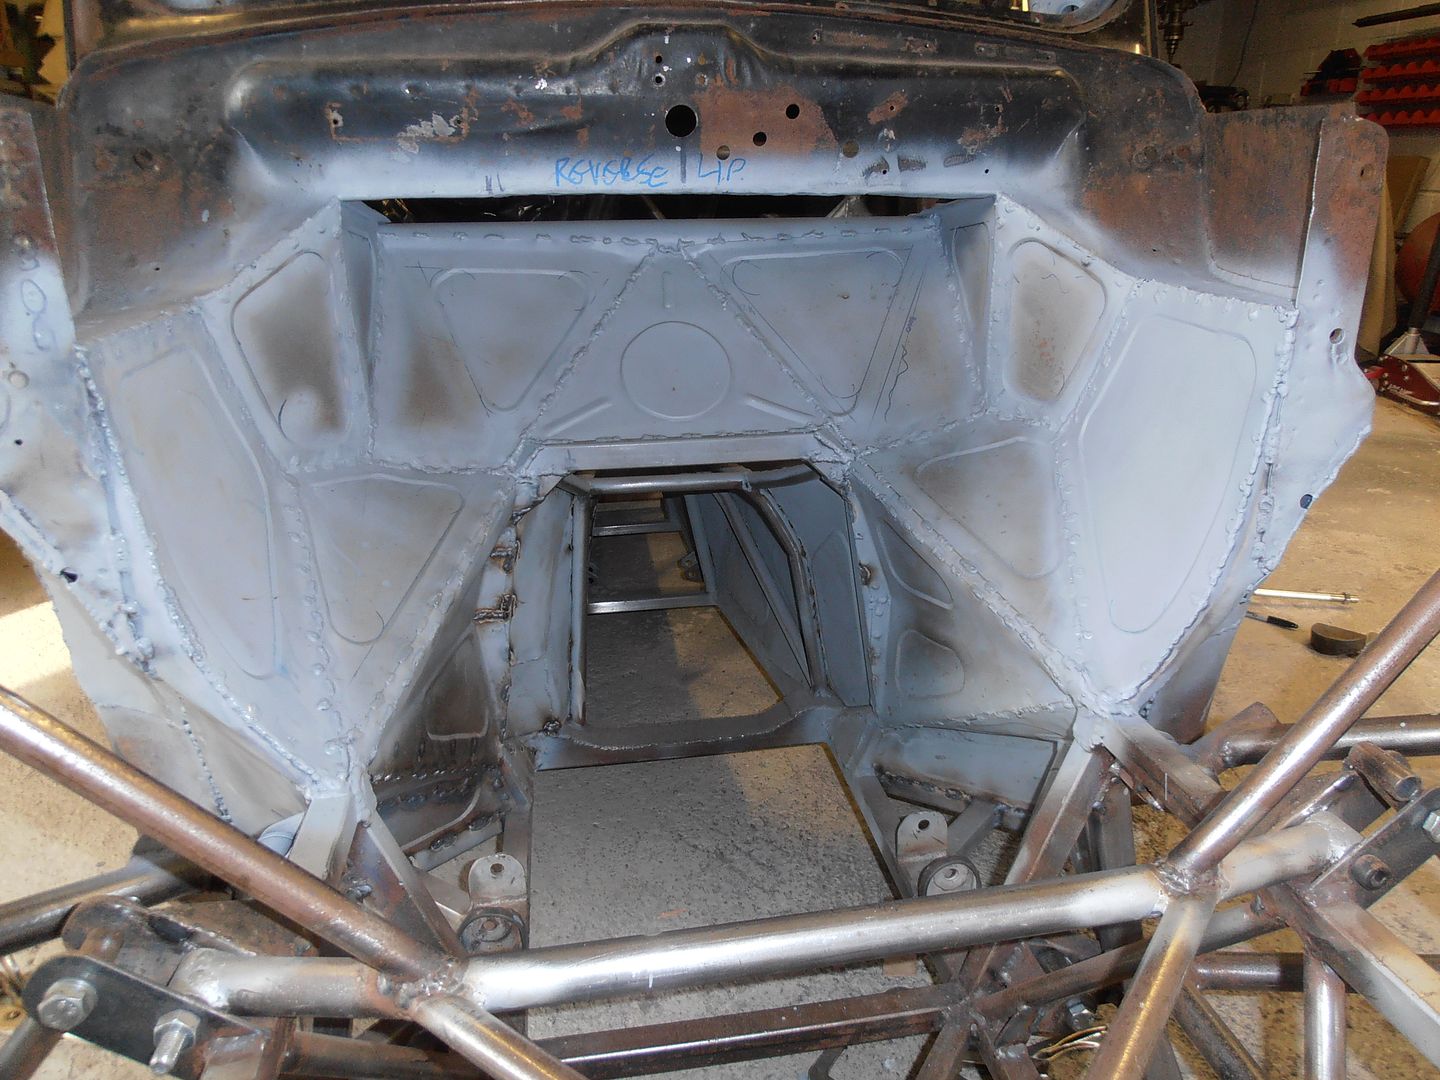 I've got another day off tomorrow, so will hopefully get some work done on the car. |
| |
Last Edit: Aug 30, 2015 17:53:55 GMT by jonomisfit
|
|
|
|
jonomisfit
Club Retro Rides Member
Posts: 1,790
Club RR Member Number: 49
|
|
Aug 31, 2015 20:34:03 GMT
|
Todays progress..... very little. Today was a thinking day, mainly about steering rack position and where it needs to be mounted. I mocked up the shortened rack in position 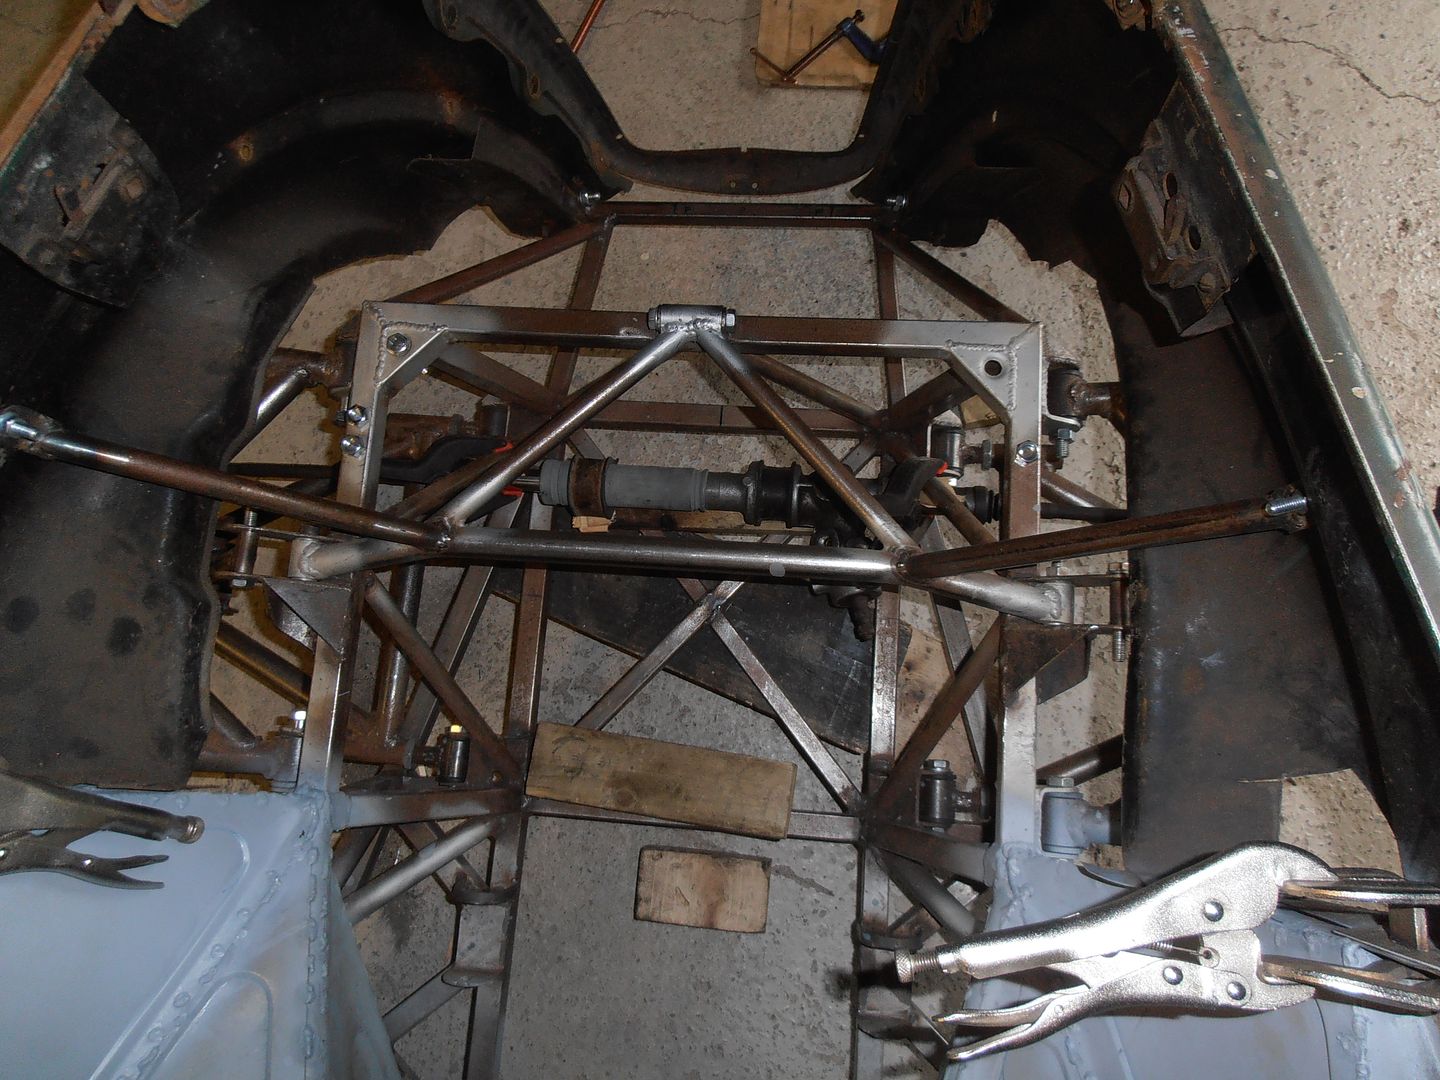 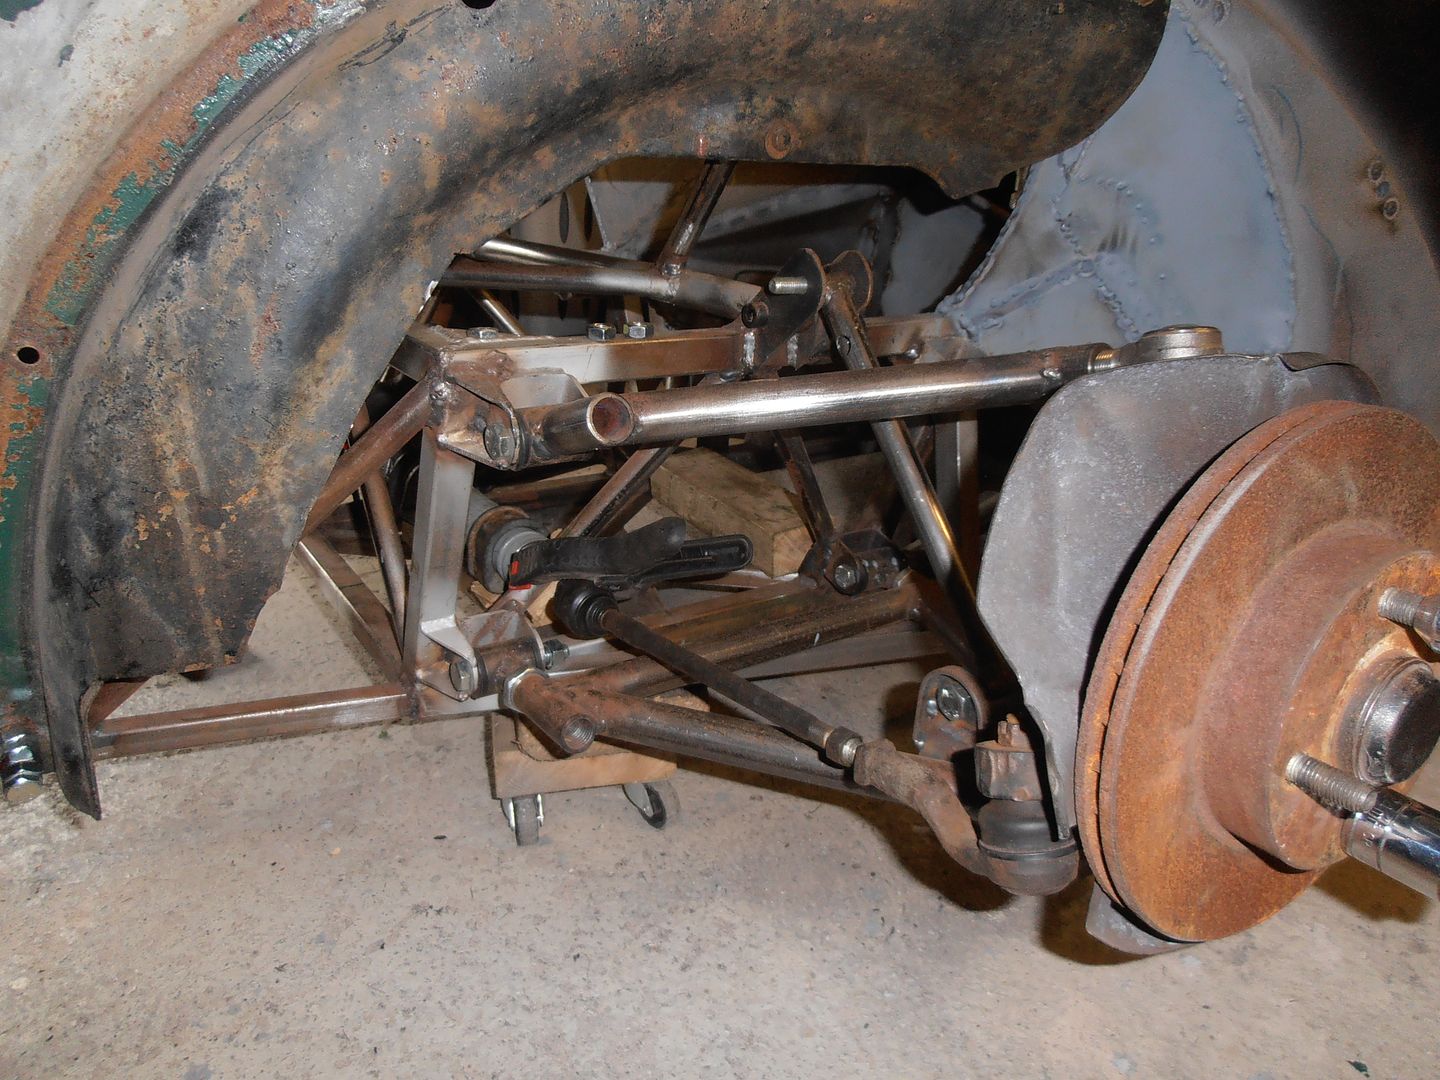 Then cycled the suspension.... result MASSIVE bump steer. Hmm rack is very very much in the wrong position. Que 3hrs of moving round and round trying to find a suitable position. In the end I ended up here. 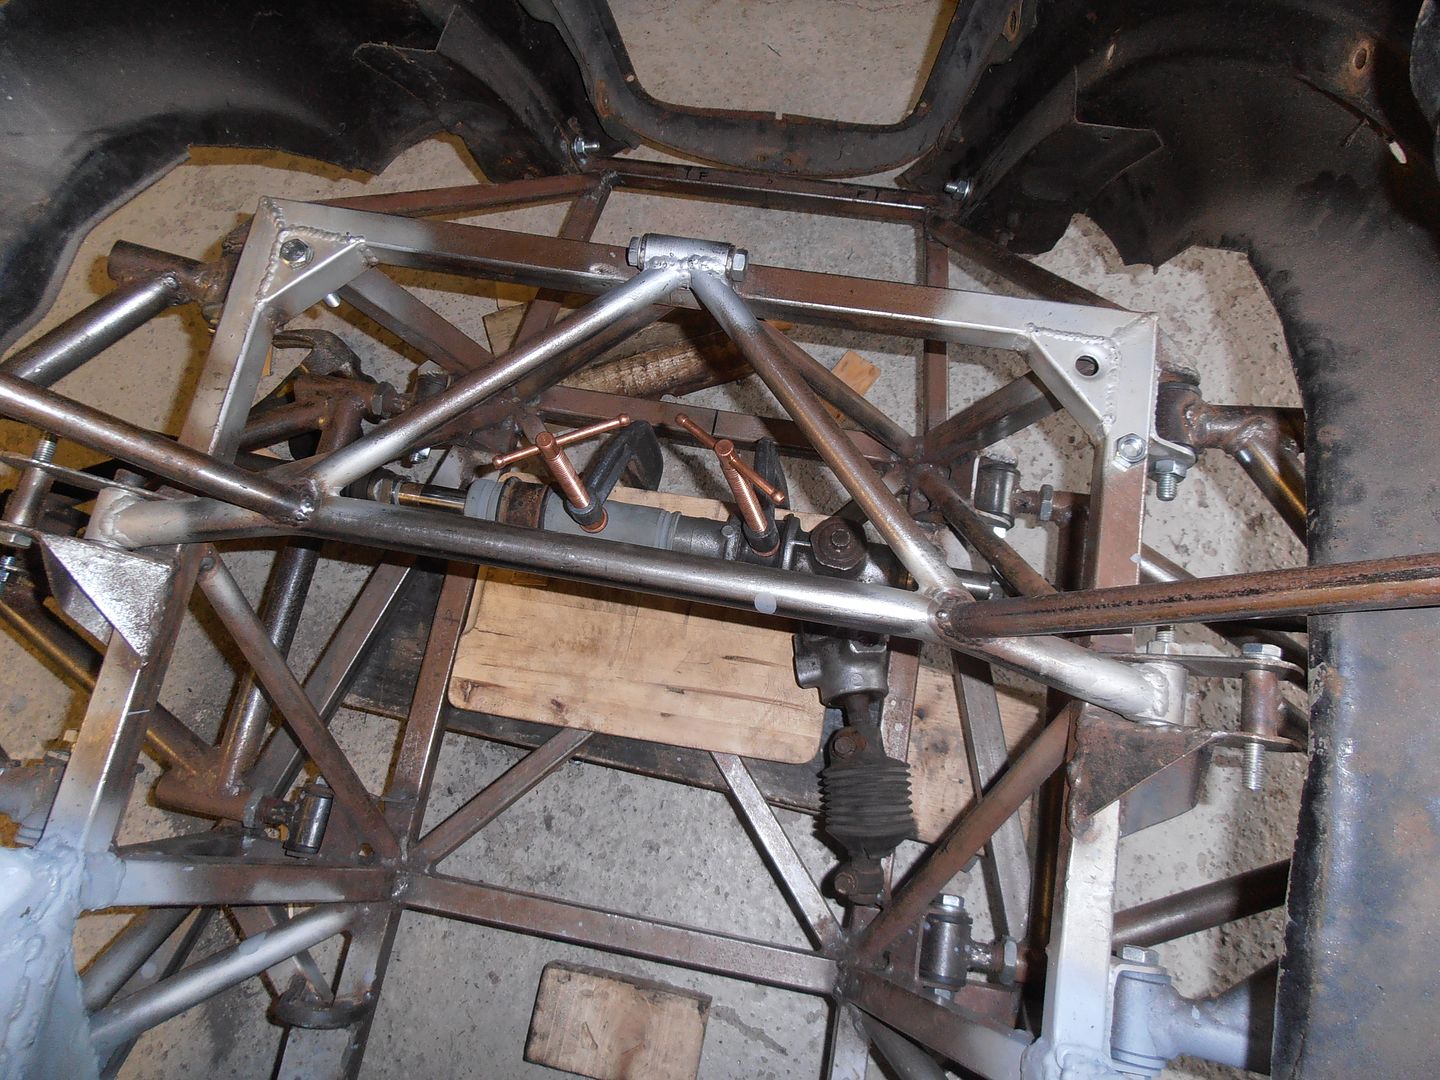 Which was cool, except for 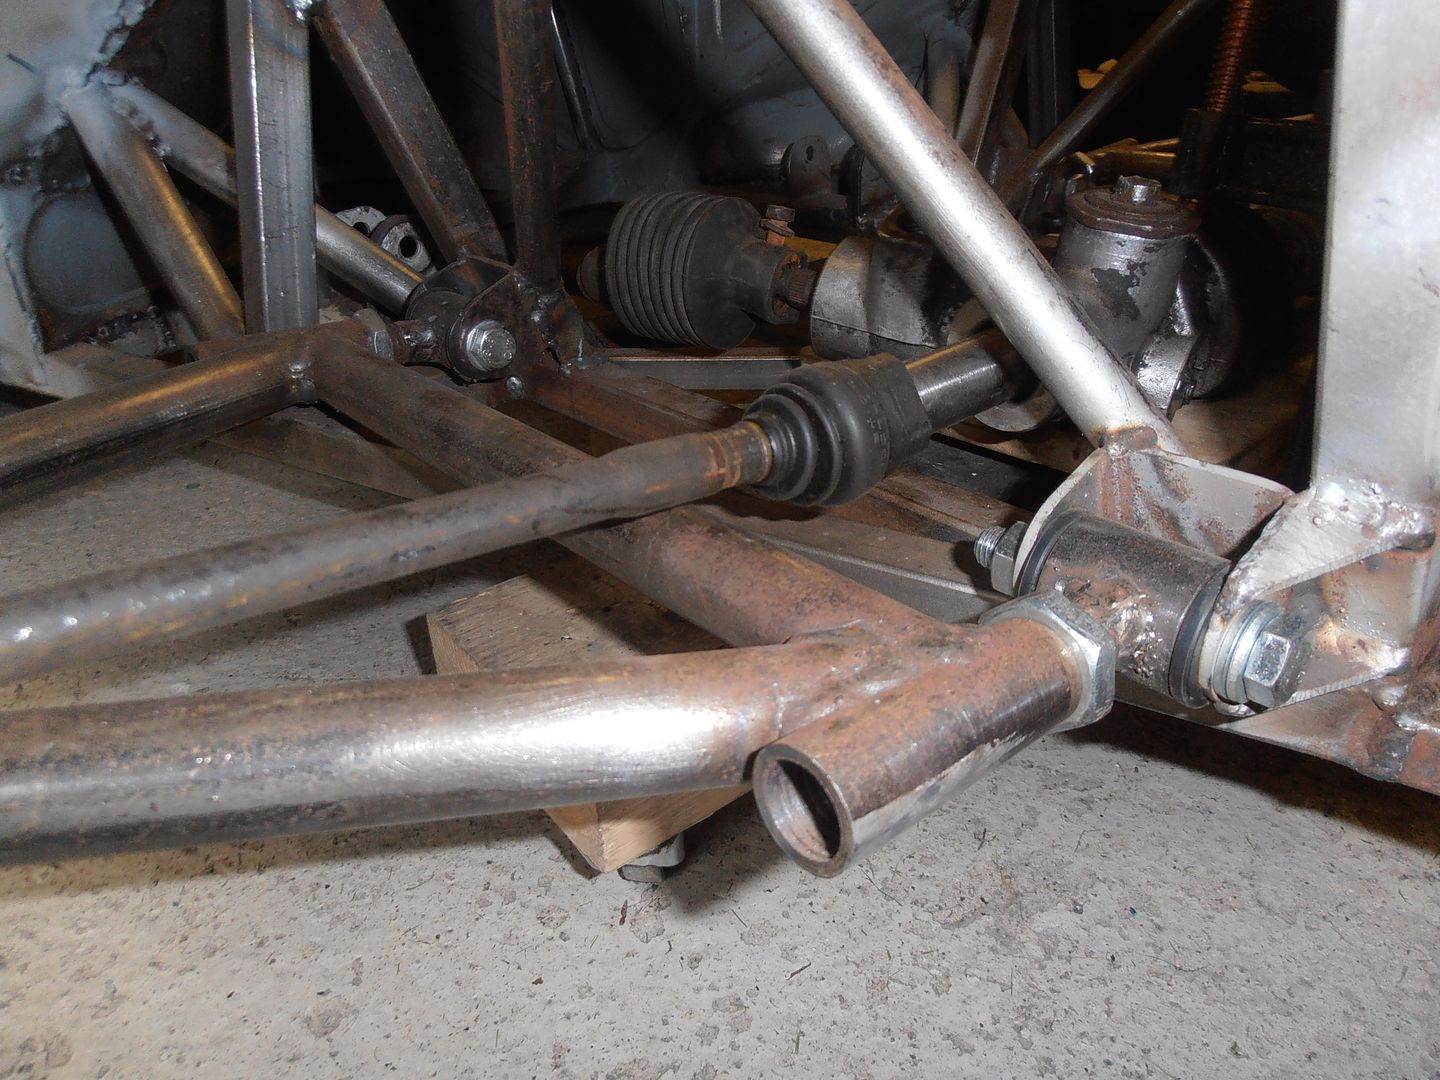 which means no lock before the rack crashes on the wishbone. Another rack location is required or surgery to the wishbone tube is needed. This looks to be the most likely location but i need to make some rack extensions first. 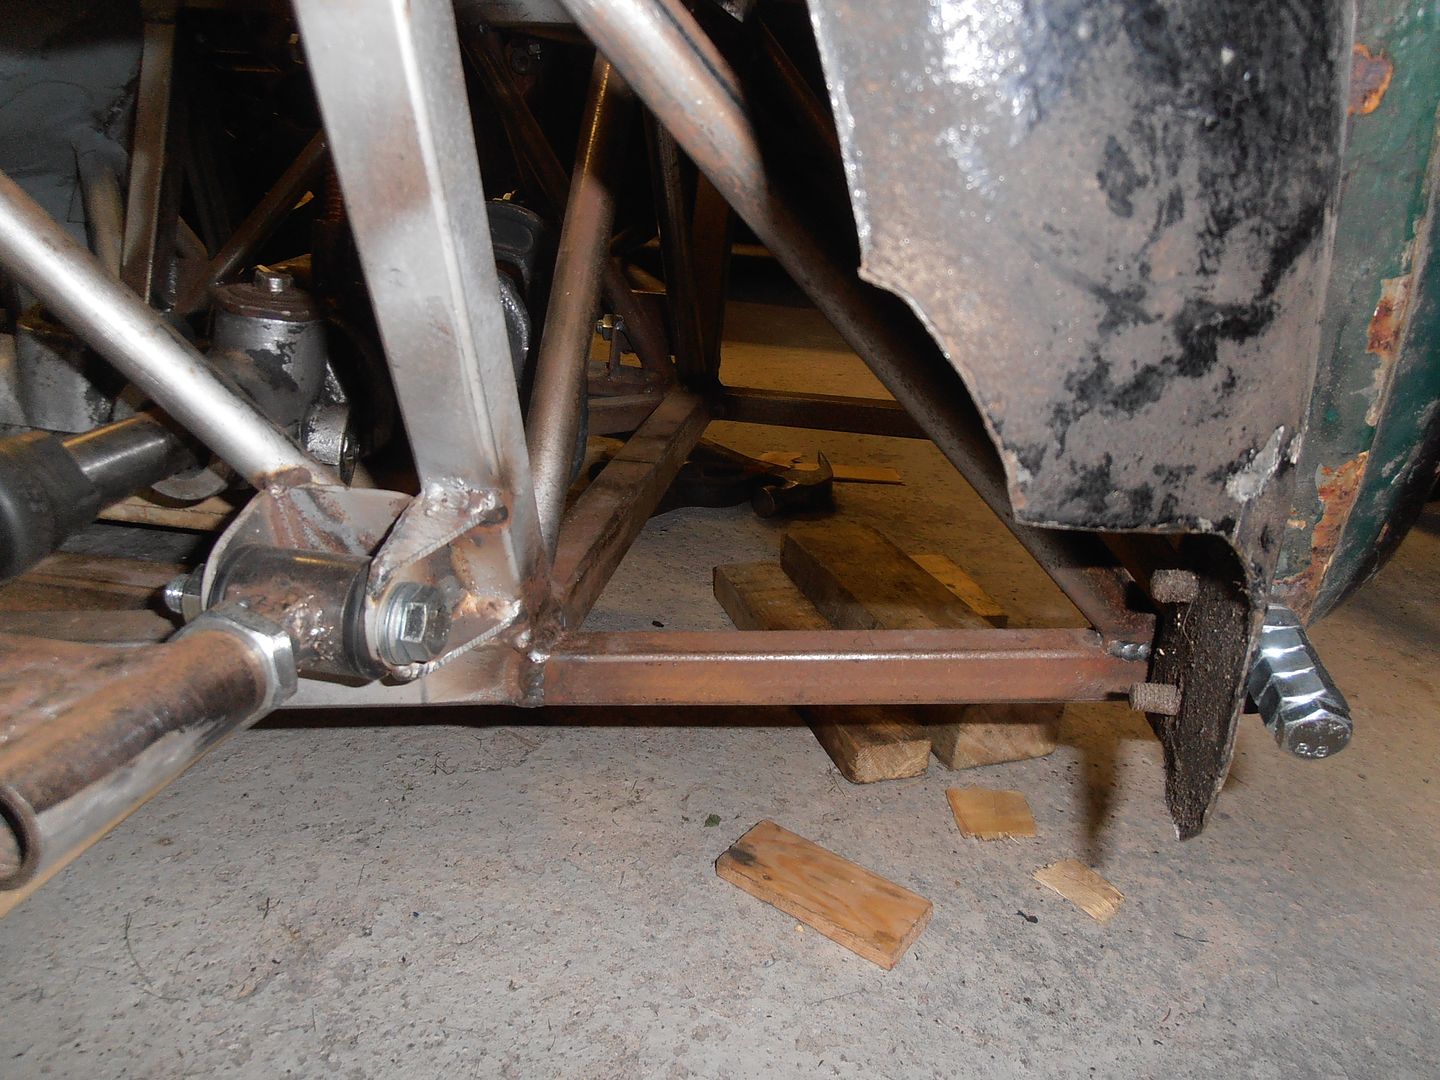 I ran out of time to do much else as it was band rehearsal. Will see what happens next weekend. |
| |
|
|
|
|
|
Aug 31, 2015 21:41:33 GMT
|
|
Would it help if the balljoint was above arm rather than below like above? Would that help with the bump steer.
I had to use 3" spacer bar on each side on the manta to dial out bump
I managed to keep the racks stock position but 2" lower hence spacers,
|
| |
|
|
|
|
|
Sept 1, 2015 19:15:44 GMT
|
|
assuming the rack was central in the pics, it looks a pretty perfect match with the wishbone pivots (regards bump steer, or the removal of)
|
| |
|
|
jonomisfit
Club Retro Rides Member
Posts: 1,790
Club RR Member Number: 49
|
|
Sept 2, 2015 20:40:39 GMT
|
|
I'd have to make some adapters if I put the steering arms above. If i cant get a good position by moving the rack then I'll be giving this some thought.
I'd already got the guys at the machine shop at work to narrow the rack for me. Its set to be exactly the right width to line up between the joints when in a given position, which is why i'm scratching my head a bit as to why its bump steering.
I'll get it sorted. All part of the "fun"
|
| |
|
|
jonomisfit
Club Retro Rides Member
Posts: 1,790
Club RR Member Number: 49
|
|
Sept 6, 2015 17:10:54 GMT
|
Another day faffing with the rack position. I got fed up with the rack not sitting right when trying to find its position so knocked up a couple of temp brackets to level it out. 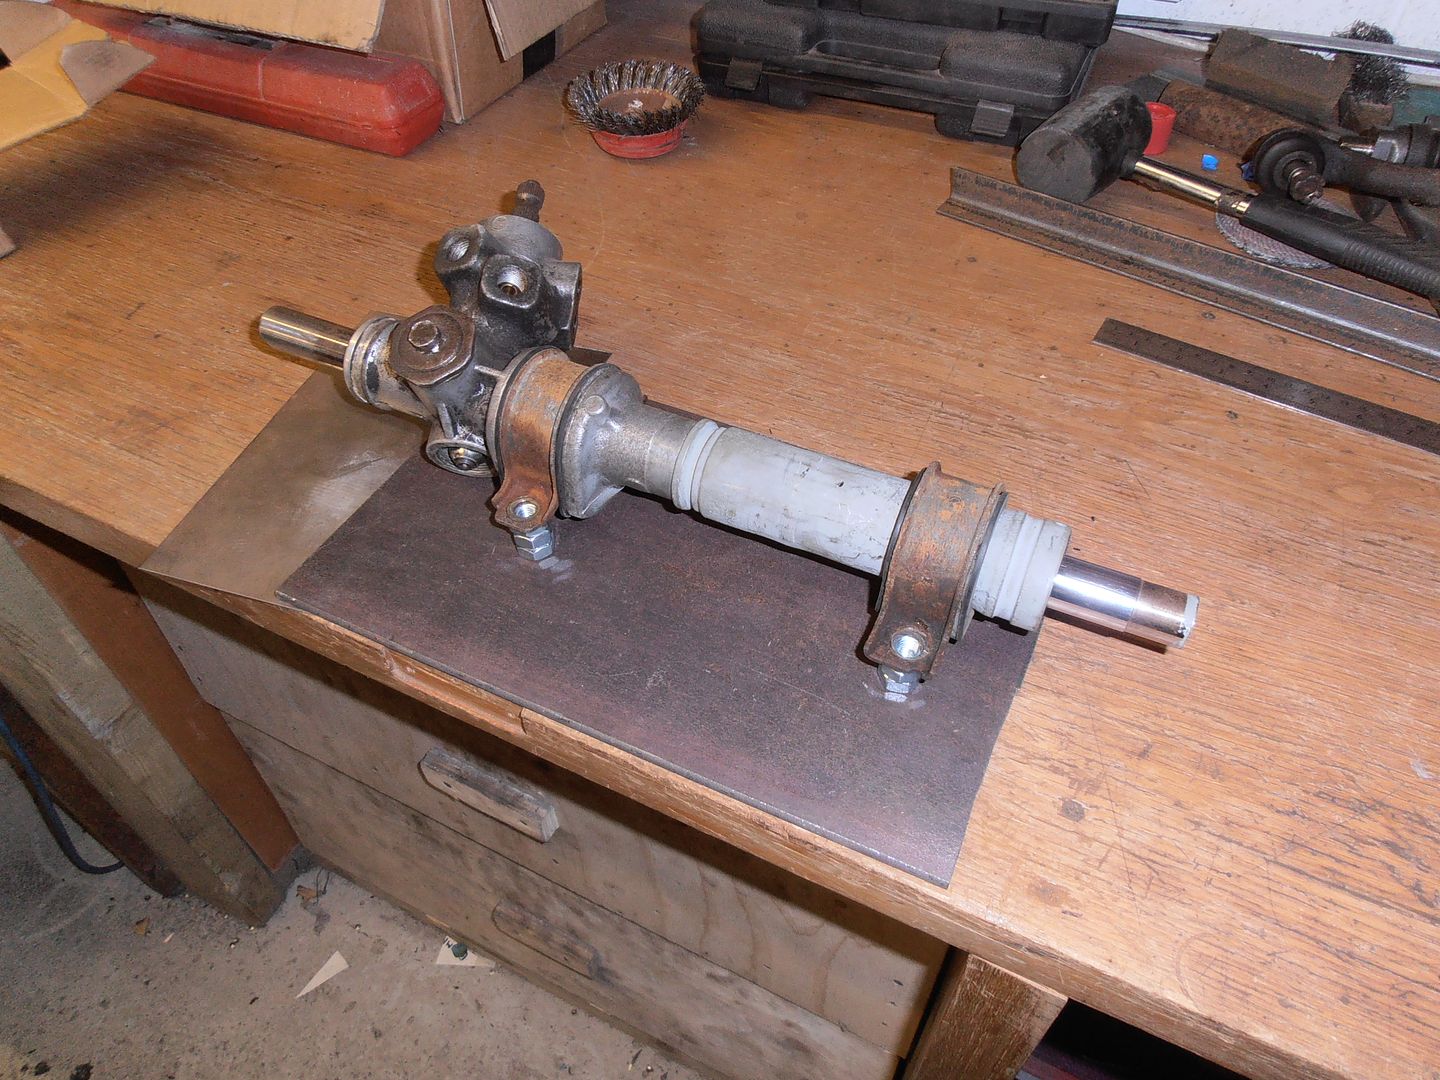 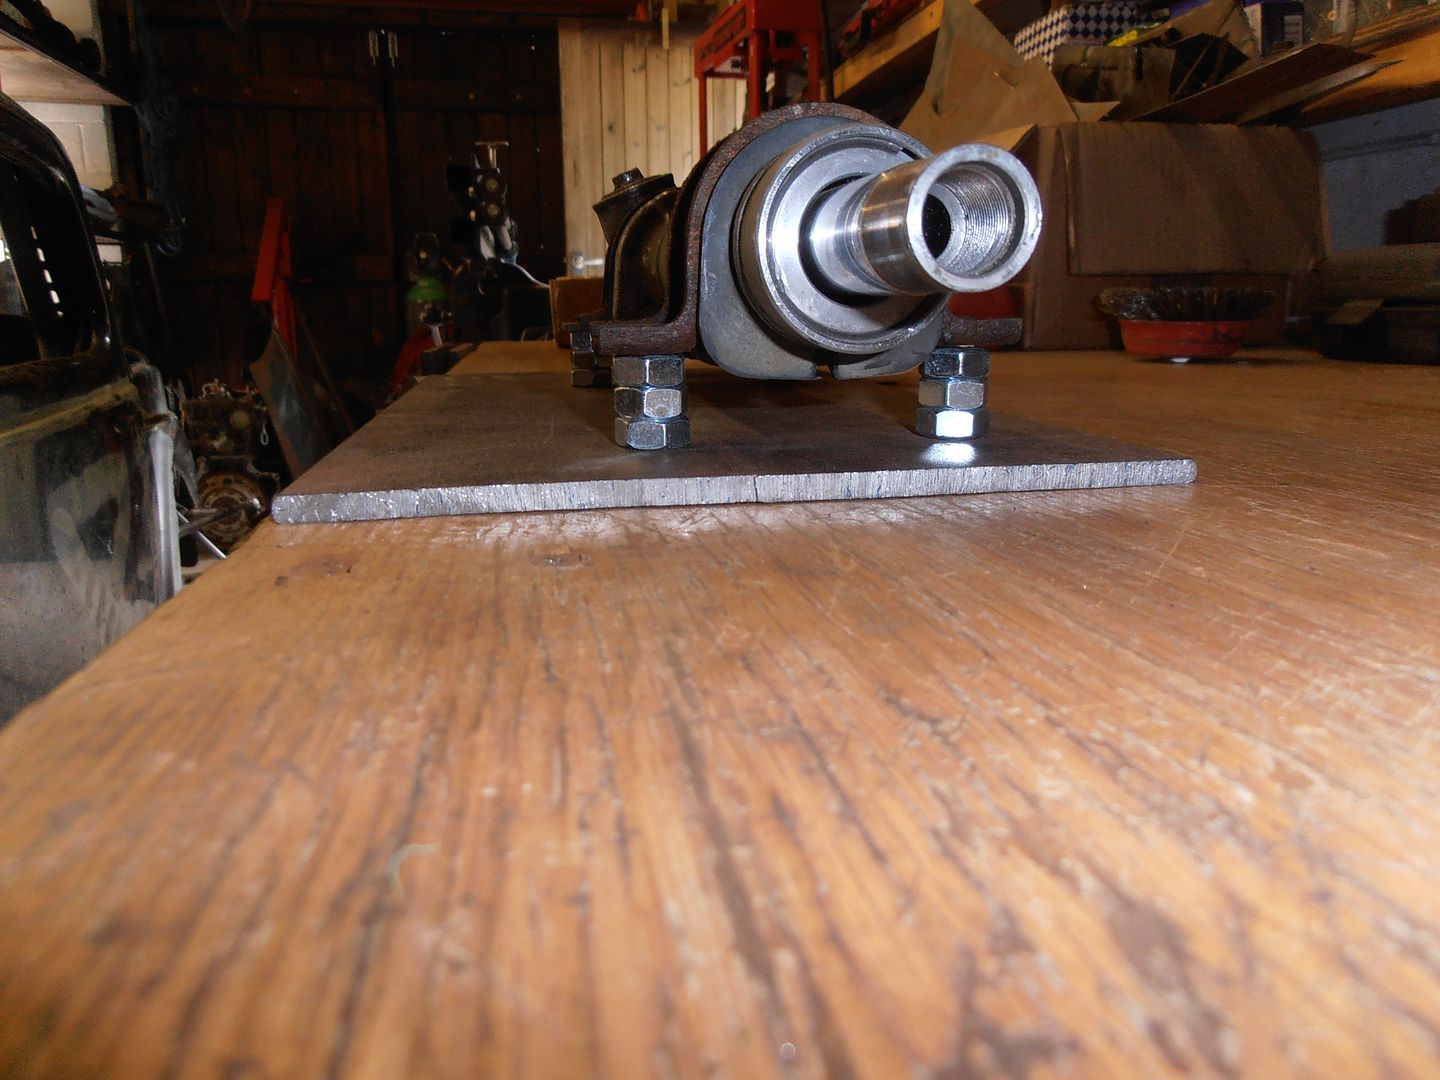 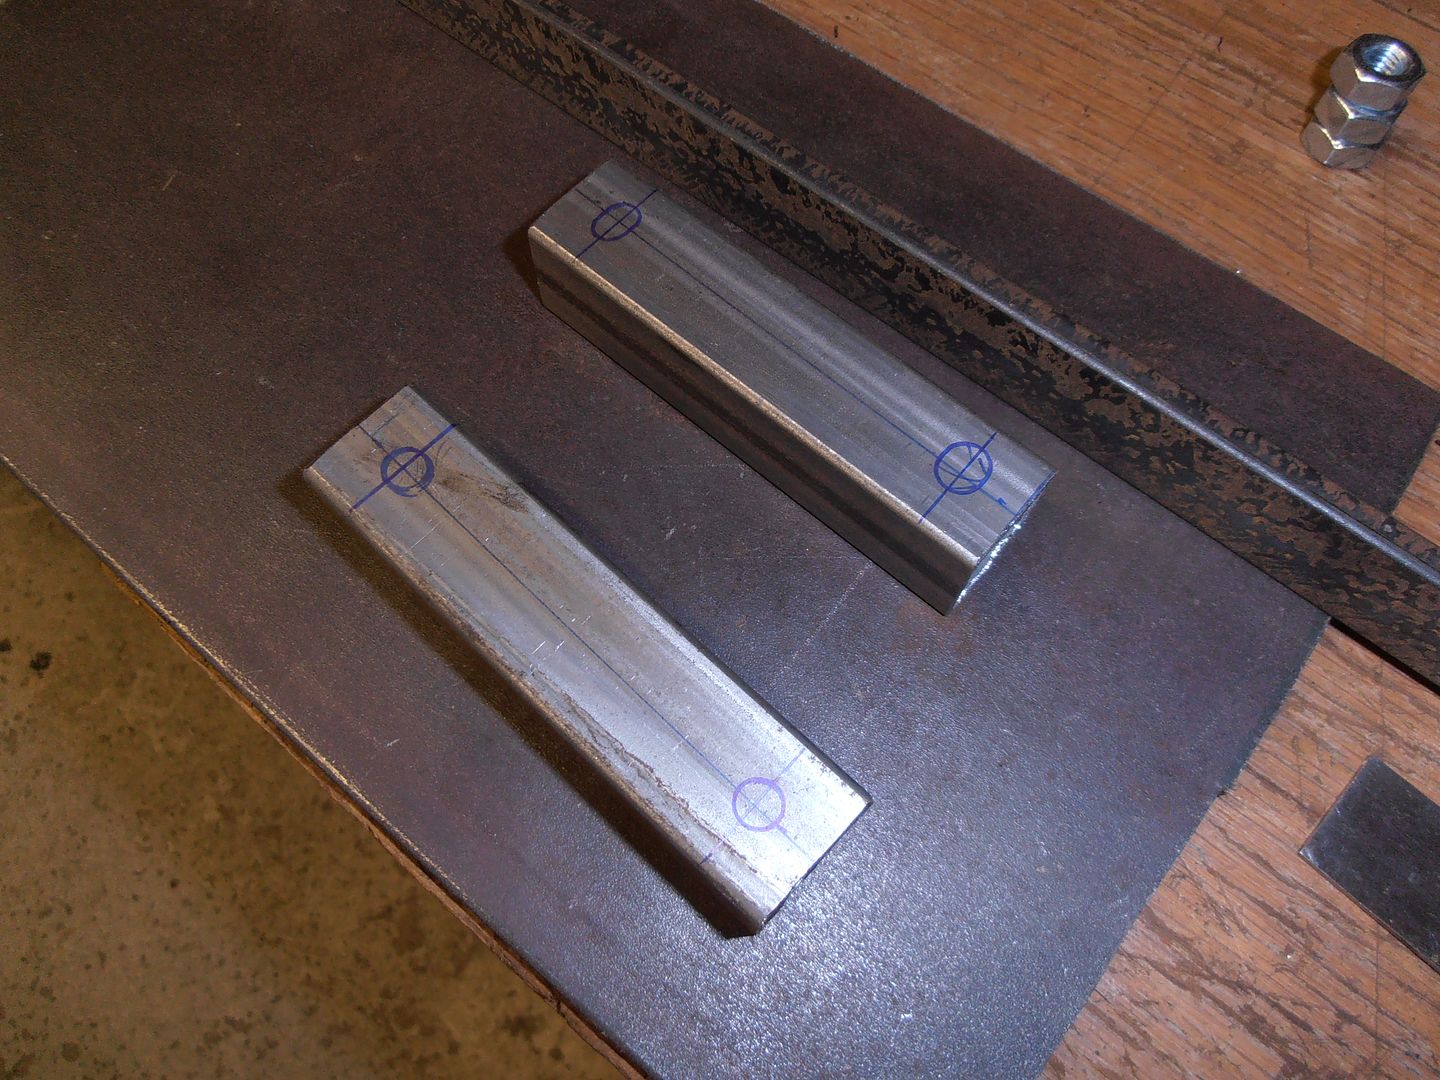 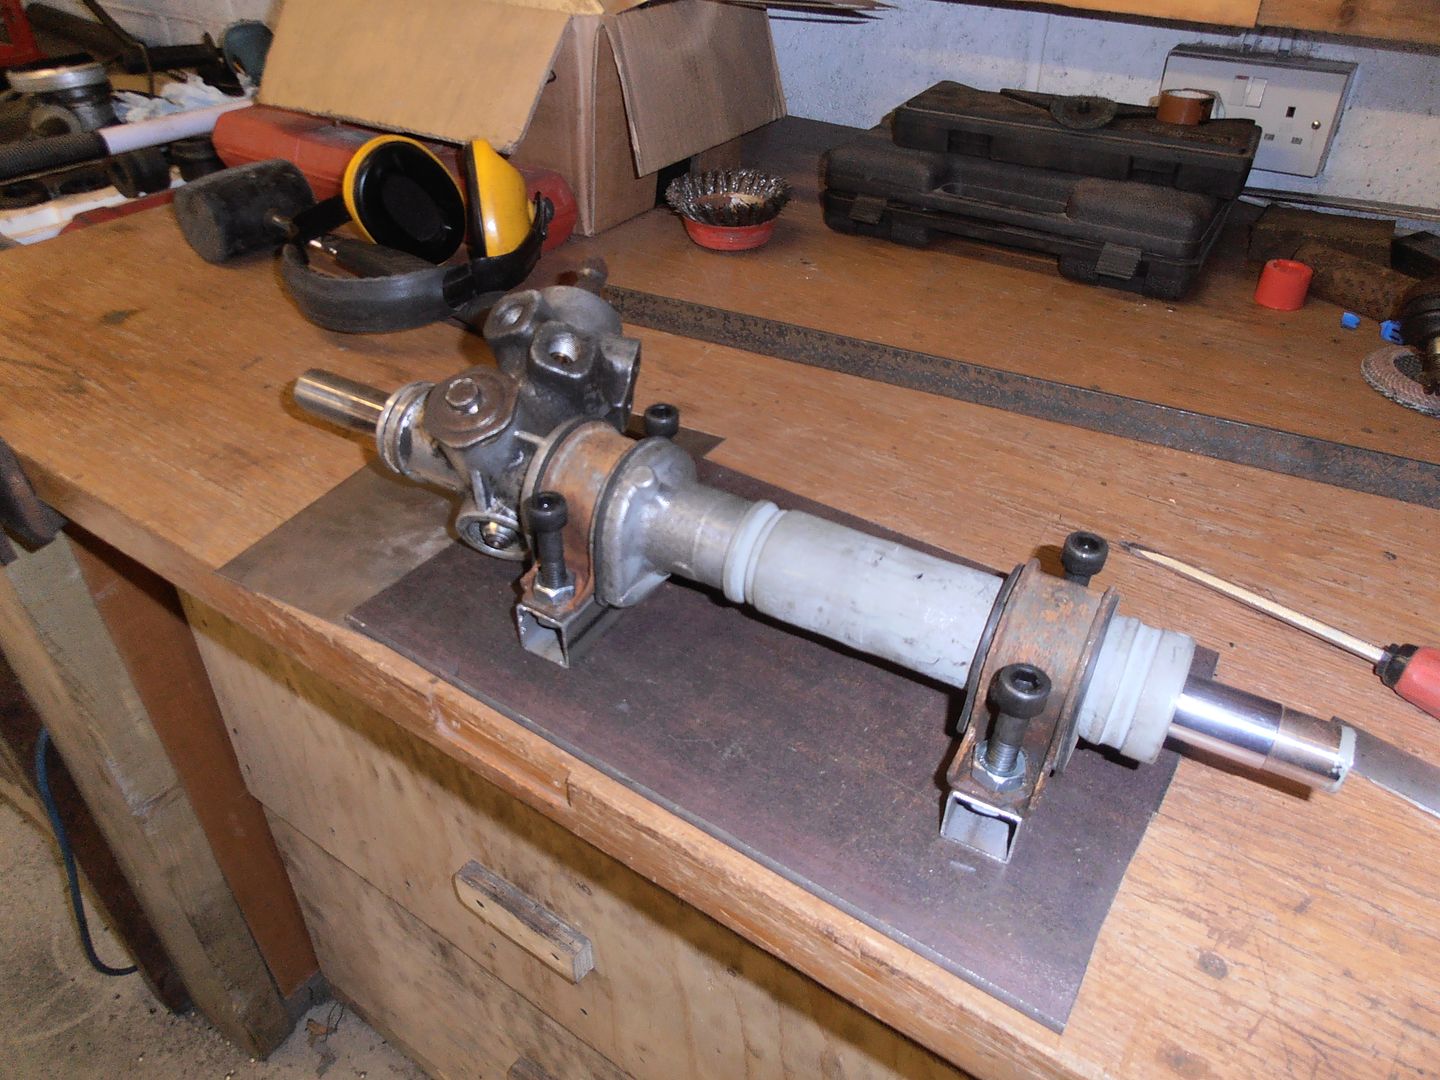 I then spent ages moving it round trying to find a position that would not cause bump steer and give clearance over the wishbone. No success I think i'll give your suggestion a bash Paul of swapping to a steering joint above the upright rather than lower down. I've got some drawing to do on CAD and next session will likely be turning things. |
| |
|
|
|
|
|
Sept 6, 2015 18:41:46 GMT
|
|
Its not an ideal solution, but as i found with my build the only one
|
| |
|
|
glenanderson
Club Retro Rides Member
Posts: 4,360
Club RR Member Number: 64
|
|
Sept 6, 2015 22:23:02 GMT
|
|
Just waded through the whole thread. Nice work all round. I shall be keeping an eye out for further progress. :-)
|
| |
My worst worry about dying is my wife selling my stuff for what I told her it cost...
|
|
jonomisfit
Club Retro Rides Member
Posts: 1,790
Club RR Member Number: 49
|
|
Sept 26, 2015 17:27:12 GMT
|
Well, interesting few weeks mainly no doing car things. I crashed my mountain bike, ended up in A&E for stitches and xrays. Luckily only a cut and chipped elbow as thoguth i'd broken my arm. It was a bit uncomfortable but all sorted now. I also ended up at Manchester classic car show which was interesting, mainly speaking to some of the stands. It turns out there's a custom prop place in Chorley called North West Propshafts who do custom props which is handy seeing as I need one :-) I ordered up some of the bits I need to move the rack, but completely forgot to order rod ends or taps, so have put the rack on hold. As i'm home, rather than waste a weekend, i decided to make some more of the plethora of brackets required. This ties the main hoop onto the shell at the point the sunroof tray joins the body. Template 1 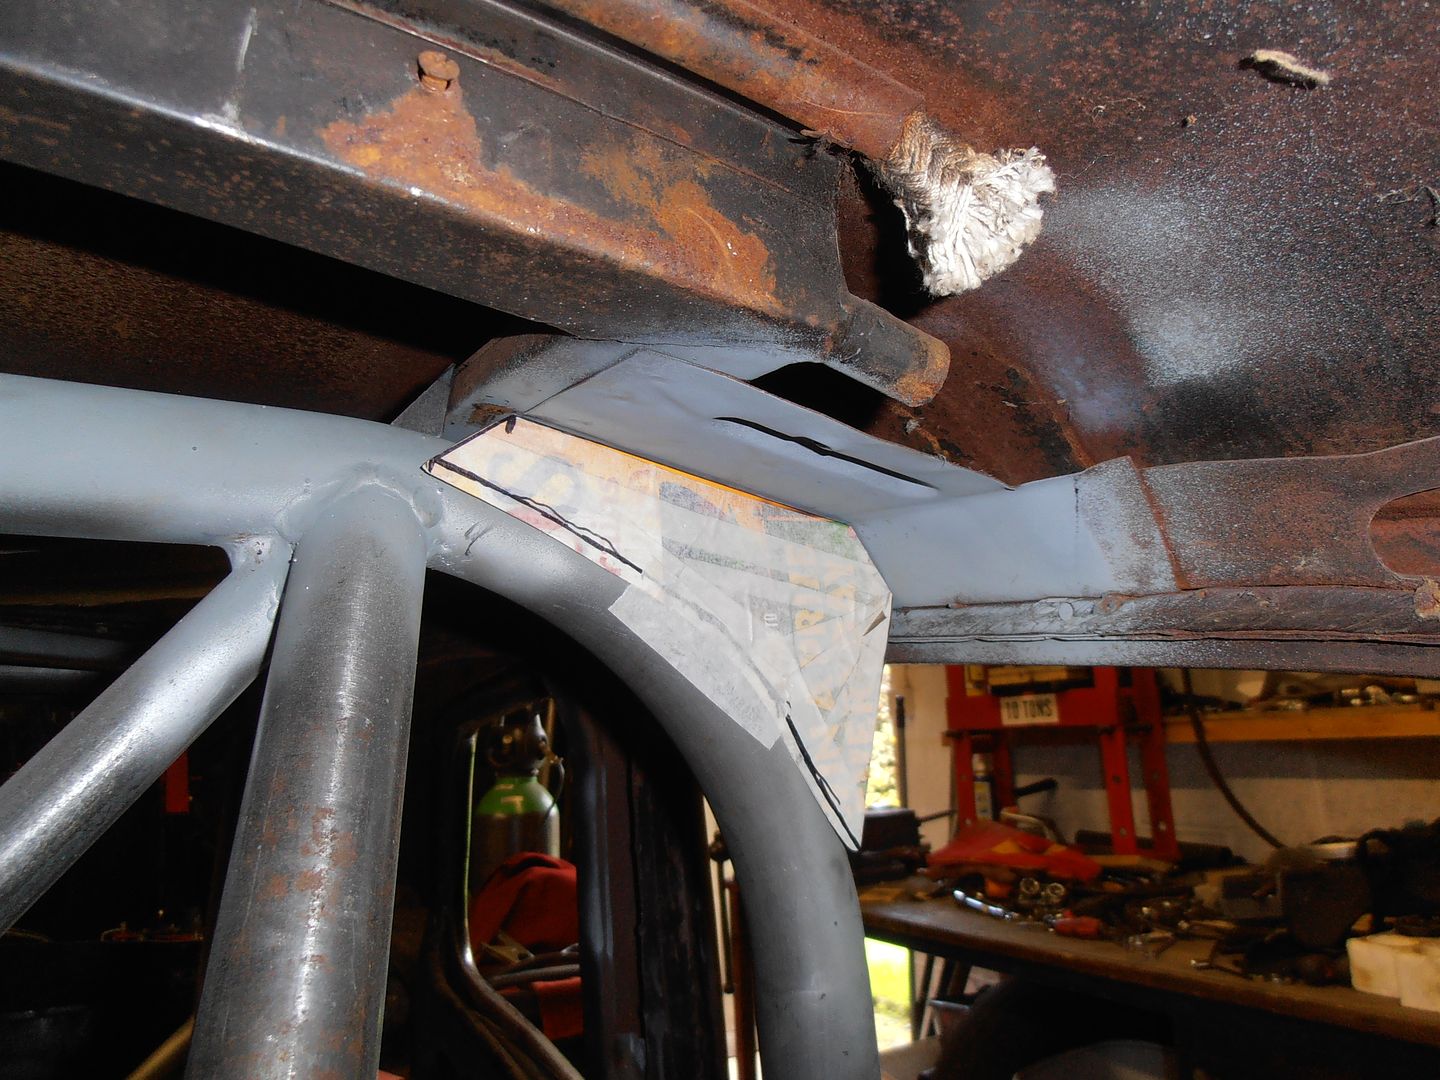 It was a pain to make, so i put strips of masking tape across to fill the gap, then drew along the edges, peeled off and stuck to card before cutting out. Worked well and was much quicker than faffing round cutting card repeatedly. 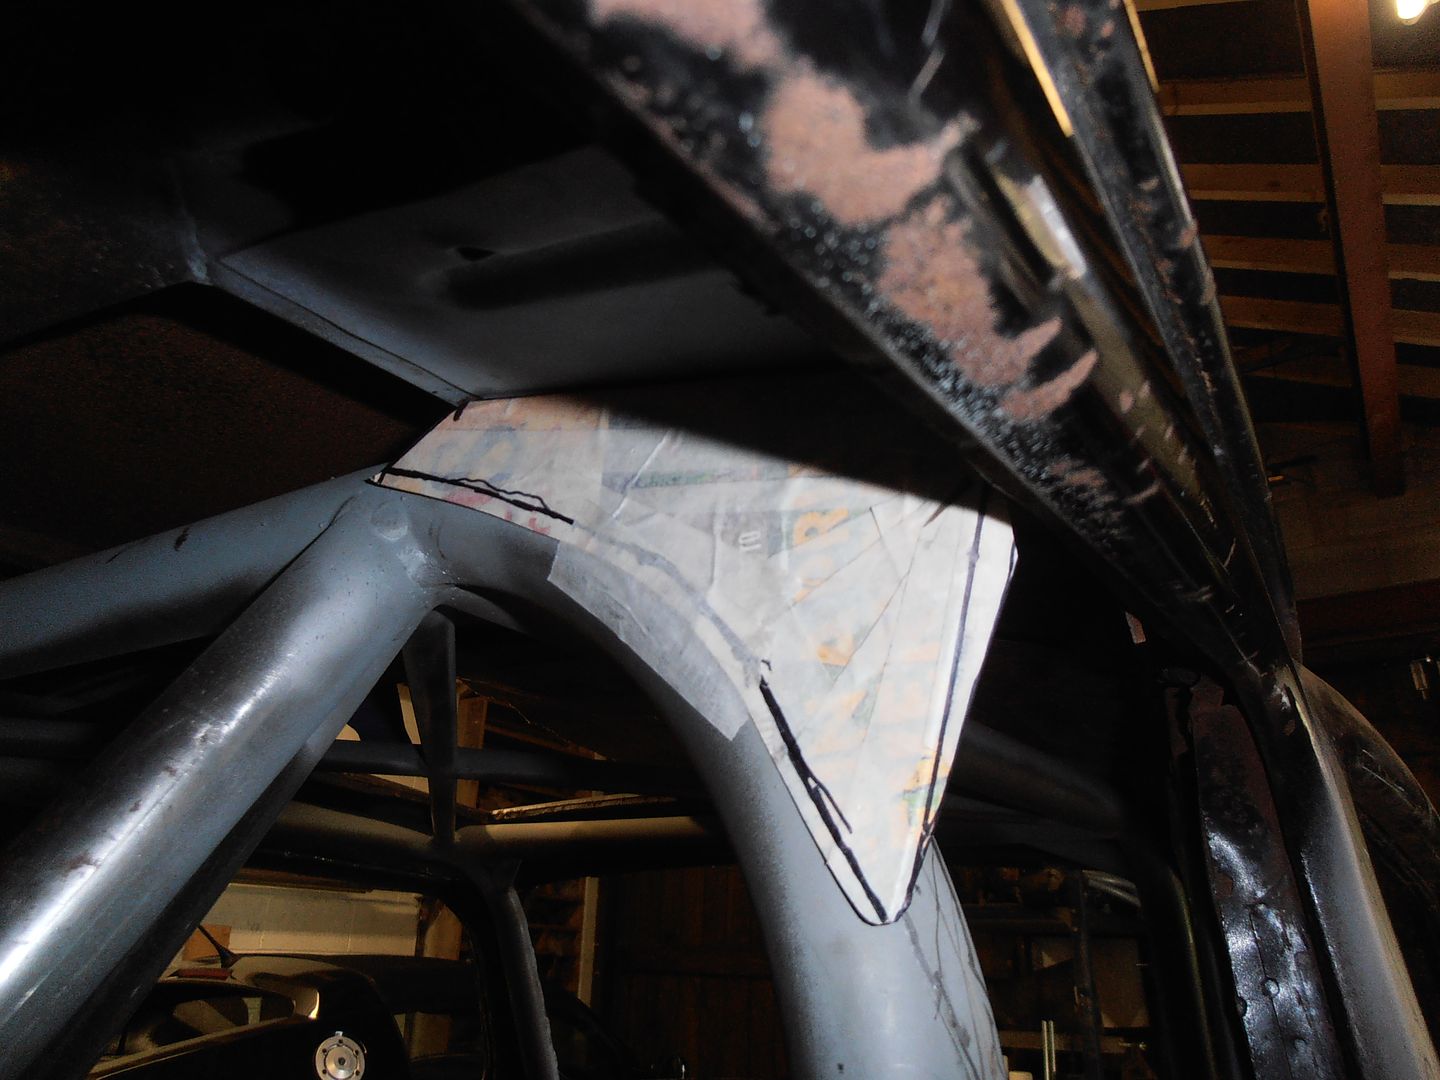 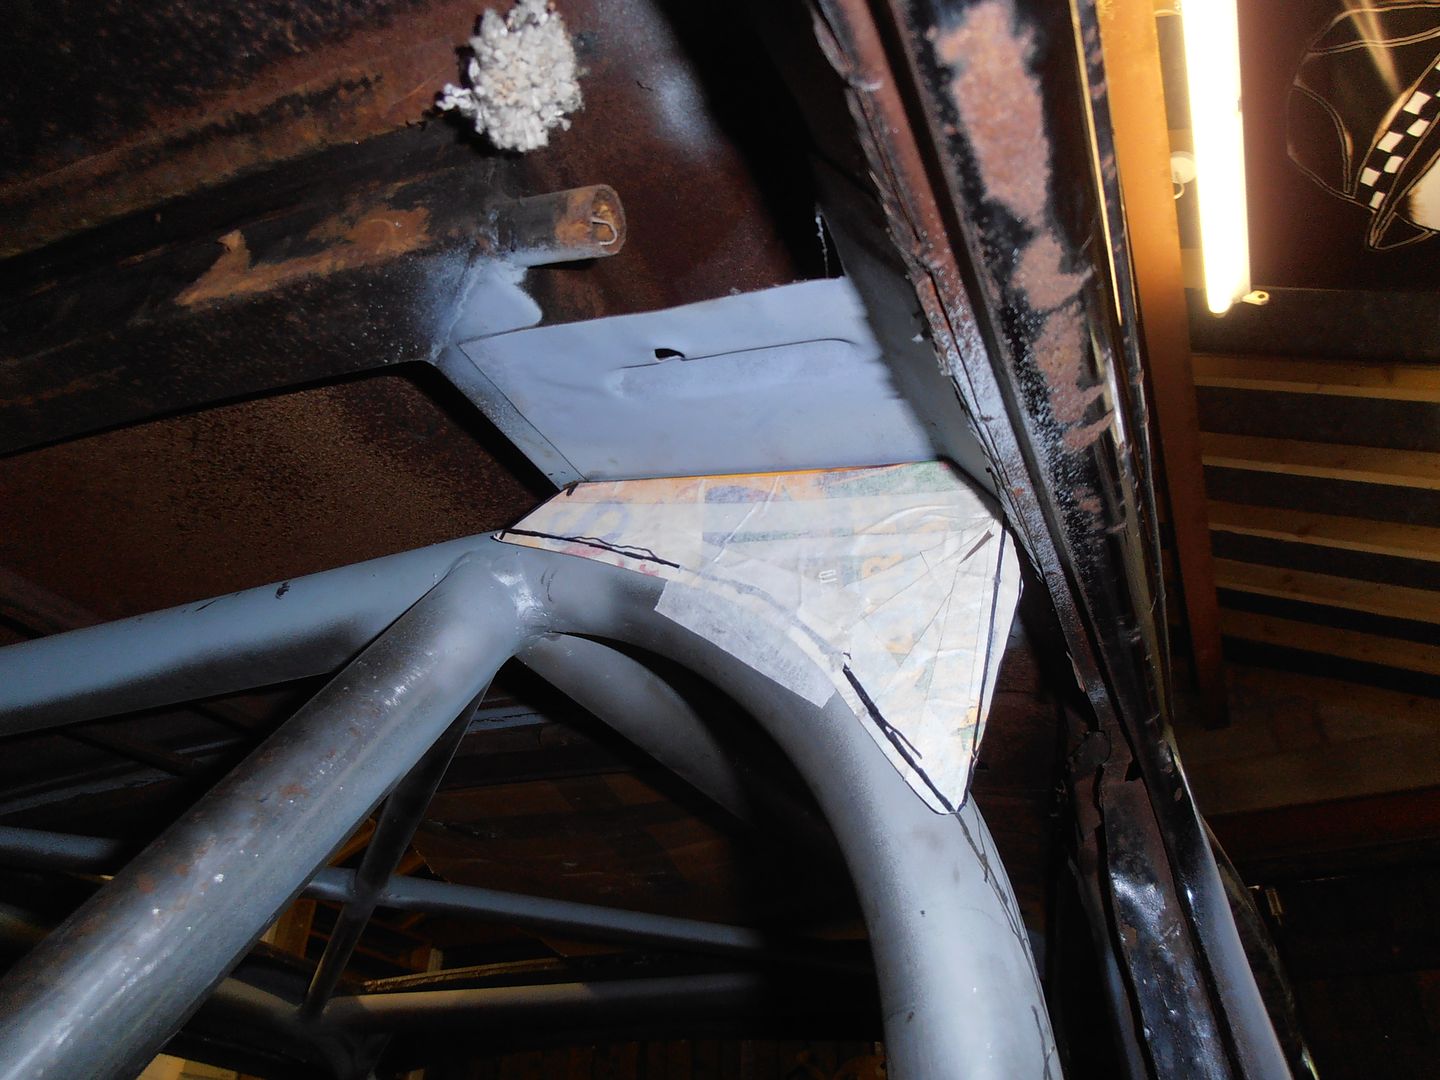 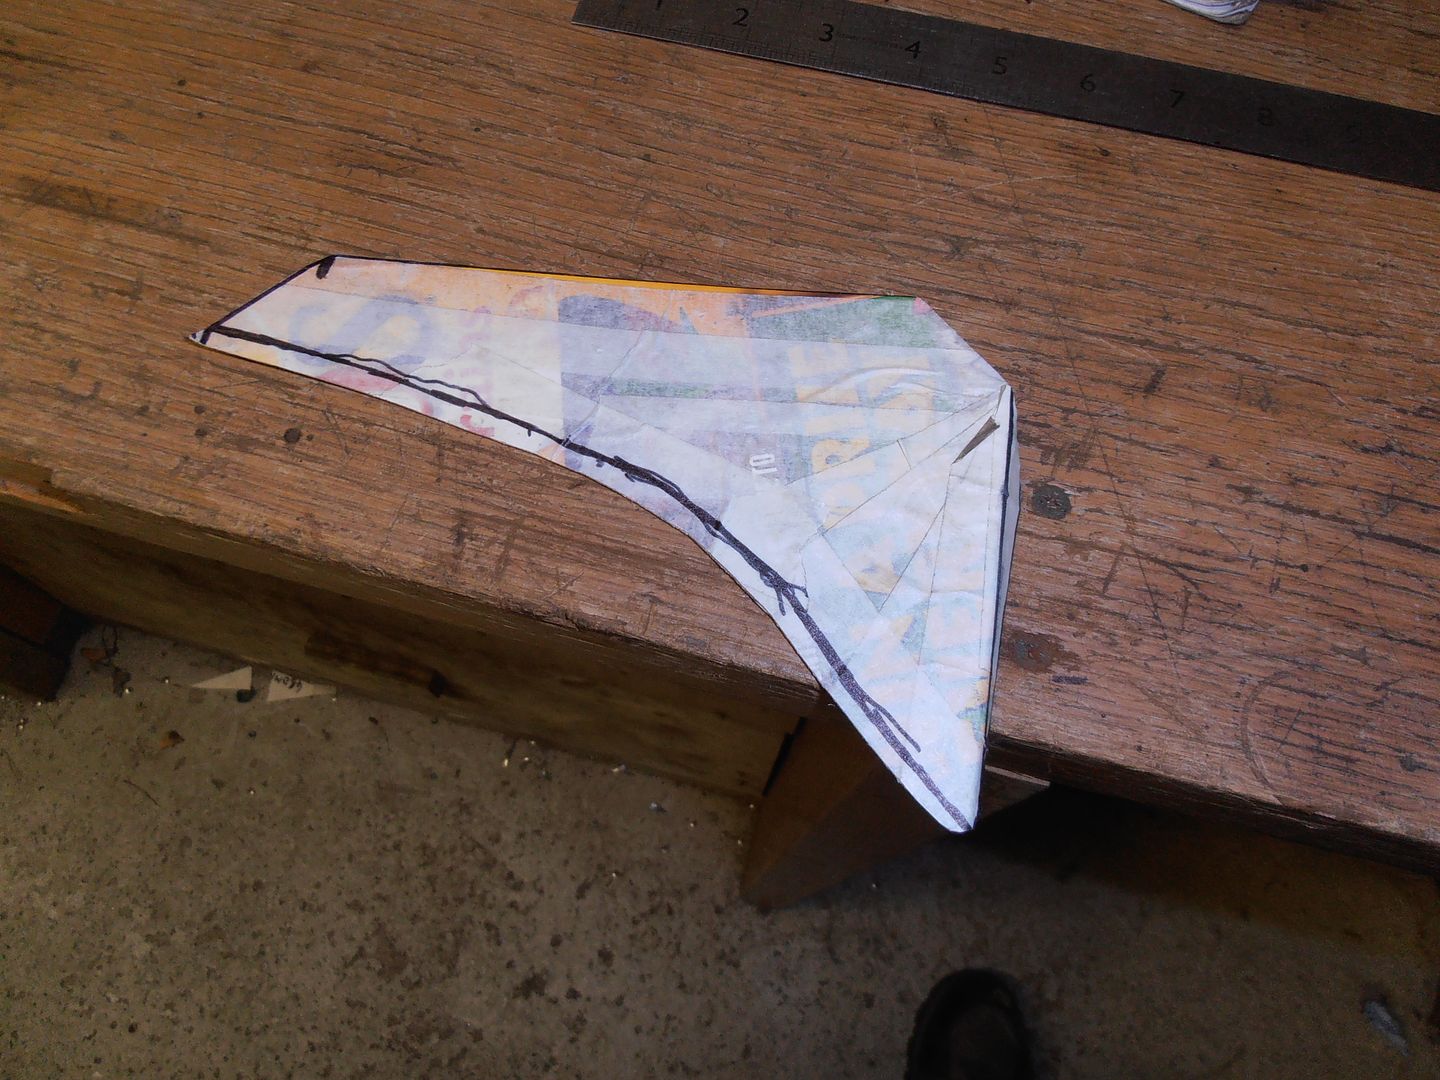 then measured up to make the proper template 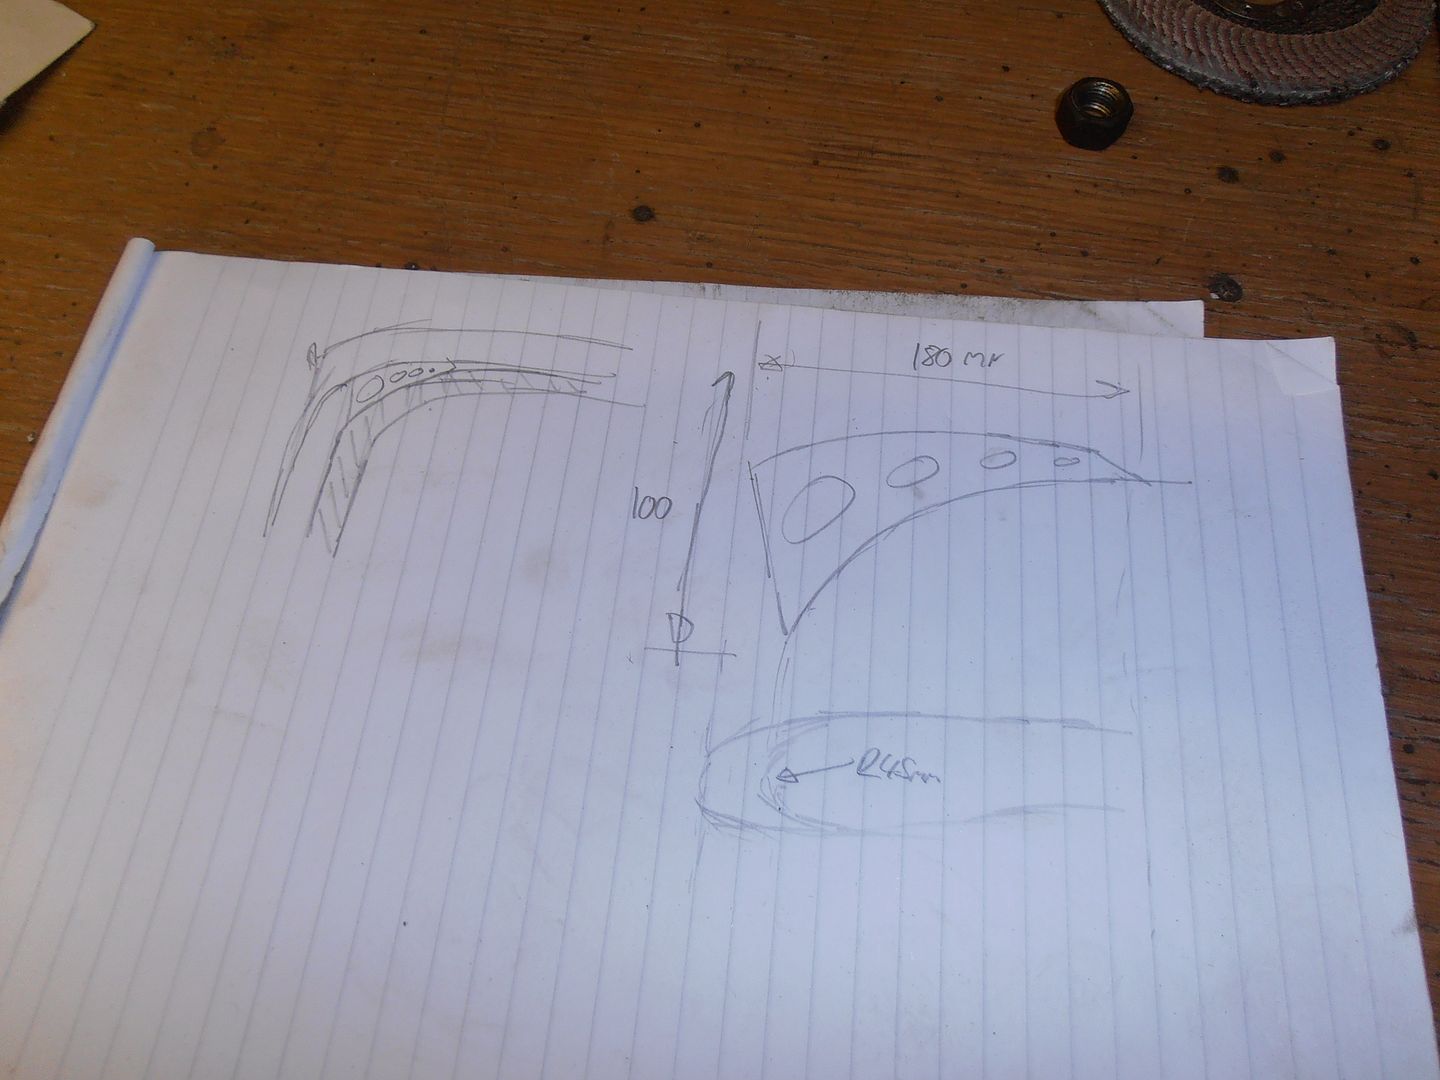 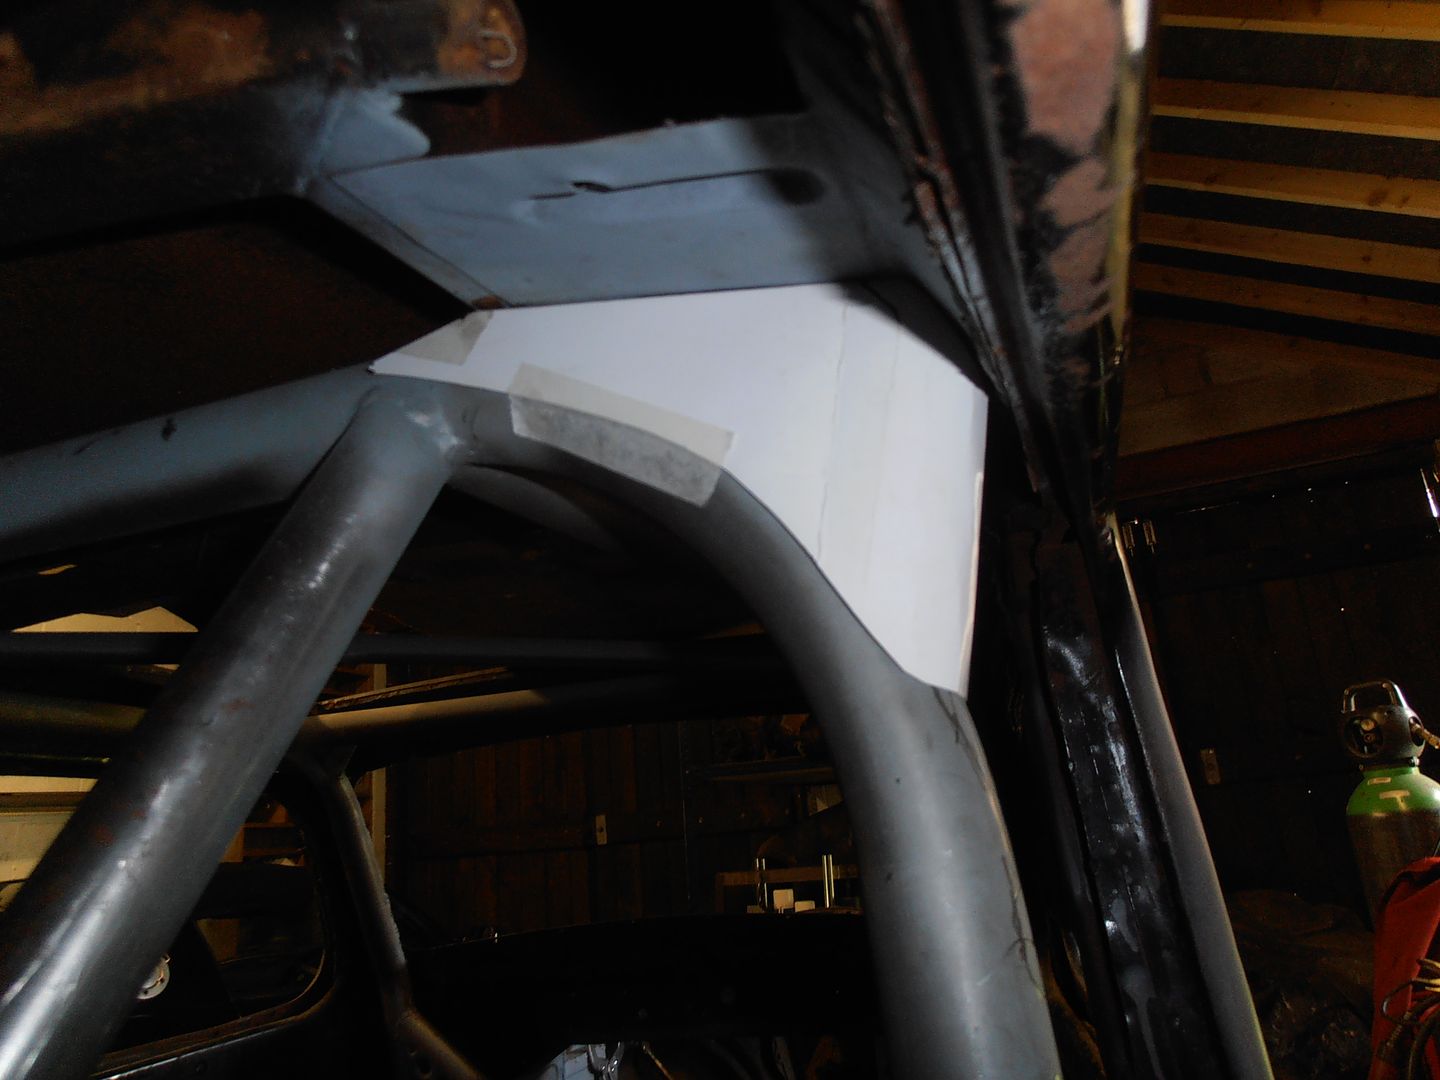 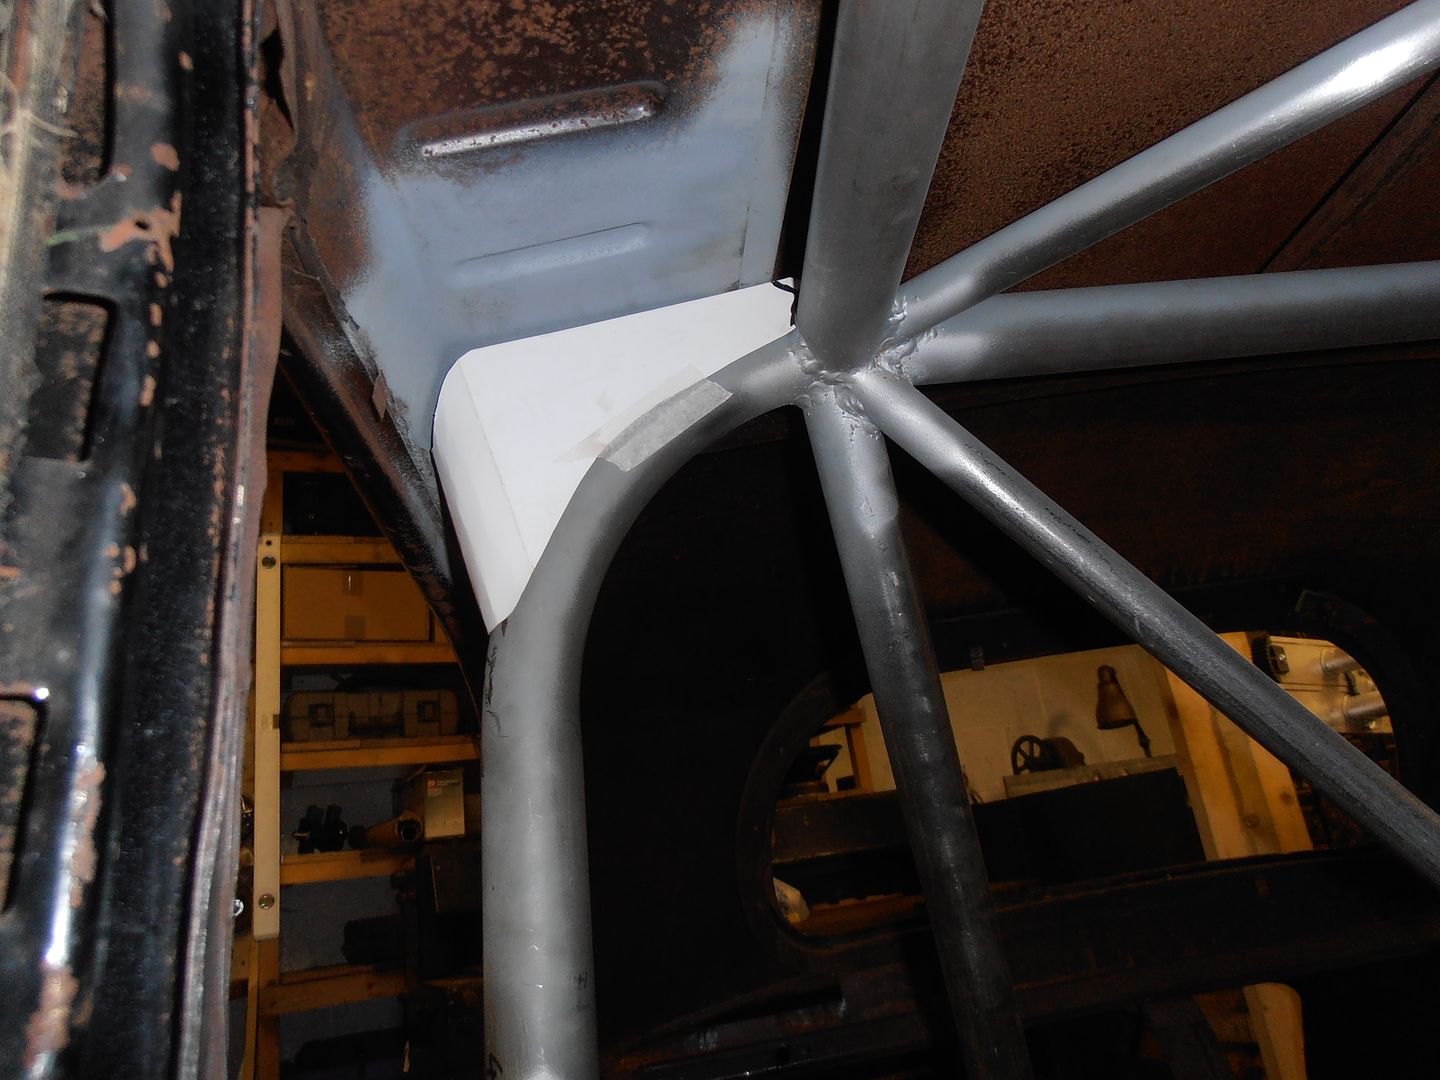 Looking at it, it was just going to be too "heavy looking" even with lightening holes, plus it reduces access to put the side glass in. new design - template 2 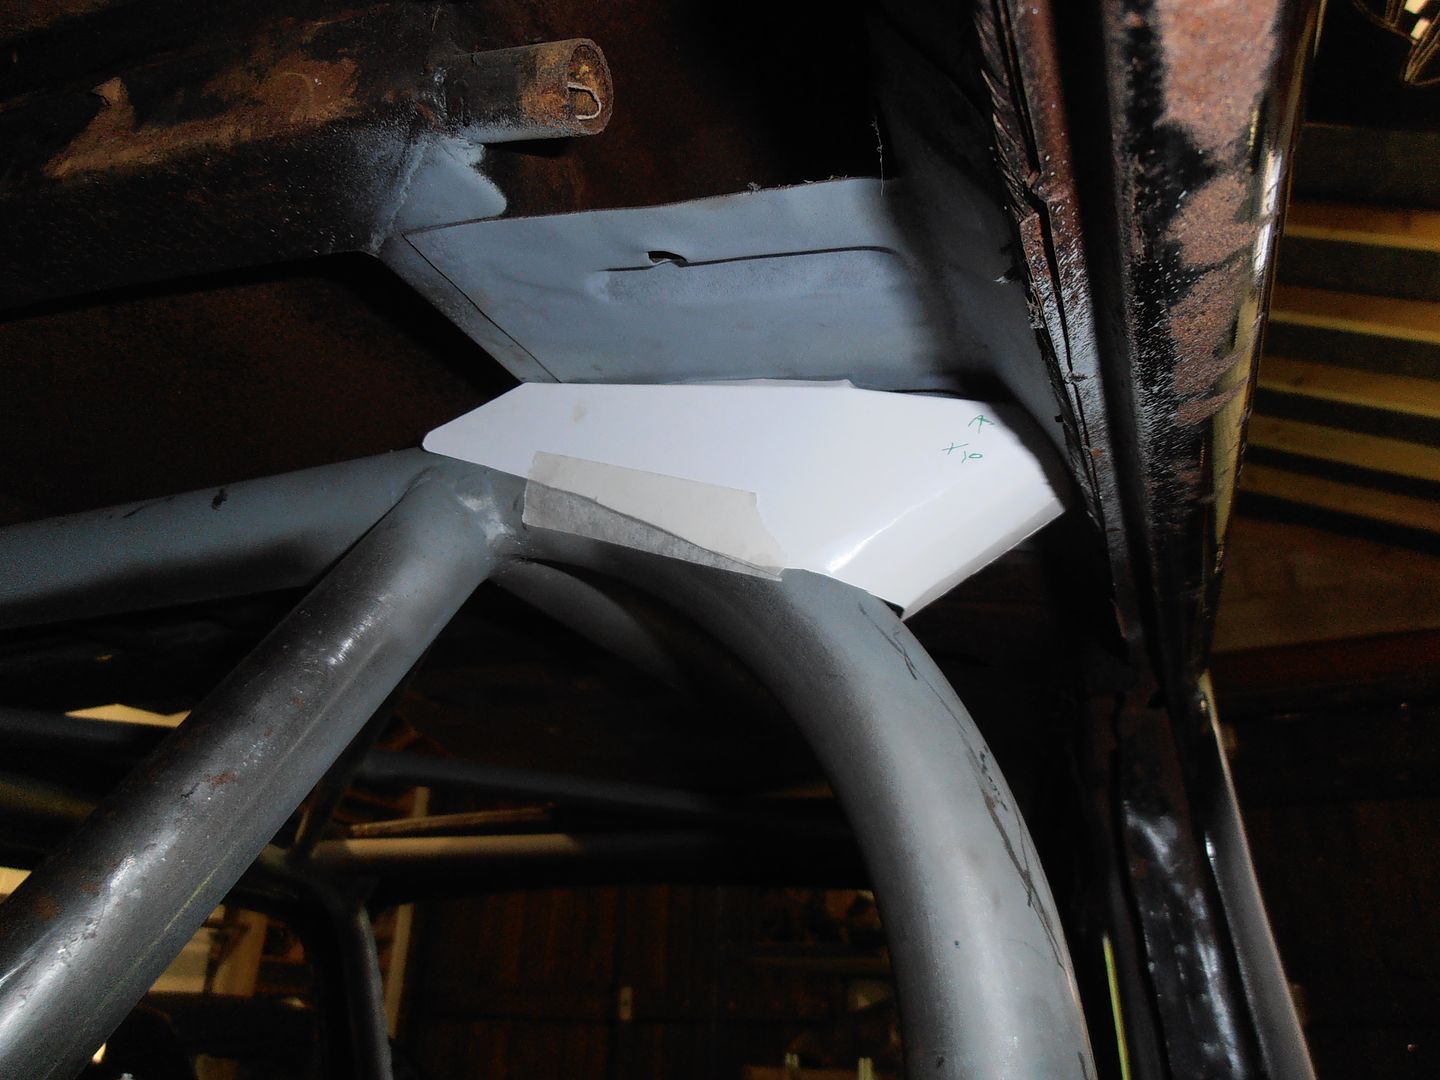 this one moved up the bend a bit, and gave greater clearance to the window. As its not really a major structural point i can be a bit lighter 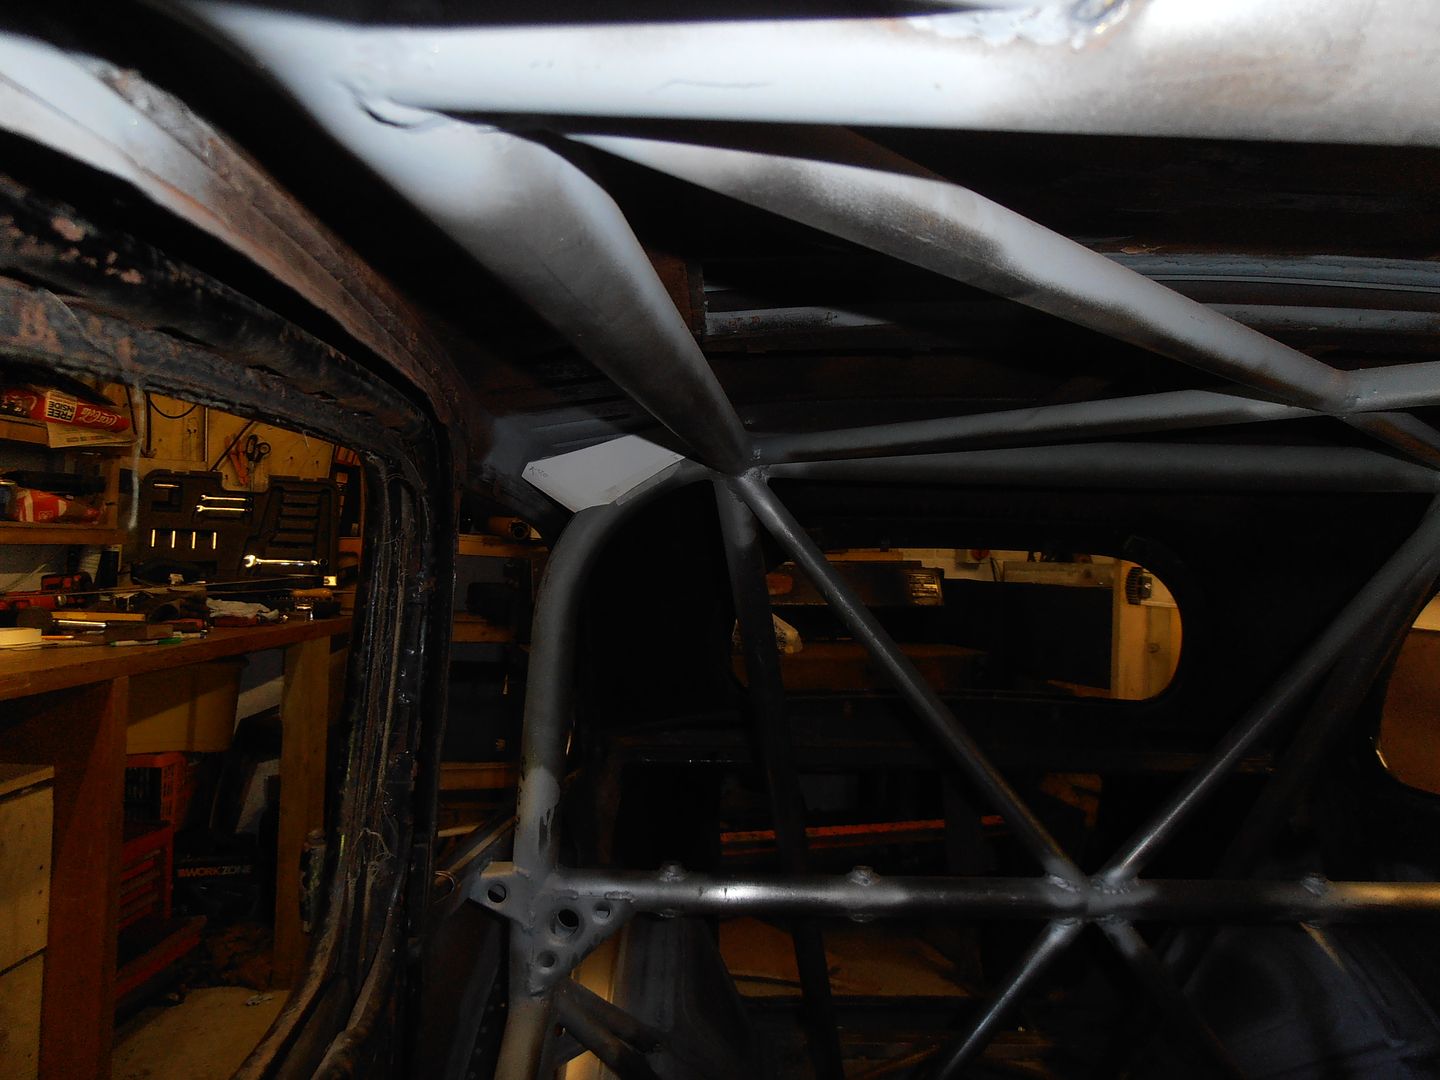 Looking at the pic you can see it doesnt quite touch the roof... cue template 3...or 4 evolution of the templates 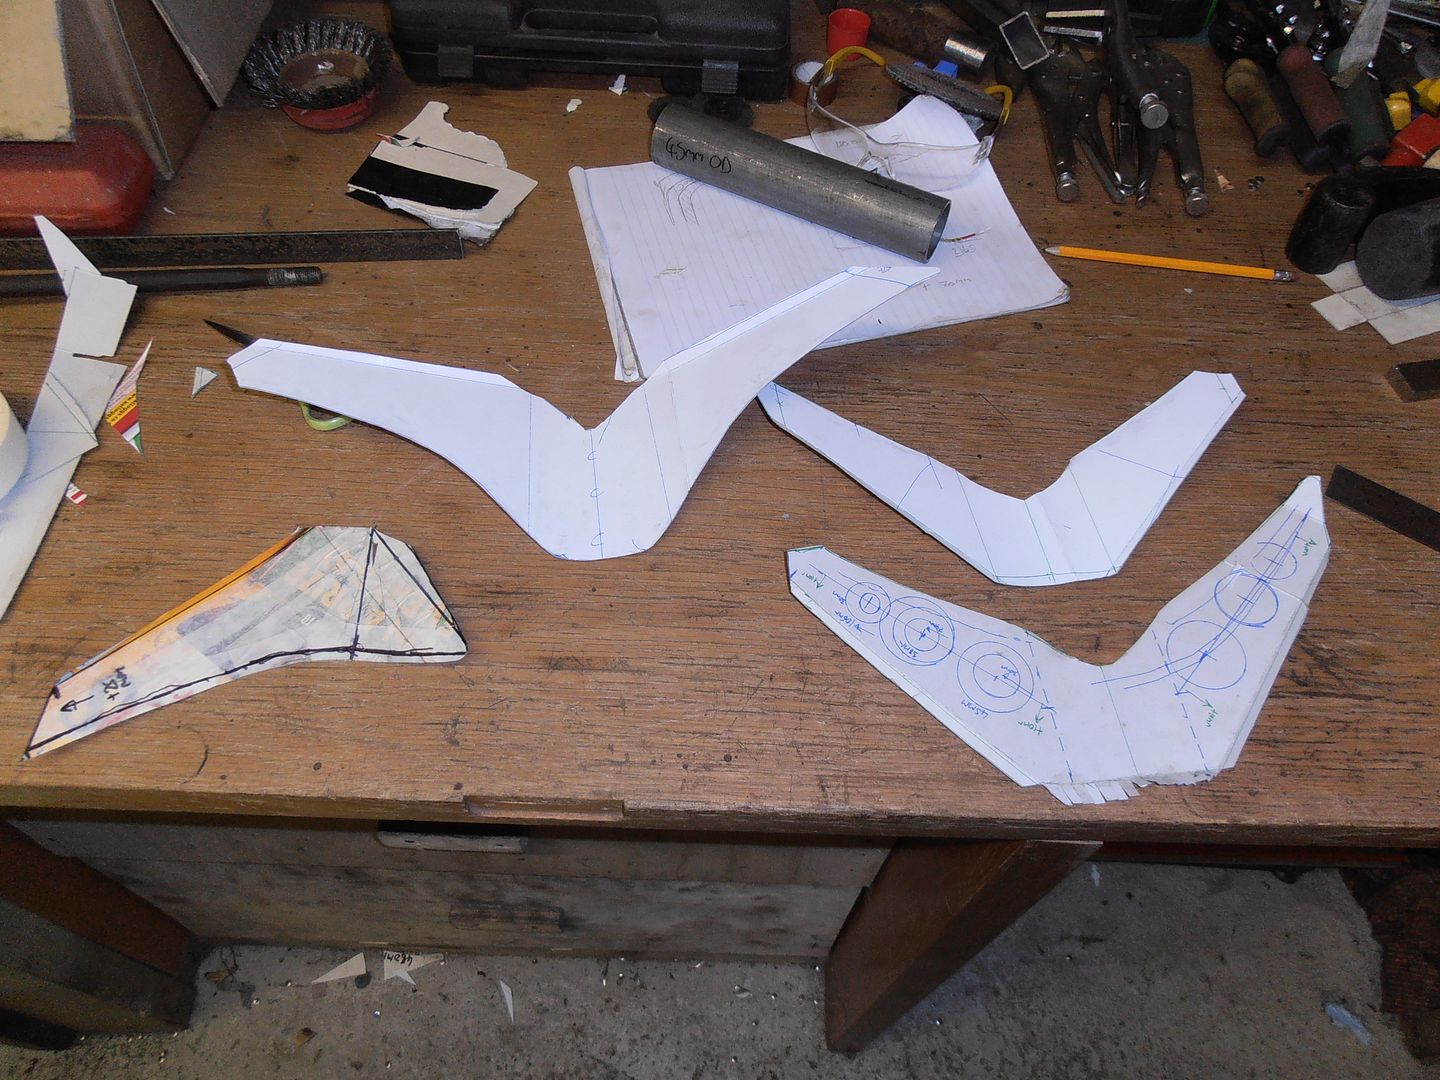 I also worked out lightening hole positions 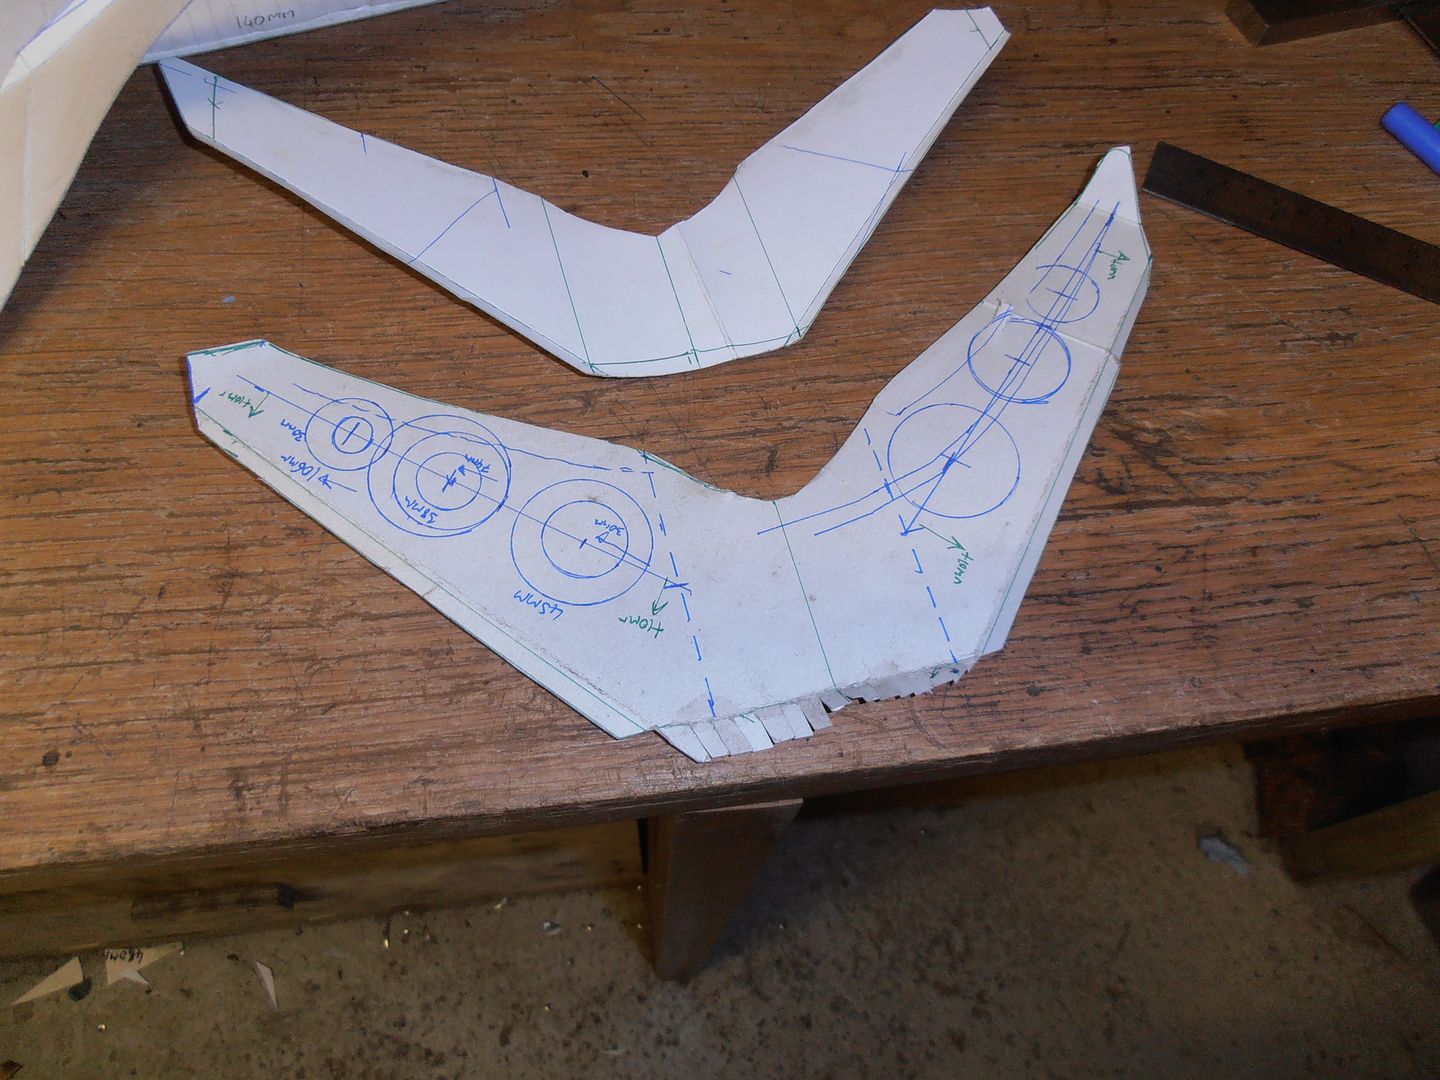 transferred into 1.2mm steel which was a pig to cut the curves with aviation shears. 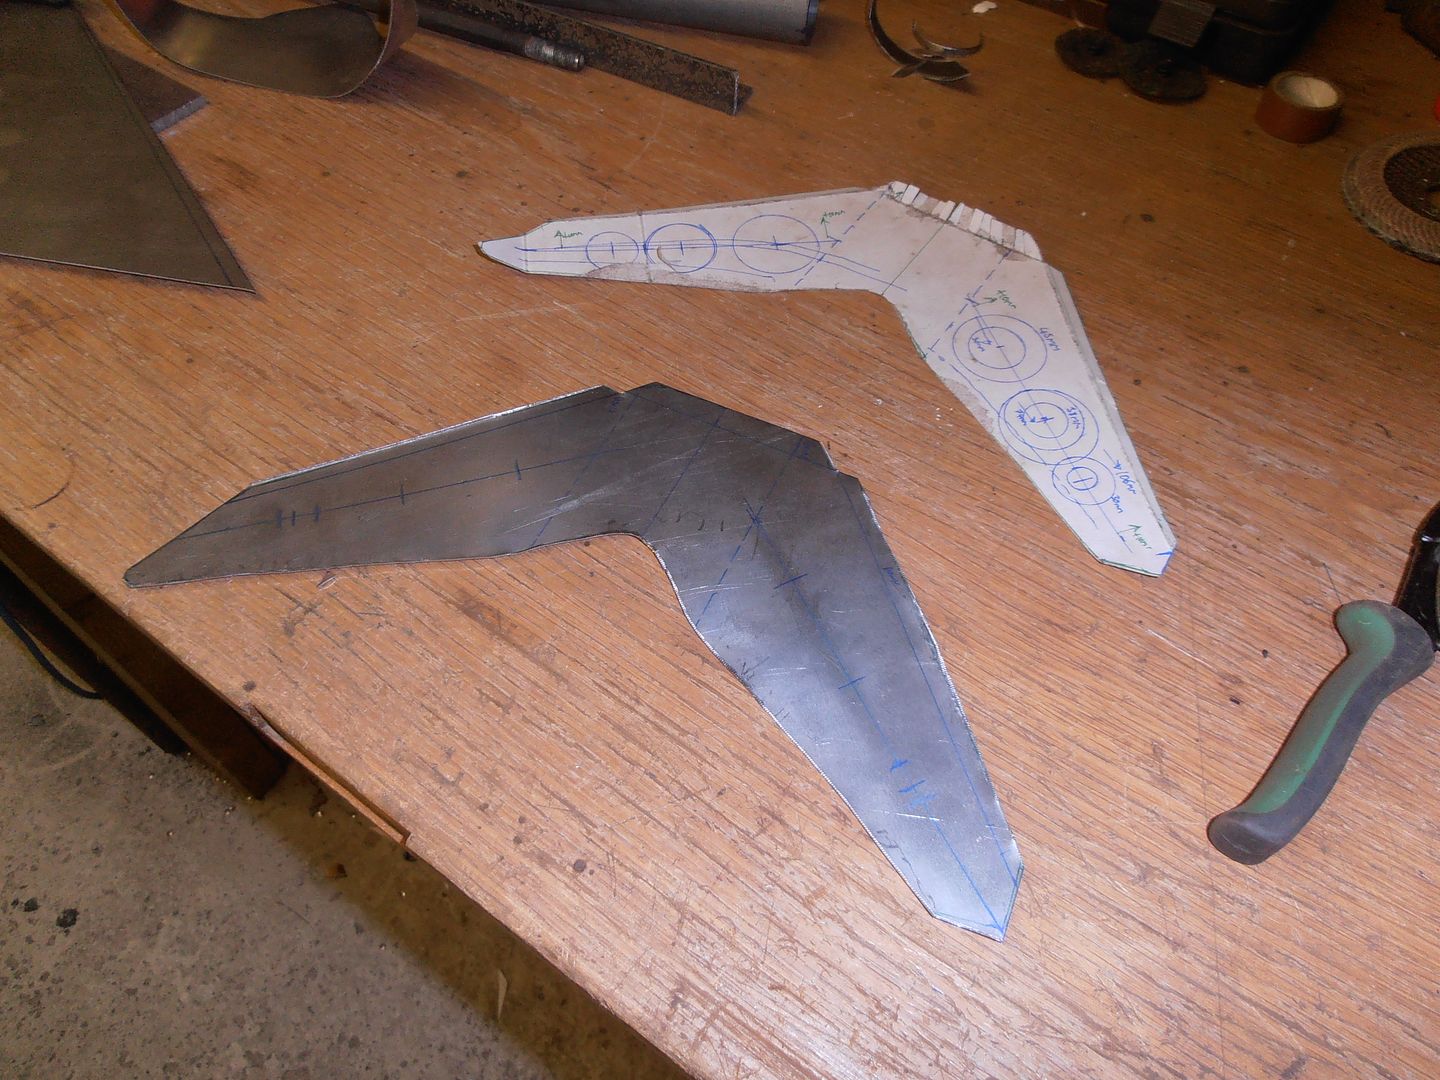 Only little returns so had to bend on the bench 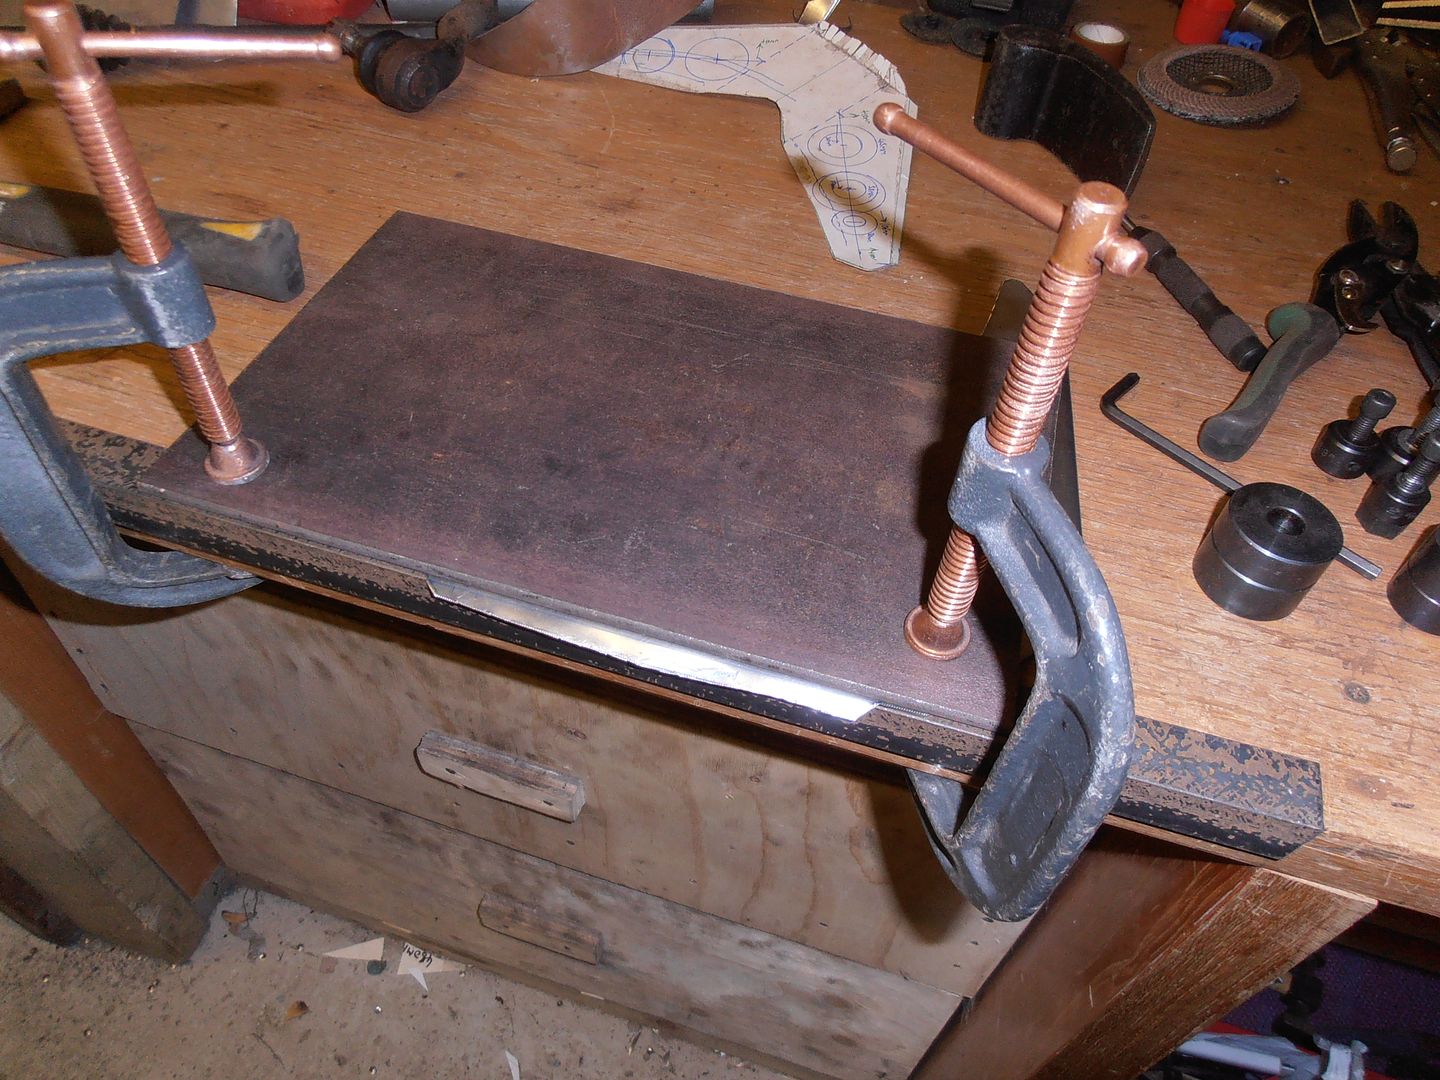 then manhandle round using the shrinker, some tube, a hammer, and clamps to get the shape 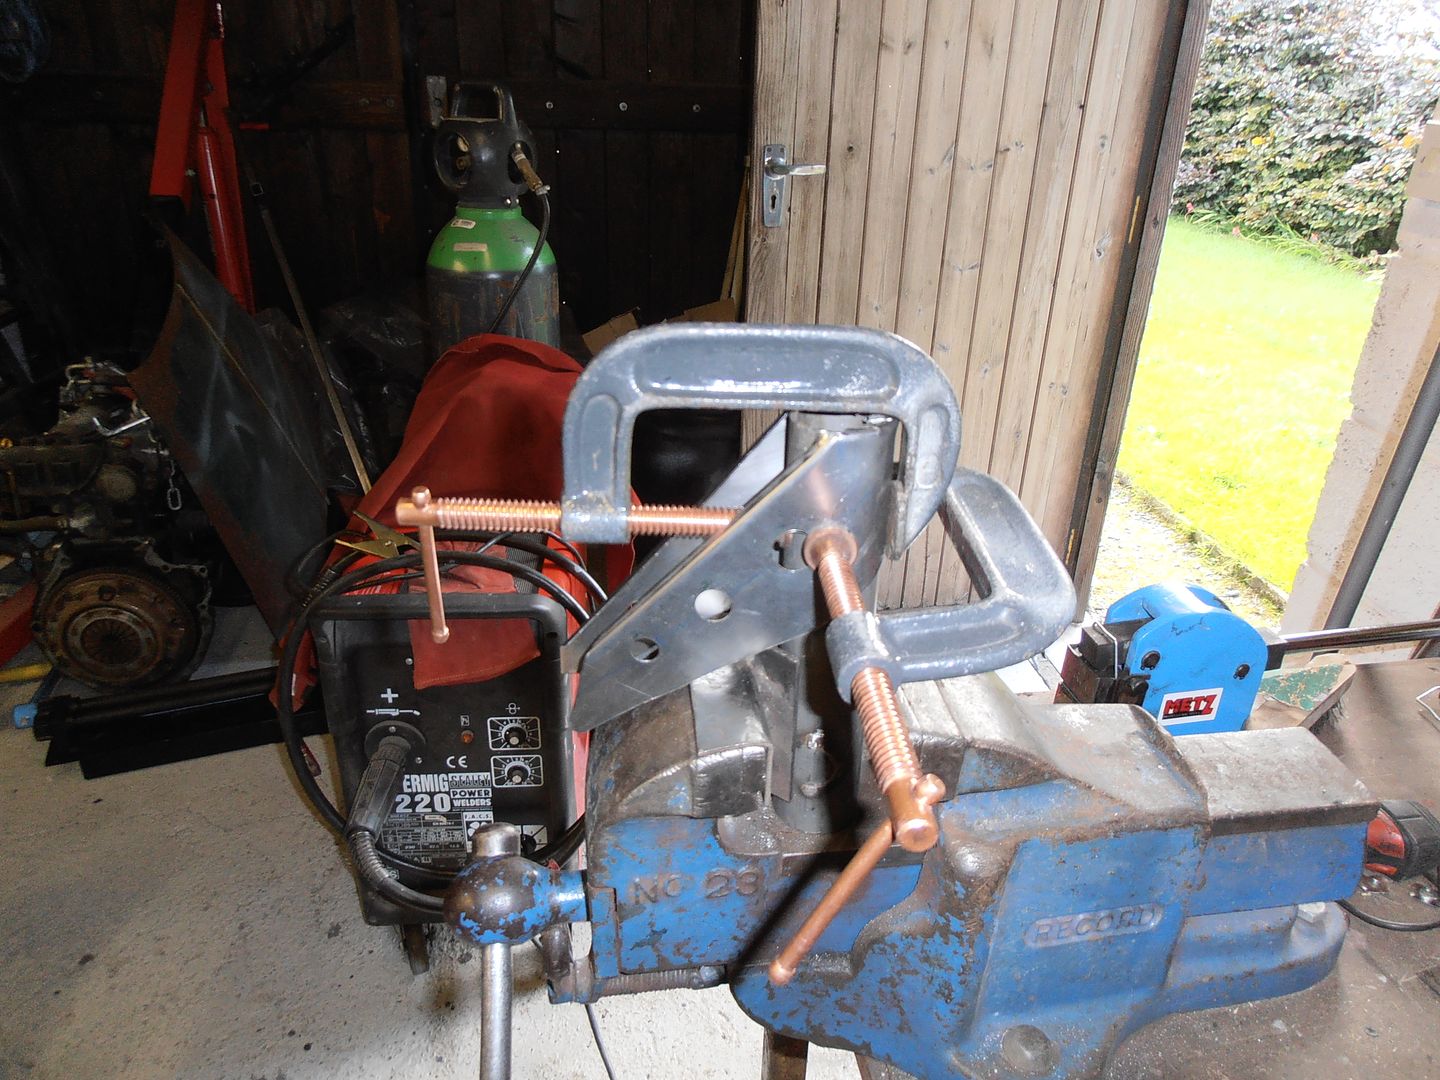 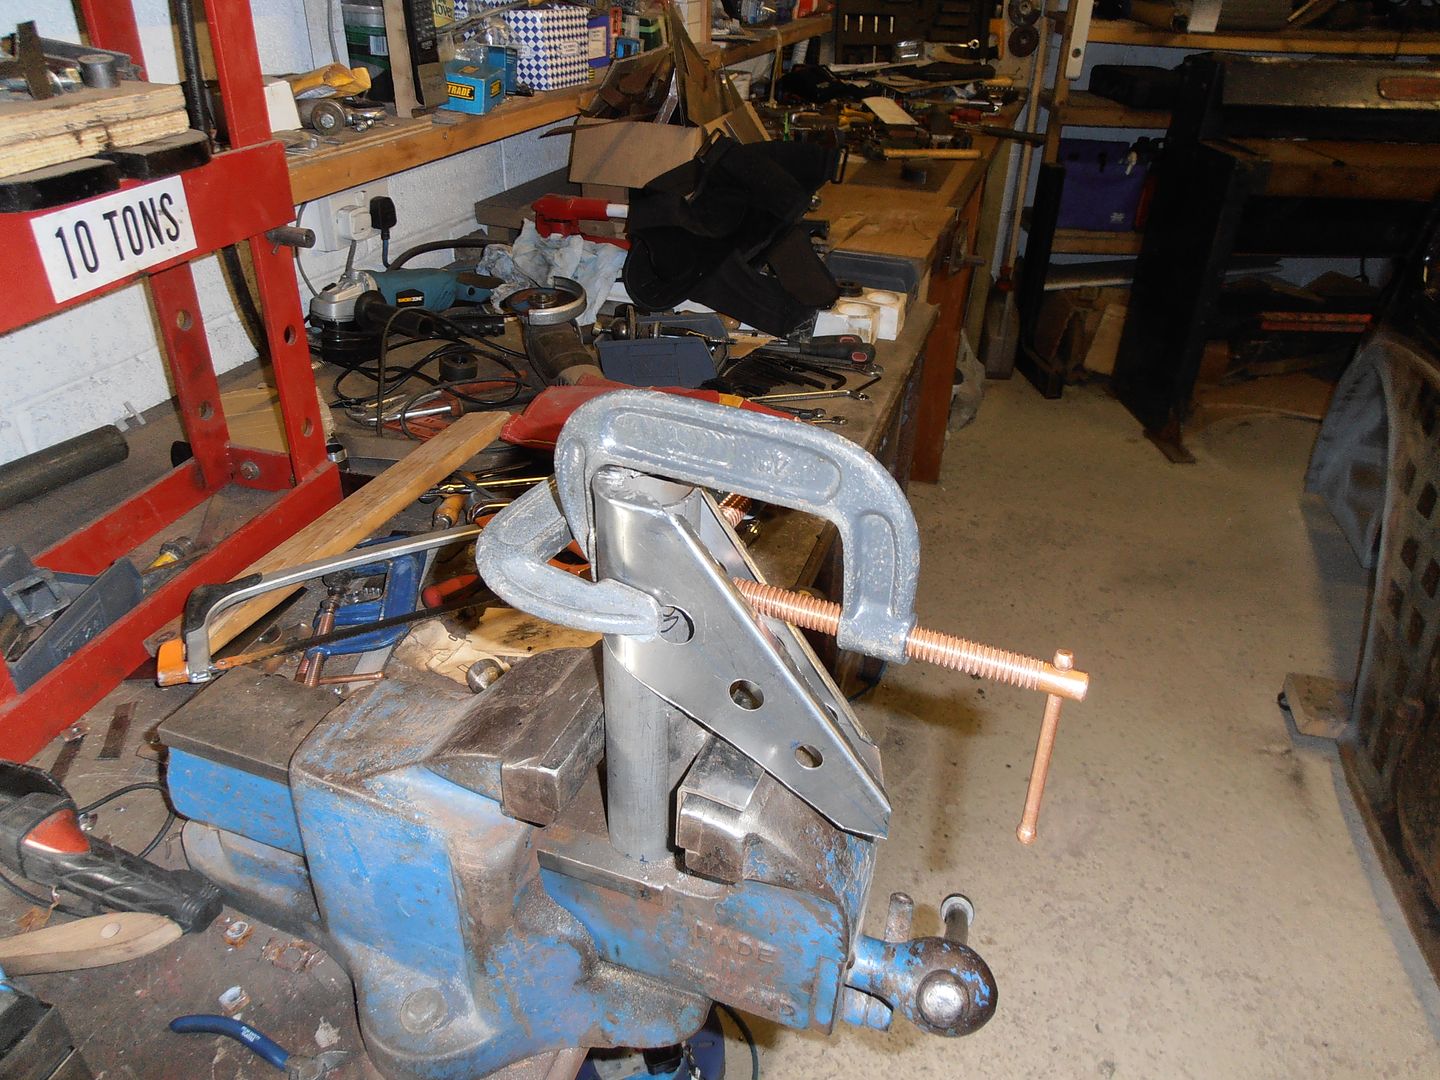 all made 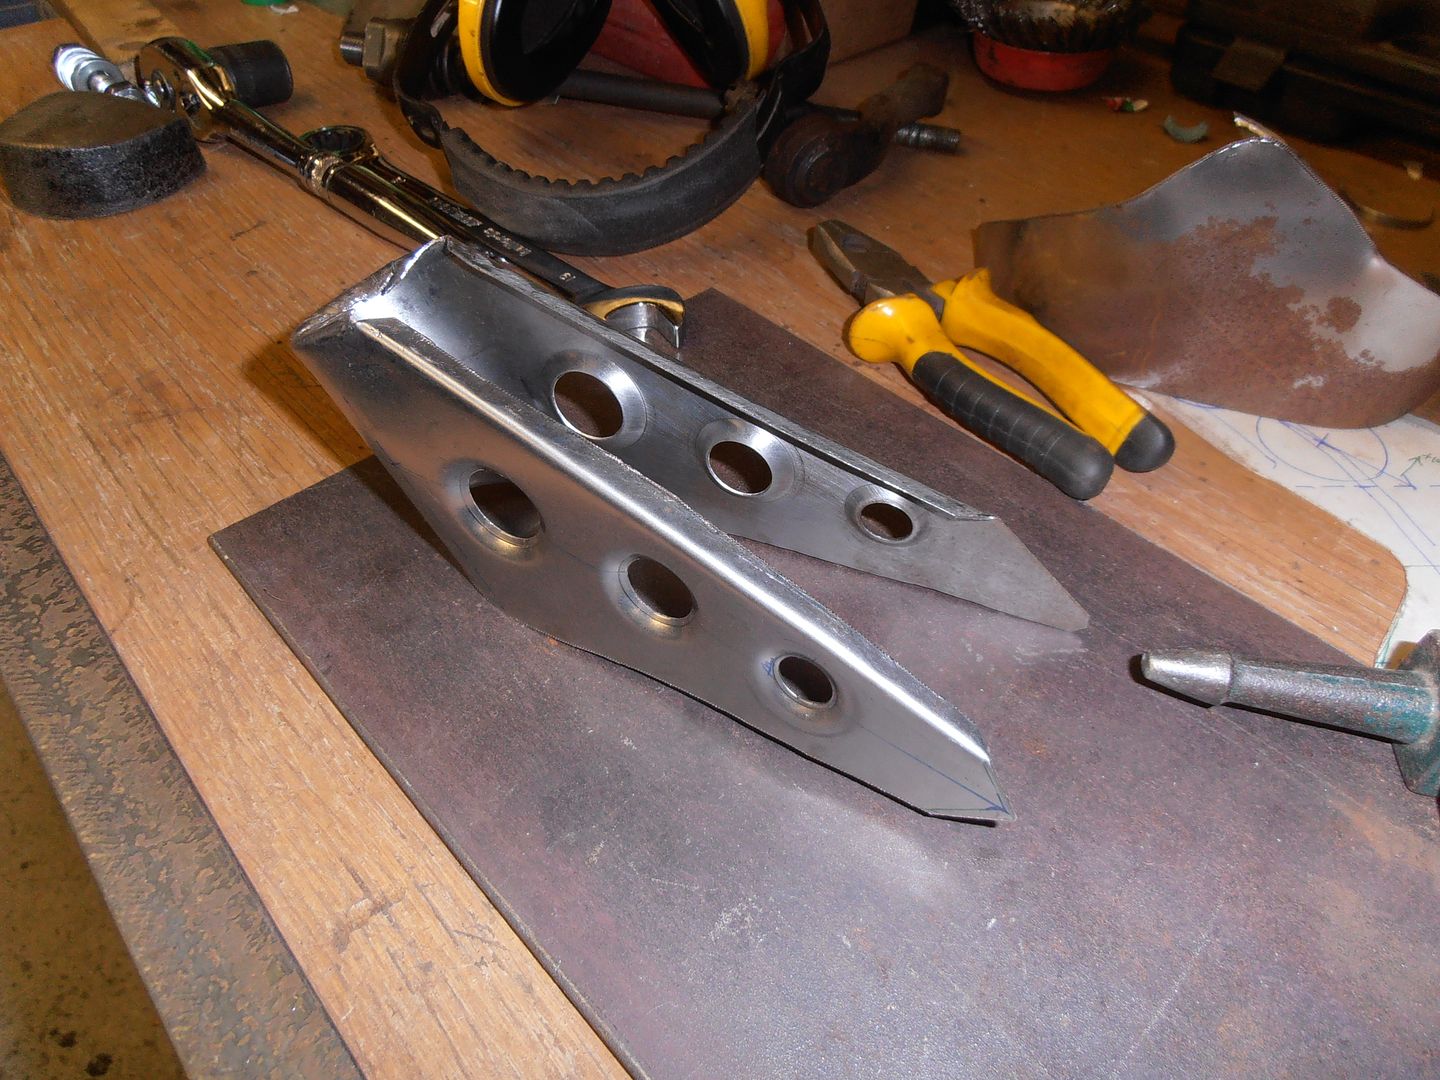 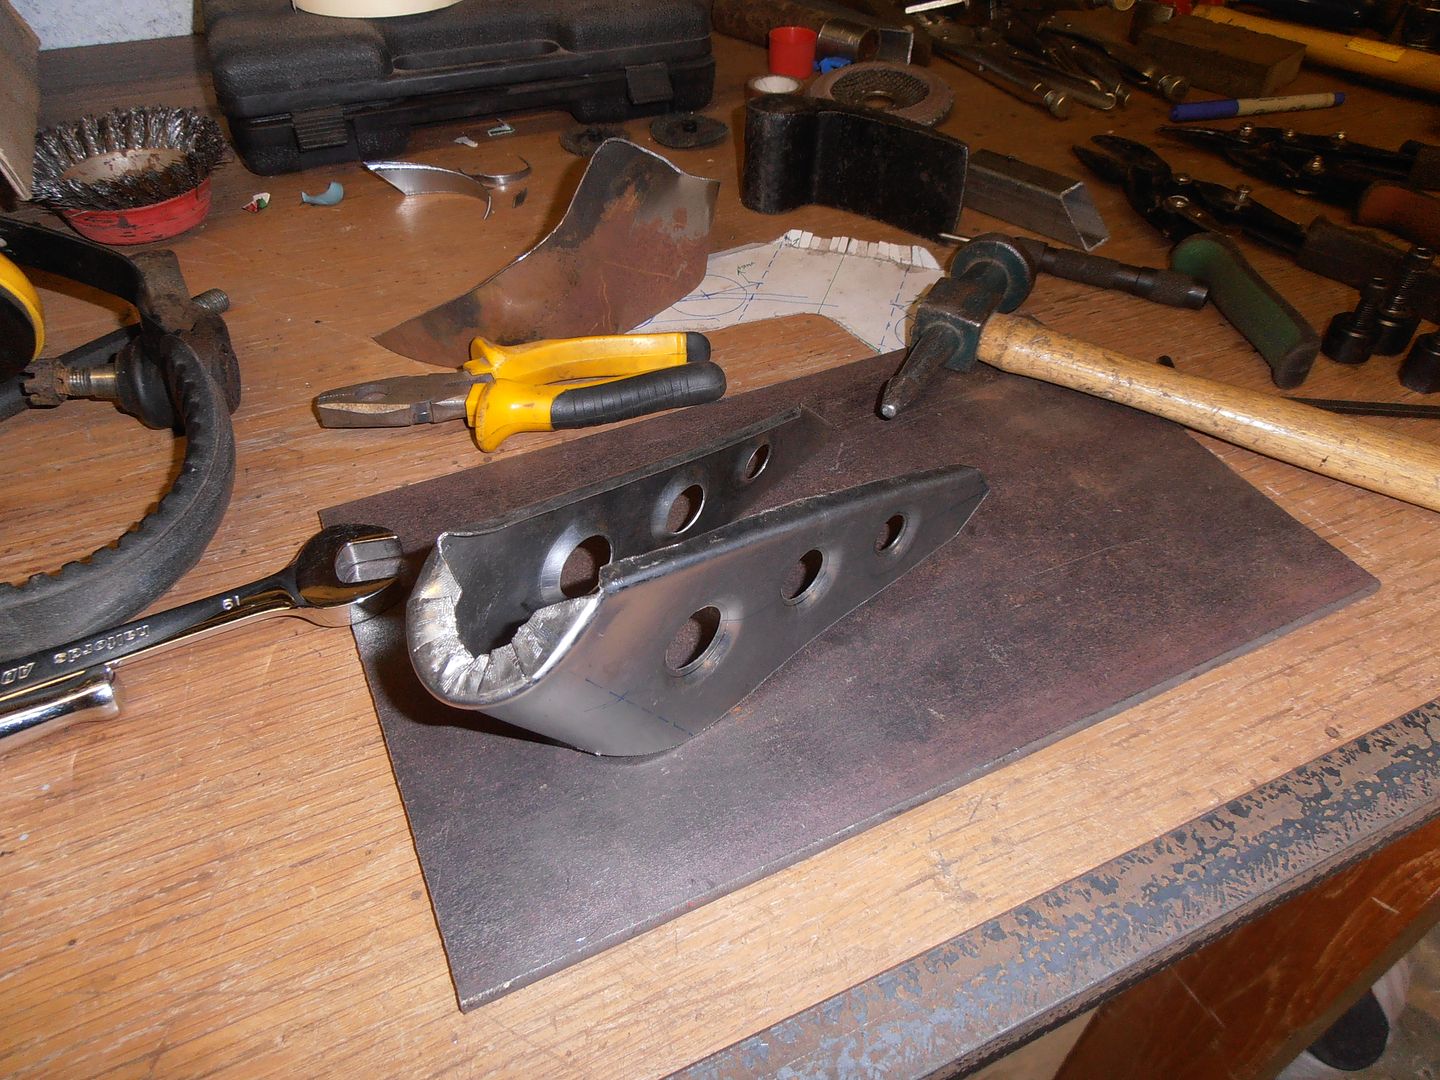 test fit 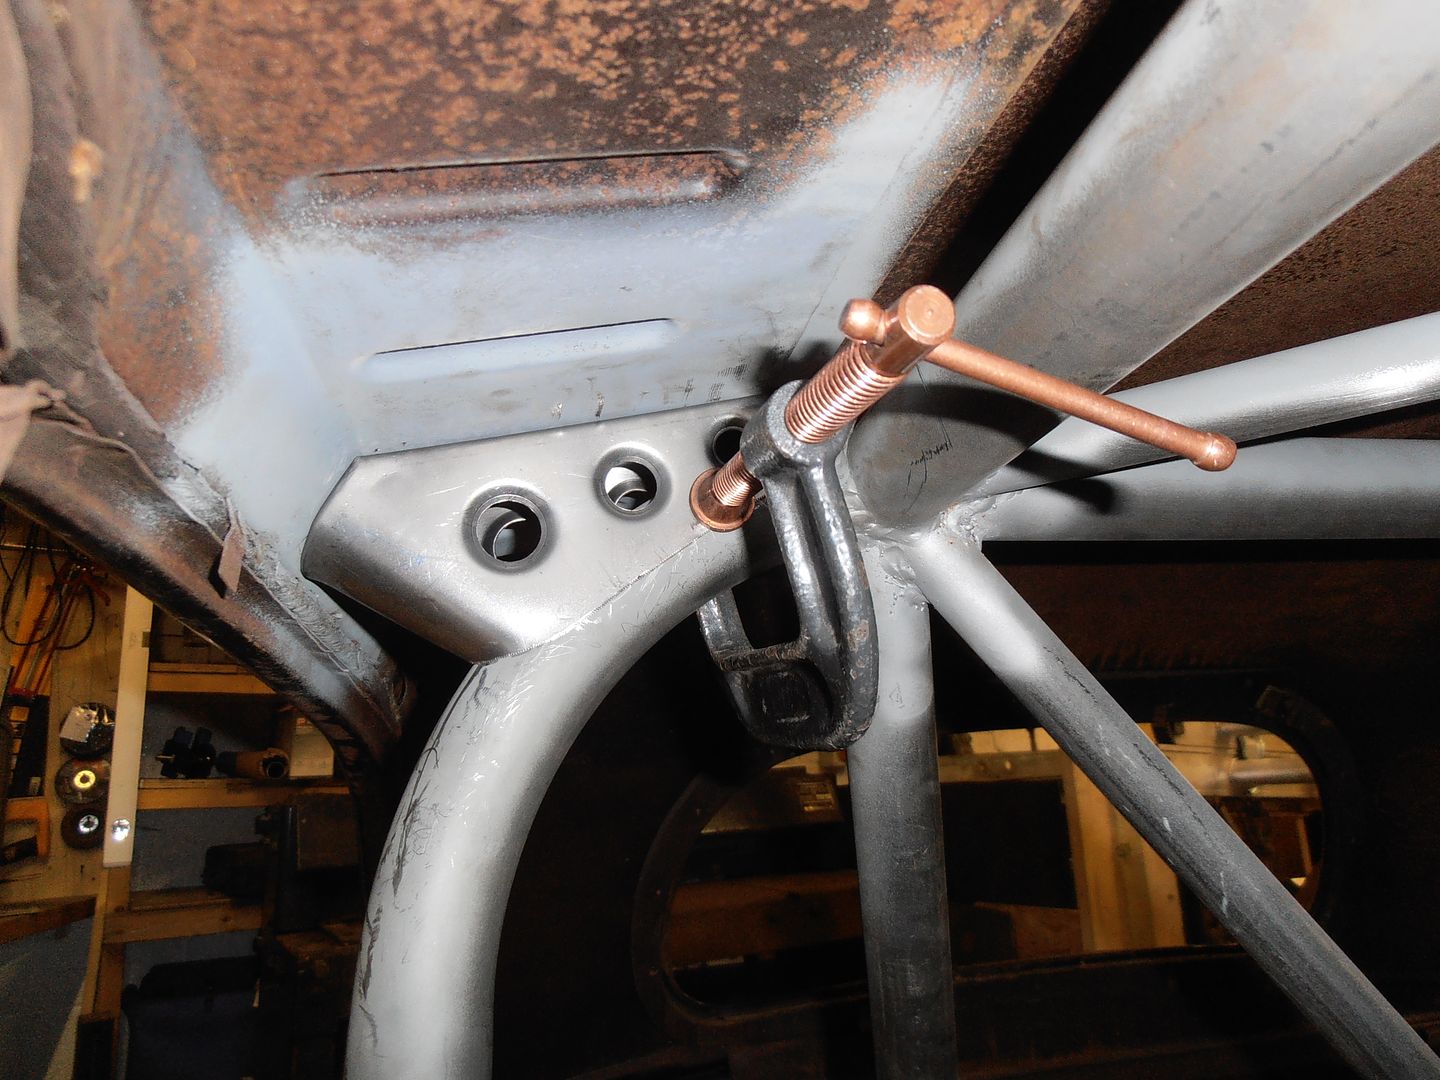 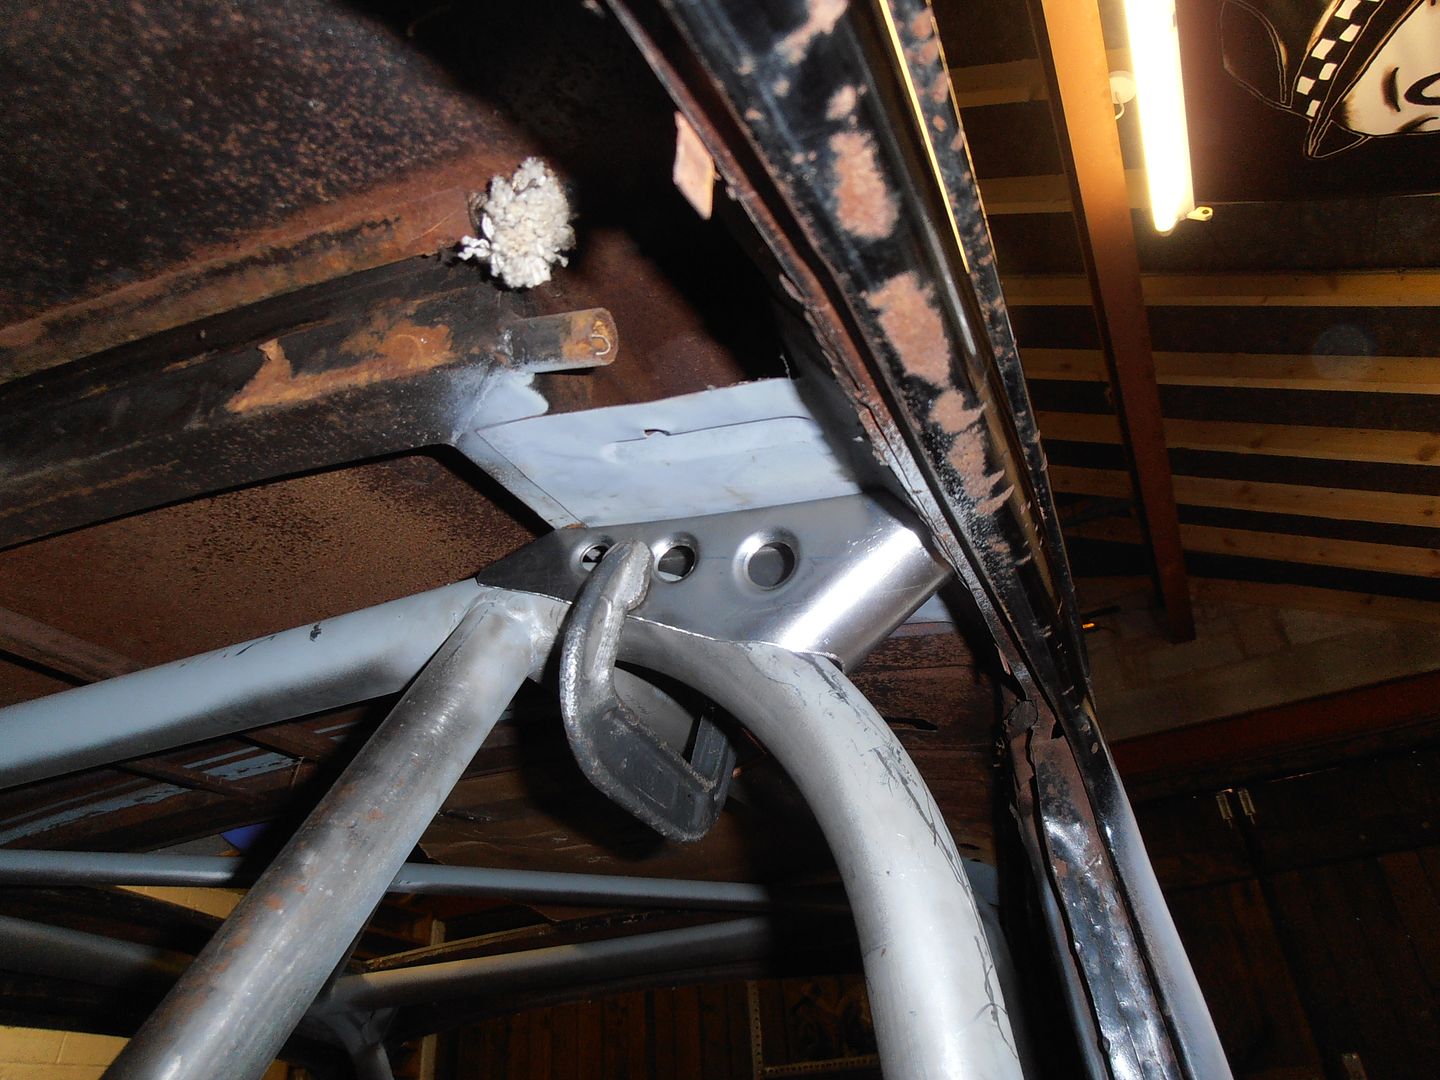 good fit all round 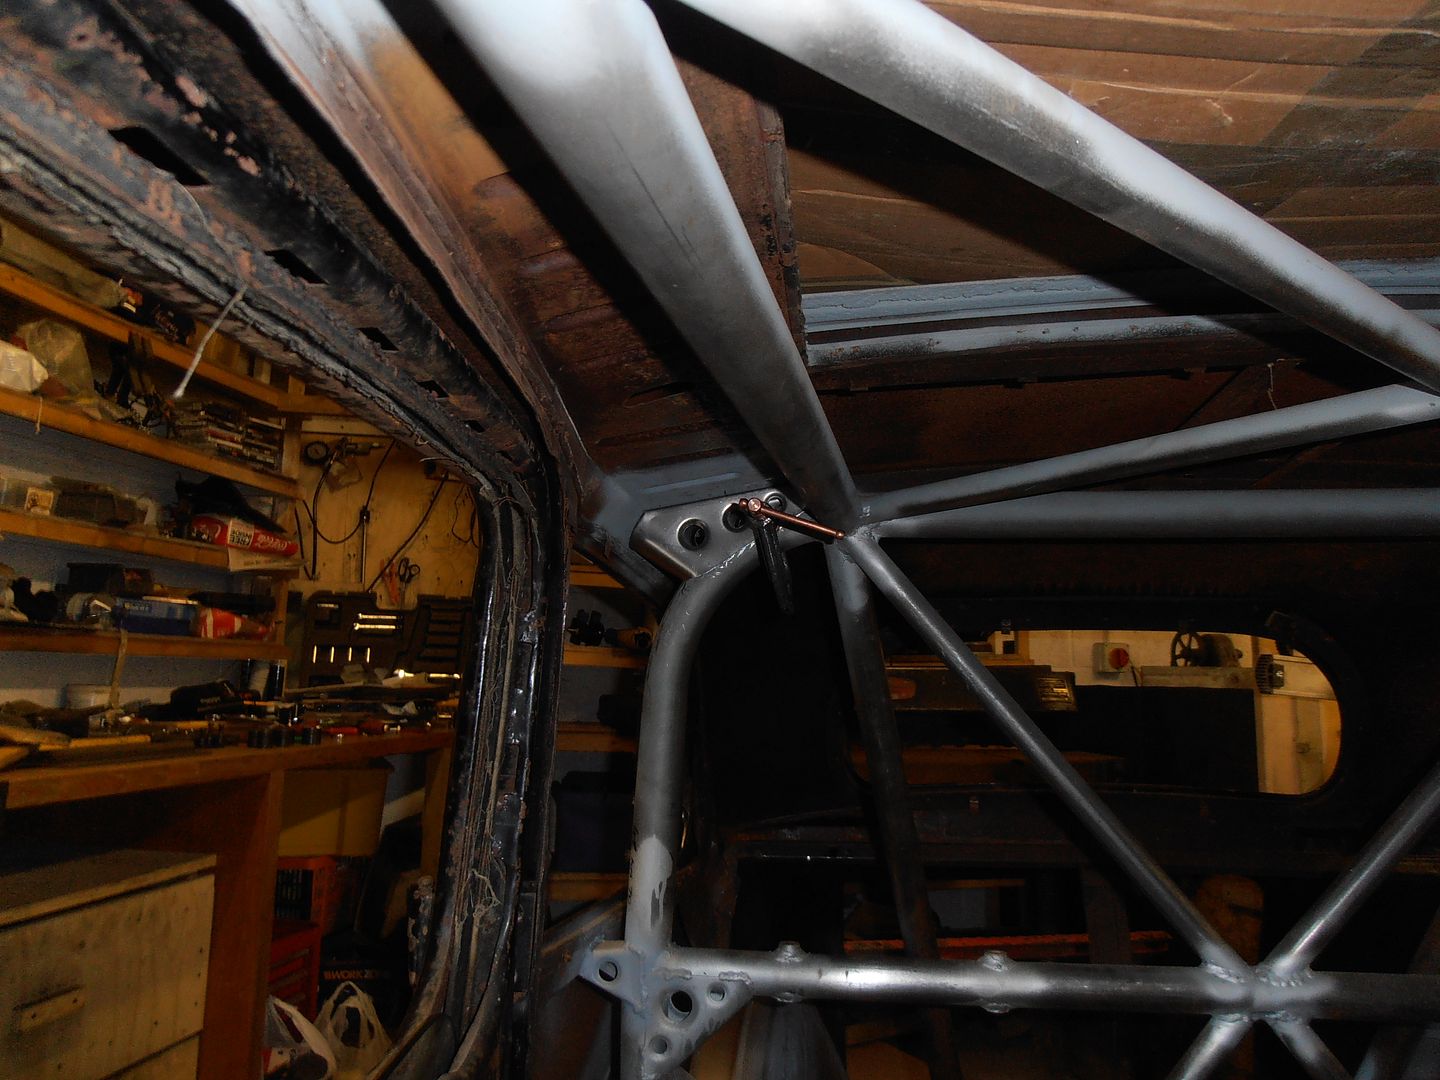 but looks a bit heavy. should have swaged with larger hole sizes.... re-make bracket..... the one on the right is the re-made with larger holes. Much "lighter" looking 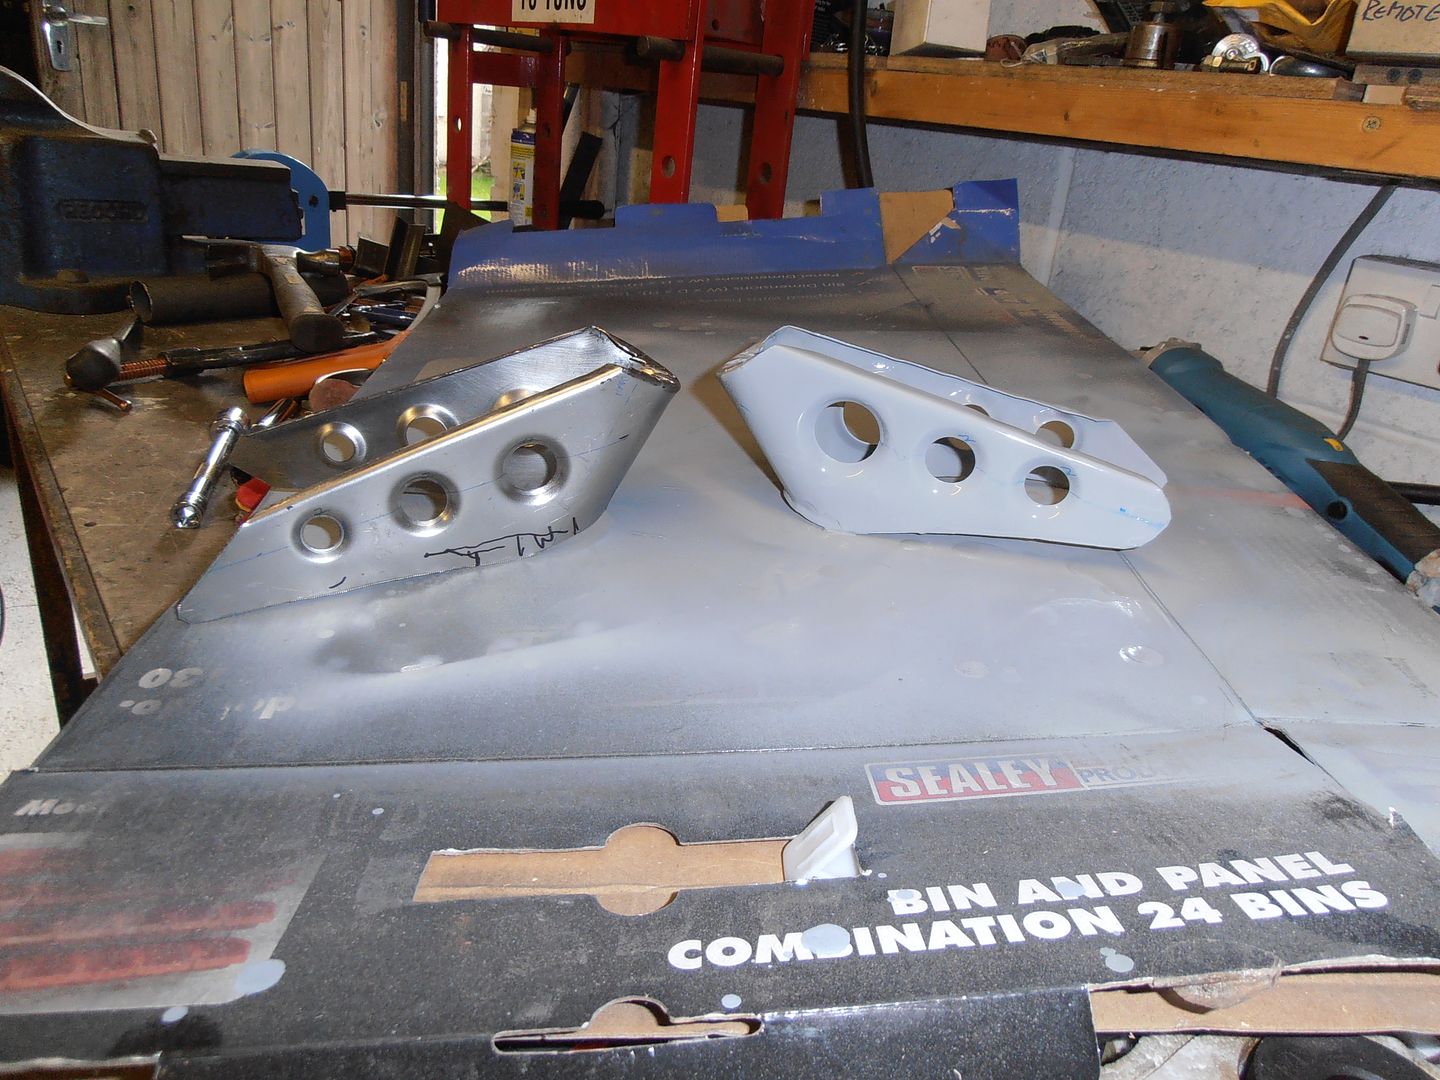 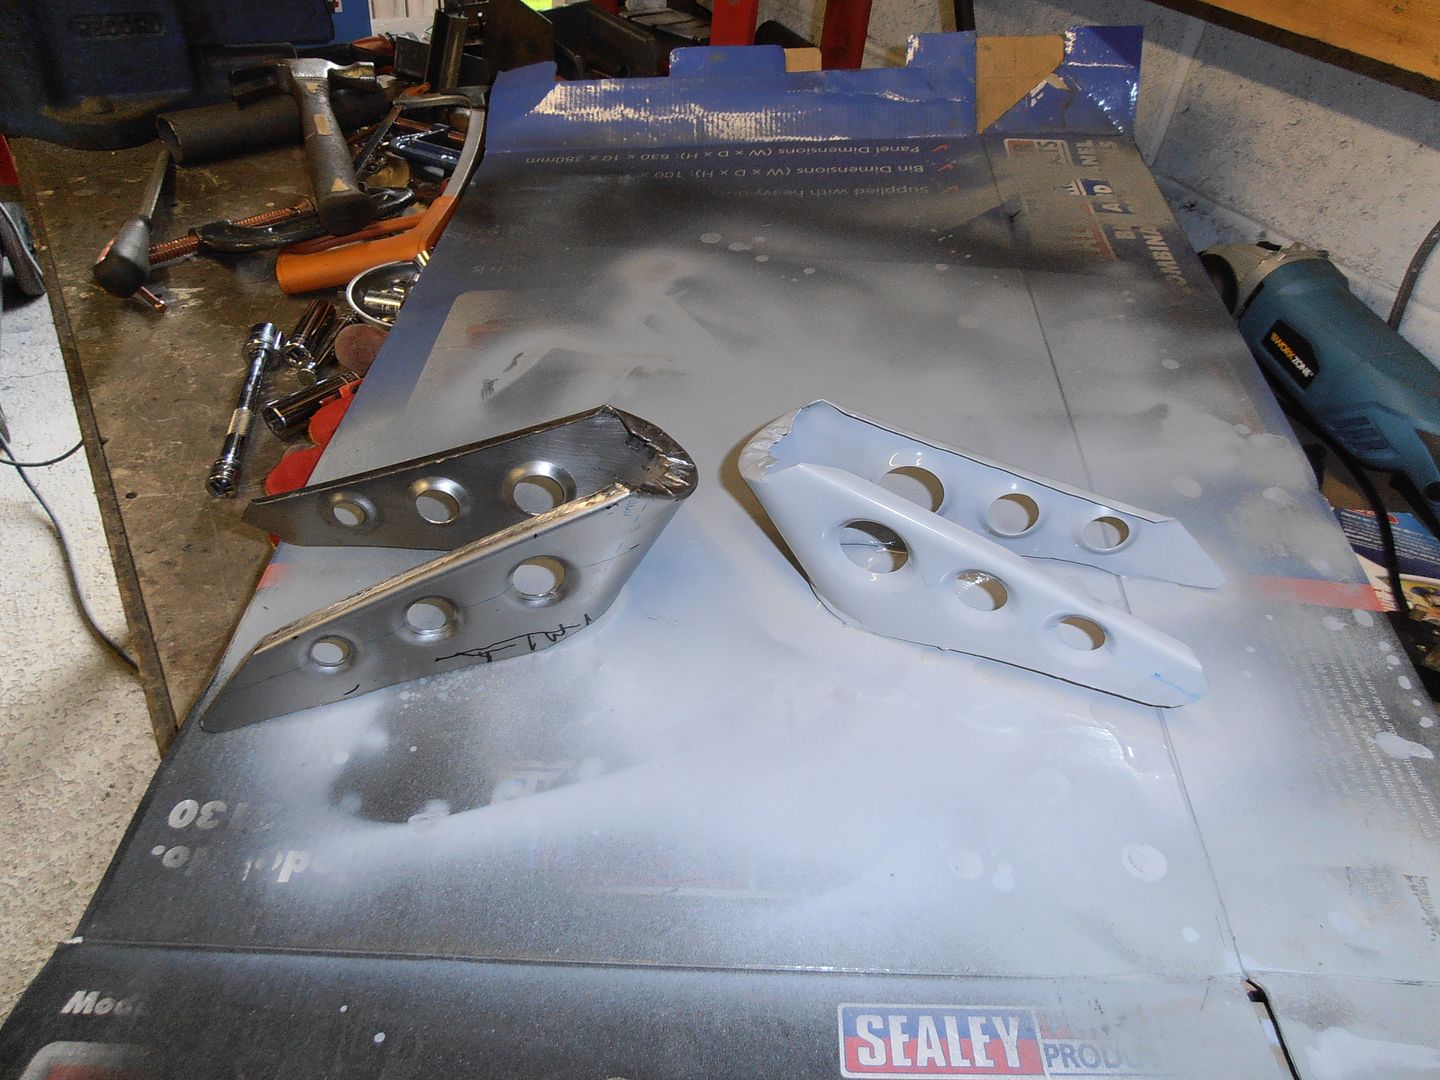 just got to make the one for the other side and weld them in... Tomorrows fun :-) |
| |
|
|
|
|
|
Sept 26, 2015 17:40:50 GMT
|
|
Nice attention to detail, bet that tight bend was awkward on the shrinker
|
| |
|
|
|
|
jonomisfit
Club Retro Rides Member
Posts: 1,790
Club RR Member Number: 49
|
|
Sept 26, 2015 17:46:00 GMT
|
|
Yes, it was a complete C U next Tuesday.
I ended up having to cut three slits in it as well so I could massage it more with the hammer.
|
| |
|
|
jonomisfit
Club Retro Rides Member
Posts: 1,790
Club RR Member Number: 49
|
|
Sept 27, 2015 19:54:48 GMT
|
So, instead of getting on with the car today I had a little strop about the state the workshop was in and how difficult it was getting to things So I spent 8 hours tidying up.... Bench 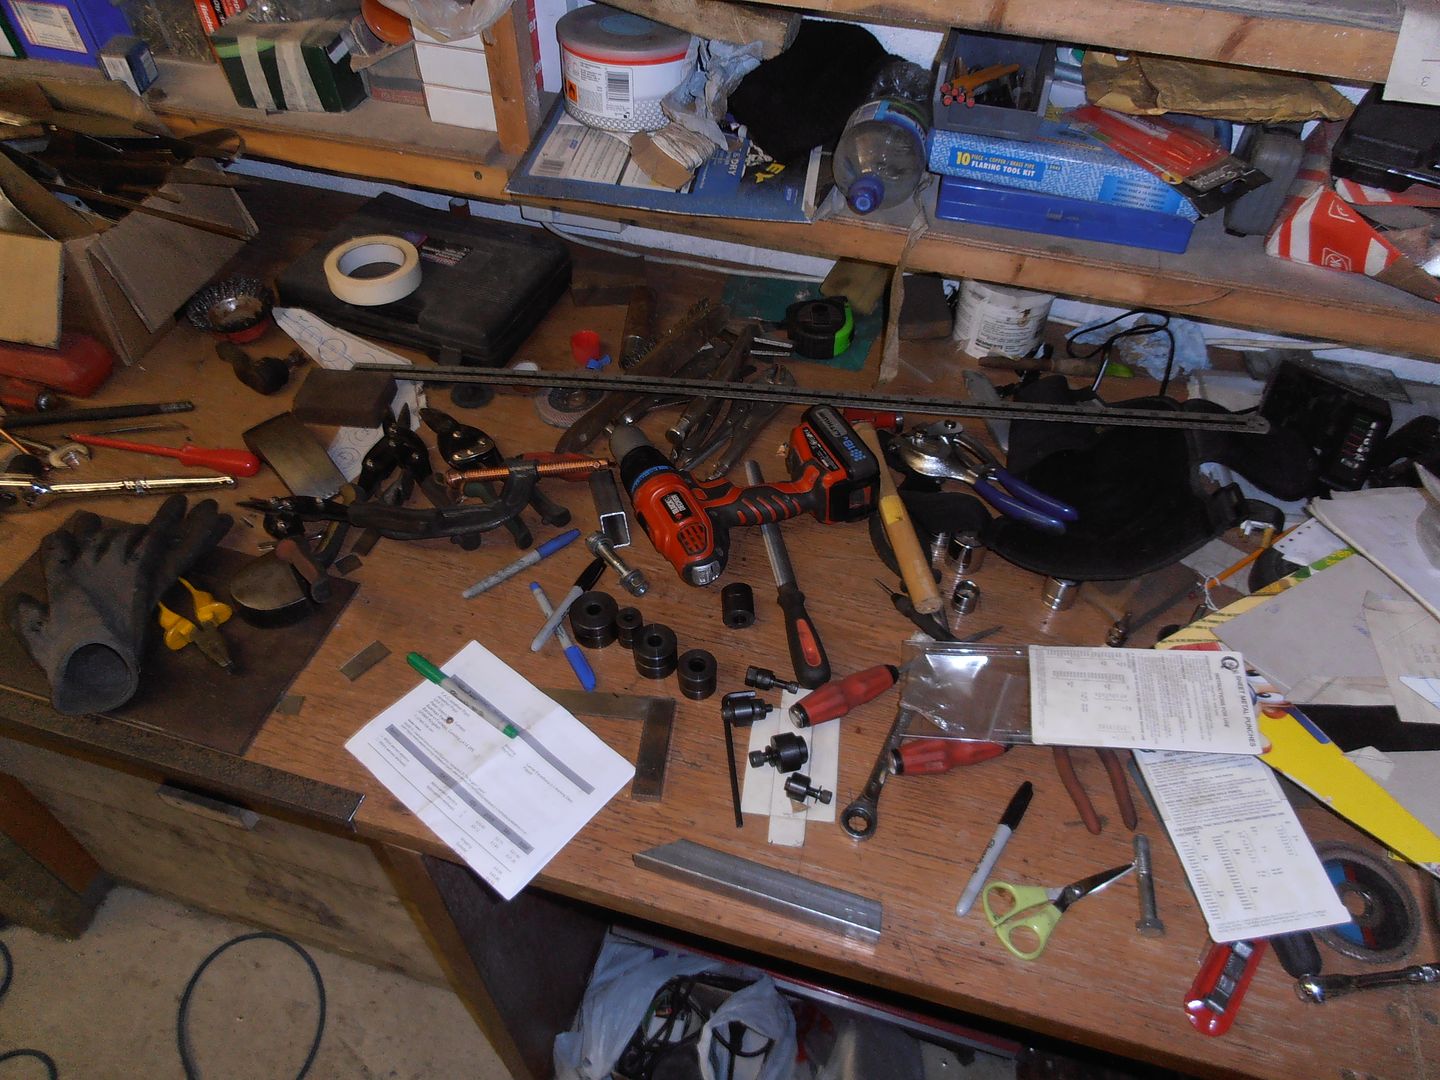 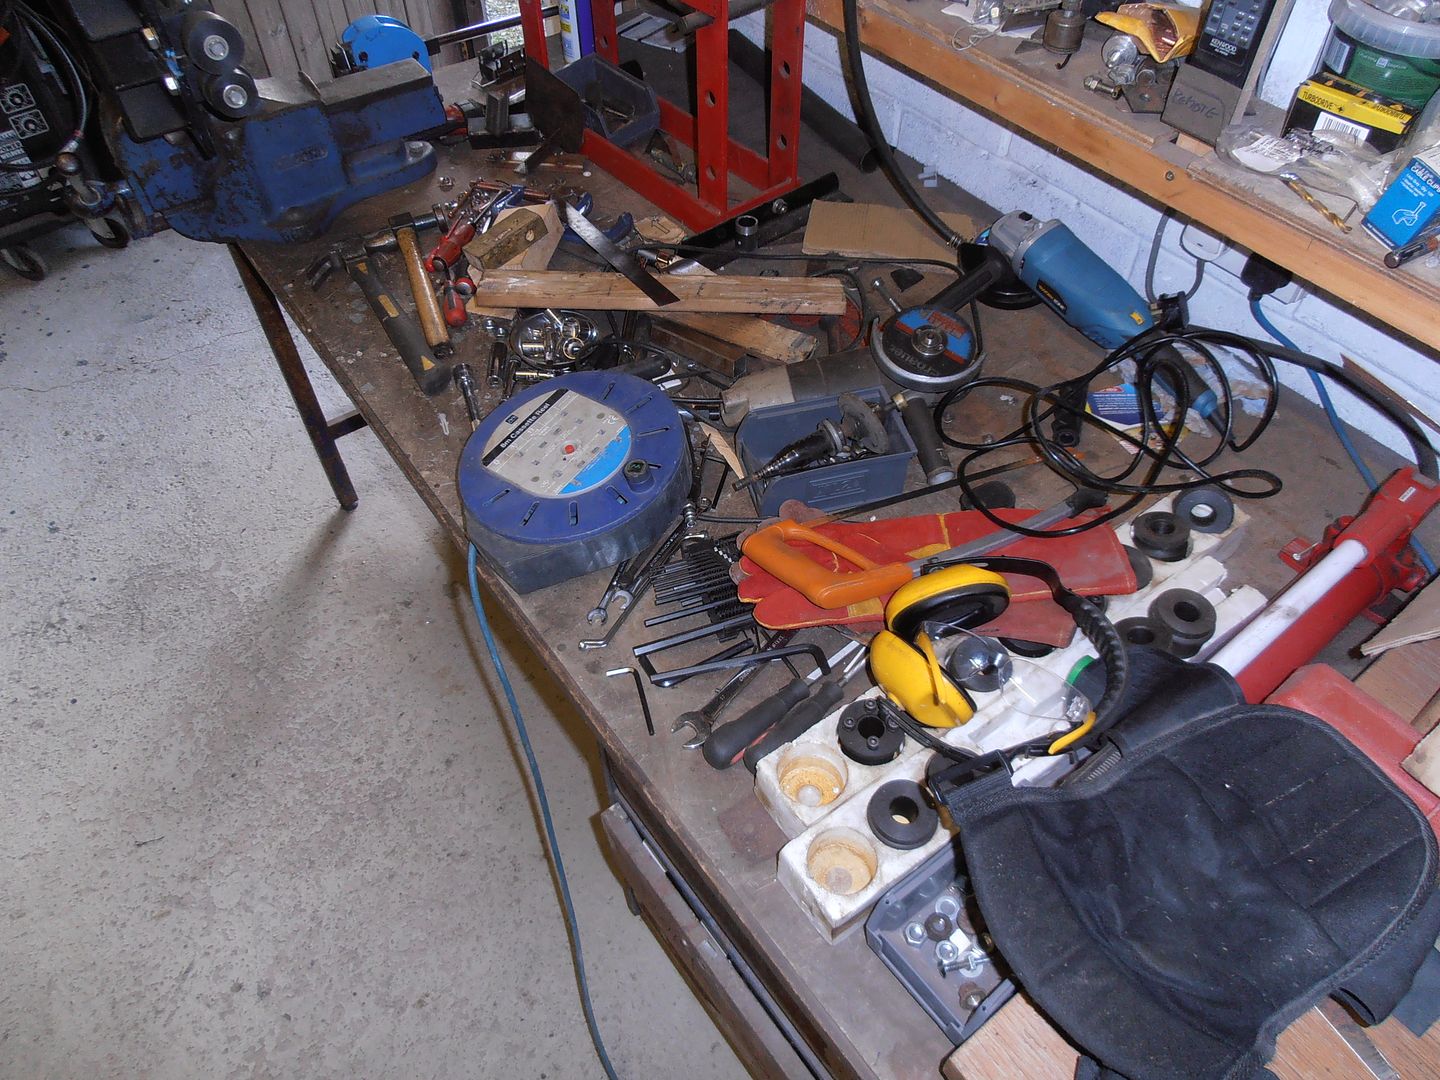 tip :-( Better 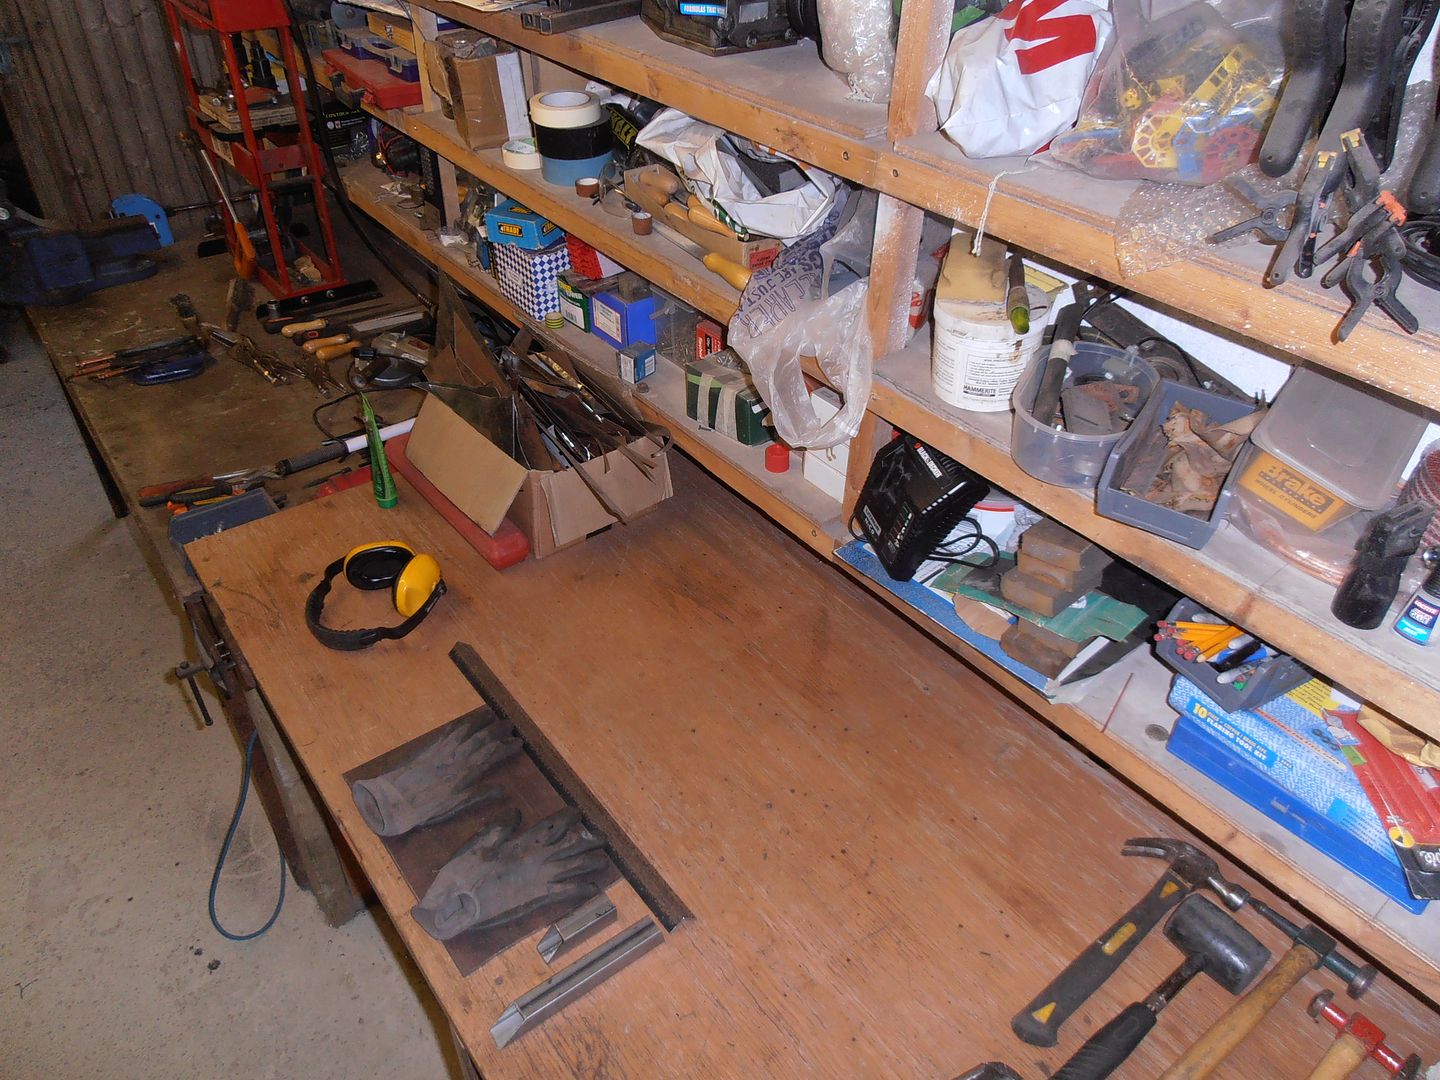 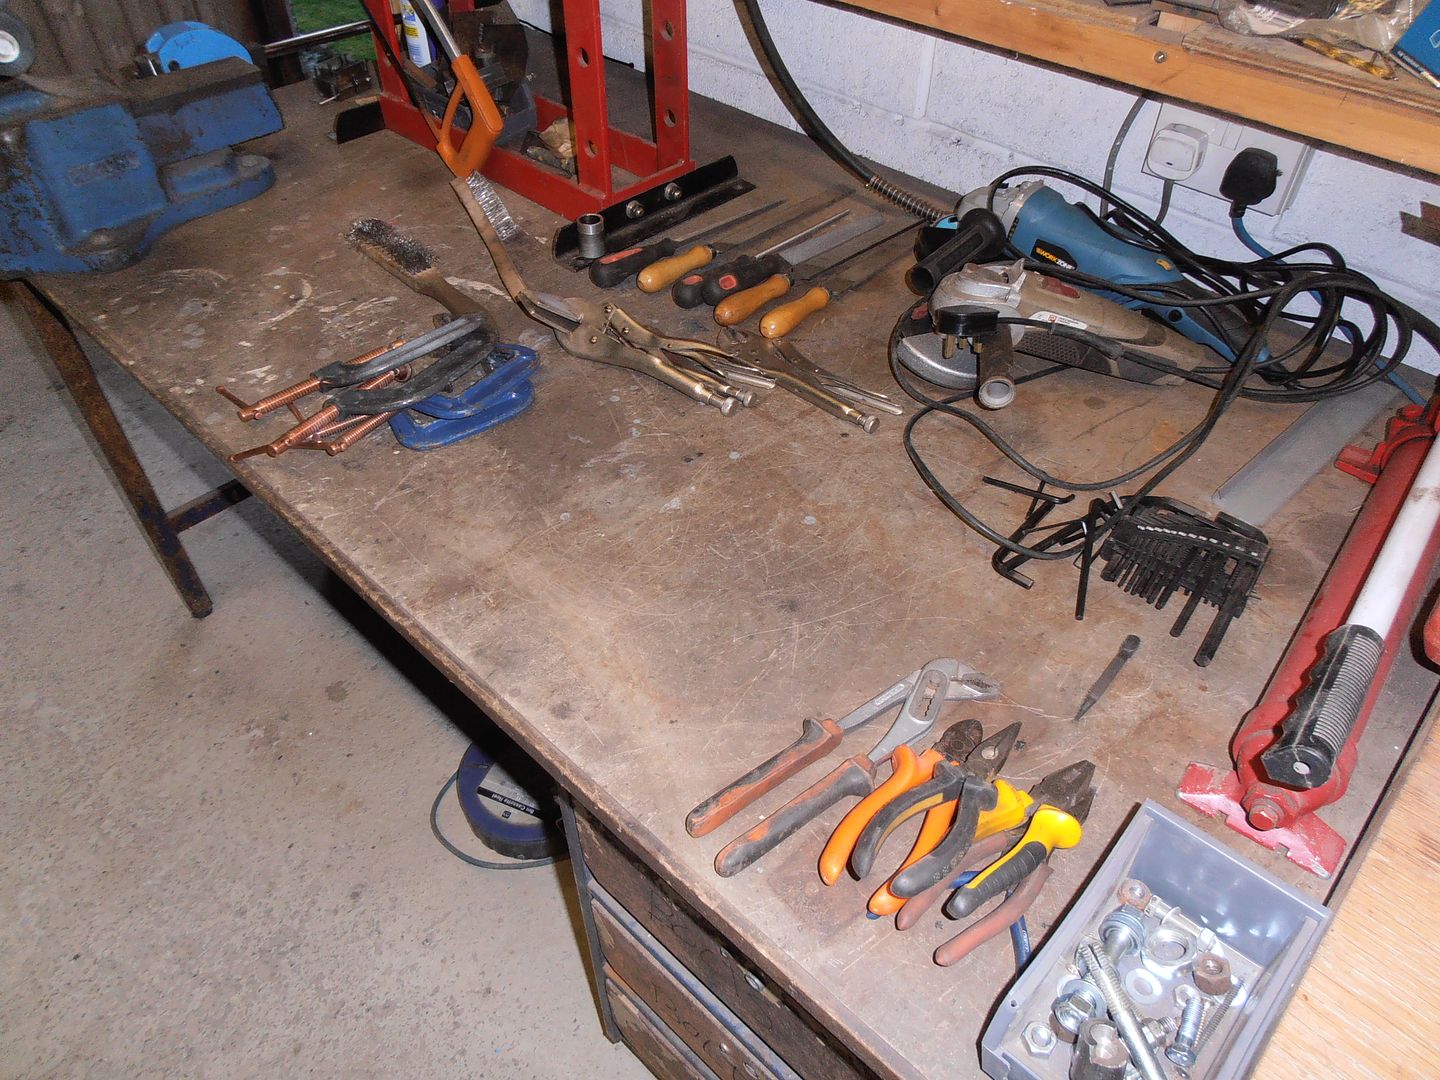 I stuck the morris back up on the build table as I don't think i'll need into the wheels for a while, but if I do its easy enough to get back off. 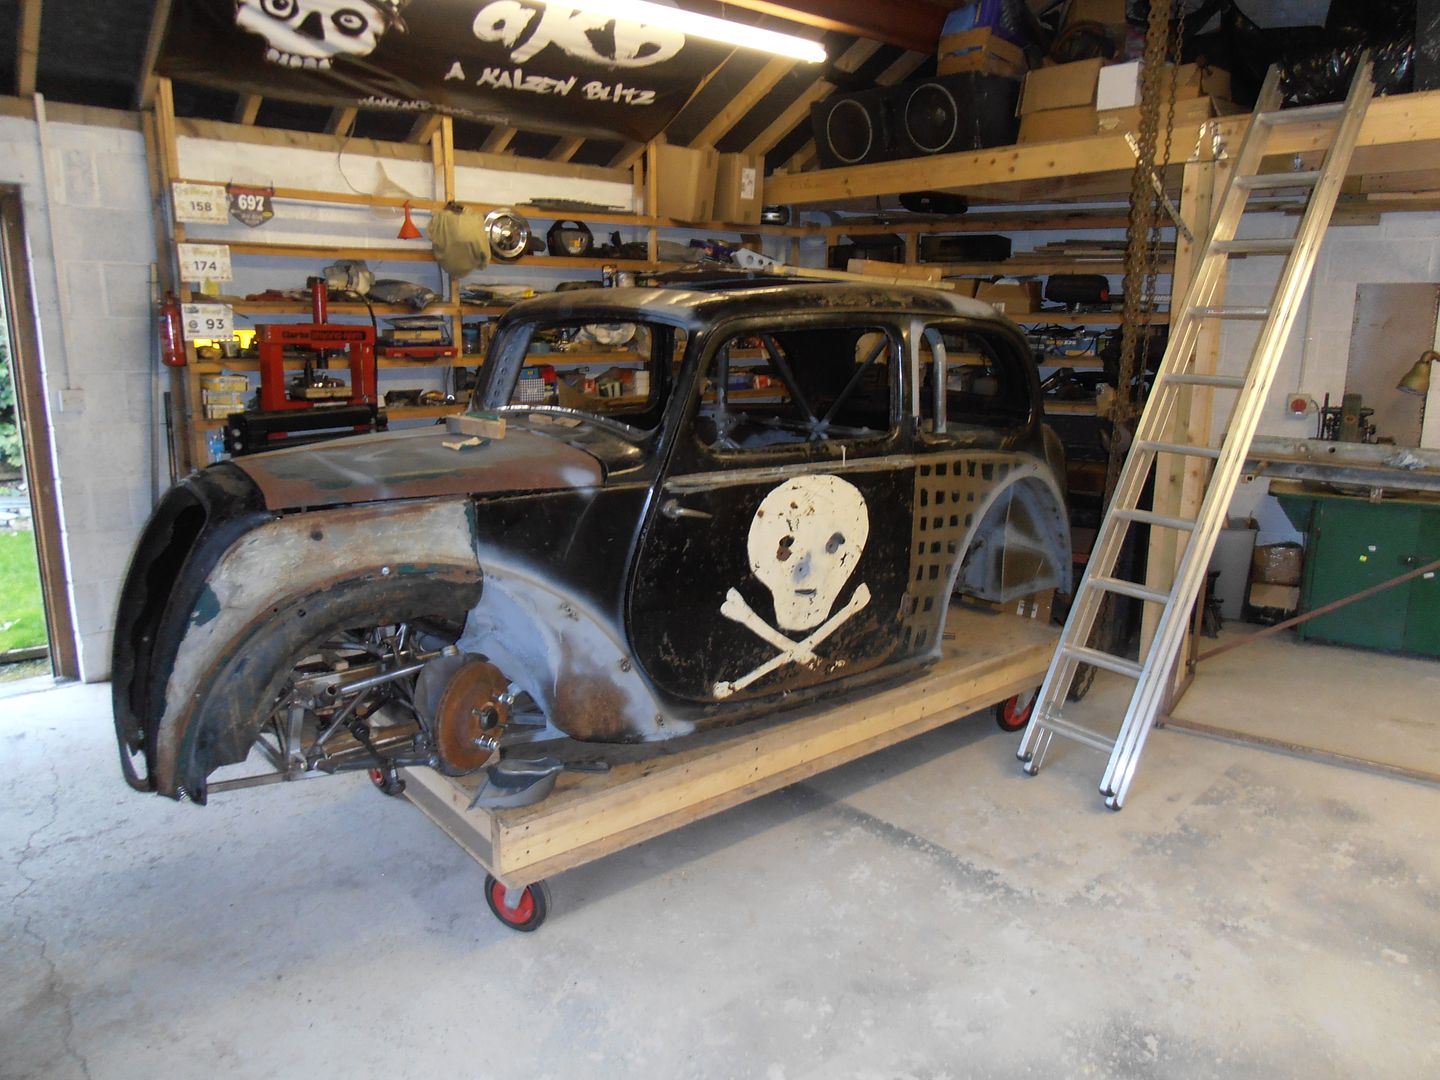 then decided the lathe ad mill were a mess so cleaned them up 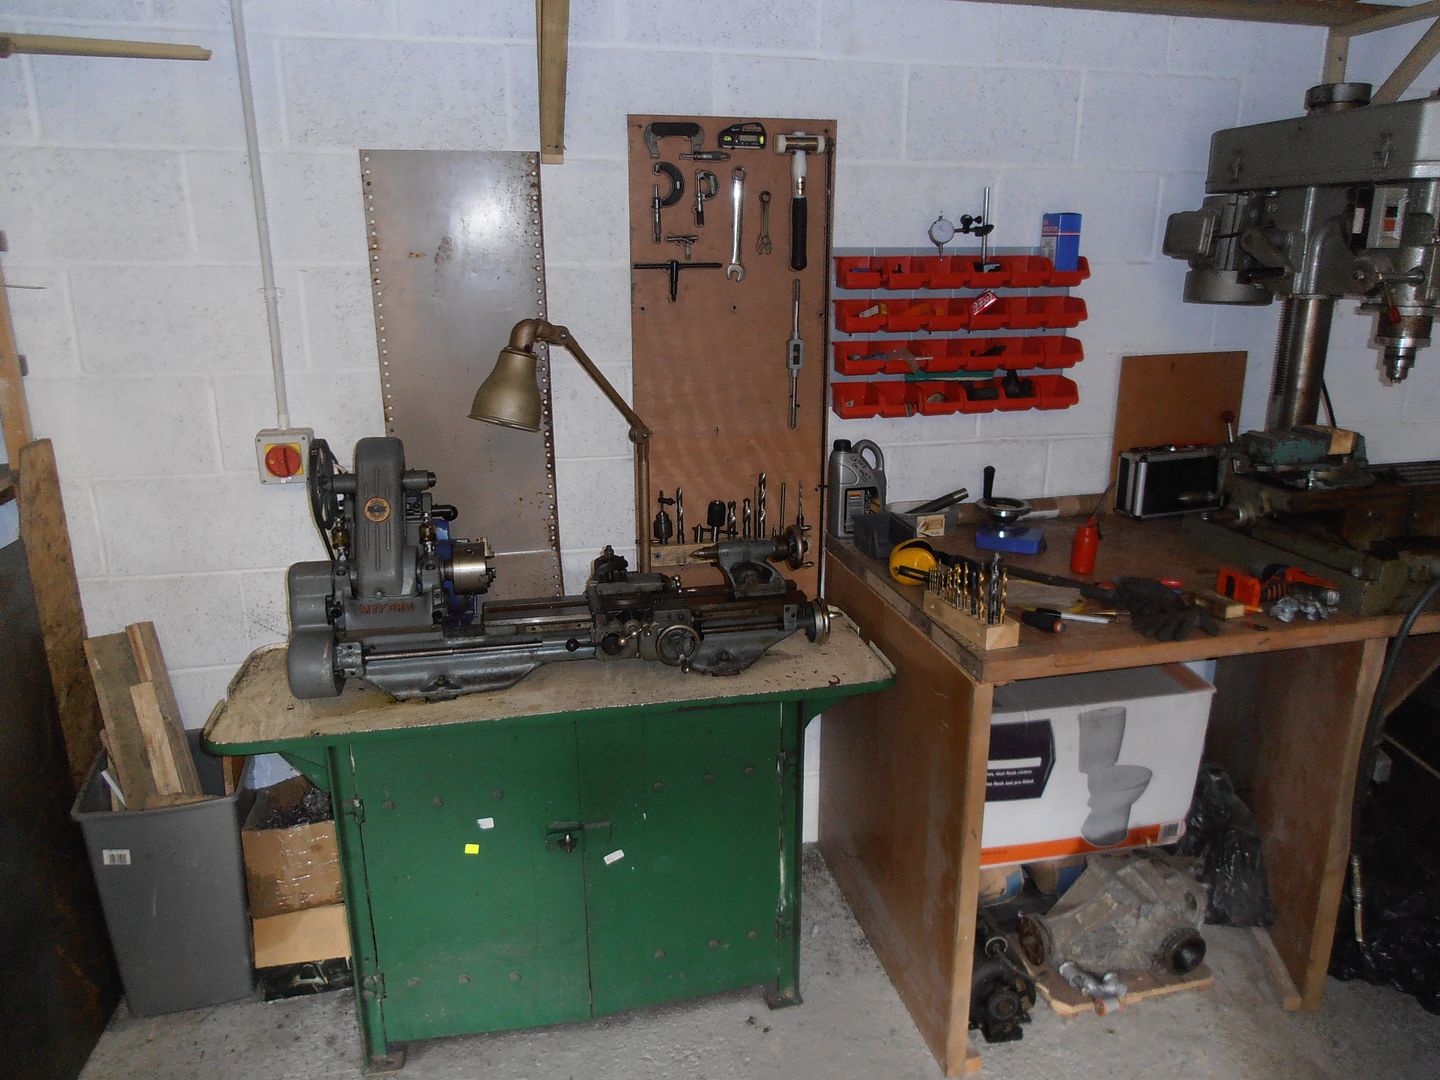 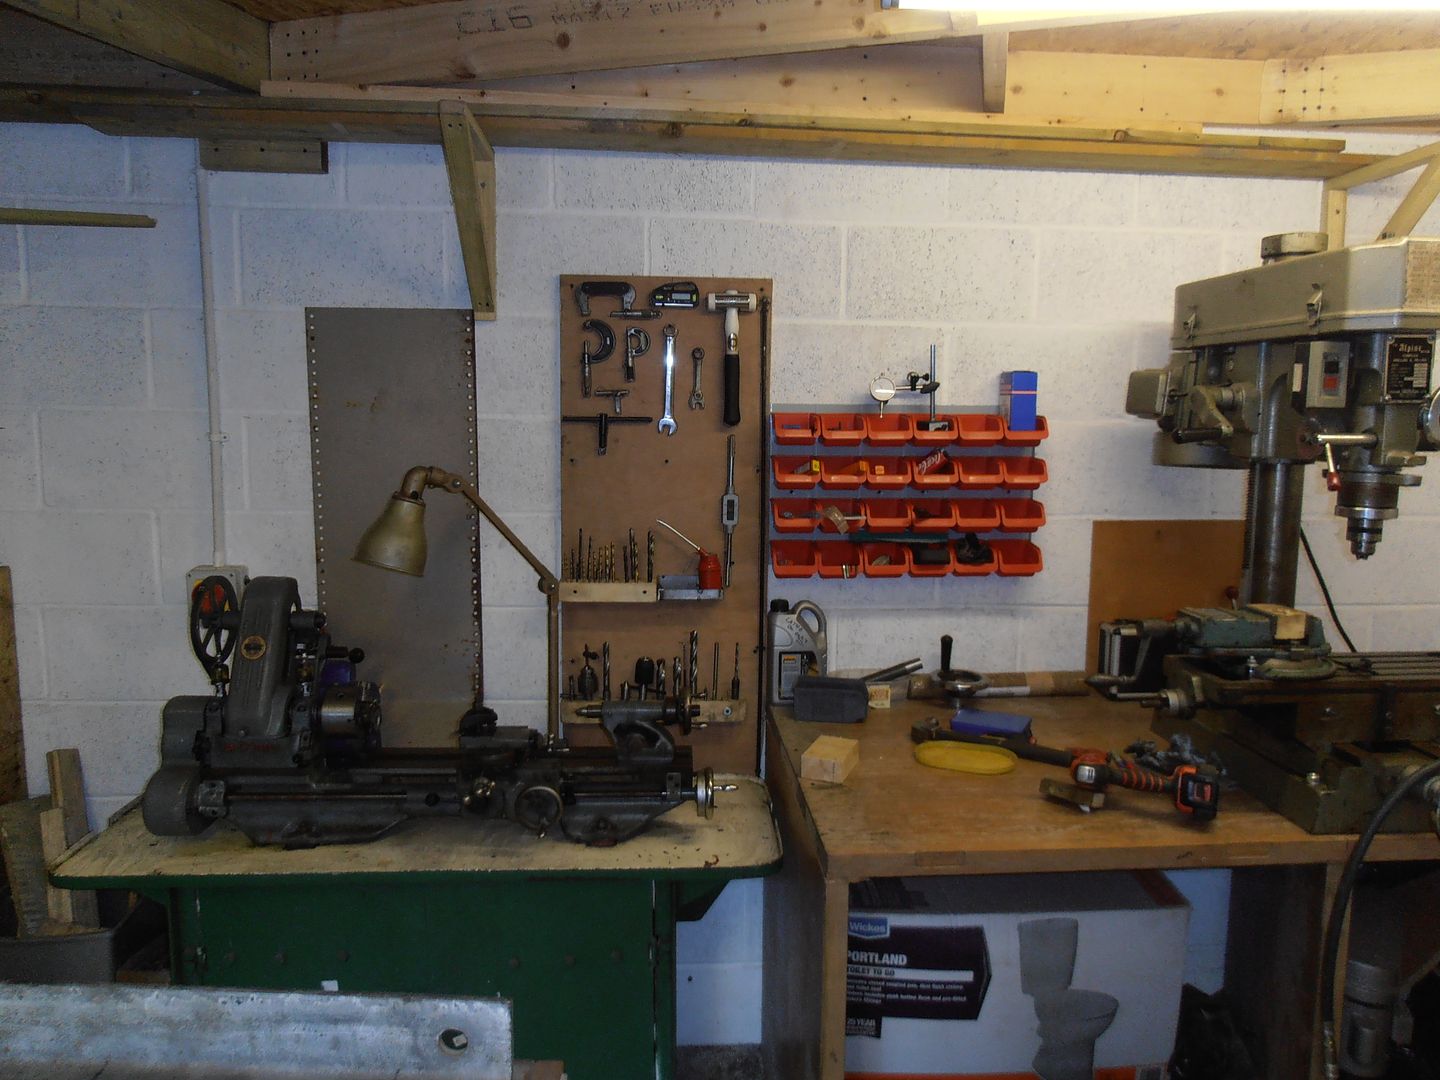 made a shadow board for the lathe tooling 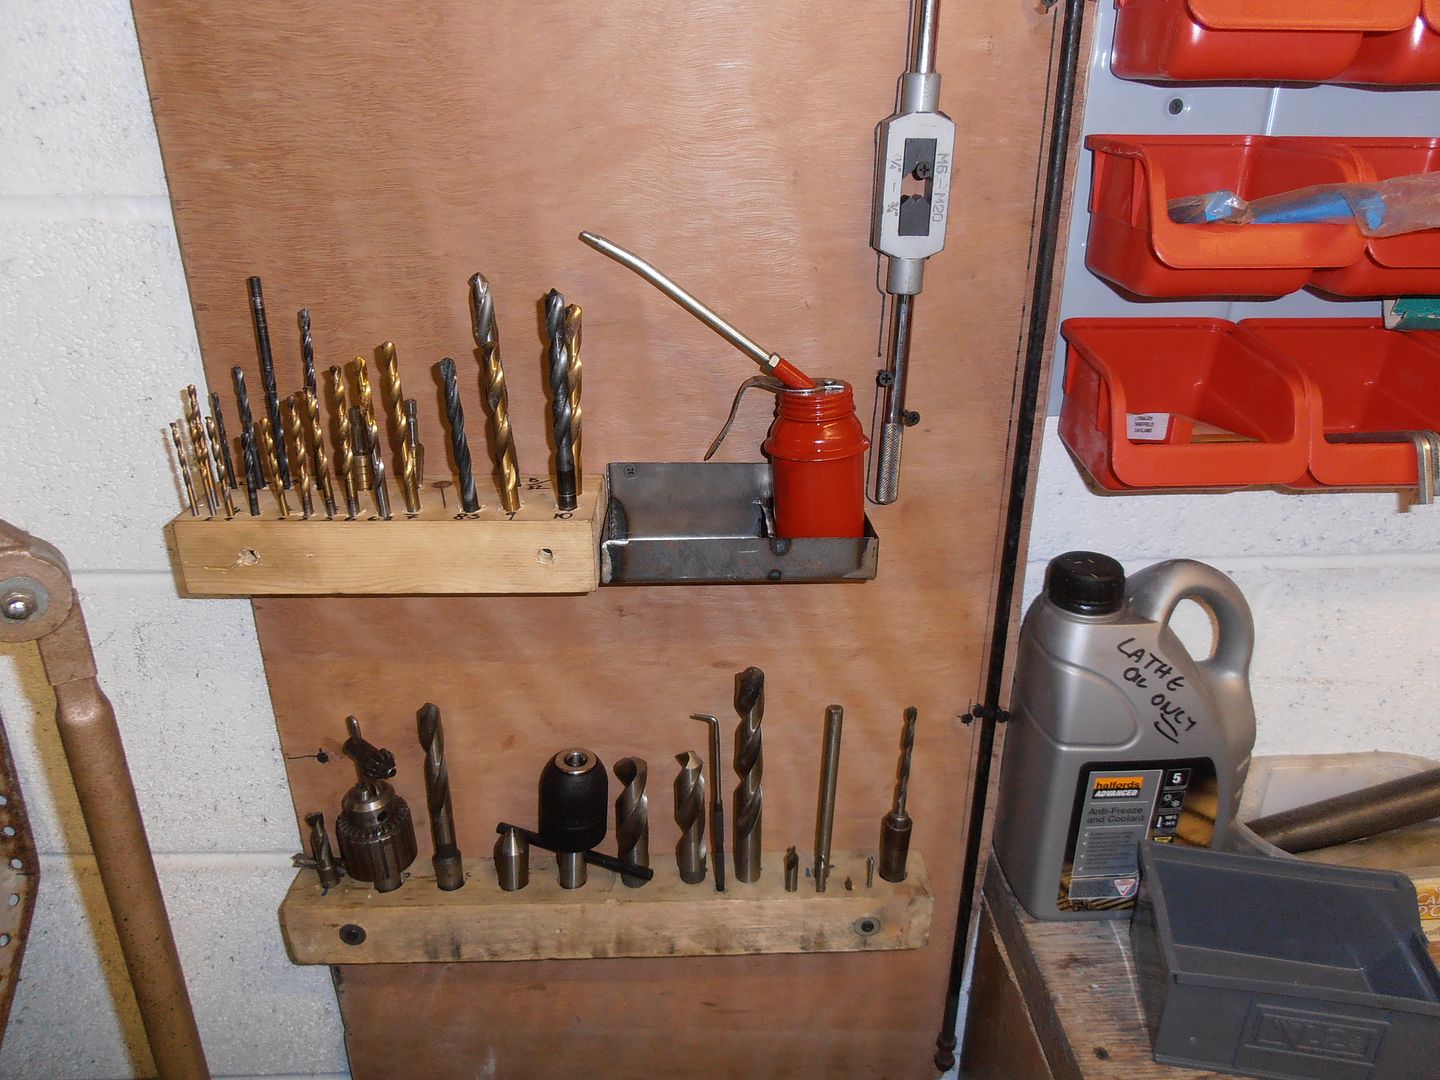 Put up some little bins to hold odds and sods, and generally tidied the other bench. 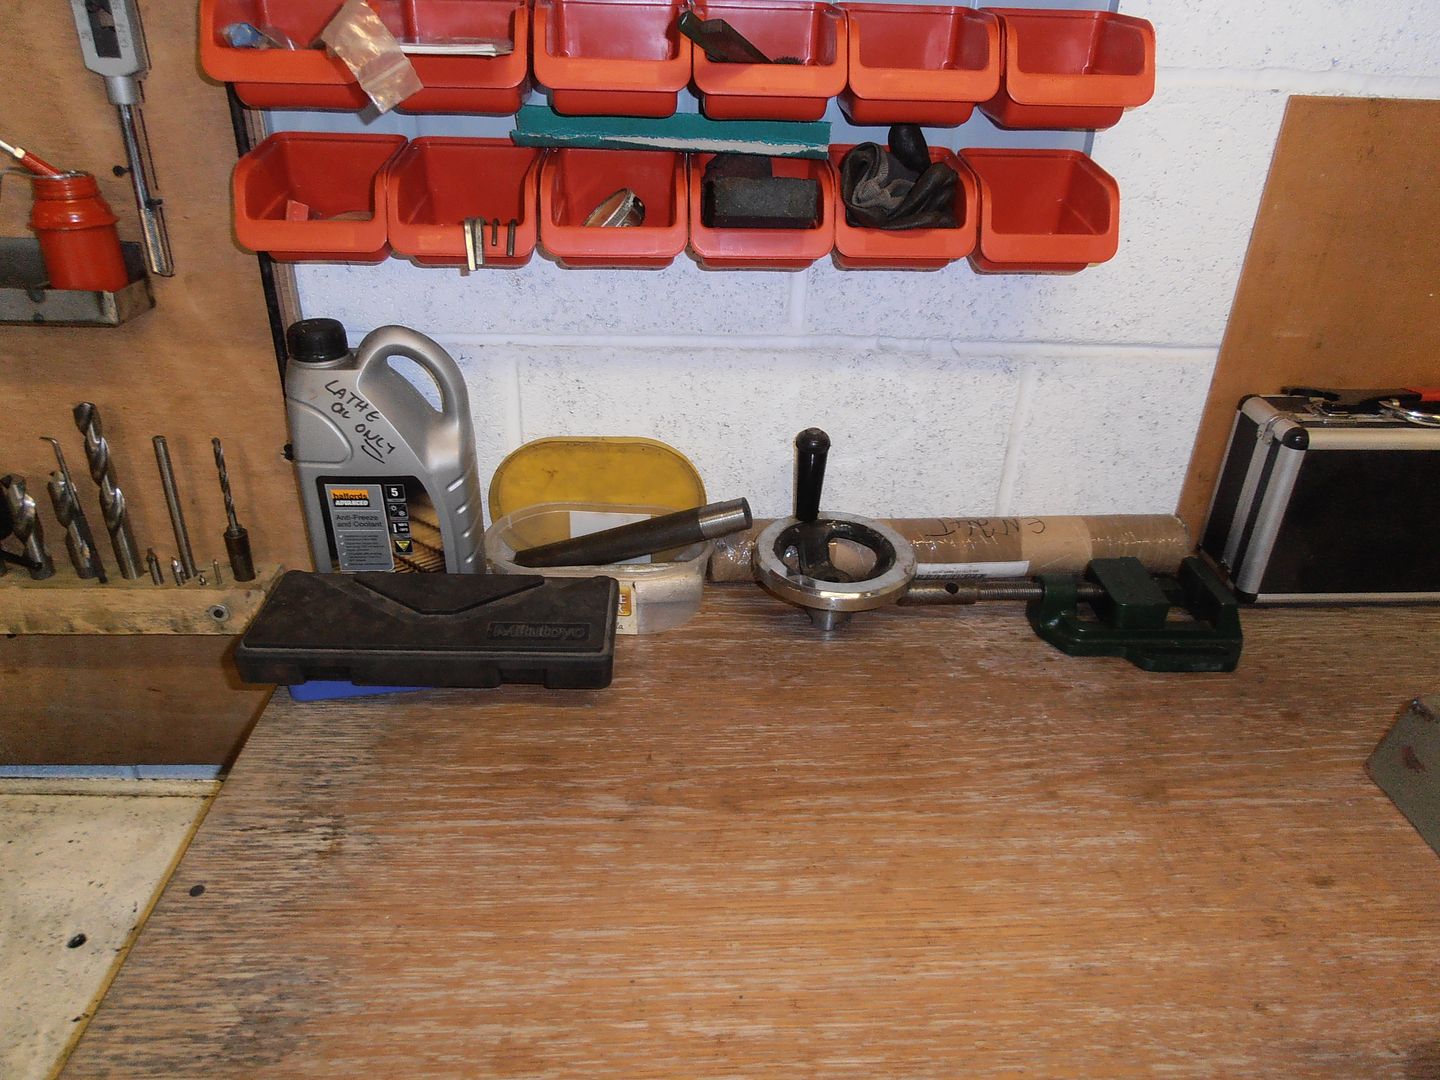 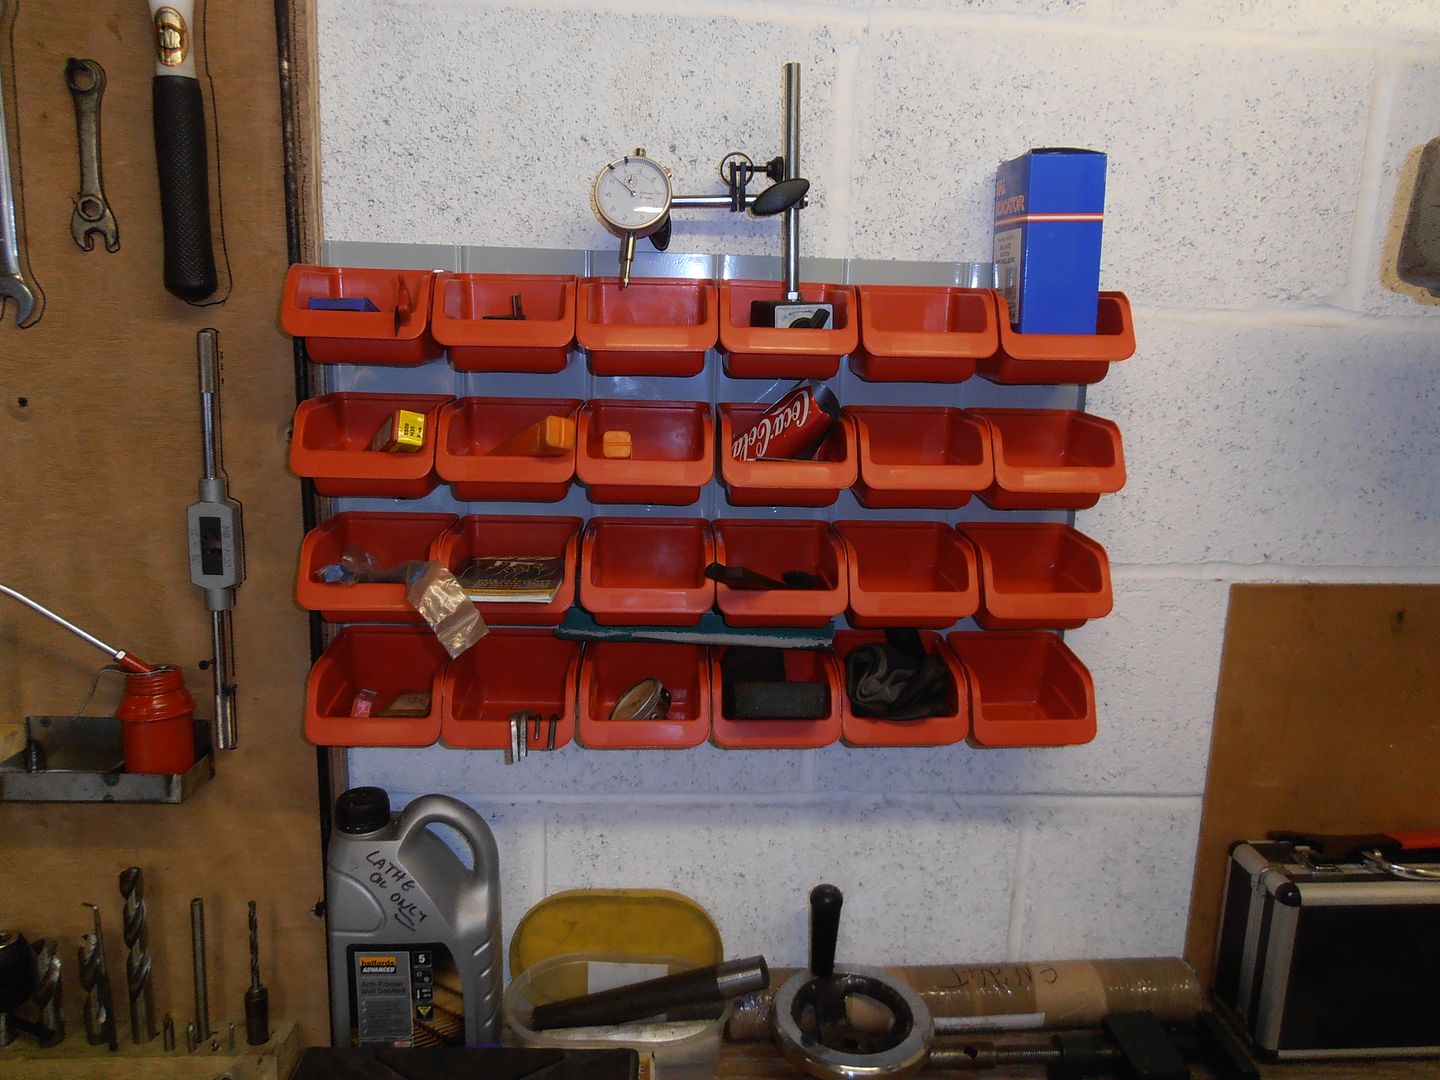 I also sorted out the other corners of the workshop 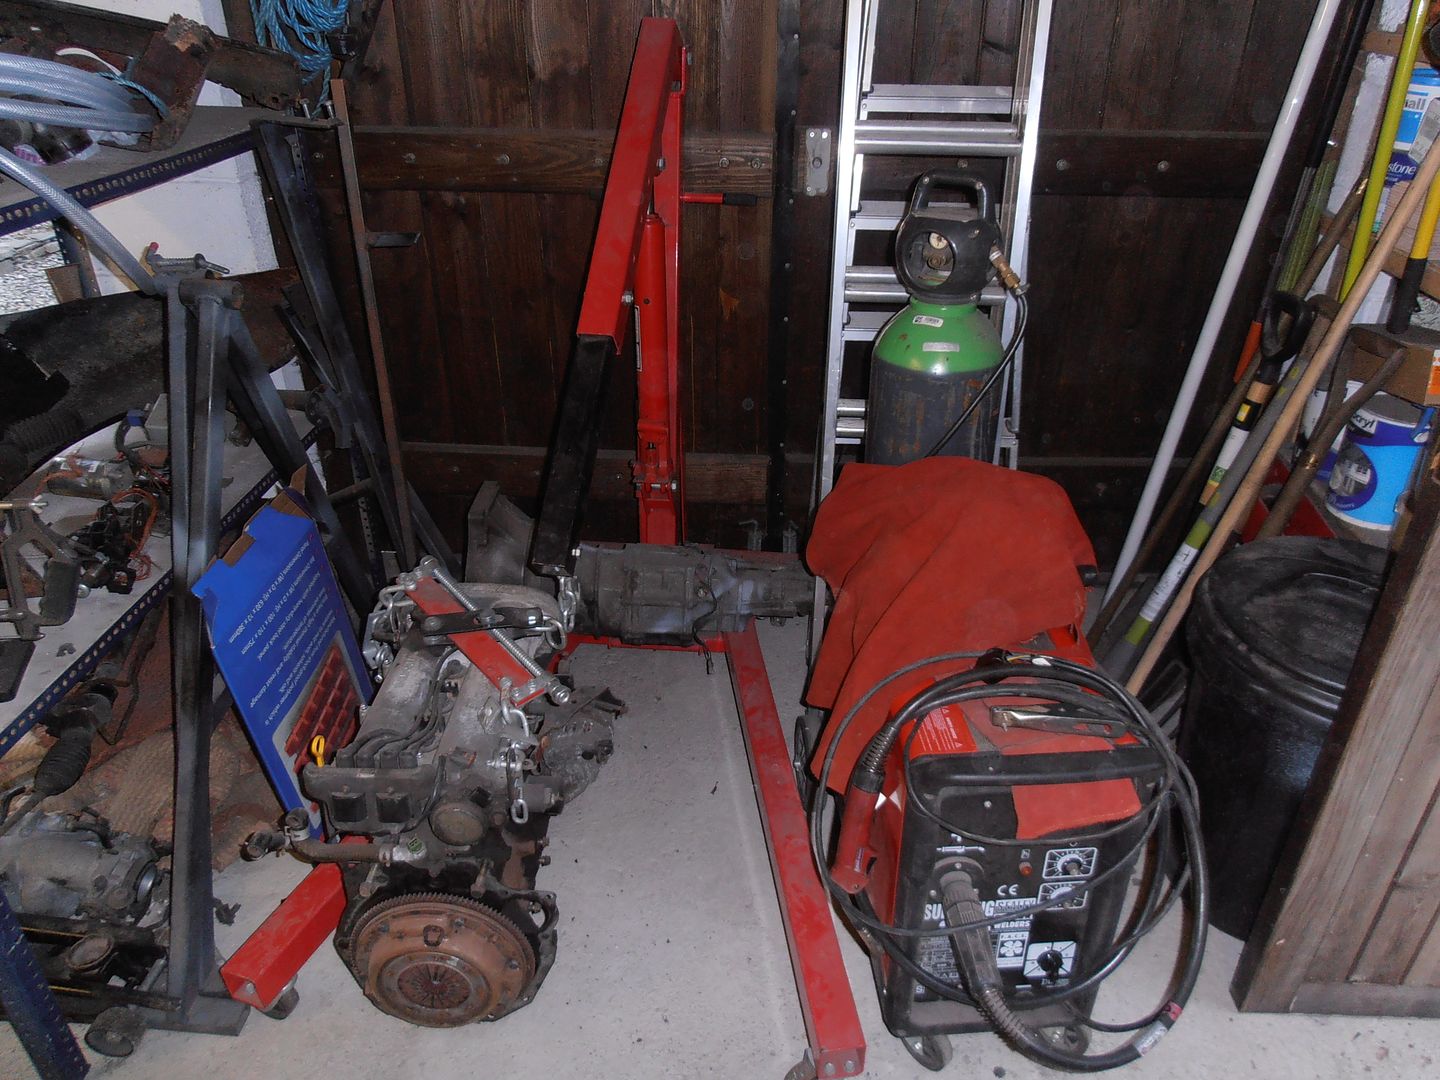 Then spent ages sweeps, and vacuuming months worth of accumulated dirt and grinding dust. Still a load of bits need sorting, but at least its clean enough for me to get to things now. Hopefully get some actual car work done next time. |
| |
|
|
|
|
|
Sept 27, 2015 20:15:53 GMT
|
|
good to see a tidy a shop, but like me i guess it lasts all of five minutes! Ive got a vac now i leave setup and run it round like a proper little housewife when I'm packing up lol
|
| |
|
|
heathrobinson
Part of things
  Broken everything
Posts: 848  Club RR Member Number: 111
|
|
Sept 27, 2015 22:45:51 GMT
|
|
Amazing build! What's your little mill? That thing looks damn handy.
|
| |
|
|
drdick
Part of things
 
Posts: 359
|
|
Sept 28, 2015 18:54:53 GMT
|
Cleaning of the workshop, my OCD and I approve..... Nice car too  |
| |
|
|
|
|
|
Sept 28, 2015 19:09:26 GMT
|
|
The skill level is through the roof here. I'd imagine it's going to eat up corners like a go-kart when finished!
Love the workplace too!
|
| |
Social hand grenade. Does not play well with others.
|
|
jonomisfit
Club Retro Rides Member
Posts: 1,790
Club RR Member Number: 49
|
|
Sept 28, 2015 20:41:34 GMT
|
|
The mill is an Alpine complex mill/drill. Its a handy tool, but isn't really big enough for chewing through heavy things quickly.
I'm not very hopeful of the workshop staying tidy for long.
|
| |
|
|
jonomisfit
Club Retro Rides Member
Posts: 1,790
Club RR Member Number: 49
|
|
Oct 11, 2015 17:00:50 GMT
|
Not a huge amount of progress on the car. Was away mountain biking in Wales last weekend and been away at Bovington tank museum this week (massively geeky, but I rather like tanks). The progress. Another bracket needed for the passenger cage hoop to shell. Cut the shape 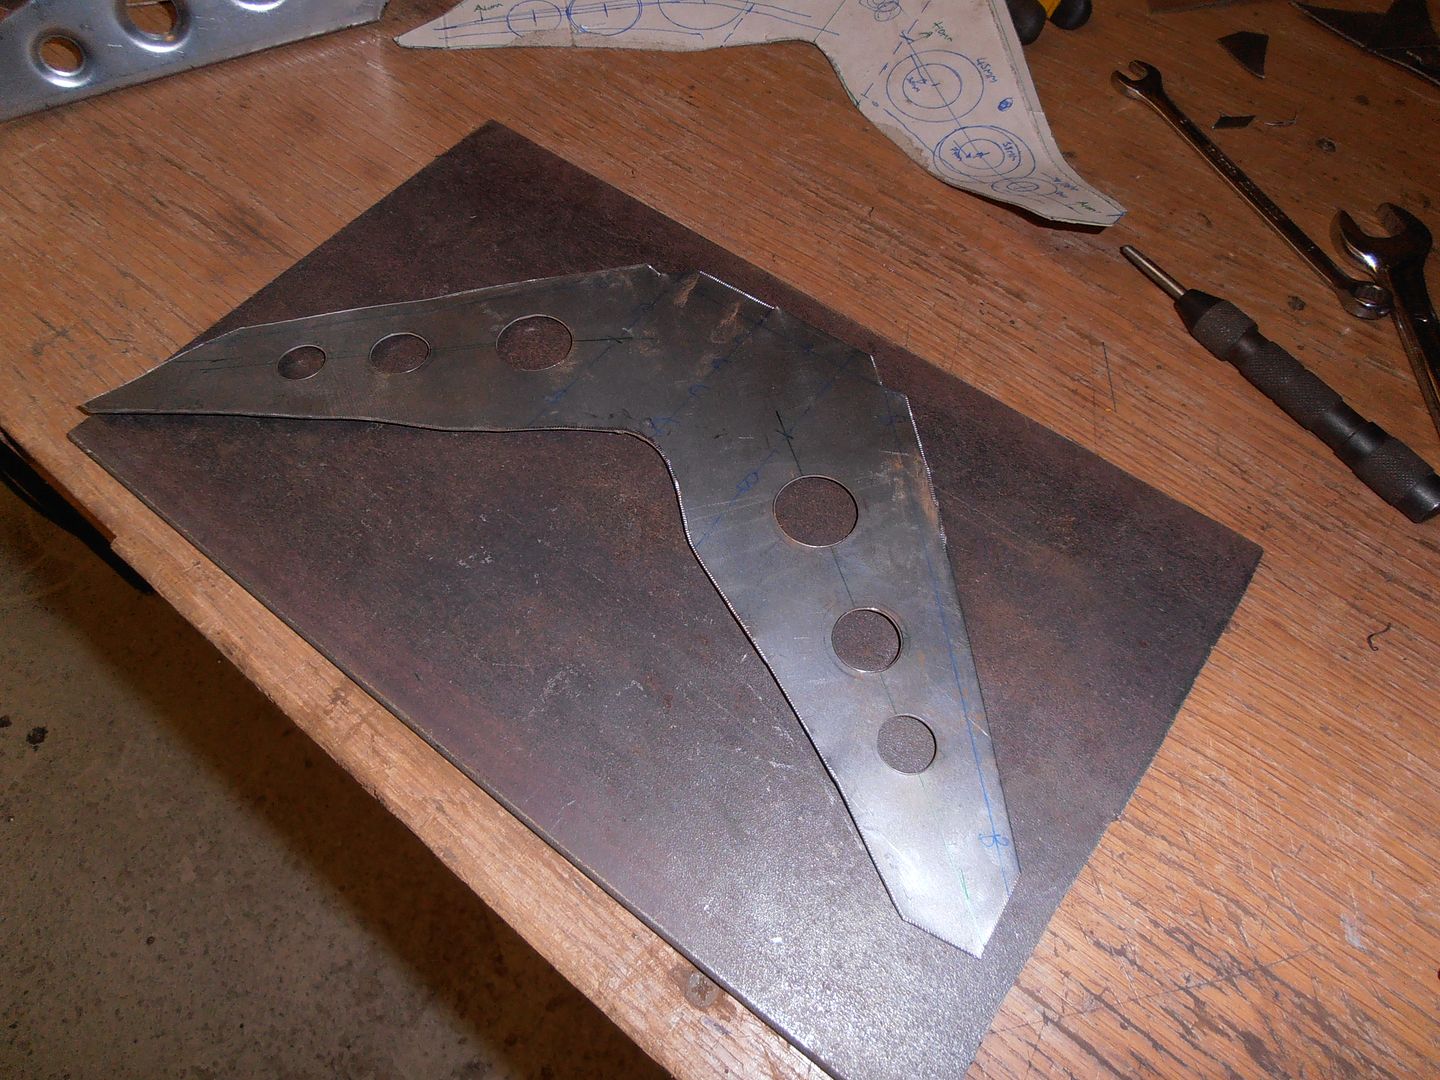 fold lip (too tight / small to do on my bender) 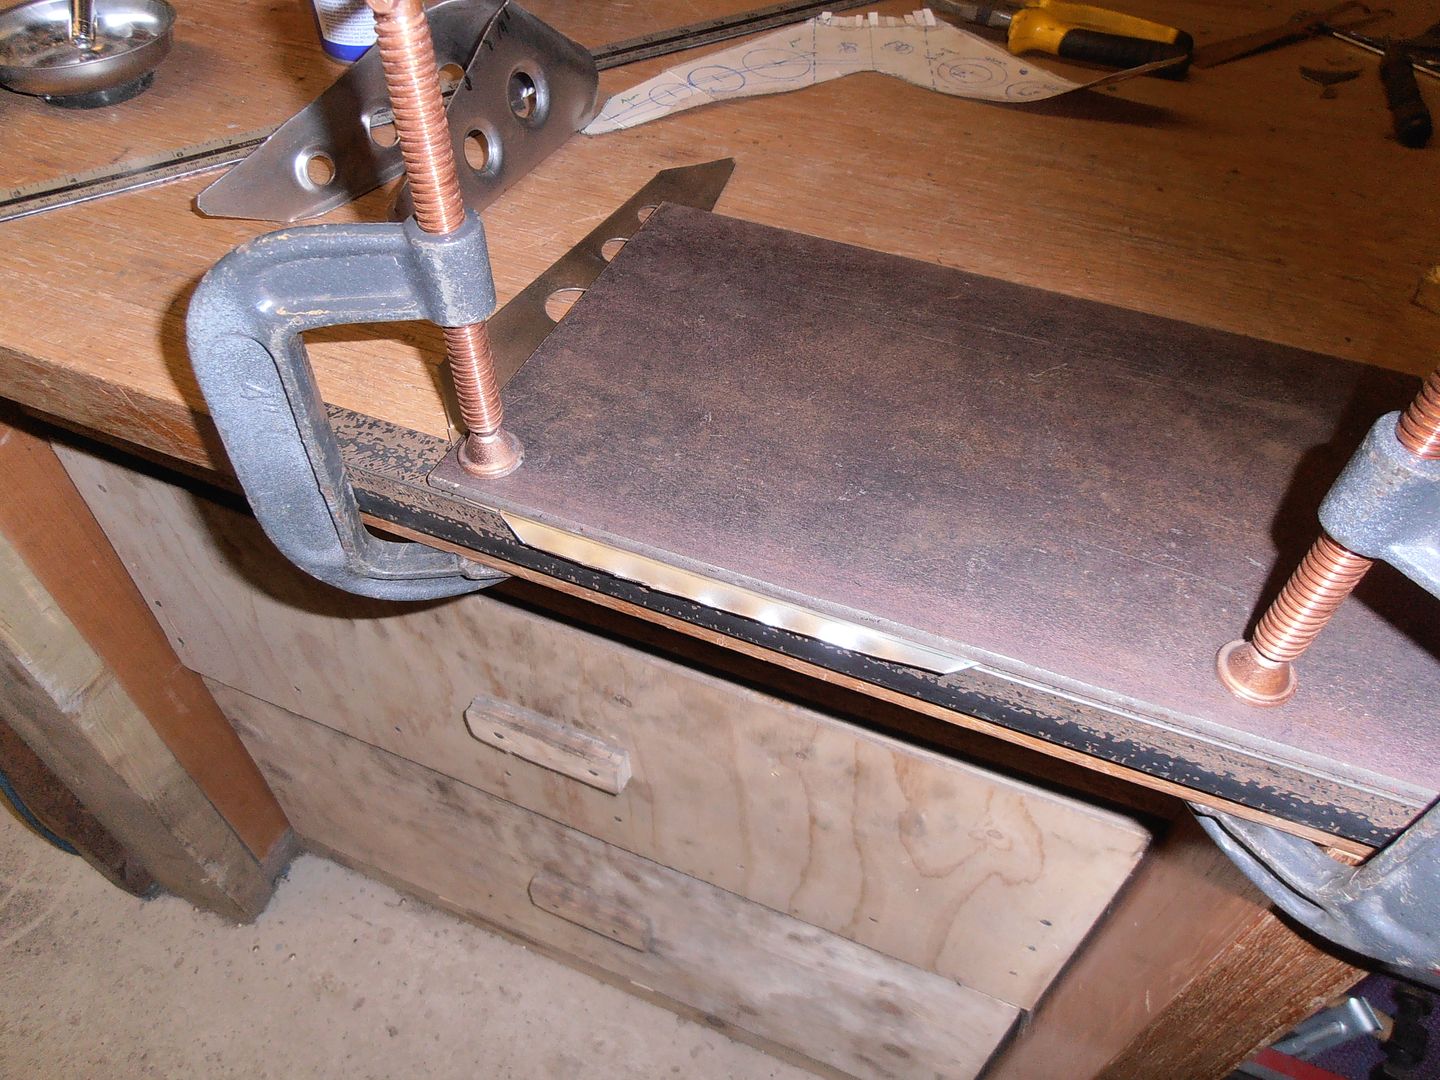 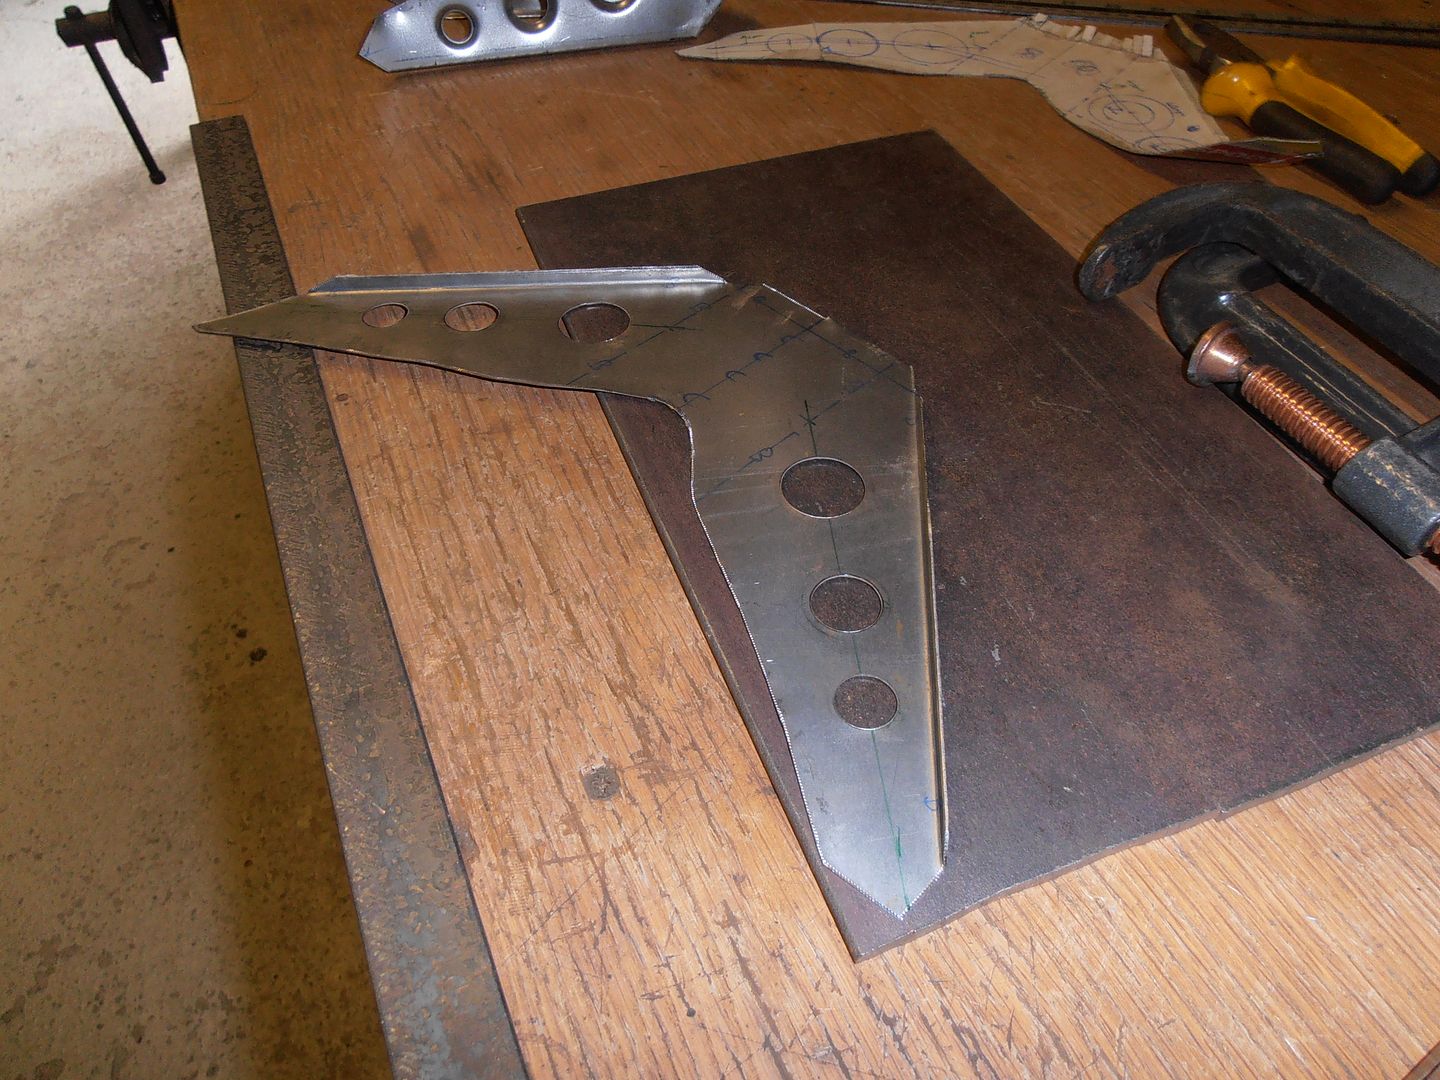 fold up the front edge using hammer and dolly. 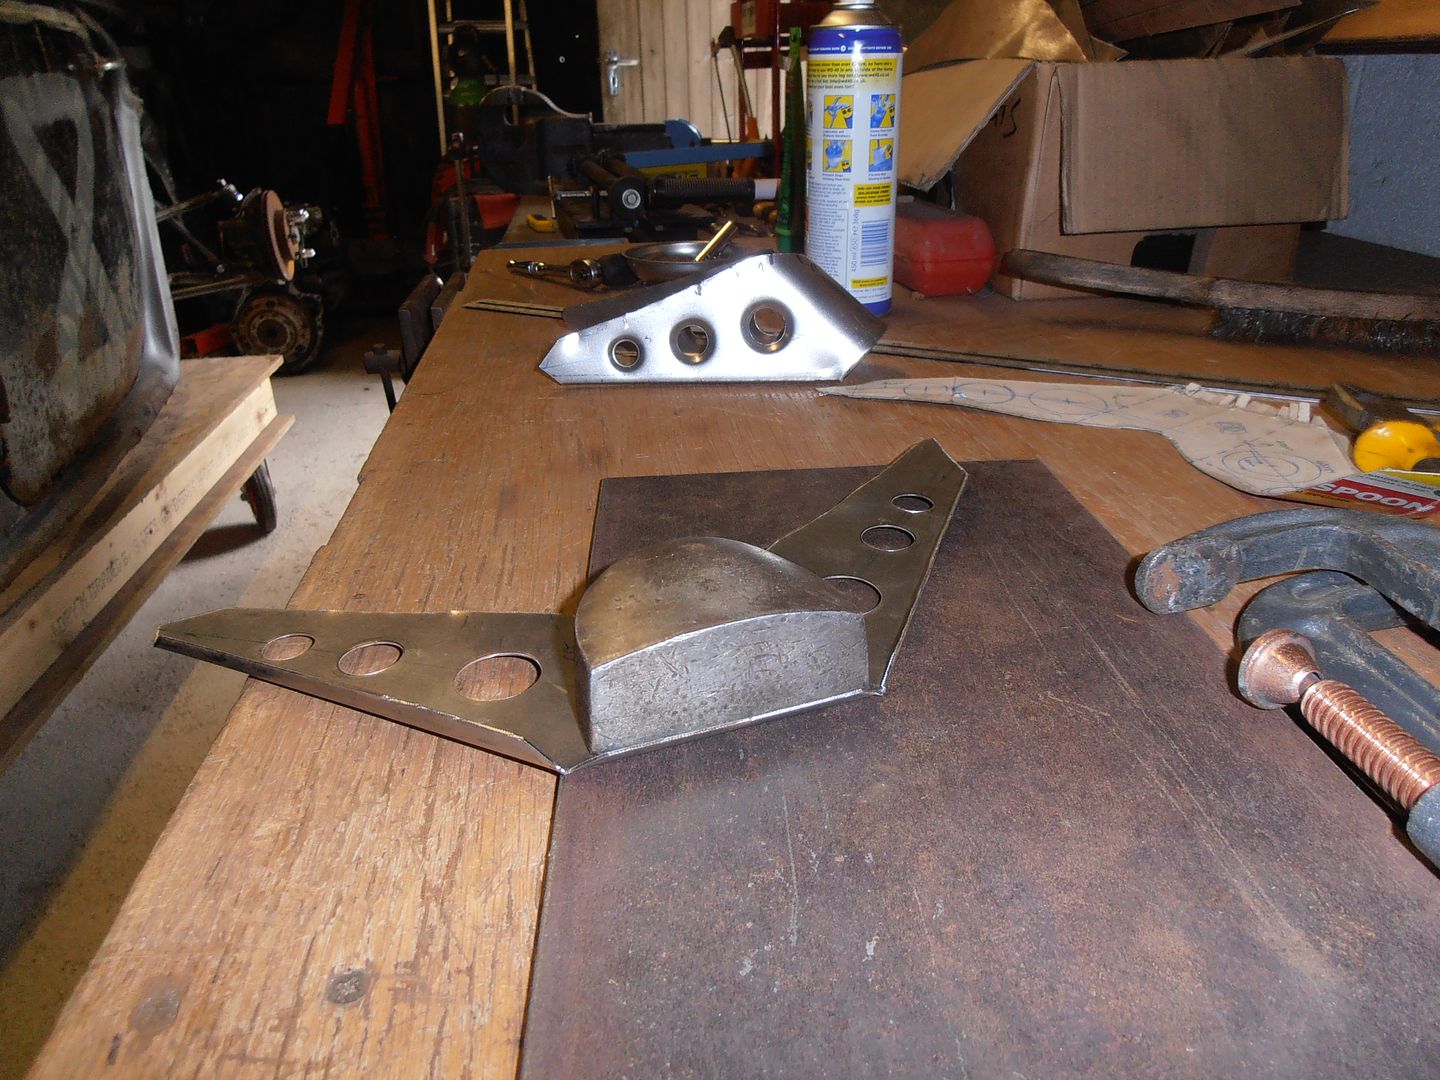 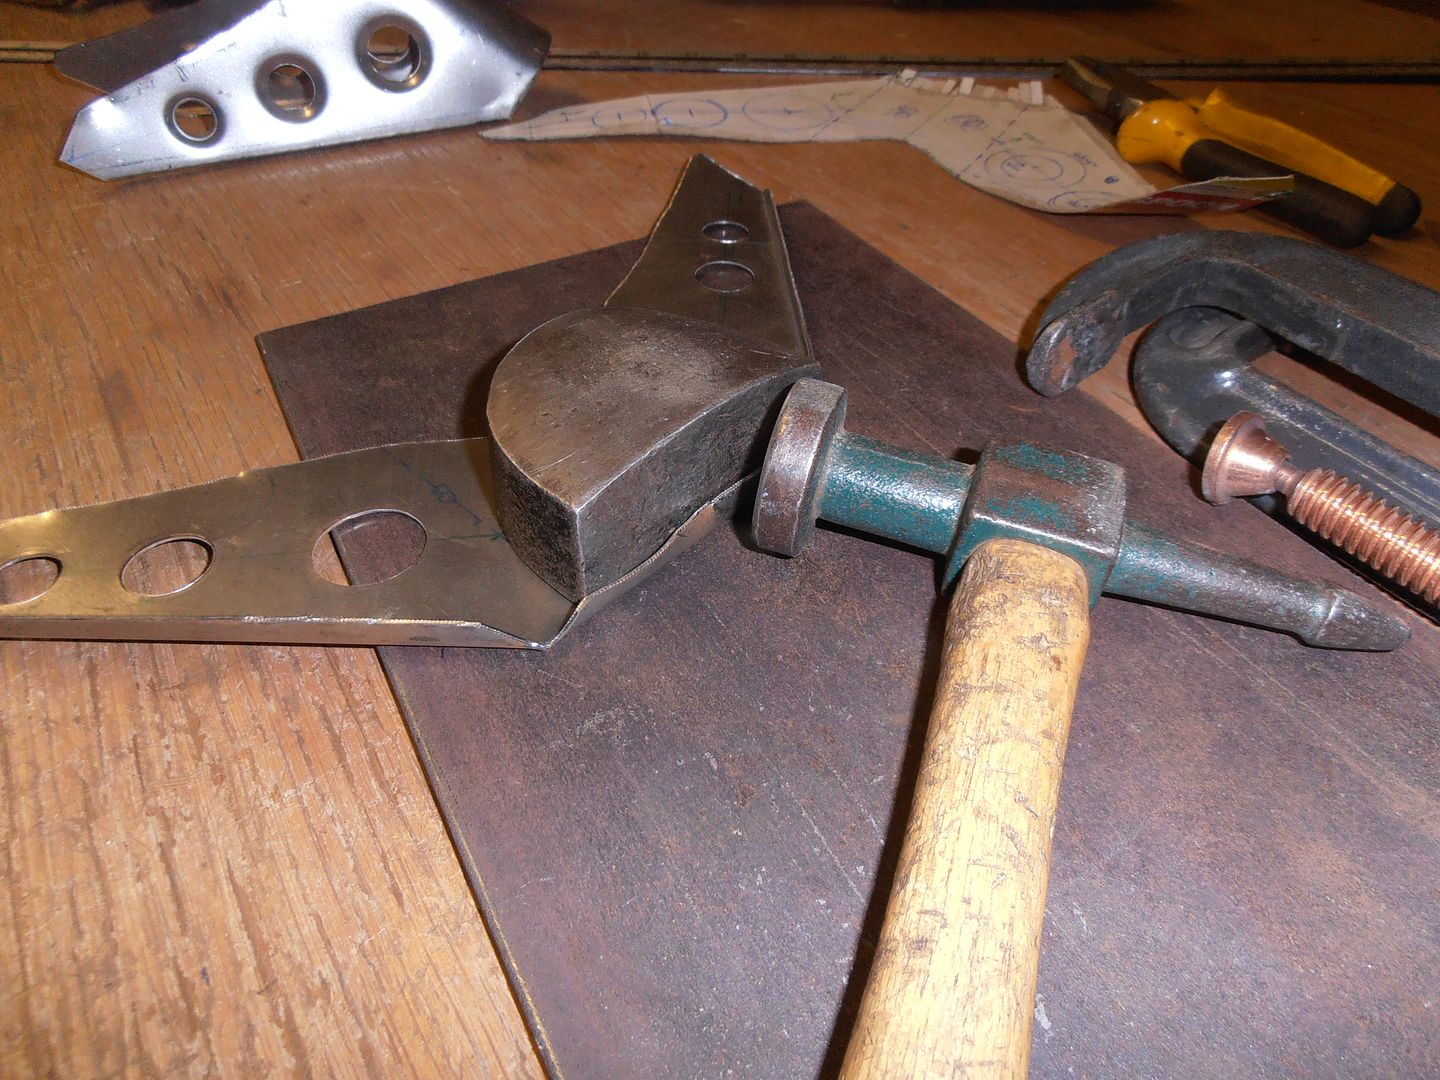 swage some holes 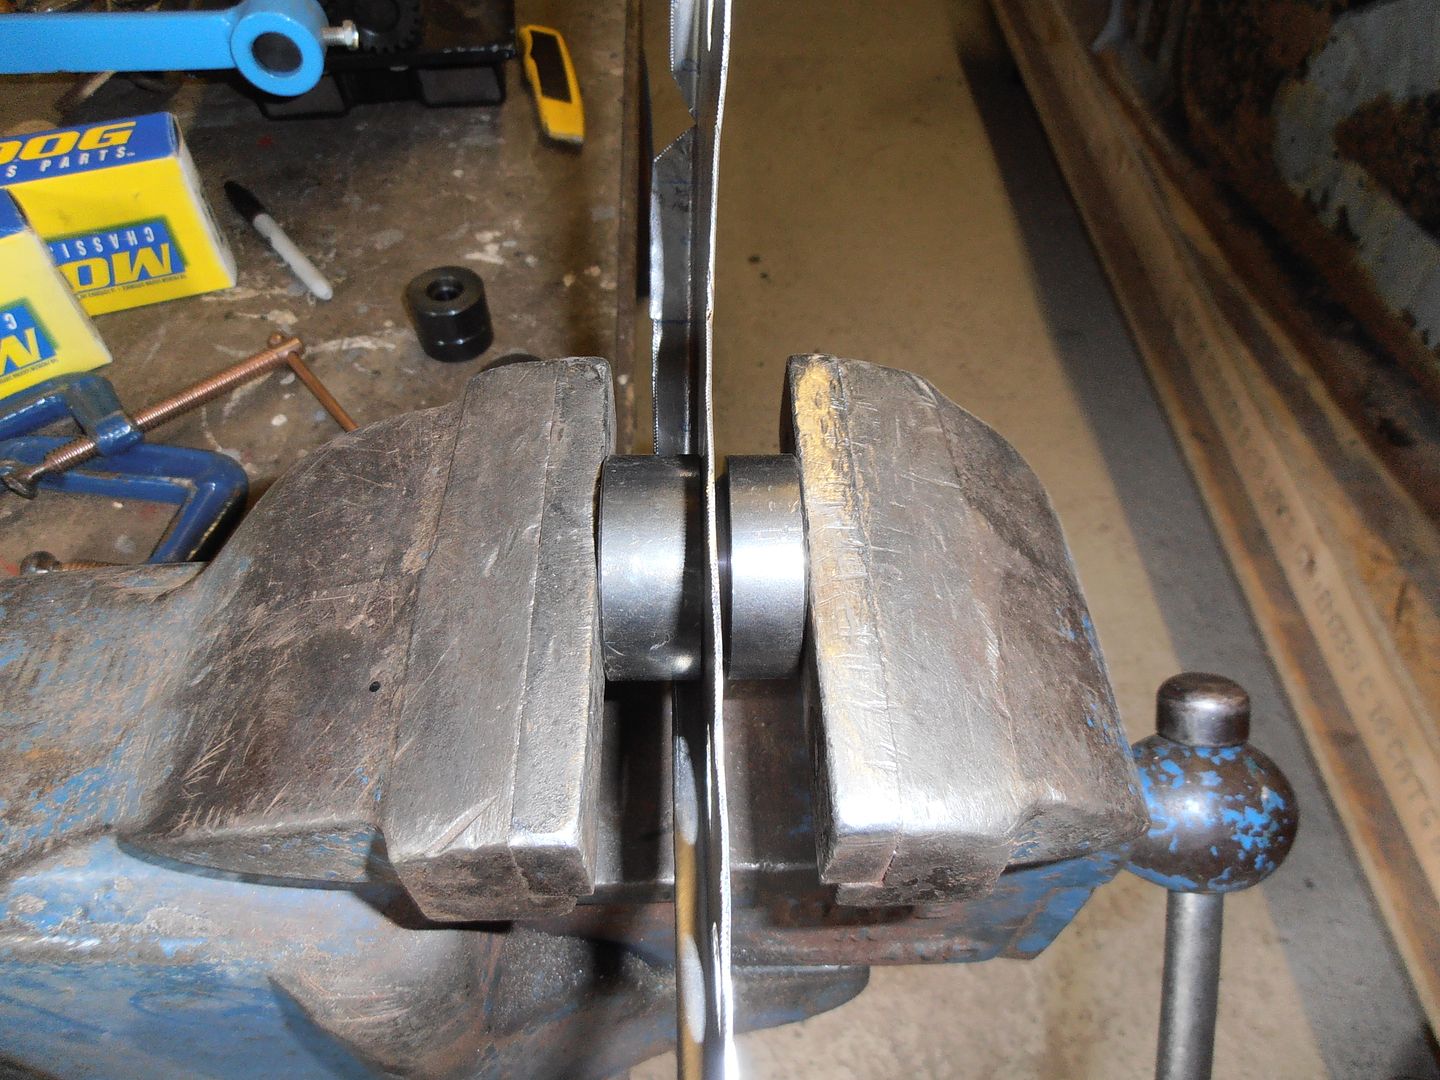 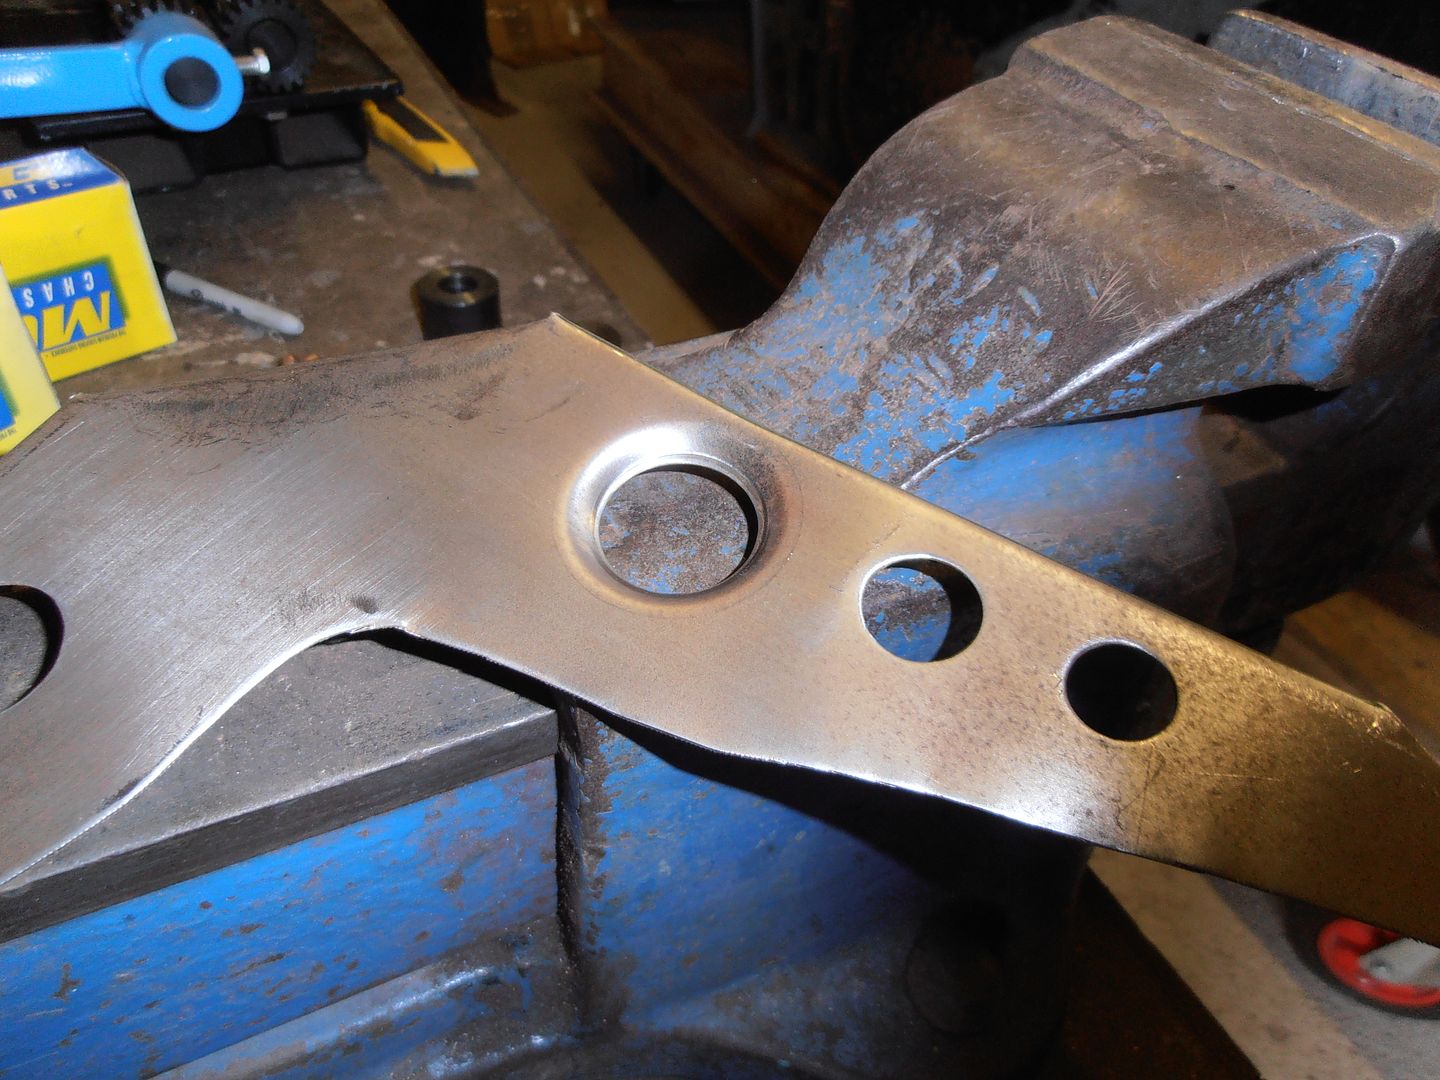 paint 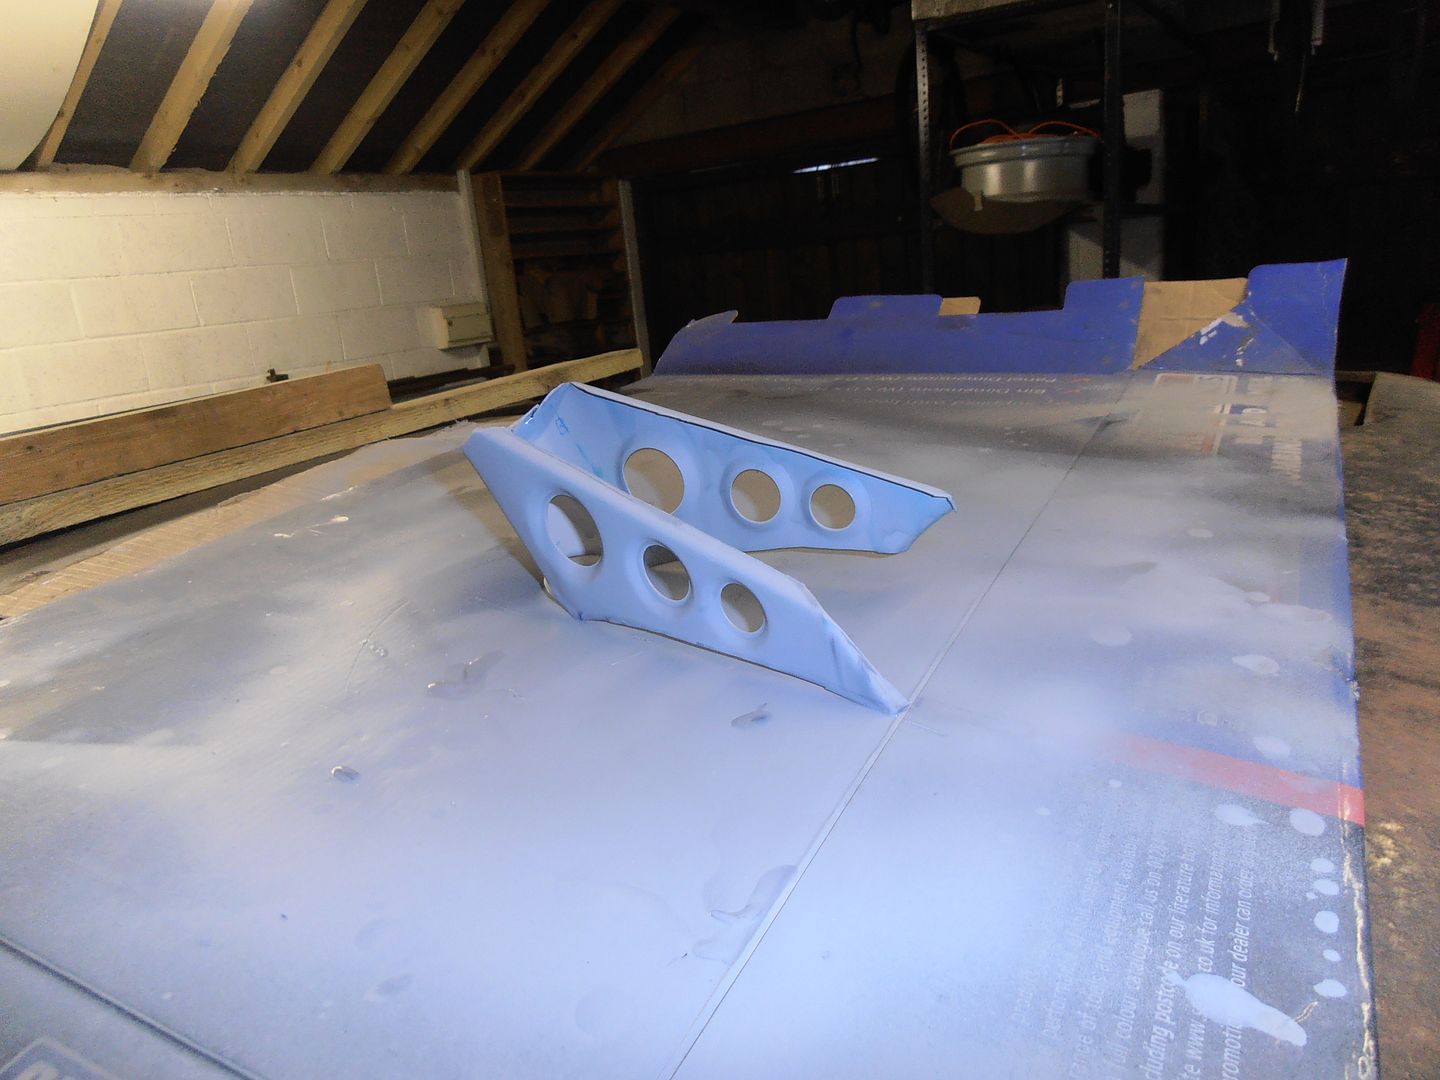 tack in the one from the other week 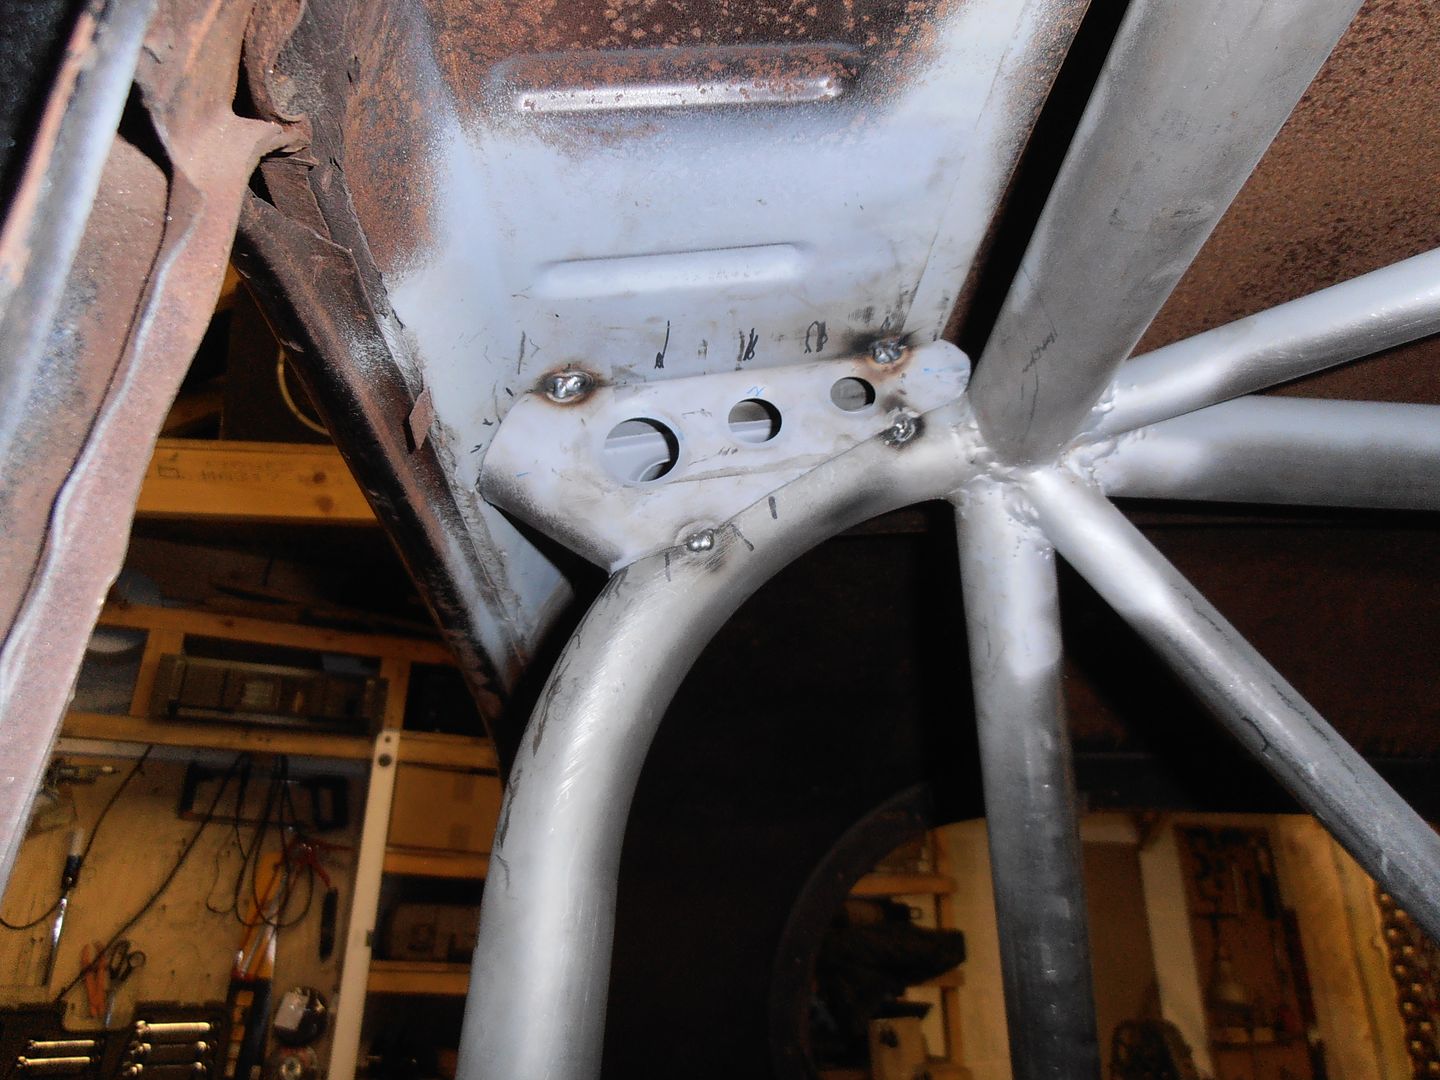 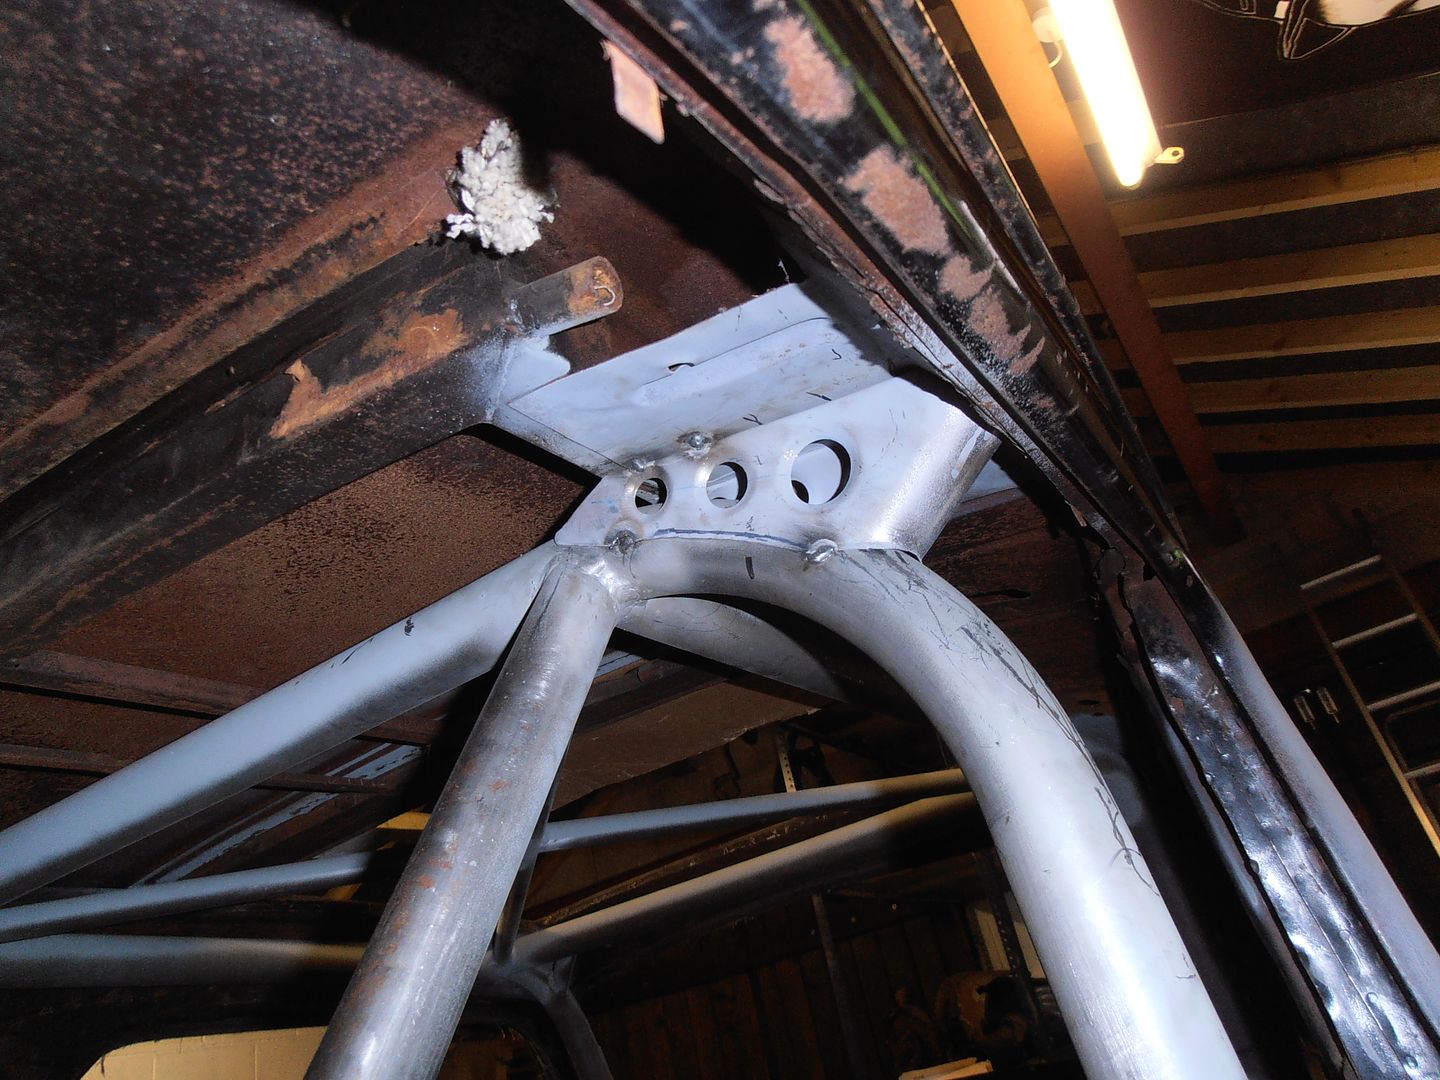 I decided the door pillar area need attached to the cage for no other reason than it'd look nice cut out the twisted paper pin strip 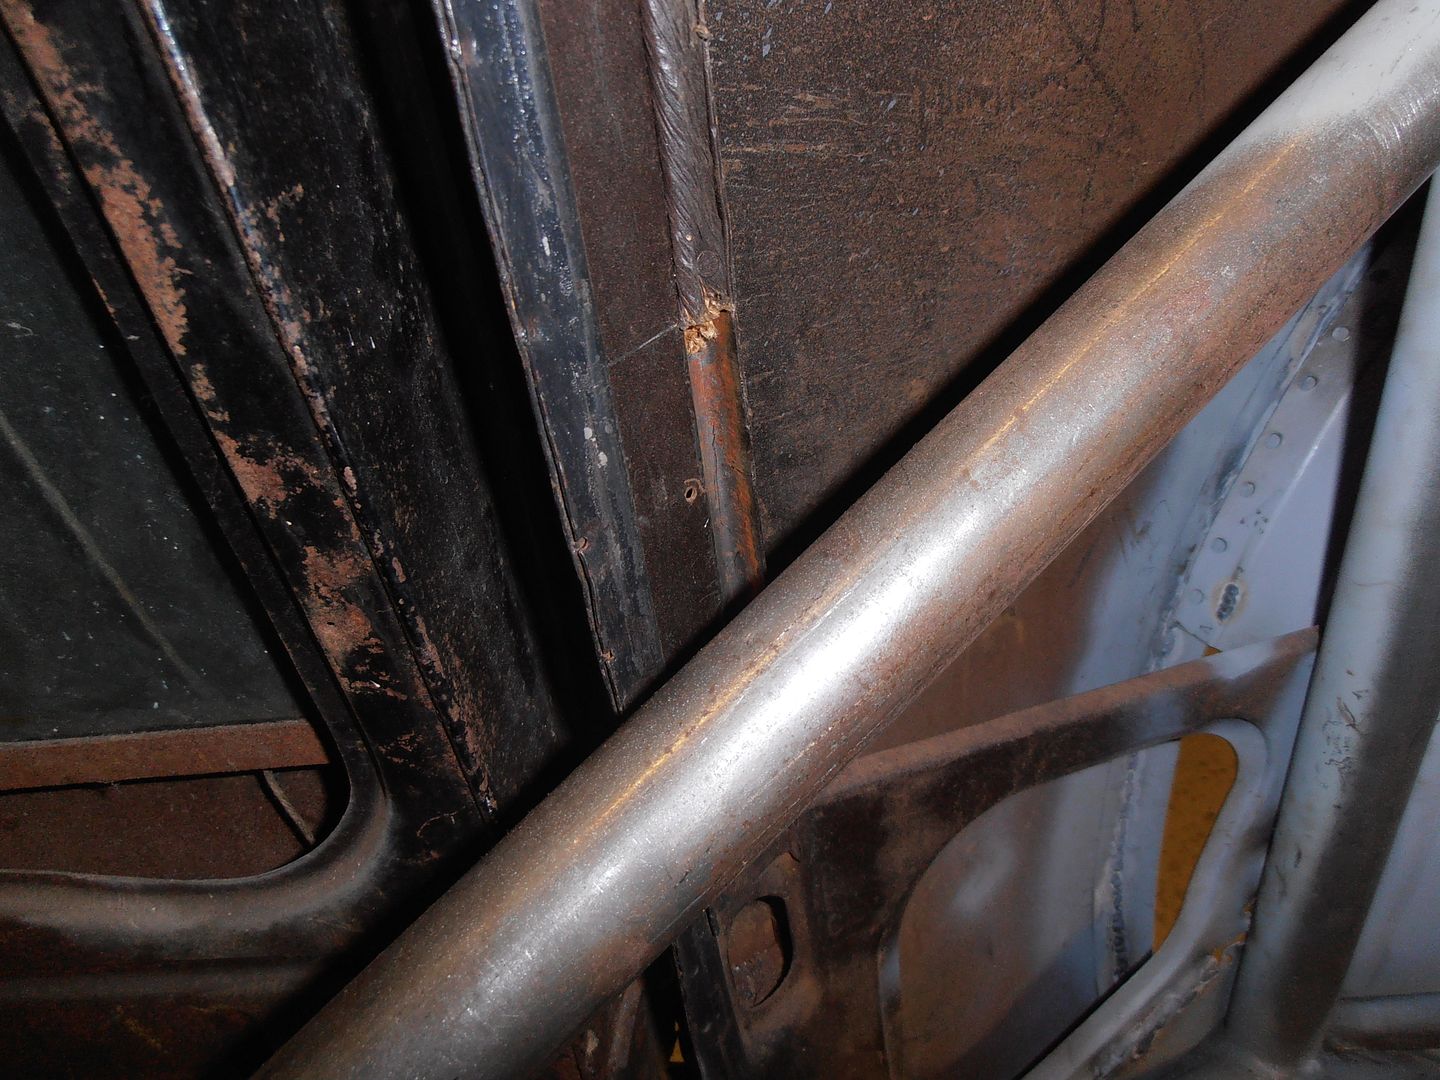 start template 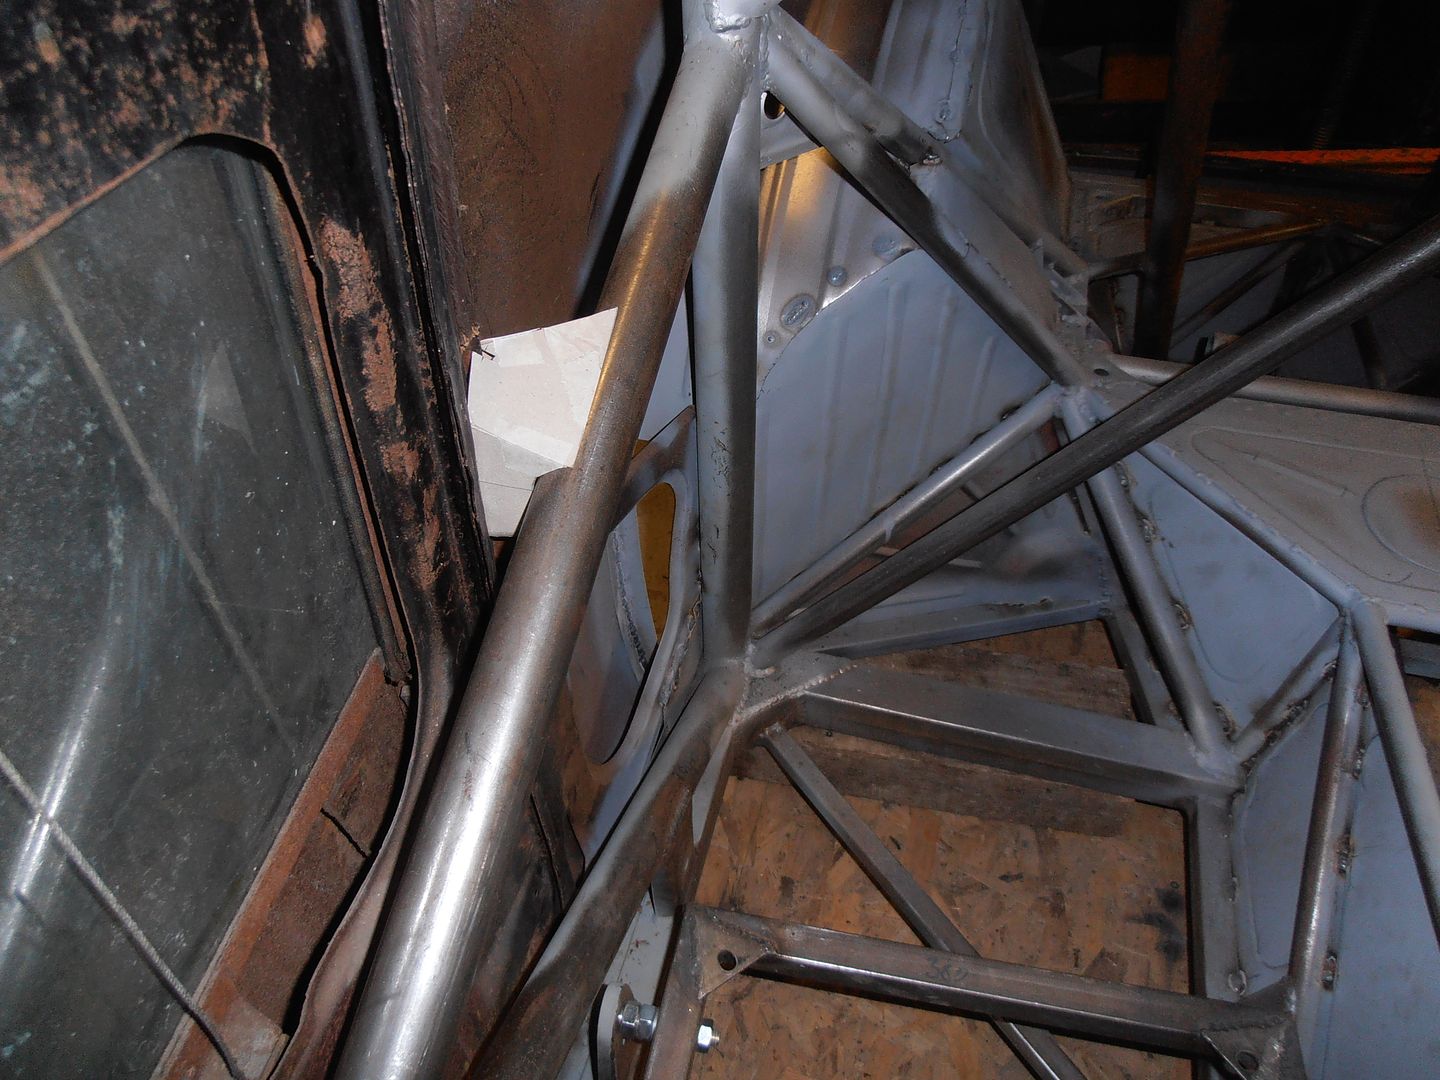 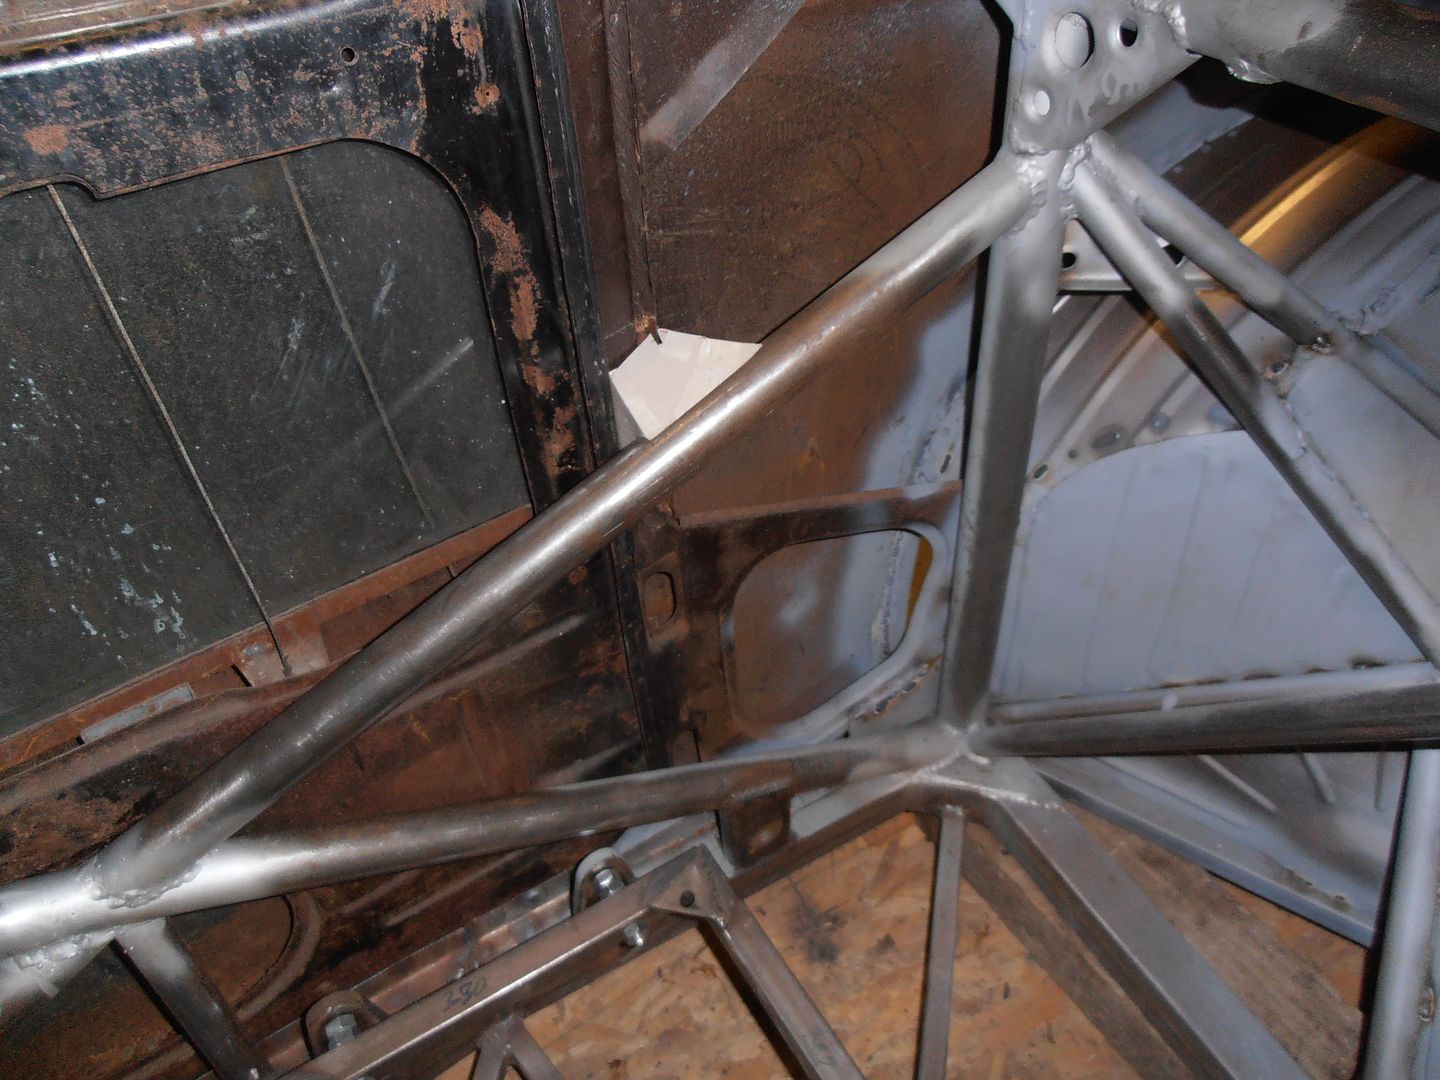 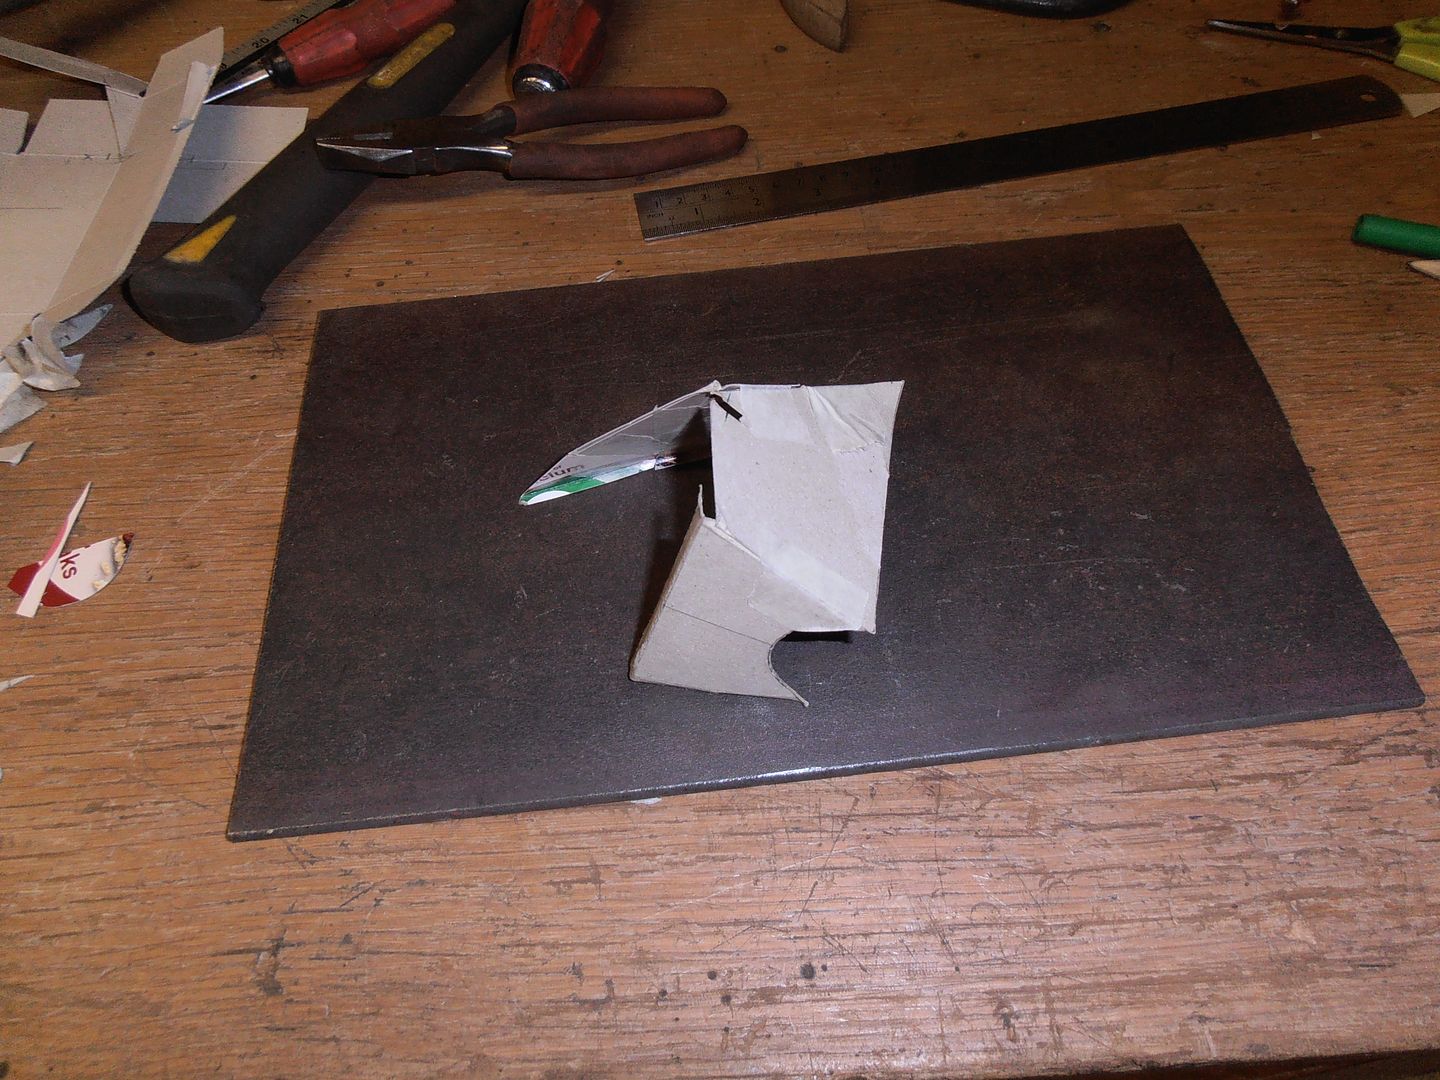 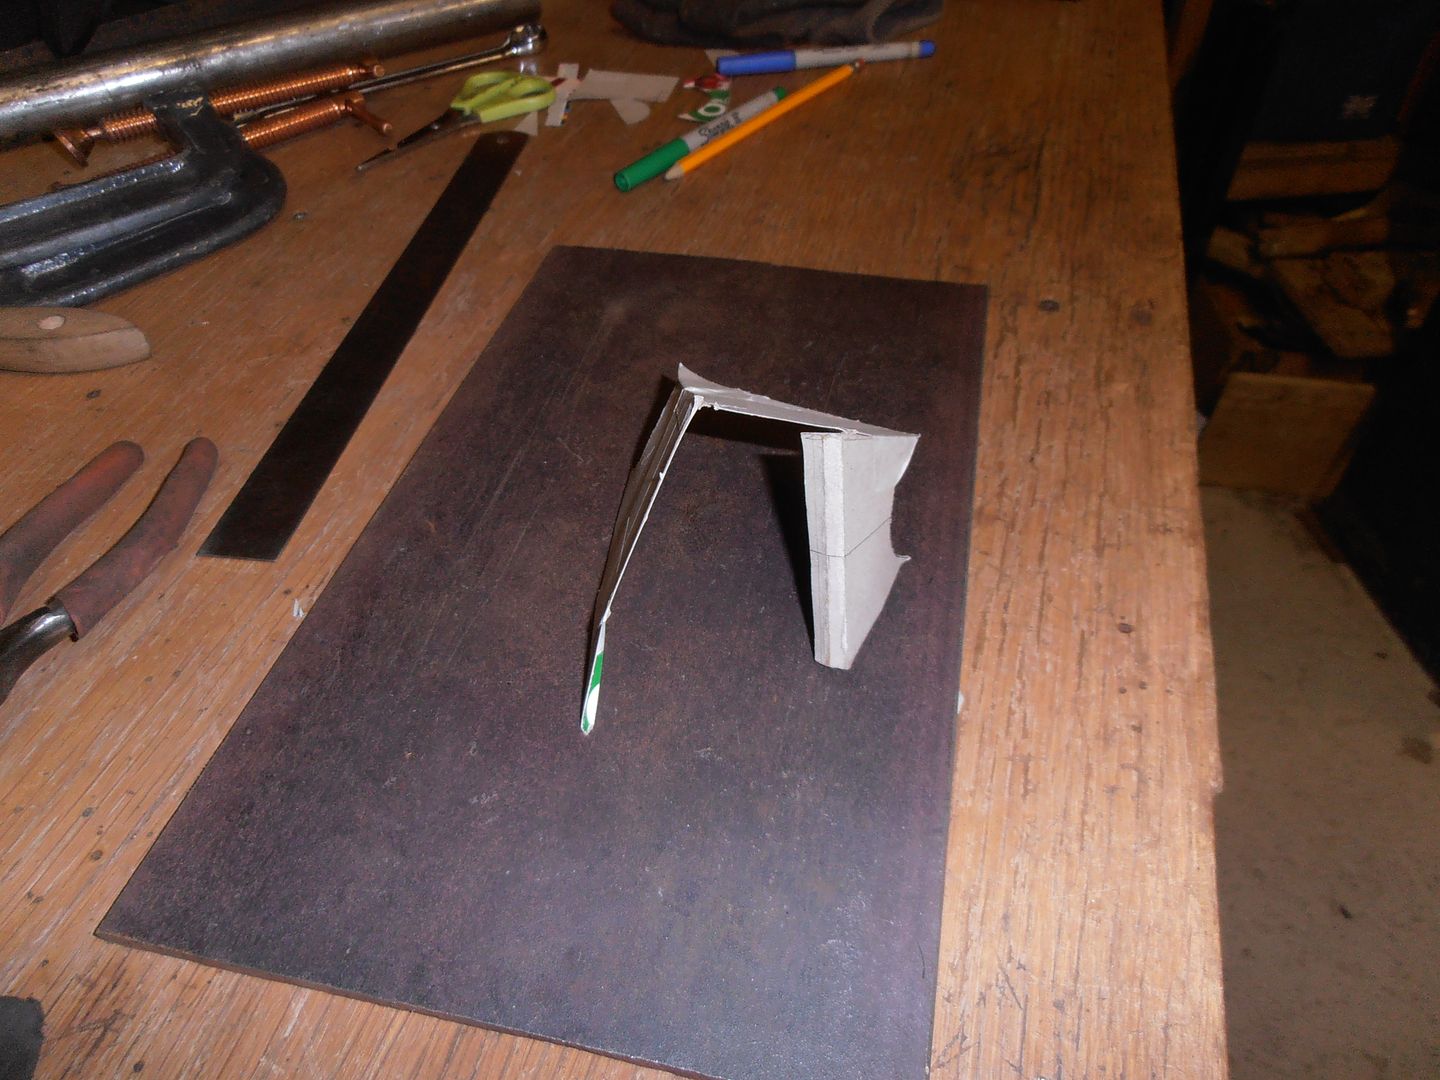 I decided the longer bracket looked nicer, so have gone with that. Not had chance to make in metal today, but will hopefully get onto it next workshop session. |
| |
|
|
jonomisfit
Club Retro Rides Member
Posts: 1,790
Club RR Member Number: 49
|
|
Oct 24, 2015 17:31:37 GMT
|
back on the car for a bit today. I made in metal the bracket the card template is for. Mark out 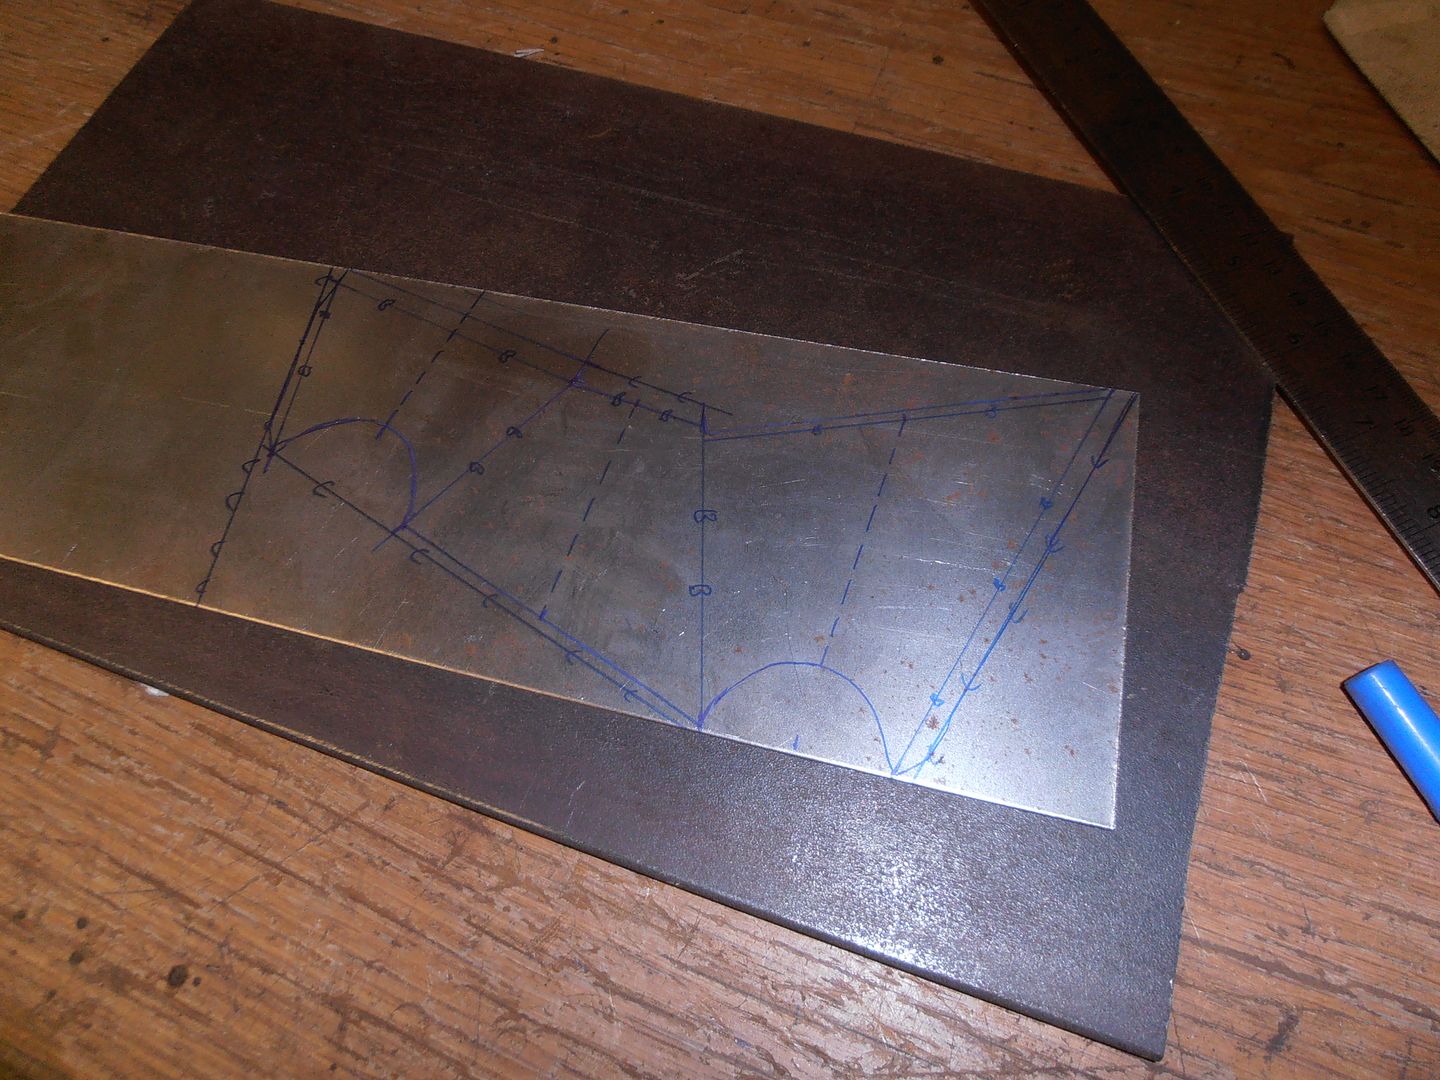 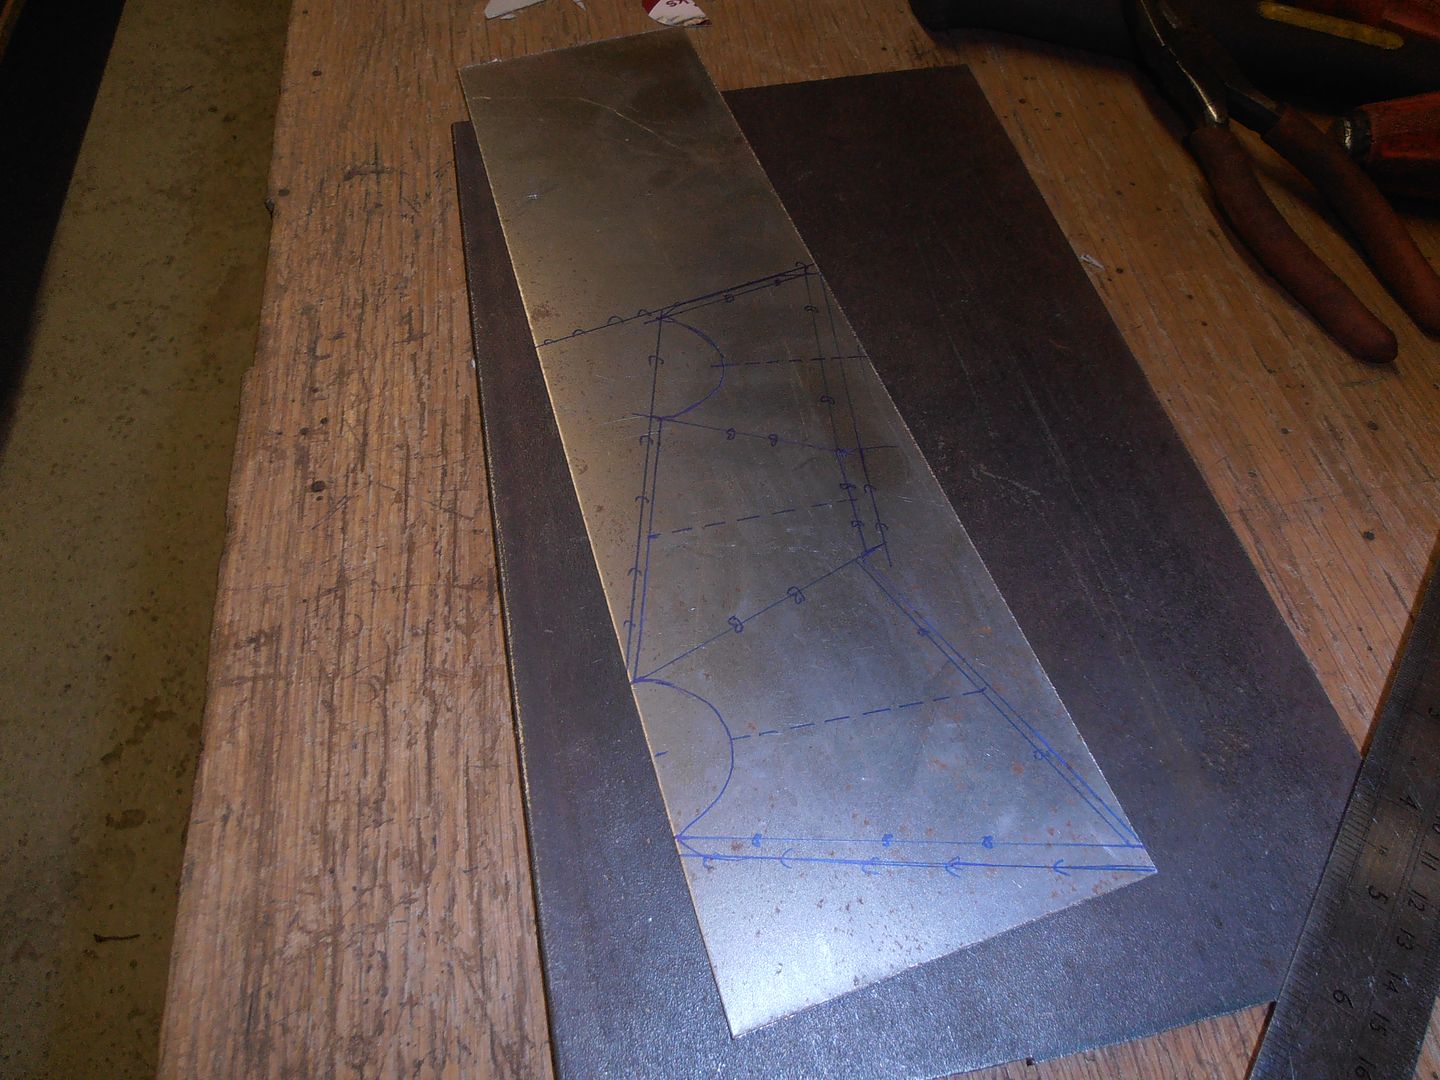 Cut 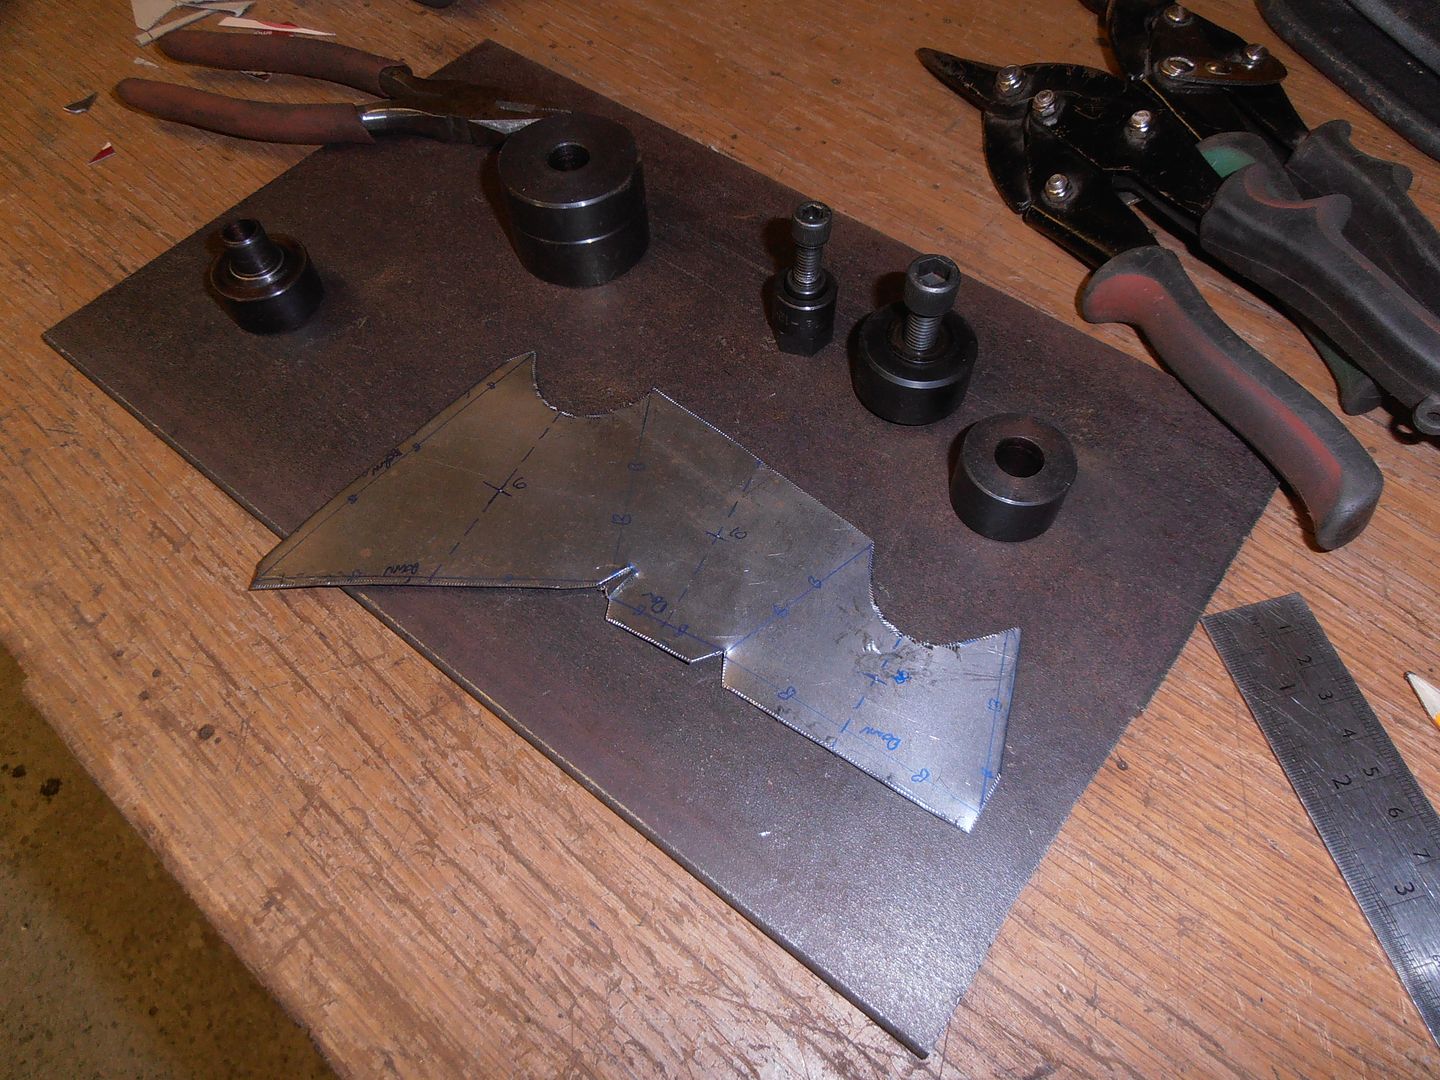 Punch holes 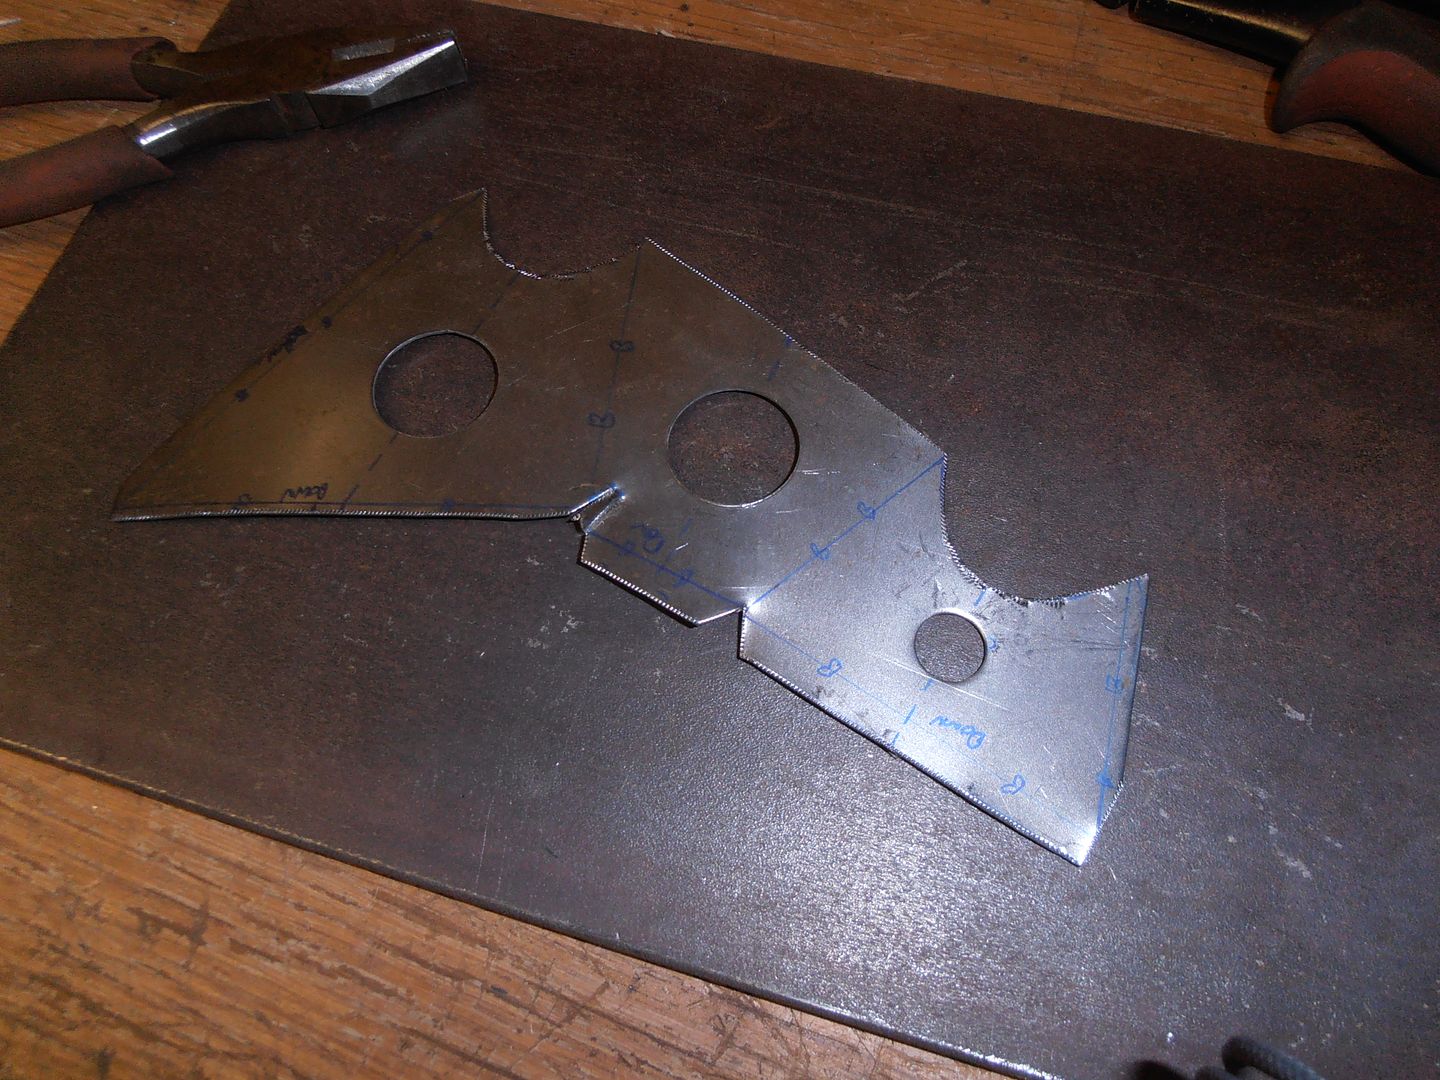 Swage 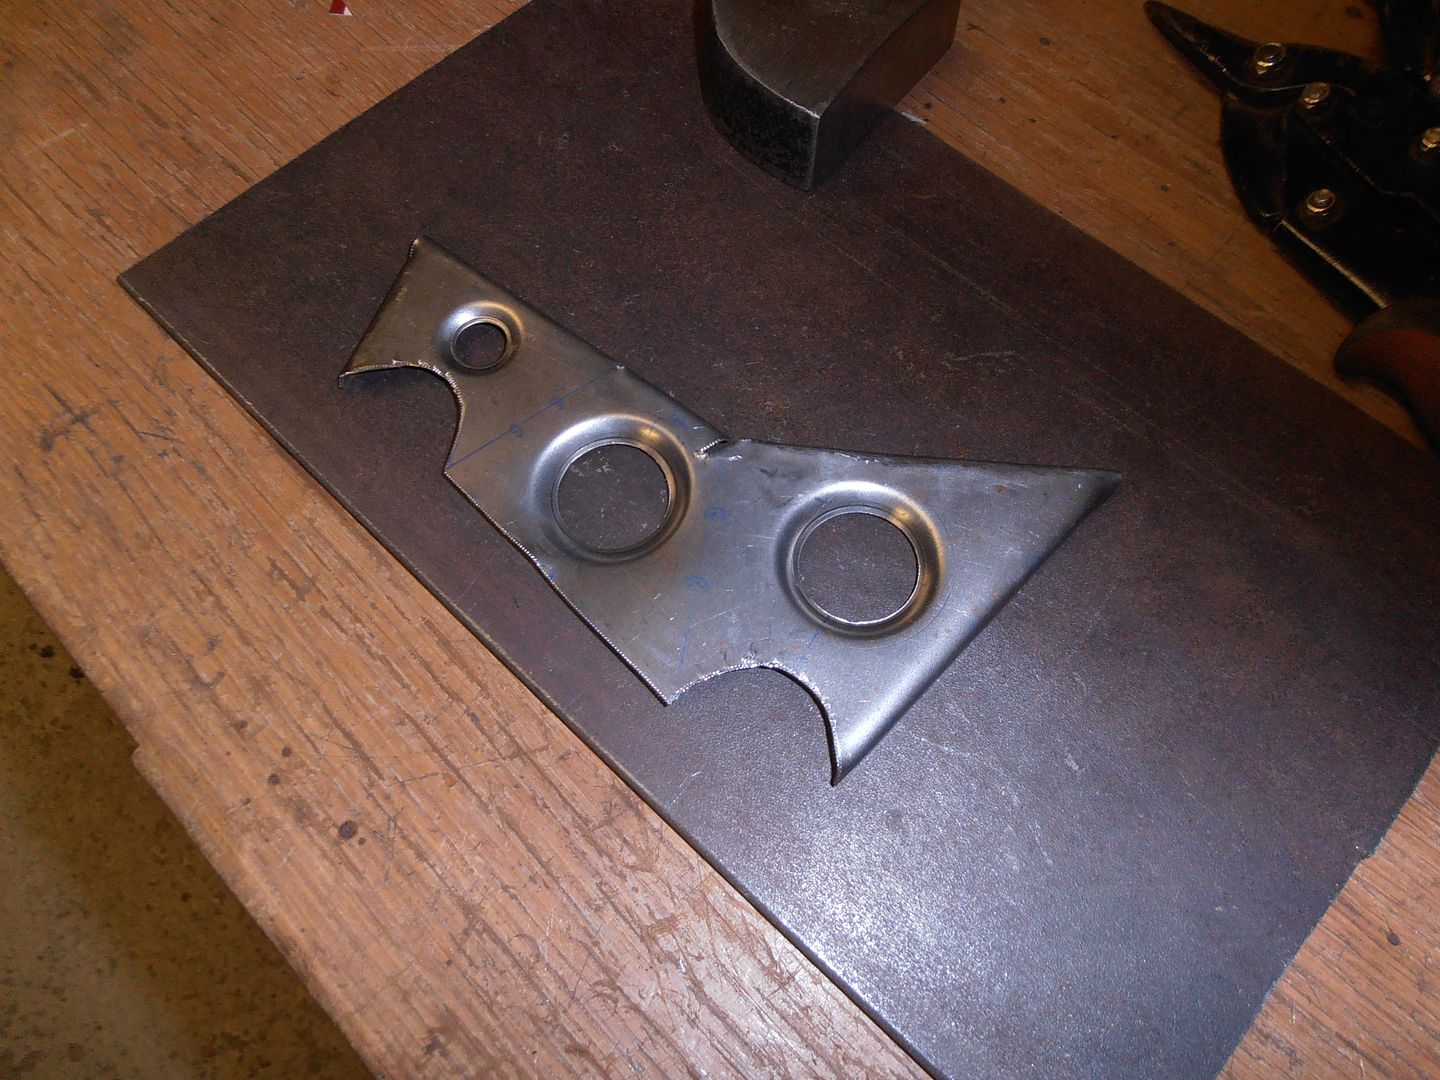 Fit 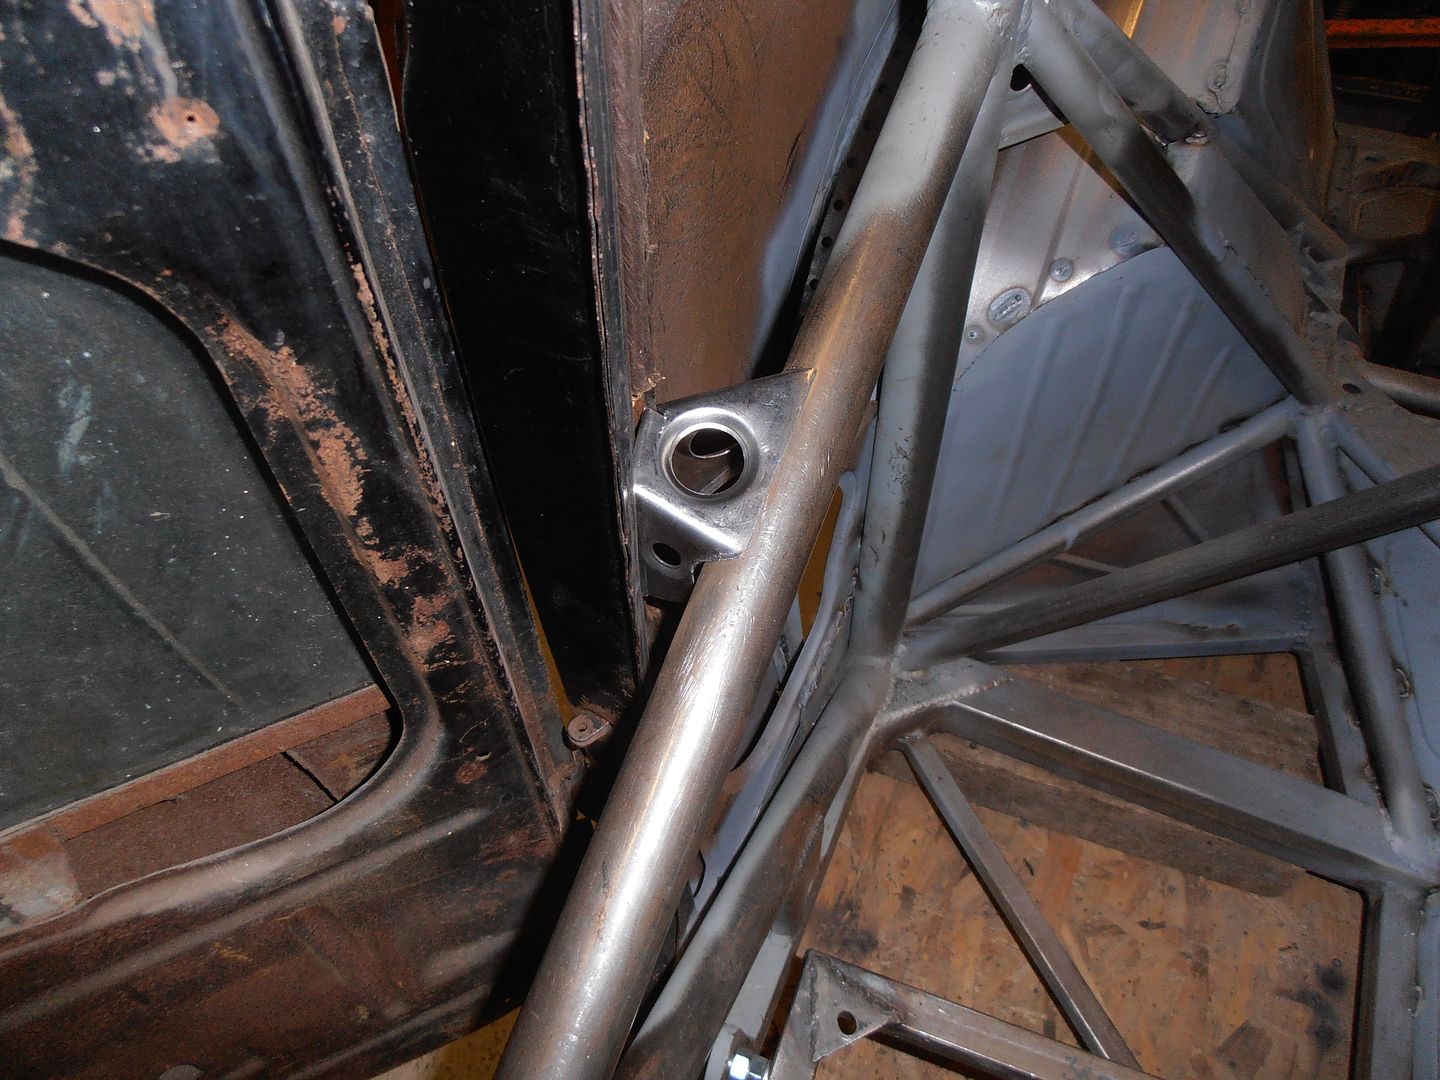 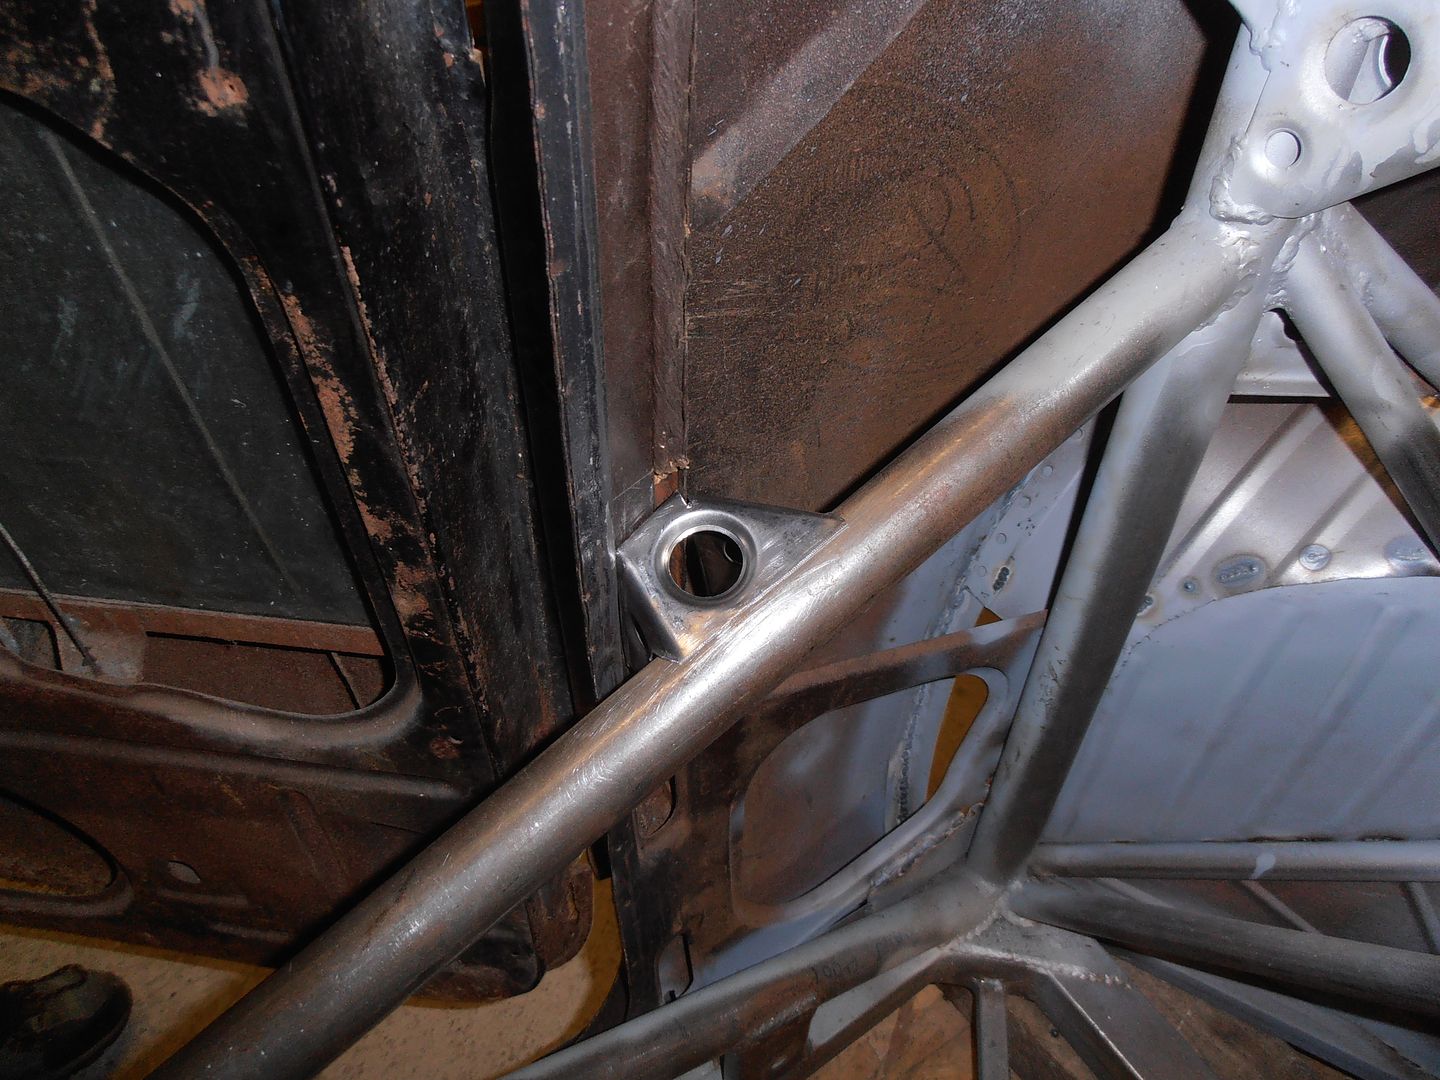 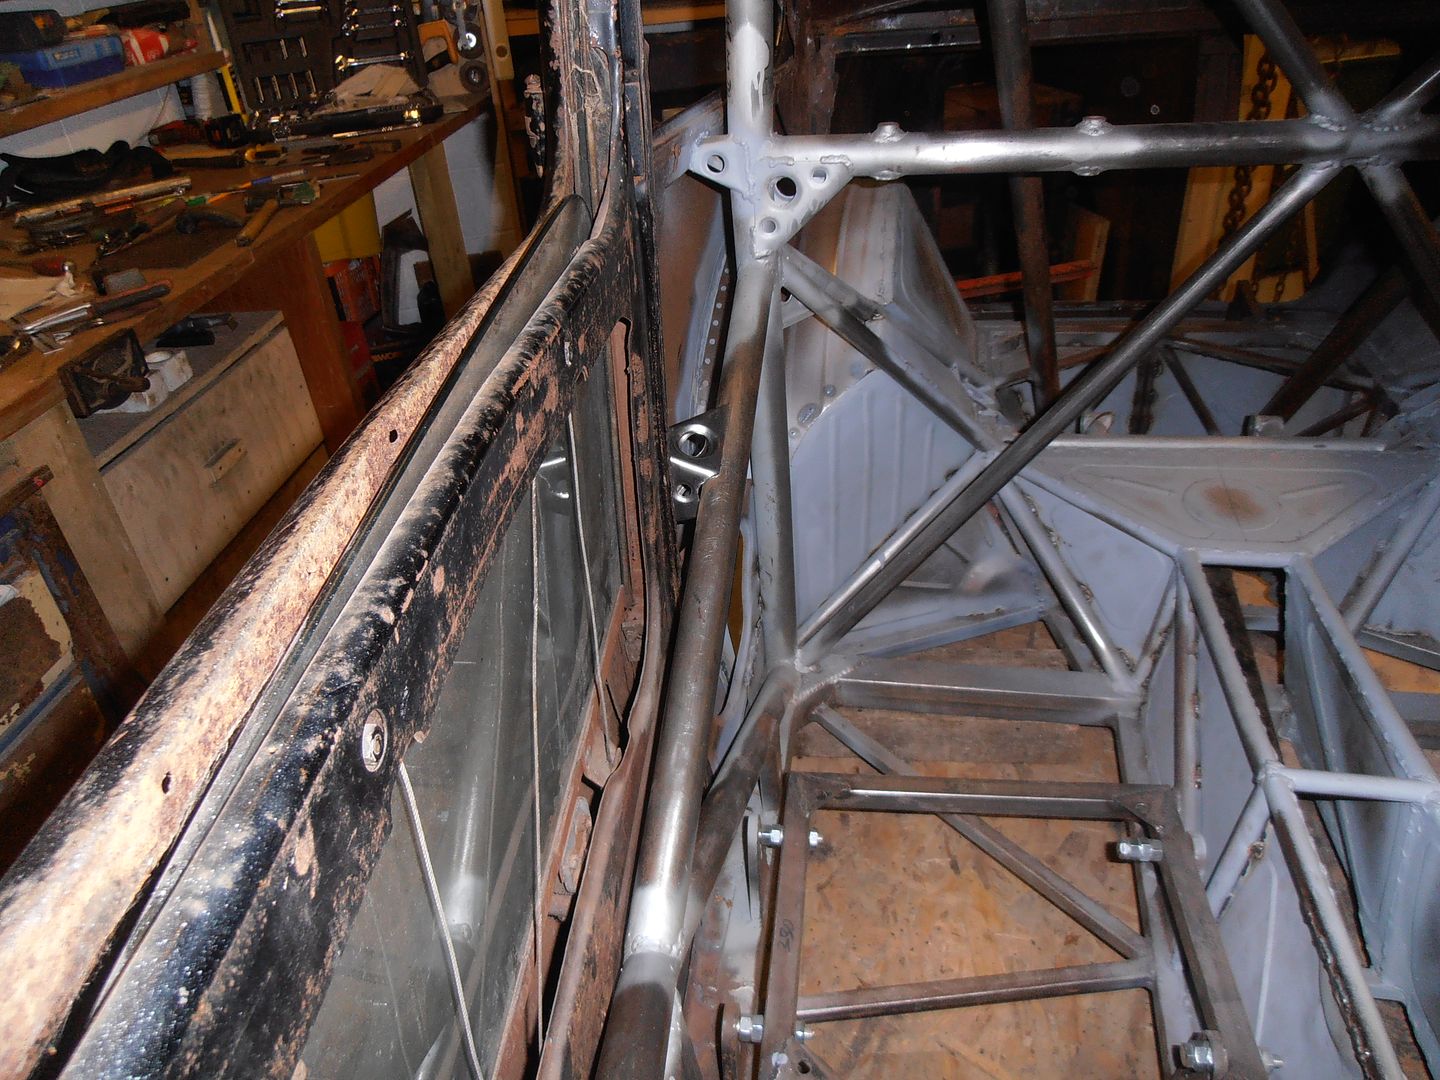 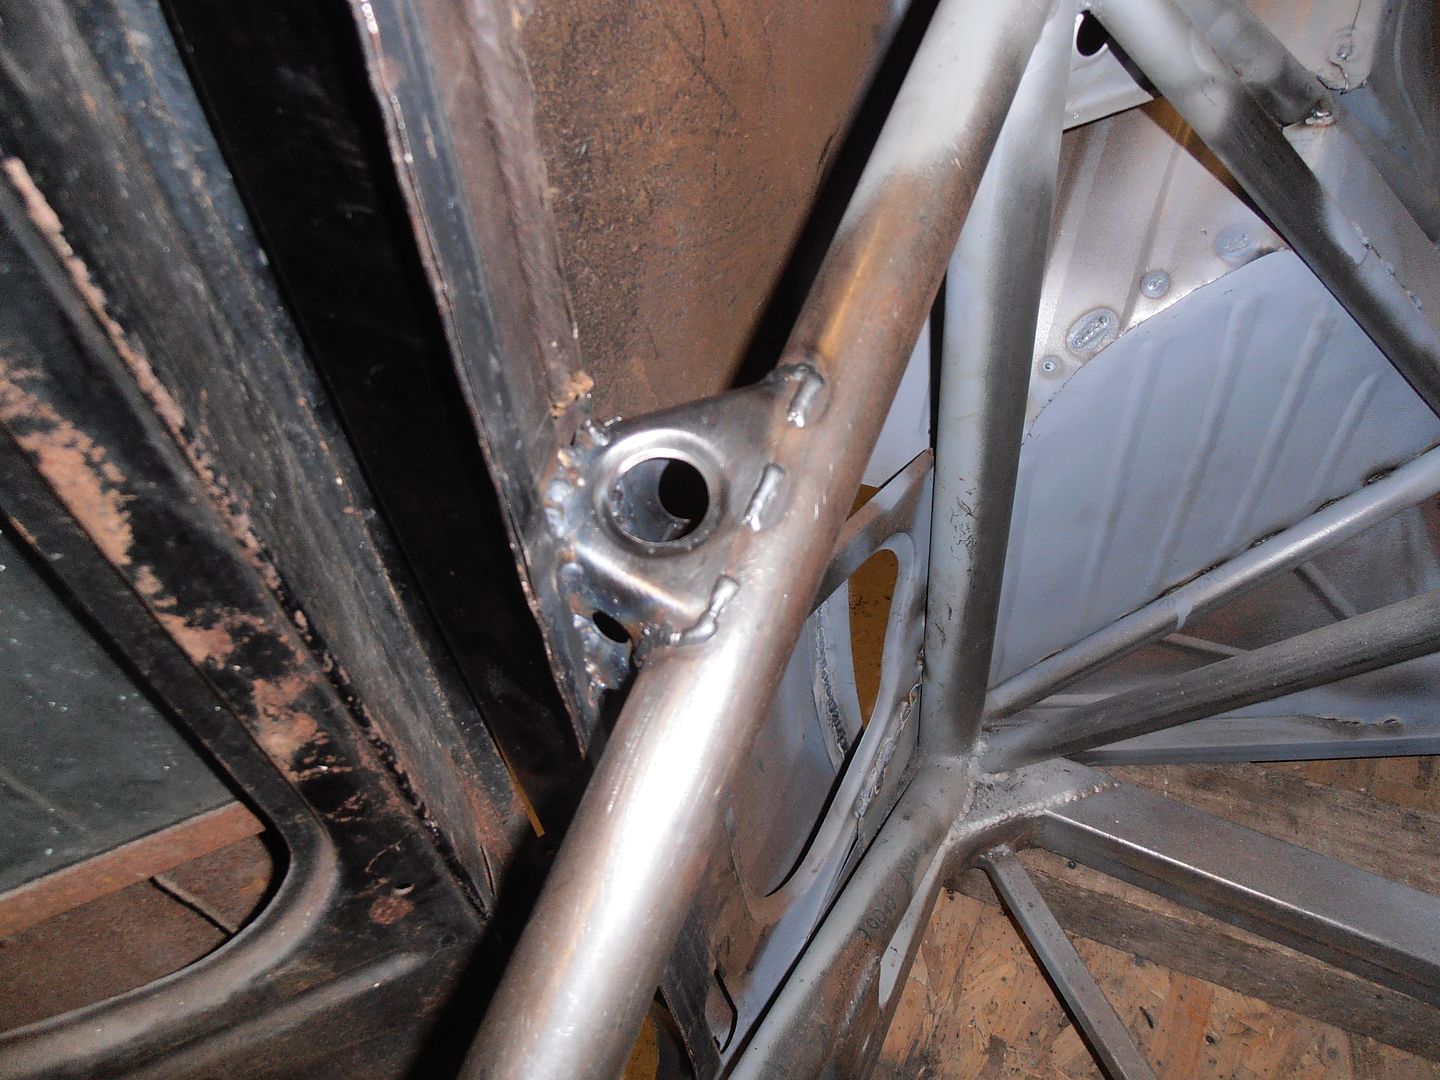 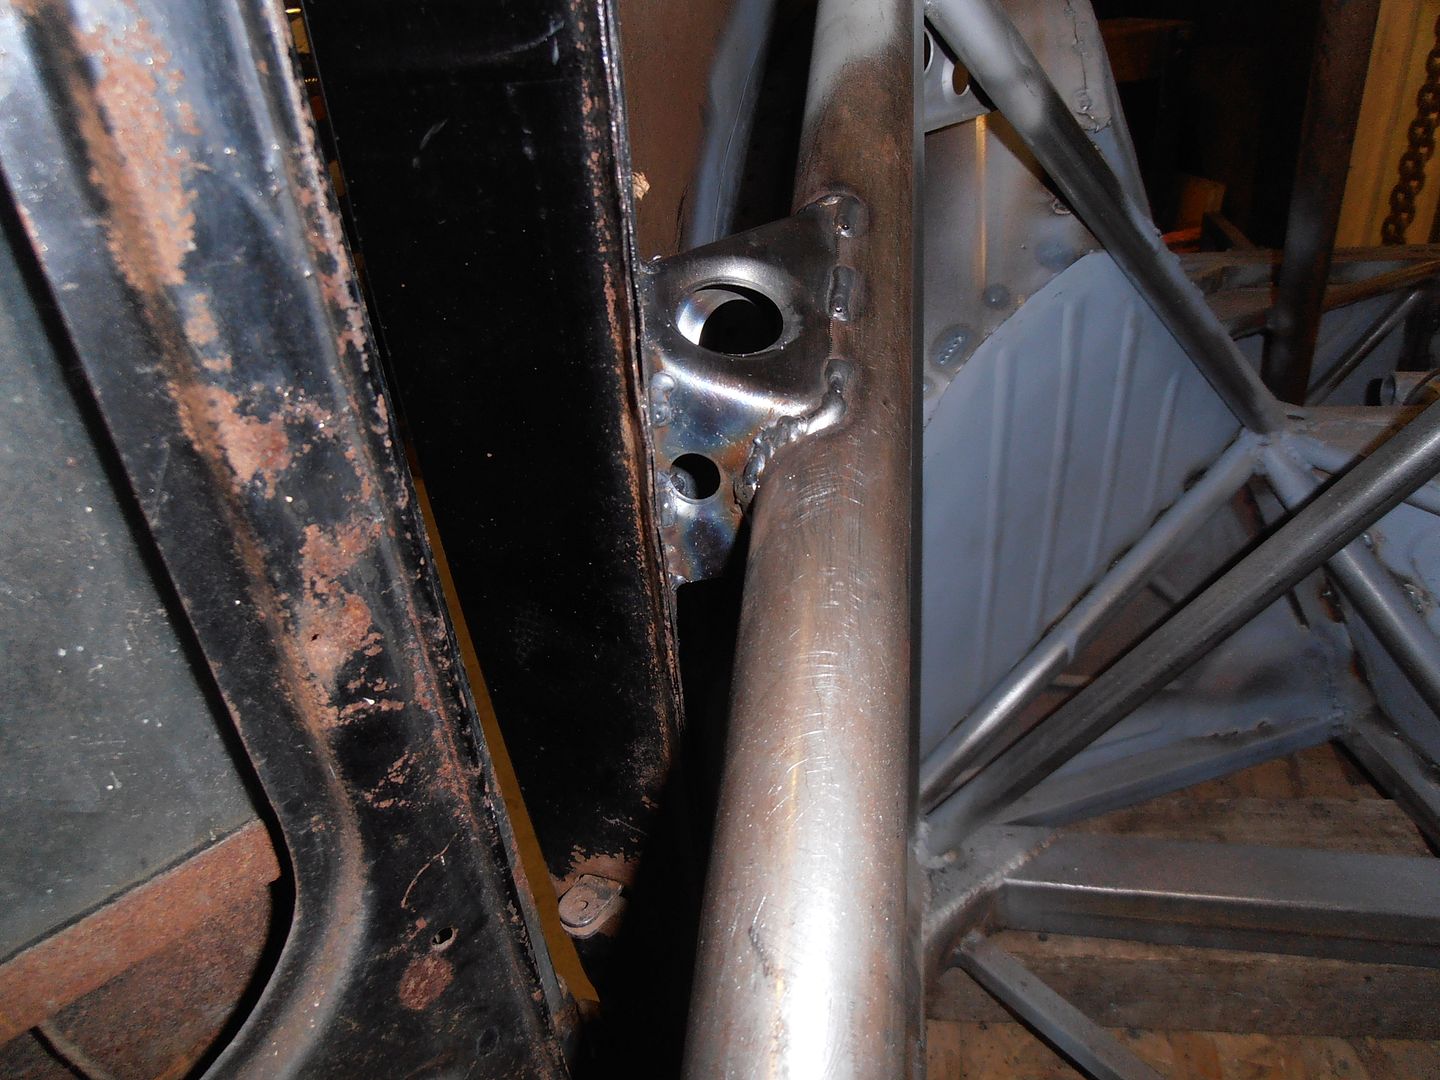 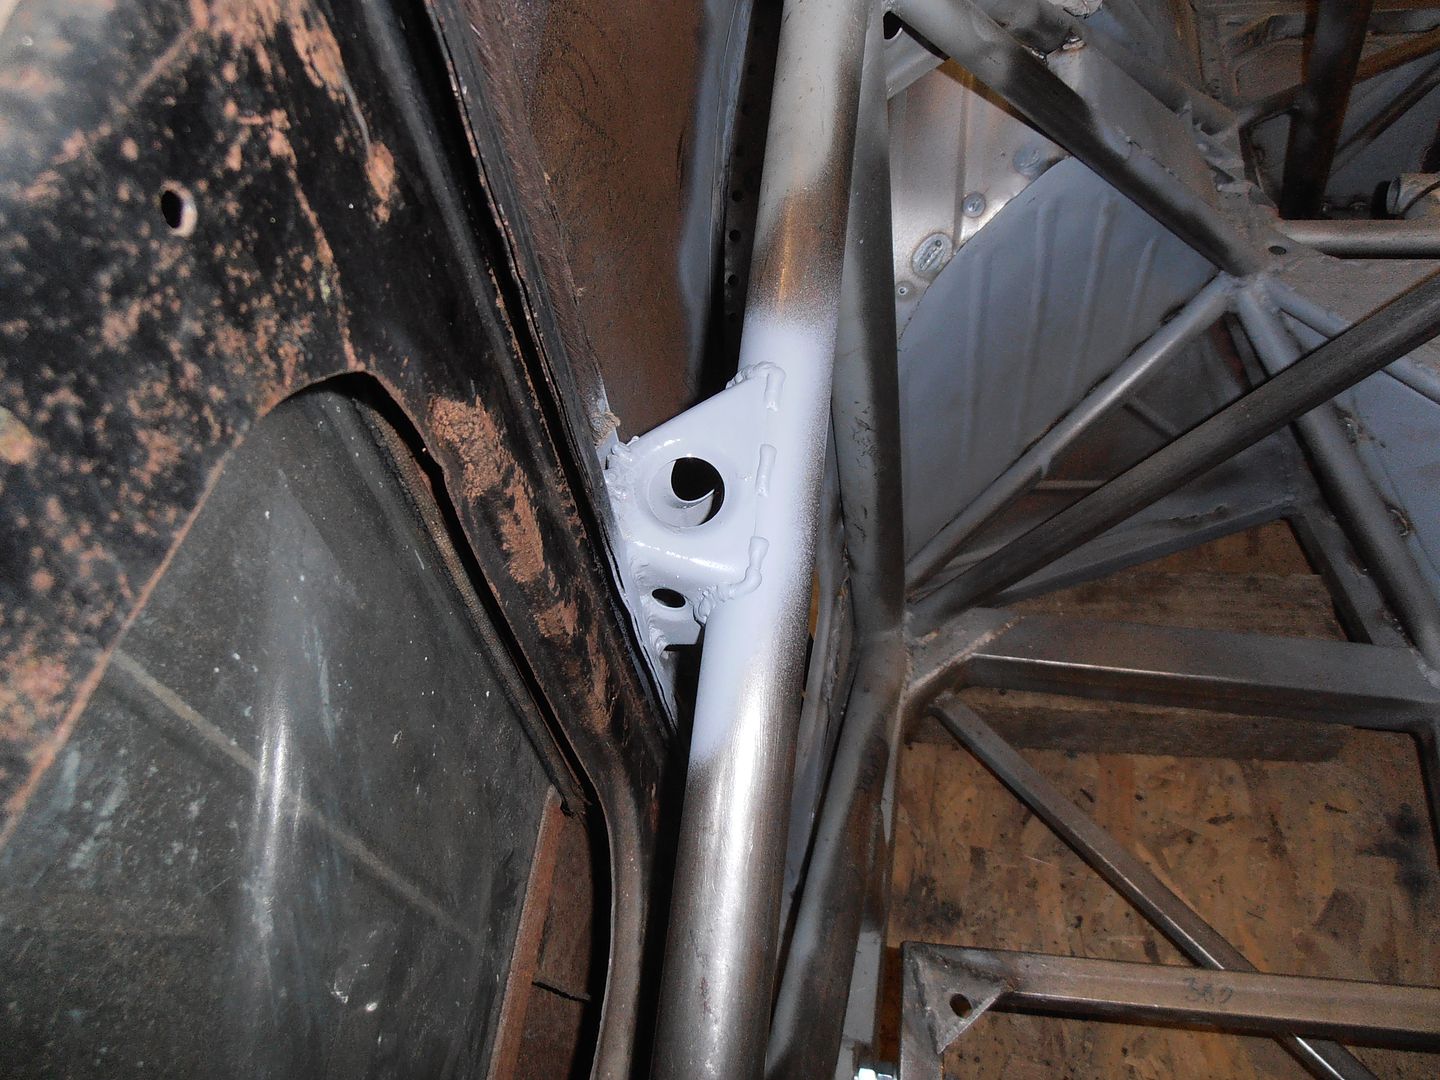 I then made the otherside and fitted it... but forgot to photo.. .It looks remarkably like the one above, just mirrored :-) I then decided it'd be nice to tie the whole roof panel into the cage. Here 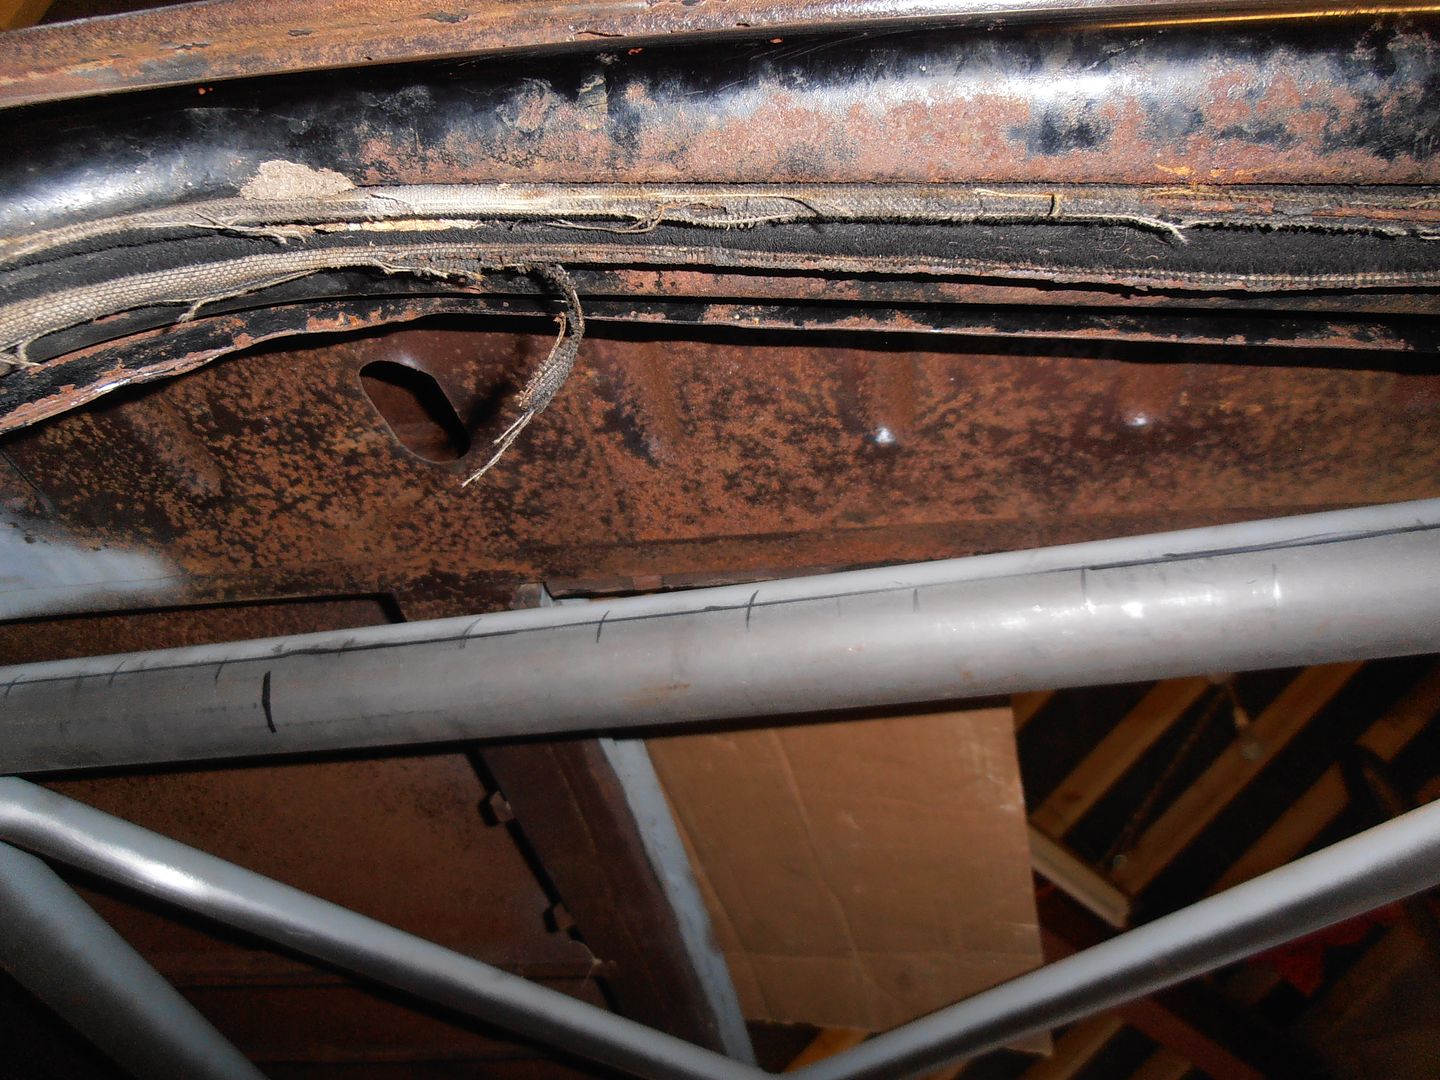 After making a trial piece to see what it'd look like i decided a full size mock-up was required markout 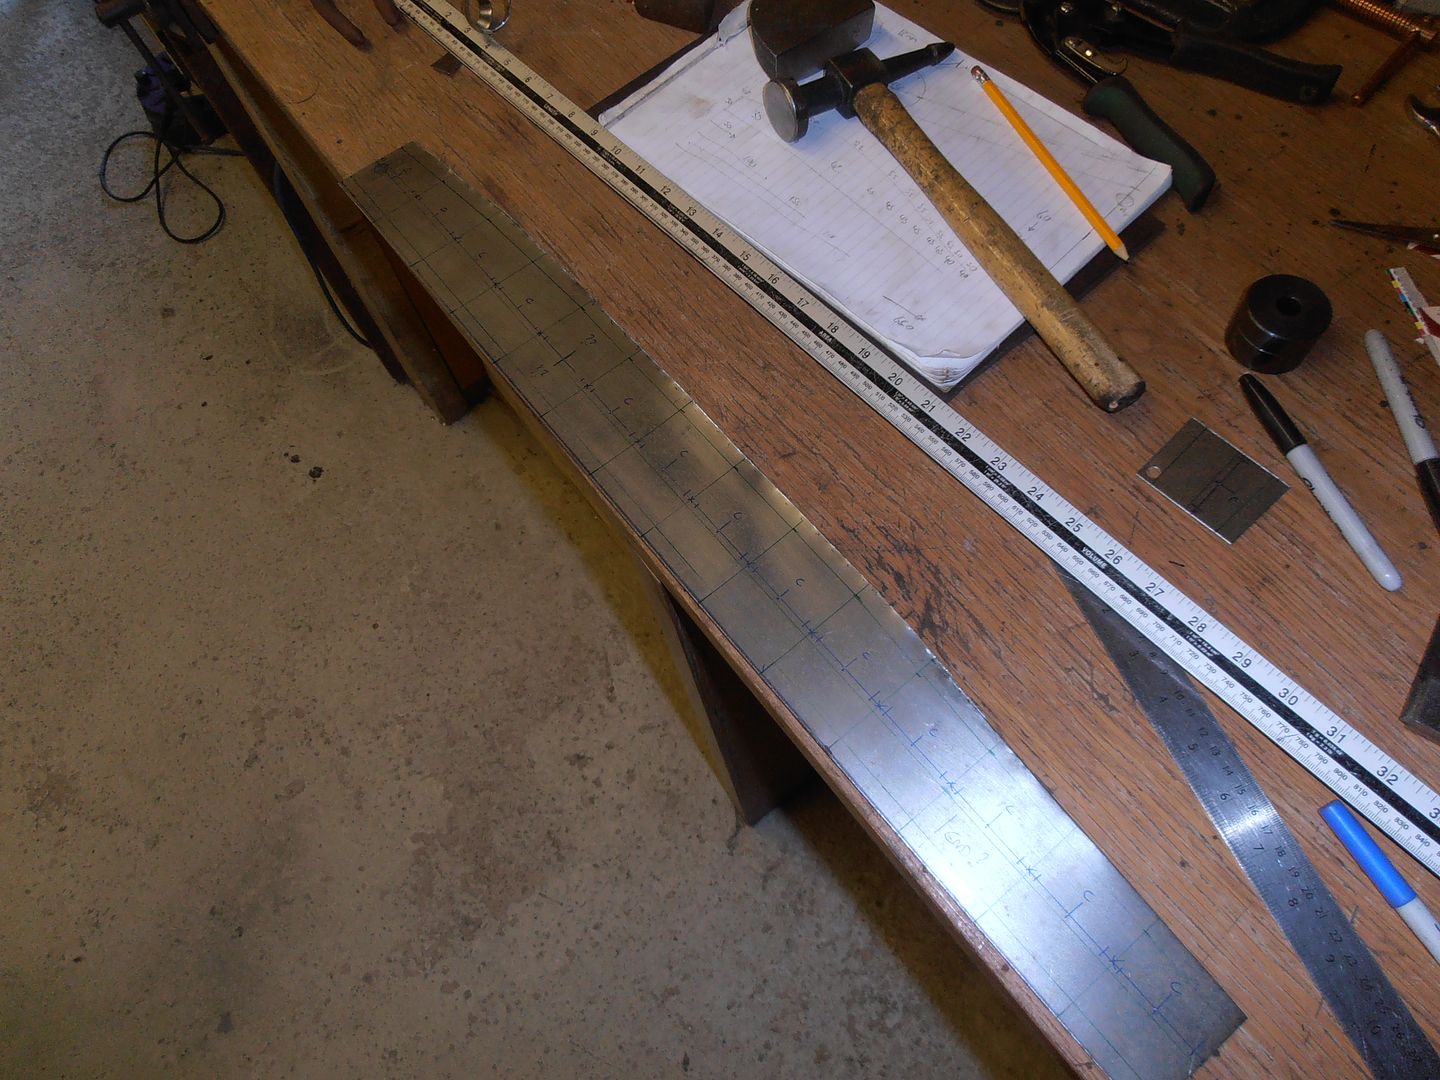 Drill pilot holes 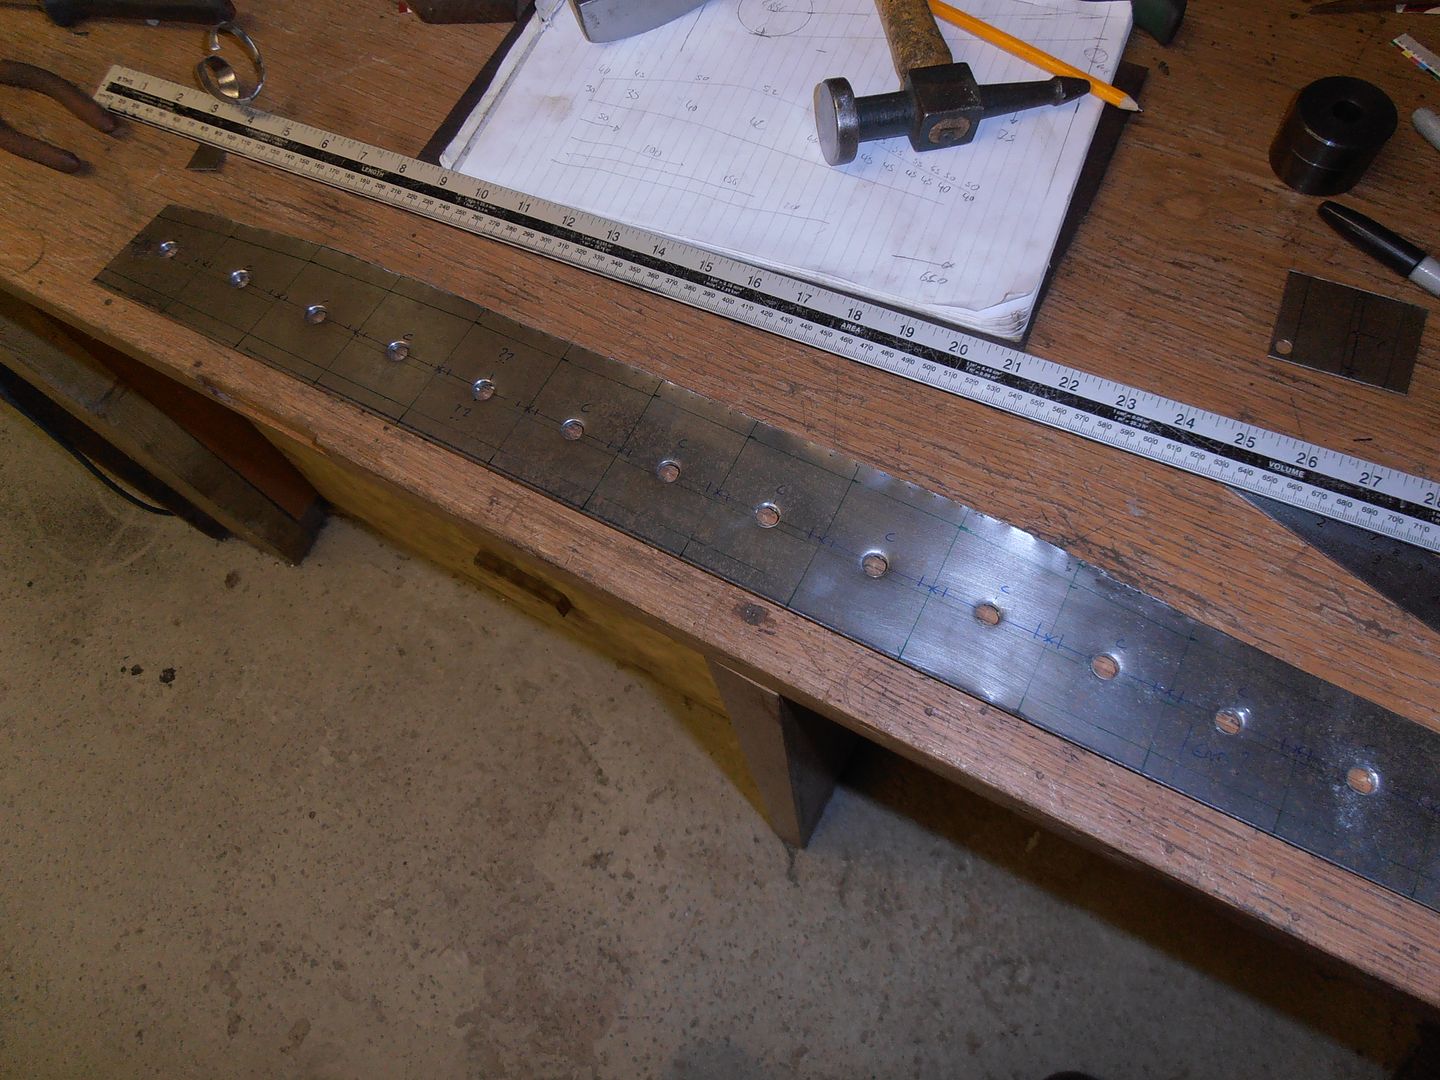 Punch.... punch.... and punch some more 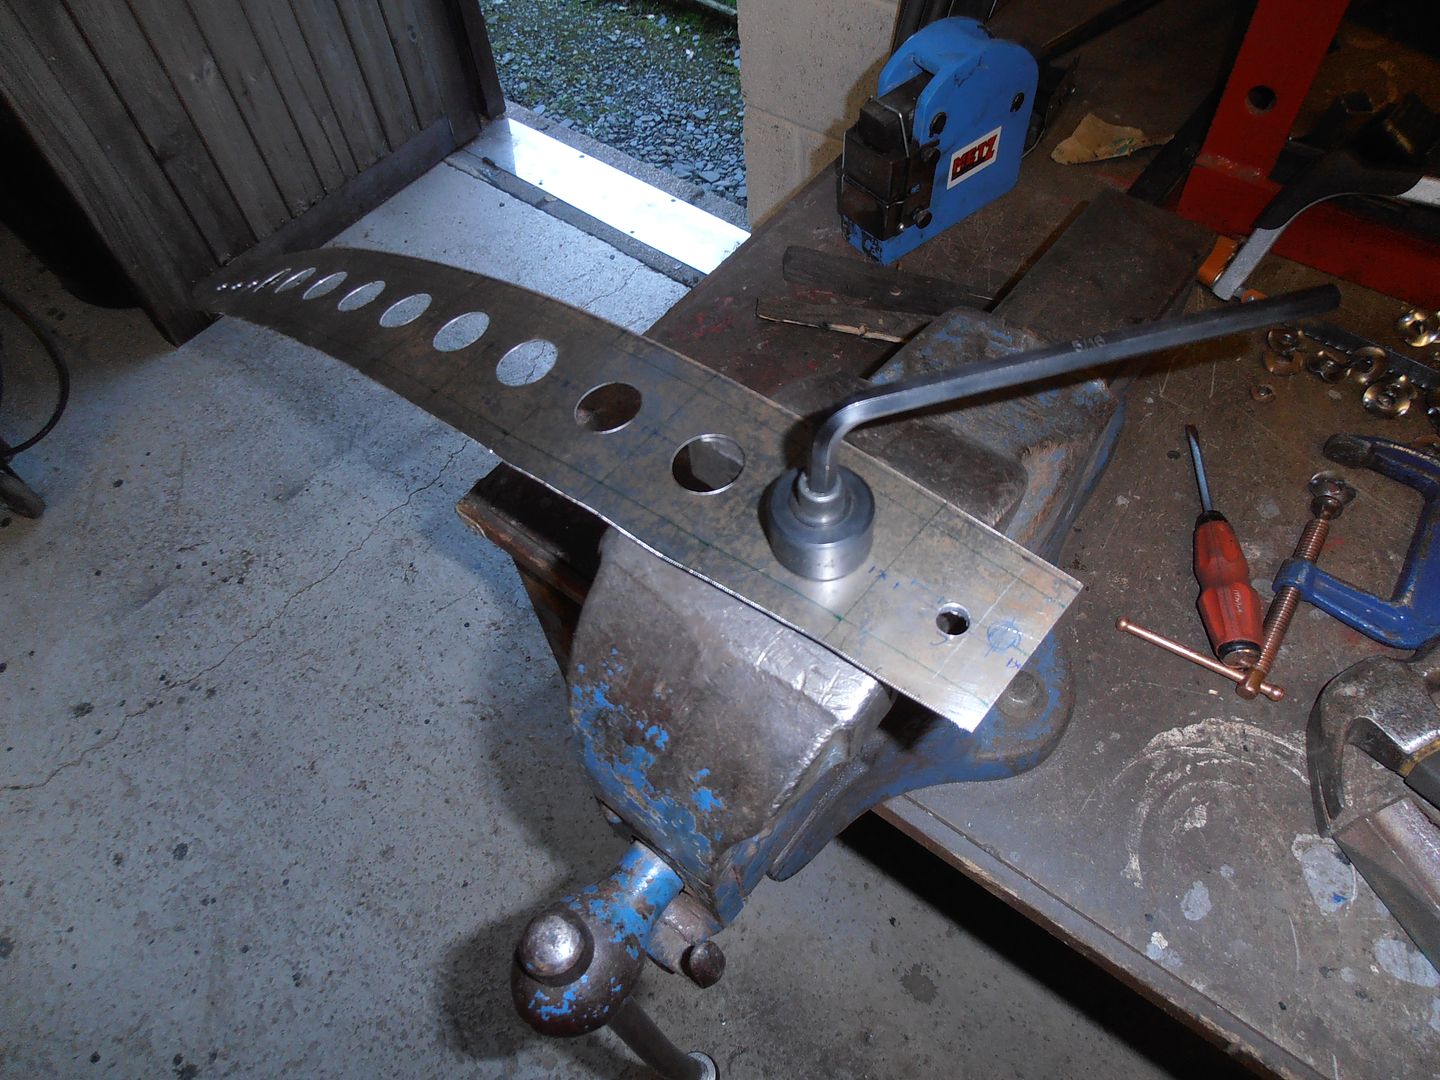 this took a while and my hand was aching by the end. 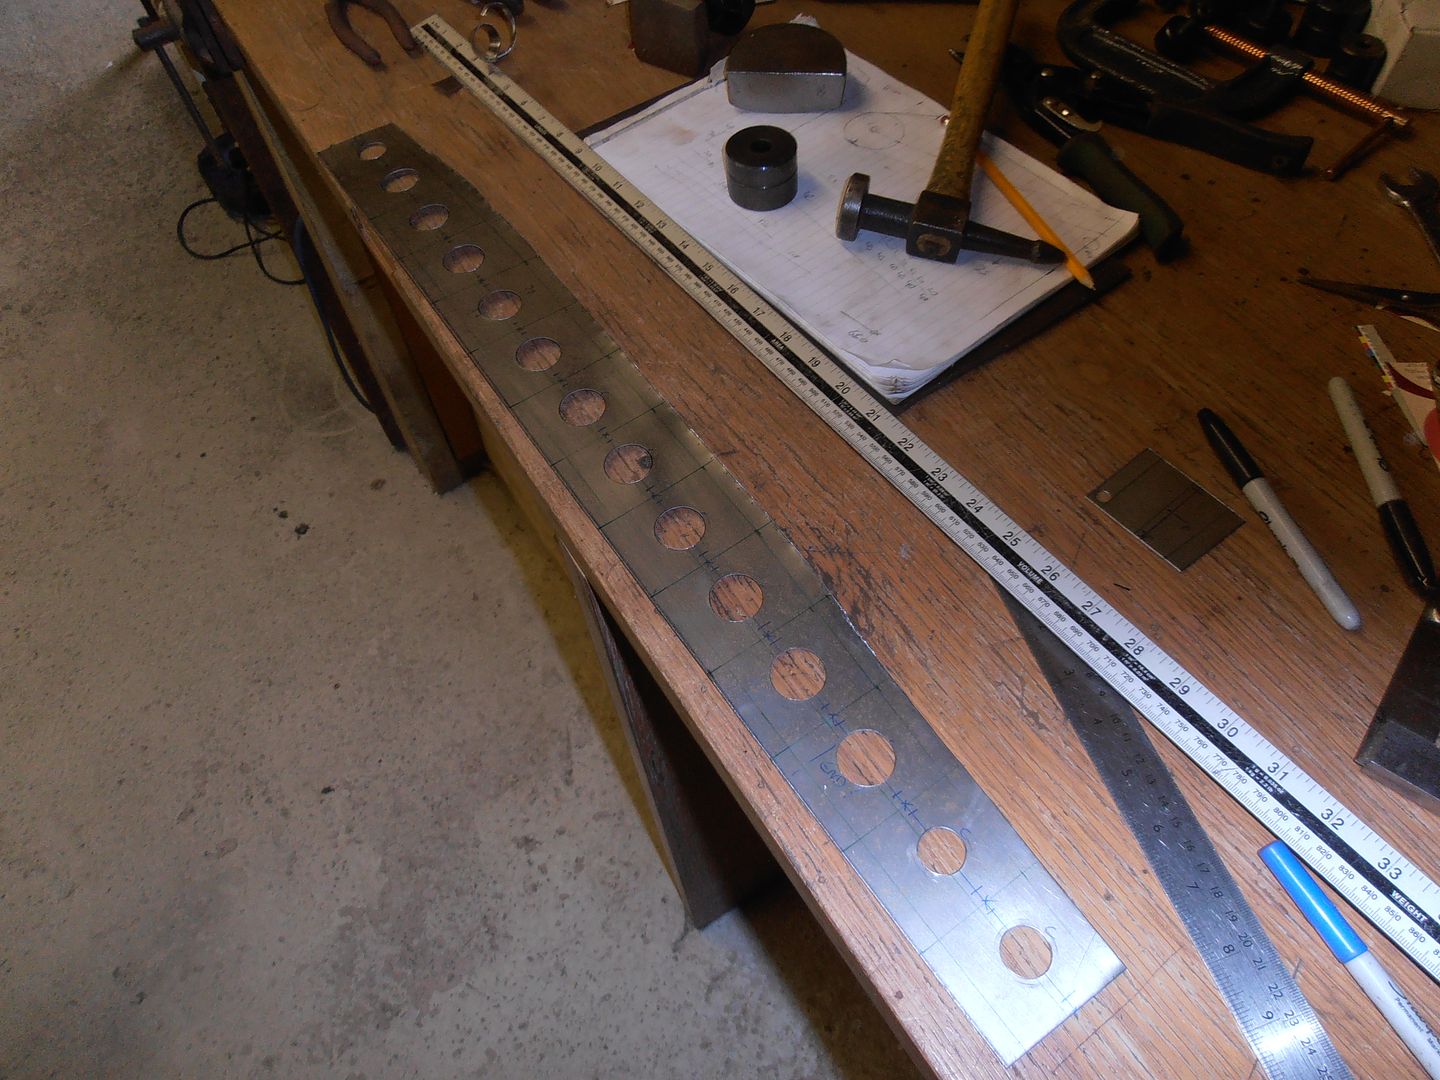 Its not so easy to see, but one side is straight, the other has a curve to it. I folded up the straight side in my bender then set about the curved side 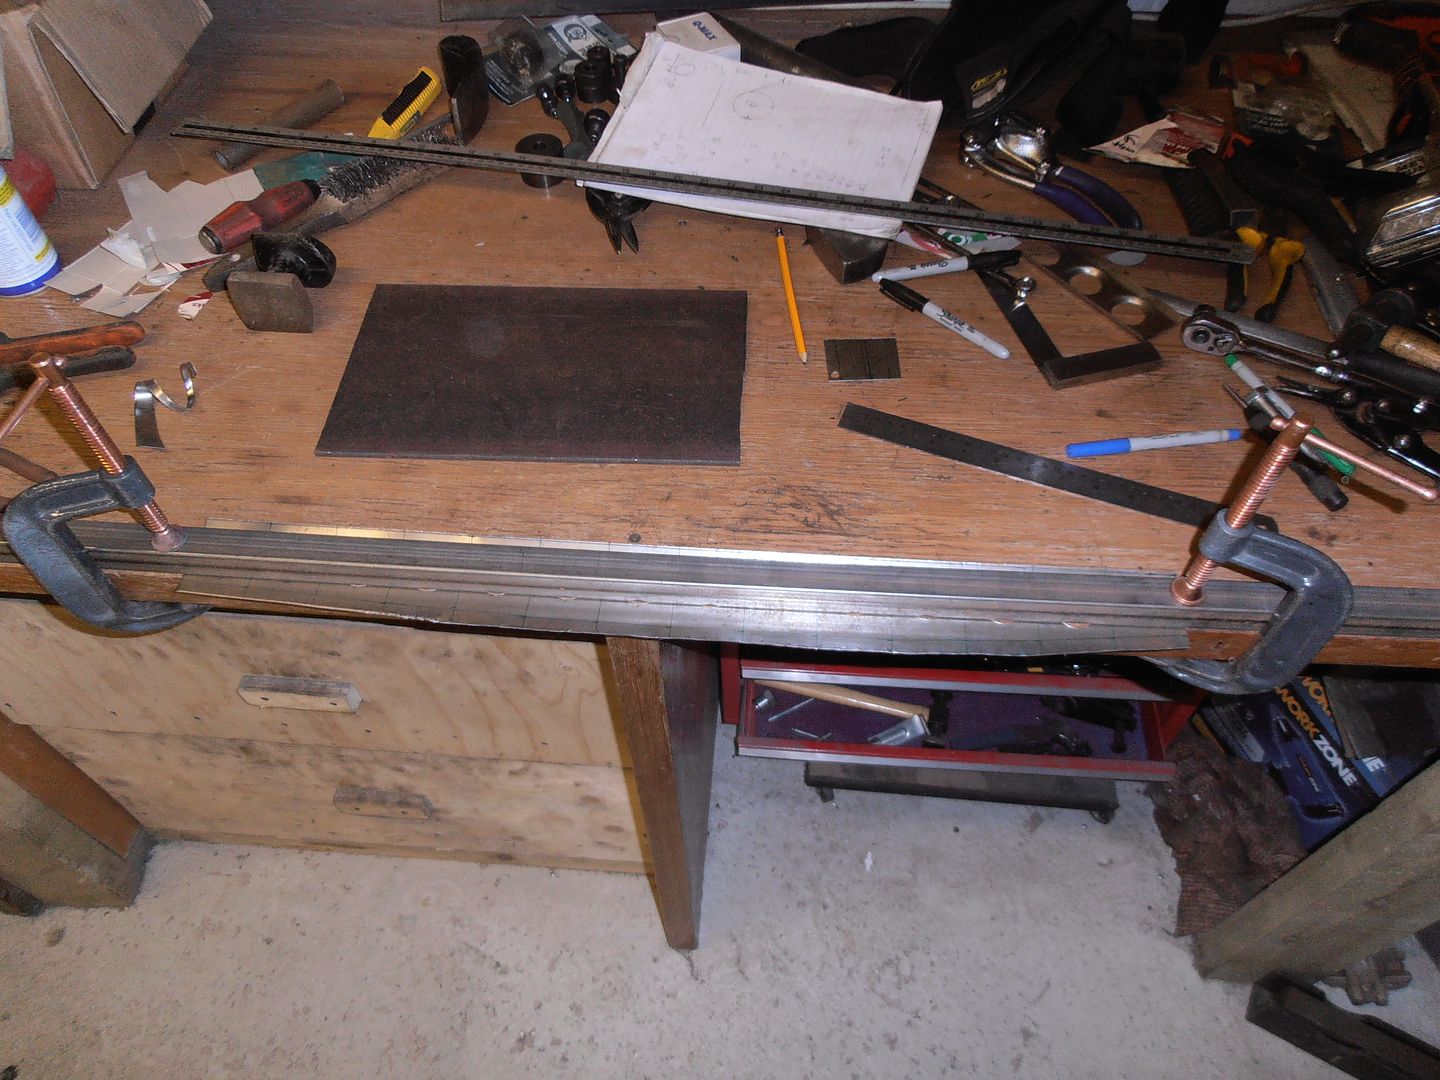 my handy flange bending bolt 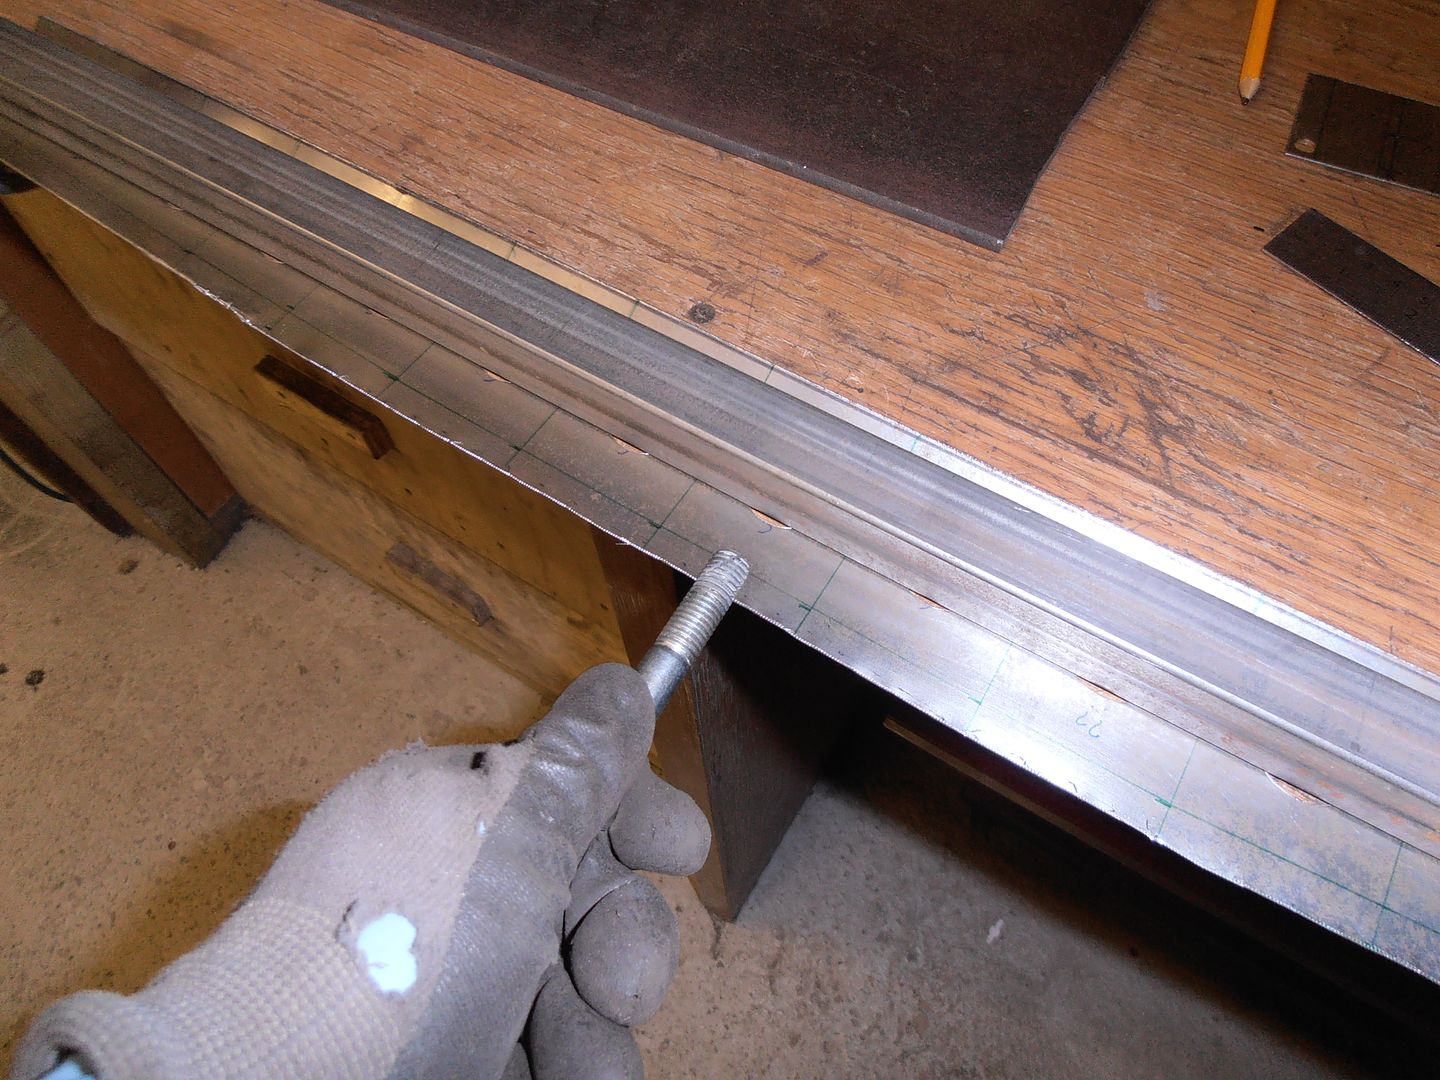 first pass 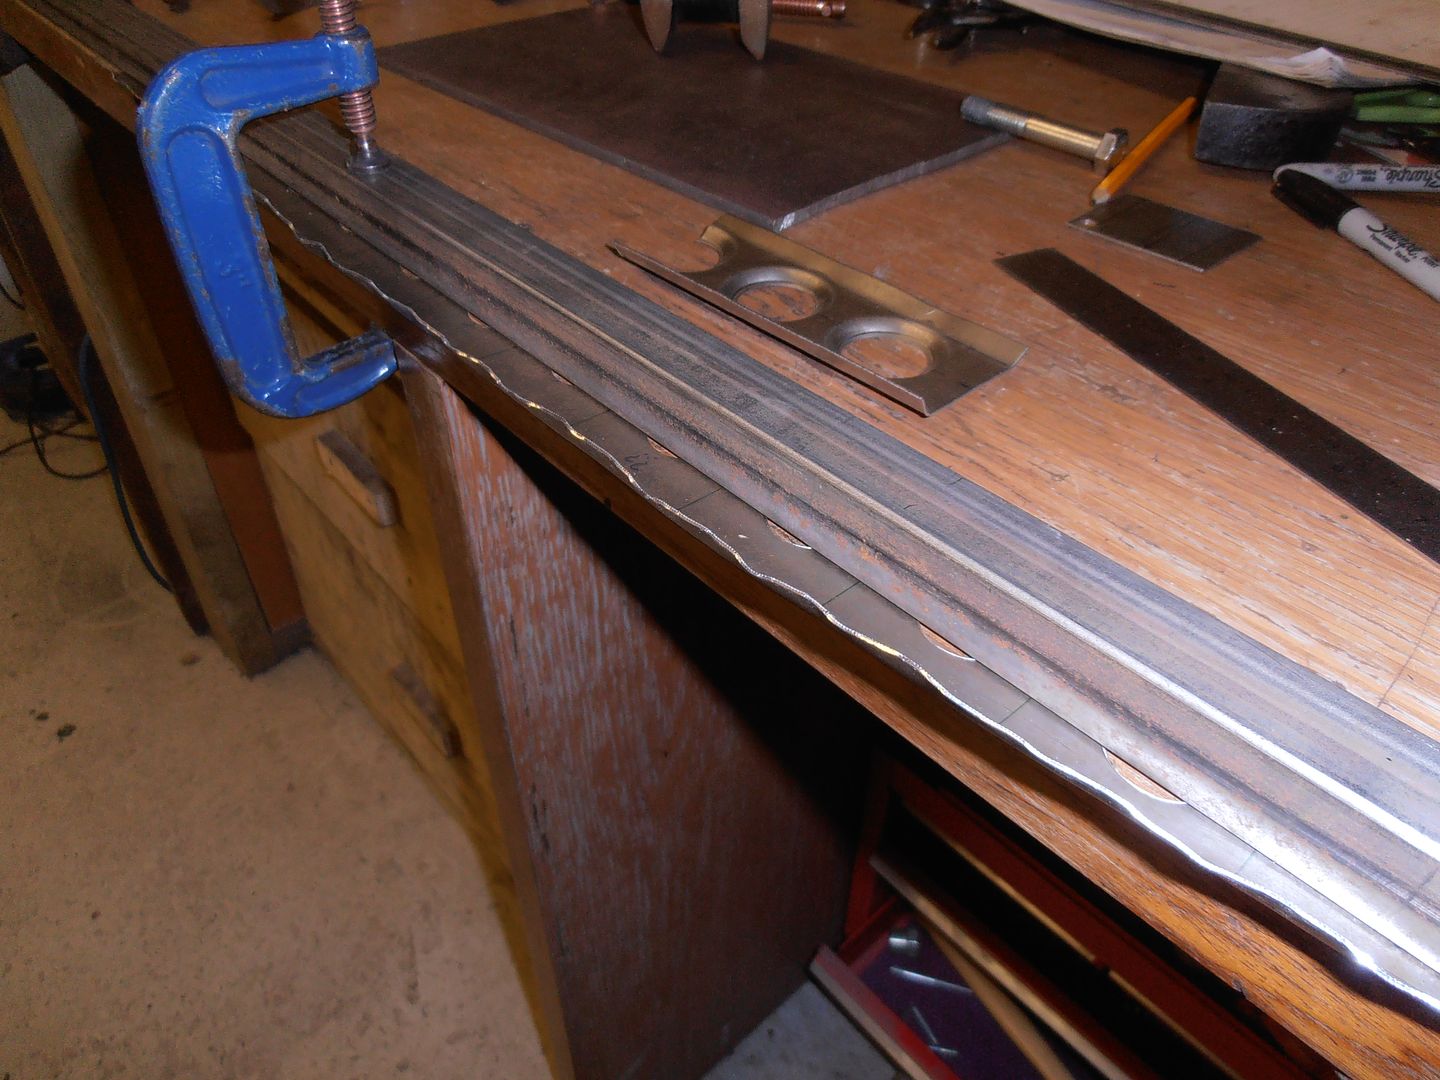 another 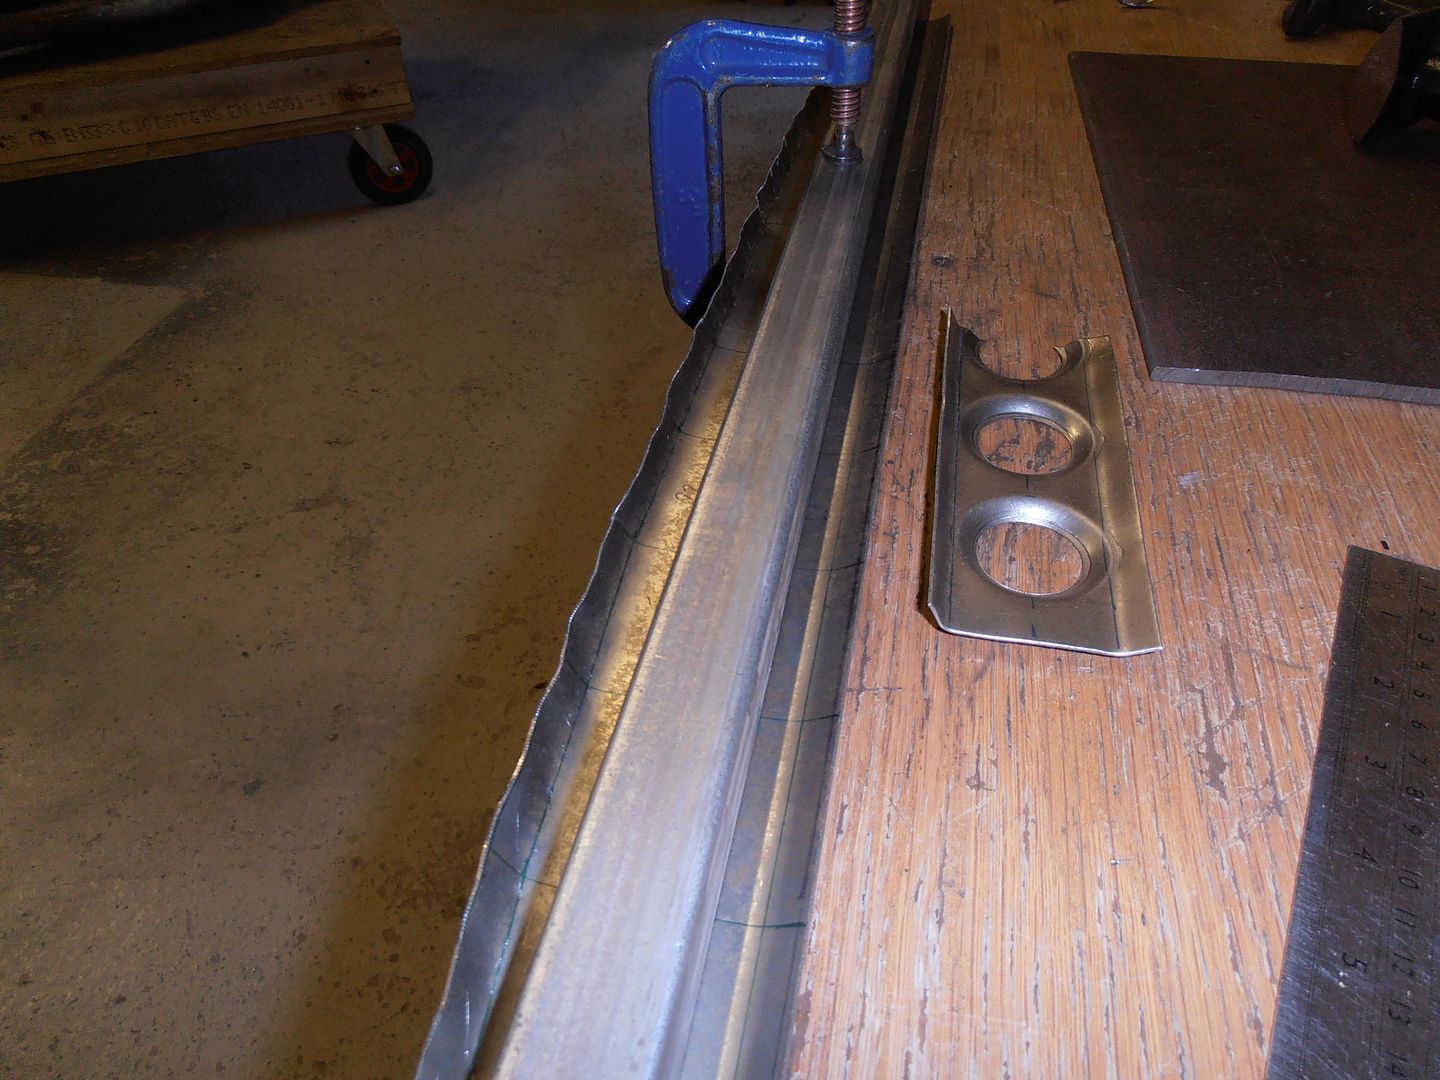 dressed with dolly and all the holes swaged. 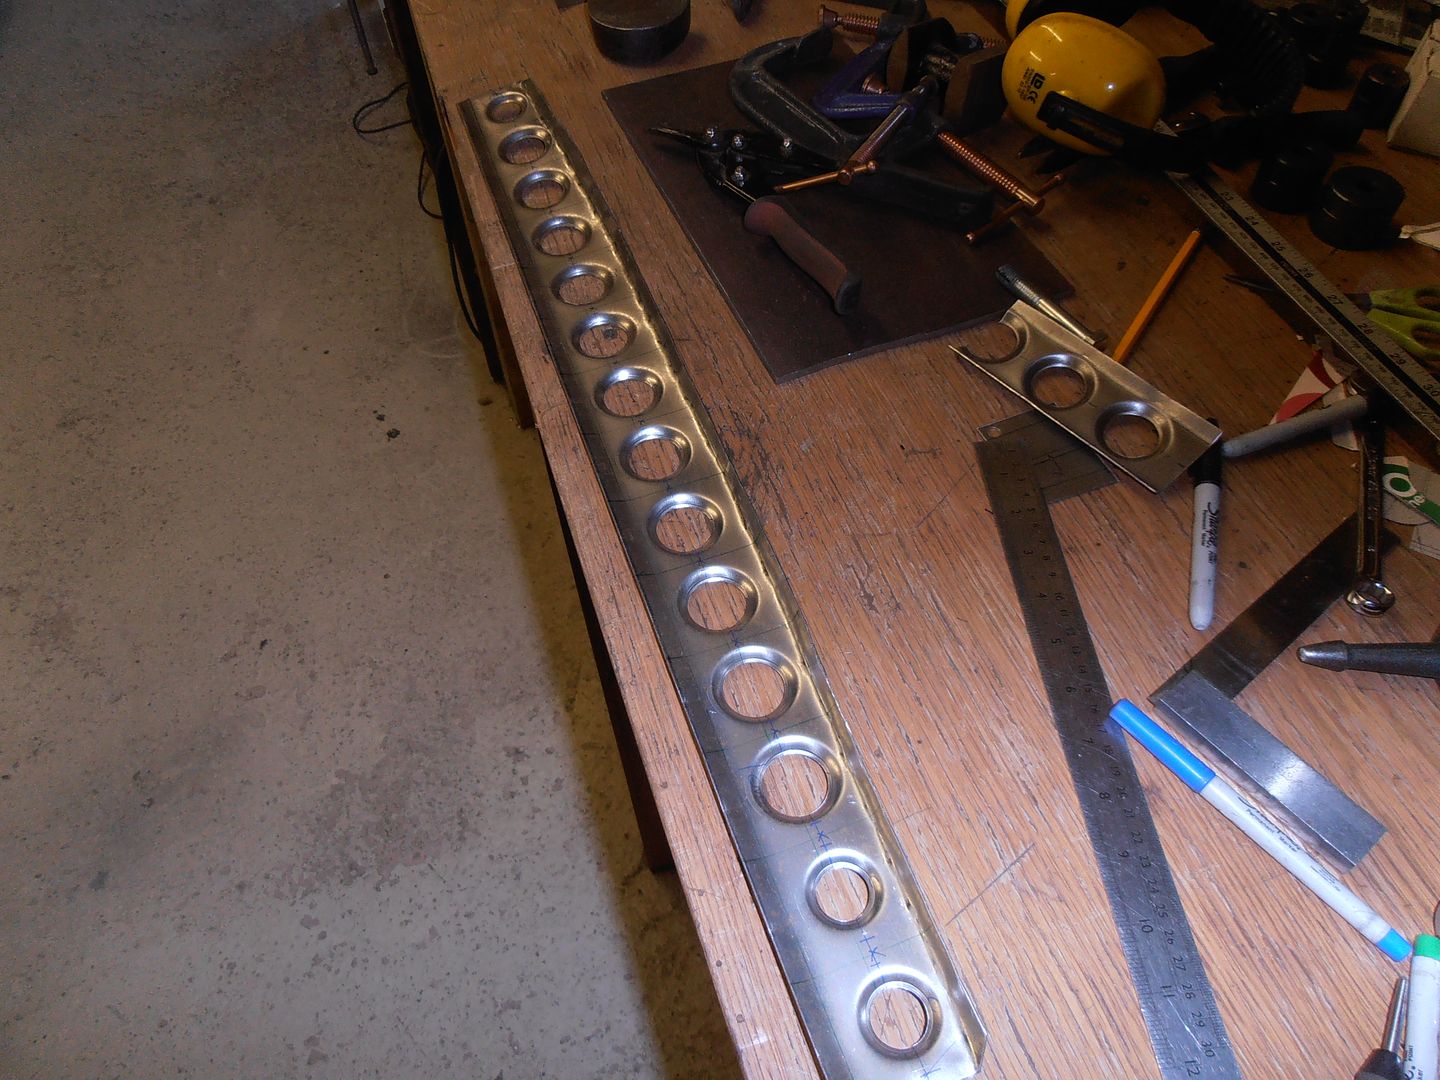 I had to use the shrinker to straighten it a bit as all the holes had pulled a slight curve In situ 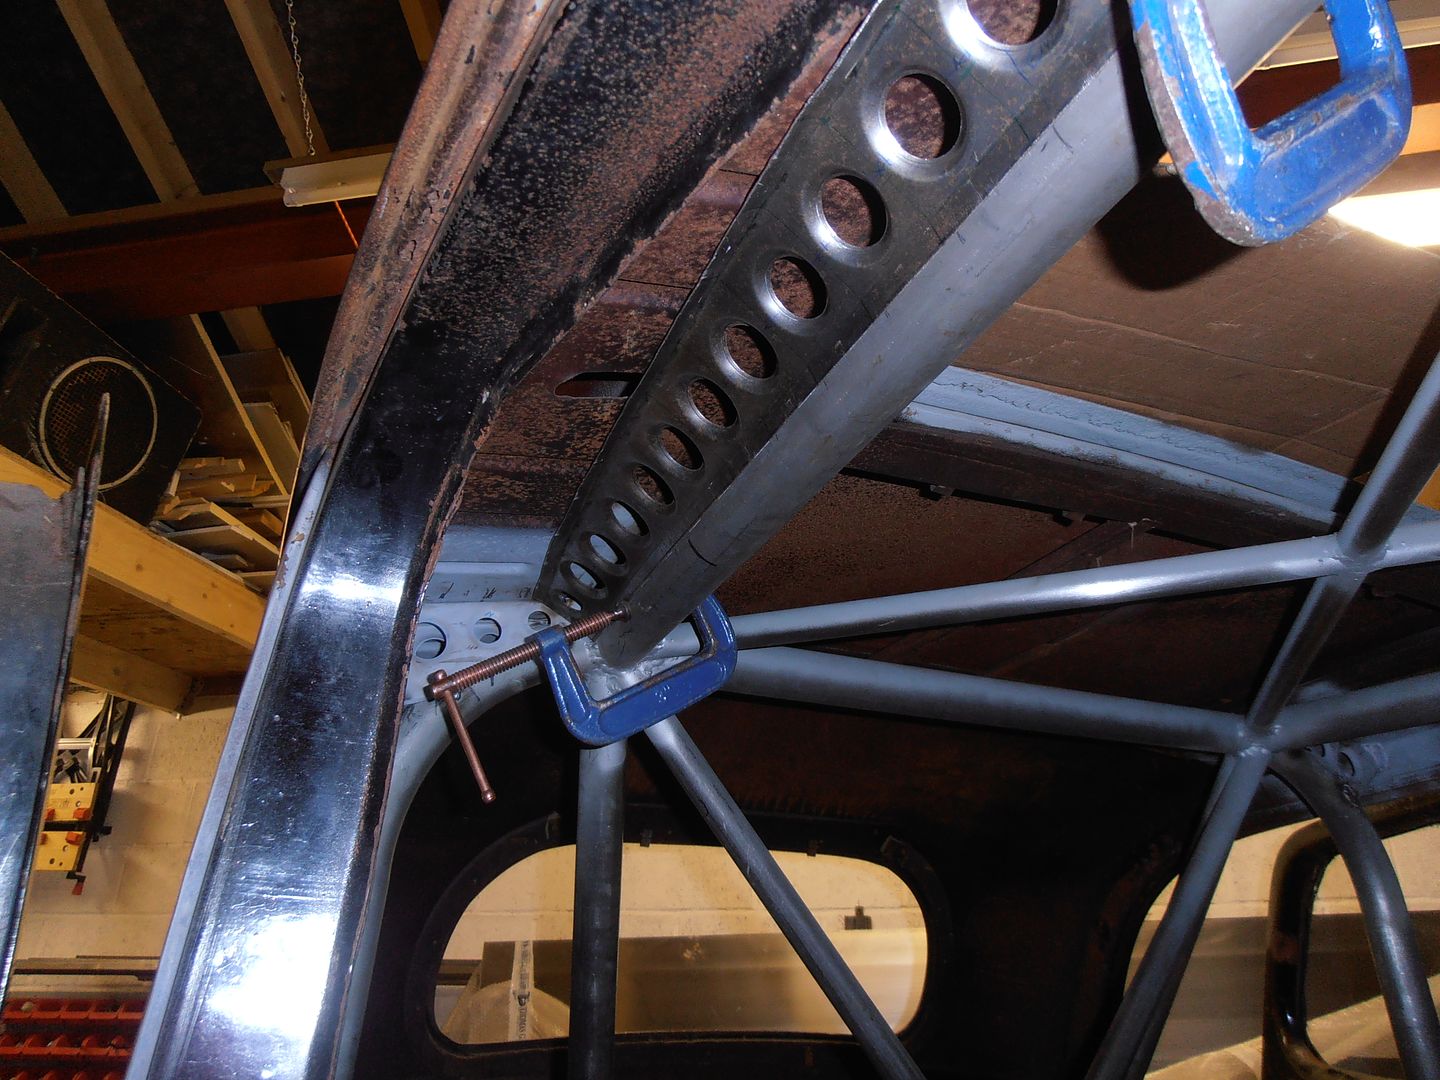 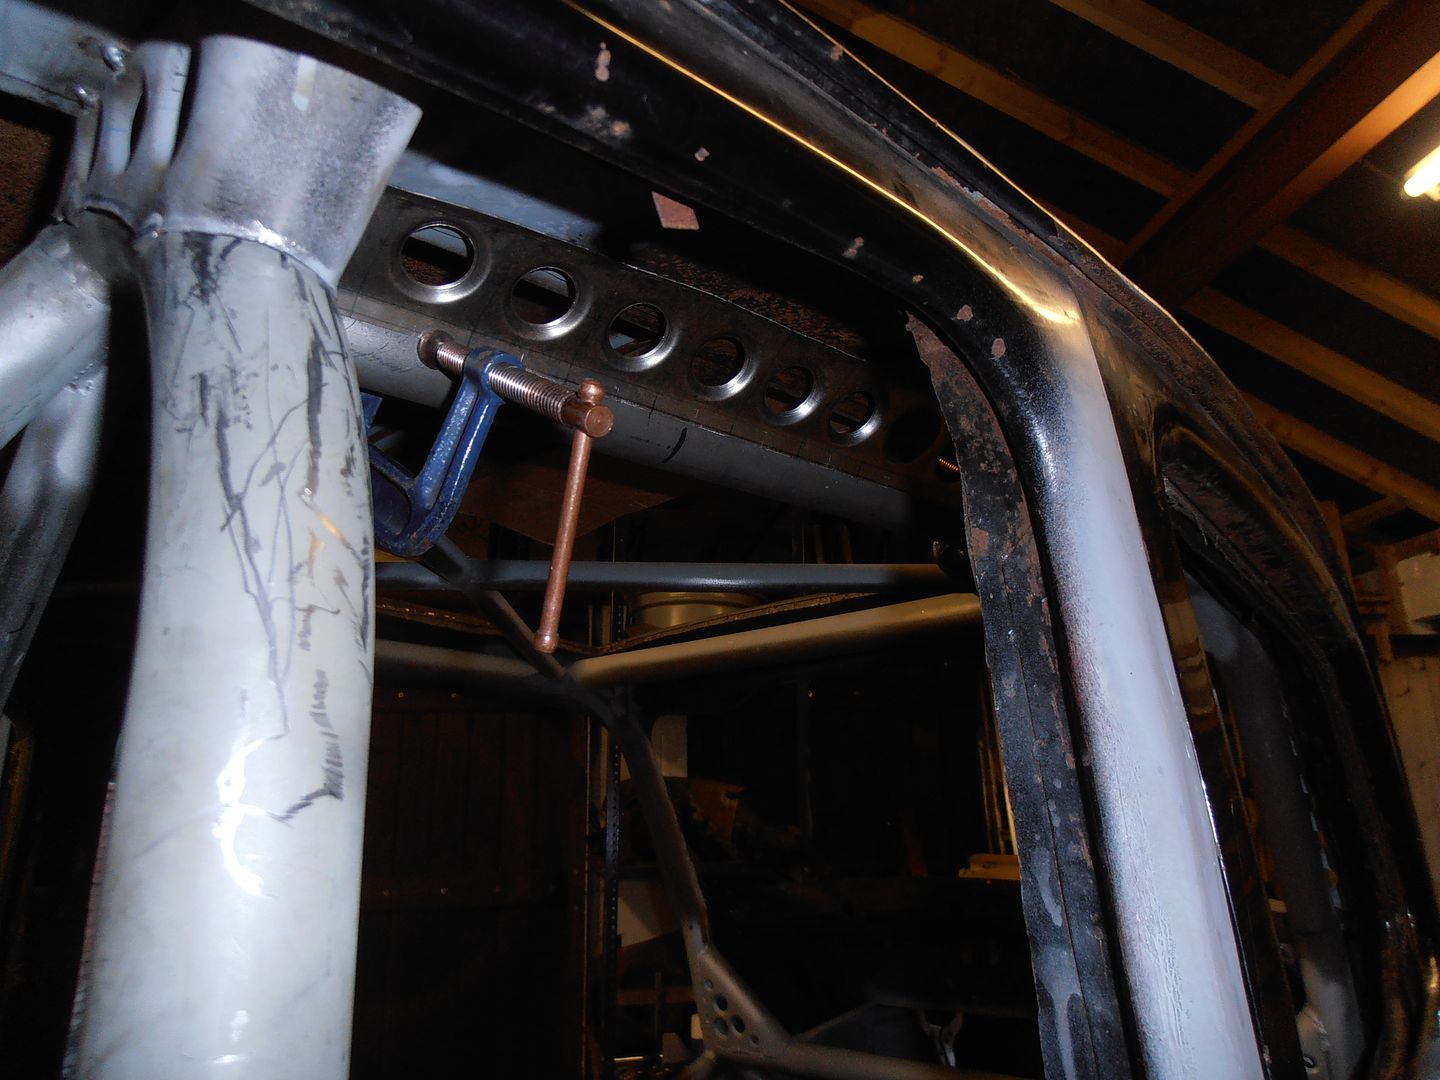 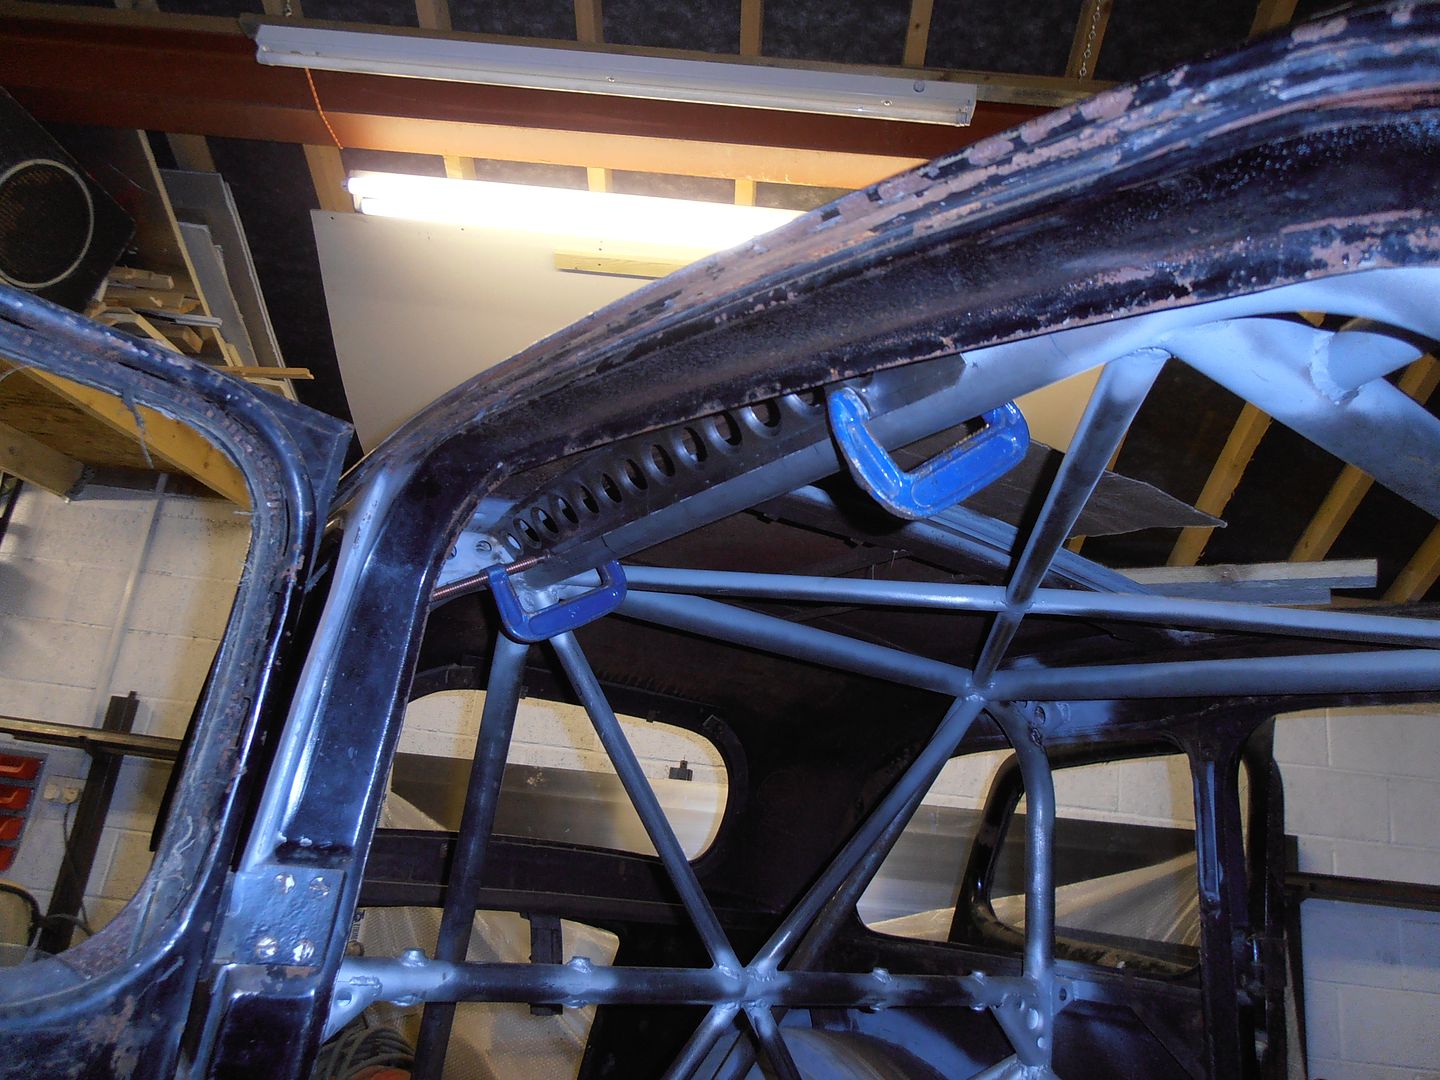 I very much like swaged holes, but cant decide if its going to look excessive. There will be a transverse outrigger going to the door pillar top part way along (where the long black line is), so this will break up the lines a bit. Whats your thoughts? Is moar more, or is less more? |
| |
|
|
|
|
|
Oct 24, 2015 18:41:45 GMT
|
|
I think its looks the dogs danglys, once painted even better, what colour you going out of interest?
|
| |
|
|
|
|


