jonomisfit
Club Retro Rides Member
Posts: 1,787
Club RR Member Number: 49
|
|
Dec 19, 2013 21:02:51 GMT
|
|
I'm still lightly undecided with what engine to go for. Having made some measurement and mocked up a few different engines in CAD, i still might be able to get a V6 in there, and possibly a V8, they just need to be fairly narrow angled. I'm still tempted by a decent turbo diesel 4 pot. Will see where the mood takes me, but I may stick with a mx5 / duratec engine at the moement.
If i went for a v8 it'd prob have to be an automatic or dig out my old paddle shift and remote clutch system design and make the thing. Maybe a project for later :-)
There's a huge amount of head room, but having made a few photochops and seen some pics of chopped morris 8's i always think they look perfect side and rear but very squashed in the front window and i'm not a fan of the look.
Hopefully i'll get the lathe back together and properly set up on Sunday and then get cracking with the car. Next main step though it getting the pedal box made so really need to order some bits.
Sounds like your laying the gauntlet of a challenge down there v8ian :-) Nice build by the way.
My friend did send me some links to a bagging kit which looked quite tempting.
|
| |
|
|
|
|
|
|
|
Dec 19, 2013 21:22:13 GMT
|
|
maybe a rear gearbox/transaxle ala porsche924/928 or volvo 340/360
|
| |
|
|
|
|
|
Dec 20, 2013 15:20:15 GMT
|
|
^^ That might also be a good idea providing it would fit in with the rear suspension design. Some of the Alfa Romeos also had this arrangement, and of course the Corvette.
A modern torquey and fuel efficient turbo diesel would make for a good all round car, especially in something as light as this should be.
|
| |
|
|
jonomisfit
Club Retro Rides Member
Posts: 1,787
Club RR Member Number: 49
|
|
|
|
Got the Lathe put back together, set up, and running nicely. Made a big difference cleaning it all up and the new more powerful motor and non slipping belts definitely help :-) 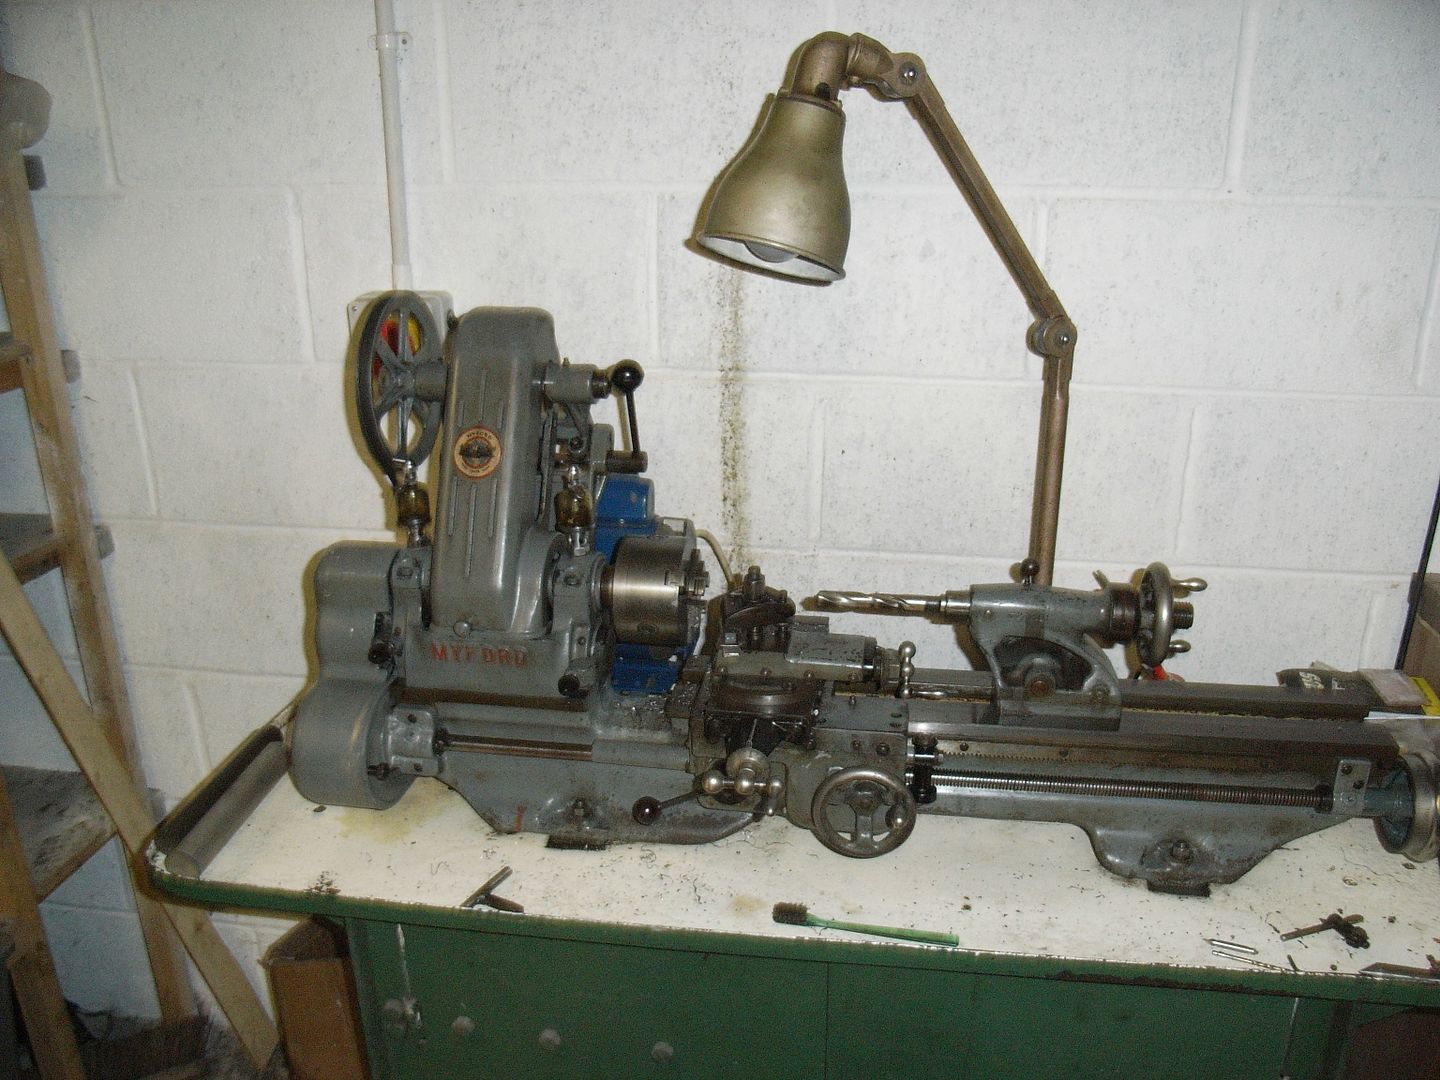 Also got a couple of days on the car. Put in the cross brace in the roof. Position worked out icely, so the sun roof can still be opened 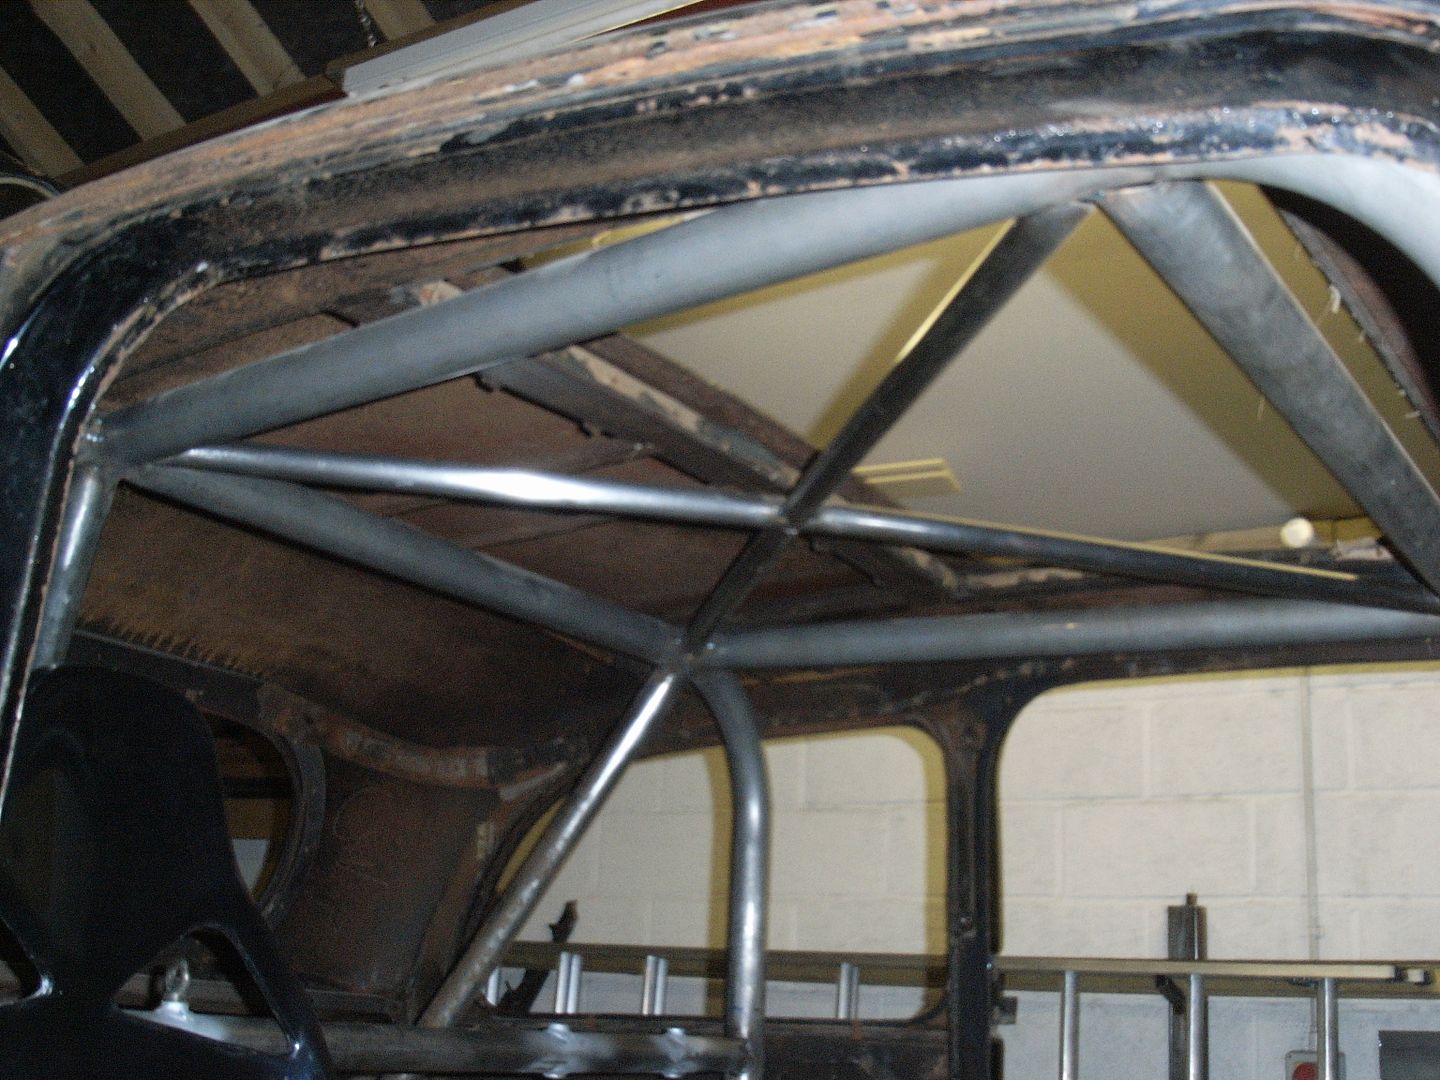 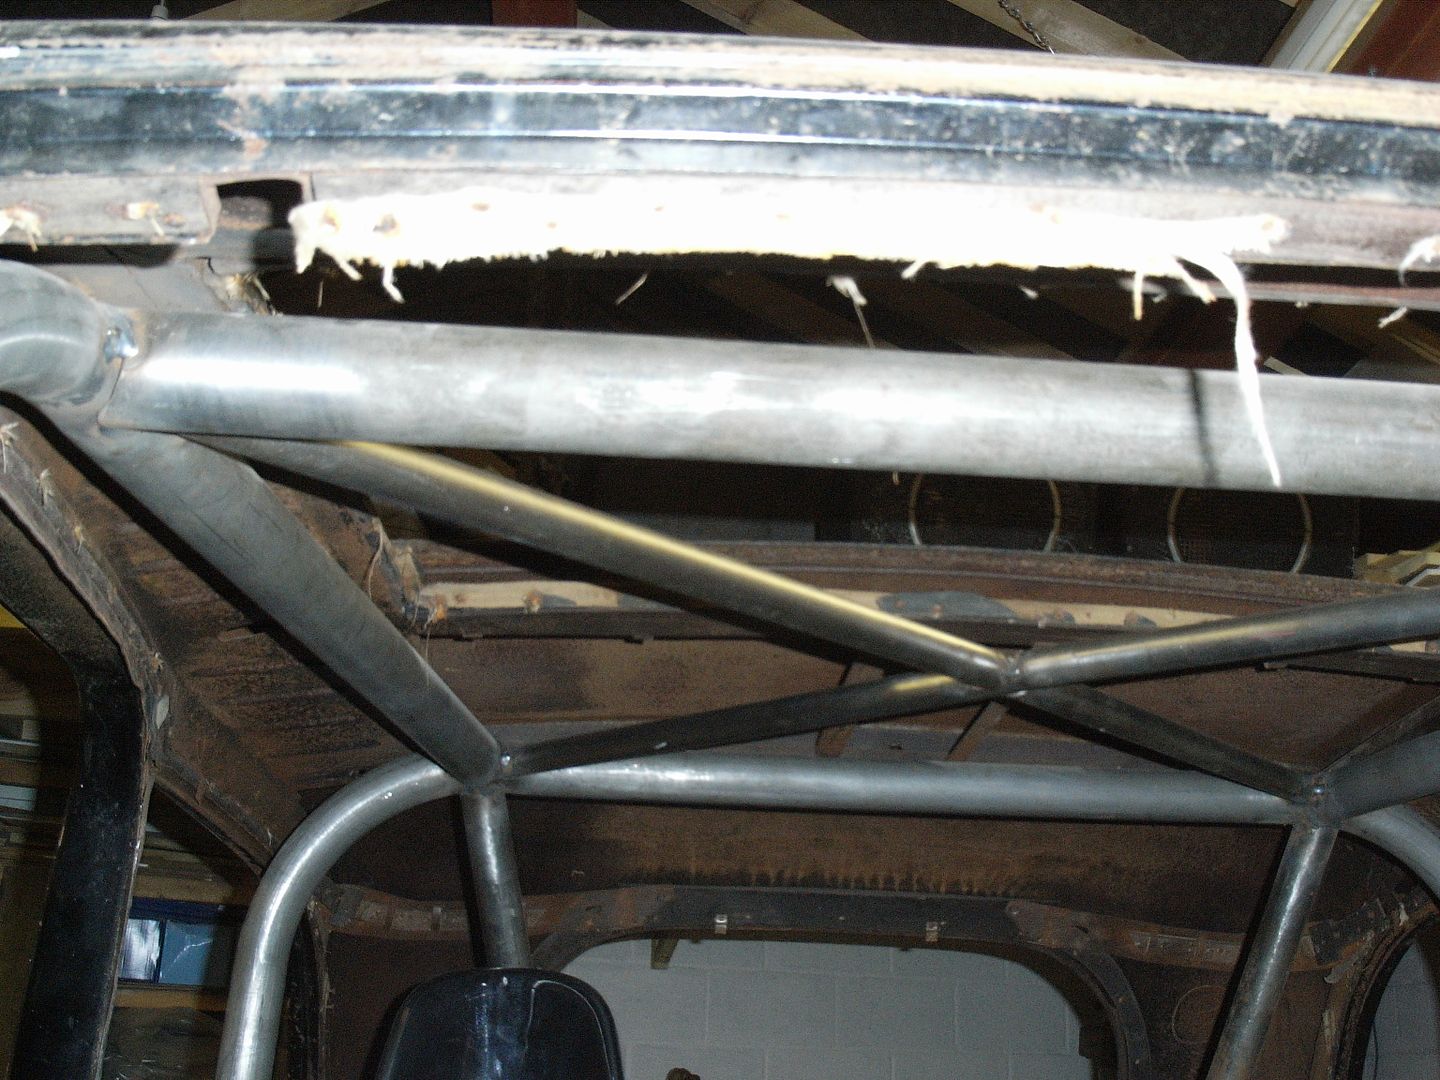 Put the harness bar in, although it still needs cross braced etc. 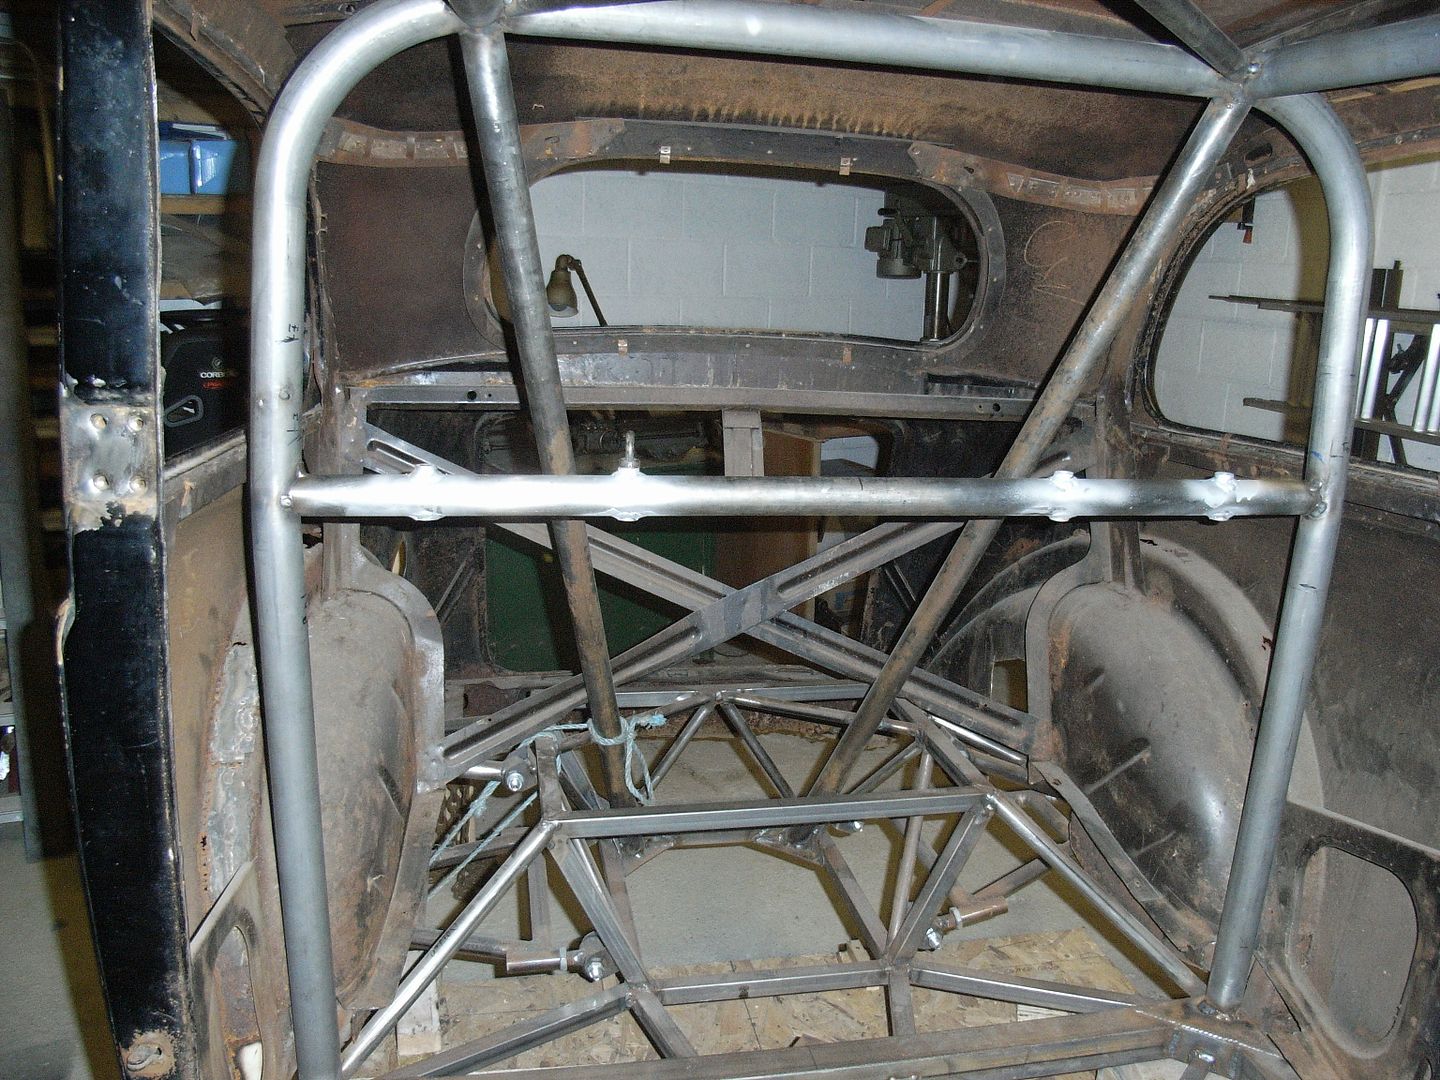 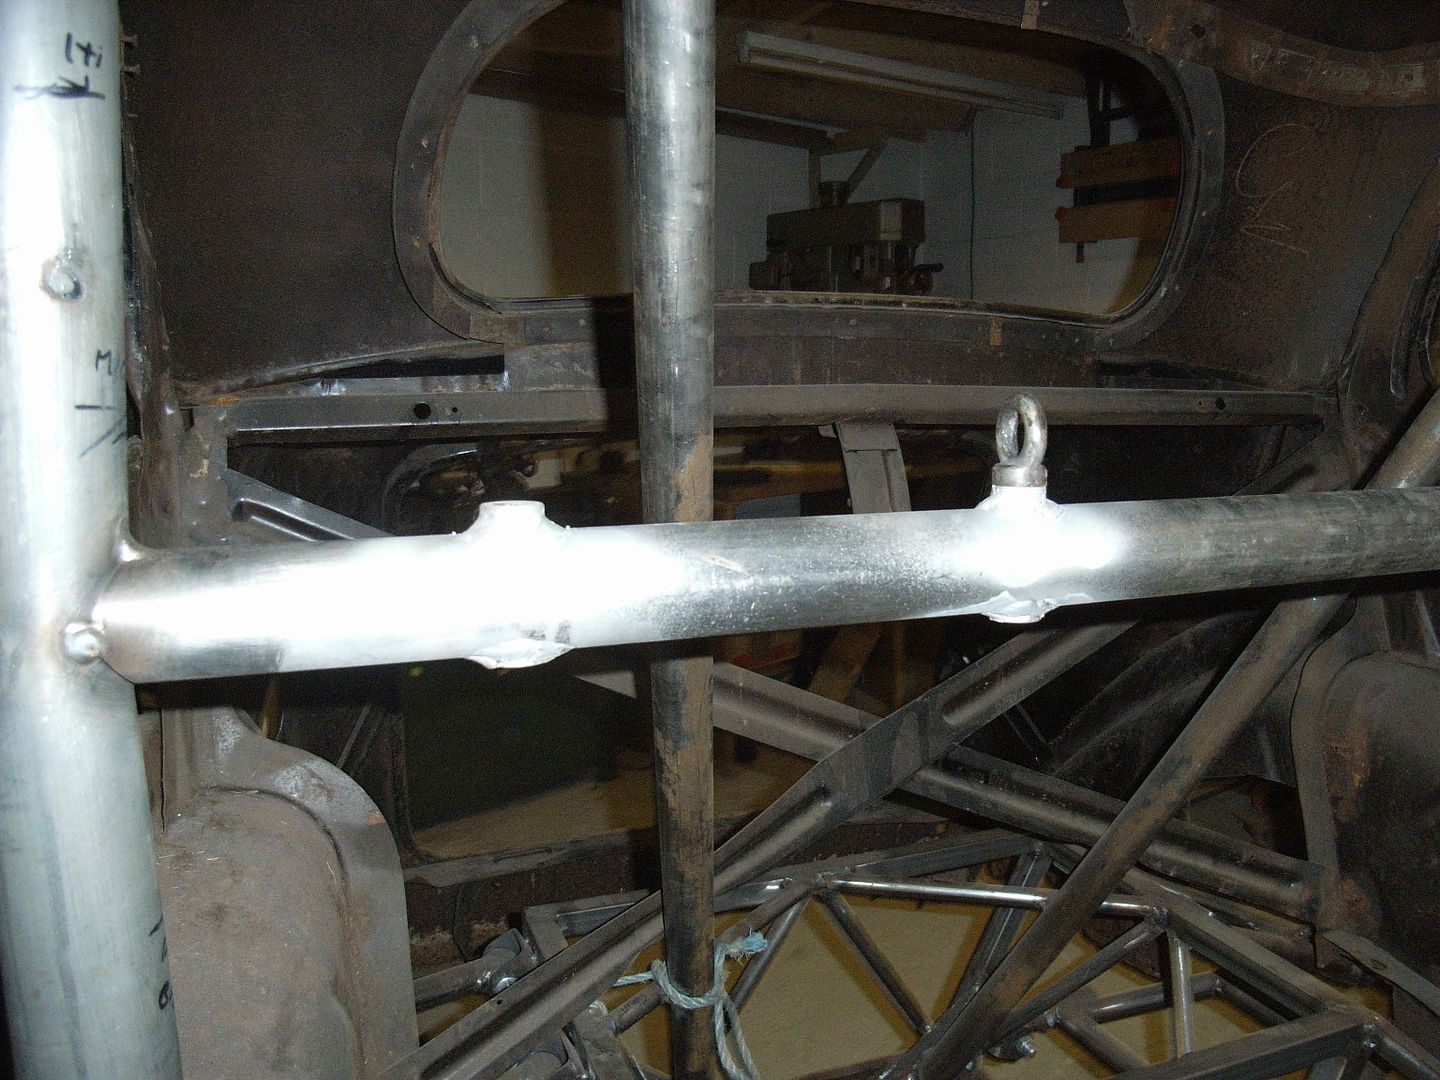 Changed the front bracing to be bolt in, making engine fitting / removal a lot easier in the future. Also tied to the damper upper mounts which are also tacked in. Still need to be gusseted etc. 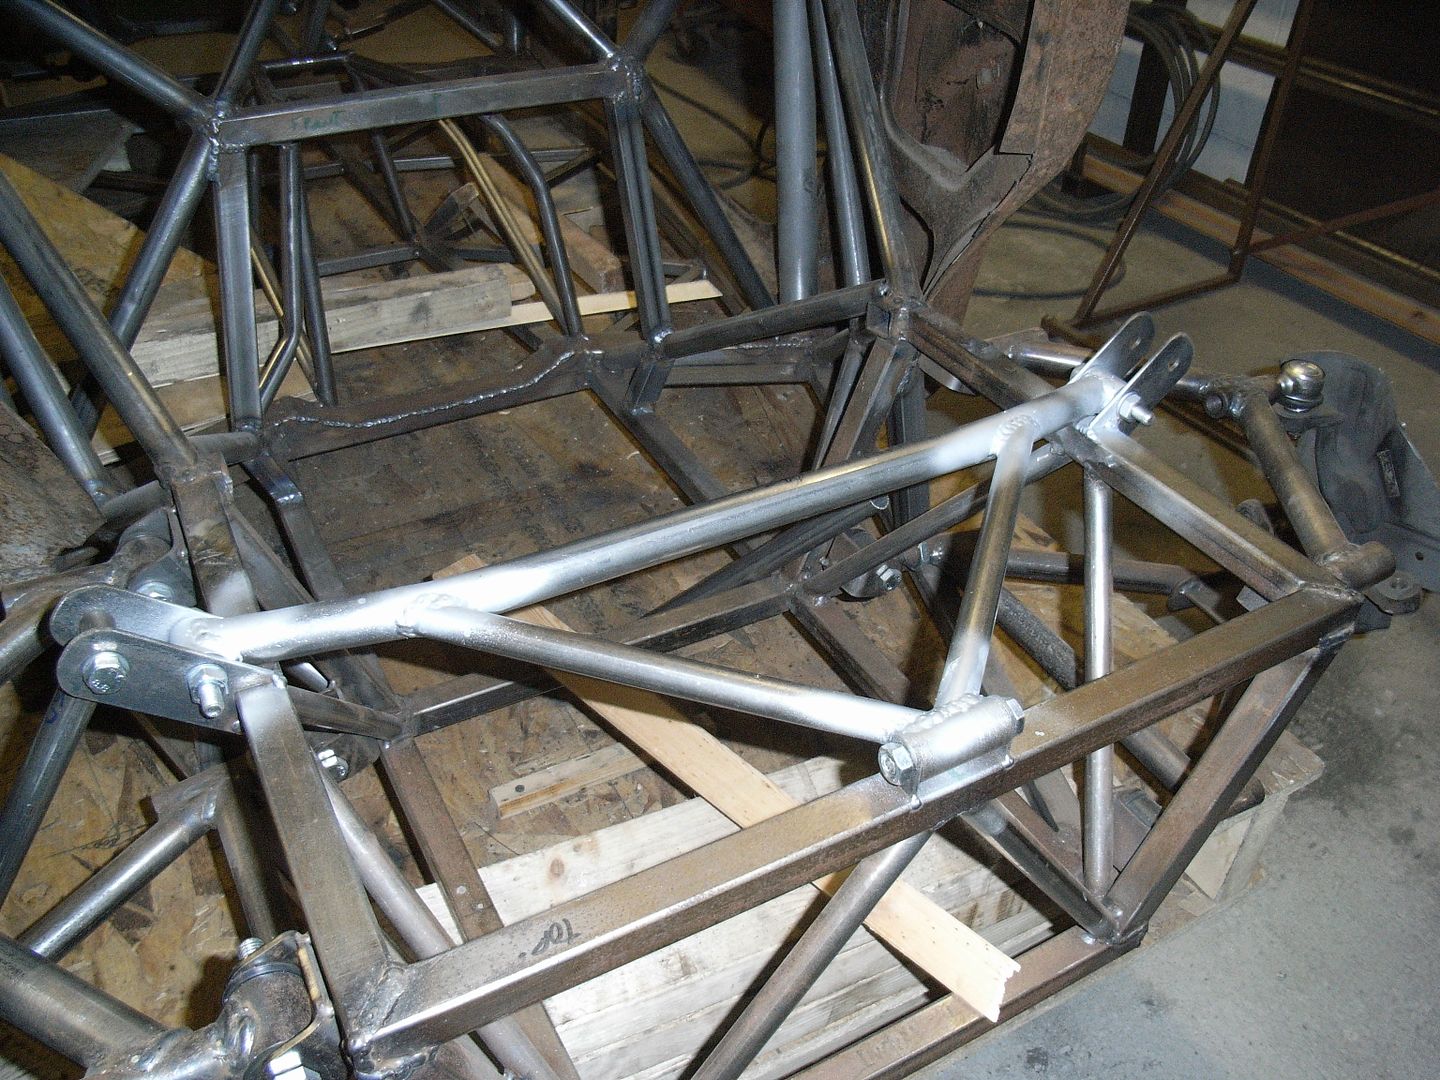 And started on the damper mounts 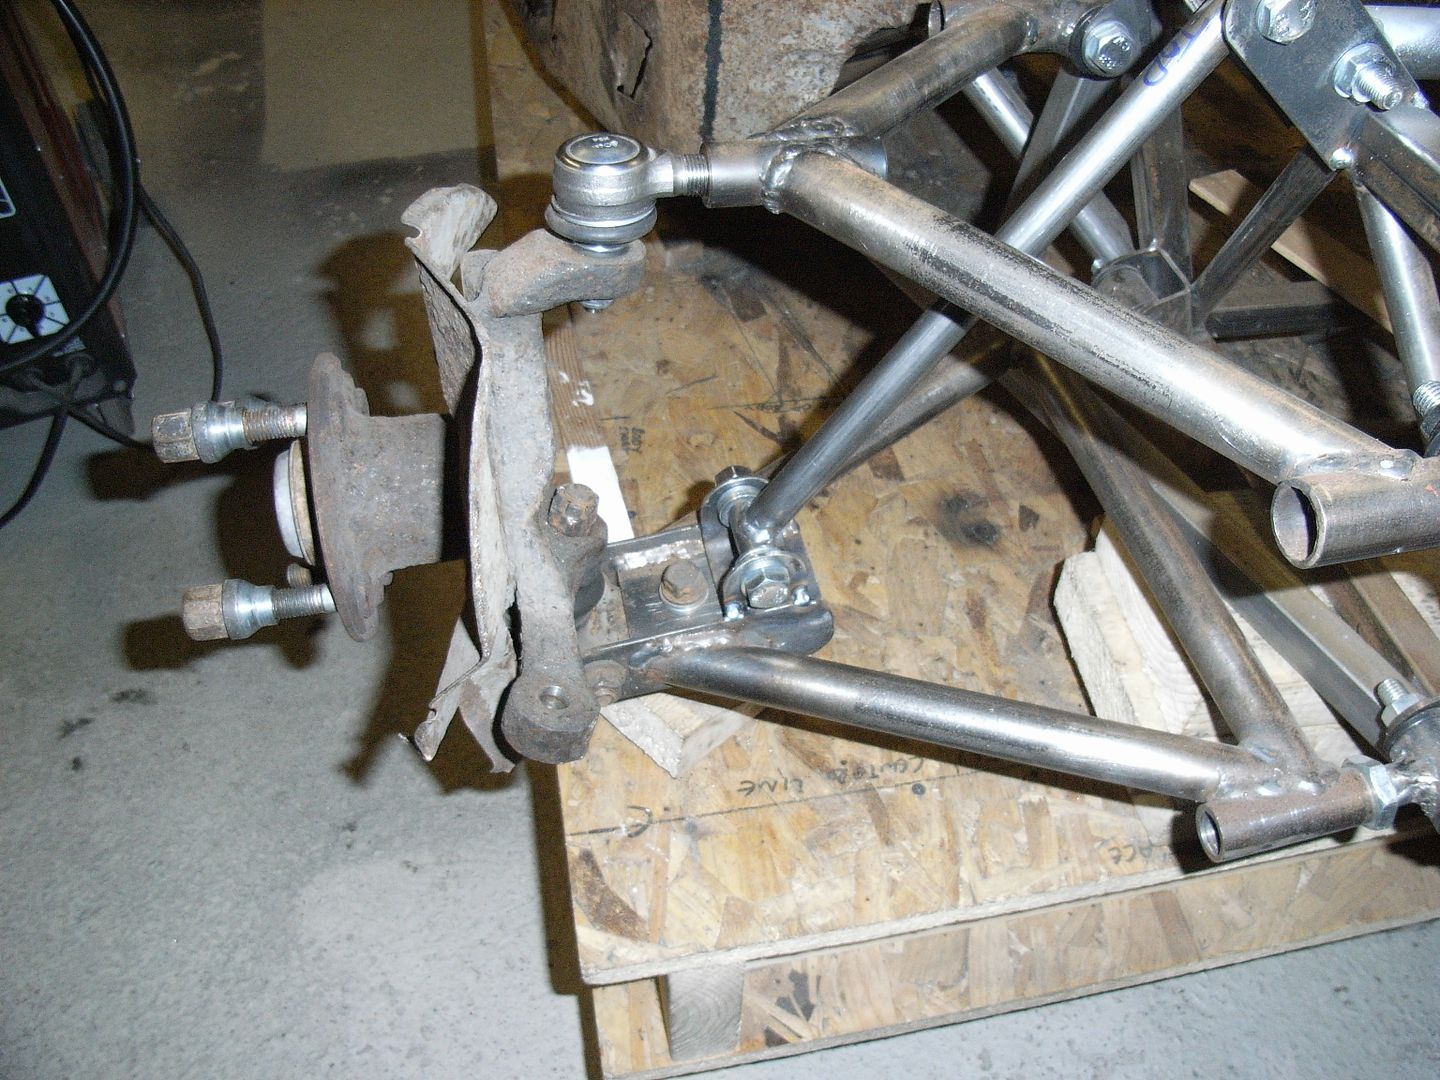 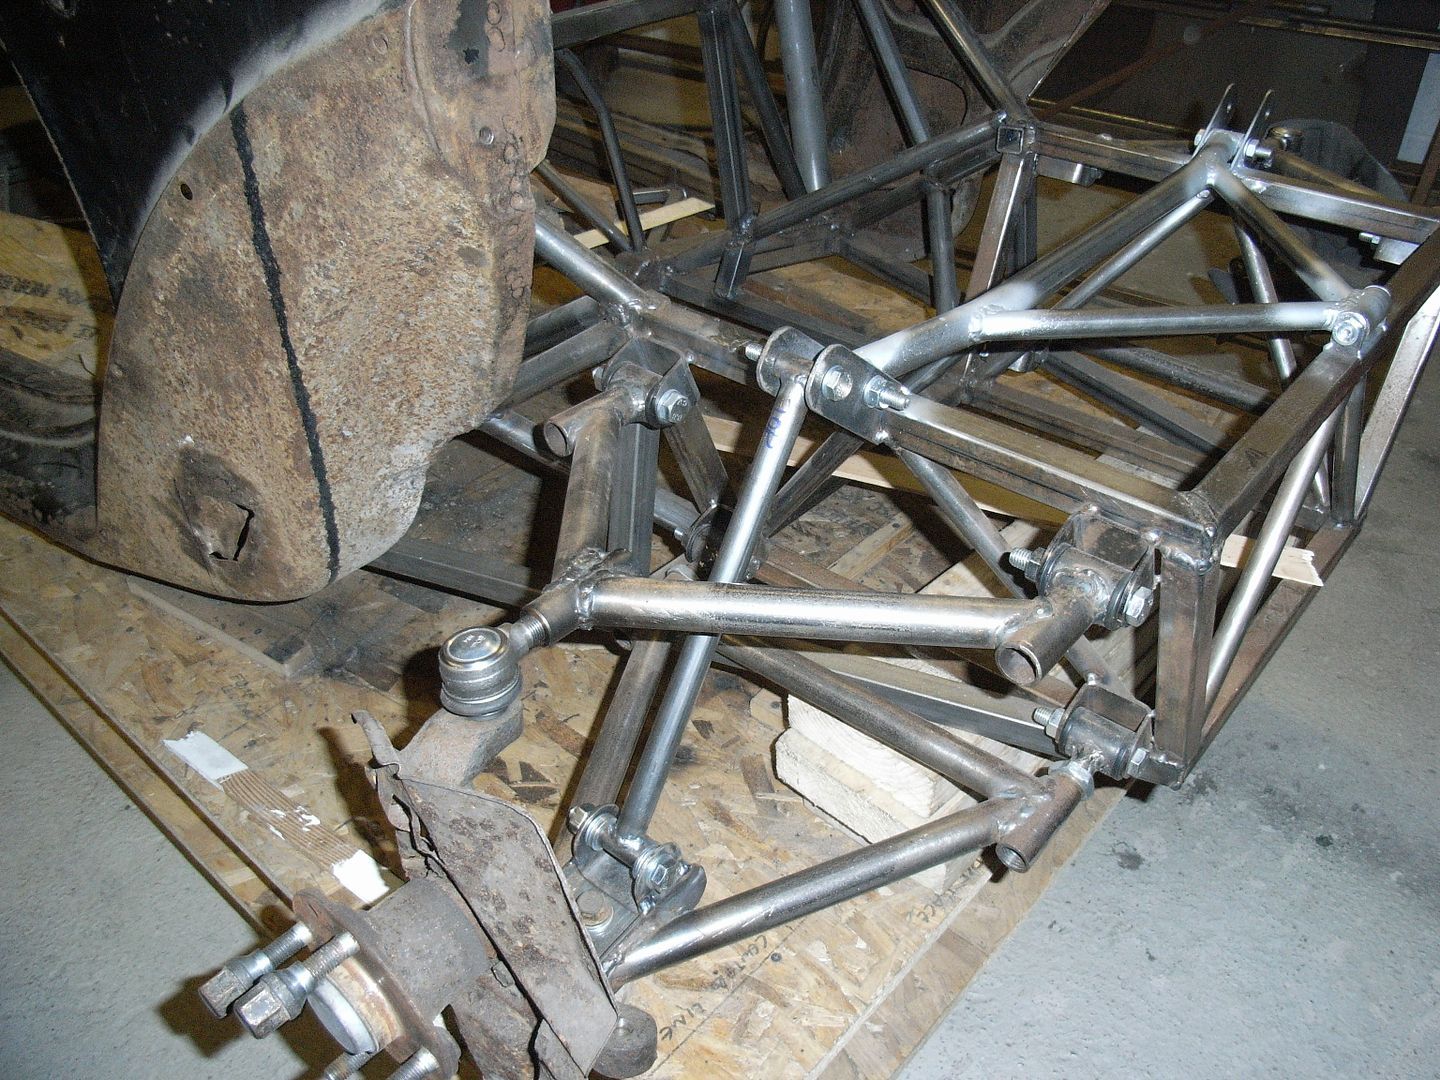 Made a few dummy dampers to hold the wheels at the right ride height. And got a seat that fits with a lot more room round it. 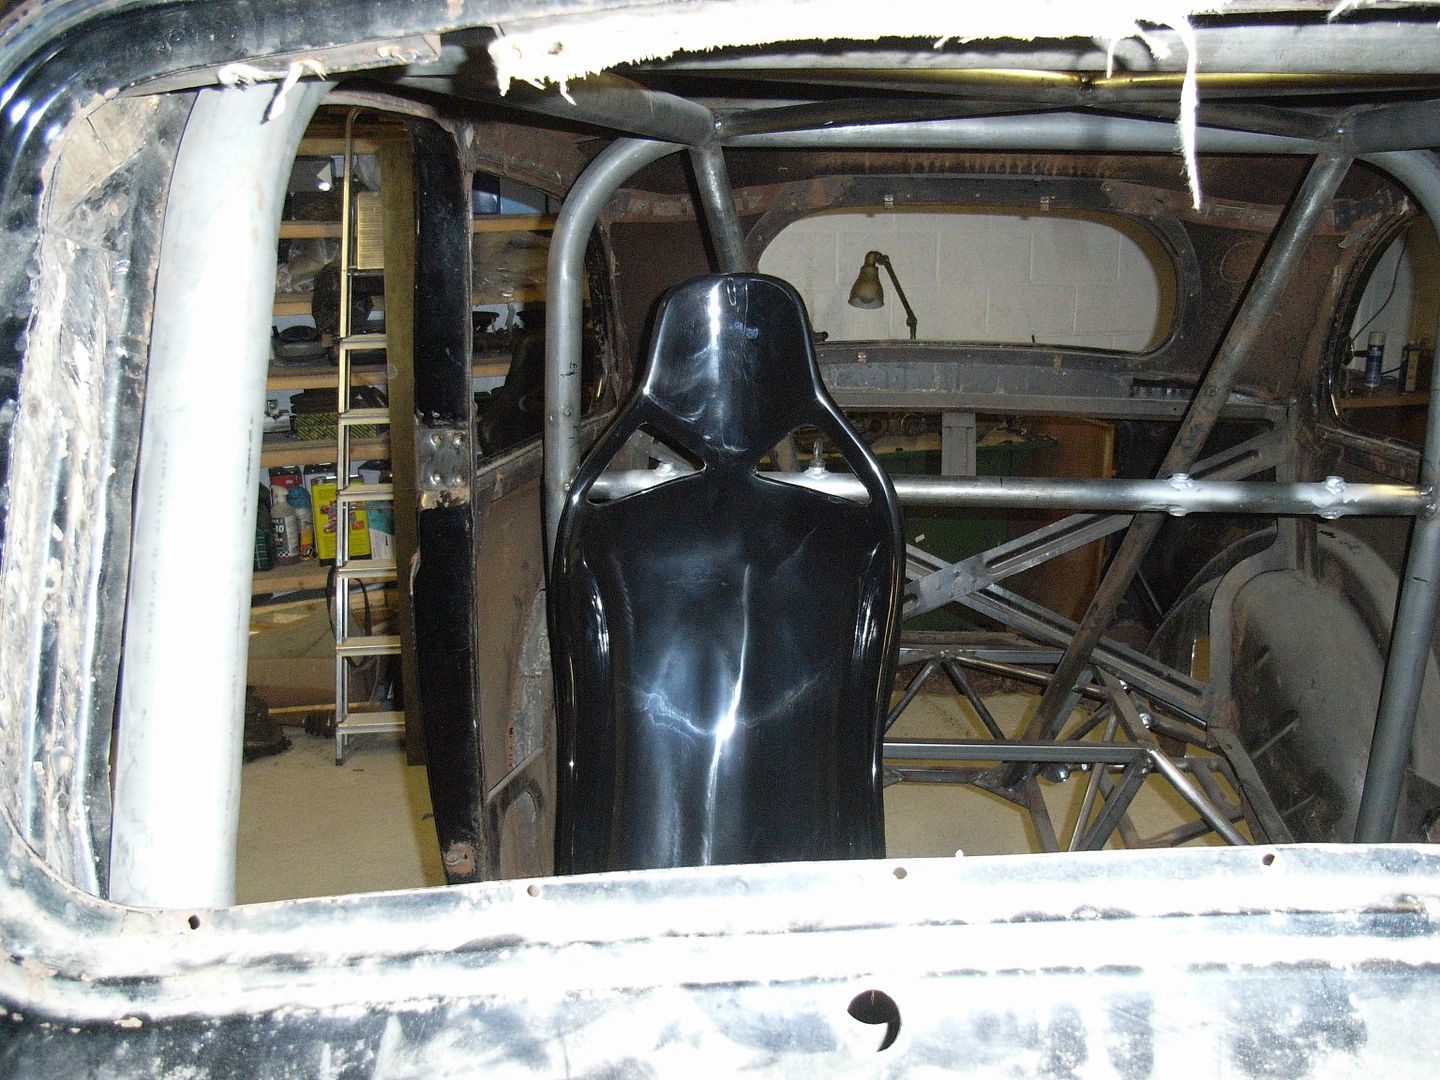 Pushed back as hard against the harness bar its tight in the leg, but should be a reasonable position once the pedals are in. In order to get my eye level slightly above center line on the windscreen the seat needs to be up fairly high. 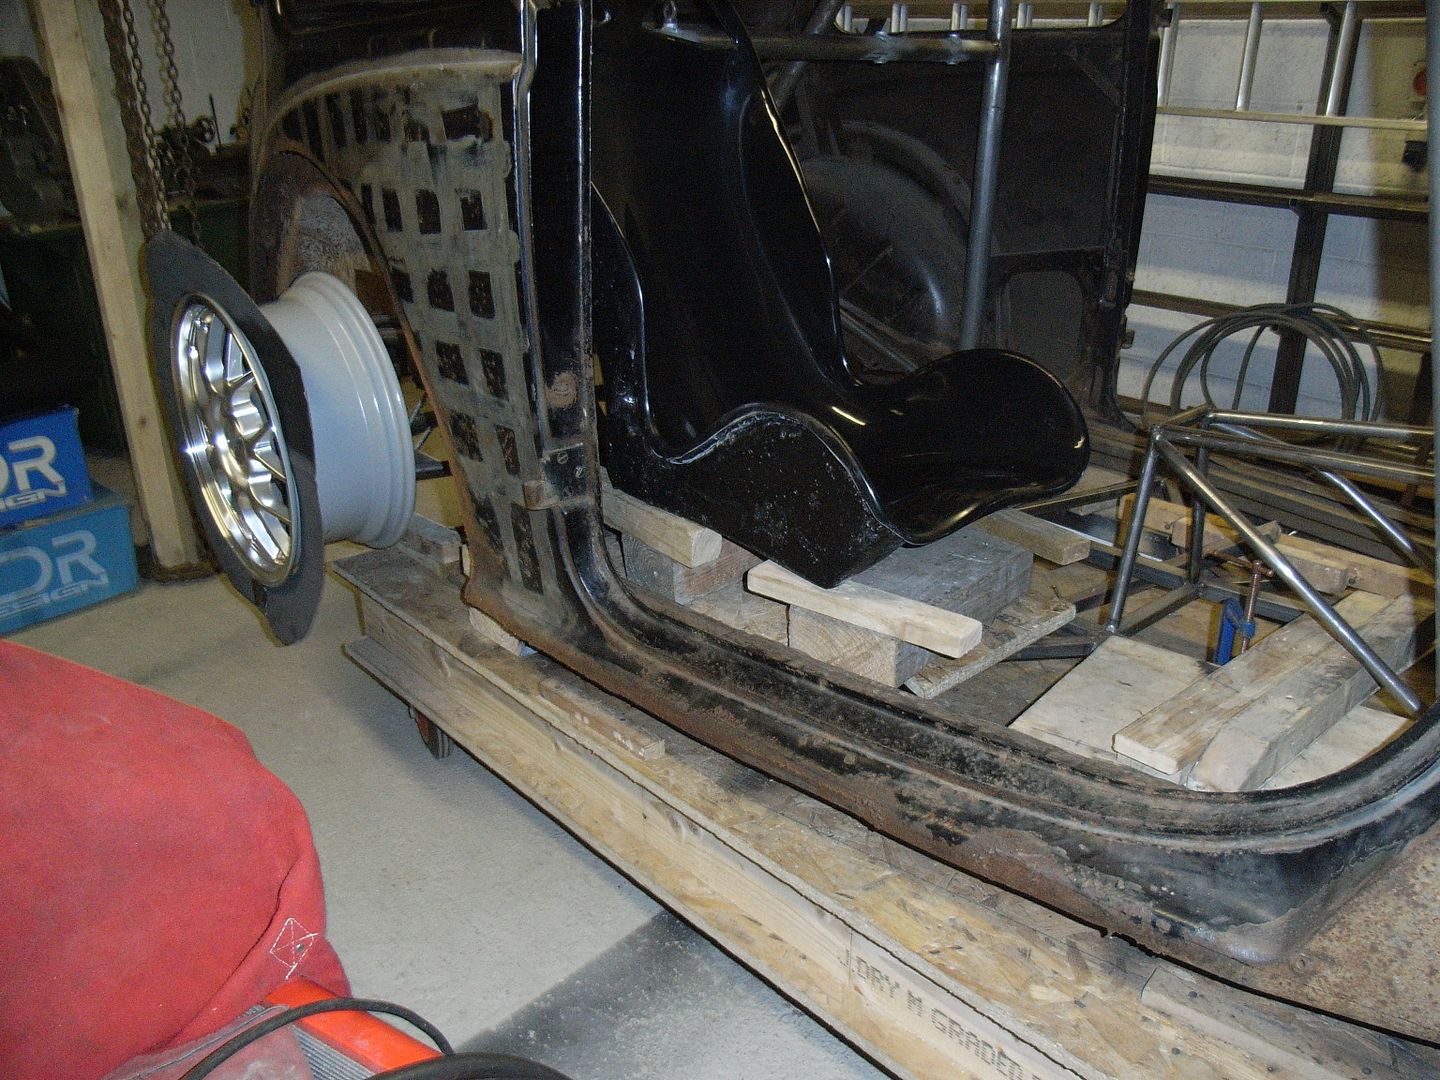 Wood will be swapped for antoher material at a later date .... Still a lot of work to go Hopefully get some more done on the weekend. Need to order bits for the pedal box and get a diff sorted. |
| |
|
|
jonomisfit
Club Retro Rides Member
Posts: 1,787
Club RR Member Number: 49
|
|
Jan 12, 2014 18:22:55 GMT
|
Had a few things on this weekend, so didnt get a huge amount of time on the morris. Mainly front being out cycling and fixing the hugely annoying clunking from my focus which turned out to be an anti-roll bar drop link. Easy fix. Started the rear damper mounts 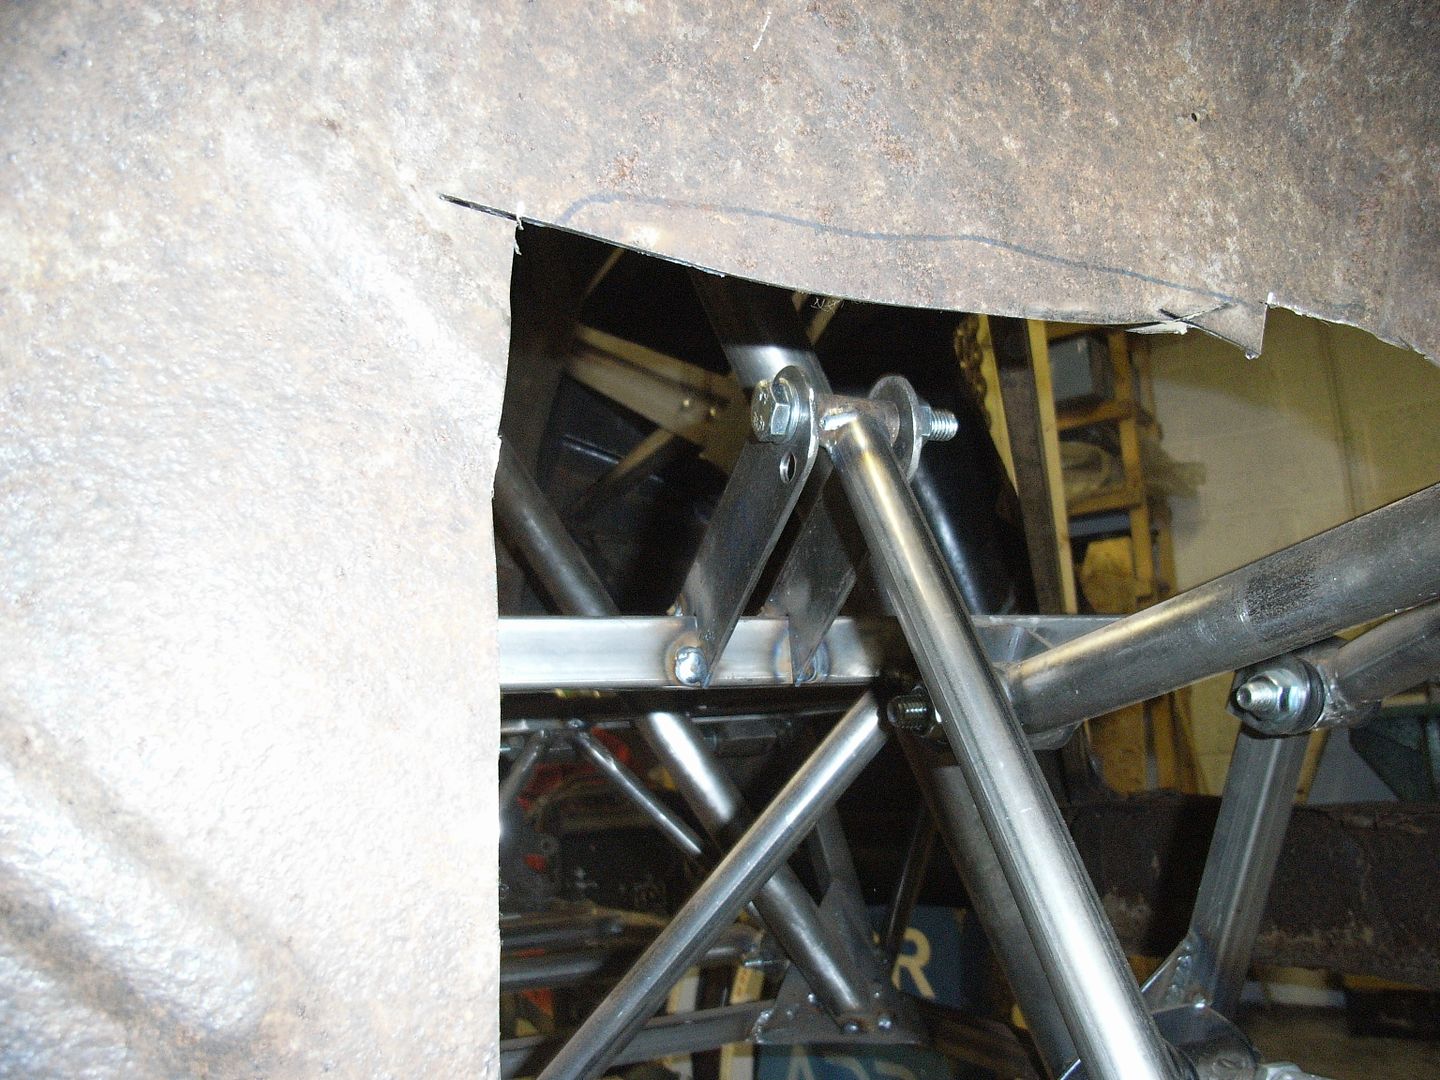 They look pretty flimsy here, but there's gusseting to go in and they tie into a tube from space frame that comes in just behind the upper bolt hole. Also made and tacked in the lower damper mounts 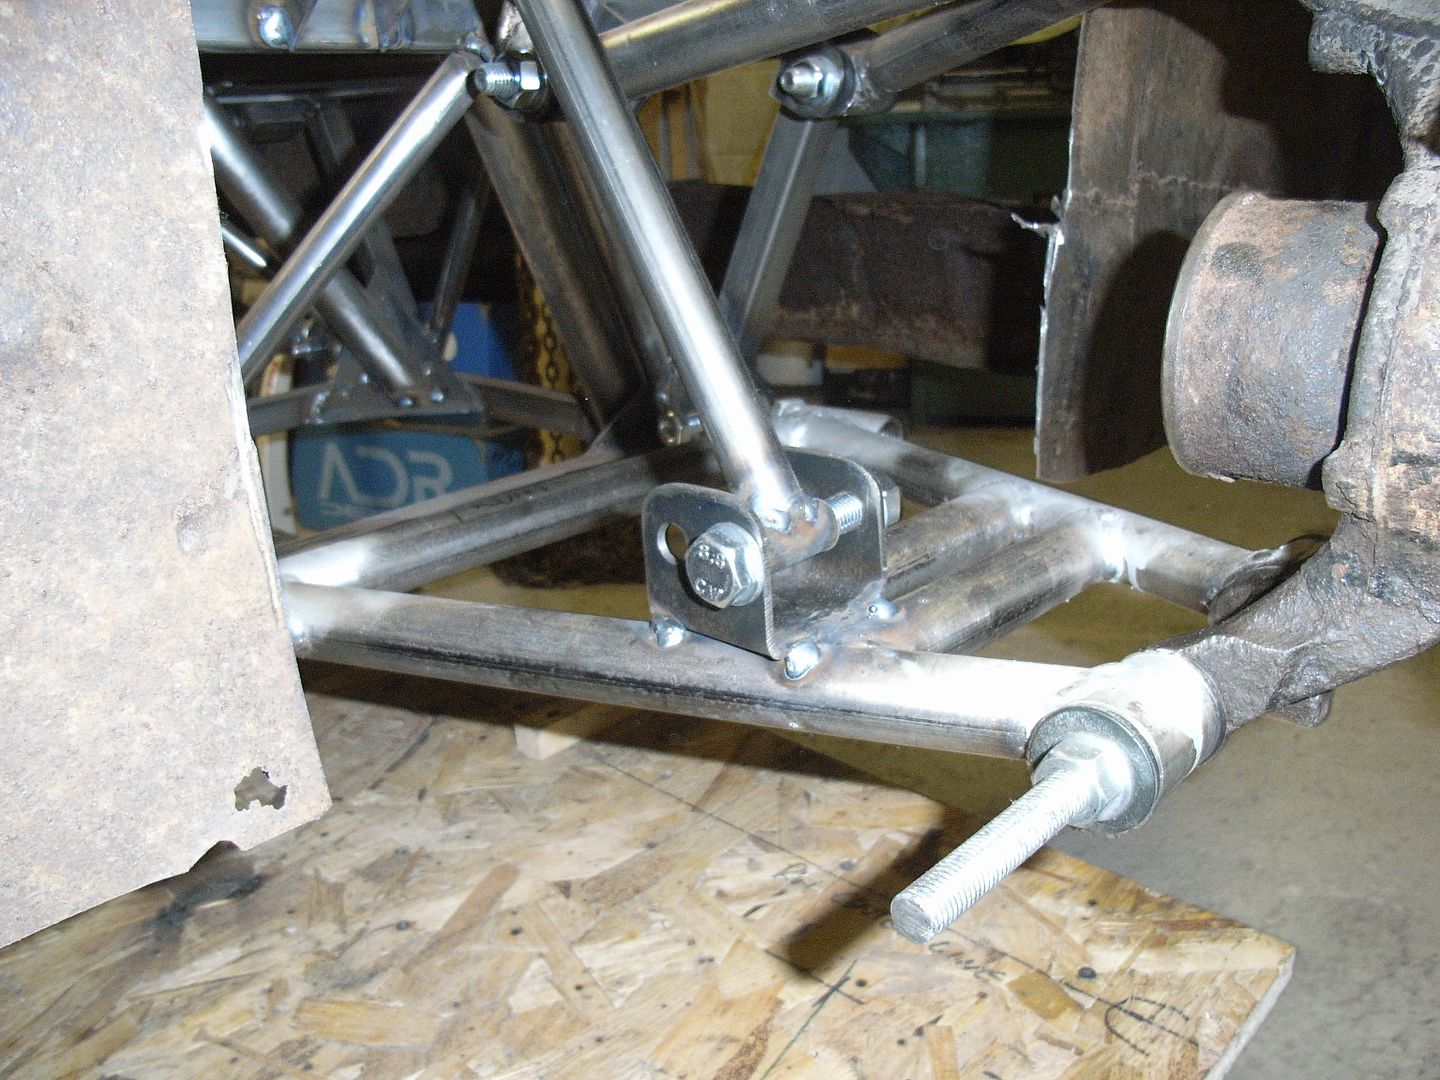 I then spent the best part of 2 hours removing the old lower bolt from the upright. Anyone who'd one these i guess know how much of a pain they are. In the end resorted to cutting the bolt and drilling up the center both sides. A pain but got there in the end. 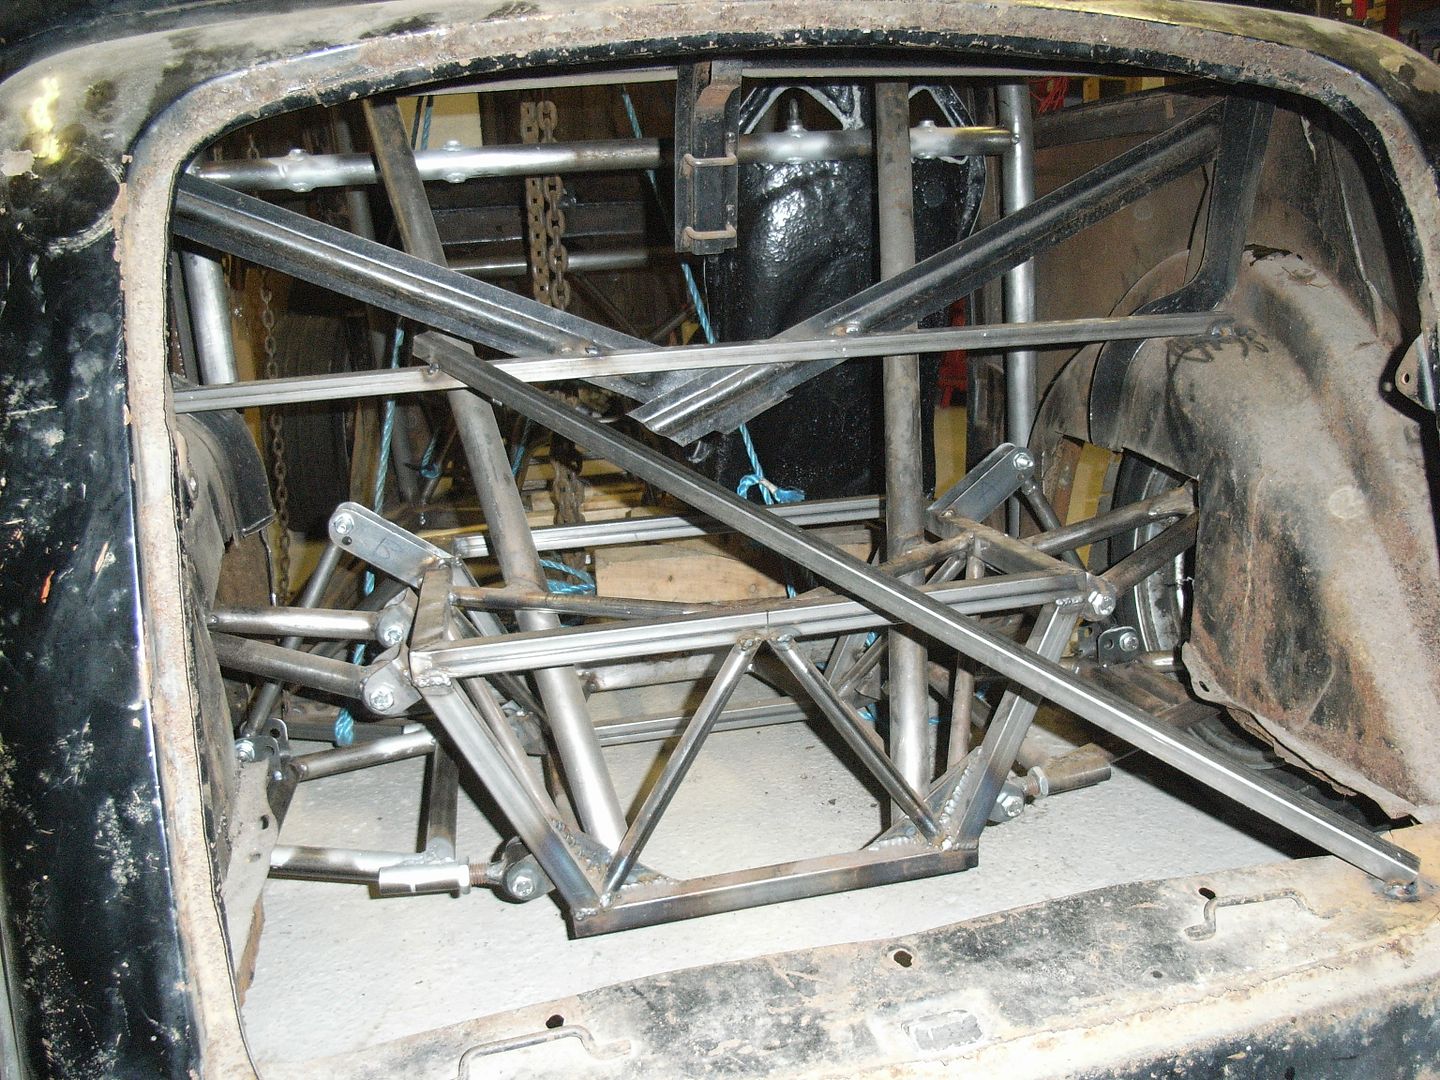 Made up a set of dummy dampers putting them in mid stroke so could get an idea of the suspension in the correct position. 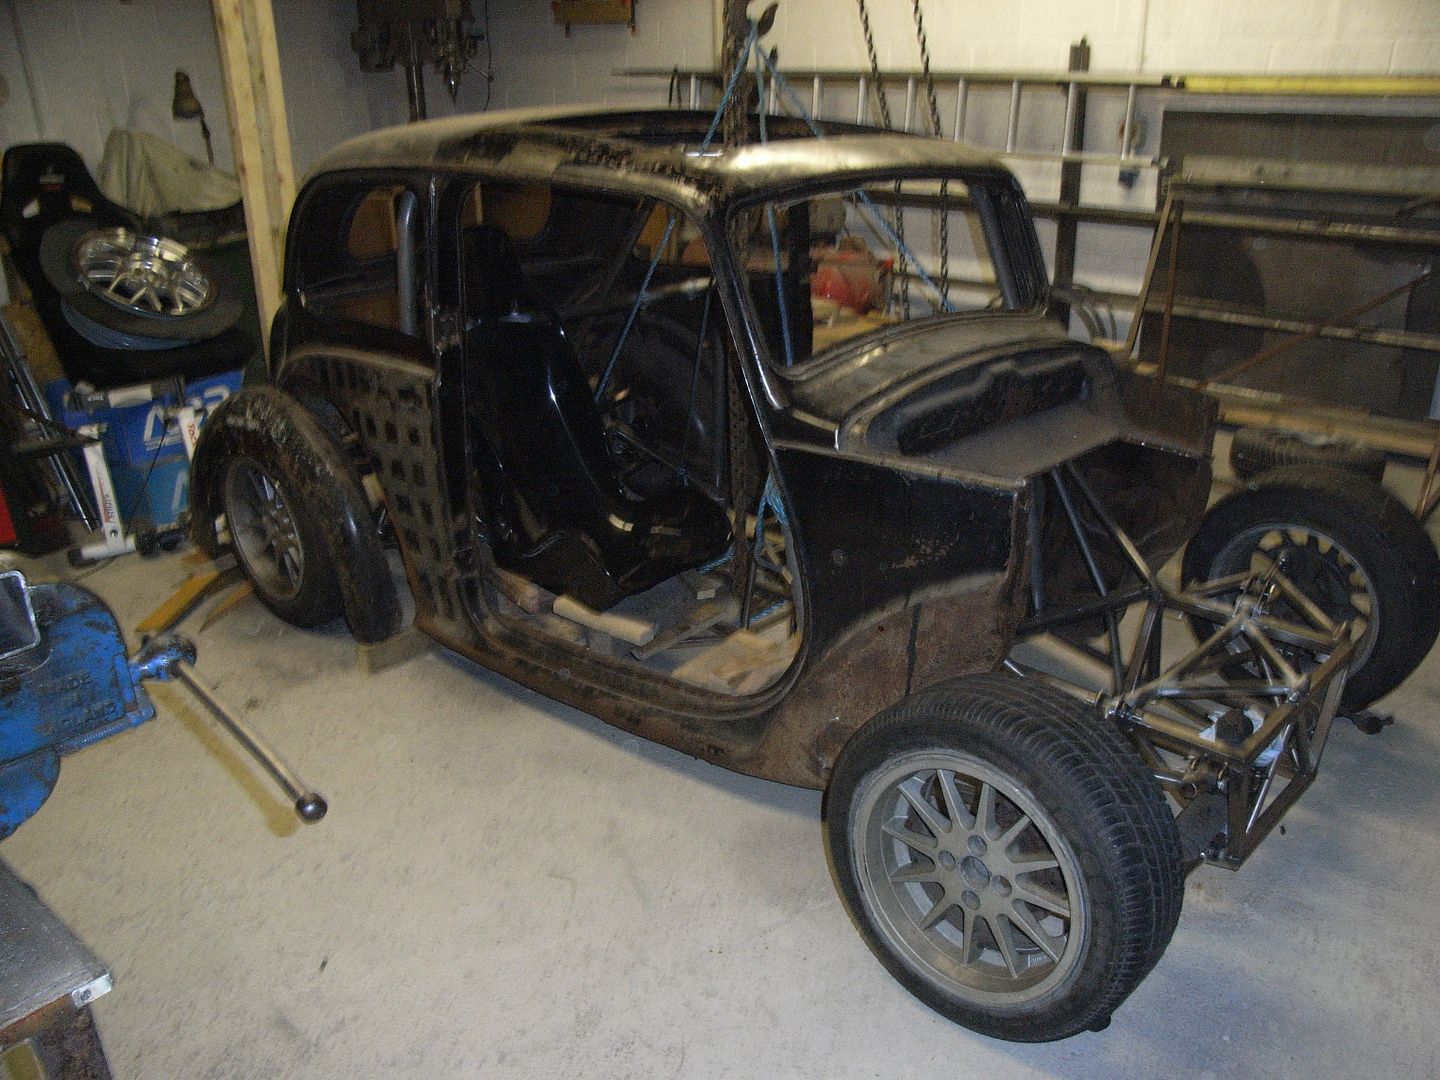 Chassis clearance is 125mm (5") at the rear and 100mm (4") at the front. The sills of the car hang down lower, but i'll be re-profilig them to ed about flush with the chassis. Rear Wheel arch roughly aligned. I think i'll try ad retain this tucked look, but will see how it progresses 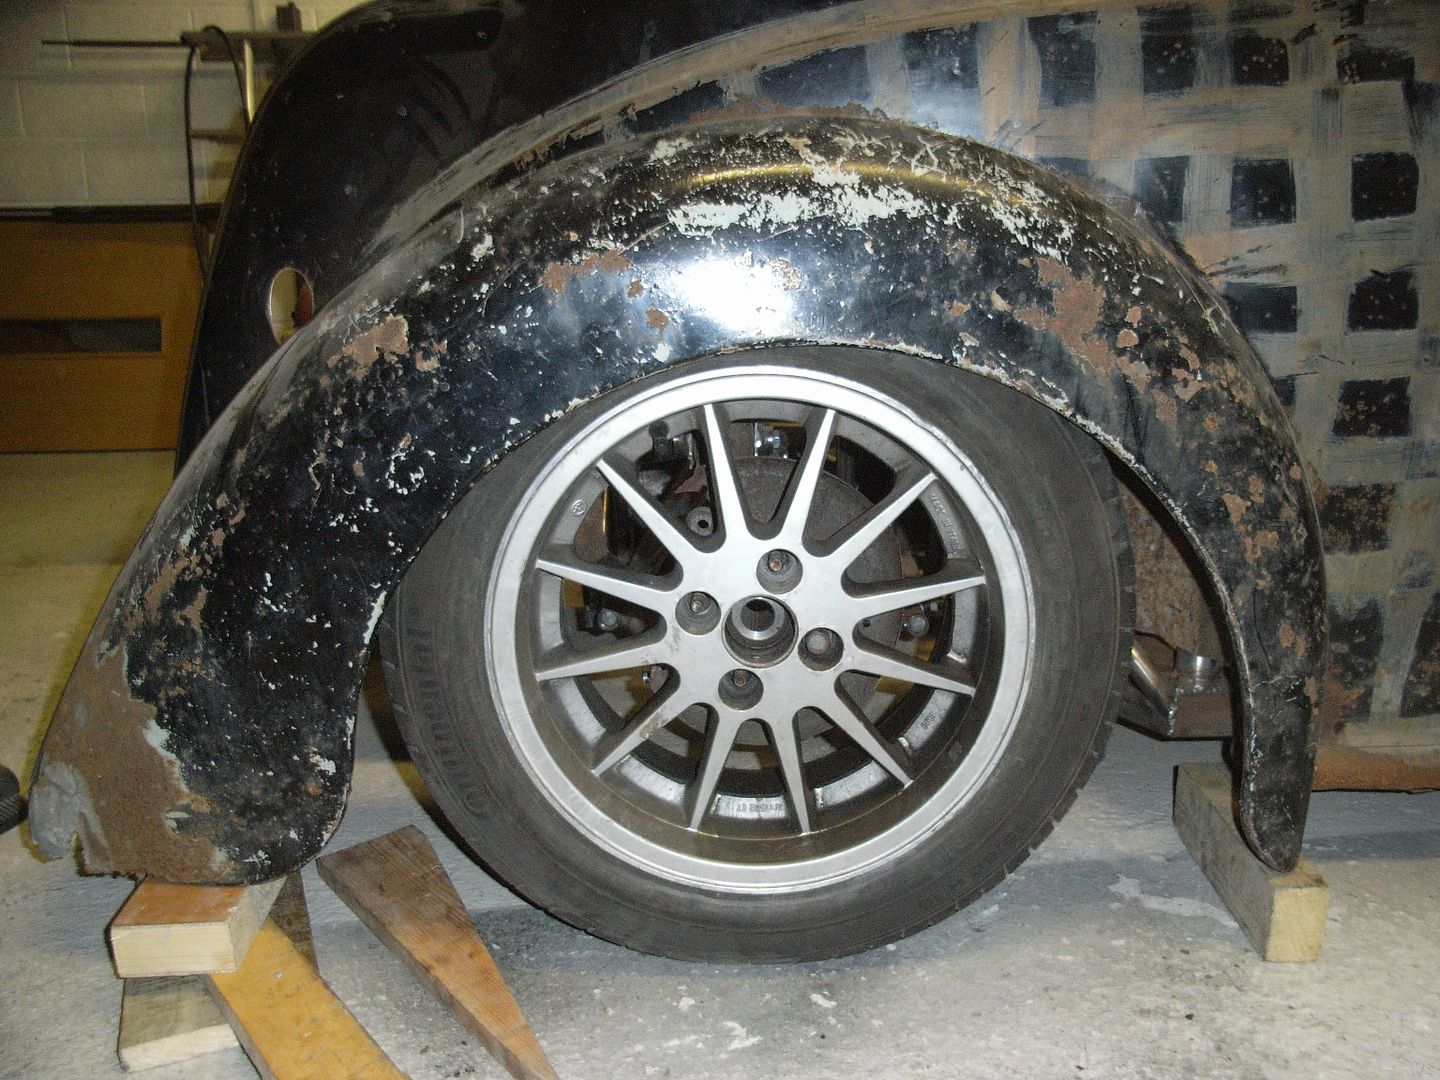 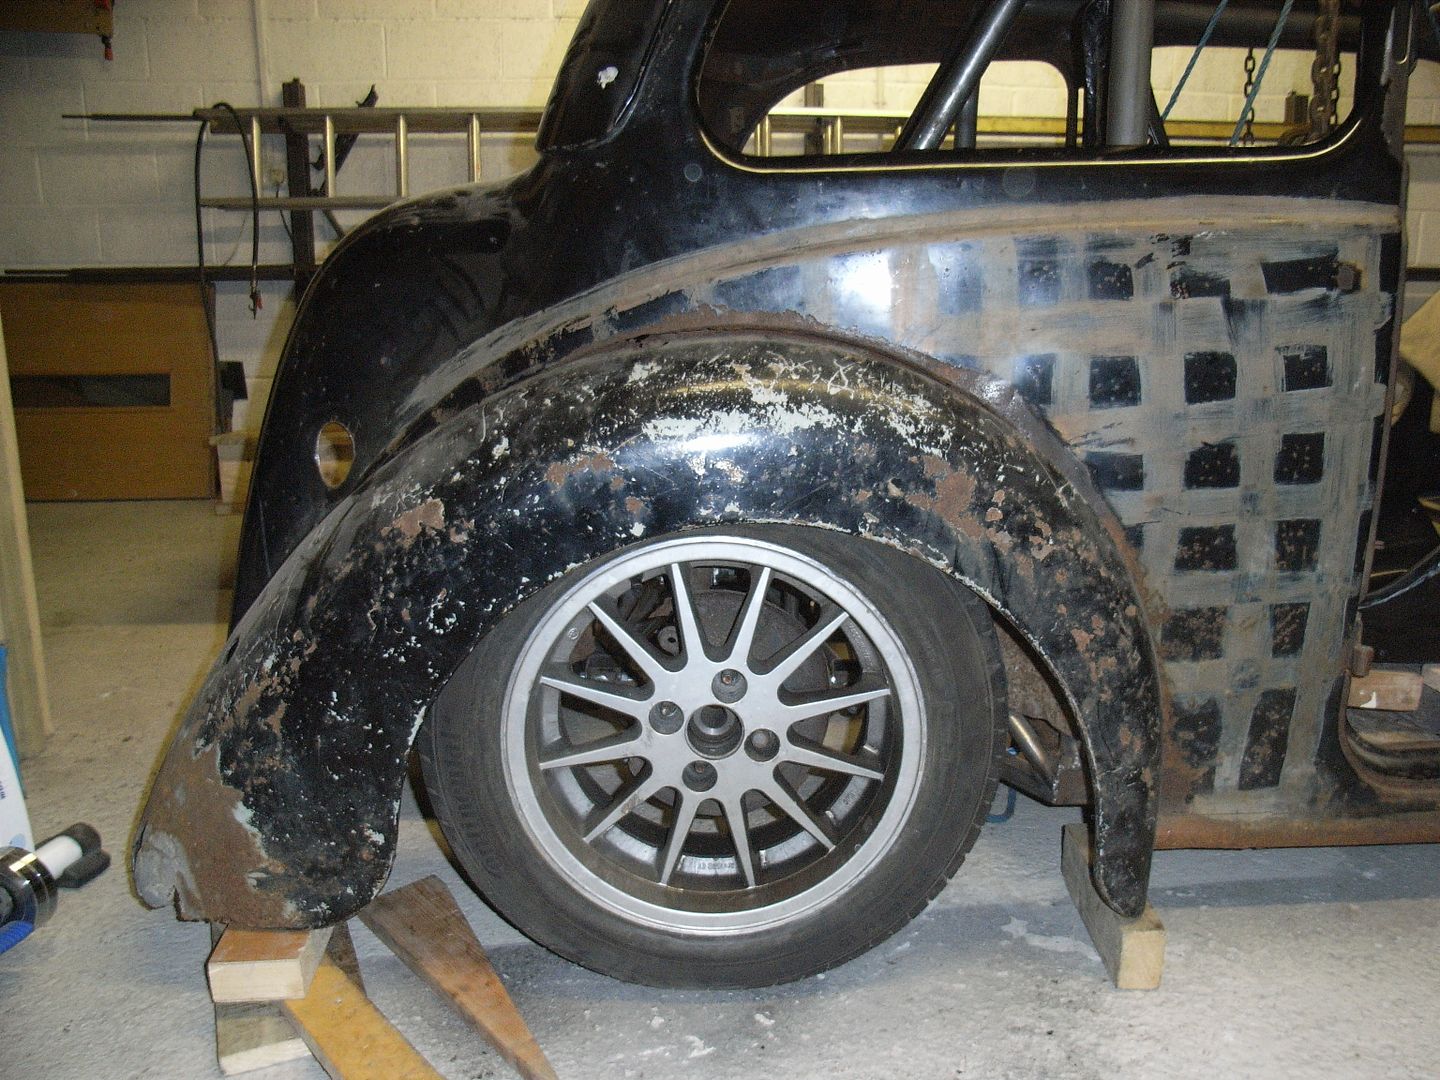 Front, again will try and keep the tuck assuming i can get clearance on lock ad bump 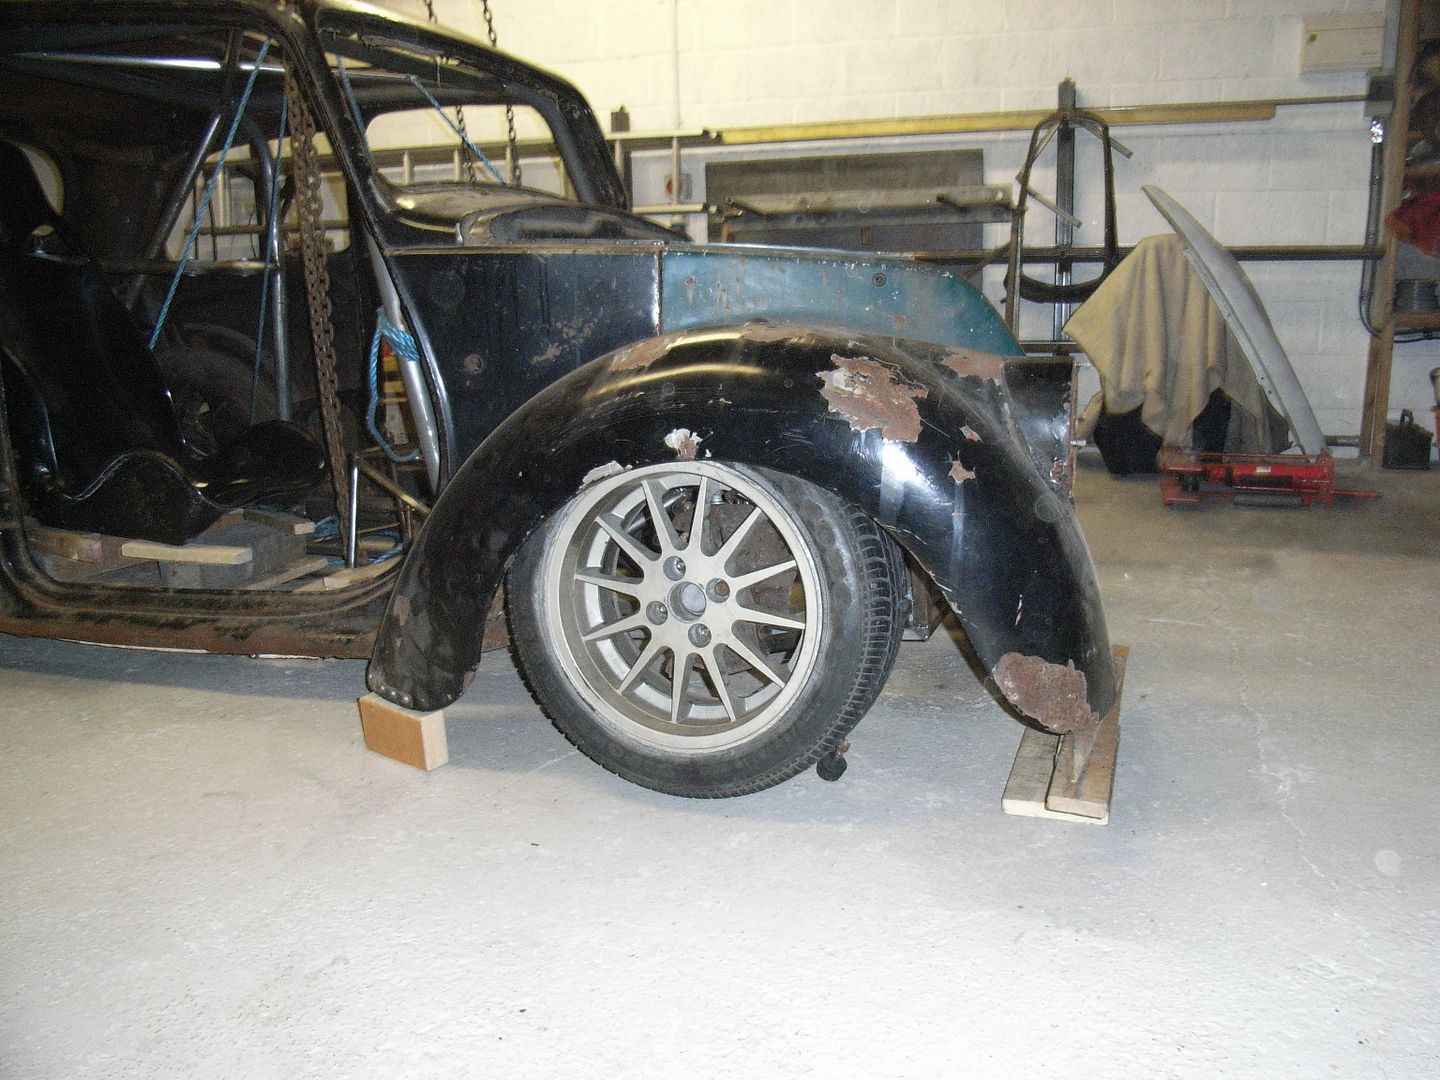 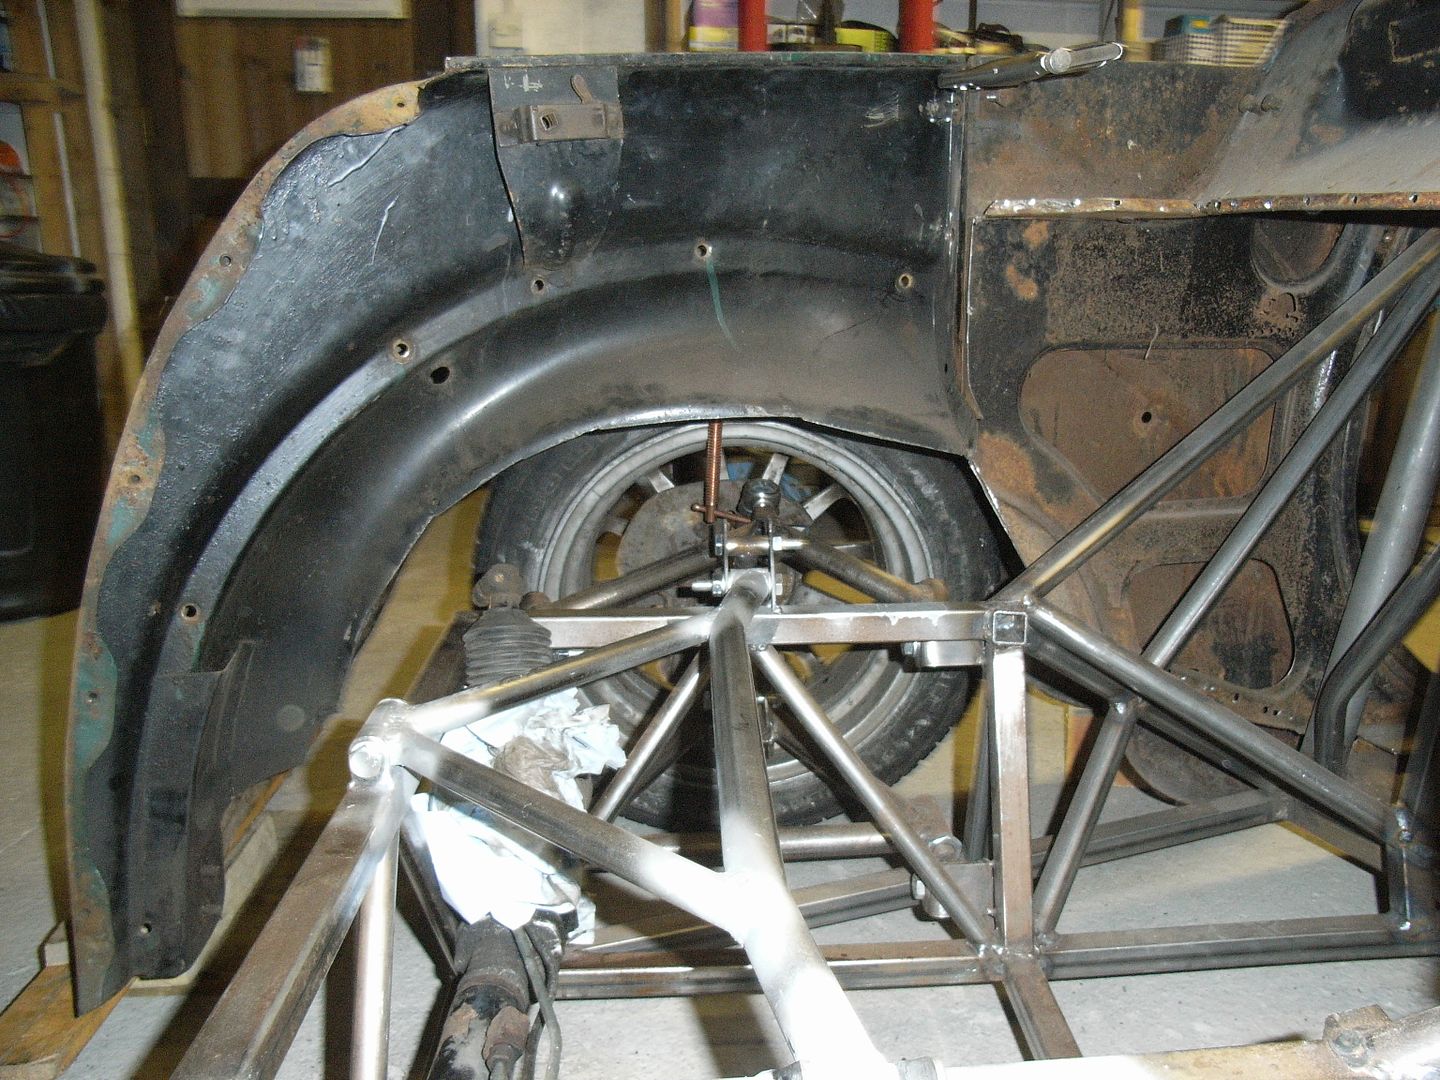 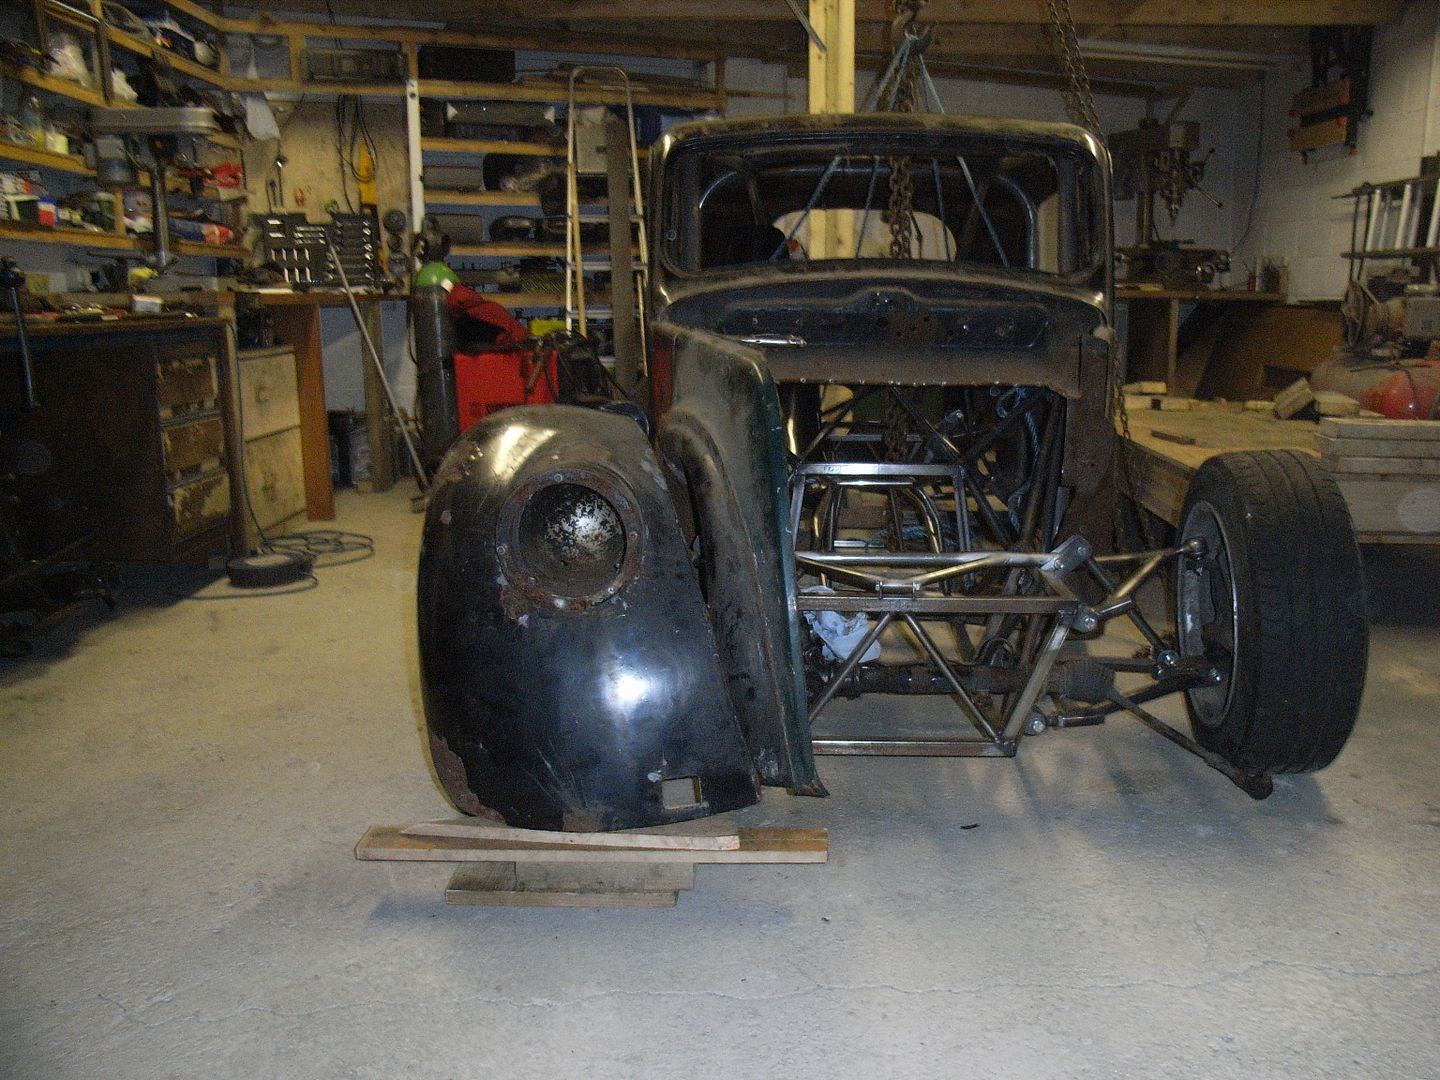 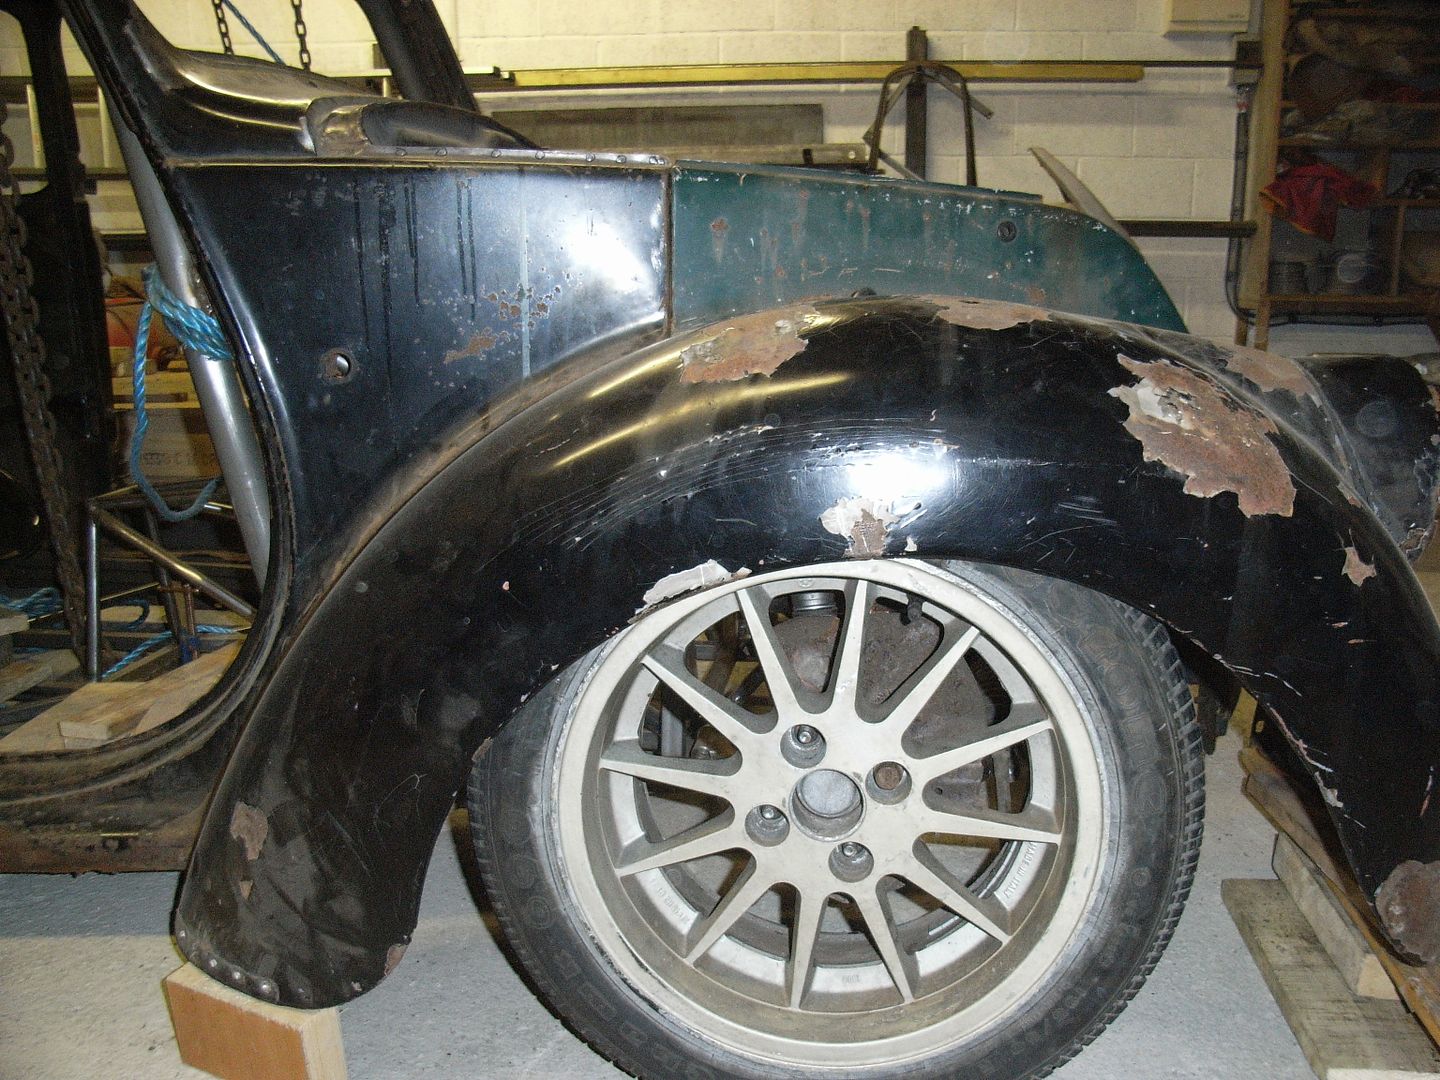 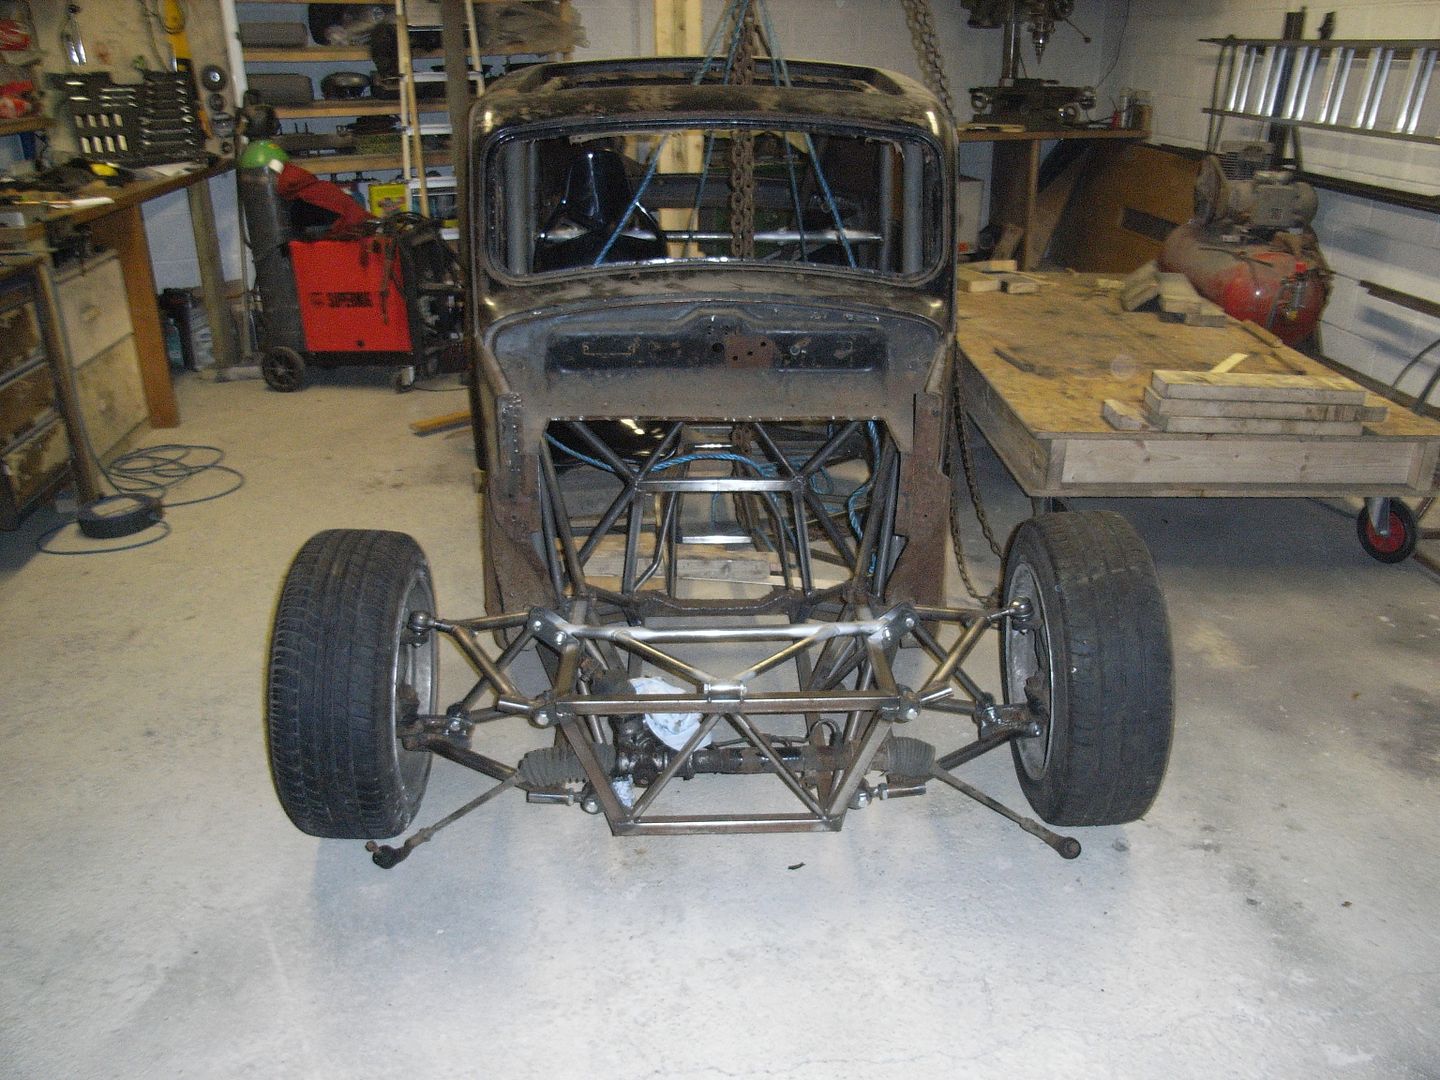 Next weekend I've got a gig and away for a family thing, so progress will likely be limited if any. |
| |
|
|
jonomisfit
Club Retro Rides Member
Posts: 1,787
Club RR Member Number: 49
|
|
Feb 24, 2014 20:48:22 GMT
|
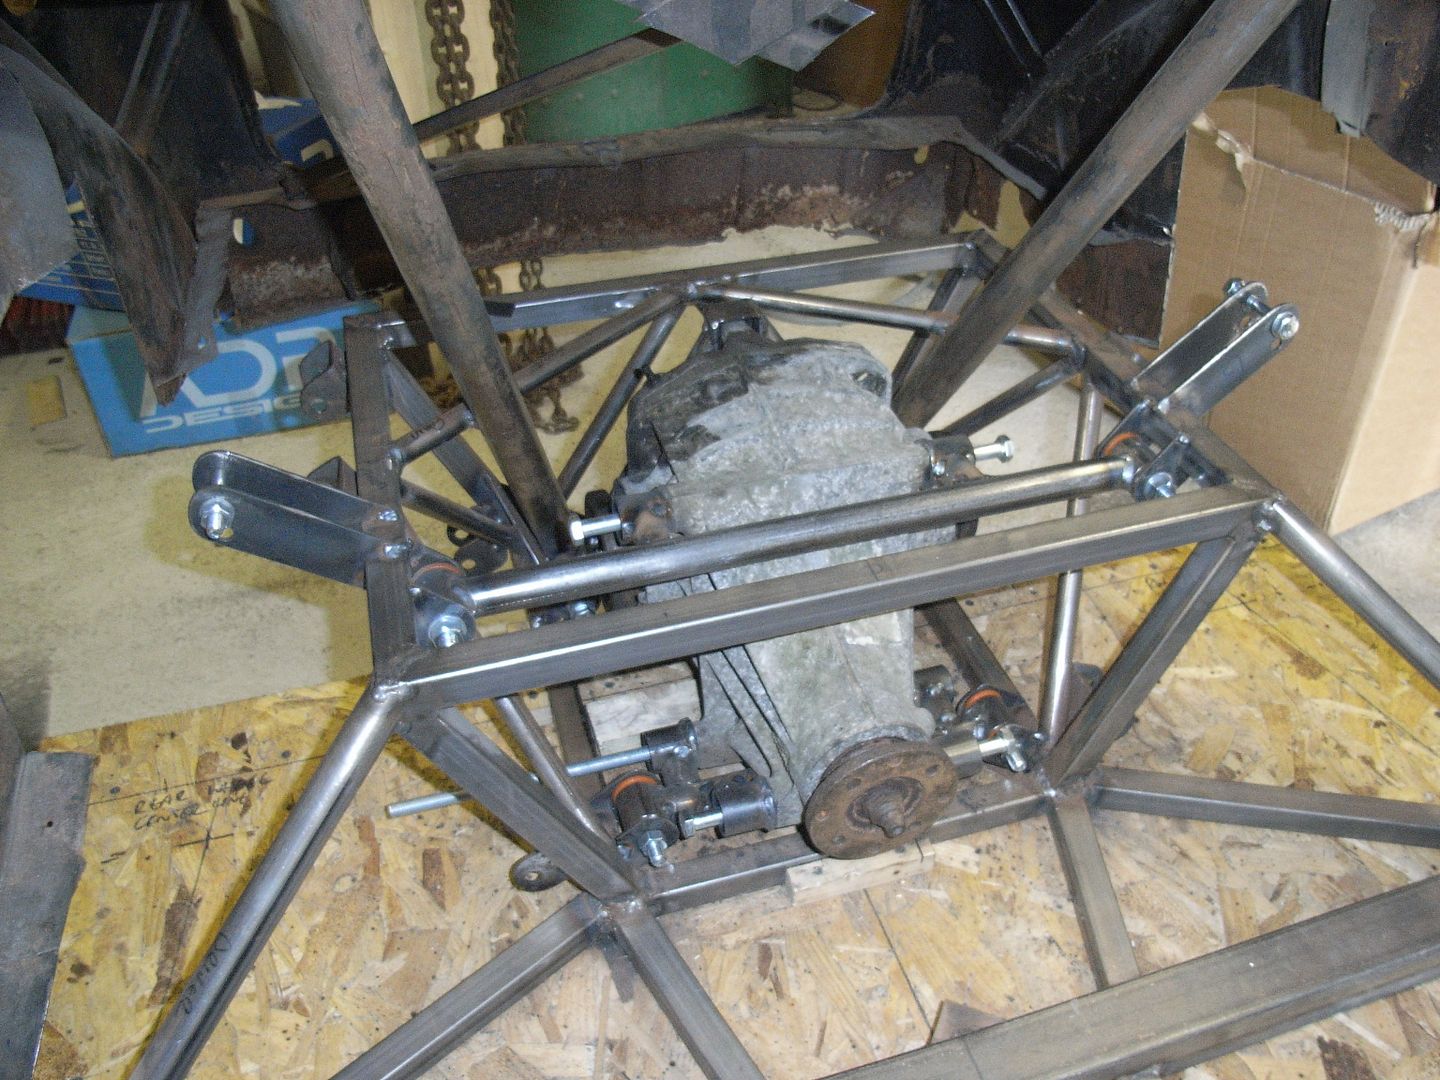
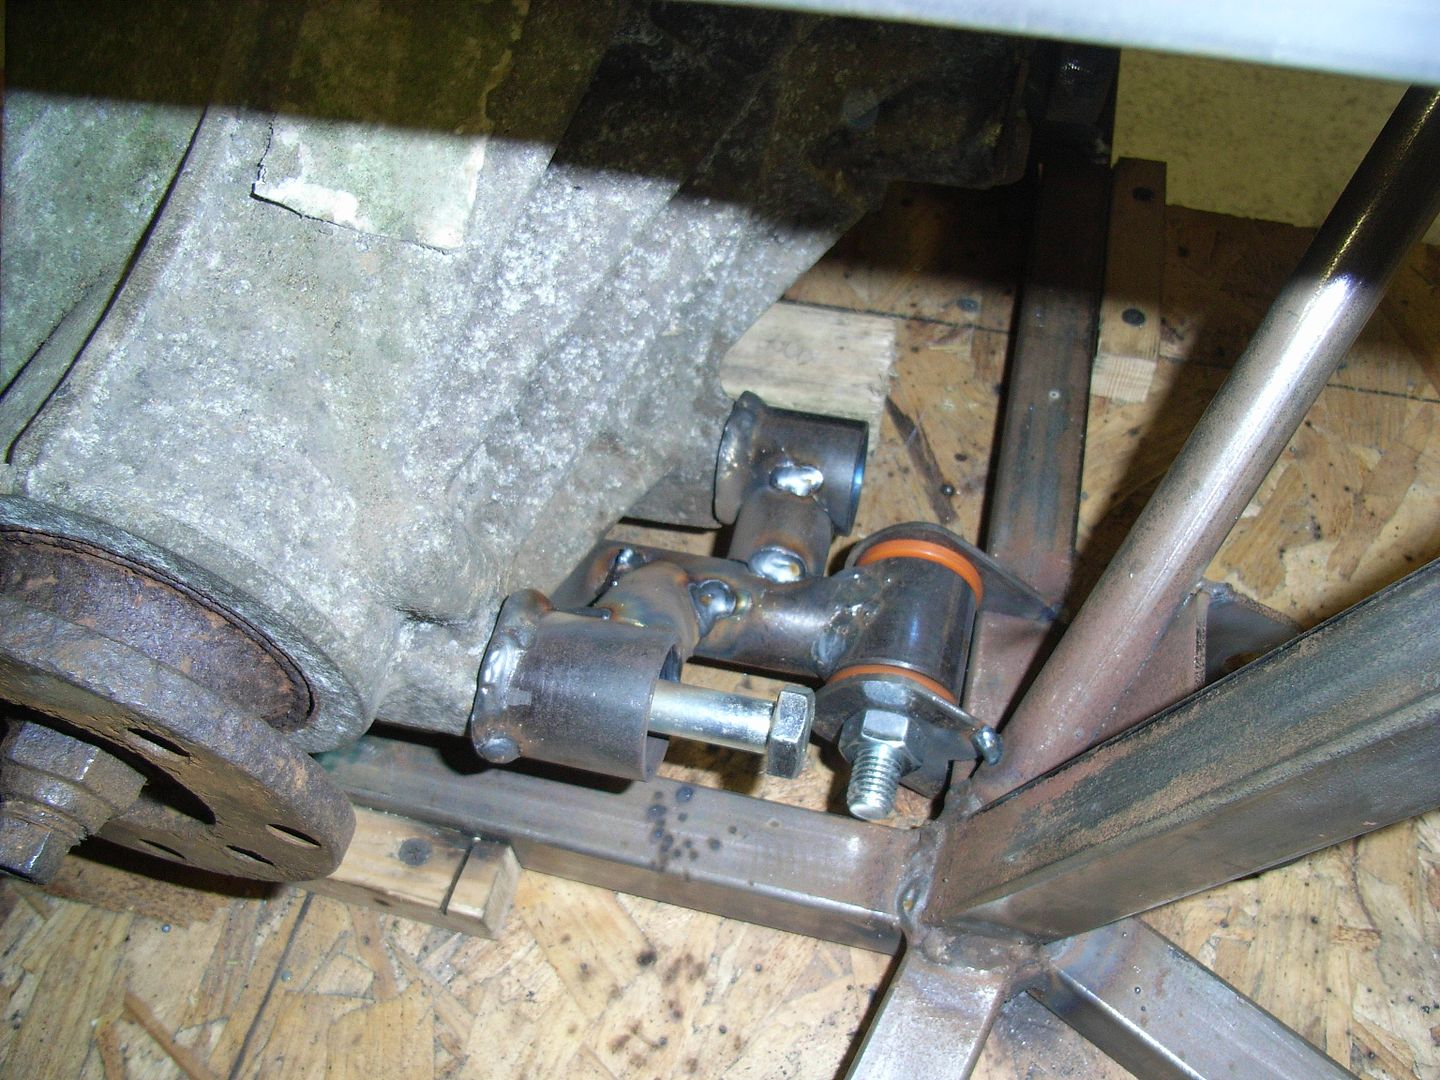
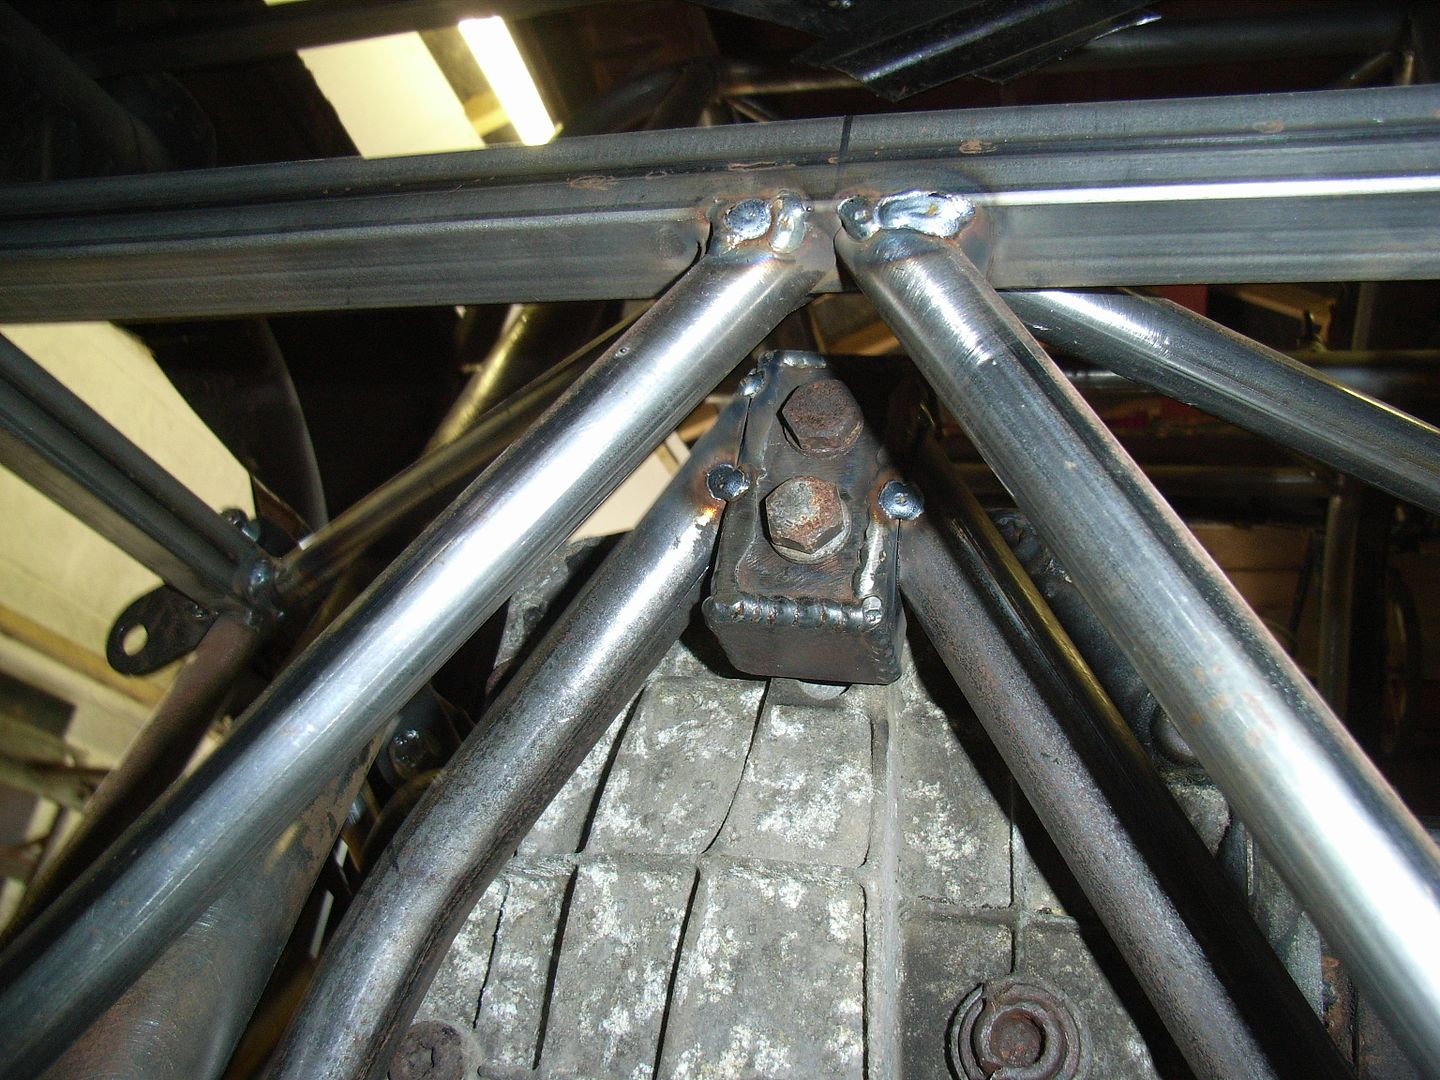
I've been up to a load of non car related things recently, so not much progress really. Started on the engine / gearbox mounts 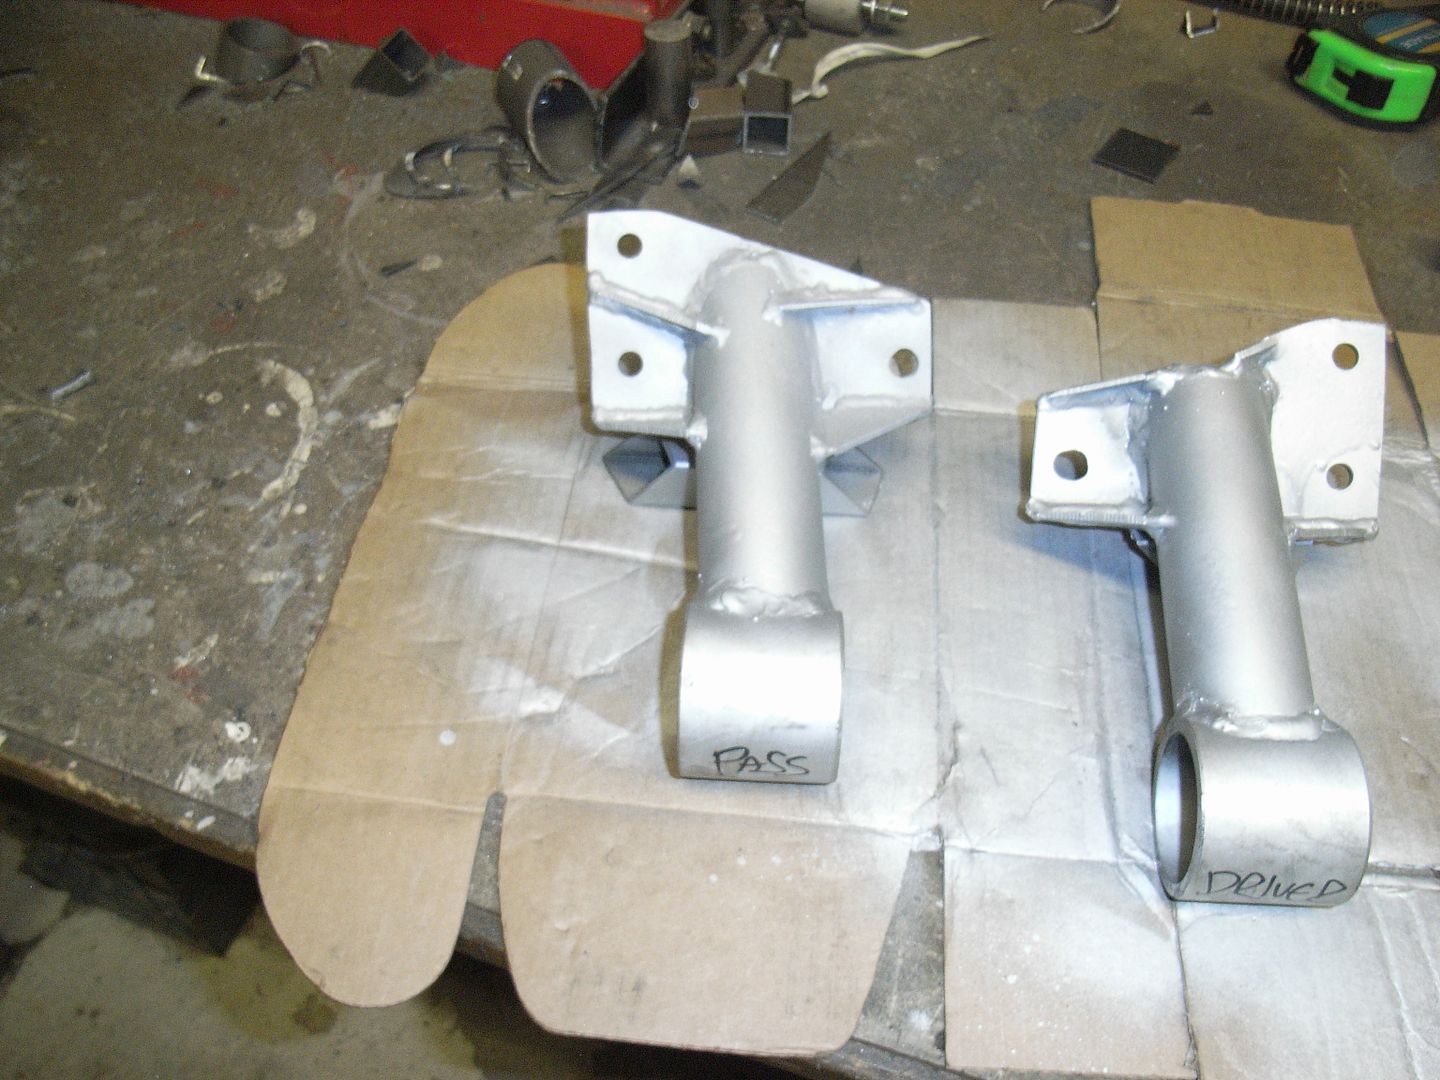 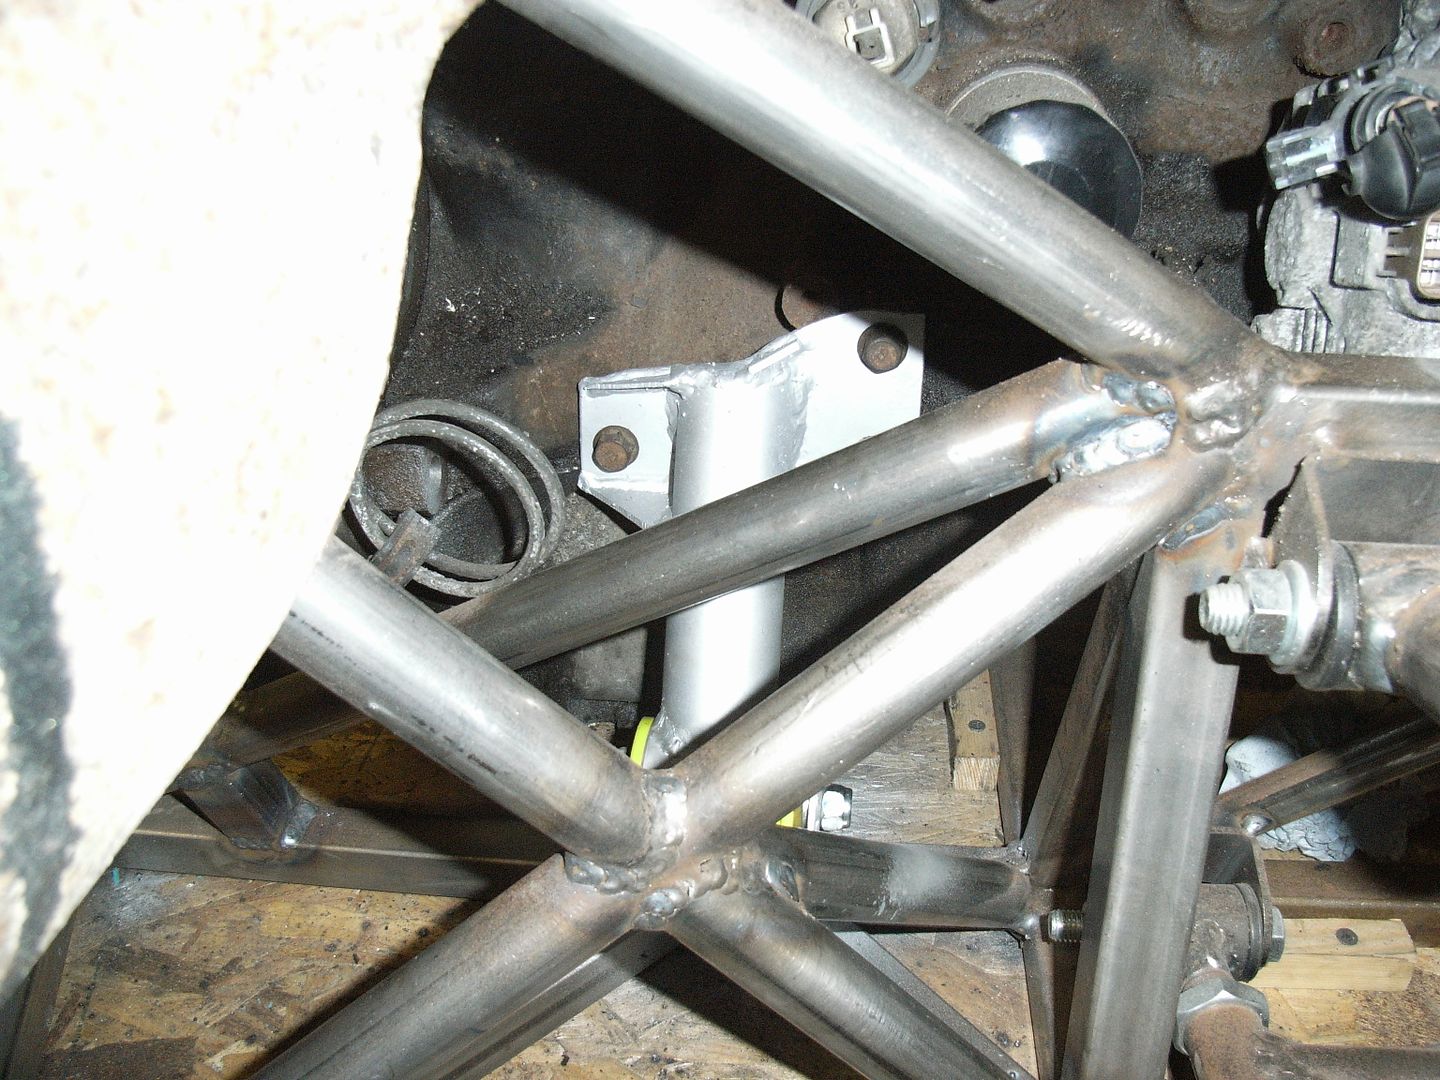 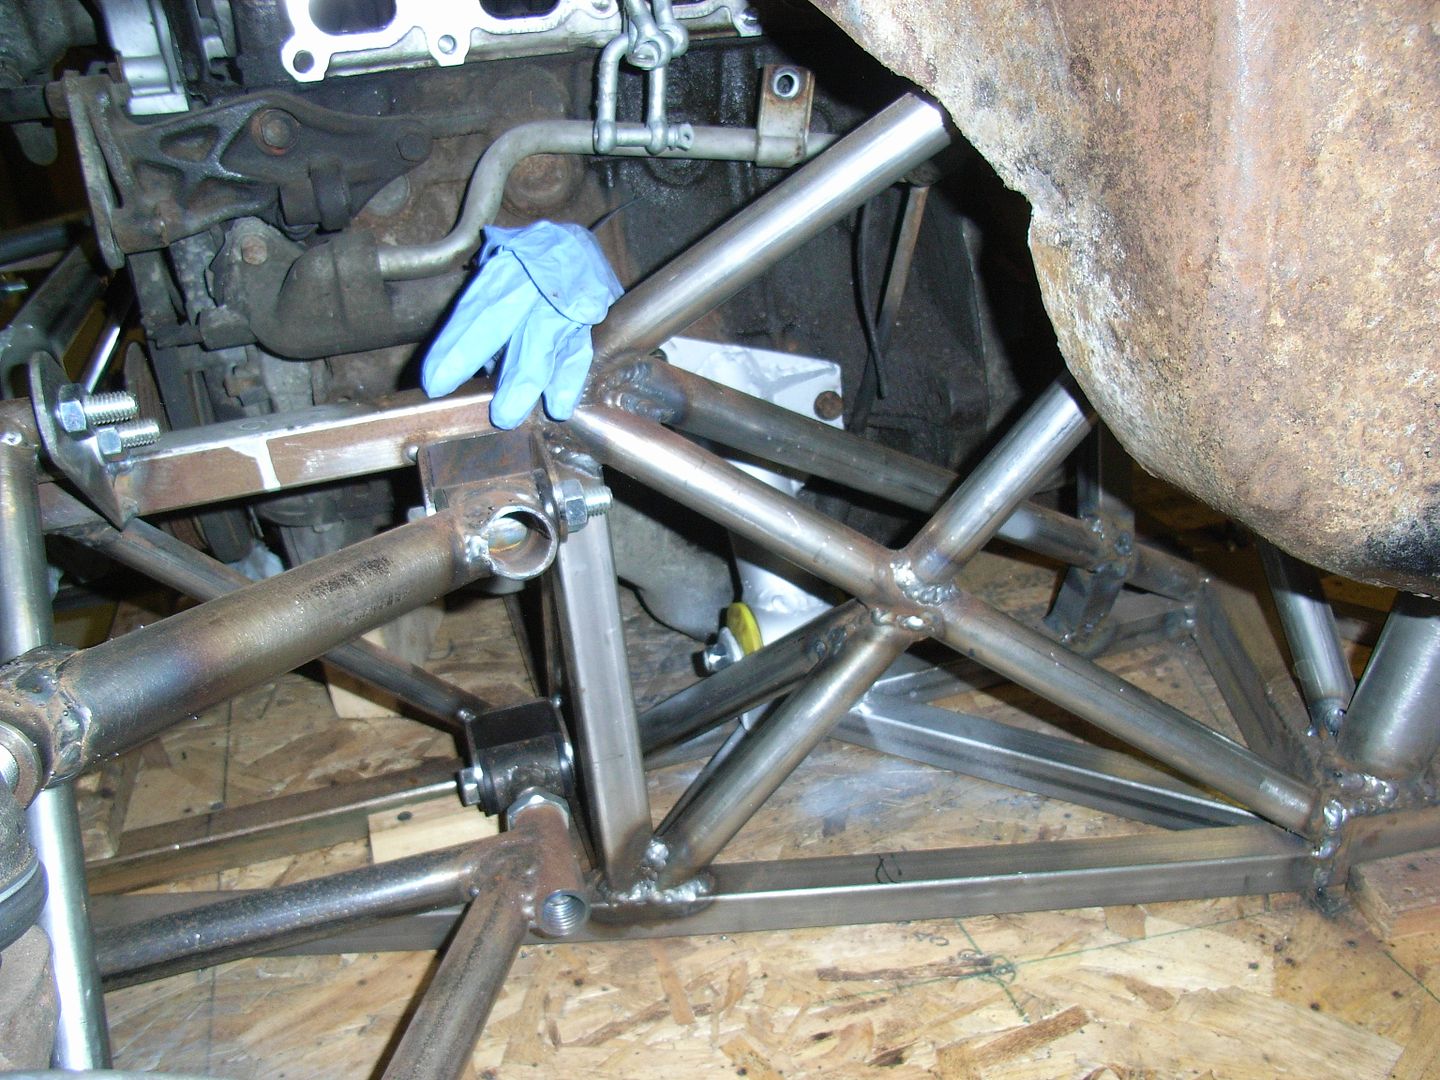 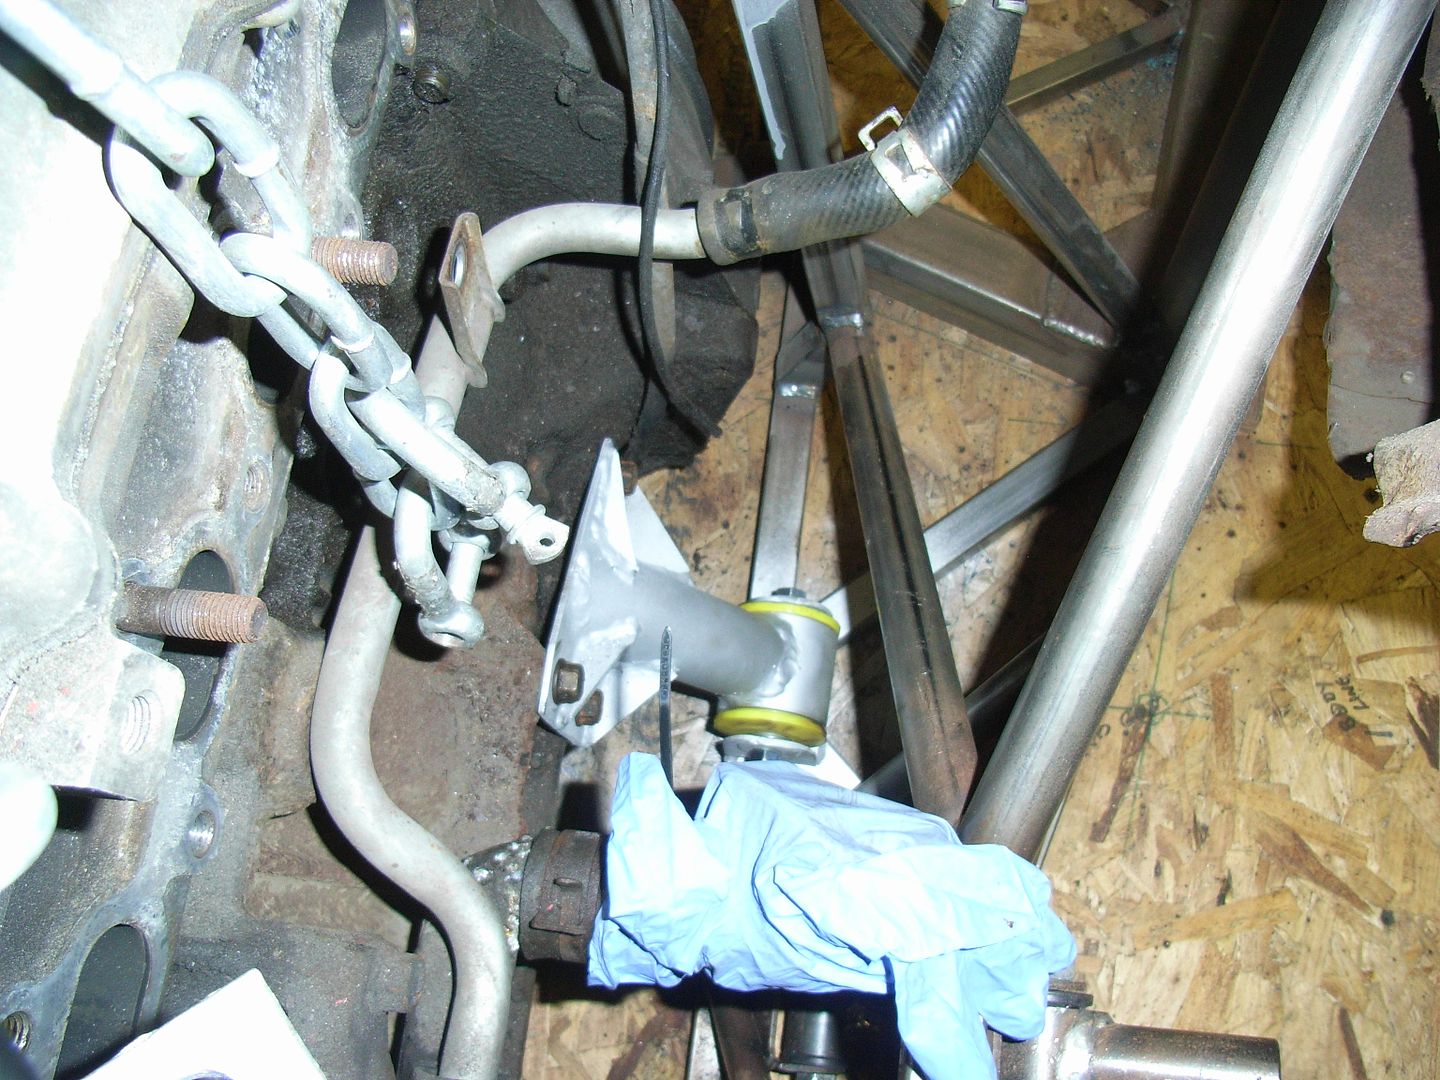 Started work on the read gearbox mount. This picks up on the end of the gearbox. 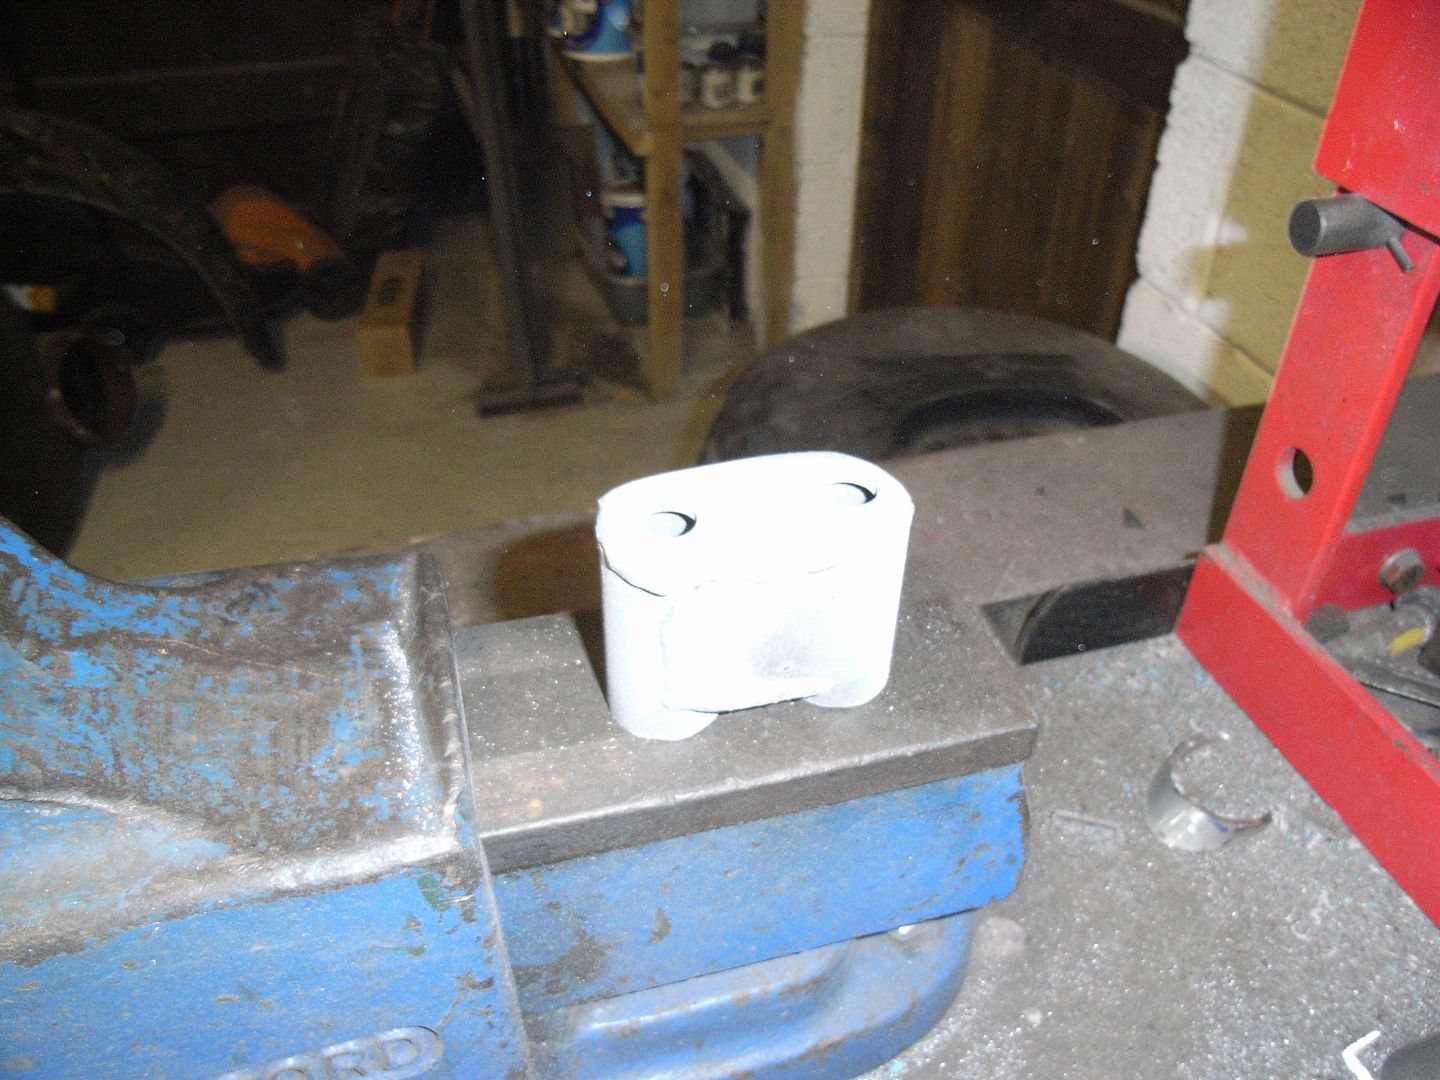 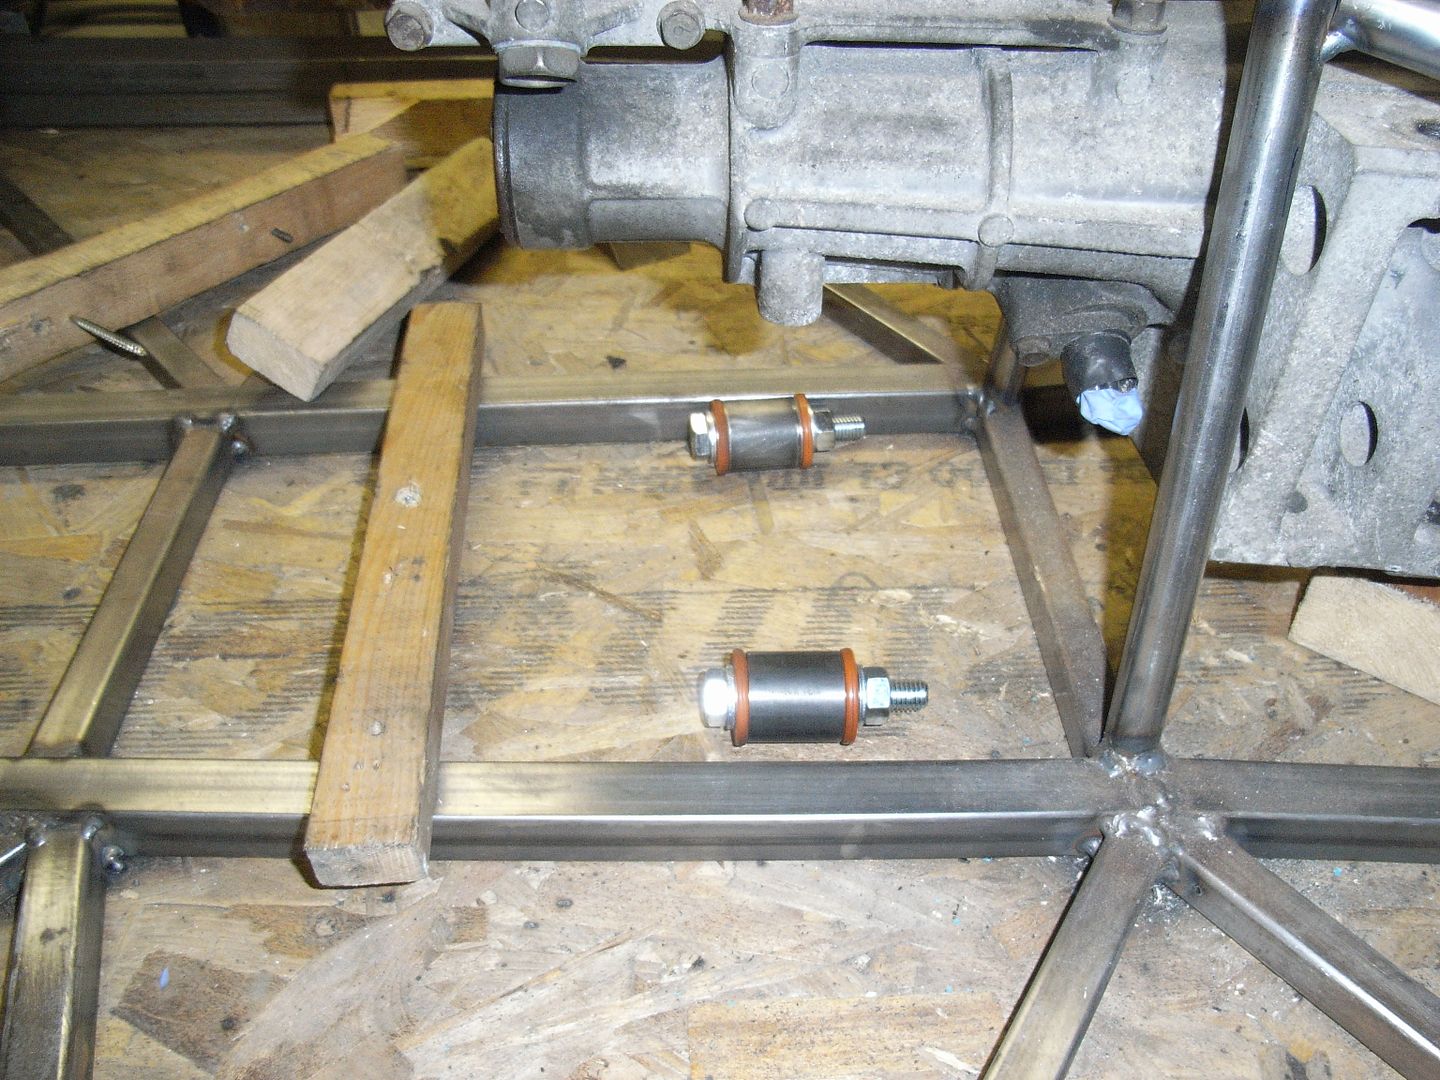 Hopefully get some more work done this weekend. |
| |
|
|
eurogranada
Europe
To tinker or not to tinker, that is the question...
Posts: 2,556
|
|
|
|
|
Looking great so far!
|
| |
|
|
|
|
|
|
|
|
chassis design and fabrication is superb, bookmarked!
With such a stiff frame and a good suspension setup, will you be firing it up a hillclimb or round a track?
|
| |
|
|
|
|
|
|
|
|
love this build and the planning into the structure.
one thing did make my spidey sense tingle, hopefully not insulting you, but i notice you have used a steering balljoint for primary load path (upper link) on the front suspension, is the thread man enough in this application ?
|
| |
|
|
jonomisfit
Club Retro Rides Member
Posts: 1,787
Club RR Member Number: 49
|
|
Feb 25, 2014 21:58:14 GMT
|
|
Thanks for the feedback.
Its mainly being built as a slow cruiser, but will see what happens when its done.
The top joint is from a drag / tie bar, not a steering joint. Strength was something i considered, but my calcs say it should be plenty strong enough. The main suspension loads are carried through the lower joint, with the upper joint mainly dealing with push / pull loads when cornering.
|
| |
|
|
|
|
jonomisfit
Club Retro Rides Member
Posts: 1,787
Club RR Member Number: 49
|
|
|
|
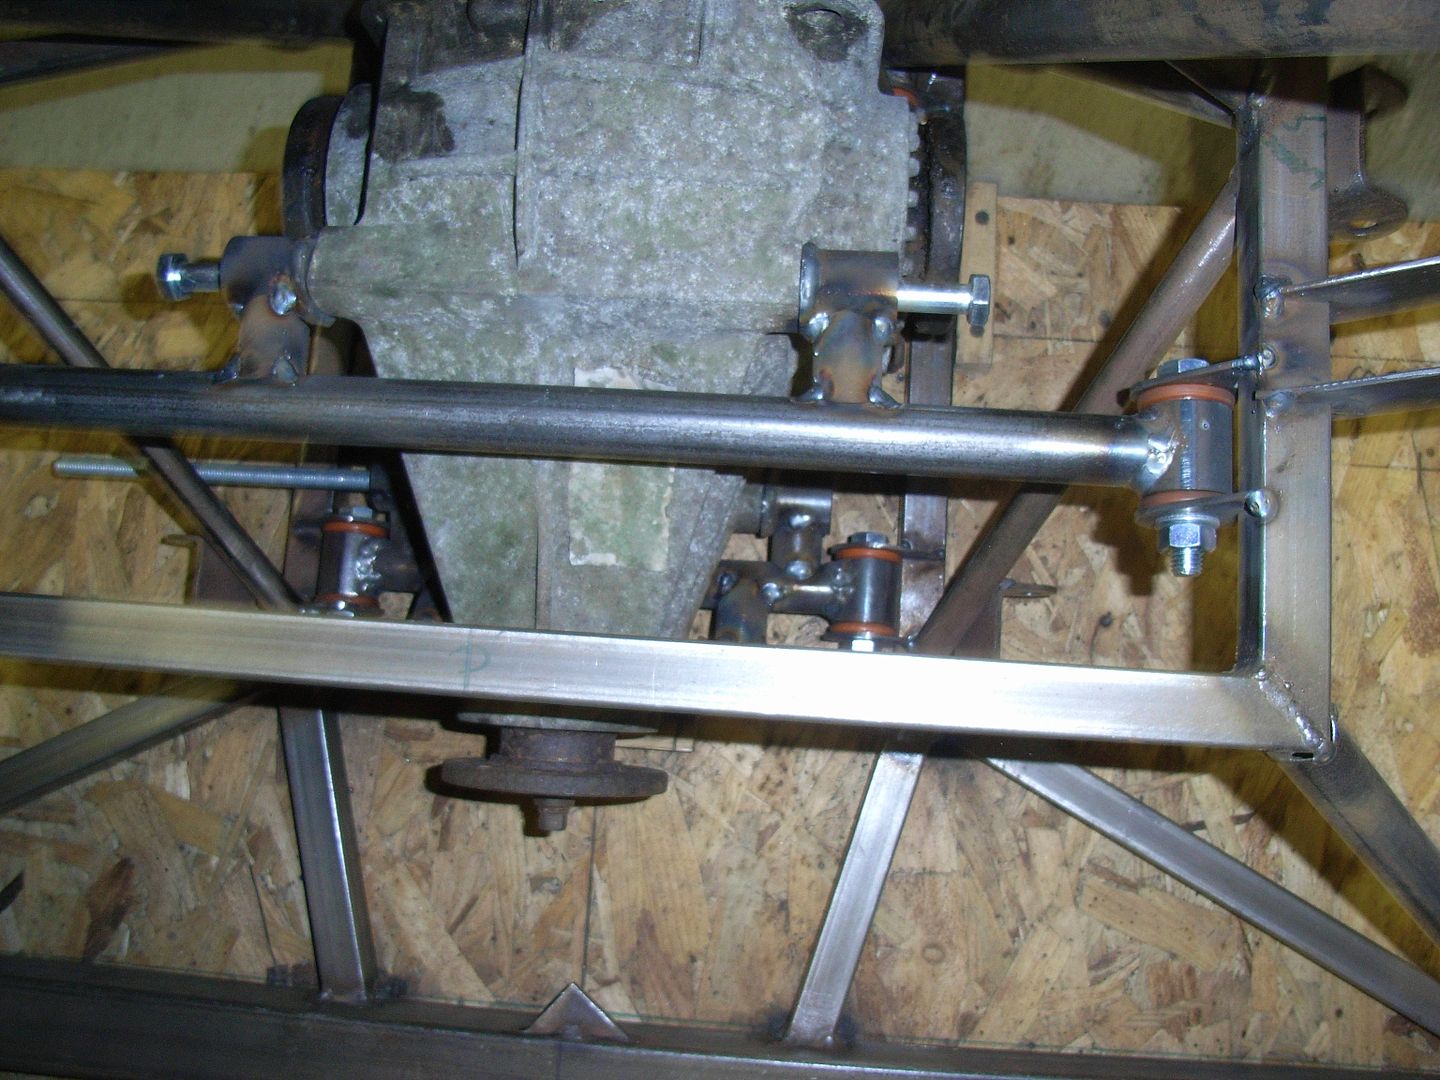
Bit more work last weekend. Nothing majour mainly due to nursing a massive hangover. Gearbox cross member. 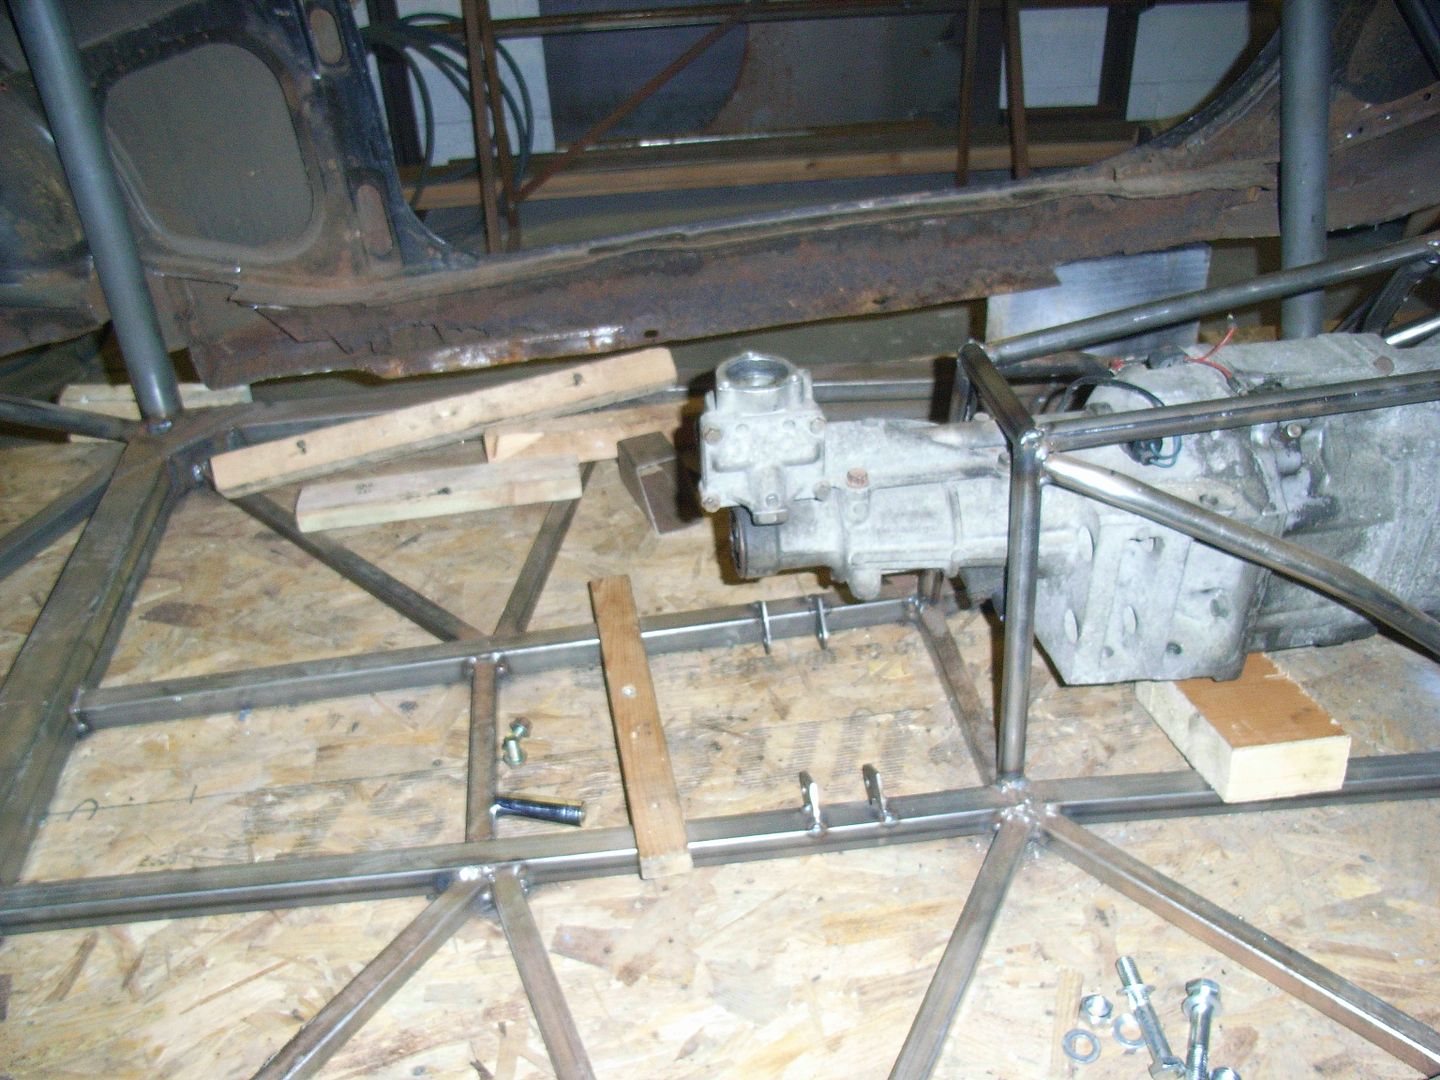 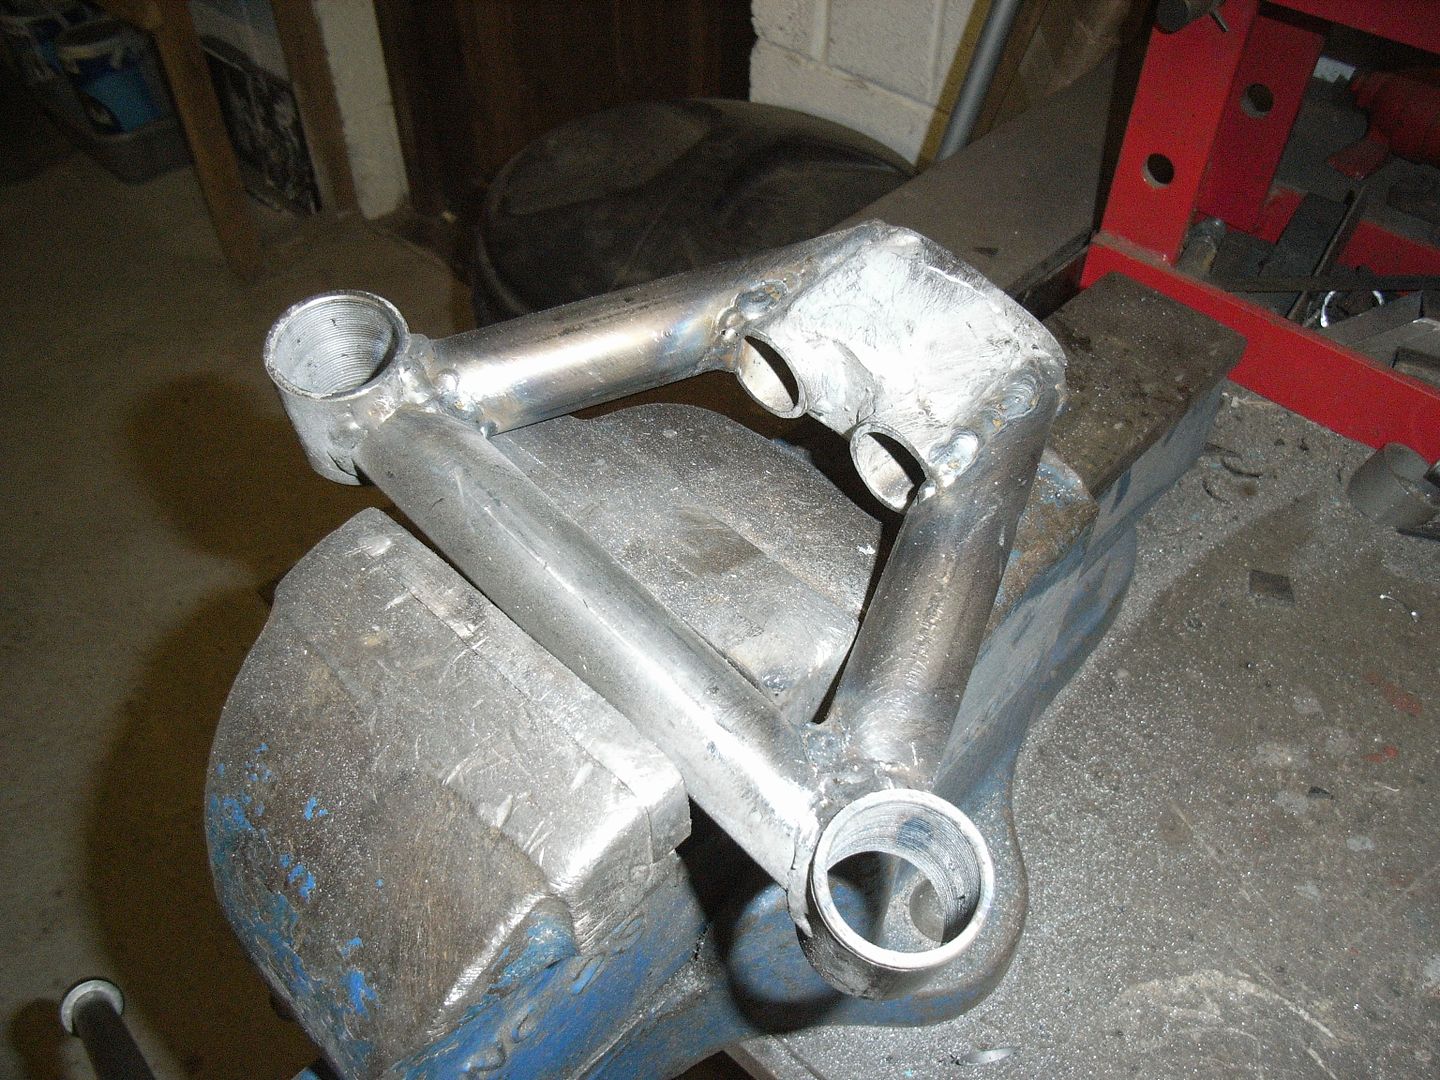 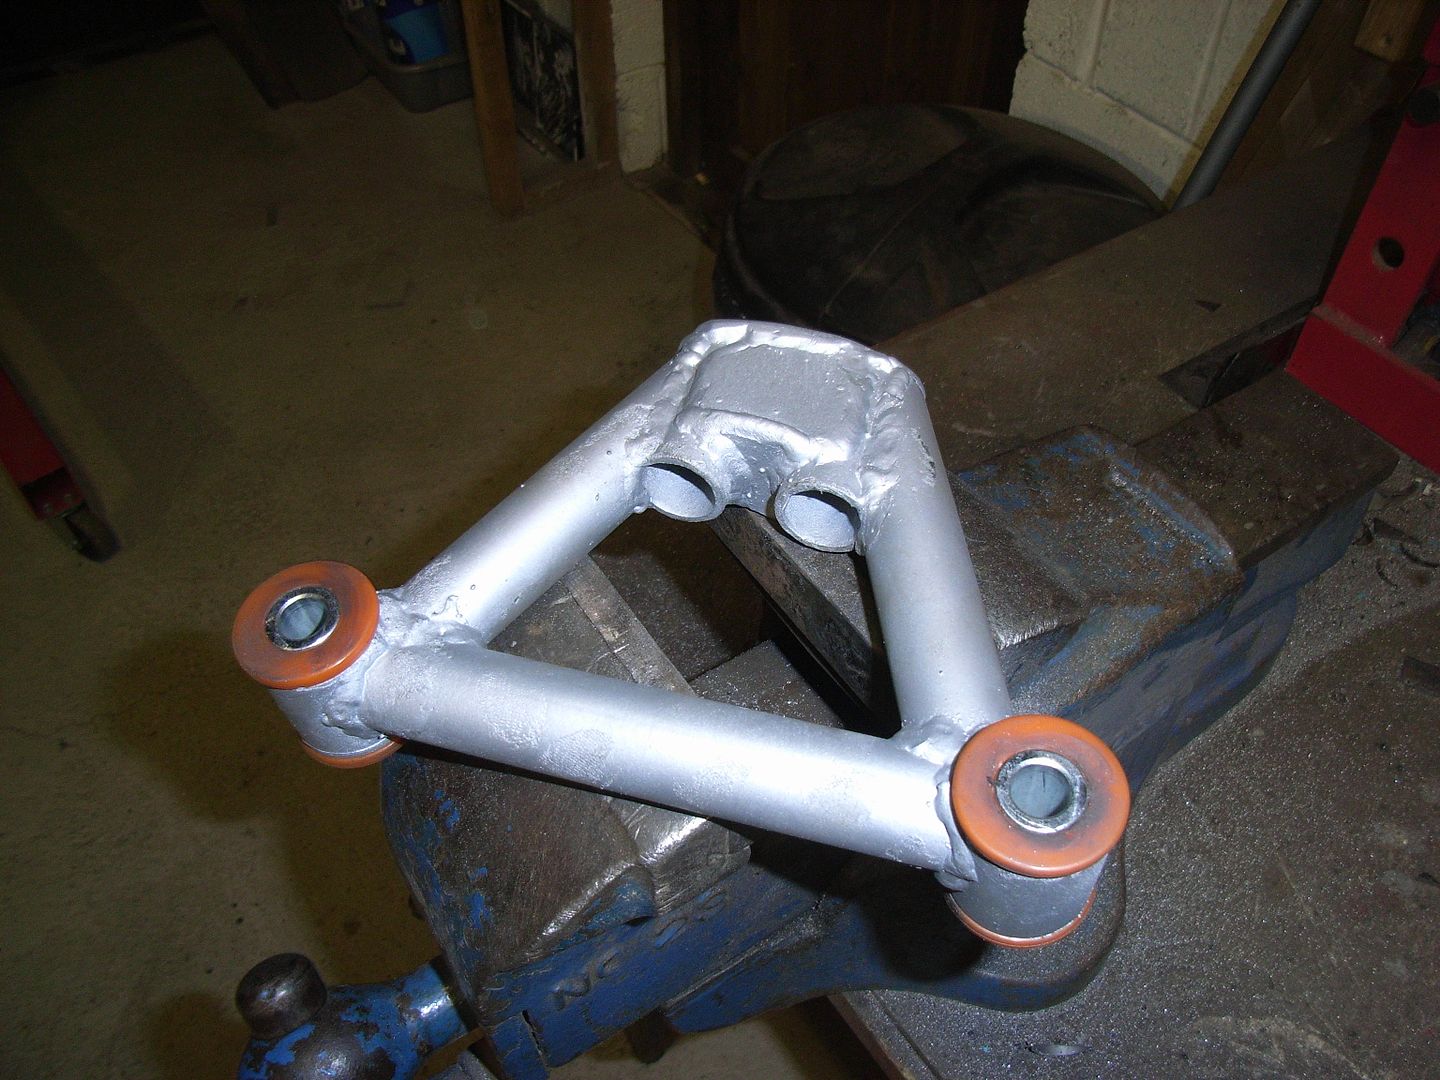 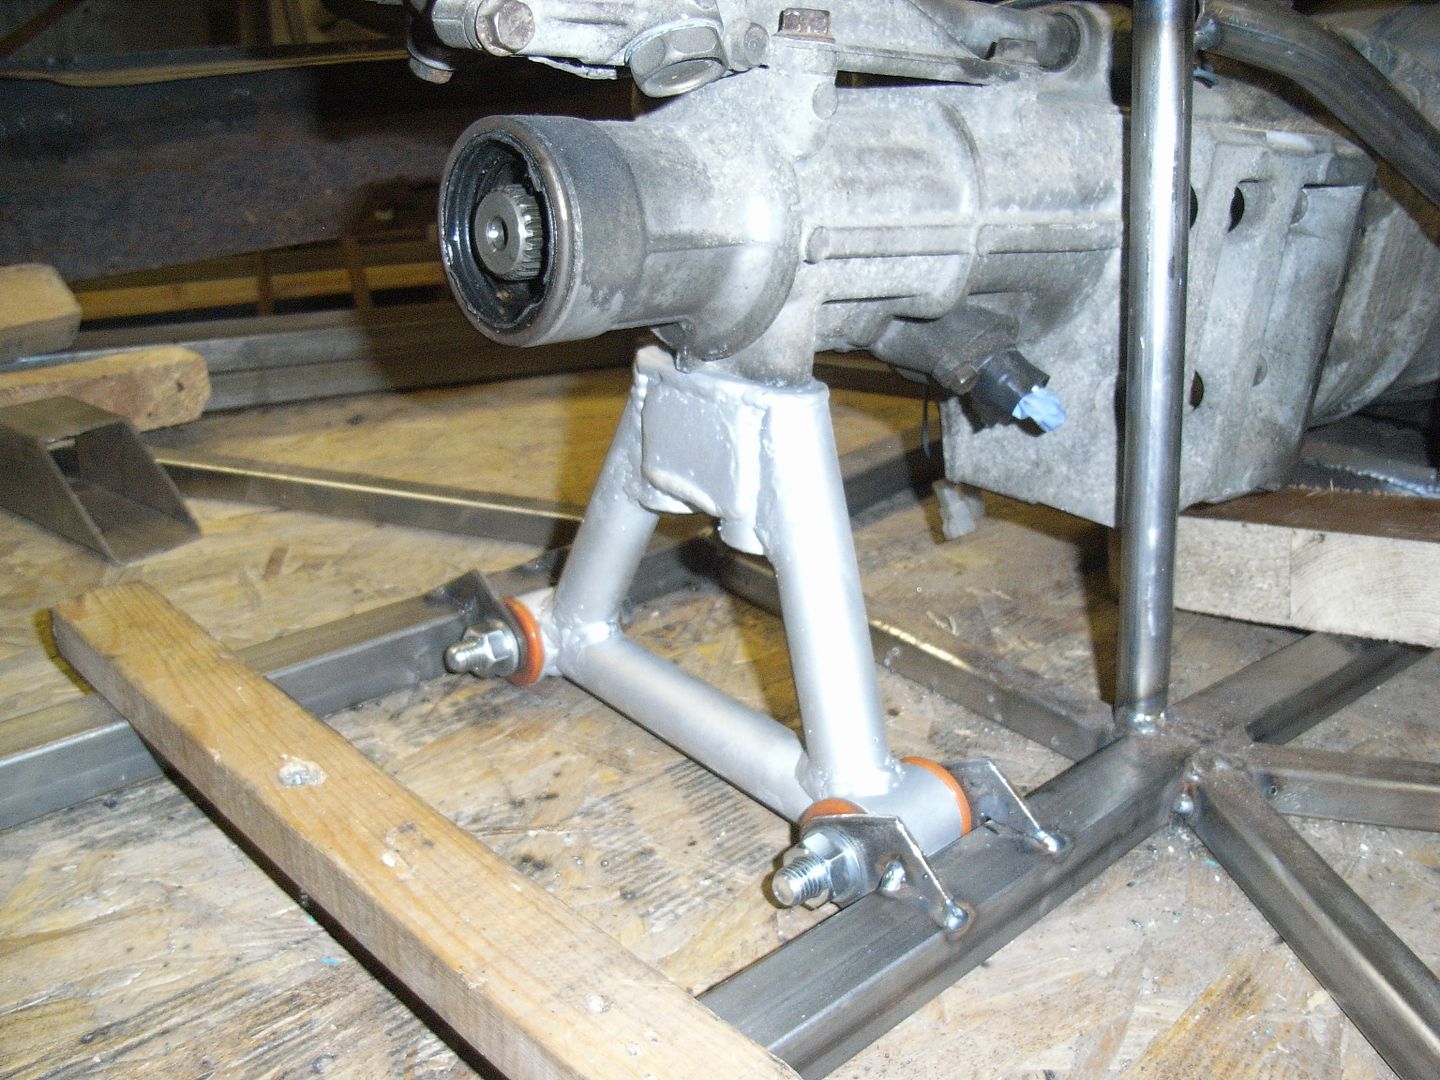 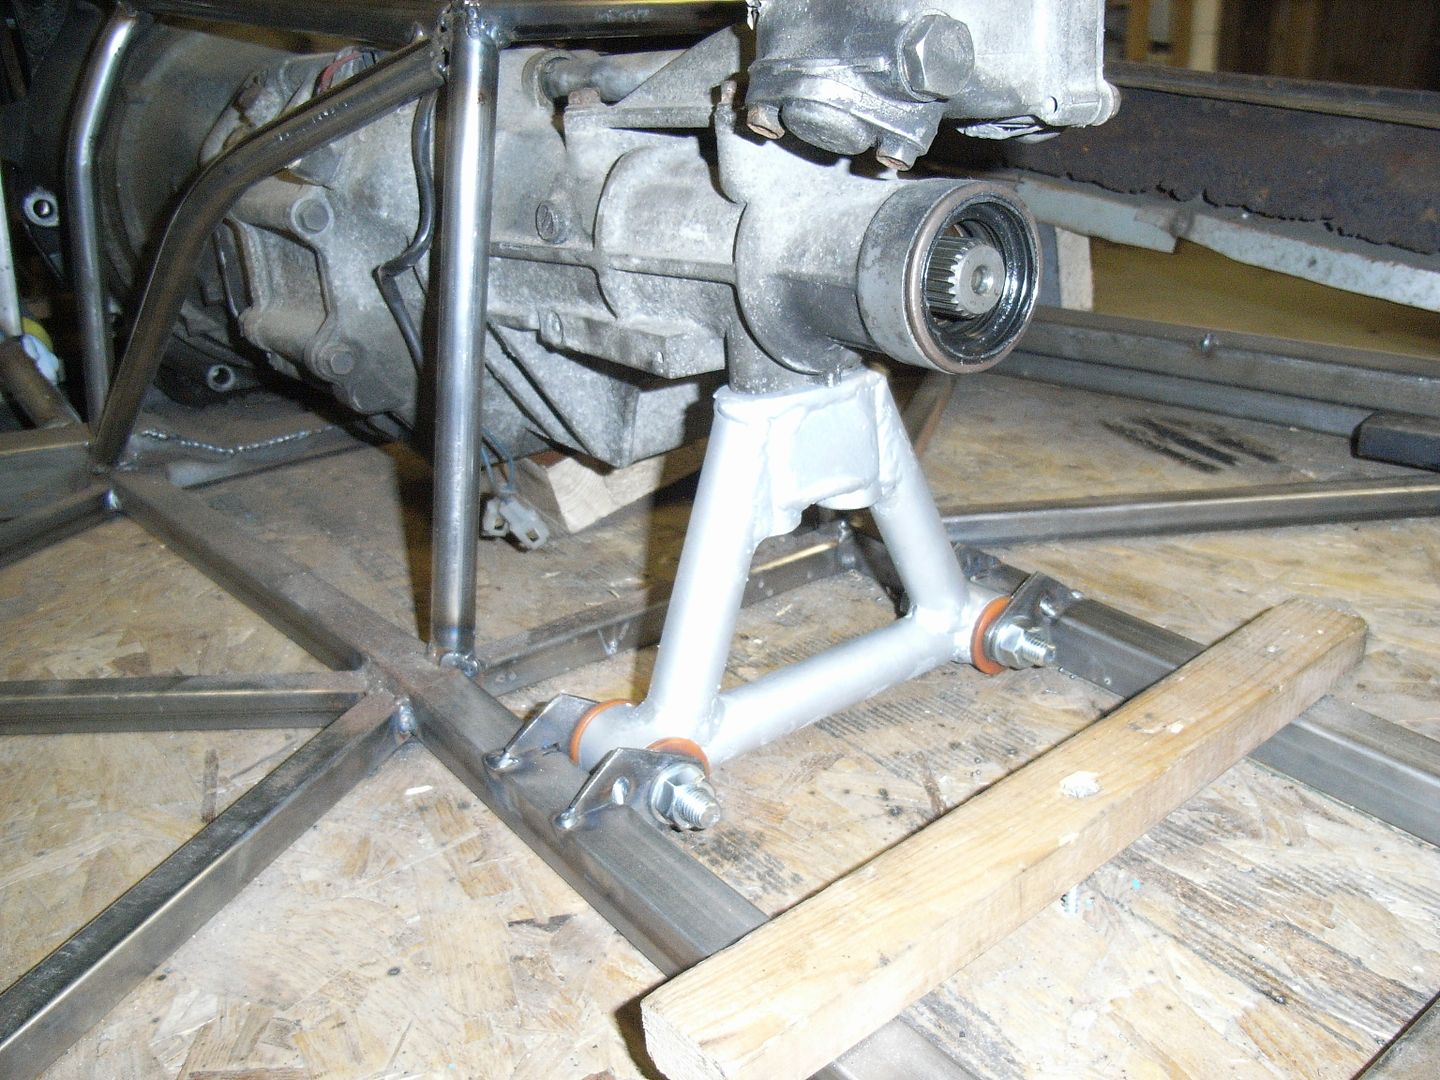 Fairly easy getting bolts etc in at the moment, but getting the bracket out is tight. Once the car is off the build table it gets easier as the gearbox mount can be dropped down and out. I also started setting out for the diff supports. 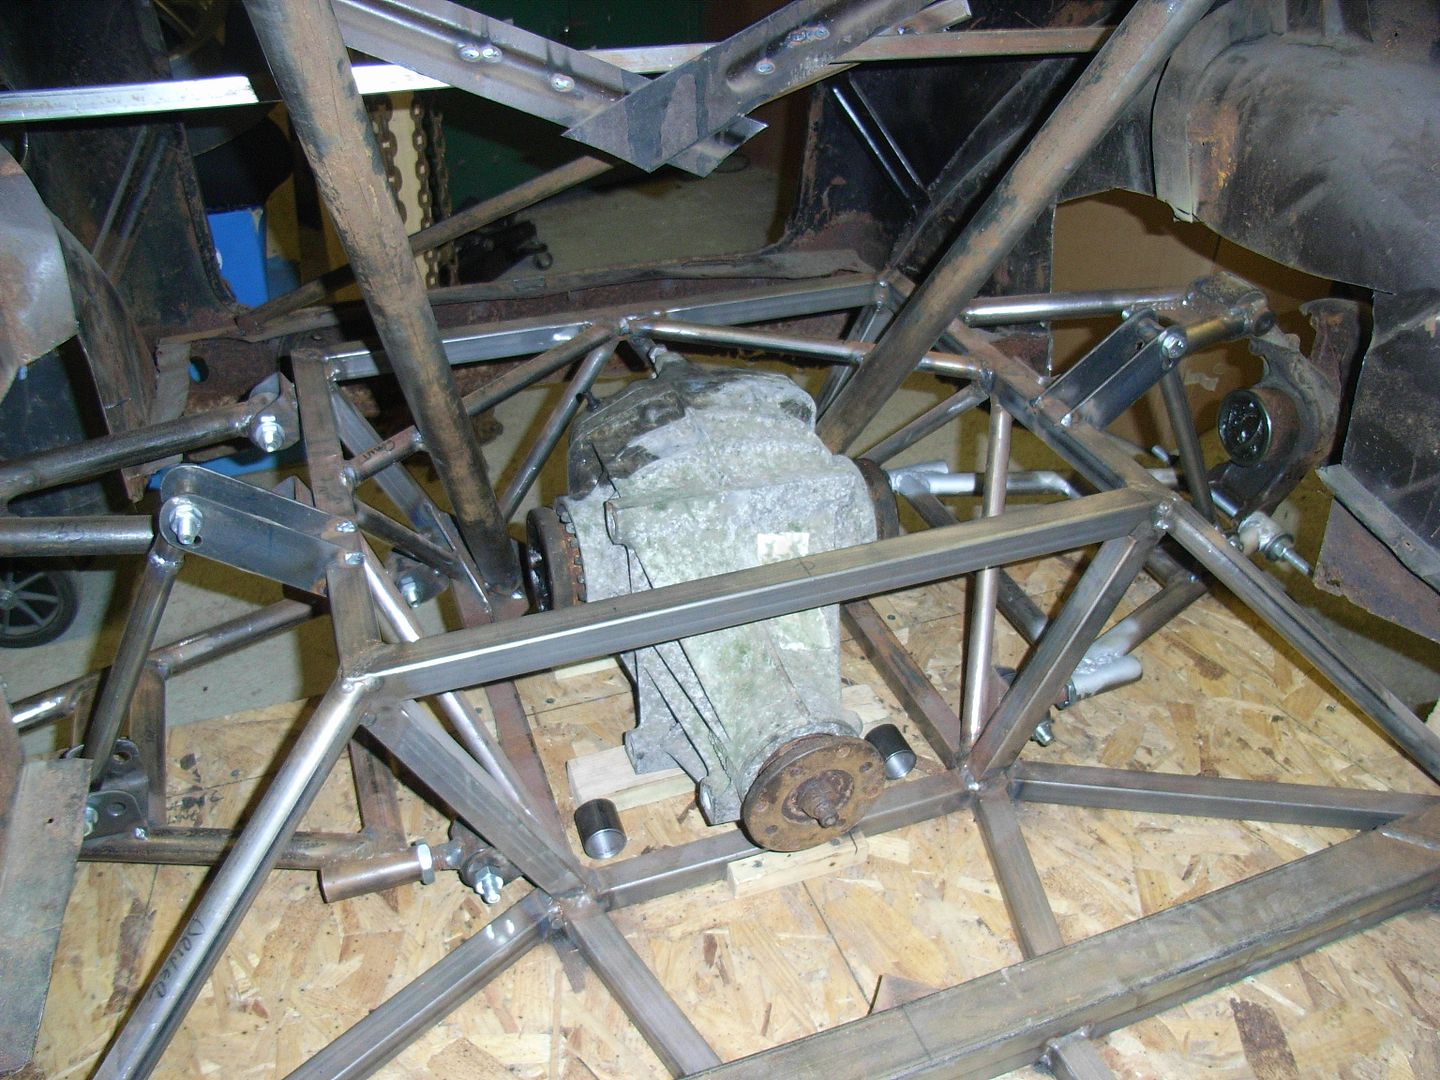 This weekend i'll hopefully get a bit more done, but friends round tonight and gig saturday means the whole weekend could be written off.... FatboyDW has just moved to a new place and was clearing out his old workshop and dropped me off some spare shelves he had. I think i need to find a better permanent home for these but they're hand at the moment. 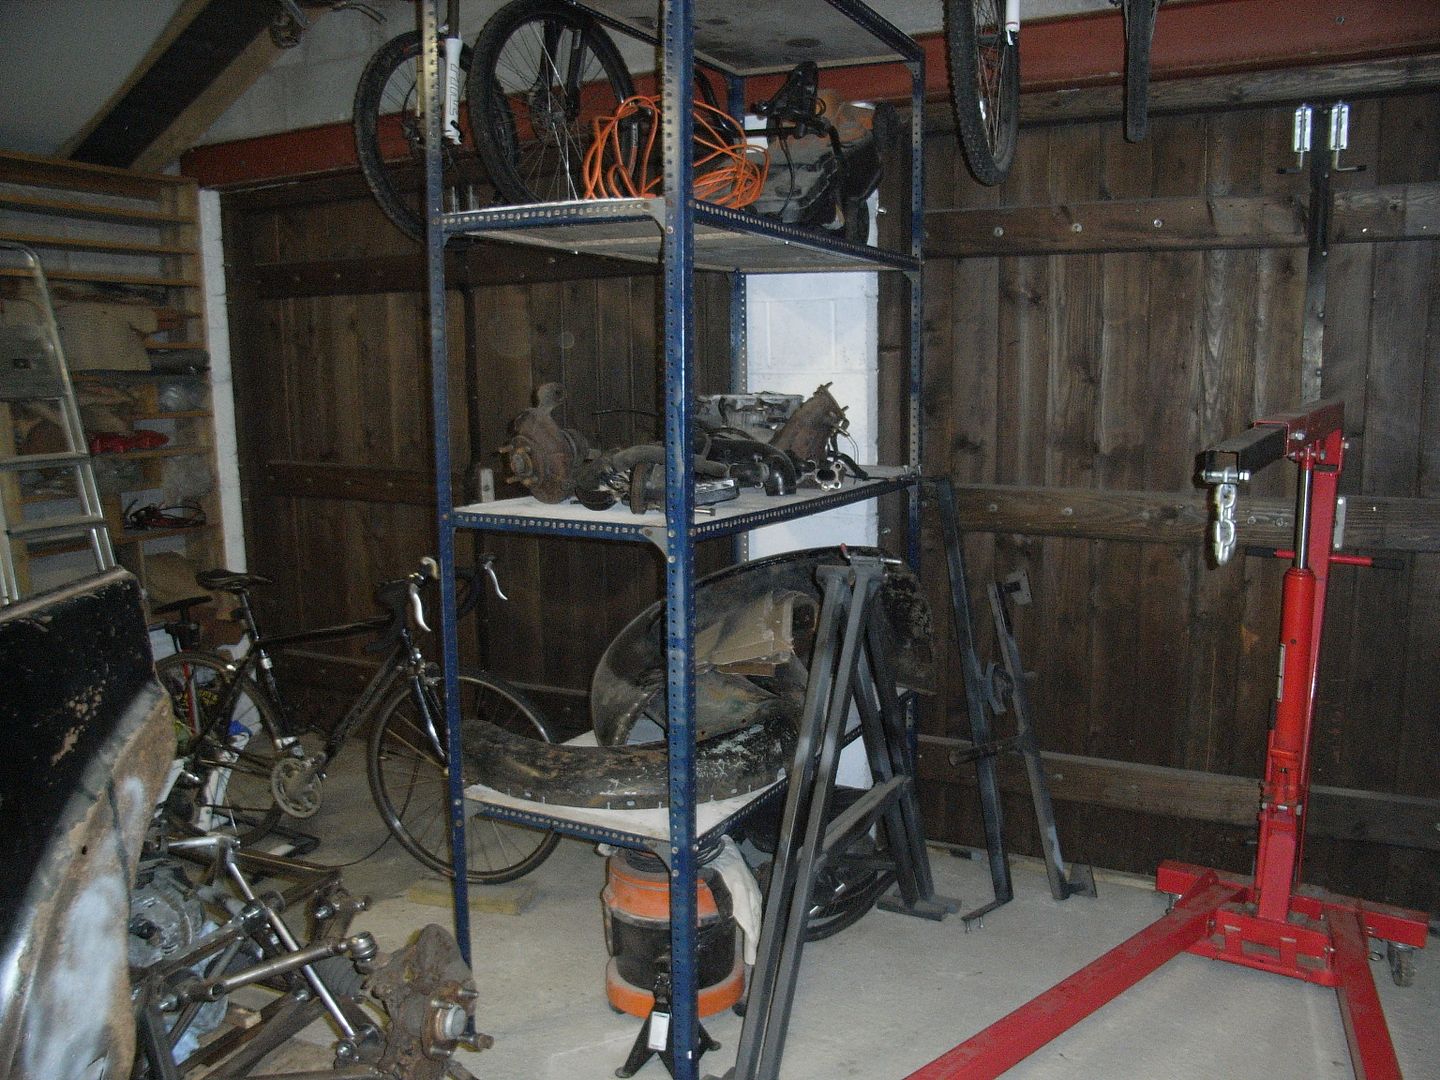 |
| |
|
|
|
|
|
|
|
|
Any progress is good progress, keep it up!
|
| |
|
|
jonomisfit
Club Retro Rides Member
Posts: 1,787
Club RR Member Number: 49
|
|
Mar 12, 2014 20:59:47 GMT
|
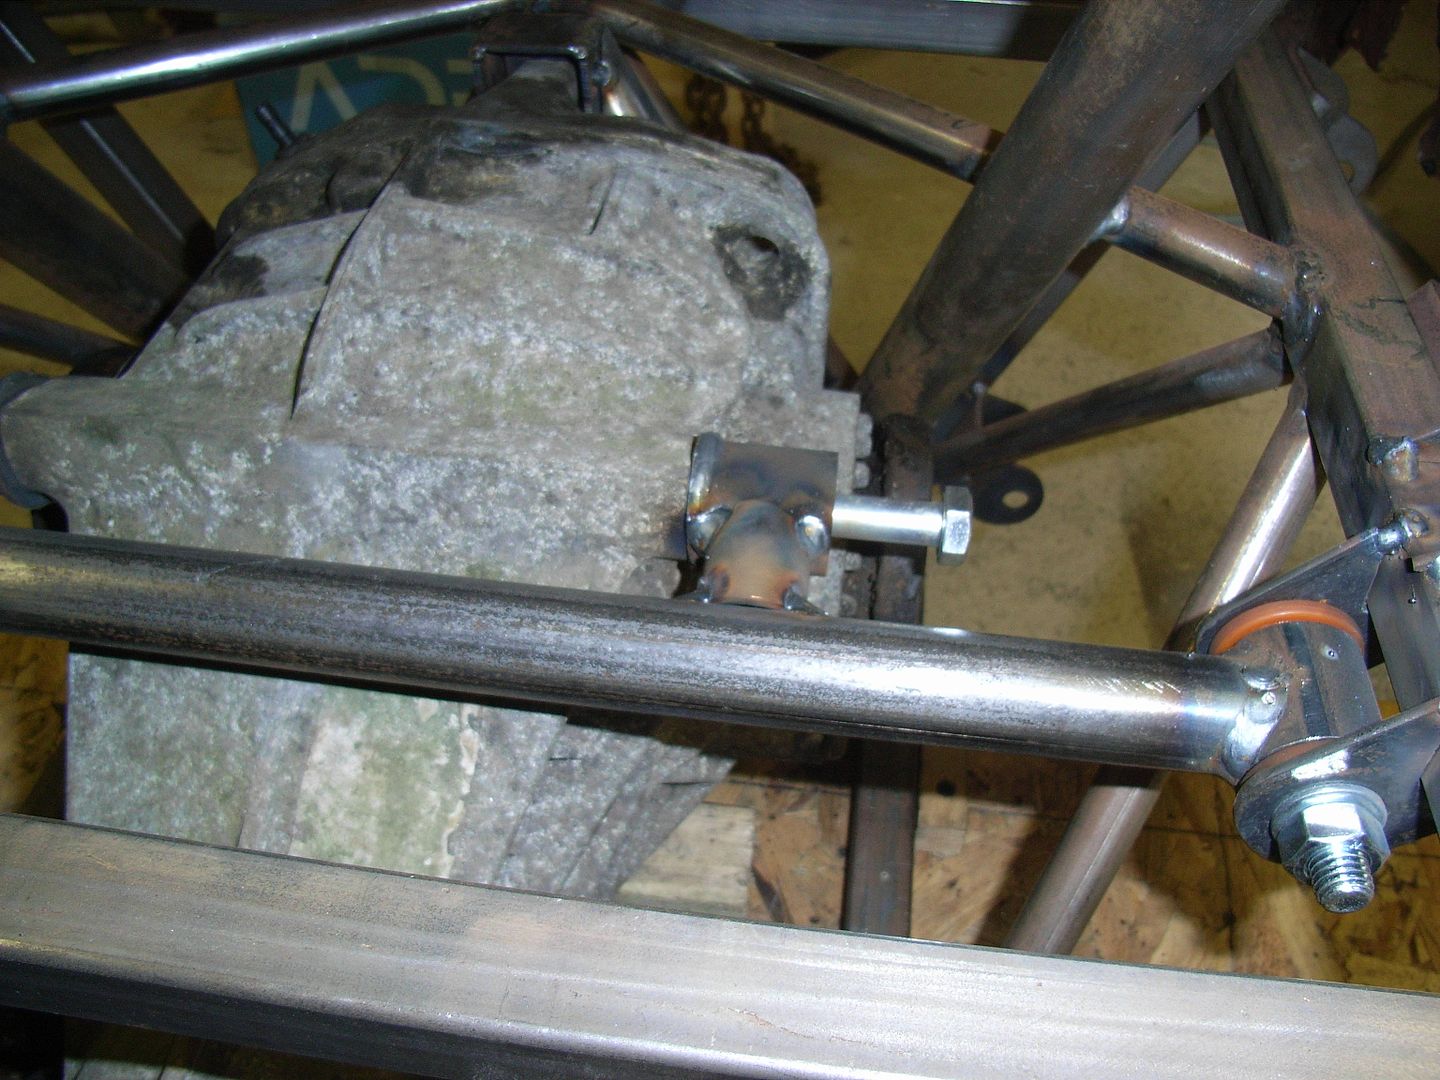
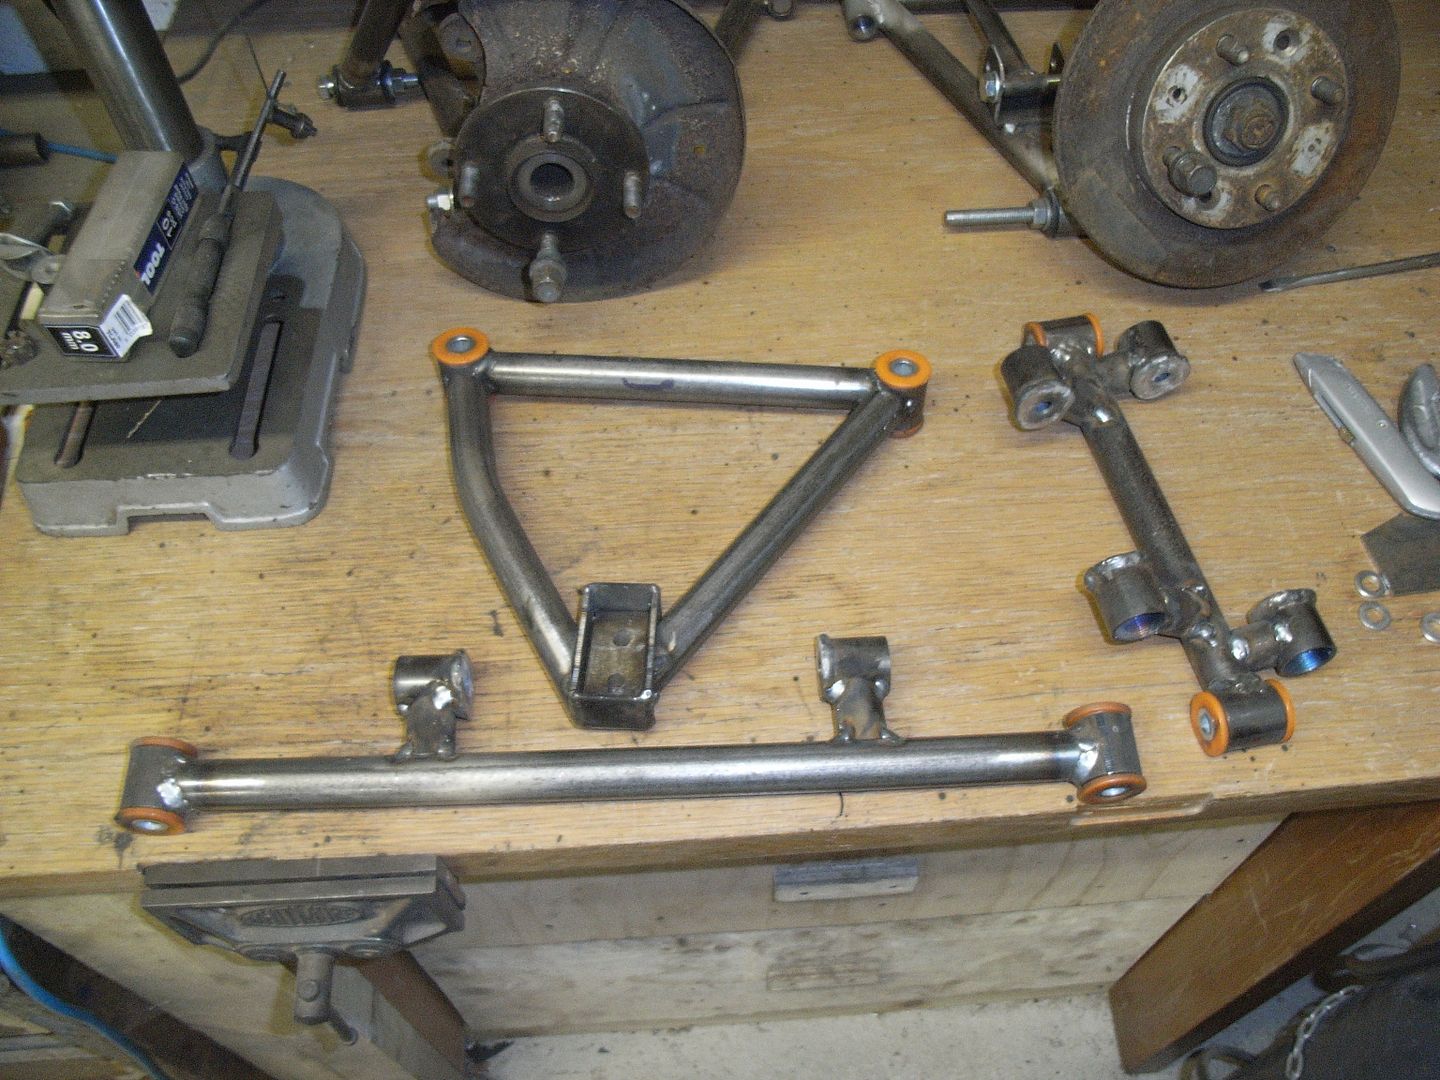
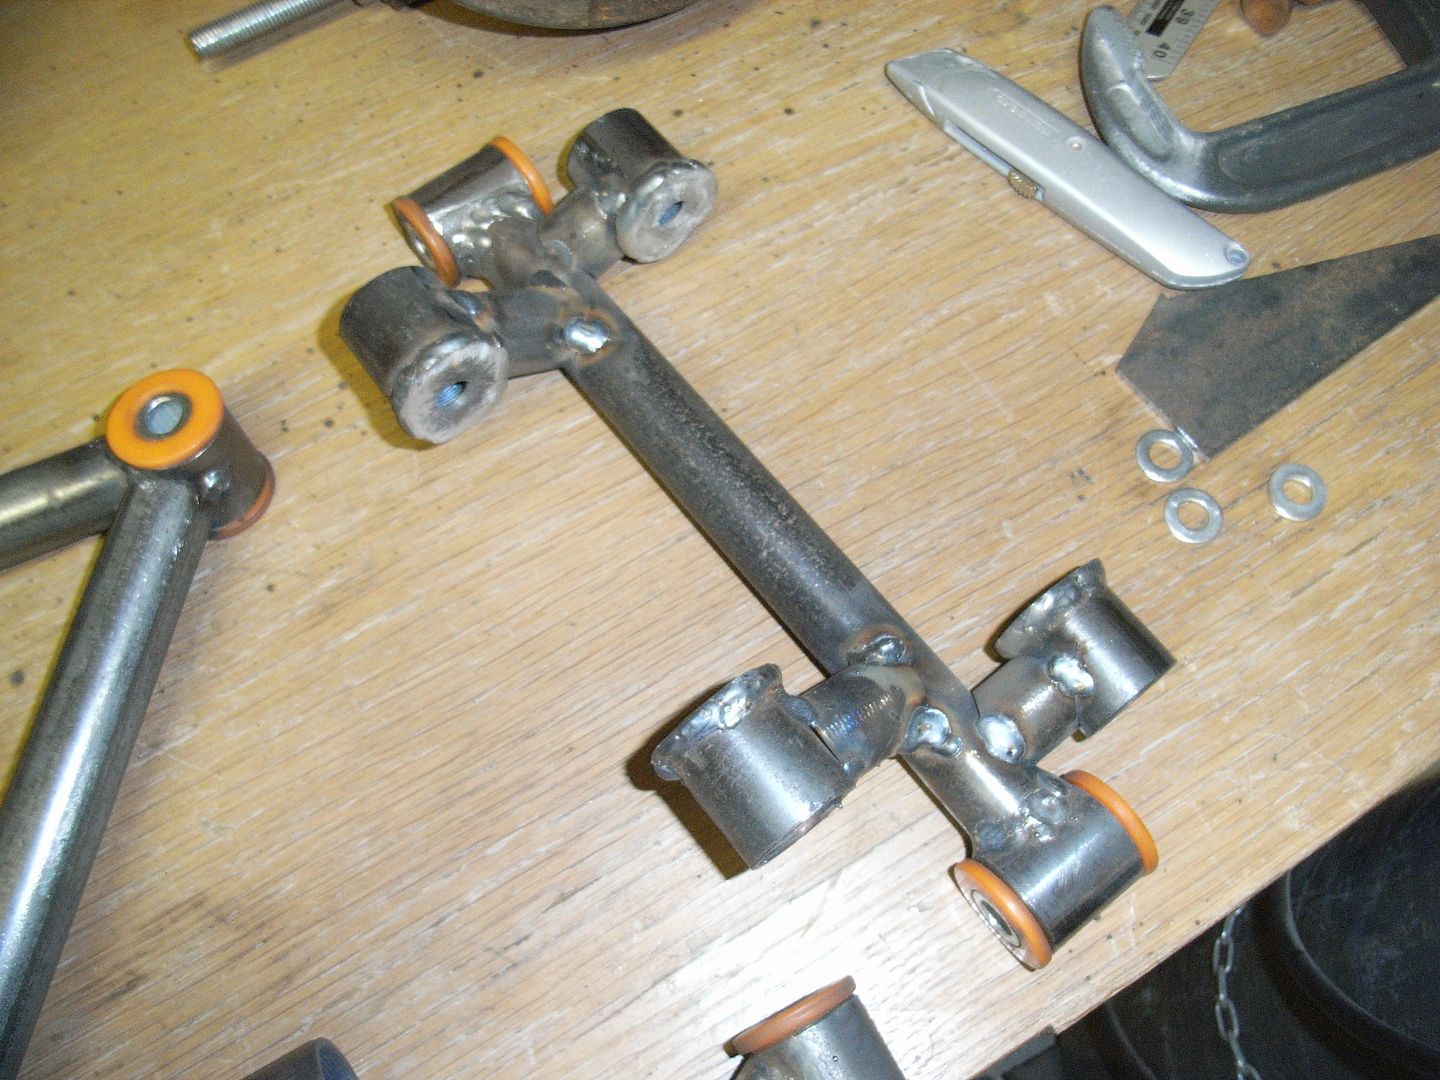
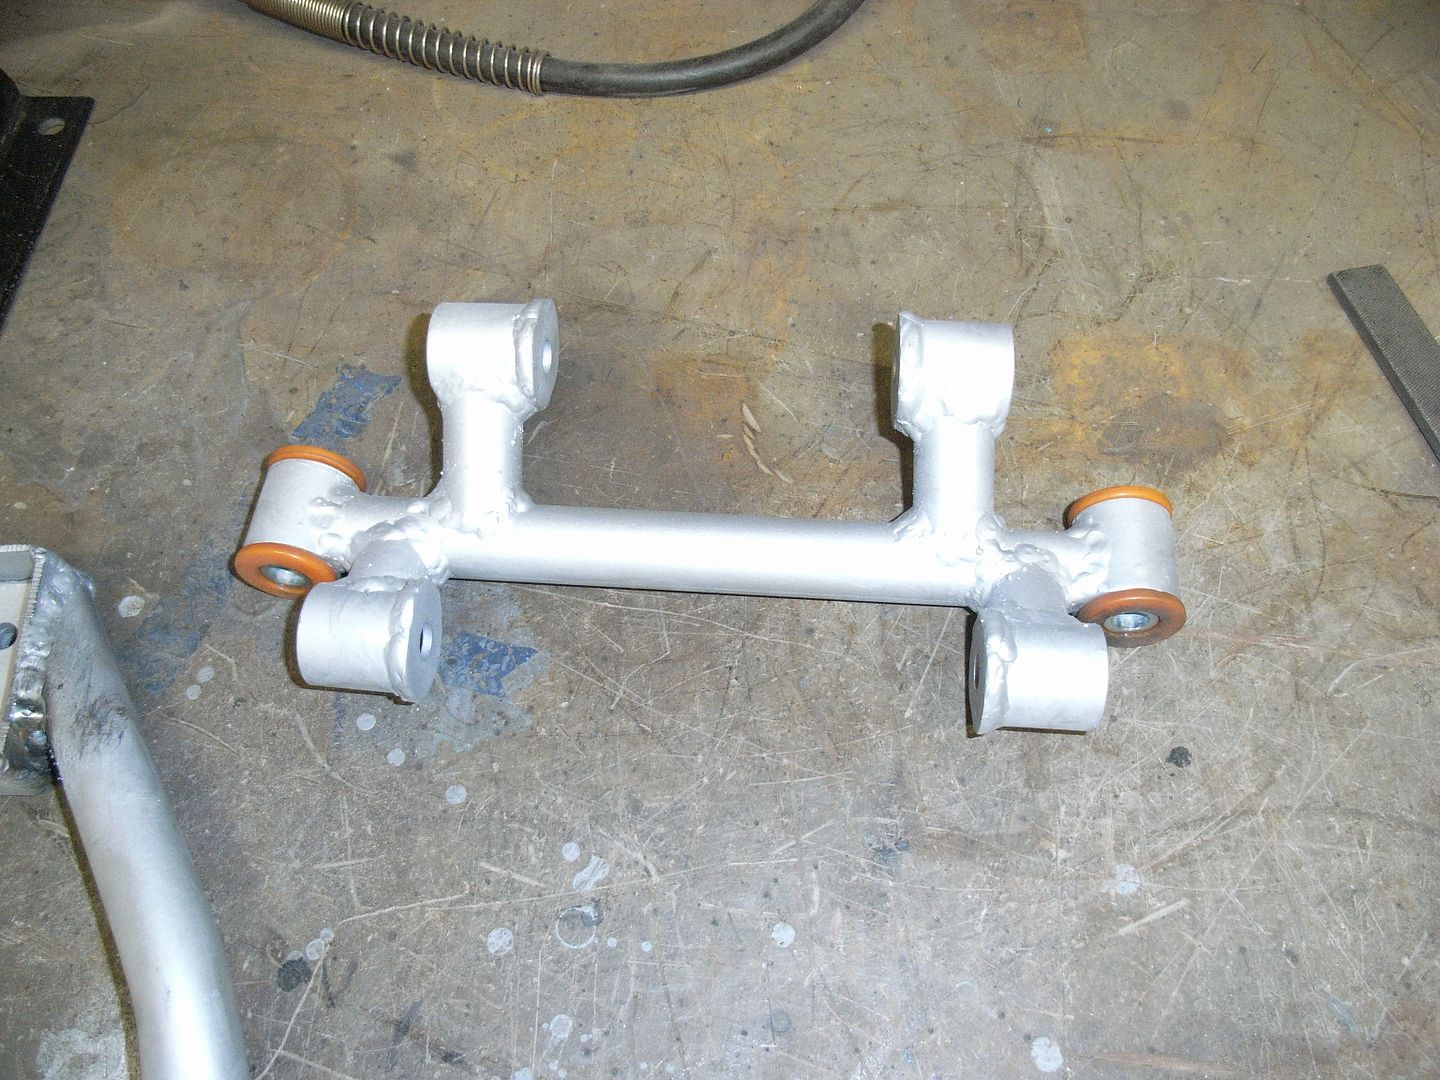
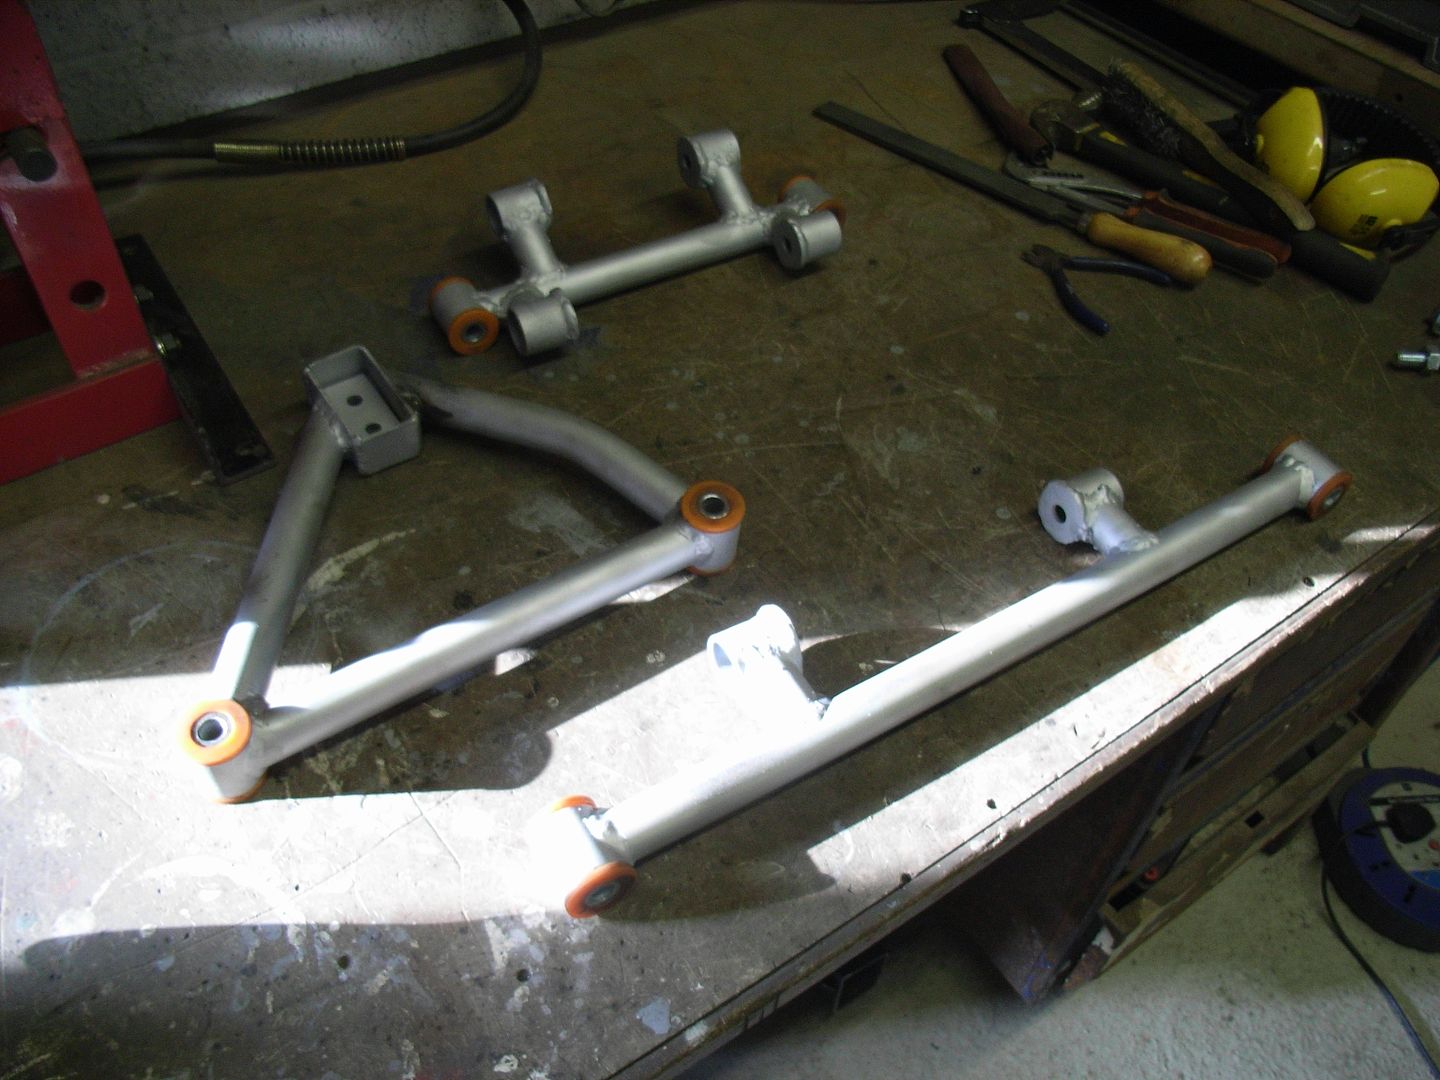
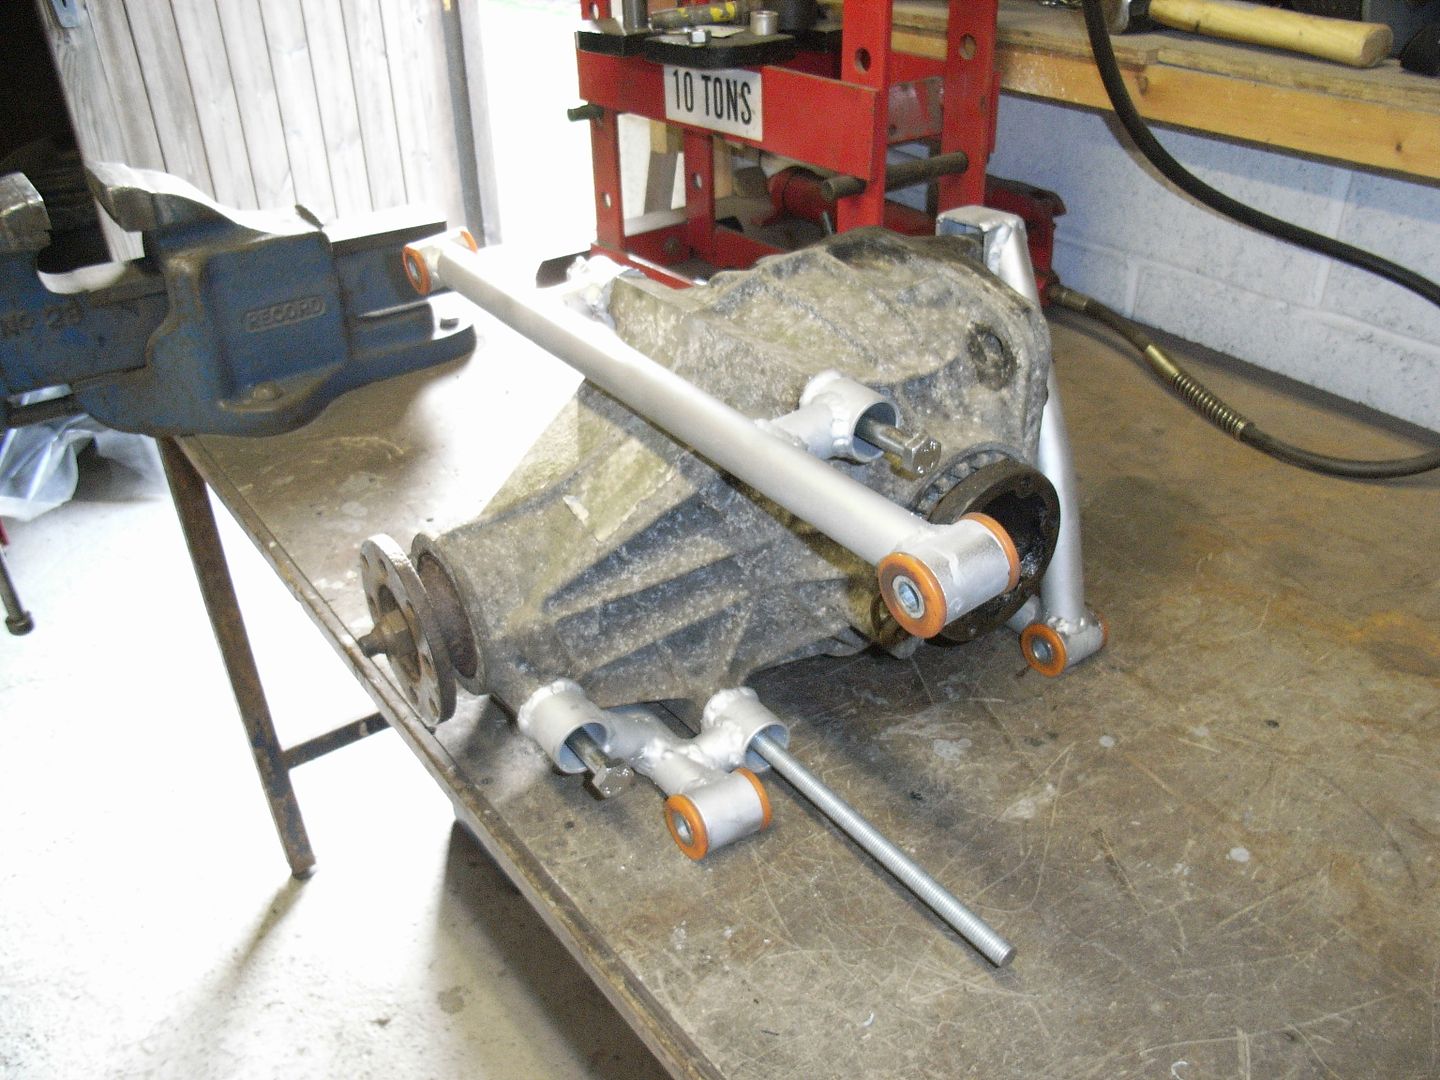
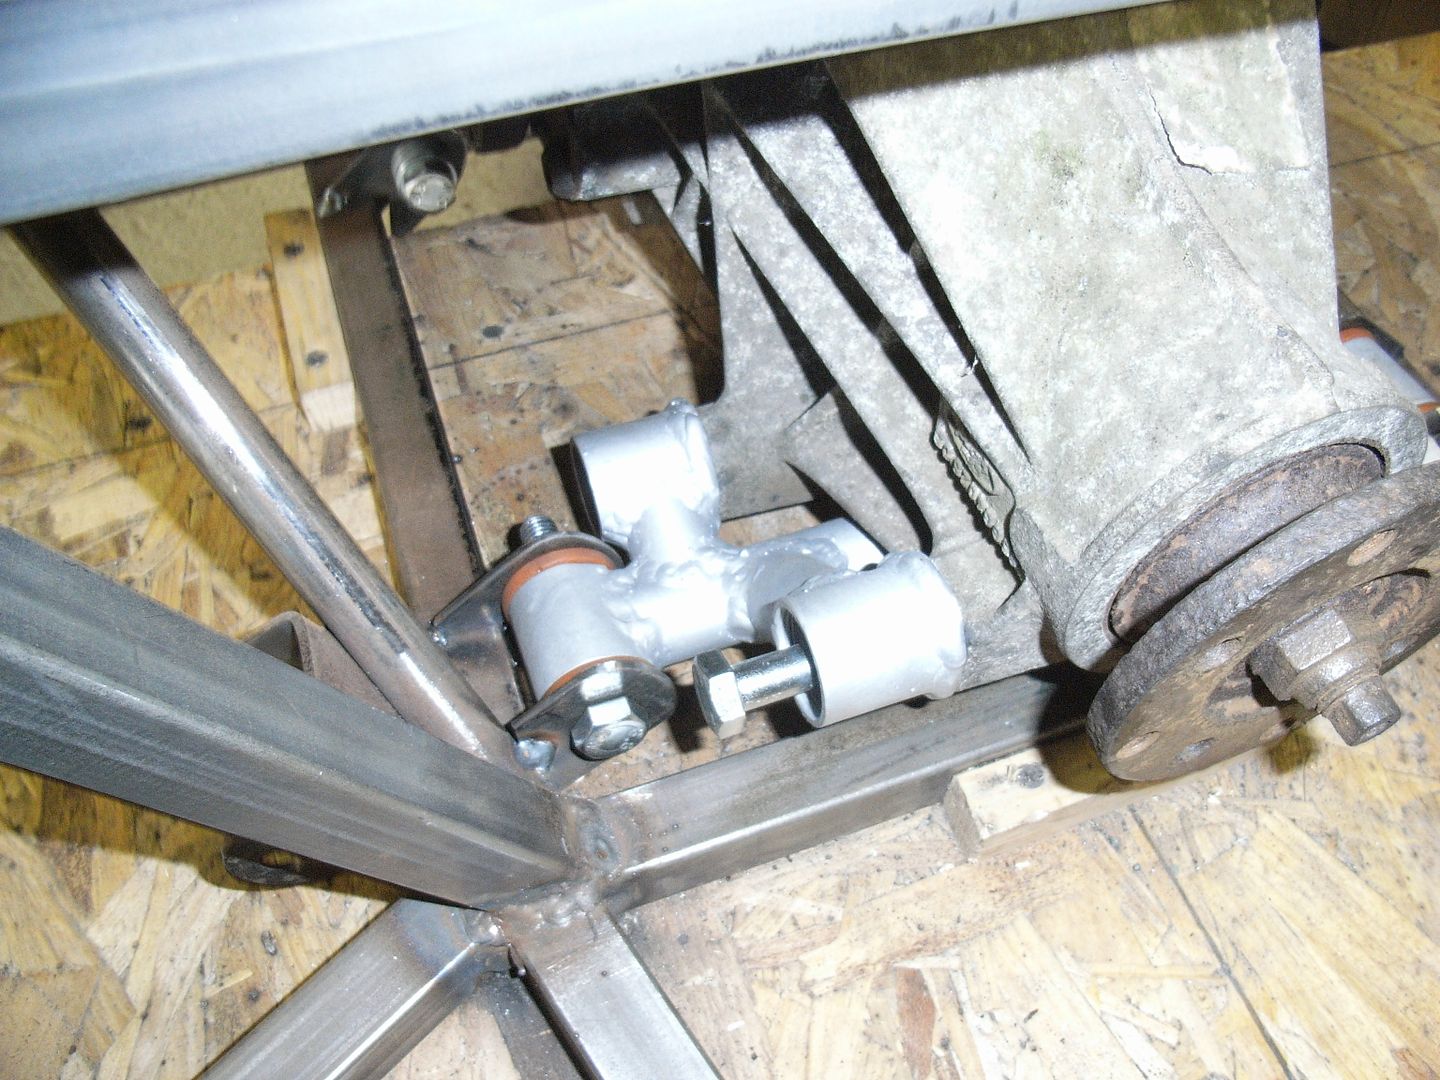
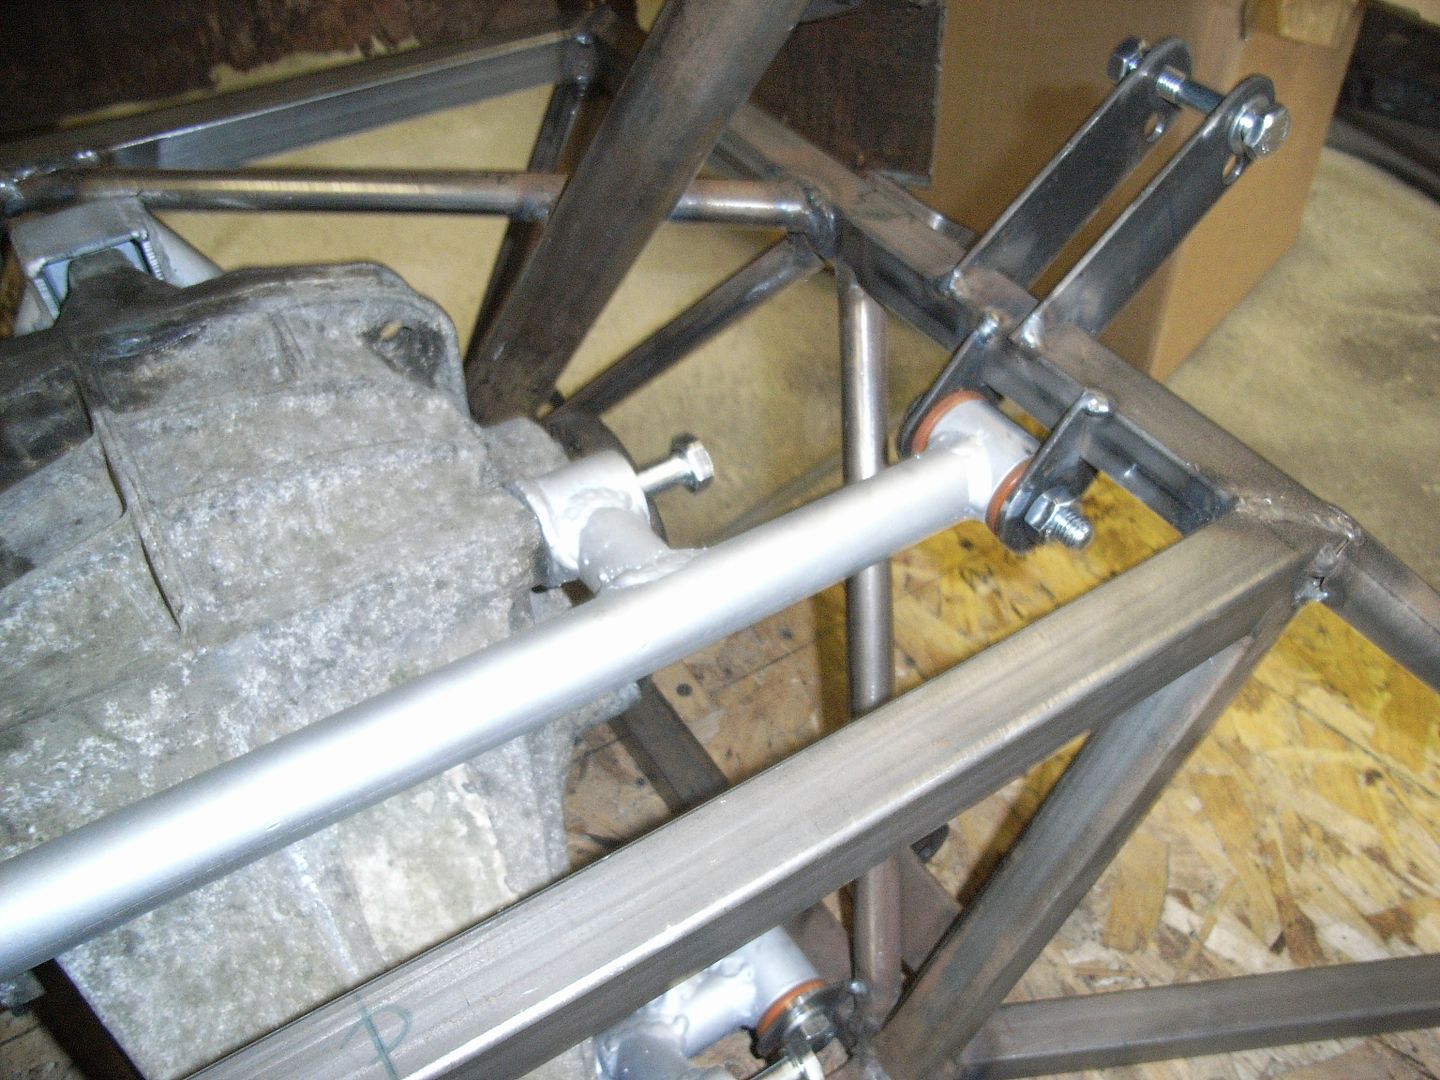
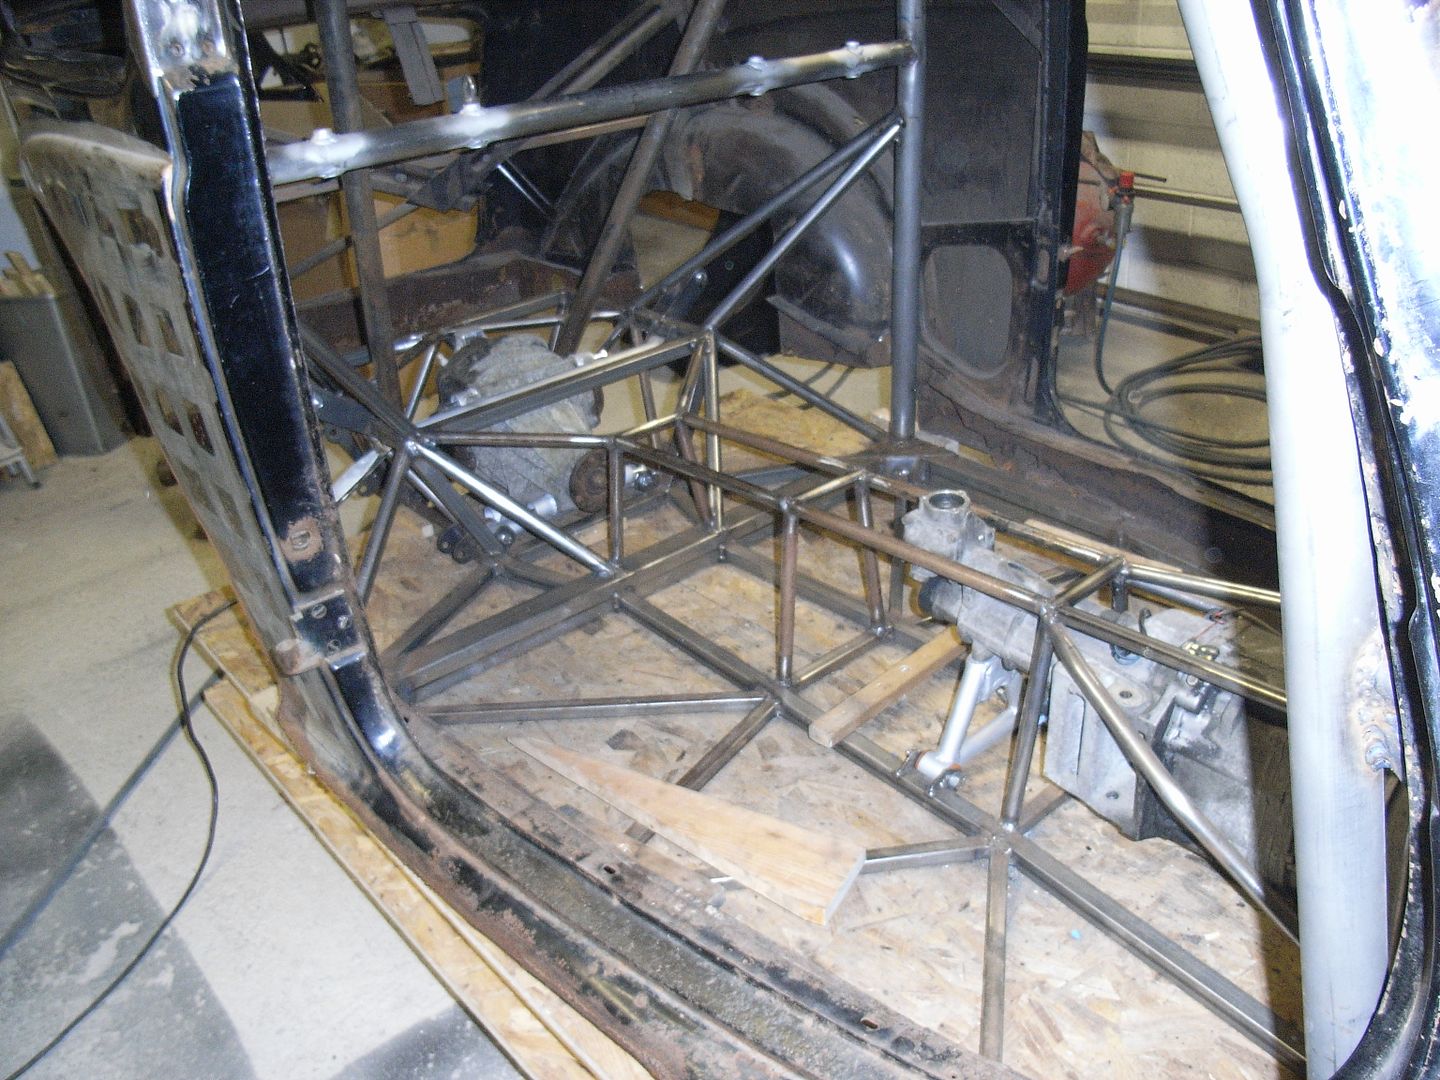
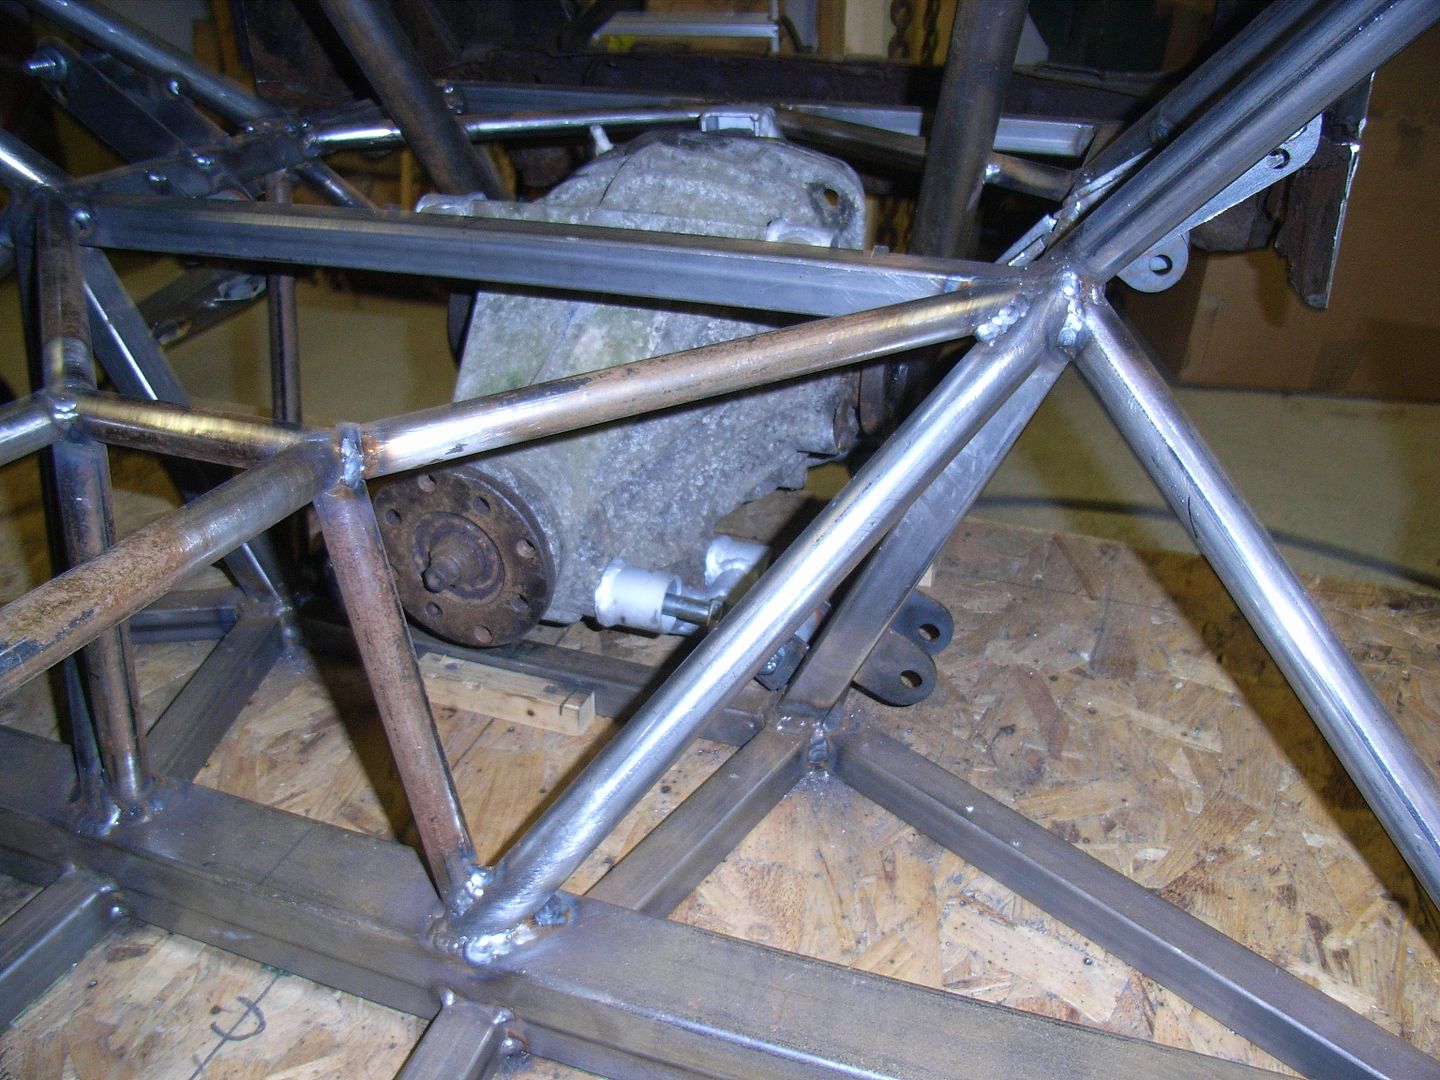
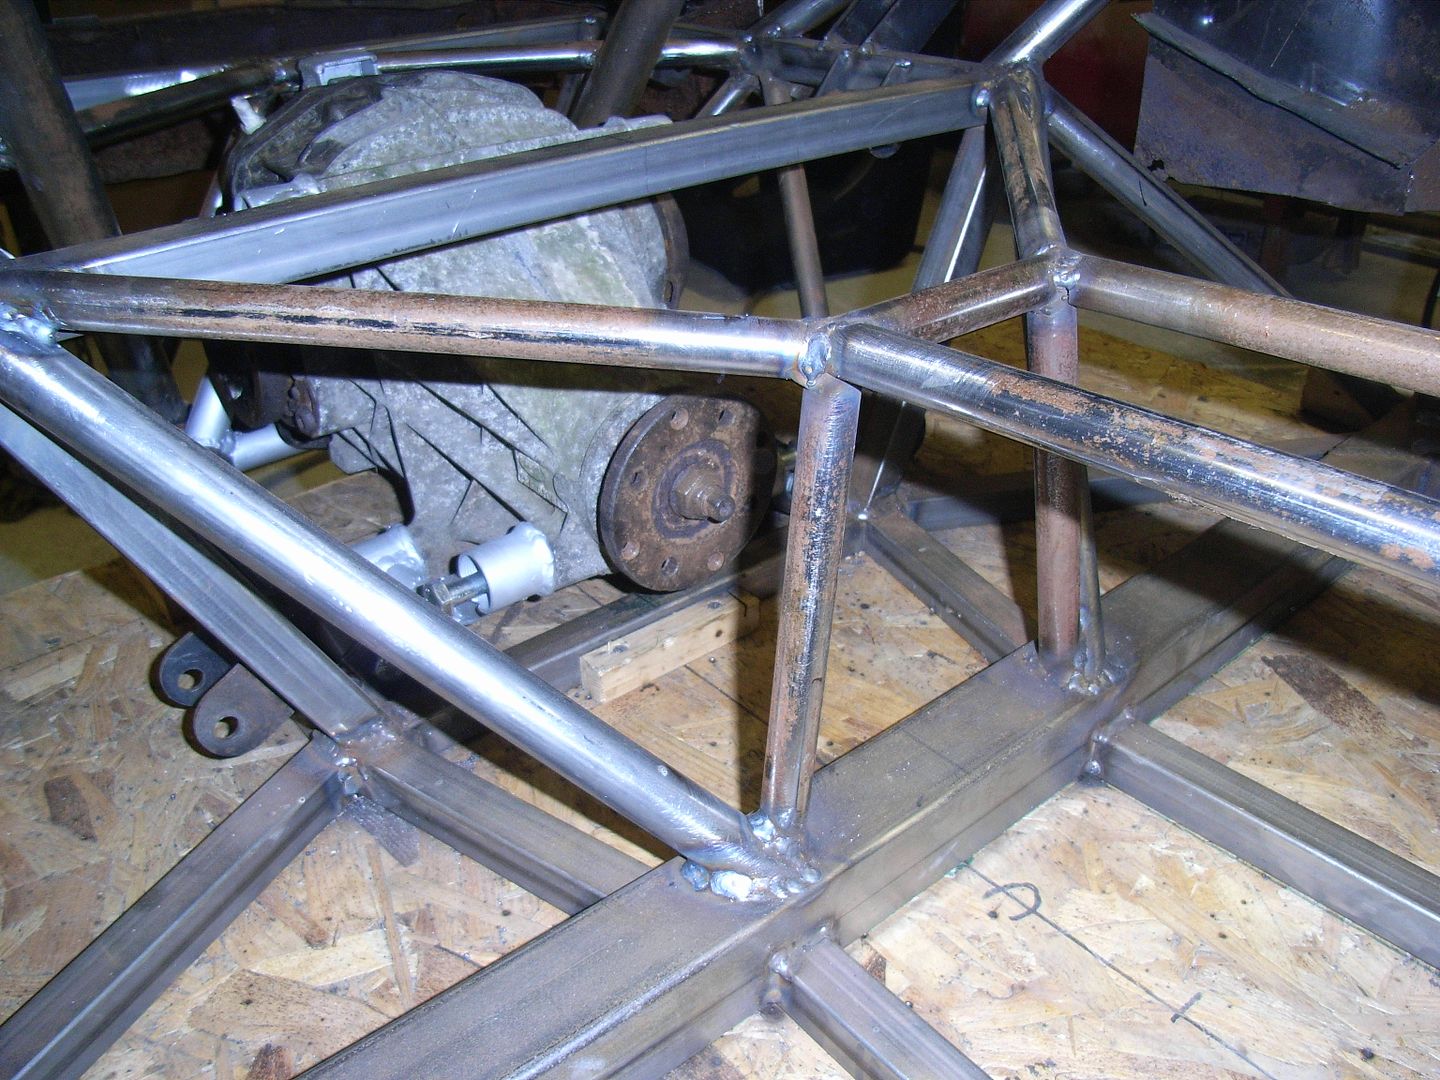
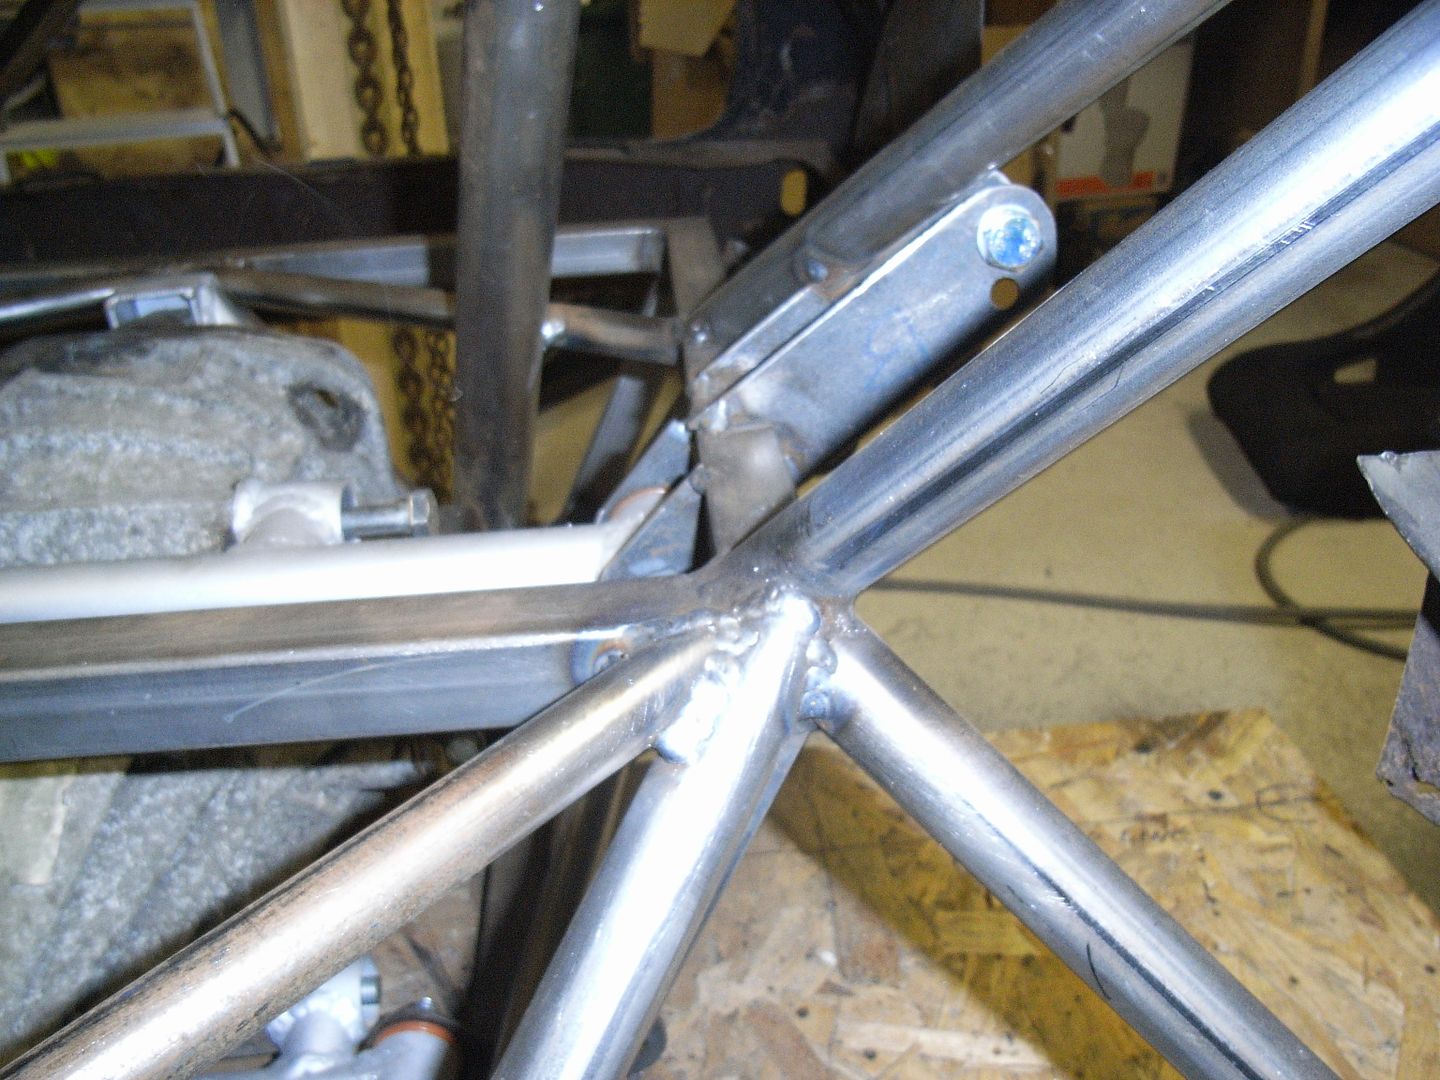
Weekend was a bit busy to get much done on this and a gig Saturday night in Blackburn meant i was a zombie Sunday. Still got a start on the diff mounting. 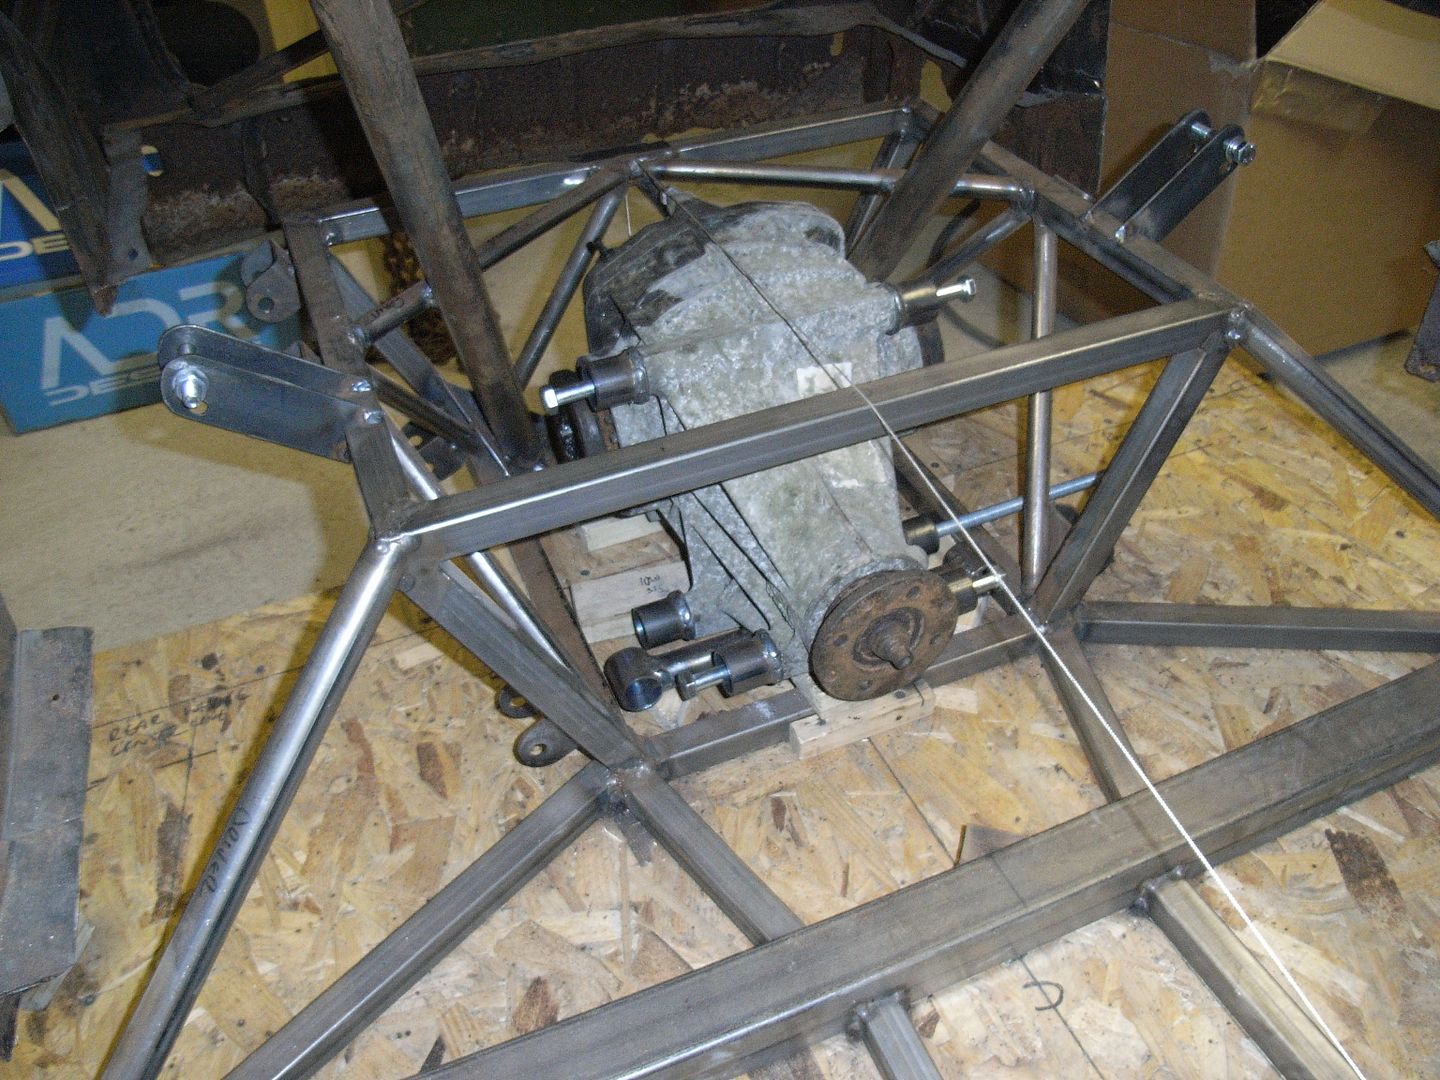 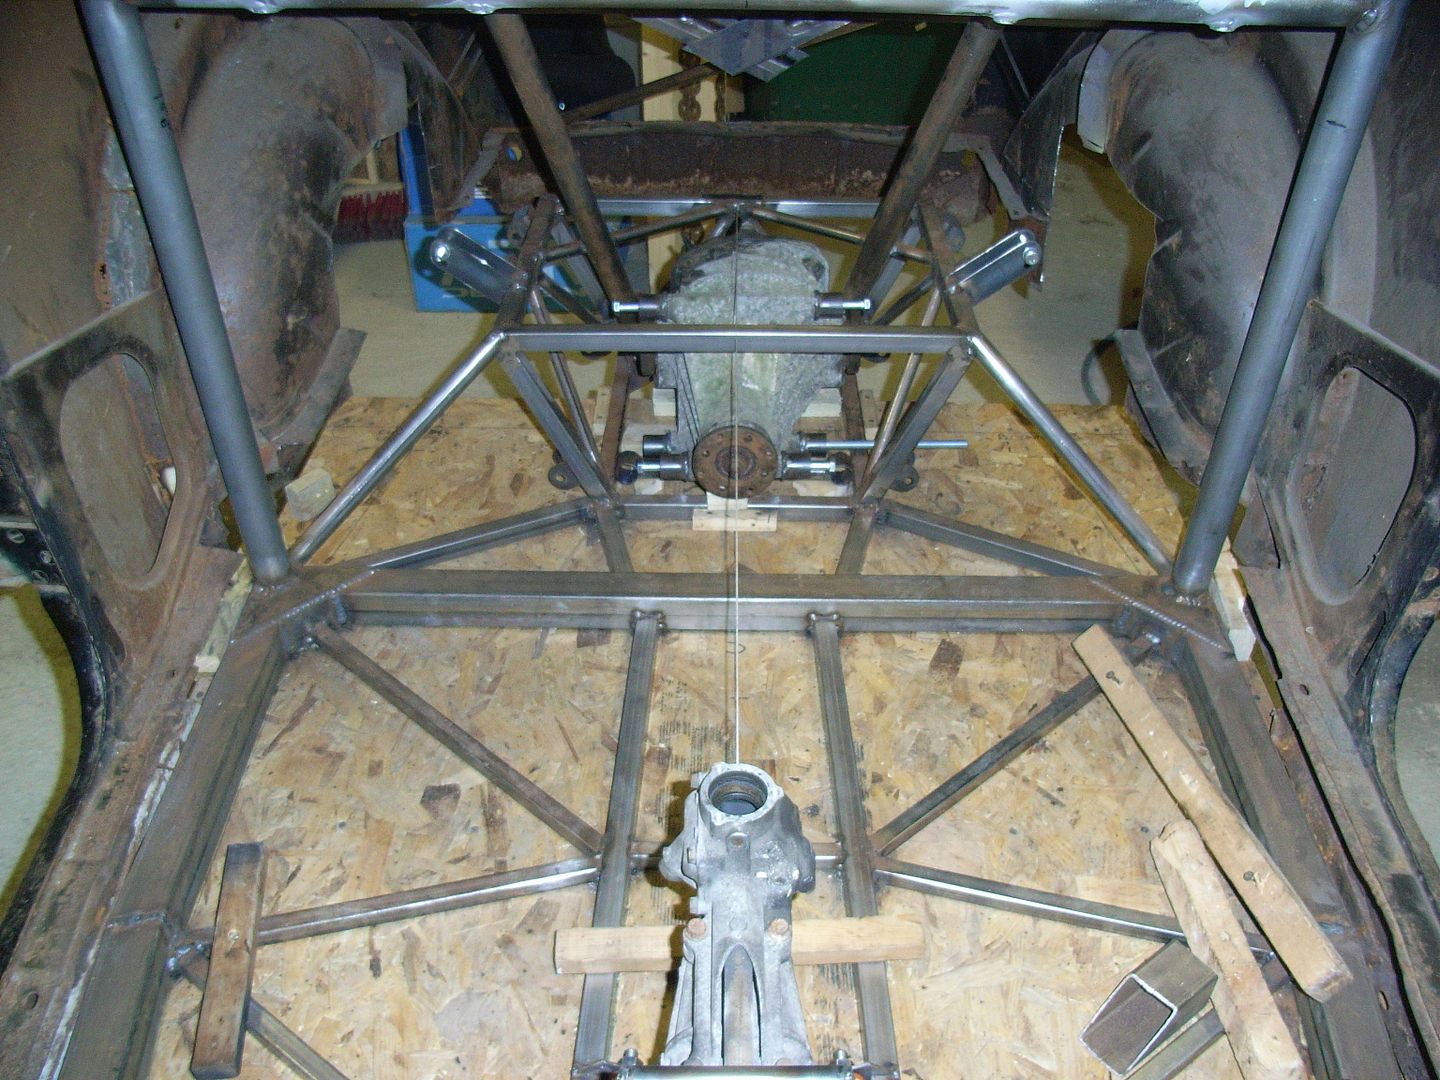 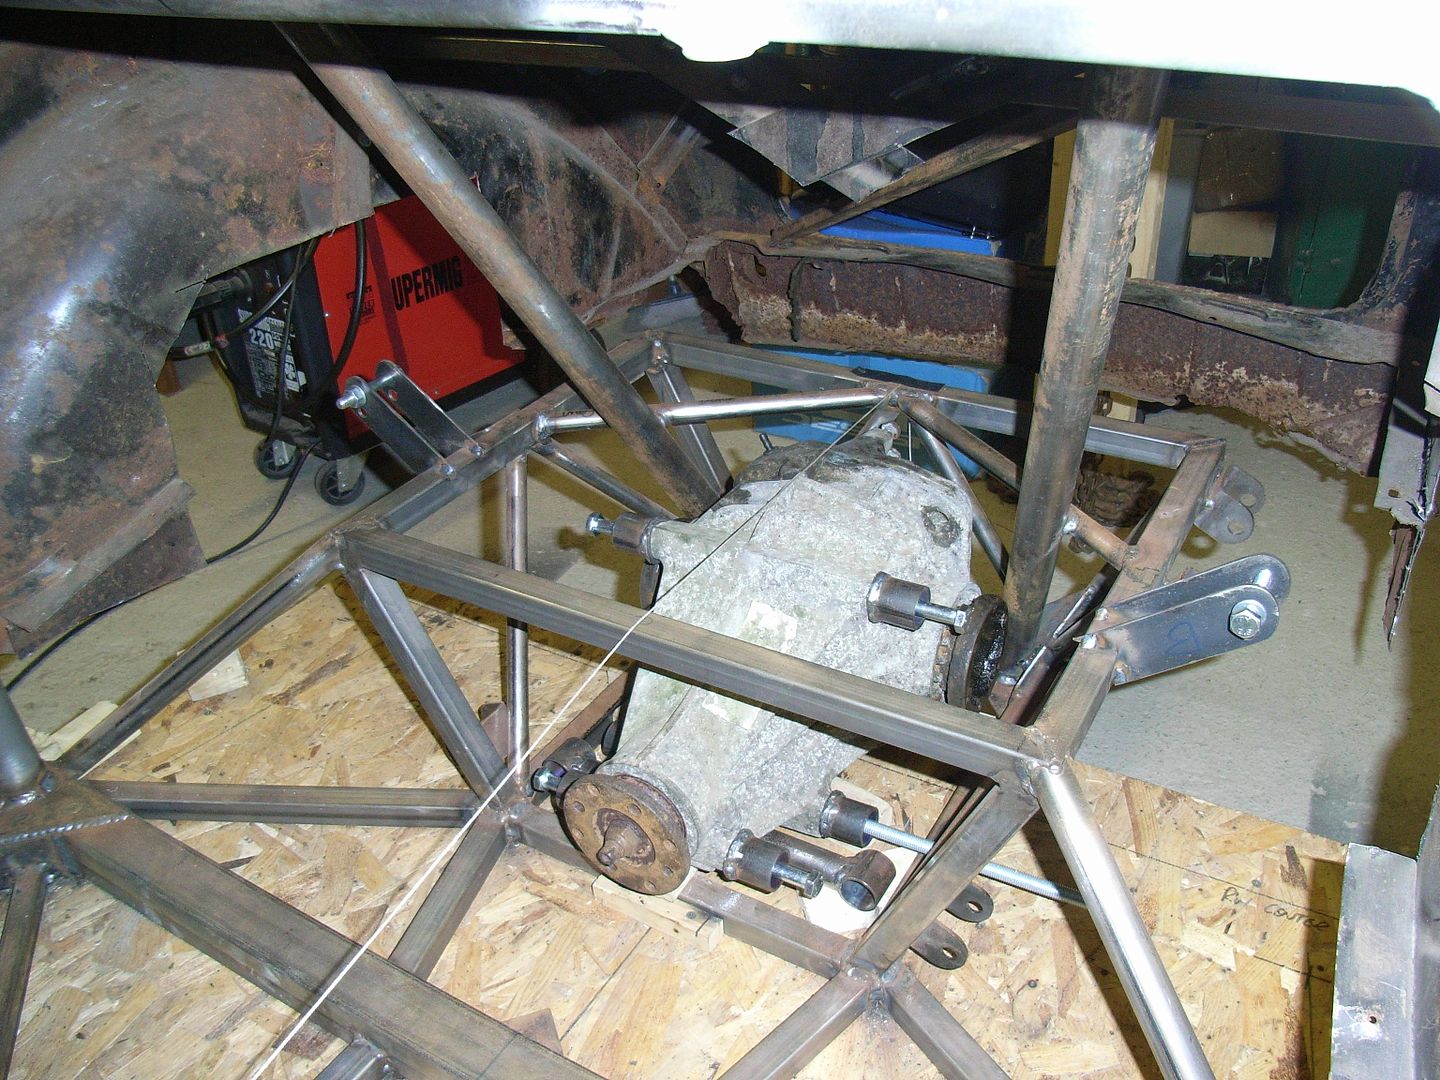 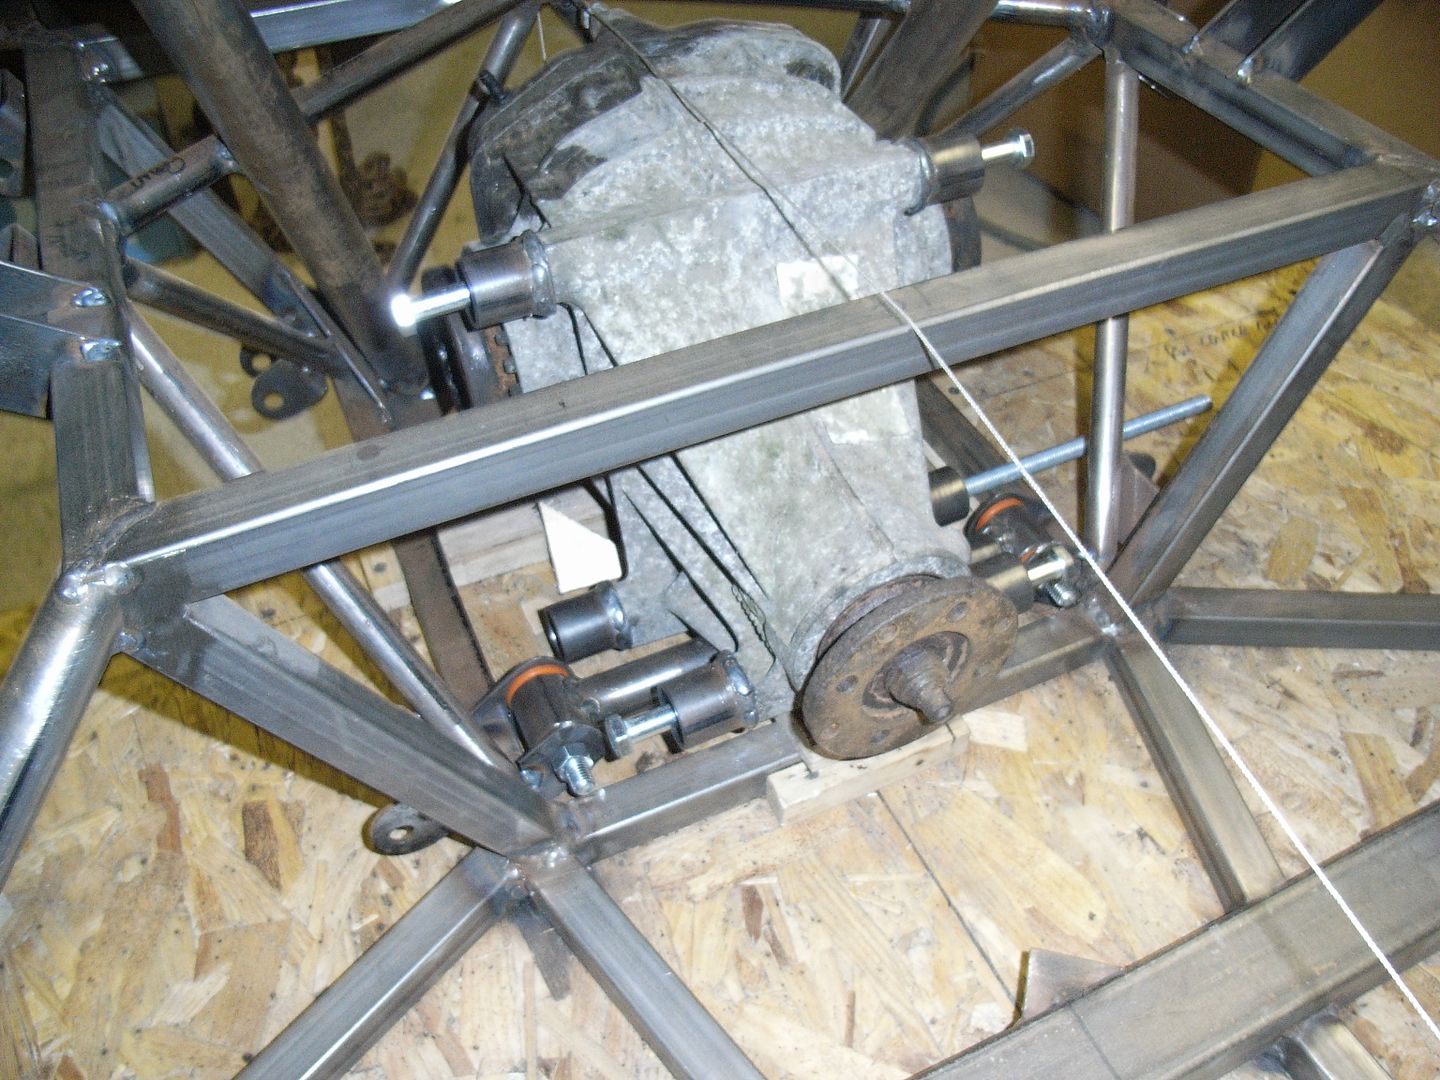 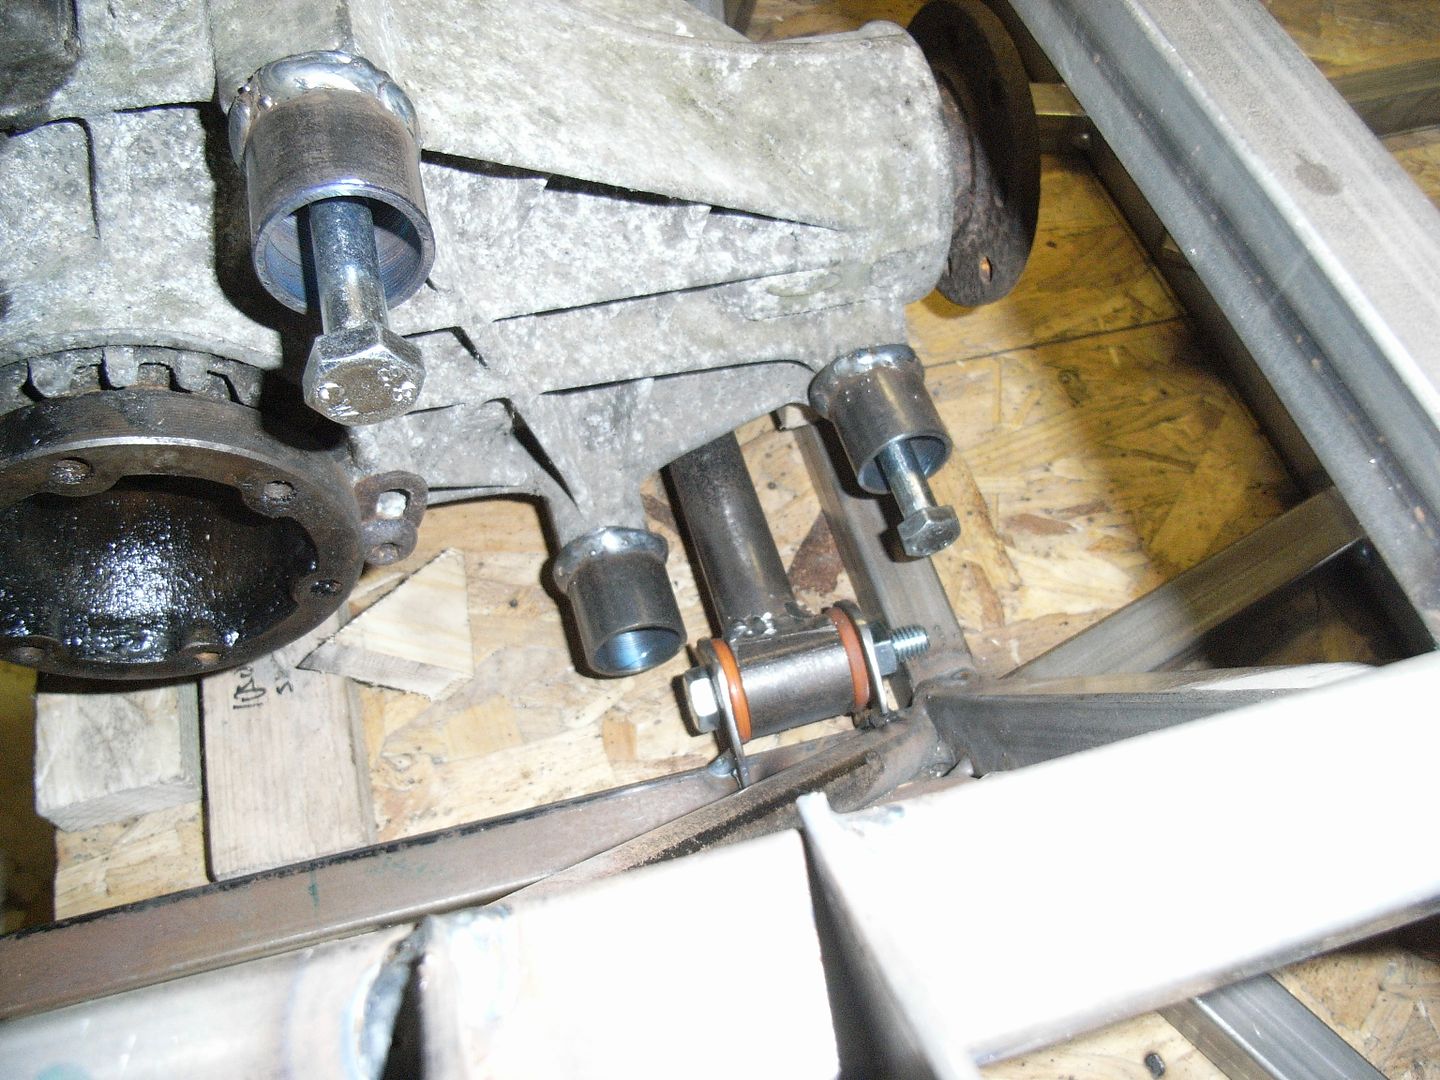 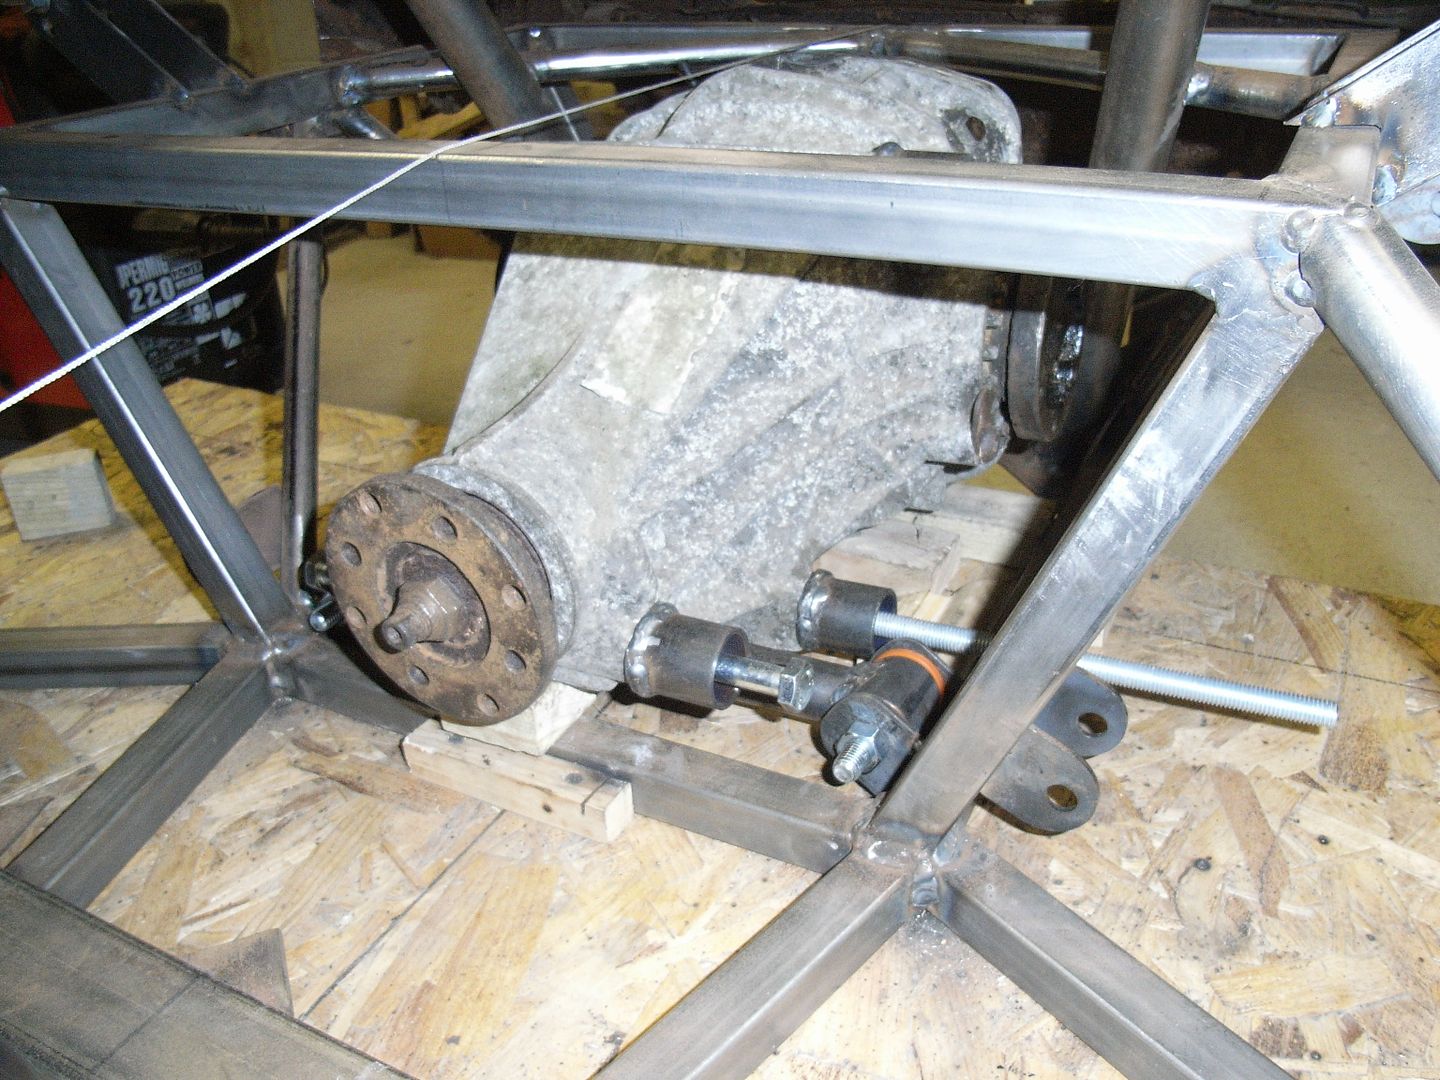 There'll be another latteral bar at the rear of the diff tied to the frame with rubber mounts and picking up on the rear diff mount and linking to the front mount. There'll also be an upper link picking up on the upper front mounts. Hopefully it'll be fairly stiff and stop the diff moving too much, but taking out a bit of vibration / noise. I'm away biking this weekend so no progress for a while. |
| |
|
|
jonomisfit
Club Retro Rides Member
Posts: 1,787
Club RR Member Number: 49
|
|
Mar 30, 2014 21:01:26 GMT
|
|
|
| |
|
|
jonomisfit
Club Retro Rides Member
Posts: 1,787
Club RR Member Number: 49
|
|
|
|
Friday night I had a gig, Saturday was spent on the couch feeling completely knackered. I got out and did some work on Sunday. Seems like pretty much nothing from the pics, but was a load of work. Rear cradle supports, they tie back into the other side of where the door bars go. 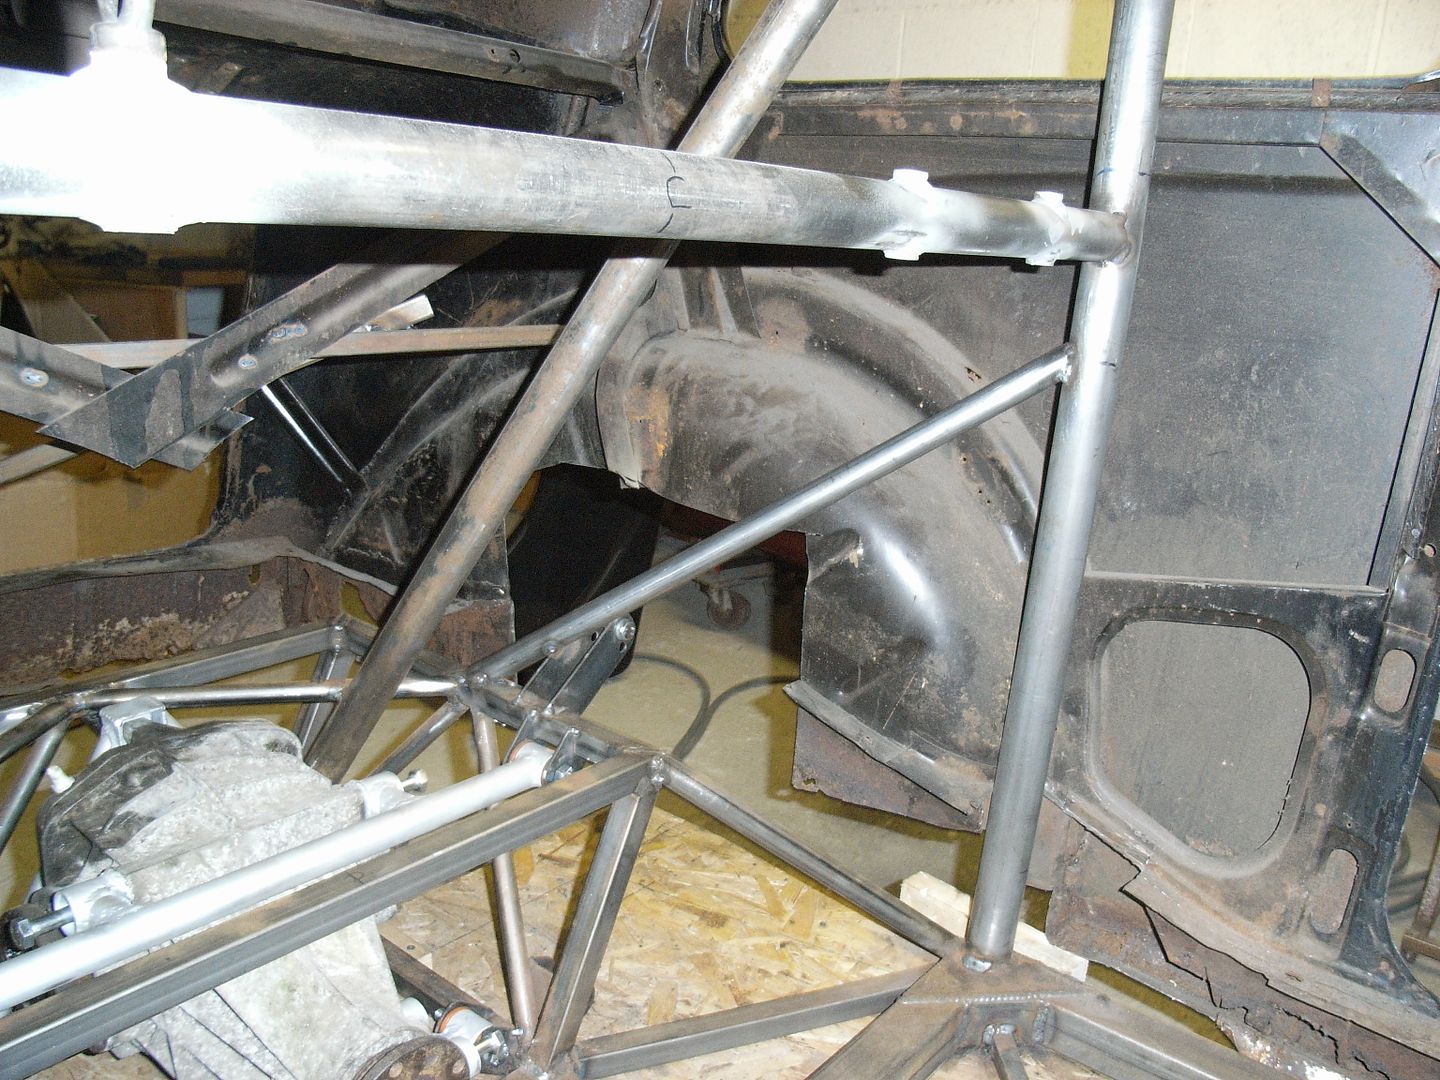 The supports tie back, just contacting onto the rear damper mounts to help stiffen them up. One side touches, and one needs a small gusset on both bracket. 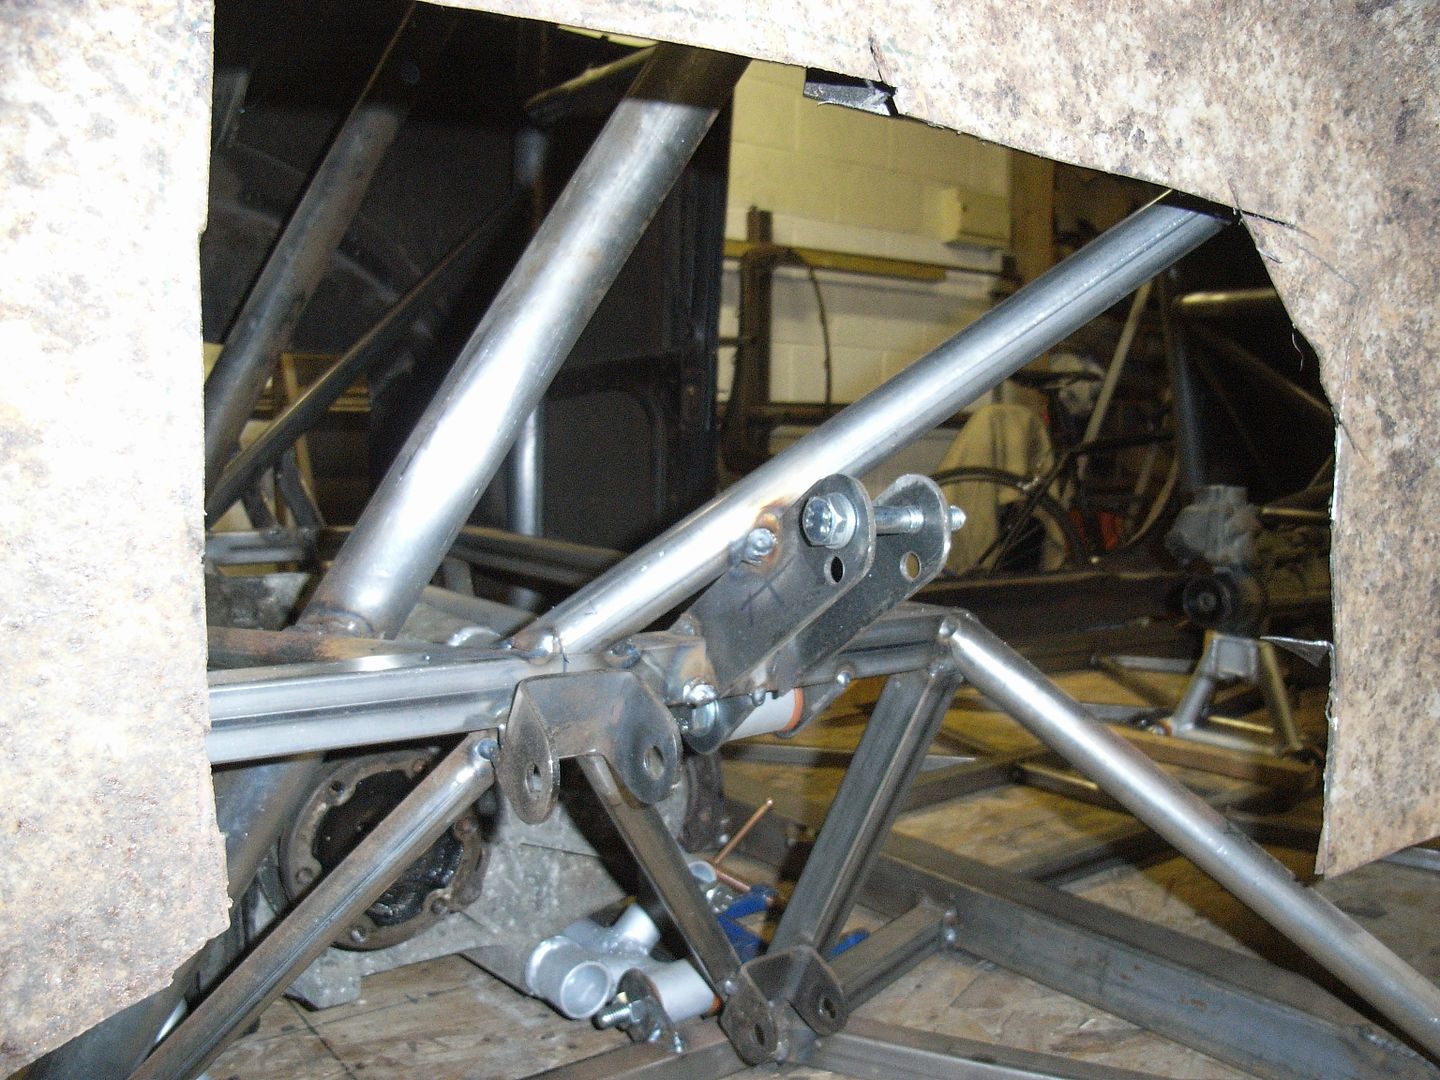 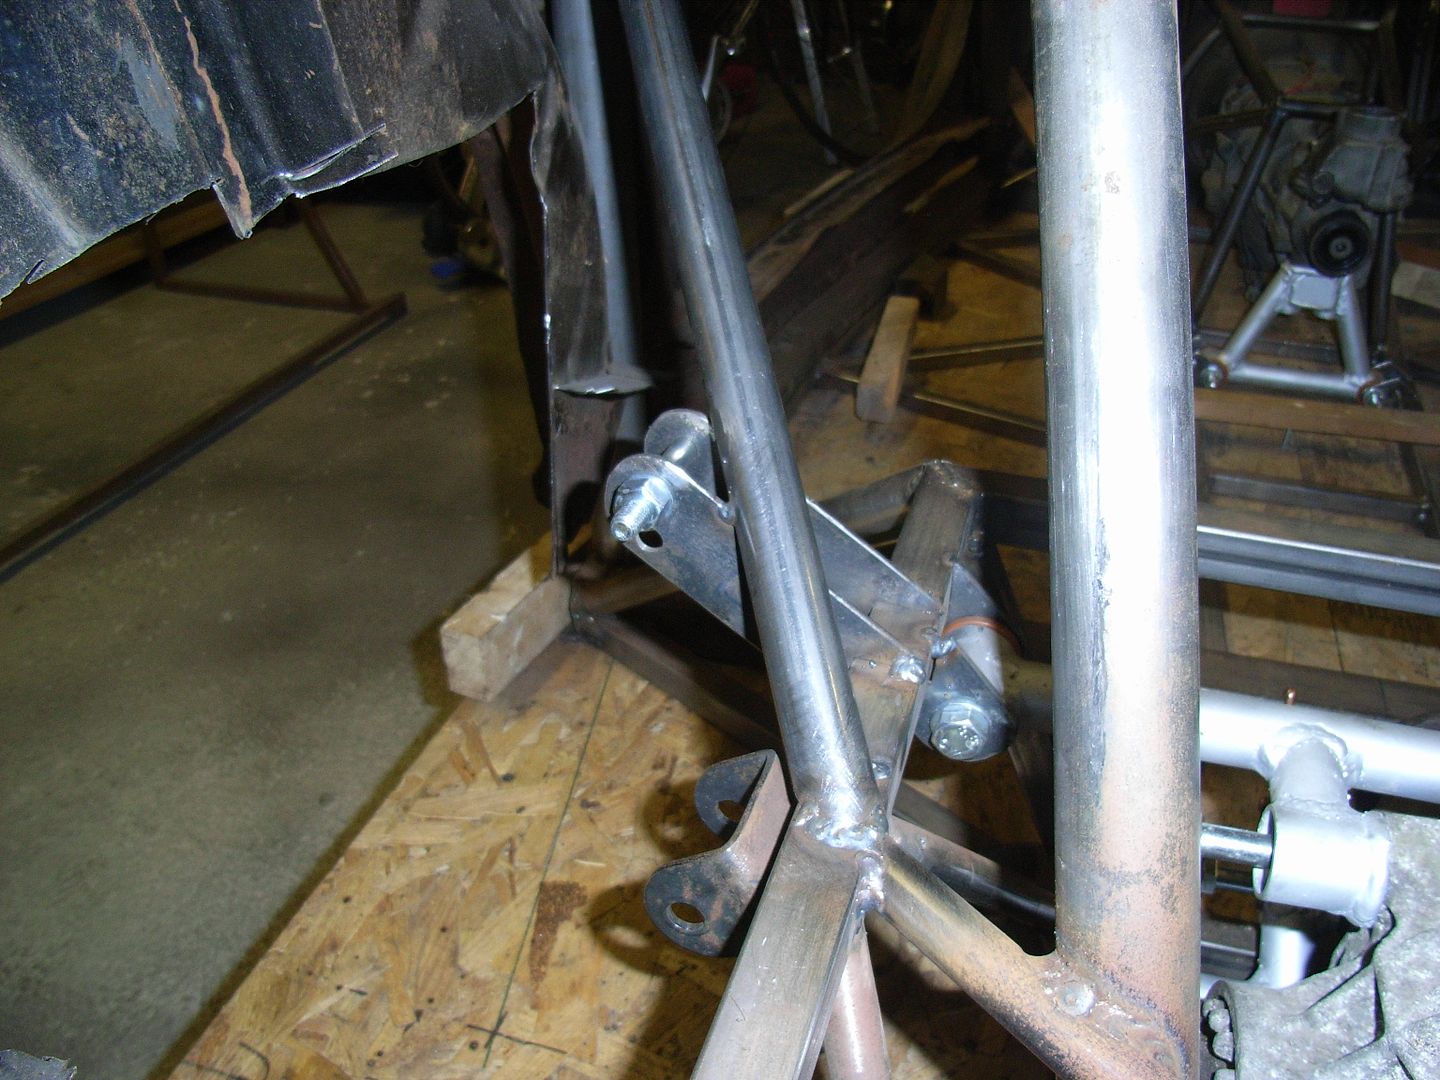 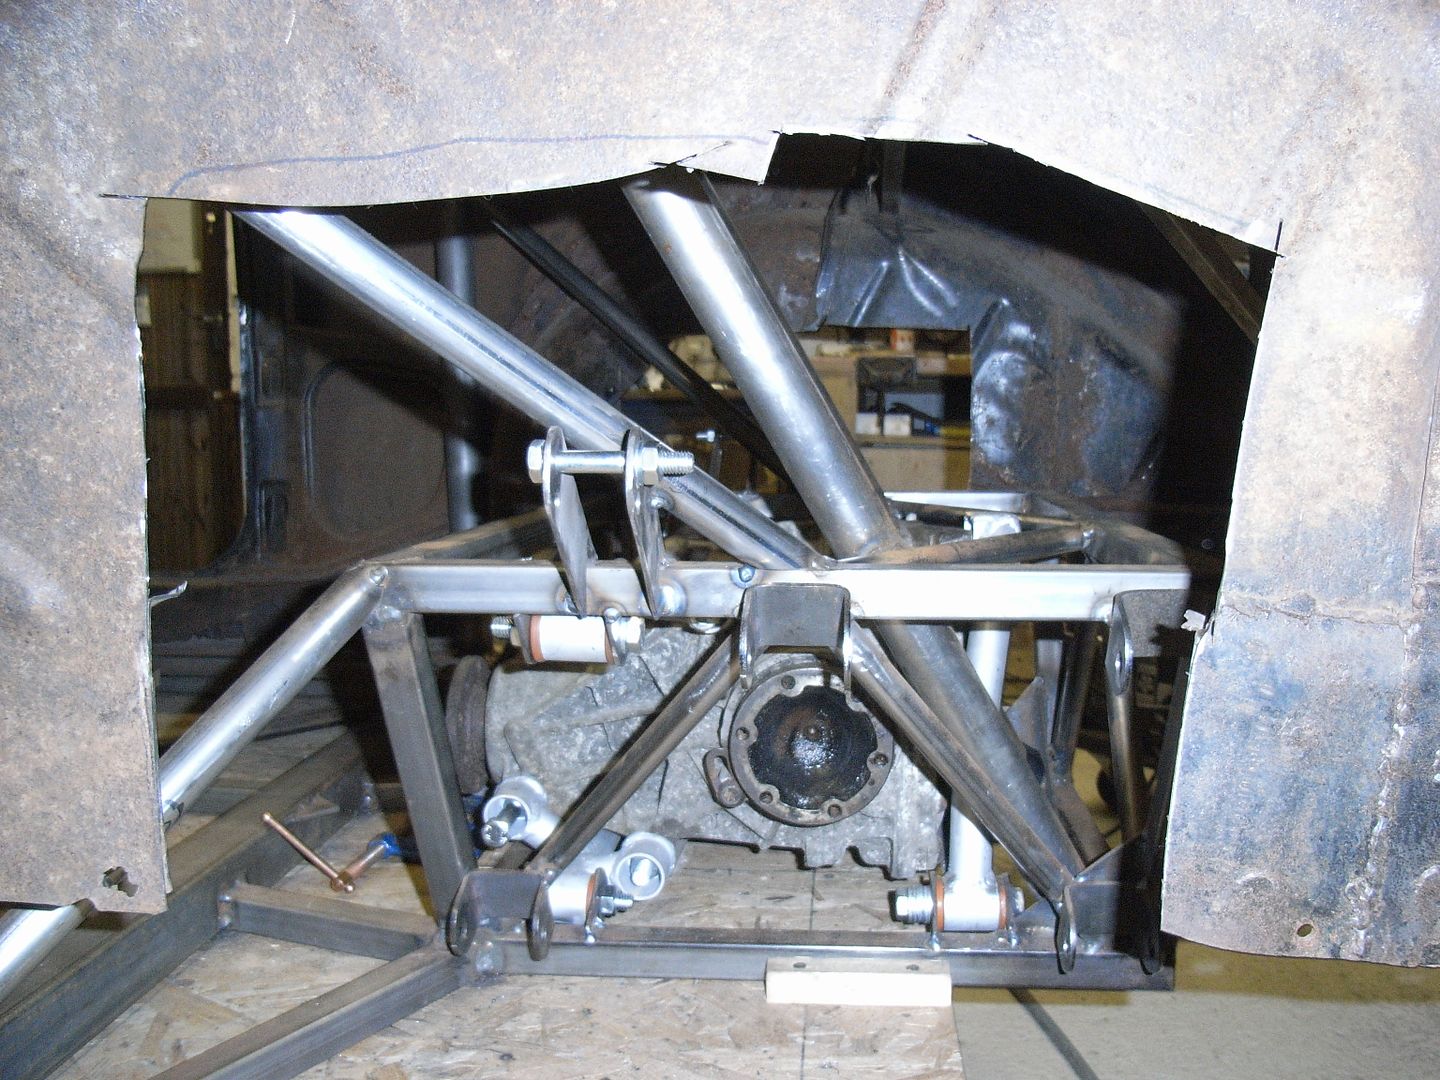 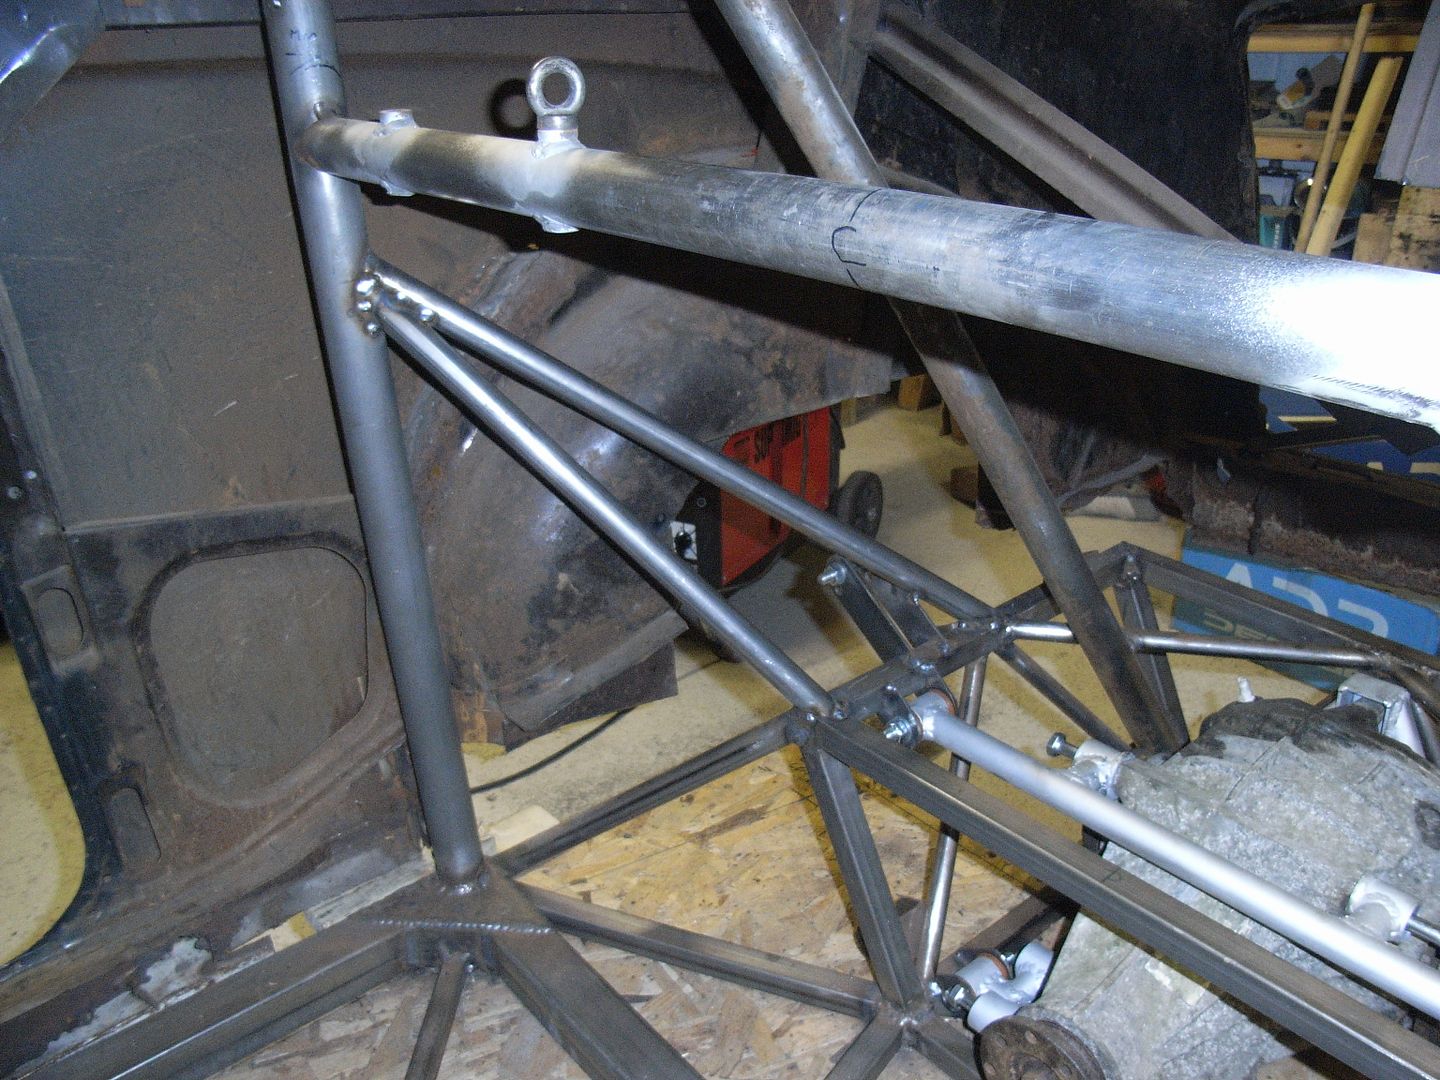 I managed to get some alright fit up on the tubes. 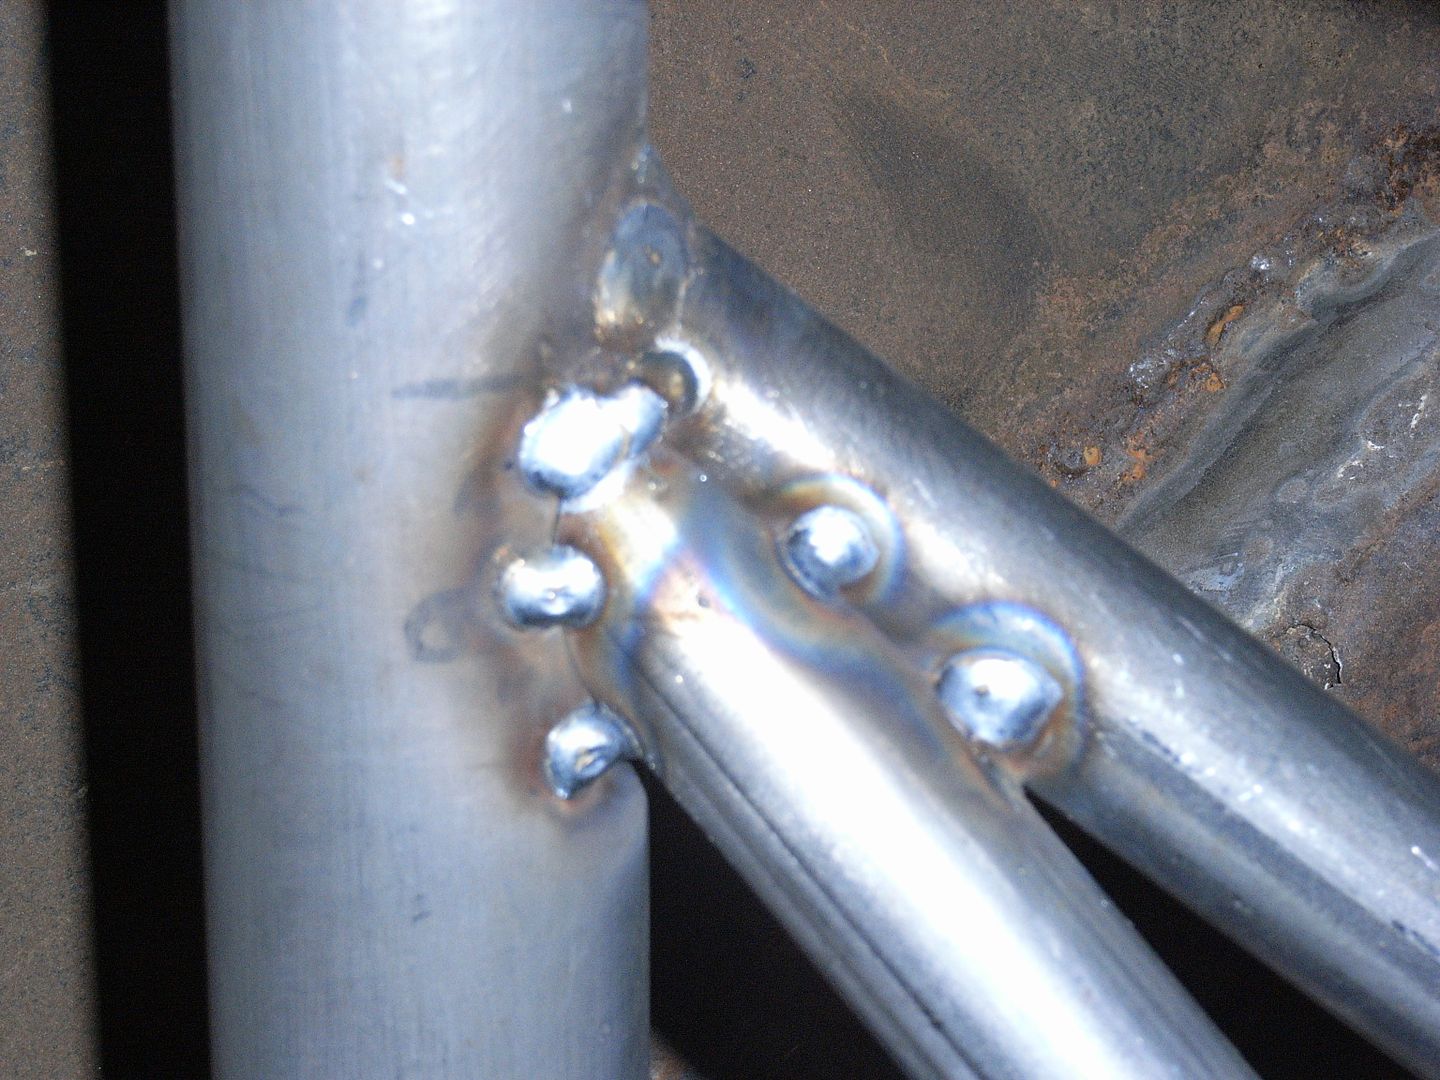 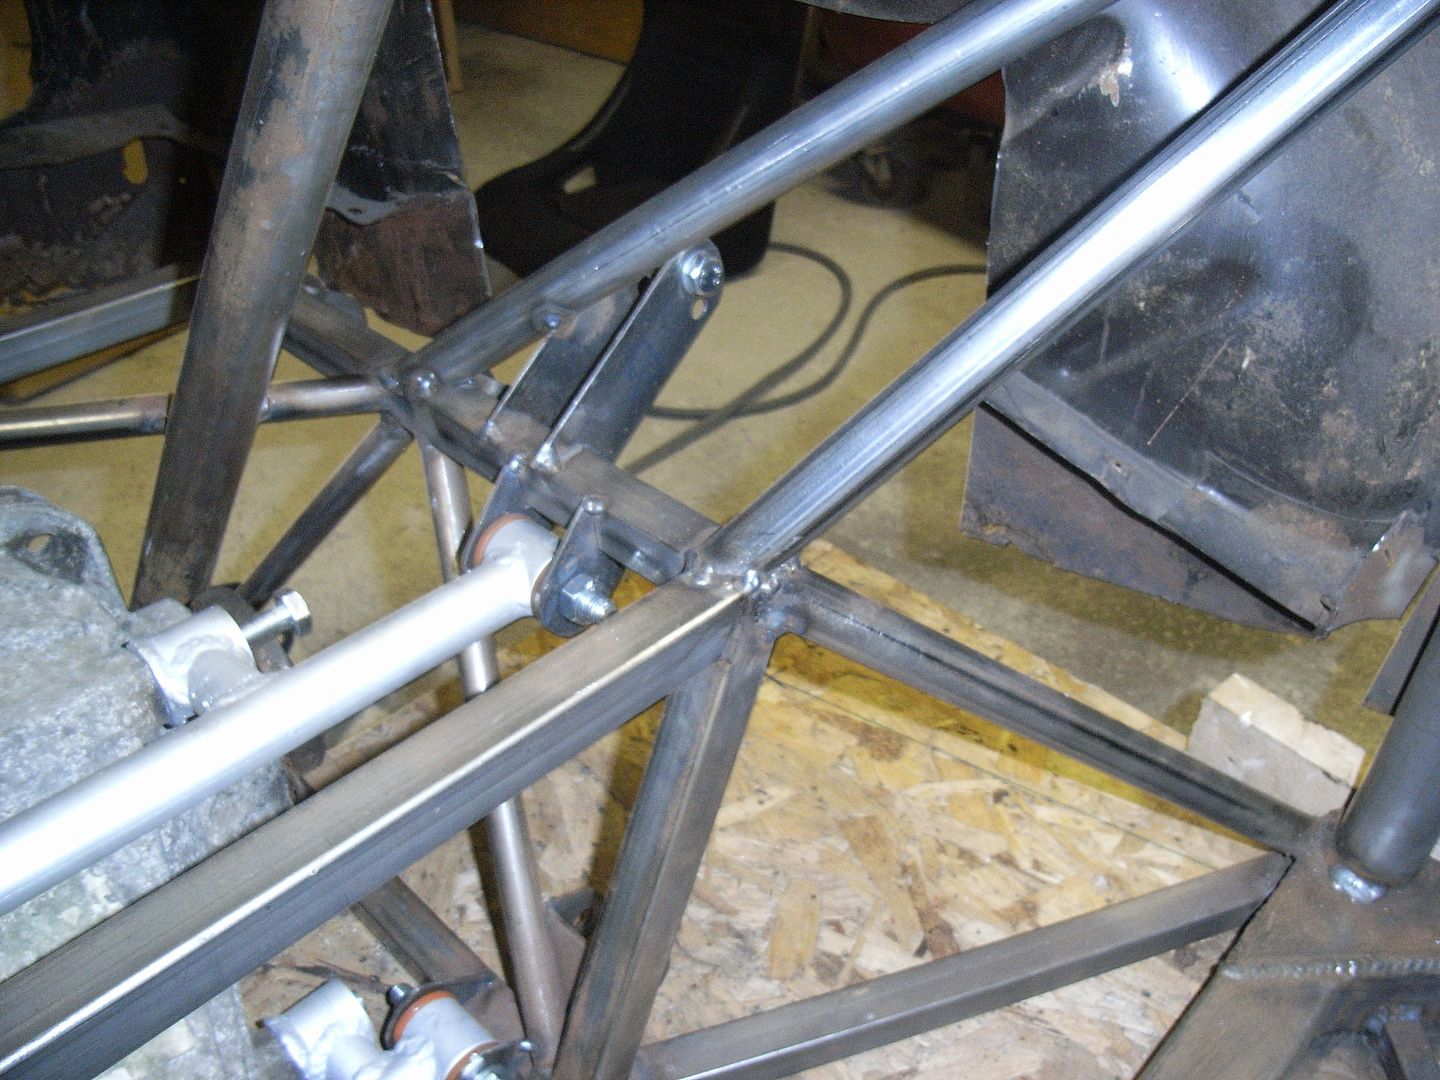 I also made a start on the trans tunnel, as this ties into the rear module mounts so needed to know where it all sits. 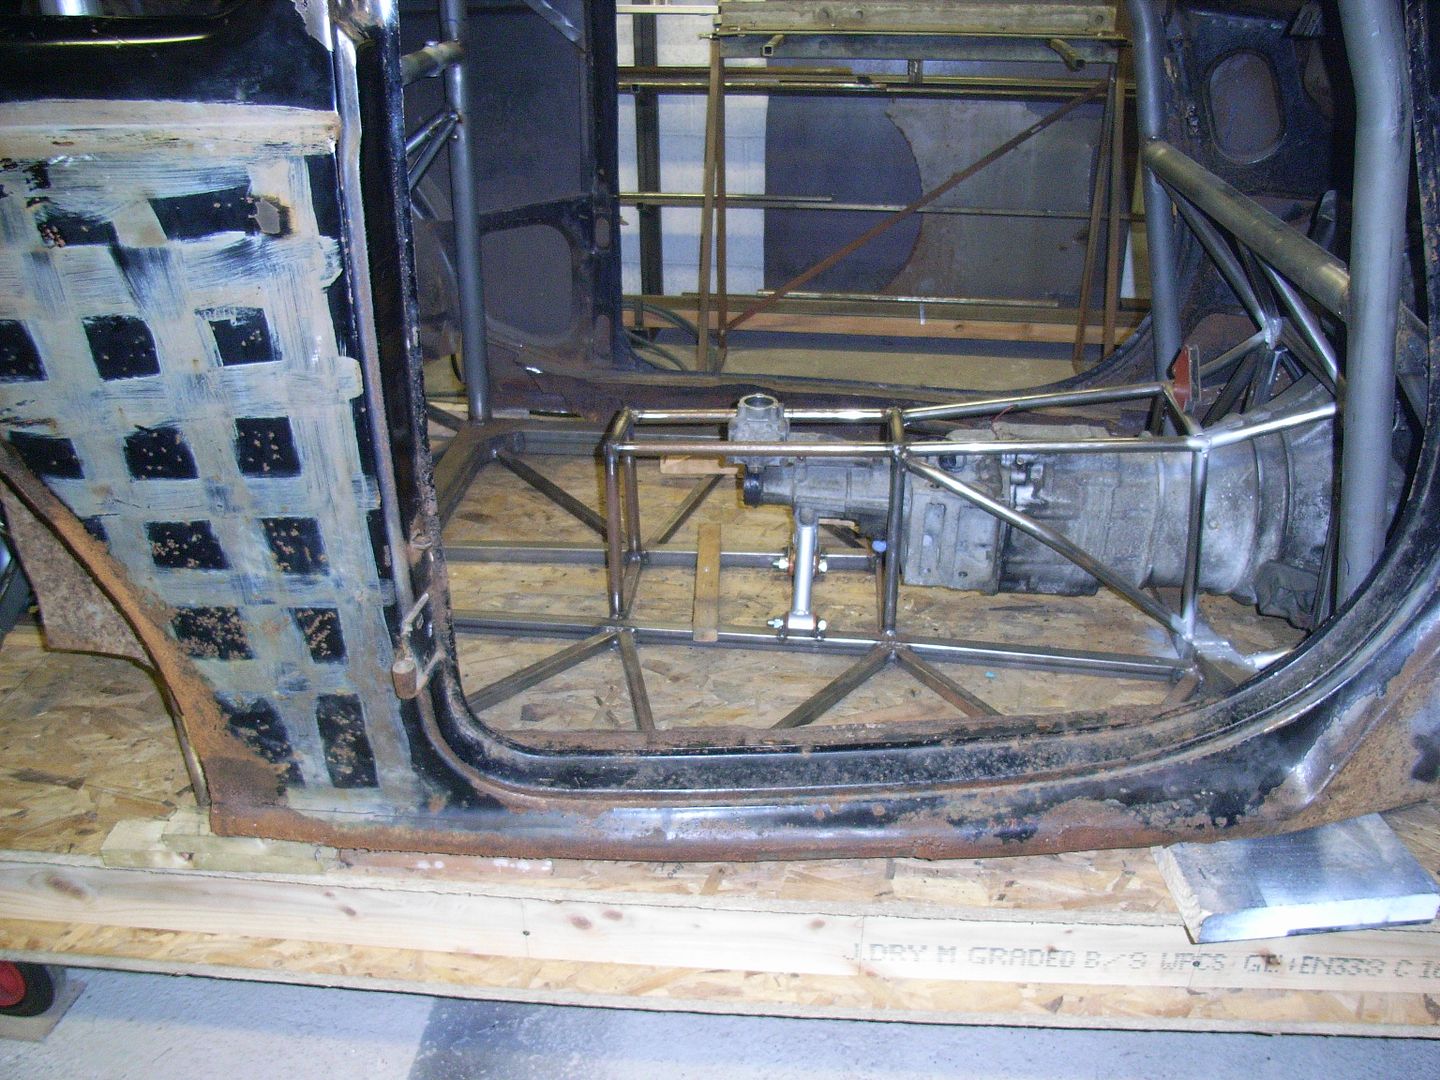 I ran out of time though. 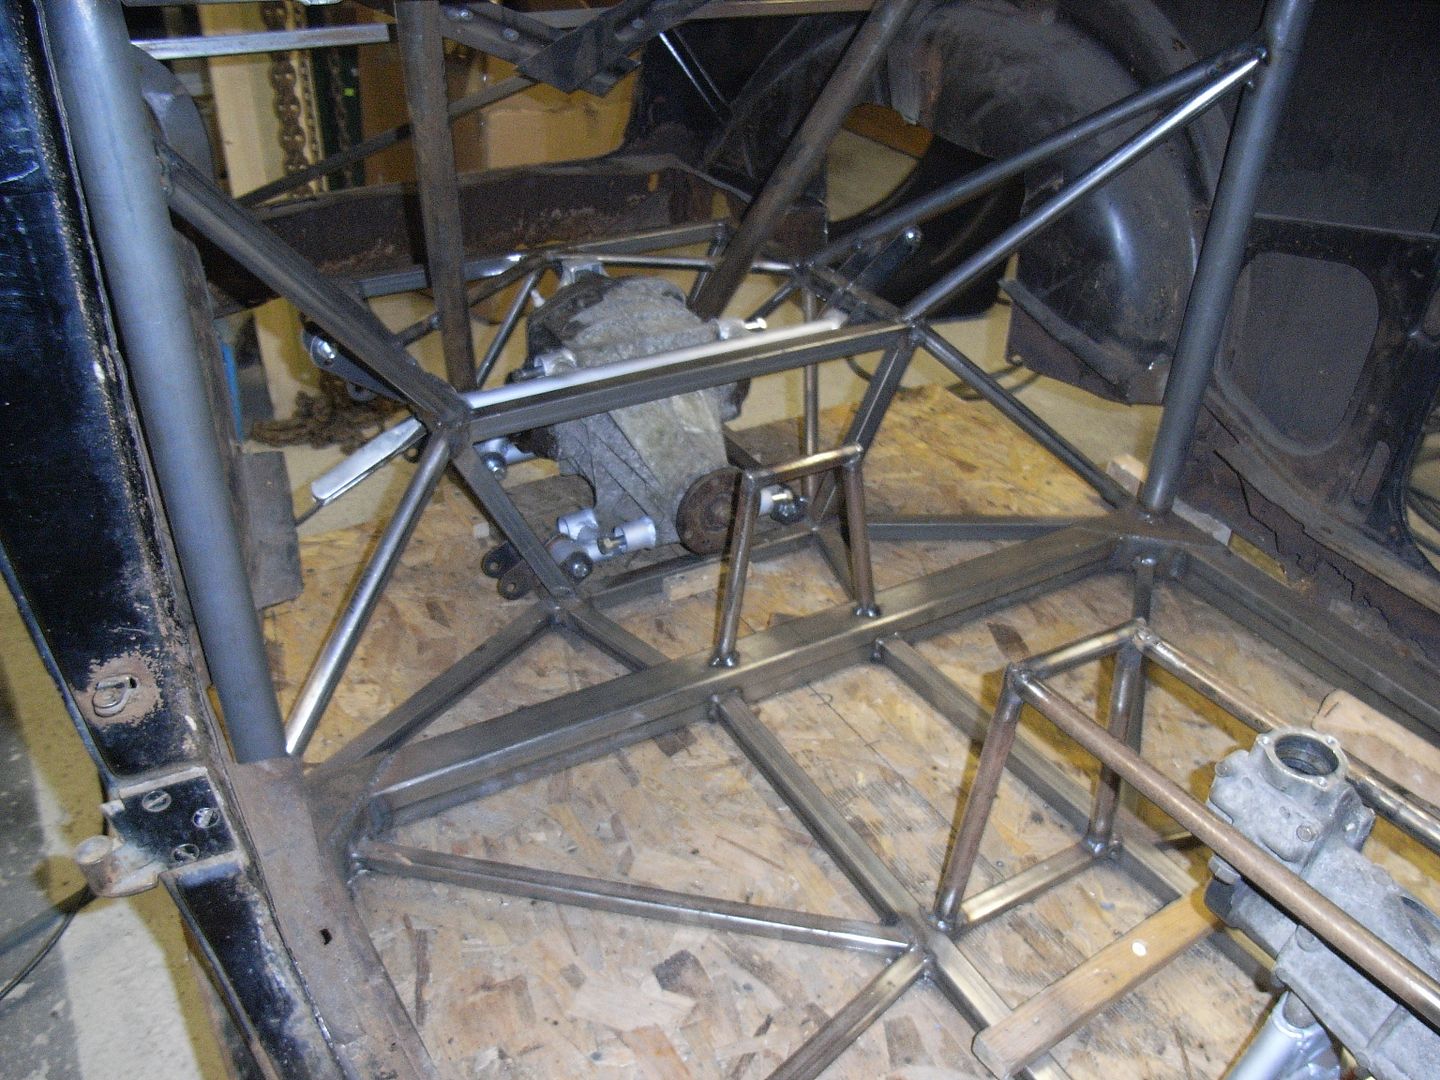 |
| |
|
|
jonomisfit
Club Retro Rides Member
Posts: 1,787
Club RR Member Number: 49
|
|
Apr 13, 2014 16:50:00 GMT
|
|
|
| |
|
|
jonomisfit
Club Retro Rides Member
Posts: 1,787
Club RR Member Number: 49
|
|
Apr 21, 2014 19:16:21 GMT
|
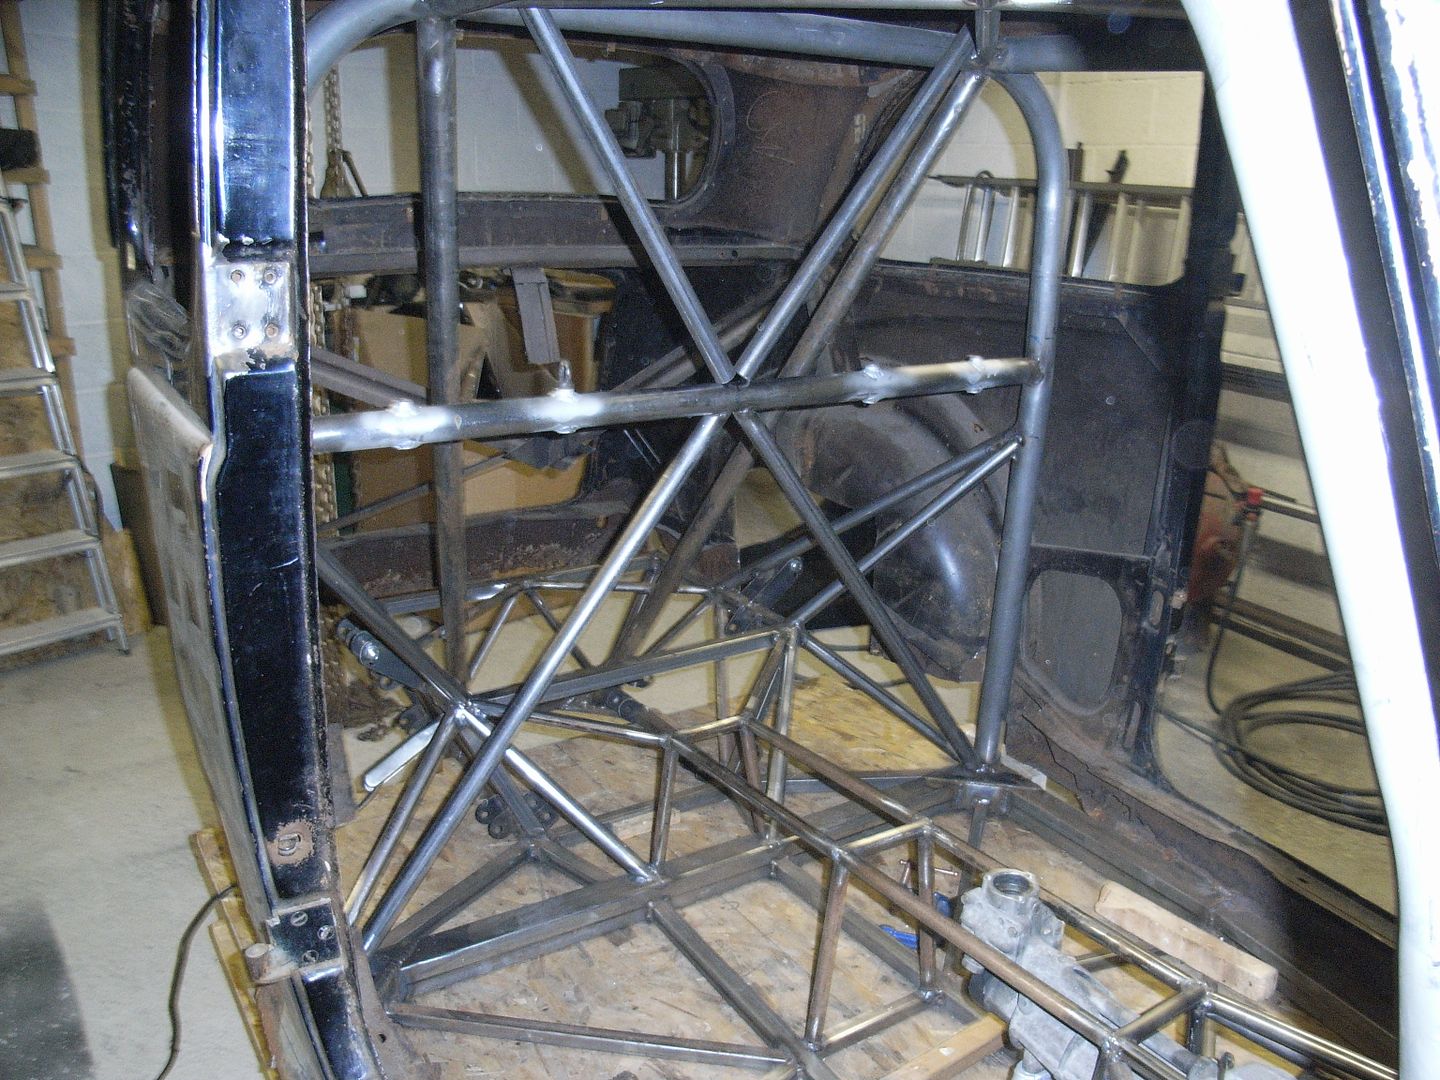
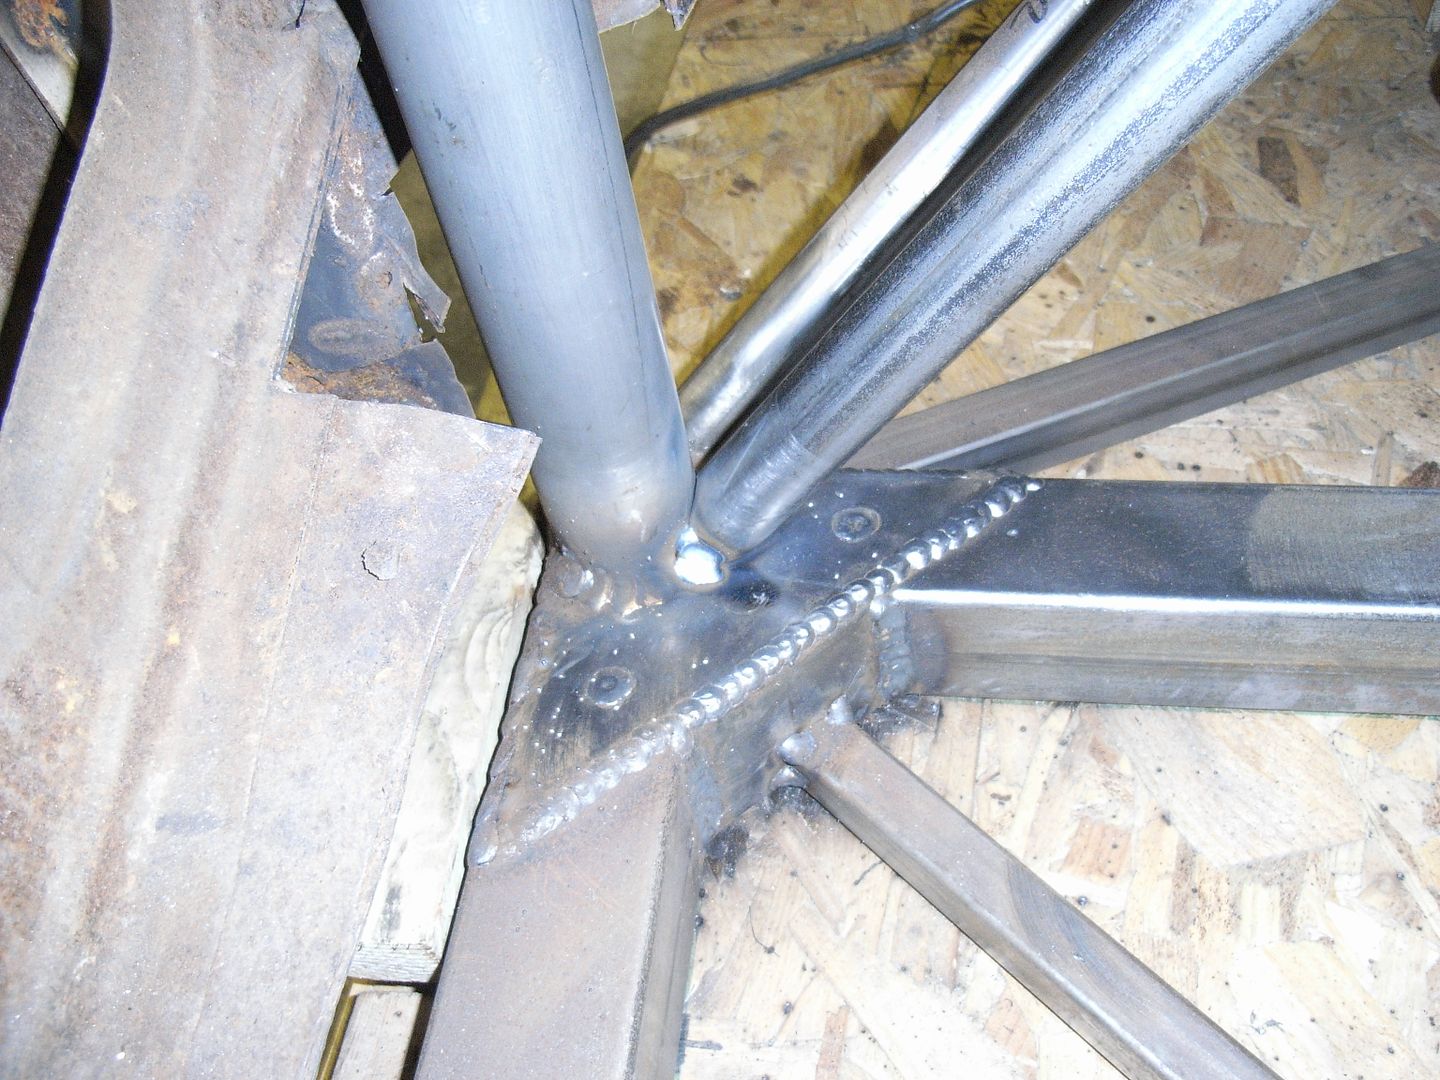
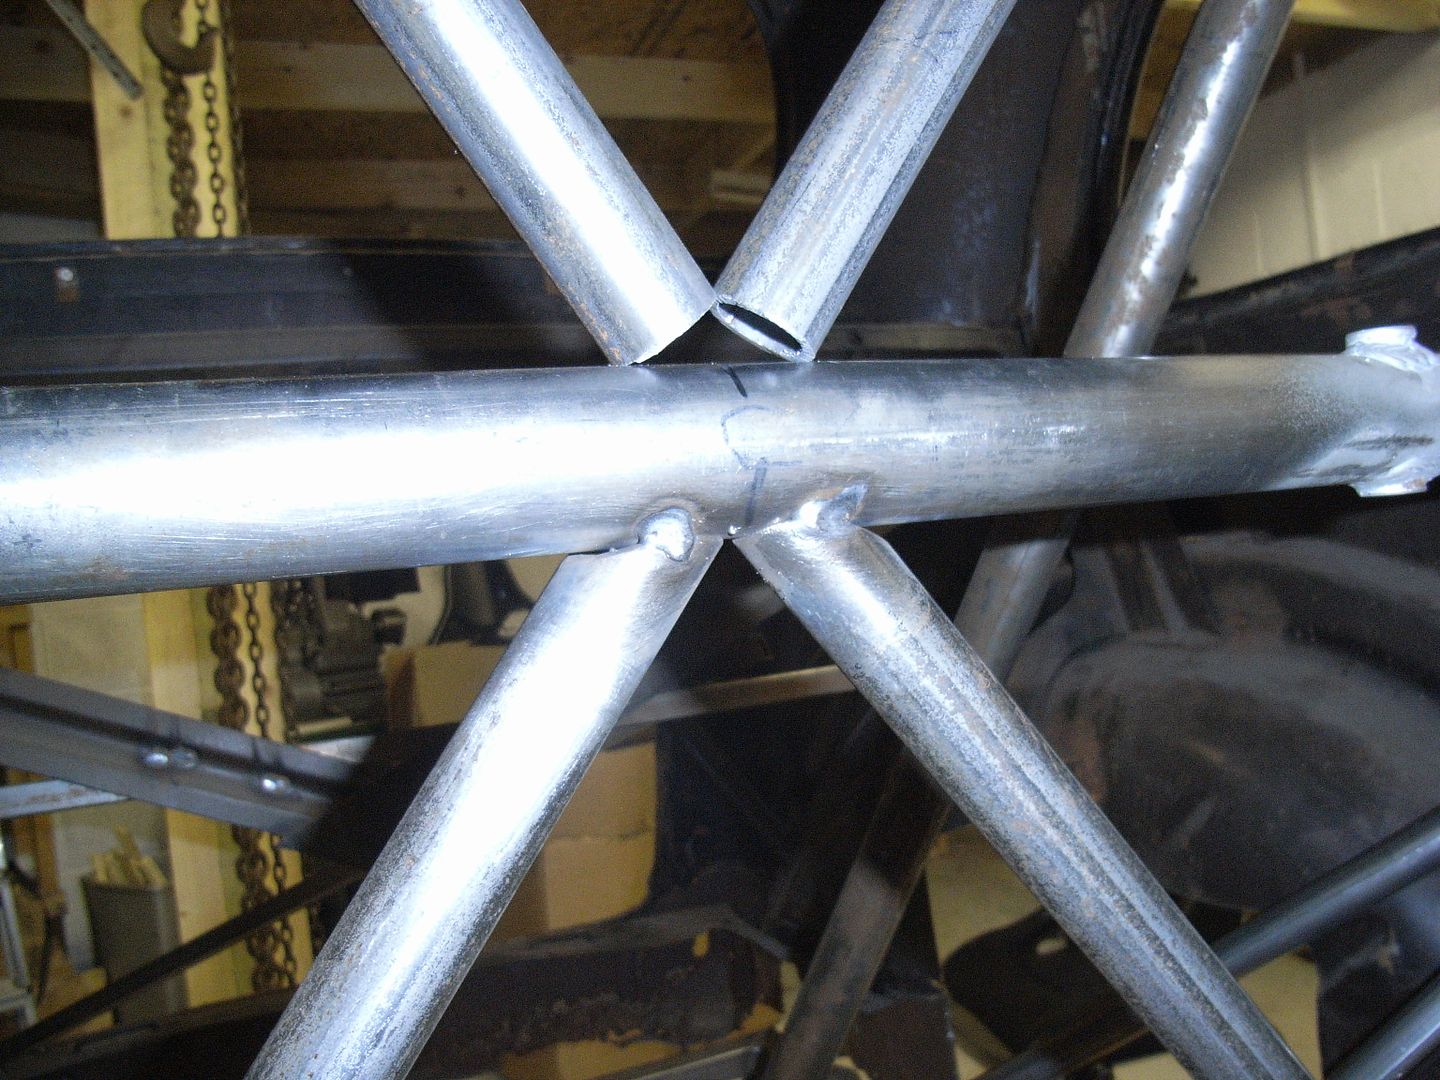
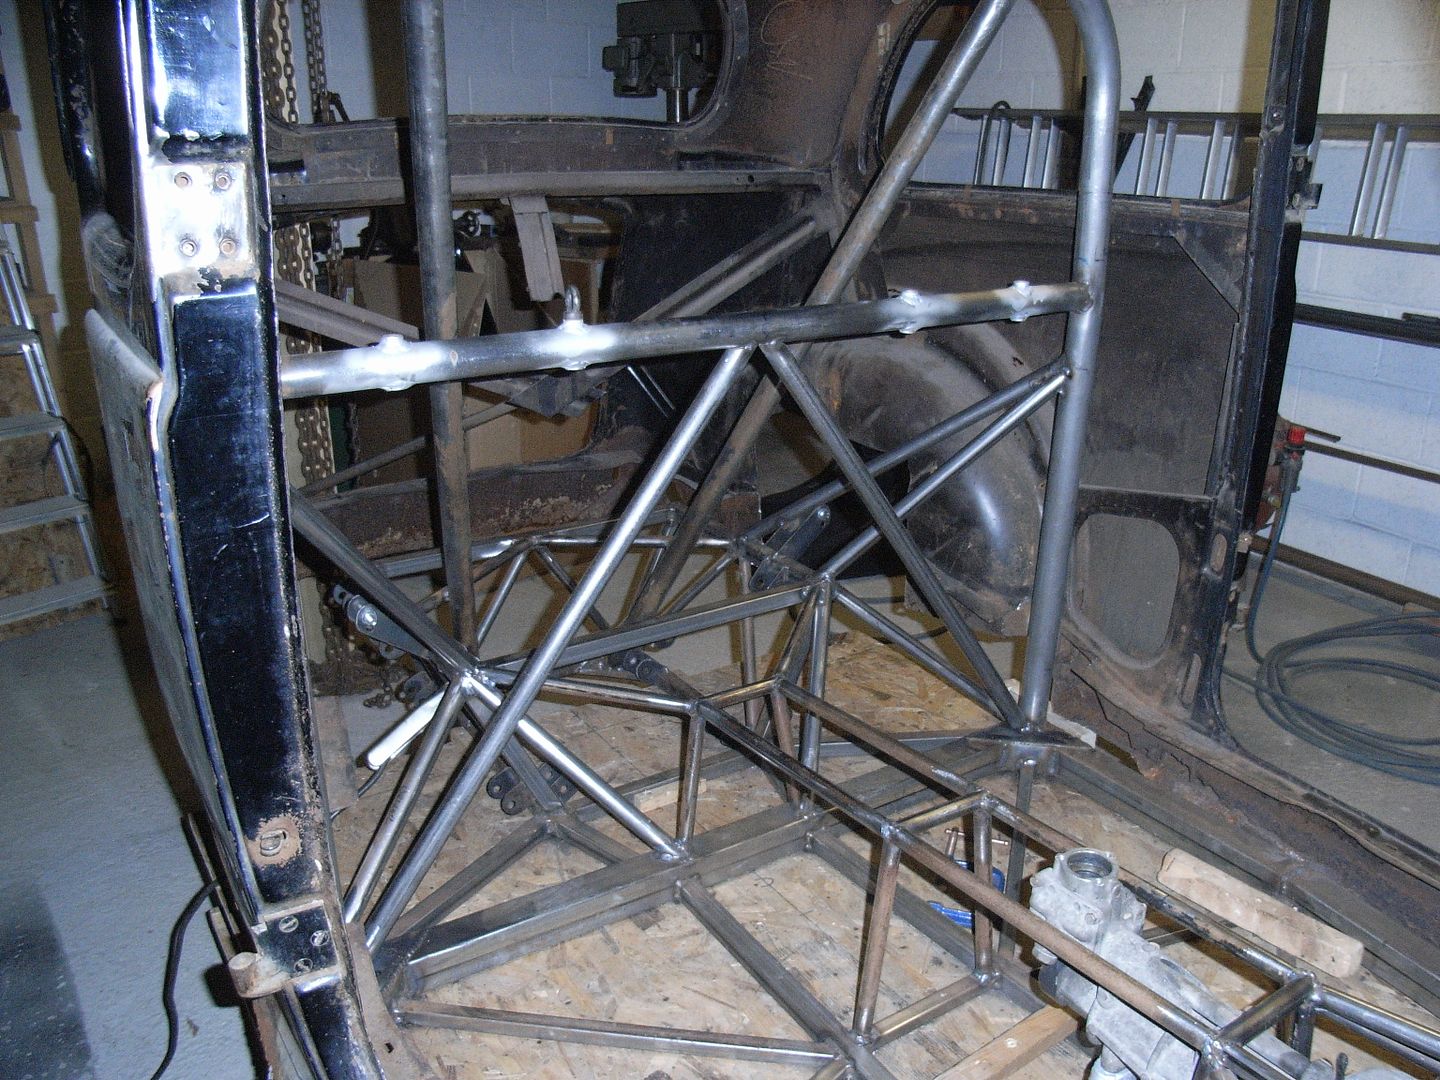
So, a small amount done on the weekend to the morris. Mainly i "contemplated" which is a nice way of saying i f*cked about not getting much done :-) Rear hoop bracing completed 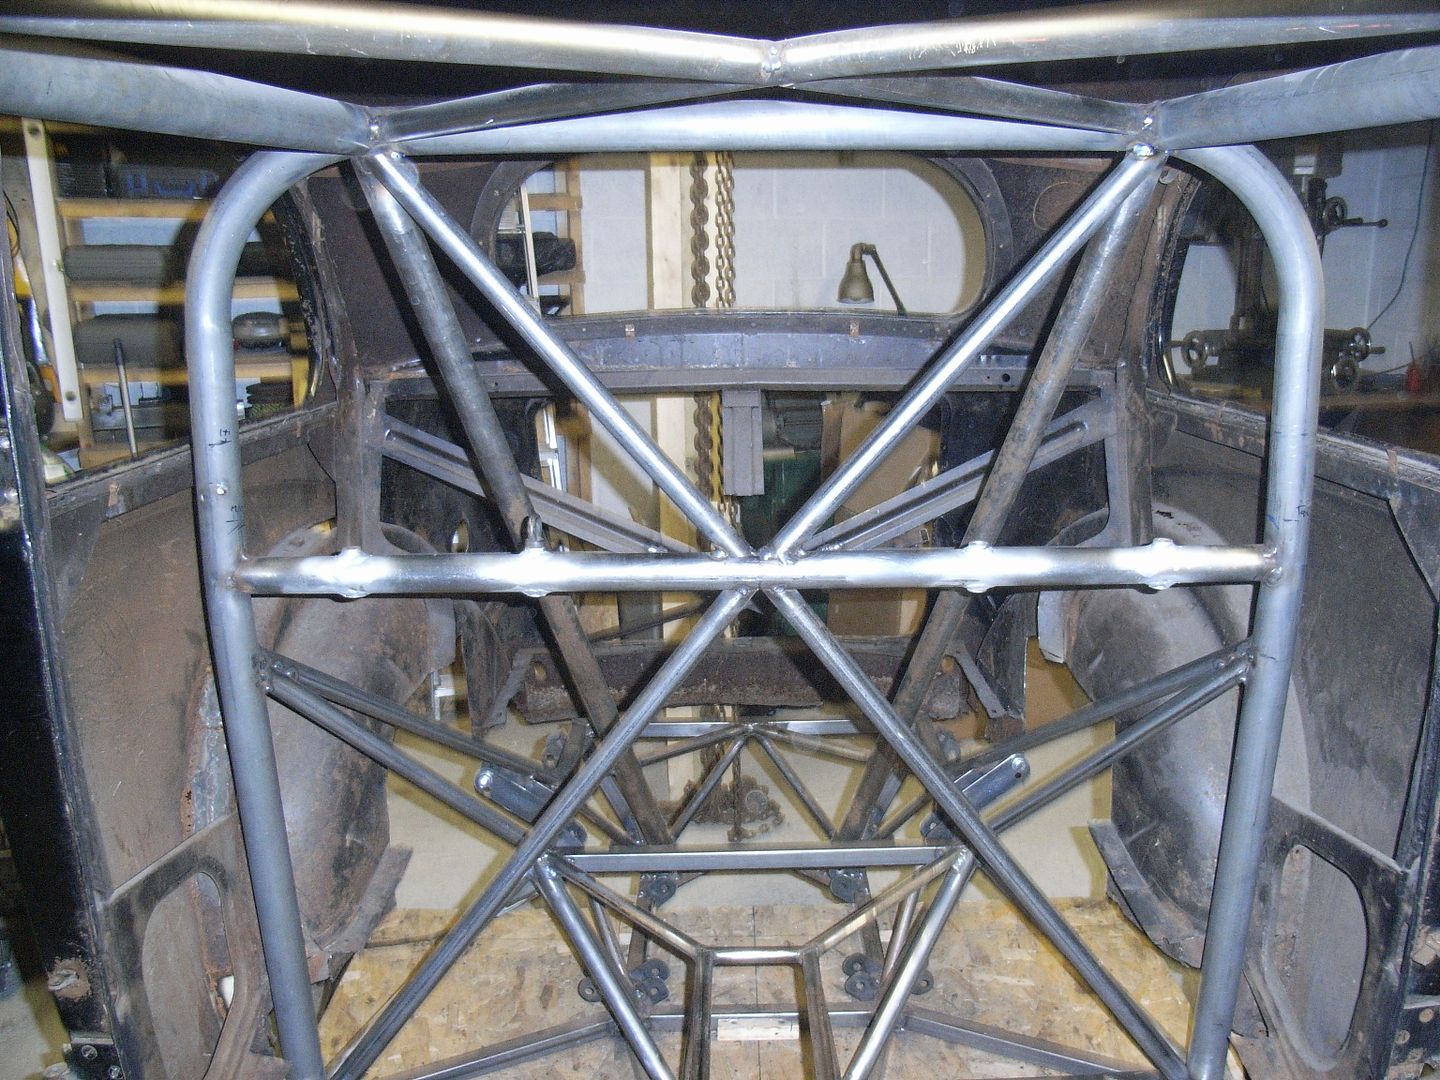 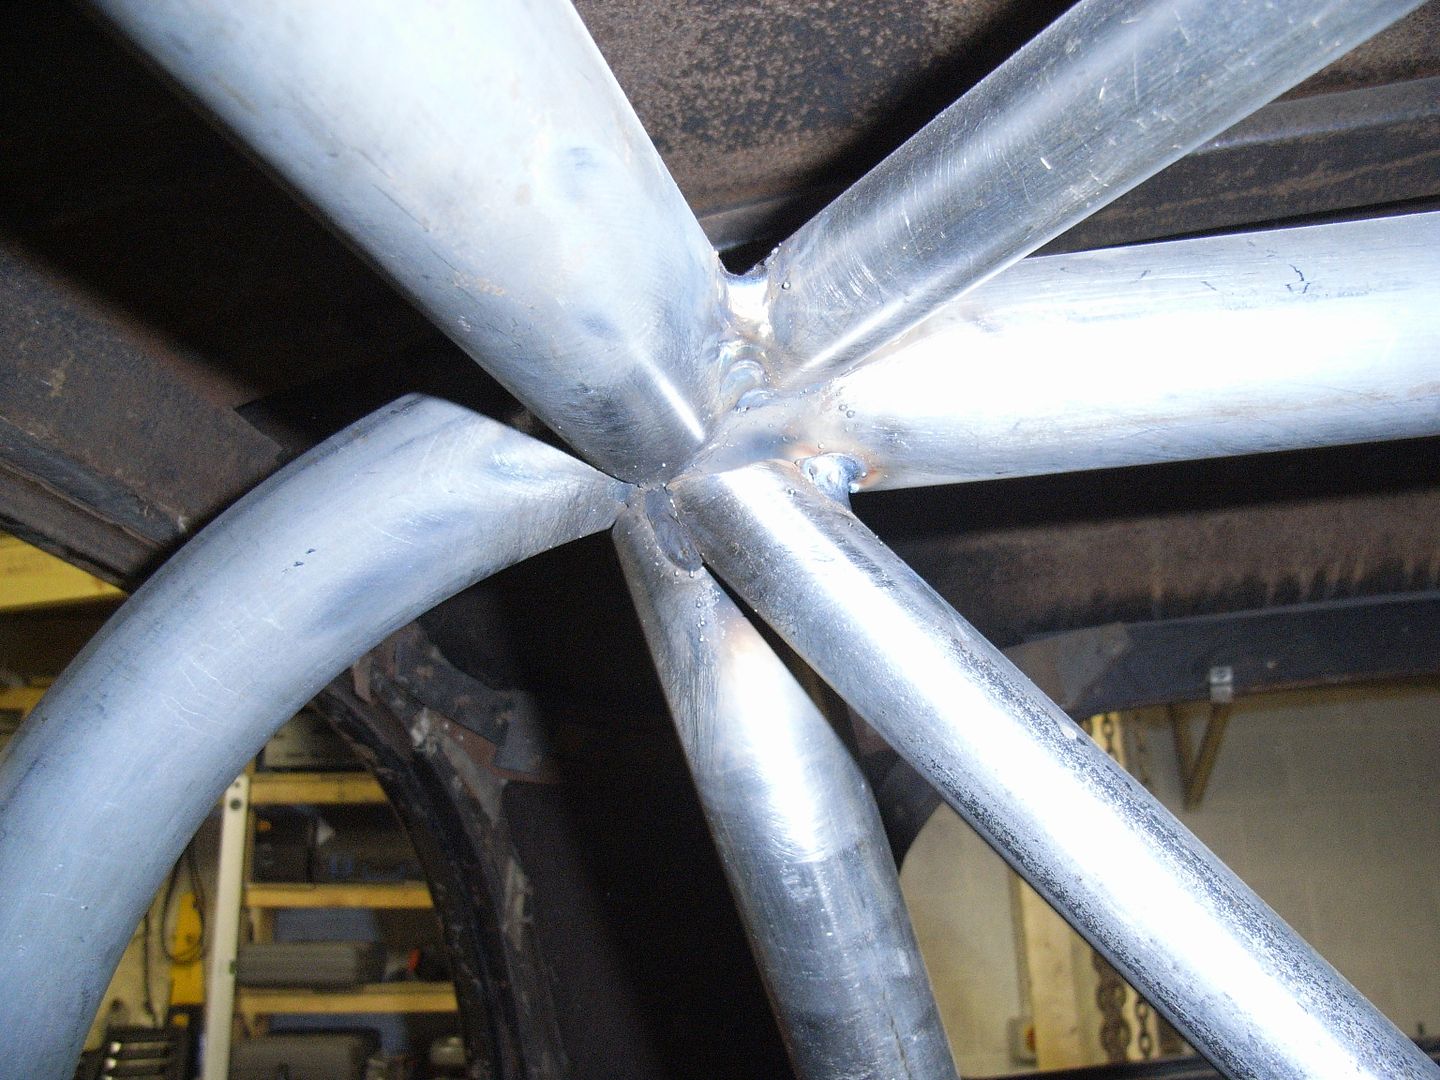 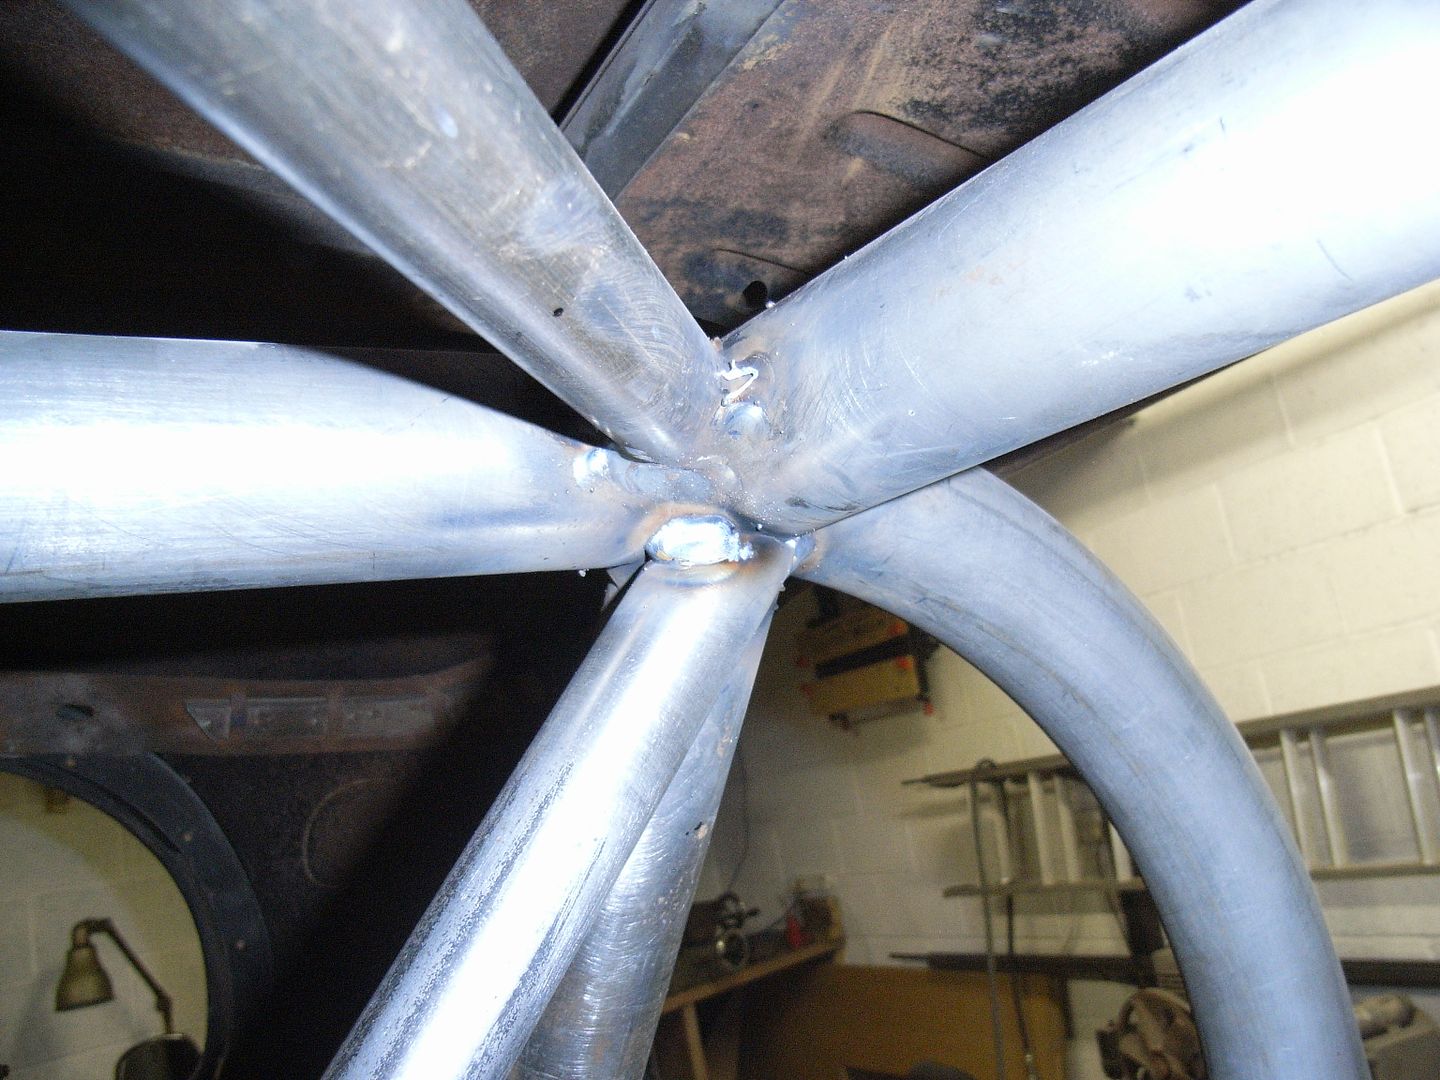 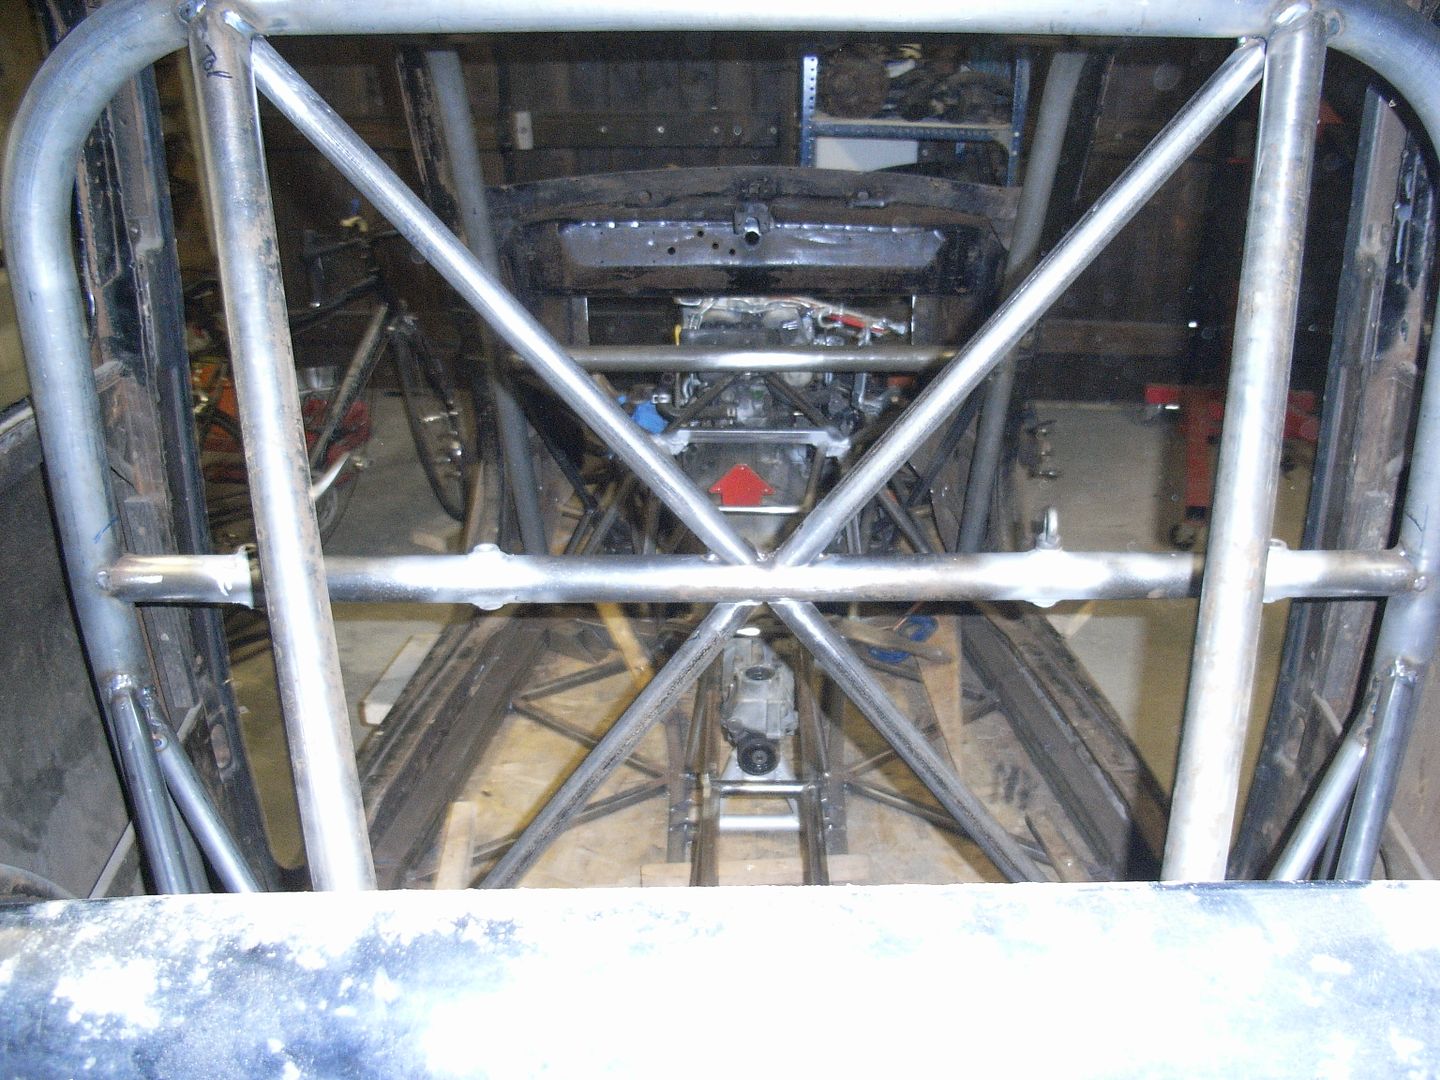 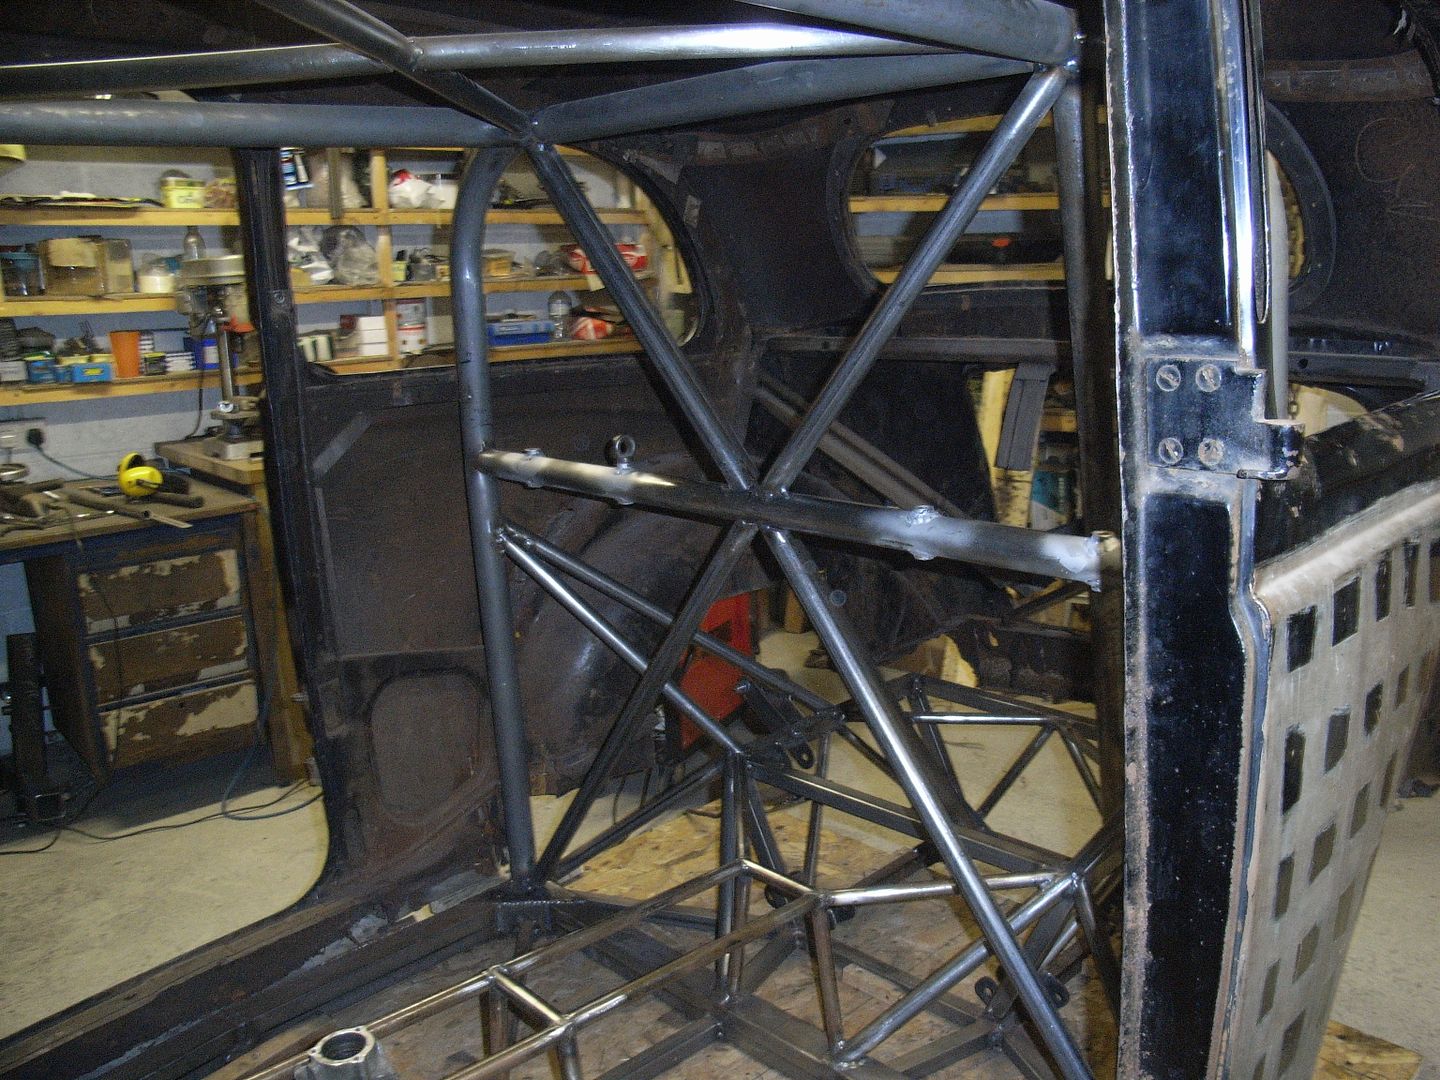 I then stripped the engine and box out so I could properly get to the front bulkhead for the last tubes. These clear the engine, but they may well foul on the inlet manifold which I was thinking i may well make a new one. 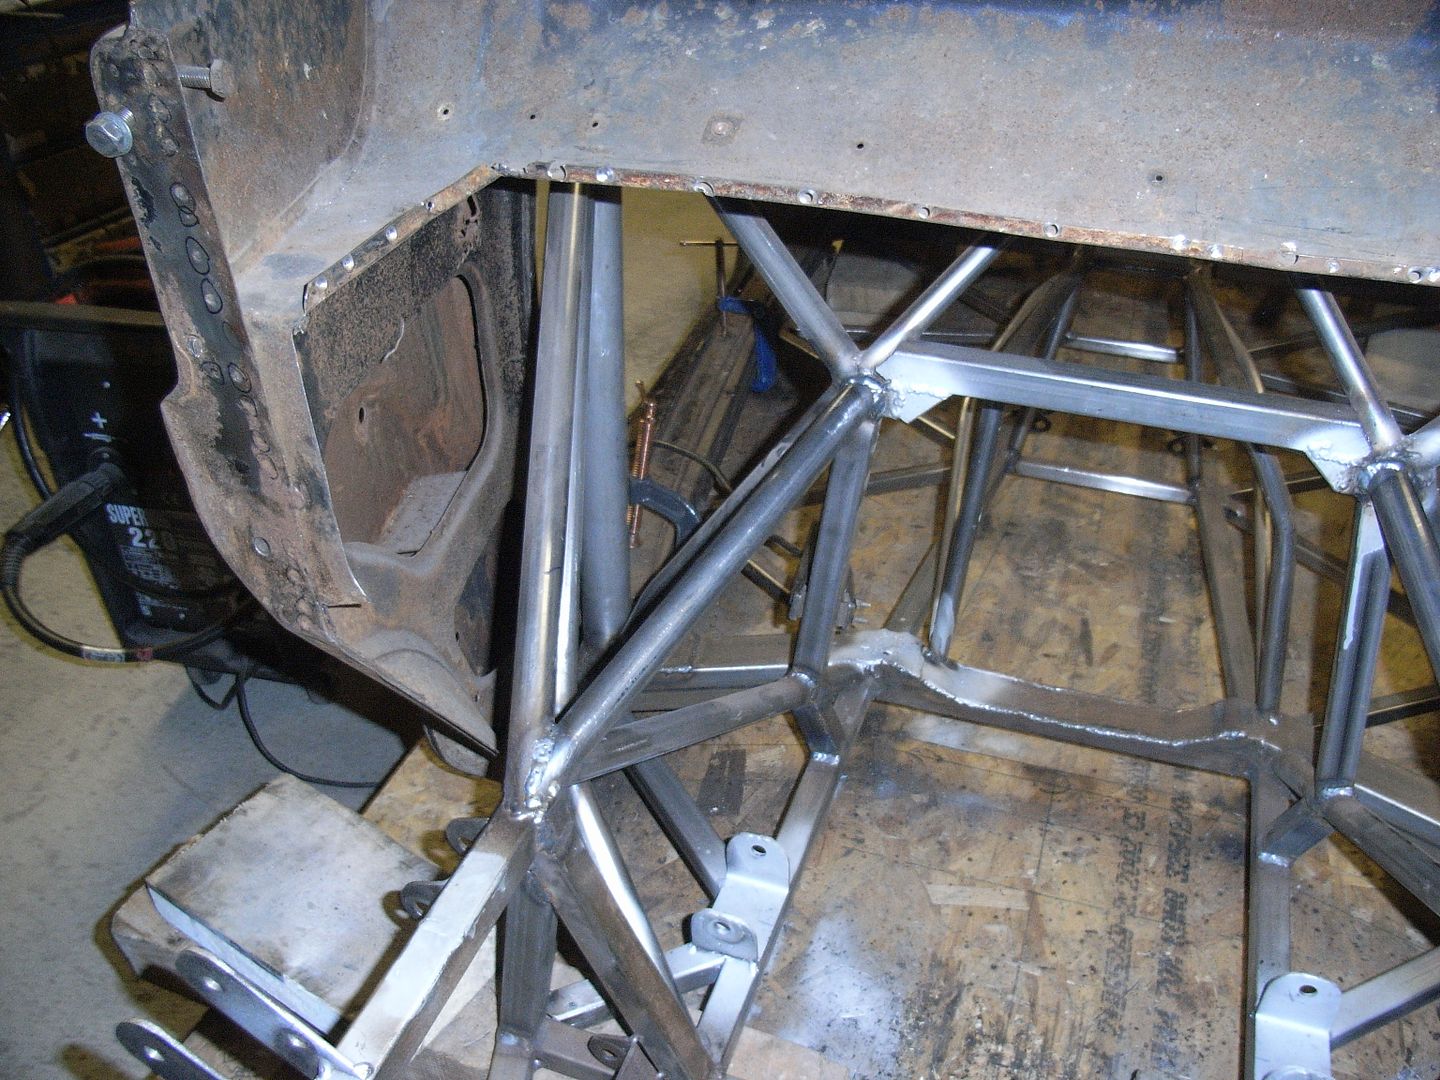 I also took the opportunity to cut out the remainder of the temporary front module rear brace and neaten it all up. 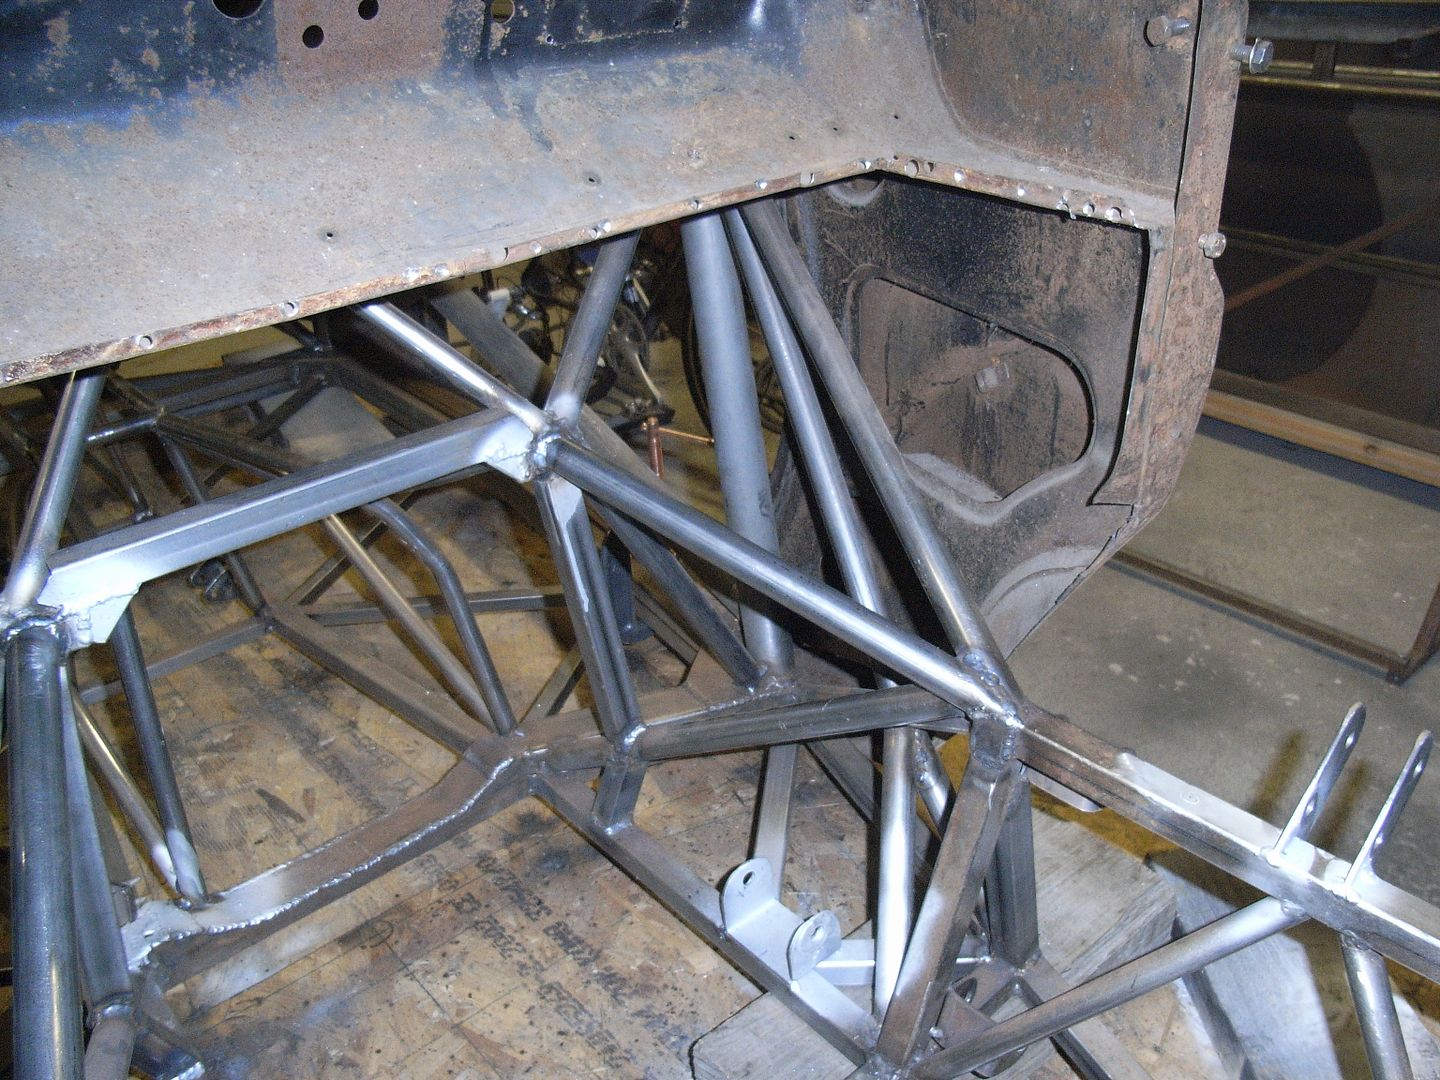 As i need to lift the chassis off the build table and have taken great pains to get it all level and square, i decided to put in the door bars temporally to stiffen it up and prevent moving. 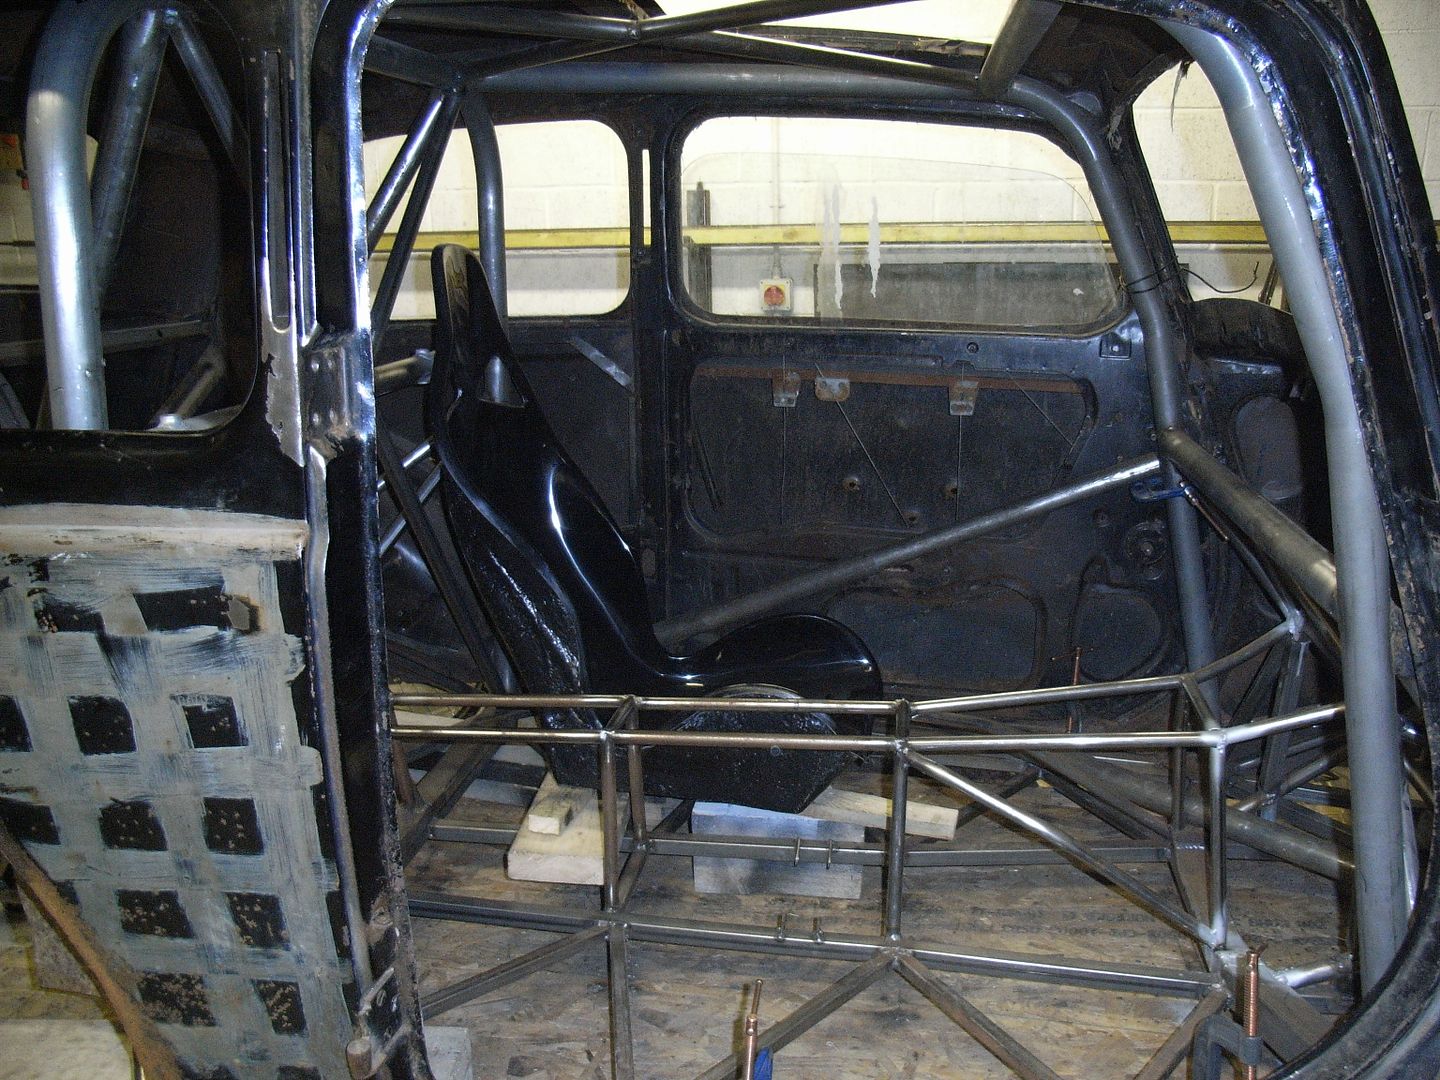 Checking clearance to the door bars with the door on. I forgot how cool this one looks. 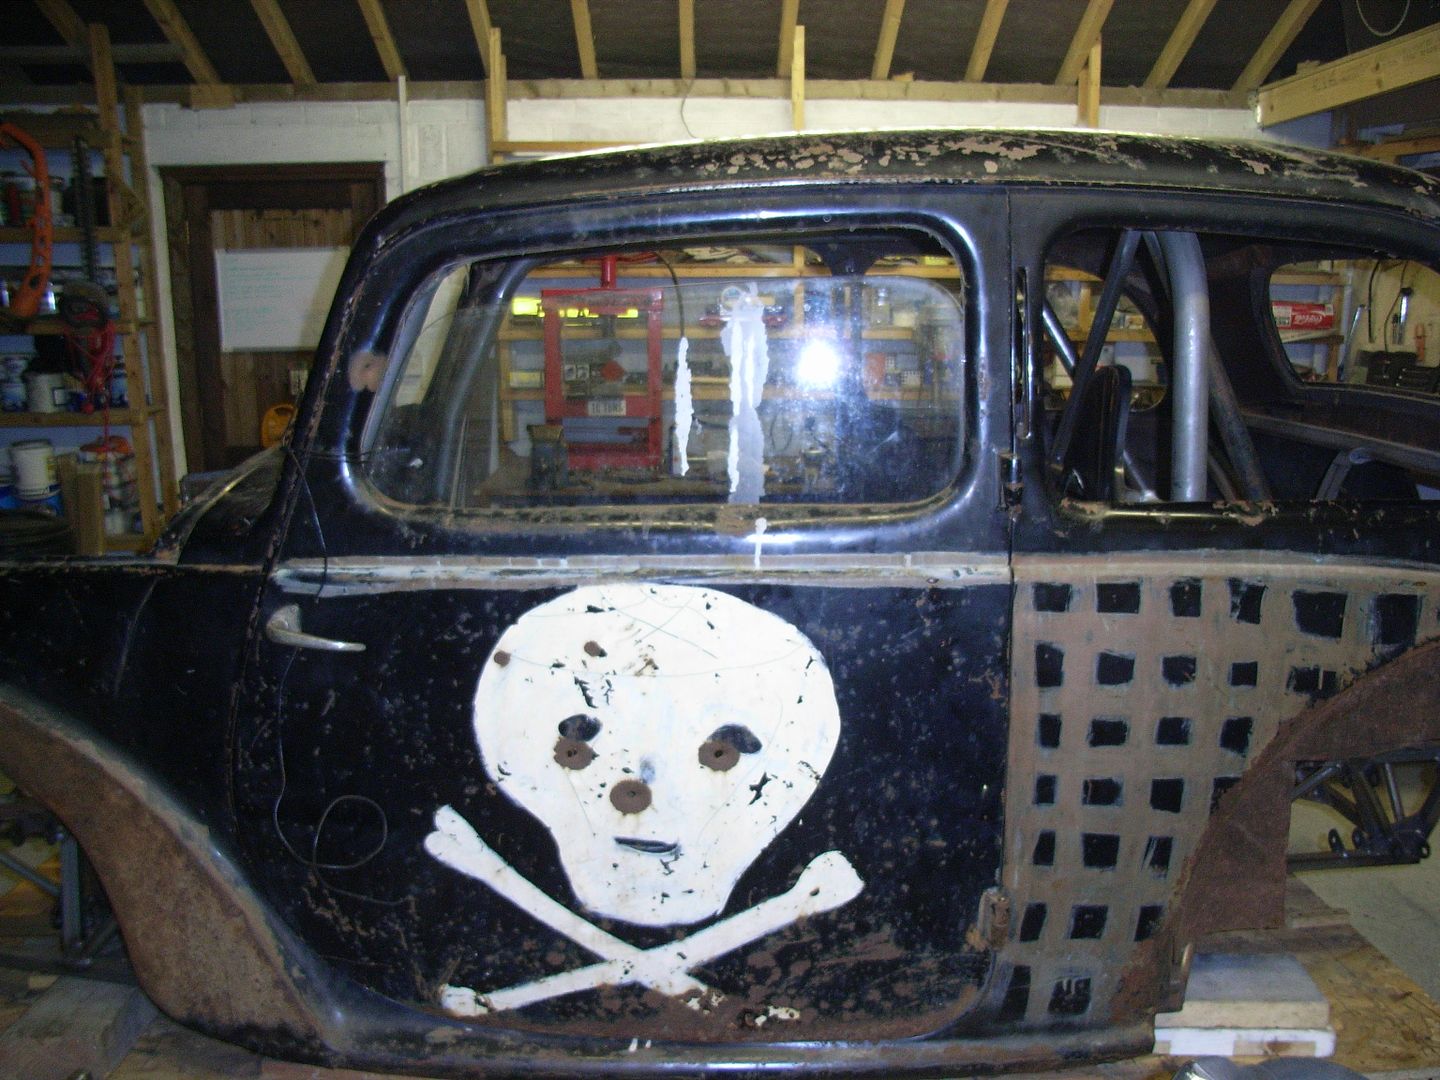 I've offset the tubes out a bit to give clearance for the seat. Its all very tight inside, but is fairly comfortable for the passenger. 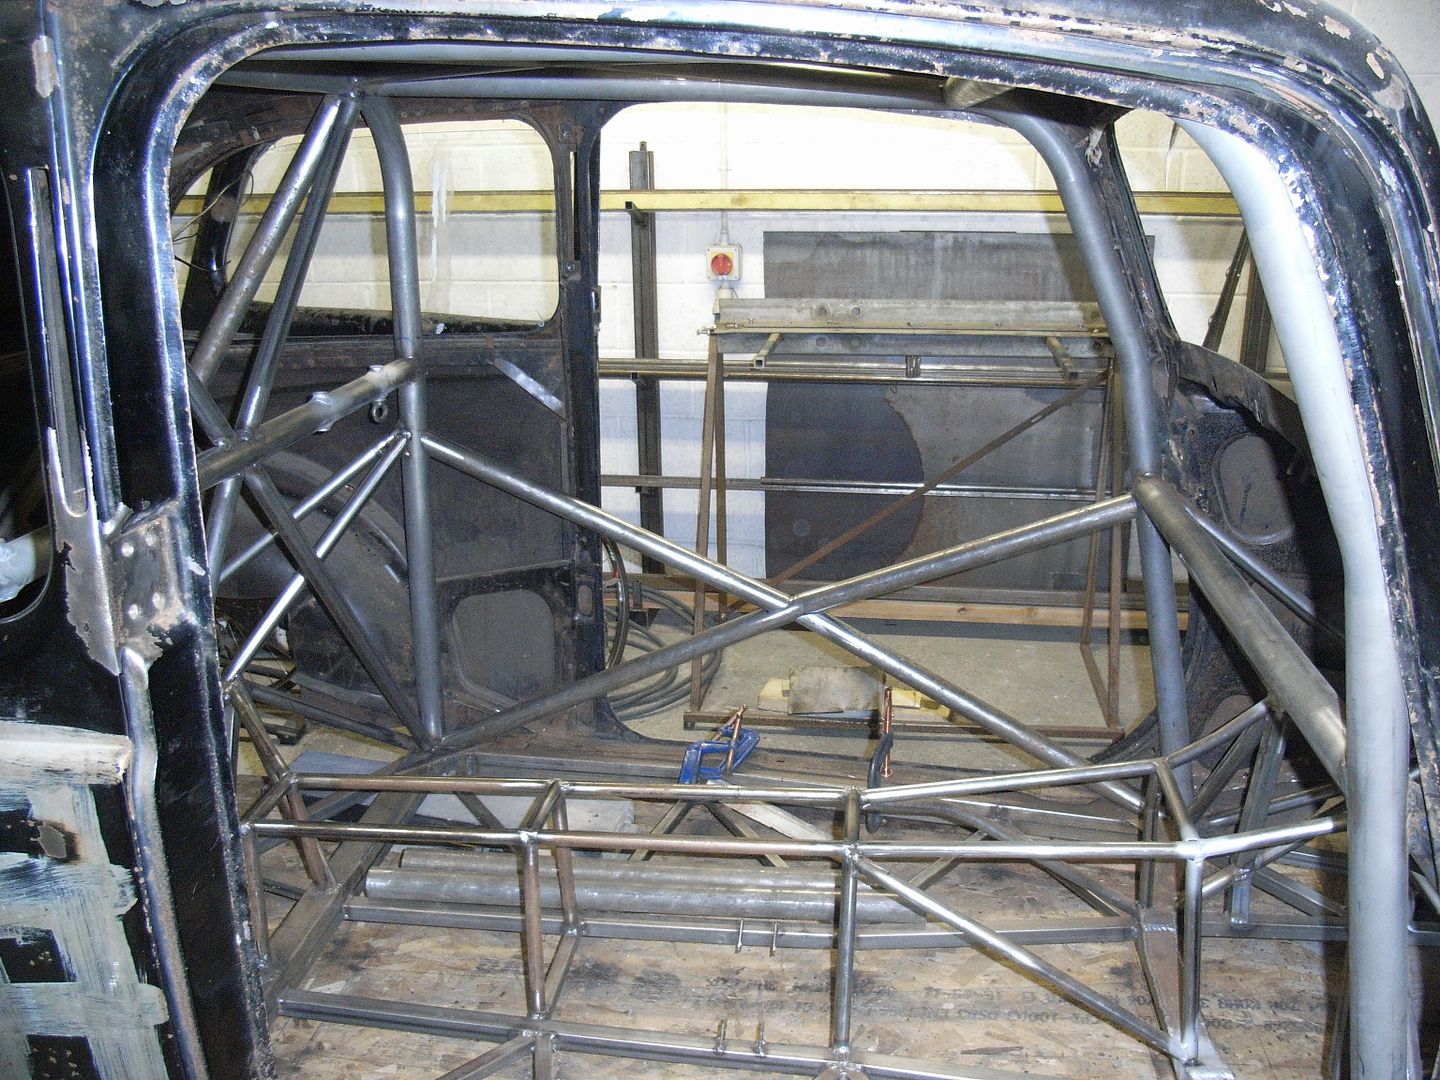 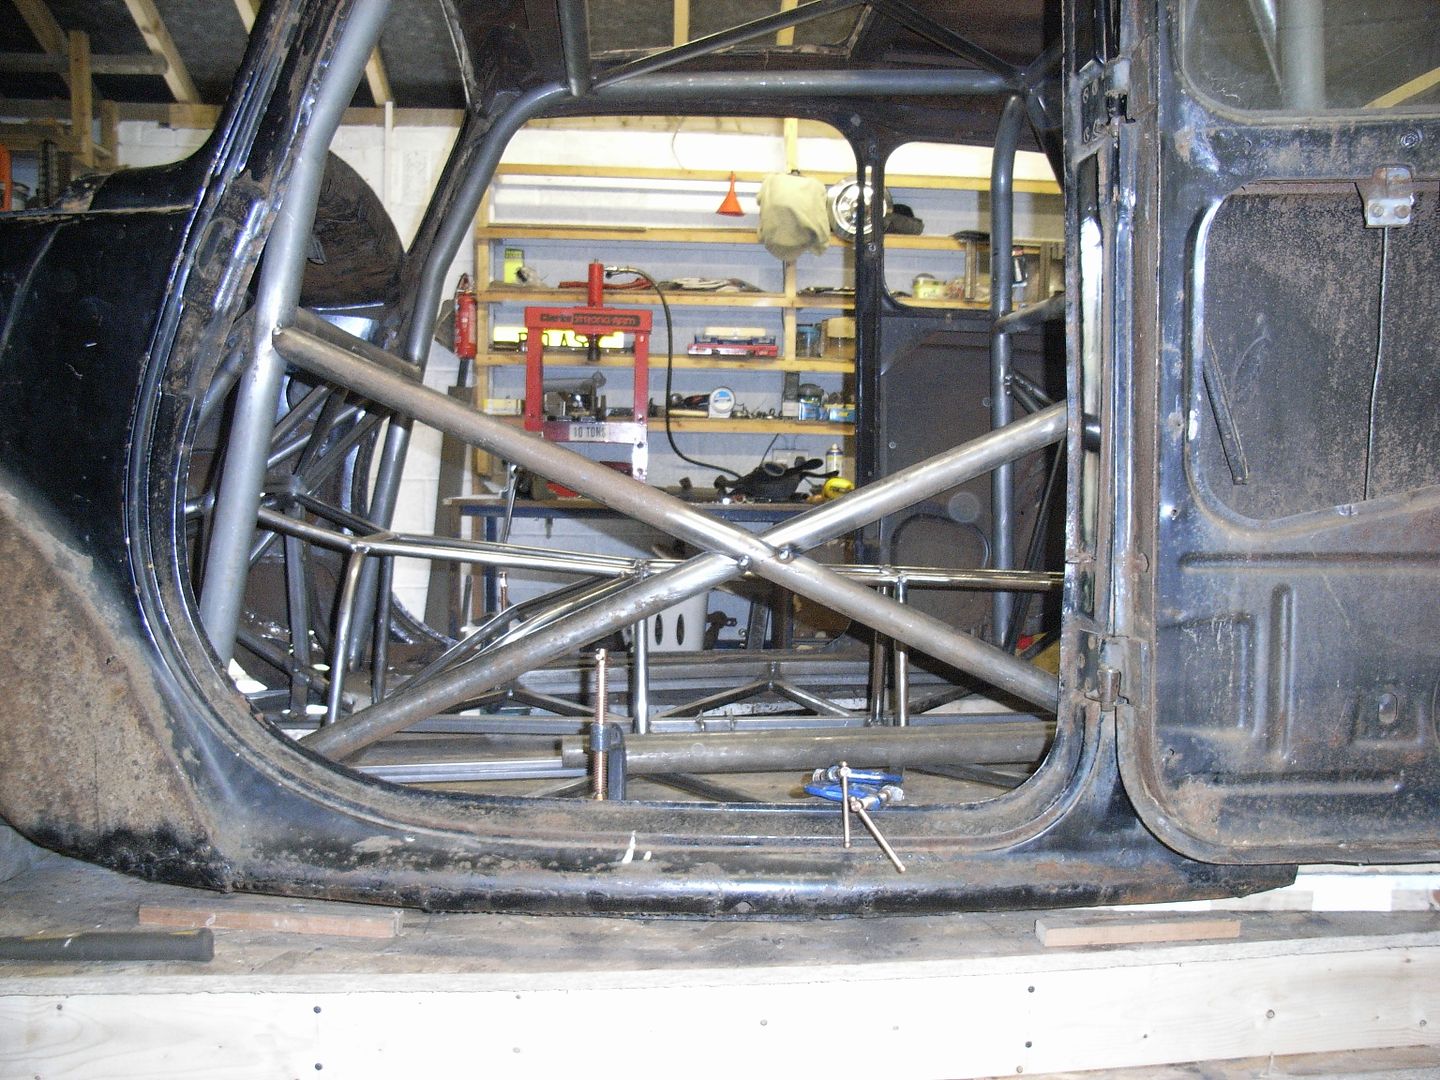 Seat temporarily in position. Passengers bum is on the floor :-) 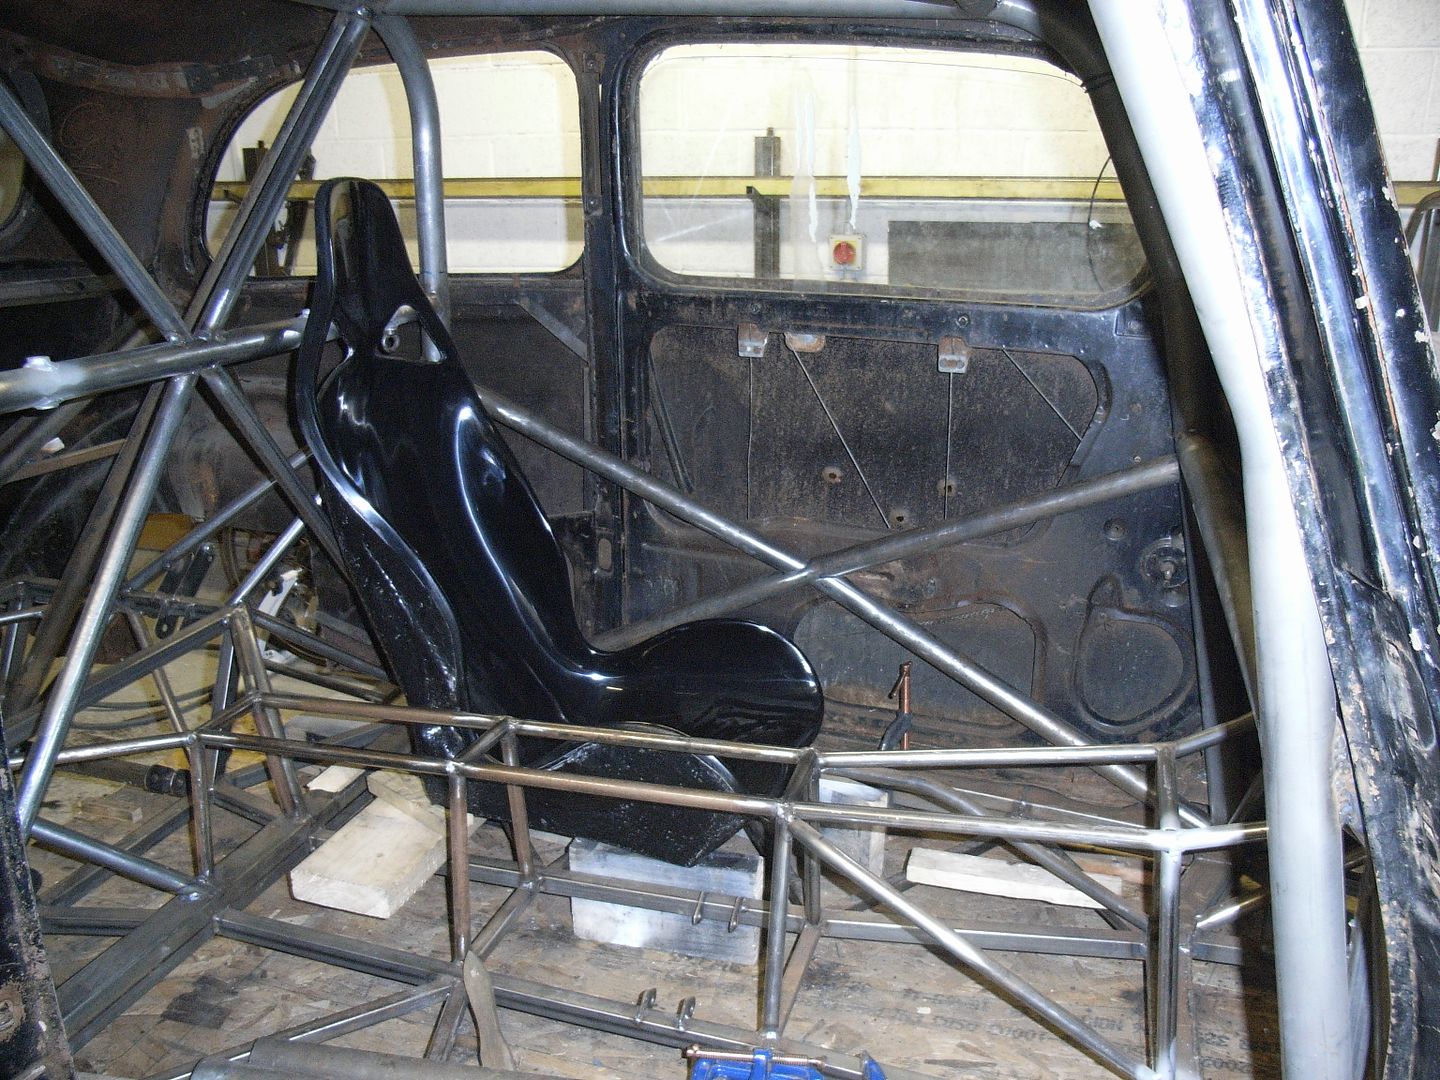 A fair bit of clearance to the tunnel as well. 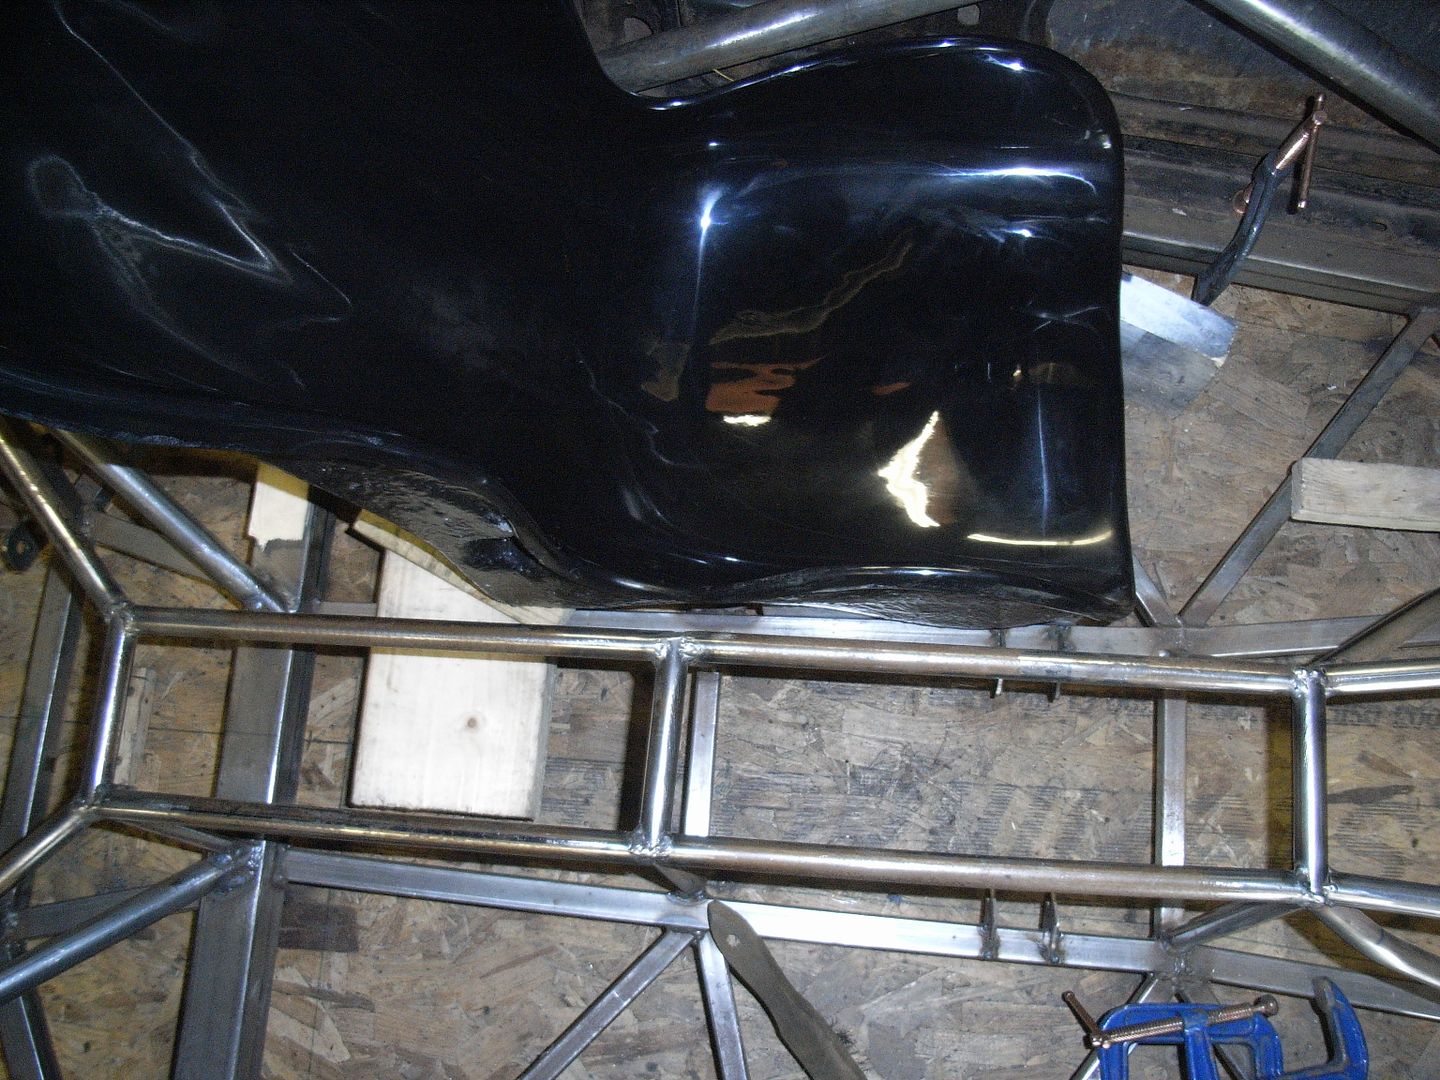 And the door bars 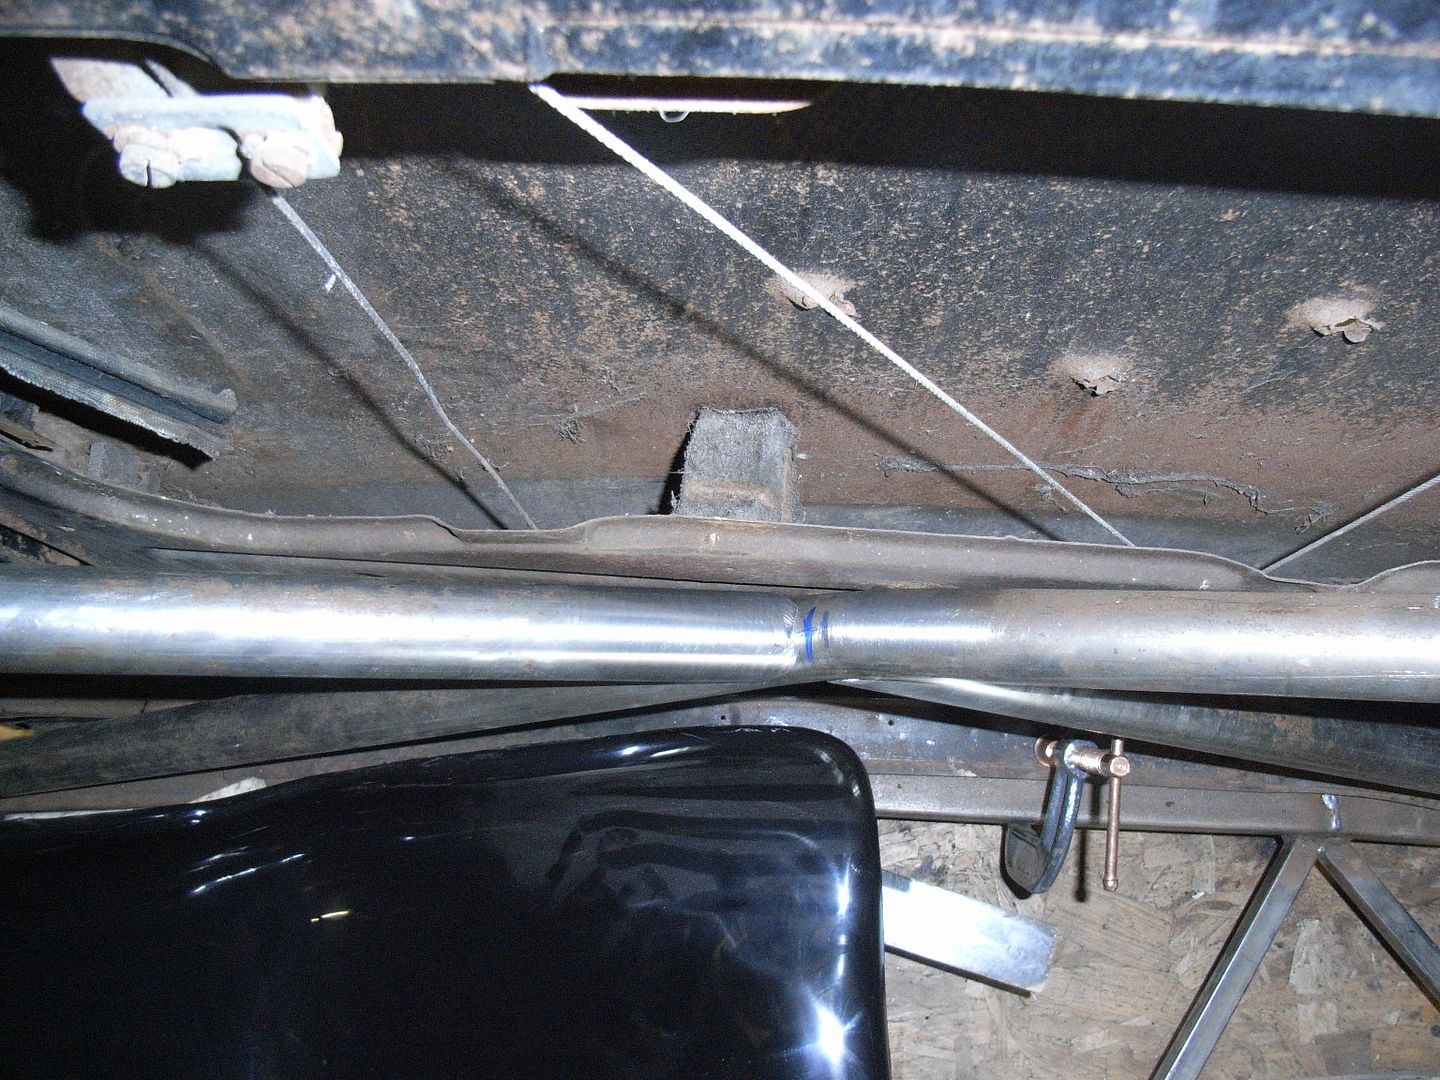 Drivers side 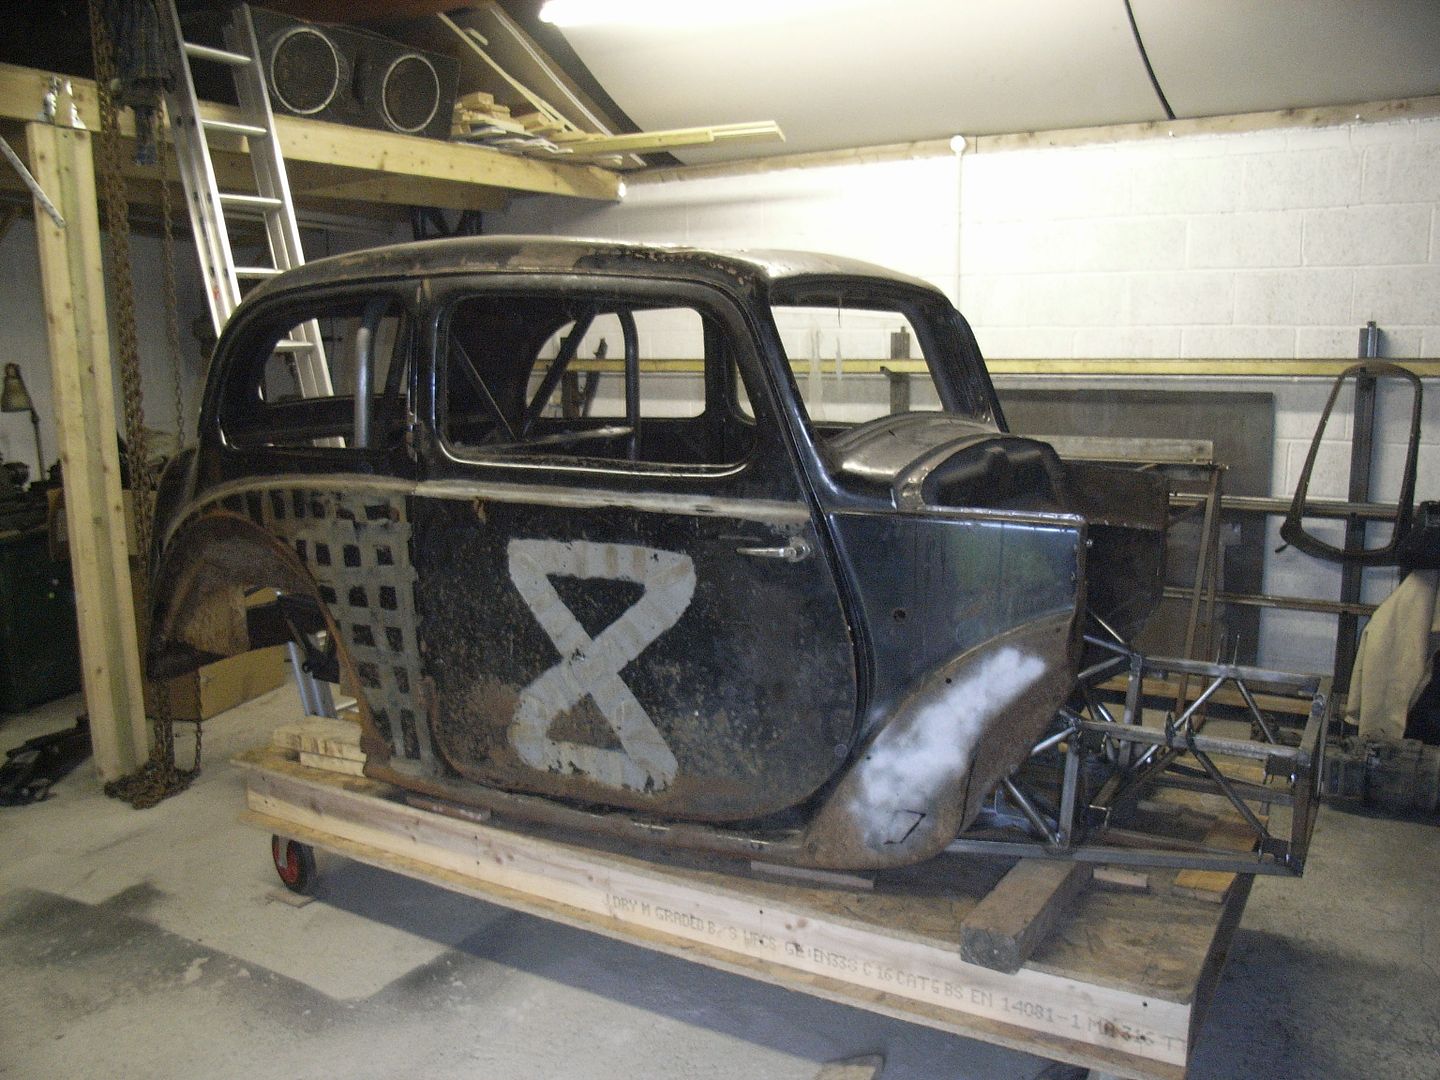 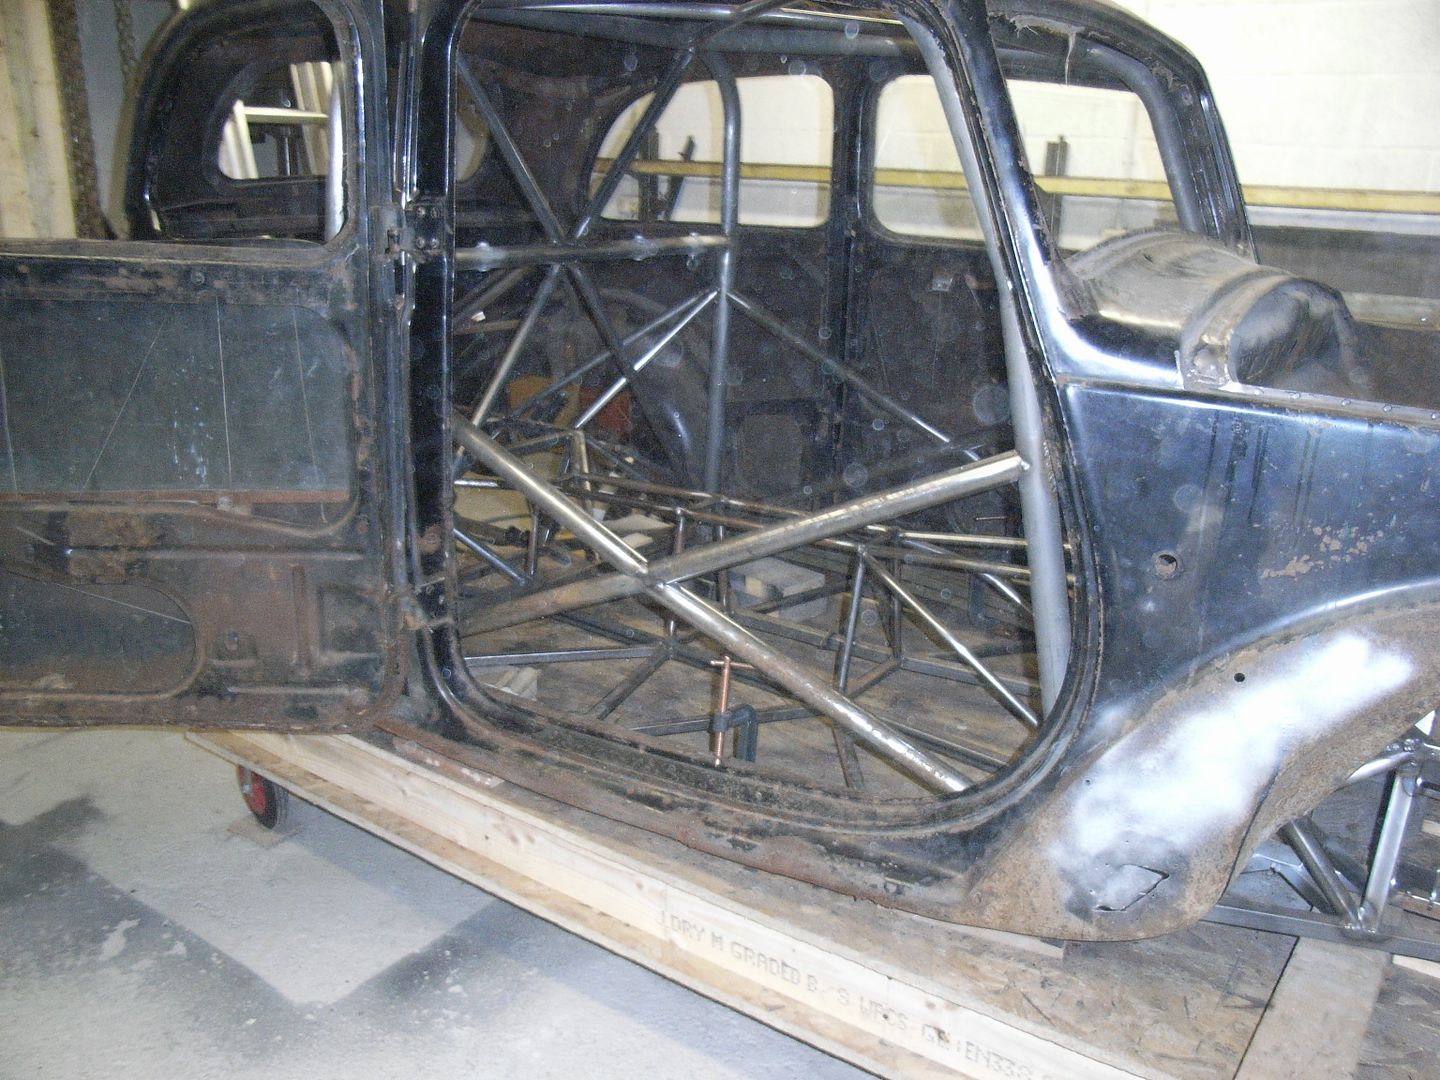 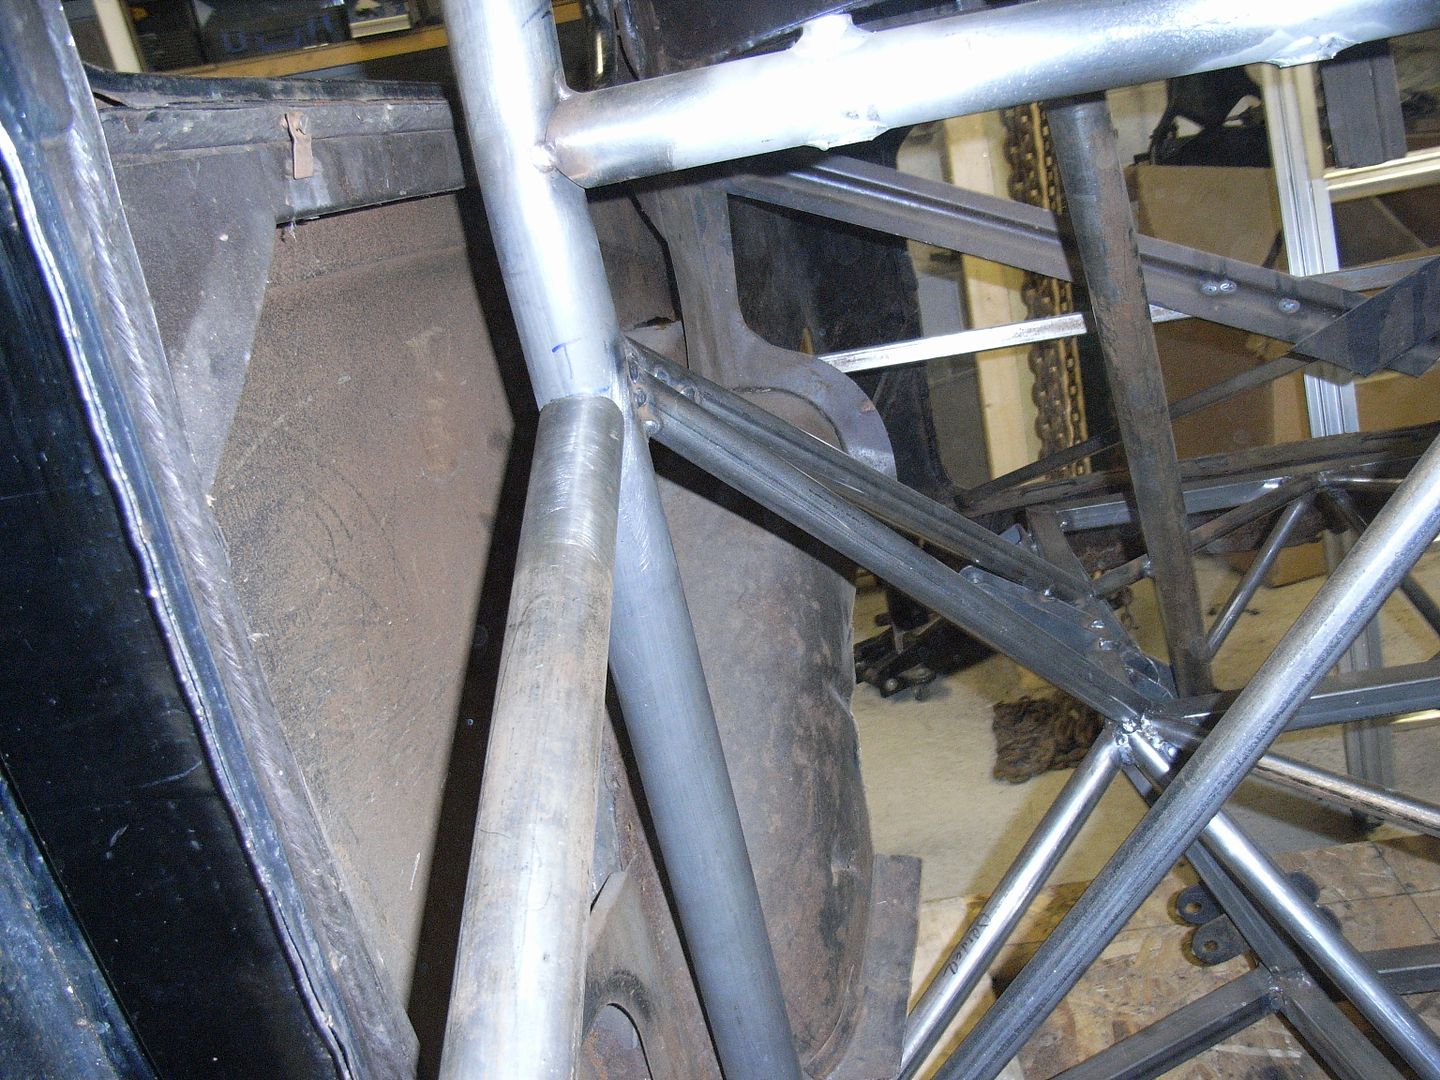 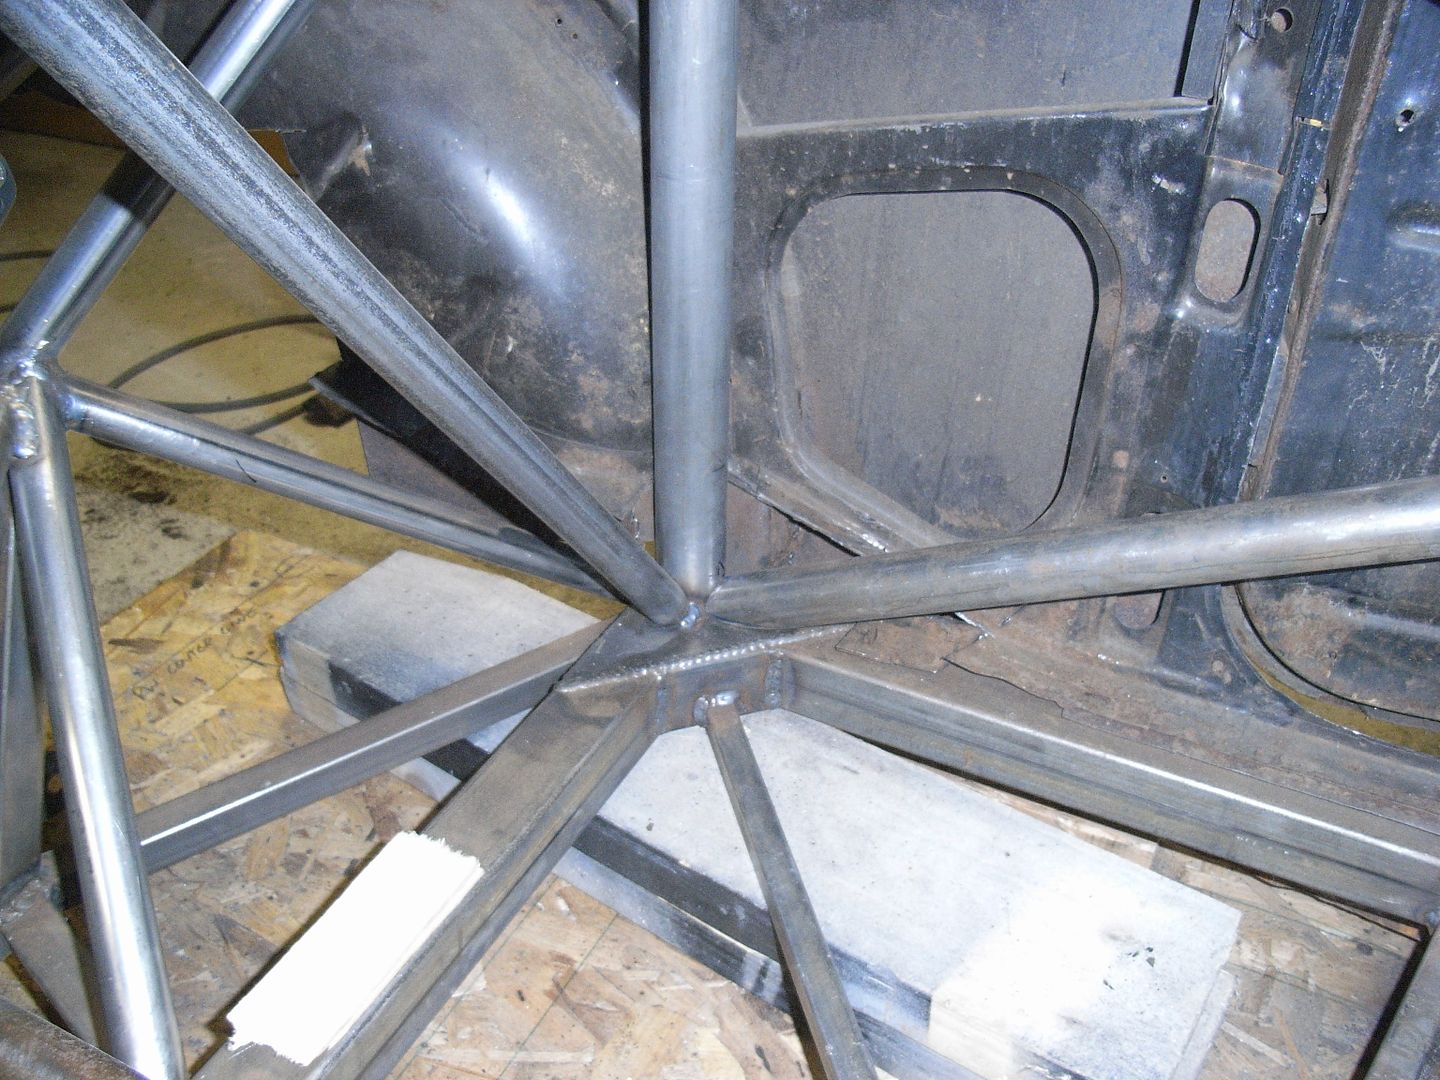 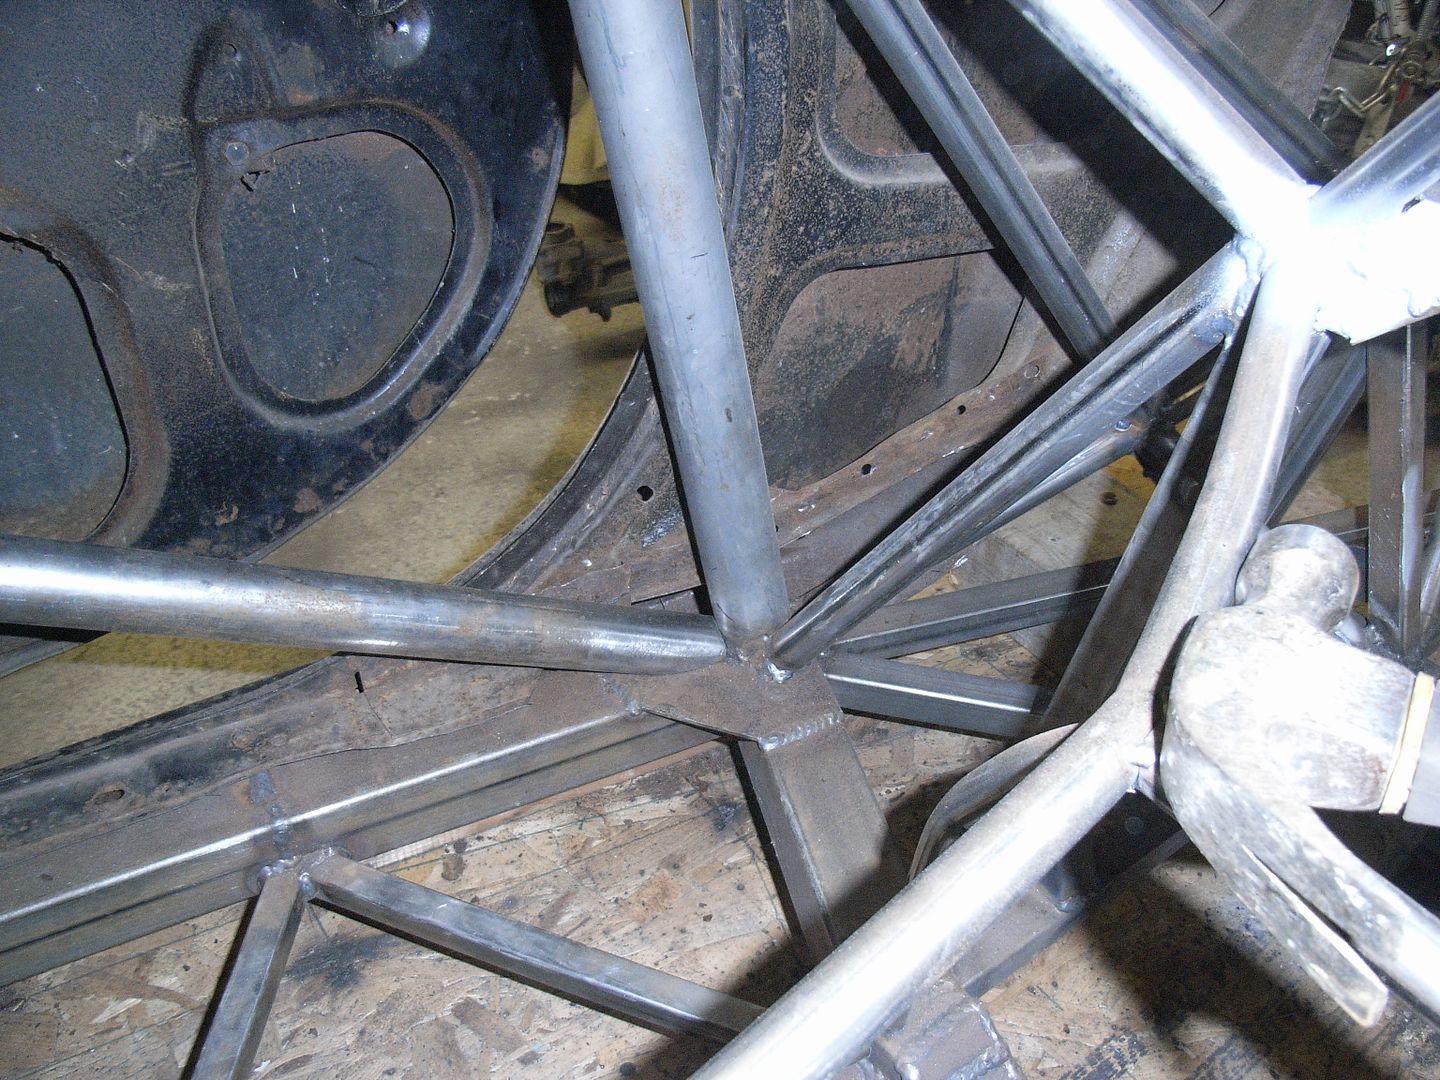 The tubes are just tacked, but it'll all be getting propperly cleaned down before welding in solid. With the positoning of the cage in the A pillar, when complete, painted, and trimmed, you shouldnt even be able to see it from outside :-) 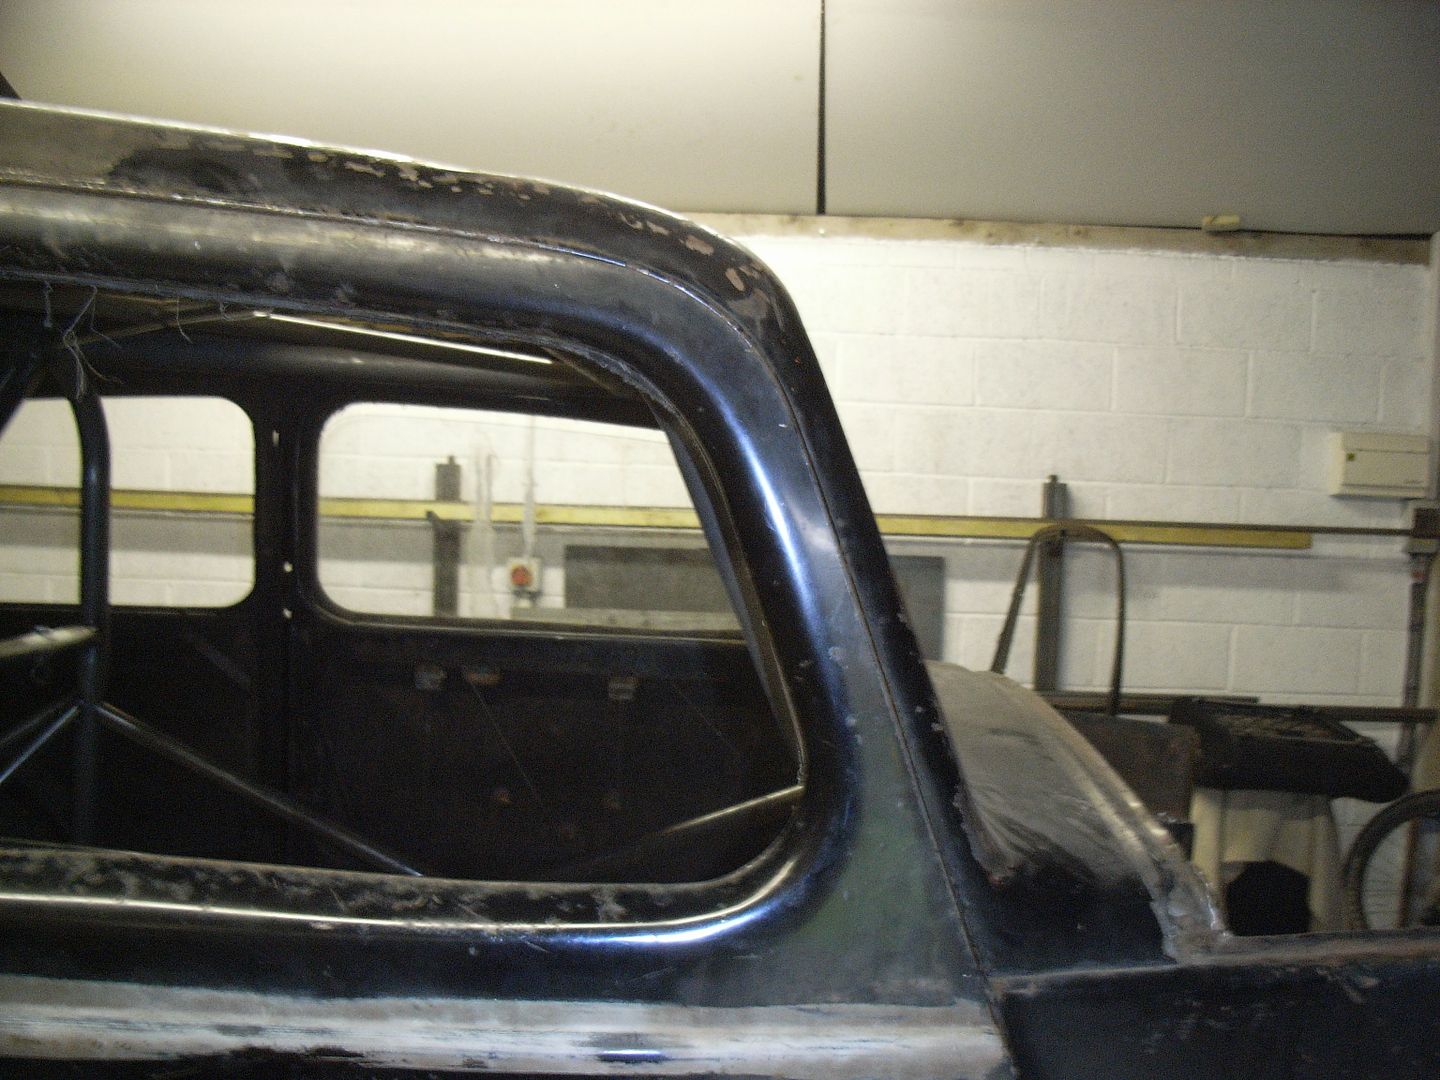 The rear will have limo tint windows so it should "almost" look standard when done. This is going to require some thought and re-fabricating to make it look good (not the existing dodgy repair, but the height the sill hangs down past the chassis) 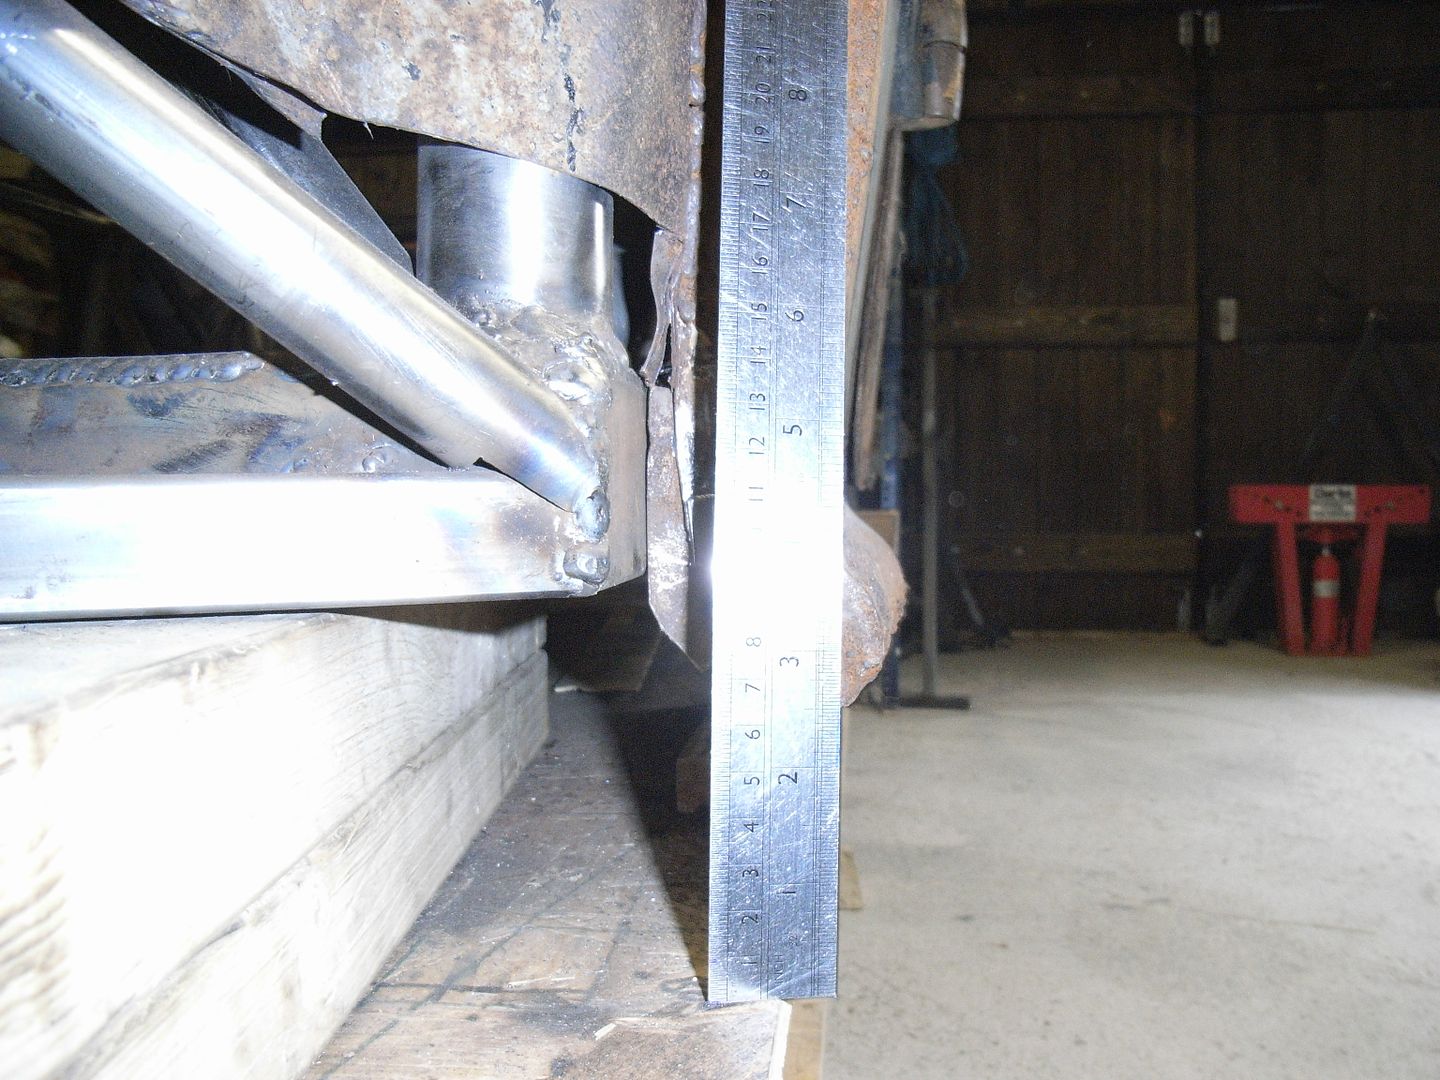 About 50mm to reduce. Drivers seat will be mounted about 150mm higher than the passengers 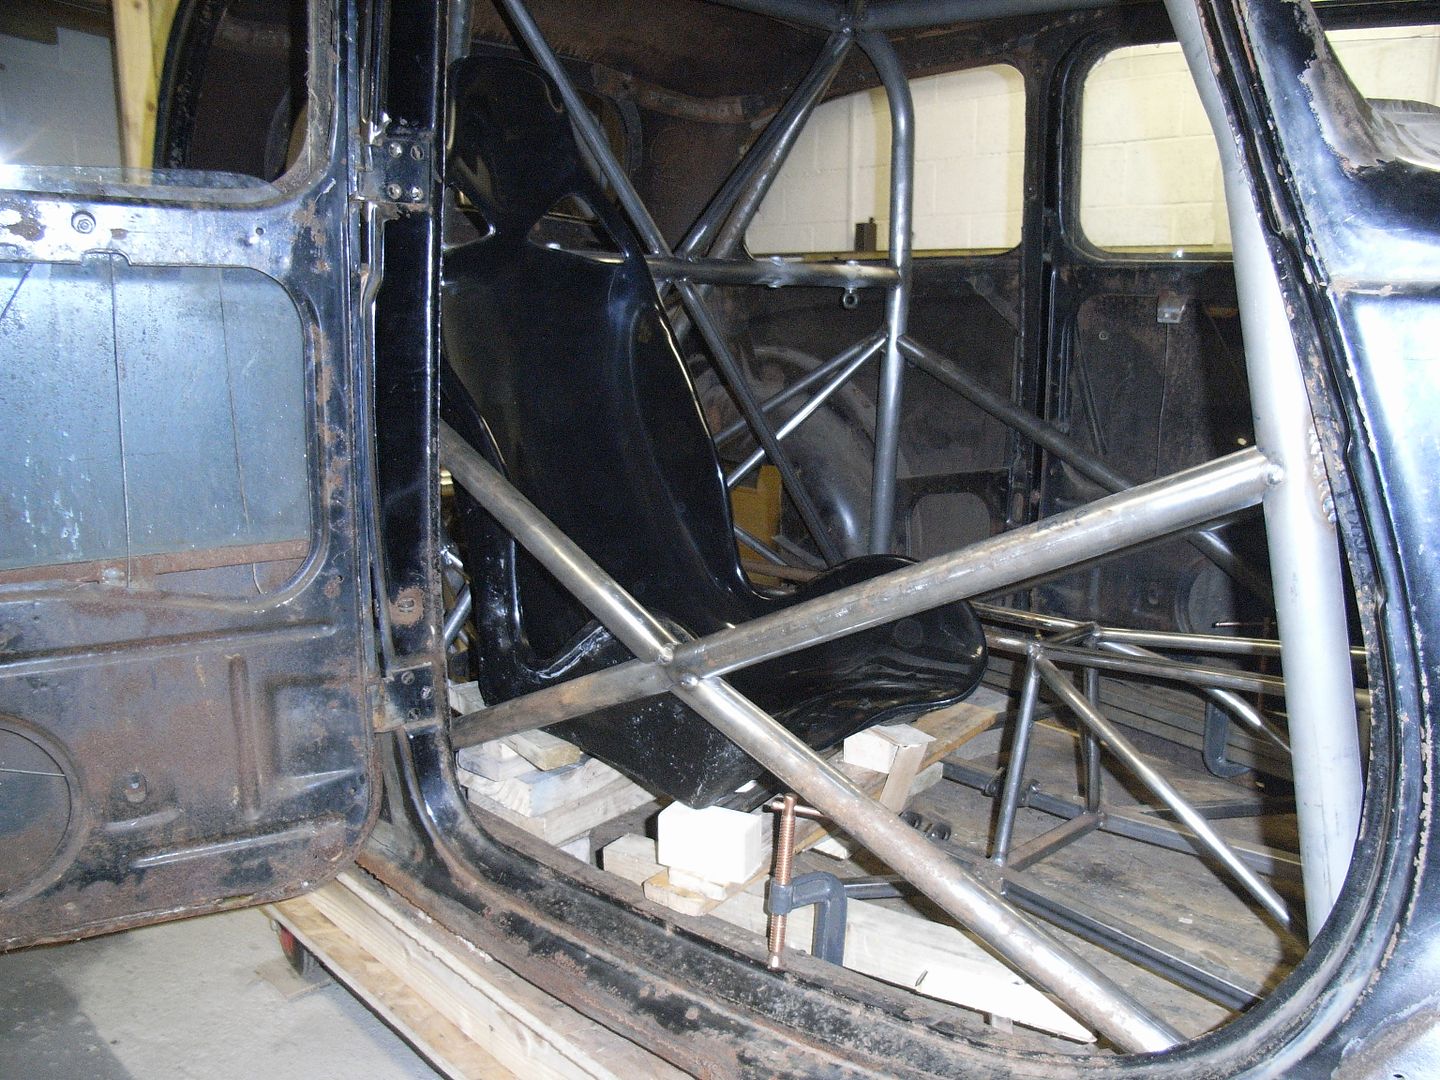 As it was all stableised I lifted the chassis off the build table and re-set level on the floor. 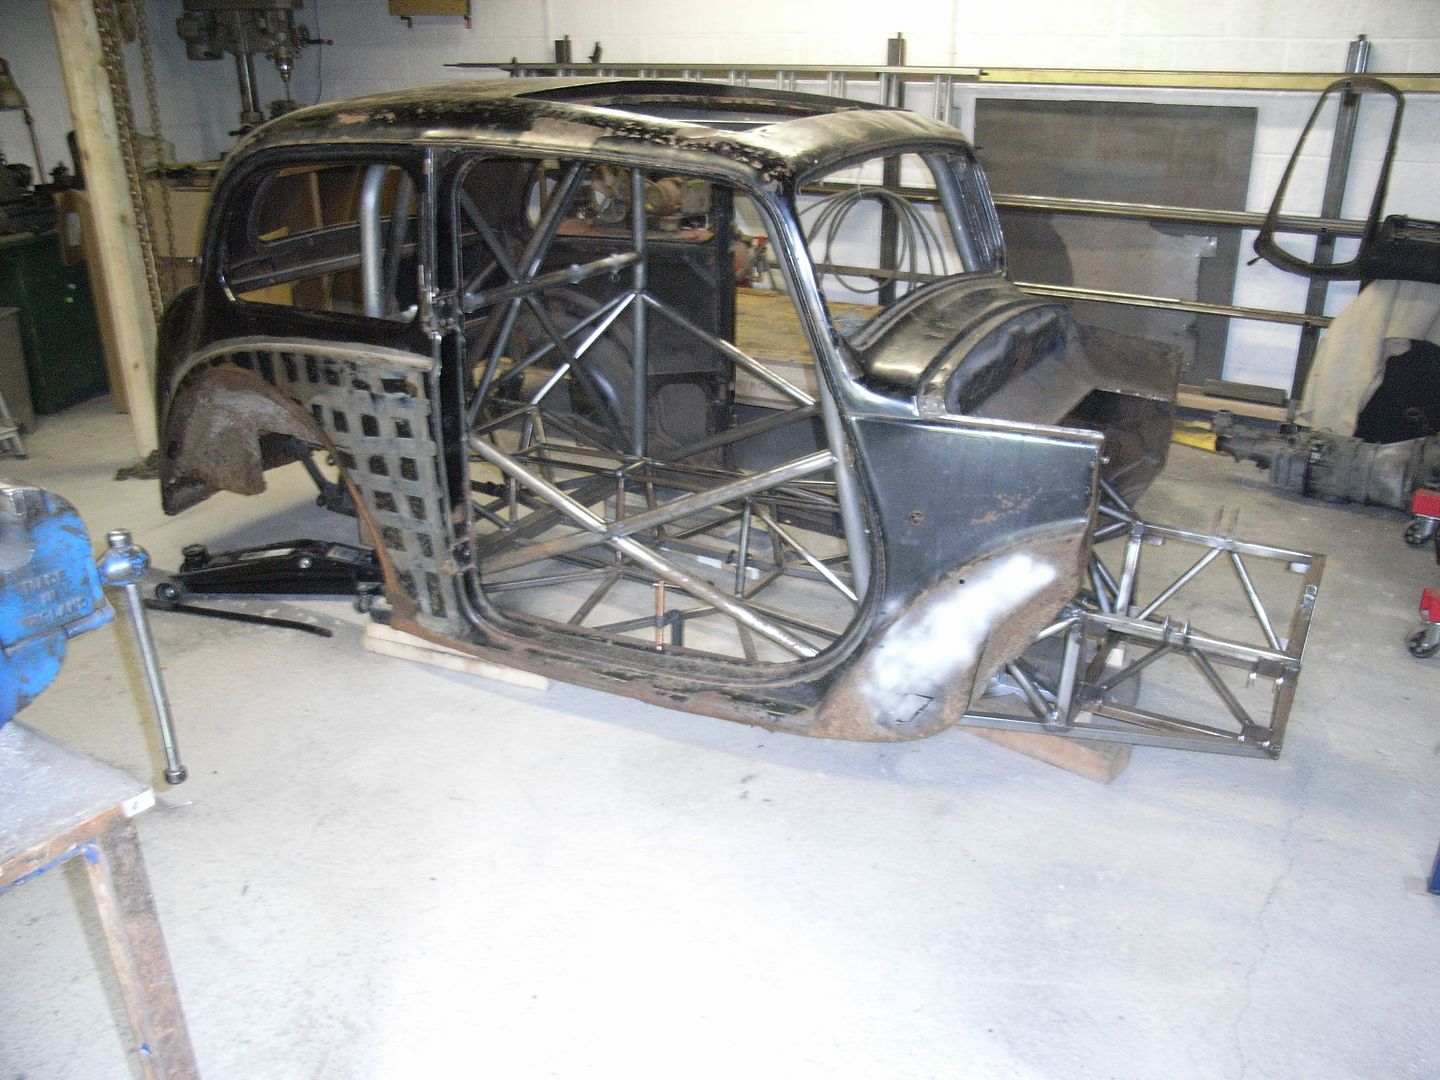 This shows the 50mm of "bellying" i put on the door bars 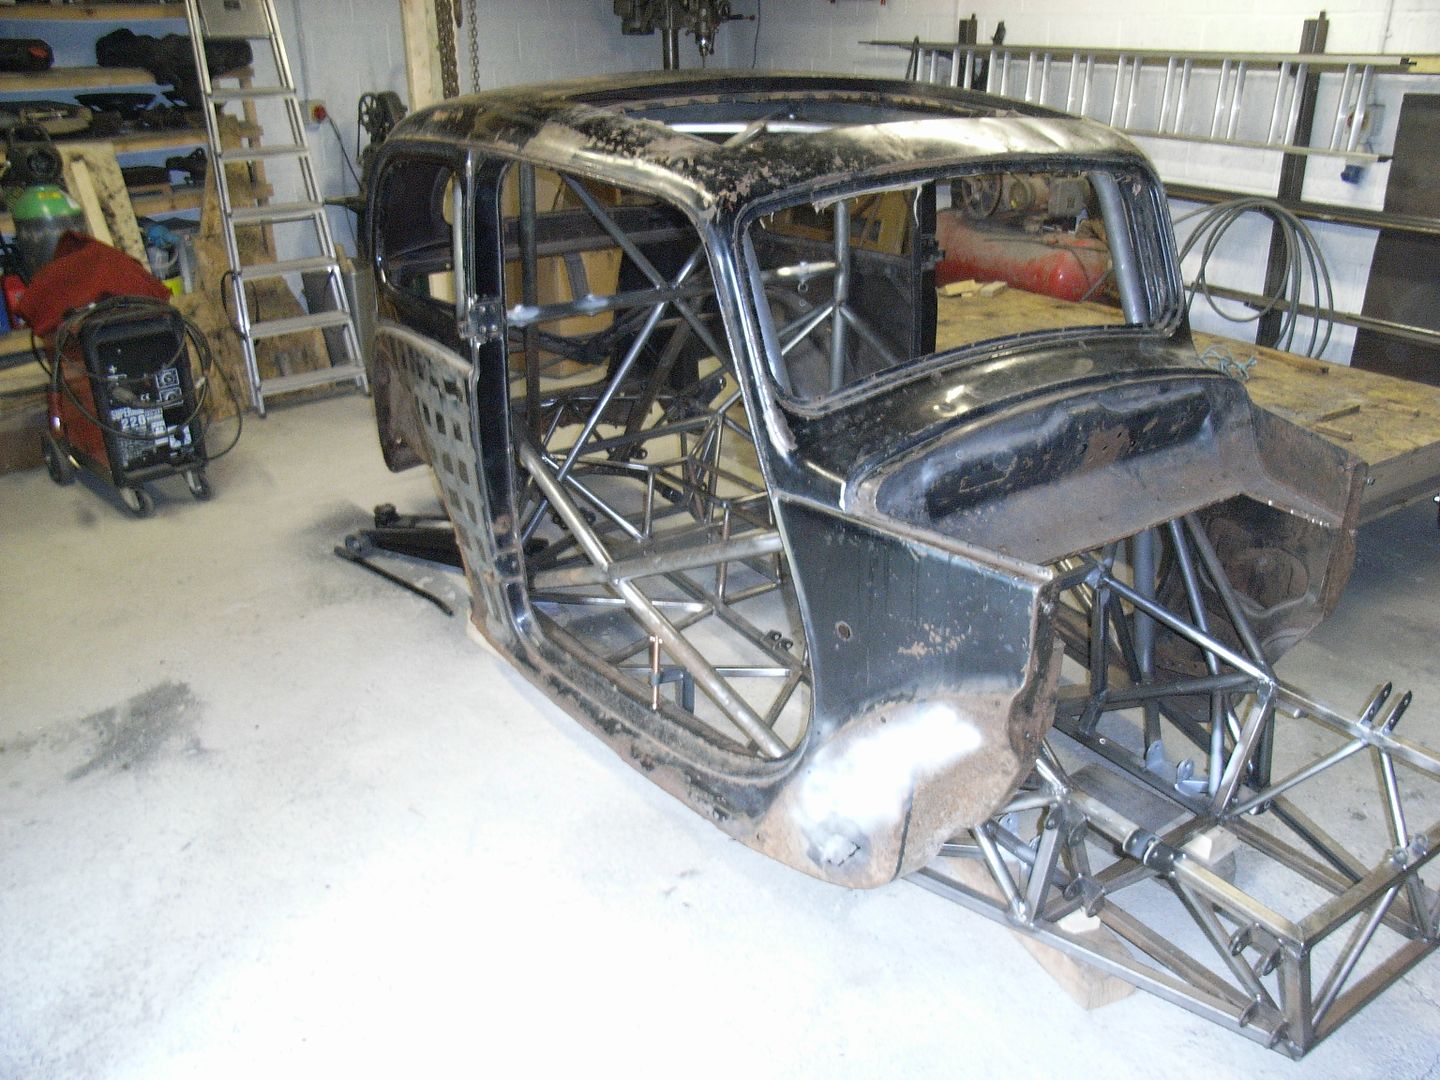 I put the front end panels on, along with the front suspension and my checking wheel. 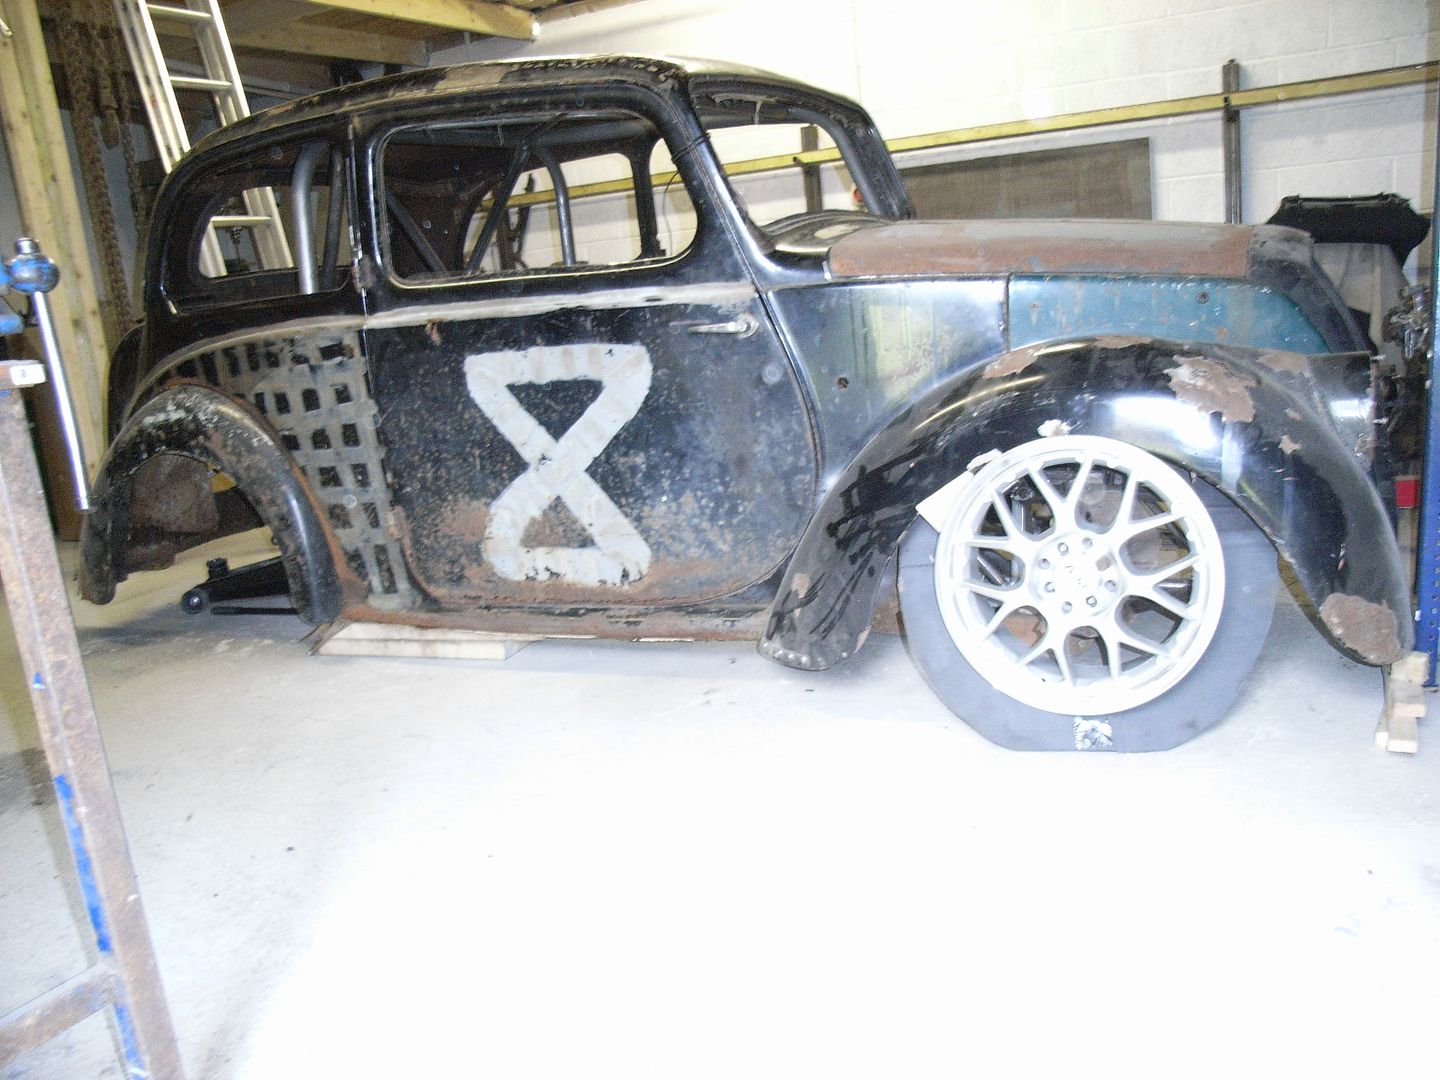 The arch is going to have to come out by about 25 - 35 mm and the height (to allow for bump) needs to increase by about the same 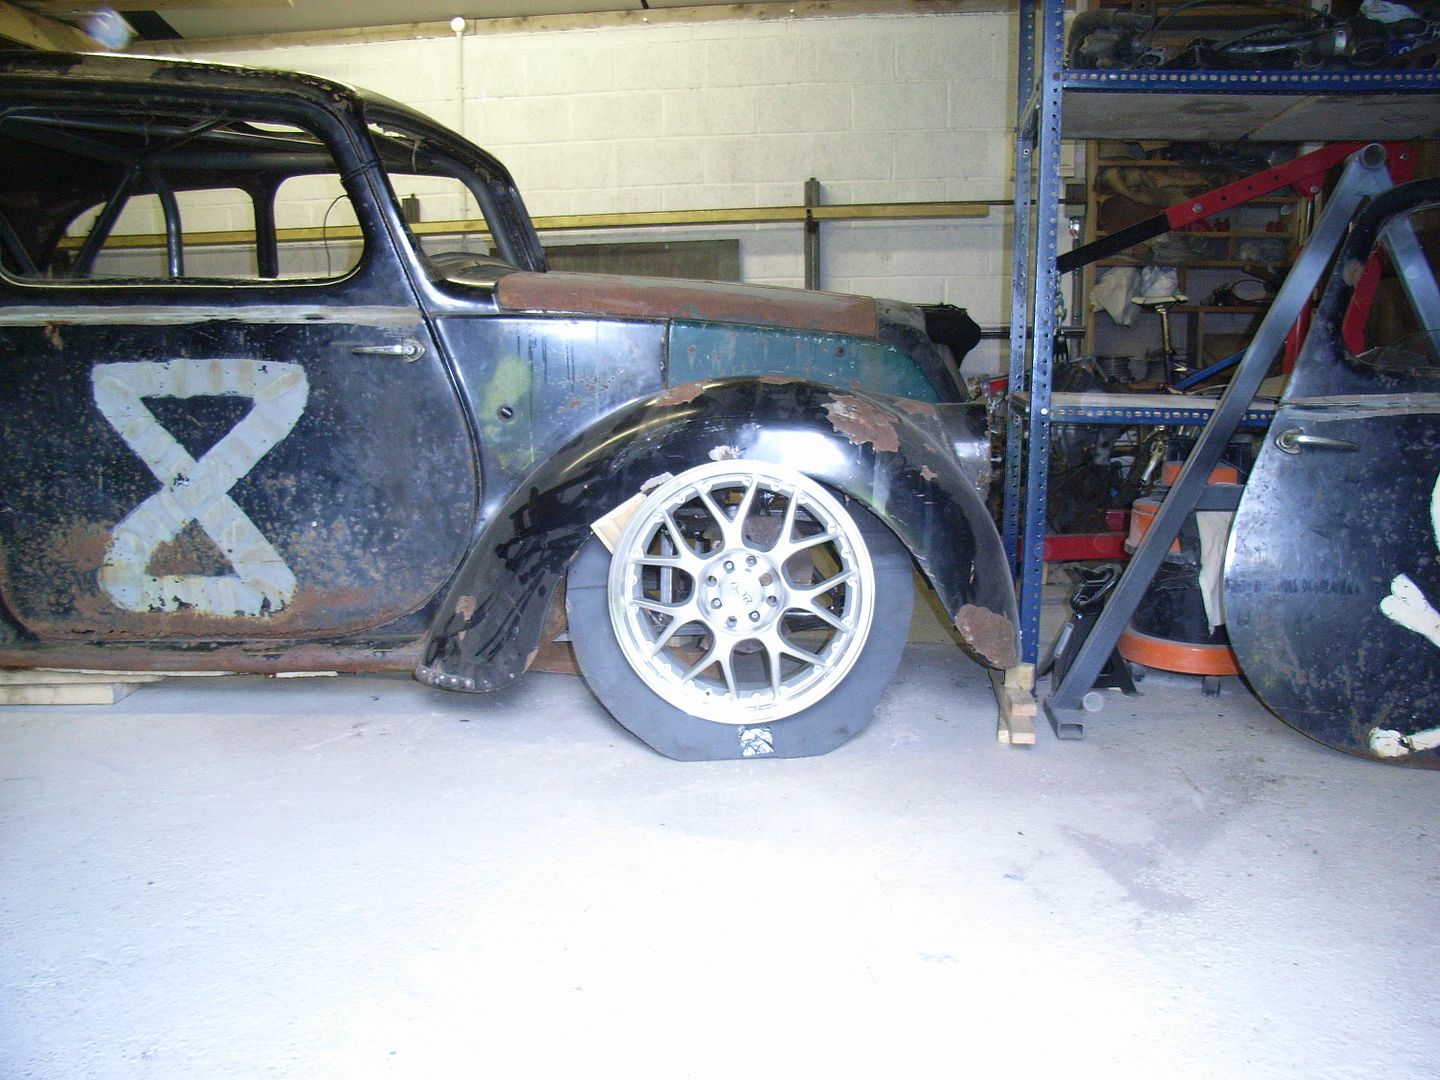 I will also need to re-profile the arch to allow lock when on bump. I think it'll be a significant pain in the backside to get right. There is a surprisingly large amount of clearance from the front of the front module to the inside of the grill. Plenty of room for a radiator and intercooler. Not sure when the next progress will take place as have a few busy weekends coming up. I also made a list of the things I need to buy to allow progress and I don't mind saying, i cried, a lot. And thats before I even get to the engine..... Expensive few months coming up. |
| |
|
|
stealthstylz
Club Retro Rides Member
Posts: 14,950
Club RR Member Number: 174
|
|
Apr 21, 2014 19:53:05 GMT
|
|
Cant wait to see this done, not enough hot rods built to handle.
|
| |
|
|
jonomisfit
Club Retro Rides Member
Posts: 1,787
Club RR Member Number: 49
|
|
Apr 27, 2014 20:18:46 GMT
|
Not got a huge amount done this weekend. Mainly from me just being slow. Fuel tank arrived (kit car seven type) 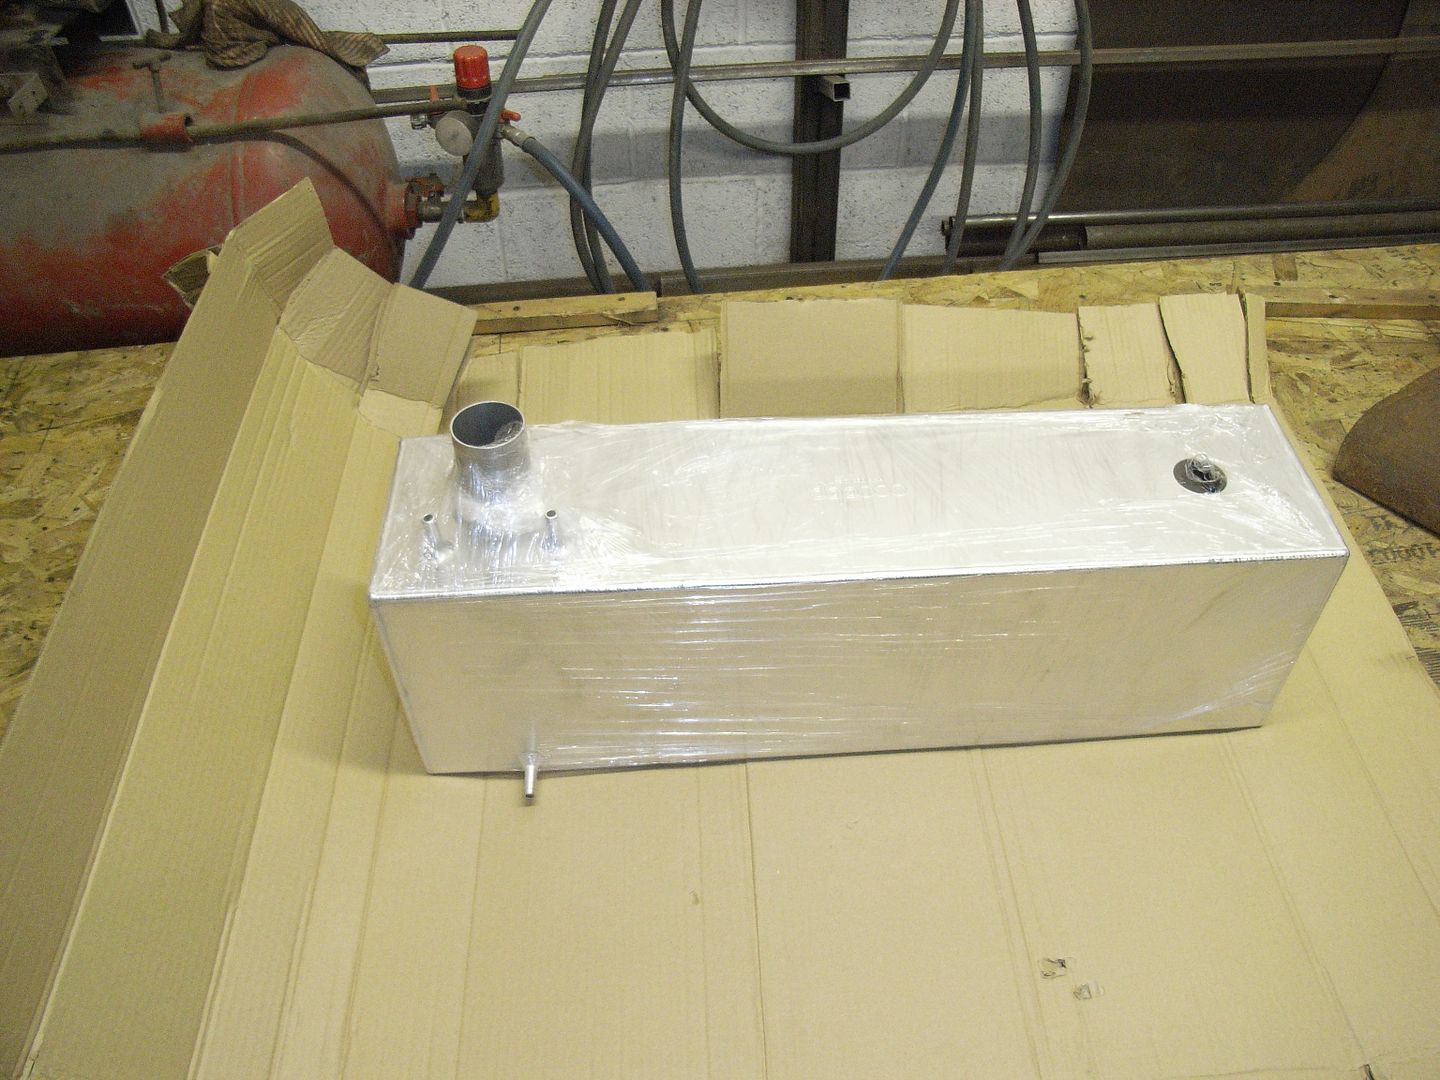 Plonked in the hole 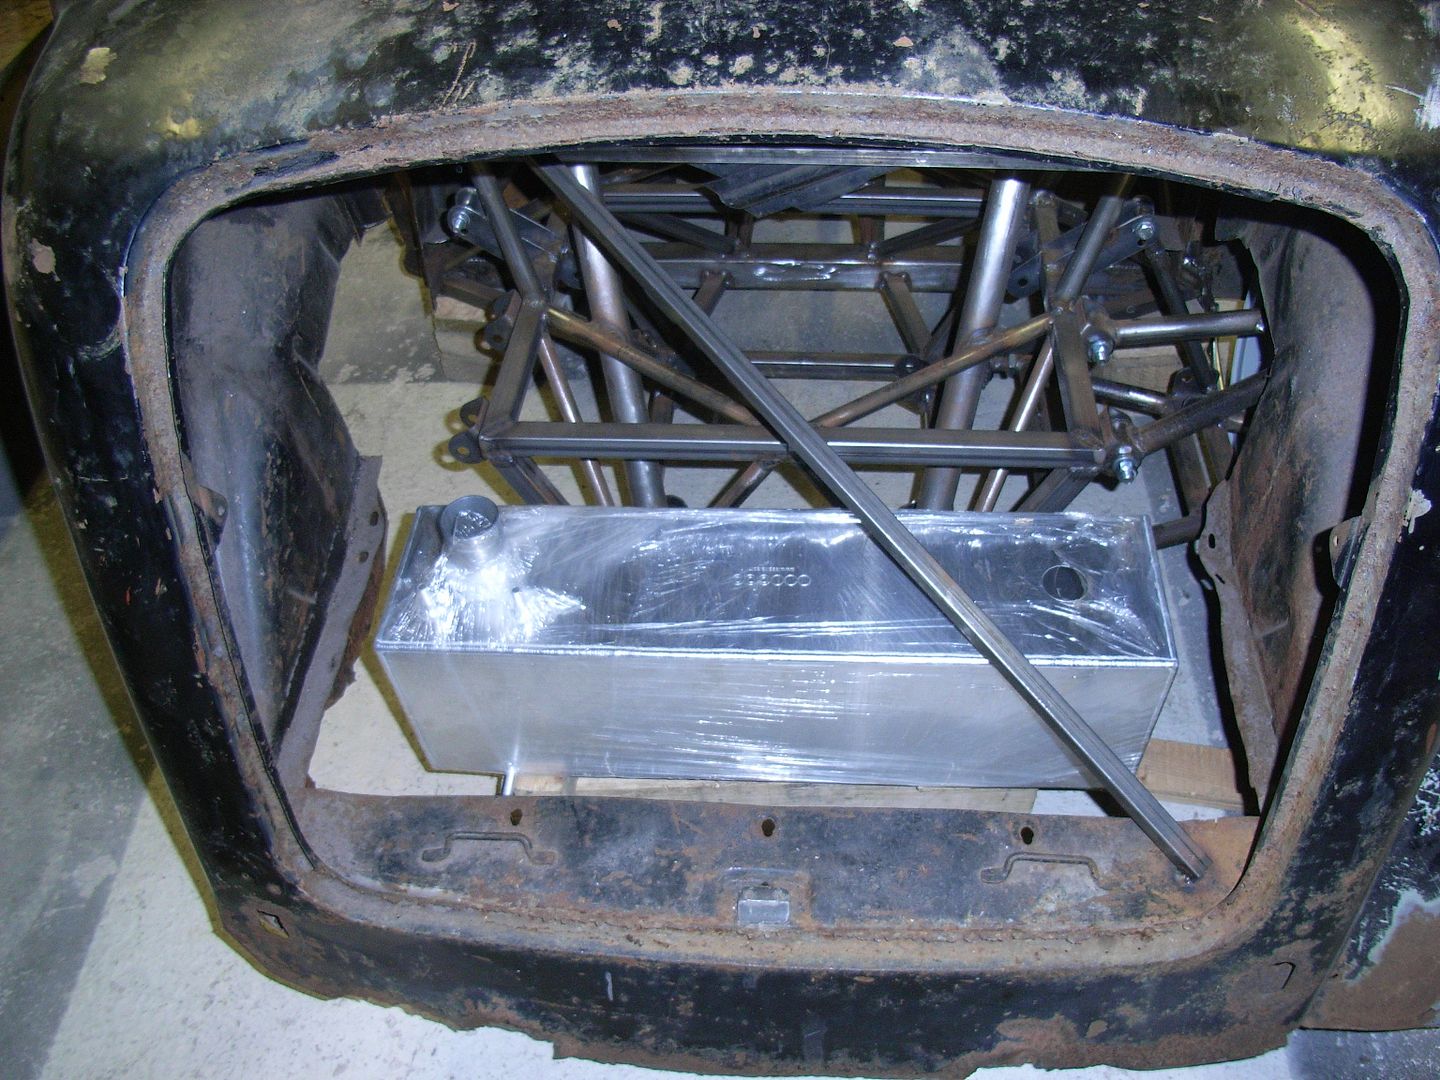 Nicely clears everything. 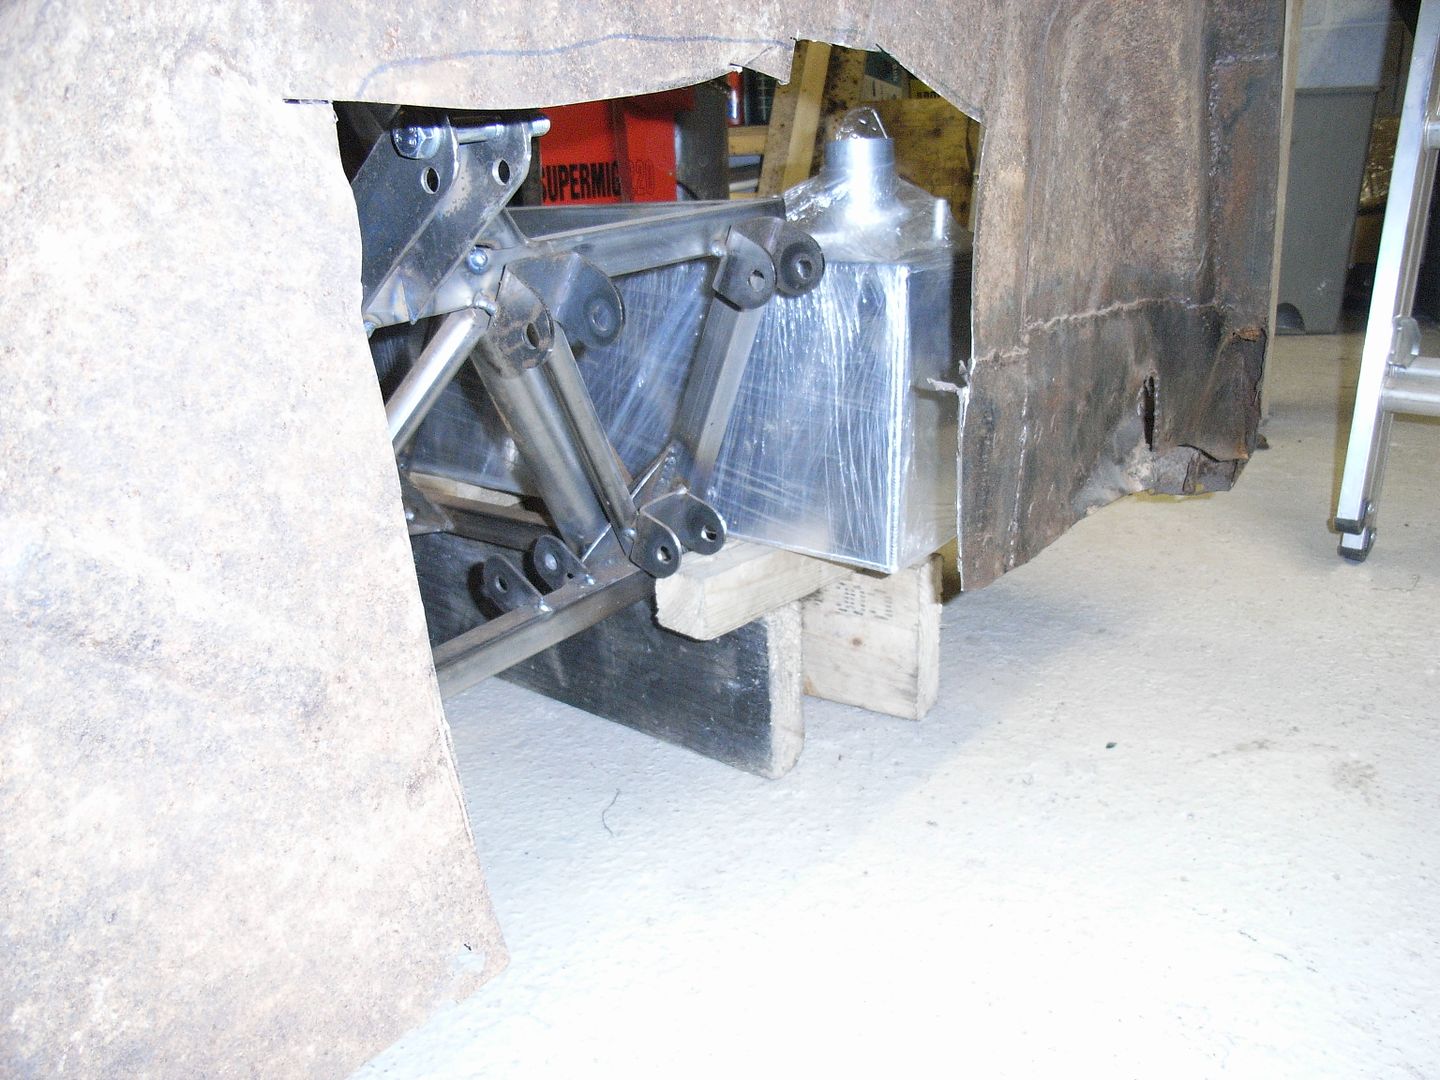 So decided i wanted to make sure the frame suitably protected the fuel tank, so extended it past the edge of things 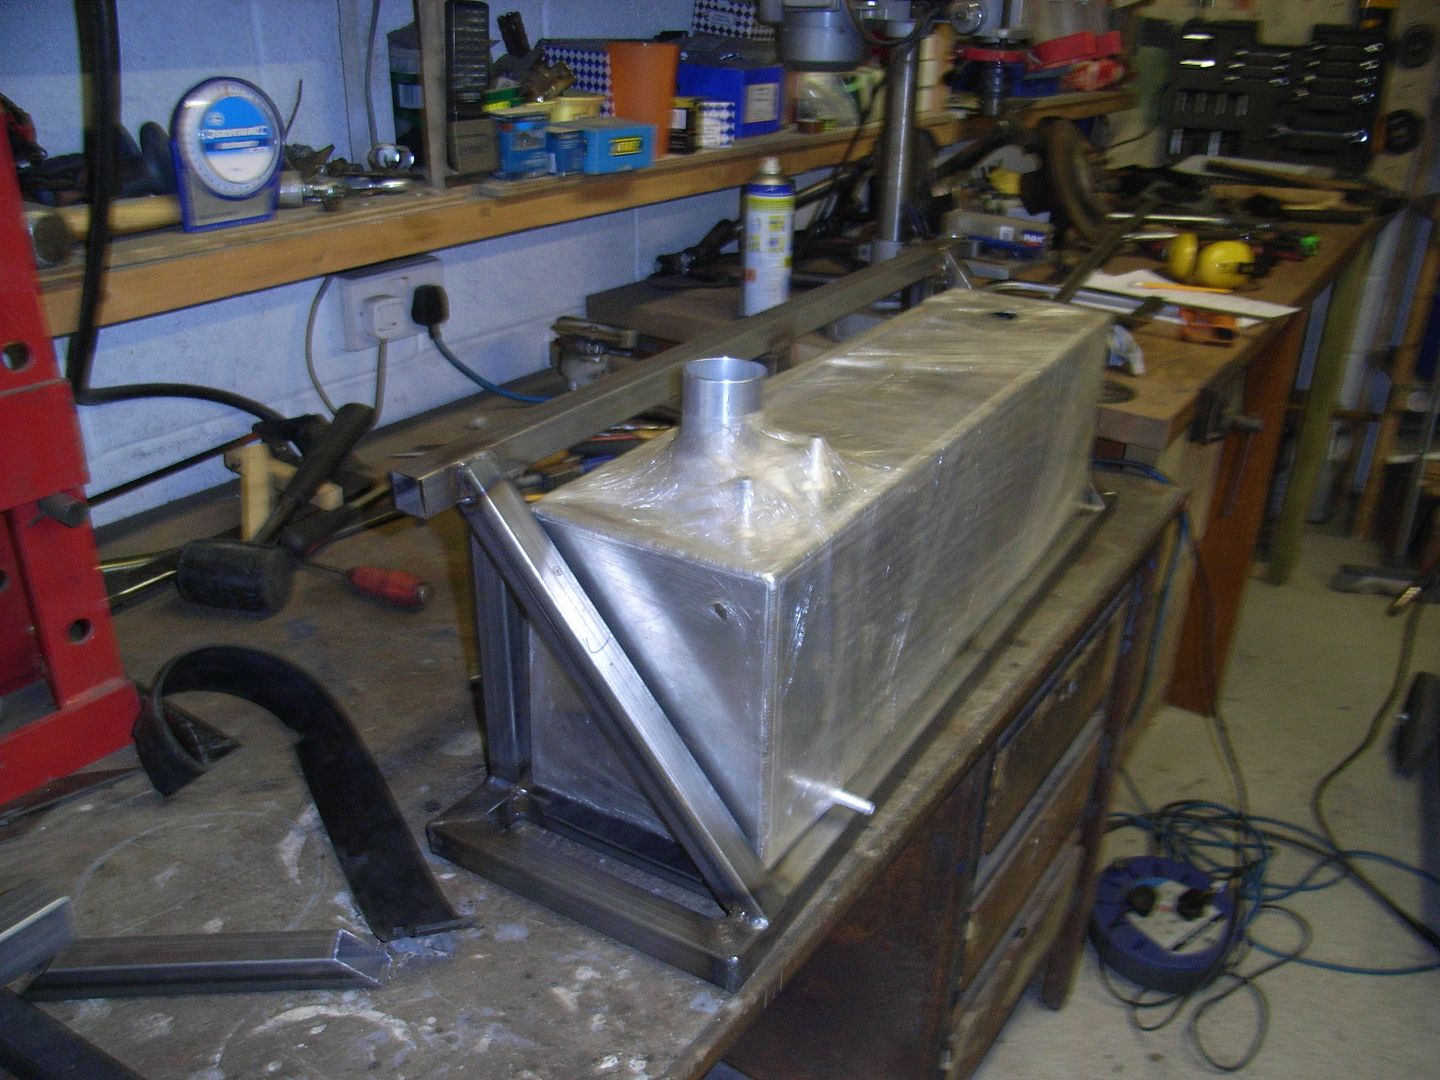 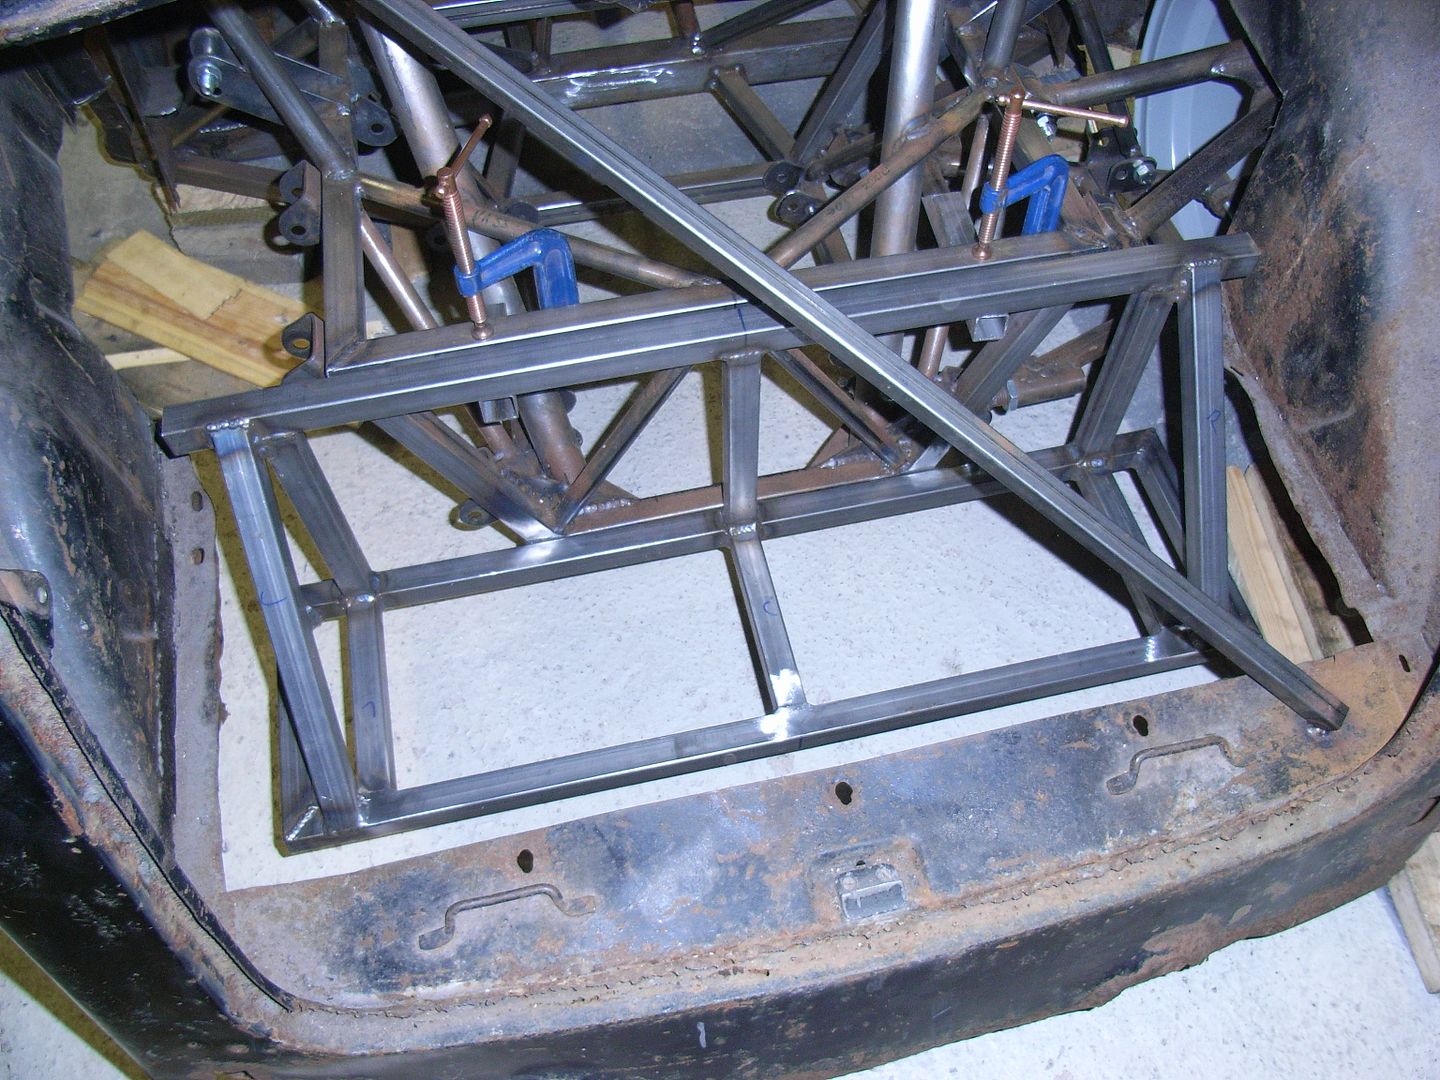 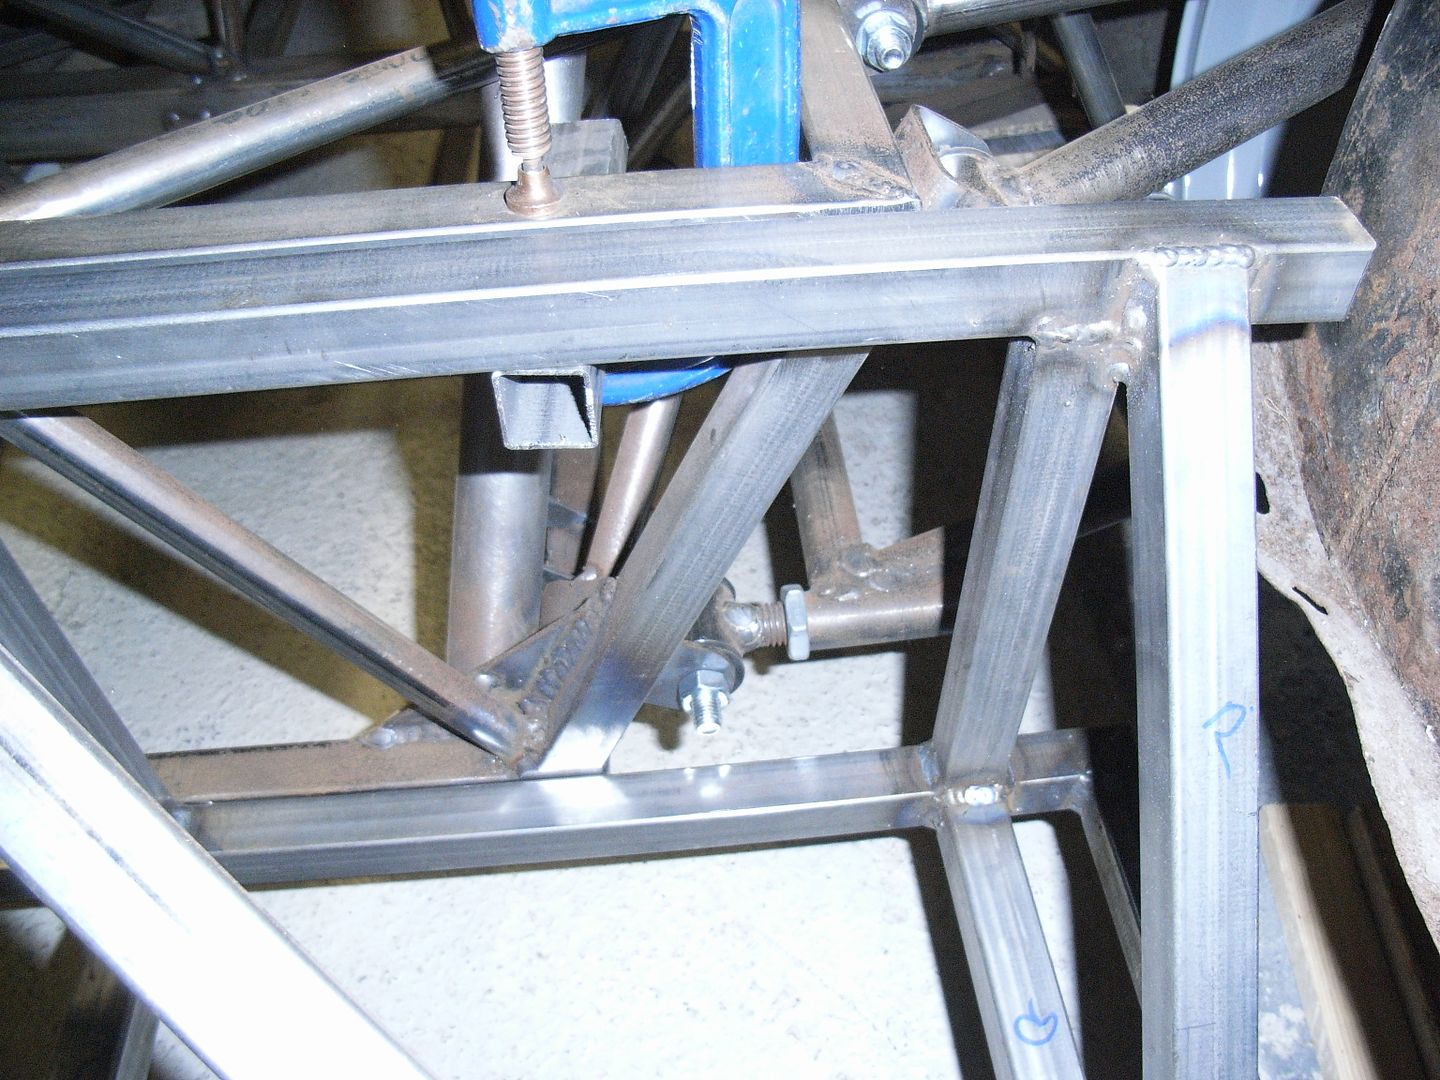 Tank retention 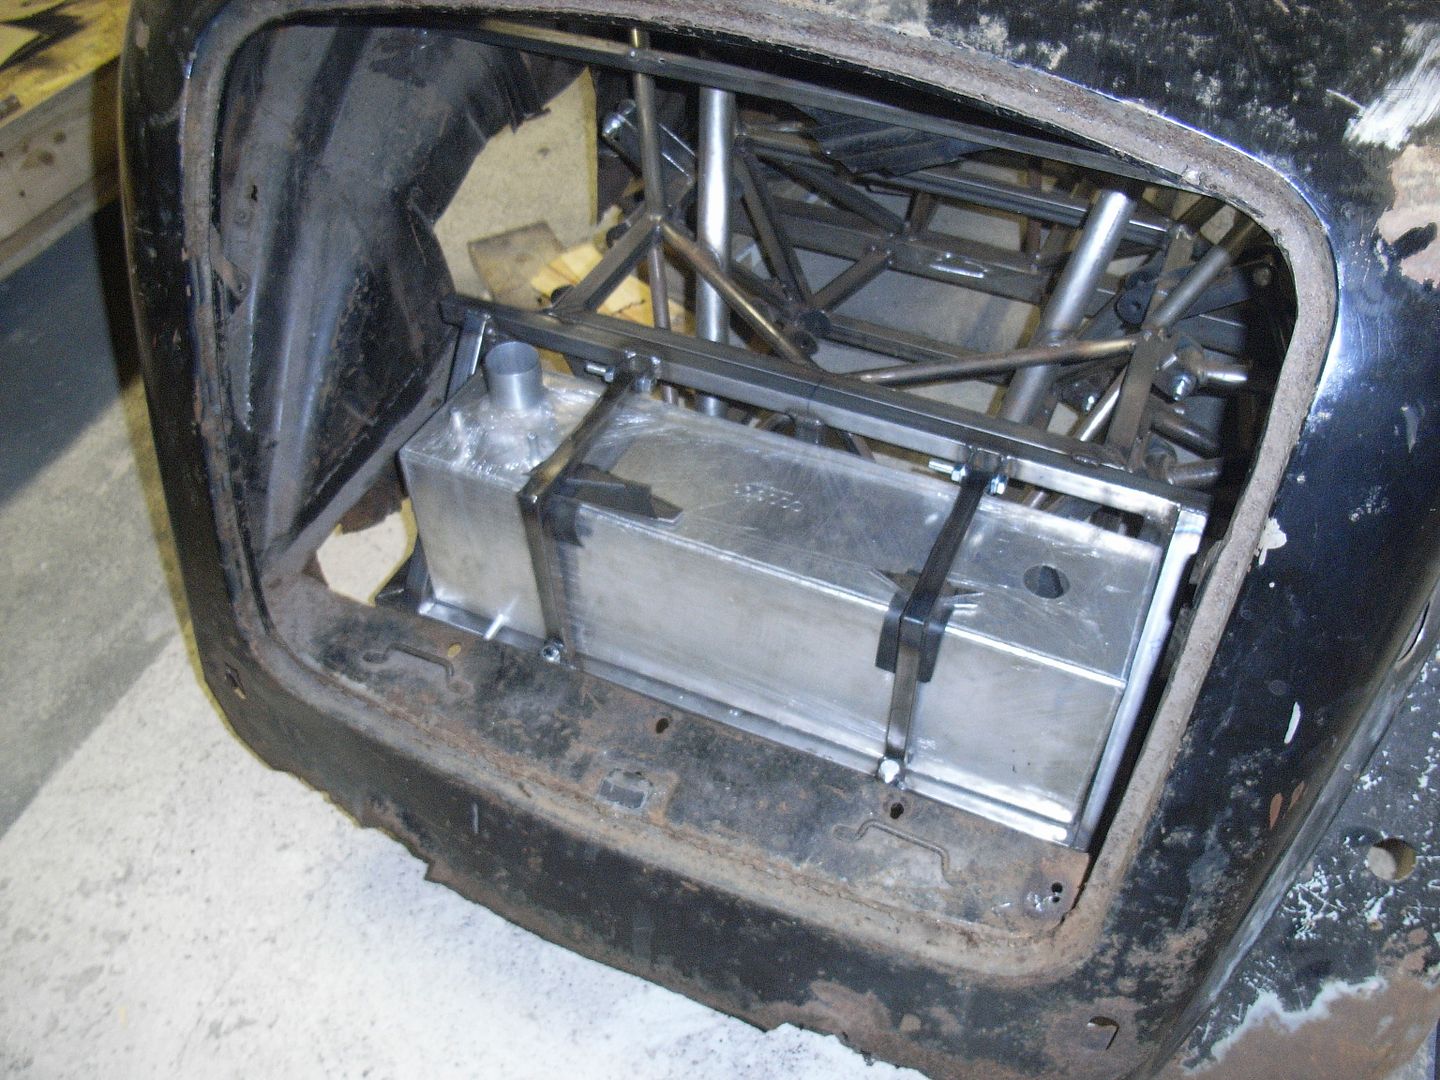 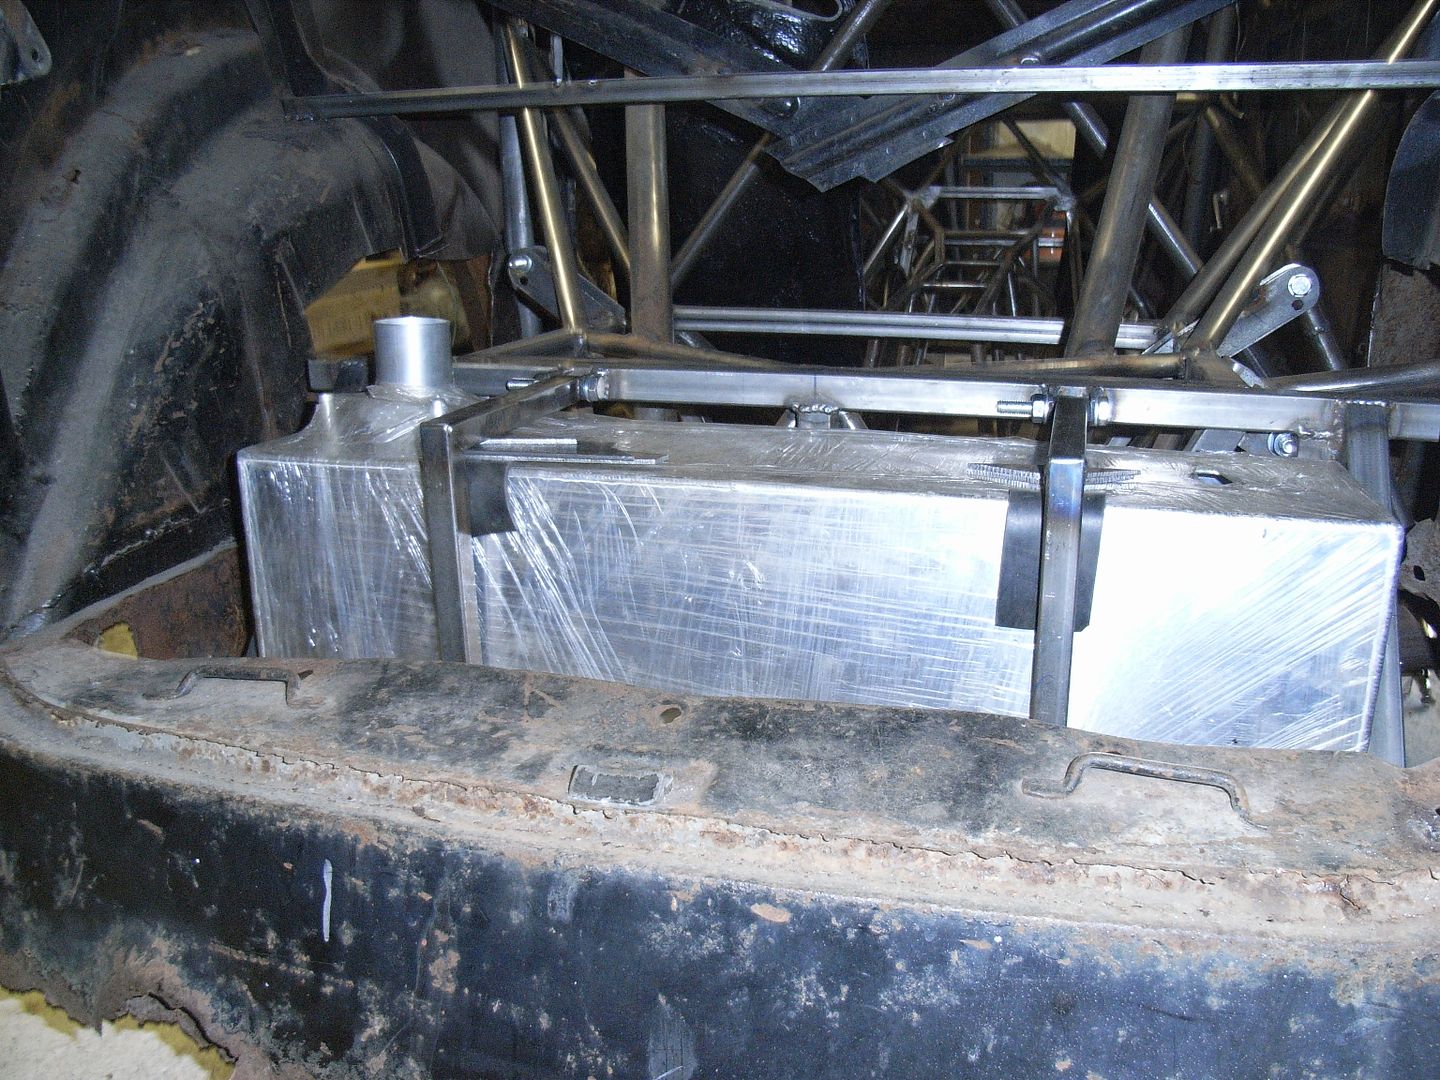 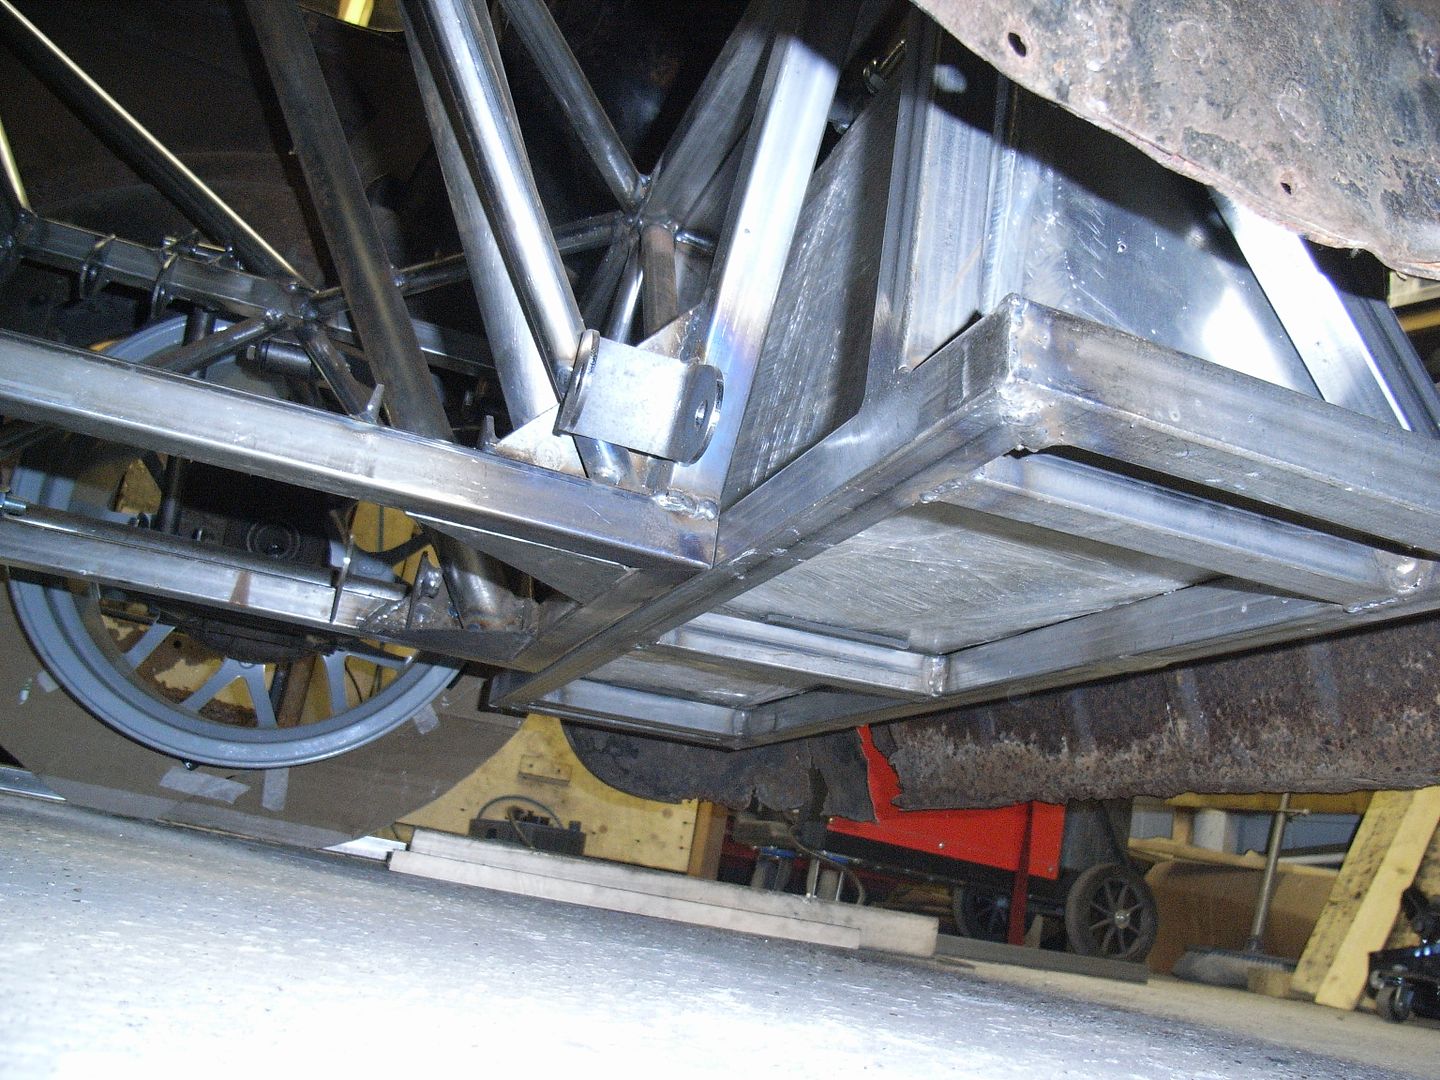 I also spent some time reading the IVA manual. Will have to have a good think on the doors as the latest version seems to say all door must be front hinged. Morris 8's are rear hinged..... |
| |
|
|
hairymel
Club Retro Rides Member
avatar by volksangyl
Posts: 1,081
Club RR Member Number: 207
|
|
Apr 27, 2014 20:31:31 GMT
|
nothing to say they have to stay front hinged after the IVA   your car is coming on nicely  |
| |
whats that burning smell?
oh curse word :-(
|
|
|
|


