jonomisfit
Club Retro Rides Member
Posts: 1,787
Club RR Member Number: 49
|
|
Mar 26, 2019 17:22:58 GMT
|
|
Yes. The fluid in the line would be pressurised from the foot brake. The handbrake application would then increase pressure from that point on in the system.
There's no relief valves, but release the handbrake or foot brake and the master cylinder piston will move again opening the ports allowing fluid flow.
Only a very small movement of the piston will dissipate any pressure.
|
| |
Last Edit: Mar 26, 2019 17:24:46 GMT by jonomisfit
|
|
|
|
jonomisfit
Club Retro Rides Member
Posts: 1,787
Club RR Member Number: 49
|
|
Mar 30, 2019 16:30:42 GMT
|
Short weekend again. bent the return lip up  P1020223 P1020223 by jono_misfit, on Flickr then clamped it down square to the bench, which included drilling through the bench to fit a pull down stud  P1020224 P1020224 by jono_misfit, on Flickr start measuring up for a strengthening rib as I think it'll not be stiff enough when you pull the handbrake and will over time warp.  P1020225 P1020225 by jono_misfit, on Flickr tacked in ready for another one 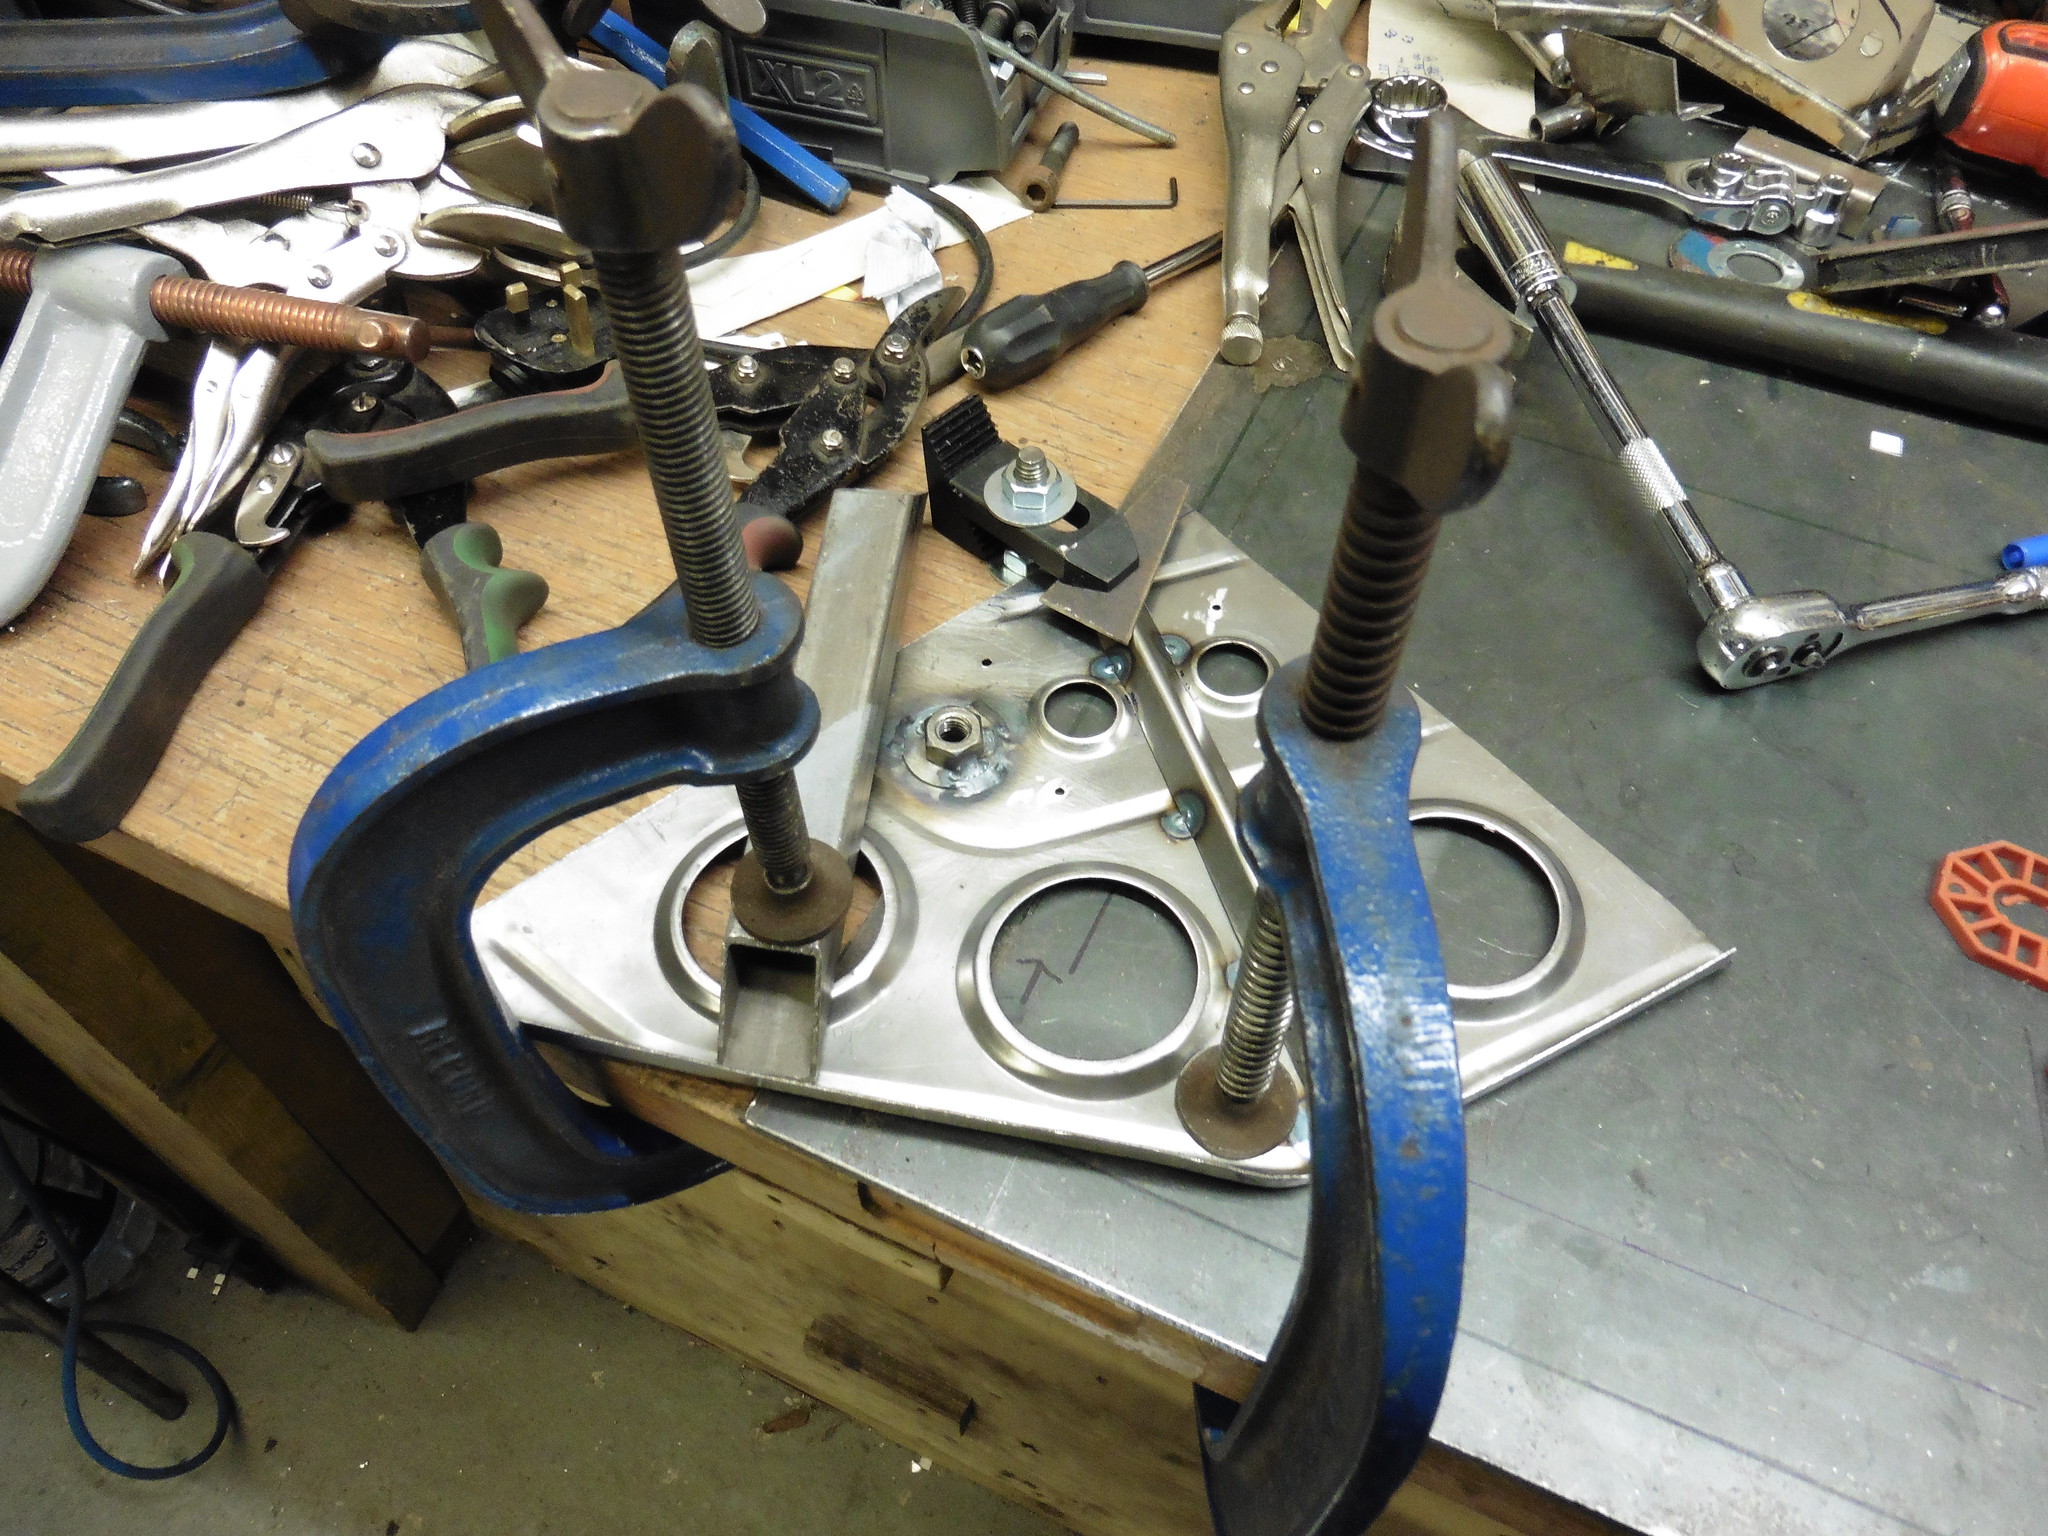 P1020226 P1020226 by jono_misfit, on Flickr tacked 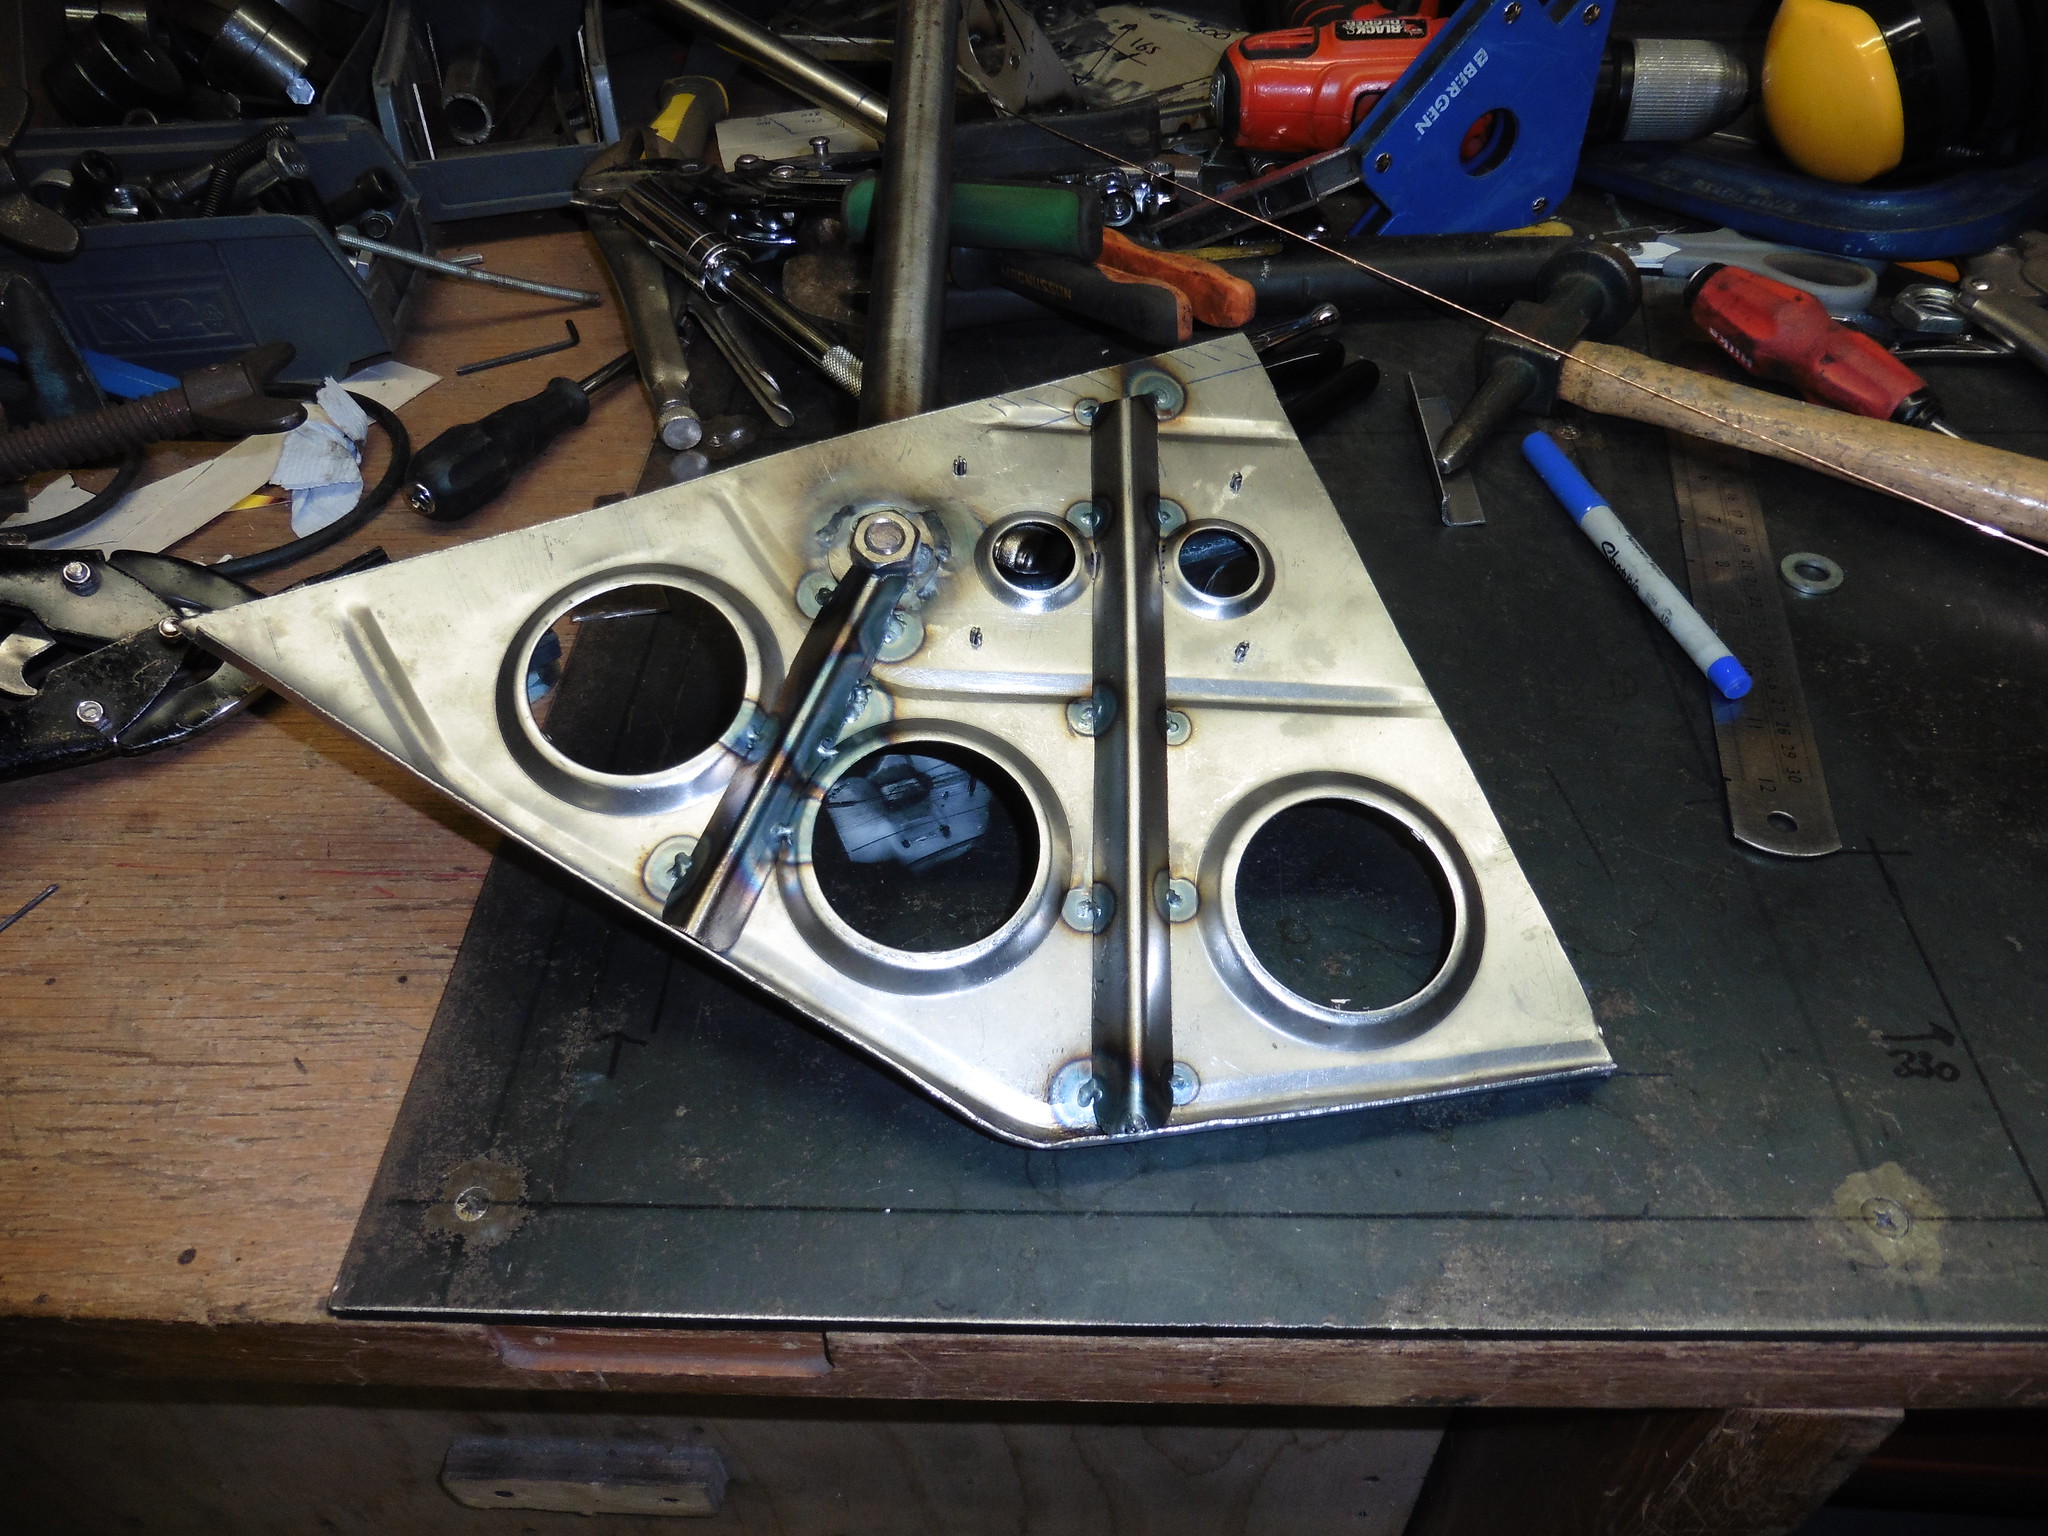 P1020229 P1020229 by jono_misfit, on Flickr ribs welded in and master cylinder mount added 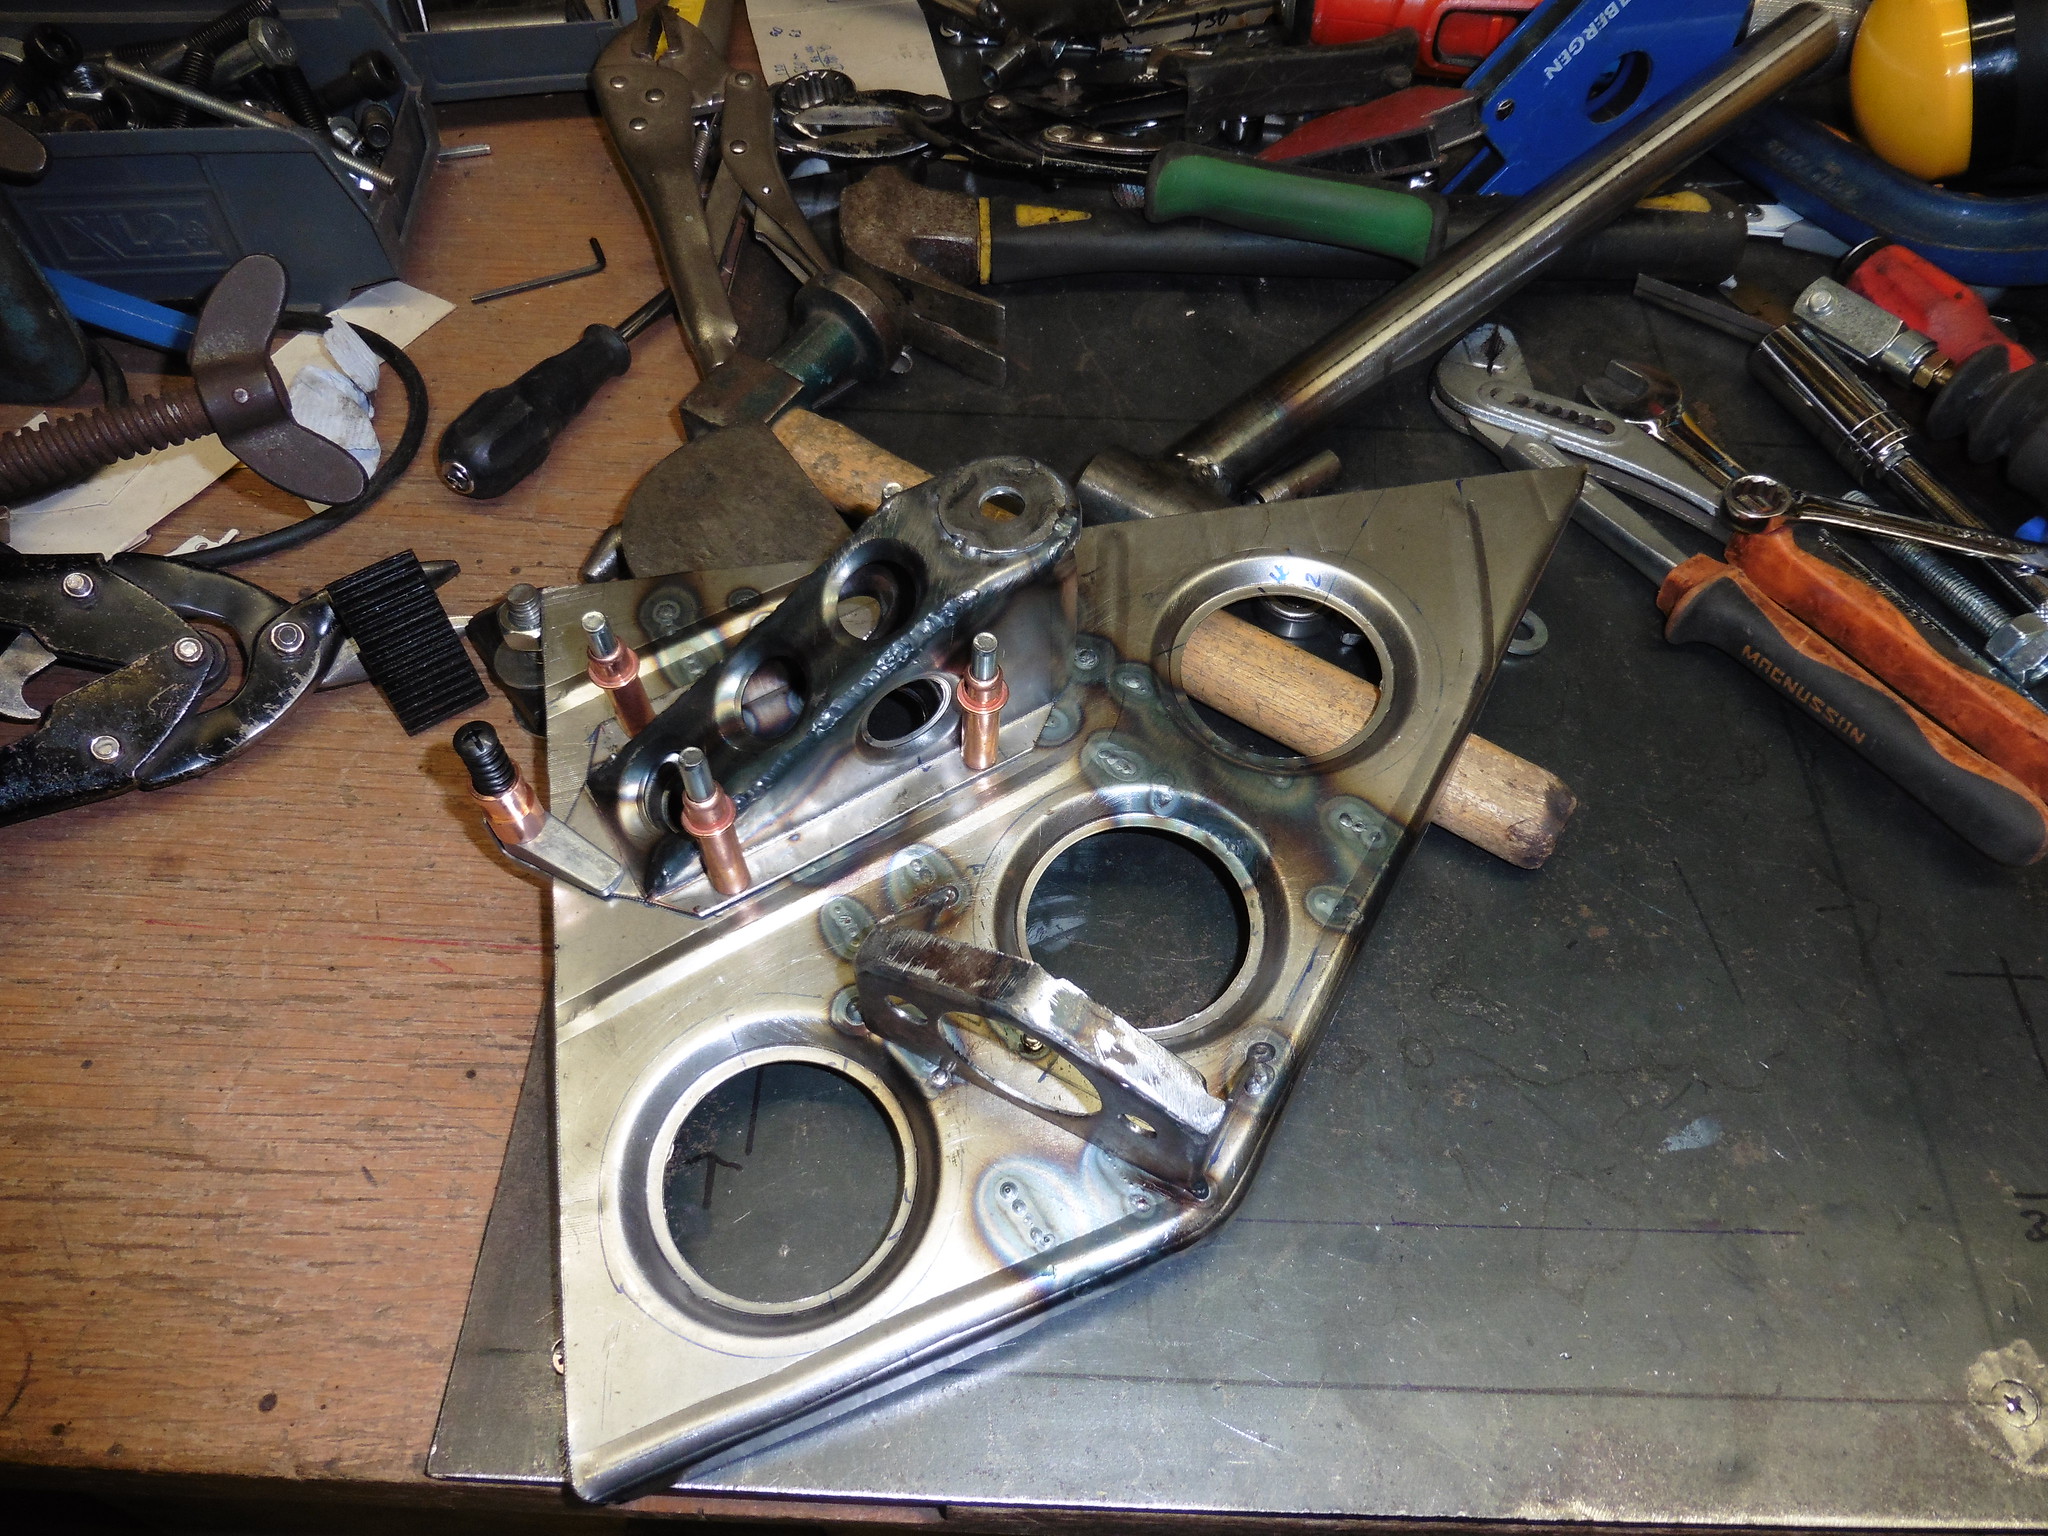 P1020230 P1020230 by jono_misfit, on Flickr mock up of how the handbrake will be with cylinder actuation 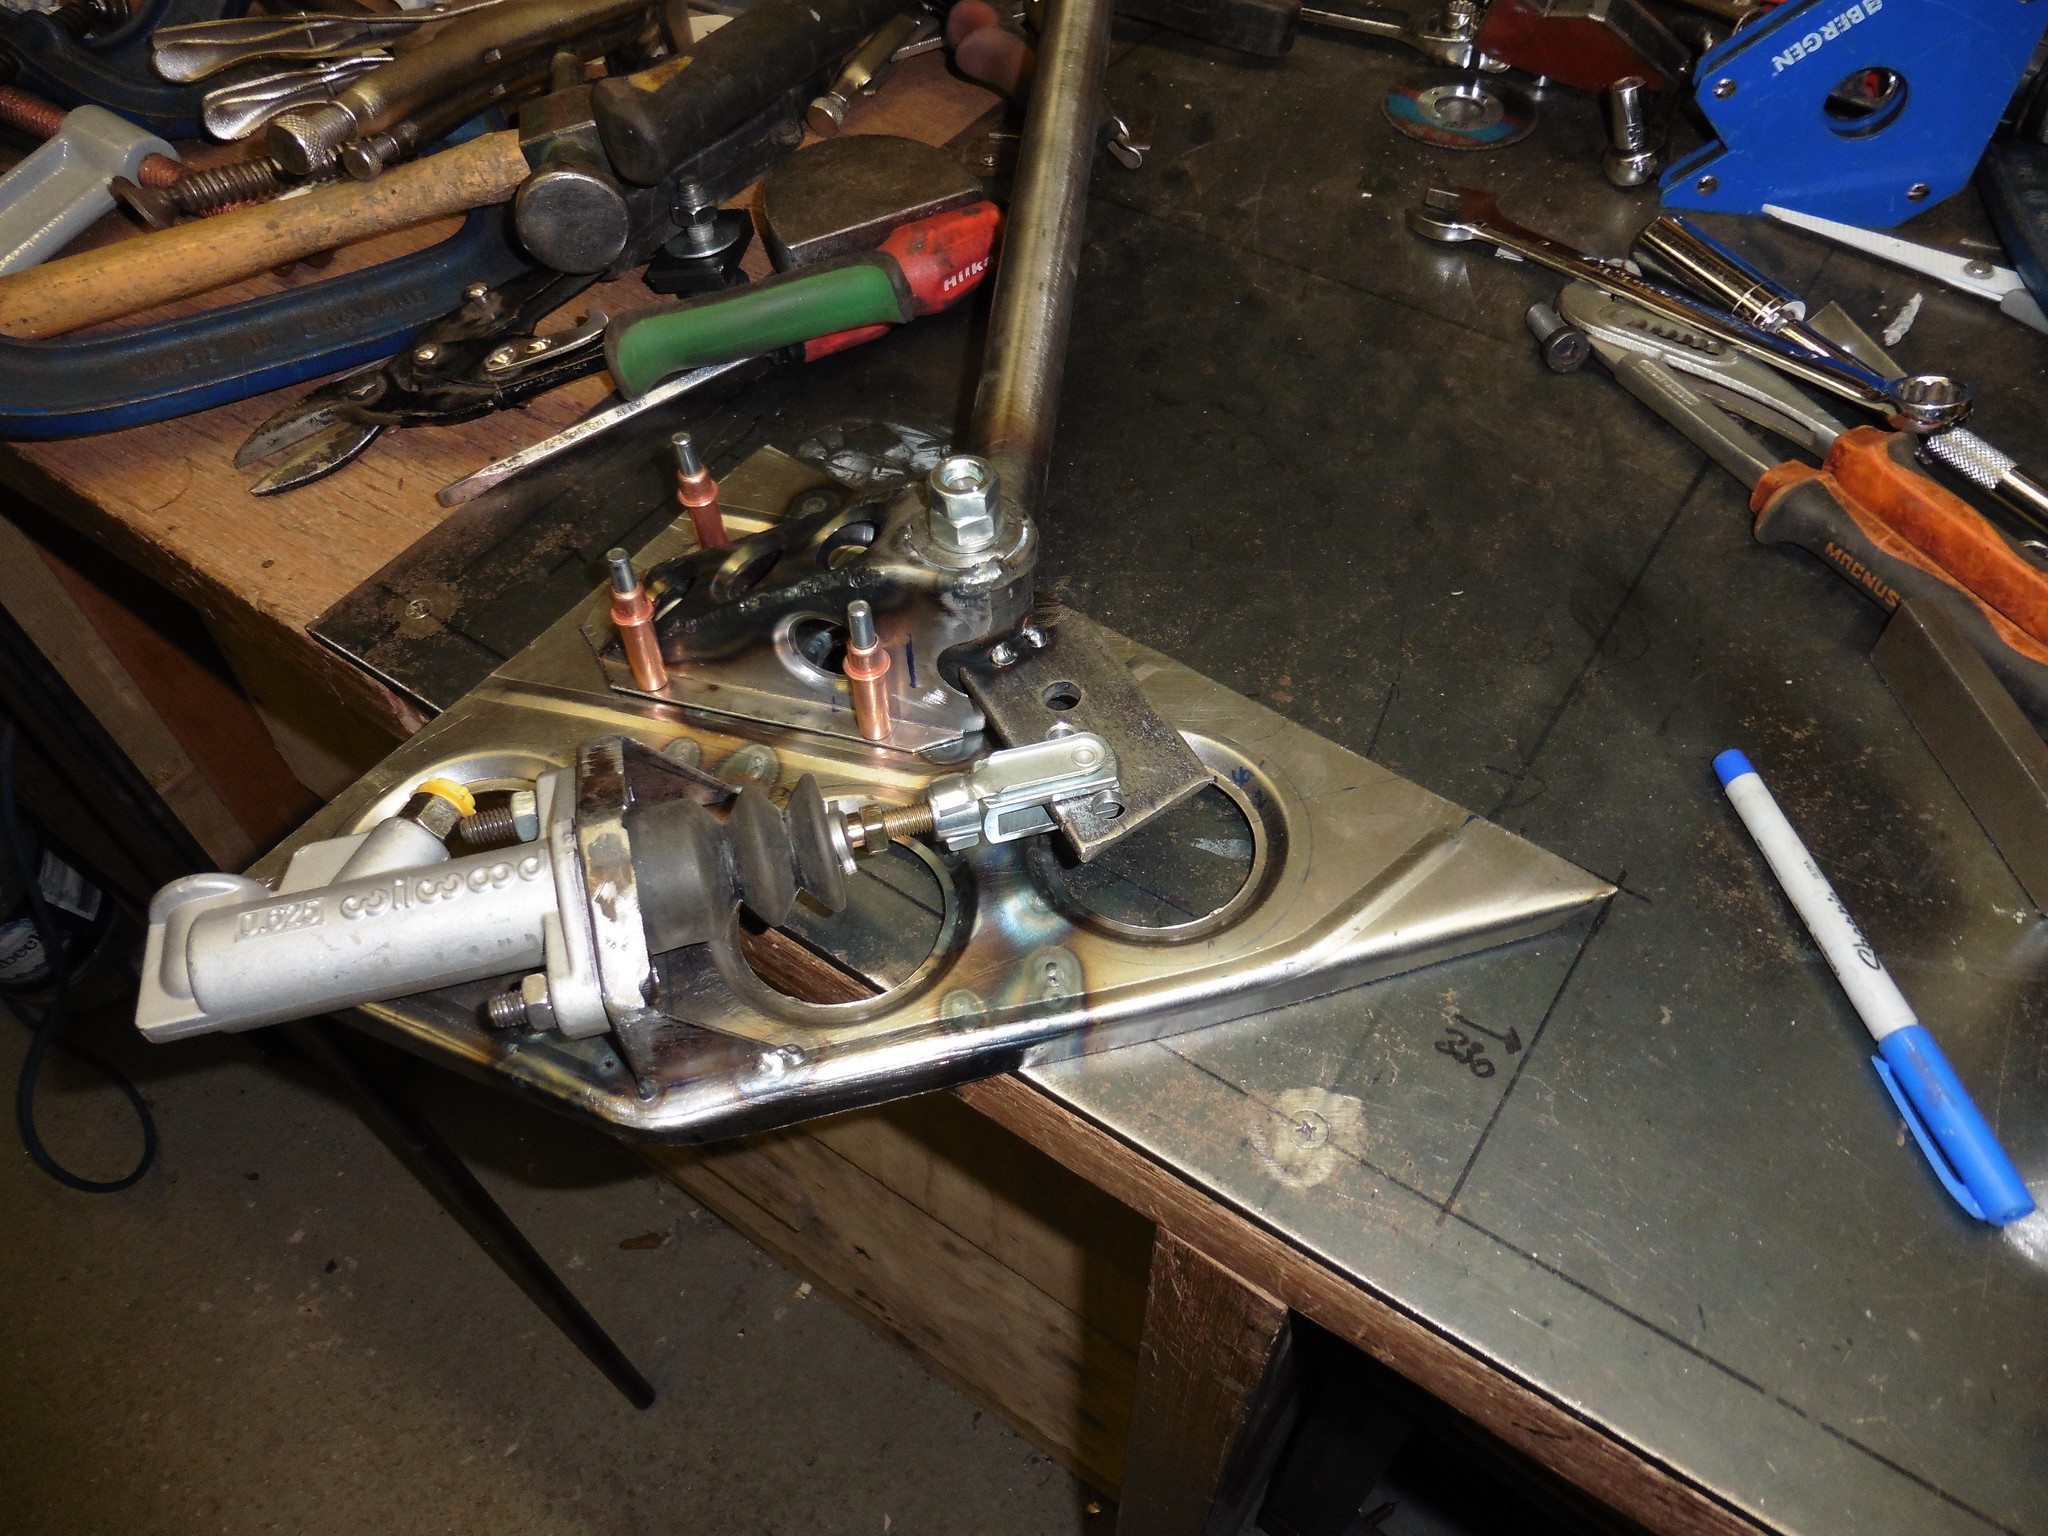 P1020231 P1020231 by jono_misfit, on Flickr the blue line is where the cutout needs to go to, although the handbrake is too far forward, so will need to adjust it to the correct position so I can set it. |
| |
|
|
jonomisfit
Club Retro Rides Member
Posts: 1,787
Club RR Member Number: 49
|
|
|
|
Mrs_misfit was away this weekend but got back early enough to give me an hours respite from Baby_Demon_misfit... Some minor progress on the handbrake. cleaned up the actuating arm and moved it slightly on the spindle for clearance.  P1020232 P1020232 by jono_misfit, on Flickr Allows full movement  P1020233 P1020233 by jono_misfit, on Flickr Still needs the arm to spindle gusset added. added a handbrake stop so I can set the vertical position, and clamped it into place to check it over  P1020234 P1020234 by jono_misfit, on Flickr 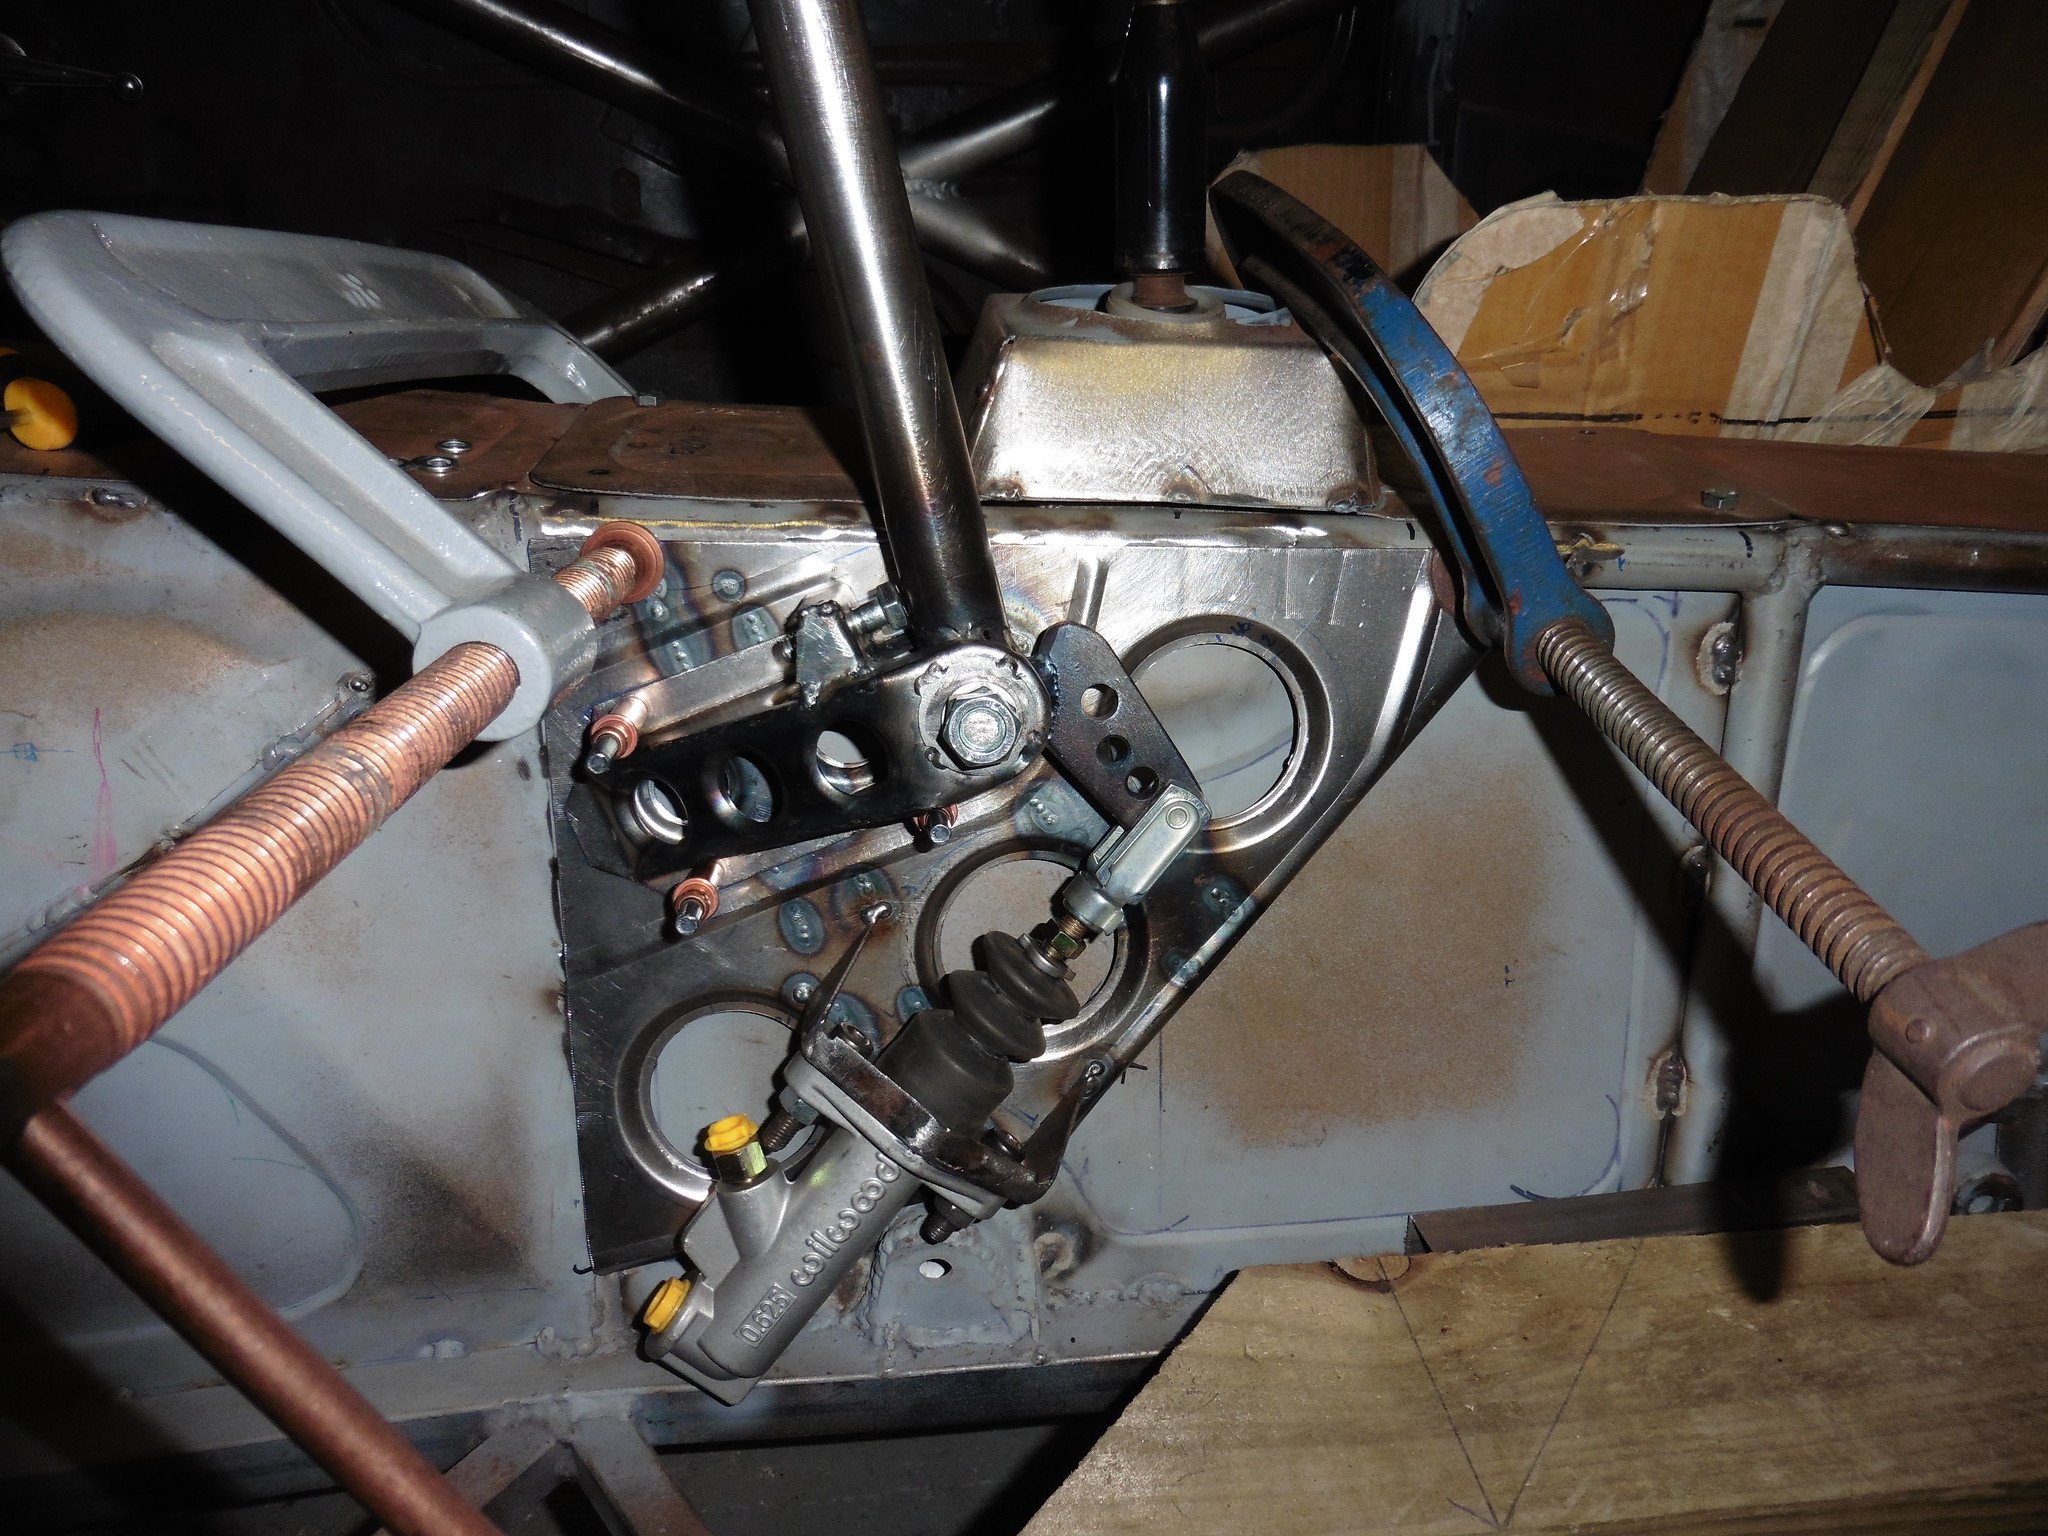 P1020235 P1020235 by jono_misfit, on Flickr welded on the master cylinder mount  P1020236 P1020236 by jono_misfit, on Flickr and drilled for plug welds which I'll do from the back before fitting the assembly.  P1020237 P1020237 by jono_misfit, on Flickr Gave it a quick over and sprayed on some weld through ready for next session. |
| |
|
|
jonomisfit
Club Retro Rides Member
Posts: 1,787
Club RR Member Number: 49
|
|
Apr 14, 2019 13:52:05 GMT
|
I got an hour this morning in between family things. welded the handbrake mount together 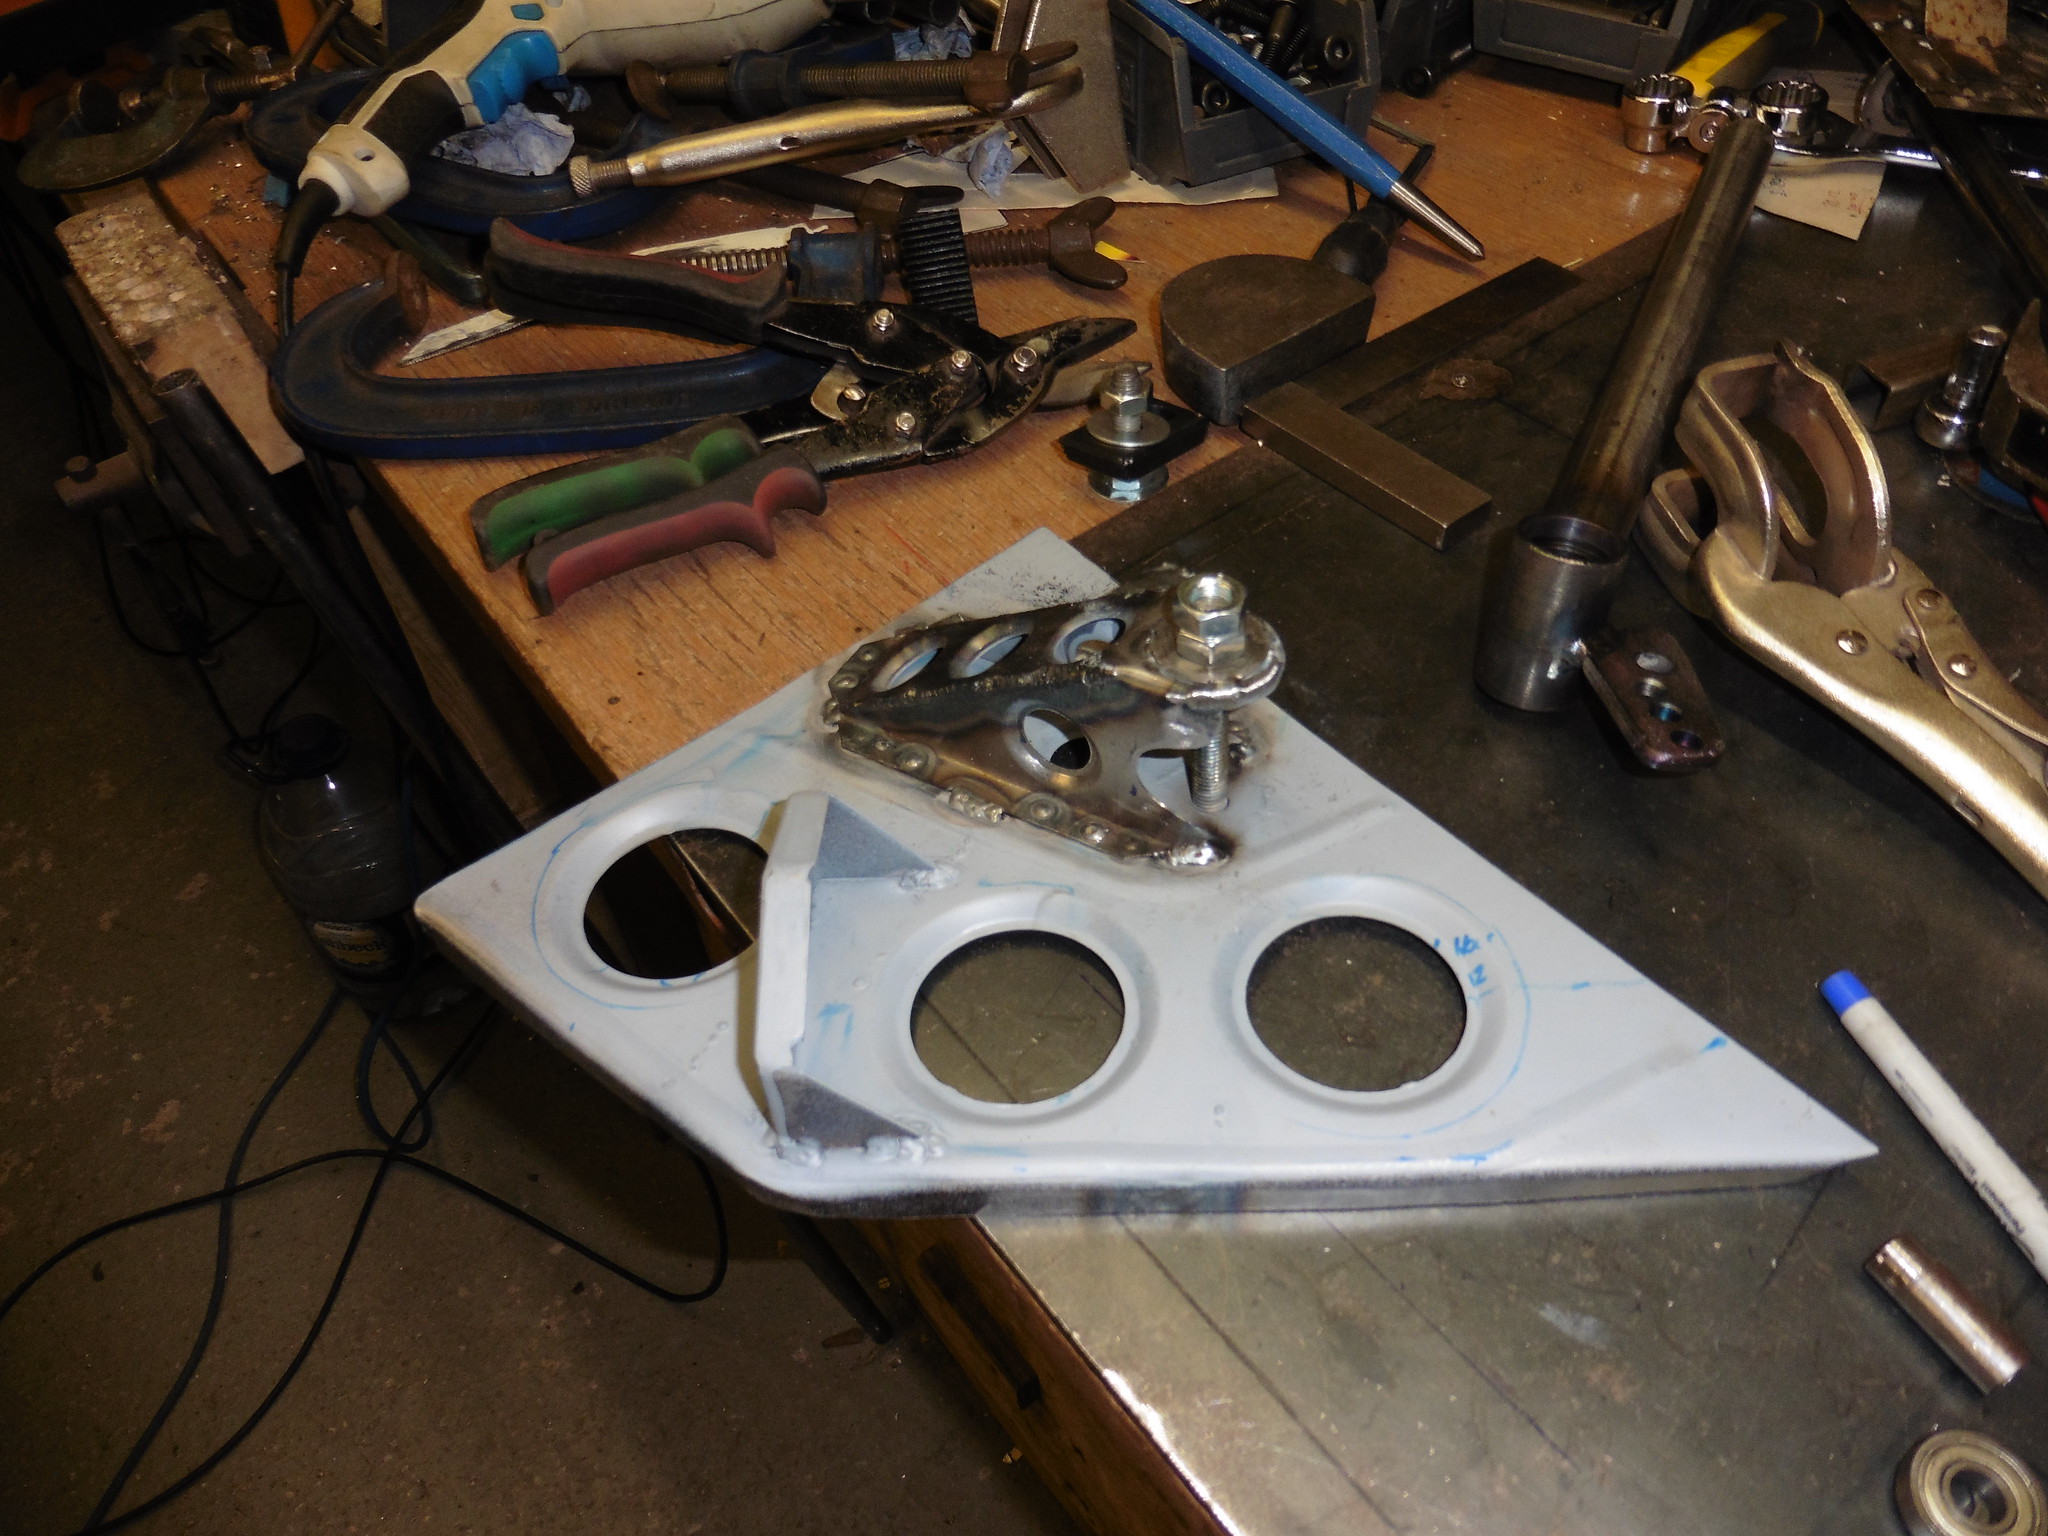 P1020238 P1020238 by jono_misfit, on Flickr checked everything was good and working ok, then welded the mount in  P1020240 P1020240 by jono_misfit, on Flickr  P1020241 P1020241 by jono_misfit, on Flickr it is absolutely solid, and the handbrake falls nicely to hand when dropping from the wheel... not that it'll ever really be needed like that, but you know, just in case. I also gave the foot rest a clean up, prime, and coat of black to stop it oranging any further. 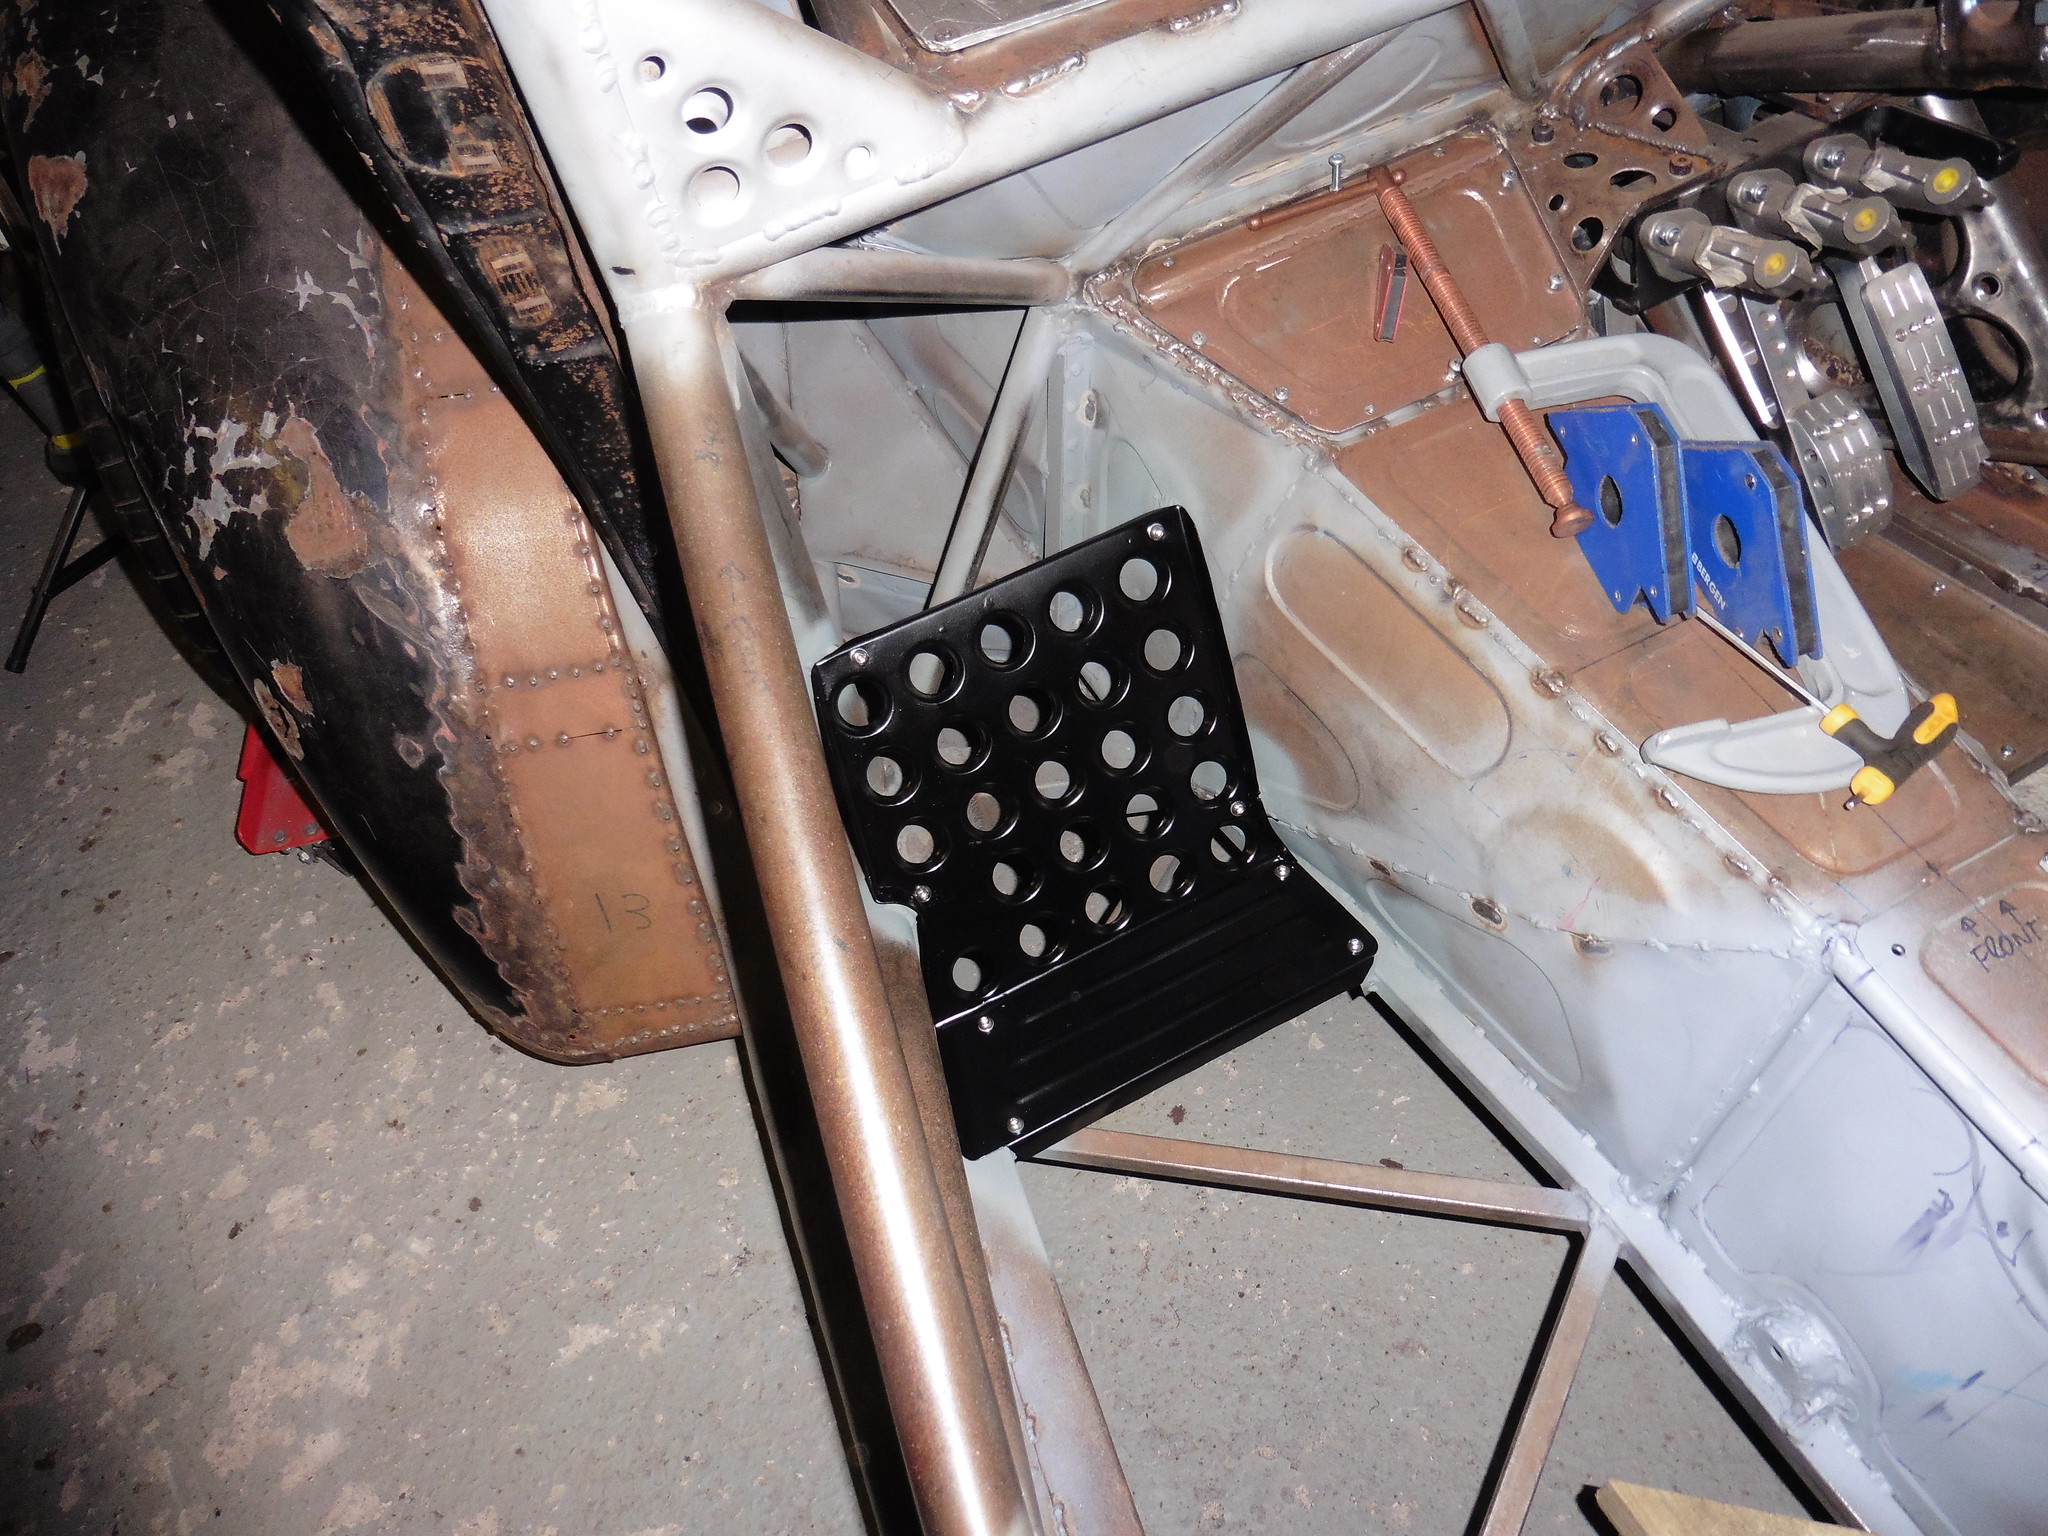 P1020239 P1020239 by jono_misfit, on Flickr I think that next step will be to make seat mounts and ... gulp..... a seat. |
| |
|
|
jonomisfit
Club Retro Rides Member
Posts: 1,787
Club RR Member Number: 49
|
|
Apr 19, 2019 18:11:13 GMT
|
so.... a seat then... lets start a prototype. Get the current cardboard mock up out  P1020242 P1020242 by jono_misfit, on Flickr put it back to flat pack so I can measure it  P1020243 P1020243 by jono_misfit, on Flickr sheet of steel with markings starting  P1020244 P1020244 by jono_misfit, on Flickr use my aldi special metal nibbler which work surprisingly well. It just cant do tight turns,but drill a hole at the terminus sorts that. 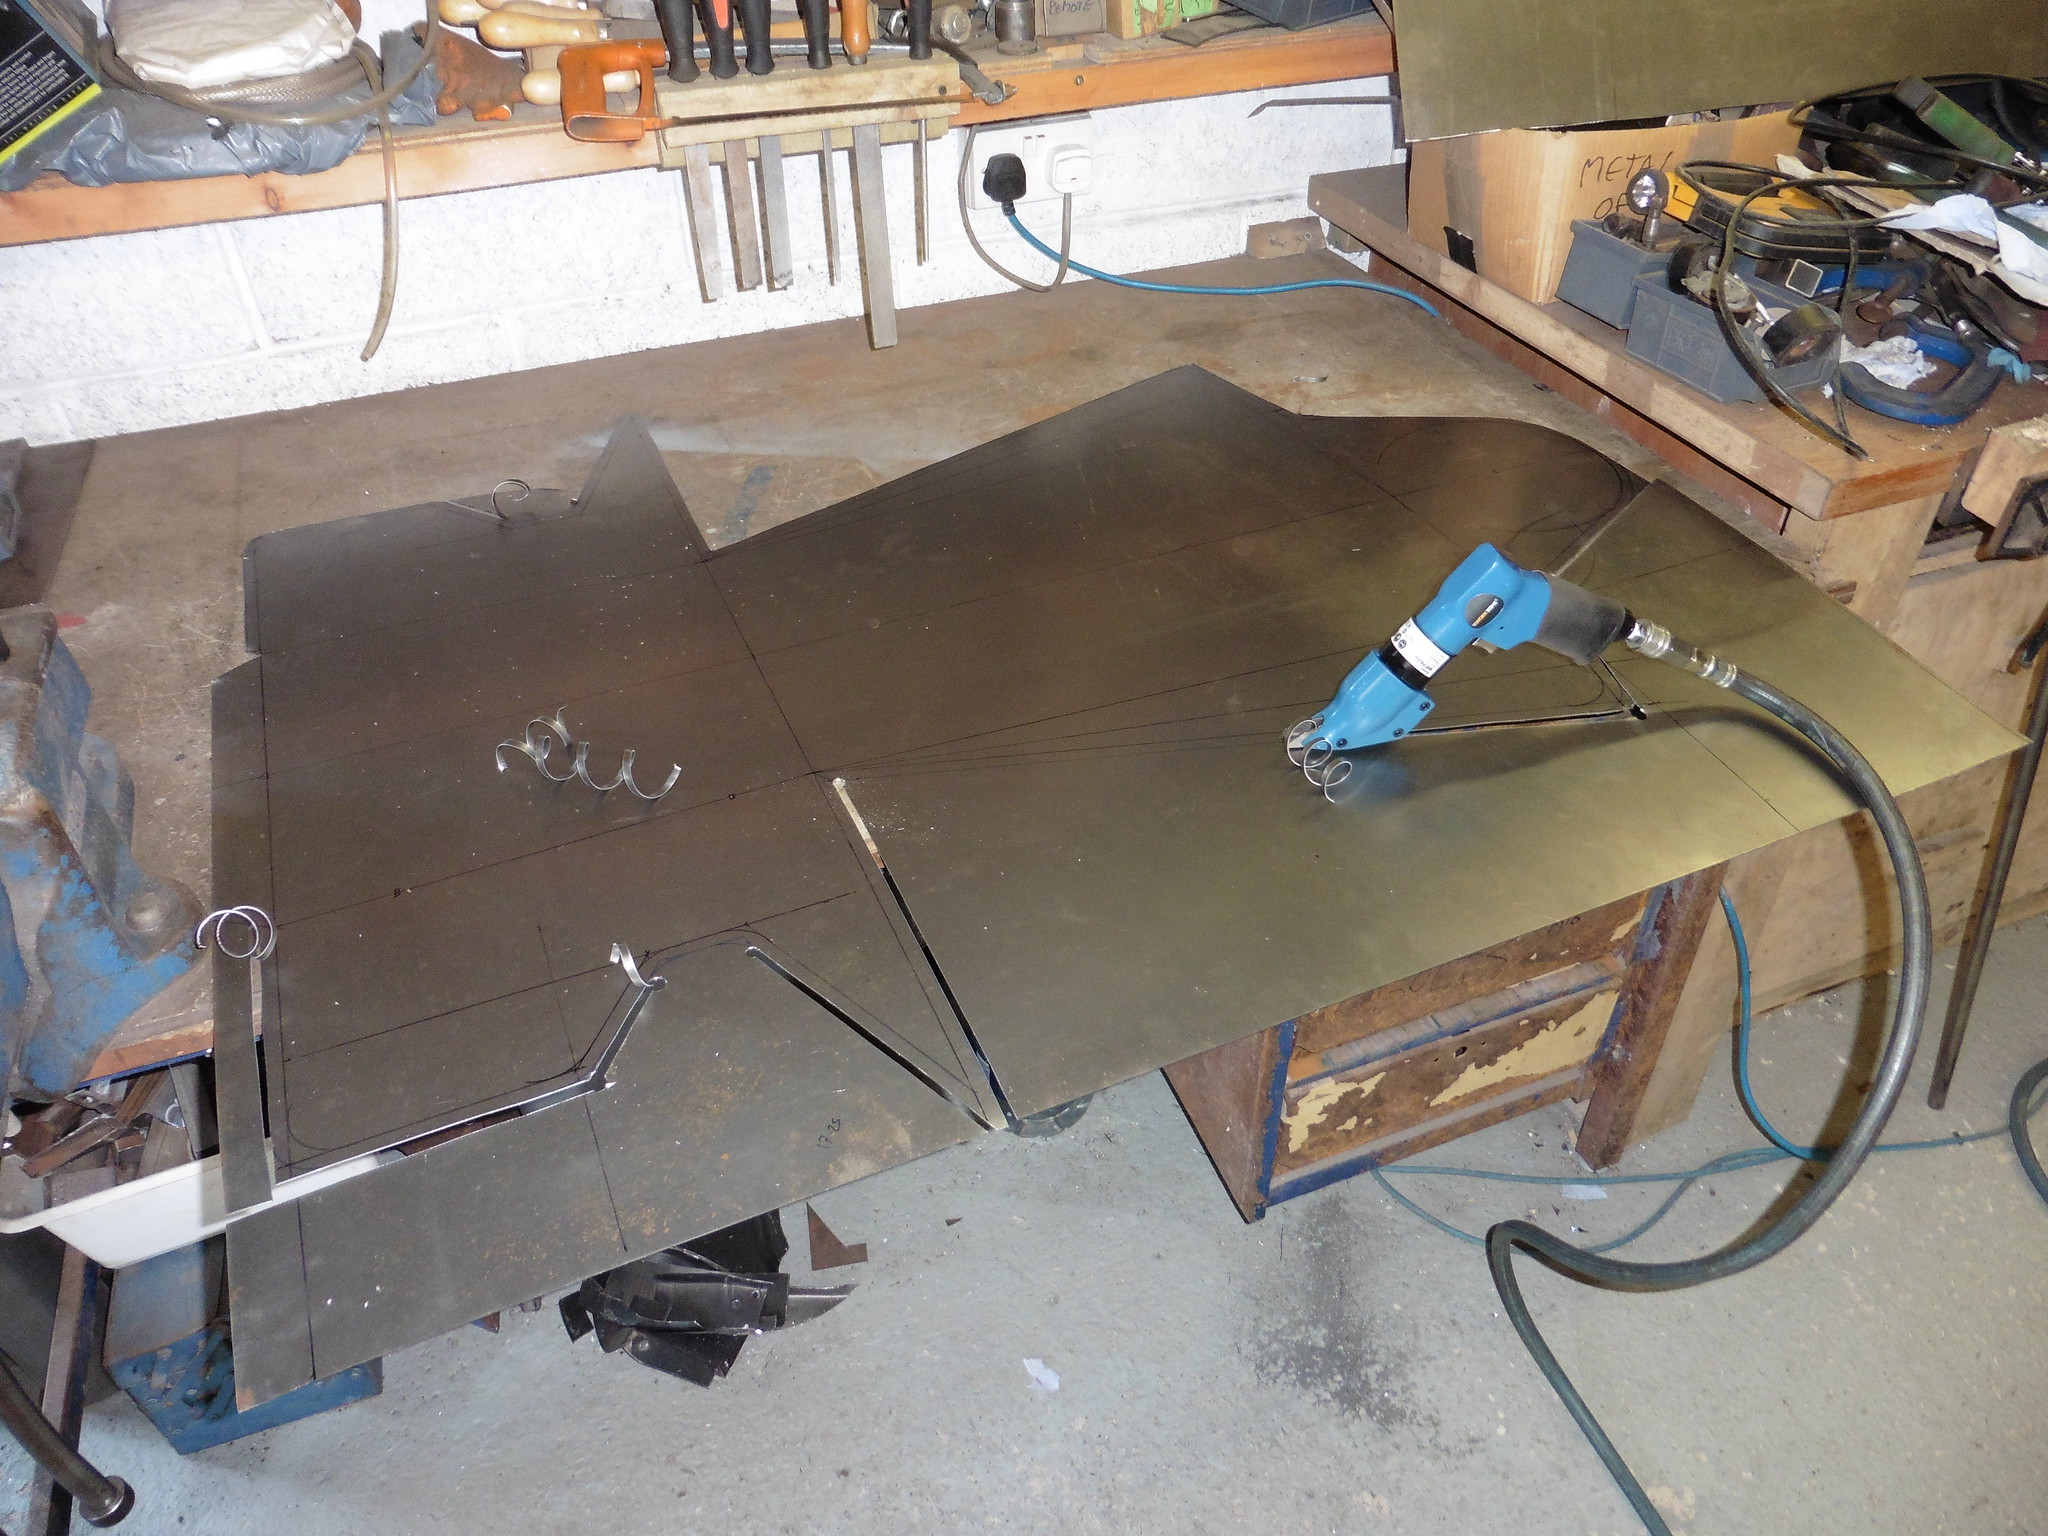 P1020245 P1020245 by jono_misfit, on Flickr after a bit more trimming  P1020246 P1020246 by jono_misfit, on Flickr more marking out  P1020248 P1020248 by jono_misfit, on Flickr start cutting out holes  P1020249 P1020249 by jono_misfit, on Flickr all holes cut  P1020250 P1020250 by jono_misfit, on Flickr ready for me to make an edge rolling adaptor for my bead roller, then bend and swage. |
| |
|
|
joeytalent
Part of things
  ITB Everything.
Posts: 440
|
|
Apr 19, 2019 20:38:29 GMT
|
|
I opened this expecting to see a load more CAD prototypes... blown away with the progress! Can't wait to see the finished seat.
|
| |
|
|
|
|
|
|
|
|
Can't wait for the helicopter pilot helmet complete with oxygen mask!
|
| |
|
|
jonomisfit
Club Retro Rides Member
Posts: 1,787
Club RR Member Number: 49
|
|
Apr 22, 2019 20:11:21 GMT
|
Not sure about the oxygen mask, but I do have a gas mask with a trunk i was thinking of mounting to the car, along with red LED interior lighting to be disturbing at traffic lights :-) so today was a day of failure, frustration, and a fudging sore hand.... First up I tried to make a tipping die for the bead roller, this is so I can put the seat edge through the bead roller and bend the flange. Spent ages on the lathe to make this. 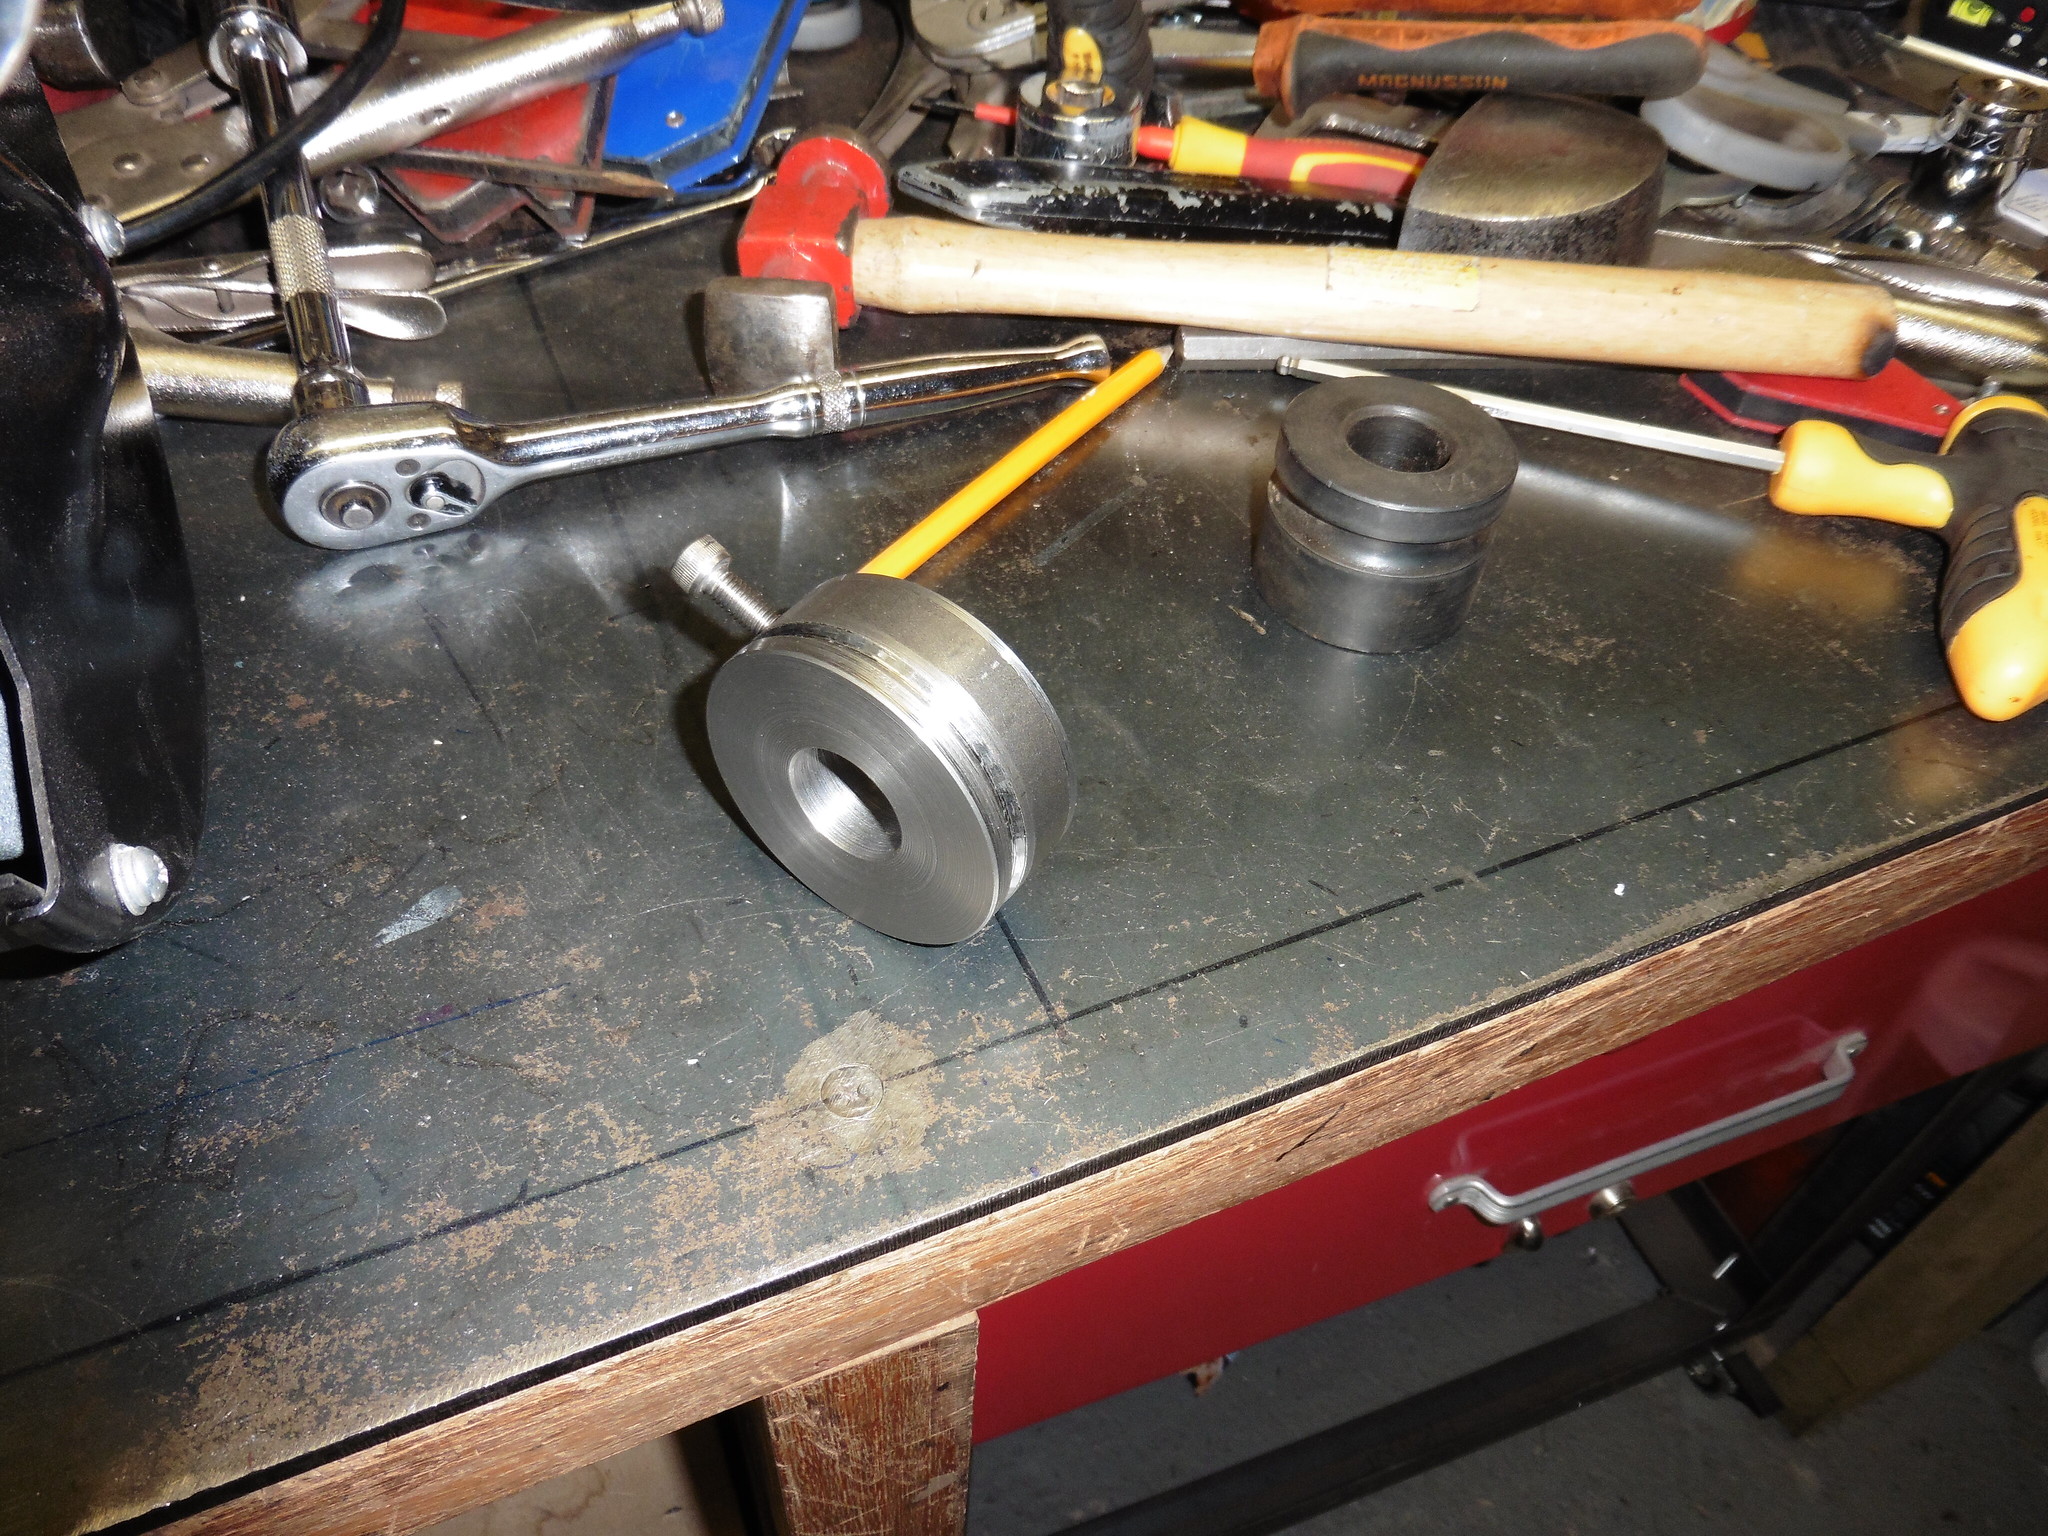 P1020251 P1020251 by jono_misfit, on Flickr and these  P1020252 P1020252 by jono_misfit, on Flickr My camera then died... so no pics for a bit, but assembled adjusted the roller and the die wheel to work together. Bust after an hour messing about I still couldnt get them to do anything other than put a very small bead in metal. I got fed up at this point and put them away in disgust. I may re-visit as having looked on line I think its likely a technique issue than I made the wrong bits. The failure. The frustration.... I started trying to swage in the holes to then realise i cant get most on the seat in the press or the vice, so will have to come up with another way to press some of the hole swages in. The smaller ones I can bolt up (up to 50mm), but the big one thats not possible. So i then decided to start putting the bends in the seat, and manually (using the bending stick) putting the edge on it. start of the head rest.  P1020253 P1020253 by jono_misfit, on Flickr still needs some time going round the edge with the hammer and dolly to get it all rolled right. bent up the support "wings"  P1020254 P1020254 by jono_misfit, on Flickr again just roughly and need to go round with the hammer and dolly to sharpen the edges up. then started on the base of the seat Folded the sides up and clamped them into position.  P1020255 P1020255 by jono_misfit, on Flickr at this stage I encountered a lack of concentration combined with an excess of stupidity, and now have an additional ventilation hole in my hand....  P1020257 P1020257 by jono_misfit, on Flickr after a brief interlude for some swearing and a plasters I got back to it.  P1020256 P1020256 by jono_misfit, on Flickr still needs a load of work to finish it, but its surprisingly stiff already, so should get more so when the strengthening back rest / side supports go in. It is designed around me and fits me very snugly. i'm hoping when the other bits go in this doesnt become too tightly fitting.... The passenger side will definitely need to be 50 - 75mm wider at the base. |
| |
|
|
|
|
|
Apr 22, 2019 22:24:37 GMT
|
It is designed around me and fits me very snugly...... [/b][/ul] [/quote] I hope the wife doesn't read this and take offense....  |
| |
|
|
jonomisfit
Club Retro Rides Member
Posts: 1,787
Club RR Member Number: 49
|
|
|
|
|
I can't see mrs_misfit ever wanting to get in the car.
The passenger side you need to be an acrobat to get in.
|
| |
|
|
|
|
|
|
|
Apr 23, 2019 19:16:36 GMT
|
It is designed around me and fits me very snugly...... [/b][/ul] [/quote]I hope the wife doesn't read this and take offense....  [/quote]and comment of the week award goes to............ |
| |
'80 s1 924 turbo..hibernating
'80 golf gli cabriolet...doing impression of a skip
'97 pug 106 commuter...continuing cheapness making me smile!
firm believer in the k.i.s.s and f.i.s.h principles.
|
|
jonomisfit
Club Retro Rides Member
Posts: 1,787
Club RR Member Number: 49
|
|
|
|
I managed a bit of time on the morris yesterday commenced with swaging holes and rolling the lip where the belts will go over the seat side.  P1020258 P1020258 by jono_misfit, on Flickr 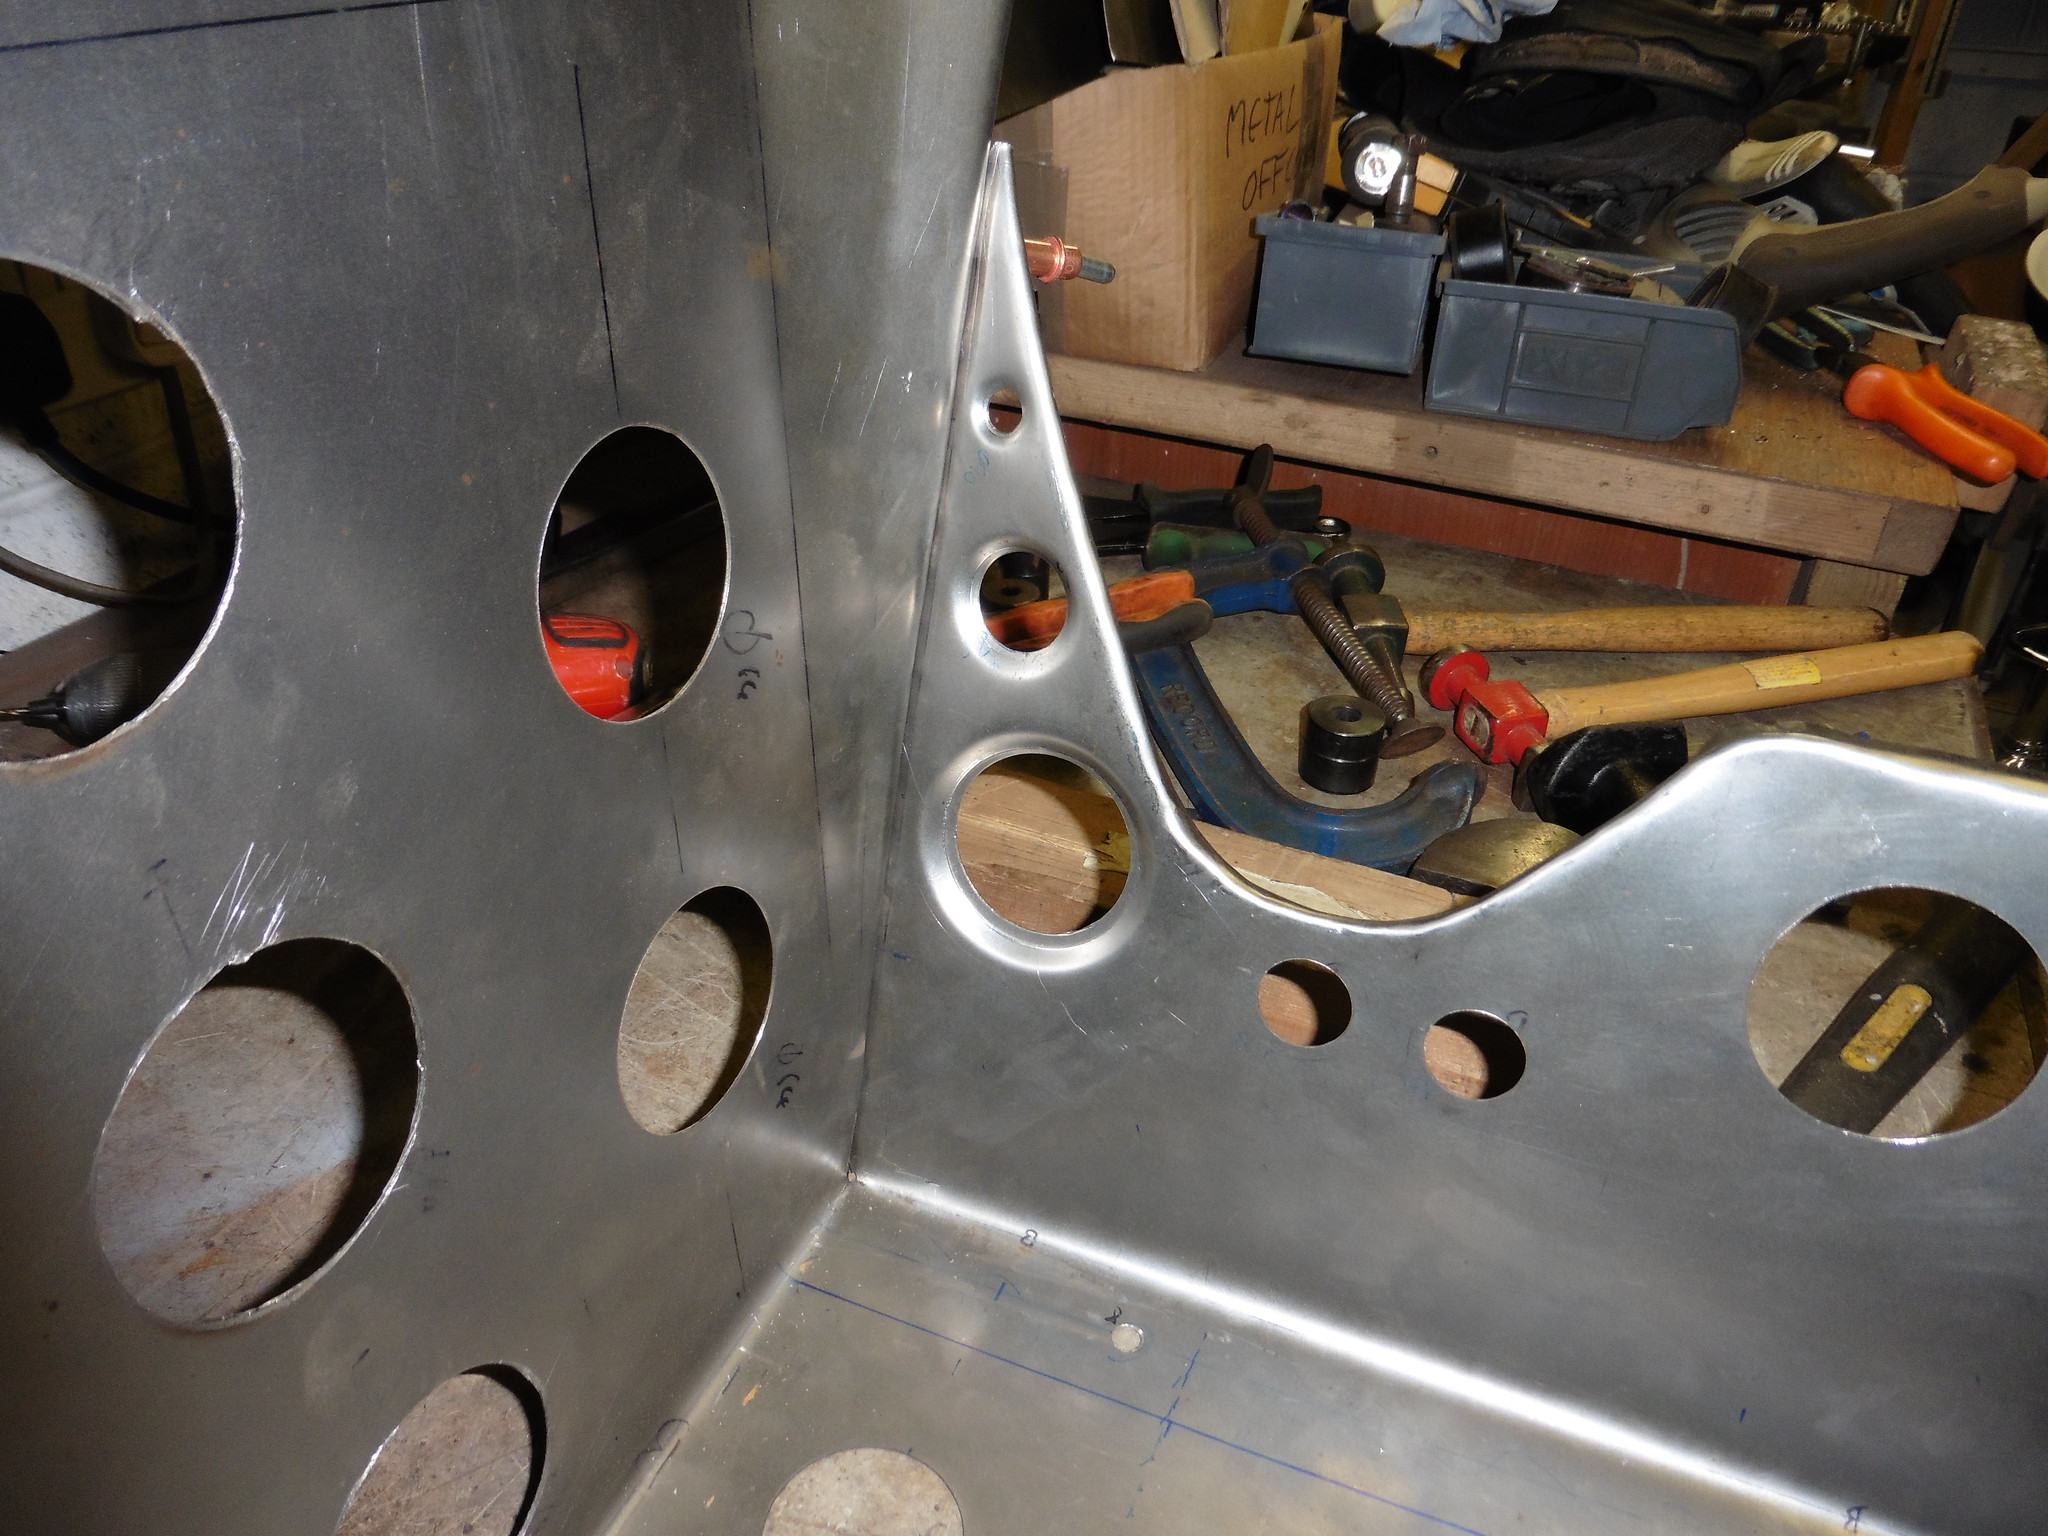 P1020259 P1020259 by jono_misfit, on Flickr not quite as crisp as i'd like, but not horrific for my first go. the lack of suitable sized press to fit the whole seat meant i needed to get creative when doing the larger swages  P1020260 P1020260 by jono_misfit, on Flickr it worked though. 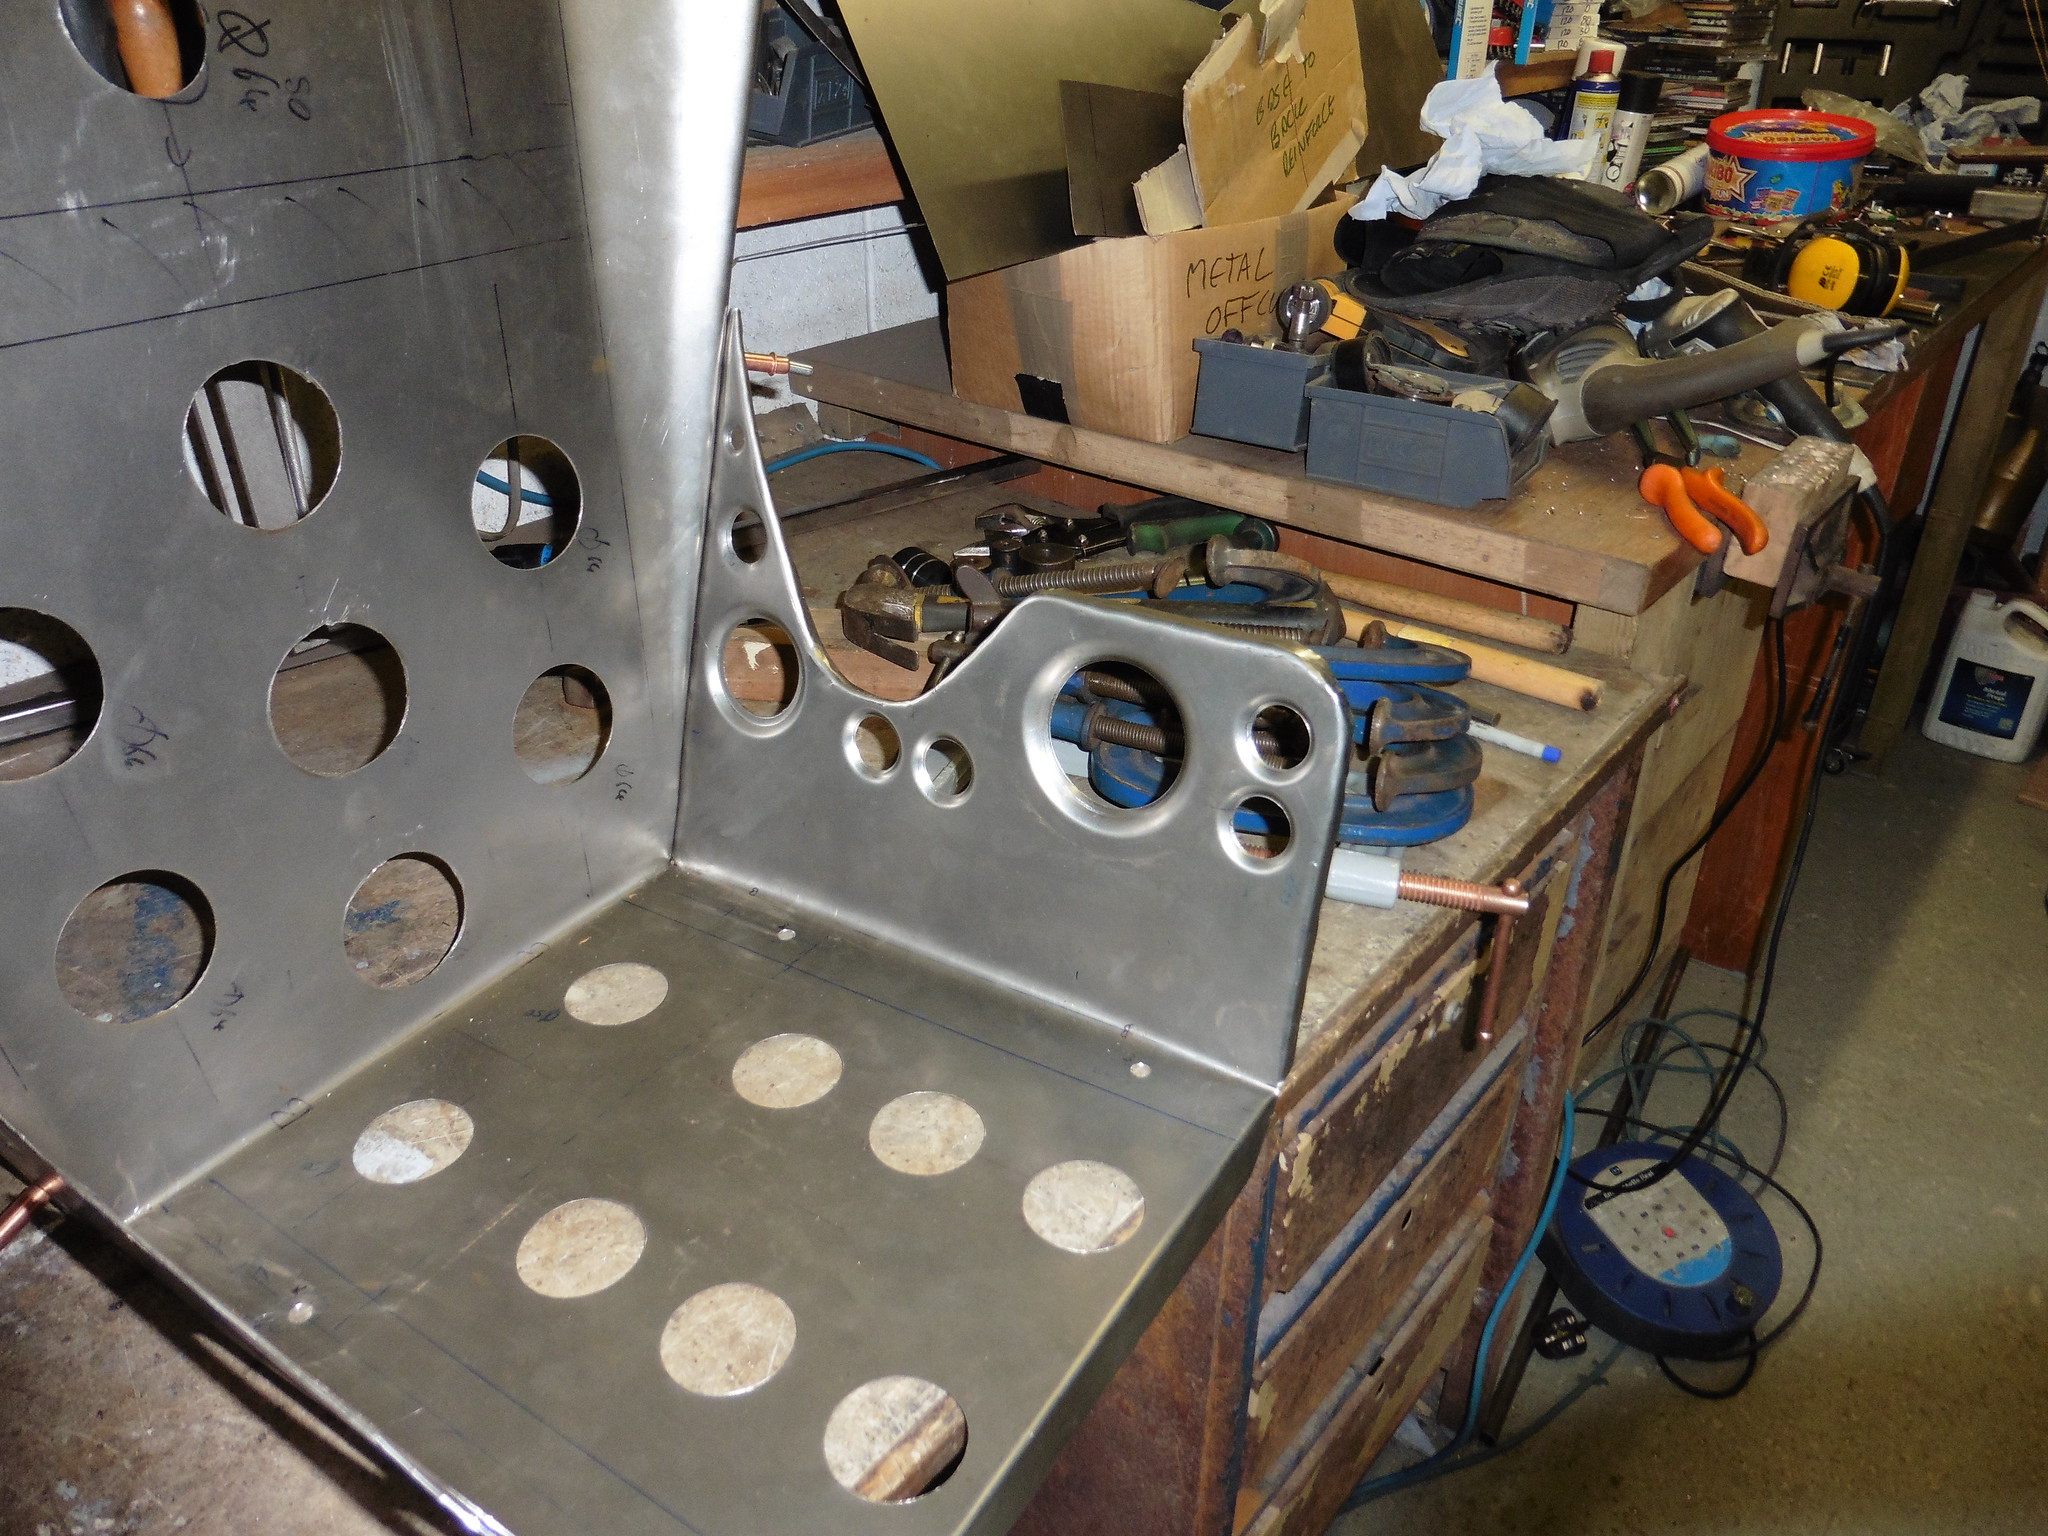 P1020261 P1020261 by jono_misfit, on Flickr do the same on the other side 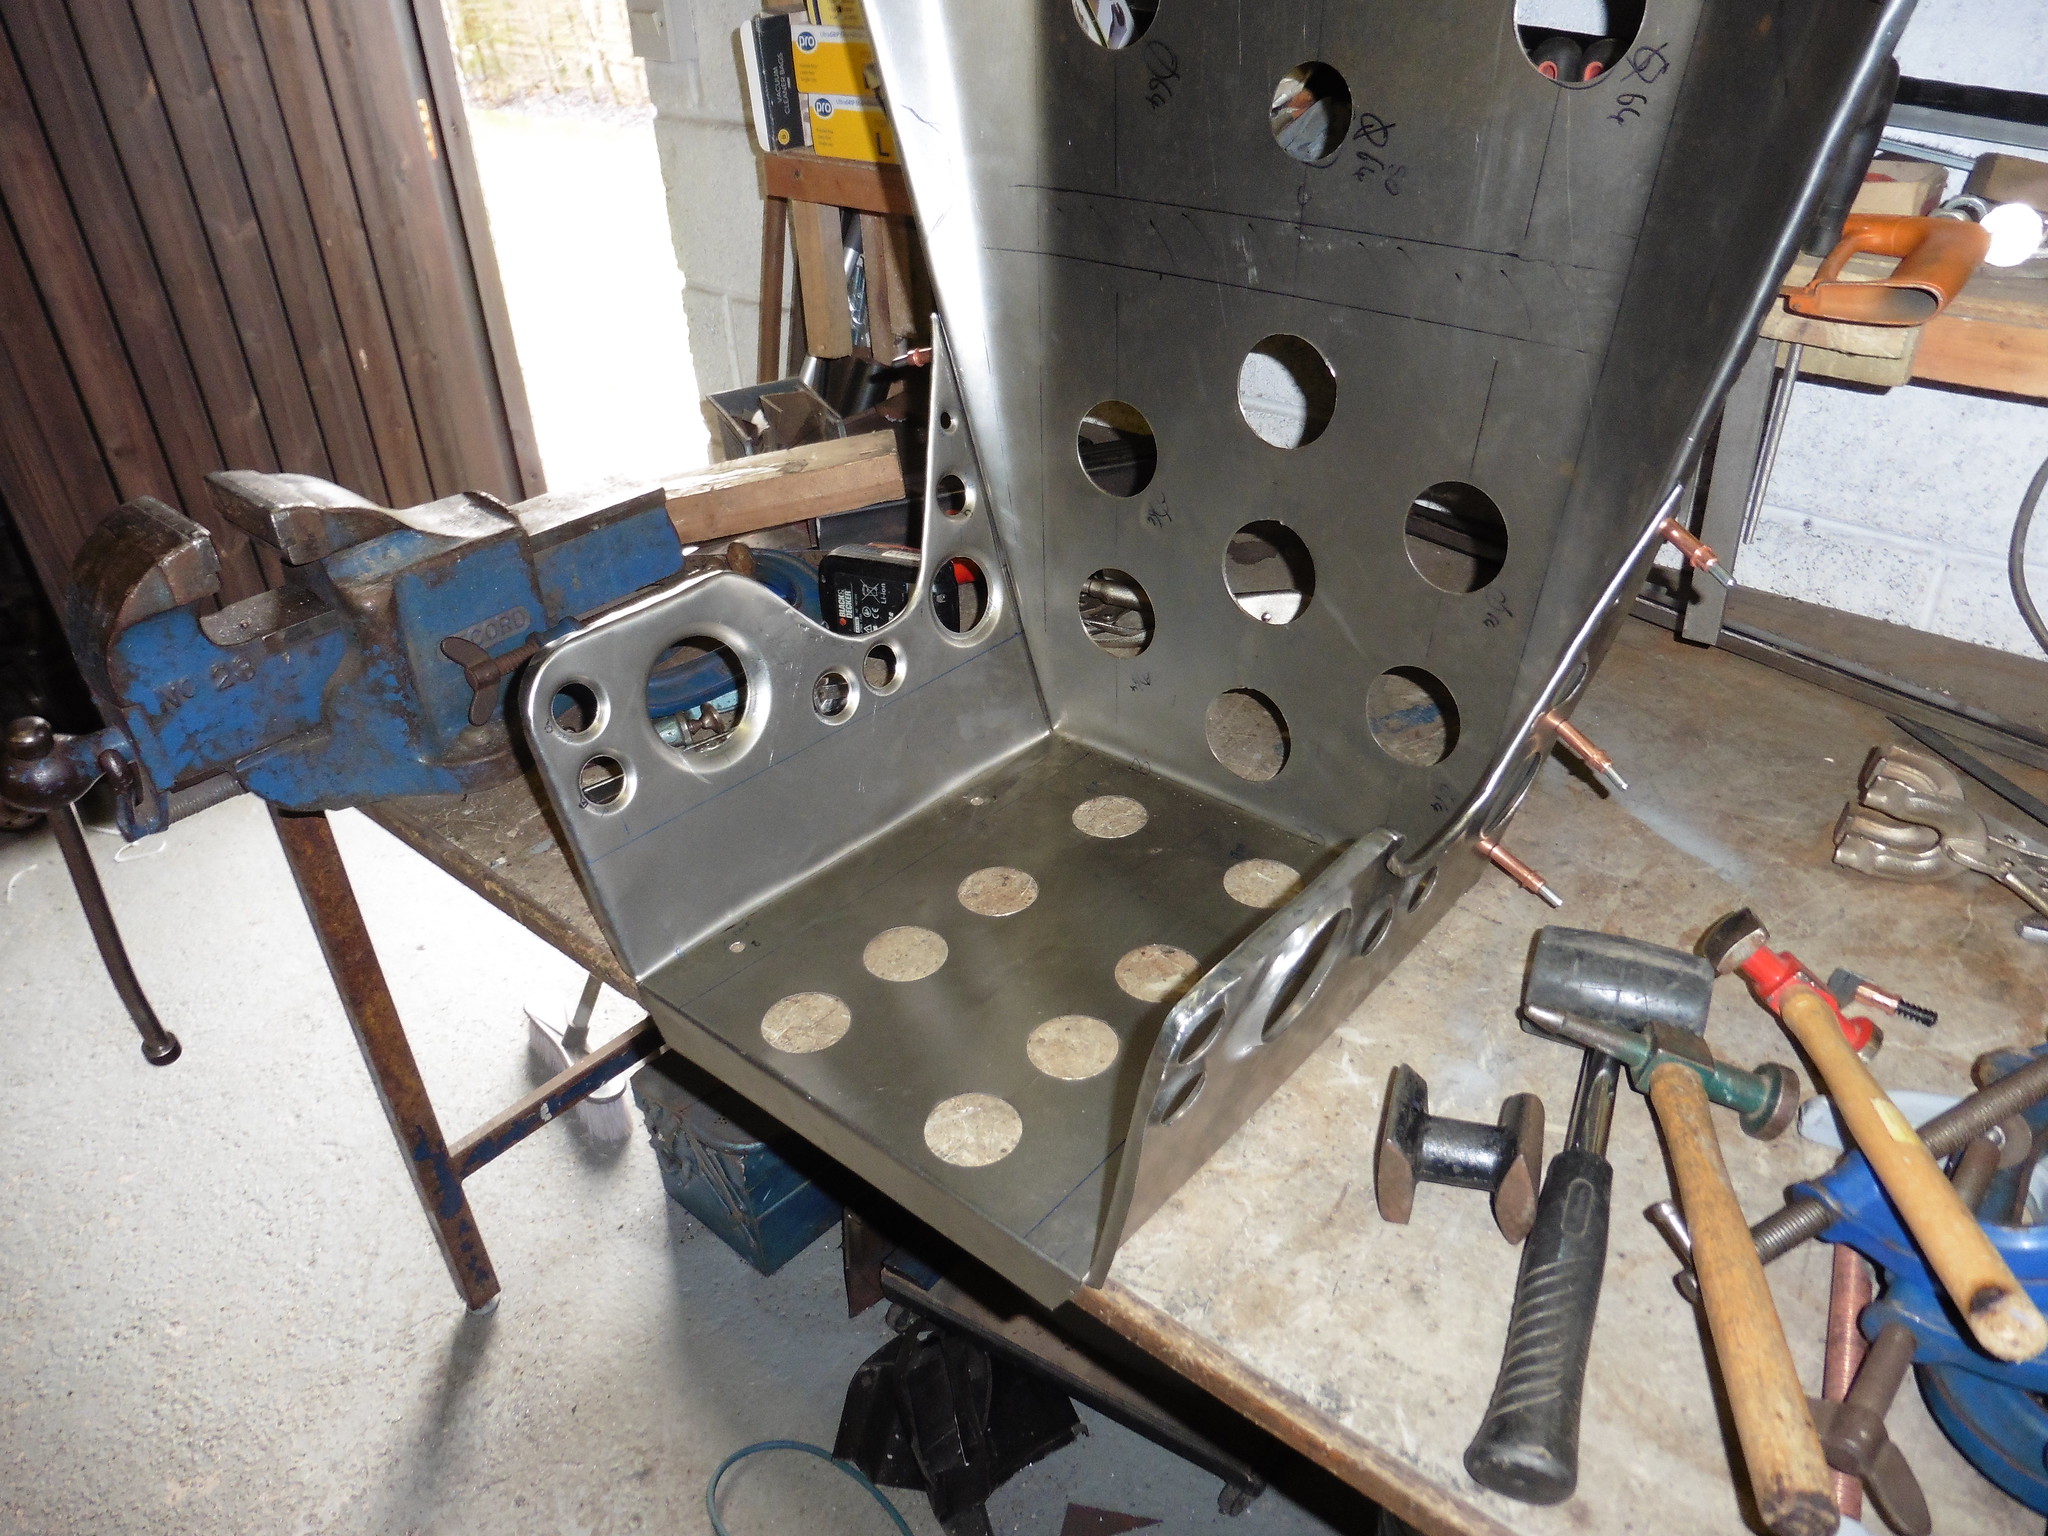 P1020262 P1020262 by jono_misfit, on Flickr hmmm. these ones on the back are a bit more difficult to tackle. I cant get clamps in on them  P1020263 P1020263 by jono_misfit, on Flickr a solution was found....  P1020264 P1020264 by jono_misfit, on Flickr Hammer round the edge of the die with the rubber mallet and it drives it in. Not perfect, but worked well enough. The bottom central one I had to unbolt the tool and use just the tapered section as it was all a bit tight! now to try fitting in the car.... Needs a notch out here to fit past the rollcage.  P1020265 P1020265 by jono_misfit, on Flickr notched 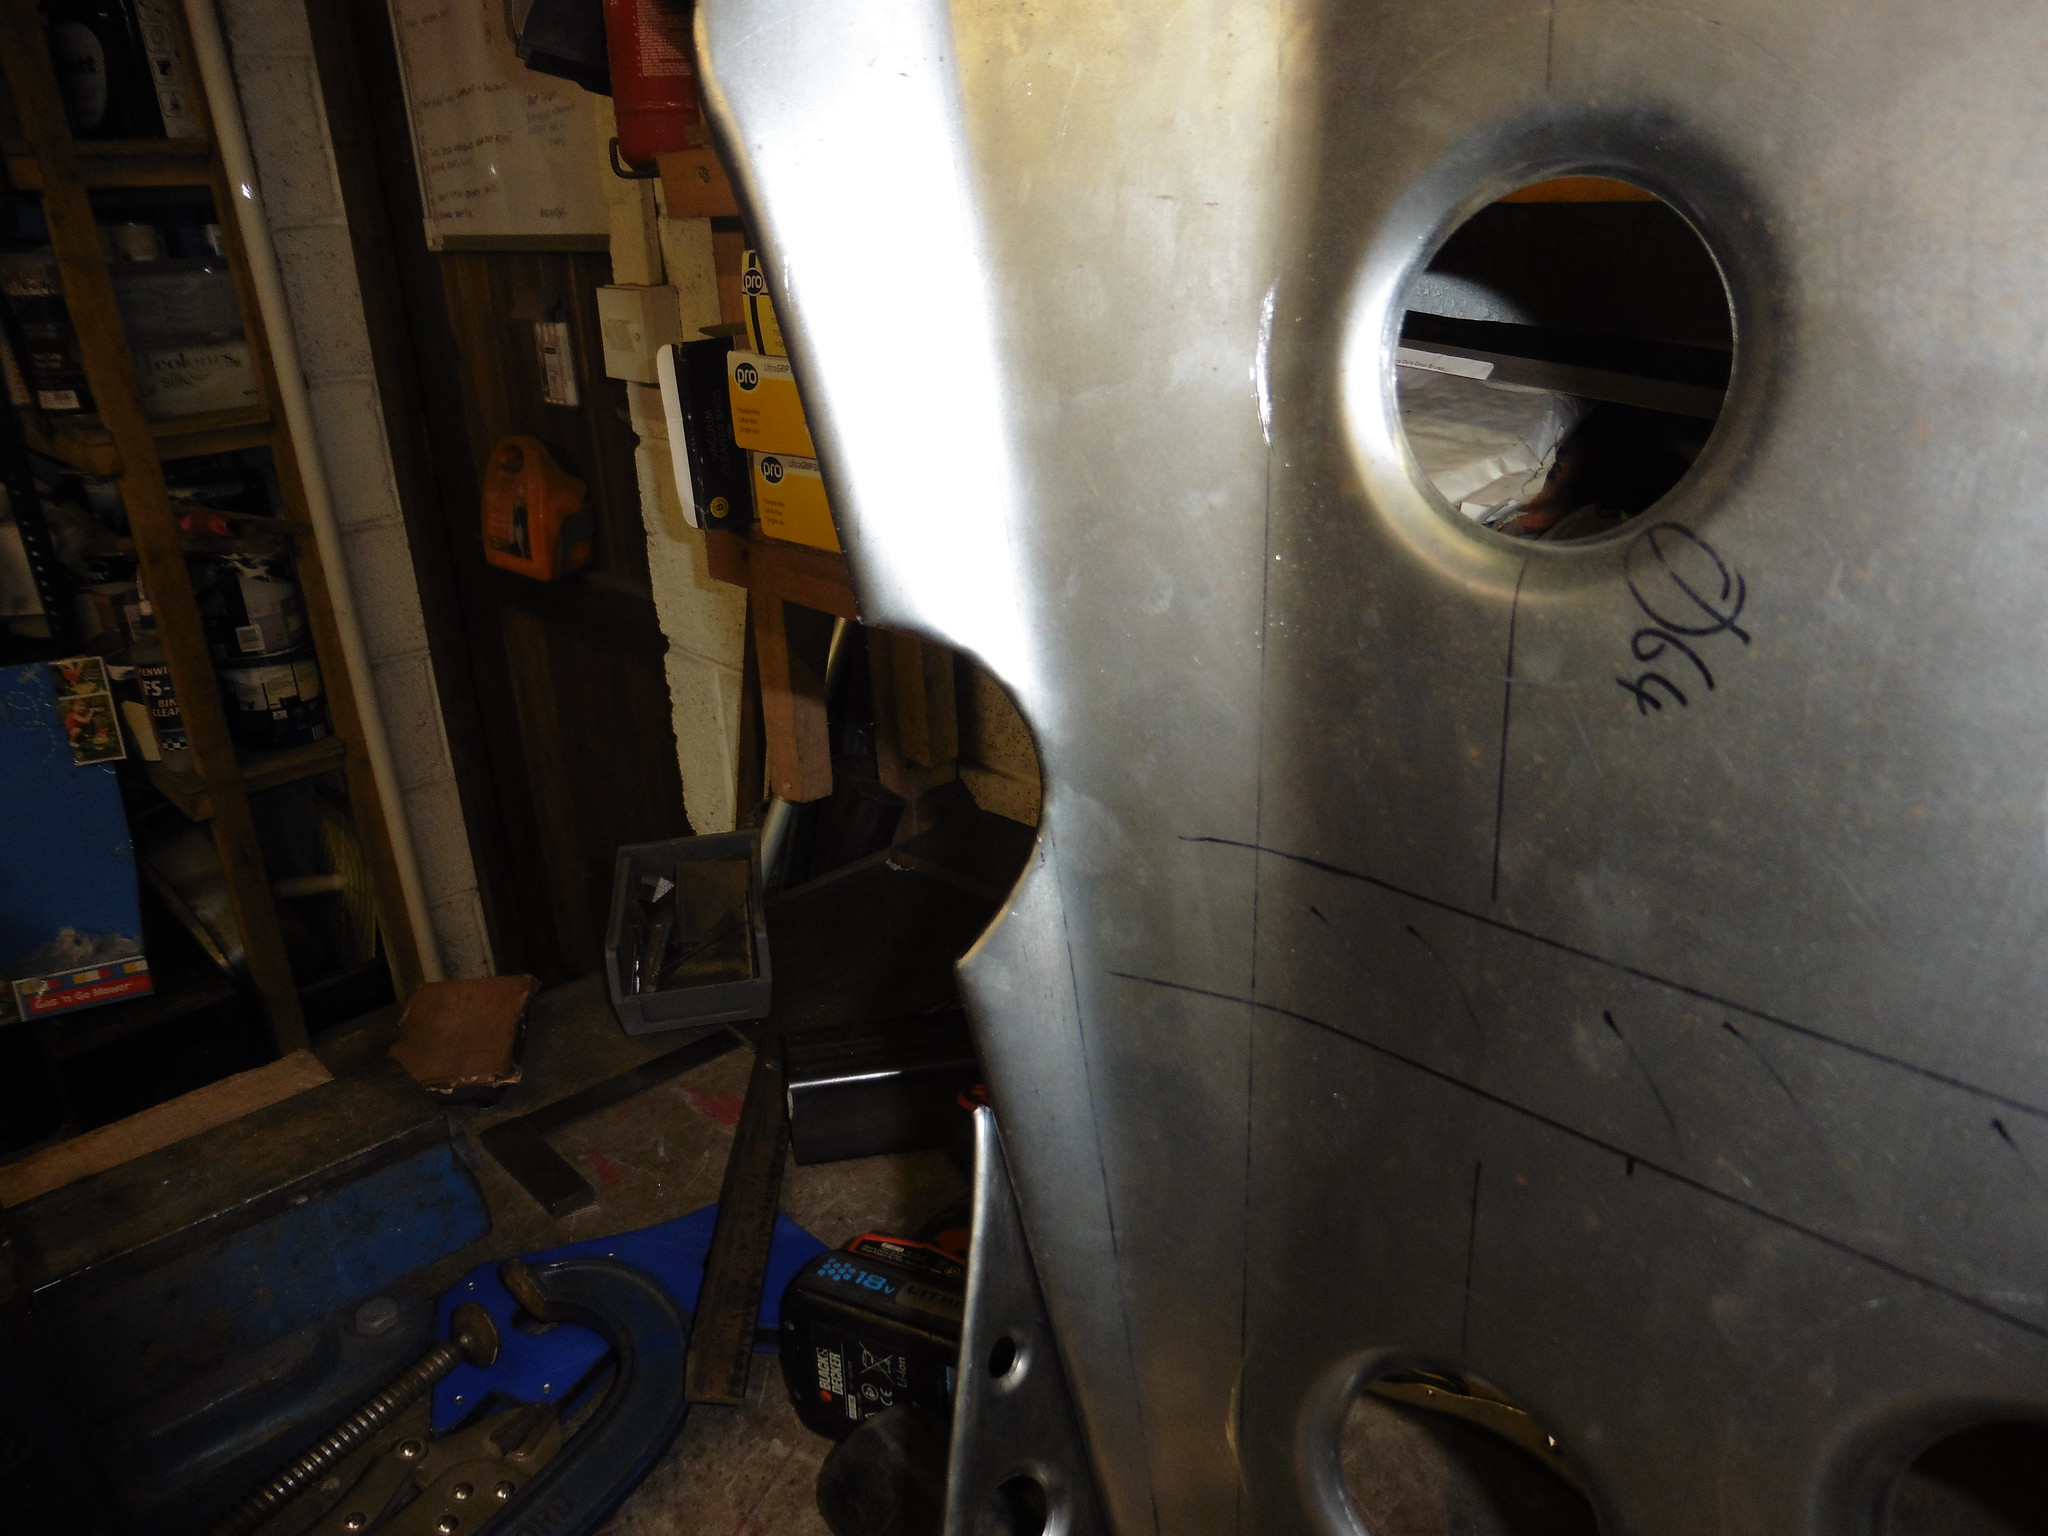 P1020266 P1020266 by jono_misfit, on Flickr and vaguely in position  P1020267 P1020267 by jono_misfit, on Flickr swaged the holes in the base  P1020268 P1020268 by jono_misfit, on Flickr the basic shape is starting to get there, although i think the wings probably need a few swage holes as they look to "heavy"  P1020269 P1020269 by jono_misfit, on Flickr back support, leg support, and mounting hole strengtheners are next, which should stiffen it up further. |
| |
|
|
|
|
|
|
|
|
That looks ferkin ace! Fantastic job. Are you driving the dimple dies in with the vice? I've used them in the past with a nut and bolt though the centre of them, driven down with an air gun.
|
| |
|
|
tristanh
Part of things
  Routinely bewildered
Posts: 990 
|
|
Apr 24, 2019 11:54:56 GMT
|
|
How's the hand?
|
| |
Whether you believe you can, or you cannot, you're probably right.
|
|
jonomisfit
Club Retro Rides Member
Posts: 1,787
Club RR Member Number: 49
|
|
Apr 24, 2019 12:19:54 GMT
|
|
Thanks.
Mixture of press, vice, bolt through die, g clamps, the car, and a mallet. Whichever works in the circumstances.
Feckin sore. It's stopped pumping claret which is the main thing but is aching a bit.
|
| |
|
|
|
|
|
Apr 24, 2019 13:39:31 GMT
|
|
Glad your hand is on the mend.
Will you be making a tubular support frame to go behind the steel sheet?
|
| |
|
|
|
|
|
Apr 24, 2019 14:26:28 GMT
|
|
that seat is really impressive!
JP
|
| |
I know its spelled Norman Luxury Yacht, but its pronounced Throat Wobbler Mangrove!
|
|
jonomisfit
Club Retro Rides Member
Posts: 1,787
Club RR Member Number: 49
|
|
Apr 24, 2019 16:03:56 GMT
|
|
Support will be a mix of sheet steel and tube to get the required strength.
|
| |
|
|
jonomisfit
Club Retro Rides Member
Posts: 1,787
Club RR Member Number: 49
|
|
Apr 24, 2019 17:06:39 GMT
|
Today was mainly spent assembly toddler_misfits hut come slide thing. Which was comprised of a substantial amount of bits! Luckily the rain held off. Finished it and snuck a couple of hours in the workshop seatback back rest / support / stiffener sheet template was a bit of a pig to get vaguelly right  P1020270 P1020270 by jono_misfit, on Flickr re-created in metal  P1020271 P1020271 by jono_misfit, on Flickr rear seat mounting point is in an awkward position to get to. 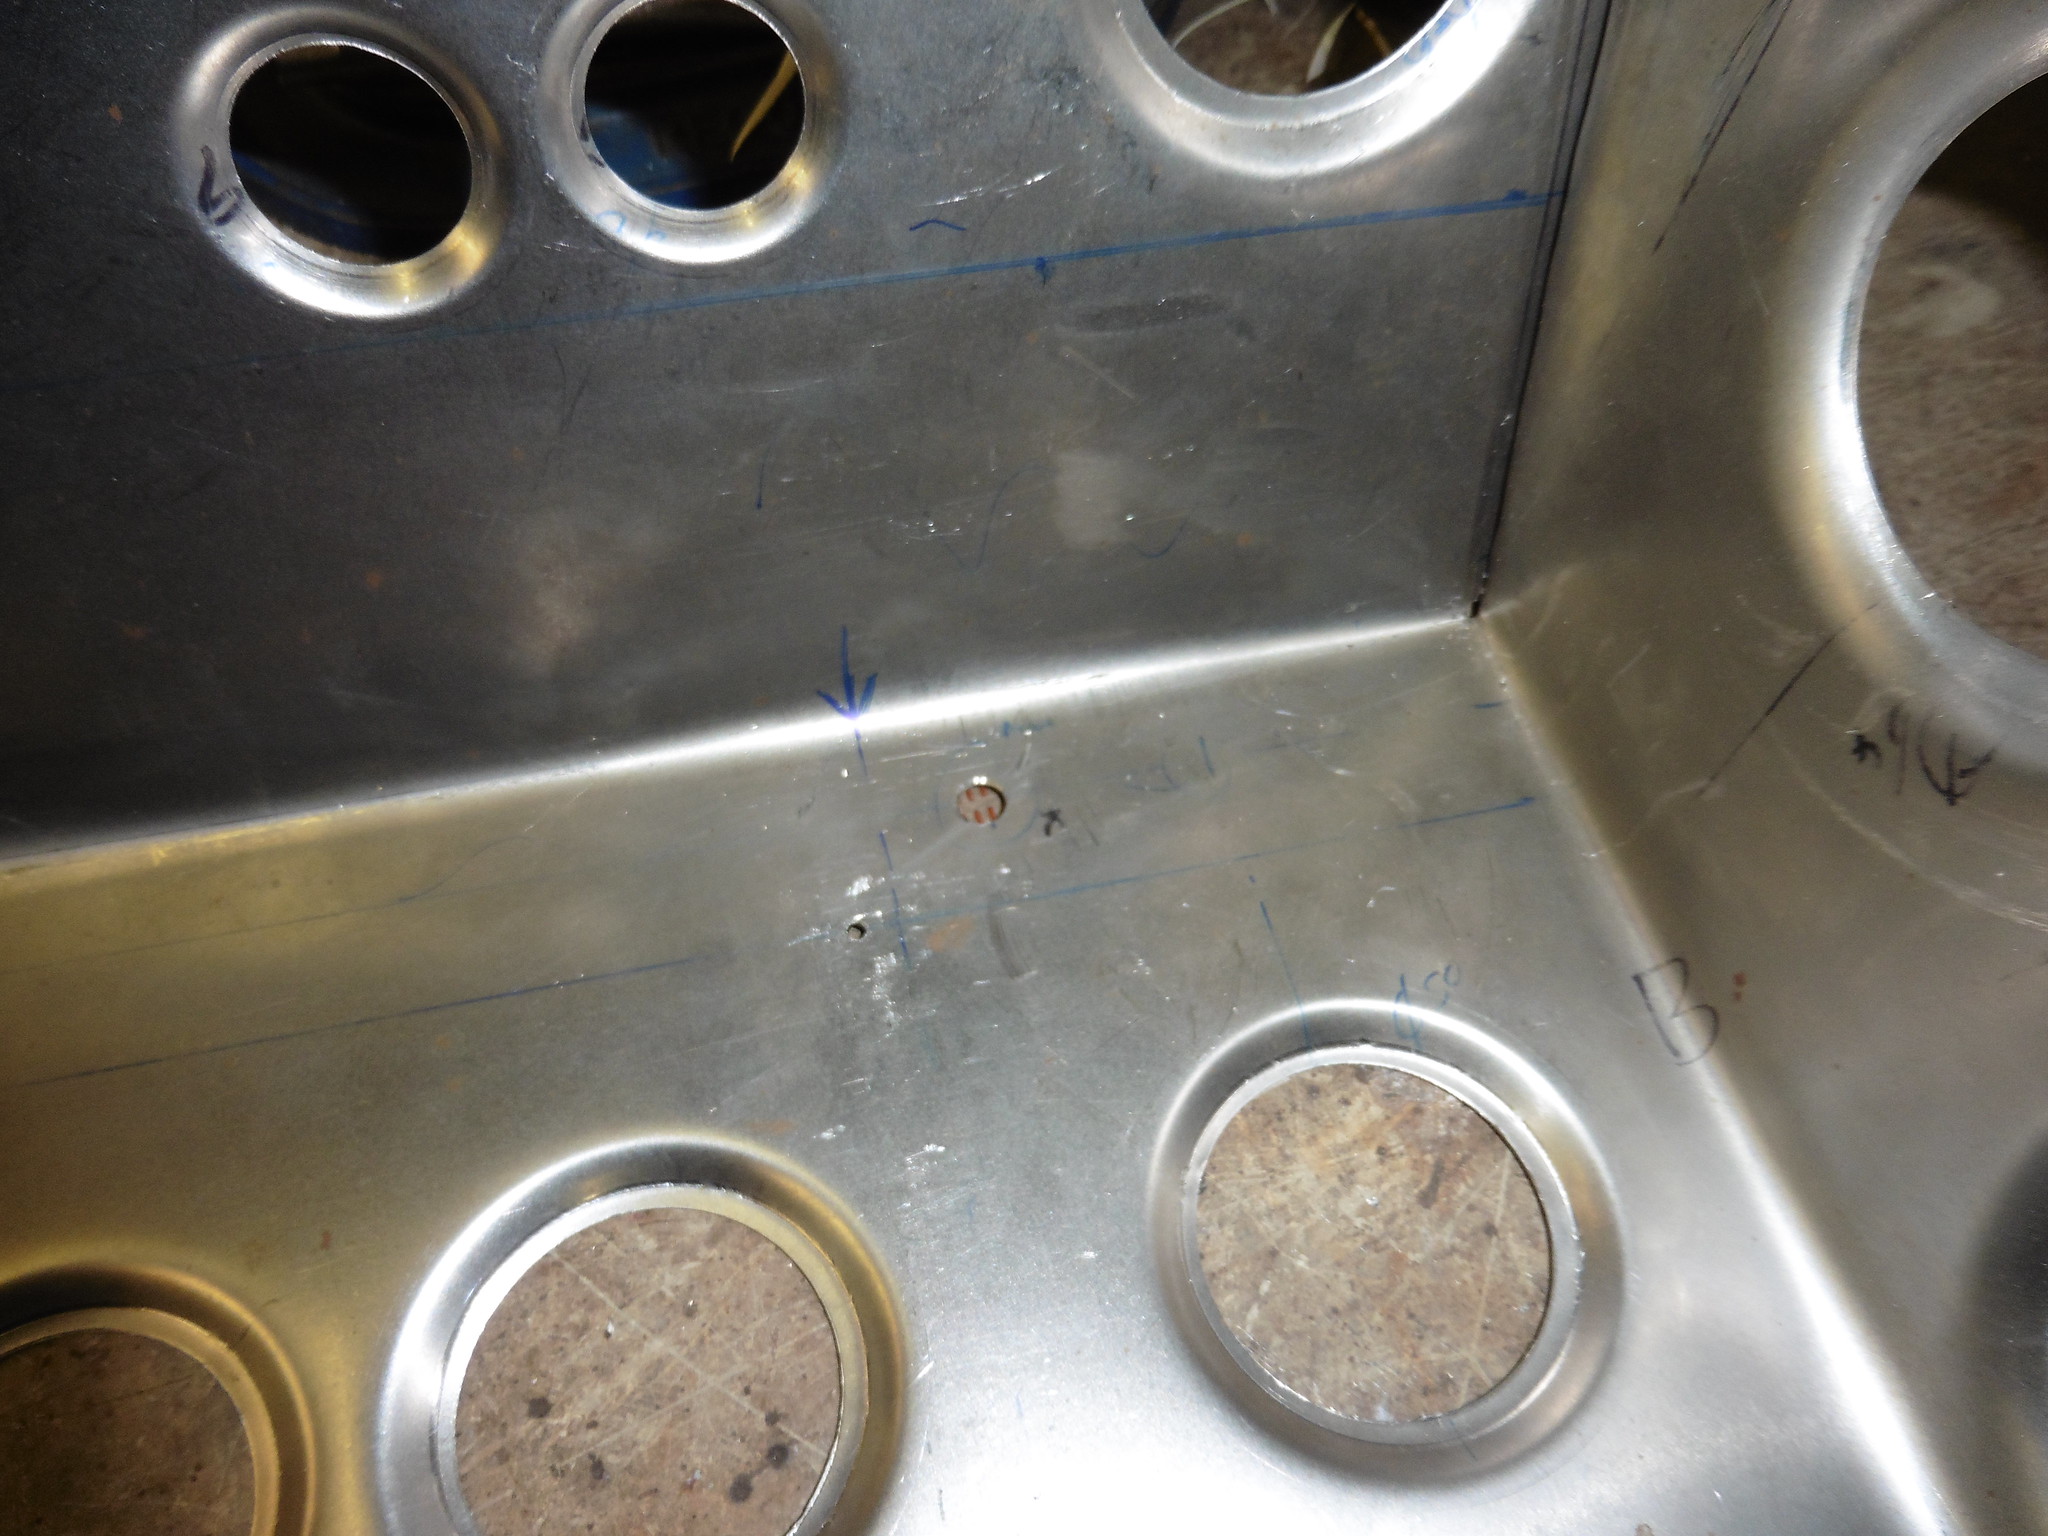 P1020272 P1020272 by jono_misfit, on Flickr so need to mouse hole the back support corners for clearance  P1020273 P1020273 by jono_misfit, on Flickr goes in like so  P1020274 P1020274 by jono_misfit, on Flickr and means theres a nice access path for the allen bolt.  P1020275 P1020275 by jono_misfit, on Flickr Even with just a few cleco's in the lower half of the seat is now very stiff. Its likely to be Saturday before I get another chance to work on the seat. |
| |
Last Edit: Apr 24, 2019 17:07:30 GMT by jonomisfit
|
|
jonomisfit
Club Retro Rides Member
Posts: 1,787
Club RR Member Number: 49
|
|
Apr 25, 2019 16:08:14 GMT
|
Offspring_misfit was well enough today to go to nursery, so off she went and I headed back to the seat after a few other jobs. On to the side bolsters Made a card template  P1020276 P1020276 by jono_misfit, on Flickr transfer to steel and mark out 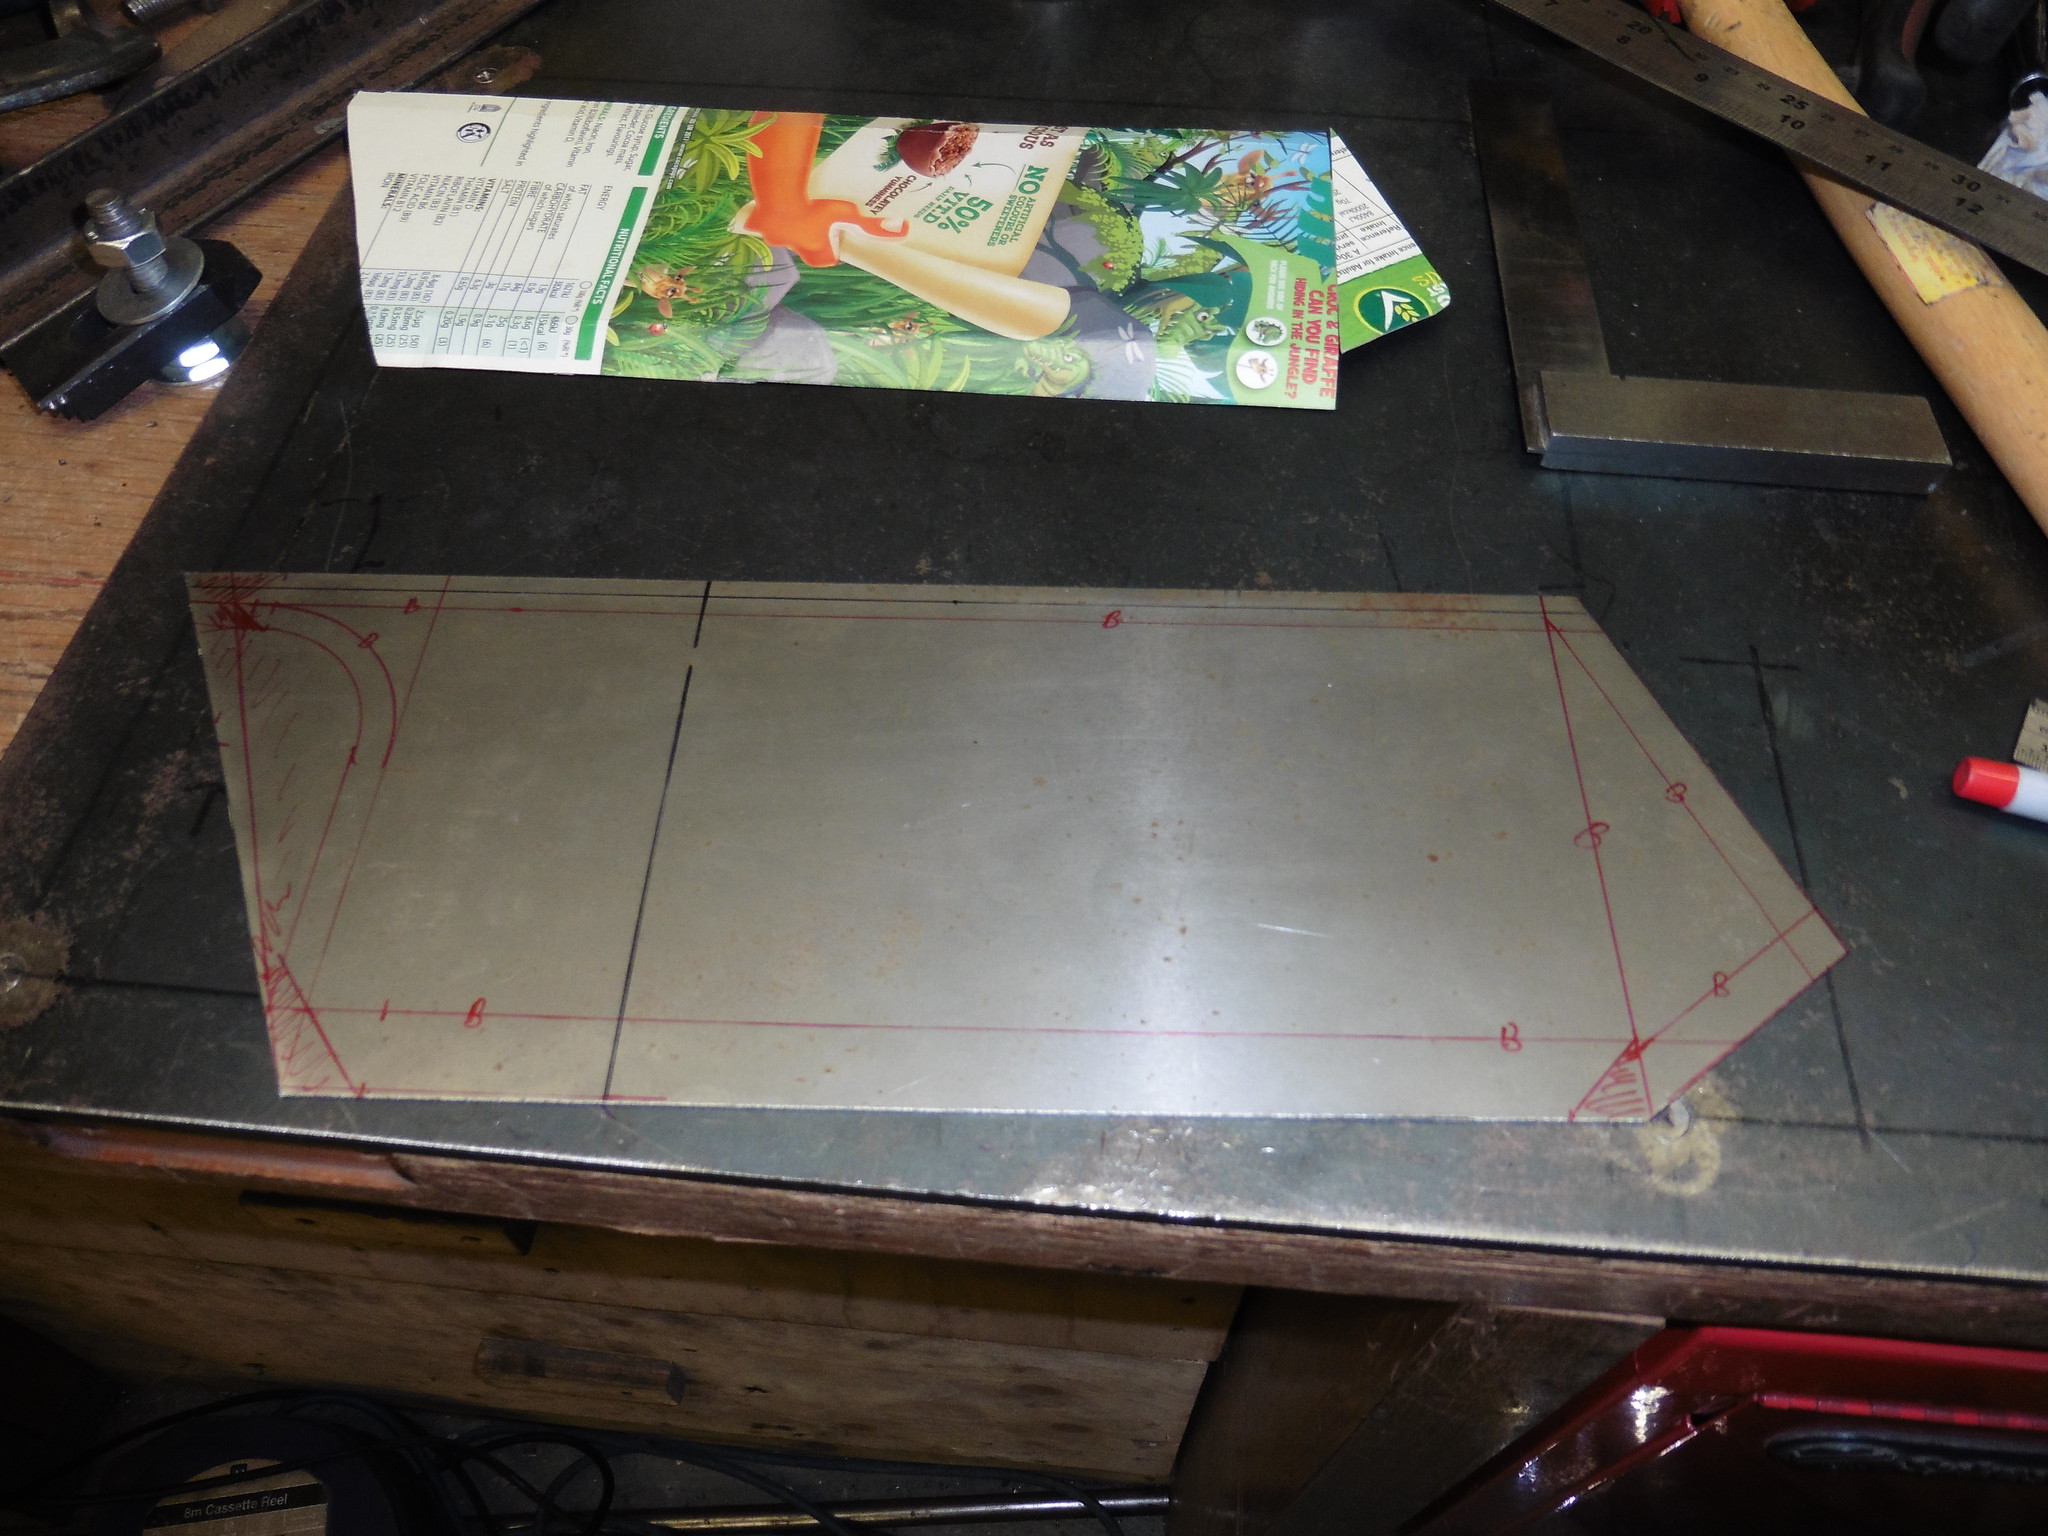 P1020277 P1020277 by jono_misfit, on Flickr trim to shape, bend, and fit 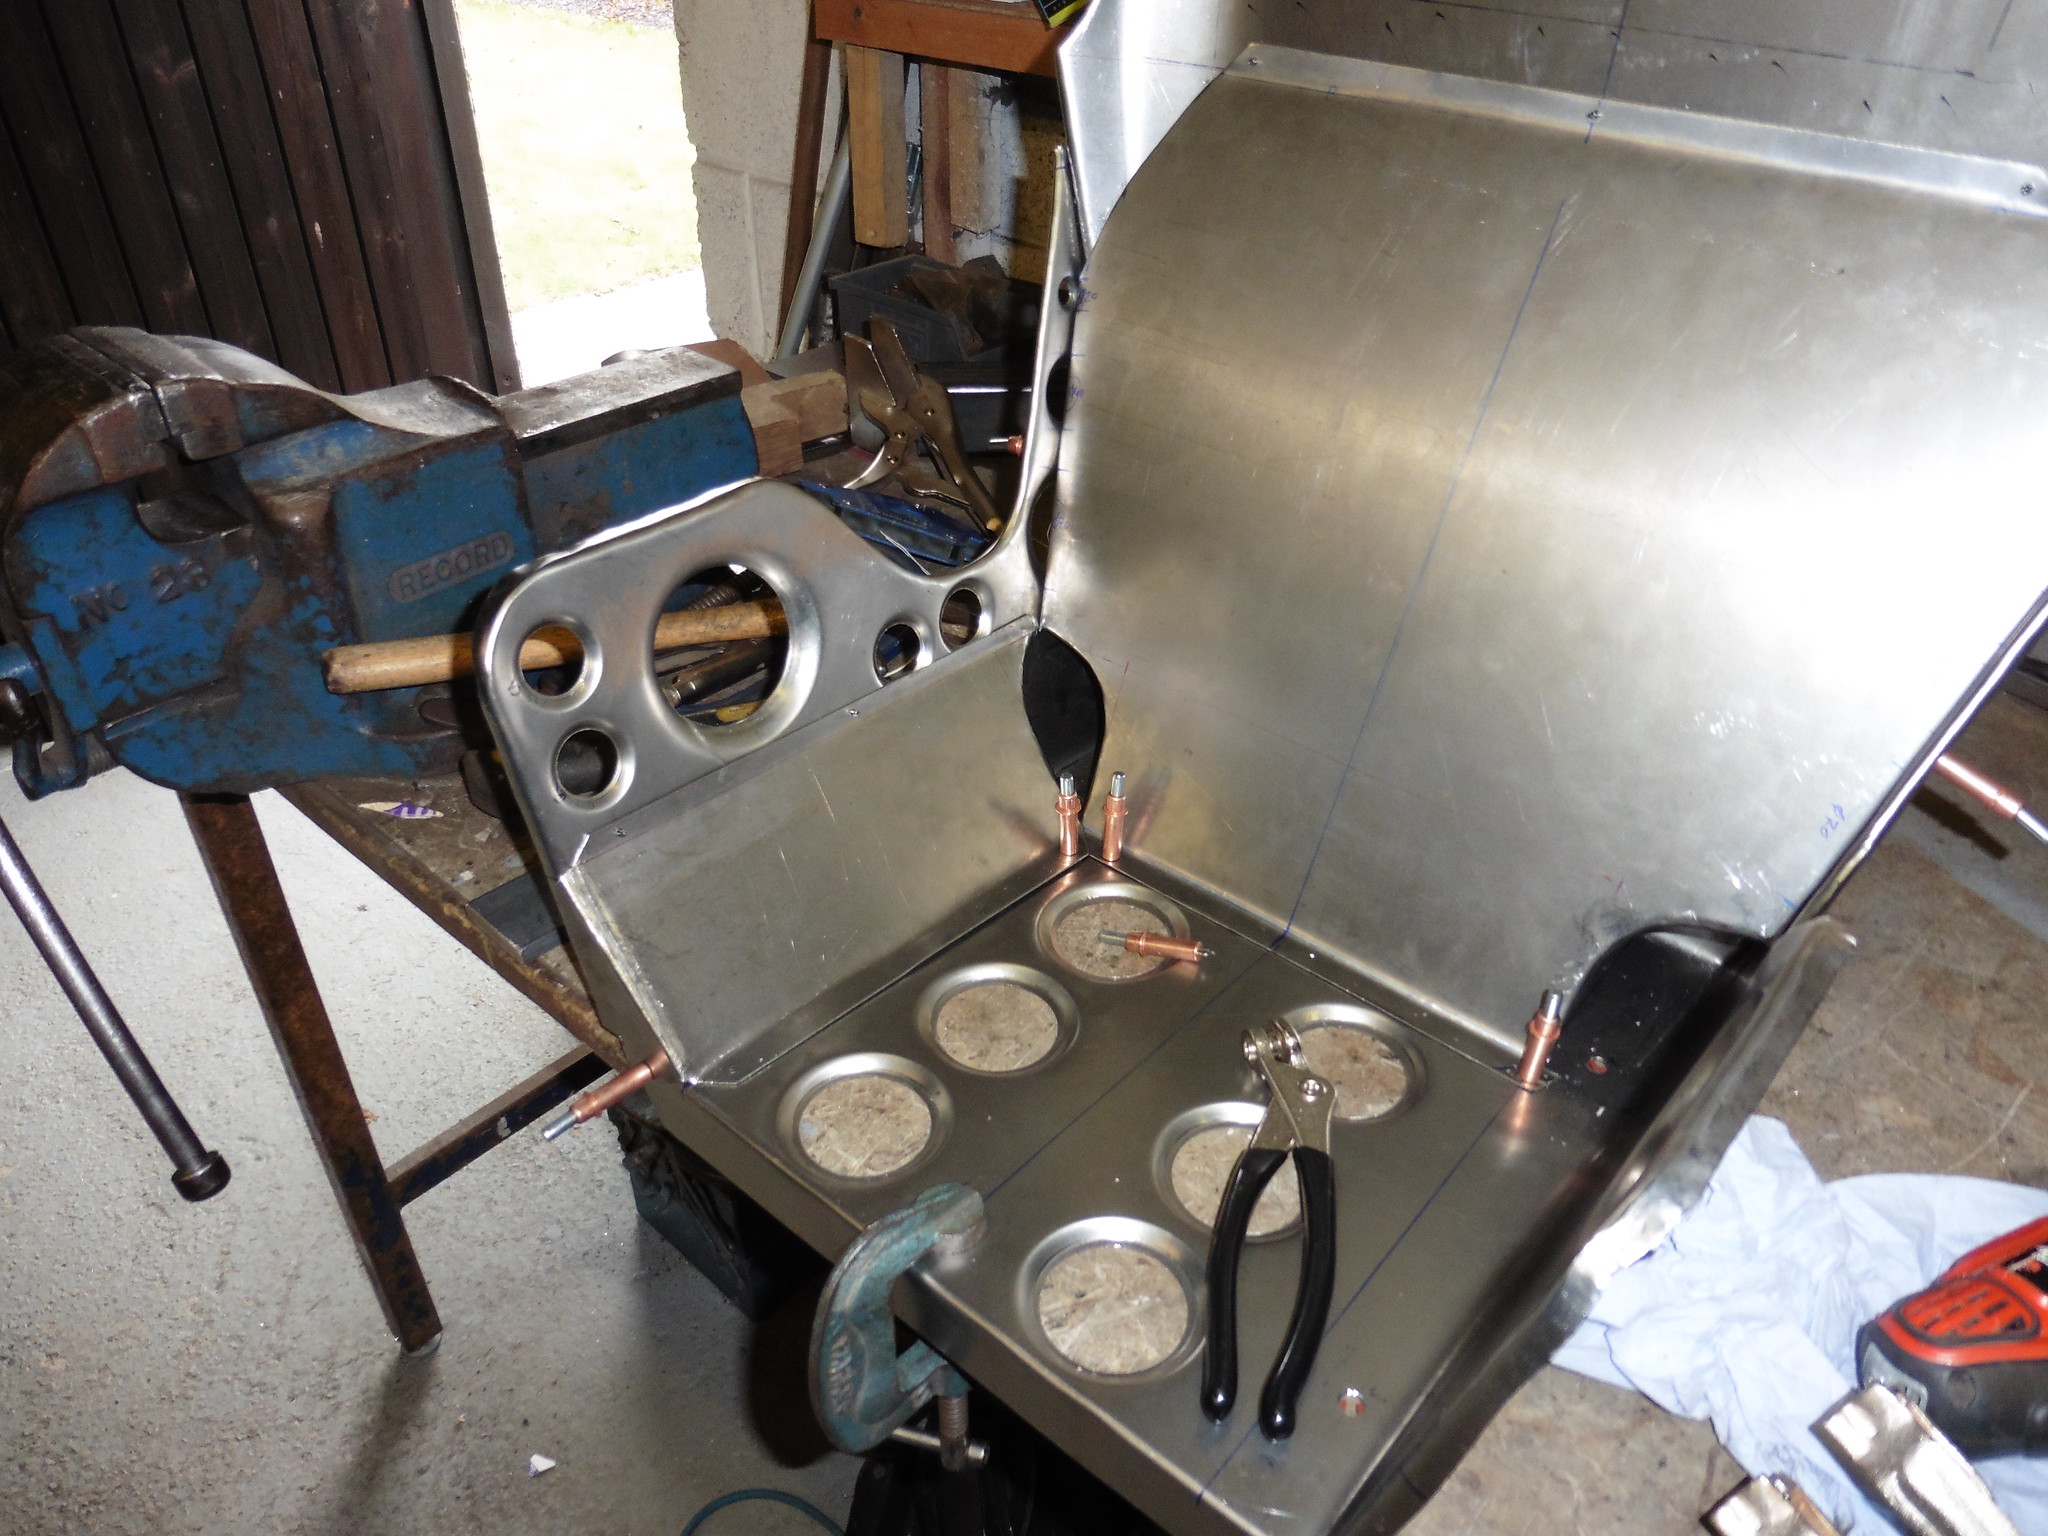 P1020278 P1020278 by jono_misfit, on Flickr and the other side  P1020280 P1020280 by jono_misfit, on Flickr tried it out on the bench ad fits well, plus strengthens the base up further. tried it in the car ad its a fairly comfortable position better lighten / stiffen the panel  P1020281 P1020281 by jono_misfit, on Flickr the blue mark at the front is there i'll need to relieve it a bit for better clearance to the bolt. The bolt goes in, but its a bit awkward. and the second side done 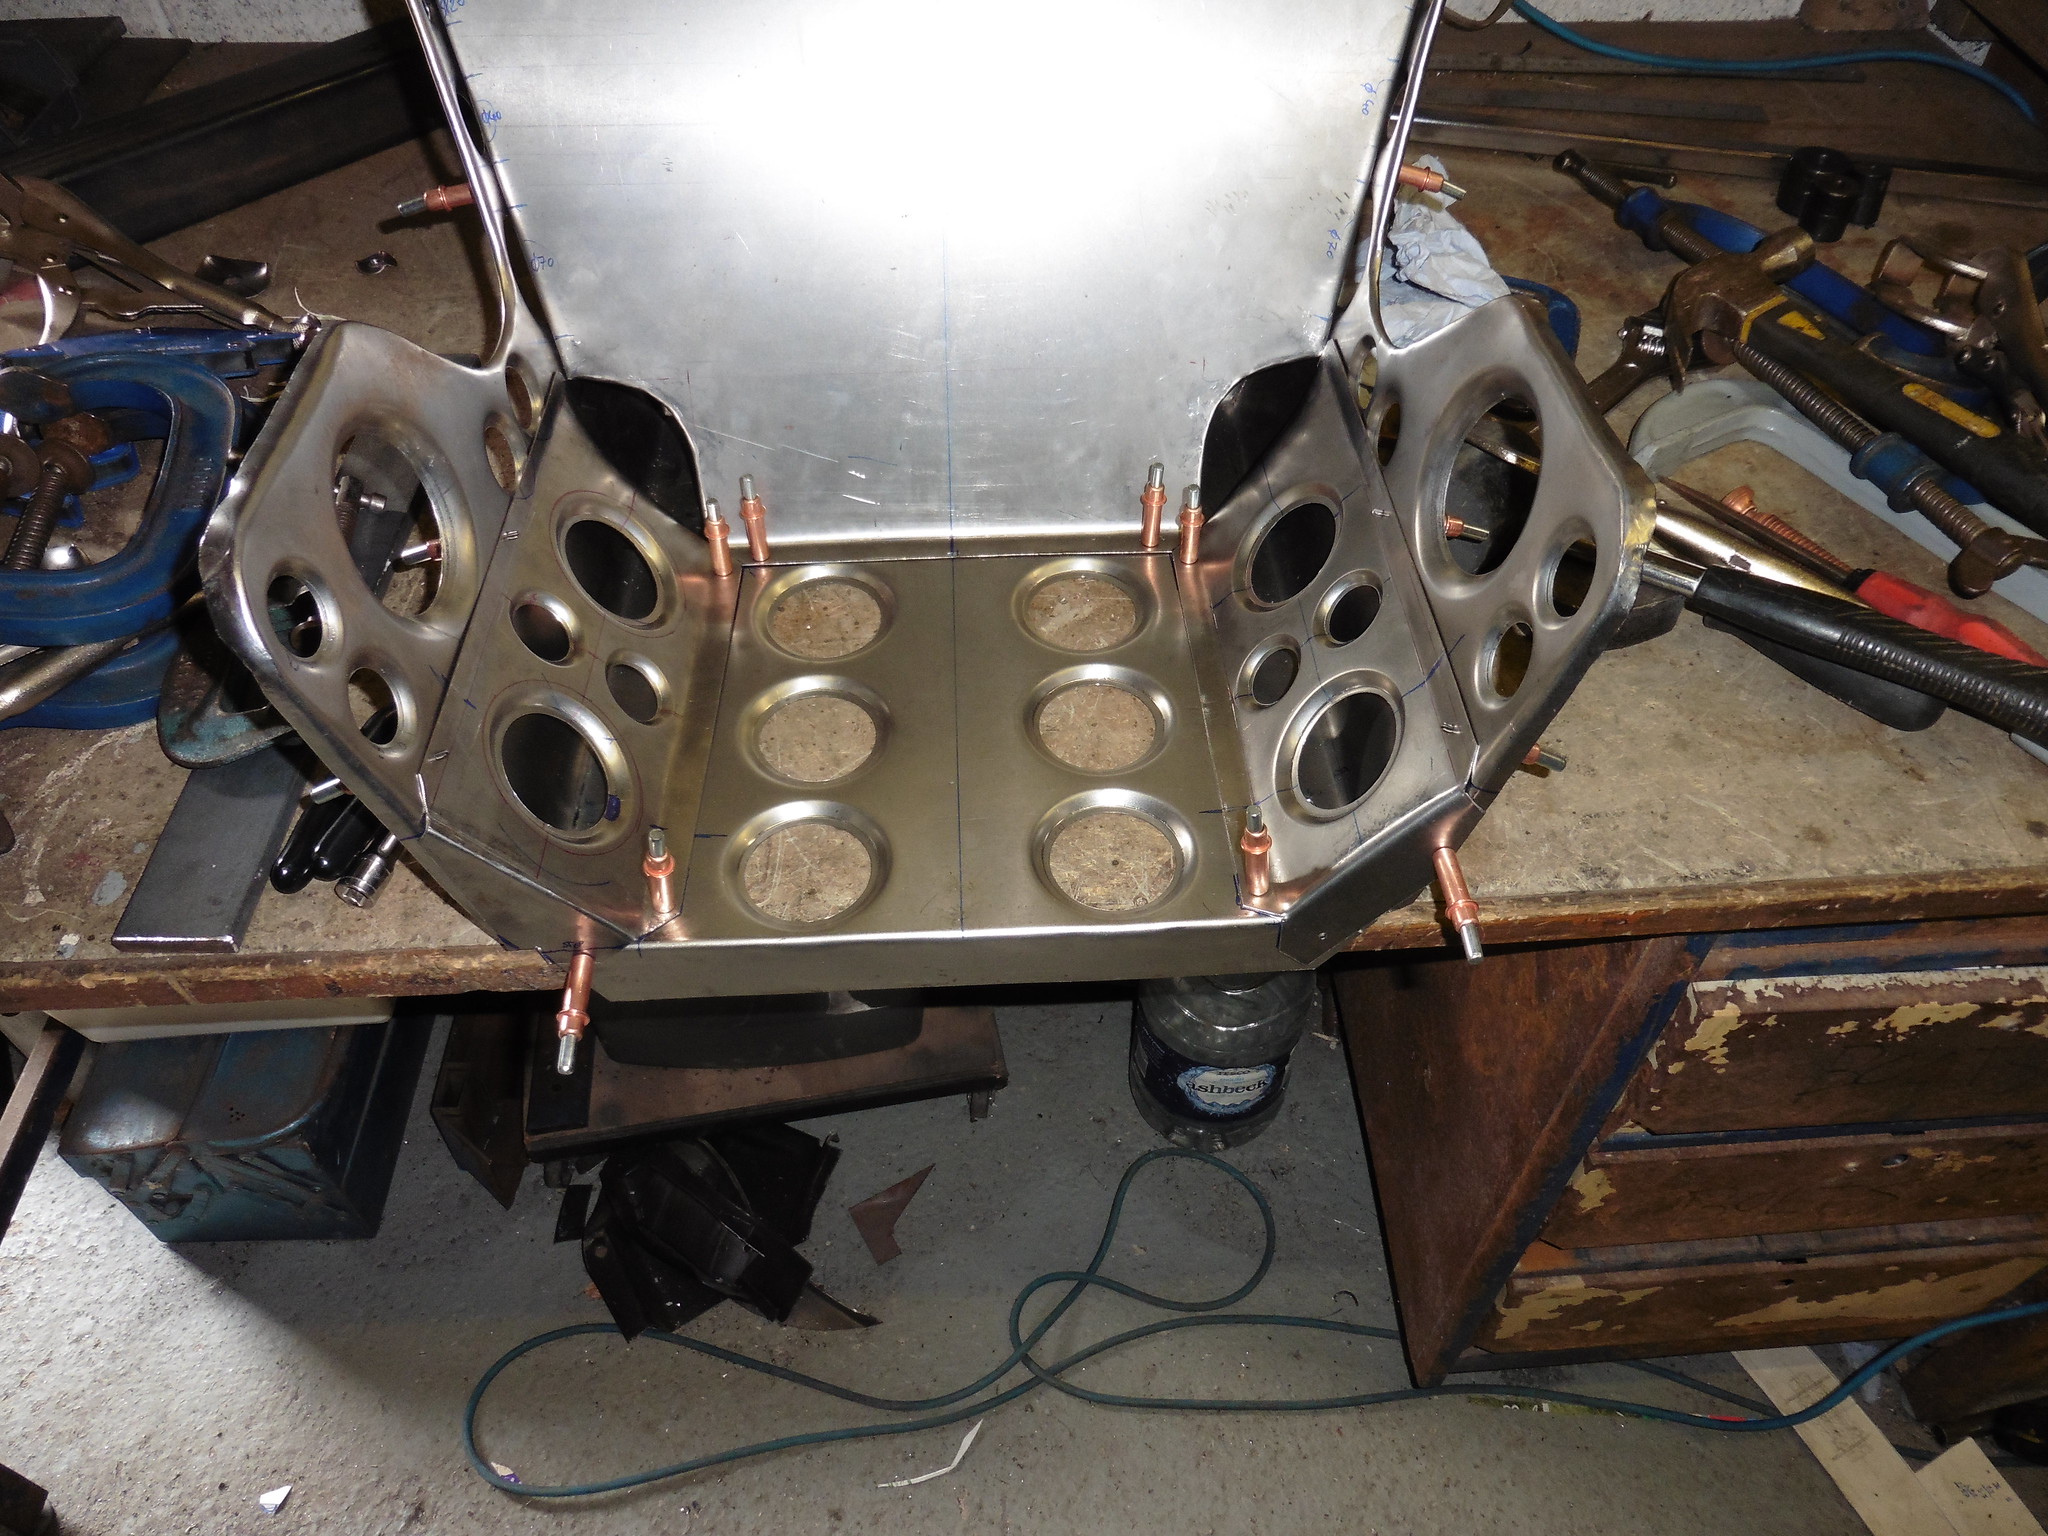 P1020282 P1020282 by jono_misfit, on Flickr difficult to see, but I dropped the holes down by 5mm v's the other side which makes access easier. Saturdays job will be demetalling the back rest. 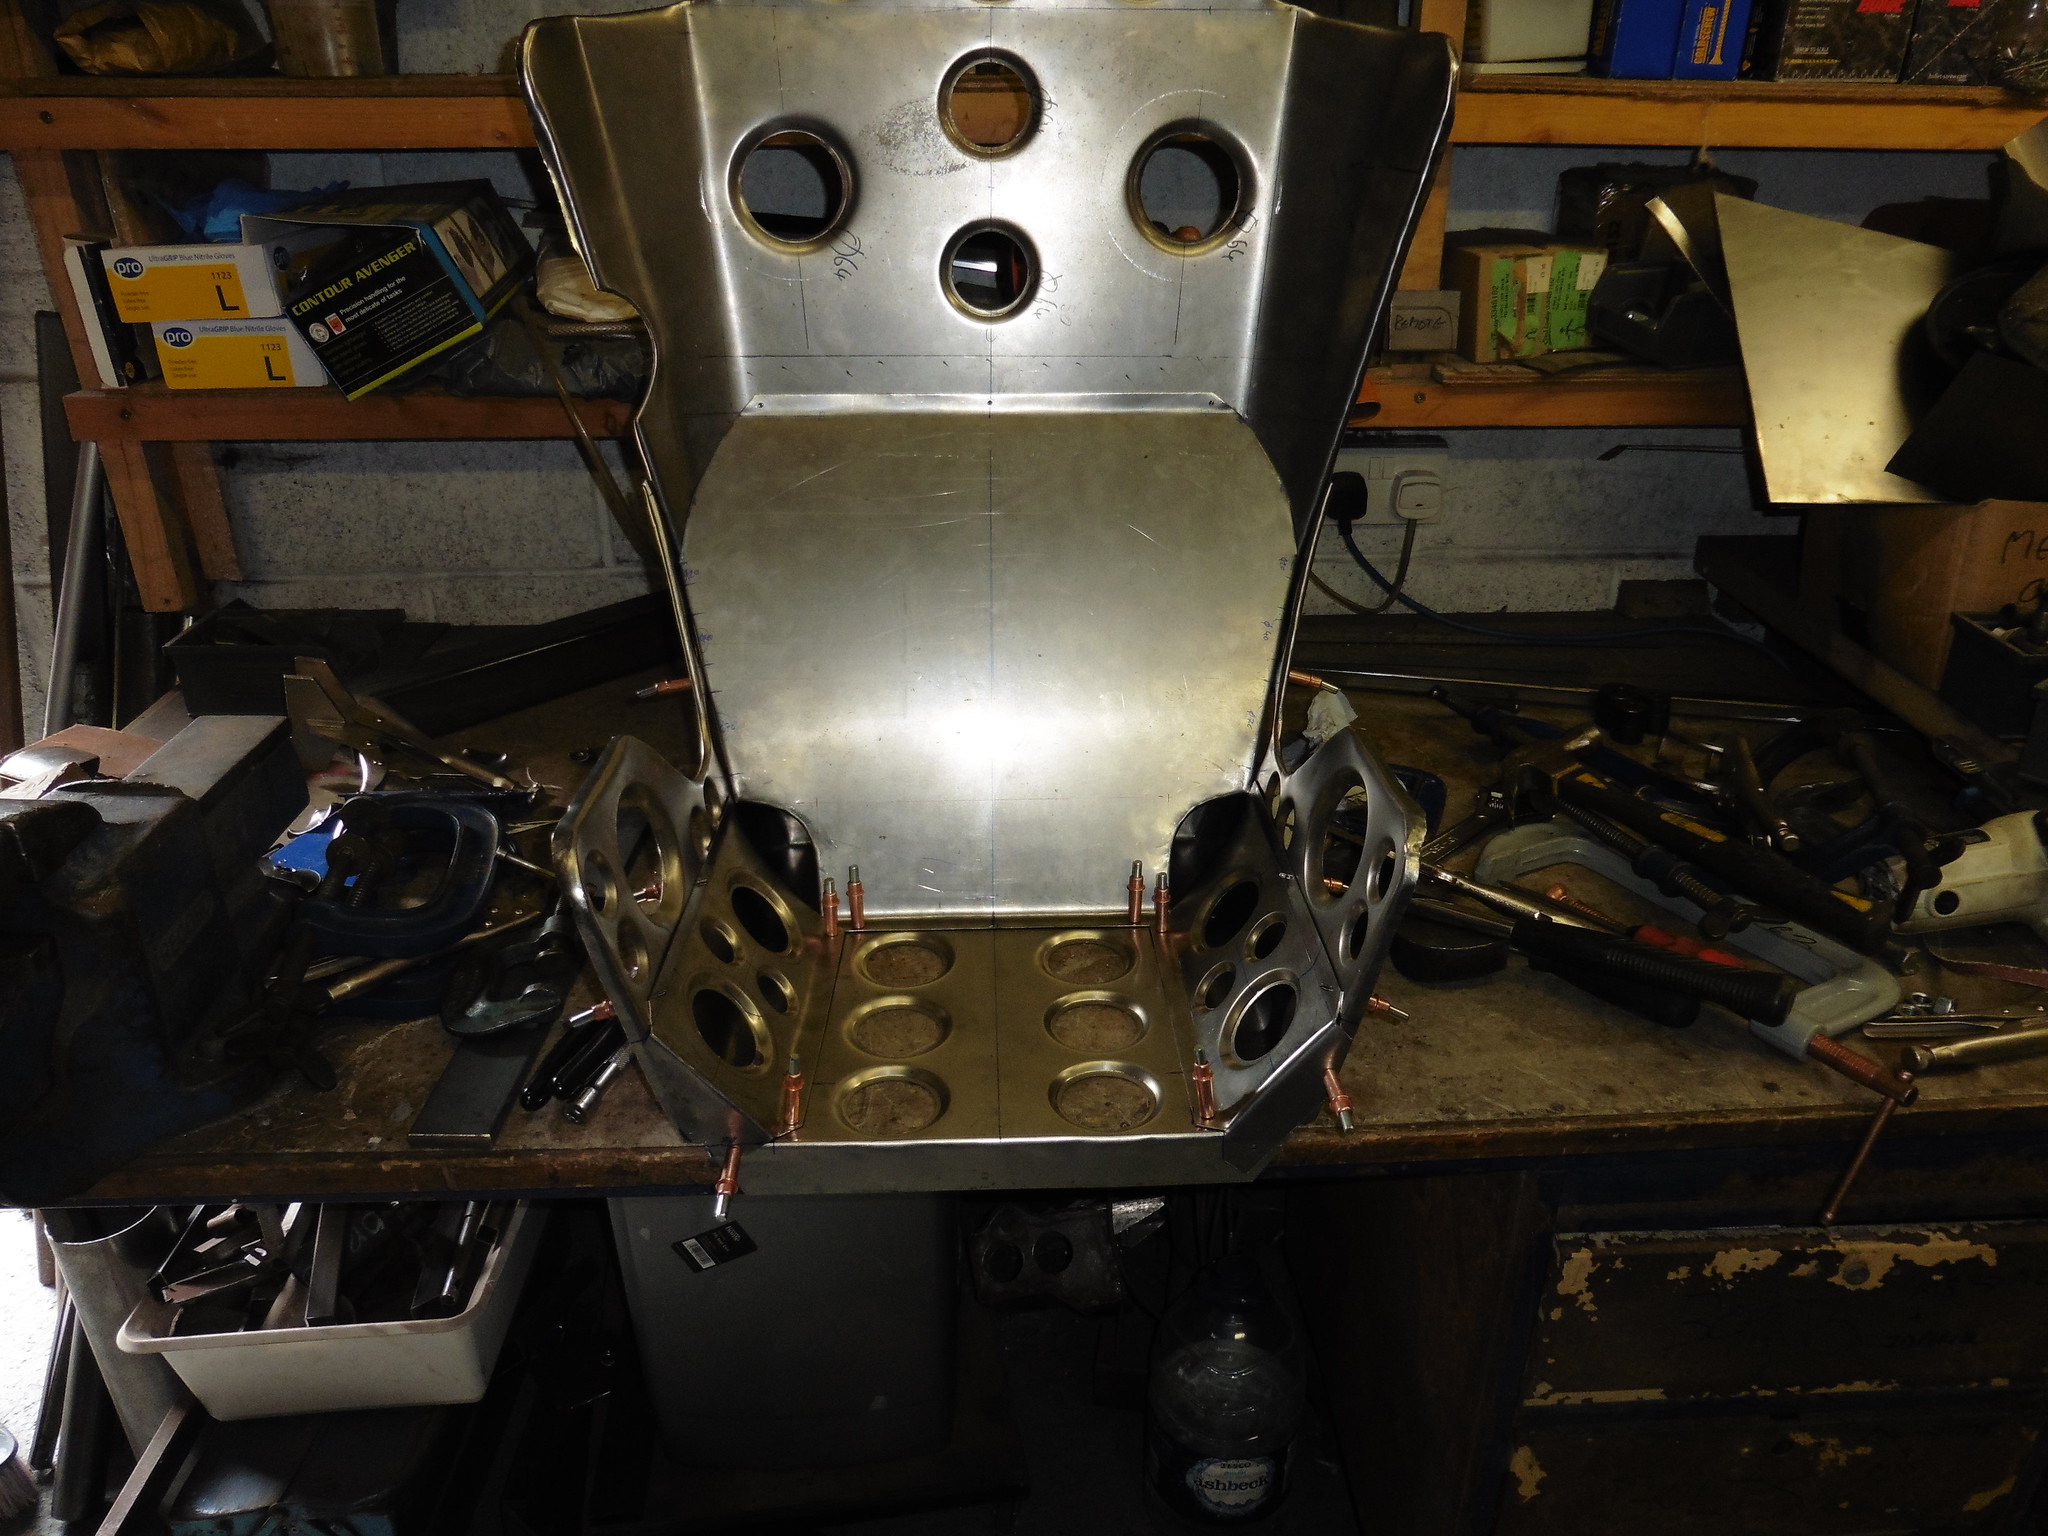 P1020283 P1020283 by jono_misfit, on Flickr |
| |
|
|
|
|


