mk2cossie
Club Retro Rides Member
Posts: 3,061  Club RR Member Number: 77
|
|
|
|
WOW this is awesome , my hat is off to you , i cant believe I'm only seeing this thread now and ive spent most of today reading through every inch of it , epic stuff , i now know what i have in front of me when i tackle my old girl , i got the fright of my life the other day when i got under it and seen how badly she was gone in the sills and rear inner arches . frightening stuff but now i know it can be done , might tackle it soon .  Thank you very much indeed  The O/S sill had been done a few years ago, and had come back because the rot wasnt cut out properly and I didnt waxoil the damn thing  The front inner wing tops and A panels were rebuilt about 8years ago when I had the wings off when the 24v lump went in. Also took the time to have some taps welded to the inner wing area and cut up some plastic to make some crude wheel arch liners (also had one attached to the fuel filler neck in the O/S/R wheel arch as well) and they seem to have stopped a vast amount of curse word getting flung up in the A post area again If it wasn't for the electric PAS pump and brake ducting I plan to fit, I'd have got the pair of arch liners that motormobil list on their site |
| |
|
|
|
|
mk2cossie
Club Retro Rides Member
Posts: 3,061  Club RR Member Number: 77
|
|
Jan 17, 2017 13:45:29 GMT
|
Seems that I'm a glutton for punishment! Not happy with the inlet manifold itself, I have gone back to 180grit pads by hand (no idea where the DA is at work and I don't like making the others suffer the racket of that either) The sharpening stone showed up some wobbly areas, hence the starting again with manual rubbing  So I'm currently at this with it 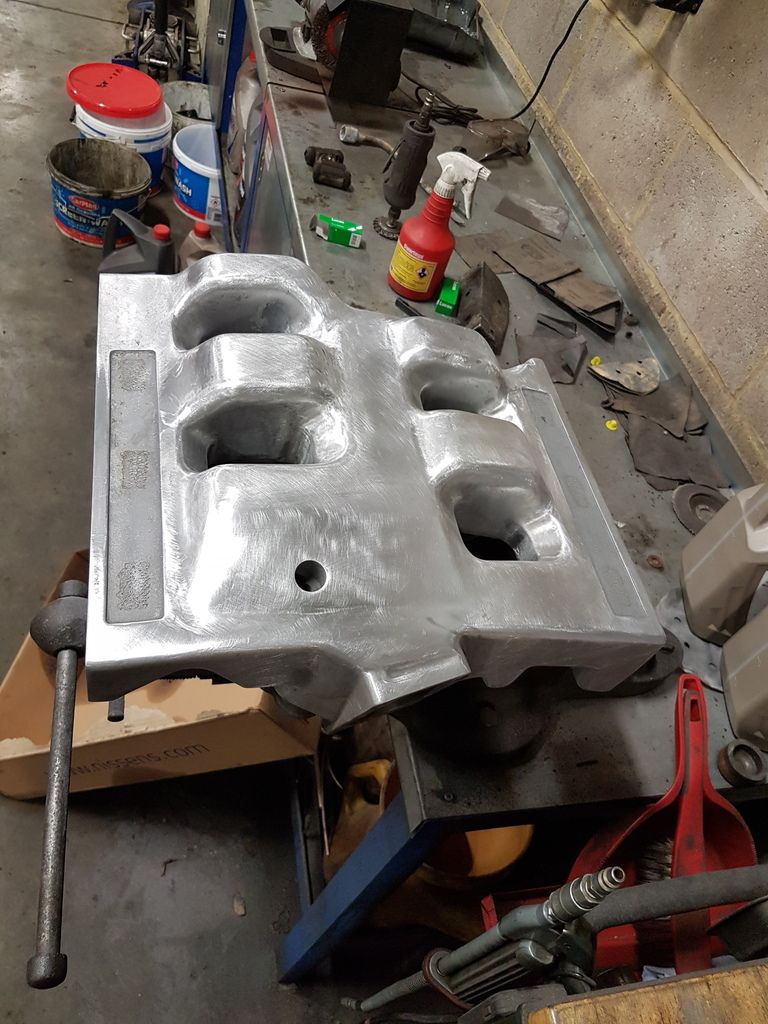   Was a bit of a wasted weekend too, wasn't particularly well on Saturday when the weather was decent, and Sunday was raining for most of the daylight hours  |
| |
|
|
mr
Posted a lot
  
Posts: 1,619
|
|
Jan 17, 2017 15:35:24 GMT
|
|
would you not consider powdercoating it? there are so many finishes available now.youve probably spent half your adult life making and keeping that inlet smooh and shiny .
|
| |
Got the car from 105 bhp at the crank to 152 at the wheels.nitrous going on next.....if it ain't broke,keep bolting on go faster parts until it is........ www.fordgranadaclubuk.freefo.de |
|
mk2cossie
Club Retro Rides Member
Posts: 3,061  Club RR Member Number: 77
|
|
Jan 17, 2017 17:31:06 GMT
|
would you not consider powdercoating it? there are so many finishes available now.youve probably spent half your adult life making and keeping that inlet smooh and shiny . I have considered getting it powdercoated, but that costs money that I don't want to spend and would also be out of place in the bay as well  don't forget this is the spare inlet manifold, not the one that currently resides in the bay of RTW  |
| |
|
|
mk2cossie
Club Retro Rides Member
Posts: 3,061  Club RR Member Number: 77
|
|
Jan 27, 2017 13:56:08 GMT
|
after maybe a couple of hours, I think I have exhausted the hand polishing with wet and dry  I have however got to this stage before giving it a final going over with Autosol Shine and taking the bits to polish on Daves Dads evil bench mounted polishing machine  I did try a bit on the front with some Blue Be Gone polish, that is very runny and resembles bird poo  But this is where I'm currently at 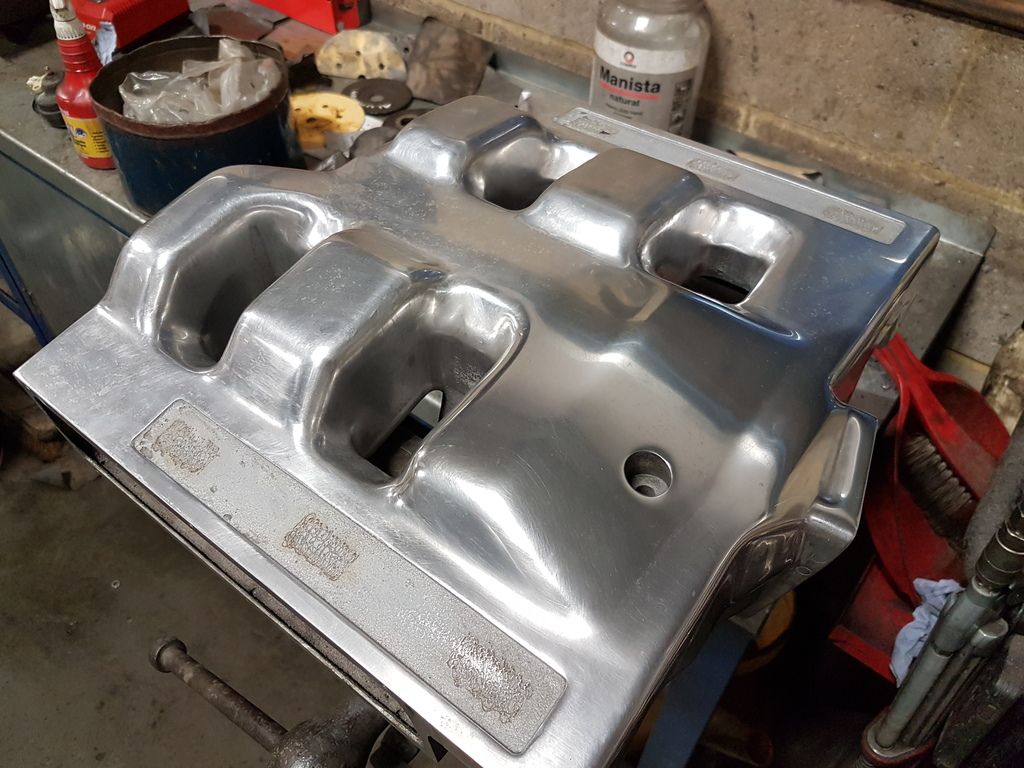 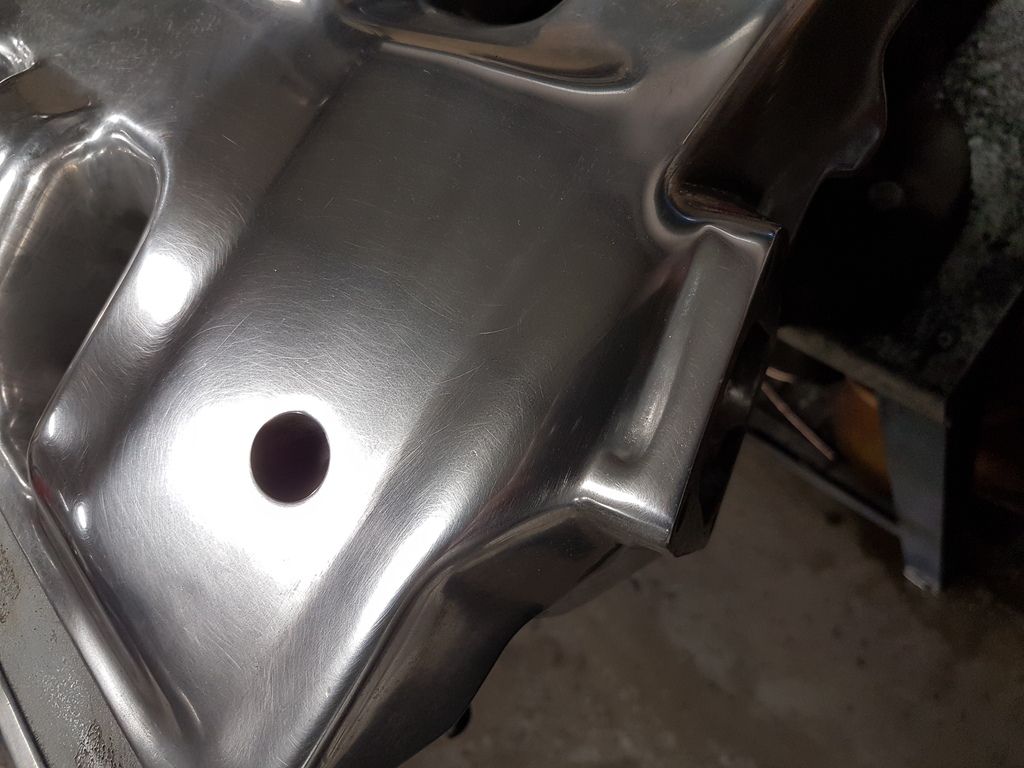 |
| |
|
|
mk2cossie
Club Retro Rides Member
Posts: 3,061  Club RR Member Number: 77
|
|
Jan 31, 2017 13:34:42 GMT
|
Well, I managed to sneak another couple of hours on the ole girl at the weekend before the rain made an appearance  Got the seat belt bolted back in for the rear seat (with eyelet bolt for my 4point harness) and also drilled out and rivnutted the rear seat lower base mounts. The self tapping screws were loose in there anyway, and I though it was a nicer solution. Also redone the mounting tabs for the front wheel arch liners but didnt take pics) 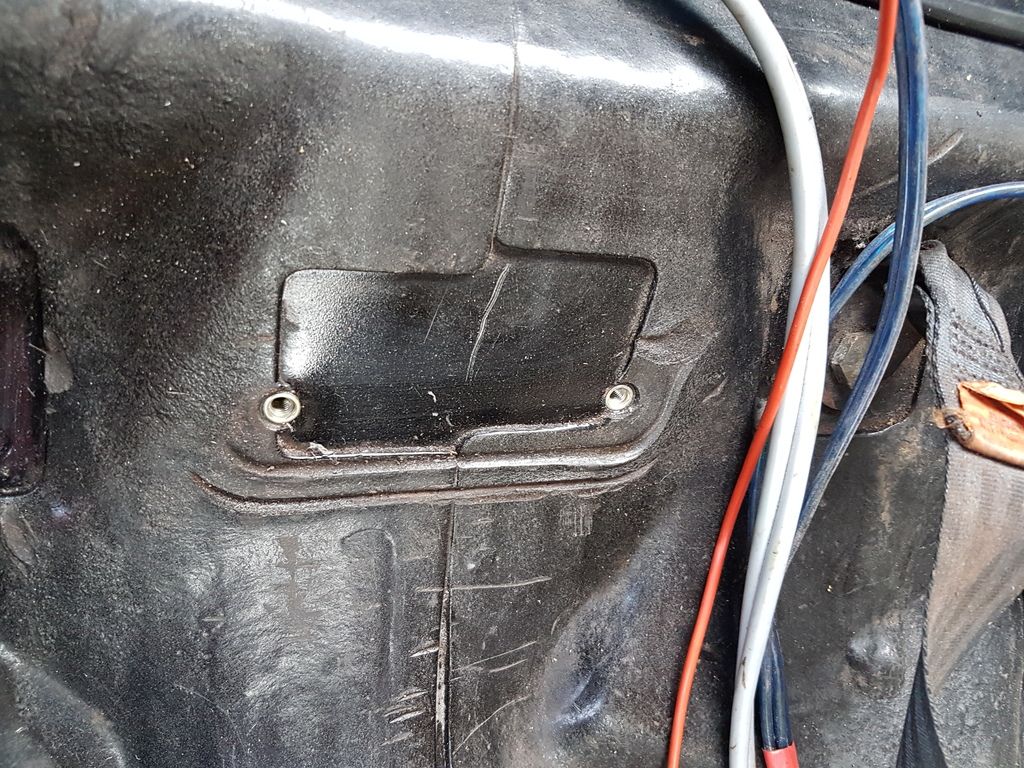 Also fitted the carpet bits back in the boot to, and cut the main carpet to fit around the new battery tray location 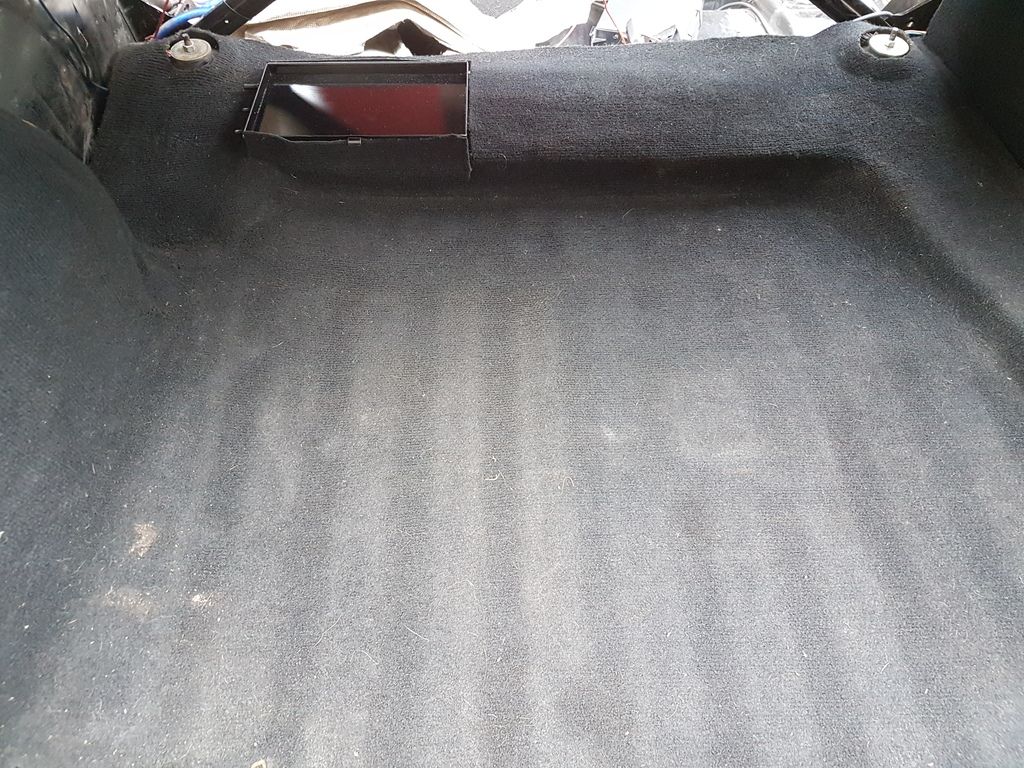 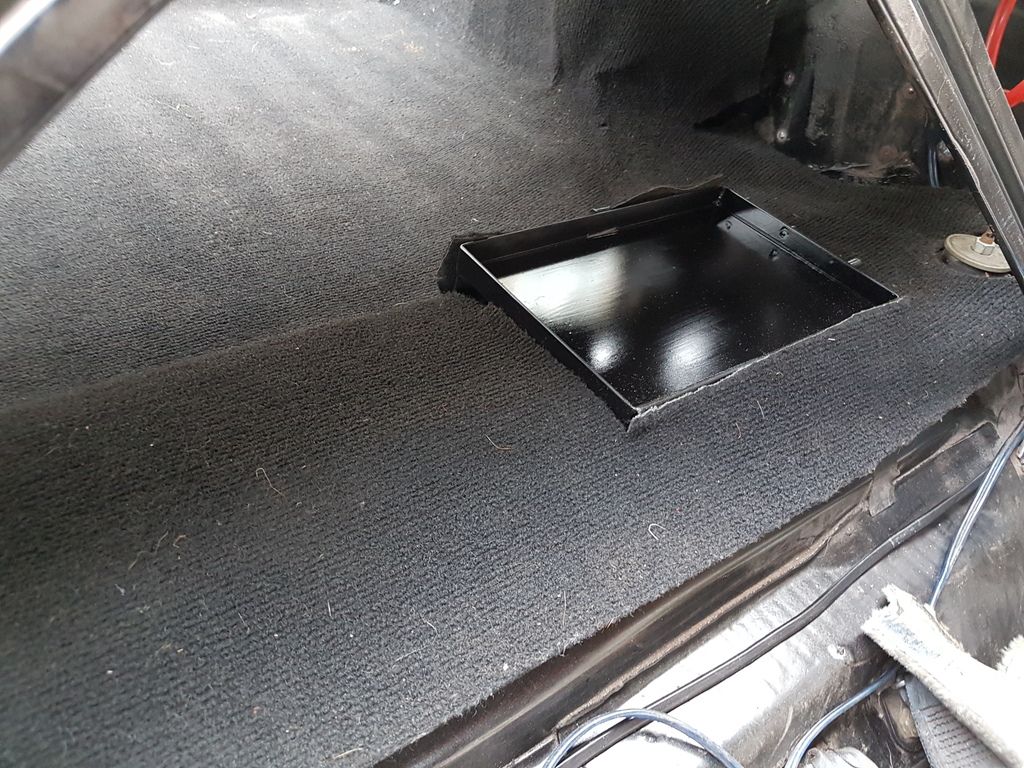 And tried the sub box and amp back in for positioning too 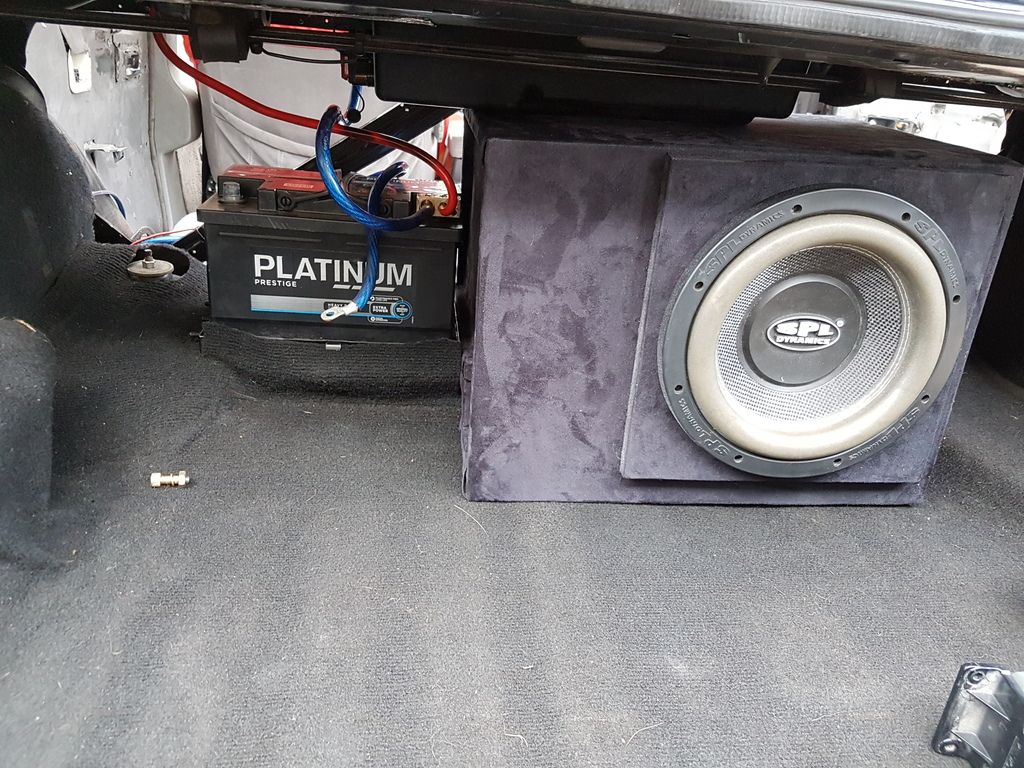 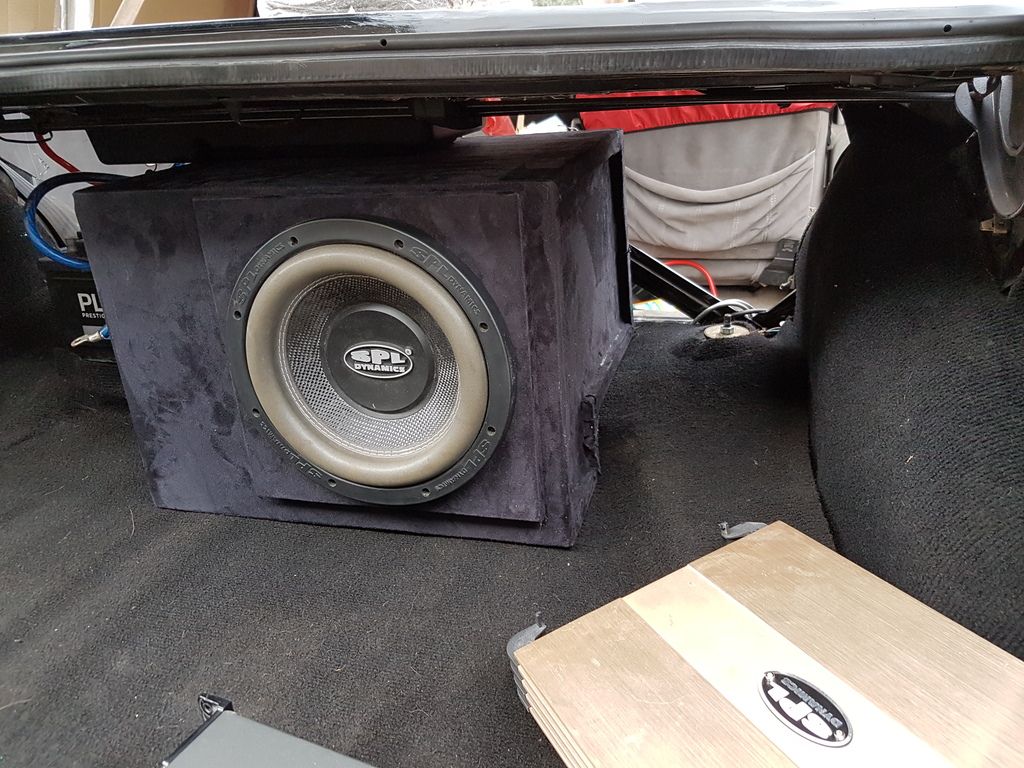 Although the amp no longer squeezes up against the seat back rest, so I shall possibly mount in vertically along the inner wheel arch and the bottom of the parcel shelf with some bracketry  Also means I can finalise the battery cables in there as well then, and make a relay loom up for the fuel pump  |
| |
|
|
mk2cossie
Club Retro Rides Member
Posts: 3,061  Club RR Member Number: 77
|
|
|
|
 Hopefully a quick drop post of a pic  |
| |
|
|
mk2cossie
Club Retro Rides Member
Posts: 3,061  Club RR Member Number: 77
|
|
|
|
Just a few little odd jobs done at the weekend again. Managed to relocate the wiring back in the engine bay for the original washer bottle that lives on the inner wing. Although I seem to have misplaced the headlight washer pump that was once in the bottle  Also made up a couple of CAD templates for the boot area, one to mount the amp on alongside the wheel arch and the other to cover the chasm in the offside rear quarter panel area that used to be filled with foam. Both have been transferred on to a sheet of stainless steel for me to trim and adjust as necessary and get some stainless studs welded to them to bolt the amp and CD changer to  I was also assisted in the removal of the covers when I started by some one who is ever so helpful  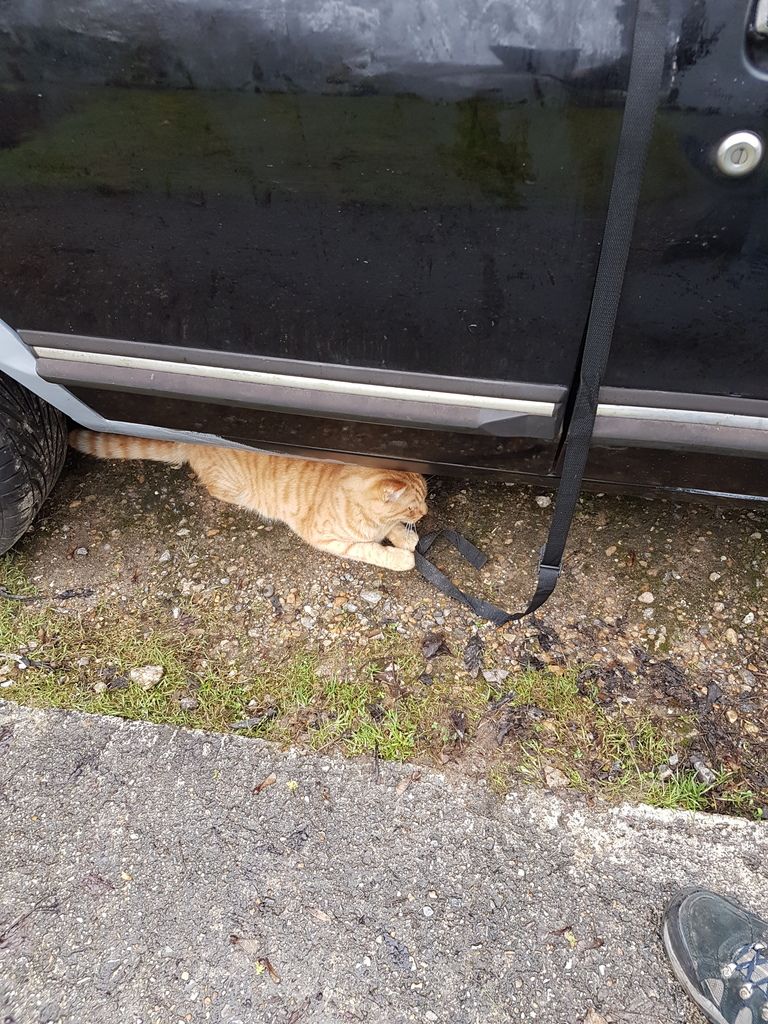 If only I could train him to help with getting the tags underneath the car when refitting the covers, I think I would be on to a winner  |
| |
Last Edit: Feb 9, 2017 13:39:02 GMT by mk2cossie: edited for speeling mistooks
|
|
mr
Posted a lot
  
Posts: 1,619
|
|
|
|
|
What washer bottle,the mahhosive ghia one or the smaller one? I can check what's left of my stash to see if I've got one.
|
| |
Got the car from 105 bhp at the crank to 152 at the wheels.nitrous going on next.....if it ain't broke,keep bolting on go faster parts until it is........ www.fordgranadaclubuk.freefo.de |
|
mk2cossie
Club Retro Rides Member
Posts: 3,061  Club RR Member Number: 77
|
|
Feb 10, 2017 17:24:09 GMT
|
What washer bottle,the mahhosive ghia one or the smaller one? I can check what's left of my stash to see if I've got one. Ta Bert, but I'm not after the bottle  Just the headlight washer pump  |
| |
|
|
|
|
mk2cossie
Club Retro Rides Member
Posts: 3,061  Club RR Member Number: 77
|
|
|
|
I haven't forgotten the old girl, just not had much time to tinker lately with the weather as it is and the evenings being dark when I get in from work. Although they are now thankfully getting lighter  Went and saw Dave to get some sheets of stainless steel for mounting things in the boot to. Went down there armed with my cardboard templates to transfer across to some freshly guillotined sheets to take to with the angle grinder This one is to fill the gap between the boot floor and the quarter panel instead of refilling it with expanding foam  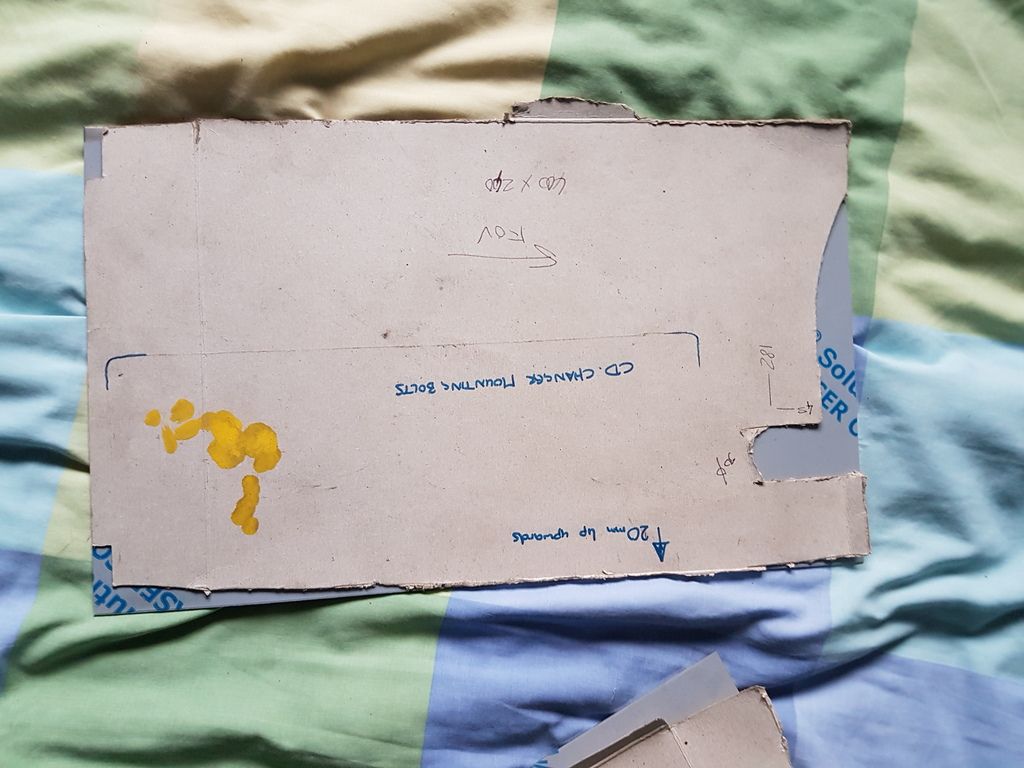 And this one is for mounting the amplifer upright between the boot floor and the parcel shelf next to the O/S/R inner wheel arch  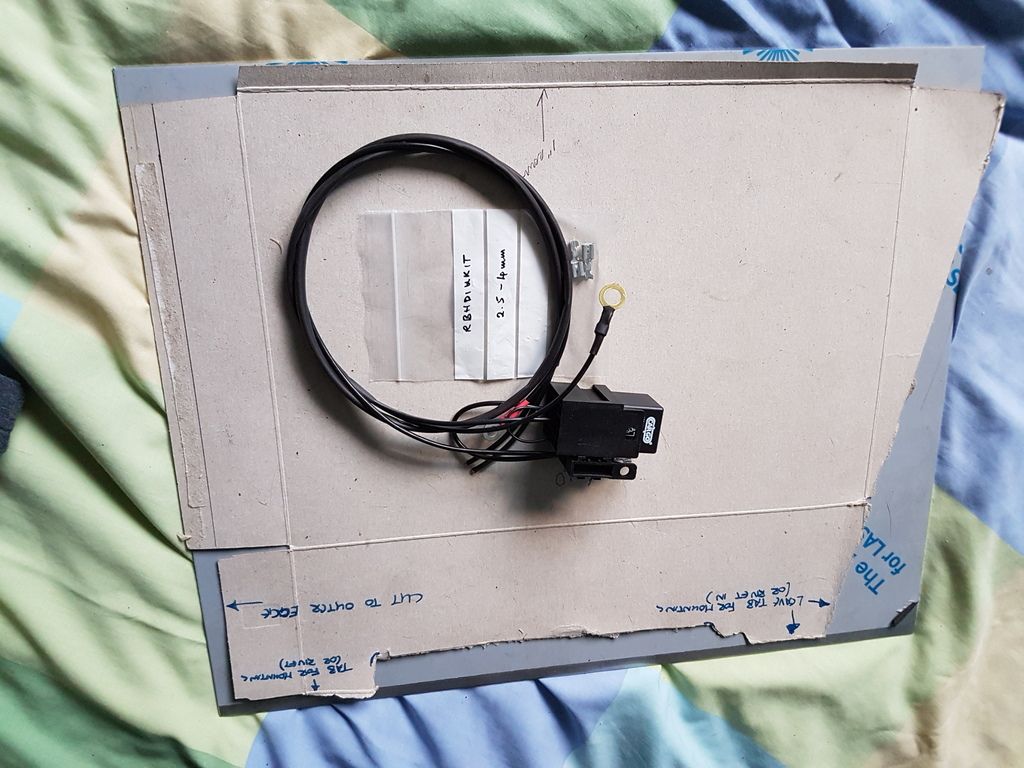 The eagle eyed viewers may also spot there is a little sub loom on top of that above as well, that is the new loom for the fuel pump. Will bolt up next to the battery and goes more or less straight from the battery to the fuel pump mounted on the inner edge of the spare wheel well Went to the swap meet at Arena Essex on Sunday in the hopeful search of anything, and only managed to get a Ford script badge similar to what I used to have. Also now have a nice little pile of parts to get around to fitting up 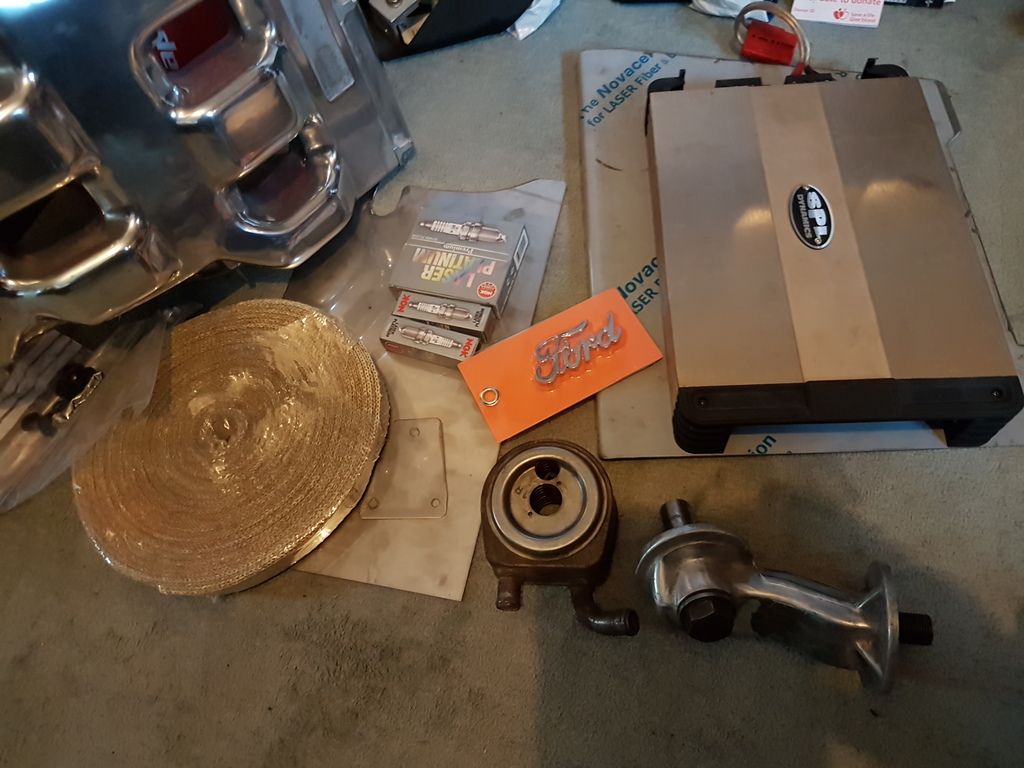 And shall run a new battery lead front to rear that is a proper size to crimp some tube terminals to as well, as the current audio spec stuff is 20mm2 instead of 25mm2 that the terminals come in  |
| |
|
|
mr
Posted a lot
  
Posts: 1,619
|
|
|
|
|
Glad too see this is back on course mate
|
| |
Got the car from 105 bhp at the crank to 152 at the wheels.nitrous going on next.....if it ain't broke,keep bolting on go faster parts until it is........ www.fordgranadaclubuk.freefo.de |
|
mk2cossie
Club Retro Rides Member
Posts: 3,061  Club RR Member Number: 77
|
|
Mar 27, 2017 12:48:33 GMT
|
Managed to sneak a few more hours on the ole girl on Saturday, before a mad dash to Bluewater to get things for Mothers day  Got the drivers door adjusted so it sits in the hole better now and doesn't donk down on the striker. Think something in there must've adjusted when Dave done the inner sill repairs at the lower section of the A post  Both the front wings have now been blasted back to bare metal, and the results aren't actually too bad. The nearside front wing is having the aerial hole welded up, and a repair to the edge of the front that is just behind the indicator unit  Tried the offside front wing on for fit and panel gaps, and it would appear to be a genuine wing possibly fitted to a pre facelift model 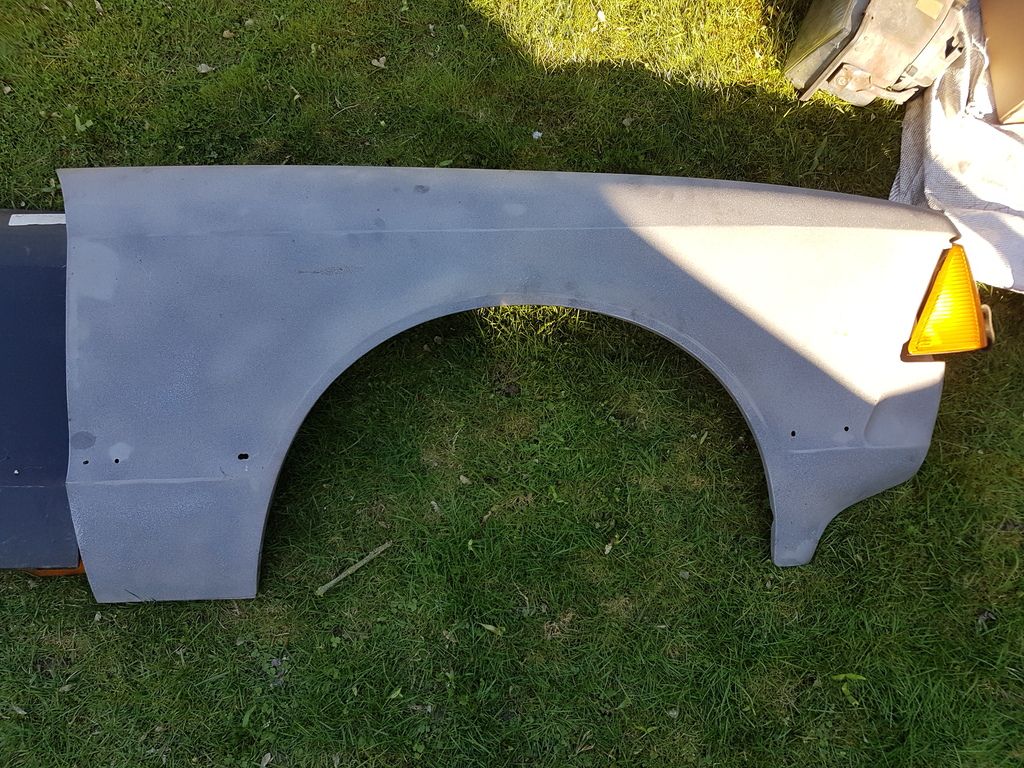  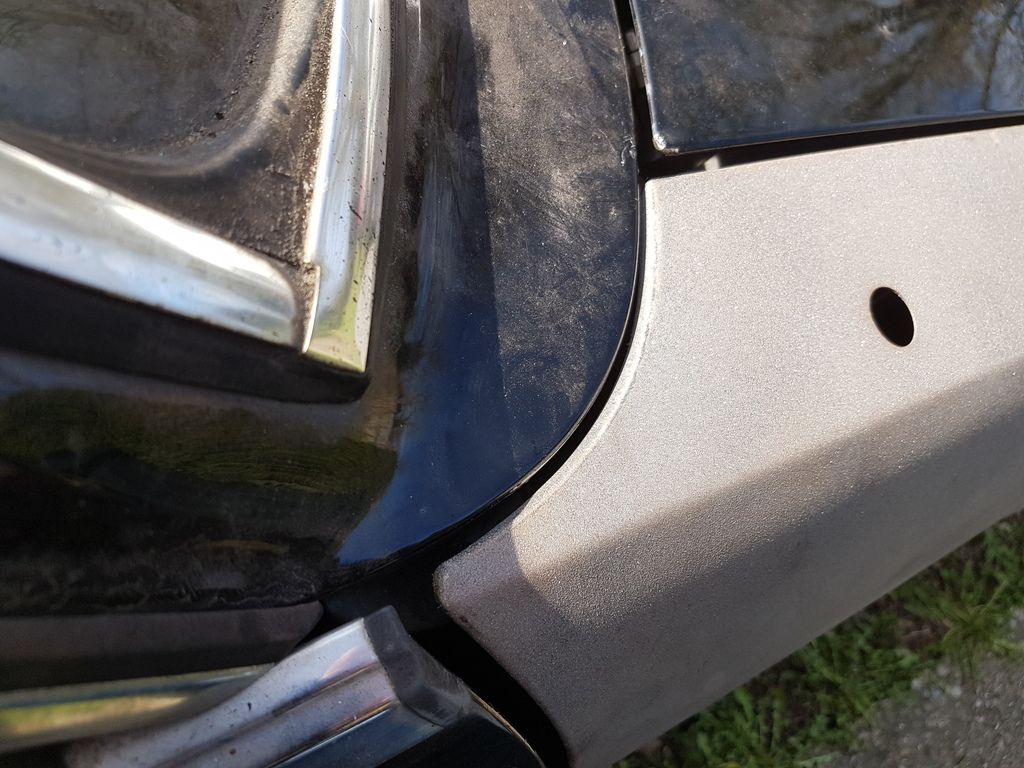 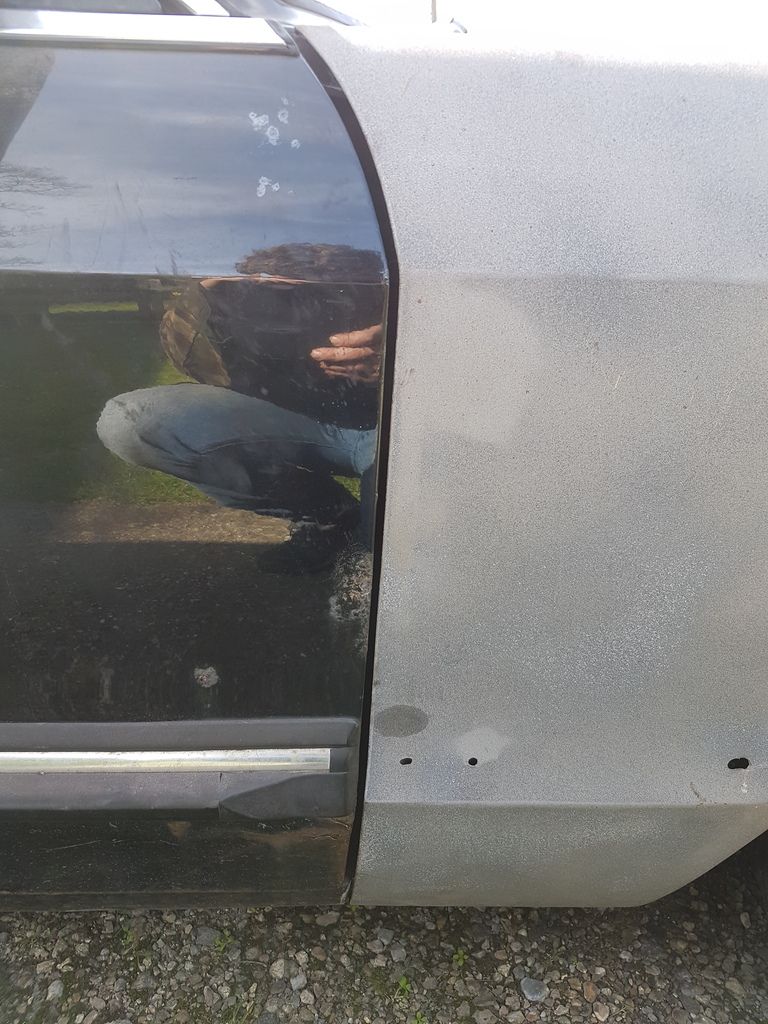 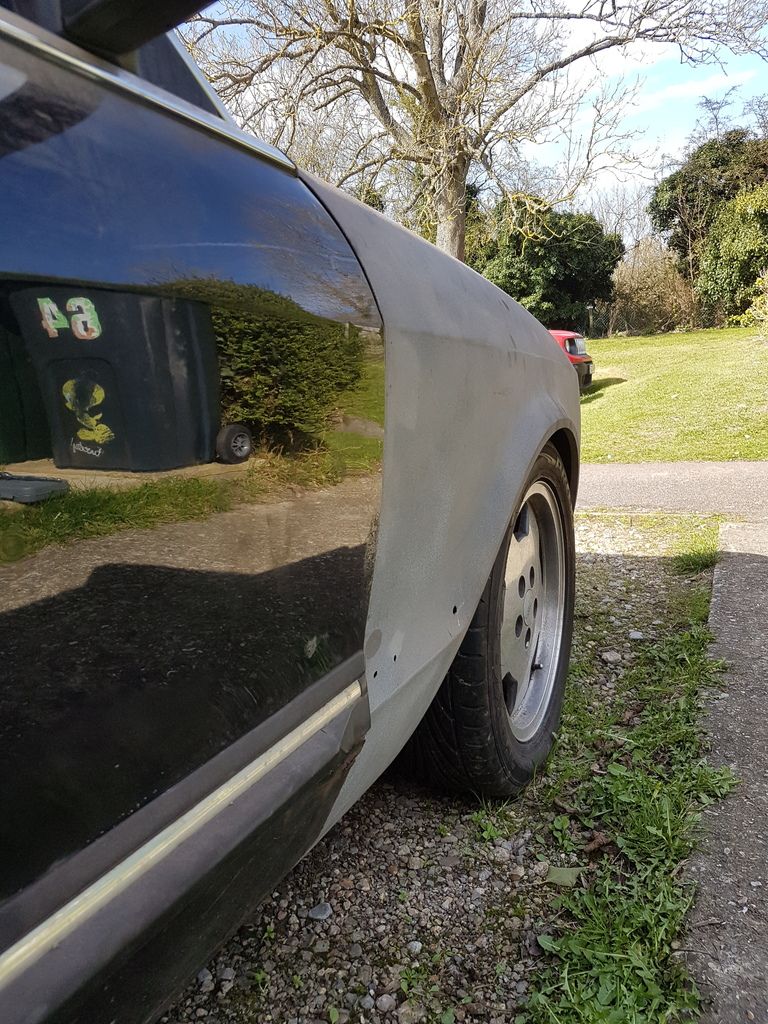 In doing this, the drivers door decided to throw a wobbler and the section that was welded in years ago has rotted through and struck out just below the side moulding  So I may be fitting this door skin sooner rather than later 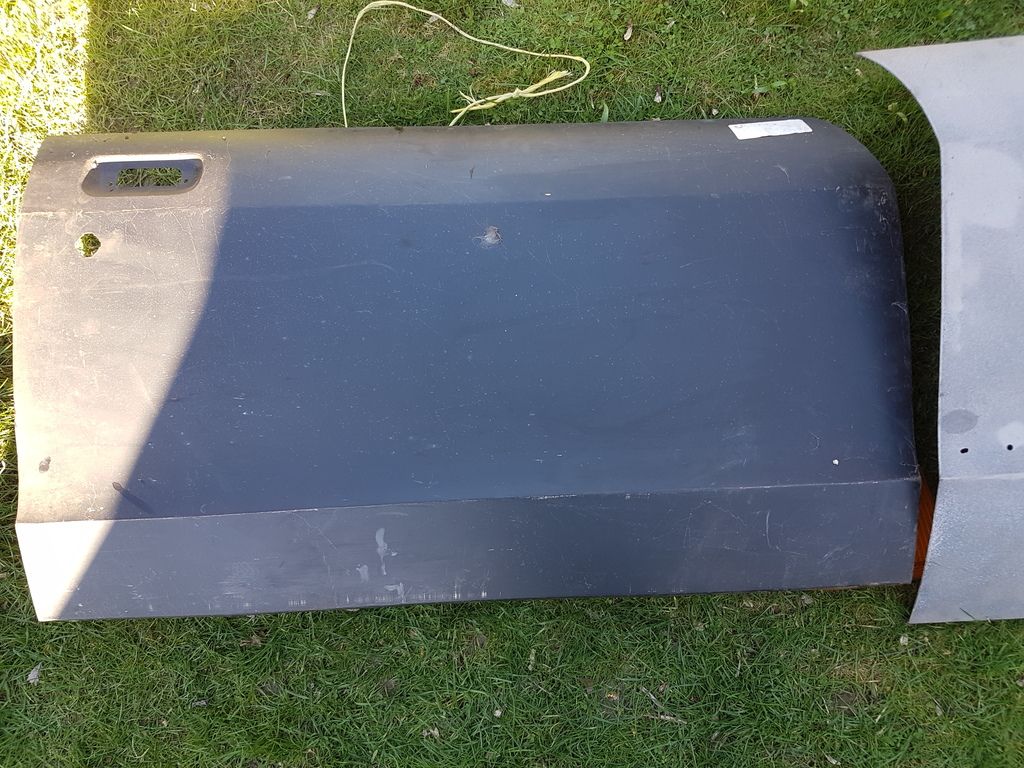 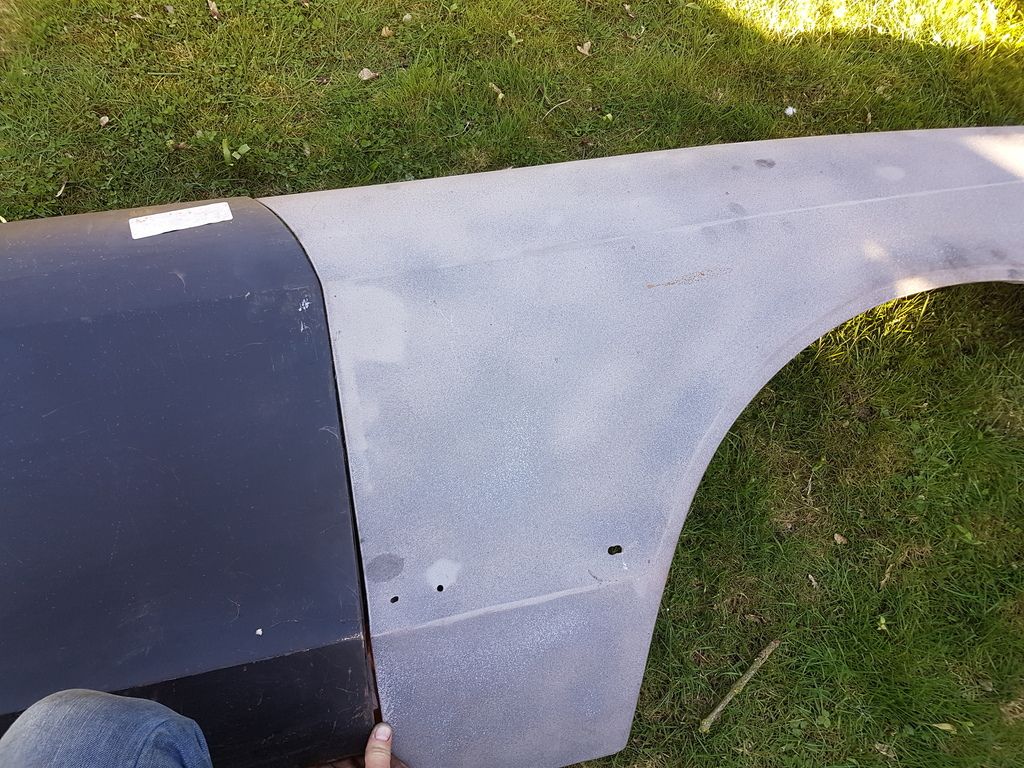 Also managed to line up and drill the holes for the washer bottle, so that will get some rivnuts installed on the inner wing and that can be bolted in. Gave it a bit of a tarting up as well, got rid of the bits of plastic from when it was moulded originally and got rid of the grottiness inside and out. Made a right ole mess in the kitchen sink doing that, then Mum said you need some elbow grease :roll: To which she then went in to the cupboard and pulled out a bottle of elbow grease and a metal scouring pad. Worked an absolute treat on the outside of the bottle, and by no means looks new but is a vast improvement over the scabby looking thing I started with ert |
| |
|
|
mr
Posted a lot
  
Posts: 1,619
|
|
Mar 27, 2017 12:52:46 GMT
|
|
ive heard dishwashers are good parts cleaners but never owned one to confirm this.
nice progress mate
|
| |
Got the car from 105 bhp at the crank to 152 at the wheels.nitrous going on next.....if it ain't broke,keep bolting on go faster parts until it is........ www.fordgranadaclubuk.freefo.de |
|
njw
Part of things
 
Posts: 226
|
|
Mar 27, 2017 19:41:11 GMT
|
|
Elbow grease is good stuff, I've used it to de-grease engines before now. And it's nice to see an update on the ole' beast!
|
| |
|
|
mk2cossie
Club Retro Rides Member
Posts: 3,061  Club RR Member Number: 77
|
|
Mar 28, 2017 12:57:07 GMT
|
Got home last night with an hour play time before roast dinner  So, the rivnut tool was borrowed from work and the washer bottle screwed in to place Nothing in it and no pumps or level sensors at the mo. Has quite an unnatural glow with the setting sun shining on it  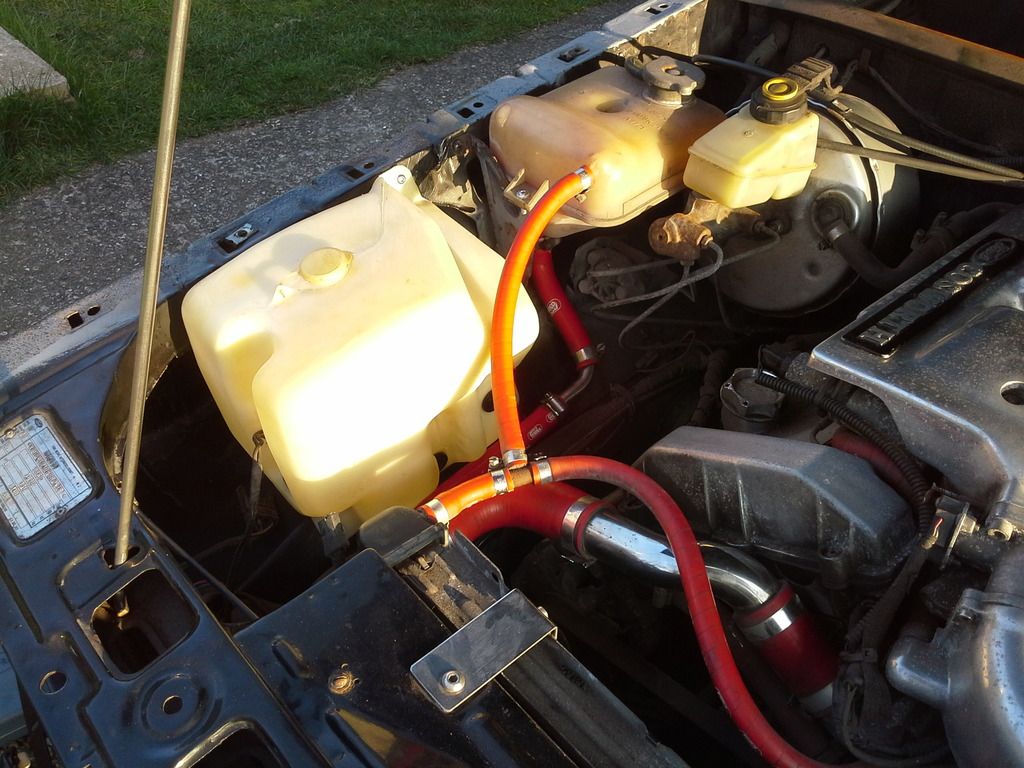 Also wiped some of the engine bay down a tad, as thats all still covered in a layer of dust and filings  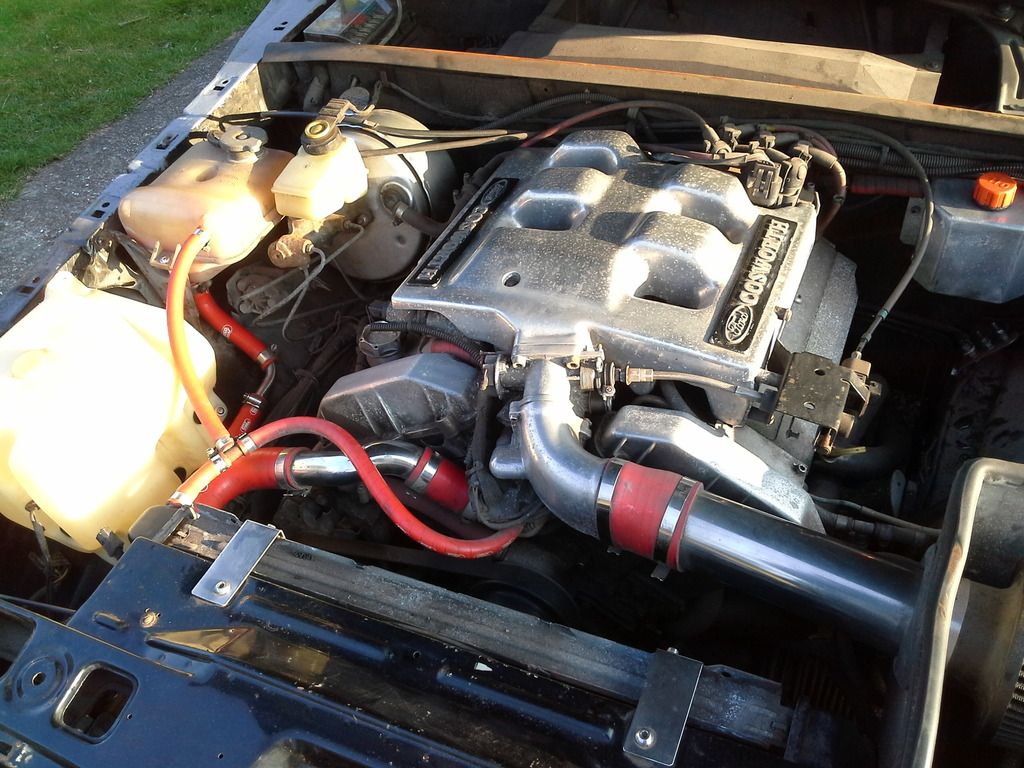 The alternator used to be reasonably well polished up as well  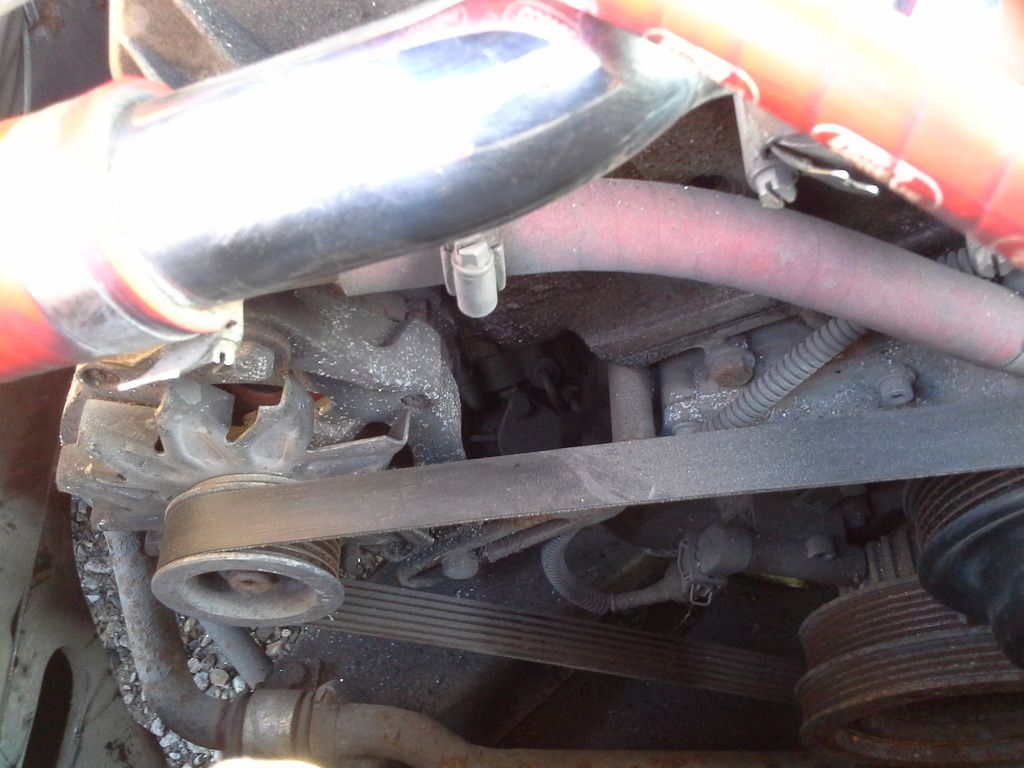 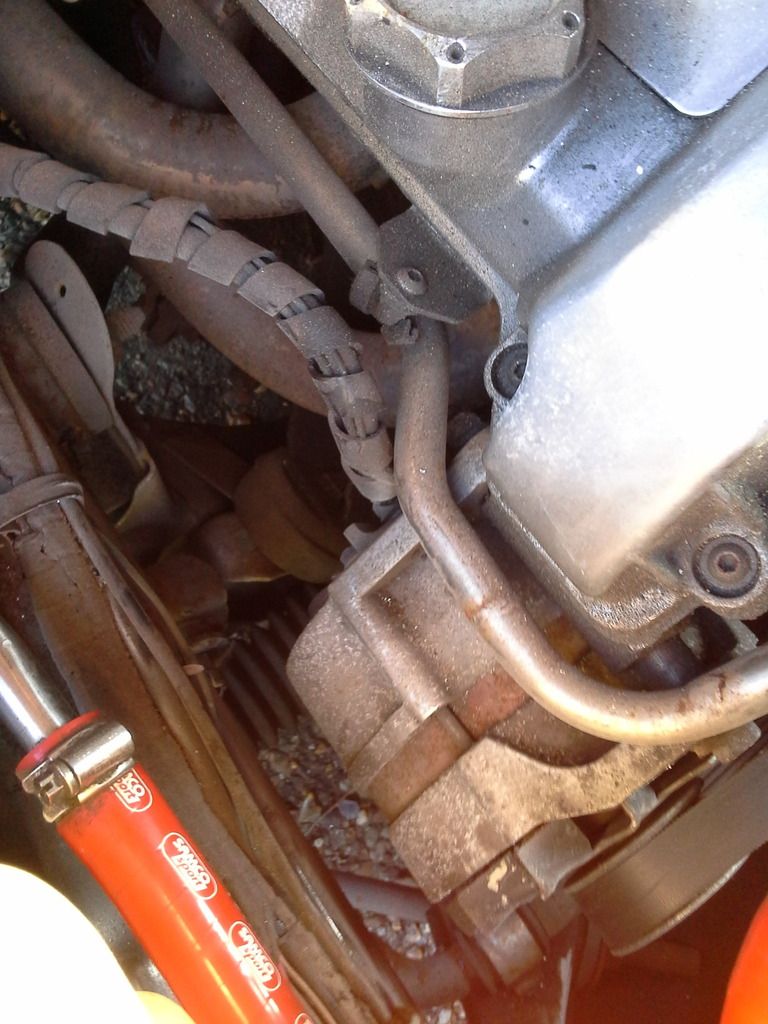 Also got my rachet and extension out and gave the engine a couple of rotations as well, just to make sure nothing had stuck or seized in place (the photos in this post were brought to you from my tablet, as the phone died just as I uncovered the car!) |
| |
|
|
mk2cossie
Club Retro Rides Member
Posts: 3,061  Club RR Member Number: 77
|
|
Apr 11, 2017 12:37:38 GMT
|
Aerial is being moved to the drivers side wing, so that it doesn't get twatted by all the trees and bushes around the lanes  Managed to get a bit more done on Sunday just gone though. Managed to re-align the drivers door so it shuts nicely now, and doesn't have a gaping hole at the top of the window frame juh Aerial wiring feed through the offside inner wing, complete with grommet and taped up to make it more water tight than it was  Managed to make up the sub amplifier brackets as well 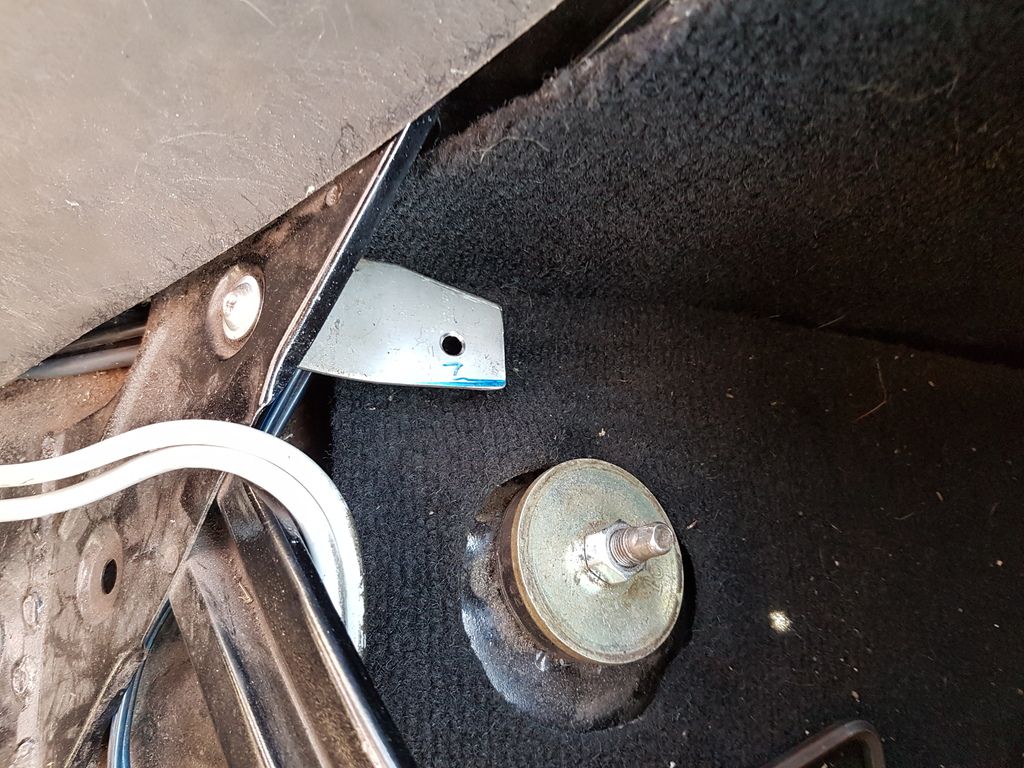 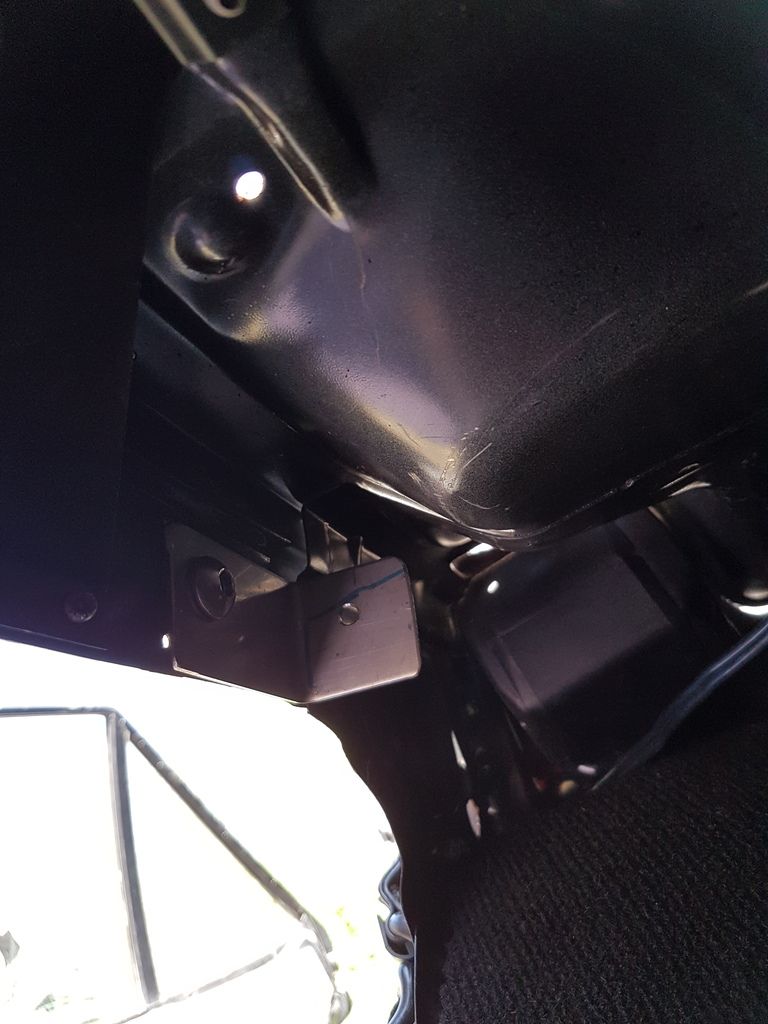 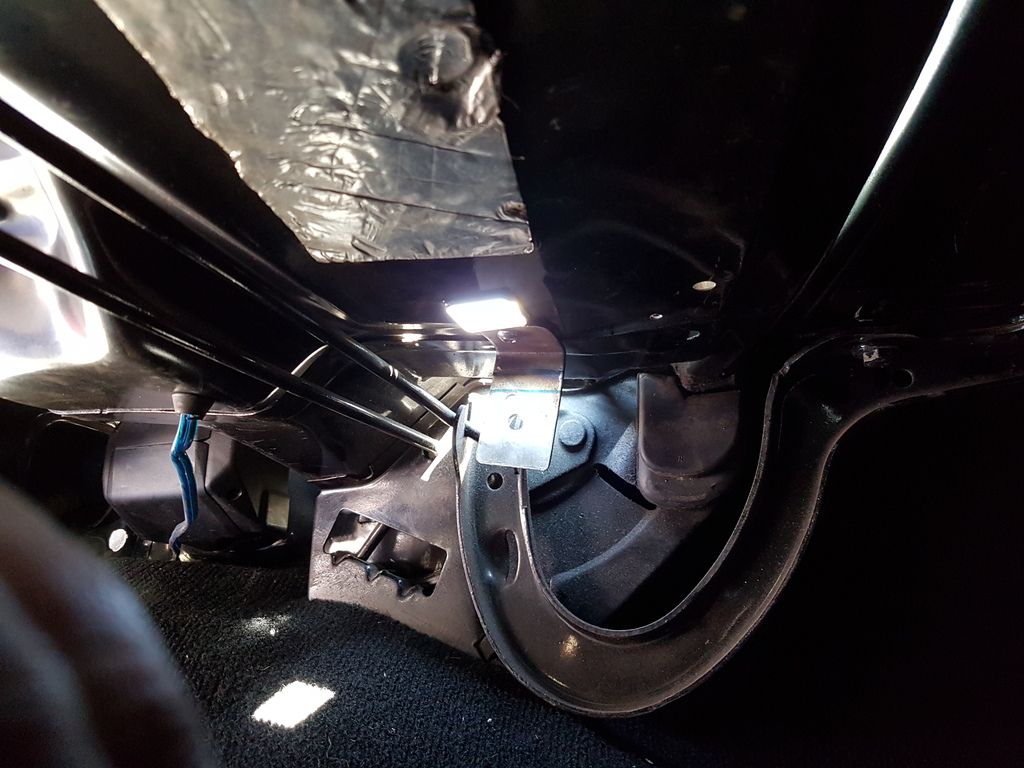 A tad of wiring management as well 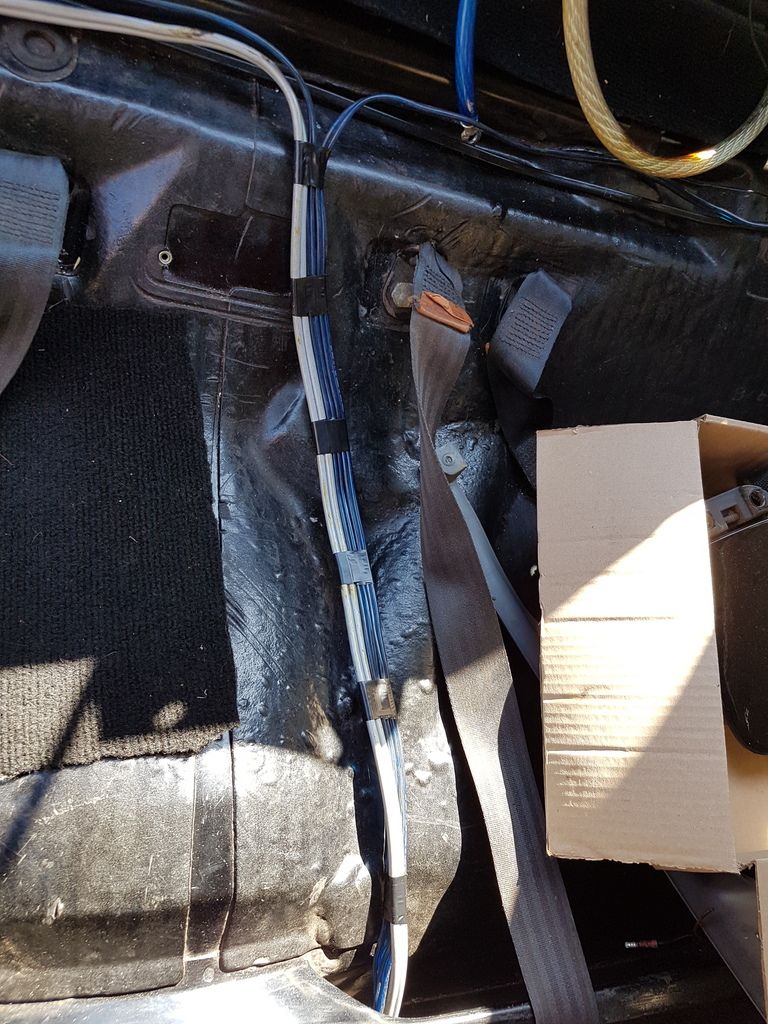 And swaged the 8mm cupro nickel fuel pipe for the nice new fuel fittings to go on (if any one on here has made brake pipes up in cupro nickel/kunifer, then this is worse. and the vice mounted flaring tool was used on the ground held with a pair of ancient mole grips ) 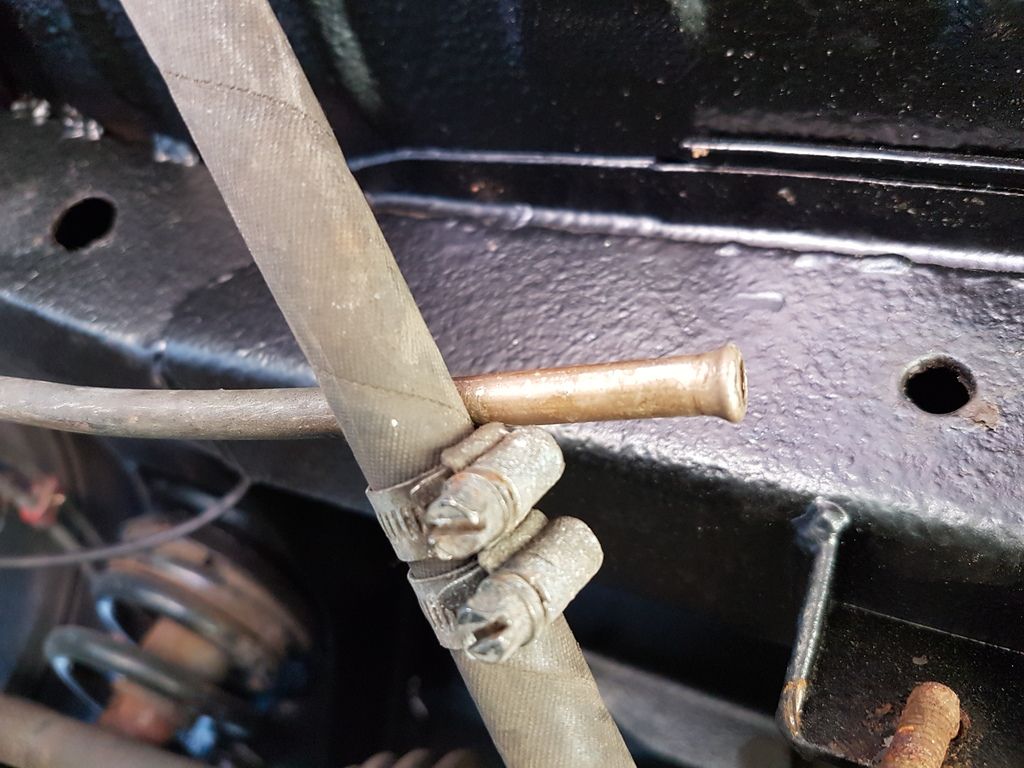 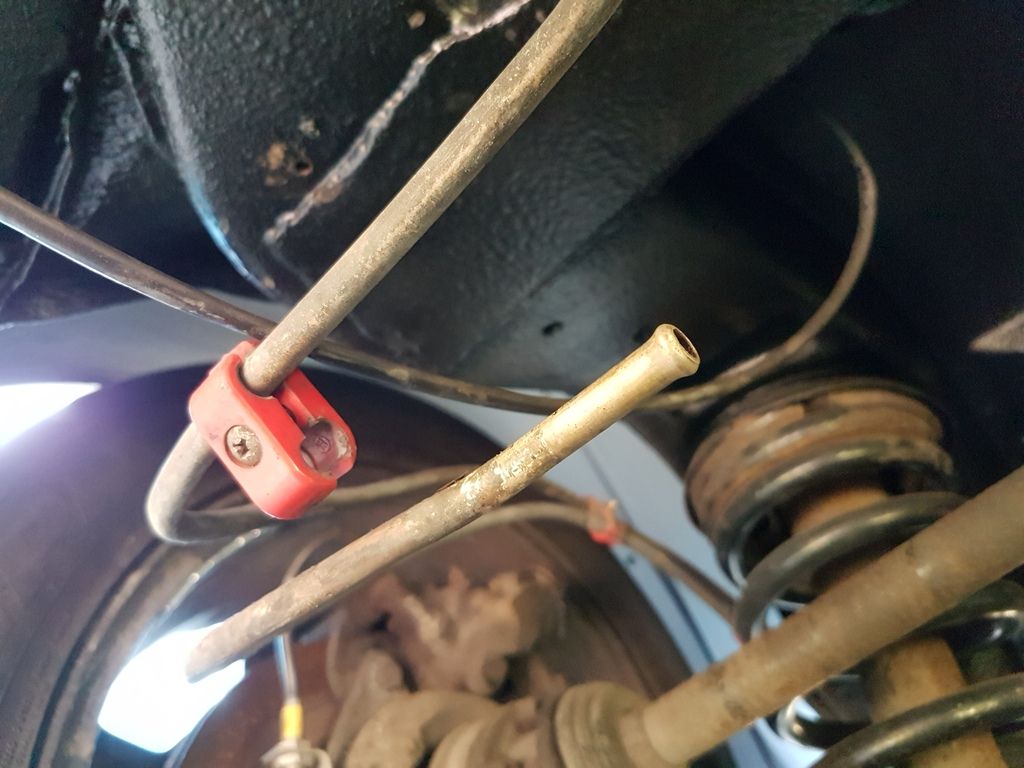 Also managed to line up and drill the boot lid for this  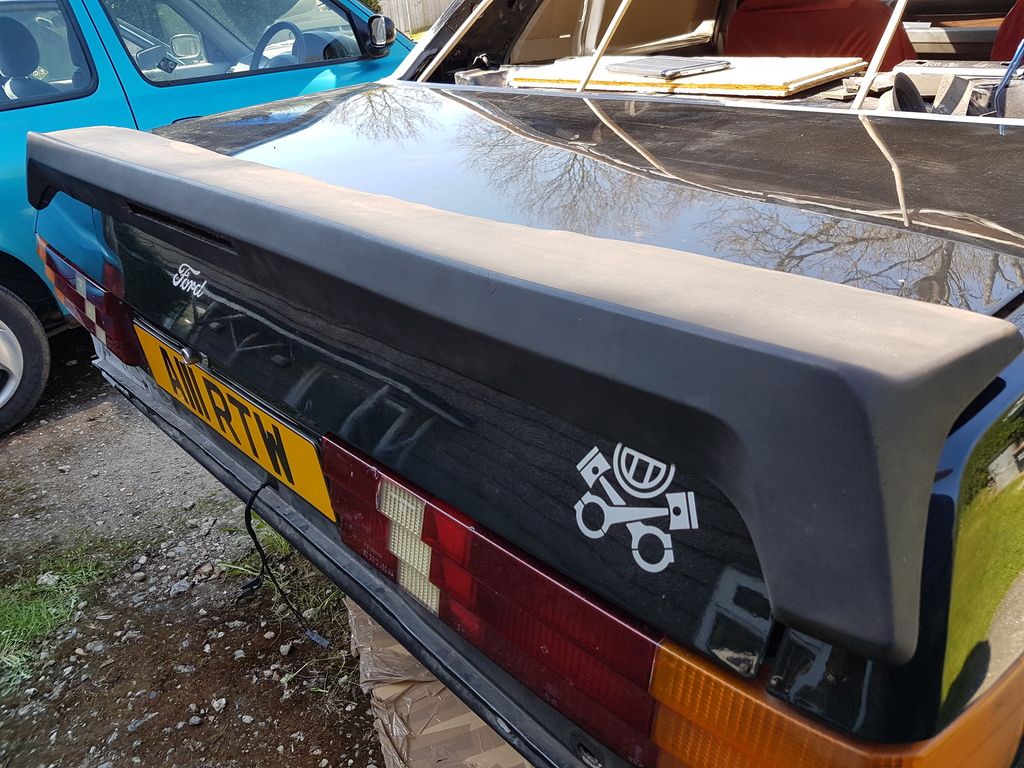 And even retensioned the bootlid springs. Although they are now both on the highest setting and still don't raise the lid when popped![/quote] |
| |
|
|
|
|
|
Apr 11, 2017 13:22:55 GMT
|
|
Looks great
Keep the picture updates coming
|
| |
|
|
mk2cossie
Club Retro Rides Member
Posts: 3,061  Club RR Member Number: 77
|
|
Apr 12, 2017 12:38:16 GMT
|
Looks great Keep the picture updates coming Thank you very much. I will try to keep the updates coming, but enthusiasm is a bit low at the mo. Hopefully got a friend coming over to do some lead loading on the lumpiest parts of the car in the next few weekends  And Dave is hopefully sorting out the fuel line components for me today  |
| |
|
|
|
|
|
Apr 12, 2017 15:03:18 GMT
|
Looks great Keep the picture updates coming Thank you very much. I will try to keep the updates coming, but enthusiasm is a bit low at the mo. Hopefully got a friend coming over to do some lead loading on the lumpiest parts of the car in the next few weekends  And Dave is hopefully sorting out the fuel line components for me today  I'd love a Mk2 Granada for another weekend toy, my dad had his for best part of 15 years... Great cars... My misses hate's them...? |
| |
|
|
|
|


