|
|
|
Sept 3, 2015 18:13:37 GMT
|
Little update, mainly for the information gathered today  So, as you know, this new engine procured for the project is a bit of a mental one. Toyota went bonkers and ripped up the old design of the gen 3 and changed lots compared to the gen 4. This engine has bigger valve buckets with the shim underneath, a tighter valve angle for steeper ports and a more compact combustion chamber, giant cams (11mm lift!!) and bigger titanium valves.... Yep, Toyota fitted titanium valves to this as a stock feature! This is where is got a bit sticky for me, as I want to turbocharge the engine, and titanium valves are not great with heat. This issue is two fold, first of all the material is prone to oxidation at high temperatures, resulting in surface imperfections. This then knocks on to another problem, titanium is prone to fracture with any surface imperfection. Secondly, creep is an issue. This is where under load the material can deform even when the stress is below the yield point. This is exacerbated by high temperatures which cause a significant loss of strength in the material. So, what the hell were Toyota thinking? Well, on the inlet they have used 6al4v, this is a strong material with excellent properties and reduced creep, great. The white elephant are the exhaust valves, continuous operation over 750 degrees centigrade whilst being thumped open and closed by a bumpy stick, not great. Being an unusual application I thought 'There must be some literature on the subject', sure enough after some hunting I came across two small but significant references. First is this one - 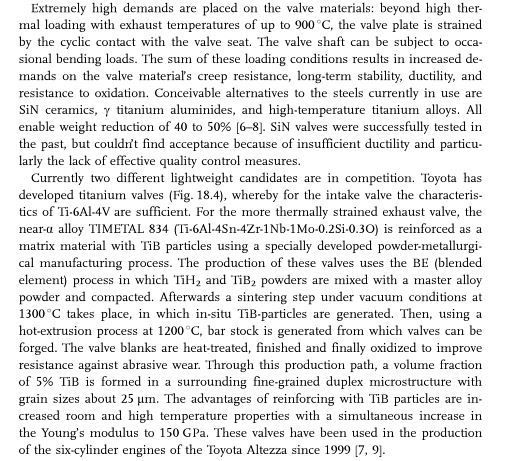 So.....it turns out that Toyota did lose the plot and used spaceship material for the exhaust valves. This has exceptional high temperature properties to resist creep and an oxide coating that gives it much better notch failure resistance. The second bit, and most interesting for me is this -  From here (a great resource for engine information) - High Performance Media - Valve MaterialsI was still worried about the elevated temperatures seen with turbocharging, turns out that the only material better within the scope I am looking at is Nimonic 80A, a nickel superalloy! The kind of material you would use when building a turbocharged racing engine (think WRC + antilag). I would have been happy with standard stainless exhaust valves, looks like the Ti834 valves should be much better  So, I decided to have a look and see how the engine looked under the cam cover, I have not delved into this engine at all, it has stood outside for two years at the previous owners house as a spare for his car. I was quite frankly worried. 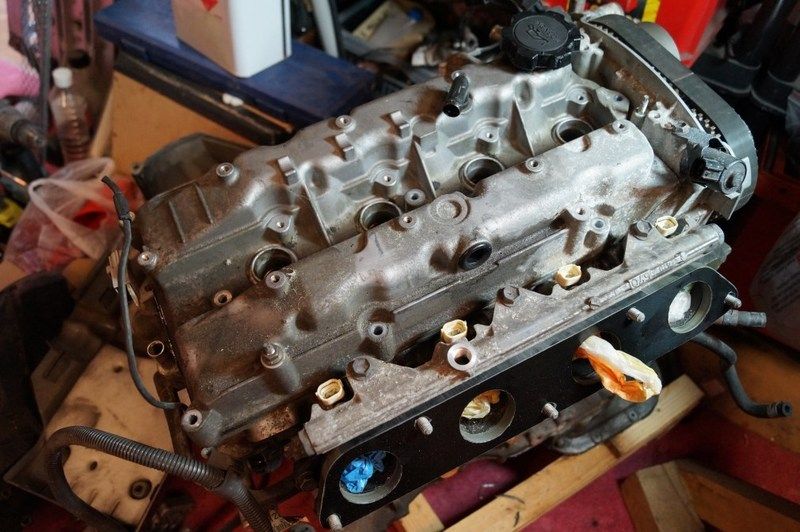 Ready.... 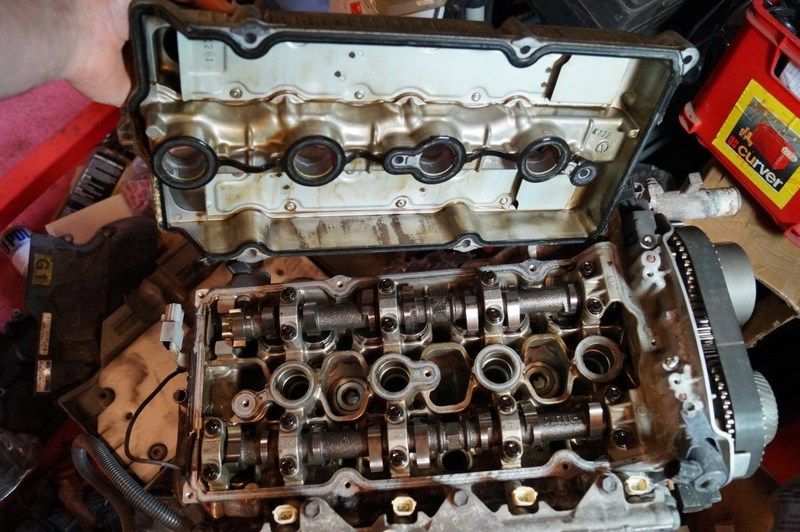 Well flip me, its immaculate! This engine has been looked after, many oil changes and not ragged from cold, never got too hot either  Valve clearances all check out bang on too, if anything towards the top of the range, something I am happy about given titanium's tendency to creep!  So, there you go, spaceships! |
| |
|
|
|
|
bstardchild
Club Retro Rides Member
Posts: 14,971
Club RR Member Number: 71
|
|
Sept 3, 2015 19:41:11 GMT
|
Blown_ImpYou aecretly wanted it to be dirty so you could strip it down and rebuild it 
|
| |
|
|
|
|
|
Sept 3, 2015 19:55:25 GMT
|
HA! It is going to come apart anyway, the inlet cam needs to come out to get to the head bolts and I need to decide if I want to clean the valves too. That will be a mission as Titanium reacts badly to all sorts! Sounds like acetone and MEK are ok to use, no abrasives though, so a soak in an organic solvent and a wipe down is all I will be able to manage. They also cannot be lapped in, as it will wipe out that hard oxide coating! A pain, but also so very racing. So racing, much light, very space  |
| |
|
|
|
|
|
Nov 29, 2015 19:15:41 GMT
|
Hi guys, Sorry for the lack of progress updates, I have mainly been de-rusting, cleaning, priming, painting and lacquering parts. Over and over and over again  First of all some news, Ruby has been confirmed to be in remission :clap: :clap: So life is back on for the family!! Scans every 6 months, but that is pretty easy to deal with TBH  Today, I decided to do some fun jobs though  The exhaust had been bugging me for a while, I really dislike the fart cannon back box that seems to be prevalent in the japanese tuning scene. That and it really did not fit with the look that I am aiming for, so it had to go. Initially I was looking at replacing the entire back box with another one, but a decent quality replacement would be about £150, and the one on there currently was really nicely made. With this in mind, I realised that I could try cutting it off and not have much to lose. OUT WITH THE GRINDER!! So this is where we started -  I had 2.5" and 3" stainless tube in stock, the system is something like 65mm OD, that includes the perforated tube inside the silencer. After cutting off the 5" tail pipe (yeah, really!), I found that the 2.5" was not a great fit, however the 3" pipe had a perfect ID to fit snugly over the outside of the little bit of perf sticking out of the silencer. It took a flipping age to grind down the MIG bead left from the previous tail pipe, it was stainless and mega hard. After about 40 minutes of flap wheel action, then some tidying up with a poly disc, we were getting close. The tube was marked up using the previous pipe as reference  Slitting disc to cut it neatly, then the belt linisher to tidy up the ends and make sure they were square. Out with the TIG in a drawer, and zapped until I was happy, this is the result 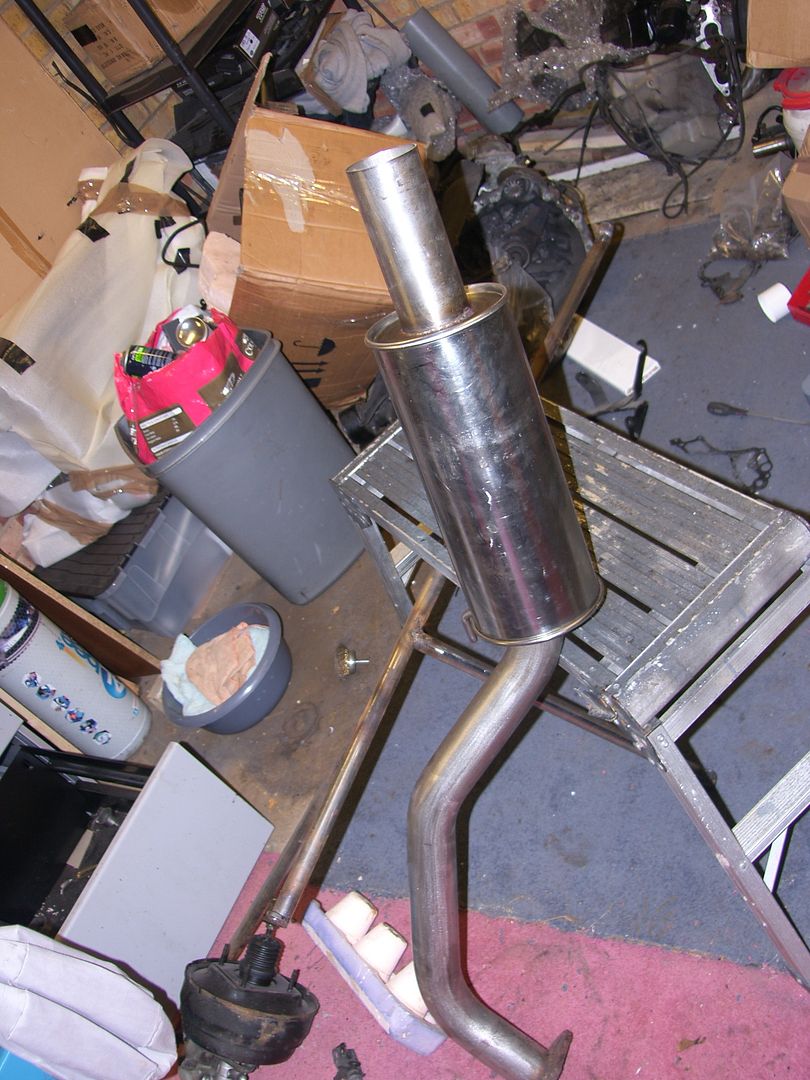  Looks so much better! The old one was ridiculous  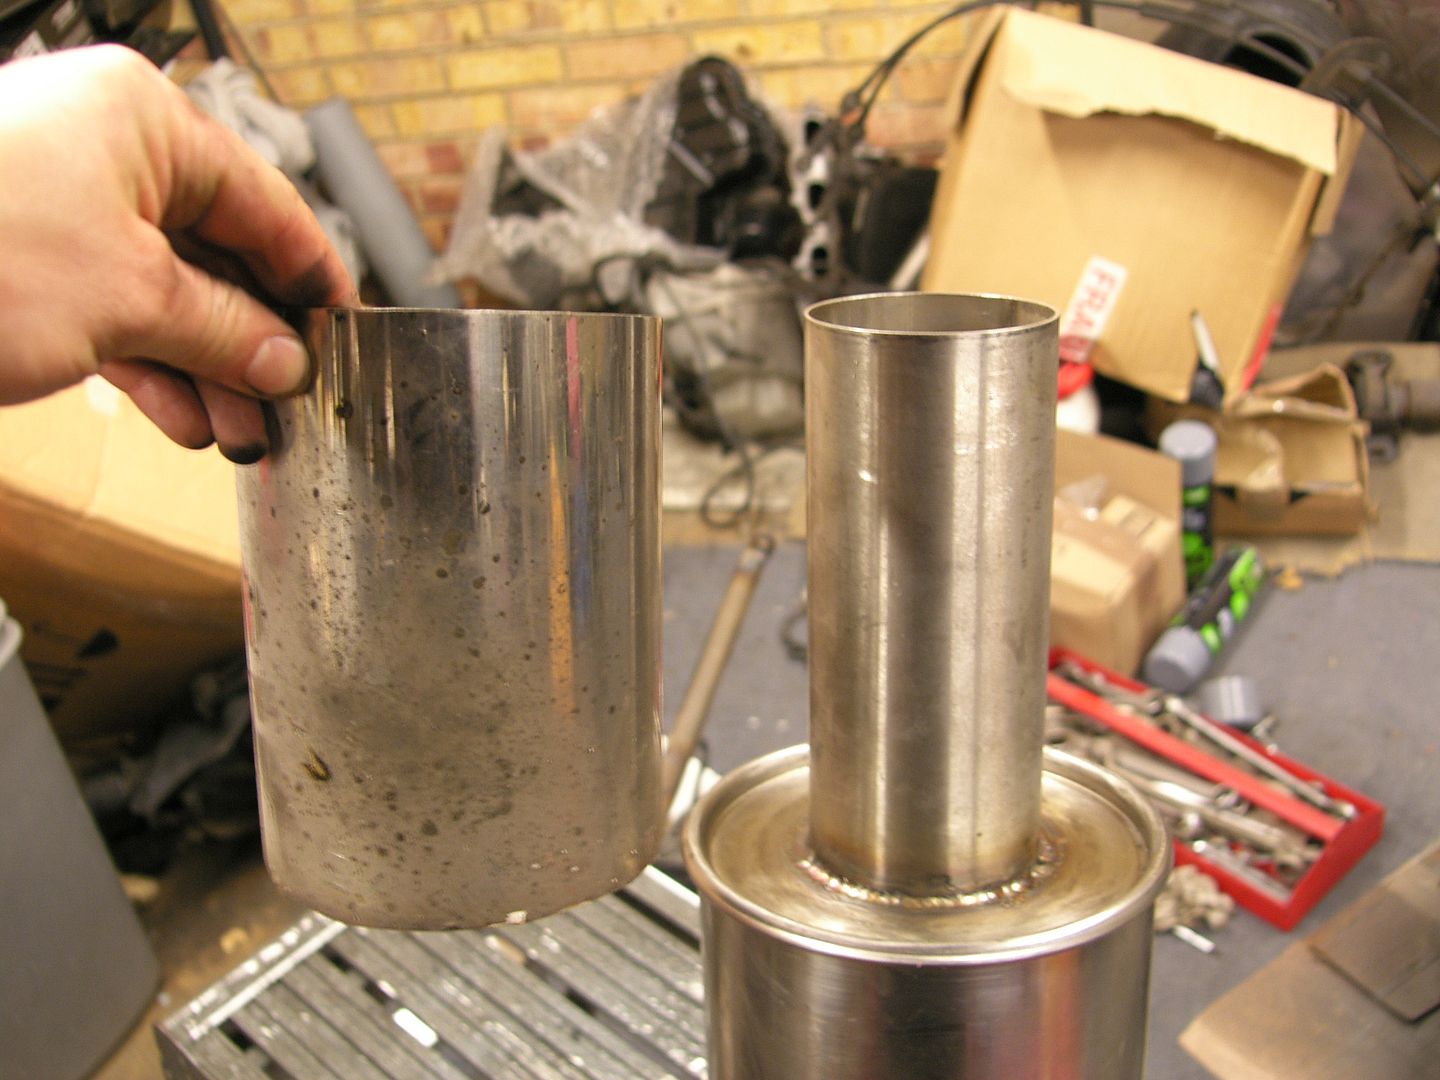 Other than that, the paint shop are going great guns on the shell now. All the panels are prepped and in primer now, the bonnet catch holes cut, fuel pump plate hole cut, and all the panels filled smooth. I have also had the rear wiper and washer holes welded and smoothed, and the aerial hole too. 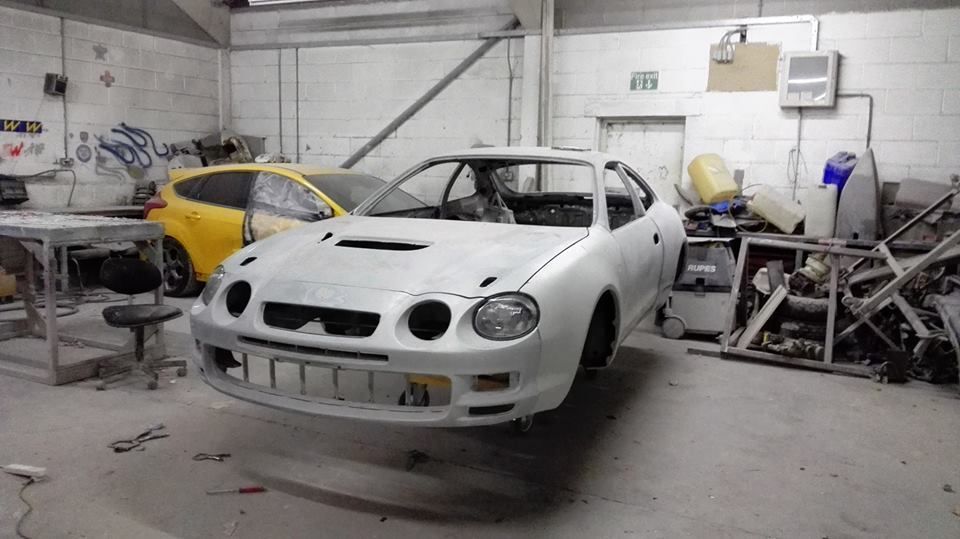 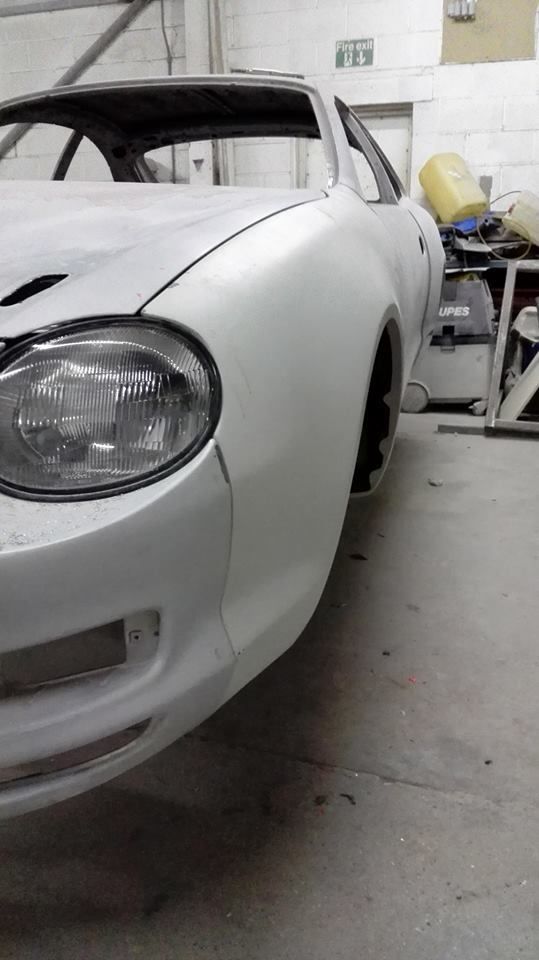 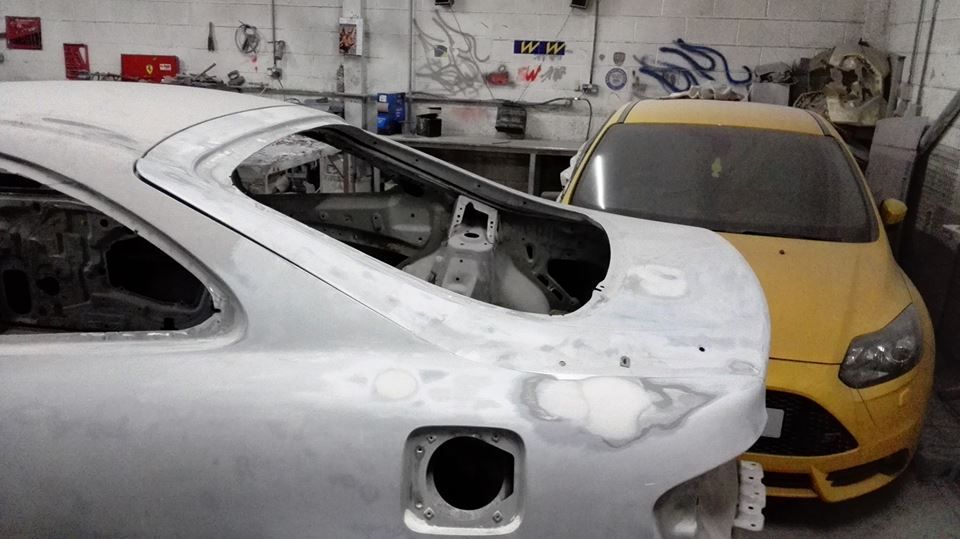 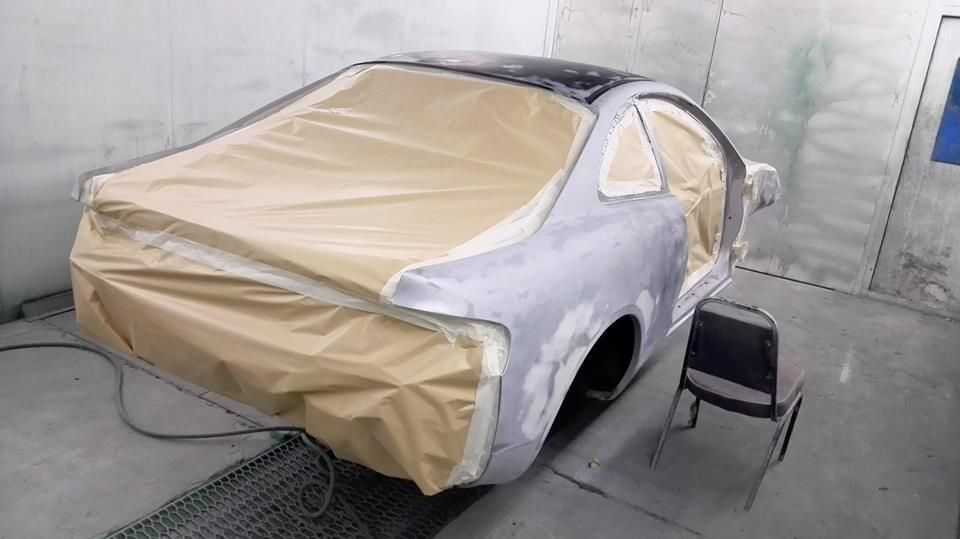  So we should start to see some colour soon  The panels will be painted first, while the shell is on the spit, having the underside prepped for paint. I cannot tell you just how excited I am  More soon guys |
| |
Last Edit: Nov 29, 2015 19:19:03 GMT by Blown_Imp
|
|
|
|
|
Nov 29, 2015 19:42:51 GMT
|
Great news on the family front and you're right, that tailpipe is better...much better!  |
| |
|
|
jpsmit
Posted a lot
  
Posts: 1,274
|
|
Nov 29, 2015 19:48:15 GMT
|
|
Awesome! And great news about the remission. Blessings!
|
| |
|
|
recarouk
Yorkshire and The Humber
Posts: 435 
|
|
Nov 29, 2015 19:56:41 GMT
|
|
fantastic news about your daughter chap, really am so so pleased for you all.
|
| |
|
|
|
|
|
Nov 29, 2015 20:20:22 GMT
|
Thanks guys, it has been hard and we are still not out of the woods yet, but things are looking up  |
| |
|
|
|
|
|
Nov 29, 2015 21:18:51 GMT
|
|
I still prefer the 5th gen Celica over the 6th gen but that's a great GT-Four you're building right there mate. Thumbs up!
|
| |
---
recent:
1990 Toyota Celica ST182 2.0 GT-i16 (since 2013)
1999 Toyota Corolla AE111 1.6 G6R (since 2016)
former:
1990 Ford Fiesta MK3 1.1iC (2000-2002)
2001 Seat Ibiza GP01 1.4 16V Freeze (2002-2006)
1999 Citroen Berlingo 1.8i Charleston (2006-2007)
1999 Toyota Corolla EE111 1.4 G6 (2007-2010)
2005 Skoda Octavia Estate 1Z 1.9 TDI (2010-2013)
1993 Toyota Corolla 1.3 EE101 XLi (2014-2016)
|
|
qwerty
Club Retro Rides Member
Posts: 2,419
Club RR Member Number: 52
|
|
Nov 29, 2015 21:20:59 GMT
|
|
Really chuffed to hear about your daughter.
Also nice progress on the Celica. That exhaust is a massive improvement.
|
| |
|
|
|
|
|
|
|
Nov 30, 2015 19:15:41 GMT
|
Thank you guys, making slow steady progress  |
| |
|
|
mylittletony
Posted a lot
  
Posts: 2,420
Club RR Member Number: 84
|
|
|
|
|
Basically just repeating what everyone else has said, but very good news on your daughter's health and the exhaust is a huge improvement!
Is this destined for the hill at RRG16?
|
| |
|
|
|
|
|
|
|
All being well, yes  Life may throw some obstacles in our way yet though. Looks like me might be moving house very soon, 140 miles away. I am NOT looking forward to relocating a totally disassembled car  |
| |
|
|
|
|
|
|
|
|
So get it done before.
Just kidding.
|
| |
---
recent:
1990 Toyota Celica ST182 2.0 GT-i16 (since 2013)
1999 Toyota Corolla AE111 1.6 G6R (since 2016)
former:
1990 Ford Fiesta MK3 1.1iC (2000-2002)
2001 Seat Ibiza GP01 1.4 16V Freeze (2002-2006)
1999 Citroen Berlingo 1.8i Charleston (2006-2007)
1999 Toyota Corolla EE111 1.4 G6 (2007-2010)
2005 Skoda Octavia Estate 1Z 1.9 TDI (2010-2013)
1993 Toyota Corolla 1.3 EE101 XLi (2014-2016)
|
|
|
|
|
|
|
Great news, stunning car  *n |
| |
Top grammar tips!
Bought = purchased. Brought = relocated
Lose = misplace/opposite of win. Loose = your mum
|
|
jpsmit
Posted a lot
  
Posts: 1,274
|
|
|
|
All being well, yes  Life may throw some obstacles in our way yet though. Looks like me might be moving house very soon, 140 miles away. I am NOT looking forward to relocating a totally disassembled car  In 2006 we relocated a totally disassembled car when we moved from Florida back to Canada. The good news was, because the engine was out, it was no longer considered a car amd therefore they could roll it into the moving truck - and the engine seperately. Actually made it much easier! |
| |
|
|
PhoenixCapri
West Midlands
Posts: 2,685
Club RR Member Number: 91
|
|
|
|
All being well, yes  Life may throw some obstacles in our way yet though. Looks like me might be moving house very soon, 140 miles away. I am NOT looking forward to relocating a totally disassembled car  Loving how the car is coming together - if you need a car trailer I have a nice twin axle one  |
| |
|
|
stealthstylz
Club Retro Rides Member
Posts: 14,960
Club RR Member Number: 174
|
|
|
|
|
Having a build thread catch up. Awesome work as always dude, can't wait to experience it in action.
|
| |
|
|
|
|
|
|
|
Thanks guys  Did a bit more prep and painting last night, slowly slowly catchy monkey  Thank you for the offer of a trailer Phoenix, I think the main aim before the move, is to turn it into a rolling shell. This will make the whole move a lot easier, not only will there be a lot of components bolted onto the car, so less to box up, but I can also get it shifted by a normal car transport company. Probably be a couple of hundred quid, but for peace of mind, worth it. Tonight, more painting :/ uhrg |
| |
|
|
|
|
|
|
|
Little update, just to show you that all this time is not being spend dicking about, drinking pinacolada's and scratching my backside  The Celica, when it was last running, always had superb handling. The often talked about understeer was never and issue, it cornered flat and level, never ran out of grip and instilled confidence at every bend. Well now we know why! The ARB's were filthy, rusty and generally not in great shape. This is not stopped me at any point so far, so initially out with some brake cleaner. I have found that the vile underseal / tar stuff poorly applied at import has been causing some paint issues, poor adhesion and some fish eyeing. Cleaning it off before de-rusting avoids this issue. When cleaning I found that they were originally painted this metallic petrol blue, surely not factory toyota? 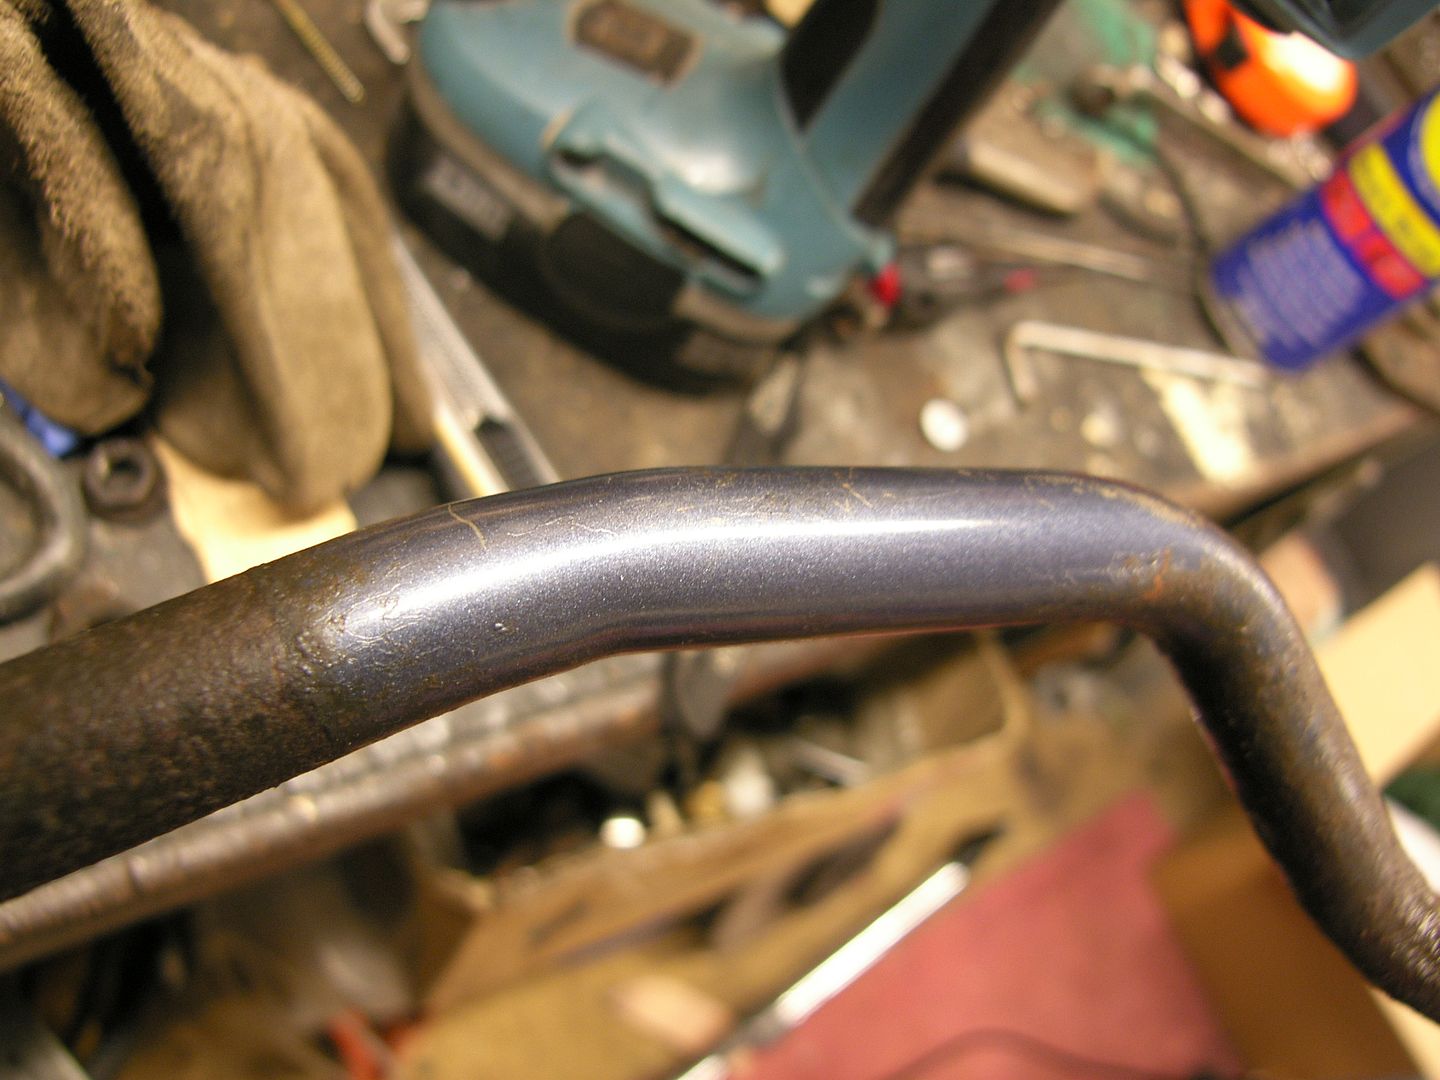 Also there were these marking on the eyes at the ends - 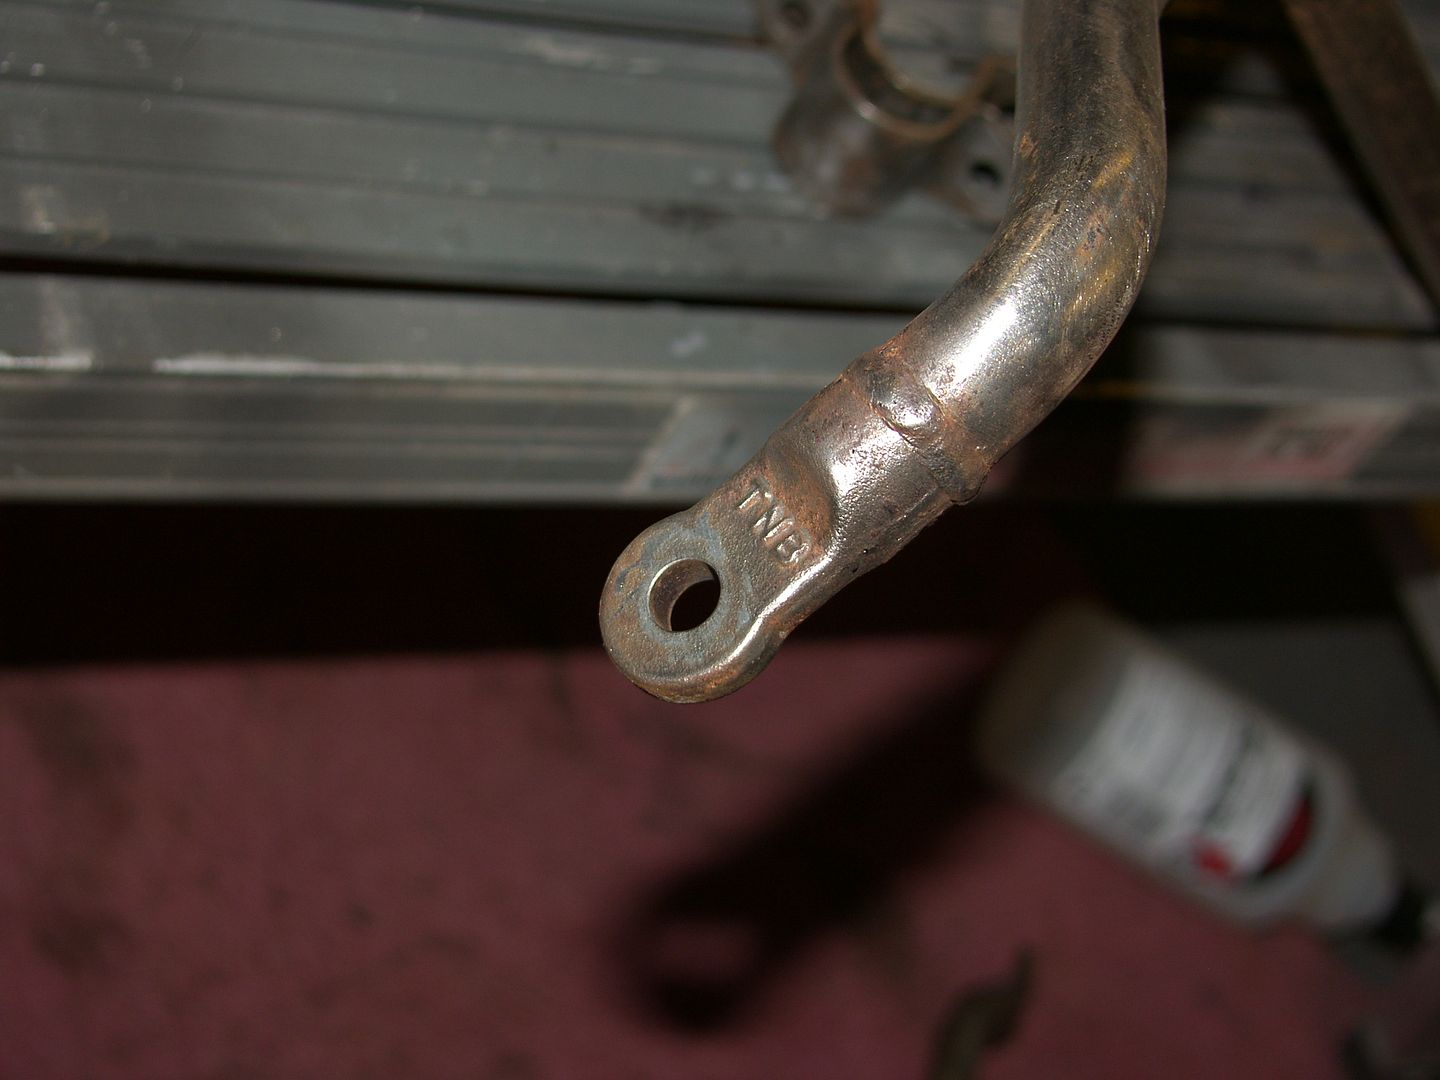 I did some more digging, measured them up at 20mm front and 22mm rear and used my google-fu. From this, I think we are looking at a pair of Tanabe chromoly ARB's! MEGA! So, they went from this - 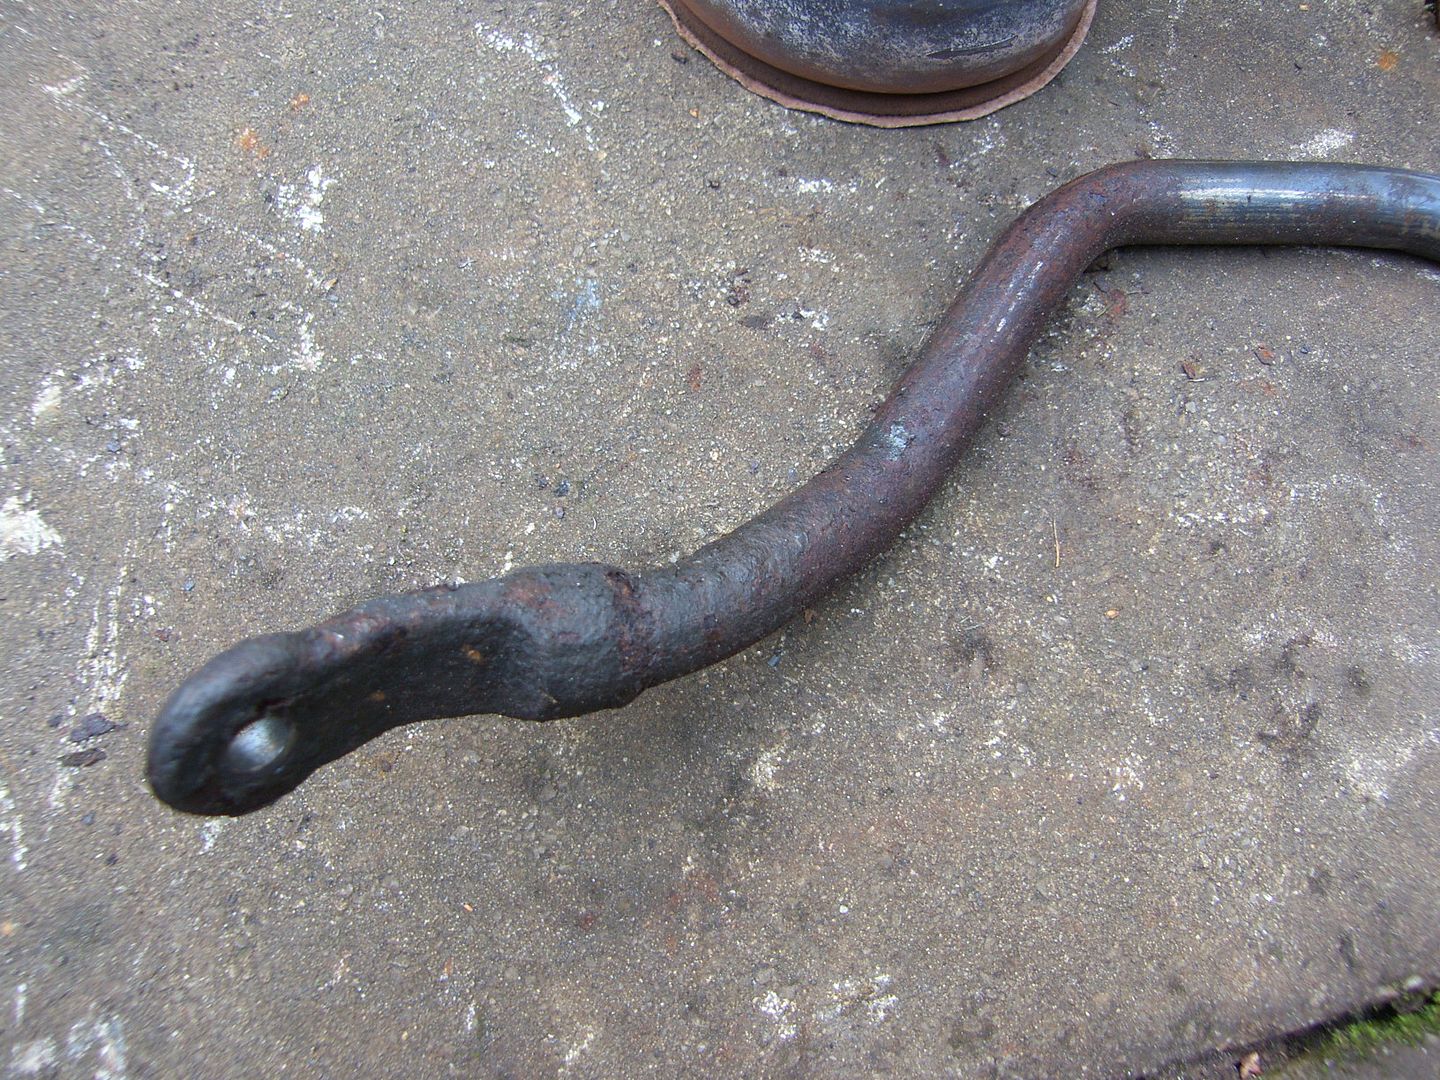 To this - 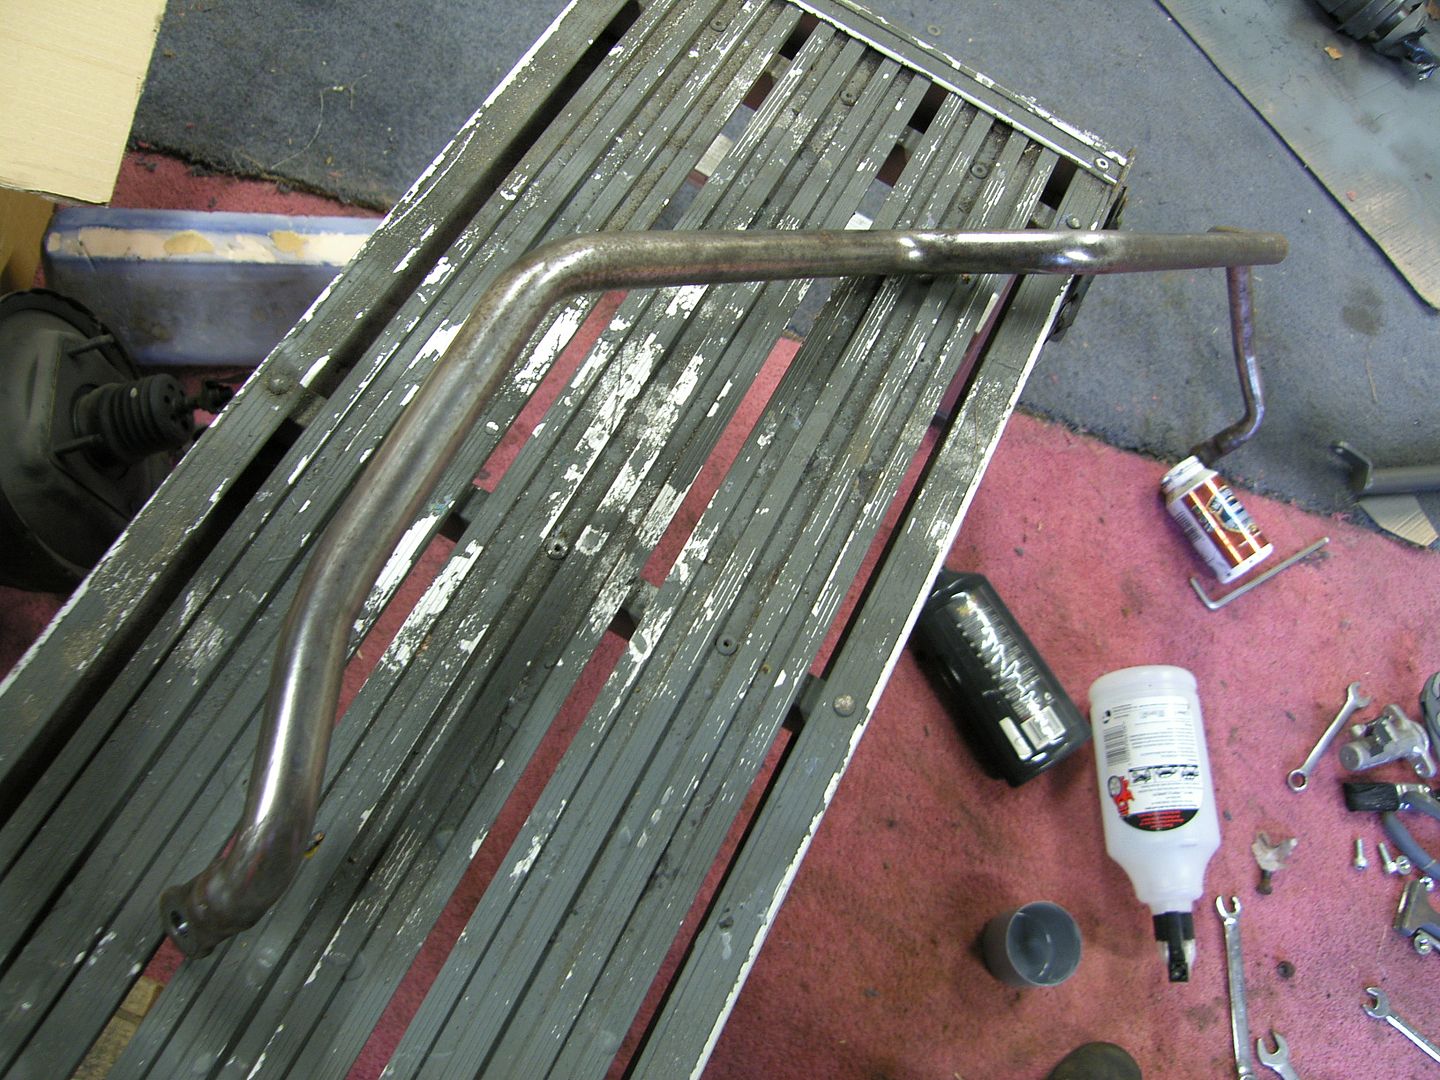 After quite a bit of wire wheeling, sanding and prep, they are ready for paint  I just need to order some rather non stock bushes  In between this, I have been laying down coats of paint on things, the front hubs and drive shafts are now base coated in zinc primer, top coated in celly and then lacquered  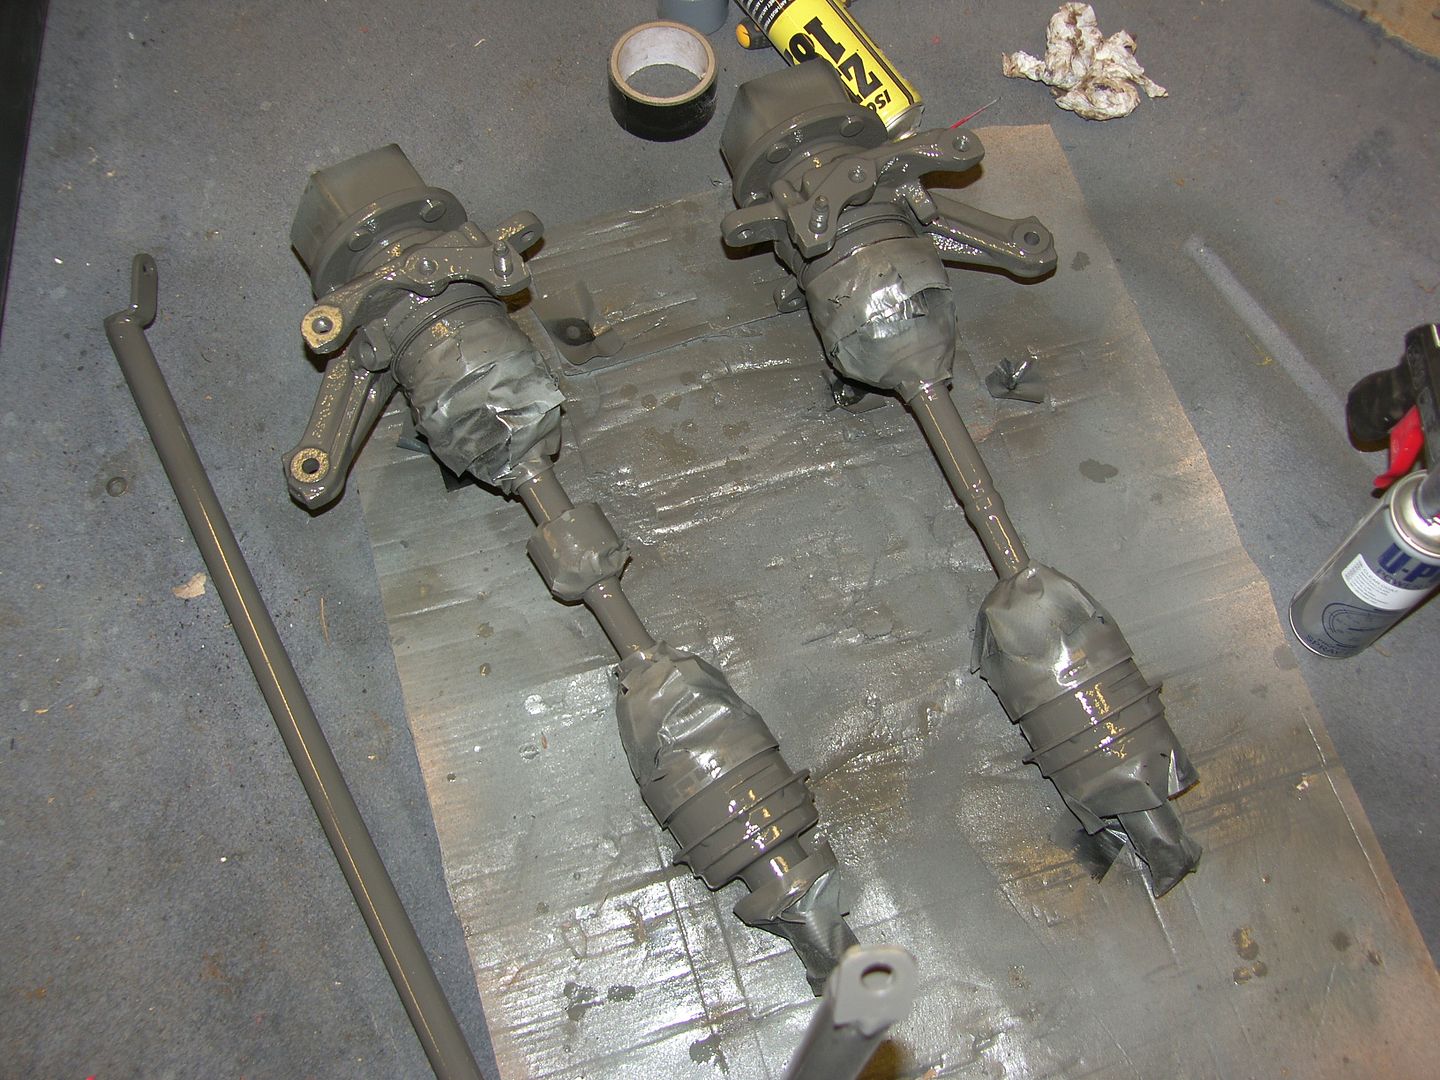 I also took some time to prep the propshaft, another item that has been niggling at me, not an easy one to do because of the shapes but worth the time. Half and half - 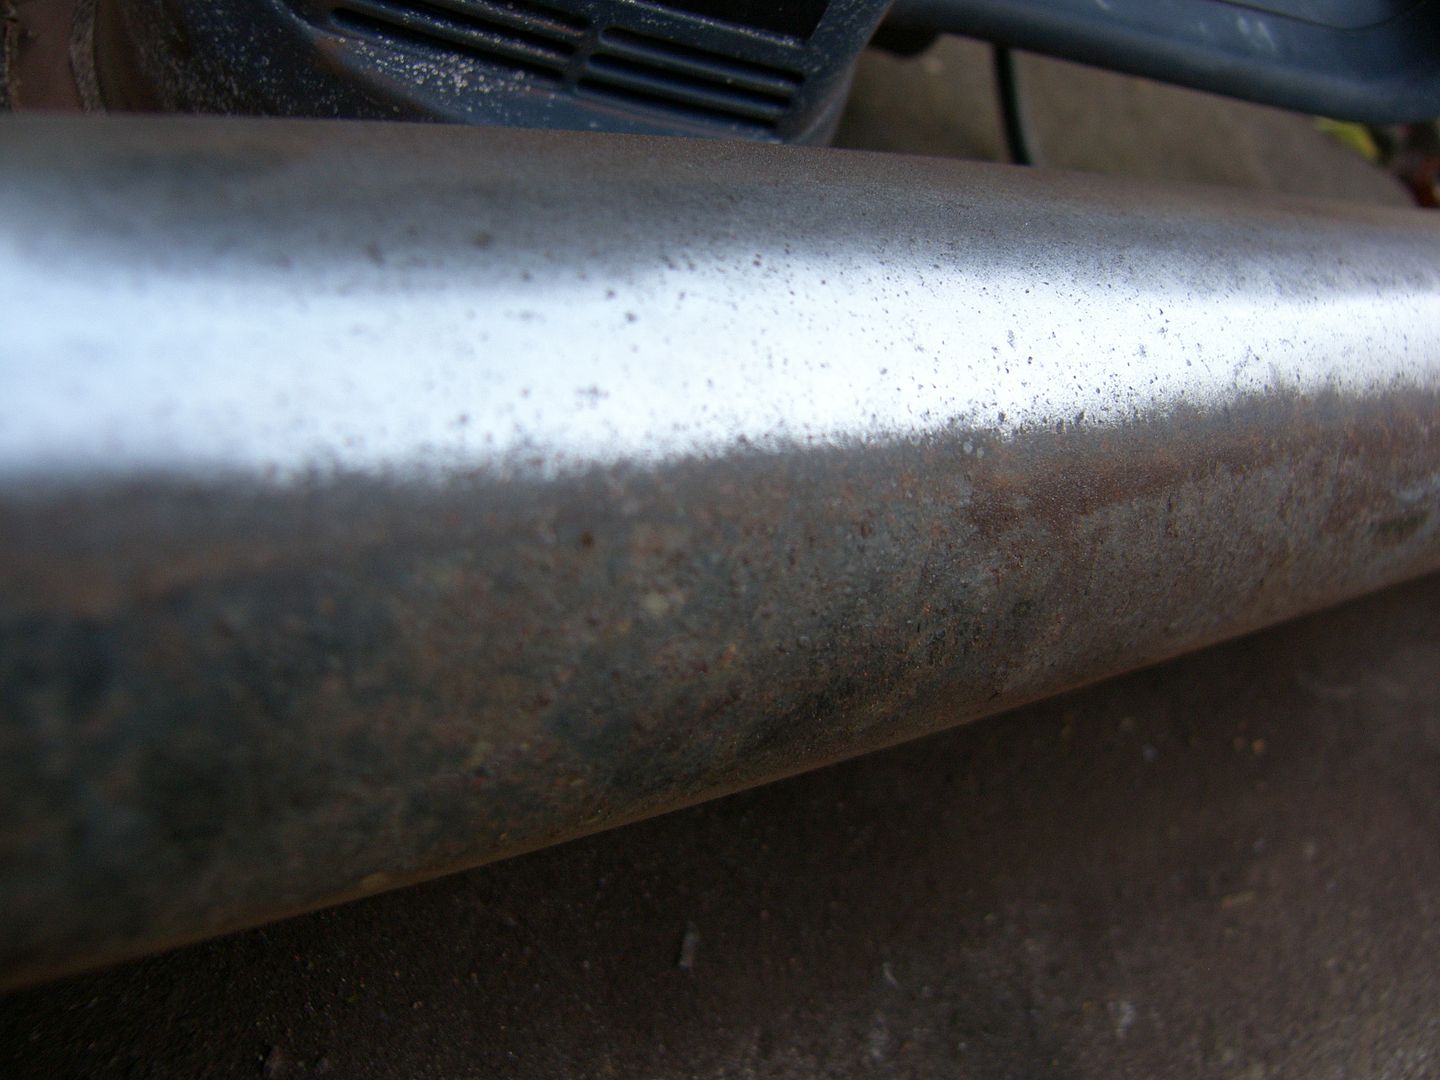 Done  -   In other news, I got a big bath so that the gearbox can be cleaned   And just so you know, if you are considering full refurbishing a Celica in just a double garage and the only outside space being a patio. Expect to replace the patio afterwards and do most of the work in complete chaos, despite having loads of shelves and roof space for storage. 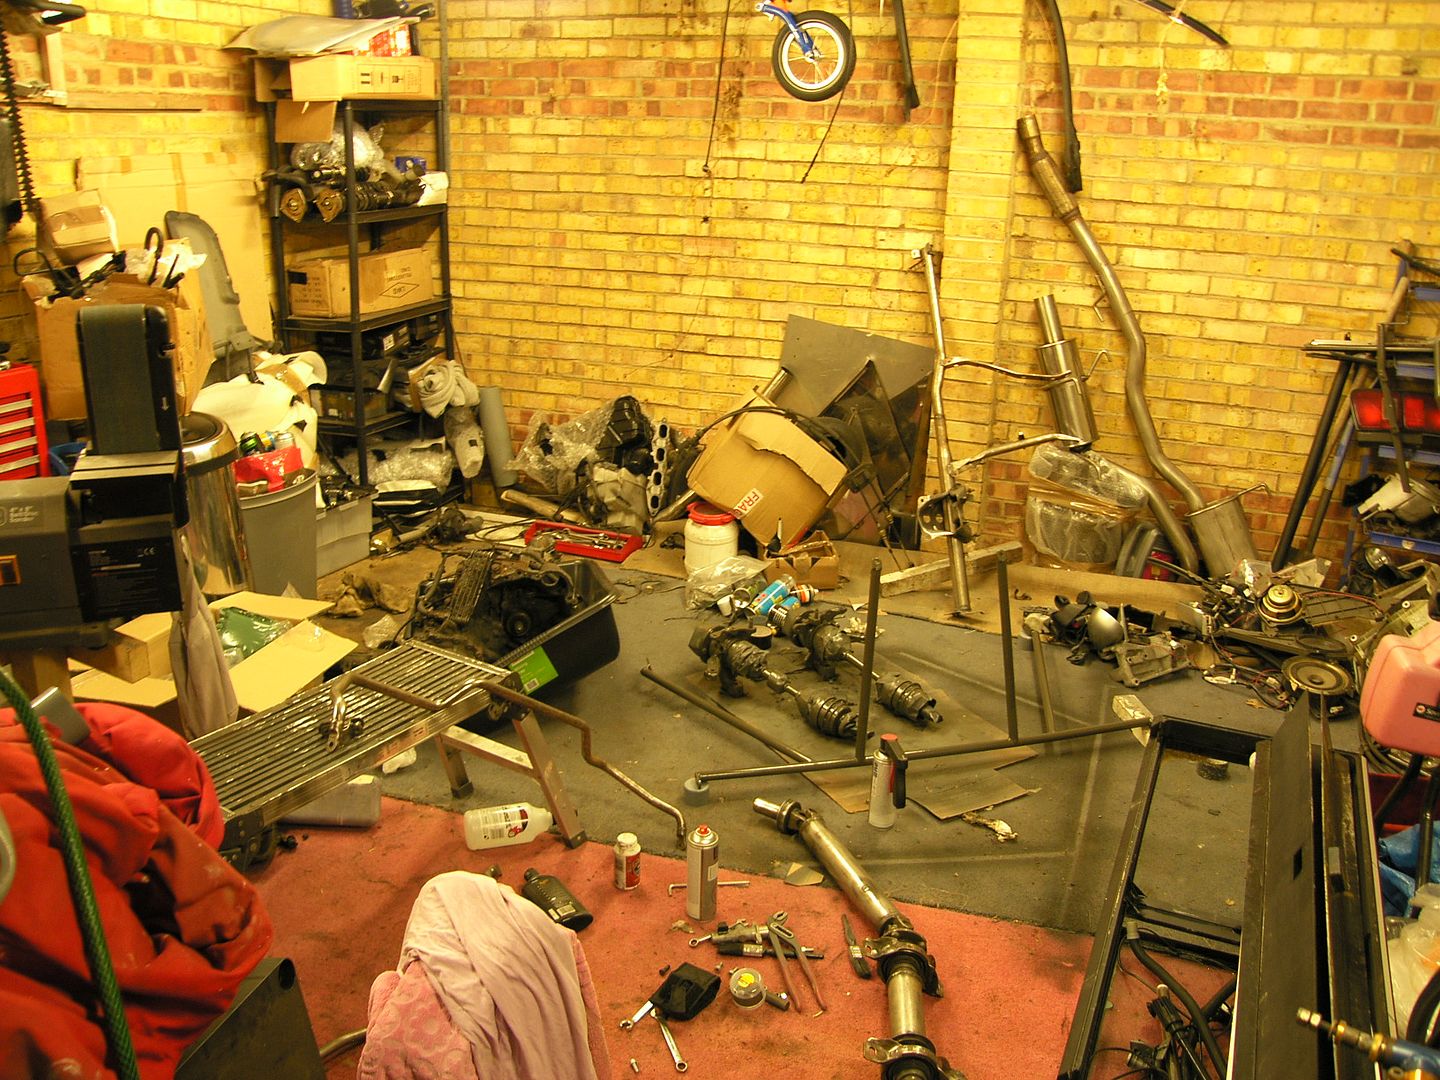 More soon  |
| |
|
|
|
|


 [*]
[*] [*]
[*]


 The panels will be painted first, while the shell is on the spit, having the underside prepped for paint. I cannot tell you just how excited I am


