


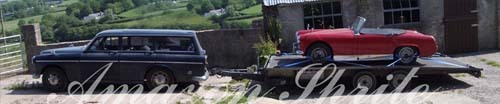
Finally got around to taking some pics 
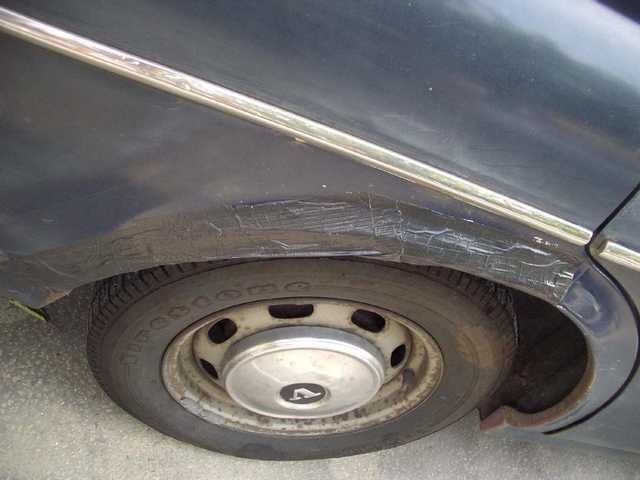
Those of you who saw it at CARS may remember that one of the rear arches was made entirely of thick duck tape (even managed to blag it though the MOT like this ;D) Anyhow, this was only temporary & last month it went off for some fresh metal. The mounting flange for the rear side window had also gone AWOL, the inner arch was icky too as was a large box section behind the wing (open topped & accessed by removing the boot trim). I think that most of it was due to the window leaking & allowing water inside everywhere, so it wasn't worth replacing just the wheel arch.
Either way, quite a bit needed doing, & the estimate from the welder / bodyshop guy reflected this. However, he is also pretty good at keeping to his estimates & he has probably repaired more Amazons than anyone else in London, if not the UK, so he knew what to expect!!!
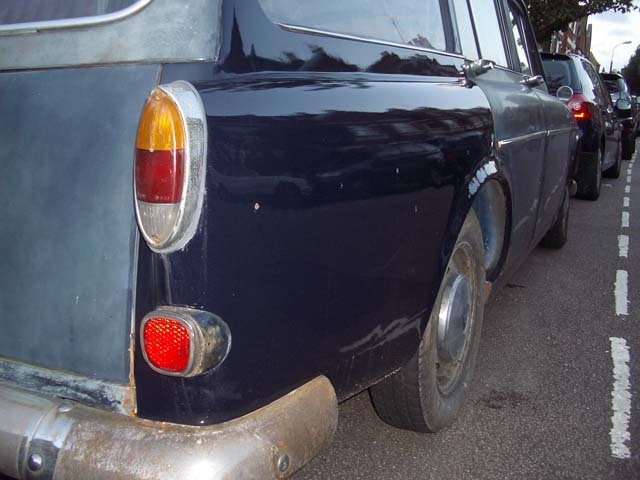
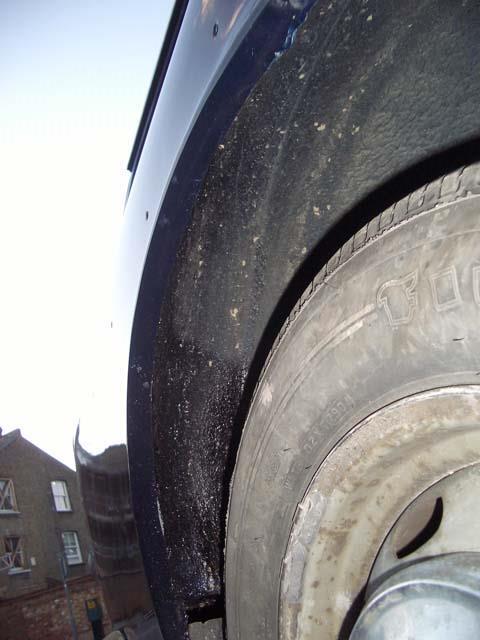
'Wheelarch' (front section is fine though due to the seam by the corner of the door)
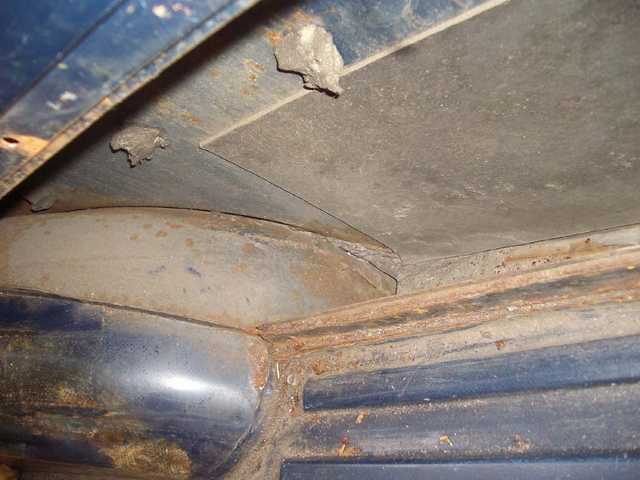
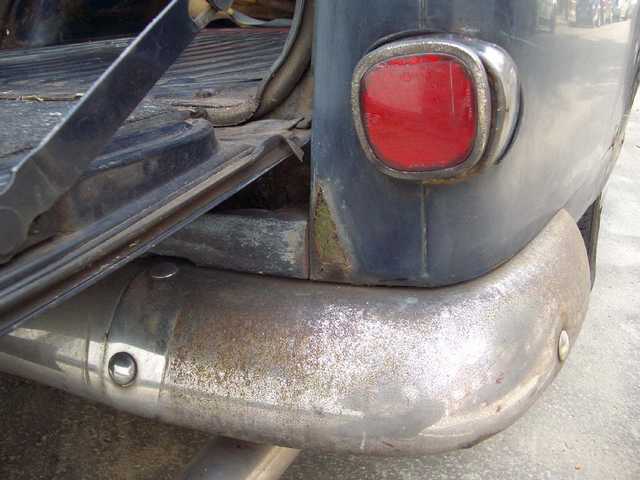
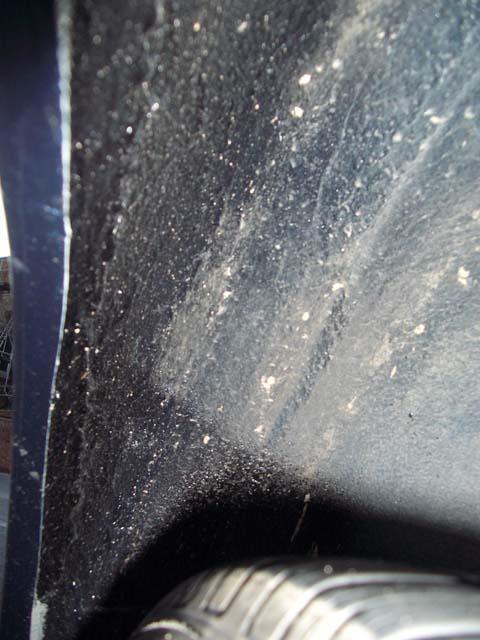
Inside boot, also showing box section behind boot trim - base of box section is shot. Also note the build up of road muck in the corner....
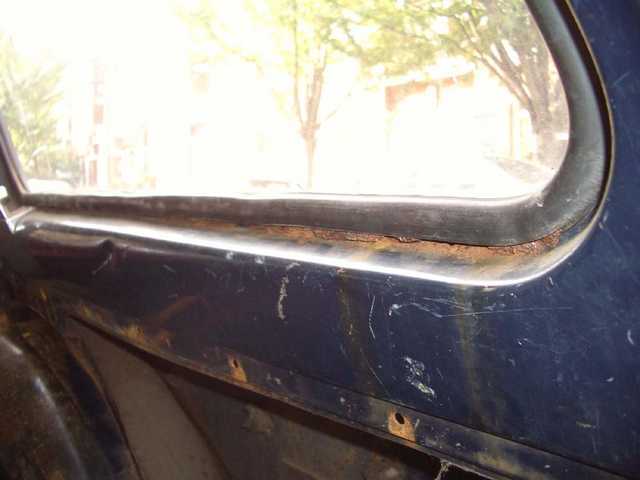
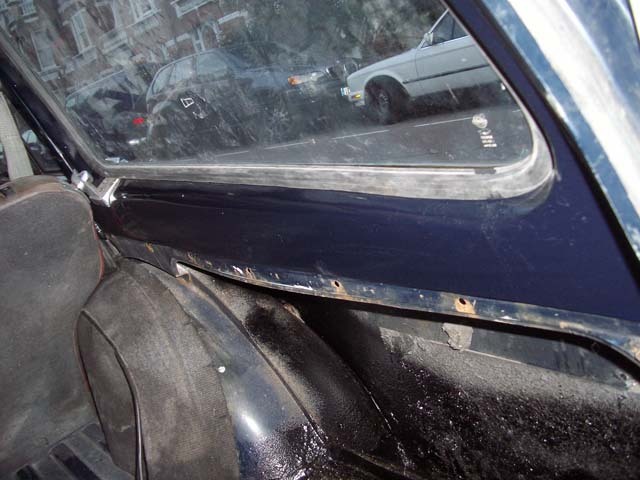
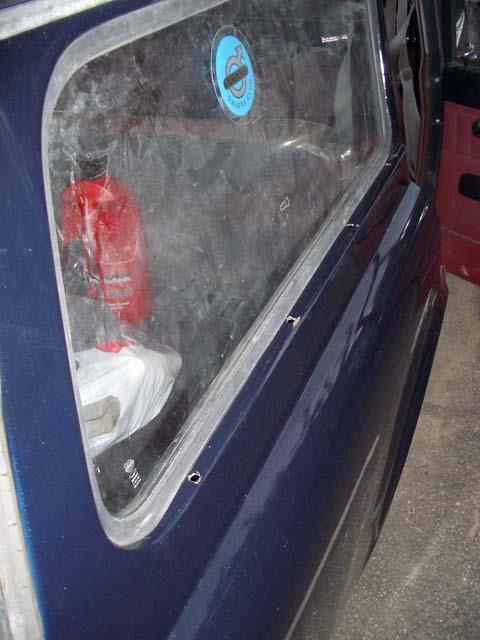
Side window base (note shape of window rubber - lots of rust!!!)
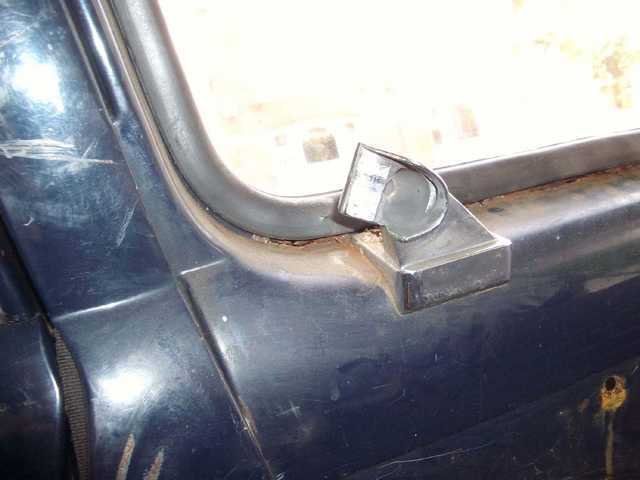
And again - this time by rear seat top mount
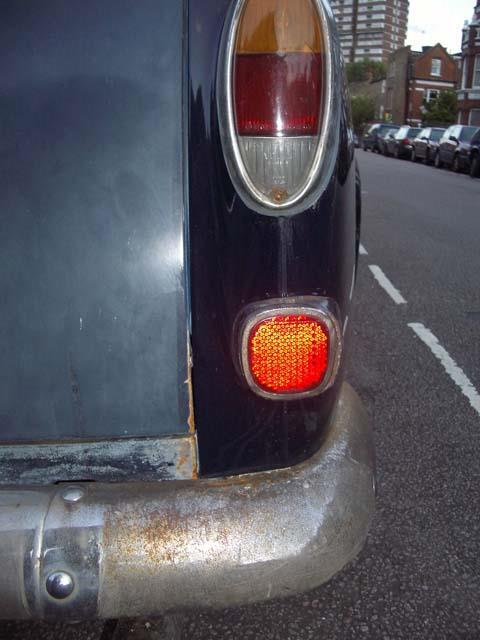
And lastly - a nice blister....
After, & yes he did keep to the estimate
Finally - a wheel arch lip!!!
Inner arch welding - nice & neat
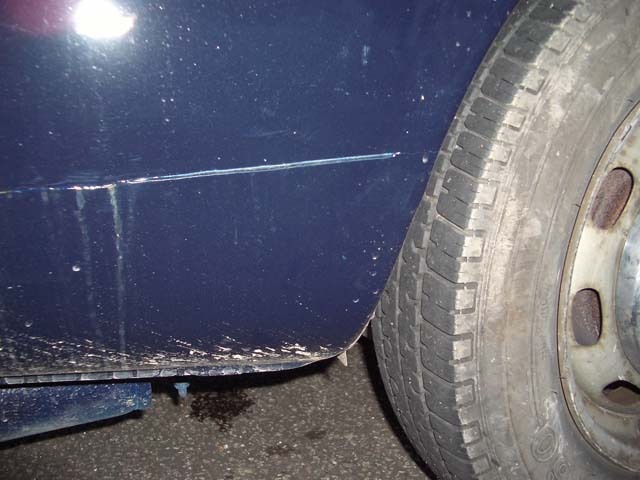
Original lower valance but with a small patch - only just visible from the other side
With the trim removed, here's the lovely new metal below the side wndow - the weld line is in the edge.
I had to wait for new clips to arrive before I could fit the side trim, which I did earlier today. I also took the opportunity to replace the clips on the rear door, as it only had two & was rattling around. This is the paint behind it & shows how badly it has faded

The welding is very neat - I can hardly make out the seam on the inside, & pics just show the shultz he's sprayed on it, so I won't bother posting those as it doesn't do it justice. On the outside, especially just below the window there is some very slight distortion visible from certain angles, but I'm not complaining as I'd only asked him to blow in the paint to seal the primer ;D
Dad's comment when he saw it was "when is the rest going to be done?" ;D My fiancee was not so enthusiastic, especially when she managed to extract the cost from me, & the other side needs doing too....
However, I have almost all the panels that I need in my auntie's cellar - two front wings (1 NOS, 1 vgc), three doors (2 vgc, 1 NOS), and a vgc top tailgate - the latter being poor quality wobbly children's play pony poo!!! All those panels cost me about £375 but Volvo want that for one wing & a specialist would have wanted about the same for just the NOS door! I'm still looking for a good nearside front door though, but hopefully in a few years time it will all be finished
edited to fix images

Those of you who saw it at CARS may remember that one of the rear arches was made entirely of thick duck tape (even managed to blag it though the MOT like this ;D) Anyhow, this was only temporary & last month it went off for some fresh metal. The mounting flange for the rear side window had also gone AWOL, the inner arch was icky too as was a large box section behind the wing (open topped & accessed by removing the boot trim). I think that most of it was due to the window leaking & allowing water inside everywhere, so it wasn't worth replacing just the wheel arch.
Either way, quite a bit needed doing, & the estimate from the welder / bodyshop guy reflected this. However, he is also pretty good at keeping to his estimates & he has probably repaired more Amazons than anyone else in London, if not the UK, so he knew what to expect!!!
'Wheelarch' (front section is fine though due to the seam by the corner of the door)
Inside boot, also showing box section behind boot trim - base of box section is shot. Also note the build up of road muck in the corner....
Side window base (note shape of window rubber - lots of rust!!!)
And again - this time by rear seat top mount
And lastly - a nice blister....
After, & yes he did keep to the estimate

Finally - a wheel arch lip!!!
Inner arch welding - nice & neat
Original lower valance but with a small patch - only just visible from the other side
With the trim removed, here's the lovely new metal below the side wndow - the weld line is in the edge.
I had to wait for new clips to arrive before I could fit the side trim, which I did earlier today. I also took the opportunity to replace the clips on the rear door, as it only had two & was rattling around. This is the paint behind it & shows how badly it has faded

The welding is very neat - I can hardly make out the seam on the inside, & pics just show the shultz he's sprayed on it, so I won't bother posting those as it doesn't do it justice. On the outside, especially just below the window there is some very slight distortion visible from certain angles, but I'm not complaining as I'd only asked him to blow in the paint to seal the primer ;D
Dad's comment when he saw it was "when is the rest going to be done?" ;D My fiancee was not so enthusiastic, especially when she managed to extract the cost from me, & the other side needs doing too....
However, I have almost all the panels that I need in my auntie's cellar - two front wings (1 NOS, 1 vgc), three doors (2 vgc, 1 NOS), and a vgc top tailgate - the latter being poor quality wobbly children's play pony poo!!! All those panels cost me about £375 but Volvo want that for one wing & a specialist would have wanted about the same for just the NOS door! I'm still looking for a good nearside front door though, but hopefully in a few years time it will all be finished

edited to fix images


 once the engine is reassembled & installed, so hopefully that will pay for most, if not all of it
