Hi everybody! ;D
I've taken this from another forum and decided to post it up here to see what you good people make of it?
The story thus far is basically that I was after another Kadett about a year ago and couldn't find one so decided I would go for this nova (as I also had a strange passion for them too) then after getting a good way through the nova build (as you will see) my porsche turned up for sale out of the blue, i've always wanted a 944 and the money was right so I went with it. This basically ment the nova hit the back burner big style as I only have space to work on one car at time
Then to make matters worse a Kadett that I liked and was close and the right money turned up just as the porsche was coming close to being finished. Like any fool would do I purchased that too
Now the porsche is basically done and i'm getting on with my kadett but I would really love to see the nova do something more than sit and rot so I thought I would post the details up for some inspiration or just for the hell of it either way here she is.
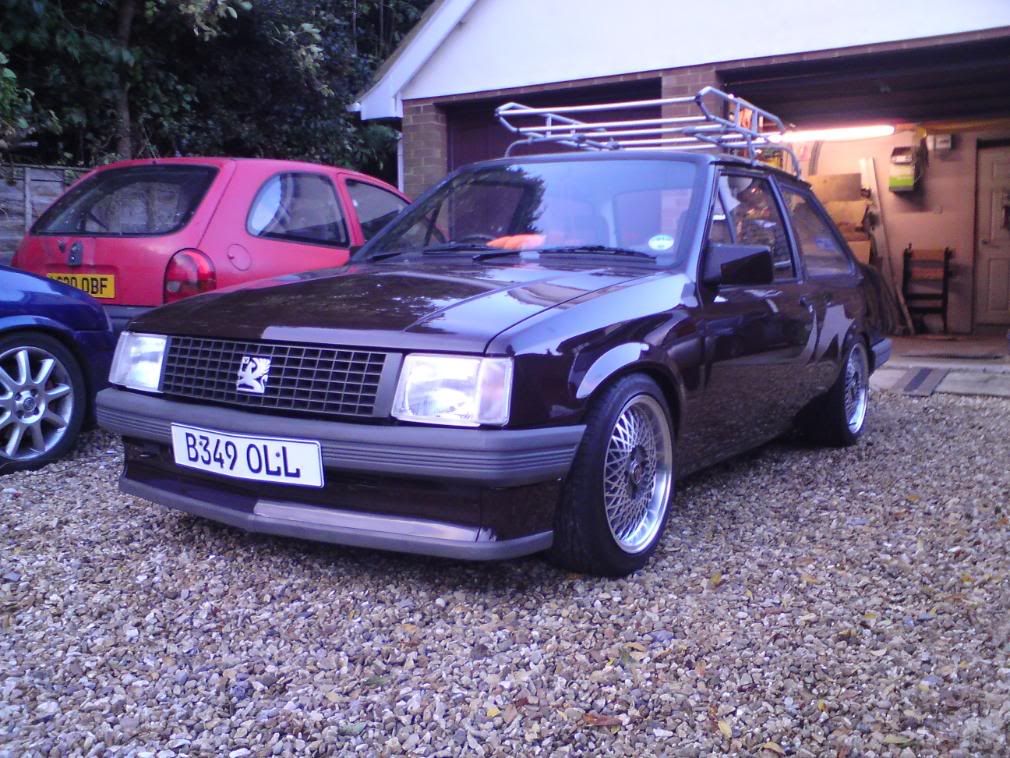
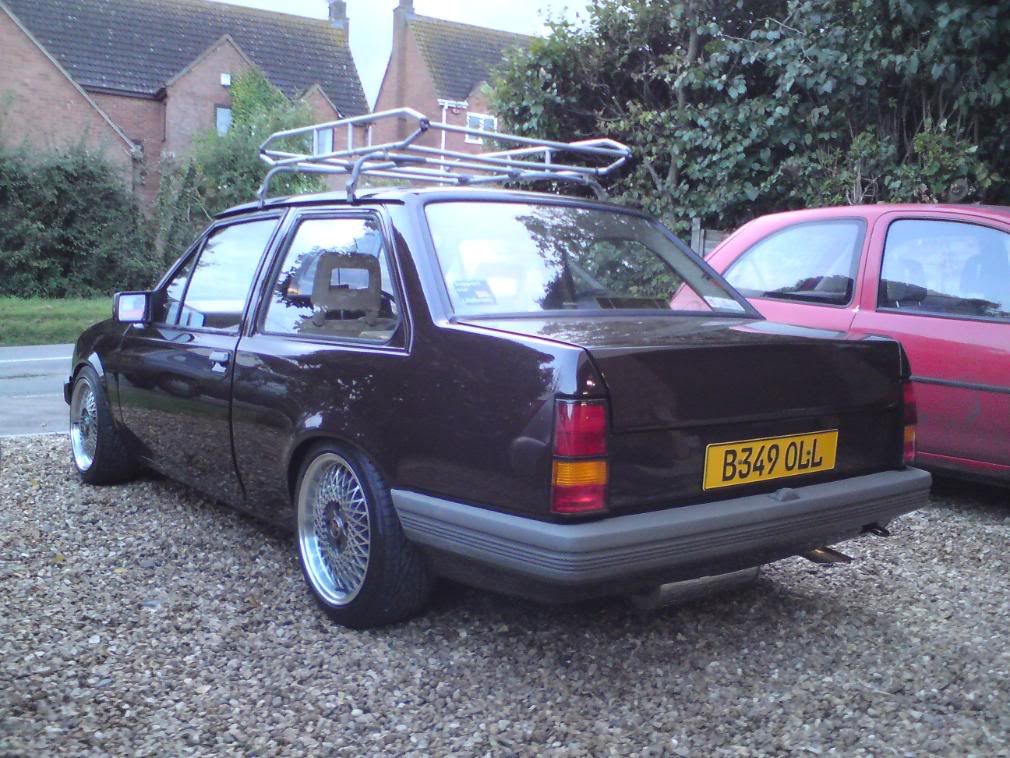
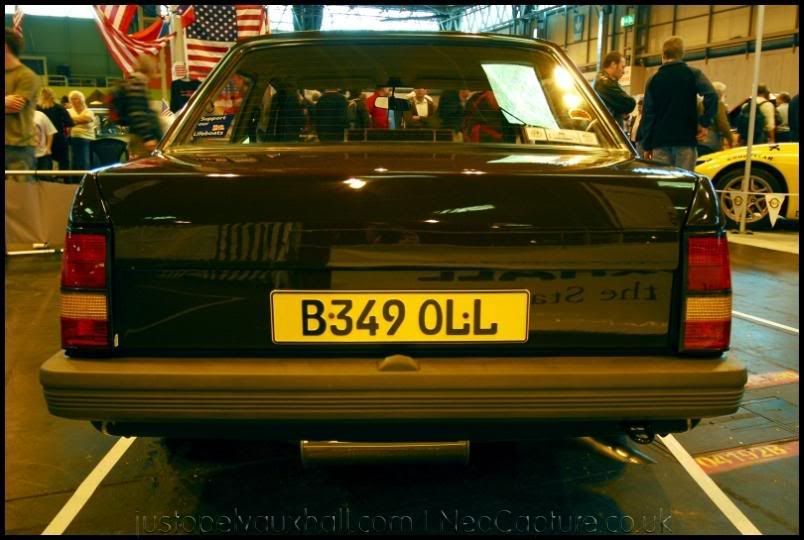
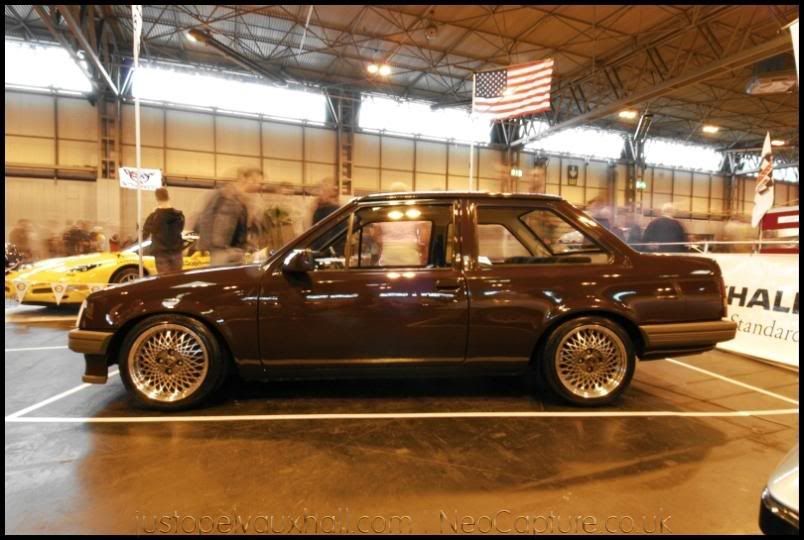
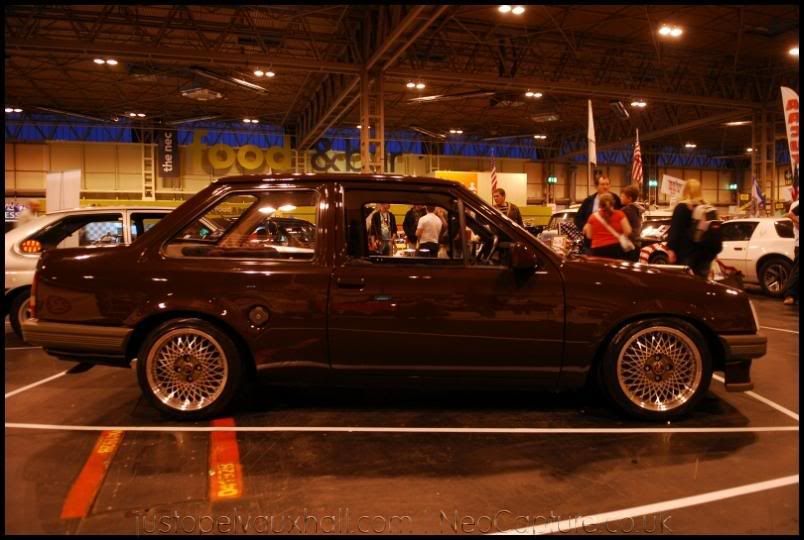
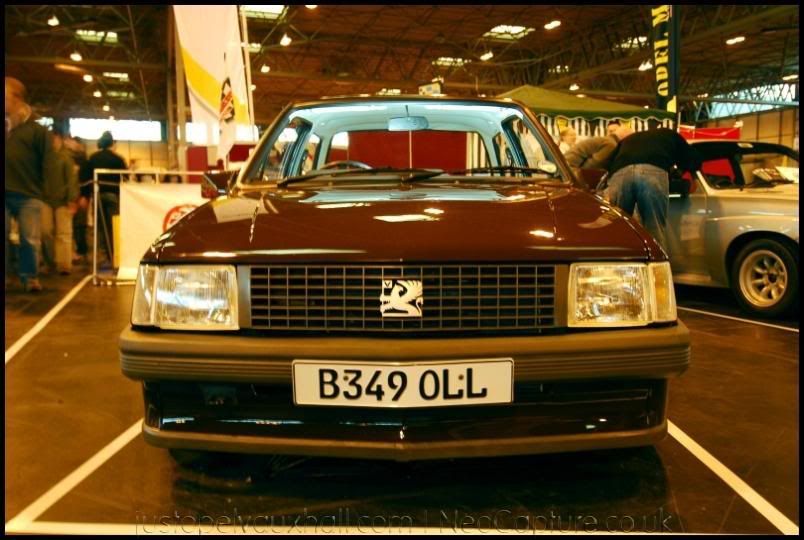
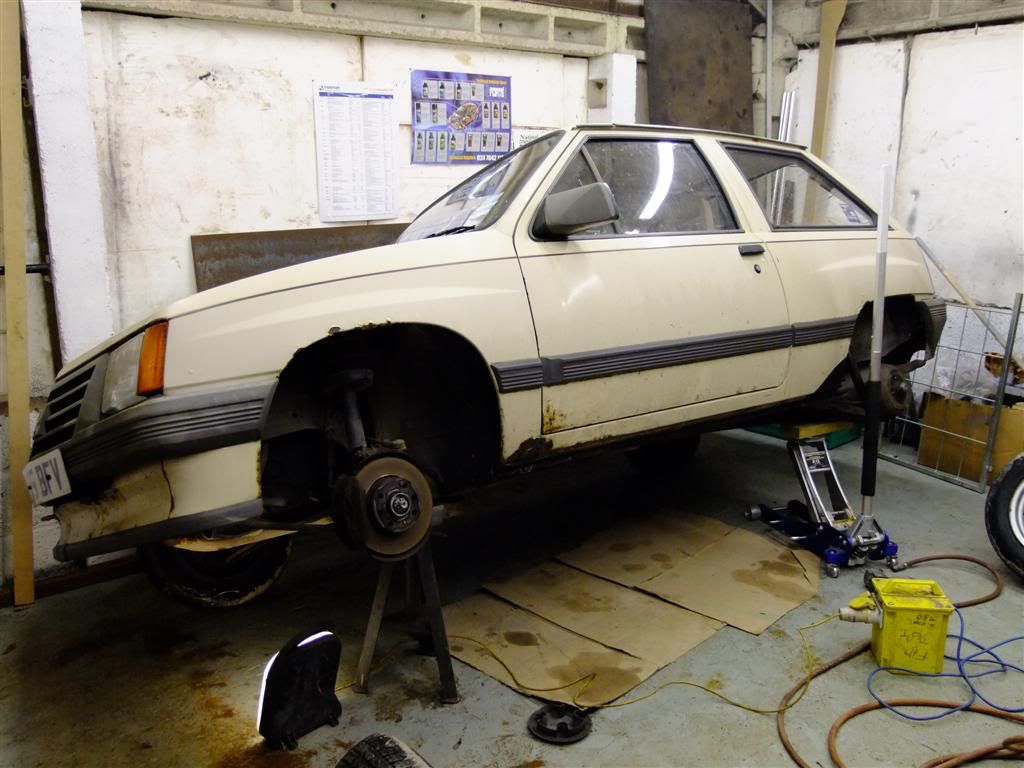
The car in question is a beige MK1 on a B plate and I just like it plus it was very reasonably priced .
.
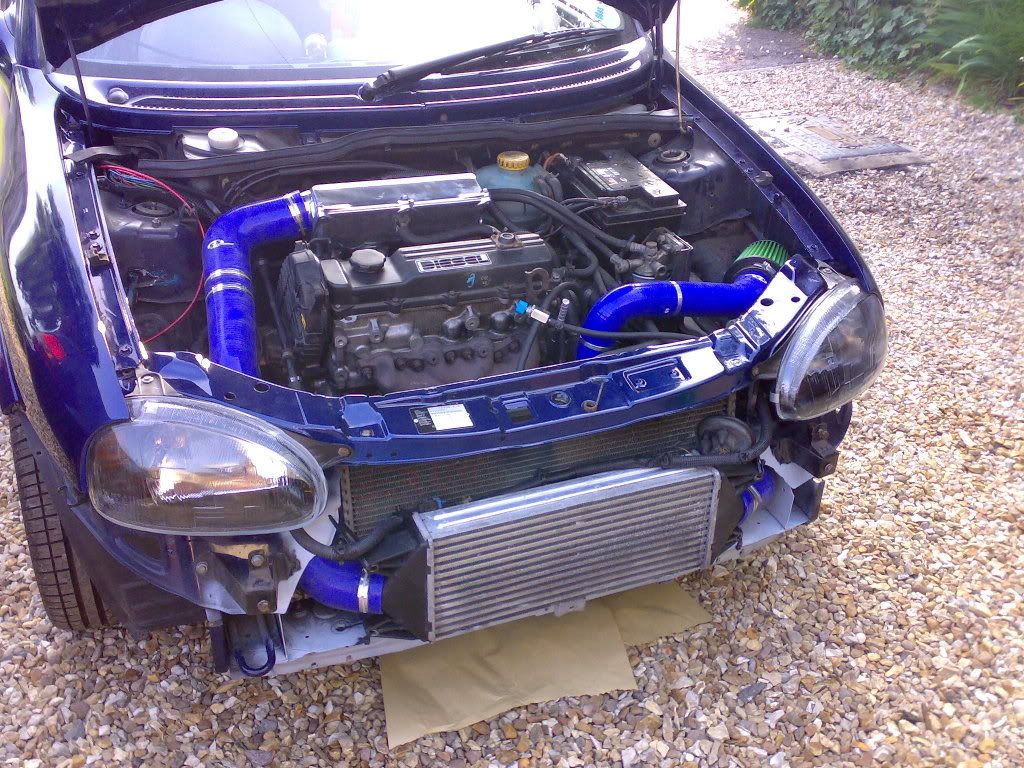
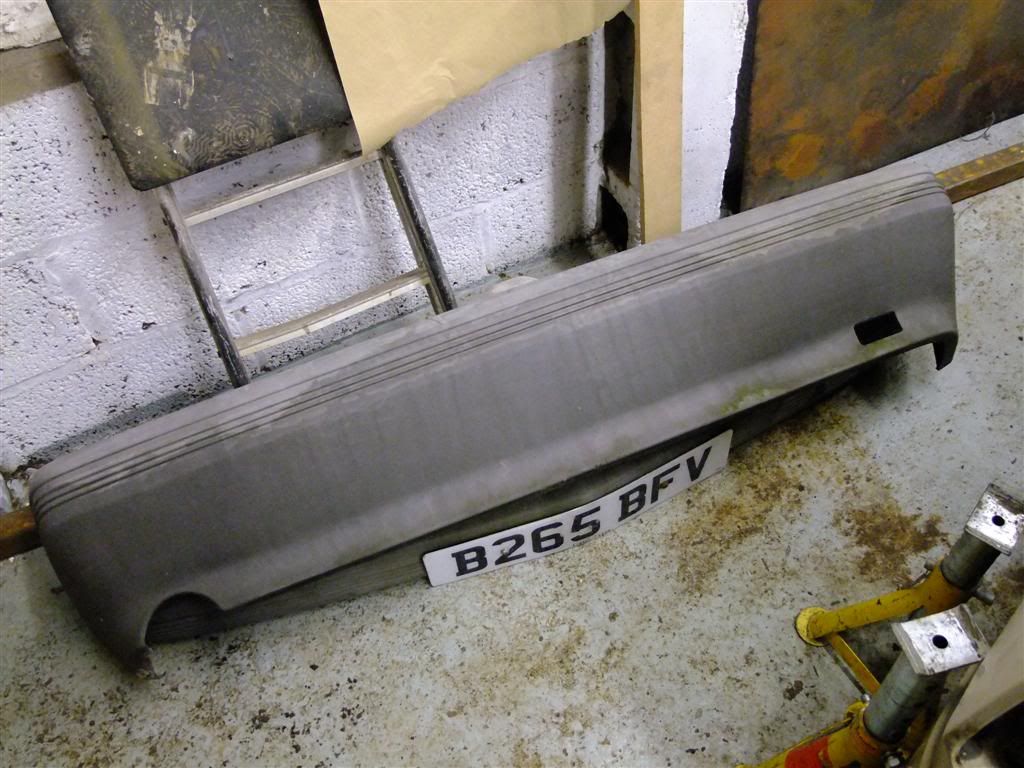
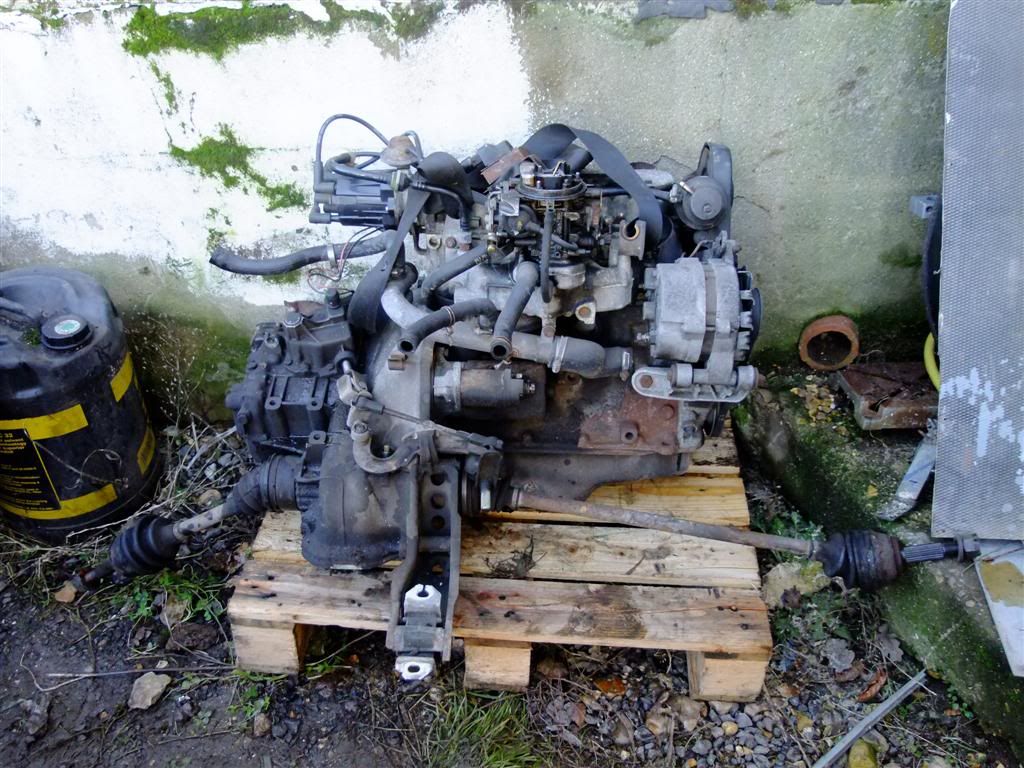
Plans for it in the beginning were a snow plough front bumper known as 'The Plough' this I have and intend to run with, a new engine (not 100% decided what but I didn't really want to go down the 2lt 16v route all be it a good one) perhaps 1.7td isuzu engine (this I also have with all the bits needed to fit it to a nova), rear arches or full 1/4's, prob sills, a respray (in the same colour) corsa B servo and M/C, coilovers and some other bits and bobs.
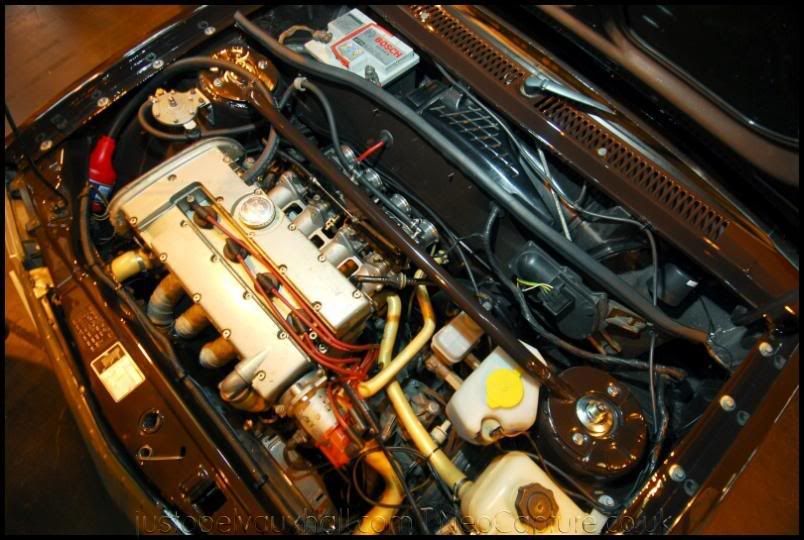
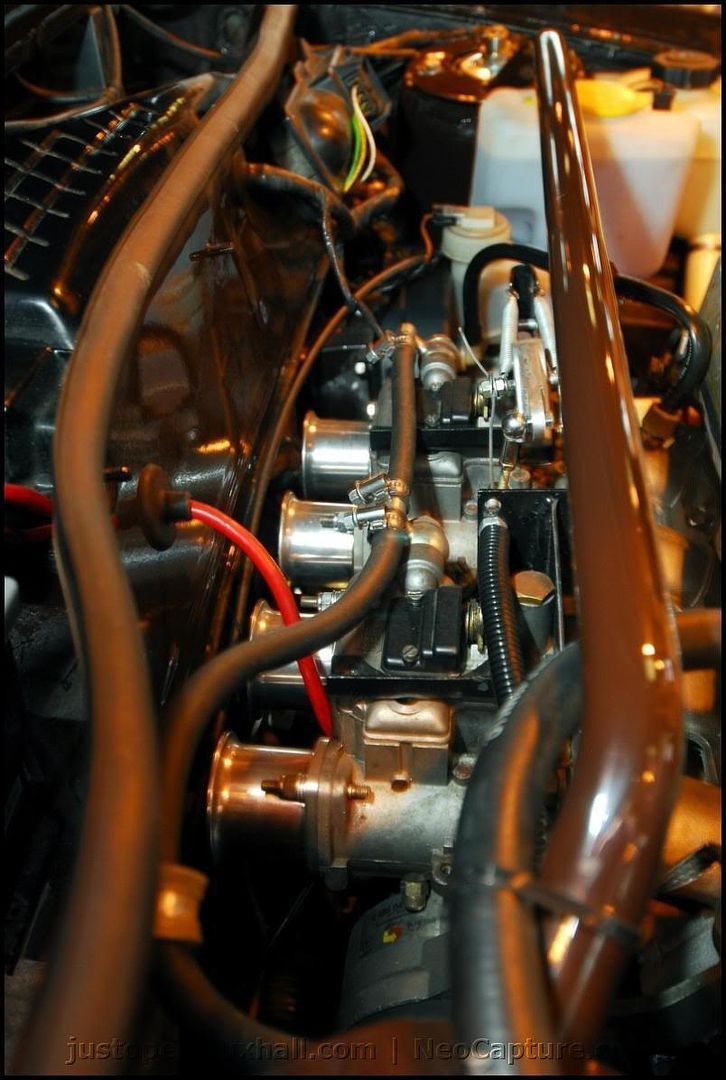
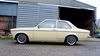
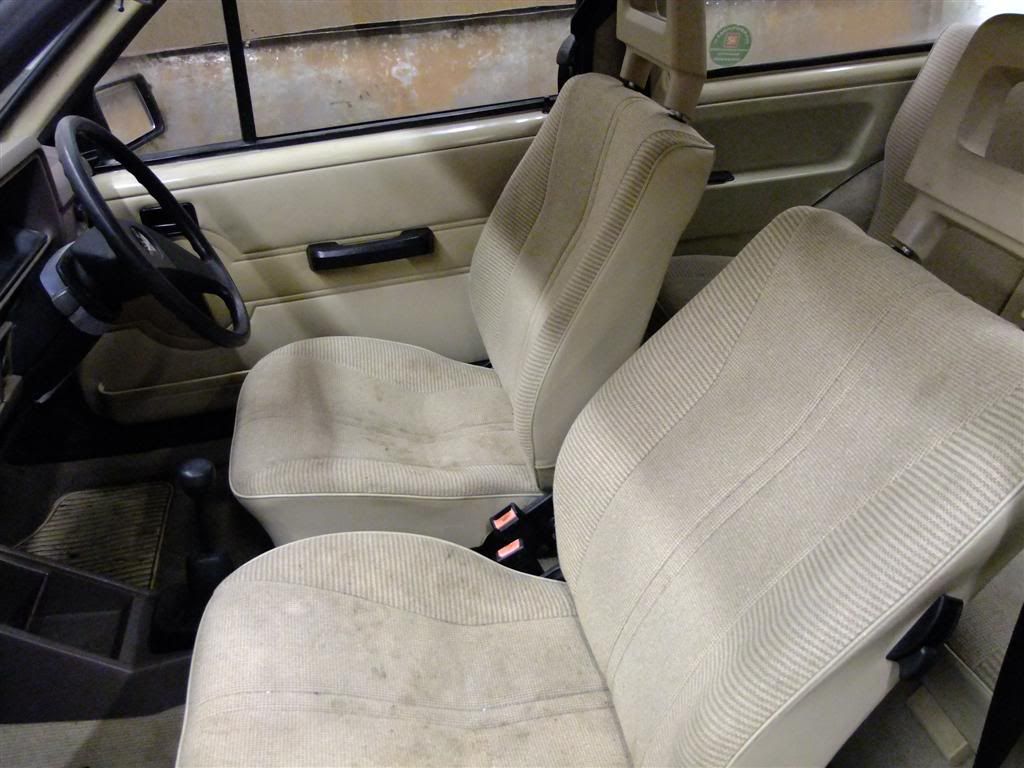
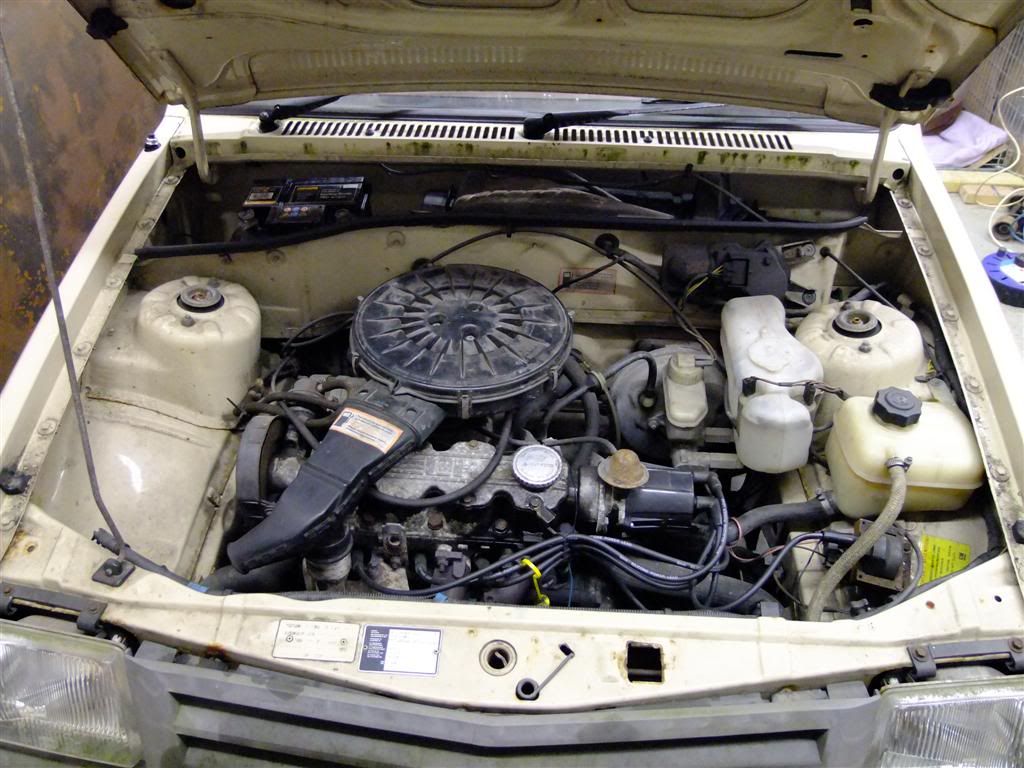
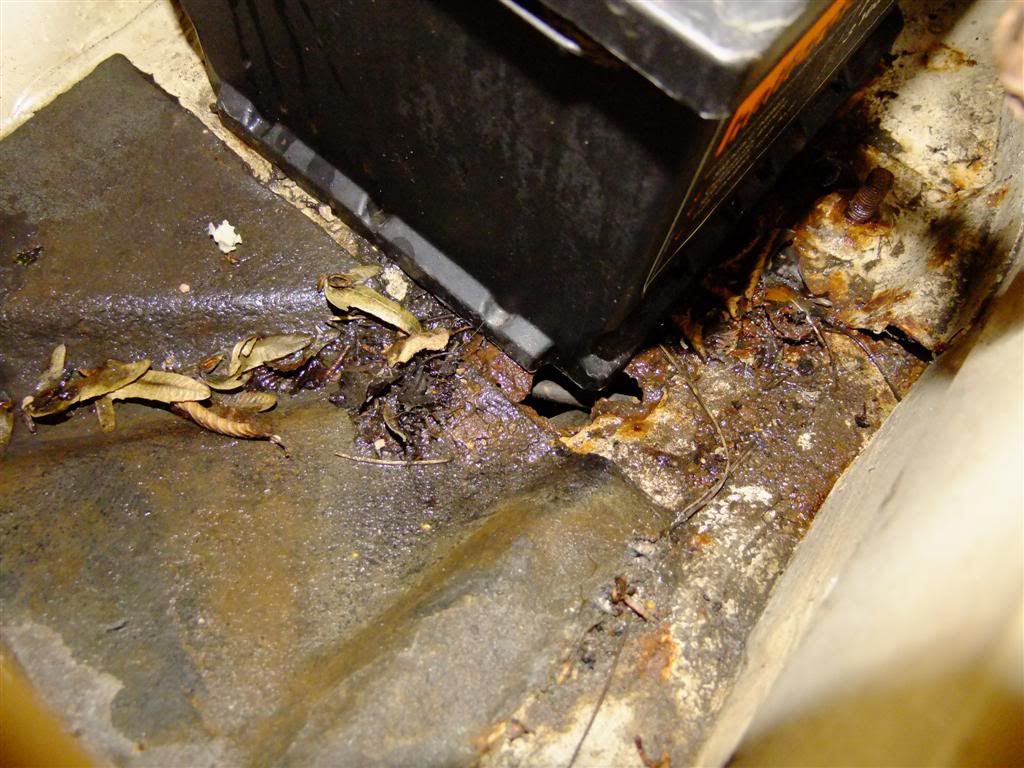
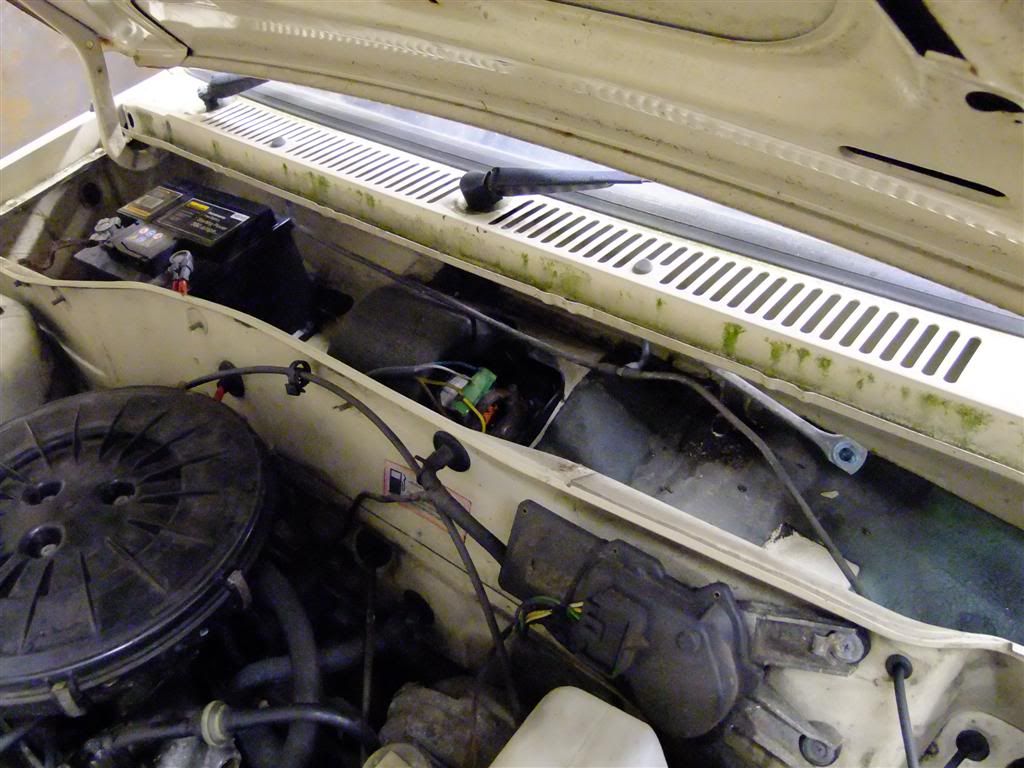
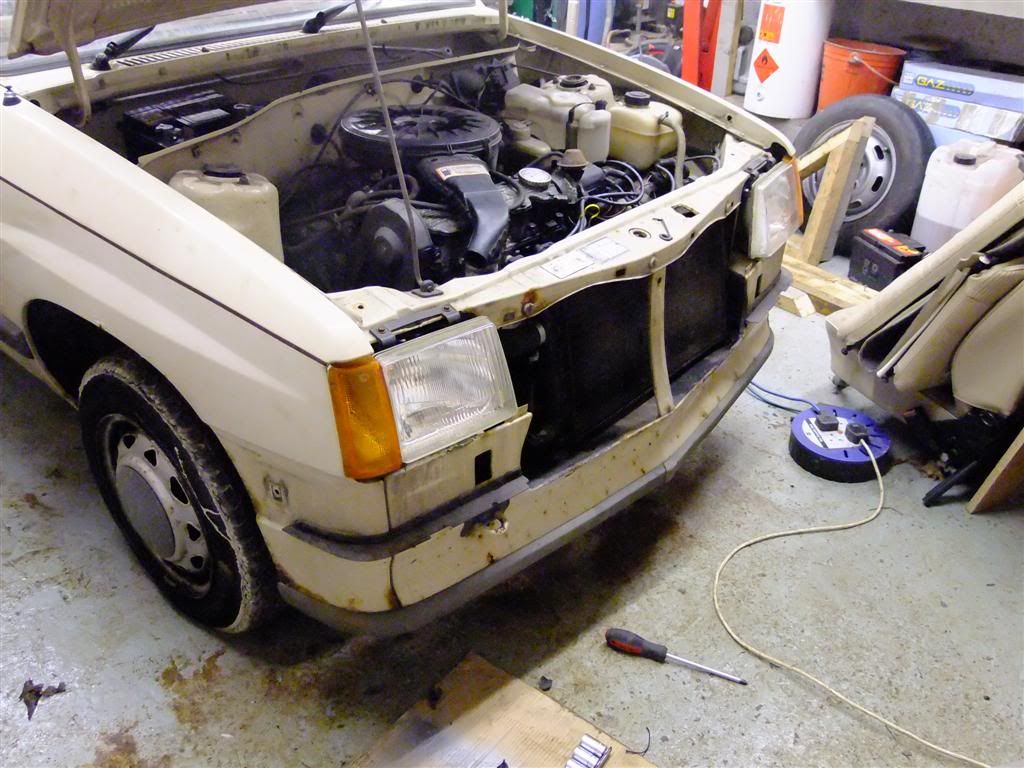
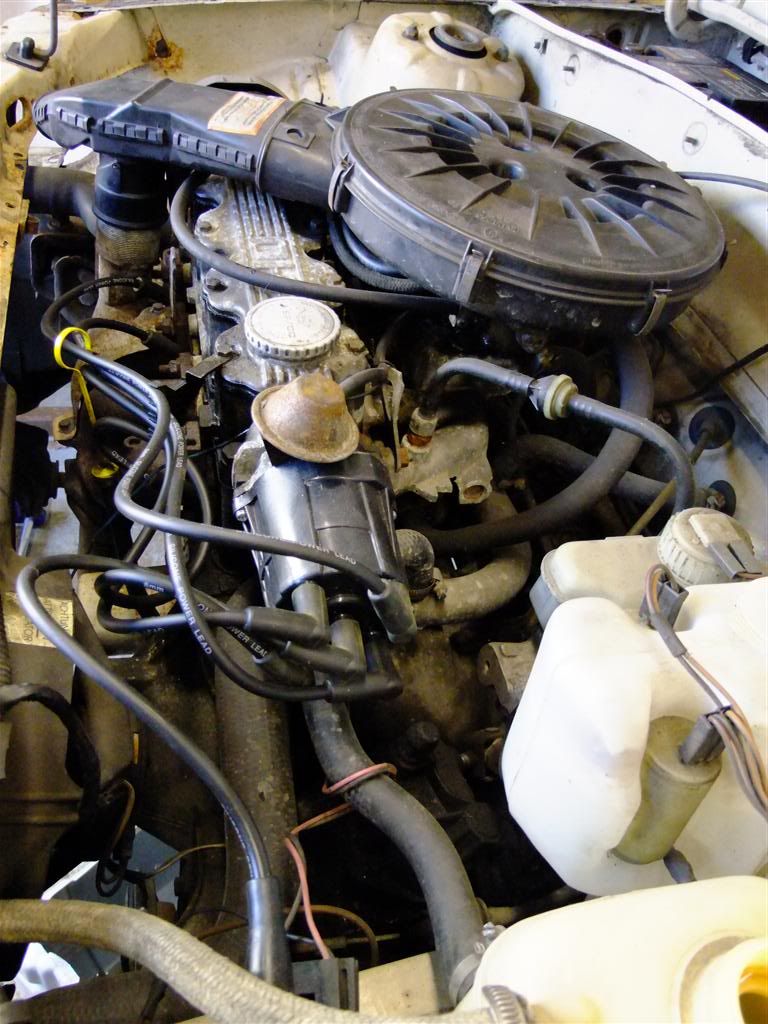
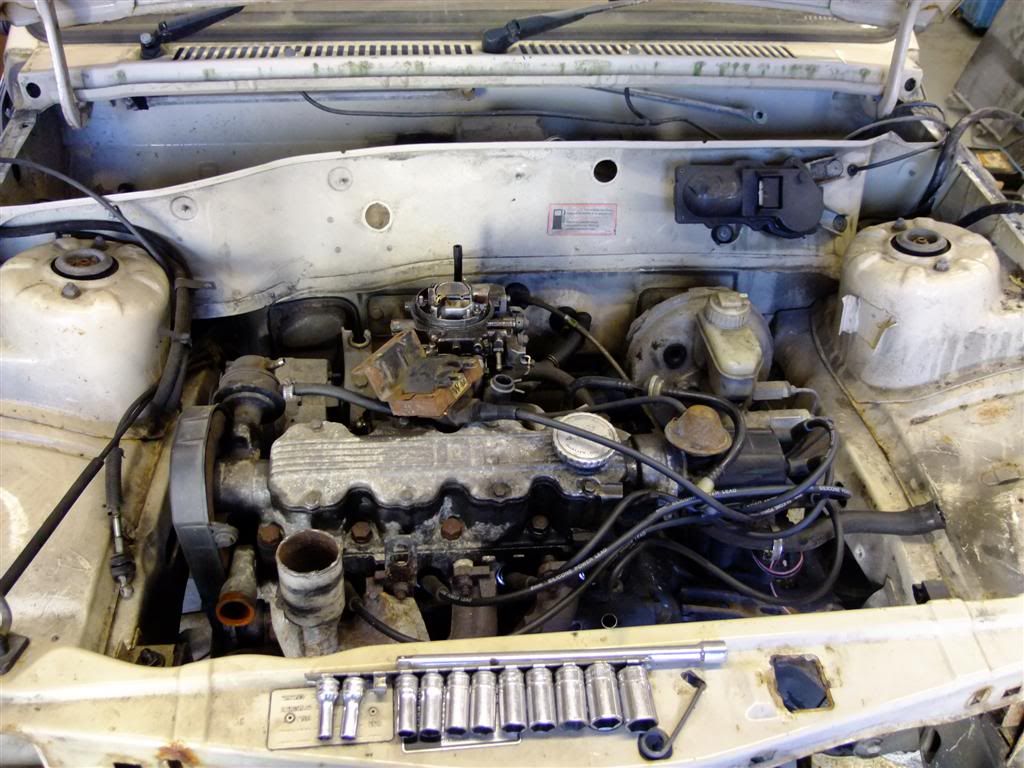
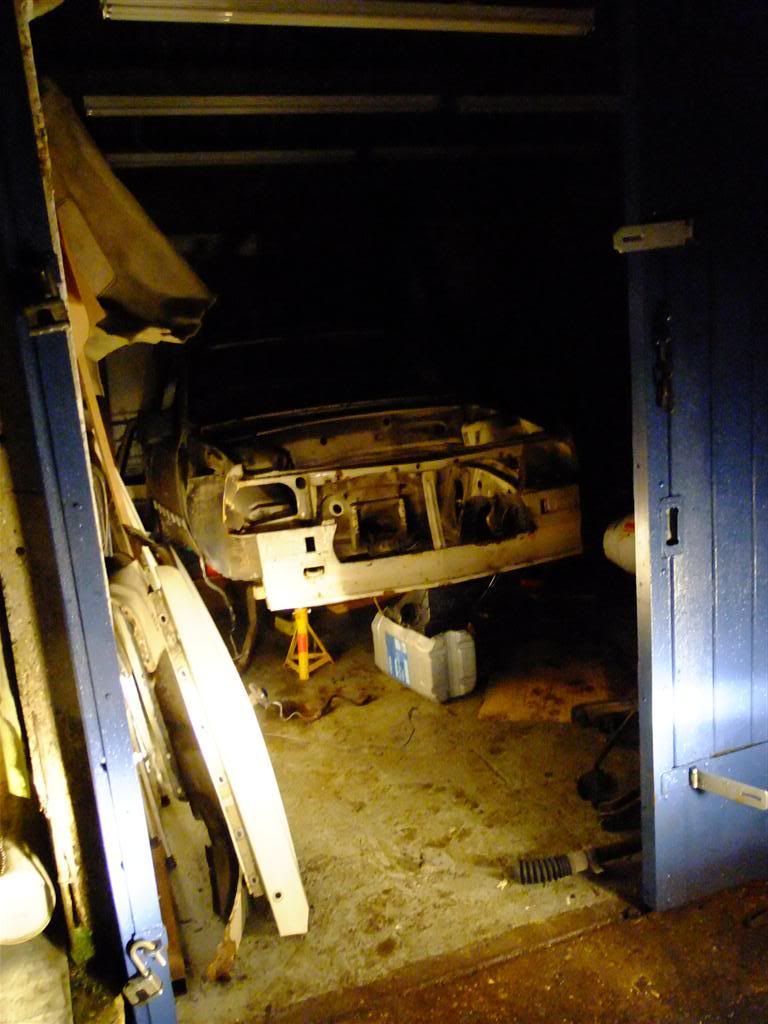
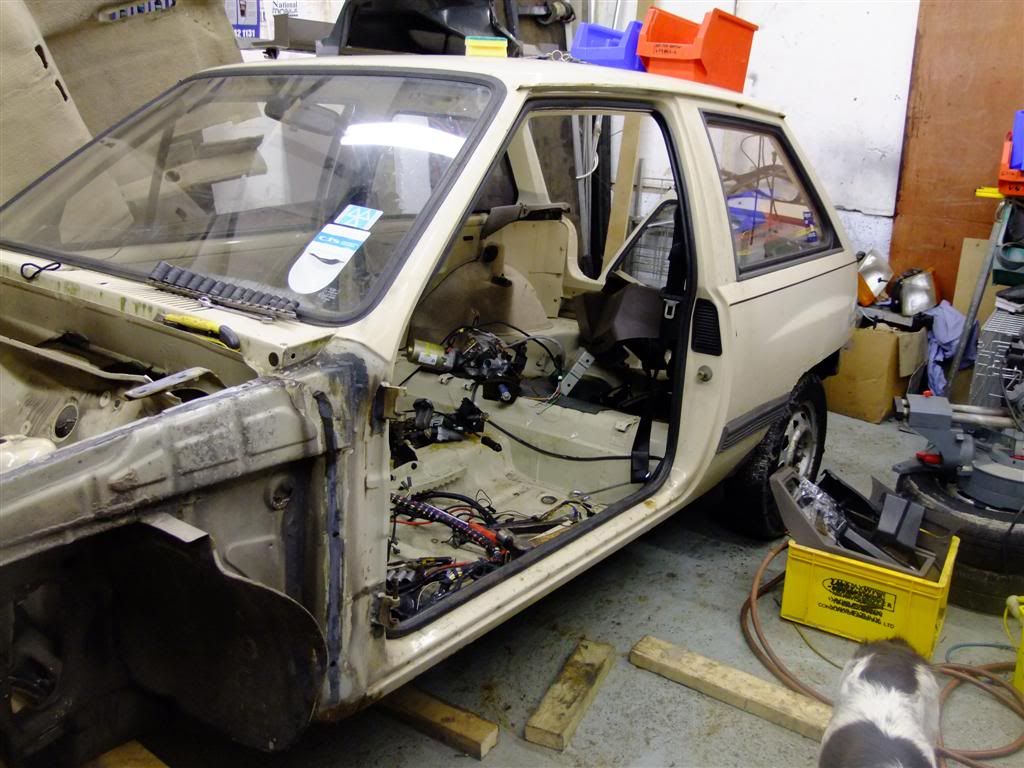
Here are the first pics once I got it back to the shack (my shantyish workshop).


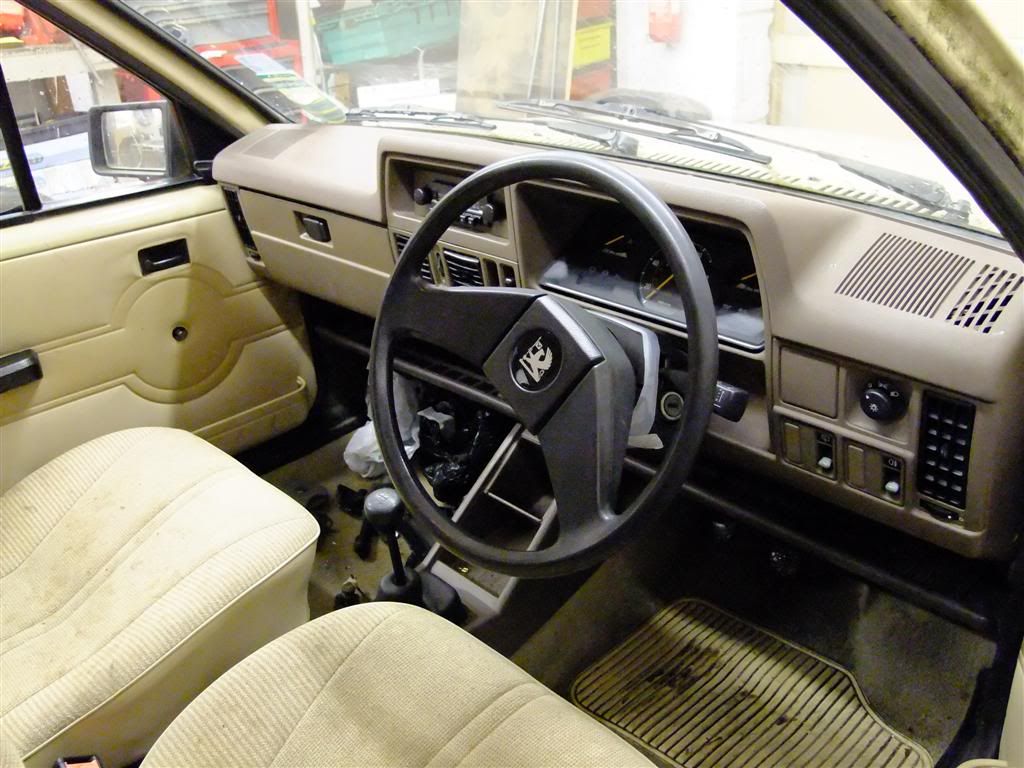
That explains why its full of water
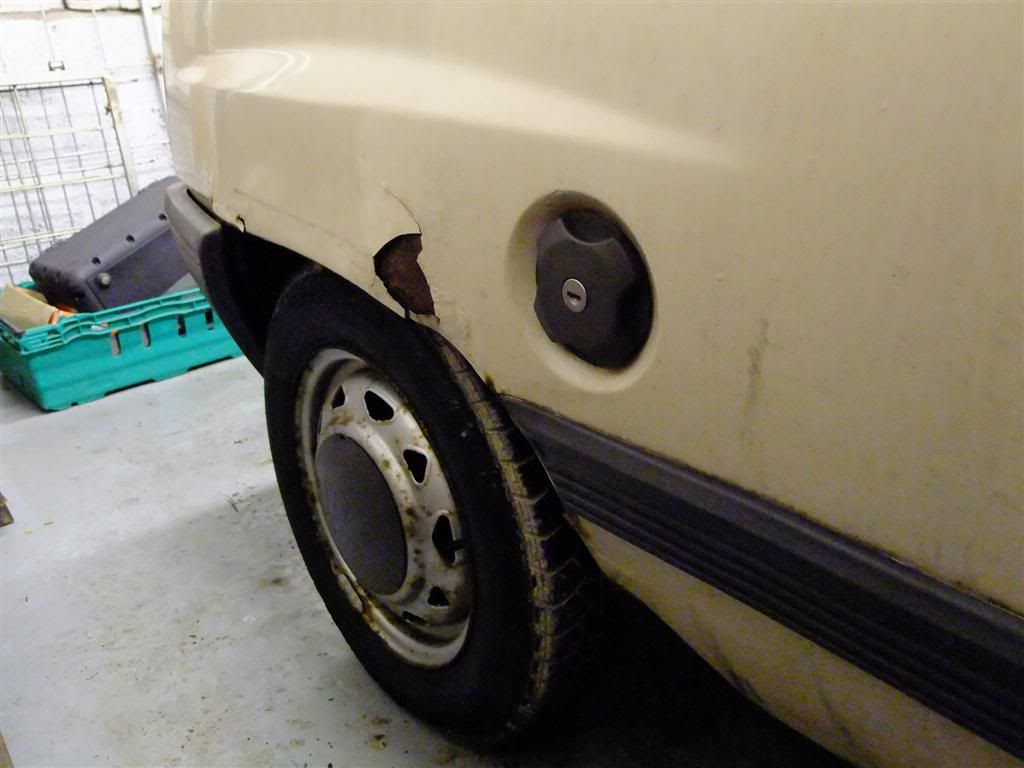
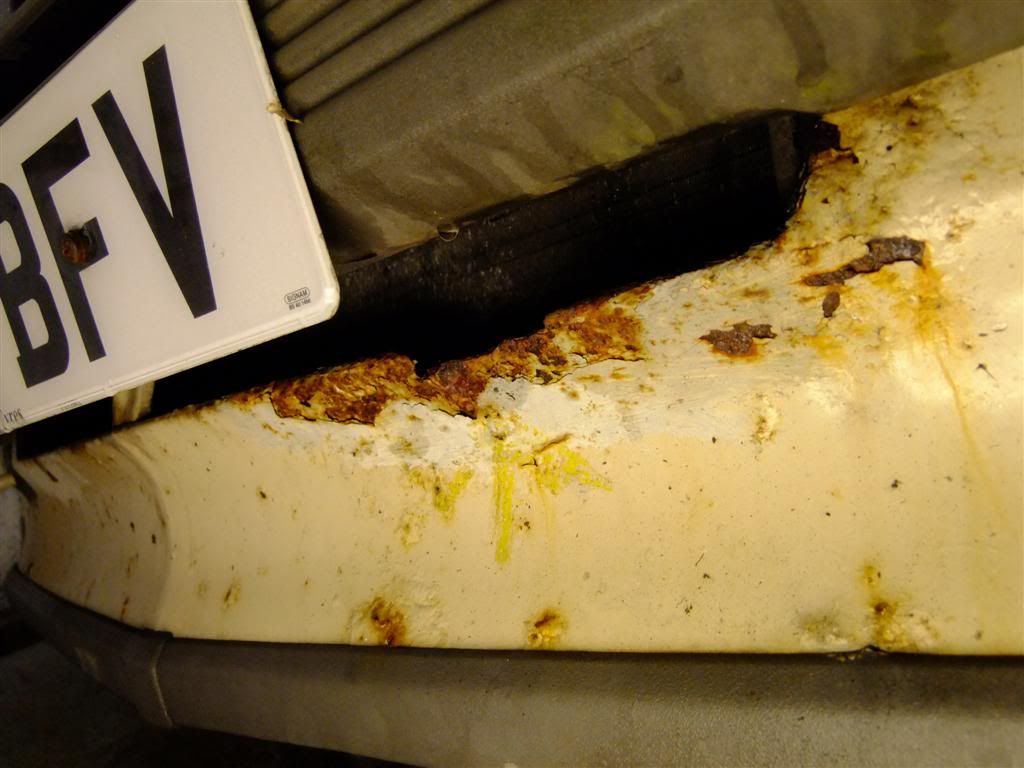
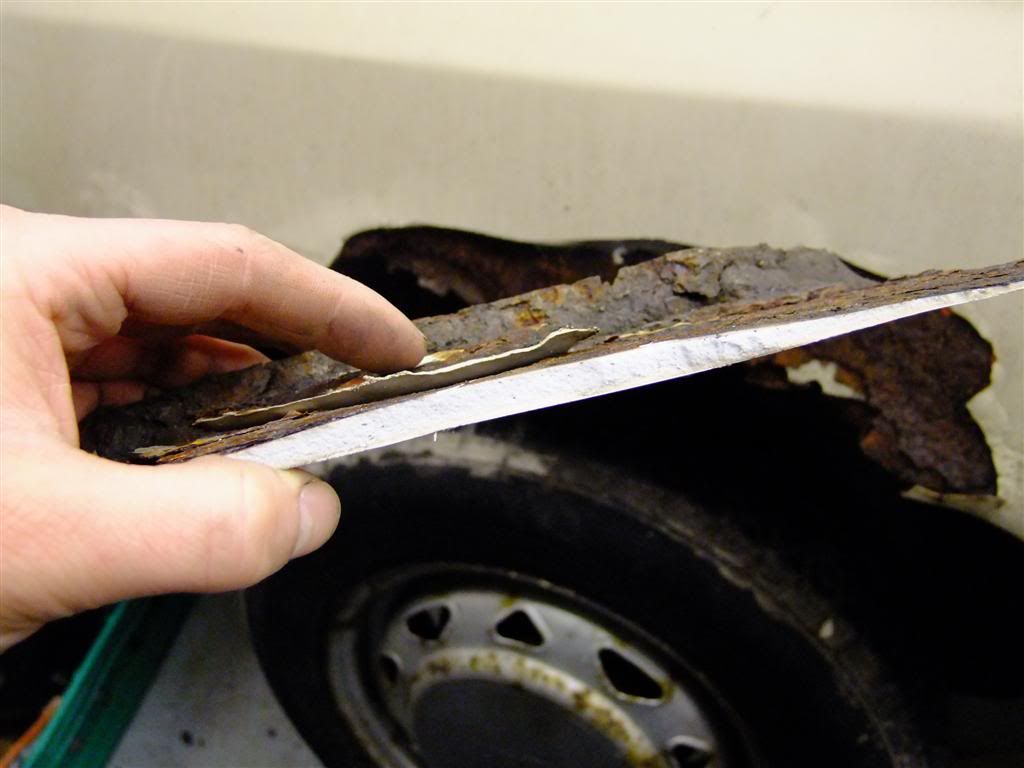
Sneaky repair on the lower front panel
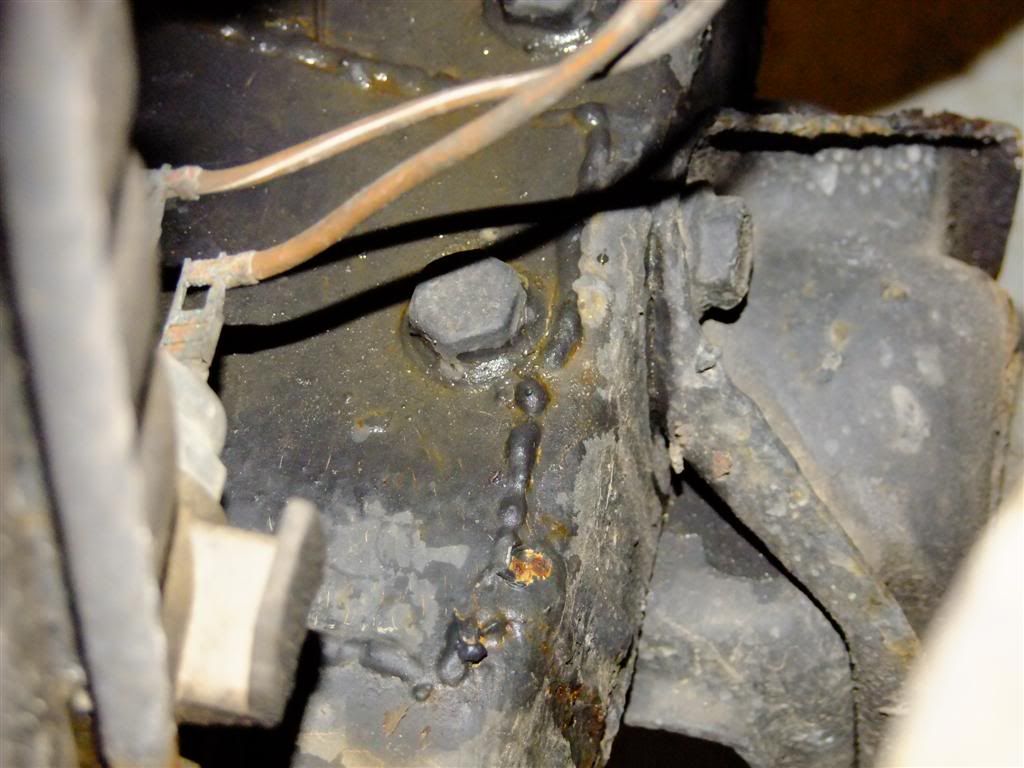
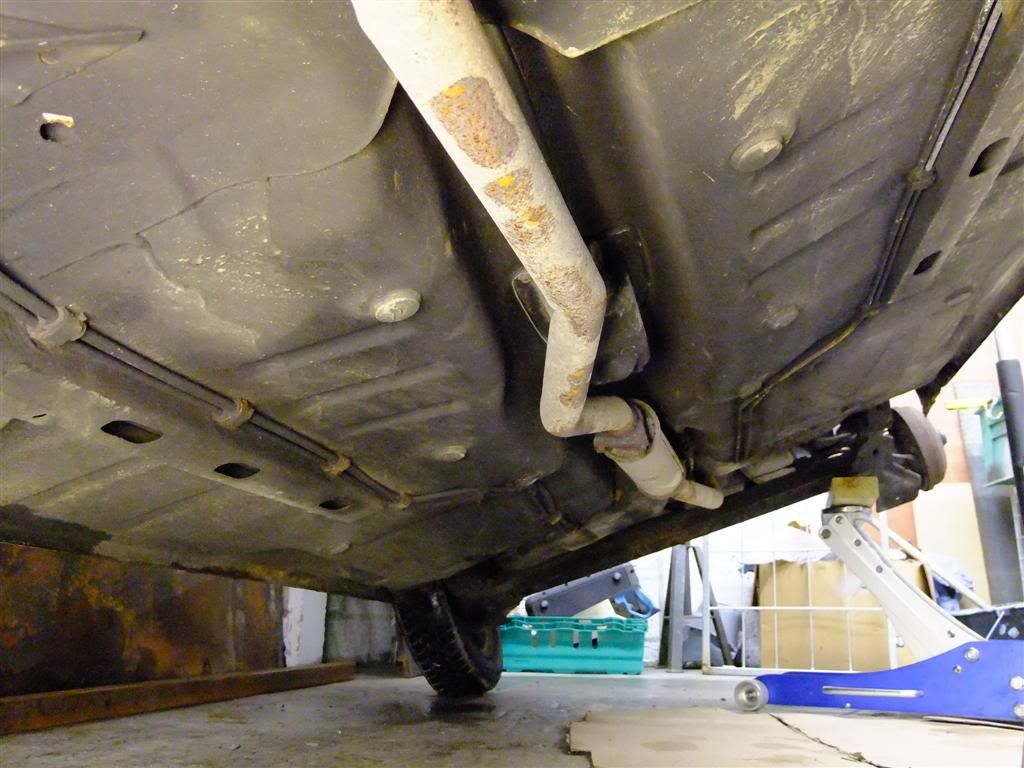
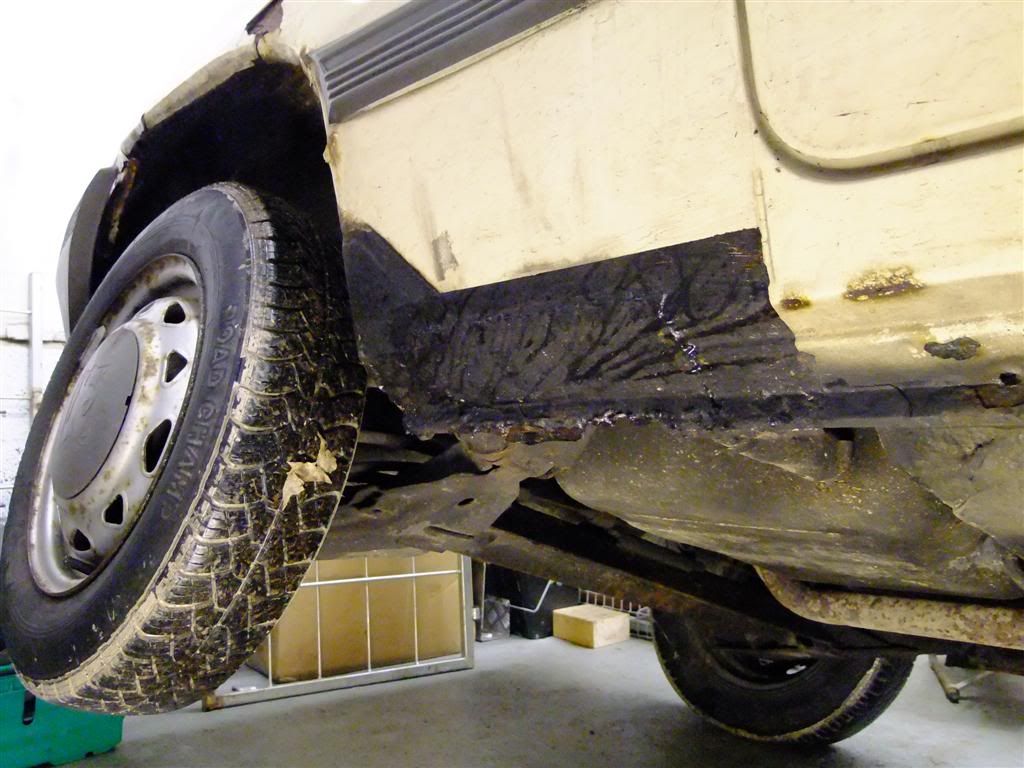
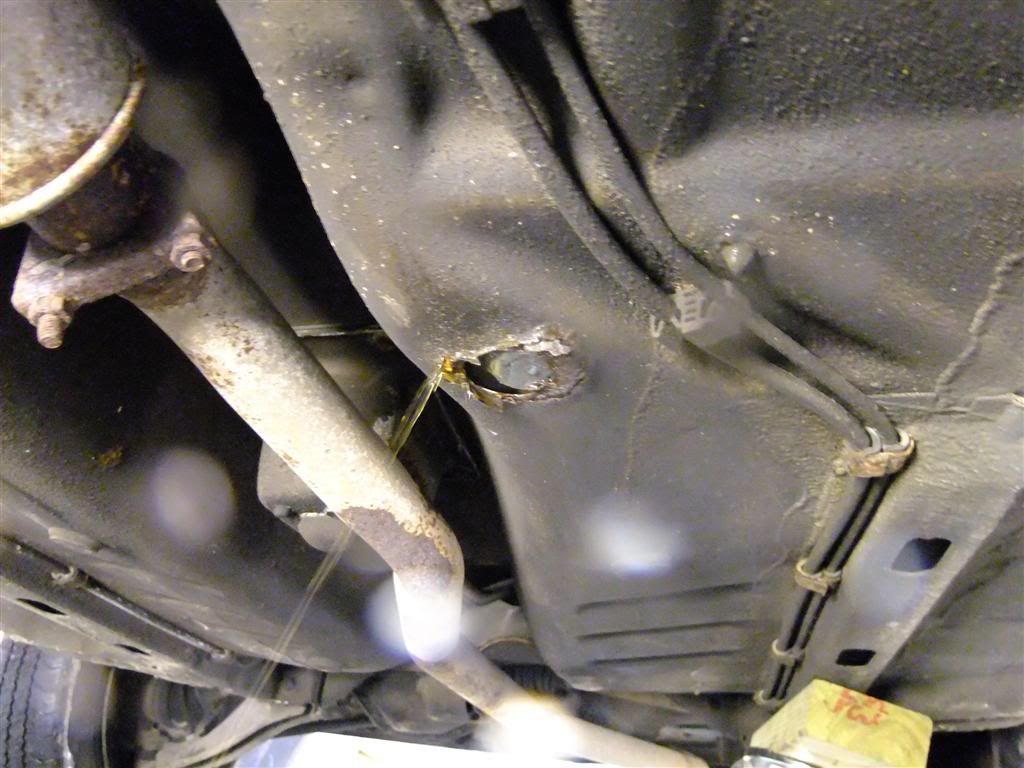
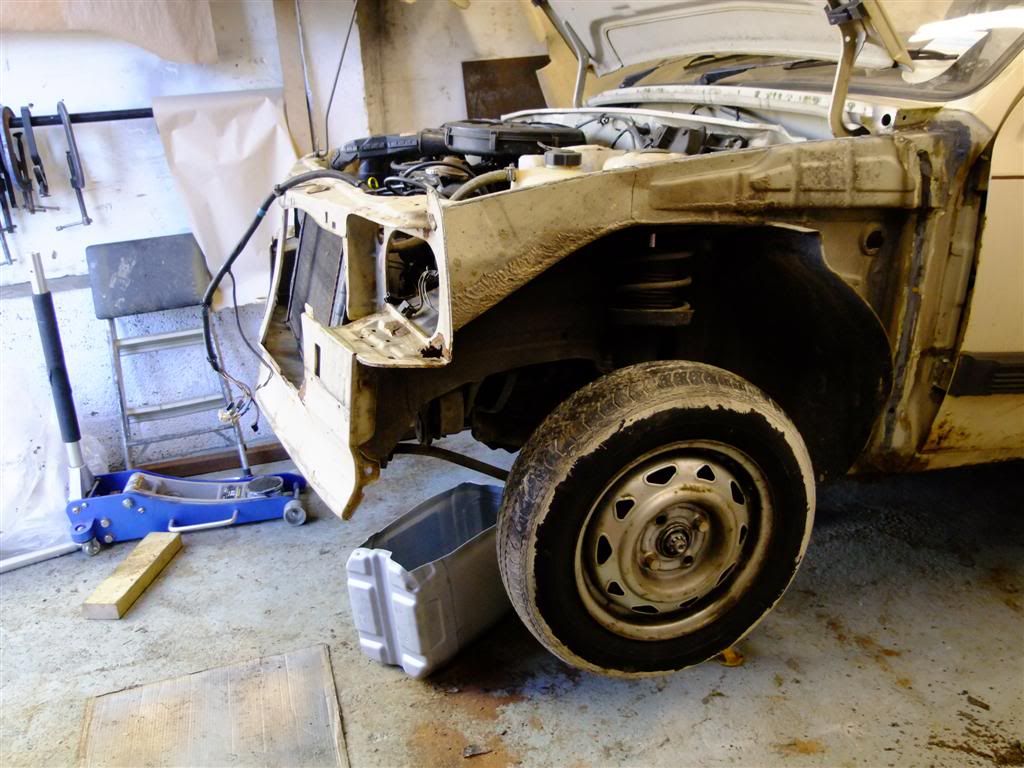
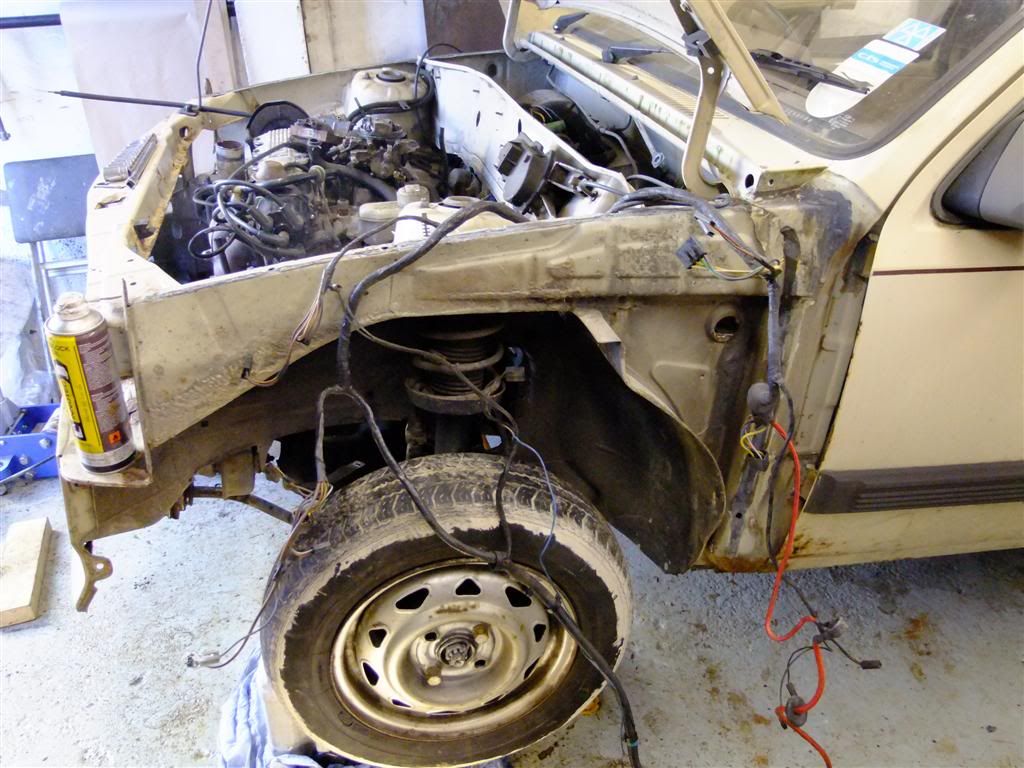
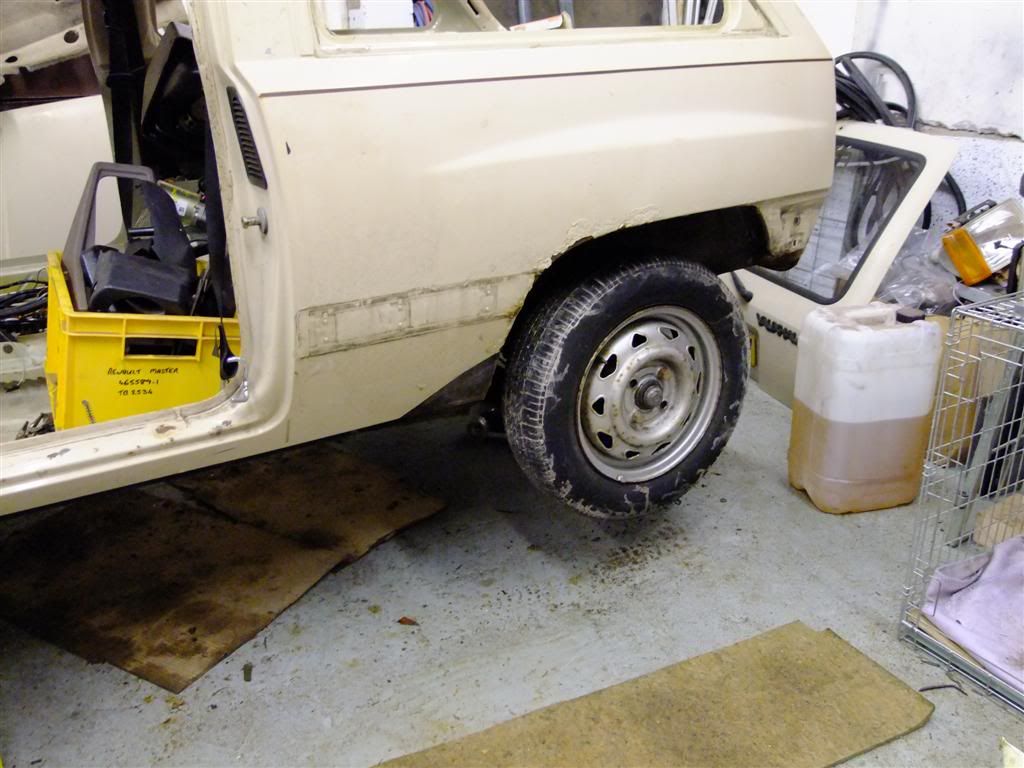
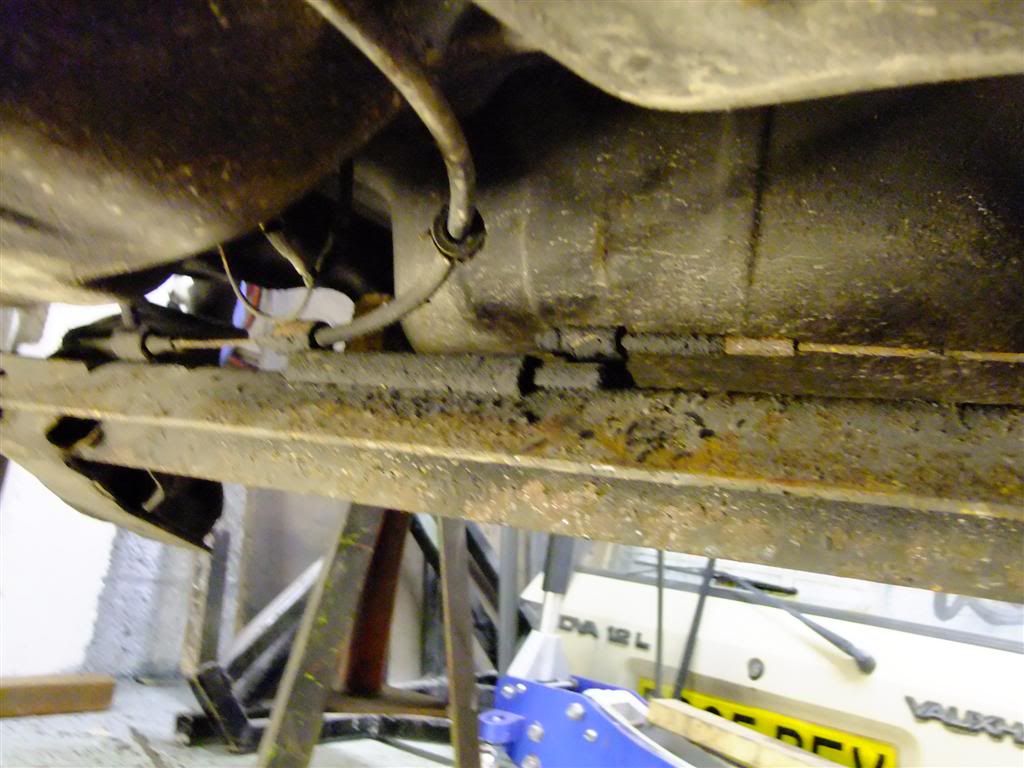
Got it jacked up for a peak underneath
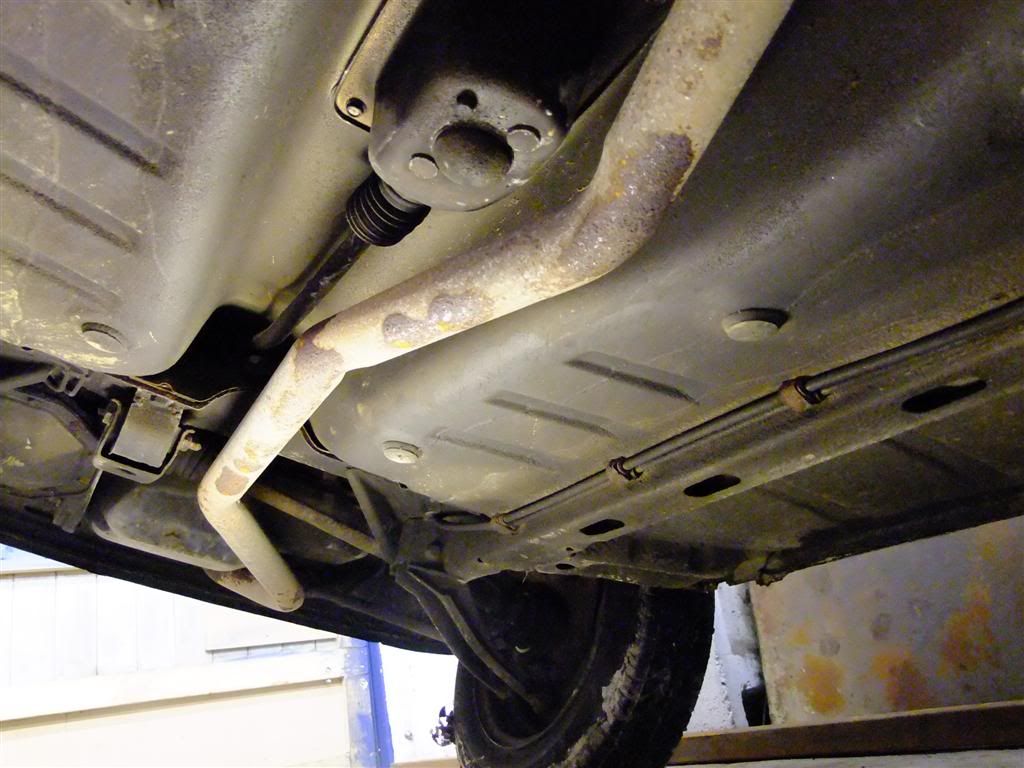
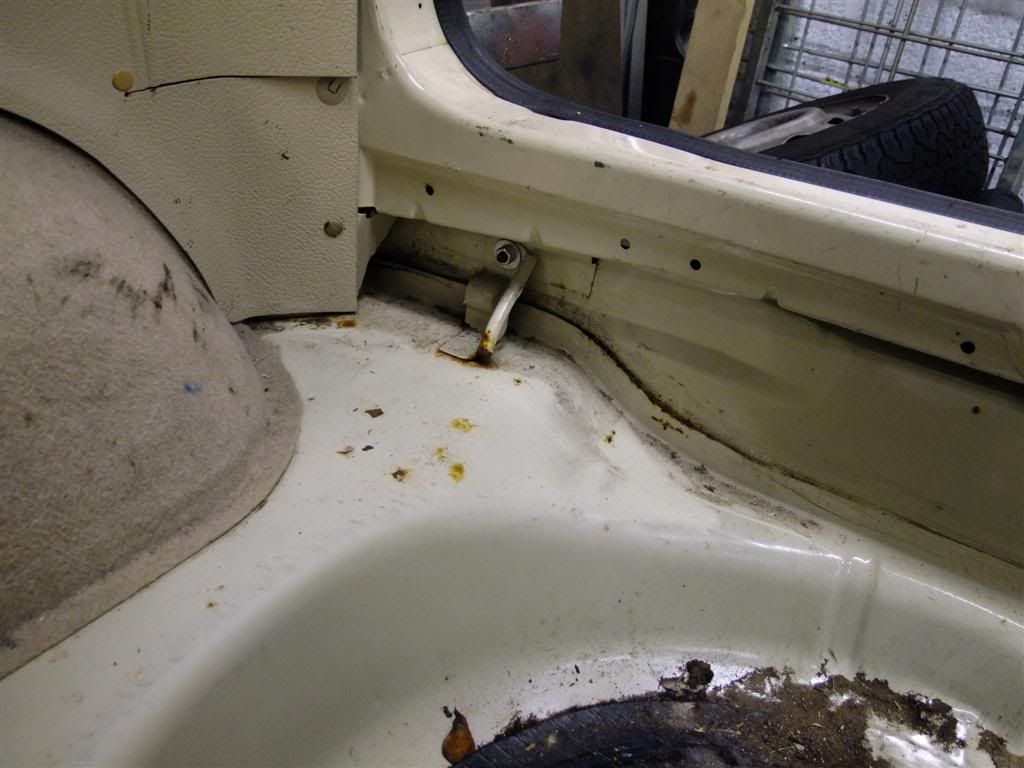
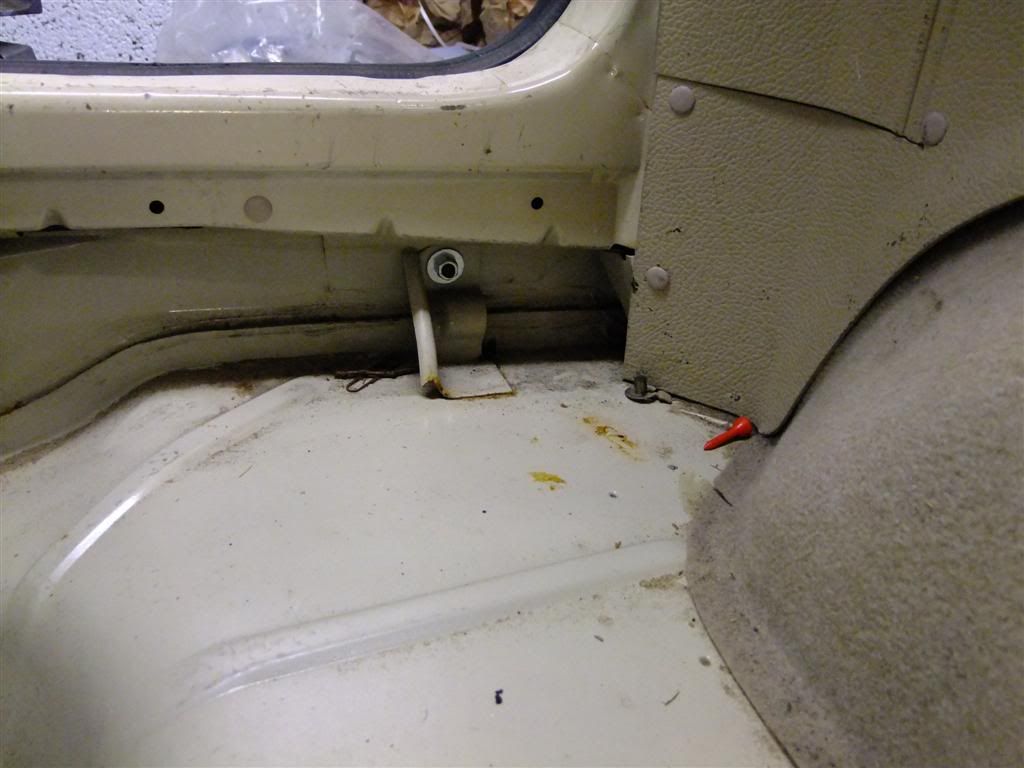
Not as bad as I thought it would be
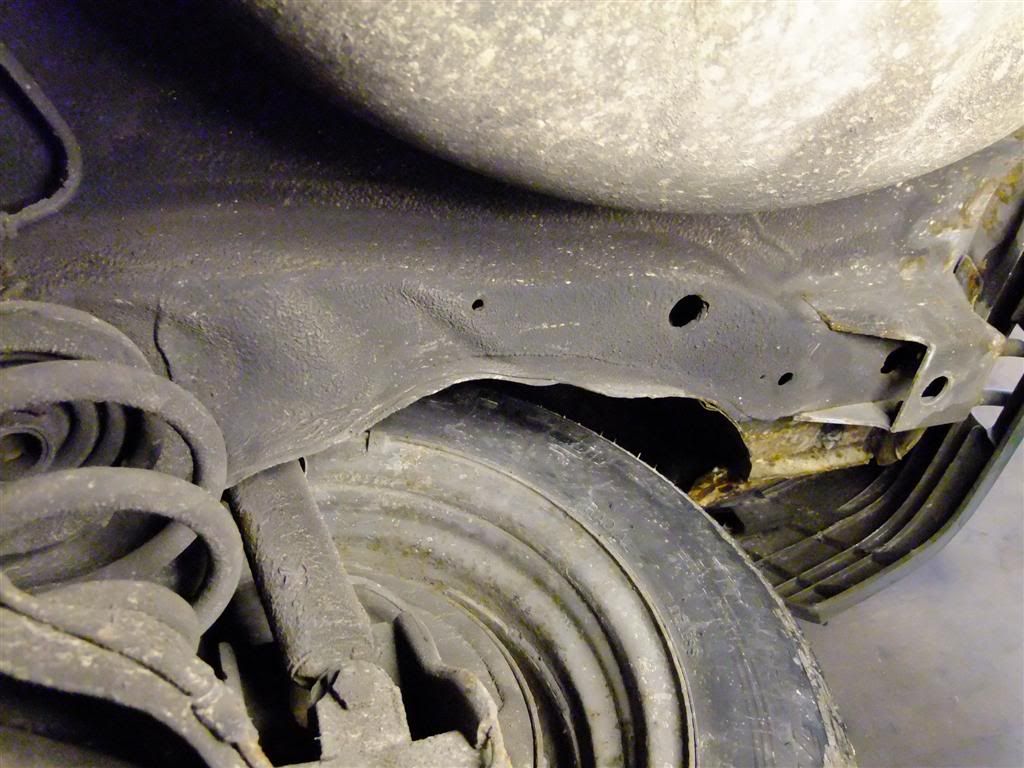
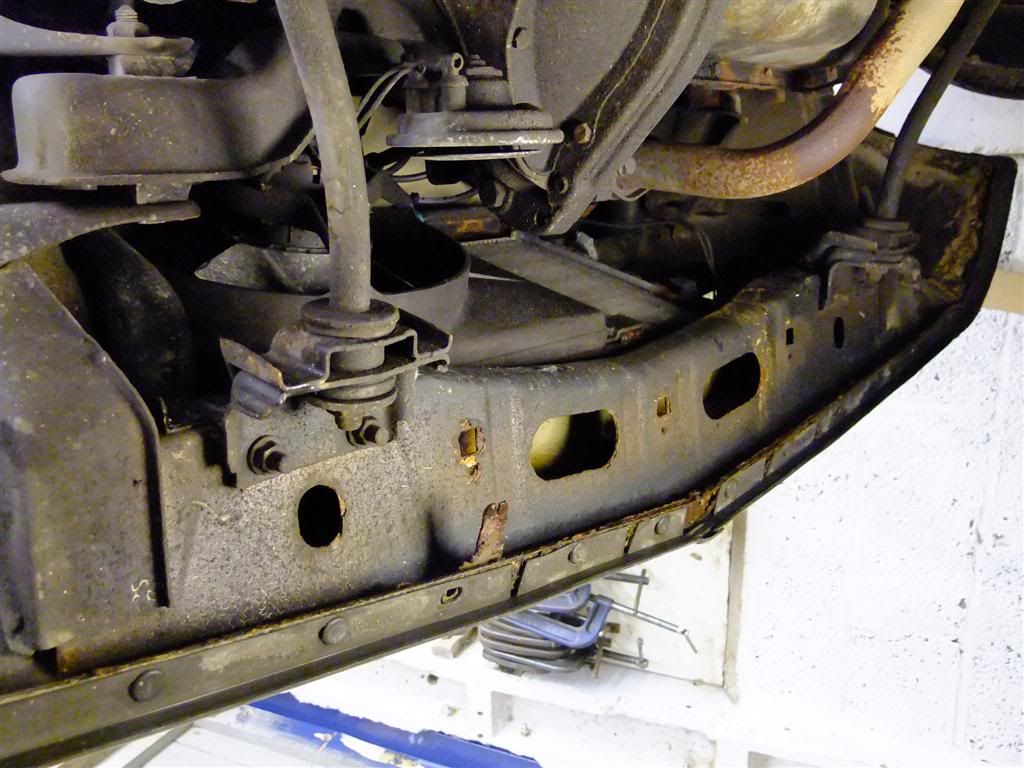
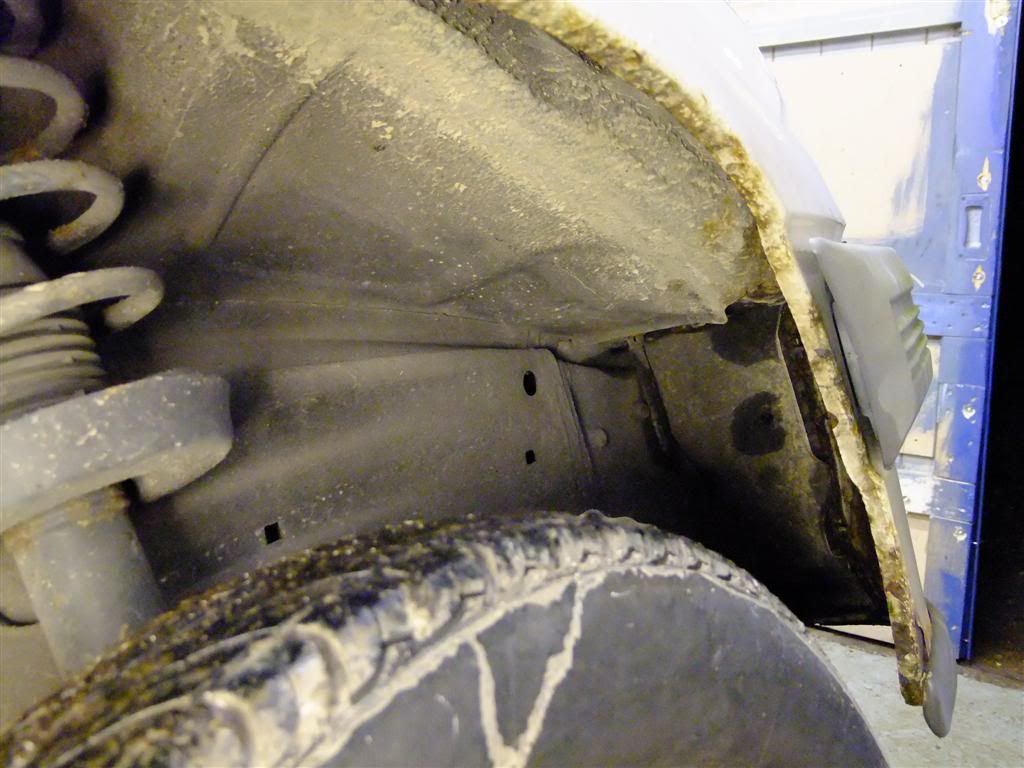
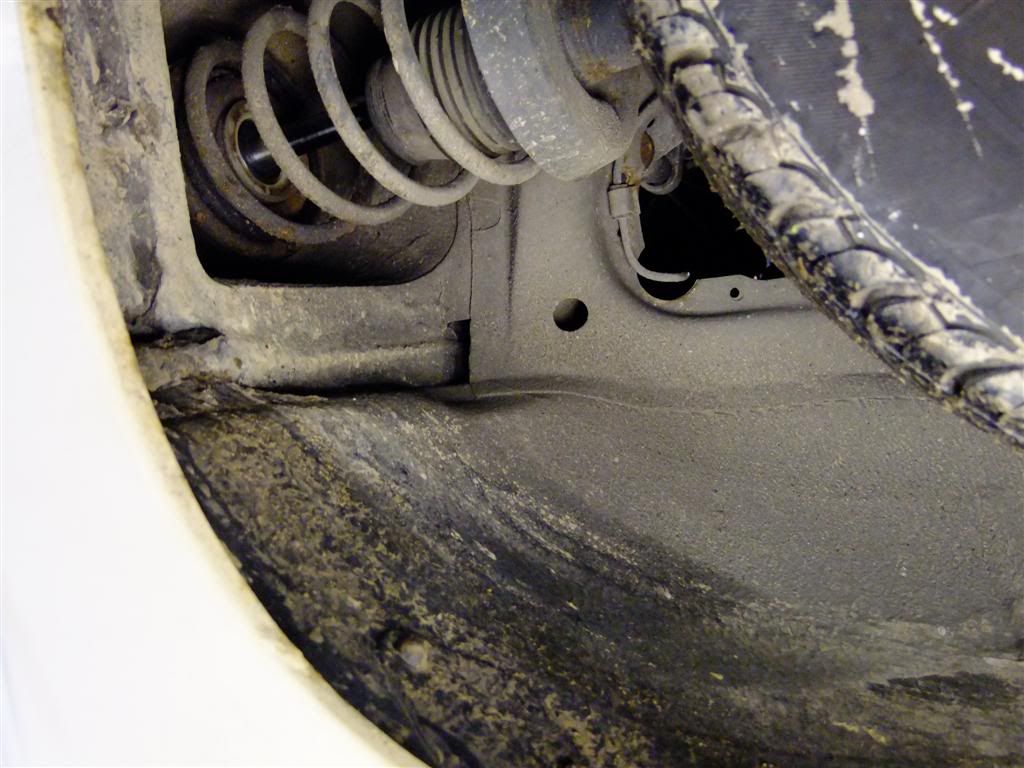
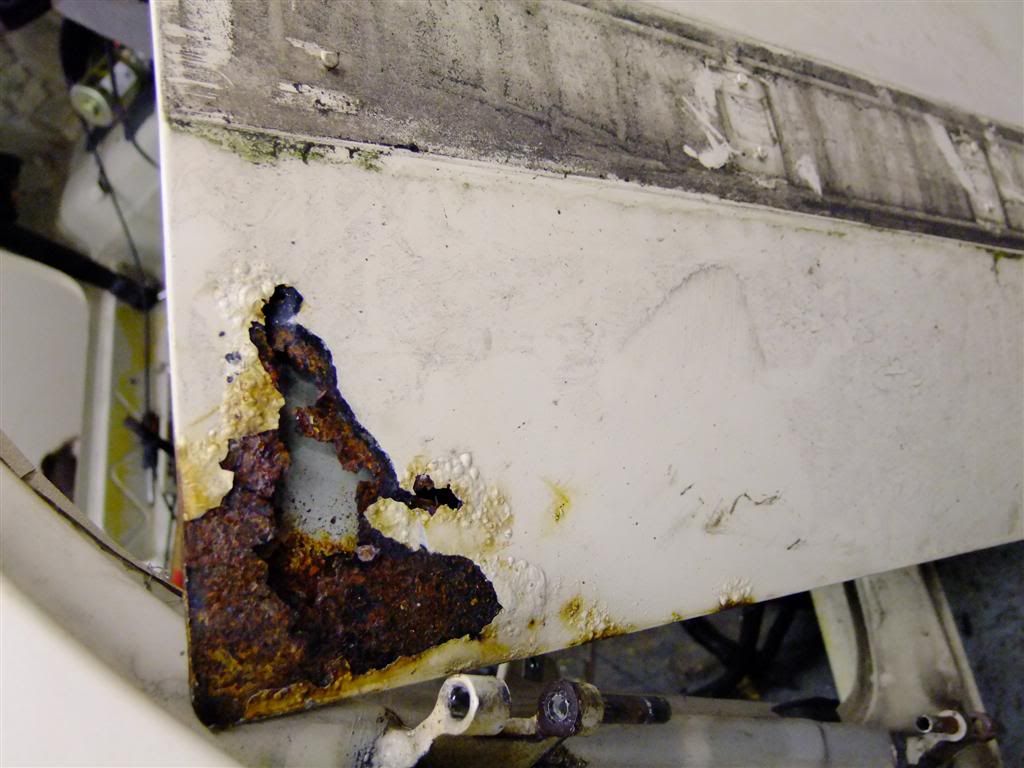
How or why would it rust there ffs - that will either be repaired of removed

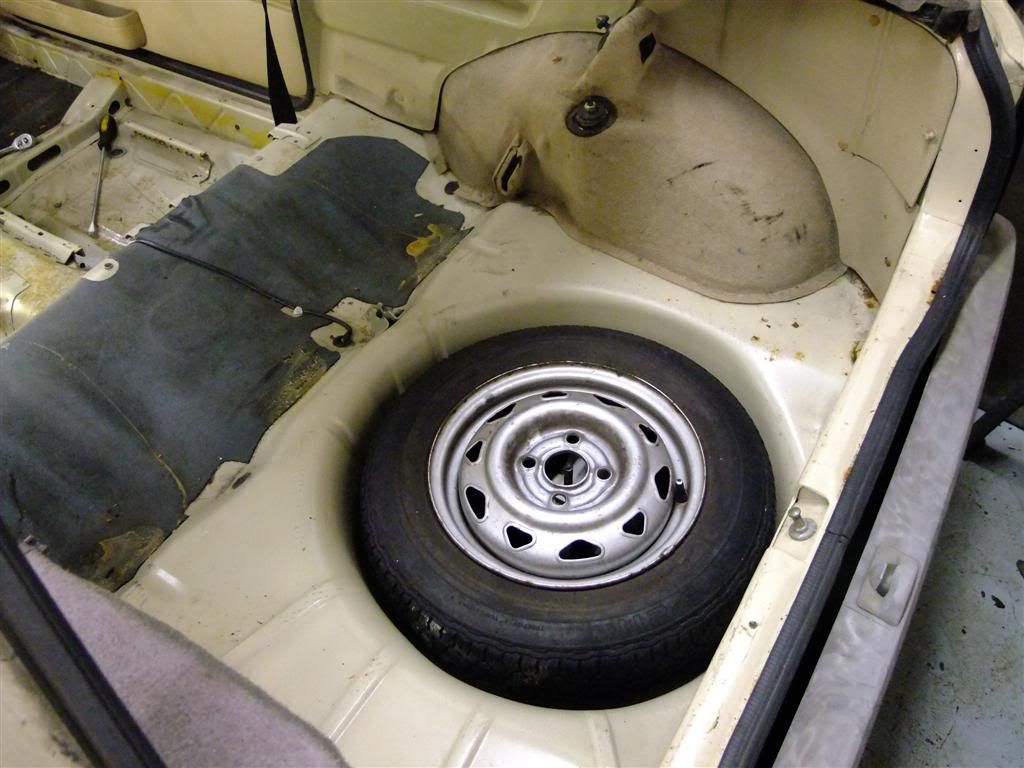
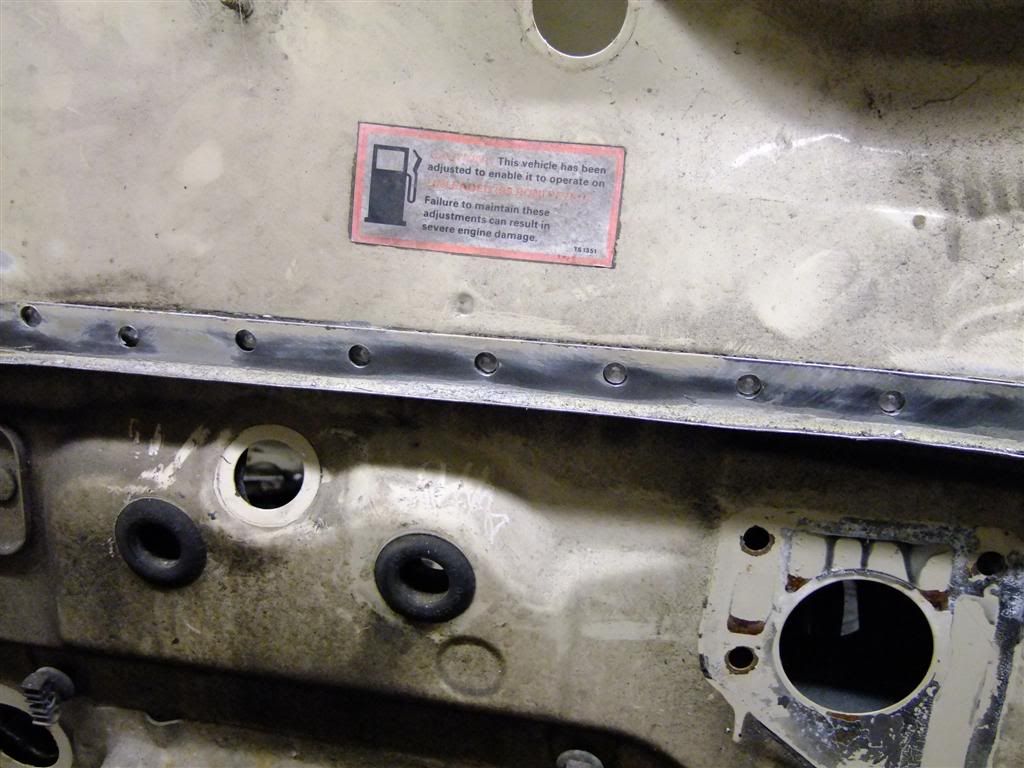
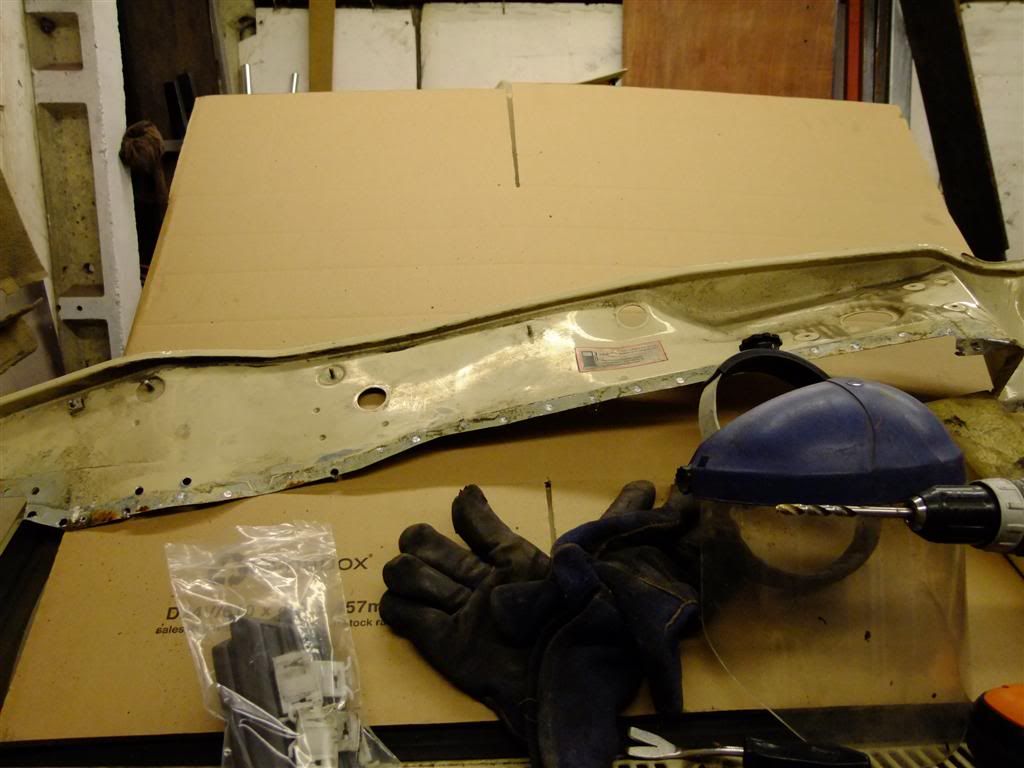
I didnt even know it had a special sticker

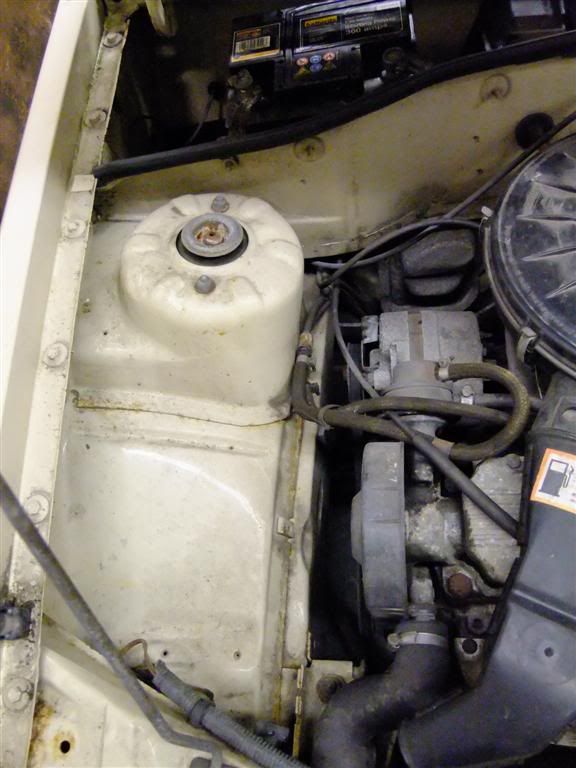
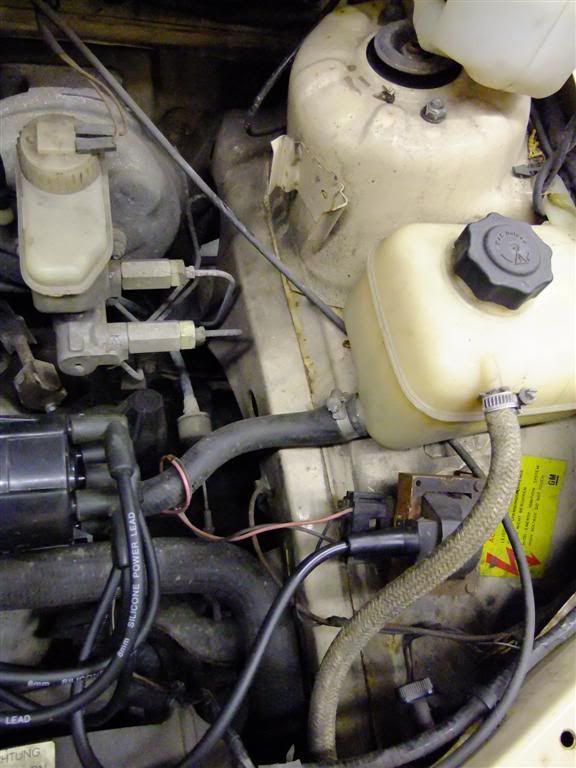
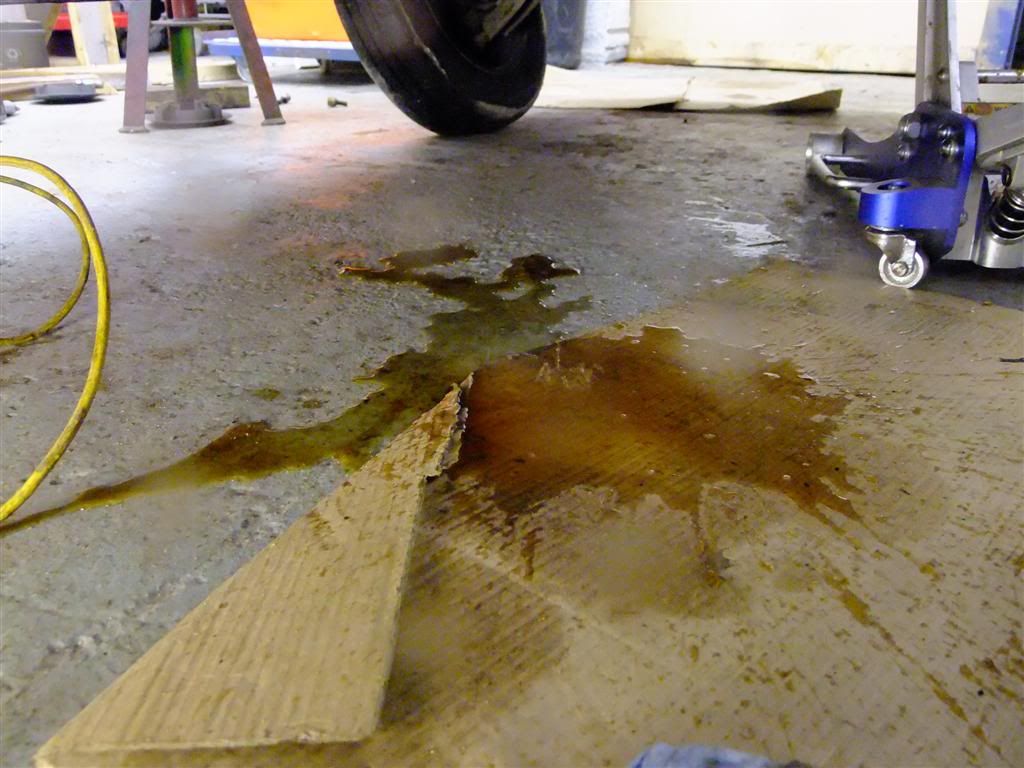
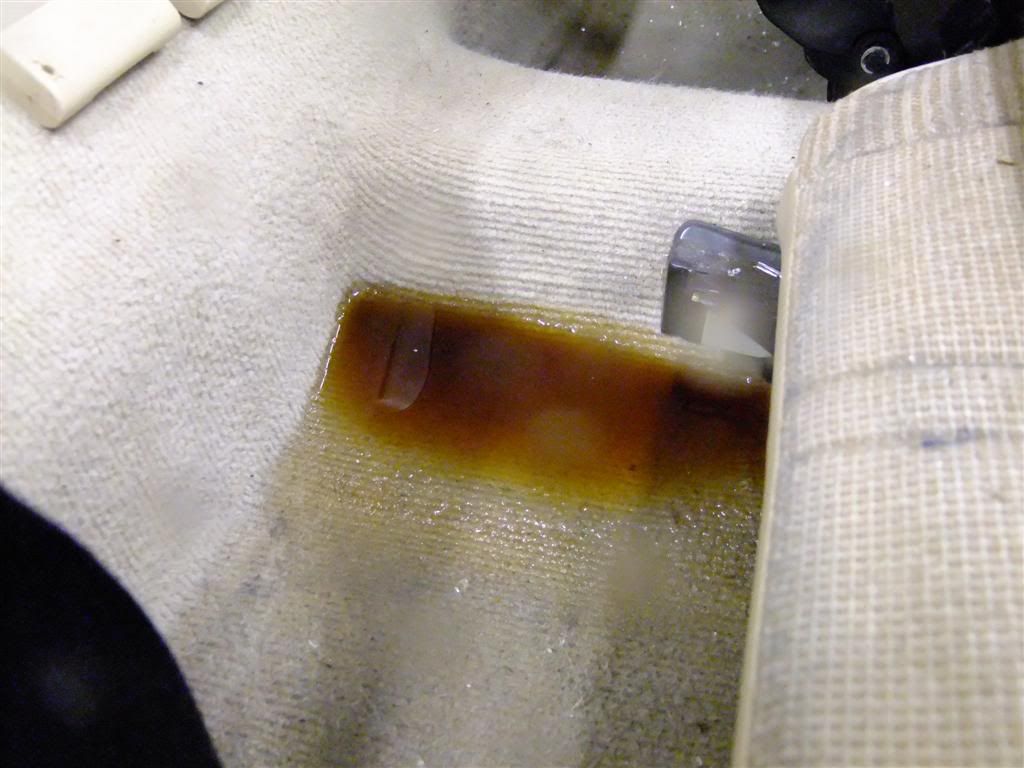
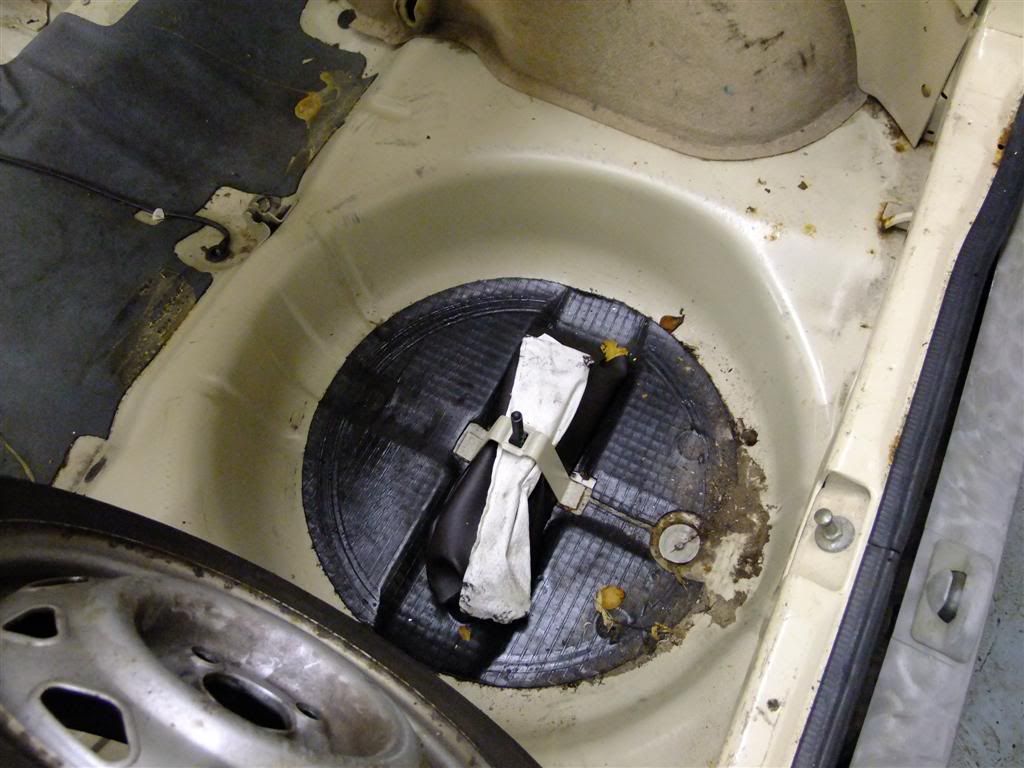
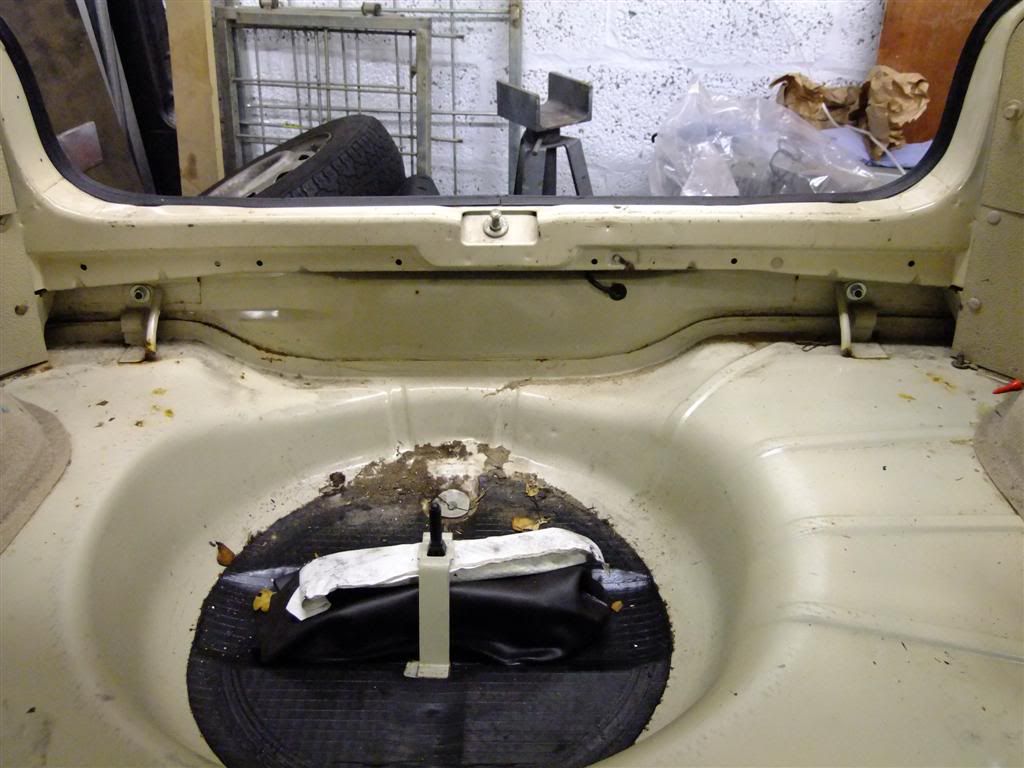
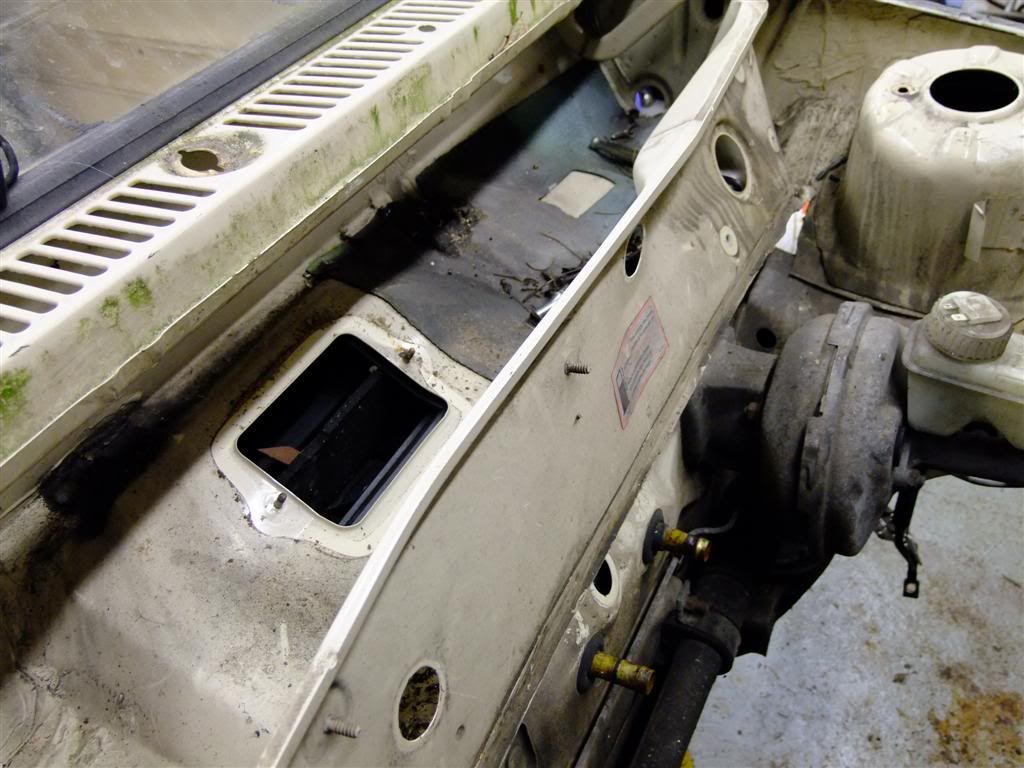
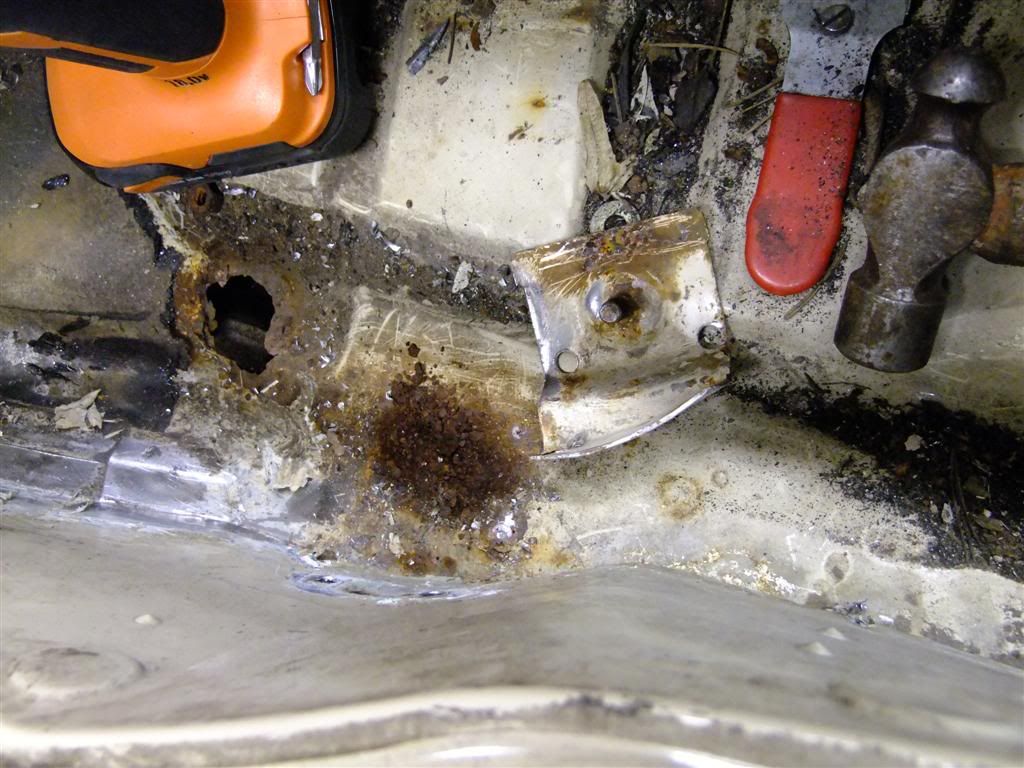
Then I gave that bung a poke and it started to pee on me
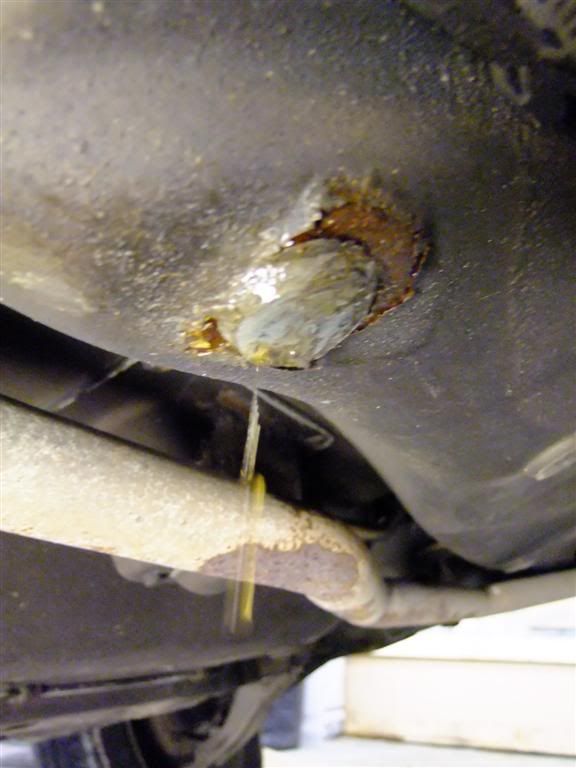
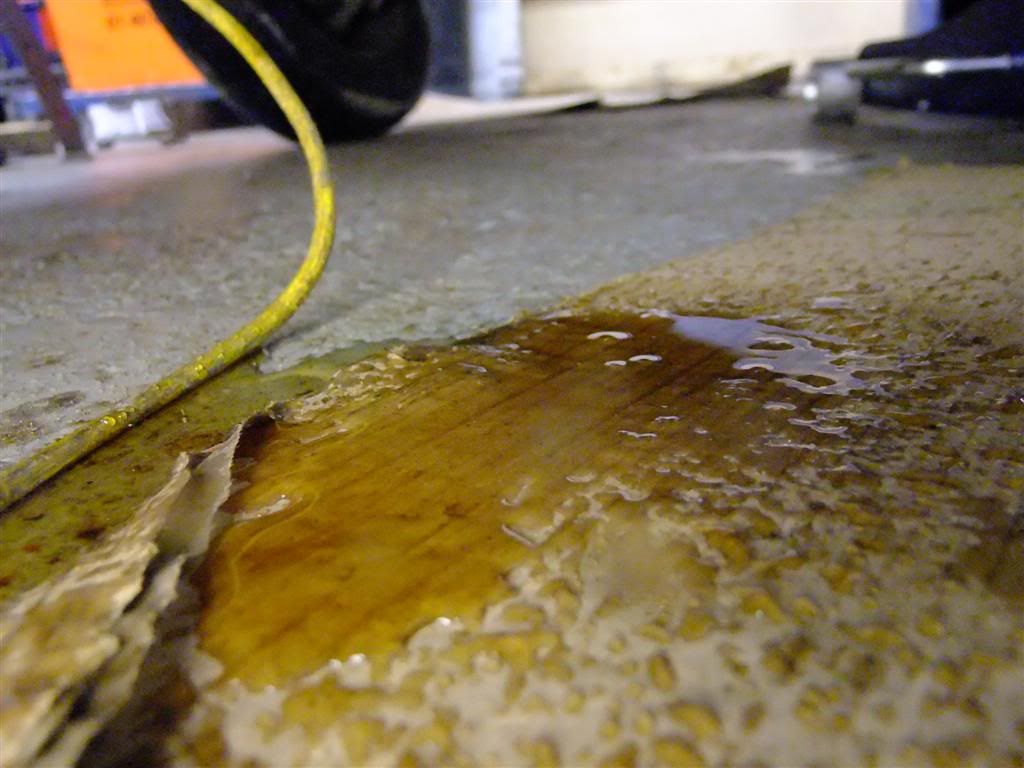
Bit more of a prod
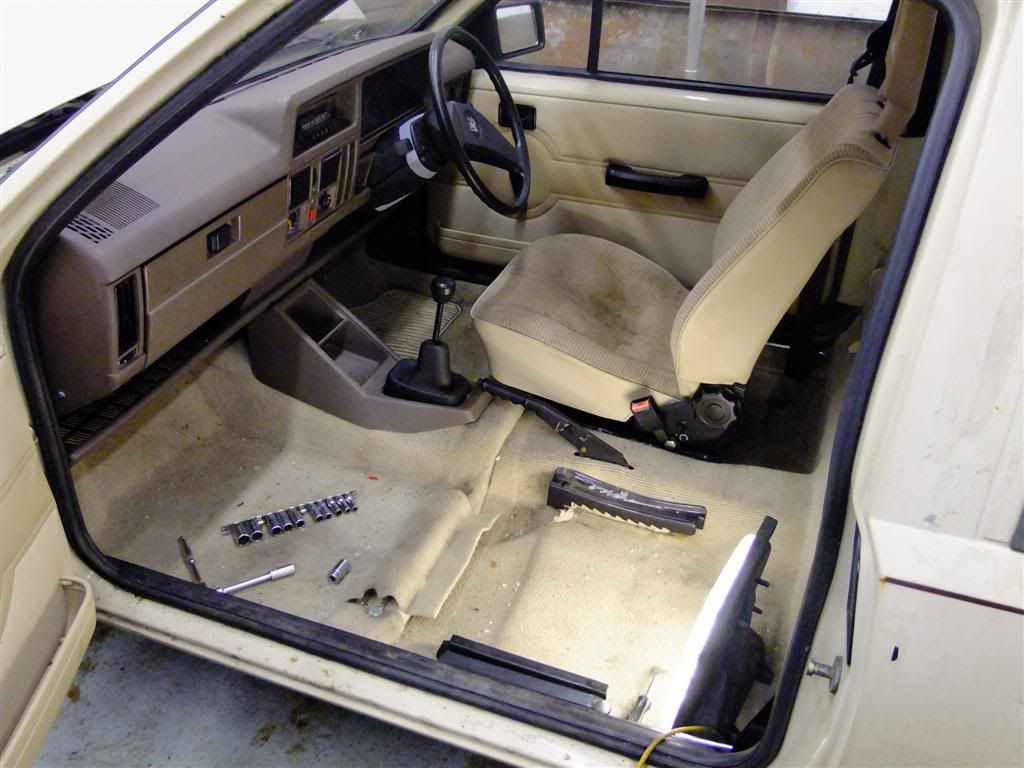
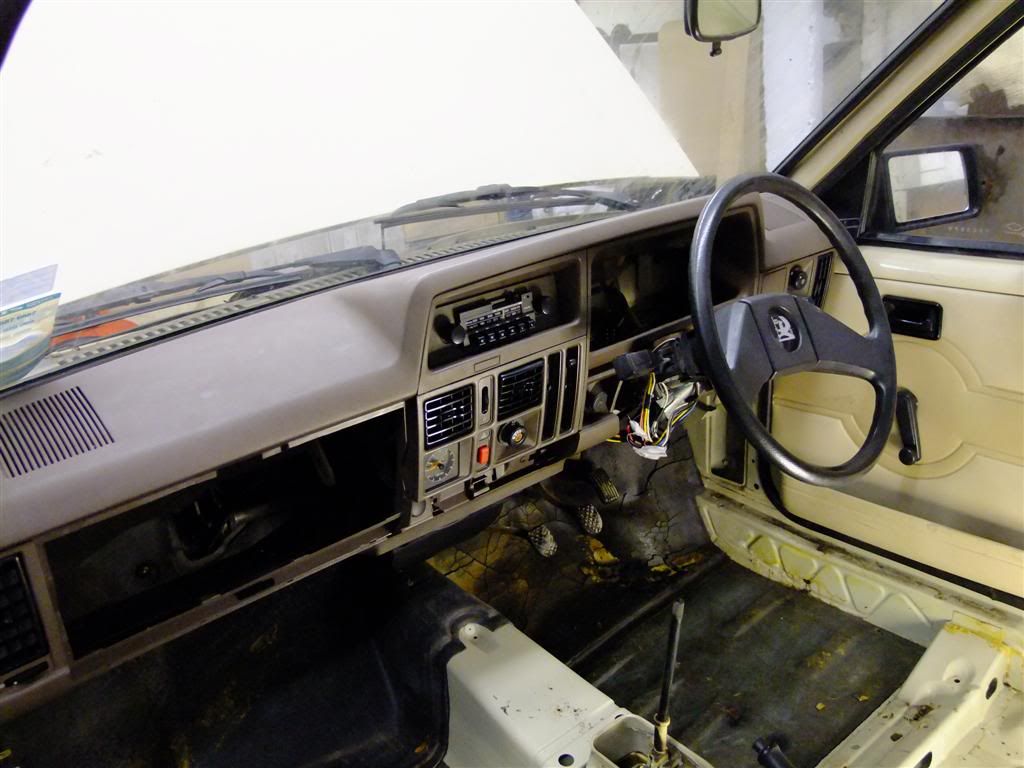
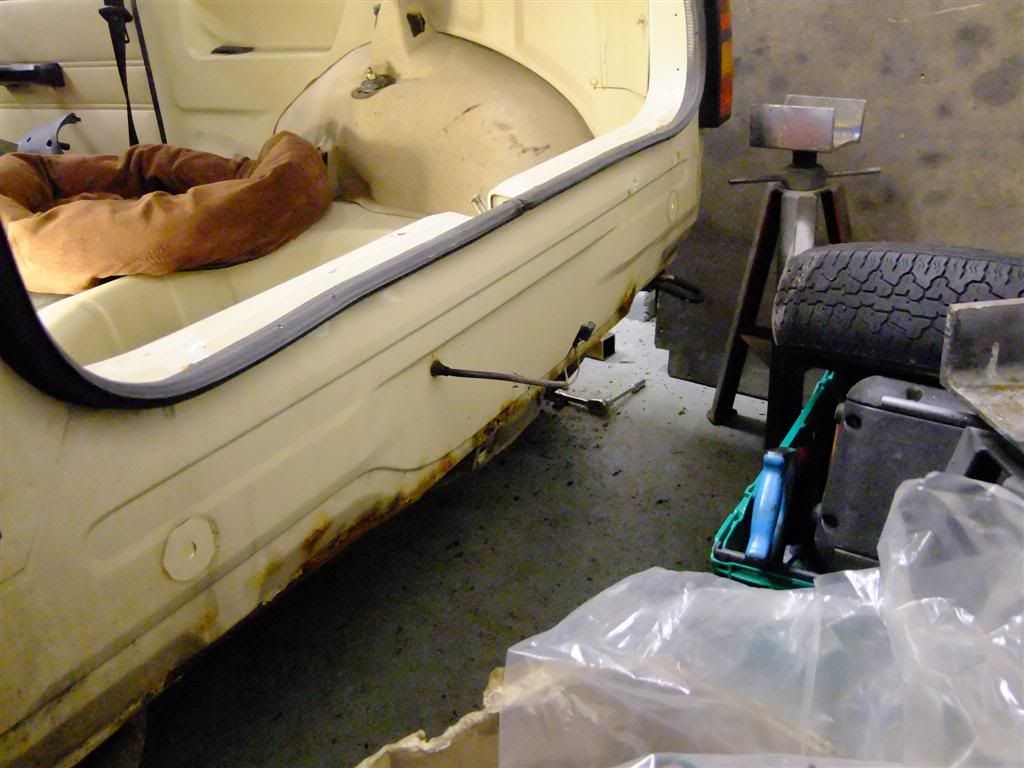
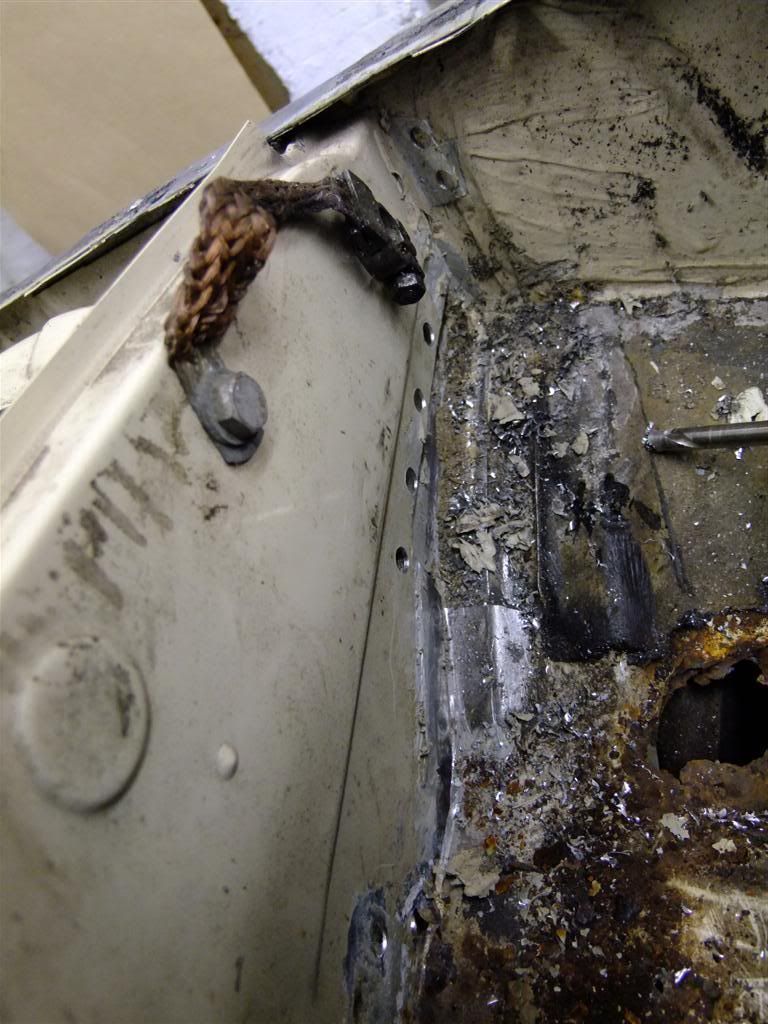
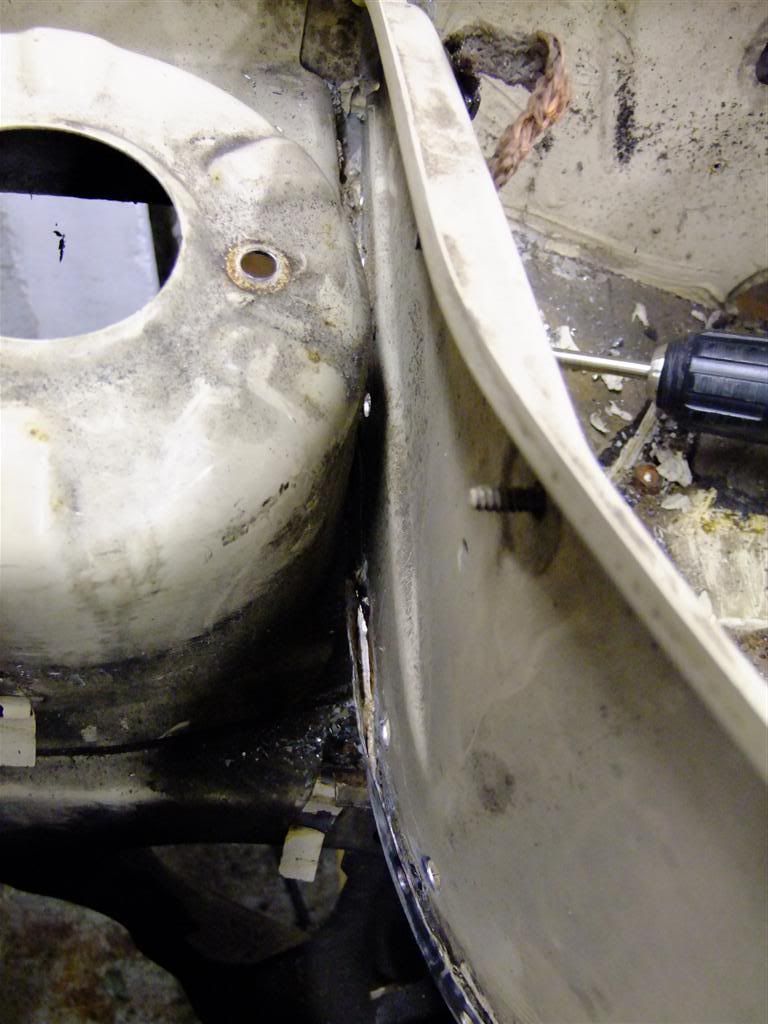
And the state inside the car
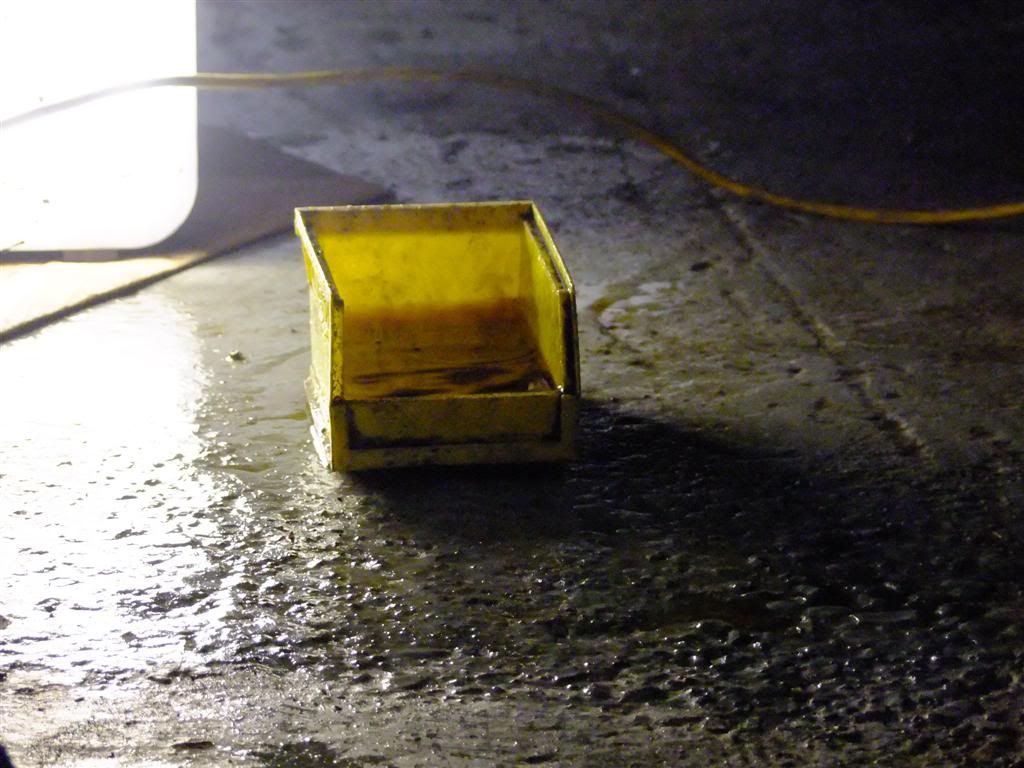
Catch tank fitted lol
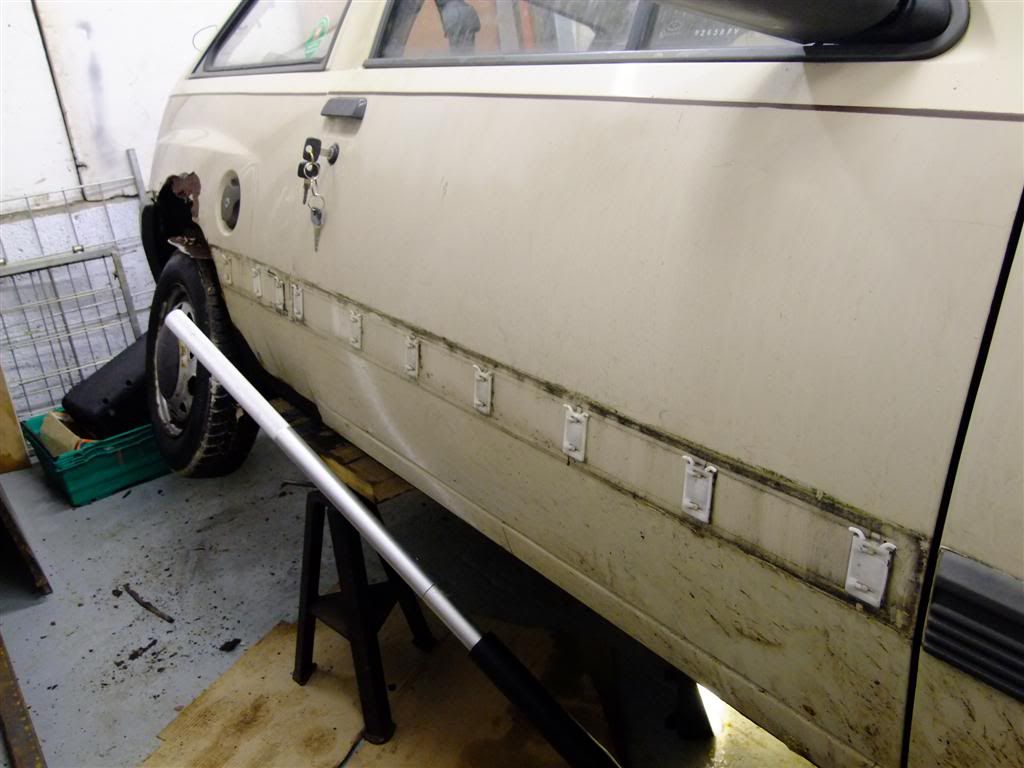
So after some general poking around it was time to let the strip commence
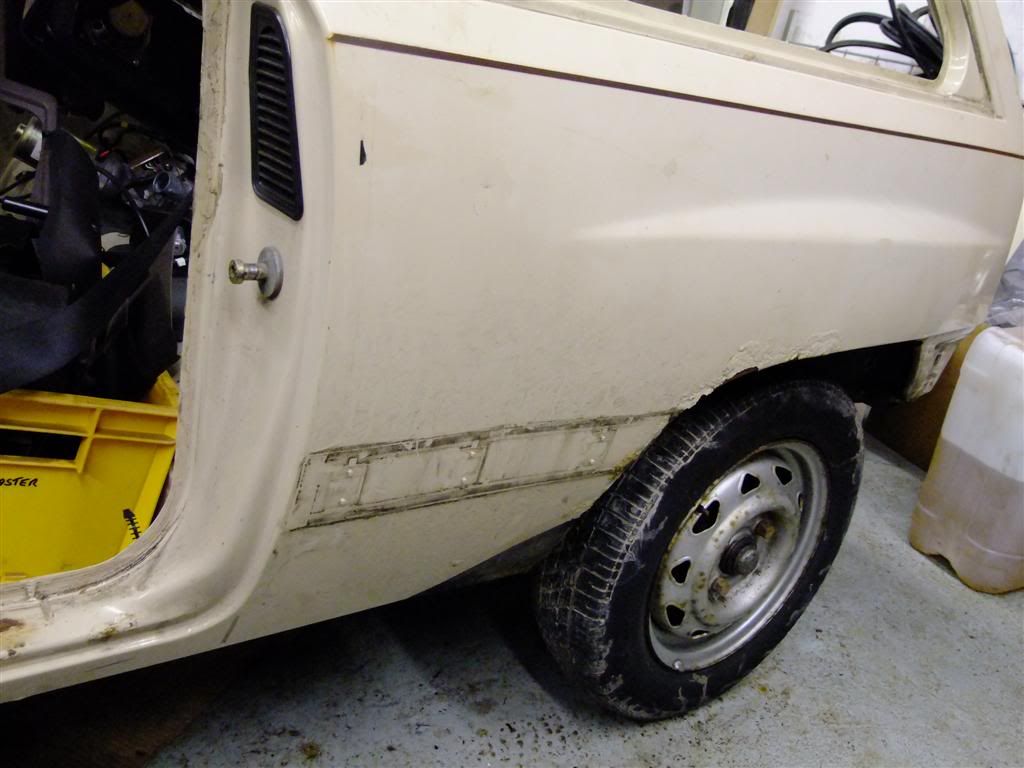
Side strips off on the O/S
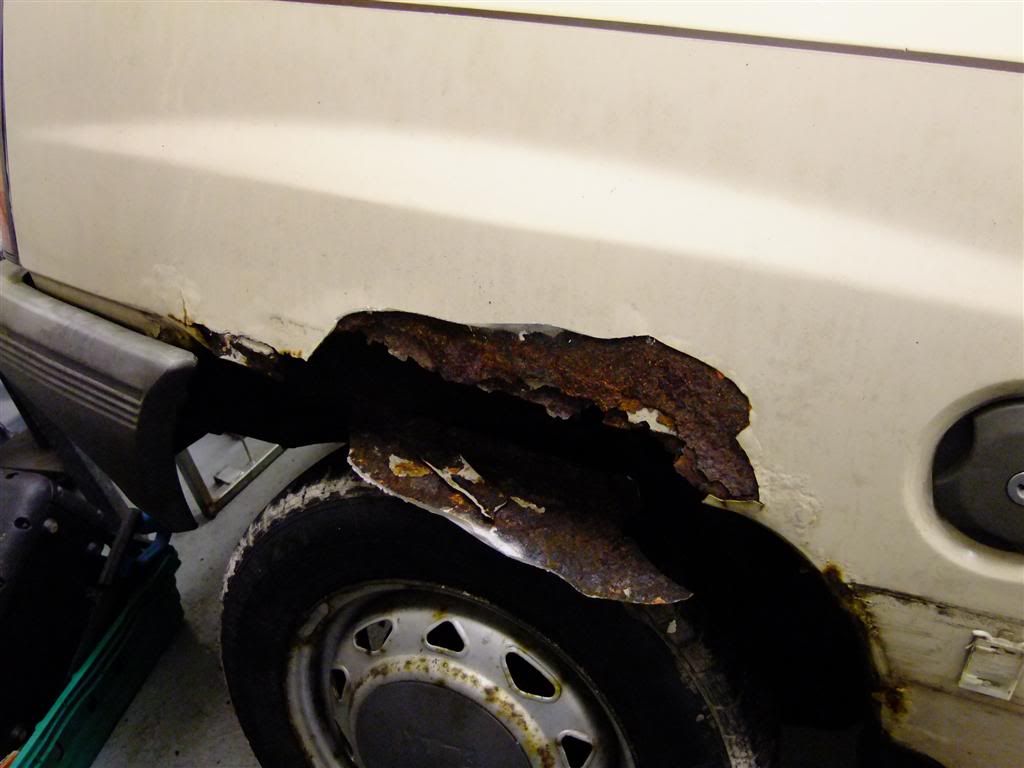
Grabbed hold of the O/S rear arch to see wtf it consisted of and guess what Filler ahoy!
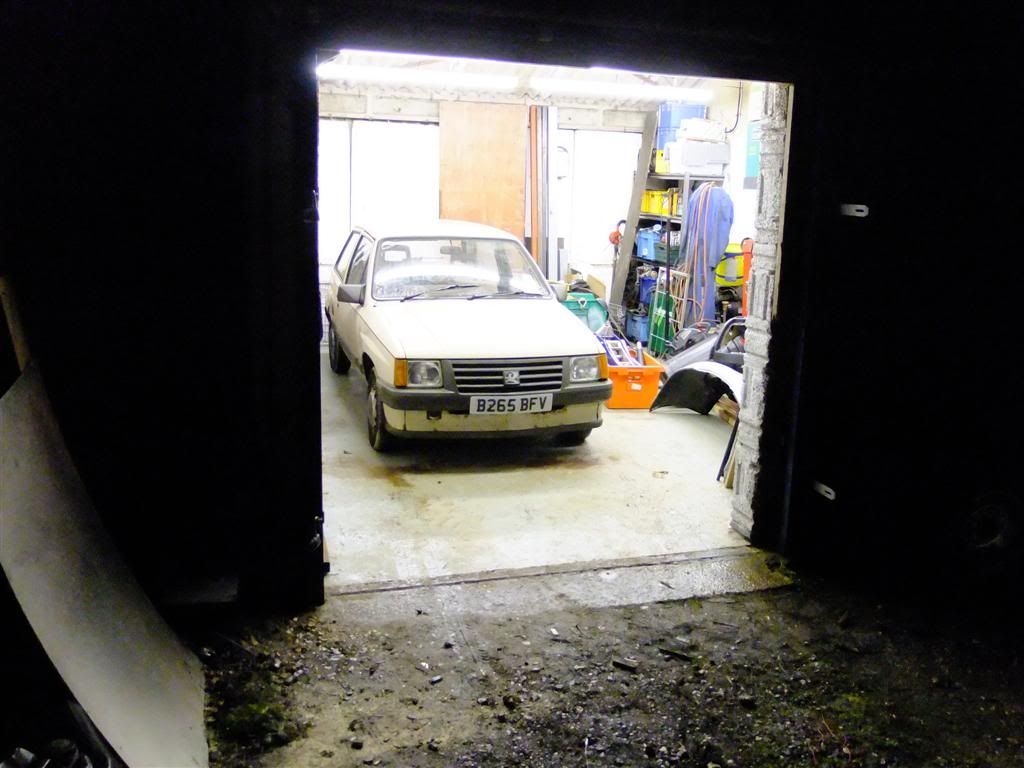
Then as I kinda need the car mobile still for a couple of days I started on the interior
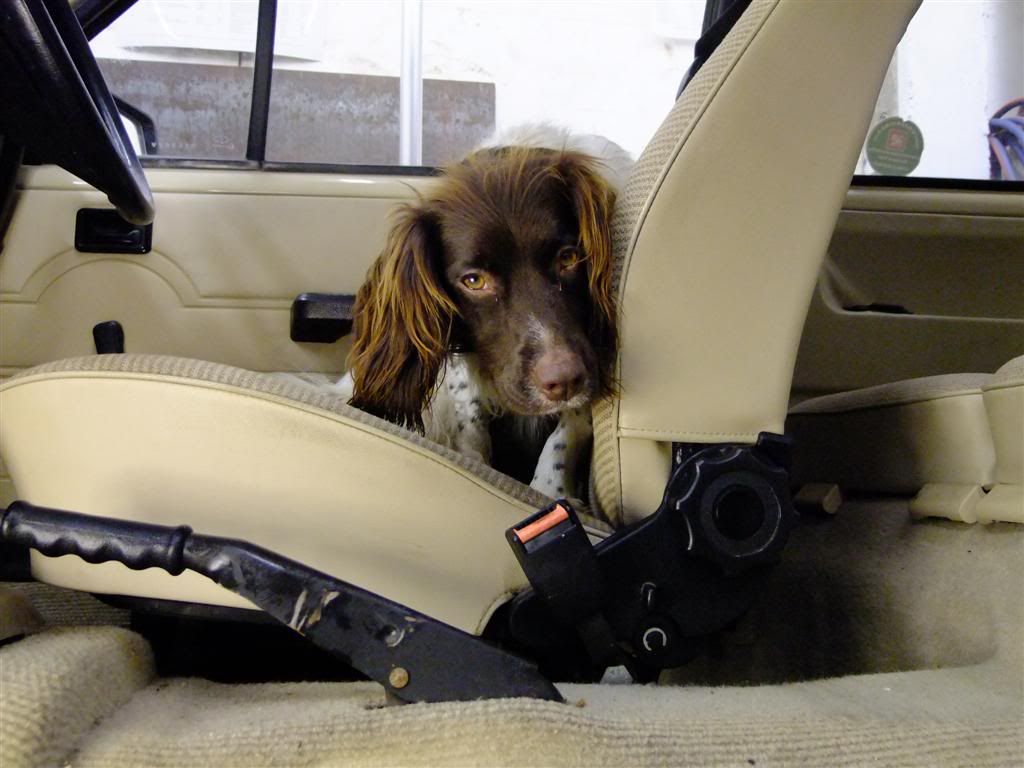
The spaniel in the way for a change
Out
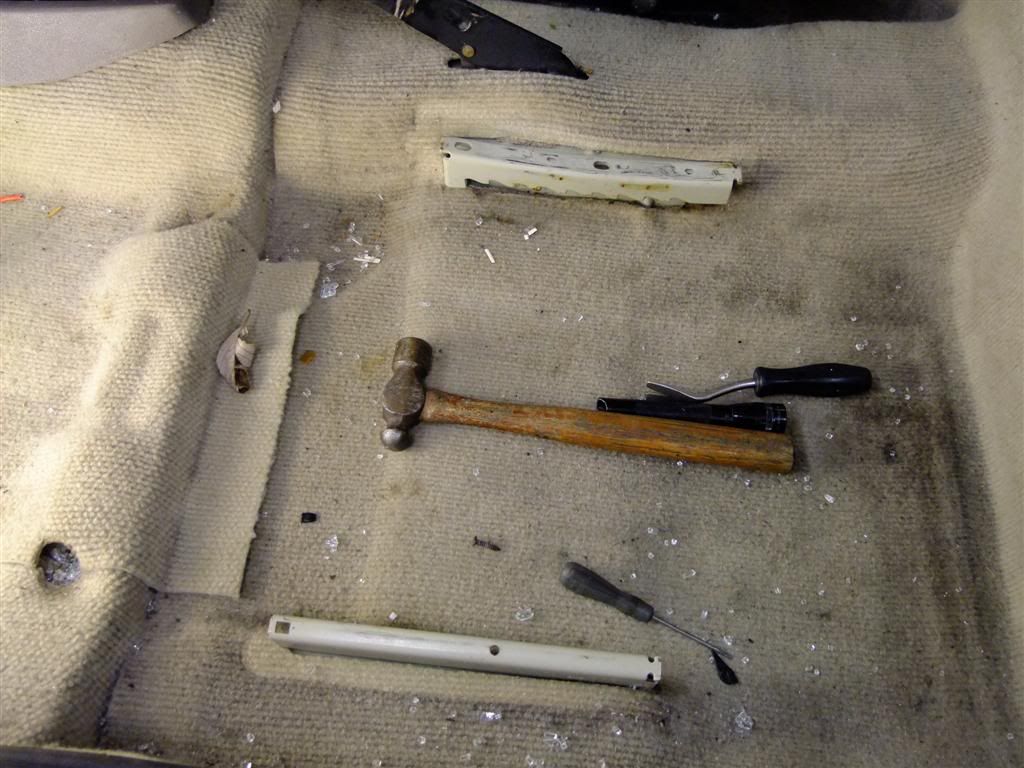
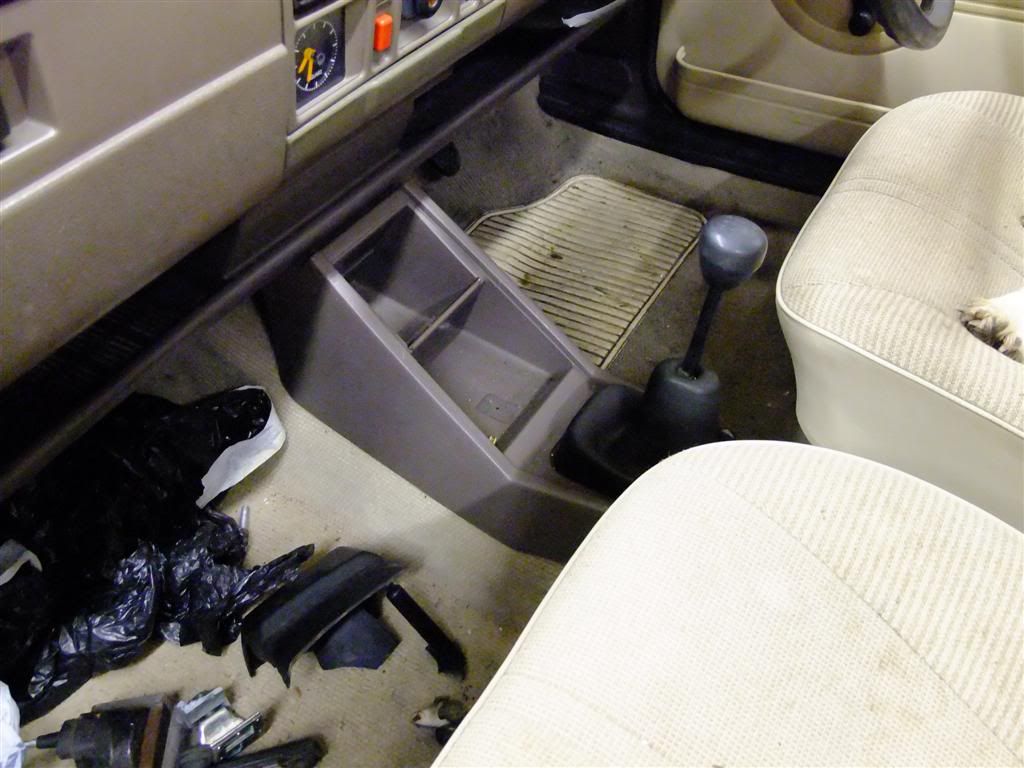
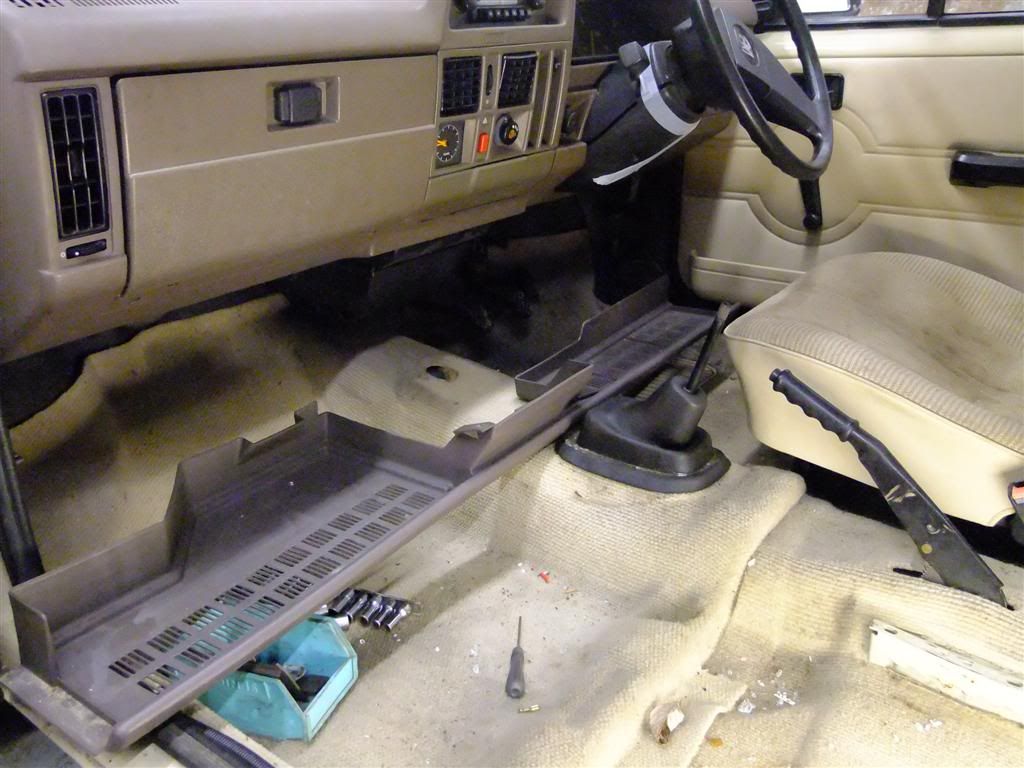
Then the lower dash tray
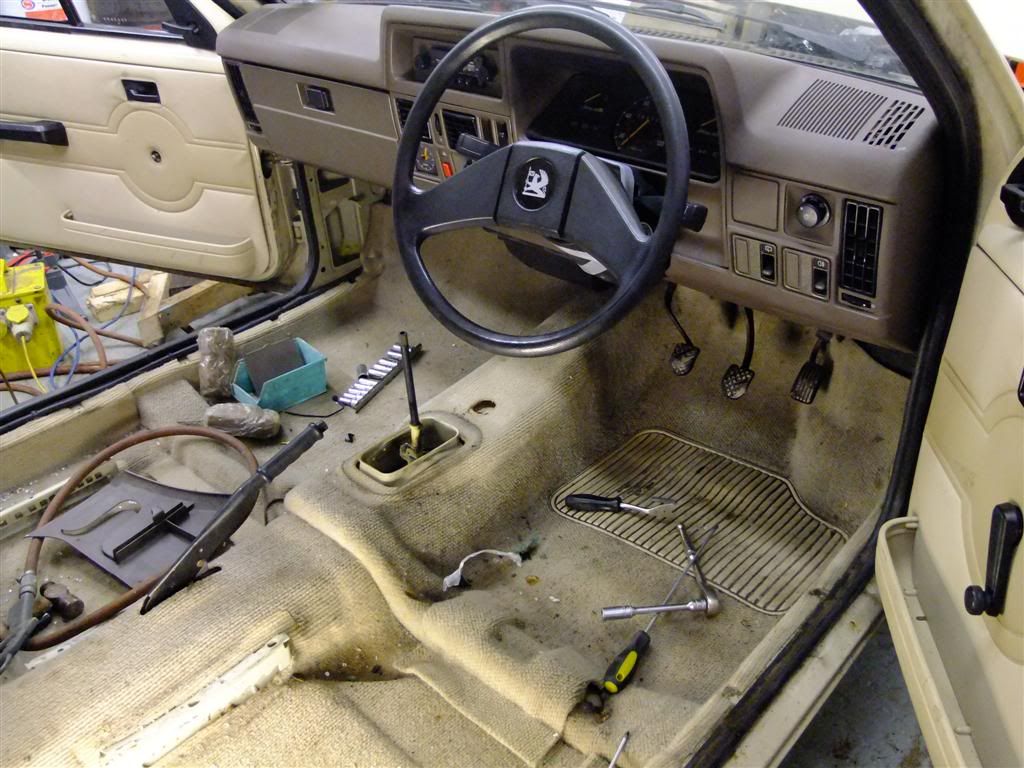
And the other side
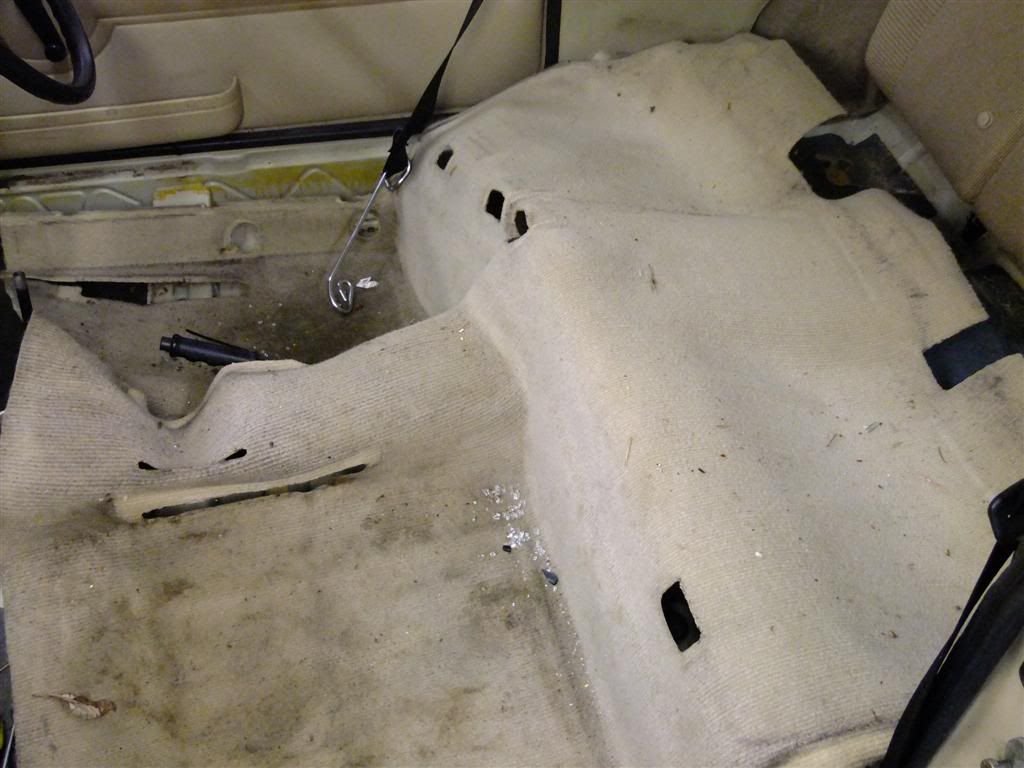
The underlay was soaking wet
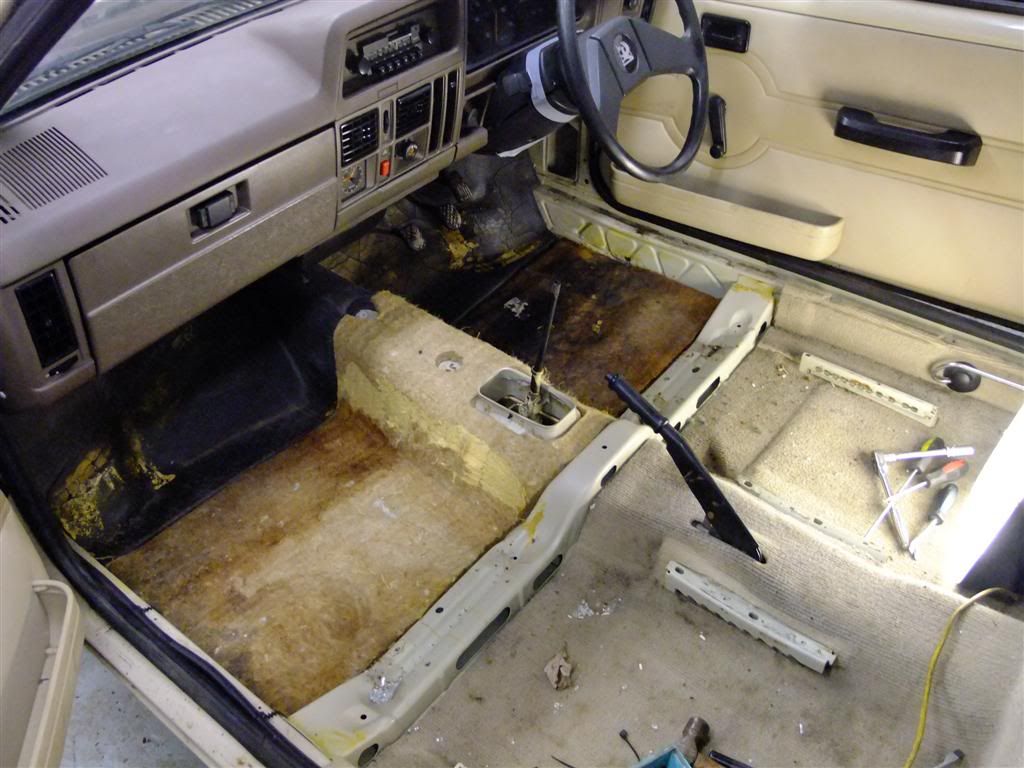
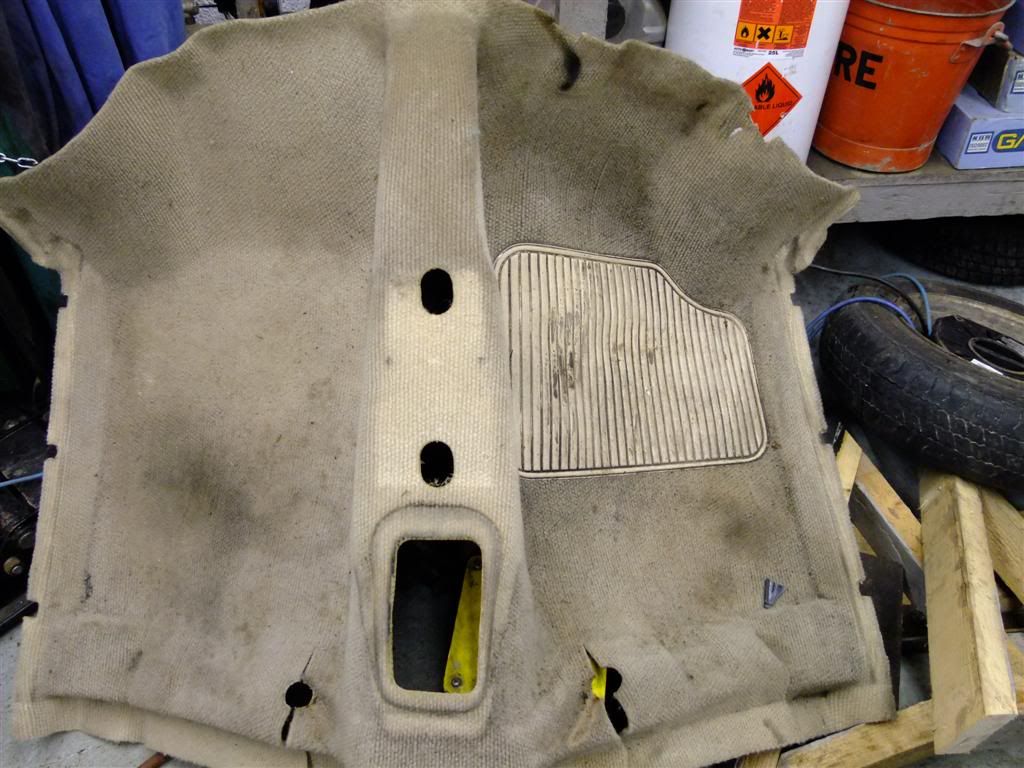
Carpet out and looking grubby
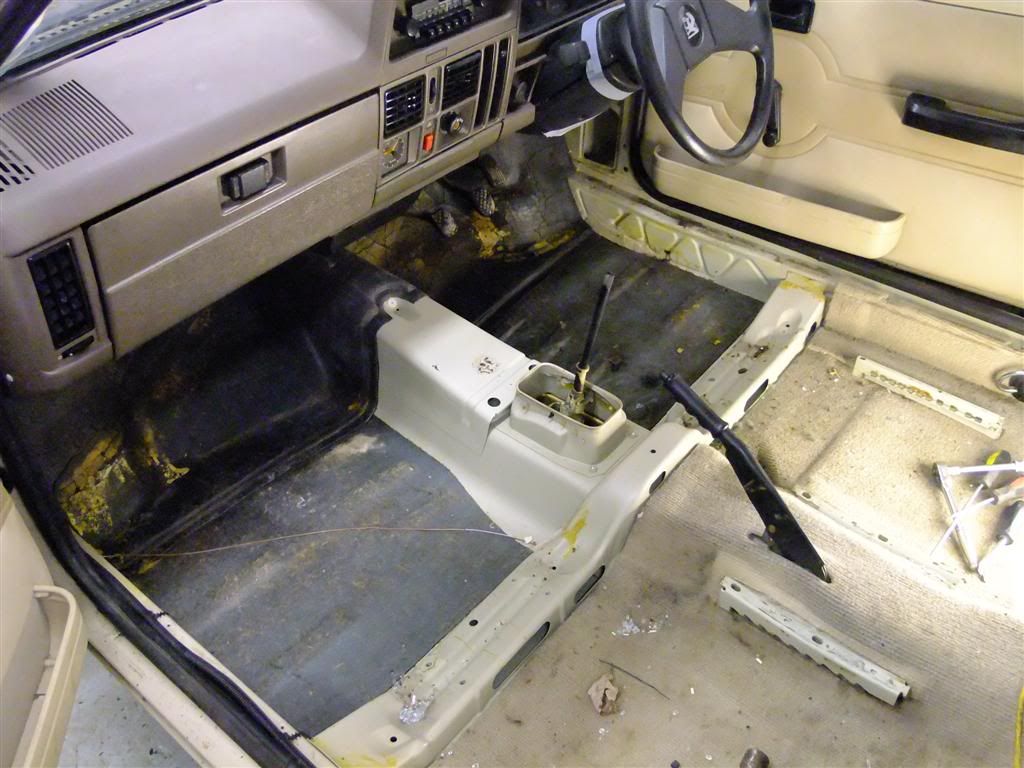
Much better inside now so I can dry it out
Rear seats and carpet out
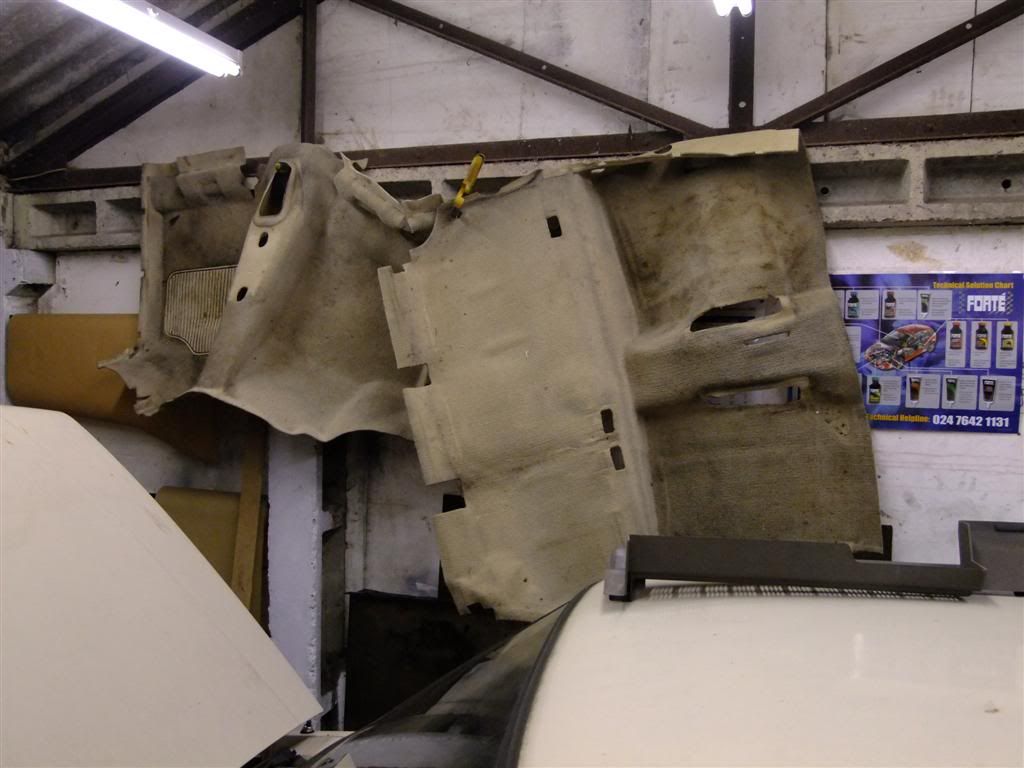
I then hung them out to dry
Wiper linkage off and black plastic thing out
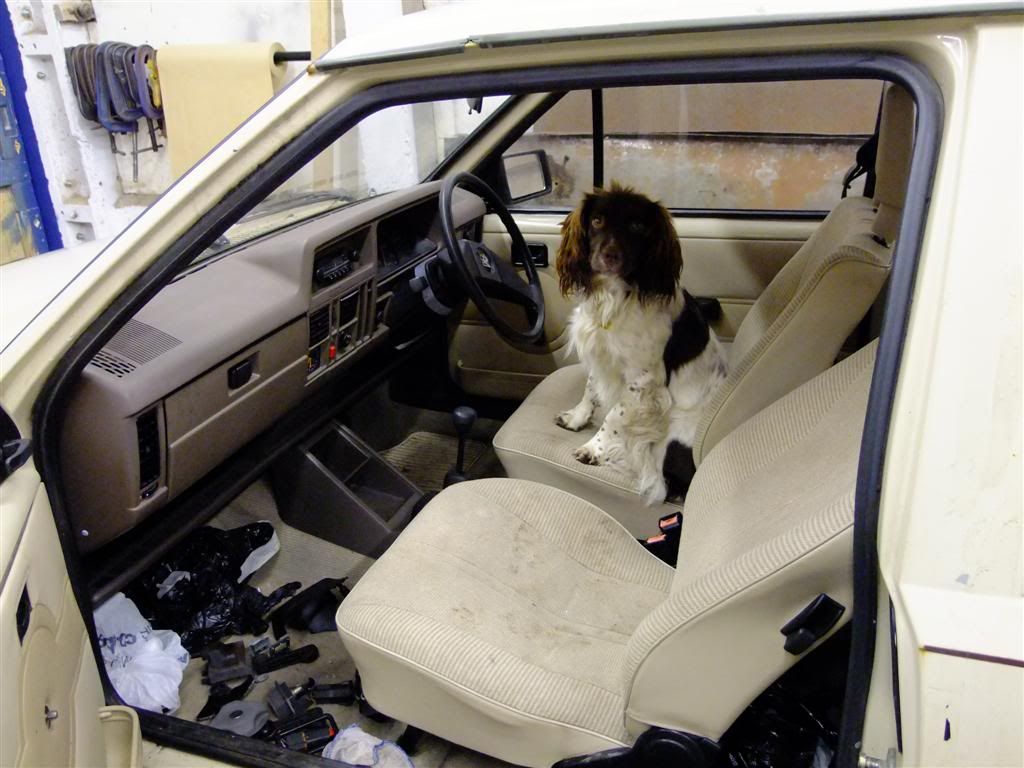
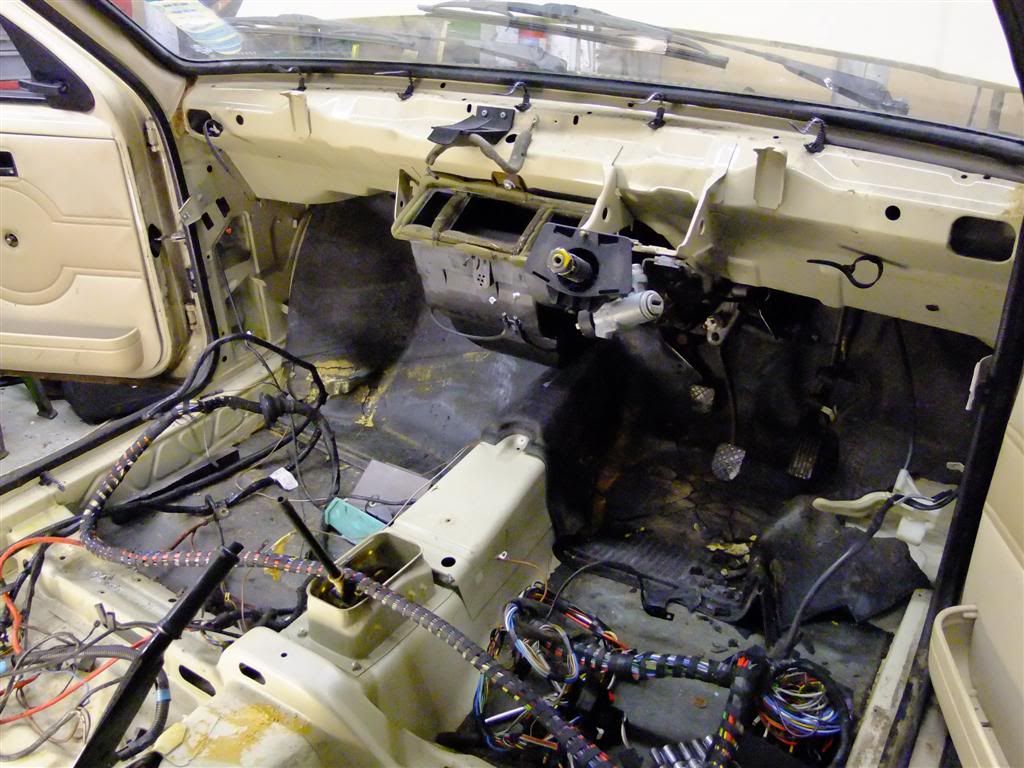
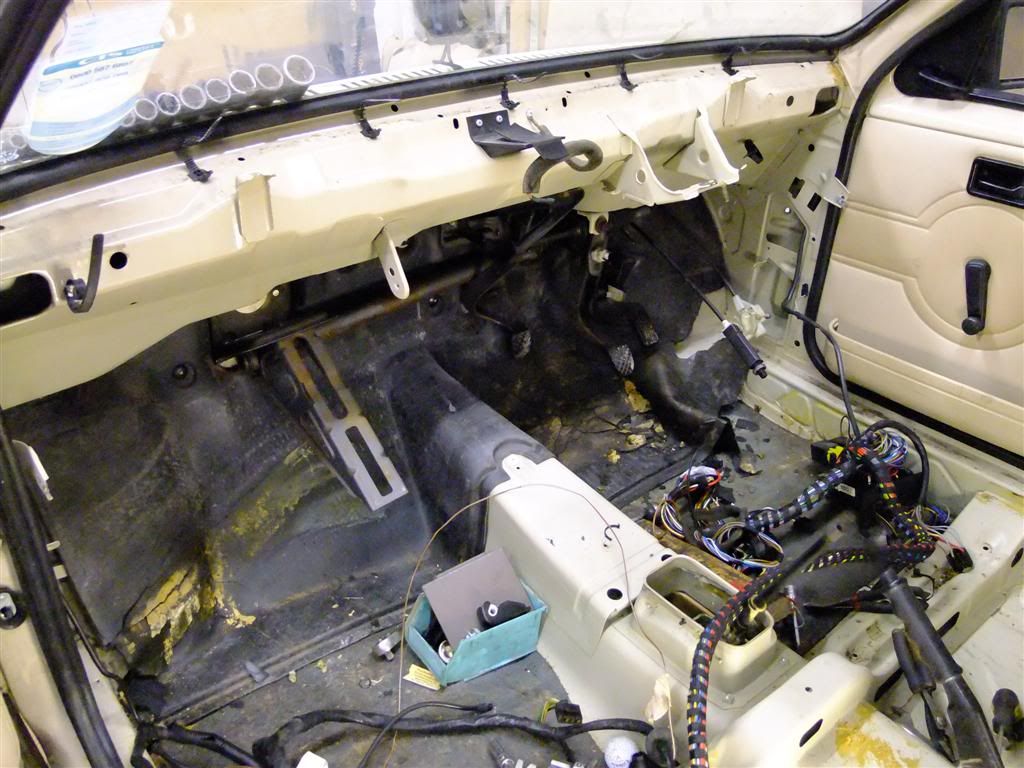
Then on with the dash

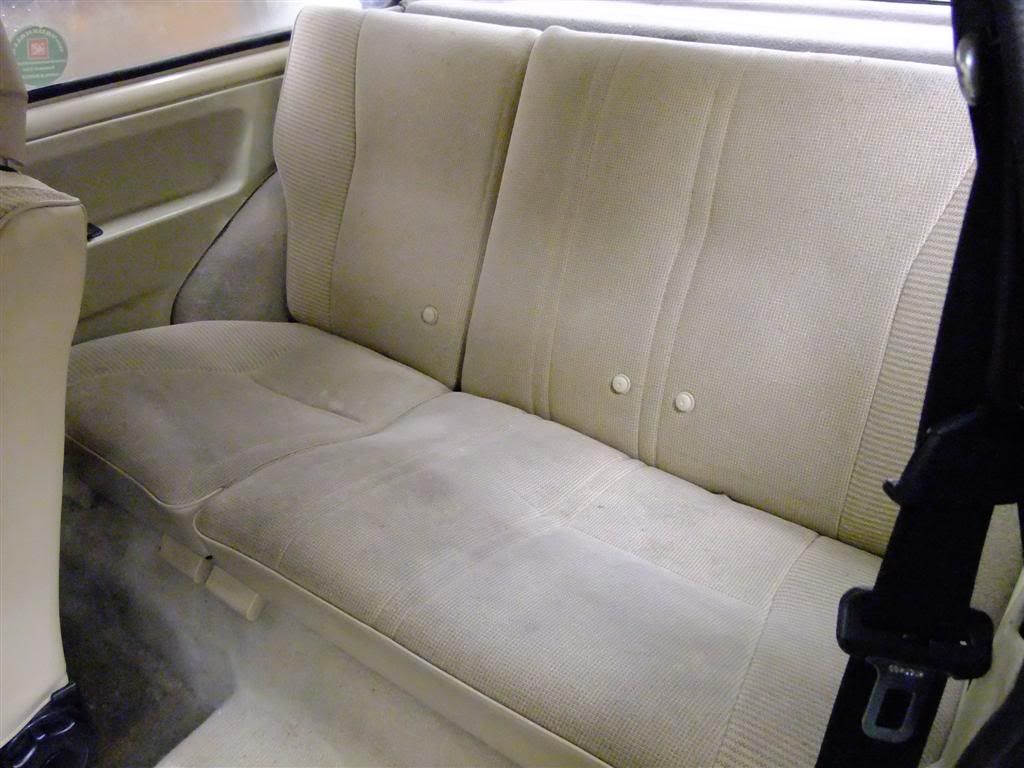
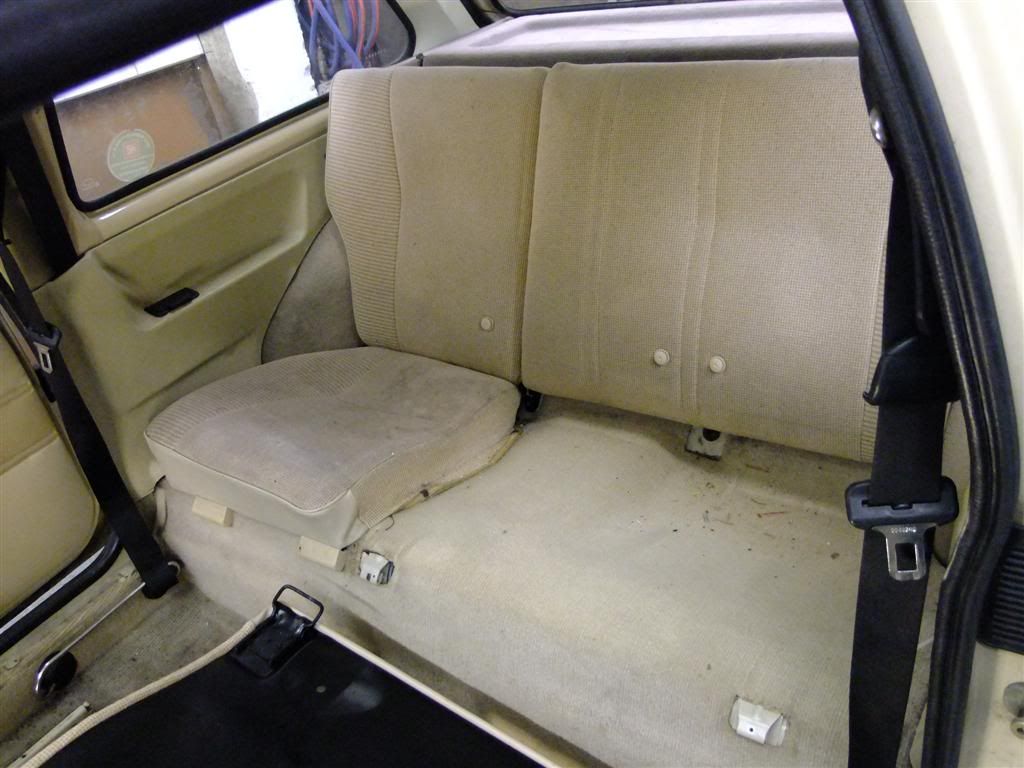
And the rest of the back seats
Quite clean
Front bumper off
Mouldings off
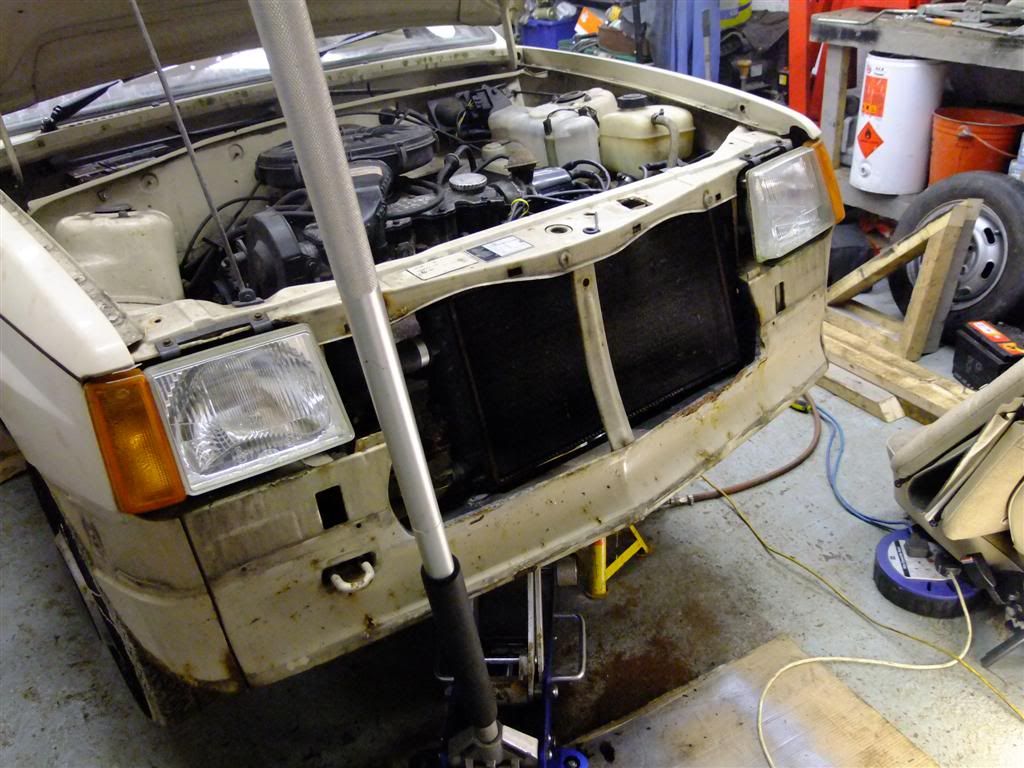
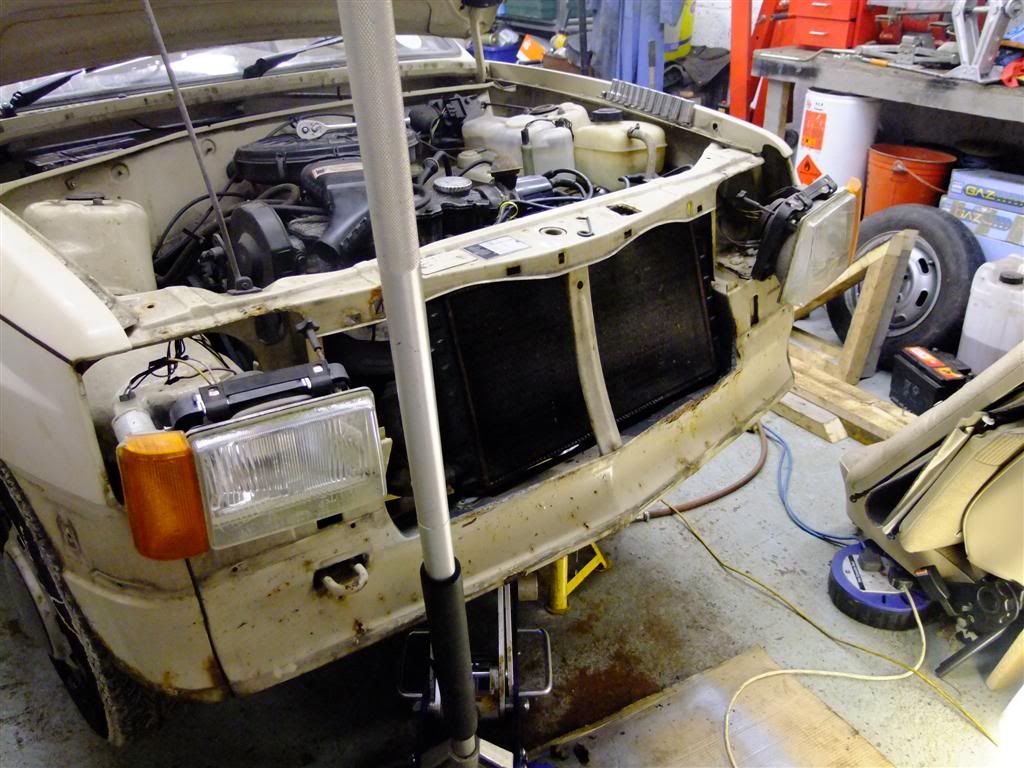
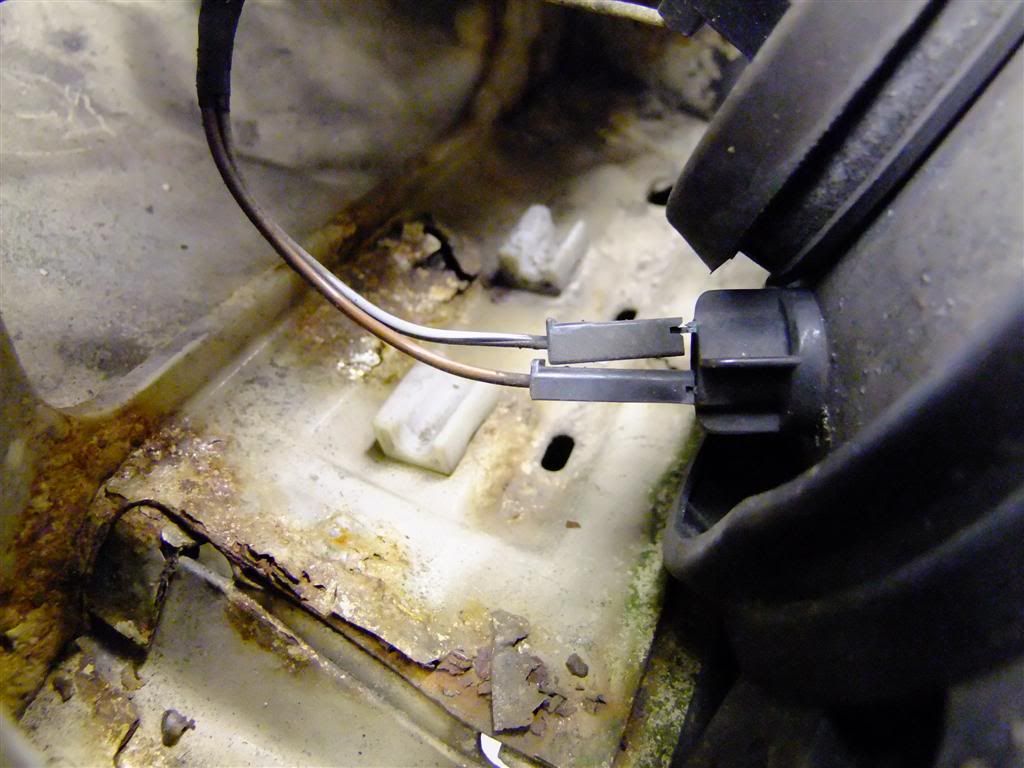
Lights out
Here comes the crisp hiding in there
DOH!
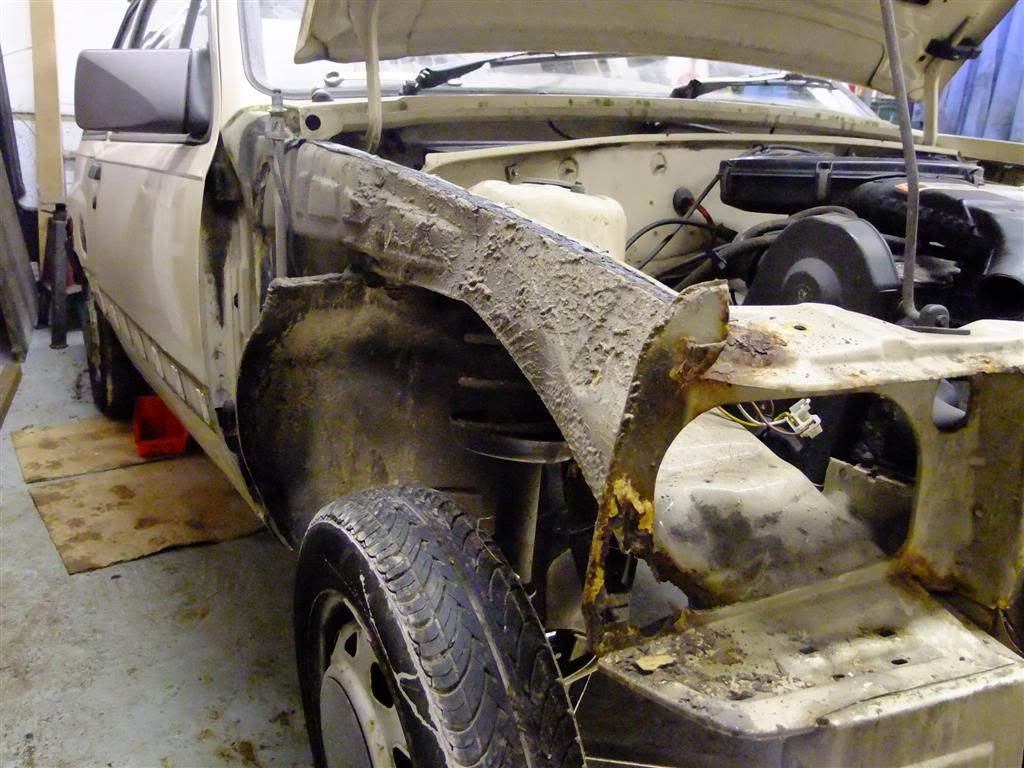
Better on this side
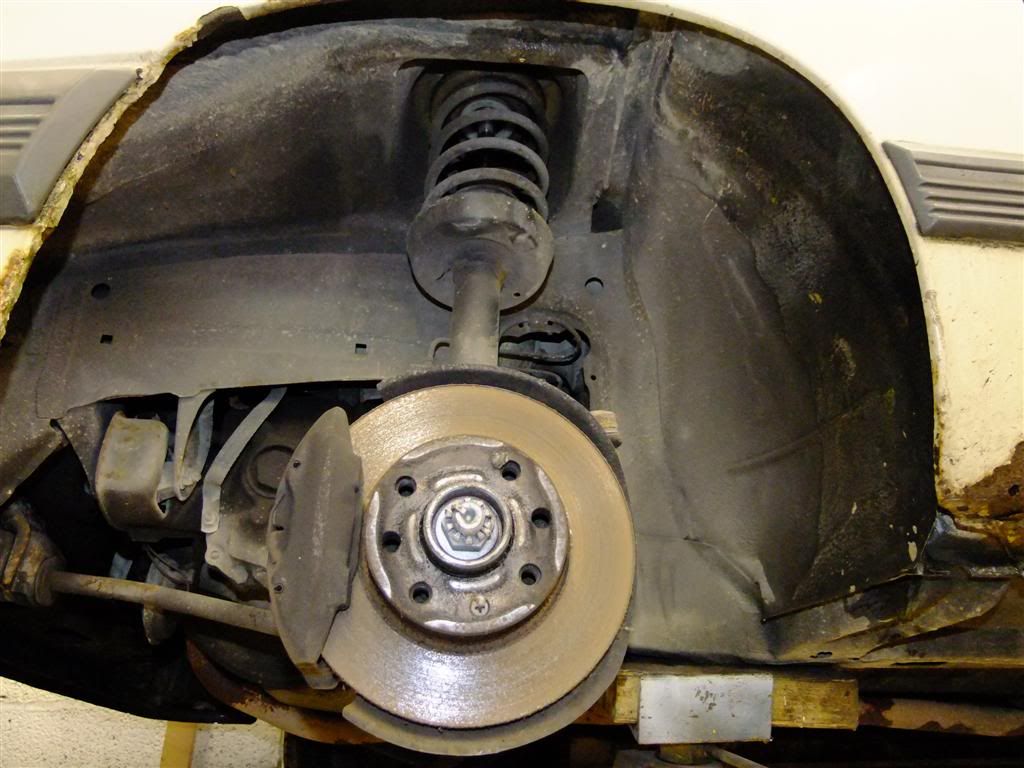
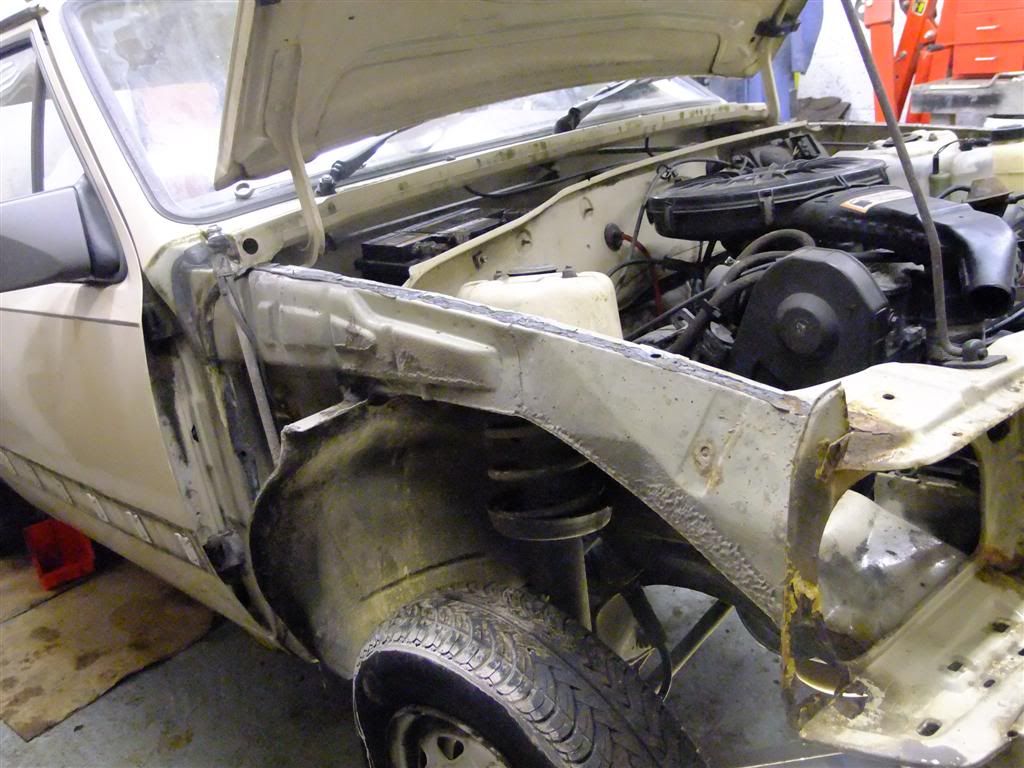
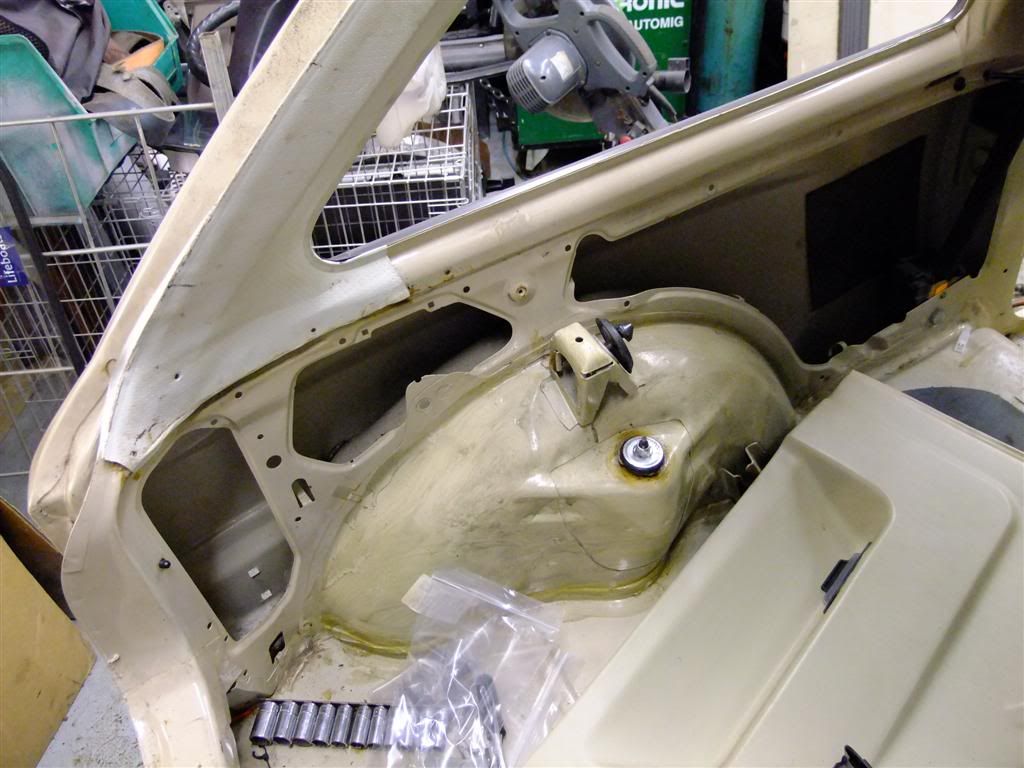
The inner wings are clean though

Rear bumper off
Rear panels not the worst
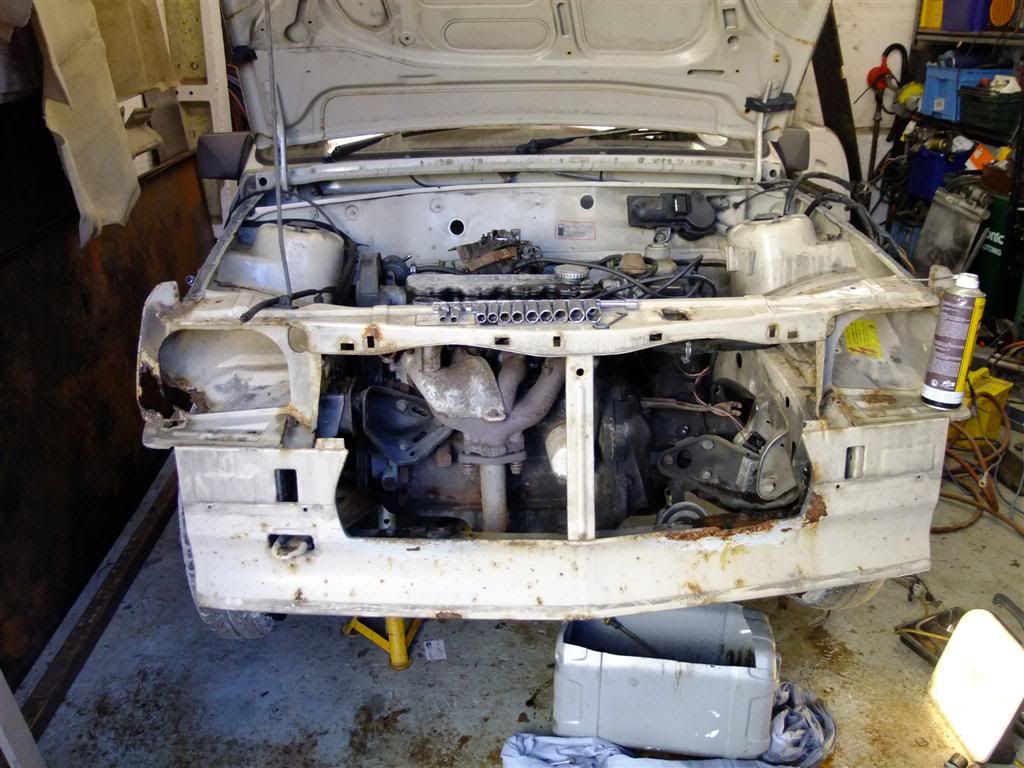
Up in the air and fluids drained
Anyone want this?
Wiring loom removed
More curse word removed
And all the loom stuffed back through in to the cabin out of the way
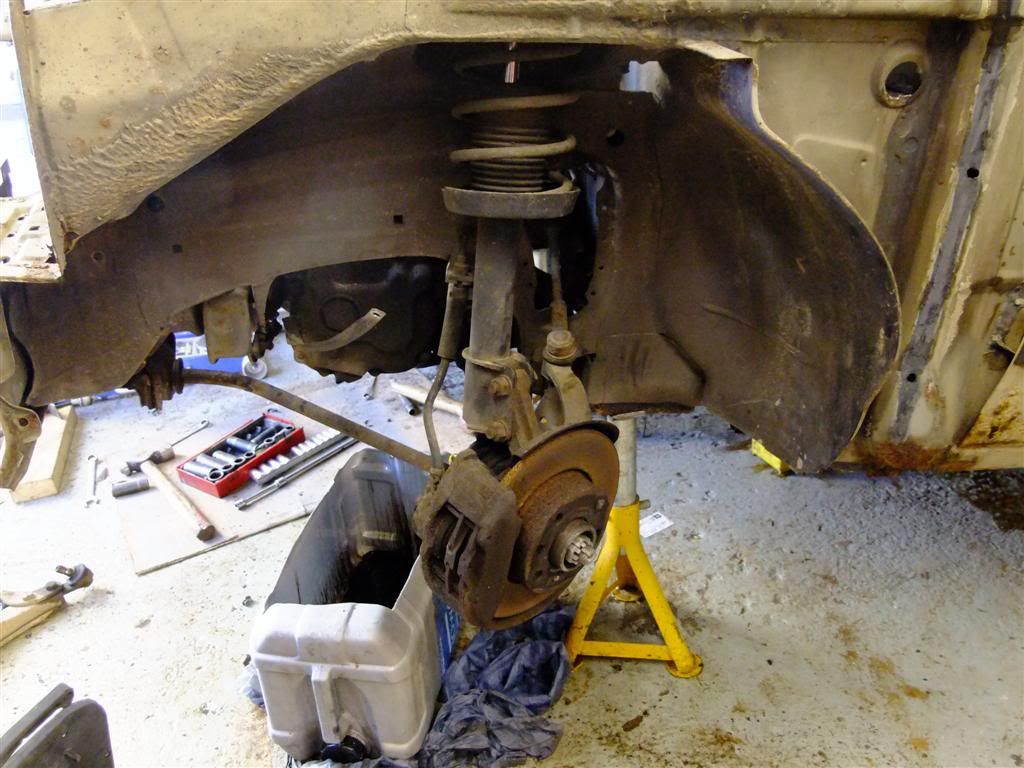
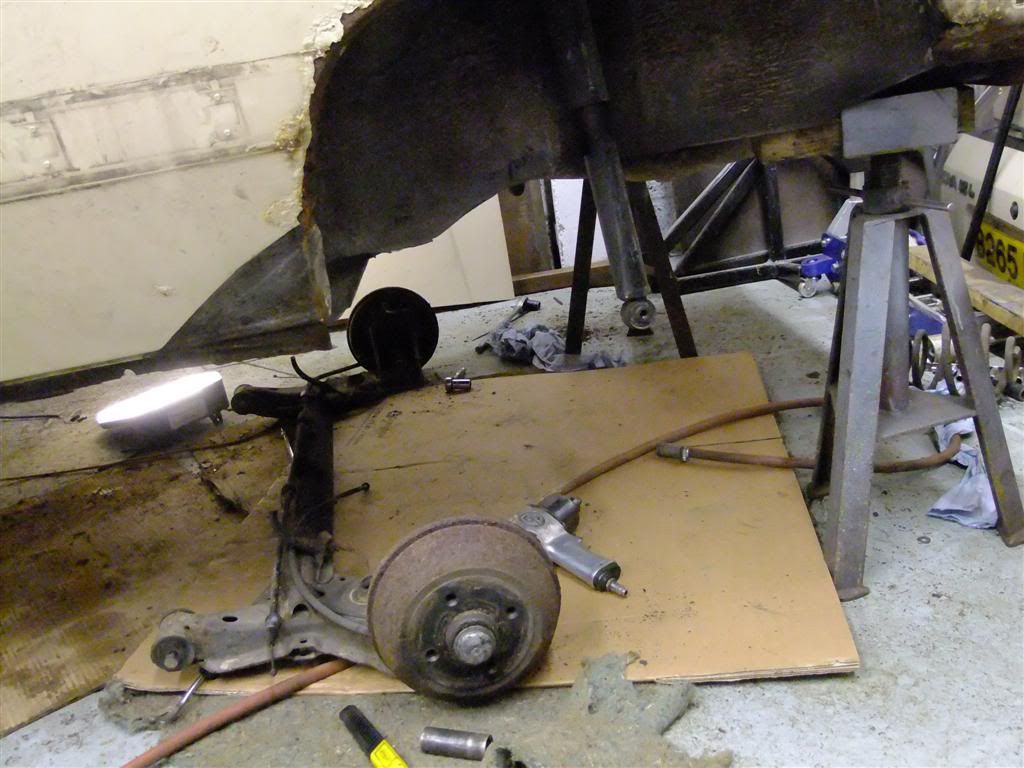
Stripped the suss out and drained the brakes
Hoist in position
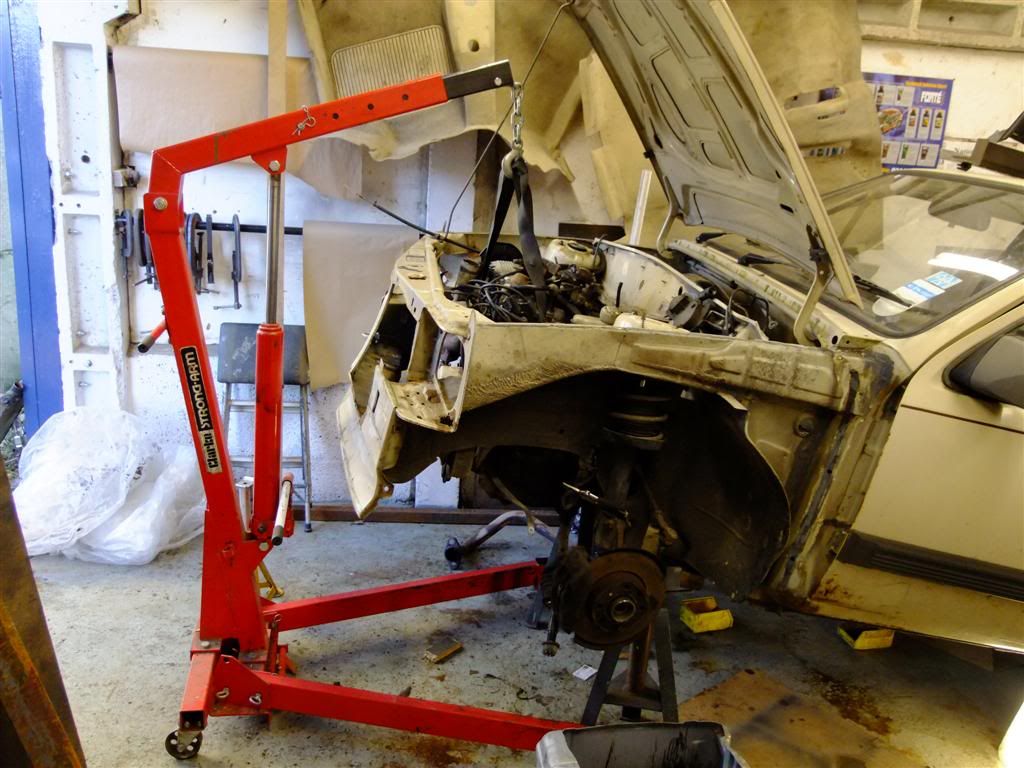
Engine weight taken up and mounts unbolted
Engine removed through the bottom (the correct way)
And free from the car
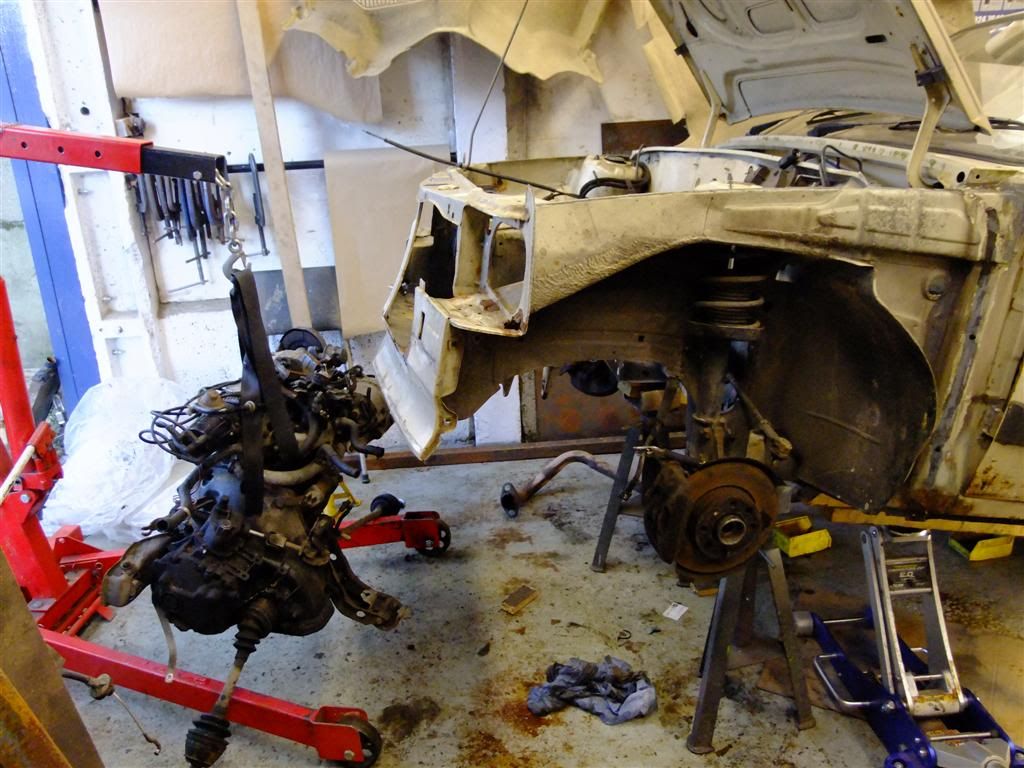
This needs a new home....anyone?
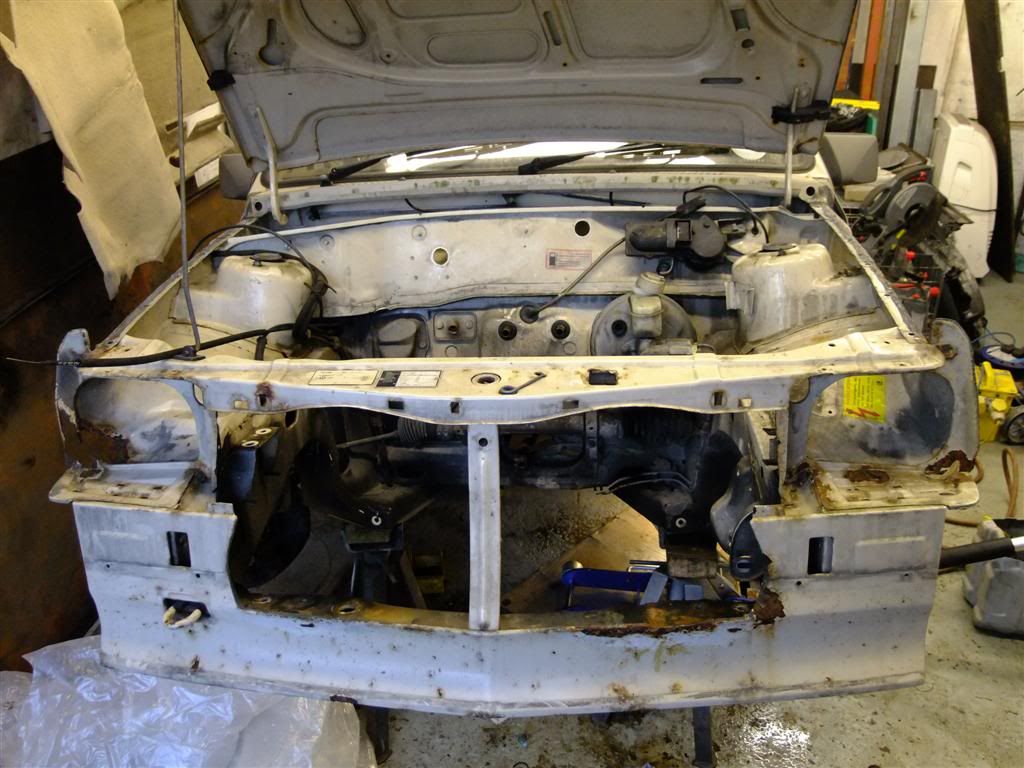
Much better
Sus completely stripped off both sides
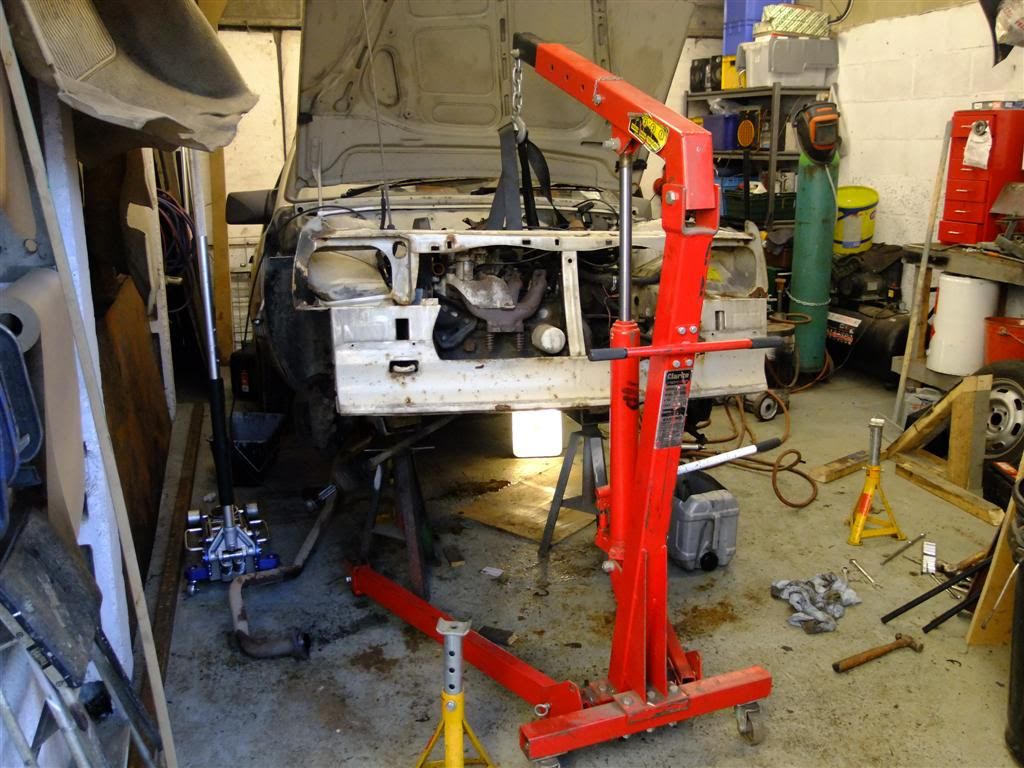
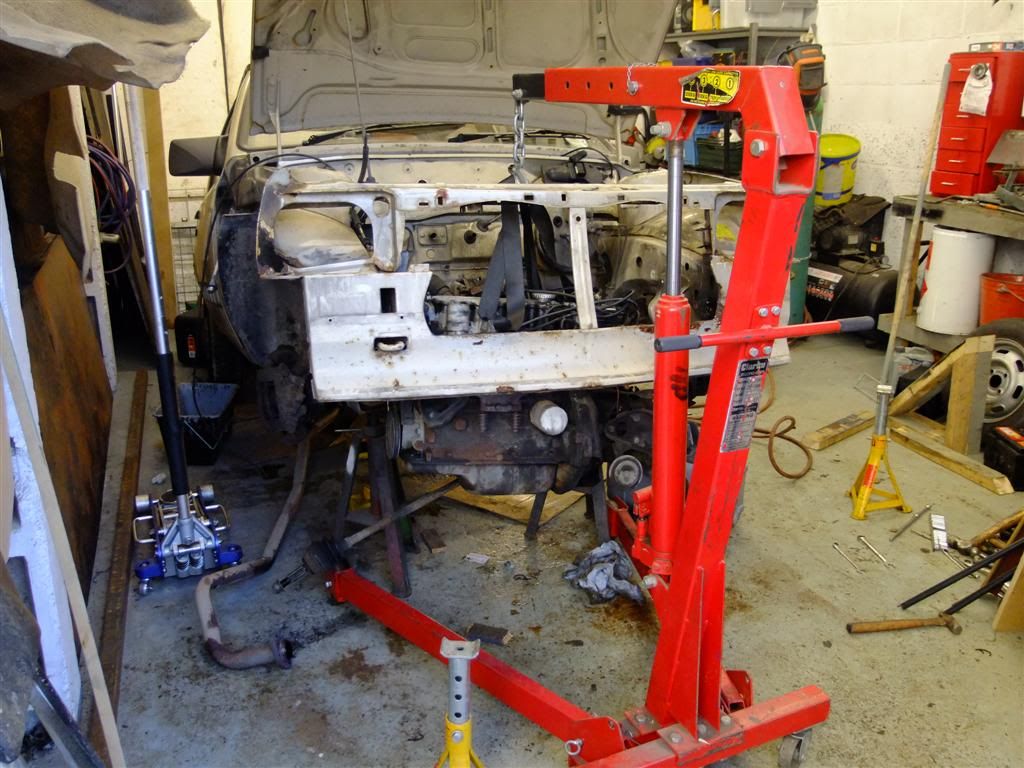
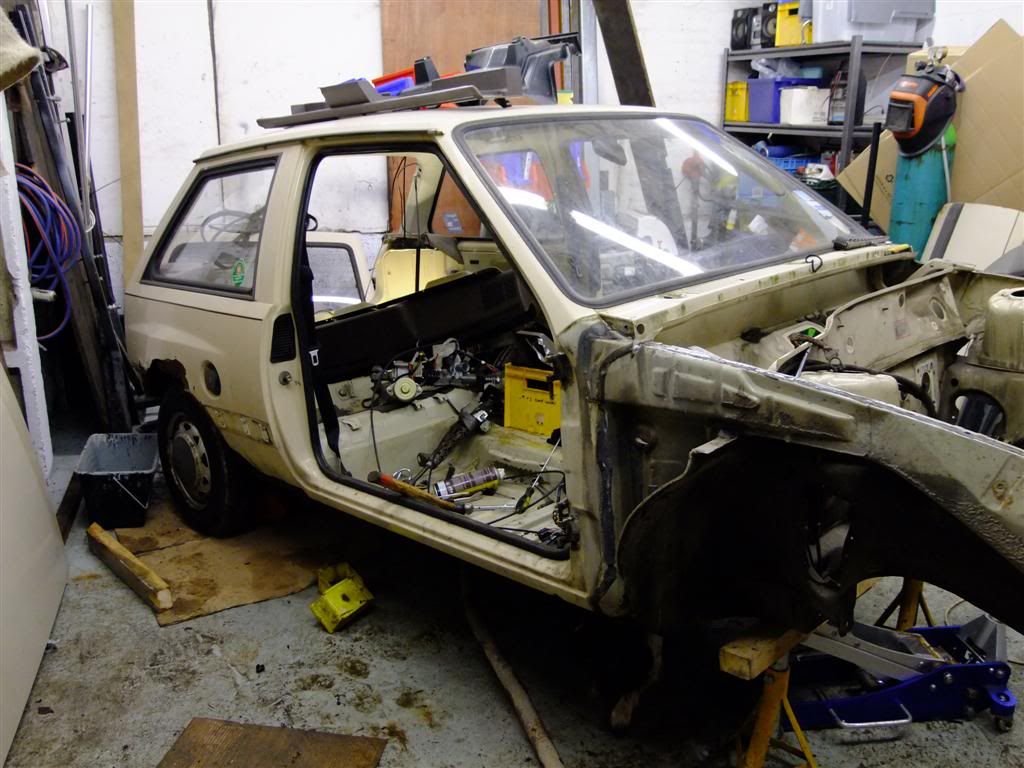
Lowered the car back down to a more accessible height
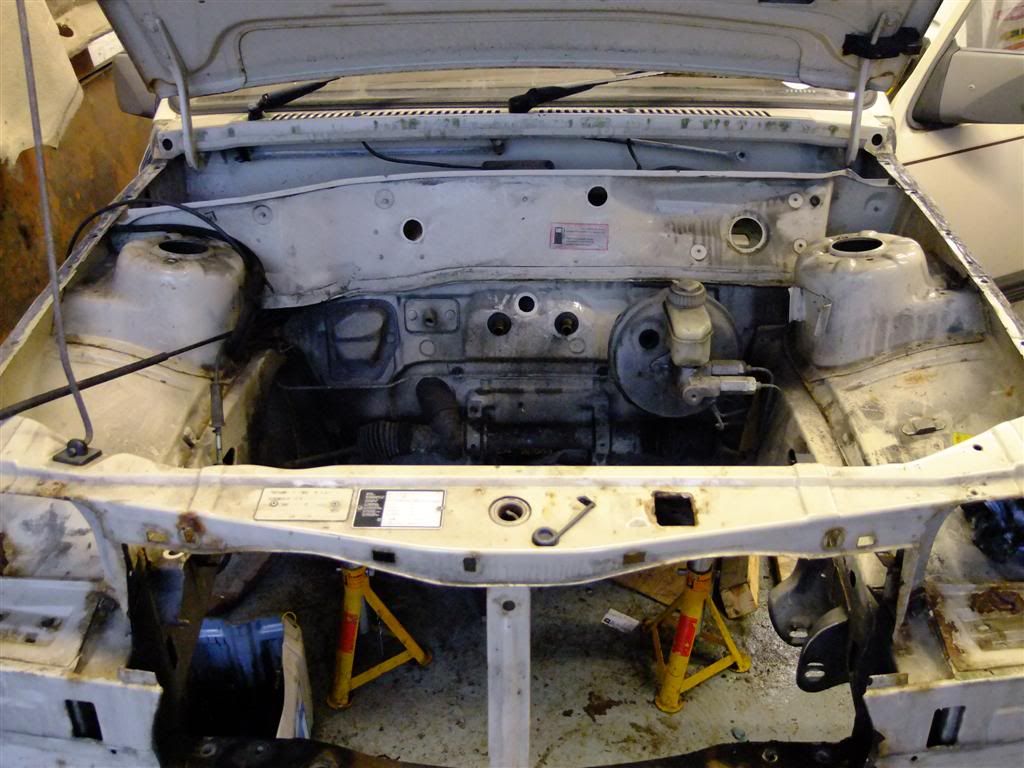
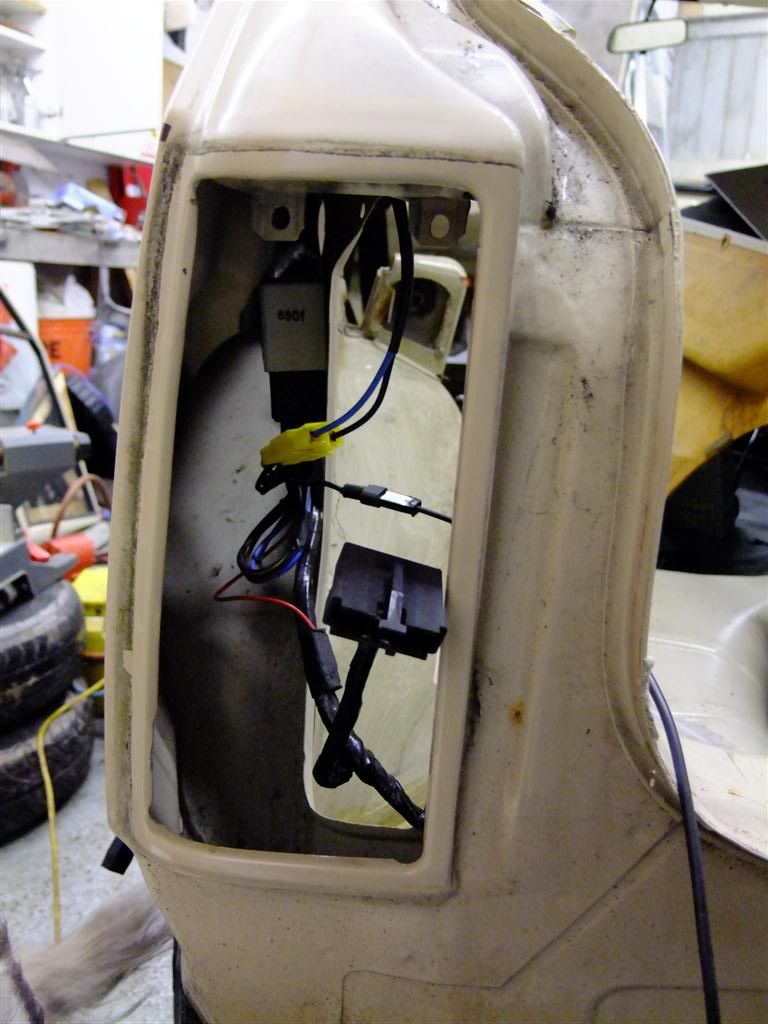
And removed more cables, wiper motor etc from the bay
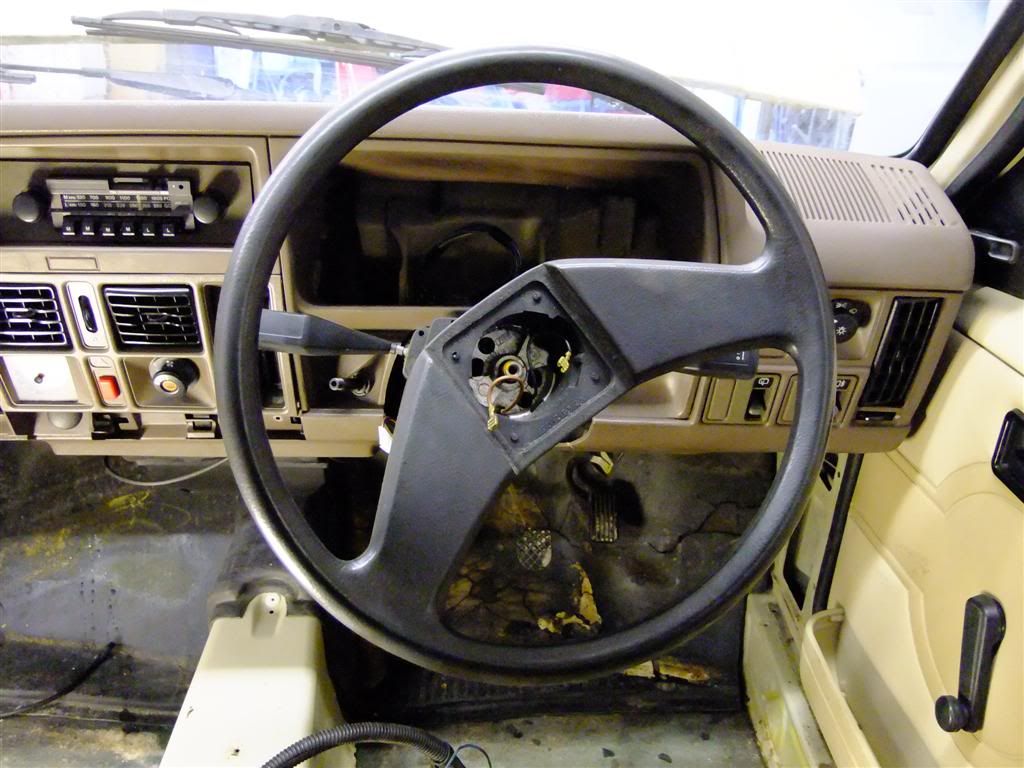
Then back inside to remove the steering wheel - I couldn't find my puller so I had to give it the bear to get it off.
The last bit of wiring removed along with the stalks and the heater controls
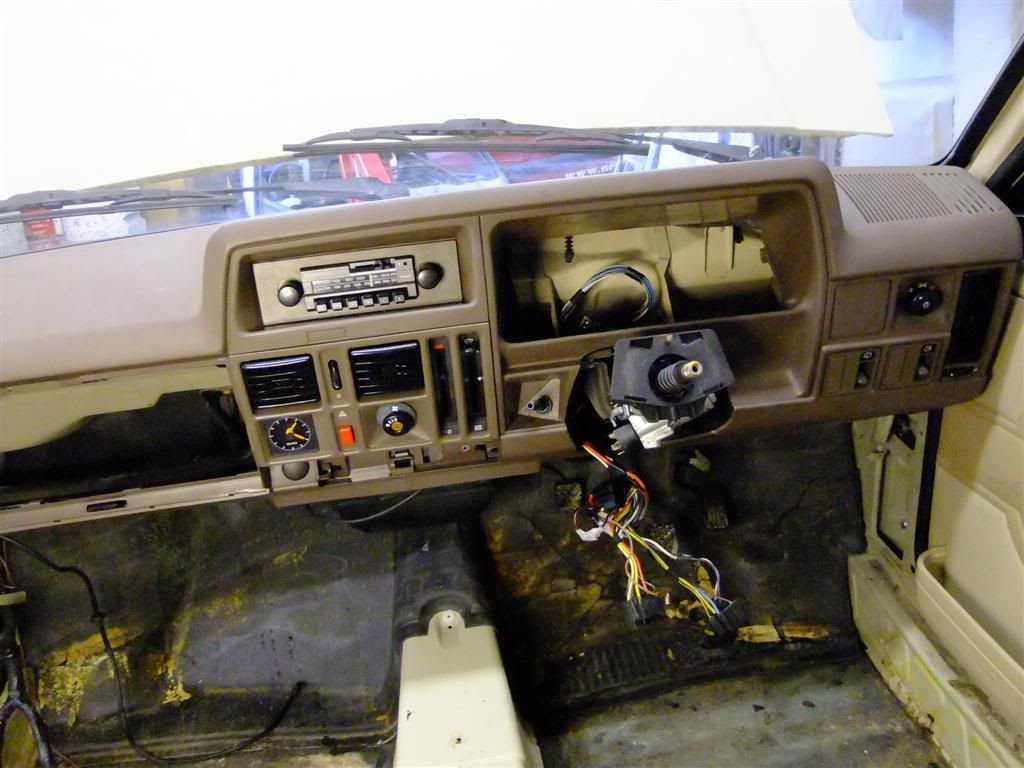
All out
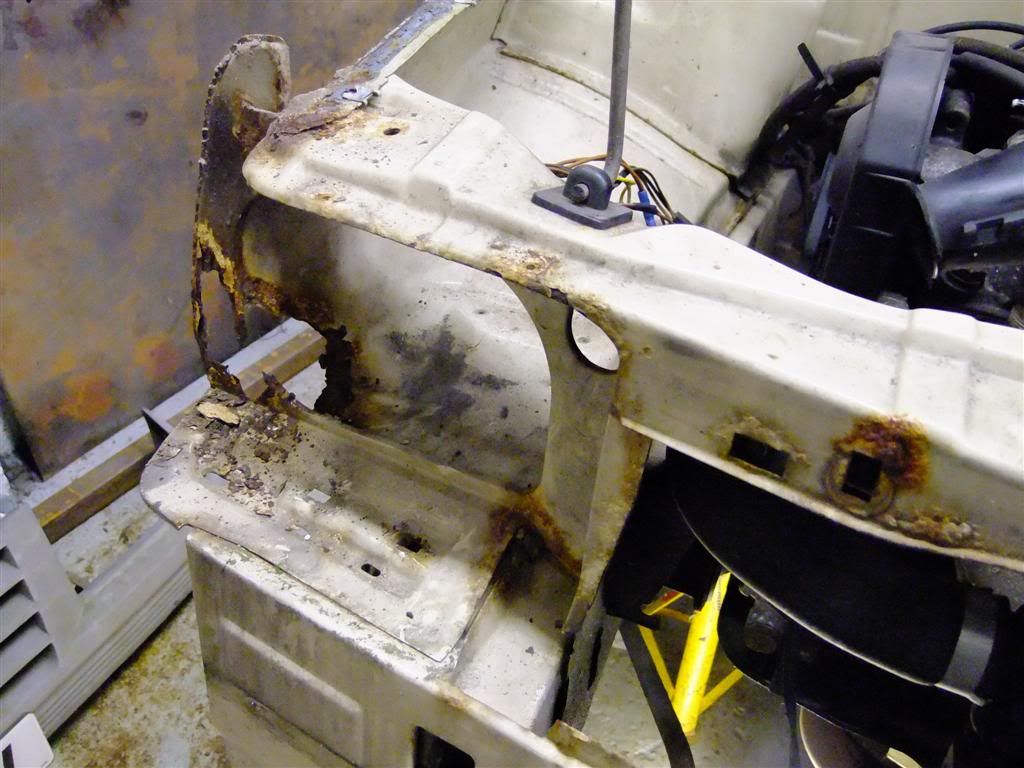
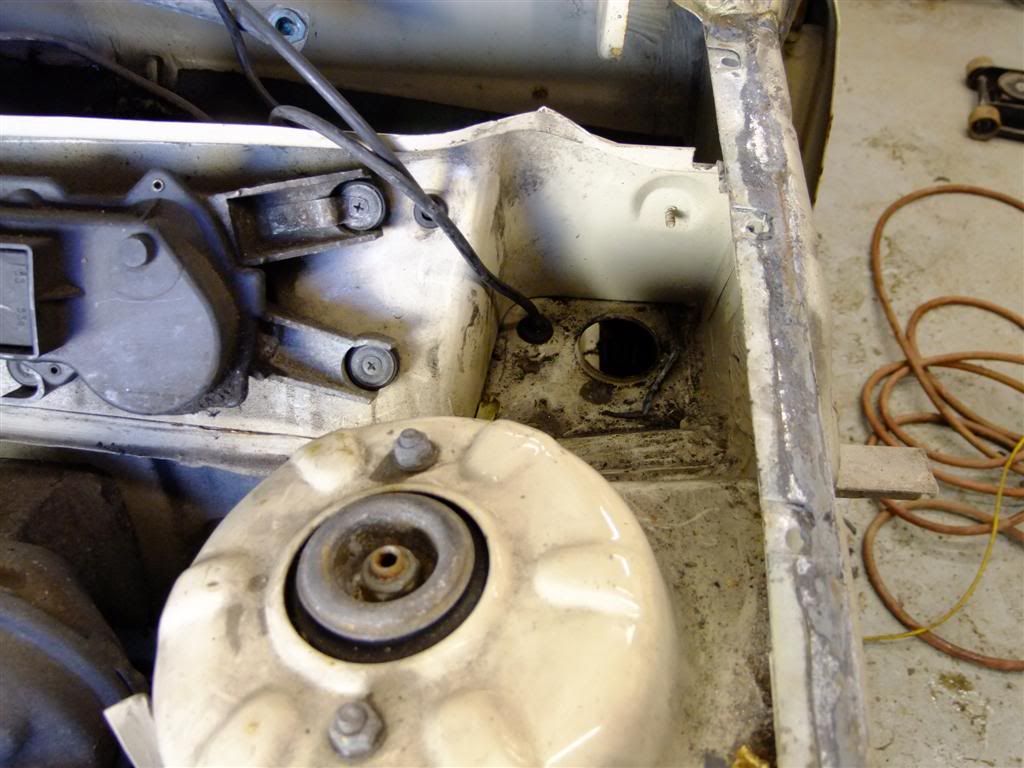
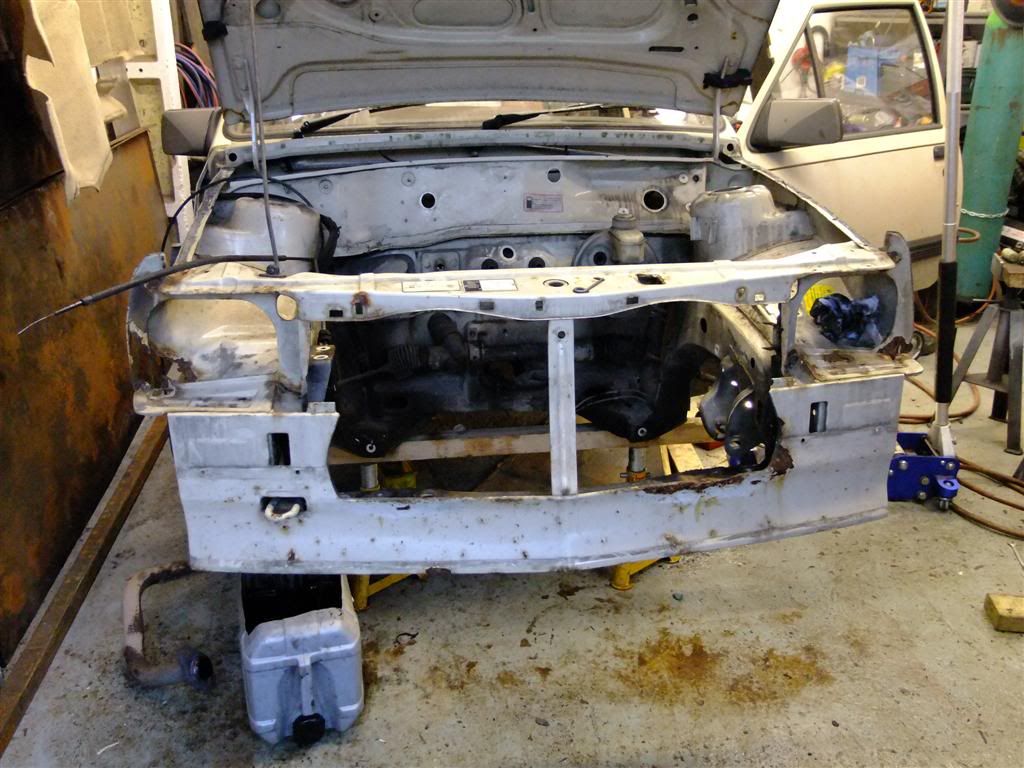
Battery removed and there's that hole again

I've seen worse though - plating for the Corsa b servo will sort that out.
Now its nearly ready to start some repair work
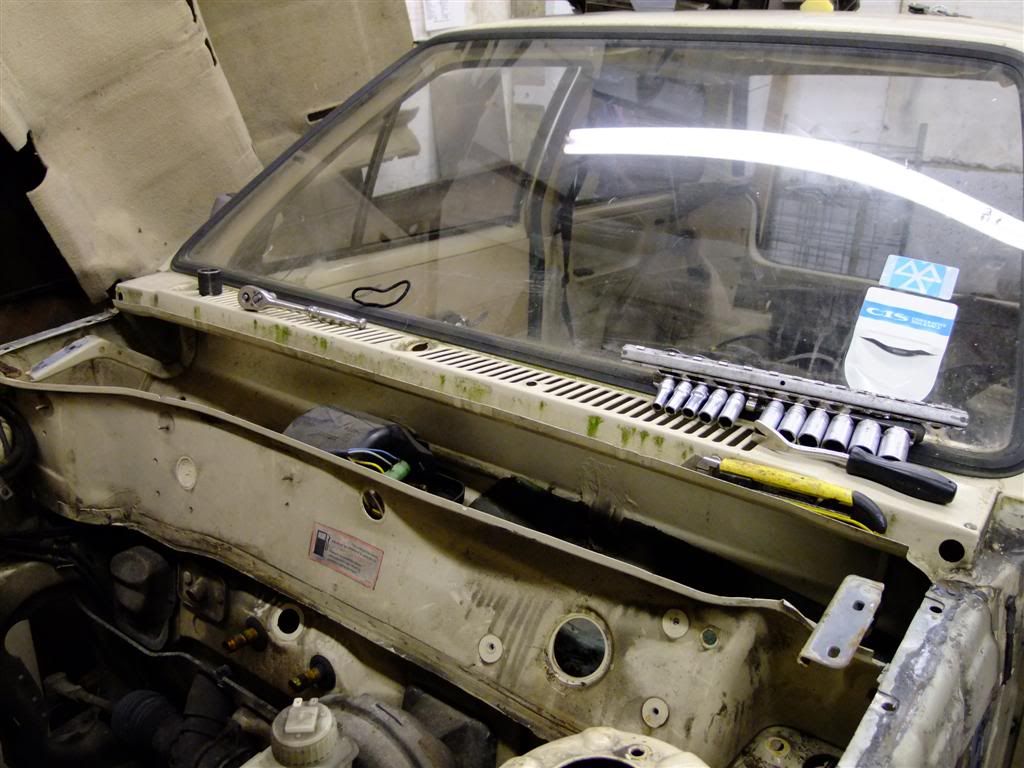
Bonnet off
Wipers and linkage off
Heater blower out
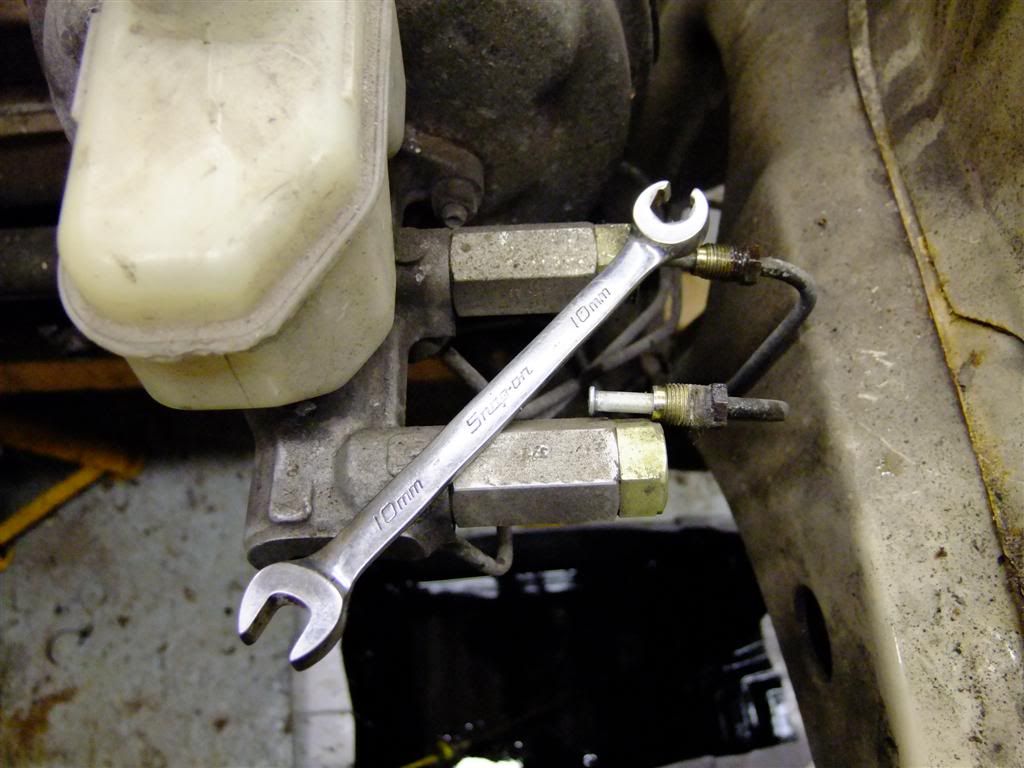
Brake pipes removed - brake pipe spanners are so useful
Servo and Master cylinder removed
Steering column removed
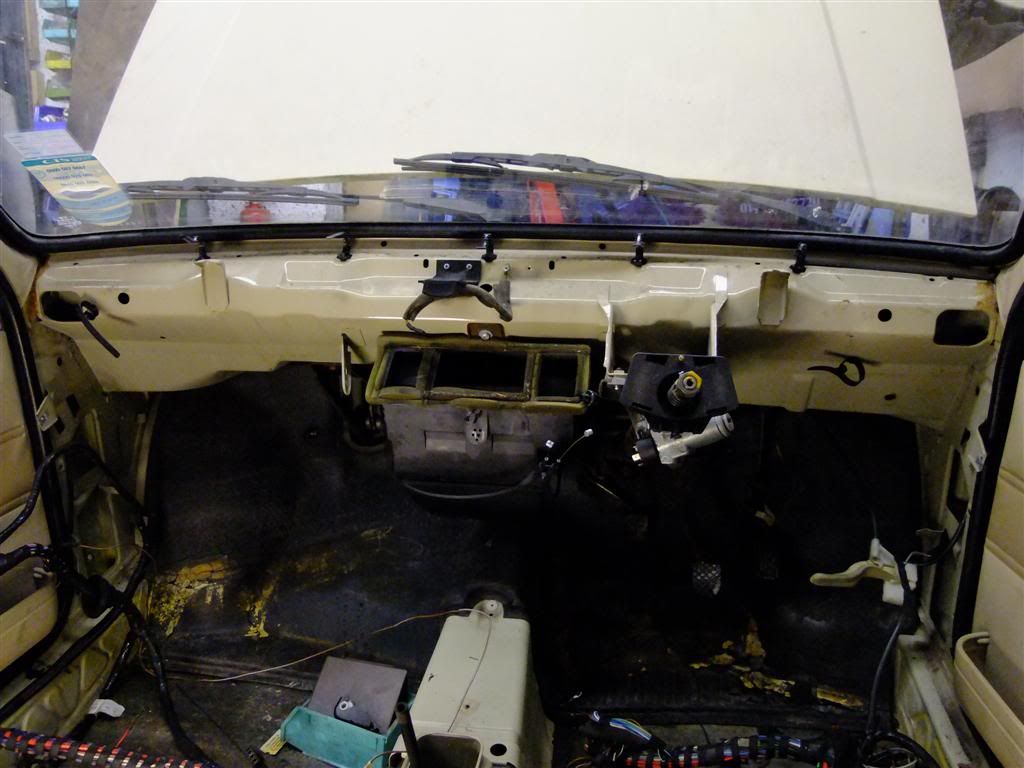
And heater removed

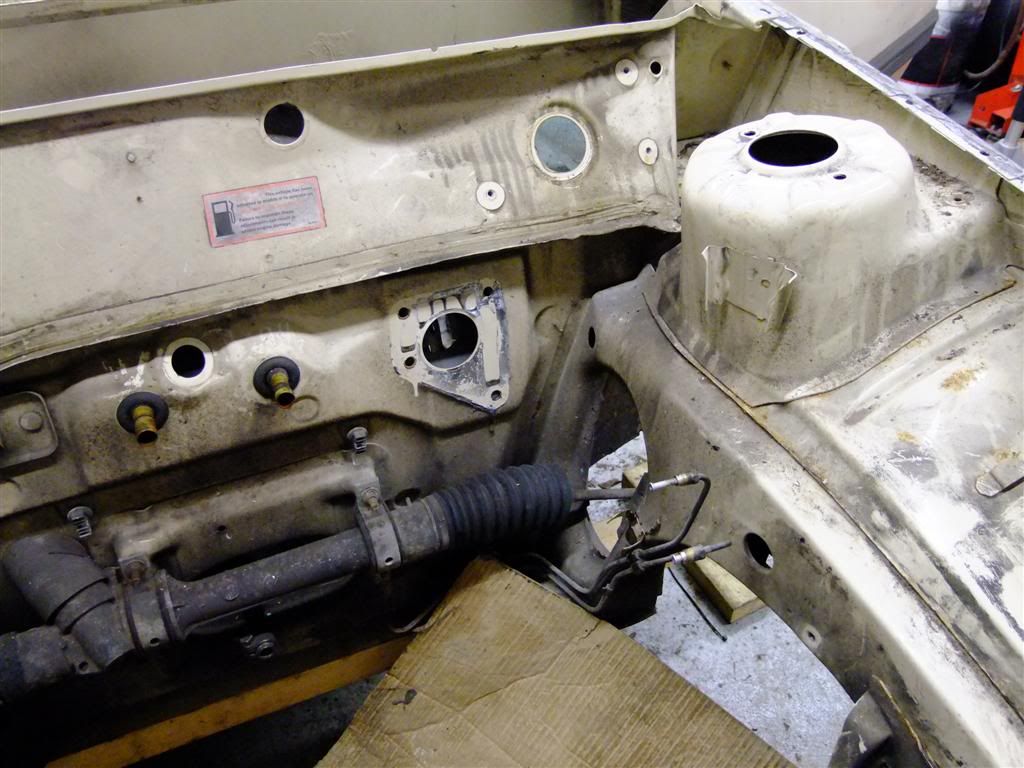
These will soon be modified so a quick snap for reference
Rack removed
And tailgate removed
And one pic as I was leaving just because
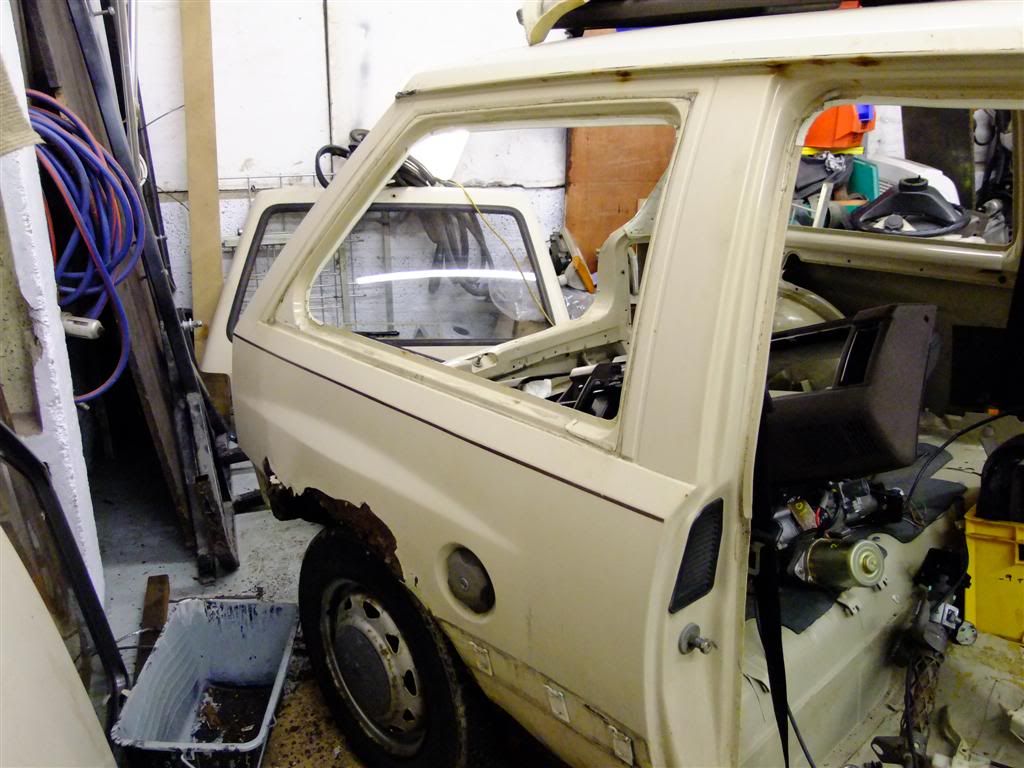
Removed both doors
Then back inside and out with the trim etc
Removed the rear lights
And the loom
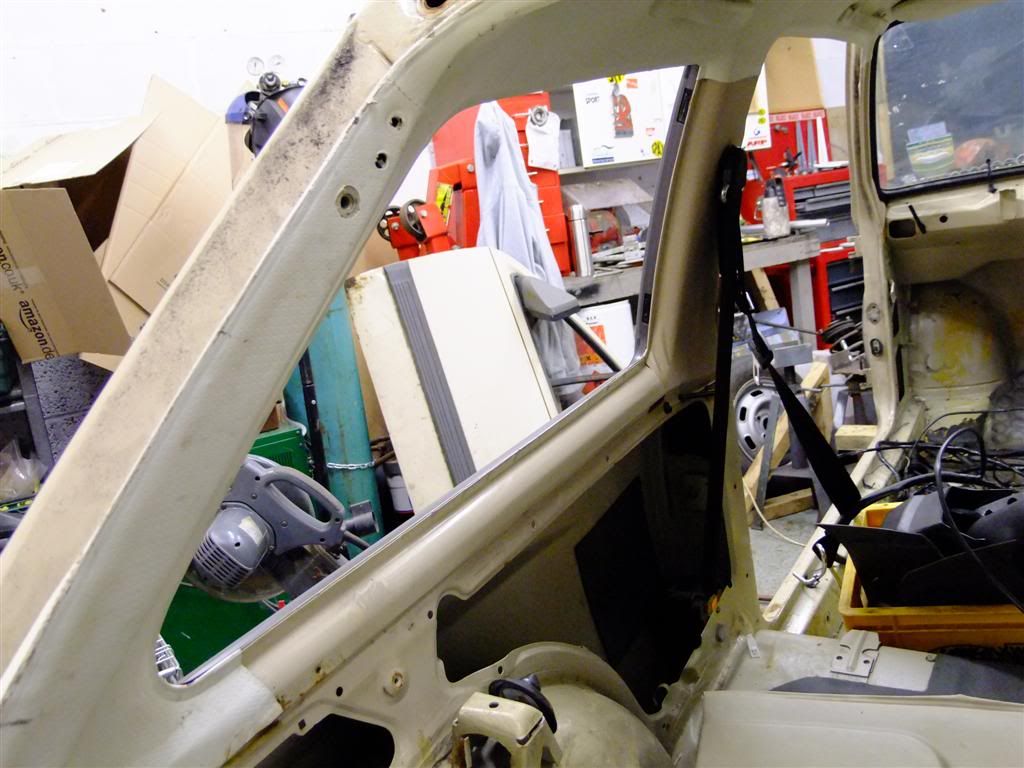
Rear windows out

This made me laugh
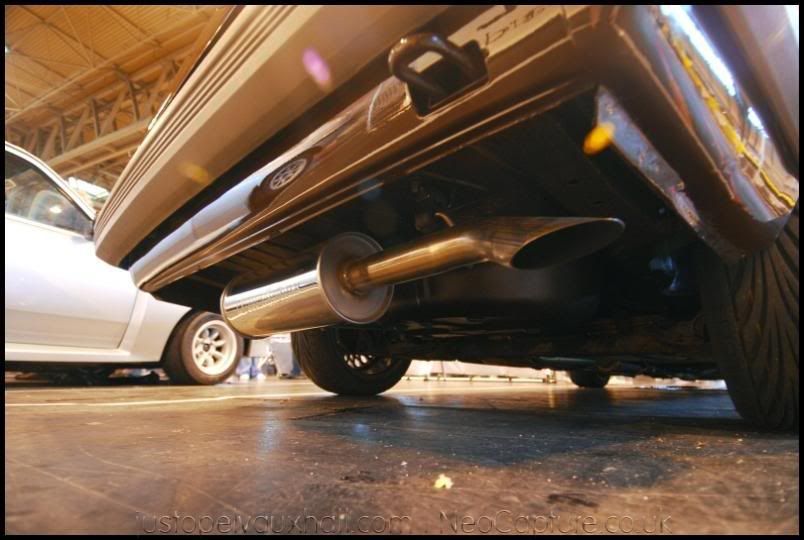
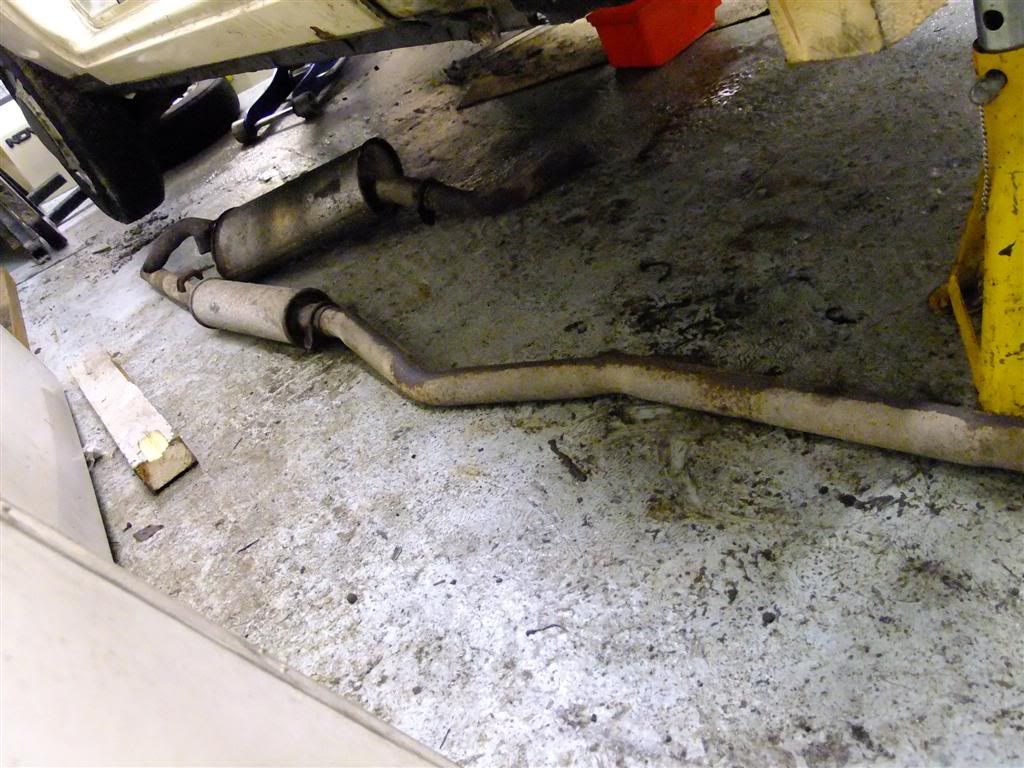
Exhaust off
All side strips and clips removed
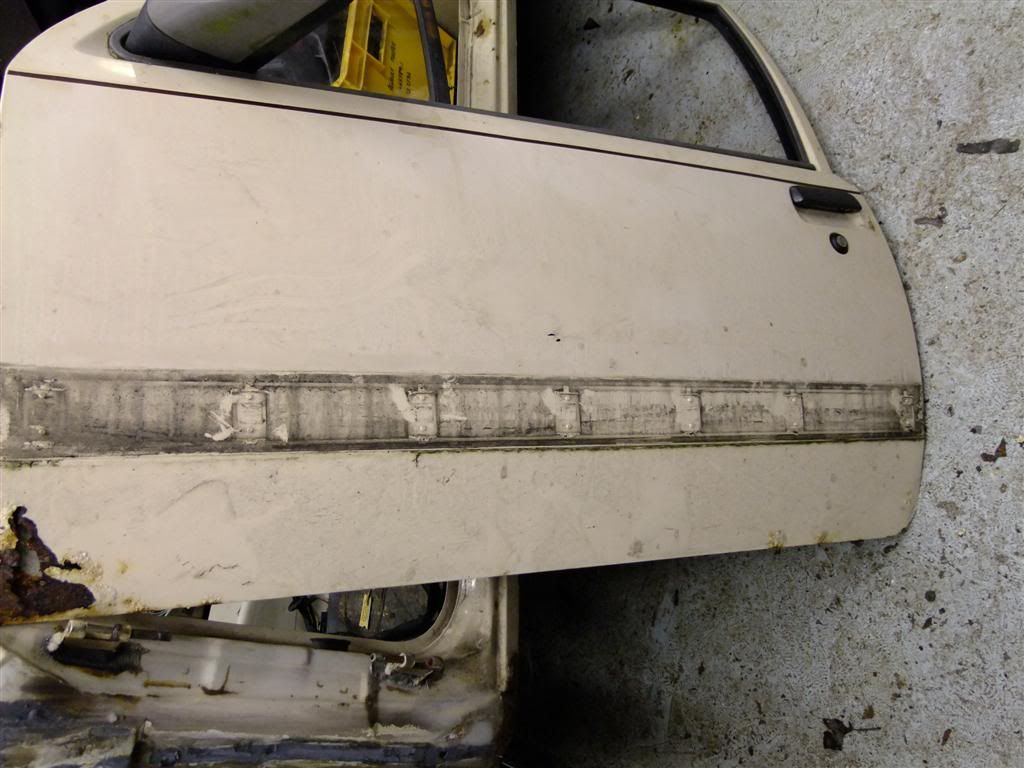
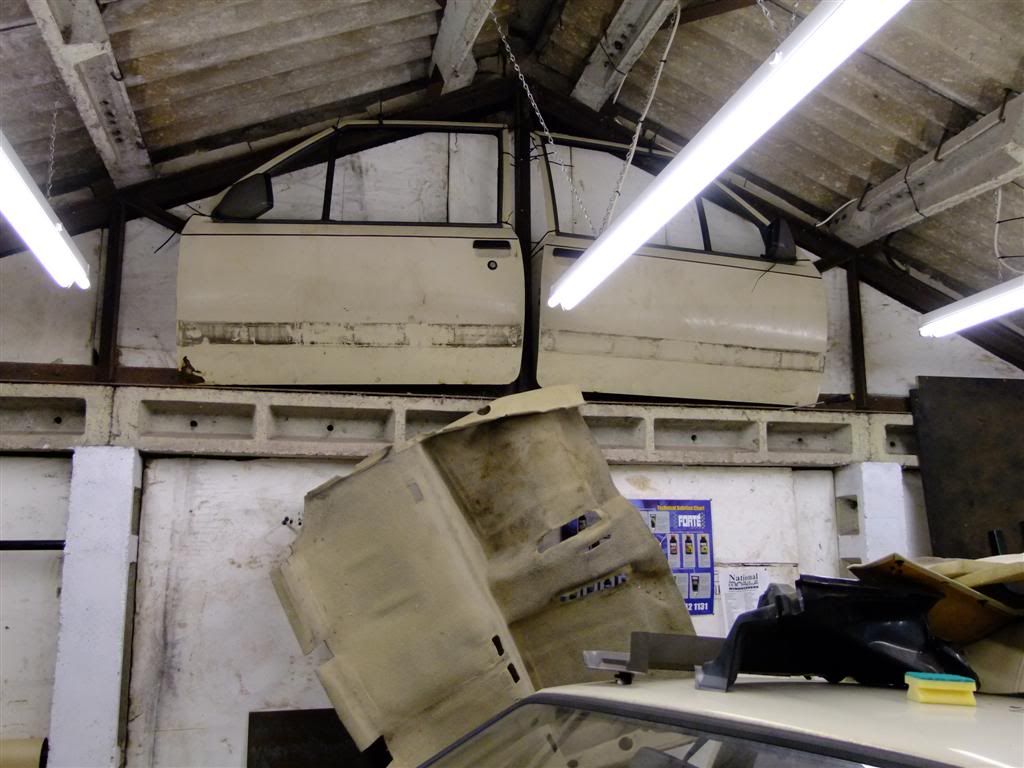
Both the doors are scabby but this ones sh!te
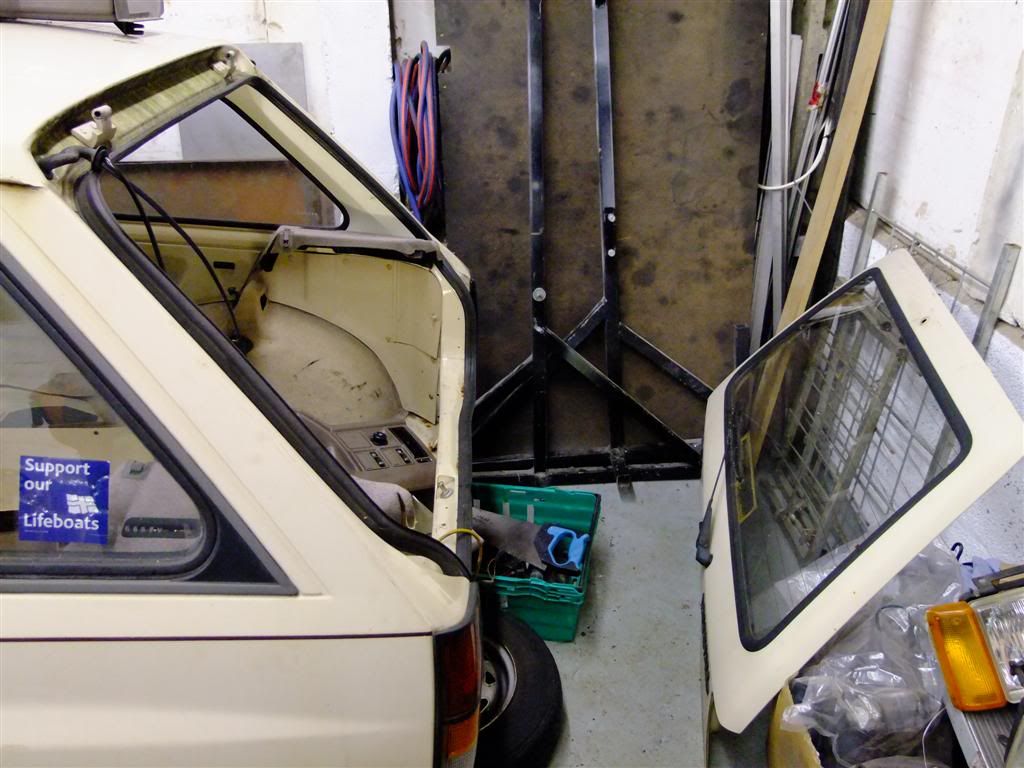
As I didnt have any were else to put them and they were in the way I decided to hang them up
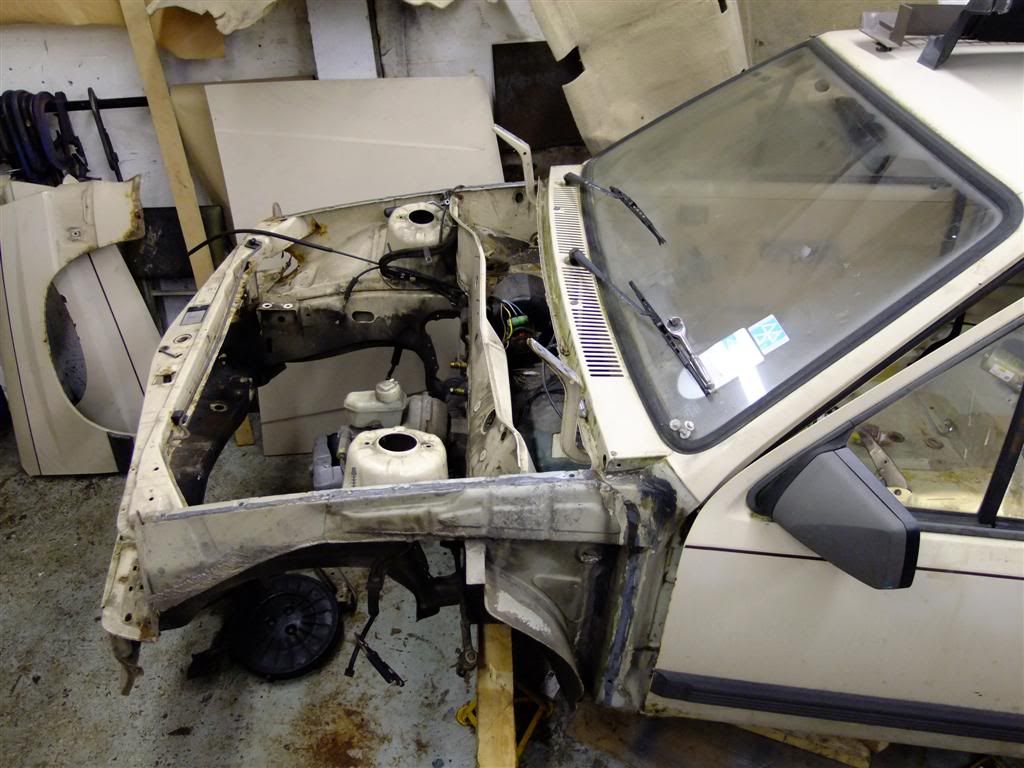
Next job was to remove the fire wall to gain access to the battery tray area - it will be replaced once all the repairs are done.
I removed the easy spot welds first
Then the battery clamp
And then the trickery ones behind the o/s turret
Daylight!
Nearly there
Just the awkward ones in the n/s corner left
Out!
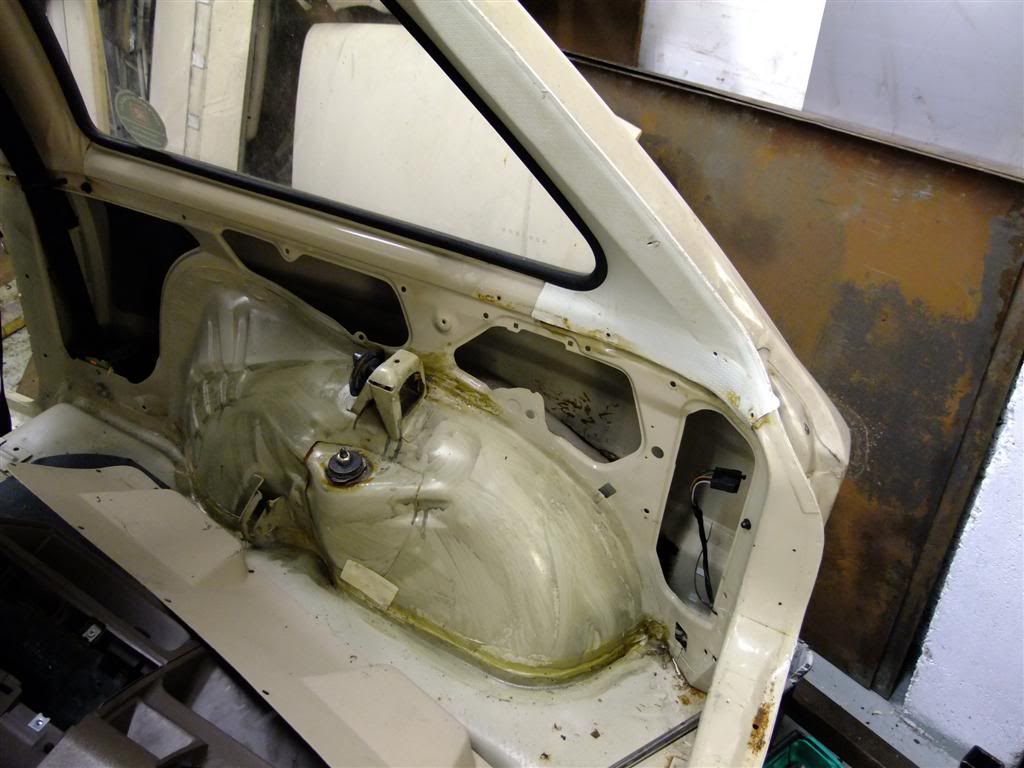
Much more accessible now

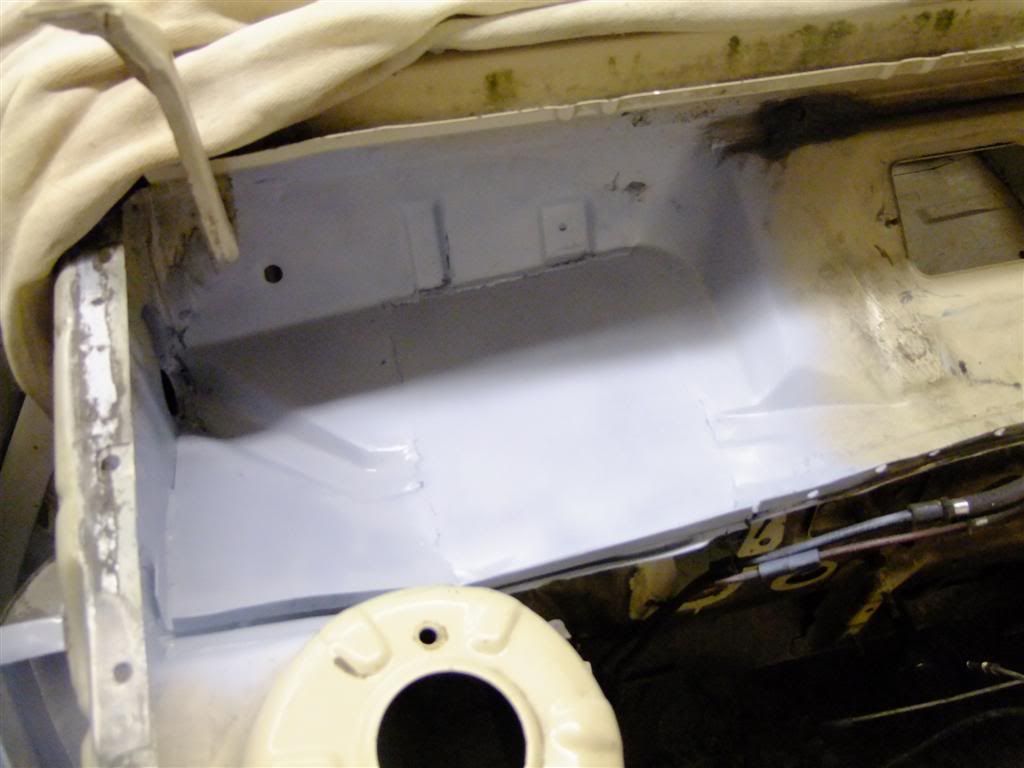
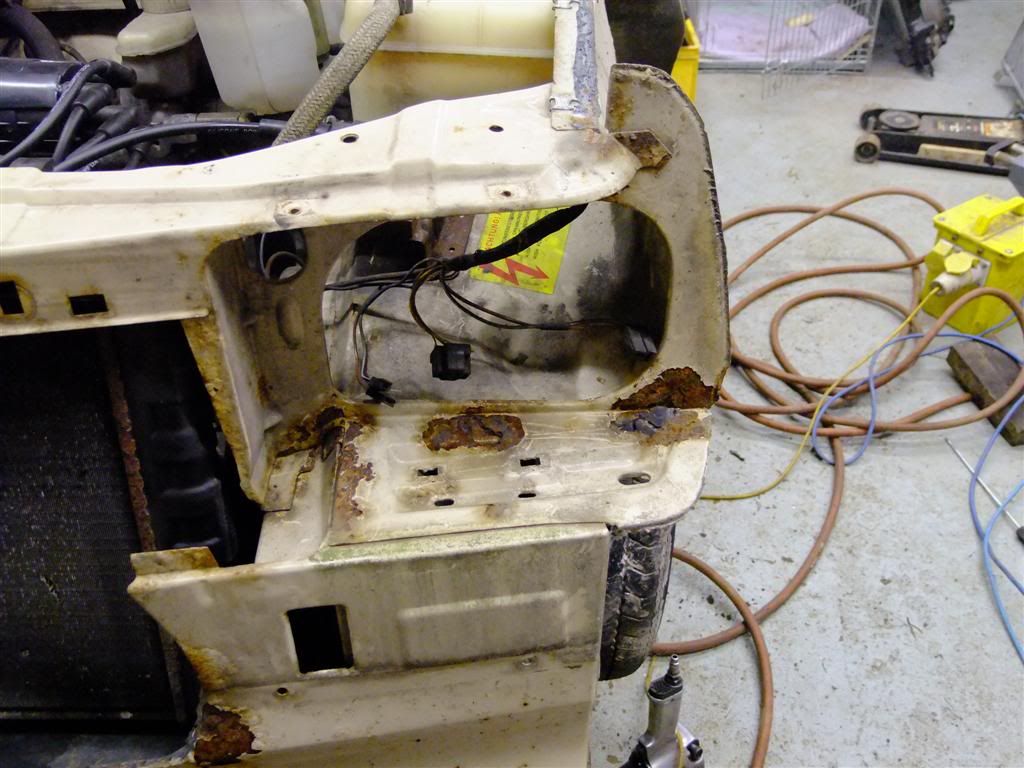
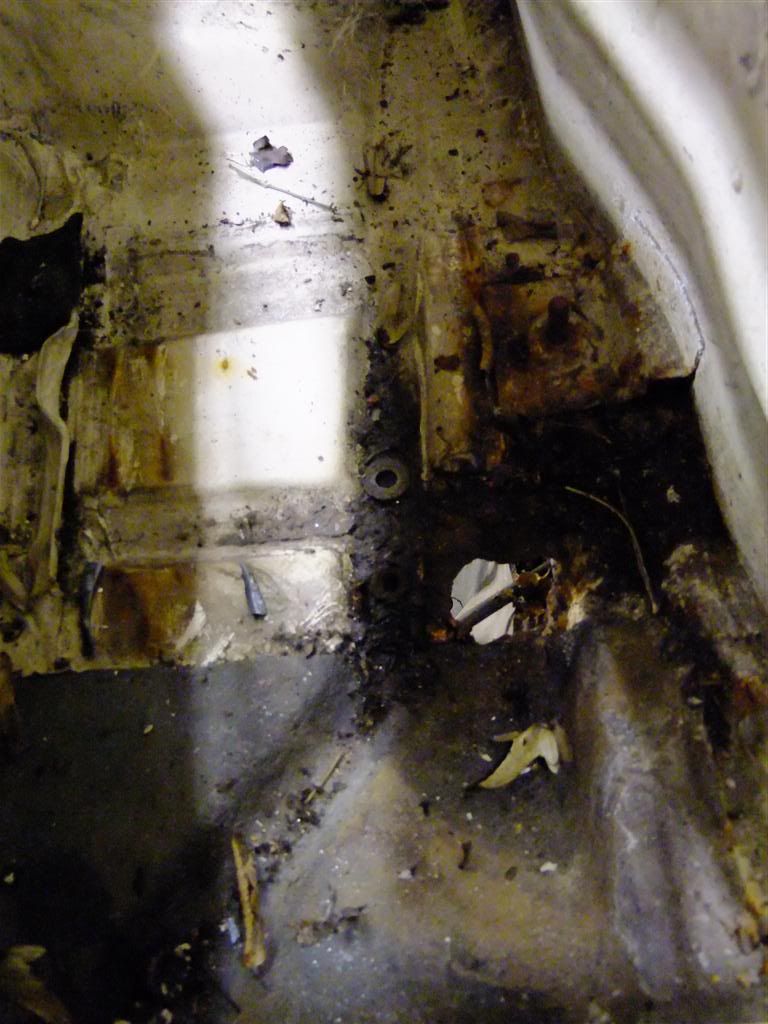
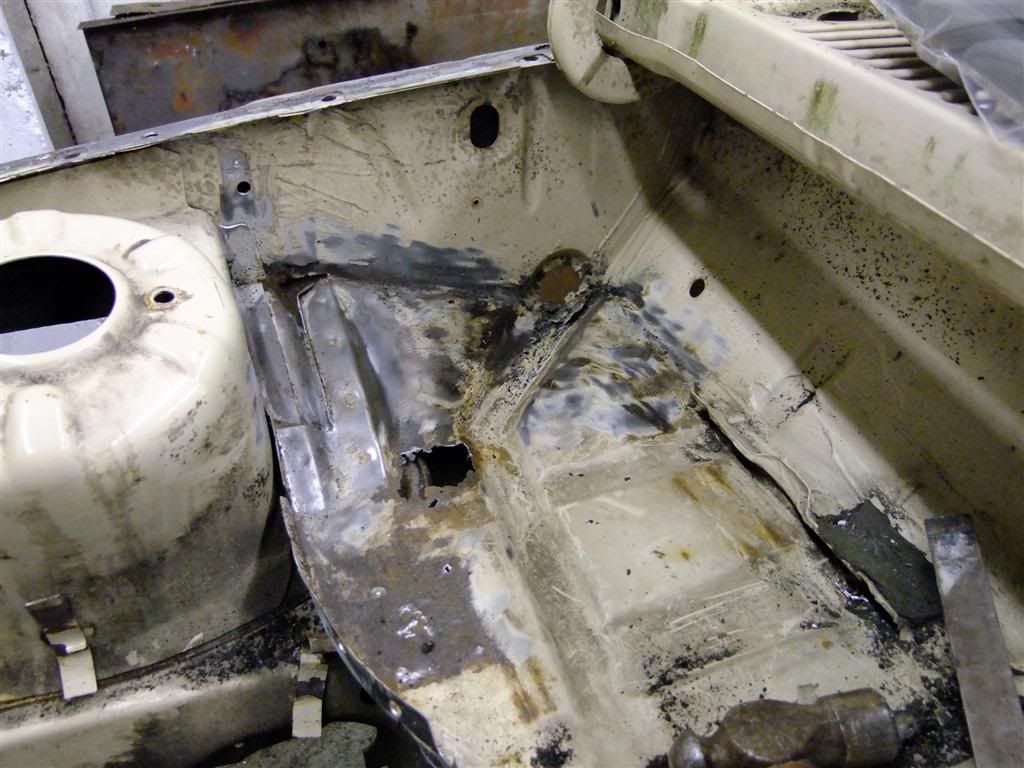
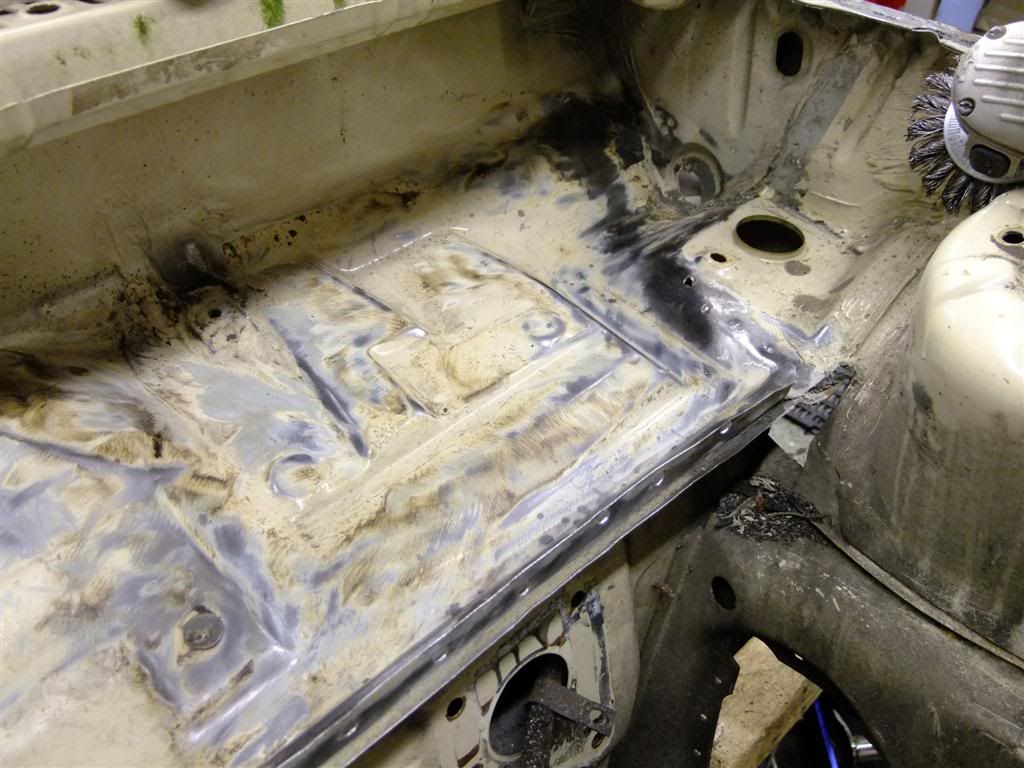
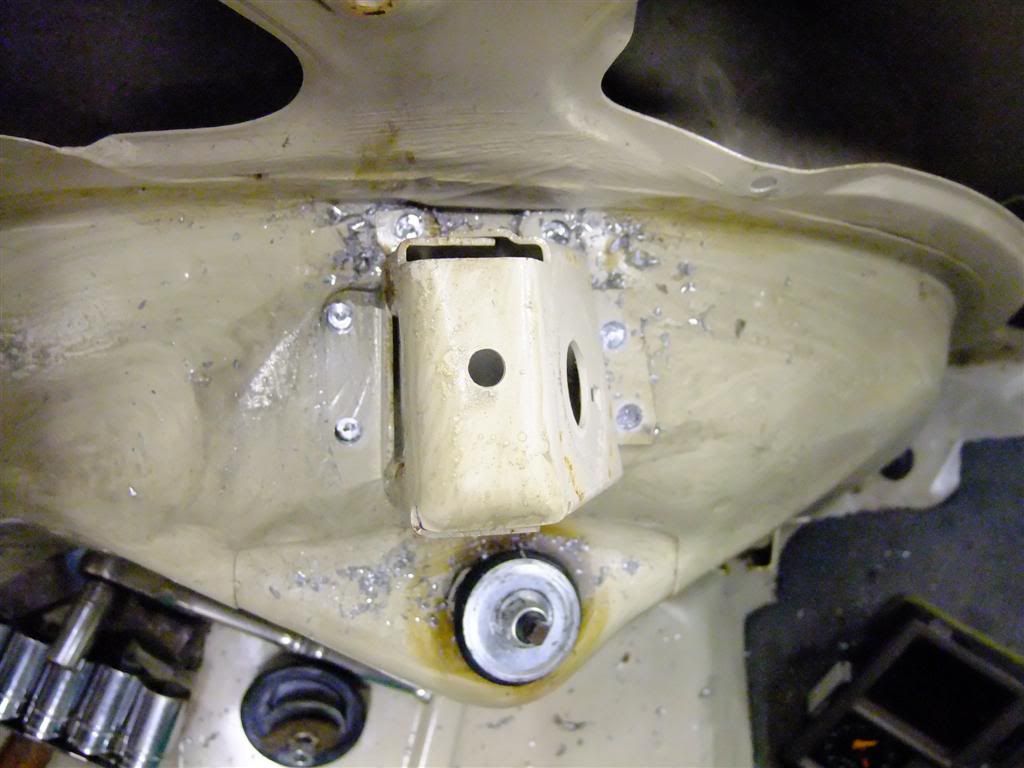
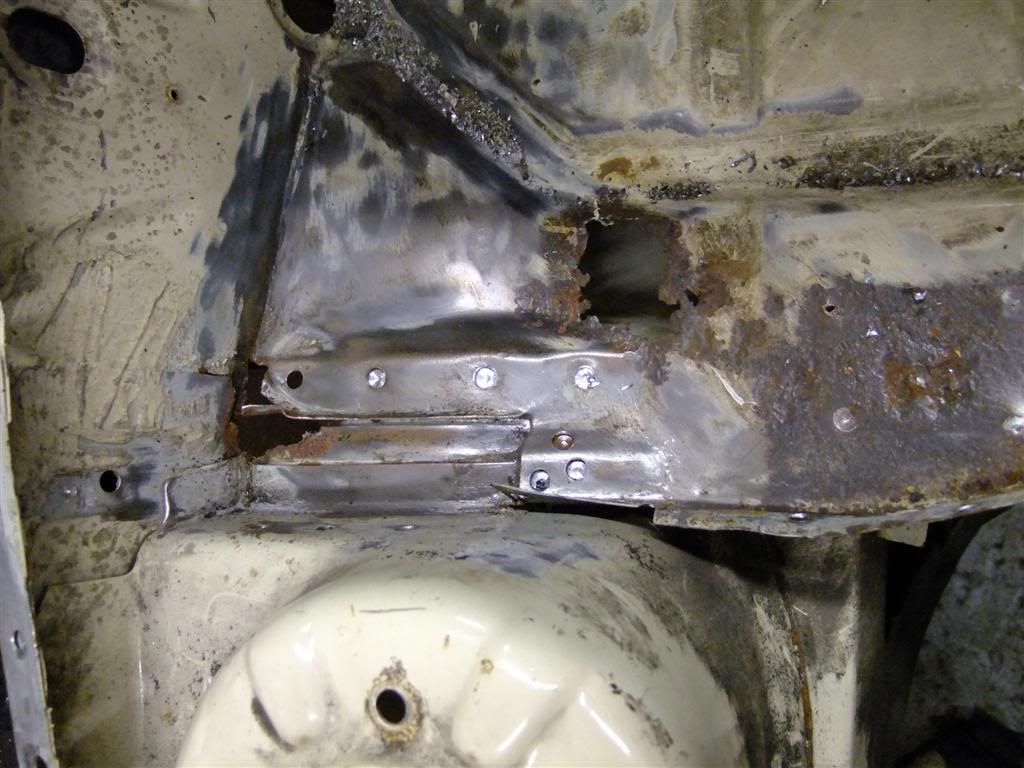
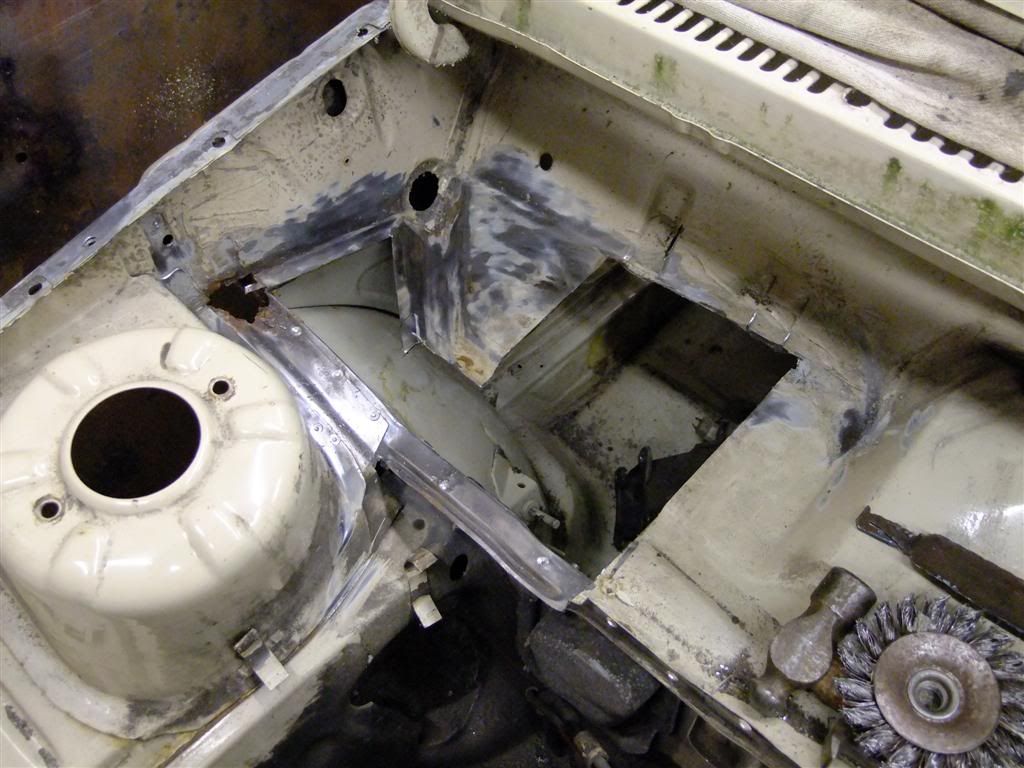
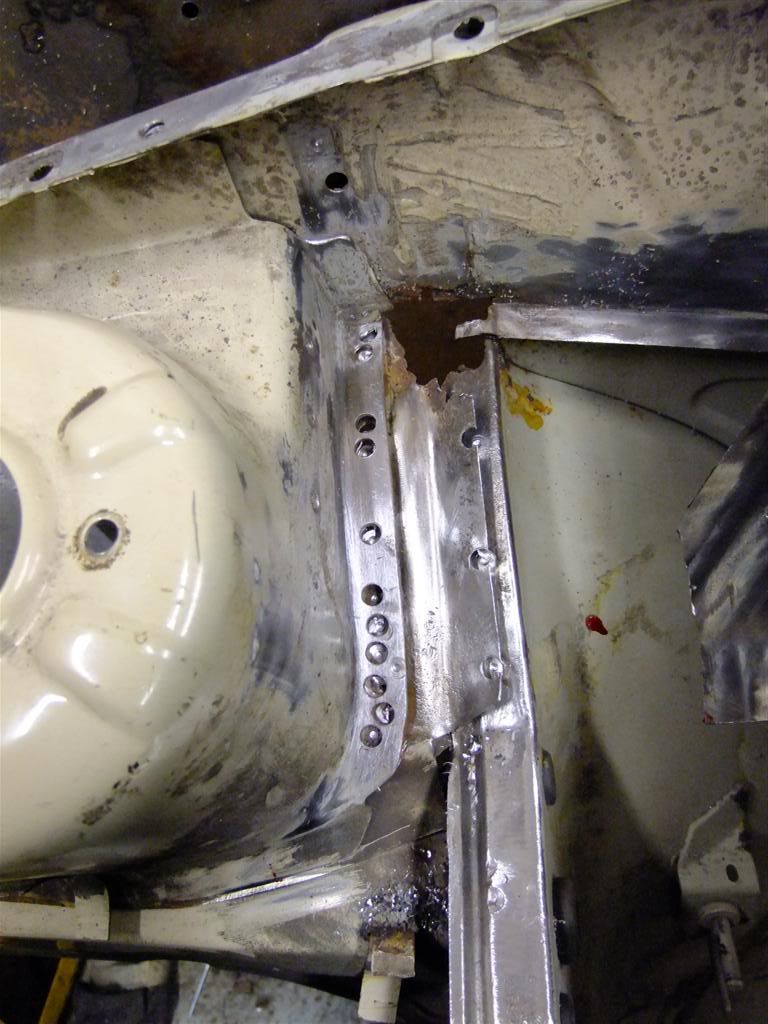
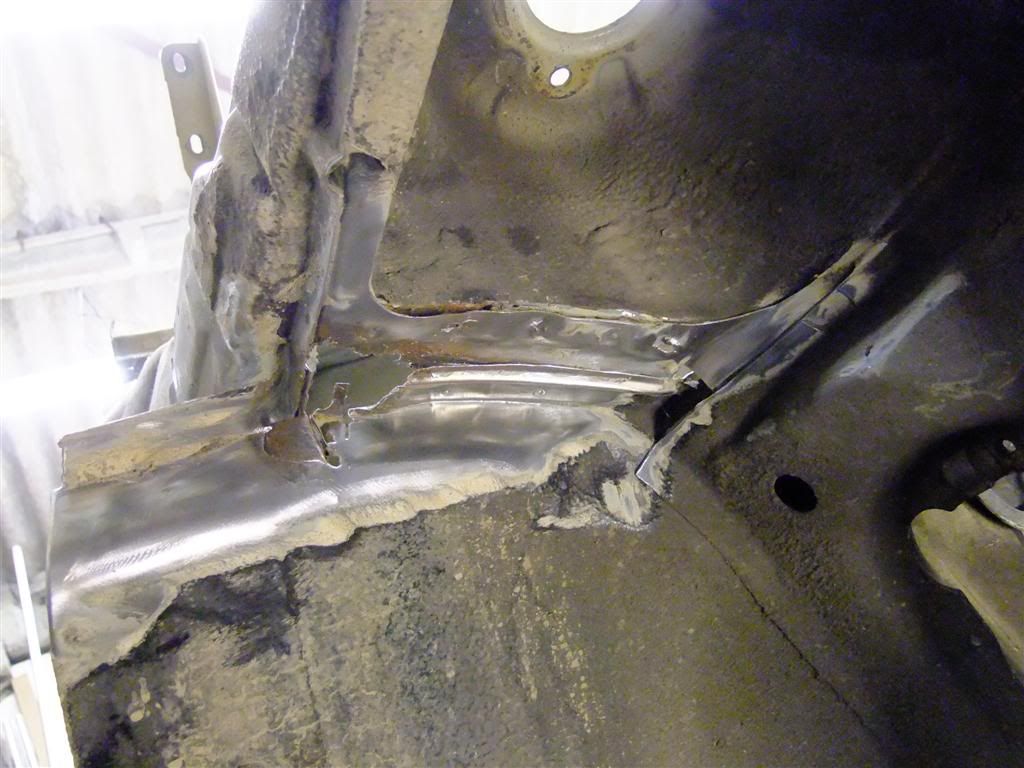
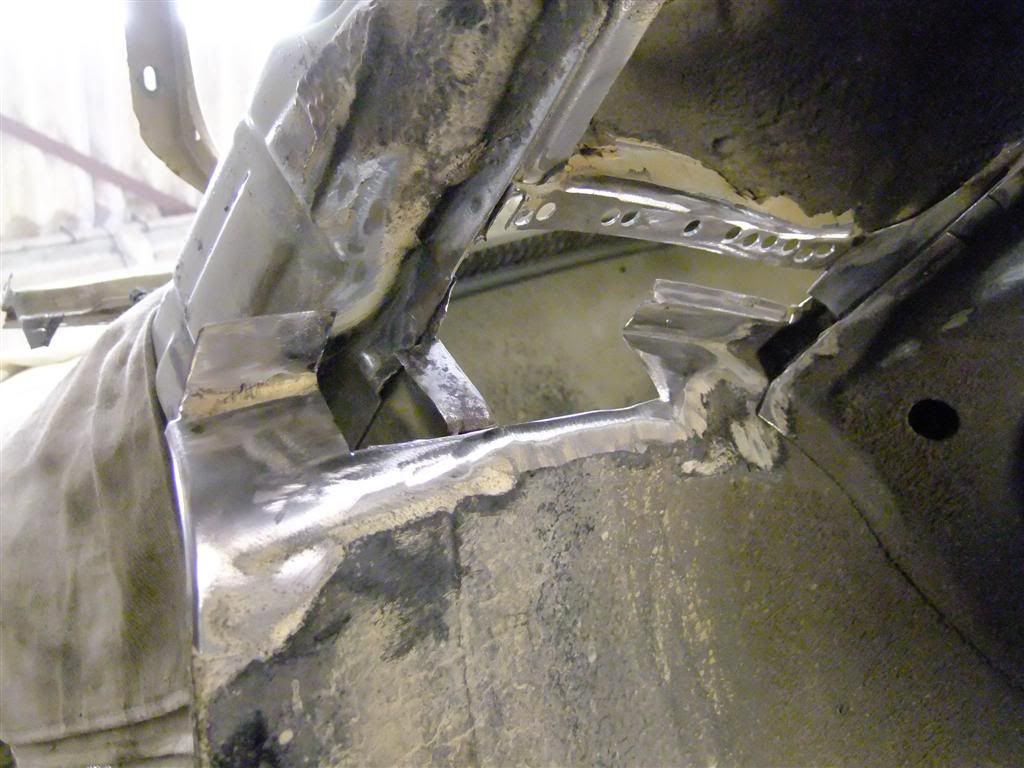
Gave the battery tray area a quick wire wheel to see what I was dealing with
And found another hole - which was to be expected
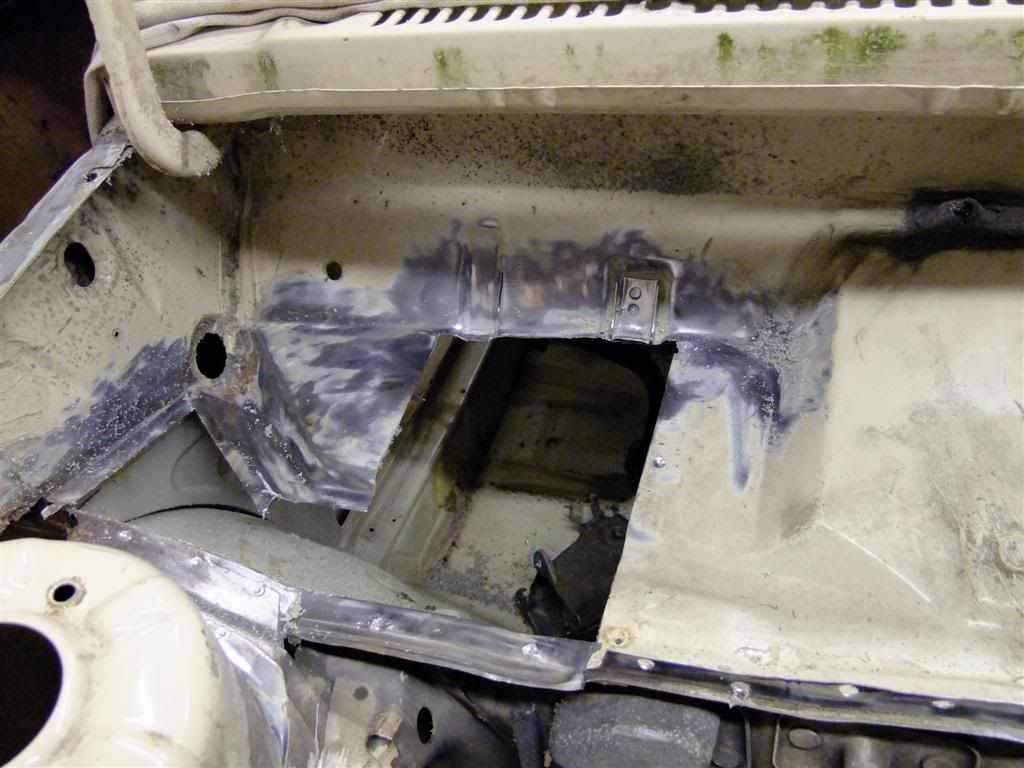
The it was on with removing the black s h I t which is a pita but most of this came up with a scraper as its so old

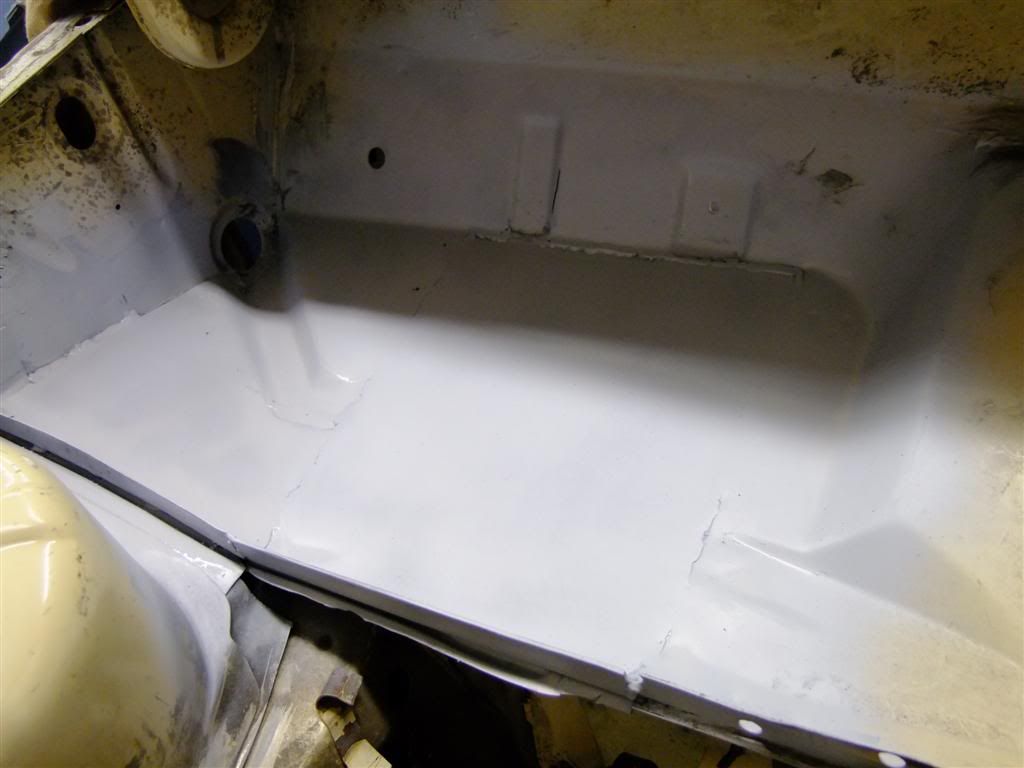
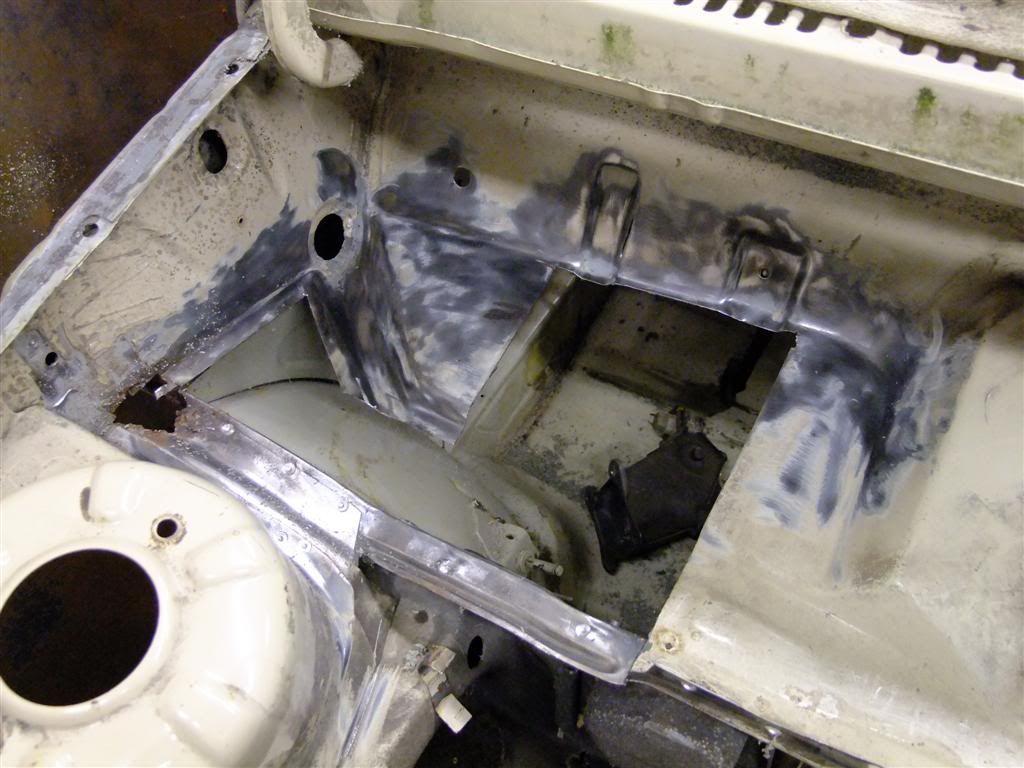
Then another quick wire wheel to tidy it up a bit
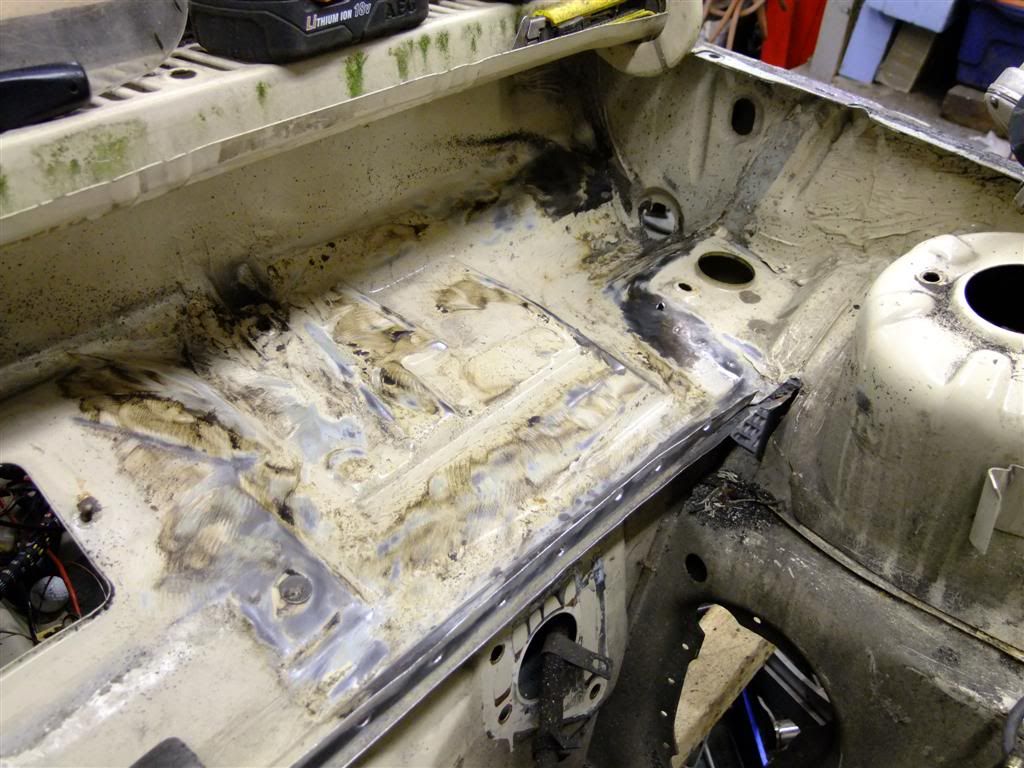
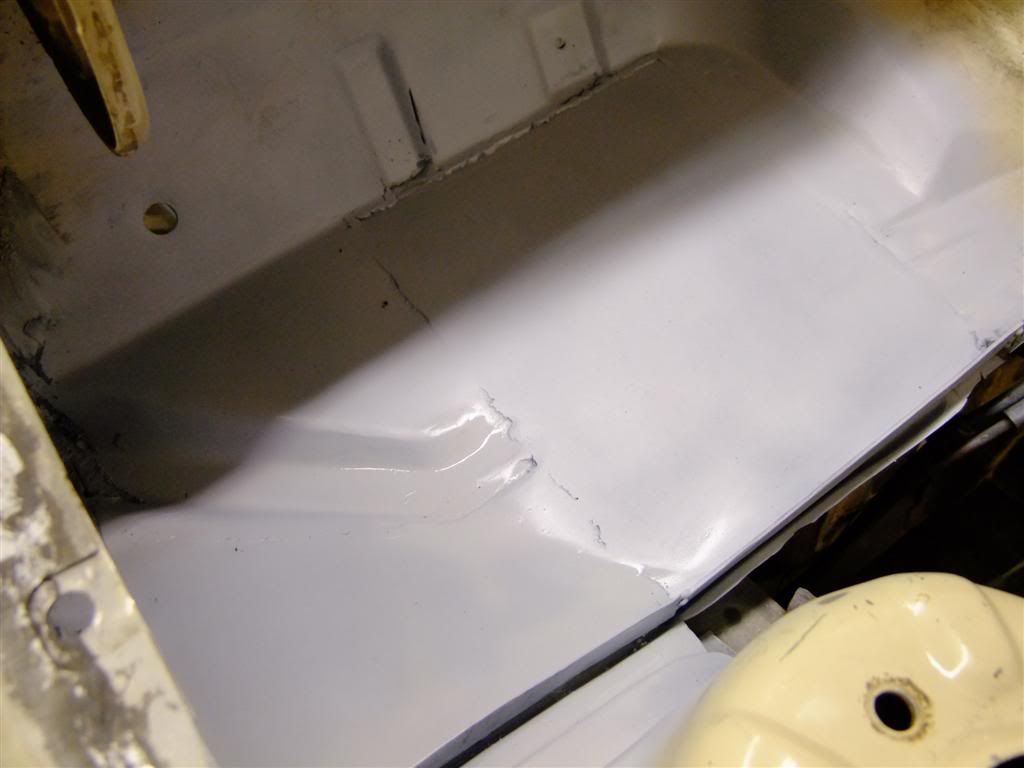
Better
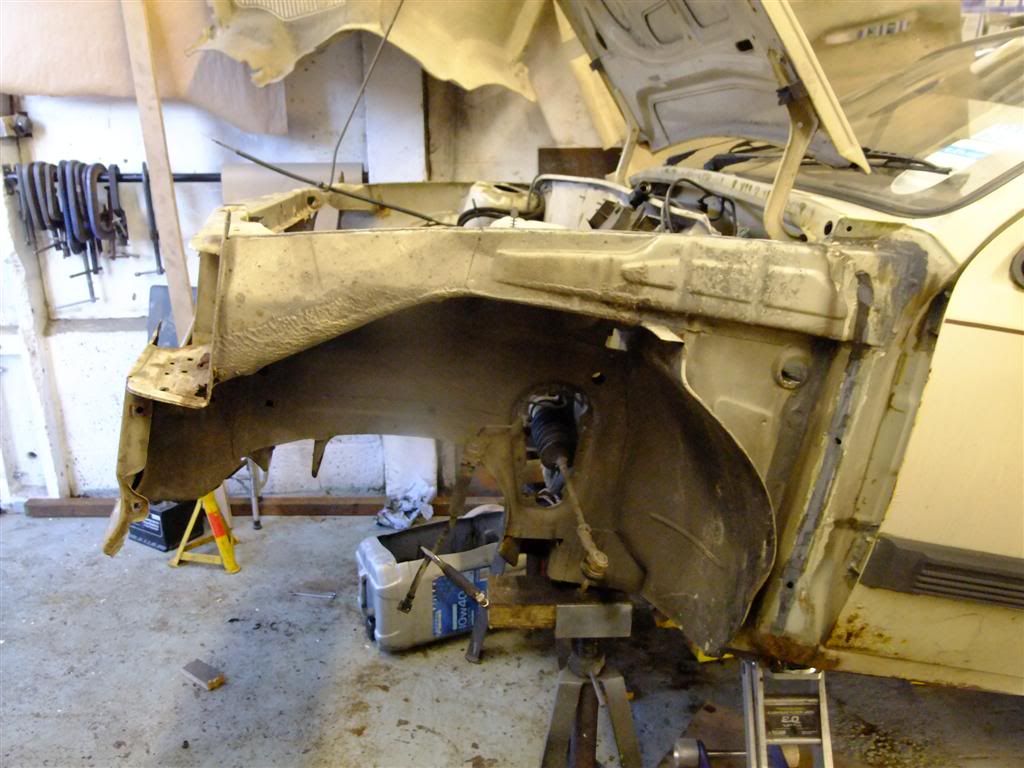
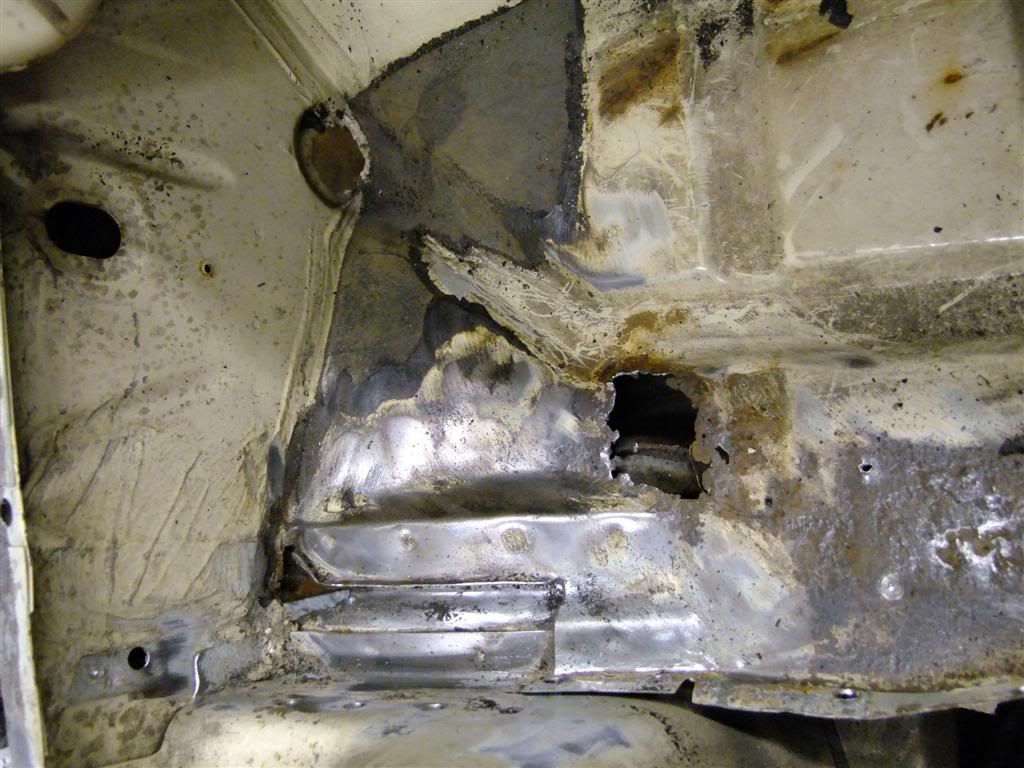
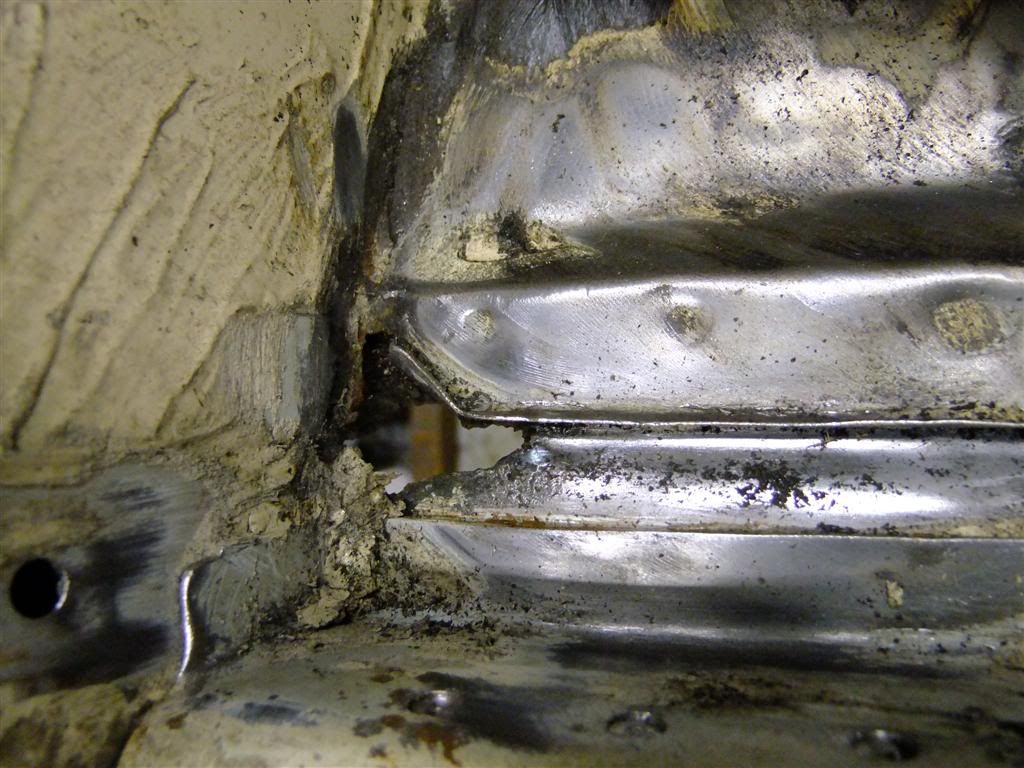
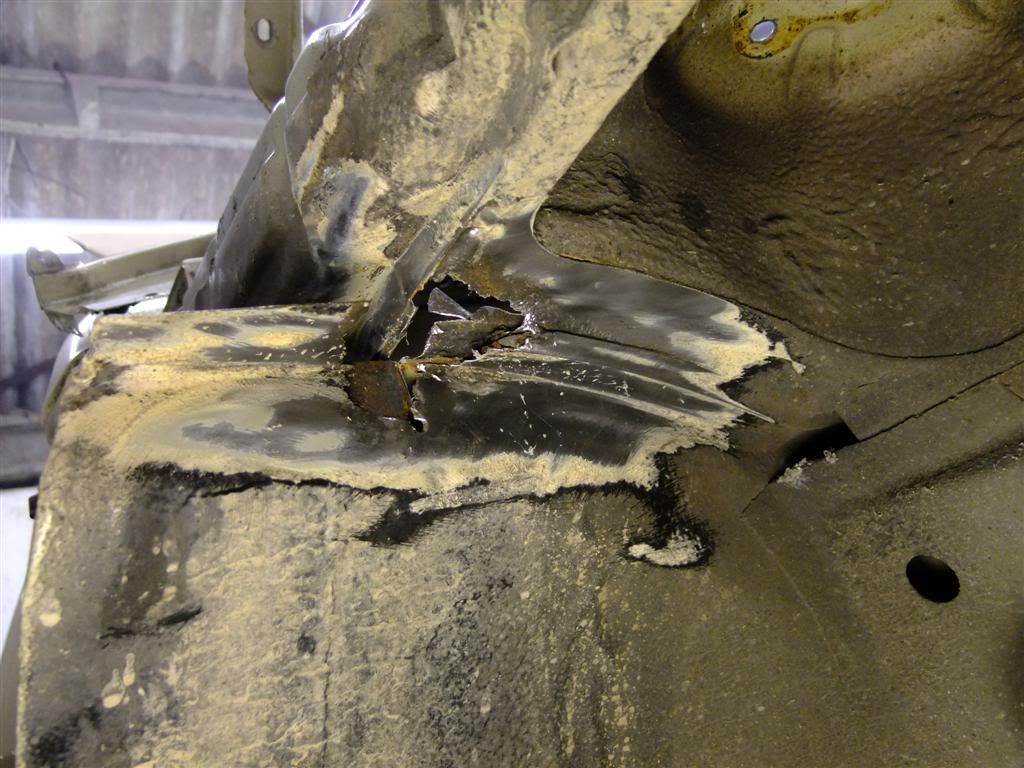
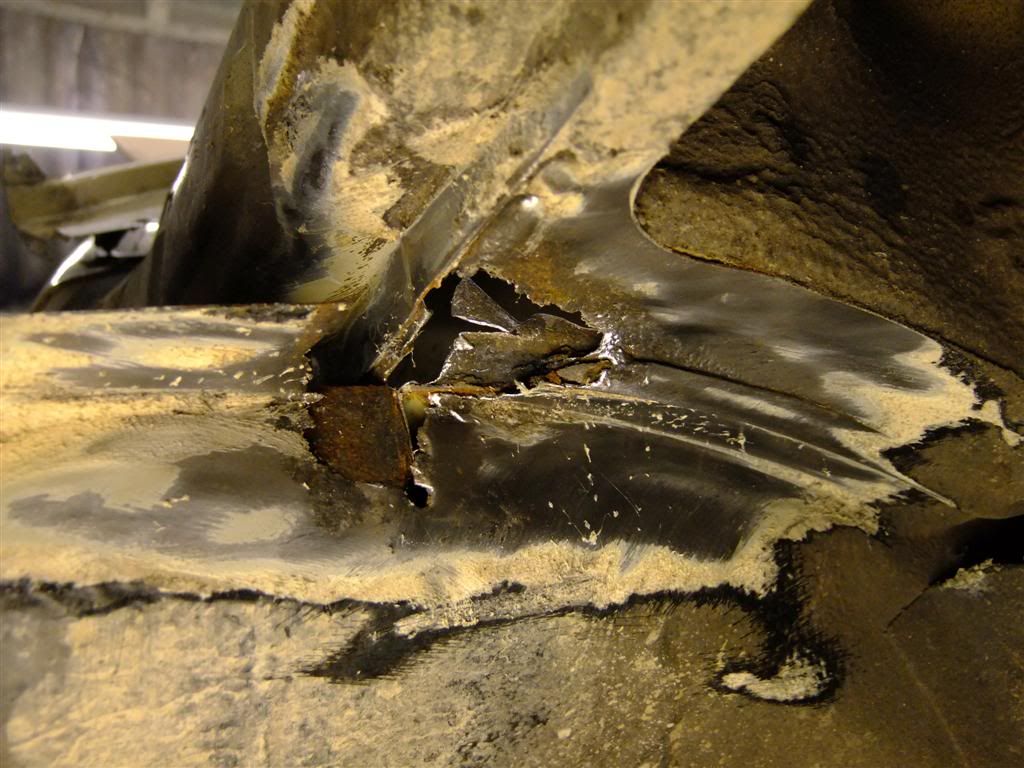
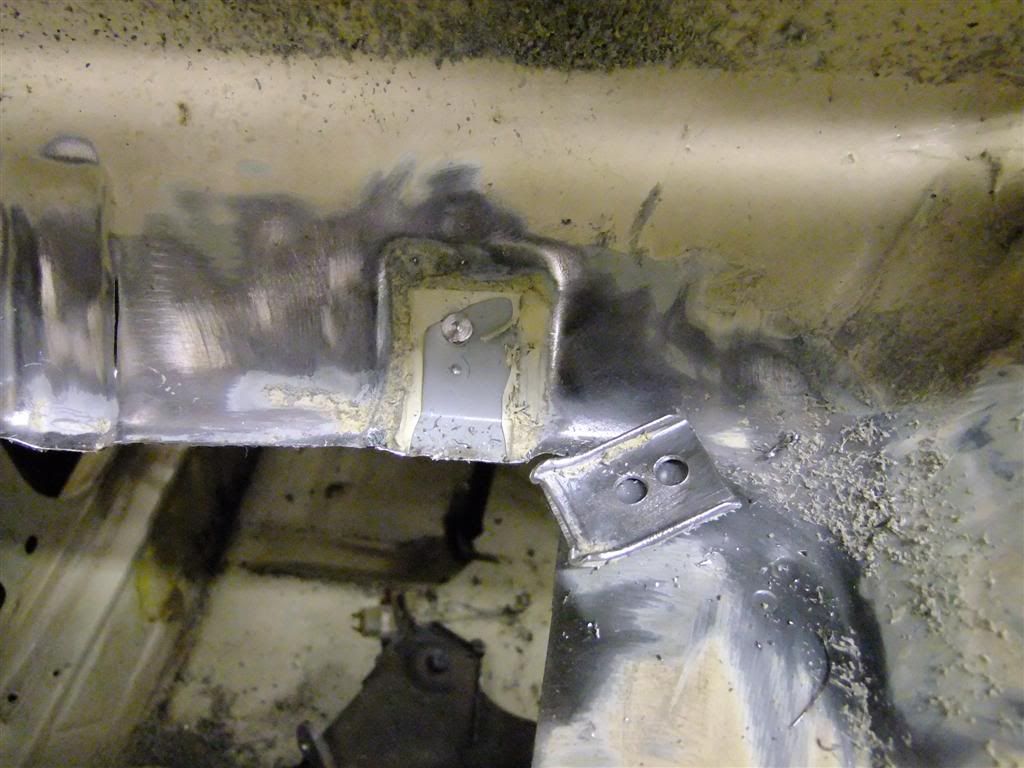
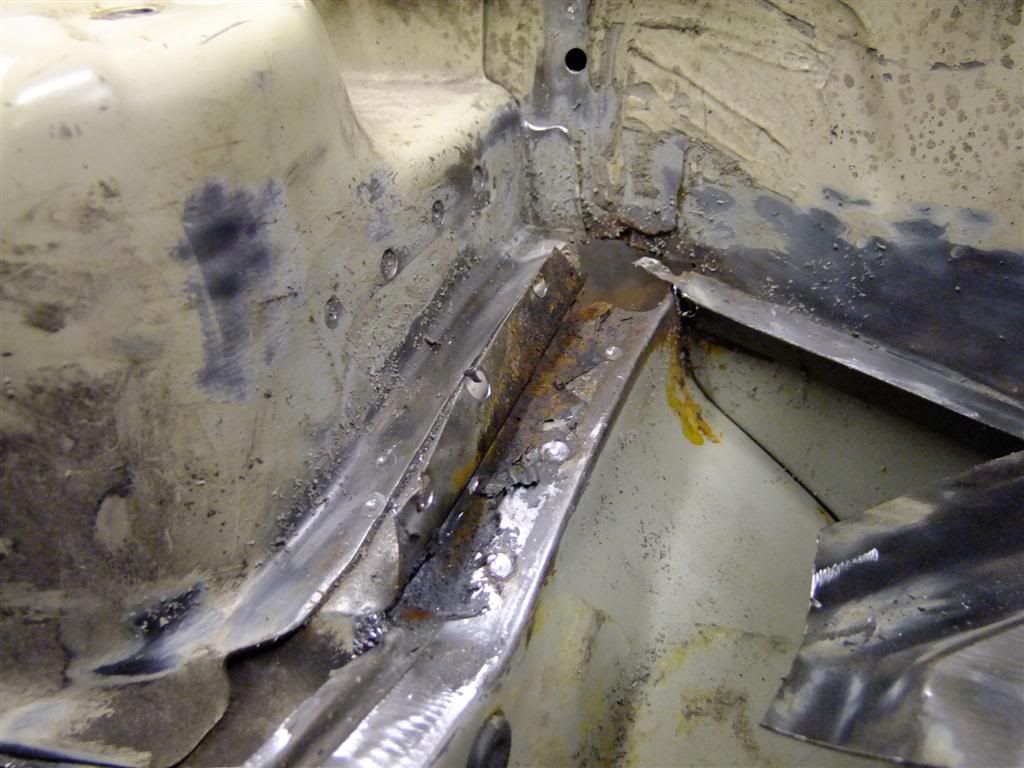
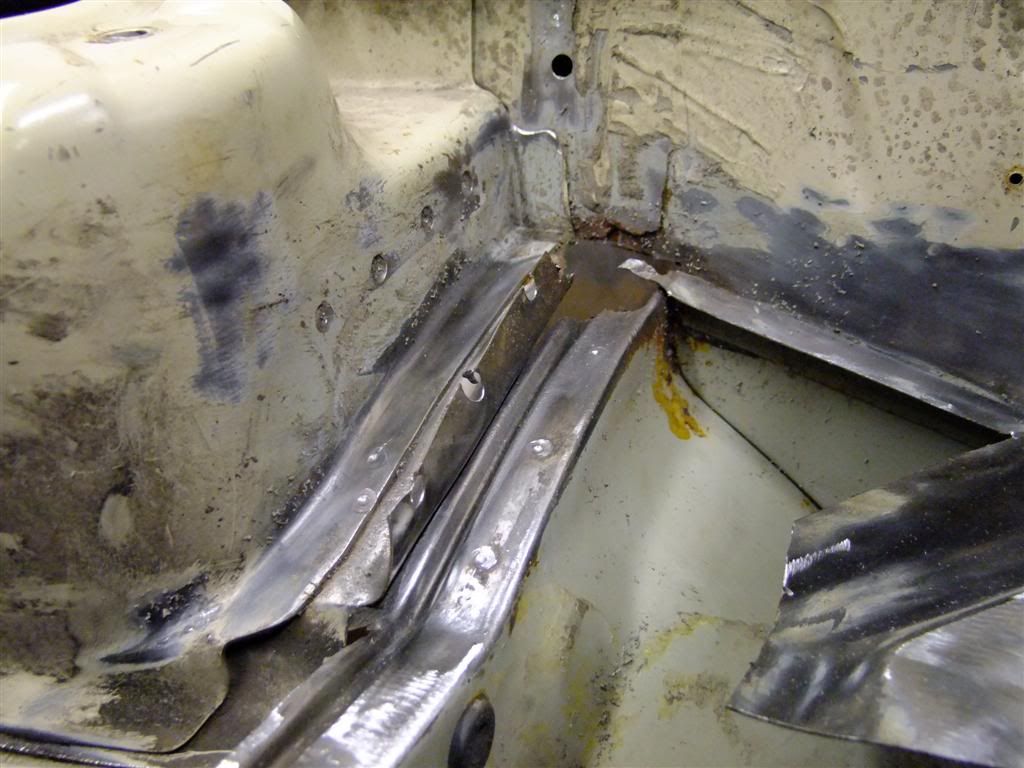
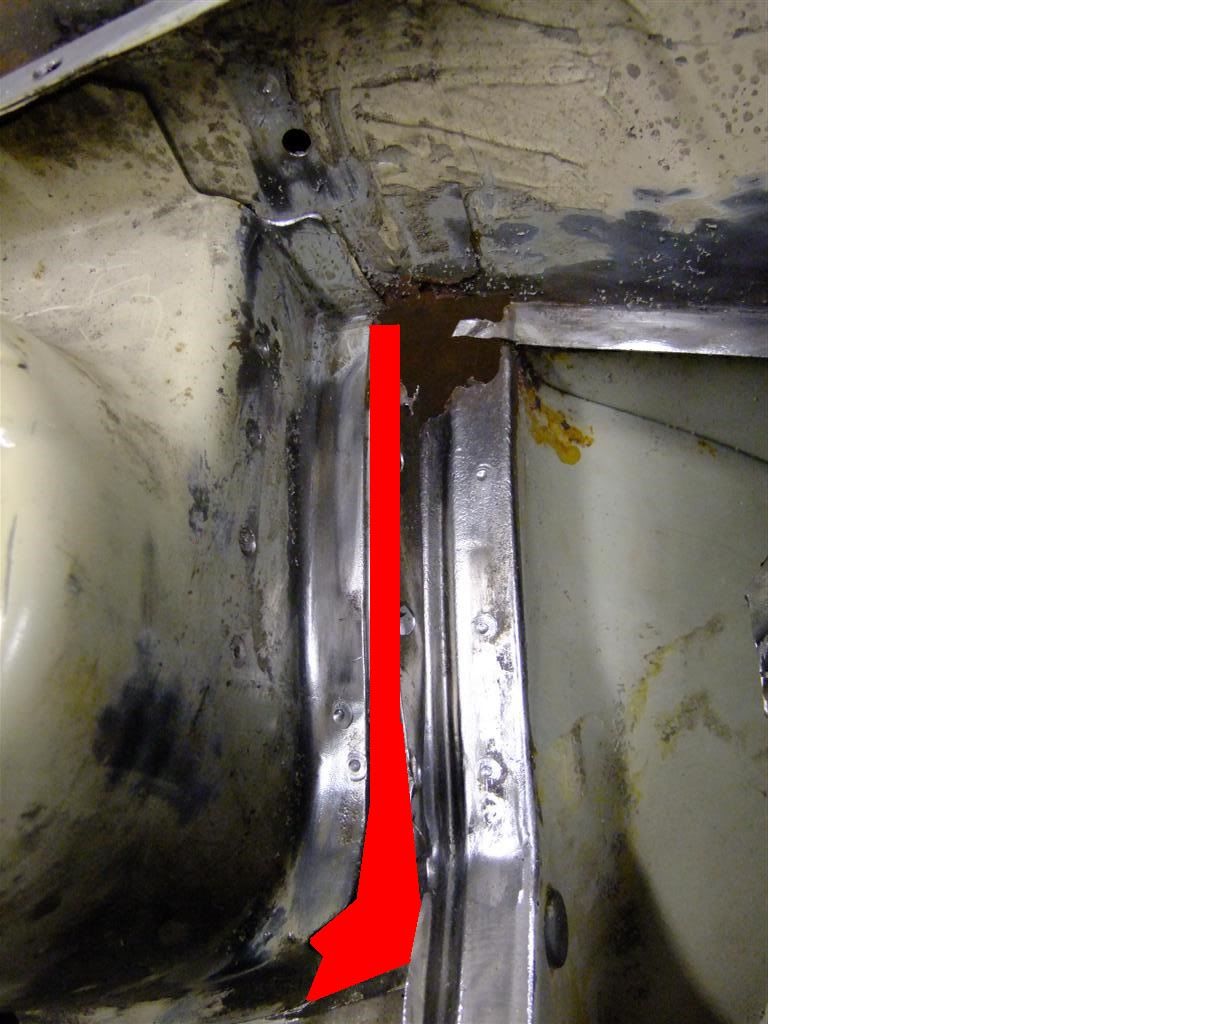
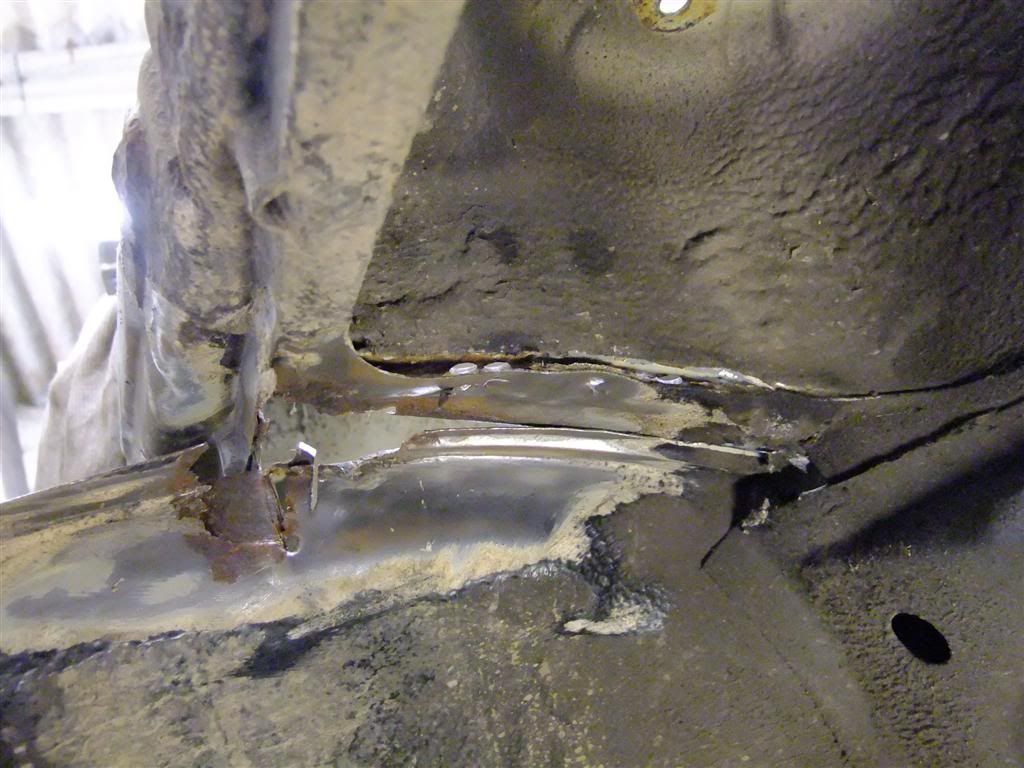
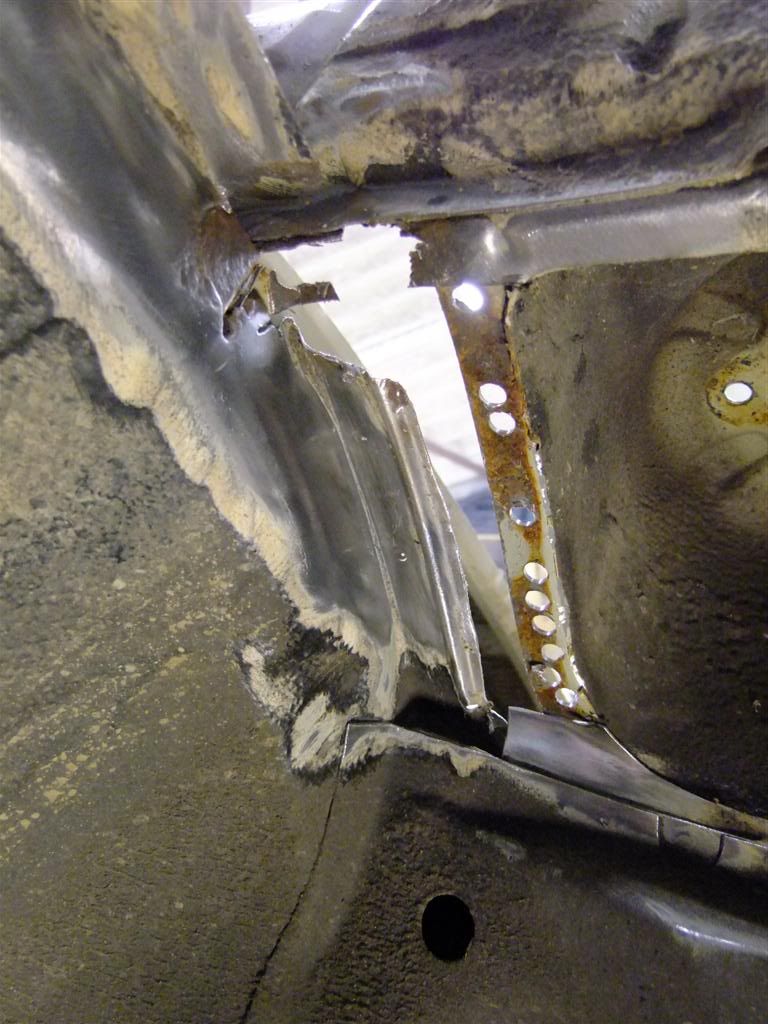
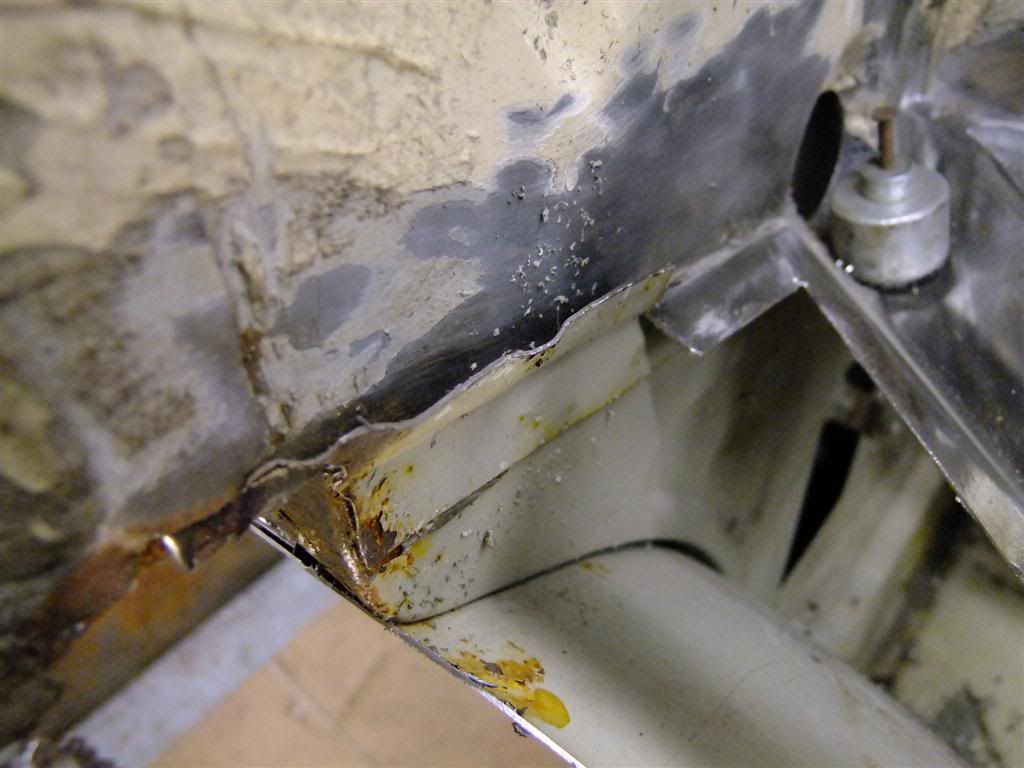
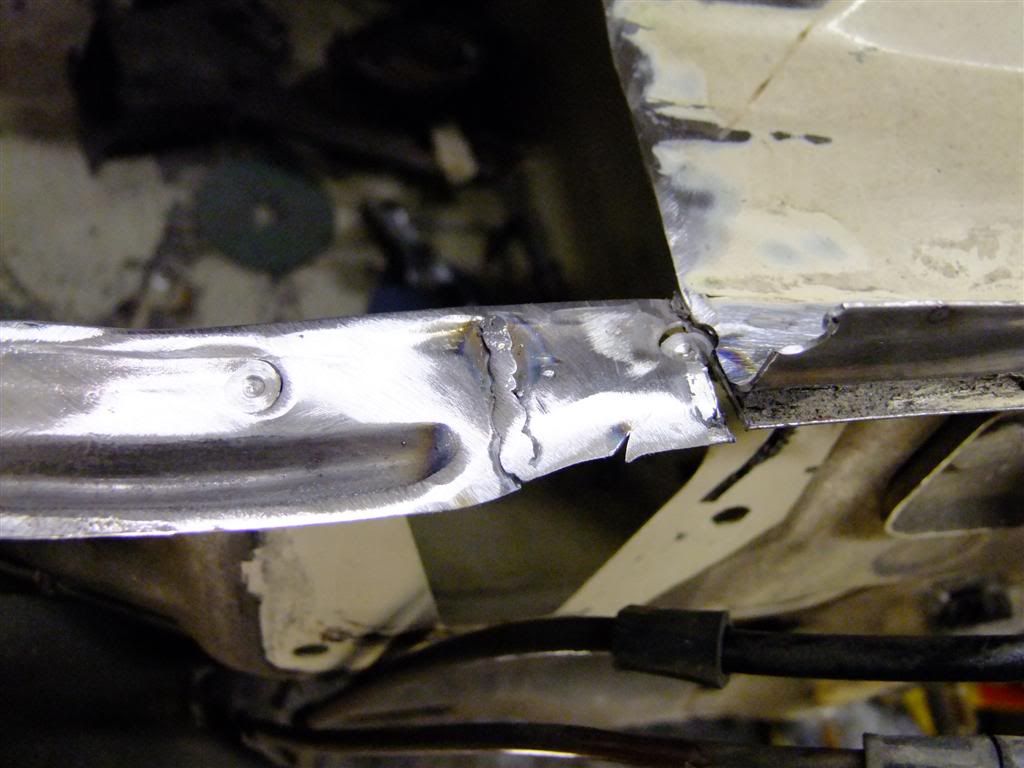
Now back to below the battery tray in the front o/s inner wheel arch and that hole
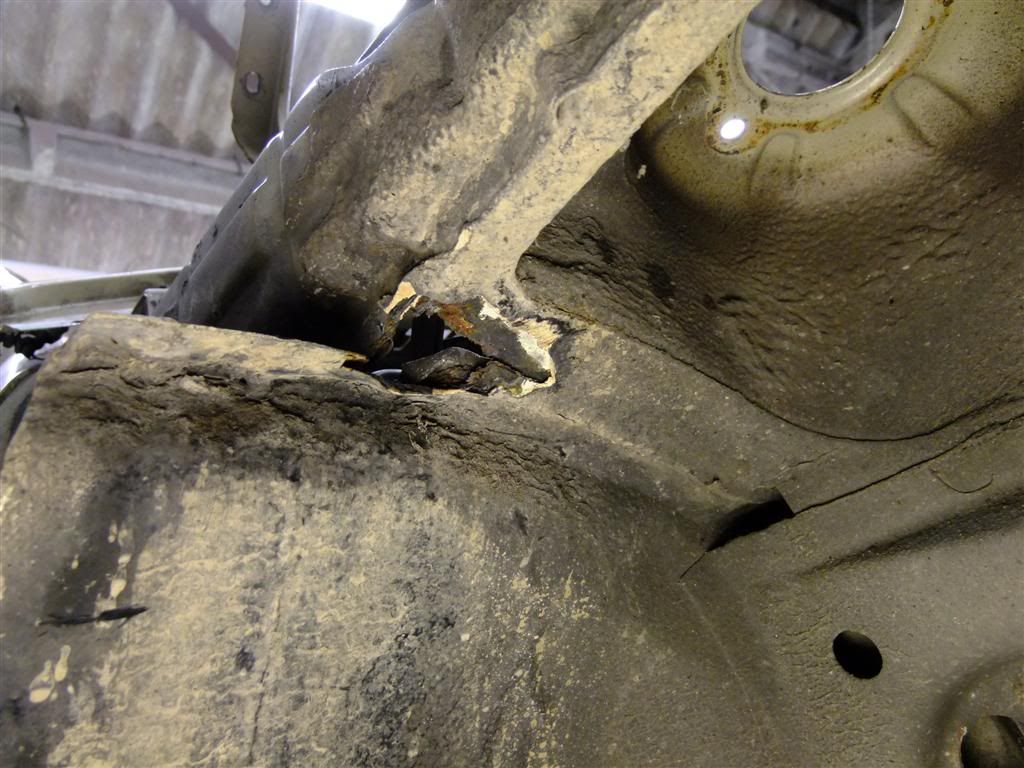
predictably worse that it first seemed
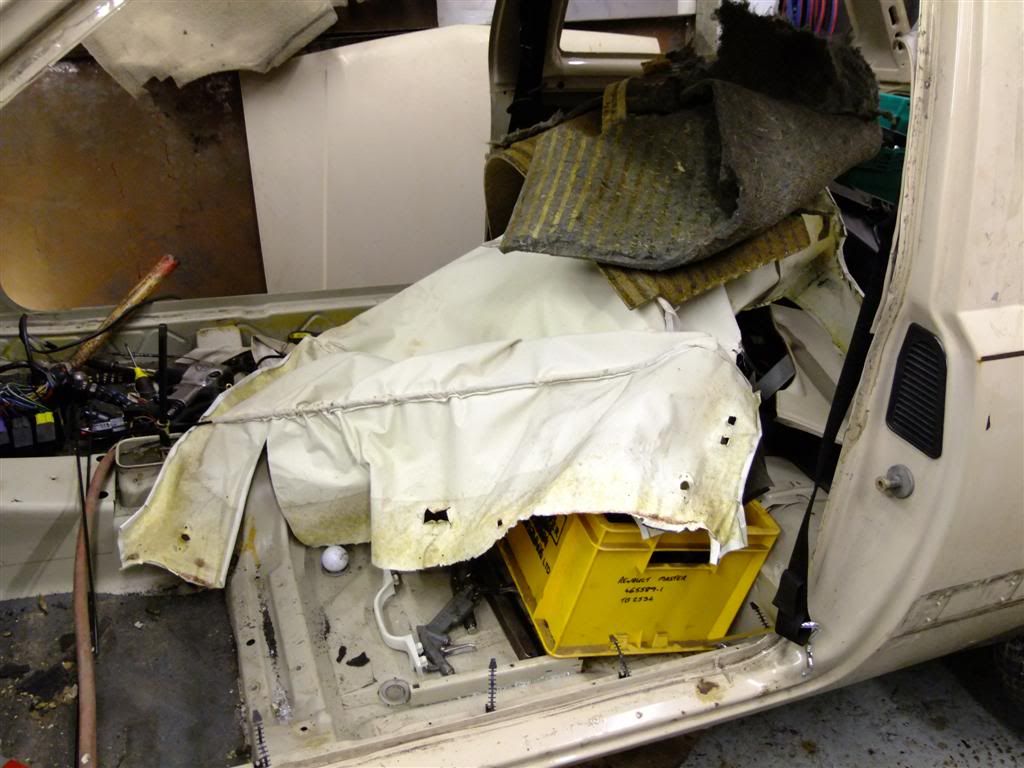
Back inside again this time to remove the head lining, it already had several hole in it so there was no point saving it
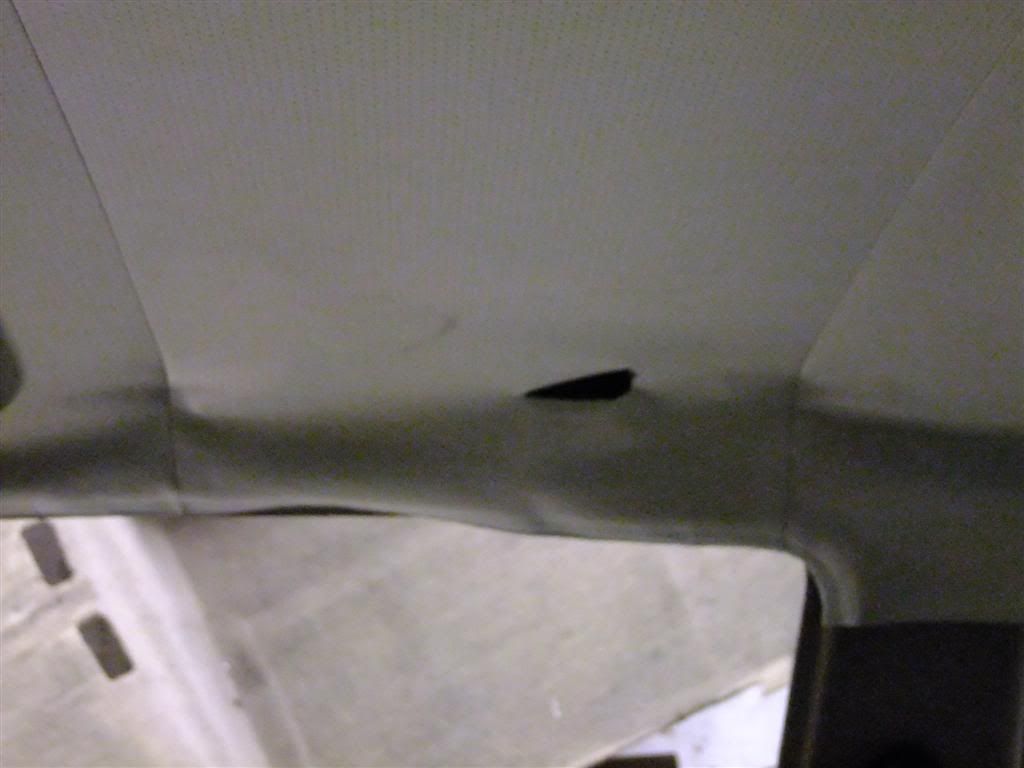
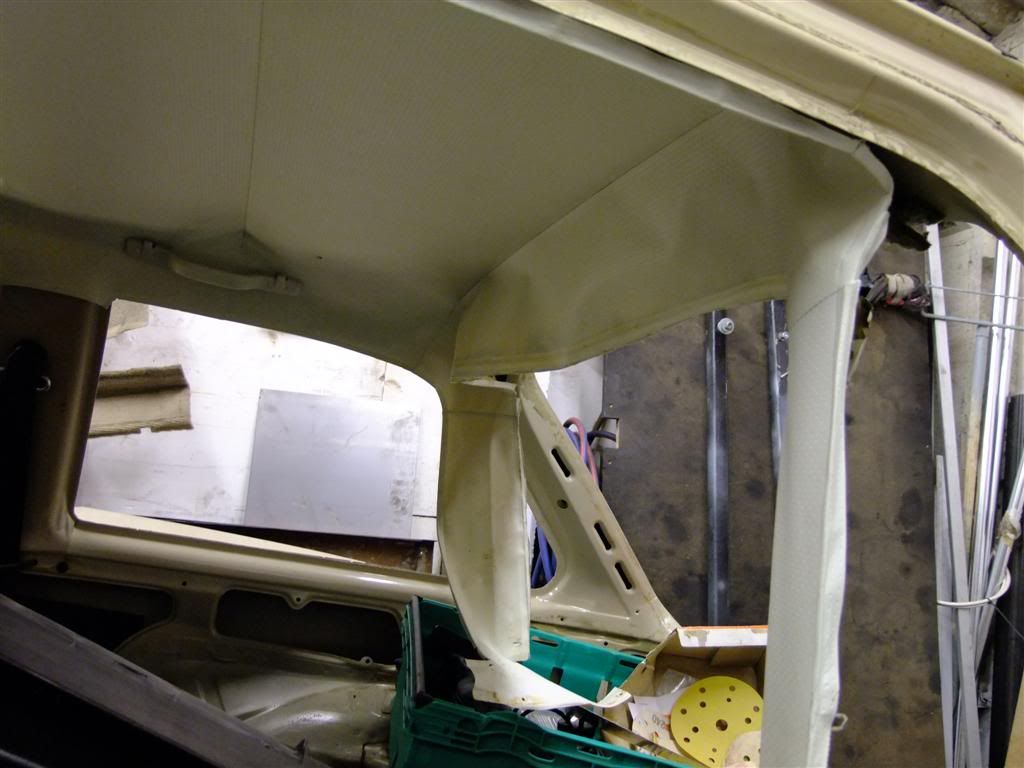
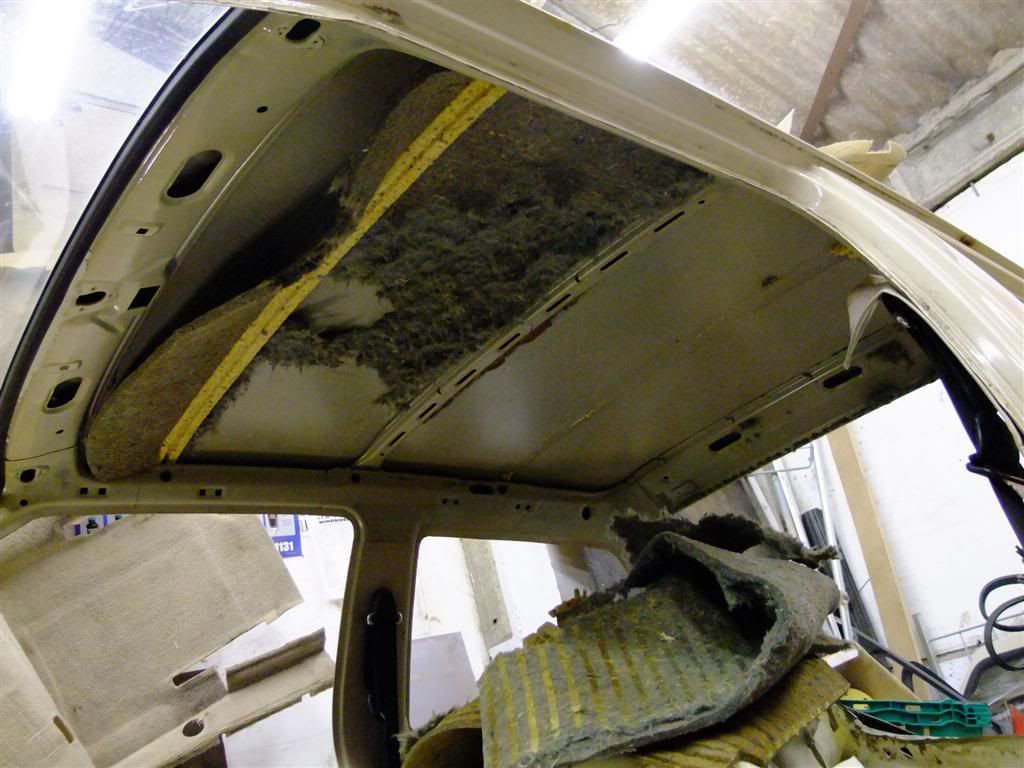
out
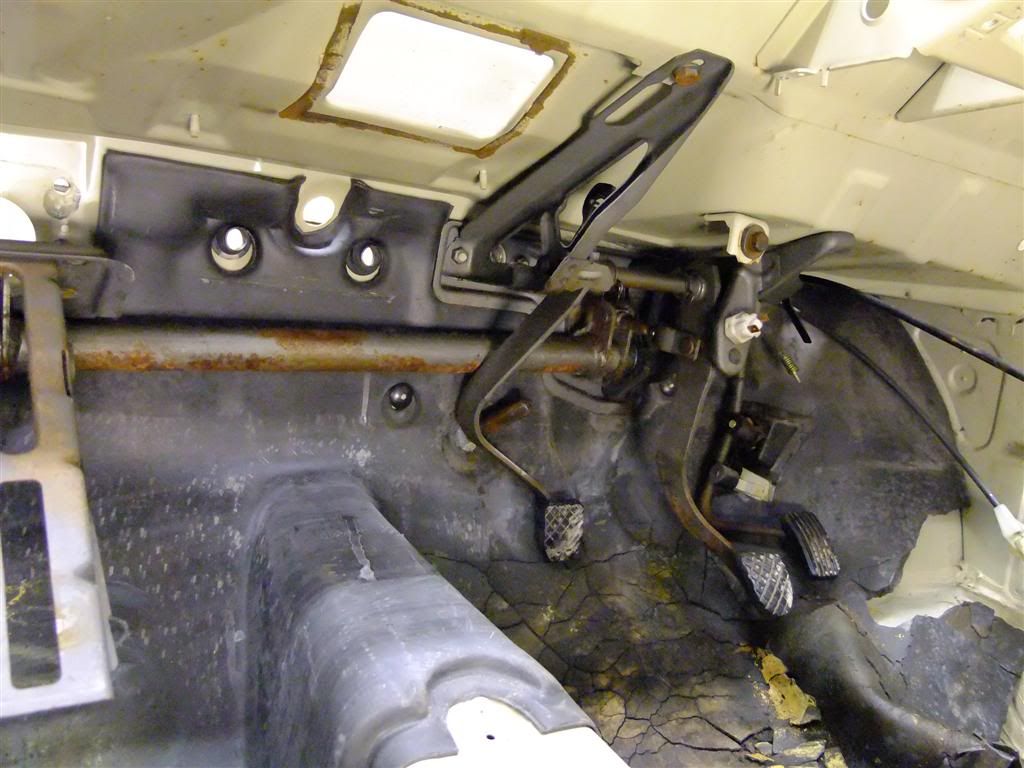
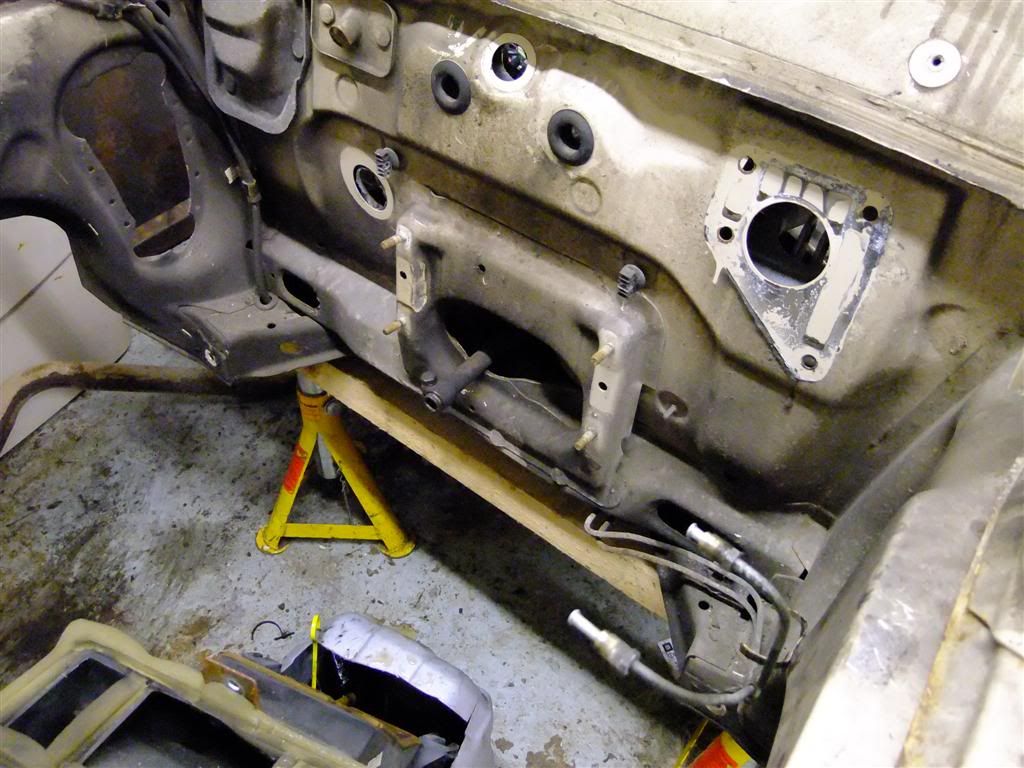
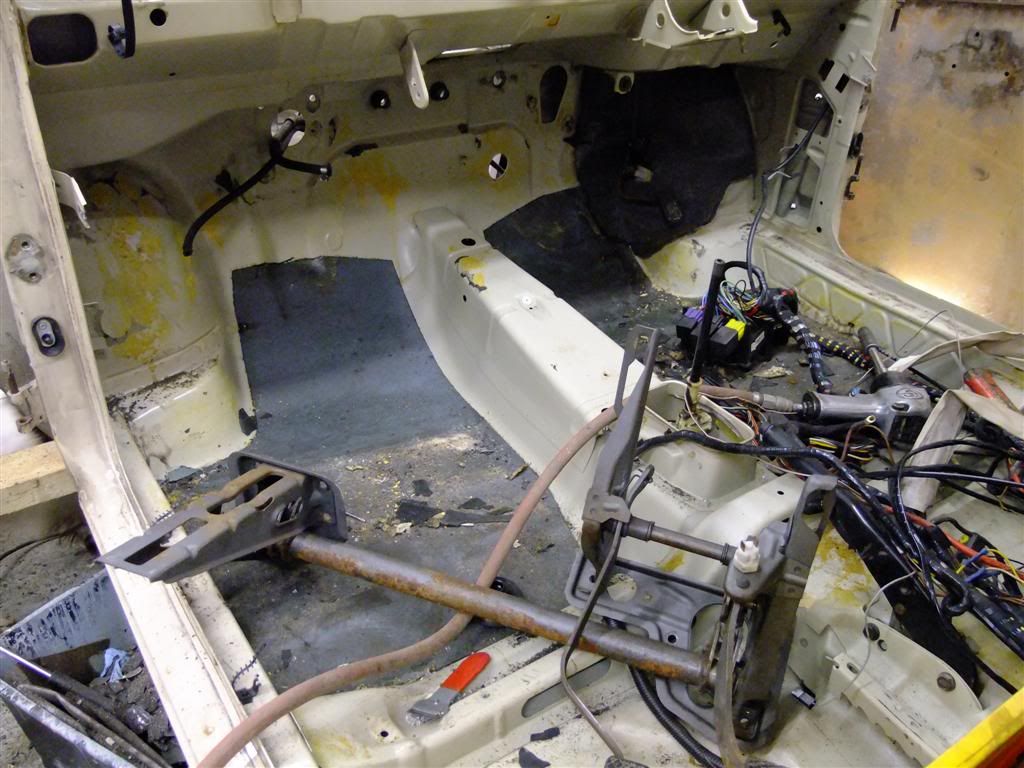
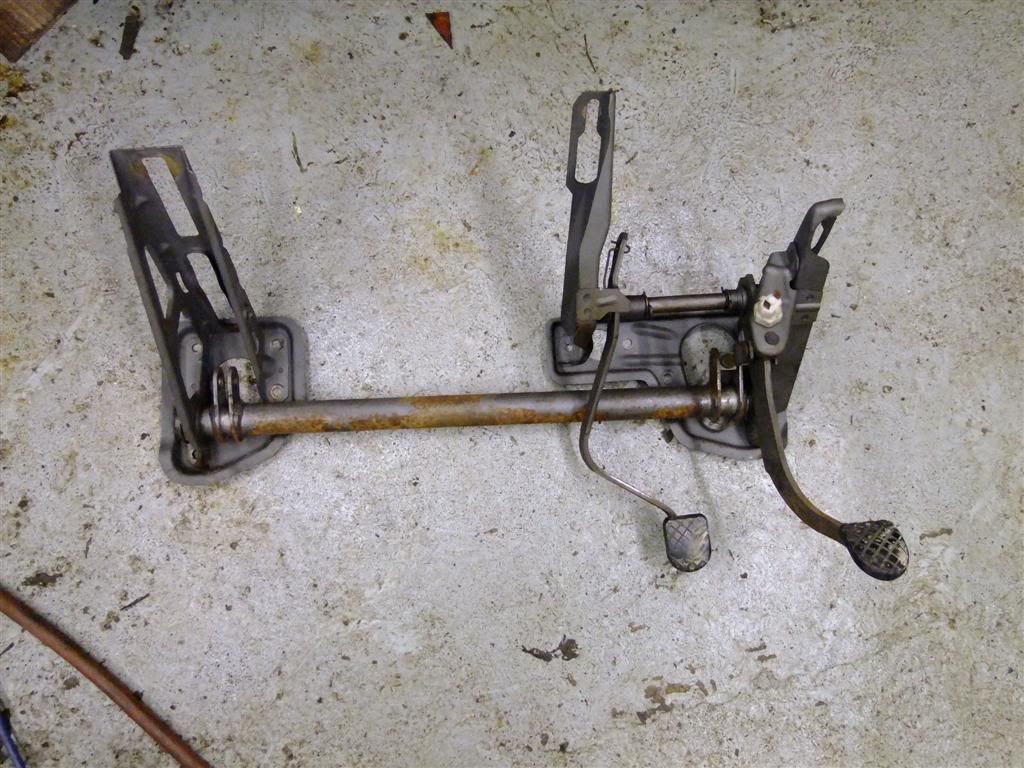
And out with the original pedal assembly and brake balance bar ready for modification
I was fed up of pi$$ing around inside the car so got the back end up in the air
Quick pic for reference
And slipped the axle off
The next victim
Spot weld drill out - zip zip
much better
And the other side
As I was about to move on the the rest of the brackets the battery died on the drill ffs so on charge with that and on to the next job.
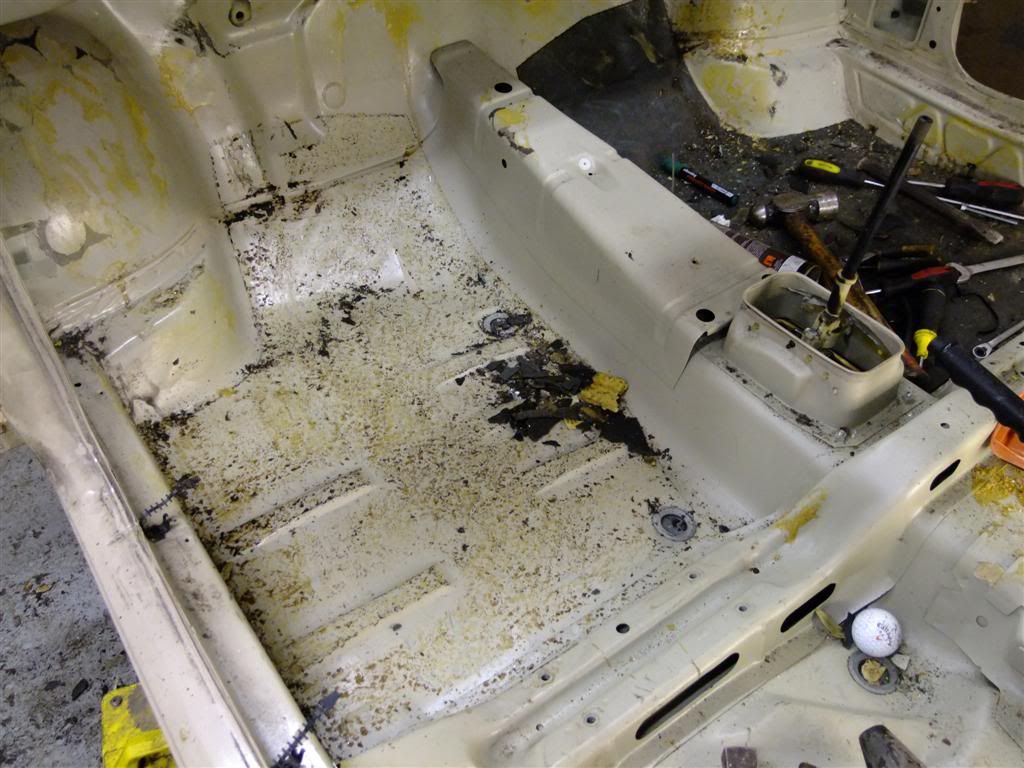
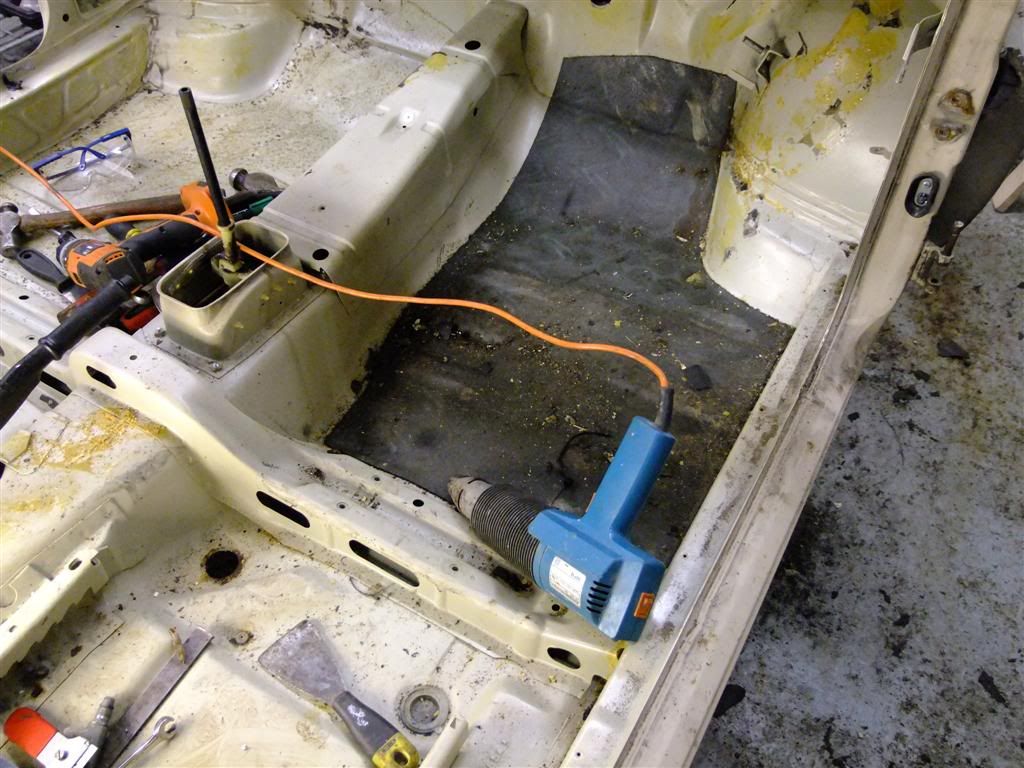
This black sh!t
Heat gun and scraped go!
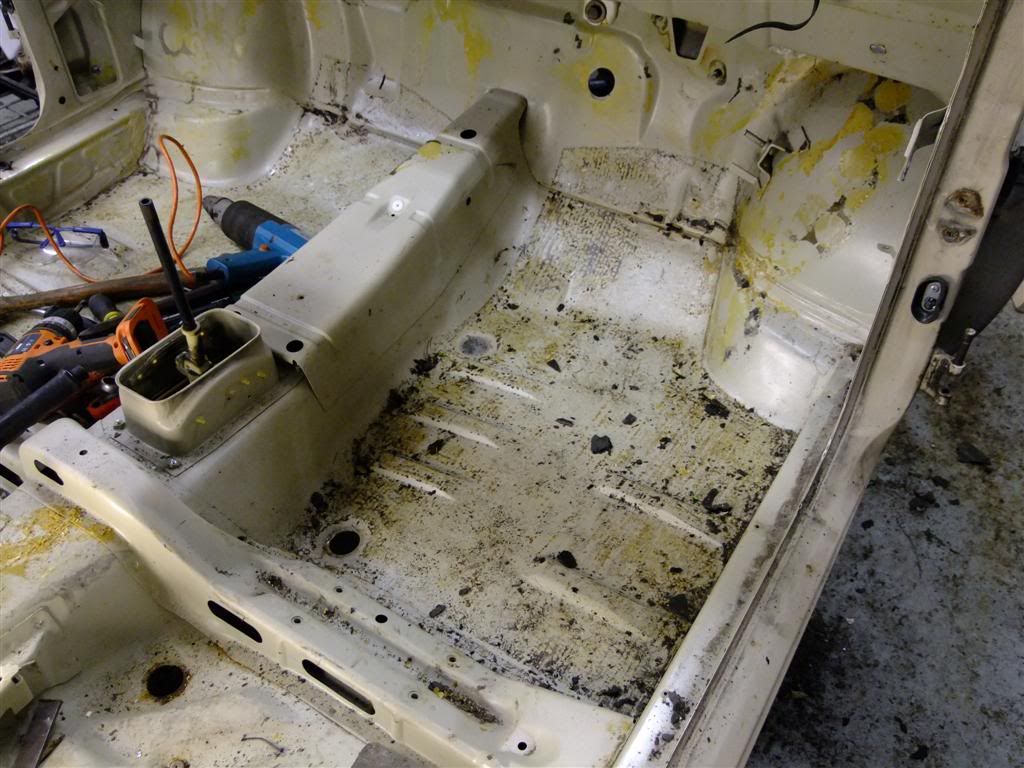
Nearly there
Much better
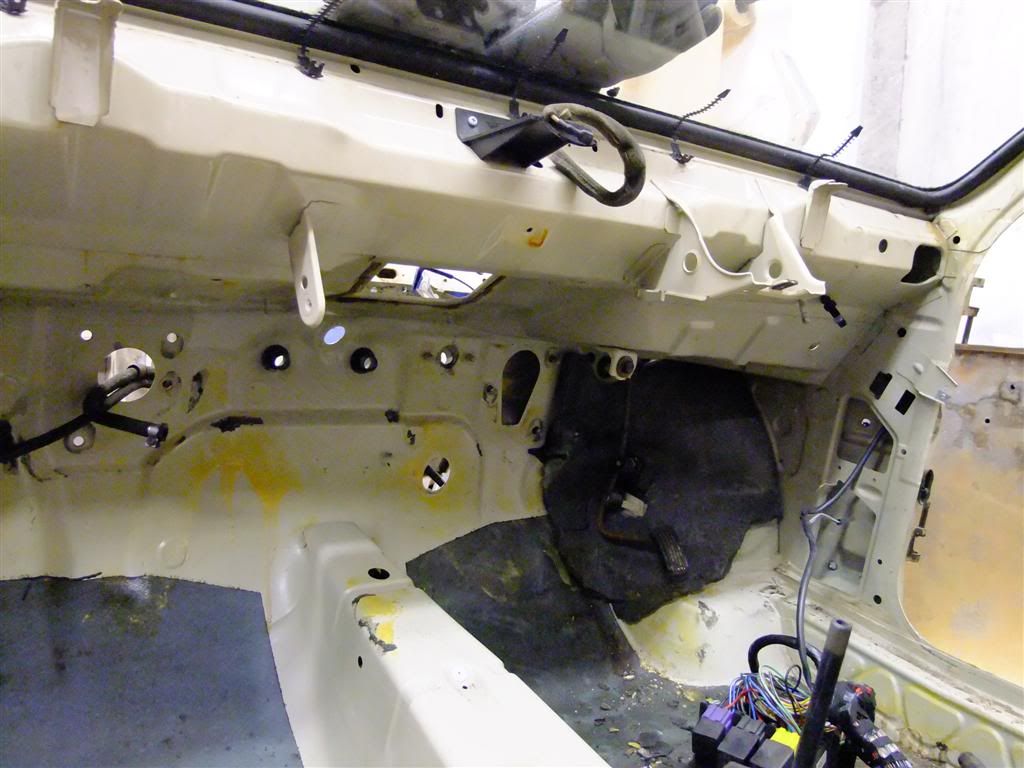
Then while I was at it I started on the passenger foot well
Getting there

And the drivers side
This was more difficult to get up fook knows why
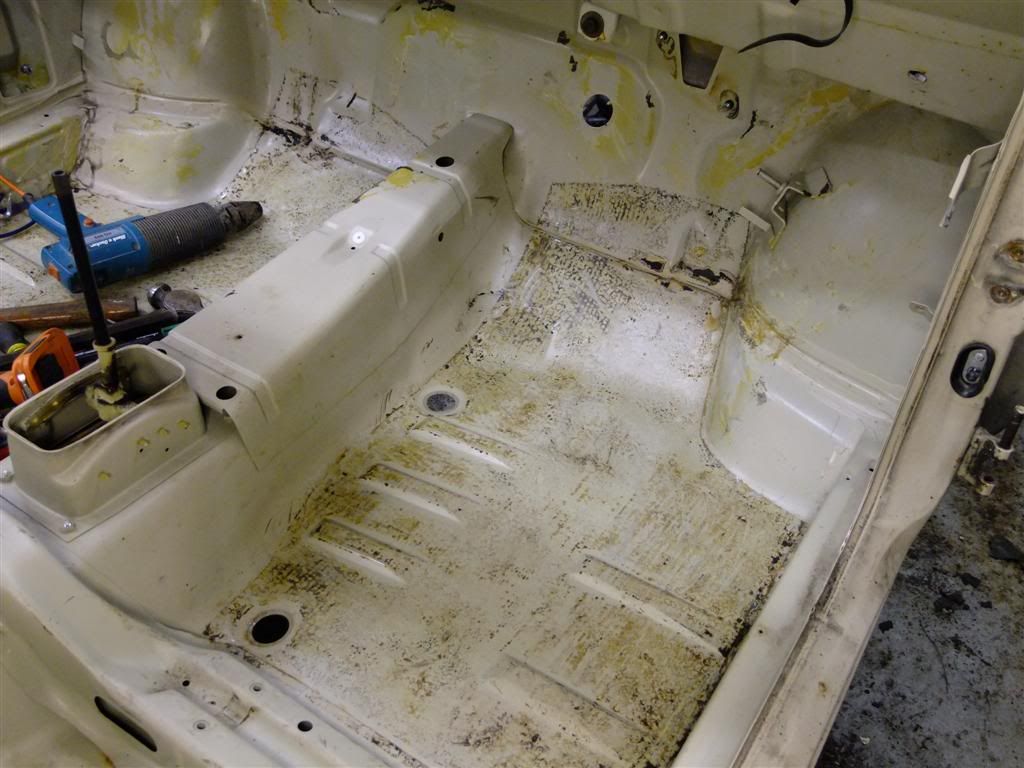
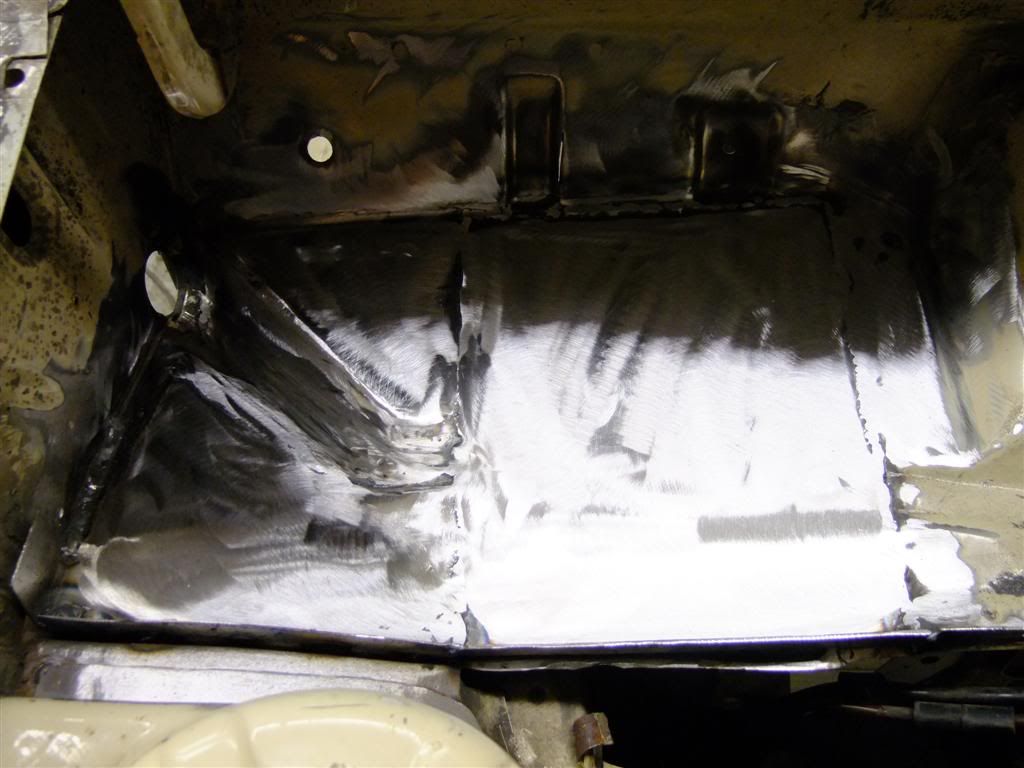
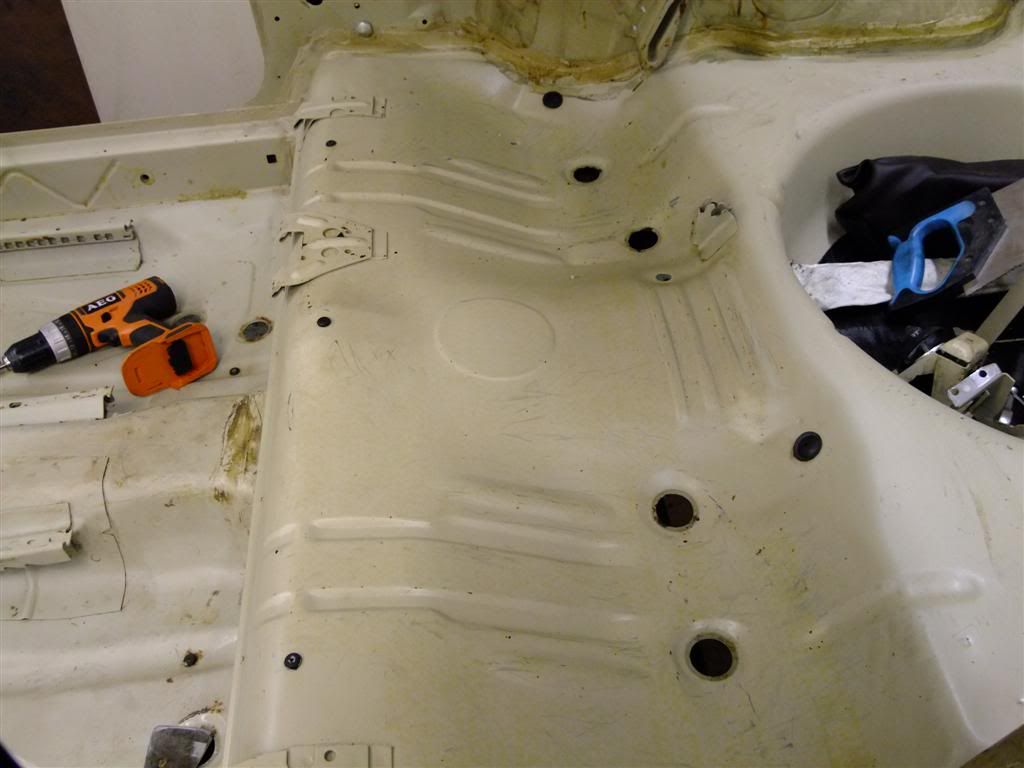
Finally I gave the area a good clean off with white spirit
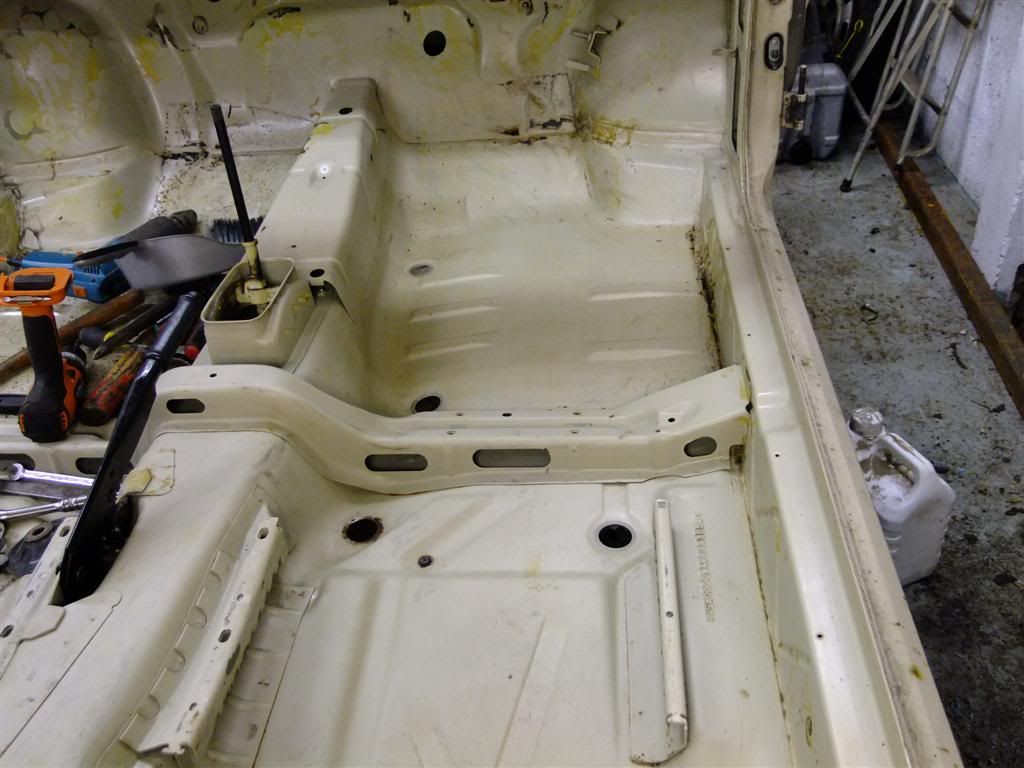
Bling!

Cleaned up the pass side
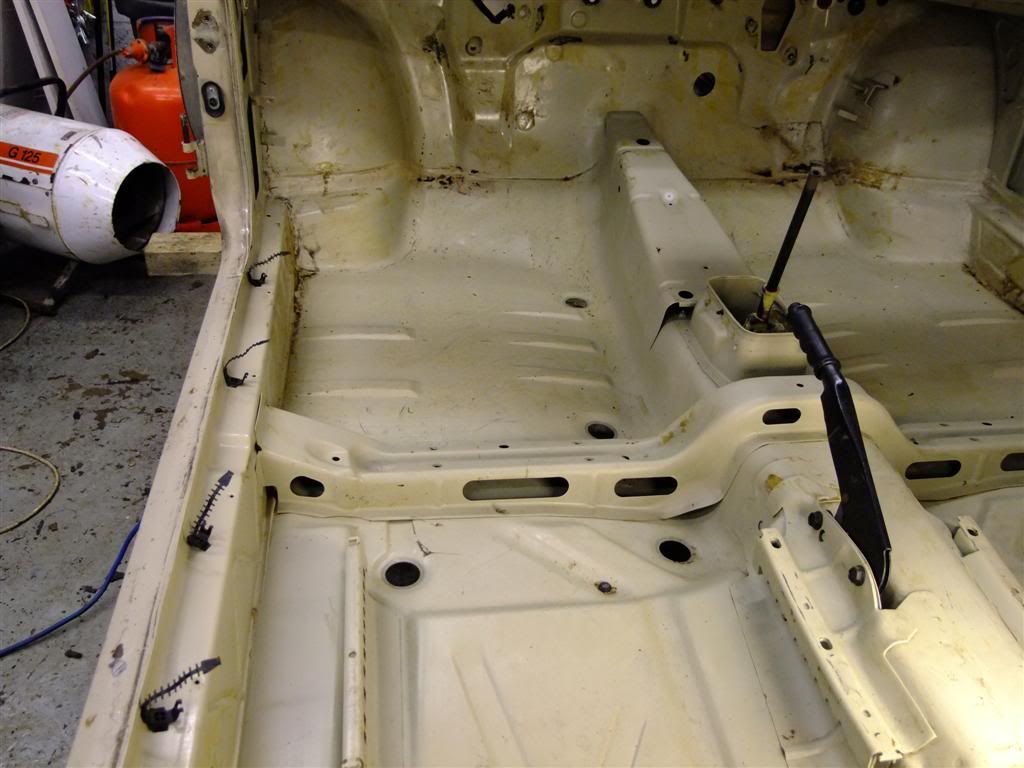
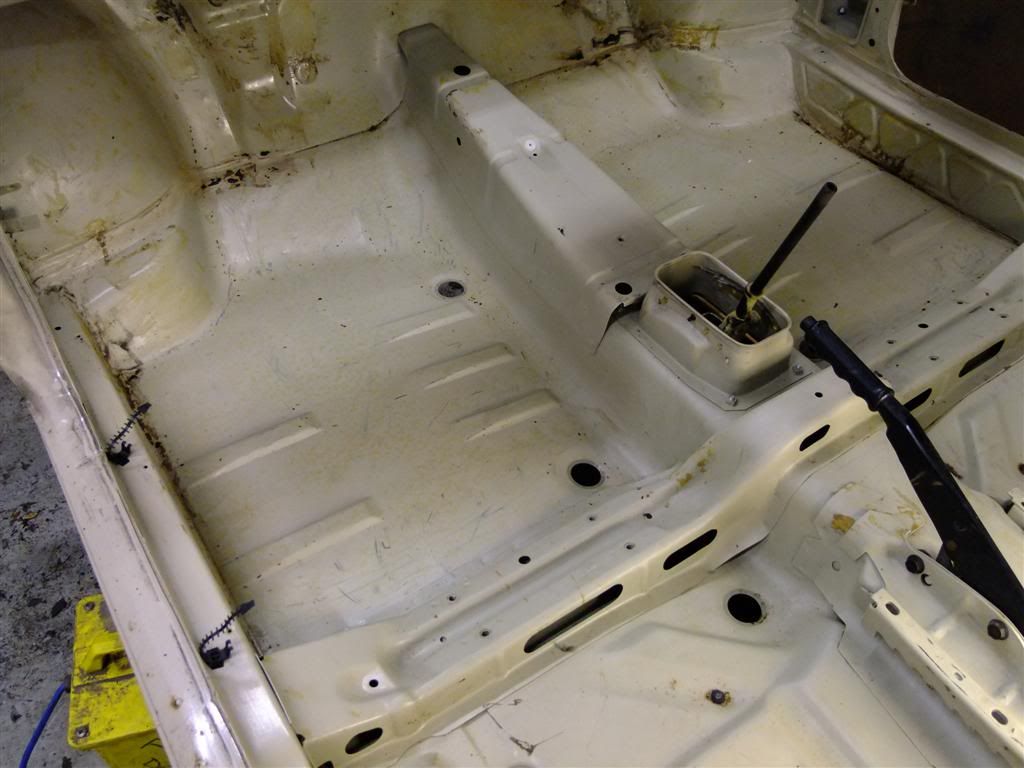
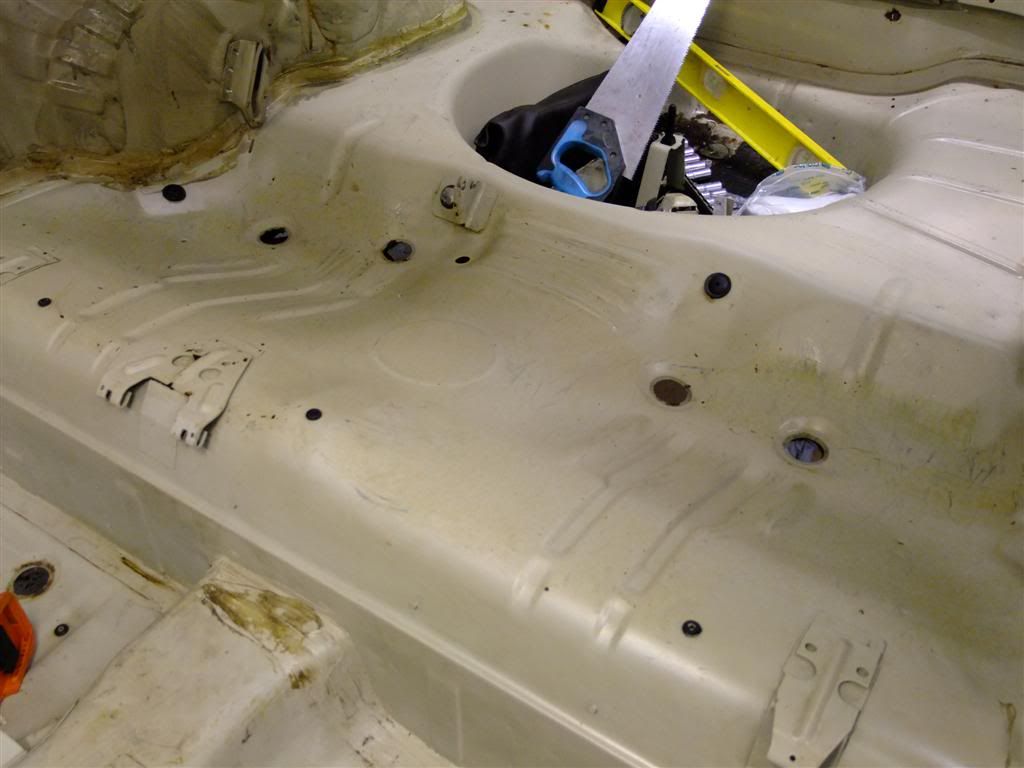
And in the back
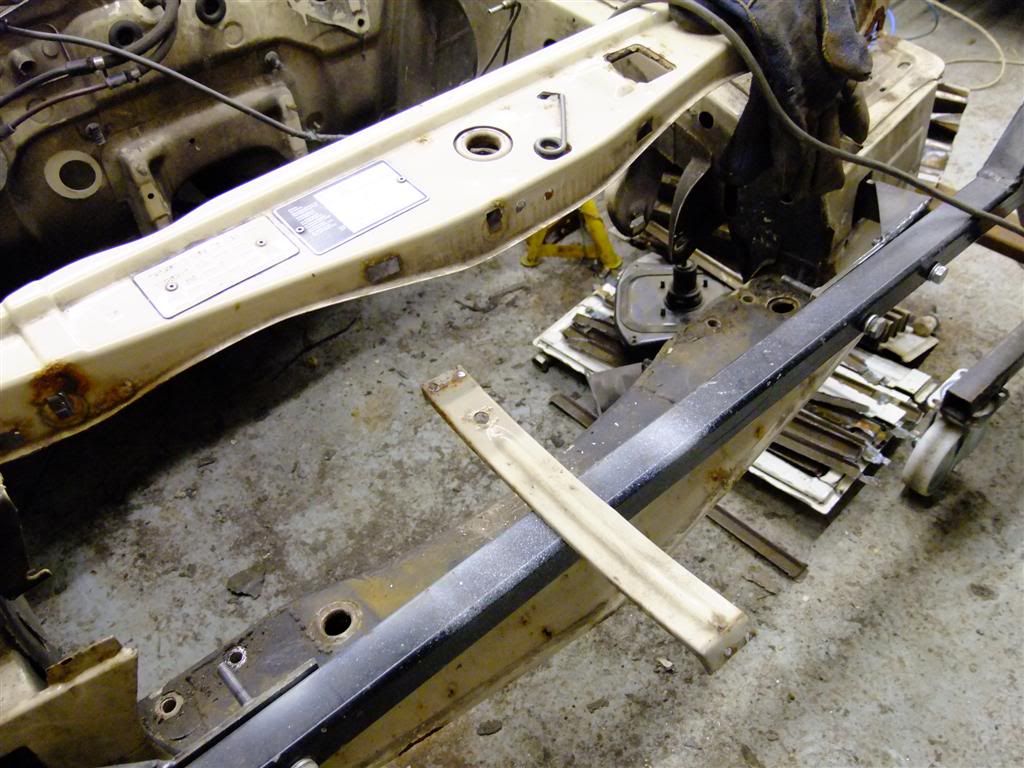
I decided I wanted to get the car a little more mobile so on the roll over frame it was.
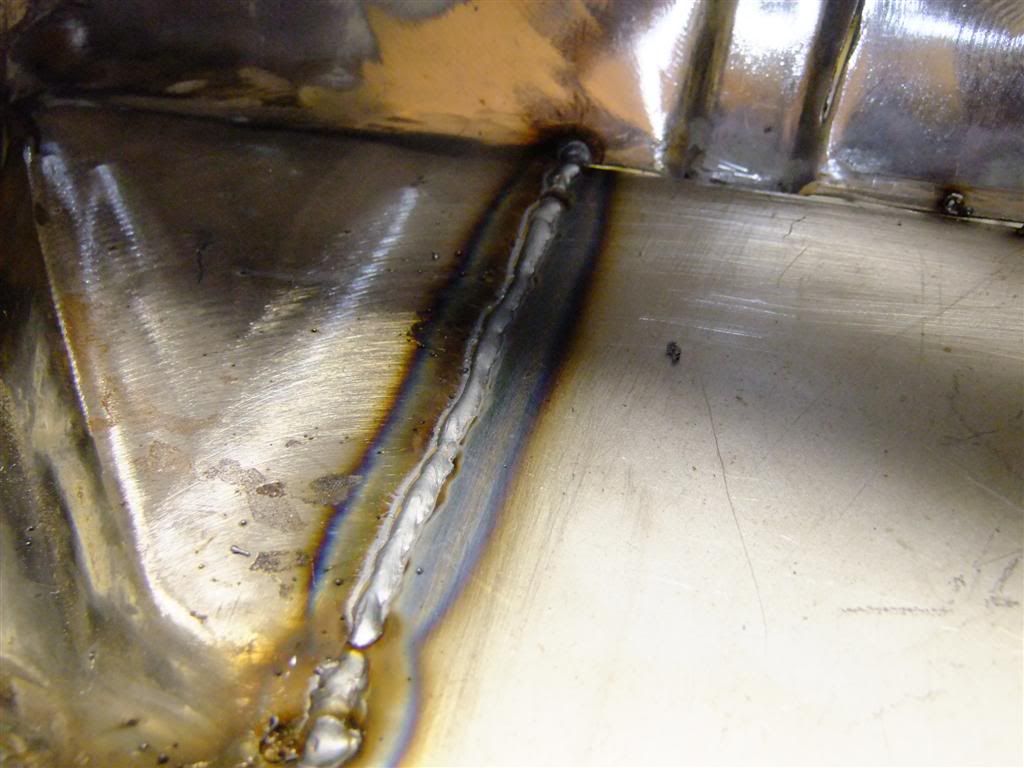
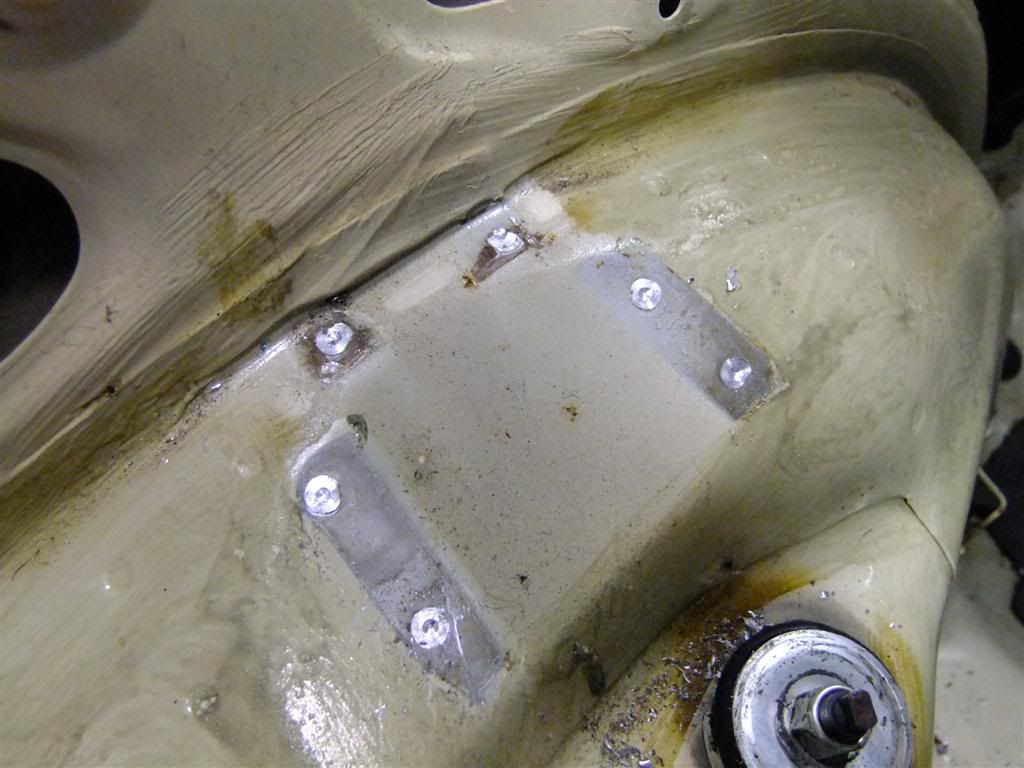
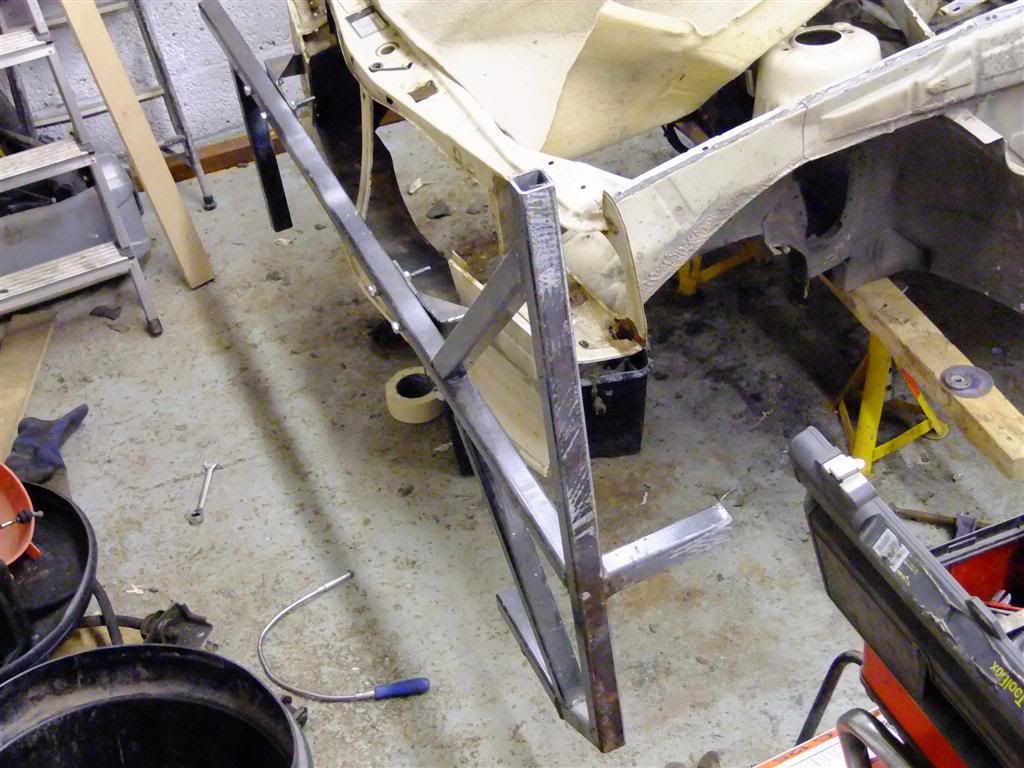
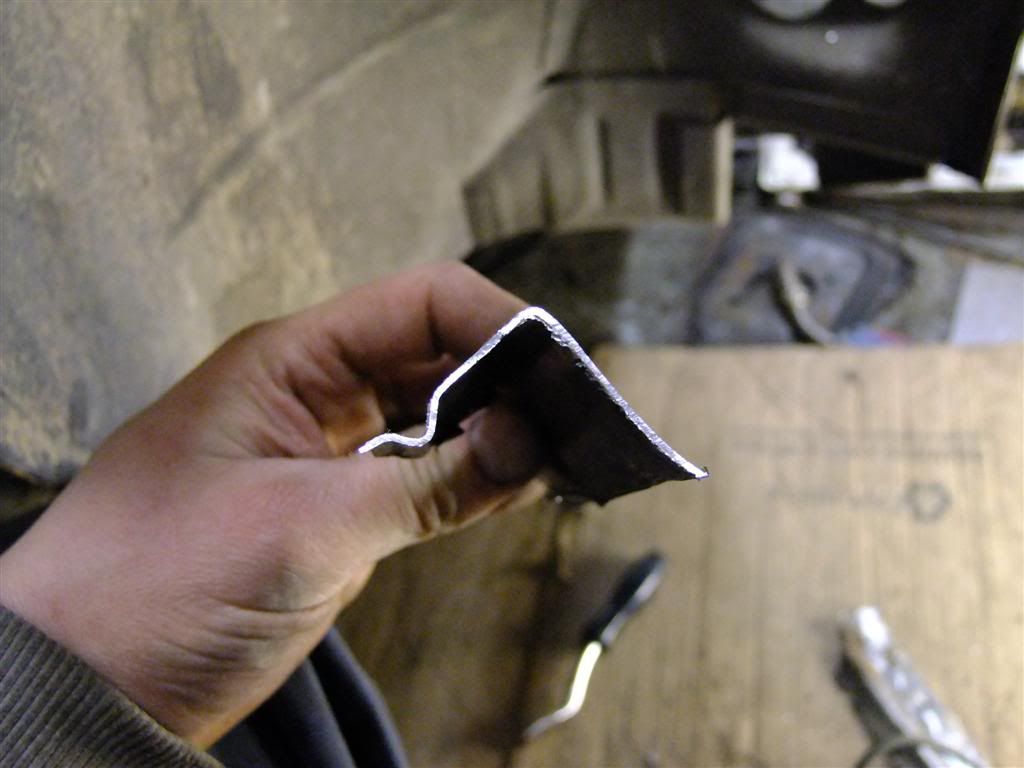
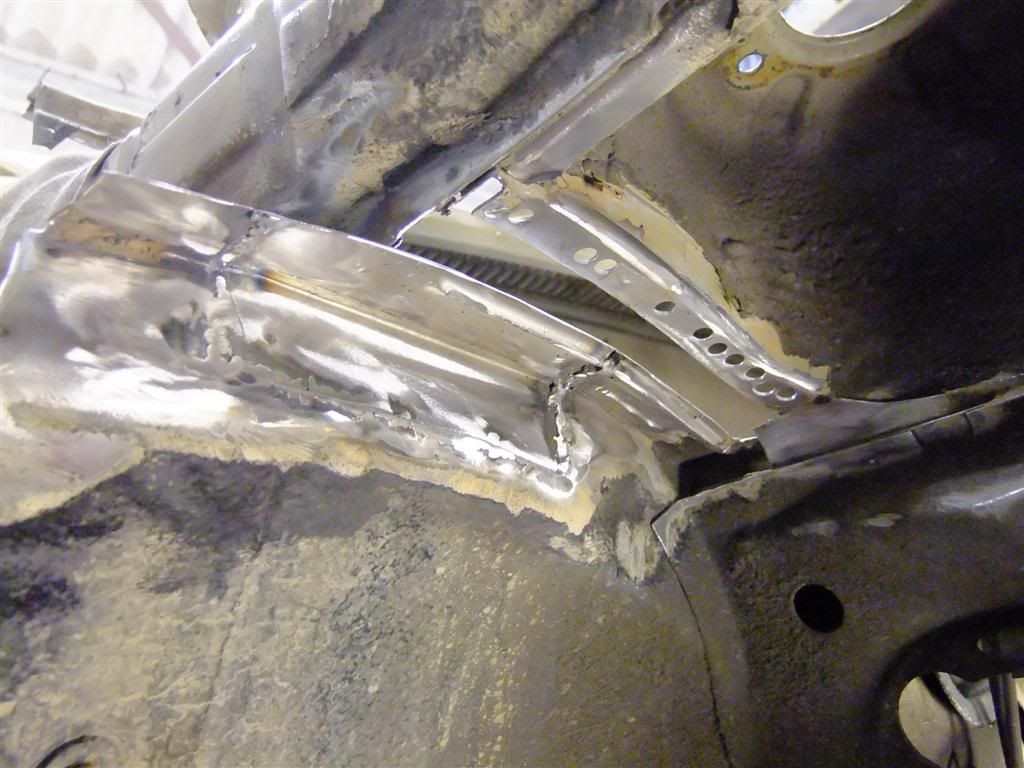
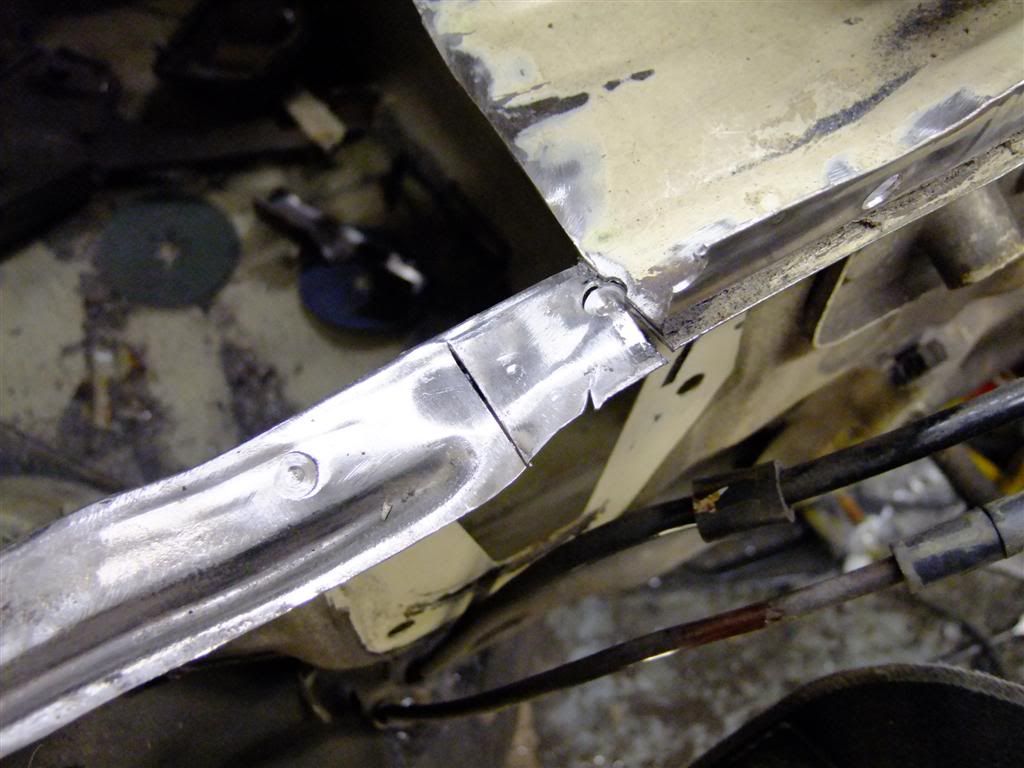
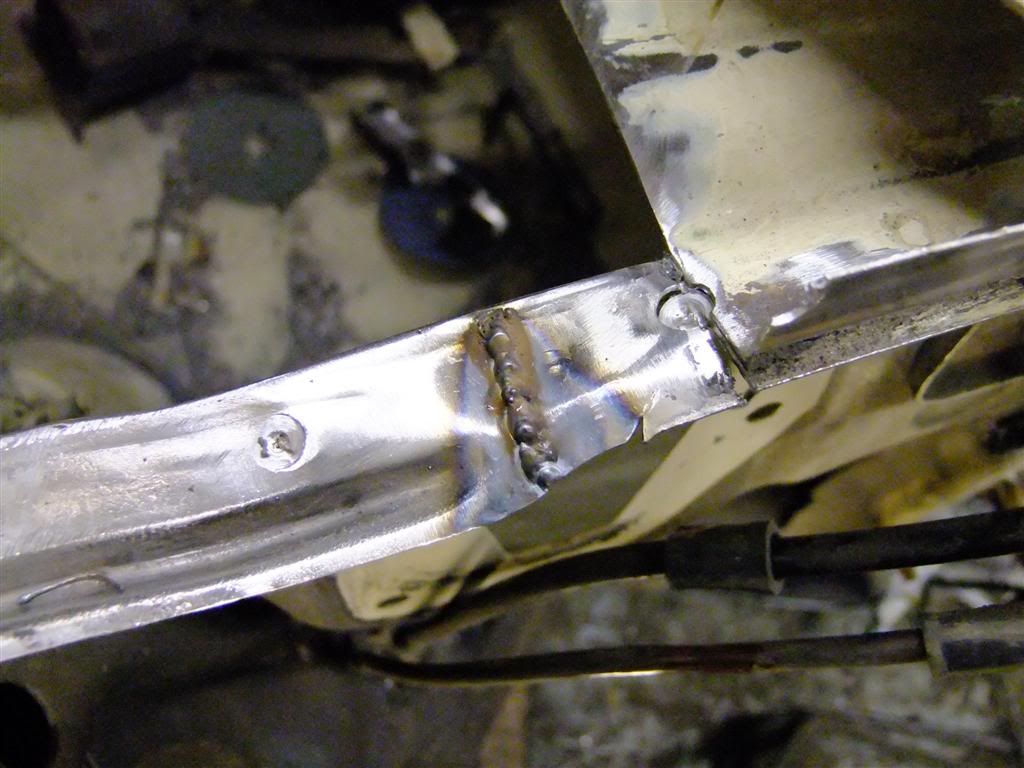
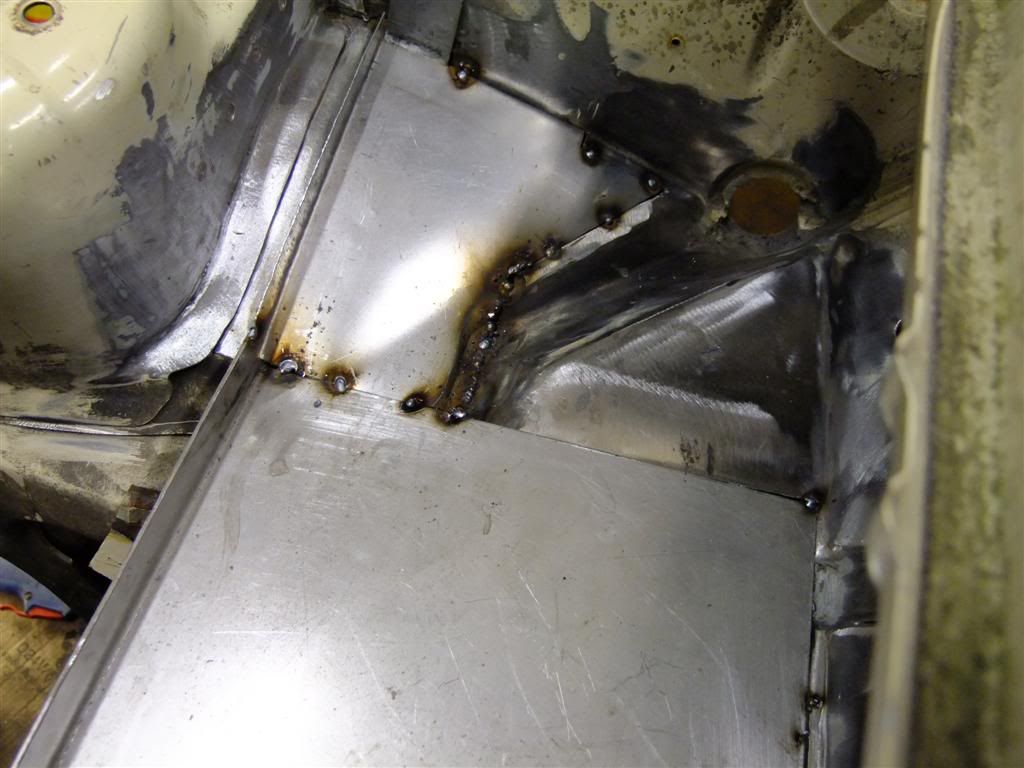
First I wanted to strengthen up the brackets I had previously used so welded in the triangular section below
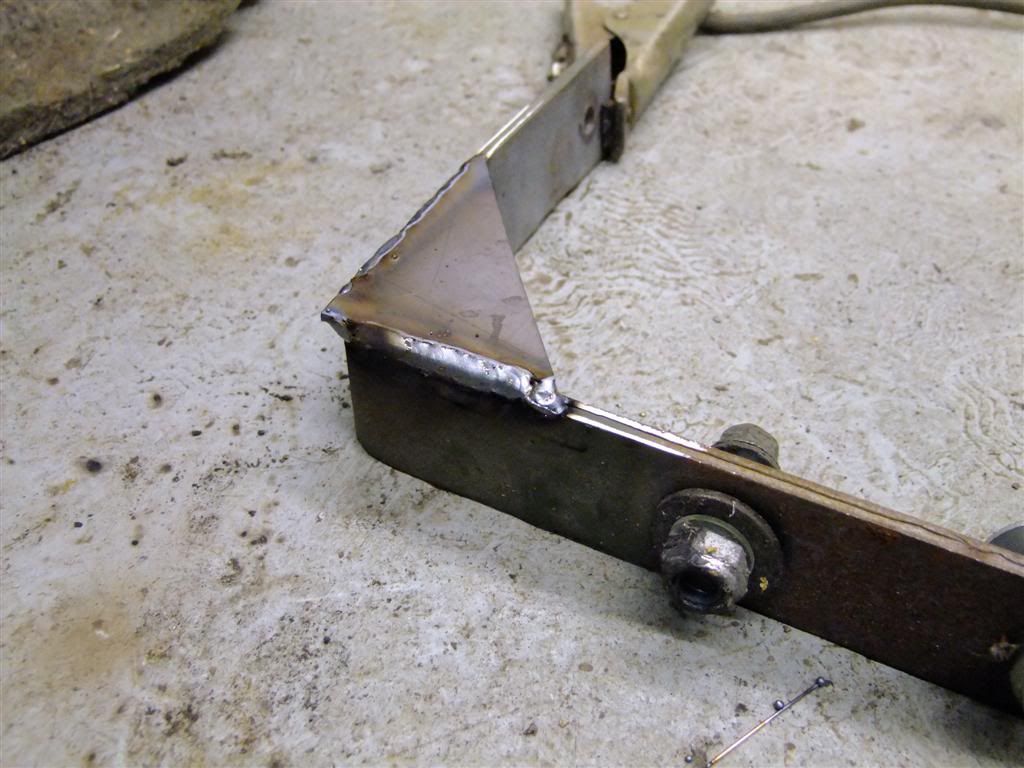
Both complete
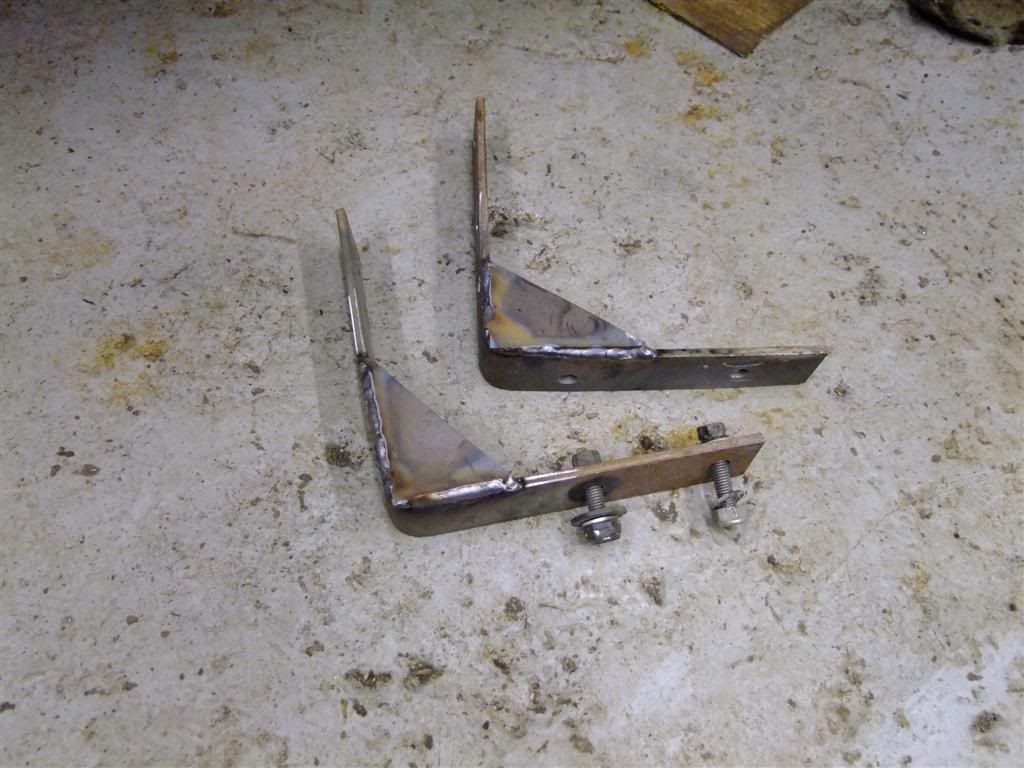
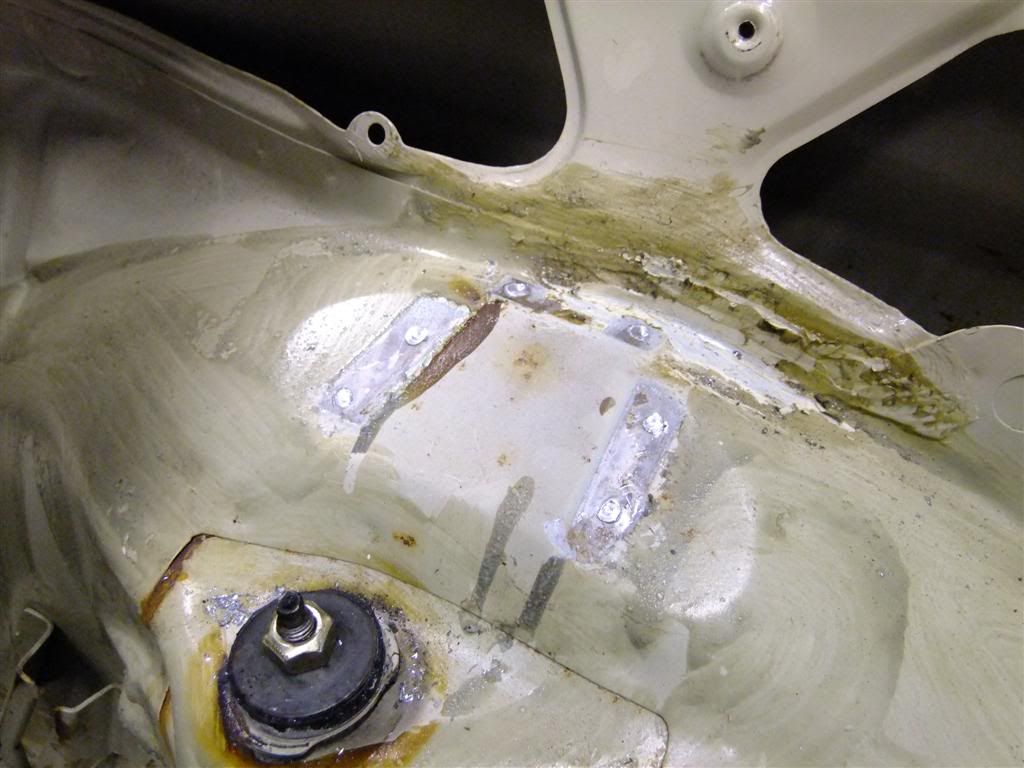
And fitted to the car
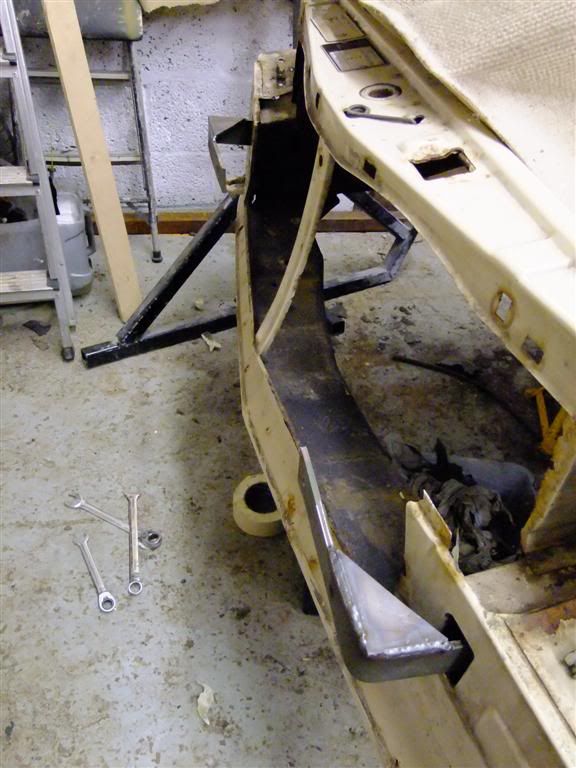
Then fitted the frame front and rear
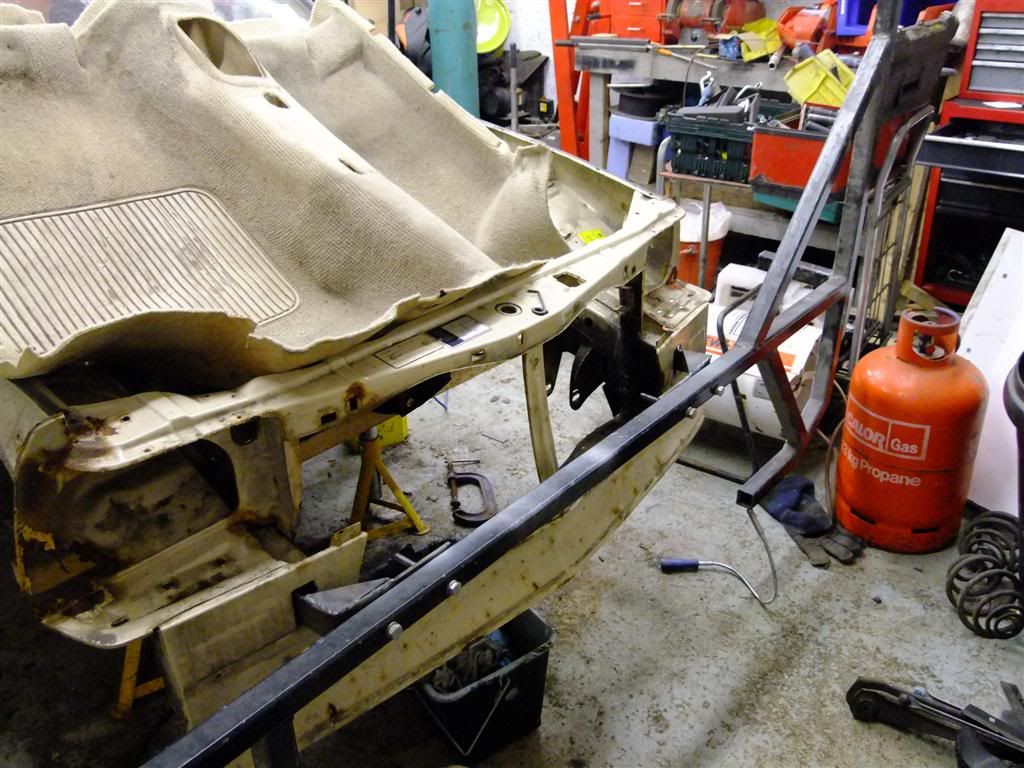
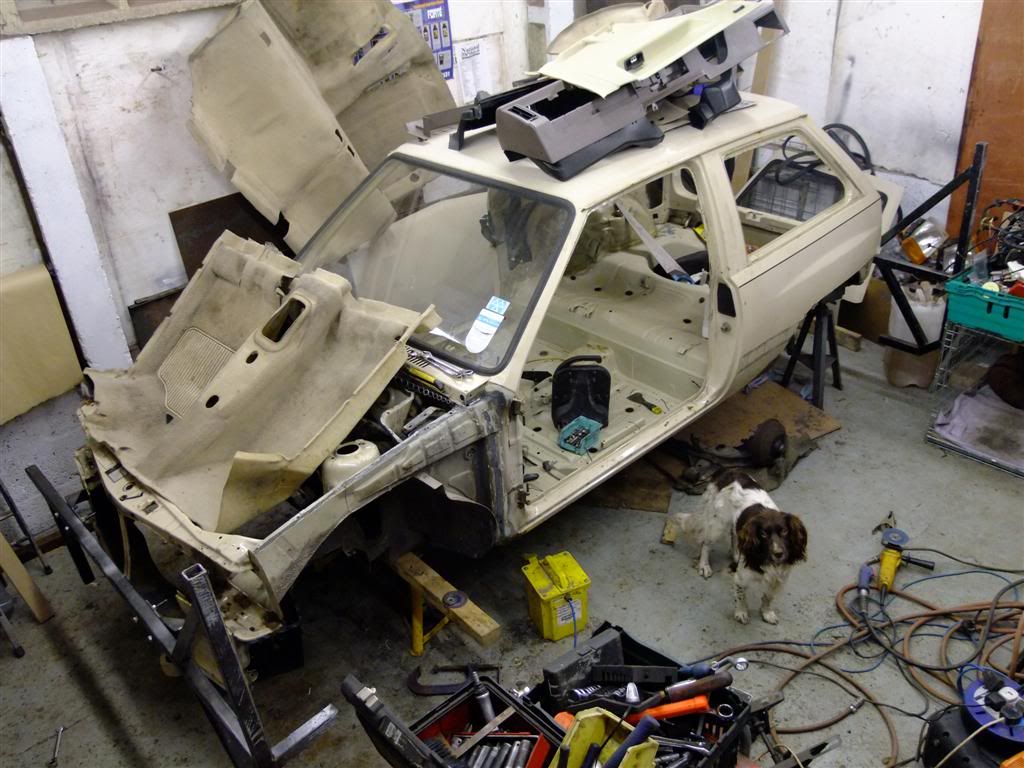
And an over all shot just because - its a mess I know and the dogs looking at me like wtf are you doing!
The take 4 castors
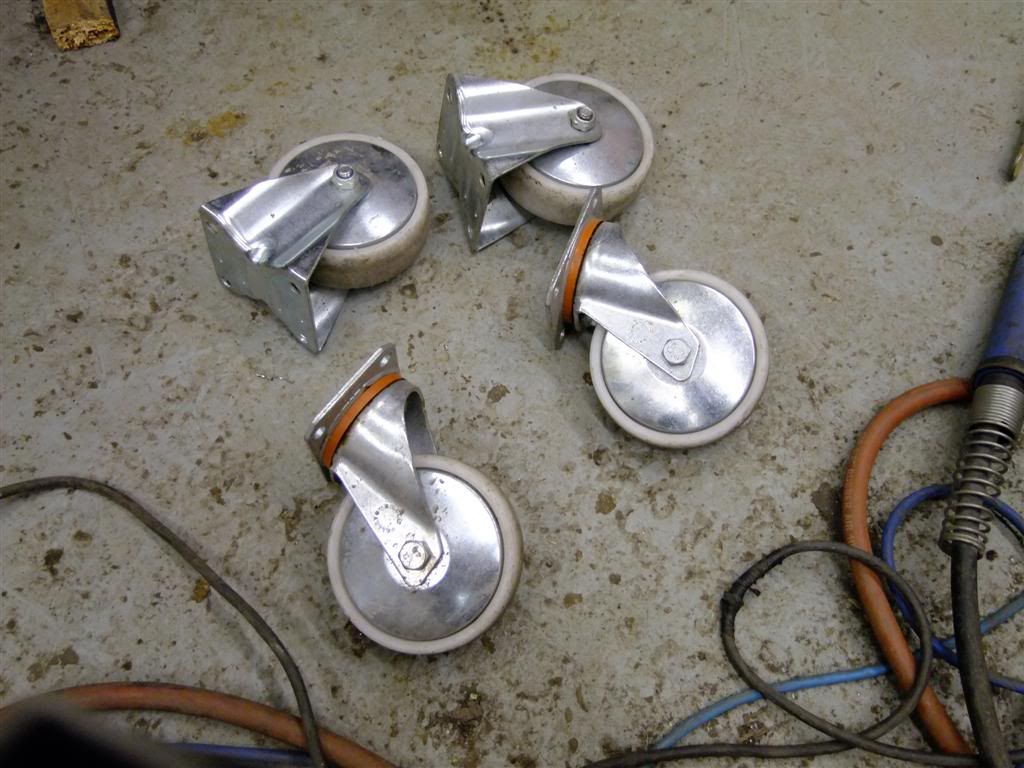
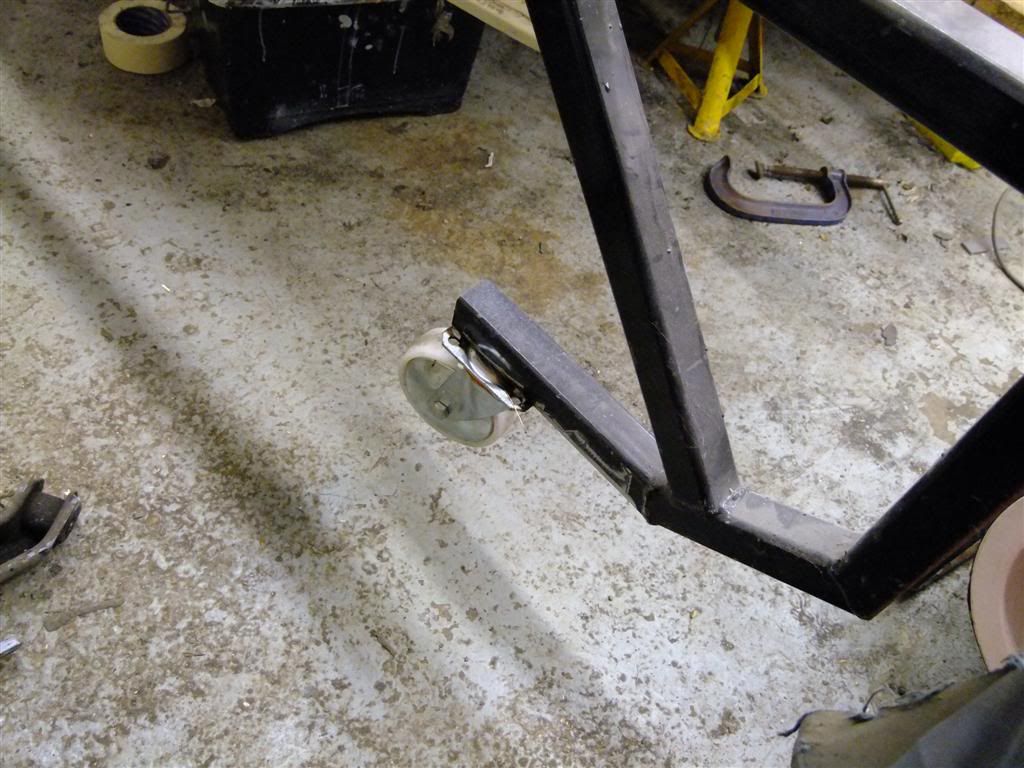
And weld them here, thus giving mobility
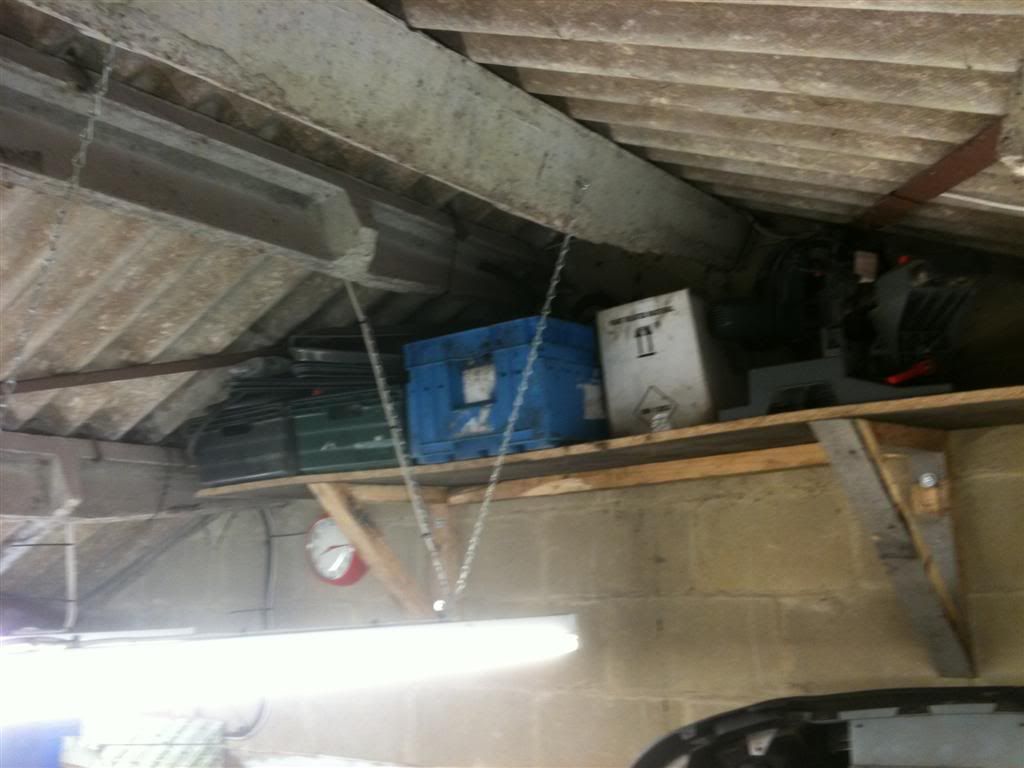
Then to aid the mess issue I knocked up a shelf for some storage
After much procrastination waisting my time tidying up I finally got round to doing something.
Started here and removed this
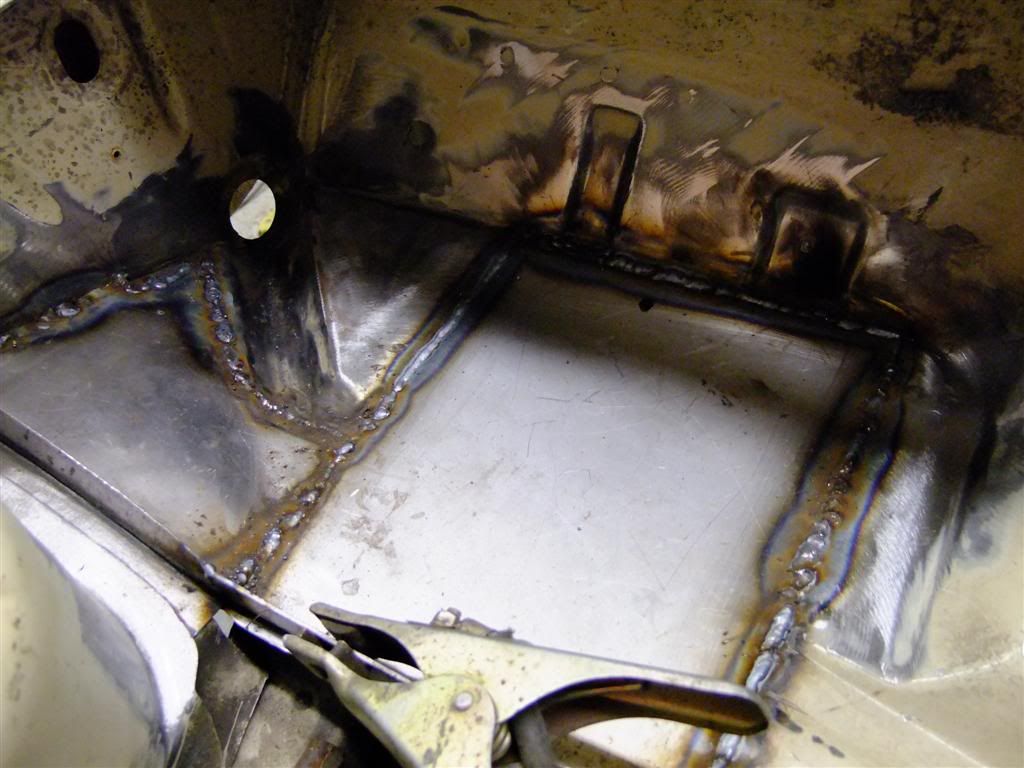
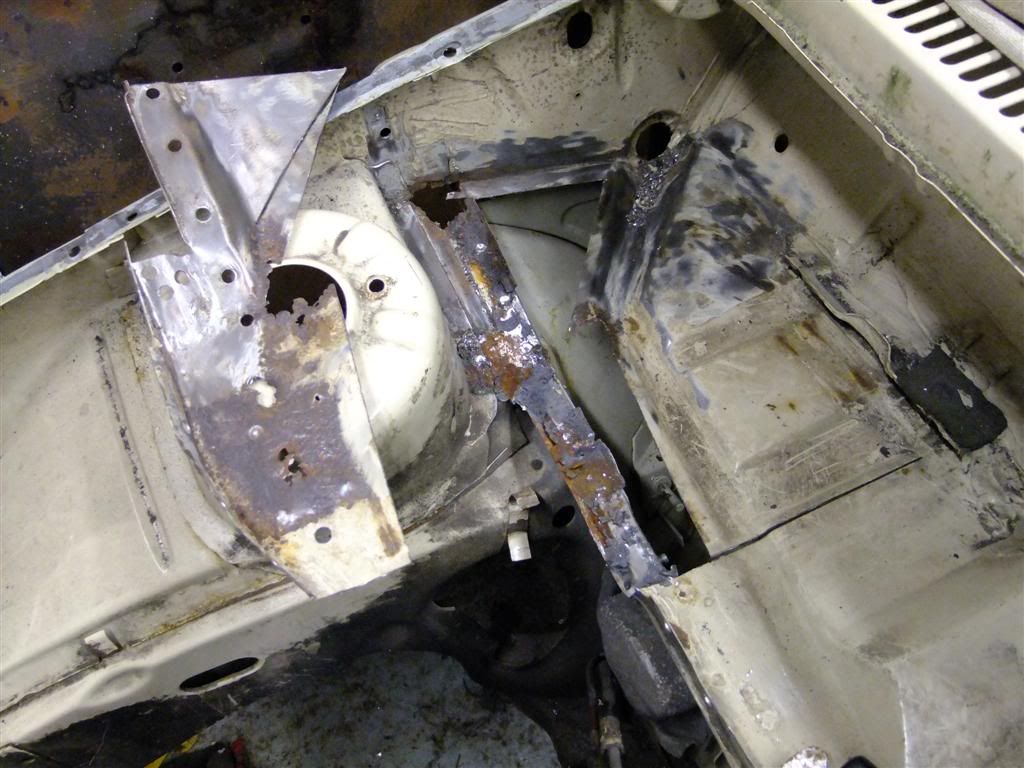
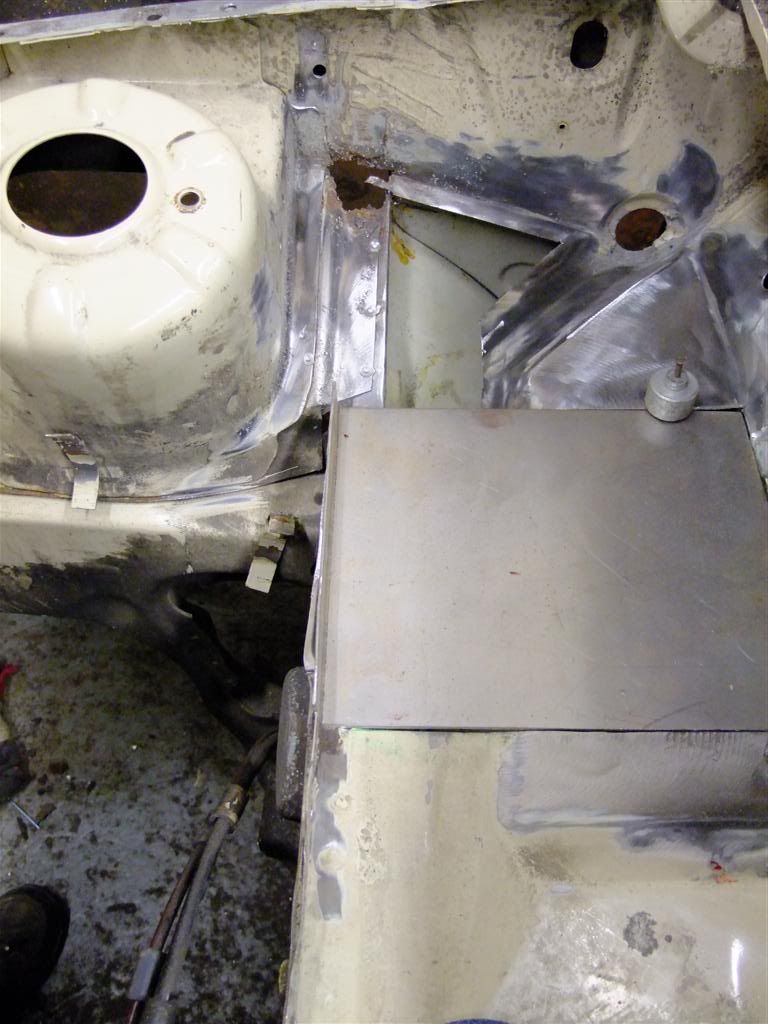
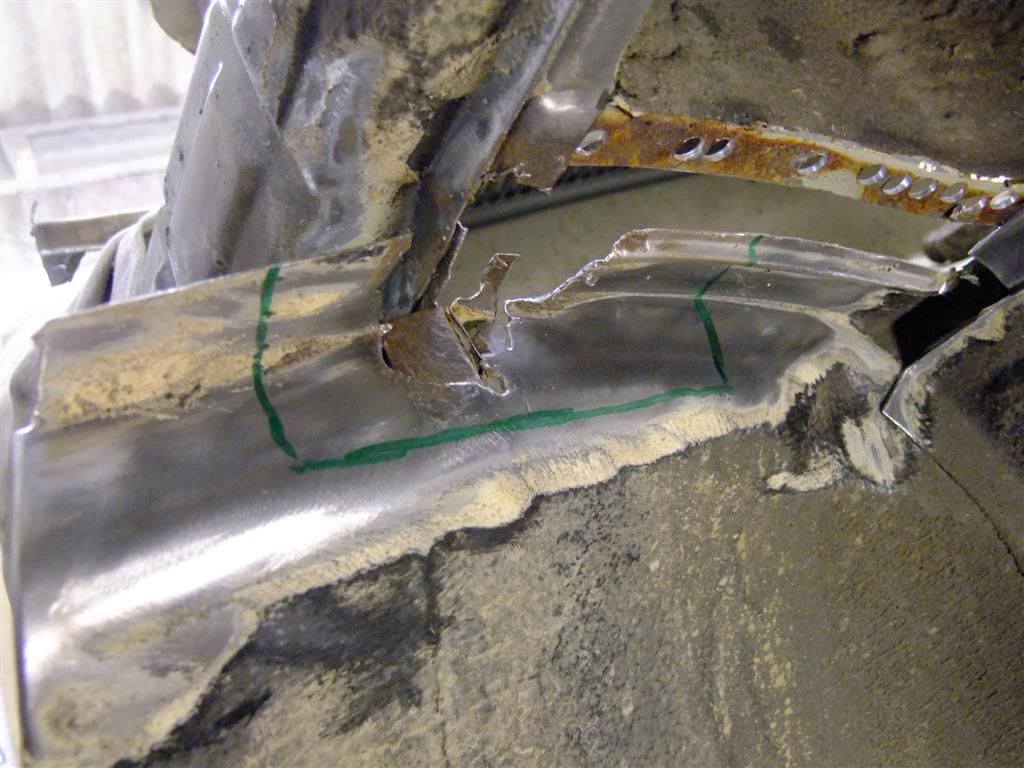
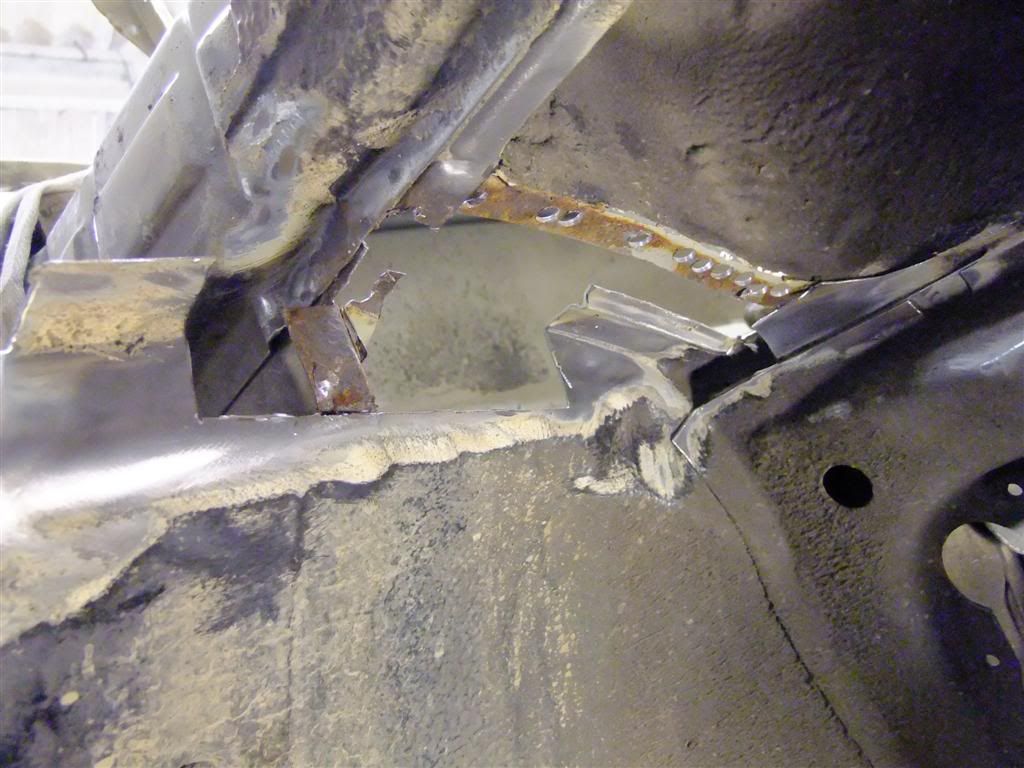
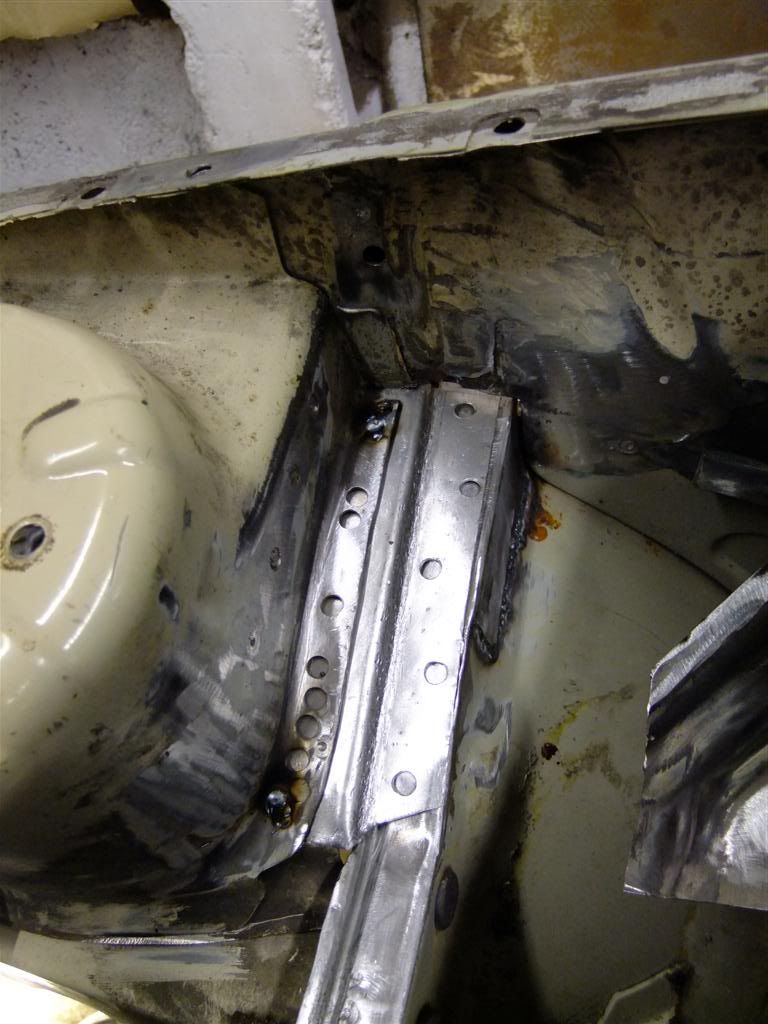
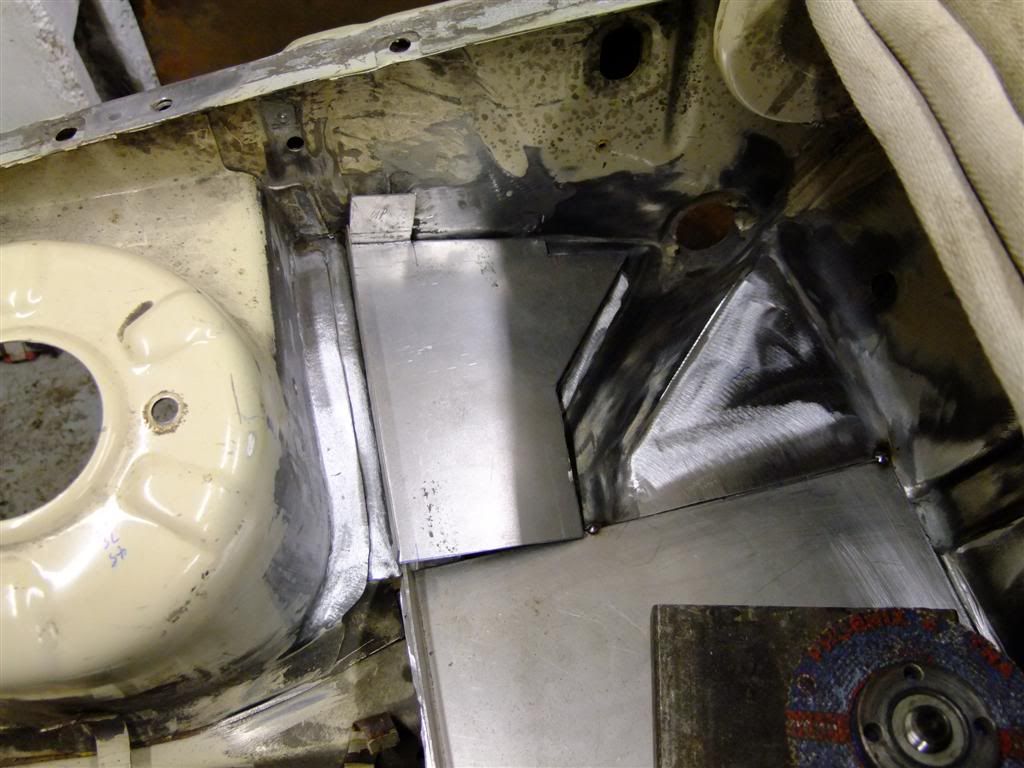
Then I decided to tackle the rust hole in the battery tray and the base for the corsa B brake pedal assembly
So I began with this - removing a few obvious spot welds
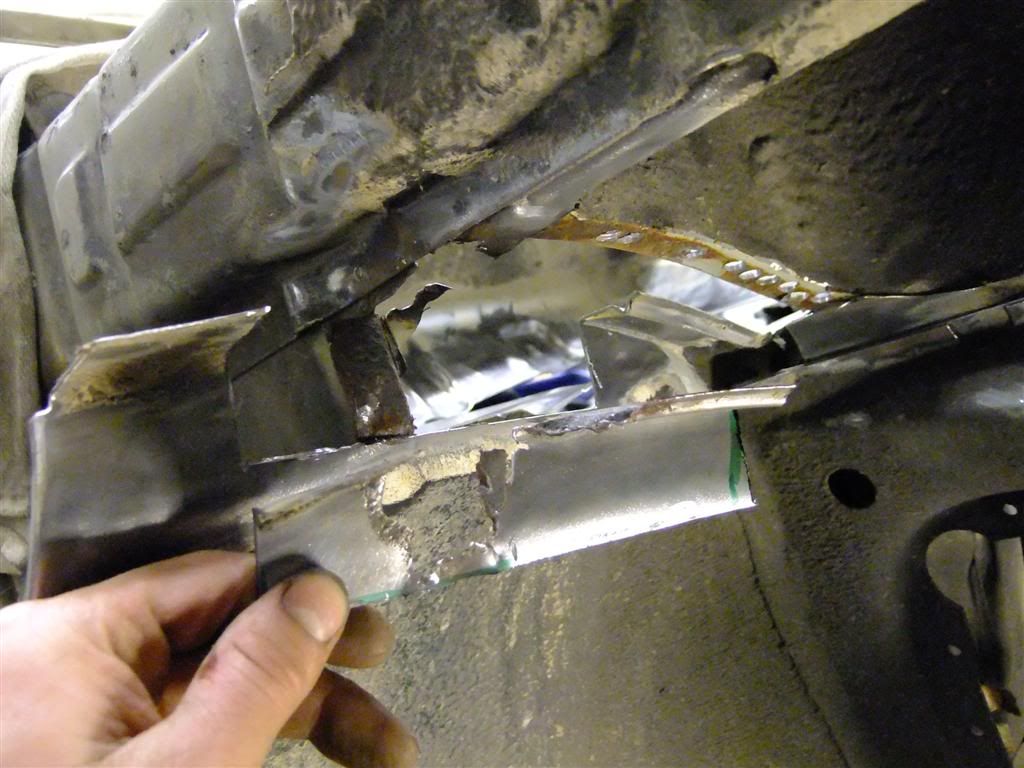
Then out with a few more less obvious ones and most of the rusted metal
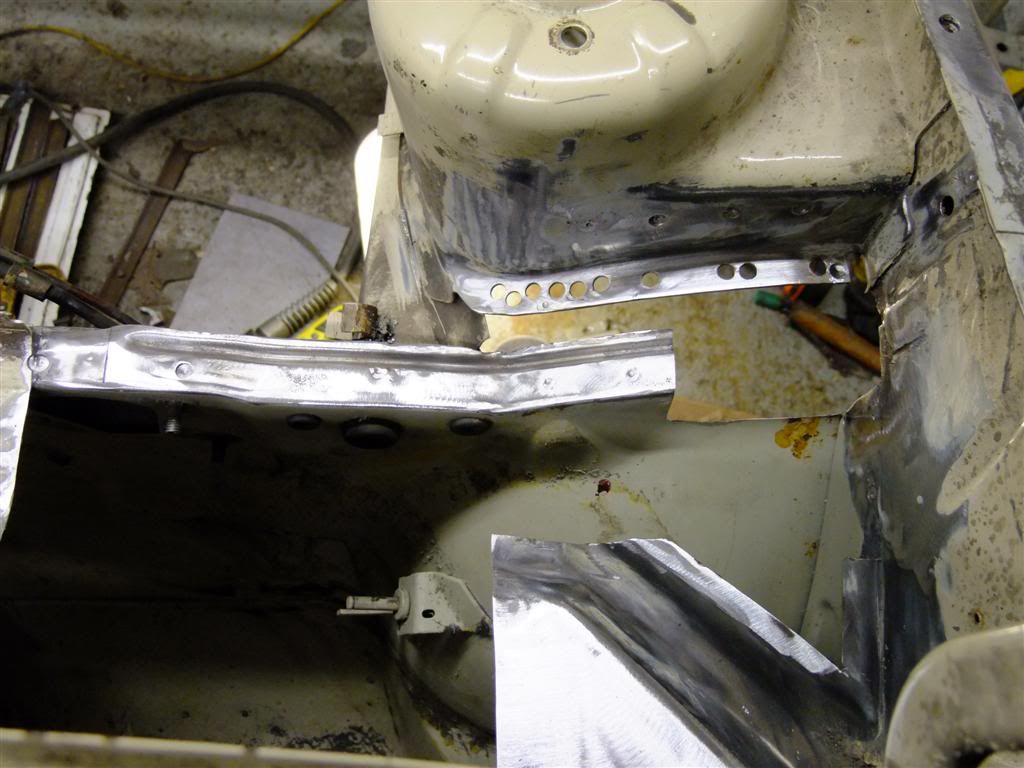
Gave the general area a clean up to see what I was dealing with
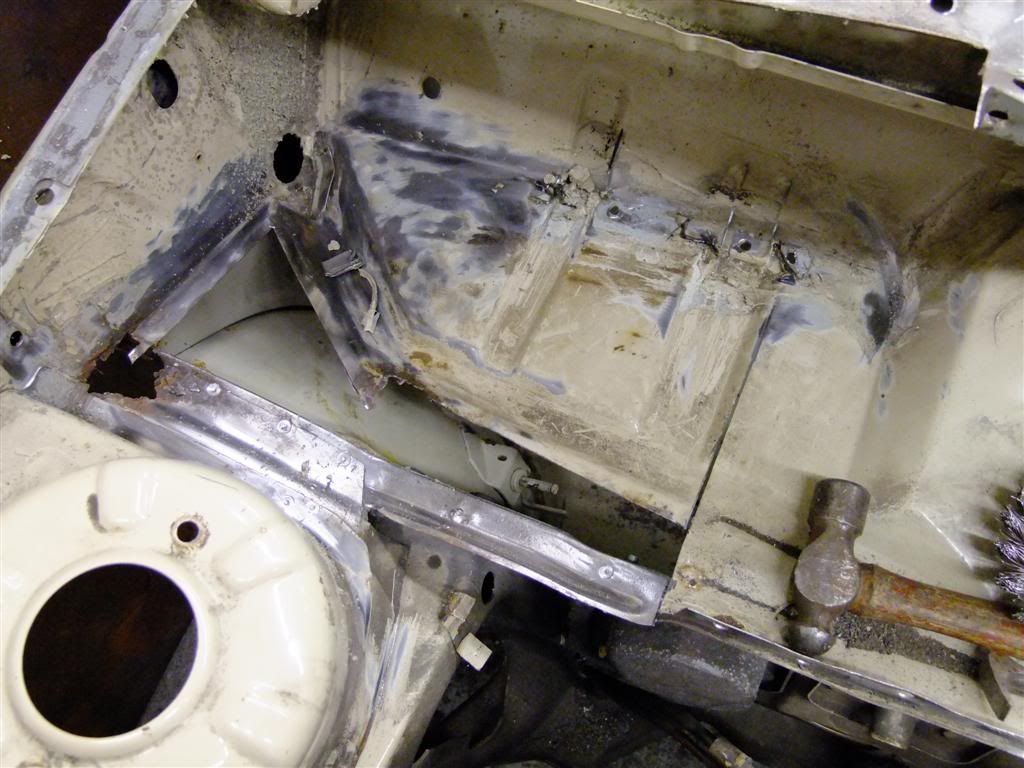
cut some more out
Followed by further cleaning
And the removal of the last of the battery clamp
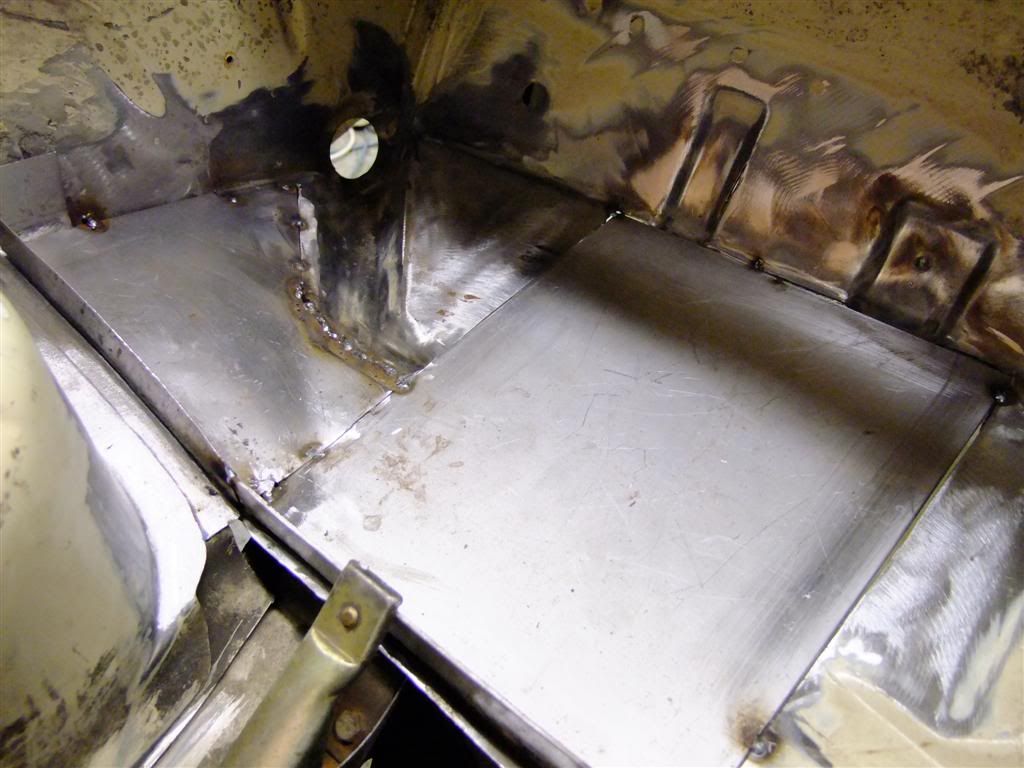
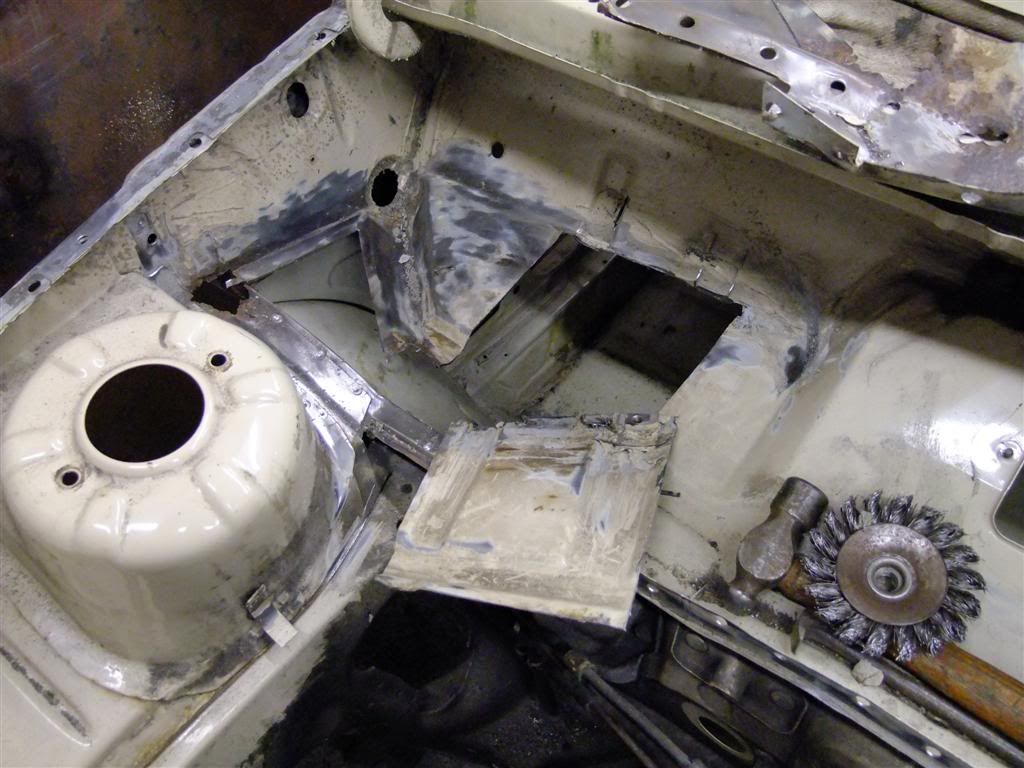
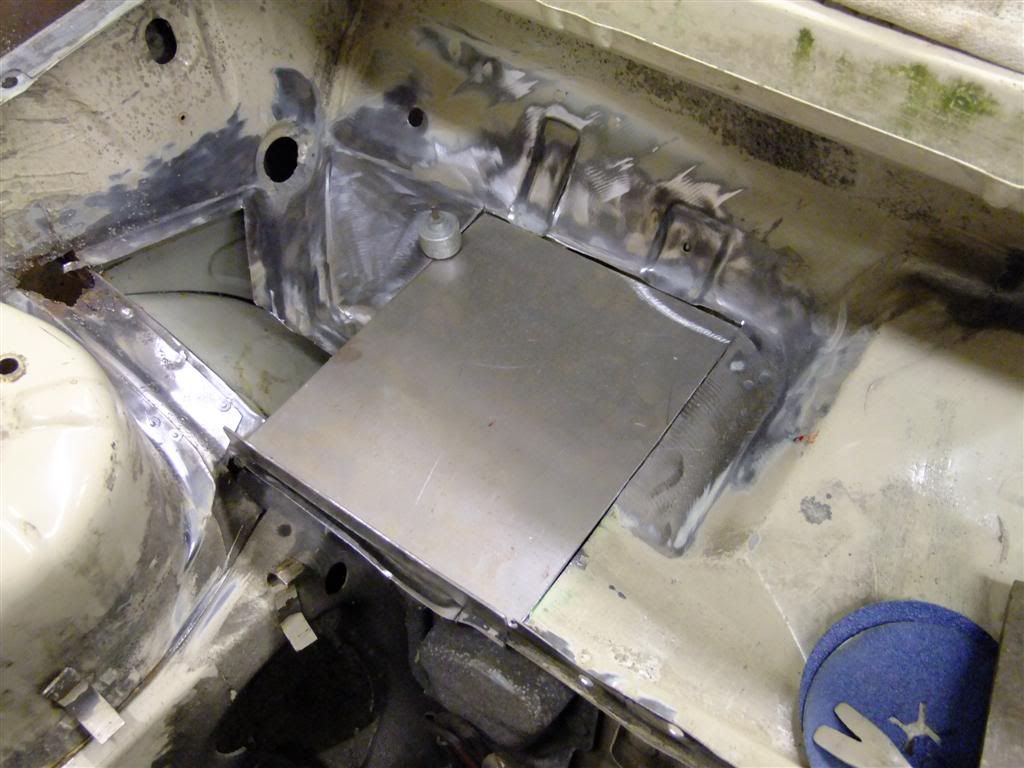
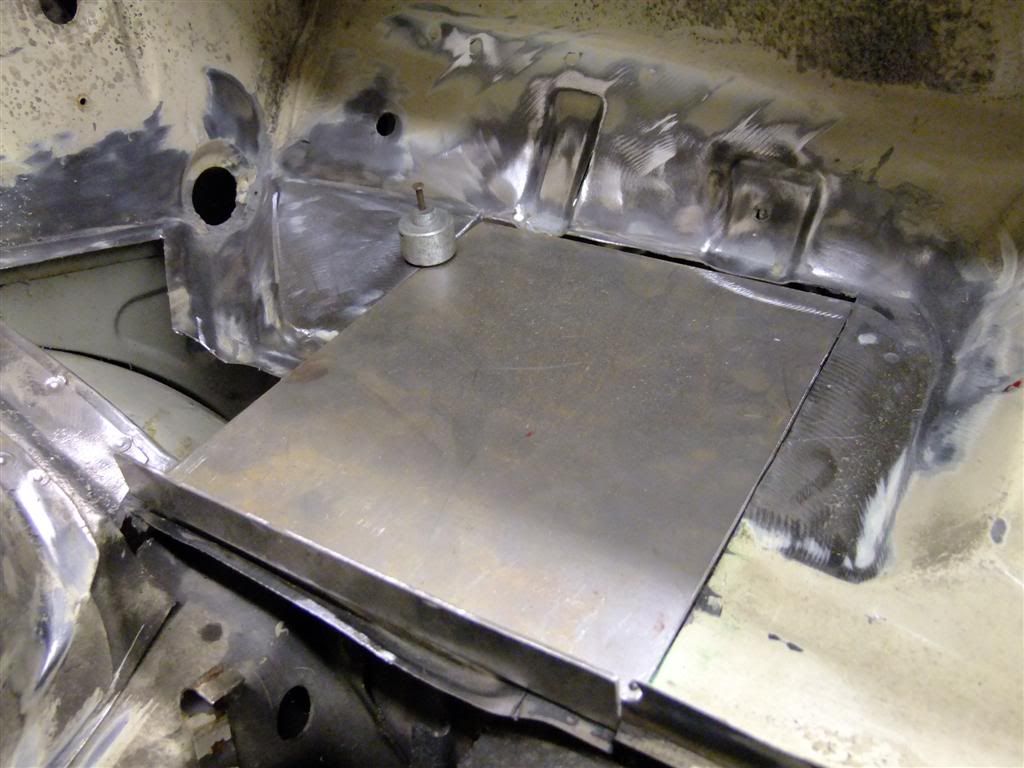
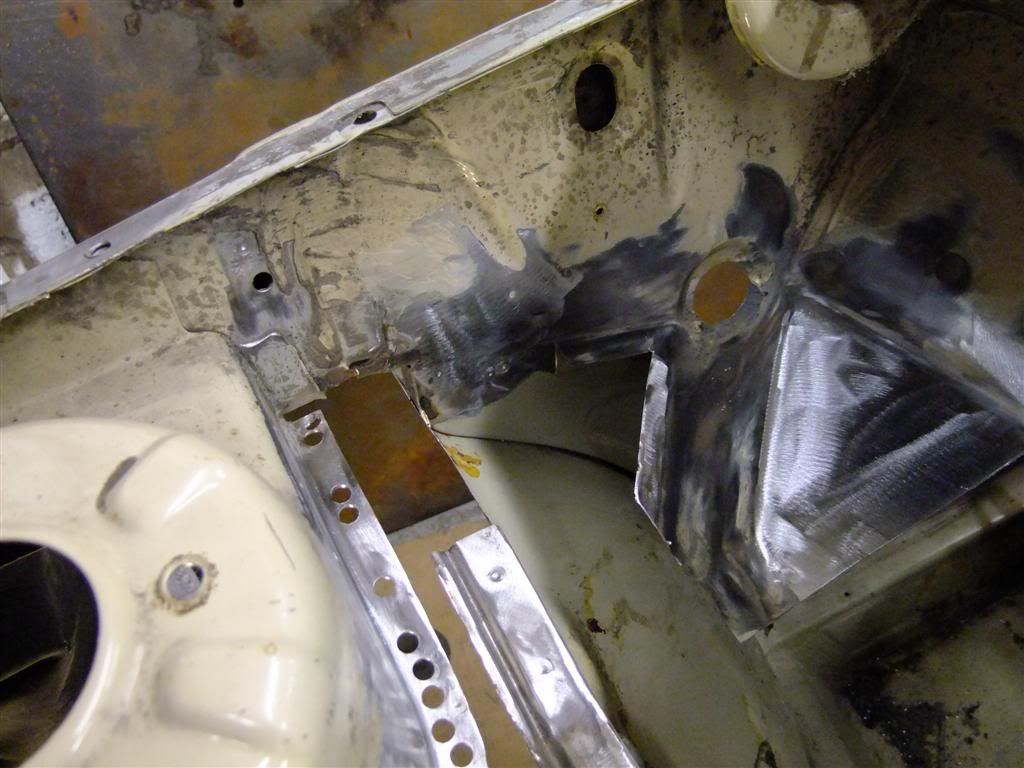
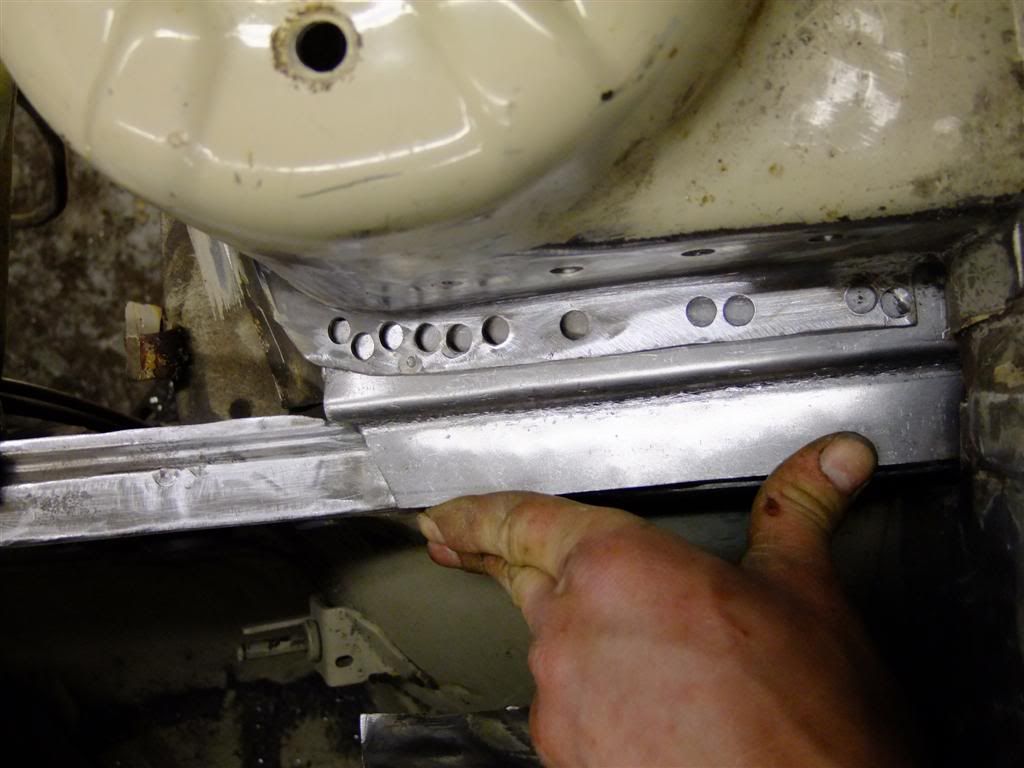
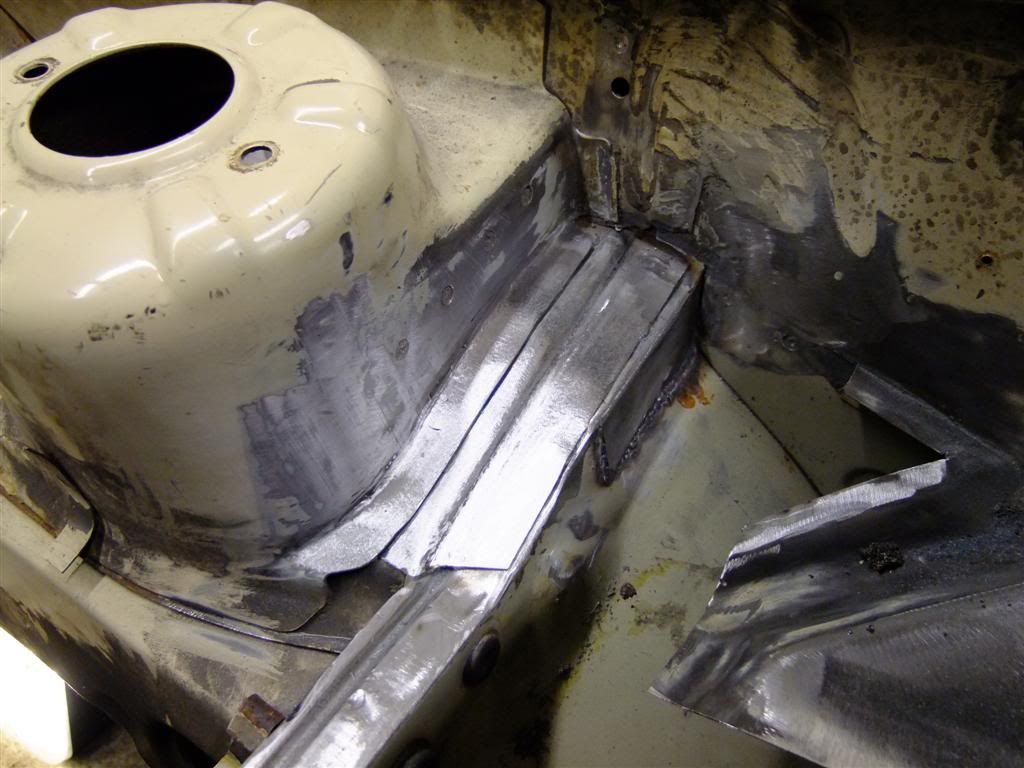
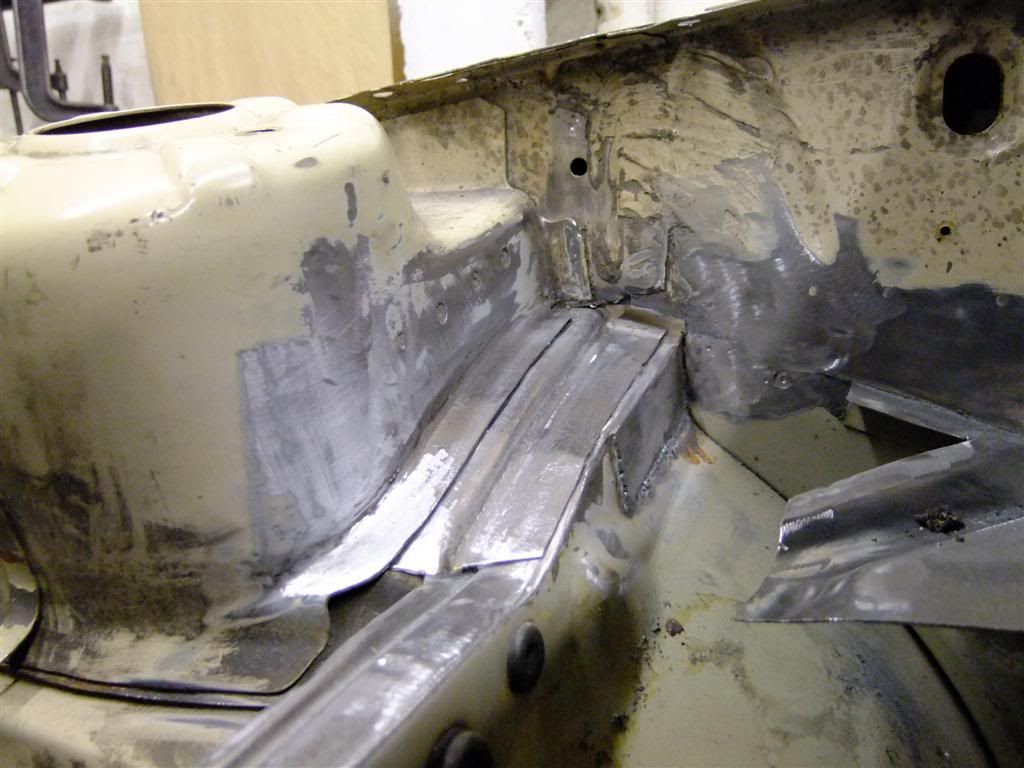
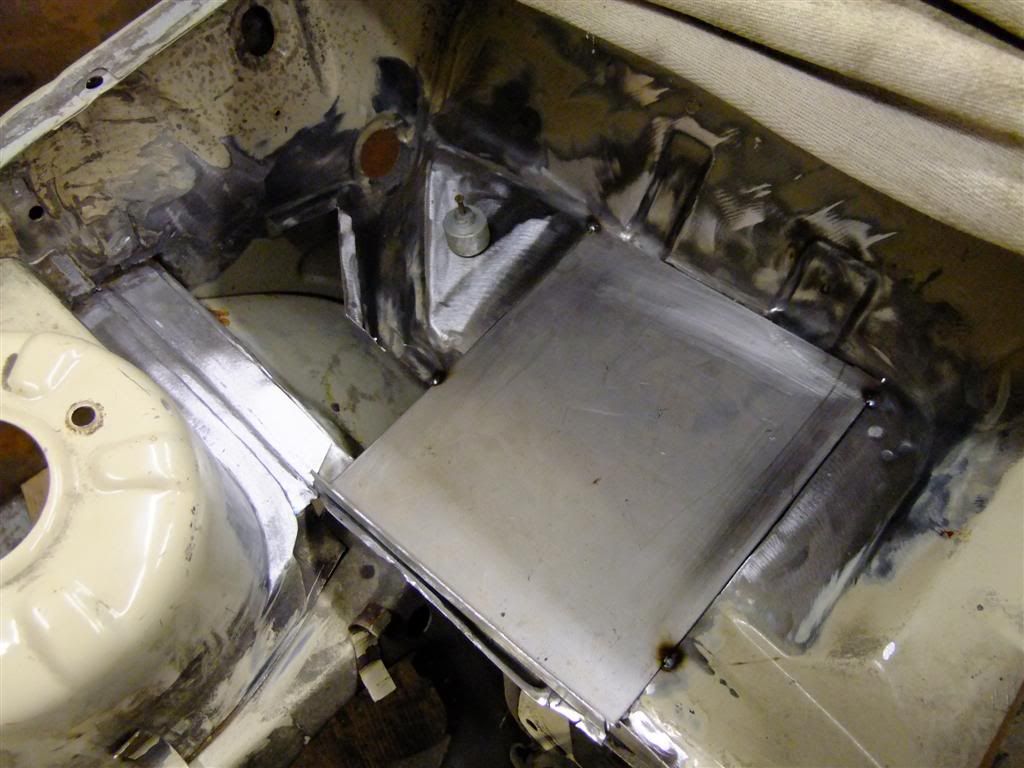
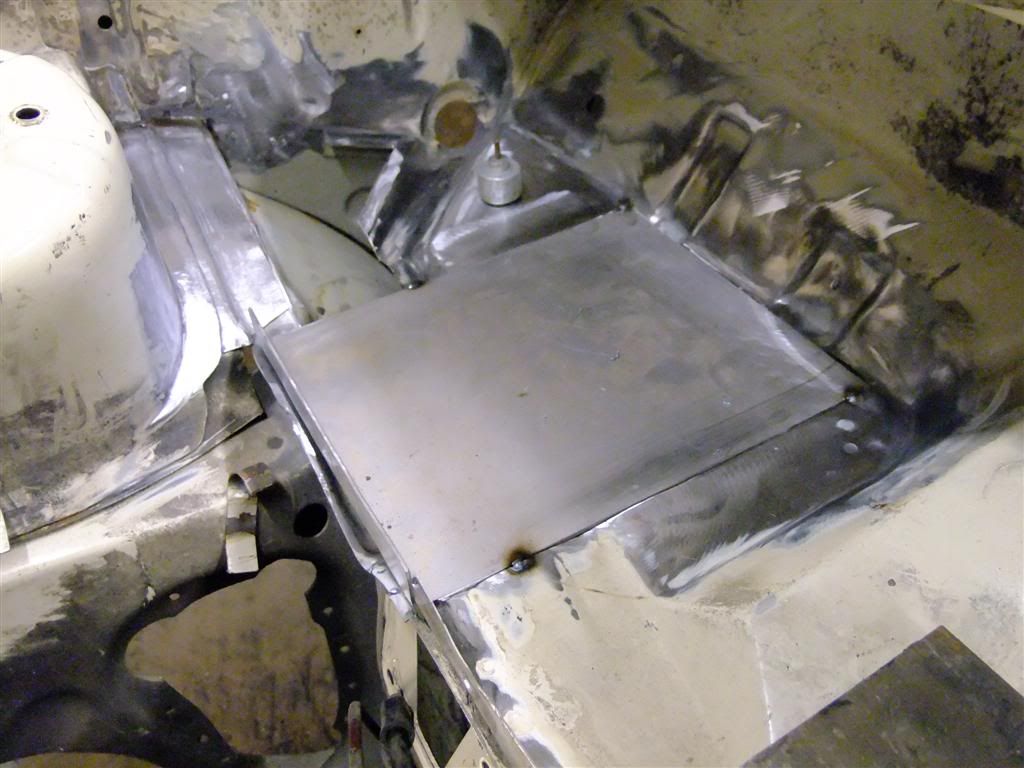
Then decided to take out a little more of the original battery tray so the servo had plenty of new thicker material either side of it.
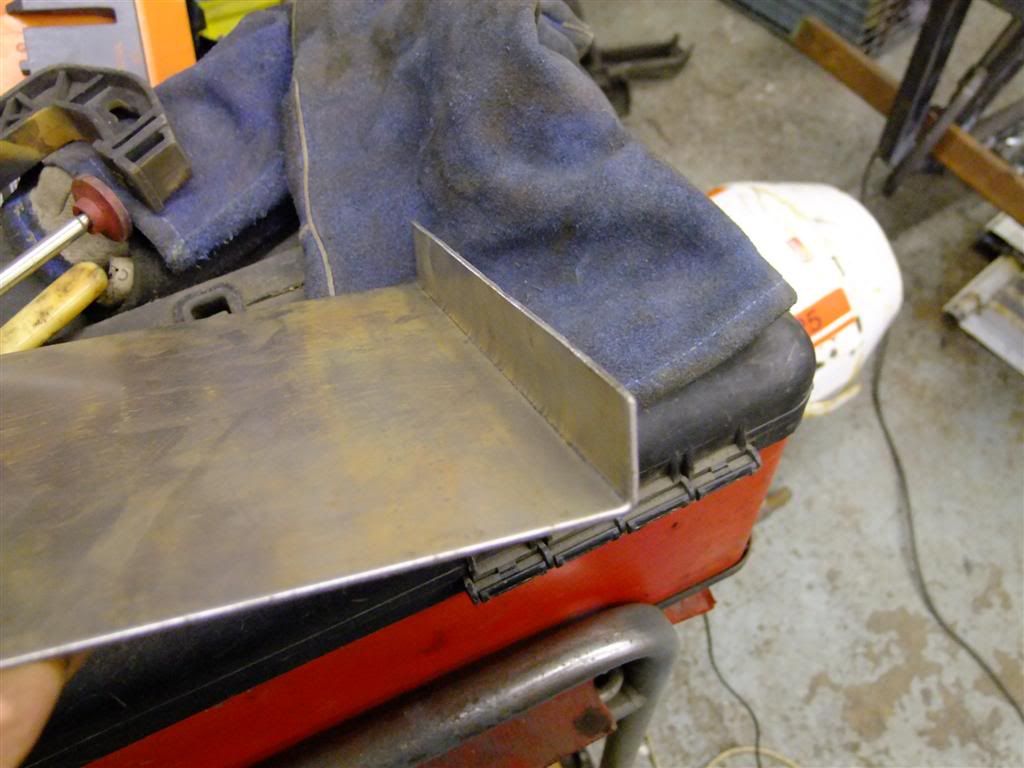
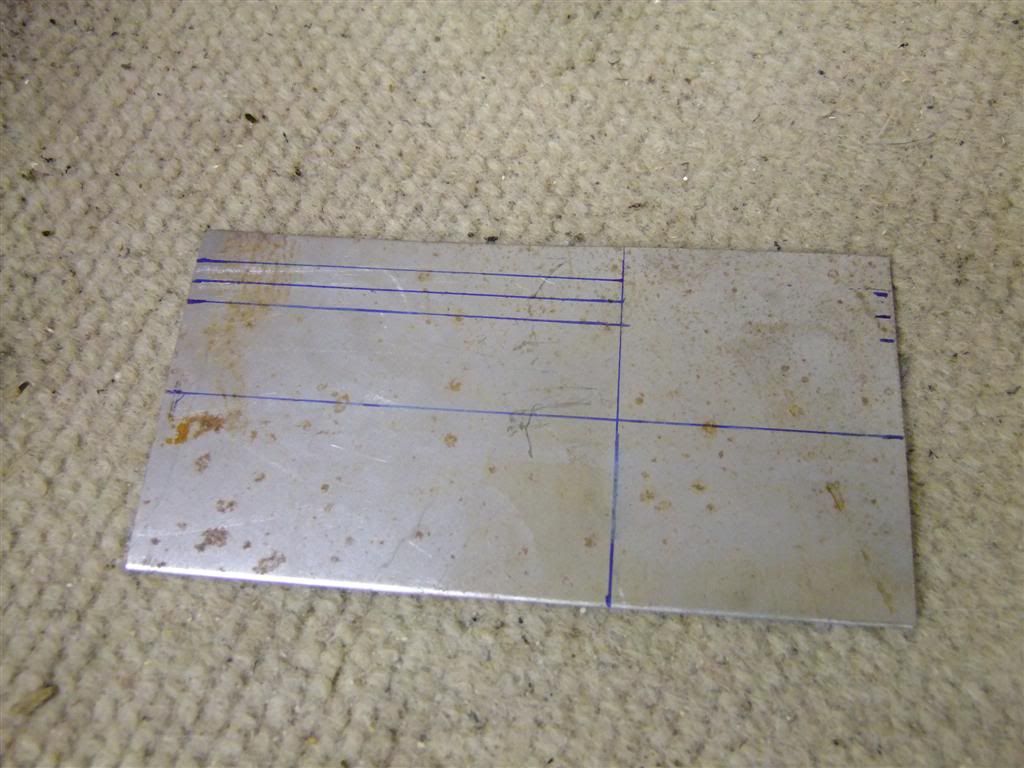
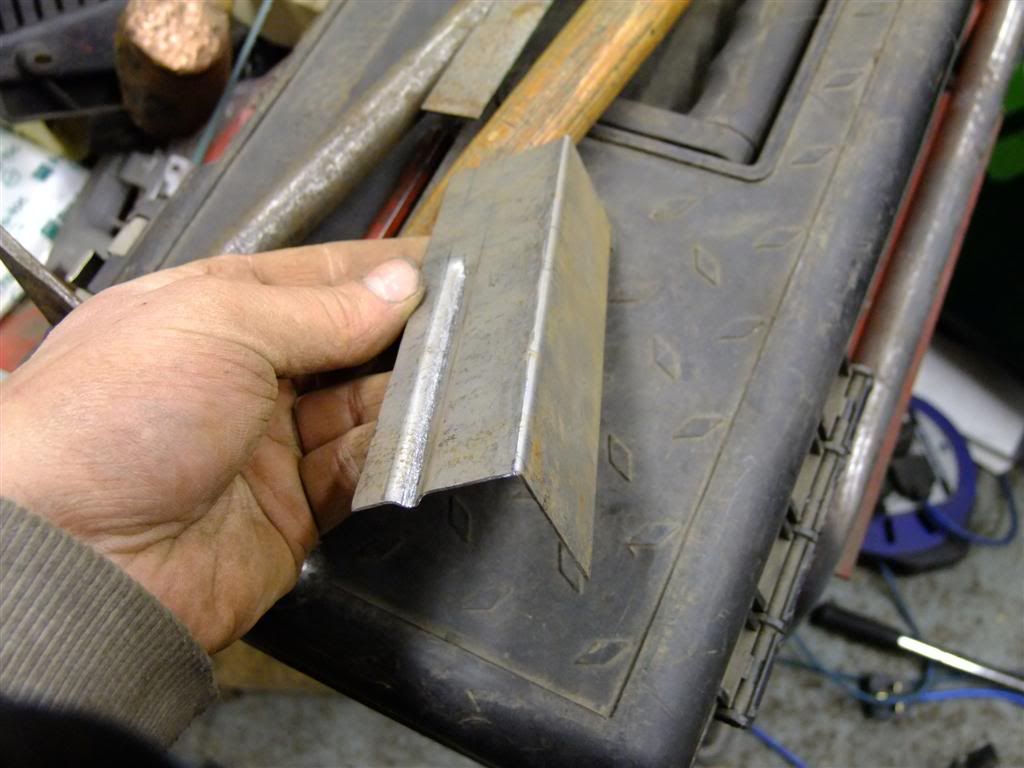
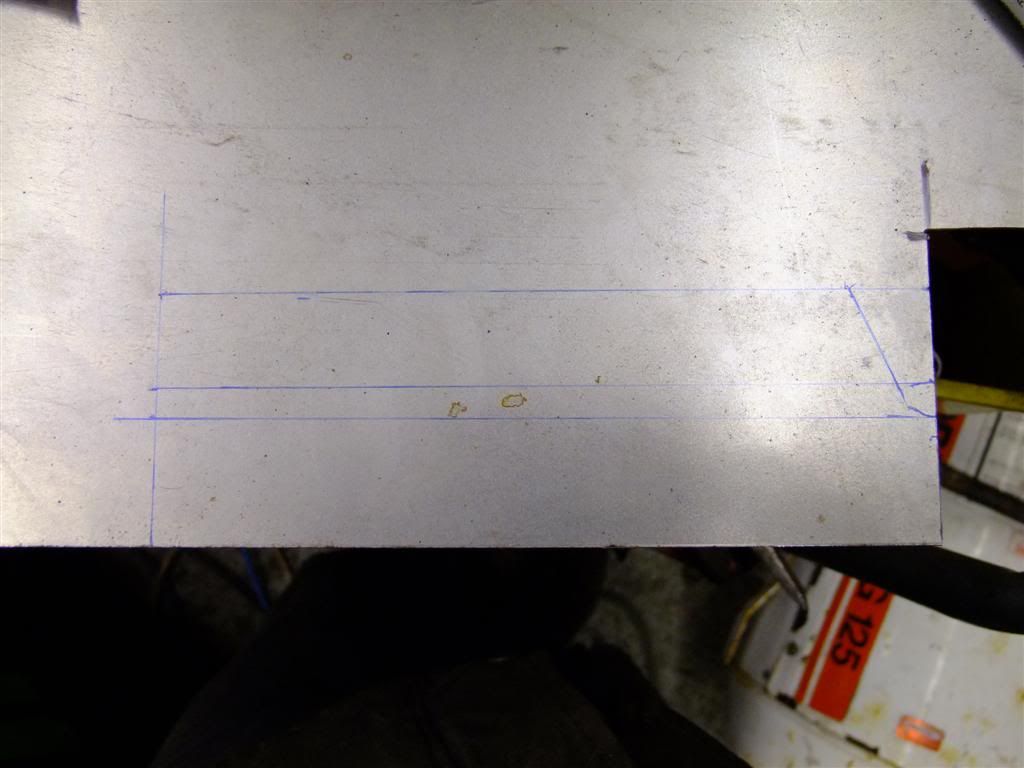
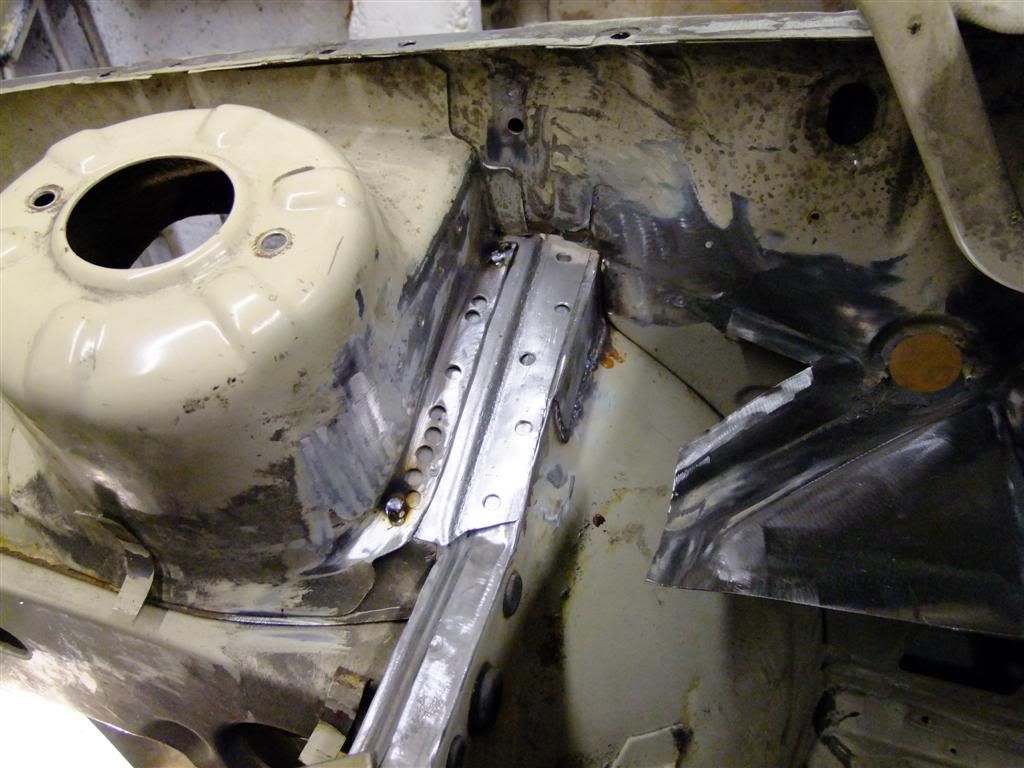
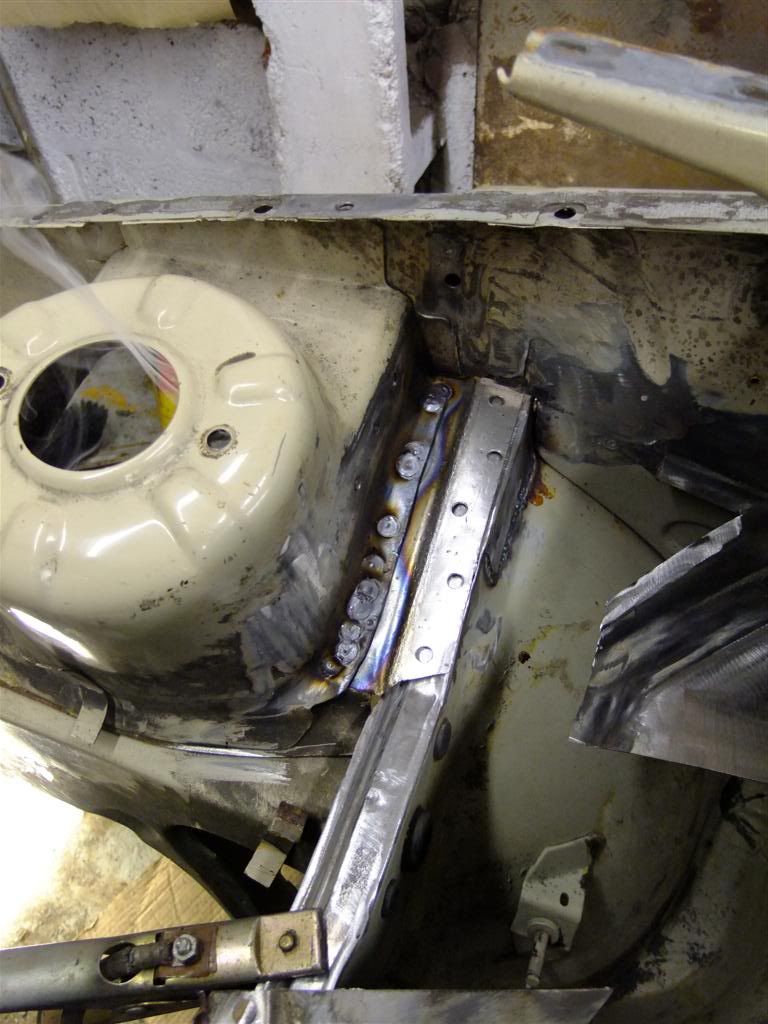
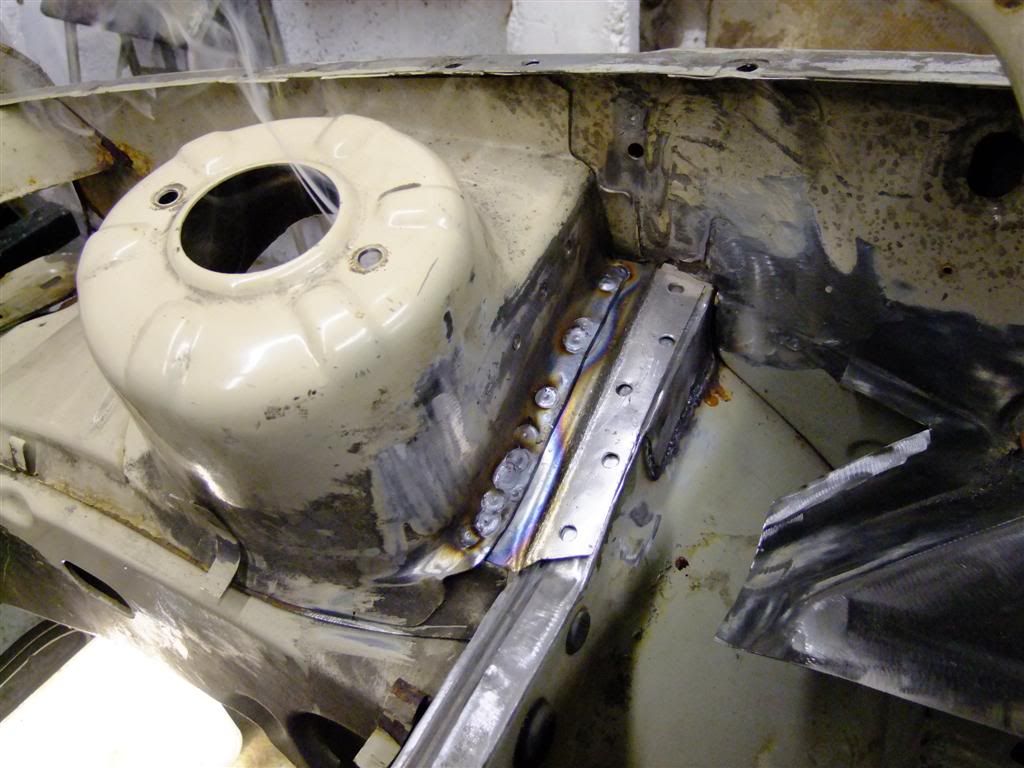
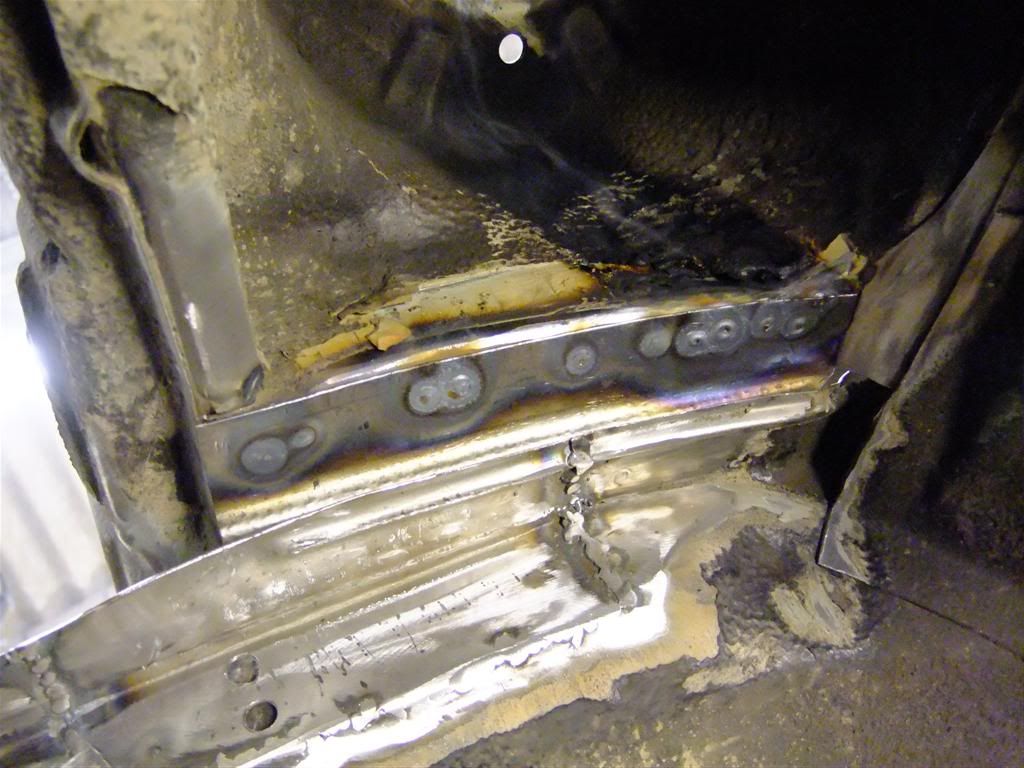
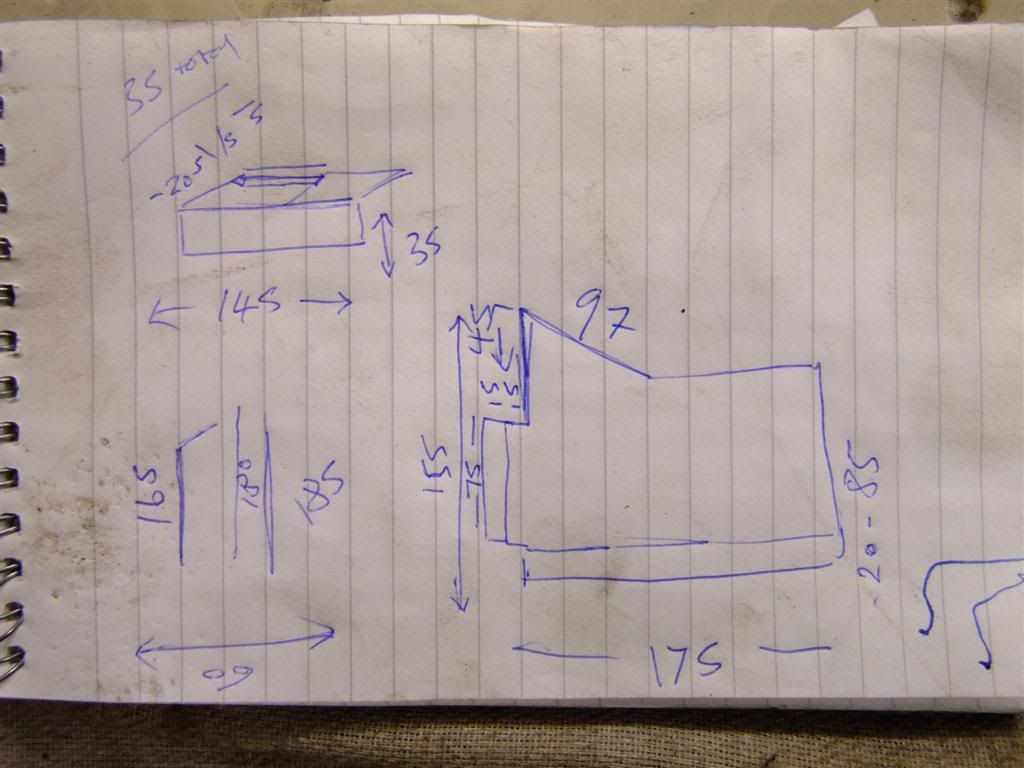
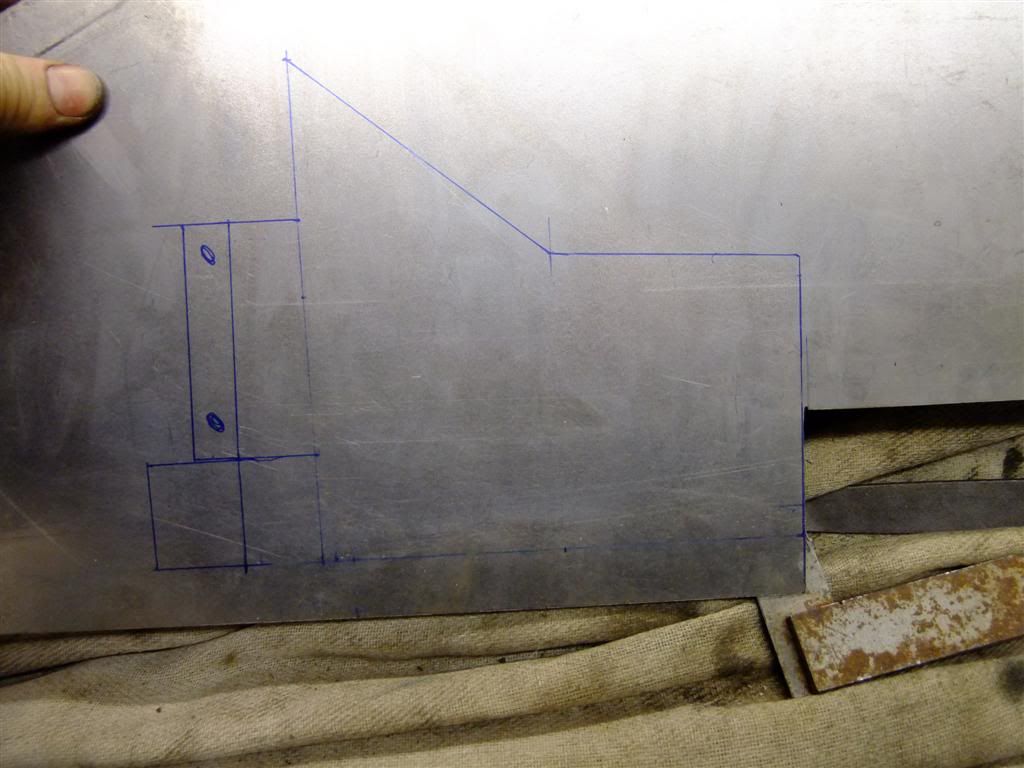
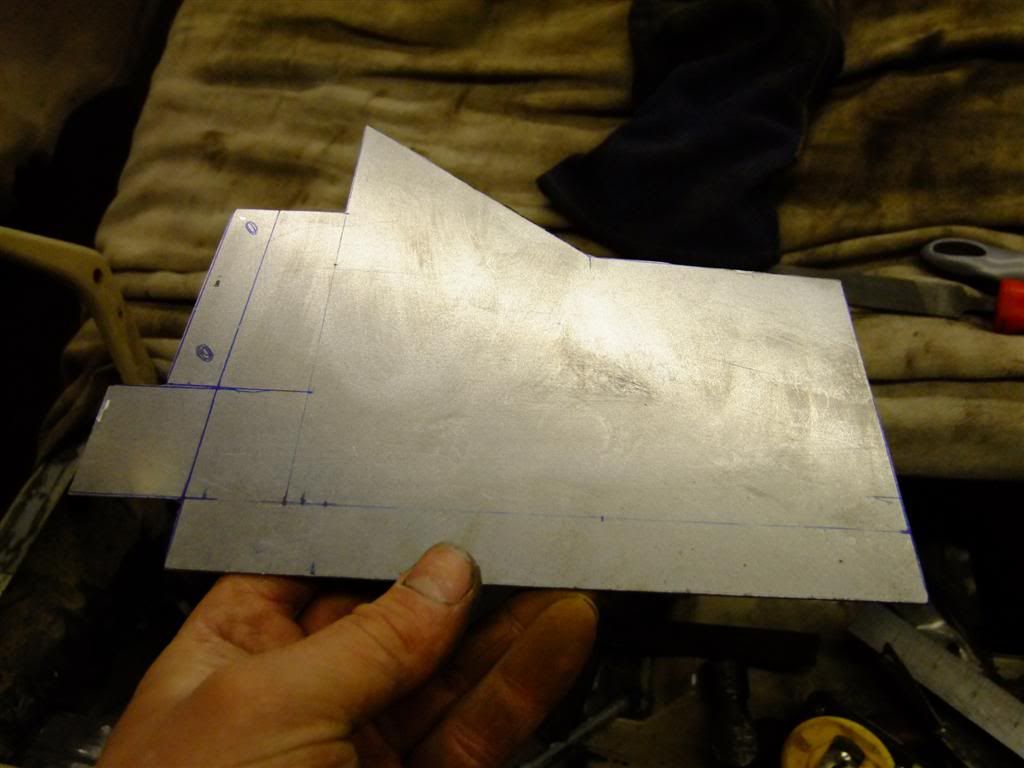
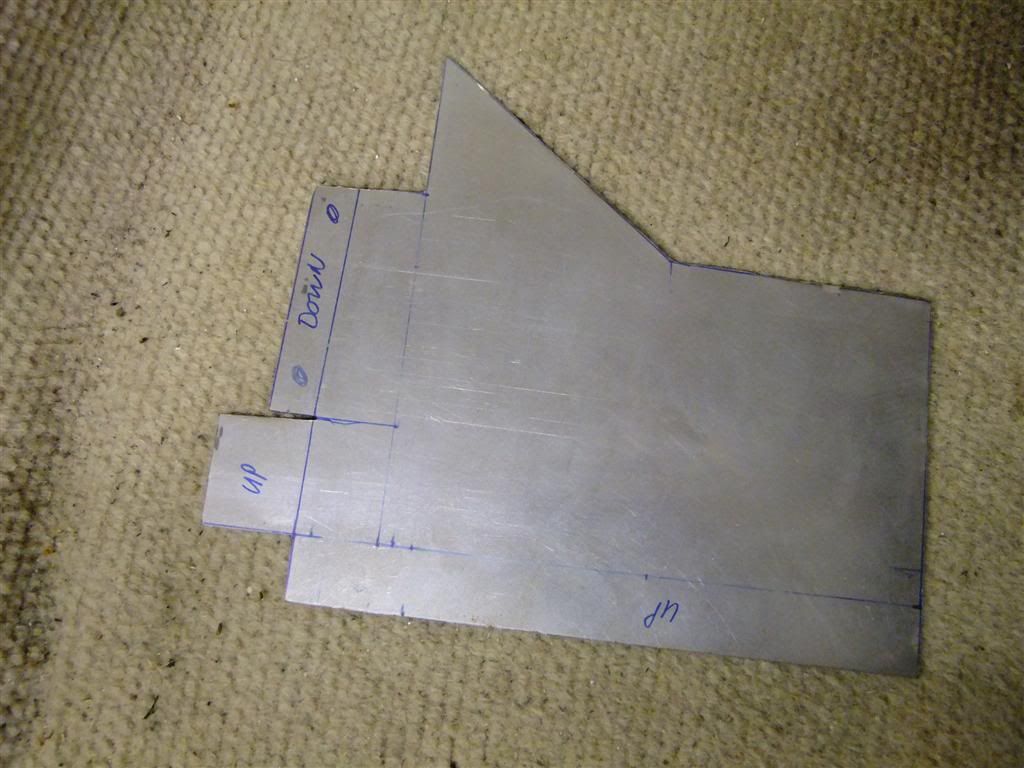
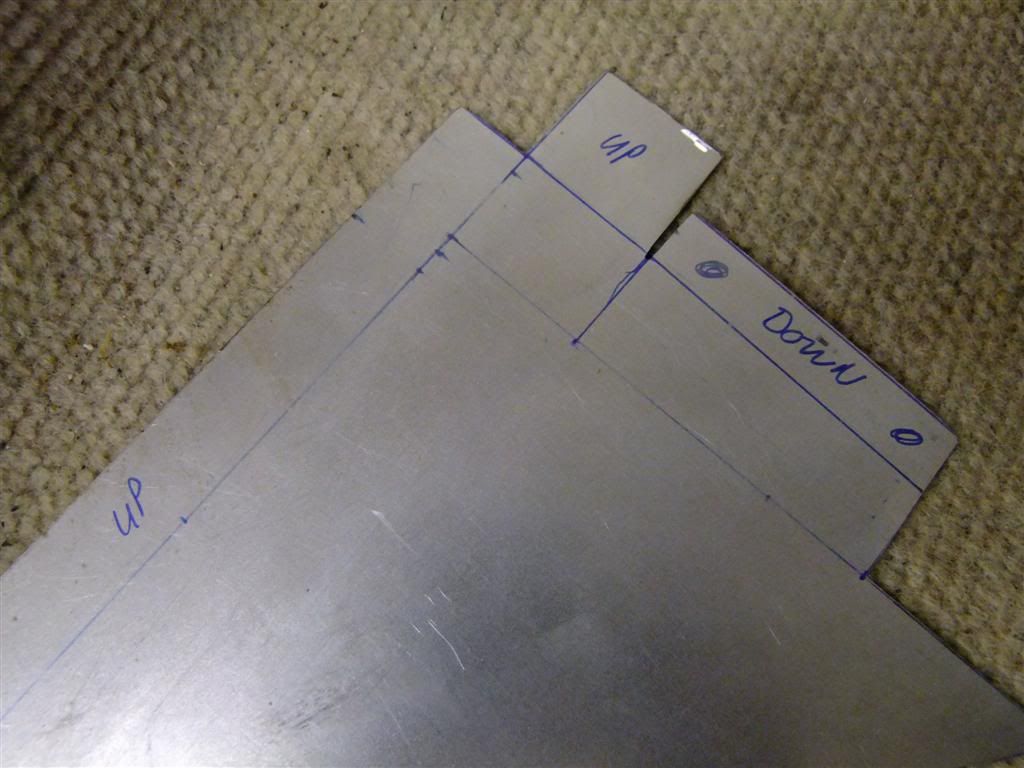
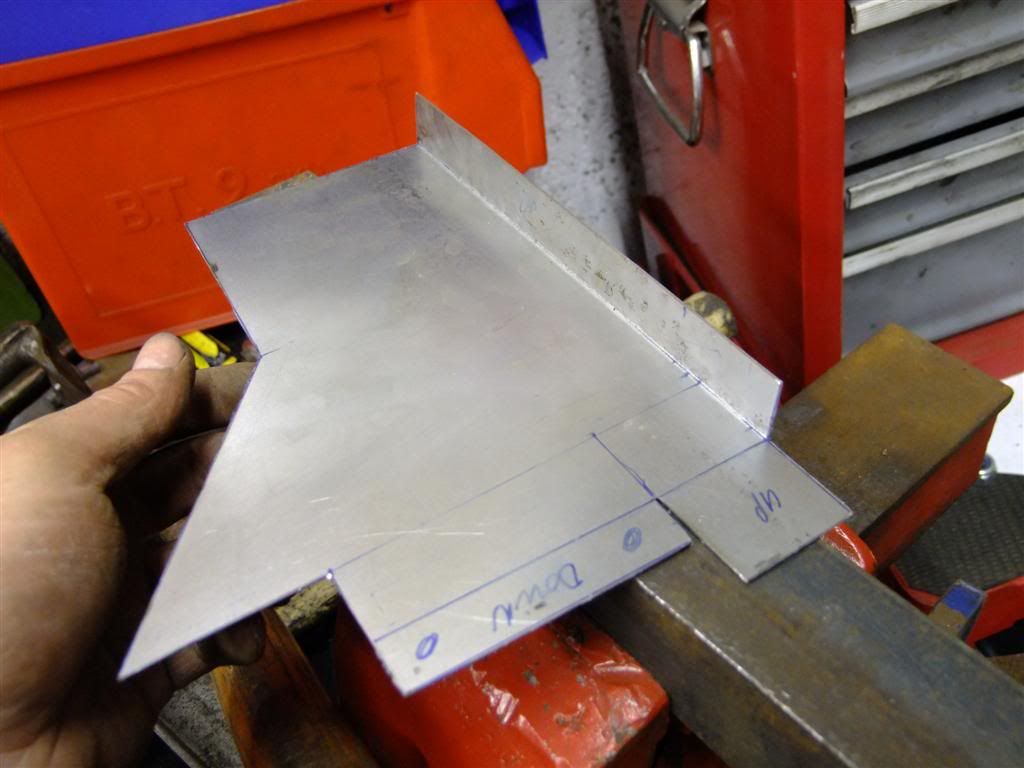
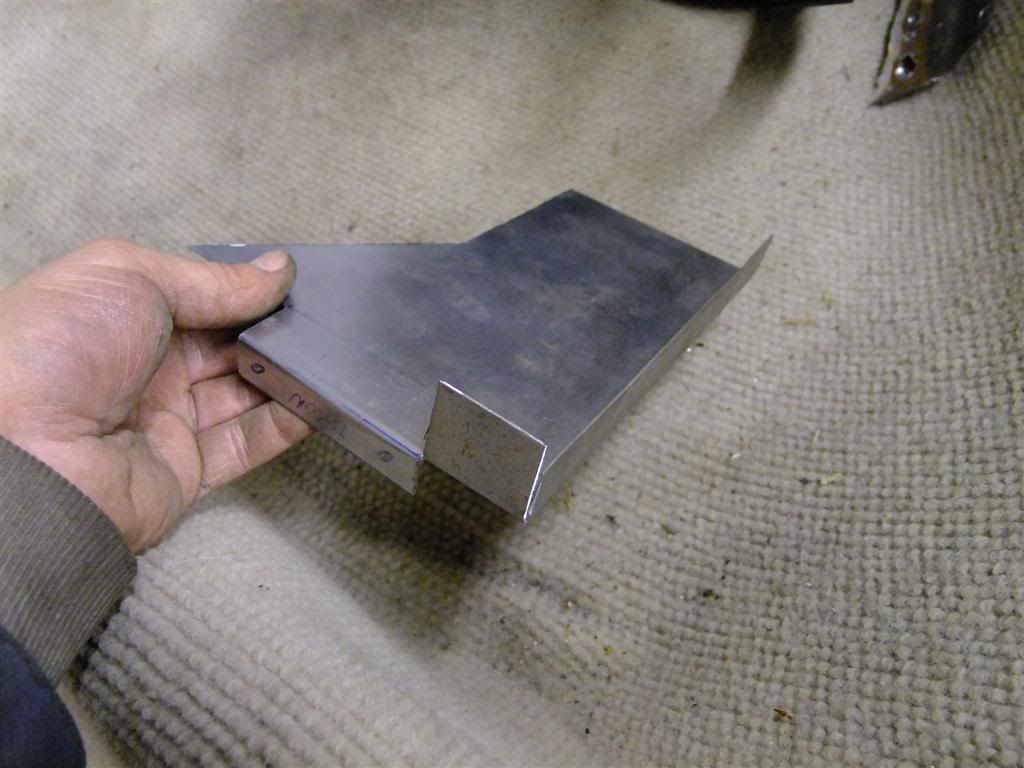
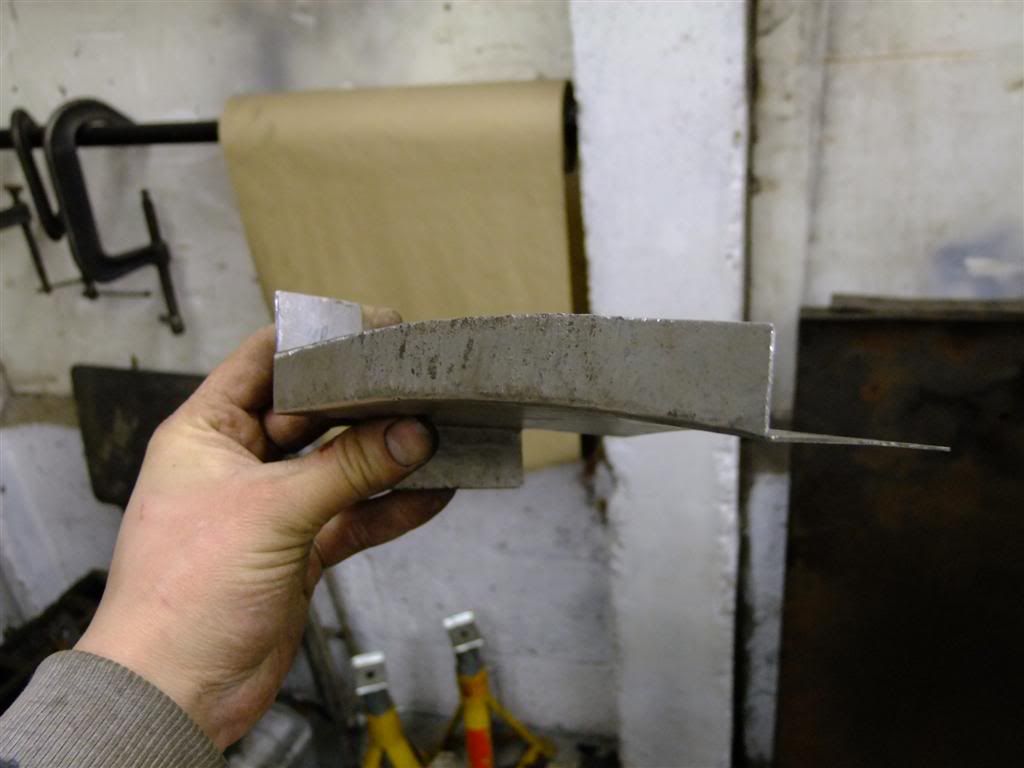
I gave the hole a good measuring and cut up a new piece of metal to go in there
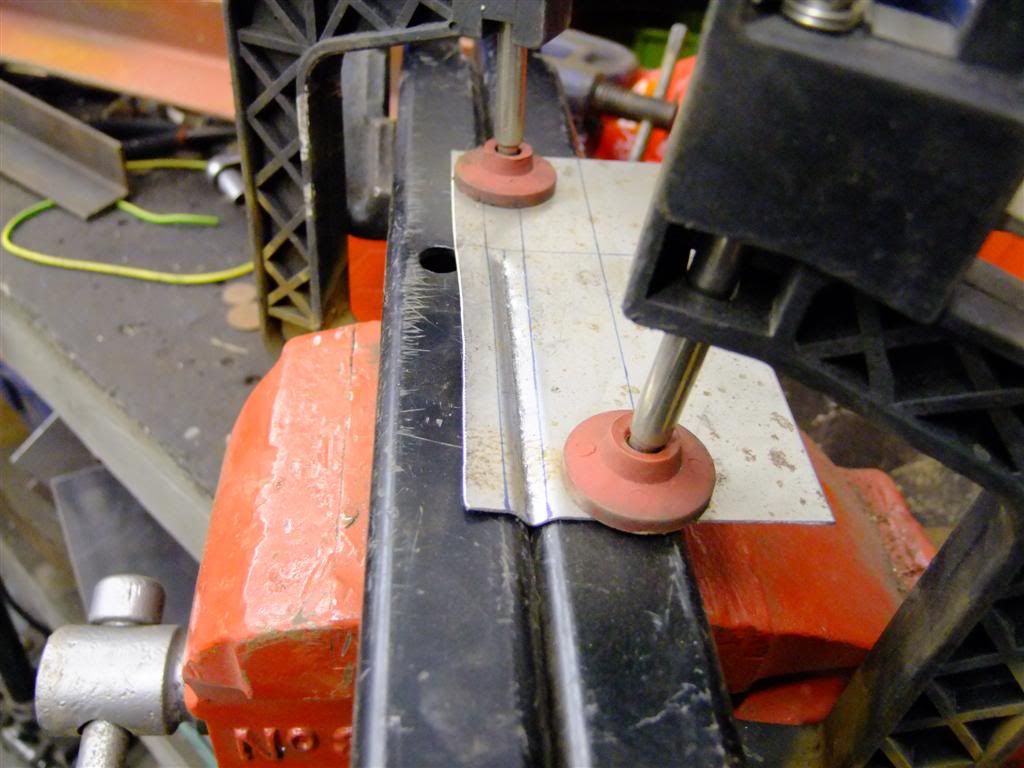
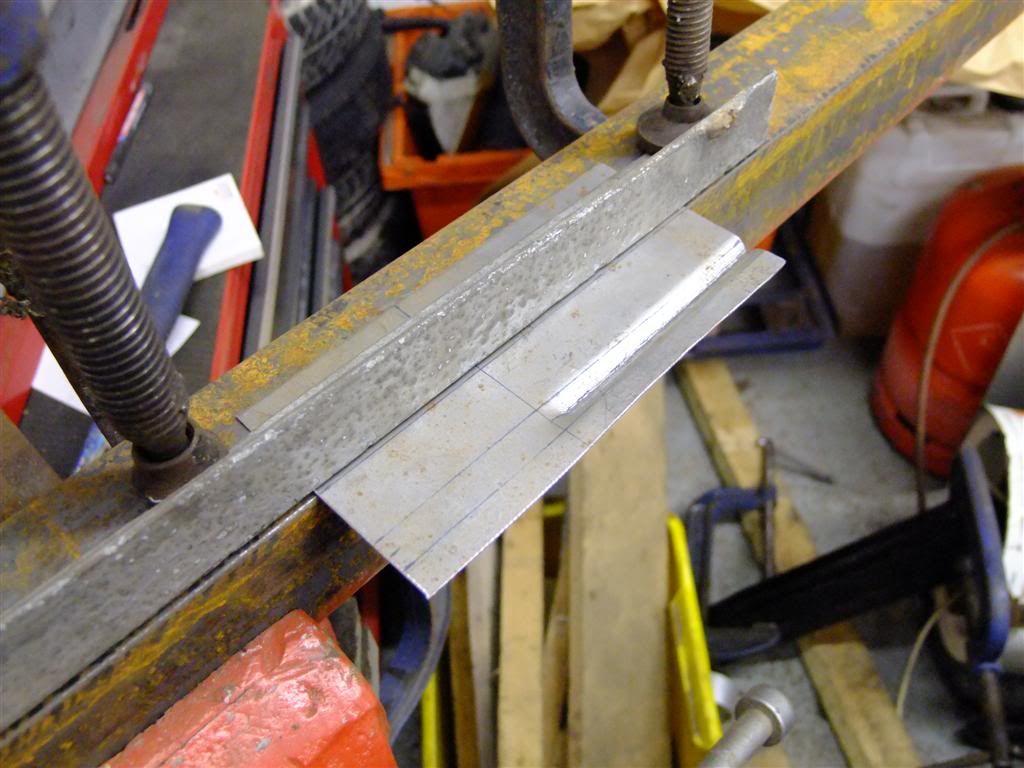
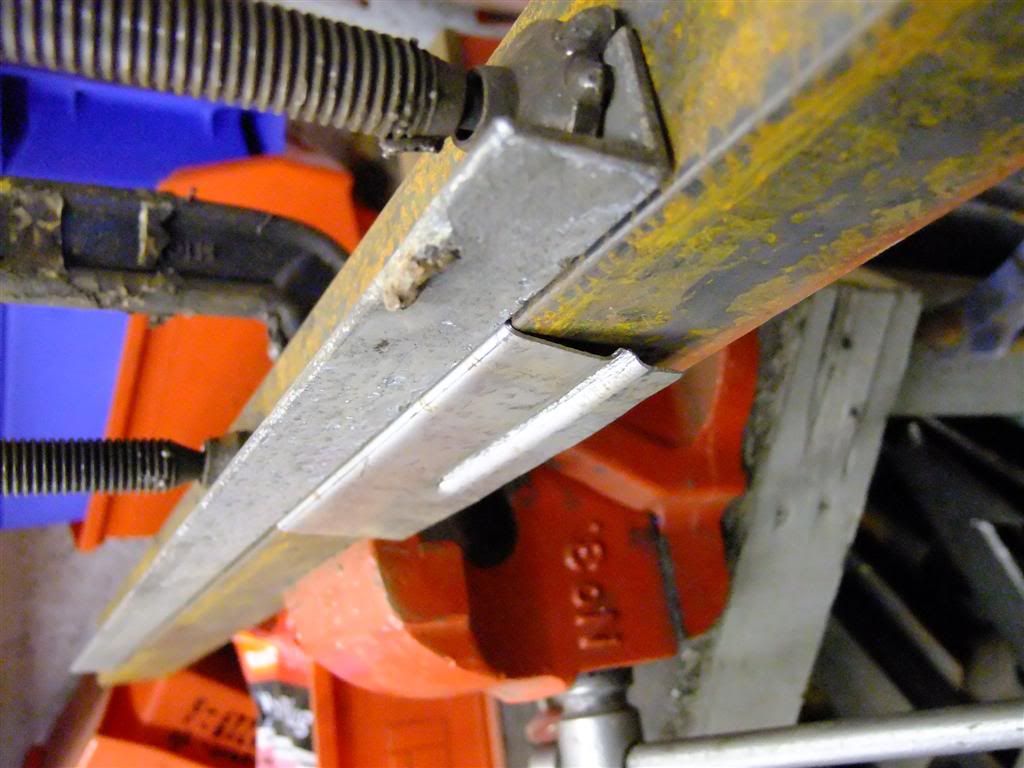
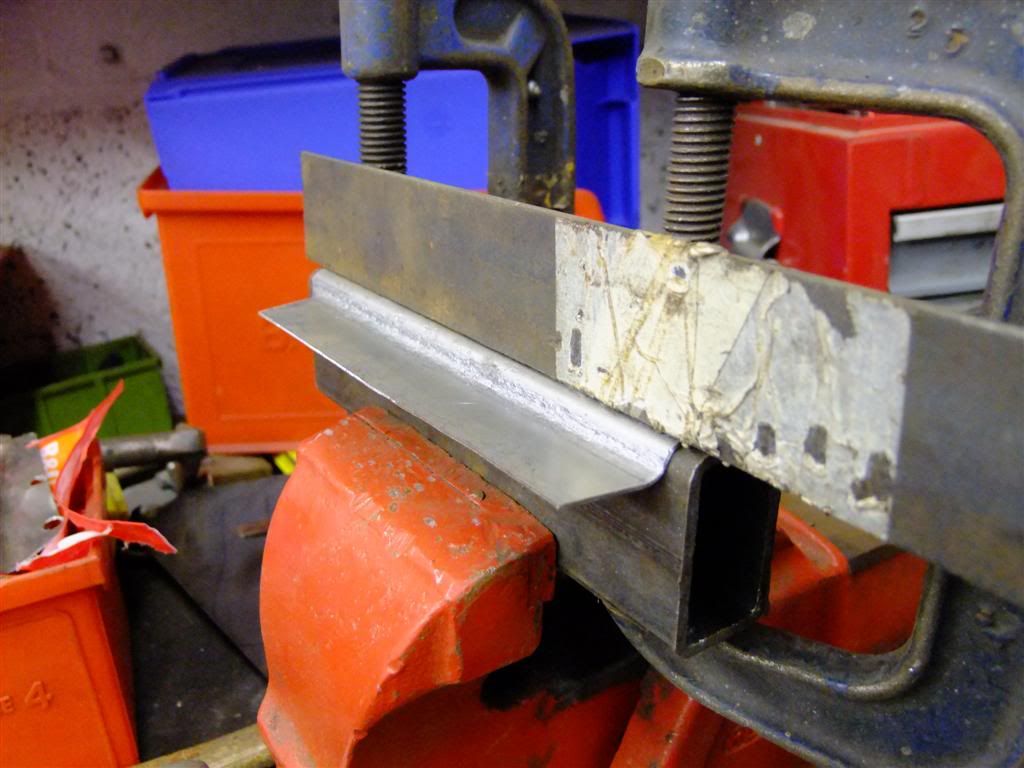
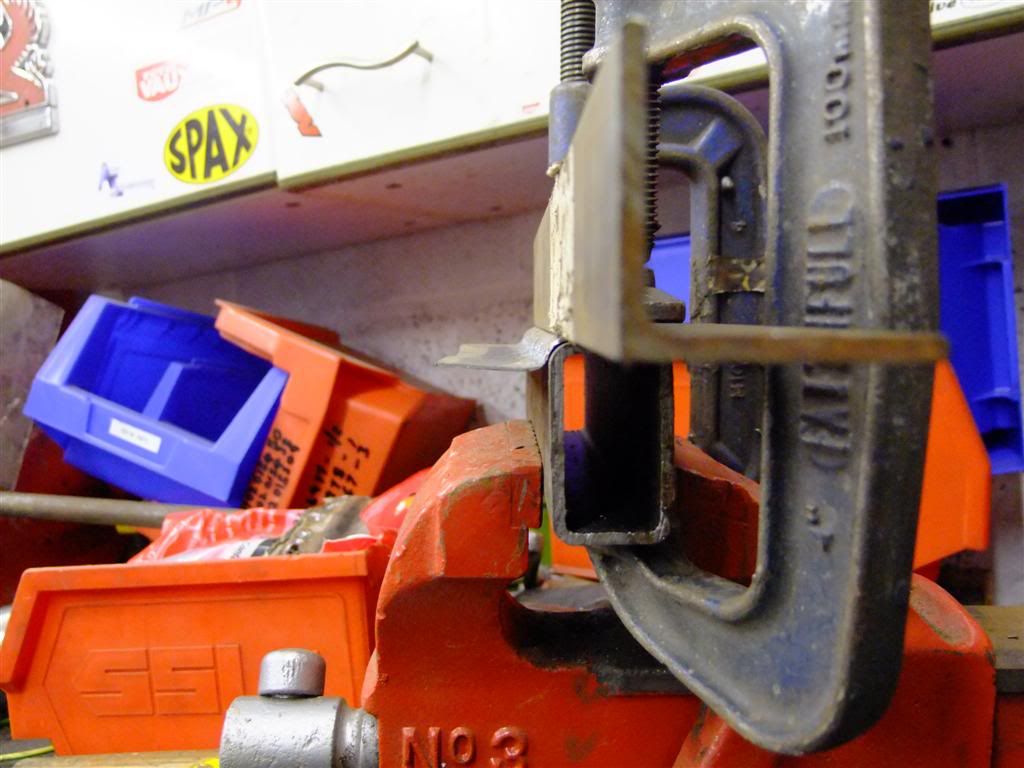
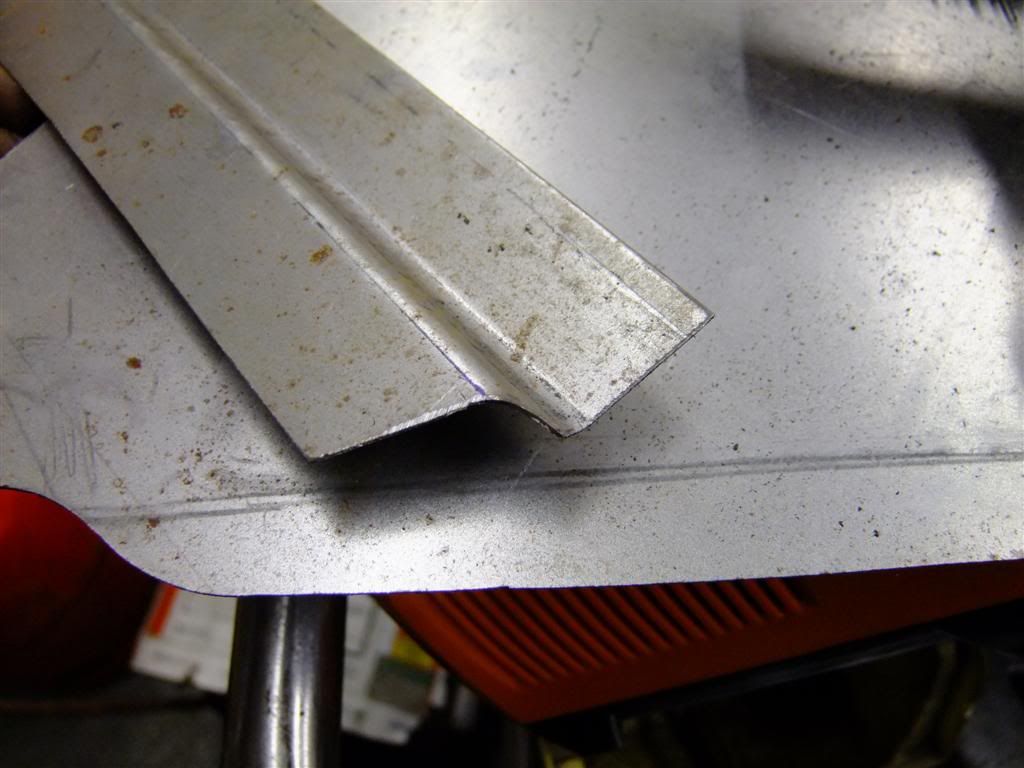
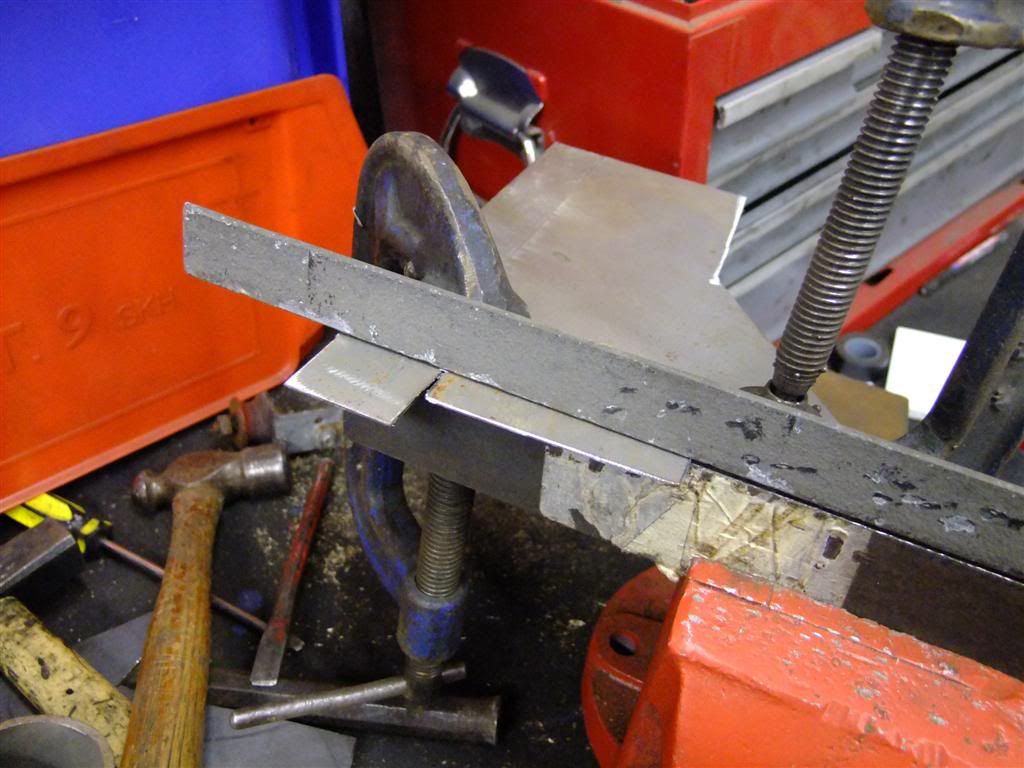
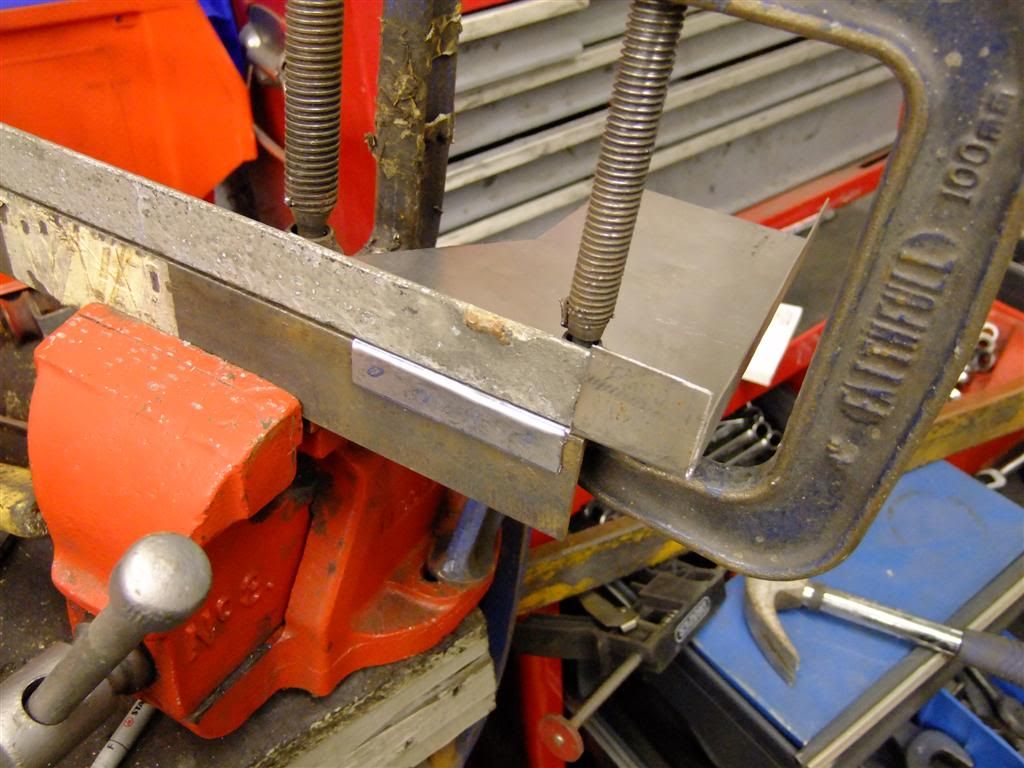
Then on to a spot of friday night bending with my make shift bended
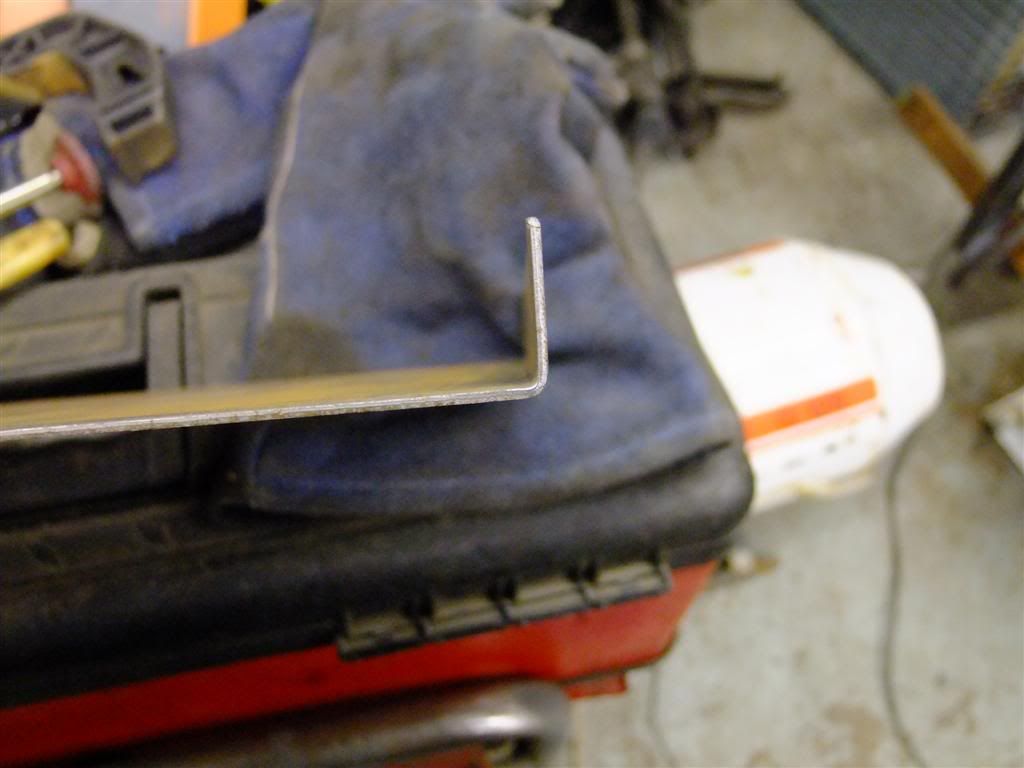
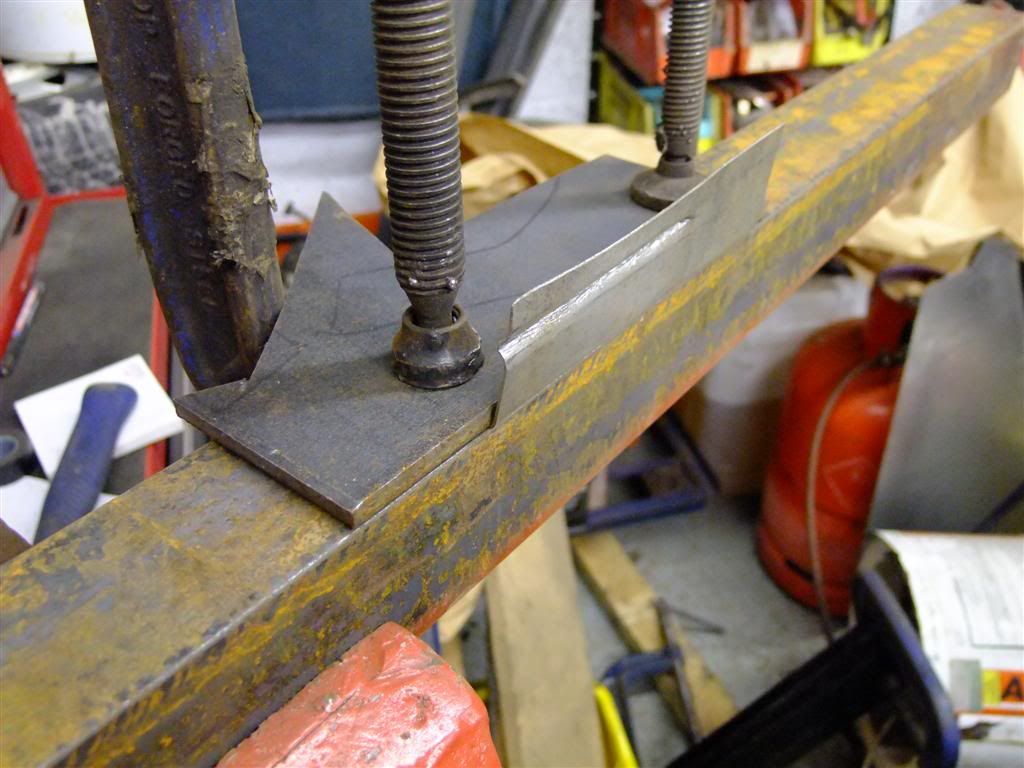
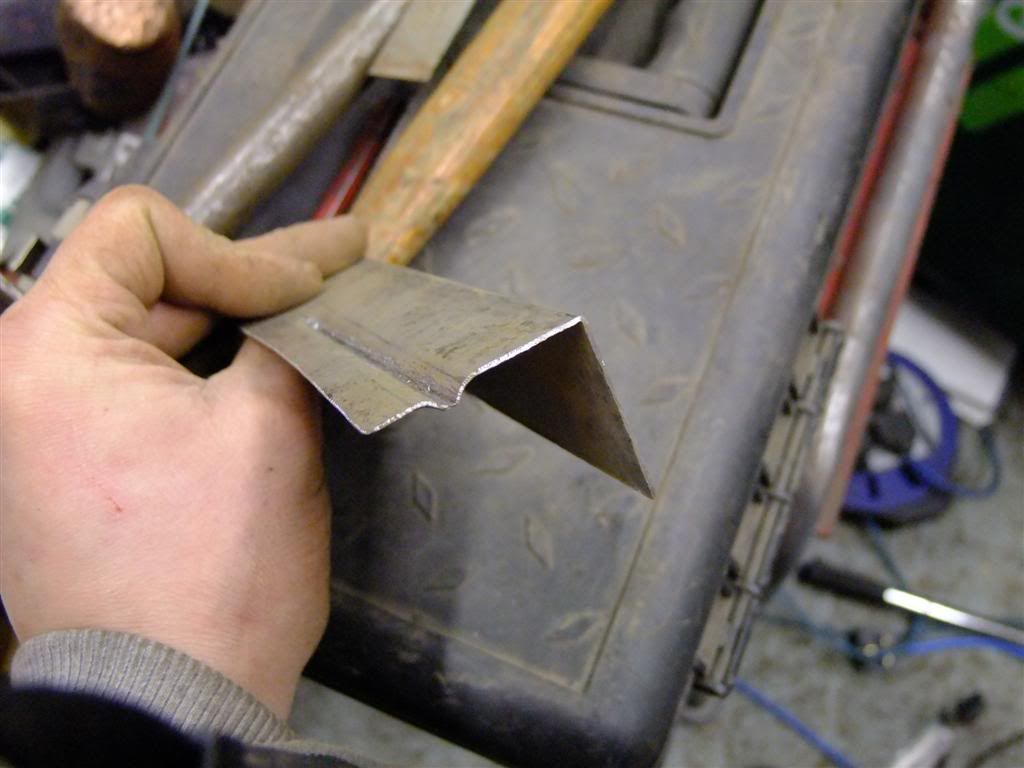
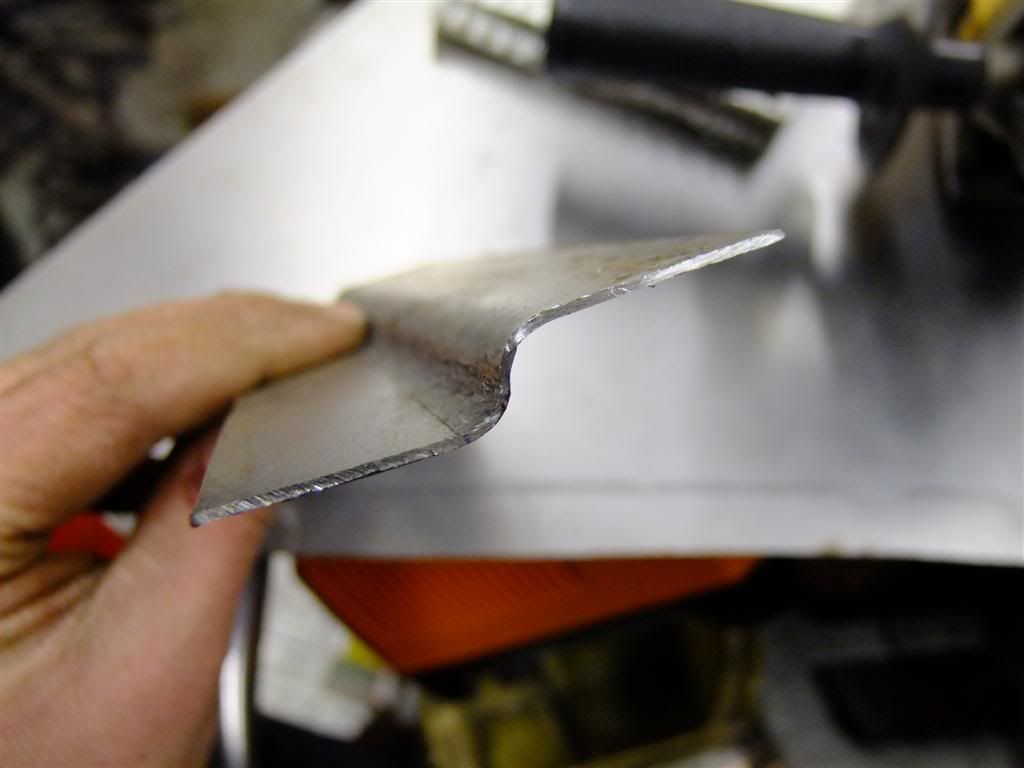
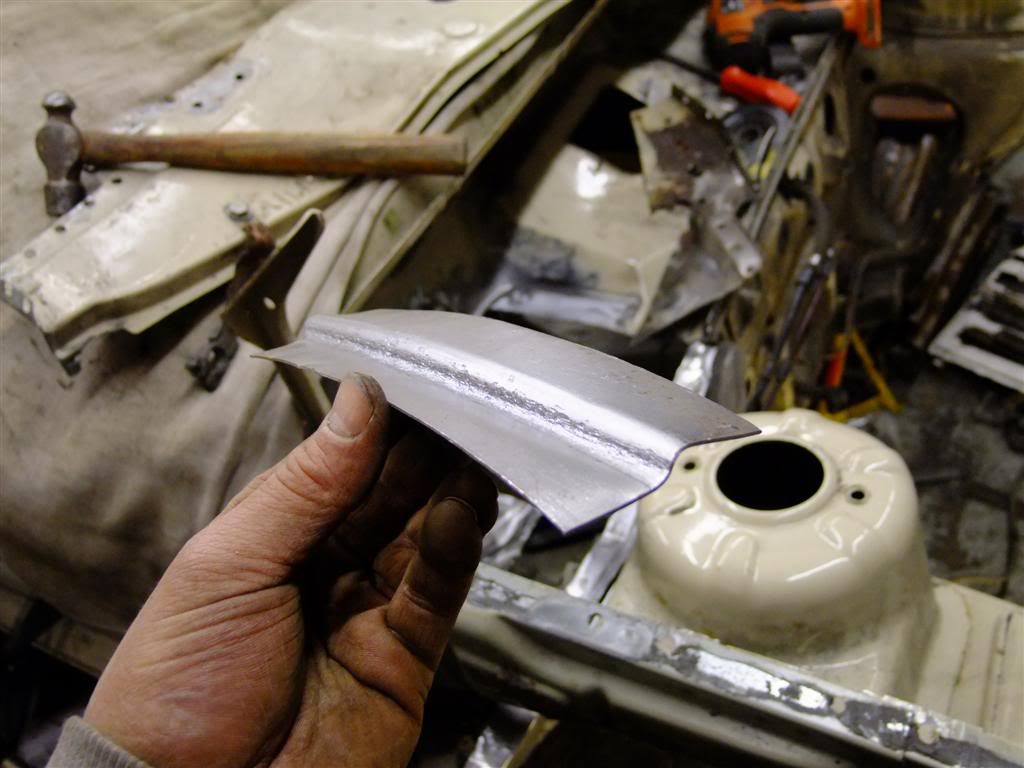
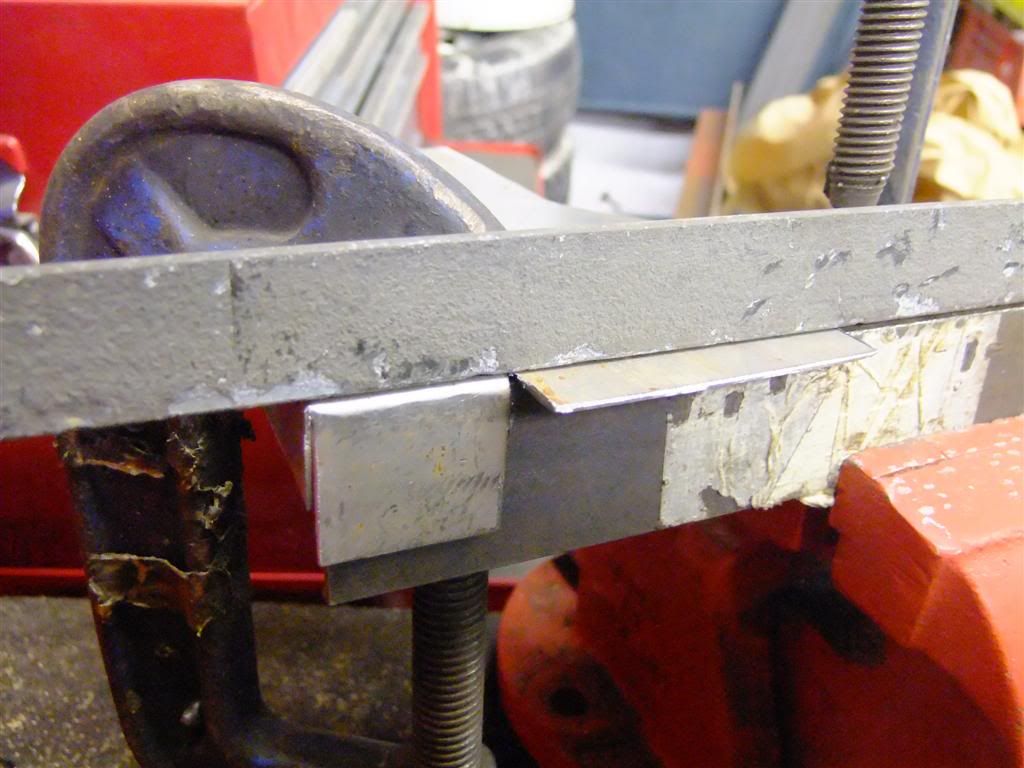
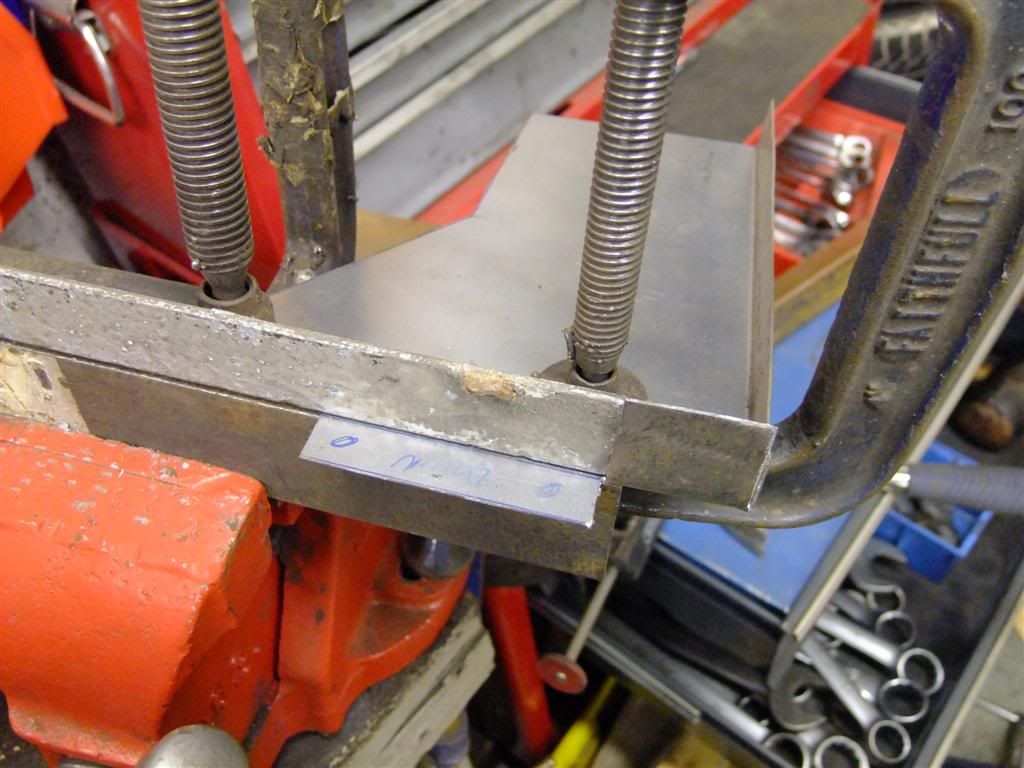
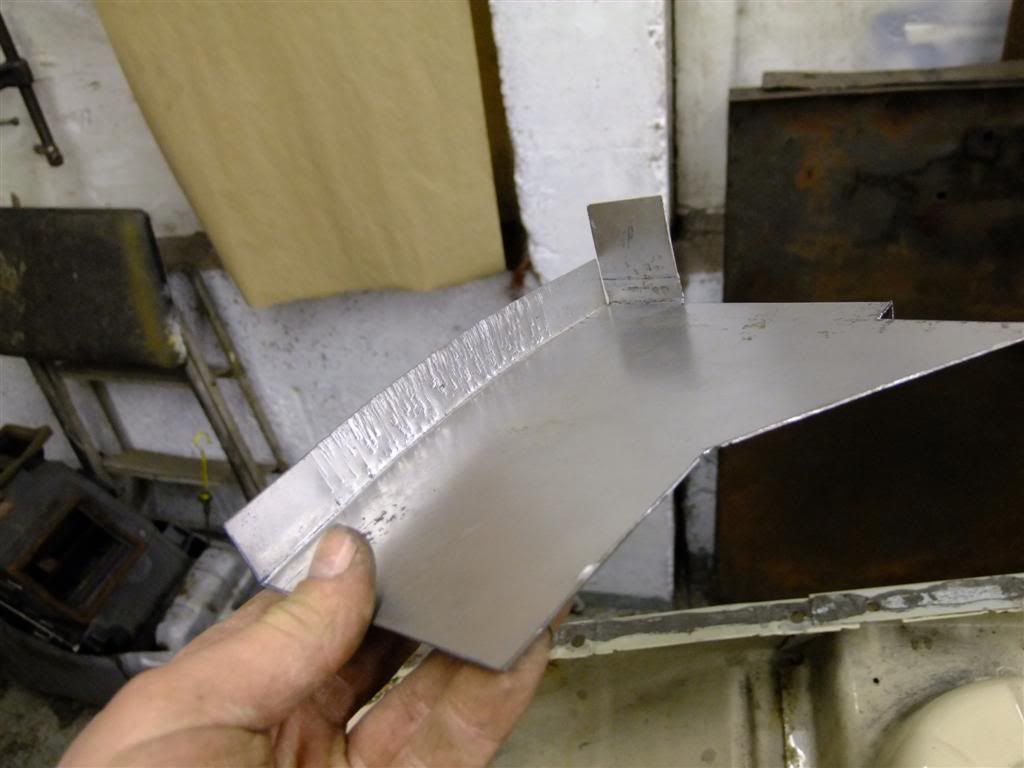
Bent
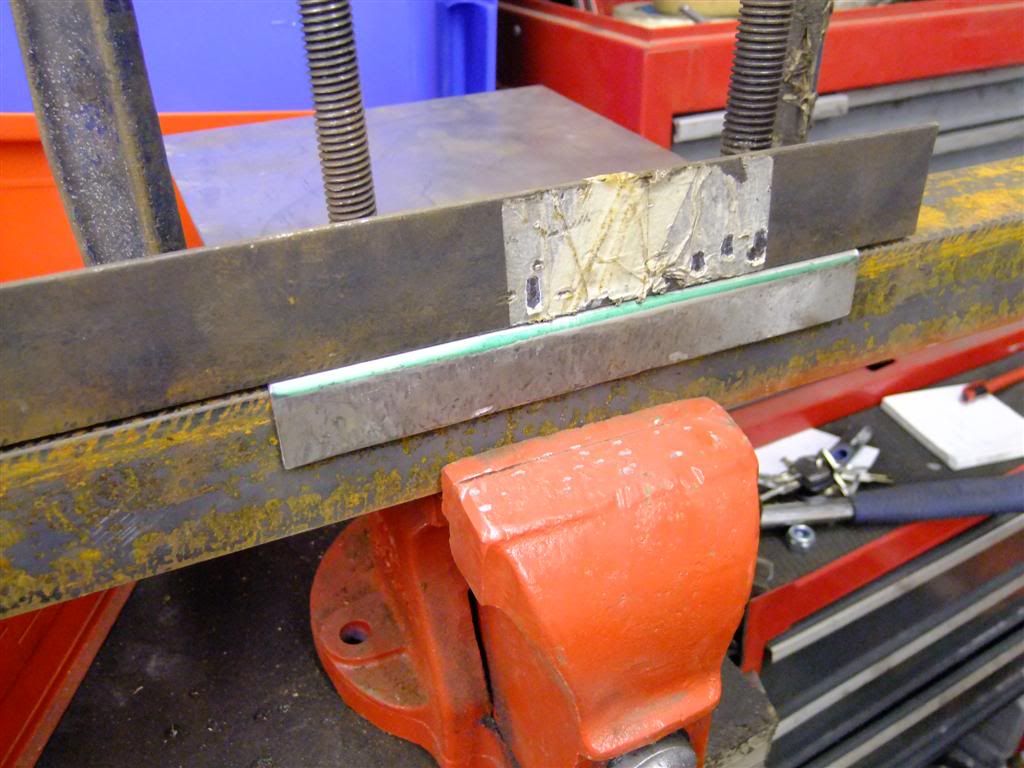
More to follow later ;D
I've taken this from another forum and decided to post it up here to see what you good people make of it?
The story thus far is basically that I was after another Kadett about a year ago and couldn't find one so decided I would go for this nova (as I also had a strange passion for them too) then after getting a good way through the nova build (as you will see) my porsche turned up for sale out of the blue, i've always wanted a 944 and the money was right so I went with it. This basically ment the nova hit the back burner big style as I only have space to work on one car at time

Then to make matters worse a Kadett that I liked and was close and the right money turned up just as the porsche was coming close to being finished. Like any fool would do I purchased that too

Now the porsche is basically done and i'm getting on with my kadett but I would really love to see the nova do something more than sit and rot so I thought I would post the details up for some inspiration or just for the hell of it either way here she is.
The car in question is a beige MK1 on a B plate and I just like it plus it was very reasonably priced
 .
.Plans for it in the beginning were a snow plough front bumper known as 'The Plough' this I have and intend to run with, a new engine (not 100% decided what but I didn't really want to go down the 2lt 16v route all be it a good one) perhaps 1.7td isuzu engine (this I also have with all the bits needed to fit it to a nova), rear arches or full 1/4's, prob sills, a respray (in the same colour) corsa B servo and M/C, coilovers and some other bits and bobs.
Here are the first pics once I got it back to the shack (my shantyish workshop).
That explains why its full of water
Sneaky repair on the lower front panel
Got it jacked up for a peak underneath
Not as bad as I thought it would be
How or why would it rust there ffs - that will either be repaired of removed
I didnt even know it had a special sticker
Then I gave that bung a poke and it started to pee on me
Bit more of a prod
And the state inside the car
Catch tank fitted lol
So after some general poking around it was time to let the strip commence
Side strips off on the O/S
Grabbed hold of the O/S rear arch to see wtf it consisted of and guess what Filler ahoy!
Then as I kinda need the car mobile still for a couple of days I started on the interior
The spaniel in the way for a change
Out
Then the lower dash tray
And the other side
The underlay was soaking wet
Carpet out and looking grubby
Much better inside now so I can dry it out
Rear seats and carpet out
I then hung them out to dry
Wiper linkage off and black plastic thing out
Then on with the dash
And the rest of the back seats
Quite clean
Front bumper off
Mouldings off
Lights out
Here comes the crisp hiding in there
DOH!
Better on this side
The inner wings are clean though
Rear bumper off
Rear panels not the worst
Up in the air and fluids drained
Anyone want this?
Wiring loom removed
More curse word removed
And all the loom stuffed back through in to the cabin out of the way
Stripped the suss out and drained the brakes
Hoist in position
Engine weight taken up and mounts unbolted
Engine removed through the bottom (the correct way)
And free from the car
This needs a new home....anyone?
Much better
Sus completely stripped off both sides
Lowered the car back down to a more accessible height
And removed more cables, wiper motor etc from the bay
Then back inside to remove the steering wheel - I couldn't find my puller so I had to give it the bear to get it off.
The last bit of wiring removed along with the stalks and the heater controls
All out
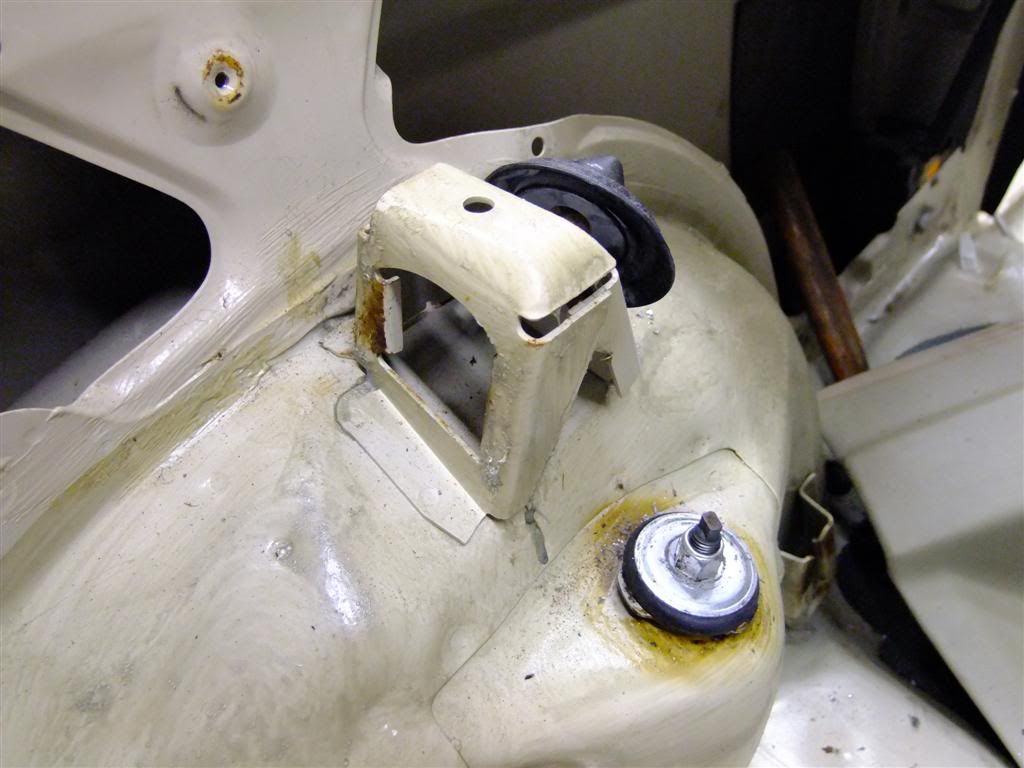
Battery removed and there's that hole again
I've seen worse though - plating for the Corsa b servo will sort that out.
Now its nearly ready to start some repair work
Bonnet off
Wipers and linkage off
Heater blower out
Brake pipes removed - brake pipe spanners are so useful
Servo and Master cylinder removed
Steering column removed
And heater removed
These will soon be modified so a quick snap for reference
Rack removed
And tailgate removed
And one pic as I was leaving just because
Removed both doors
Then back inside and out with the trim etc
Removed the rear lights
And the loom
Rear windows out
This made me laugh
Exhaust off
All side strips and clips removed
Both the doors are scabby but this ones sh!te
As I didnt have any were else to put them and they were in the way I decided to hang them up
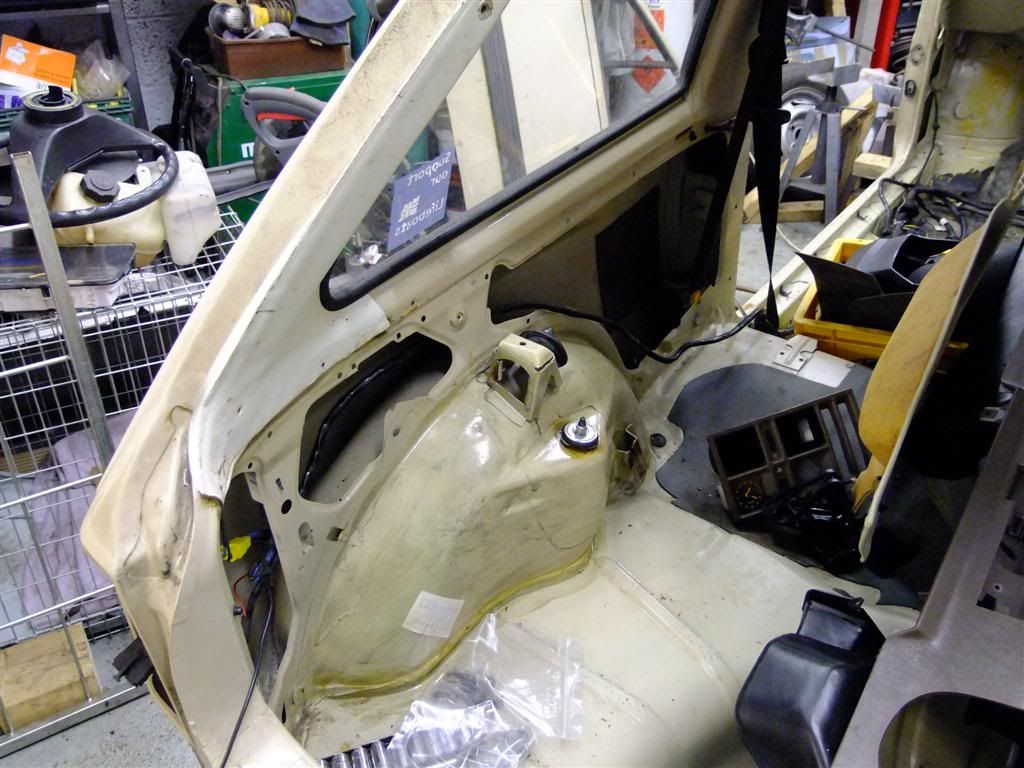
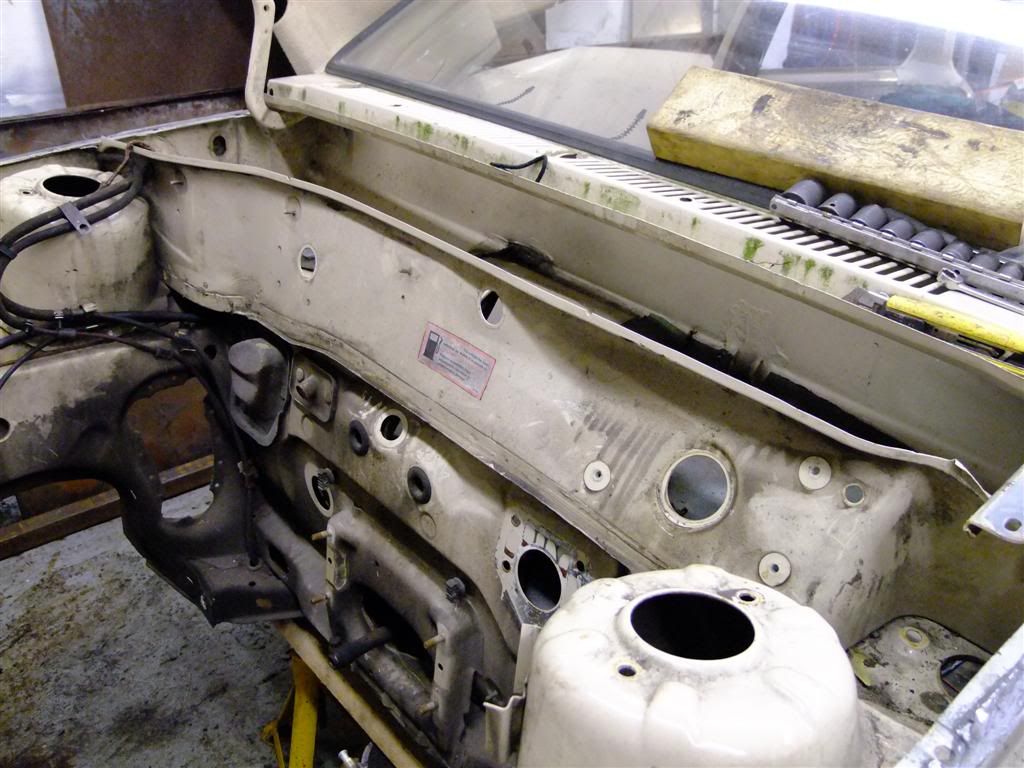
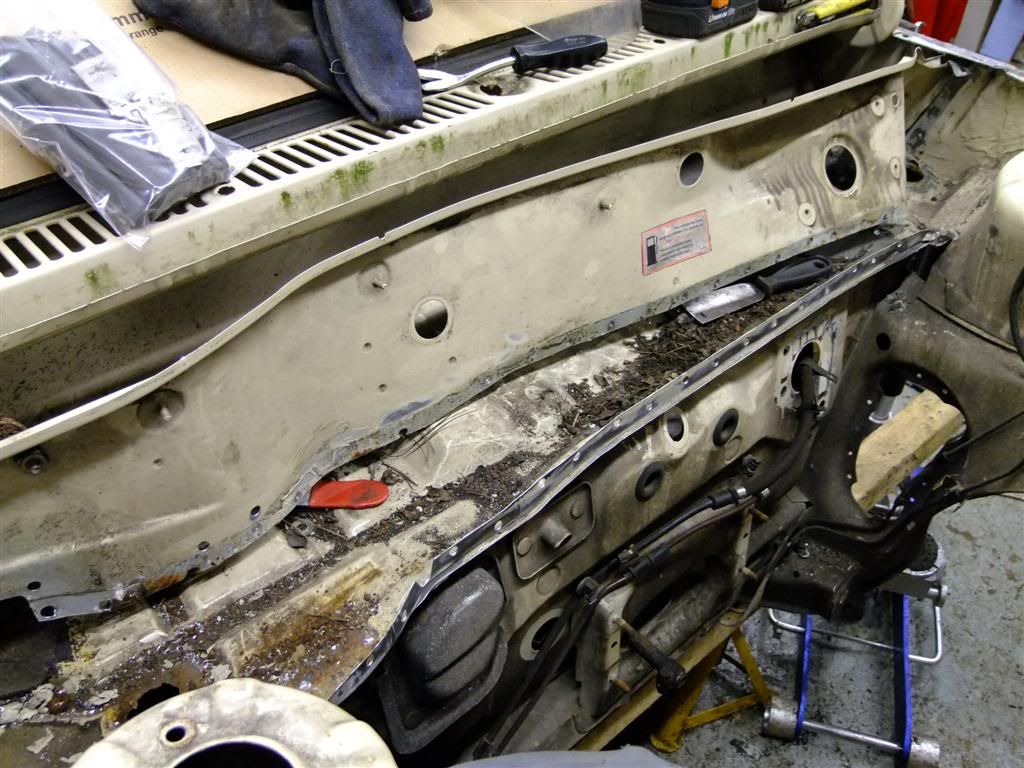
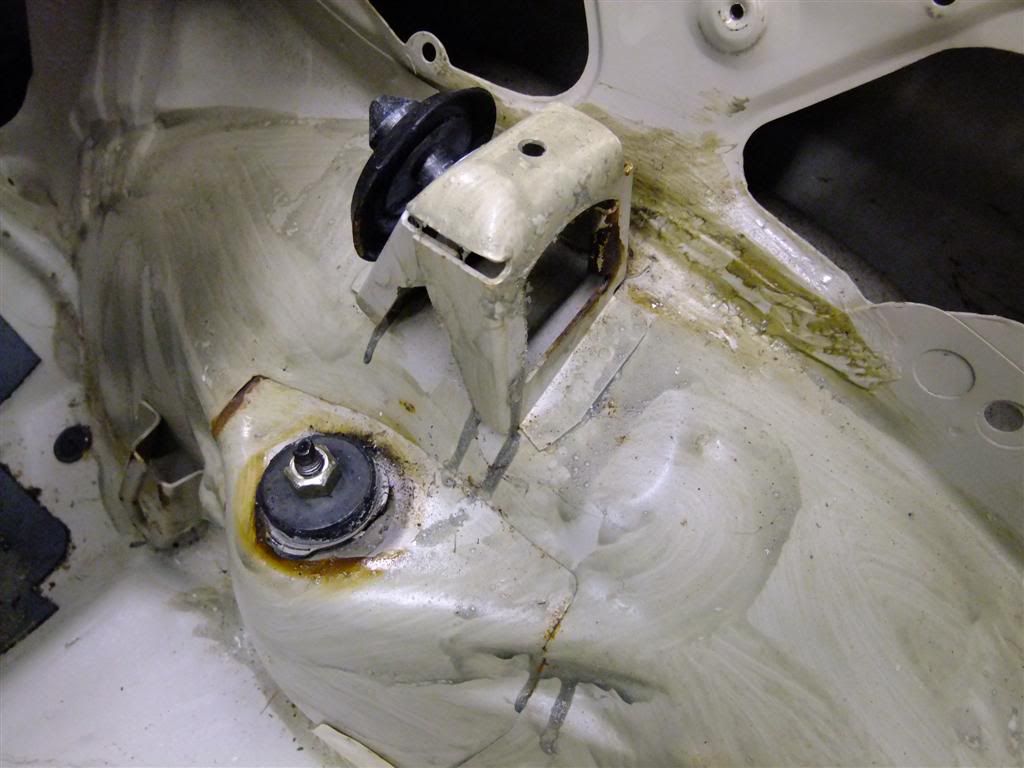
Next job was to remove the fire wall to gain access to the battery tray area - it will be replaced once all the repairs are done.
I removed the easy spot welds first
Then the battery clamp
And then the trickery ones behind the o/s turret
Daylight!
Nearly there
Just the awkward ones in the n/s corner left
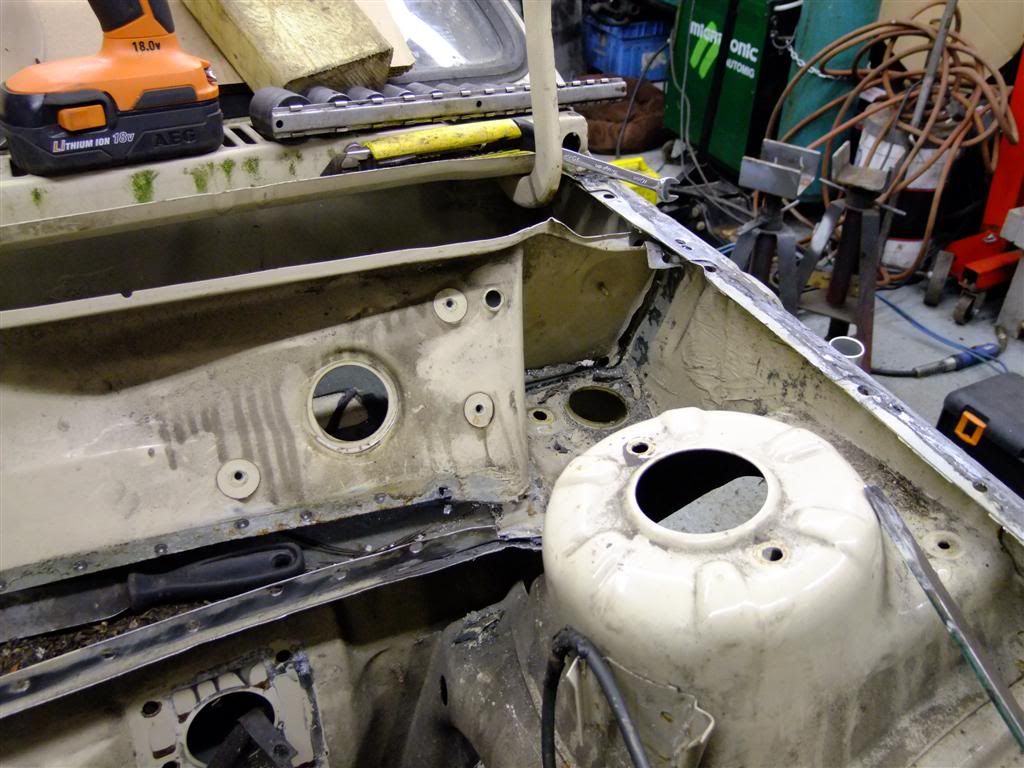
Out!
Much more accessible now
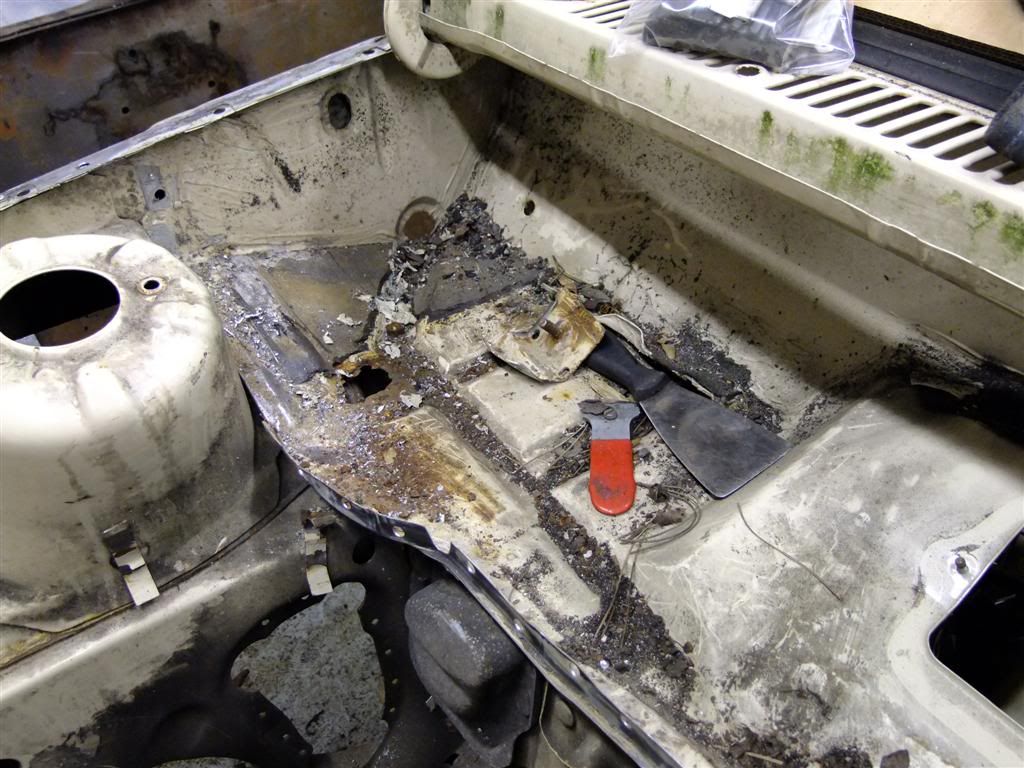
Gave the battery tray area a quick wire wheel to see what I was dealing with
And found another hole - which was to be expected
The it was on with removing the black s h I t which is a pita but most of this came up with a scraper as its so old
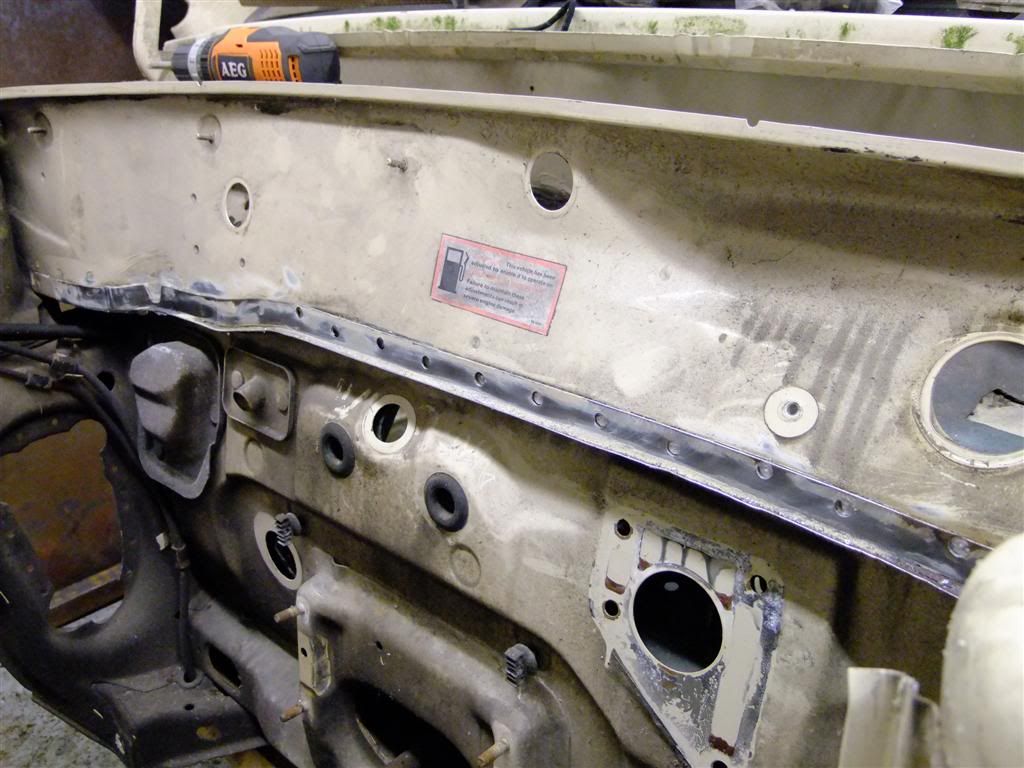
Then another quick wire wheel to tidy it up a bit
Better
Now back to below the battery tray in the front o/s inner wheel arch and that hole
predictably worse that it first seemed
Back inside again this time to remove the head lining, it already had several hole in it so there was no point saving it
out
And out with the original pedal assembly and brake balance bar ready for modification
I was fed up of pi$$ing around inside the car so got the back end up in the air
Quick pic for reference
And slipped the axle off
The next victim
Spot weld drill out - zip zip
much better
And the other side
As I was about to move on the the rest of the brackets the battery died on the drill ffs so on charge with that and on to the next job.
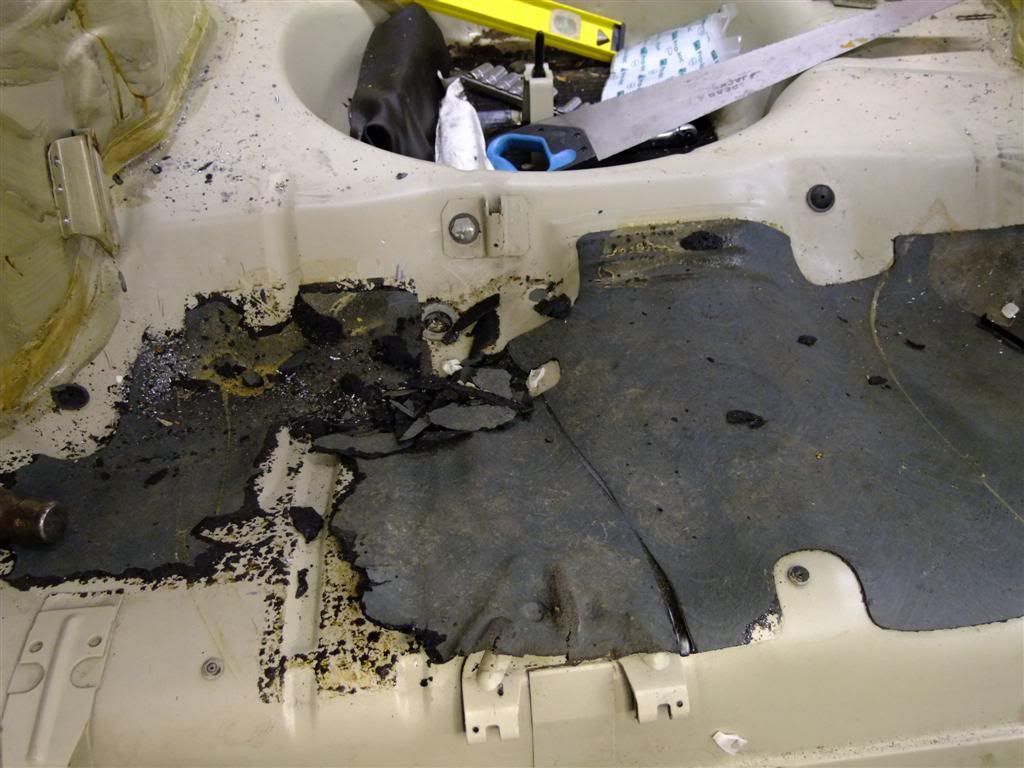
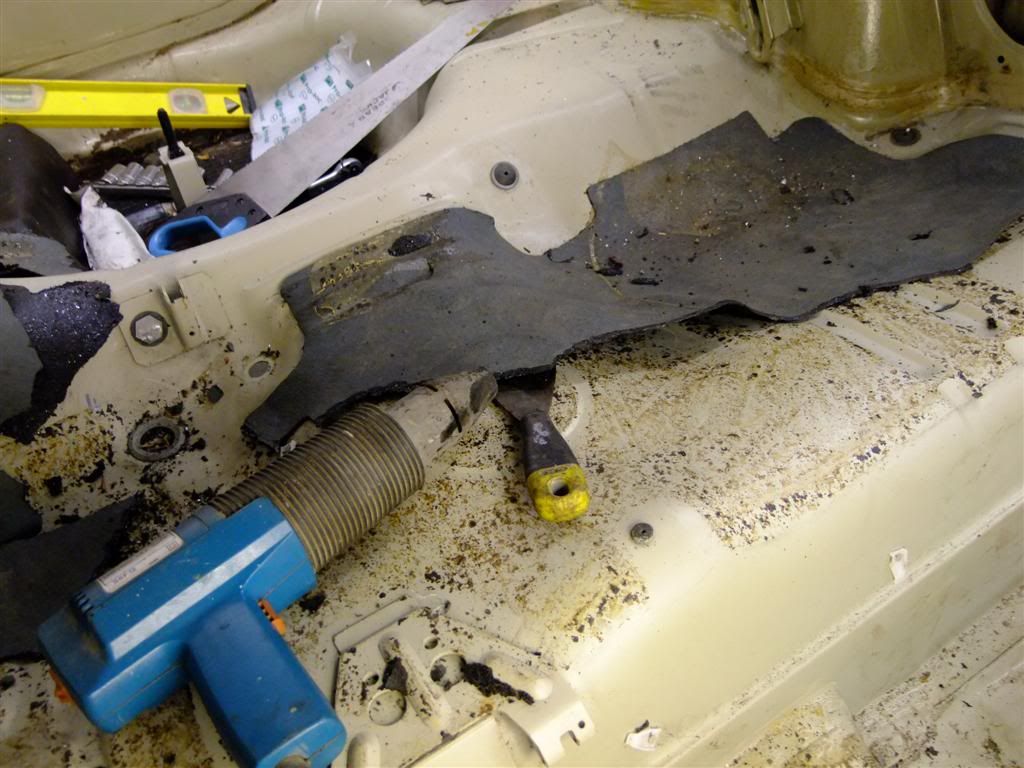
This black sh!t
Heat gun and scraped go!
Nearly there
Much better
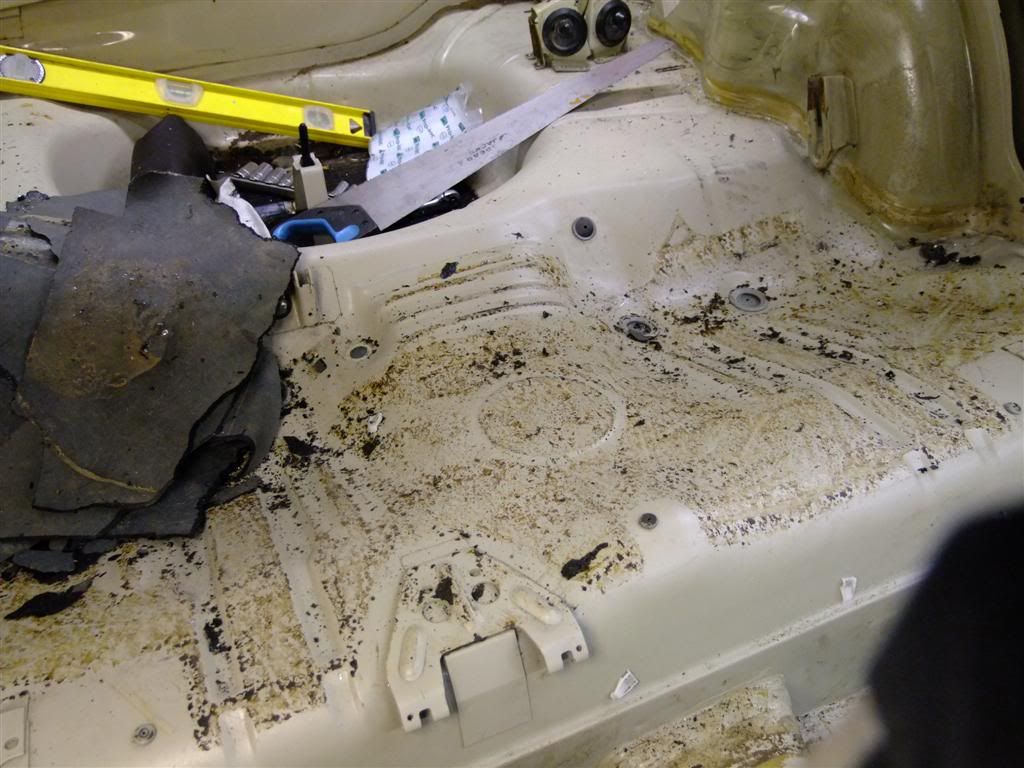
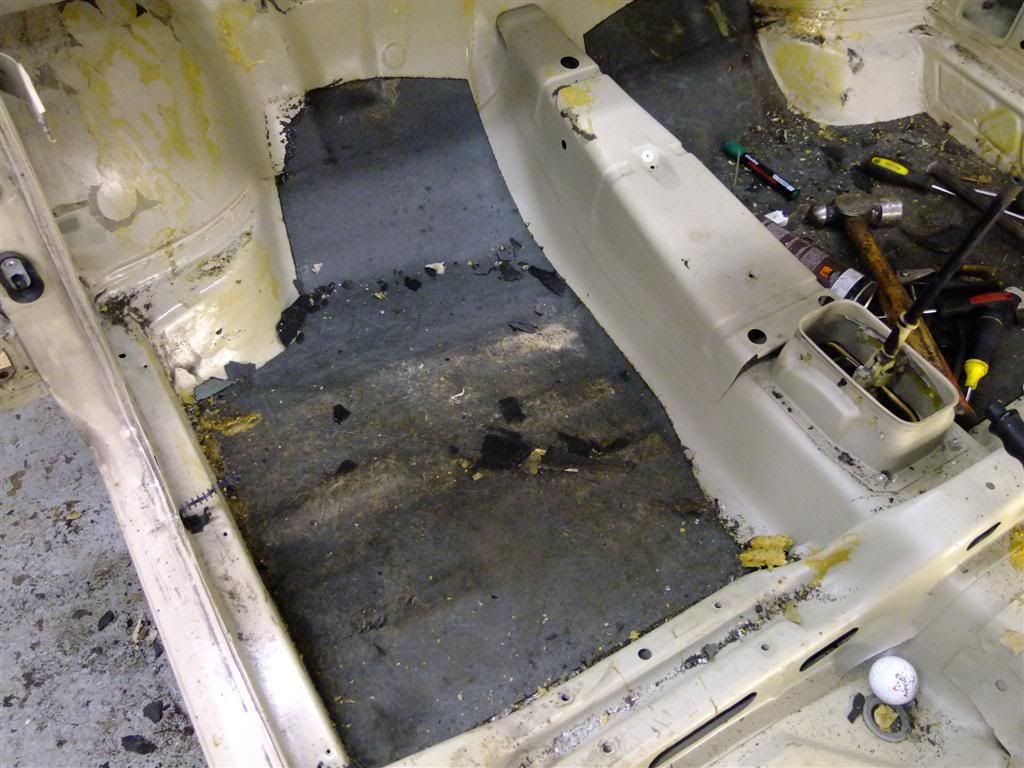
Then while I was at it I started on the passenger foot well
Getting there
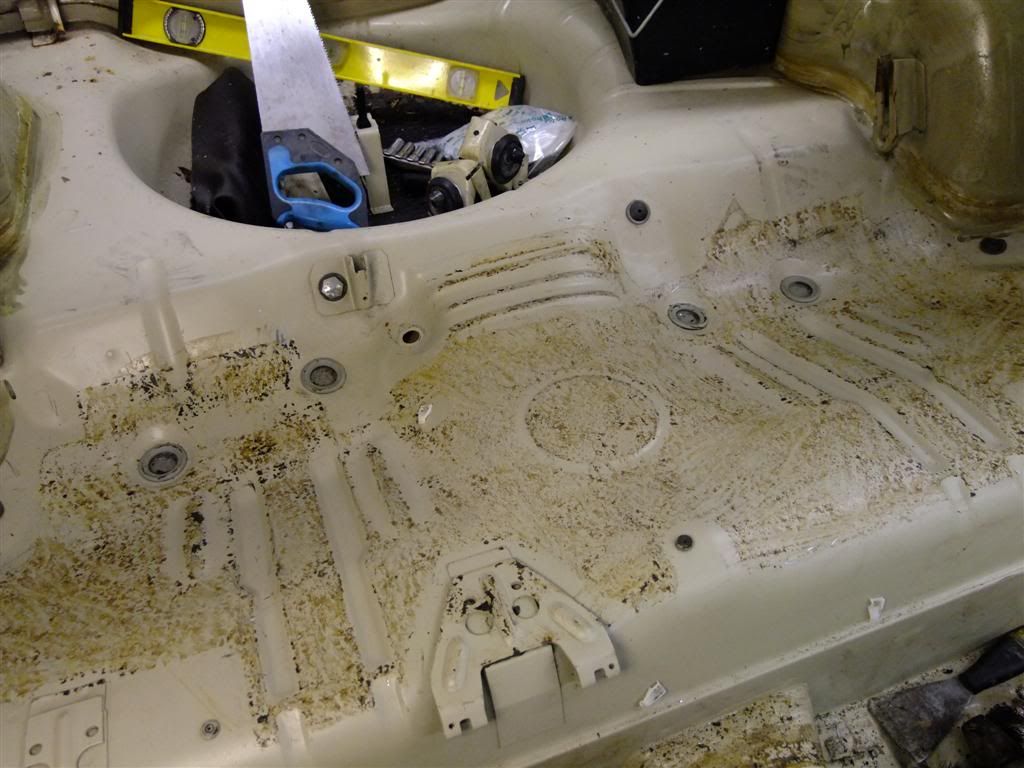
And the drivers side
This was more difficult to get up fook knows why
Finally I gave the area a good clean off with white spirit
Bling!
Cleaned up the pass side
And in the back
I decided I wanted to get the car a little more mobile so on the roll over frame it was.
First I wanted to strengthen up the brackets I had previously used so welded in the triangular section below
Both complete
And fitted to the car
Then fitted the frame front and rear
And an over all shot just because - its a mess I know and the dogs looking at me like wtf are you doing!
The take 4 castors
And weld them here, thus giving mobility
Then to aid the mess issue I knocked up a shelf for some storage
After much procrastination waisting my time tidying up I finally got round to doing something.
Started here and removed this
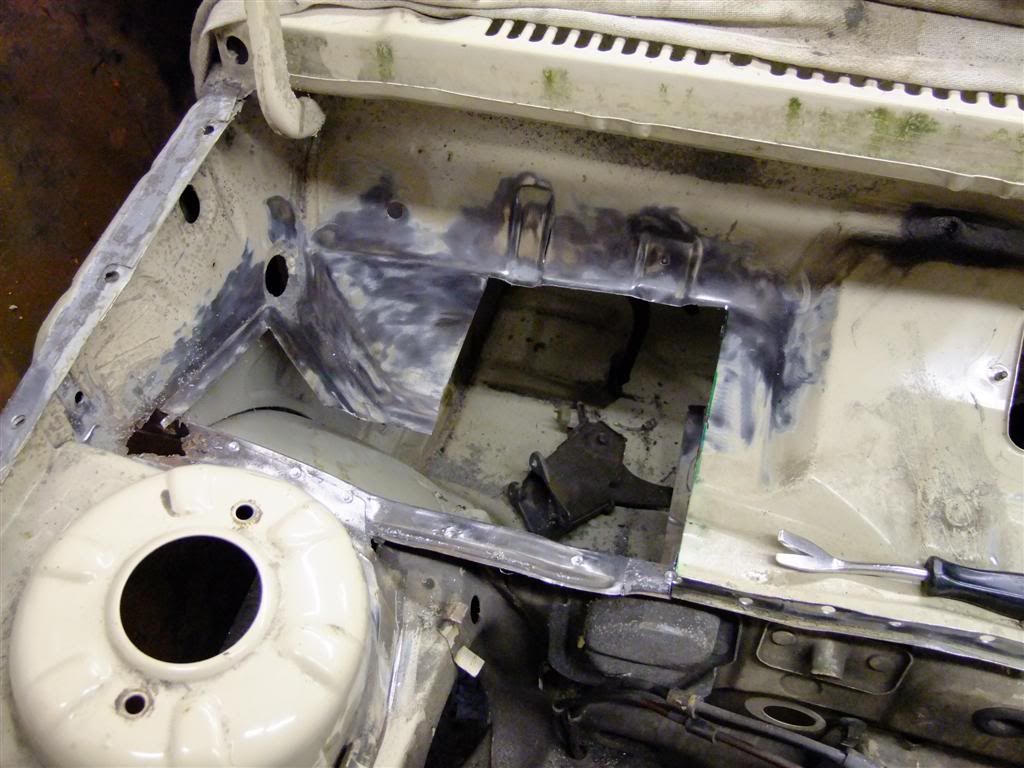
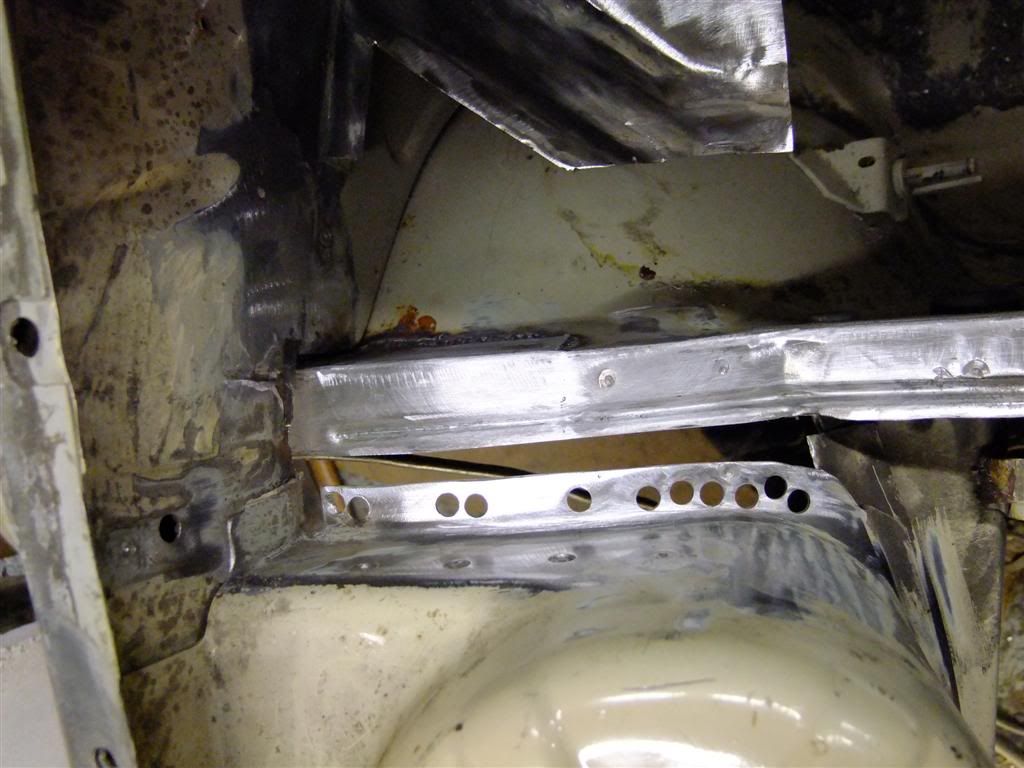
Then I decided to tackle the rust hole in the battery tray and the base for the corsa B brake pedal assembly
So I began with this - removing a few obvious spot welds
Then out with a few more less obvious ones and most of the rusted metal
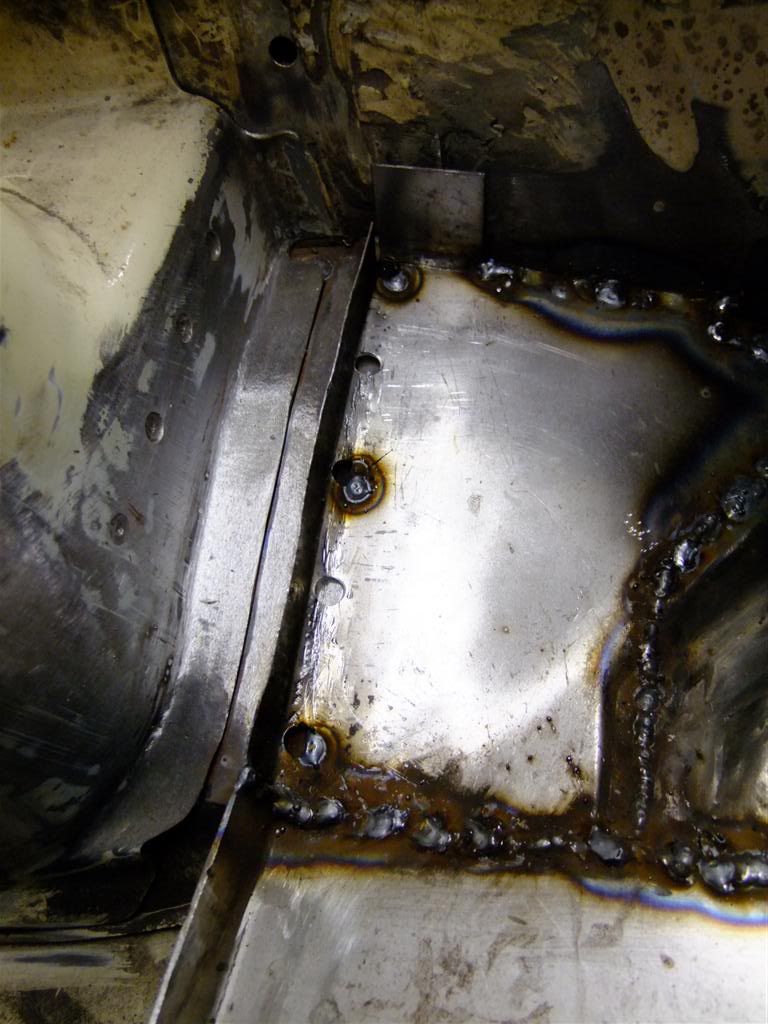
Gave the general area a clean up to see what I was dealing with
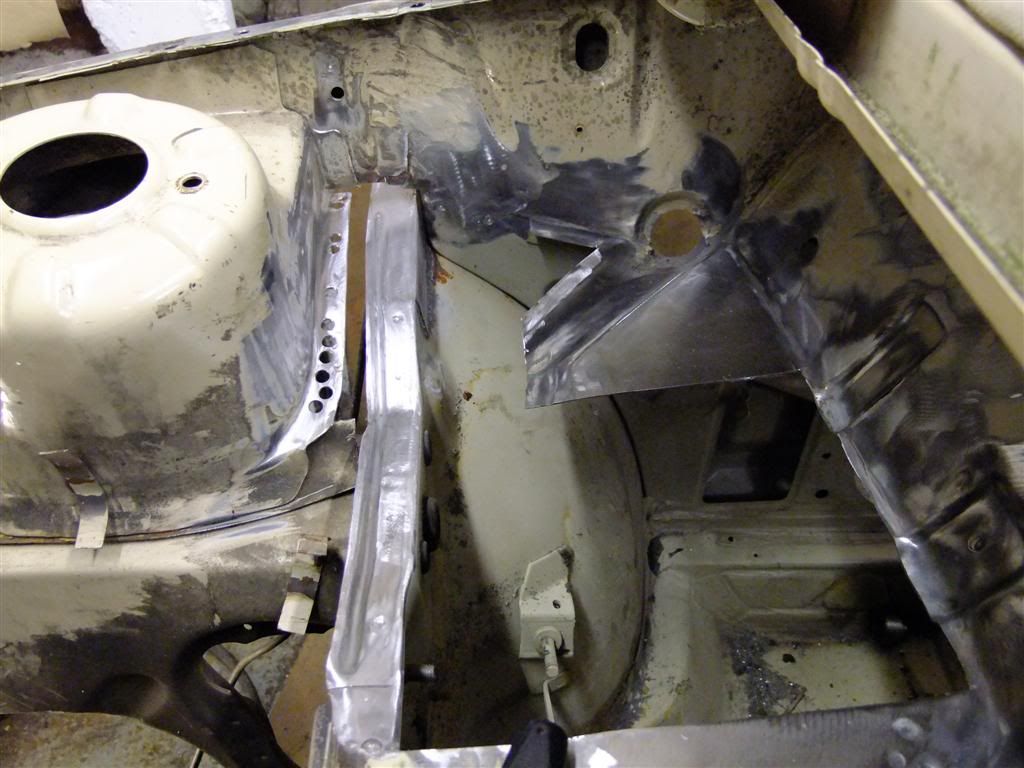
cut some more out
Followed by further cleaning
And the removal of the last of the battery clamp
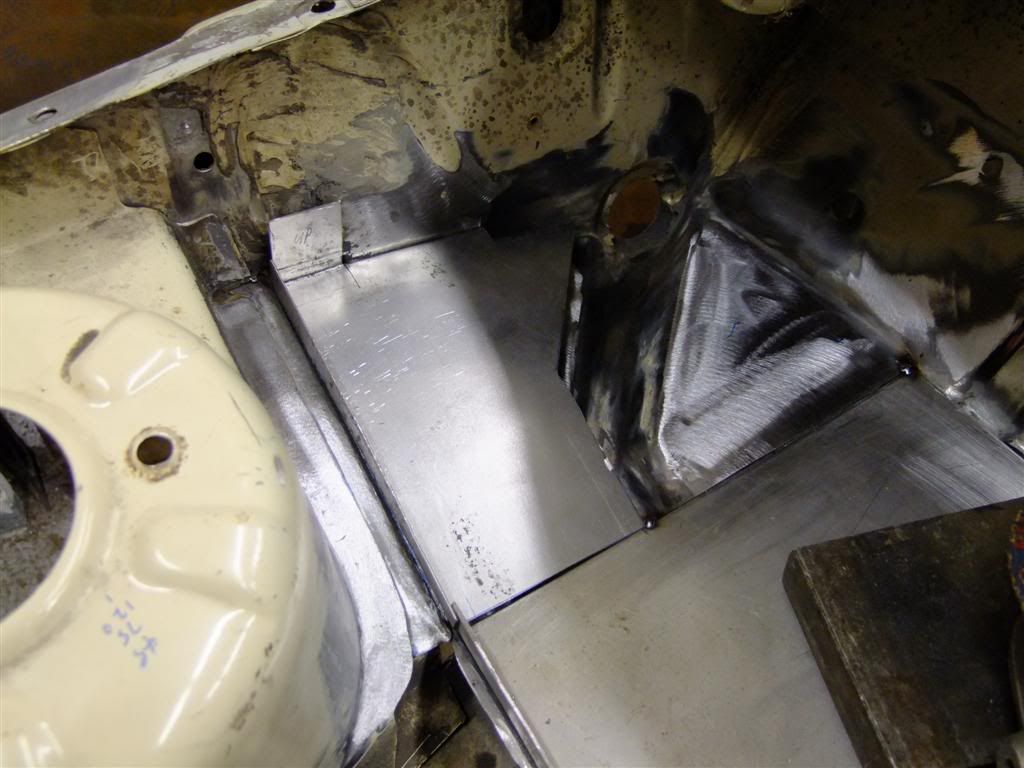
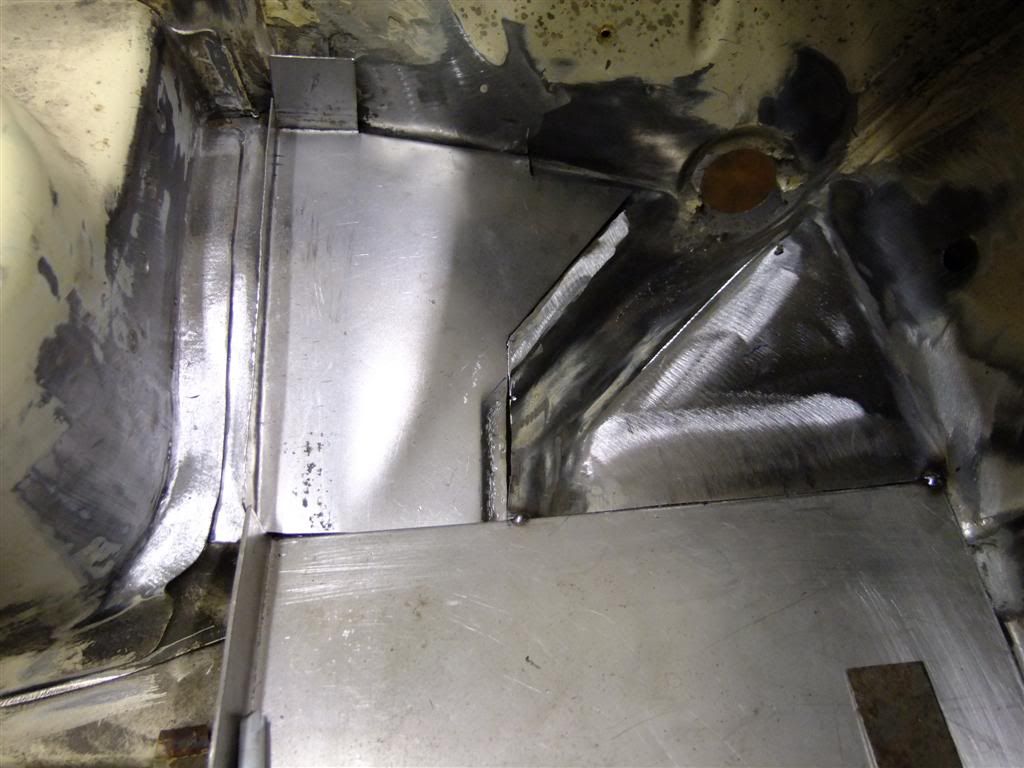
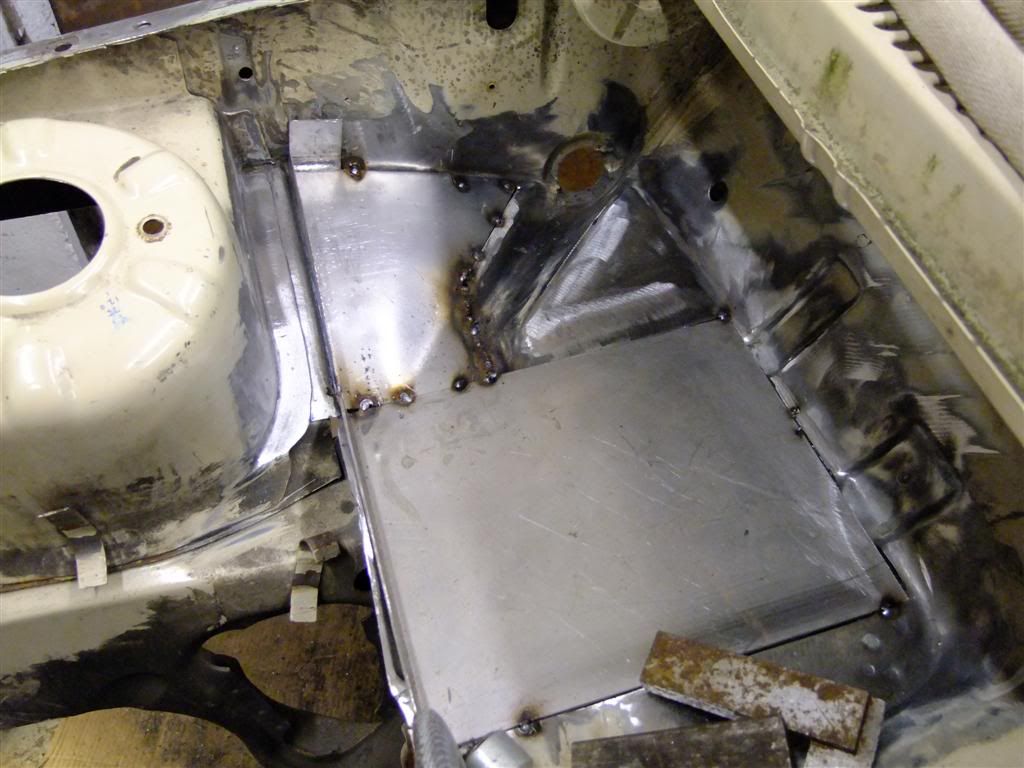
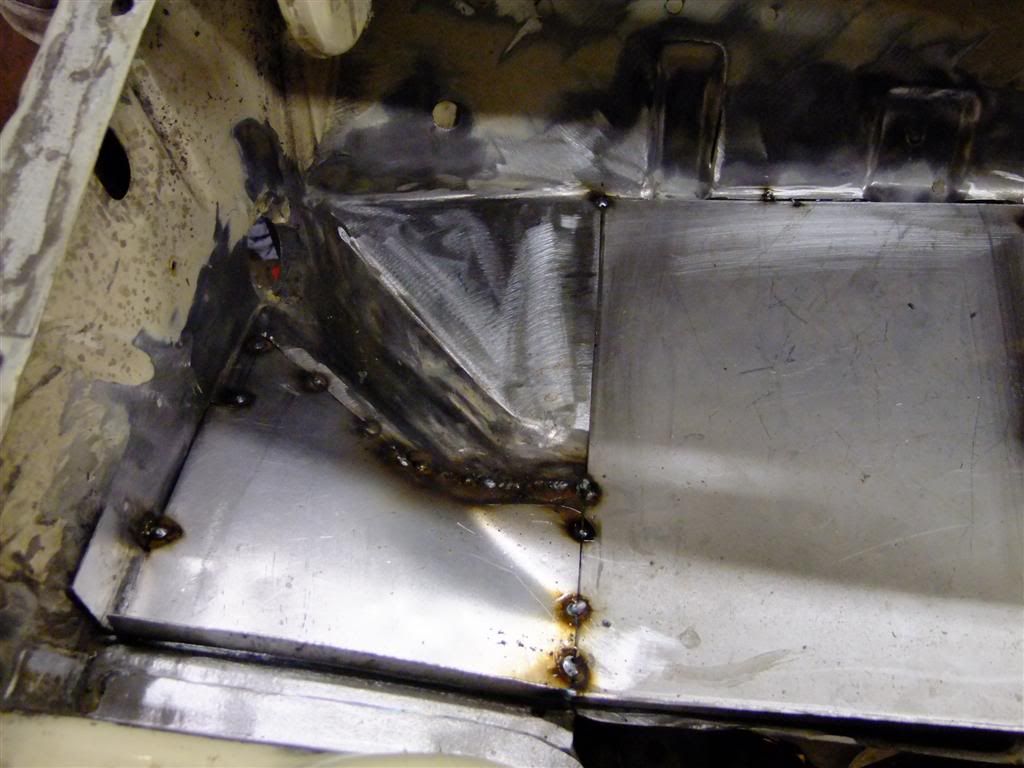
Then decided to take out a little more of the original battery tray so the servo had plenty of new thicker material either side of it.
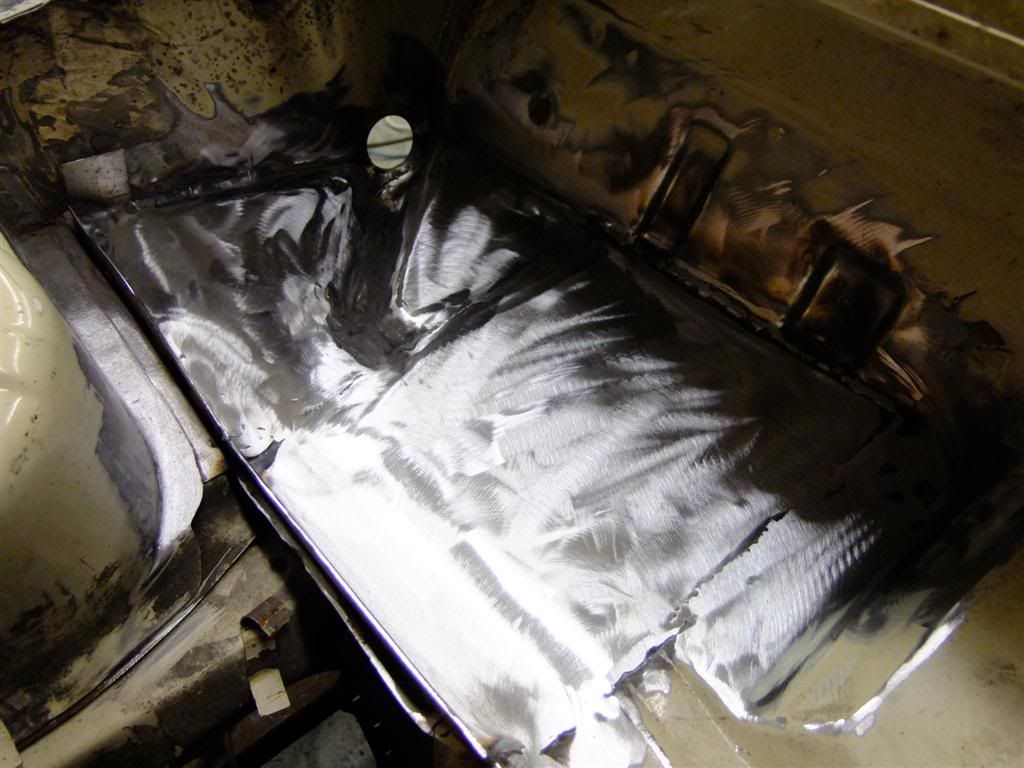
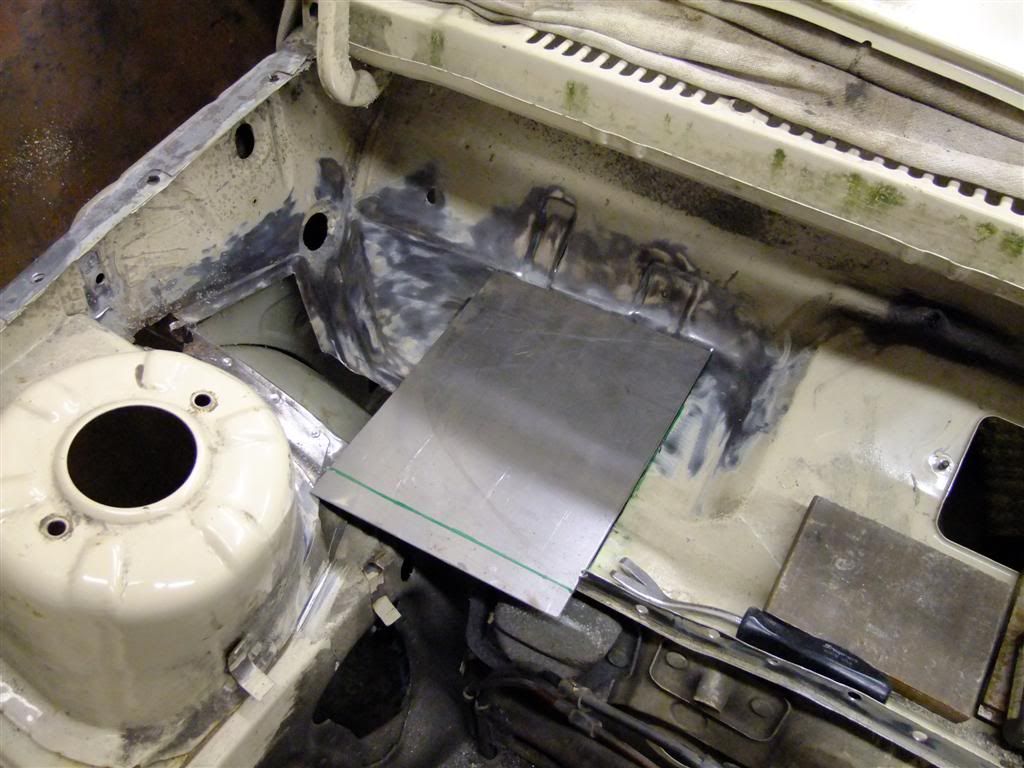
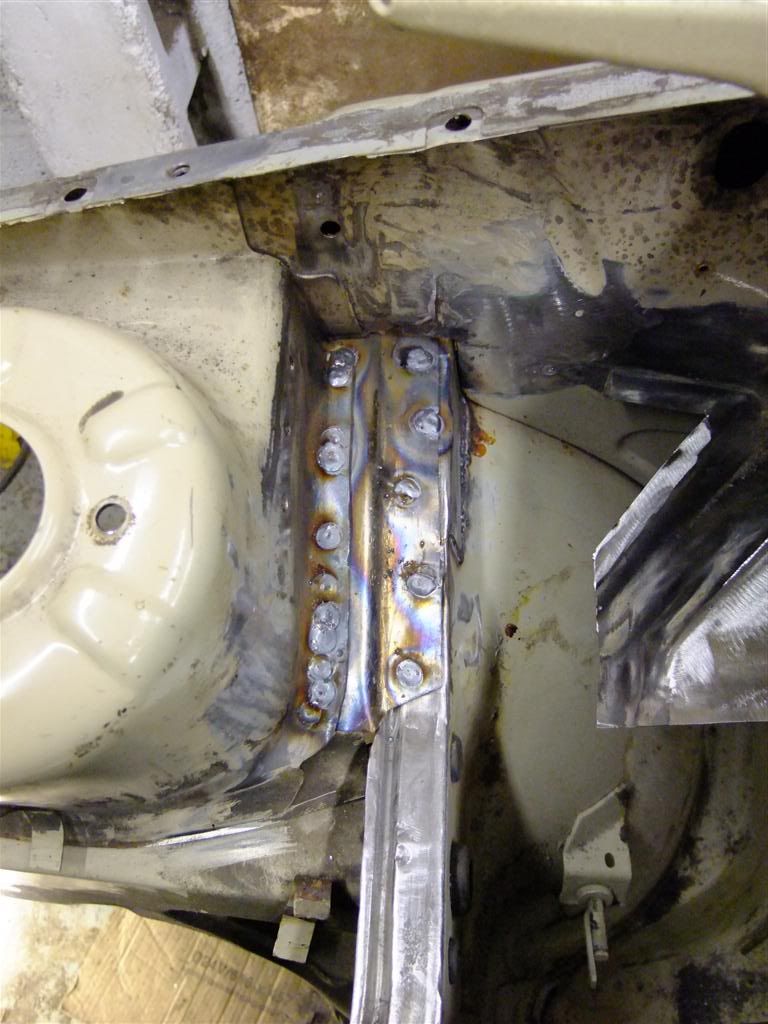
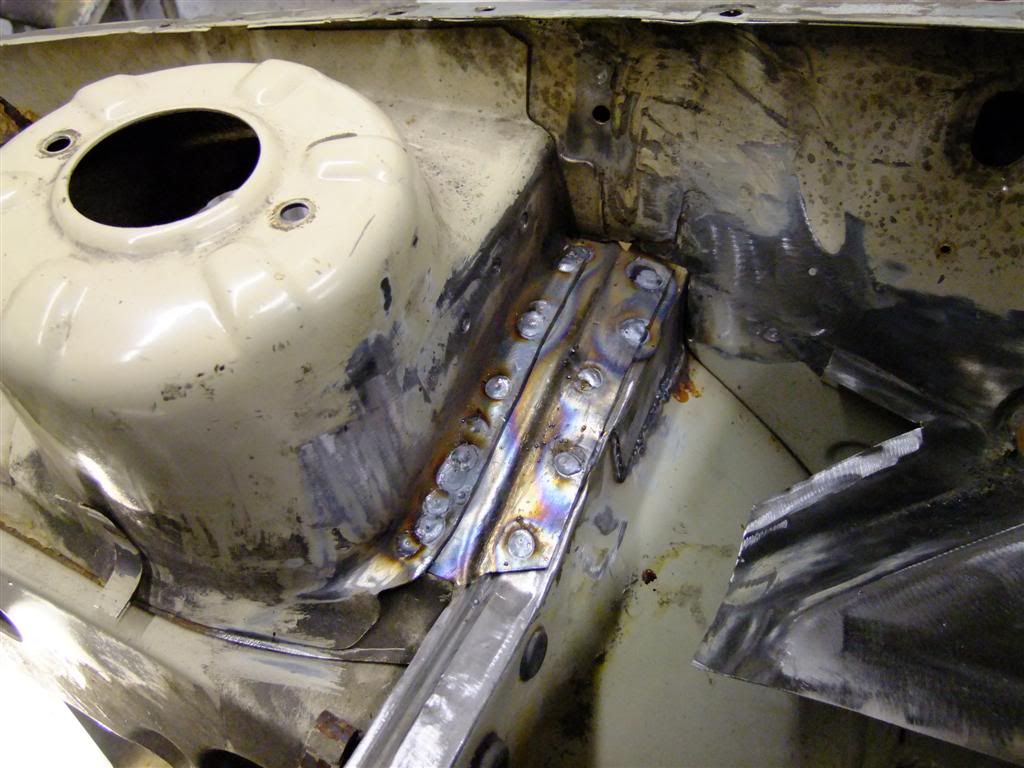
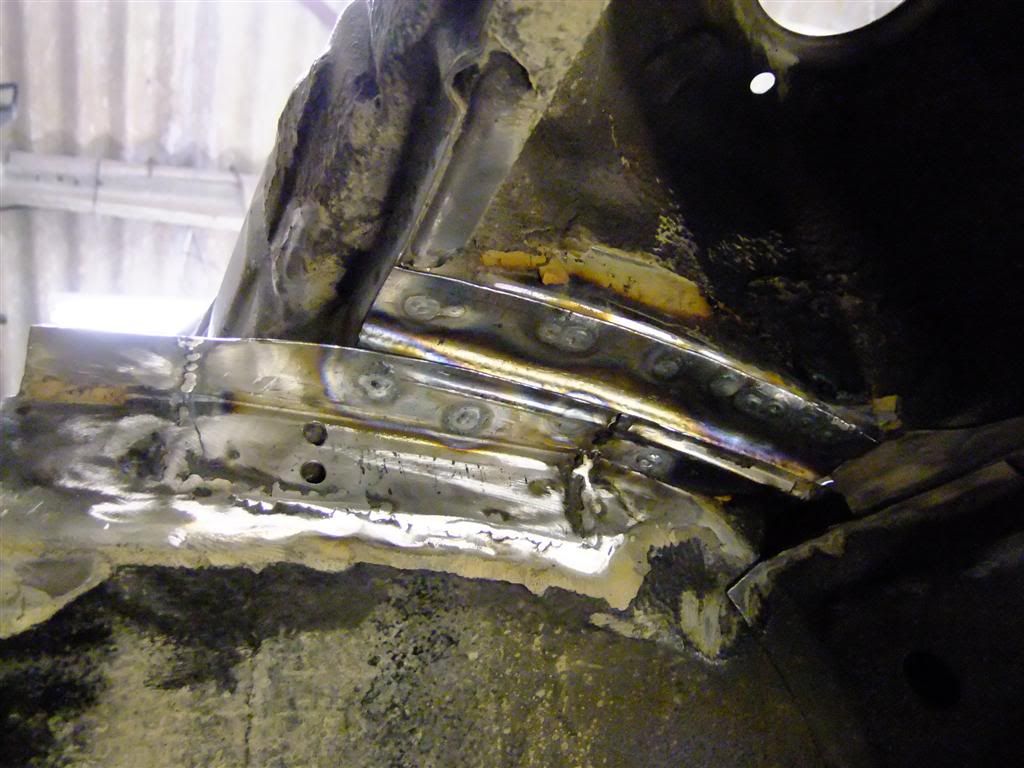
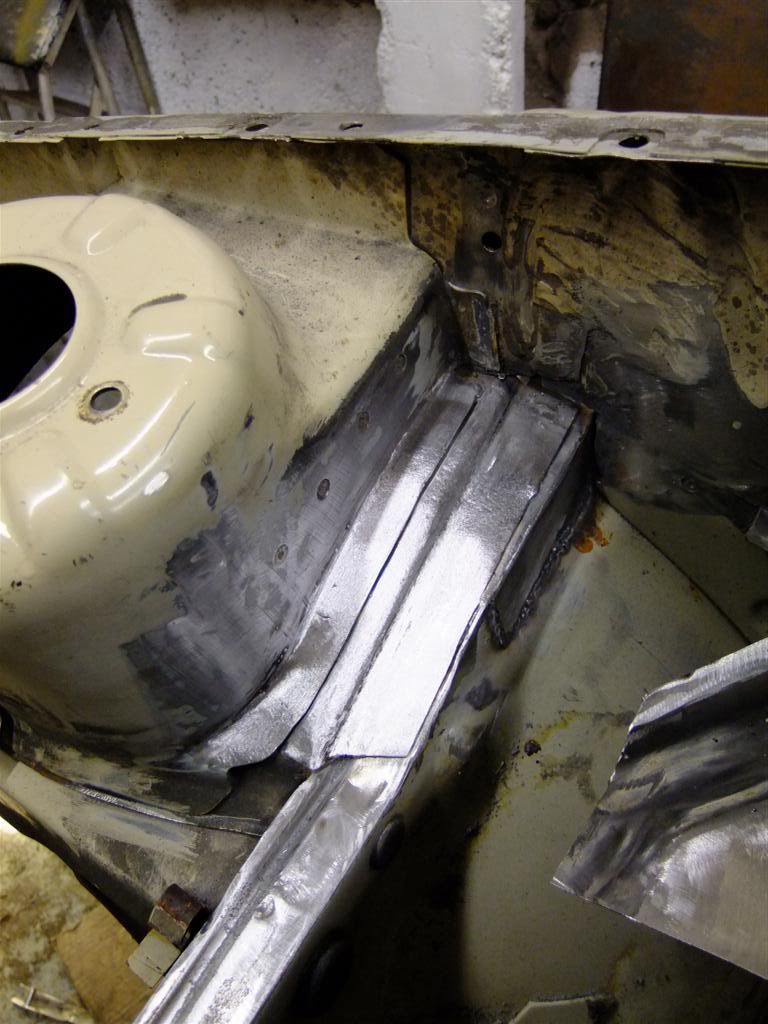
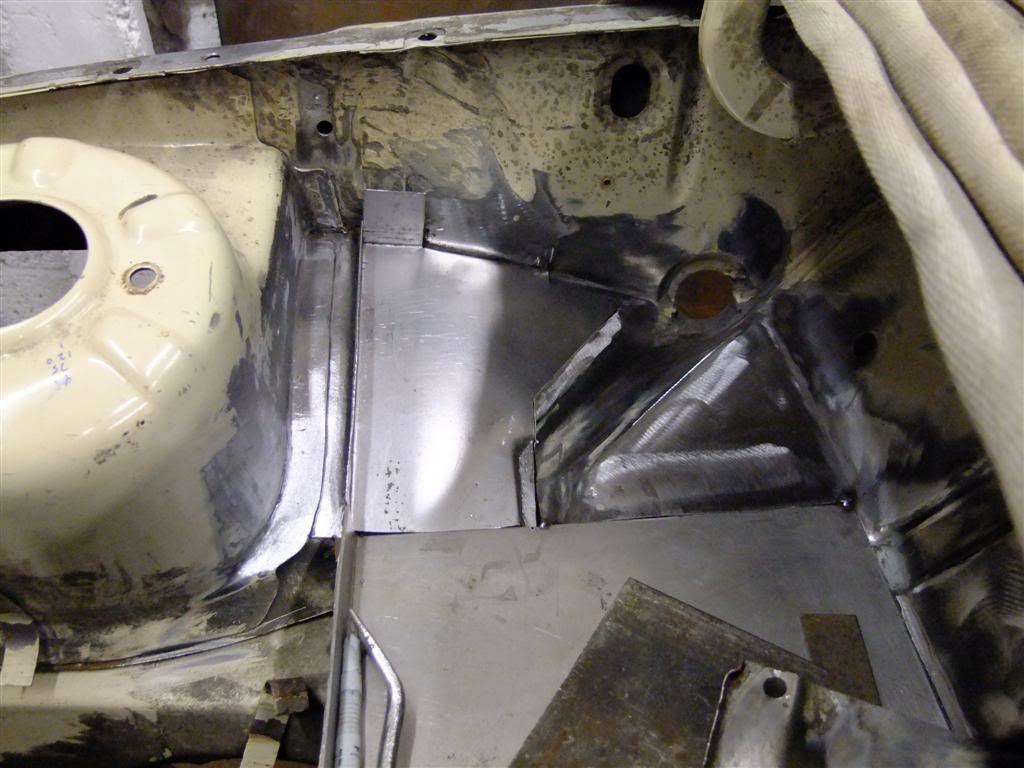
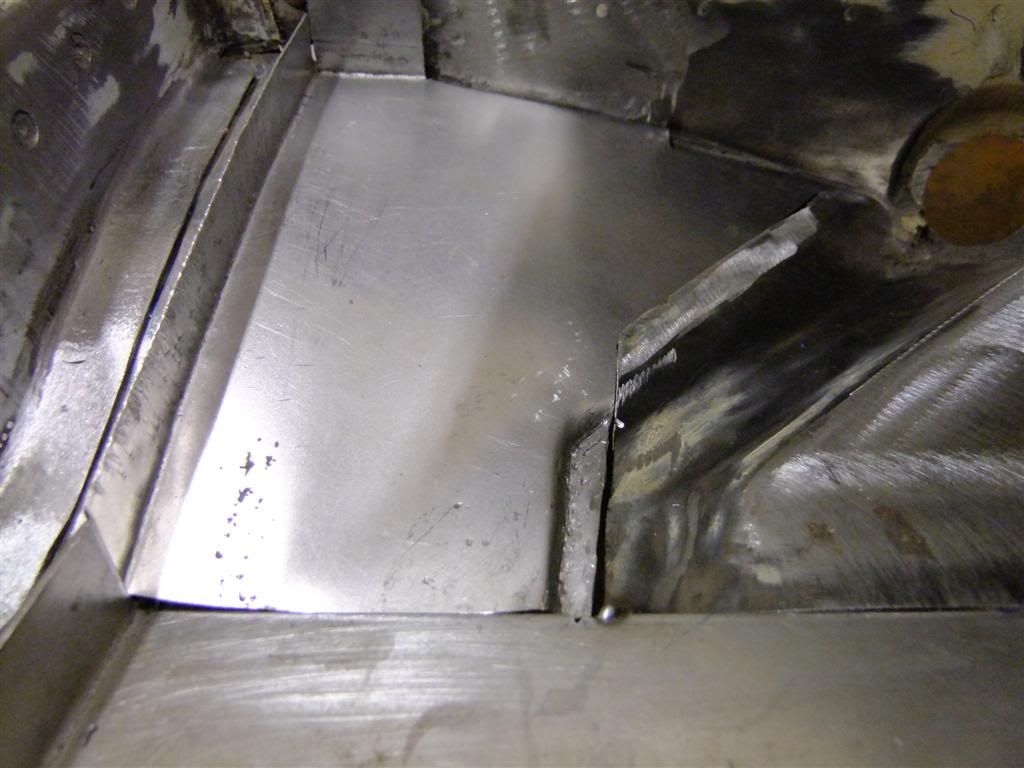
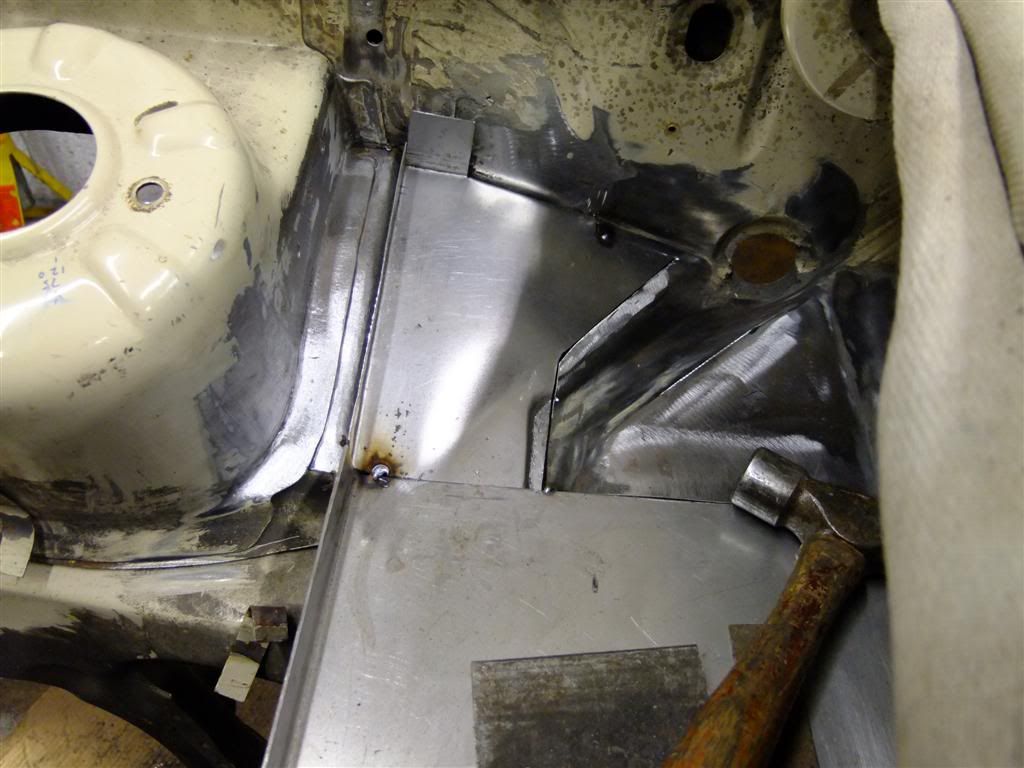
I gave the hole a good measuring and cut up a new piece of metal to go in there
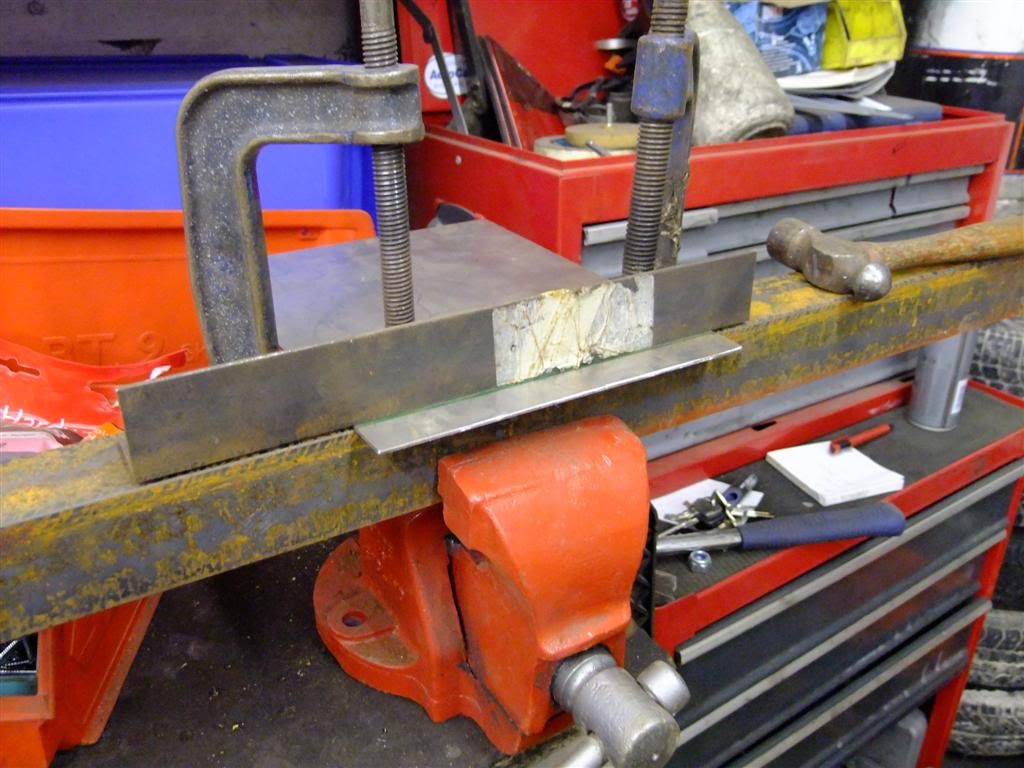
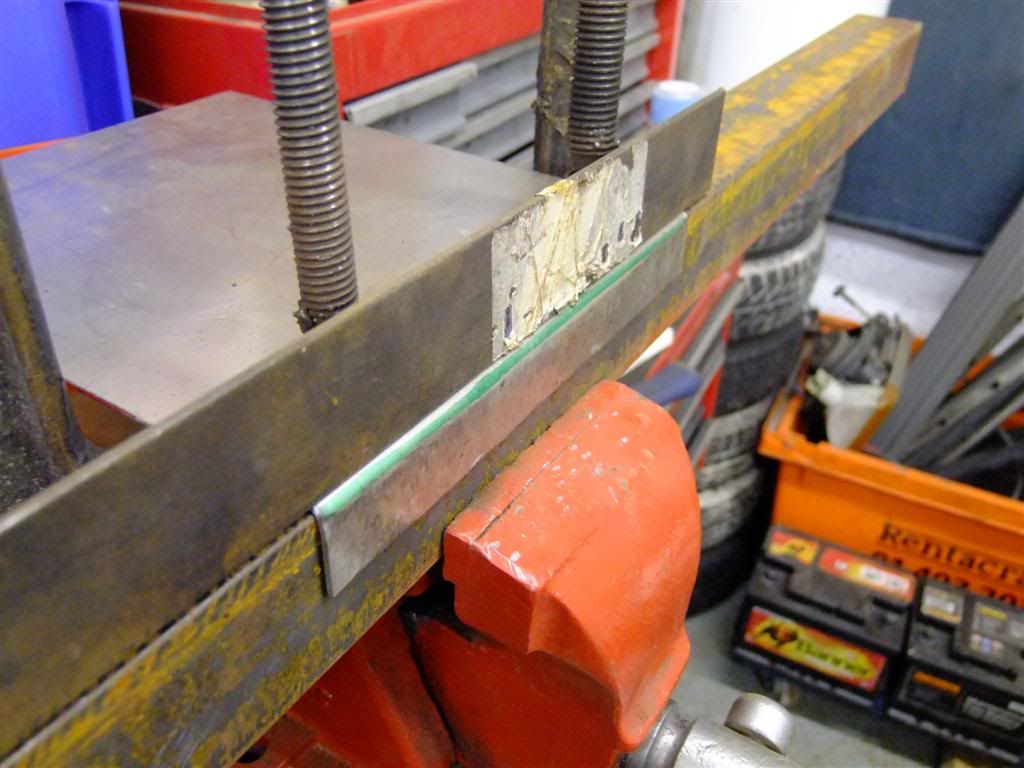
Then on to a spot of friday night bending with my make shift bended
Bent
More to follow later ;D

 best of luck with it and looking forward to seeign the finished product. ploughs are cool


 great skills.


 Ax GTi Turbo