|
|
|
|
|
|
Subscribed
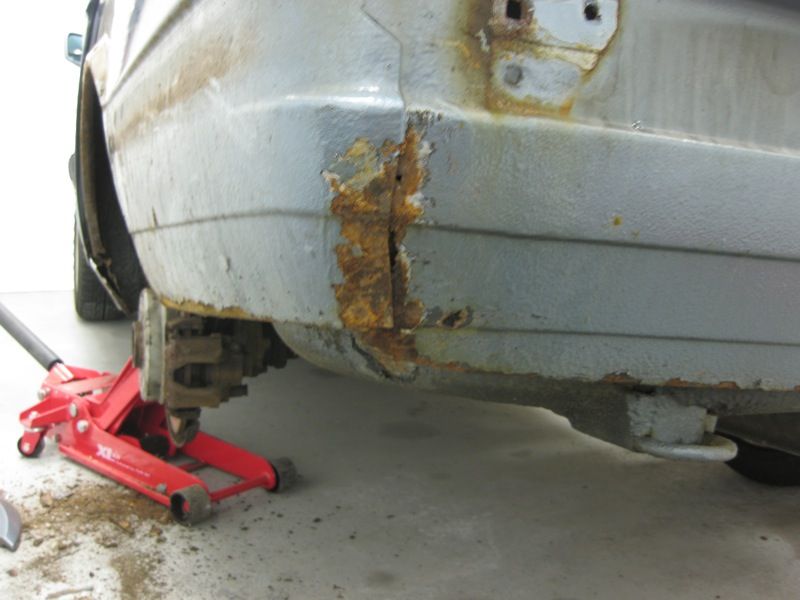
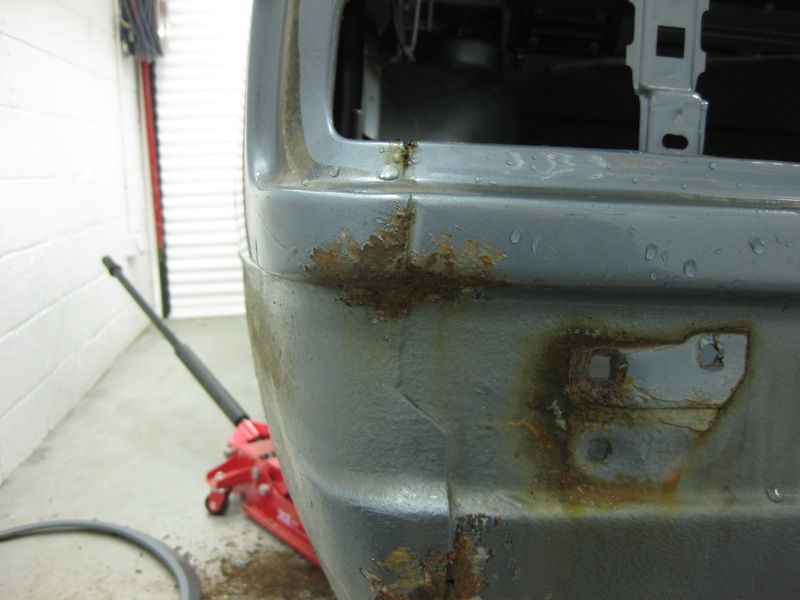
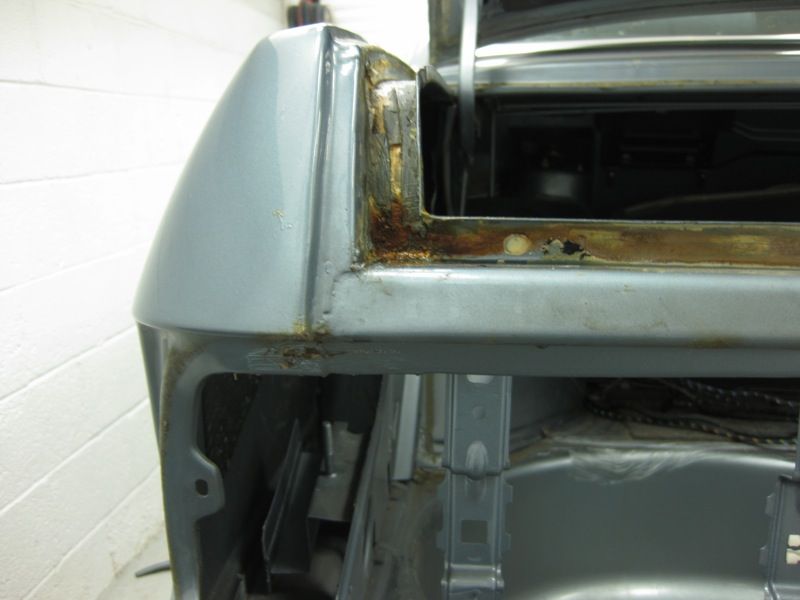
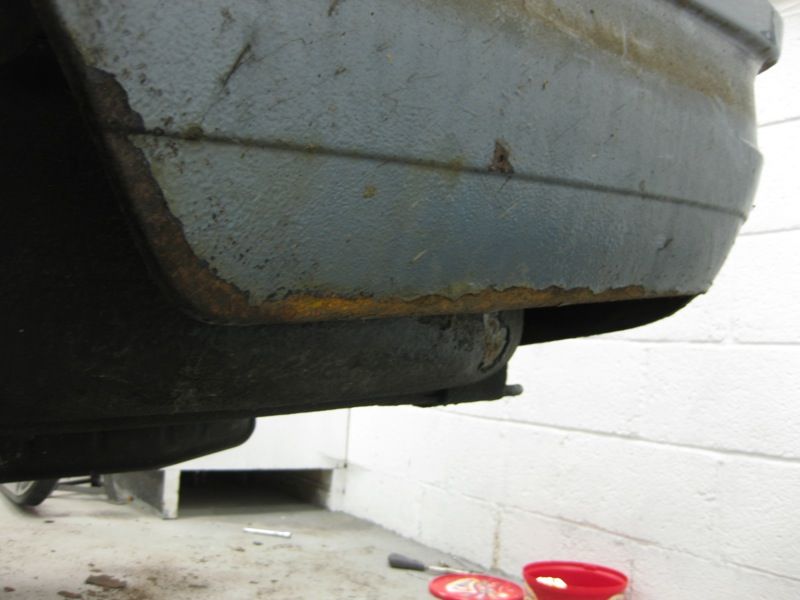
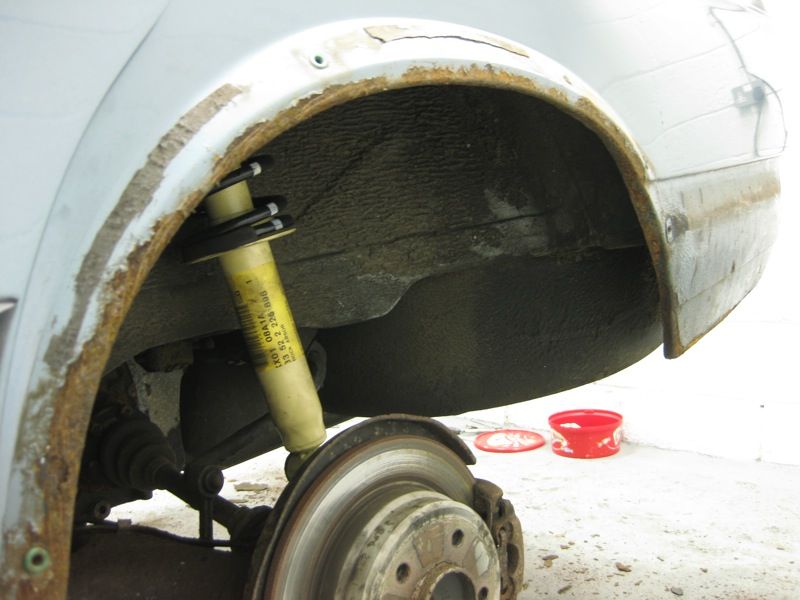
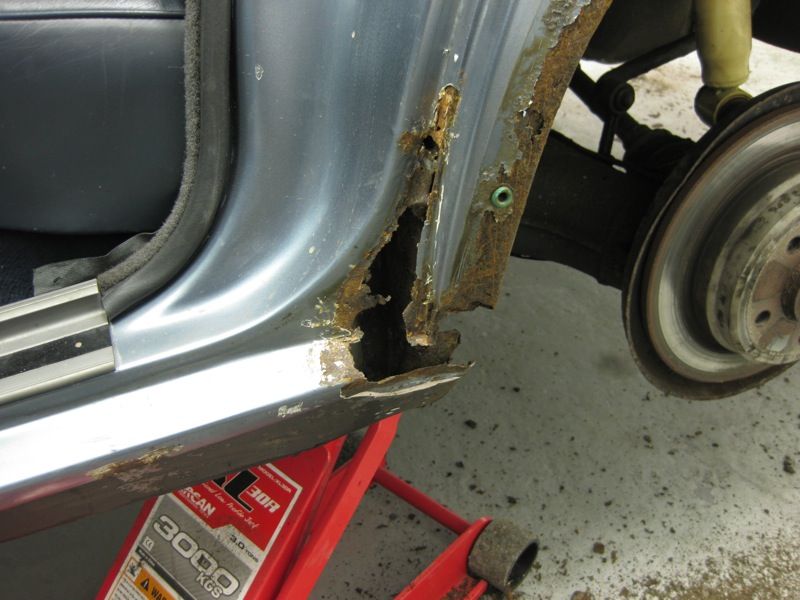
Love the E28 and the M5 without the kit and just the original chrome bumpers is the original Q car. All the places with grot are the same that afflict the E30 sadly. Are the rear inner arches fruity too?
|
| |
|
|
|
|
Mark
Posted a lot
  
Posts: 3,825
|
|
|
|
|
|
| |
E36 BMW 318is saloon (rare as a hens false tooth)
VW Caddy Maxi 2010 (usually full of Labradors)
|
|
75nut
Part of things
 
Posts: 512
|
|
|
|
Kettle on, chair pulled up, I'm ready to watch this one progress. First class workmanship incoming!! 2nd!! Get on Tony! |
| |
90 Alfa 75 3.0 V6 Cloverleaf
79 MGB Roadster
88 Saab 900i Convertible
94 MK1 MX5 1.6
05 Volvo V70
|
|
|
|
MJK 24
Part of things
 
Posts: 175
|
|
|
|
|
Your garage looks clinically clean!
|
| |
|
|
|
|
|
|
|
Your garage looks clinically clean! Its an OCD thing ;D ;D ;D |
| |
|
|
|
|
|
|
|
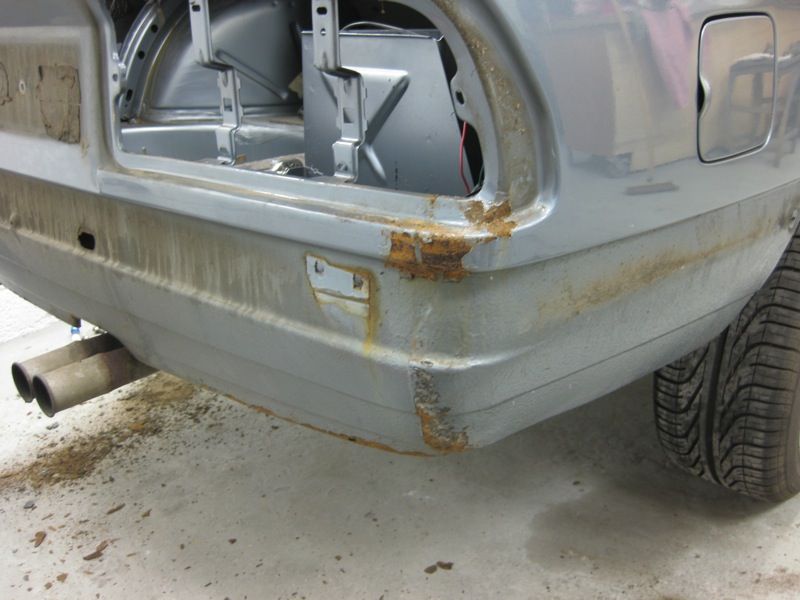
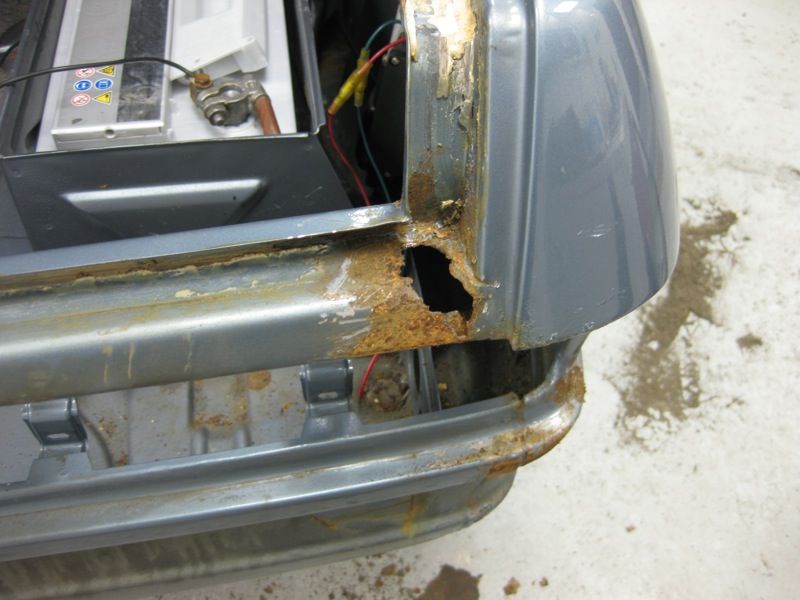
As an Aside I have just posted some info on the making panels thread about the power tools and accessories that I used today retrorides.proboards.com/index.cgi?action=display&board=usetharch&thread=70135&page=11#1492499So started with a clean and strip disc to see what we could see 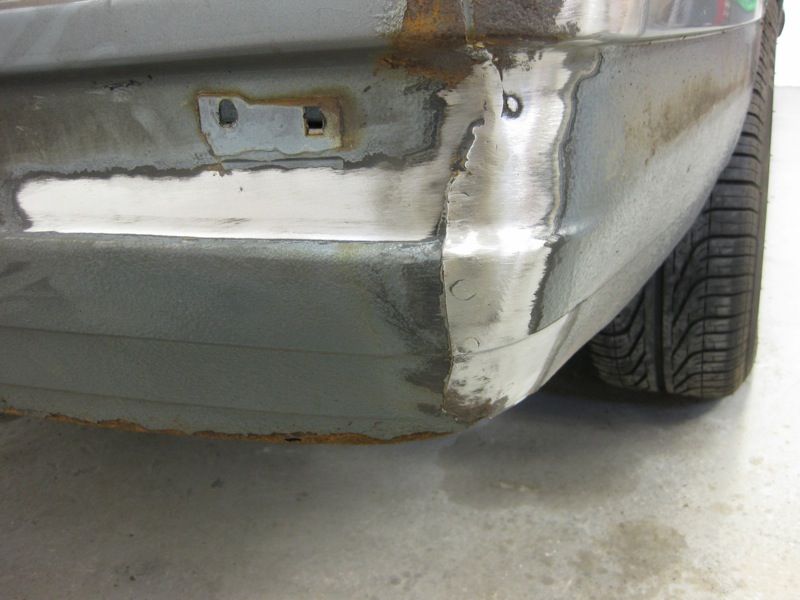 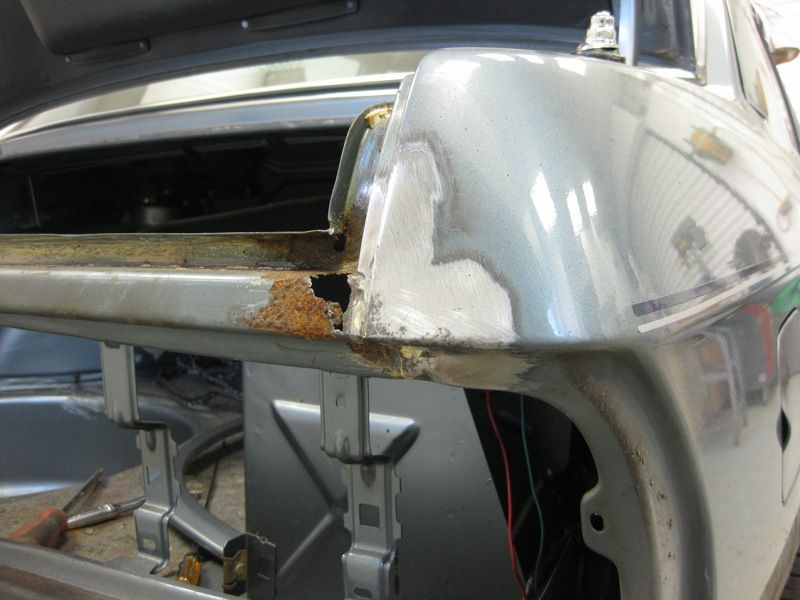 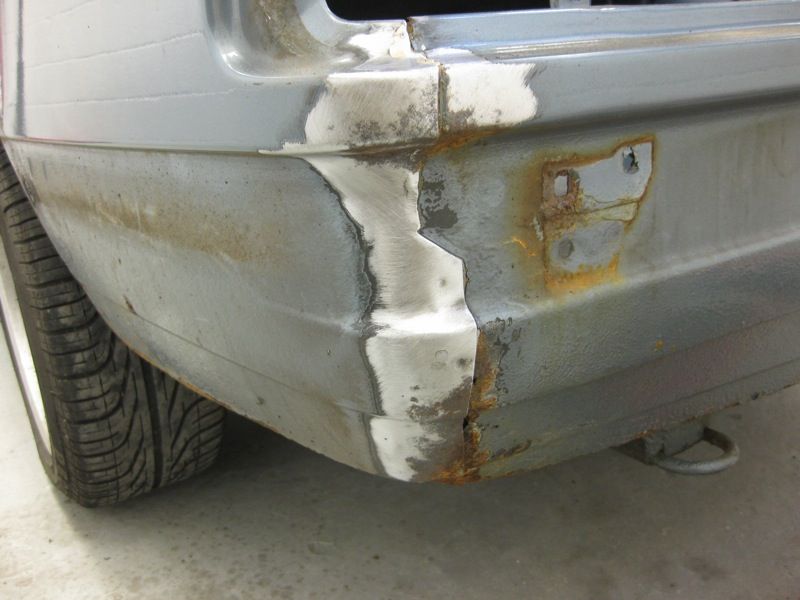 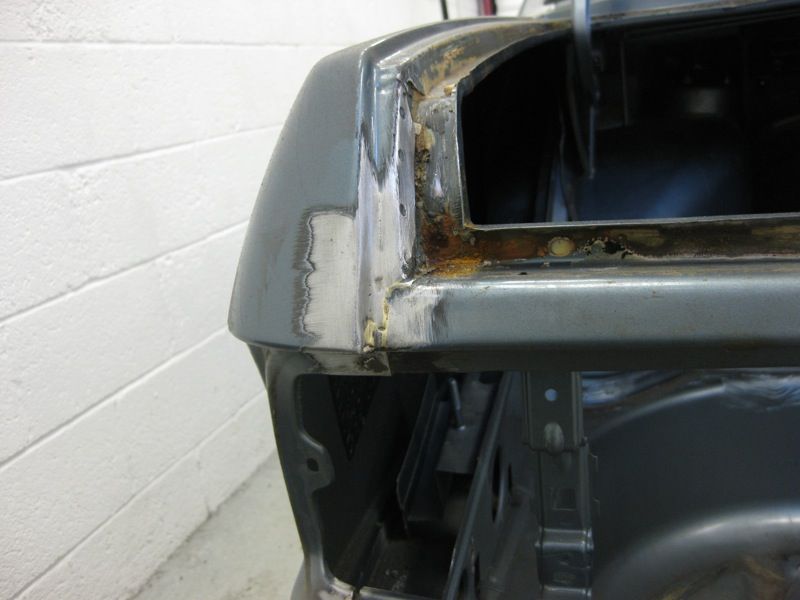 Then start to cut it off 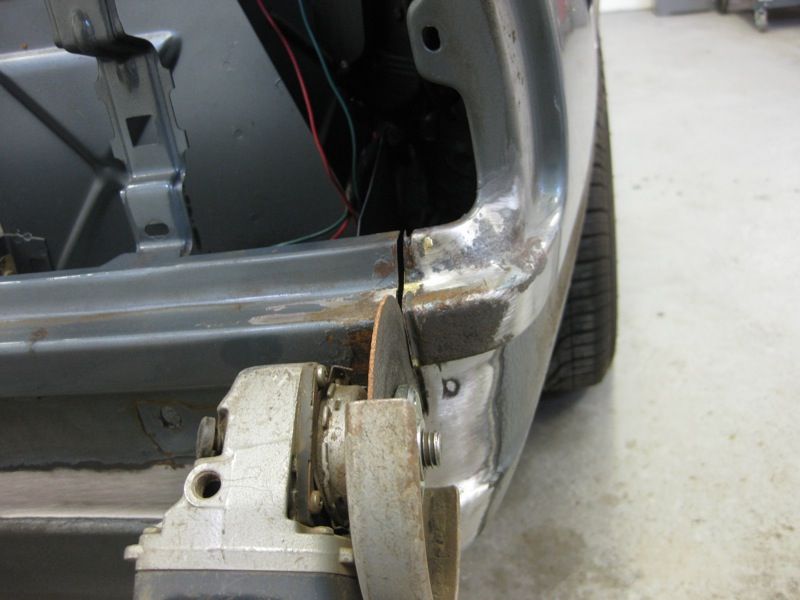 Identify the spot welds 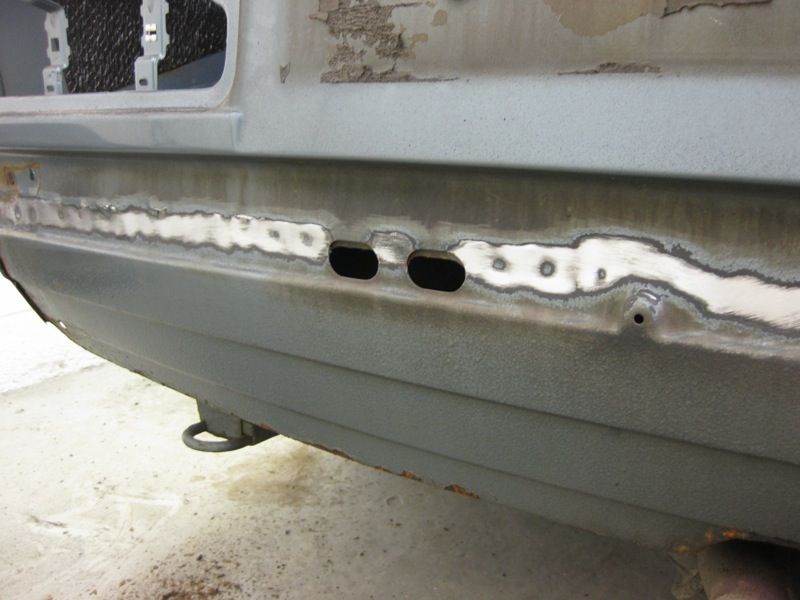 and drill them out 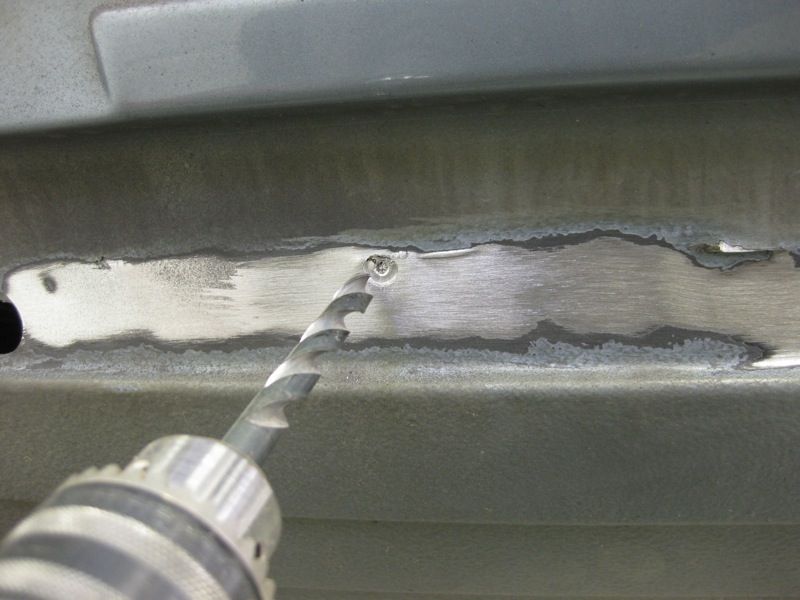 But that wasn't it, as said earlier it had had a panel fitted before, and it was stitch welded on the inside too 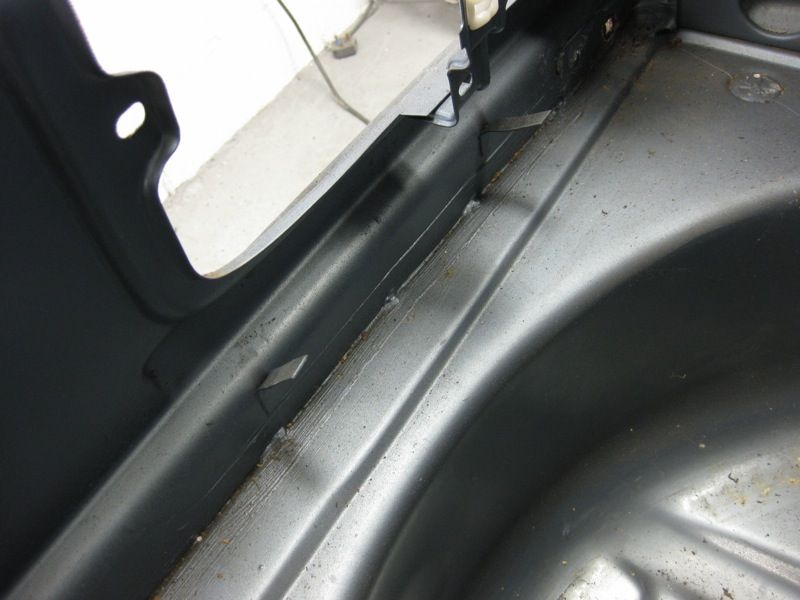 a bit more grinder action and it was off 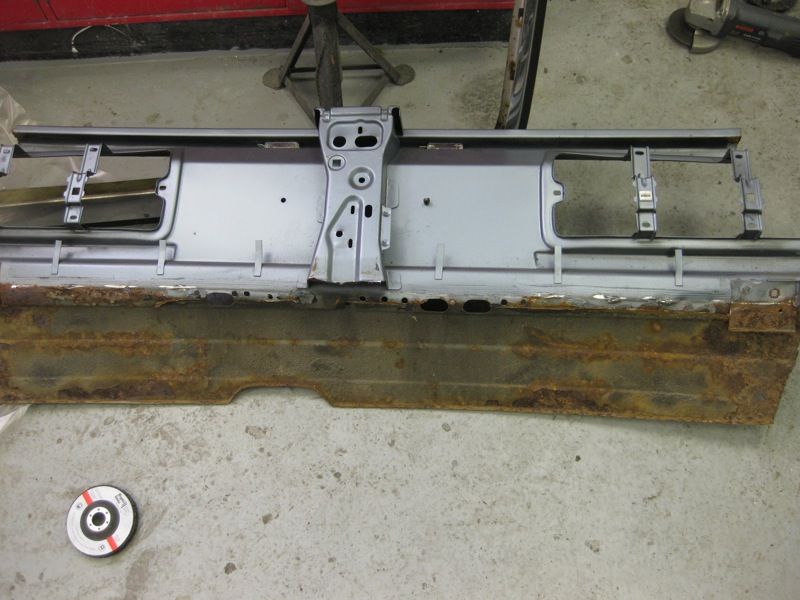 Look at that rust on the back, I have seen this so many times, a car gets repaired at a bodyshop, and a few years later, there is rust everywhere, the backs of the panels are rarely properly protected The floor flange cleaned up okay 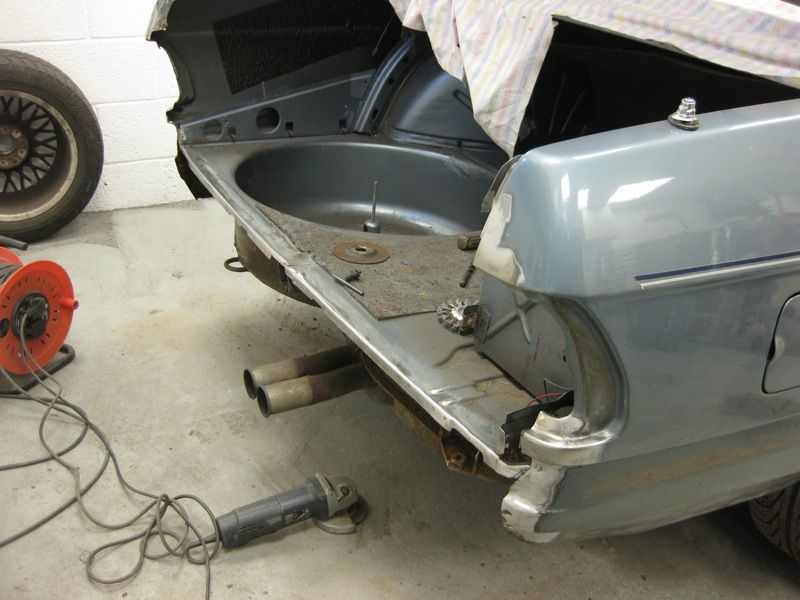 and of course I had this in preparation 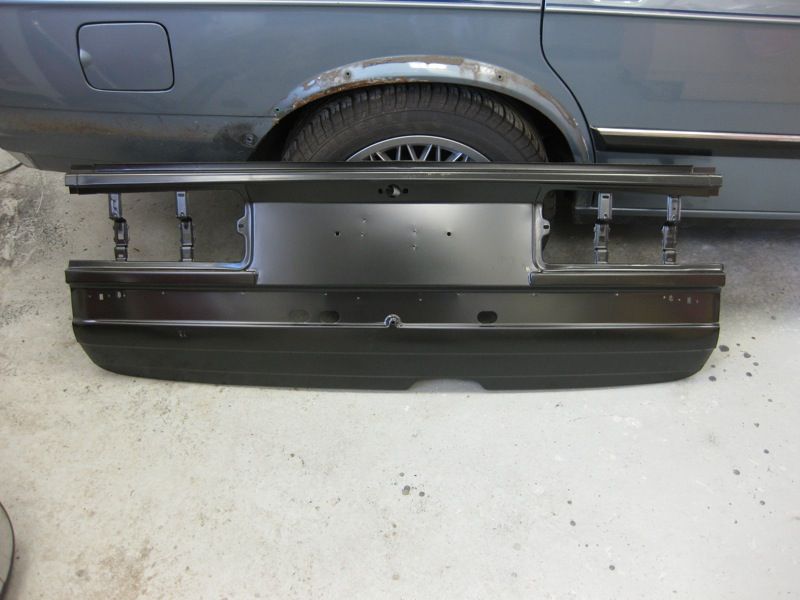 A bit of trimming later 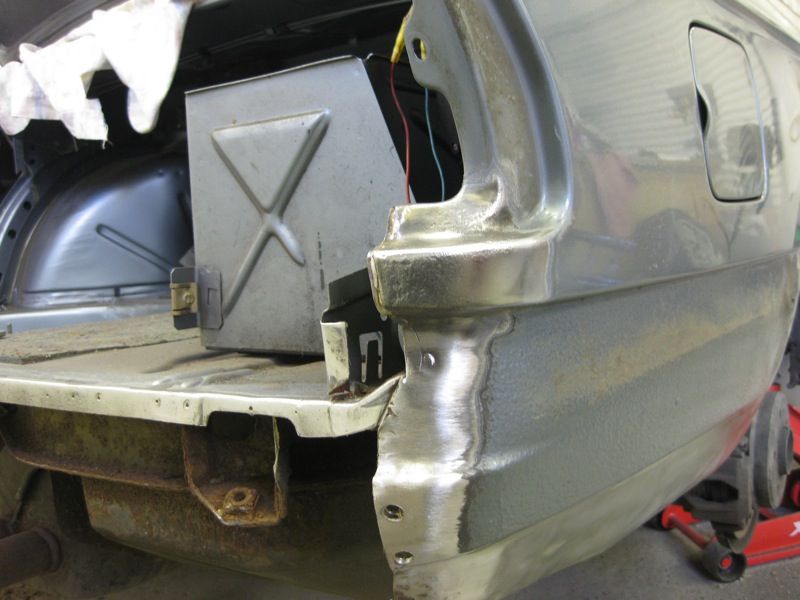 and noticed the same level of rust to the rear of the NS Rear quarter, thats not good 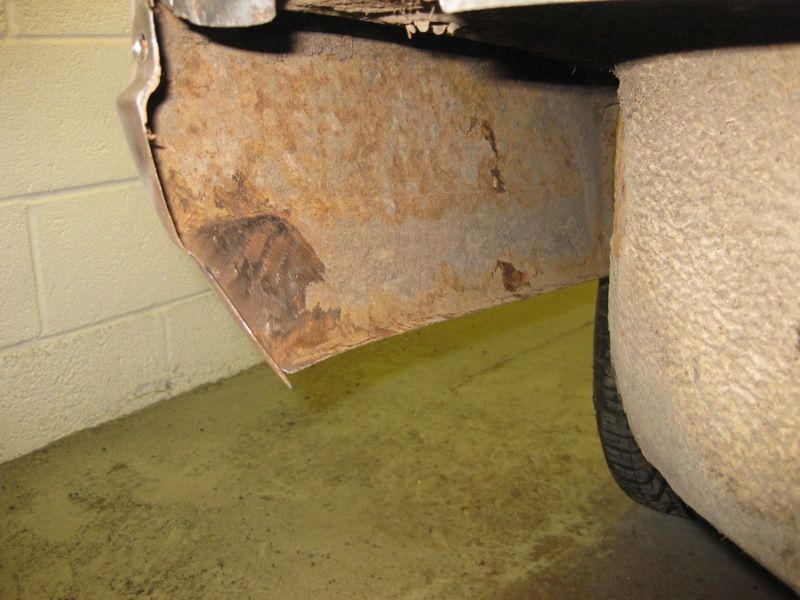 A Quick test fit of the panel  Will need a bit more work here 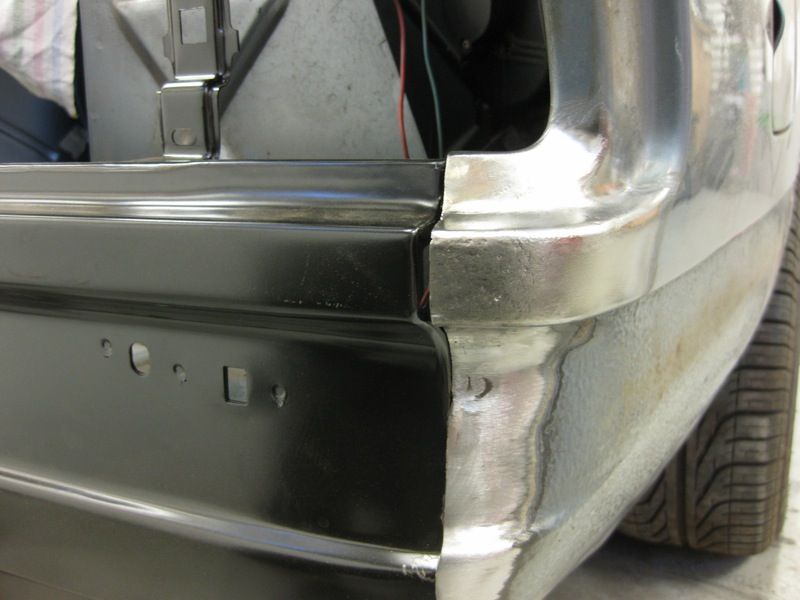 and here 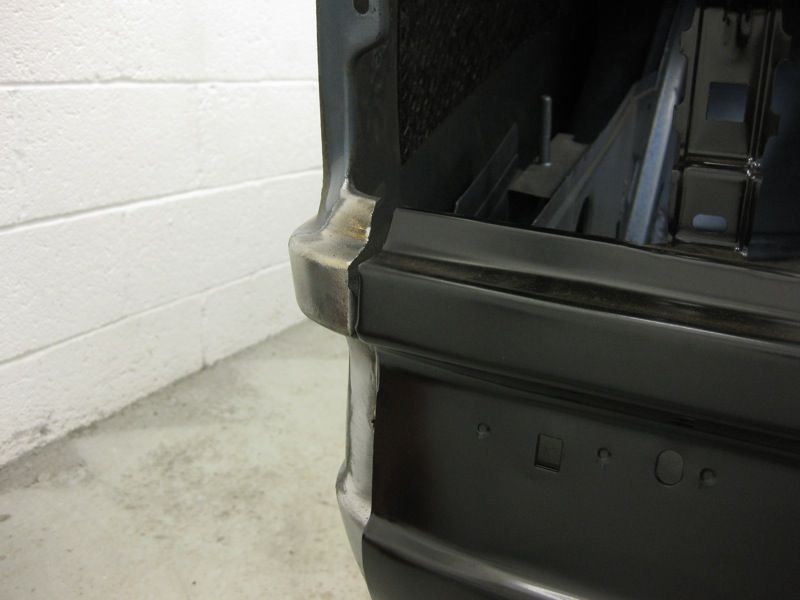 But first need to fix this bottom corner 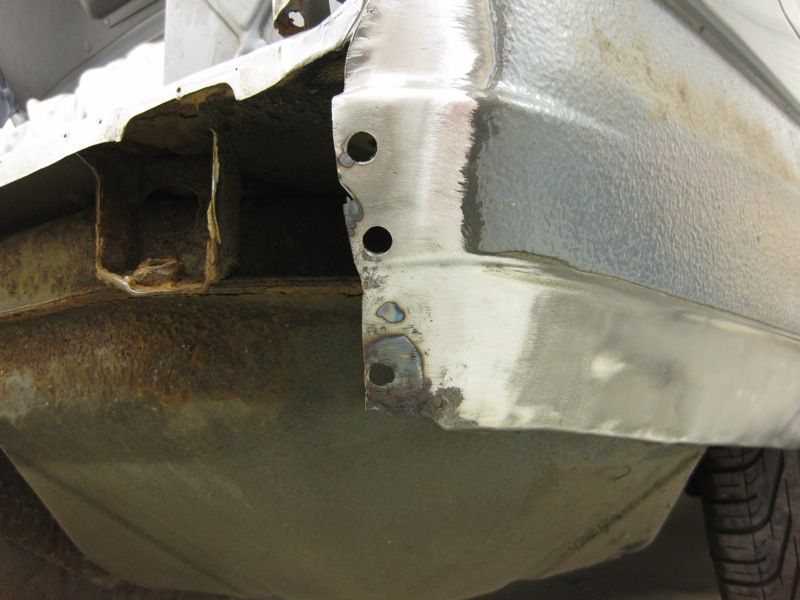 Finally a chance to try my New Welder 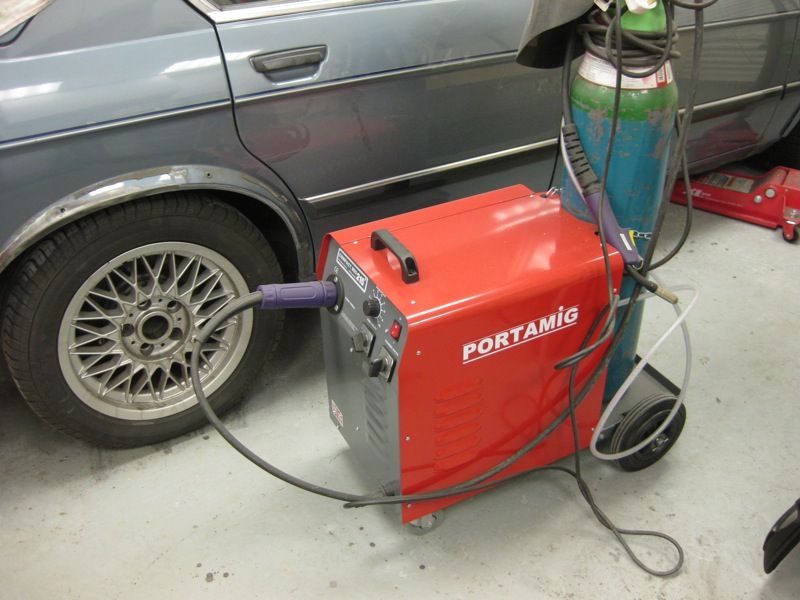 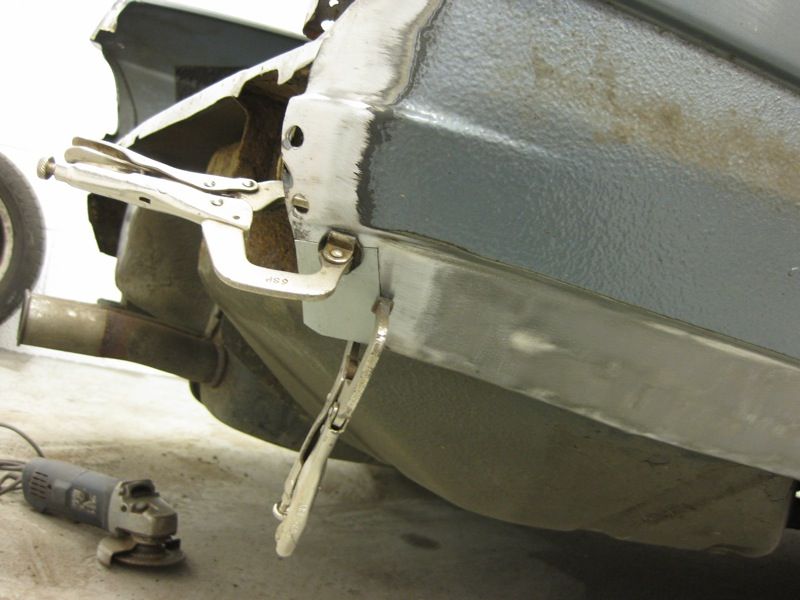 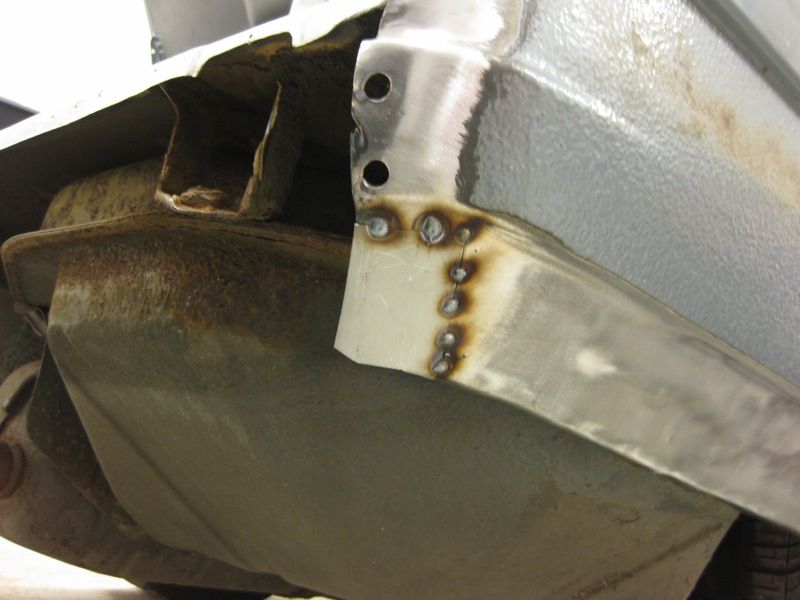 The old block of copper trick on the ragged edge 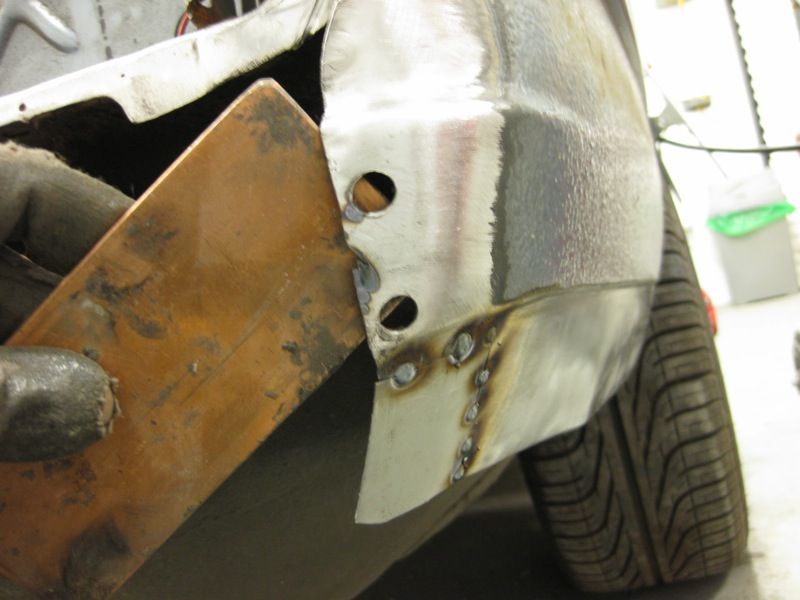 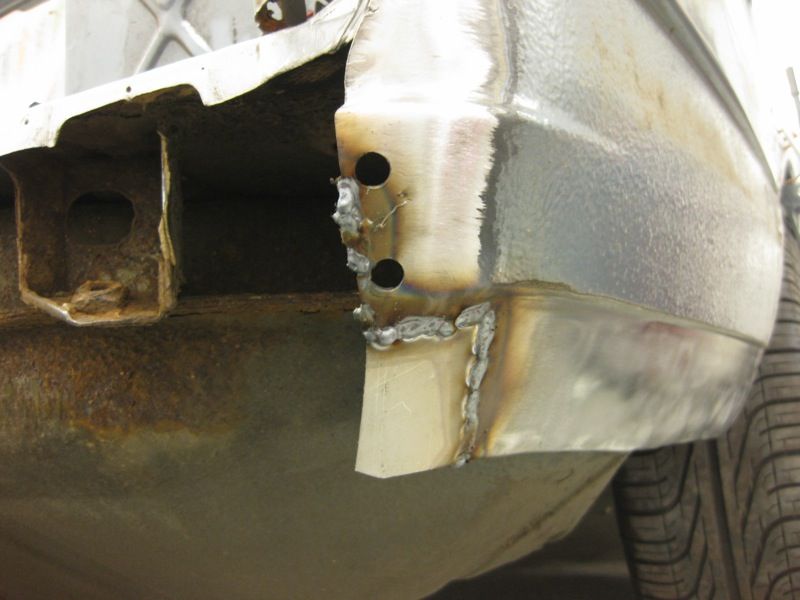 Grind 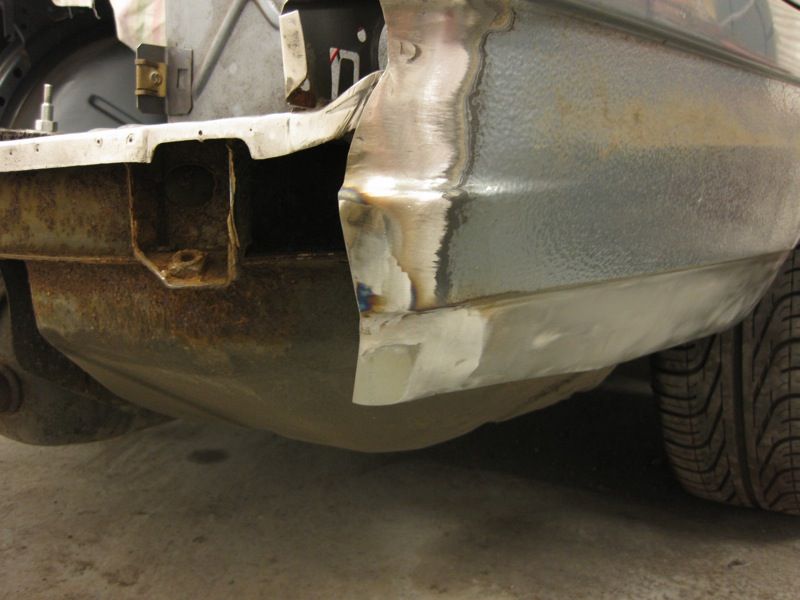 A quick wizz over with the DA 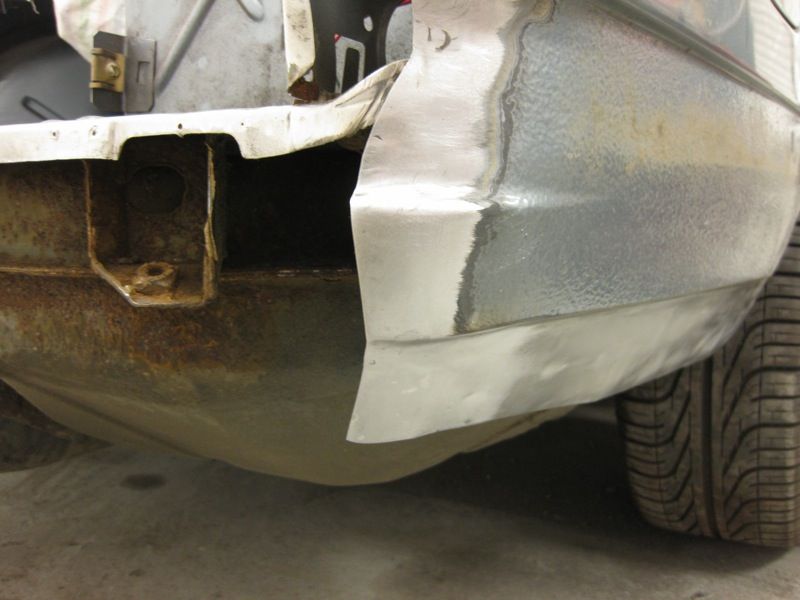 Then just time to check out one of the arches, ground the Drivers side, its not too bad, looks like its had a scrape in the past, as there was filler in it, and rust of course 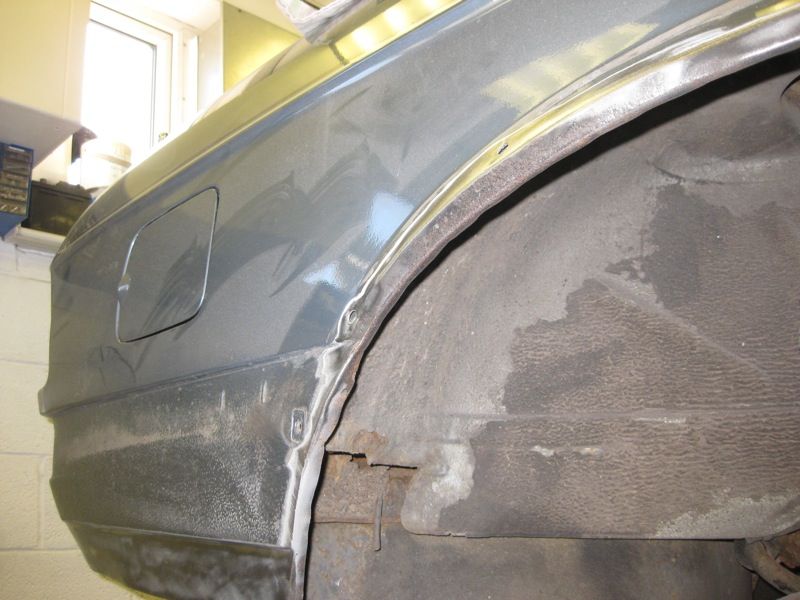 Rest of the arch is okay, so will get away with just patching this side 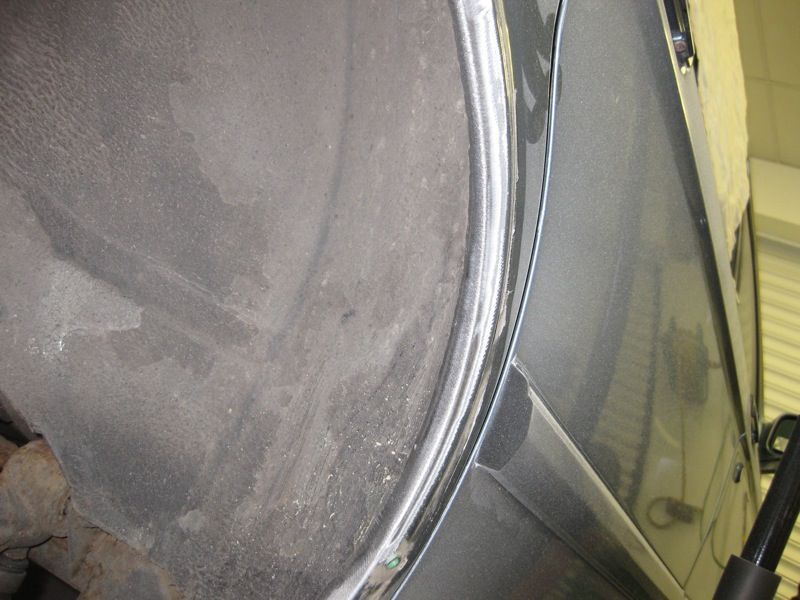 Lower corner okay on this side too, once cleaned up 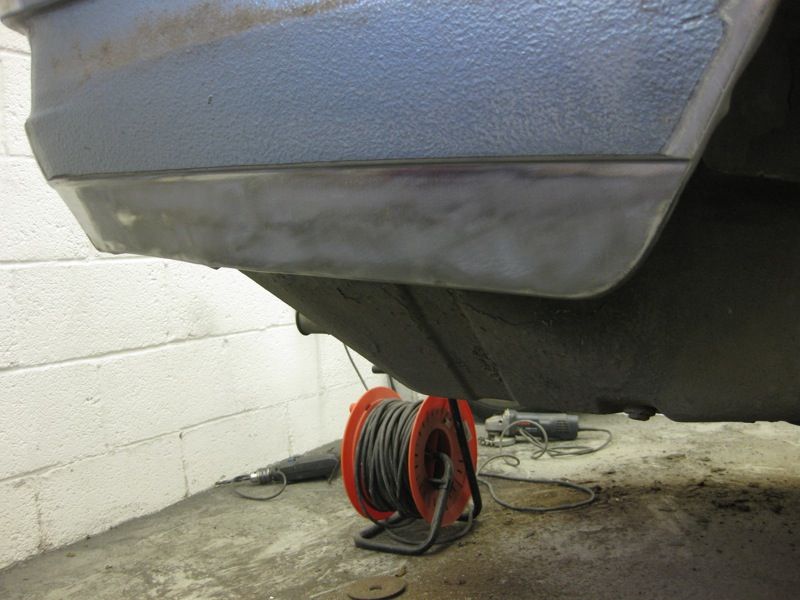 Will definitely need an full arch for the Passenger side, and going to go for a lower rear corner to replace that one thats scabby on the inside Thats it for now      |
| |
|
|
mirafioriman
Posted a lot
   My next project.......
Posts: 1,361
|
|
|
|
You certainly have the 'invisible' repair thing down to a fine art  |
| |
|
|
bstardchild
Club Retro Rides Member
Posts: 14,976
Club RR Member Number: 71
|
1987 BMW E28 M5 Bluebstardchild
@bstardchild
Club Retro Rides Member 71
|
|
|
As an Aside I have just posted some info on the making panels thread about the power tools and accessories that I used today I knew I'd get to learn new stuff Finally a chance to try my New Welder  So chuffed with mine - works great on Opel steel but struggles with Mini steel and my thin metal technique isn't great |
| |
|
|
|
|
|
|
|
|
BC - the controls are certainly different to my old Clark Machine, currently trying setting no. 5, level 1, on this BM, certainly plenty of scope to go up or down from here
|
| |
|
|
|
|
bstardchild
Club Retro Rides Member
Posts: 14,976
Club RR Member Number: 71
|
1987 BMW E28 M5 Bluebstardchild
@bstardchild
Club Retro Rides Member 71
|
|
|
BC - the controls are certainly different to my old Clark Machine, currently trying setting no. 5, level 1, on this BM, certainly plenty of scope to go up or down from here Blimey - that's higher than I use on the Opel Using .8mm wire and argoshield For the mini its bottom of the range Coarse 1 Fine 1 maybe Fine 2 if puddle welding On the Opel I can wid it up to coarse 1 fine 4 What is nice about the portamig is the range of wire speed you can get away with and the voltage steps are so linear |
| |
|
|
|
|
|
|
|
I'm using 0.6mm and Argosheild, wire speed is nearly on 6 which does seem quite high, will have to fiddle a bit more, weld current seems really nice and smooth though   |
| |
|
|
camper damper
Part of things
  Another car bites the dust
Posts: 606
|
|
|
|
|
Do you have a phobia of filler cause all your work is top notch
|
| |
|
|
Mark
Posted a lot
  
Posts: 3,825
|
|
|
|
|
Great work Tony. Is the copper trick to absorb heat and stop distortion?
|
| |
E36 BMW 318is saloon (rare as a hens false tooth)
VW Caddy Maxi 2010 (usually full of Labradors)
|
|
les509
Part of things
  Compulsive collector
Posts: 526
|
|
|
|
|
That's the trouble with a 'quick fix' bodyshop (Main Dealers are the worst for this!) compared to a sympathetic repairer like yourself Tony - we wouldn't dream of fitting a new panel without making sure it was properly protected first - a little bit of pride in workmanship and none of this work would probably be necessary now
|
| |
61 Jaguar Mk 10
67 Austin A60 Countryman
69 Morris 1300GT
77 Triumph 2500S
84 Mk2 Granada Ghia Est
86 BMW 635 CSi
87 BMW 635 CSi
|
|
|
|
|
|
|
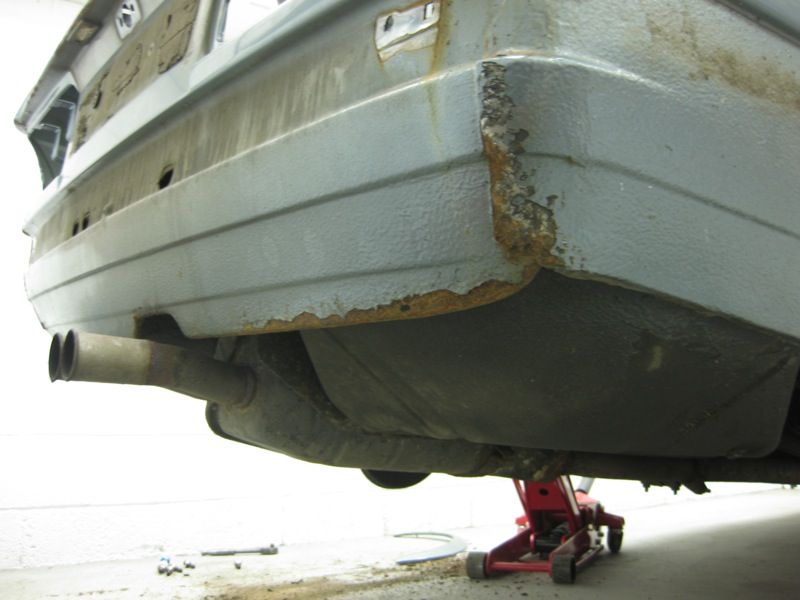
Camper Damper - Mmm thats an interesting thought, I just believe that if a jobs worth doing its worth doing well, and as Carsie once said way back in the Victor thread. "its Either Right or its not " MIB - The copper block allows you to weld onto it and it wont stick, ideal for filling up holes or building up raggy edges, that would otherwise burn away. I did a small Demo Here retrorides.proboards.com/index.cgi?action=display&board=readersrides&thread=65793&page=2#888575Les509 - Its a pet hate of mine, I hate to see cars which are 4 or 5 years old, with rust creeping around from wheel arches or bumpers, you just know that it had a wing on when it was nearly new, and the inside was never treated, I think its made worse these days by all the plastic liners on the inside, it seems to be a good excuse just to leave it Well got into the garage for a few hours today Decided to cut off the lower corner from the replacement rear quarter, I wanted to see what it was really like inside, and also it should make fitting the rear panel a bit easier 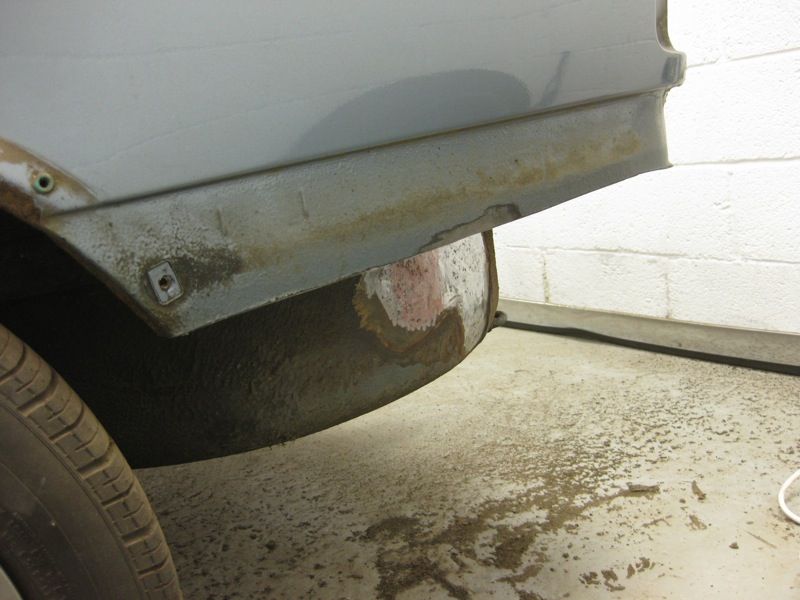 If definitely had to come off, its almost rotten all the way through 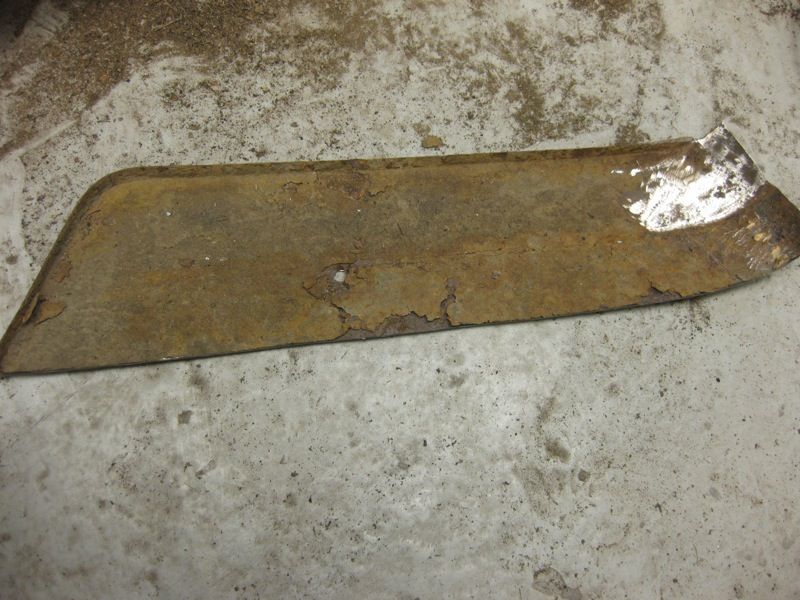 It also exposed some ripples and rust to the spare wheel well, guess this is from the accident, which is good in a way, as it means it was nothing serious, so ground it down 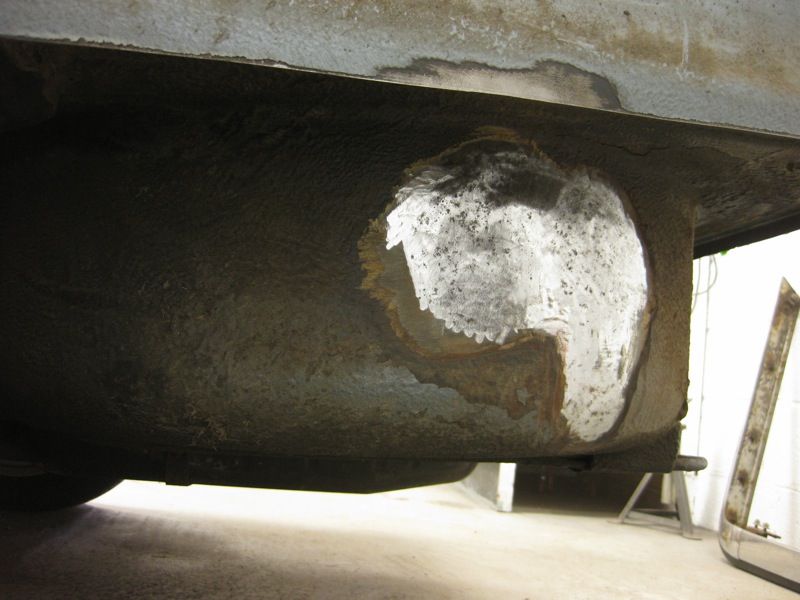 and treated it with my favourite rust converter 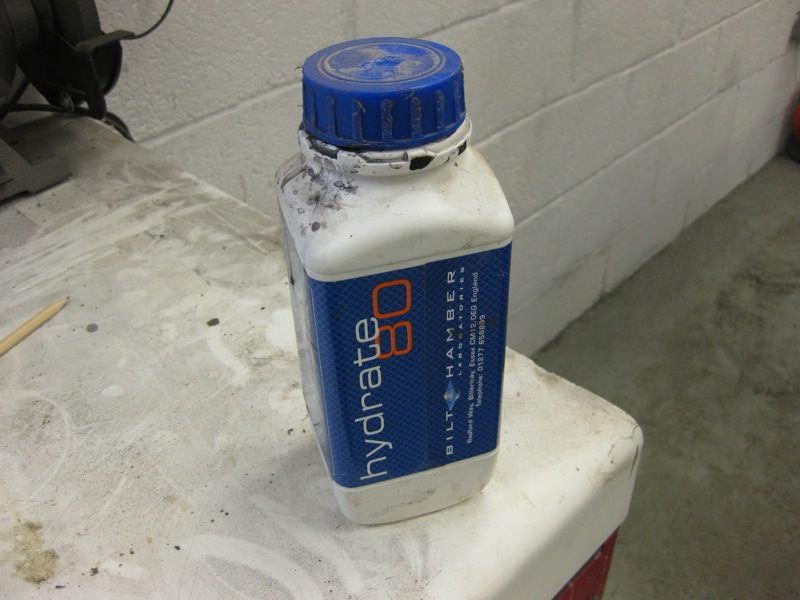 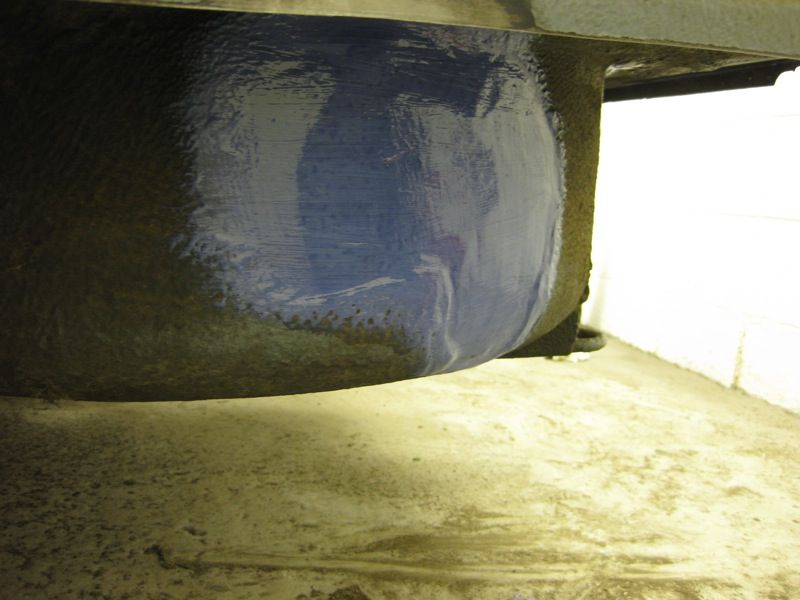 also did this bit on the back of the wheel well, its normal for them to rust here, as the stonechip coating that they spray on rarely gets to this bit 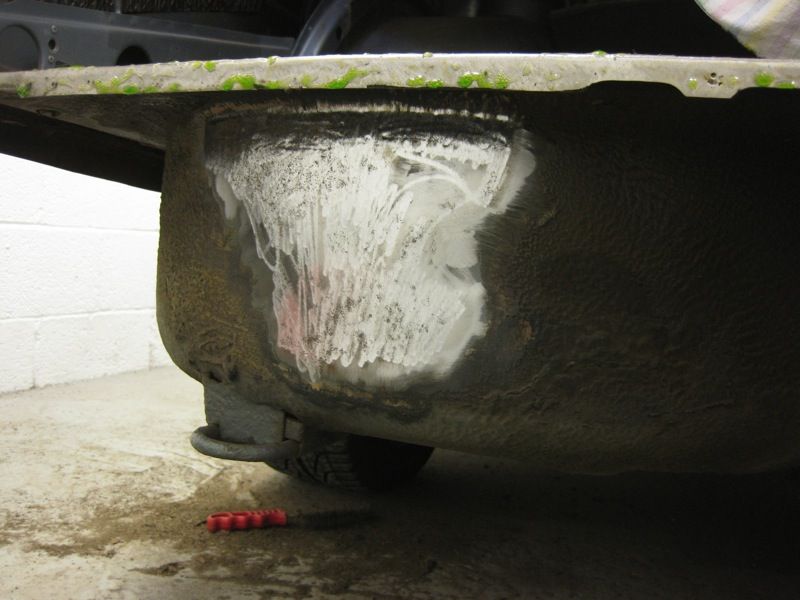 Could not use the Bilt Hamber stuff on the boot floor flange as you cannot weld through it, so decided to try this stuff from Hammerite, it looks like Swarfega 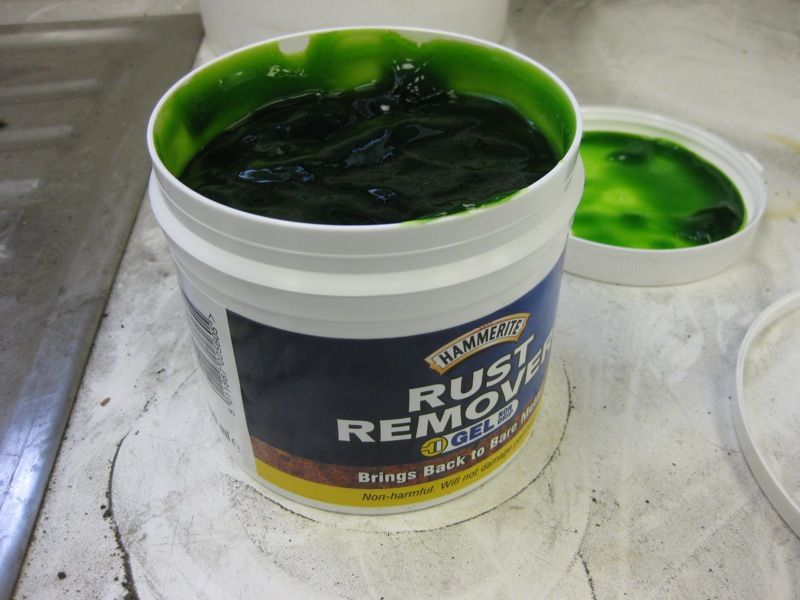 Its says leave for 3 hours, but it has made no difference in that time, so will leave it over night and see what happens Next was to prep the inside of the rear panel, the best way to do this is to use a bit of red Scotchbrite, this scours the surface in preparation for the primer, much better for getting into awkward shapes than a bit of wet and dry 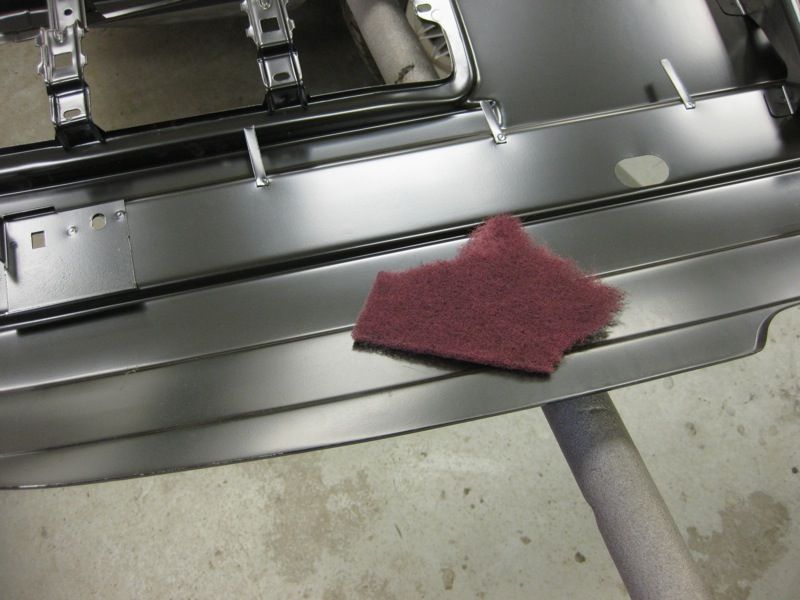 so once thats all keyed 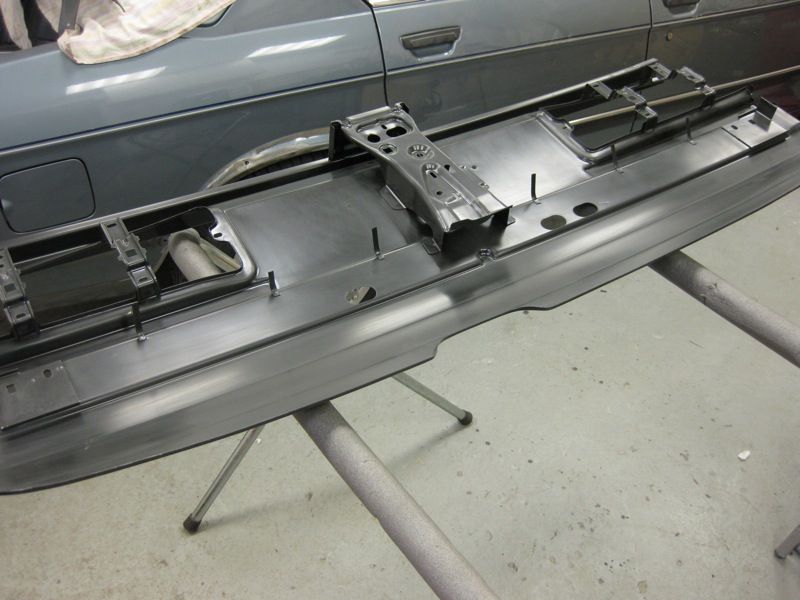 it gets a coat of etch primer 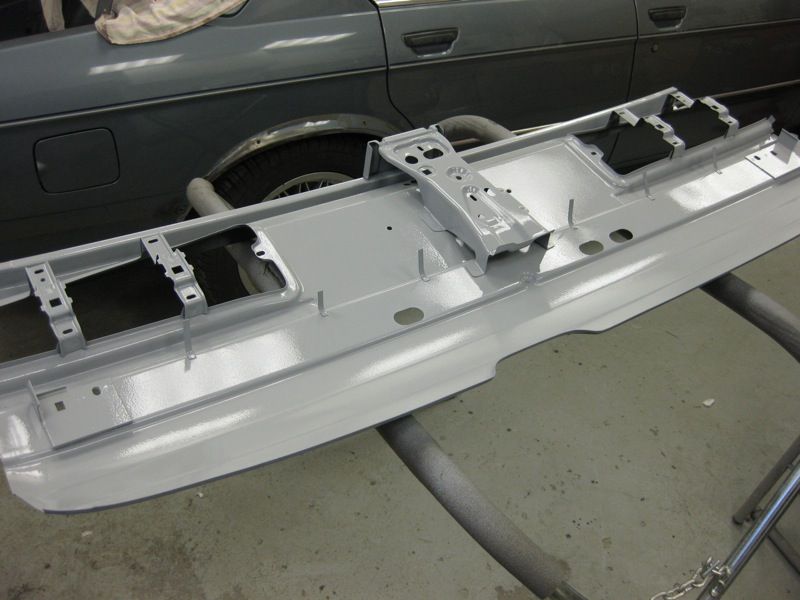 and then some Zinc Rich Primer to the exposed underside bit, it will get stonechipped and undersealed once its on, but it makes sense to get as much prep done as possible while its easy to get to 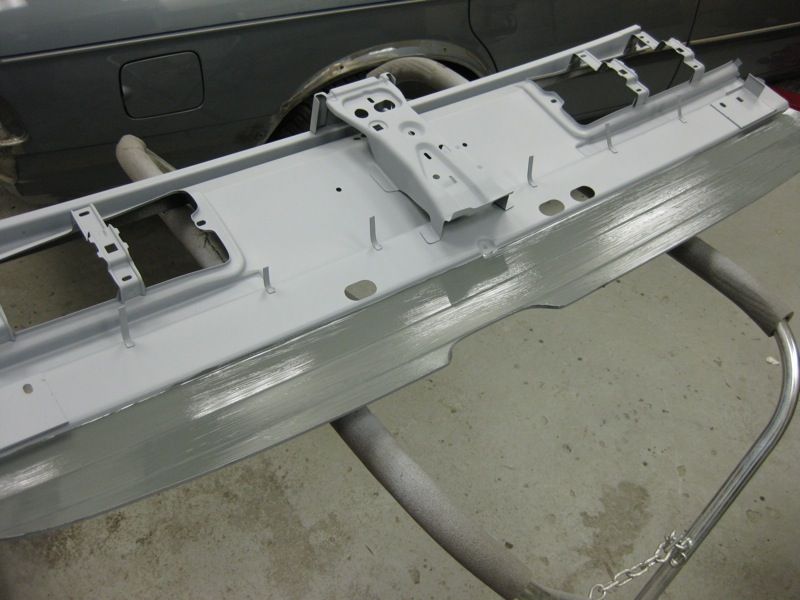 While that was drying I turned my attention to the Rear bumper, the more observant among you will have noticed that it had a dent in the middle, Brian has already bought some replacement sections, so we need to strip the rubber trim off. 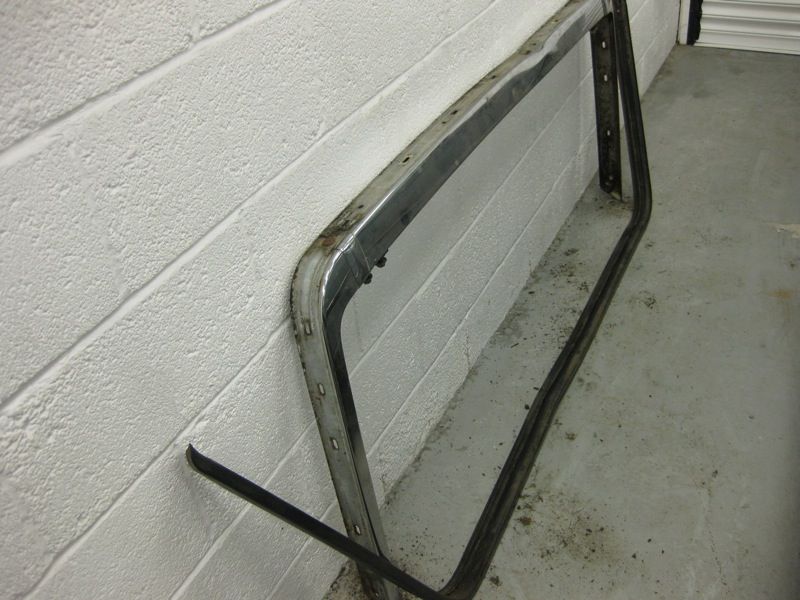 As always happens with these, the stud that holds the end of the rubber on, snapped when it was turned 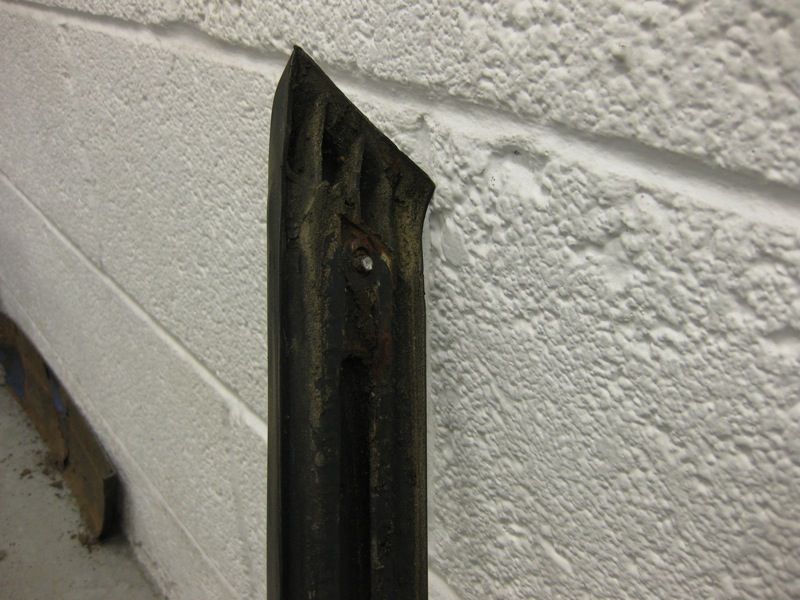 But no problem, this has happened to me so many times before, I have perfected a repair Drill a small hole through the centre, and run an M4 tap through it 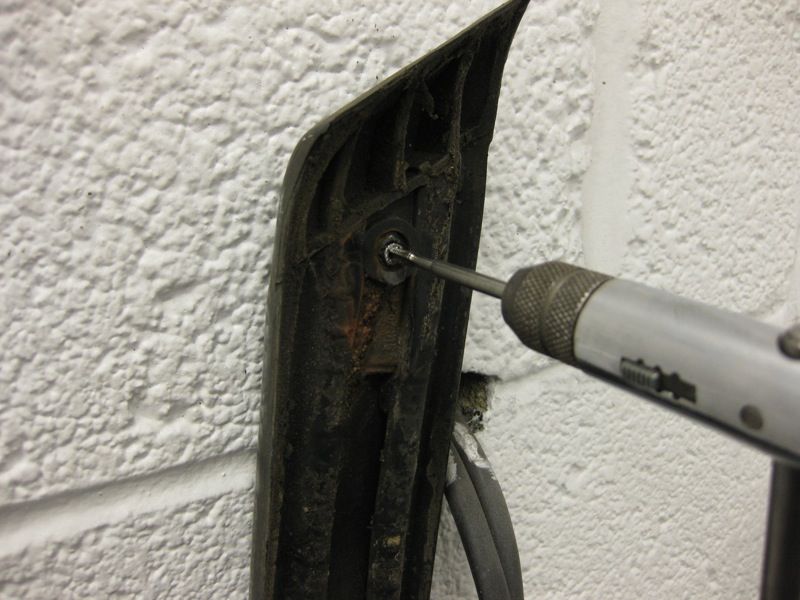 Then this allows a small Machine screw to be fitted instead, job sorted 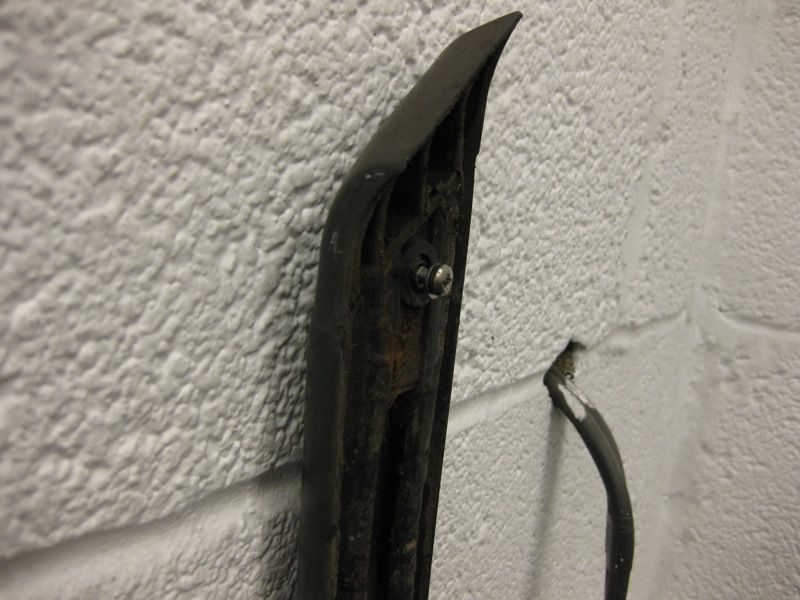 Thats it for today   
|
| |
|
|
sphinx
Part of things
 
Posts: 219
|
|
|
|
|
Brilliant work! I'm a fan of the bilt hamber products, have you tried their rust removing gel? I've found it works better than the rest.
Also very interested in that copper block technique, I'd heard about it but never seen the 'process'.
One other thing, your garage looks nice too! A clean, tidy and well lit workspace, just perfect.
|
| |
|
|
|
|
|
|
|
|
Awesome, look forward to following your progress.
|
| |
|
|
|
|
|
|
|
|
Hoo hoo, hee hee, yet another immaculate BMW in the making no doubt.
|
| |
1994 Rover Metro
1994 Peugeot 405 Estate
1991 Rover Metro Gti 16v
2001 Fiat Seicento Sporting
1999 Fiat Punto 1.2
1994 Peugeot 106 Xnd (x3)
1991 Westfield 7
2004 Landrover 110 SW
2003 Seat Ibiza 1.9Tdi Sport
1959 Ford 107e Prefect
1992 Suzuki Vitara
2008 Skoda Fabia
|
|
jonah
Part of things
 
Posts: 36
|
|
|
|
Well, this is about the only bit of advice I can offer to a man with such amazing skills, but you can usually undo those rubber bumper trim pieces without breaking the stud if you show the nut the gas axe first. You normally get a little localised melting of the rubber around the stud on the inside, but if you're careful it's pretty minor and not visible on the outside. It doesn't always work, and it's easier with two of you, but with the help of a gas axe wielding mate, I've stripped lots of e28 bumpers without breaking many of those studs off. 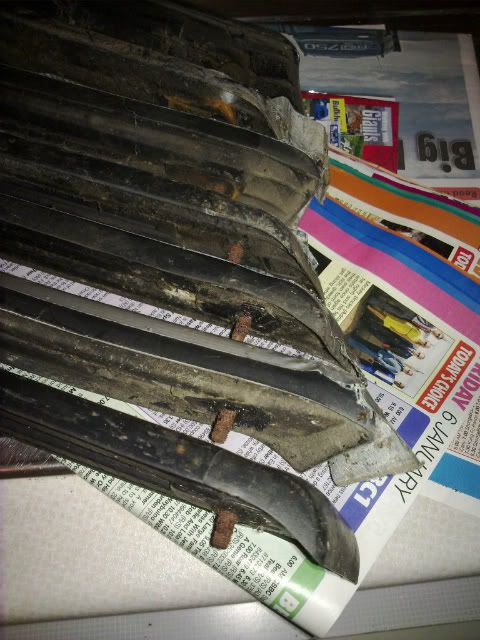 |
| |
|
|
|
|


