|
|
|
Sept 24, 2012 21:52:50 GMT
|
Yeah PB is being a proper pain at the mo  Can't wait to see the next installments, it's an education and nice to see such cracking metalwork too  |
| |
|
|
|
|
|
|
|
Sept 25, 2012 21:20:57 GMT
|
Hi All, This update has been painful due to photobucket URL lengths suddenly increasing! FFS! Anyway Ive managed a few hours on the Kadett last weekend so here goes After previously chopping all the rot from the wing mount the next stage was to begin shaping the repair panel to fit Said repair panel 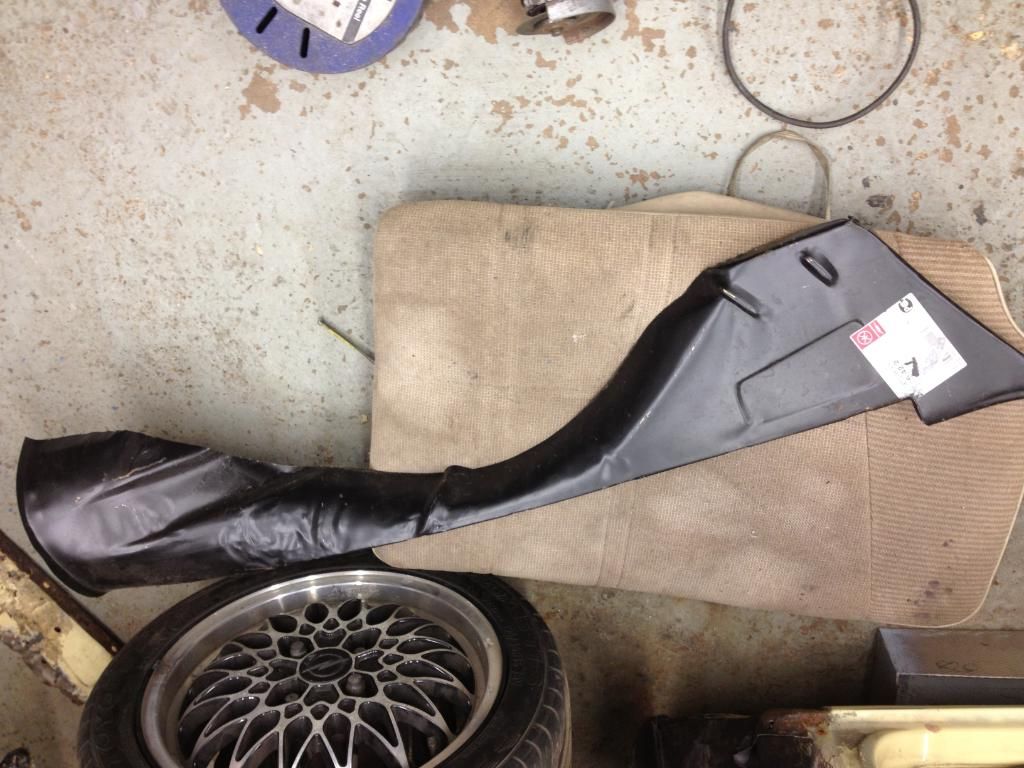 Chopping commenced 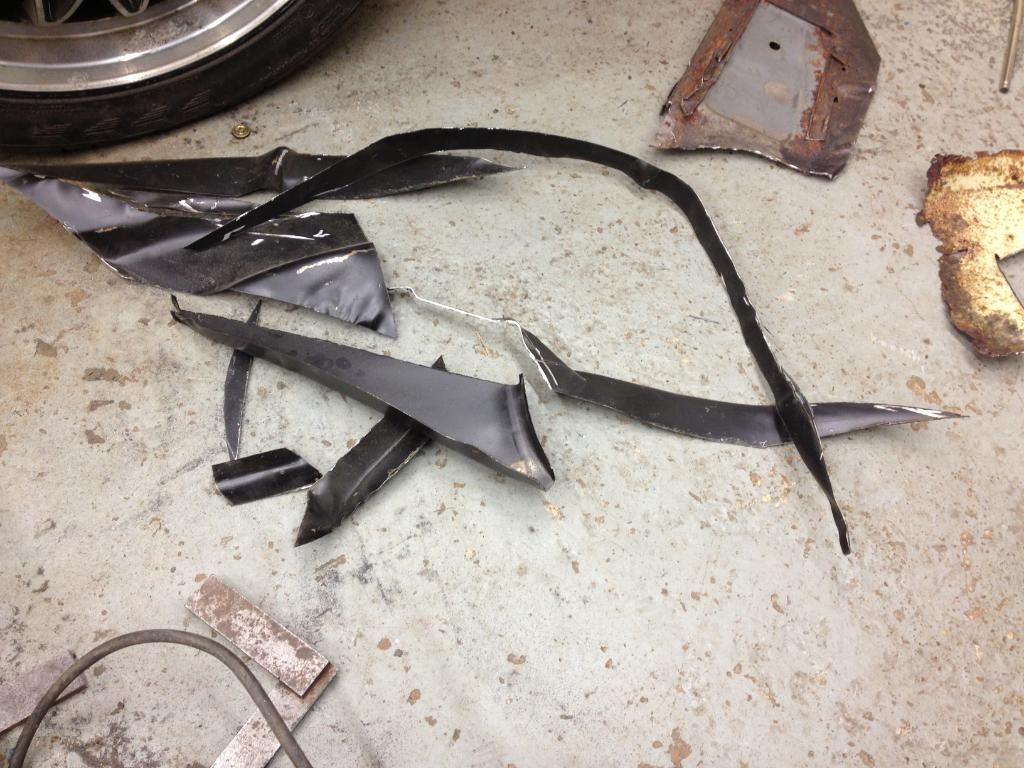 Bit by bit leaving me a closer fitting more manageable shape 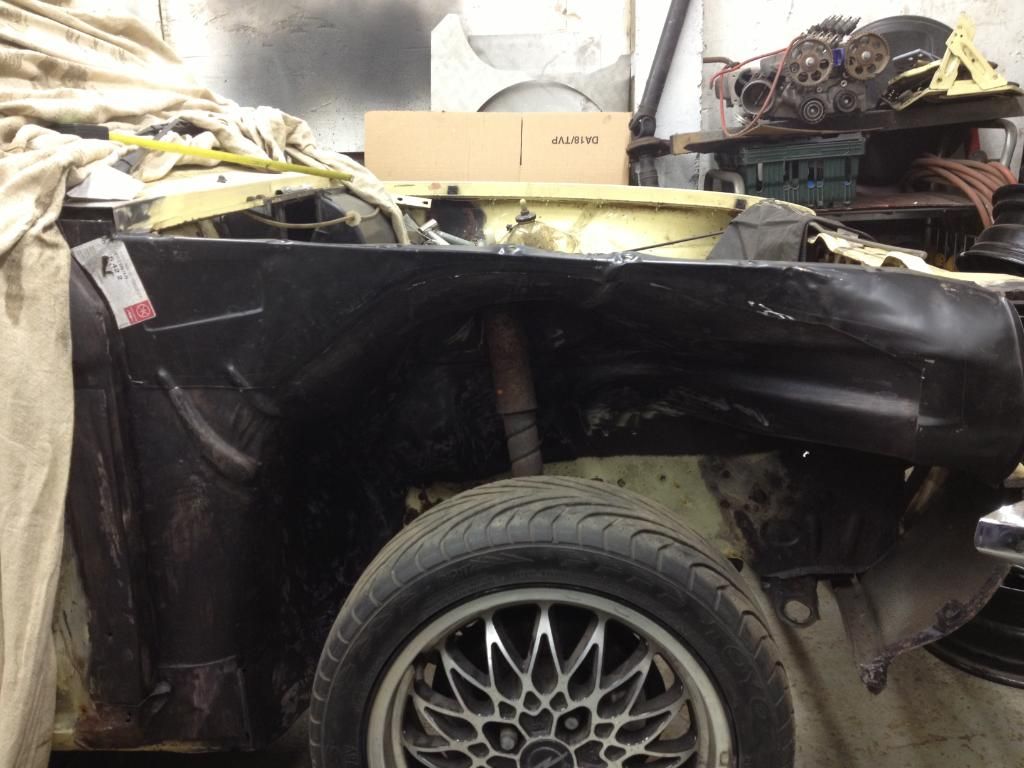 Then more trimming 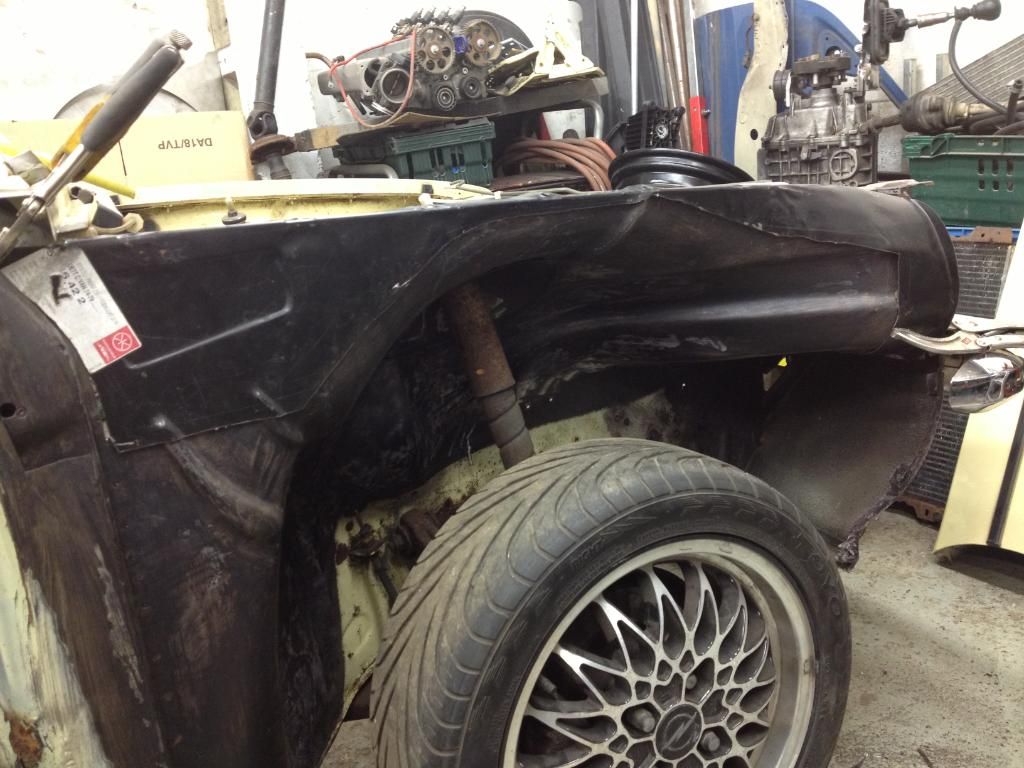 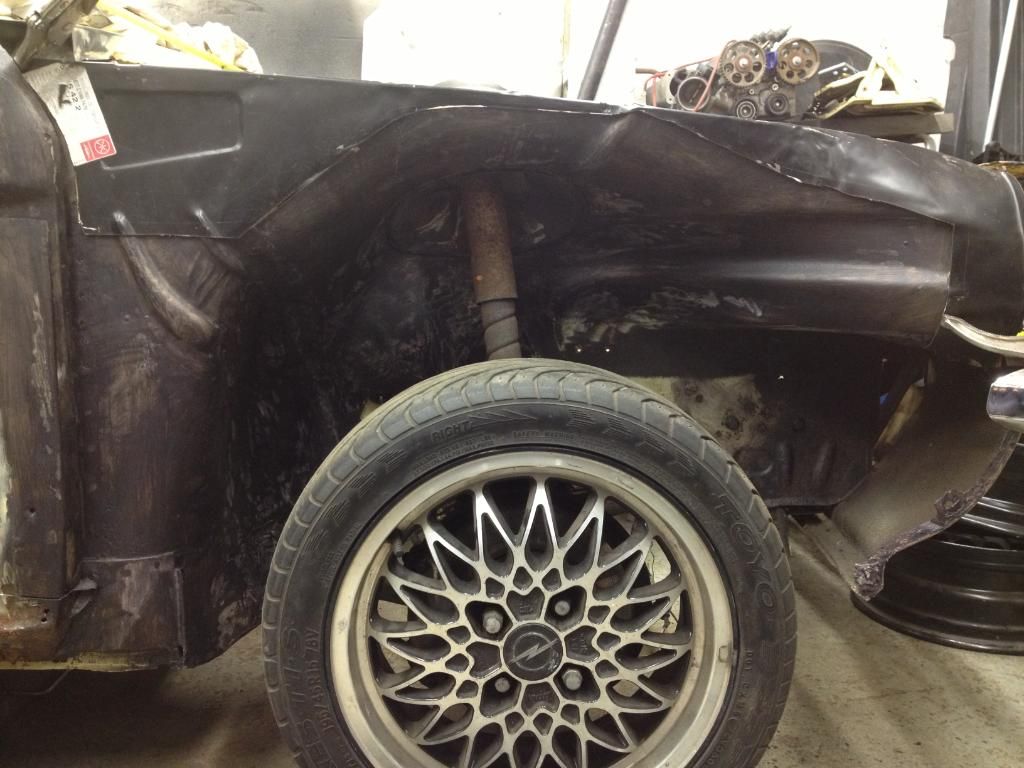 Happy with the rough shape i chopped the panel in half to make final fitment easier 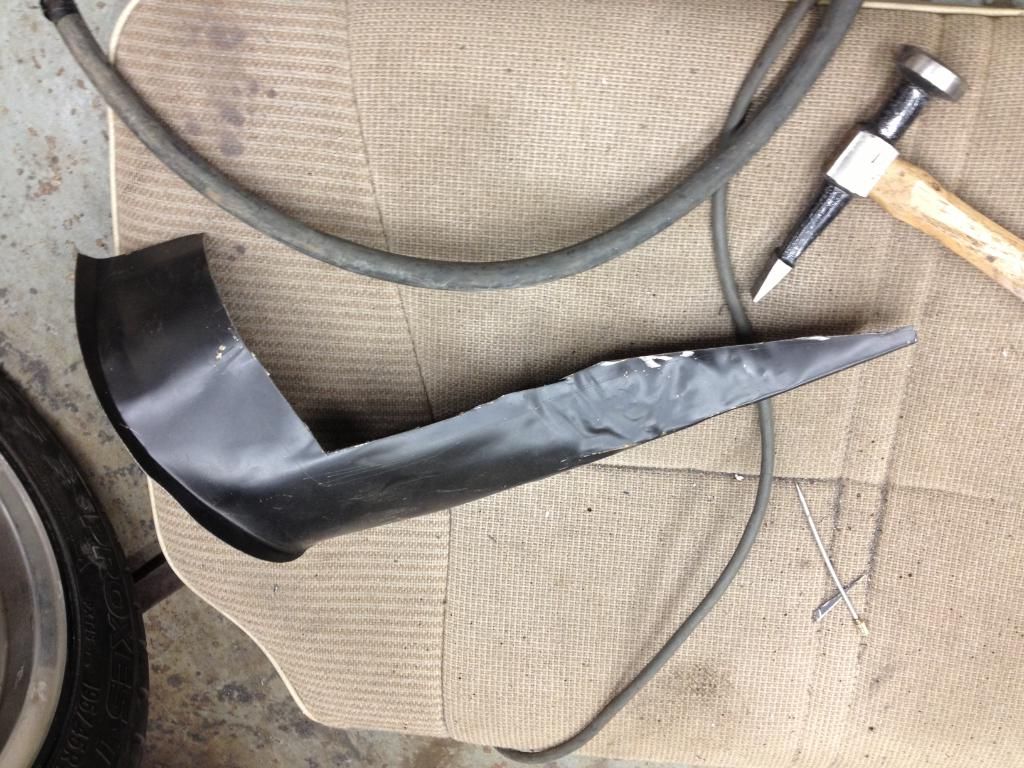 Once I was satisfied with the i welded the first section in 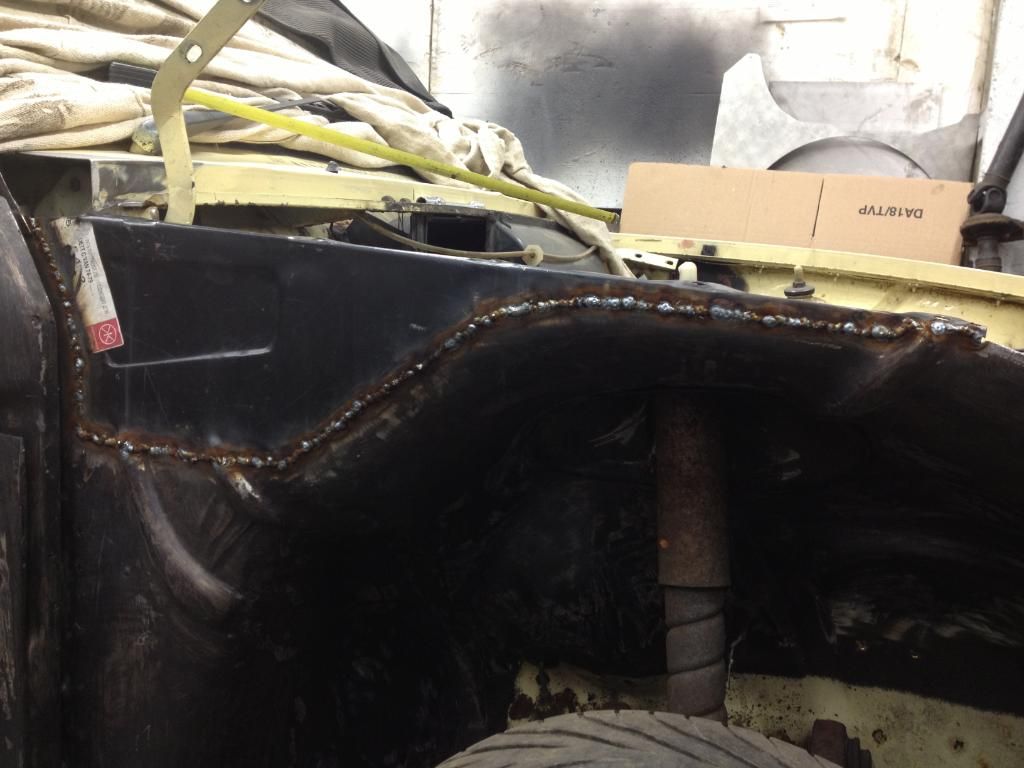 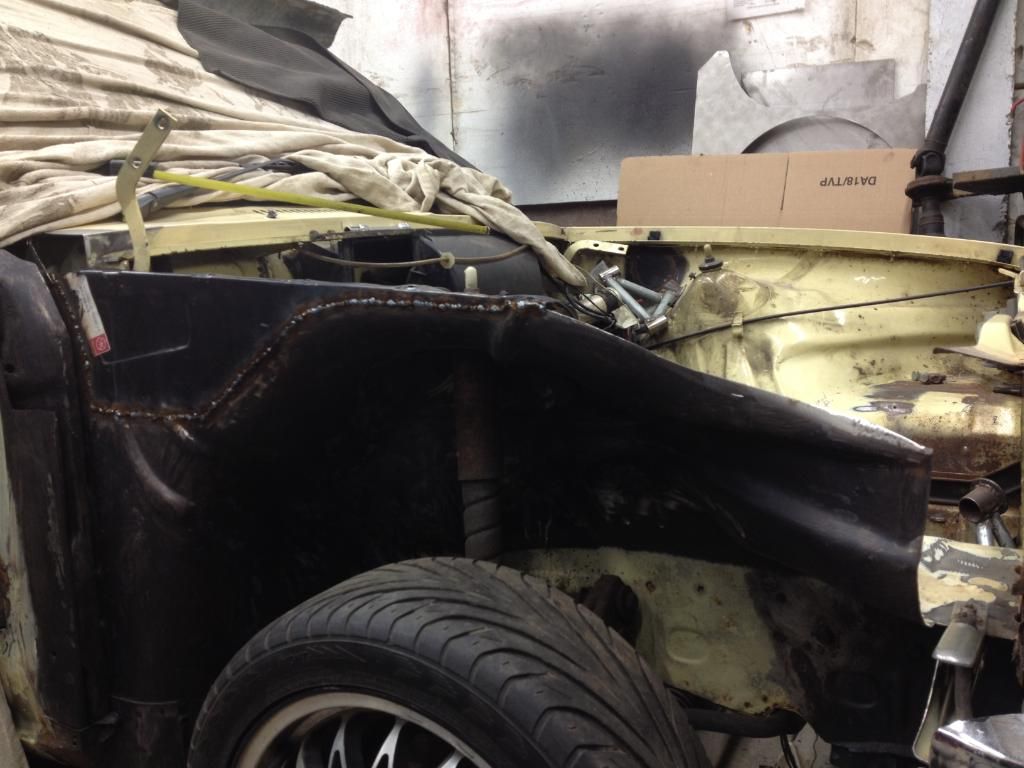 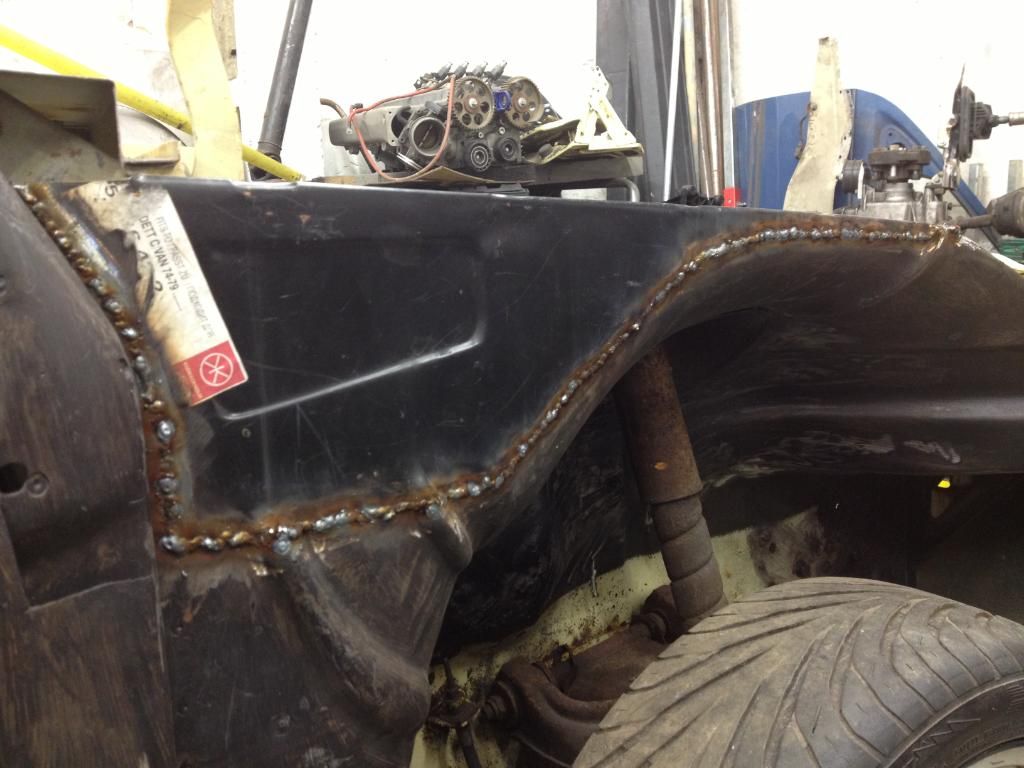 The welds now need cleaning off 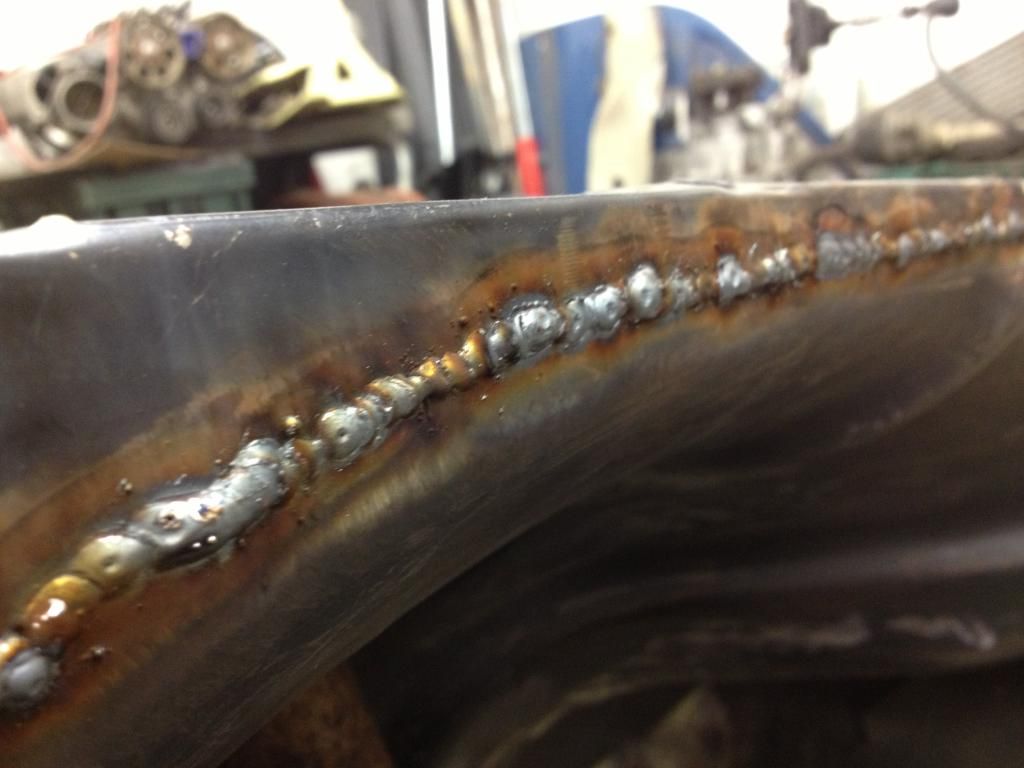 fortunately the inside seam doesn't need as much work 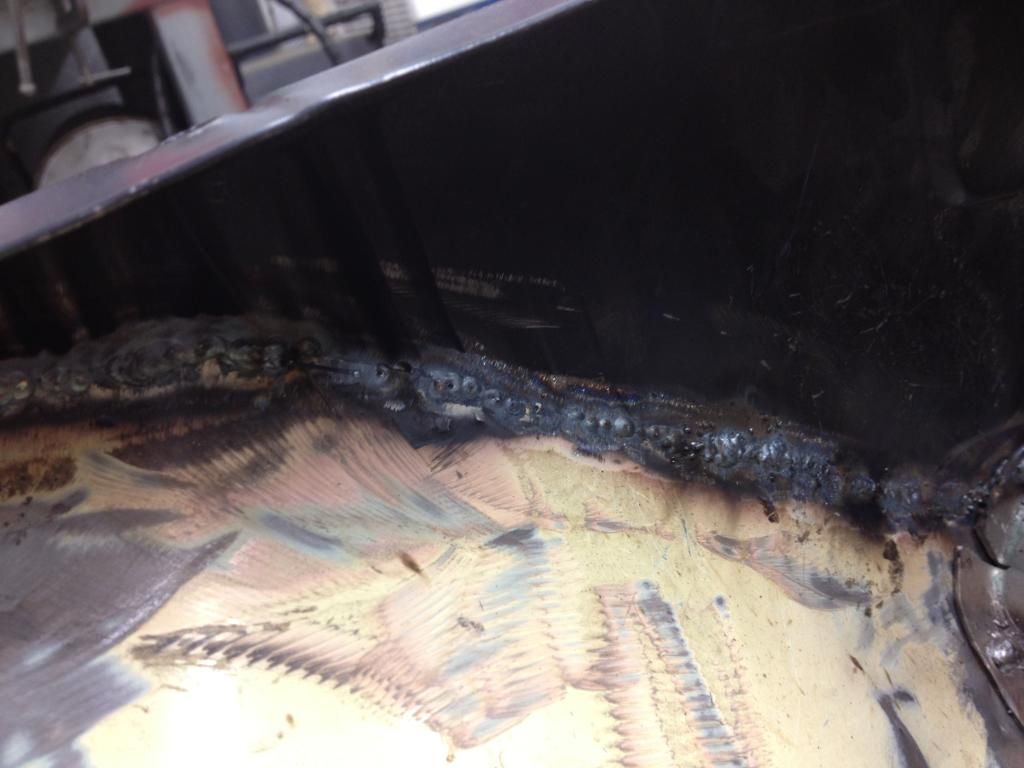 The next mission is obviously to fit the other half of the wing mount. However for ease of access i think i need to address the issue with the headlight surround first. 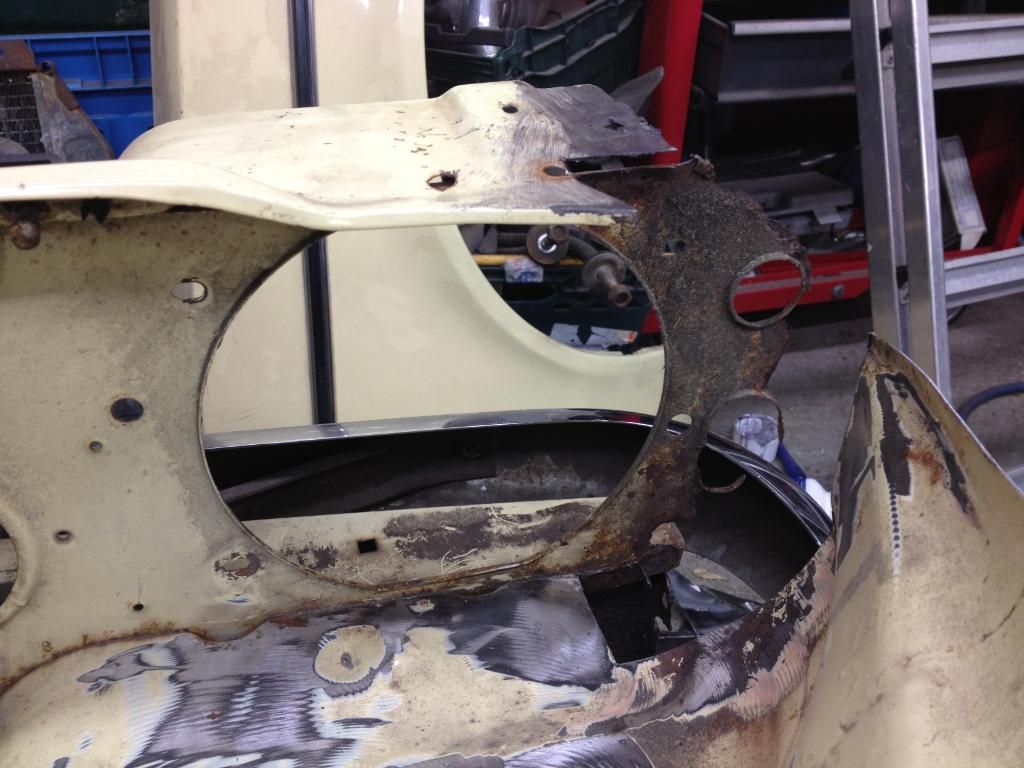 This will require some further head scratching 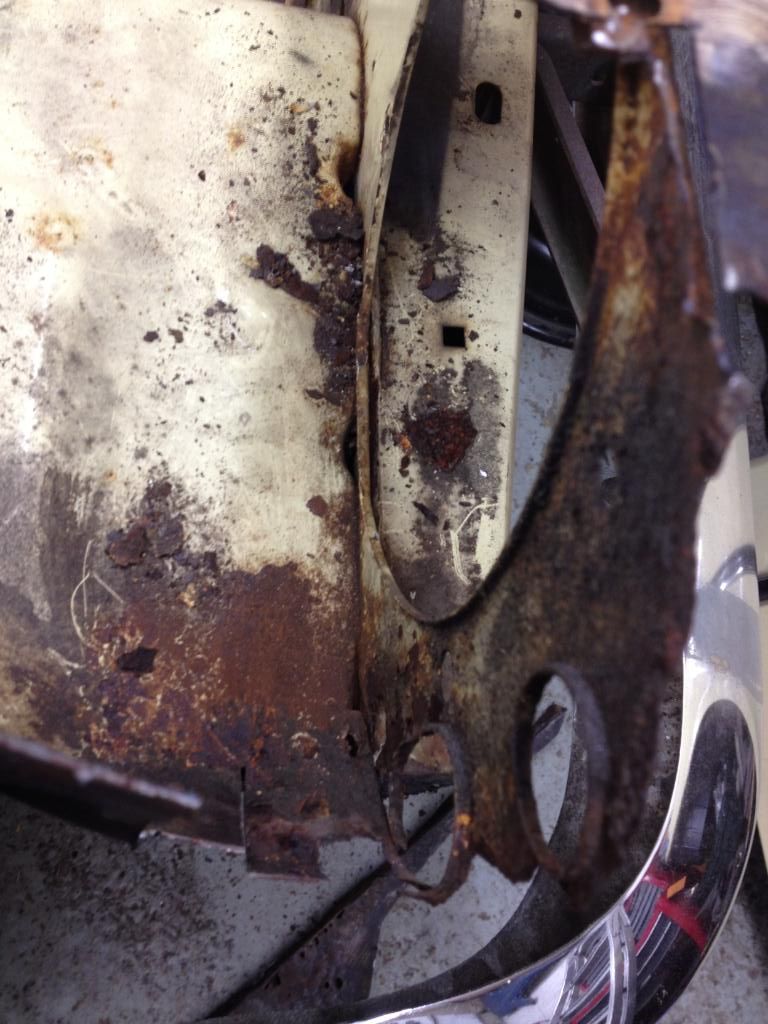 and one of these if i don't make one 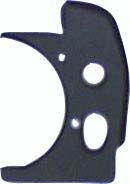 Thanks for looking James |
| |
|
|
|
|
|
Sept 27, 2012 18:08:01 GMT
|
Nice job. Some serious metal fabrication there. Sad those Klokkerholm panels are pretty badly depressed. I have a new wheel wells to my E12 from Klokkerholm and they are also wrinkled. Shape is right. Been followed this. Small Opel / Vauxhall guy living inside of me.  My friend repair his missus C-Coupe and another friend sedan rusting in his parents' backyard. Antti |
| |
|
|
|
|
|
Sept 29, 2012 12:54:53 GMT
|
Thanks Vilppi the pattern panels aren't great but they are a start at least! I'm going up to my workshop now so hopfully I will have some more updates later  |
| |
|
|
|
|
|
Sept 29, 2012 14:33:44 GMT
|
|
This build is epic, well done that man
|
| |
|
|
|
|
|
Sept 29, 2012 22:11:27 GMT
|
Evening good people! Progress from today.... I started by grinding back the welds on the wing mount 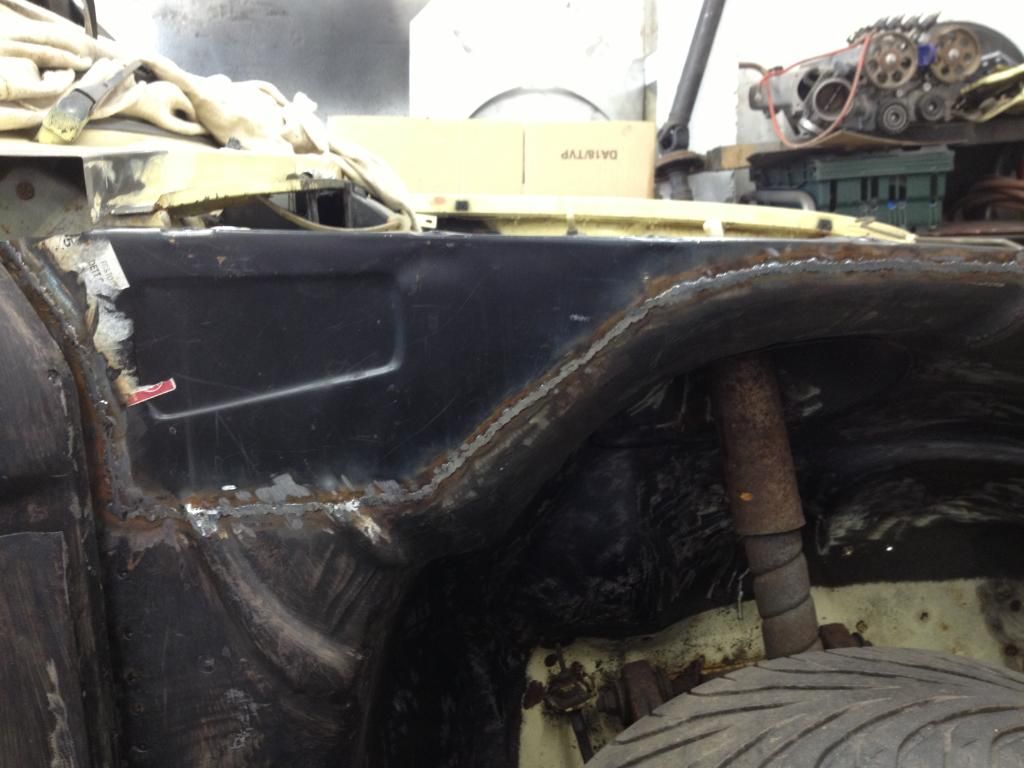 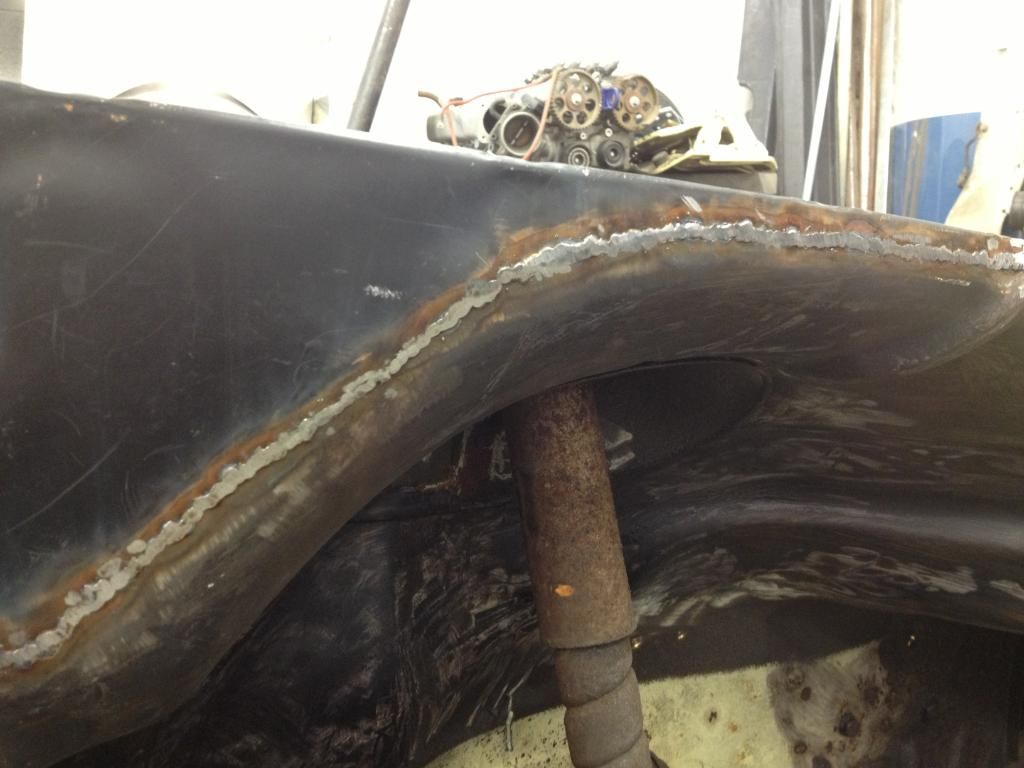 Then flatted them back with the DA sander 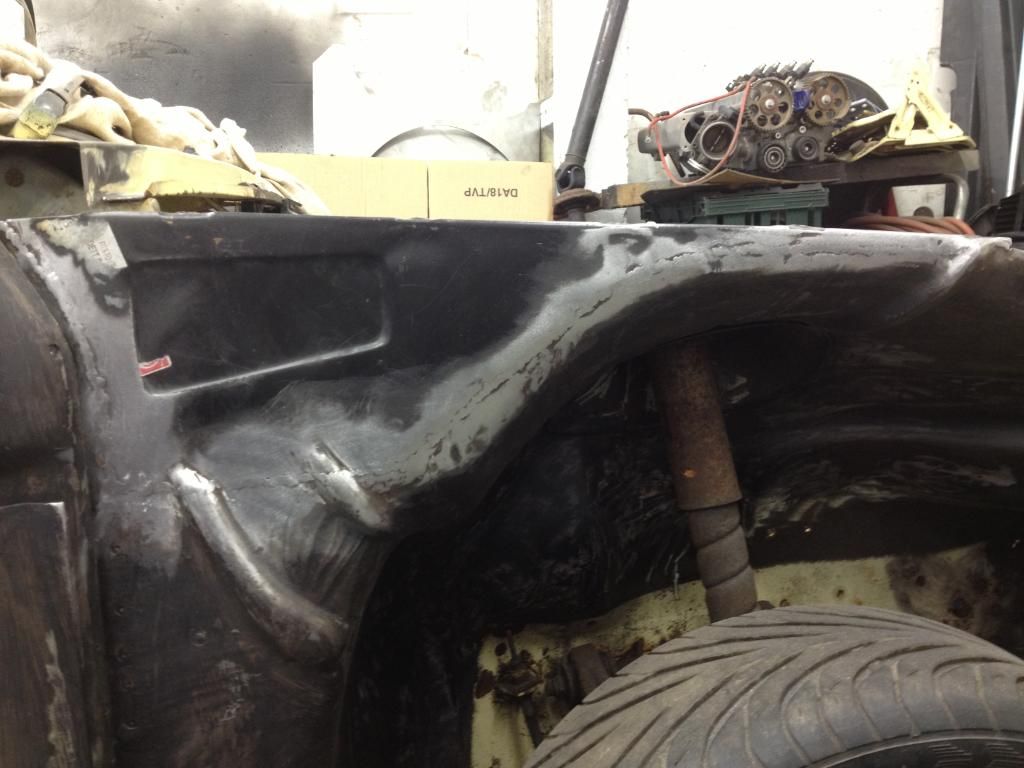 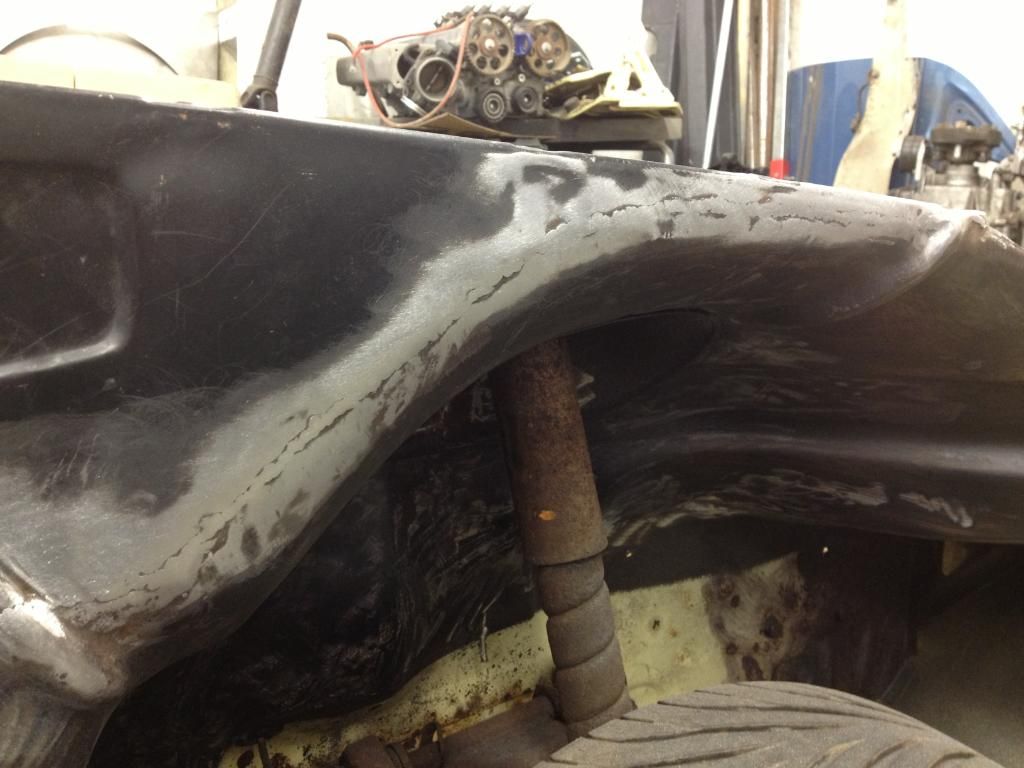 finally giving the bare metal some acid etch primer 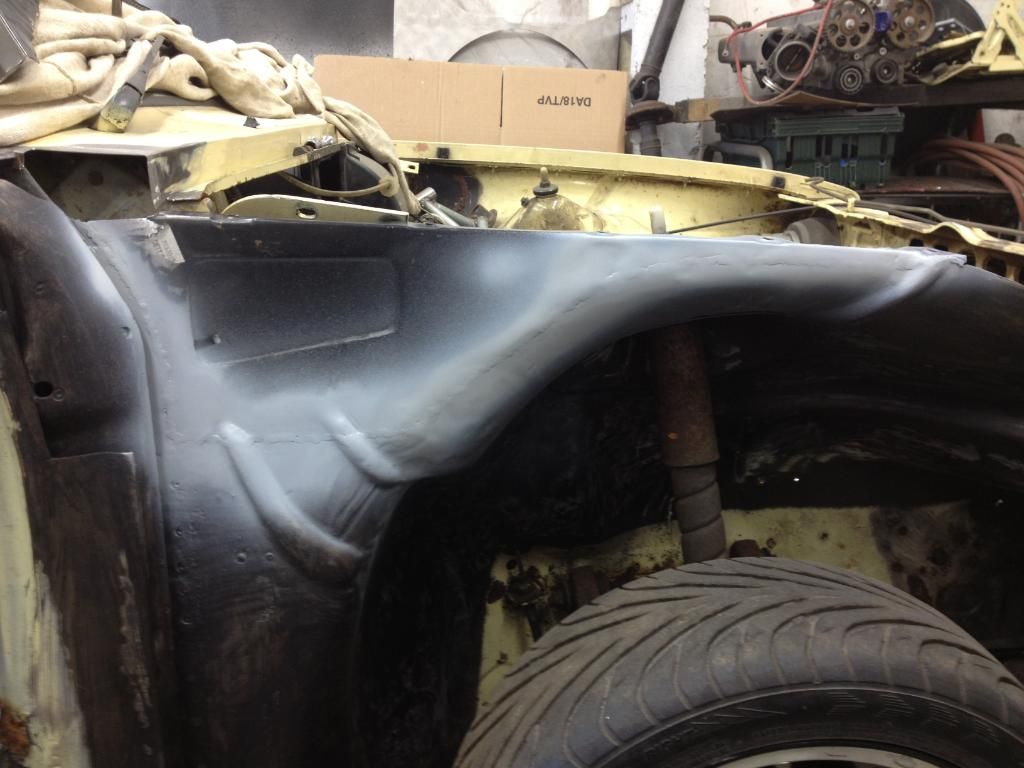 next on the agenda now that part of the wing mount was in place was to weld in the scuttle repair section i had made previously So I cleaned off the edges to be welded with the air file 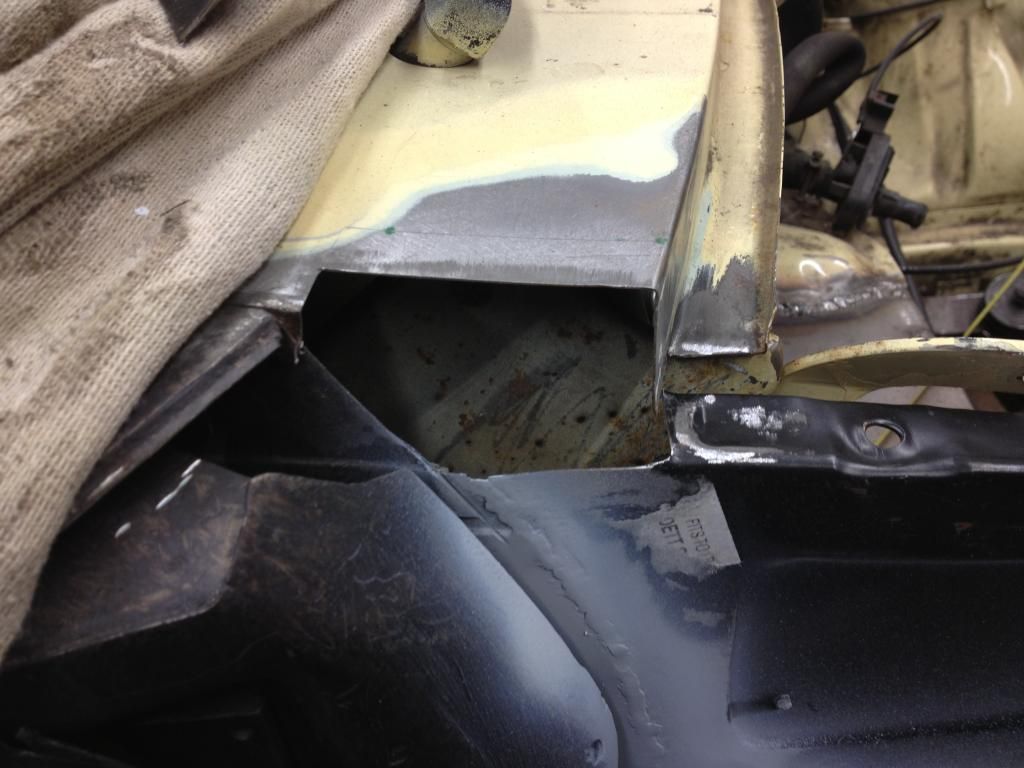 and primed up the back of the repair section as well as drilling some spot weld holes 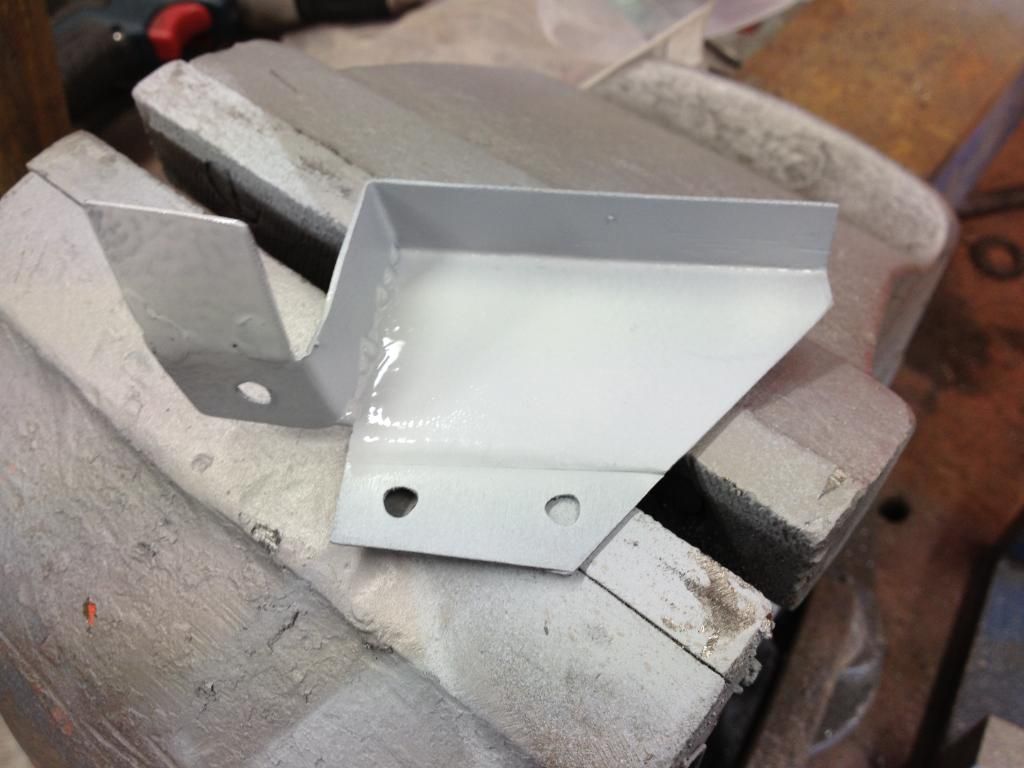 welded it in place 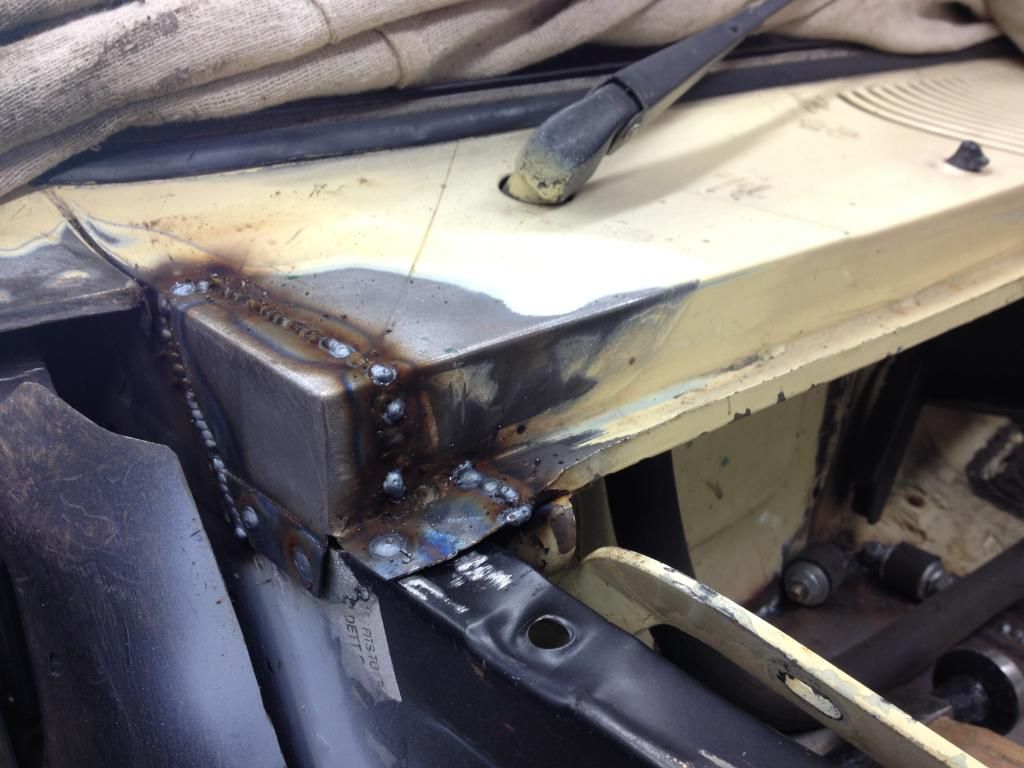 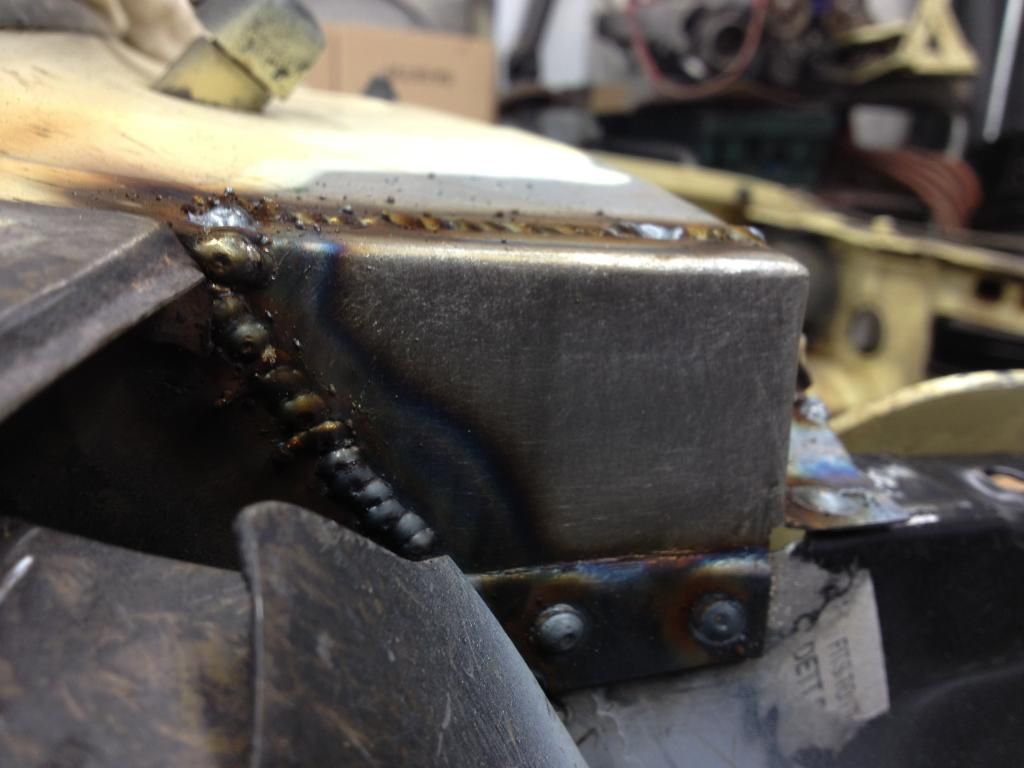 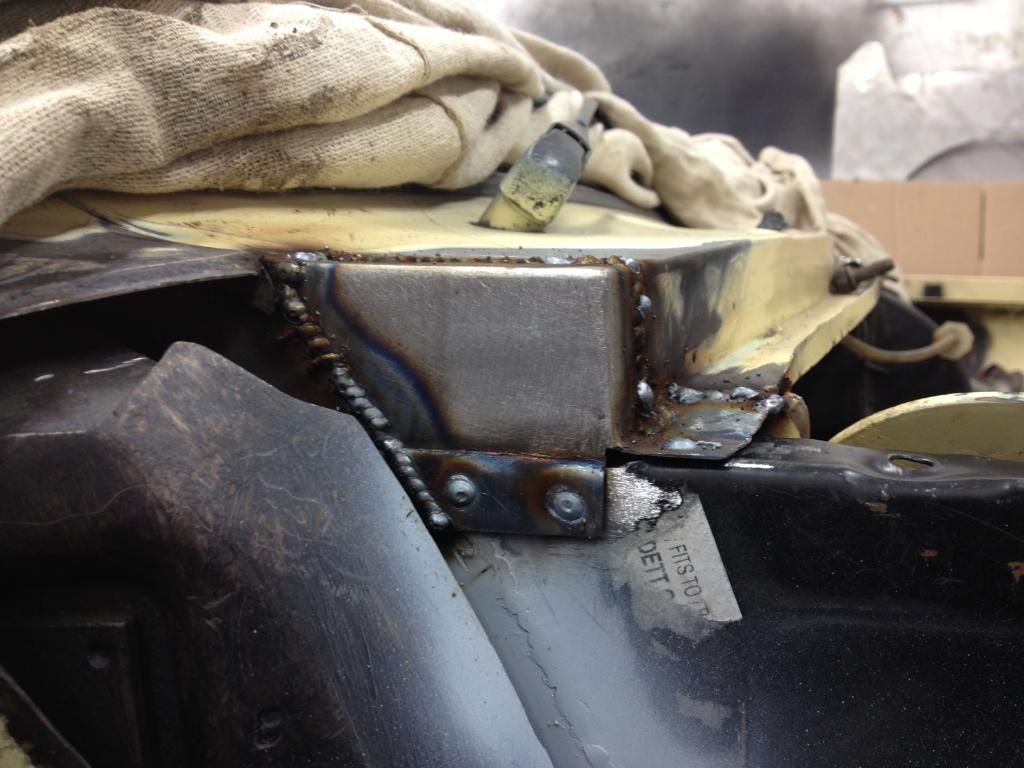 It follows the line of the scuttle ok 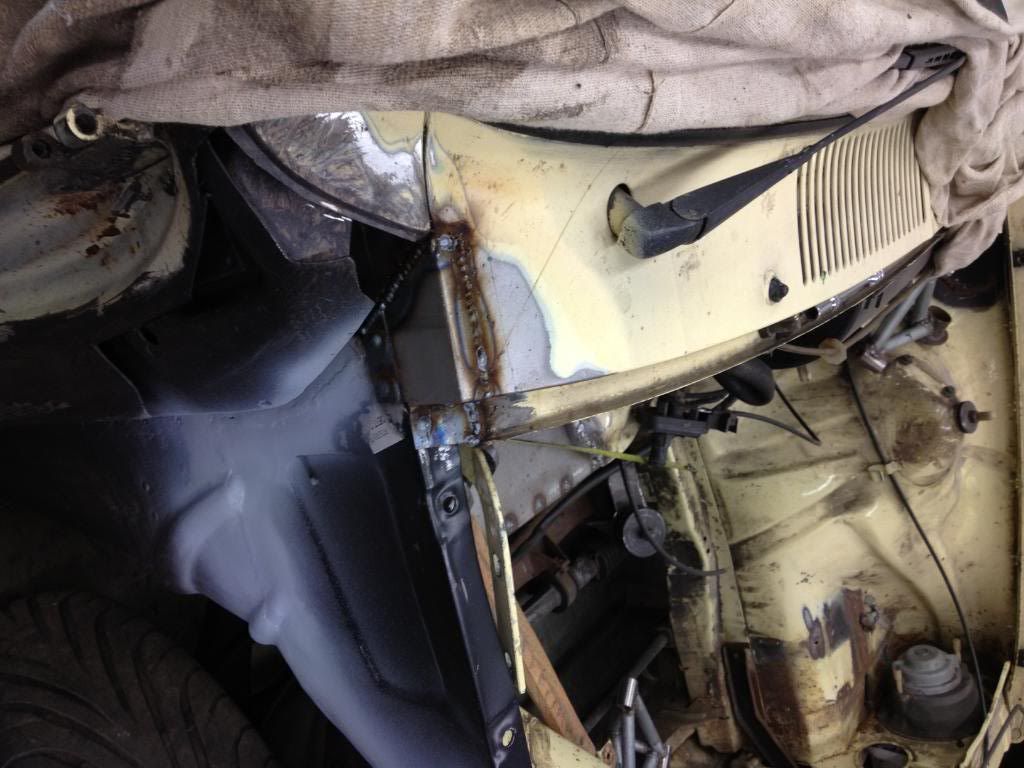 then ground and sanded the welds again 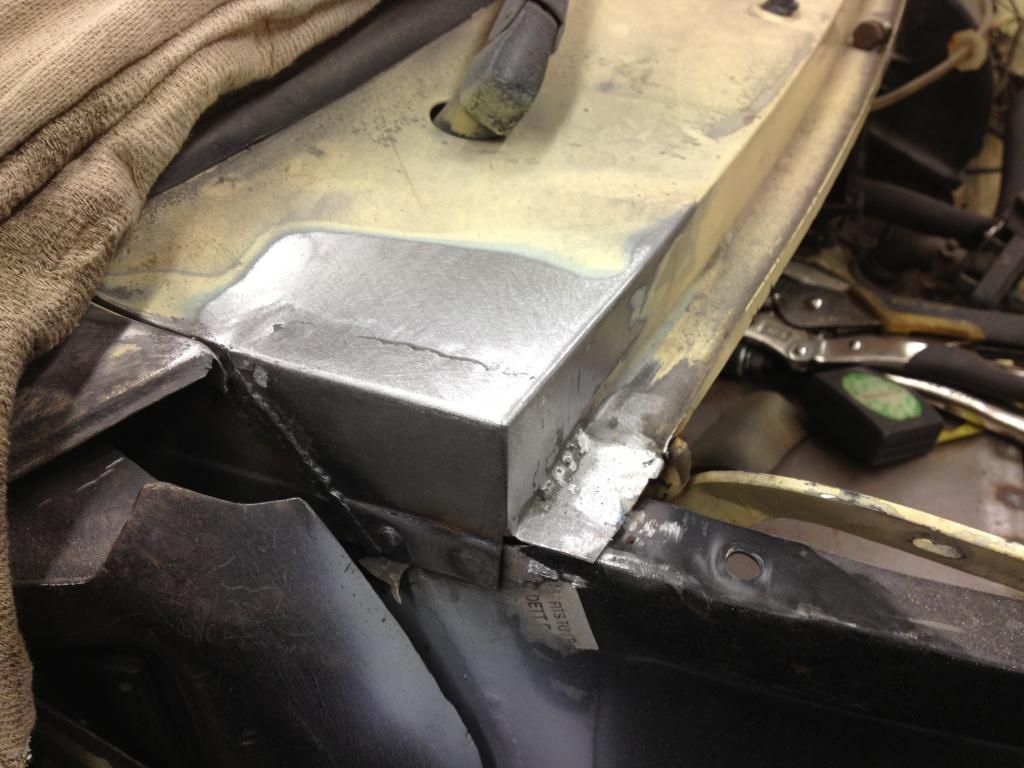 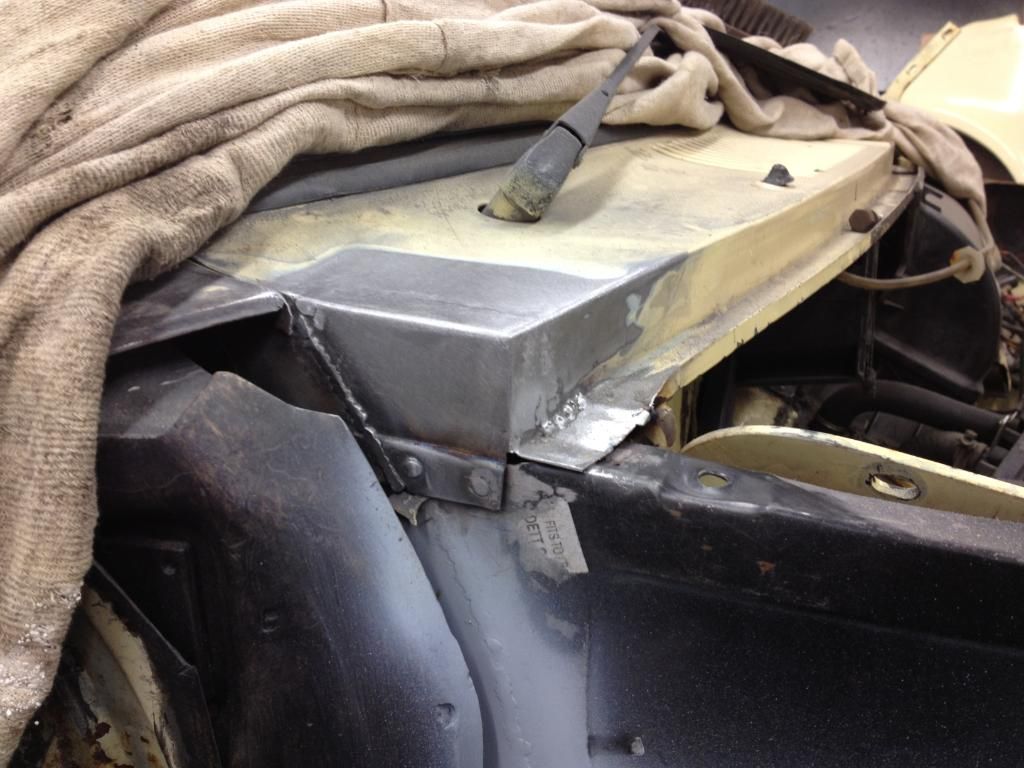 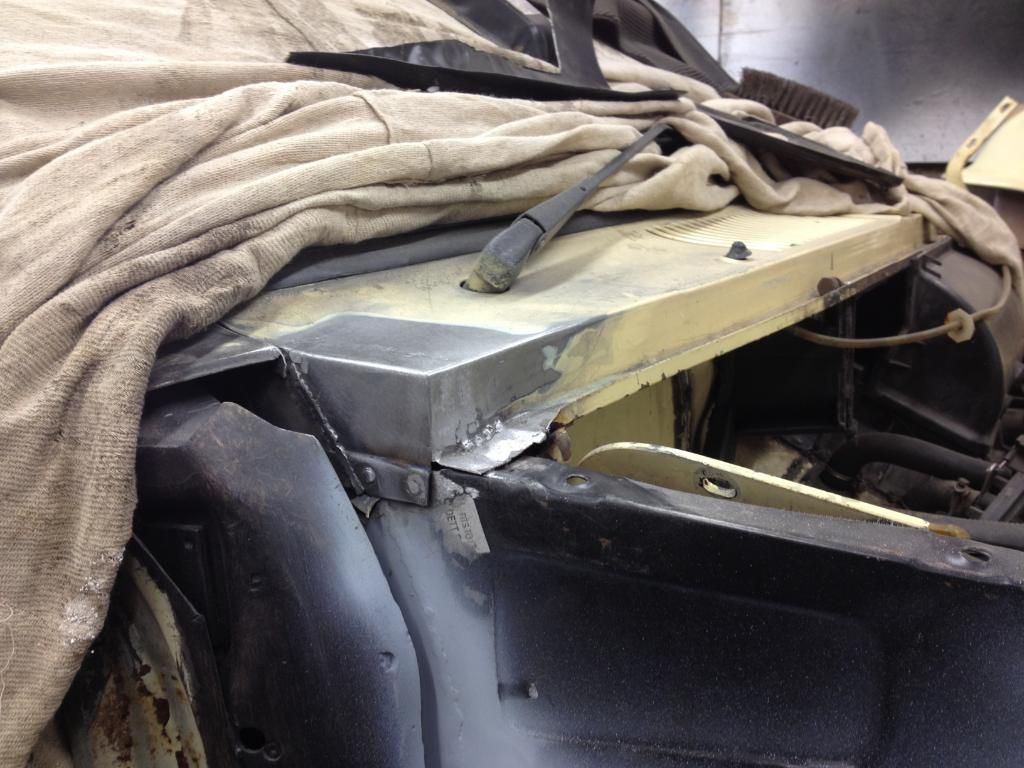 And primed the area 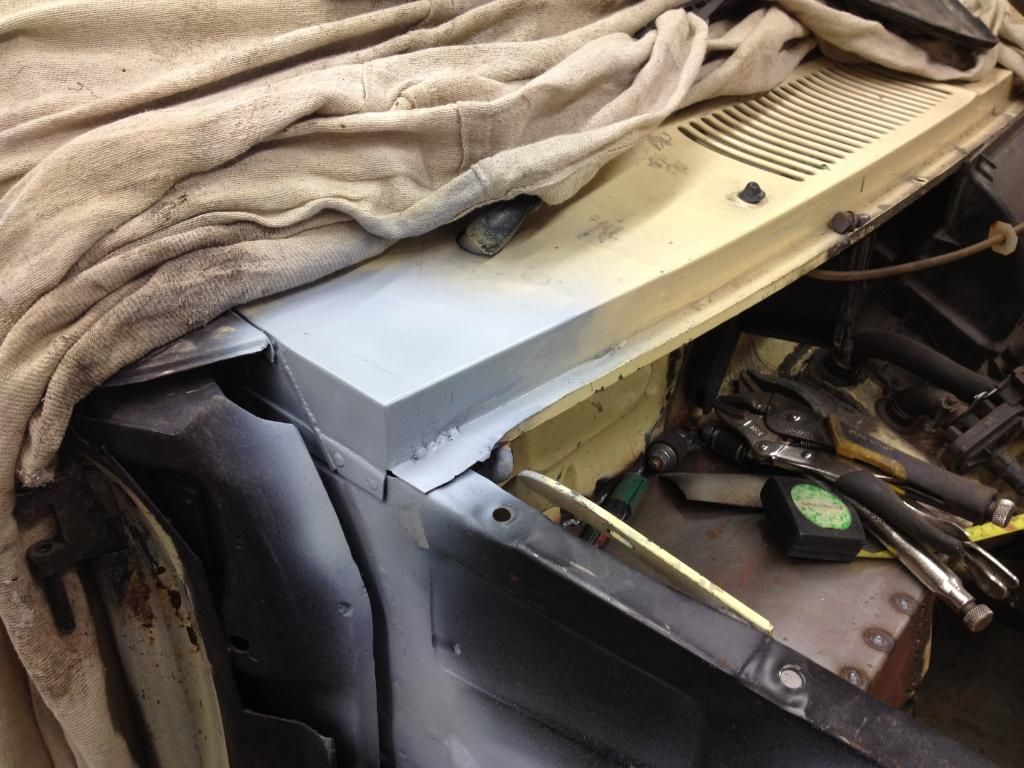 It needs some finishing but I'm happy to move to the next stage at this point 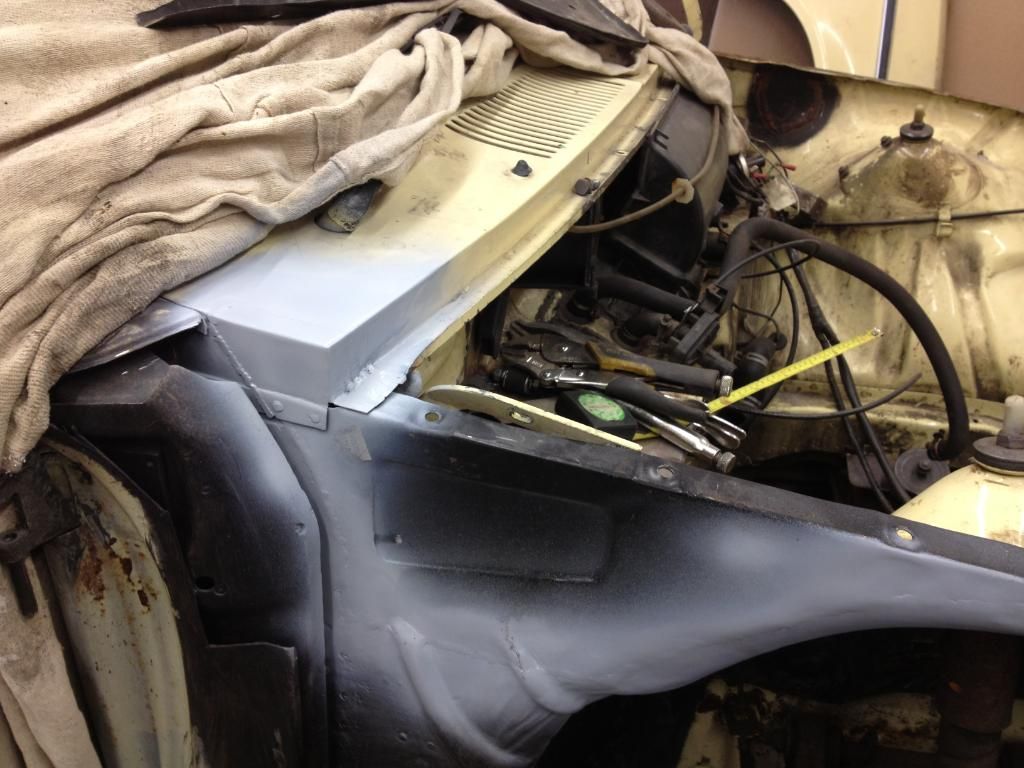 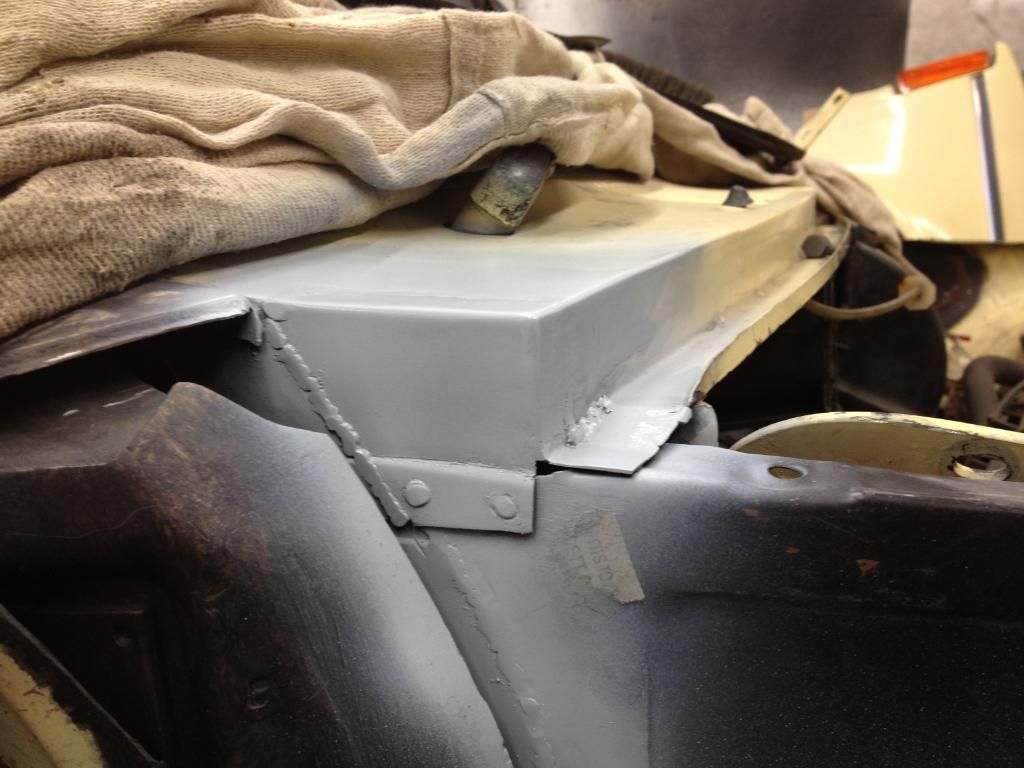 While the paint was drying on the scuttle i was curious to find out what condition the N/S wing mount and surrounding area was in. This previous repair didn't fill me with hope 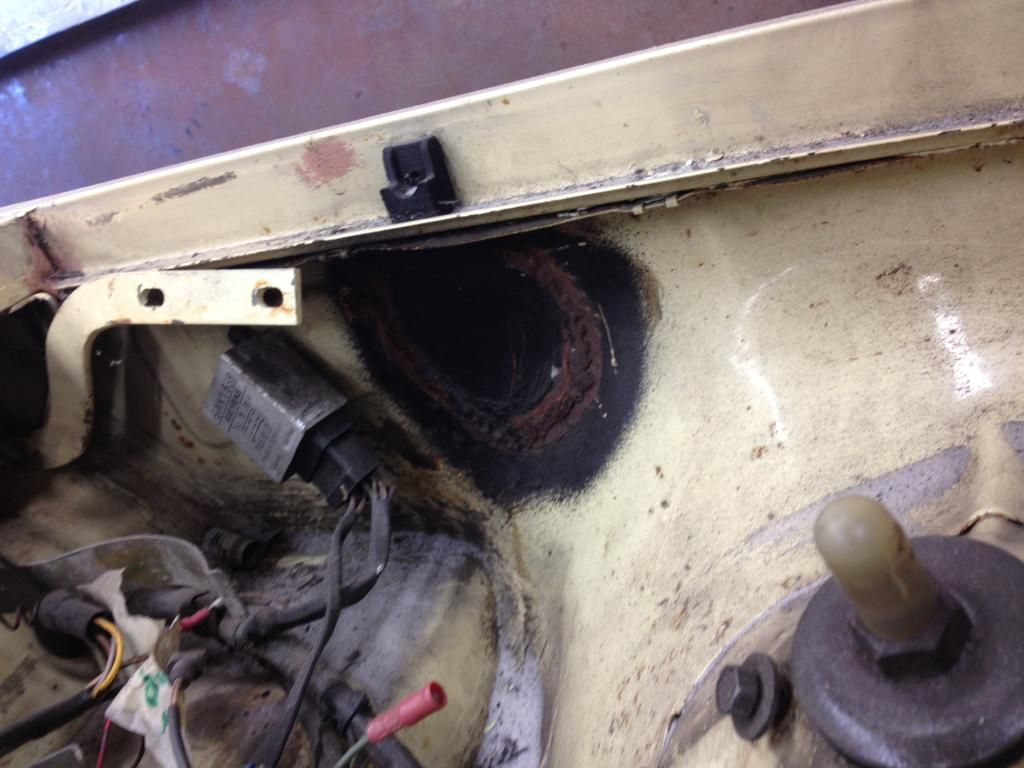 Nor did the filler in this area again 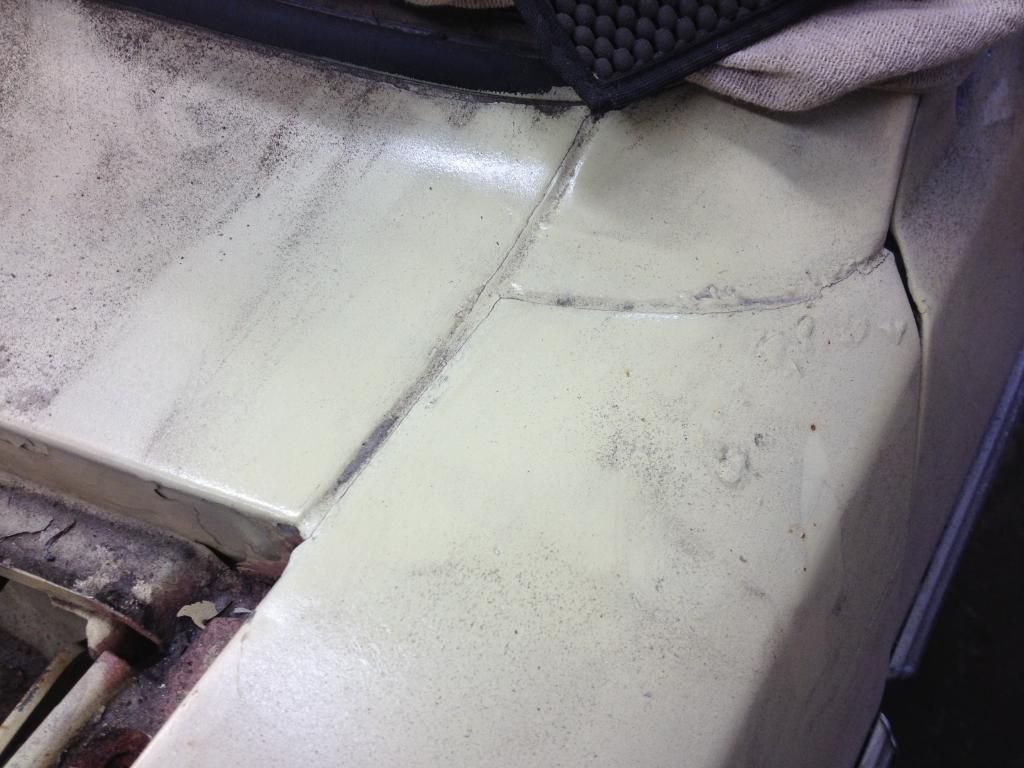 However I'm please to say id doesn't appear to be as bad as the O/S 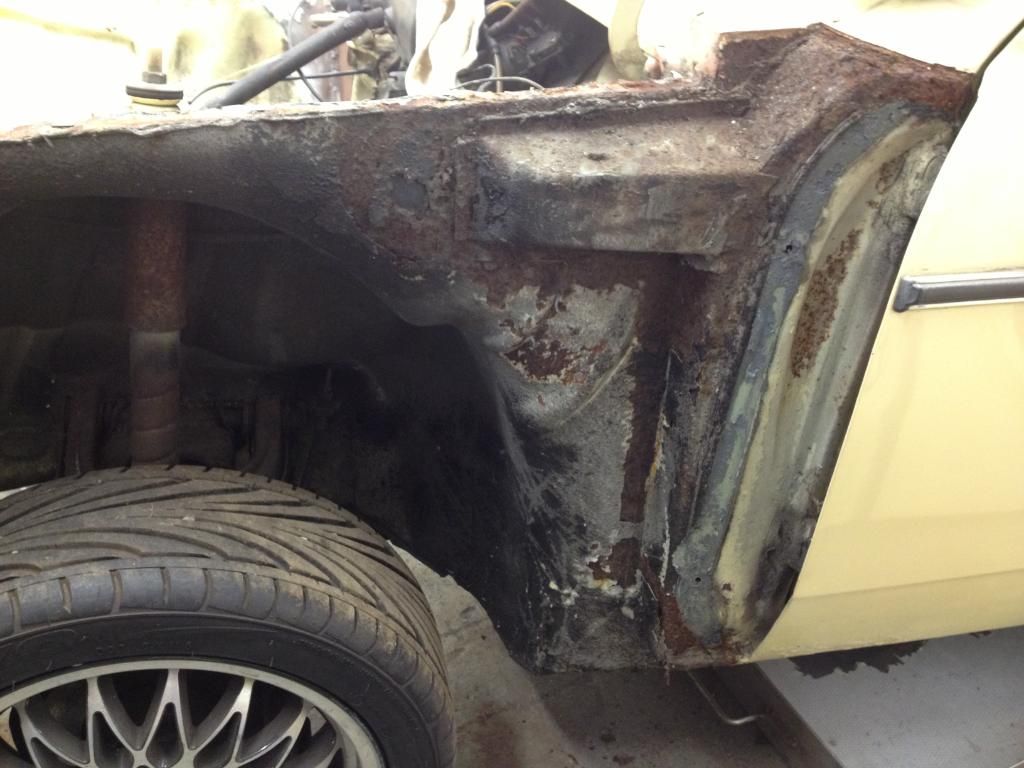 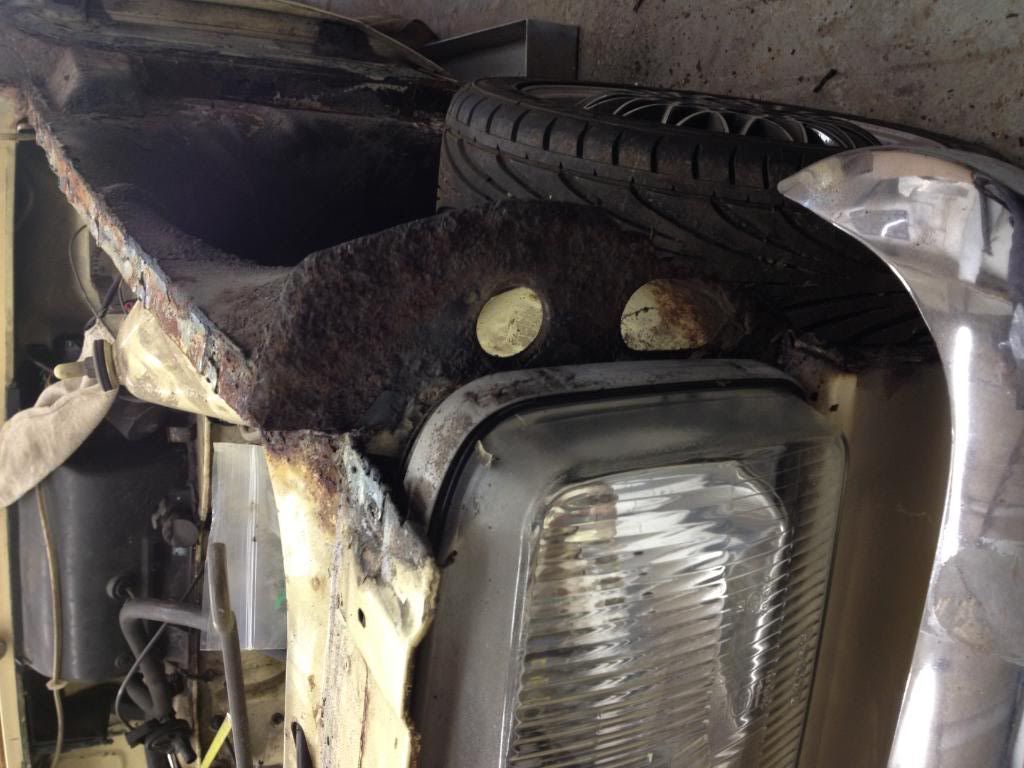 Although it isn't great I'm happy enough 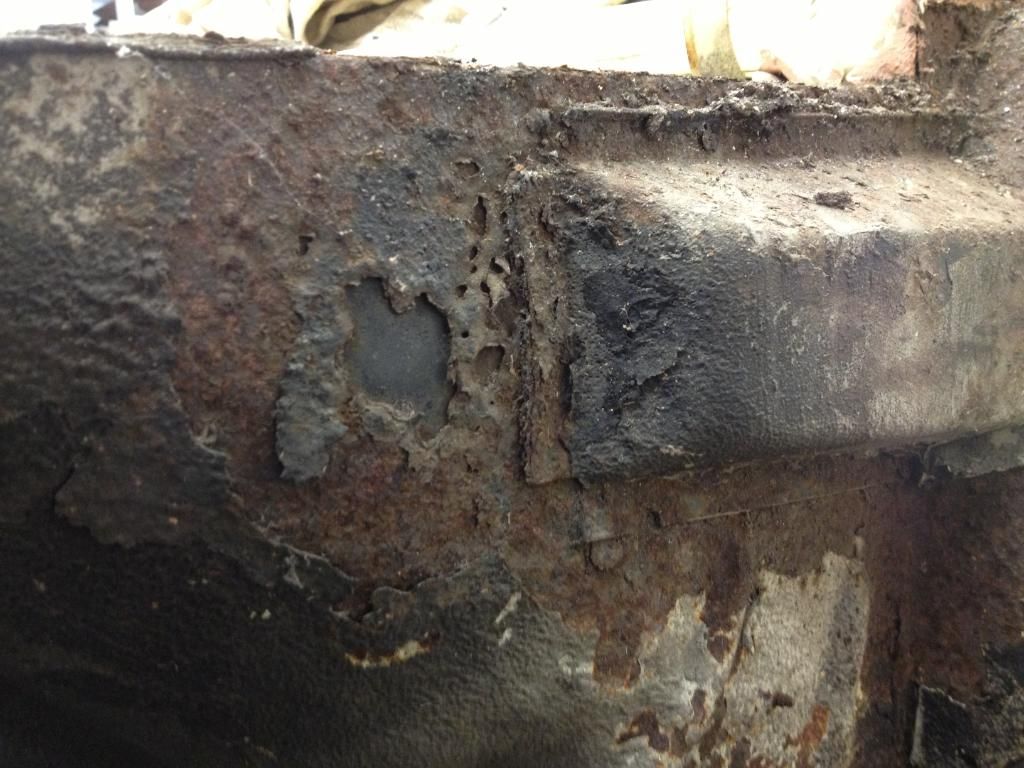 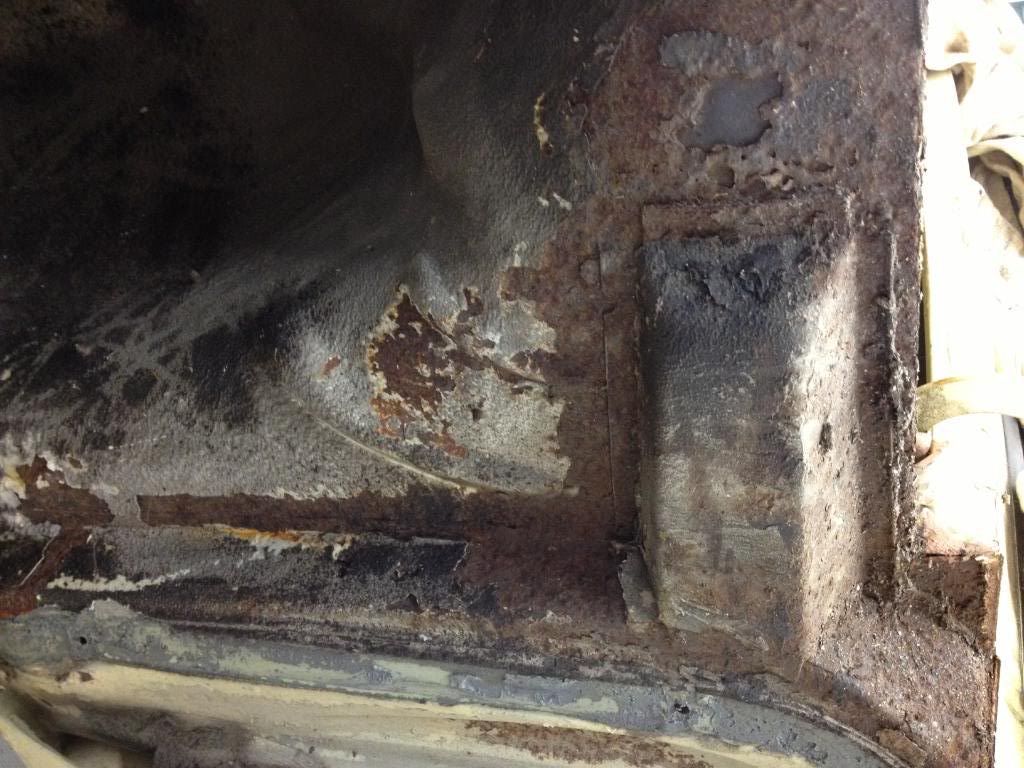 Especially as the wing mount isn't as bad as the O/S 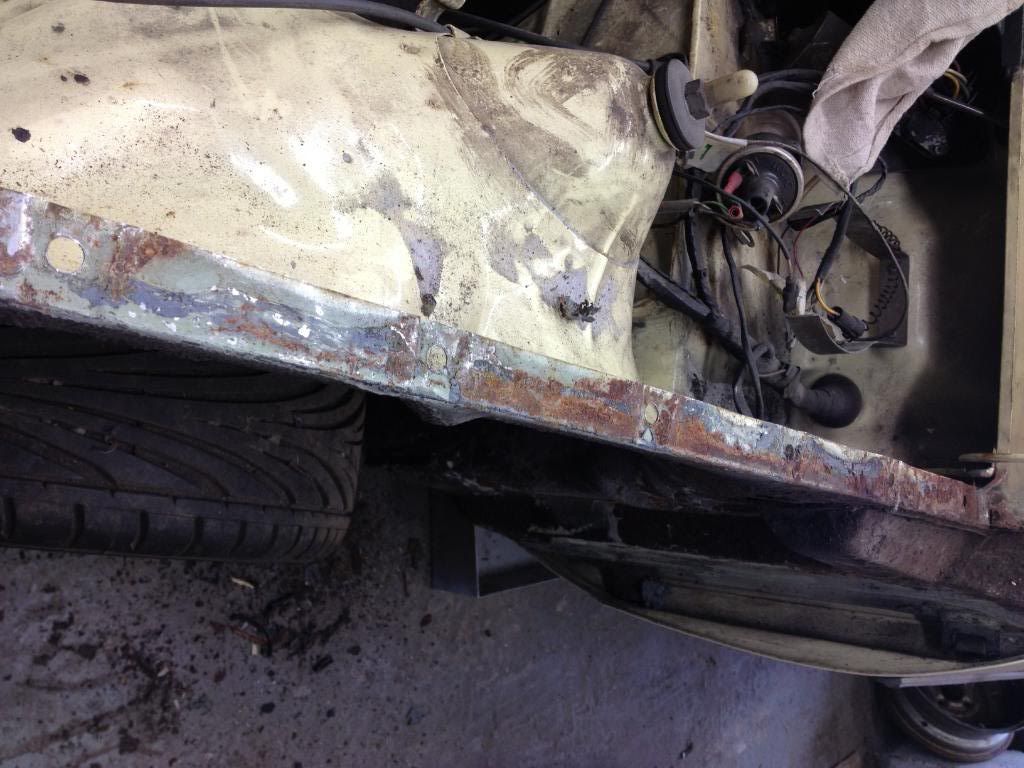 And the shape to the headlight surround is still there (just) 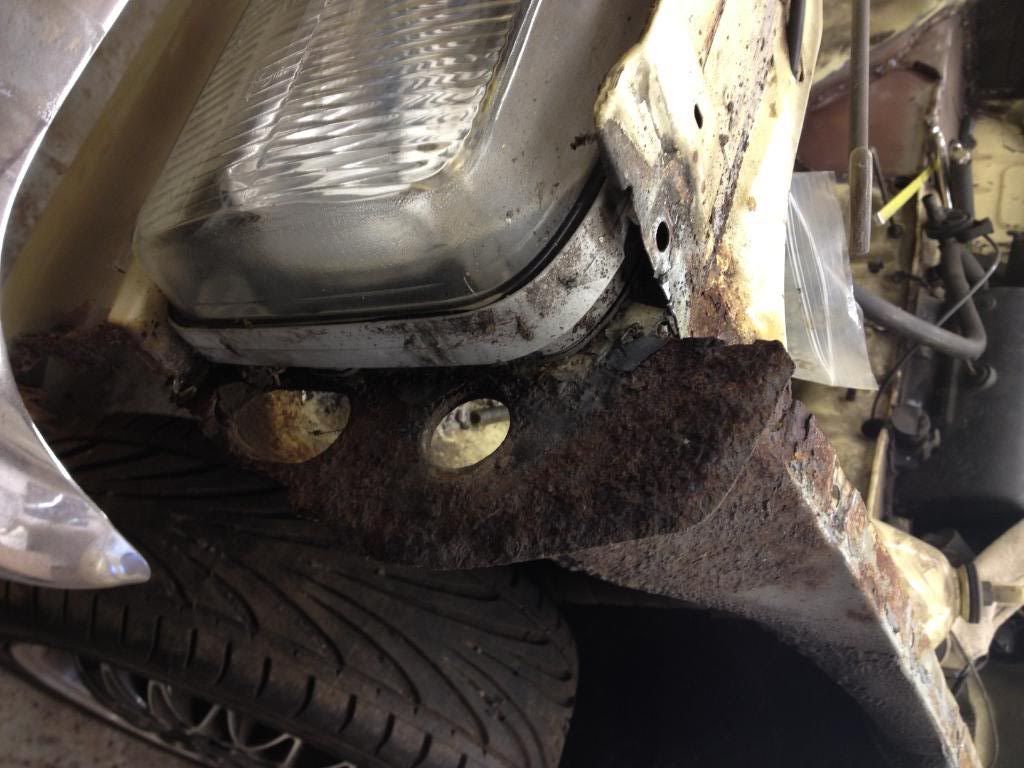 The A pillar/door jam area is bad here again 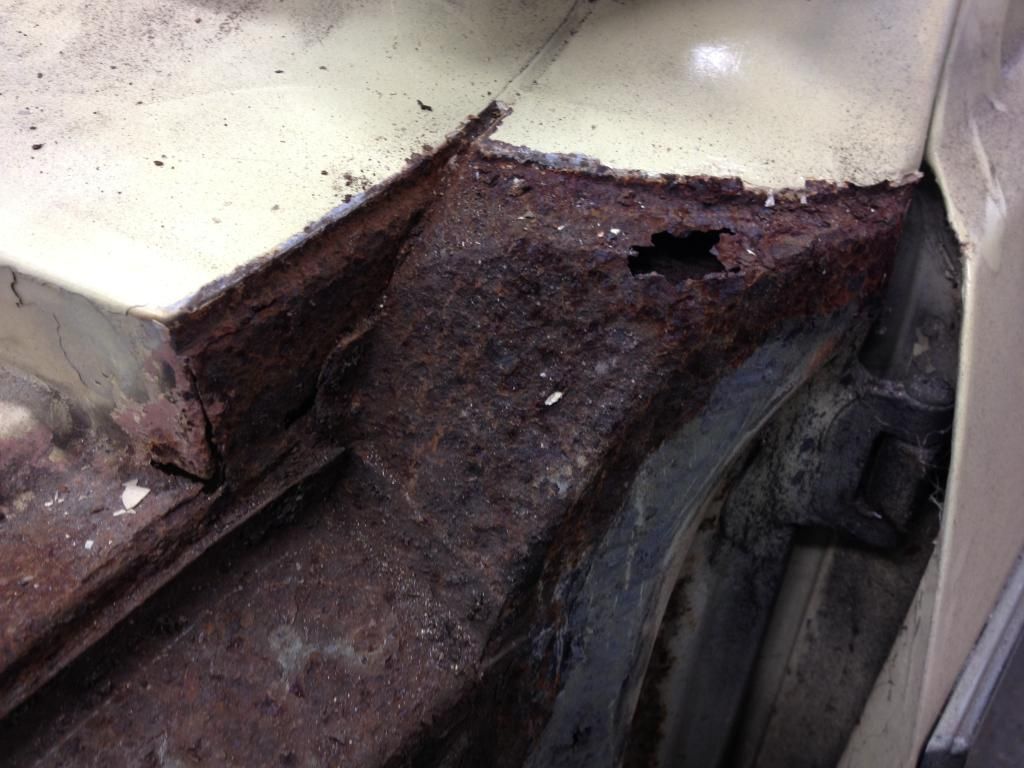 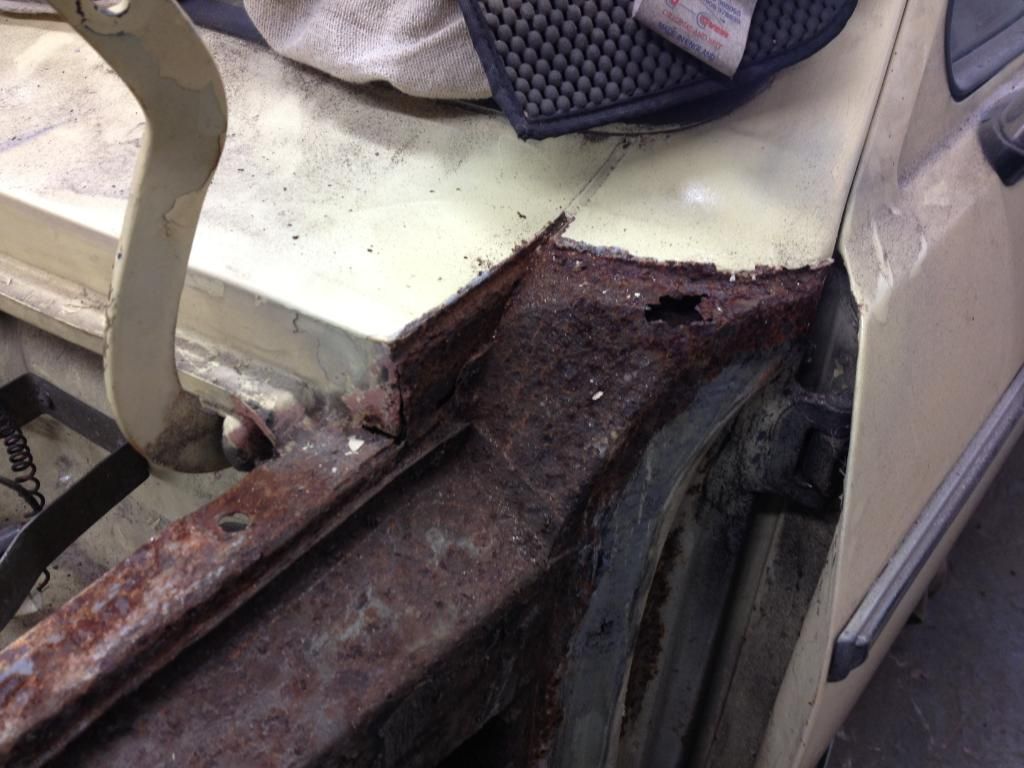 while i was in the mood for digging about i attacked the O/S rear arch 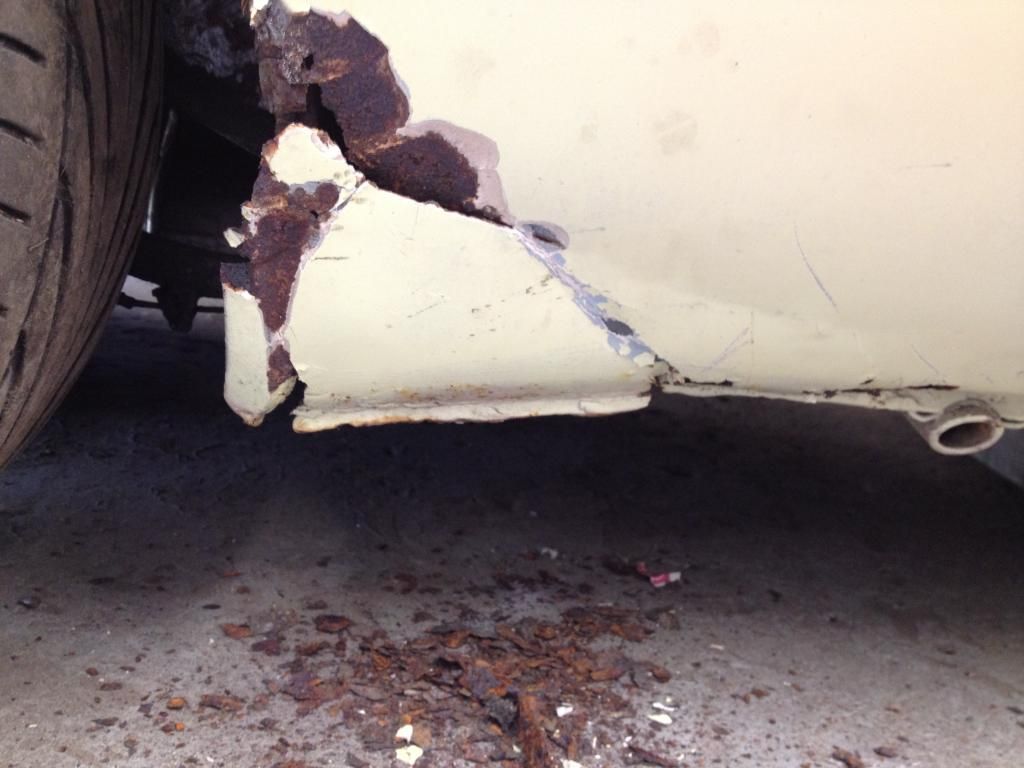 Can i just say if you are thinking about 'repairing' something in this way please just don't bother 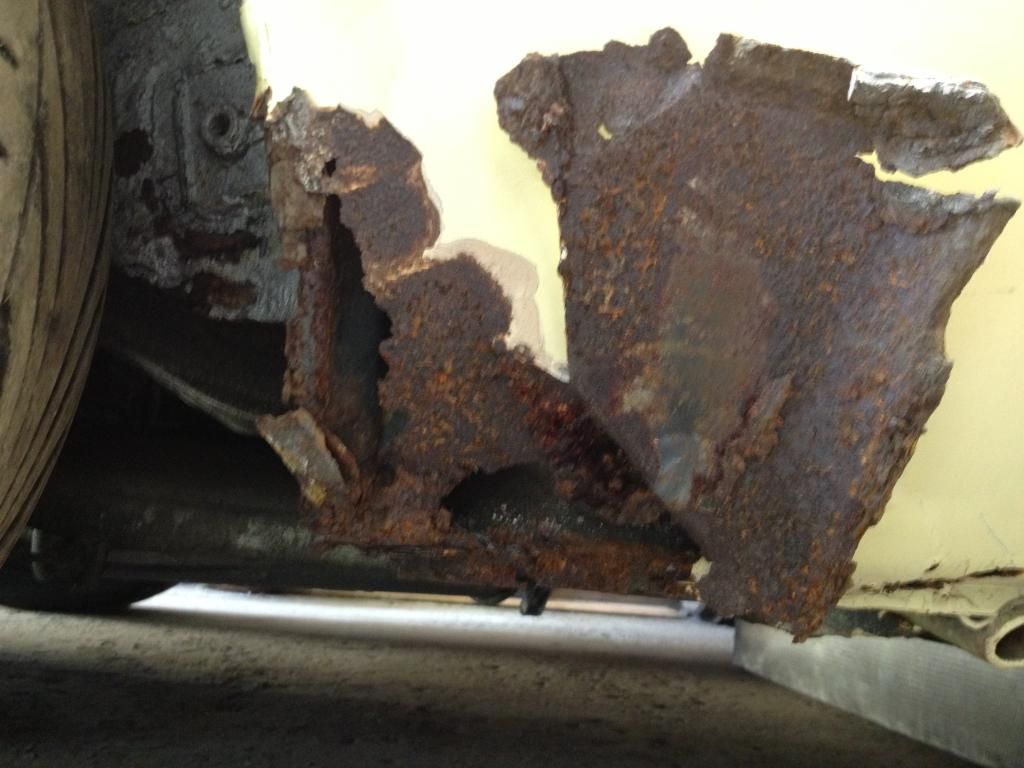 I decided to get more involved - grinder out 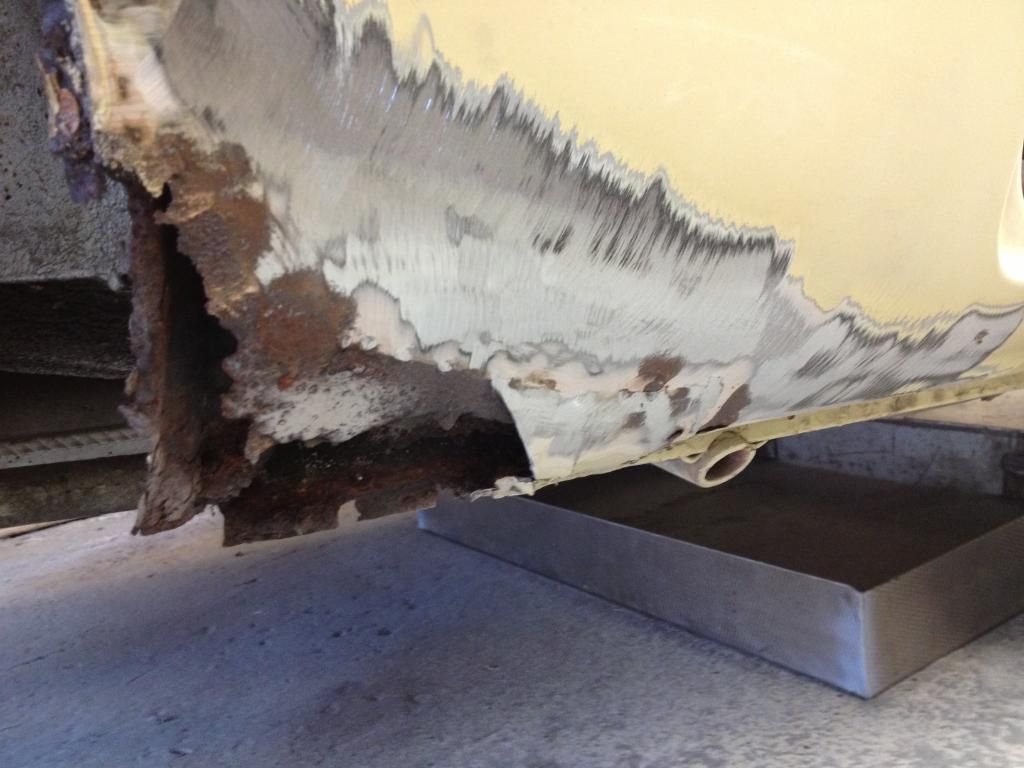 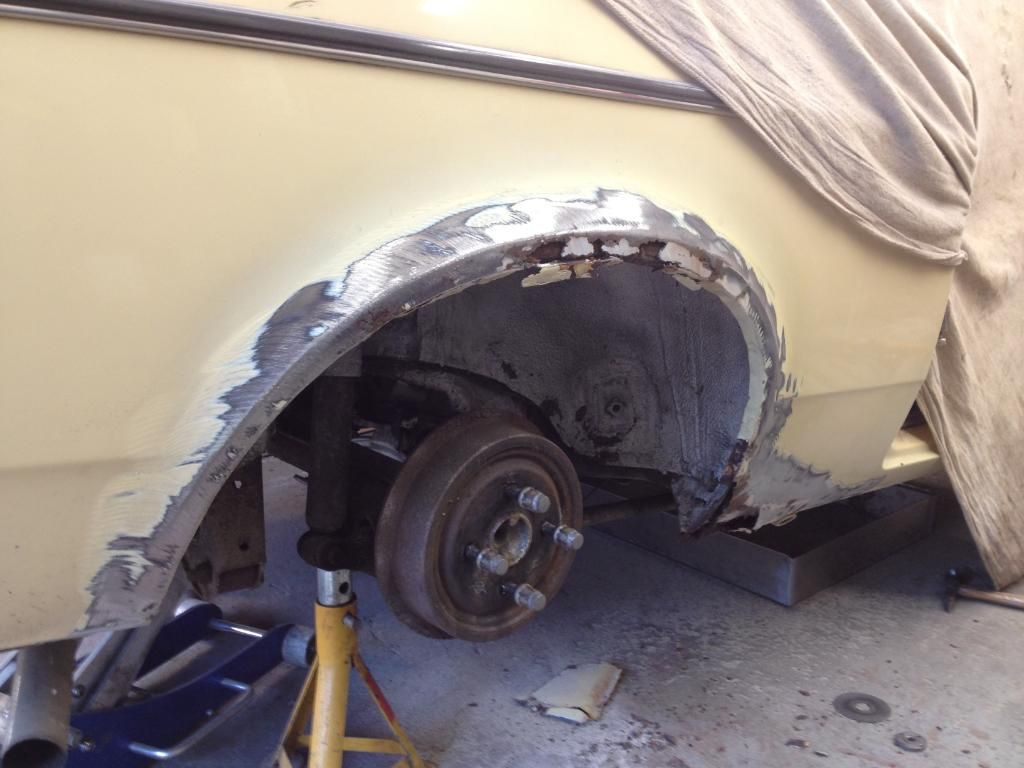 cleaned it off with the DA 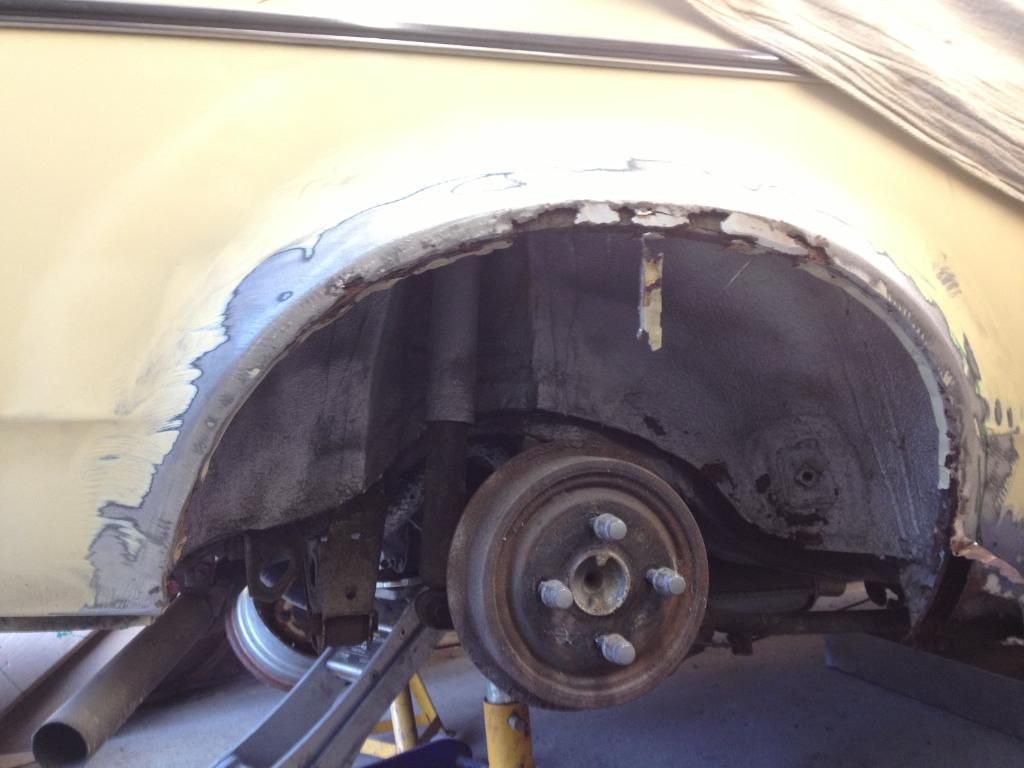 crispy 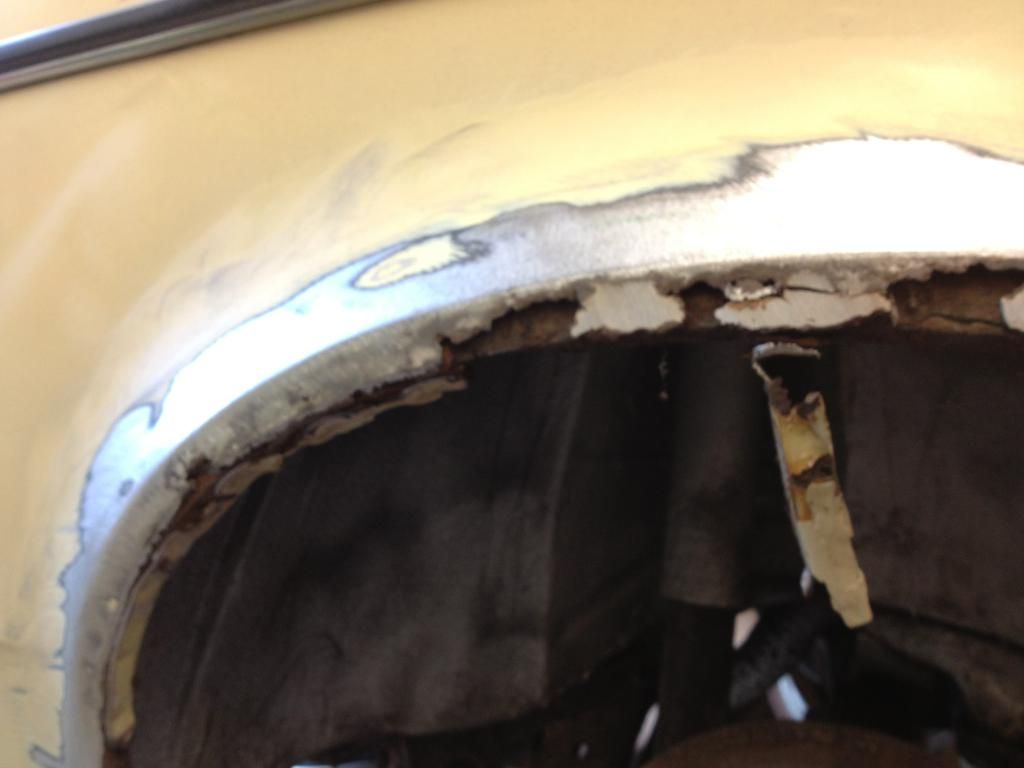 so i cut it out 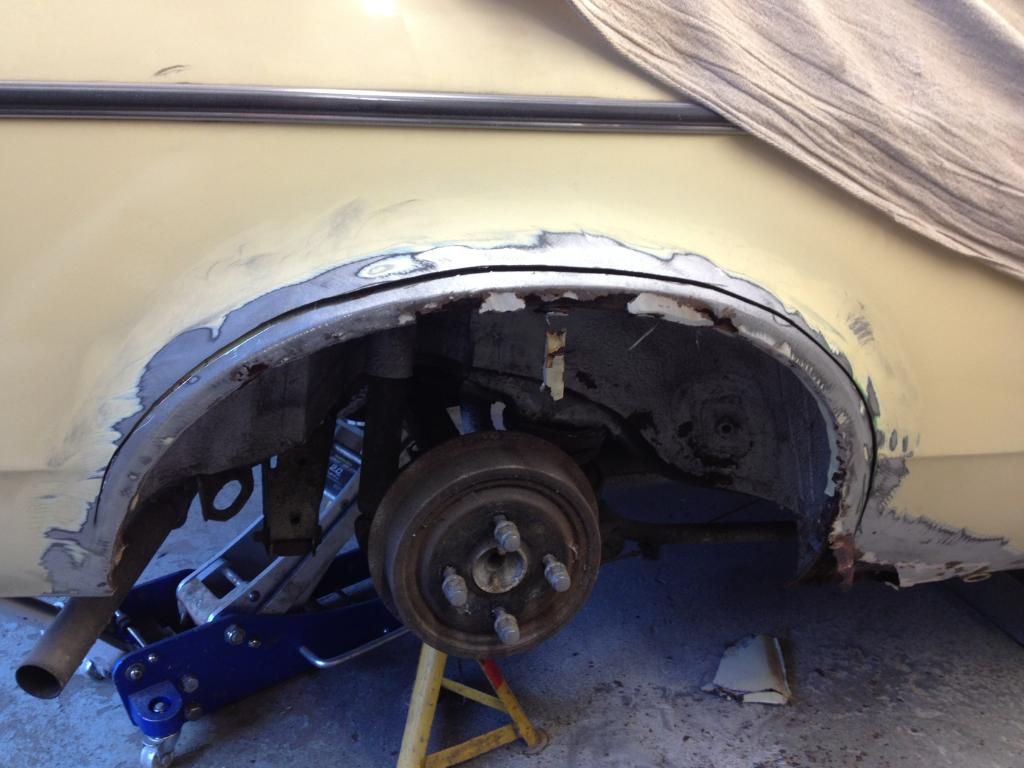 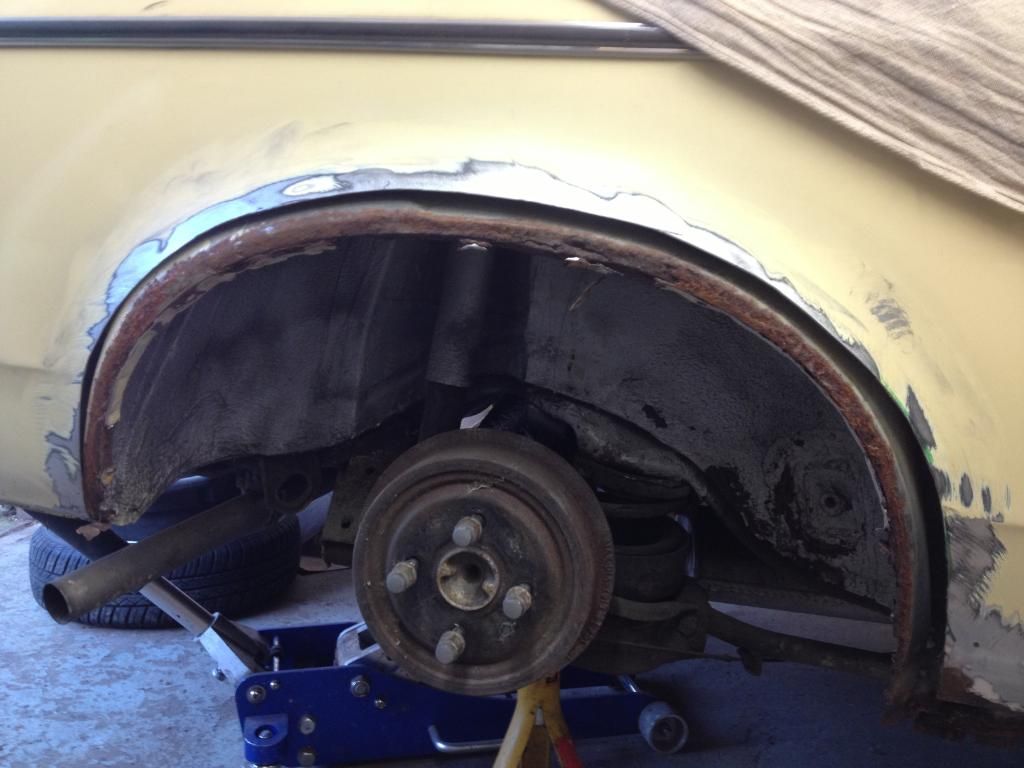 and chopped some more from the sill to see how bad the inners were 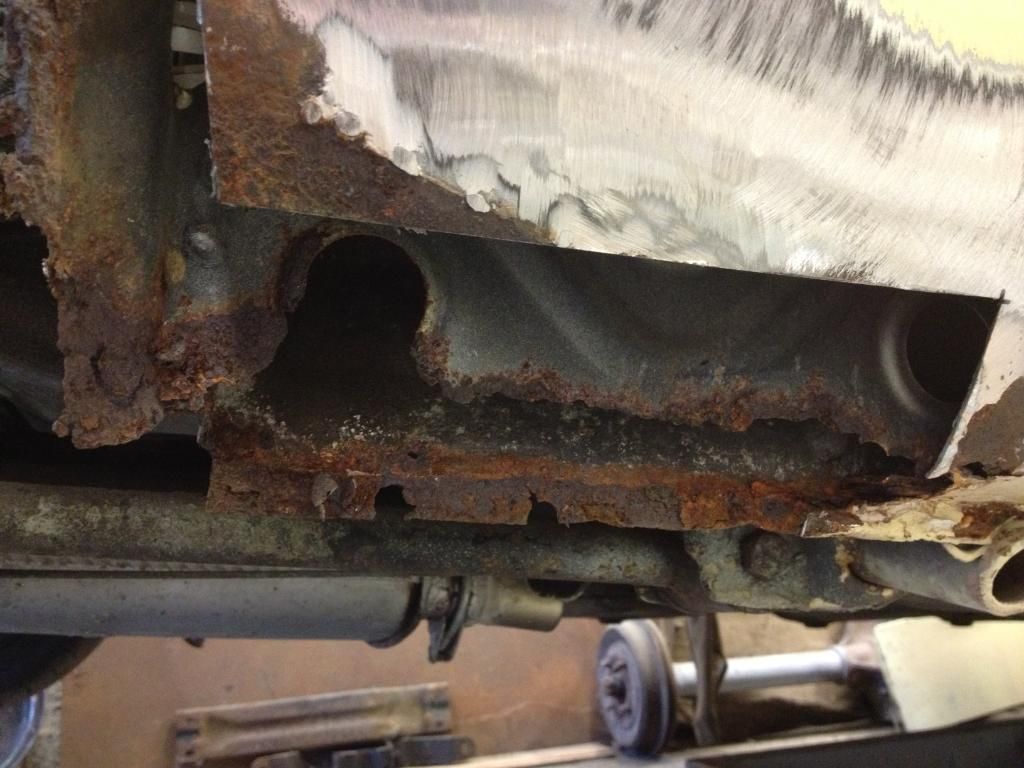 leaving this 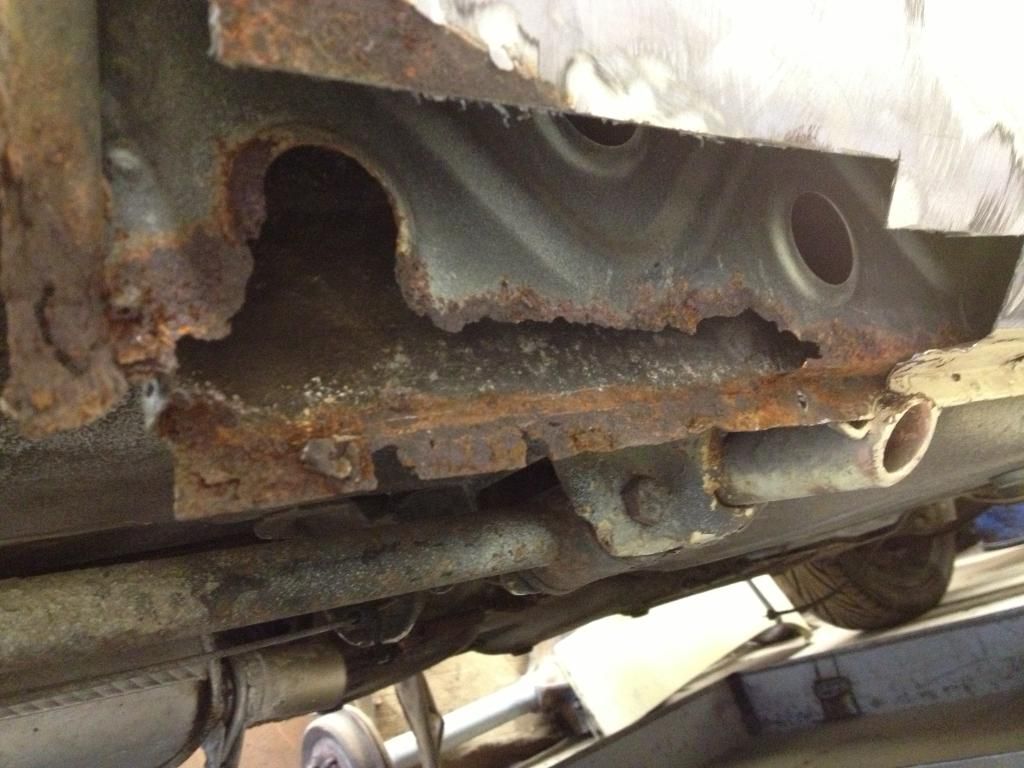 Then i cleaned off the inner arch lip 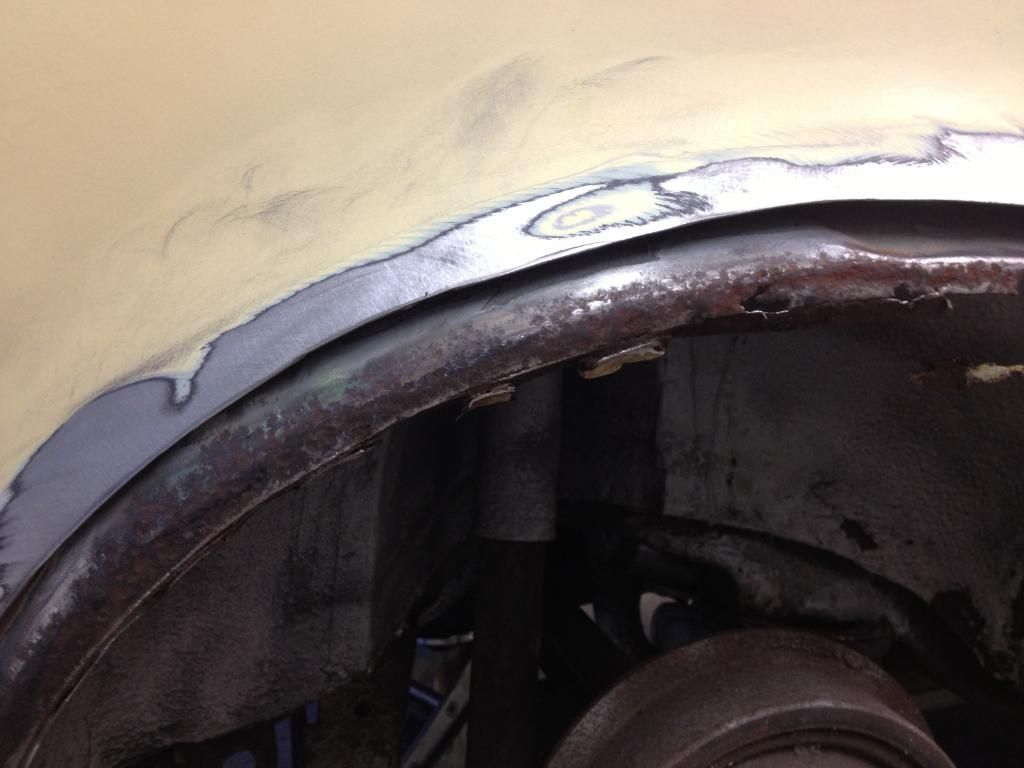 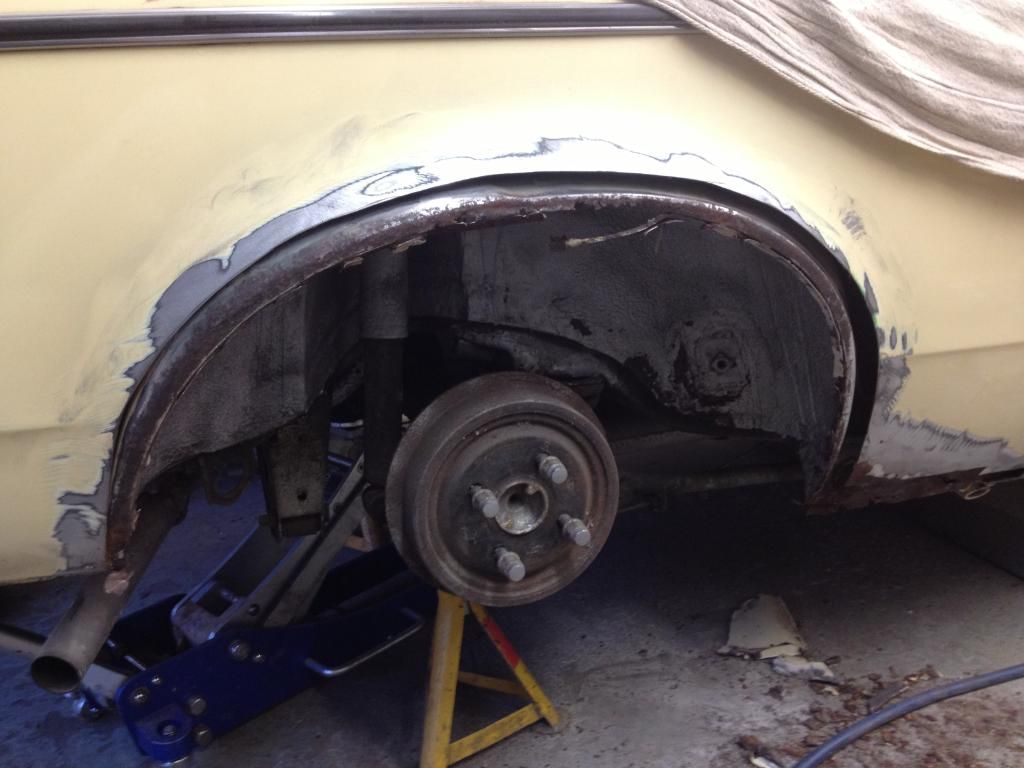 and put on some rust killer 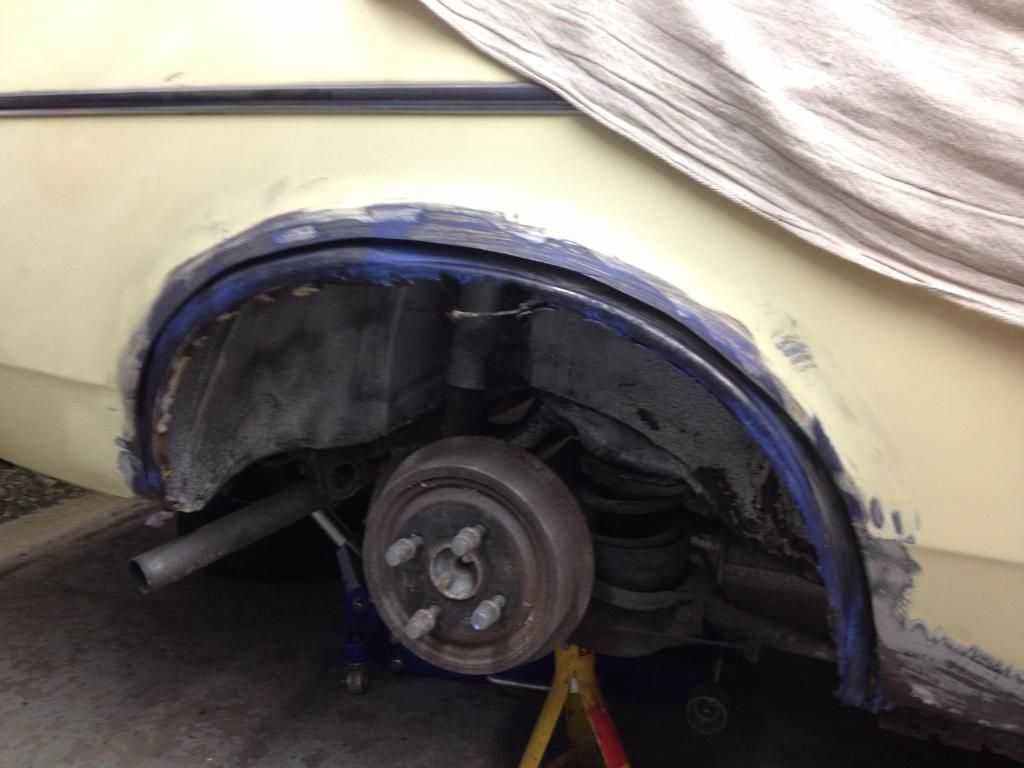 |
| |
|
|
|
|
|
Sept 30, 2012 8:32:35 GMT
|
|
uuuugh. thats what the P in P40 stands for, procrastination
|
| |
|
|
|
|
|
Sept 30, 2012 9:46:07 GMT
|
|
Haha yer I guess so
|
| |
|
|
|
|
|
Sept 30, 2012 9:58:13 GMT
|
Great project  it's going to be some car when your done with it |
| |
|
|
|
|
|
|
|
Great project  it's going to be some car when your done with it Let's hope so  I've still got some way to go but I'm getting there slowly. |
| |
|
|
|
|
|
|
|
Oct 22, 2012 17:36:40 GMT
|
|
Nearly payday so nearly panel ordering time! WOOP WOOP!
|
| |
|
|
|
|
|
Oct 24, 2012 21:39:03 GMT
|
|
Where do you get panels from for 1 of these these days
Great work by the way
|
| |
|
|
|
|
|
Oct 24, 2012 23:47:00 GMT
|
|
i love kadets! my dad had a few of these when he was (a lot) younger, always fancied having a go!
|
| |
|
|
|
|
|
Oct 28, 2012 13:26:27 GMT
|
Where do you get panels from for 1 of these these days Great work by the way Thanks! Panels are available from TJ Motorsport, retro power, or Dr Manta they have a good selection but are based in Europe. Also Aly Mac on the kadett C forum makes regular trips to Europe on panel runs. And very occasionally bits come up on eBay like the two wings I just won! |
| |
|
|
|
|
|
Oct 28, 2012 19:01:59 GMT
|
|
Just read from the start great work so far
Can't wait to see it finished
|
| |
|
|
|
|
|
|
|
Small update  I collected some front wings last week for a reasonable price 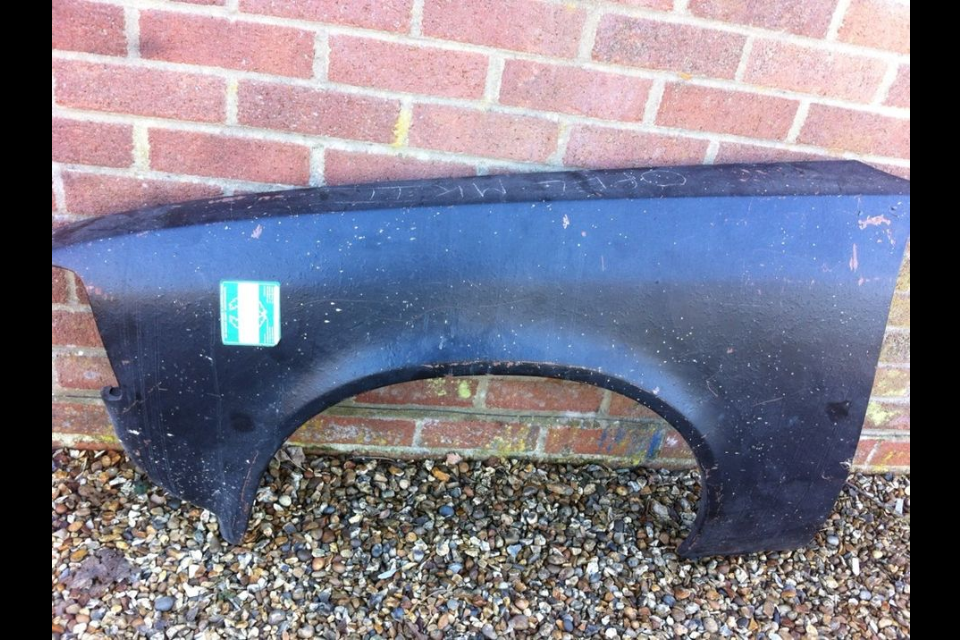 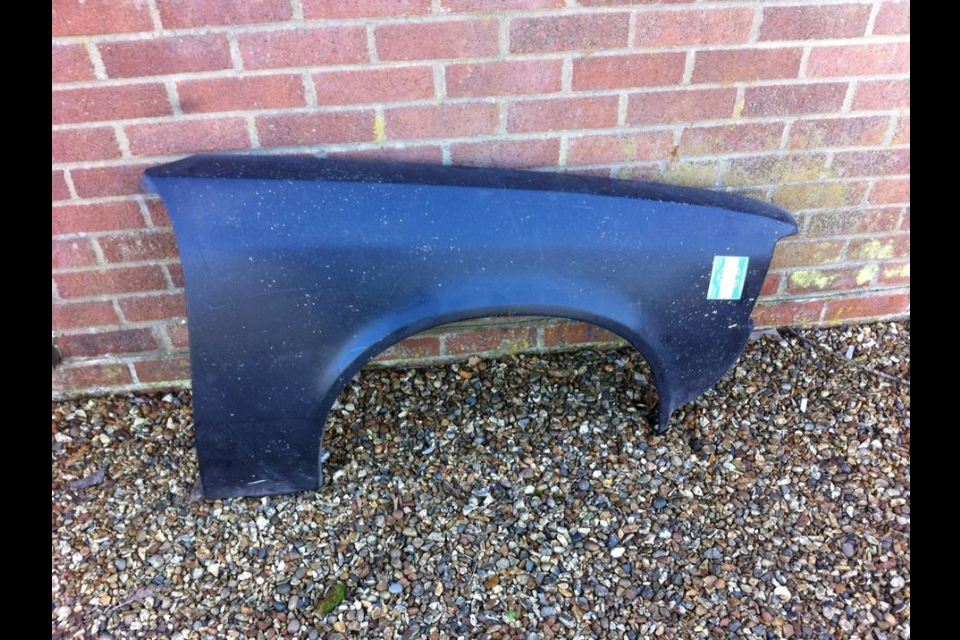 Then Friday night i actually got some time on the car not before I'd tucked in to the obligatory coffee and biscuits though 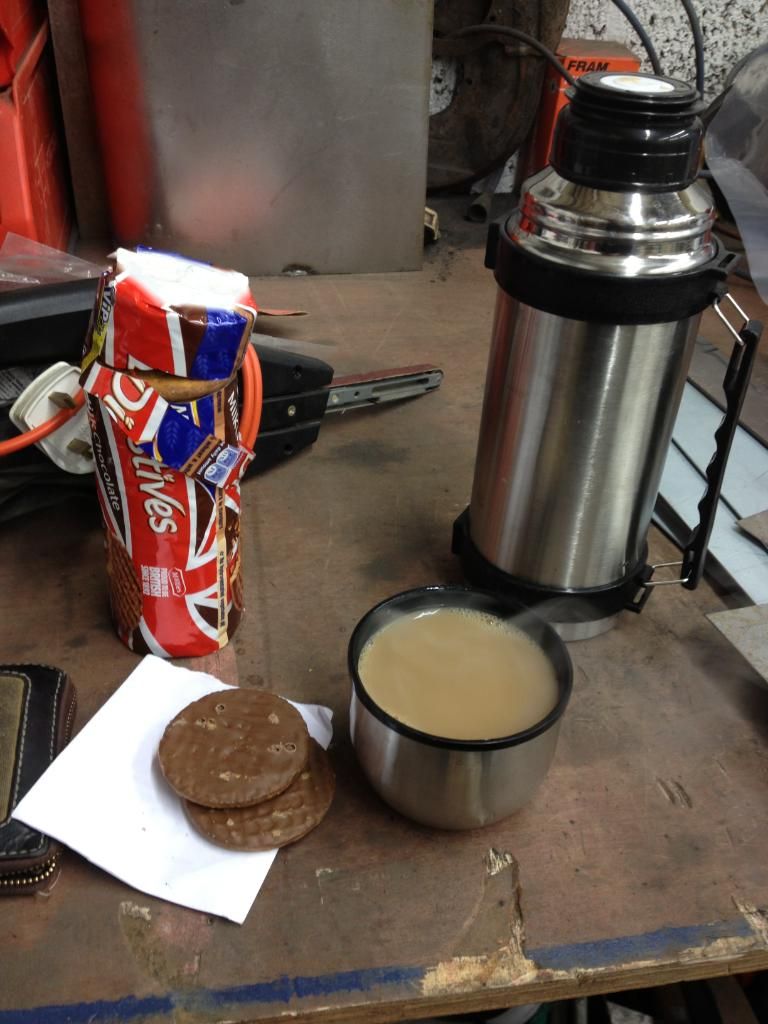 not as cold as i was expecting which was nice 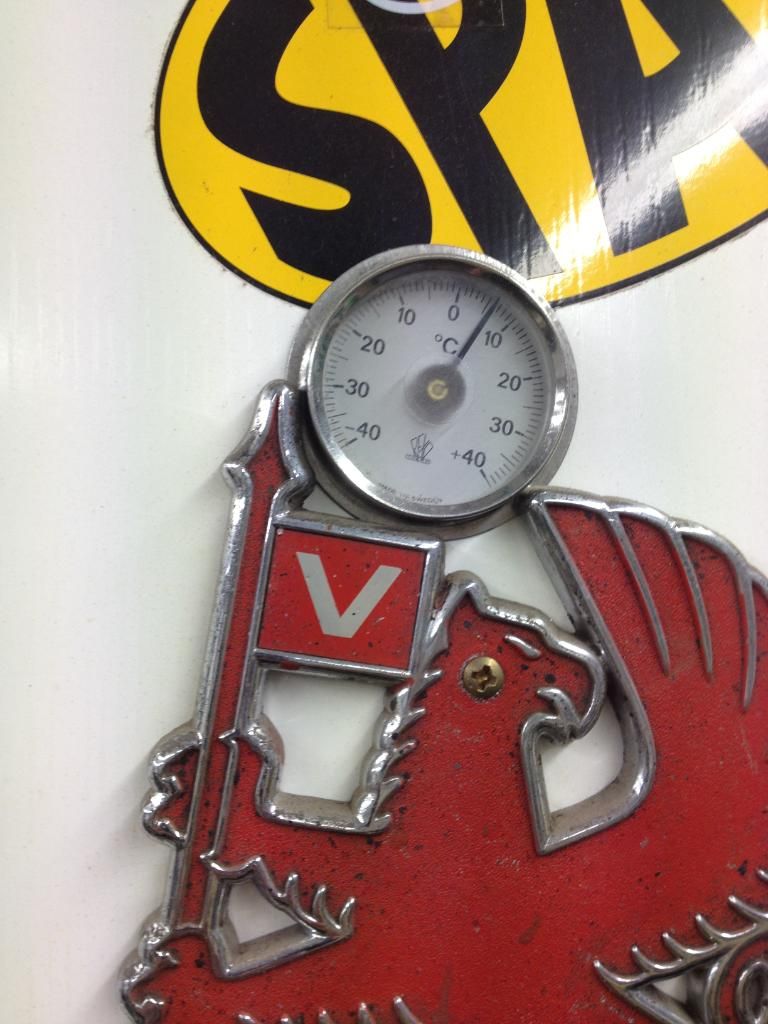 Anyway my efforts started here cutting away some more of the O/S sill 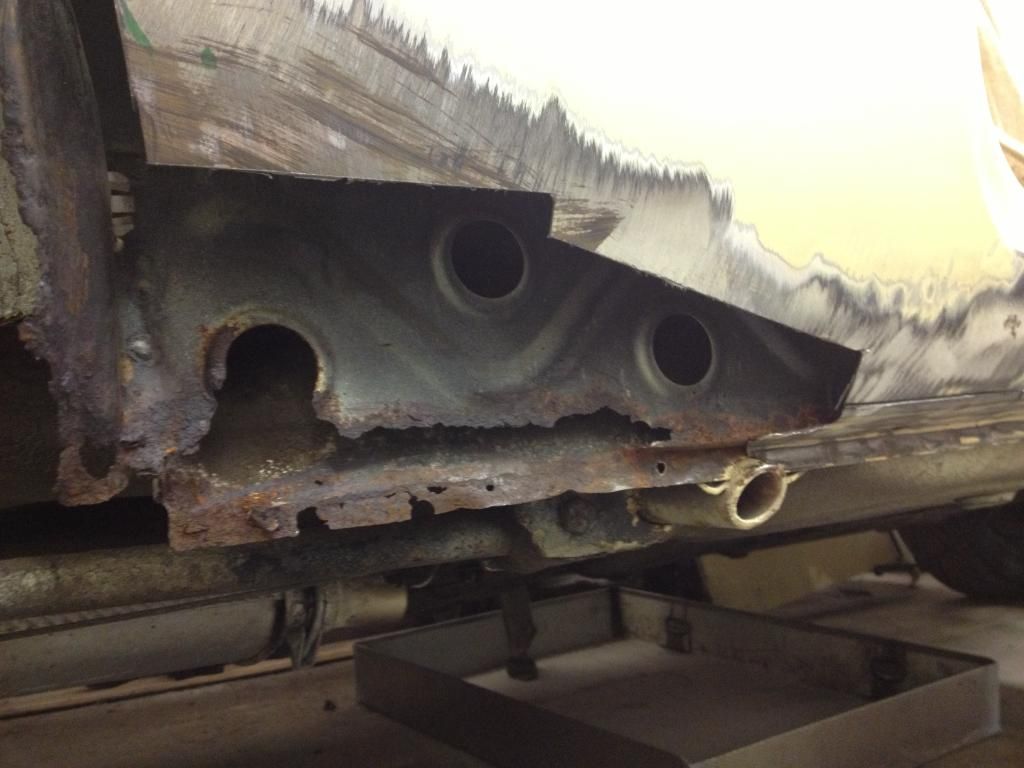 To gain access to the strengthening support inside the outer sill and the inner sill which was looking crispy 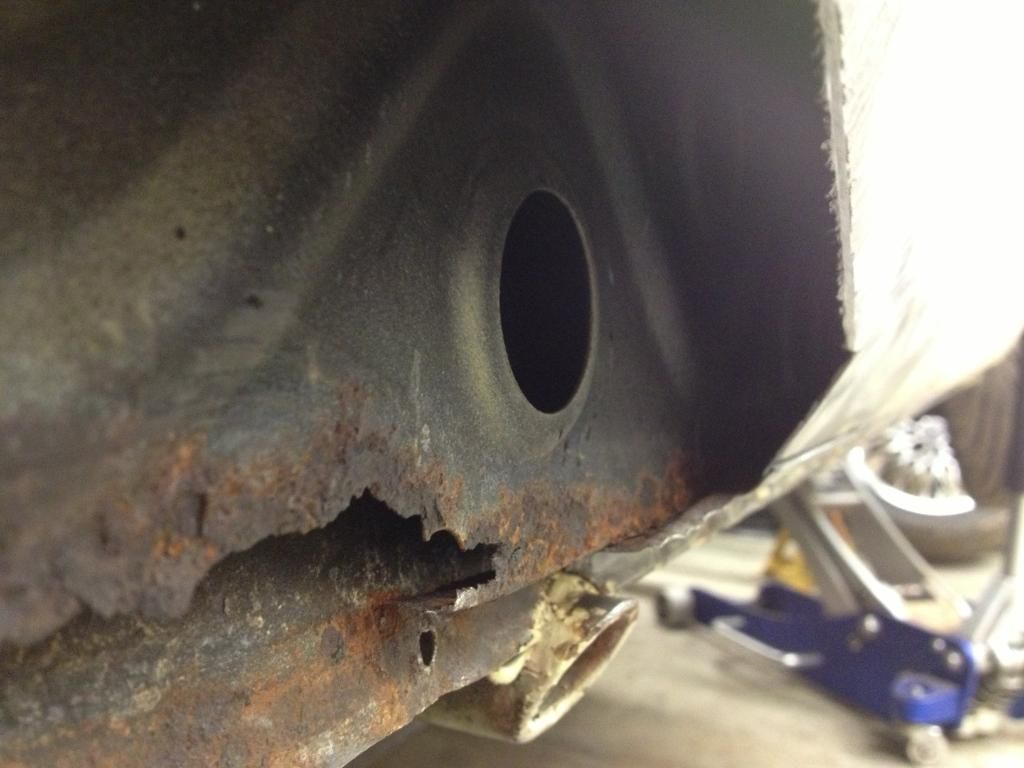 a slice with the grinder 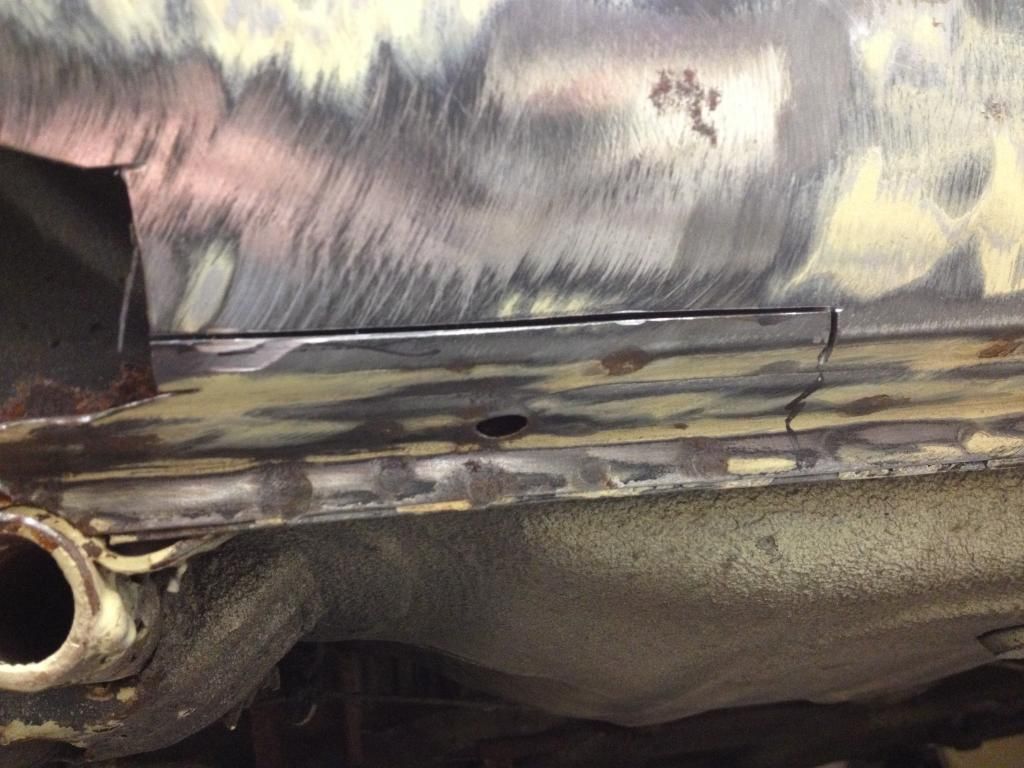 Then drill the spot welds out. It must have been spot weld day at the kadett factory as there were a few all in one area. 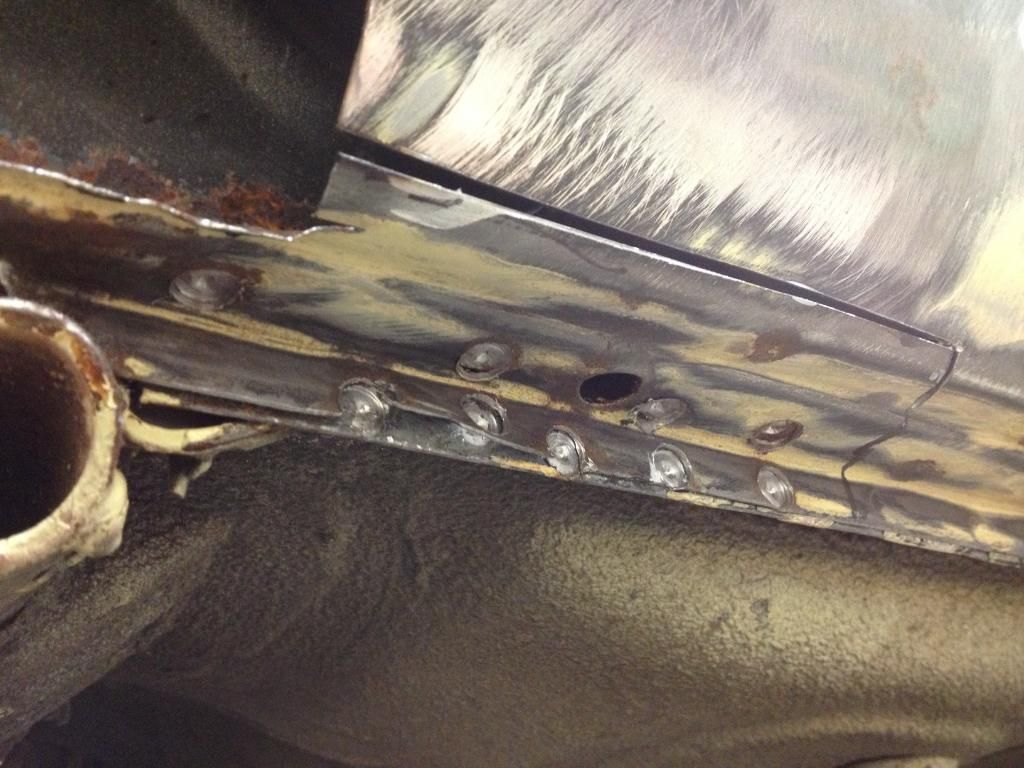 For those that don't know what a spot weld drill looks like this is my favored weapon 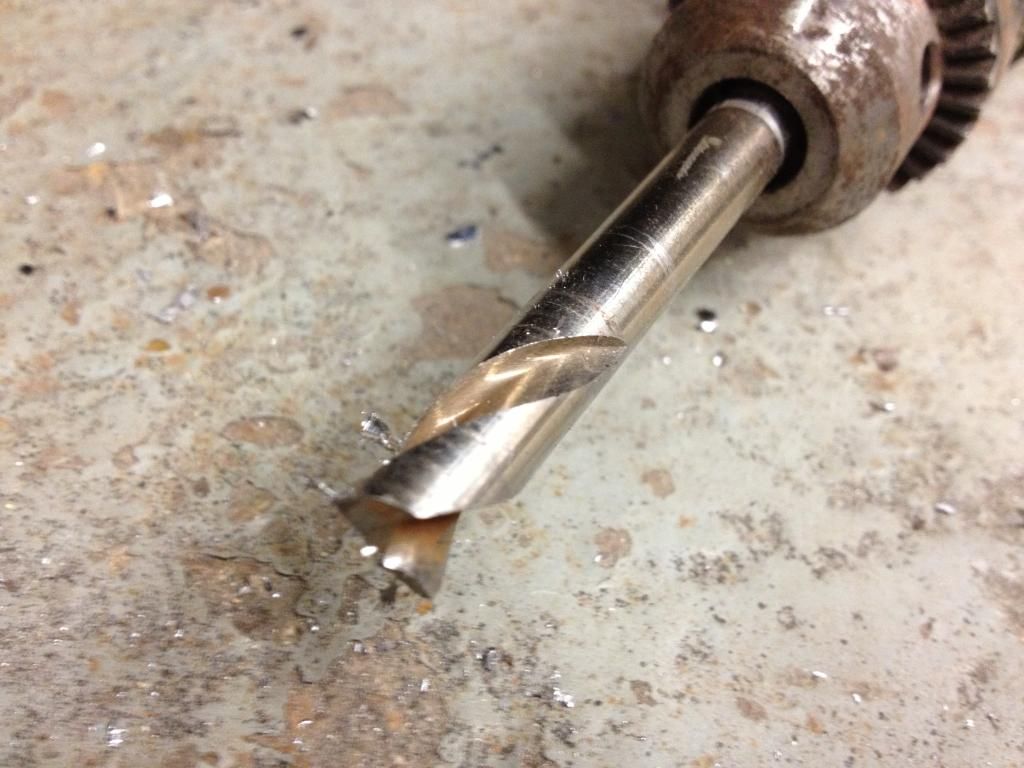 With more of the outer sill removed i could see exactly what needed cutting out and replacing 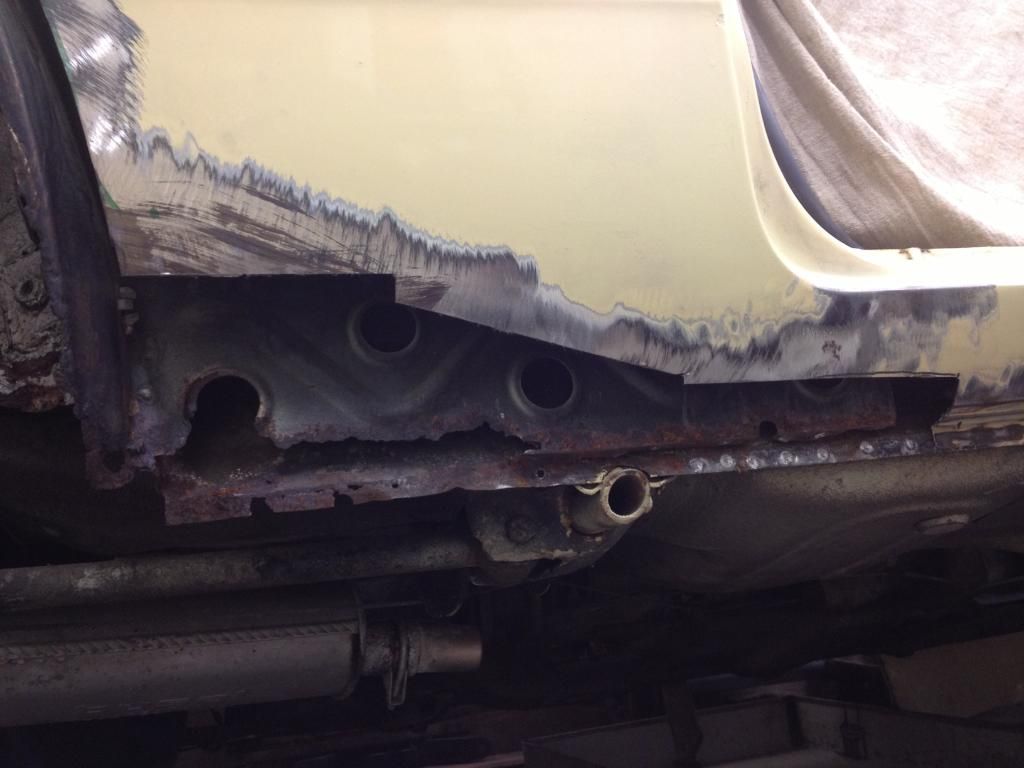 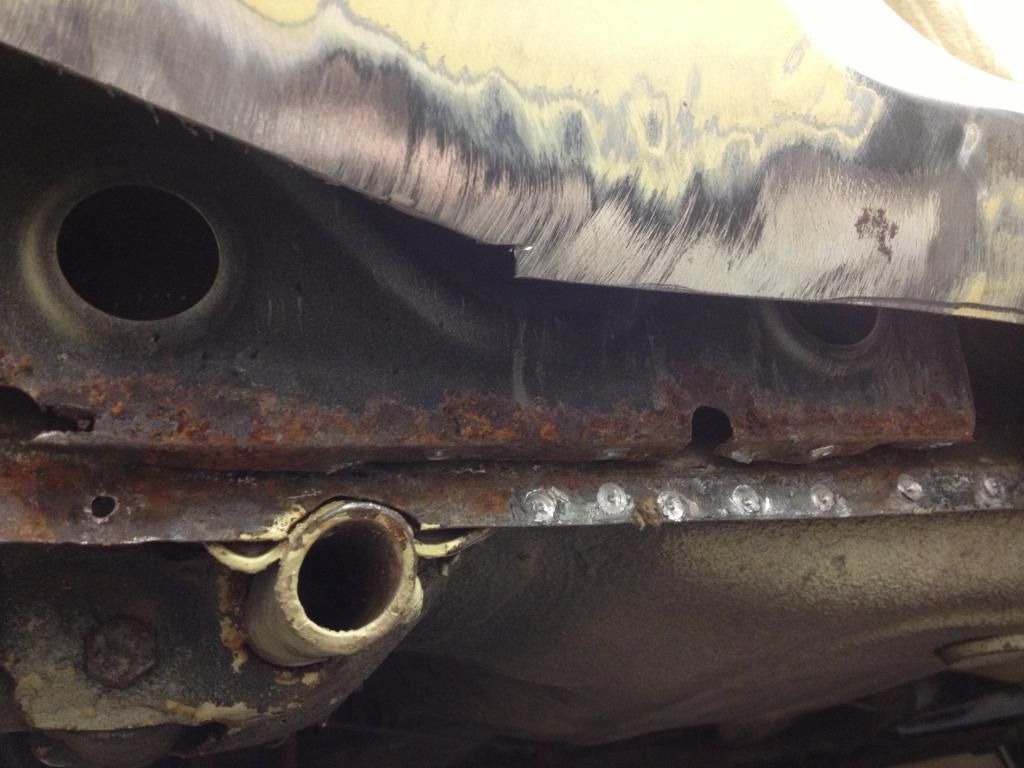 I cleaned some of the grotty areas off with the power file to see how deep the rust went then marked up the area to be cut out. 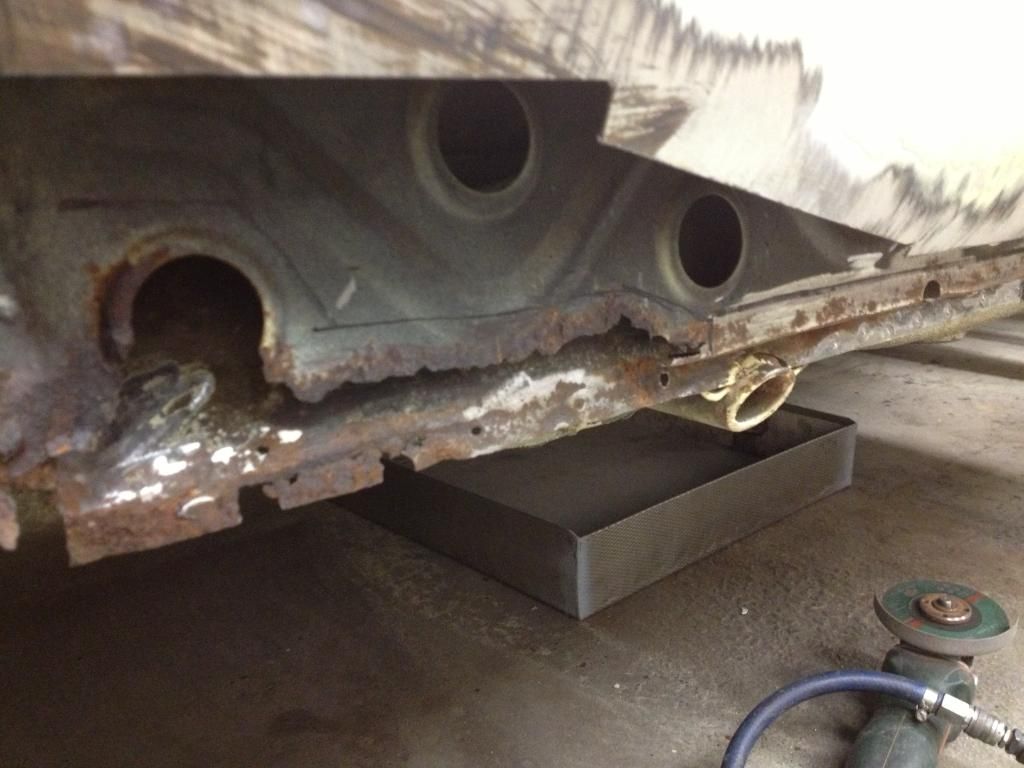 I took some measurements off of the strengthening support between inner and outer sill before removing it to gain access to the inner sill 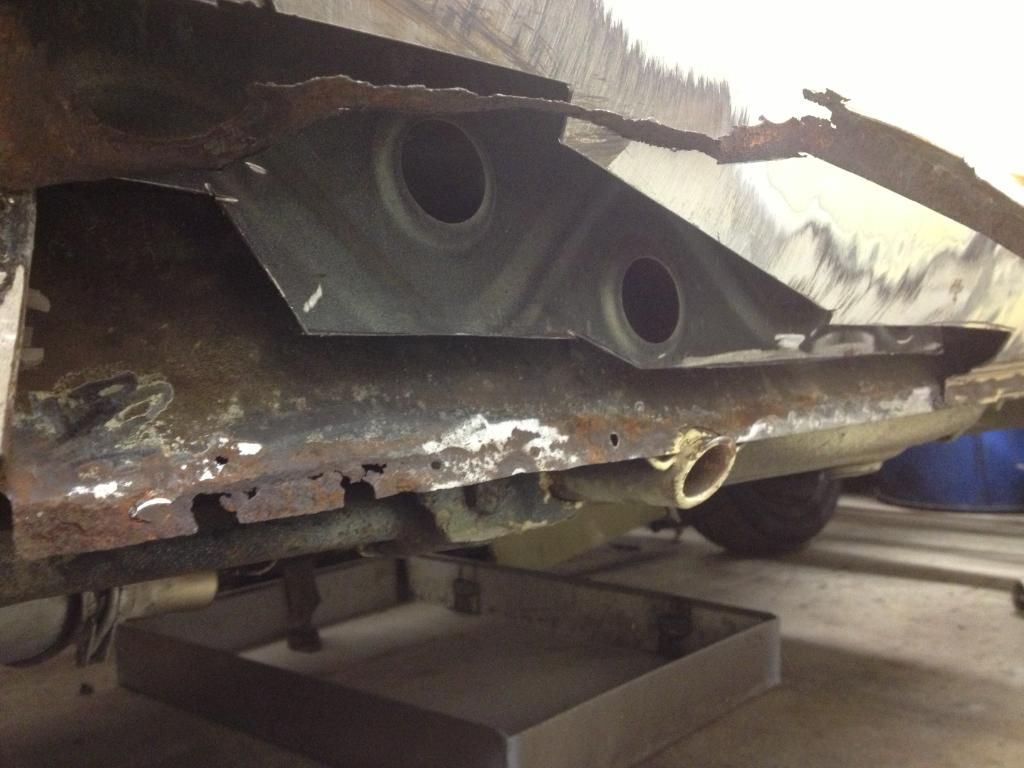 began to clean off the inner sill 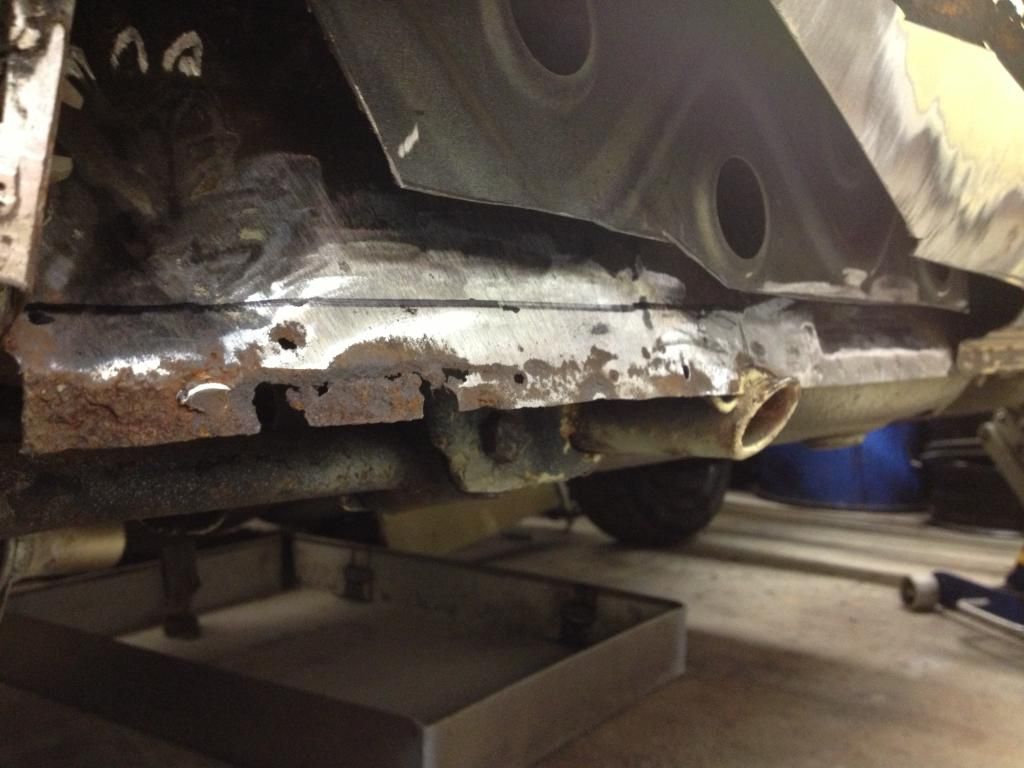 before measuring and cutting out the rot from the inner sill 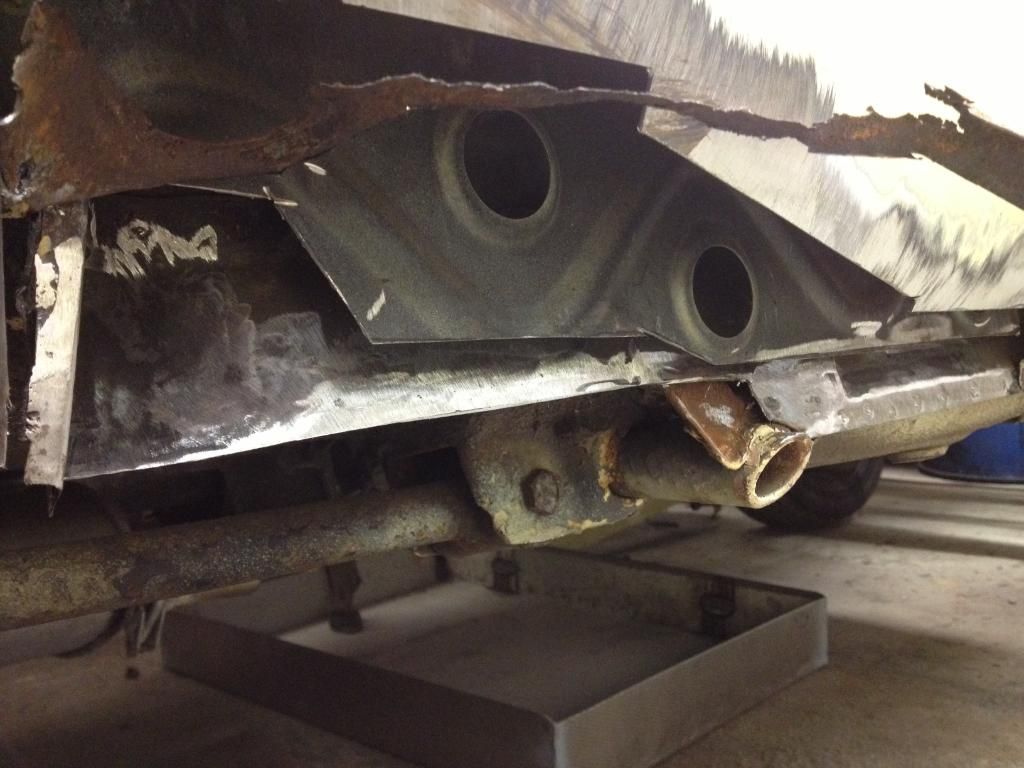 more sanding of rust 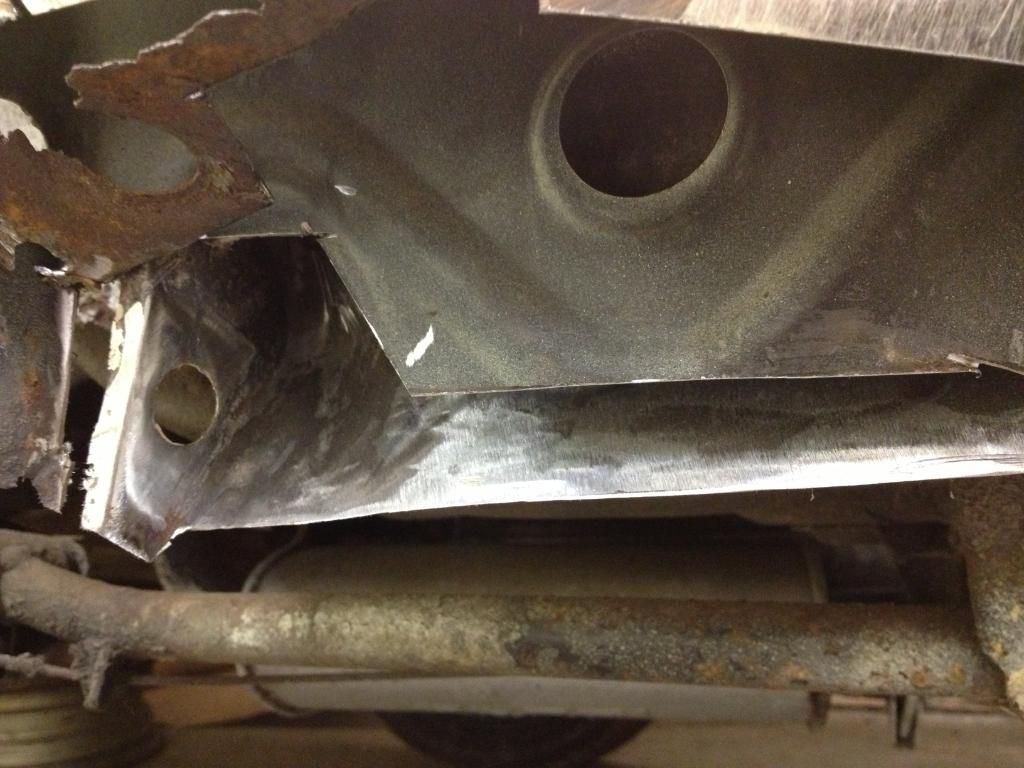 once the area around the cut away section of inner sill was rust free i could make up the repair section 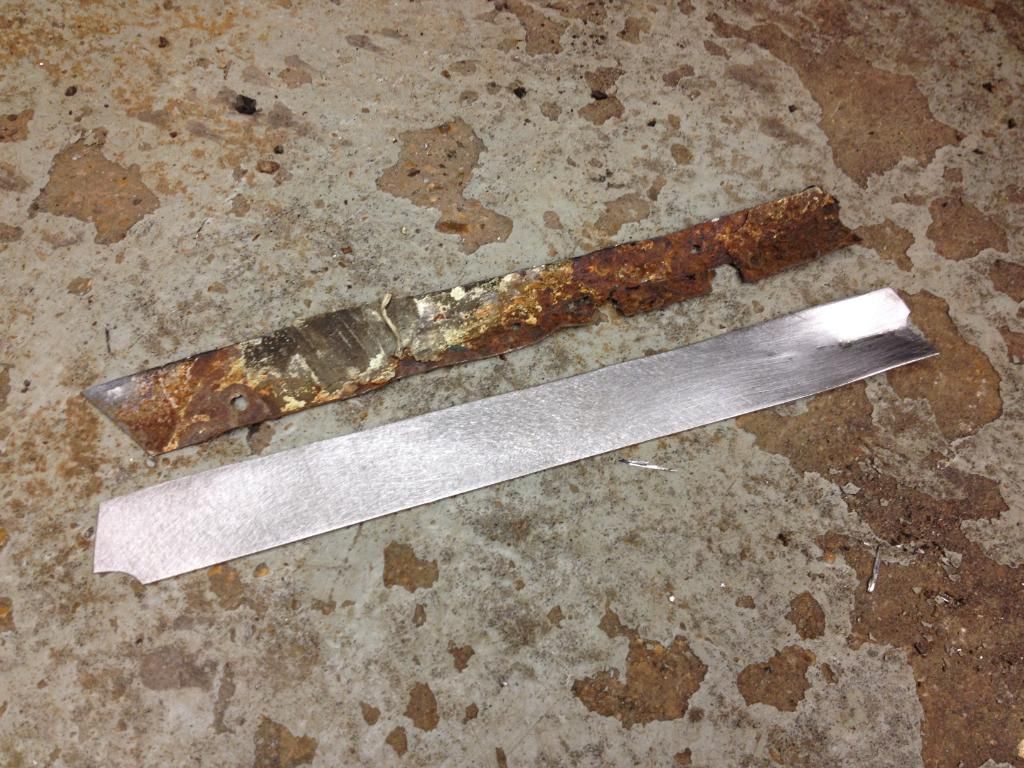 it fits as so 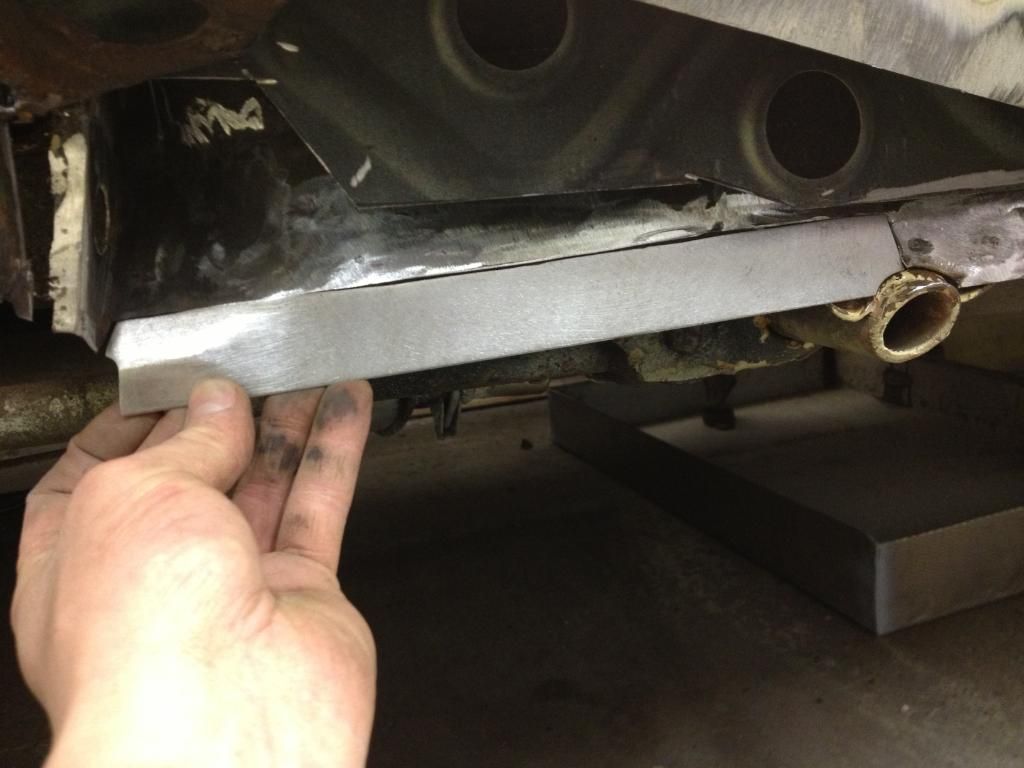 Happy with the fit i brushed on some rust killer behind the repair section then tacked it in place 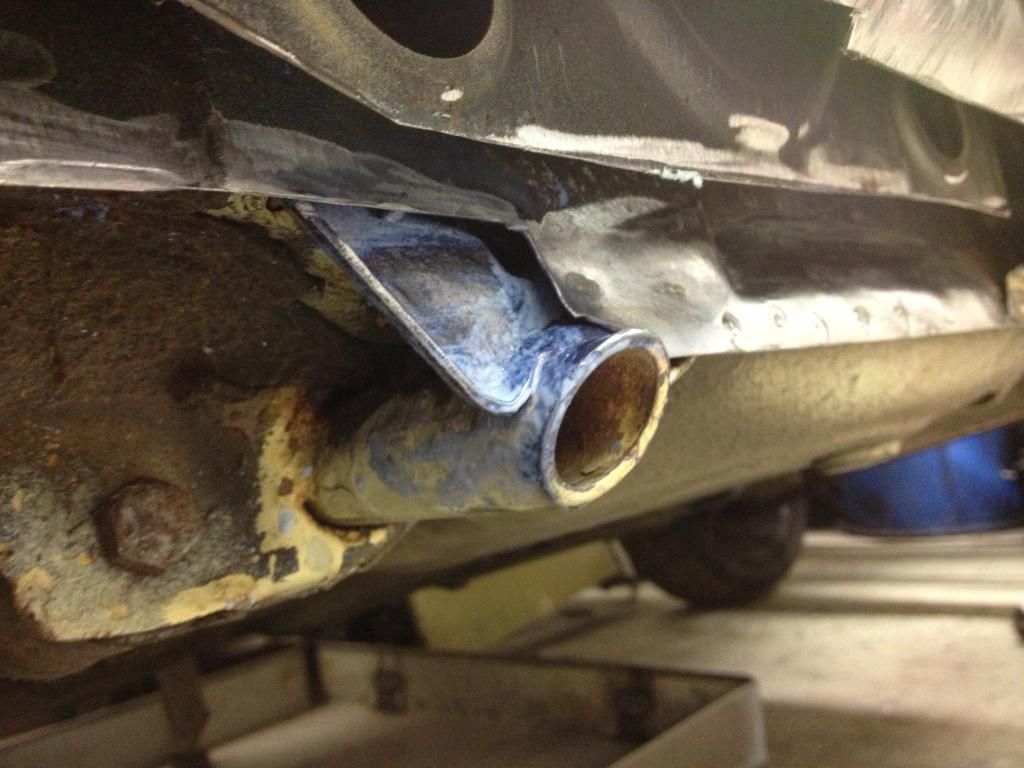 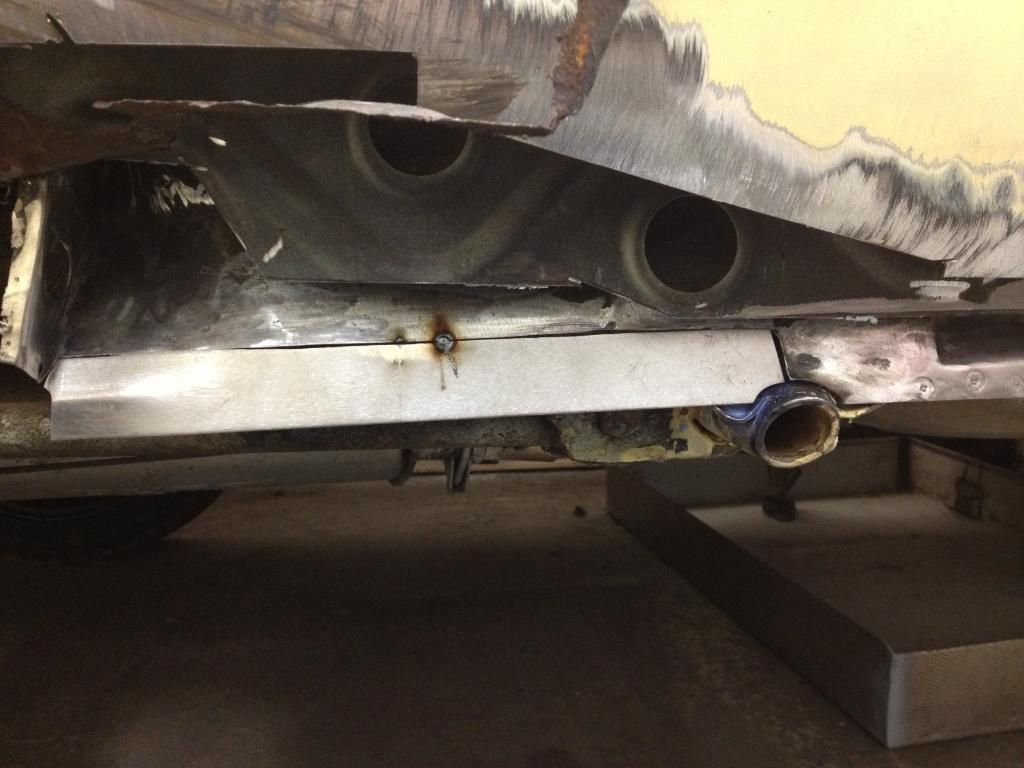 And welded it home 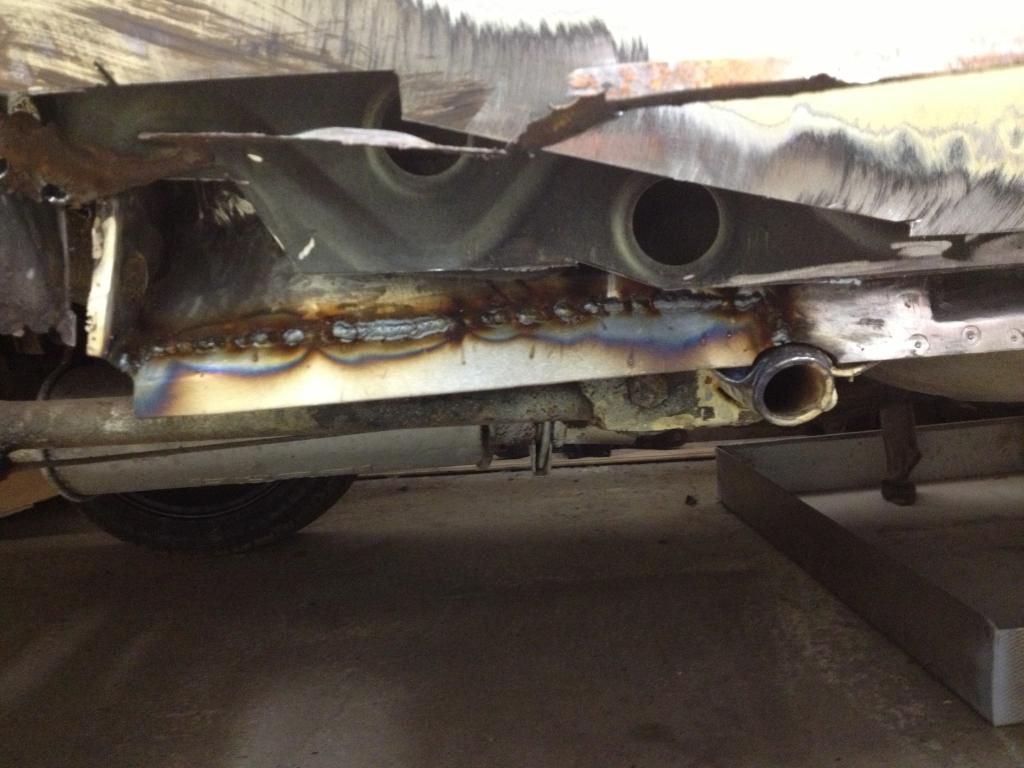 once it had cooled i cleaned off the welds 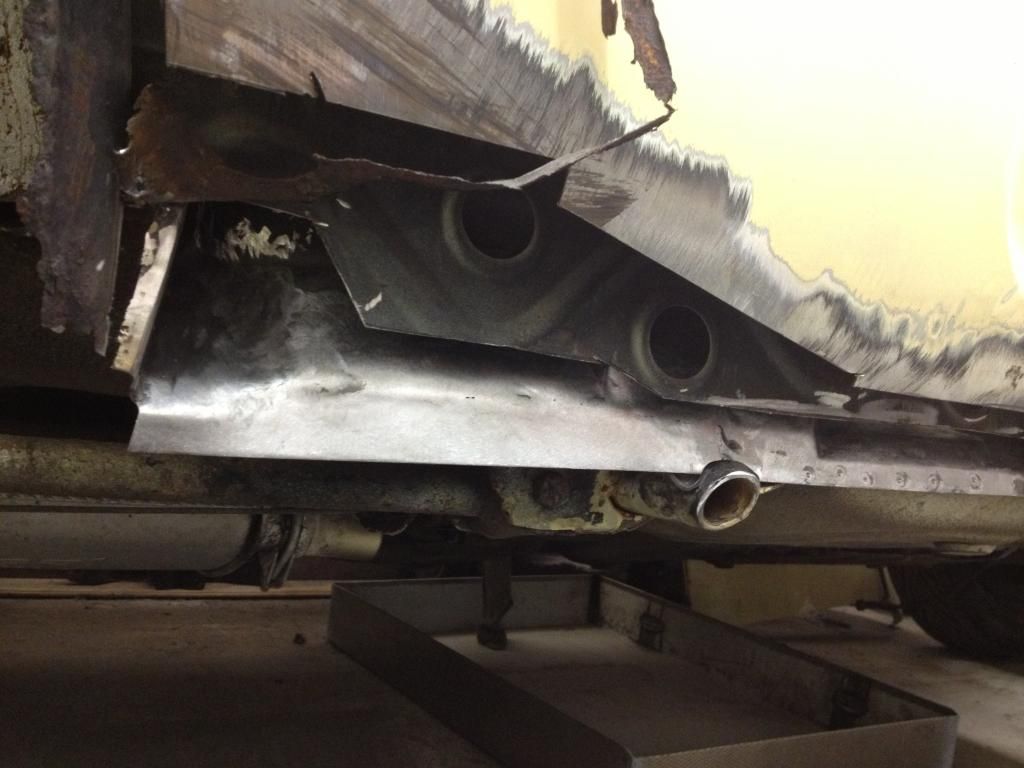 and brushed on some more rust killer 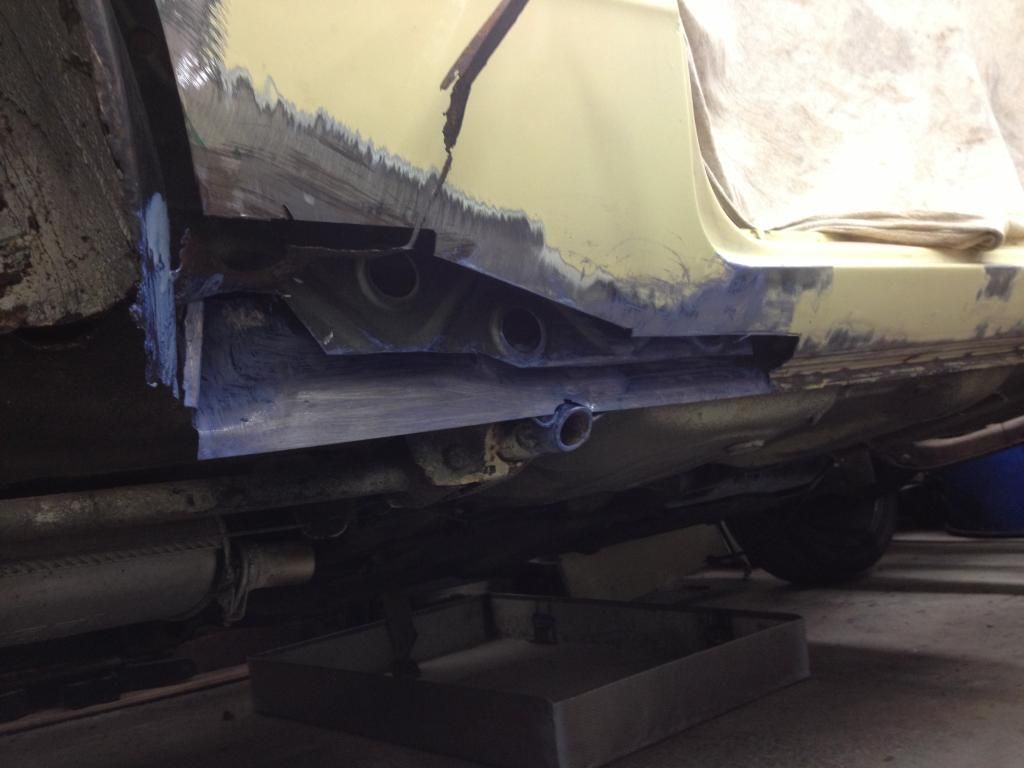 Previously i had noticed another classic (sh!t) repair in the rear o/s wheel arch  so while I was tidying up i took a closer look 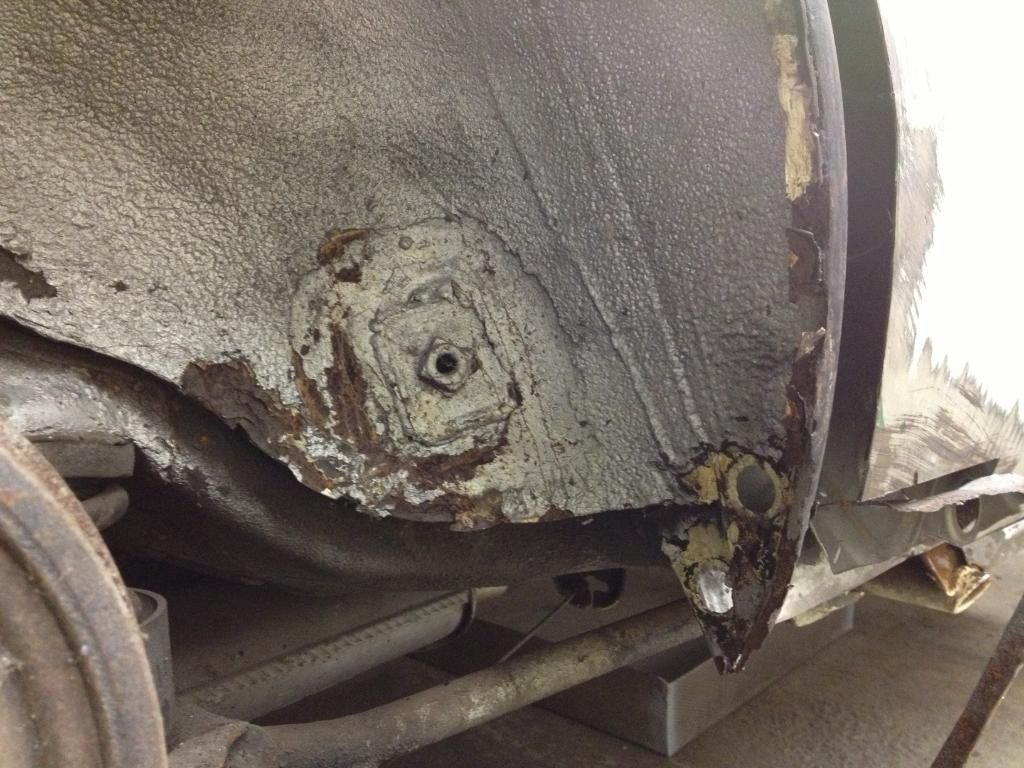 Hhhmm i wonder what lies in wait for me once I've ground all the curse word off that  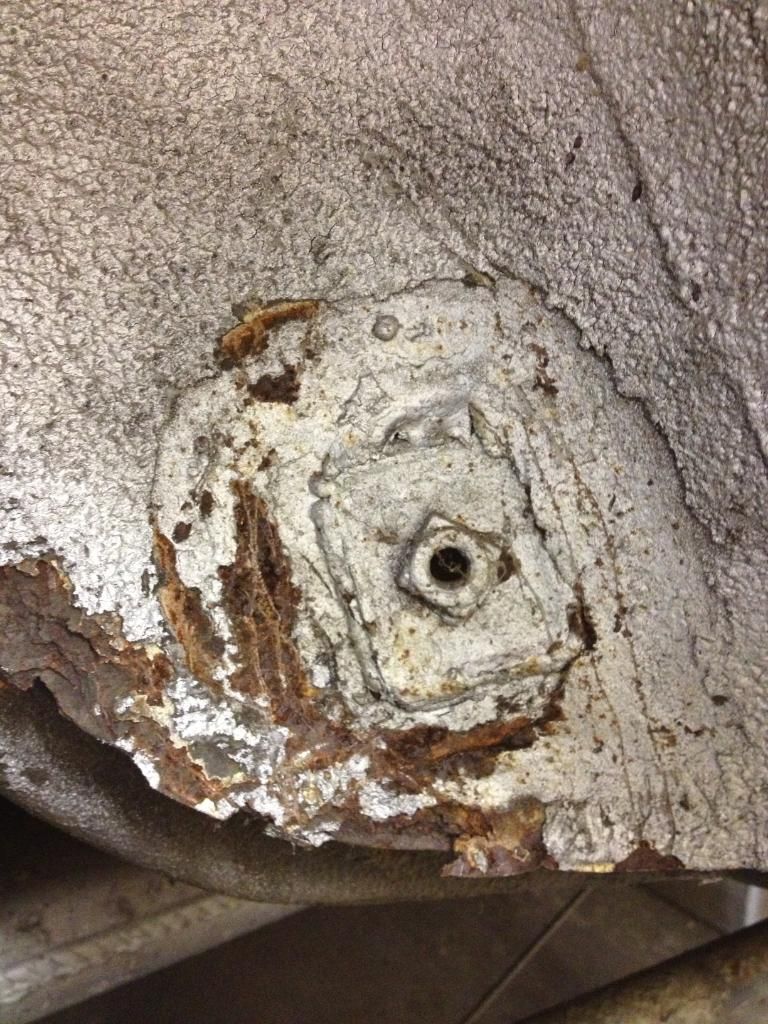 This is how i left the old girl 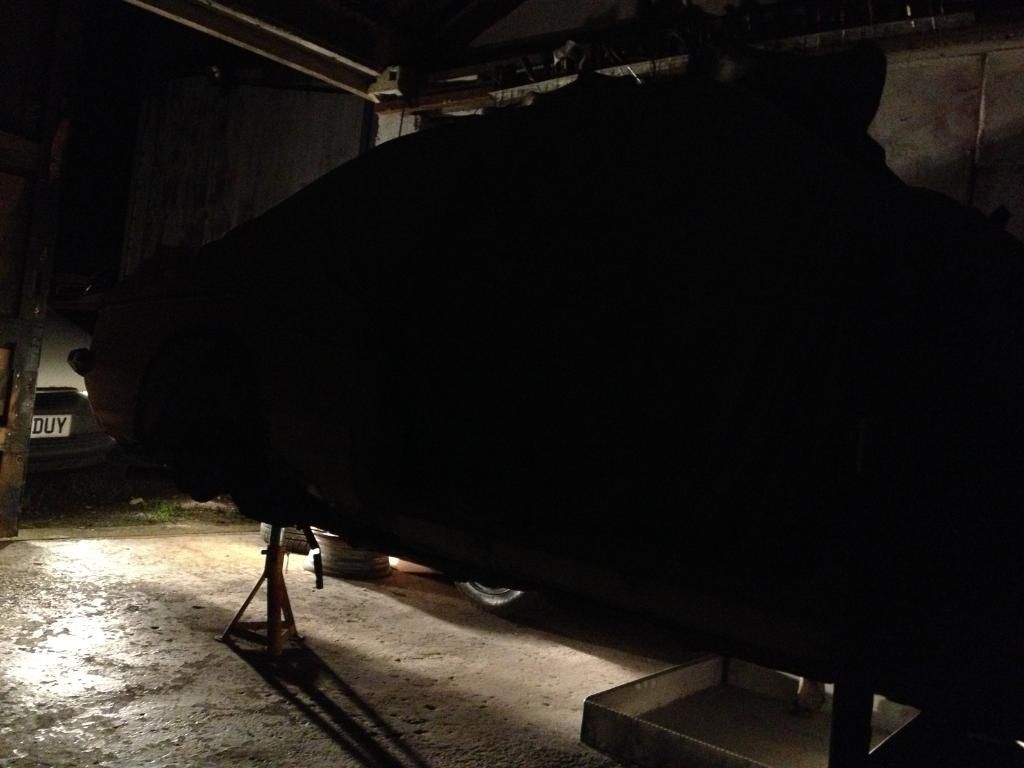 I've now ordered an O/S sill, and an A pillar as well as a pair of headlight surround repair panels so i should have what i need to finish the O/S now ;D Hopefully i should get a reasonable chunk of time on the car next weekend fingers crossed. James |
| |
|
|
sumpcracker
Posted a lot
   Yes, I’m still here.
Posts: 1,751
|
|
|
|
Its amazing how good it looked before when it was hiding so much rot, great repairs as usual. There are a lot of people who would grind the welds back further when cleaning up, but i think your are just right, looks strong and tidy. Come on then, how much were the wings?  |
| |
|
|
|
|
|
|
|
|
Excellent work, and a perfect example of how to break a job down into smaller sections
|
| |
|
|
|
|
|
|
|
Its amazing how good it looked before when it was hiding so much rot, great repairs as usual. There are a lot of people who would grind the welds back further when cleaning up, but I think your are just right, looks strong and tidy. Come on then, how much were the wings?  Thanks Gav I think the photos may have just made it look better than it was lol. As for the repairs some are 'unfinished' in that I will give the ones that are seen a final tidy before a light skim of filler etc however I don't like going mad grinding anything back as I want to retain as much strength as poss. And I paid £112 for the pair. |
| |
|
|
|
|
|
|
|
Excellent work, and a perfect example of how to break a job down into smaller sections Thanks Tony it really means a lot coming from a master such as yourself as I do try hard to get the results. Especially as this is just a hobby for me  |
| |
|
|
|
|


 My friend repair his missus C-Coupe and another friend sedan rusting in his parents' backyard.


