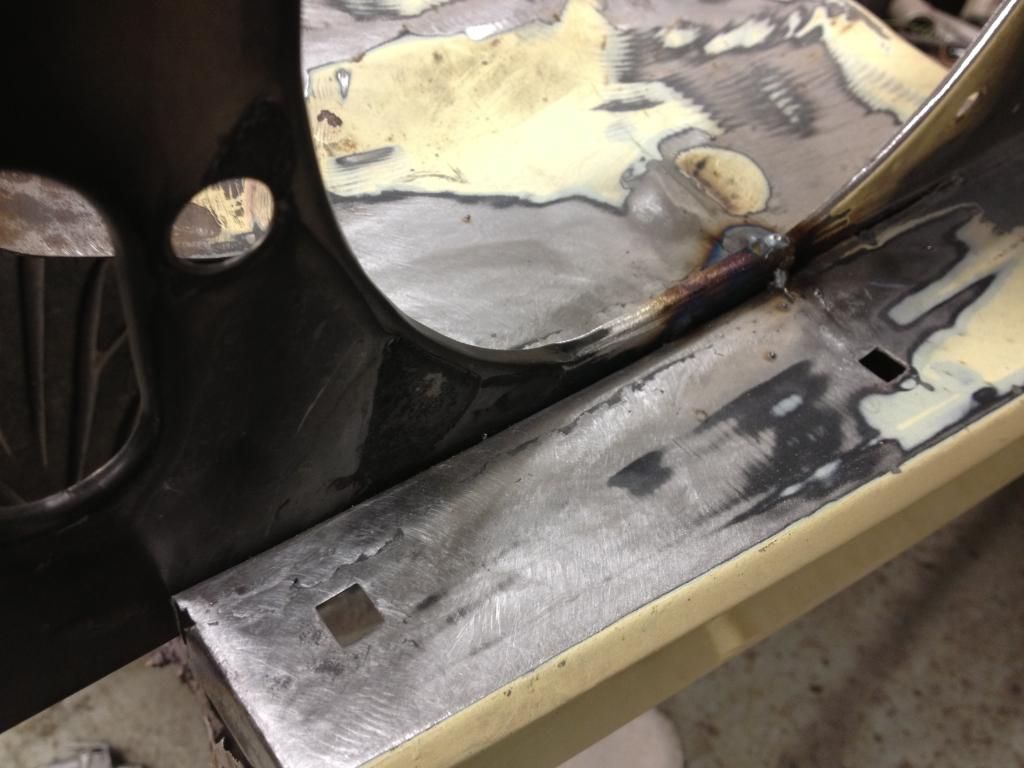
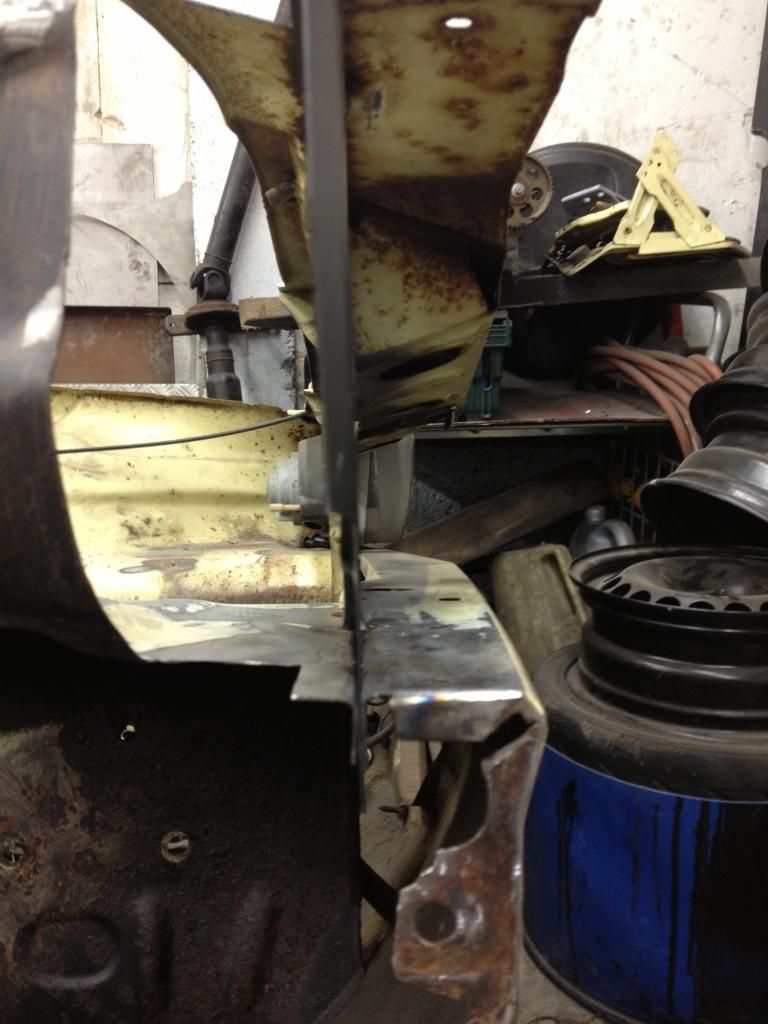
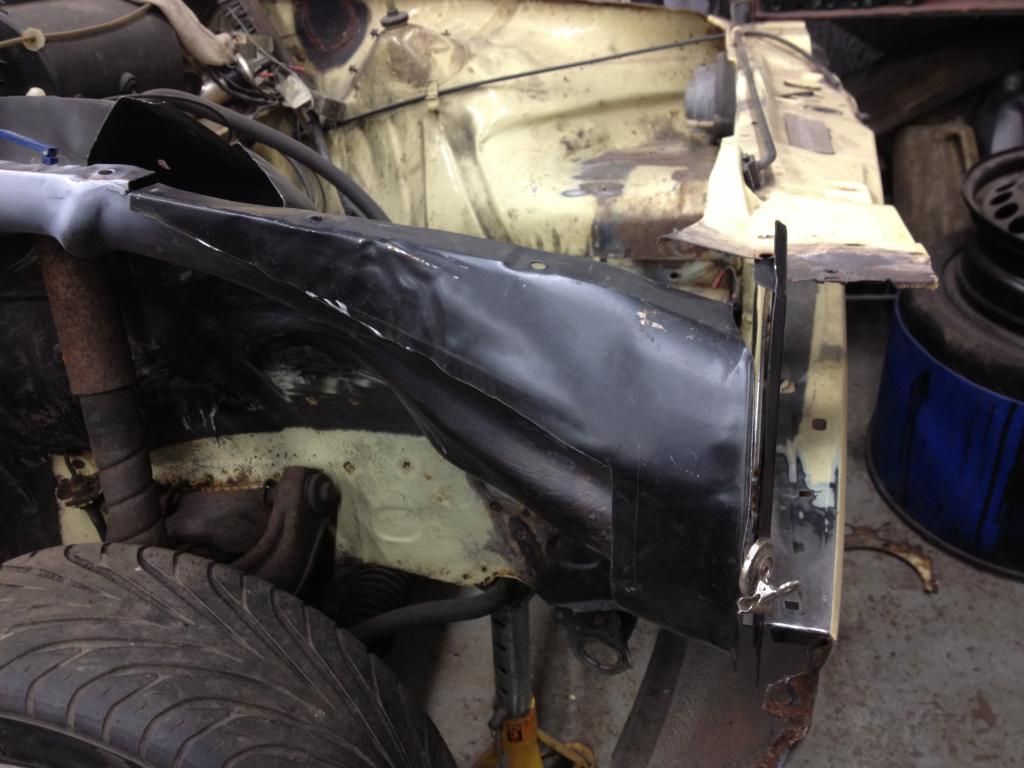
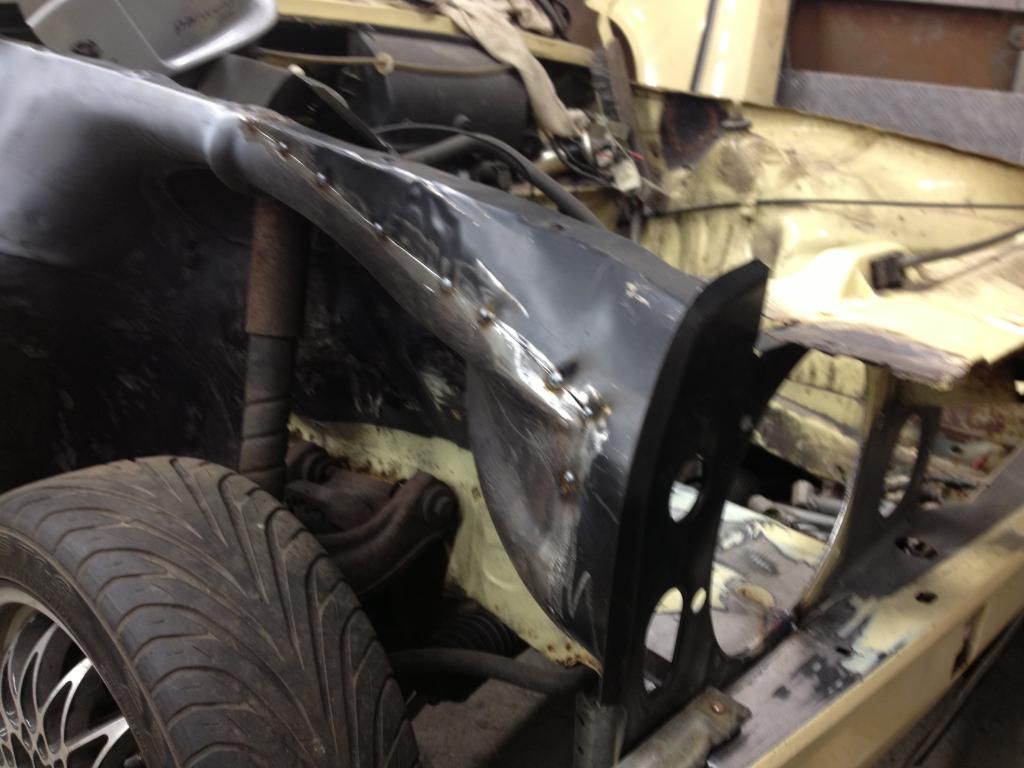
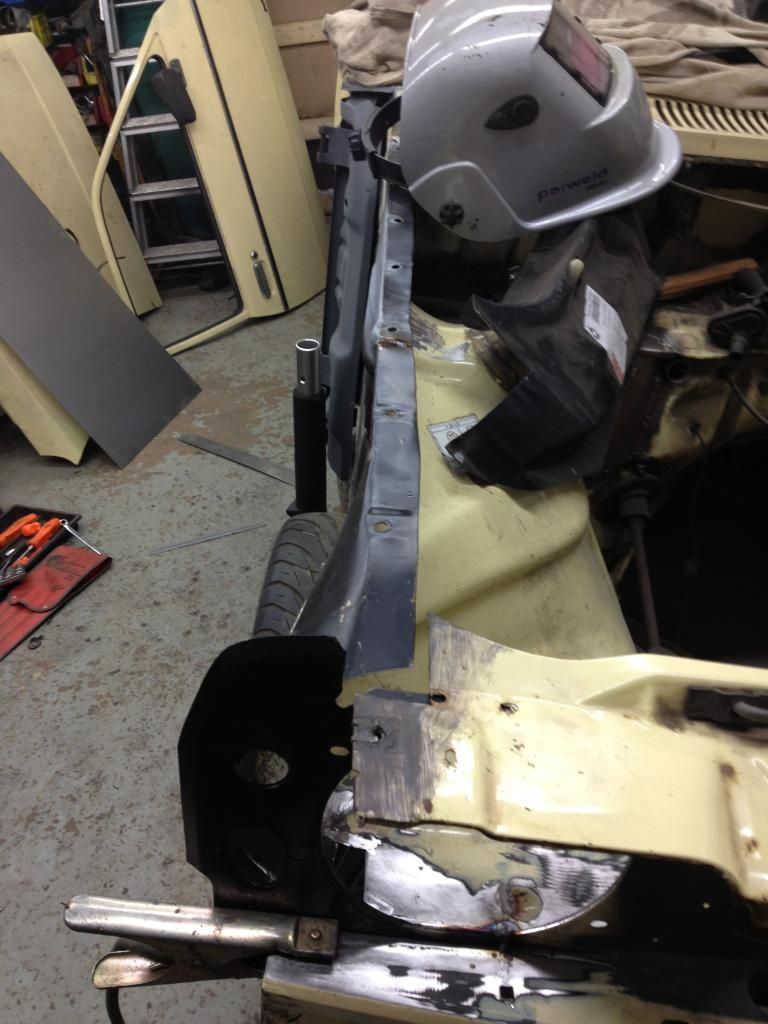
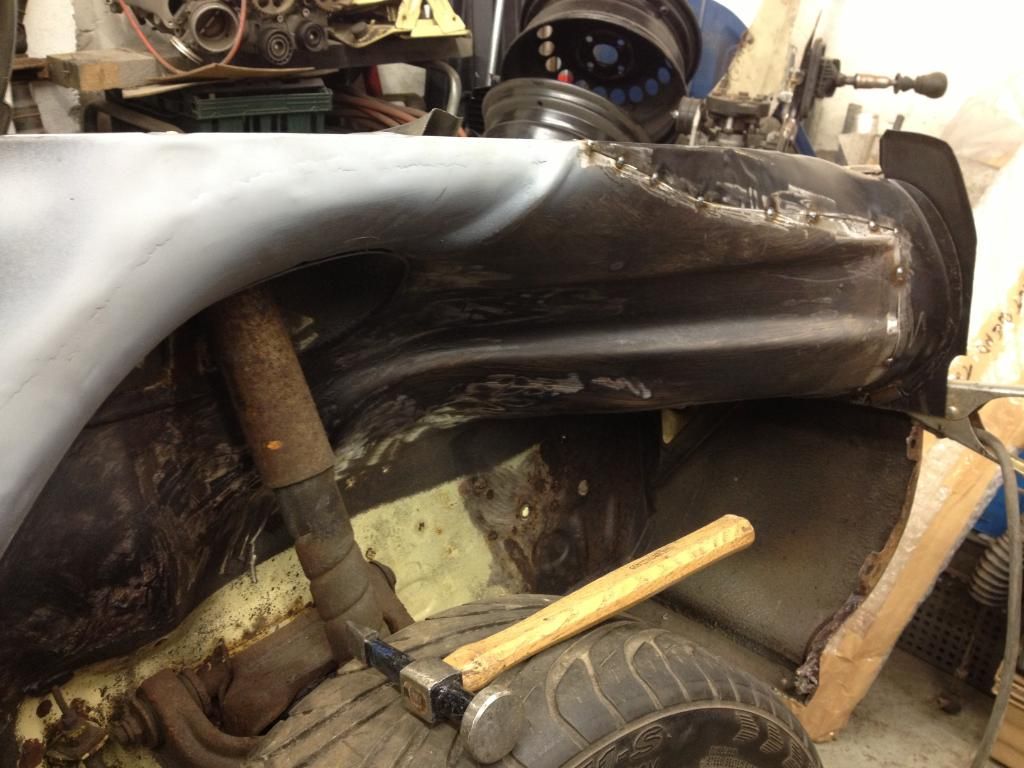
Evening!
I've had a busy weekend hidden away in the workshop so here goes
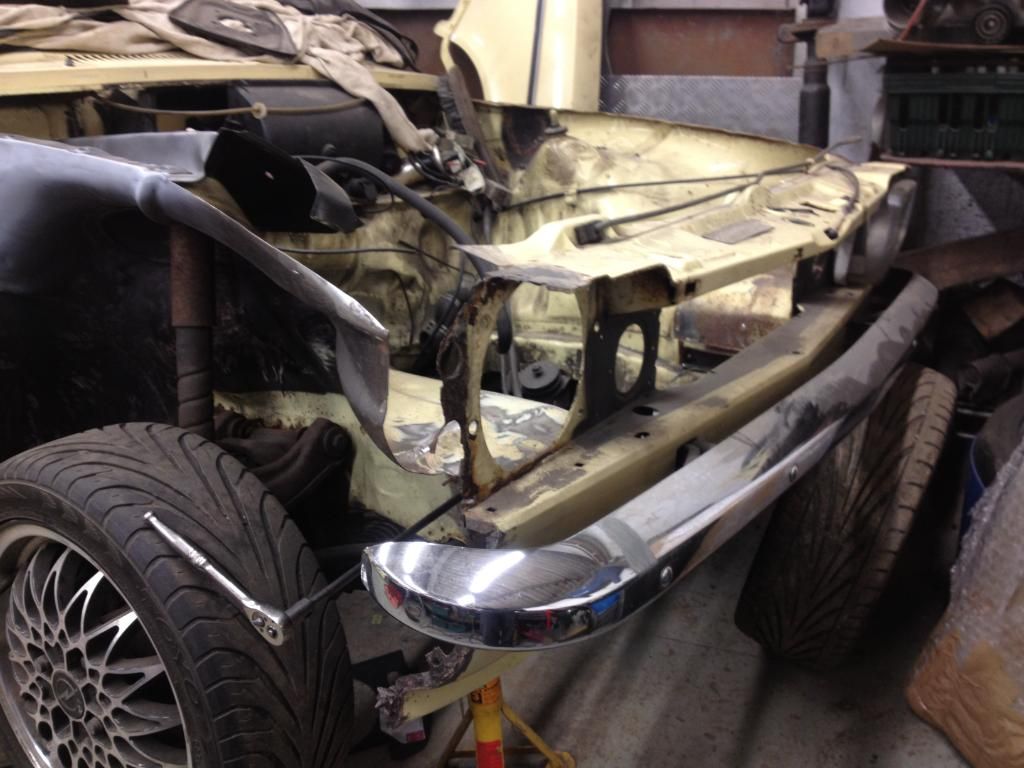
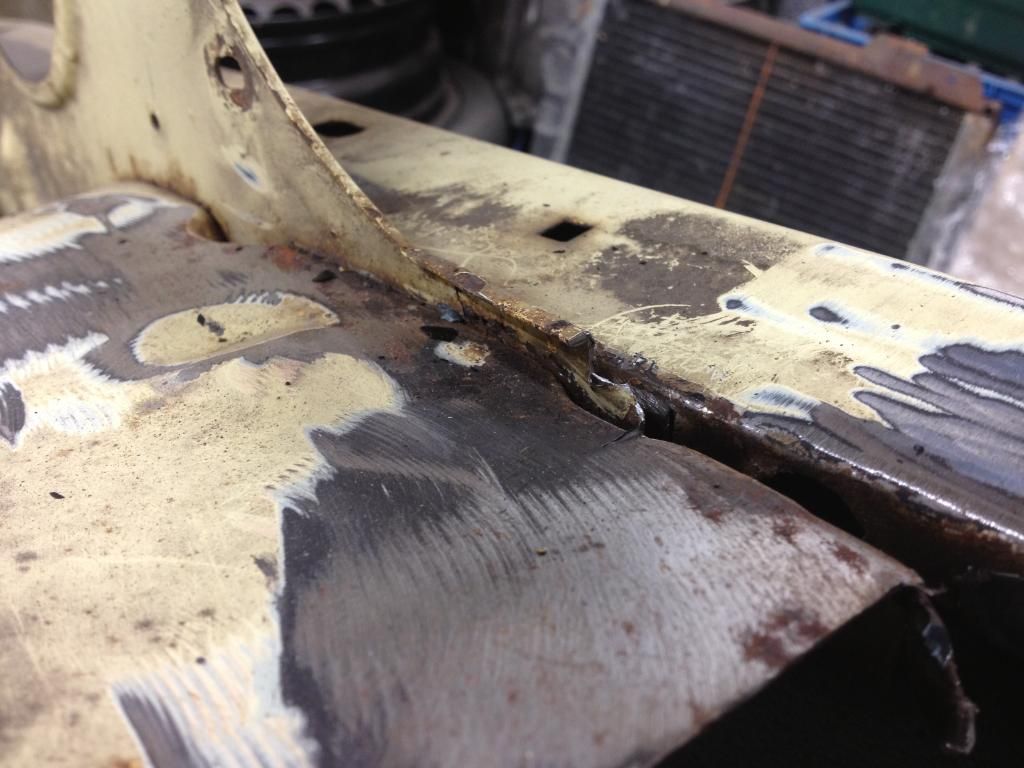
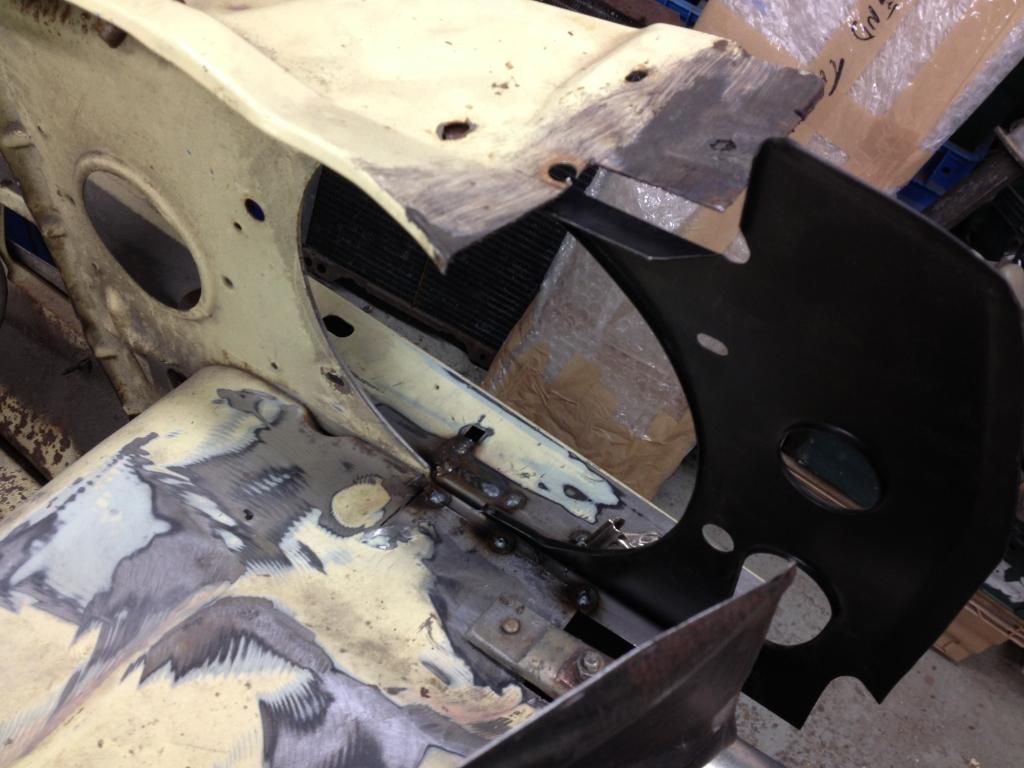
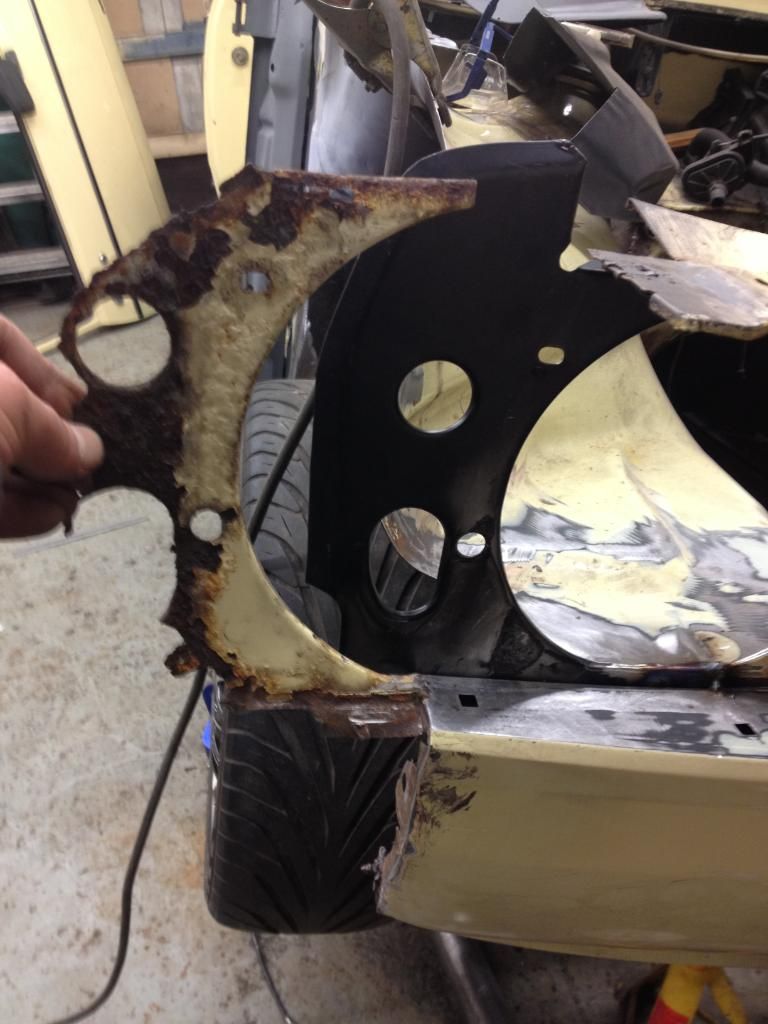
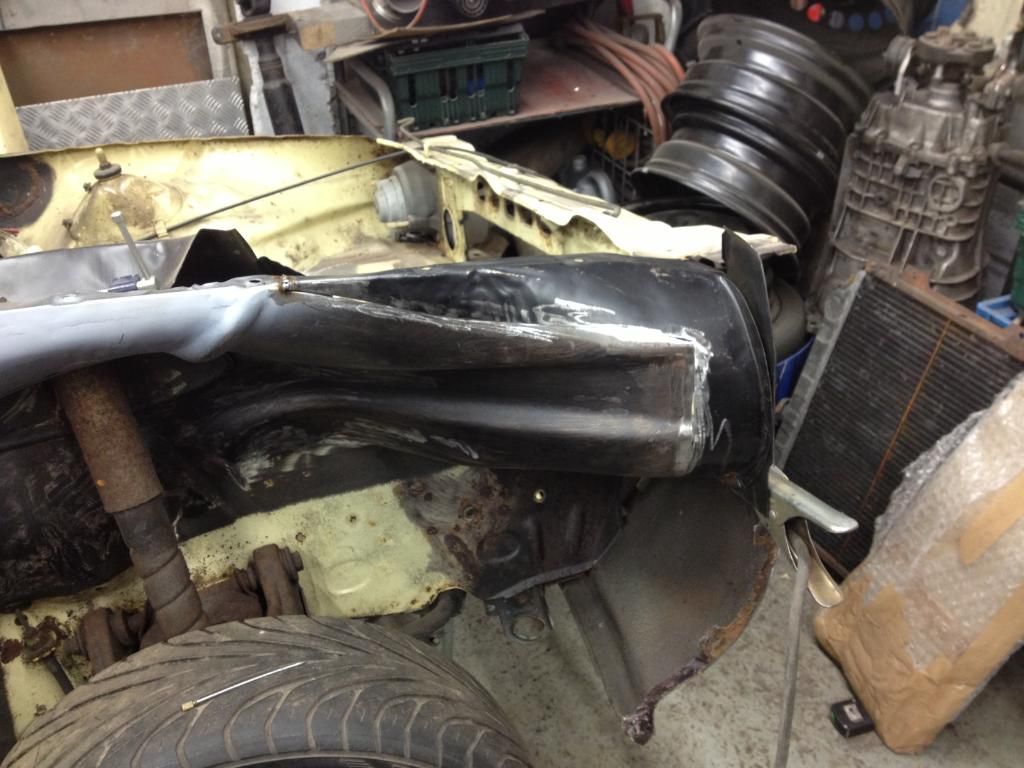
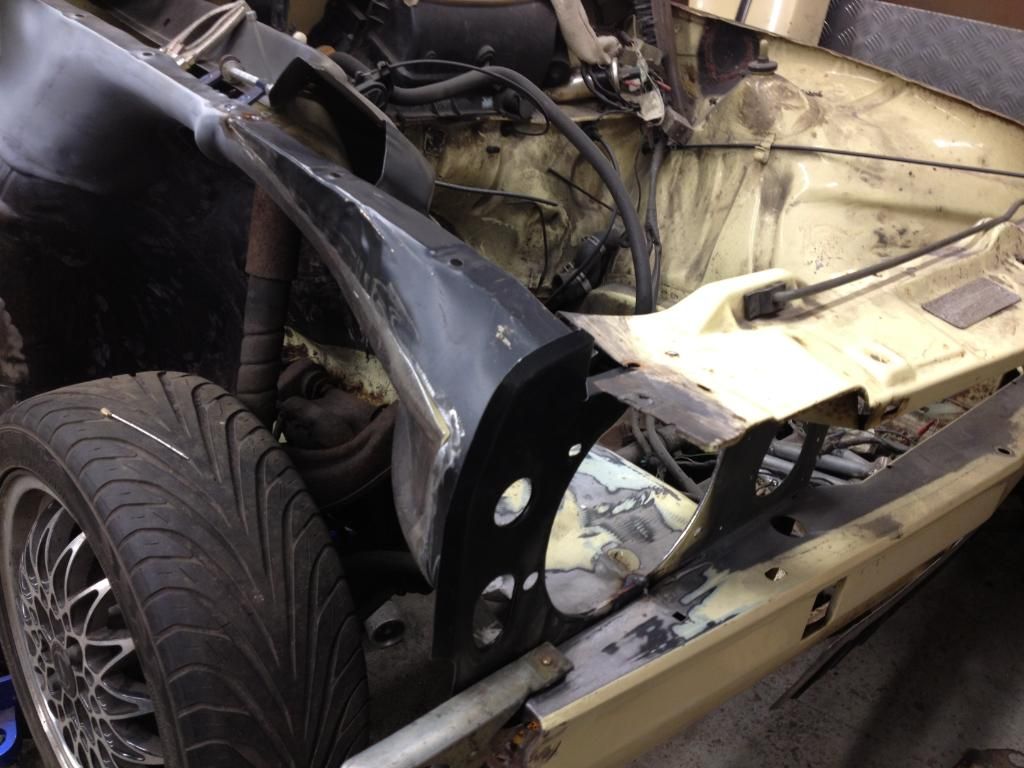
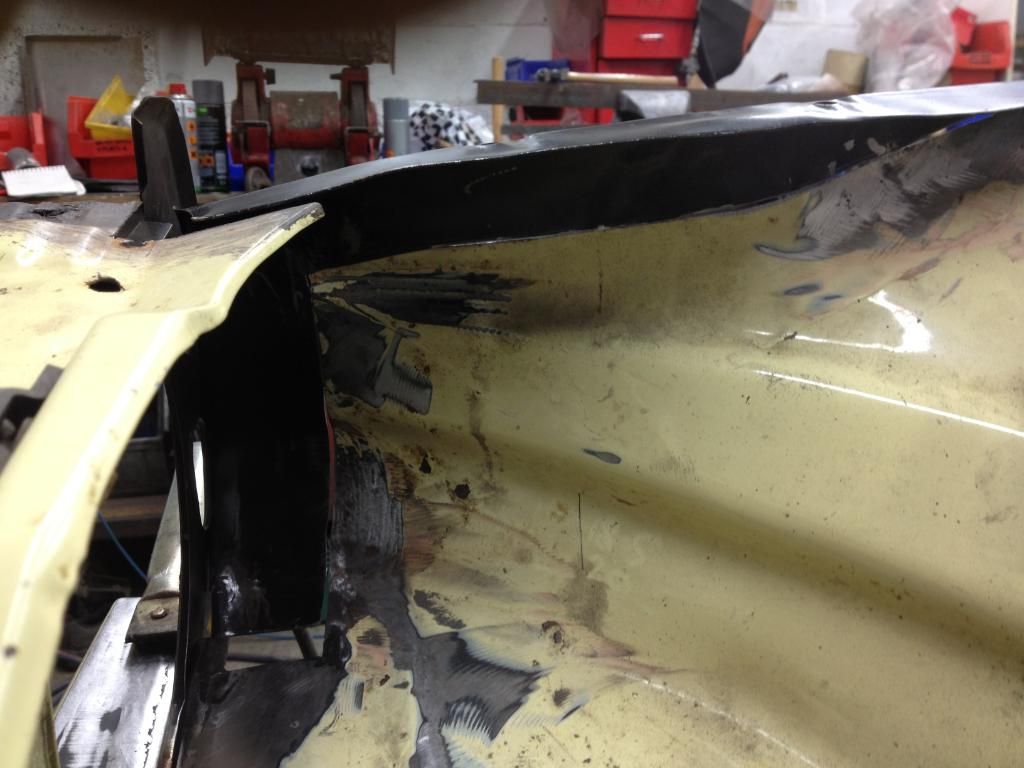
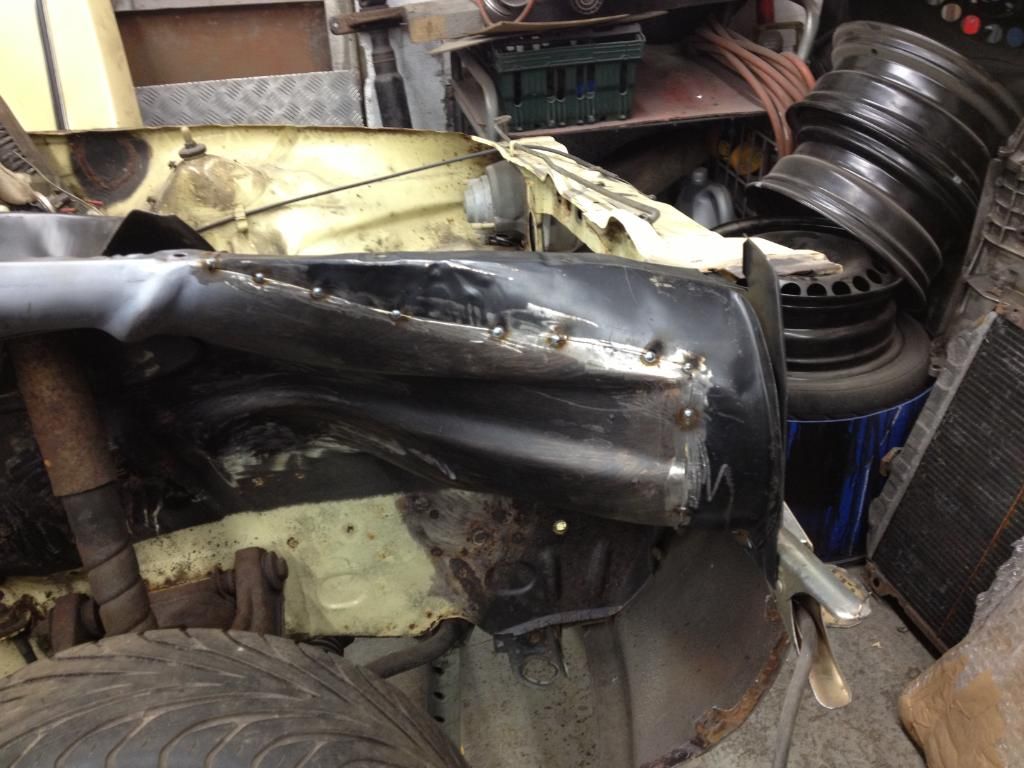
Starting with another piece of rusty twisted metal
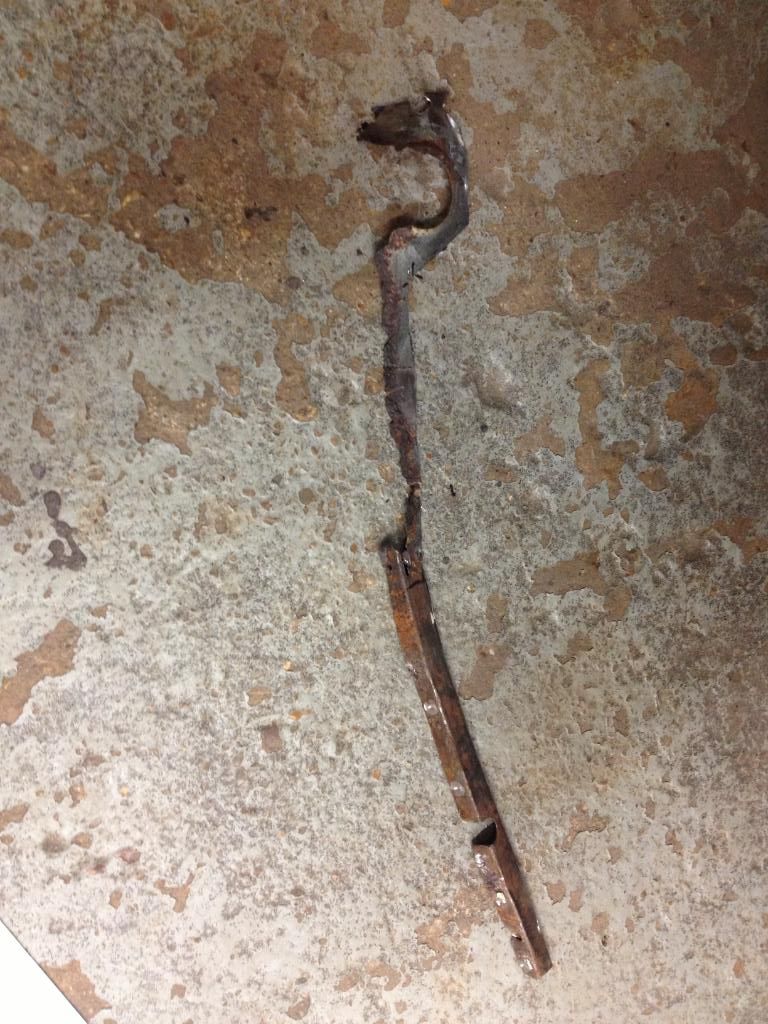
that used to live here
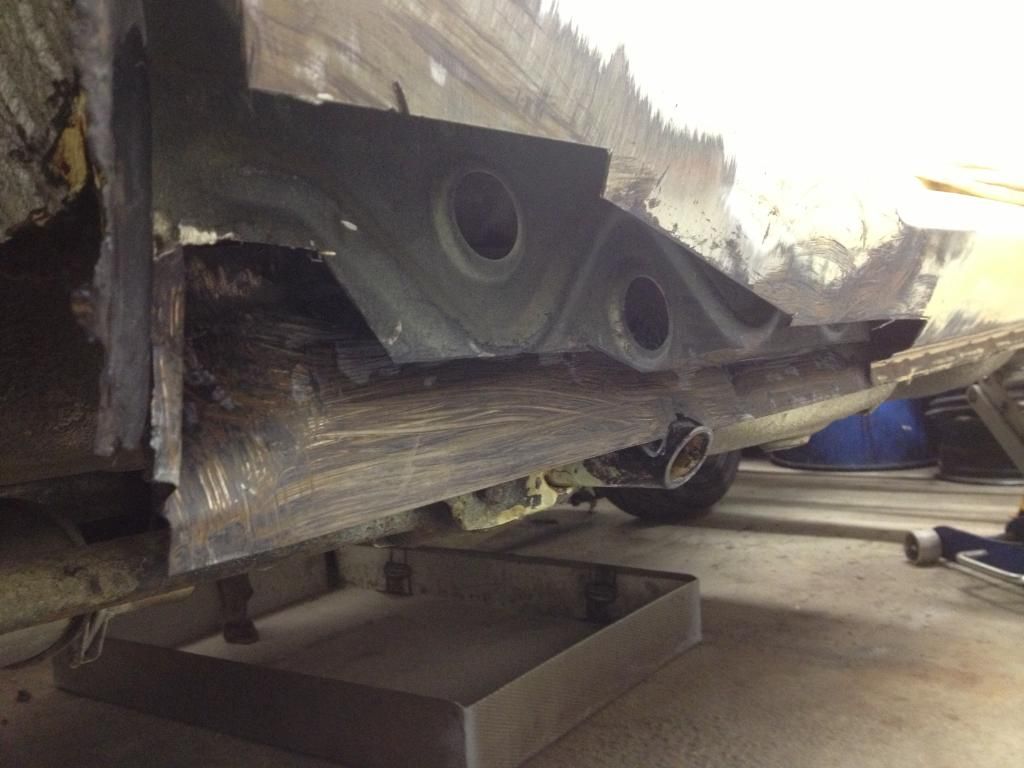
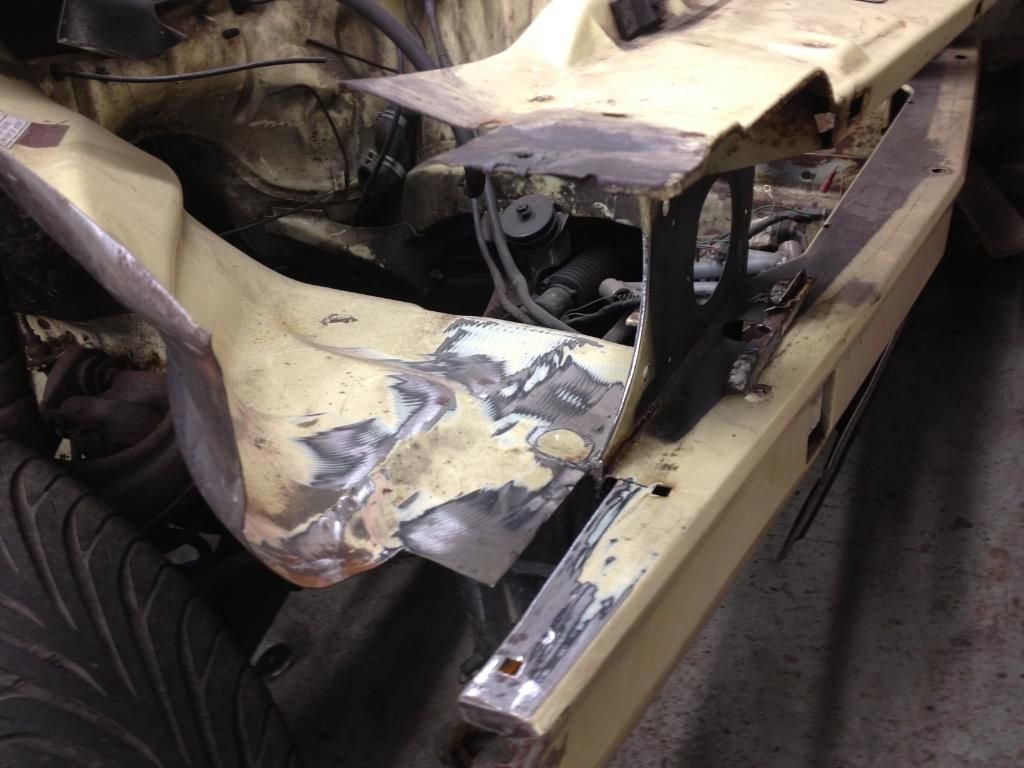
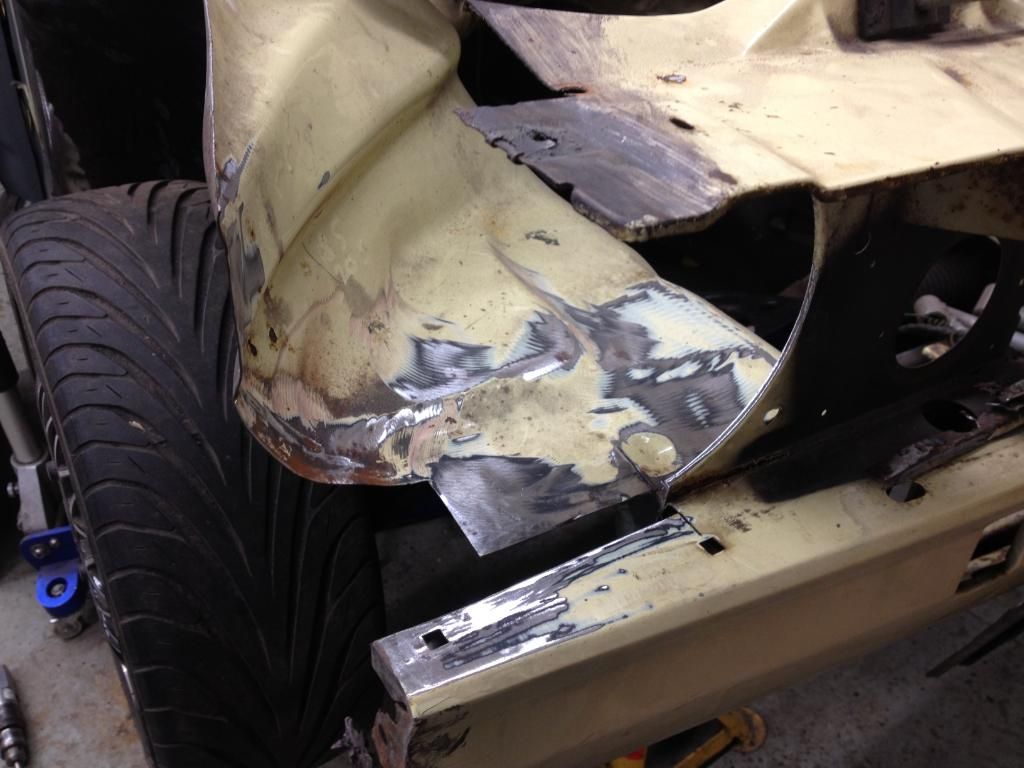
so i zinc primed the new inner sill in preparation for the new metal in front of it
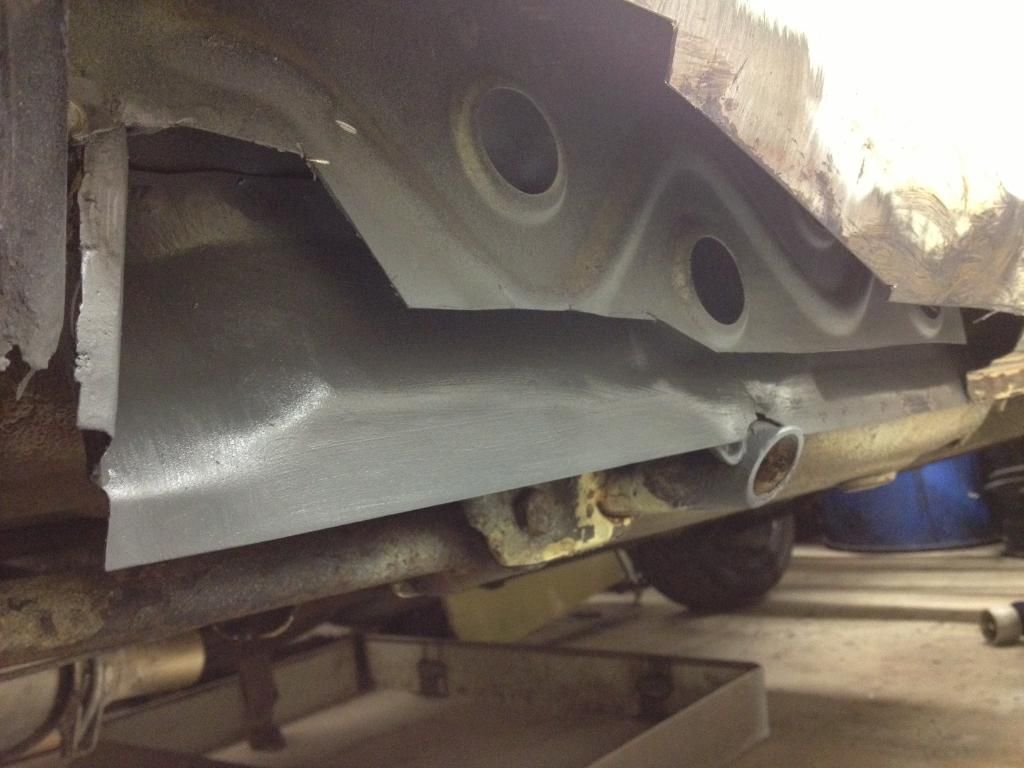
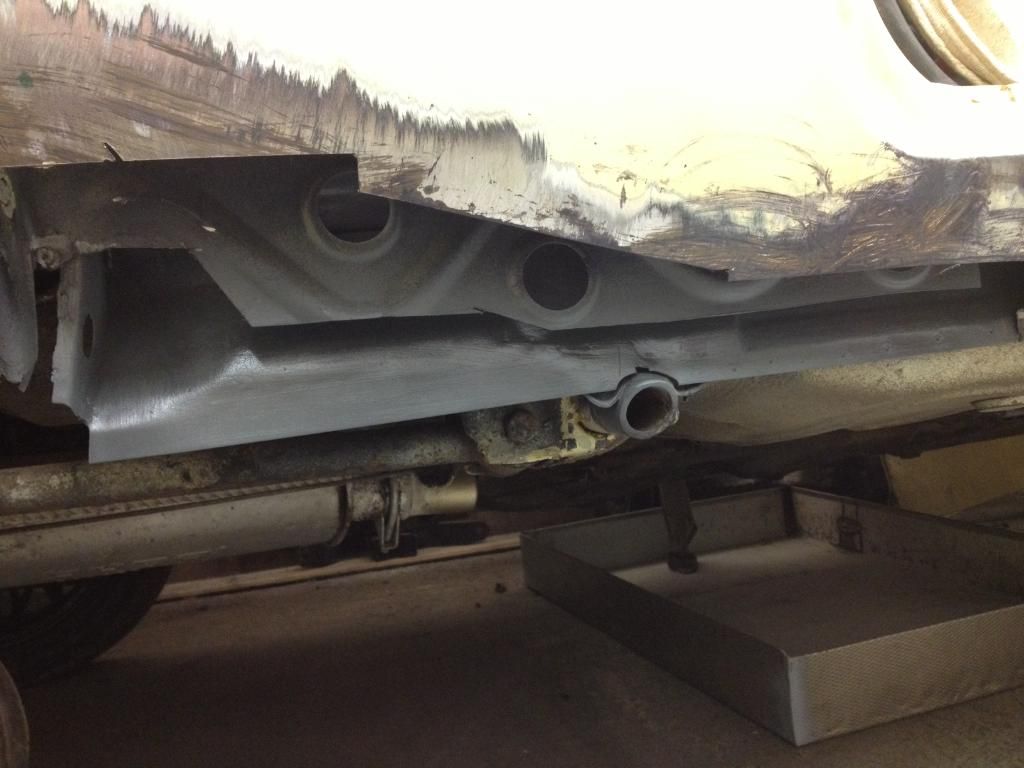
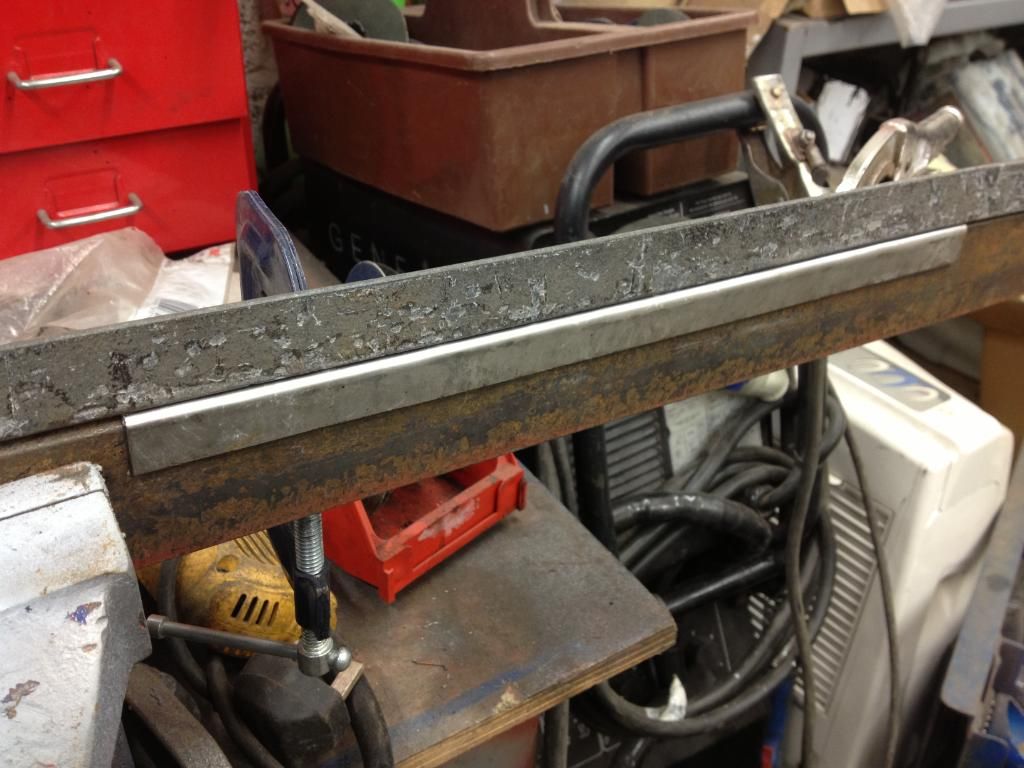
new sheet of .9
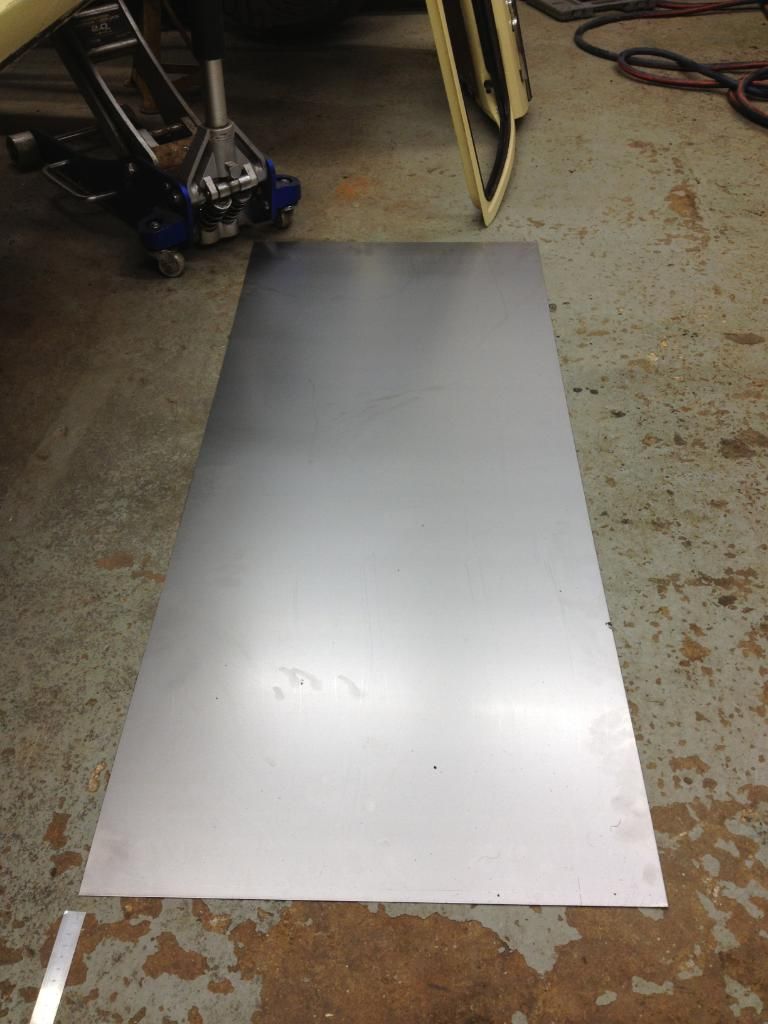
The repair section roughly cut out
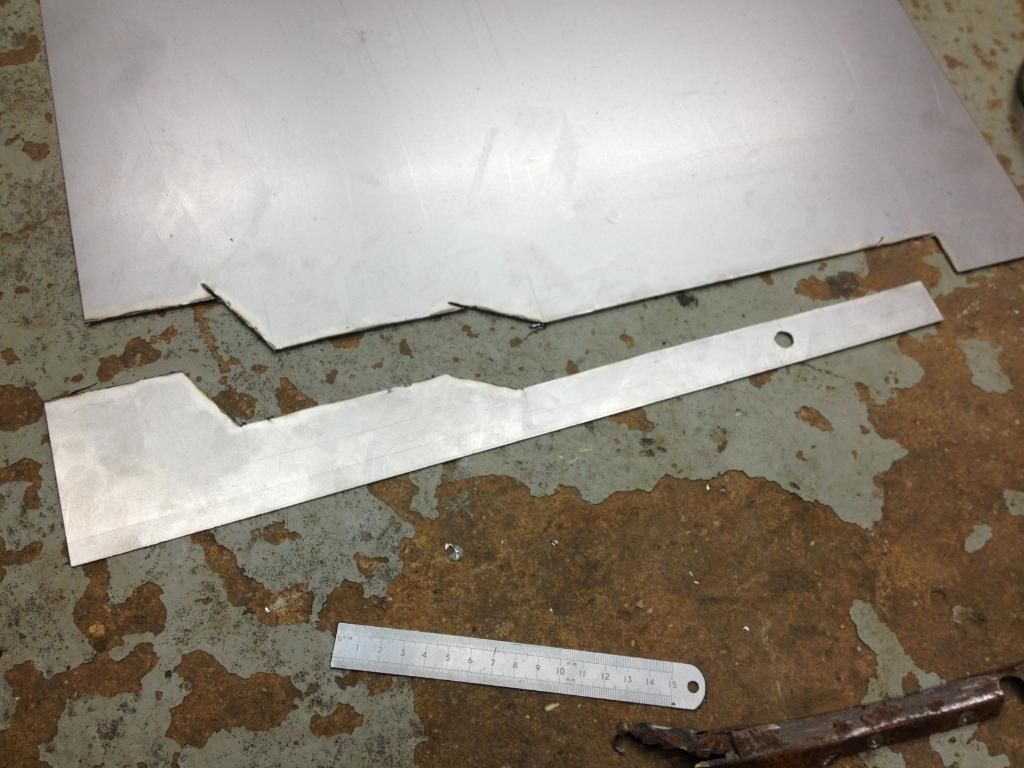
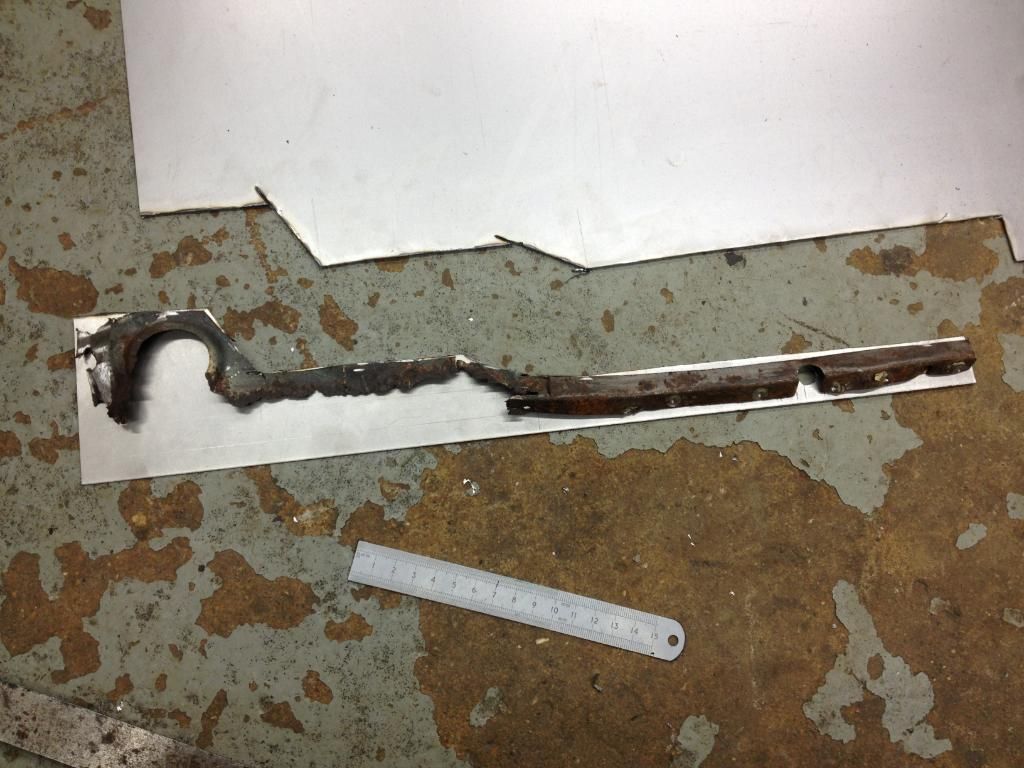
provisional test fit
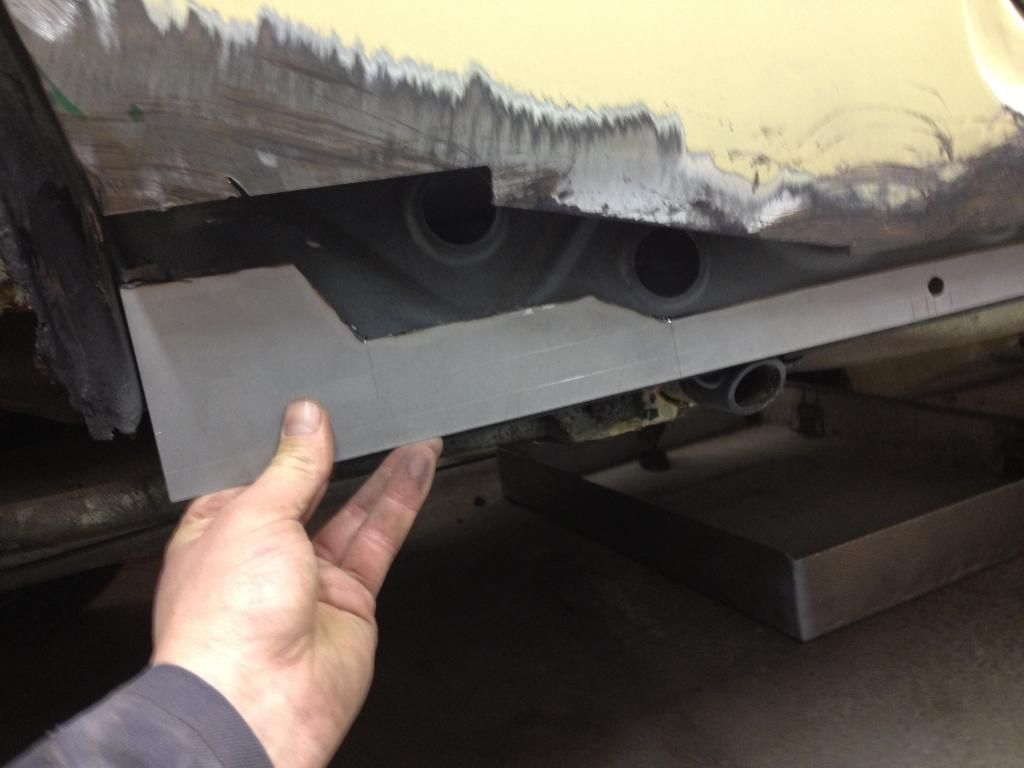
then i began to add some detail
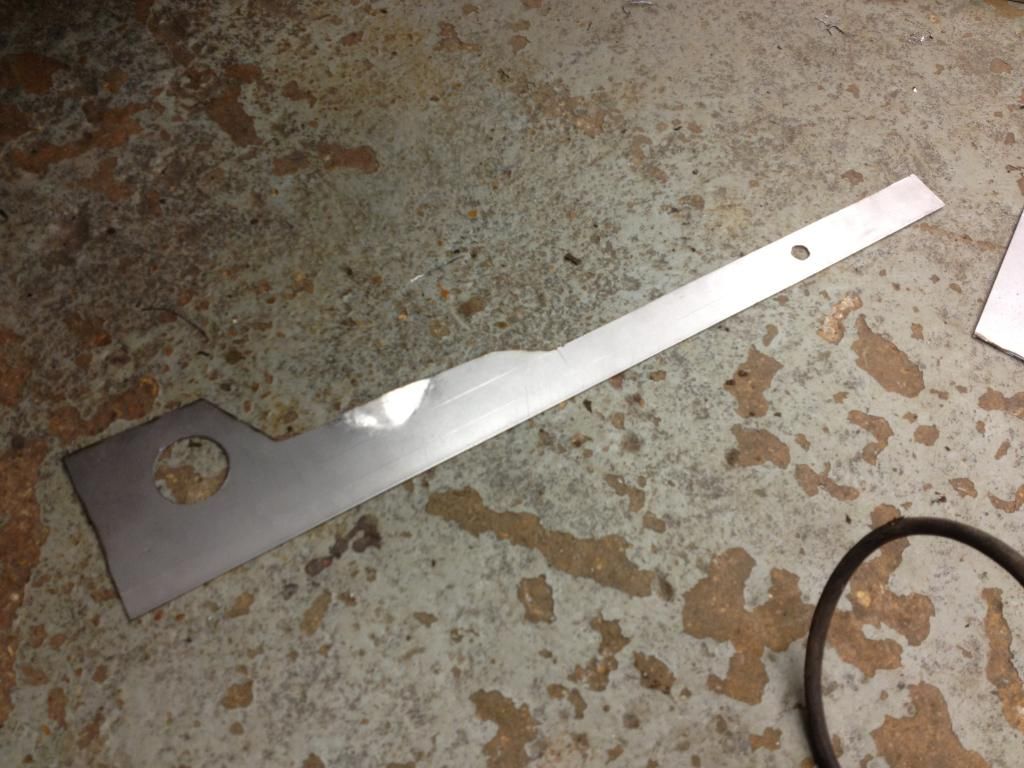
another quick test
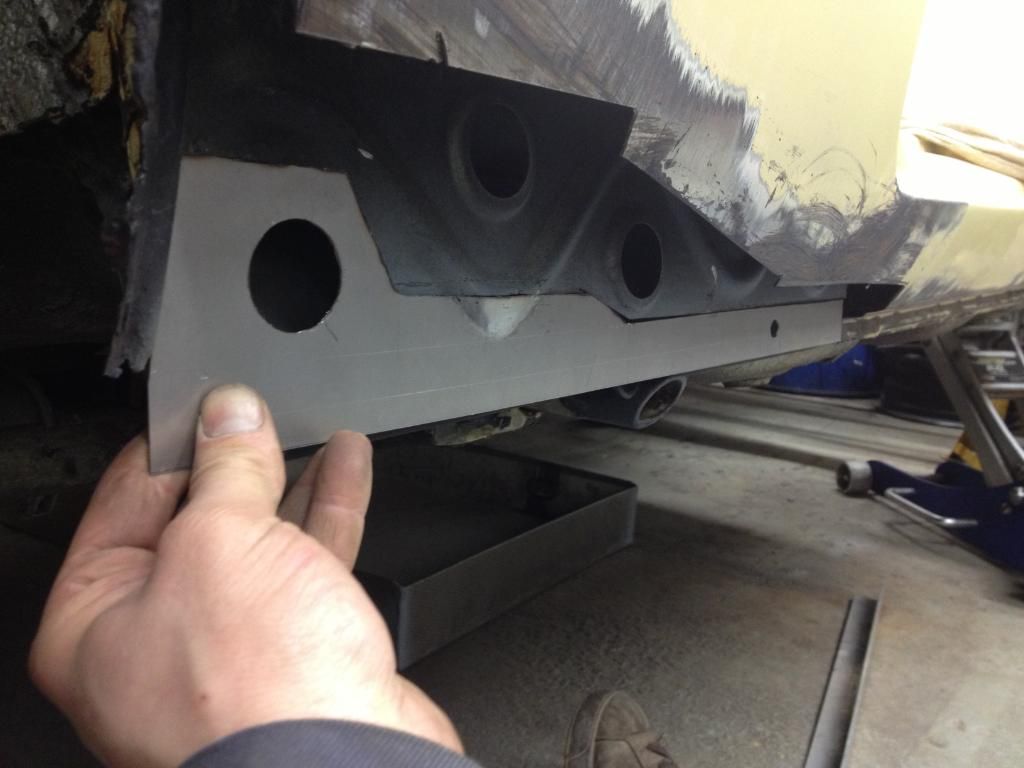
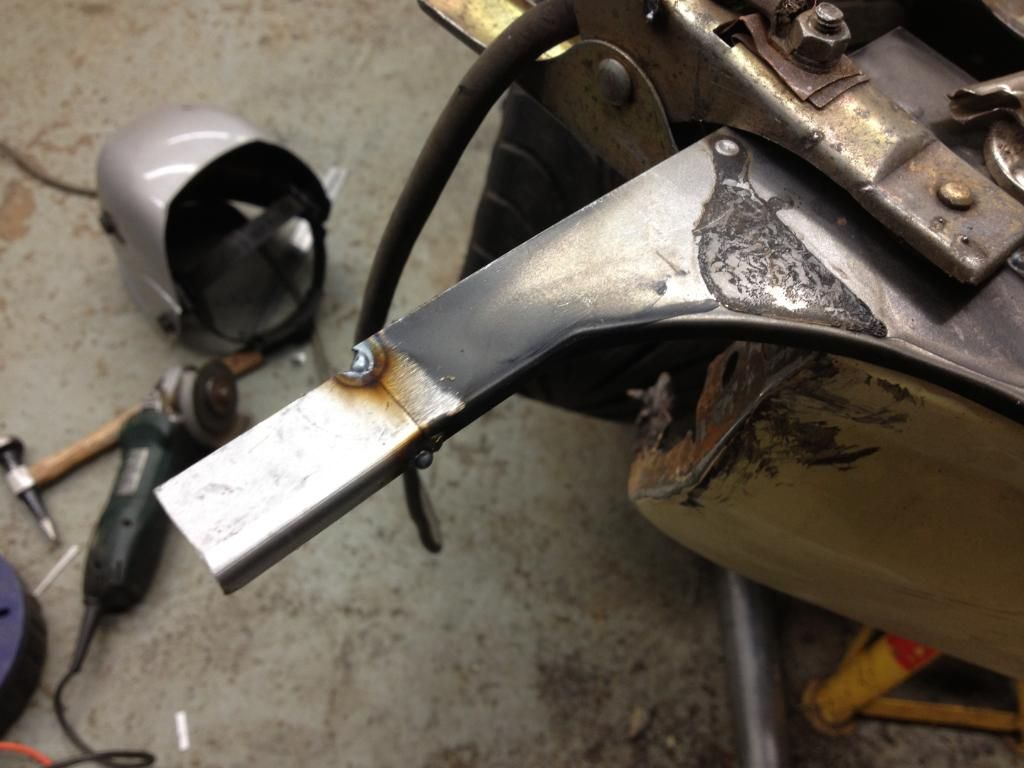
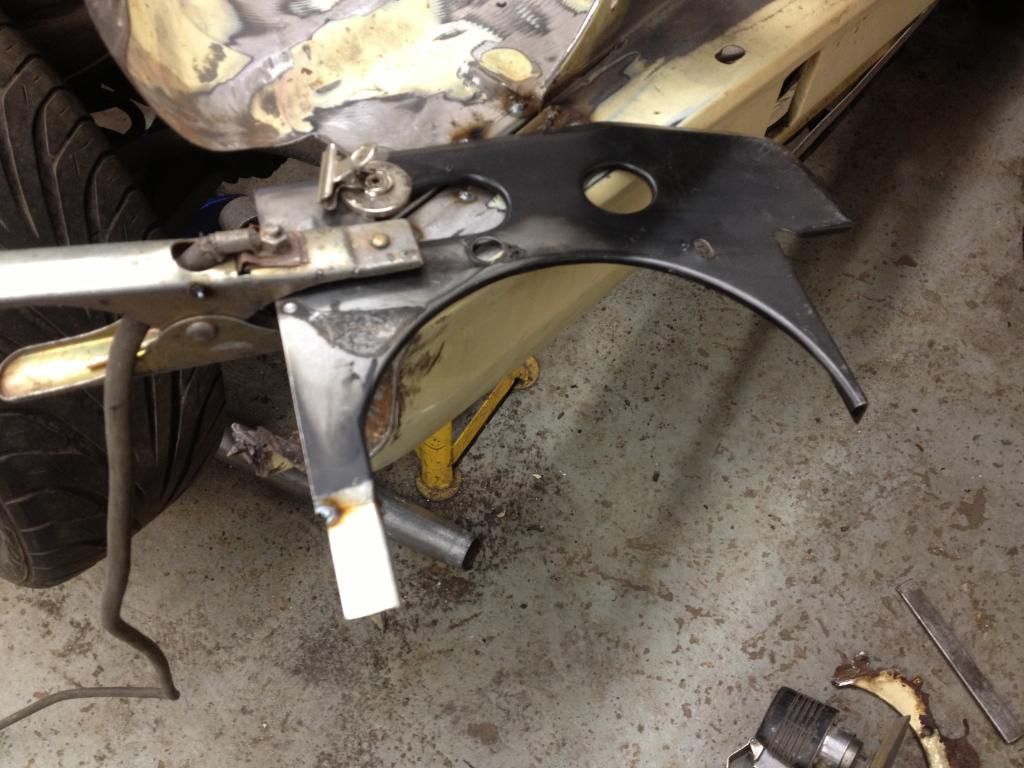
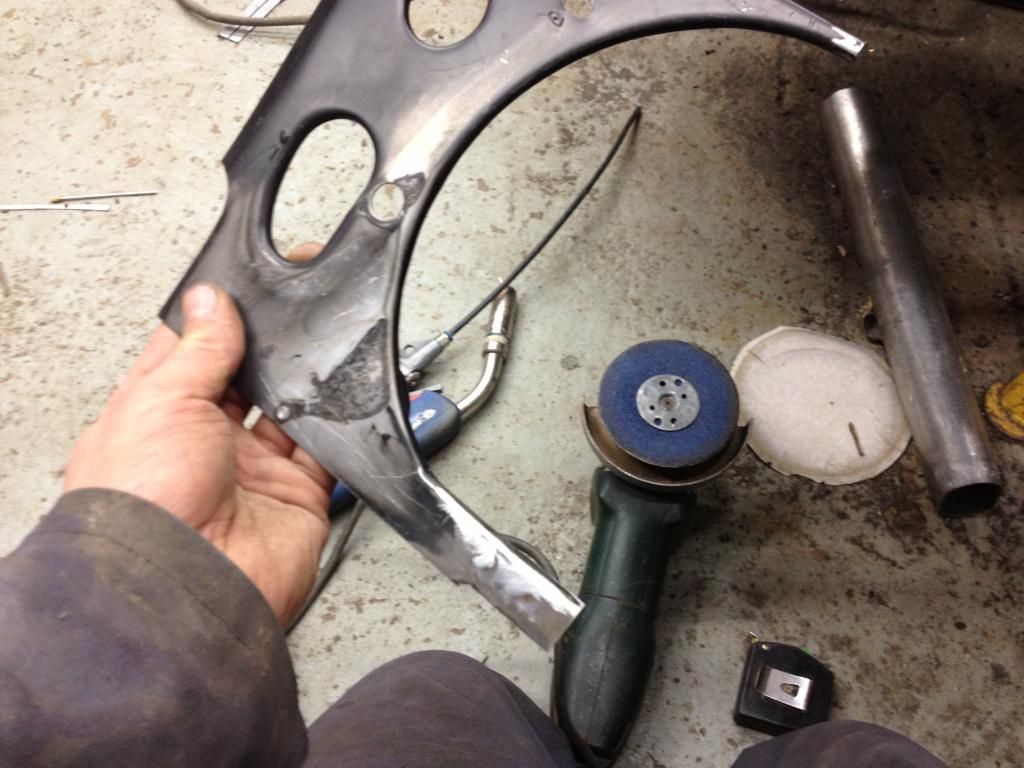
And the finished product
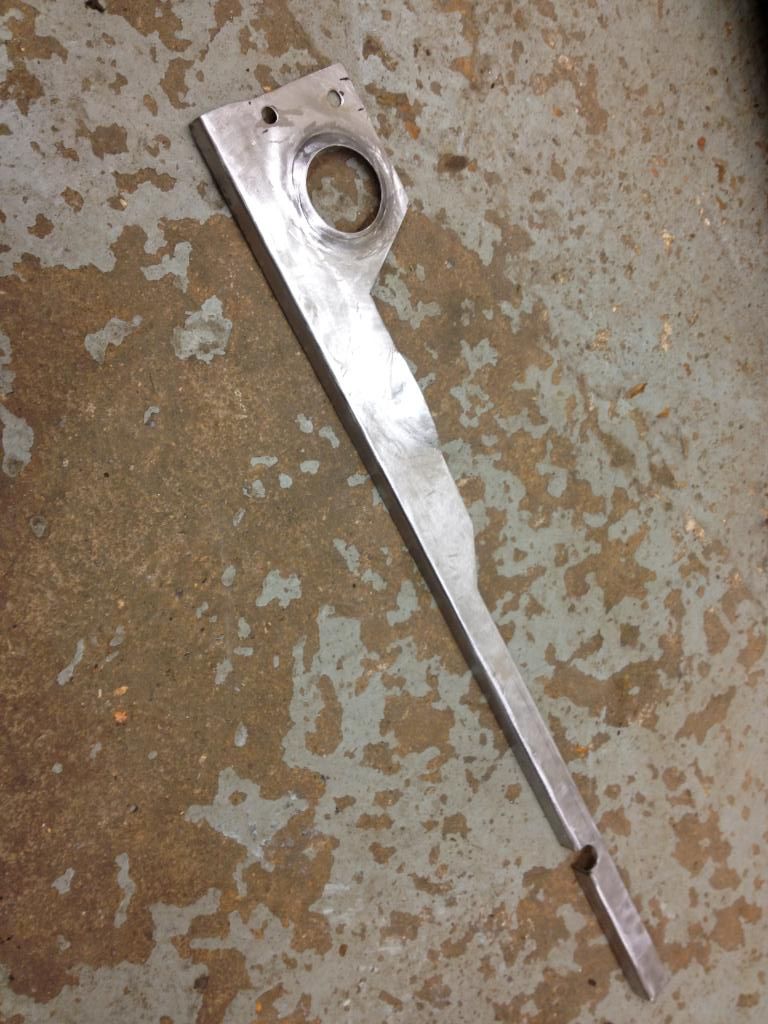
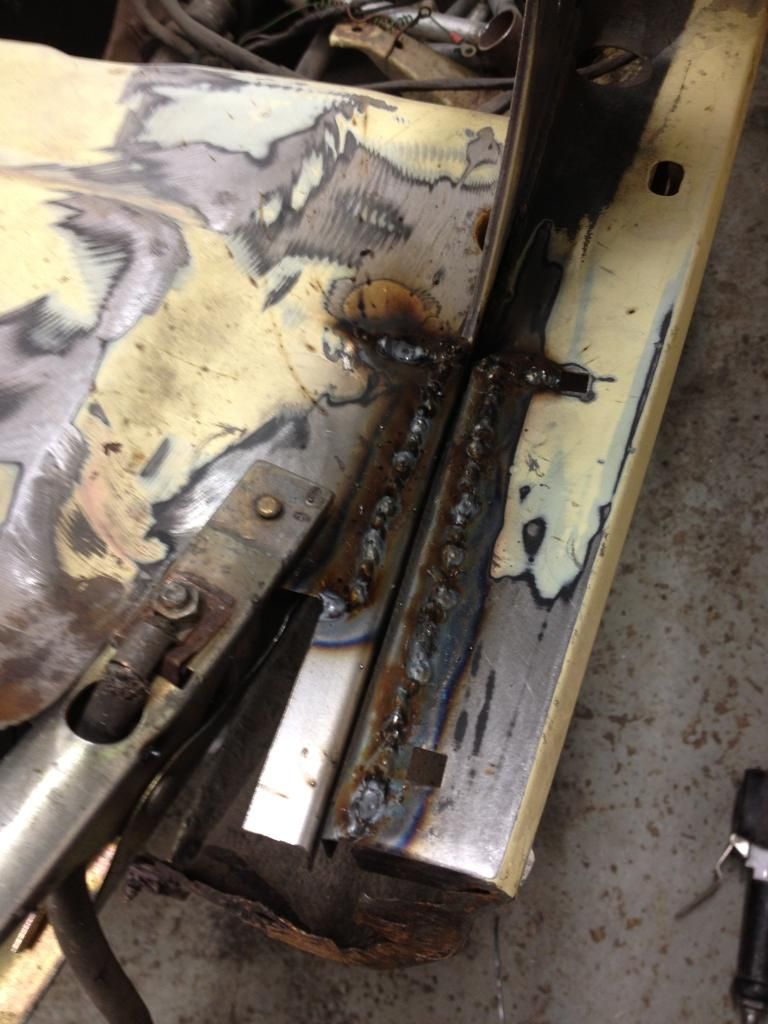
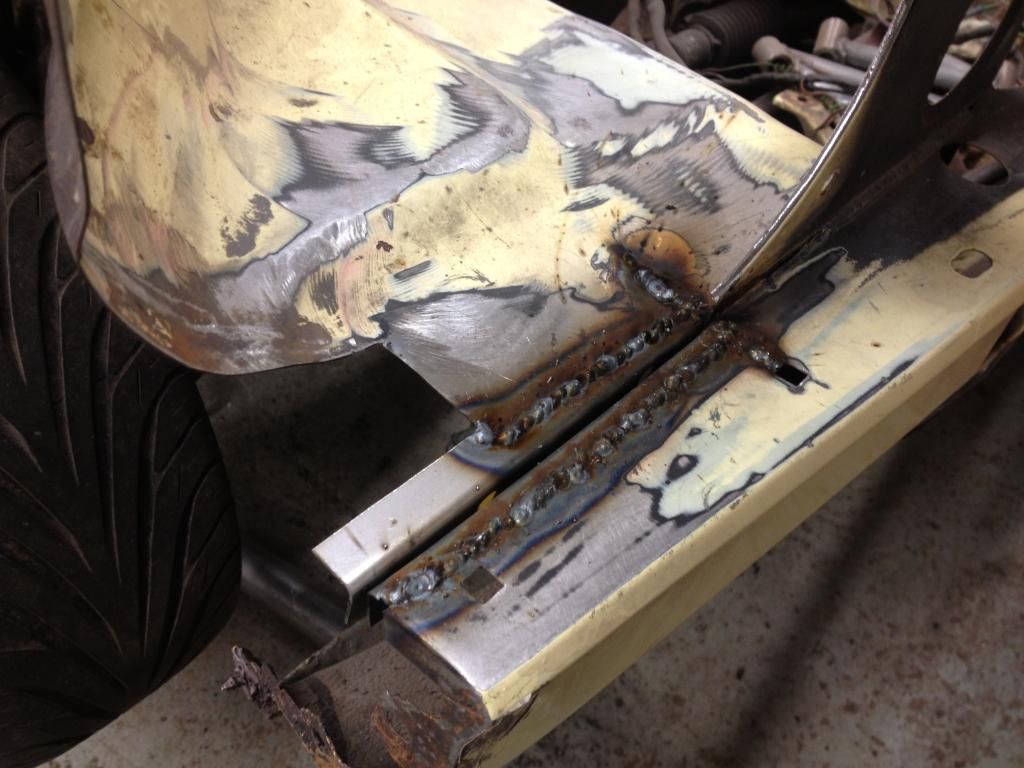
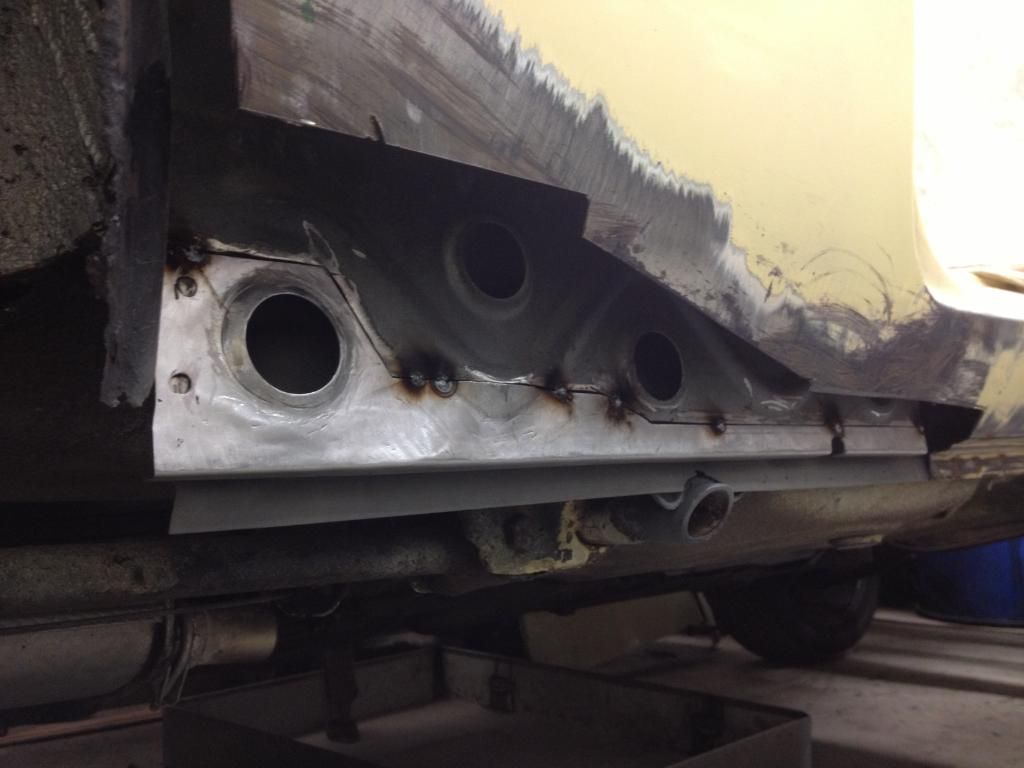
Happy enough with the fit I tacked it in place
then fully welded
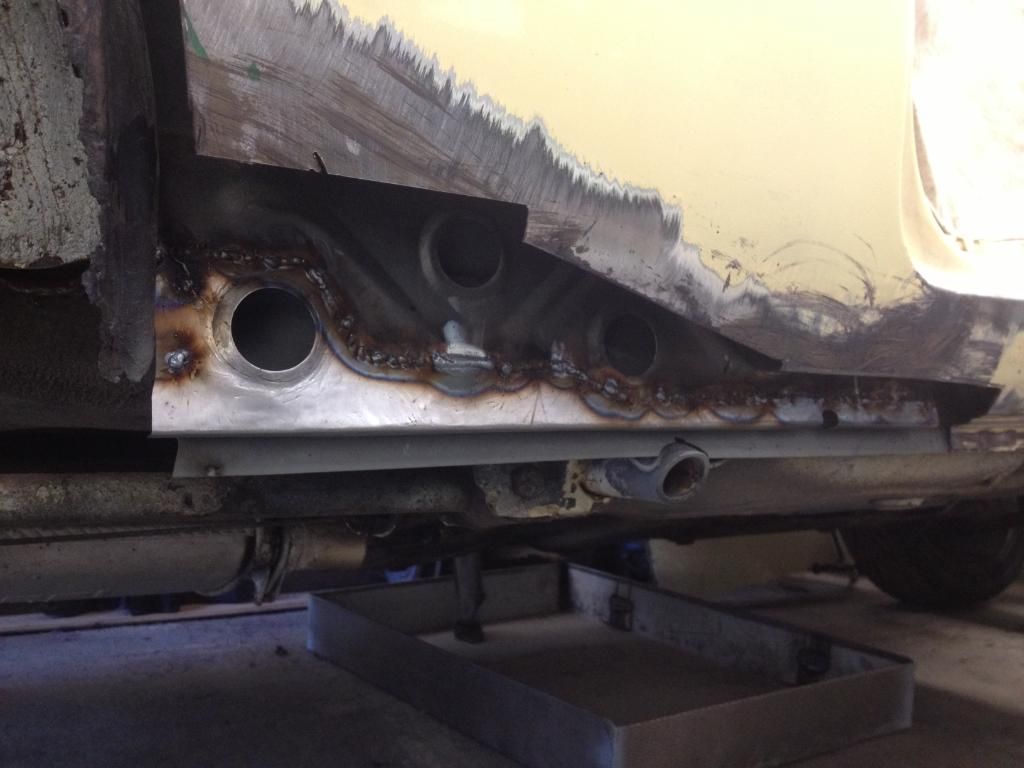
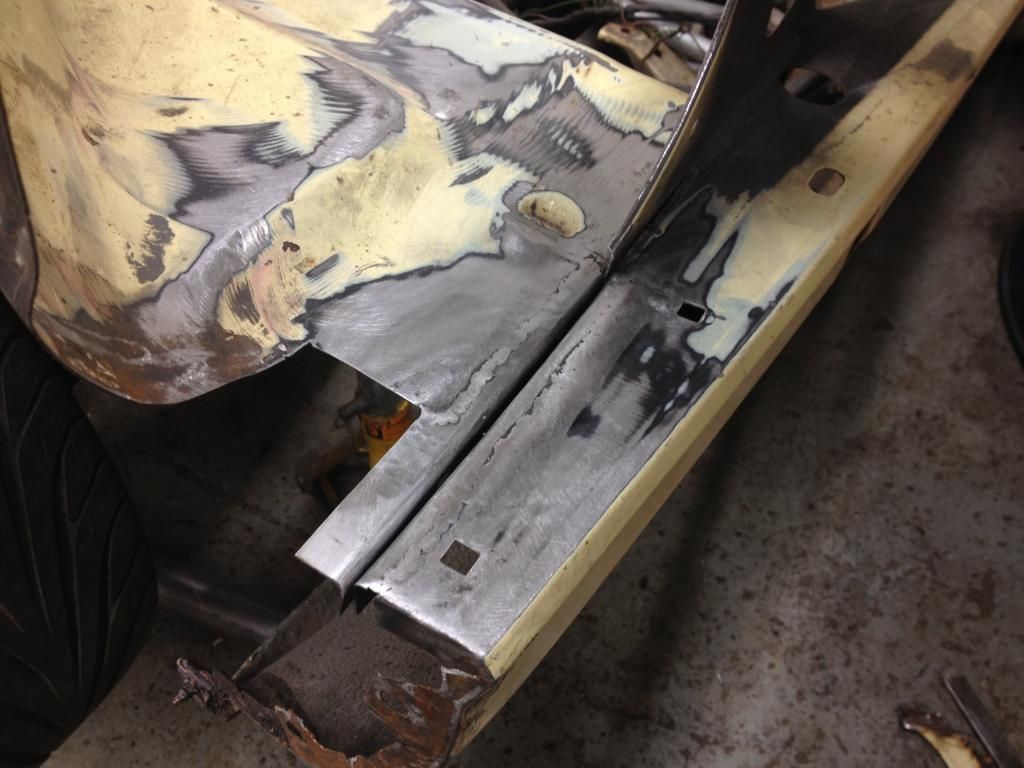
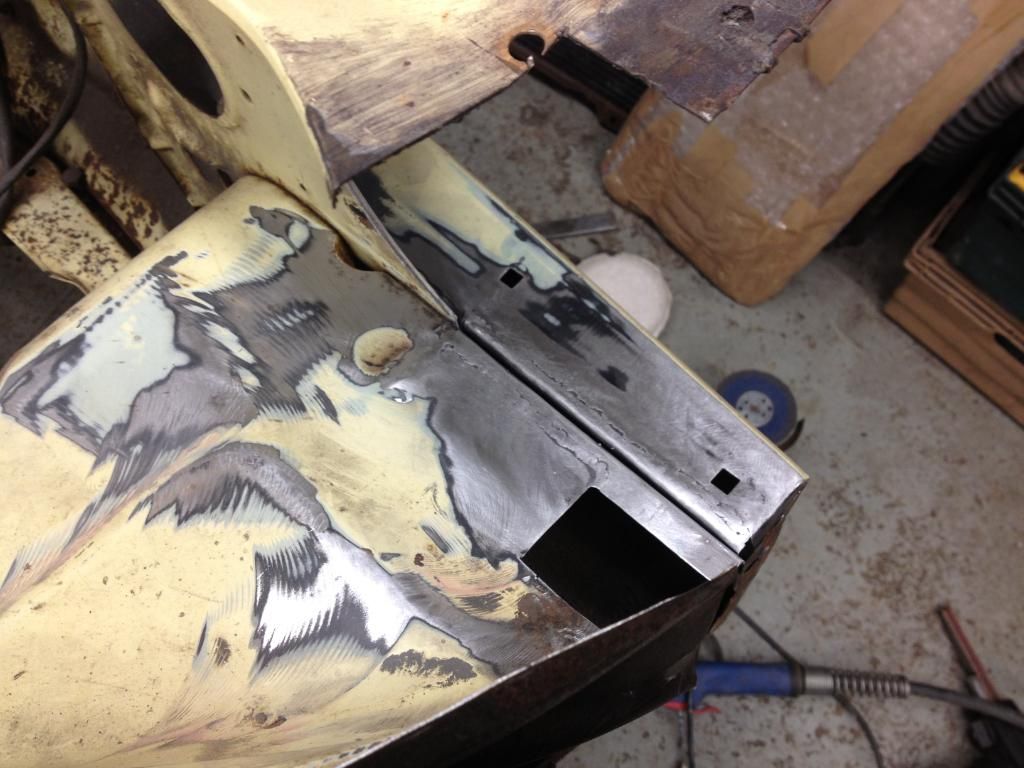
gave it a quick clean up
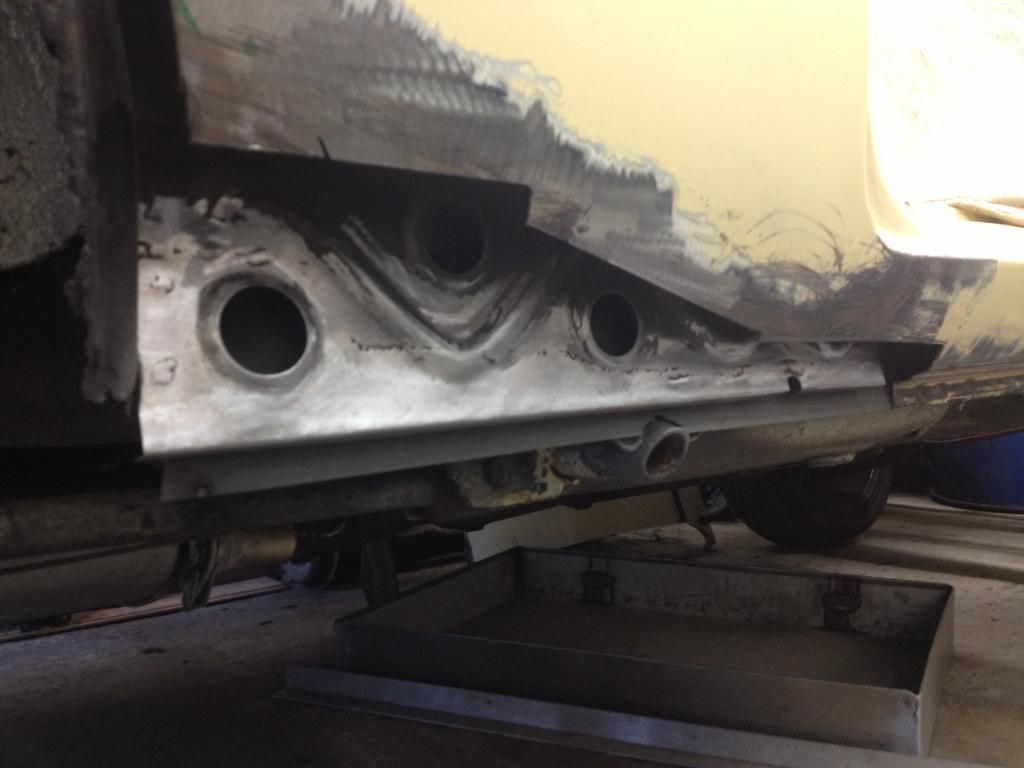
and zinced that too
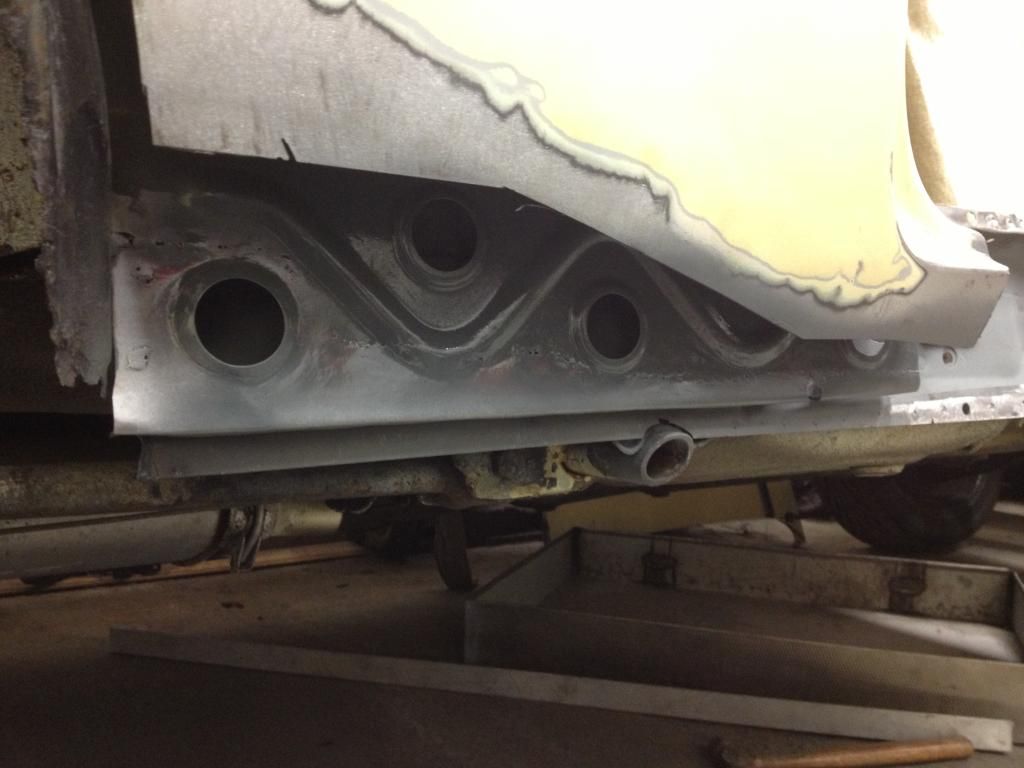
My thought then turned to the rest of the sill and what exactly i was going to do with it. So out with the DA and on with the sanding.
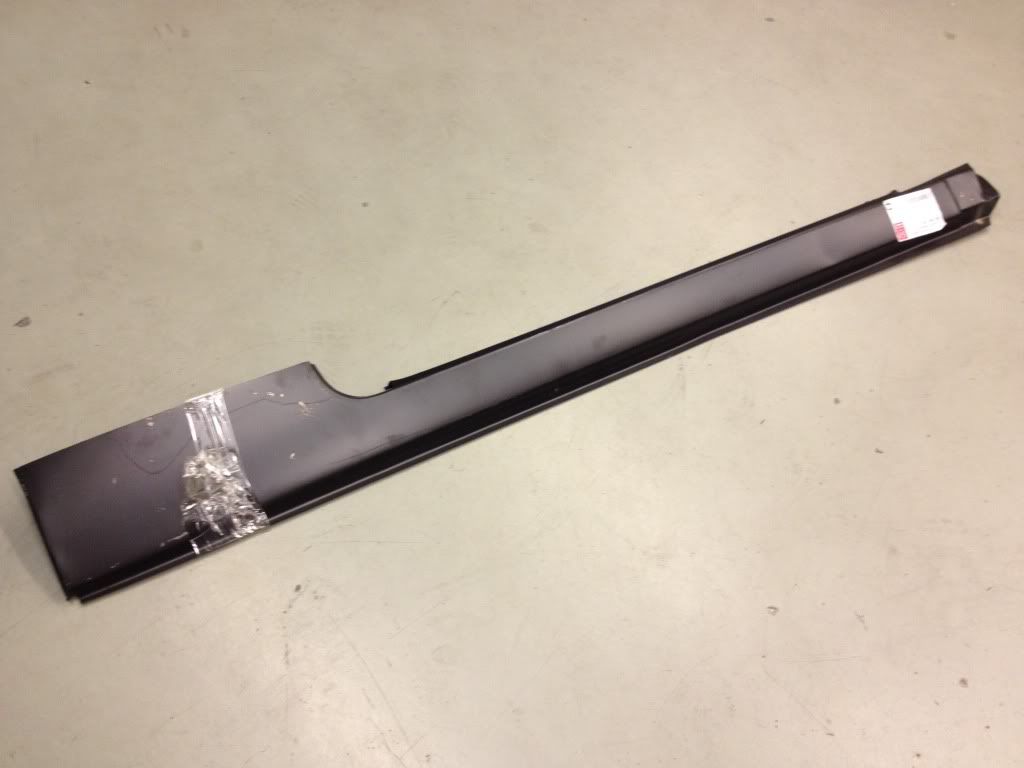
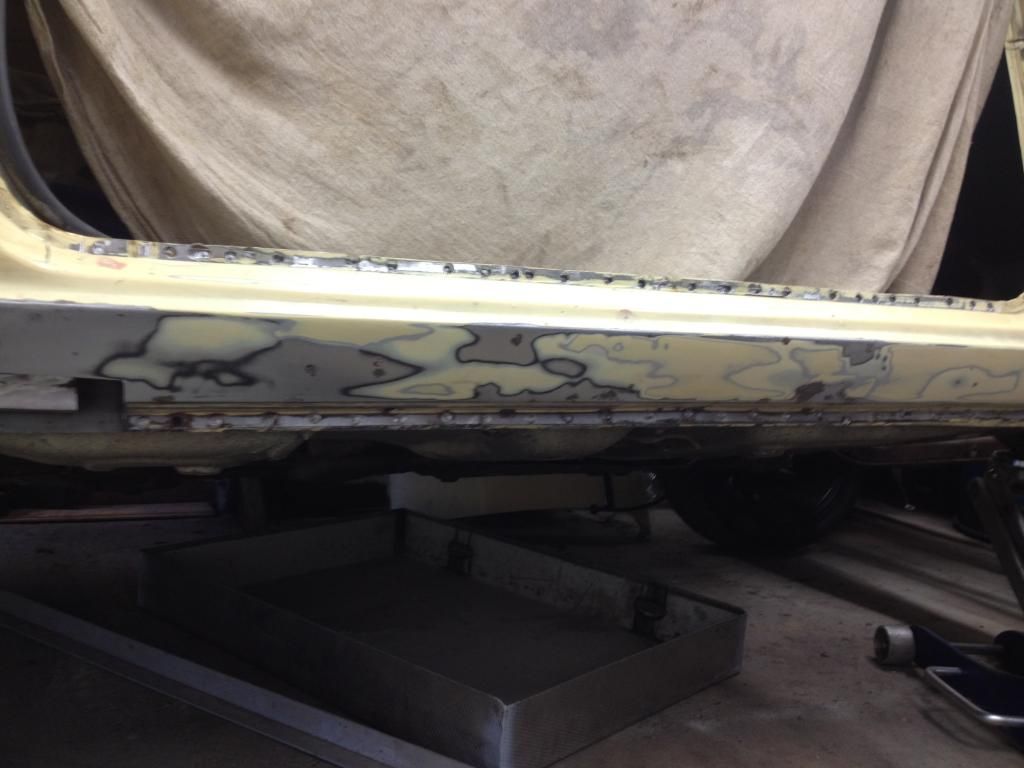
Multiply coats of paint later and i decided i would just replace the whole thing as it would be easier than multiple small repairs
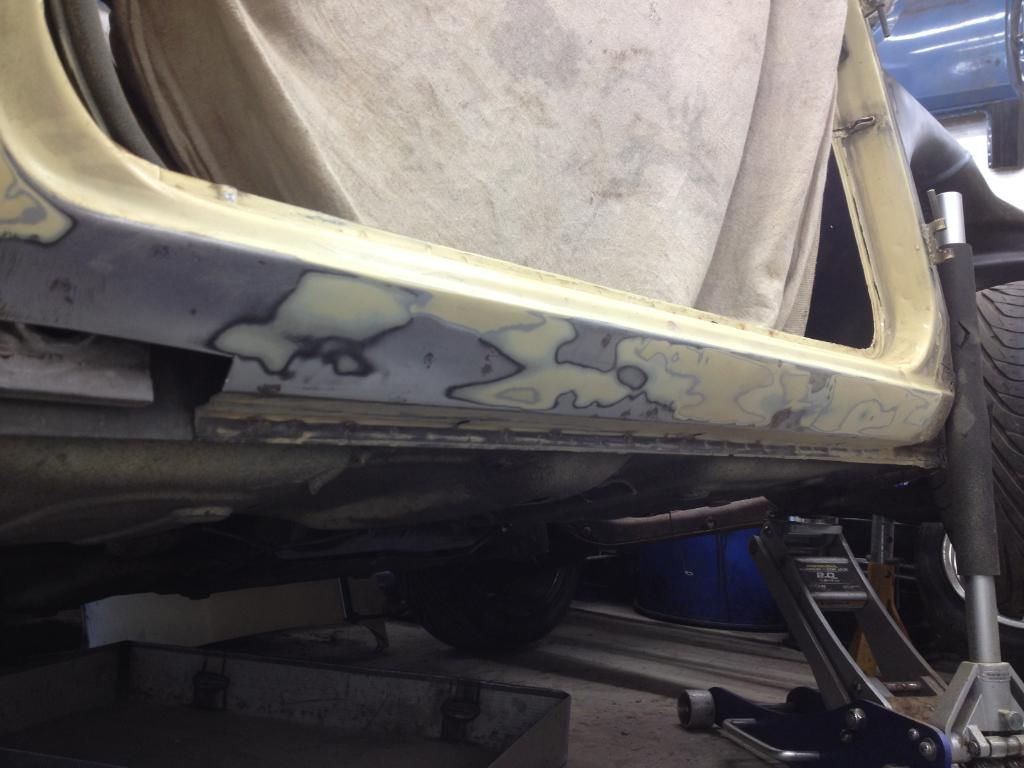
quite crispy in places
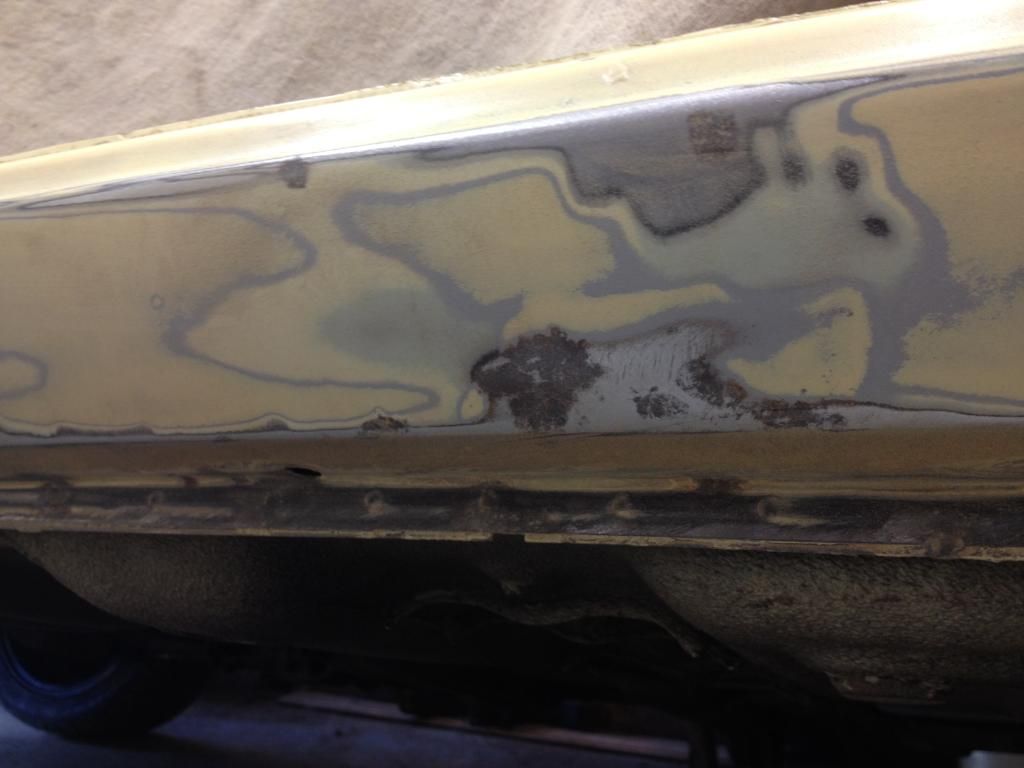
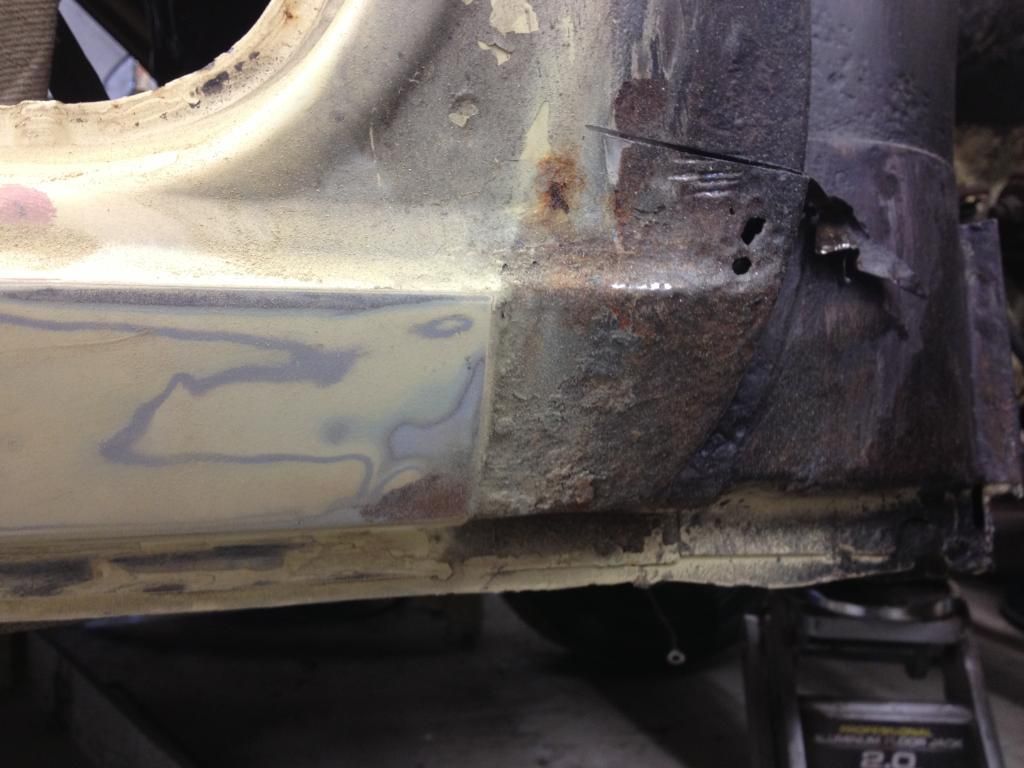
To begin spot welds uncovered by sanding them off
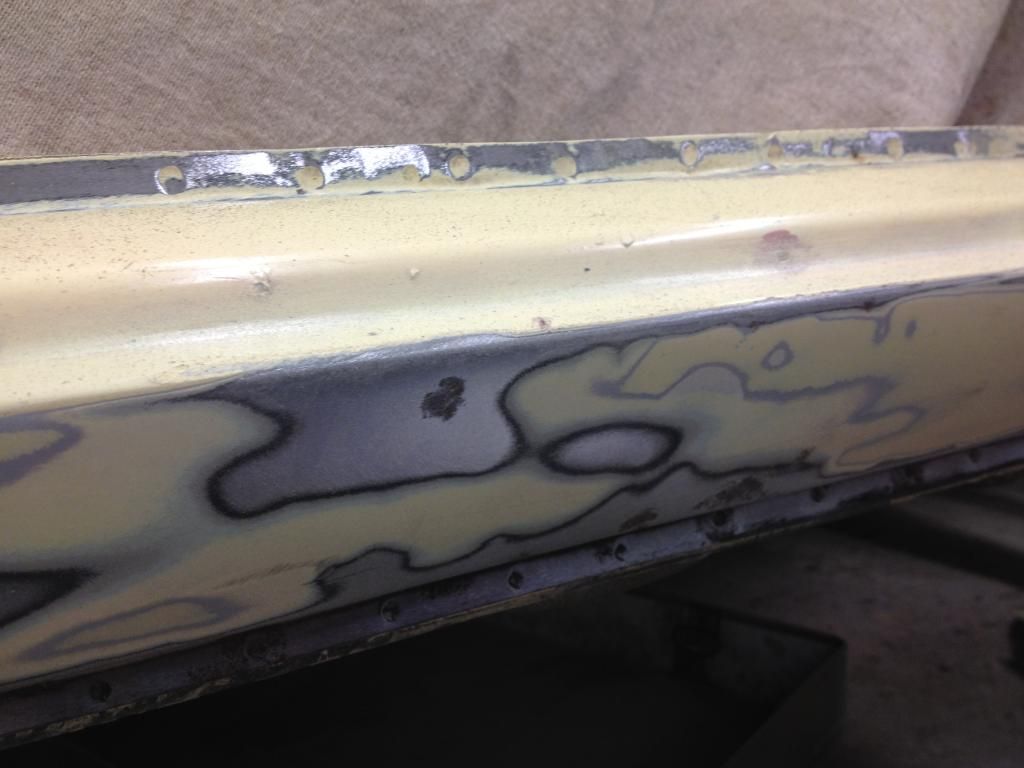
spots drilled
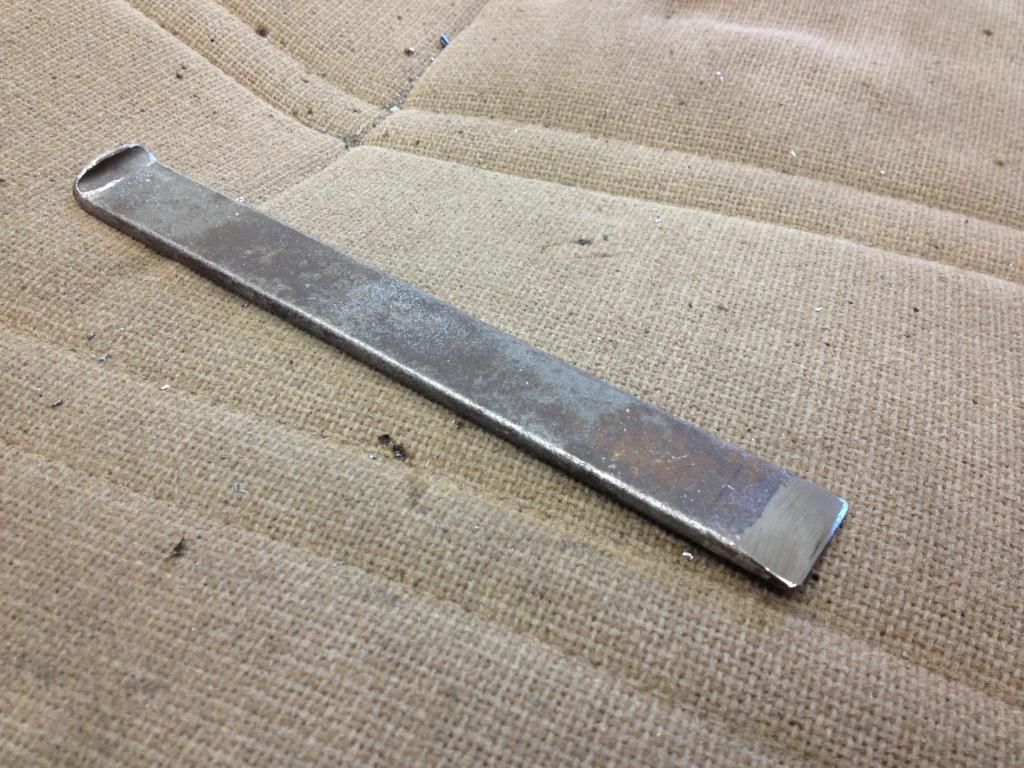
Then to my weapon of choice - freshly sharpened of course
after some grinding and bashing i was left with this
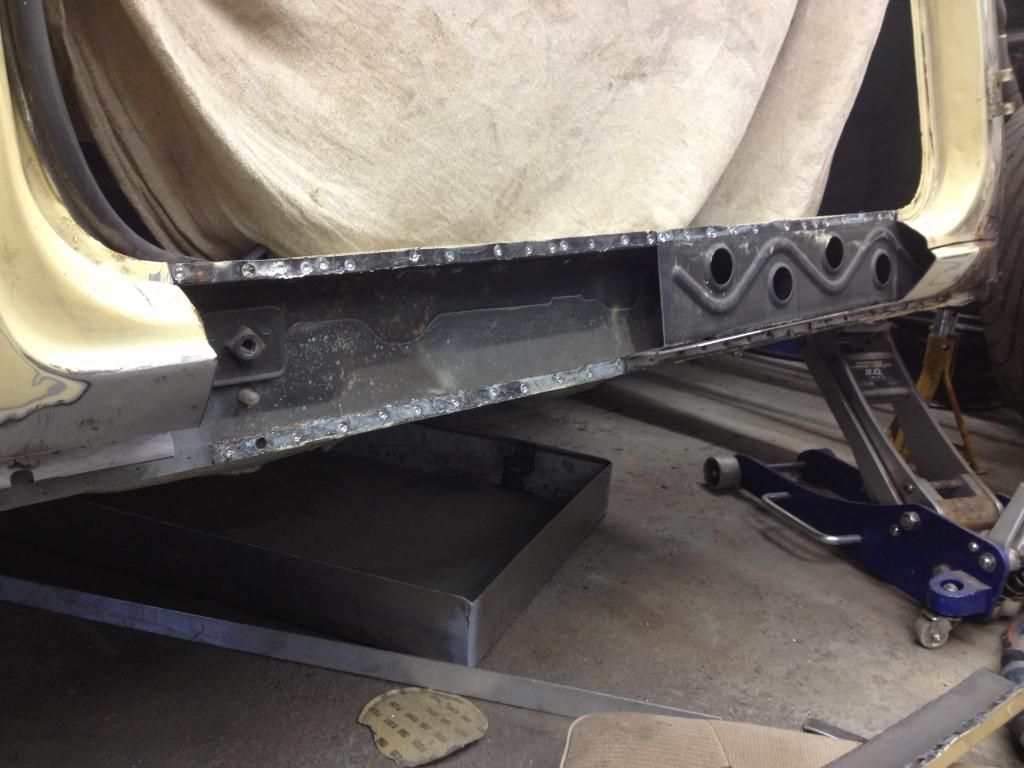
I was happy i had removed the whole lot once I'd done it as the rust had started to come through in places
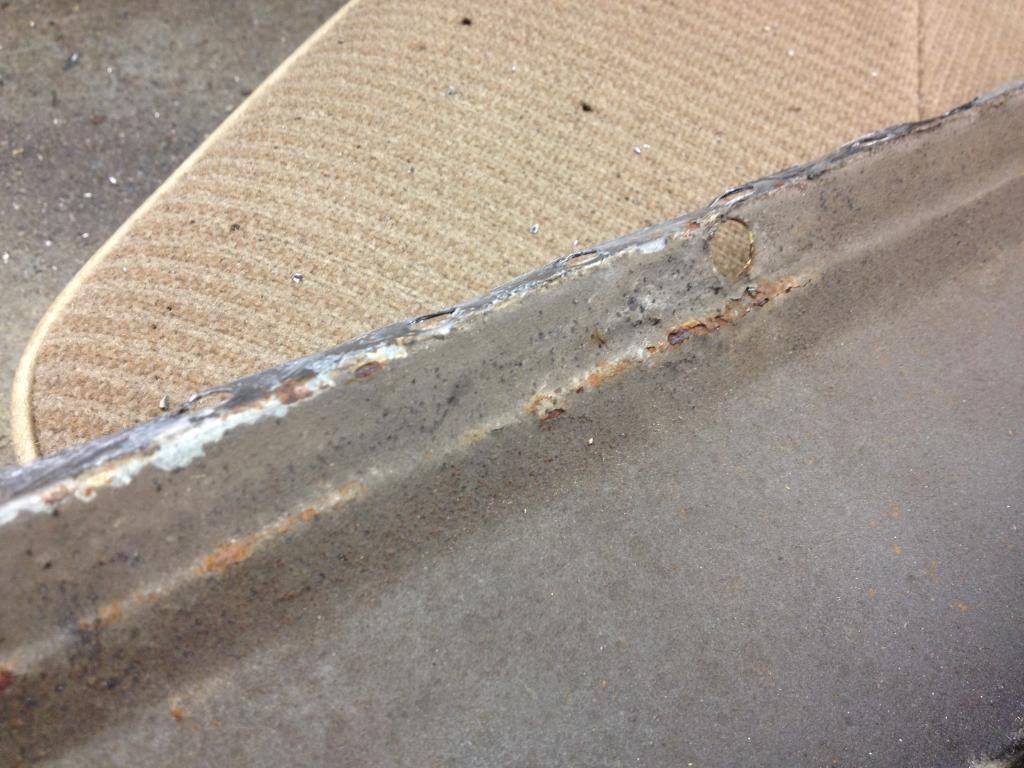
more cutting and de spotting to remove the very end of the sill from the strengthening support
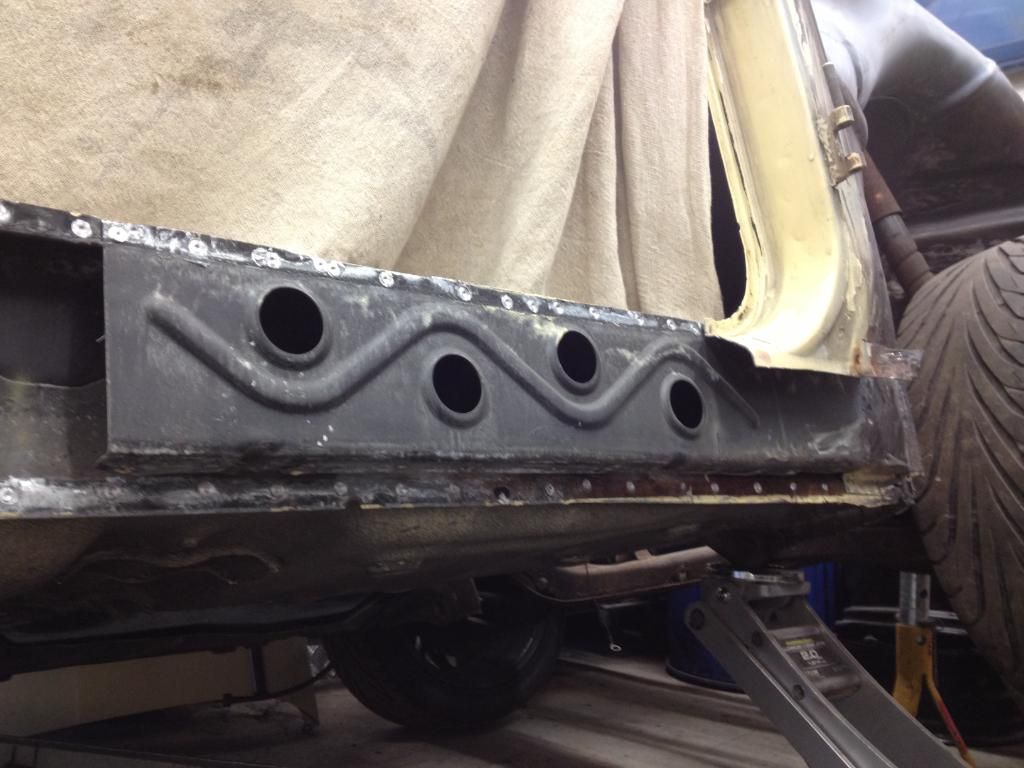
then some cleaning up of the surface rust
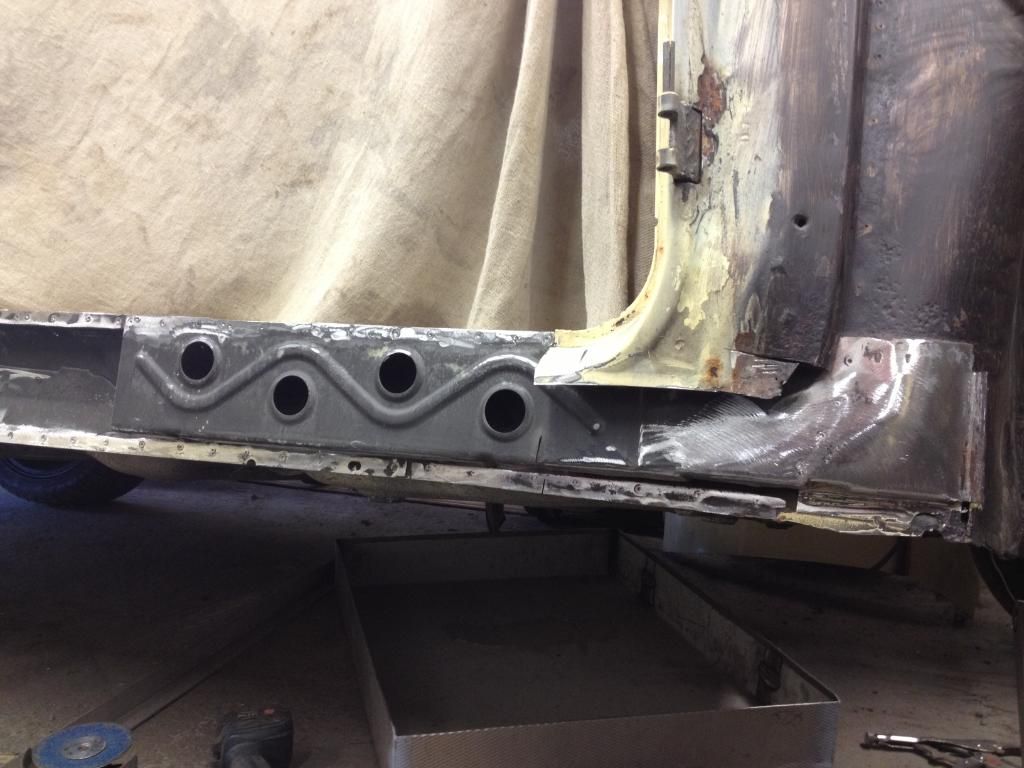
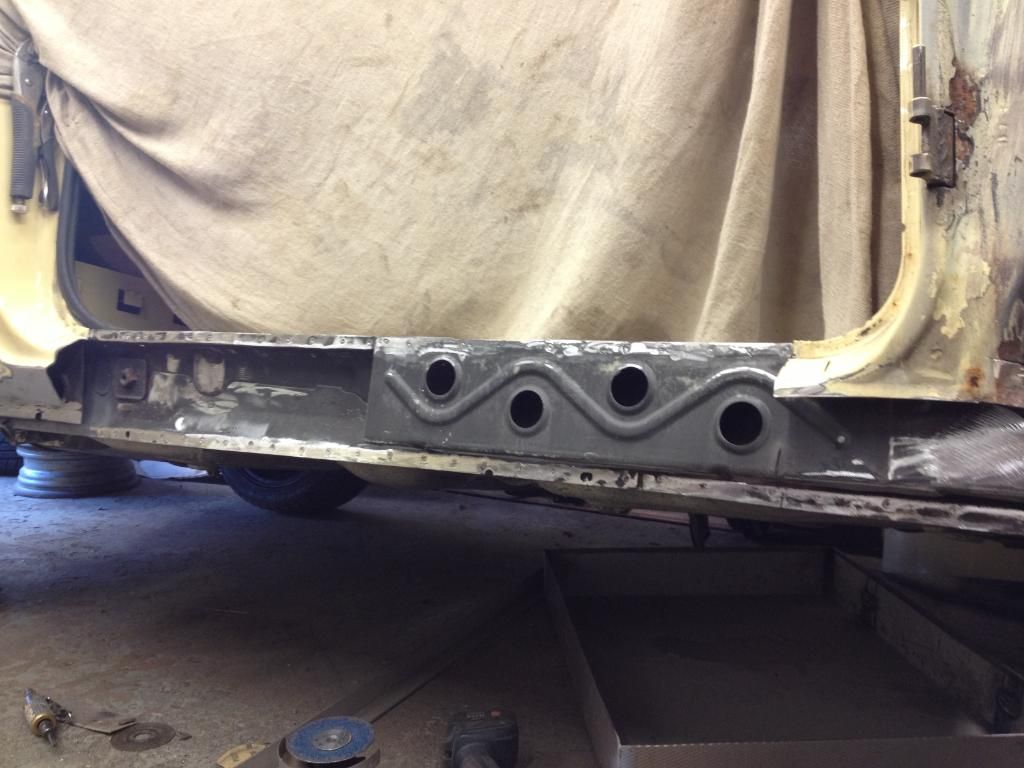
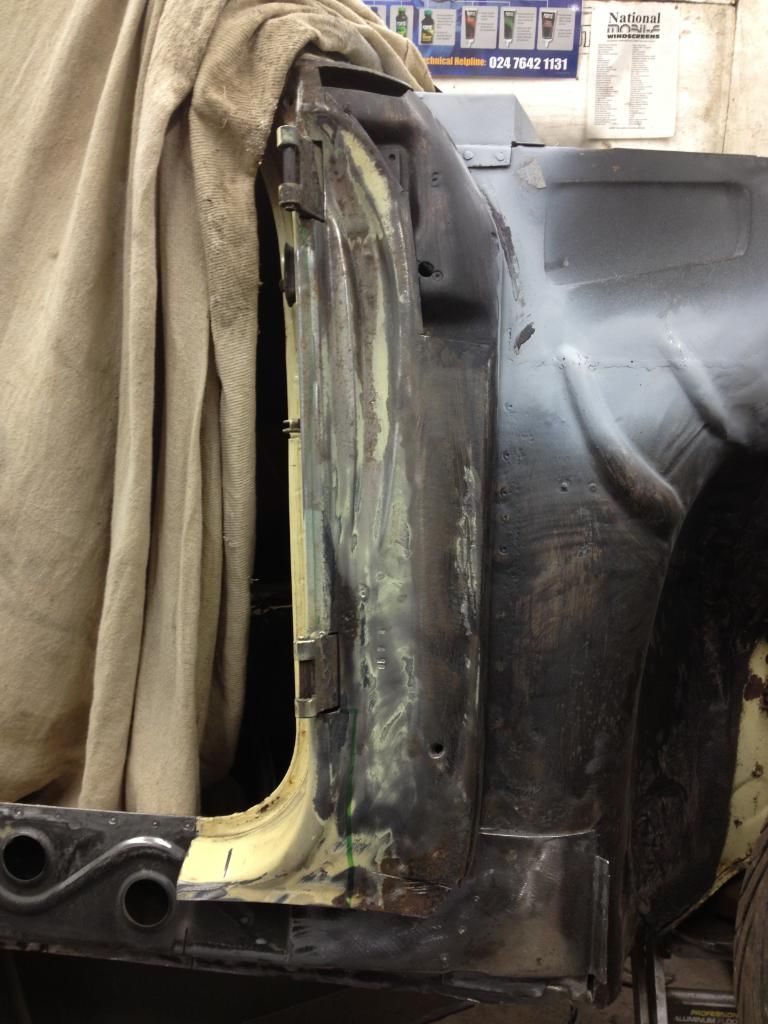
before beginning on the A pillar
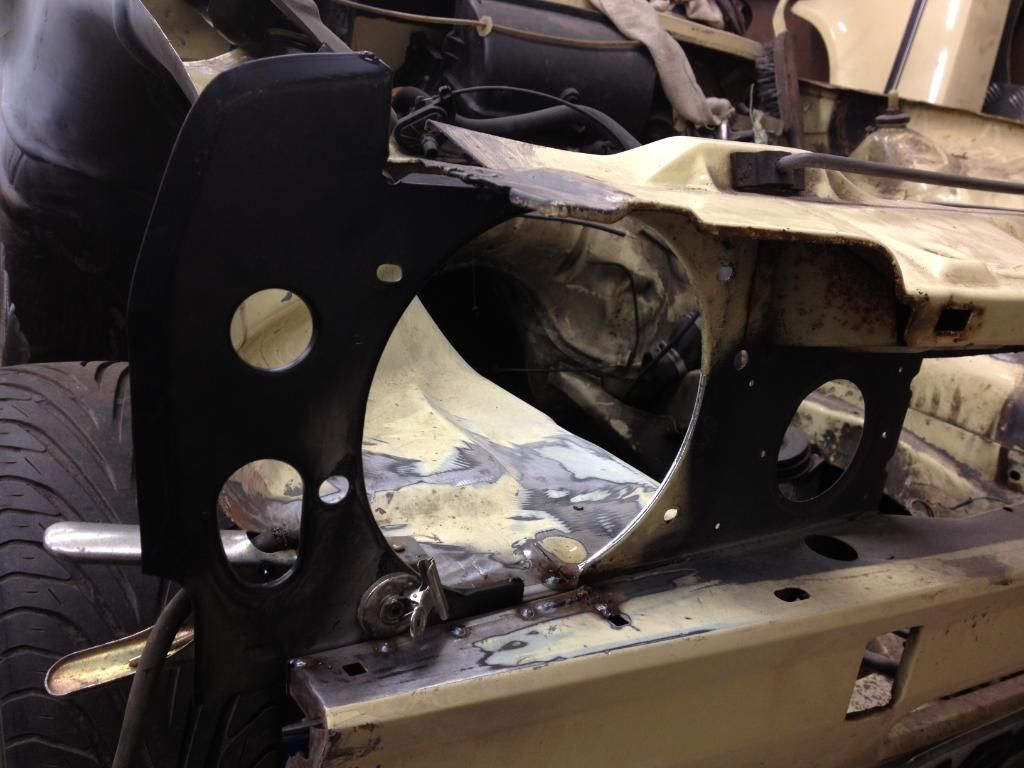
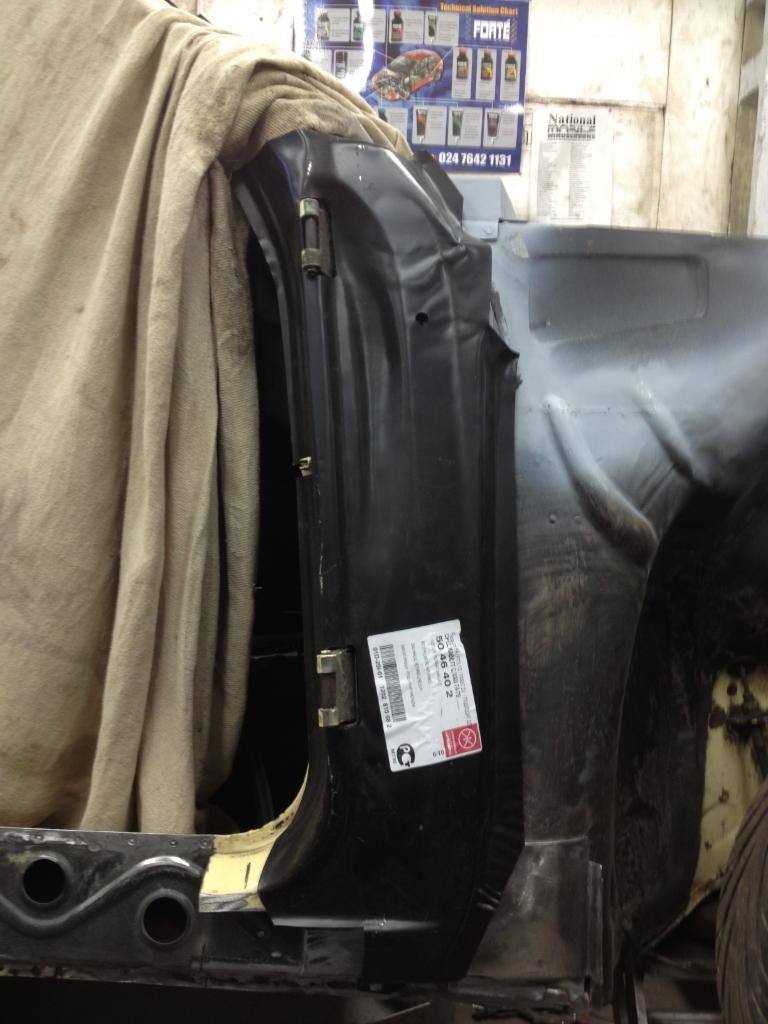
New repair panel
By beginning i mean butchering out more rust
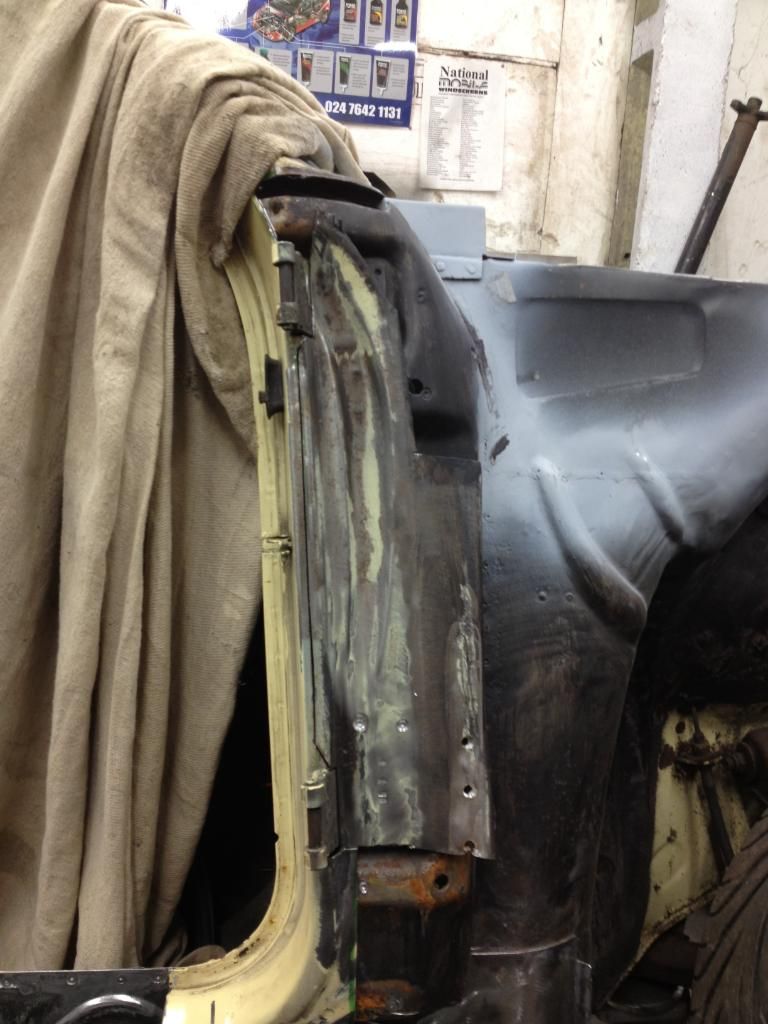
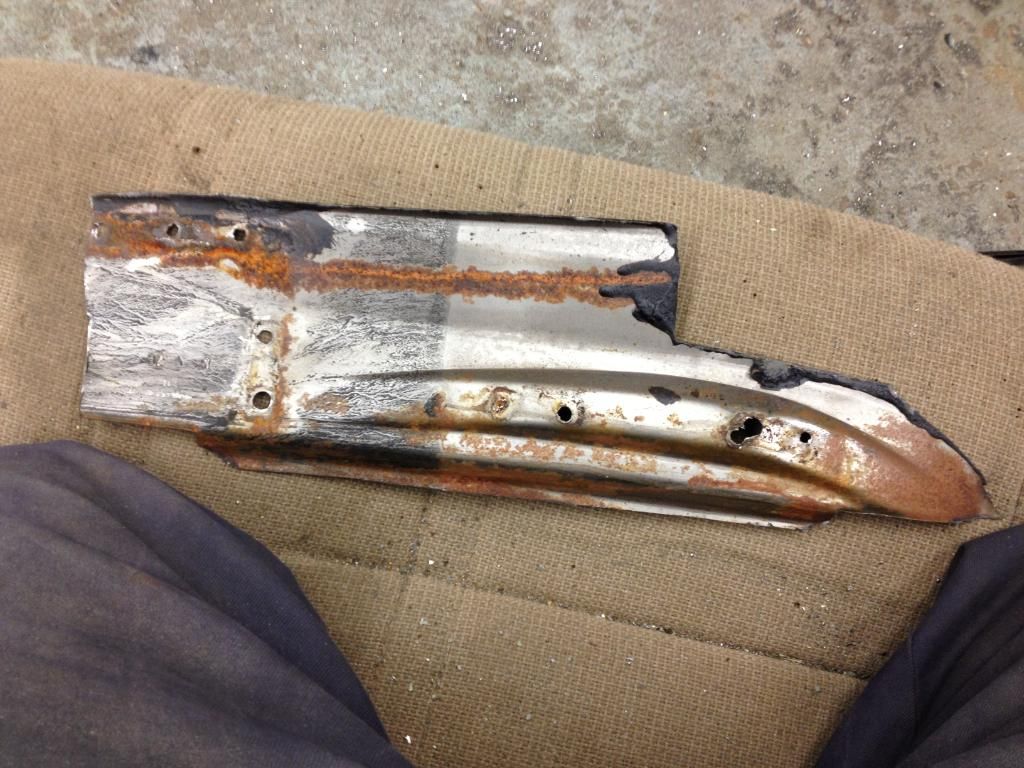
leaving this
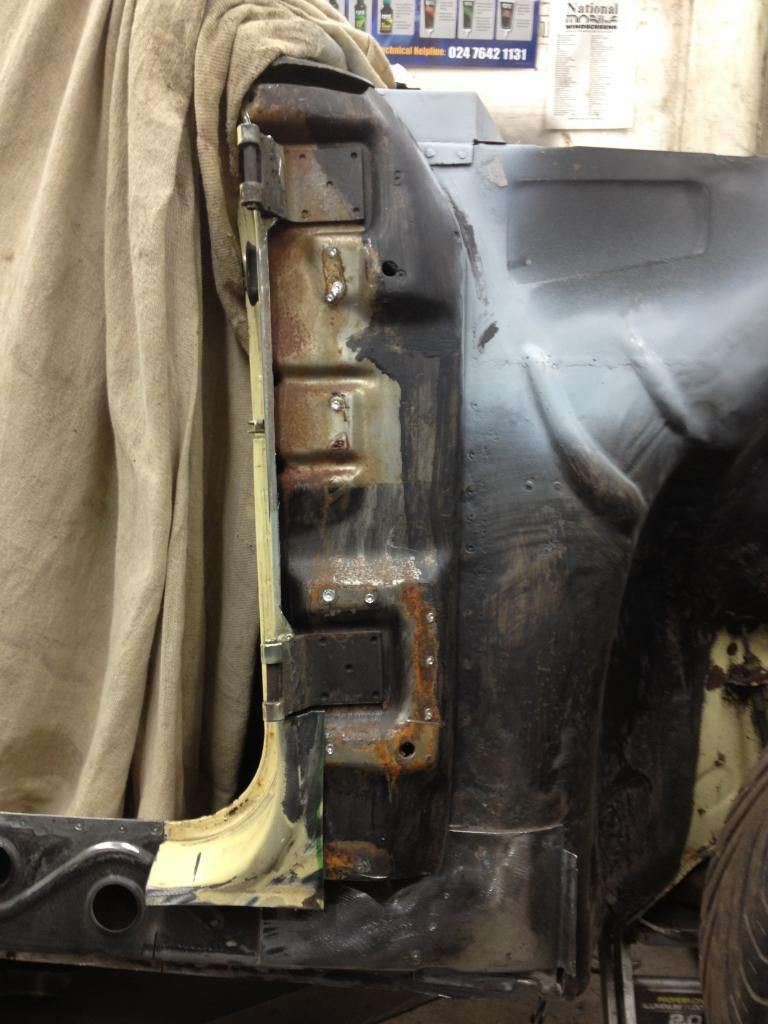
cleaned off
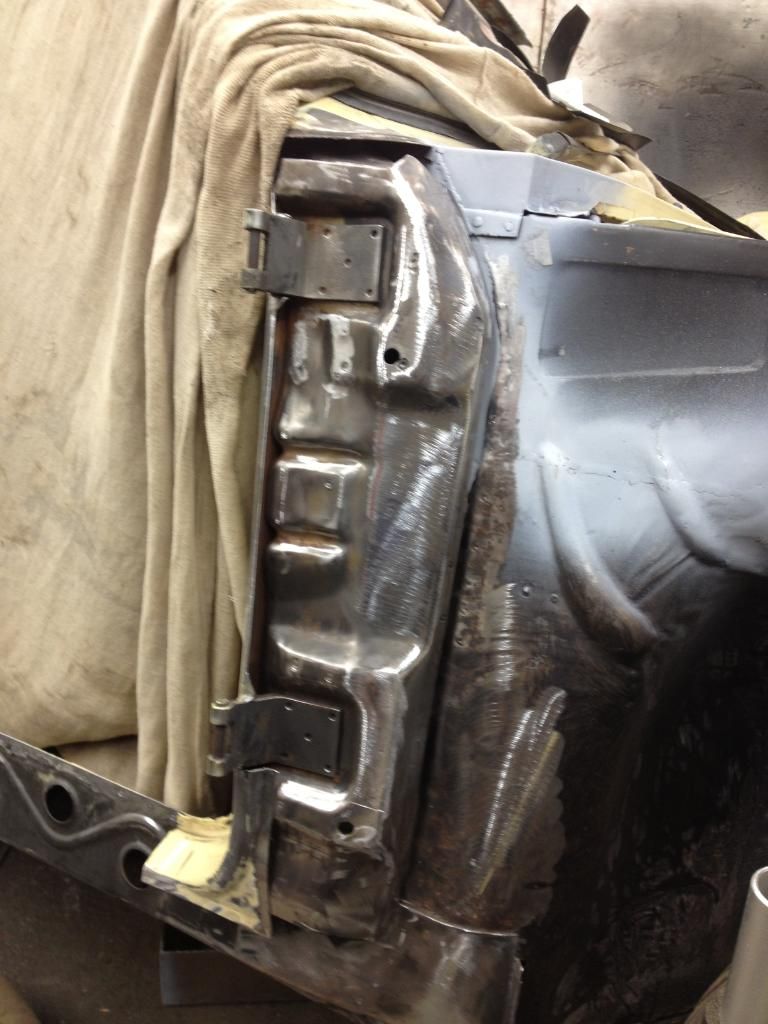
doused in rust killer and left to dry
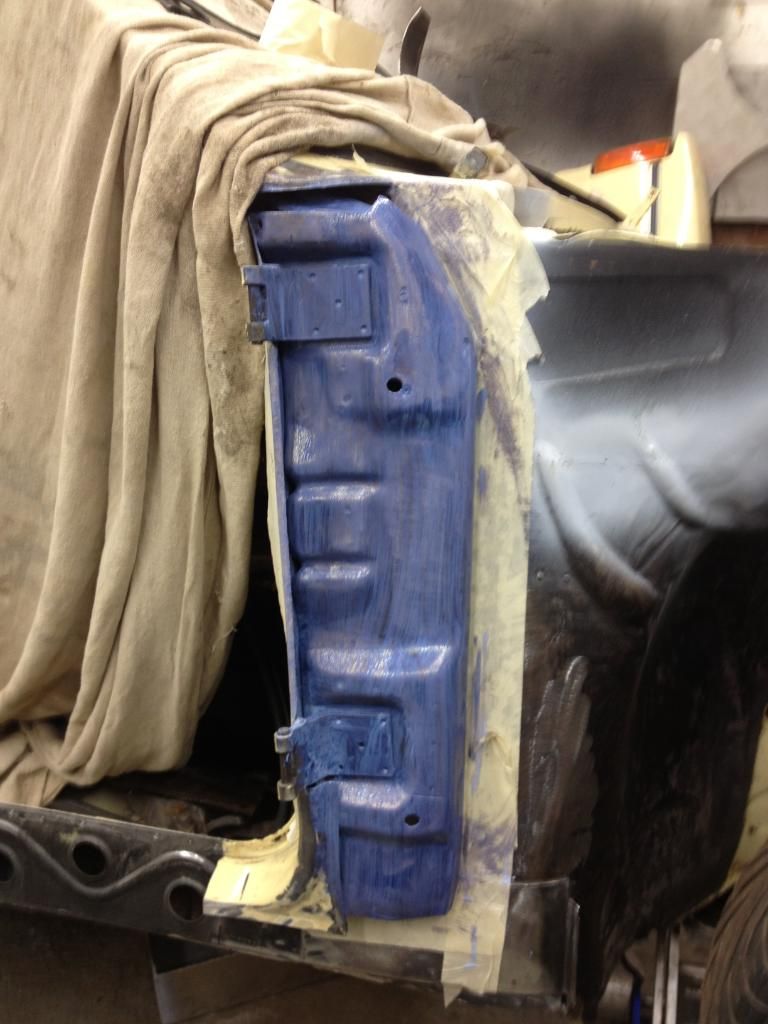
back to the sill - cut up then test fitted
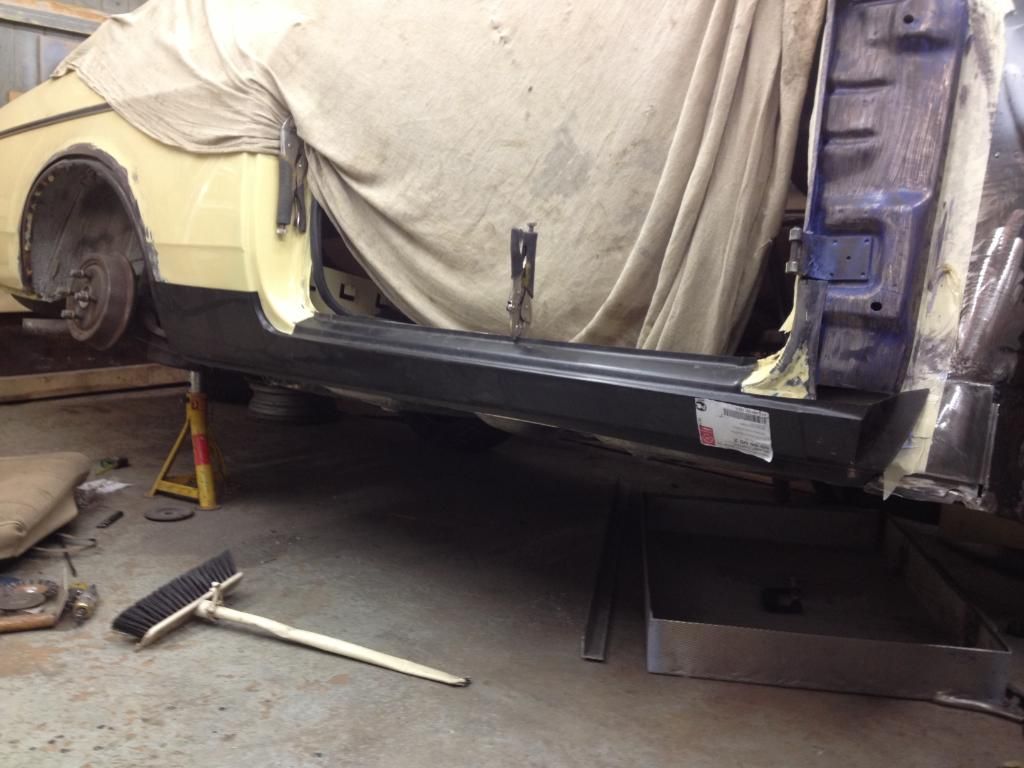
detail added
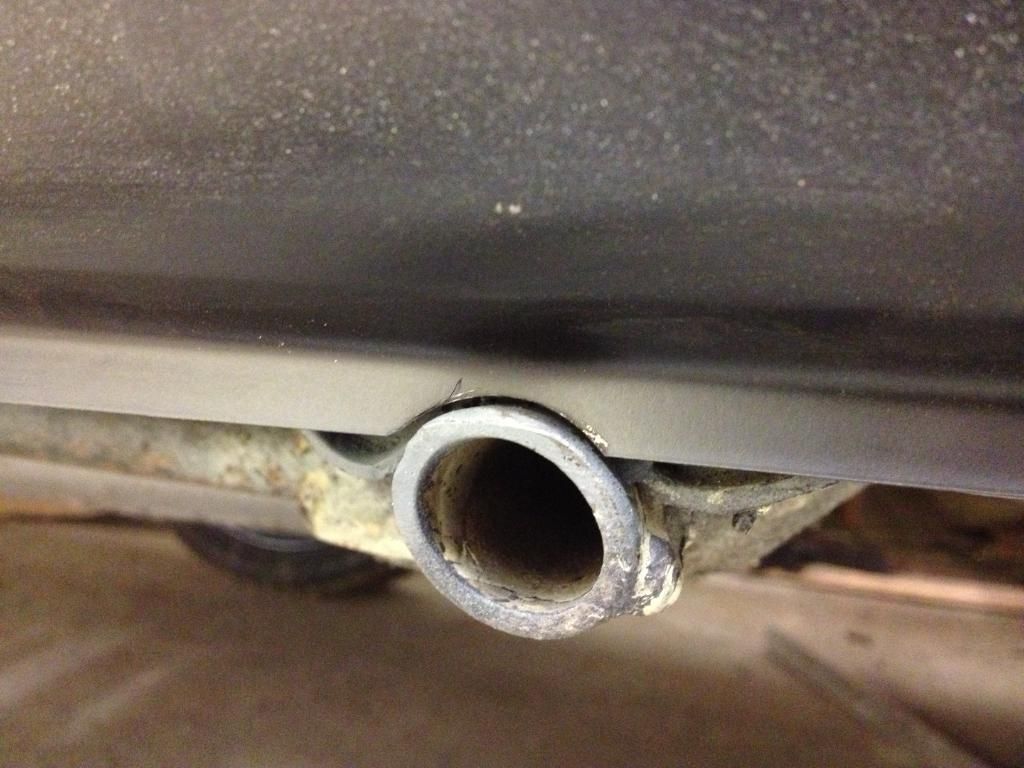
Once I had got the fit close on the front end
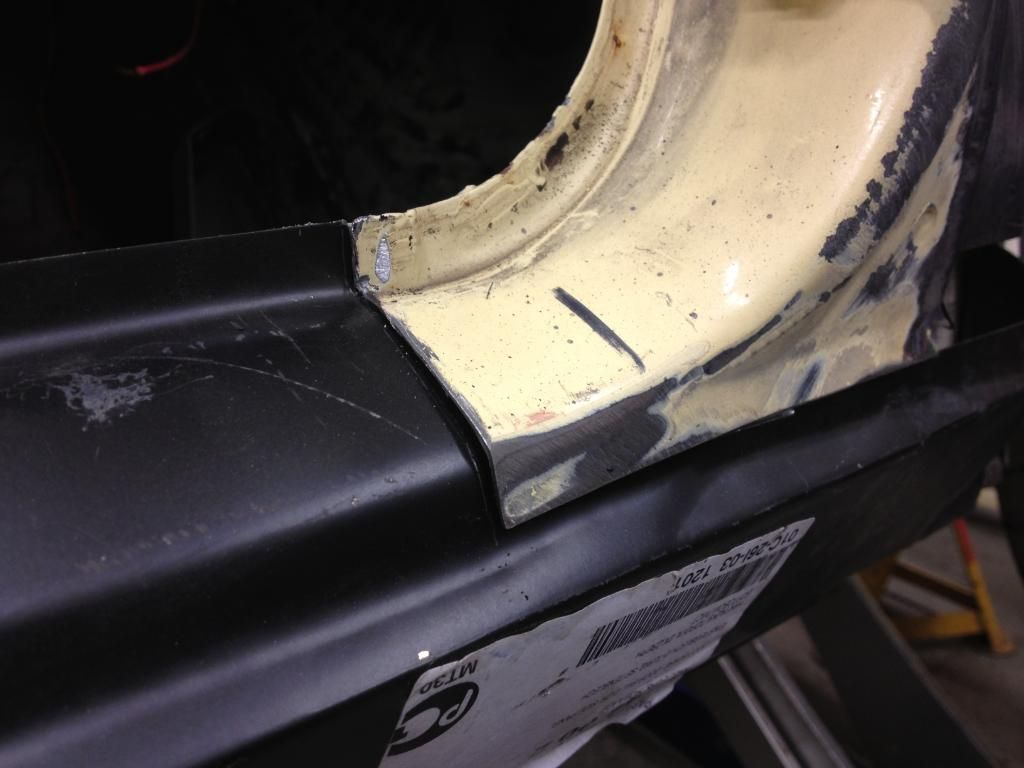
I moved on to the back, cleaning the surrounding off as i went
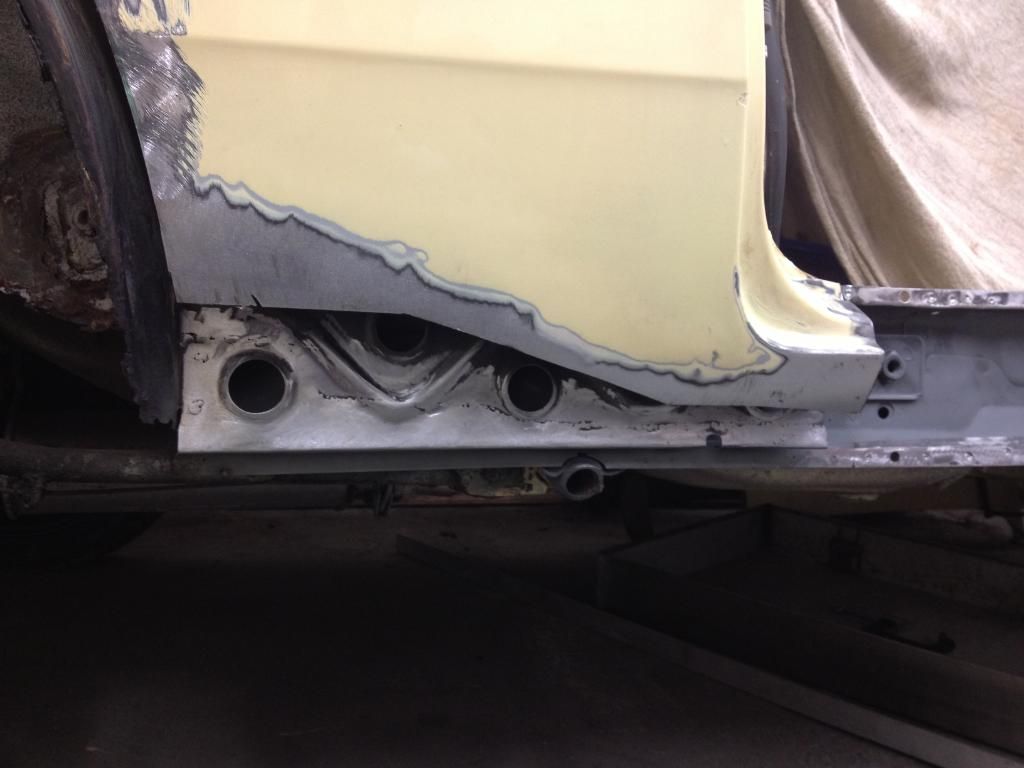
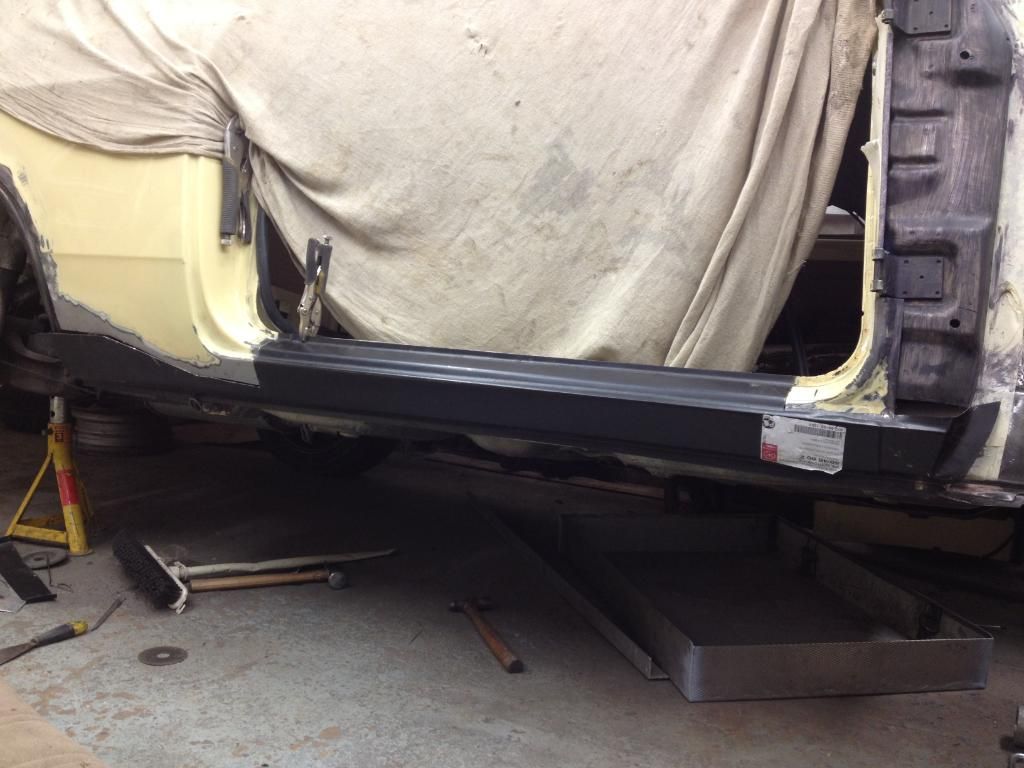
before i could fit the sill i needed to sort out this awkward area
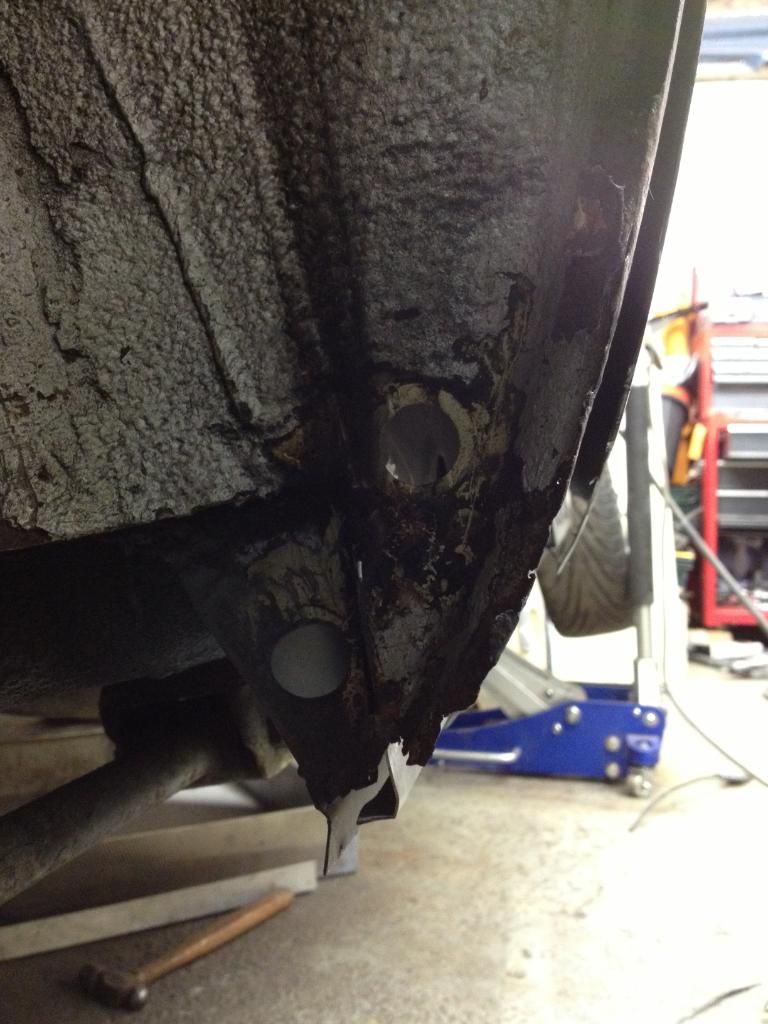
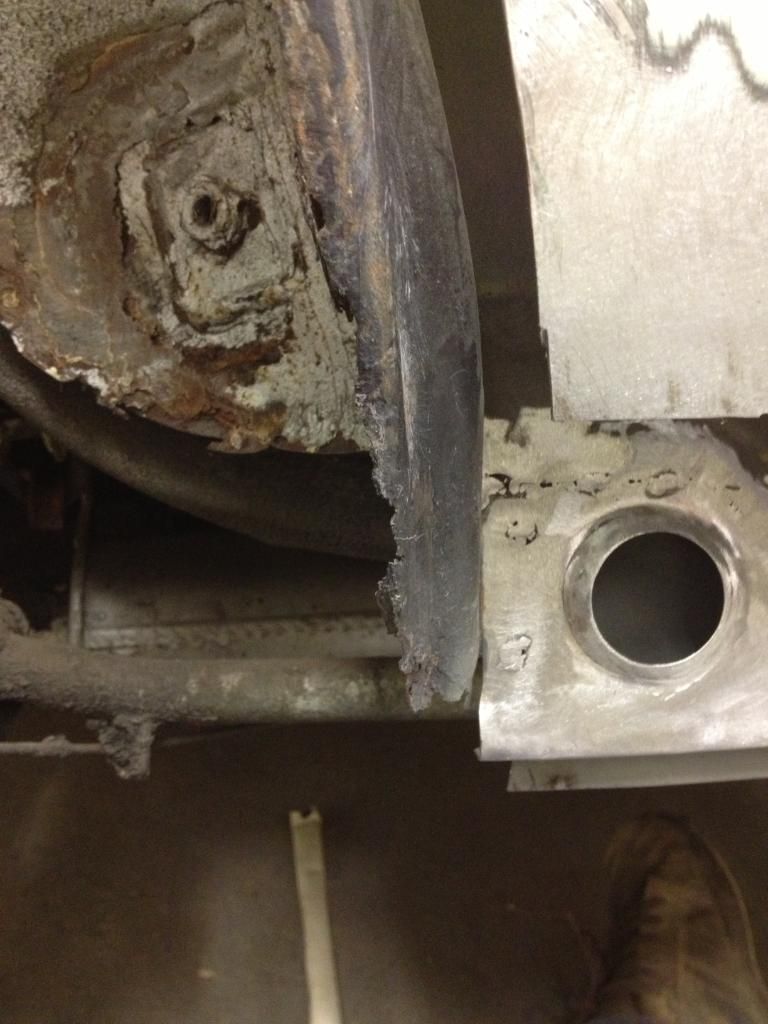
as the lower part of the back of the sill needs to be attached to something other than rust!
So i zinced the inner sill

and began the repair of the corner
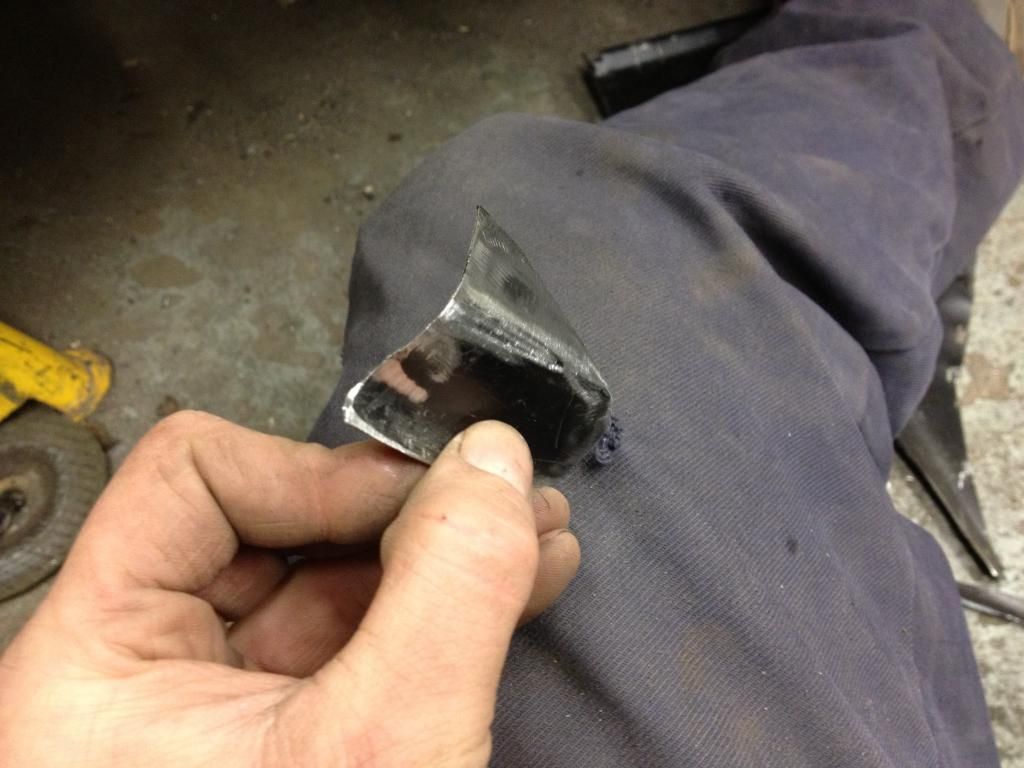
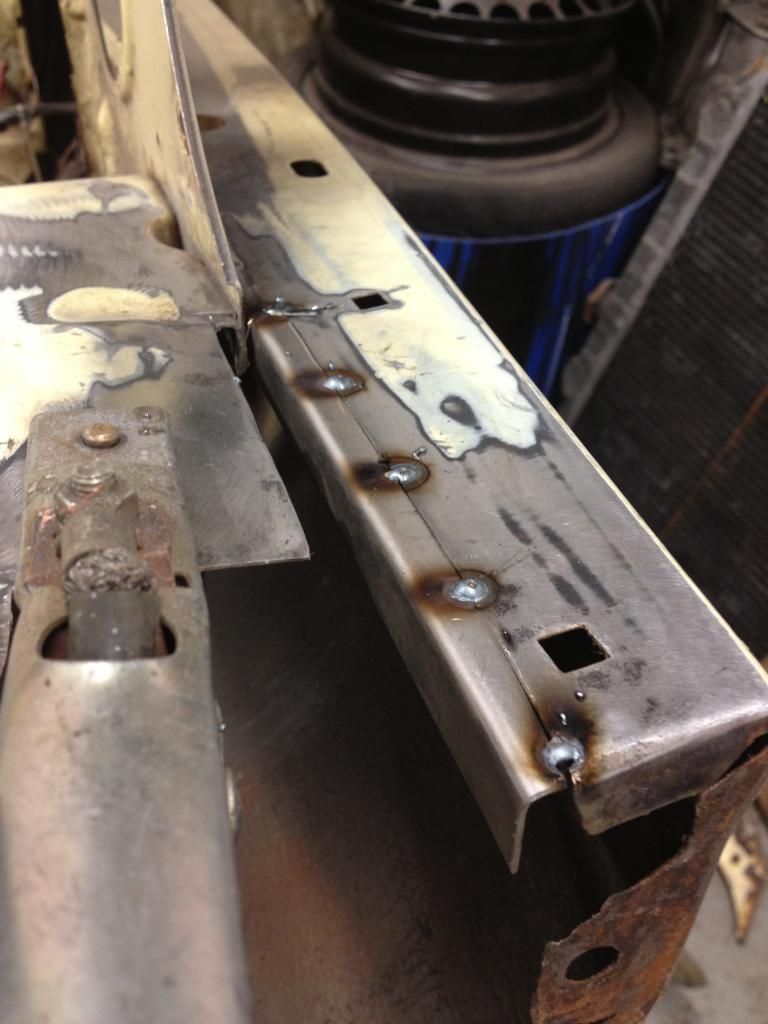
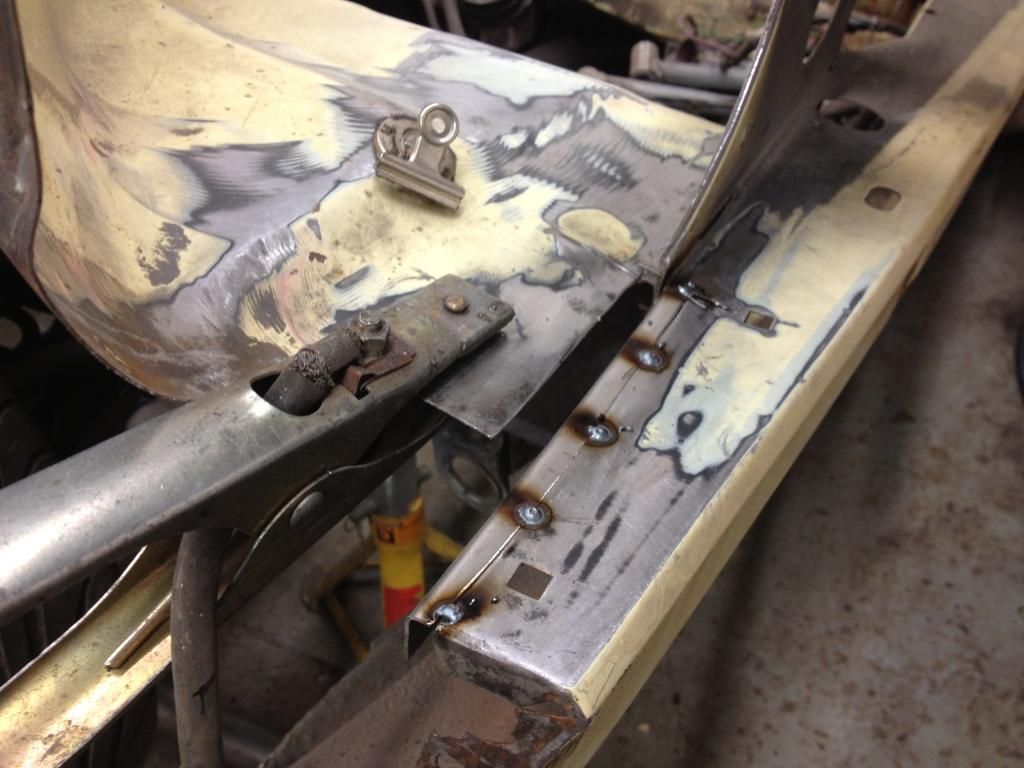
to go here
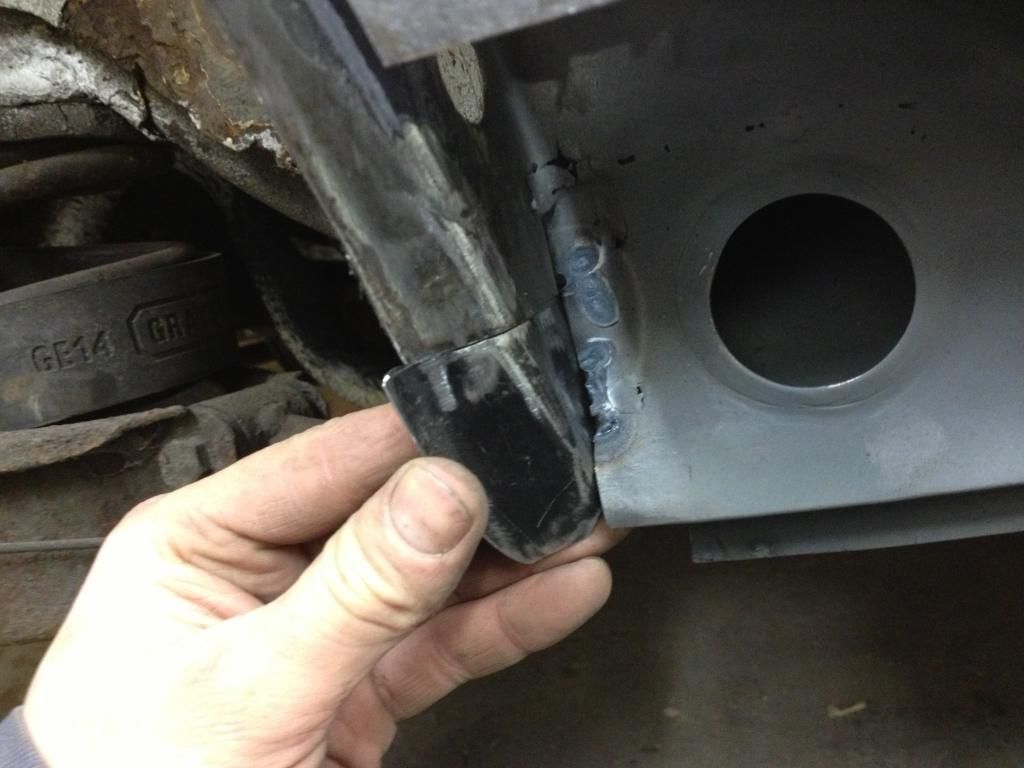
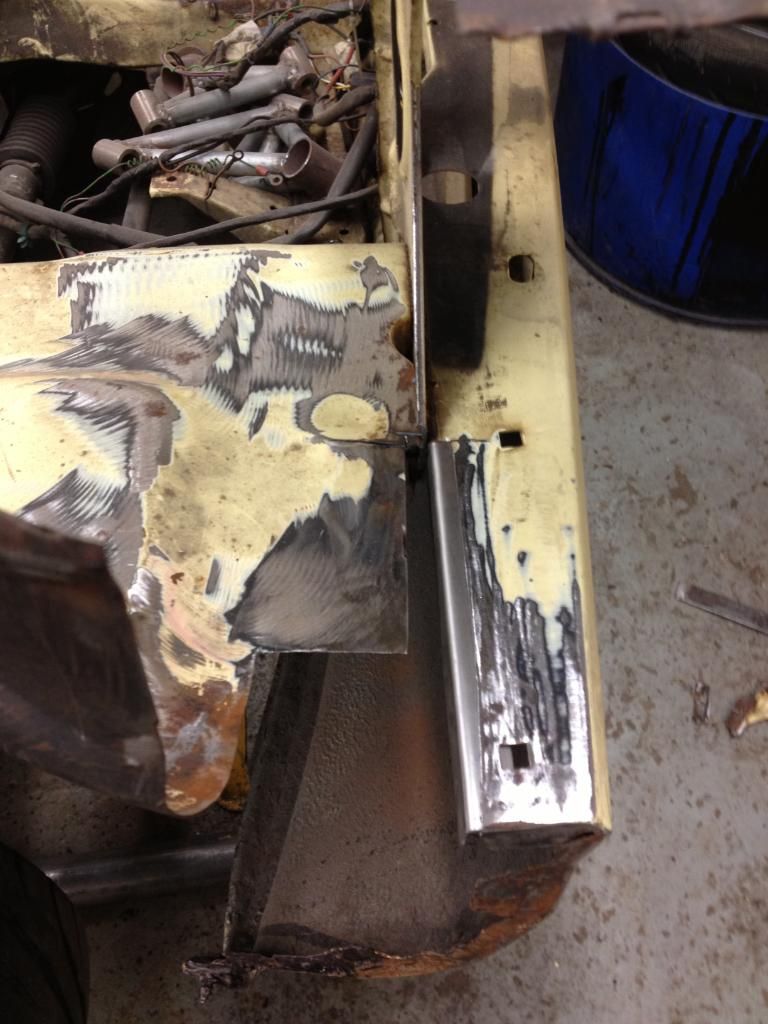
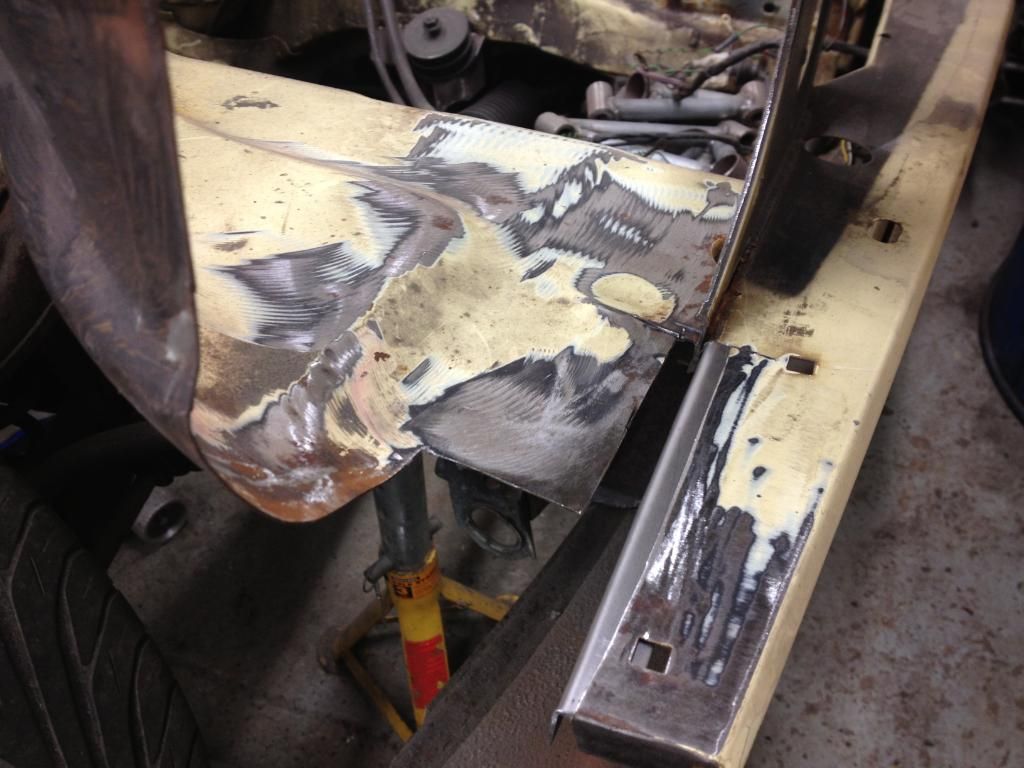
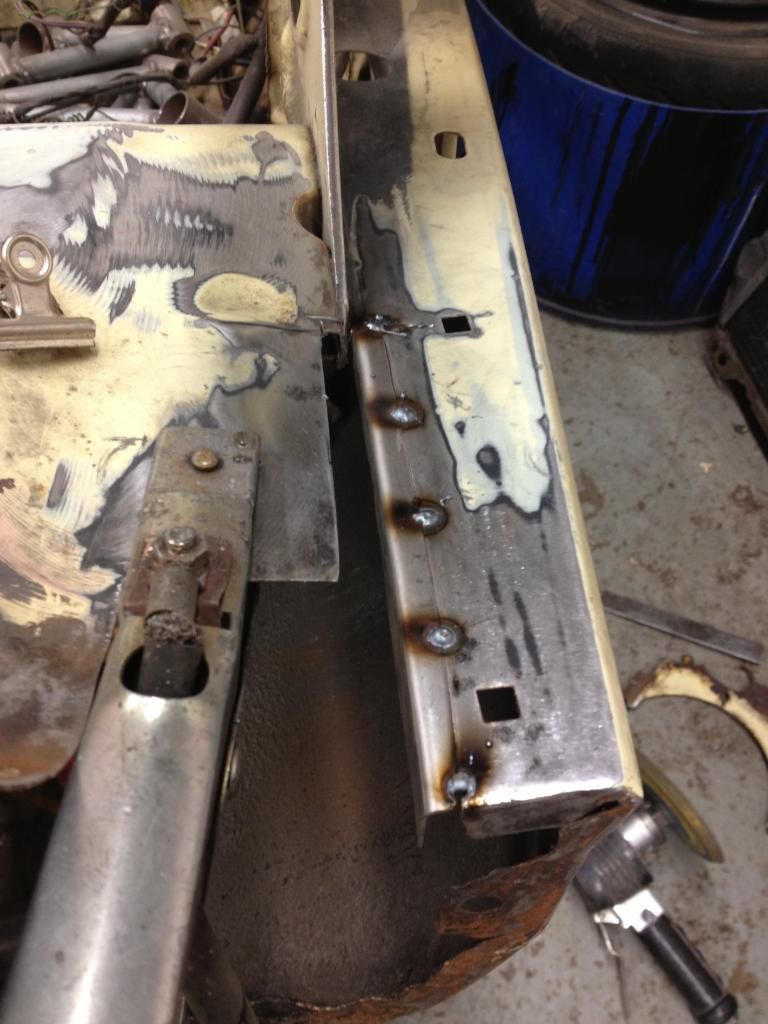
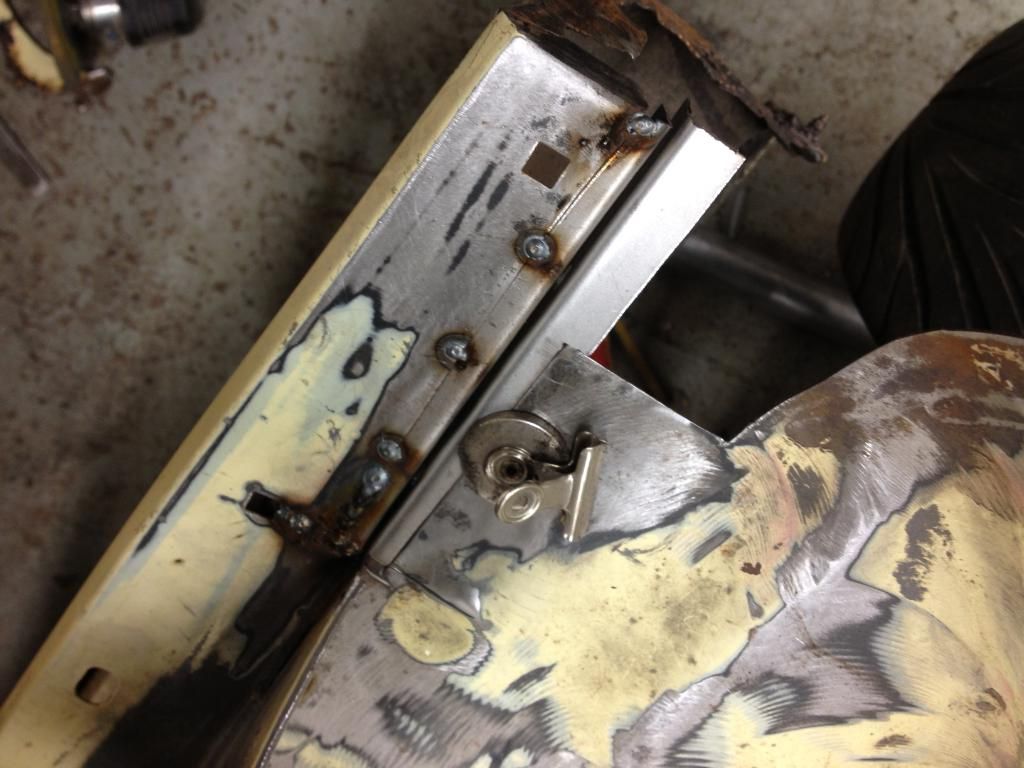
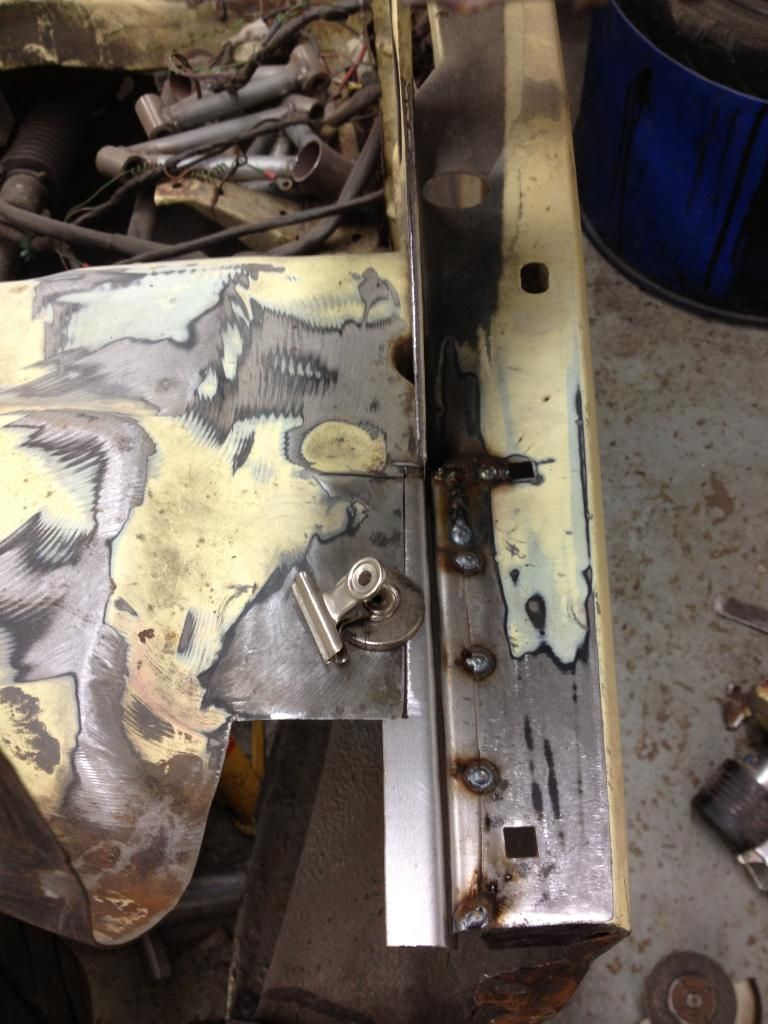
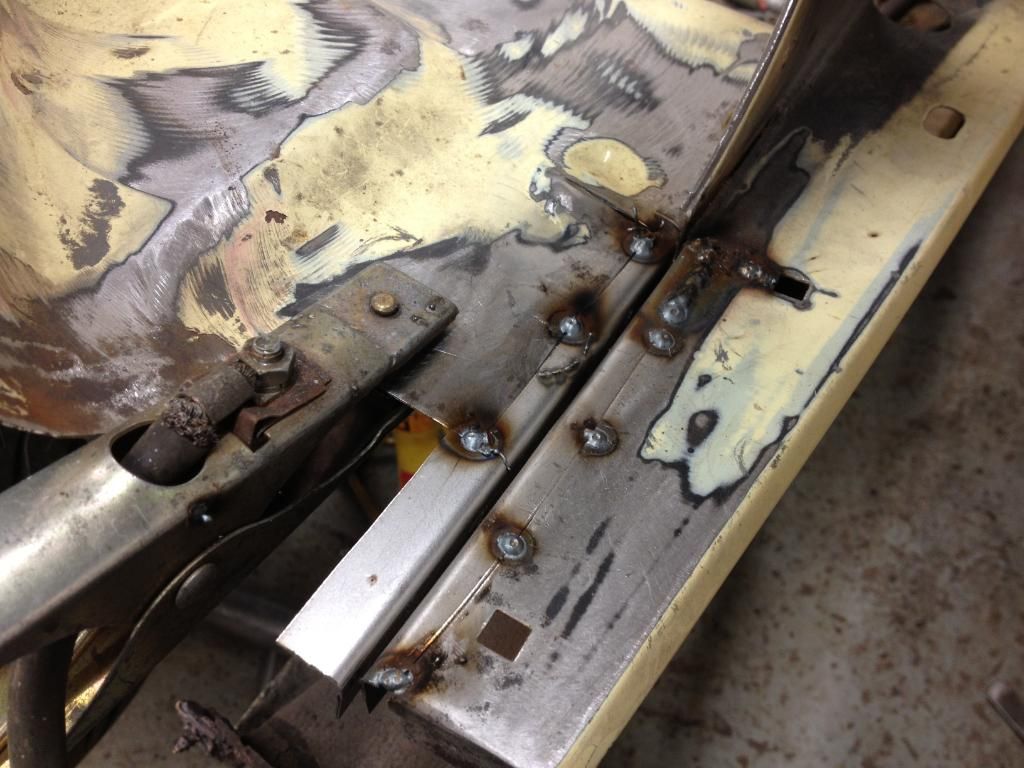
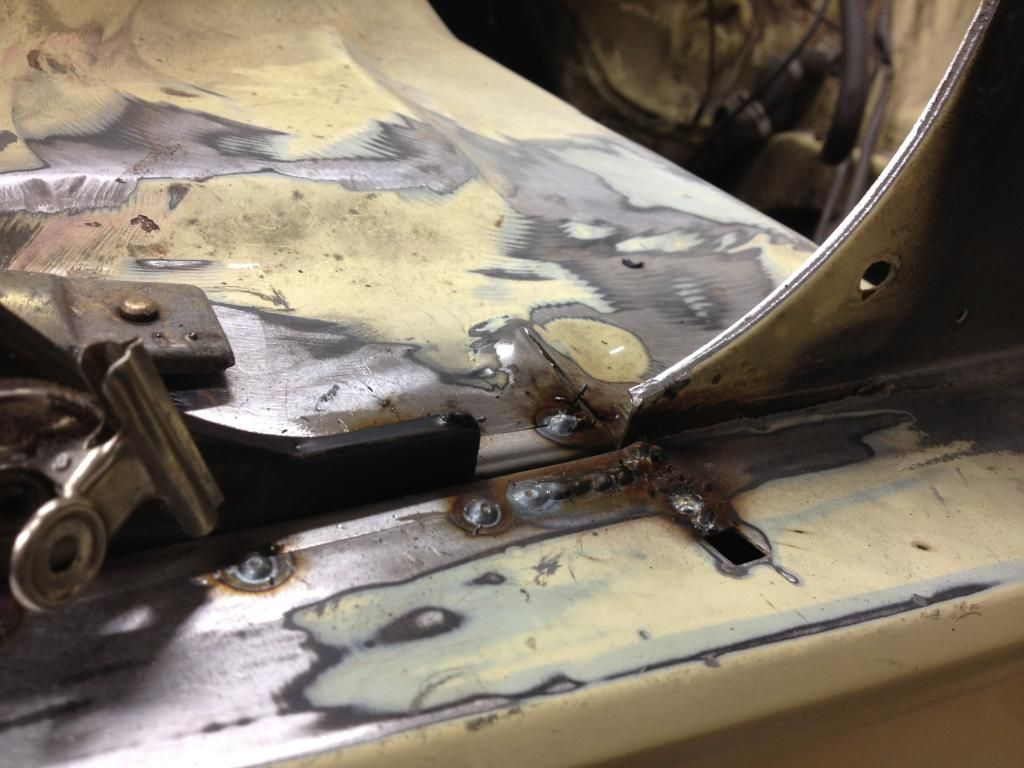
welded
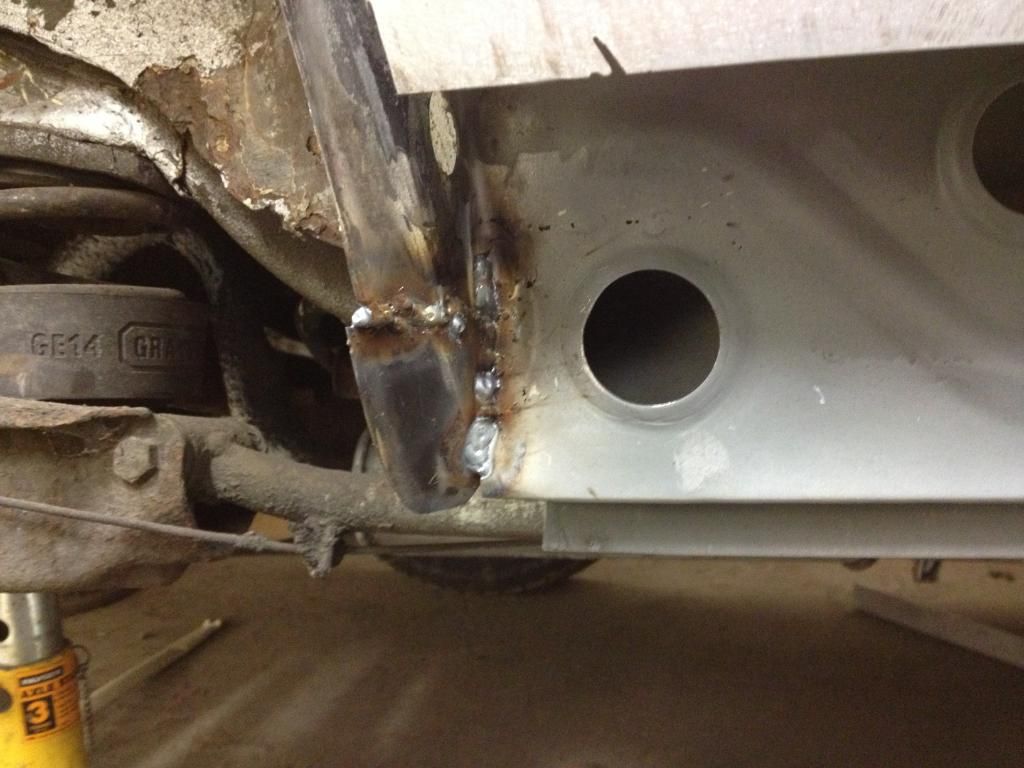
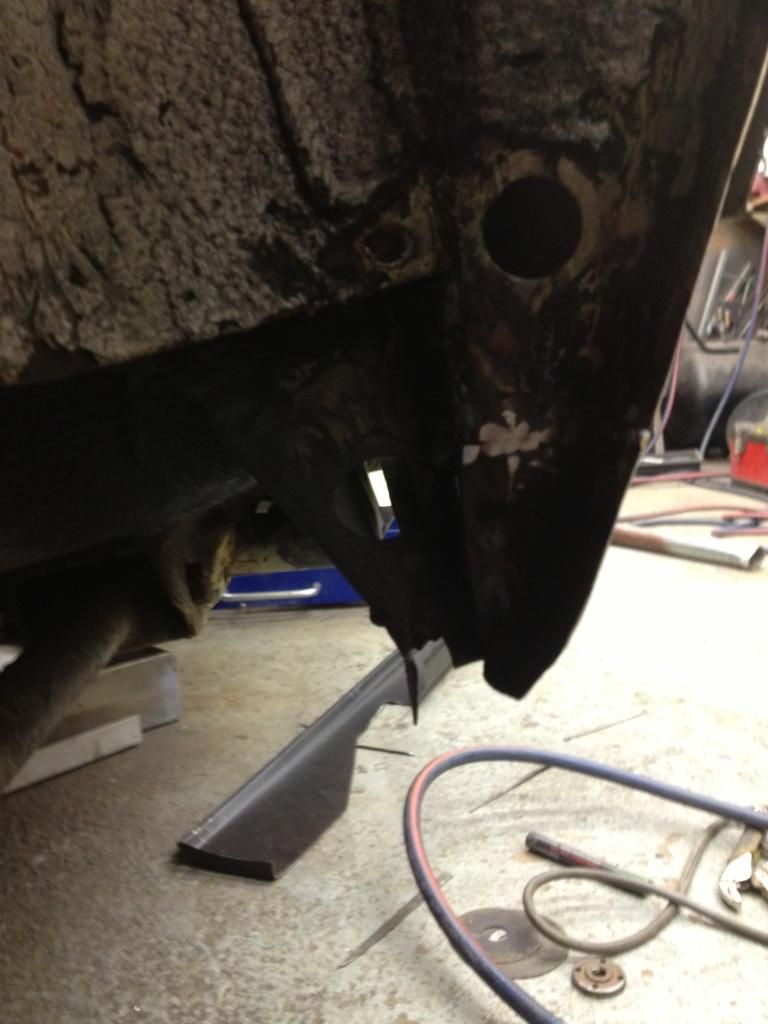
ground back a little
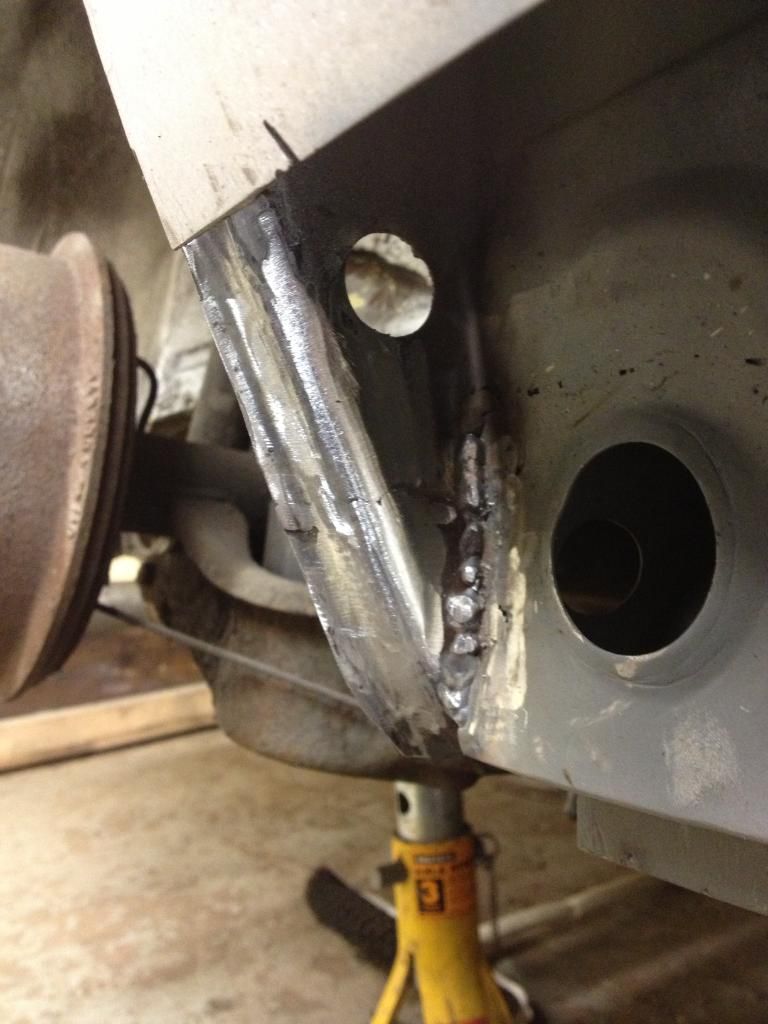
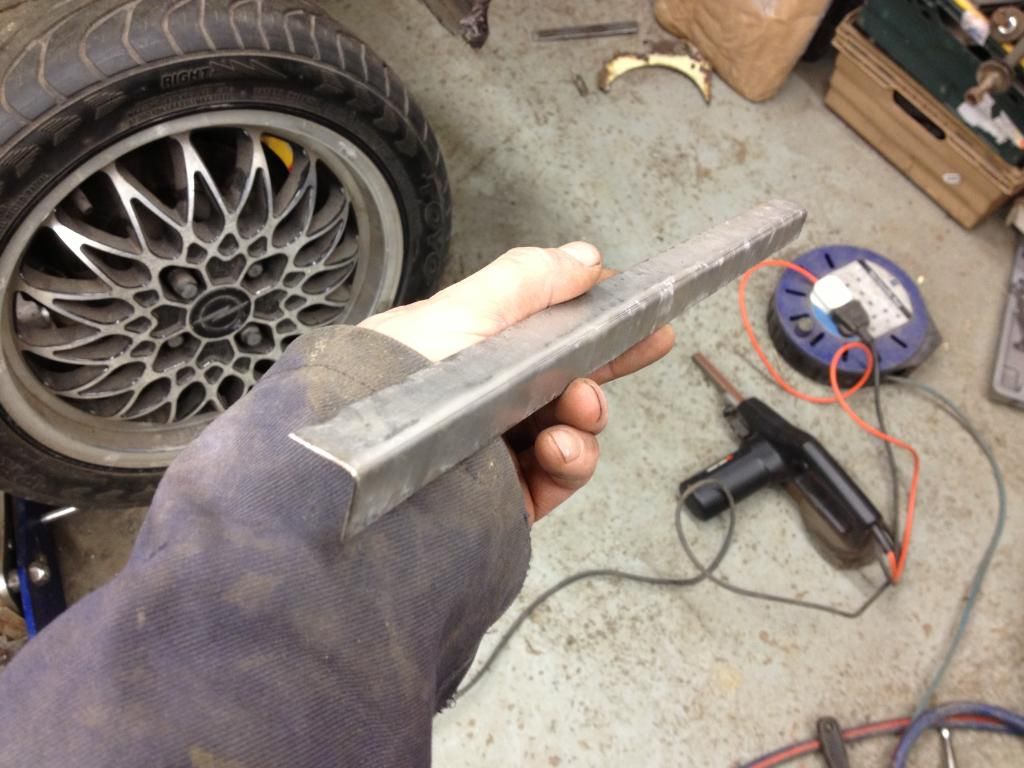
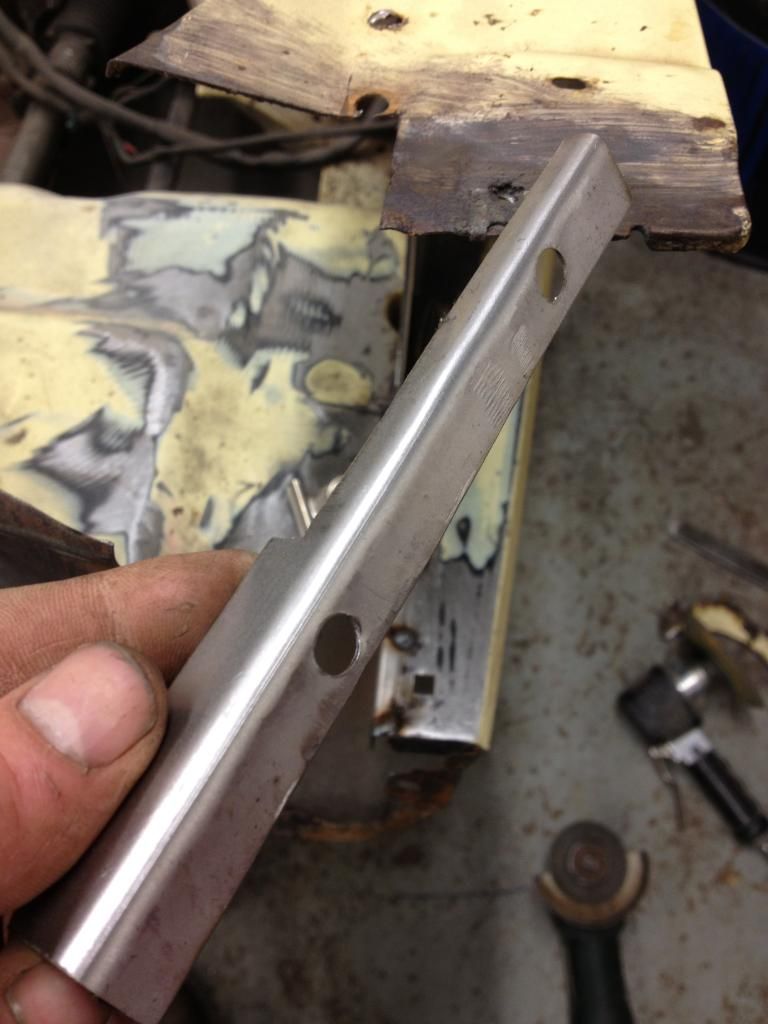
Then made up a return lip
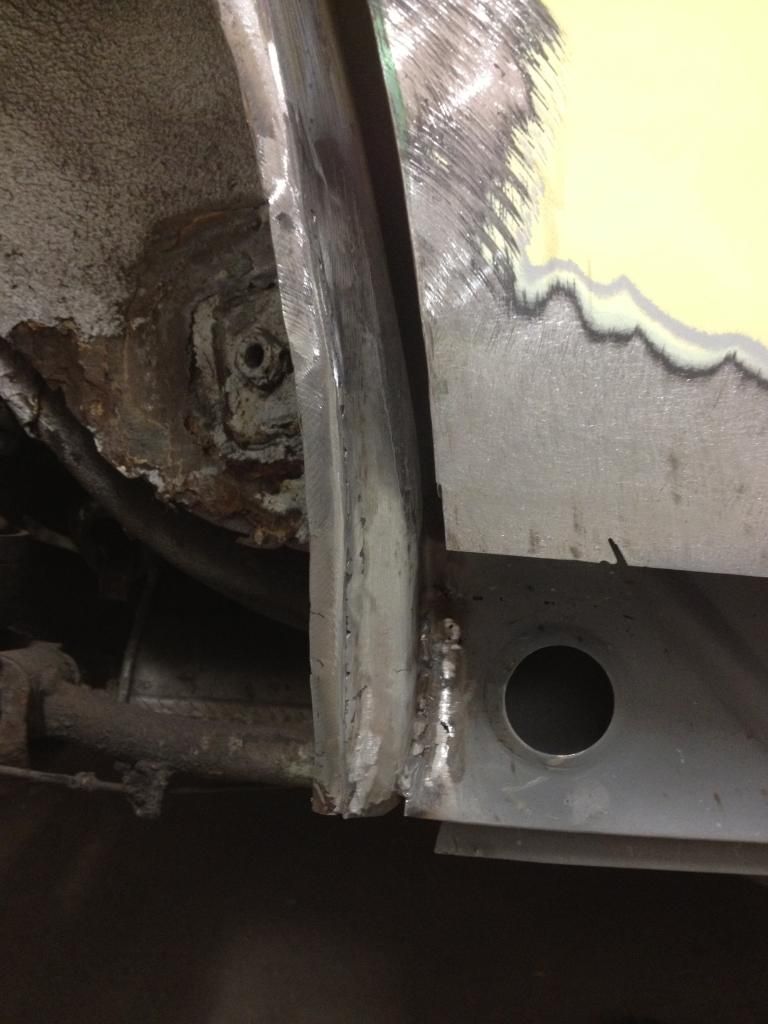
more zinc
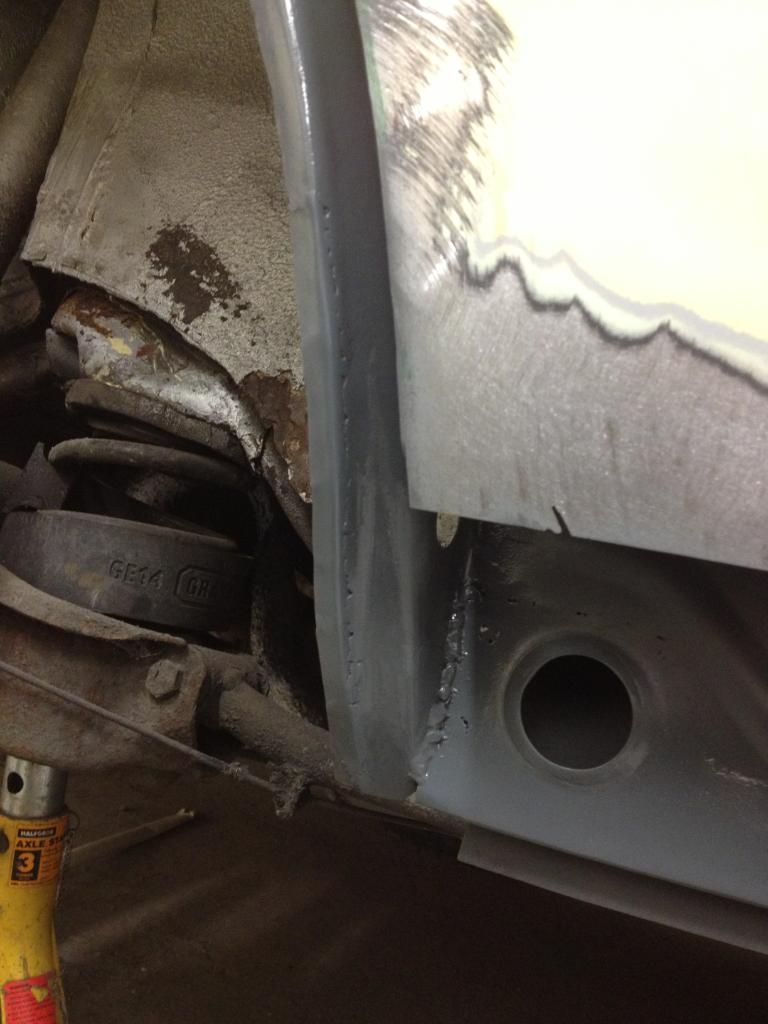
While that was drying i painted the a pillar
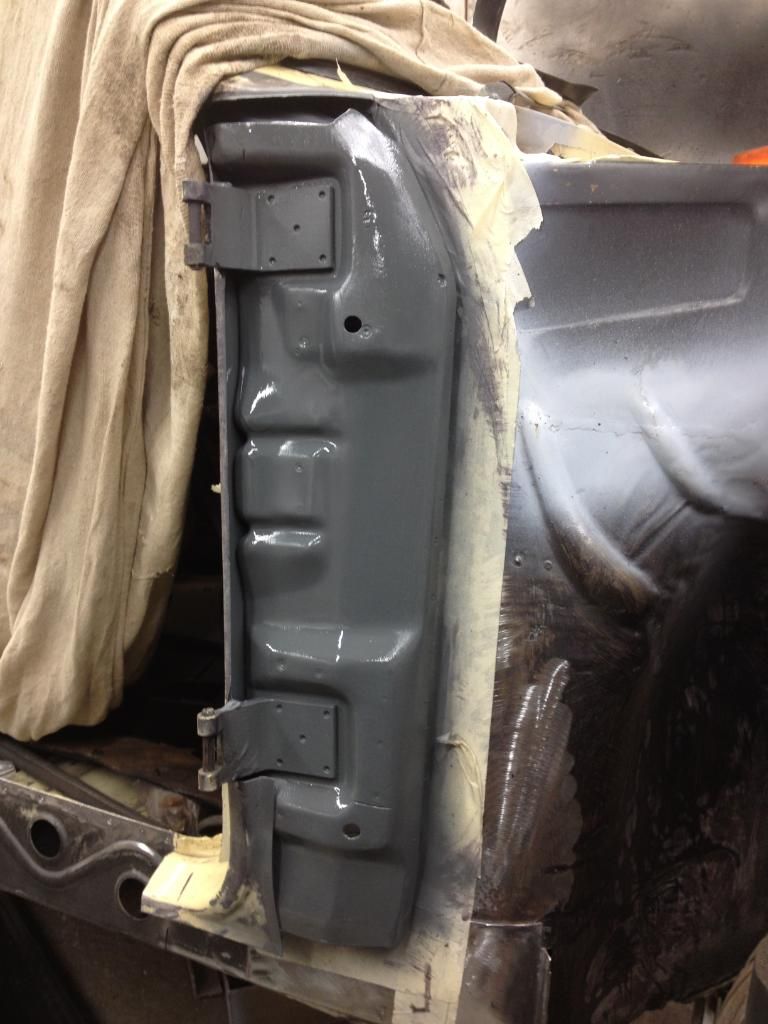
along with the rest of the inner sill
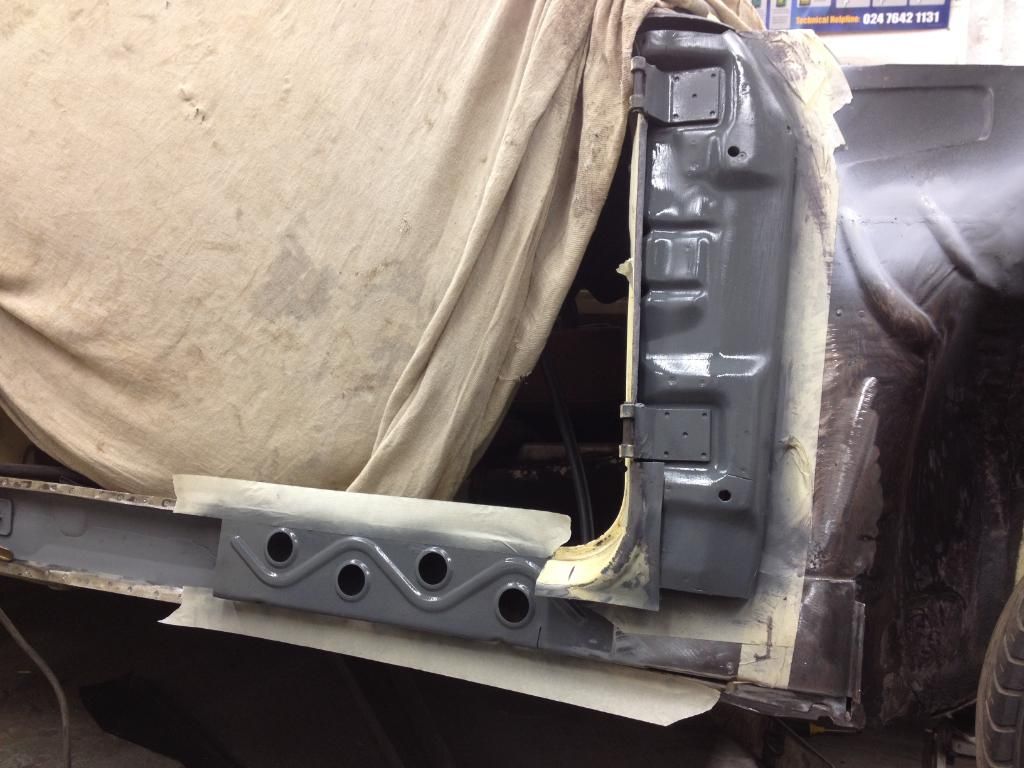
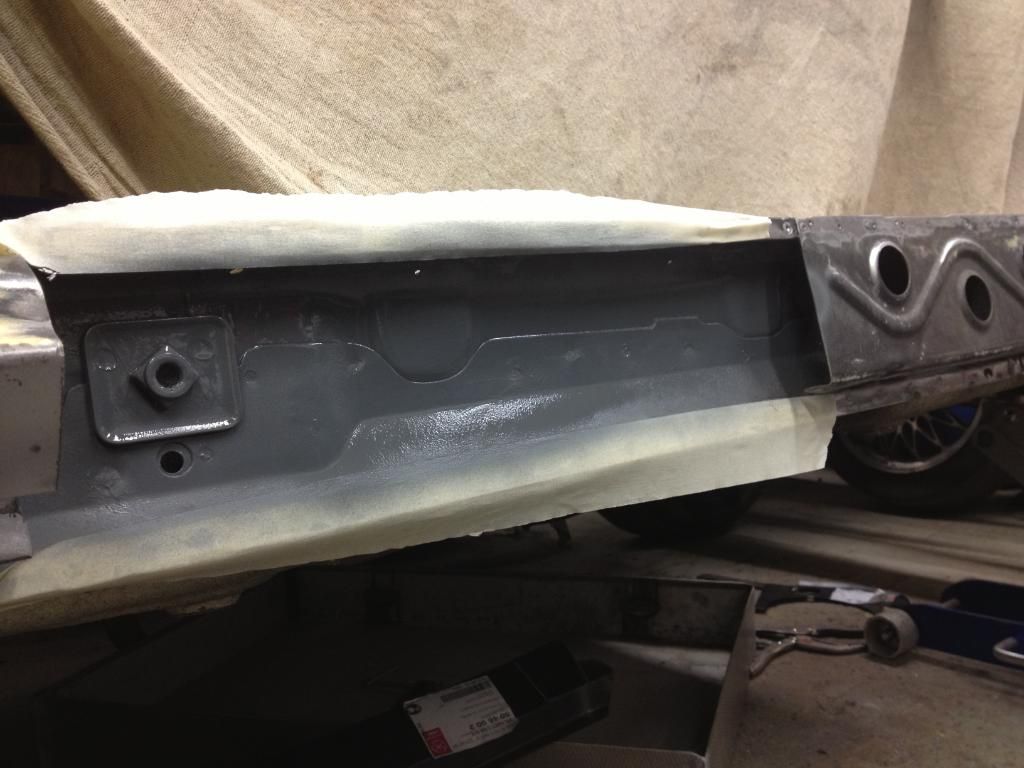
With paint drying all over the place i thought i would take a look at the 'repair' in the O/S inner arch that i had mentioned previously
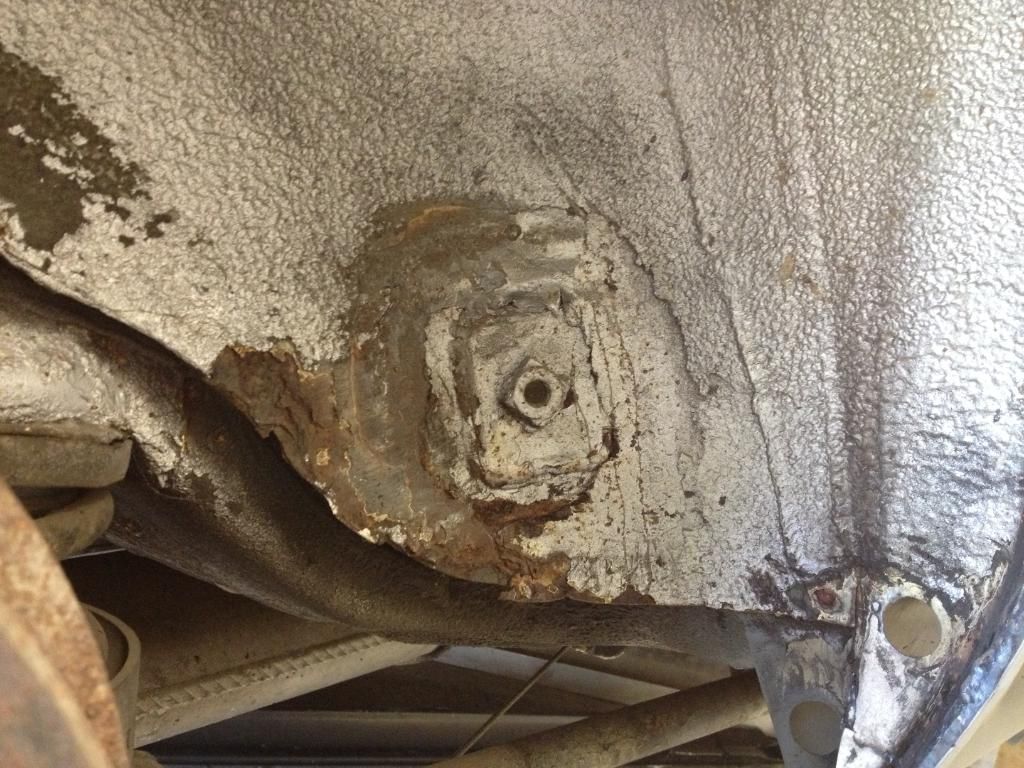
Poor picture but this was the hole below that repair between the chassis leg and inner arch
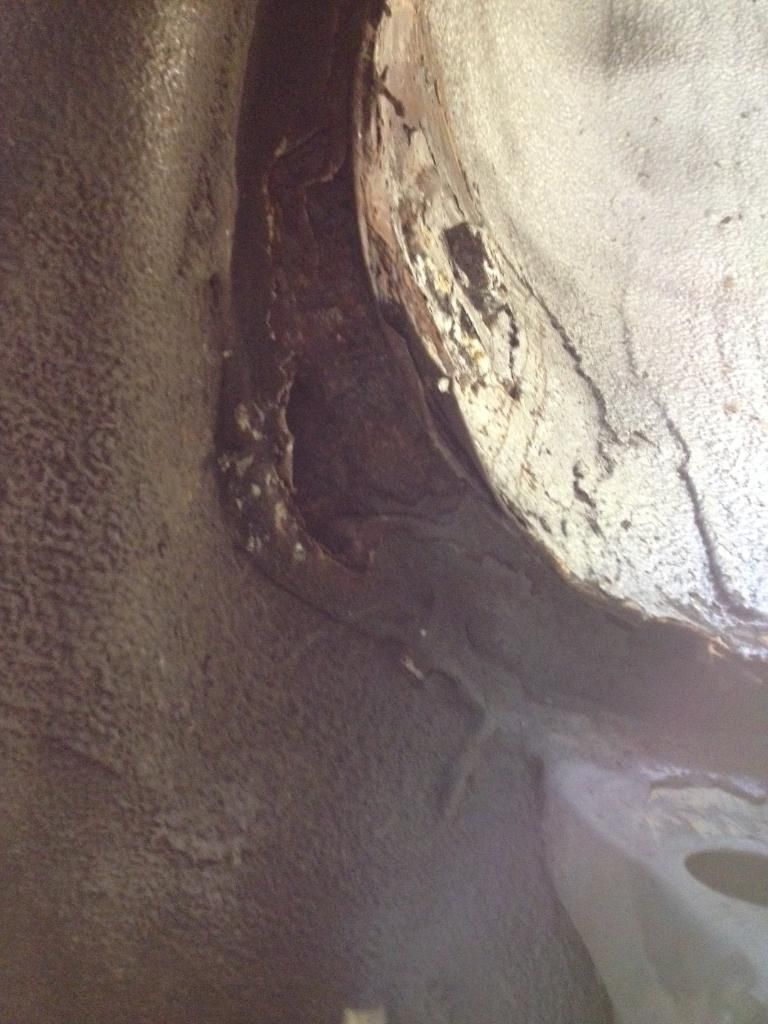
from the inside
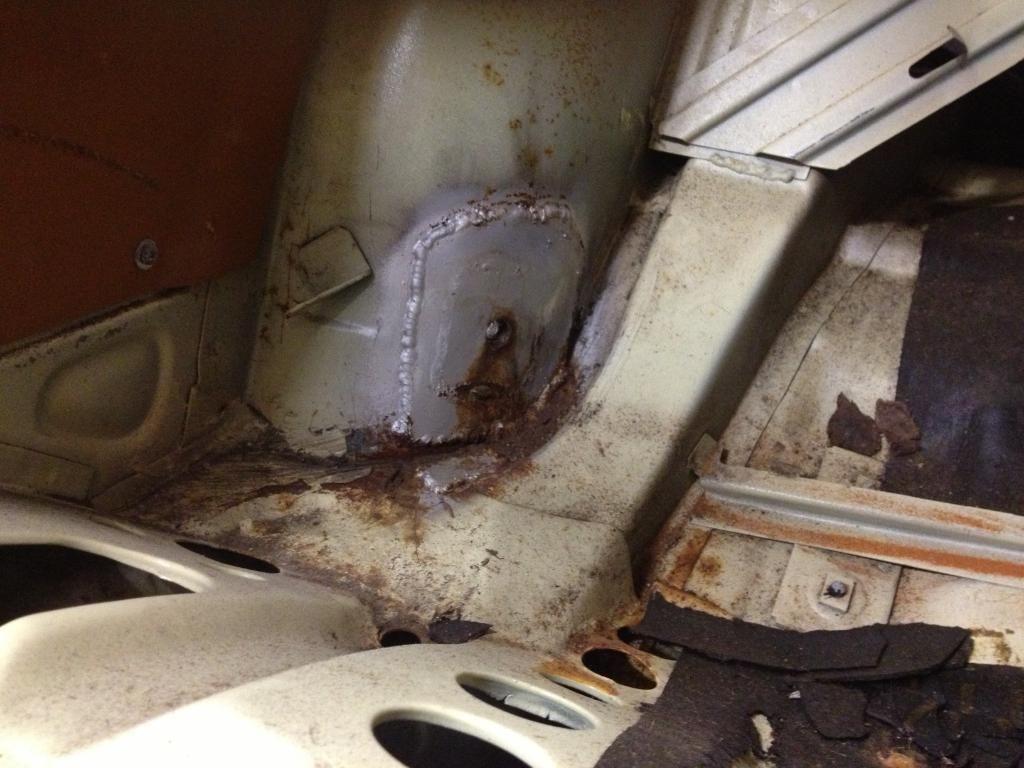
In order to repair it i needed the rear seat support out of the way as its covering part of the rust hole in the corner (it needs to be removed to fit the 4 link anyway)
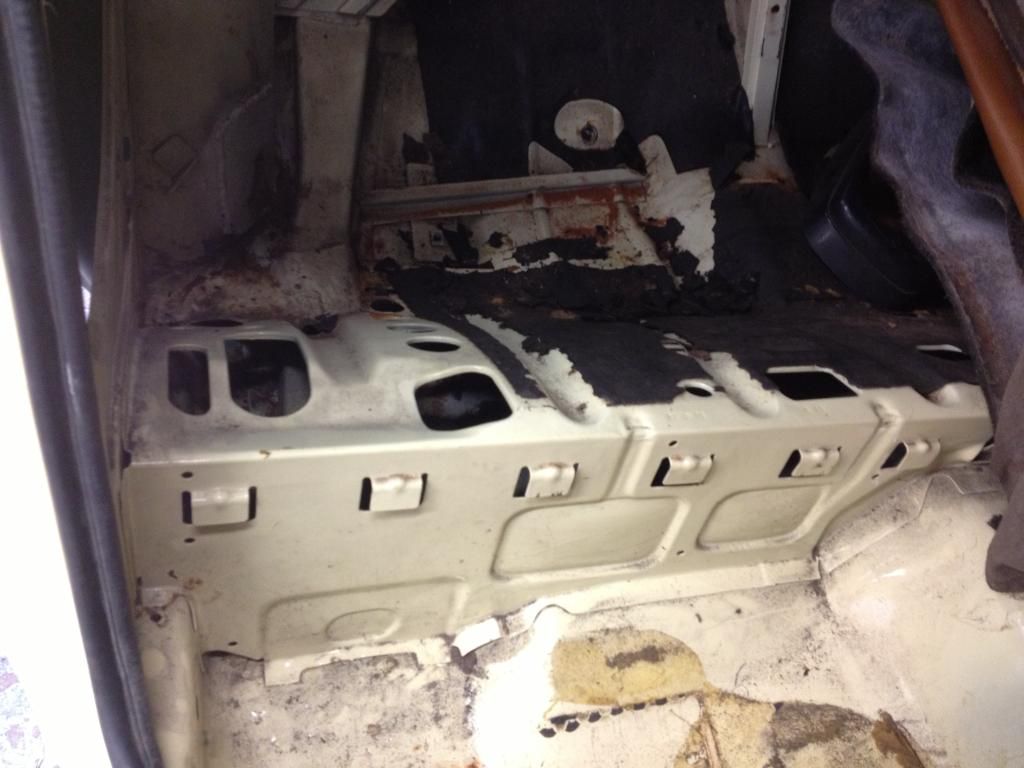
I made myself a cave to protect the glass from grinding sparks etc
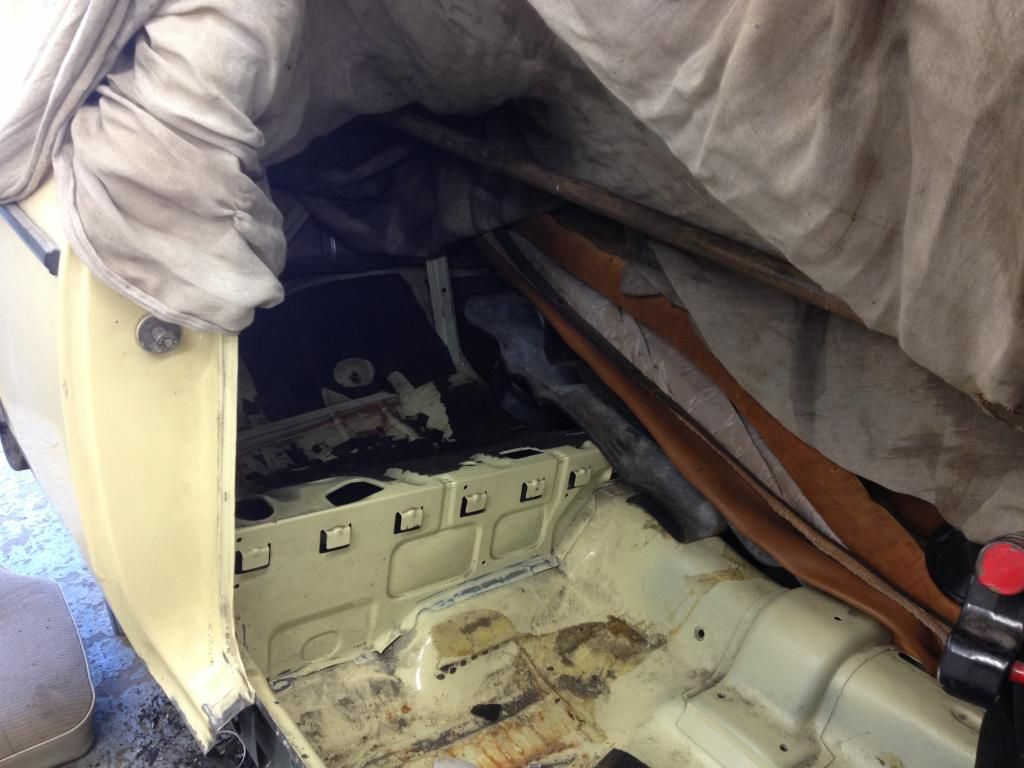
and got grinding
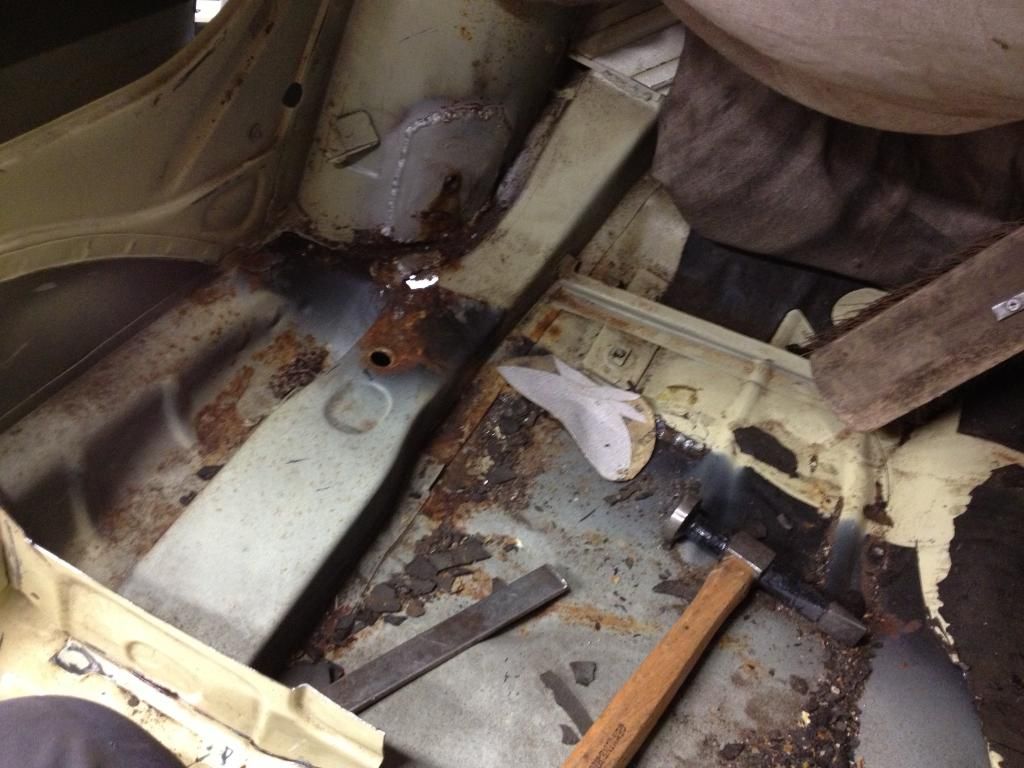
to reveal this
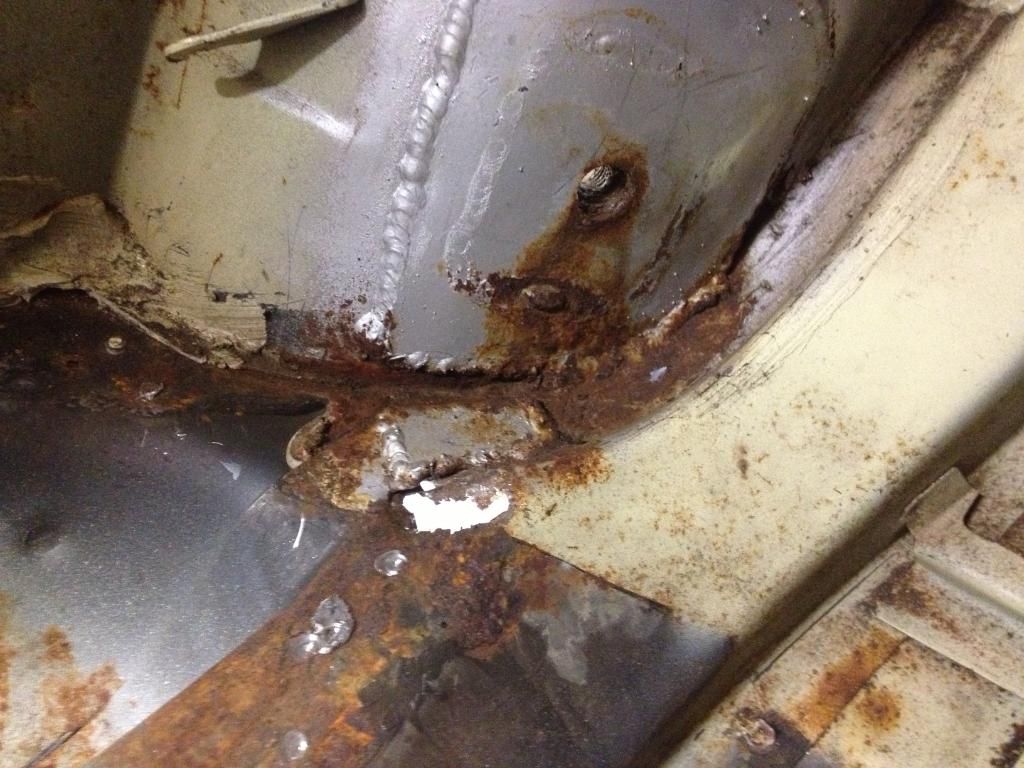
Back outside of the car i could now remove the under seal to get a better look at the rust hole.
heated and scraped first
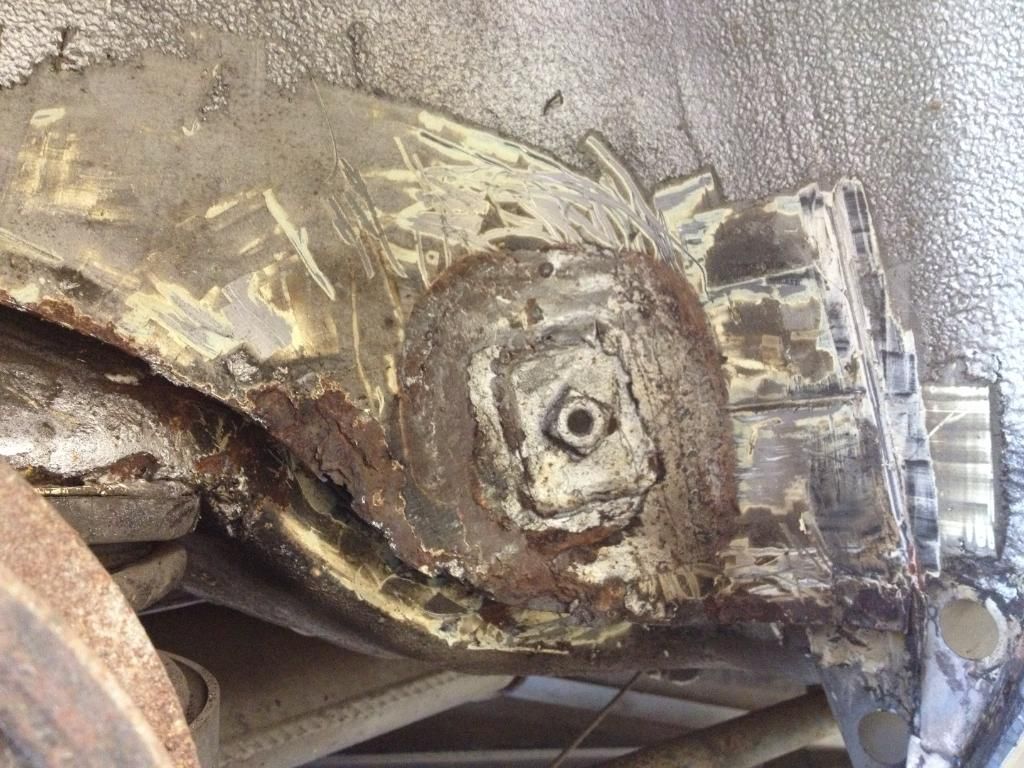
then wire wheeled
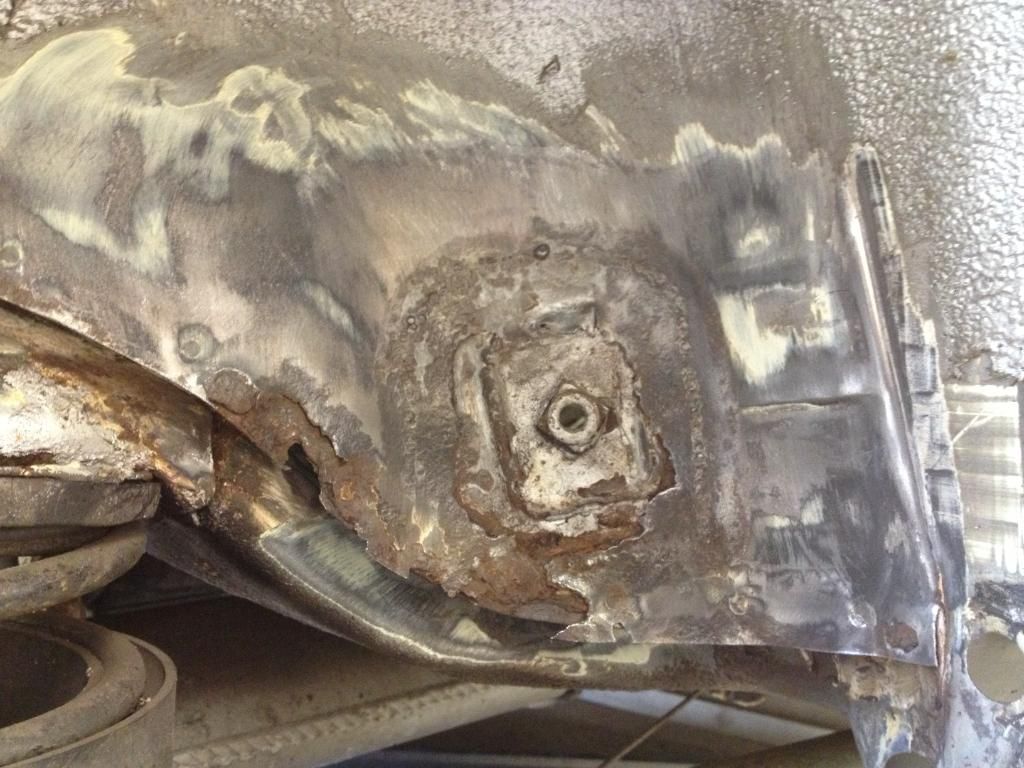
Out with the grinder
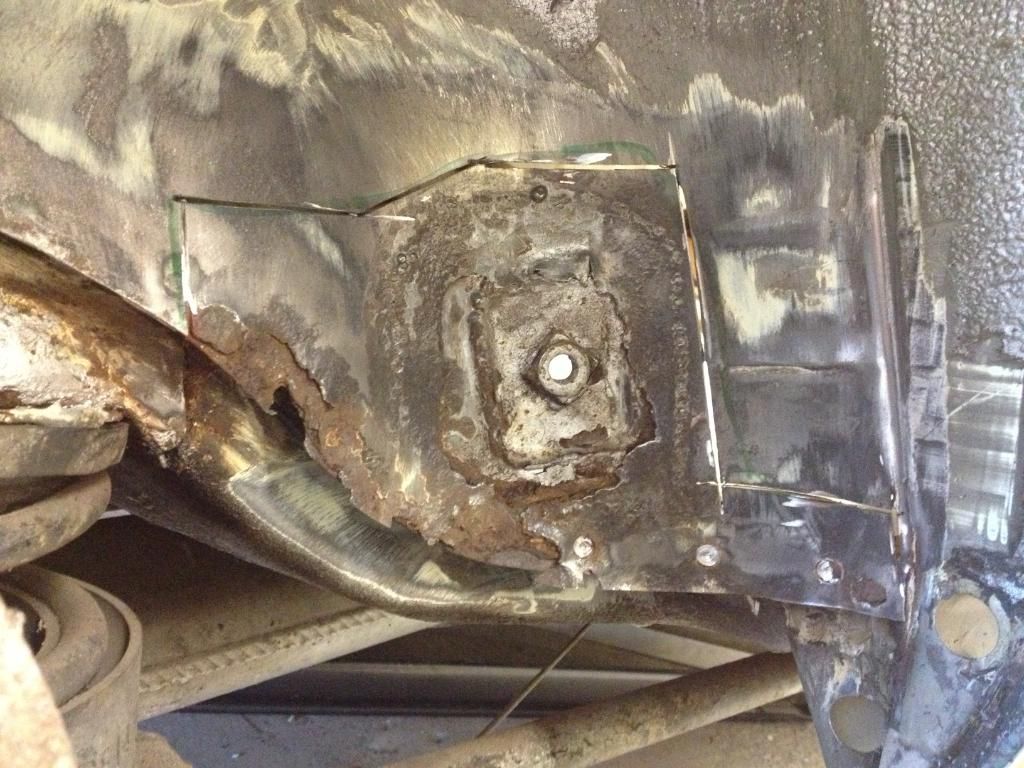
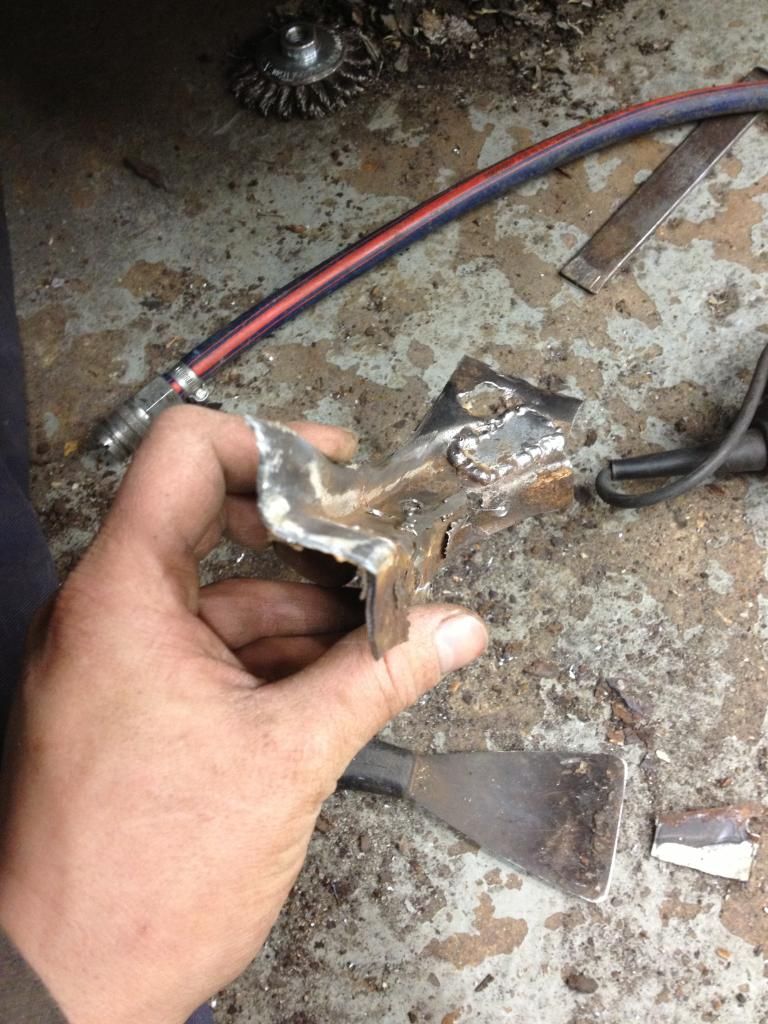
to carefully remove this piece
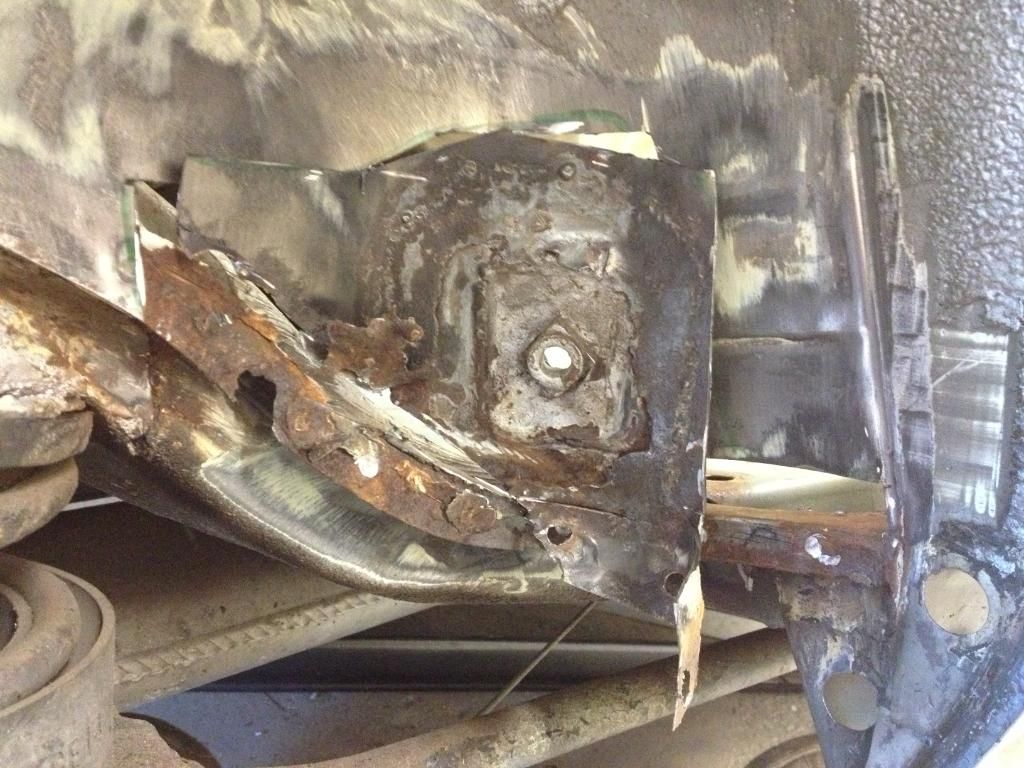
as so
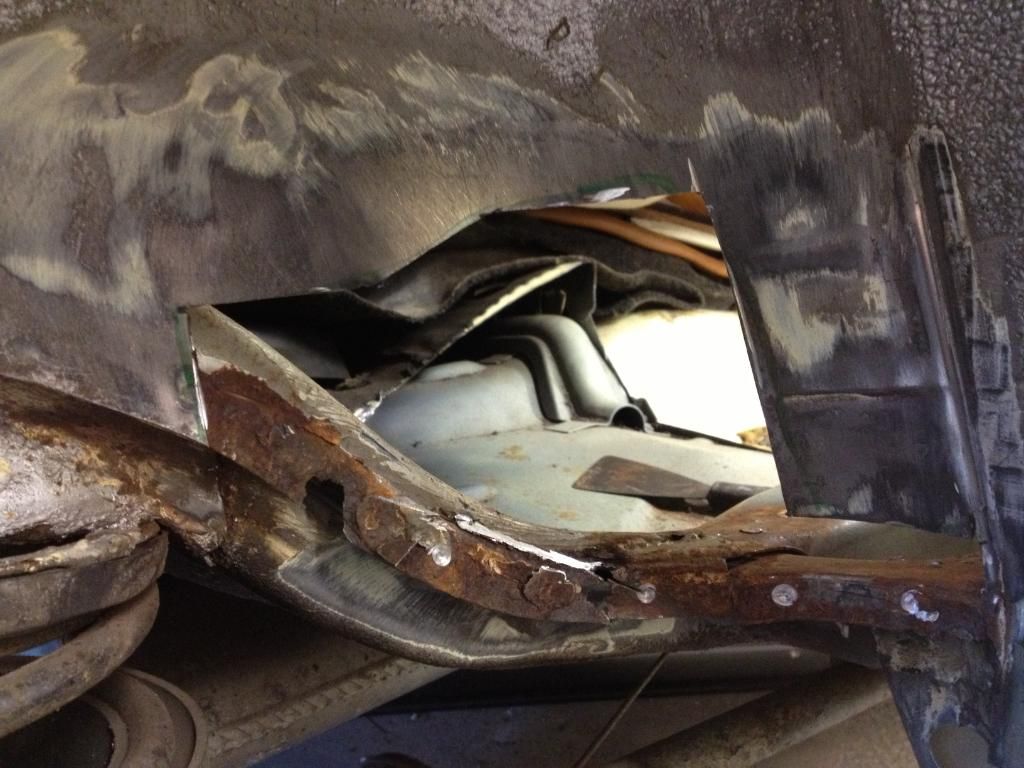
Then i cut a little more away from the inner arch to make the repair job a little easier- from the grind line above the spring location back.
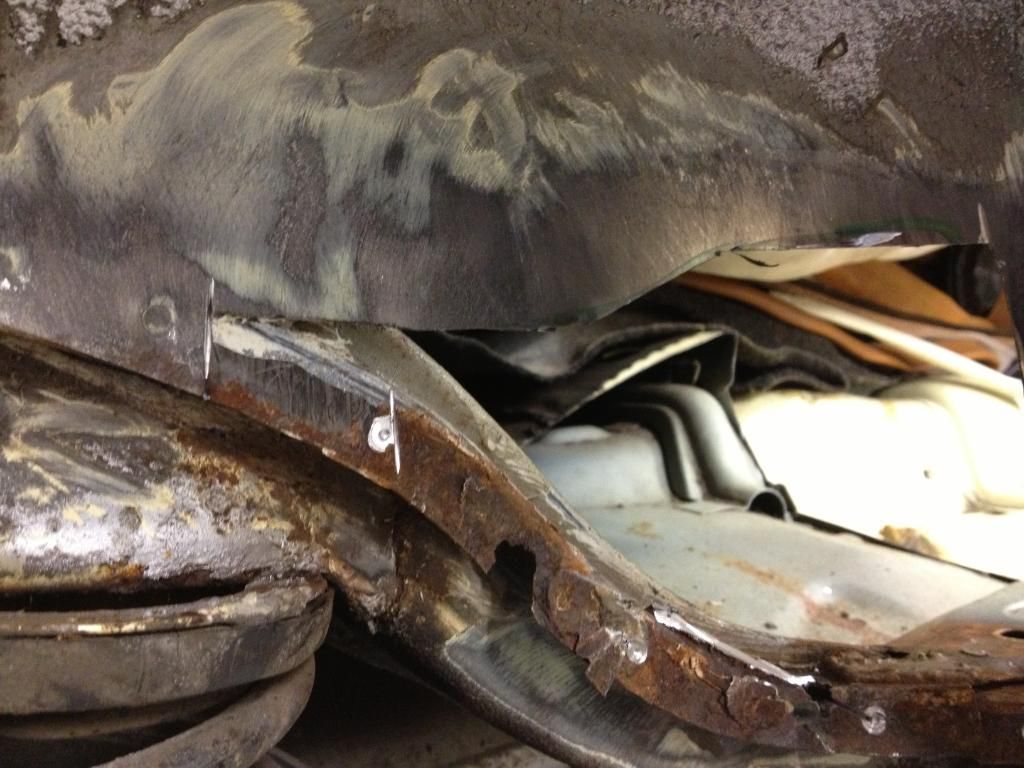
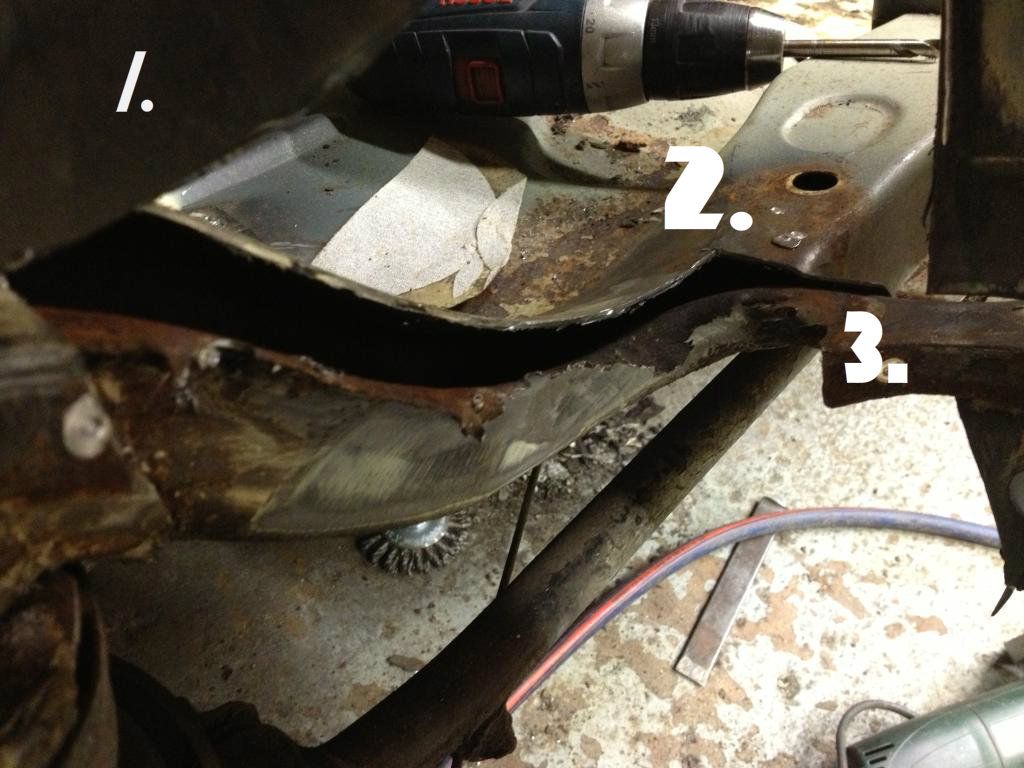
Back inside the car i could now see there were three skins involved here.
1. the outer arch
2. the top half of the chassis leg
3. the bottom half of the chassis leg and the rest of the body
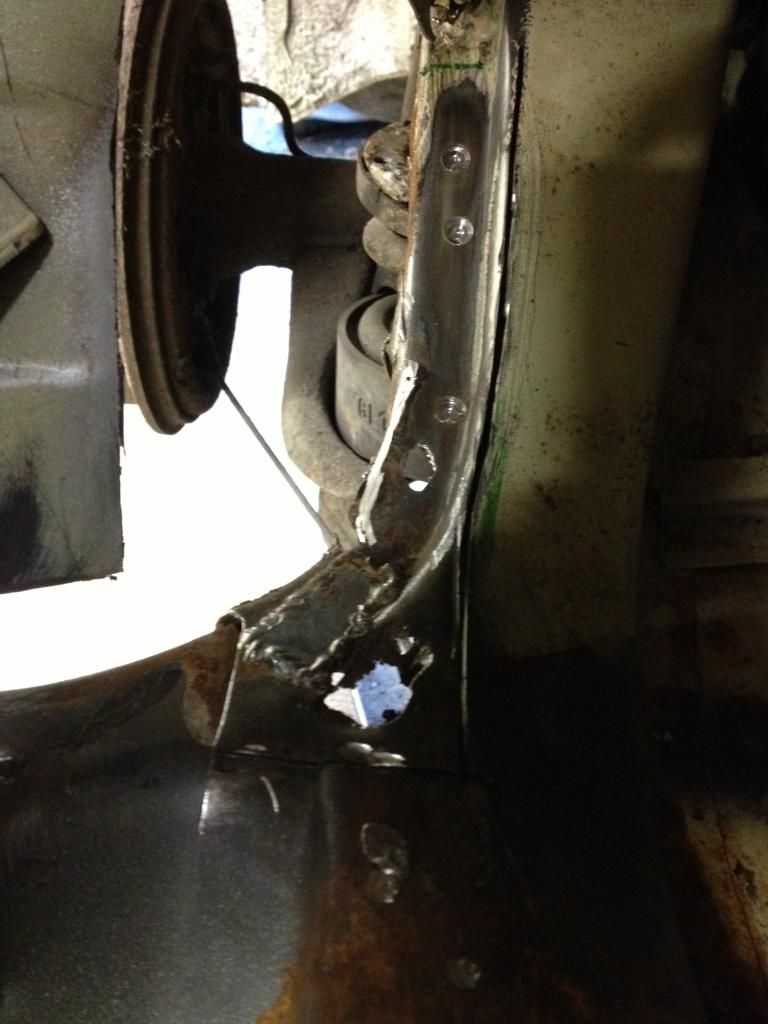
As you can see in the pic above the chassis leg has been patched from above but its continued to rot out from under neath
So carefully i began to dissect it further
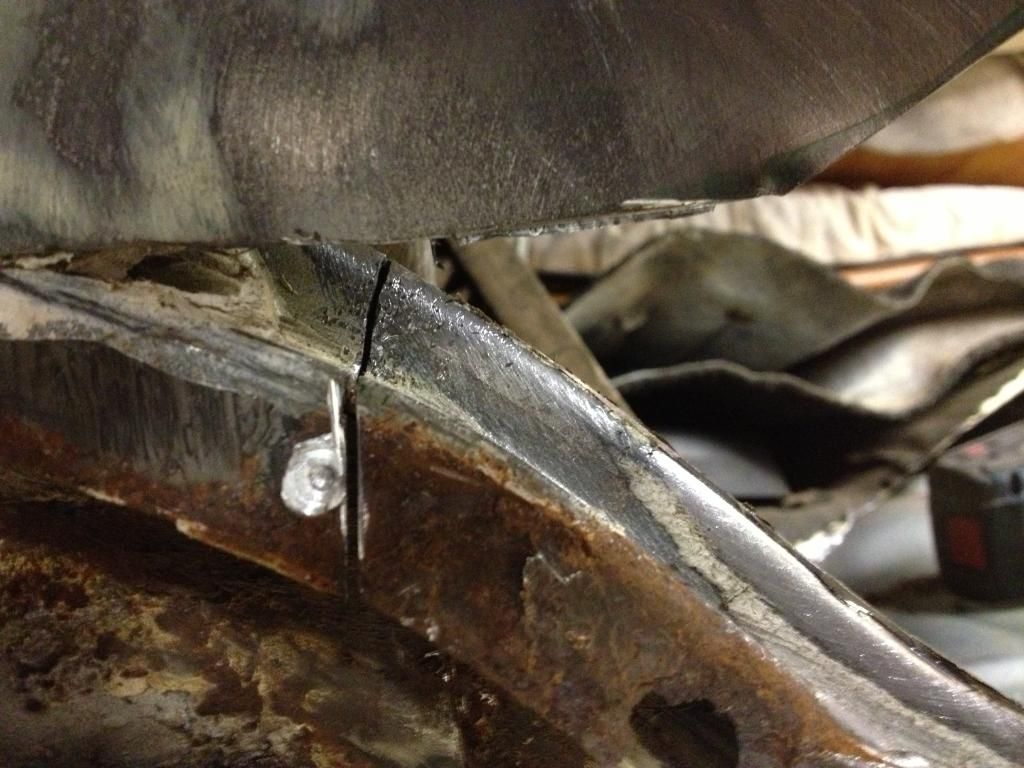
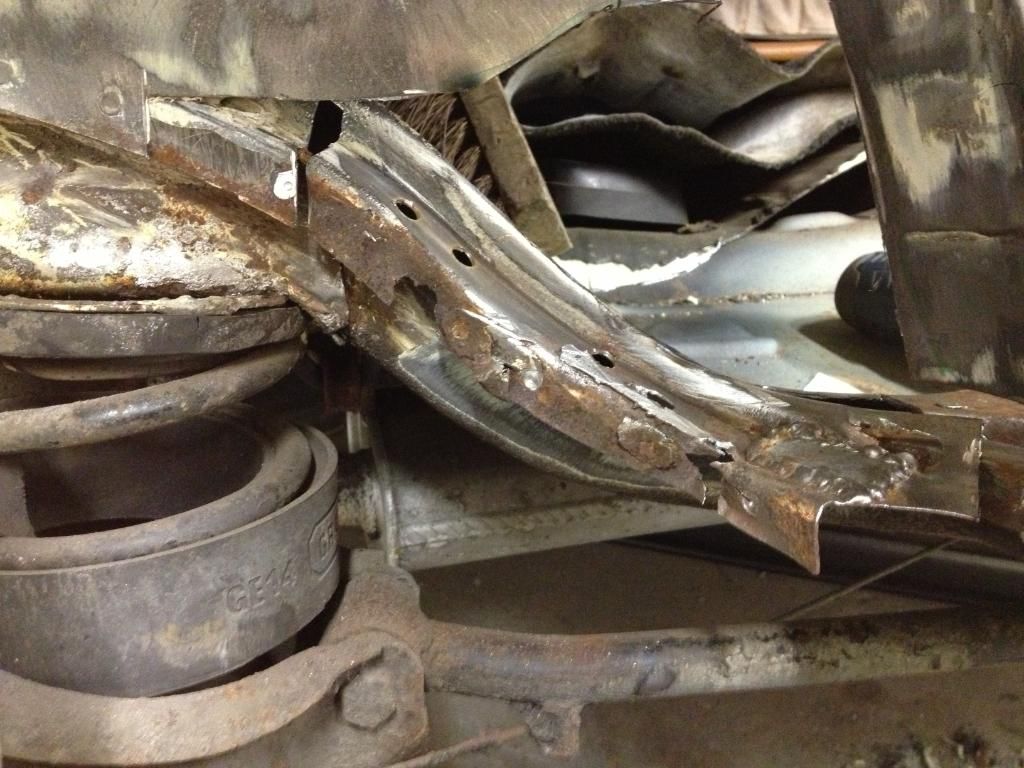
leaving this
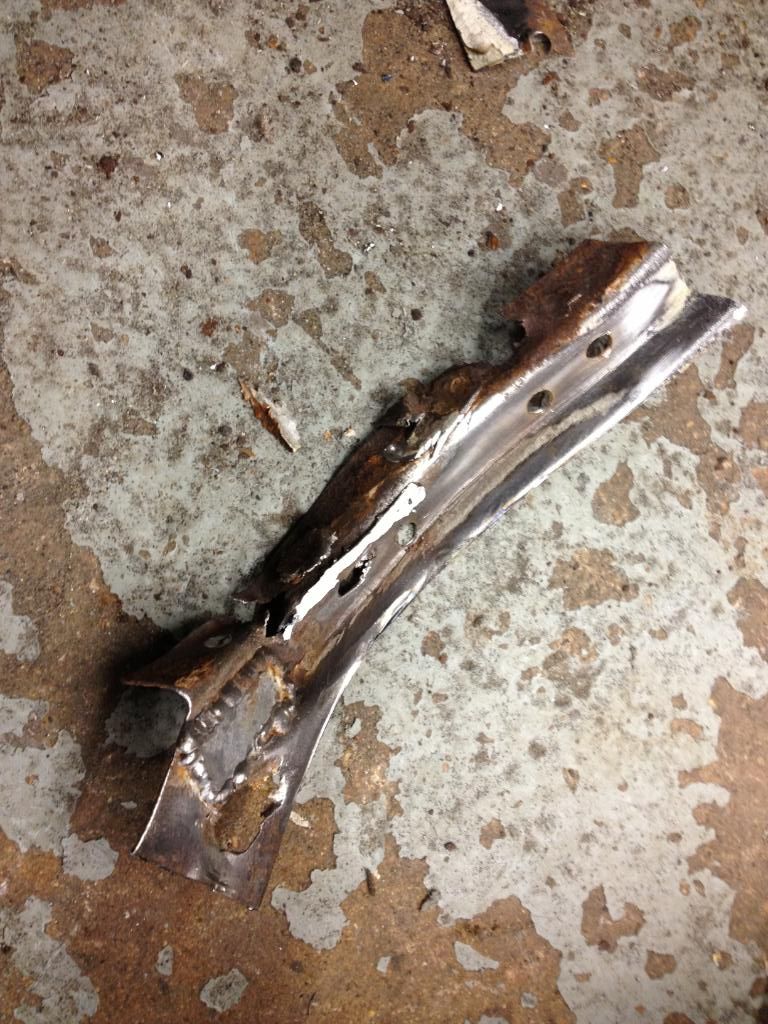
and this
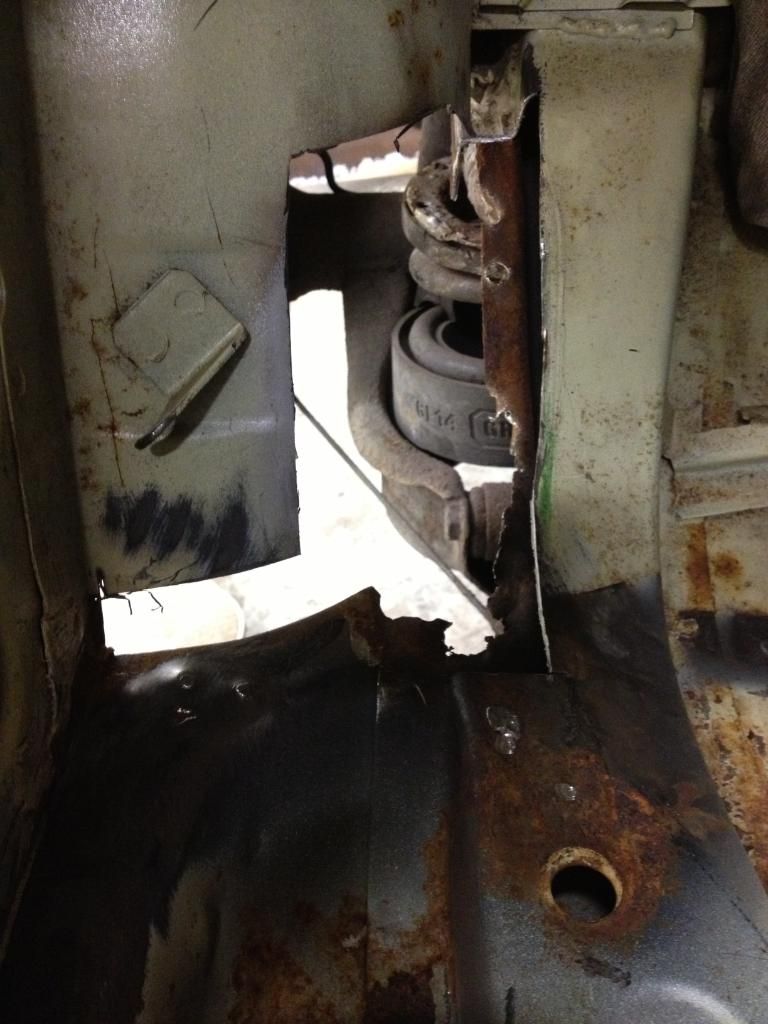
That looks like a pain to remake
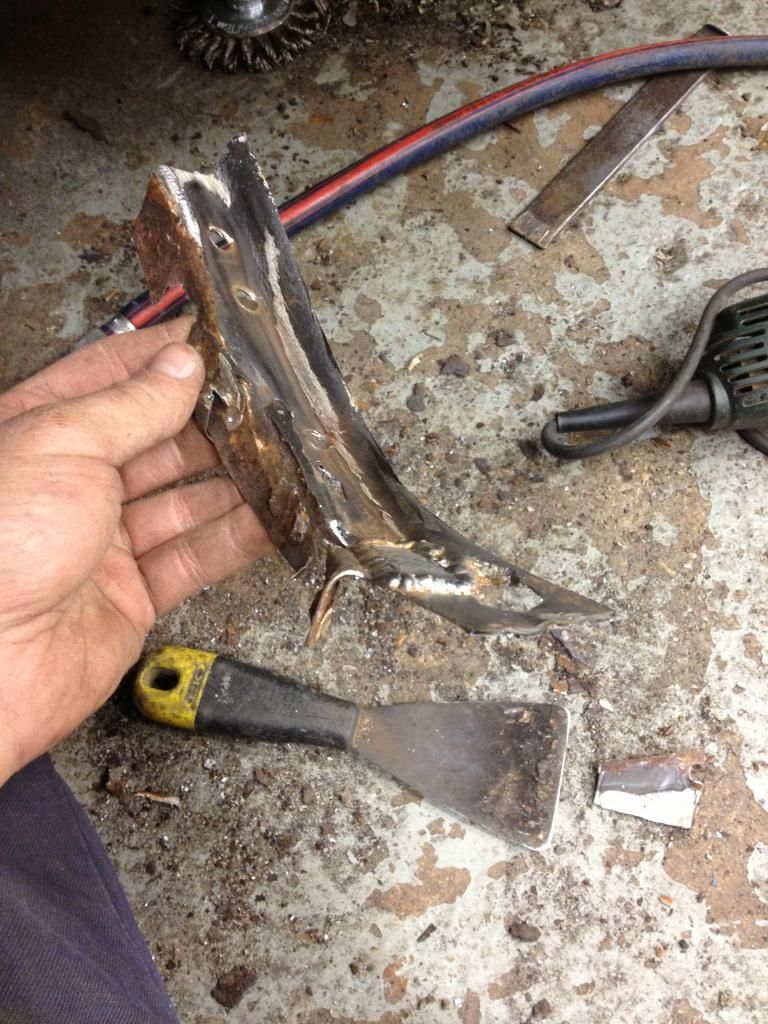
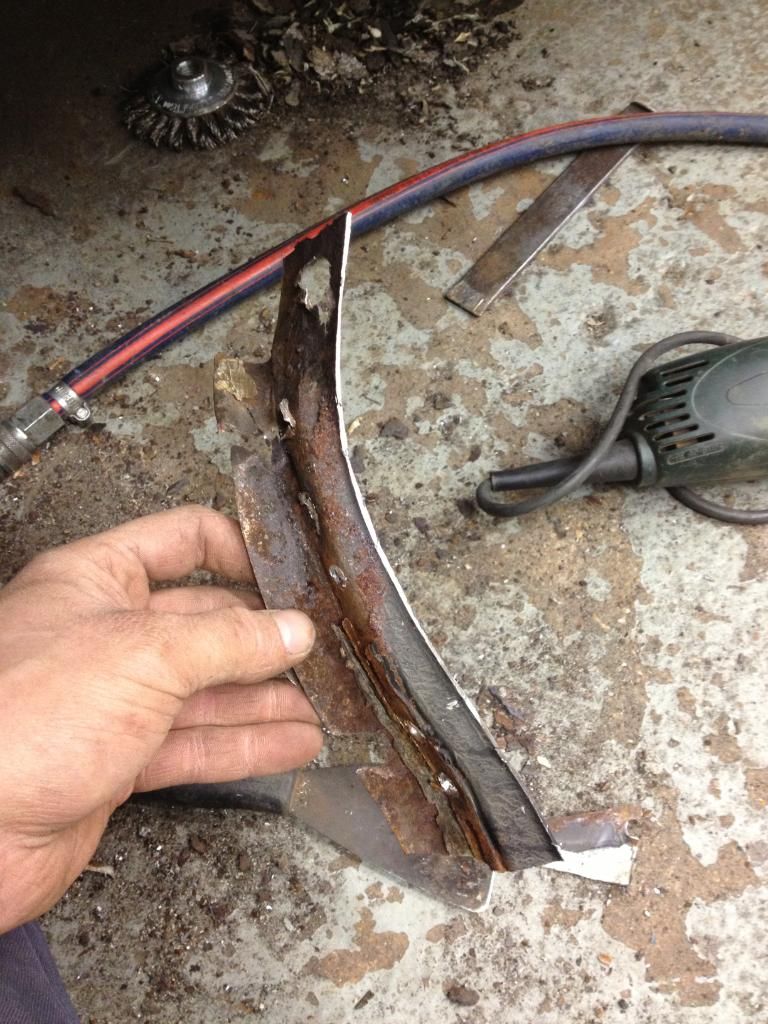
Here you can see the 3 skins better
Lets start the repair with number 3 the lower chassis leg, what remains of it looks like this
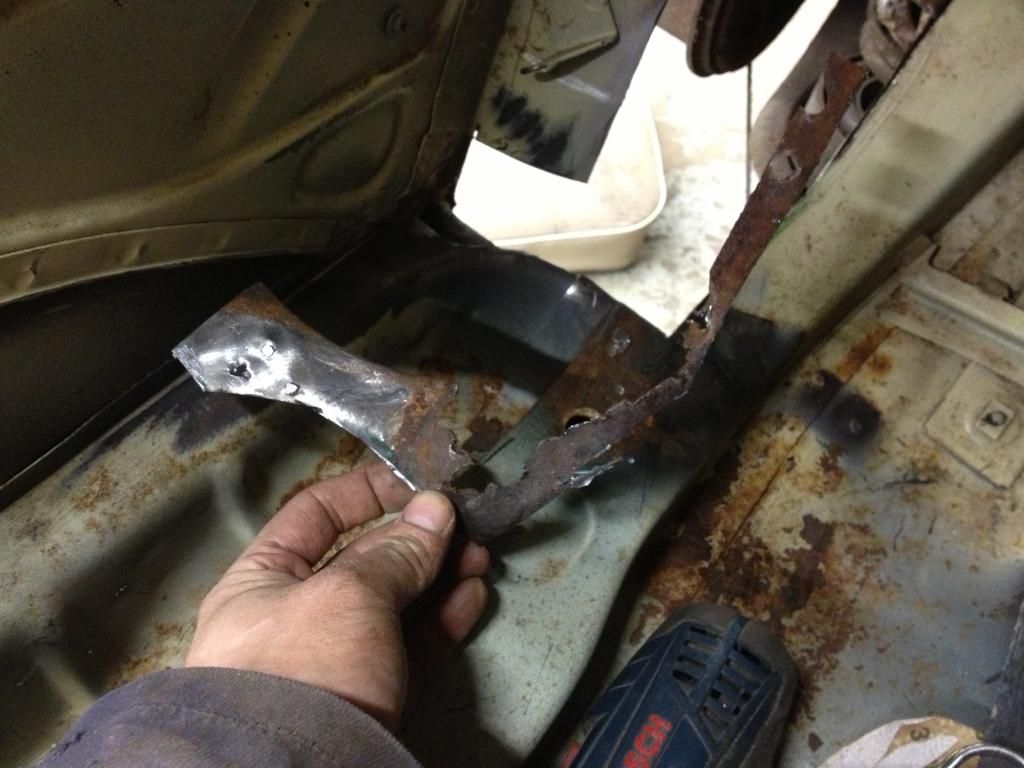
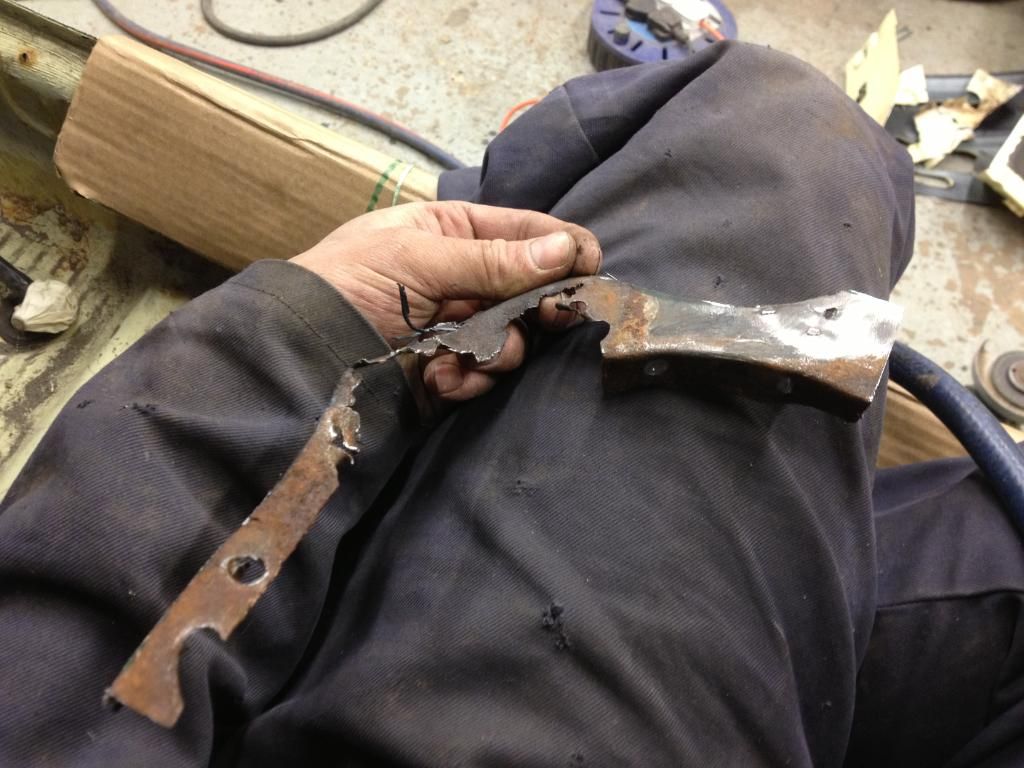
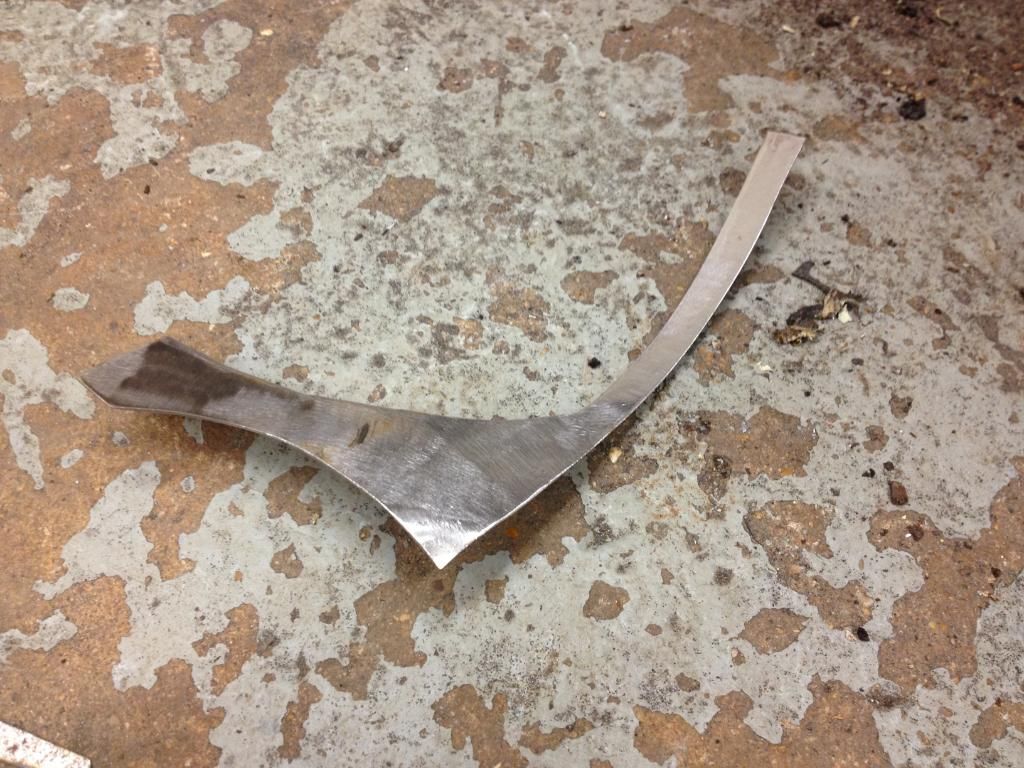
so i roughed out the new material
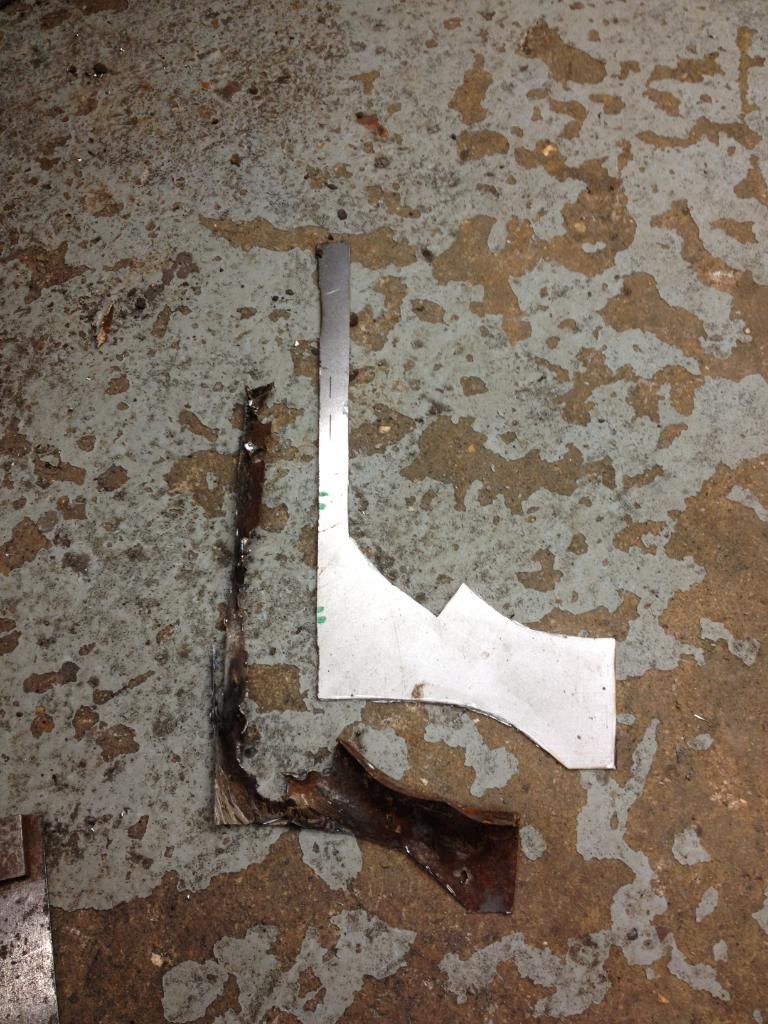
and tried it for fit
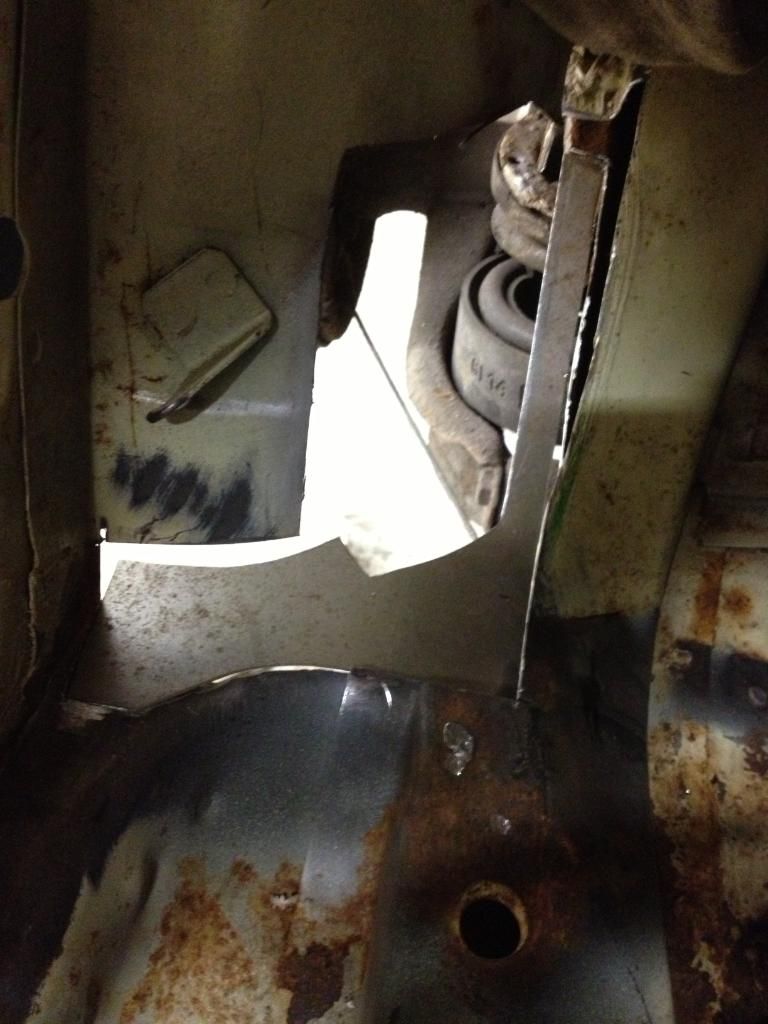
Happy with my measurements i added some shape
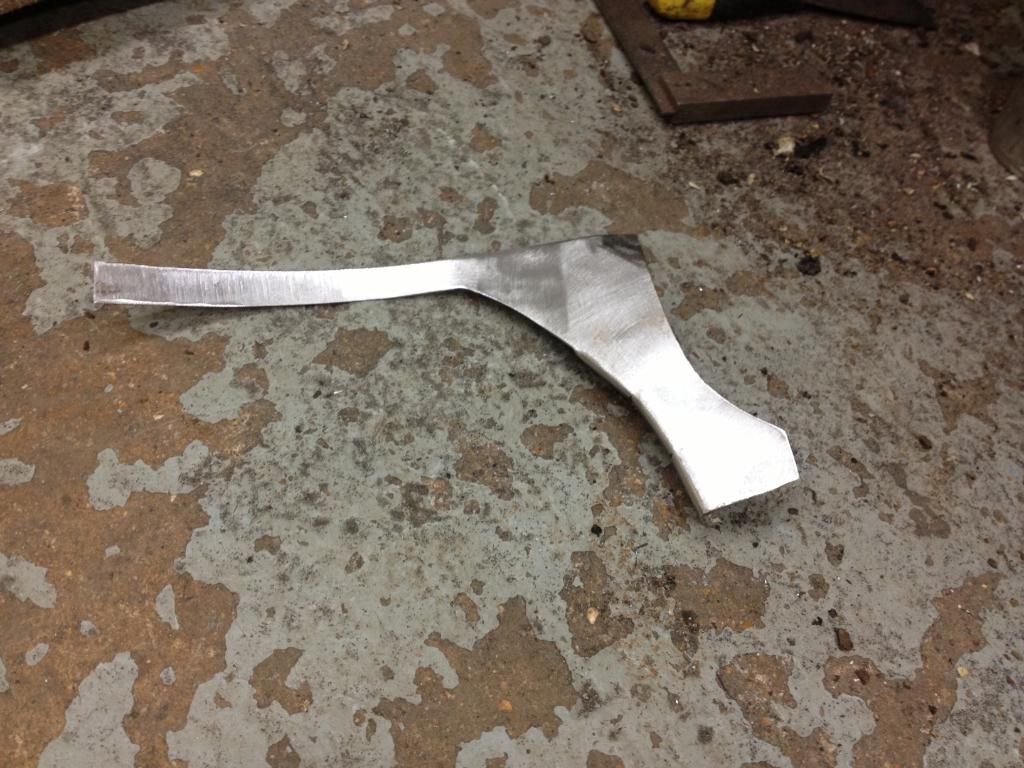
cleaned off the lower chassis leg
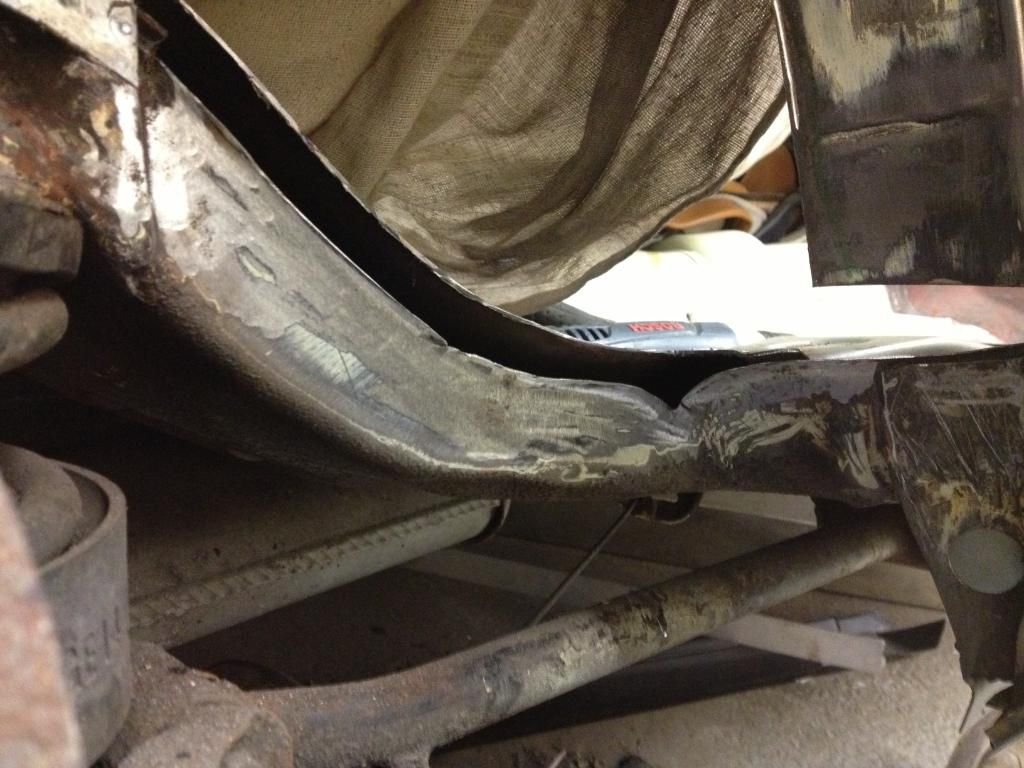
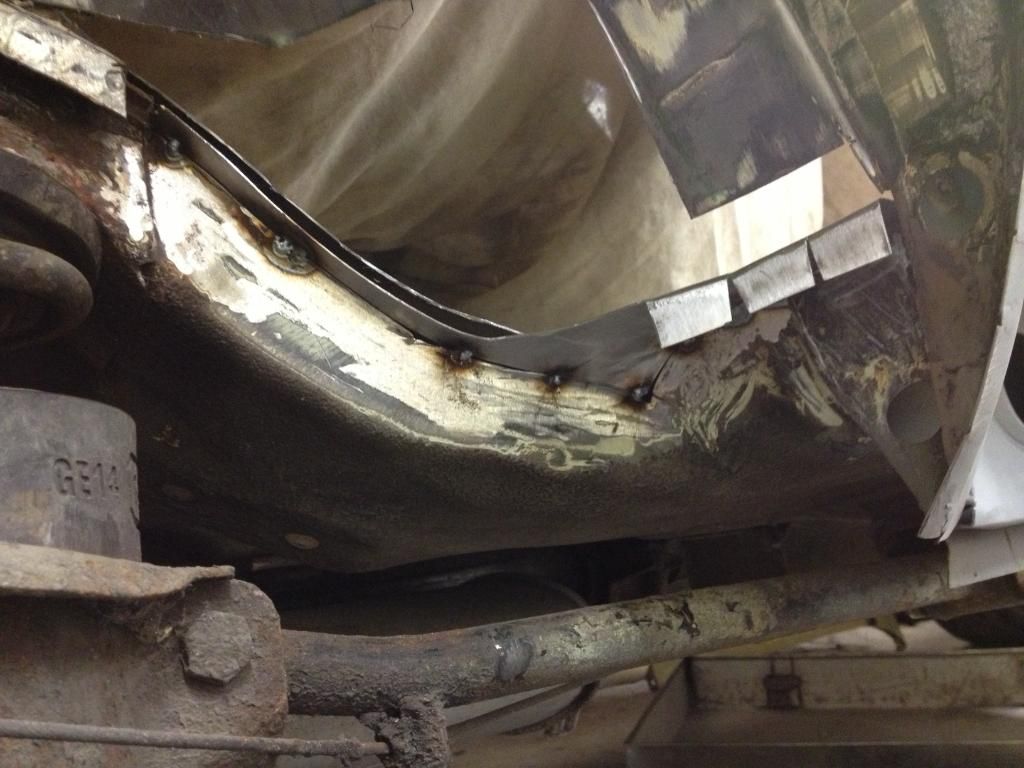
Made a few final adjustments and tacked the new metal in
satisfied i welded it home
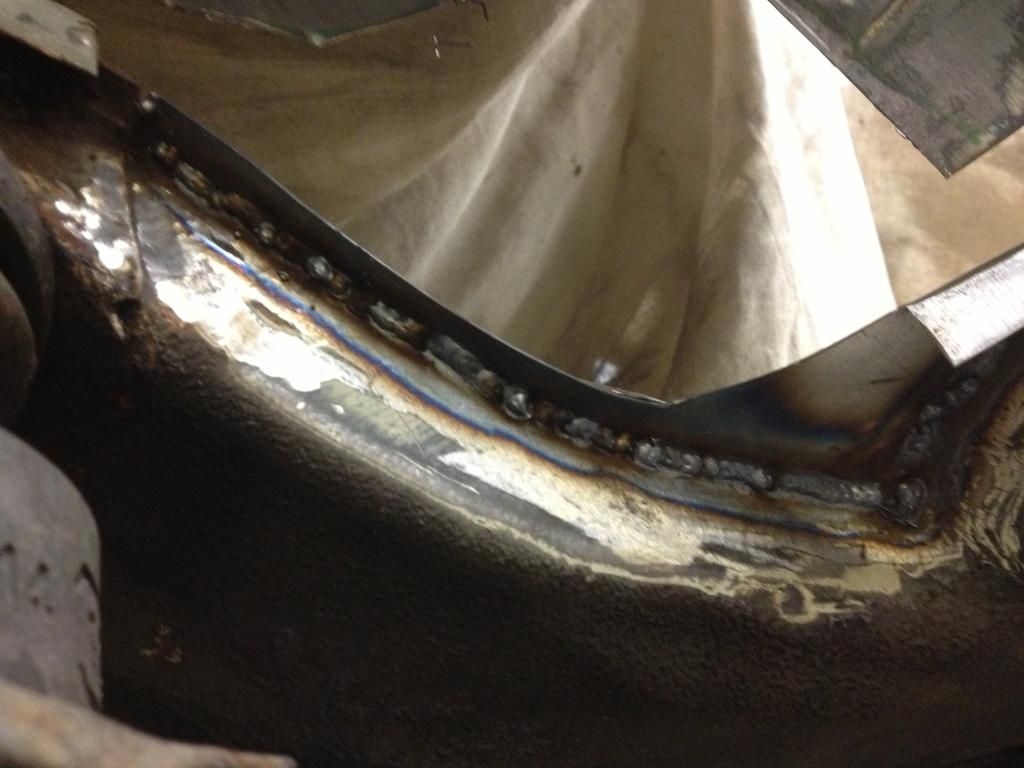
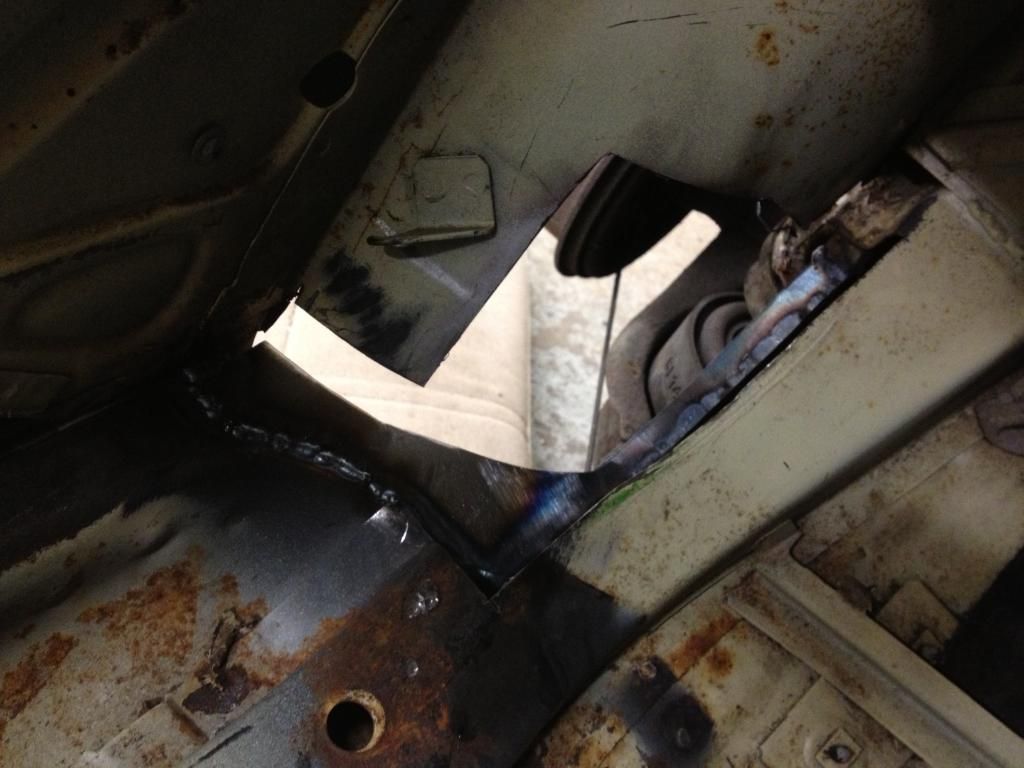
I then placed the old section of chassis leg back on top to test it all fitted. Thankfully it did
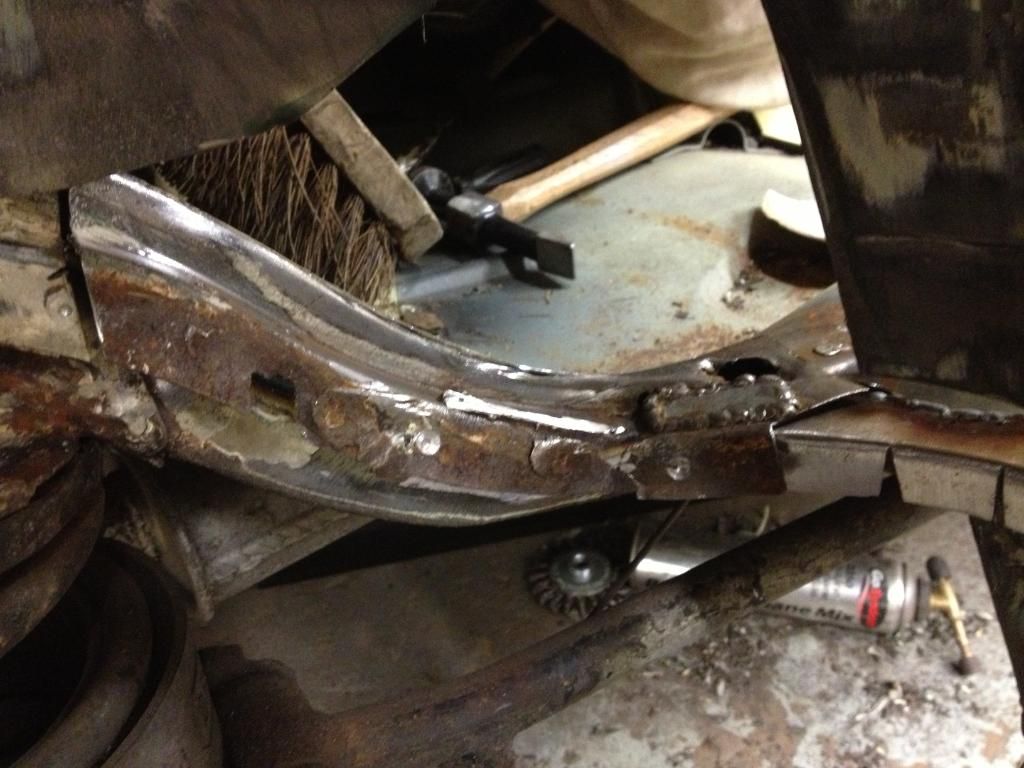
That's all for now
Thanks for looking
James


