I put up a thread for the 2010 car here but never really finished the thread. The same might happen with this one, however we are a lot further through this season.
The cars run on 24V, using motors and batteries supplied by GreenPower, there are a set of build regs to which all cars must comply. As long as the regulations are met design and constructin methods and materials are free.
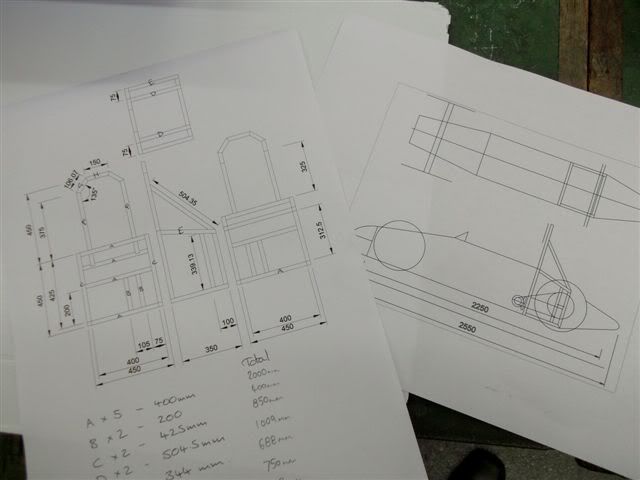
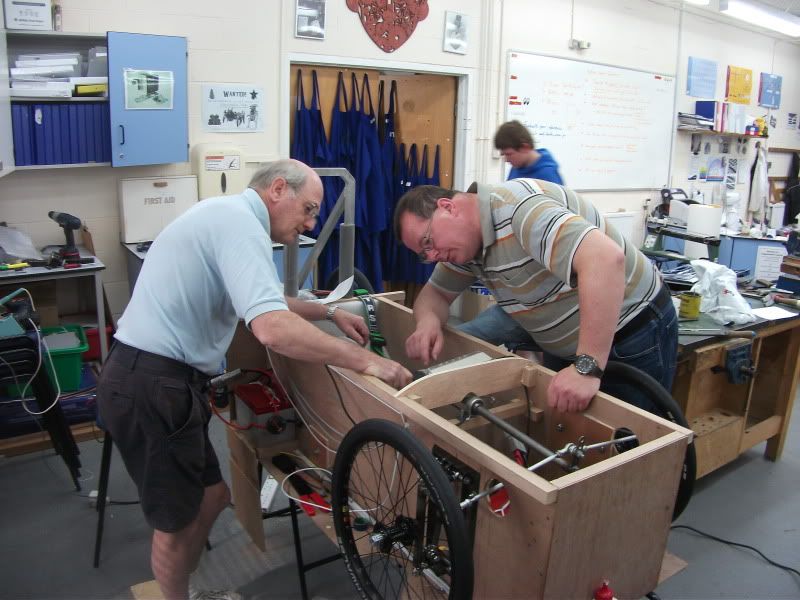
Before any of these photo's were taken there were some lengthy periods of three blokes stood round a white board drawing things and talking about them - while trying to explain what it was all about to a small group of increasingly bewildered engineering students. The broad design is mine, as is the majority of the fabrication with the students helping with the prep, cutting to size (before I then mark it out again and cut it to the correct size etc).
Once a general design had been decided on - semi monocoque construction from 4mm ply, with a framework to the rear supporing the motor and drive train I set to work ordering the components.
Then the build began.....
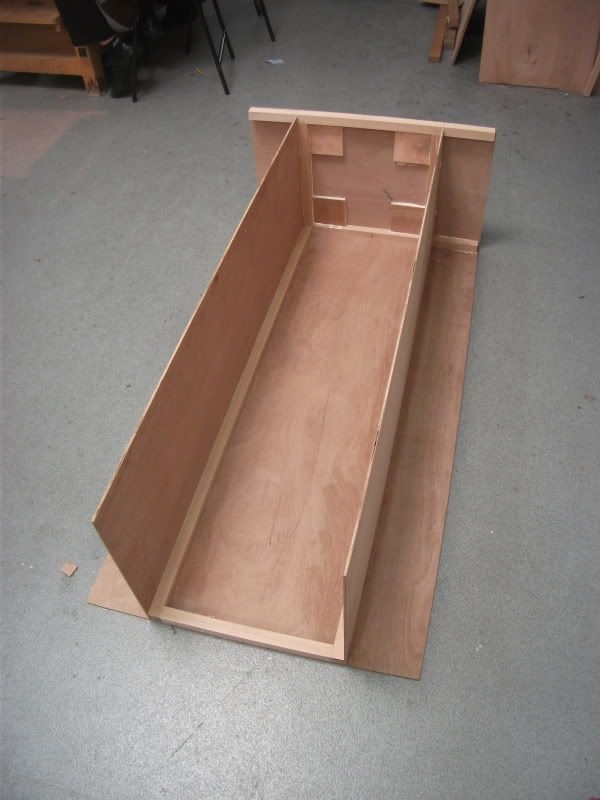
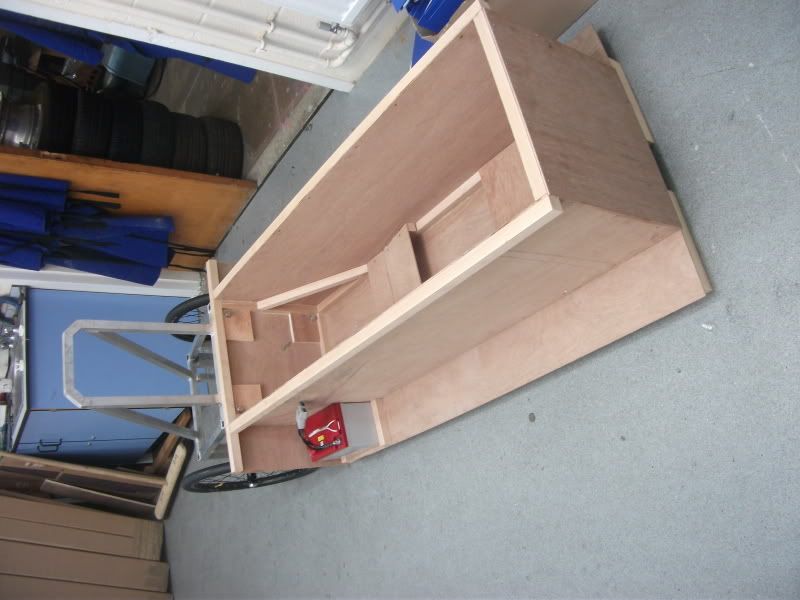
The tub starting to take shape, 4mm marine ply with 25mm square beach strip joining the corners. The four mounting points for the rear subframe can be seen on the rear panel, these from 12mm ply.
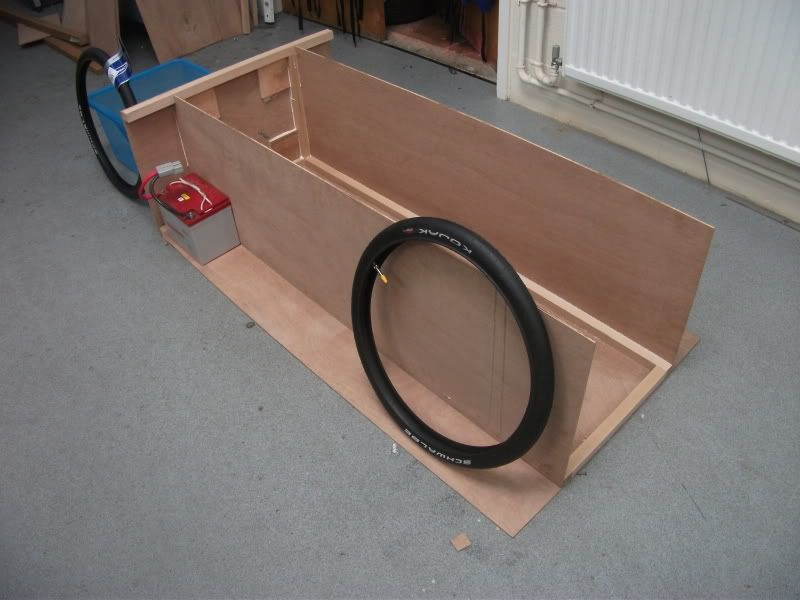
Setting out some of the other components to see the design in real life,
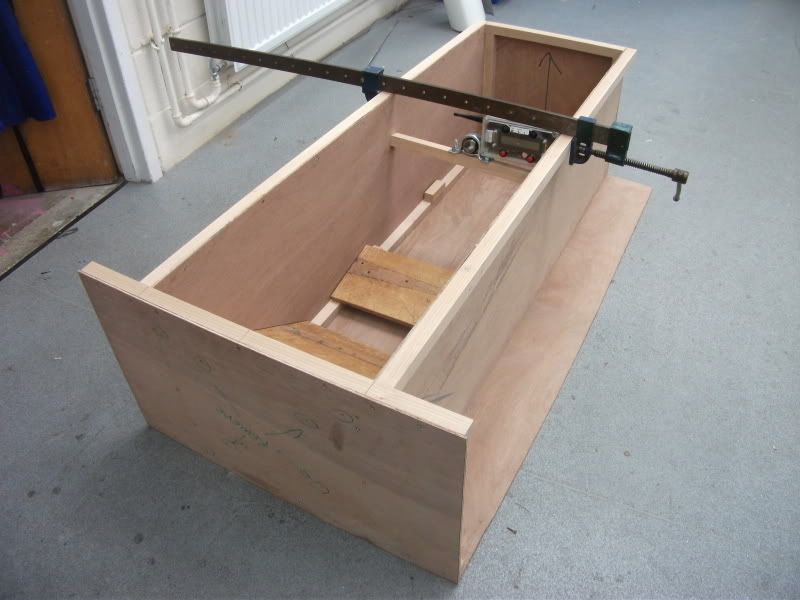
Steeing columb crossmember mocked up,
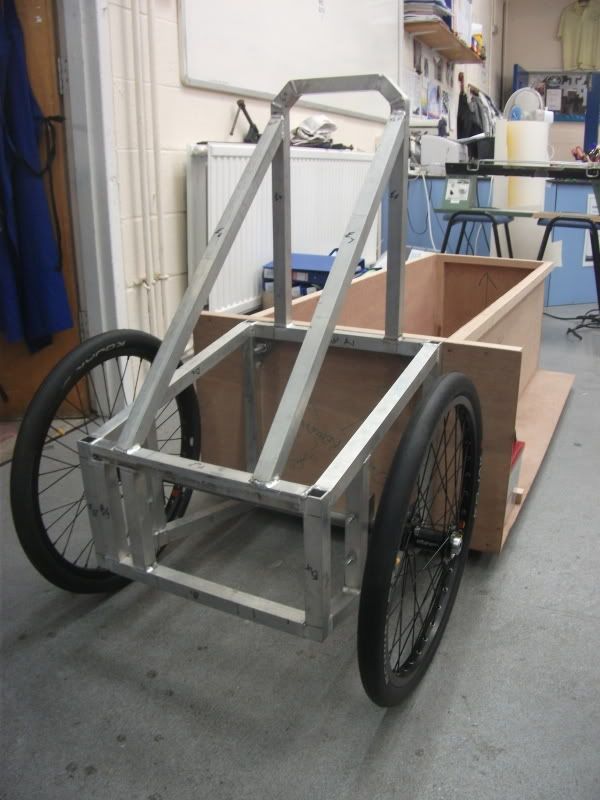
Rear sub fram arrives - built to our design by a friend of one of the other guys.
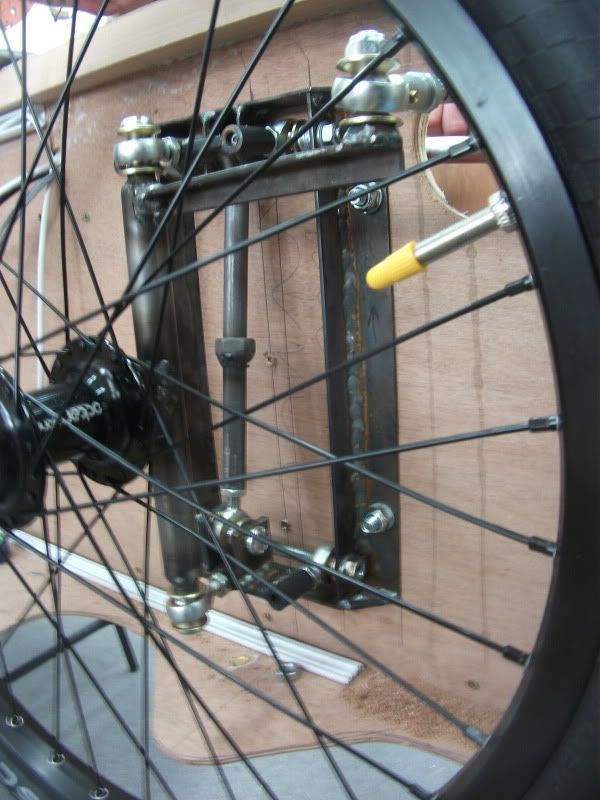
Soon after the axle got mounted,
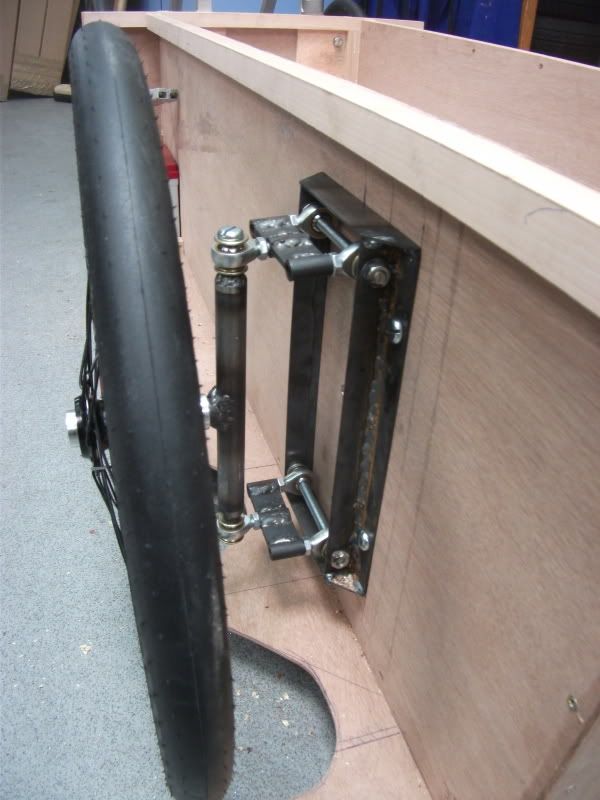
The front end is suspended from a double whishbone type set up, with rigid joints where you might expect to see coilovers. These turnbuckles can be used to adjust the ride height, the rose joints to set camber and then the whole wishbone shimmed forward or back to set castor.
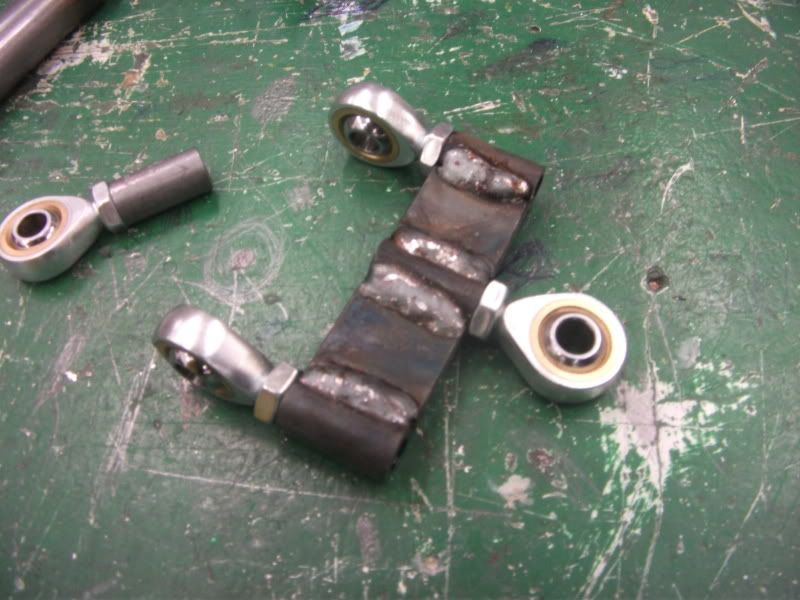
Each of the threaded section on the wishbone was tuned and the thread cut by the students, along with the spacer peices cut from flat bar. I made a jig then (badly) welded the parts together.
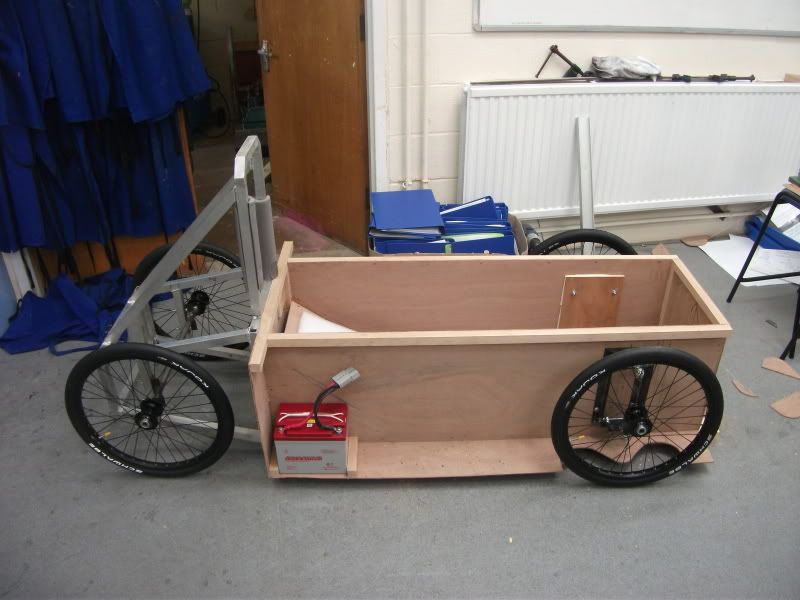
Standing on its own four wheels for the first time,
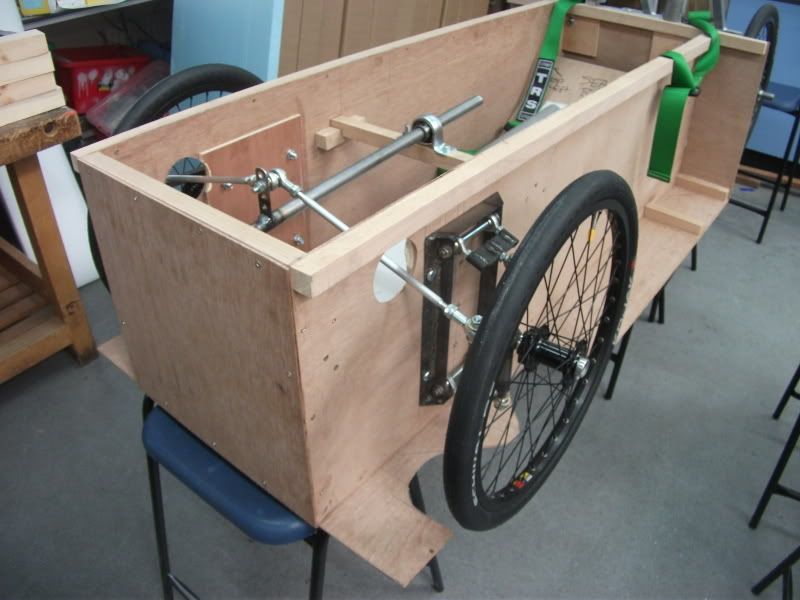
The steering is much like a go cart, but with the bell crank on top of the steering columb, for leg clearance for the driver, and to bring the track rods in front of the axle line, again to aid clearence for the driver.
Control wiring going in, and the data logging and instant display computer.
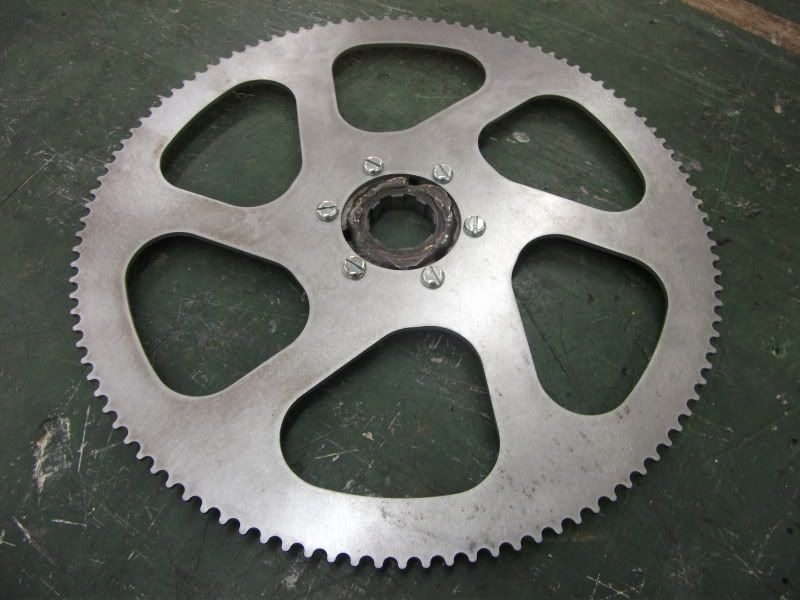
Dennis and Laurence handle the technical stuff, calculations and electrickery. The car has a 4AD speed controller and fixed gearing using 8mm pitch industrial chain. The pinion gears were comercially available parts, the spur gears were laser cut from 4mm steel plate using plot paths that I produced.
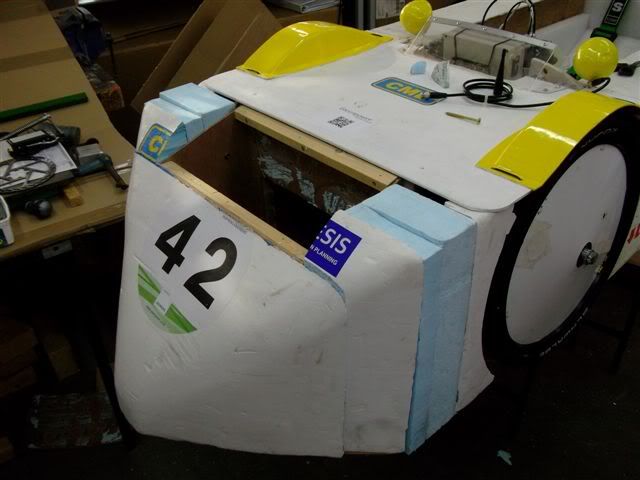
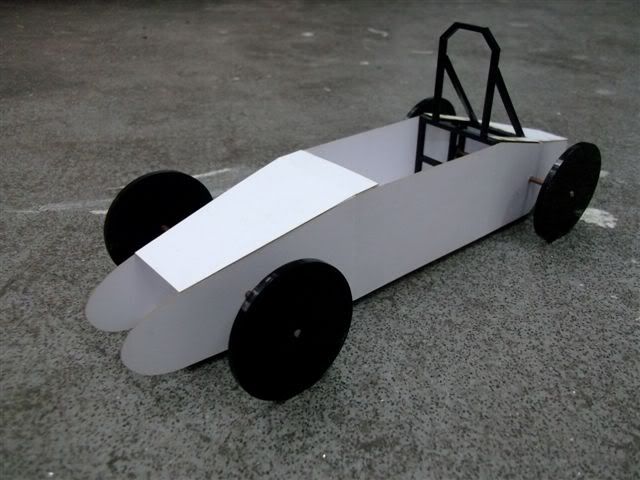
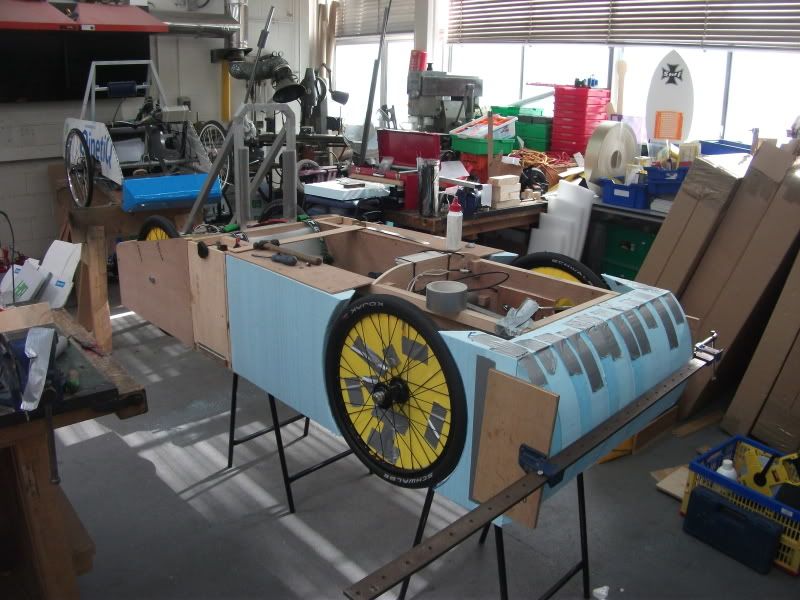
The chassis starts to get filled out using styrofoam and a removable rear section was made to enclose the rear wheels - inspired by the 80's Jaguar Le Mans cars.
Lots of white emulsion paint get spread arrouind my classroom, some stickers got made and we carted the whole lot down to Goodwood for the regional heat.
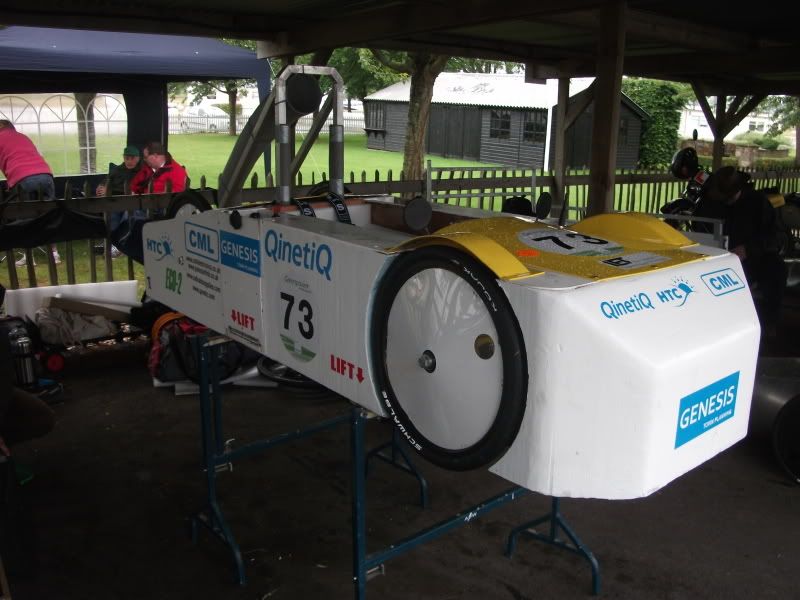
The team performed well on raceday, though it has since been calculated that we only used about 2/3 capacity in two of the three sets of batteries. We might have done just enough to qualify for the national final in September.
The cars run on 24V, using motors and batteries supplied by GreenPower, there are a set of build regs to which all cars must comply. As long as the regulations are met design and constructin methods and materials are free.
Before any of these photo's were taken there were some lengthy periods of three blokes stood round a white board drawing things and talking about them - while trying to explain what it was all about to a small group of increasingly bewildered engineering students. The broad design is mine, as is the majority of the fabrication with the students helping with the prep, cutting to size (before I then mark it out again and cut it to the correct size etc).
Once a general design had been decided on - semi monocoque construction from 4mm ply, with a framework to the rear supporing the motor and drive train I set to work ordering the components.
Then the build began.....
The tub starting to take shape, 4mm marine ply with 25mm square beach strip joining the corners. The four mounting points for the rear subframe can be seen on the rear panel, these from 12mm ply.
Setting out some of the other components to see the design in real life,
Steeing columb crossmember mocked up,
Rear sub fram arrives - built to our design by a friend of one of the other guys.
Soon after the axle got mounted,
The front end is suspended from a double whishbone type set up, with rigid joints where you might expect to see coilovers. These turnbuckles can be used to adjust the ride height, the rose joints to set camber and then the whole wishbone shimmed forward or back to set castor.
Each of the threaded section on the wishbone was tuned and the thread cut by the students, along with the spacer peices cut from flat bar. I made a jig then (badly) welded the parts together.
Standing on its own four wheels for the first time,
The steering is much like a go cart, but with the bell crank on top of the steering columb, for leg clearance for the driver, and to bring the track rods in front of the axle line, again to aid clearence for the driver.
Control wiring going in, and the data logging and instant display computer.
Dennis and Laurence handle the technical stuff, calculations and electrickery. The car has a 4AD speed controller and fixed gearing using 8mm pitch industrial chain. The pinion gears were comercially available parts, the spur gears were laser cut from 4mm steel plate using plot paths that I produced.
The chassis starts to get filled out using styrofoam and a removable rear section was made to enclose the rear wheels - inspired by the 80's Jaguar Le Mans cars.
Lots of white emulsion paint get spread arrouind my classroom, some stickers got made and we carted the whole lot down to Goodwood for the regional heat.
The team performed well on raceday, though it has since been calculated that we only used about 2/3 capacity in two of the three sets of batteries. We might have done just enough to qualify for the national final in September.