|
|
|
Jun 28, 2011 15:09:49 GMT
|
thetattoostudio - oil pickup is going to be extended to the back of the sump for that exact reason  And don't forget, the XM was a freebie! tdipd - got it in one! Never bothered with grinding the pin though, I just take out the spring under the pin, and pop it all the way in. Full fuelling capability at idle, with clouds of black smoke also available! Already got a Transit pump for an 11mm head, and will fit whichever one-way valves I have, that offer the least restriction Governer will be shimmed up, max fuel screw upped a couple of turns, and the max throttle movement increased (helps defeat the governer a tad more) lol, and no worries yeha - I'm sure the info will come in handy at some point down the line |
| |

You're like a crazy backyard genius! |
|
|
|
tdipd
Part of things

Posts: 121 
|
|
Jun 28, 2011 20:33:47 GMT
|
|
If you're wanting a smaller Vacuum pump some of the older 405 and the 205 1.8td came with a remote vacuum pump instead of direct camdriven. Much the same size as the cam driven units but they have a pulley instead.
|
| |
Last Edit: Jun 28, 2011 20:34:06 GMT by tdipd
|
|
|
|
|
|
|
Been back in Norfolk for a few days now, not got particularly much done mind you, as it's just FAR too hot! Took the engine back out on monday, and tuesday I did a few minor-ish jobs. First, was to swap the flywheel to the HDi item! Comparing the two flywheels, the HDi one is a bit of a monster - at least 50% thicker! 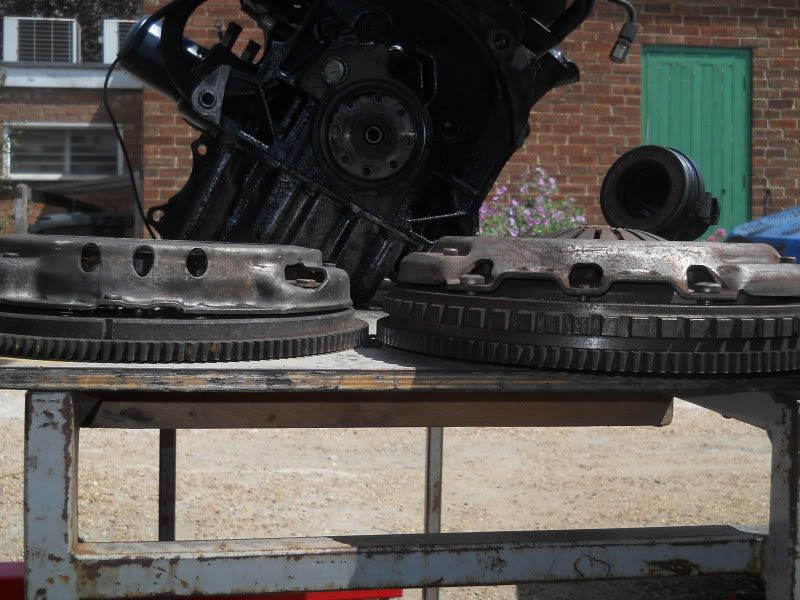 What can also be seen in that pic, is the timing marks are non-compatible. The XUD flywheel, has two slots, 180 degrees apart. The HDi flywheel, has a 36-1 arrangement. Might make something else up, at the crank, at some point in the future. No rush though. The difference in friction plate size, between the standard XUD flywheel, and the HDi flywheel - only goes from 225mm up to 228mm, but it does at least *look* like quite a bit 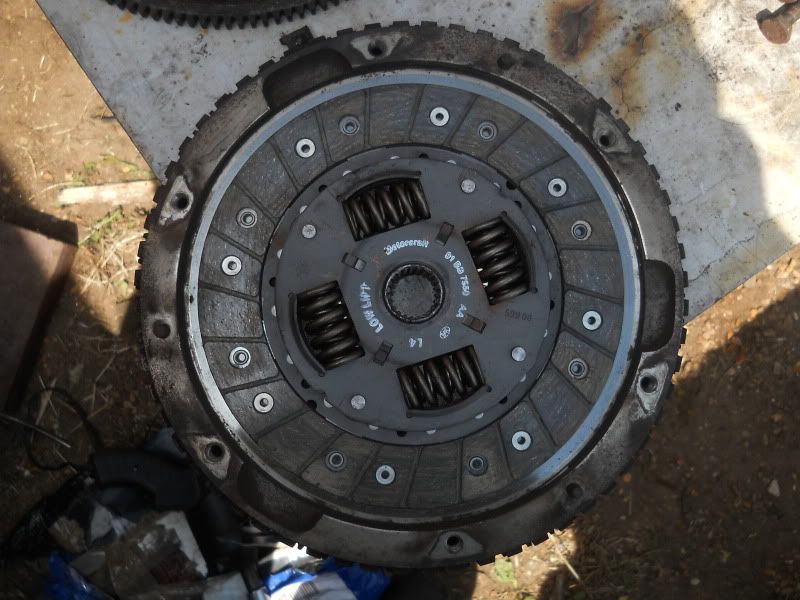 The mounting points for an aircon compressor, which fouled the chassis, need to be removed. So out came the grinder!   Still need to modify the oil pickup pipe, but that will have to wait until my instant gasket turns up in the post  The lower mount needed the mid-bearing support removing too, as it was in the way me using it as an additional steady 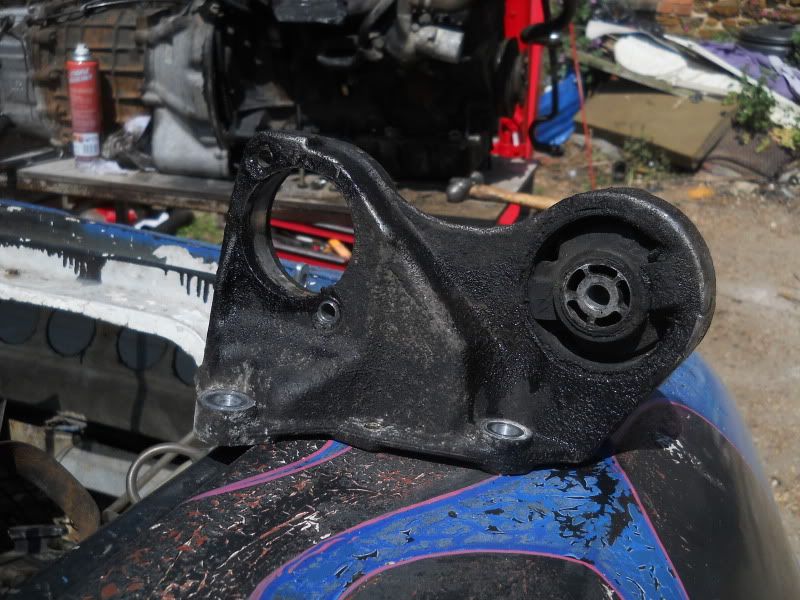 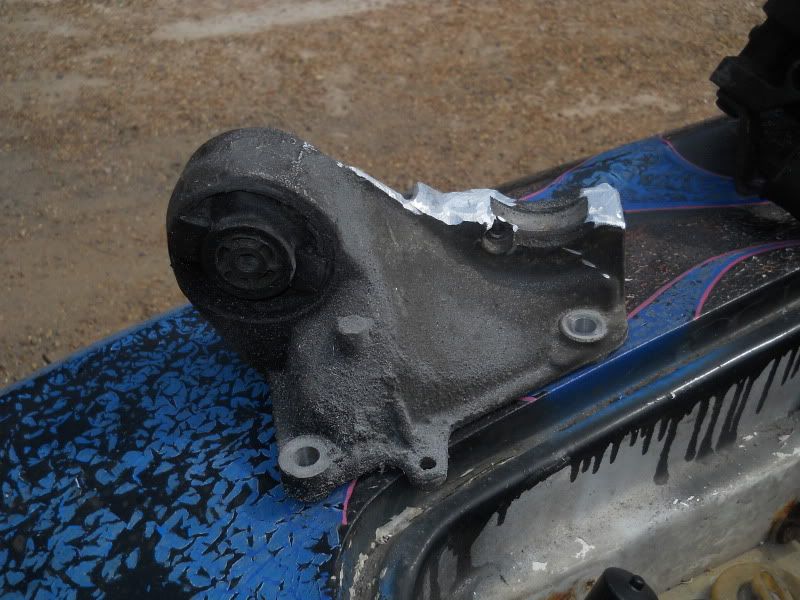 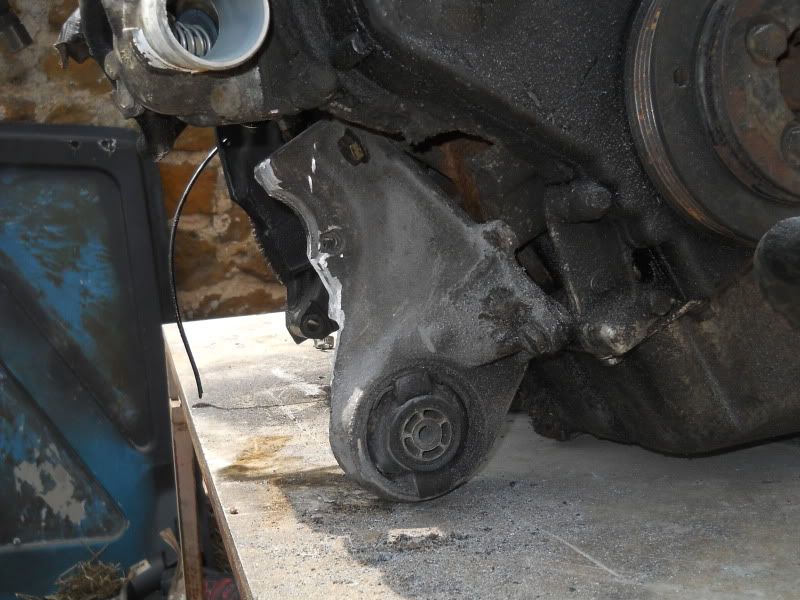 Doesn't look pretty, but I didn't cut though the major strengthening parts, which was one of my concerns (it's actually hollow for the most part) Also trimmed down the clutch release pushrod, to suit having the slave cylinder bolted directly to the bellhousing, rather than via an addition Iron casting, bolted to the engine block. 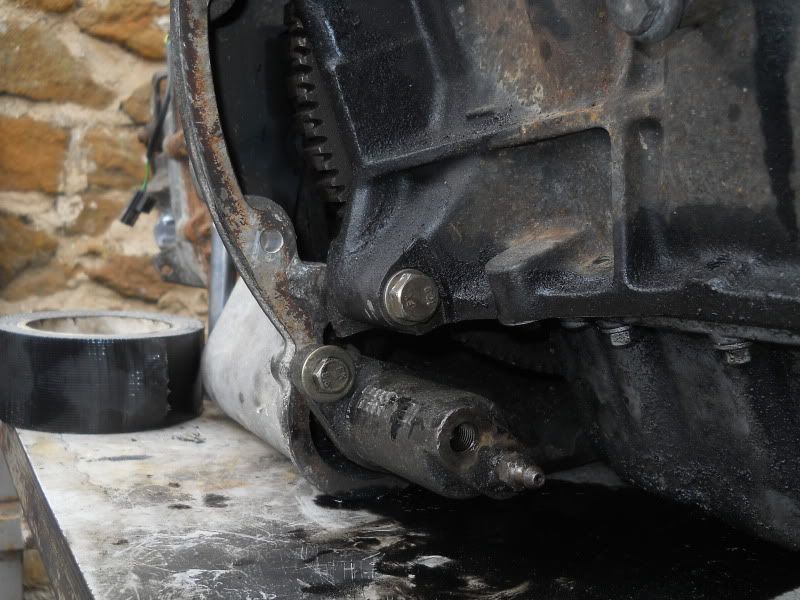 Annoyingly, you can see just how much of the flywheel is exposed with this gearbox/engine combo. But as the flywheel is level with neither the engine block, OR the bellhousing, making a cover, would be a total PITA. Again, like the rev-counter, not really an essential item. Plus I can fit one, when the engine is in-situ. Next jobs, involve tidying up the engine bay, and making it so the coolant system actually fits upto the heater |
| |
You're like a crazy backyard genius!
|
|
|
|
|
|
|
its a 60-2 pattern on the flywheel not 36-1  |
| |
|
|
|
|
|
|
|
You crazy dood  respect for taking on a challenge like that but very best of luck with it looking forward to the day it moves by its self! |
| |
|
|
|
|
|
|
|
|
Great stuff! Should be a proper smoker when finished, good luck with the rest of the conversion ;D
|
| |
Sierra - here we go again! He has an illness, it's not his fault.
|
|
|
|
|
|
|
36-1, 60-2, same thing  and I've already removed the max fuel screw anti-tamper ring once it's turbo, the spring in the torque limiter will be removed, and the fuel pin will just be pushed in all the way. Job done. Todays jobs are to fit my new bulkhead panel, bend up my new coolant pipes, and possibly make a start on the wiring, and finish my new dash-bar |
| |
You're like a crazy backyard genius!
|
|
|
|
|
|
|
Not much happened the past few days, a combination of cruddy weather, and the other half demanding attention I'd since realised, how insecure the dashboard was - only 4 out of the 6 bolts that hold it in place were still connected to the dashboard! And as the dashboard is the sole support of the steering column, it's kinda important to be secure. So off it came. There were (originally) 2 bolts below the windscreen, one behind each A-pillar, and two thin straps either side of the heater. Whipped it off, and was left with LOTS of access 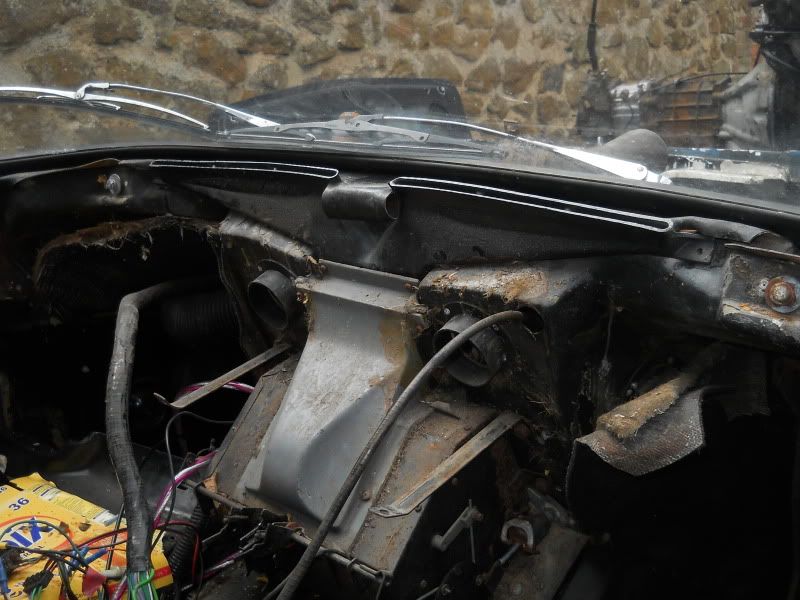 For the first time, I could also see just how badly damaged the driver-side A-pillar was 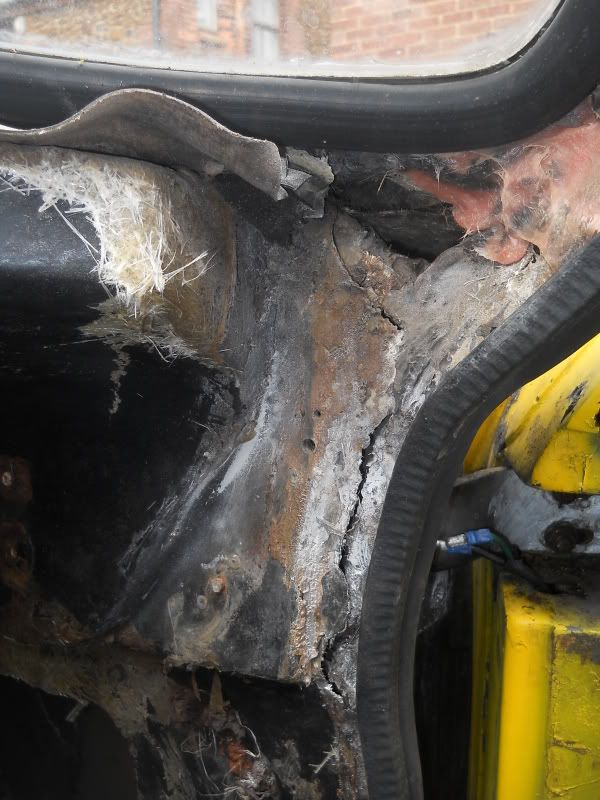 eek!  Going to patch it up as best as I can, but this shell 100% needs to be scrapped as soon as I can get a replacement The doors weren't exactly in good health now either. The steelplate internal to the doors, that supports the hinges themselves, have 100% turned to rust on the driver-side door, not even a shard of metal left! As a result, the door has now significantly dropped! This is no exaggeration of camera angles/etc, the door truly has dropped this much 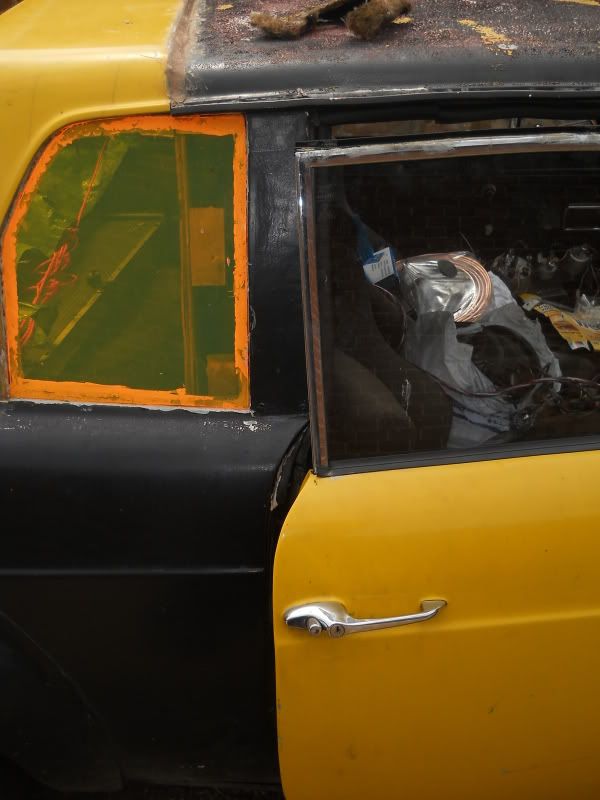 So, to cheer myself up, I made a start on something else! Since I was planning on using the XM wiper stalks, why not use the steering column too? So, take one XM steering column: 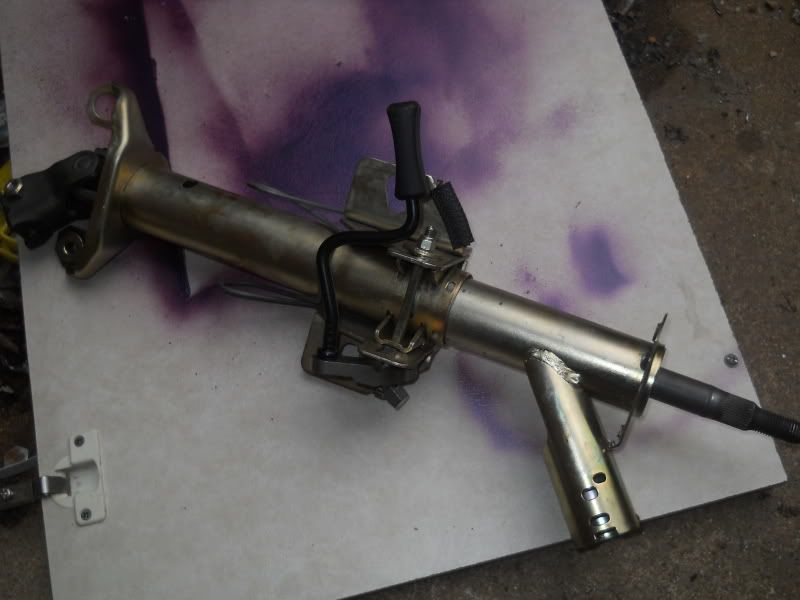 Take it to bits,with the help of a grinder 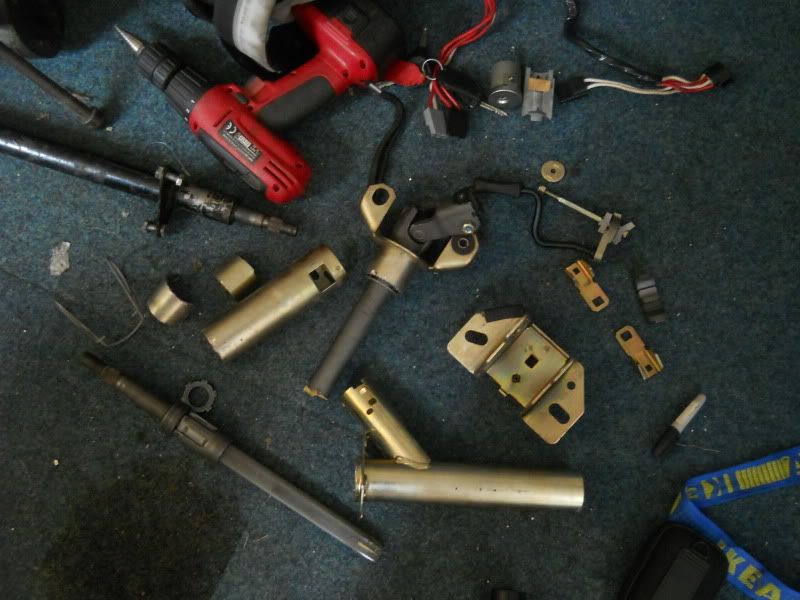 take only the part that are useful 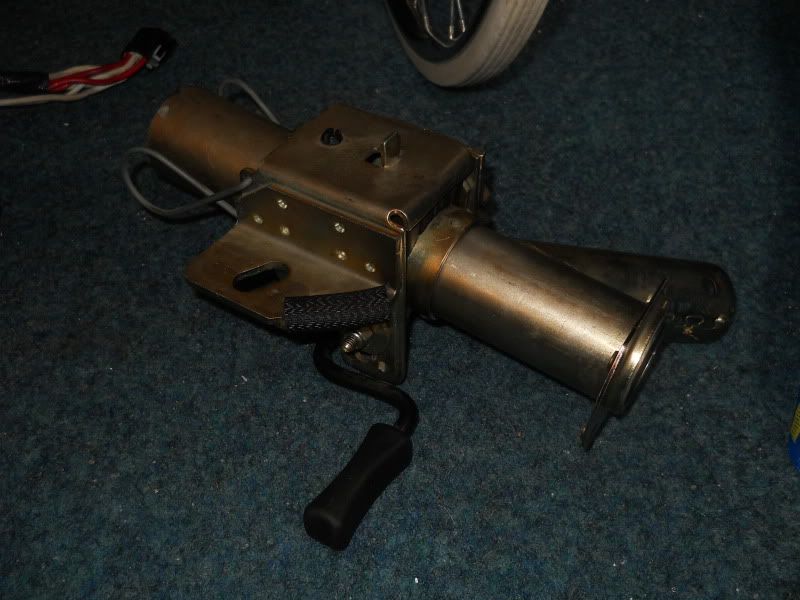 and weld it all up to the Scimitar column, after grinding off the original support (a flat plate, with two holes!) 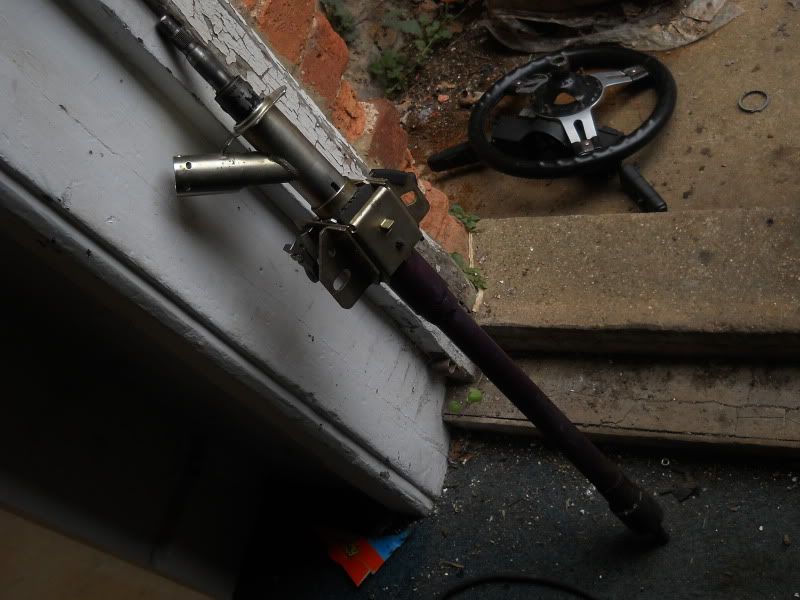 Then make a new steel dashboard bar, using the XM Spport 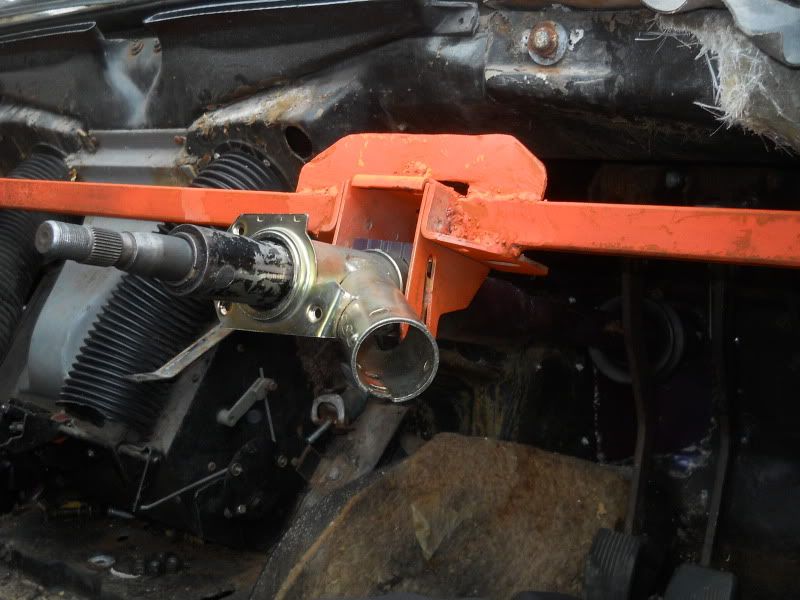 I now have vertical adjustment of the column, of an inch or two, and I can adjust the position of the stalks too - making the column itself adjustable for length would've just been more hassle than it was worth - but was only a couple of minutes work to make it work for just the stalks And just to finish off another item, the new bulkhead section, with the lower "support" for the steering column (now has a piece of rubber hose around it since taking this pic, to reduce wear) Lovely shade of purple 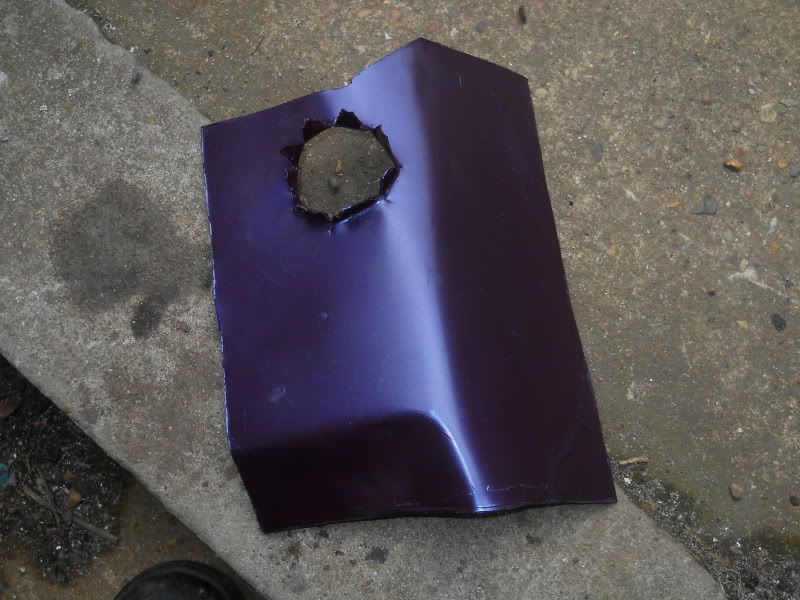 I made the panel to cover the exhaust tunnel too - but that's not exactly a top-priority and as of yesterday afternoon, the engine's in.... again Todays jobs include swapping to an oil filter that doesn't resemble a tea-strainer, tightening a few nuts and bolts, then bodging up a quick loom to get it started ;D |
| |
You're like a crazy backyard genius!
|
|
|
|
|
Jul 19, 2011 15:41:19 GMT
|
not had any access to the internet for the past week (or any time to actually do anything, so hey ho) But, the engine is now up and running! ;D This is how it looked for a quick startup, just to make sure the entire neighborhood wasn't deafened. Small cherry-bomb just wedged directly into the manifold. 2nd pic is how it sits now 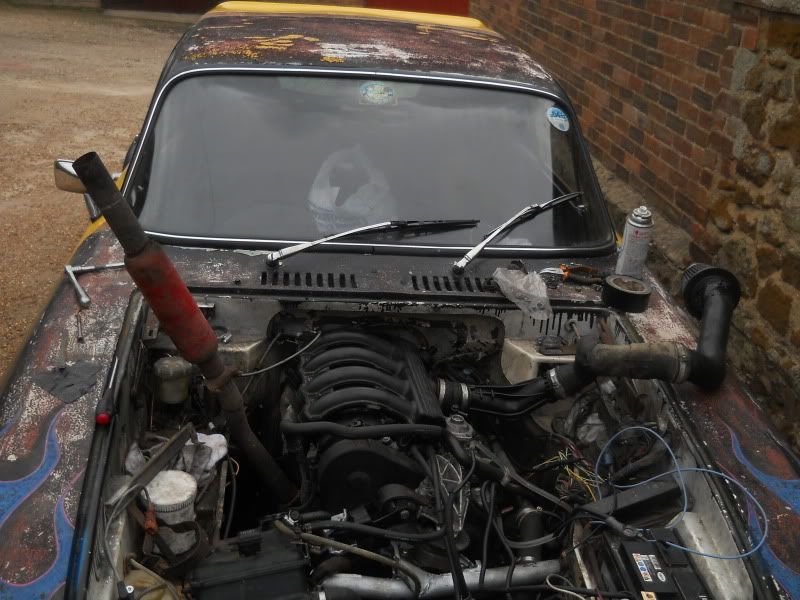 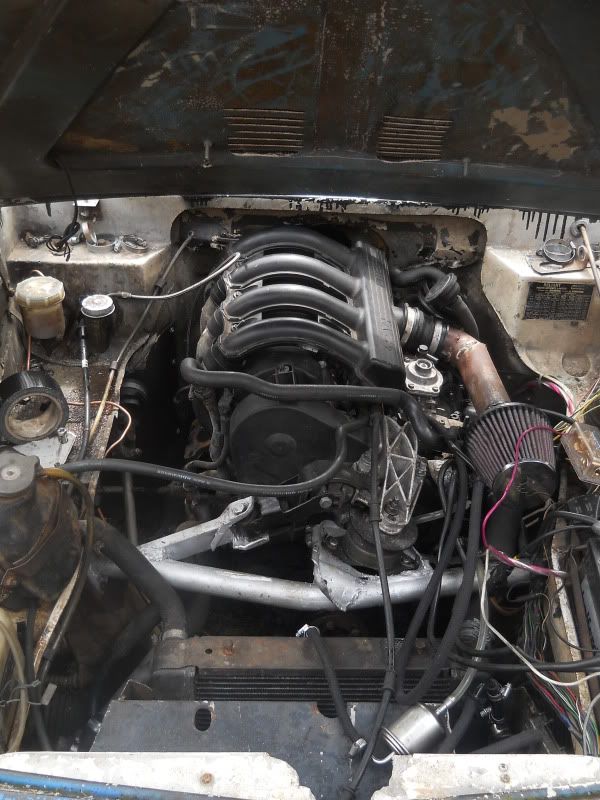 Still no exhaust yet - still trying to figure out how much of a PITA it's going to be, to fit a turbo. So far, it's quite a lot! But, I've gone for a bit of a redneck approach for the lower-steady, as I really didn't have the motivation to pull the engine out AGAIN, to weld in a proper support after marking it up..... So I just wrapped a length of chain around the chassis, and bolted that to the original lower steady rubber Does the job rather nicely too! 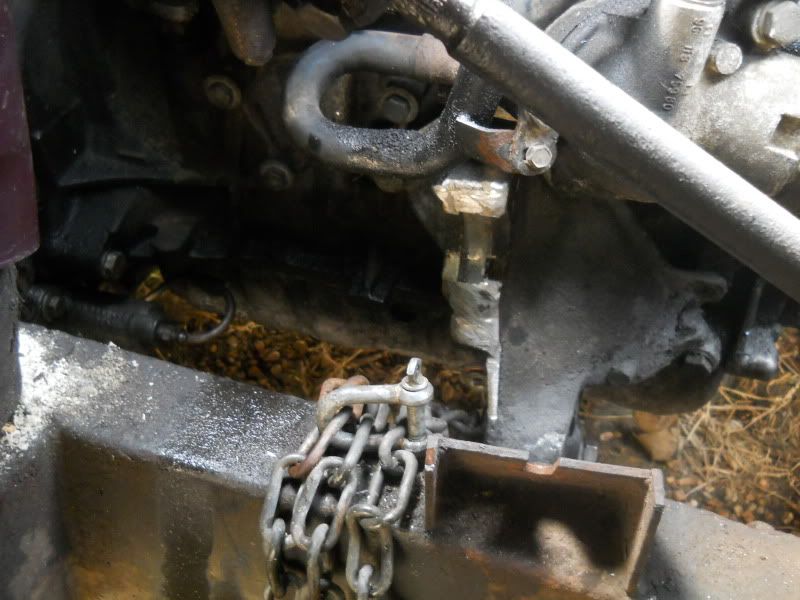 Not a particularly clear picture - but you can now see the fitted gearknob ;D Raaaaaather long! 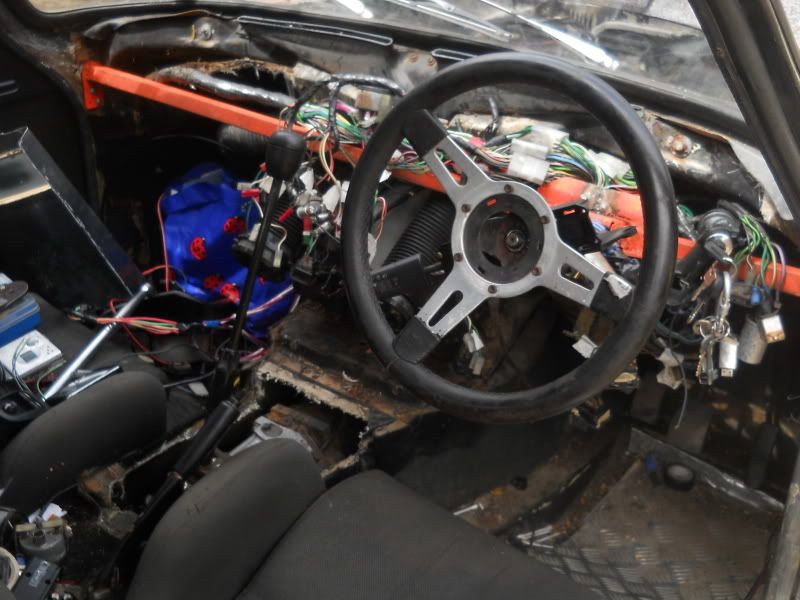 Replaced the brake servo and bled the hydraulics today - the clutch pedal needed to have the throw reduced, as it was moving so far, and locking up the clutch when I pushed it to the floor After LOTS of faffing, I found out why I couldn't get the fuel filter to bleed properly... it was shagged 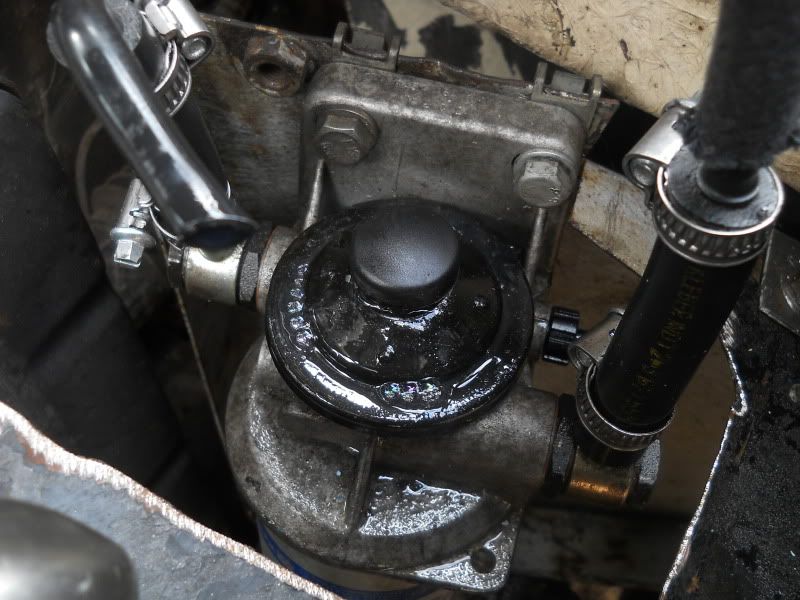 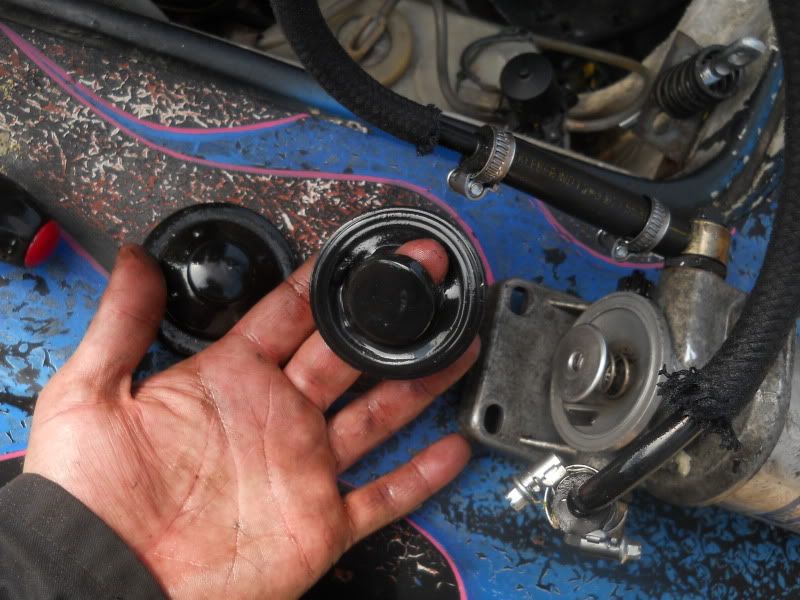 Just shoved a generic in-line filter on the fuel line, and sucked on the fuel return line to prime the pump instead. I now have no non-return valve though, so that will have to be sorted for long-term reliability Made a start on the rear bodywork too - ripped out the plywood floor and rear cab section, and marked up the XM roof panel for cutting, but rain's stopped play Jobs left to do: # add relays for dipped beam and main beam # add wiring for glowplugs # finish wiring up wiper stalks # slap together a "dashboard" from a bit of hardboard for the gauges and switches # fit the rear screen and seal it up may not bother with the boot section as such - as making the hinges is going to be a PITA. But I now have the bonnet surround from another scimitar! 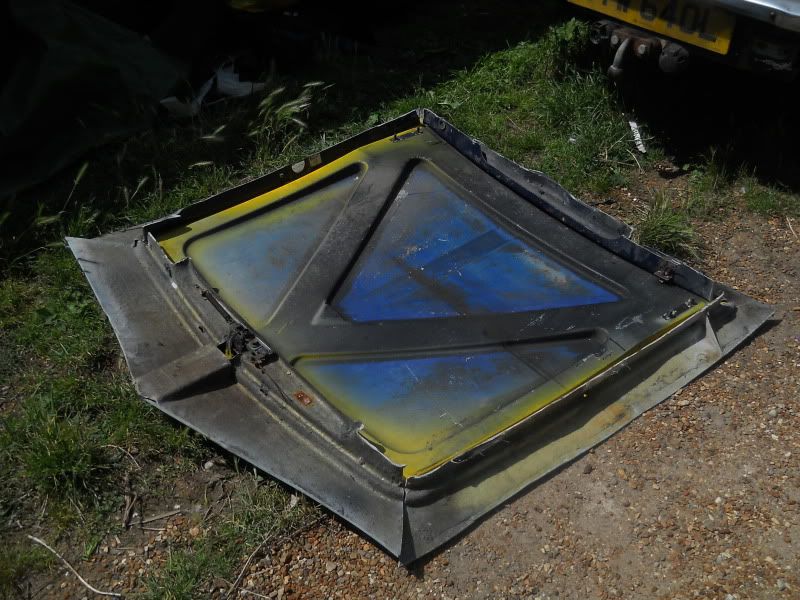 so at least I've got the parts to physically do it |
| |
You're like a crazy backyard genius!
|
|
|
|
|
Jul 19, 2011 16:14:03 GMT
|
|
Congratulations on getting it running, always a good mojo booster!
|
| |
|
|
|
|
|
|
|
Jul 19, 2011 17:37:05 GMT
|
yay, nice work |
| |
|
|
|
|
|
Jul 22, 2011 15:56:20 GMT
|
cobbled together a dash (looked quite nice tbh!) slapped the rear screen in place - sealed with expanding foam, so hideous as hell all the electrics are now sorted took it for a decent test drive! ;D and the gearbox is shagged... Also got an air leak on the fuel line - guessing on the original 40-year old section of rubberpipe that connects upto the fuel tank... and is a total PITA to get to General budget so far has been: £520 on the car £140 getting the XM moved £120 on the gearbox and over £200 on bits and bobs so over £1000... on a car that's about as reliable as a pumbers estimate. fml So... I'm going to sell it Anyone with £400 gets it. Not going to waste anymore time/effort on this bloody car! |
| |
You're like a crazy backyard genius!
|
|
Mamba
Part of things
Posts: 148
|
|
Jul 22, 2011 20:57:10 GMT
|
Listen mate, everyone gets to th end of their tether no matter what project they're on. Everything seems to be going wrong you may feel but there is a tendency to forget what you've acomplished thus far. Put it on a back burner for a short while and see how you feel after a couple of days, when you've calmed down. At the absolute worst you could always look at putting the standard Essex back in with the same gearbox so that you've got something to run around in at least. 180-200bhp is easily manageable with some fettling. I know these engines have a reputation as being gas guzzlers but my 1978 Scimitar SE6a is heavier than your SE5/5a and mine was returning over 30mpg straight up! If I were you i'd concentrate on the body mods and getting it sorted that way first and then, when funds alow, by all means go for a Td conversion. I think you have the makings of a very unusual and unique Scimitar, one that will look the part when done. It'd be a shame to give it up after all the work you've done thus far. Rest up a while and see how you feel in a few days, don't do anything too rash yet. |
| |
[url=http://retrorides.proboards.com/index.cgi?board=readersrides&action=display&thread=105579 ]1975 Scimitar SE5a "Kato"[/url] 1978 Scimitar SE6a "Mamba" 1969 Land Rover Airportable "Summer" |
|
JamieS
Part of things
Posts: 115
|
|
Jul 22, 2011 21:11:16 GMT
|
|
After all this work you cant give up now!
Scrap the original fuel lines and run your own?
How much is a replacement g/b or is it shagged from the torque?
|
| |
|
|
|
|
|
Jul 23, 2011 18:46:19 GMT
|
well, the original plans were to have it built and roadworthy, to drive me from Norfolk, to Sheffield, to see the other half for 2 weeks. Ended up getting a lift from my dad, and moved all my stuff to my new house in Manchester at the same time! (woo!) But, on the drive, he was chatting to me, saying how proud he was, that I'd managed to actually get it on the road, with only really a couple of weeks of working on it! A bit of chatting with my mate, and a decision has been reached.... shared ownership, of a re-bodied scimitar, with a proper hot-rod look to it! ;D But for now, the final installation, of the scimitar body - what happened before I took it for a good test drive: I had to trim down the XM roof, so it would fit upto the scimitar rear section.Out came the 9" grinder! 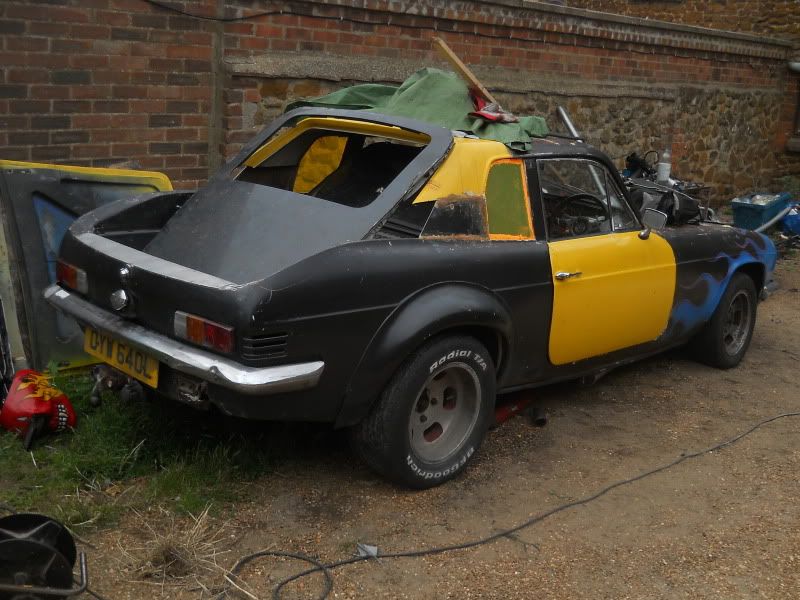 and the sunroof fitted into place 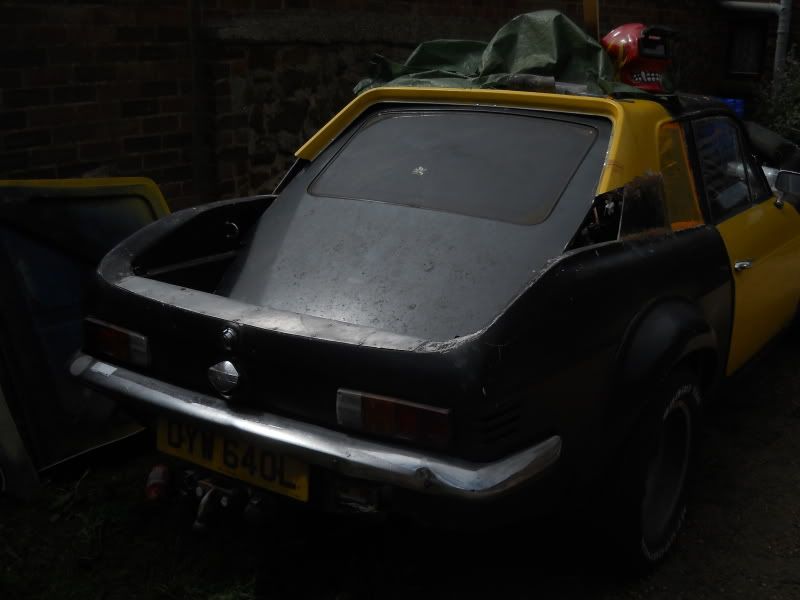 I needed a quick and cheap way of securing the roof - my dad offered a bit of 2x1 wood, which would do the job nicely... albeit.. nastisly. I'm also out to prove that a grinder is the right job, for every job. Including cutting wood 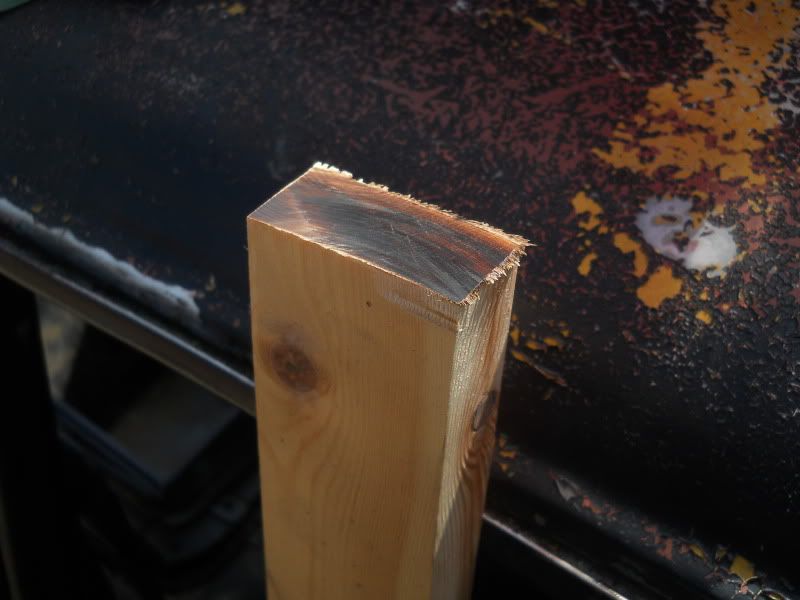 see! Looks lovely ;D And how it looked when it was screwed together.. NASTYYYYYY!!!! 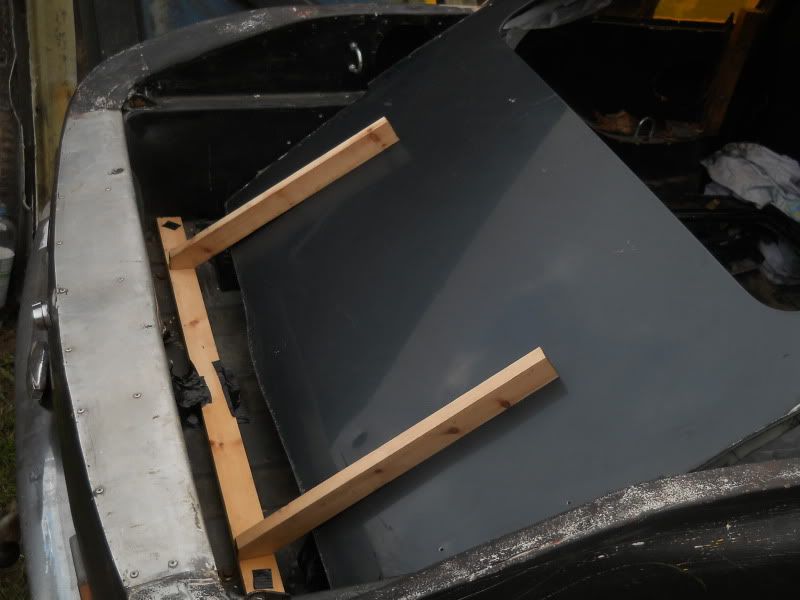 Sealed up for using expanding foam to seal the gaps, and give a bit of stability to the panel 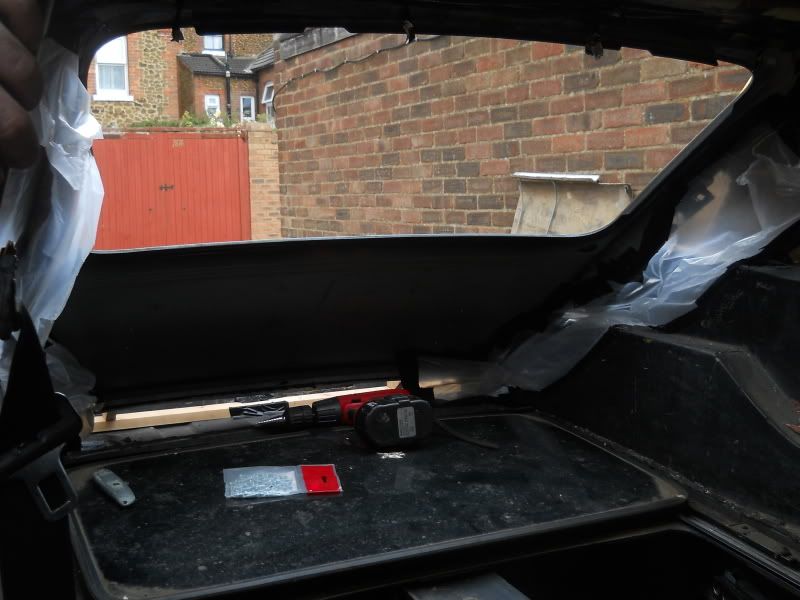 Erm... kinda had an accident breaking the seal on the foam... no matter 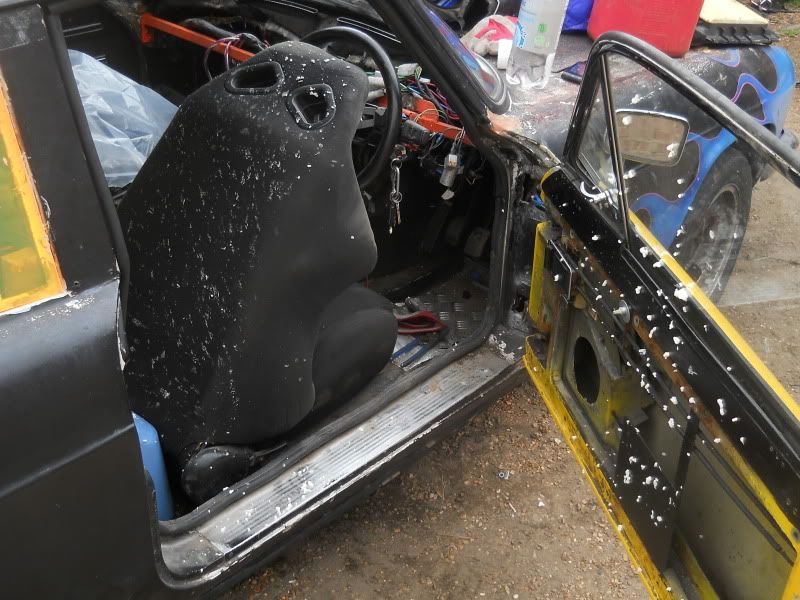 And all fitted, and sealed! The window even opened! ;D 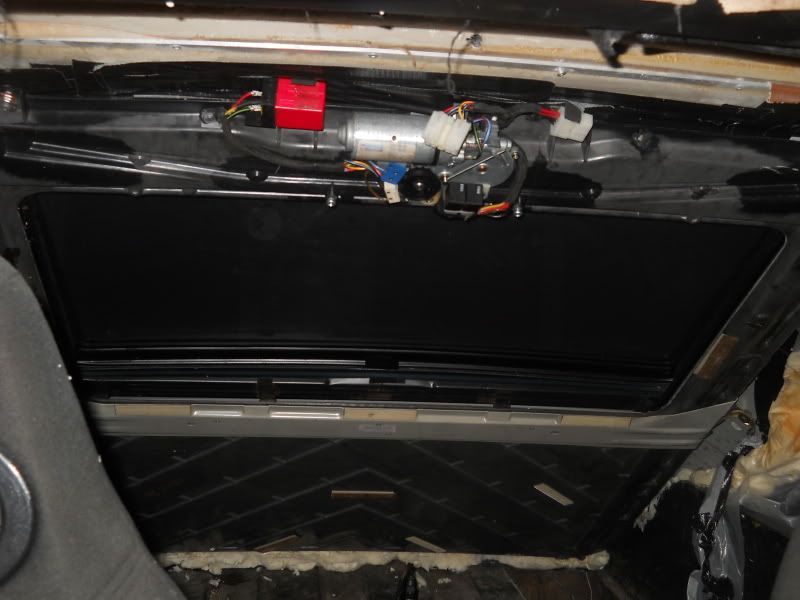 Bit psychodelic in the light mind you.... 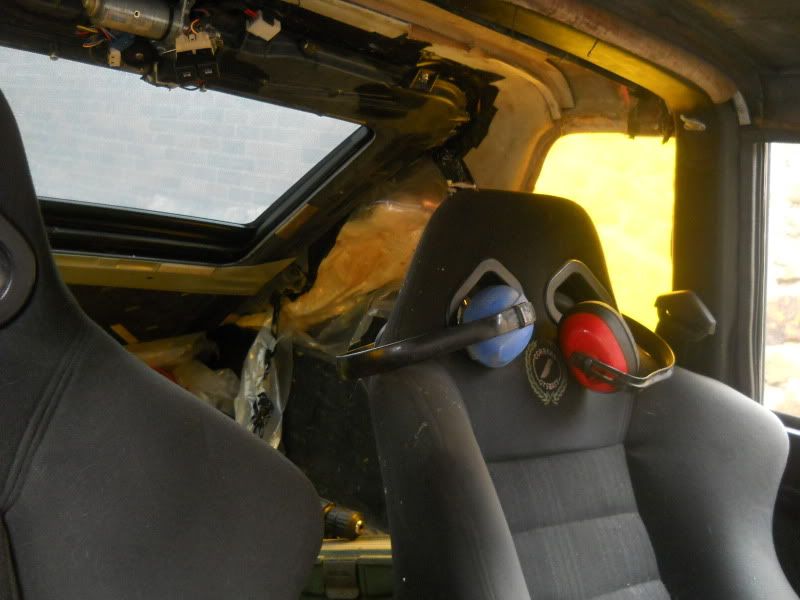 Slapped together a downpipe, with flexi-joint, fitted upto the mid-box from the XM, which exited just after the drivers door, at a jaunty angle 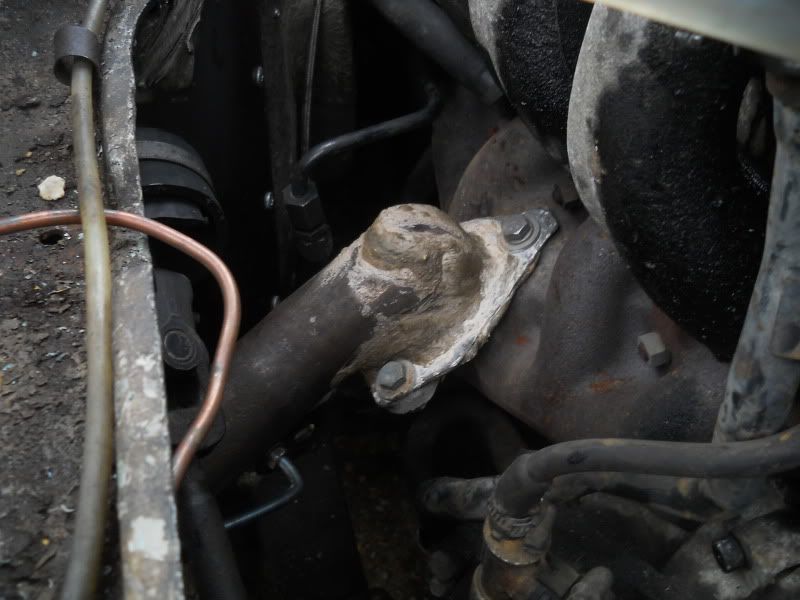  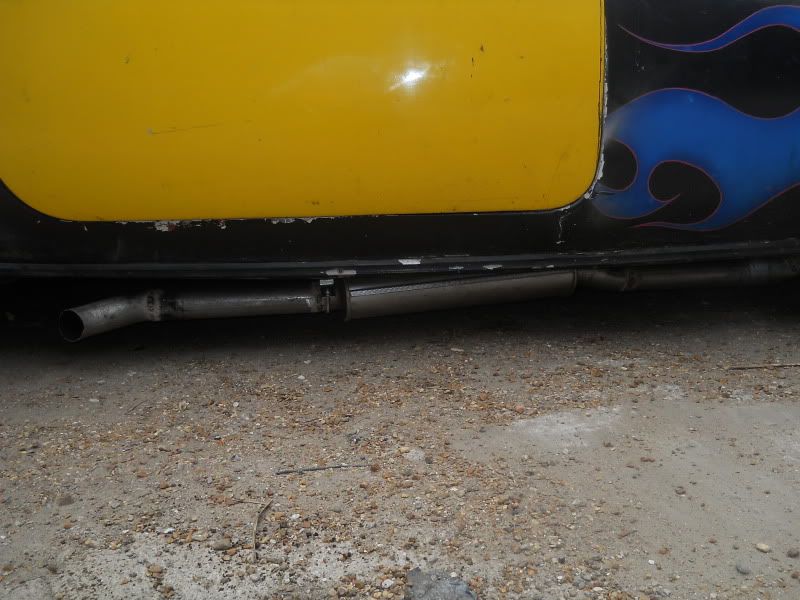 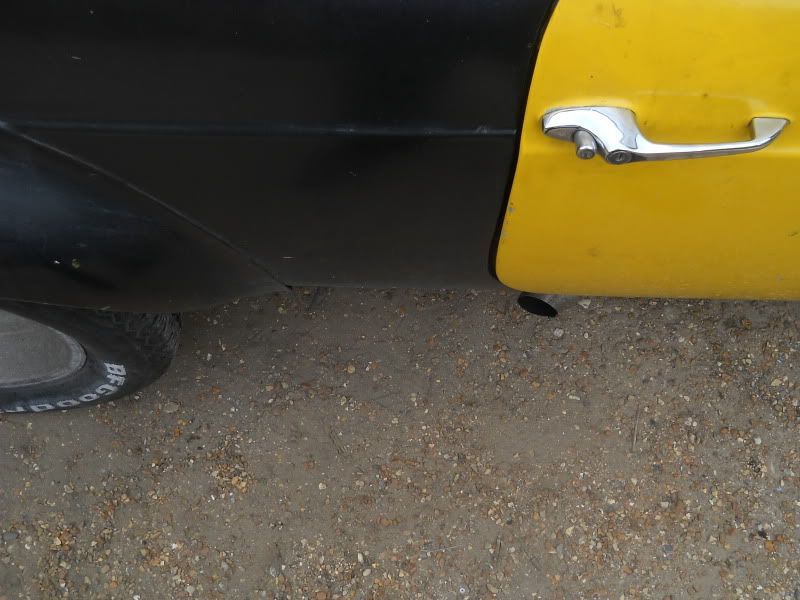 Just for convienience, slapped together a quick "dashboard", with the main lights and gauges. Strangely enough, the Scimitar doesn't come with an oil pressure warning light as standard?? Didn't have the time to figure out which wire fed the switch on the block, as it was buried beneath a lot of pipework! I love the grandad-spec carriage-clock too, with a blue LED for lighting at night, made it for my old ratty pug 406 ;D 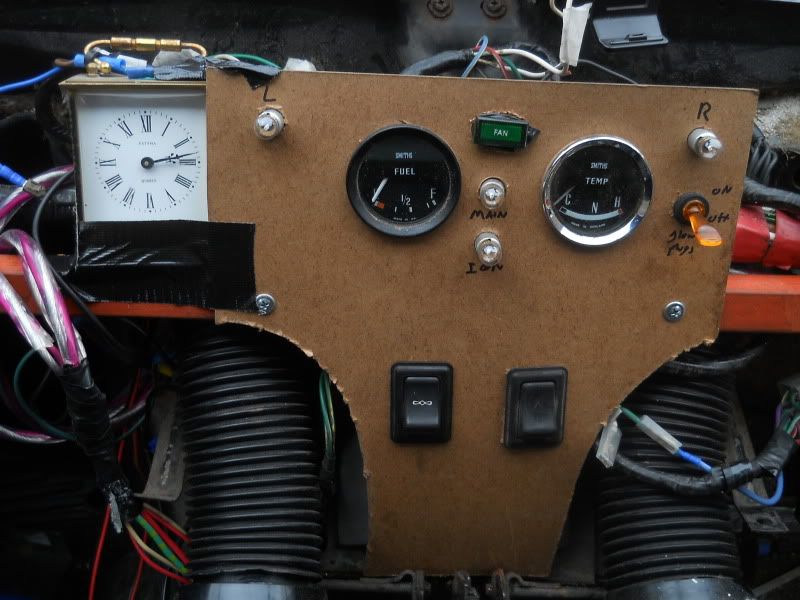 Had a can of relentless in my hand at the time, and remembered something I'd seen online, and decided to copy it. Made me smile - and will deffo be going onto the next reincarnation! 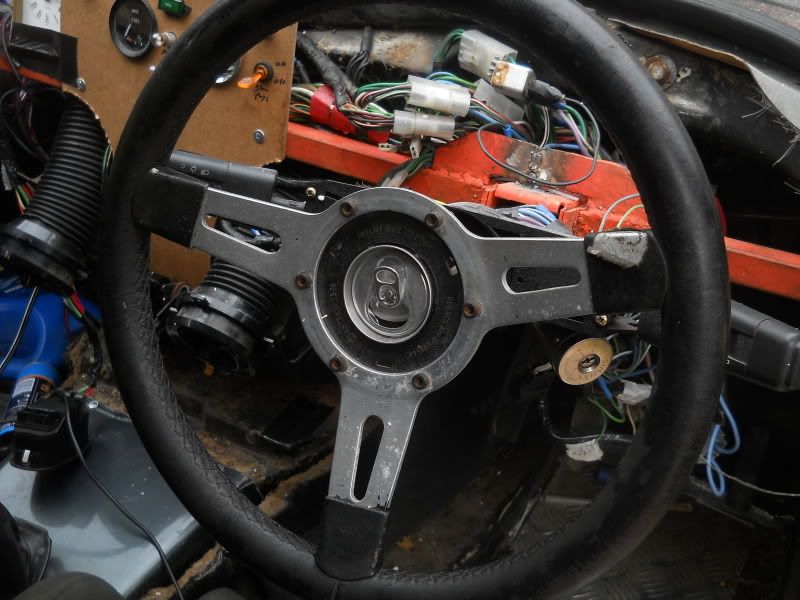 Not particularly easy to see, but the gearknob was HOOOOOOGE!!! When it was in 5th, it was about 3" away from the indicator stalk! 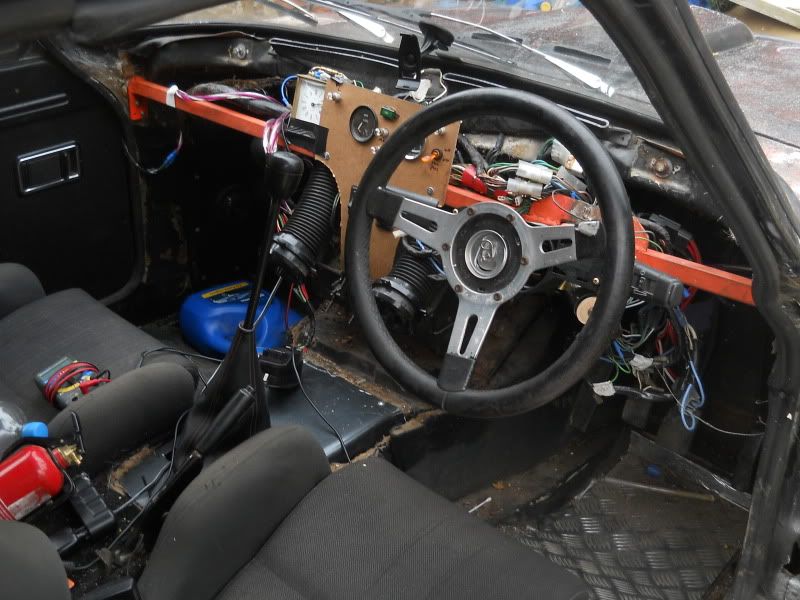 and the final way it looked, before the ill-fated drive 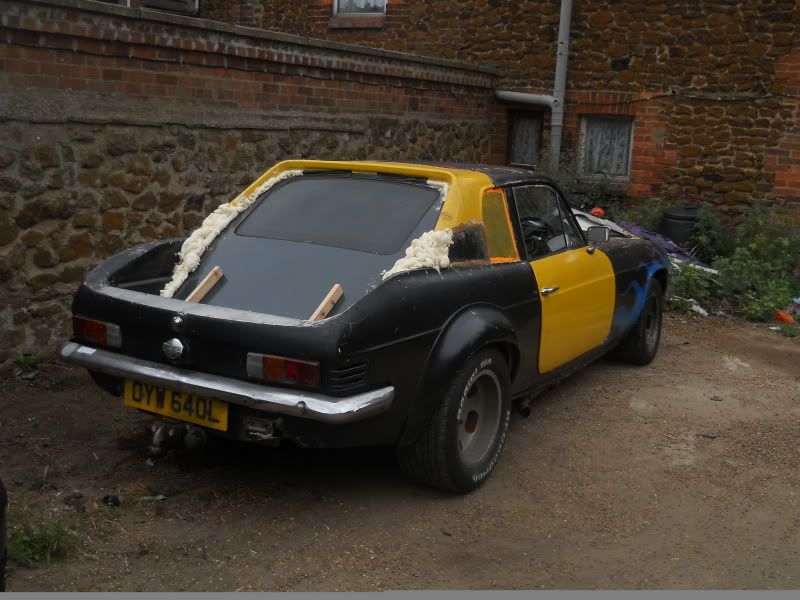 Looked absolutley hideous, but it was actually a VERY relexing drive (once I put in my earplugs)The gearlever length, made it so you only had to move your arm across, not downwards - very small amount of effort needed. The clutch overthrows by quite a lot - it stopped me actually disengagingthe clutch at first, as it must've gone past the point of release, and instead just ended up compressing the diaphraghm springs into the centre of the friction plate! Reduced the maximum throw of the clutch pedal with the limiter bolt under the master cylinder, only needed about 6" of movement, with VERY little effort! Steering was the same too - after lifting the steering wheel up by about 4" from standard with my new dash-bar, fitting an ever-so-slightly larger steering wheel, and the reduction of weight from the engine swap - it almost felt like it had power-steering! So I'd at least changed it from needing herculean leg muscles to work the clutch, and arms of the hulk to steer, to be being able to be driven by an old granny.... if they wore ear-defeneders that is But, after pondering, and chatting, and realising just how dangerous the shell was (zero structural strength left in the front since it was "repaired" with bodyfiller) Me and Dog have decided to shift it upto his in Hertfordshire, throw the shell in the bin, and replace it with a proper ratrod style pickup cab+bed - like this one 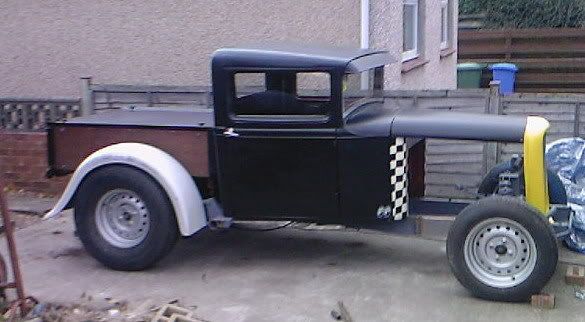 |
| |
Last Edit: Jul 23, 2011 18:49:52 GMT by chairchild
You're like a crazy backyard genius!
|
|
|
|
|
|
|
You'd make ricers proud (meant that in a jokey way) Looking forward to the reincarnation, i know the sort of stuff dog comes up with so this will be interesting. |
| |
|
|
|
|
|
|
|
how in gods name it was ever road legal to begin with is beyond me. I think the shell move is a good one, this thing gave me nightmares |
| |
|
|
|
|
|
|
|
that's unfortunate but for the best, just think how cool it can be with a rod shell I'd forgotten Dog was in Hertfordshire now, may have to pop up to lend a hand one day! |
| |
|
|
|
|
|
Jul 24, 2011 11:18:02 GMT
|
tbh, once the dashboard was fitted, and it was painted up - you couldn't even SEE the original damage! The worst kind of bodge imaginable! At least with my expanding foam, I wasn't trying to cover it up as a "proper"piece of work... was kinda ashamed to let people see the back-end too And Paul, you're more than welcome! Plans so far are: Pickup body XUD turbo fit my hooooge rear tyres rear stack pipe bench seat and above all: ratty |
| |
You're like a crazy backyard genius!
|
|
dog296
Part of things
Posts: 302
|
|
Jul 24, 2011 13:11:51 GMT
|
|
Whats all this talk of Hertfordshire?
I live in HEREFORDSHIRE! Around a 3hr trip differance there lads lol!
Least up here, it can sit in the garage, out of the way, and get fettled with as and when without worry of rain etc.
Once the thing is striped down to the chassis, we can sort about fitting the engine properly, and weld mounts here and there, and what ever we need to, THEN we can work out how,and what shell we are going to fit.
|
| |
|
|
|
|


 And don't forget, the XM was a freebie!


 respect for taking on a challenge like that but very best of luck with it looking forward to the day it moves by its self!


 Going to patch it up as best as I can, but this shell 100% needs to be scrapped as soon as I can get a replacement