|
|
|
Jan 18, 2019 22:45:17 GMT
|
The devil is always in the detail Bonnet hinge is as simple as I could make it (mainly to keep the weight to a minimum), just a simple rotation. The underfloor aero slides over the rear edge of the splitter in order to keep the air flowing to the rear rather than creeping into the area under the radiators. So that the bonnet can open without breaking the floor it has to move forward around 40mm prior to being flipped open. I also want to be able to remove the bonnet easily and this hinge allows for that by simply continuing to pull the bonnet forward until the hinge parts separate. Fitting is the reverse operation. However, it is too easy to pull the bonnet too far when I just want to open it so I need some sort of limiter that also allows me to remove the bonnet when required. Mk1 was two strips of wire secured with set screws. Although this worked I had to undo two screws in order to remove the bonnet. Also the wire broke easily. I could use thicker wire and solder the connector on but it looks a little naff IMO. 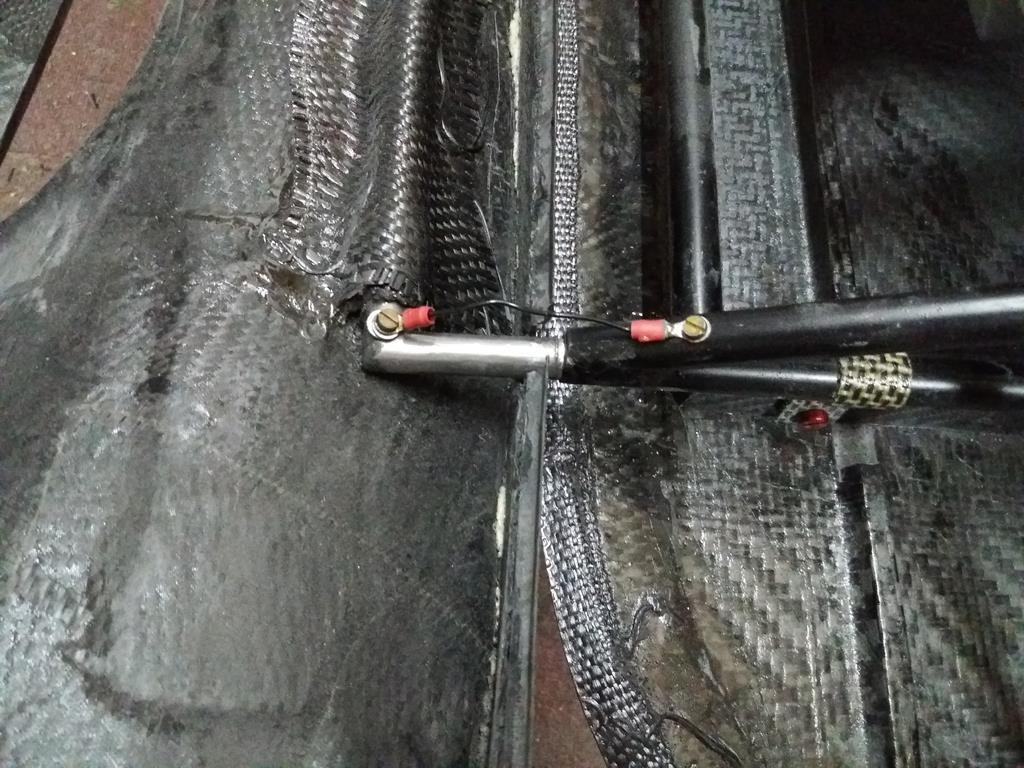 Mk2 is springy steel. So far it seems to work. If I can't find any downsides I will tidy the strips up and weld them to the hinges at the bonnet end. I will replace the other screws with dowels so the strips can be simply flicked over them when required. 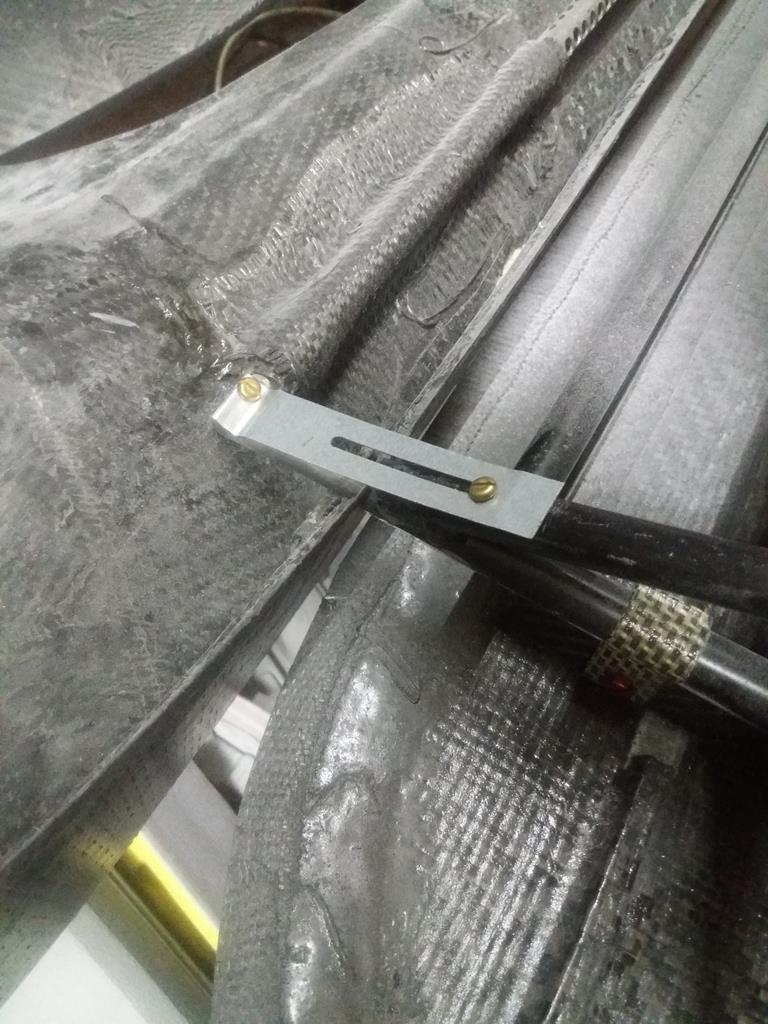 |
| |
Last Edit: Jan 18, 2019 22:48:29 GMT by nalesutol
|
|
|
|
|
|
|
Jan 17, 2019 22:35:41 GMT
|
Attempting to make a silk purse out of a sow's ear of a front clip. 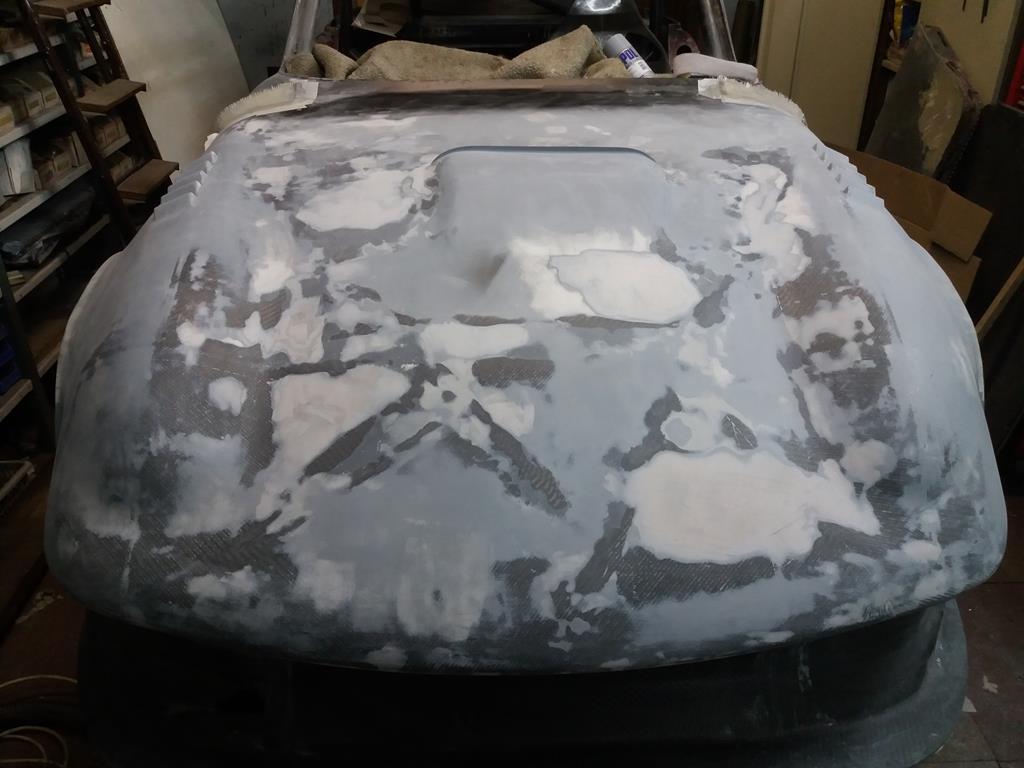 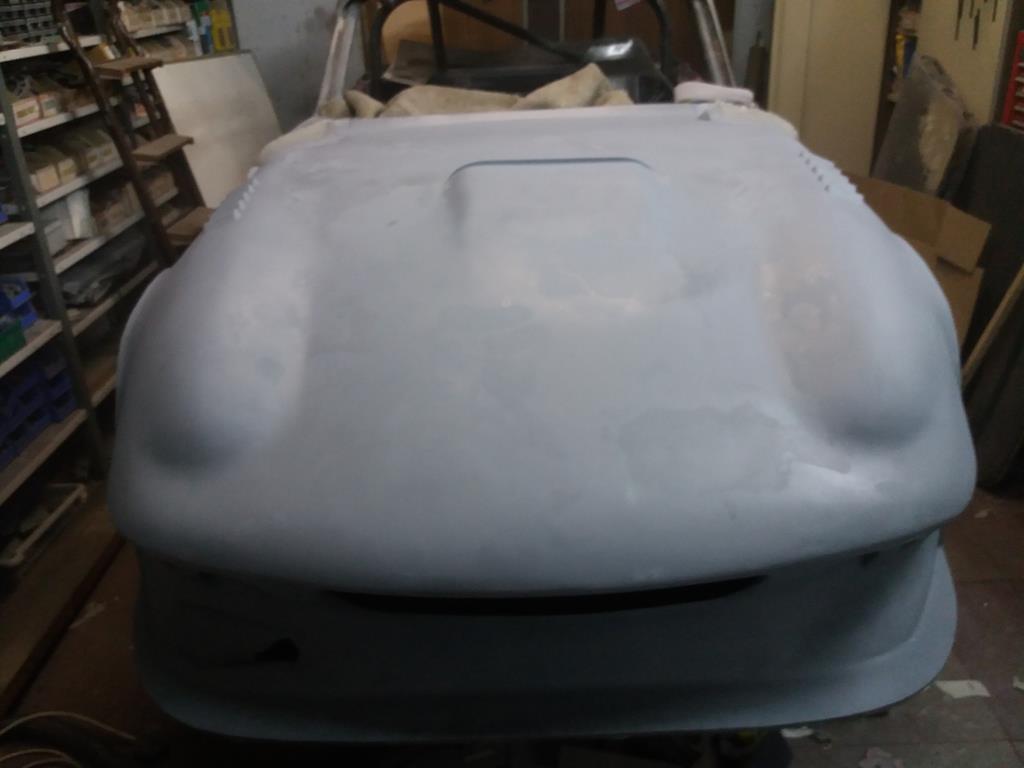 |
| |
|
|
|
|
|
Jan 14, 2019 22:26:14 GMT
|
A quick blow over to see how I am doing (run out of grey primer), then a fine filler. 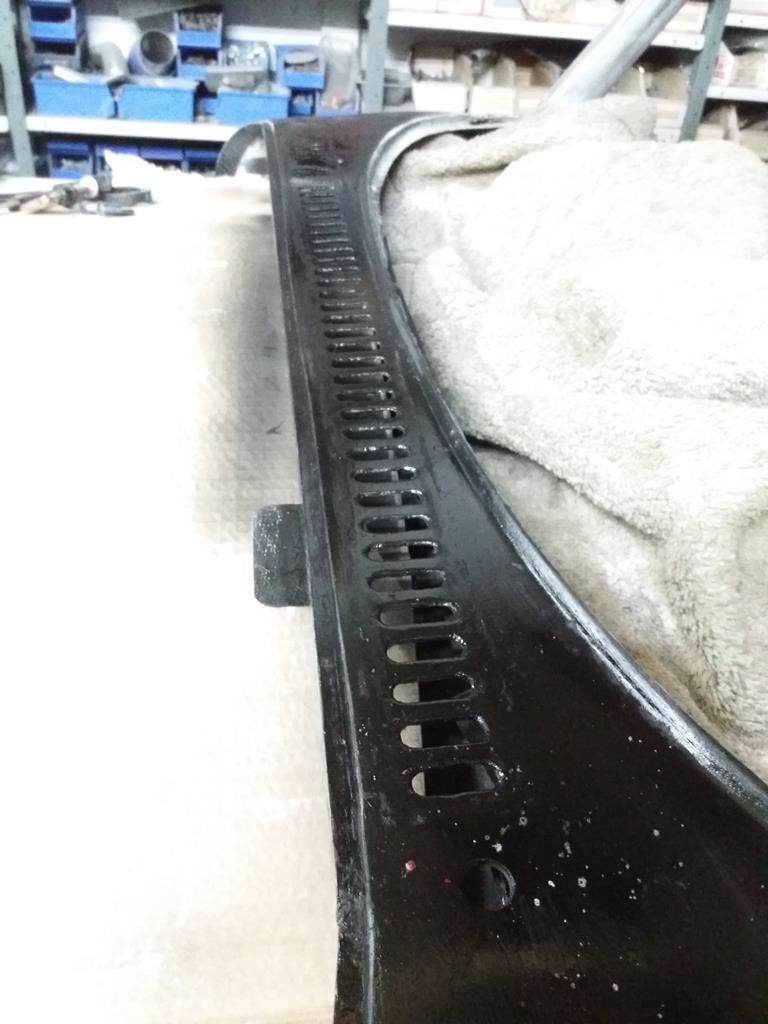  |
| |
|
|
|
|
|
Jan 14, 2019 15:55:38 GMT
|
You would need to eat a lot of Sprouts to power that. LOL Plus baked beans and broccoli should do it. |
| |
|
|
|
|
|
Jan 14, 2019 12:57:57 GMT
|
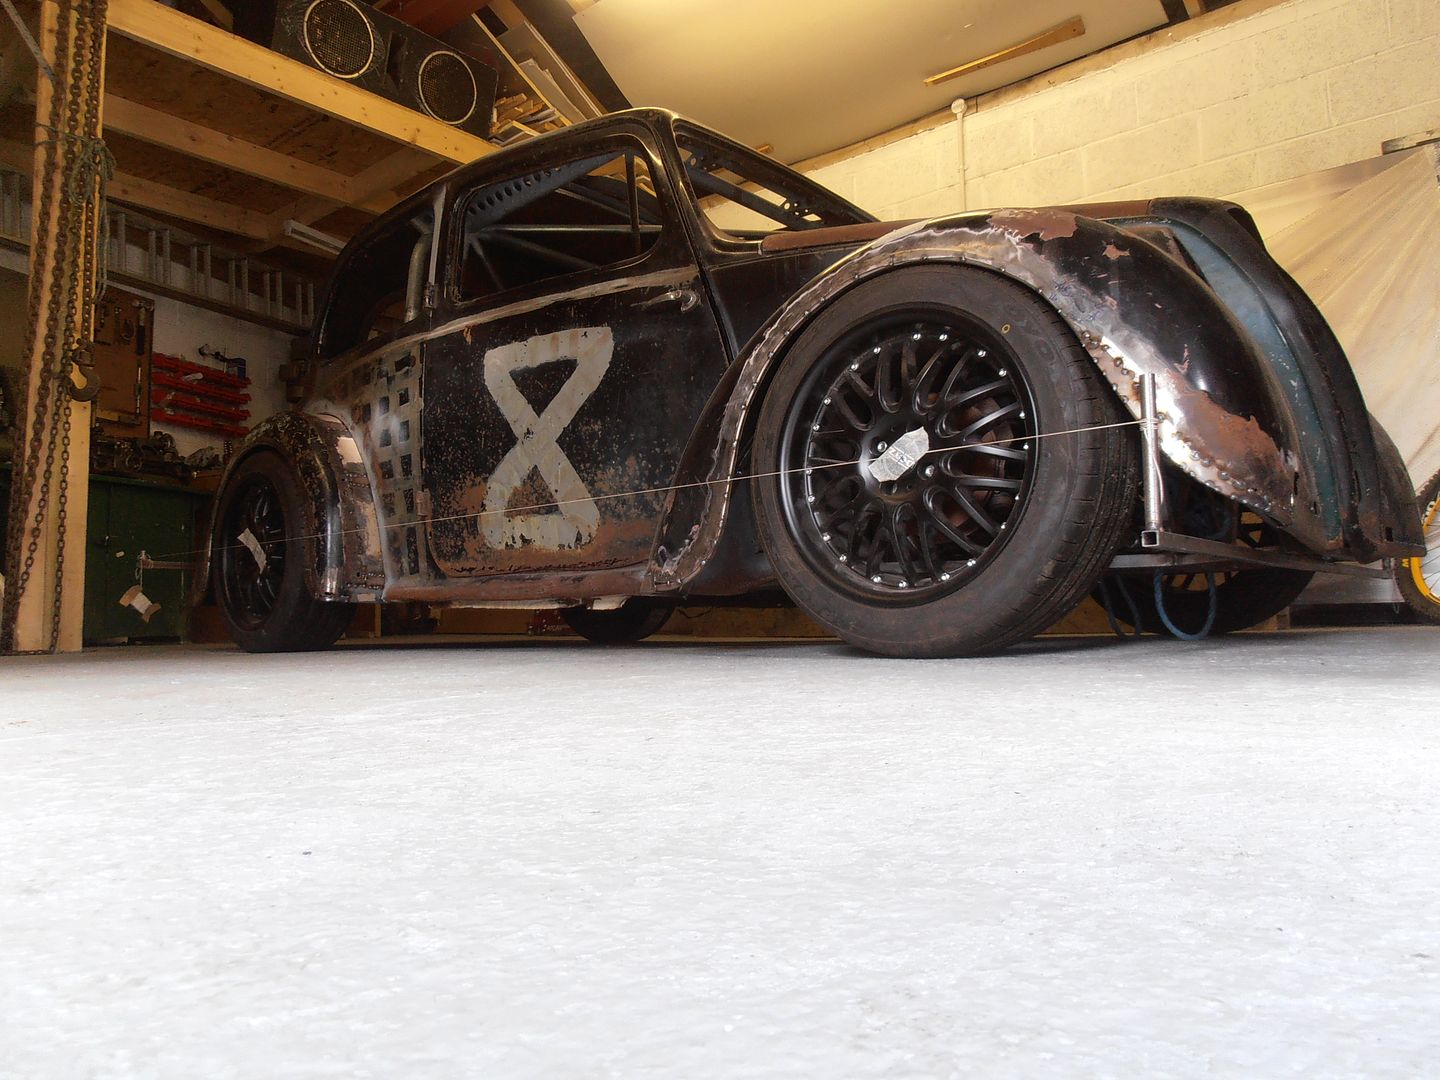
With regard to my weight saving obsession, this is what I am striving for,  |
| |
|
|
|
|
|
Jan 13, 2019 20:03:29 GMT
|
|
|
| |
|
|
|
|
|
|
|
To me for the astetics it would need to slowly taper out into the radius over the top of the wings. With the current square ending will you also get vortices generating off the edges and tumbling down the side of the car? I would have taken it further down the wing but shaping the aluminium mould proved too difficult. However, vortices aren't necessarily a bad thing a :-) I will be using vortice generators on the rear of the roof and under the front splitter. However, I have no idea whether those produced by this will be beneficial or not. With regard to the aesthetics, I tend to agree with you so I will see whether I can tack on something. 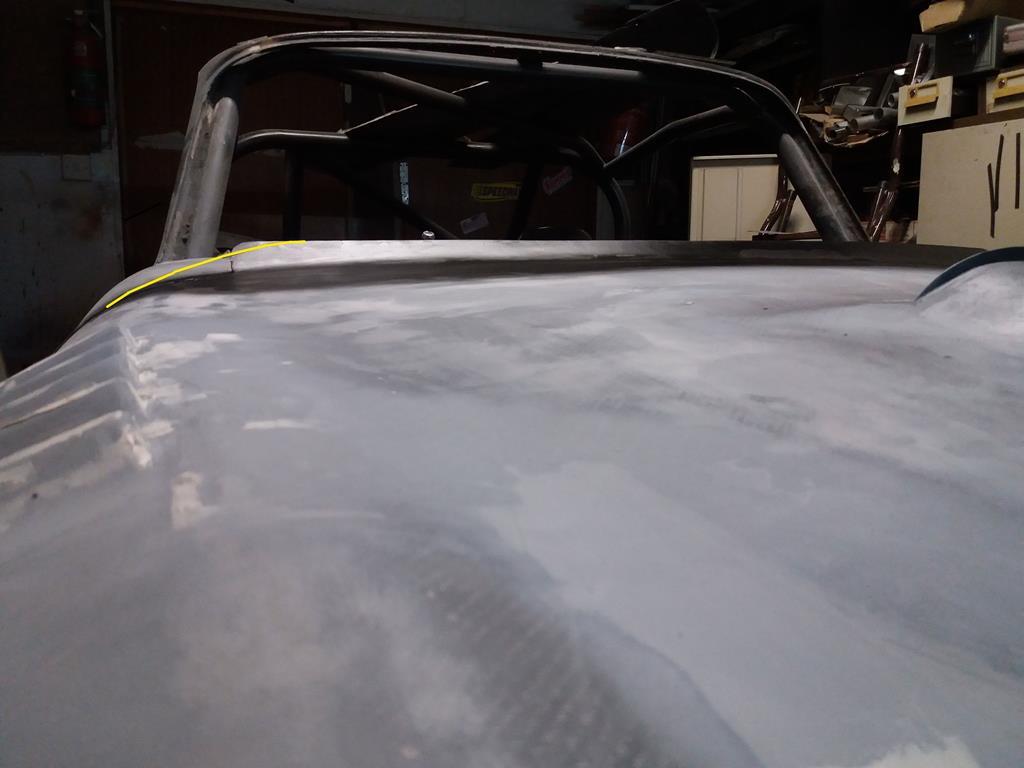 |
| |
Last Edit: Jan 13, 2019 9:53:10 GMT by nalesutol
|
|
|
|
|
|
|
Returning to the air deflector, I stuck the 3 layer version on and it Ok with the bonnet shut. However, when opened the edge wrinkled due to the flexing on the bonnet. This got me thinking that maybe it isn't strong enough to withstand 160mph winds, so I decided to replace it with the 4 layer one. This holds its shape very well and feels/looks right. Apart from, that is, the ends. They make it look like it was just stuck on as an afterthought. Well, actually it was, but it shouldn't look like it was :-) so I think a subtle reshape of the ends will help, what do you guys think? 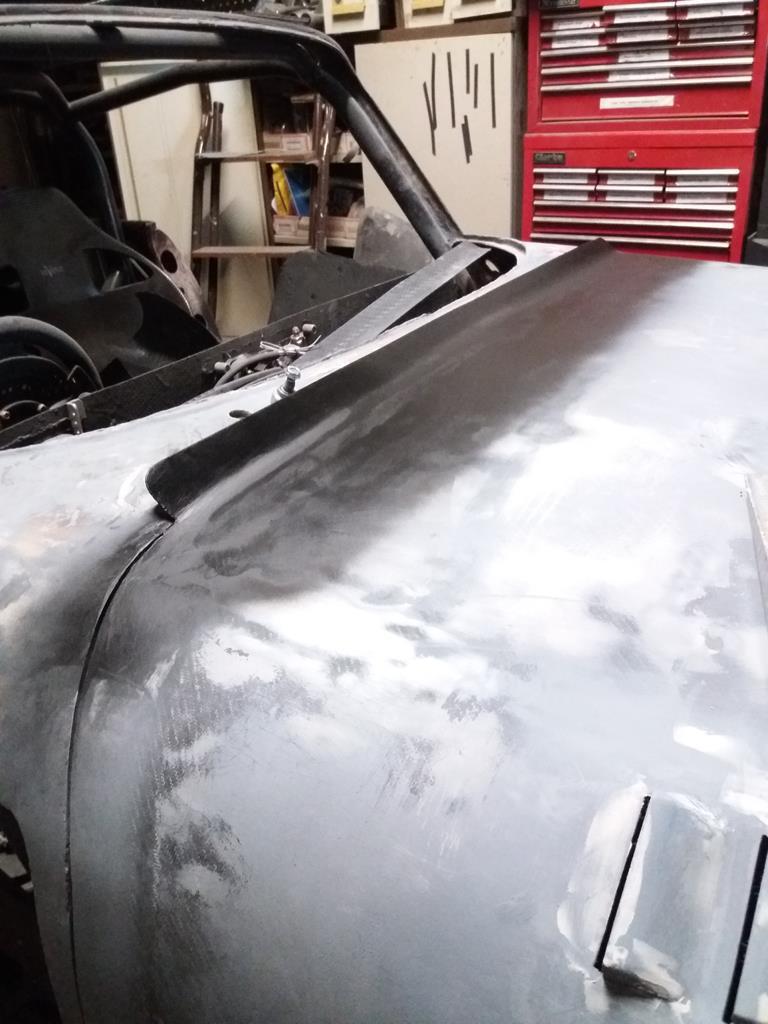 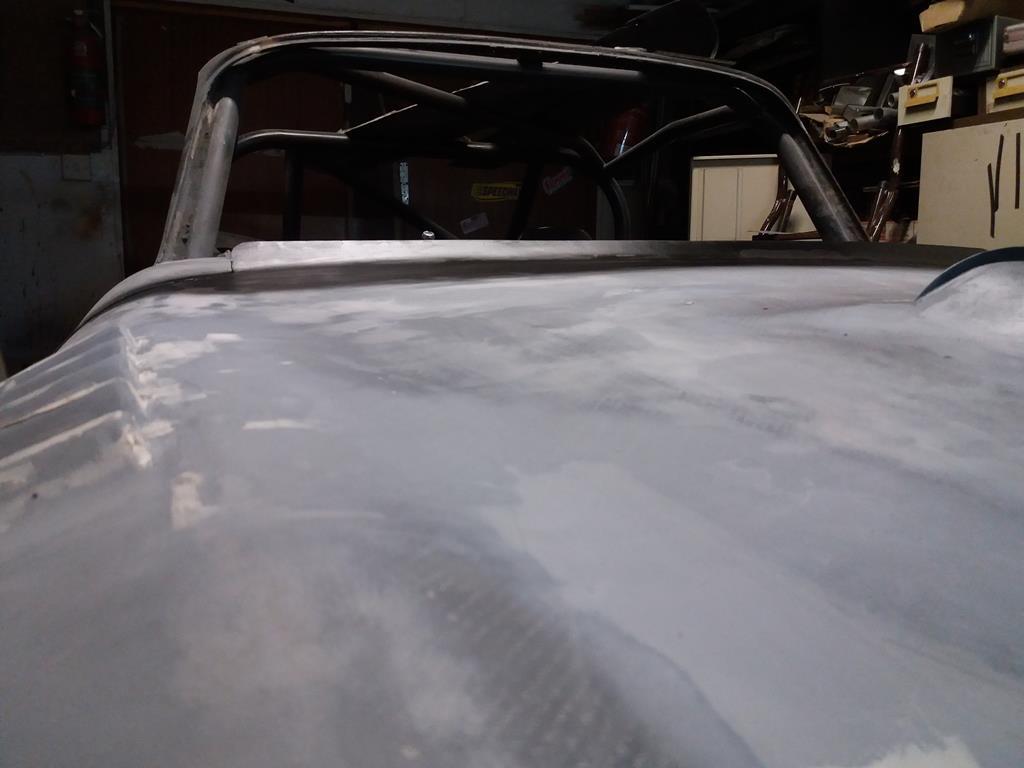 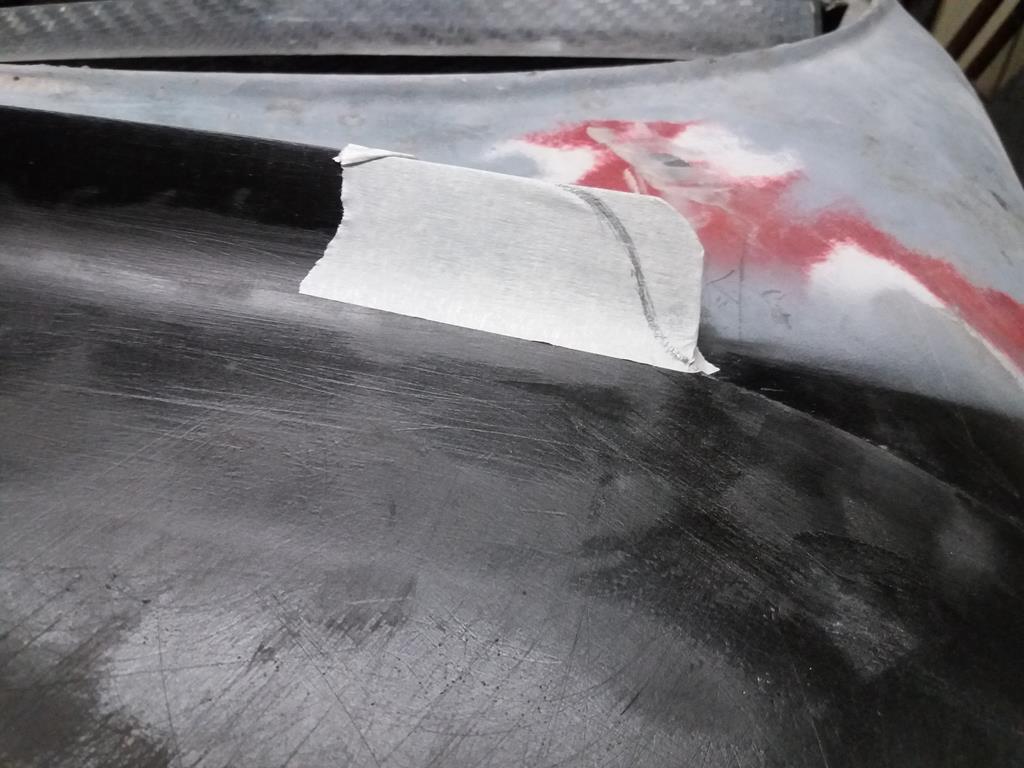 |
| |
Last Edit: Jan 13, 2019 0:47:22 GMT by nalesutol
|
|
|
|
|
|
|
|
My son bought me a set of spanners for Xmas. I may have enough spanners to open a spanner shop, but these are useful. The spanner slipping off the nut was my fault by forgetting that I am a man and trying to multitask.
|
| |
Last Edit: Jan 13, 2019 0:19:49 GMT by nalesutol
|
|
|
|
|
|
|
|
I recently bought a tripod for my phone so I can produce a few progress videos. Nothing as professional as the Project Binky series, just for a bit of fun. I made a short test video this evening that wasn't for posting, but then I thought what the hell, why not :-) I just picked up the ski suit (it gets a tad cold in the barn this time of year) so it isn't yet covered in carbon/fibreglass dust, resin, filler and paint, but it won't be long :-)
Apologies for the low sound level, as I was using the phone's microphone.
|
| |
|
|
|
|
|
|
|
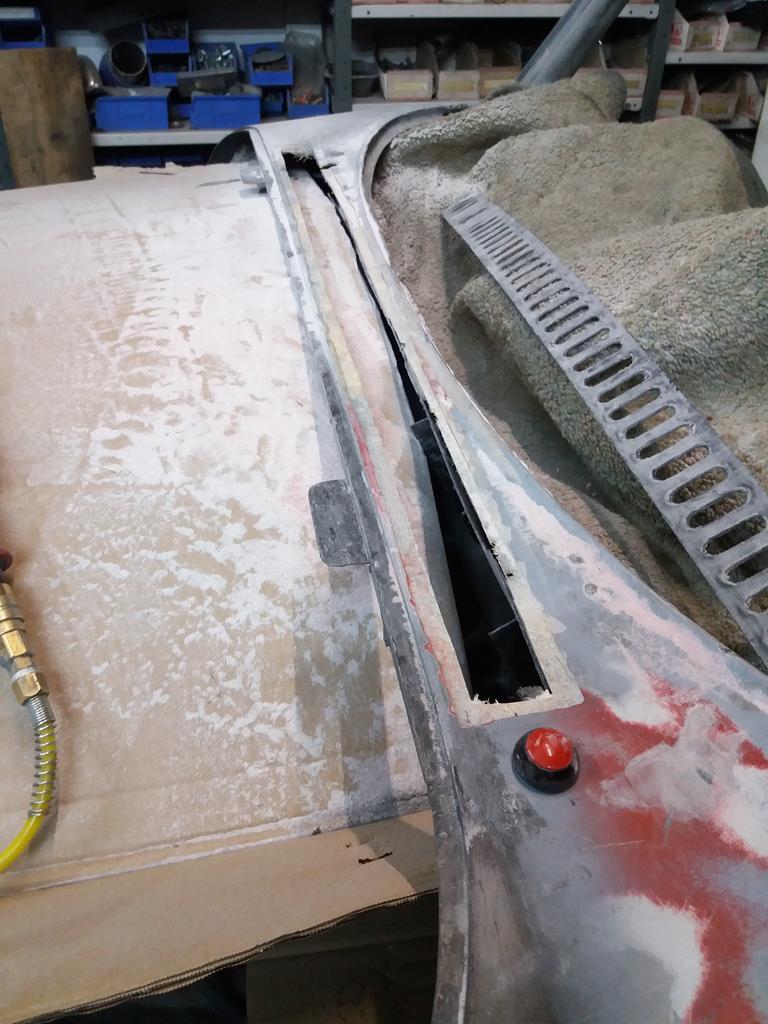
Hmmmmm, a bit of a curate's egg, this one. Decided that the air deflector was a tad over engineered, being made from 4 layers, so remade it with only 2 and it seems fine and half the weight :-) However, the windscreen base vent didn't turn out as well as I had hoped as the carbon didn't compress into the cutouts properly. I will remove the excess carbon from the vents and see how it looks. The surface requires sanding and filling, but this was expected as the underside was in contact with the mould and not the visible side.    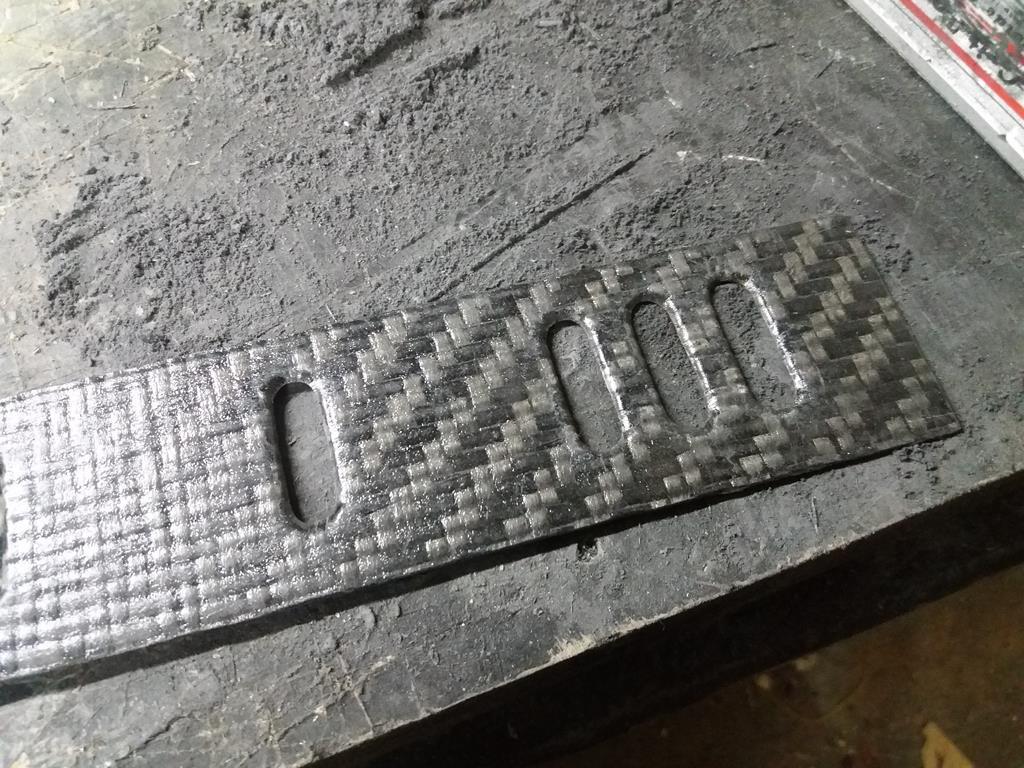 |
| |
Last Edit: Jan 7, 2019 22:16:41 GMT by nalesutol
|
|
|
|
|
|
|
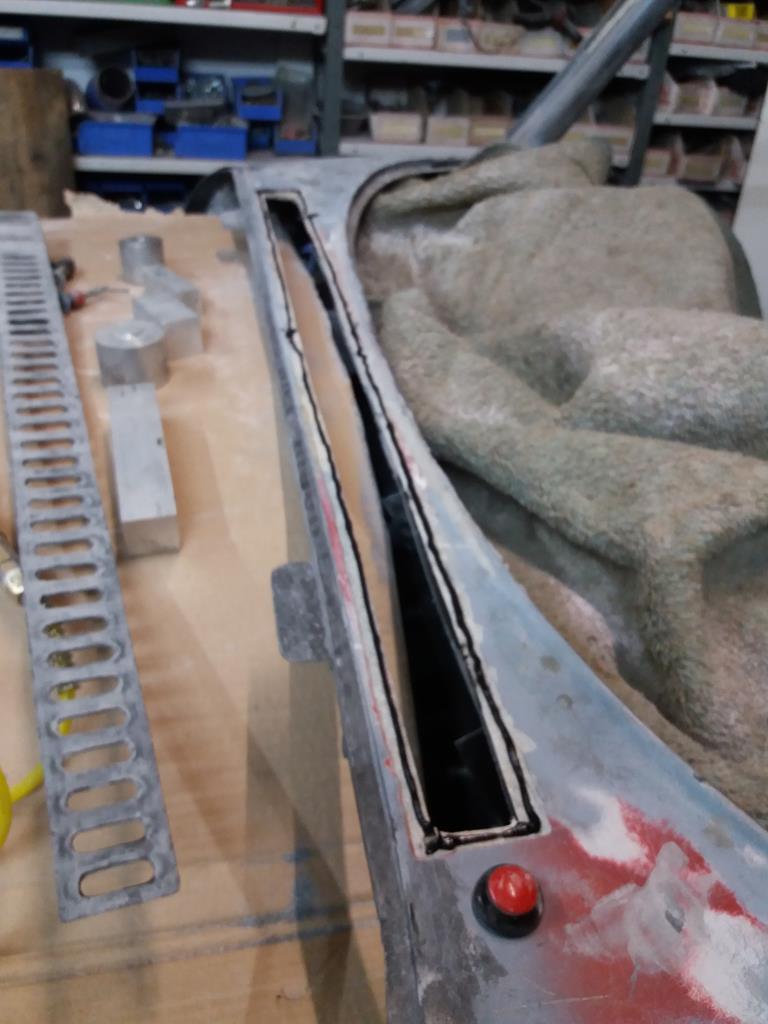
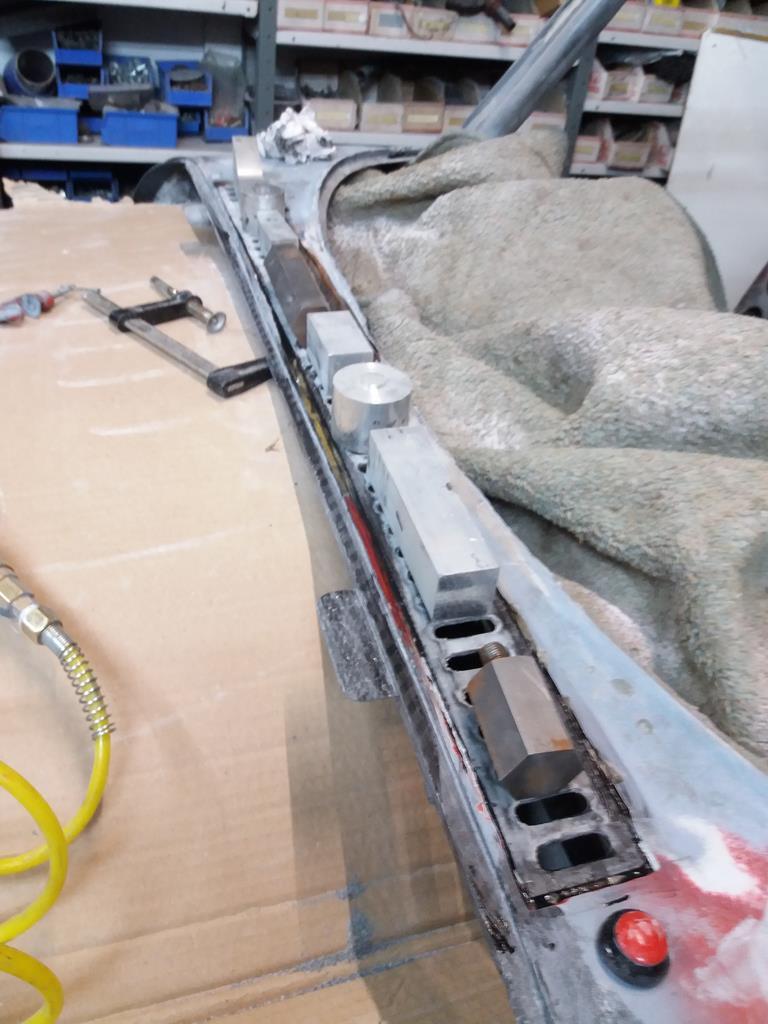
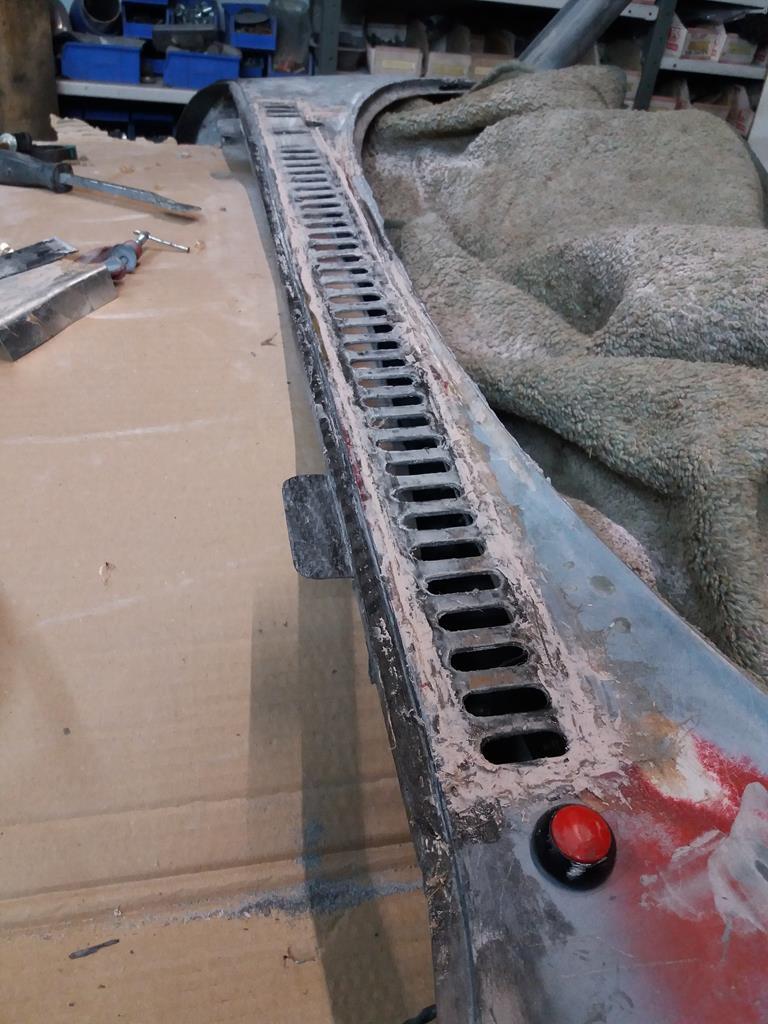
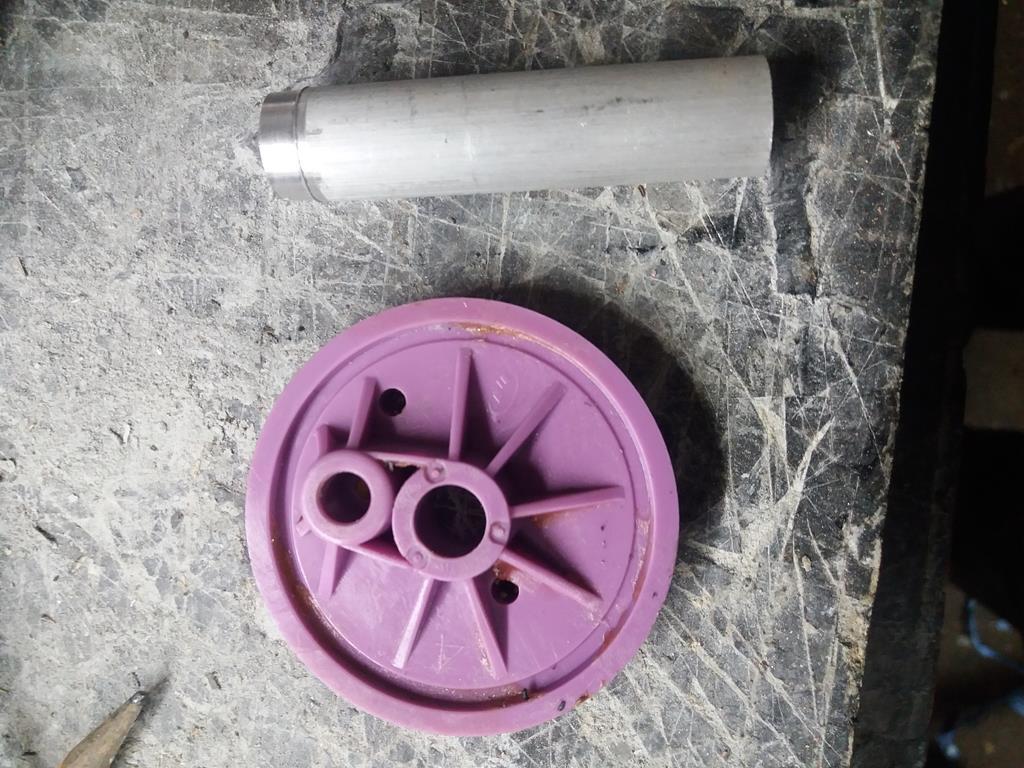
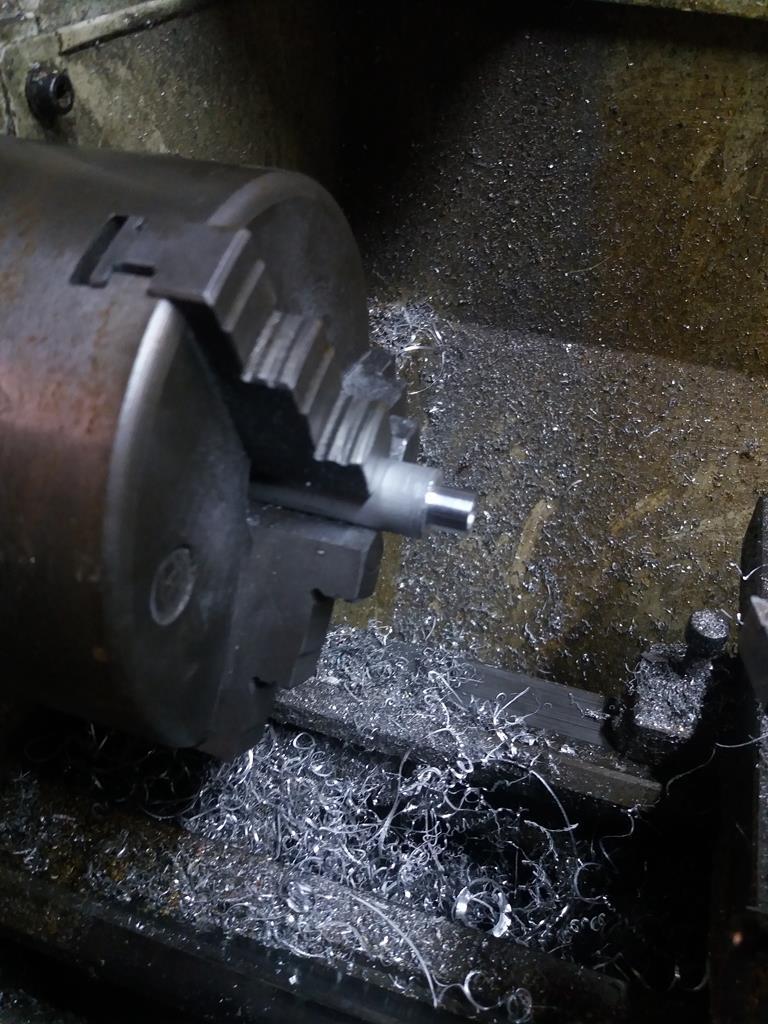
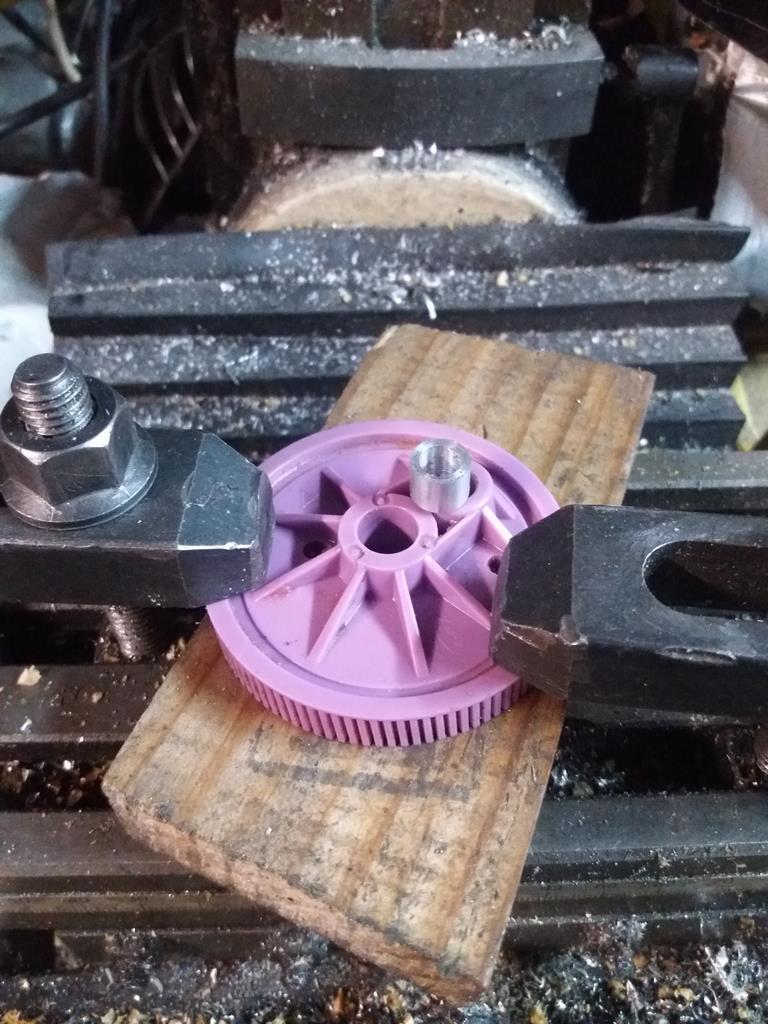
Just finished machining the aluminium mould for the carbon vent that will sit at the base of the windscreen. I now just have to persuade the carbon to sit in the recesses :-) 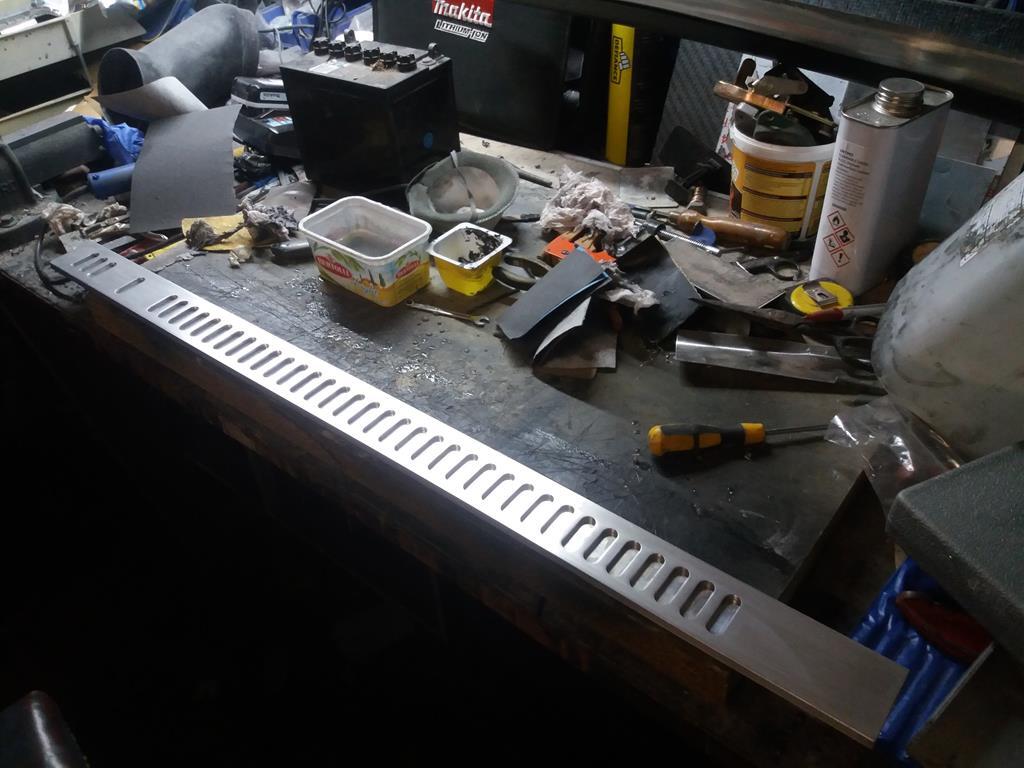 |
| |
Last Edit: Jan 6, 2019 20:15:09 GMT by nalesutol
|
|
|
|
|
|
|
Regarding venting heat from the engine bay the best way (if indeed you can't vent out of the side somewhere) would be to vent under the car at the rear of the engine bay through your flat floor section, it'll effectively be sucked out too. The idea of the floor is to reduce the amount of air under the car and to also improve its flow so as to reduce lift, so exiting the large volume of turbulent engine bay air under the car would be counterproductive and make the underfloor panels less effective. Persuading the engine bay air to flow over the car whilst also reducing the drag inducing high pressure area in front of the screen is a win-win :-) However, the rear section of the floor covering the grearbox has a 150mm x 30mm opening to allow some flow around the box in order to aid cooling, so there has to be a compromise :-( There is a large caveat attached to all of this. I am not an aerodynamicist so I am working from basic principles, online research and talking to people who know a bit about the subject. However, the effectiveness of the mods I have made will not be evident until the car is running and measurements can be taken. No one should make any mods to their cars based on what I am doing!!!!! |
| |
|
|
|
|
|
|
|
Made the air deflector, just needs tidying up and sticking on.  Pattern for the vents finalised so now it has to be converted into G-Code for the CNC Mill. My bed is way too small for this so it will have to be moved twice. 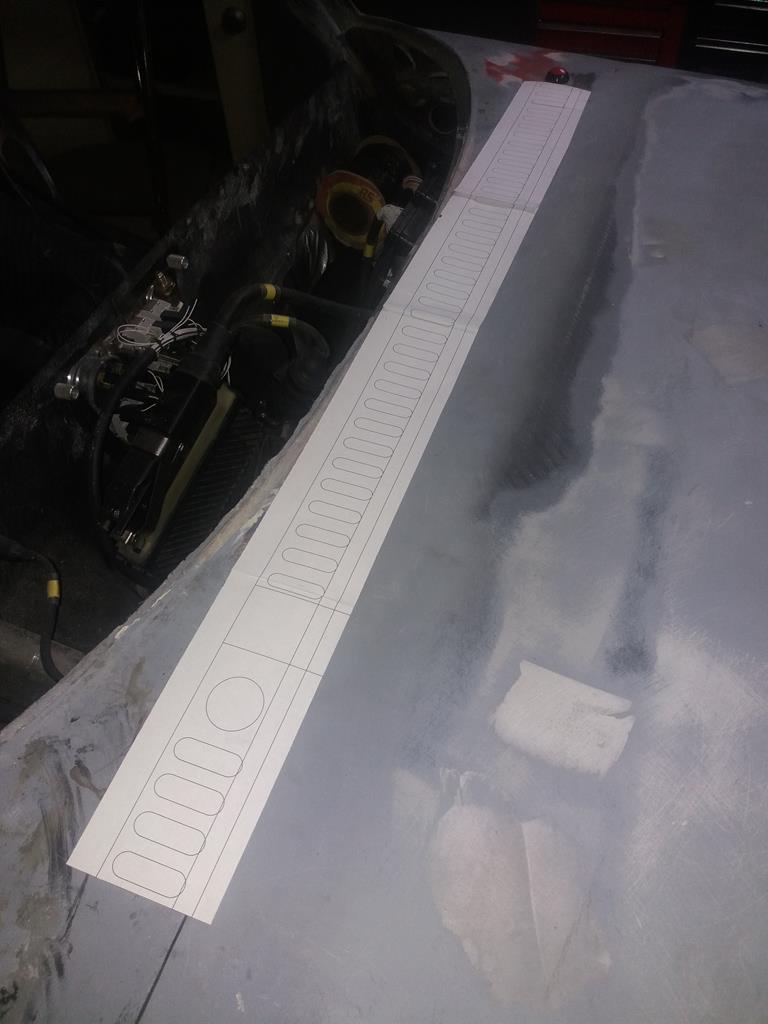 |
| |
|
|
|
|
|
|
|
|
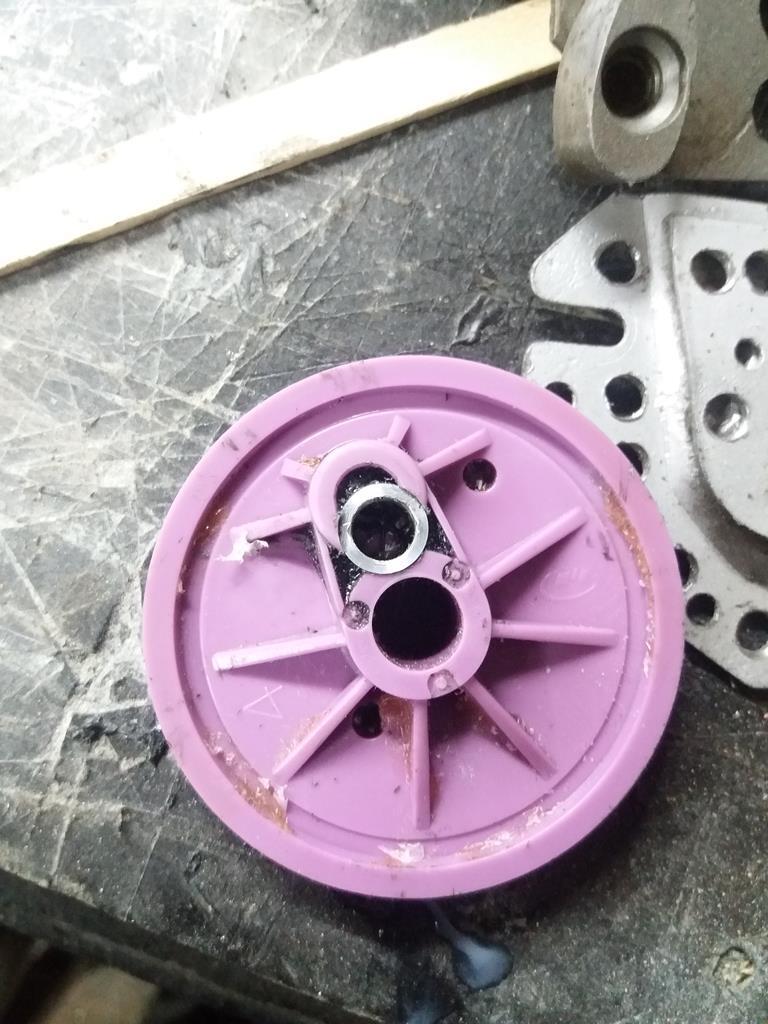
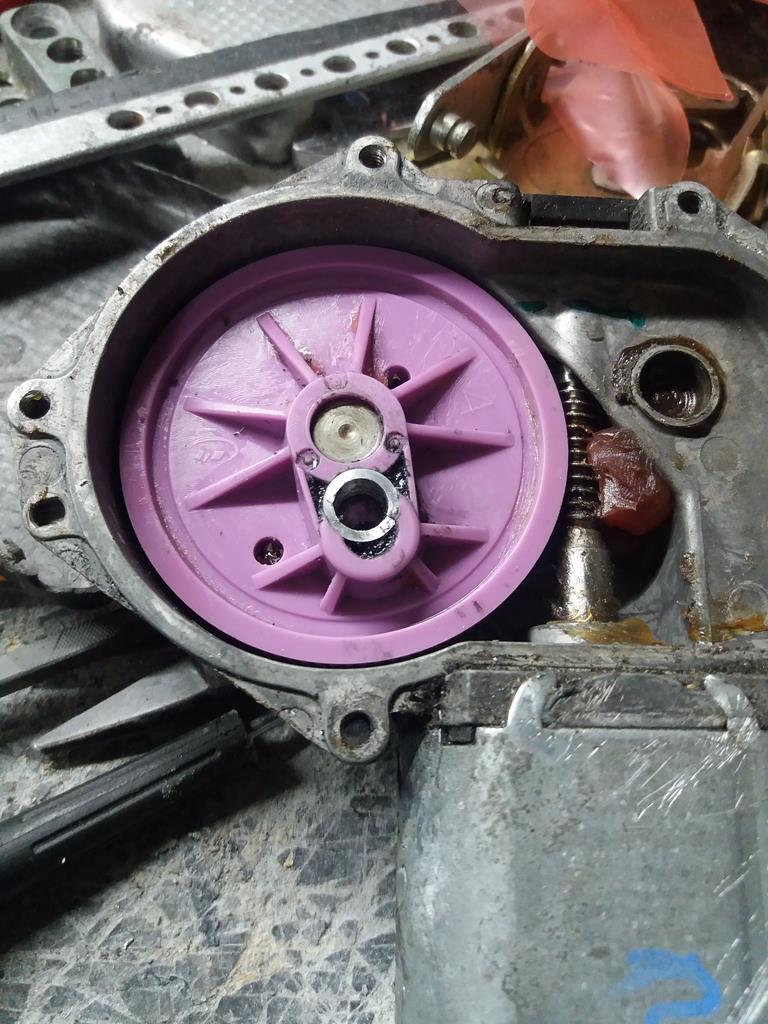
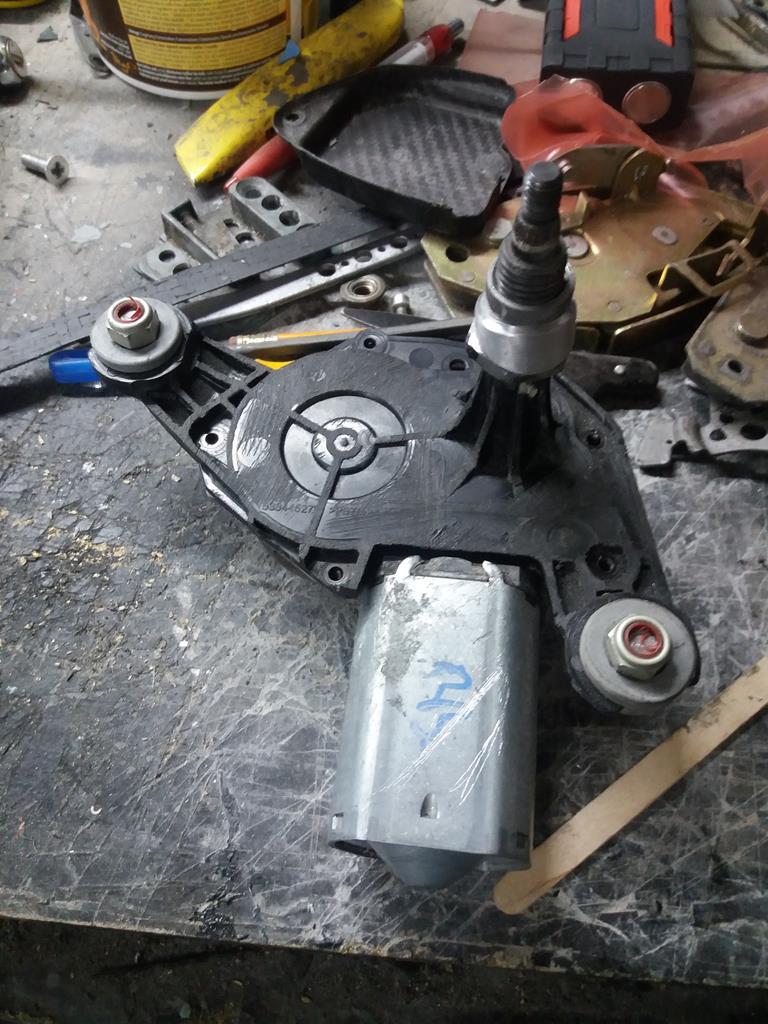
I had to reposition the wiper motor, which required cutting a hole in the bulkhead, but it looks like it will work with a little bit more fettling.
|
| |
|
|
|
|
|
|
|
|
Assembled wiper motor and blade. Swept angle is now around 120 deg, not far off the 110 I was aiming for but I couldn't get the new hole closer to the centre by more than 5mm (calculated that I needed 6mm to achieve 110deg sweep) so this will have to do.
|
| |
Last Edit: Jan 2, 2019 17:08:18 GMT by nalesutol
|
|
|
|
|
|
|
A parachute weighs much less and has no moving parts - just sayin  Well, there is the actuating mechanism and if the parachute doesn't move when required............:-) I have a parachute :-) However, the wing will only be fitted if it is needed for stability. If this is the case then making it capable of doing two jobs seems a no-brainer. |
| |
|
|
|
|
|
|
|
|
I am not building this as a competition car so I don't need to comply with any rules other than MOT ones. However, if I decide to enter any I will convert the car to comply with the relevant rules.
This is just a fun exercise that may fall by the wayside, especially if a wing proves to be unnecessary.
|
| |
|
|
|
|
|
|
|
Checking that rear wing actuator mechanism works. 3 seconds to full height. I wonder if it is possible to improve on this? What's the use going to be? Possibly a rear wing/air brake. Just playing with ideas at the moment |
| |
|
|
|
|
|
|
|
|
|
| |
Last Edit: Jan 1, 2019 18:22:23 GMT by nalesutol
|
|