|
|
|
Mar 30, 2024 18:01:00 GMT
|
|
|
| |
|
|
|
|
|
|
|
|
|
Mar 27, 2024 18:32:10 GMT
|
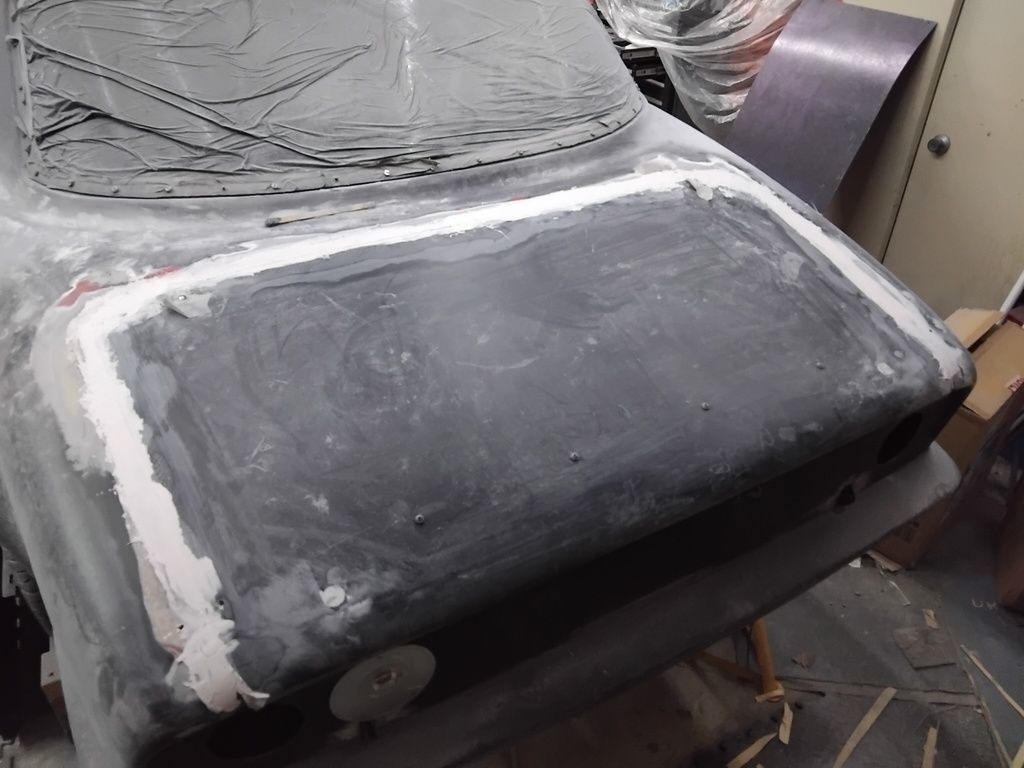
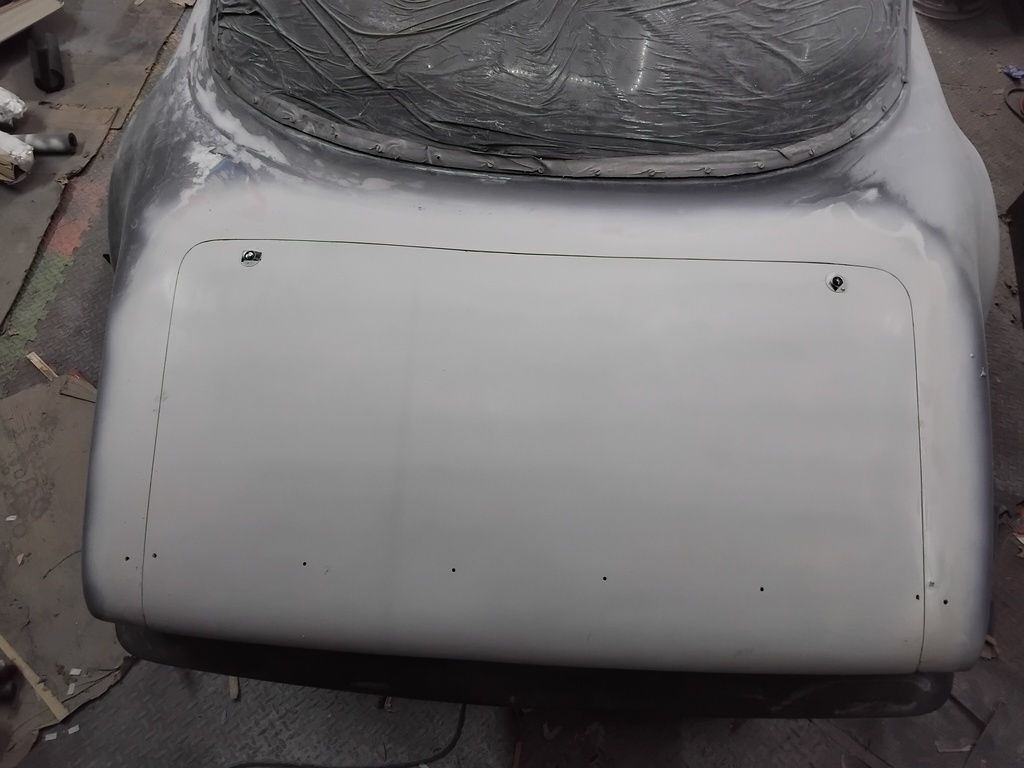
Started on the boot to body panel gap. Glued on cardboard the width of the gap I want and stuffed P40 into the gap. Simple but effective. Once cardboard is removed I will run abrasive paper along the gap to tidy it up. 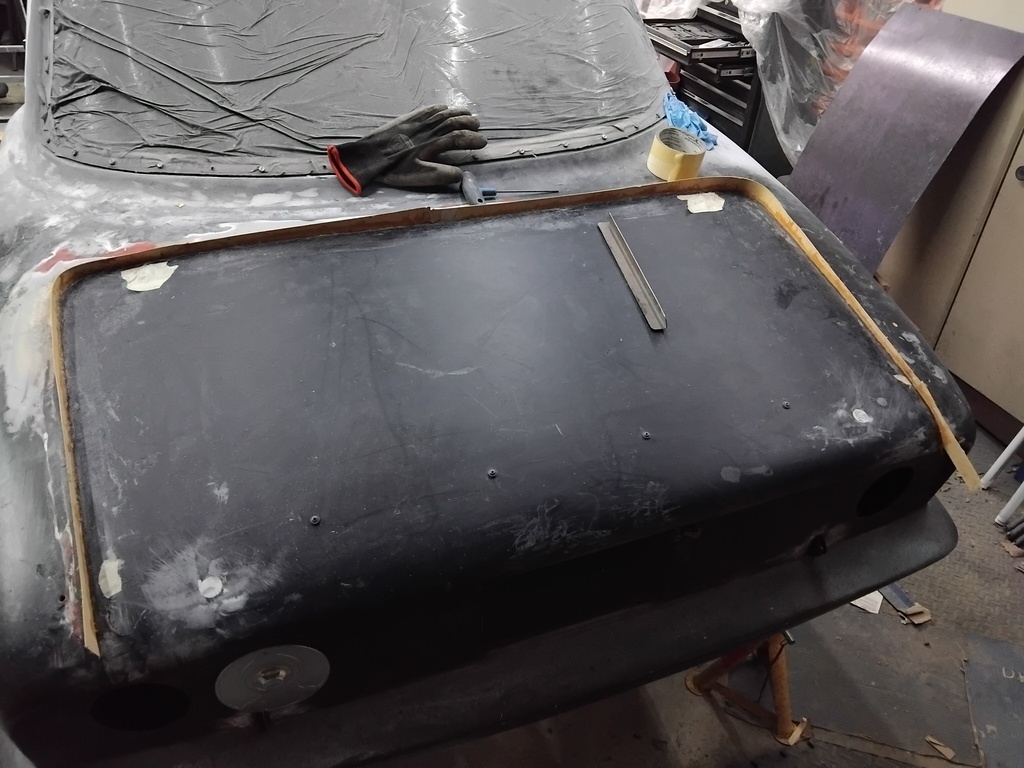 |
| |
|
|
|
|
|
Mar 27, 2024 18:19:58 GMT
|
Will be very interested to see what you make for the corner weighting scales. I've been wanting to make a set for ages, and was rather taken by the Superfast Matt version made from a set of load cells and those hydraulic wheel dollies. Would still get relatively expensive to make a complete set though as you need 16 load cells plus the dollies, but it would make levelling the car a doddle. Settling it would be easy too as you don't need to jack it. Ah, I am not making the scales :-) I have had a set for many years. They are only 10" square as they are a set for go karts. Didn't realise that at the time that the strain gauges in the scales are rated to only 200kg. Fortunately this is fine for my car but I used them to weigh my friend's Ford Pop which is just over a tonne! However, they were still accurate and no damage done. Recently I noticed that the gauges are OK up to 50% over the rated weight so no problem. 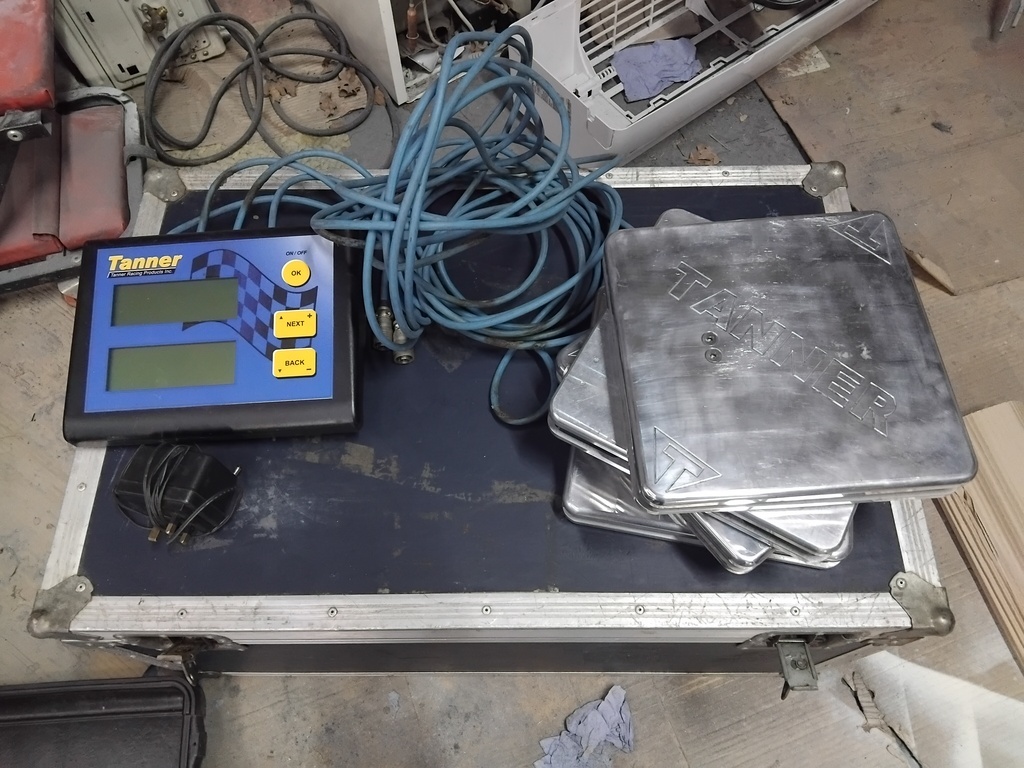 Levelling frames are away being welded. I must learn how to weld Aluminium. I have all the gear etc. Make your own? A quick surf of eBay 4 trolley dollies - £420 8 load cells with 250kg capacity - £400 Display/wiring etc etc ? Set of corner weight scales including display and cables - From around £800 |
| |
Last Edit: Mar 27, 2024 21:33:13 GMT by nalesutol
|
|
|
|
|
Mar 27, 2024 11:47:49 GMT
|
Friends went to the restoration show at the NEC last weekend. One of the cars they saw was this one. Anyone recognise it? Scimitar with SOHC Nissan engine. I like it. 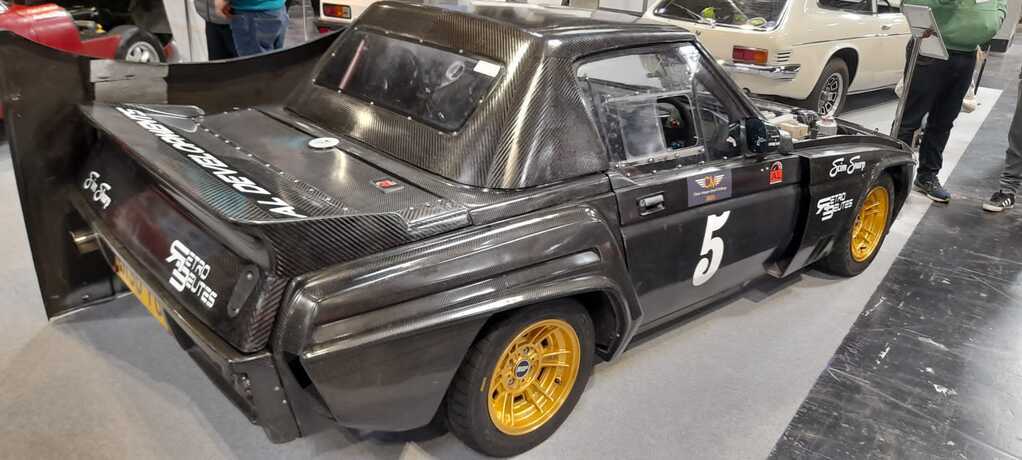 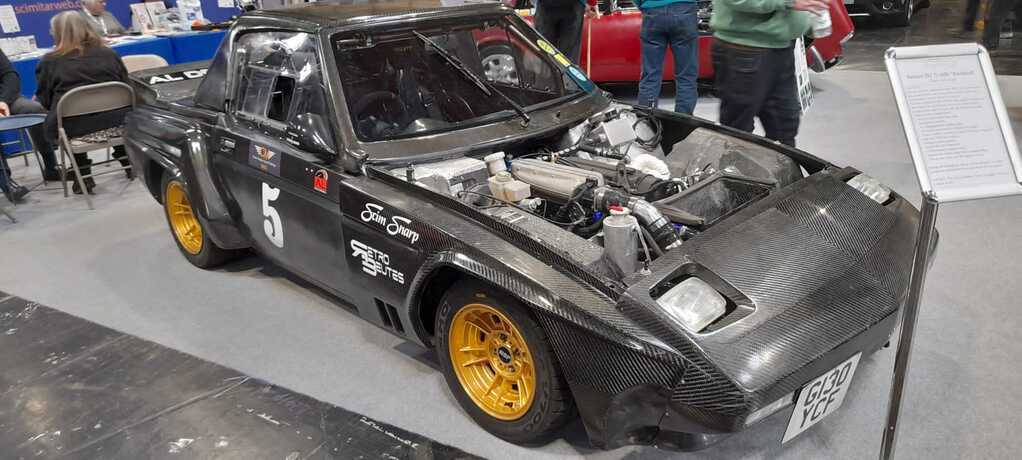 |
| |
Last Edit: Mar 27, 2024 11:49:40 GMT by nalesutol
|
|
|
|
|
Mar 23, 2024 23:17:15 GMT
|
Parts for the corner weight scale stand jig completed. Material cut to length and 24 threaded feet receptacles made. The corners have been cut so good penetration is possible.As soon as the 6mm aluminium plate arrives to cover the section next to the scales I will get it welded together. 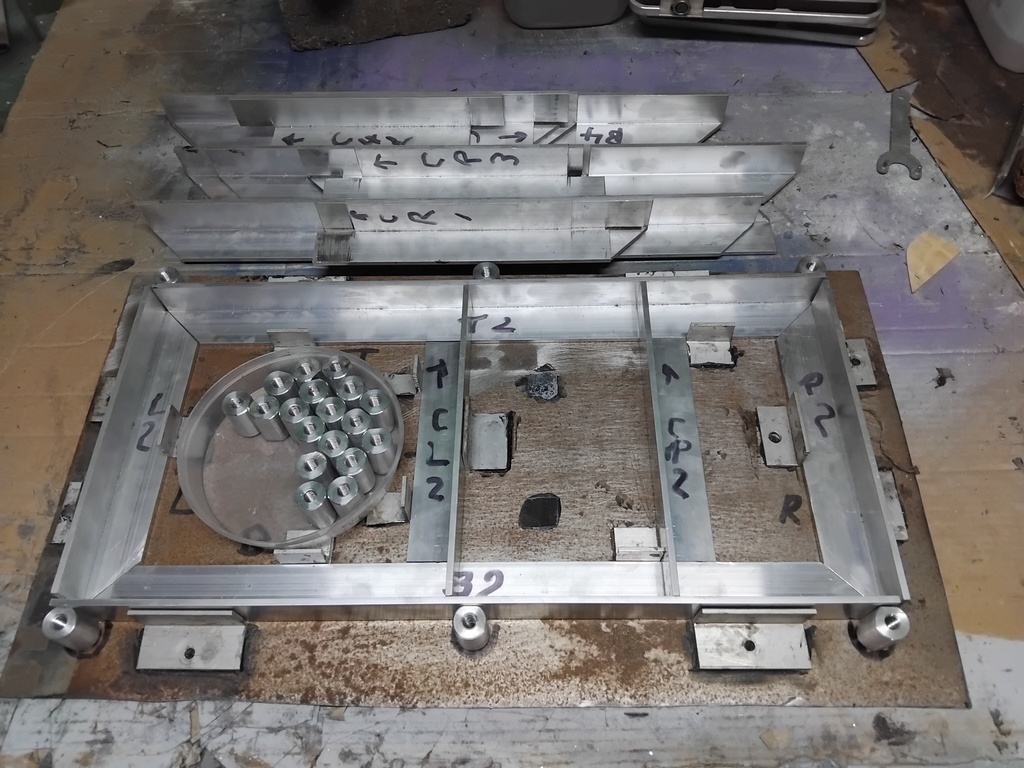 |
| |
Last Edit: Mar 23, 2024 23:17:56 GMT by nalesutol
|
|
|
|
|
Mar 21, 2024 22:45:52 GMT
|
Right, started on the corner weight levelling frames. They are expensive to buy and I can't find a set to fit my scales as they are smaller than standard. So, I thought, can't be that difficult to make. Settled on a design that supports both the scale and an area to roll on and off of to settle the suspension after each adjustment. I will make the access ramps out of tapered timber (cut on the CNC mill). Making them out of 40 x 40 x 5mm aluminium angle. They will have 6 adjustable feet for levelling. Cut the angle to length and angled the ends. Used my bandsaw with made the job a bit quicker than by hand. It would have been a lot easier and neater if I had a metal chop saw but you use what you have, Made a jig out of angle from my scrap bins (never throw anything away) so that it will be easier to weld square. The threaded tubes that hold the feet will be welded to the outside (haven't started on those yet but have the bar). Not exactly ready to use the scales but I will be prepared when the time comes :-) 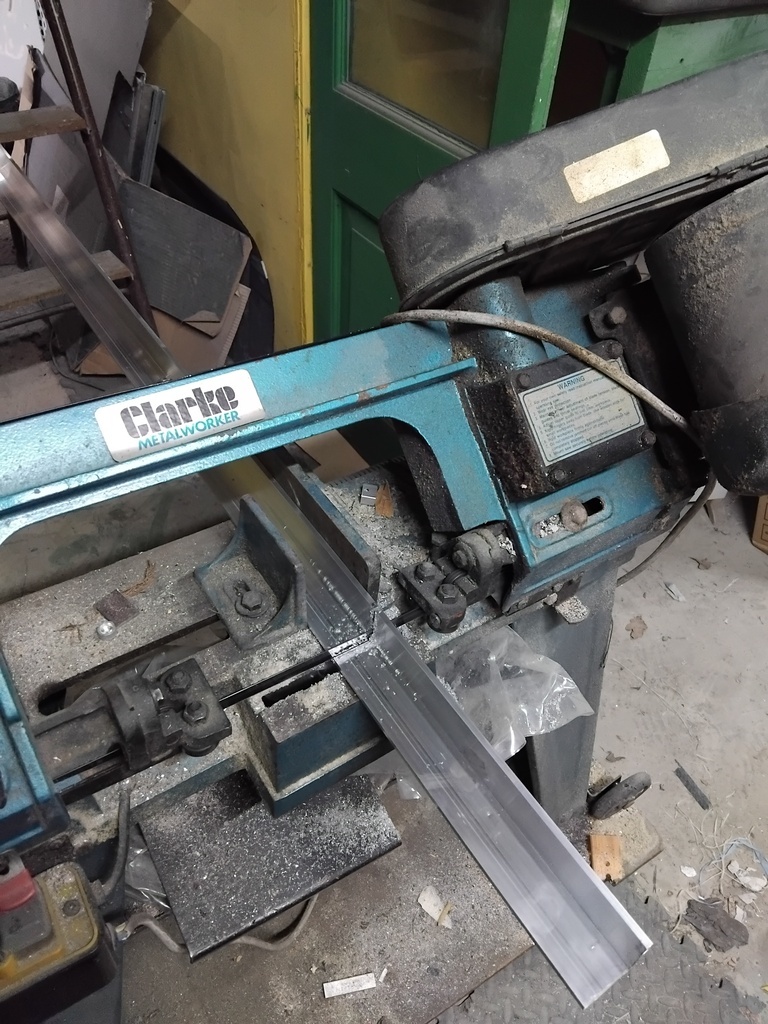 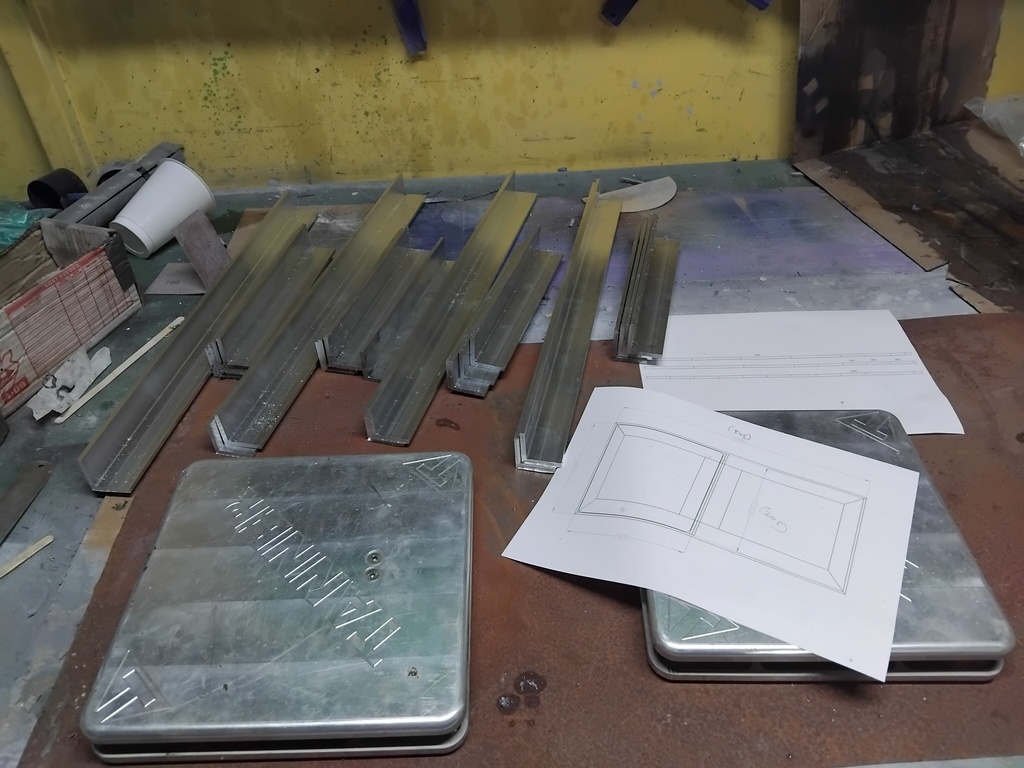 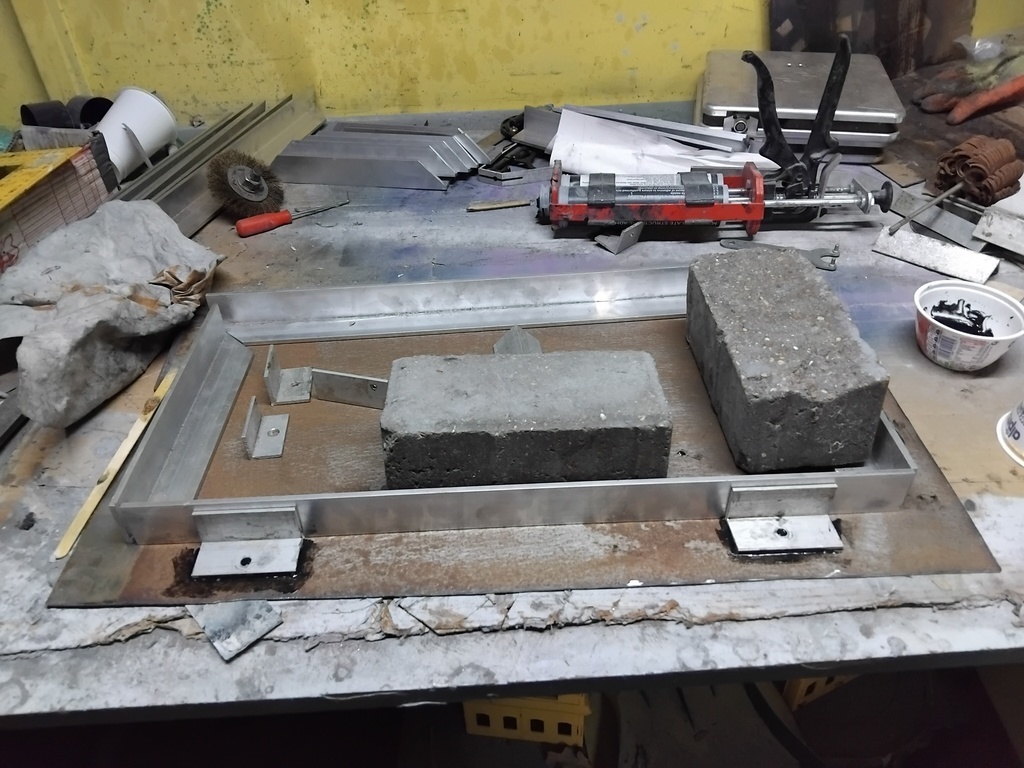 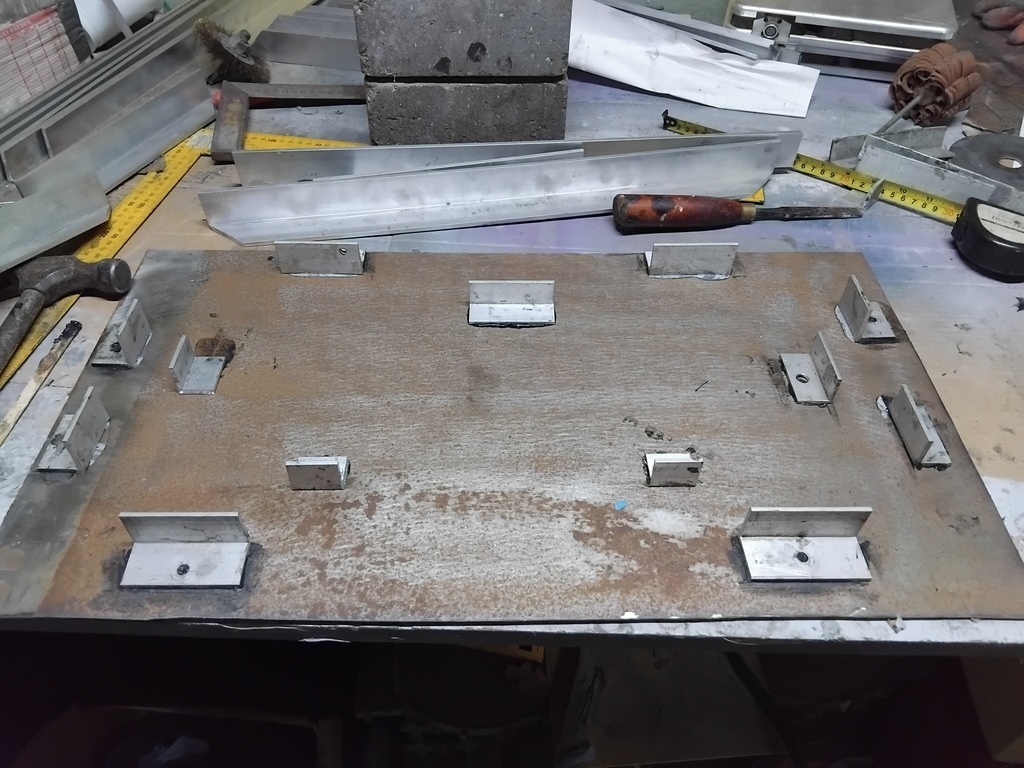 |
| |
Last Edit: Mar 21, 2024 22:47:30 GMT by nalesutol
|
|
|
|
|
Mar 18, 2024 16:32:17 GMT
|
And I thought that my front plate was dodgy :-) My last pop didn't have a front plate. Never got pulled. Lucky. I got to the point where when followed by the police I simply stopped, which put me a few brownie points up as they weren't used to people just stopping :-) |
| |
|
|
|
|
|
Mar 18, 2024 14:49:10 GMT
|
The new plate is about 15% smaller  Never had any trouble from the police. 15%? :-) And it is even hidden behind the grill! When I was stopped they did agree that the main plate is the rear one. Don't get stopped by traffic police as they can be children of unmarried parents. |
| |
|
|
|
|
|
|
|
Sometimes the like button is not a like but a nod, and sometimes you really need it to be more than a like. You got both variations in my responses. Your car, the build and status all makes me grin every time I see it. Especially the rear wing. And I thought that my front plate was dodgy :-) |
| |
|
|
|
|
|
|
|
1966 2 door RHD Ford Corsair resto-mod. I’ve always wanted a 2 door, but they were sold in tiny numbers in the UK, mostly in mainland Europe which were LHD but I managed to get my hands on a South African car which was RHD from factory. One of not many in the UK, pretty rare but also not necessarily well known or popular. It’s a bare rolling very solid shell, originally a 1500 pre cross-flow automatic. I’m going to have it shot blasted and then a full nut & bolt restoration. I'm thinking of keeping it looking original other than lower with some nice alloys, but with the sleeper effect of modernisation underneath. Some injection, a 5 or 6 speed gearbox so it’ll keep up with modern traffic, that type of thing. So here we go, first 2 pictures are the day I got it home. 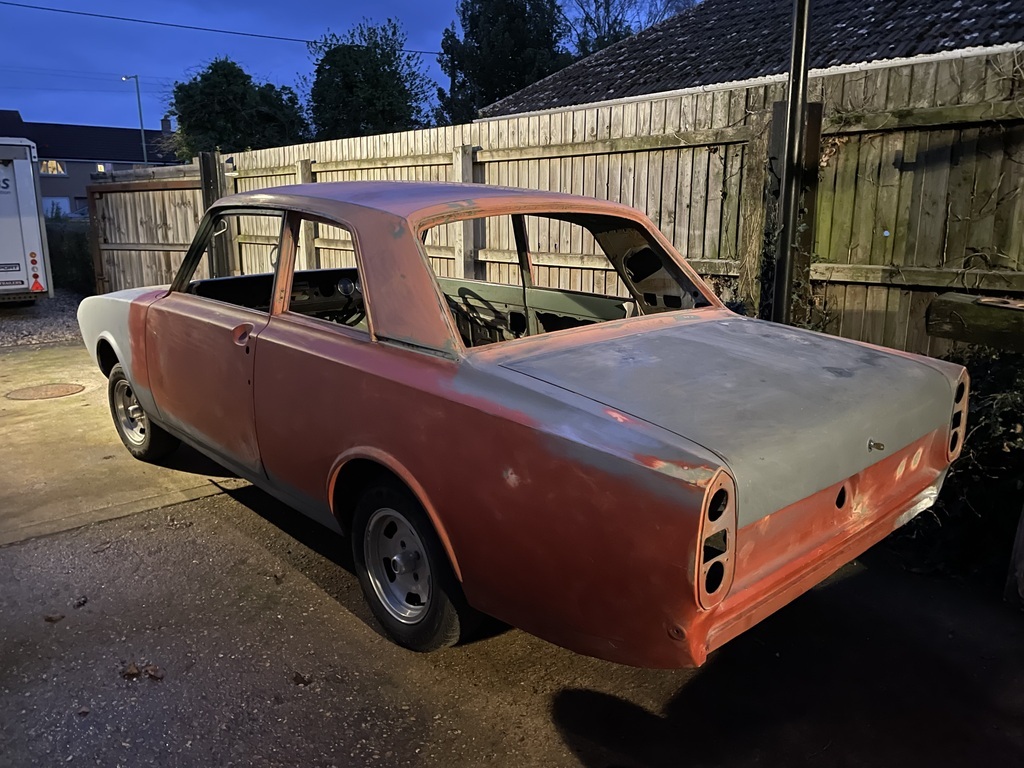 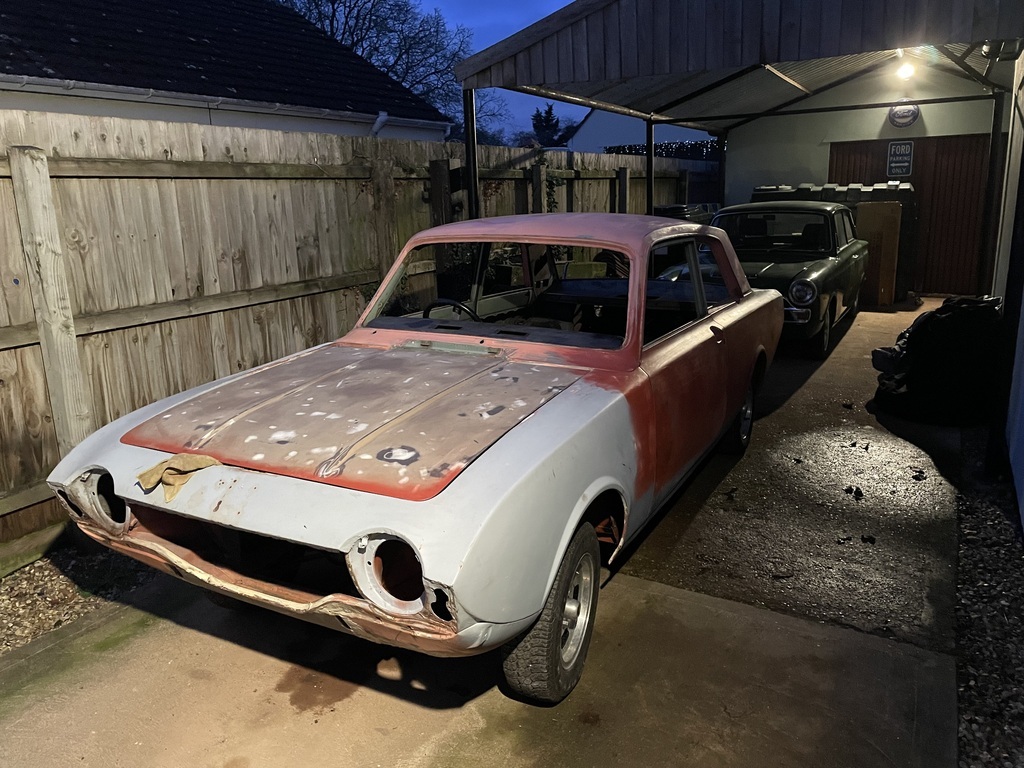 Interesting project, worth bookmarking. Upgrades are always good, but modern traffic is often slower than when this car was built :-) |
| |
|
|
|
|
|
Mar 16, 2024 22:41:23 GMT
|
|
|
| |
|
|
|
|
|
Mar 15, 2024 21:26:49 GMT
|
|
|
| |
Last Edit: Mar 15, 2024 21:28:56 GMT by nalesutol
|
|
|
|
|
|
|
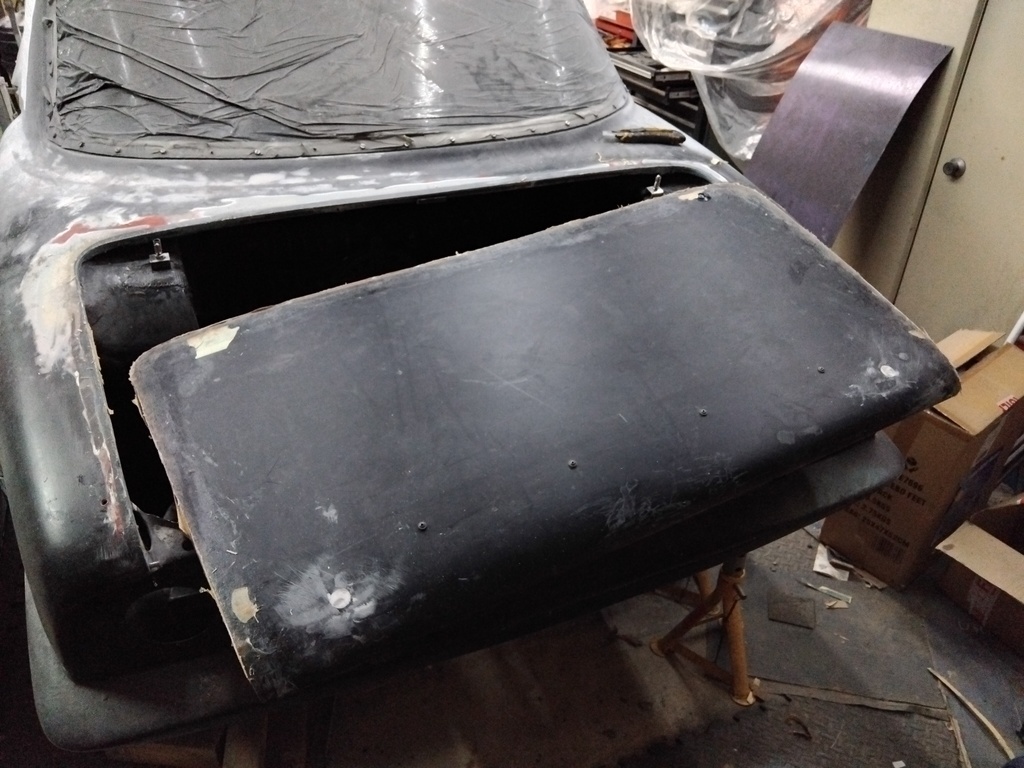
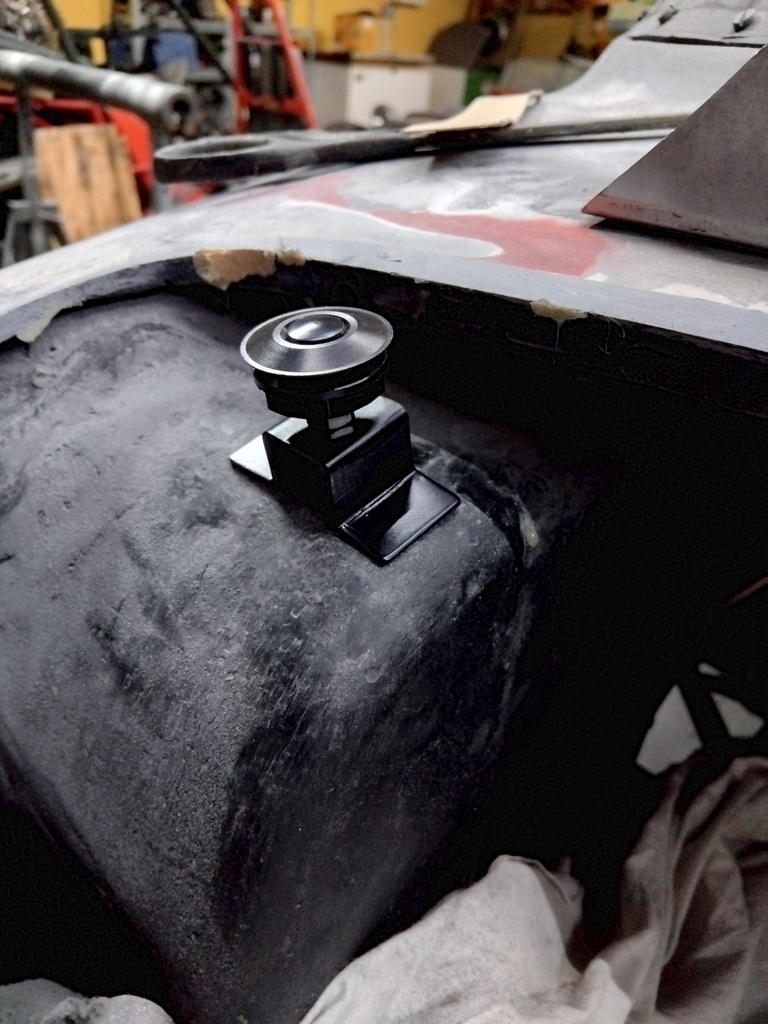
Talk about making work for yourself. The pins holding the front of the bonnet in place worked very well when the rear was held down by quick release push button hood pins. However, the change to slots means that the boot has to be slid on but with the sides not parallel this was causing issues resulting in me breaking the female part off of the underside of the body of one of the pins. Trying to replace this in the correct position proved to be problematic and I ended up breaking another one! Time for a rethink. I am now going to remove all 4 pins and replace them with the quick release push button pins removed from rear of the boot some time ago. The boot can then be fitted by sliding it onto the rear locating pins and pushed down onto the new quick release pins. Should work. 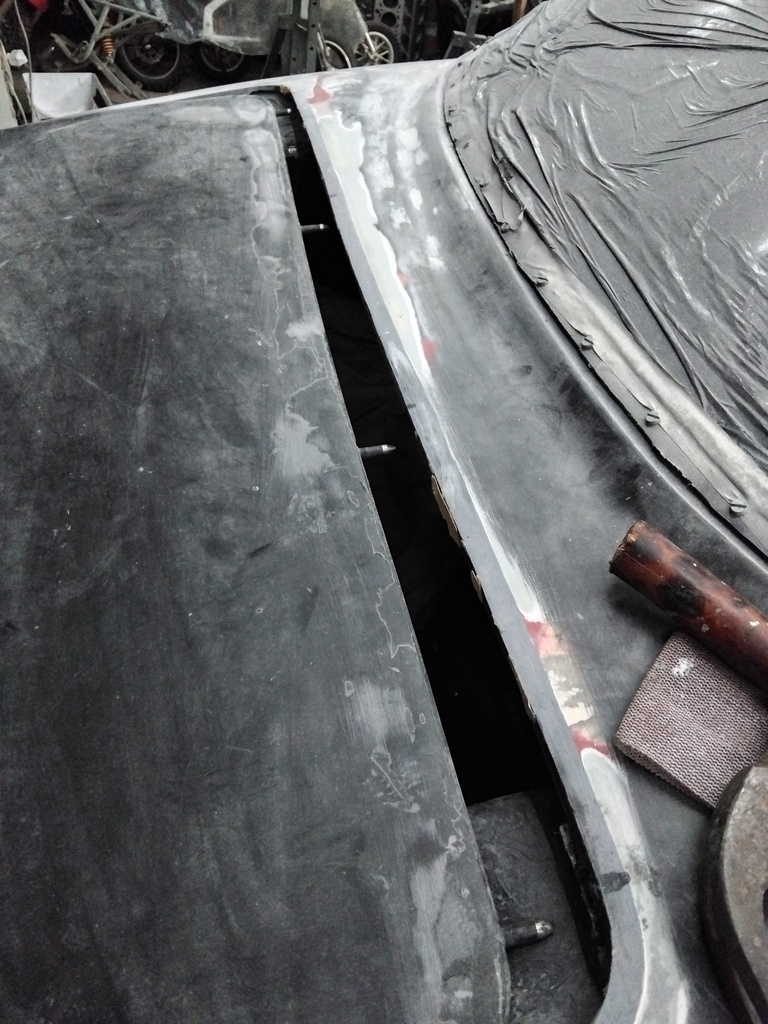 |
| |
|
|
|
|
|
|
|
Mar 11, 2024 17:31:03 GMT
|
|
I agree that they both alter air flow. A spoiler reduces the turbulence at the rear of the car thereby increasing the pressure which reduces drag but it can also reduce lift under certain circumstances and configurations. A wing increases downforce (on a car) by splitting the air flow into low and high pressure streams at the expense of increased drag. So, they work in completely different ways and do different jobs. A knife and fork are both used to eat but do different jobs so have different names :-)
|
| |
|
|
|
|
|
Mar 10, 2024 22:27:41 GMT
|
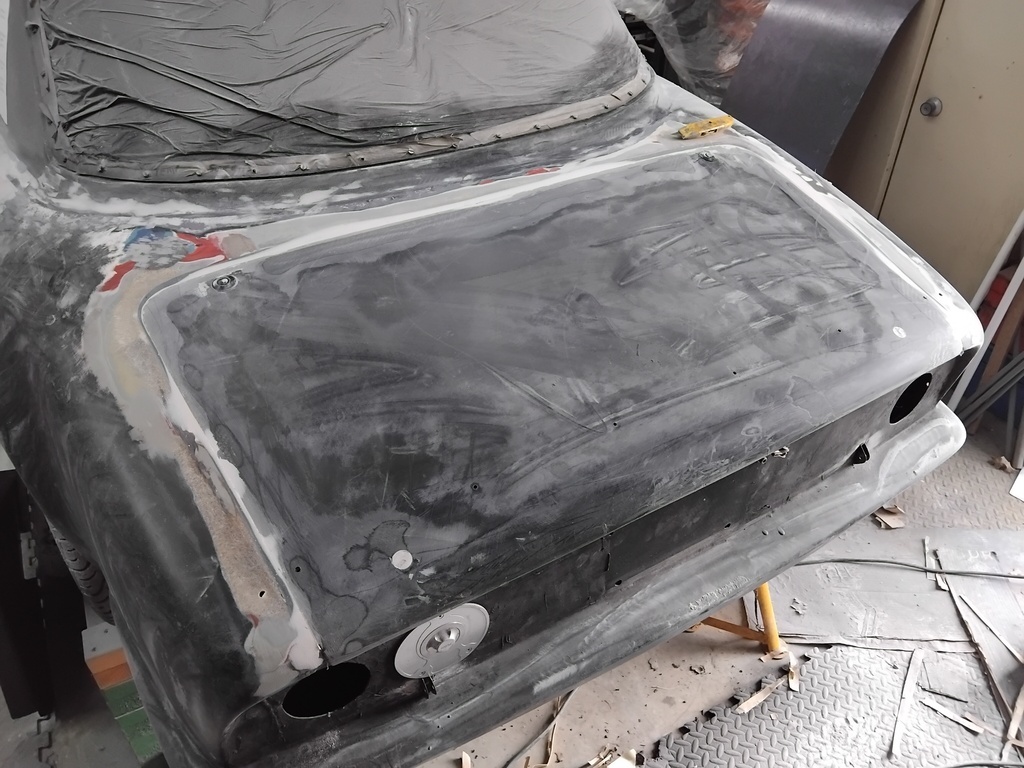
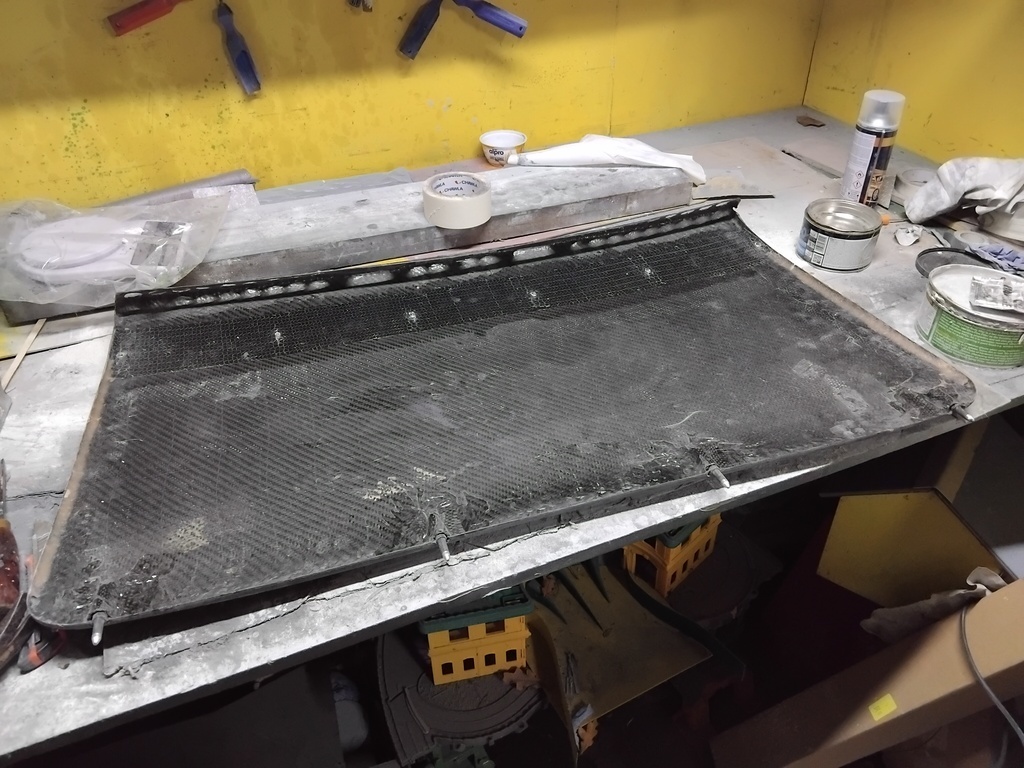
Back to working on the rear boot wing/spoiler/tea tray. A bit of fettling has got the tray horizontal with the option to adjust to take into account proposed body rake. Just need to work out how to hold the sides tight to the body and secure the three sections together in a way that allows the for quick removal of the centre section/boot lid. It should look a lot better when it matches the body colour, whatever that finally ends up as. 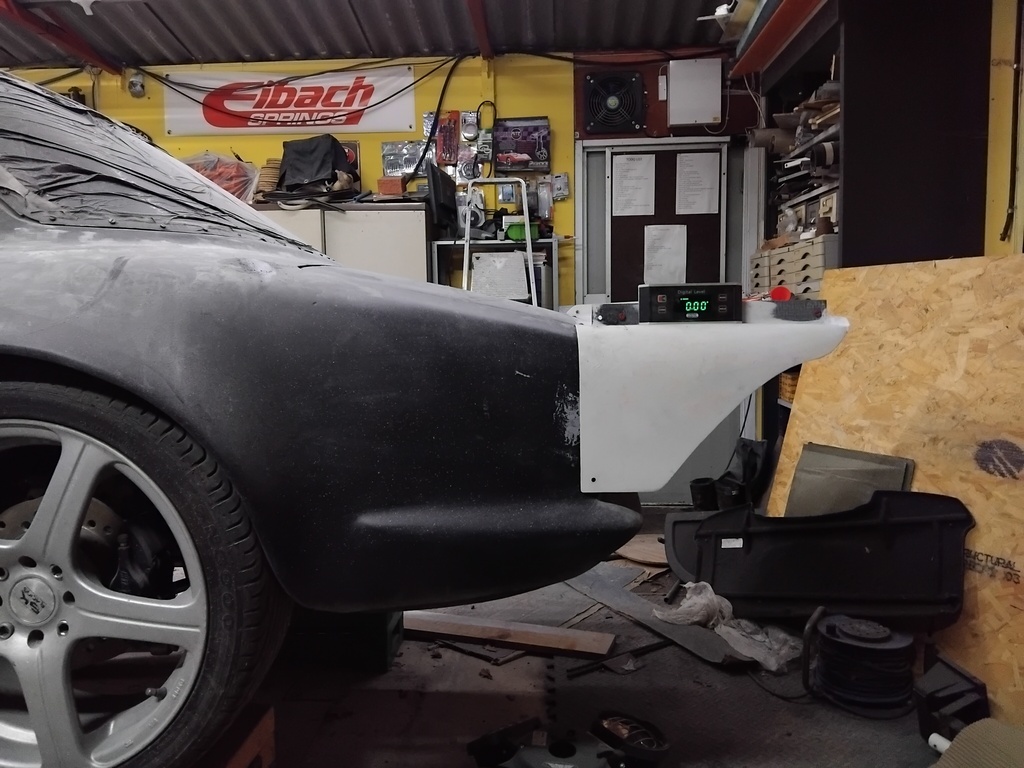 |
| |
|
|
|
|
|
|
|
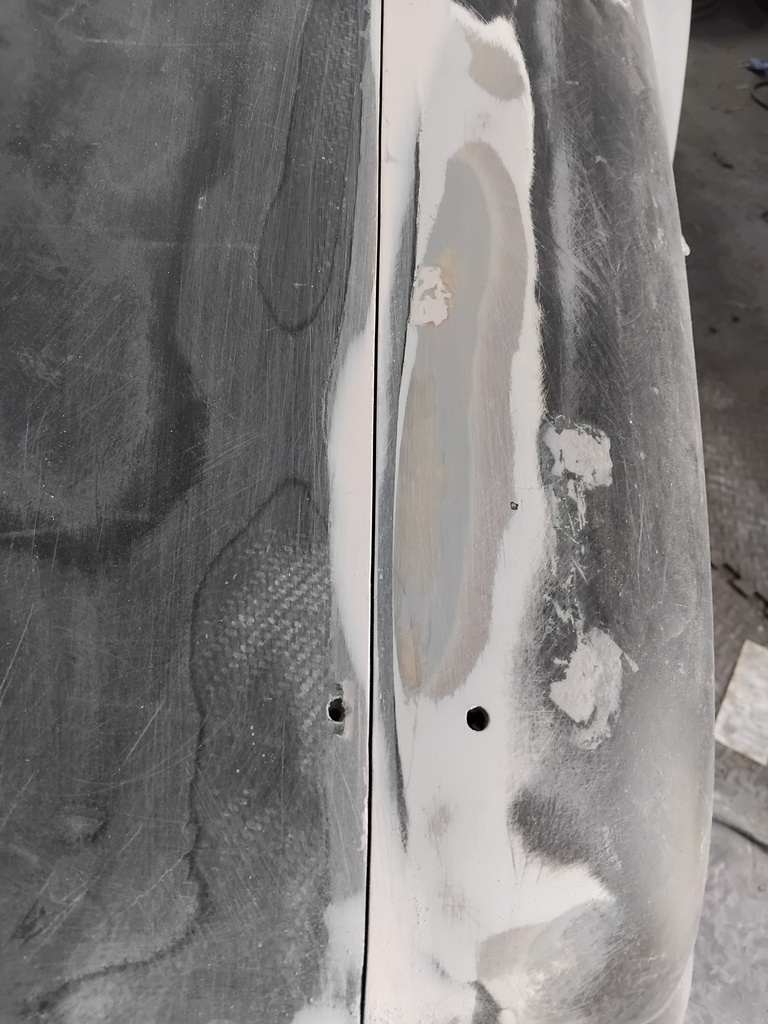
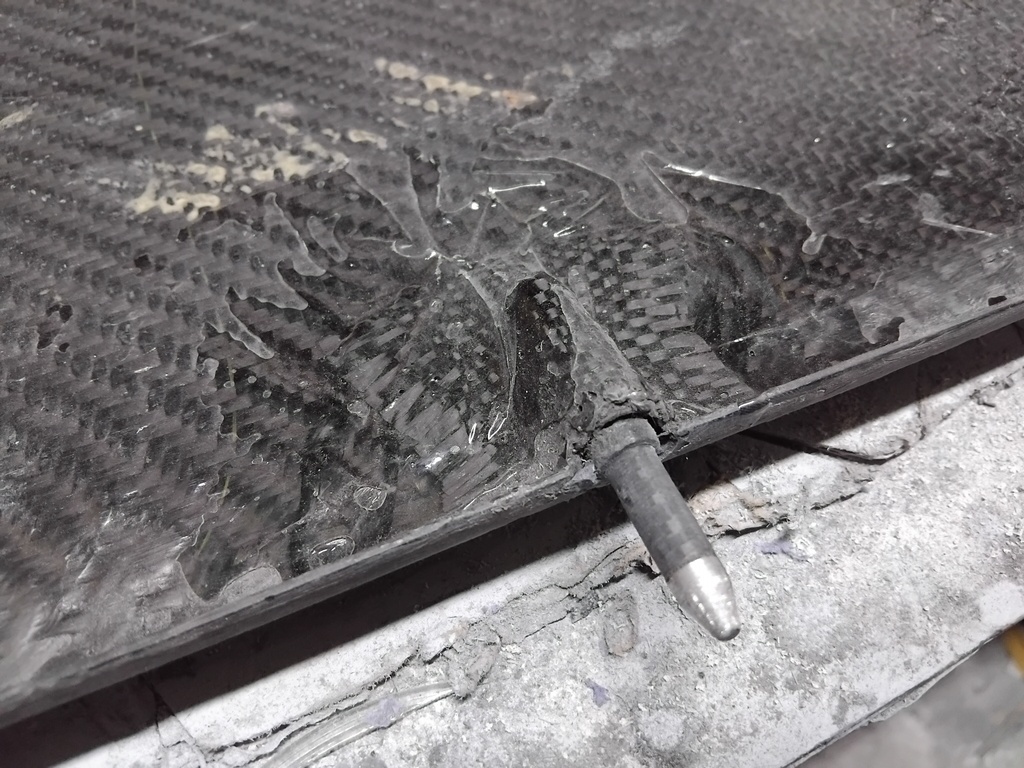
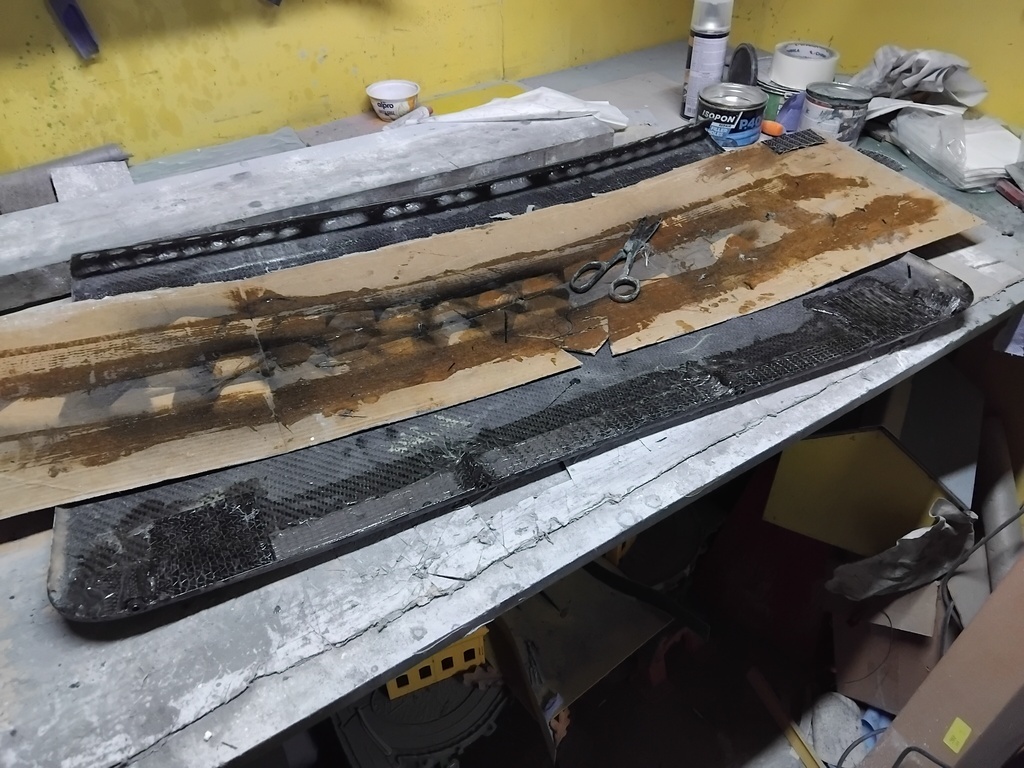
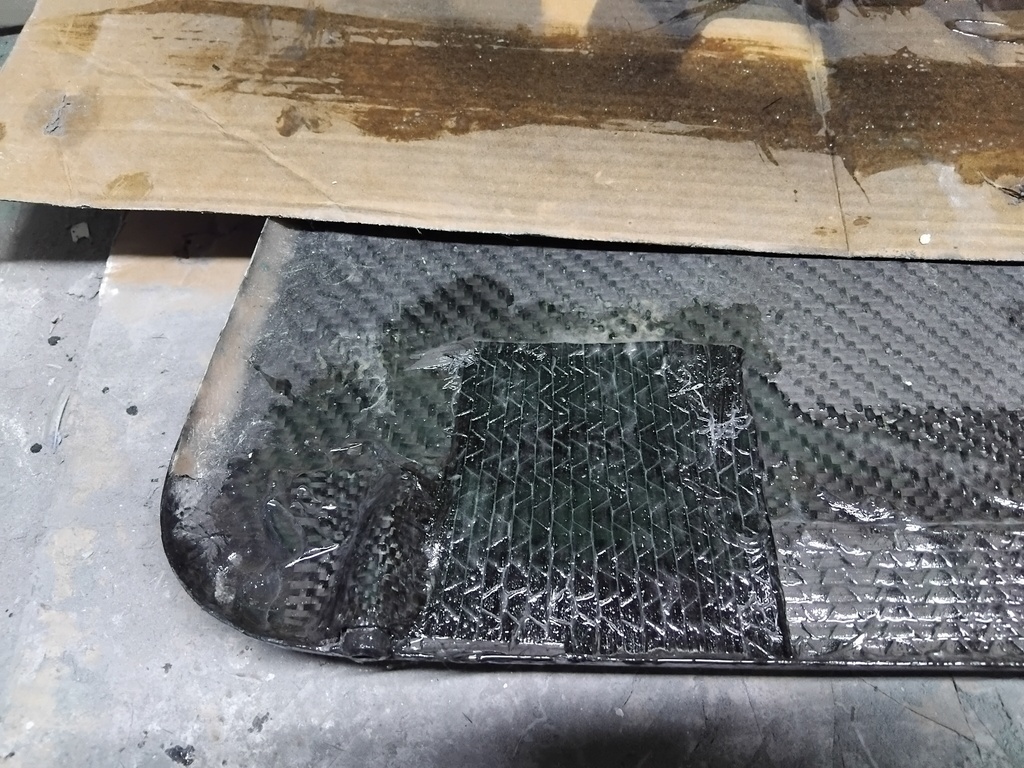
So, after some thought about the side skirt aesthetic issue, I decided to fillet the edge. Filleted the internal angle with good ol' P40 to keep it all in one piece. The flat section is made out of two layers of carbon with a foam infill but the vertical part is just two layers of carbon. I think that it is an improvement, removed the sharpness. 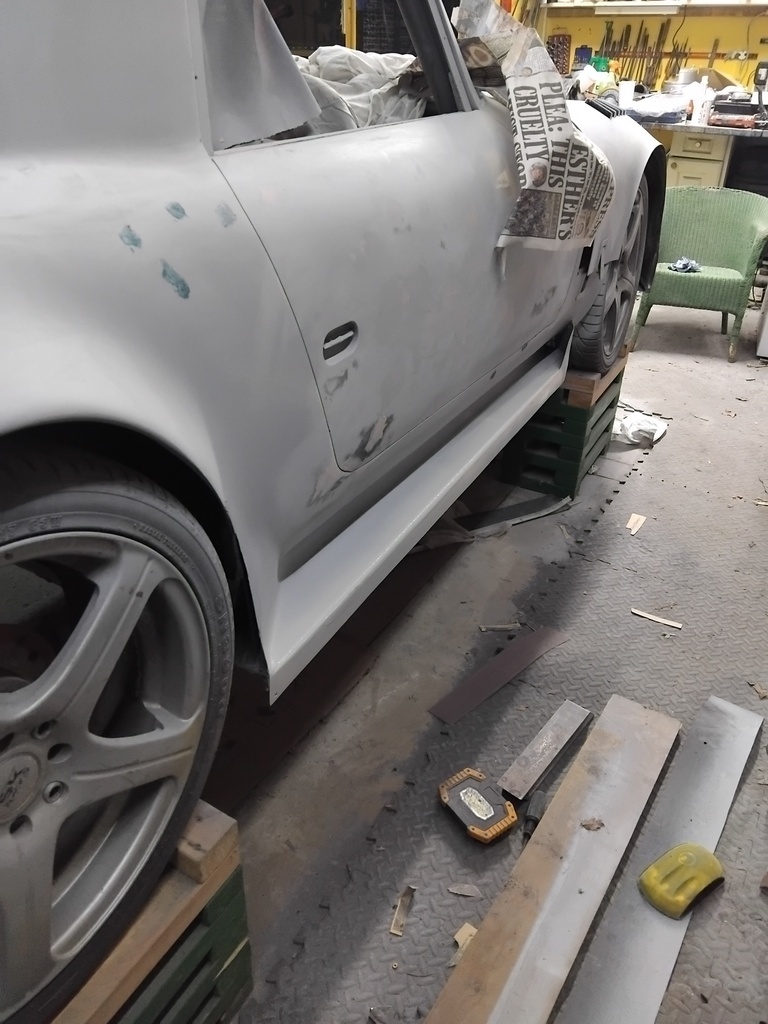 |
| |
Last Edit: Mar 11, 2024 9:11:26 GMT by nalesutol
|
|
|
|
|
|
|
I've always seen them called Pro Stock style wings. AFAIK as part of the rules they aren't allowed to be higher than the rear window line. More for stability than down force afaik.
Correct, smooths out the air at the rear of the car and allows the underfloor air to re-join the main flow in a more orderly fashion. This reduces the turbulence at the rear which is lowering the air pressure thereby increasing drag. There could also be a slight reduction in lift. However, I have not seen any wind tunnel data to confirm or deny this so that would be interesting to look at if available |
| |
|
|
|
|
|
|
|
Dug out my corner weight scales from the depths of my store so I can get ready to weigh the car. Internal battery was dead but I have a couple of replacements so no issue. Then it all went a bit strange. Scales worked but were reading x10 the actual weight - I don't weigh 850kg! :-) took the display apart but could see nothing obvious and nothing to adjust. Then I went through the limited options and clicked on Display Options. This has Standard, Nascar and Go Kart choices and it was on Nascar. So I changed to Standard but no change. However, when I went to Go Kart the scale corrected itself. Phew! Although I could have worked with it x10. It transpires that this system is configured for Go Karts as the load cells are rated up to 200Kg so I am guessing that alternate scales have to be used for heavier cars. 800kg if fine for me, but we did weigh my friend's Ford Pop a few years back and that is over a tonne! 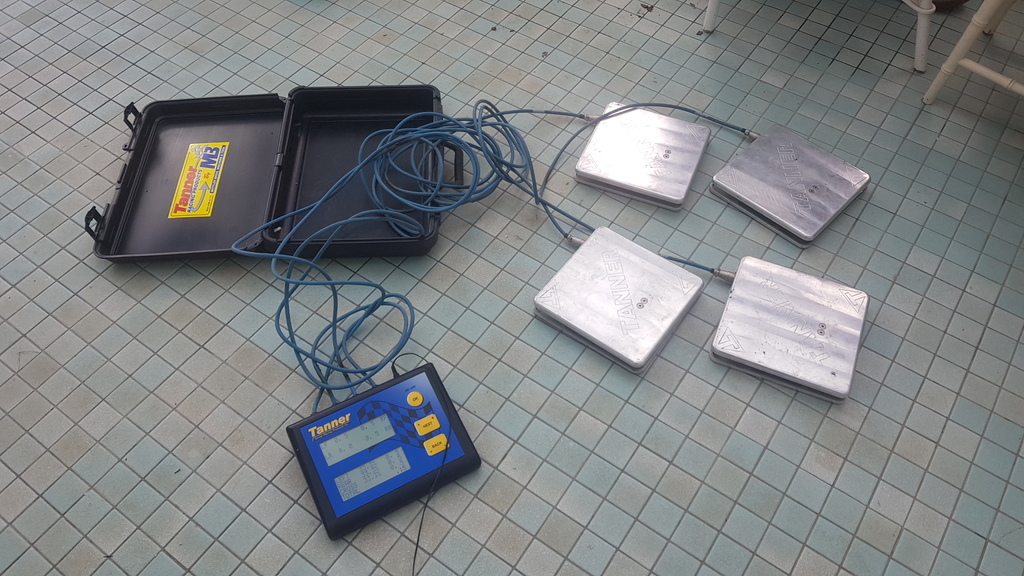 I now need to make some adjustable stands for the scales so I can roll on and off of them without having to constantly raise and lower the car. I am not paying over a £1000 for a set! 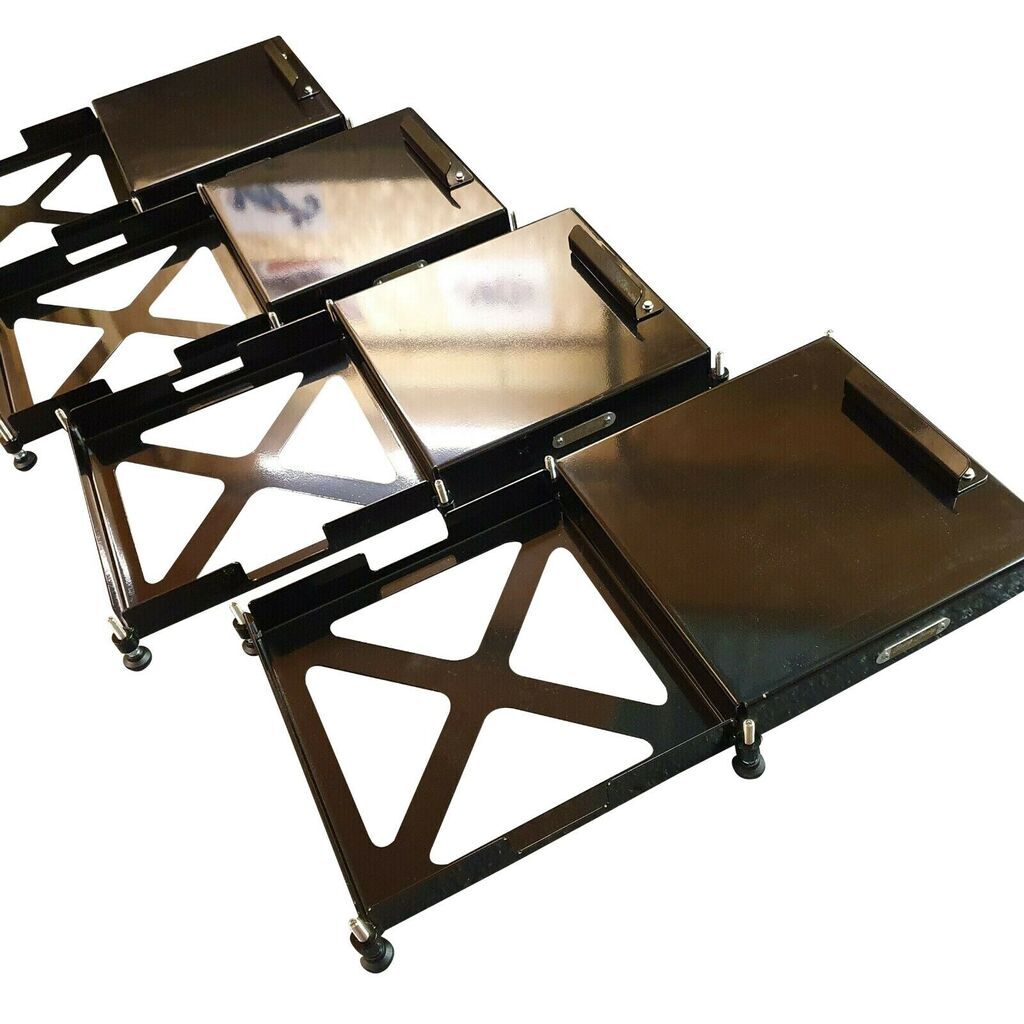 |
| |
|
|