cap78
Part of things

Posts: 96 
|
|
Feb 14, 2017 17:54:19 GMT
|
|
Glad I clicked on this thread, some nice engineering going on here..
Now I need to read the whole thread from the beginning as this usually my taste of machines, but the engineering is top notch, right up my alley in tast, sadly I can't do stuff like that..
Keep on the good work!
|
| |
|
|
|
|
cap78
Part of things
Posts: 96
|
|
|
|
Next was to take the front wings off... 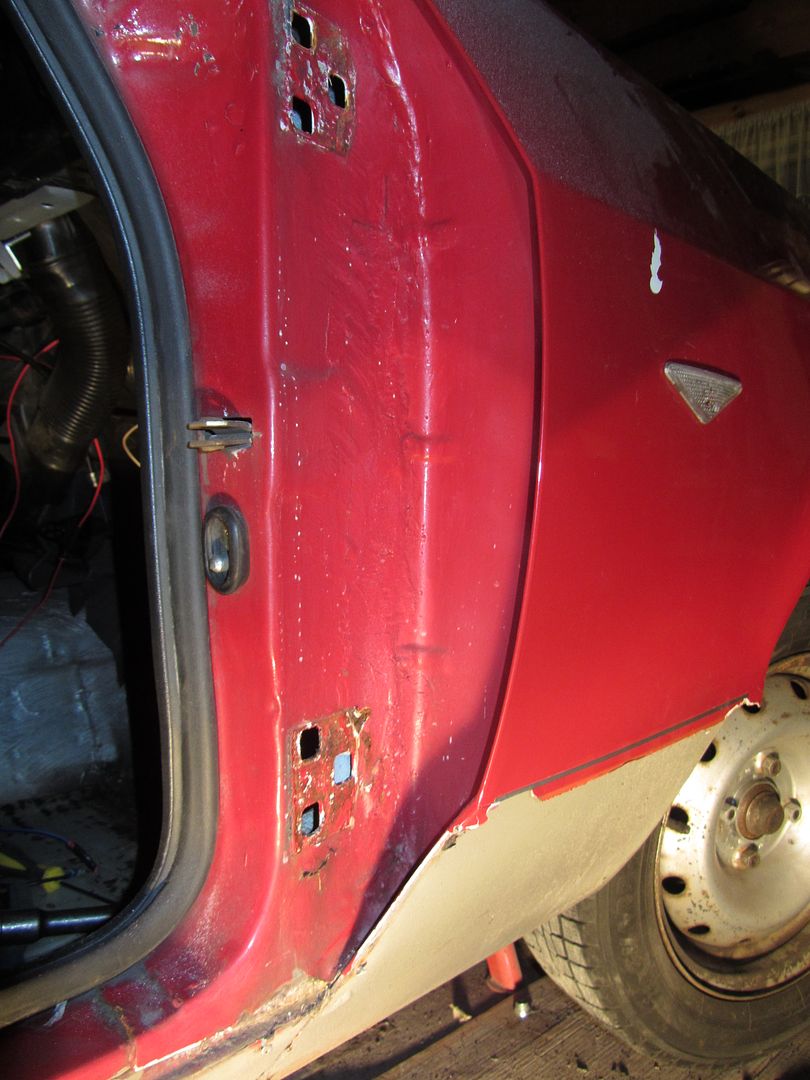 I di cut of the wing mounting flange at the A post, as it was thin 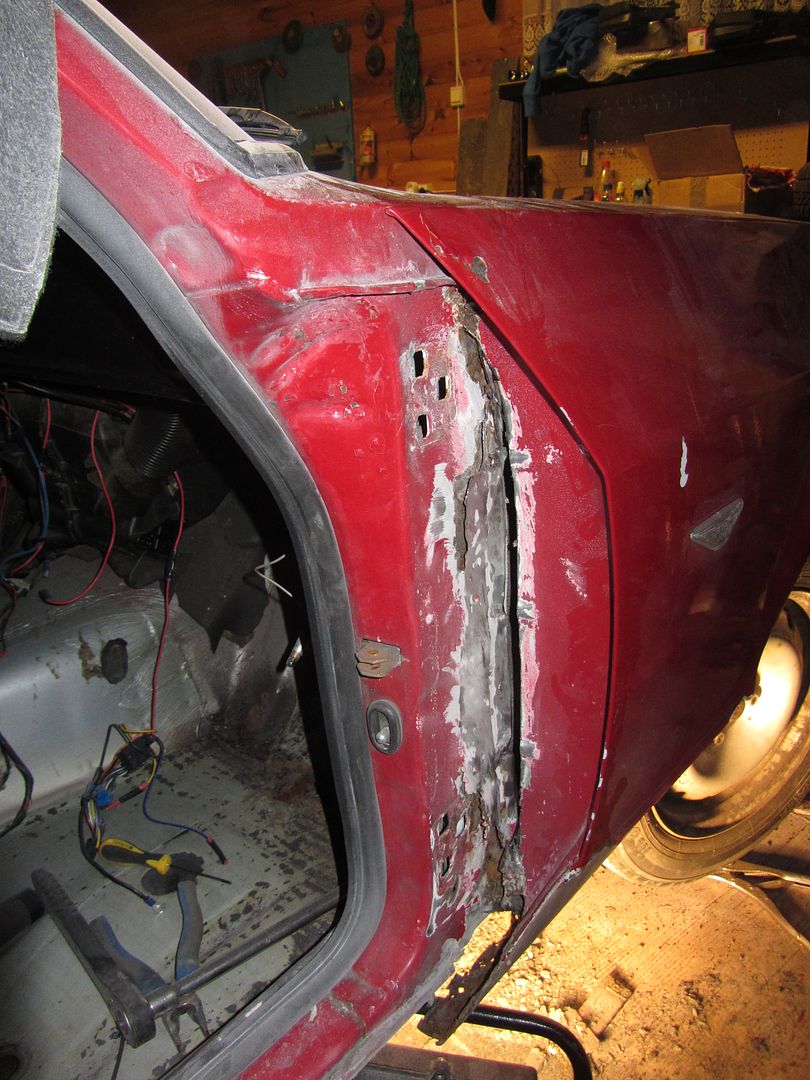 Also chopped off the wing rail as it was rusted allmost the entire length 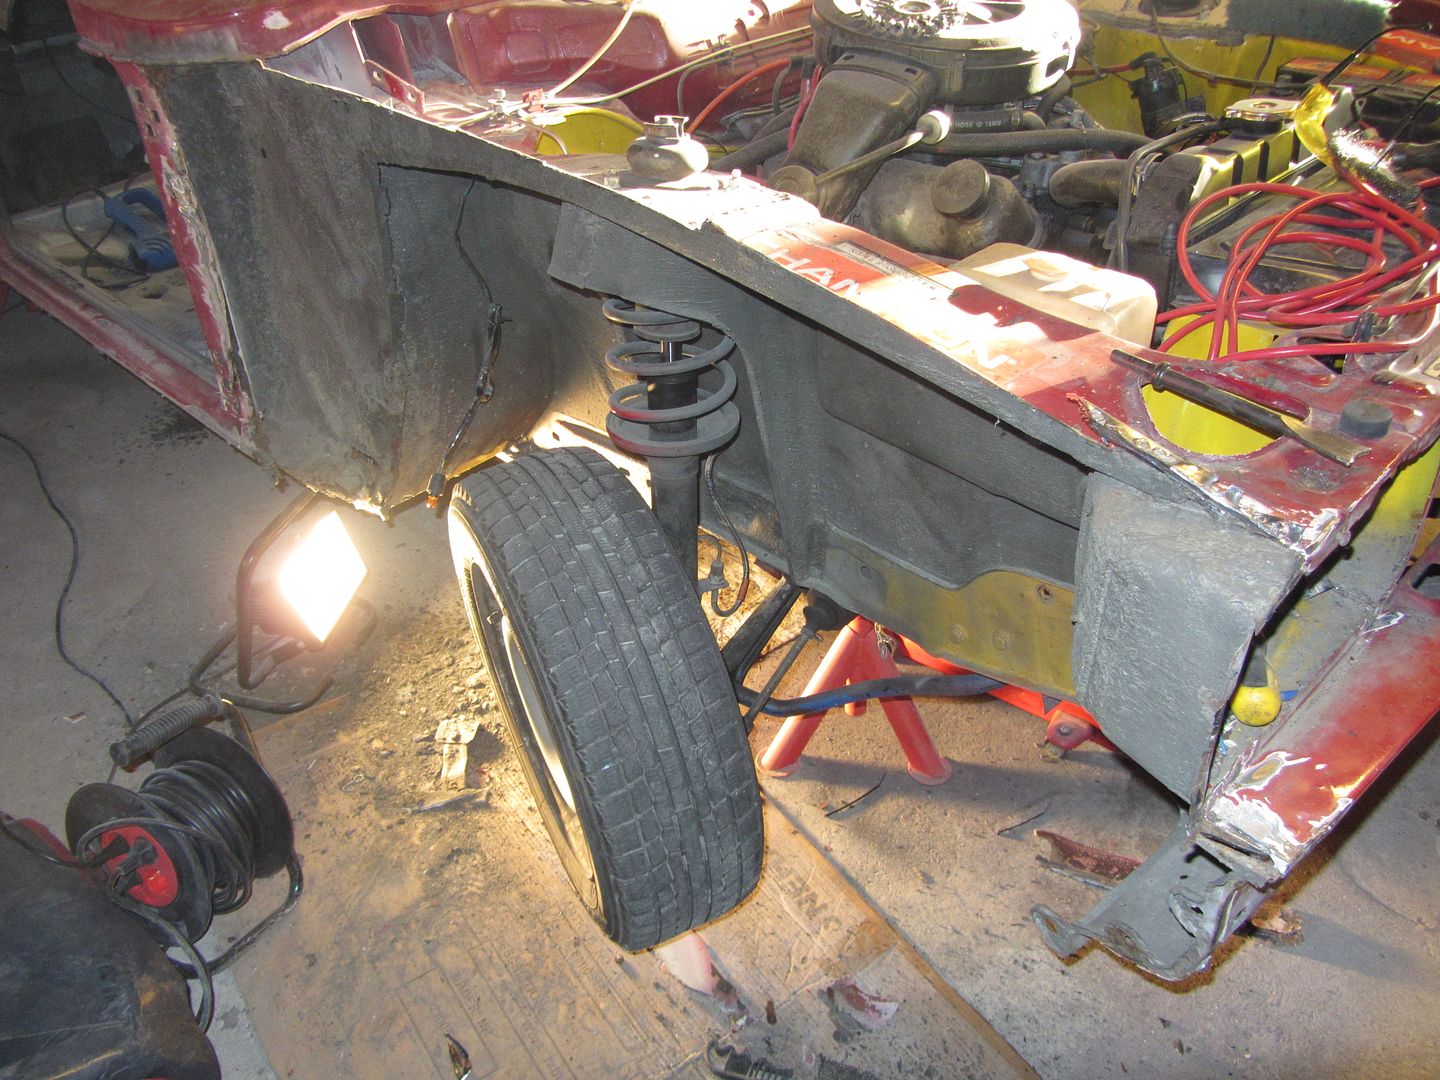 Kick panel area look solid, or...? Shall we give it a poke....? 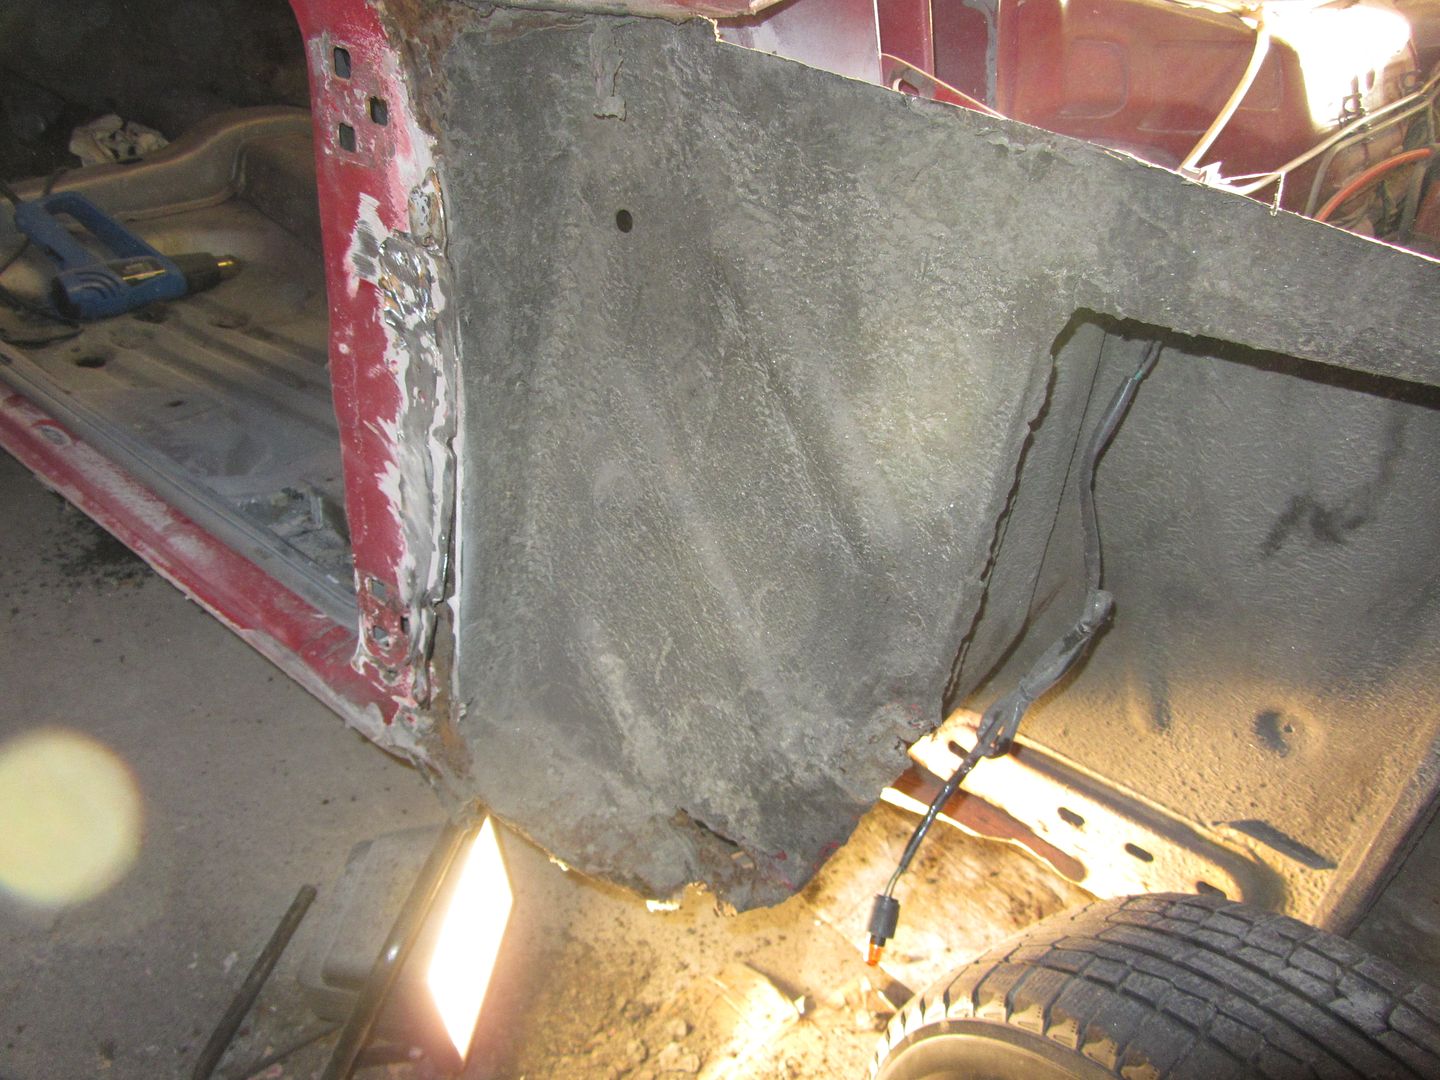 At first it looked like it was allmost solid, so I took a angle grinder with wirebrush, and whoop, 1 sec later there was nothing left. This is after a poking with a screwdriver.. 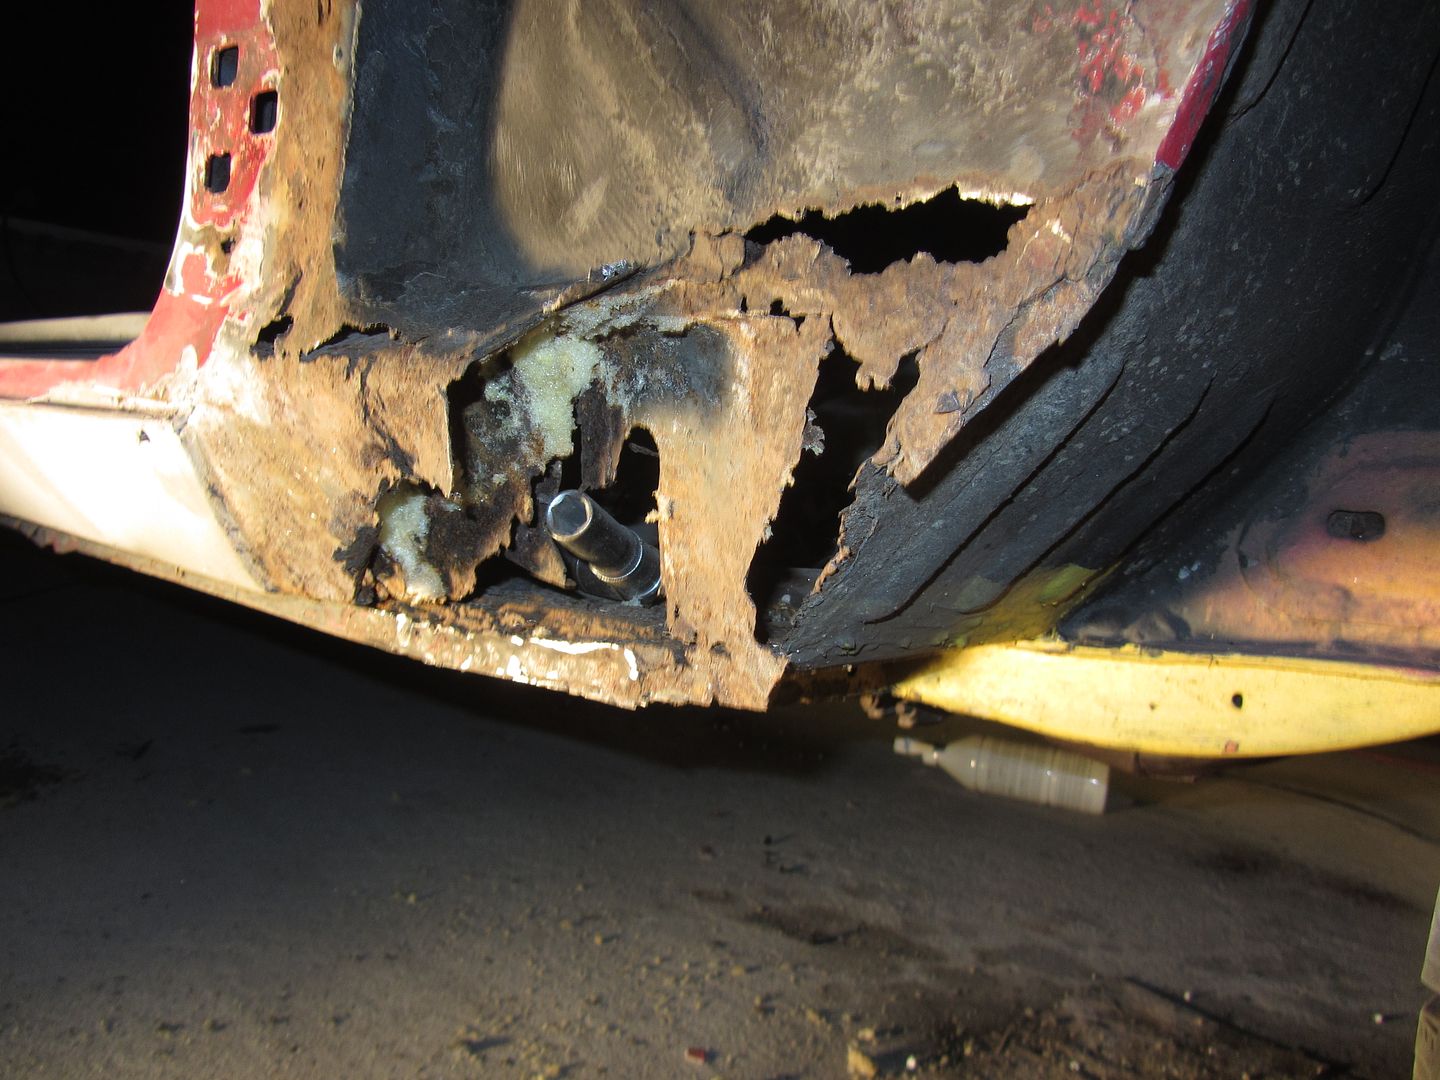 Pitted and holes in the door opening reinforcement area under the windshield 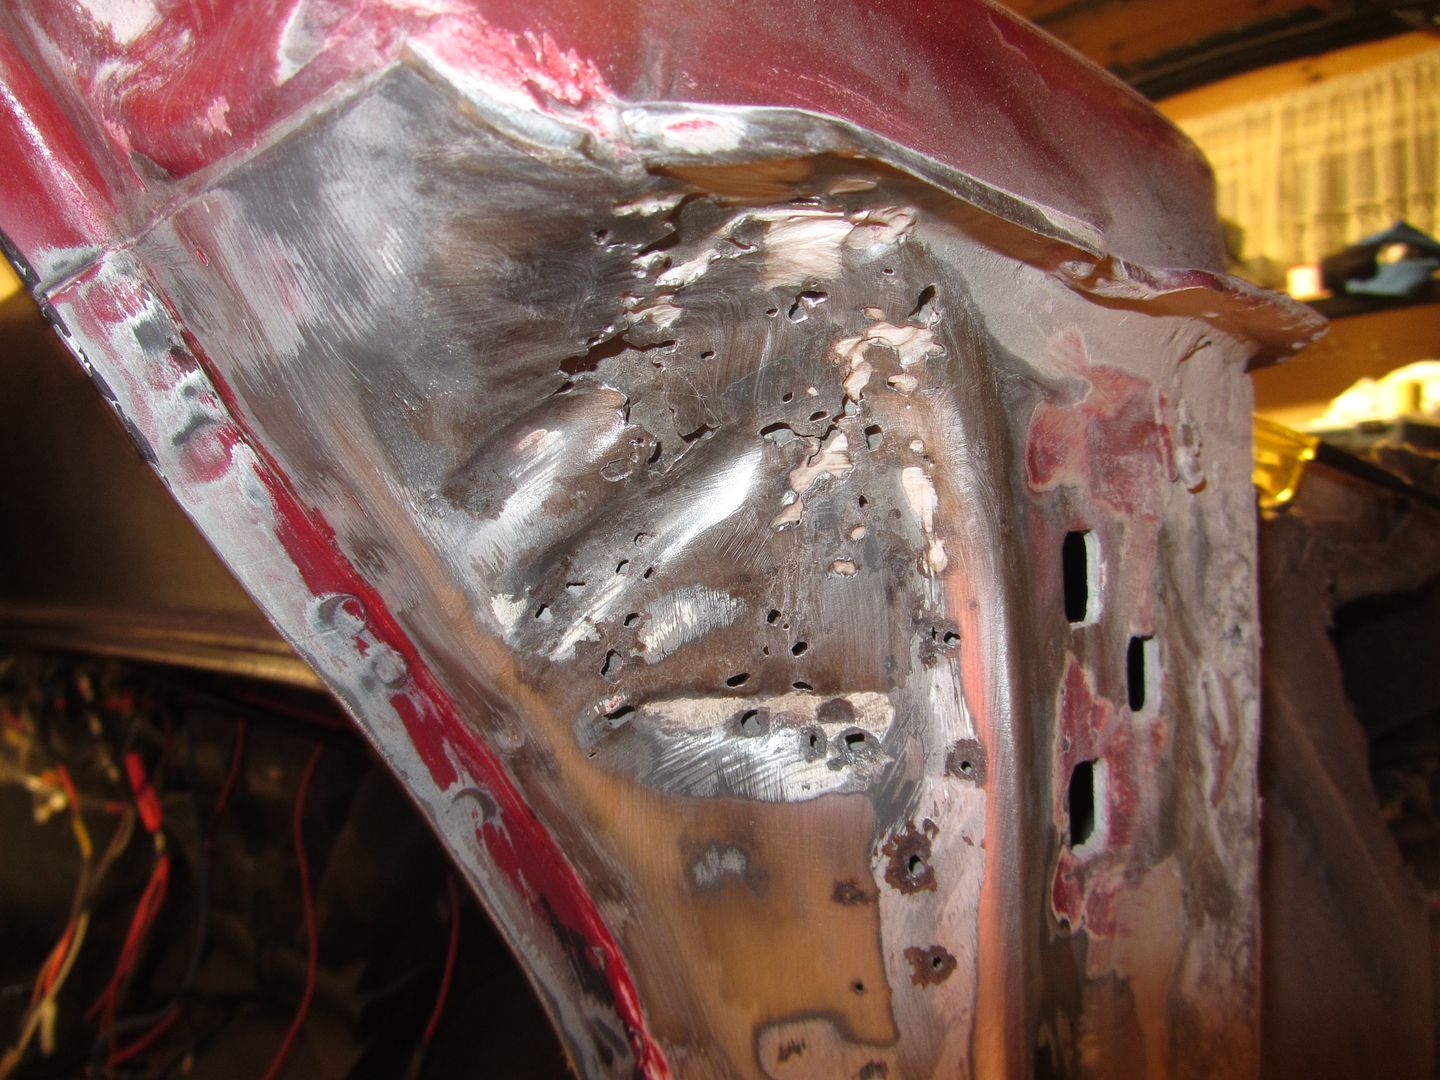 A post needs a reskin for about 60% of the area to be solid 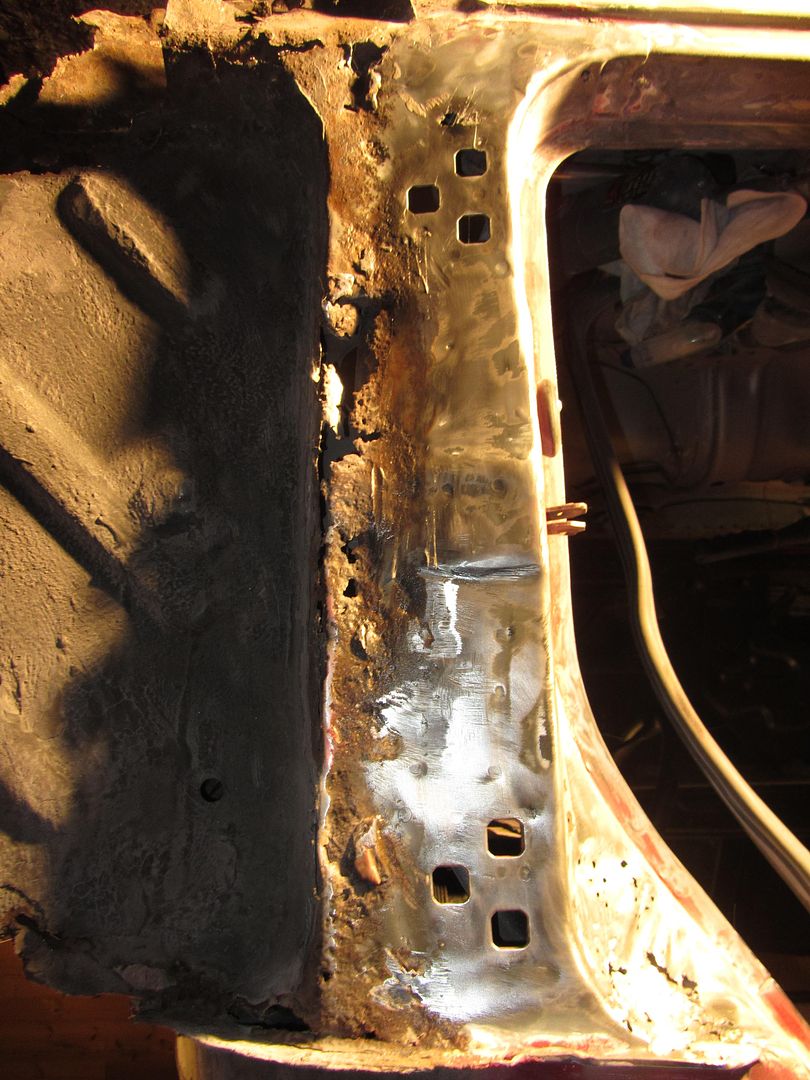 I started to collect small items to be fitted when done.. These bot lamps was bought cheap from ebay 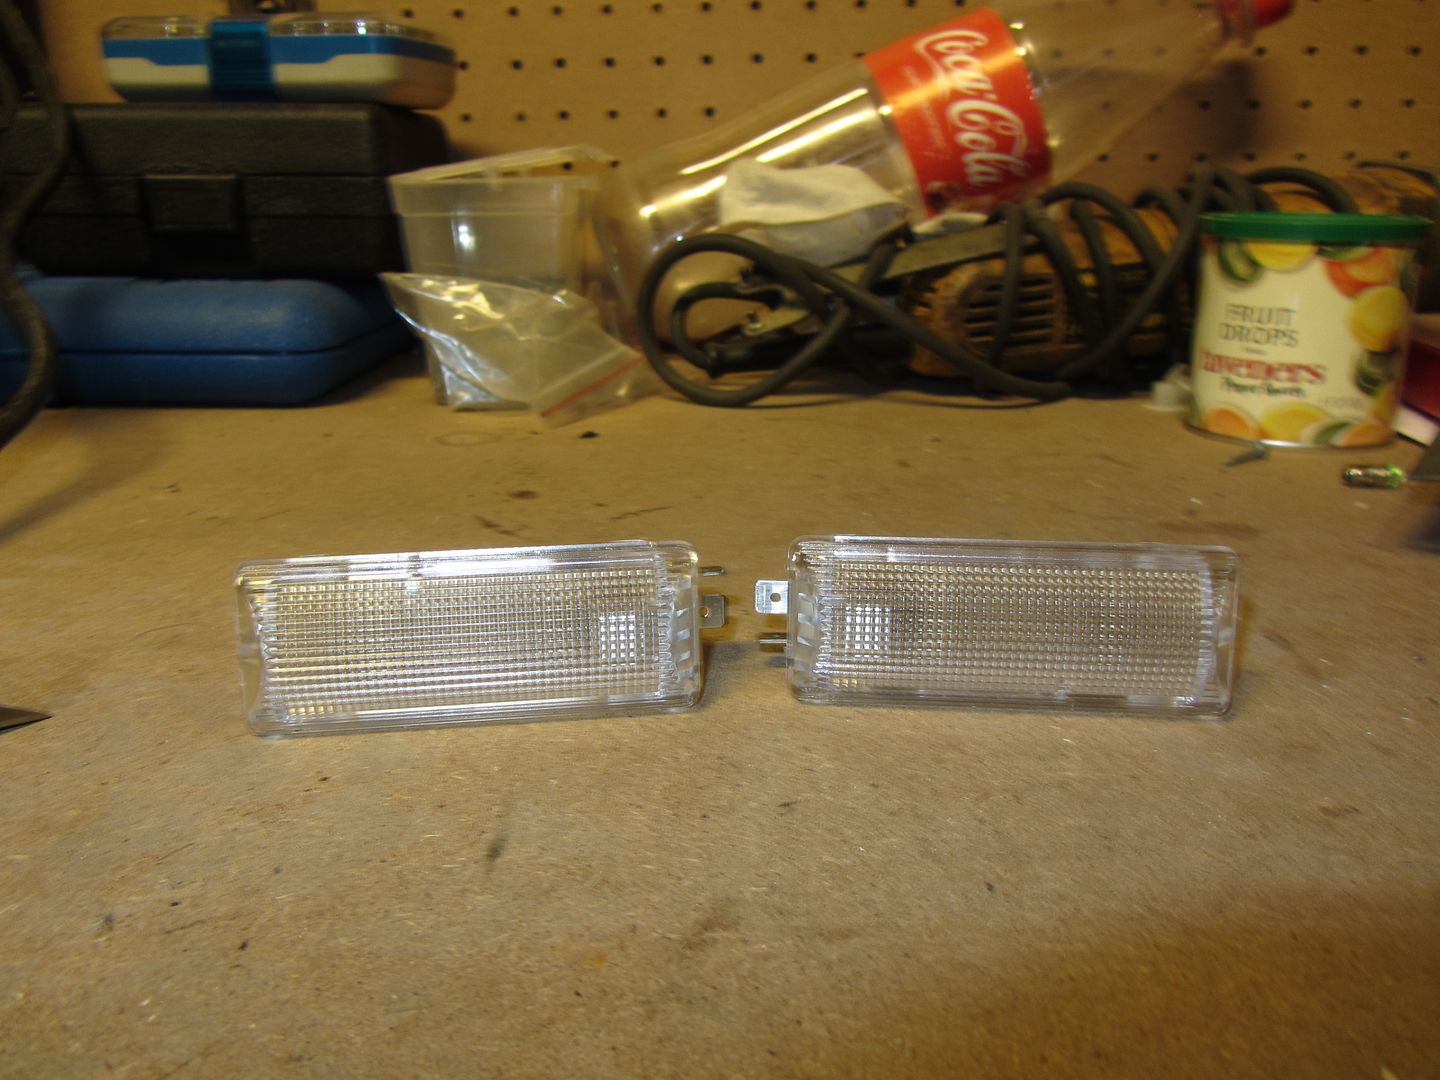 Then a big parcel from Tickover in UK arrived. This contains most of the new panels, door seals and small bits.. 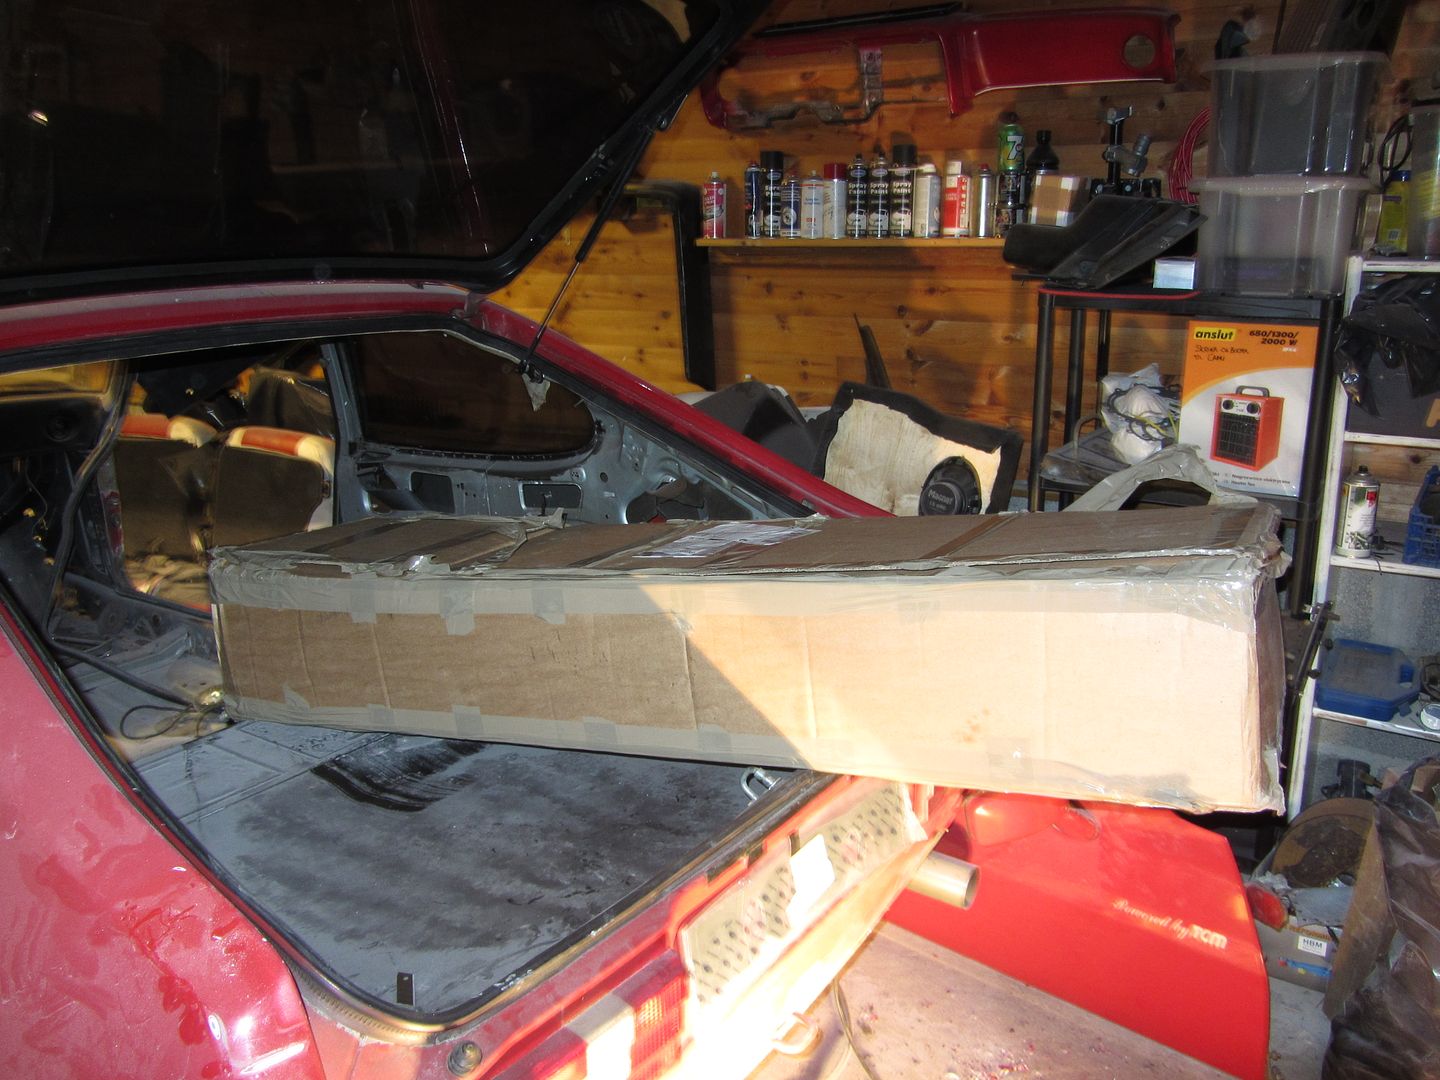 The box contained among other things, these, strut top repair plates 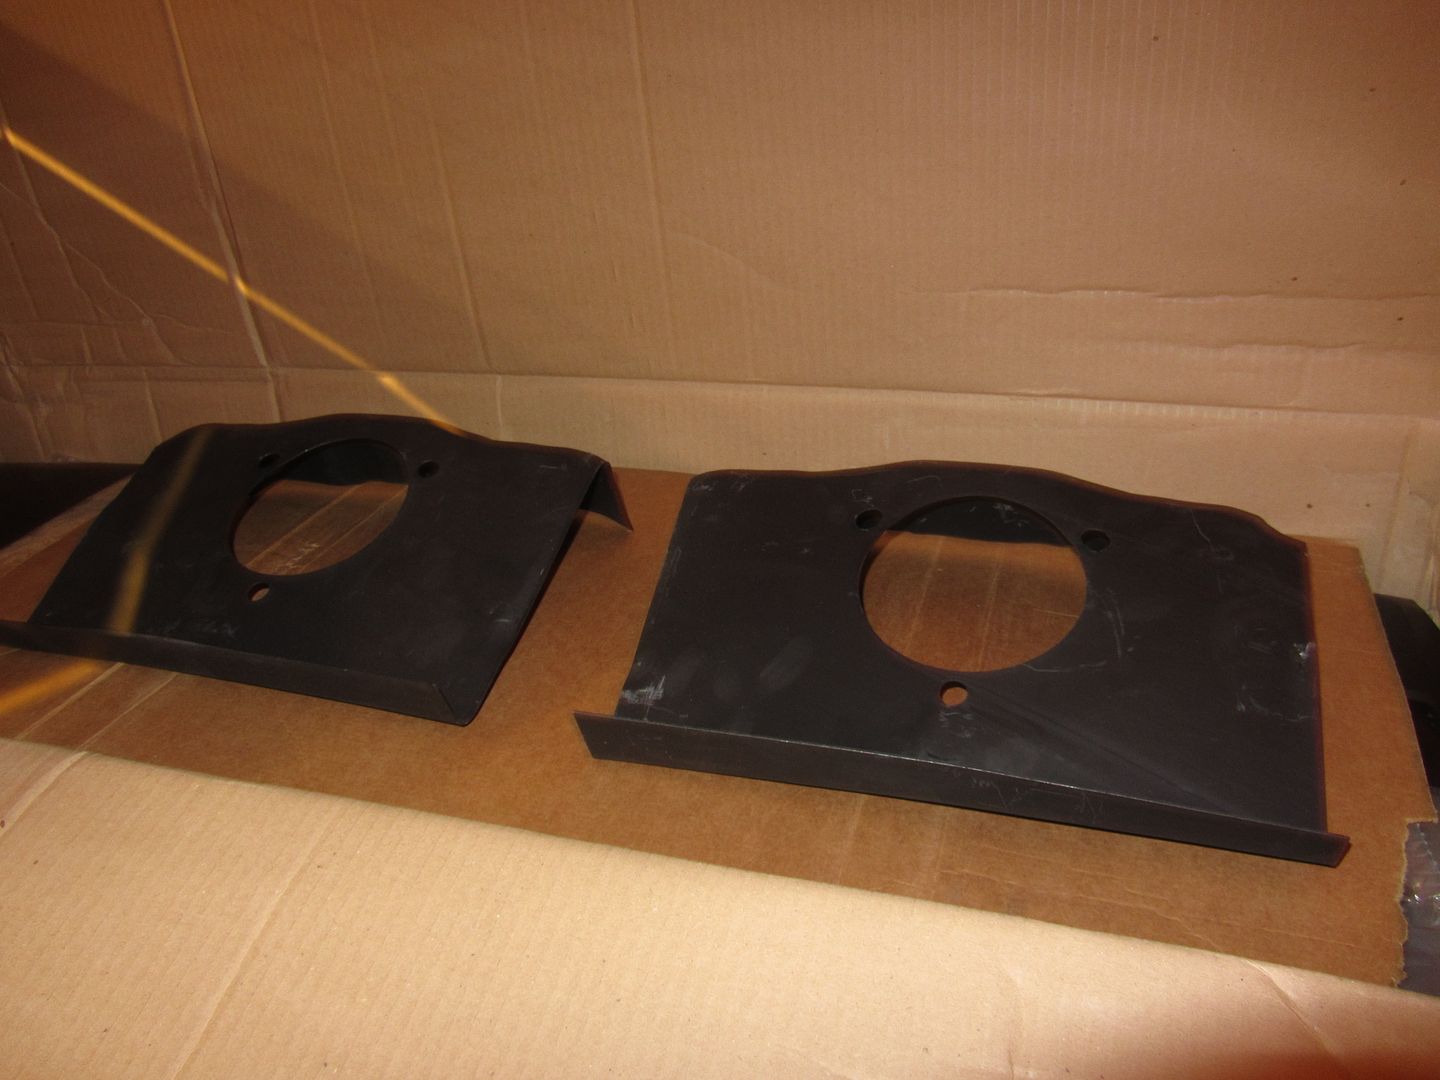 Rear valance and sill ends 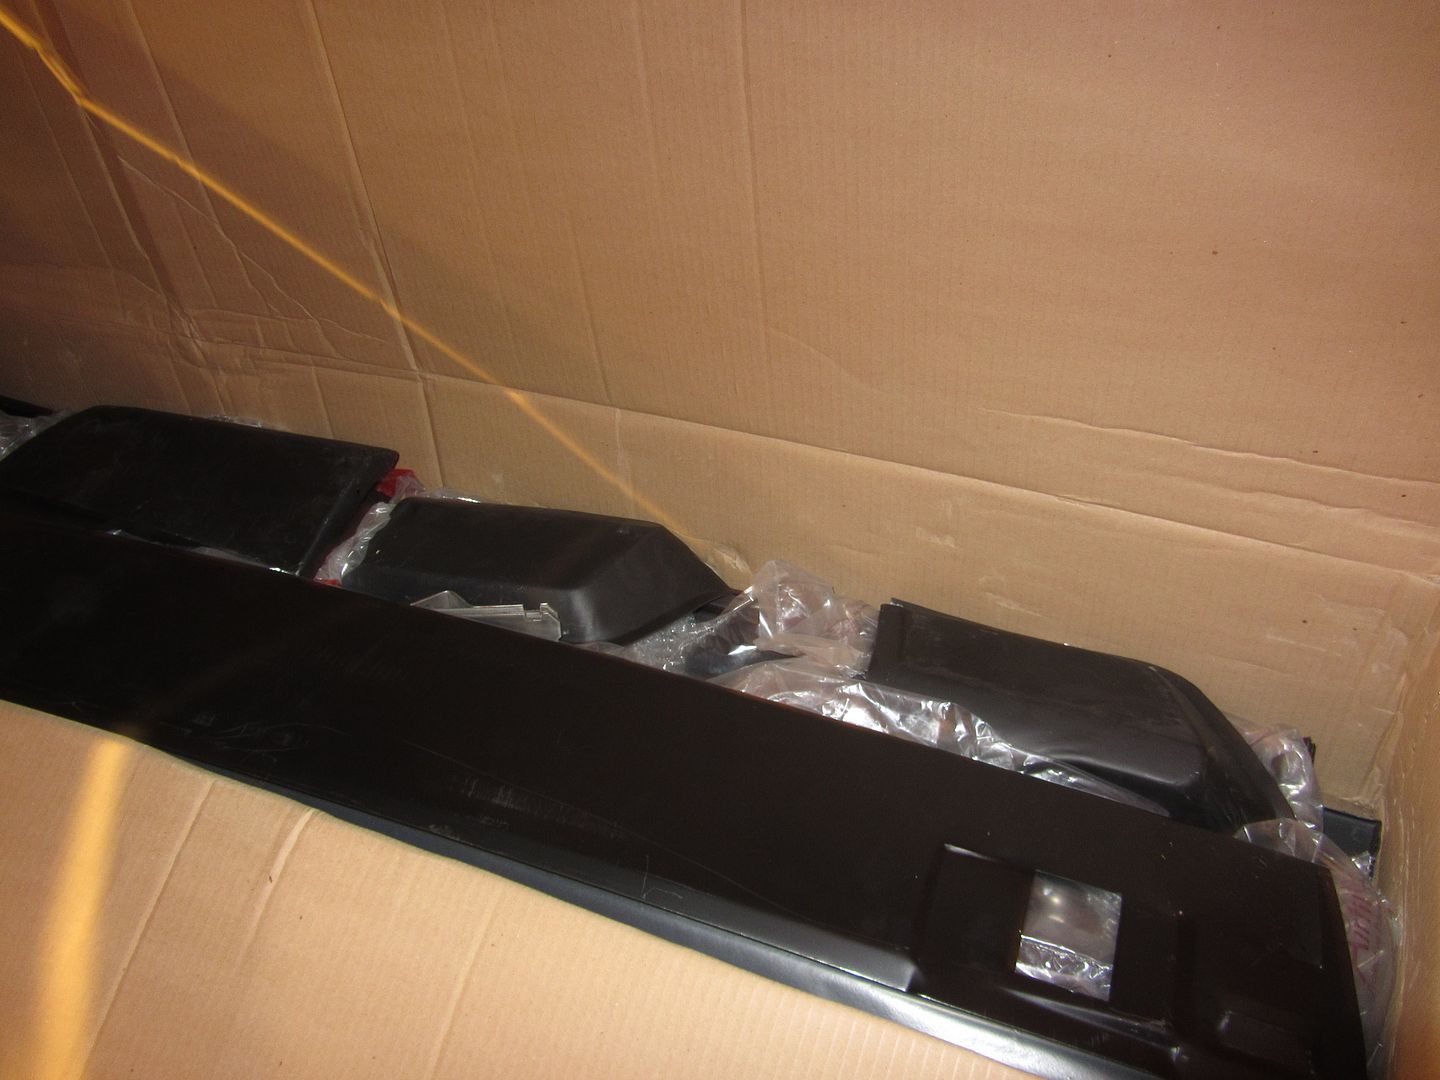 Doorseal... 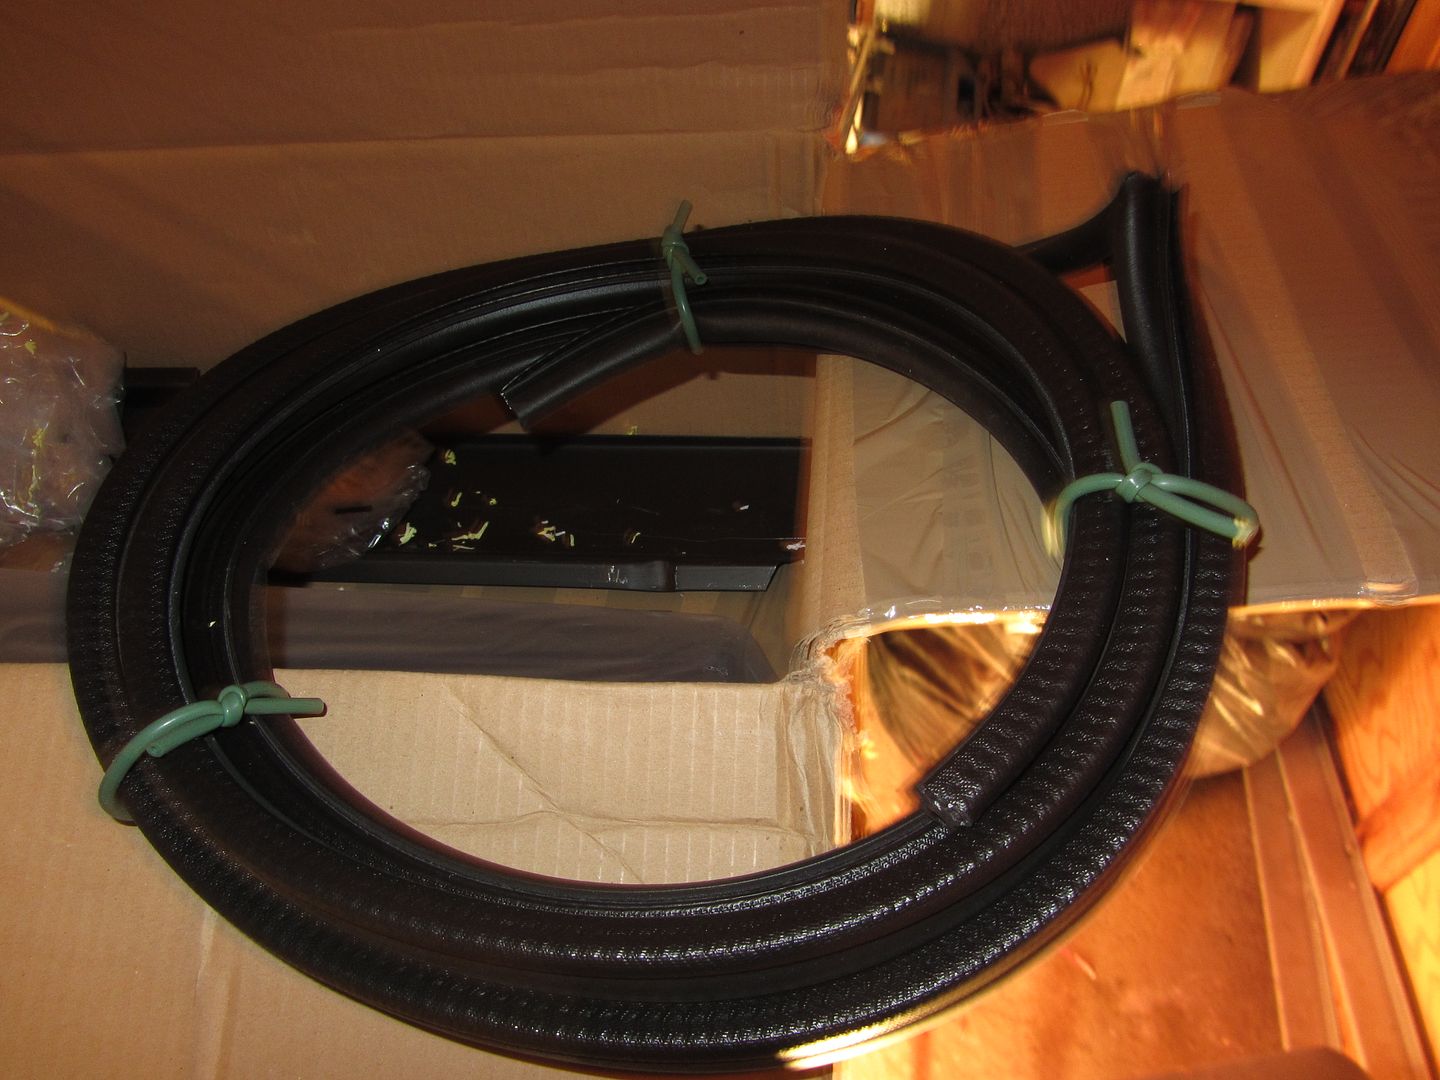 Also got myself a welding machine and a gas bottle, btw is stupid expensive 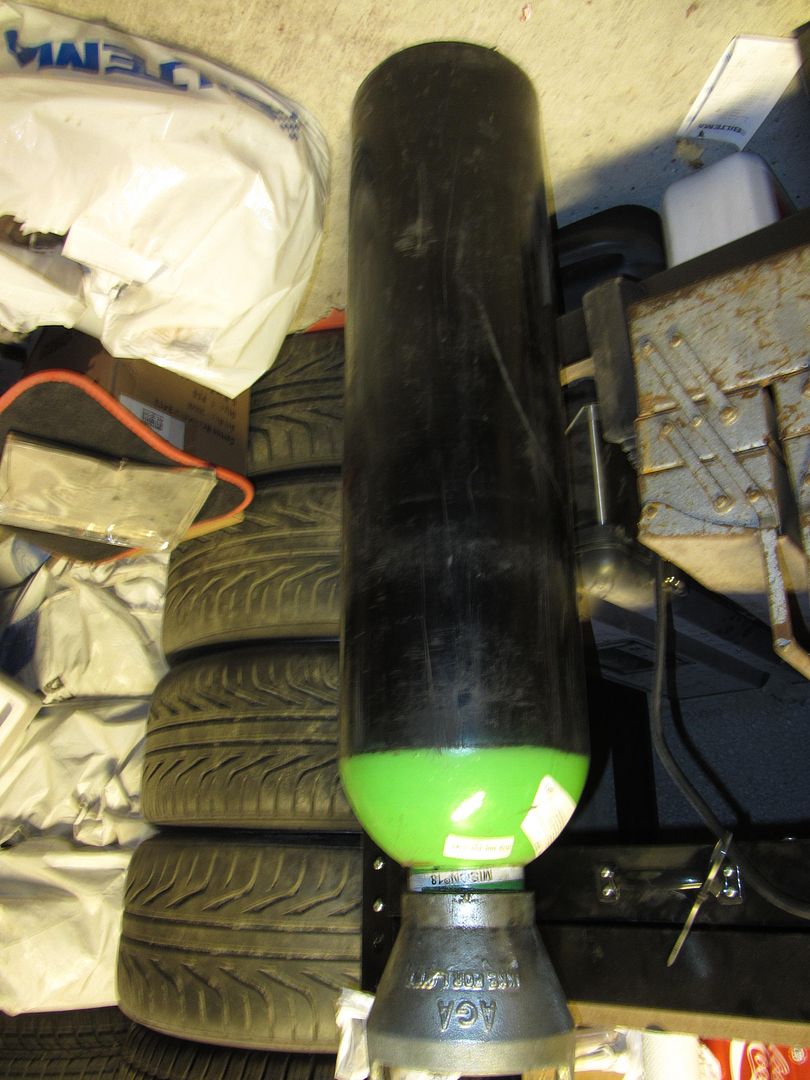 The ugly homemade strut top reinforcement plates needed to go, a air chisel did a short process of that 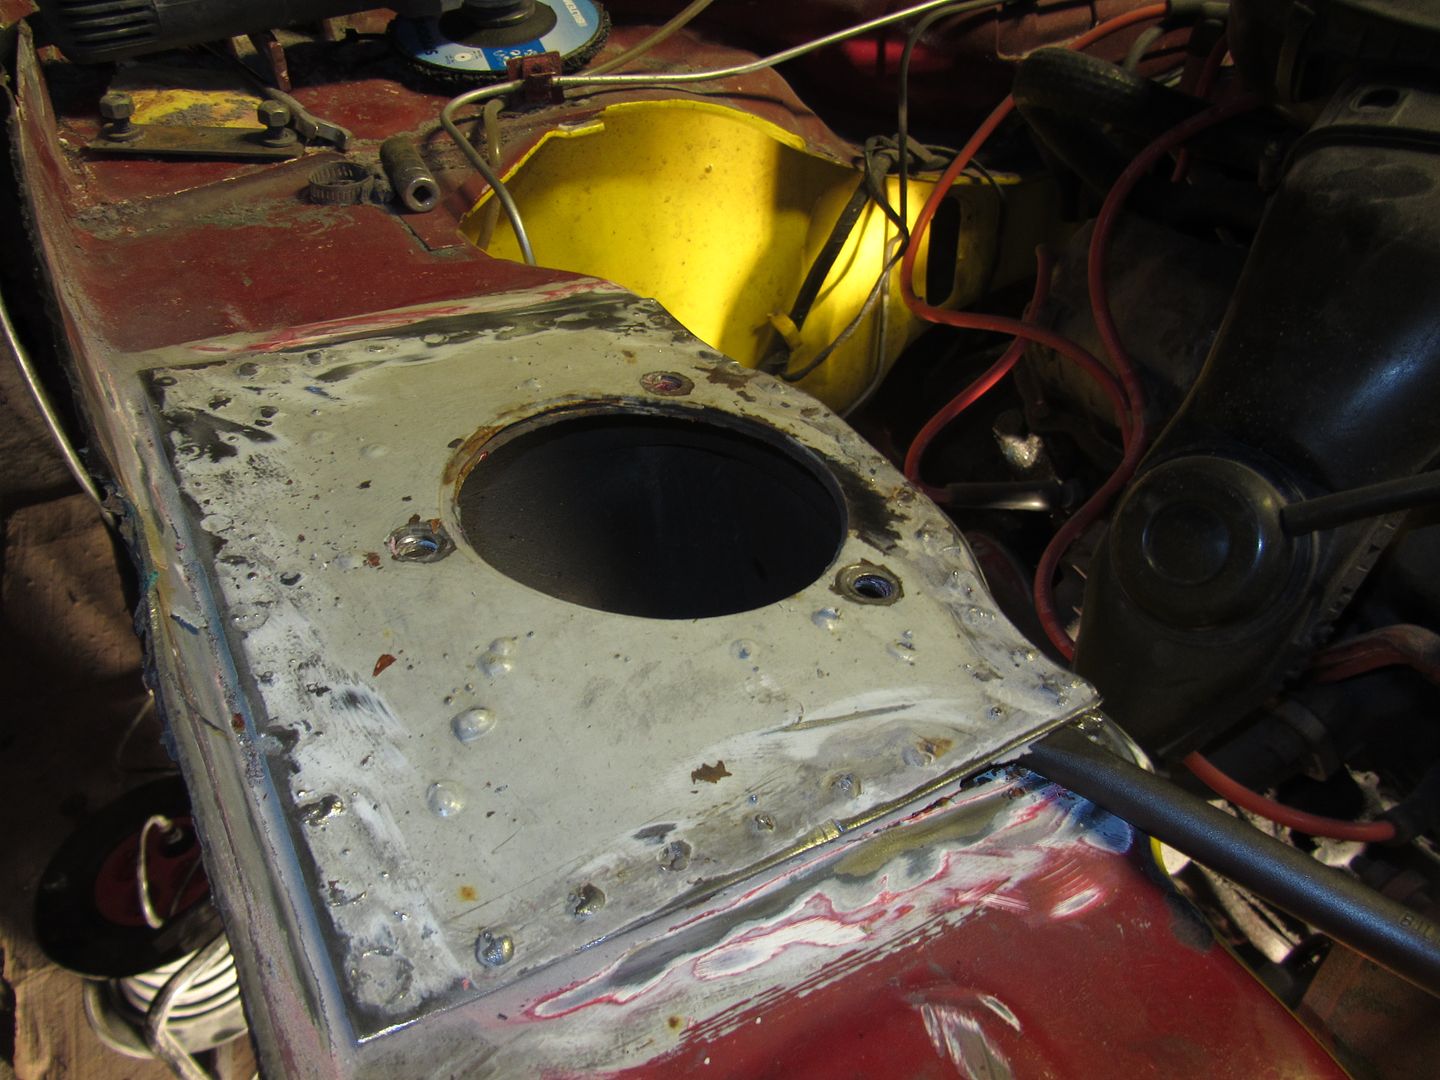 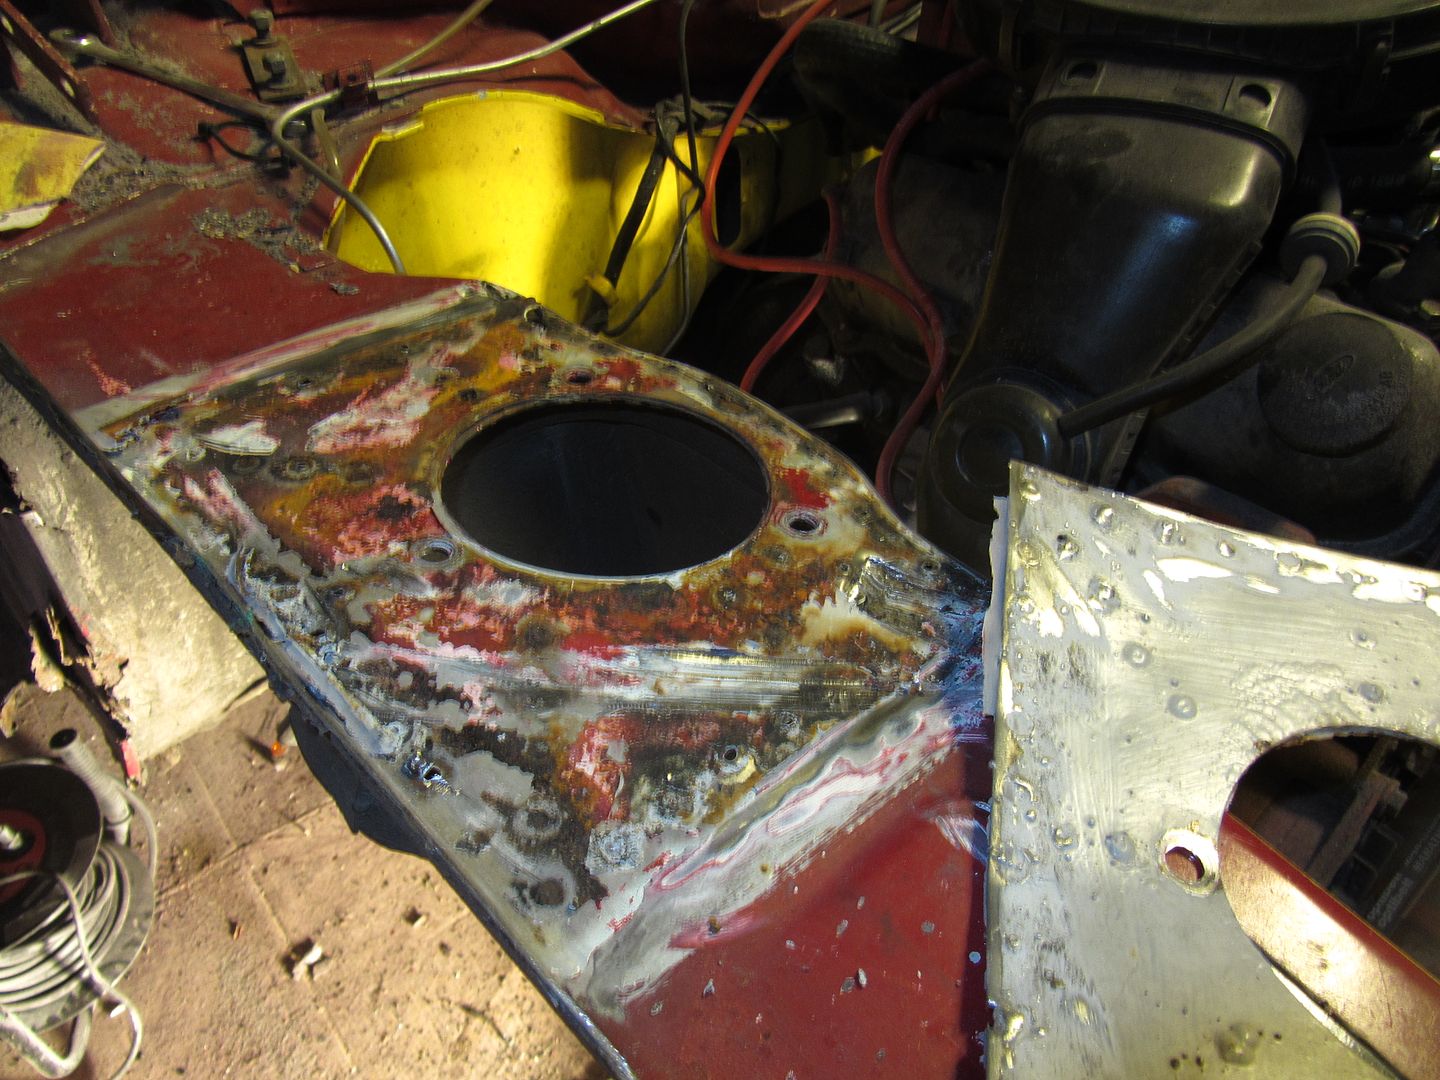 Strut tower is solid, but as you can see the strut top plate have holes in them 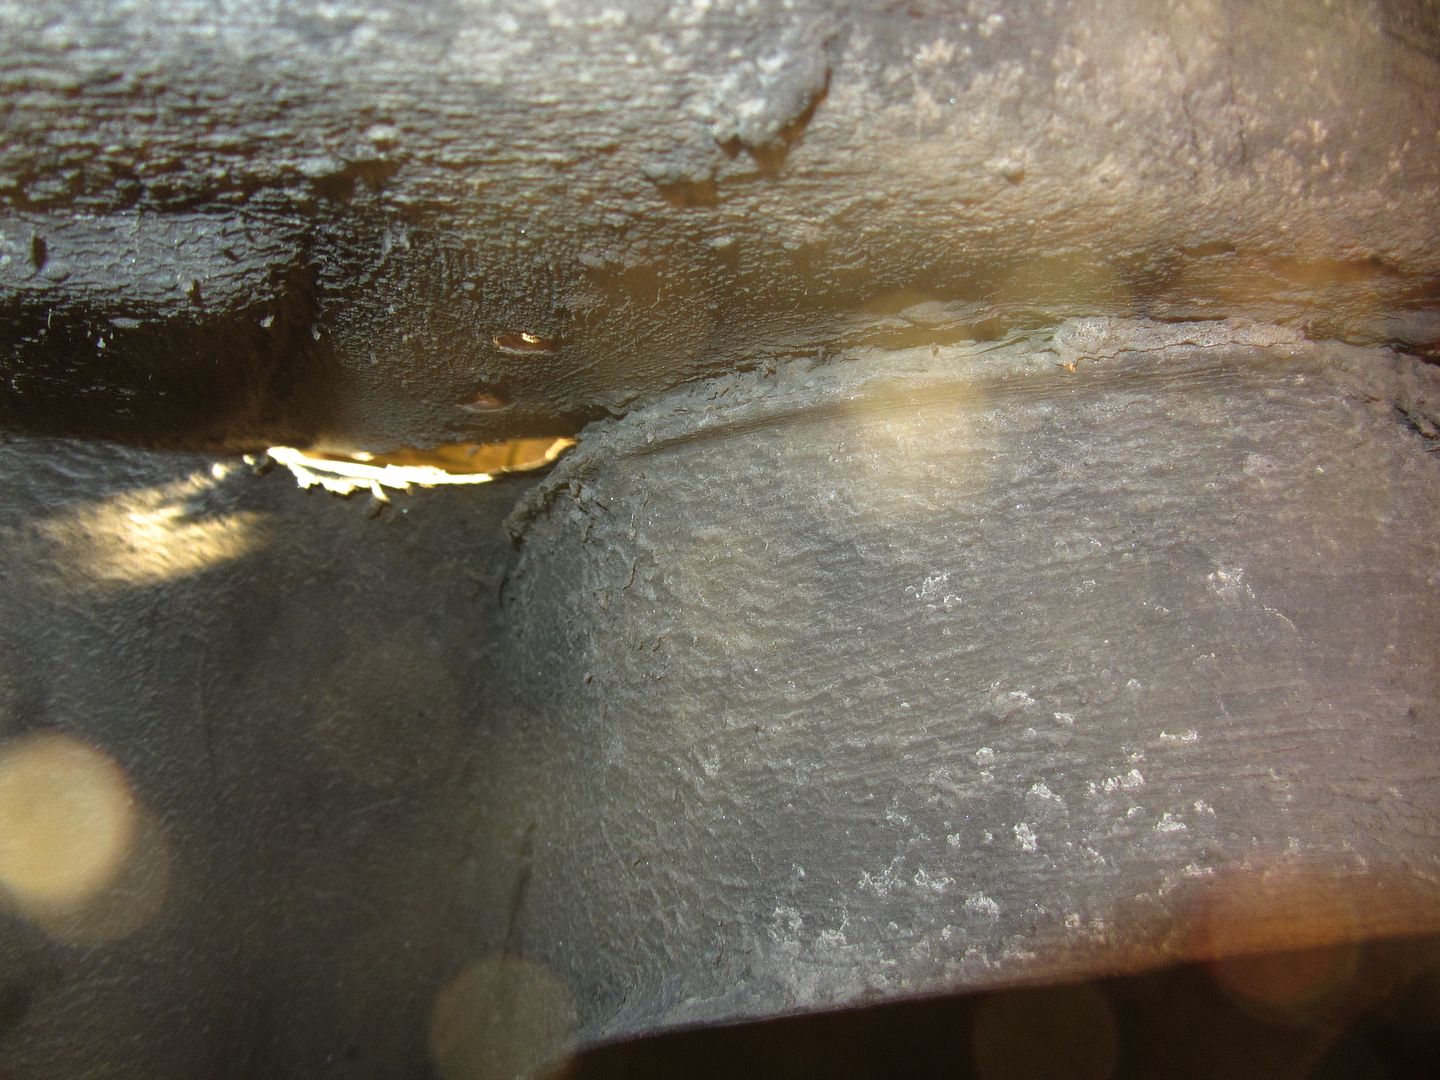 Plenty of holes infact.. 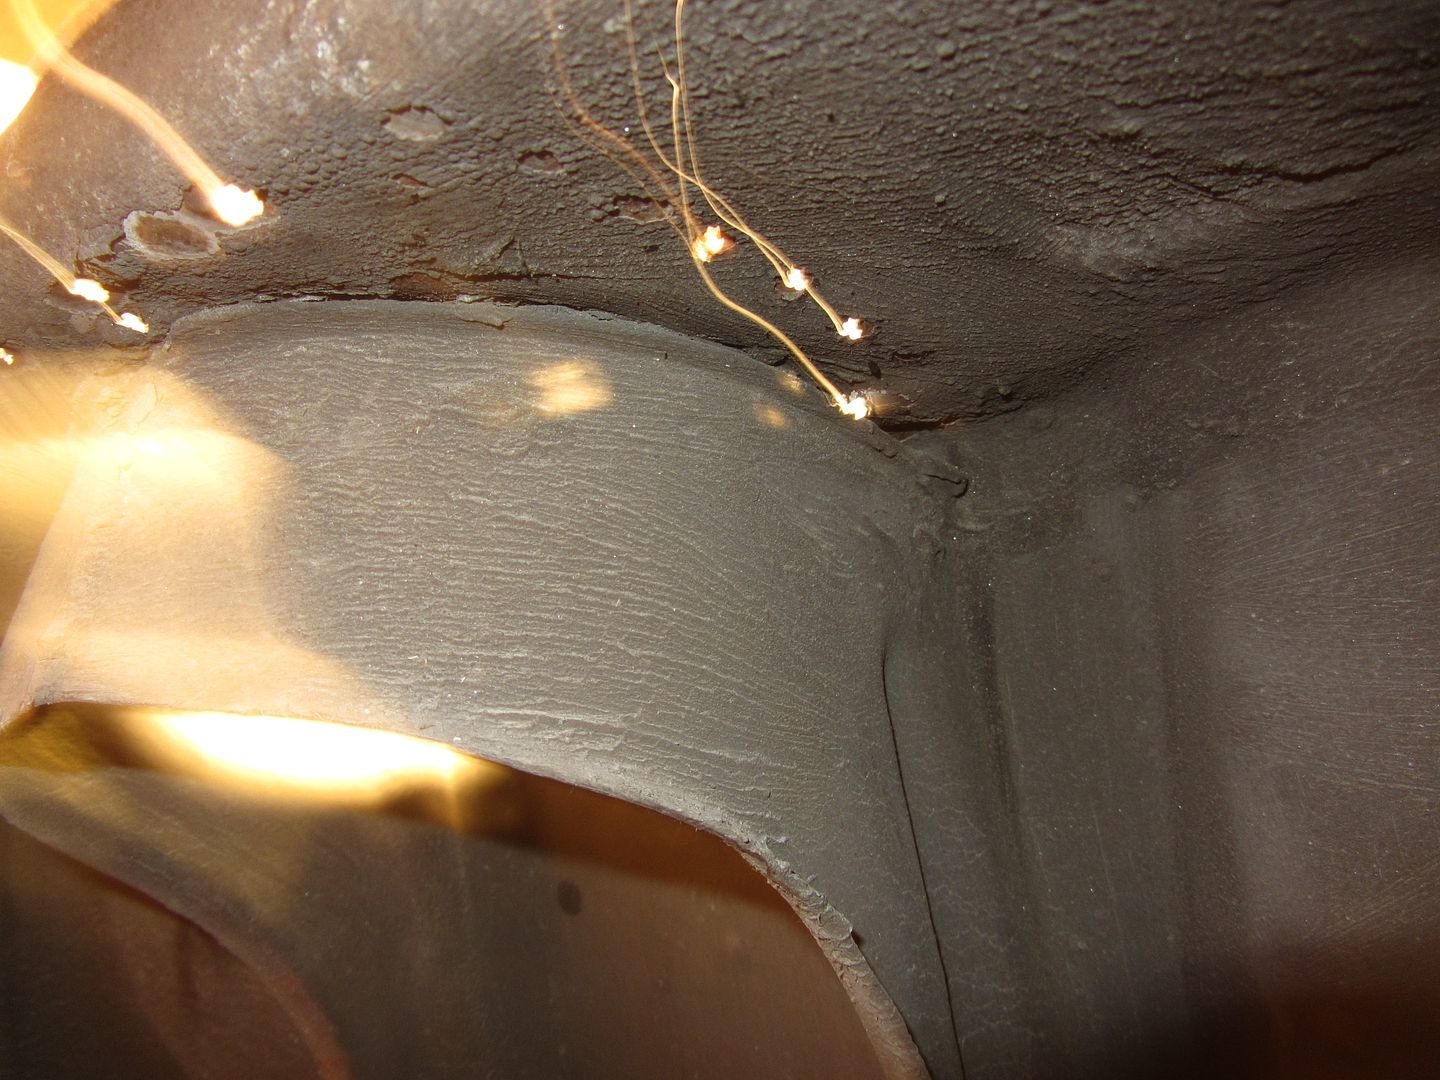 This was why I bought new repair panels as I don't wanted to weld here and there, better to chop it out as much as needed 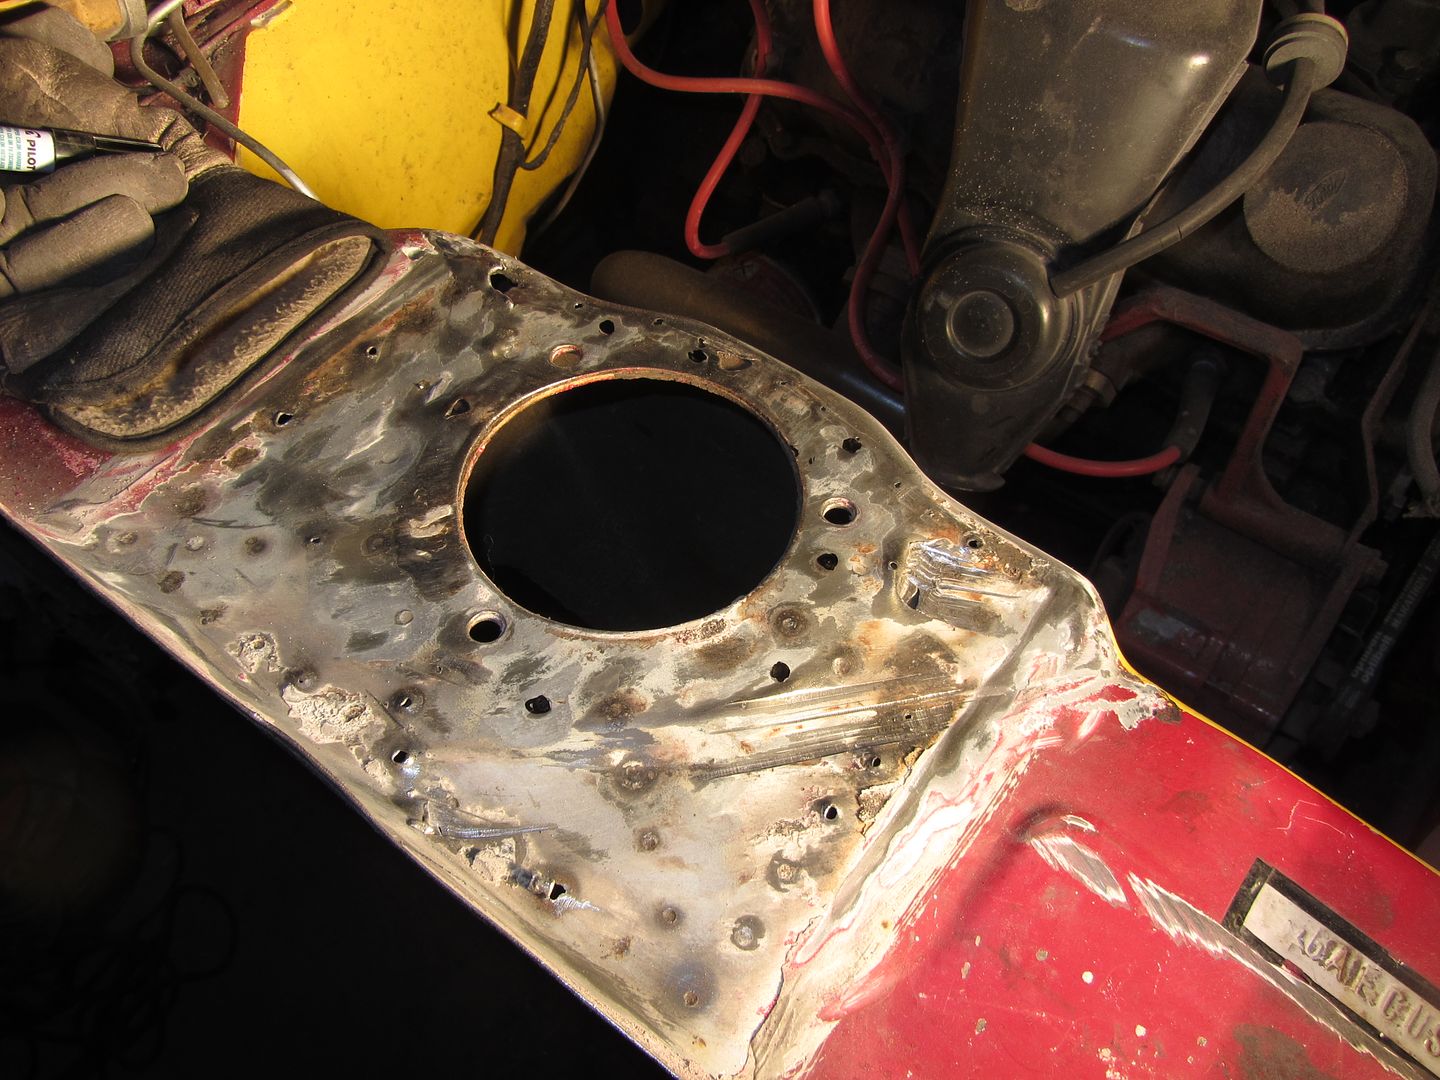 The fit of the Magnum panel is curse word btw 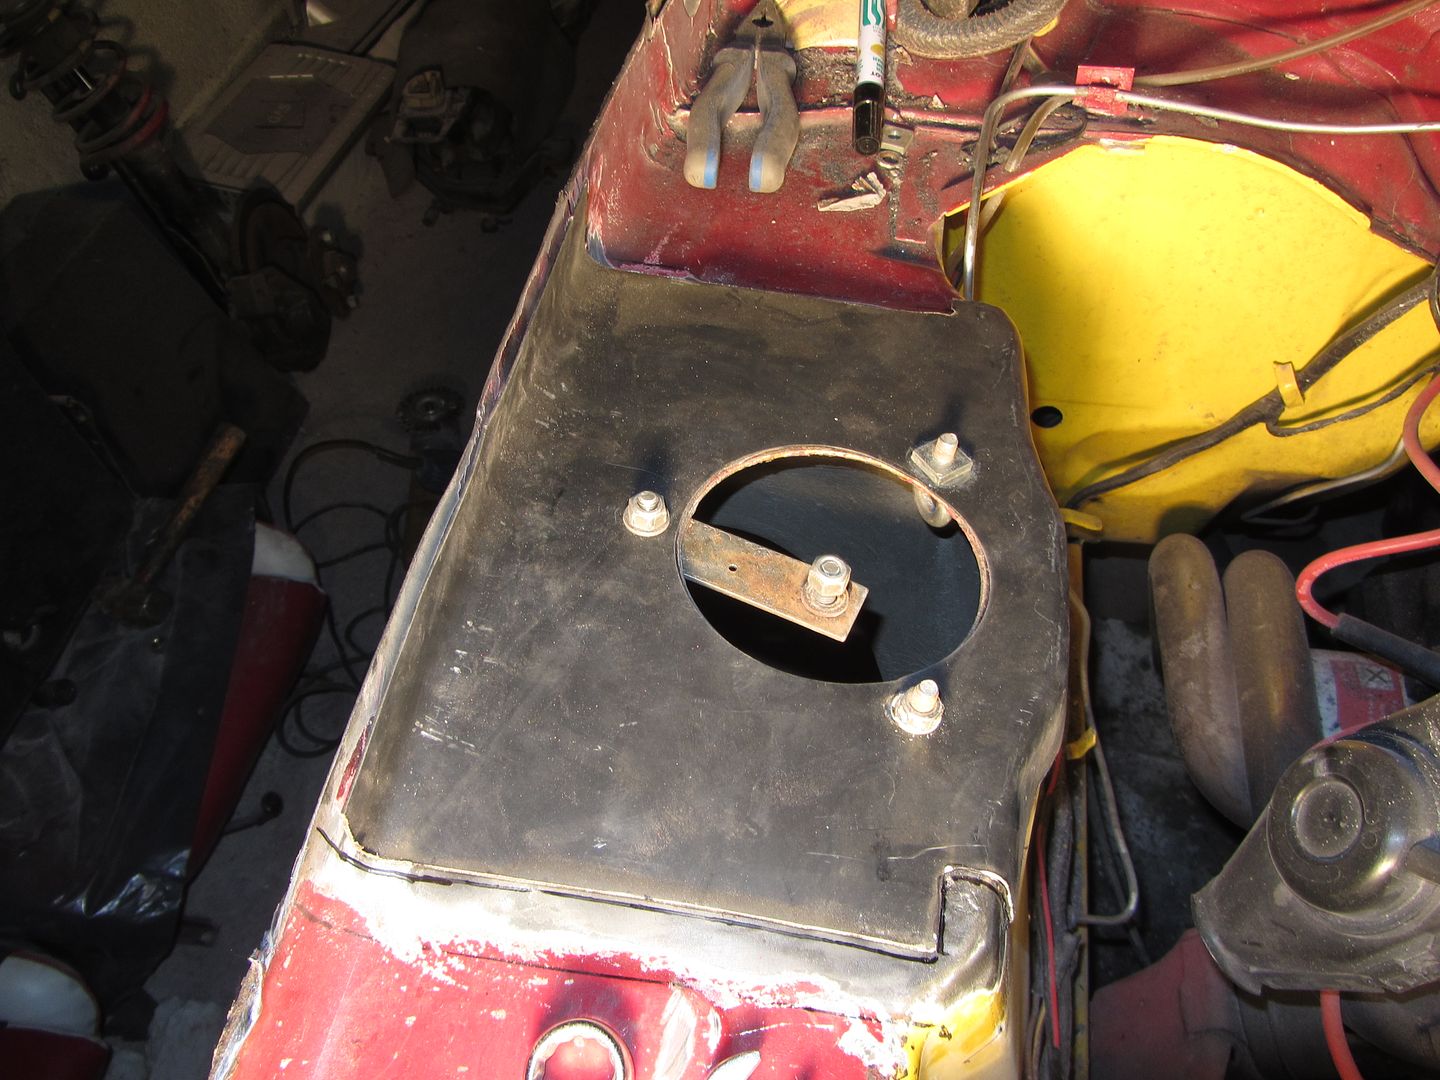 The marker line show how bigger the repair panel was to begin with, but it had utter curse word ftment and the but downwards the chassis leg looked like folds in old lady skirts. 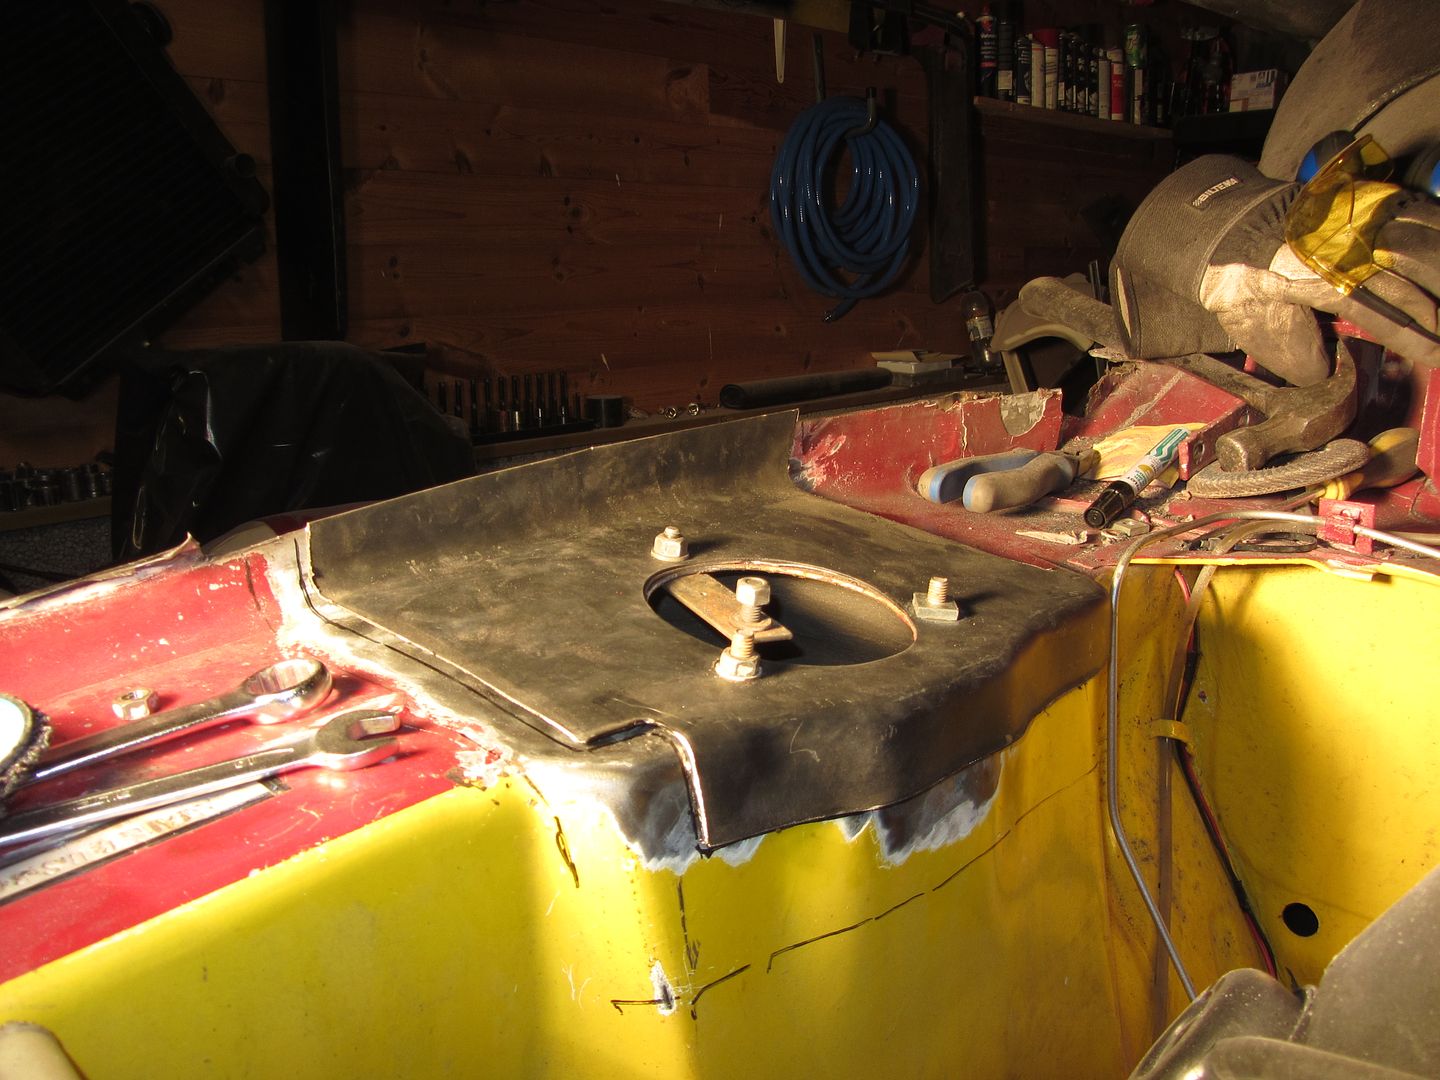 Chopped it out 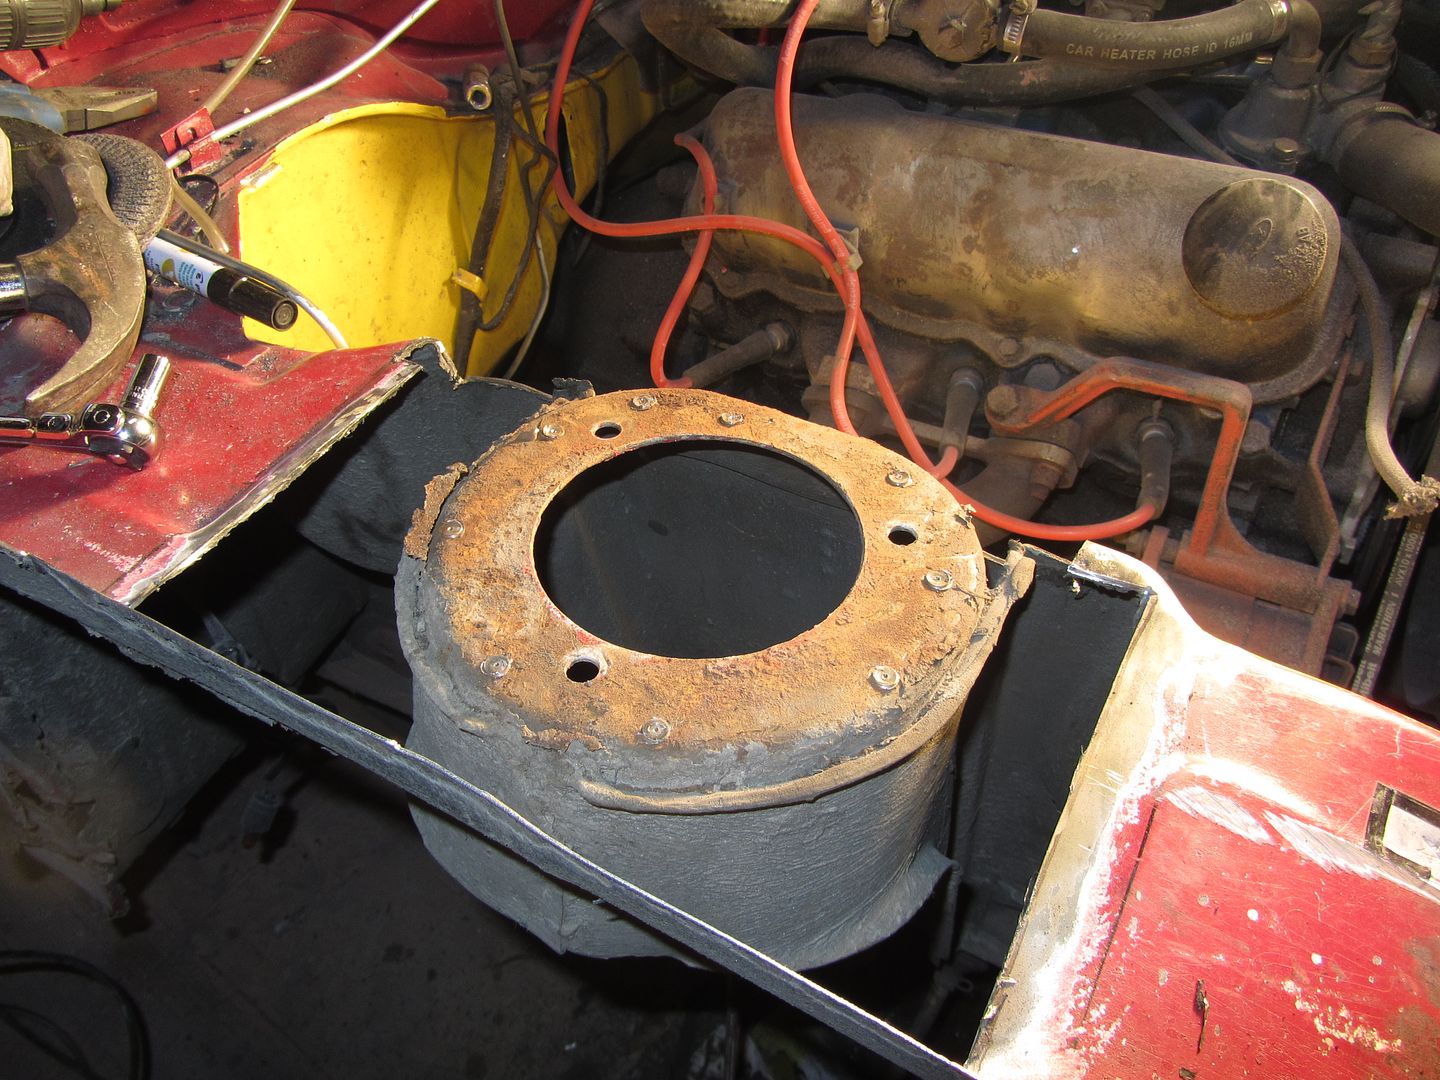 Cleaned it up and had on some Volvo weld throu primer 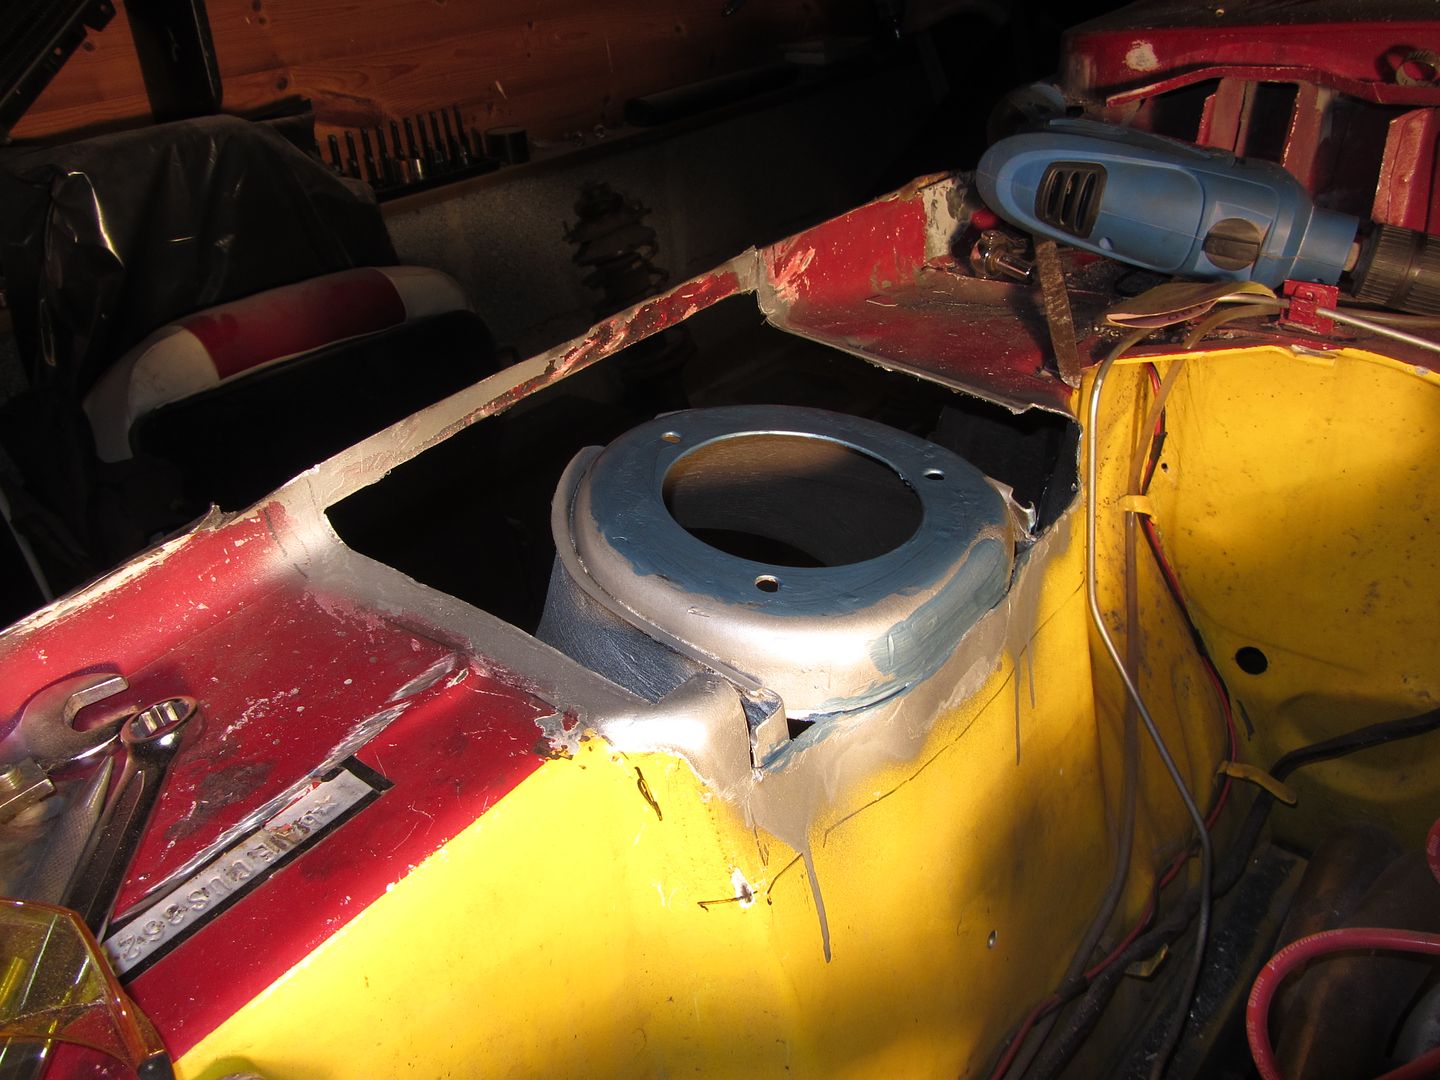 Welded in 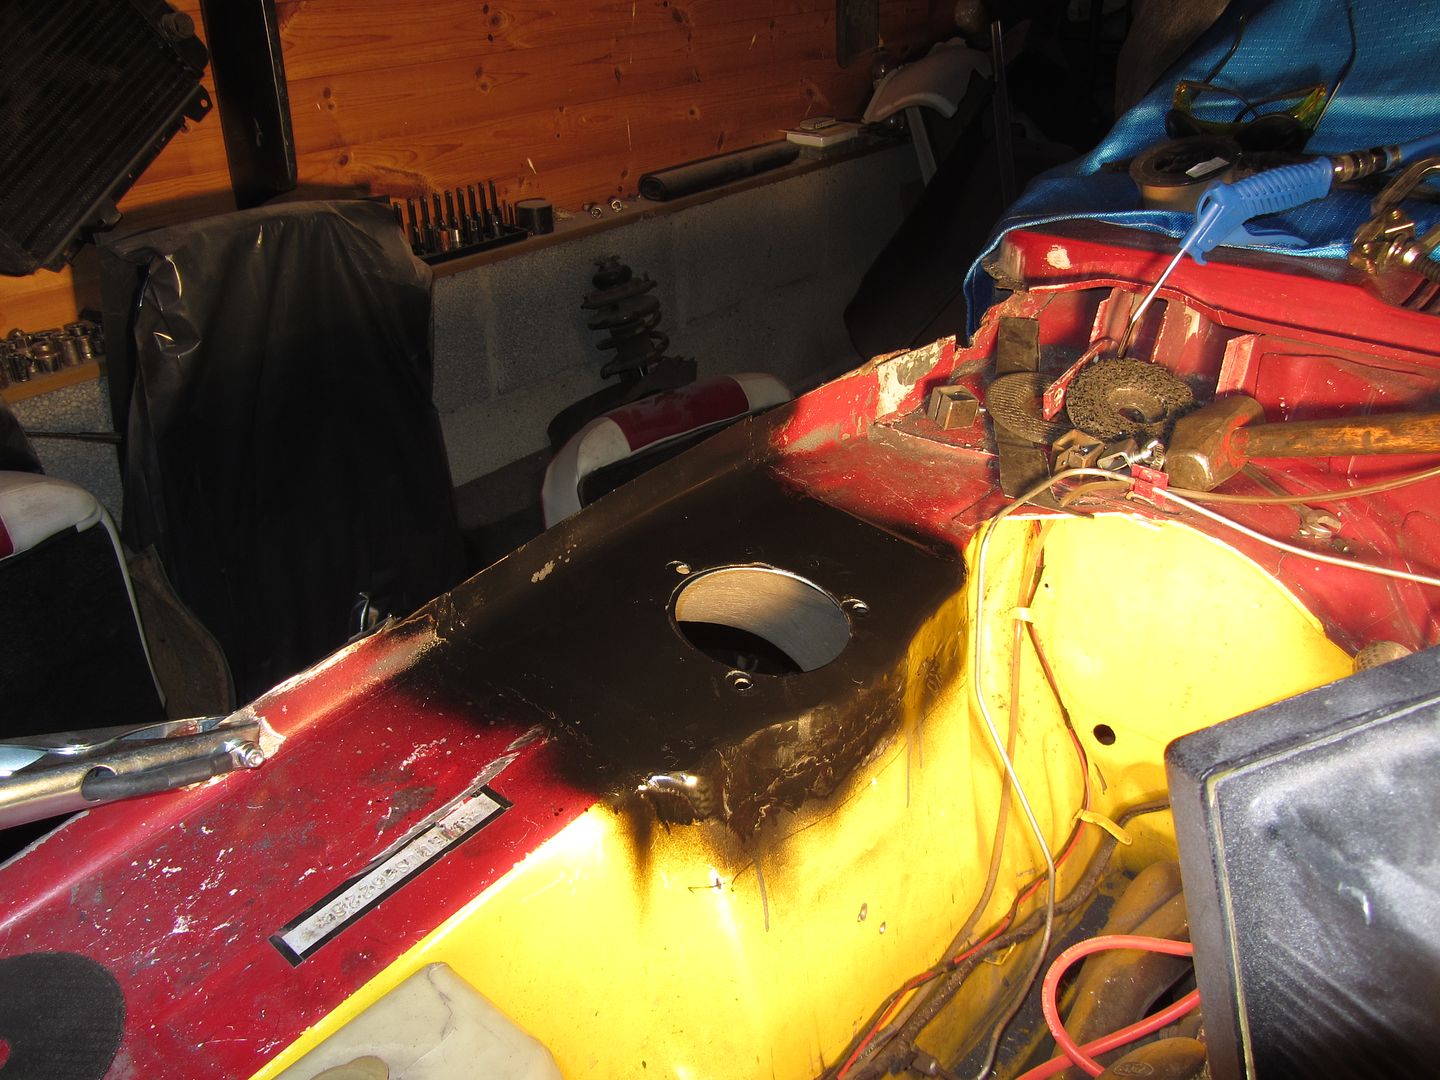 Then begun to repair the seat mountings 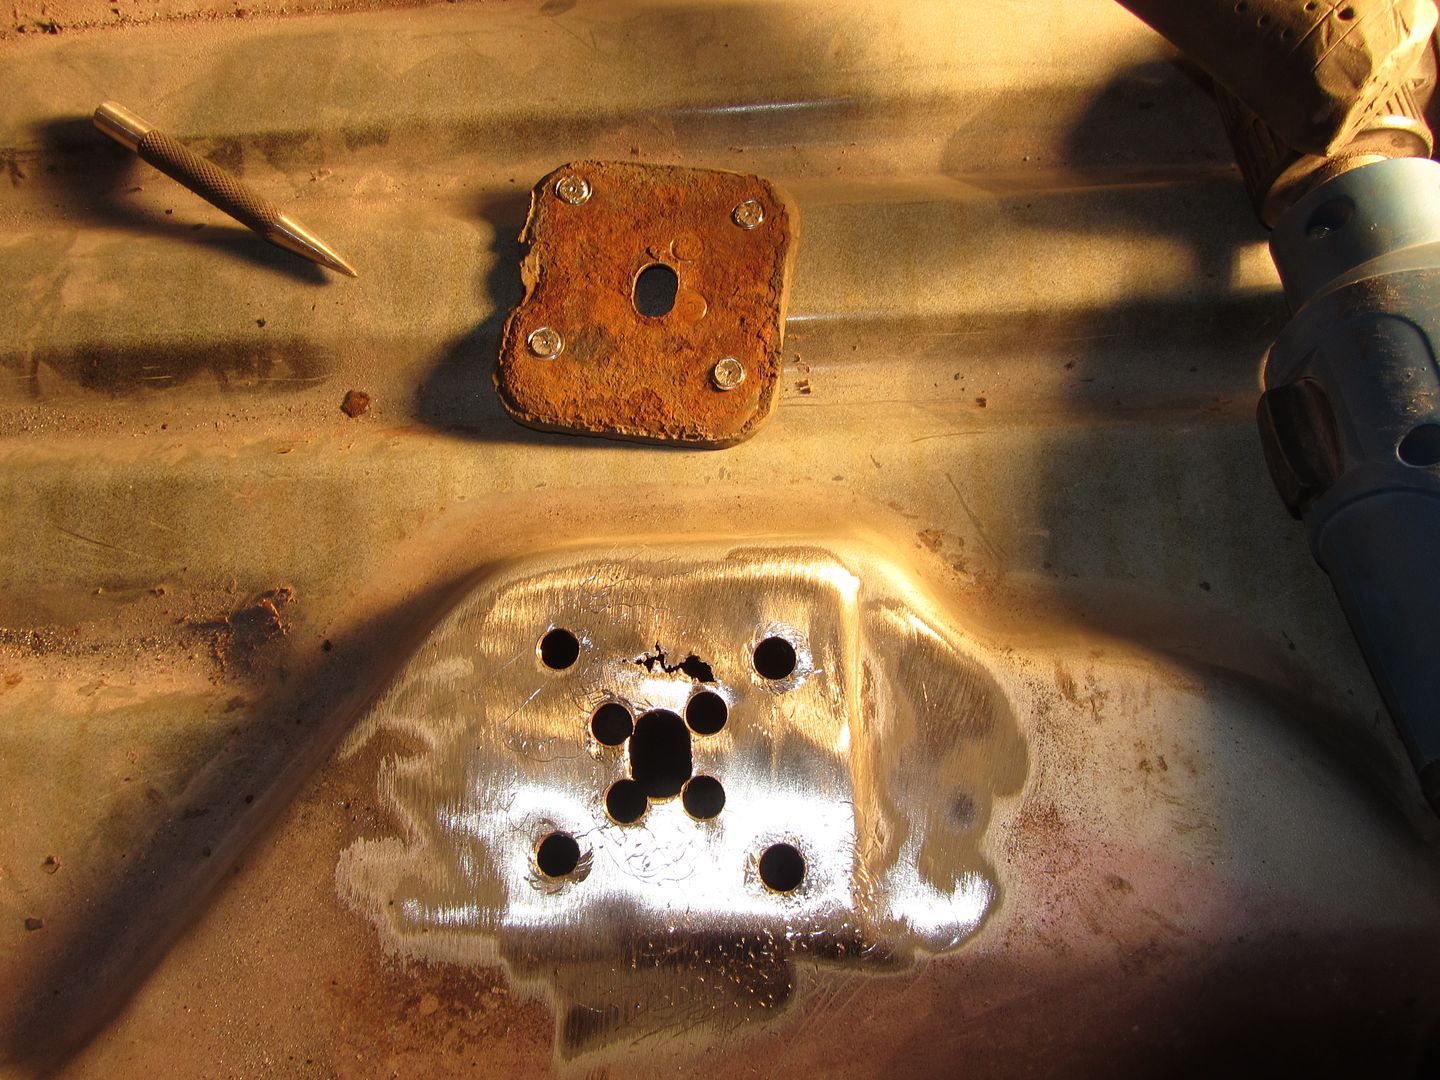 Chop chop 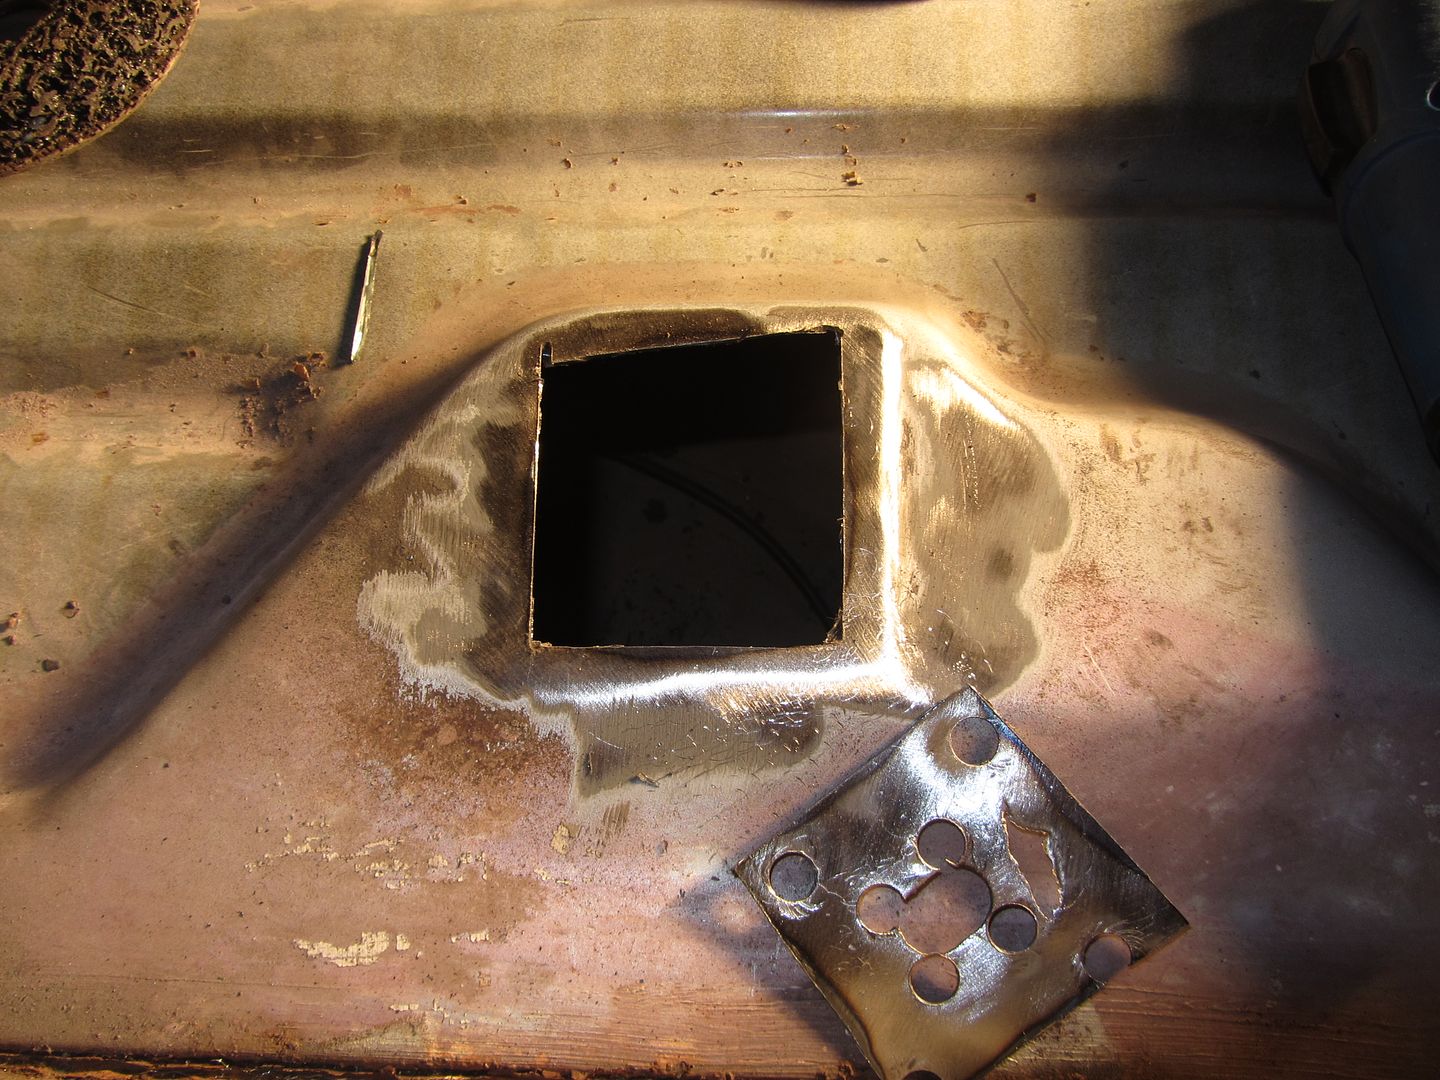  Welded in 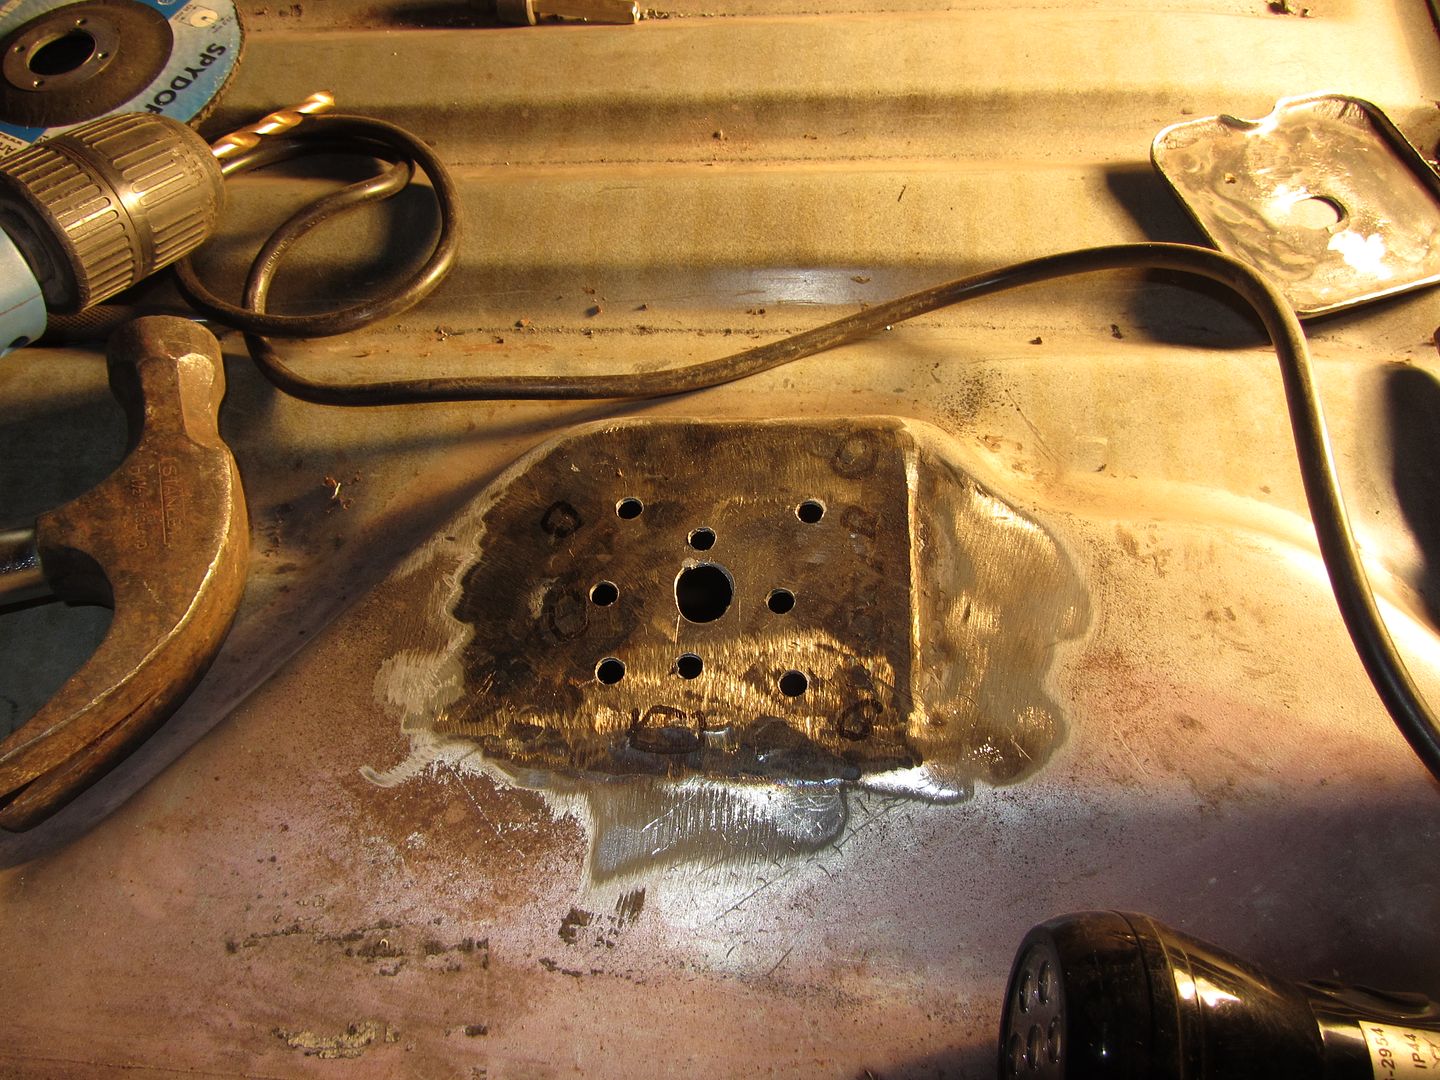 Some paint to protect the new metal 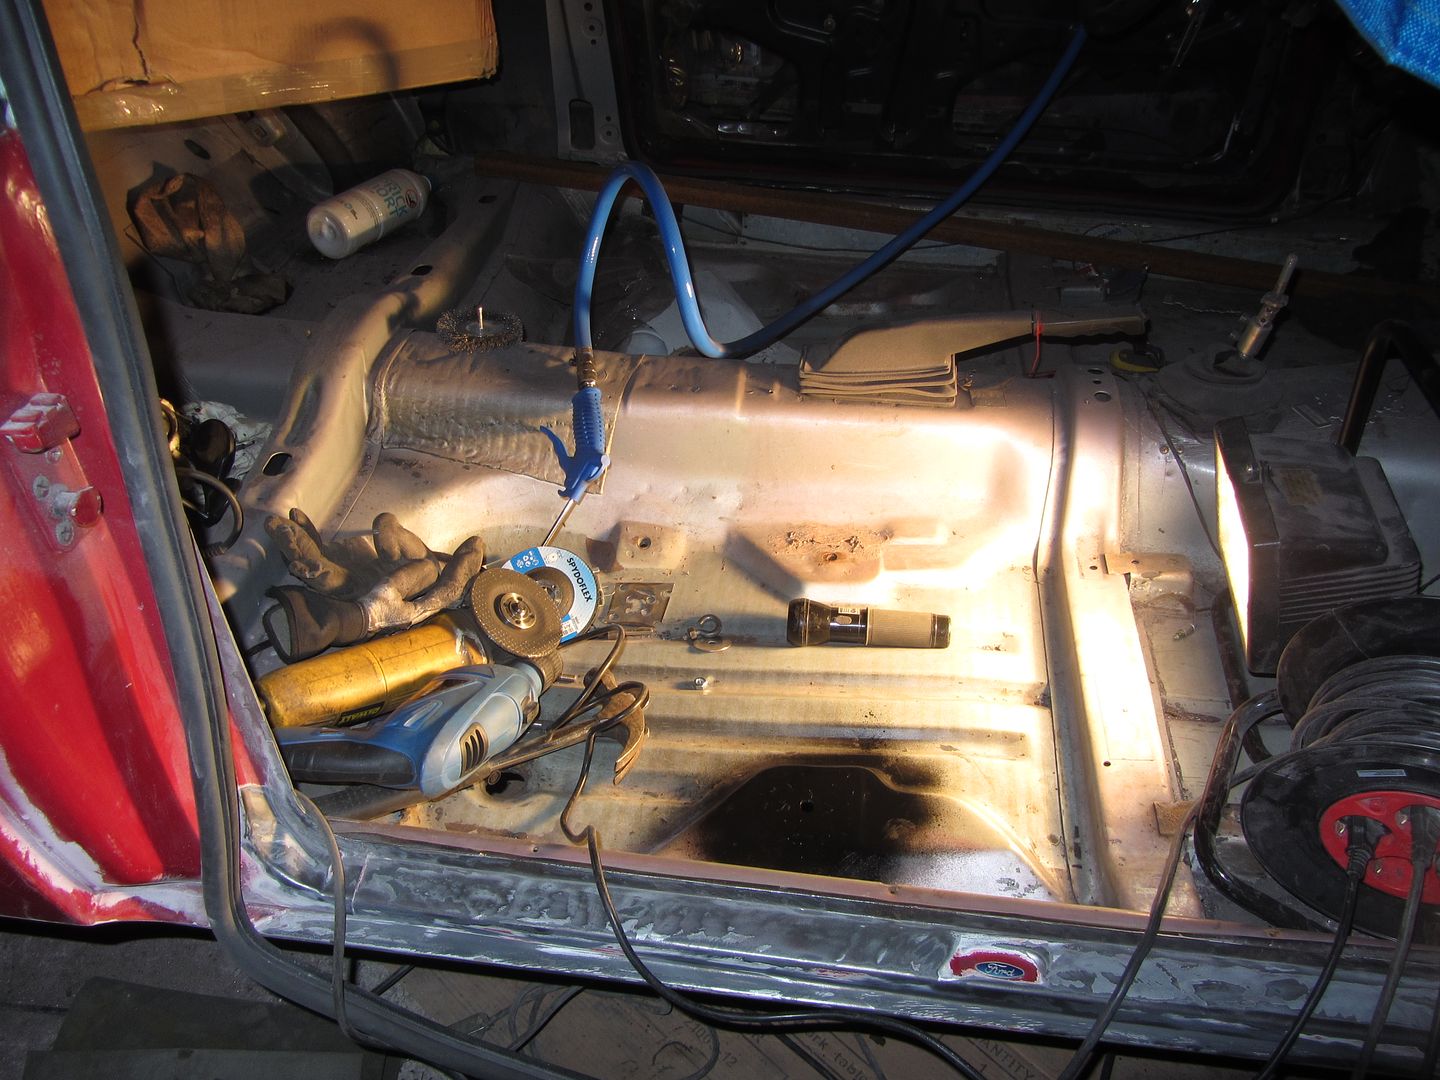 Next one 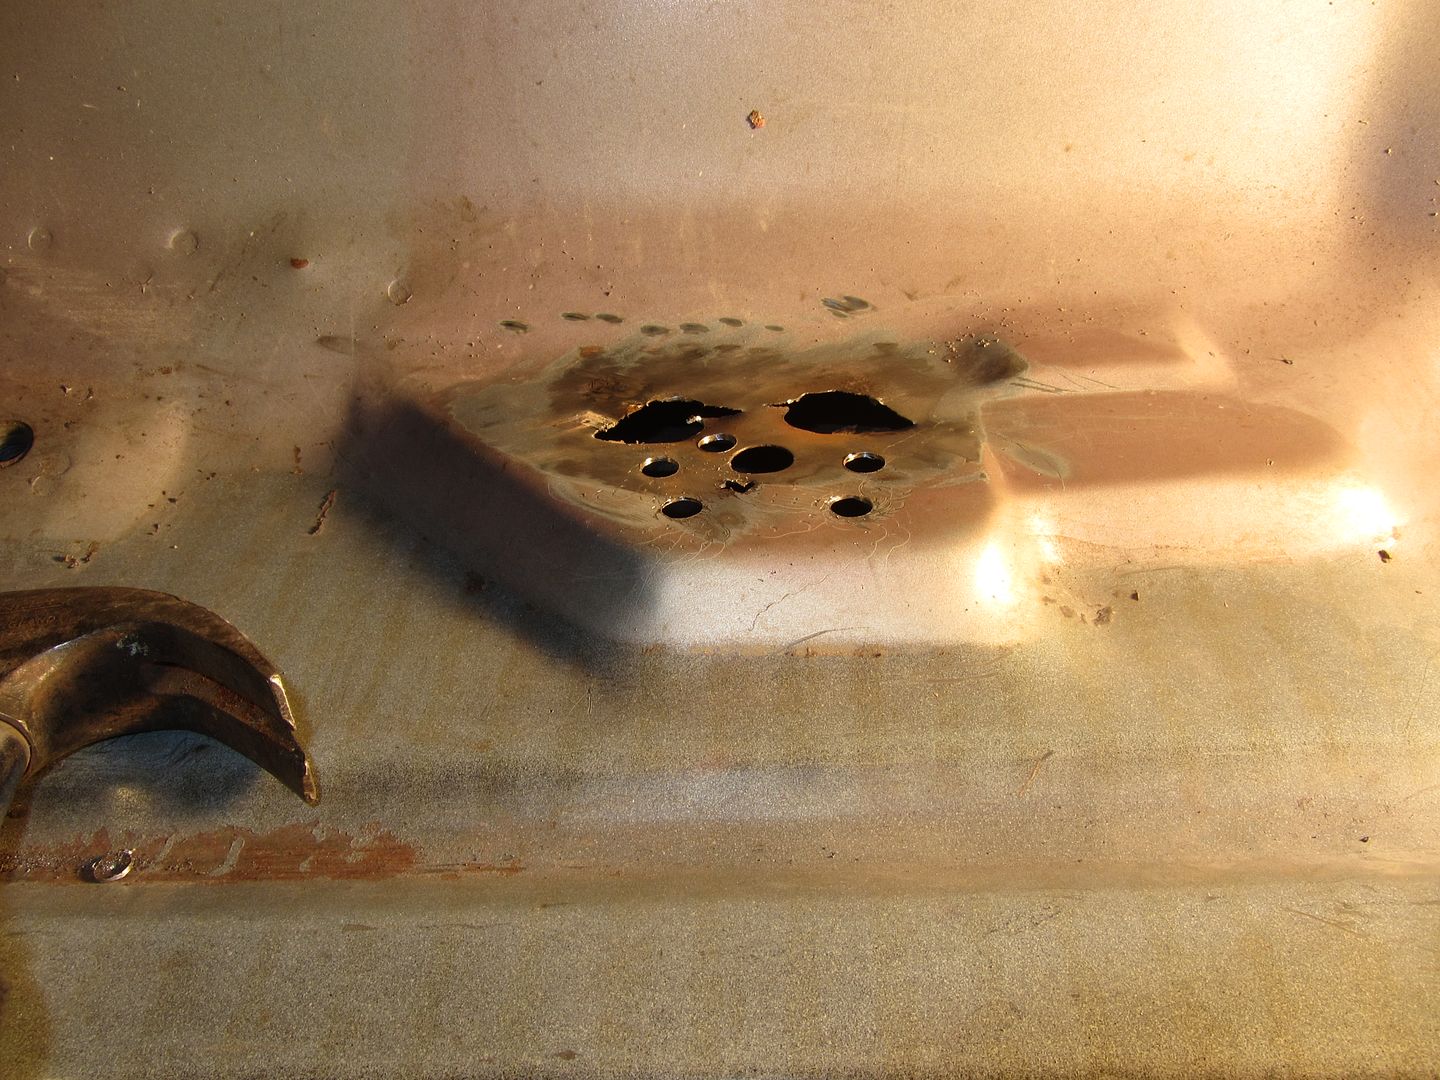 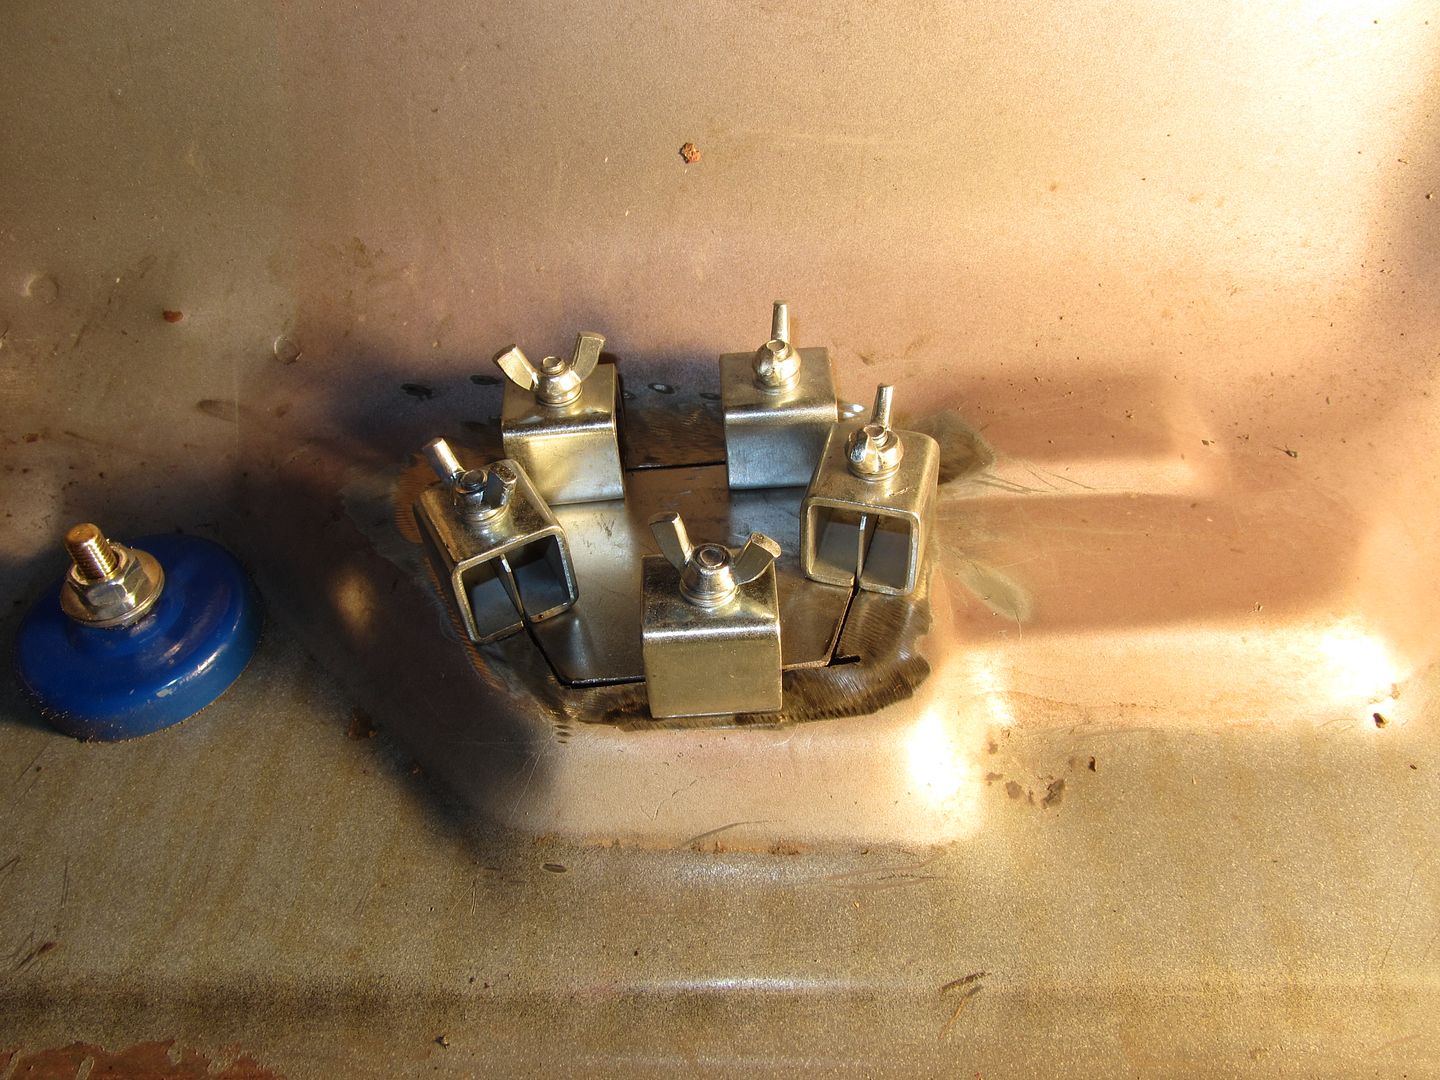 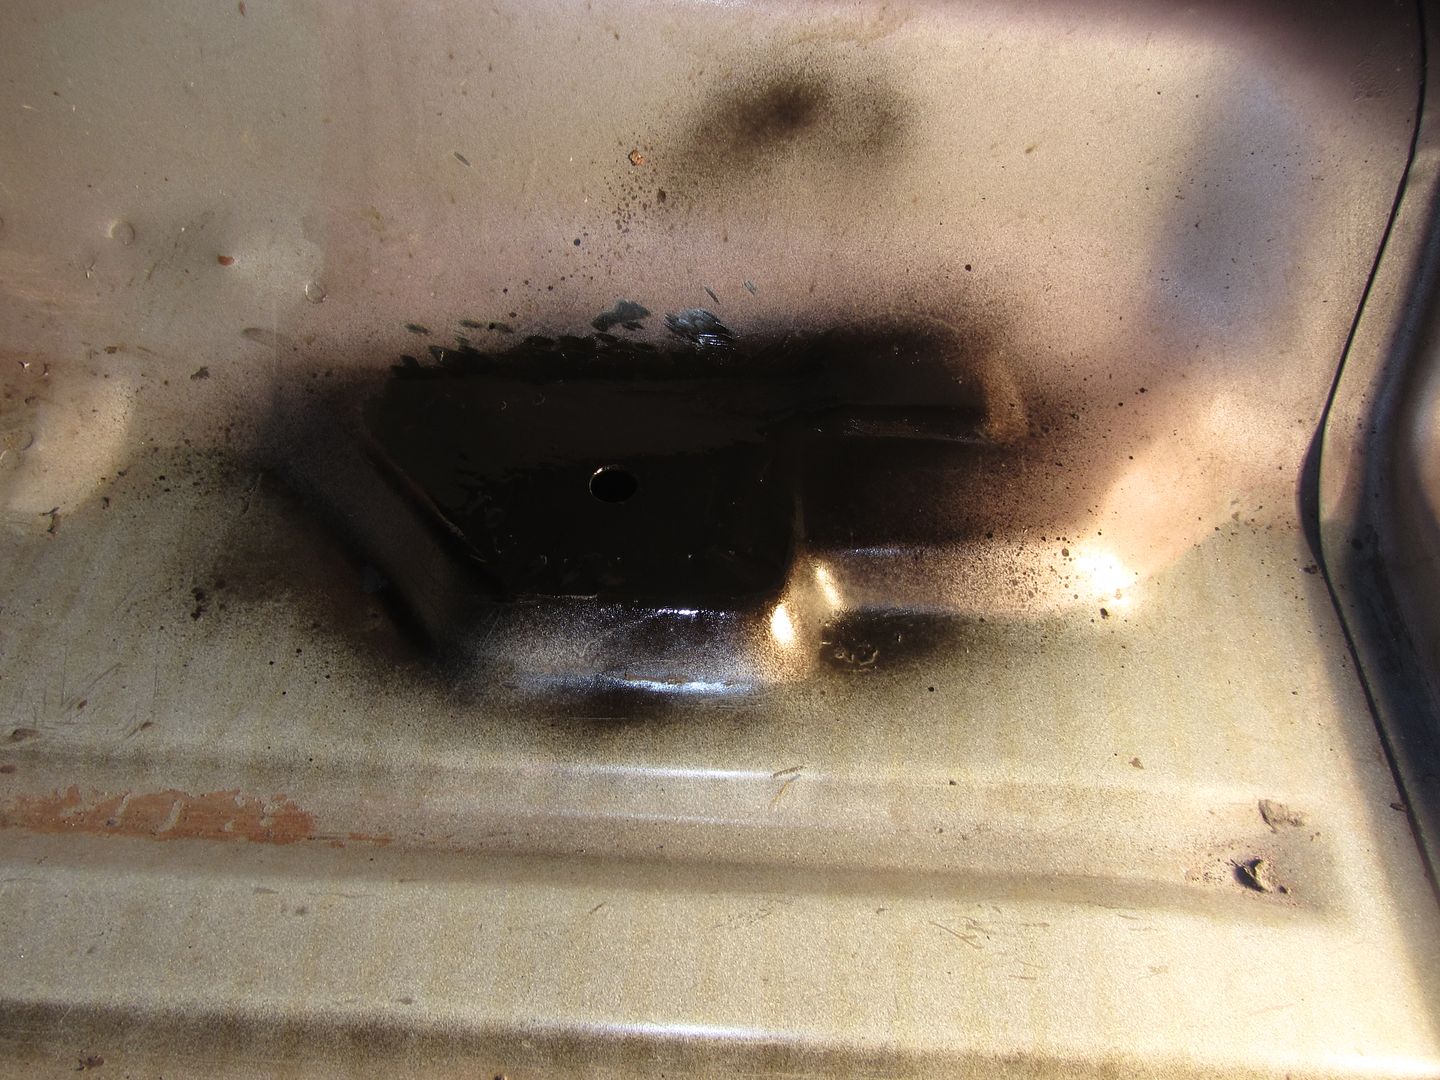 |
| |
|
|
cap78
Part of things
Posts: 96
|
|
Feb 13, 2017 23:33:56 GMT
|
These pictures was taken Jan 2013', so still loads to take from to get up to current status. Anyway, pulled off the rear bumper to start with.. 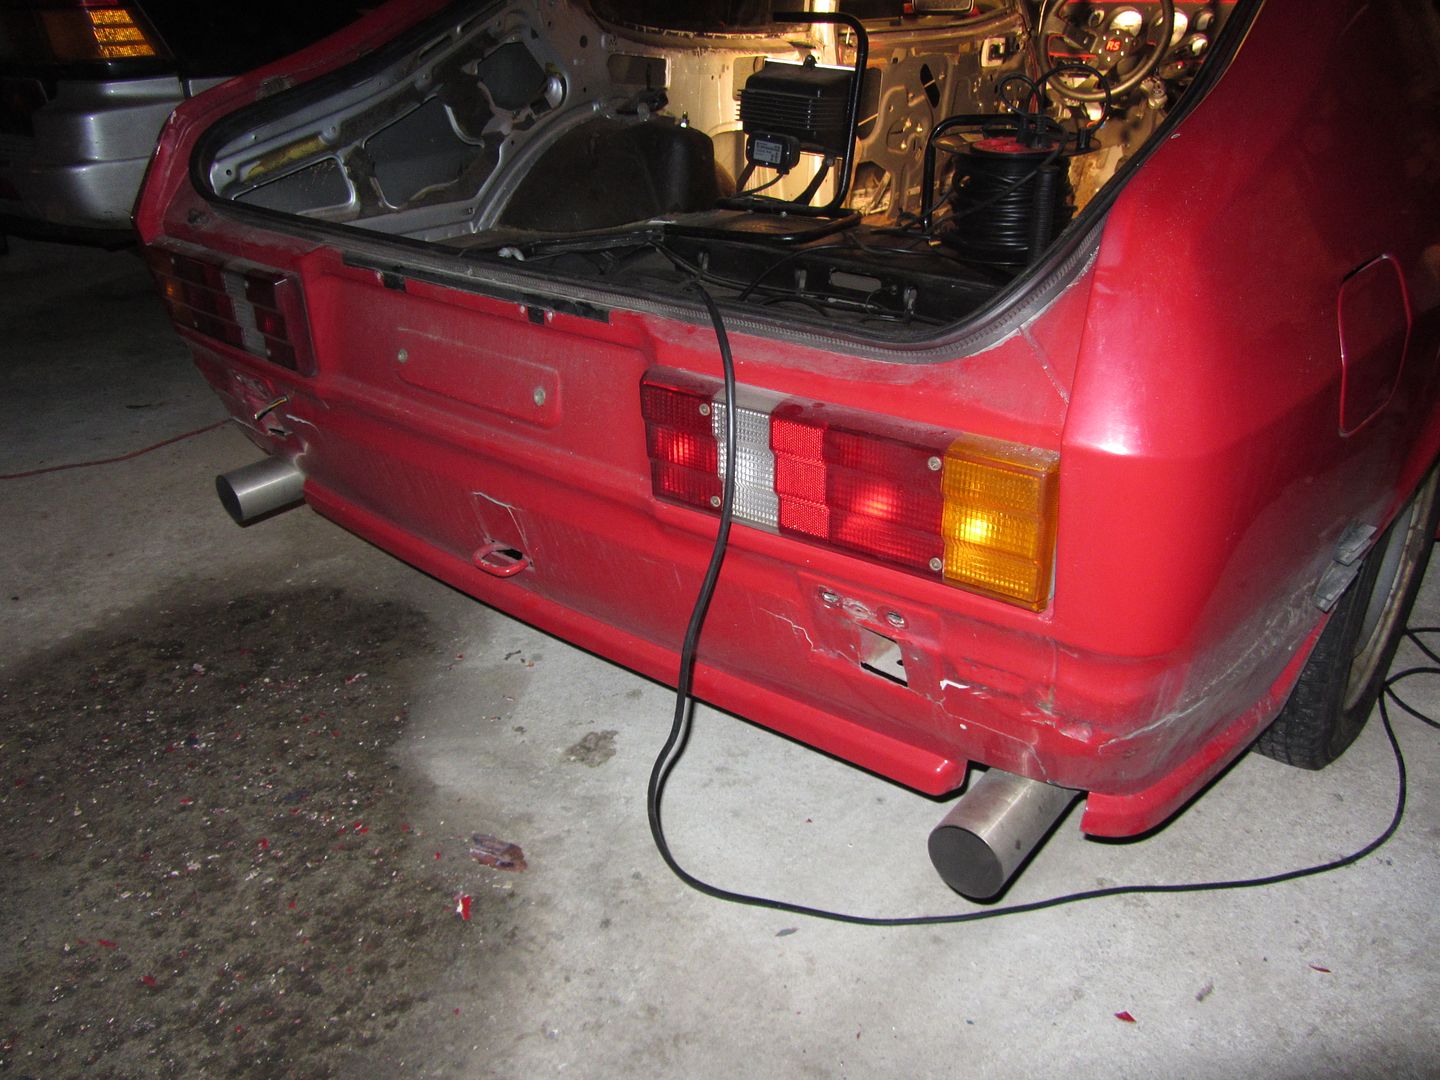 The sideskirts was ripped of with my bare hands, and they was very thin and flimsy. Front wing rear corner looked solid, but the metal was like wet cardboard, no good 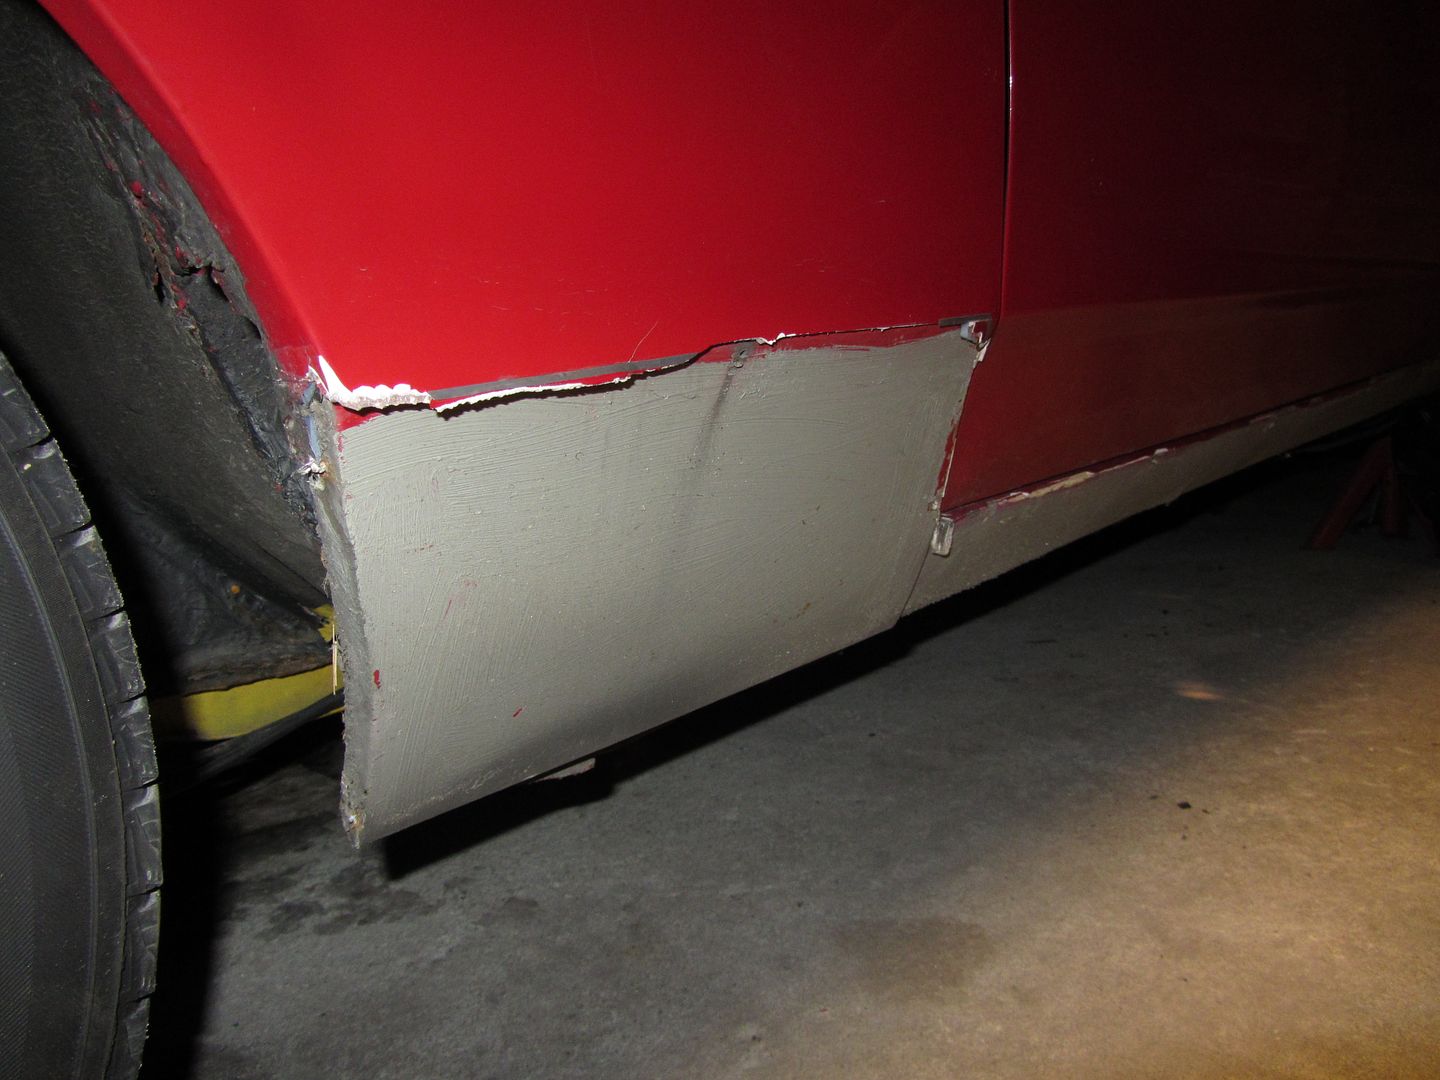 Sills are actually in good nick, just don't look like they are... 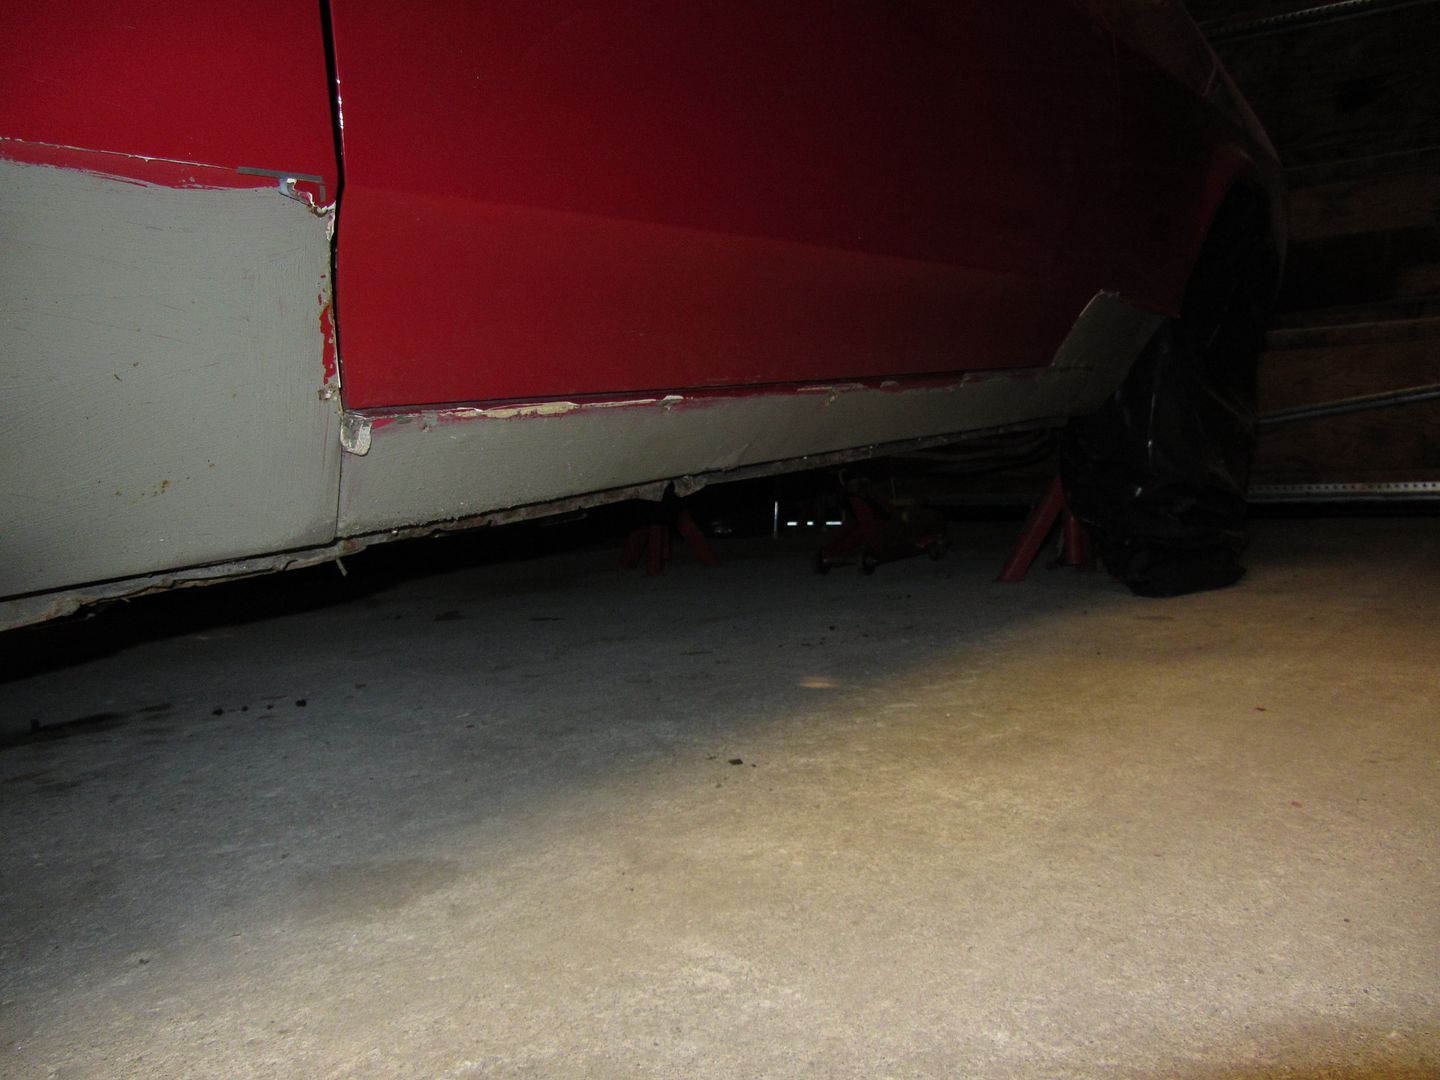 Here we are looking at the front lower corner of the quarter wings, those of you who knows Capris, know there should be a seperate line between sill and wing, but not here.. The second set of wheelarch is slapped on top of that too, bodge job indeed!!! 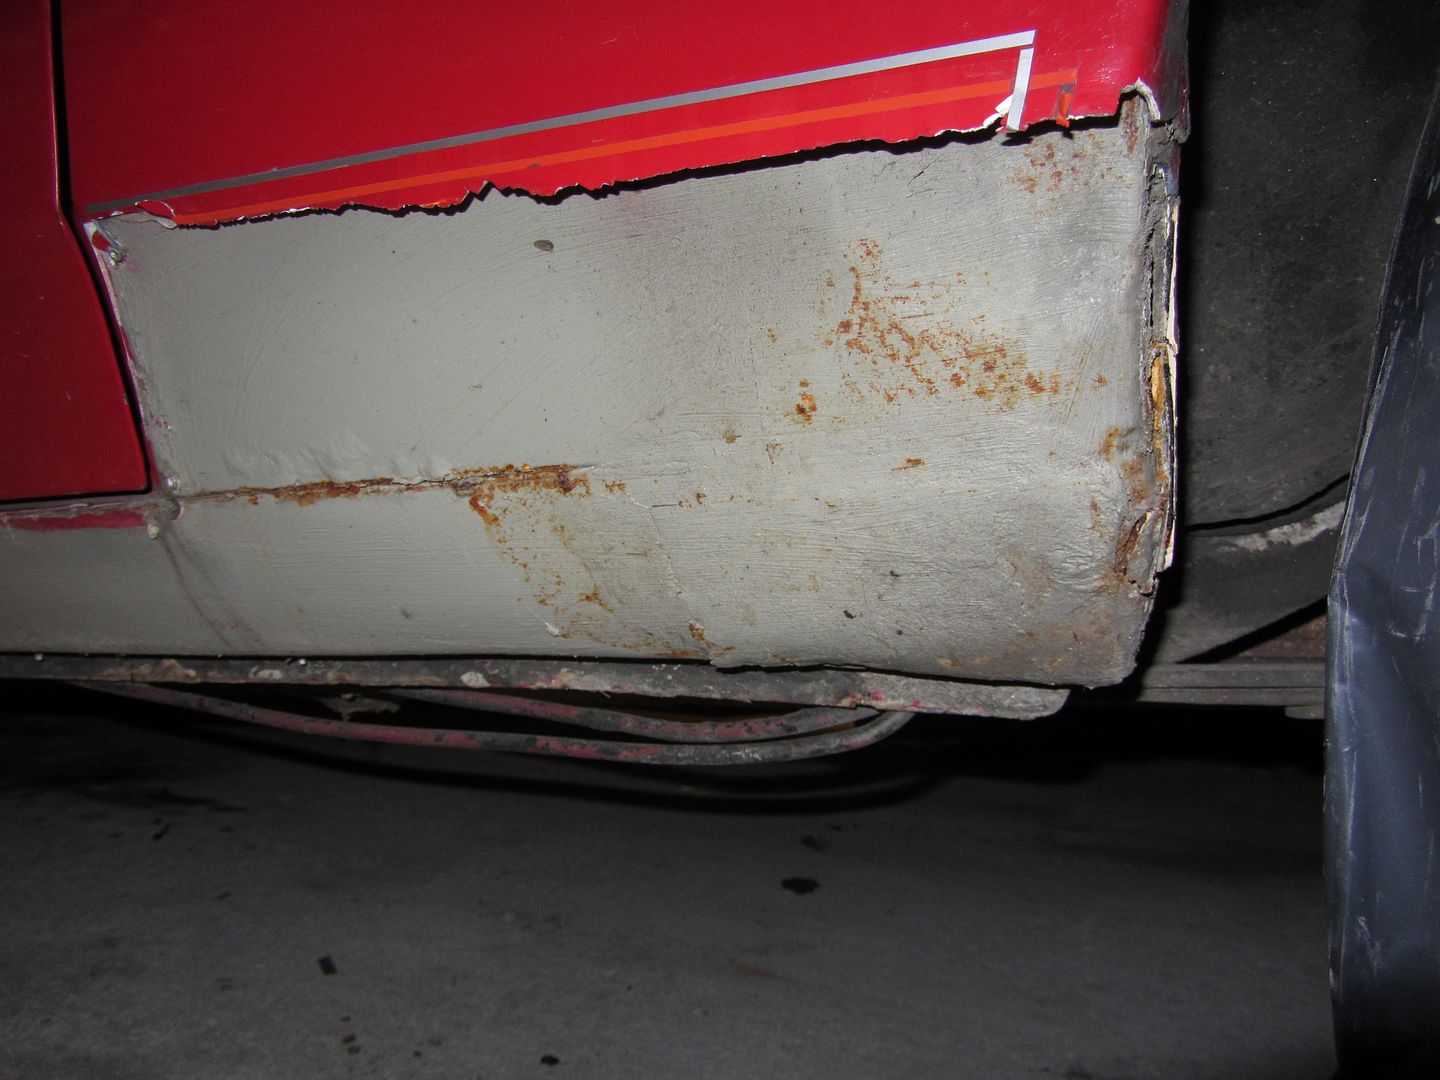 Yep that's two layers of wheelarches, grrrrr 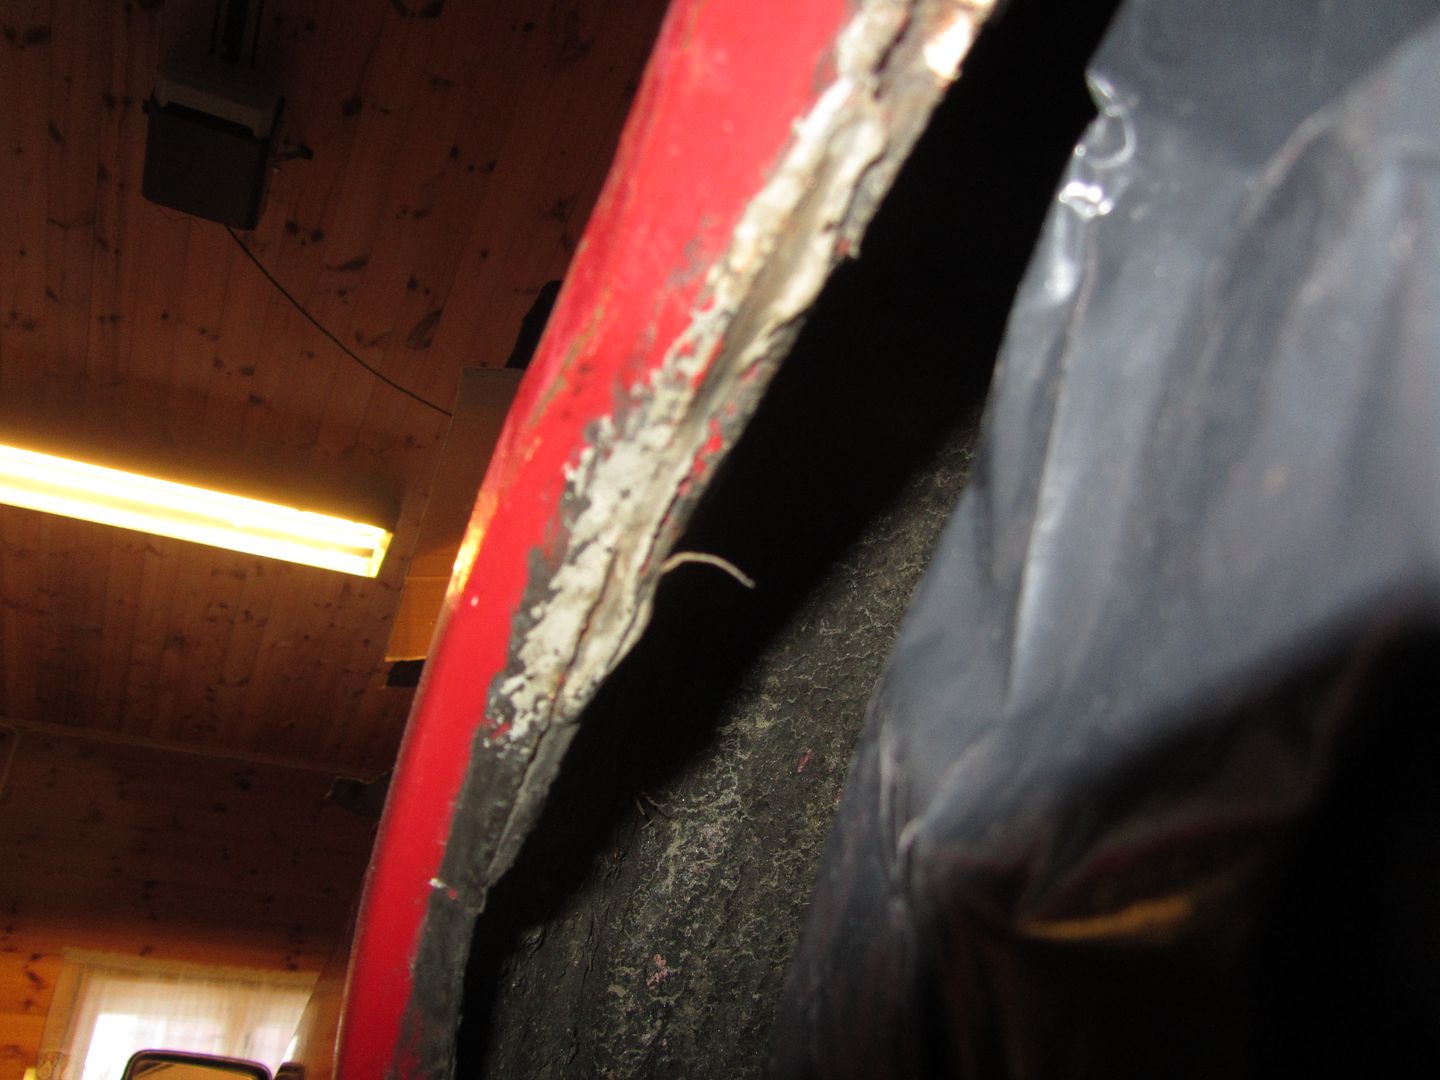 Holy feck, that's both inner and outer part of rear lower corner rusted to bits!!!  Think this is the main reason who it had a bodykit, I suspect it was allready rusted back then in late 80s or so.. 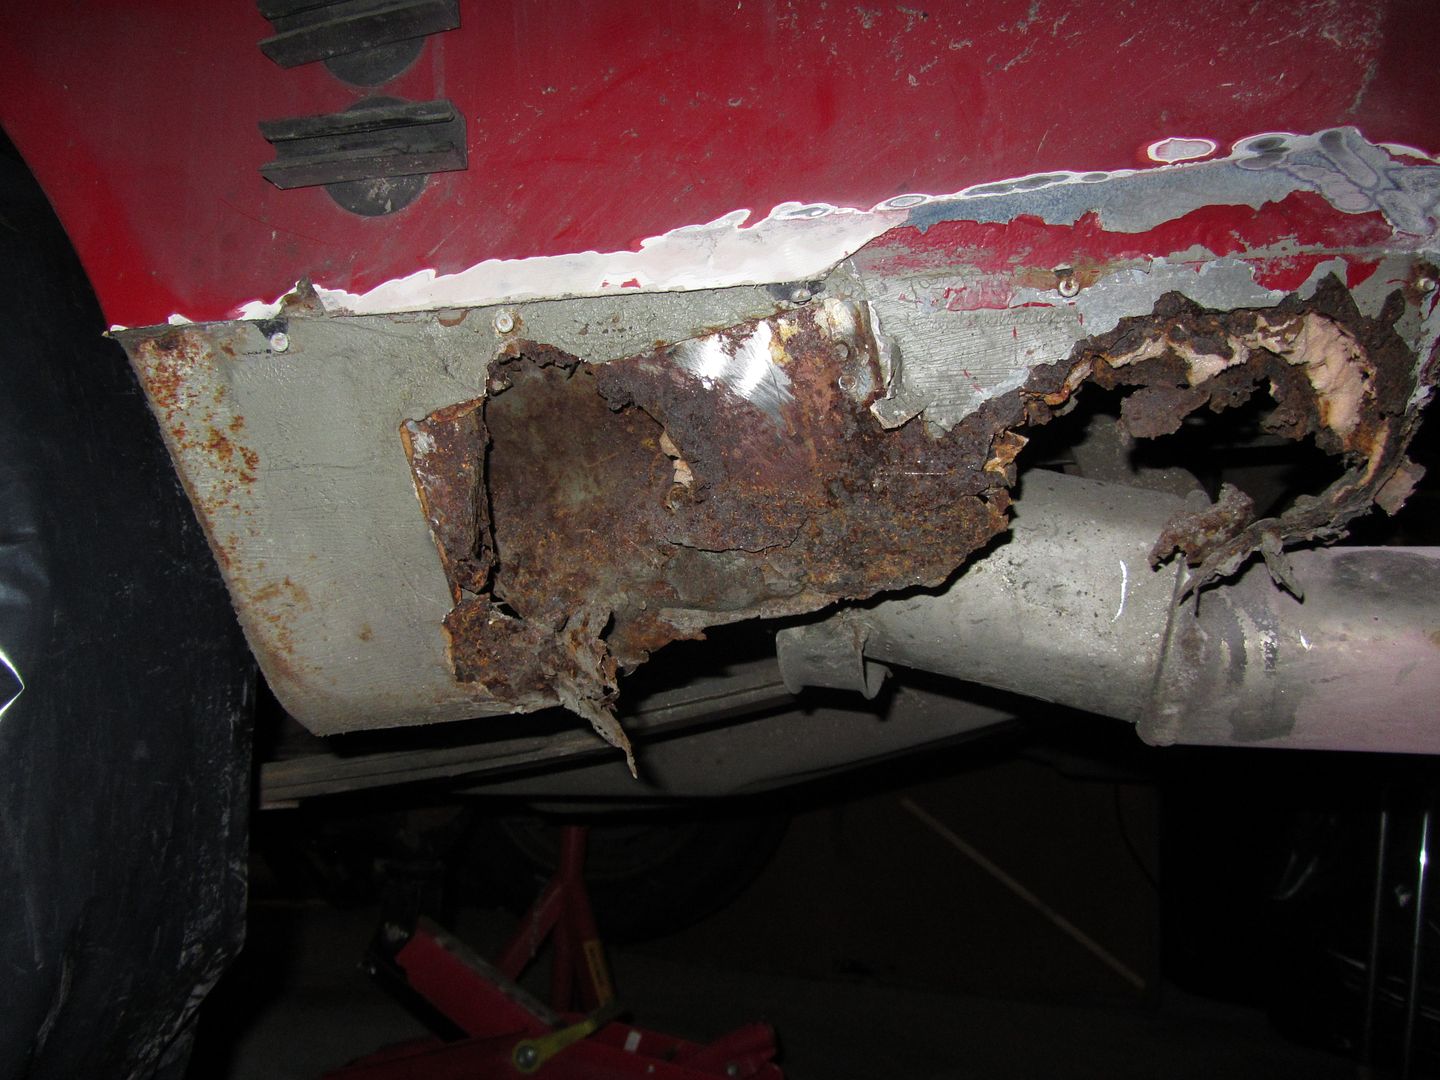 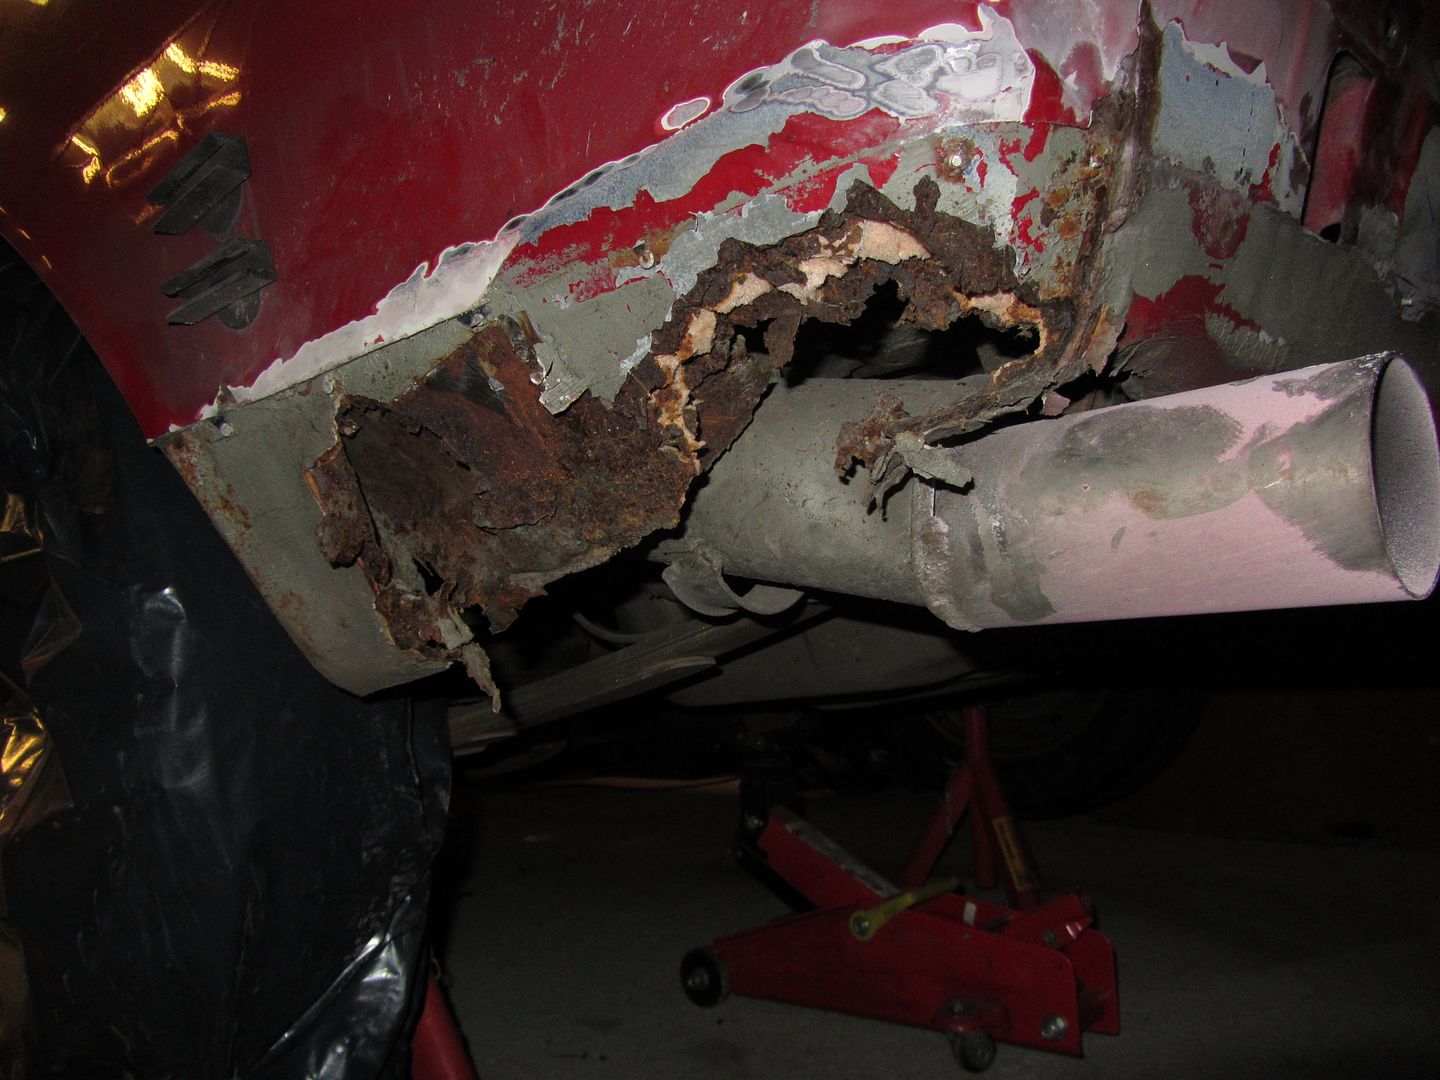 Rear valance looks ok tho. Notice the 3" pipe welded over the orginal exhaust tip lol 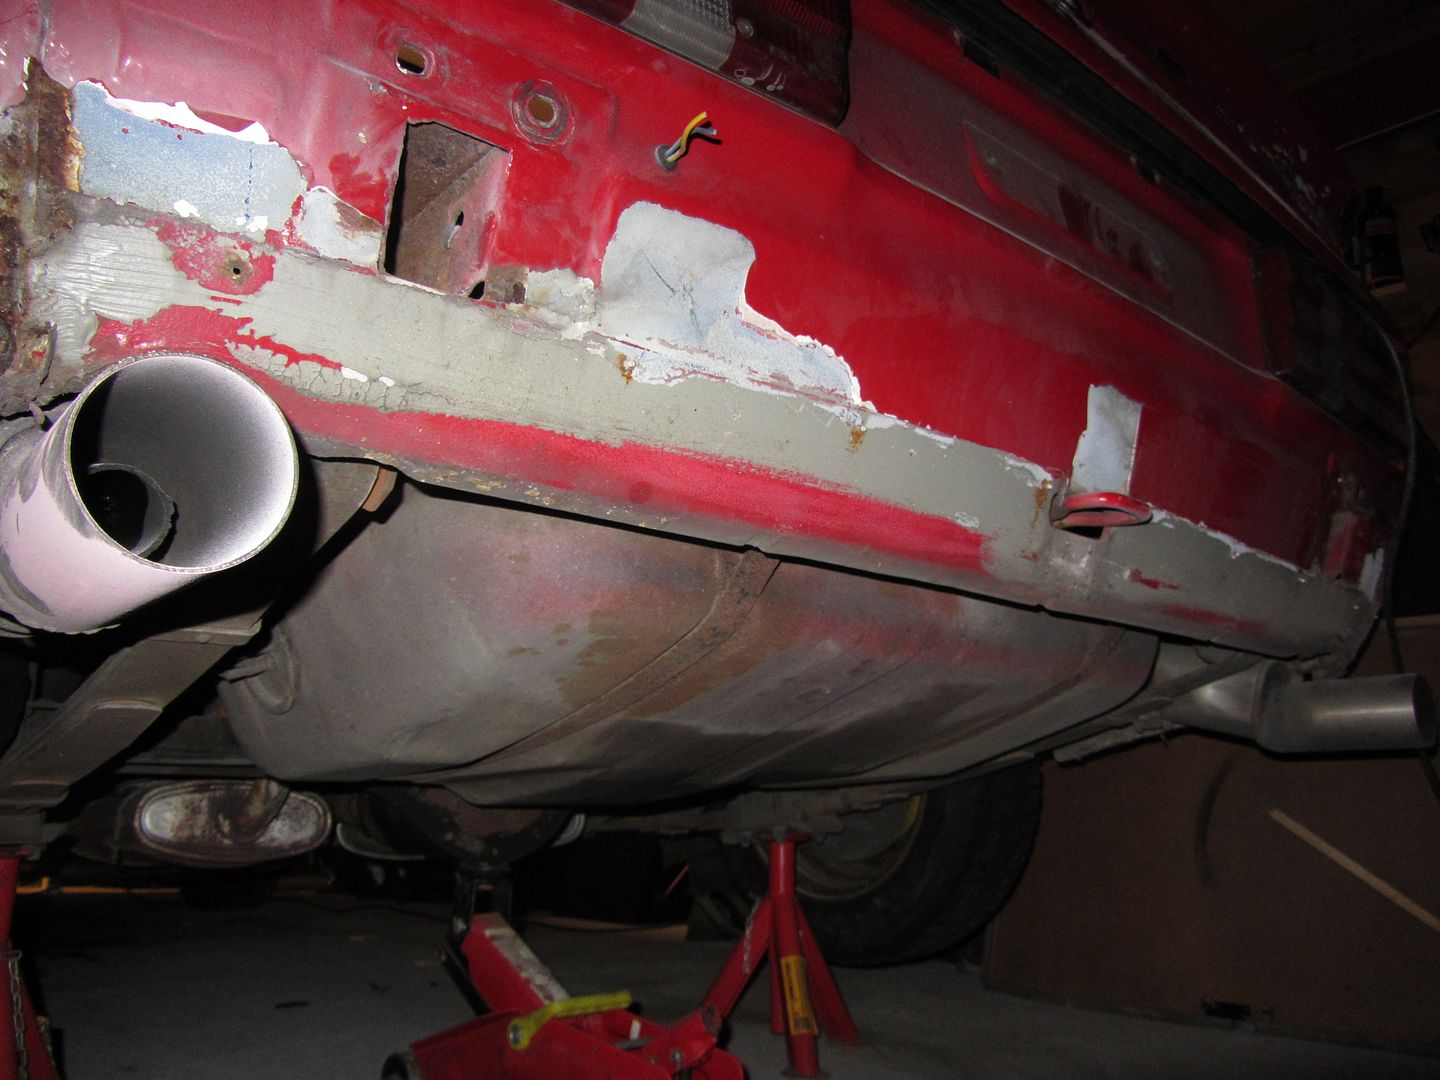 Right side lower corner is not good either... 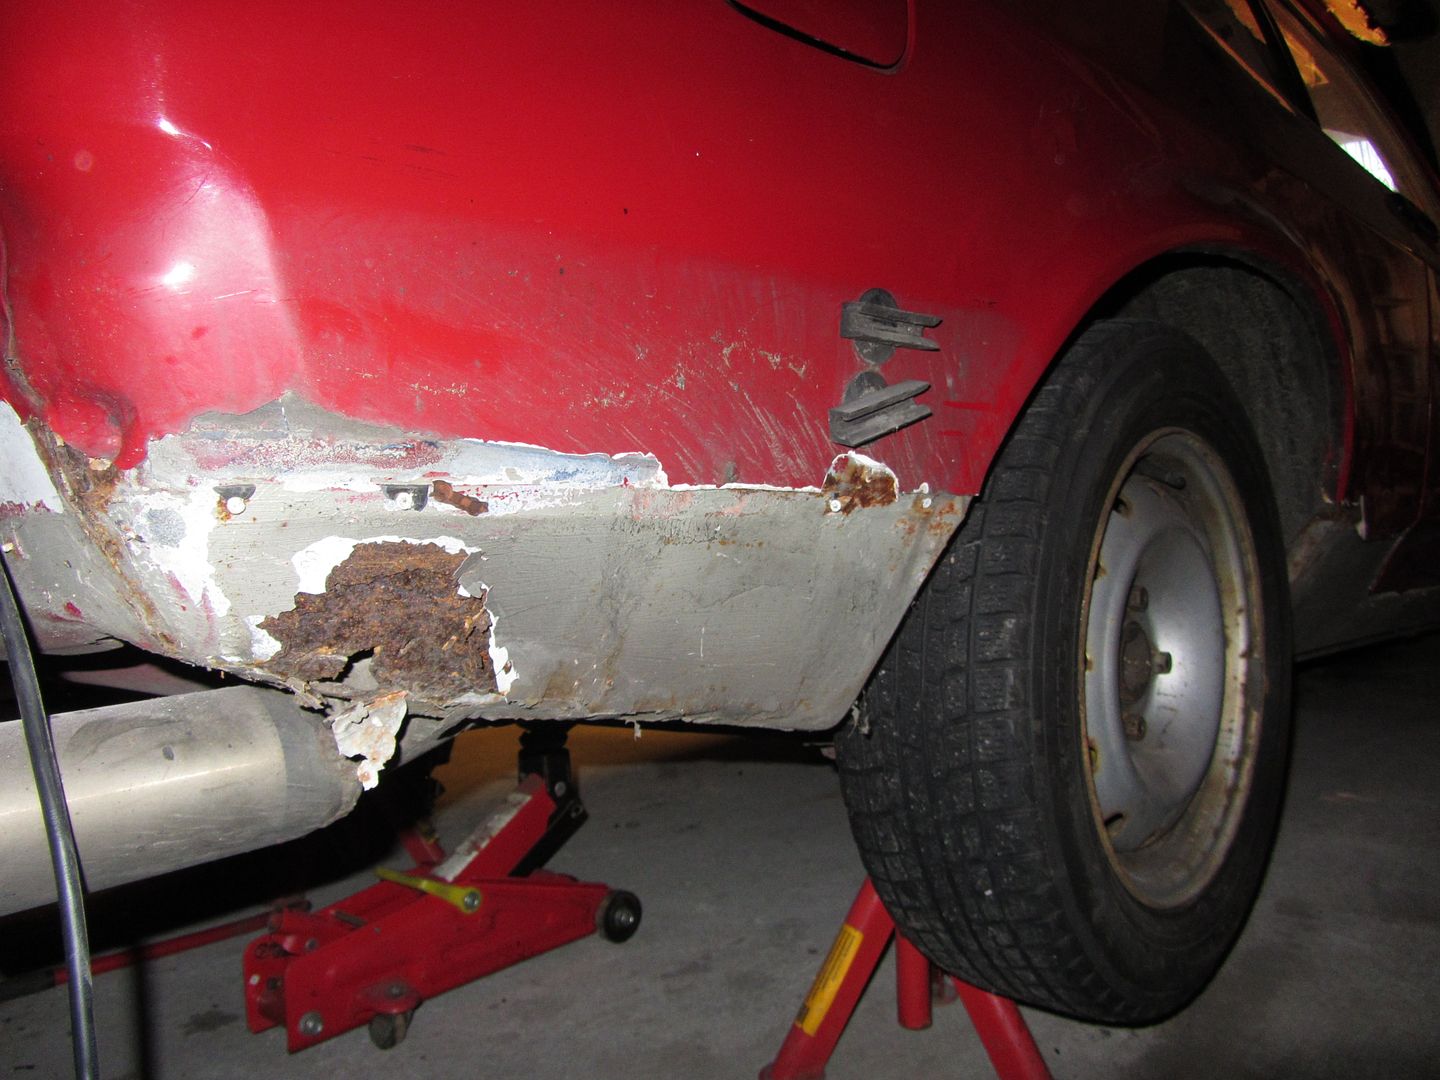 And this side shows very clearly the second wheelarch on top of the orginal 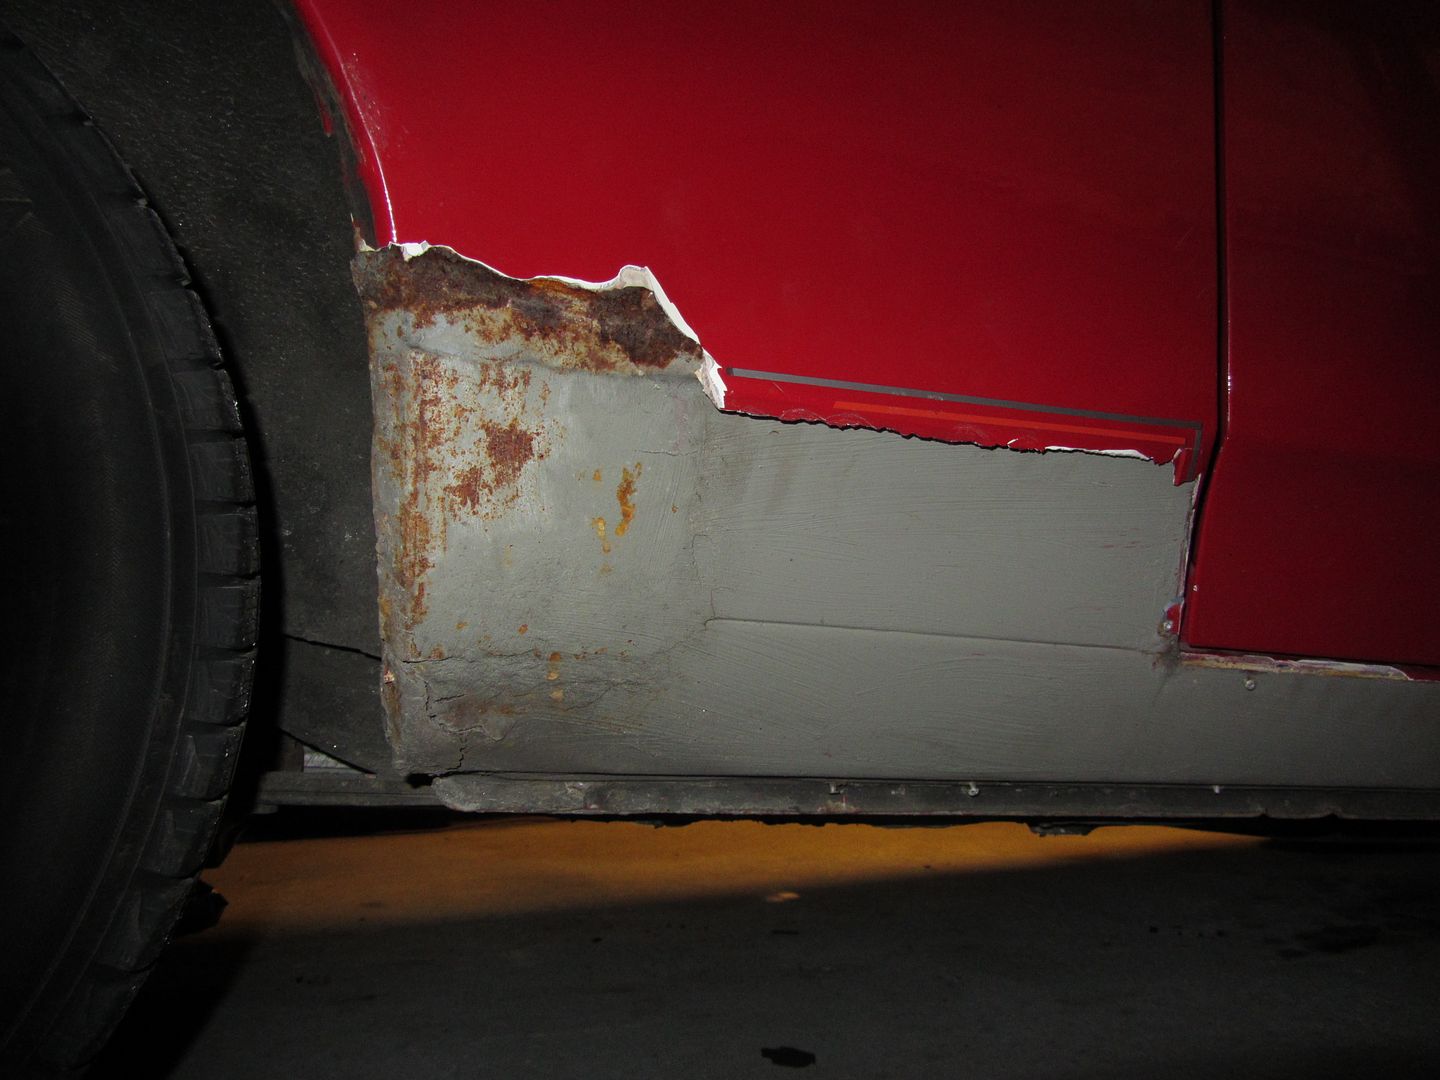 Sill ok here too, with just a tiny hole in the middle 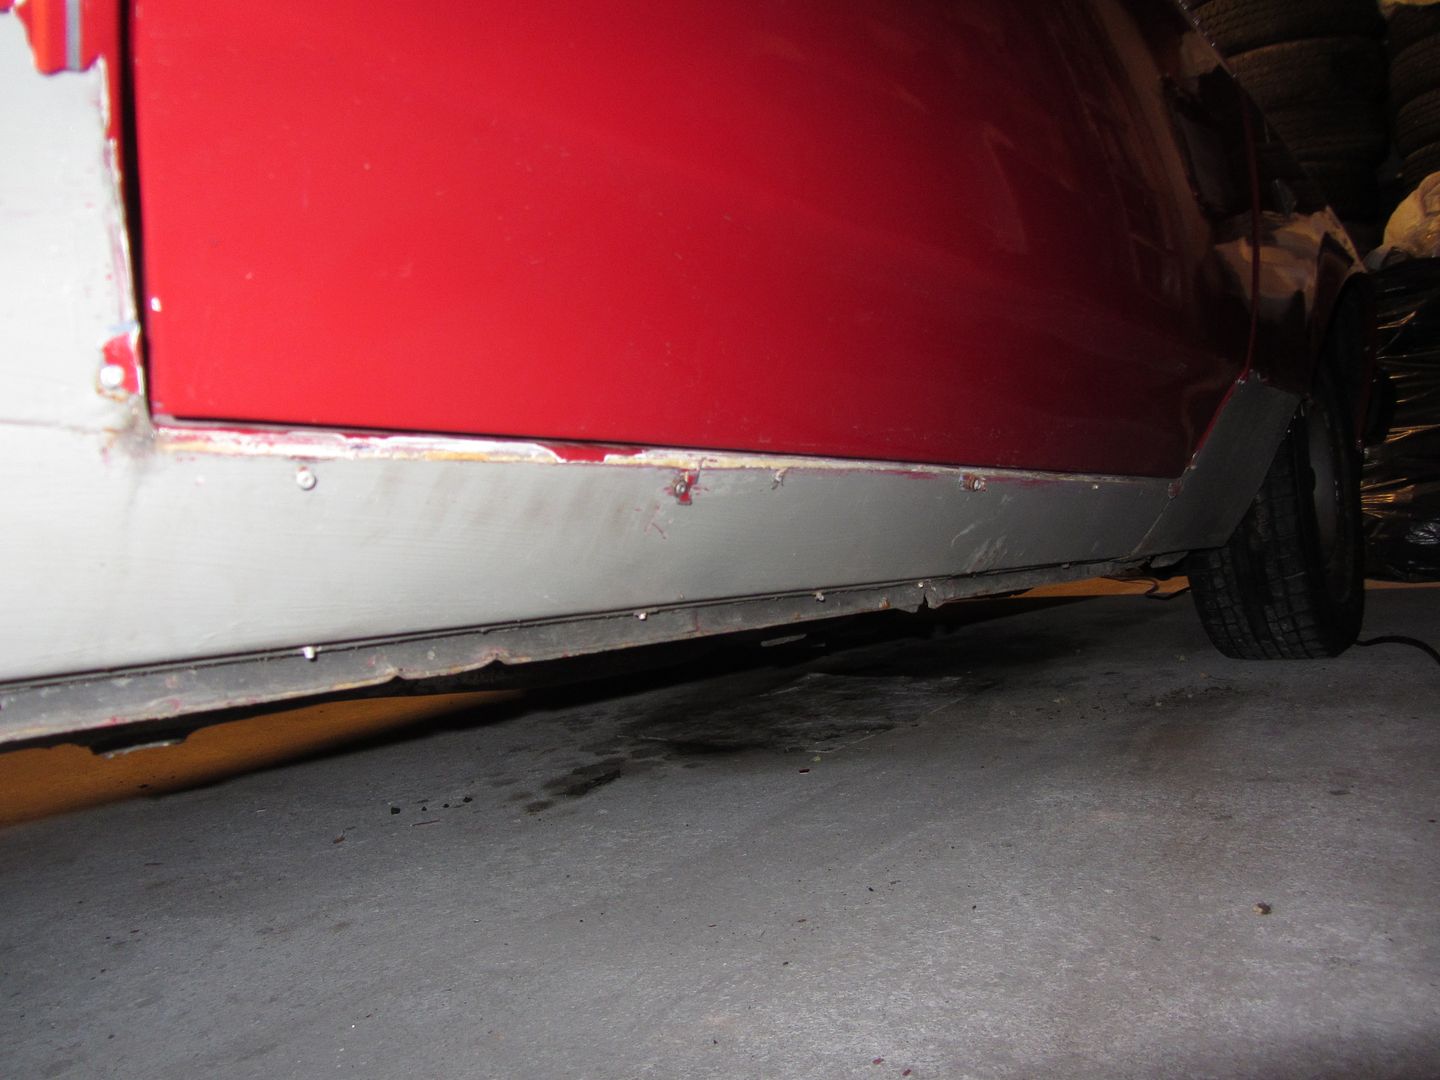 Front wing rear corner a tad better than the other side, but not good in any means. Feels like wet cardboard. 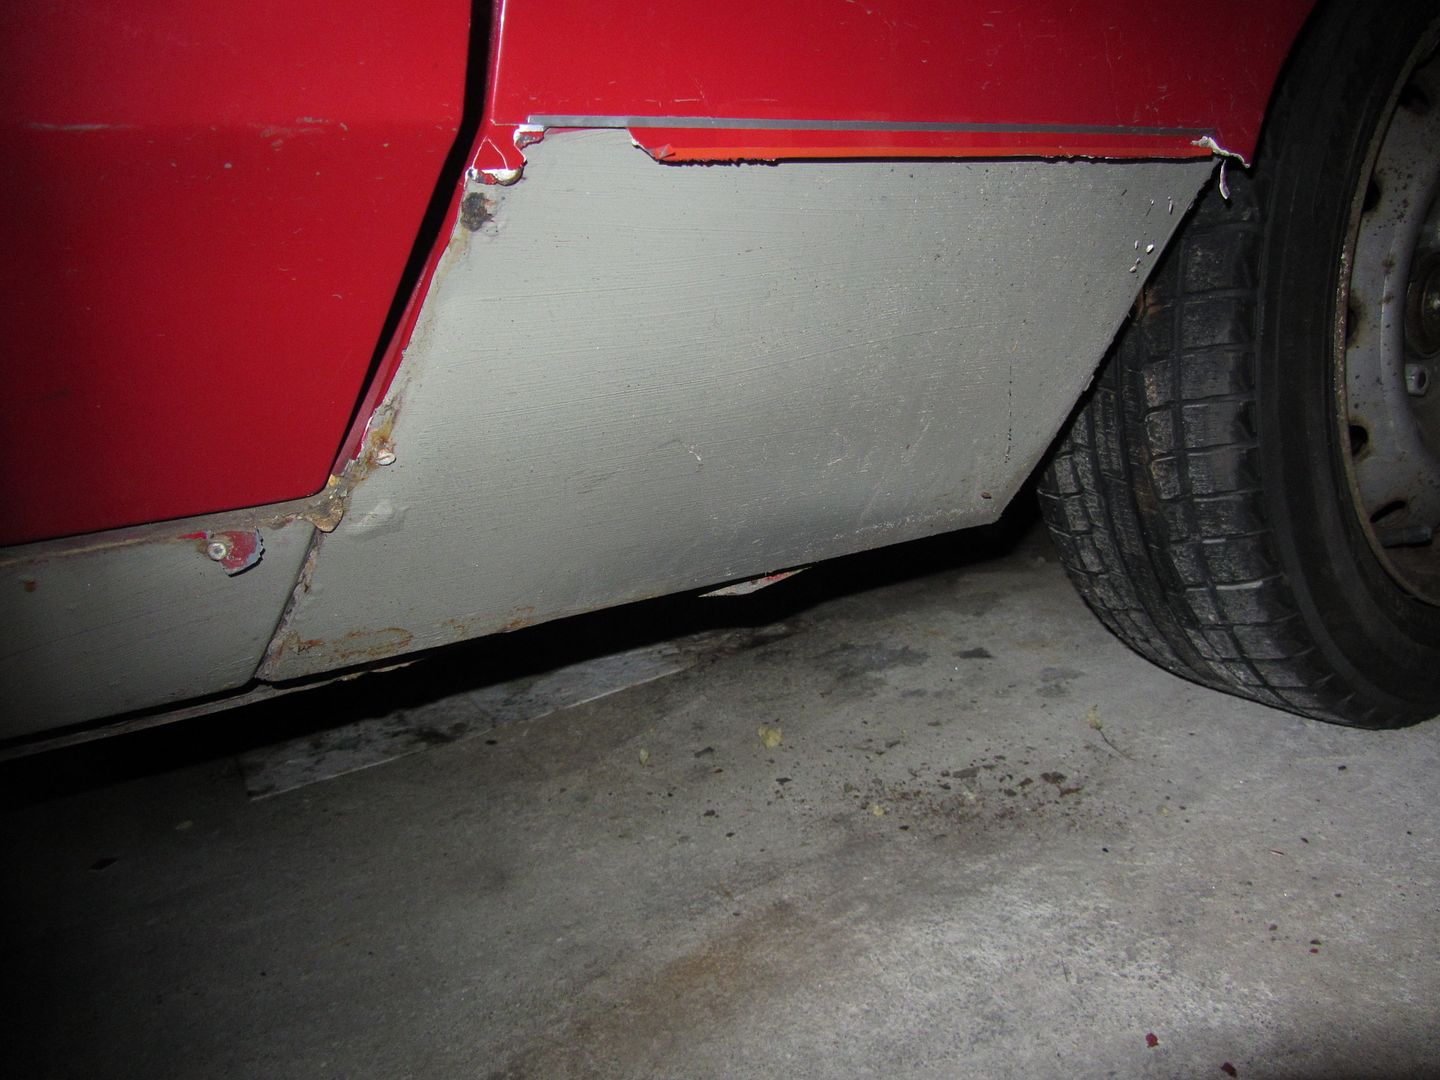 Was a bit nosey, so I sanded a bit in the front as the front valance had got a little smack in the former life... 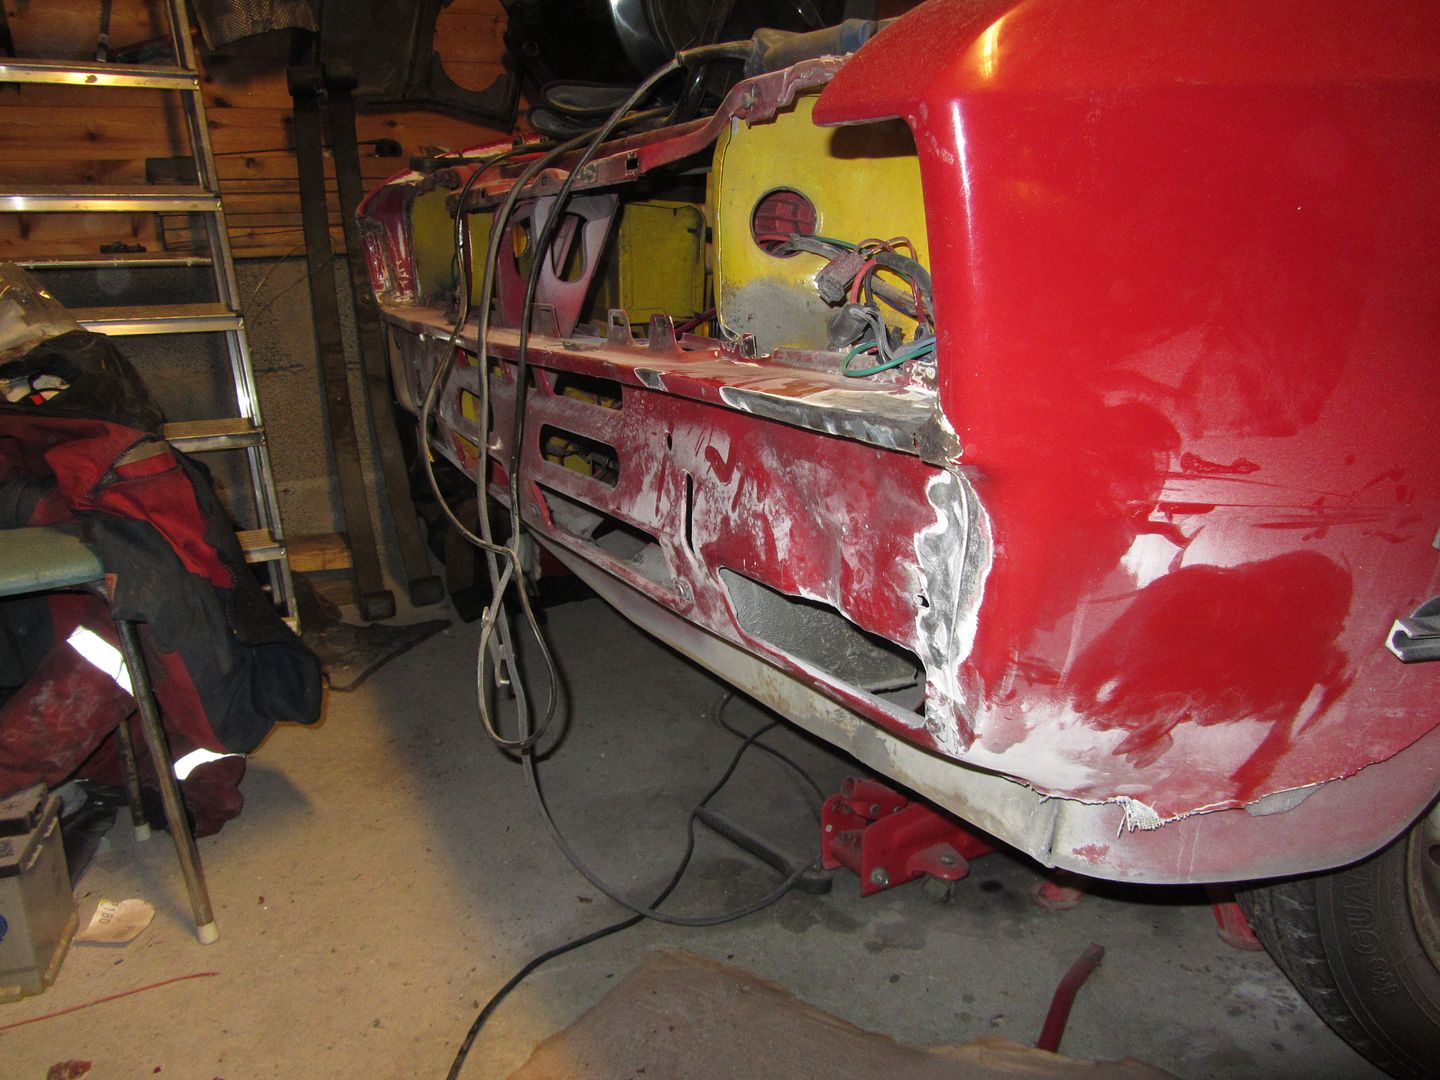 And yet again they have used filler to make the valance lip under the headlights to meet the wing. About 1cm difference.  Can see a hole in the front end of the right side sill behind the wing... 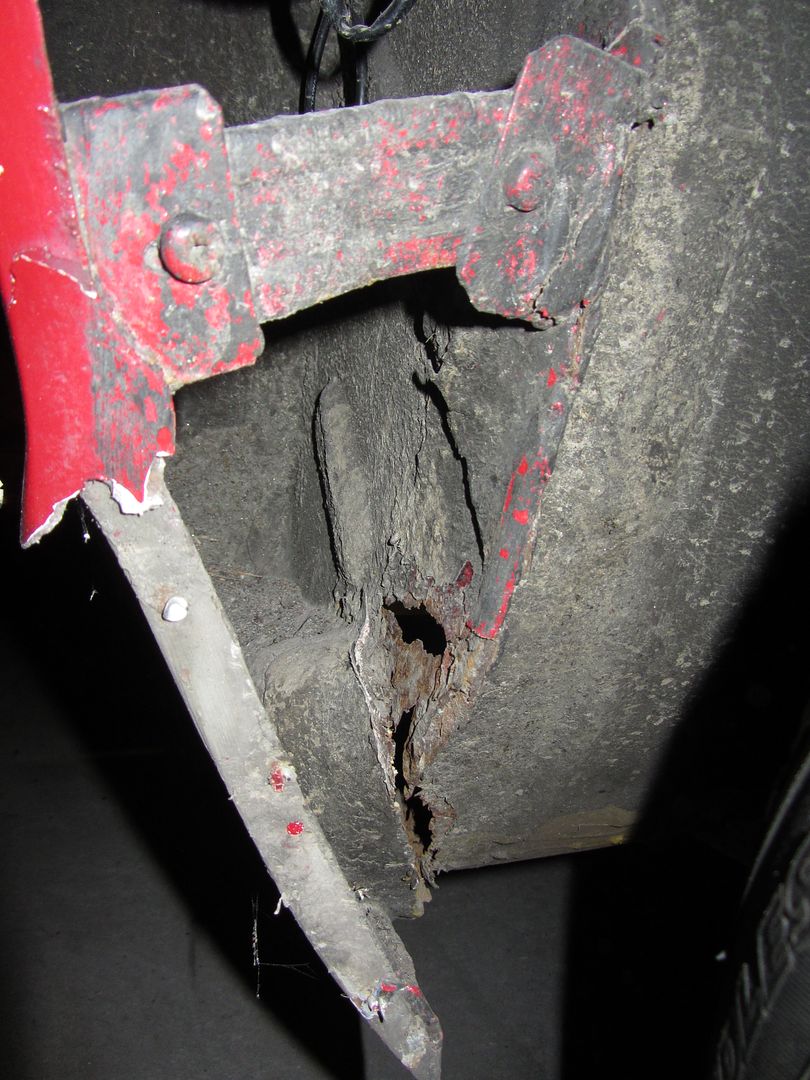 |
| |
|
|
cap78
Part of things
Posts: 96
|
|
Feb 13, 2017 22:59:35 GMT
|
|
I like this project, going to keep an eye for this thread
|
| |
|
|
cap78
Part of things
Posts: 96
|
|
Feb 13, 2017 21:45:38 GMT
|
|
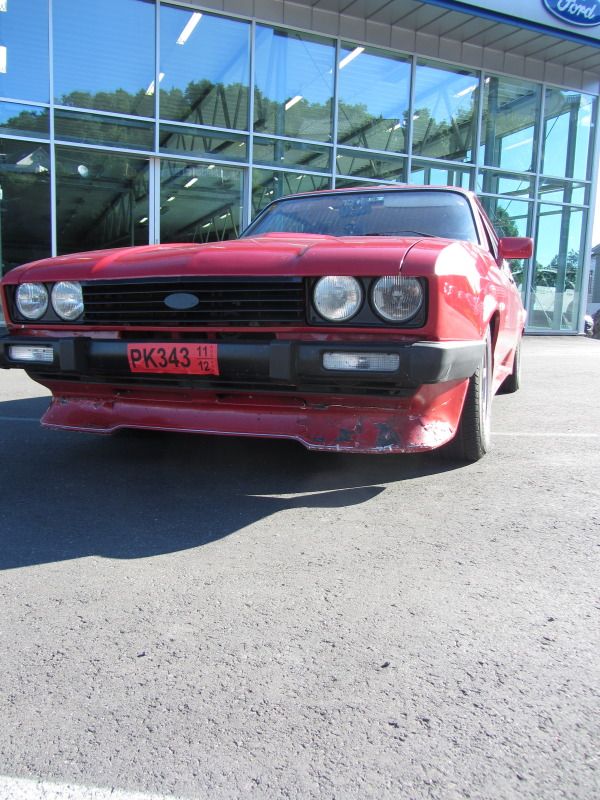
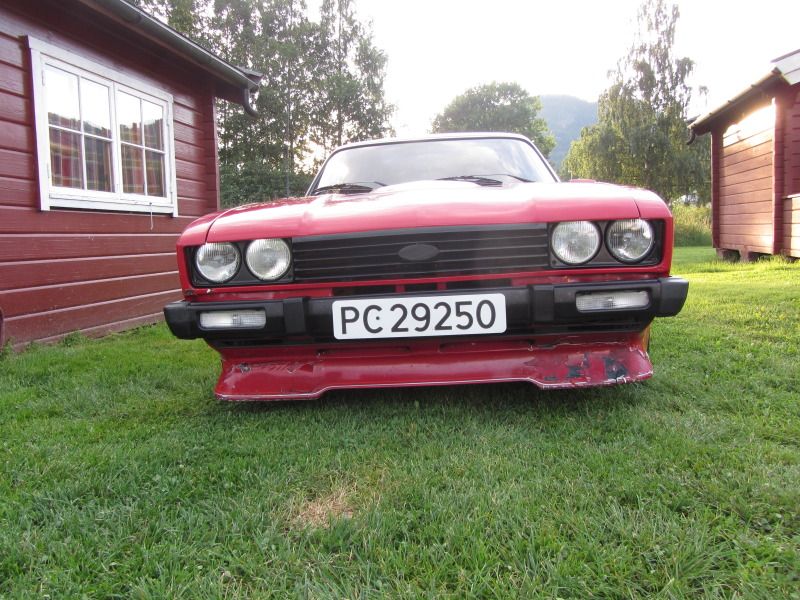
Love the Nova style headlight grill, looks a bit mini Nova from the front now, and that's good in my book!
Cheers
Richard
|
| |
|
|
cap78
Part of things
Posts: 96
|
|
Feb 13, 2017 20:46:27 GMT
|
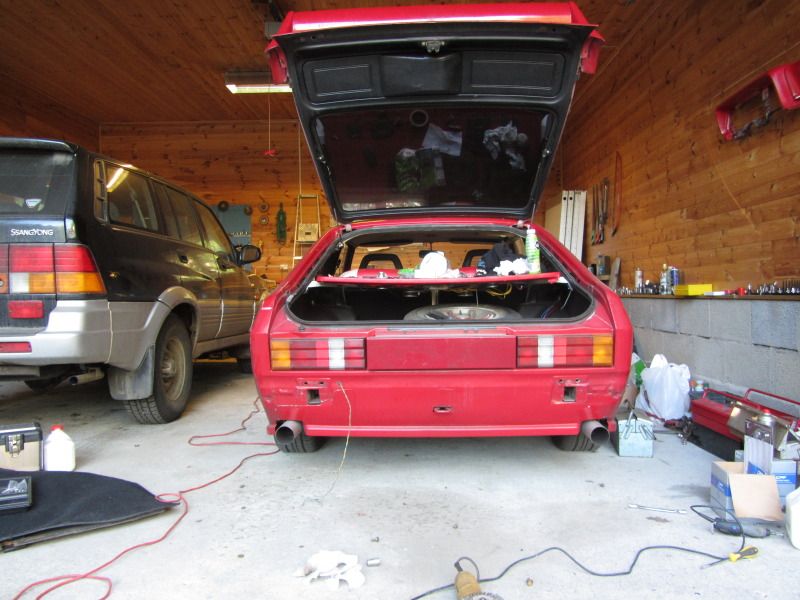
Moved the car out for some garage cleaning.. 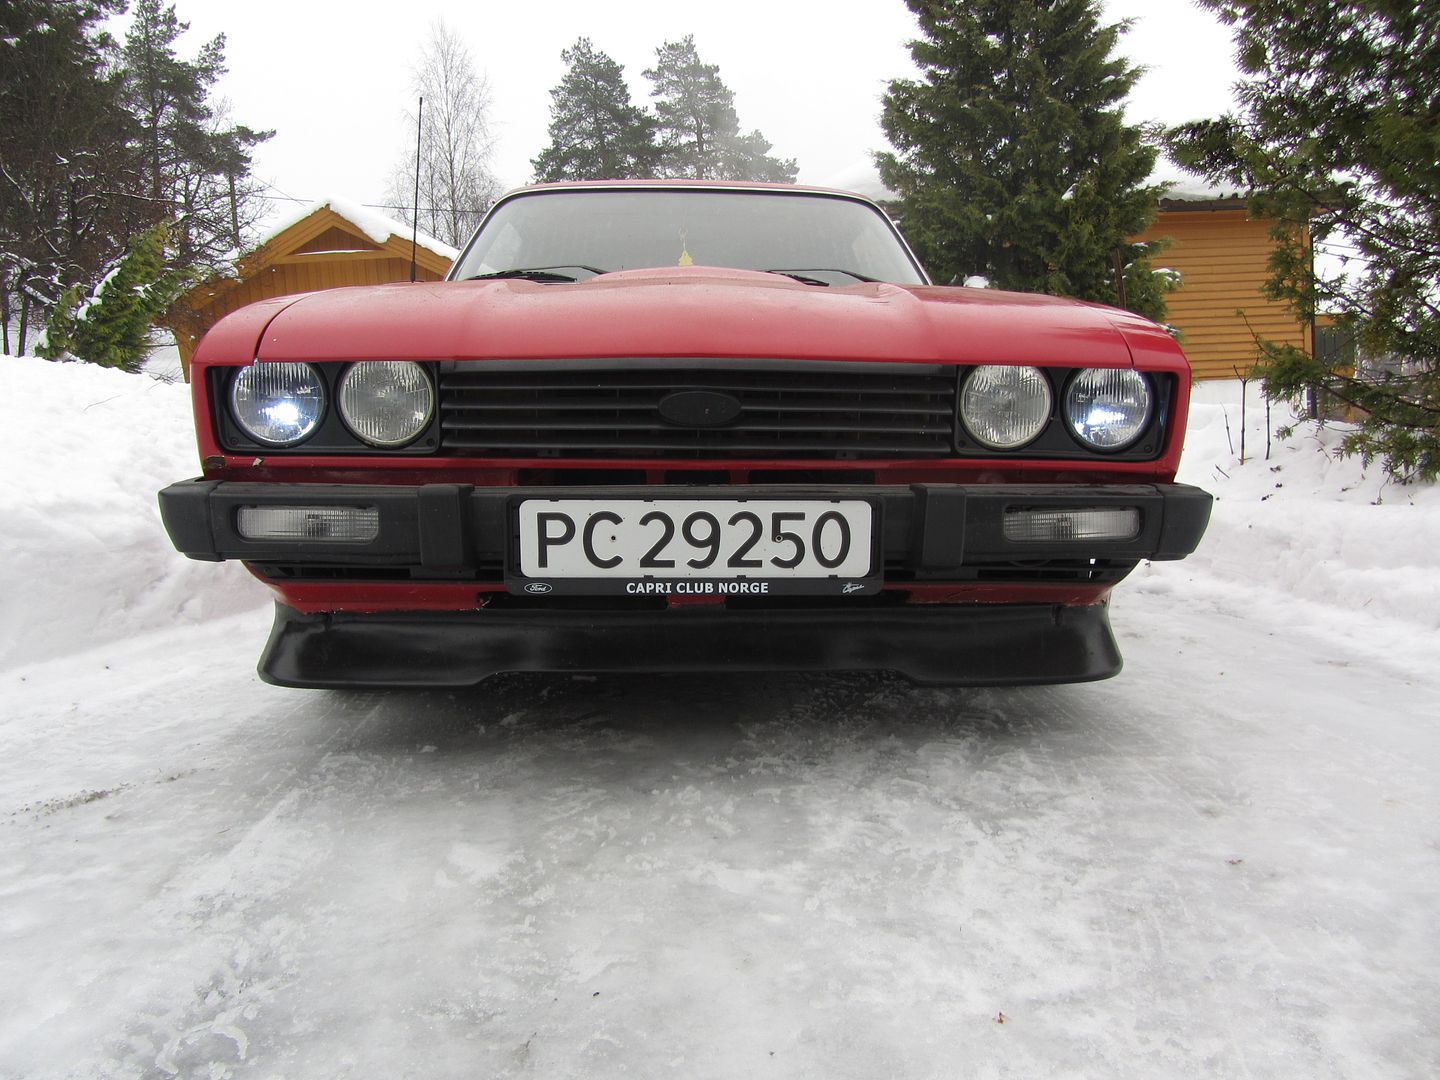 The HD tailgate dampers works very well 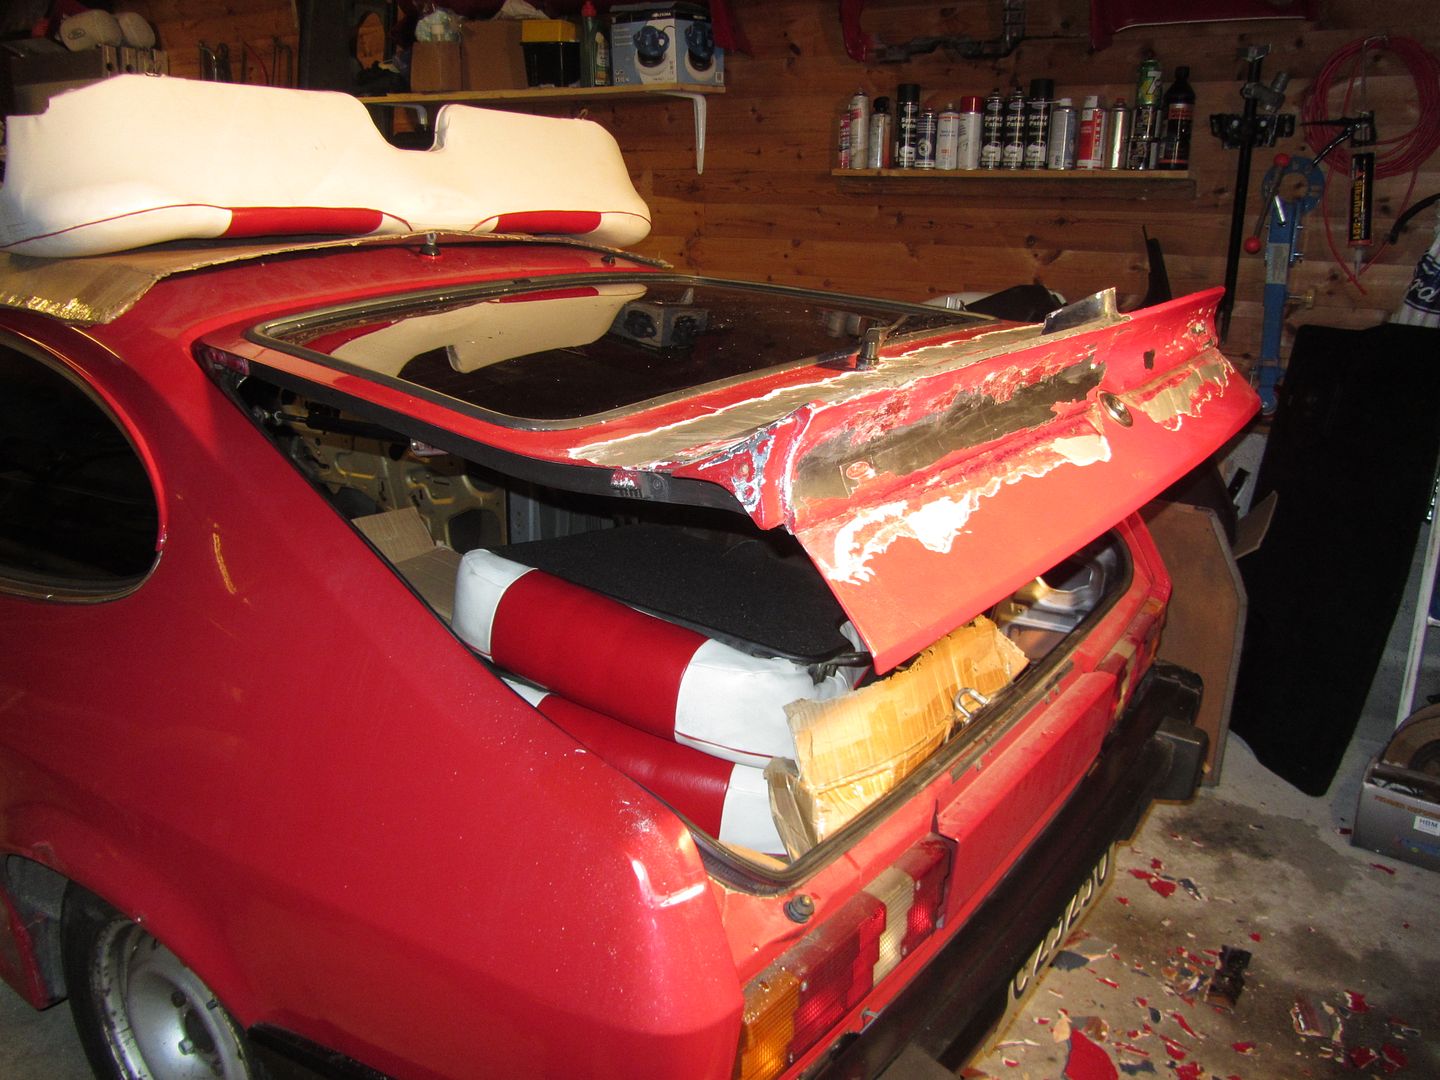 Next task was to remove the sound deadener from the floor panels, good news that part looks solid.. I used a heatgun and a scraper.. 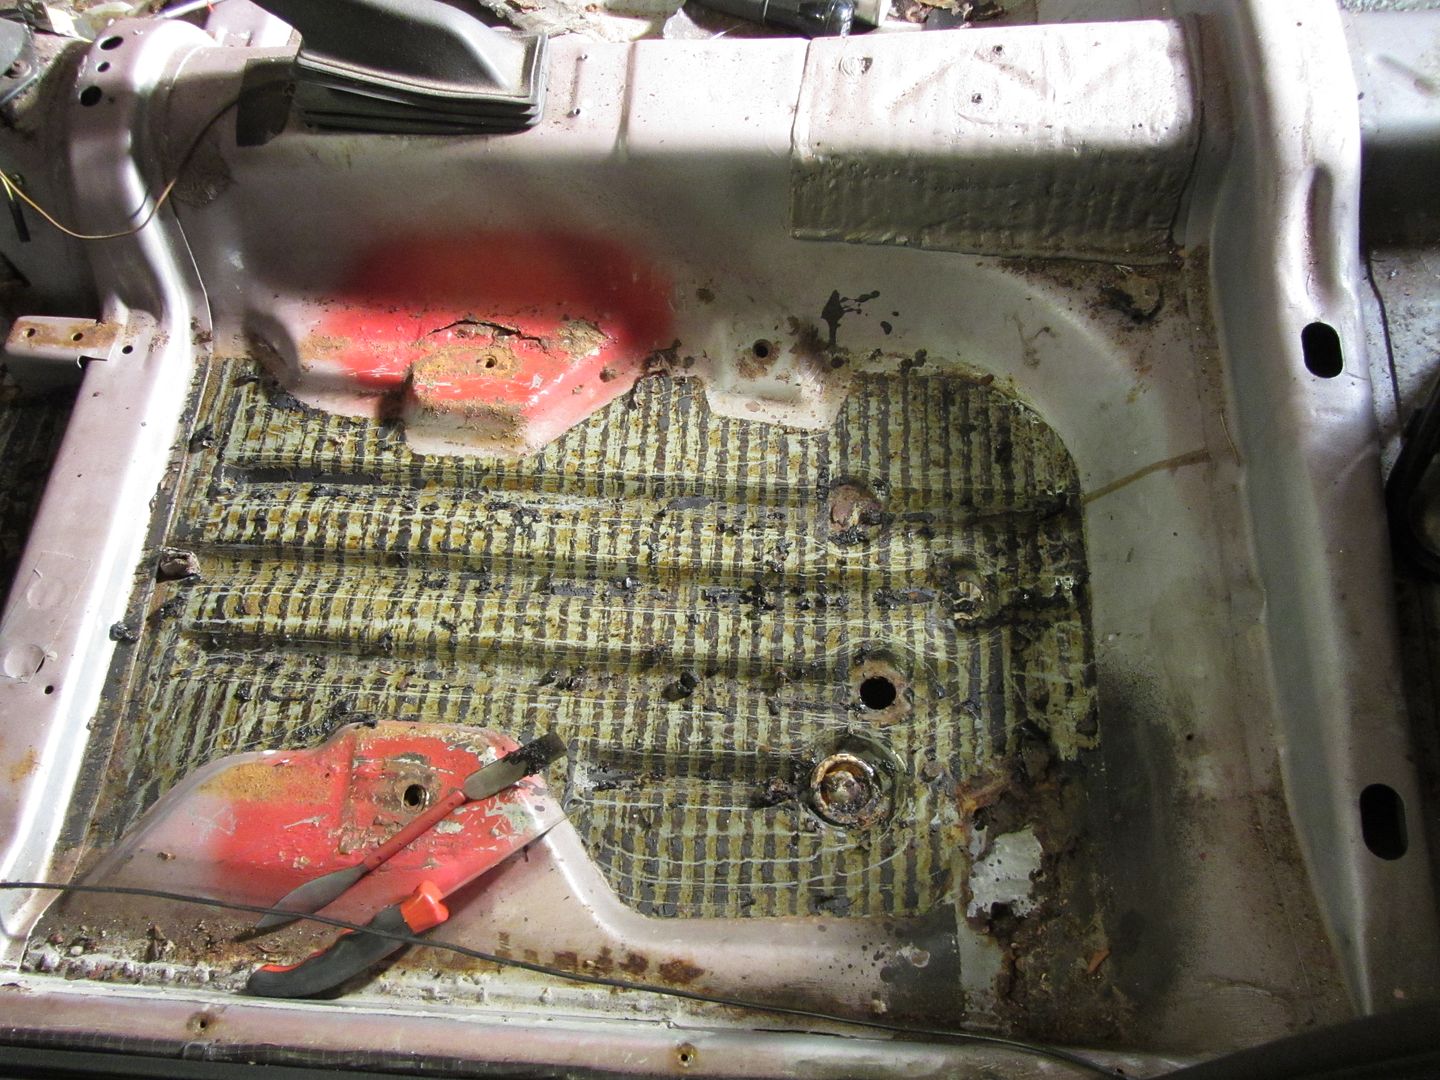 No nasty surprice here either, just the spots I saw before prior to the sound deadener removal 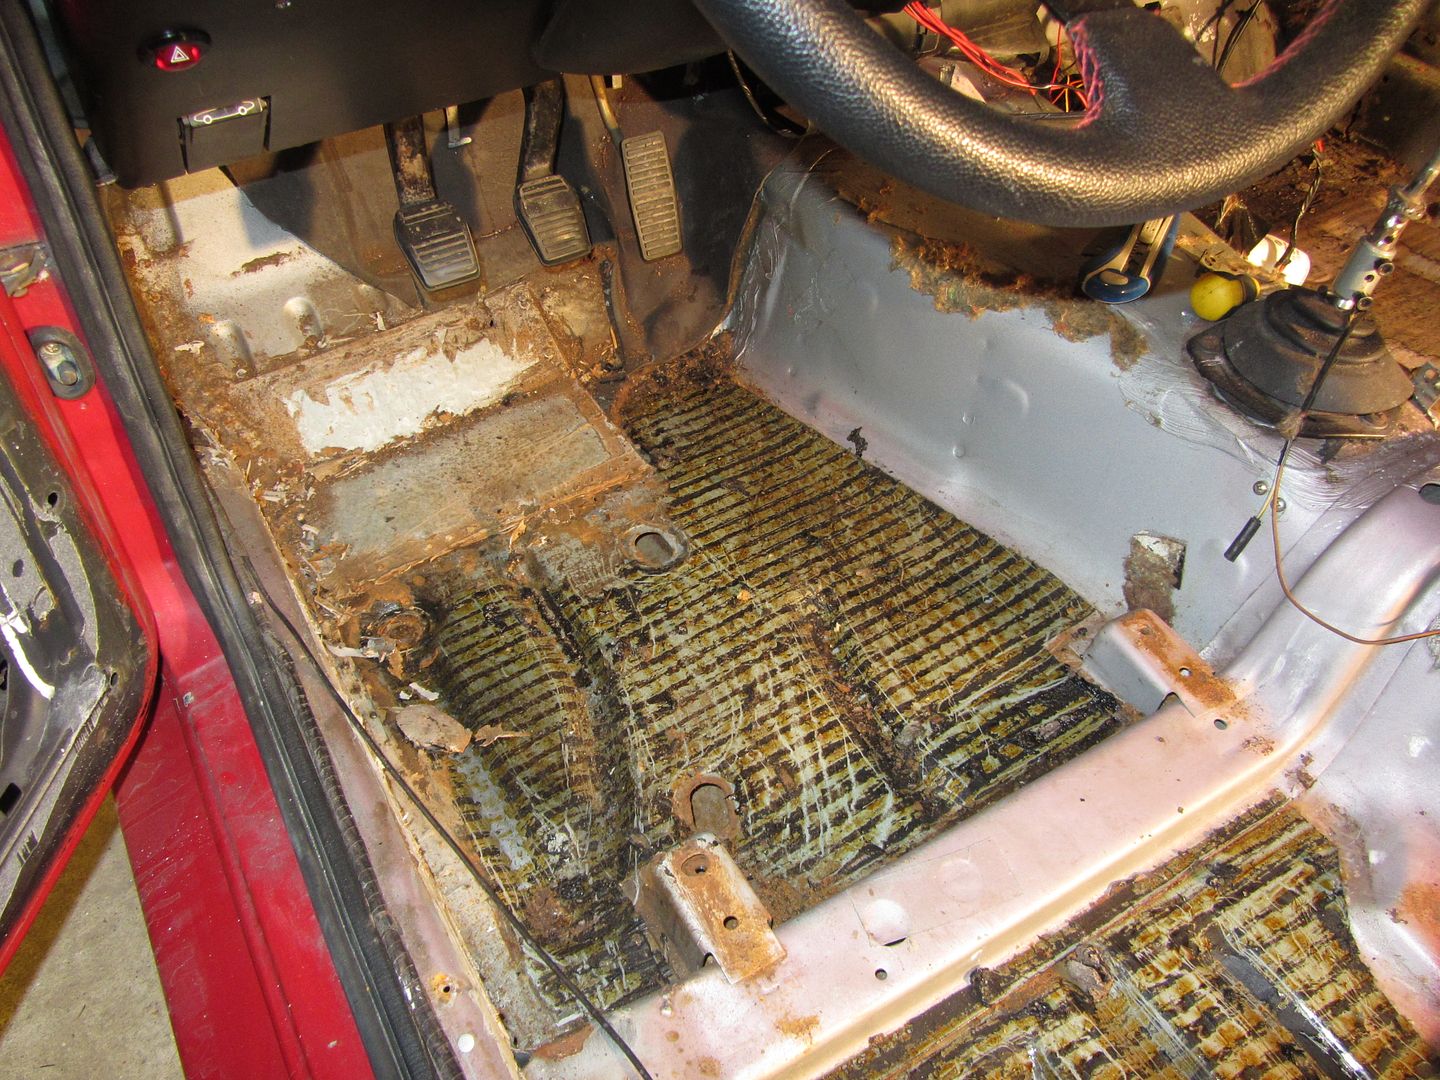 But that nasty patch.....grrrrrrrrr 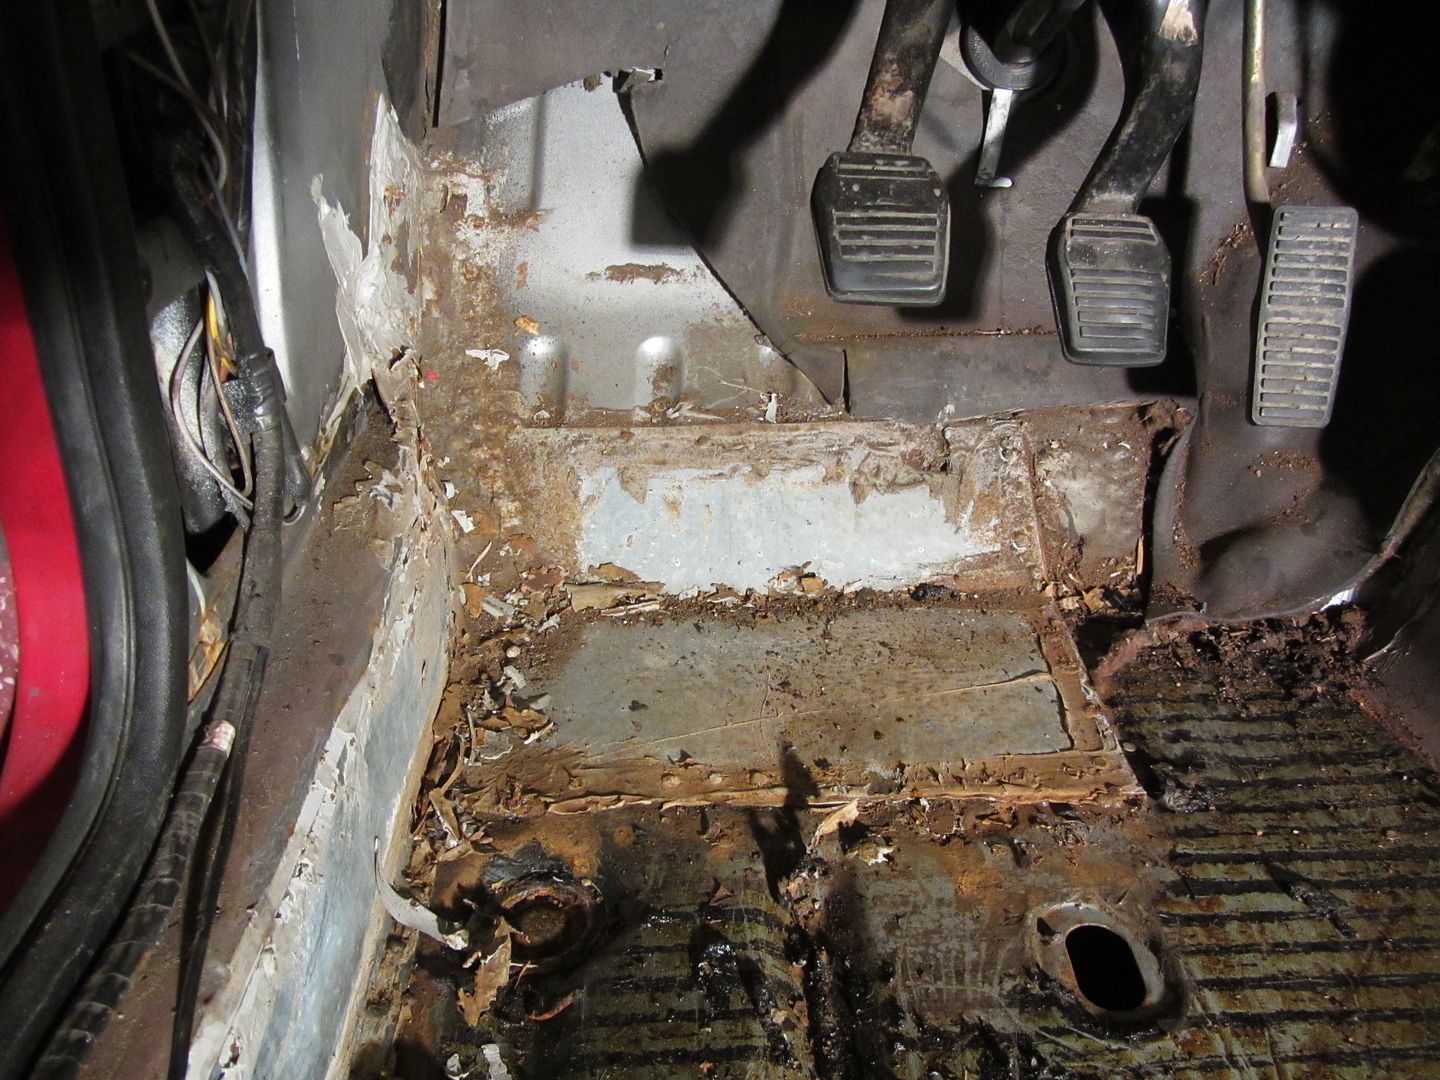 See the slabbed seam sealer that goes up a bit on the kick panel, that must hide something nasty as well I bet.. 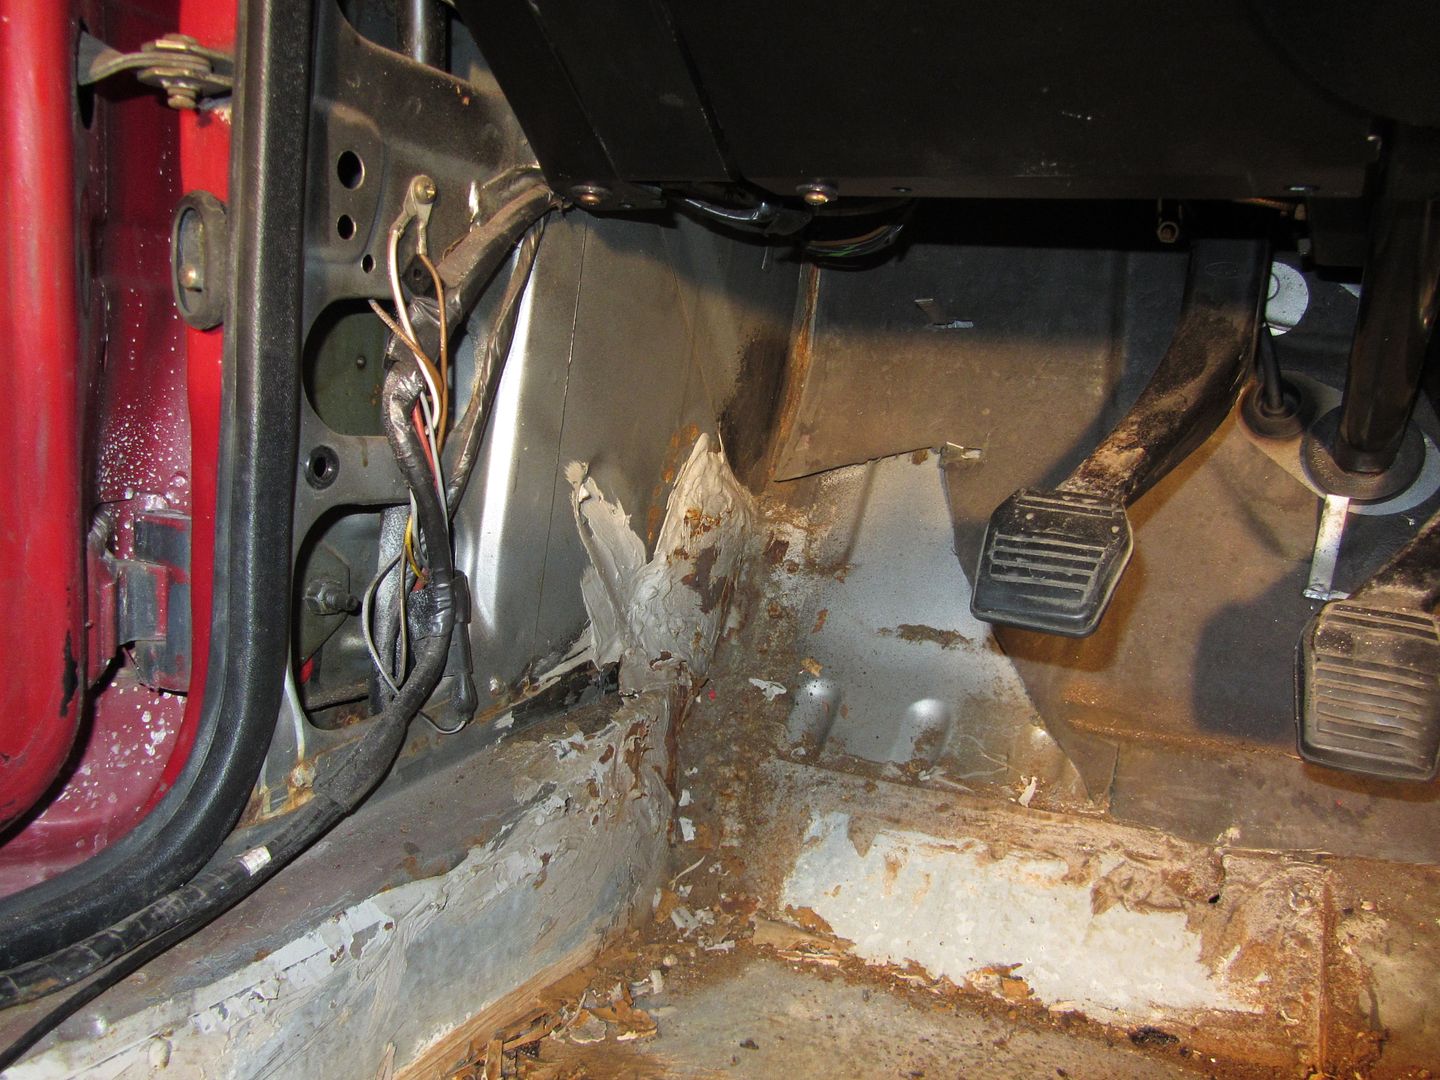 Don't like it one bit!!! 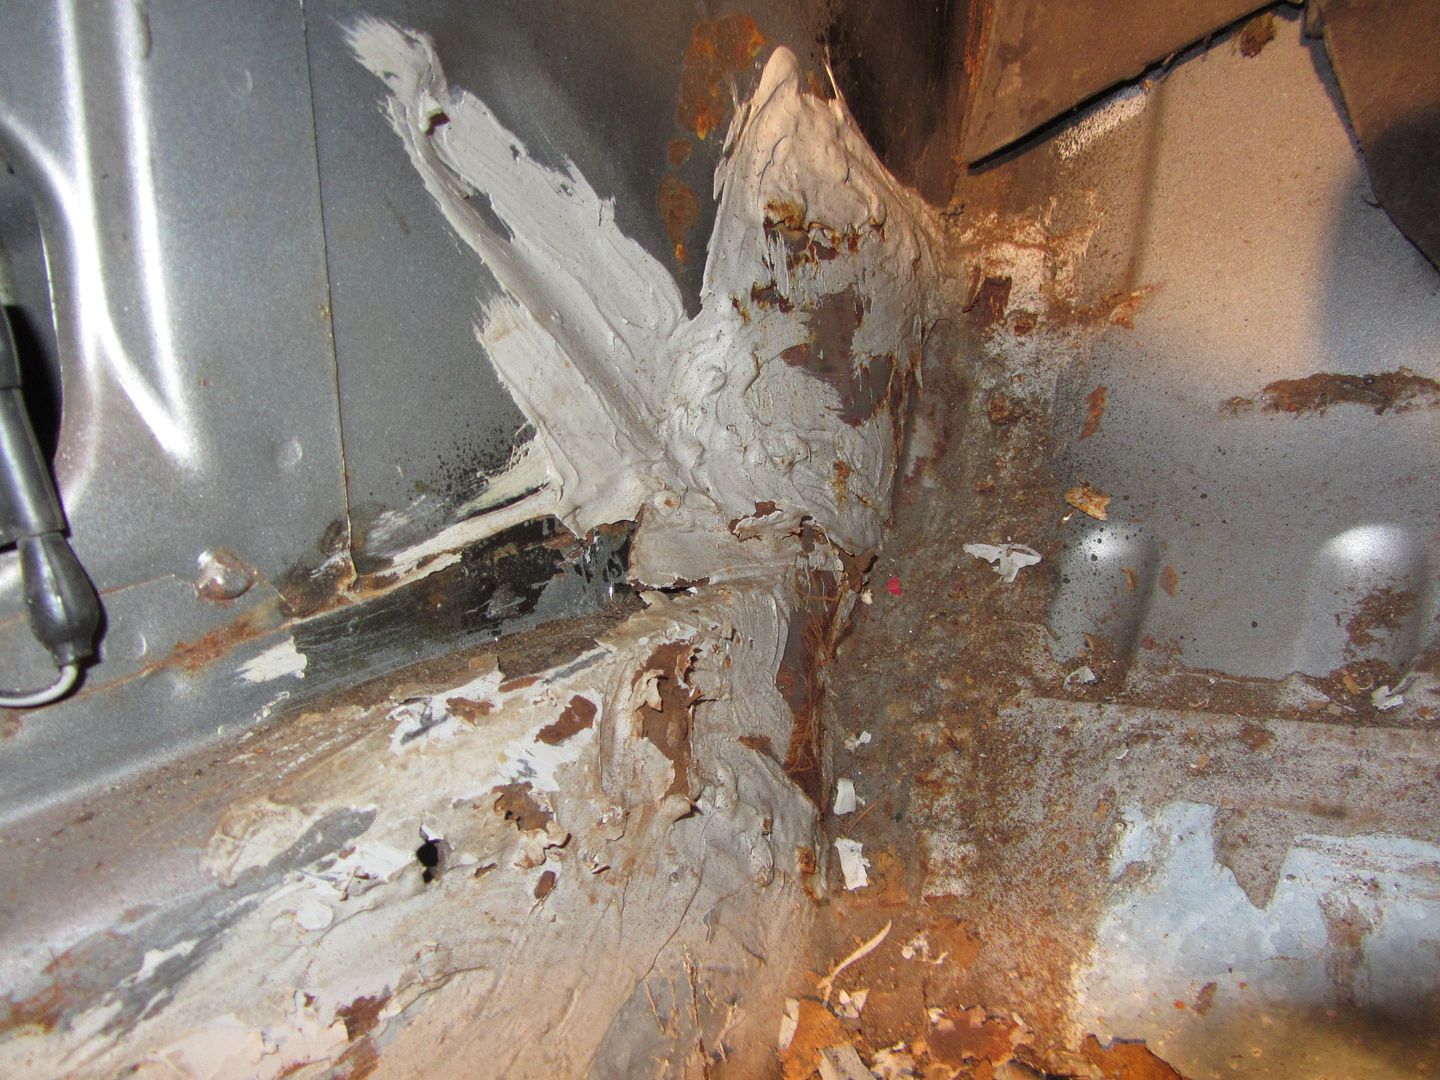 Front inner sill on passanger side don't look to smart either, I was right, read on.. 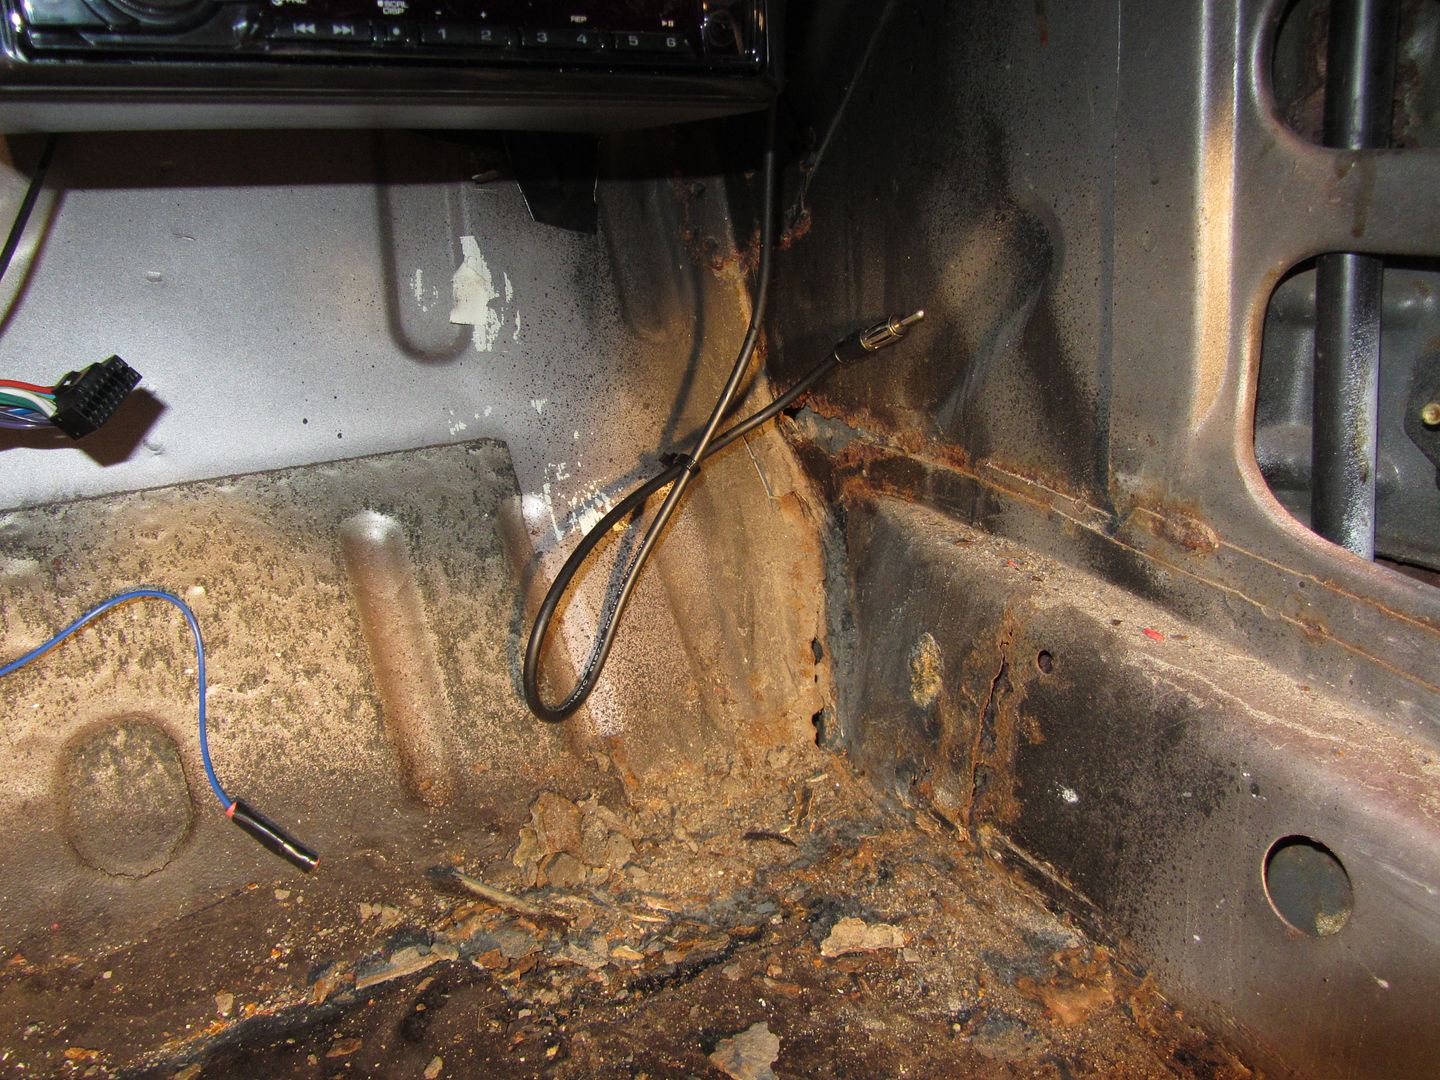 That spot looks like it have been wet.. 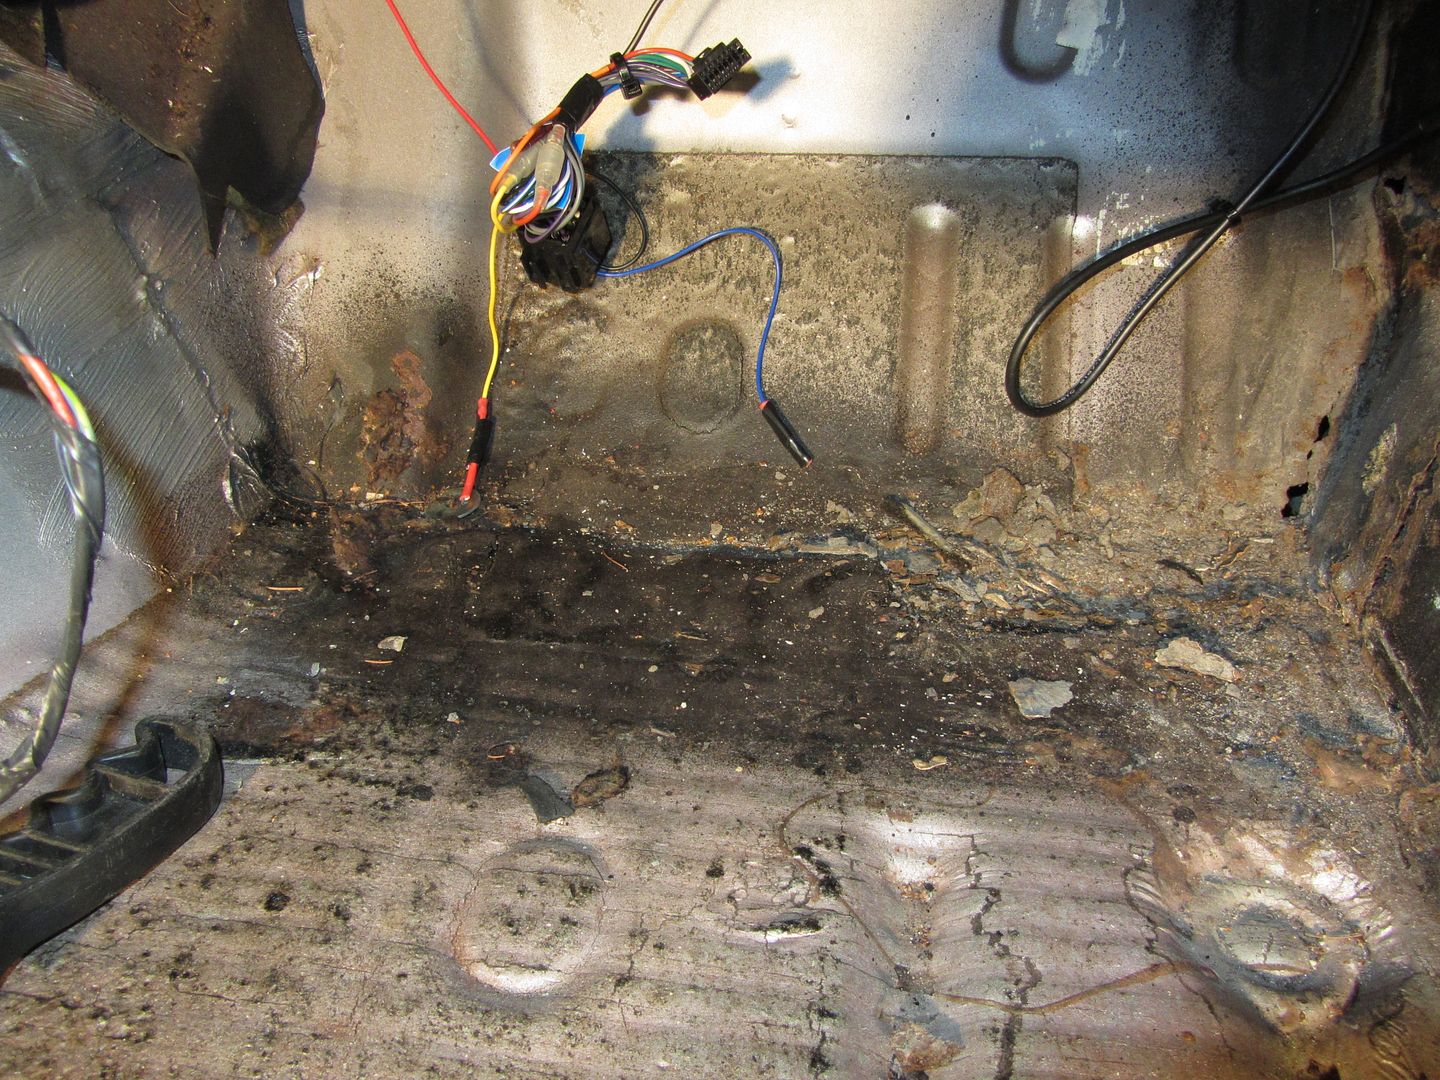 Some minor rust spots inside the A post, but not bad at all 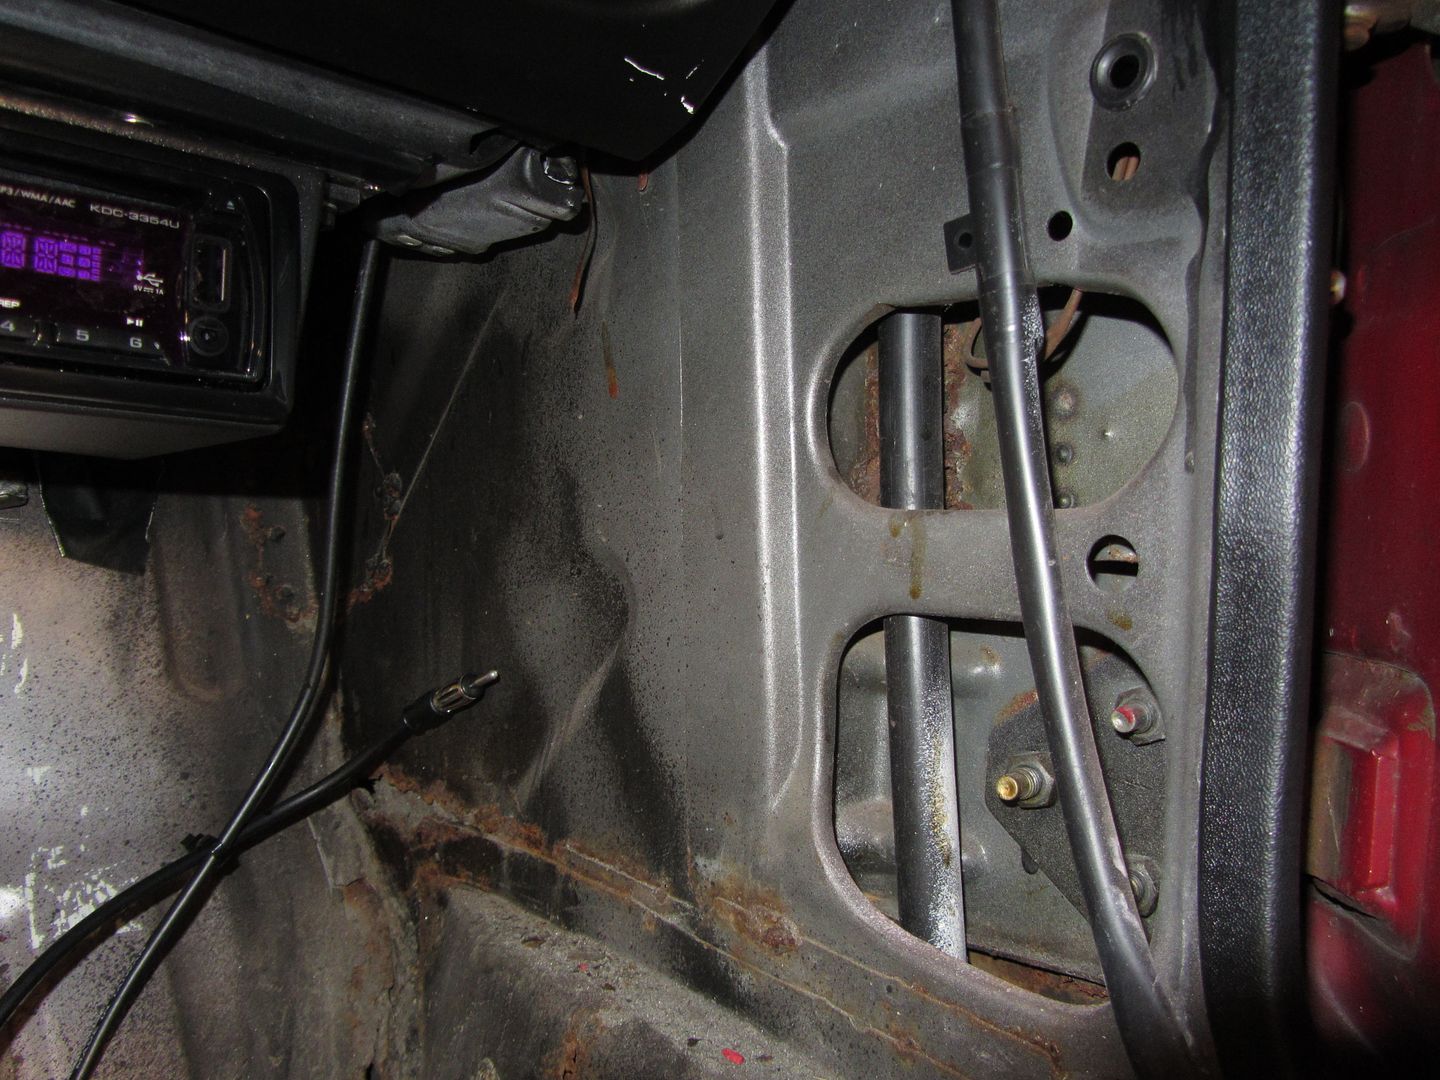 Major bit of driver side kick panel looks sound, just nasty repairs around corners 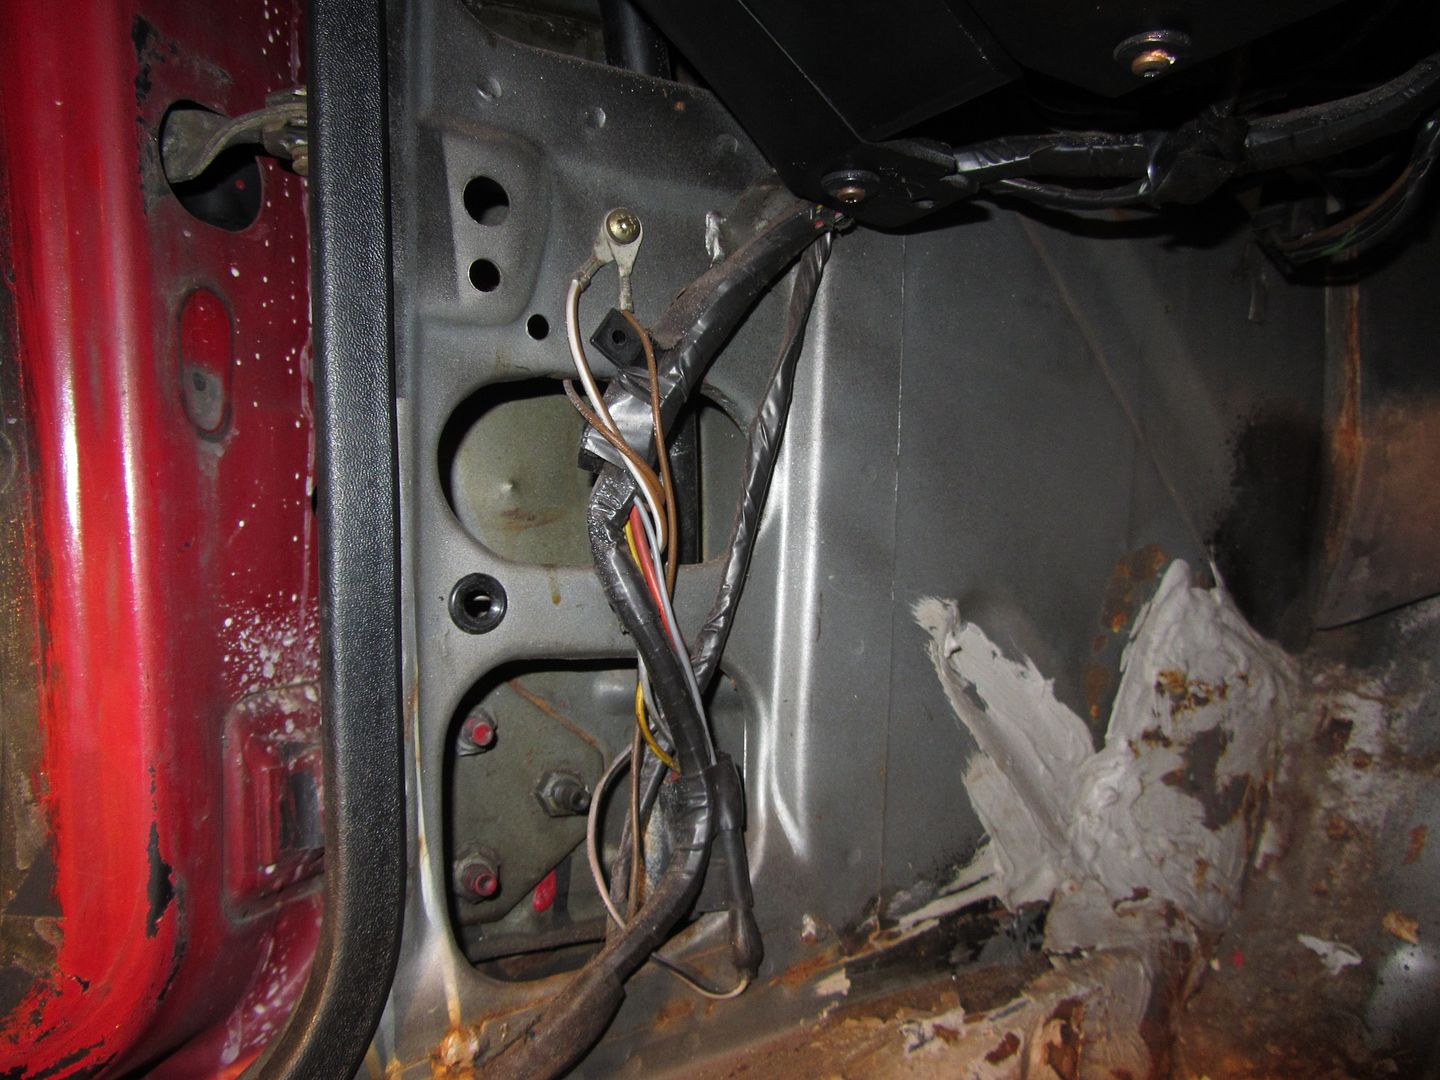 Big crack in the seat mounting location 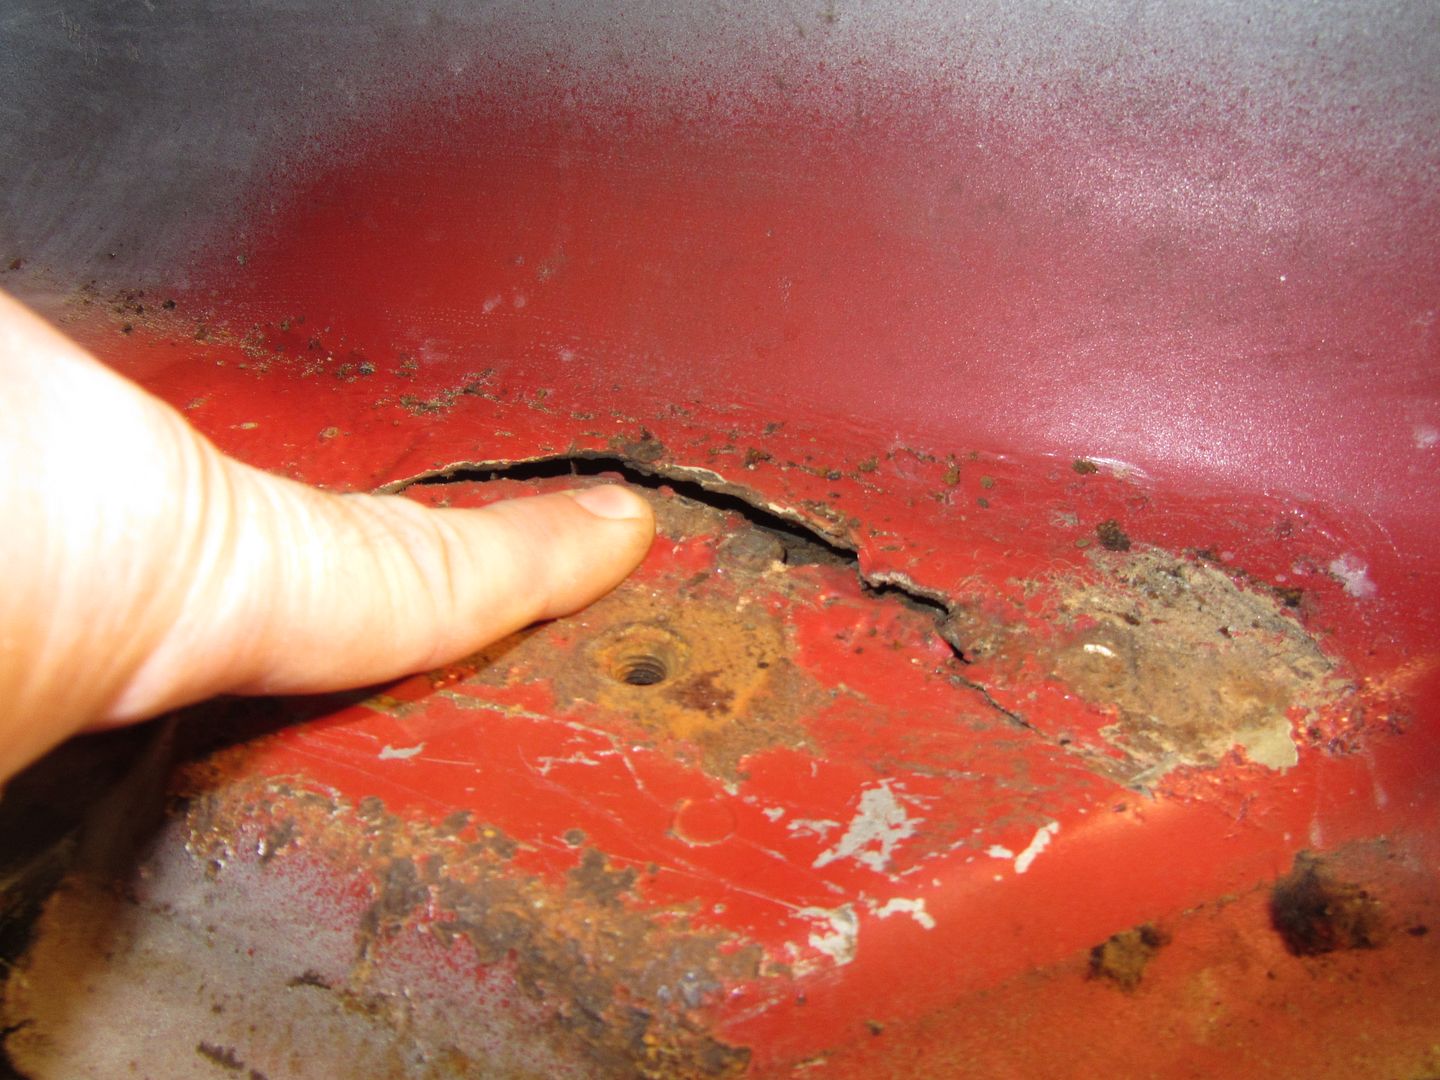 Then I poked a bit with screwdriver at the inner sill. The complete front half of the inner sill was full of expanding foam, not good 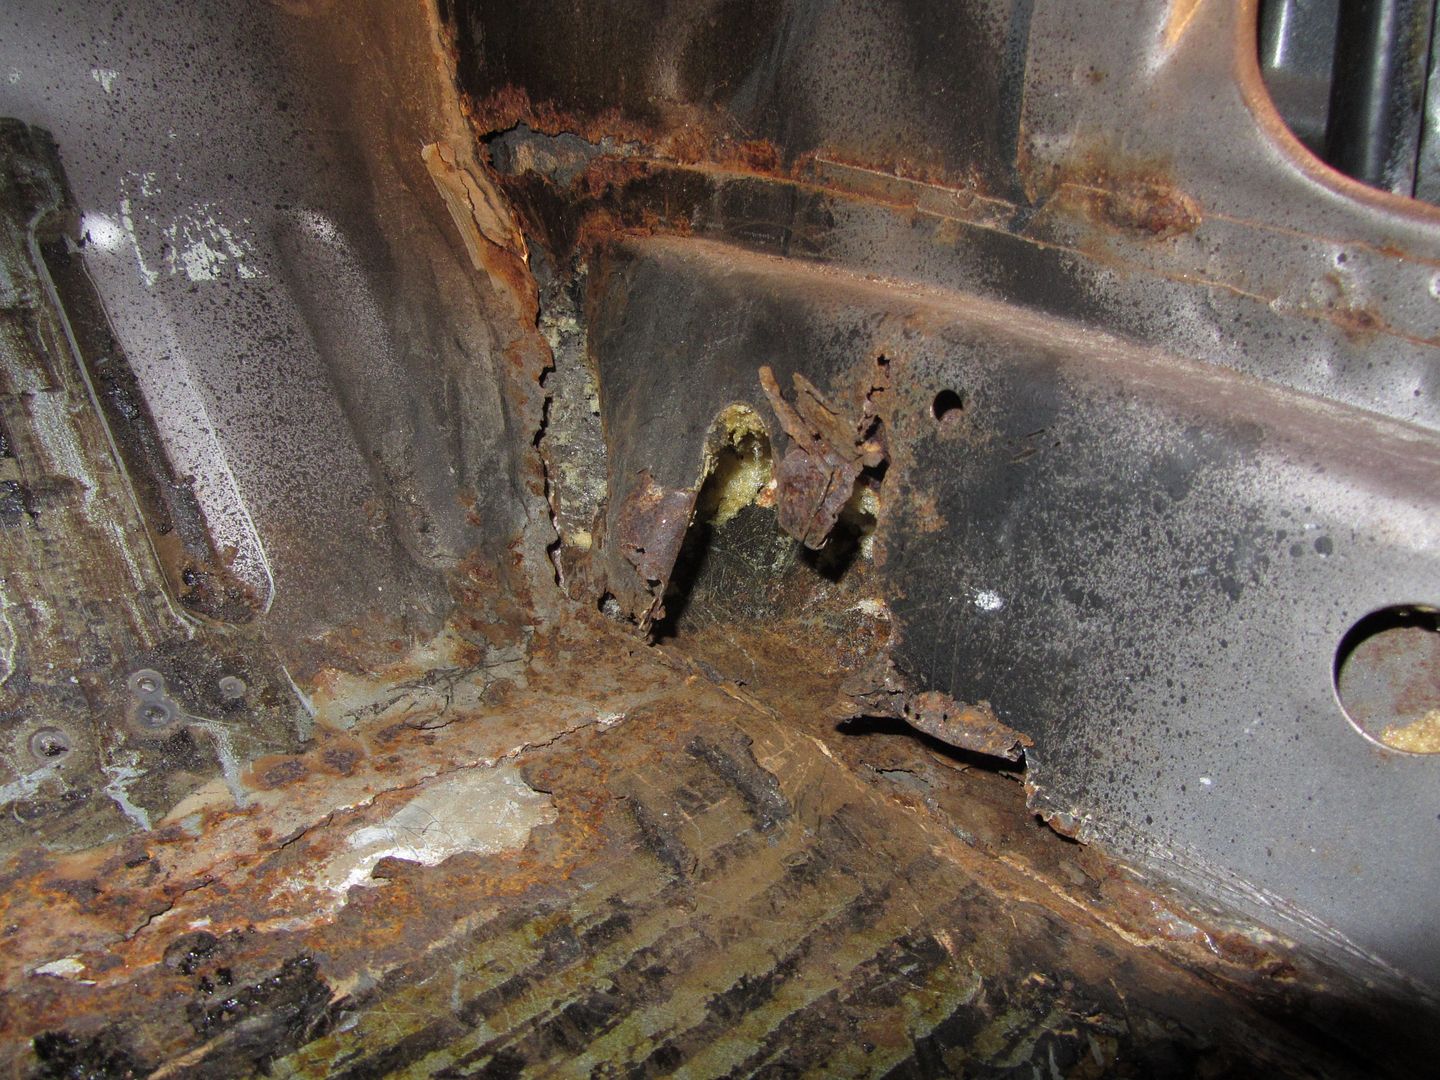 A patch can also be seen half way between the panels 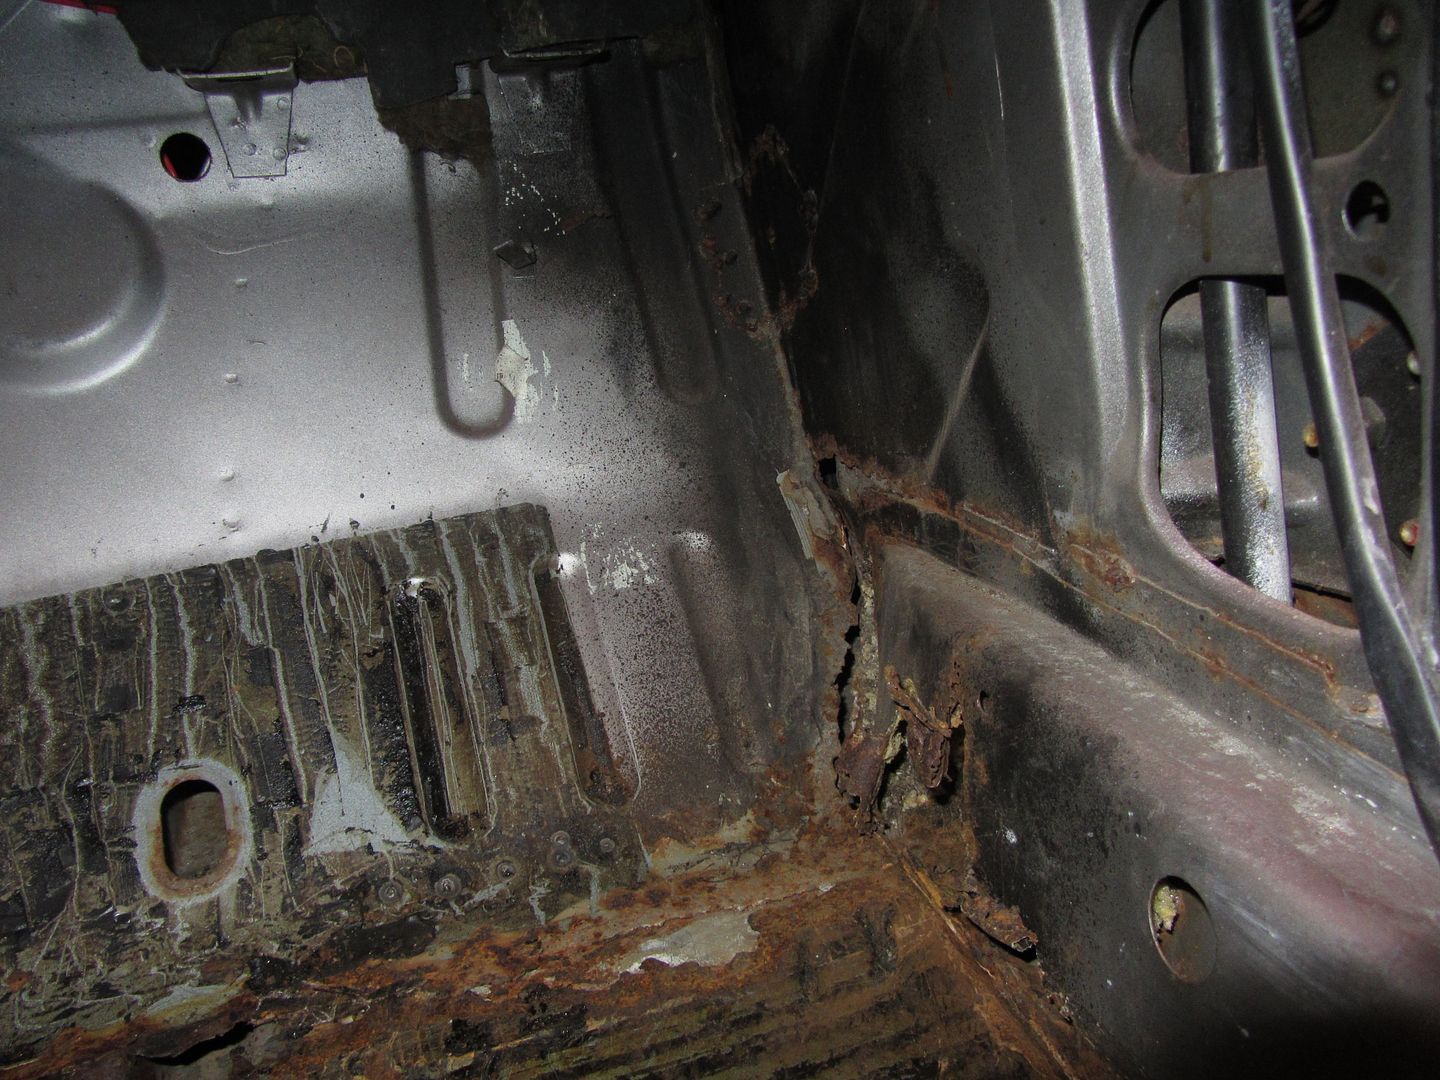 A bit better picture of the horror 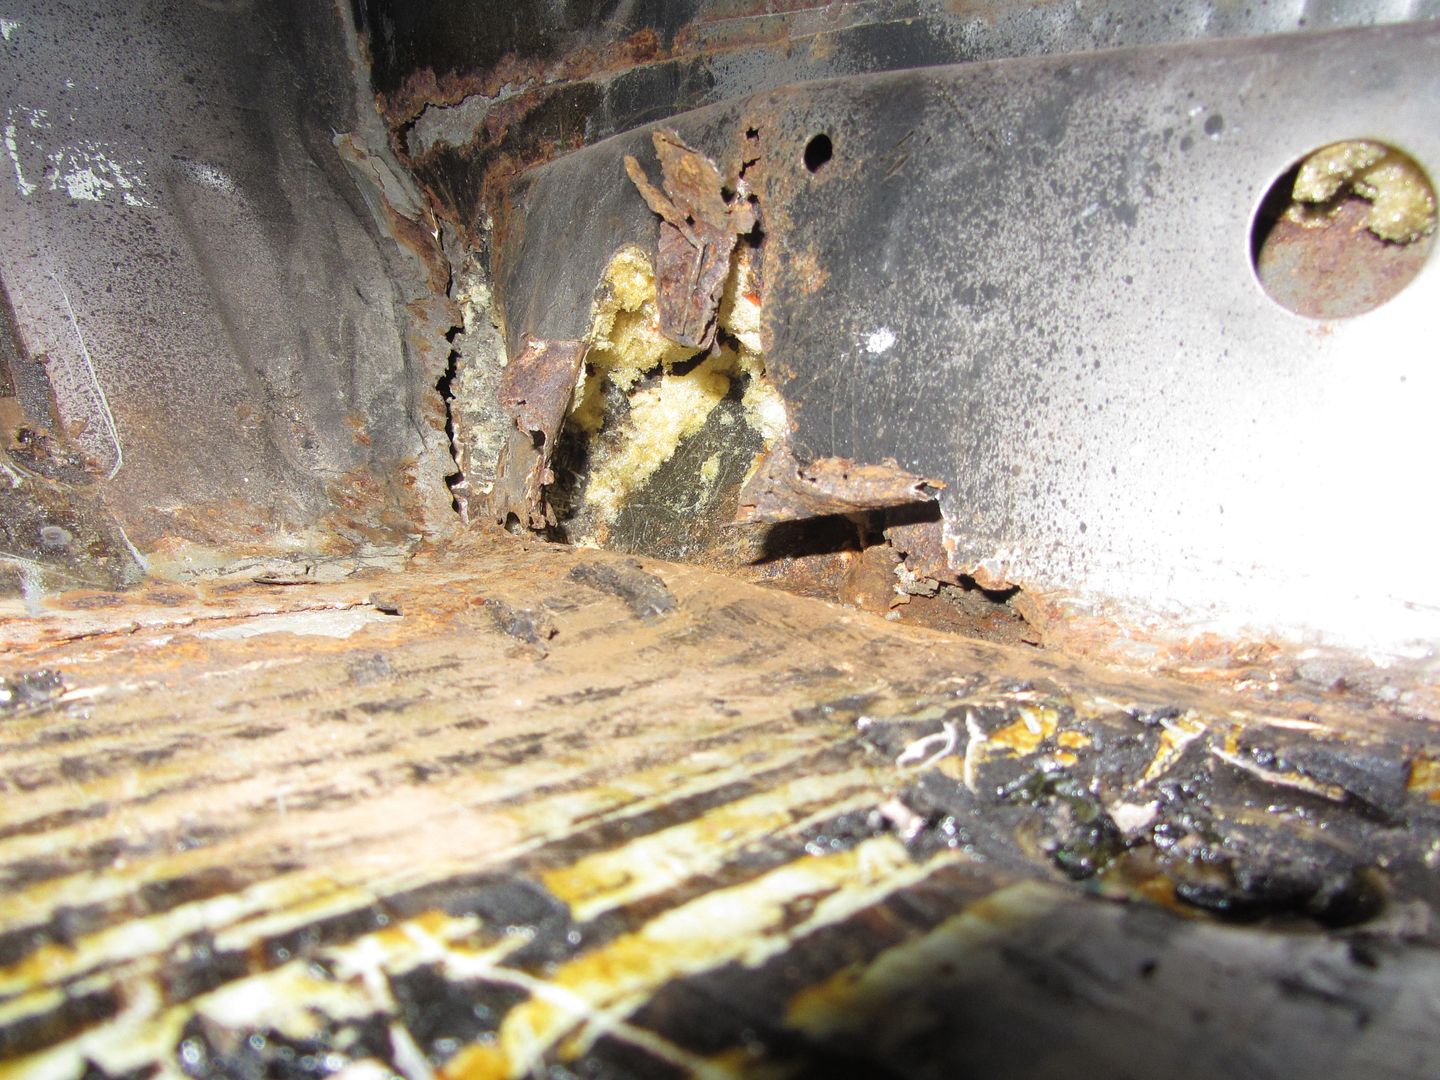 Removed the sound deadener, ugly patch here too 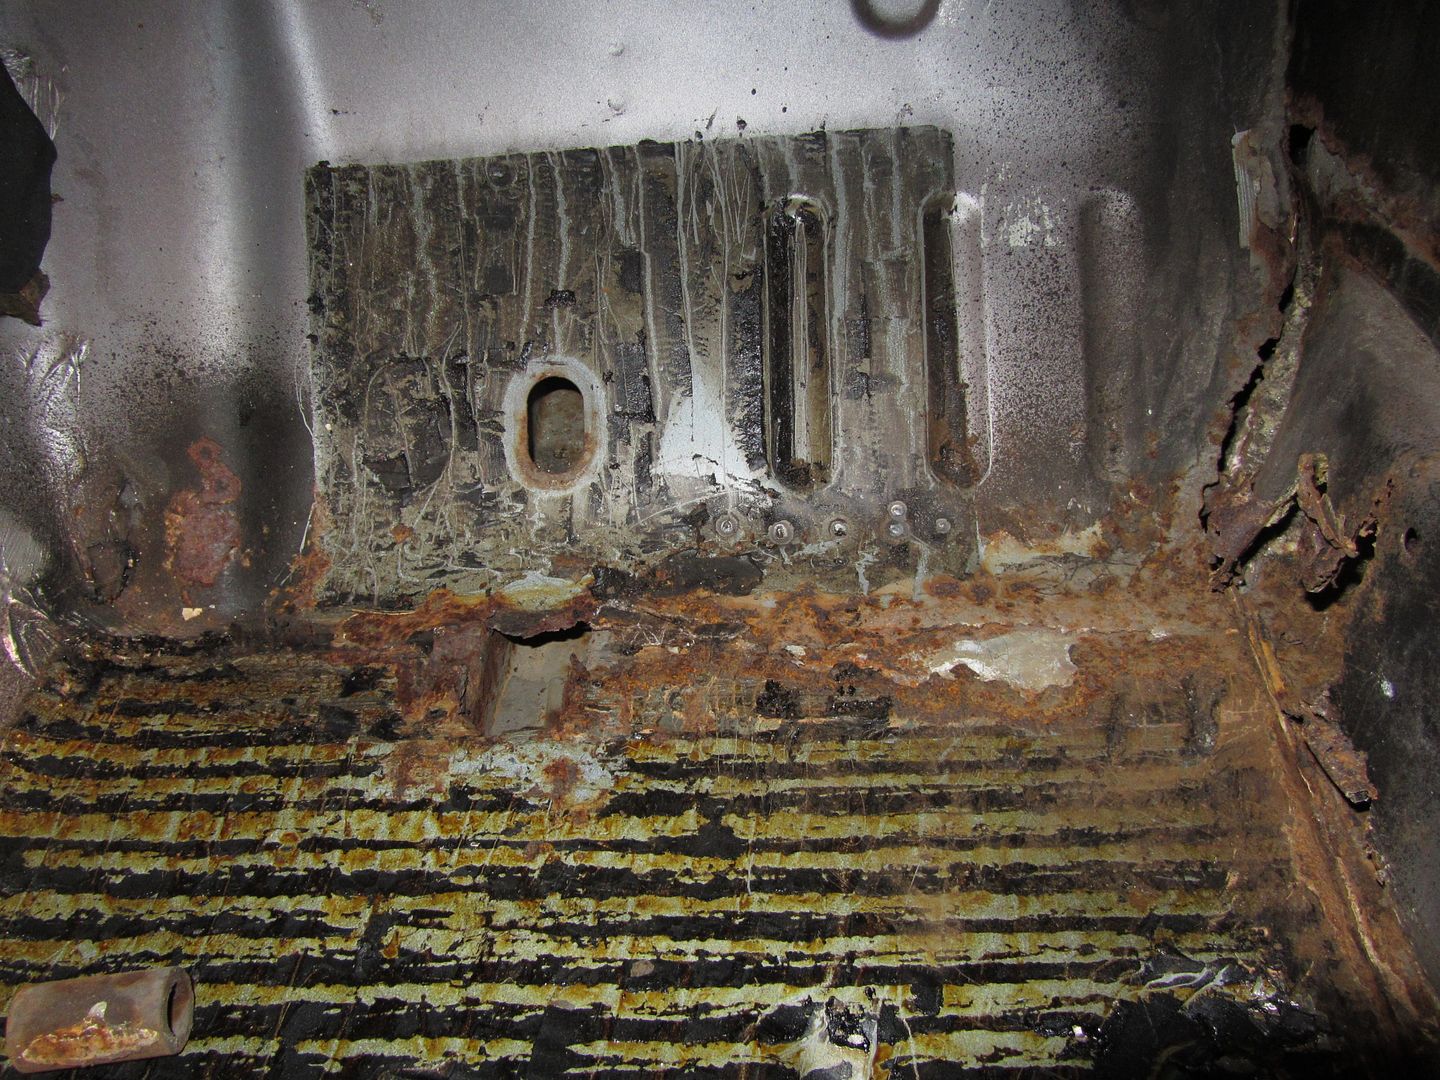 This thick wall tube was found laying inside the frame rail where the drain plug used to be 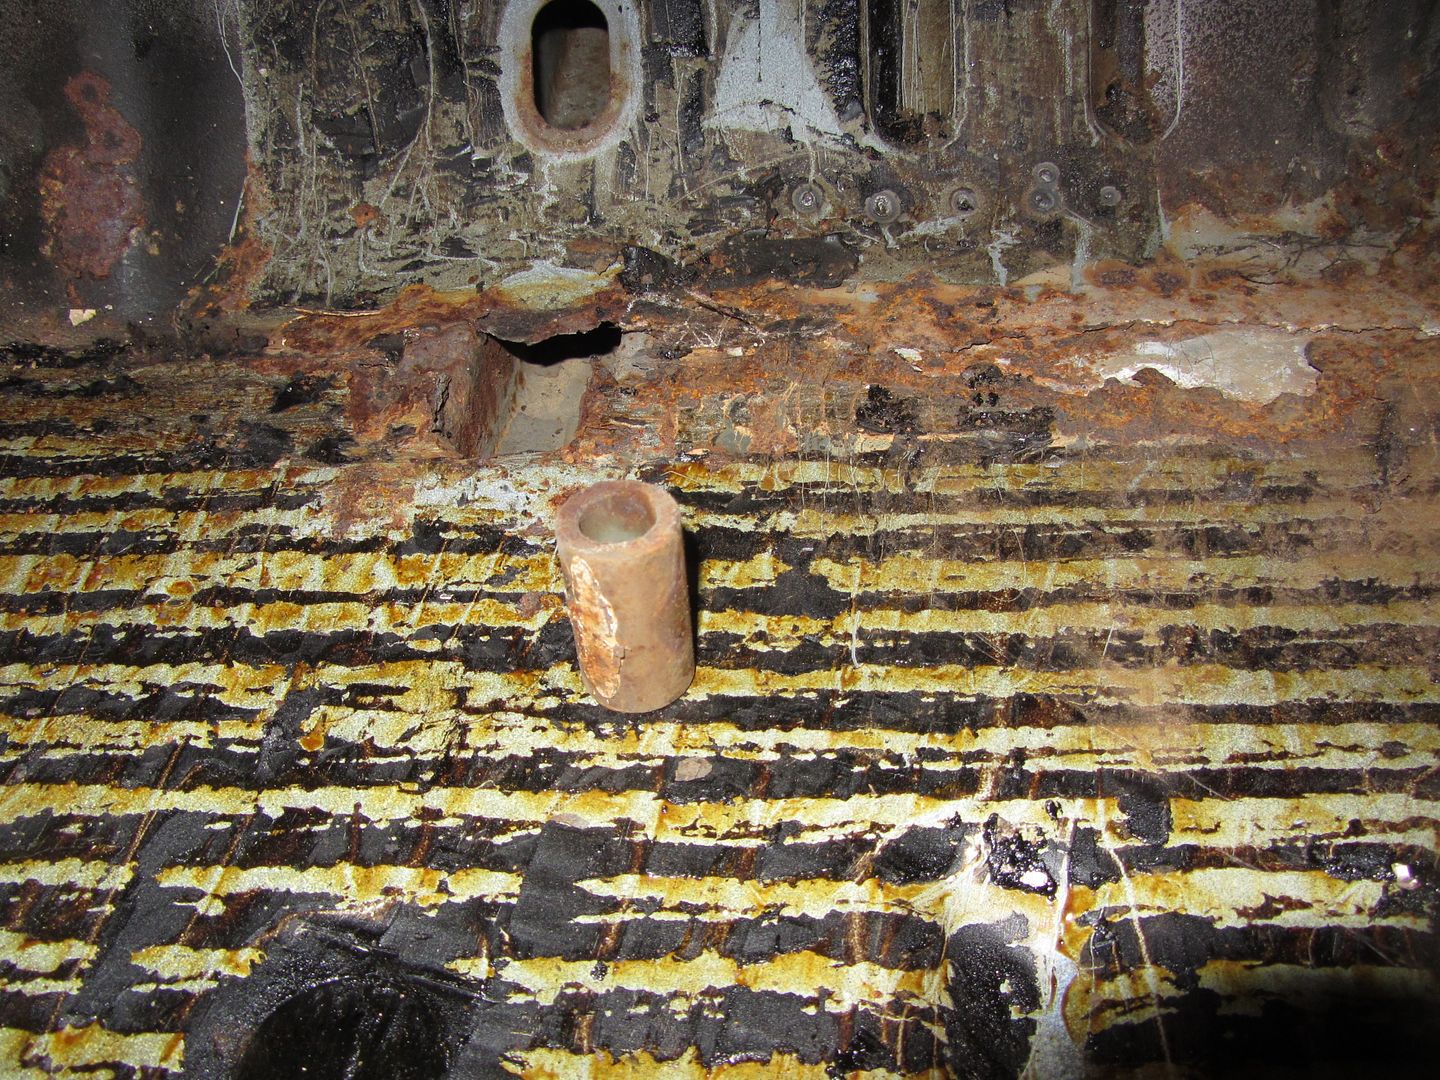 Most of the floor is good tho 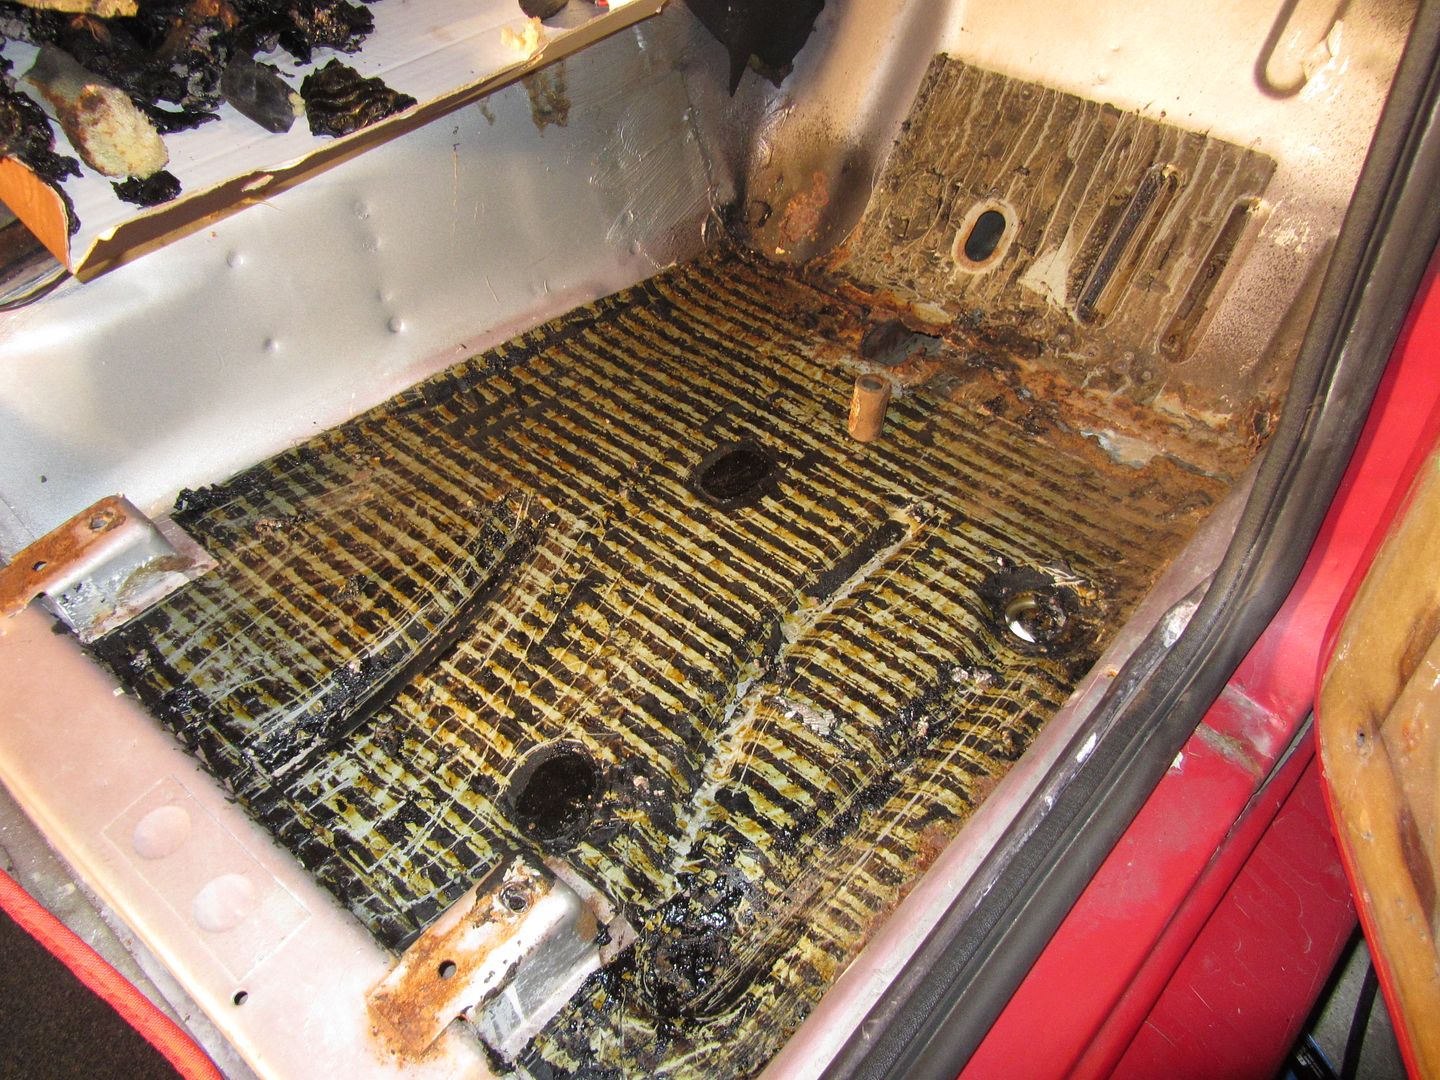 So is the rear part of the floor on same side, just the patch area gone bad.. 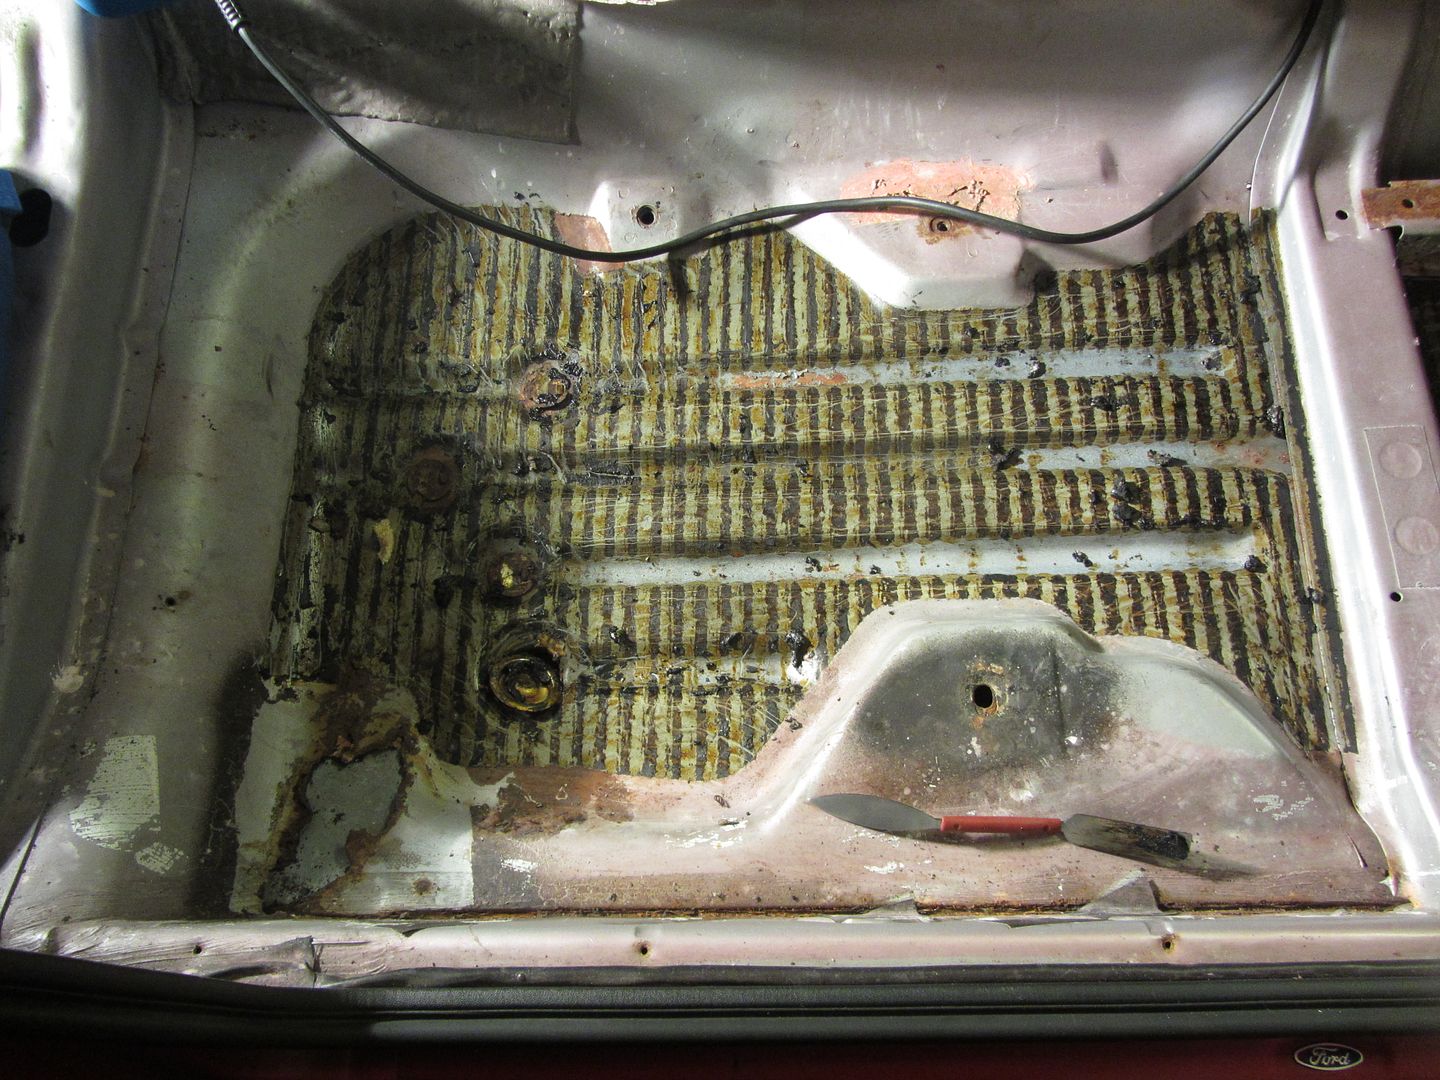 Removed the sound deadener under the rear side to, glad to see it being solid as there is double layer floor here 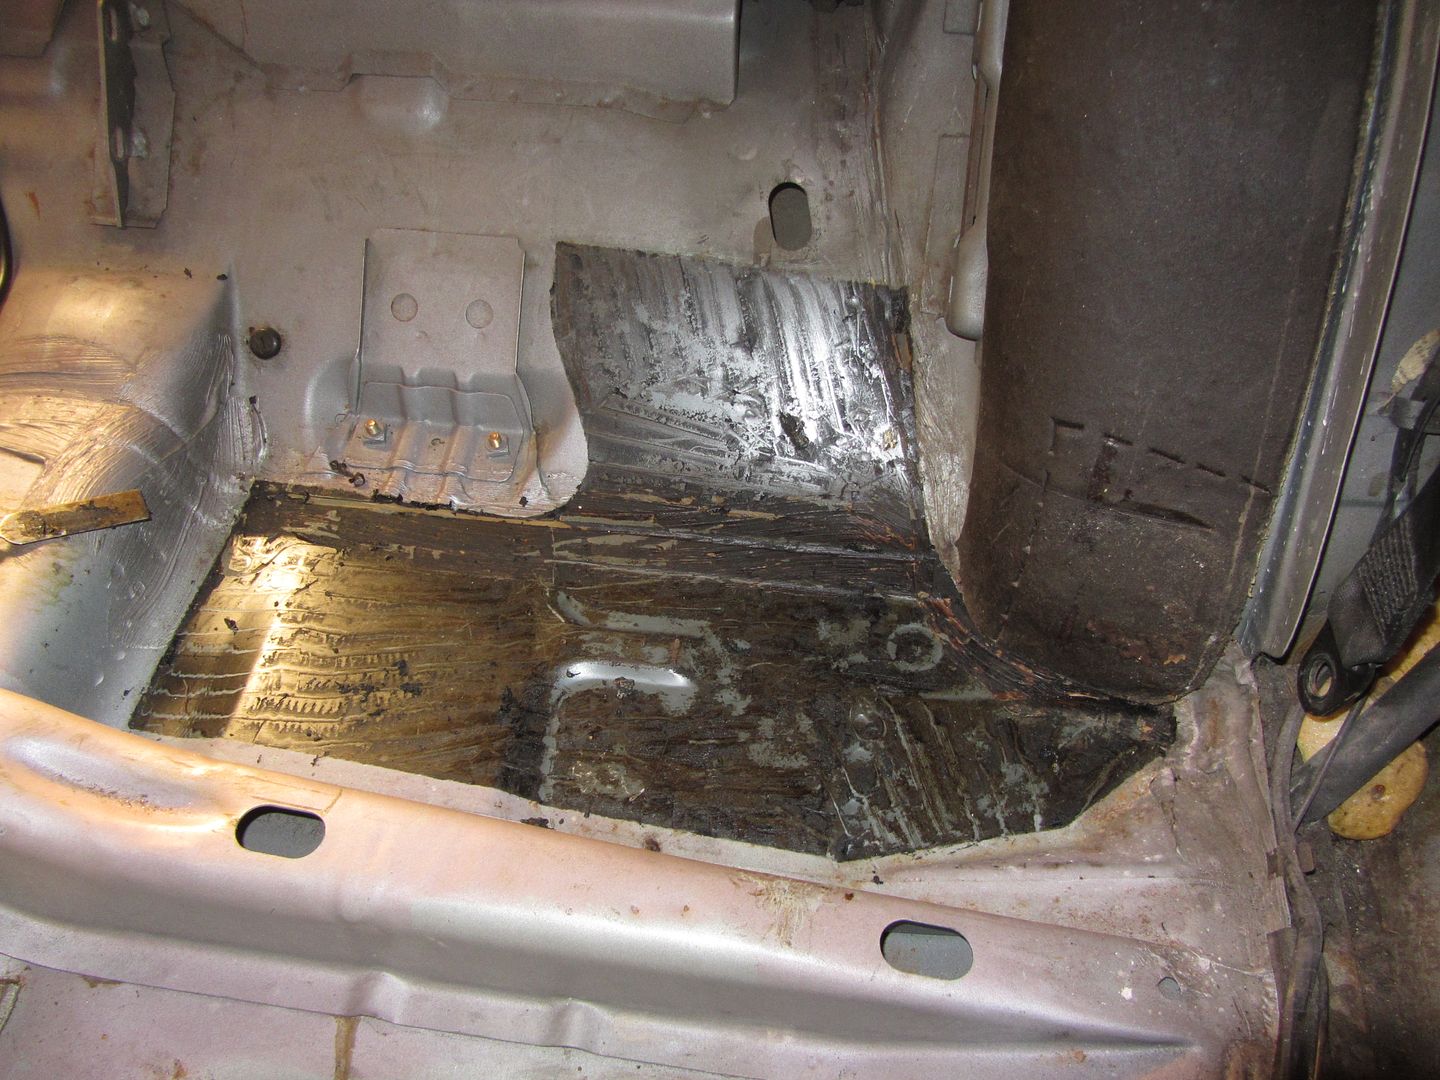 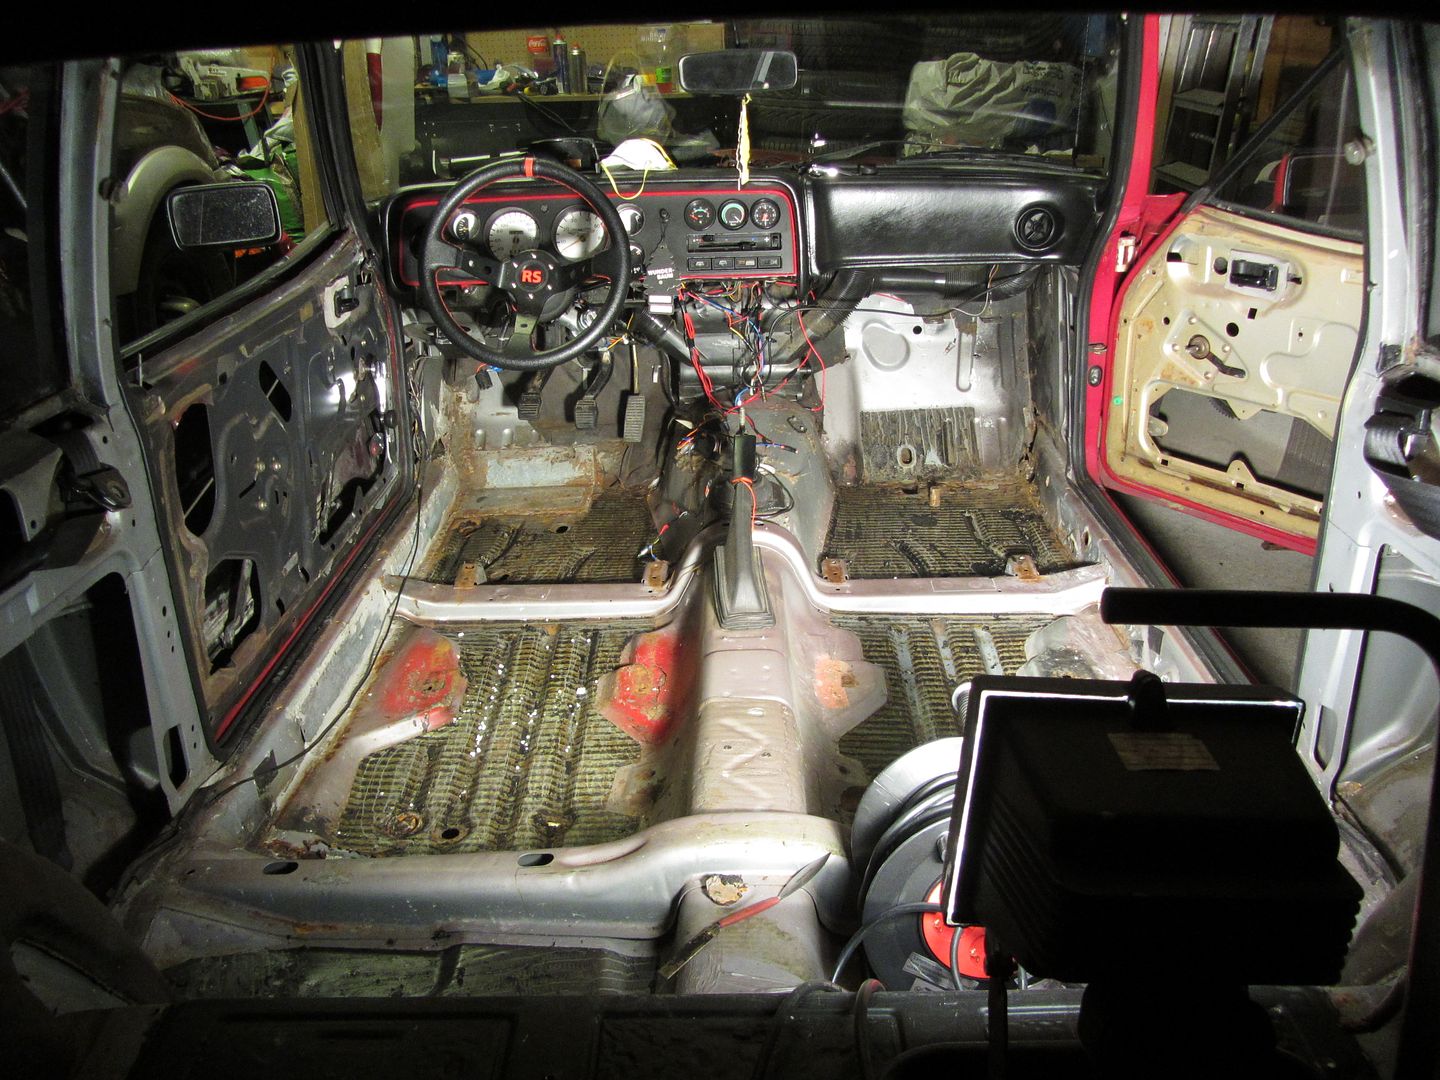 |
| |
|
|
cap78
Part of things
Posts: 96
|
|
Feb 13, 2017 19:58:08 GMT
|
Looking very good fella, can't beat a 3 litre  |
| |
|
|
cap78
Part of things
Posts: 96
|
|
Feb 13, 2017 19:52:10 GMT
|
That thing has serious presence! I agree!! |
| |
|
|
cap78
Part of things
Posts: 96
|
|
Feb 13, 2017 19:50:17 GMT
|
Good to see you moving on with the project Ståle |
| |
Last Edit: Feb 13, 2017 19:50:53 GMT by cap78
|
|
cap78
Part of things
Posts: 96
|
|
Feb 13, 2017 14:55:57 GMT
|
Winter came and I bought some Pug Partner 14" wheels, complete with good winter tire, bolted right on! The 13" RS wheels was given back to my mate as his wheels was not longer needed..  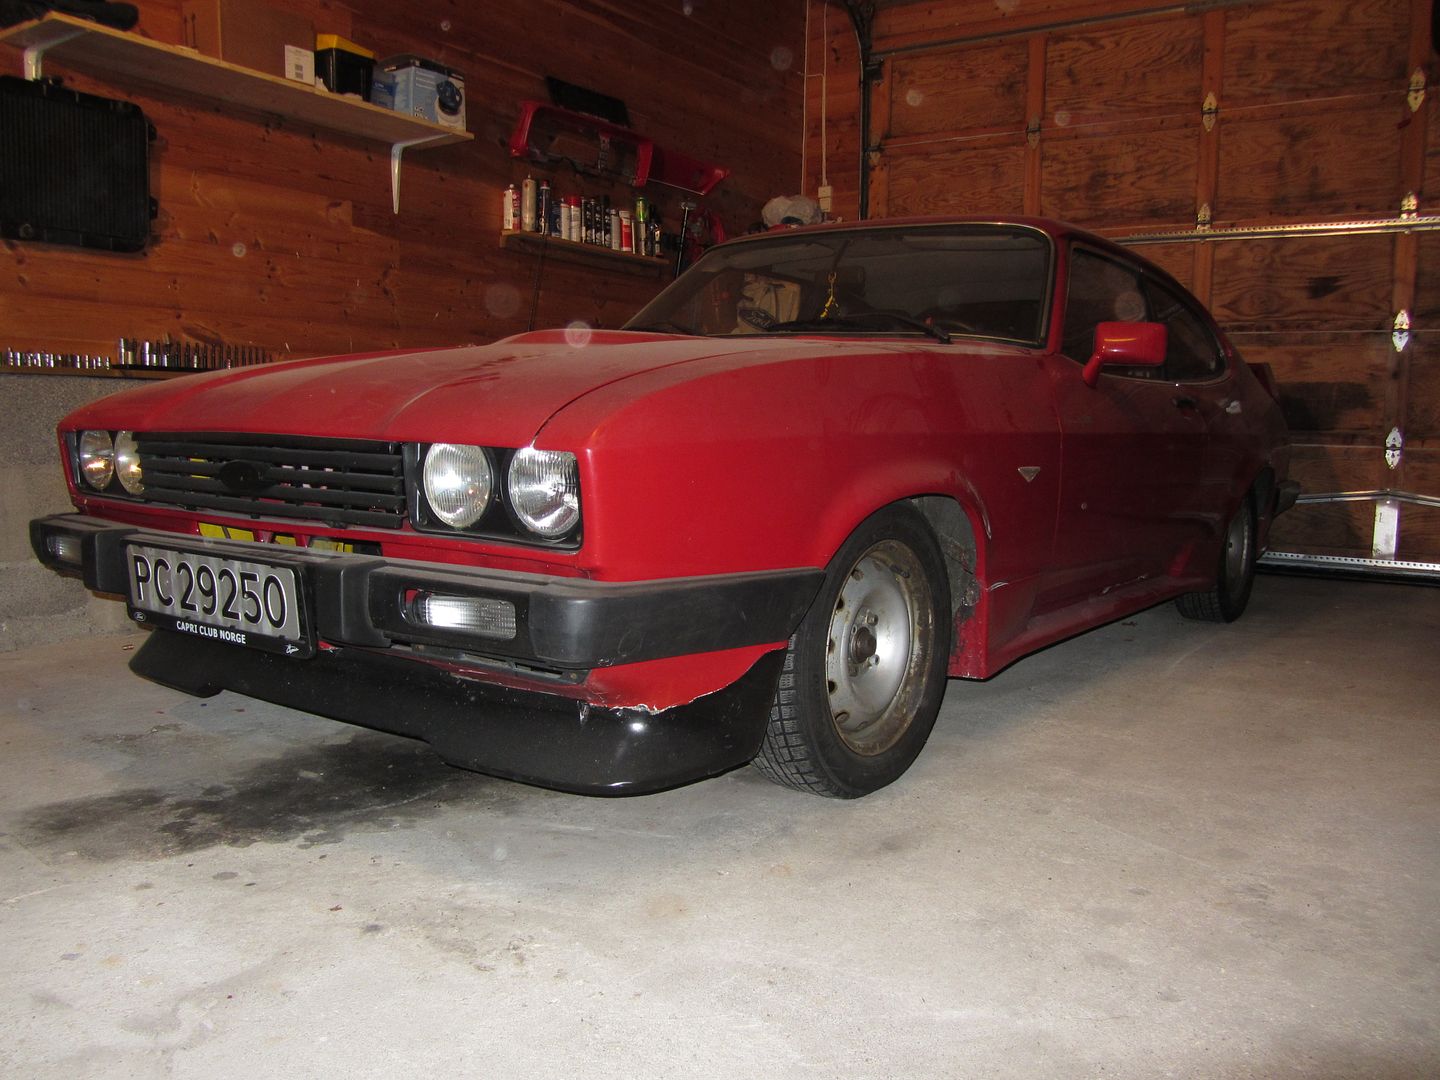 Garage was cleaned, and my new work bench was bolted up as well.. 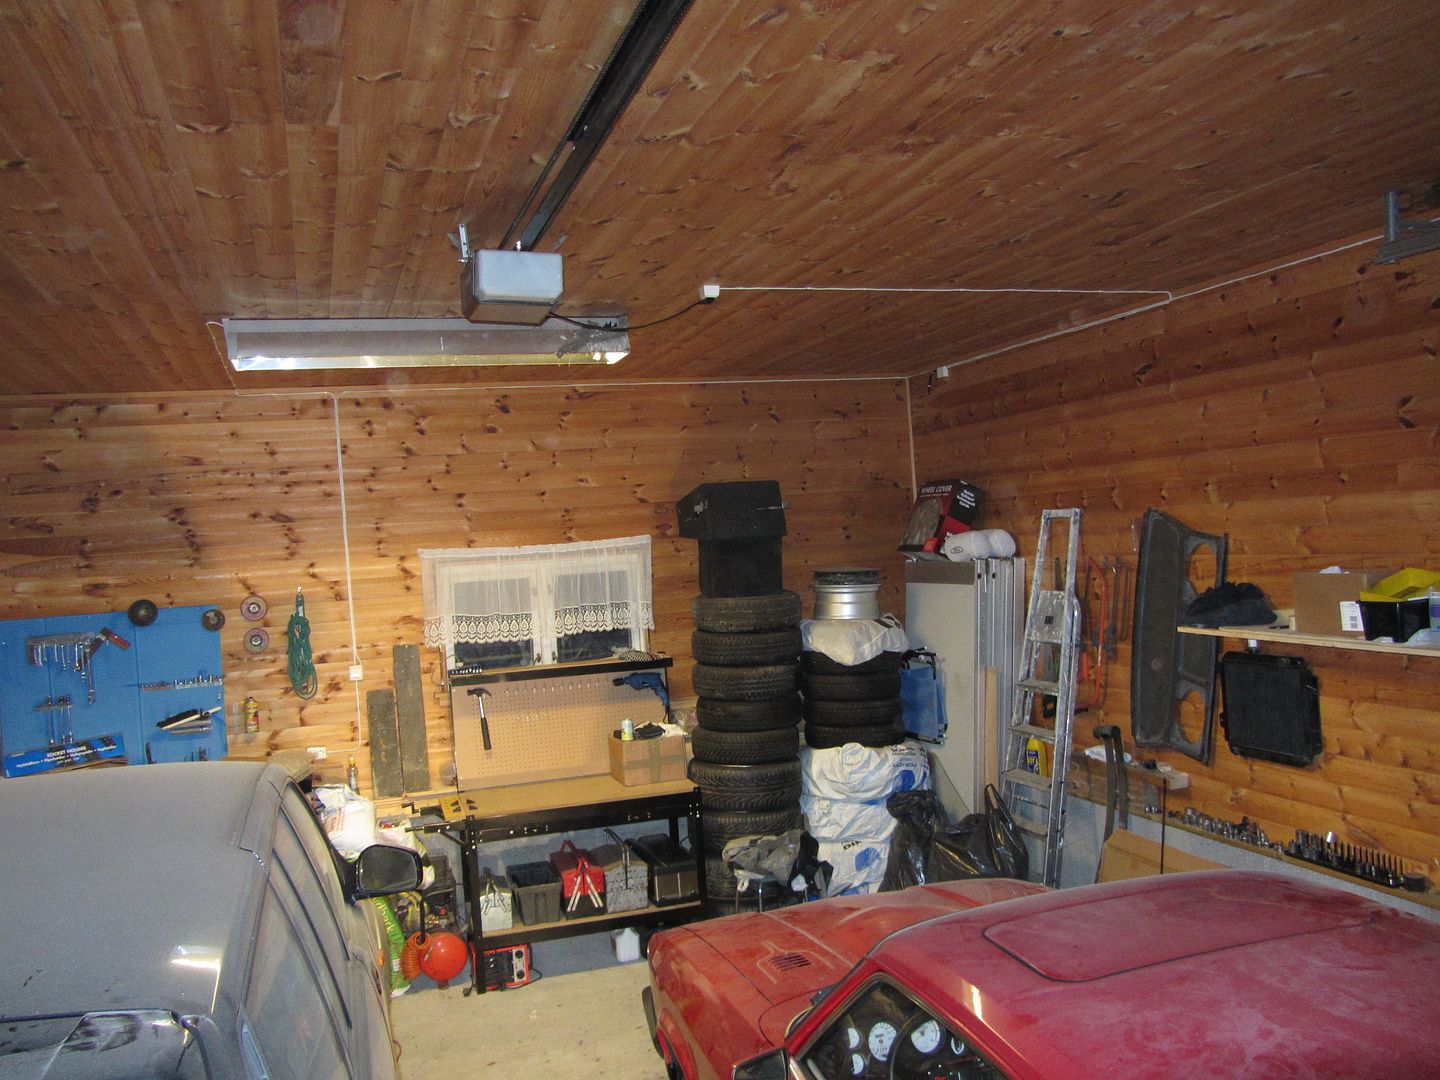 The garage is not isolated, nor have it heating either, so I bought a diesel heater on a norwegian auction site for cheap. 30kw should do it  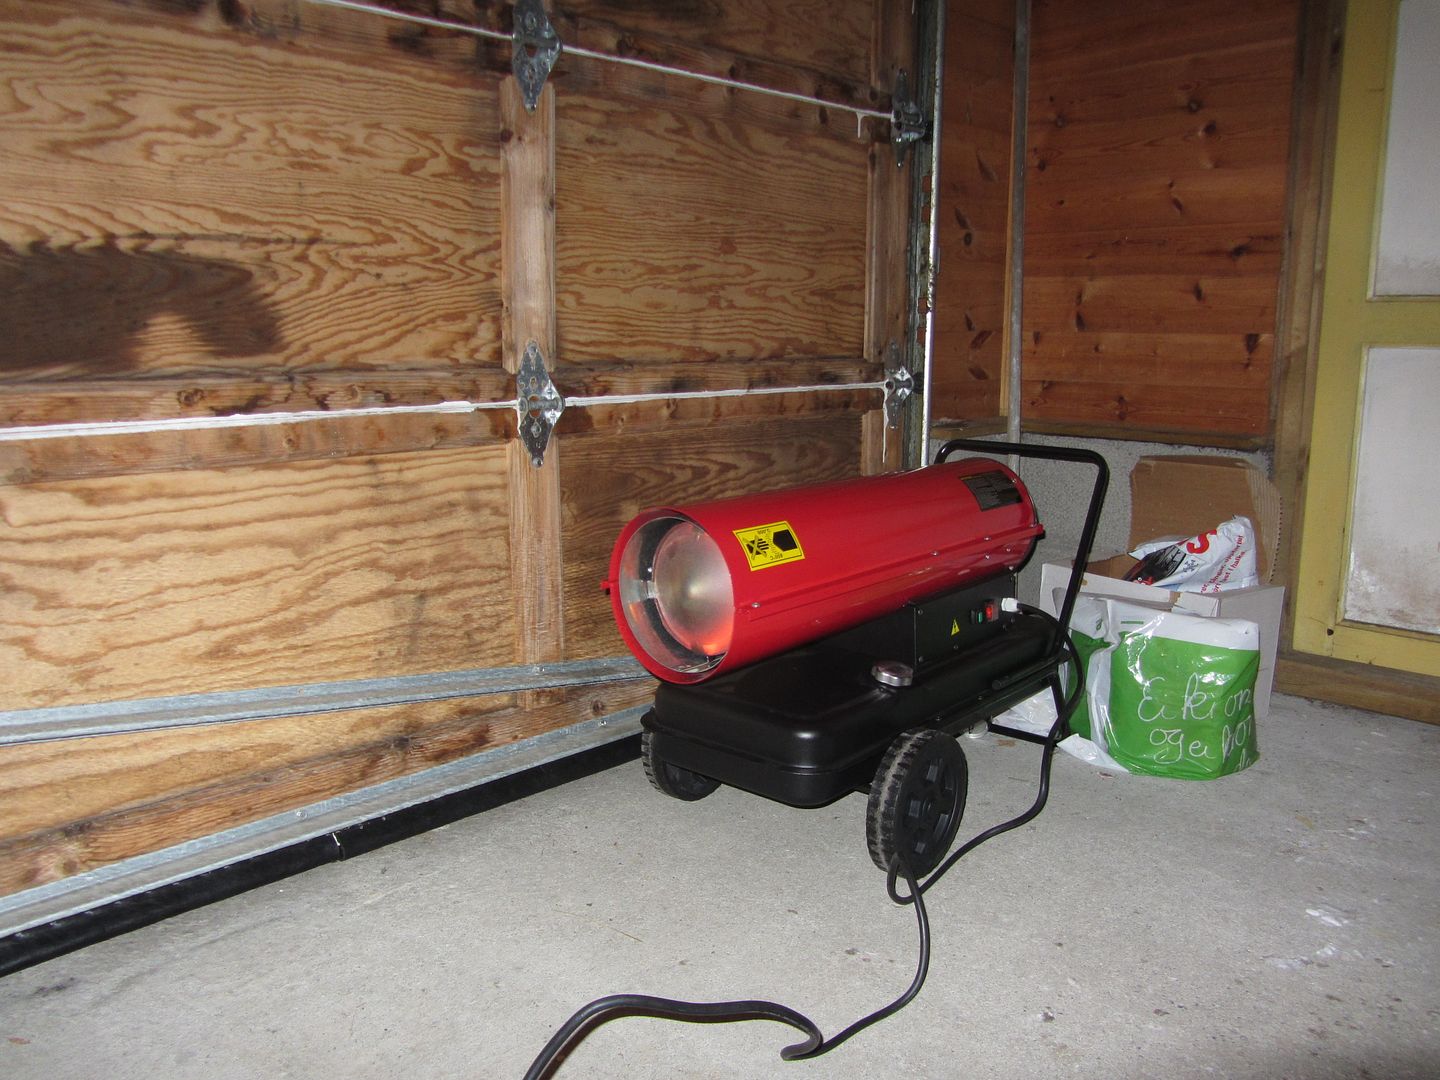 Nice and toasty   So the date is 14th December 2012 and the start of the rebulding started. First a pizza... 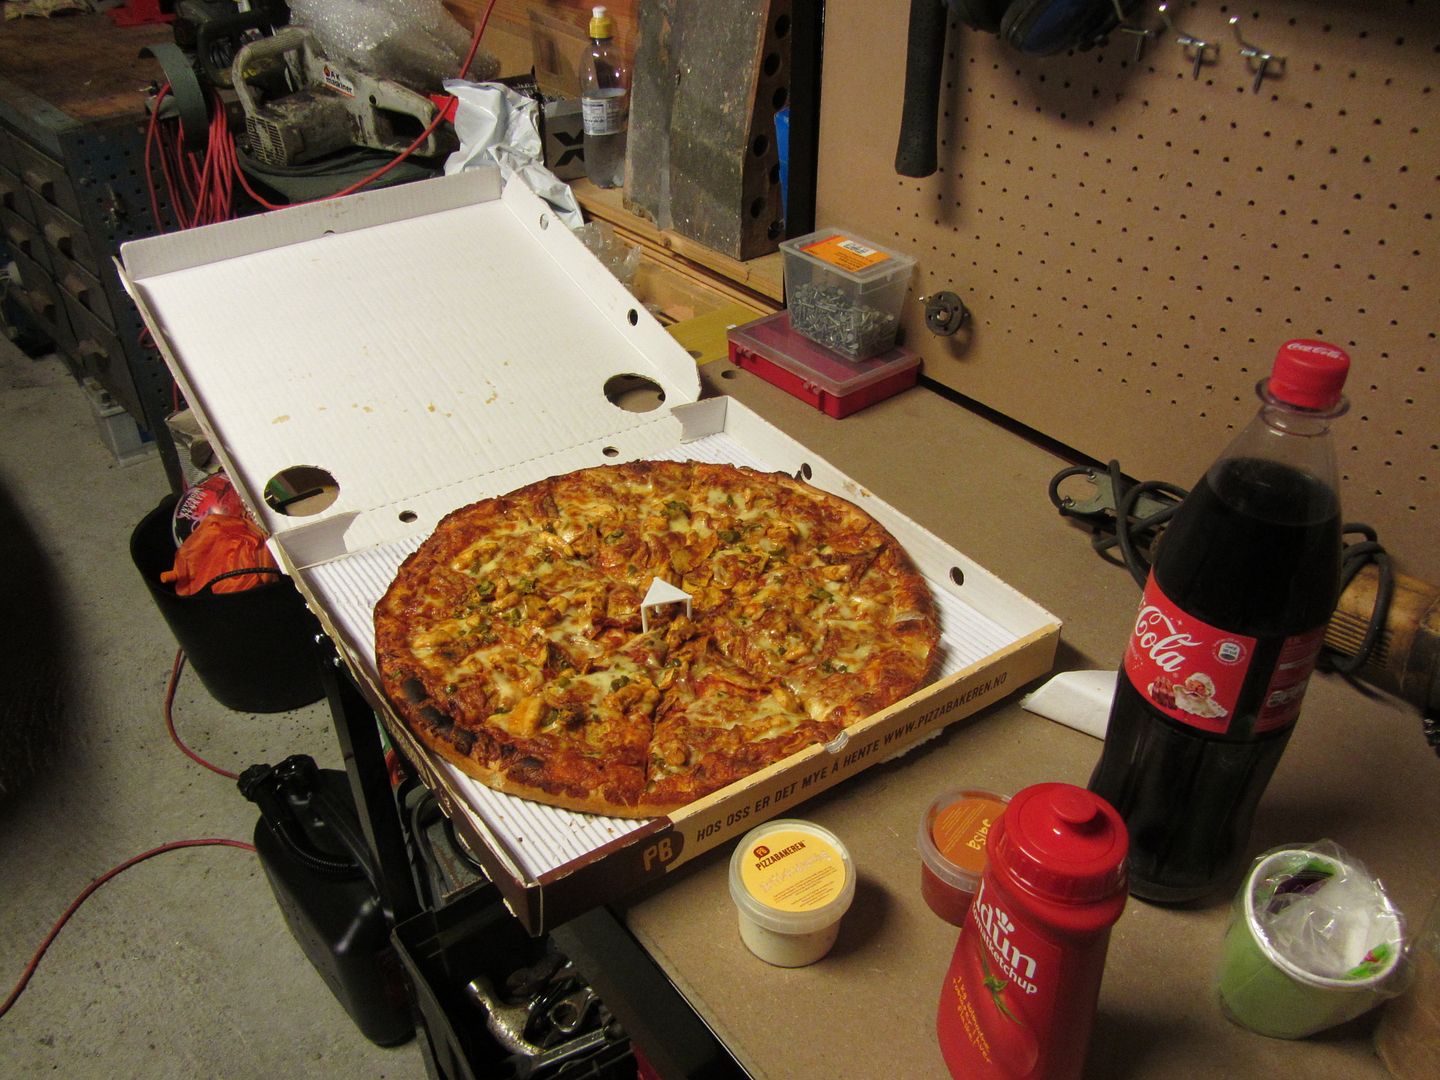 First the rear seat and doorcards were removed. Notice the gold door... 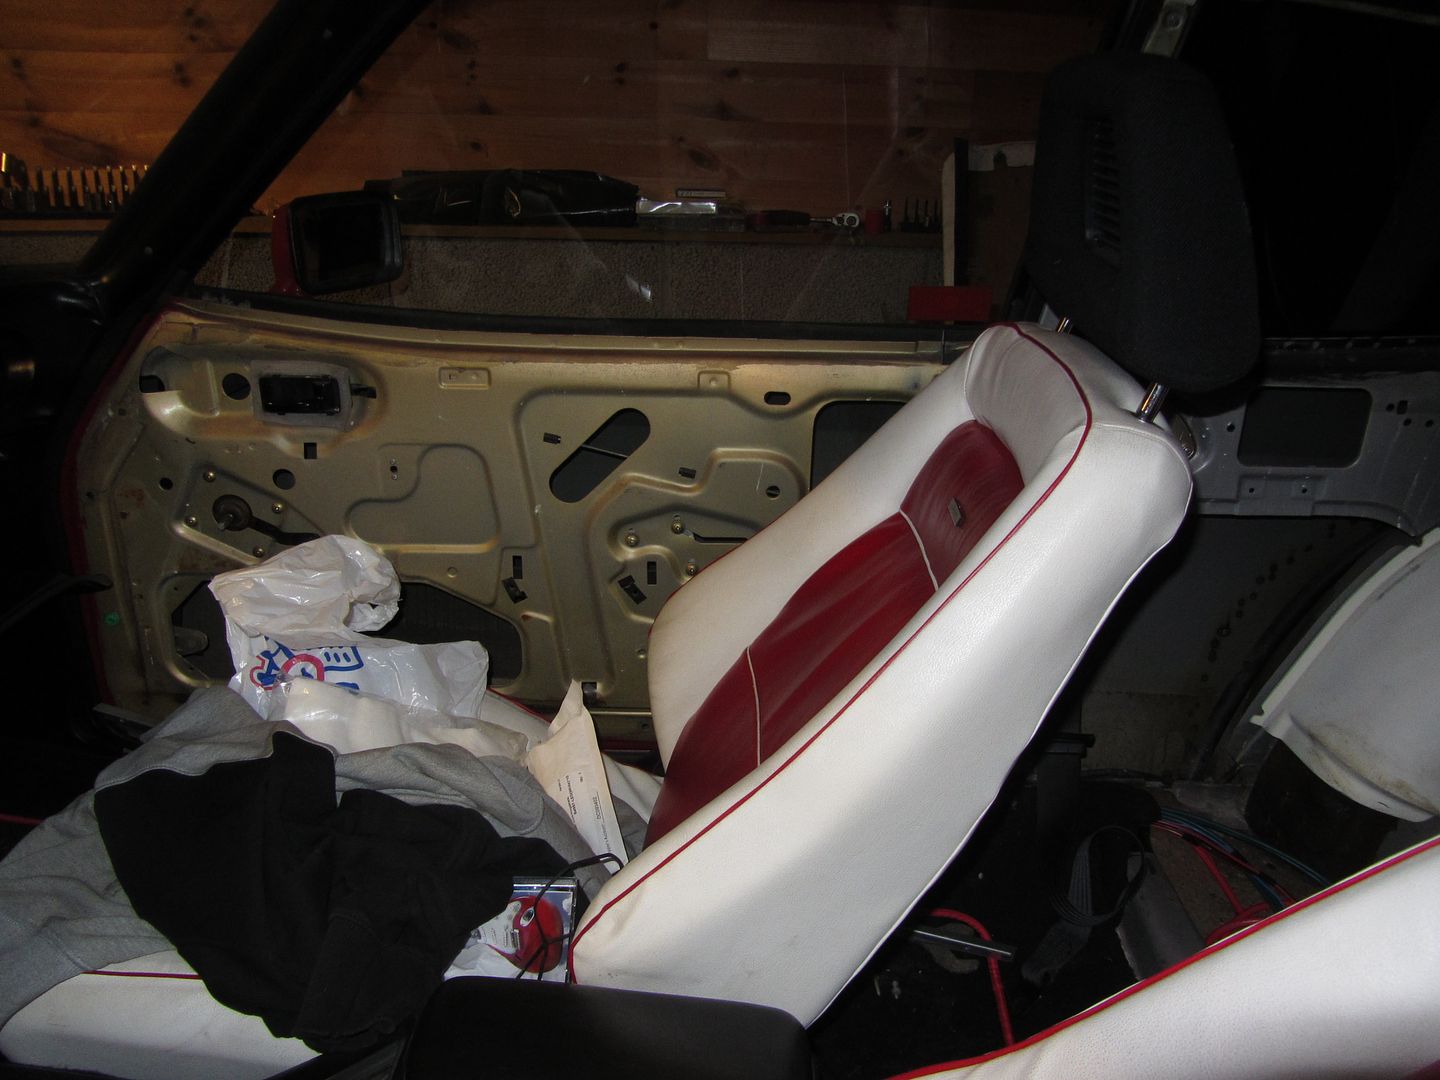 Drivers door is yet in another color... Also notice no plastic behind the doorcards, no wonder is was damp in there when I bought in Lithuania.. 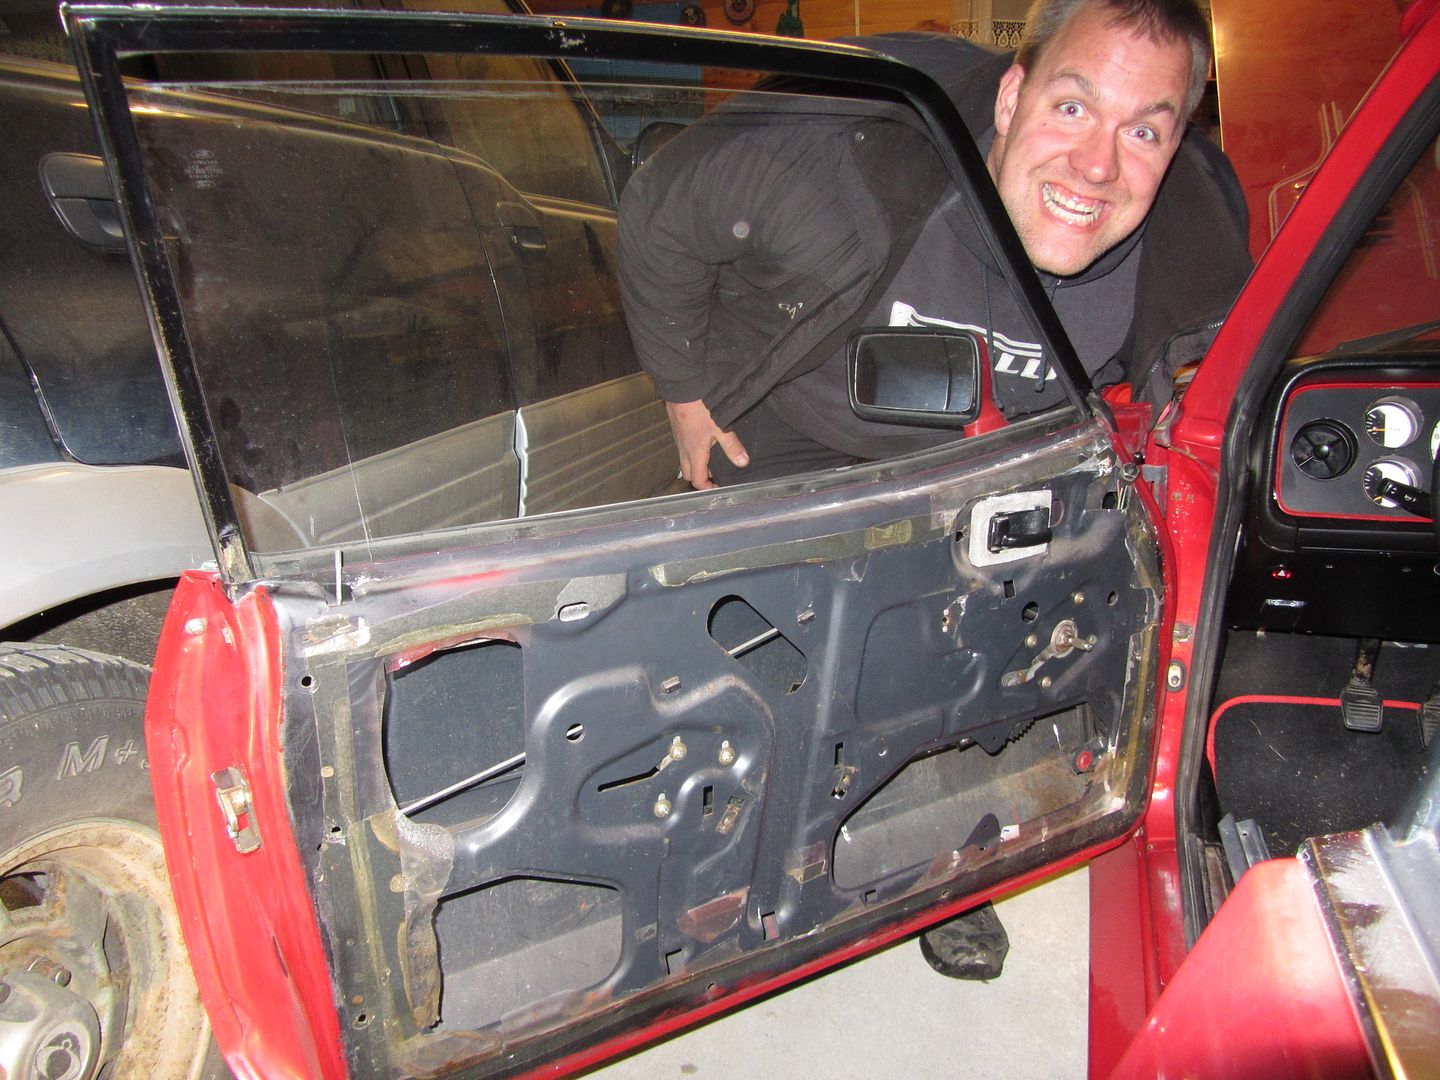 Seats out, capet looks good for its age, just need a good clean  The foam that usually is secured to the body behind the plastic side panels is mostly gone. My car is from factory a Stratos Silver, no fan og silver cars either 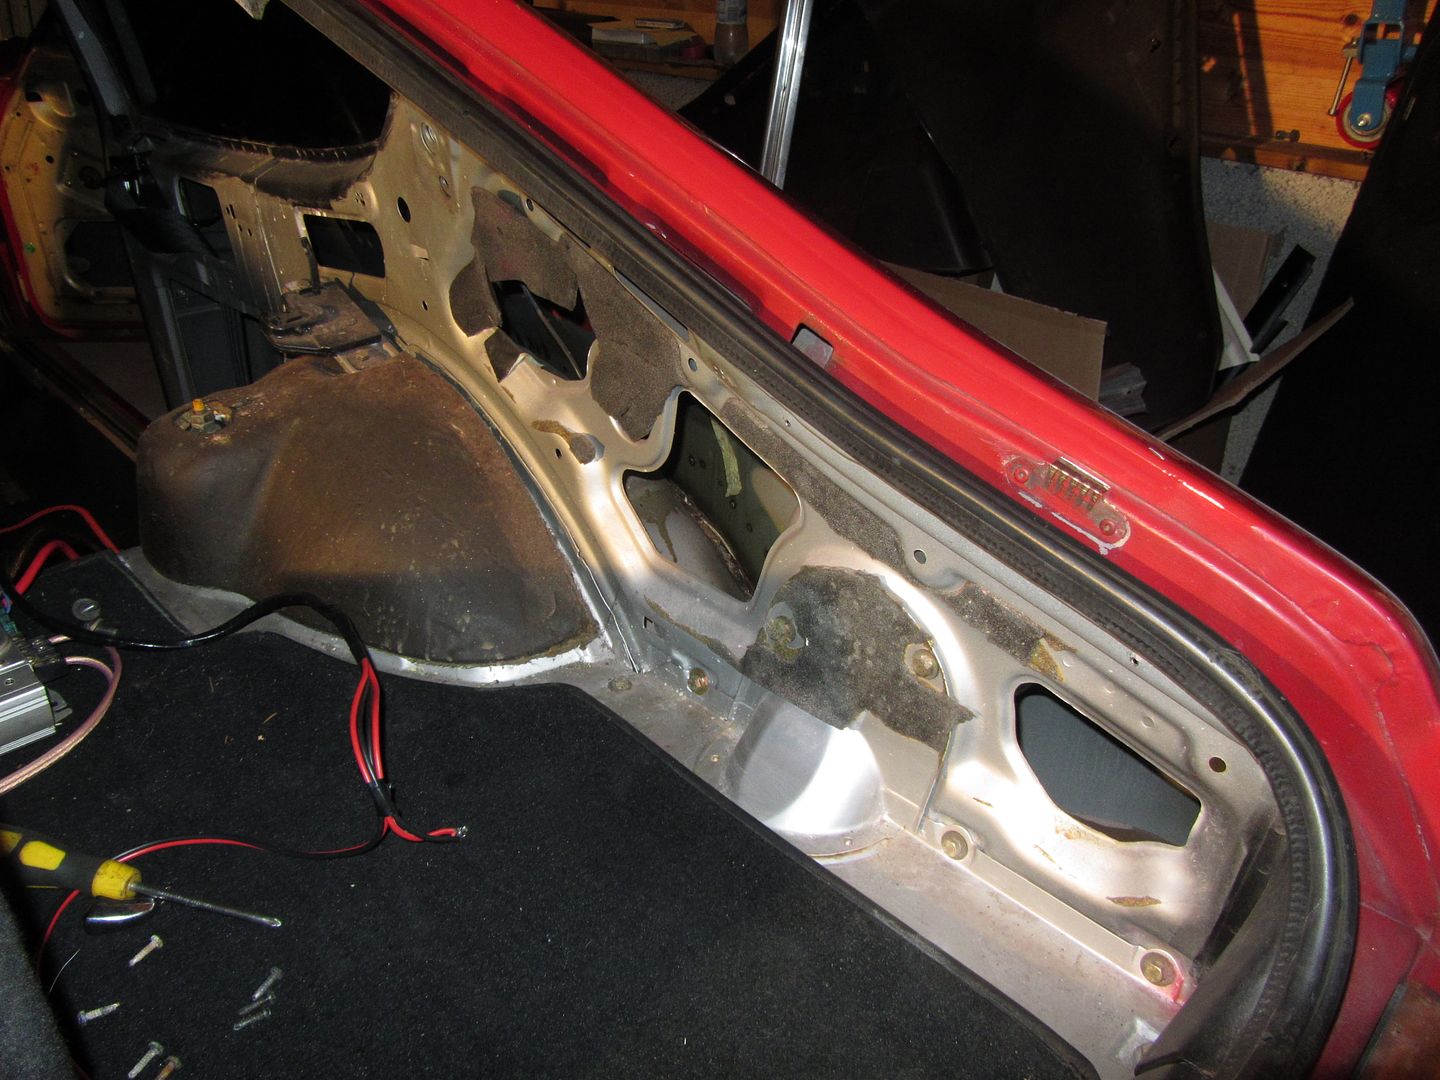 If you look carefully you can see the spotwelds in there, so that means it had new wheelarches fitted at some point, but you can't see a cut line or stitch welding evidence, so this means new wheelarches over the factory ones, bodge job nr 1 That who looks like a cut line is actually the drain tube for the sunroof.. 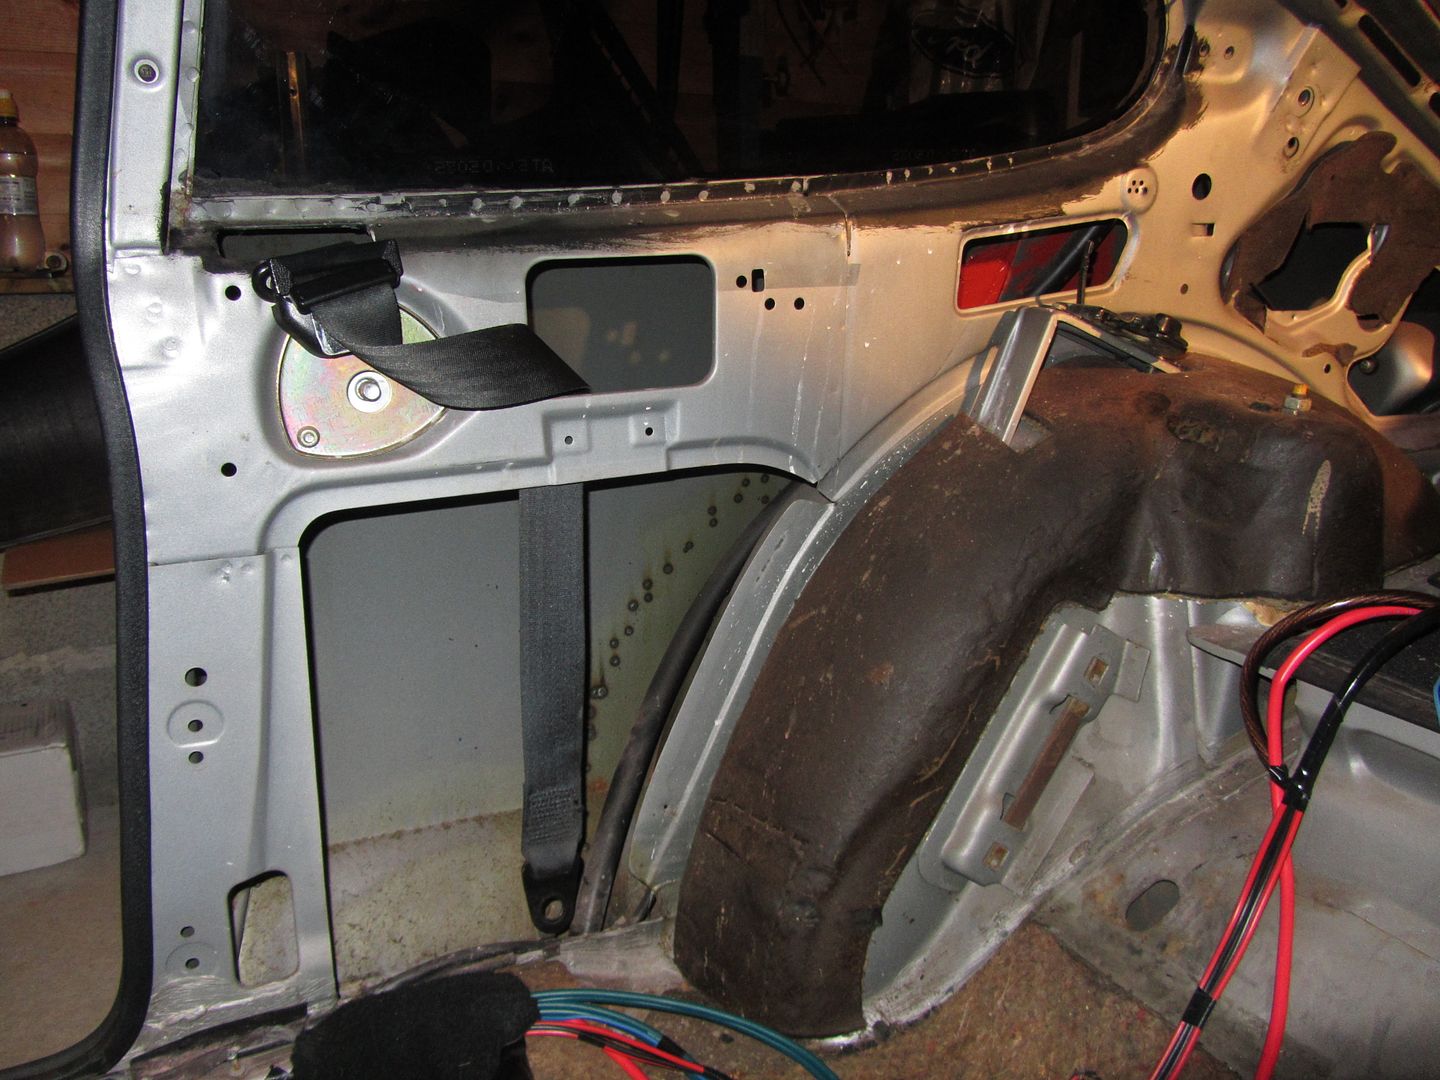 Same for the other side, no foam pads left  Bodge job nr 2, double layer wheelarches here as well, and building foam, you are going to see this stuff later on, read on..  See the red spots, that's old reapair jobs, which both have a big crack in them. Eusty drain plugs, but that's normal for these cars, rest of area looks ok This is left side rear floor 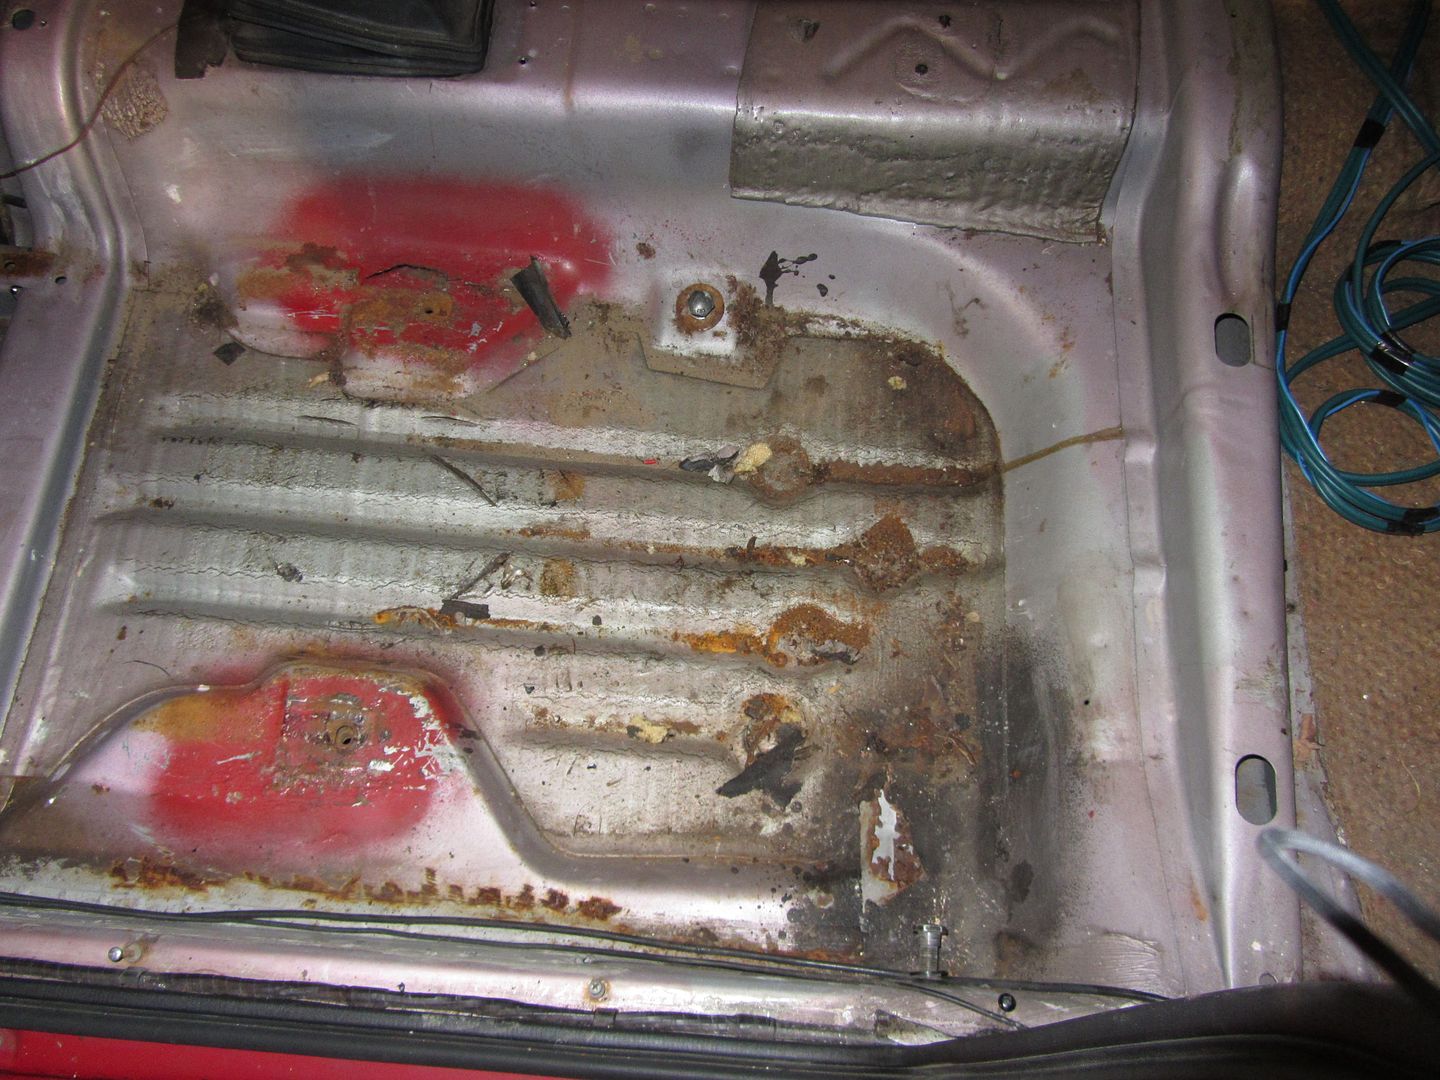 Just in this pic, you can see a big patch, this was easly chisled away later, holding in place with help of rivets, tack welds, glassfiber and sealant. There is also a patch on the underside, yep they haven't bother to even cut out the rust! 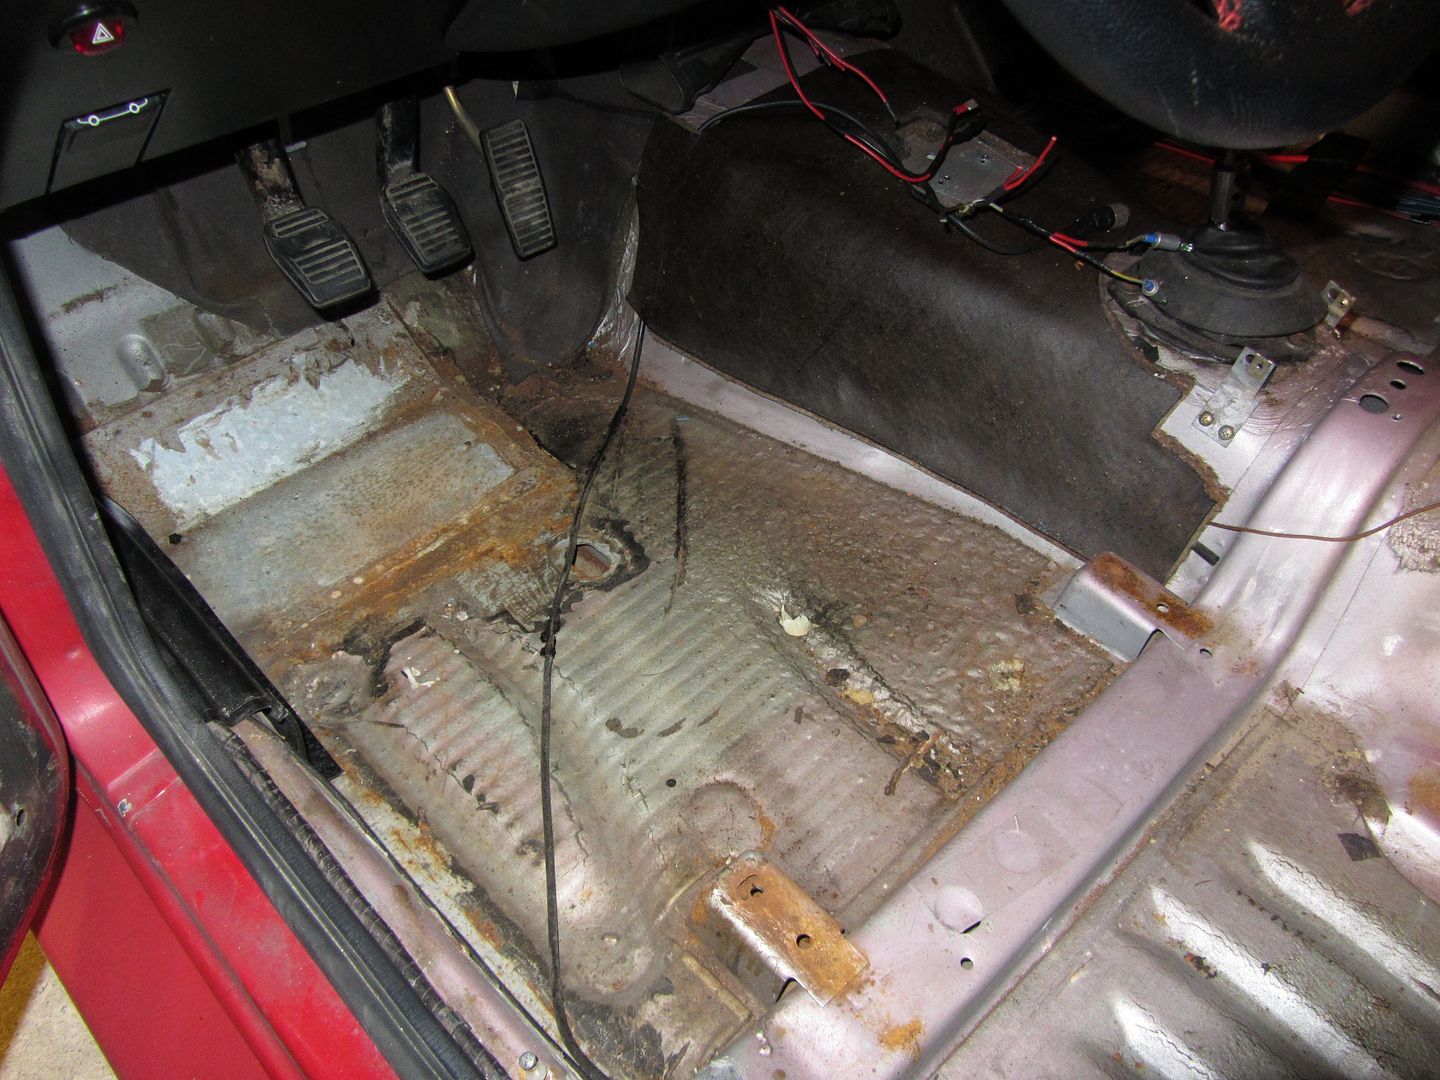 Seems ok...?  At least my stereo wiring job was better quality than the previous owners work...  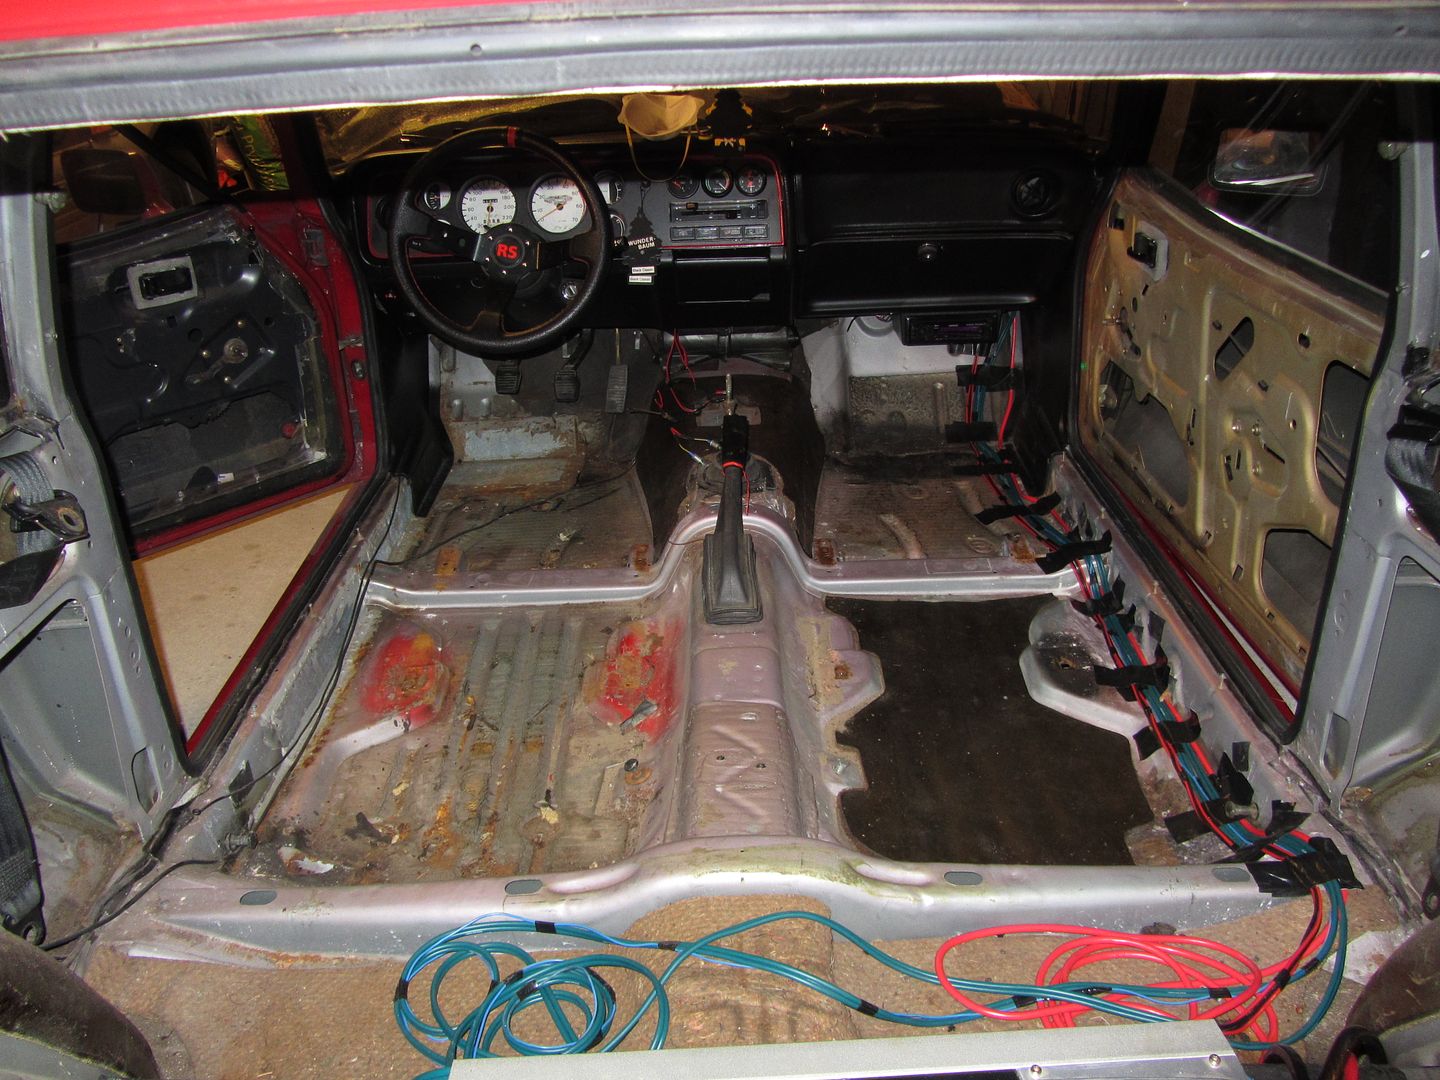 Subwoofer bye bye 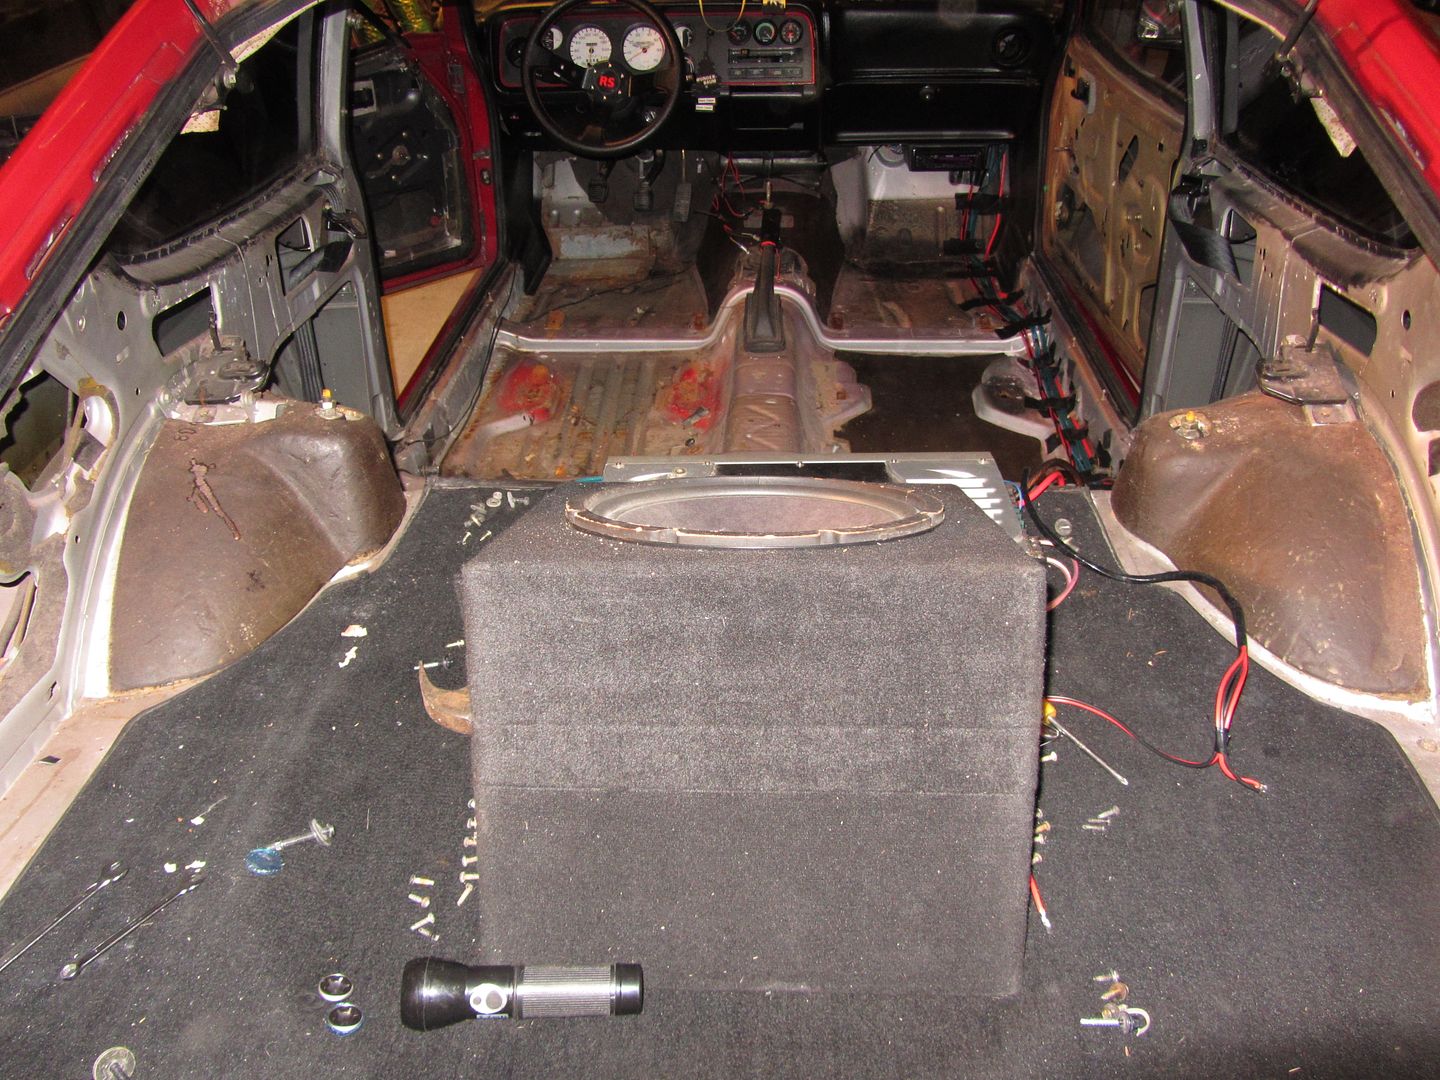 Carpet and seats out.. 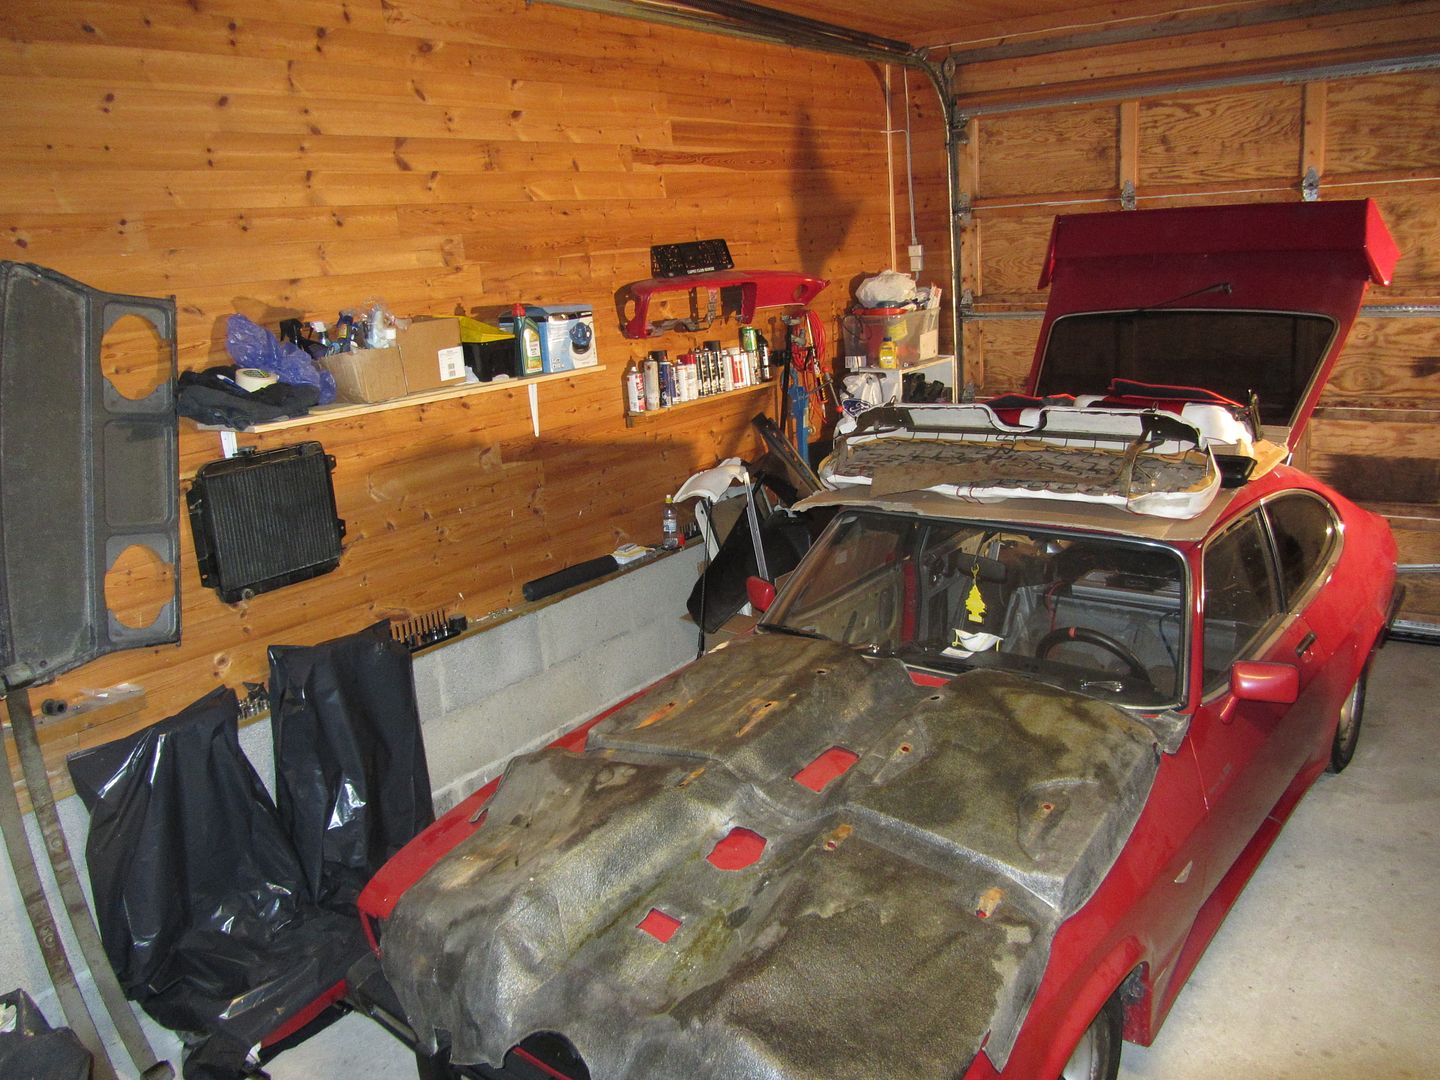 Seems sound under the rear seat area (front of sitting couch part is resting on the beam when fitted)  Badly done reapair patch in driver side rear floor, common rust spot 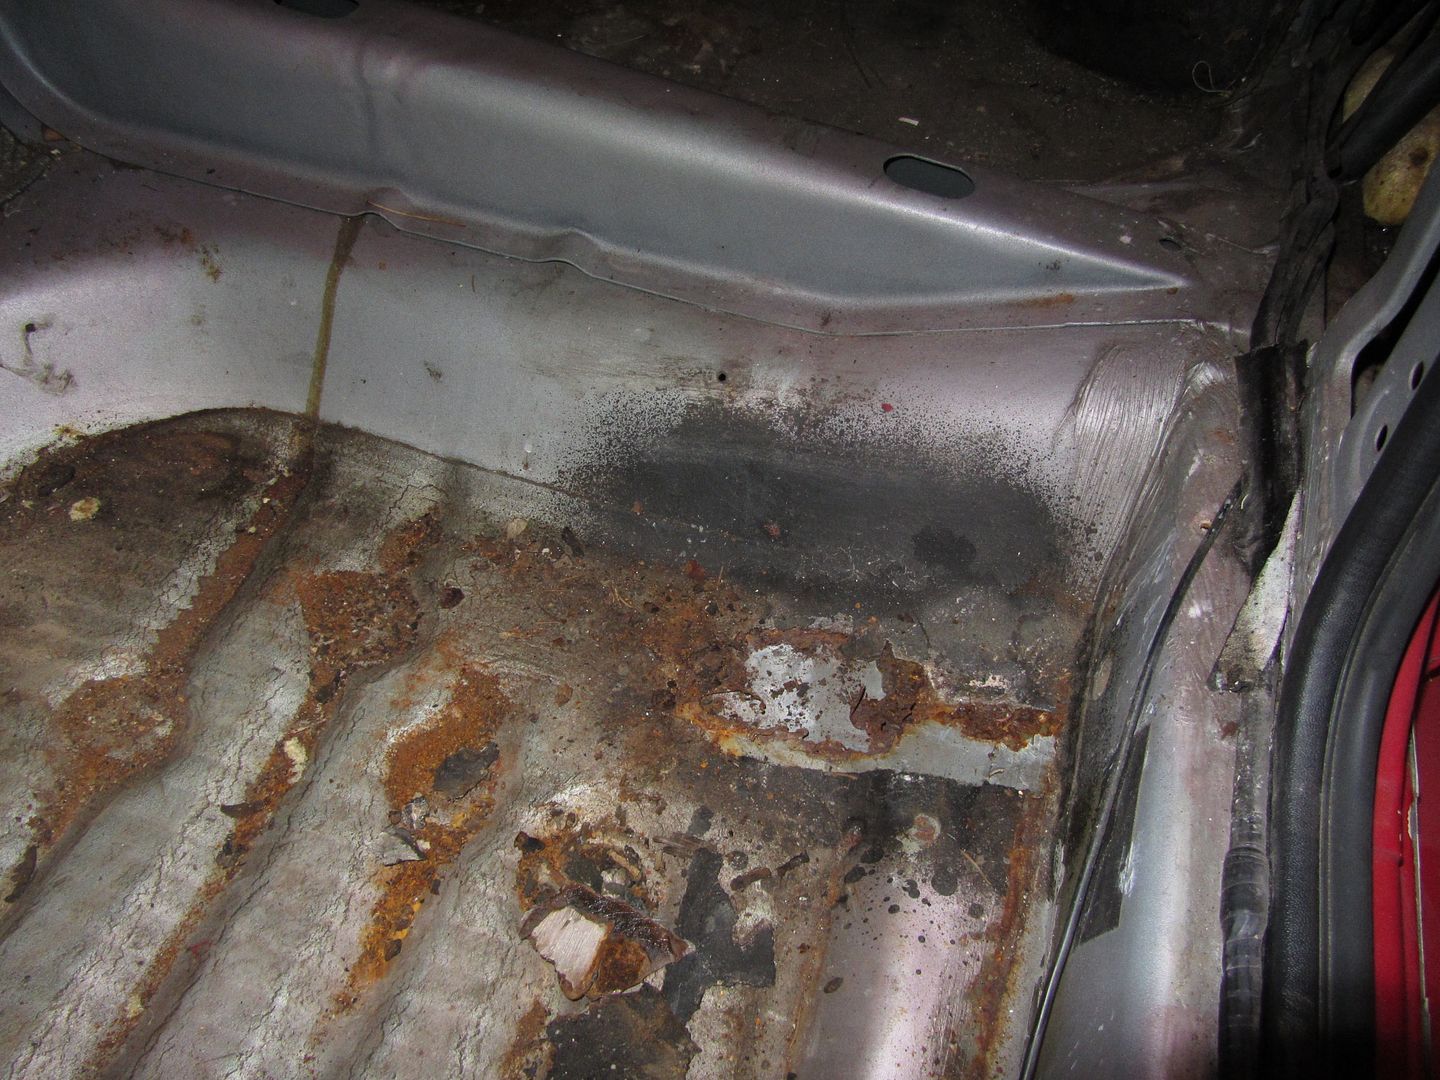 Same for the other side 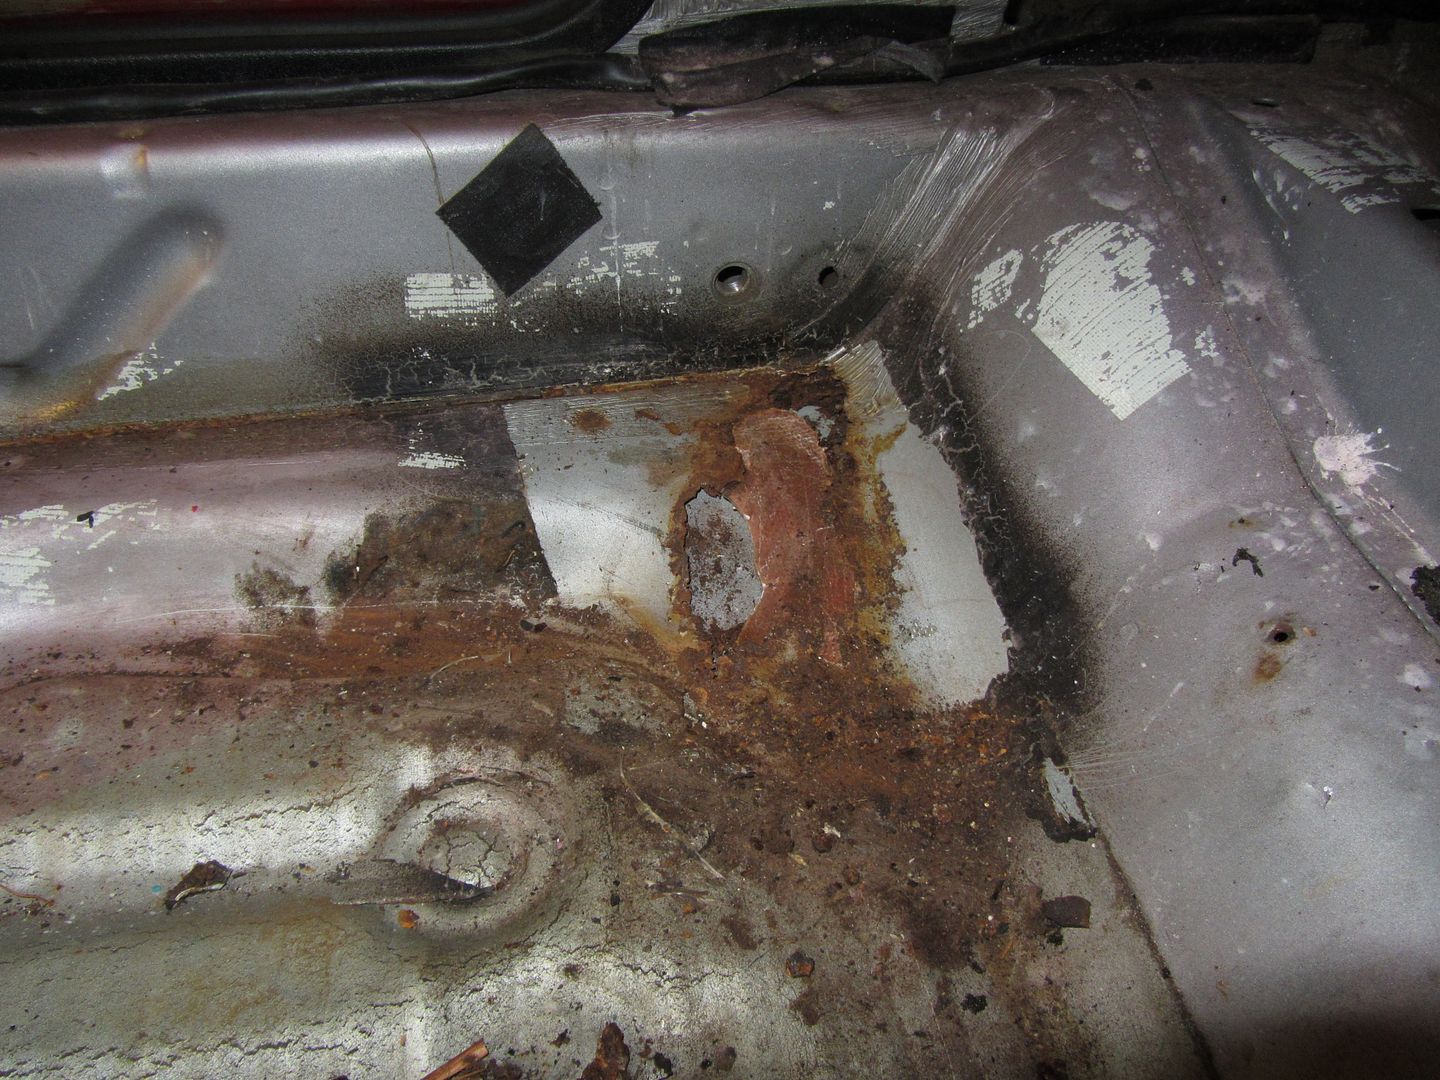 Half arsed rived on plate in the inner sill driver side, both front and rear part, why do they bother at all?  ??  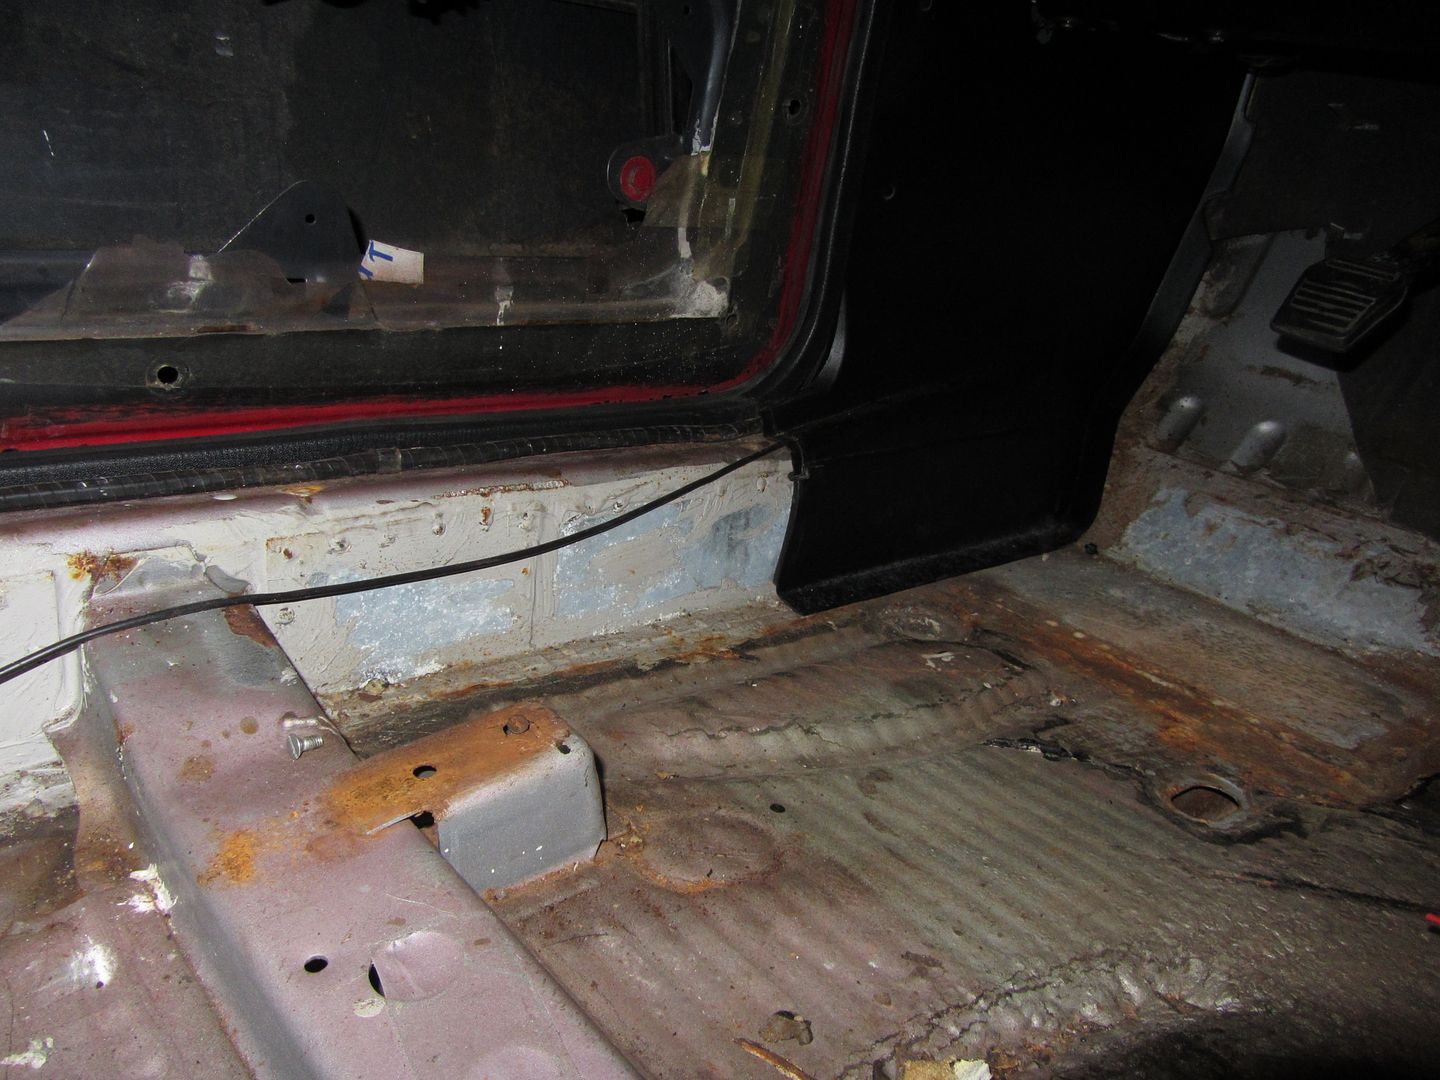 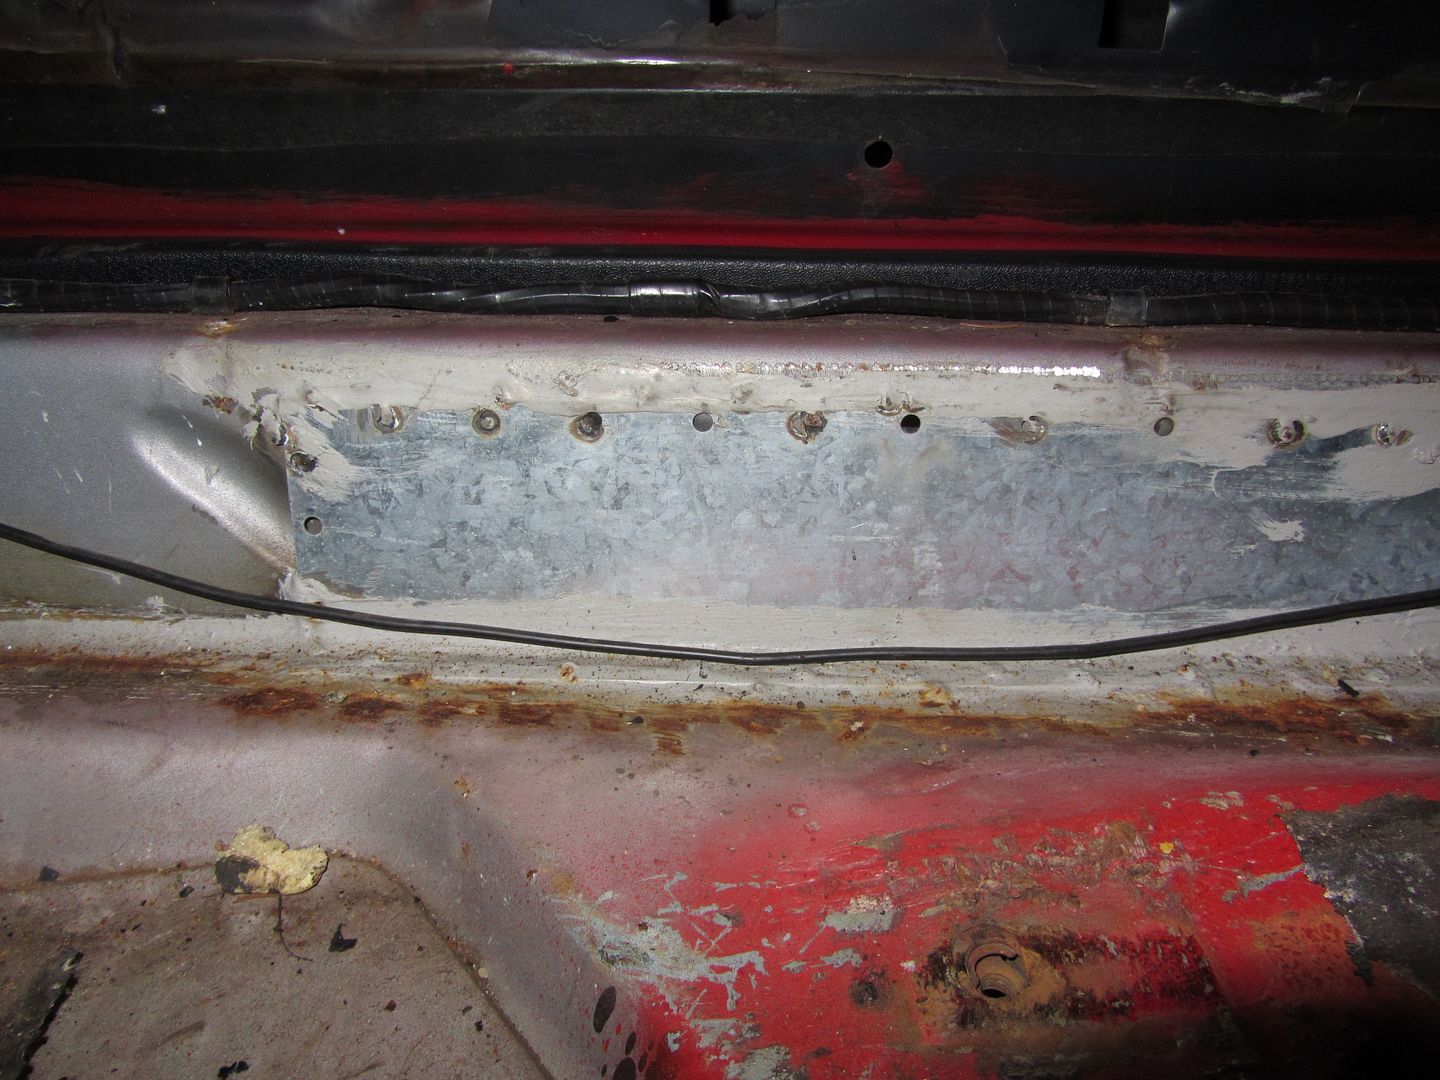 Mostly sealant holding it in place, weak rivets and only riveted half of the holes.. 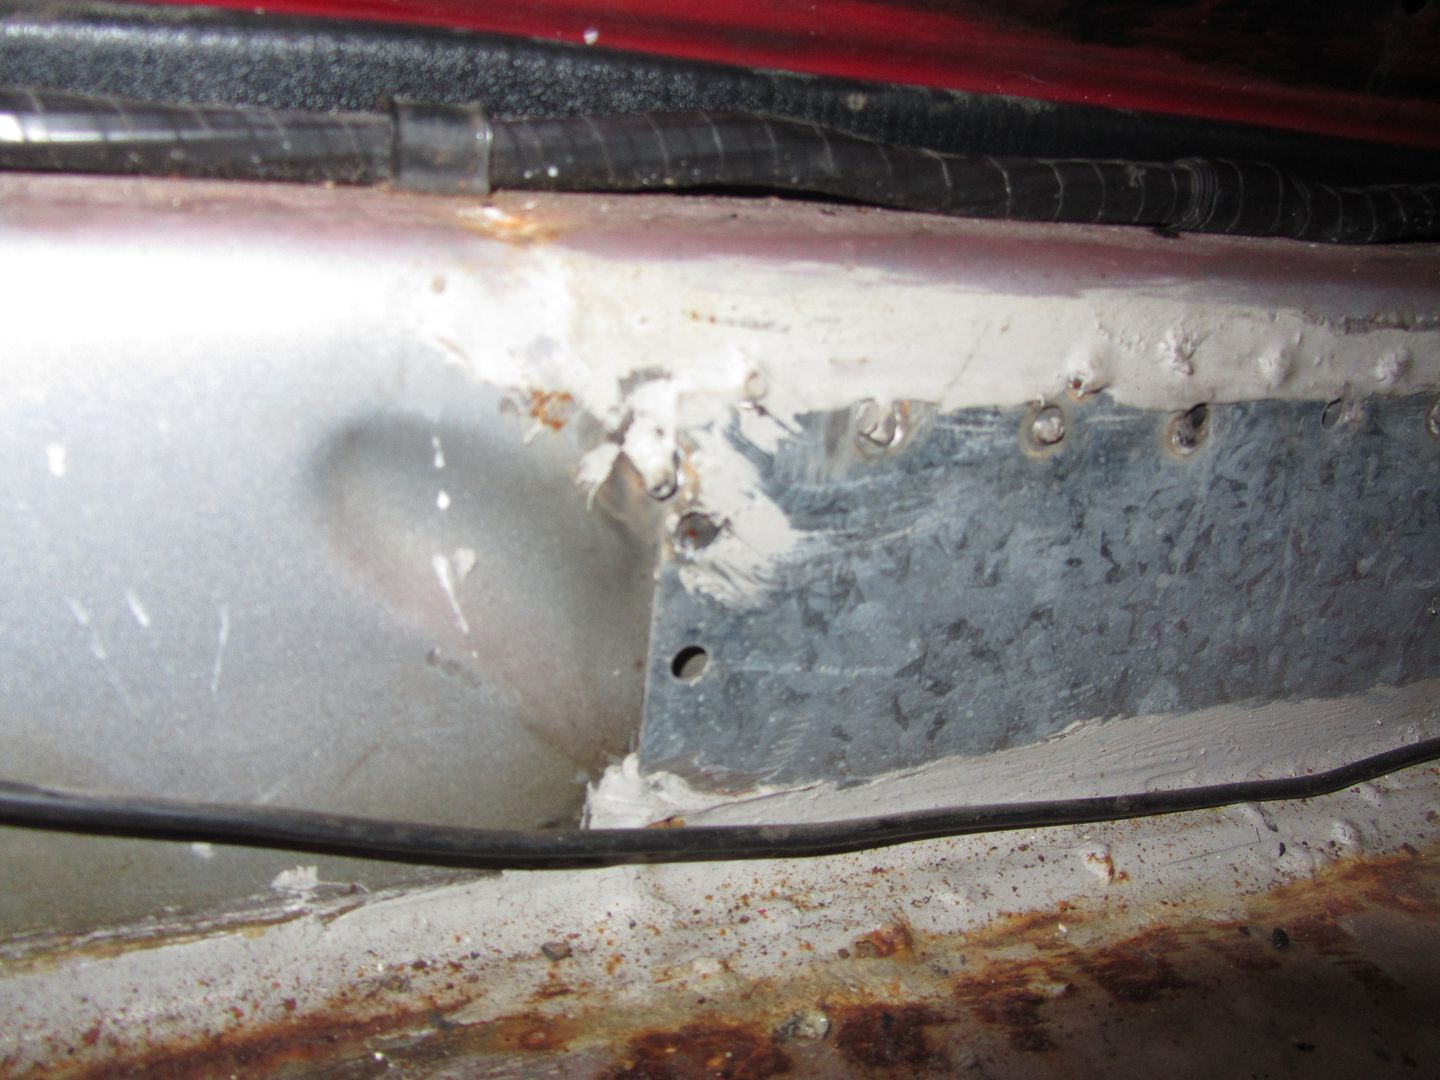 At least the boot floor have not got more rust than last time, just a couple of holes here.. 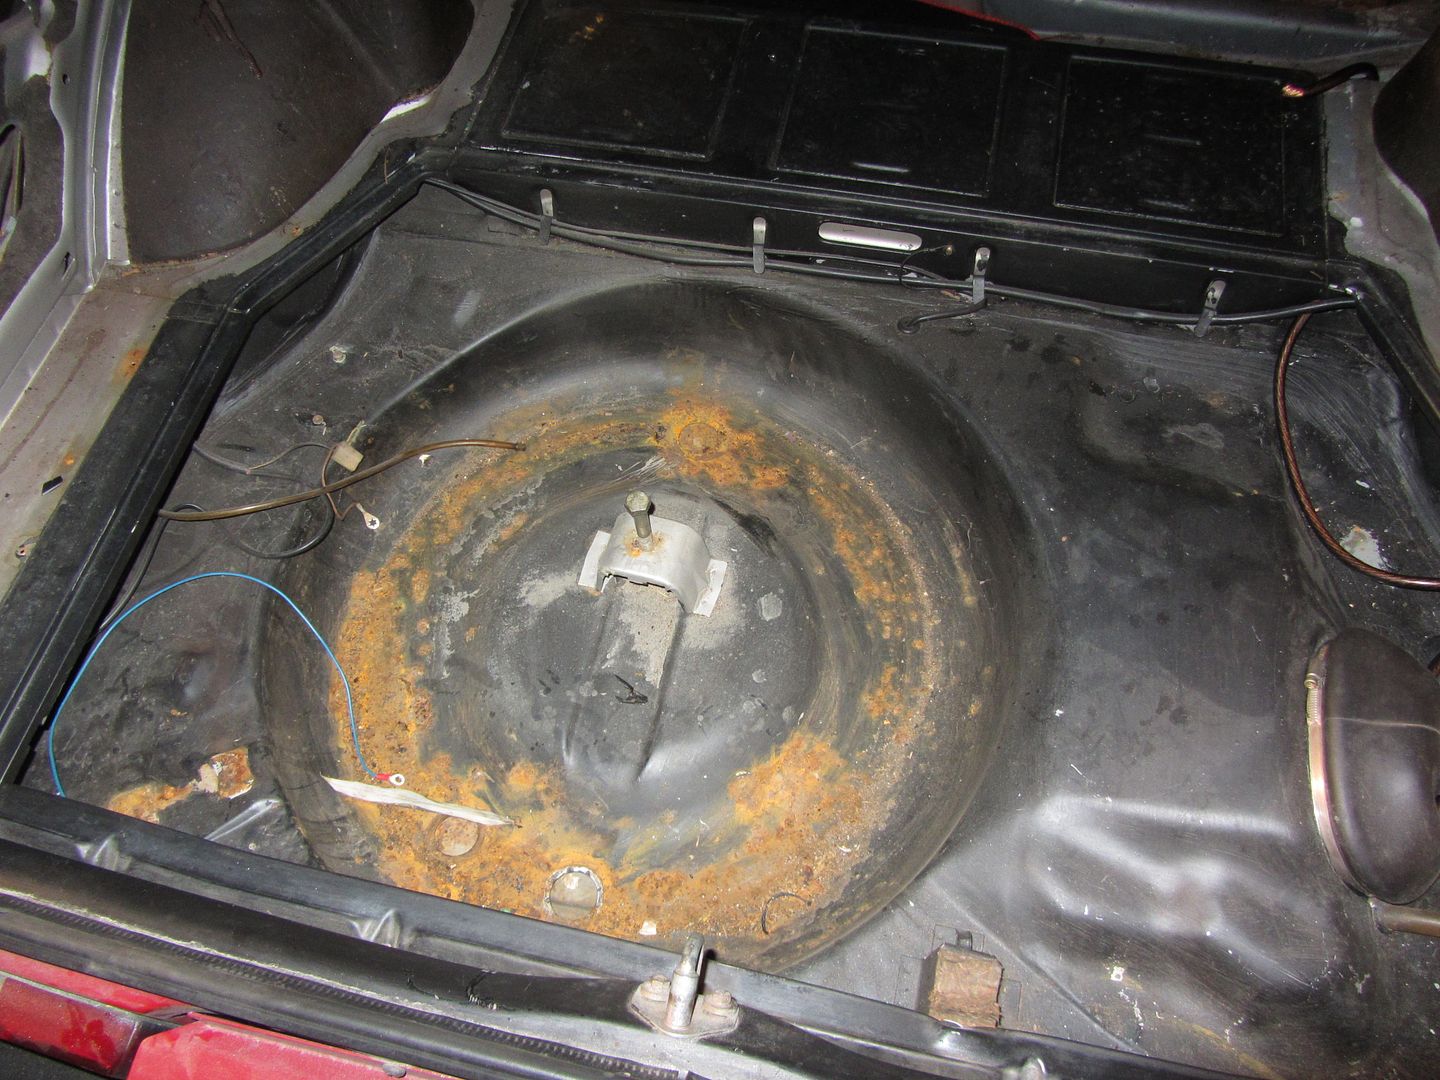 Got bored one evening so we began to poke on the rear spiler area, ready for filler? 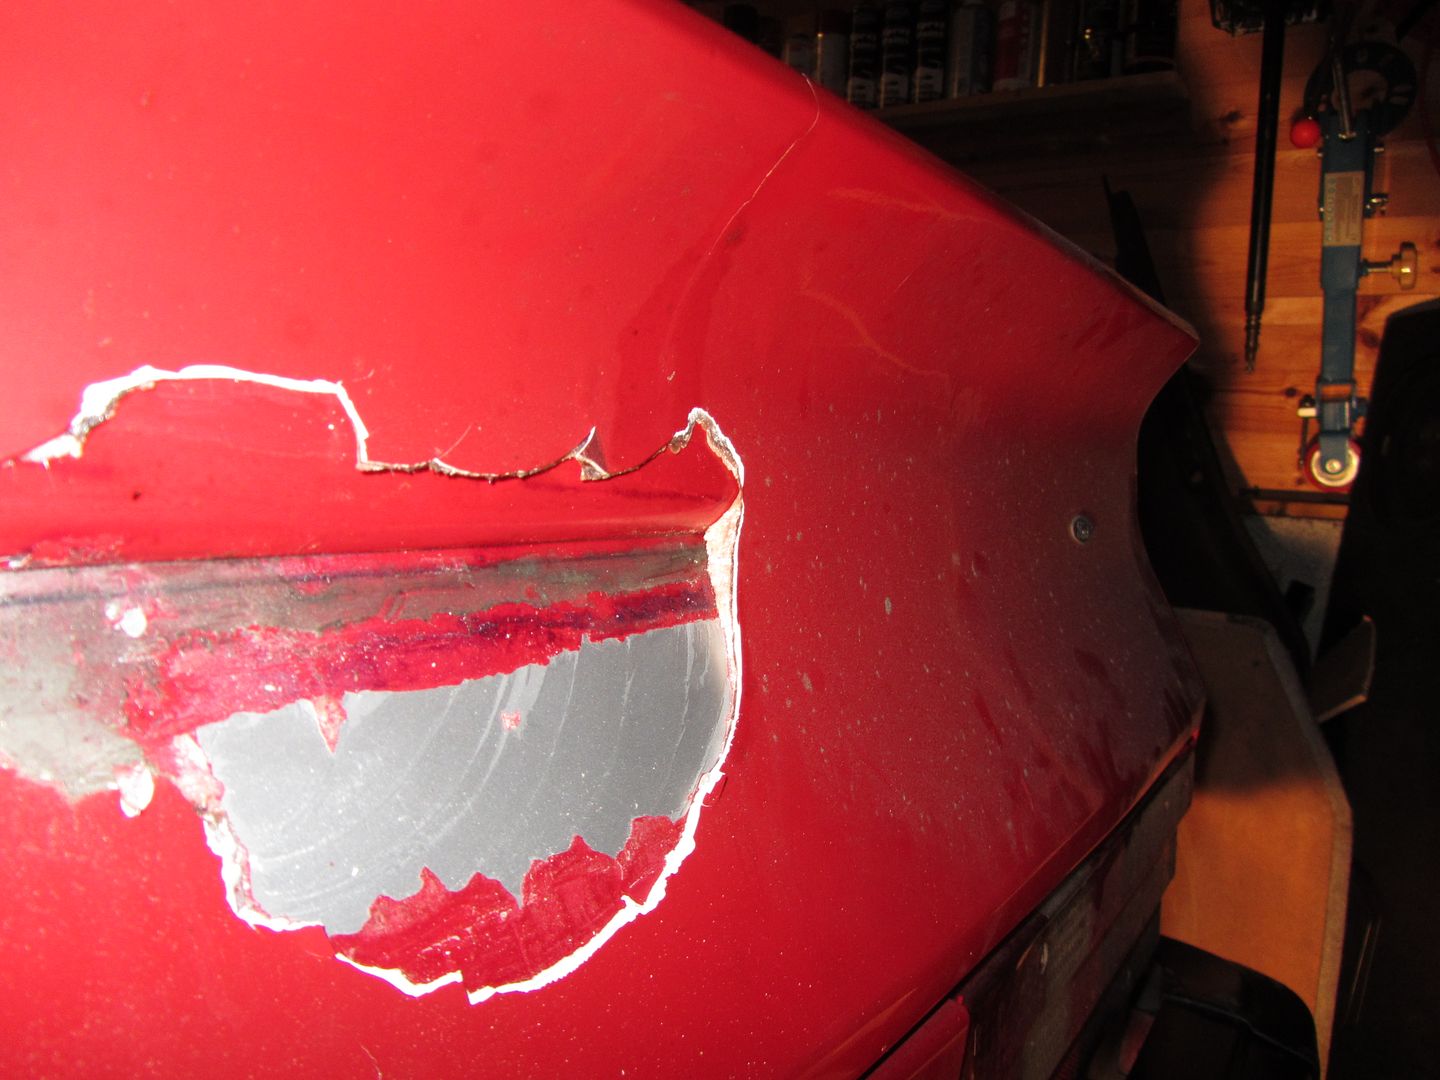 Nearly 1.5cm thick at the lip pf the spoiler 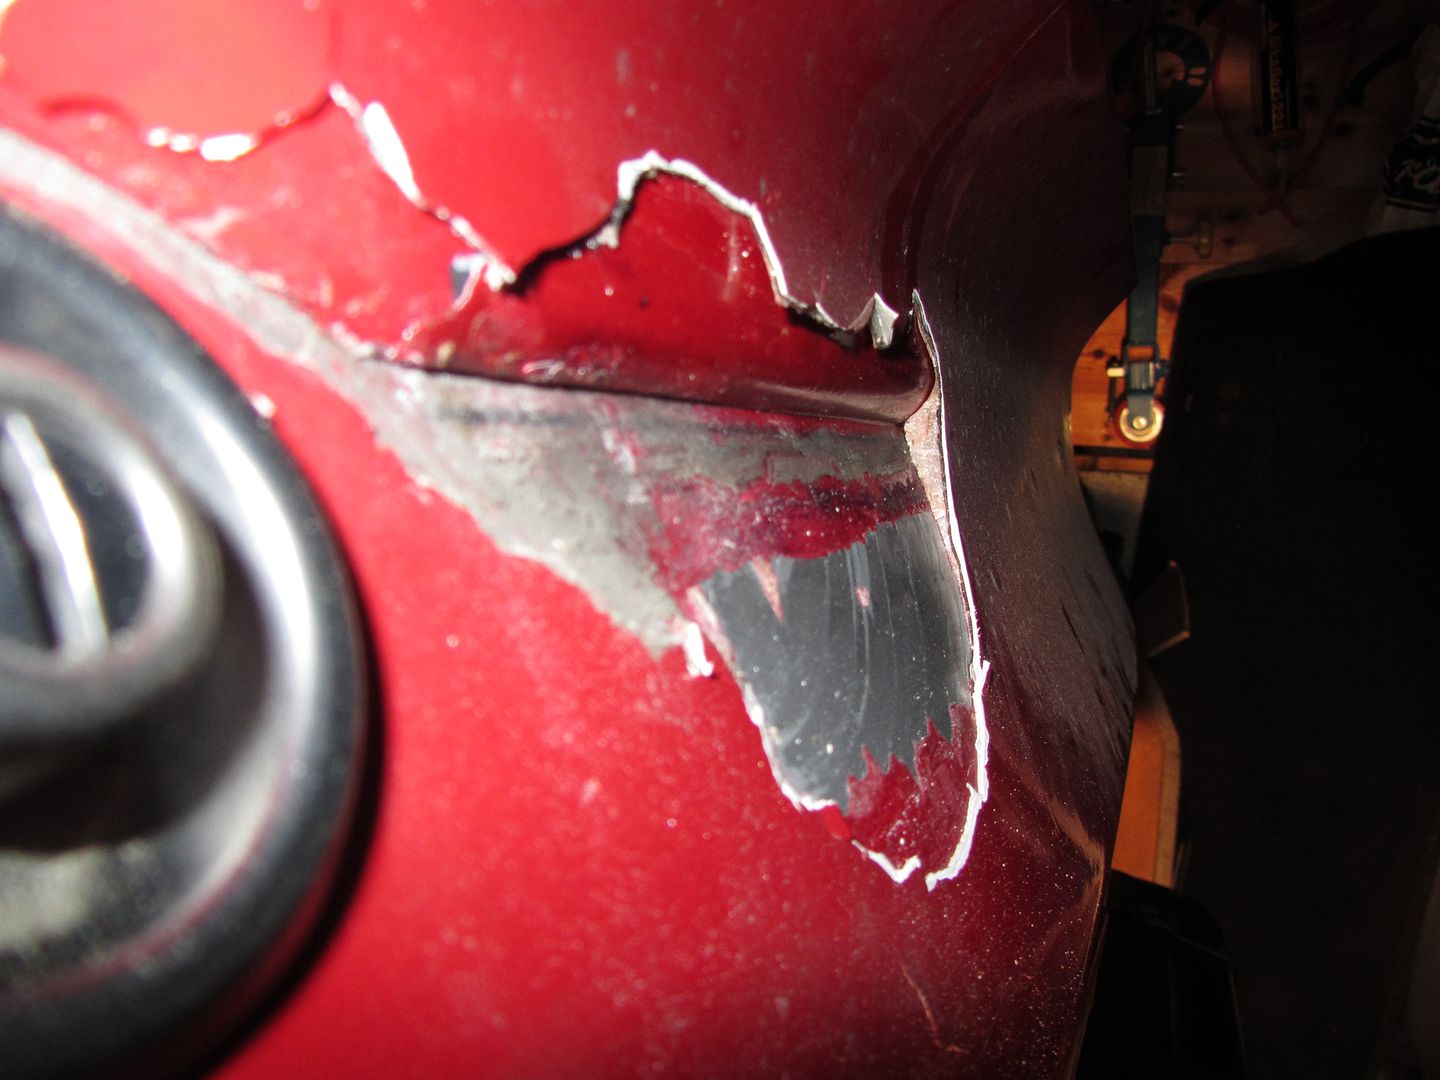 They have both used glassfibre and filler 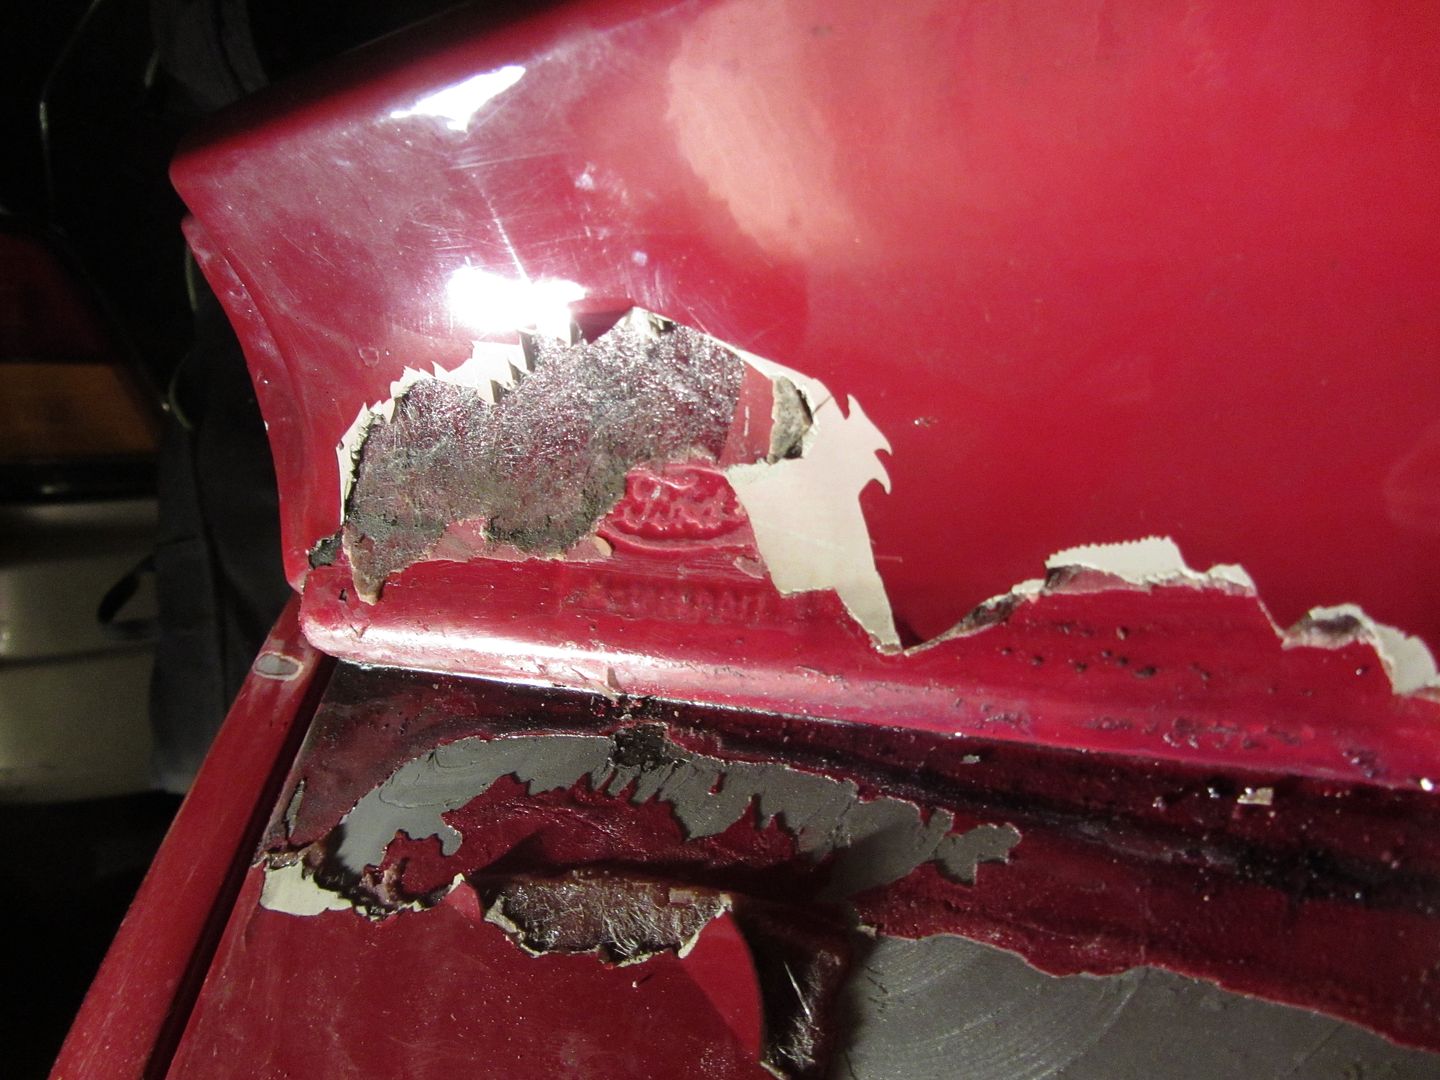 And yes it's a genuine rubber turbo spoiler under there!!! 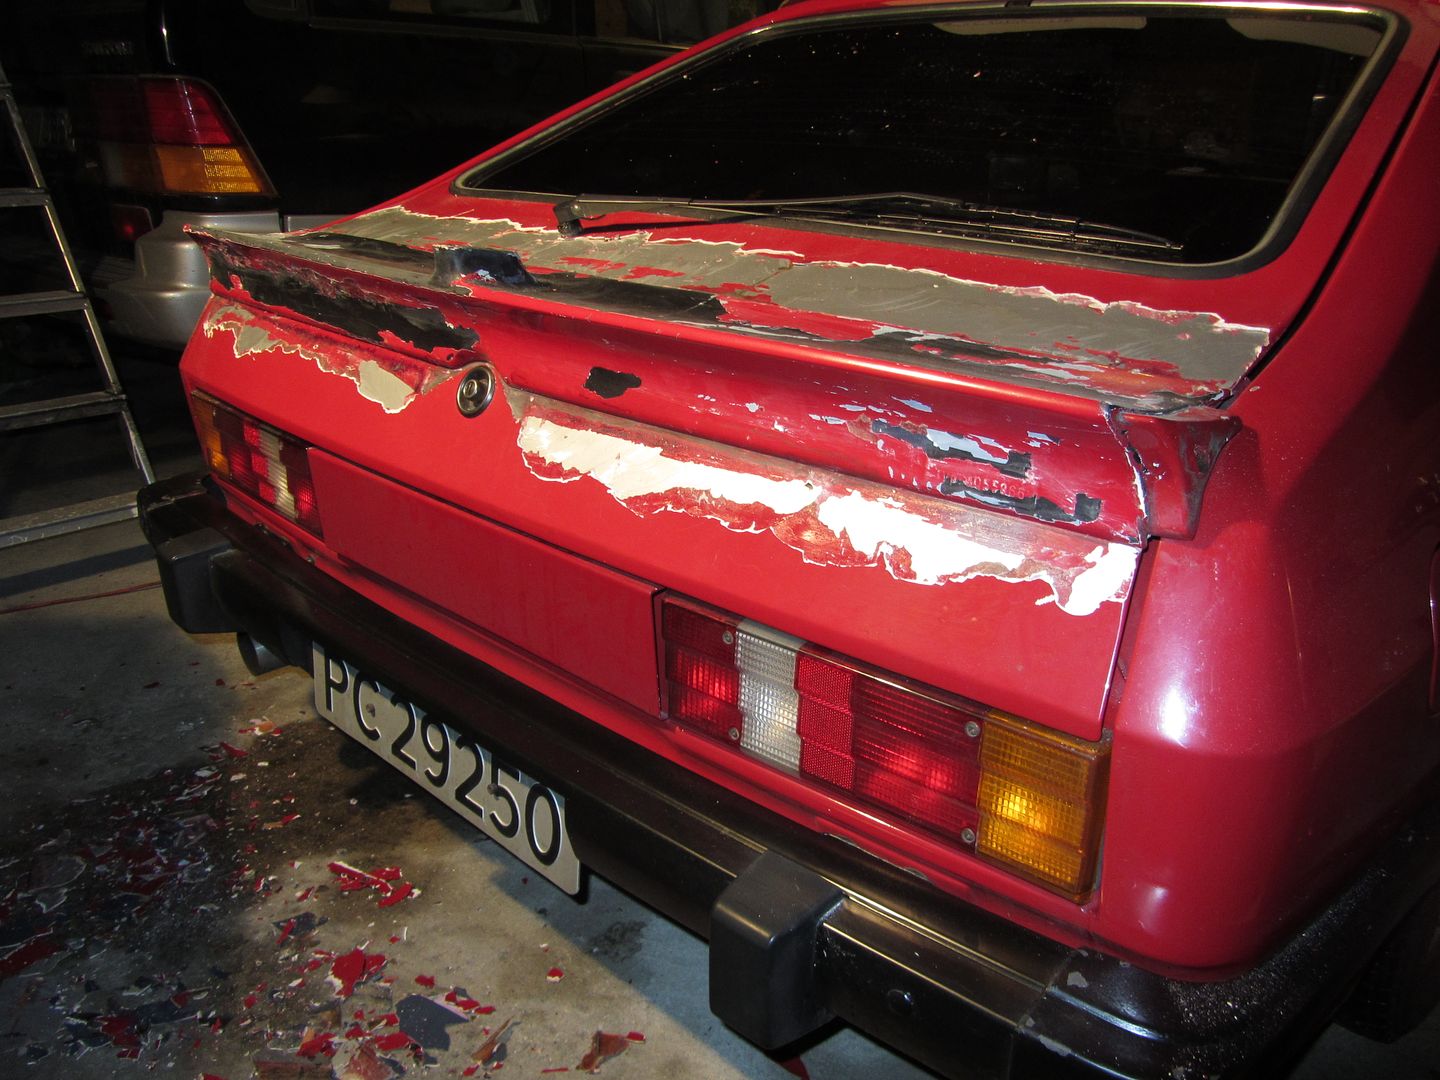 See how thick some part was?? This was about 2cm thick.. 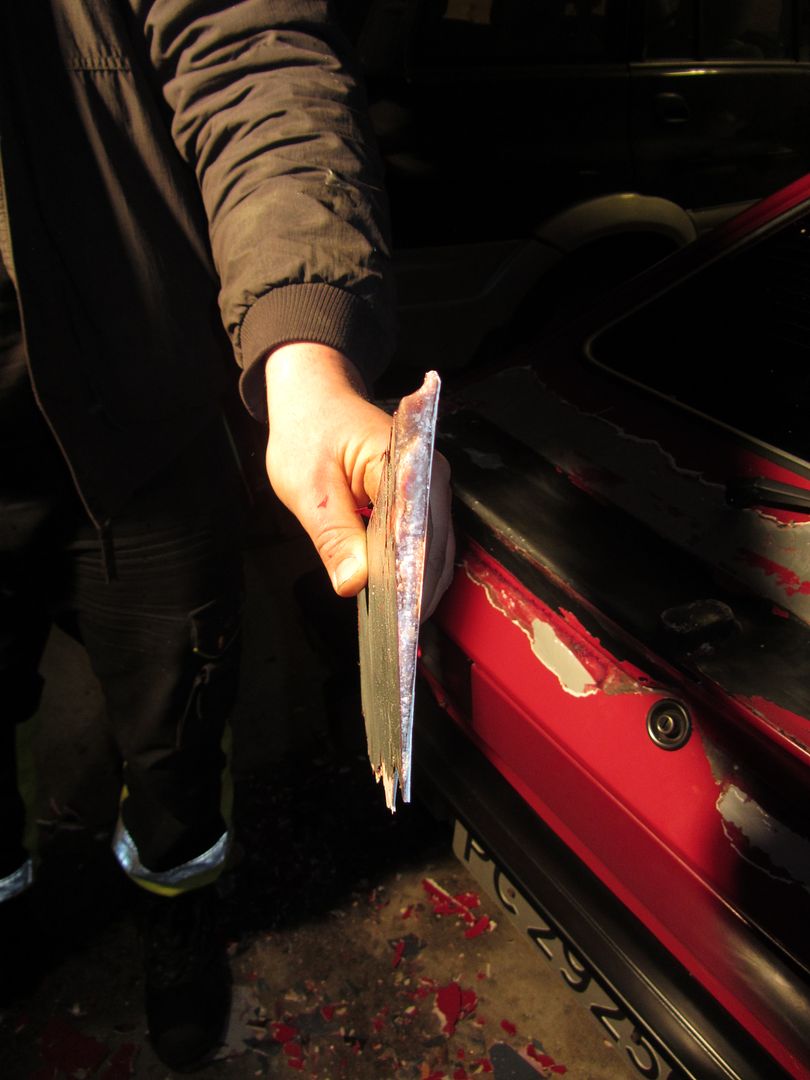 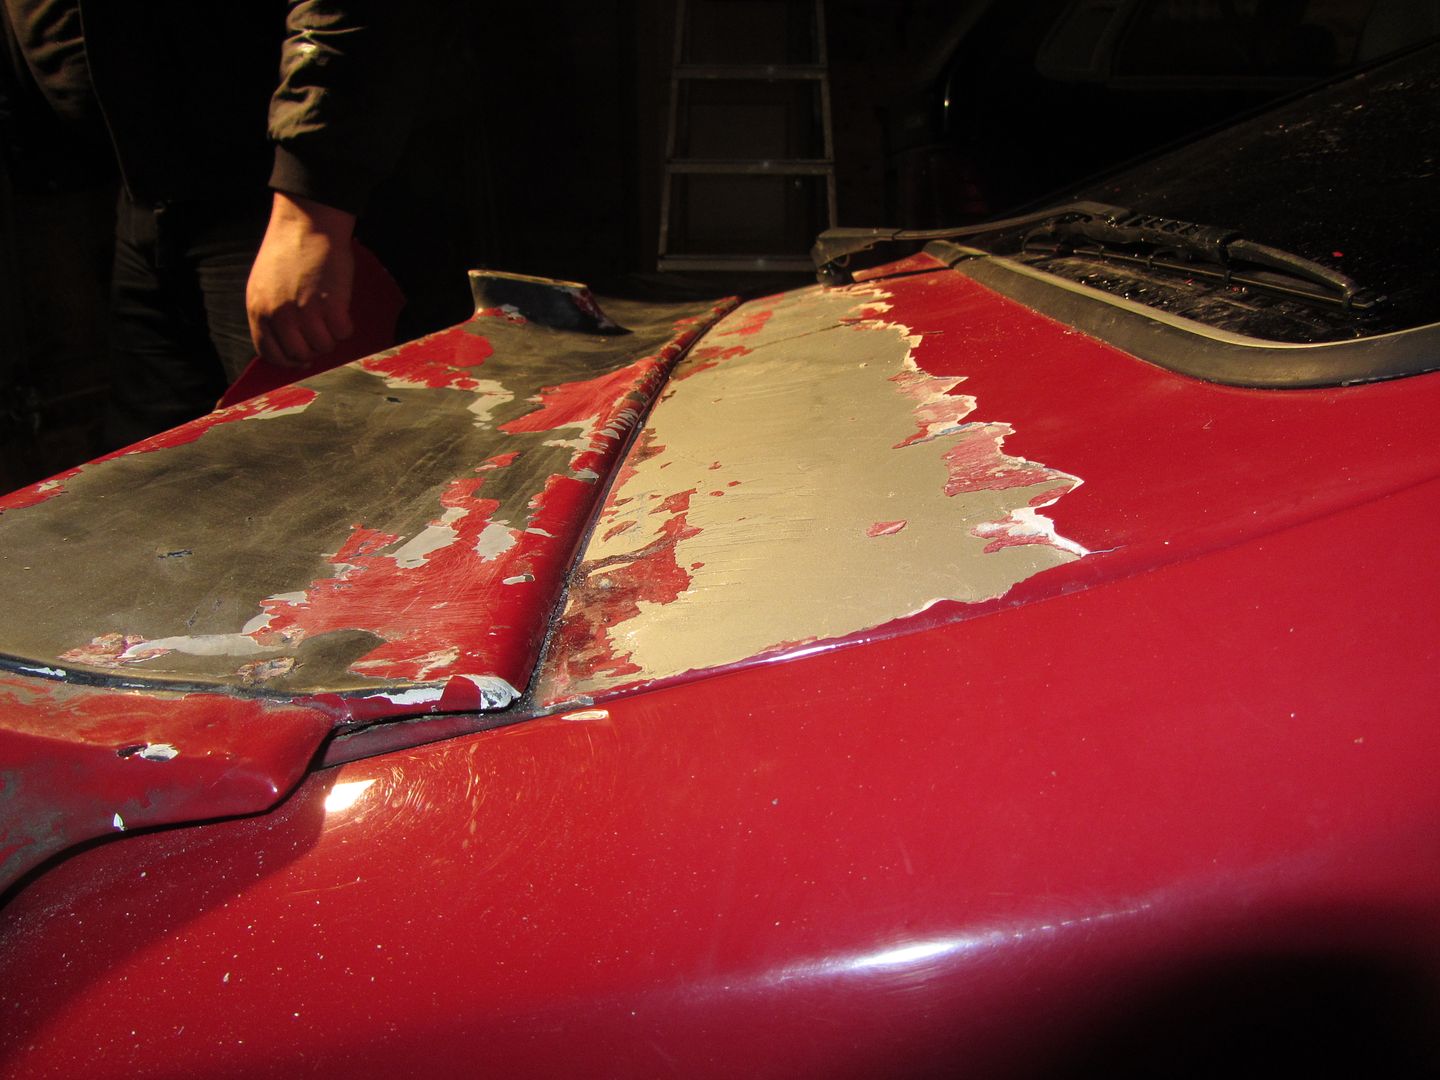 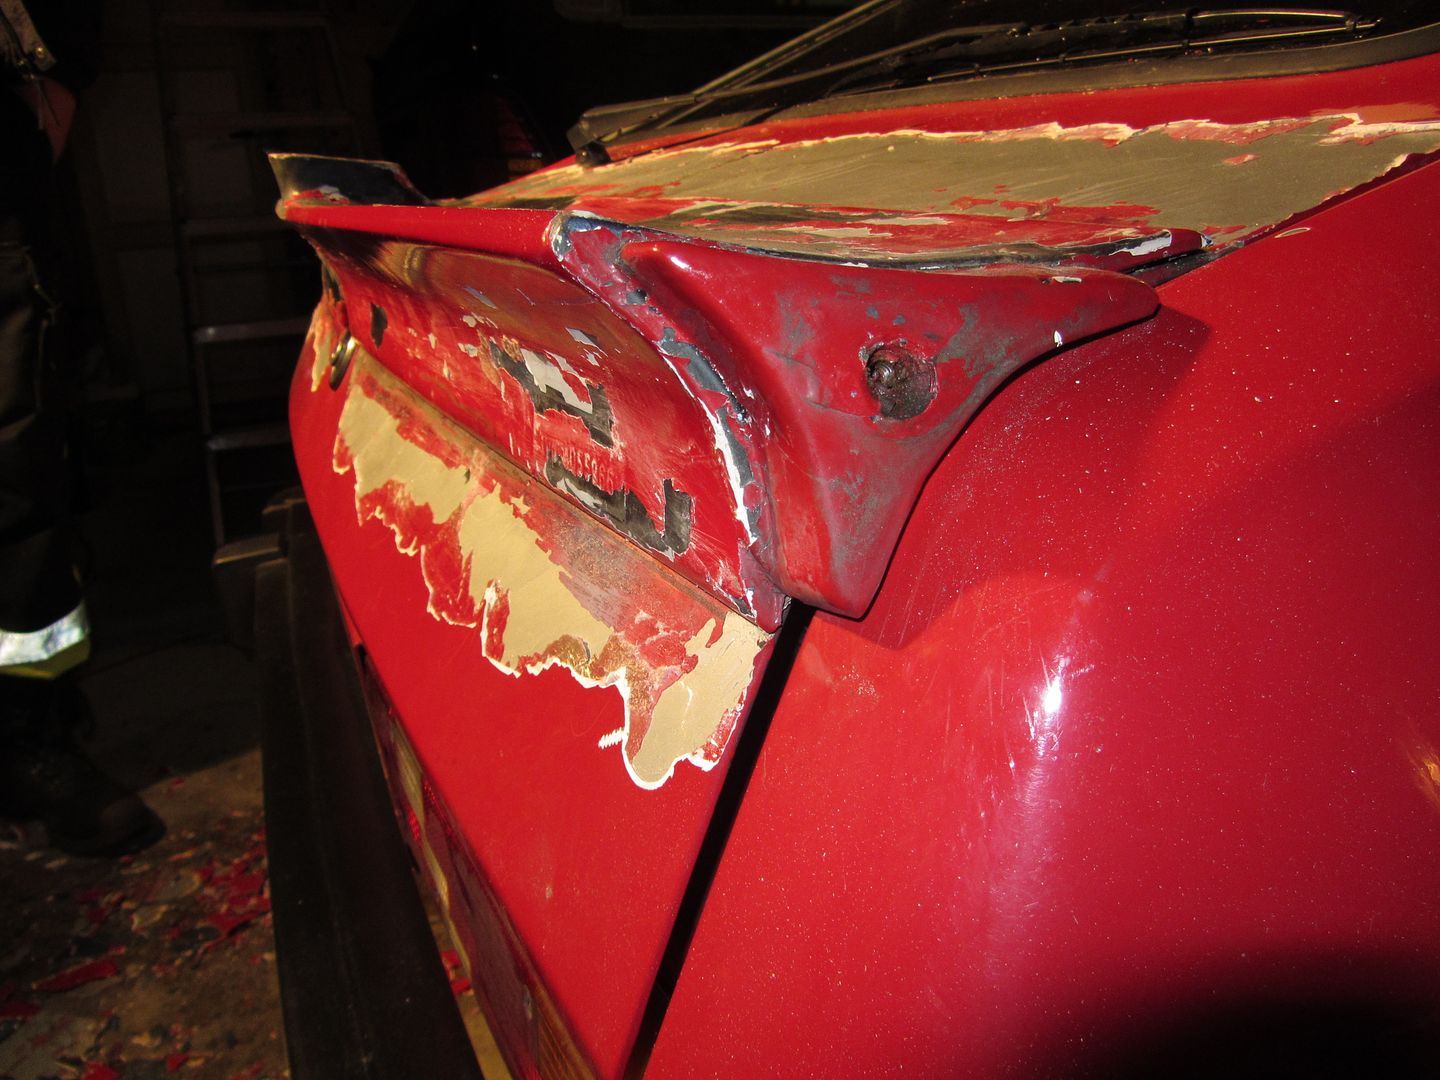 At the end it was about 10 pounds of filler on the floor!!!!!! 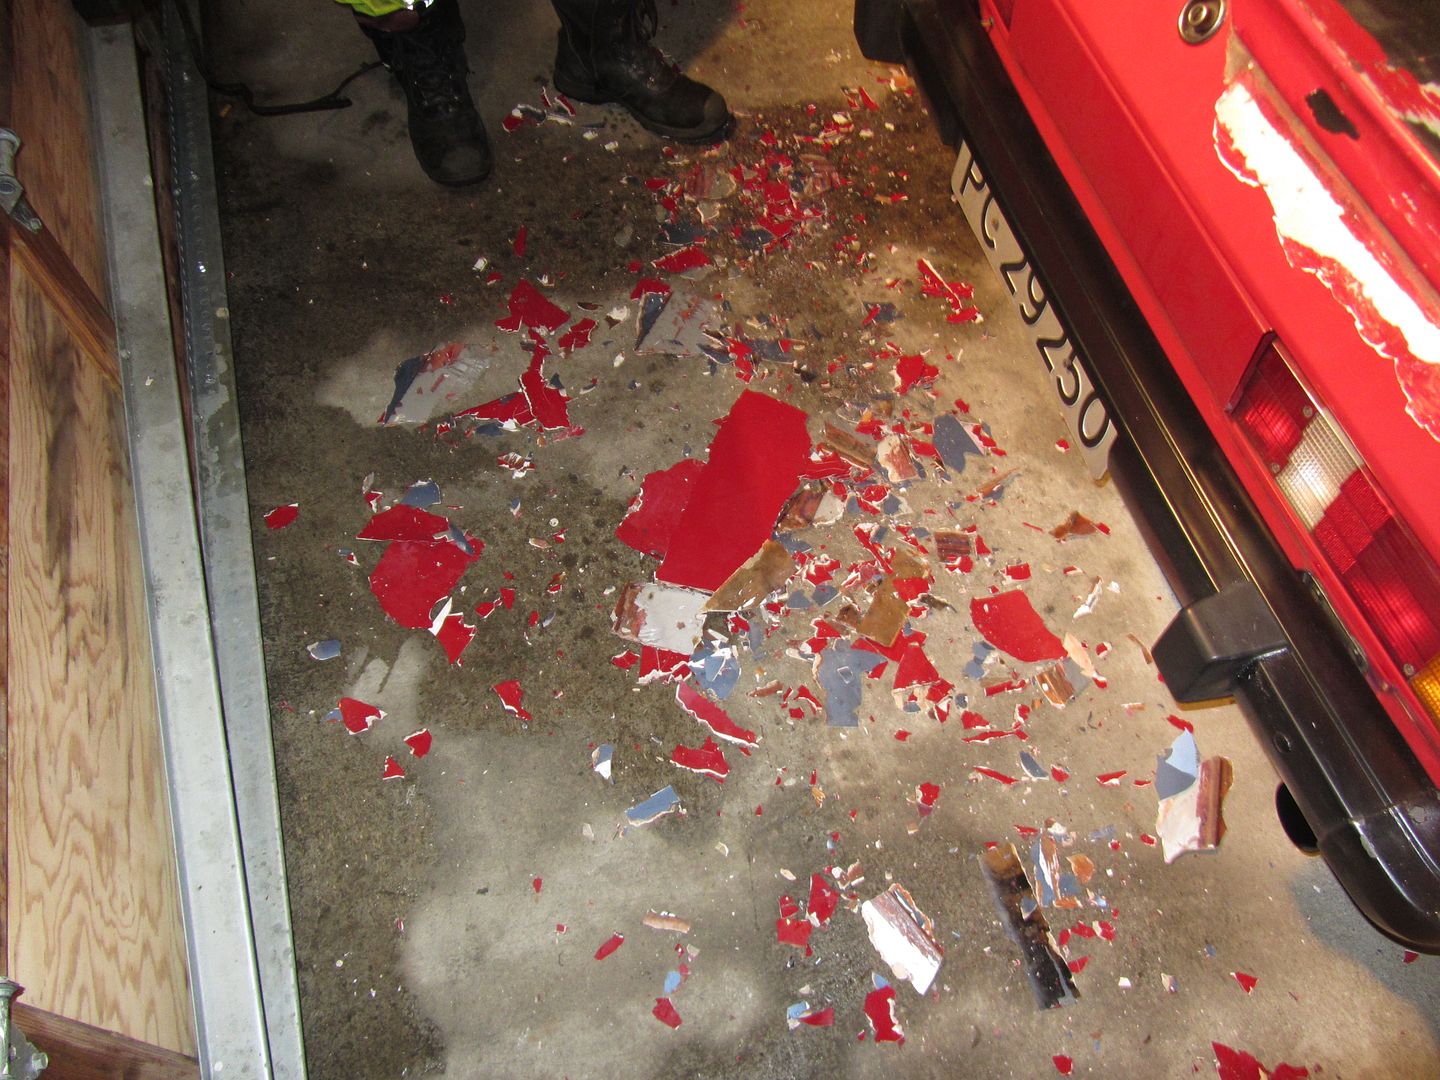 |
| |
|
|
|
|
cap78
Part of things
Posts: 96
|
|
Feb 13, 2017 13:33:18 GMT
|
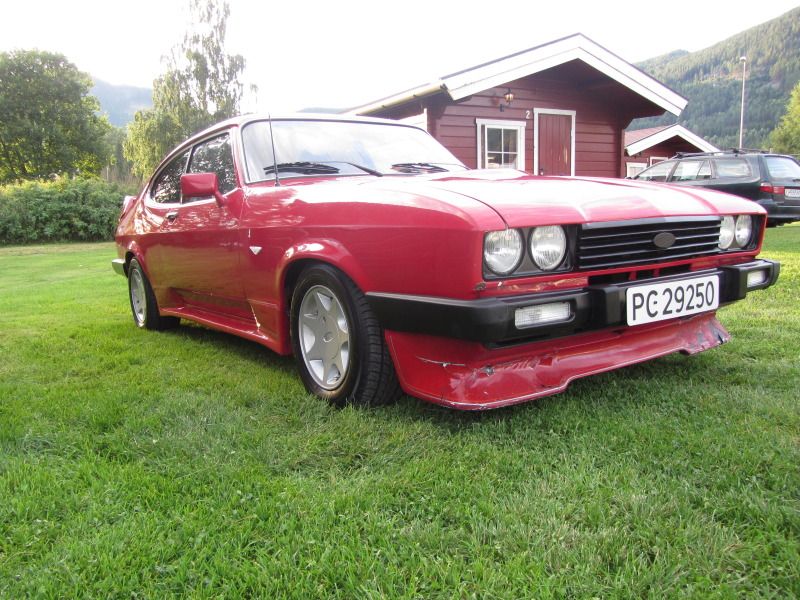
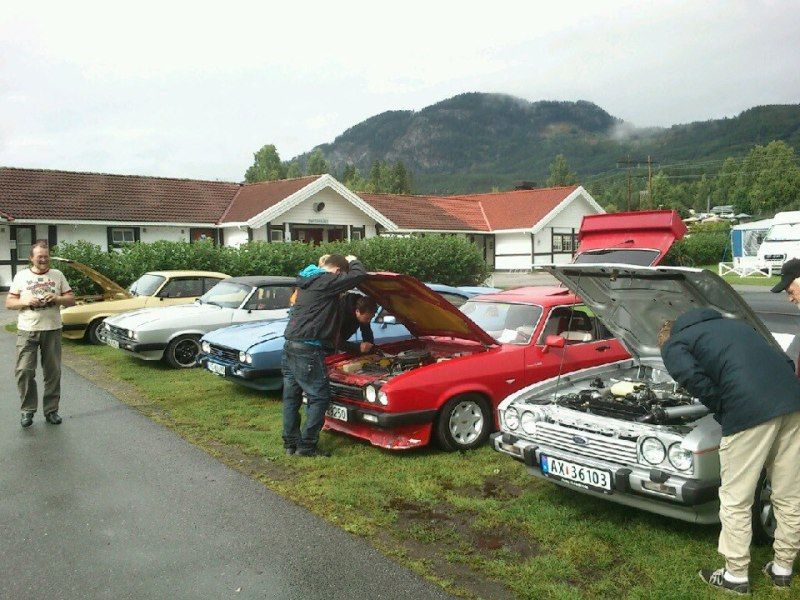
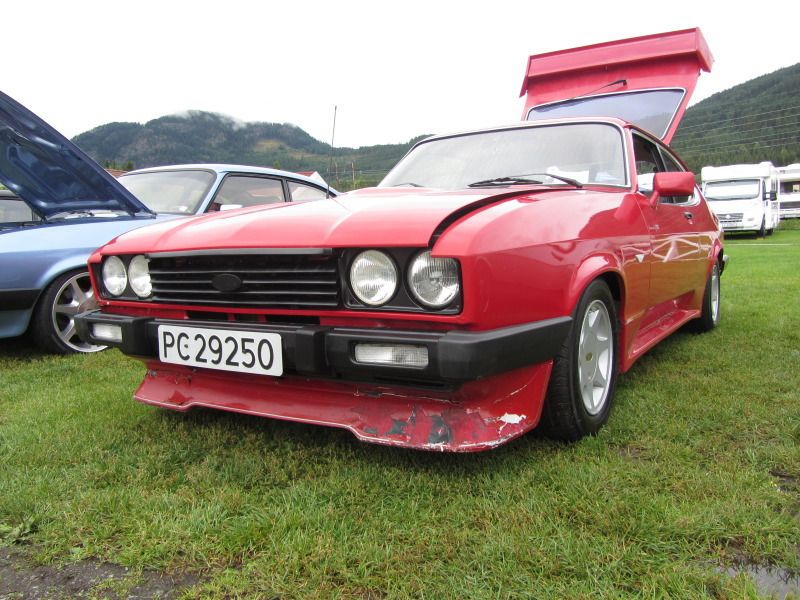
One thing that bothered my since I got it was the flaking paint on the front spoiler. So the next week after the last trip I put the front on some axle stands to get a better working height... 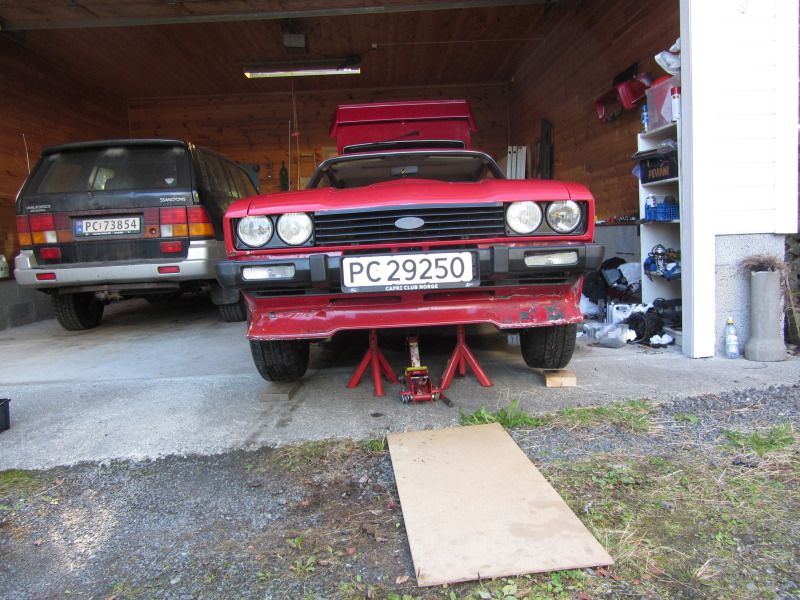 Diden't look that smart up close 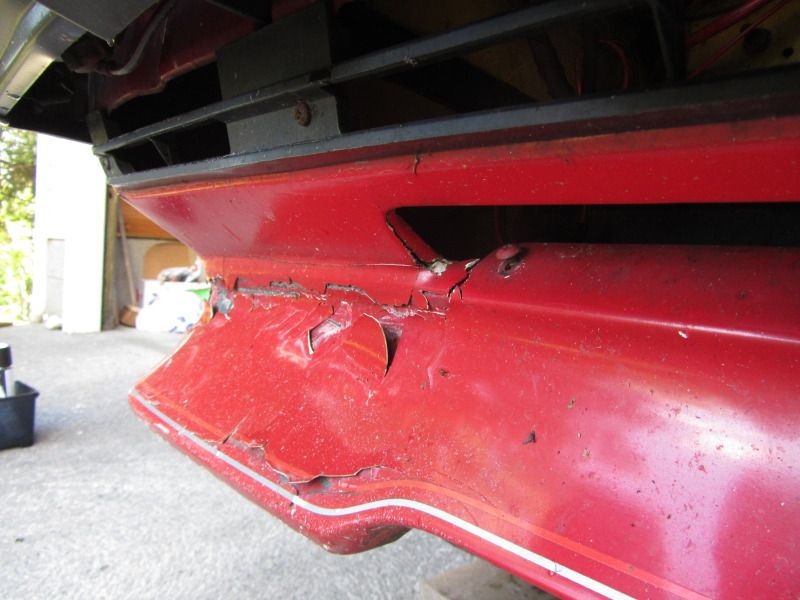 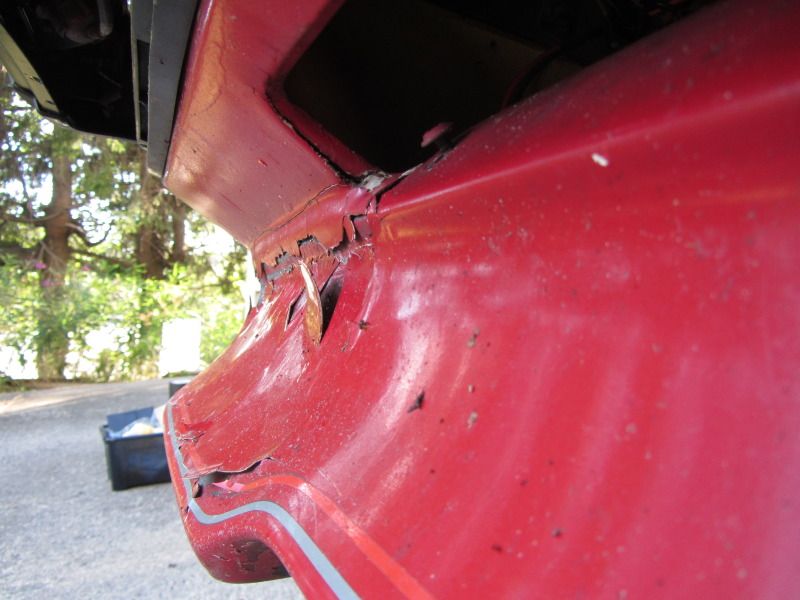 The other side was even worse... 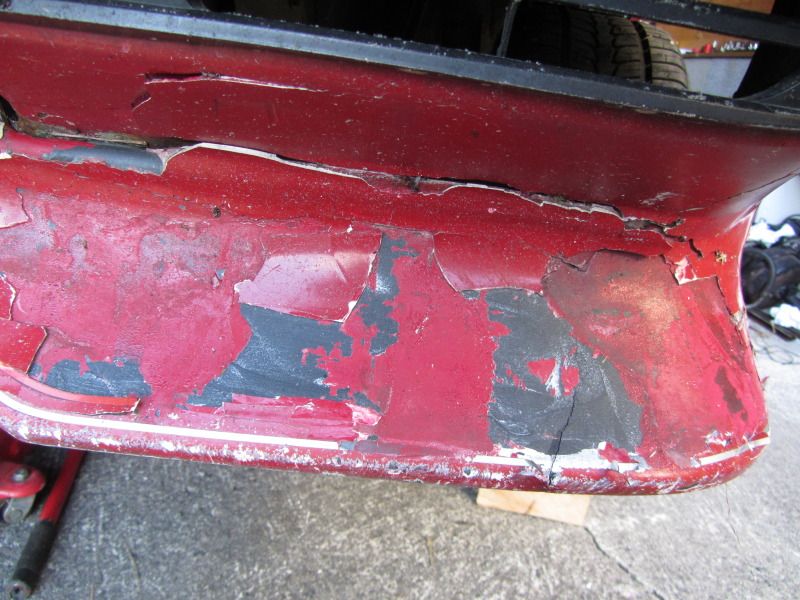 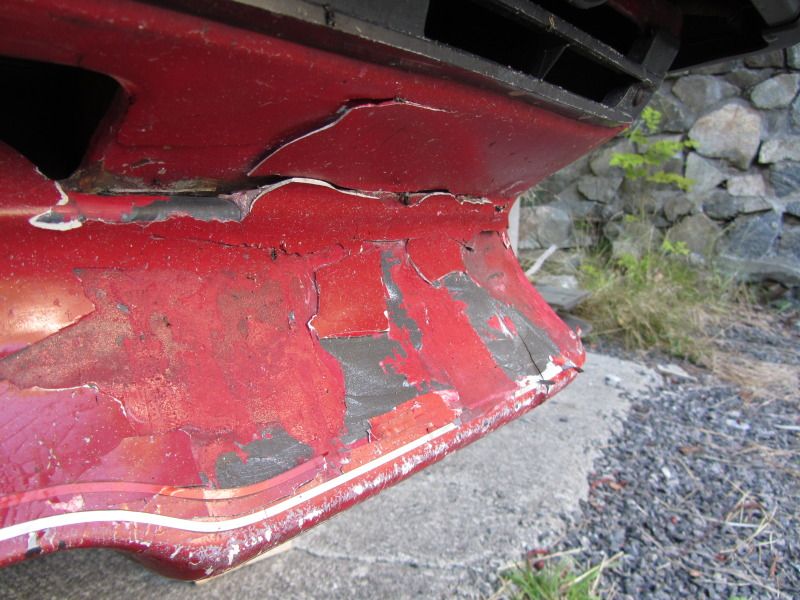 A Capri without a front spoiler looks a bit helpless to me, so it needs to be refitted ASAP! 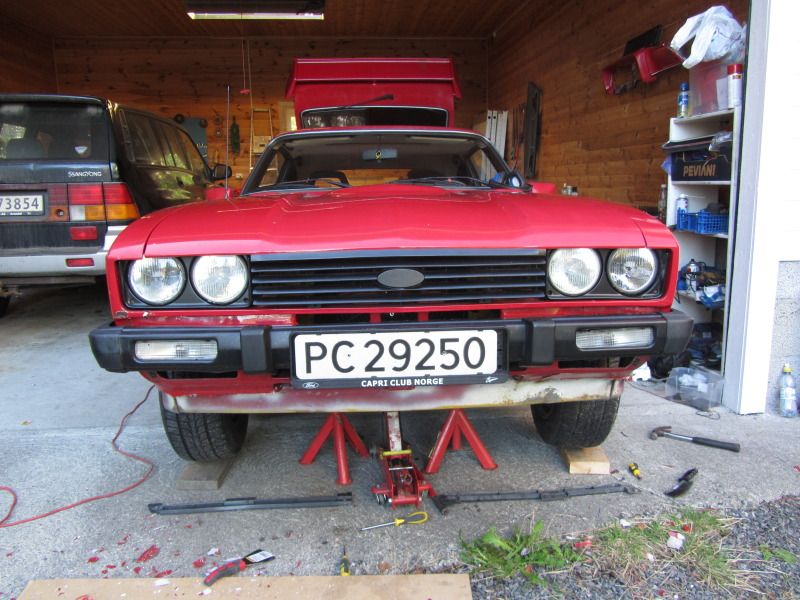 Made a simple work table with the things I had, 2 euro pallets and a plate of wood... 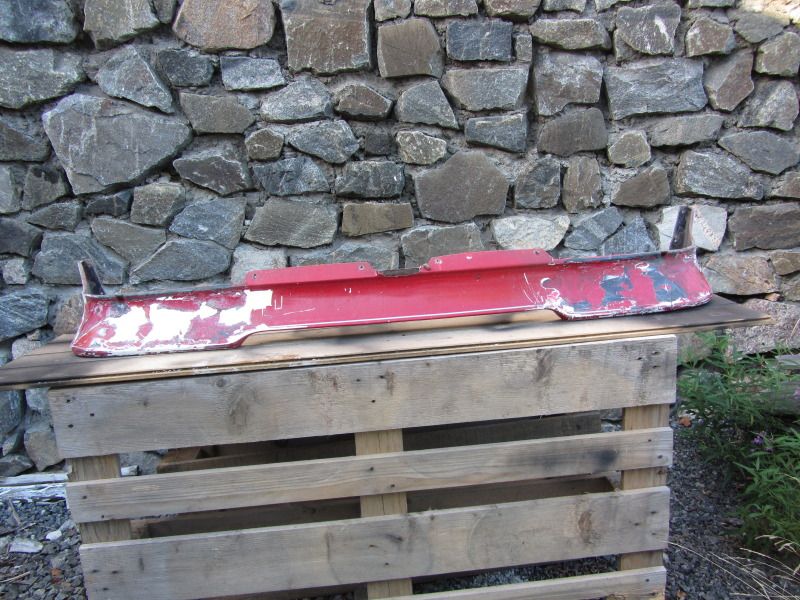 And then the part which I hate, bodywork! Scaped the loose bits of, sanded it as good as I could and put on some filler, think this is skim 1, and 3 or 4 in total... 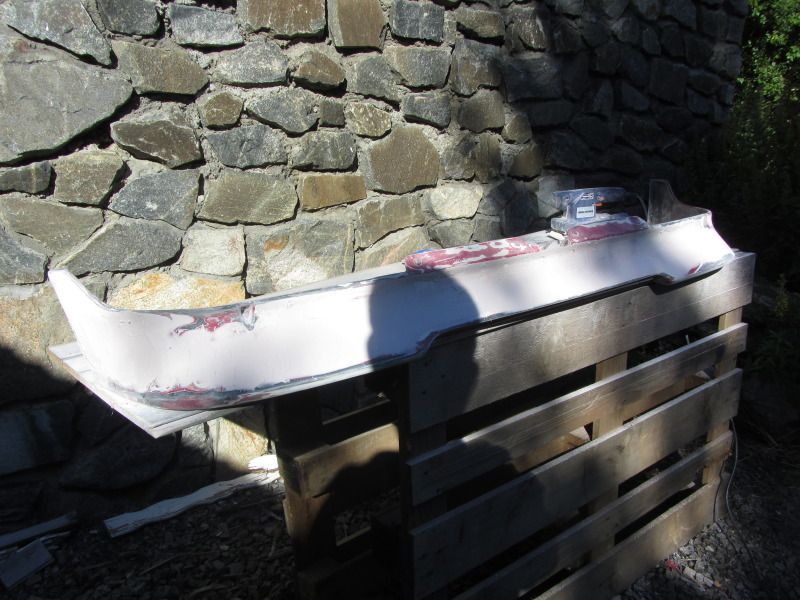 Tired, but happy, warm weather helped to 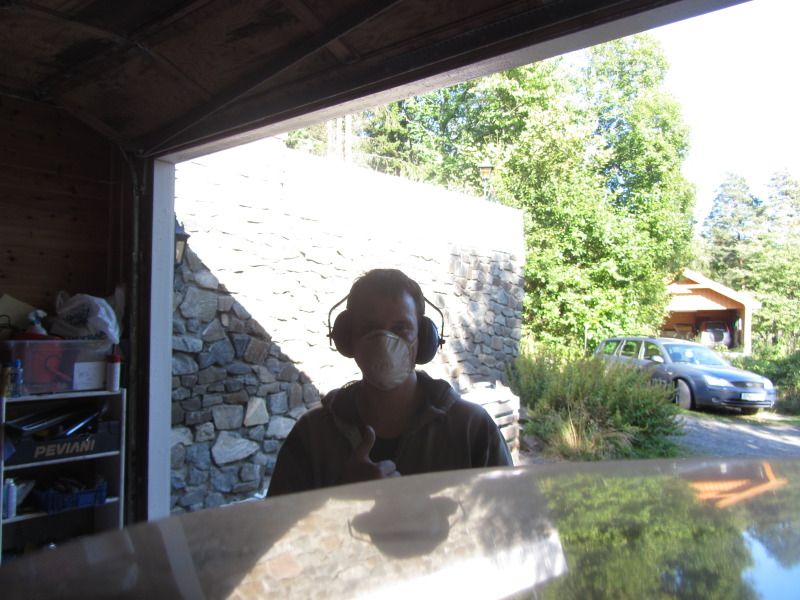 And this is why I HATE blended in bodyparts, a big PITA to deal with on later stage.. This was allmost 2cm thick, sadly same story for the side/rear skirts and the rear spoiler.. 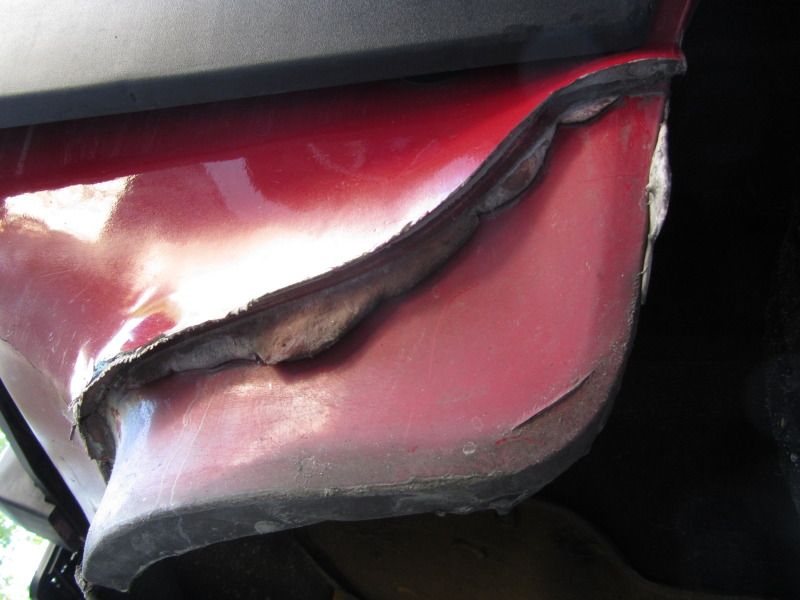 Getting there.. 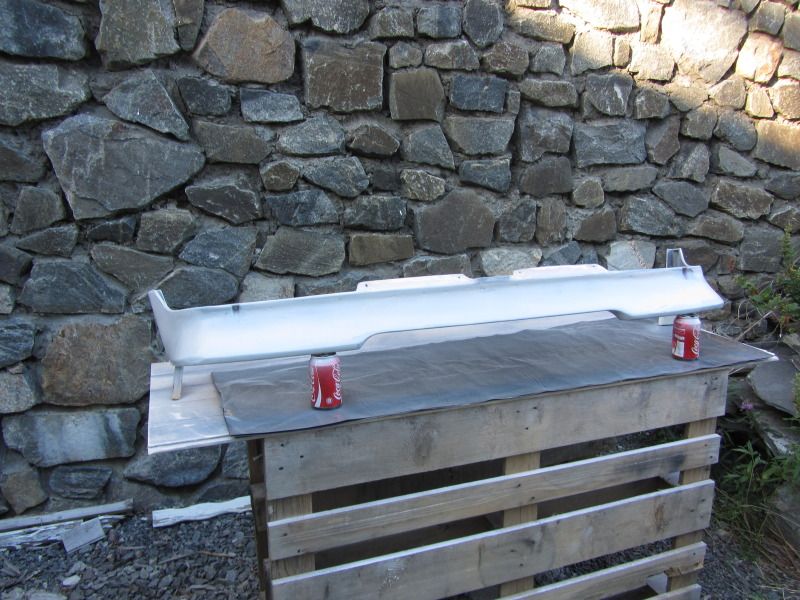 Painted it flat black to mimic the orginal rubber one and refitted it.. 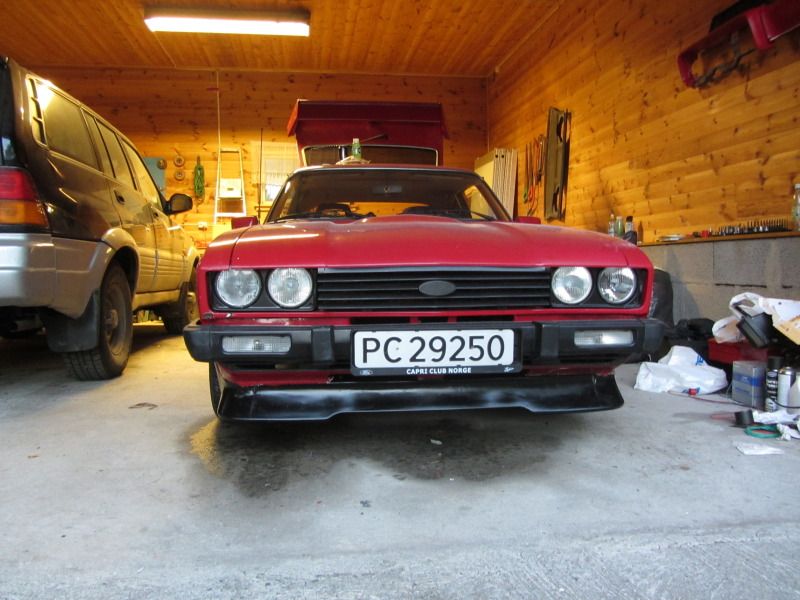 September 1th 2012 I visited a local Ford meeting, open For all kinds of older Fords.. 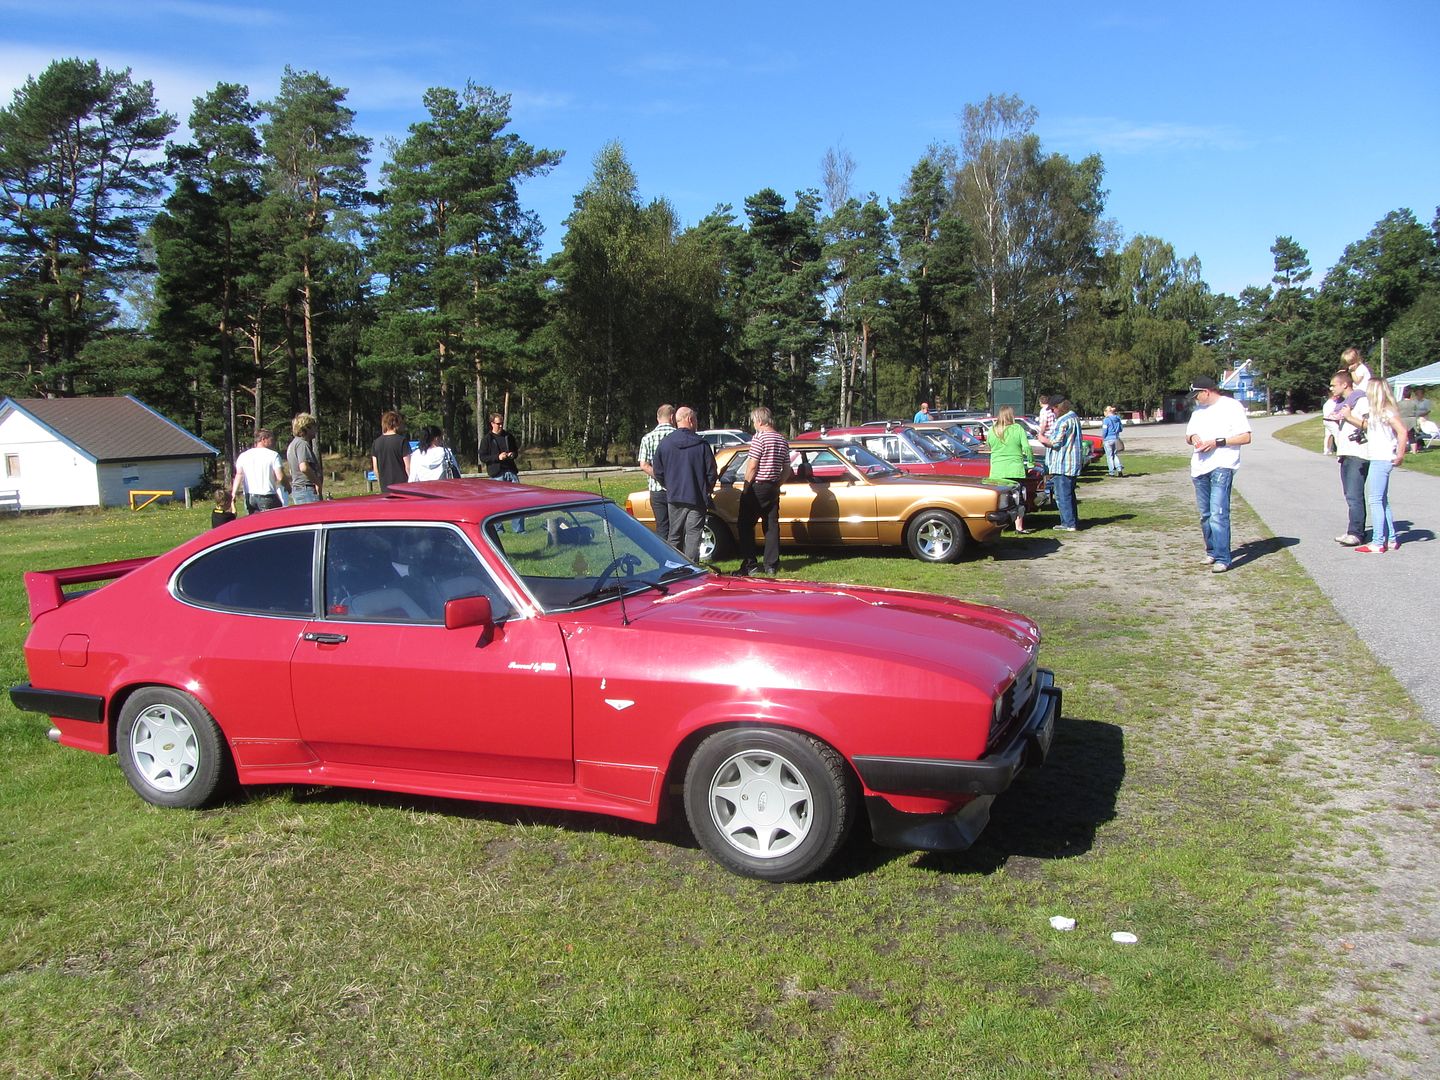 I left the filler on the wings stay as it was, so it would still blend in after fitting my spoiler.. 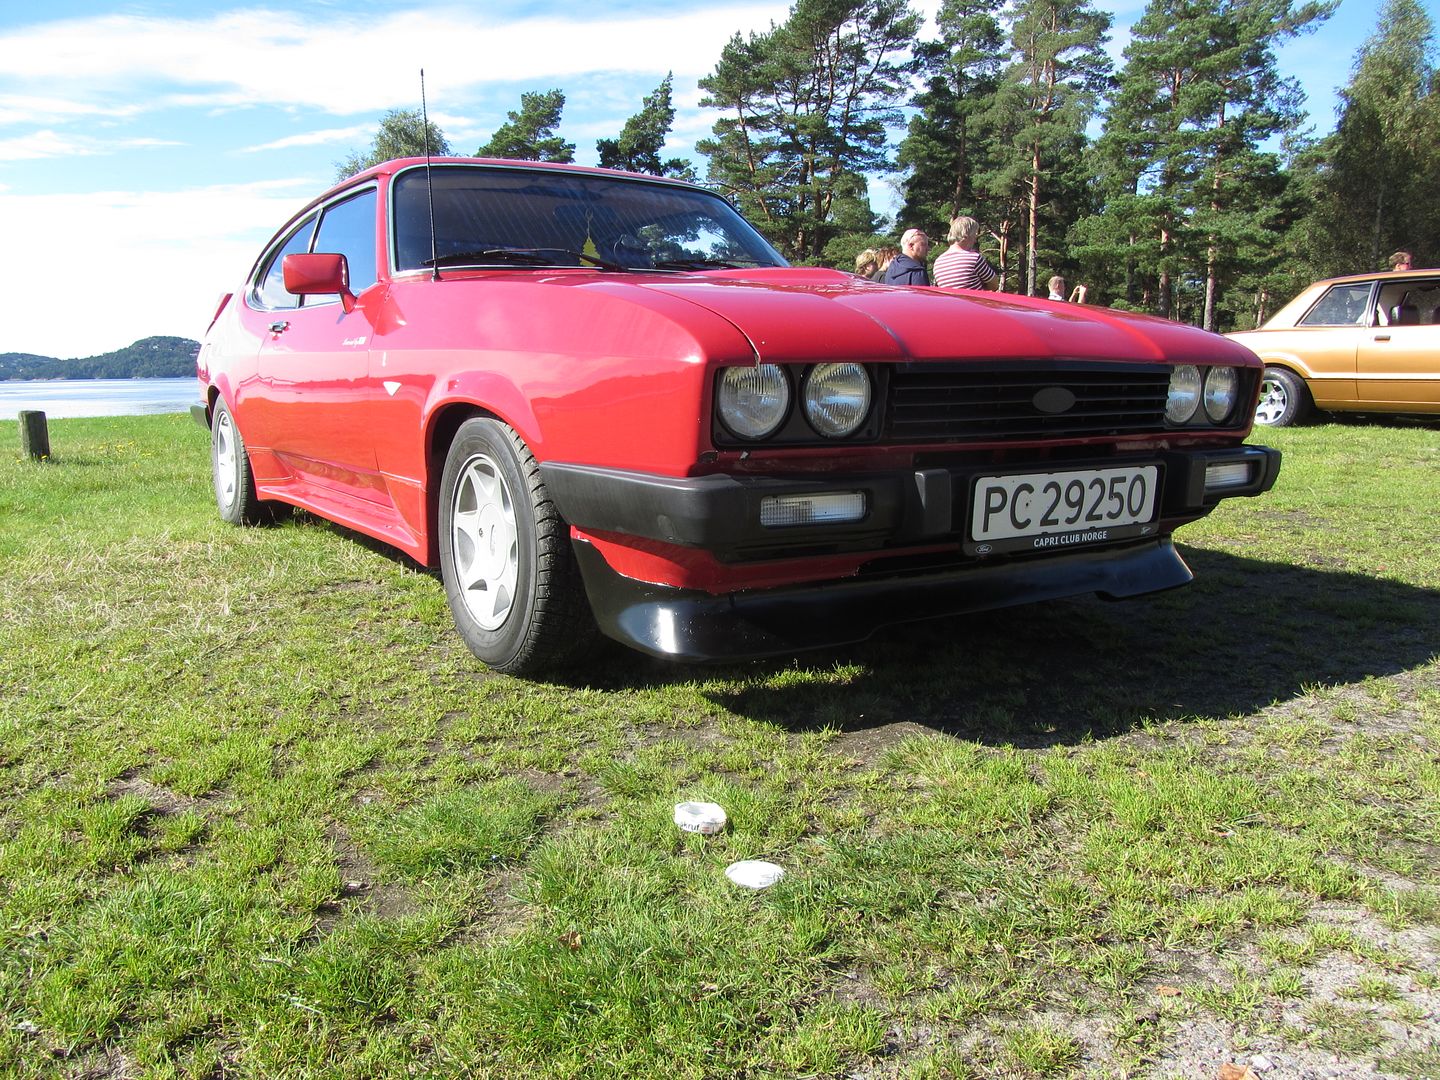 My favorite car that day was this Taunus Coupe 2.3S I belive it was. 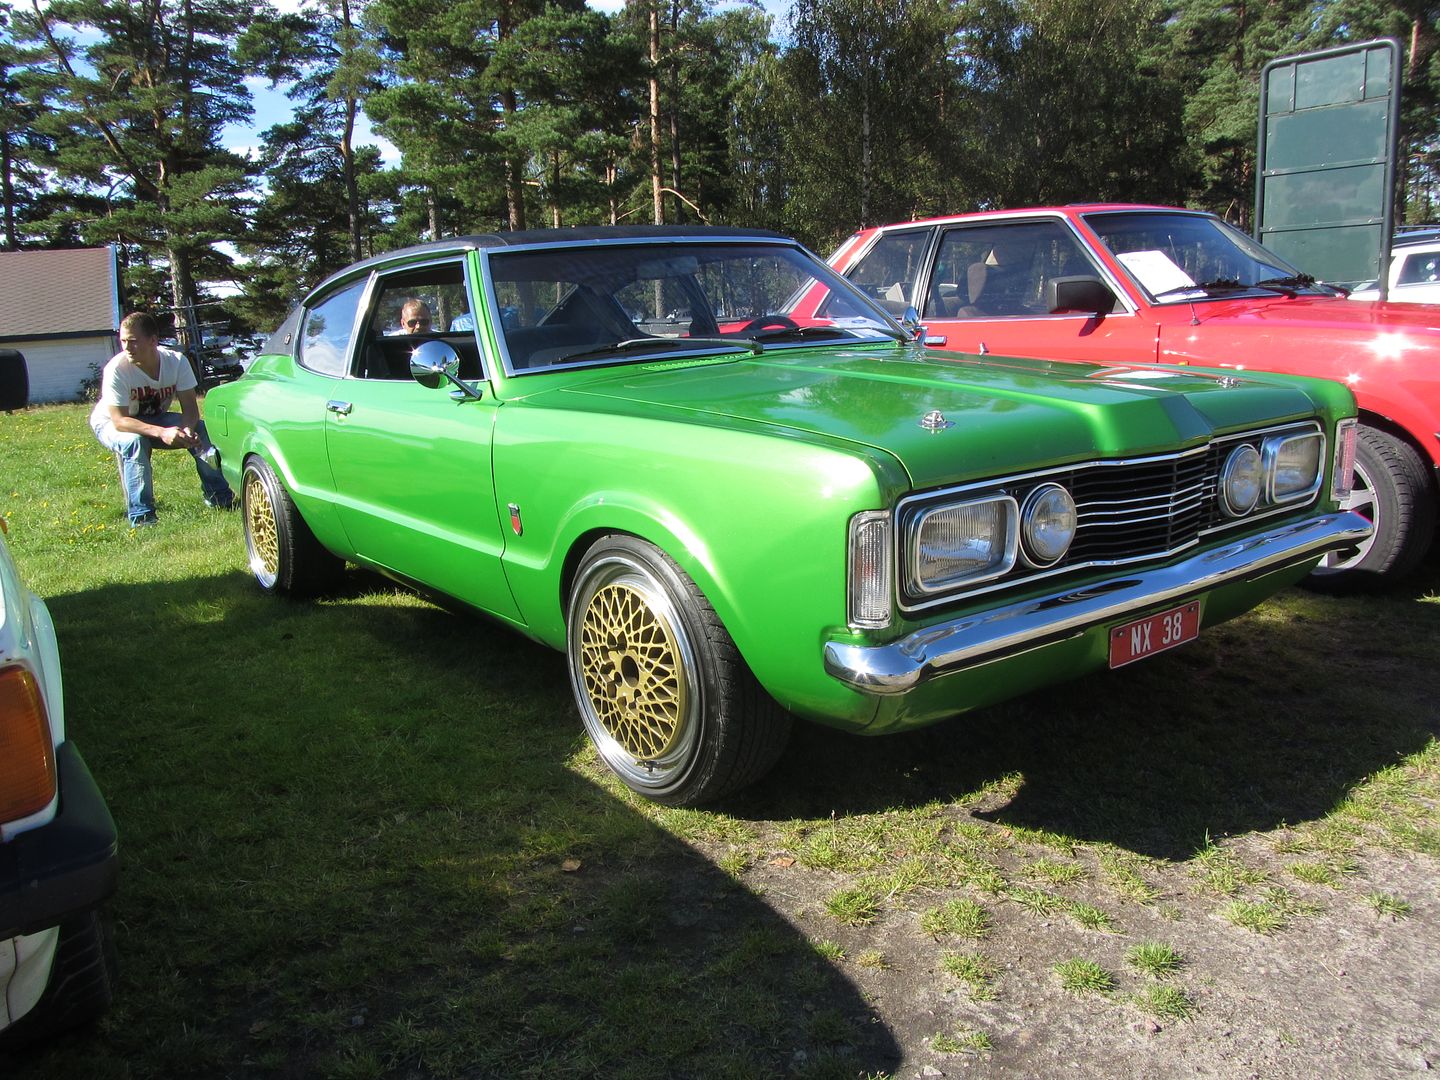 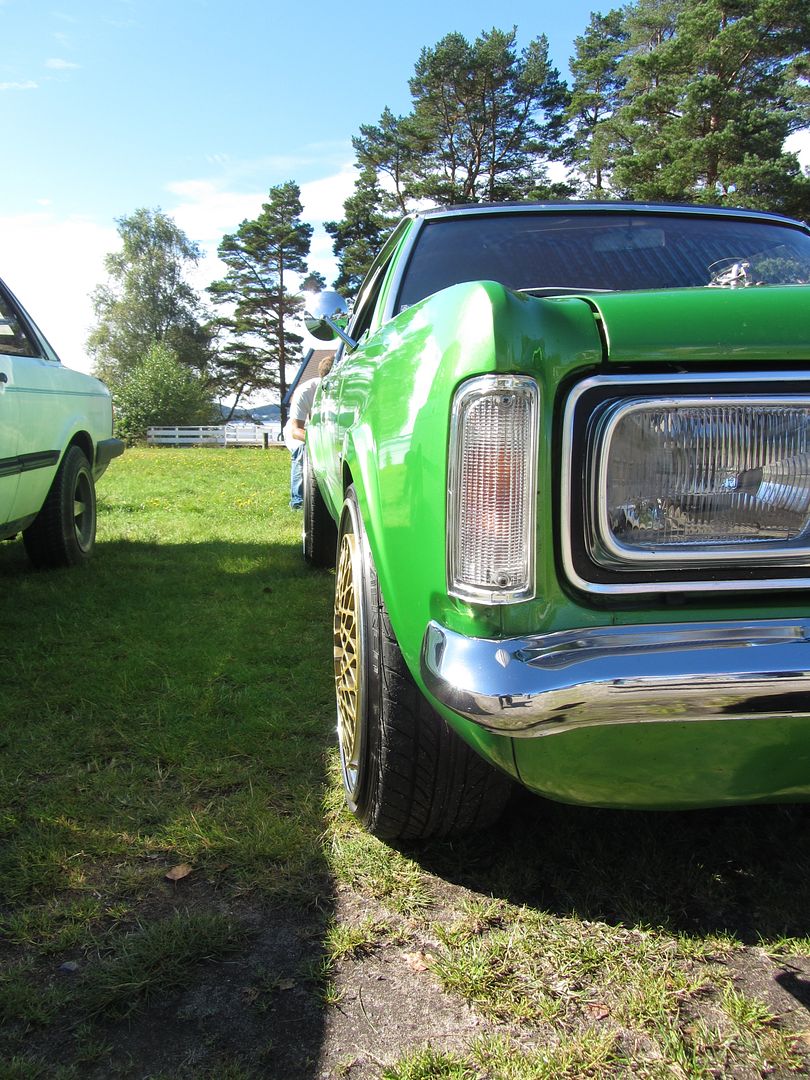 A month later I took a photoshoot of my own car, these are some selected out of the lot.. 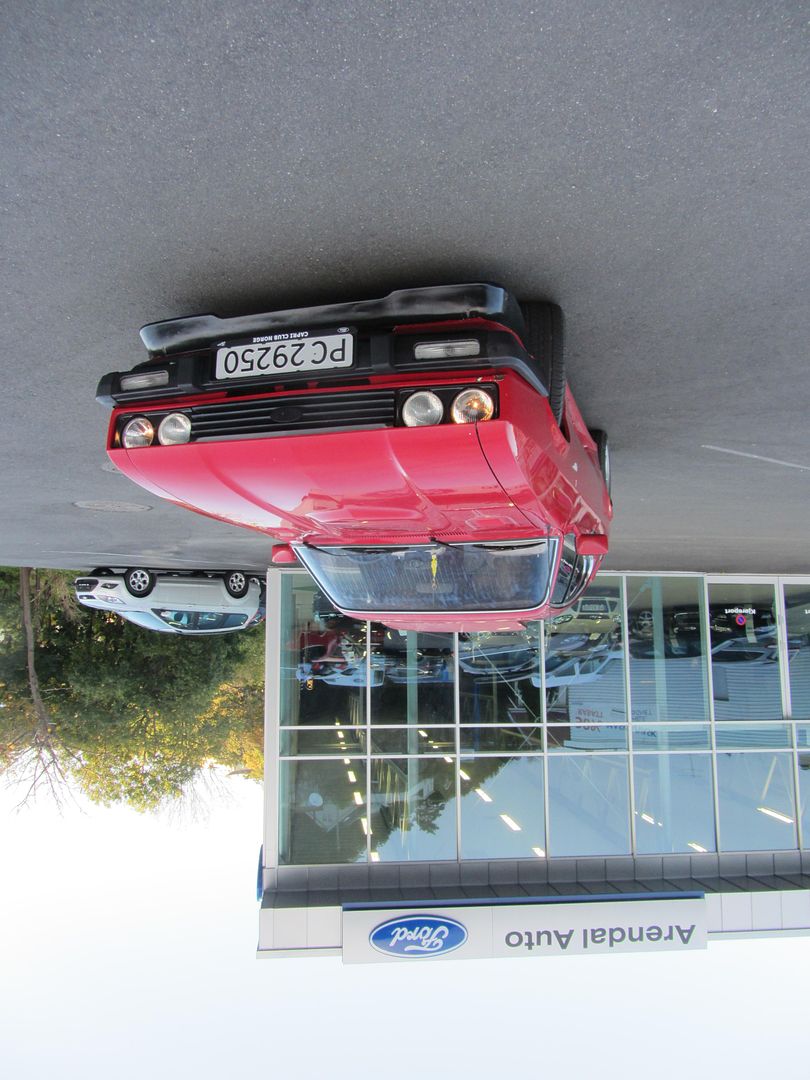 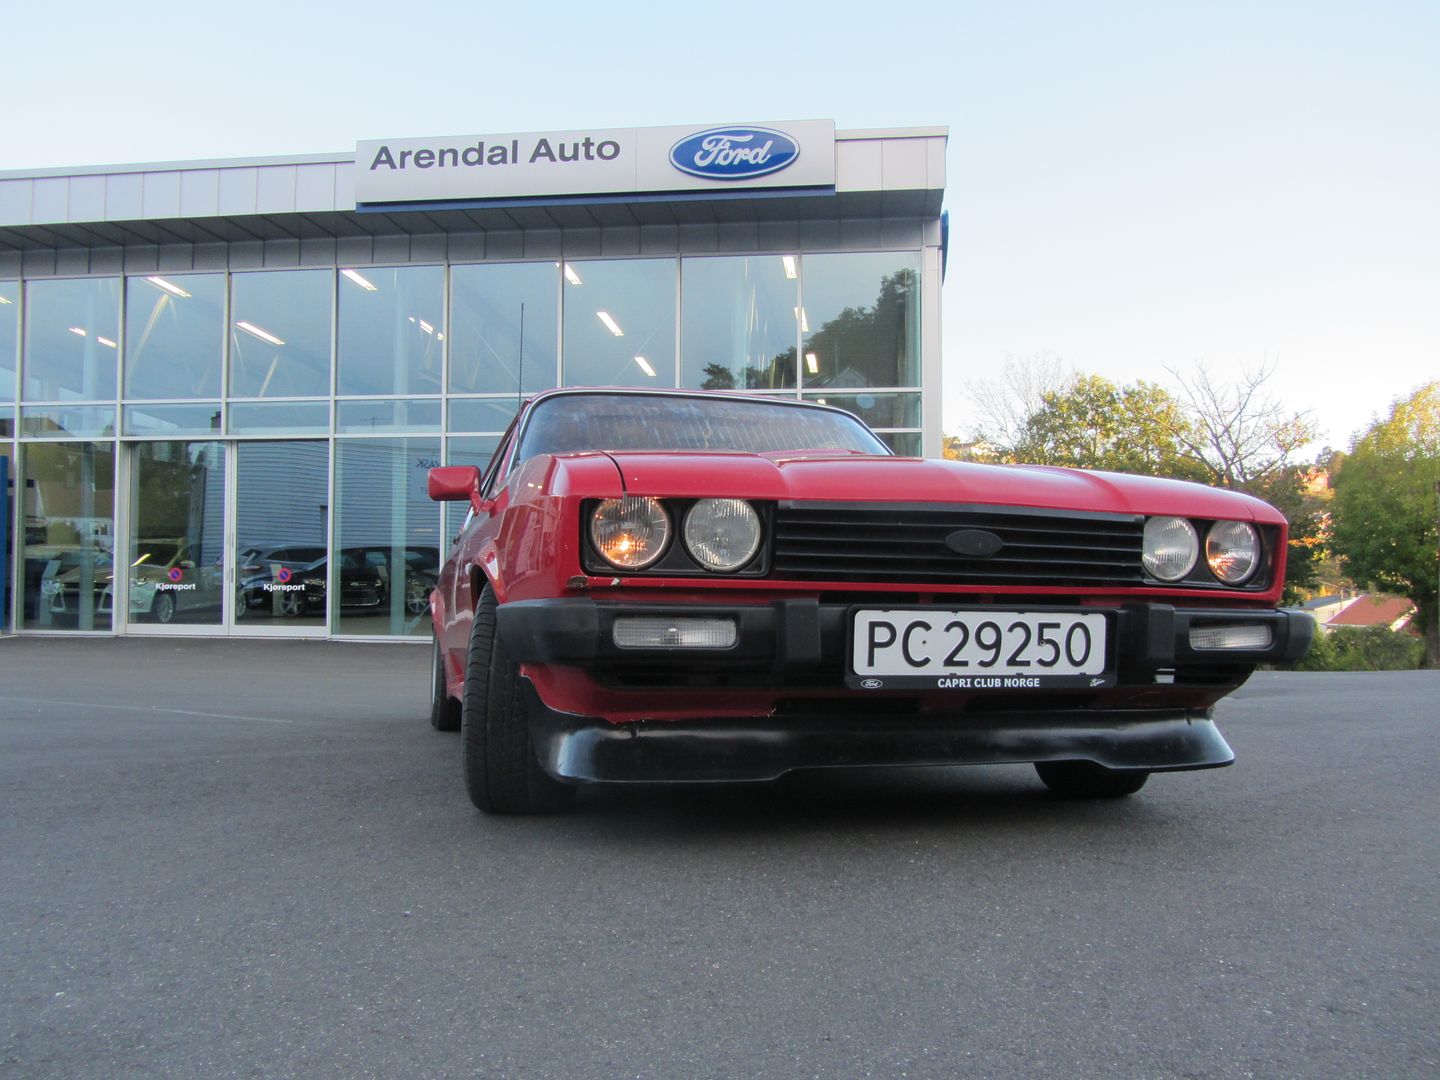 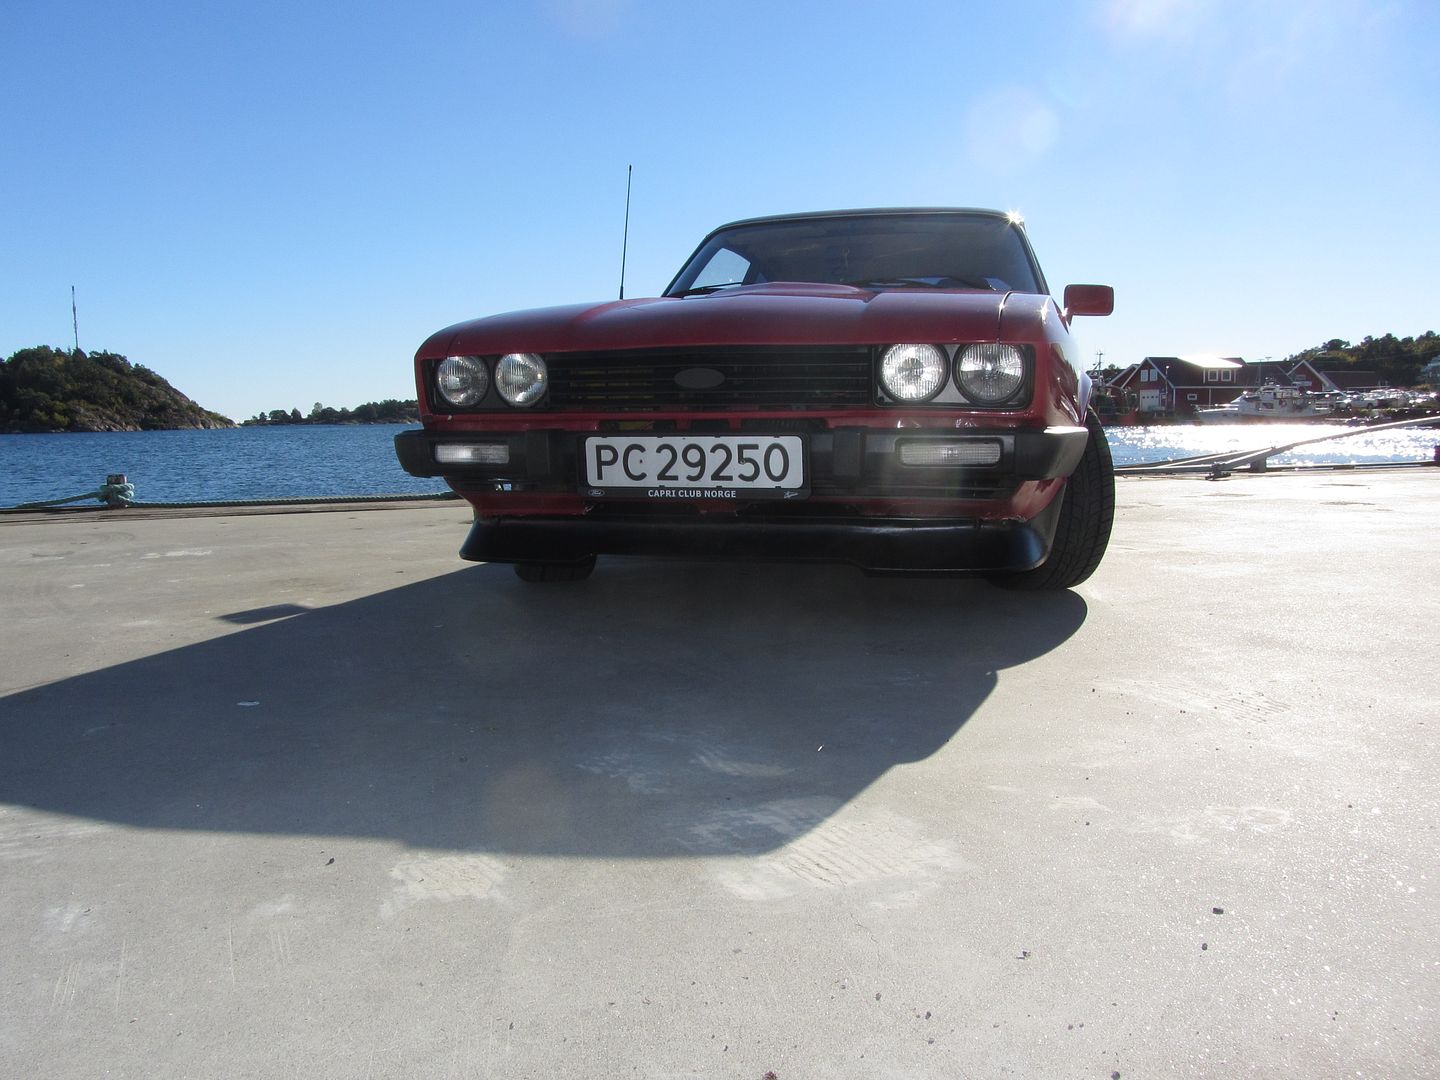 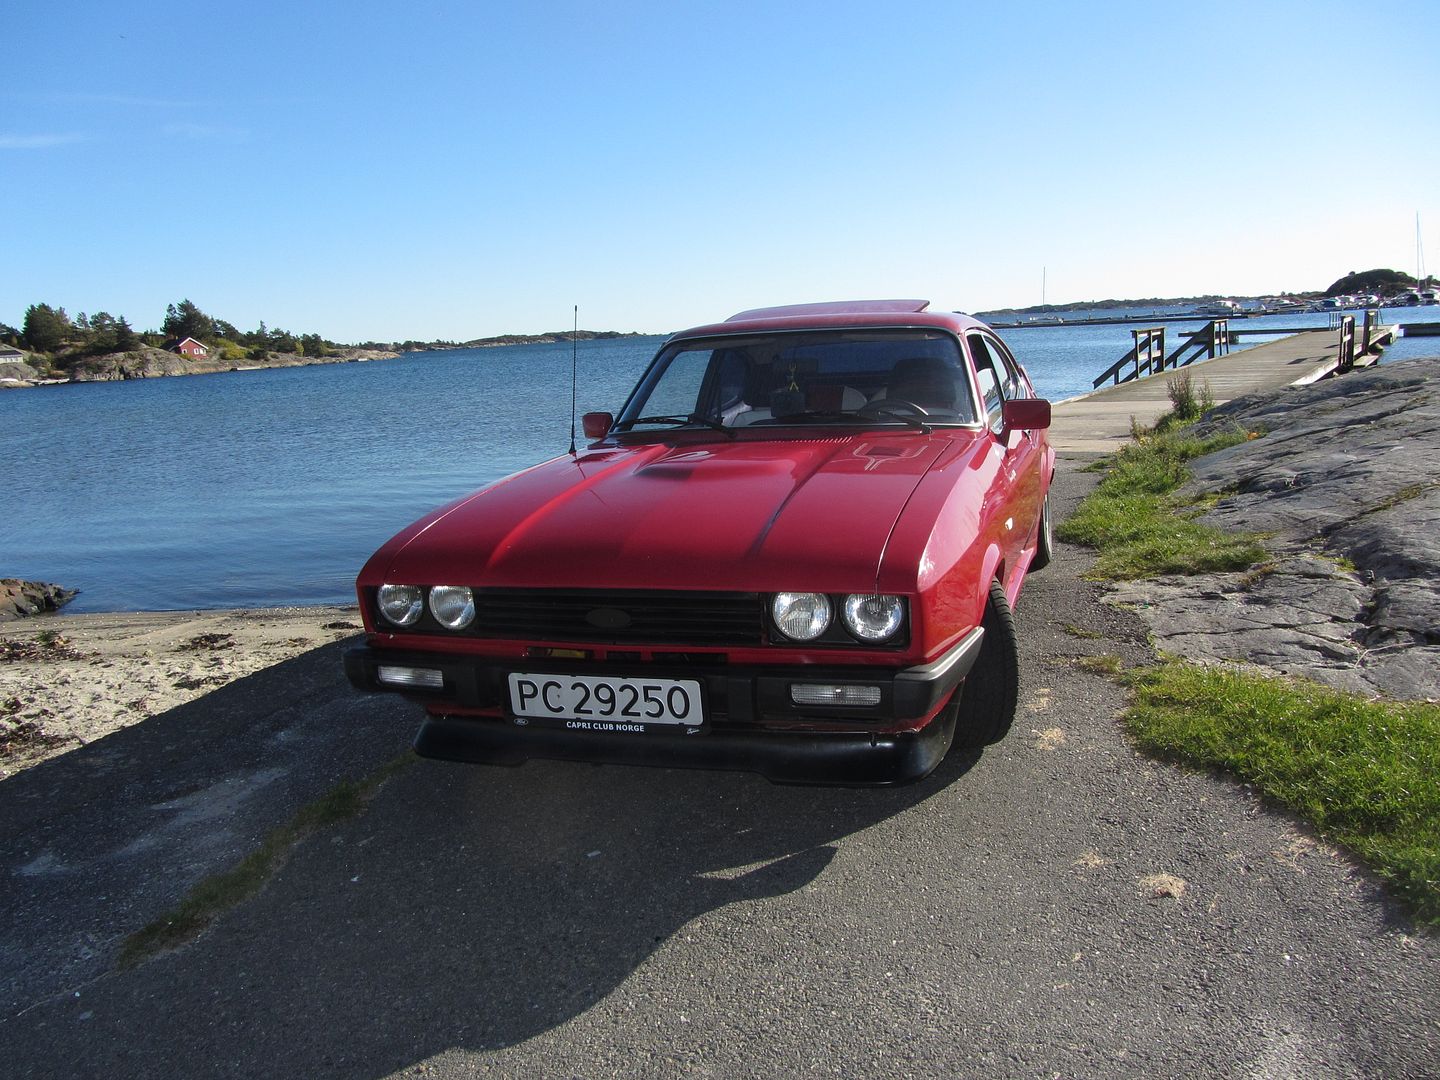 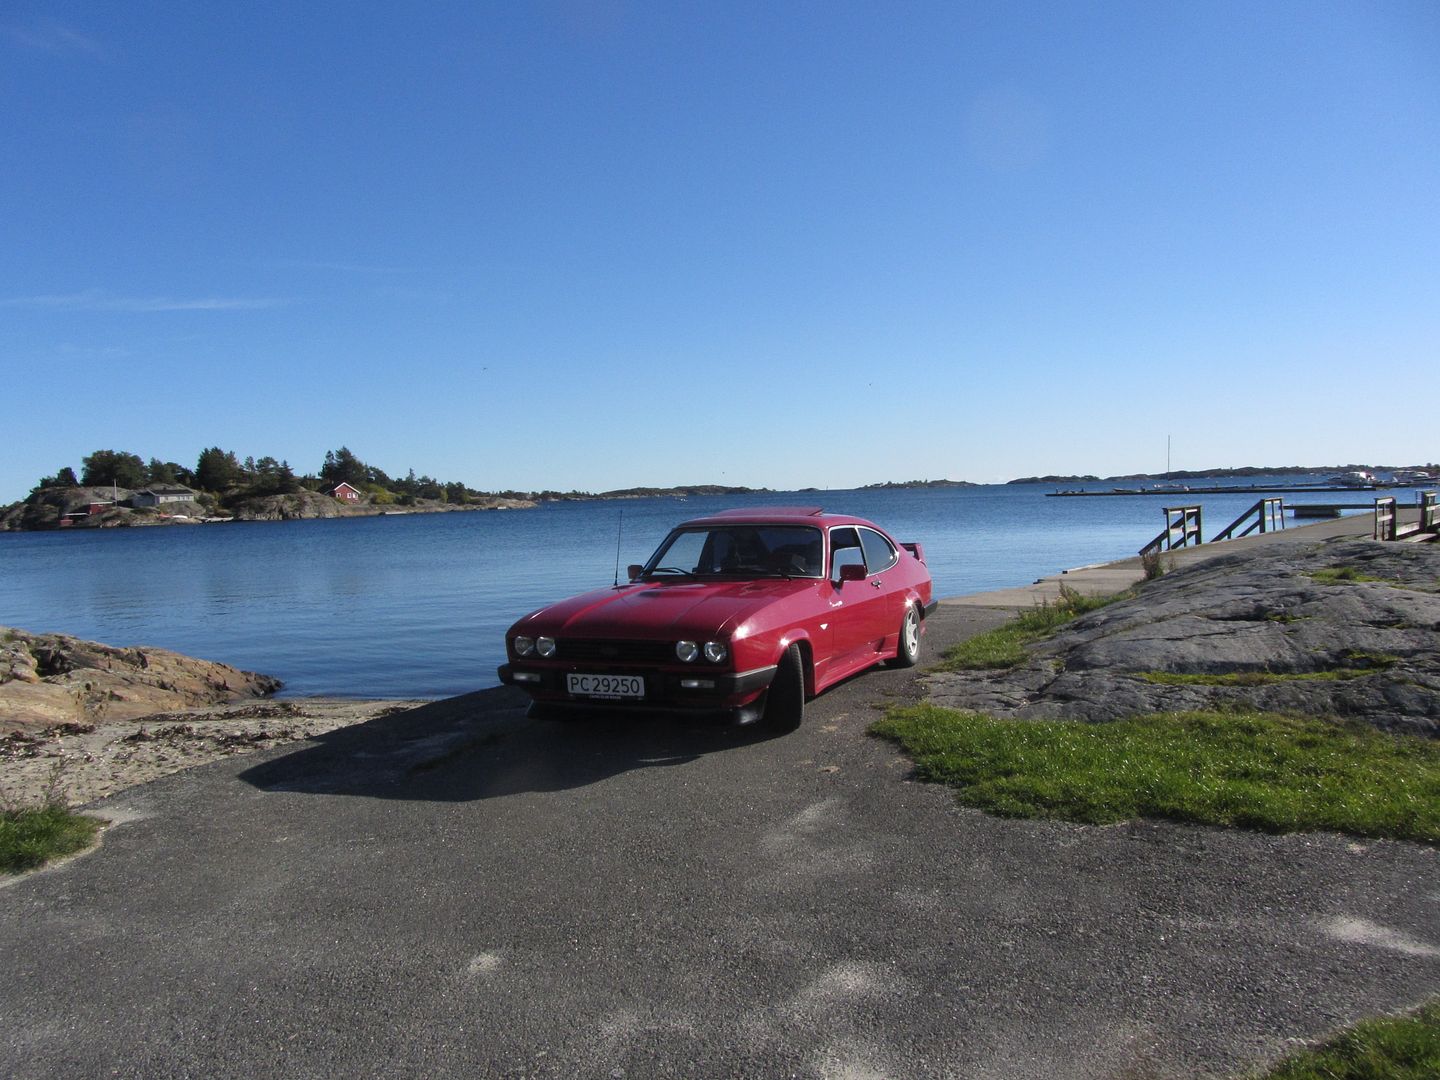 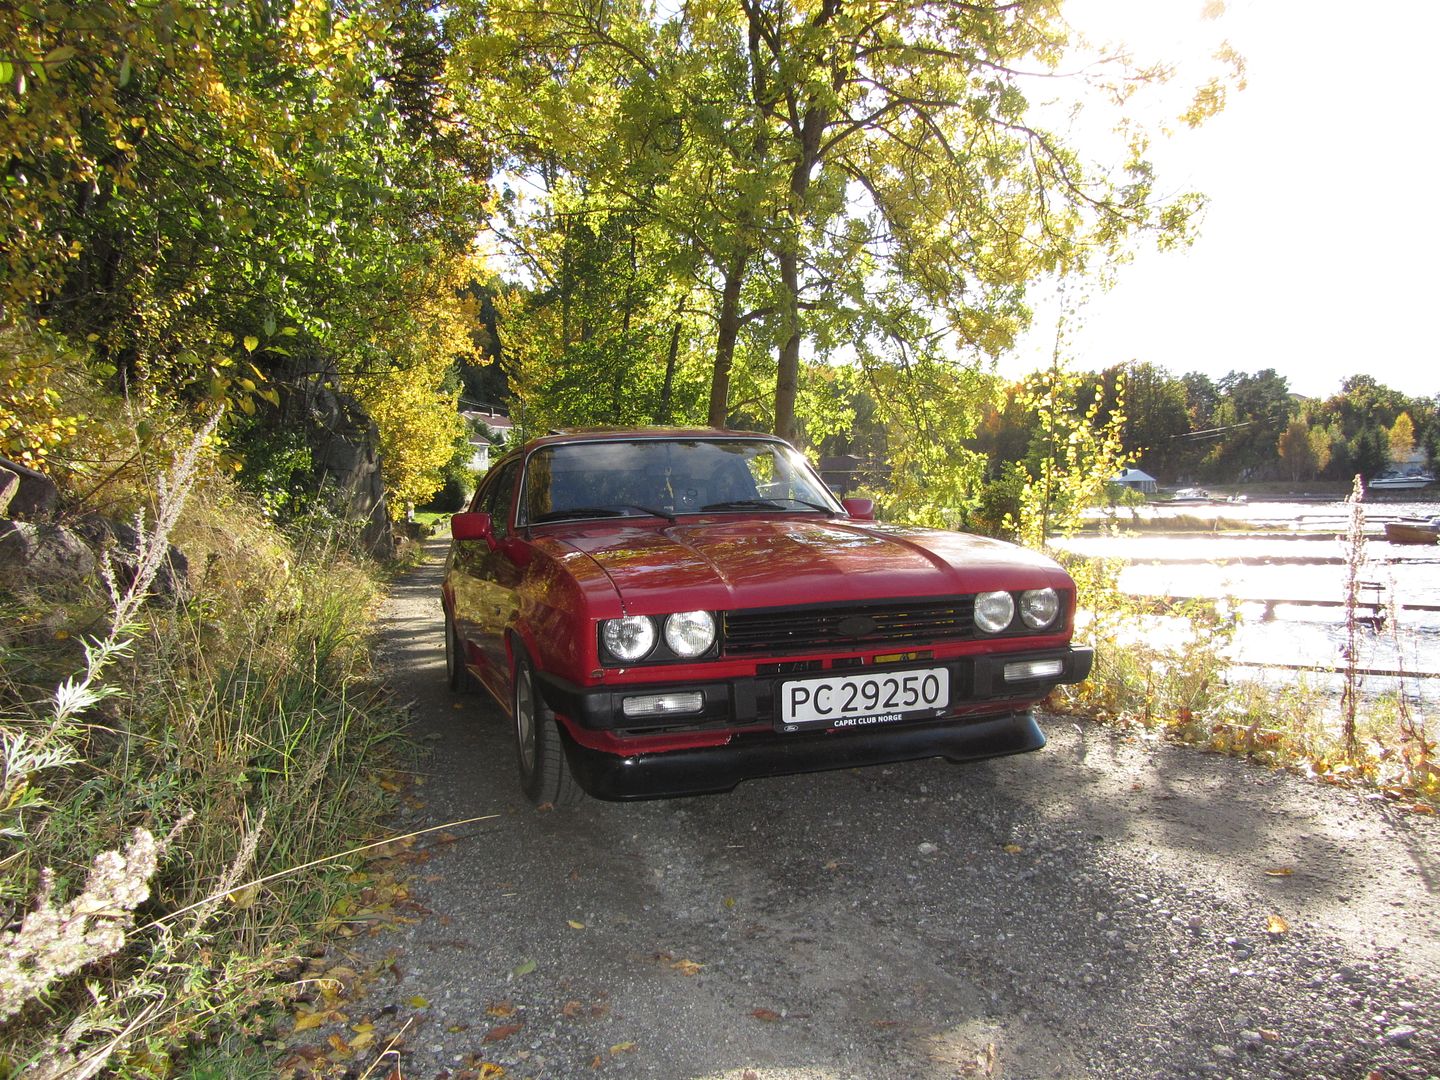 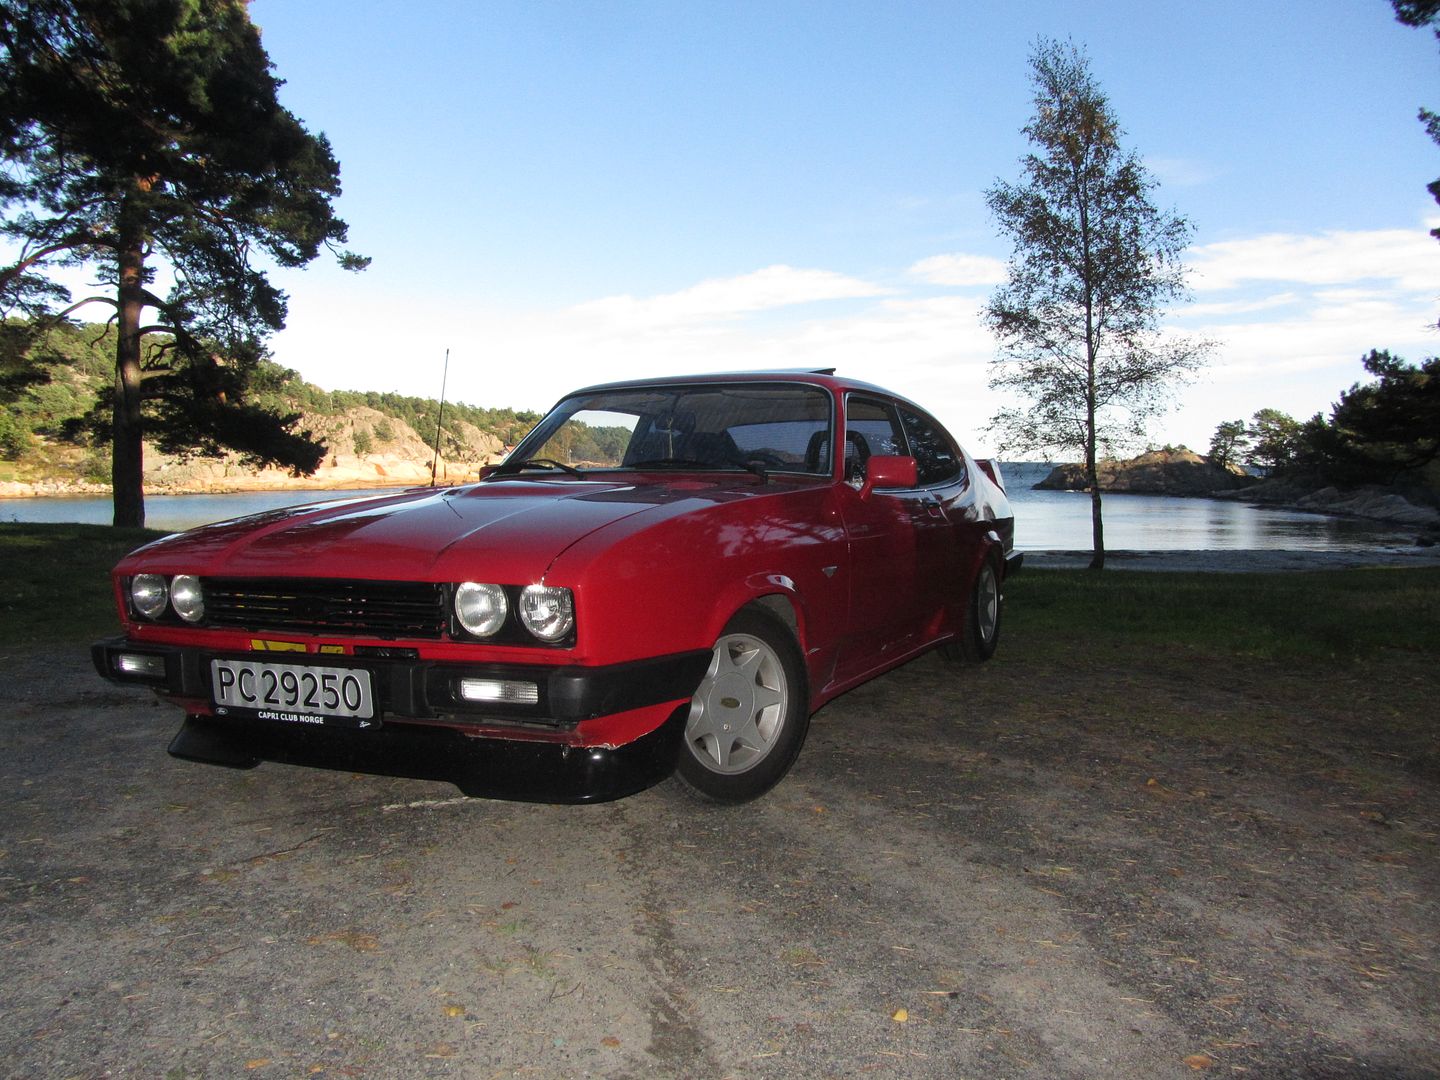 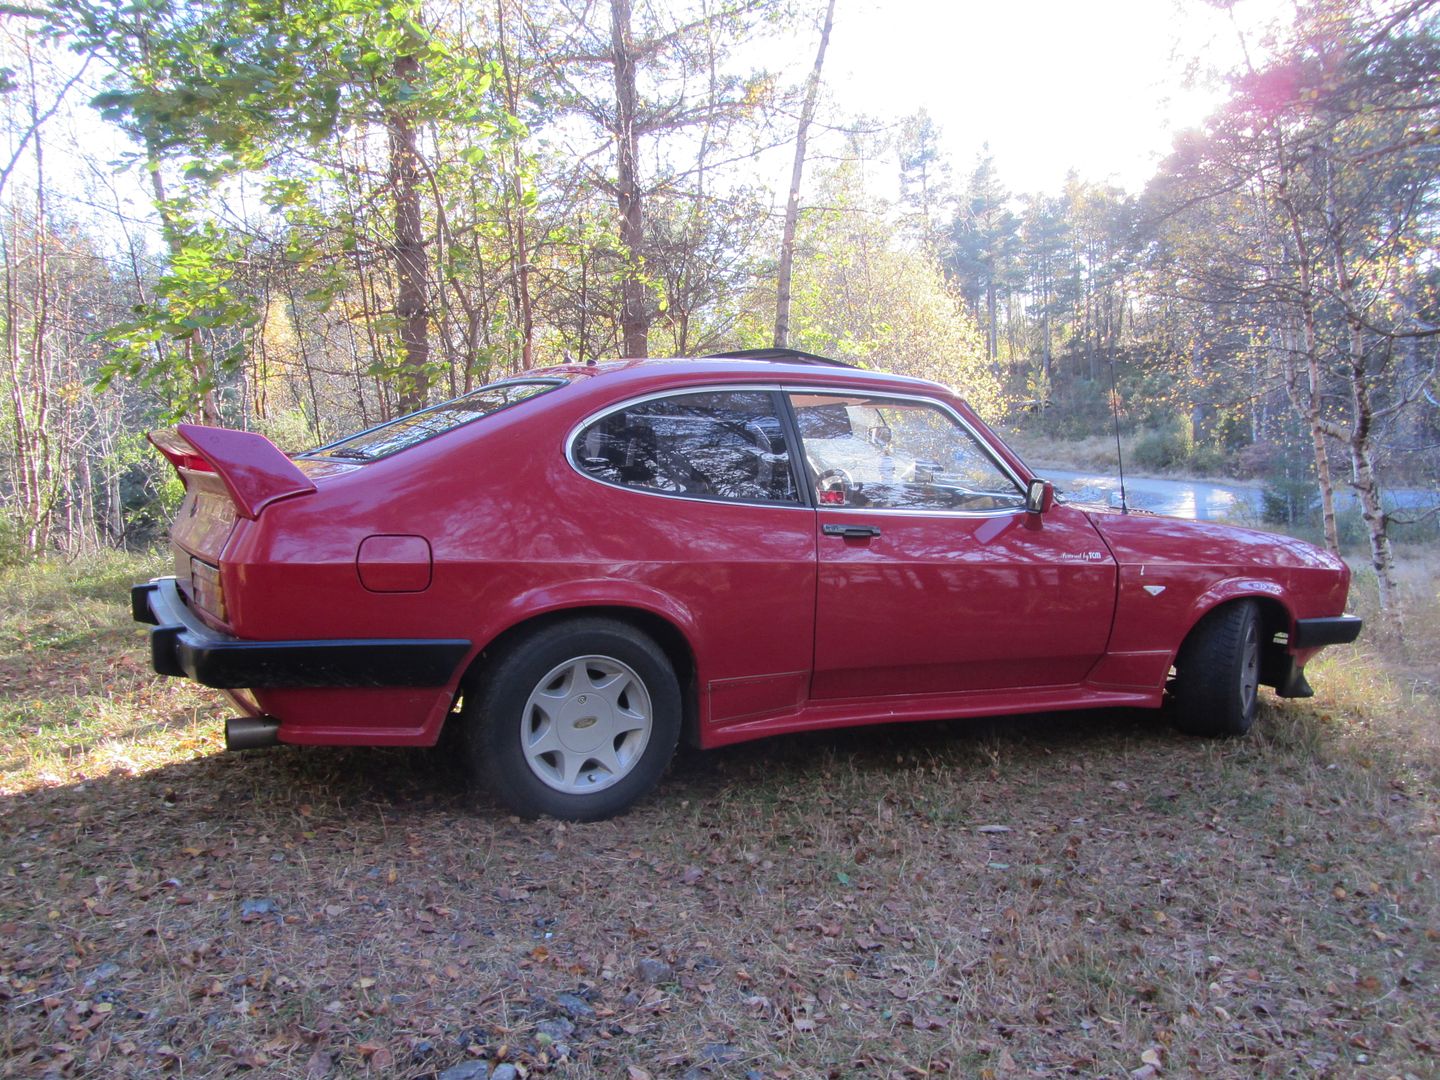 Next up will garage pictures when I began to torn down the car and it when I foun horror stories... |
| |
|
|
cap78
Part of things
Posts: 96
|
|
Feb 13, 2017 12:43:46 GMT
|
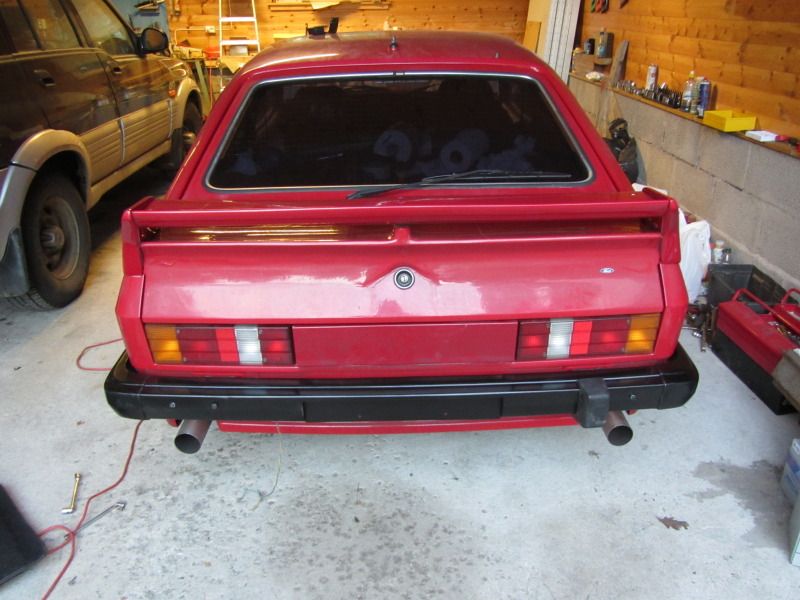
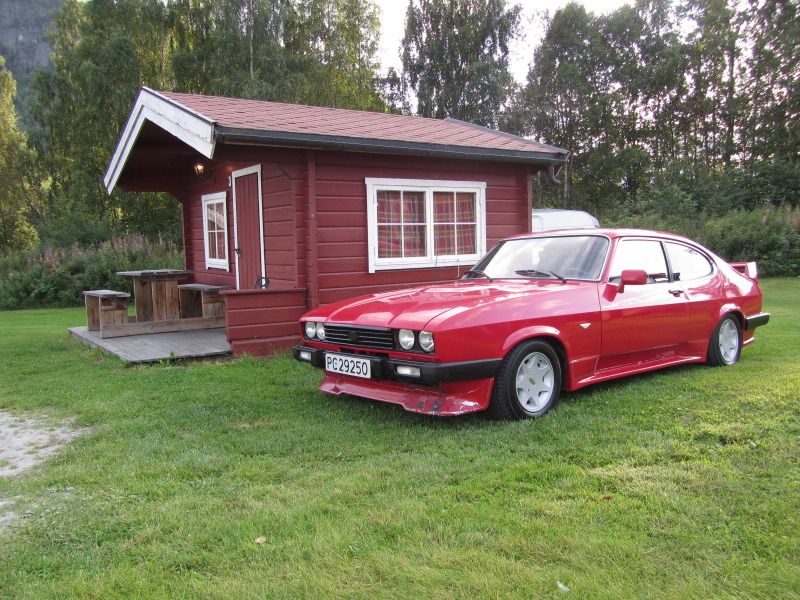
Thanks for showing an awesome car and your beautiful backyard. The waterfalls and snowie mountains are very nice Thank you very much, more pictures are coming up The following week I was 2 times up in the mountains 3 hours away. First time with my mate to check the cabin in the next picture, as he had bought it and the owners needed it to be moved away as they getting a new bigger cabin built at the same location. In the following chaos to direct the moving truck on site, securing straps etc, I forgot my glasses at the location. Me being using non standard glasses needed them, so a few days later me and my mate who was my co pilot at the Capri meeting joined me for the trip.. Here we have taken a pit stop for some food... 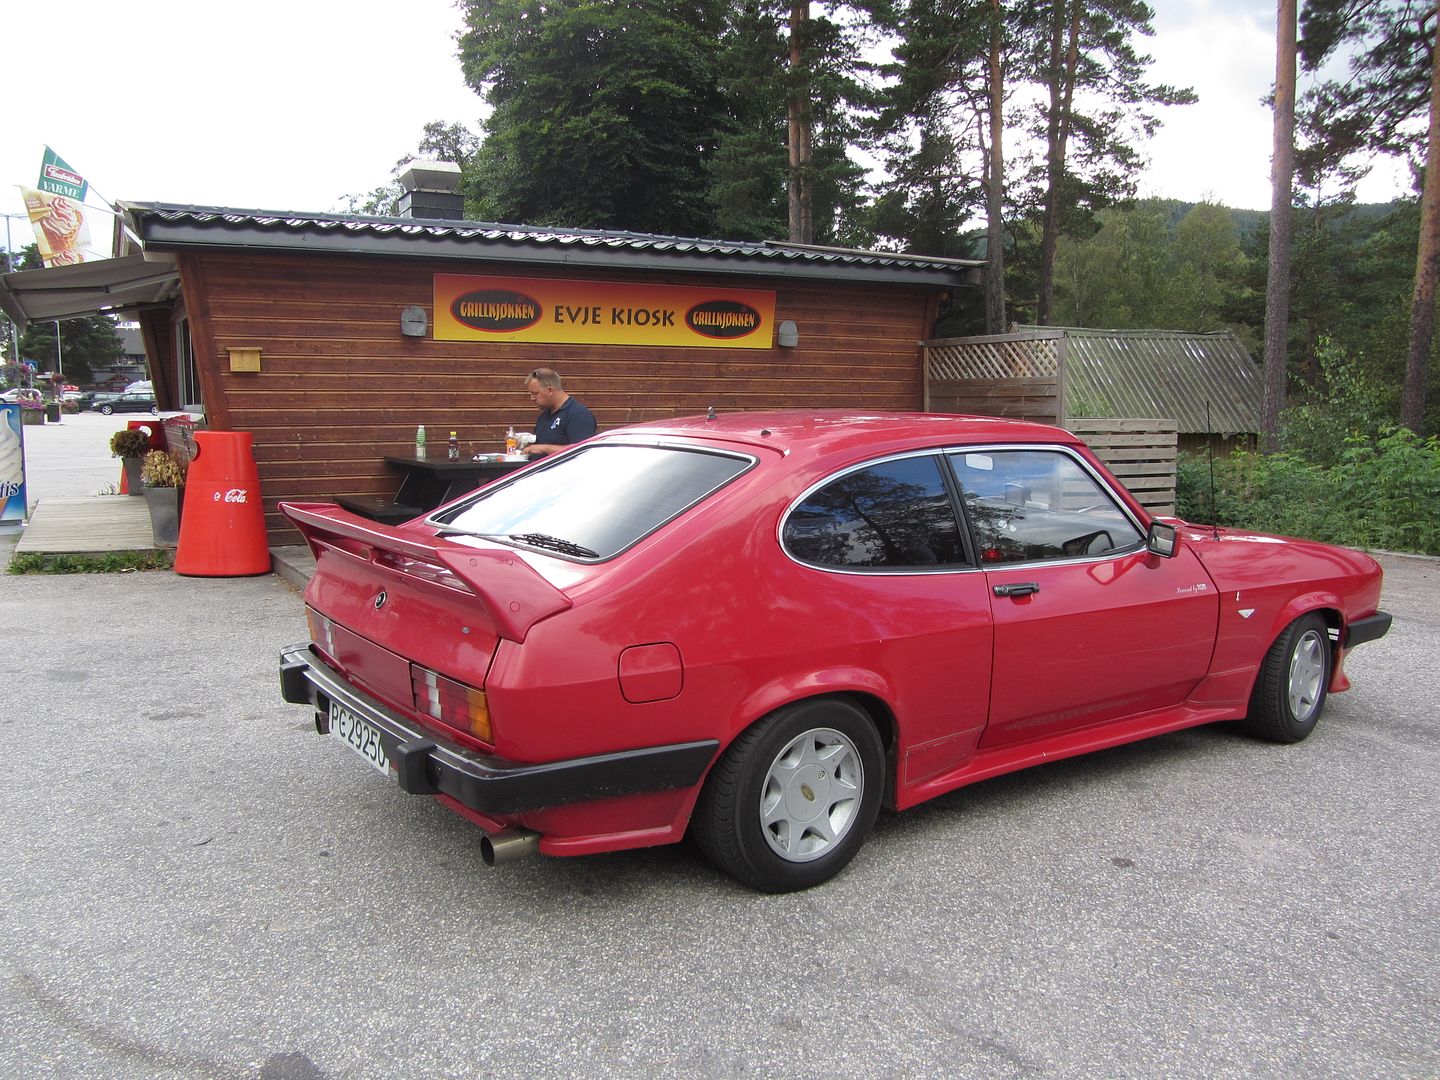 A few miles up the road.. 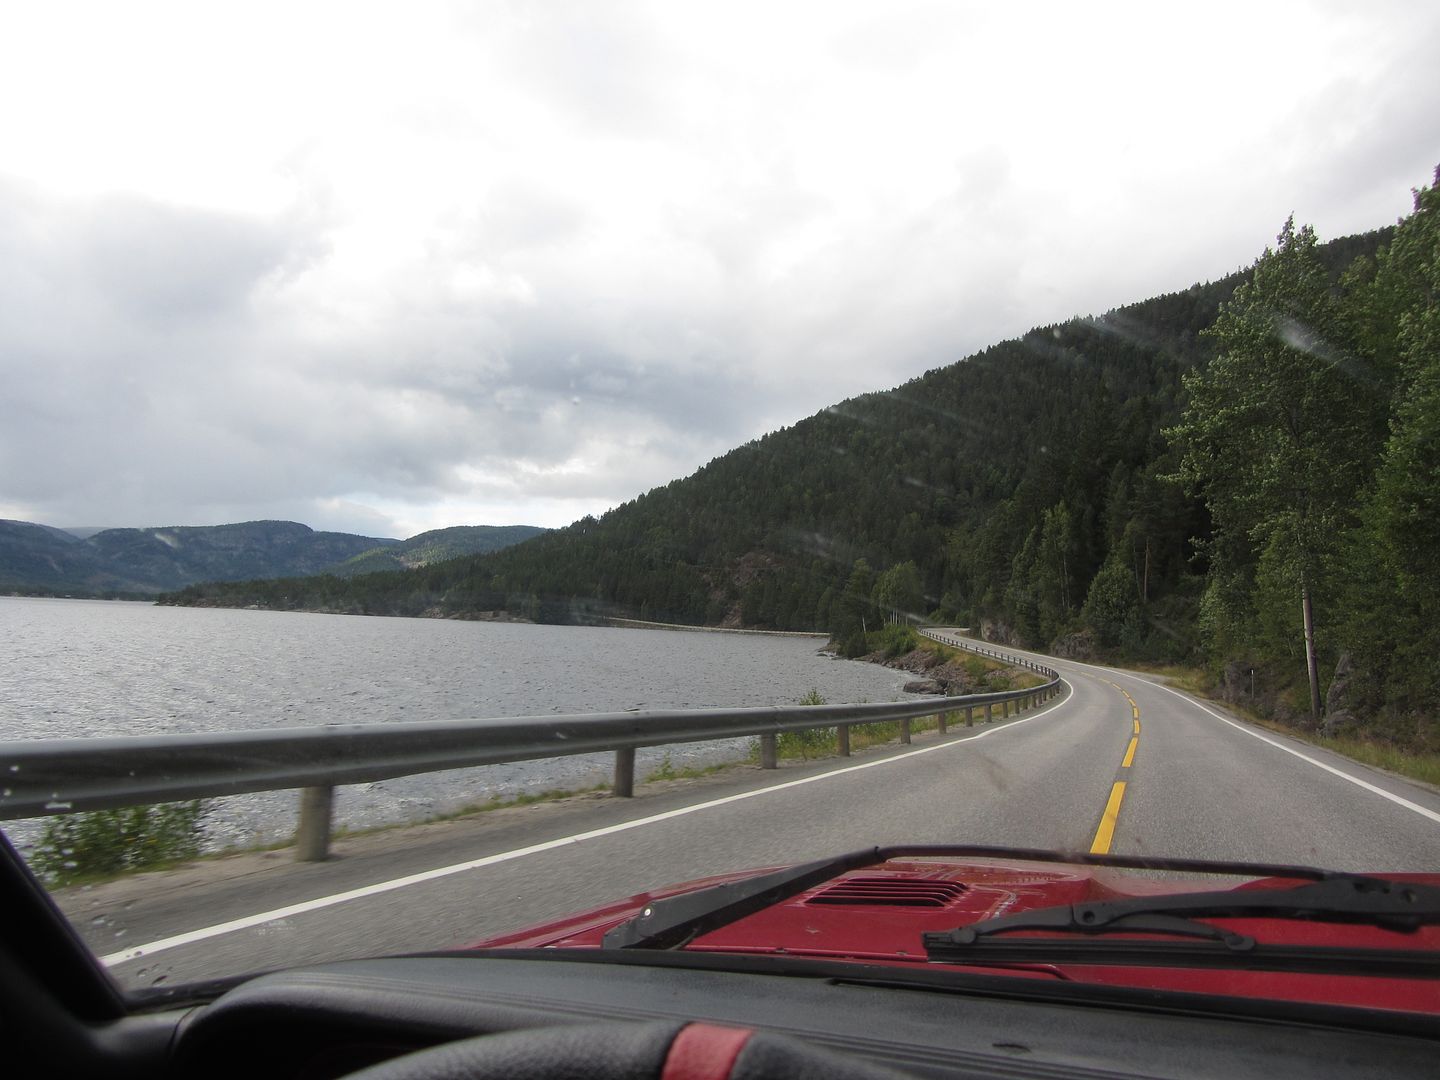 2 hours later we have arrived at the cabin located in Hovden, Setersdal. The cabin have been chopped in three seperate parts, and the first one was taken away with us a few days earlier.. 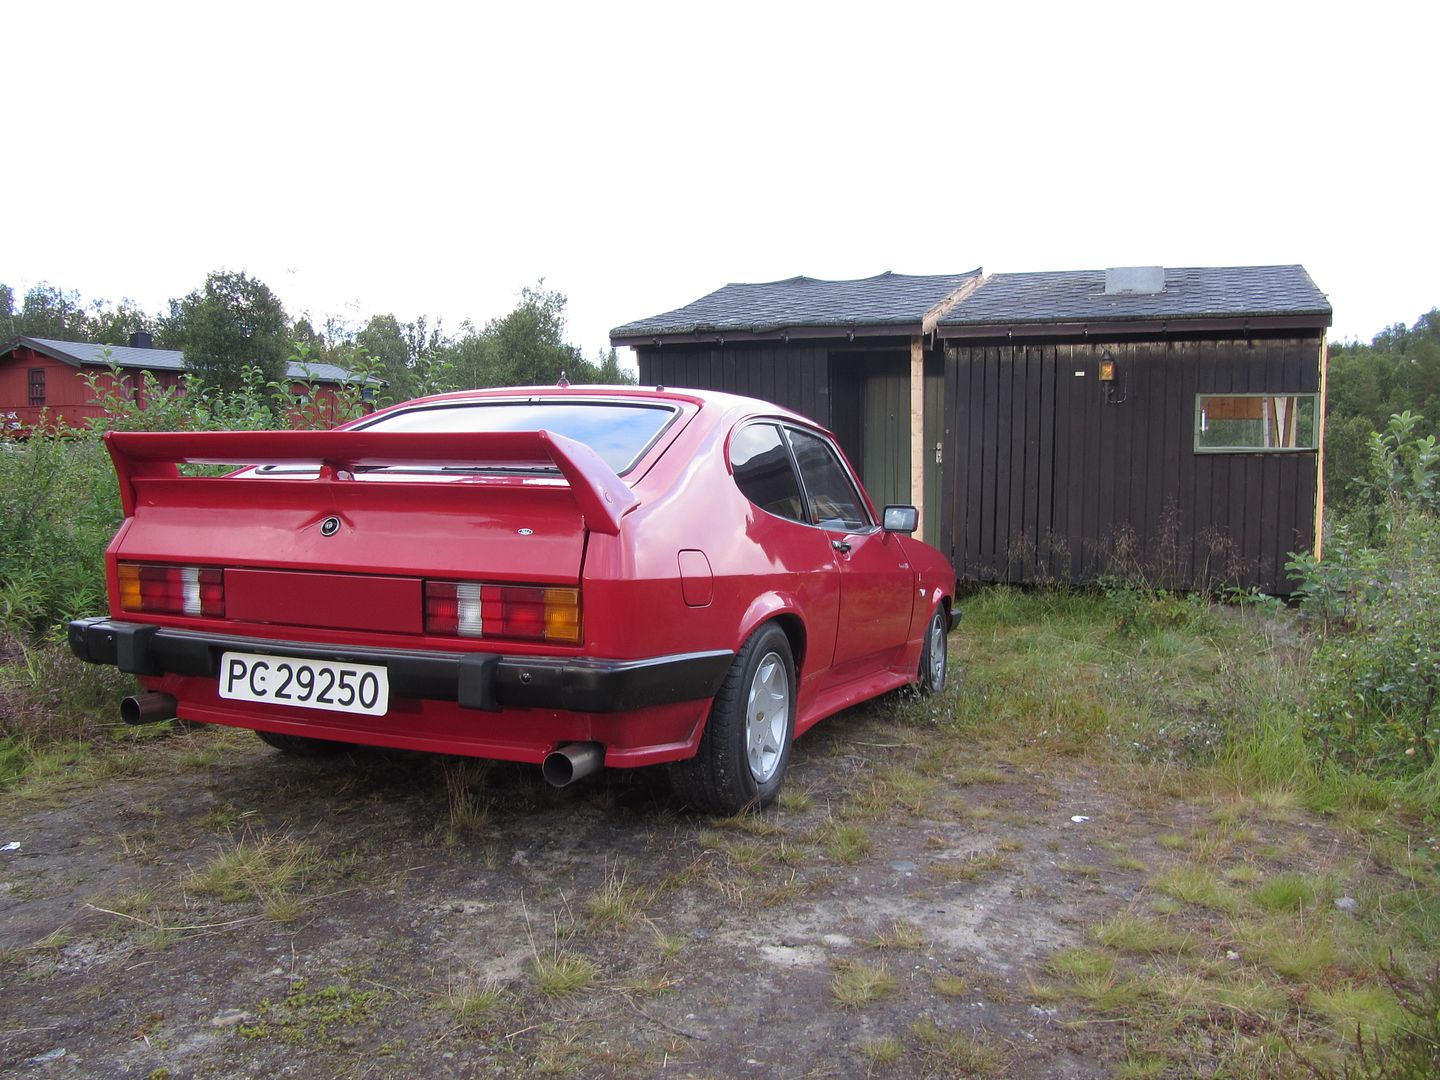 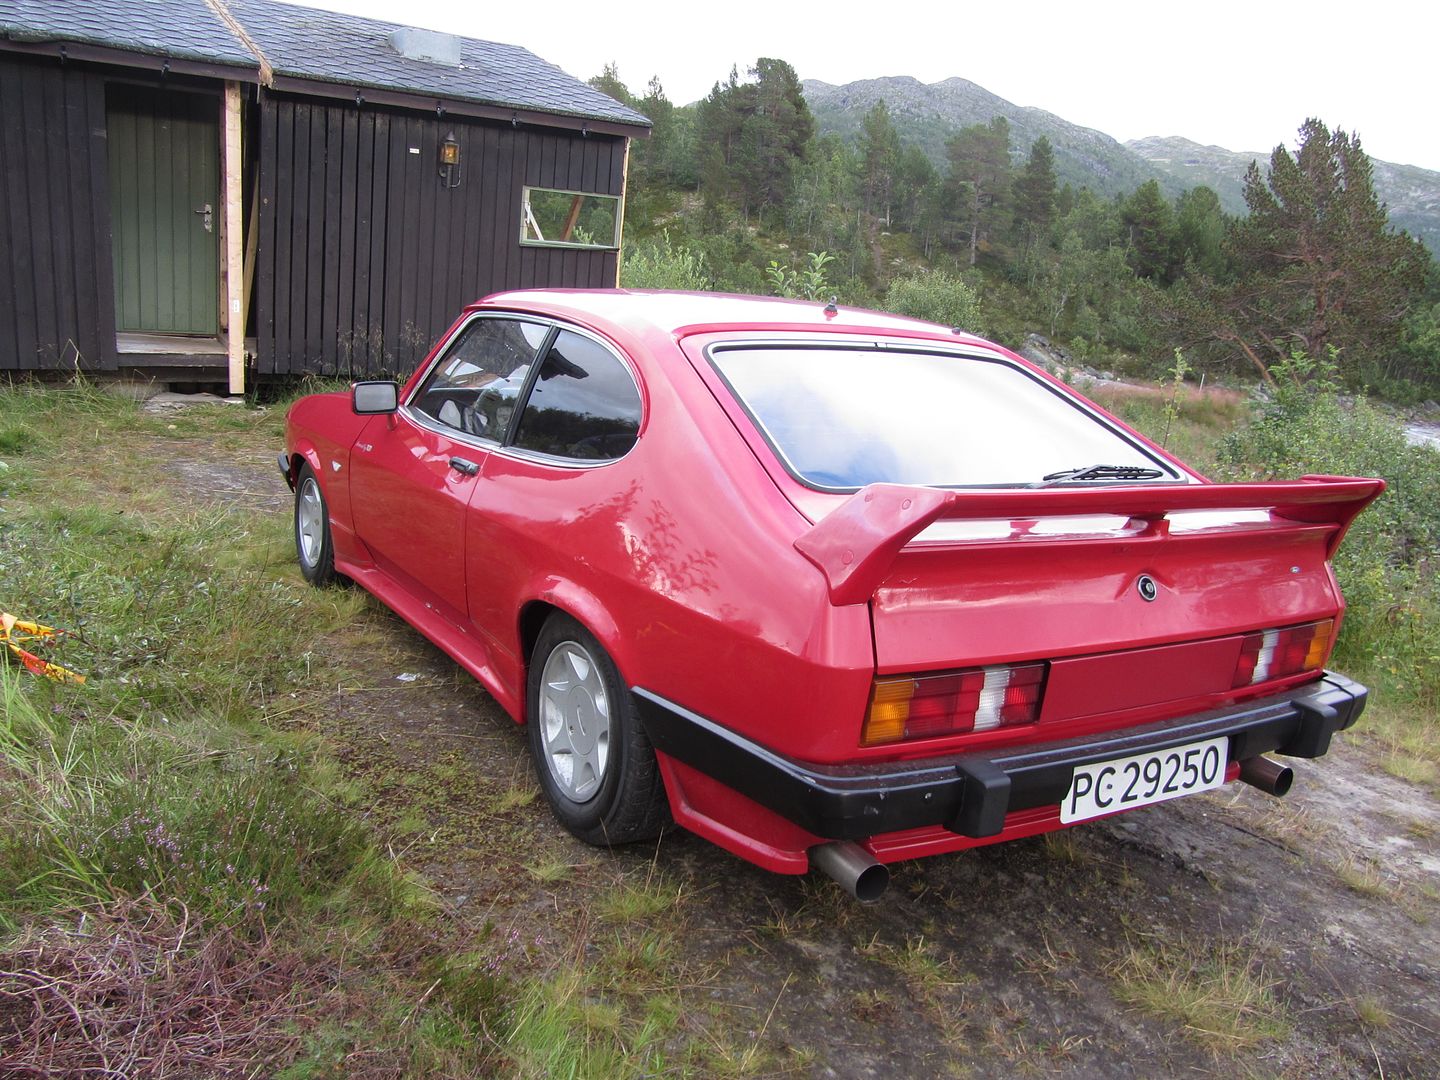 Cabin looked like this from the other side. 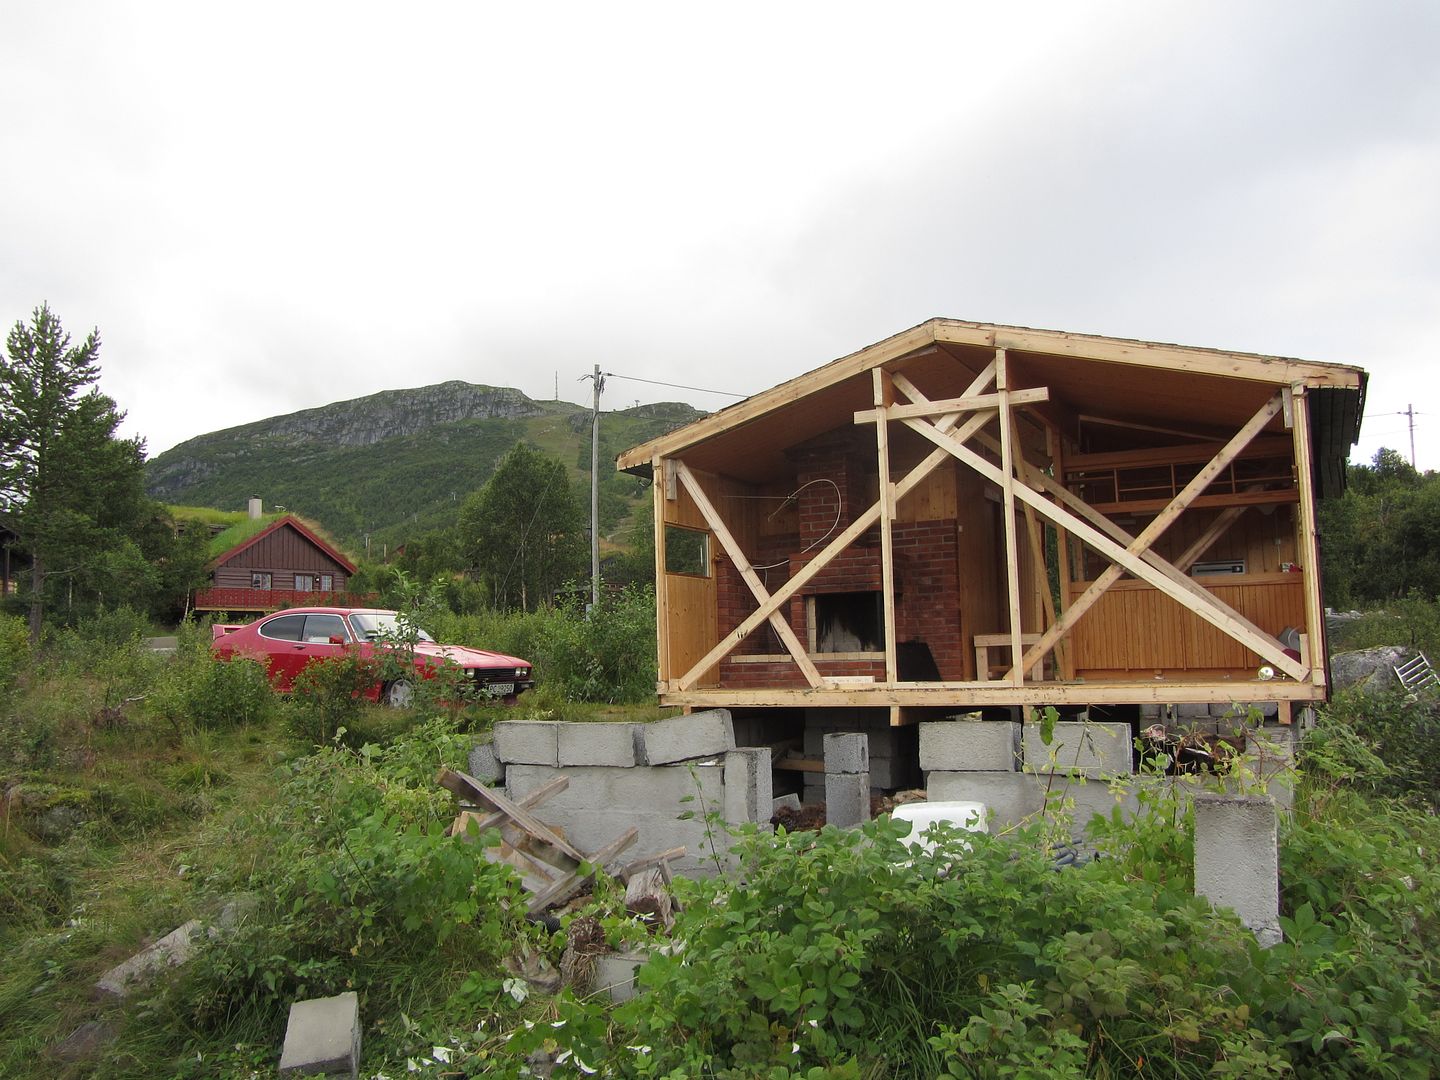 Soon got overcast and started to be a bit windy, so time to get down from the mountain.. 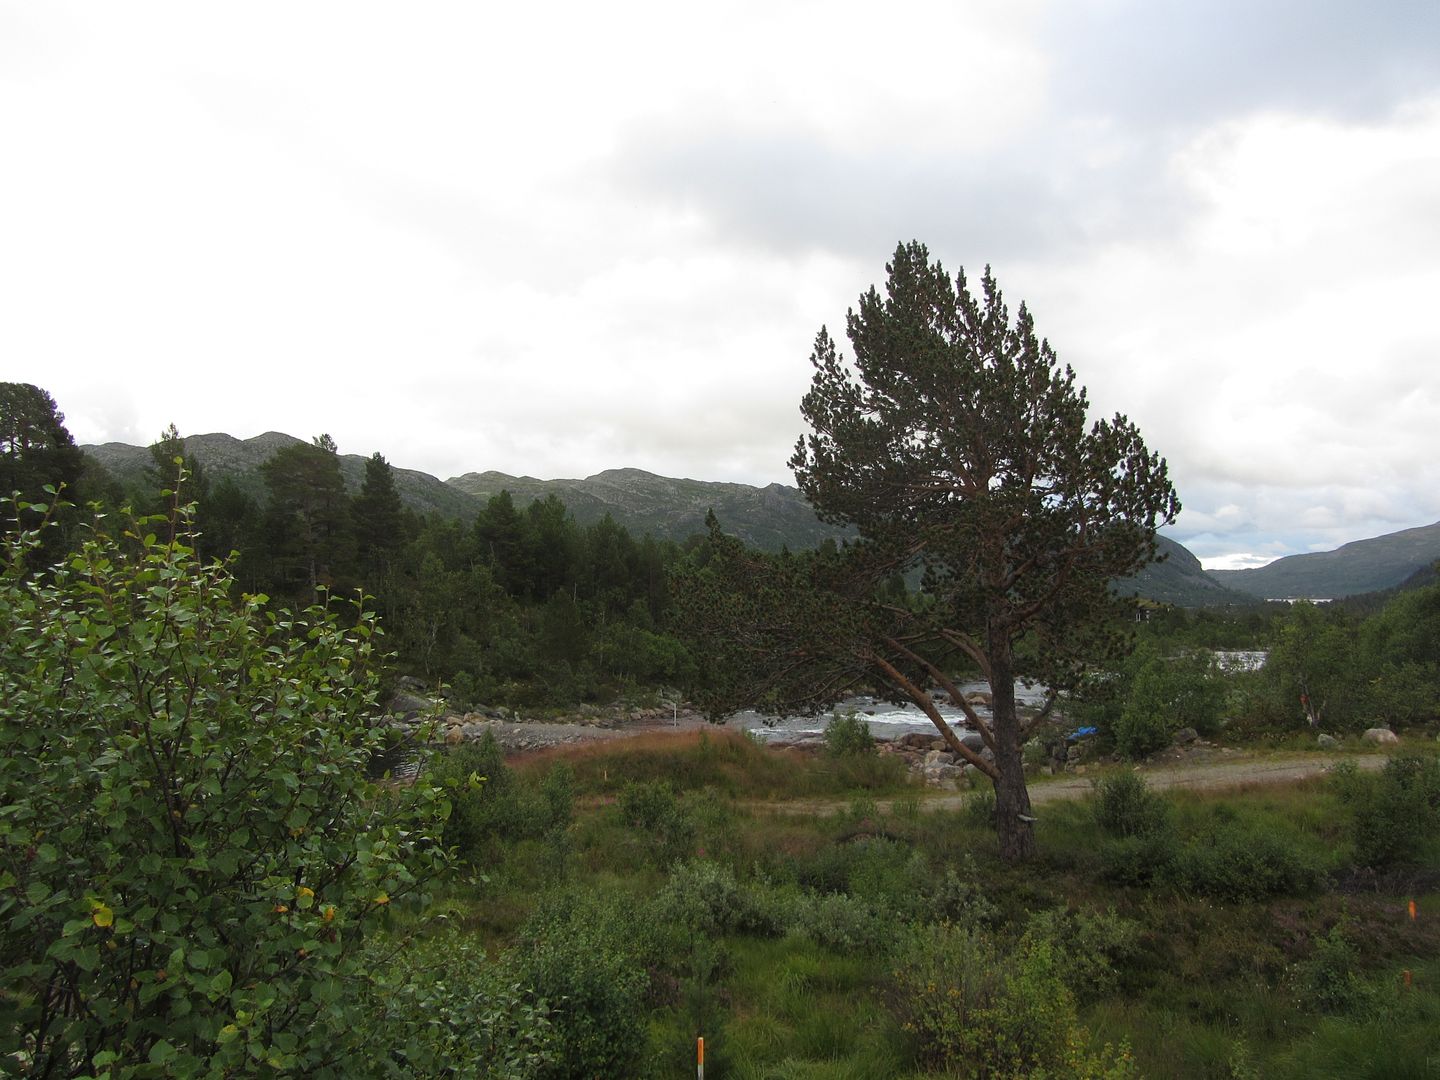 3-400 yards up it was a parking lot at the ski resort, we turned around and headed home bound 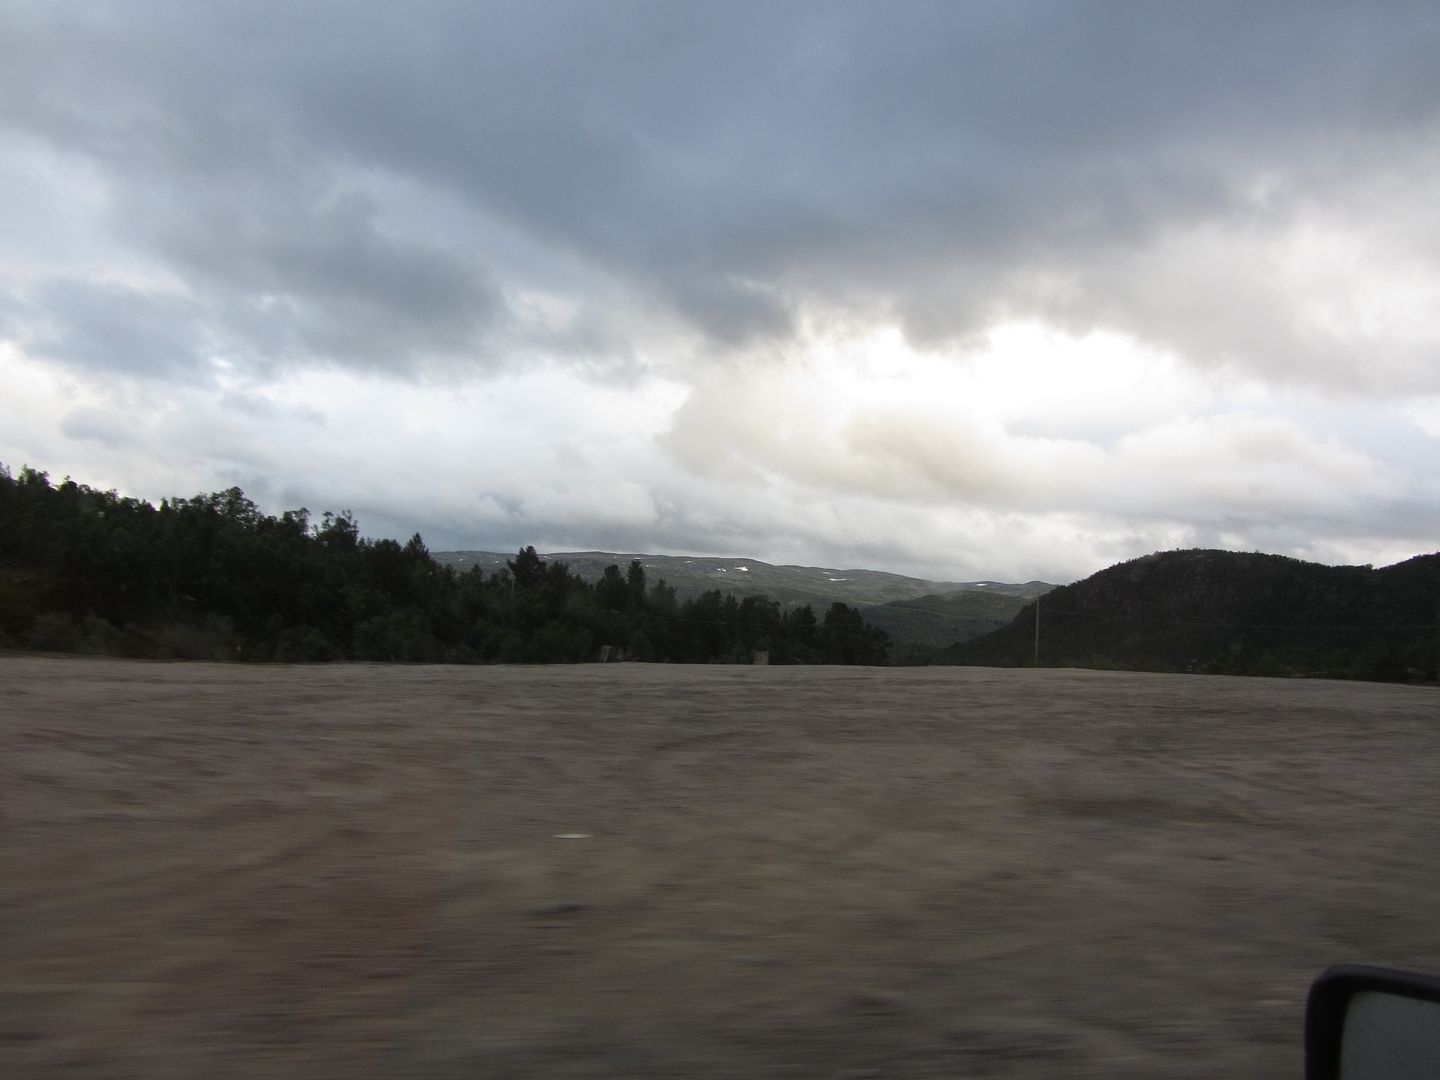 Any later and it would have been a tad wet and windy.... 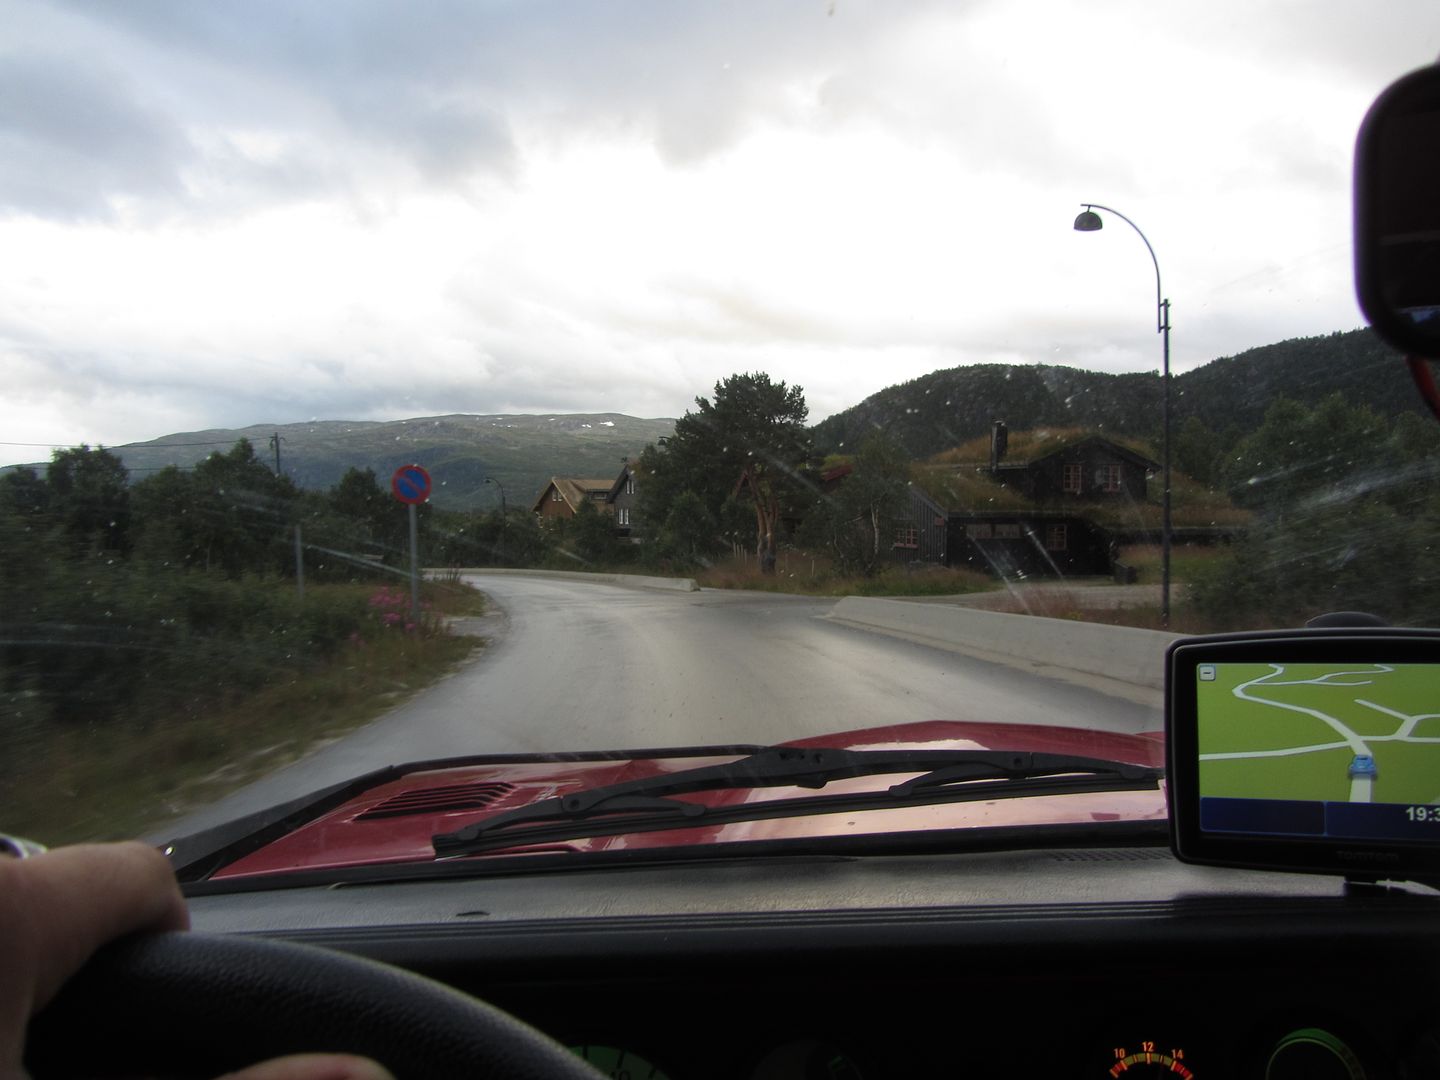 We drove a short while the same road we came up, then turned left and took a mountain road we never had taken before. Twisty road with very little traffic, made it very fun to drive along at 50-65mph. 2 hours later we were at more familiar grounds..   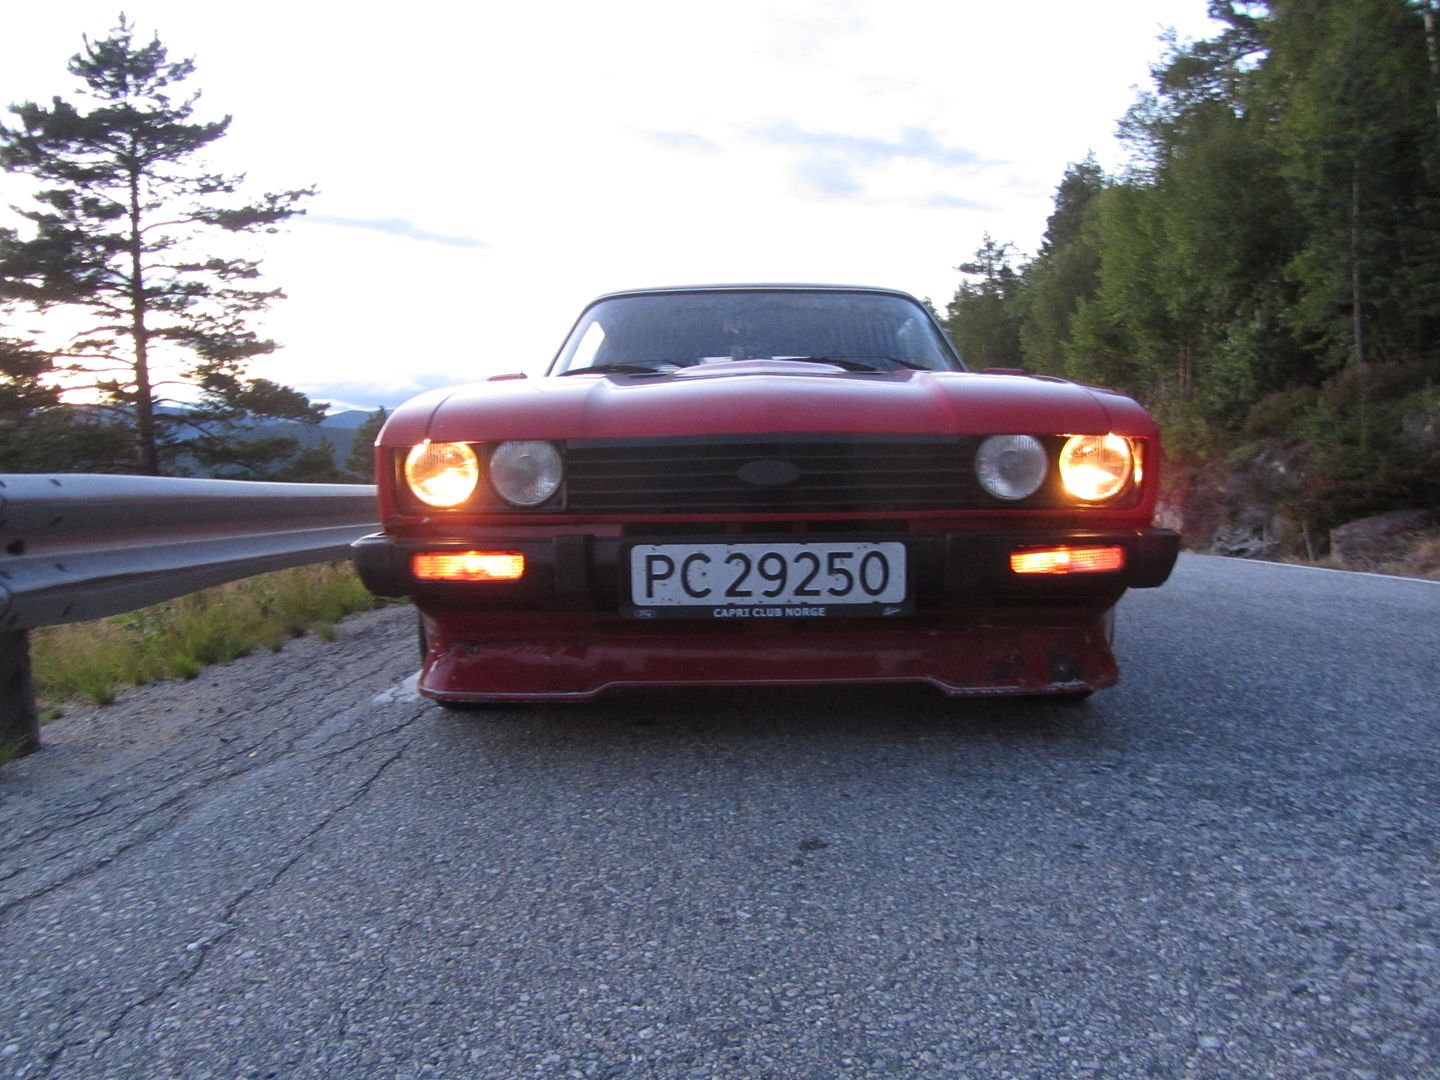 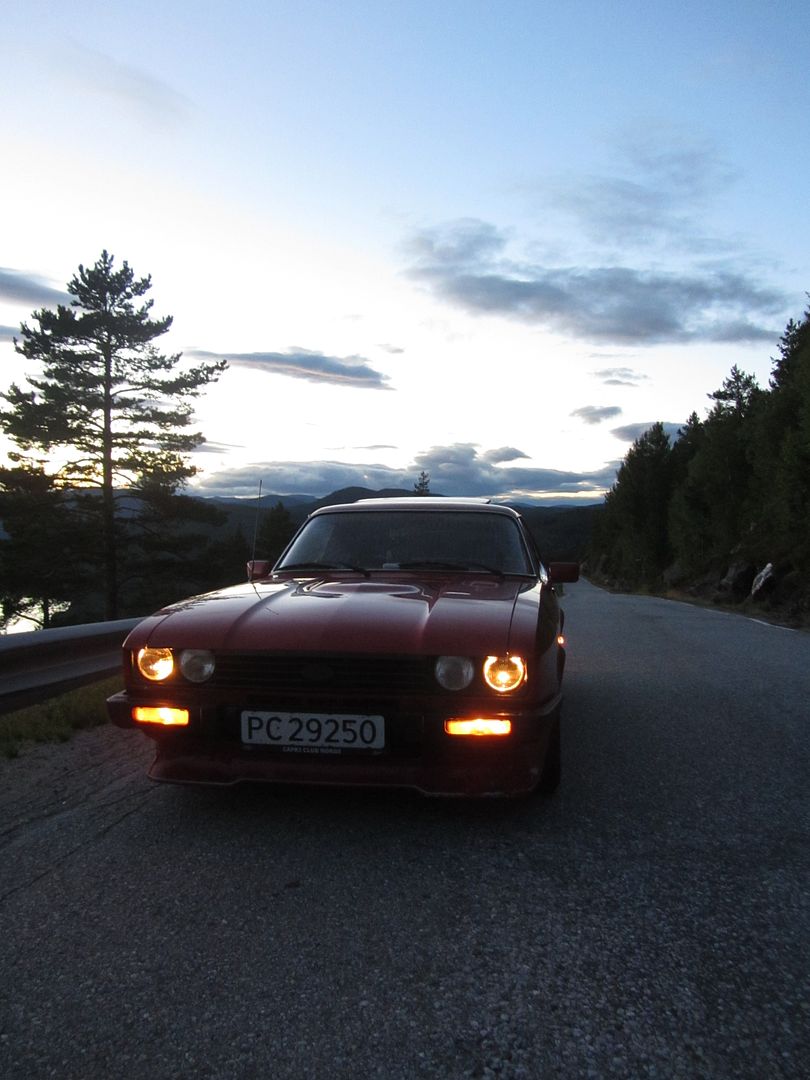 A poser LOL 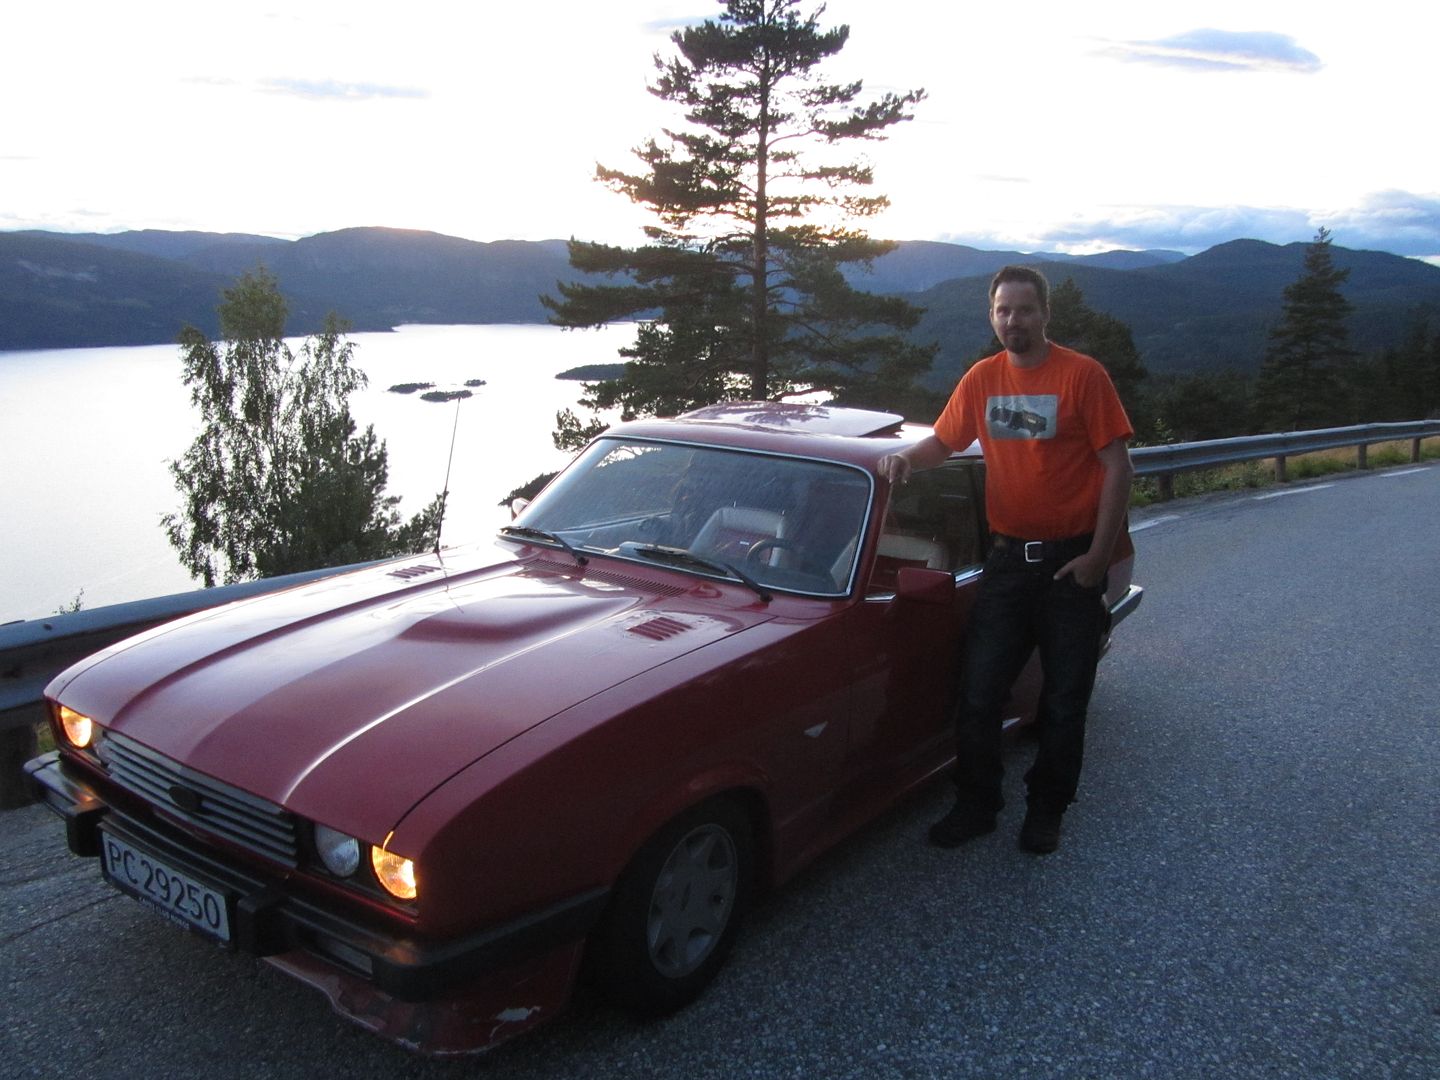 Very happy how the painted rear clusters turned out, too bad my camera don't capture it well.. 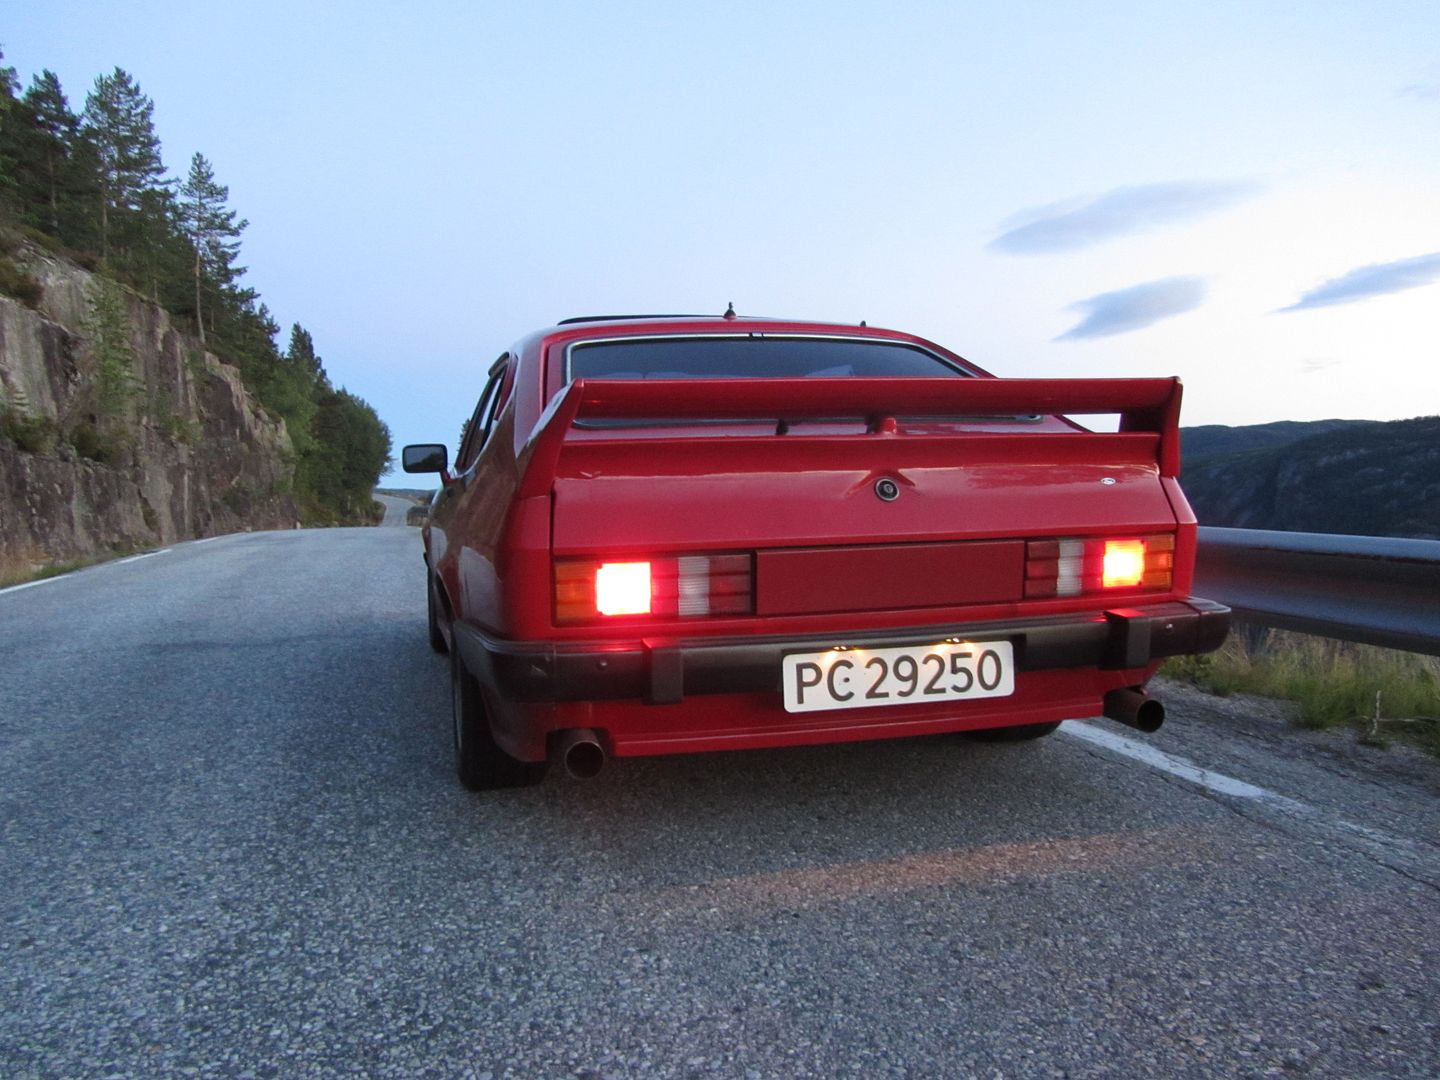 350 miles later and we were home again.. |
| |
|
|
cap78
Part of things
Posts: 96
|
|
|
|
Current story is still at August 2012... I love driving, the longer, the better, especially in my Capri. So for the return leg from the Capri meeting I took a different route via Oslo as there was a VW show in Oslo, and since I'm a bit interested in them (got the interest from my late dad that was a VW man his whole life), I wanted to check them out. Just as we had begun our home trip, there were a Police control a bit down the road. The Police officer was very nice and interested in my Capri, and he also know what kind of car that was, a rare thing these days.. After some chatting and a alcohol test, I was waved off.. This is just after the Police control checkpoint 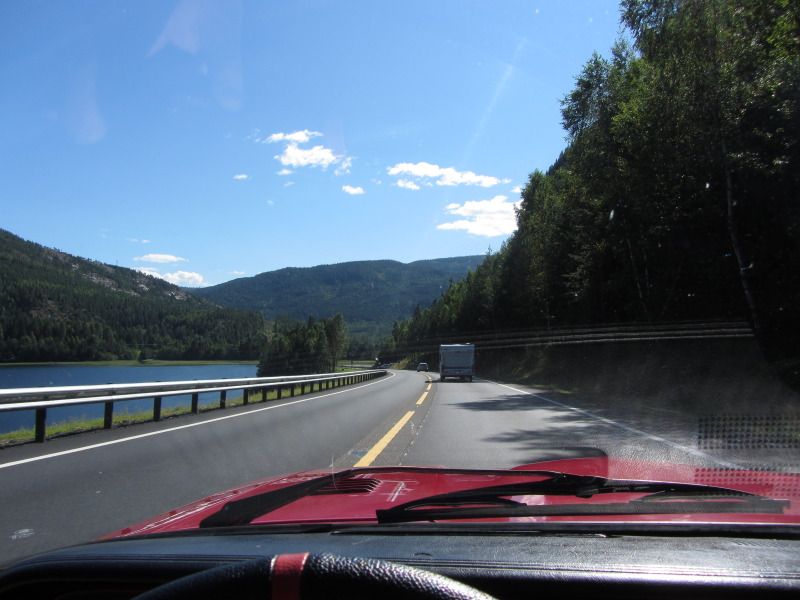 A bit further down.. 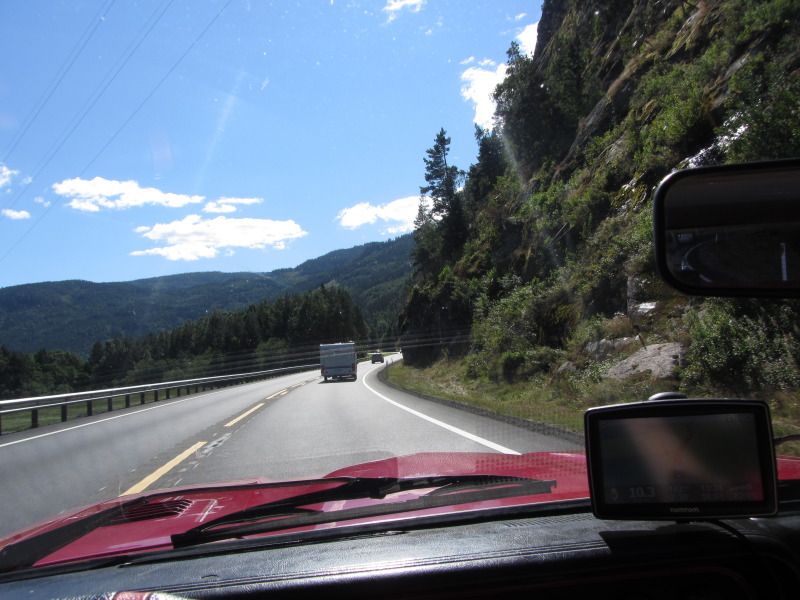 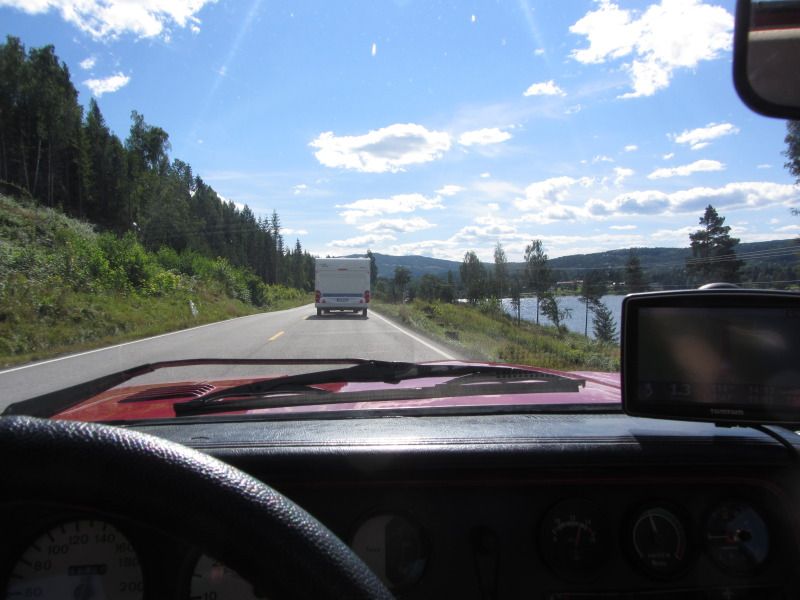 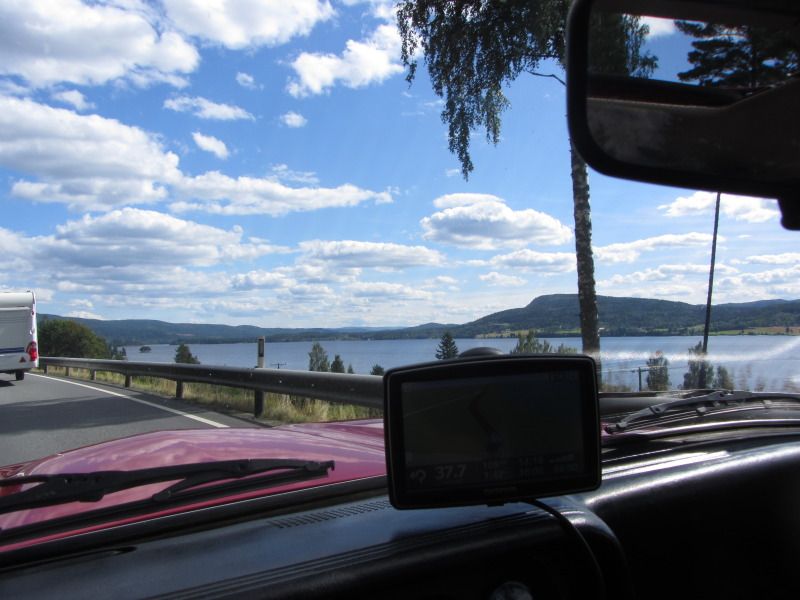 As I came to Oslo there were plenty of old vw's on the the road so I diden't bothered to visit the car show as it was a bit late. Here is some of the car I saw  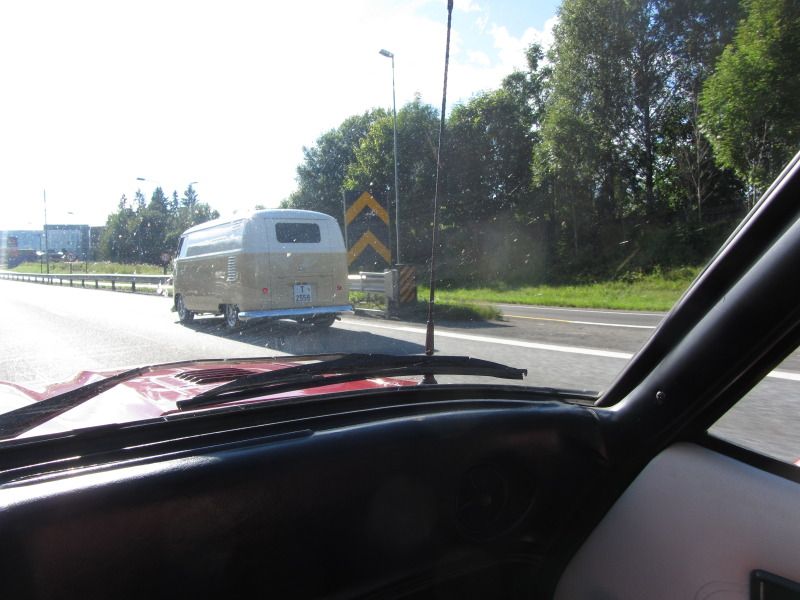 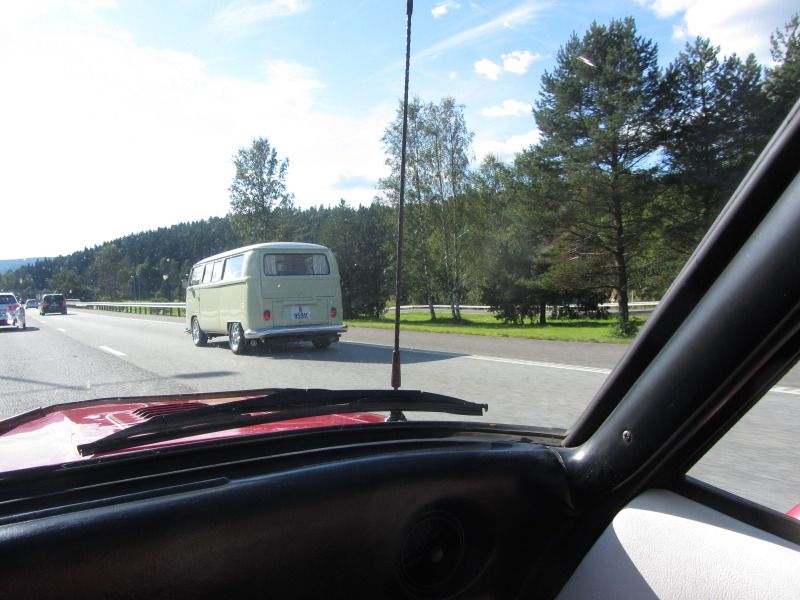 Got a bit late before I was home again.. This is approx 1 hour away from home. 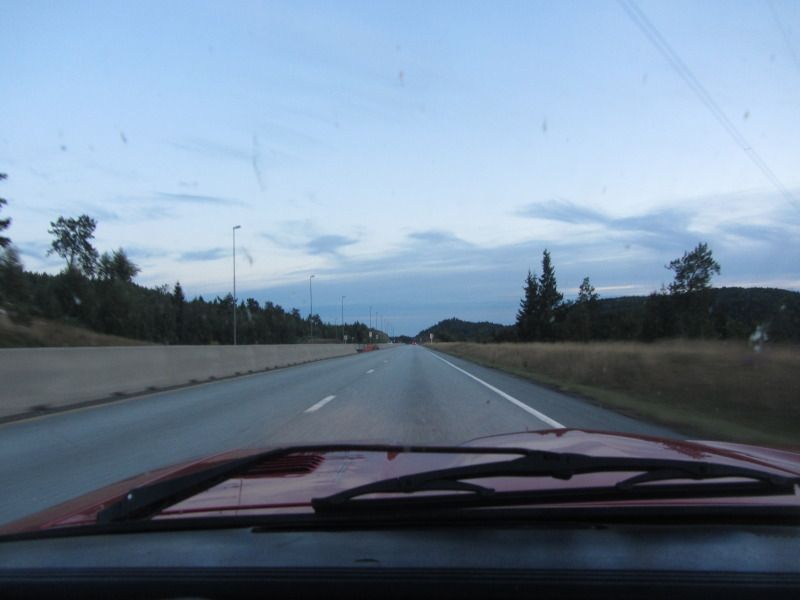 |
| |
Last Edit: Feb 13, 2017 3:29:59 GMT by cap78
|
|
cap78
Part of things
Posts: 96
|
|
|
|
Another great update from the metal master  |
| |
|
|
cap78
Part of things
Posts: 96
|
|
|
|
OMG that some sexy italian metal right there! Keep up the good work |
| |
Last Edit: Feb 13, 2017 1:38:54 GMT by cap78
|
|
cap78
Part of things
Posts: 96
|
|
Feb 12, 2017 14:49:50 GMT
|
I remember you thread on Capripower... It was sad to see that burnt Capri, but seems like you got hang of it again |
| |
Last Edit: Feb 12, 2017 14:50:25 GMT by cap78
|
|
cap78
Part of things
Posts: 96
|
|
Feb 12, 2017 10:43:09 GMT
|
Great progress nice work !! Thank you for the kind words The day finally arrived, I had a new appointment at traffic station to be registered, this time a different place (Kristiansand). I had to wait in the waiting room while they took it to the hall for check, photos etc. 3 hours later my car was finally ready, the only step now now to be road legal was to order license plates and fit them. The red plates seen on my car is norwegian test plates, these can be bought for one or two days, if you need to move your vehicle to sell it, register it or test it. Many use them to get their non registered cars to shows, etc, but you are not allowed to do that so most people come up with a excuse why they need them. Years ago, you could buy for 3 days, but the were too many people that took advantage of that, so they binned the 3 day rule. Anyway here is my car parked outside the traffic station hall 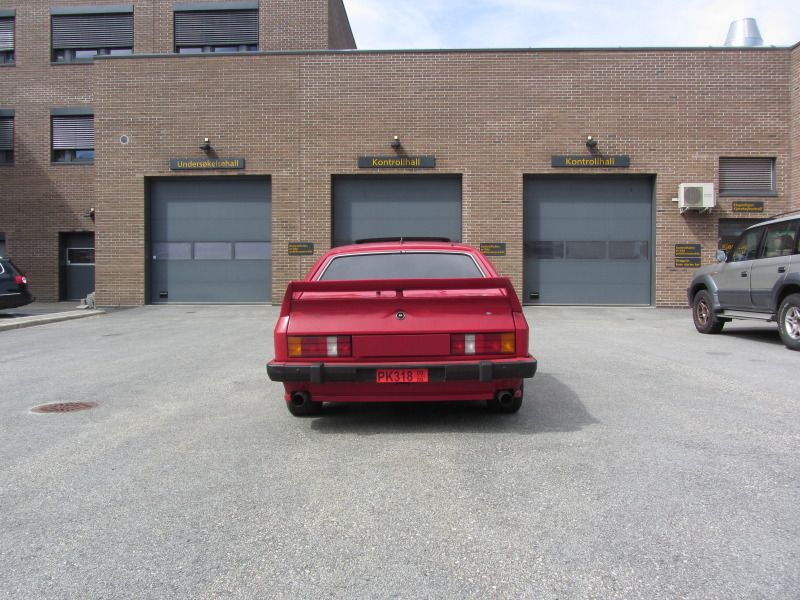 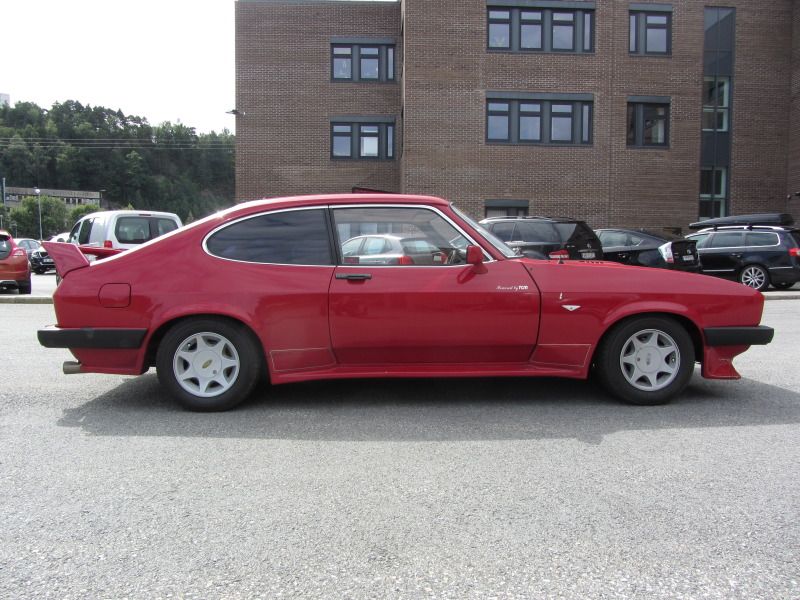 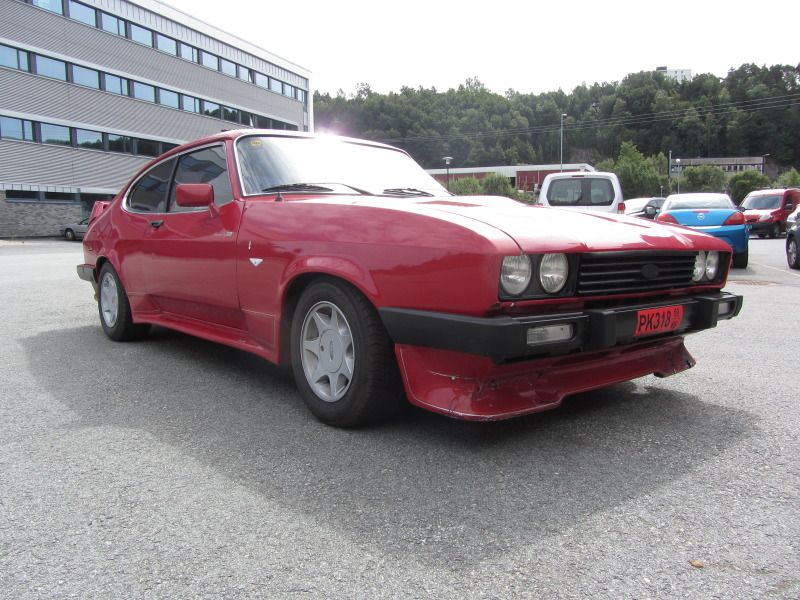 I celebrated by driving the long way home, nice weather was nice too! 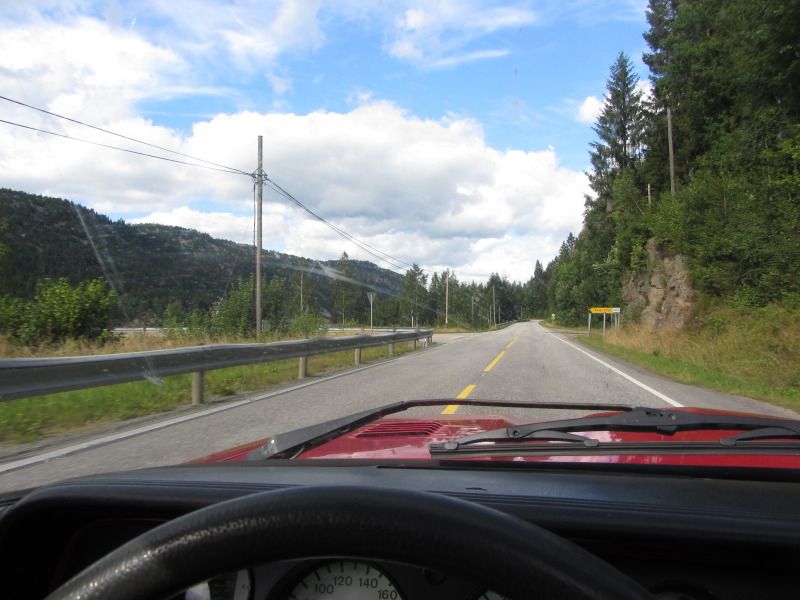 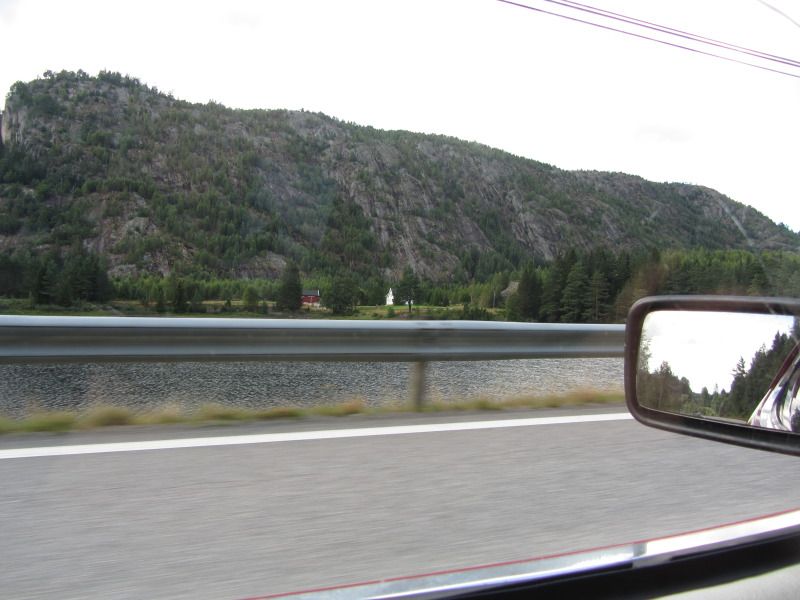 Enjoyed the drive was the understatement of the year!! 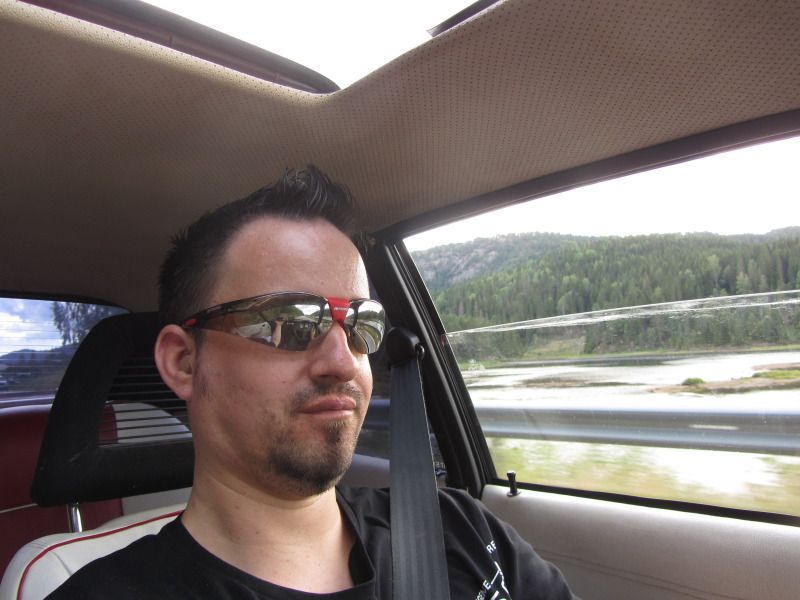 So much nicer to look at a black dashboard than the red one, that's for sure!!!! Reminded me of that it allmost looks completly different than 5 months earlier, thank goodness for that! 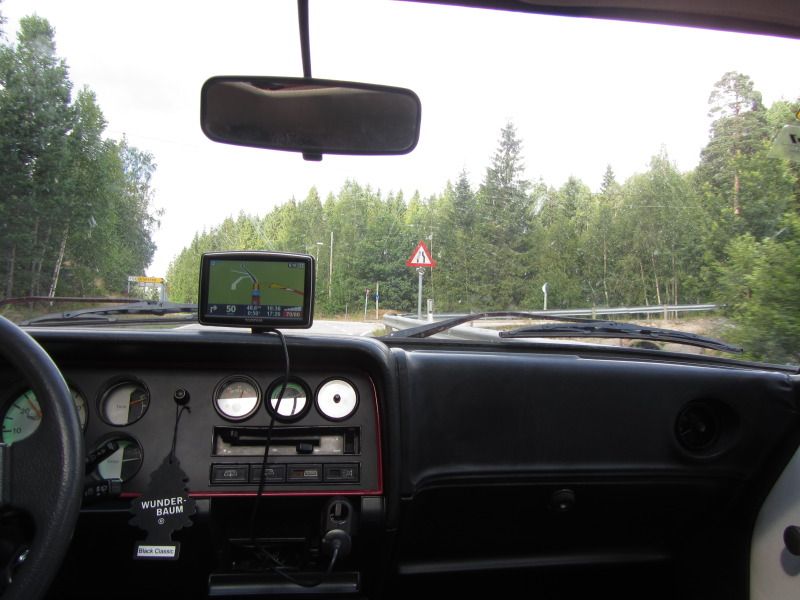 The following weekend I attended our local annual Capri BBQ fest, at last I could enjoy it a bit 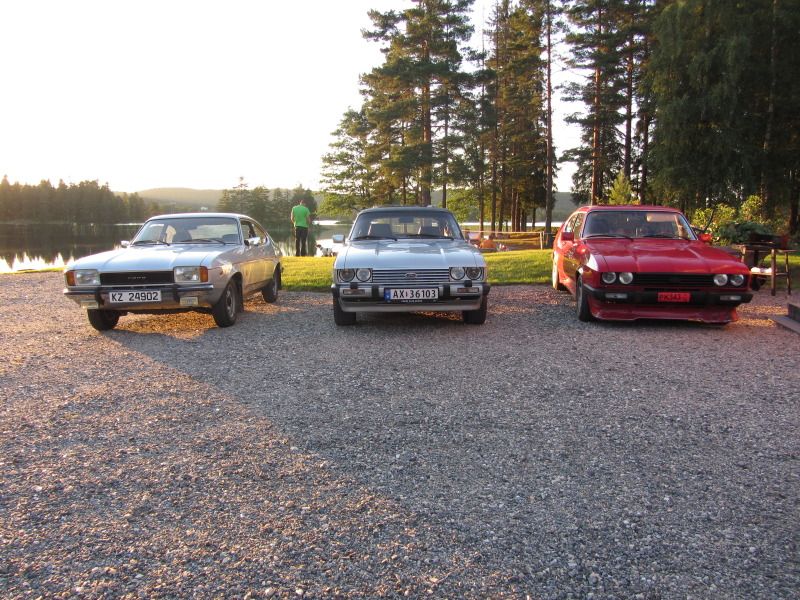 The location for the Capri BBQ party is beautyful 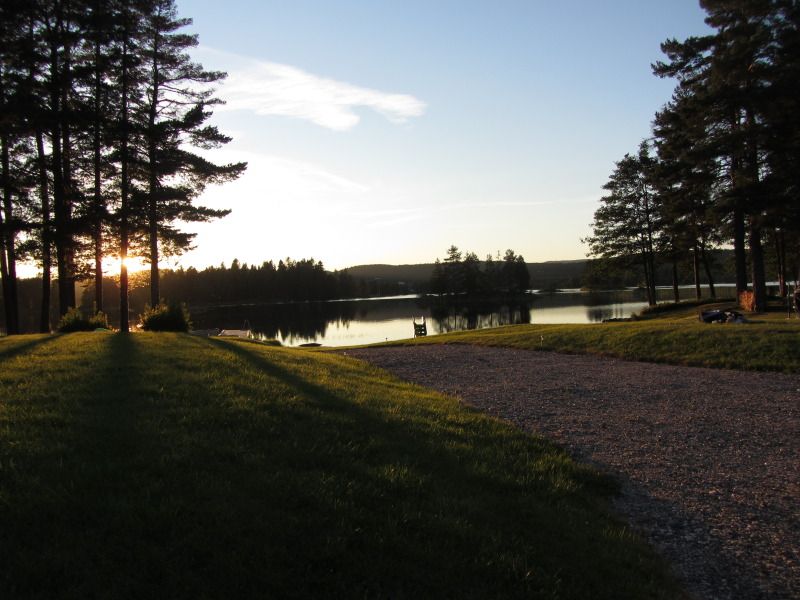 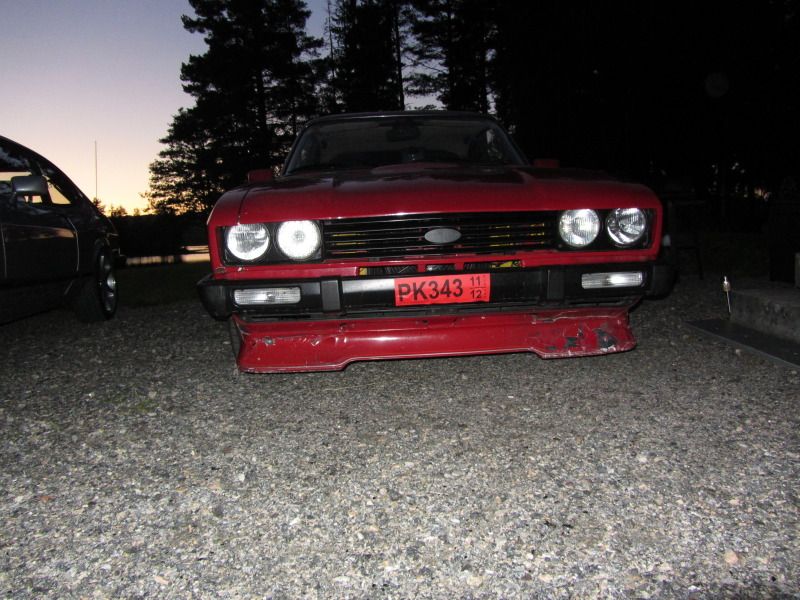 The next day, Sunday, we drove home and I stopped by the local Ford dealership in my hometown, for some arty farty pictures... 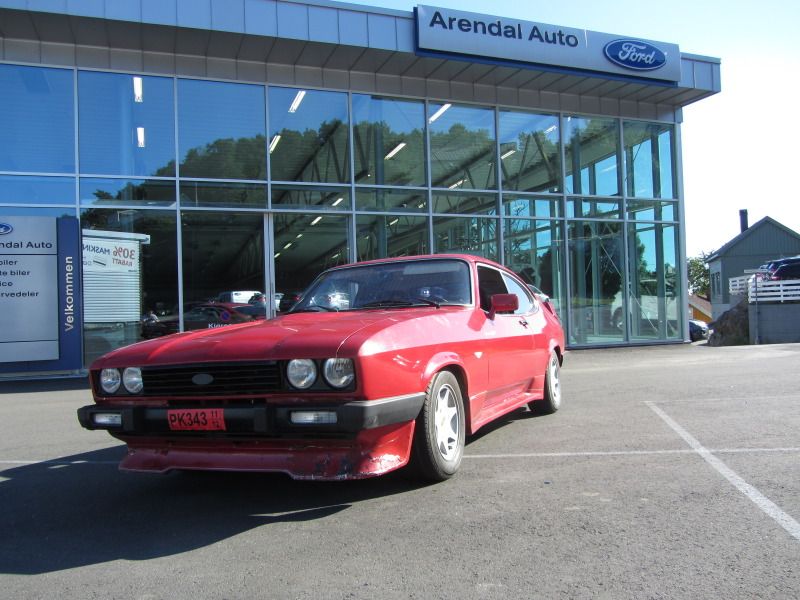

The next big thing was to attend the annual norwegian Capri meeting, that was held in Gol 18-20th August 2012.
And I crossed my fingers and toes that I would receive my licence plates before those dates, or else I would have to buy some more test plates to be able to drive (they also include insurance), and as everything else here in Norway they are a bit pricey...
So for the next days I sorted out small things that needed to be done, incl stereo as my mate that would take the passanger seat can't travel without music....
I was lucky as my plates turned up 2 days we needed to travel for the Capri meeting..
As I like to drive, I decided to take the longer but scenery route from Arendal.
Out route would be Arendal-Åmli-Brunkeberg-Odda-Gol, about 350miles one way..
We started off a bit later than we planned to, and we hastly made a new parcel shelf because most speakers were dead and it was sliding all over the place..
Anyway here are we approx 60miles into the trip at Nissedal, sadly it was cloudy/rainy the whole way...
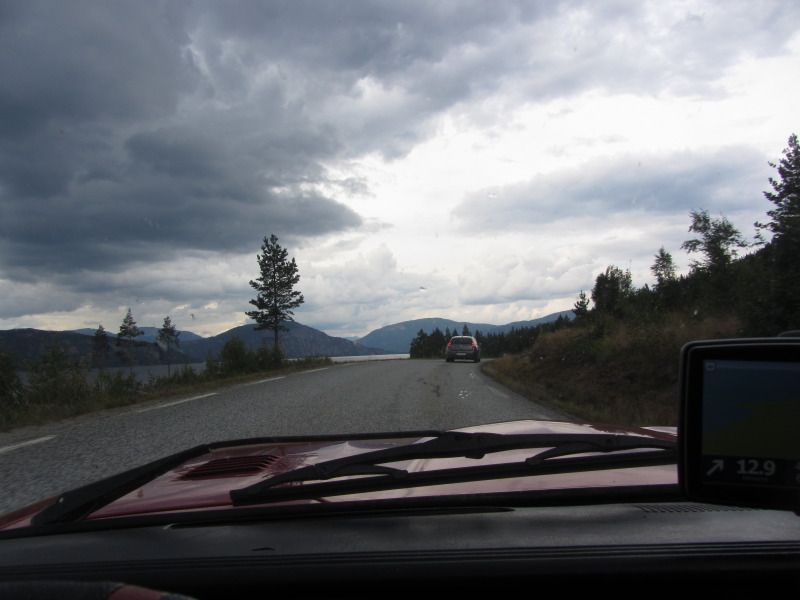
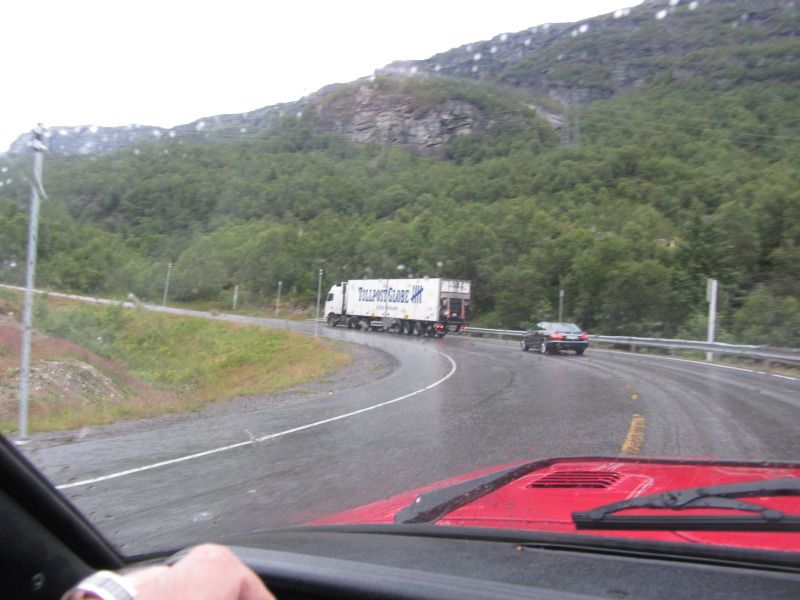
25miles later or so, a bit of road I really like, look at the hairpins on the GPS!

At bottom of those hairpins..
A little later we stopped for some food.
Me having a cheeseburger with fries and coke, was good indeed!
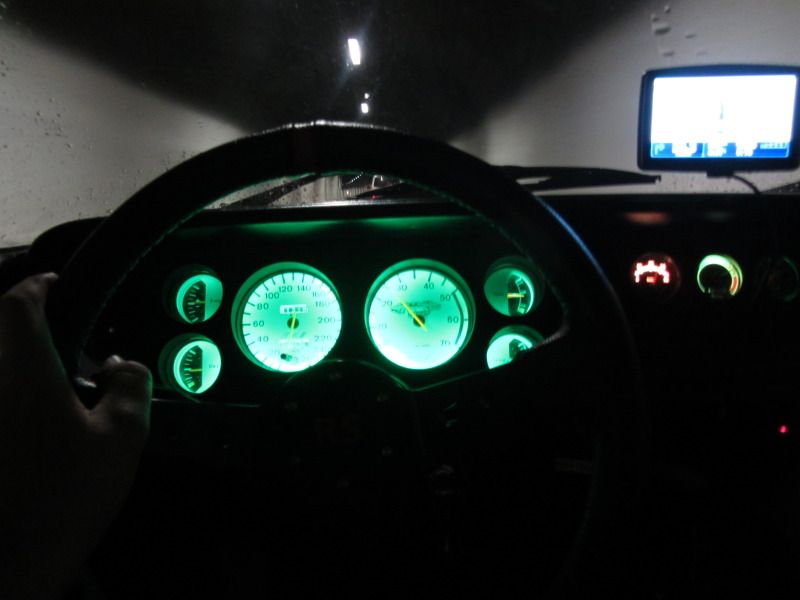
A hour later we were at the mountains and tunnels, my led instruments are bright, but my camera can't get it right
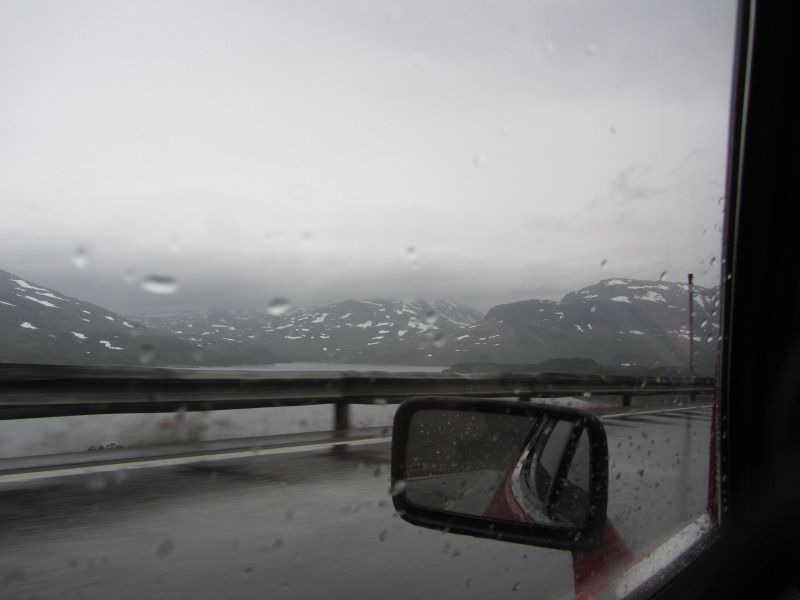
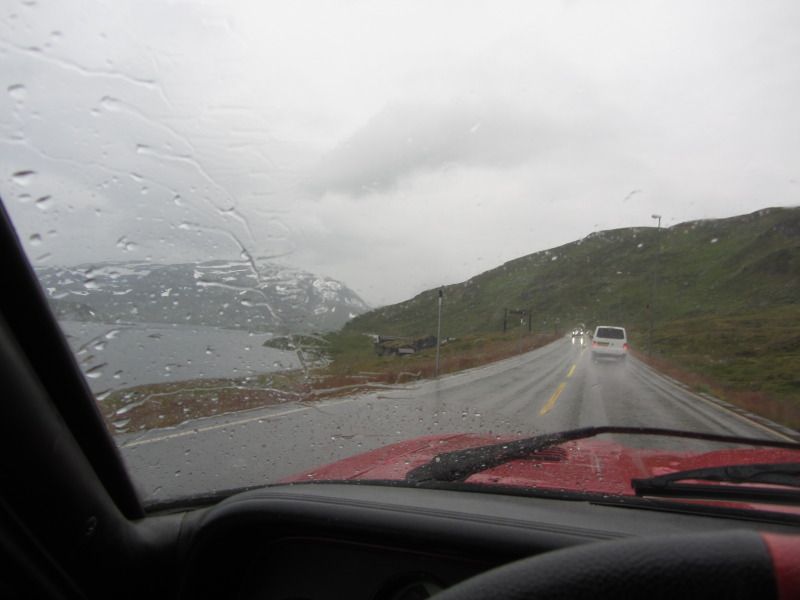
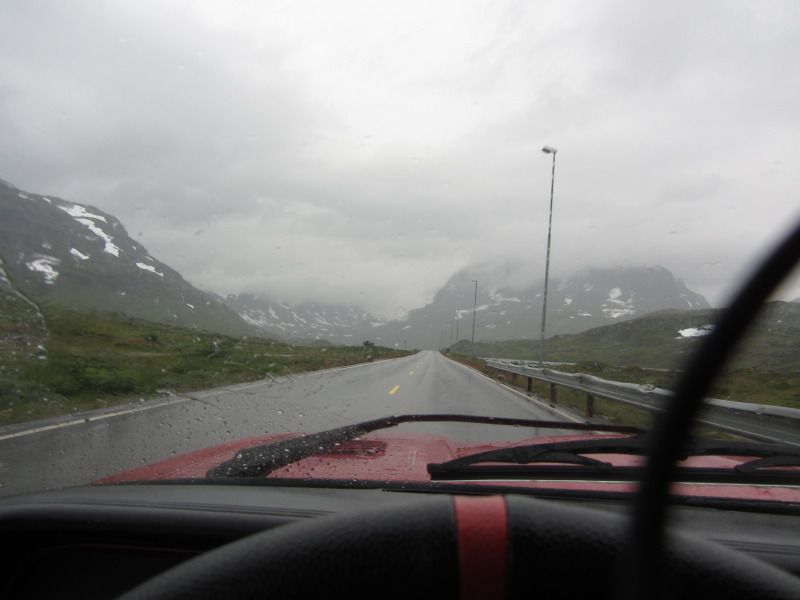

Going down, and into that valley we shall go!
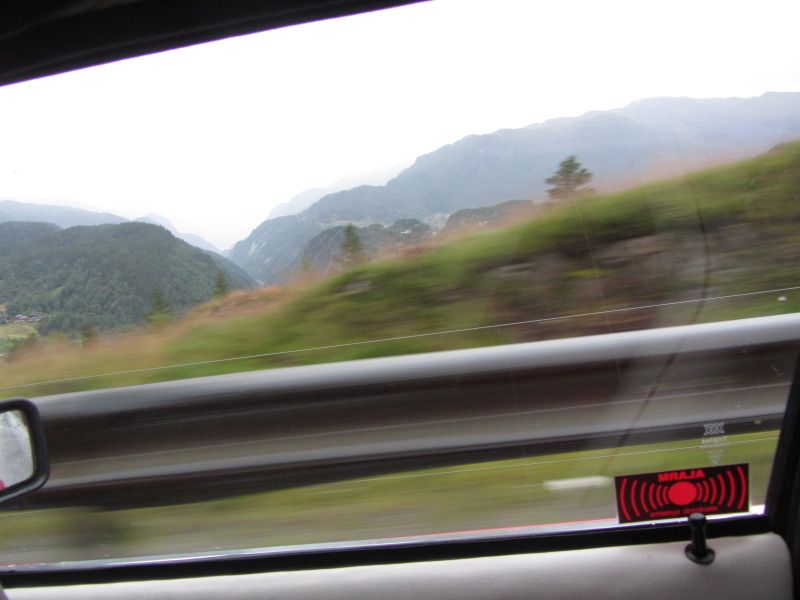
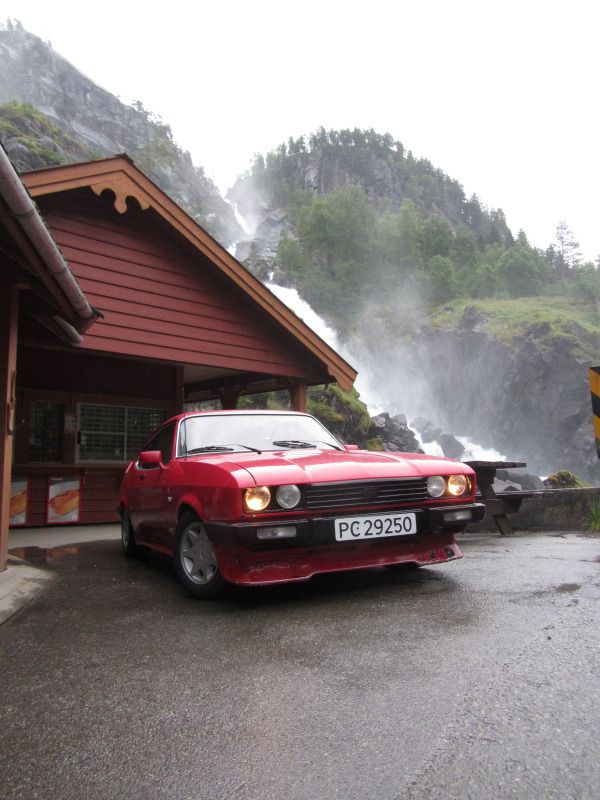
Then we stopped at Låtefoss, just outside Odda, this part of west Norway I like very much as my mom orginally came from Odda.
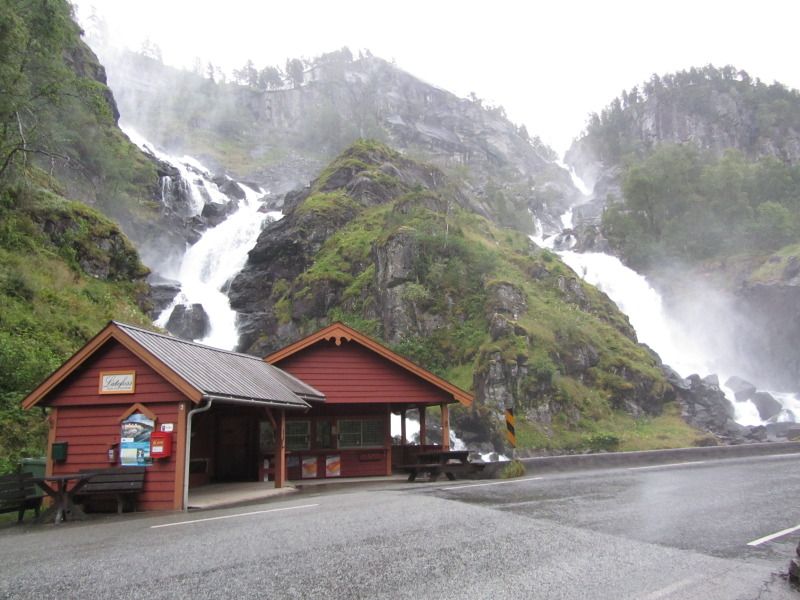
Notice my license plates, I could choose any numbers that were still available in the book, mine being my birthdate and my HP goal with my next engine

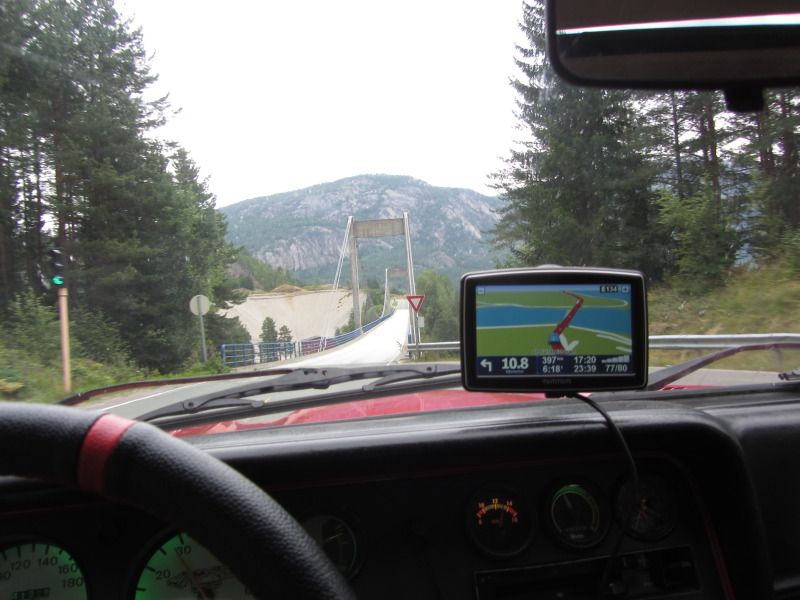
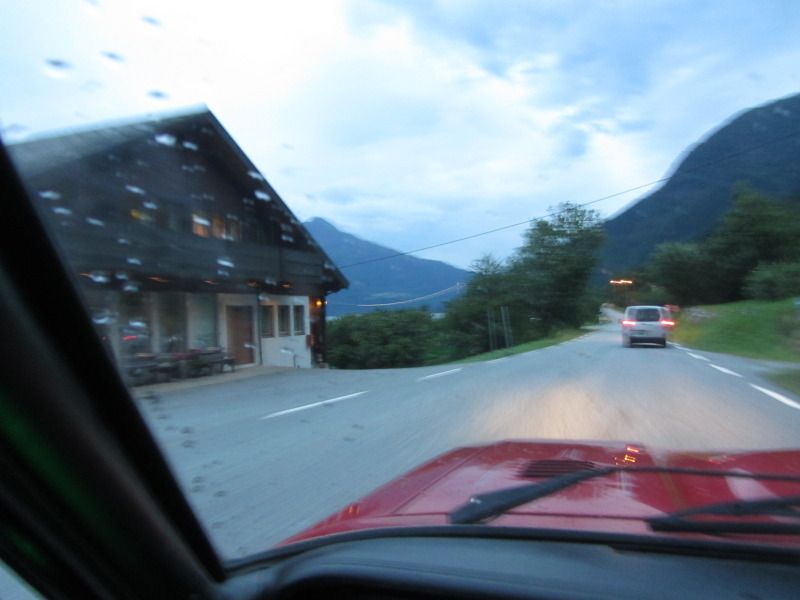
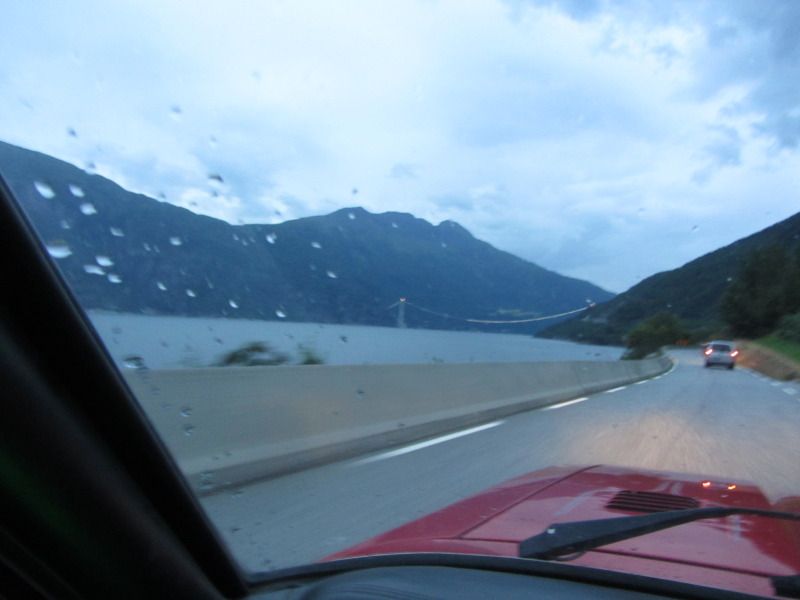
Sadly it got darker after that point, my last picture was in the end of the next fjord where they build a new bridge, we came 3 days too early to see it open. You can just make it out way out there..
Next morning this happend, some washing was needed after 350miles on the road in bad weather...

Capri cleaned and our cabin for the weekend behind it..
Driving into the show area...
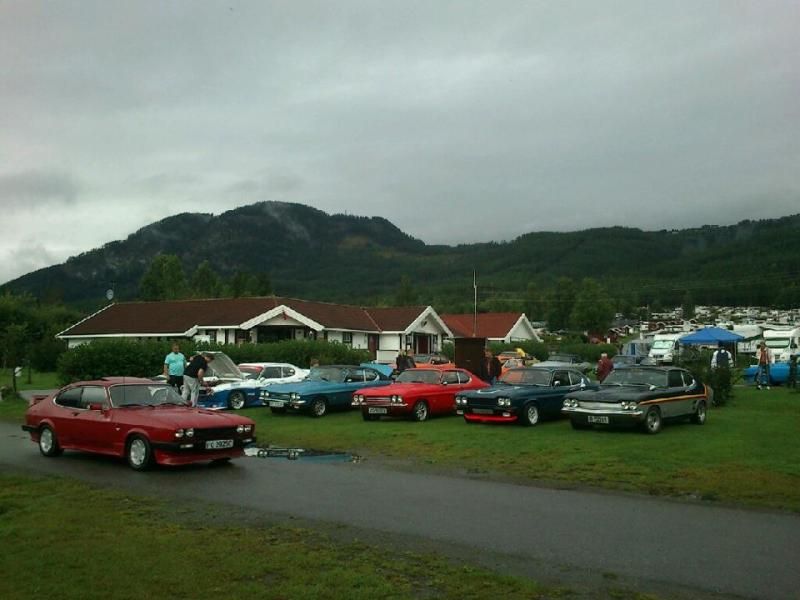
My Capri among the others...
I can post pictures of the other cars if anyone wants....
|
| |
Last Edit: Feb 13, 2017 0:36:33 GMT by cap78
|
|
cap78
Part of things
Posts: 96
|
|
Feb 11, 2017 22:30:39 GMT
|
Why haven't I noticed this thread before?? Brilliant read, but not so brilliant the work from previous owner, jeeezzzz, that would not end well in a crash! Keep up the good work fella |
| |
|
|
cap78
Part of things
Posts: 96
|
|
Feb 11, 2017 20:00:18 GMT
|
Love turn arounds like these, hope you'll clear the McDonalds colour scheme in the engine bay. Indeed I'm. Plan for engine bay is satin black, and other shades of black. Body color will be blue and mostly black interior. Thanks for the kind words |
| |
|
|
cap78
Part of things
Posts: 96
|
|
Feb 11, 2017 16:07:07 GMT
|
|
I love this thread too!
Have a soft spot for the Mk1 MR2, but have never driven one, and can't remember that I,ve got a ride in one either.
Mk2 ones I do not care for.
Many about in UK these days?
Over here they are getting very rare, one is located a few miles from me, in a bad shape.
But other than that I haven't seen one in years..
|
| |
|
|


 ??
??